


FarEast
-
Posts
325 -
Joined
-
Last visited
Content Type
Profiles
Forums
Events
Gallery
Posts posted by FarEast
-
-
Some more quality time on Saturday due to poor weather!

The abdomen was a little tricky to paint and so I decided to paint before assembly, due to the nature of the kits it's nice to be able to preassemble to see how it will look and then unsnap the parts and then permanently bond them.
I had to take a break from the work to pick my son up from his soccer camp so took the opportunity to pick up some other goodies!

-
 1
1
-
-
So I had to take a day off school as both my kids are on spring break - I work in a different school district so my spring break is out by a week to theirs. (It has its benefits though! HAHA) So I was able to dedicate a little more time to this build.
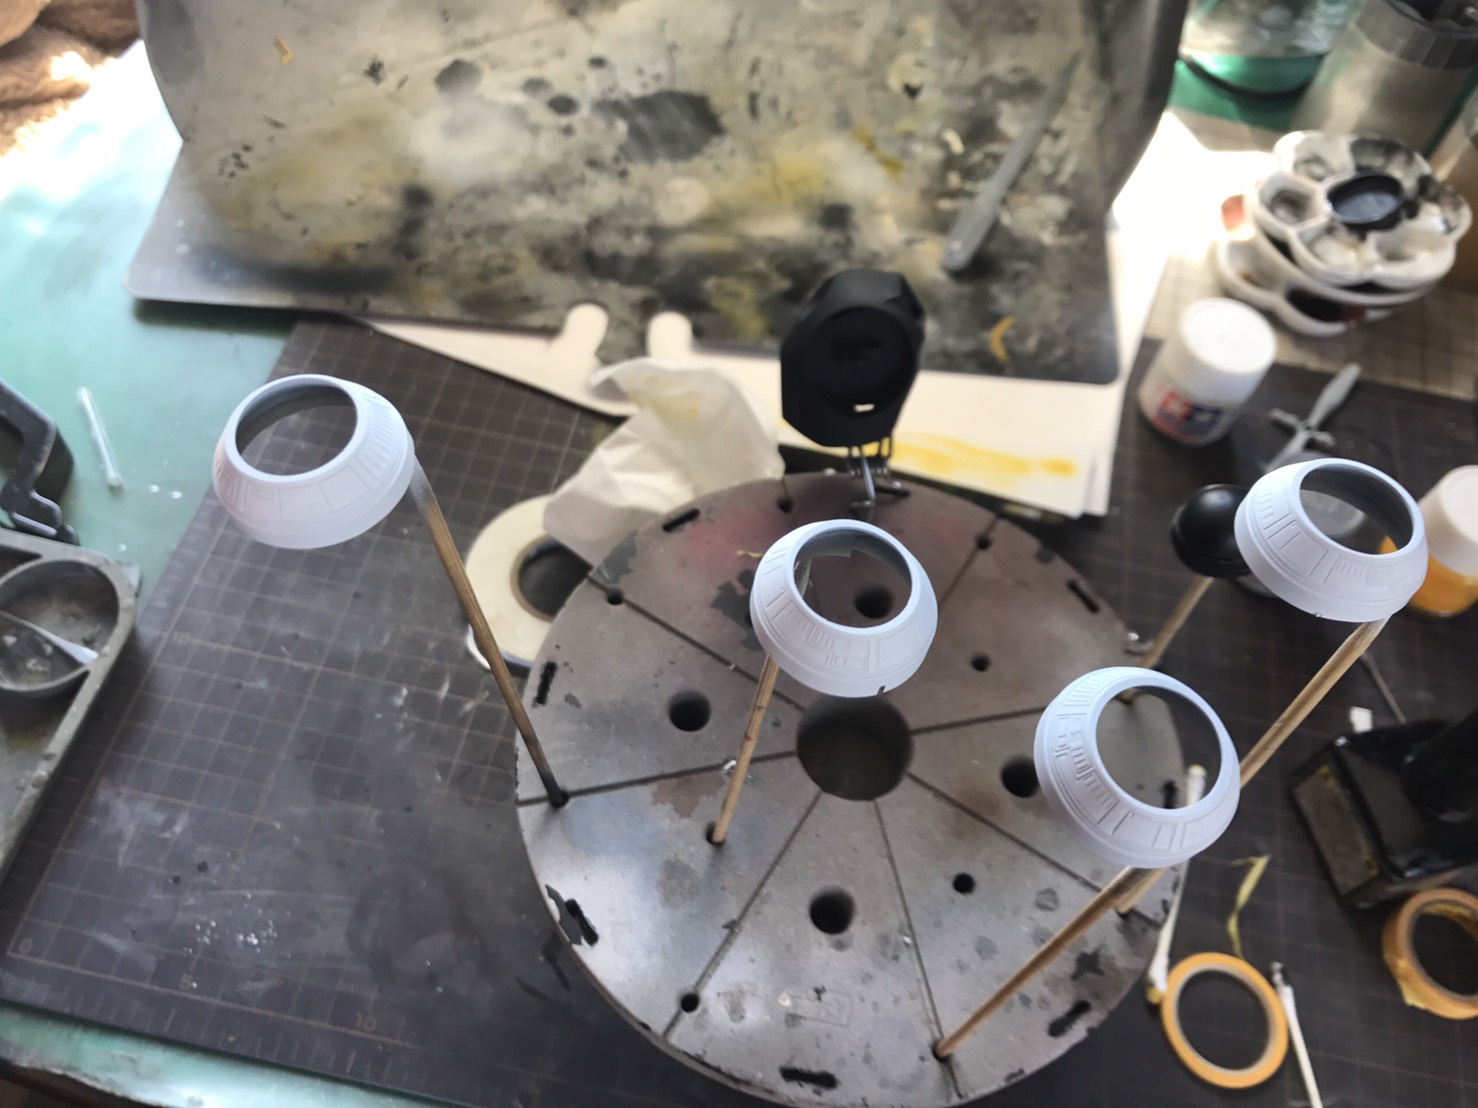
So it was time to go at the shoulder joints and mixing up the beautiful golden orange that highlights the joint - which meant cleaning off all the original paint I had laid last week and starting again.
I started with a flat white base.
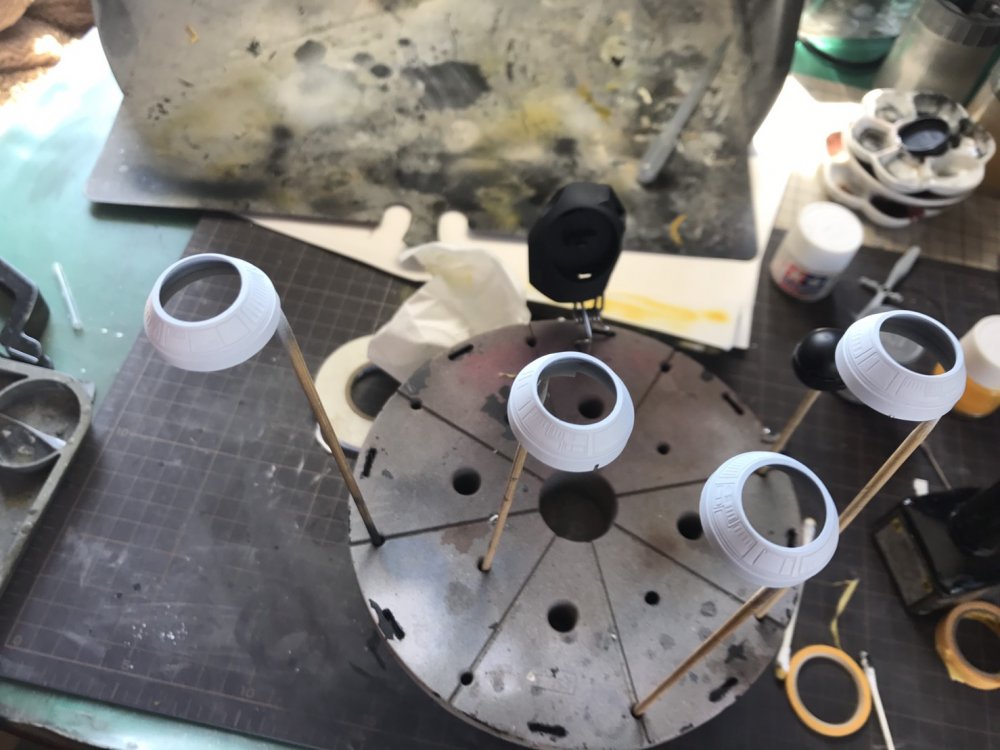
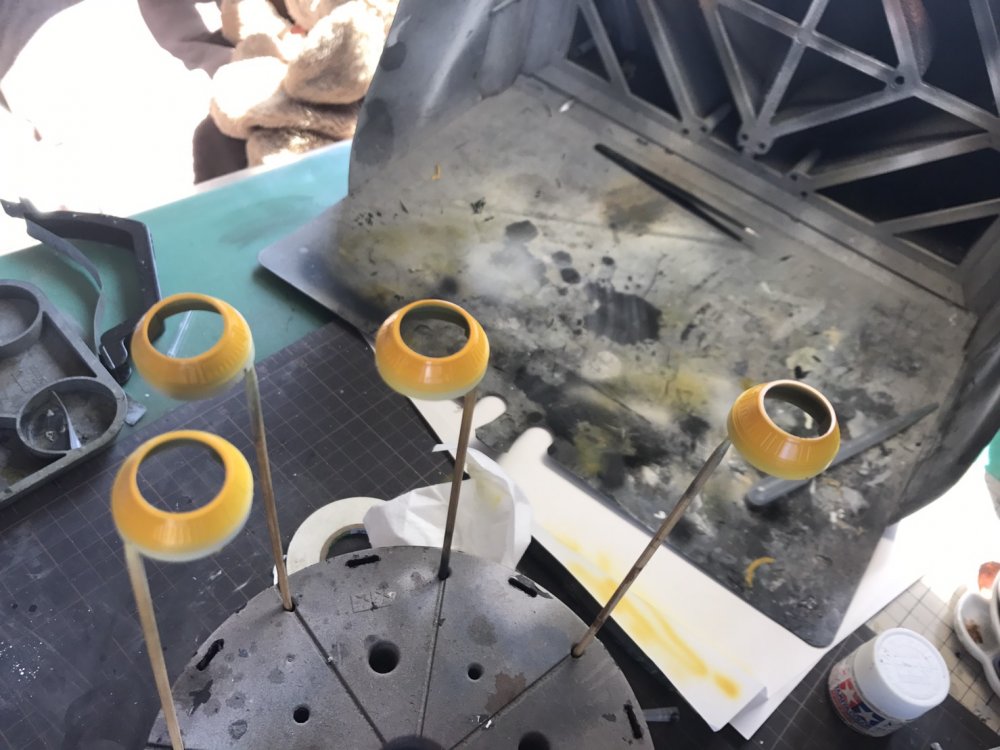
Followed by that glorious orange - yellow that was mixed up specifically for the build.
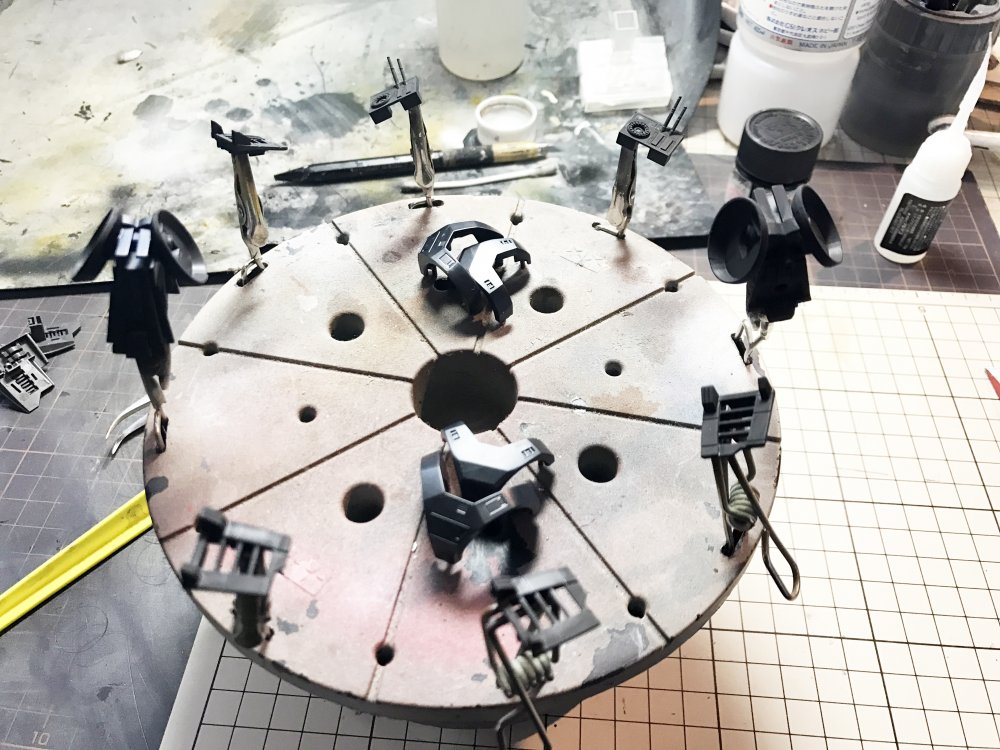
Time for some more masking, I also used Vallejo chipping medium to prepare the edges where they appear chipped on the iconic droid in the movie. Time for some flat grey!
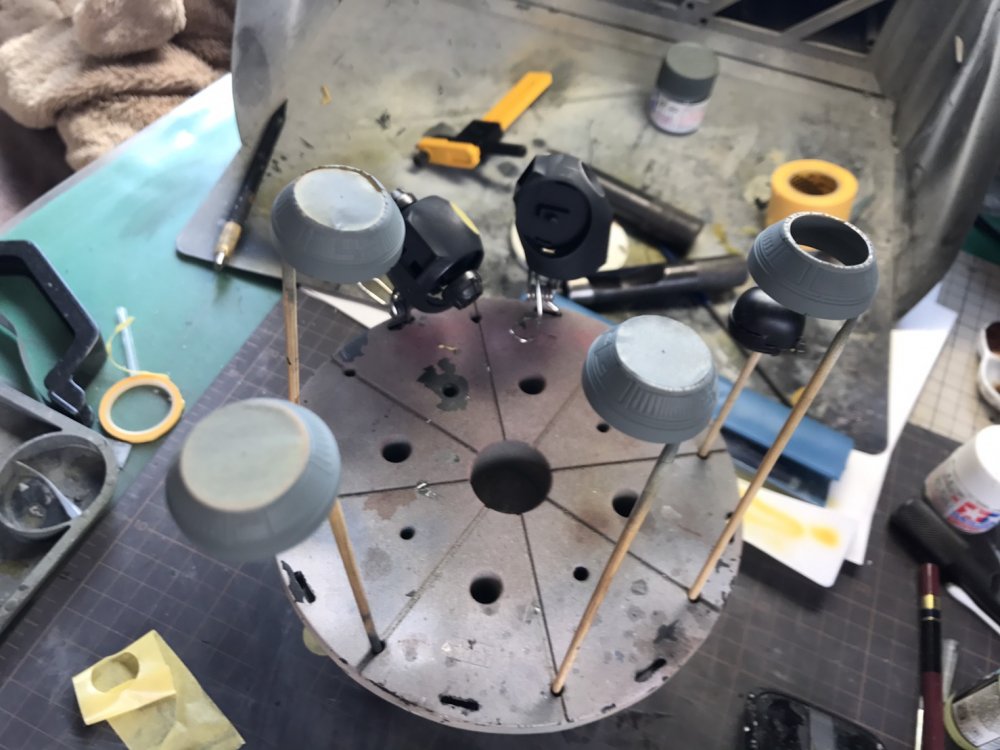
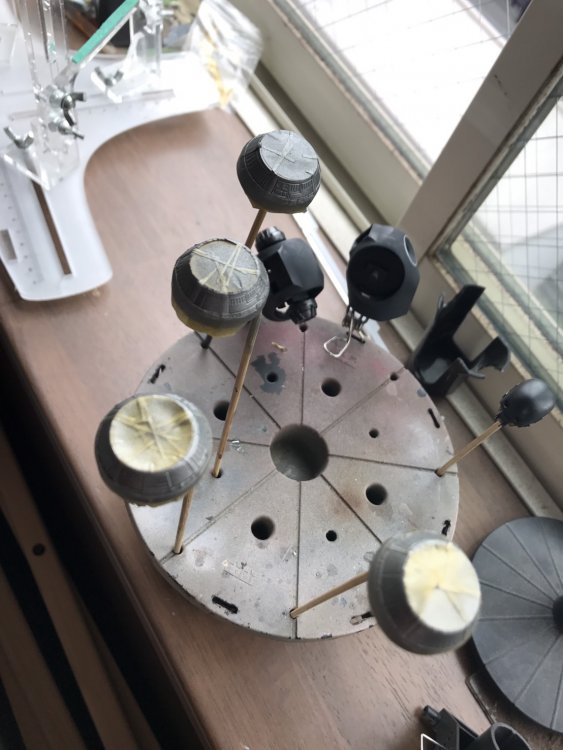
And then finally a little more masking and the different shades of silver and gun metal.
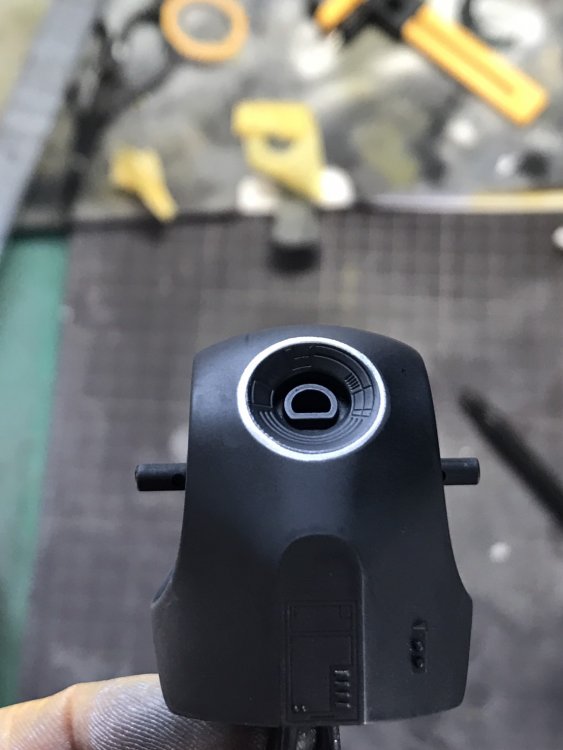
I also wasn't very happy with the finish of the chrome ring around the Droids torso as I had used a punch for the masks - this time I used my circle cutter - which if you don't have one I highly recommend you get!
You can see from this photo where there are gaps in the ring - those will soon be gone!
Mr. Metallic polishing colors Chrome is what I used for the ring and it's absolutely fantastic - once down let it cure and then buff that sucker up!

My Nikon had a real hard time trying to pin point the focal point - my circle cutter lurking in the background!
Note: Wash your hands after getting this stuff on you, otherwise you'll leave sparkly finger prints EVERYWHERE!
So time for a bit of assembly!


Next up the abdomen and groin joint - the painting gets a little tricky here!
-
1
-
-
Sorry for posting in the wrong section - realised the group is now "Home of Armour and Aviation"
-
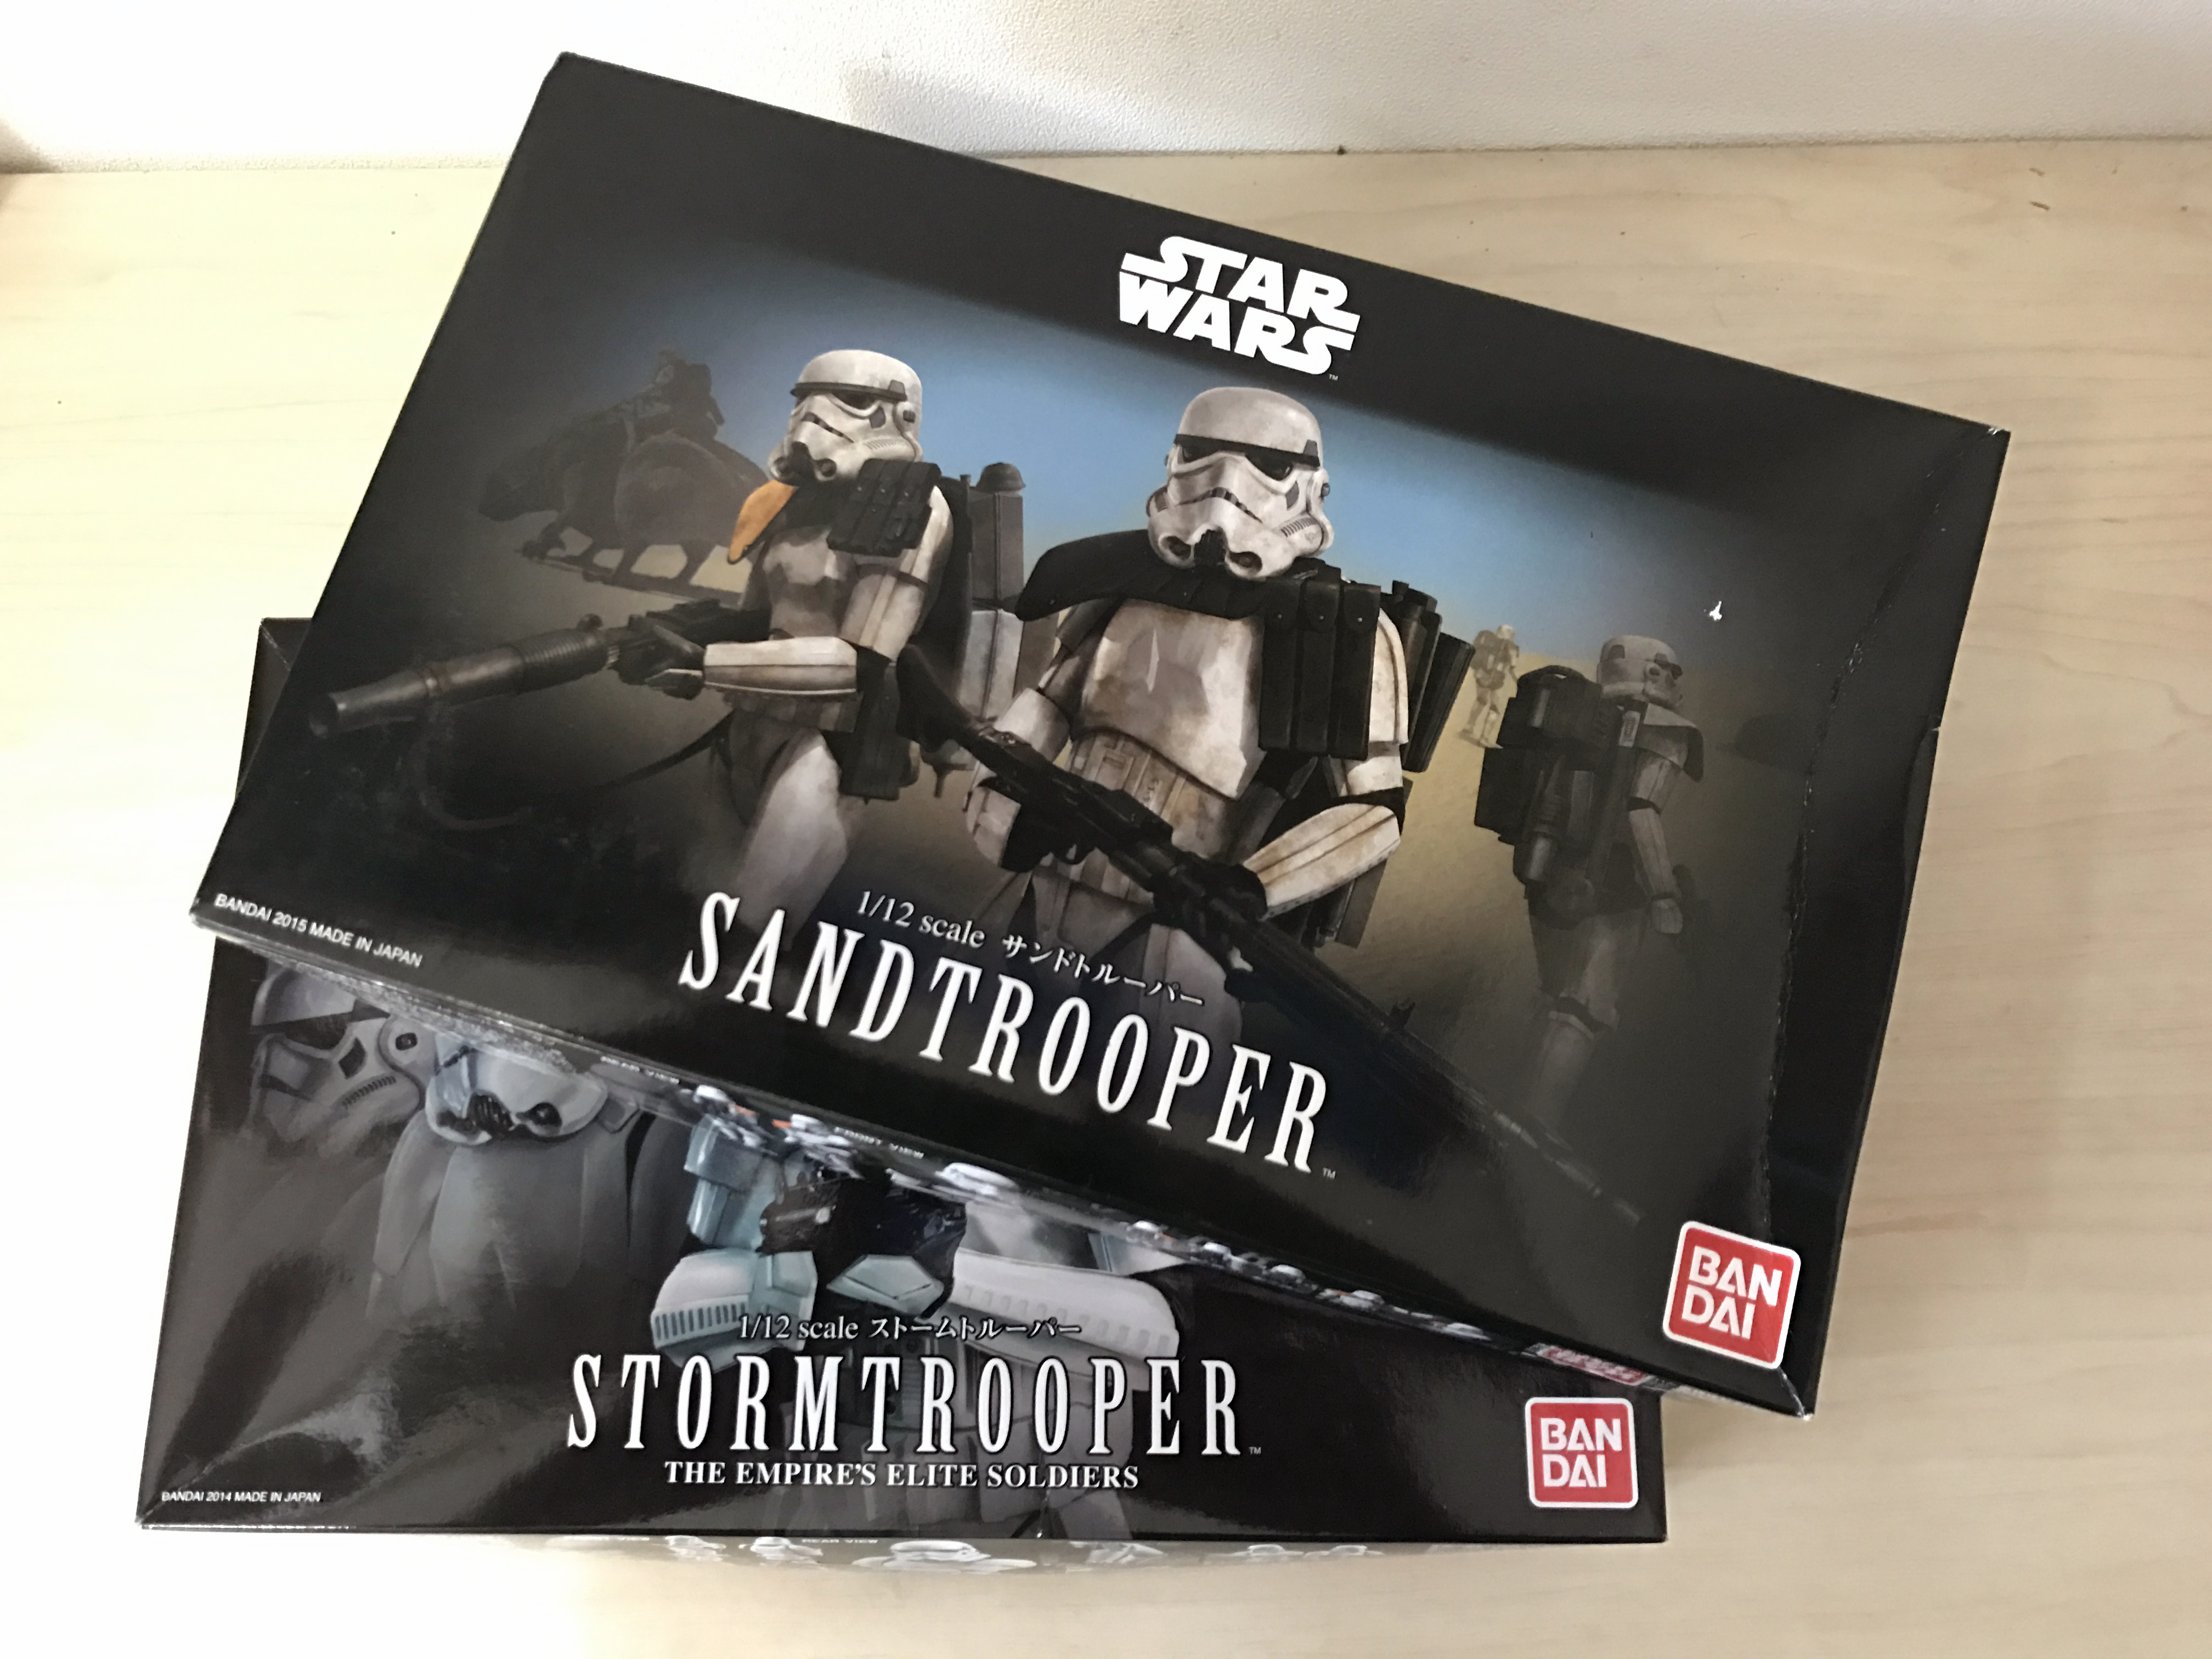
So while my current Wingnut Wings build dries after putting the laquer on I decided to start on this commissioned build.
Having started assembly I quickly realised I wanted one for myself so with the colour ranges I need in hand it was time to hit the hobby store!

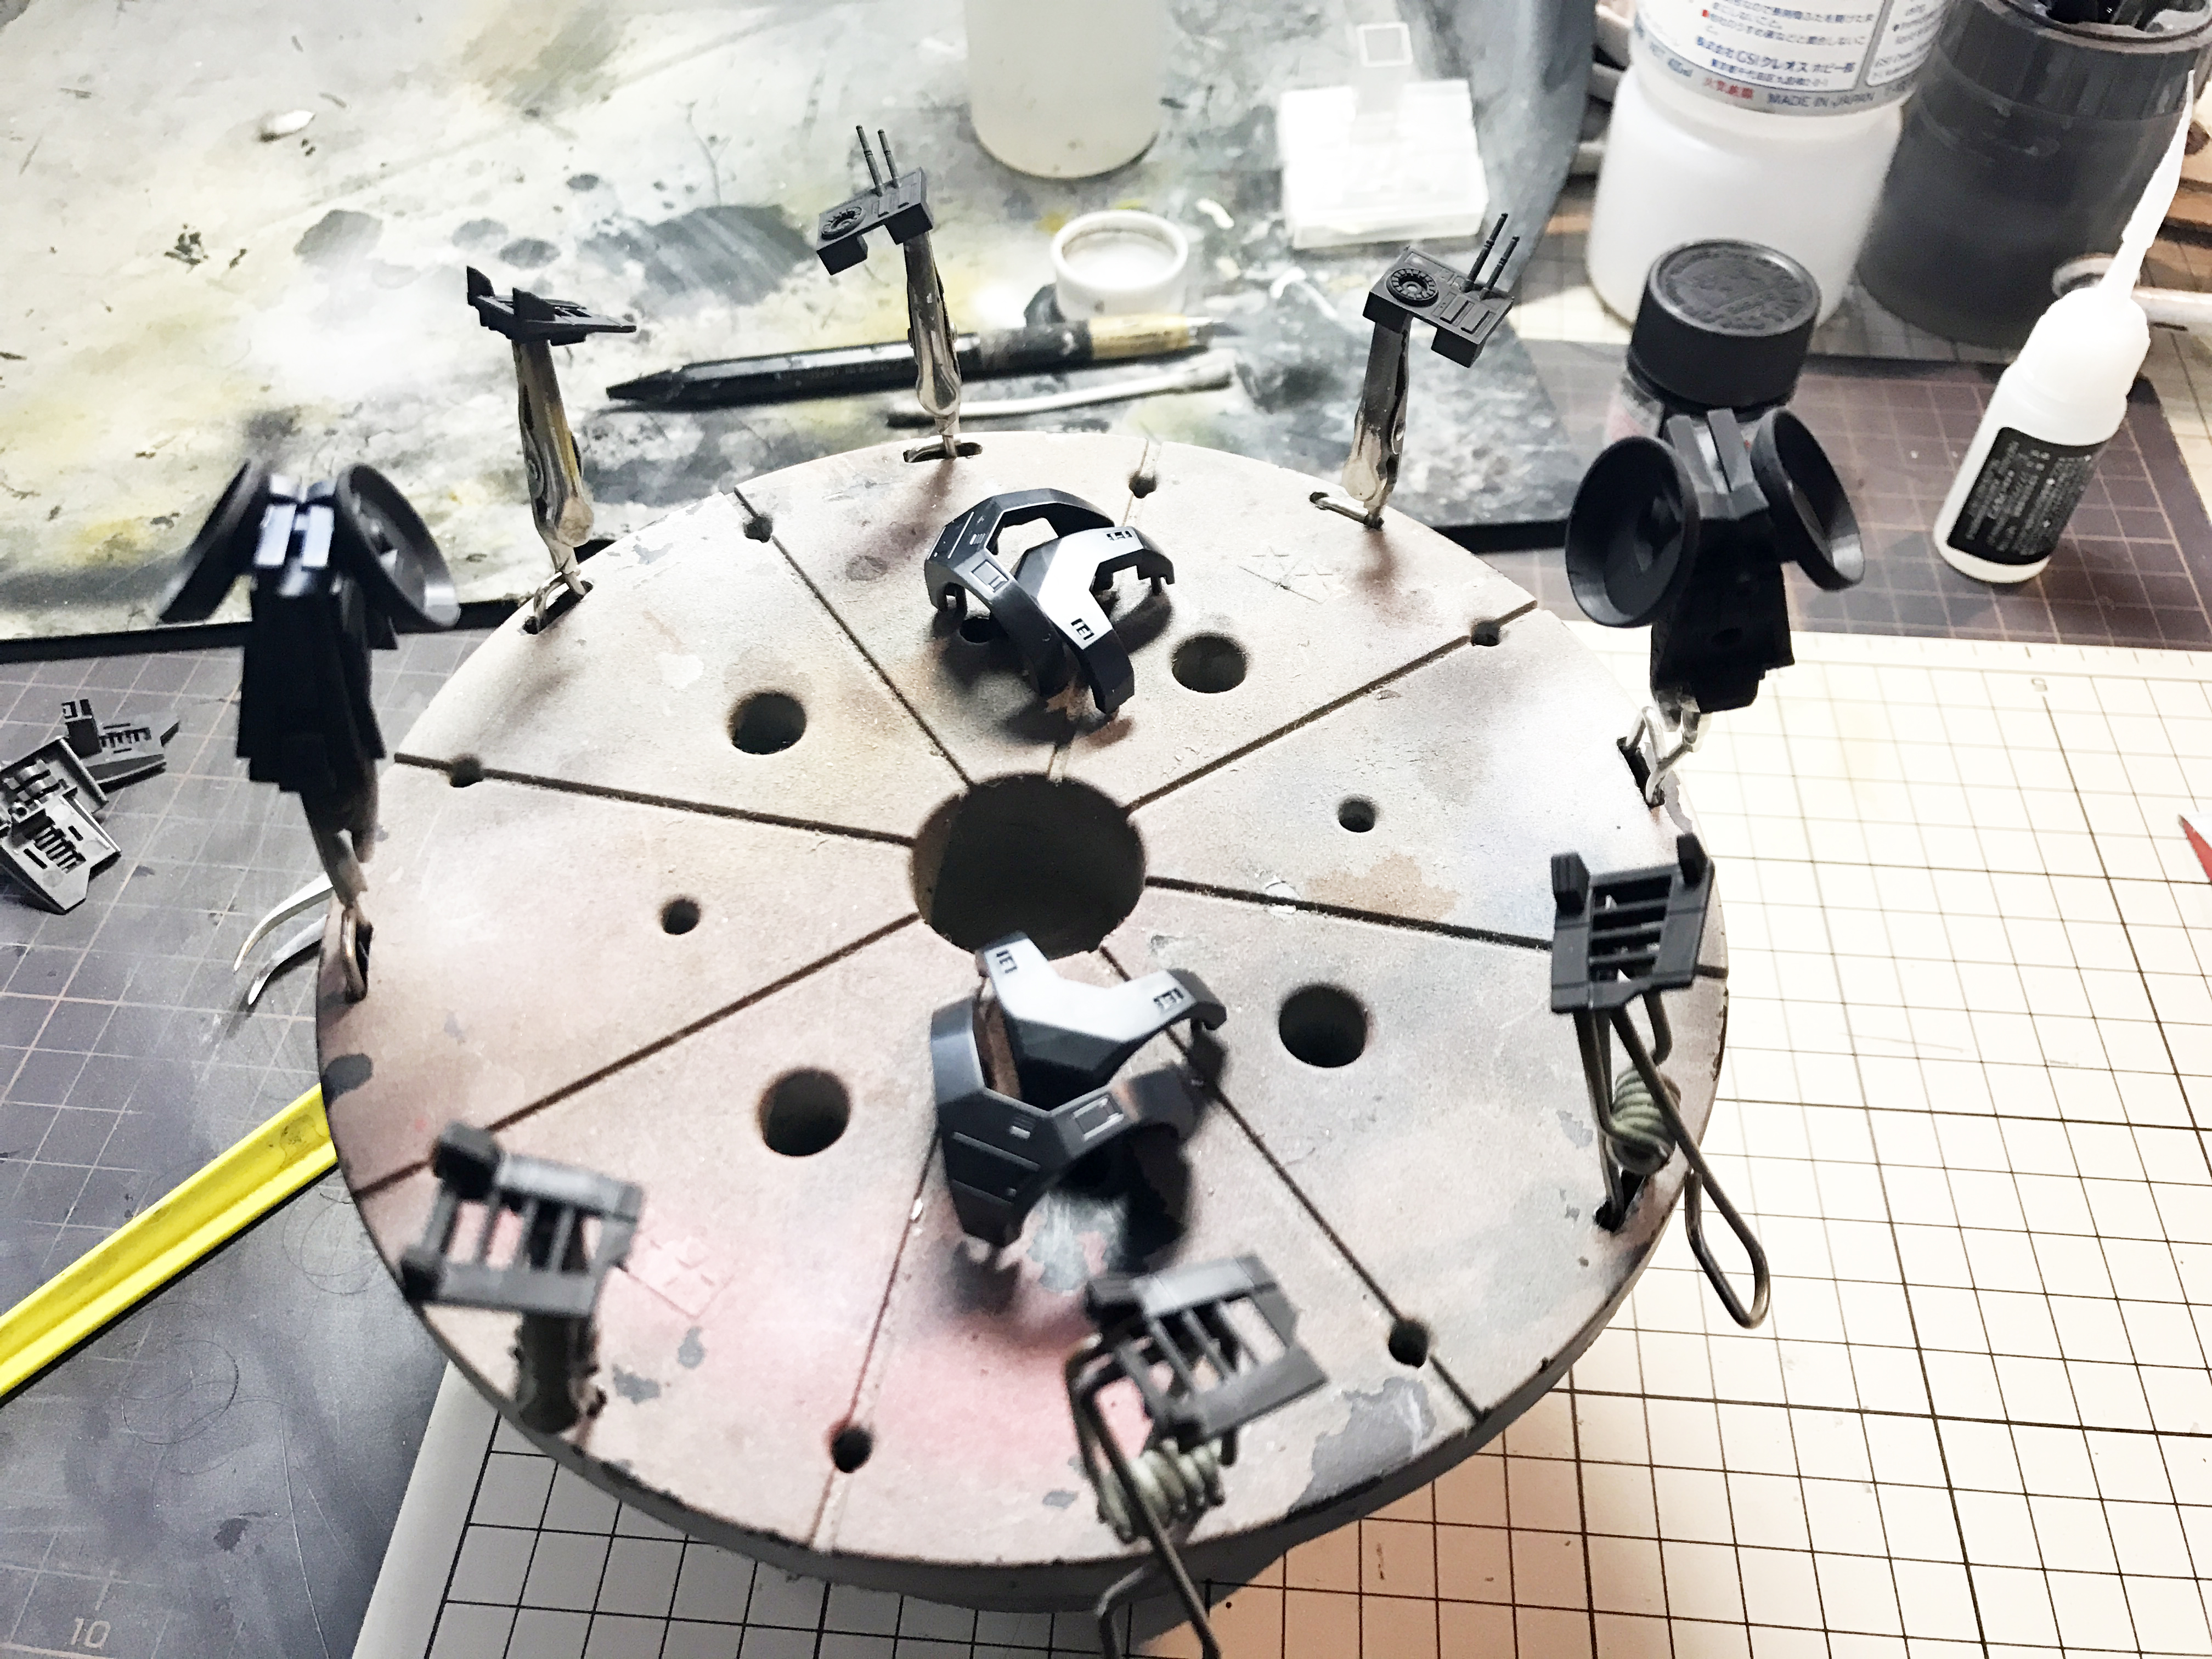
So first up was mixing the special "black"


The kit really is a snap-fit kit and goes together without the need of and glue, however as there are joins in visible areas I would need to bond the plastic to enable me to sand them smooth.


The body again was very easy to assemble - I might have to get the Storm Trooper set and build them with my son!!

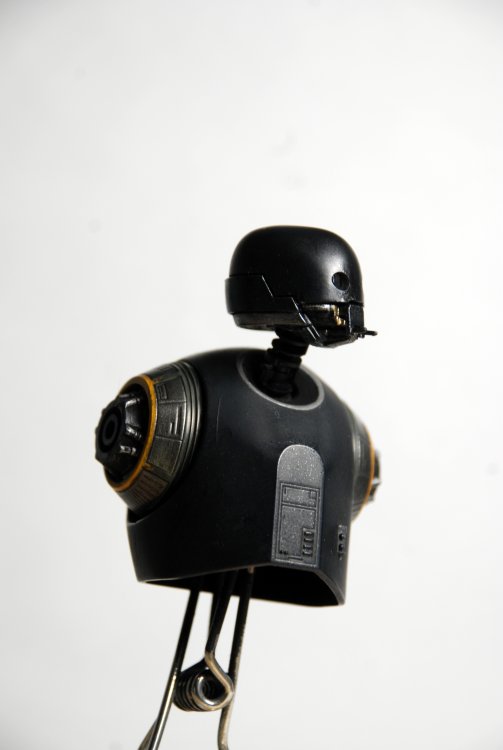
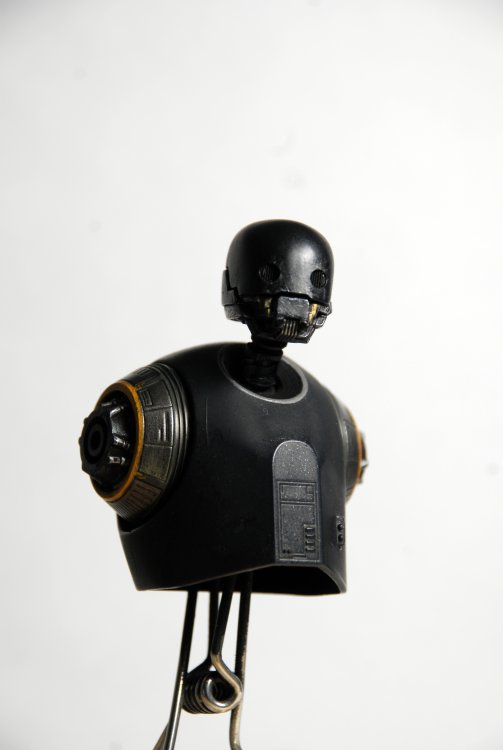
I decided to to do as much of the detailing by hand as I could.


so far I'm really happy with the result the head still needs some scratches and damage.


Also Admin - I really like the new system, this was uploaded and posted from my phone!!
-
1
-
-
Good time to cash out!
-
1
-
-
Sometimes you just got to bite the bullet and take the hard route.
I started dry fitting the cockpit together and started to wonder why things looked a little strange, the answer is that the side console is missing from the Gotha G.V and it has a completely different dashboard and instrument panel!
The throttle controls and compass are now in the bay on the left side along with the airspeed indicator and all of the dials and switches are now directly in front of the pilot on a much larger console.
This meant two things, one that I would have to remove the side console and two build a completely scratch built instrument panel.
Now the problem is that this would leave a bloody great big hole in the wood flooring I had already done!
So time to bite the bullet! All the front section removed and the paint and wood decals removed.
Again its preshaded and preweathered.
So with the cockpit how it should be it was time to focus on the rest of the parts!
-
OH WOW!
Incredible work!
-
So today was the point of no return and started chopping away at the Gotha G.IV.


The parts made by Ron Kootje are fantastic and match the exact thickness of the Wingnut Wings fuselage - once positioned I bonded it with gel type CA and left to cure.
-
Many thanks everyone for the kind words and also the critique it does keep the wheels turning!
After attaching the turnbuckles for internal bracing wires it was time to make sure the fit was still good.

I decided to leave the rigging for another time as I was feeling a little mentally tired from 8 straight hours at the bench and completely forgetting to eat anything.
Time to turn in!
-
Over the past three days I've had some quality bench time with the Gotha G.IV /V build.
I used a combination of Tamiya colours, Uschi van der Rosten wood decals and oils for the wood.
From there it was a case of slowly building up the detailing with the kit parts and also the HGW Super detail kit.


Also special thanks to Ray Rimell for the use of the Gotha! script from the Special Datafile.
-
2
-
-
I can't get enough of this build Maxim!
-
got to say its a bit quiet round here lately.
-
1
-
-
So here she is, the Aviattic Marienfelde Lorry and Masterbox Ltd. Horse drawn limber were nice distractions but now for the fun!

-
So I'm calling this part 90% done and it will be put on the back burner until ready to be placed within the Diorama - a few more items to go in the back of the limber as well as more weathering - mostly muddy things up a little.
As you can see I decided to make some blinkers for the horse - don't want the poor beasts bolting!
The coat of arms has been removed and a little weathering over it - several more coats will be applied to bring it to contrast with the other areas. I will also burnish or weather the pole arm chains as they coming up way to bright in the photos - I may even turn then completely black as they would be left with the limber and not part of the harness.

The tows replaced with scratch made ones as I didn't like the ridged lines of the kit part - these feel more natural and bowed where they needed to.
Putting it together with the MarienFelde Lorry

So now on to the next part of the build! -
Right so after looking at uniforms I realized that I would need to also modify the sleeves of the jacket. I used simple masking tape for the sleeves and then some appropriate sized brass rod for the buttons.


After painting it up I applied the red piping and called it a day!!


So now all that needs doing is making the jig, harnesses and reins using the parts I picked up.
-
2
-
-
Sorry for the poor quality, taken with the phone camera.


-
So the sculpting is finished. I've already started painting the base tones and completed the face and hands so I should have an update of the finished driver tomorrow.
Also i went to the LBS and picked up some chain and braided line for the harness and jig.

-
Mount looks a little uncomfortable!
Good work nonetheless.
Funny you should say that but having grown up around horses, buggies, Traps and carriages I can tell you that some of them are sadistically uncomfortable.
-
So having started the oil process on the final horse I decided to make a start on the drive - I wanted a youngish solider to drive the limber and decided to do some kit bashing and sculpting to get the pose and uniform I wanted.
I used the legs from the "Bonus" figure supplied in the Master box set that I glued differently from the original position, broke the foot, removed excessive material and sculpted additional creases then finally added a blob in the shape of the torso and then adjusted the position required.

This morning I checked on the torso to make sure it had cured fully and started sculpting the basic detail to the torso. This time stealing a head from one of the Aviattic figures.


and again made sure nothing had shifted during the sculpting process.

Once the putty has cured I will add some of the deeper folds of cloth and also more detail to the hemming of the jacket - add lapels and the arms that again came from the Master Box set. Finally I will add buttons, etc. to the uniform.
-
1
-
-
Awesome! Great to see another Marienfelde in the works!
-
So I've been away from the build for about 2 weeks due to my son being at Soccer Camp with FC Barcelona and my daughters basketball on a massive winning streak and now through to the Regional Finals.
However I have been grabbing an hour here and then in the crazy heat of the mornings here in Japan.
So with the Marienfeld complete it was time to start on the next part of the Diorama again to add to the era and for this I selected a 1:35 piece that actually can be used without any conflict in scale and the Master Box Ltd. kit is perfect for this.
As you see side by side with the Marienfeld lorry they are totally within scale, the fact horses come in all shapes and sizes as well as carts is very helpful However it will be complemented with 1:32 scale figures.
The cart was a relatively easy job as I just painted it up the same as the lorry.


Next up was the first of two horses. I used a combination of acrylics and oil paints - I'm still not 100% happy with the finish and will look at it some more once the clear has fully cured.


-
Triple Tripes!
Arrived this morning and I must admit I'm very happy with this score!

-
Beautiful work Maxim, I always look forward to the updates on this aircraft!
-
Also I started work on the content of the flat bed truck, In the end I decided to keep the tarp off on this one as had a lot going on around it and I wanted to show that off.
So measuring out the correct size of the tarp on another piece of facial tissue I then folded it in the correct manner. The straps were made from masking tape while the buckles were left over from a Wingnut Wings Roland C.II build.

Not shown but once the paint was dried I then gave the bundle a heavy coat of flat varnish that saturated the tissue and caused more wrinkles. (Photo to come)
I also picked up some crates made from wood and some other bits and bobs.


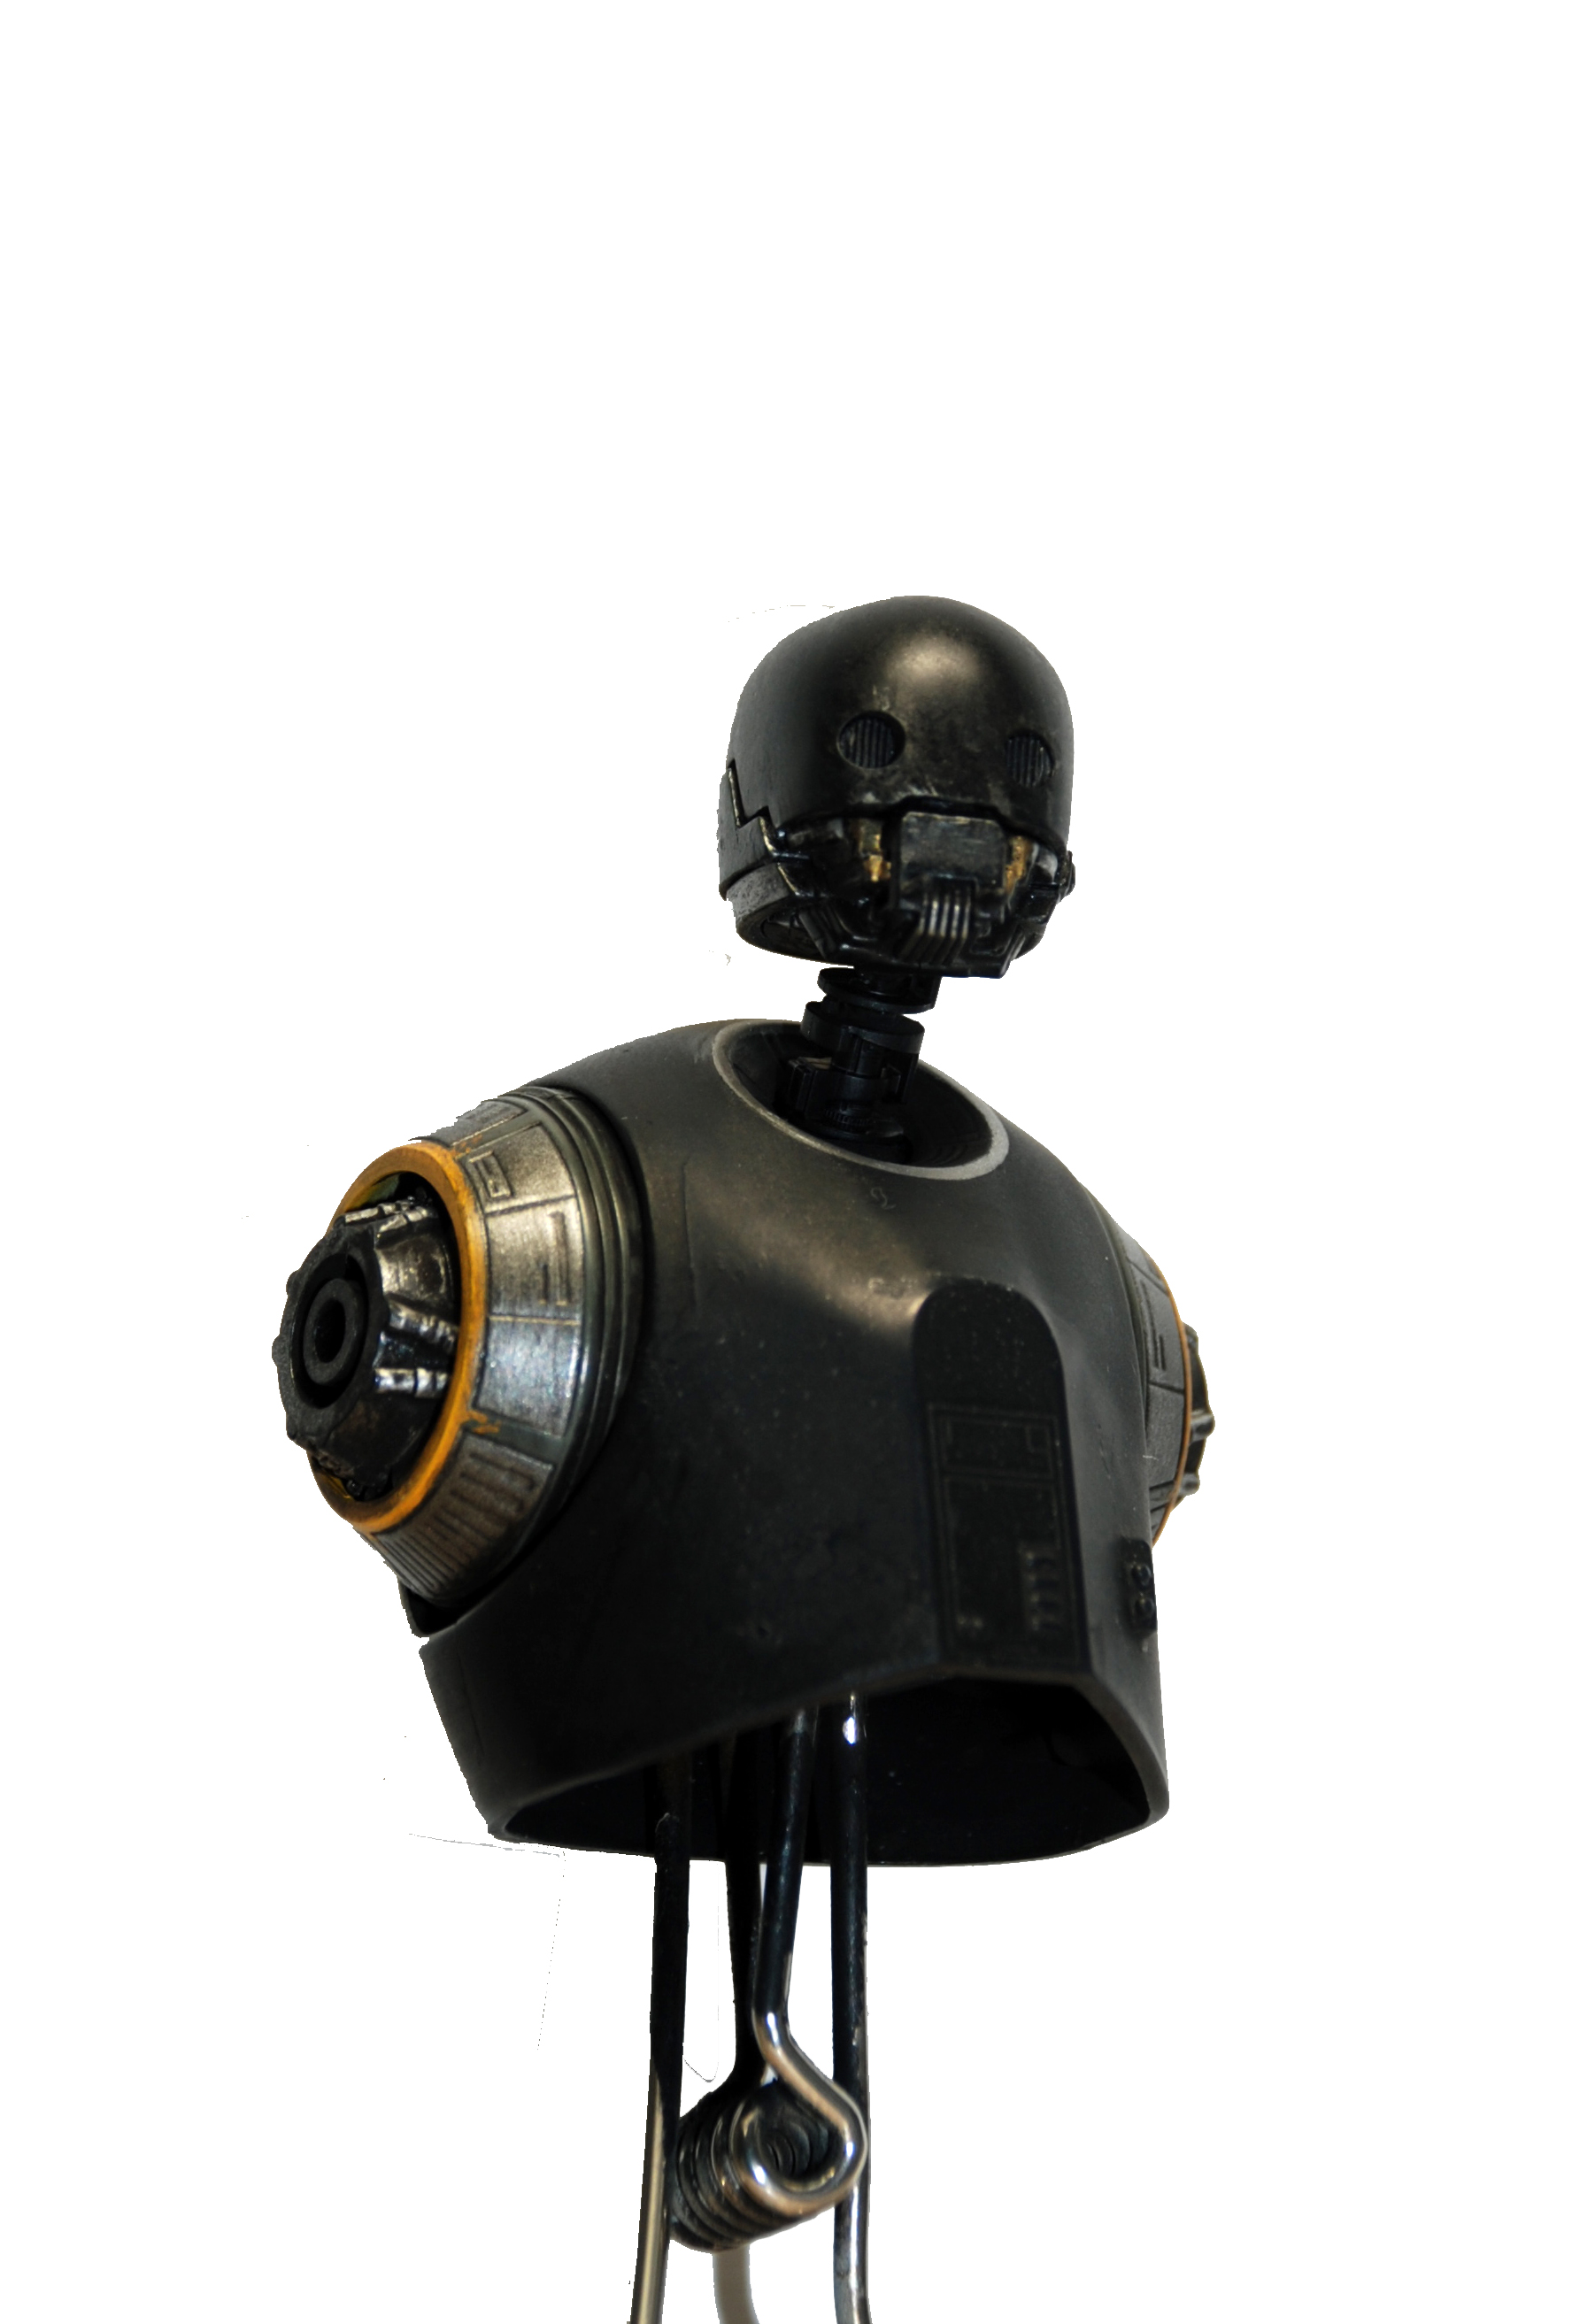
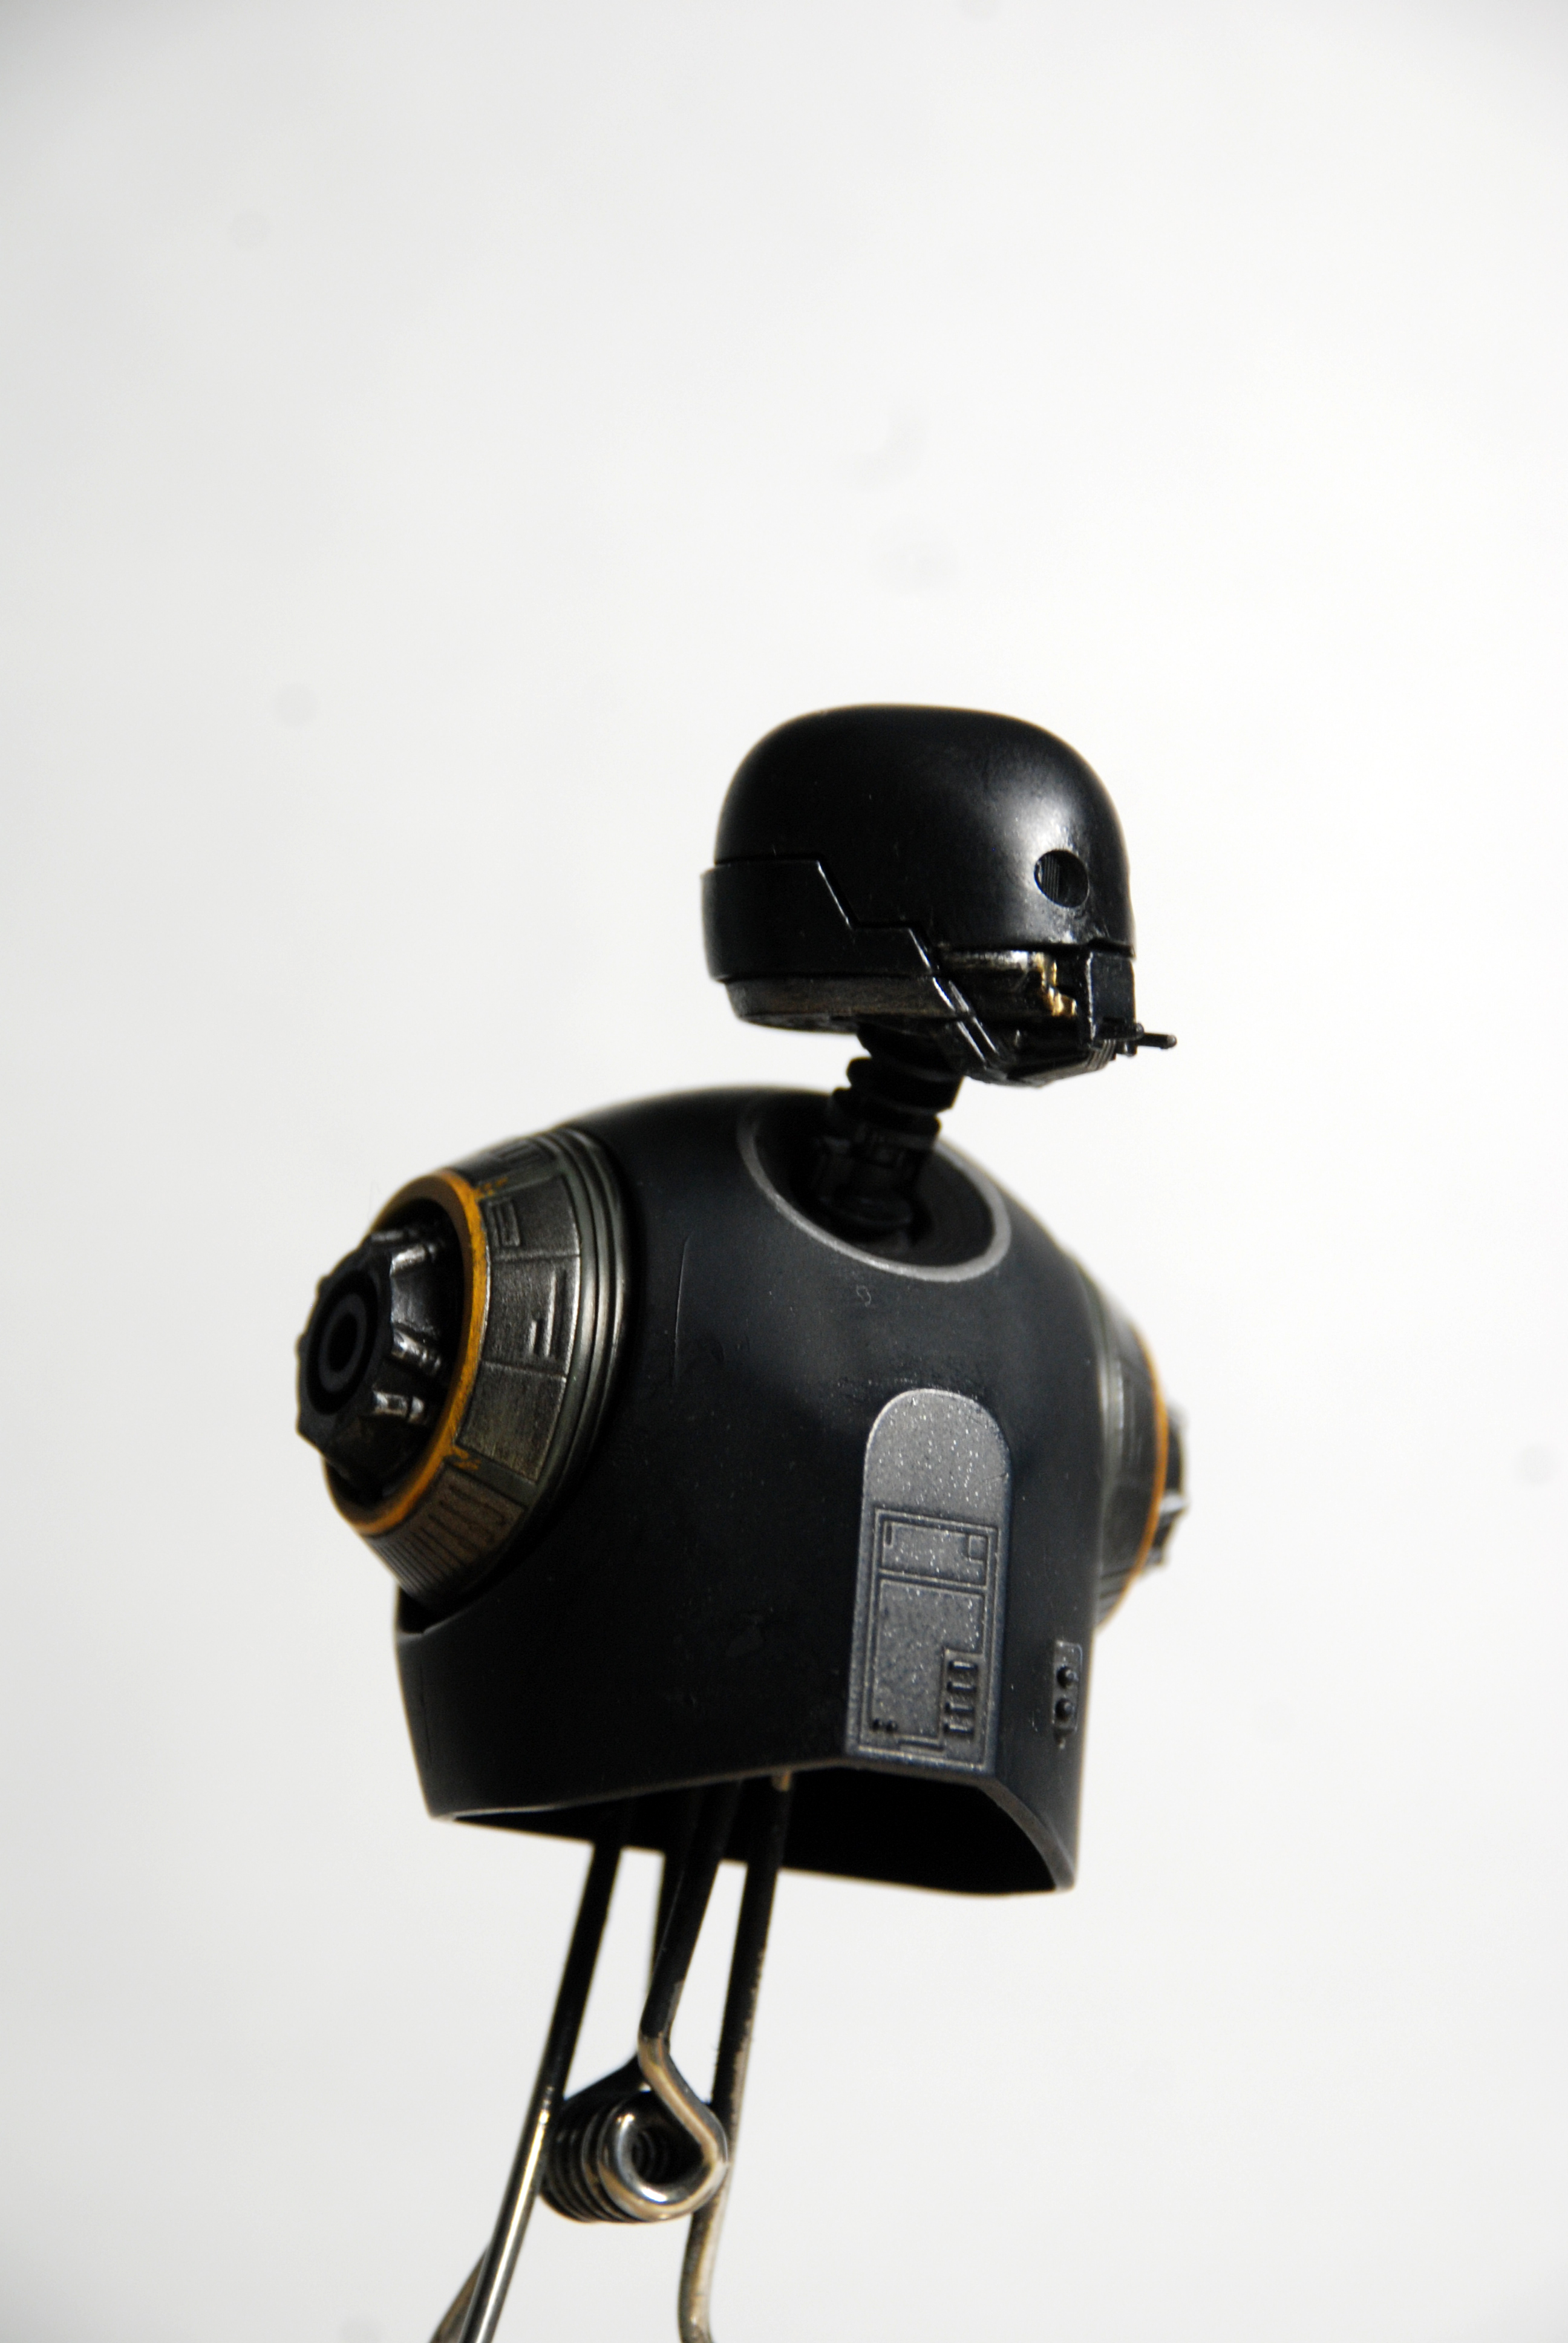
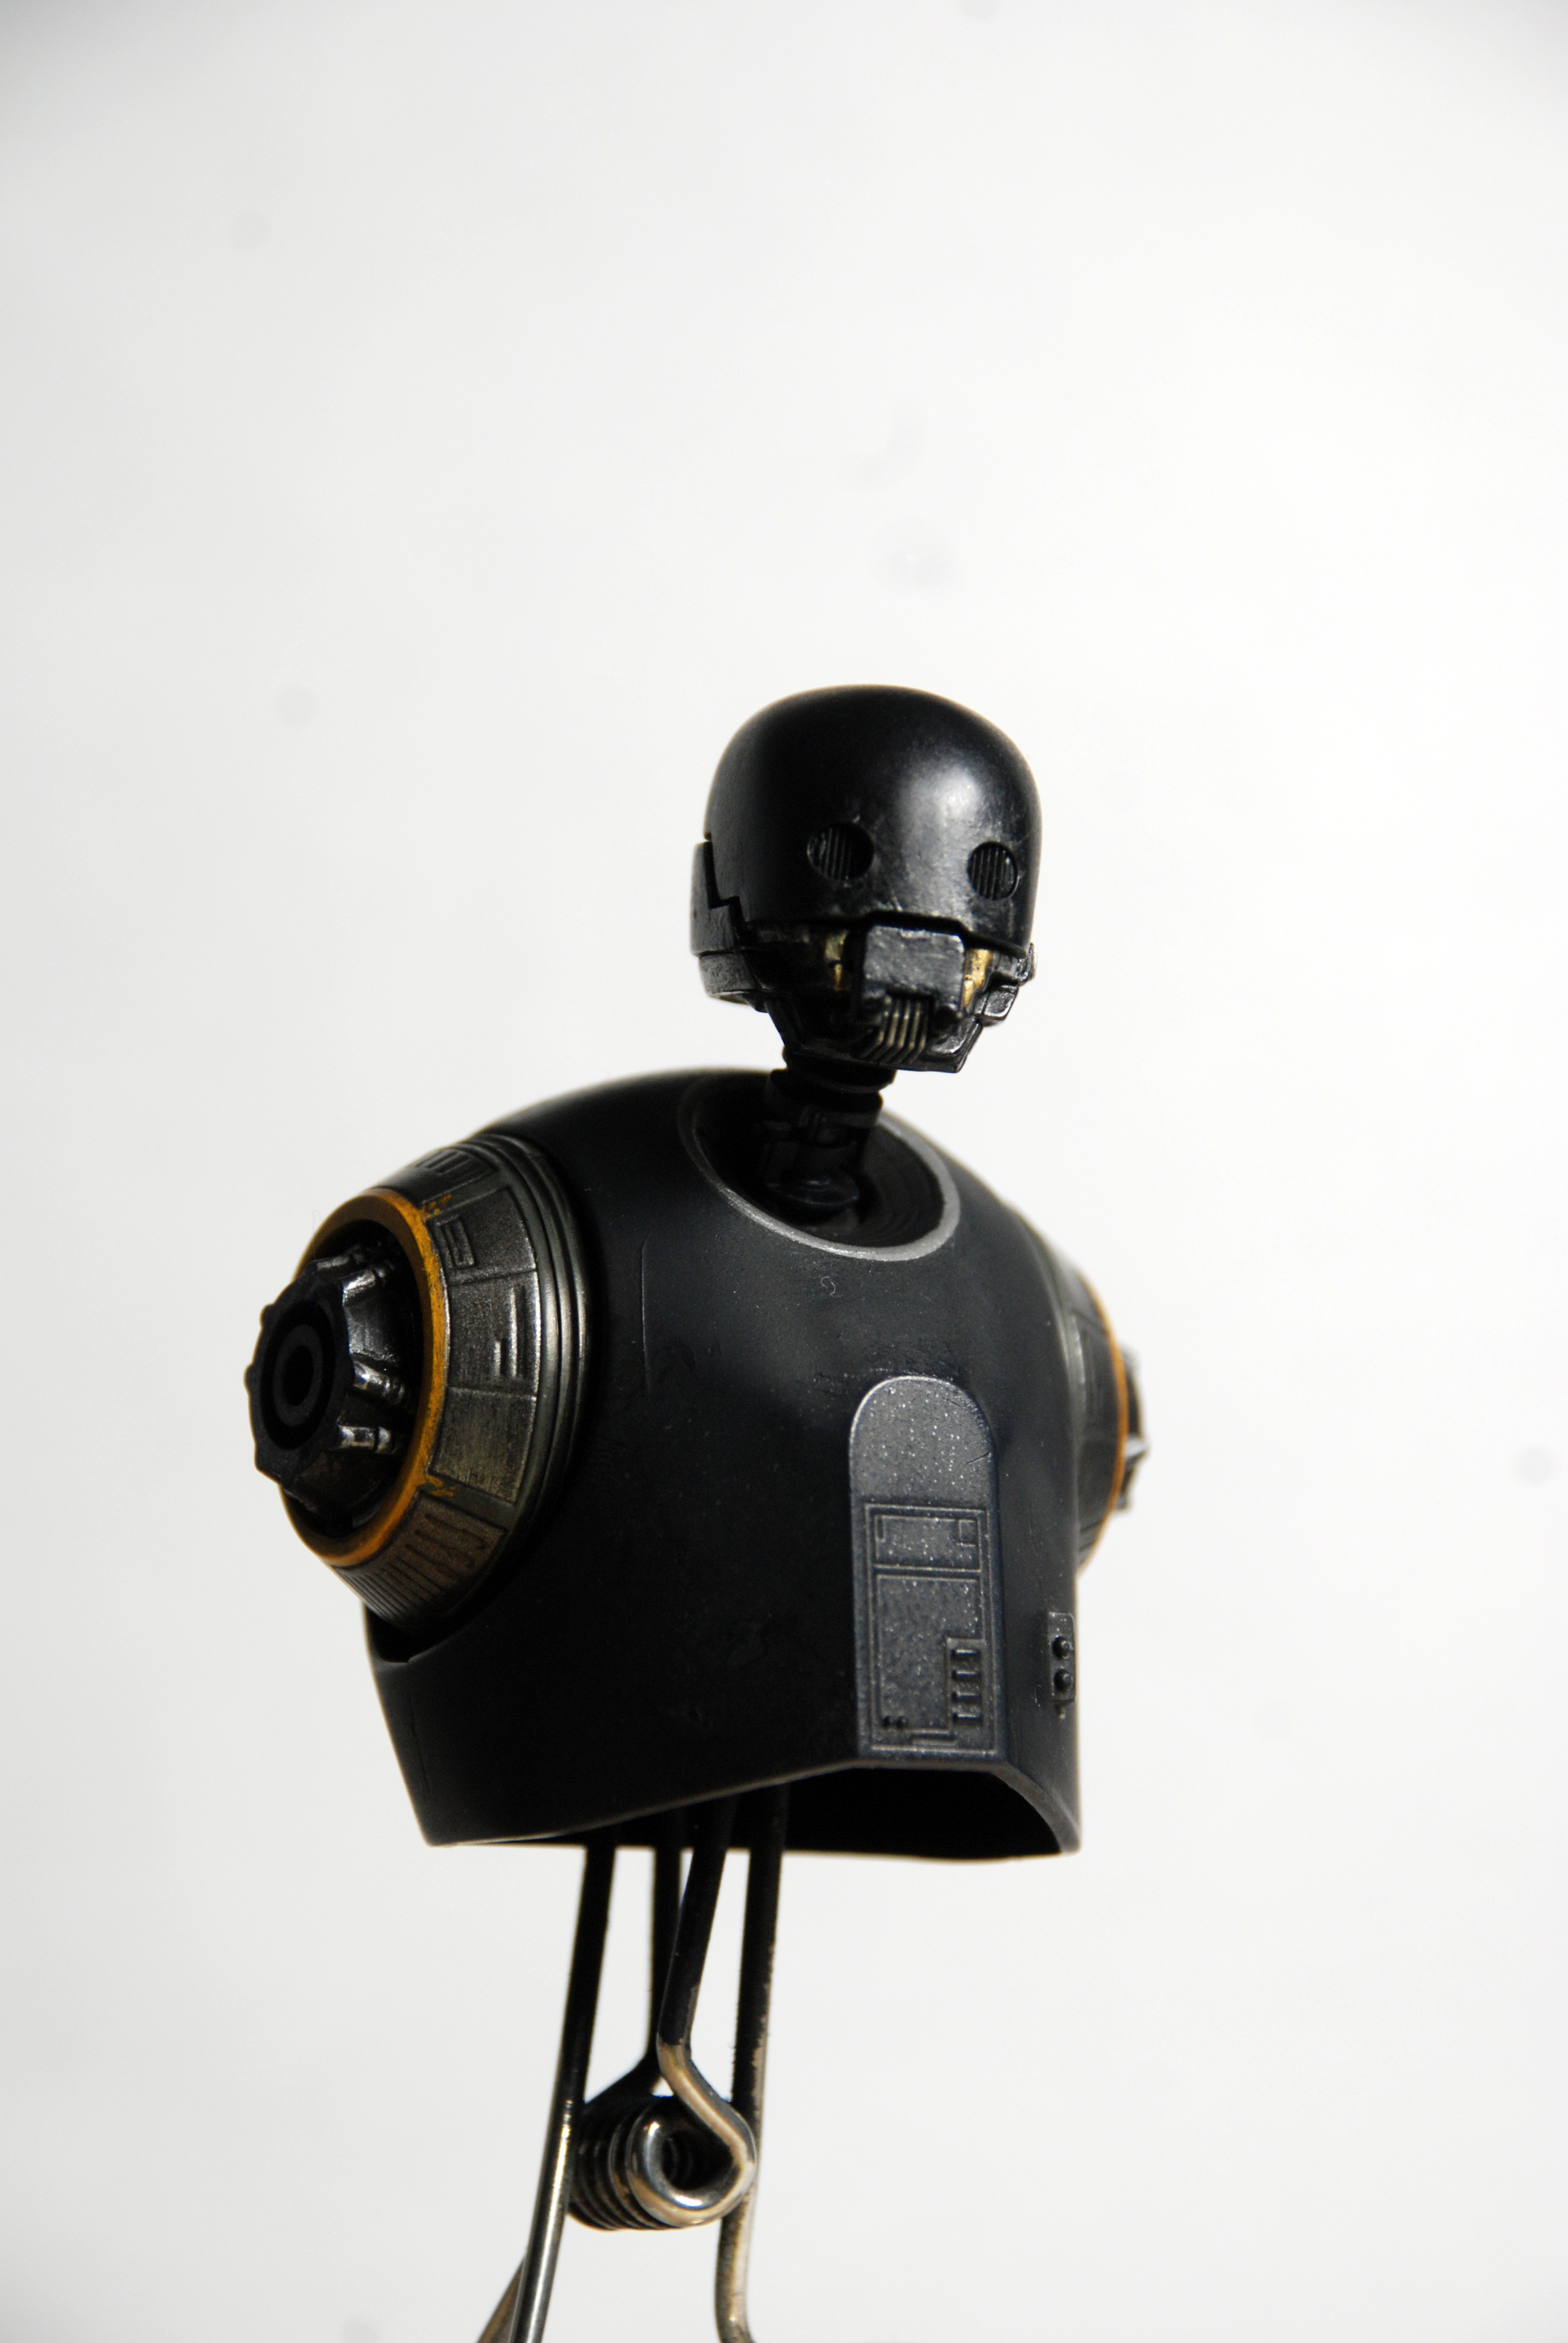


Bandai 1:12 K-S20
in Non LSM 'WIP
Posted
Sorry for the poor quality images, was using the phone camera as the wife needed my Nikon for work.
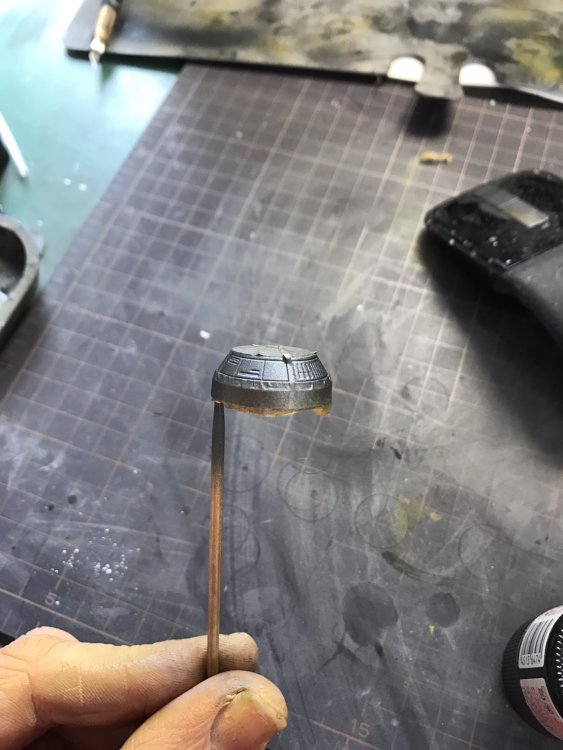
The legs were next up and these proved to be a little fiddly with all the little details - especially the chrome around the top of the thigh.

Time for some assembly.