Daniel_Roxy
-
Posts
200 -
Joined
-
Last visited
Content Type
Profiles
Forums
Events
Gallery
Posts posted by Daniel_Roxy
-
-
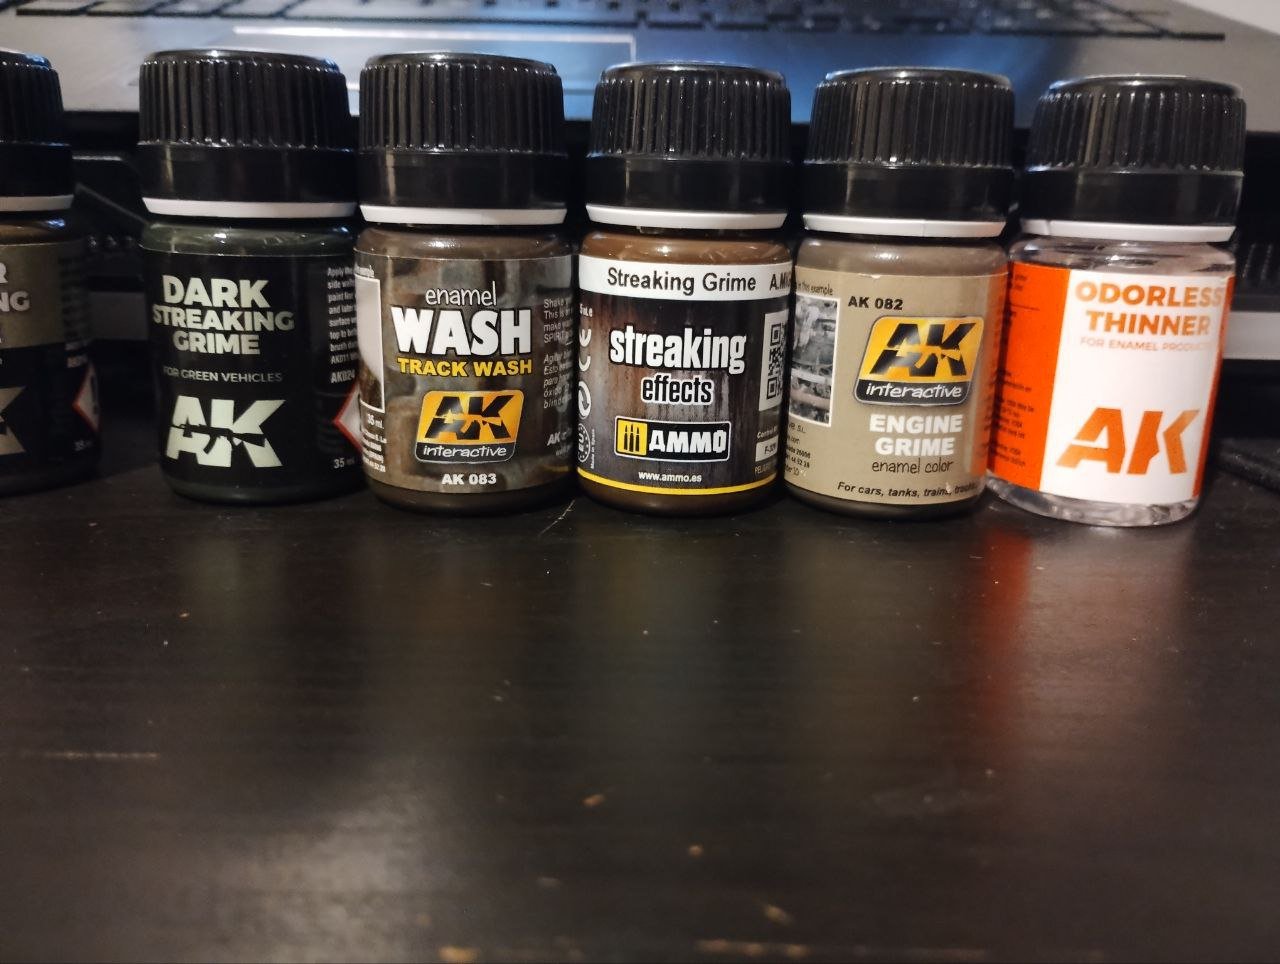
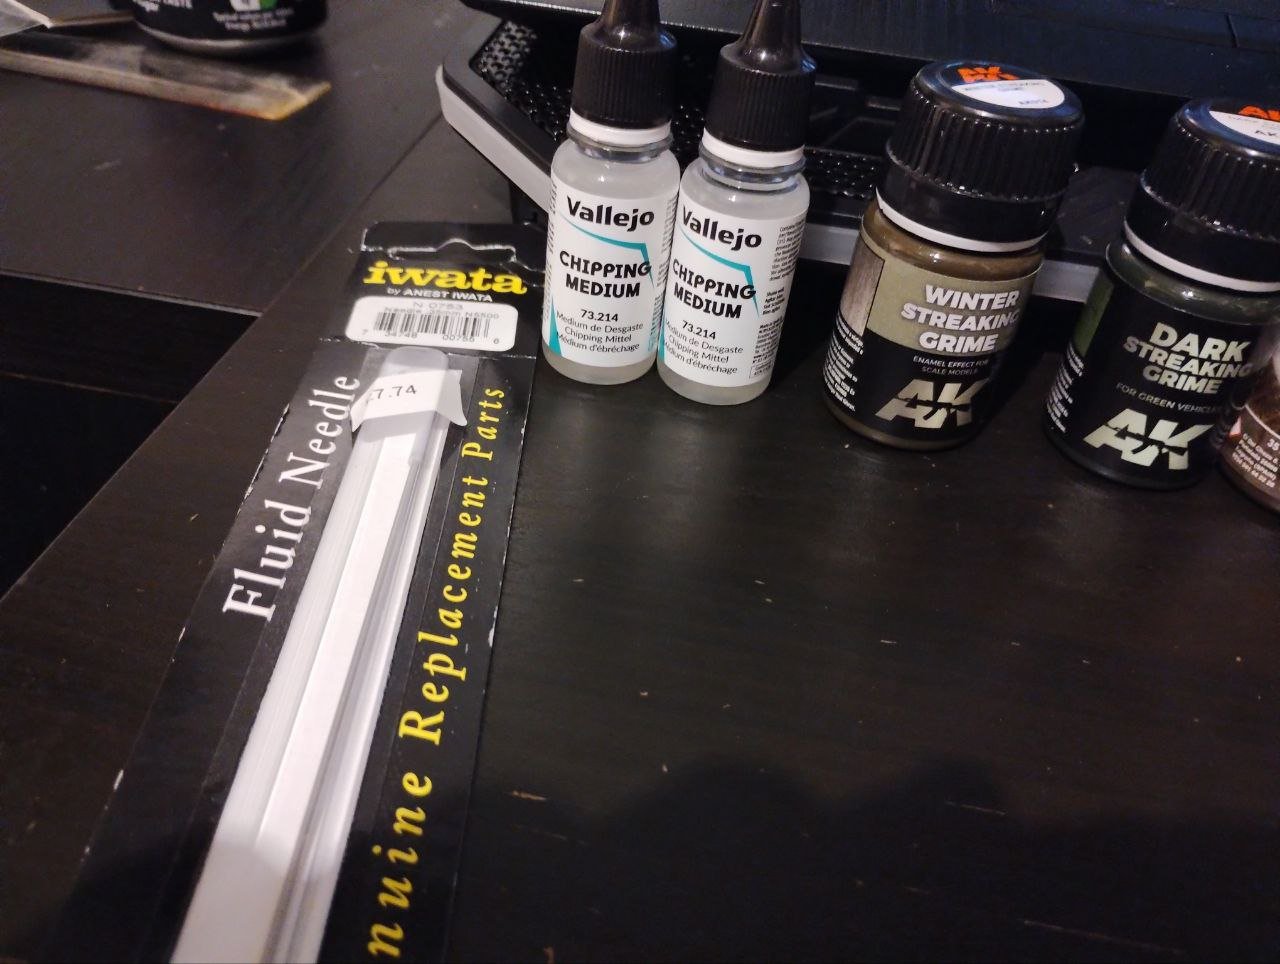
Abit more work. Got some nice things for weathering.


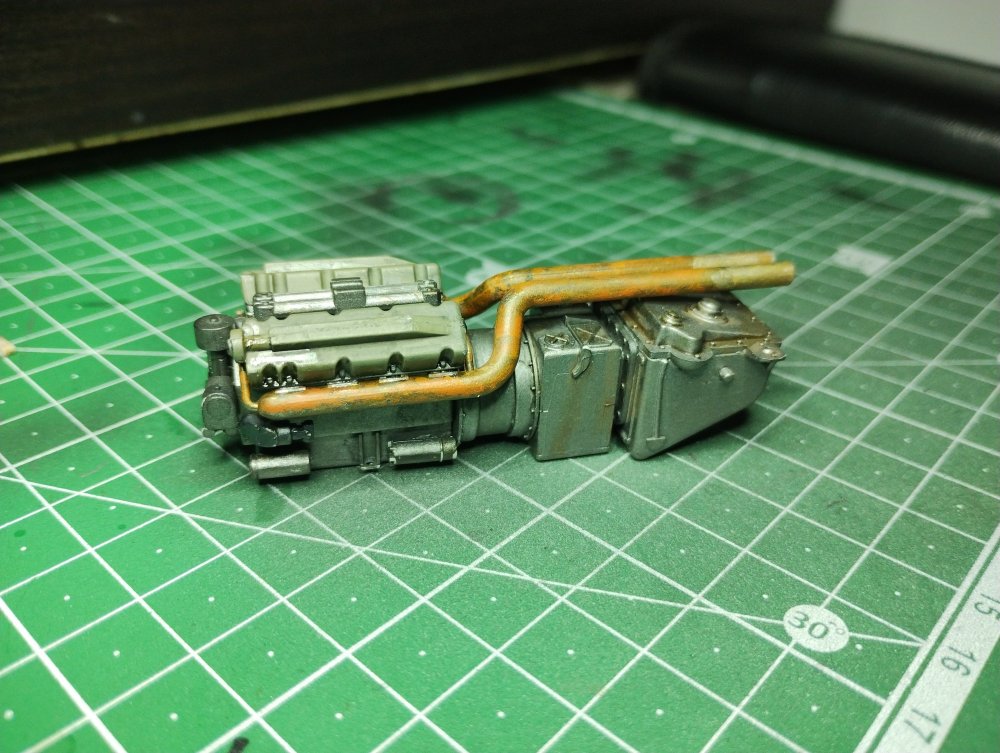
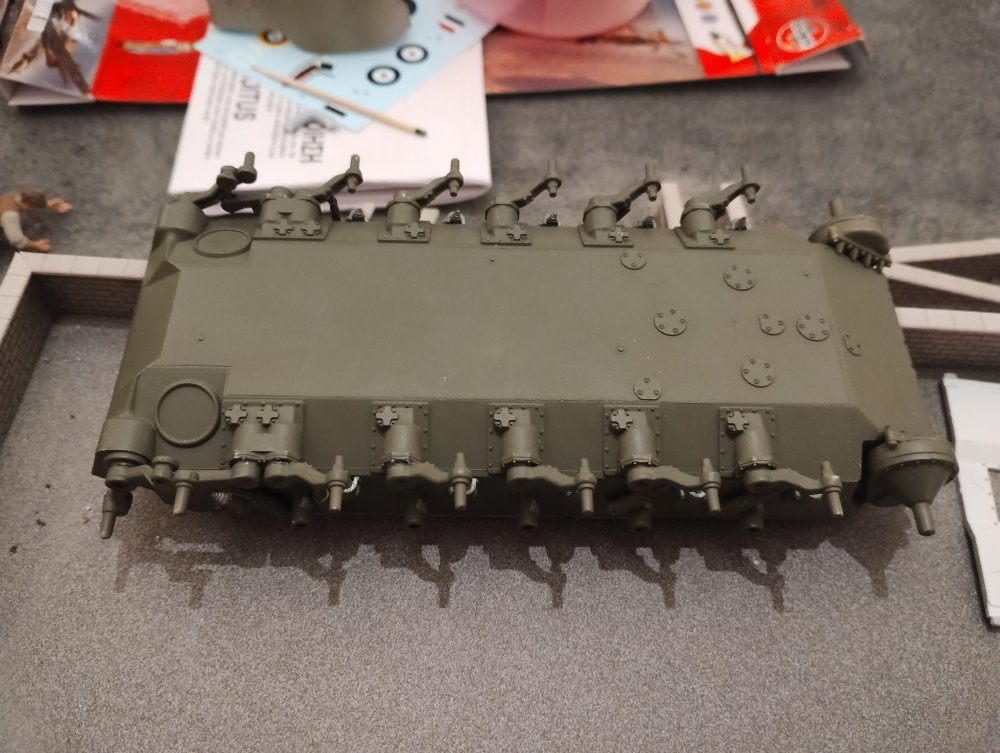
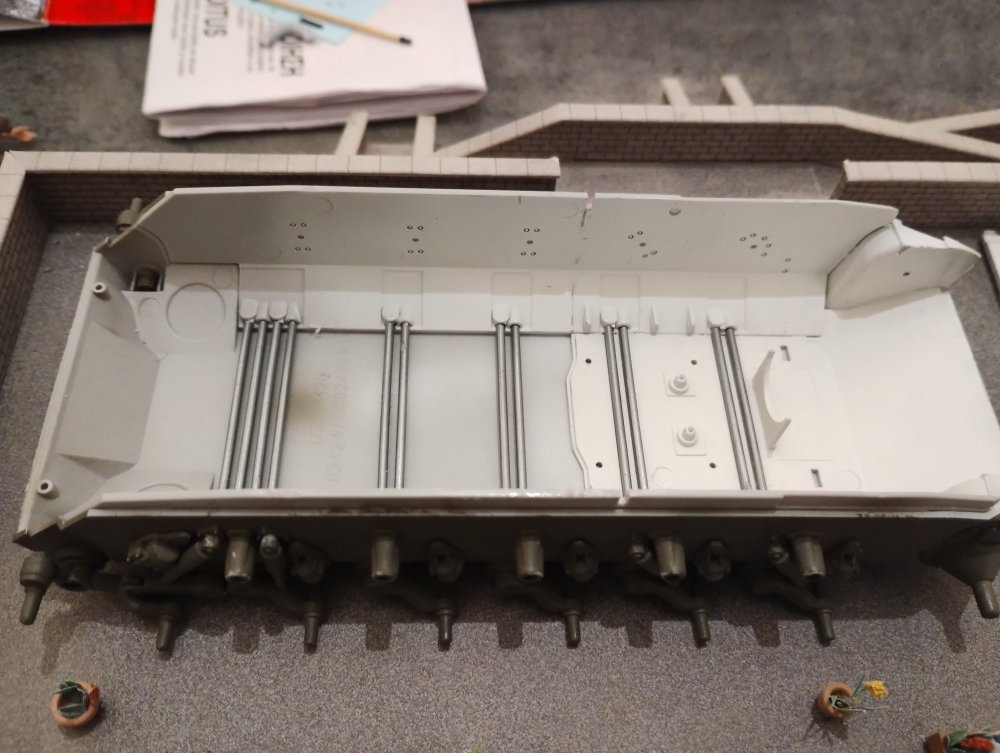
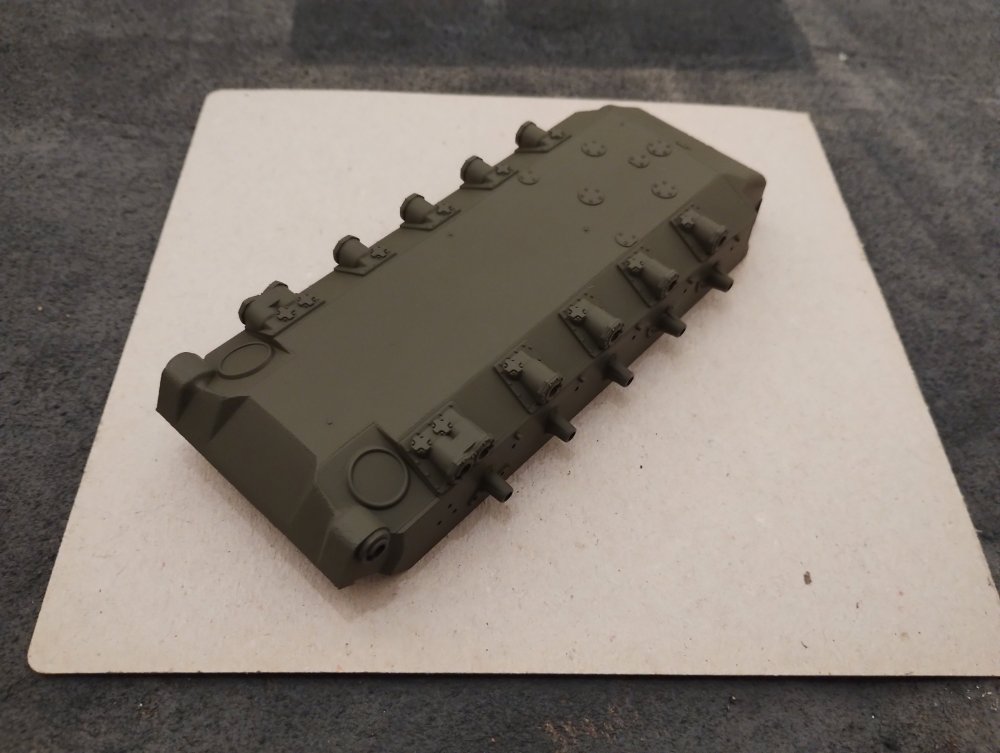
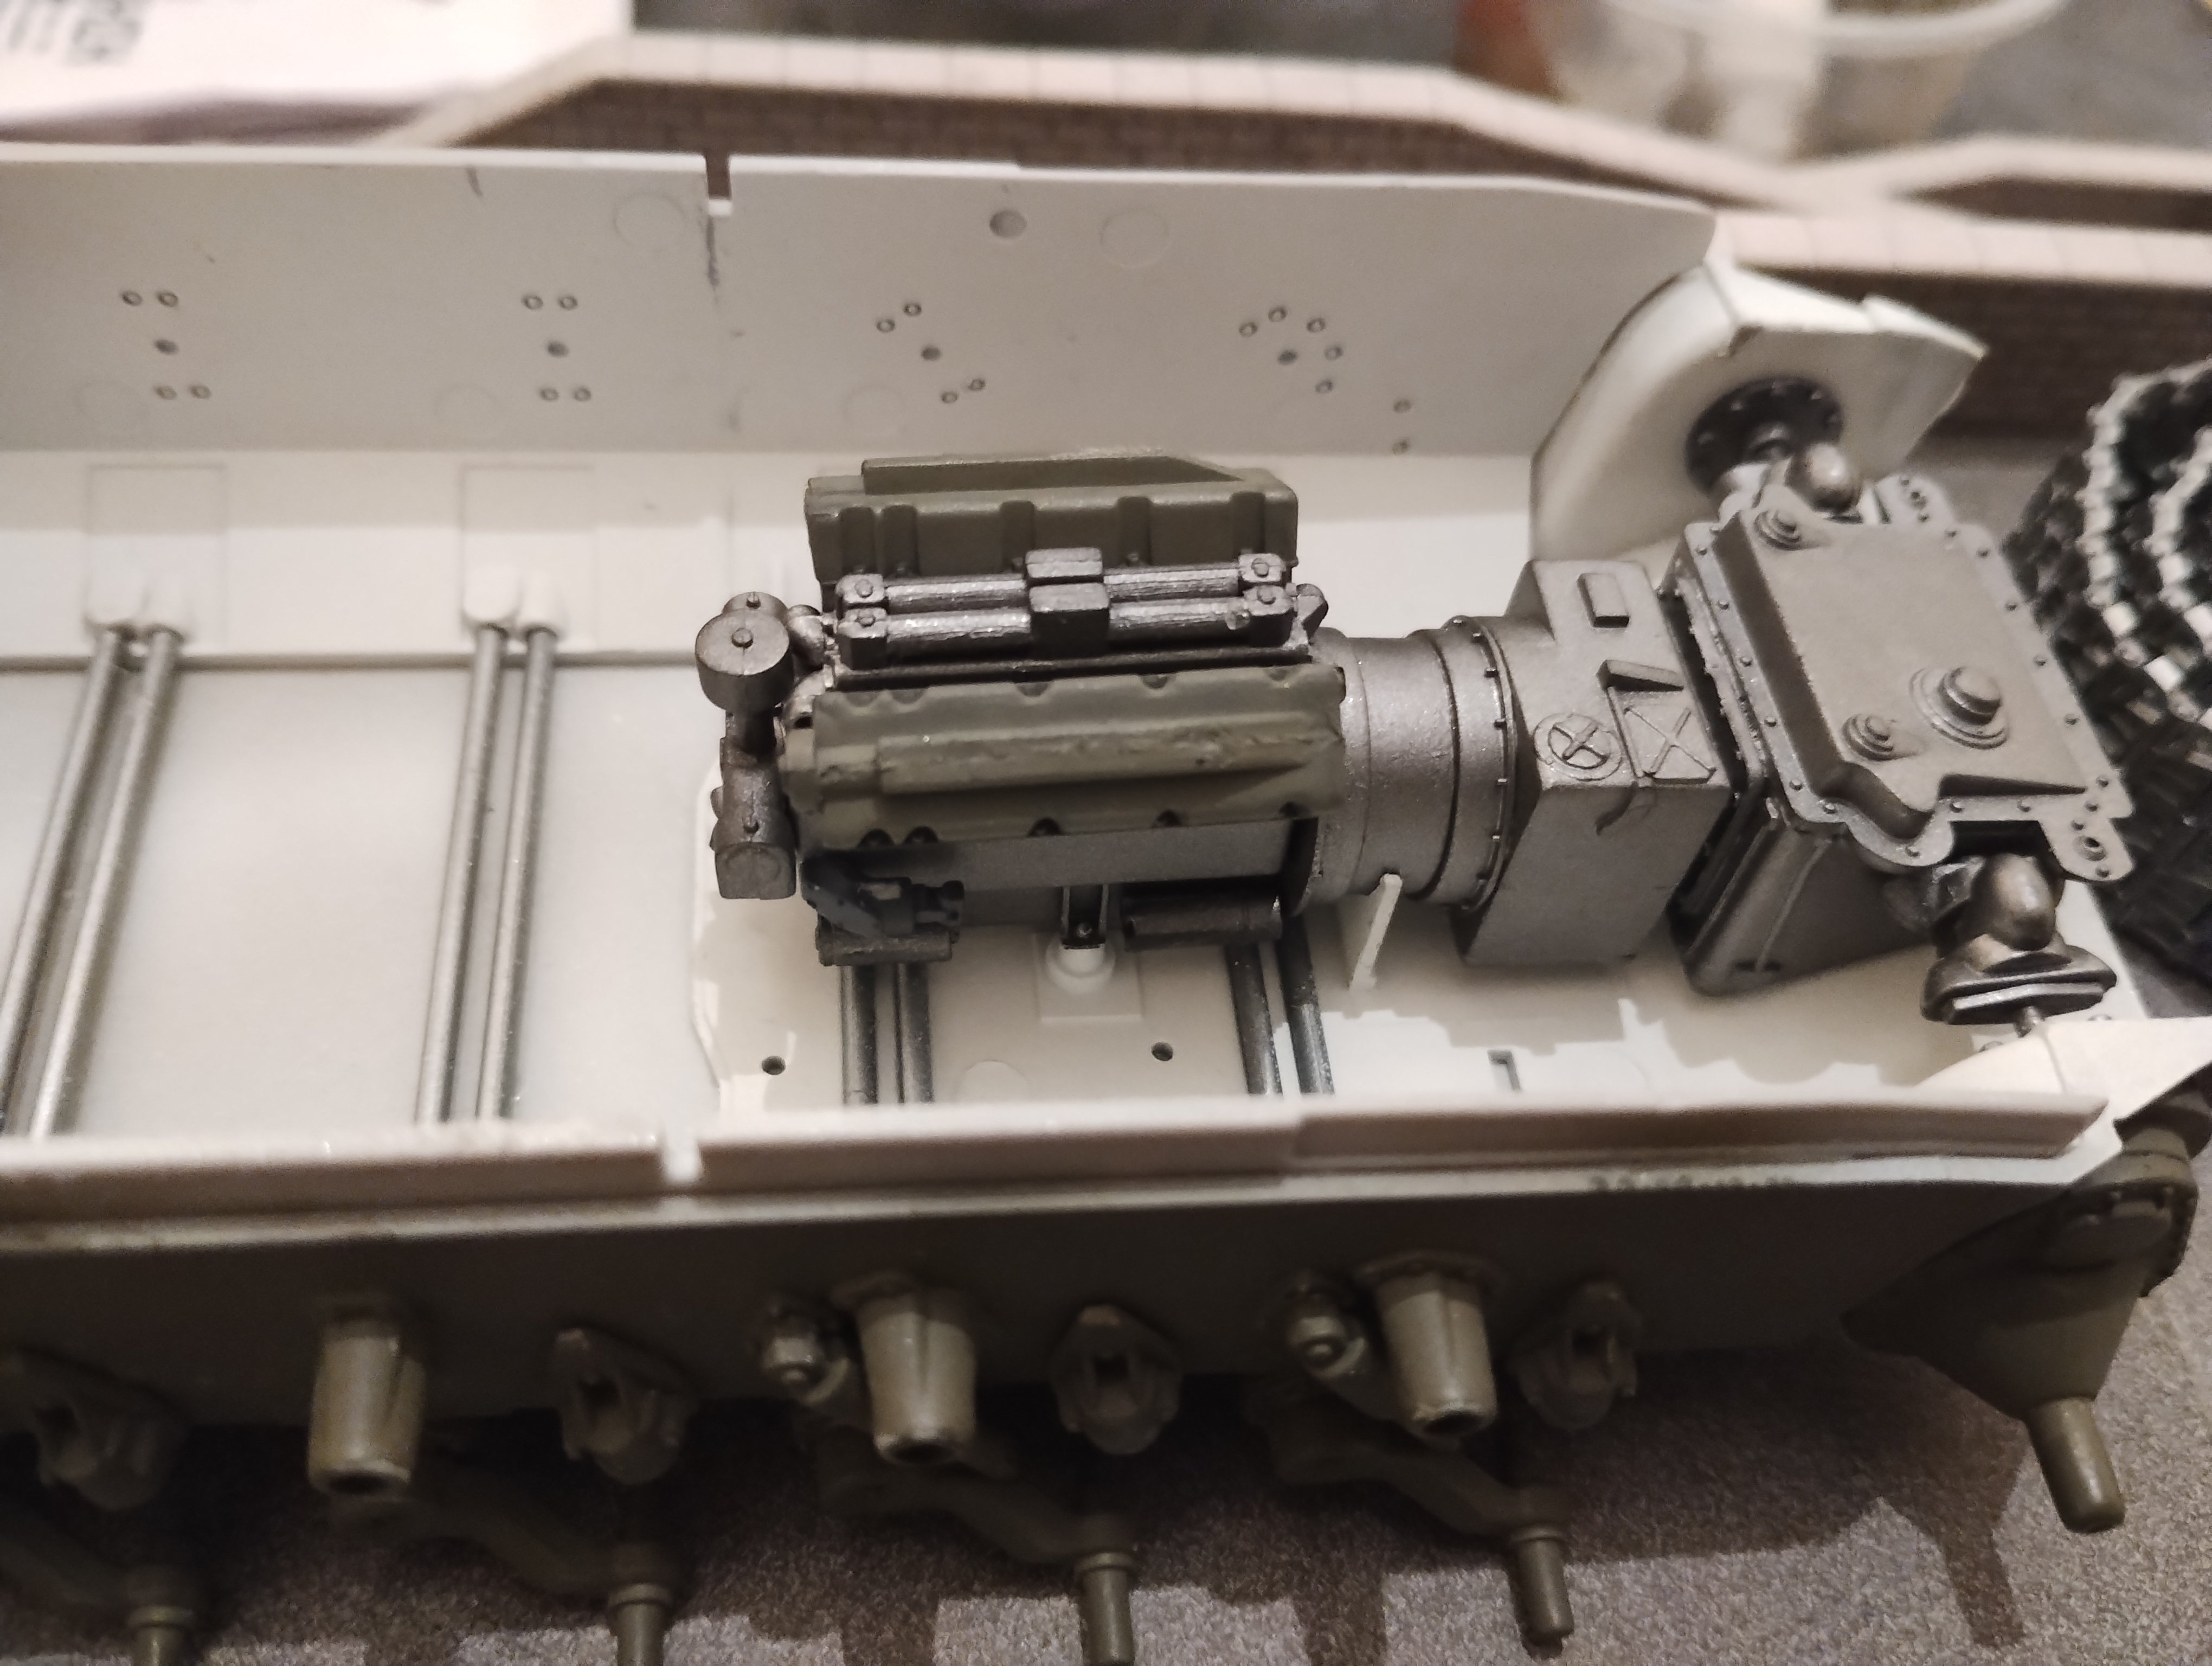
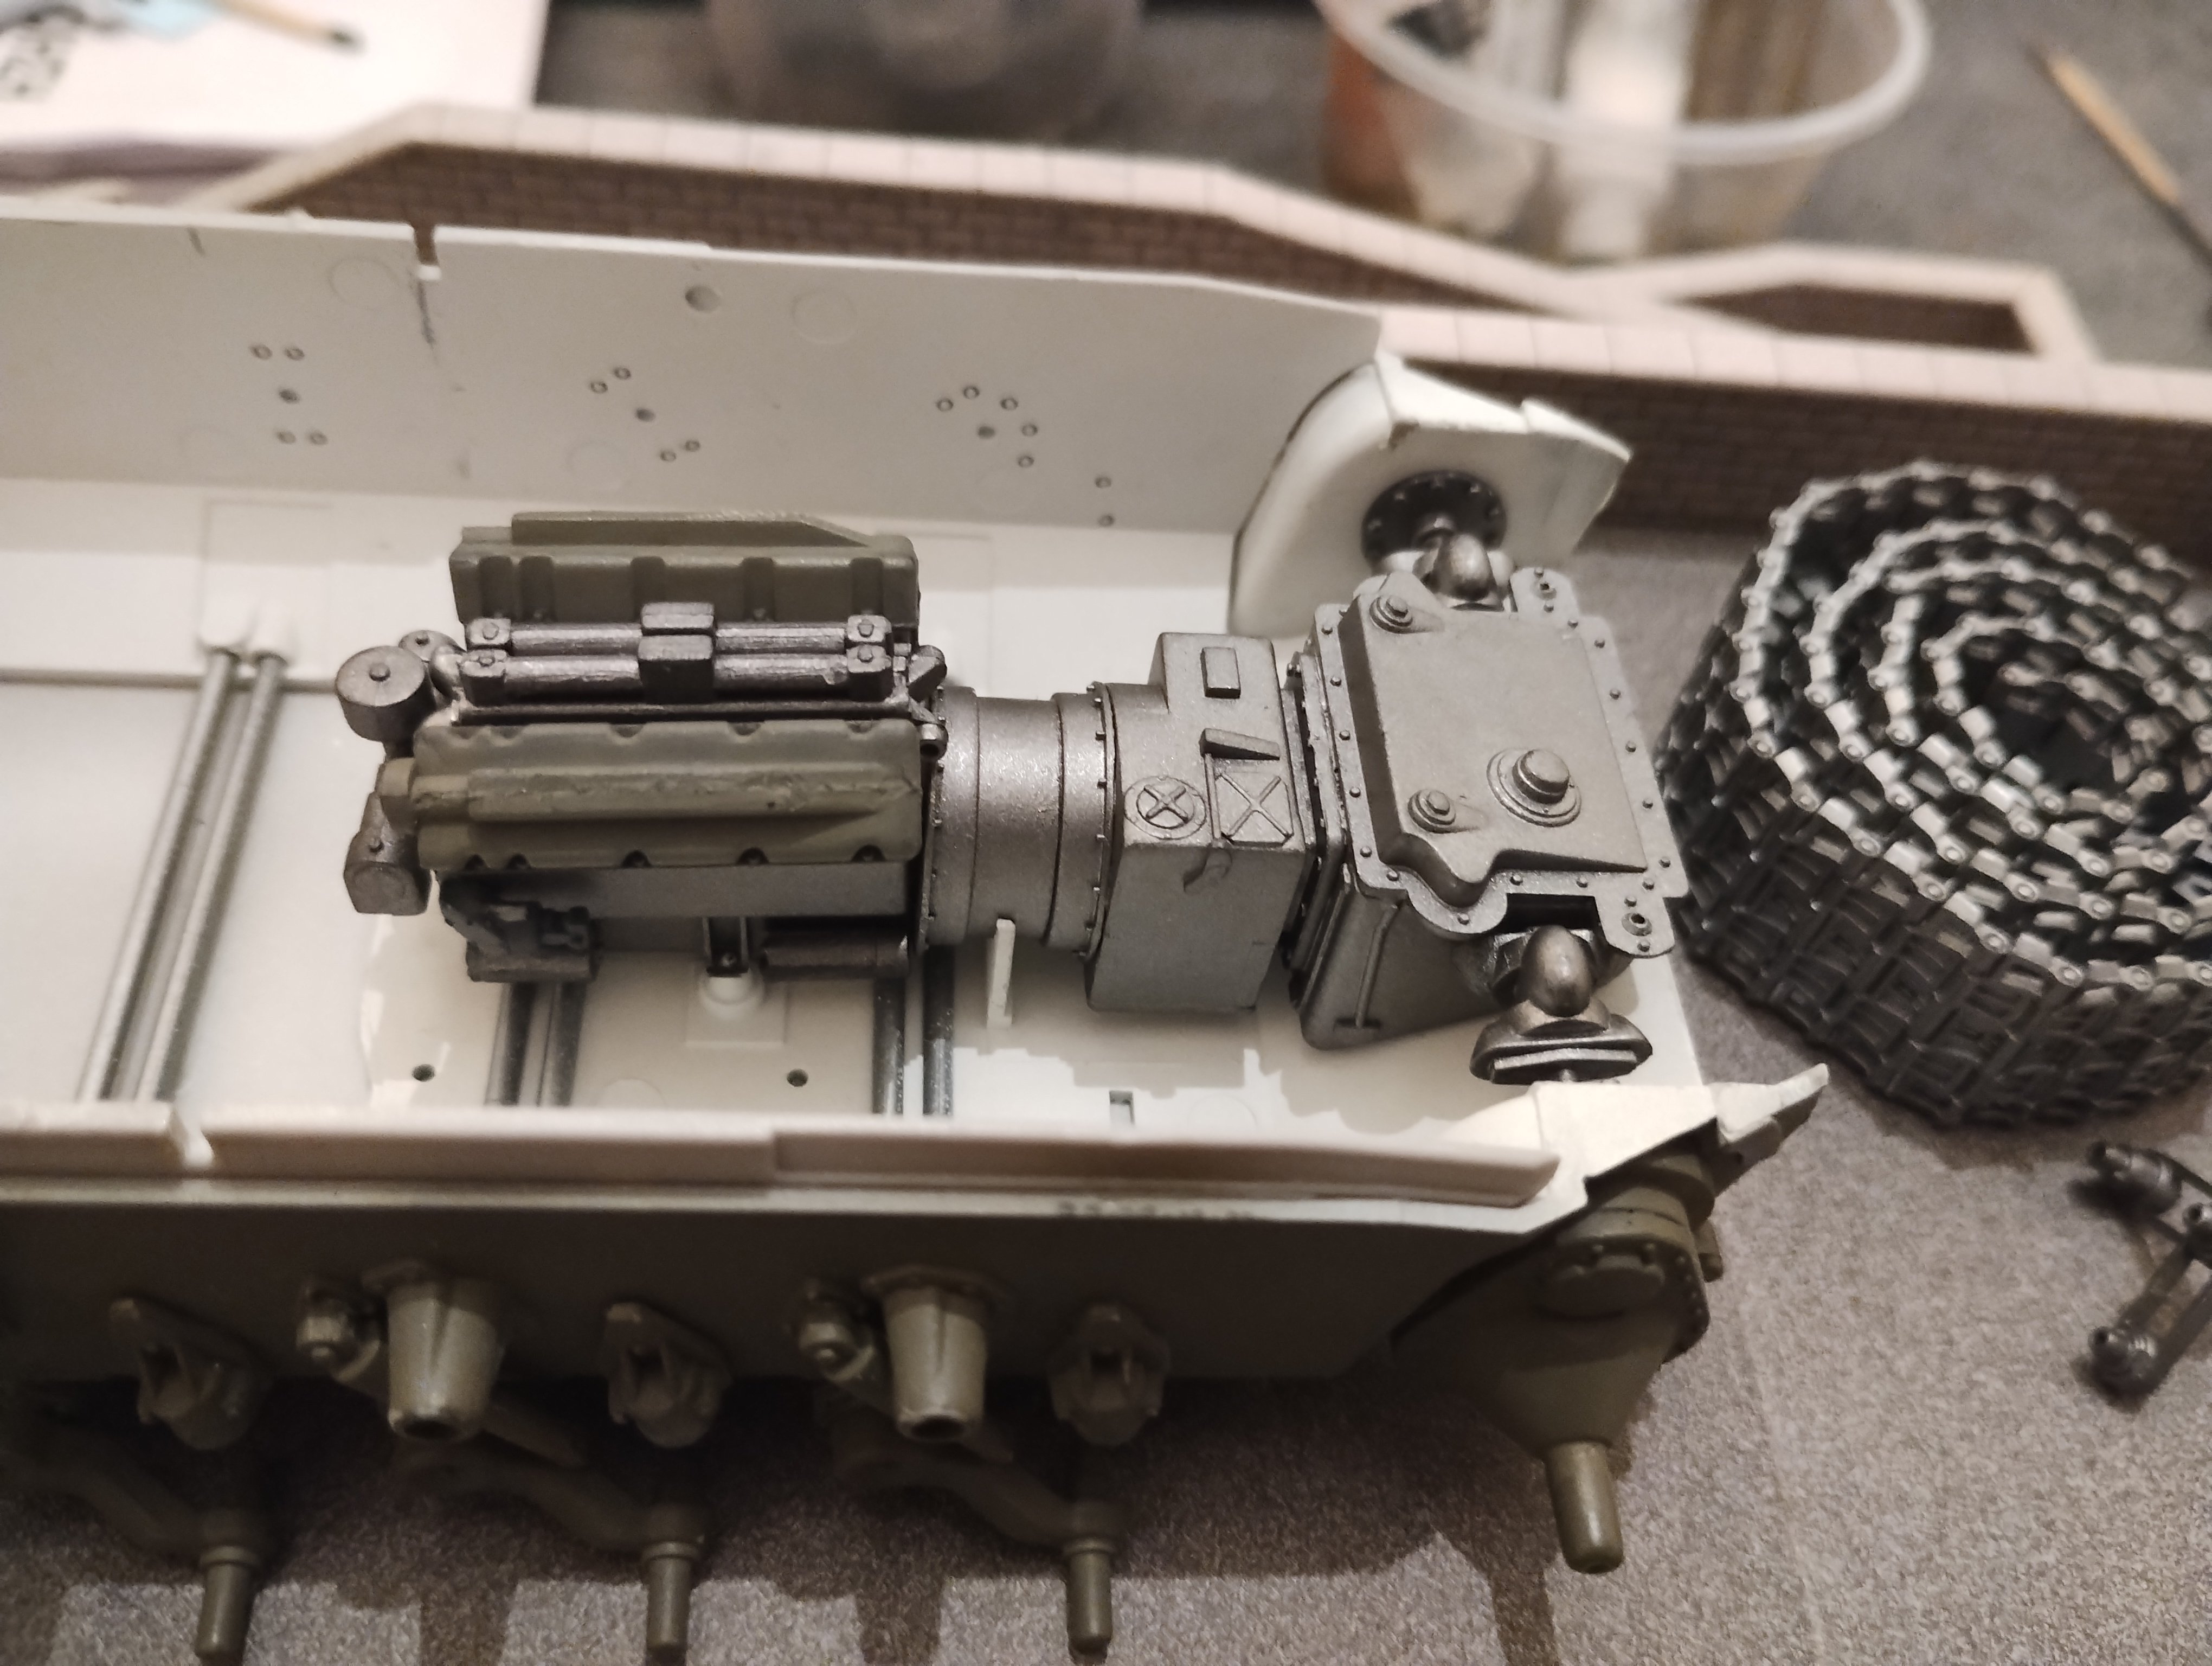
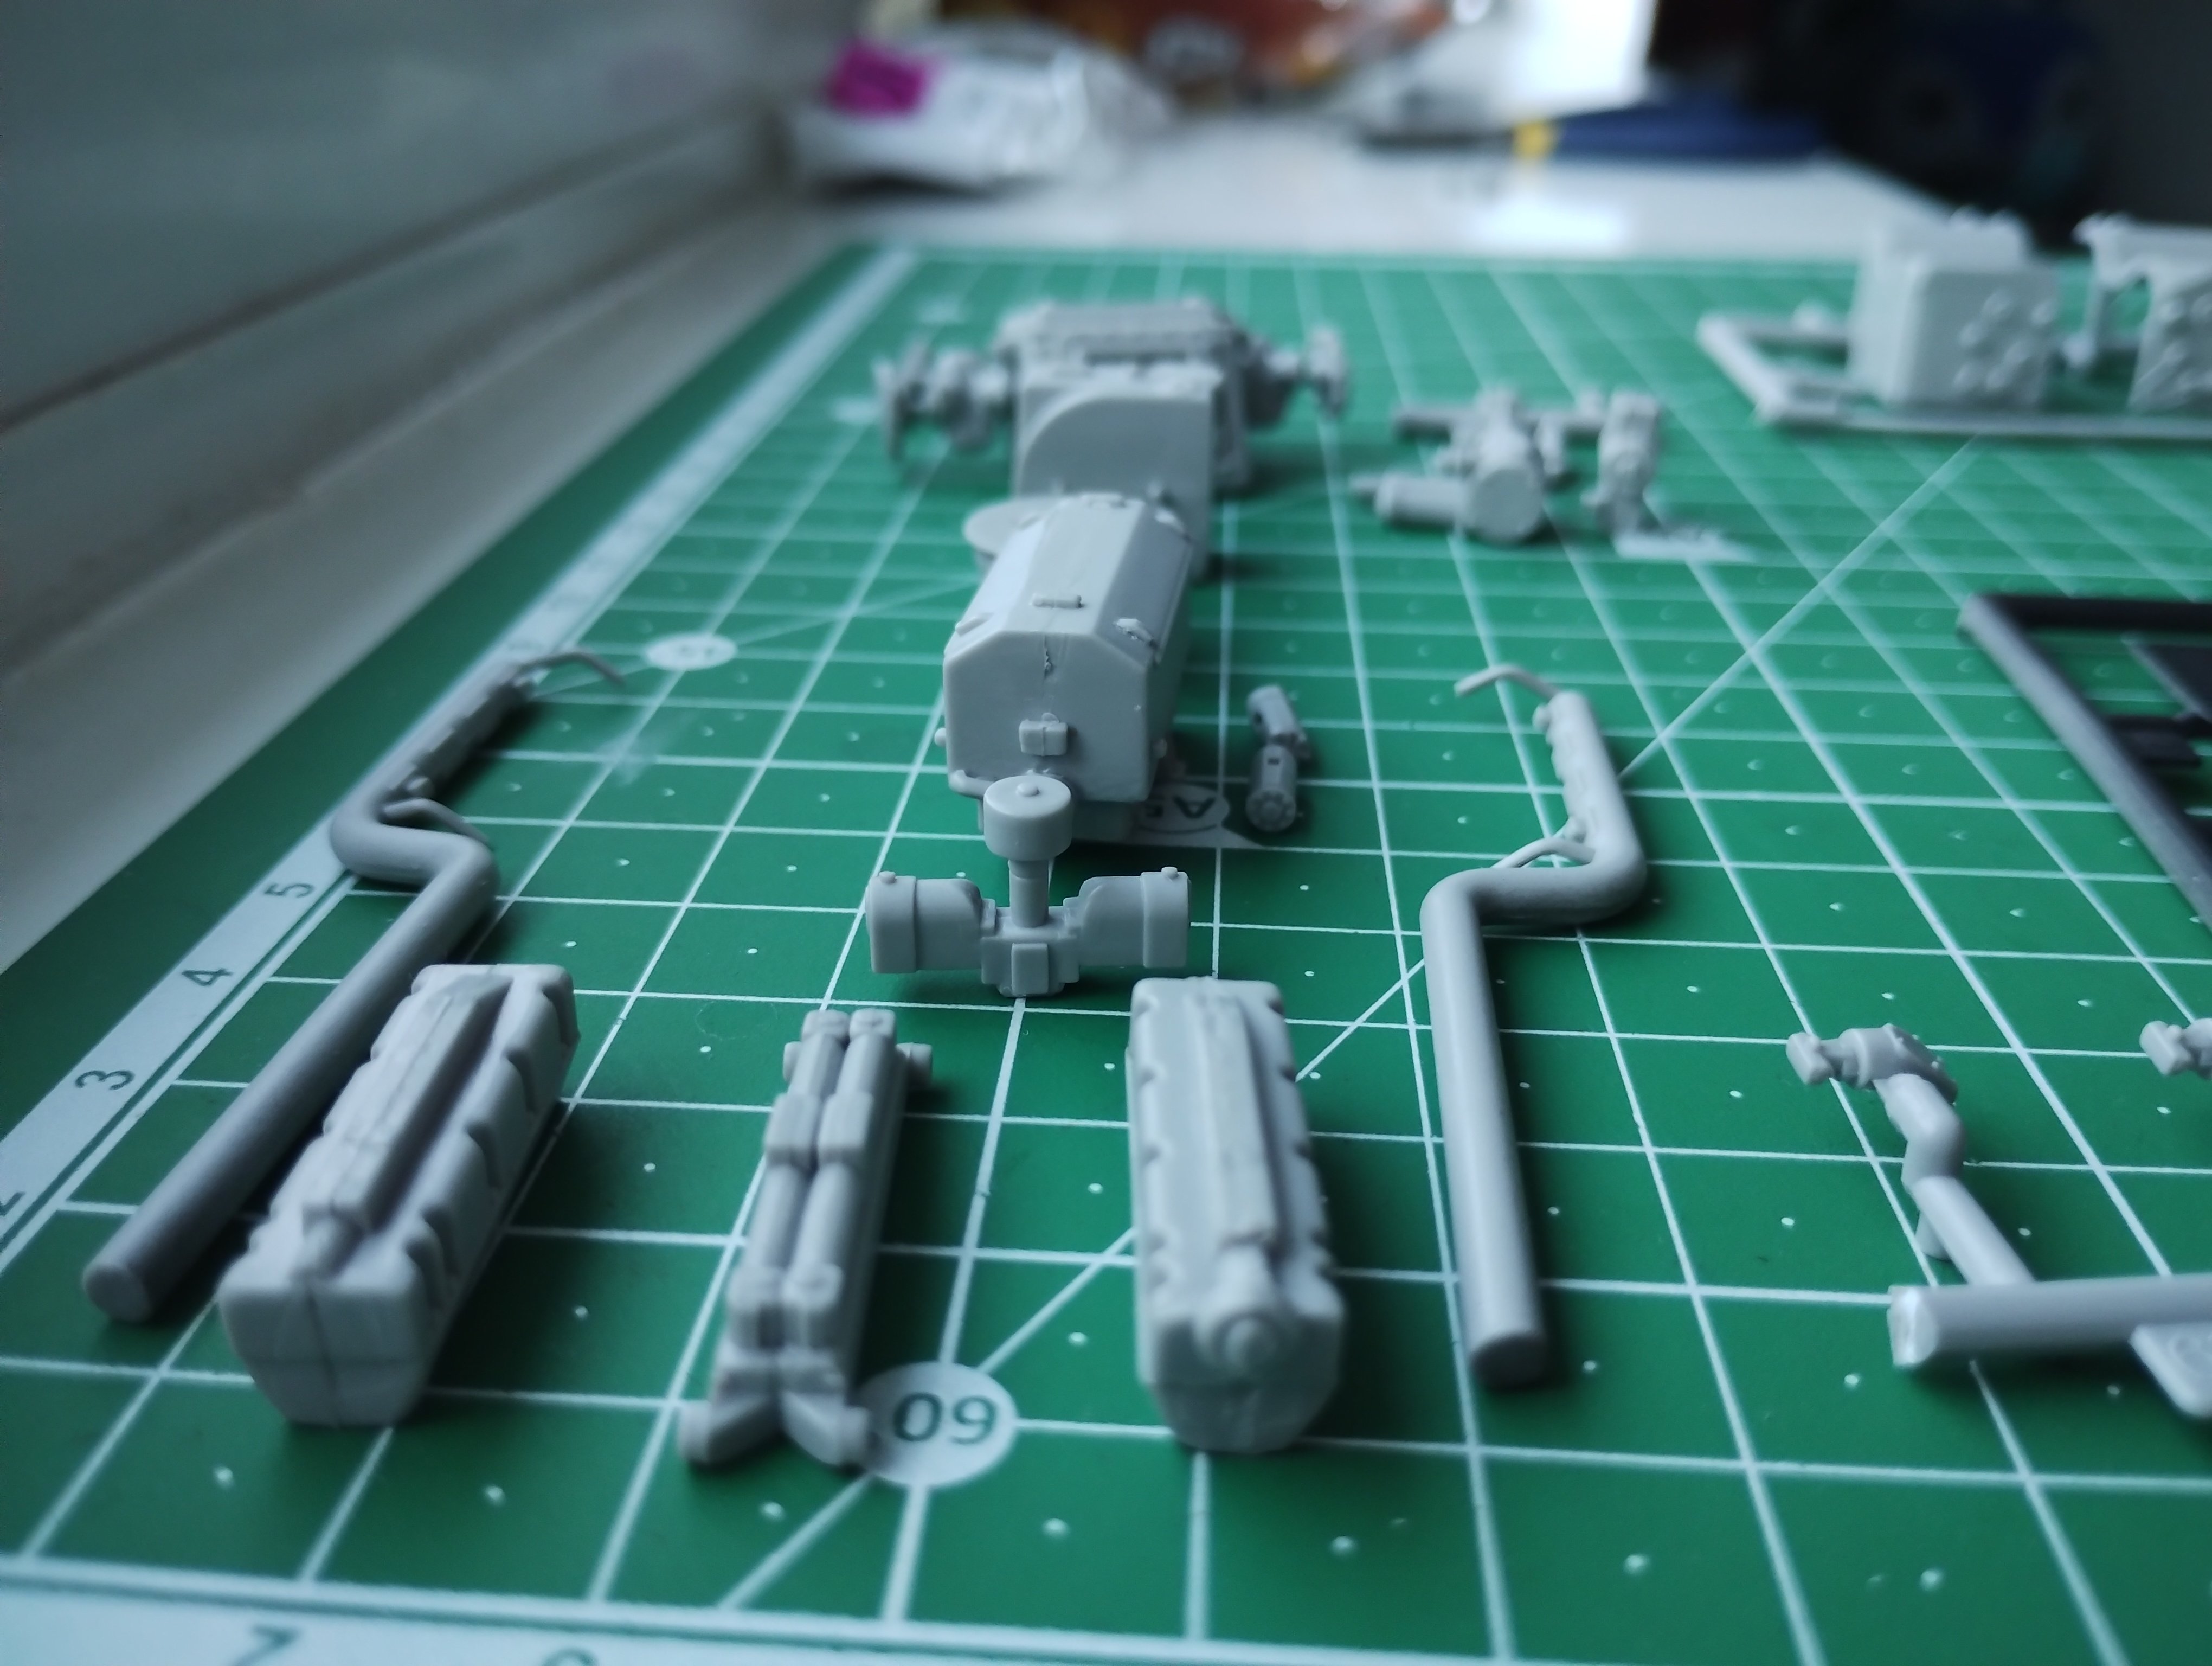
And put the engine together. Still got the exhausts air intake pipe. And some other bits to put on. But it's coming together.
Just had a little go dry fitting the engine and transmission and it's starting to look pretty good.


-
 4
4
-
-
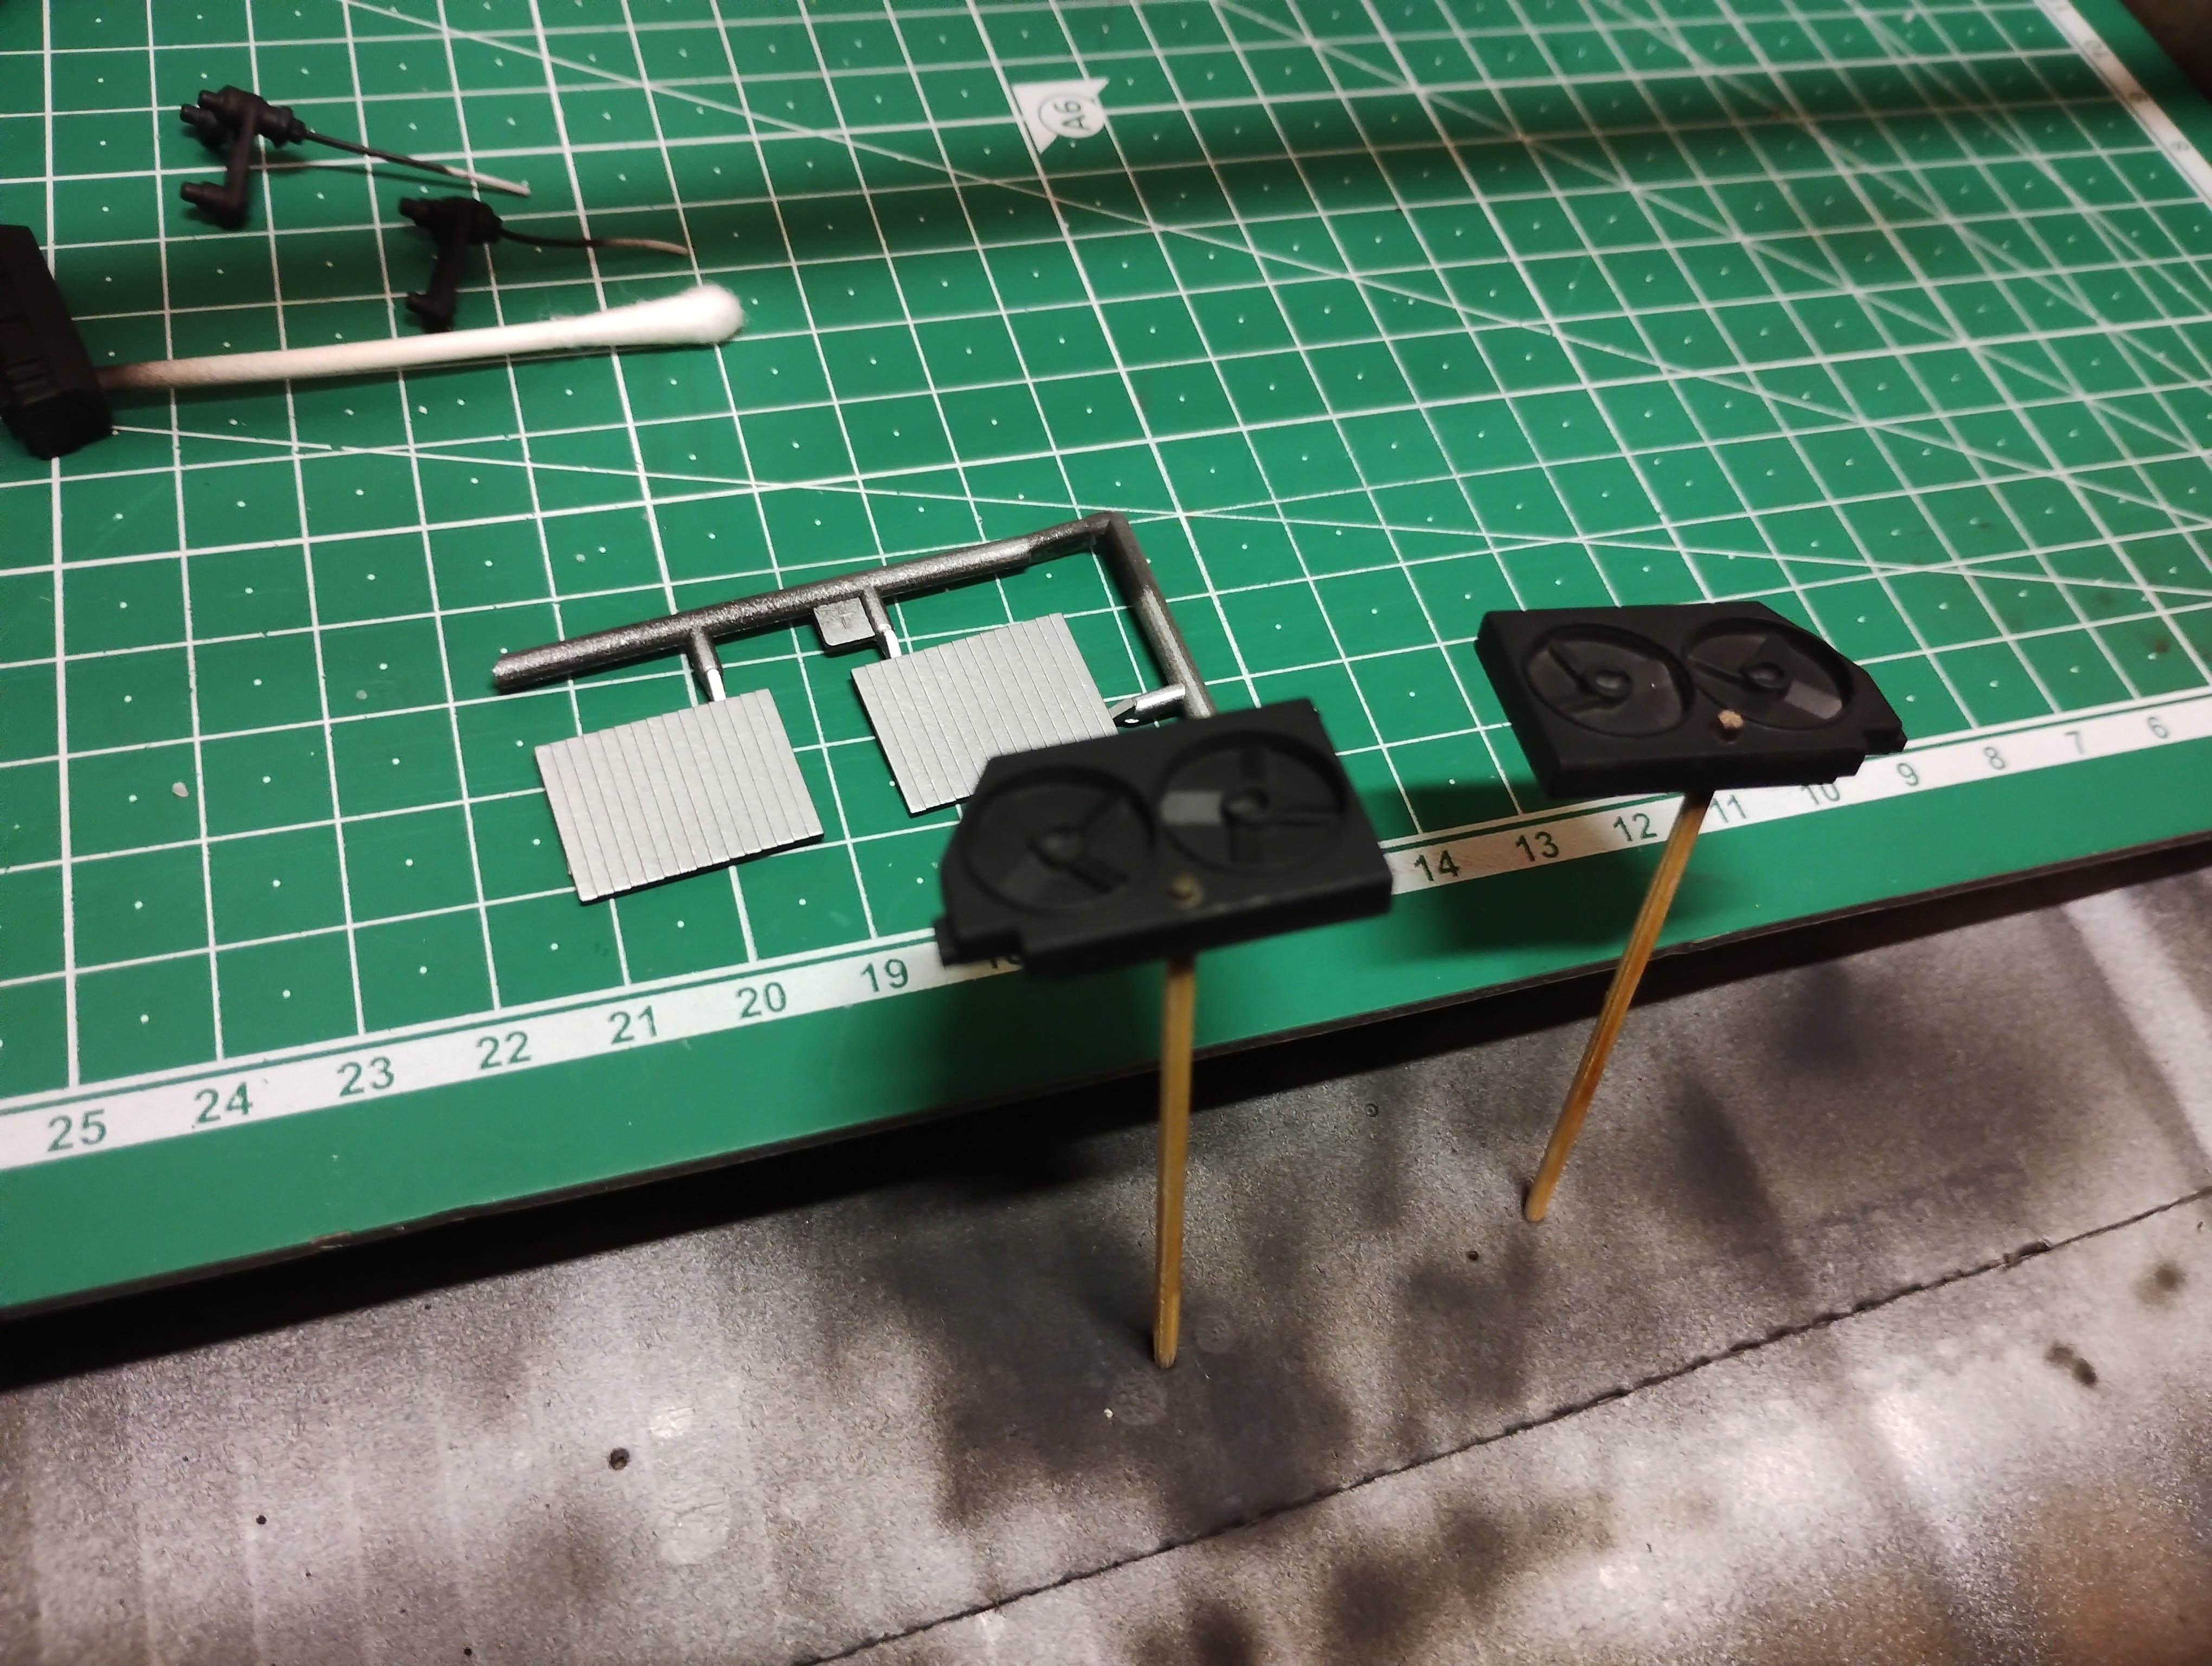
Been working on little bits over the week. Got most of the engine parts painted in a dase colour.
Will post photos later
But I have painted the fuel tanks in a patchy sort of way and then detailed and weathered them with some washes. Definitely getting better with that sort of thing

-
6
-
-
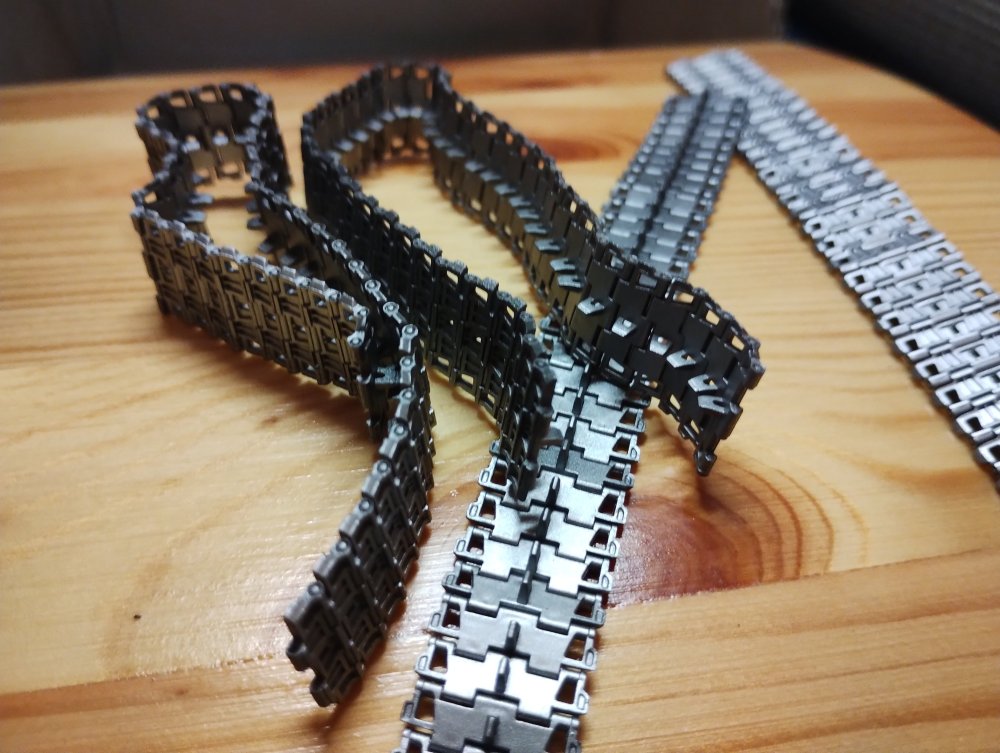
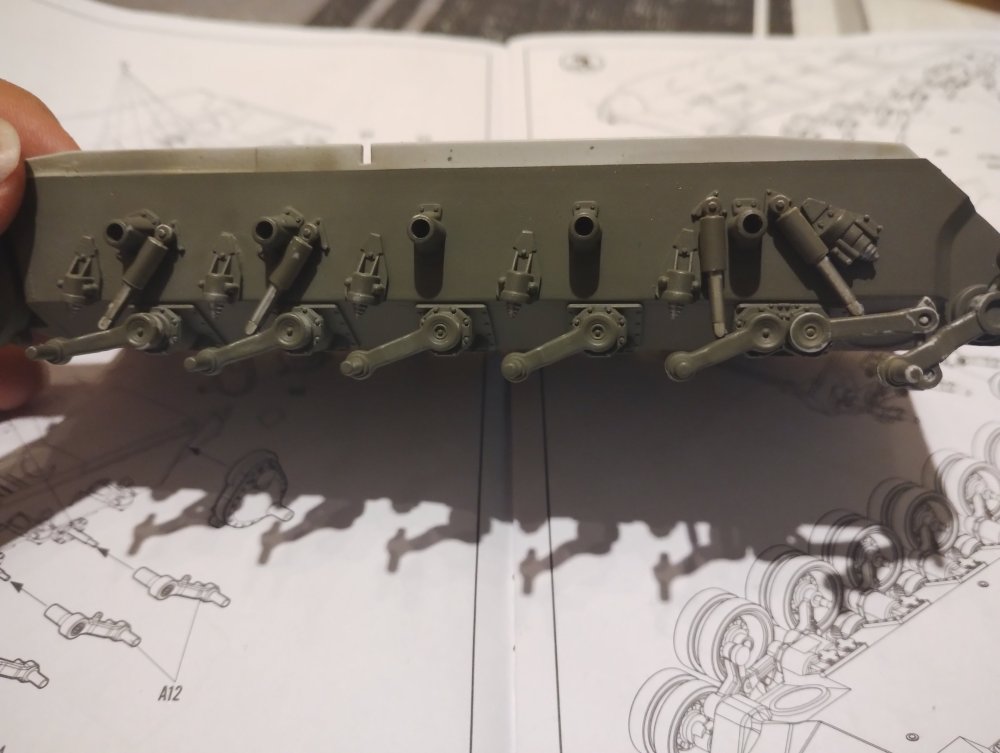
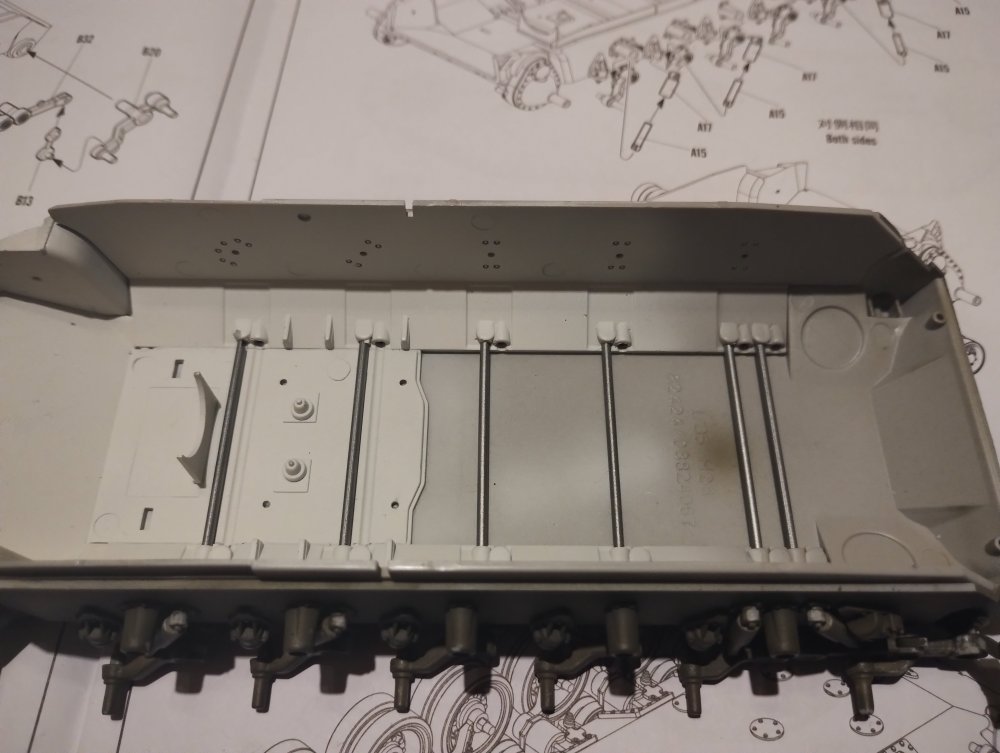
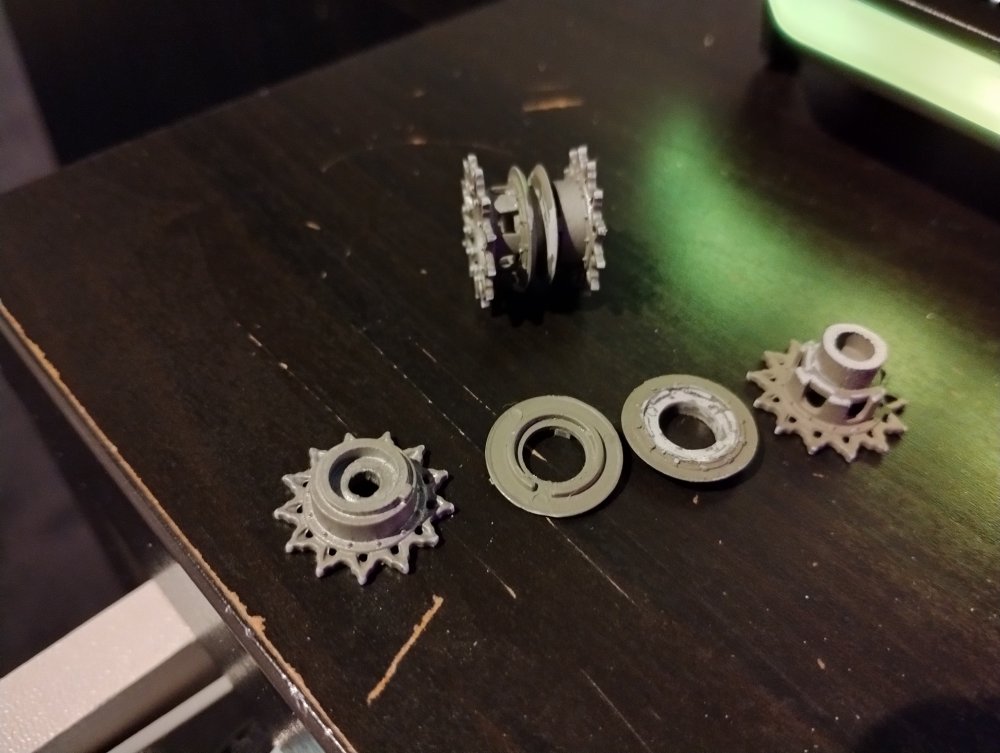
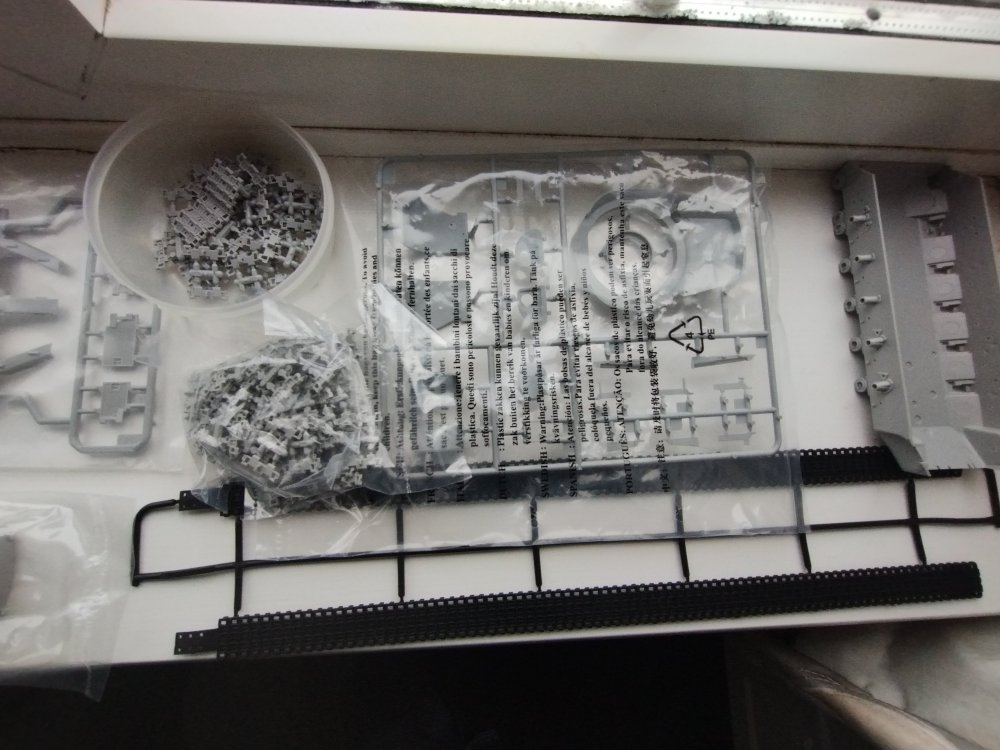
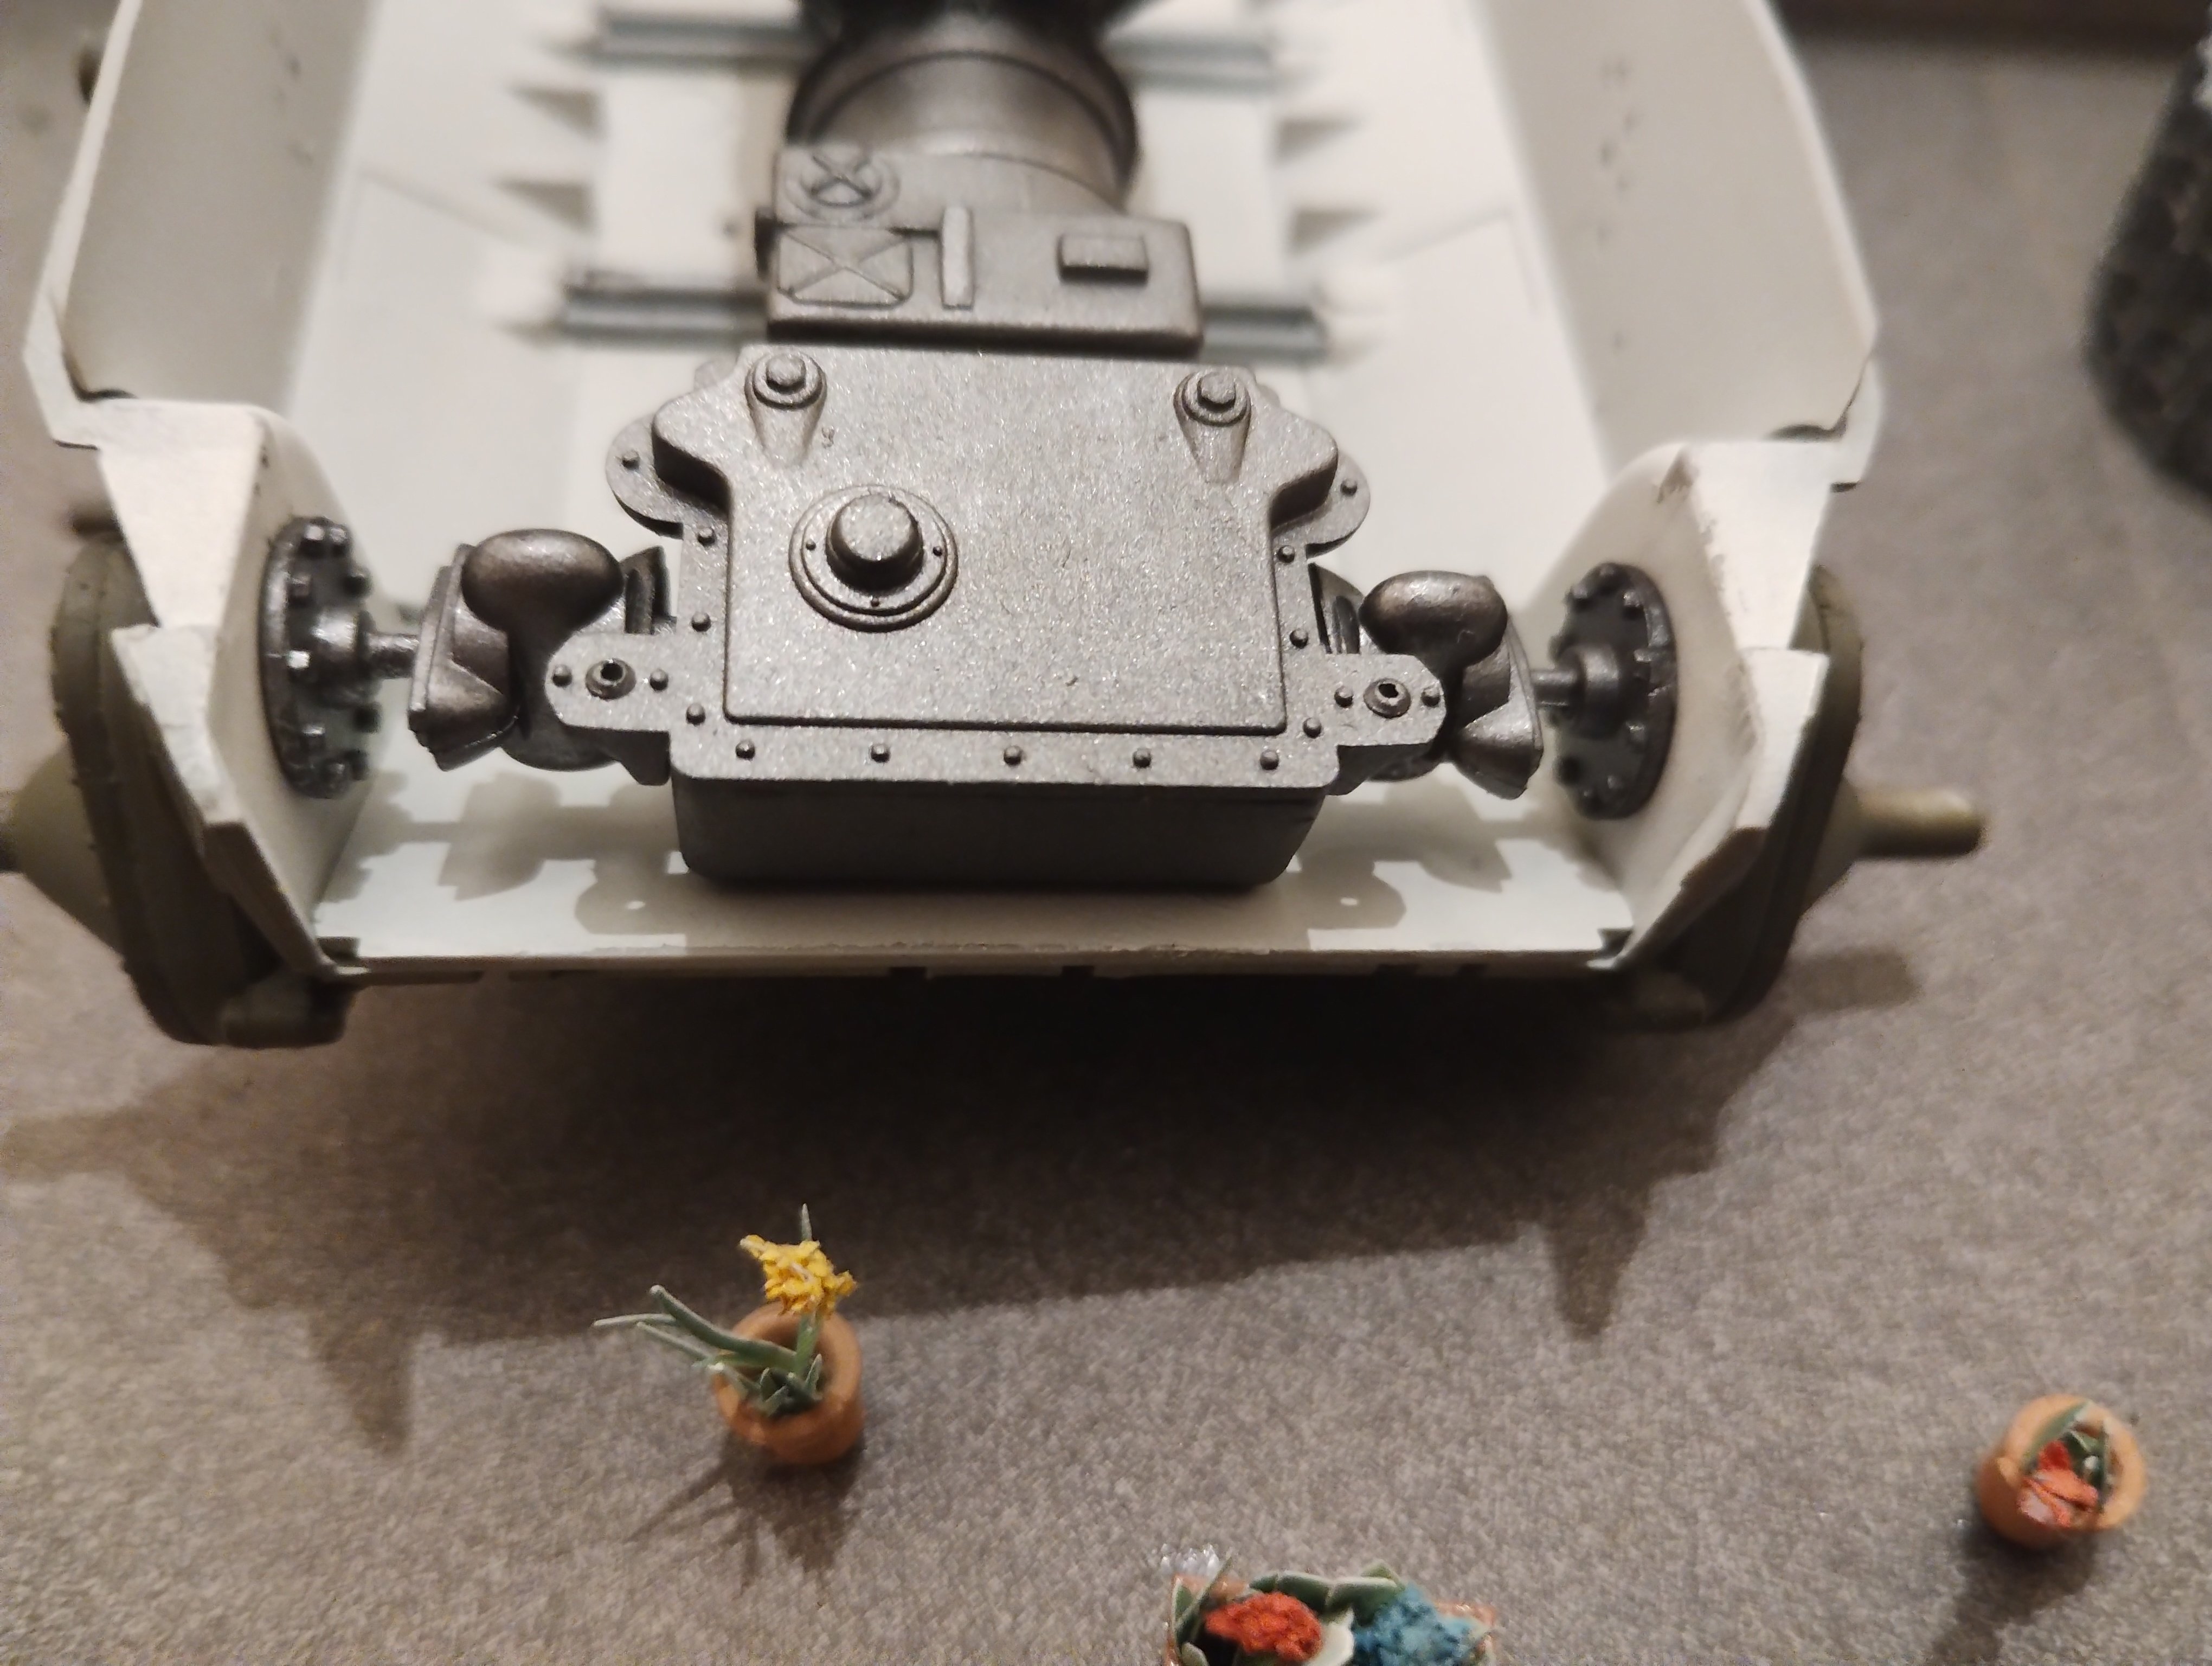
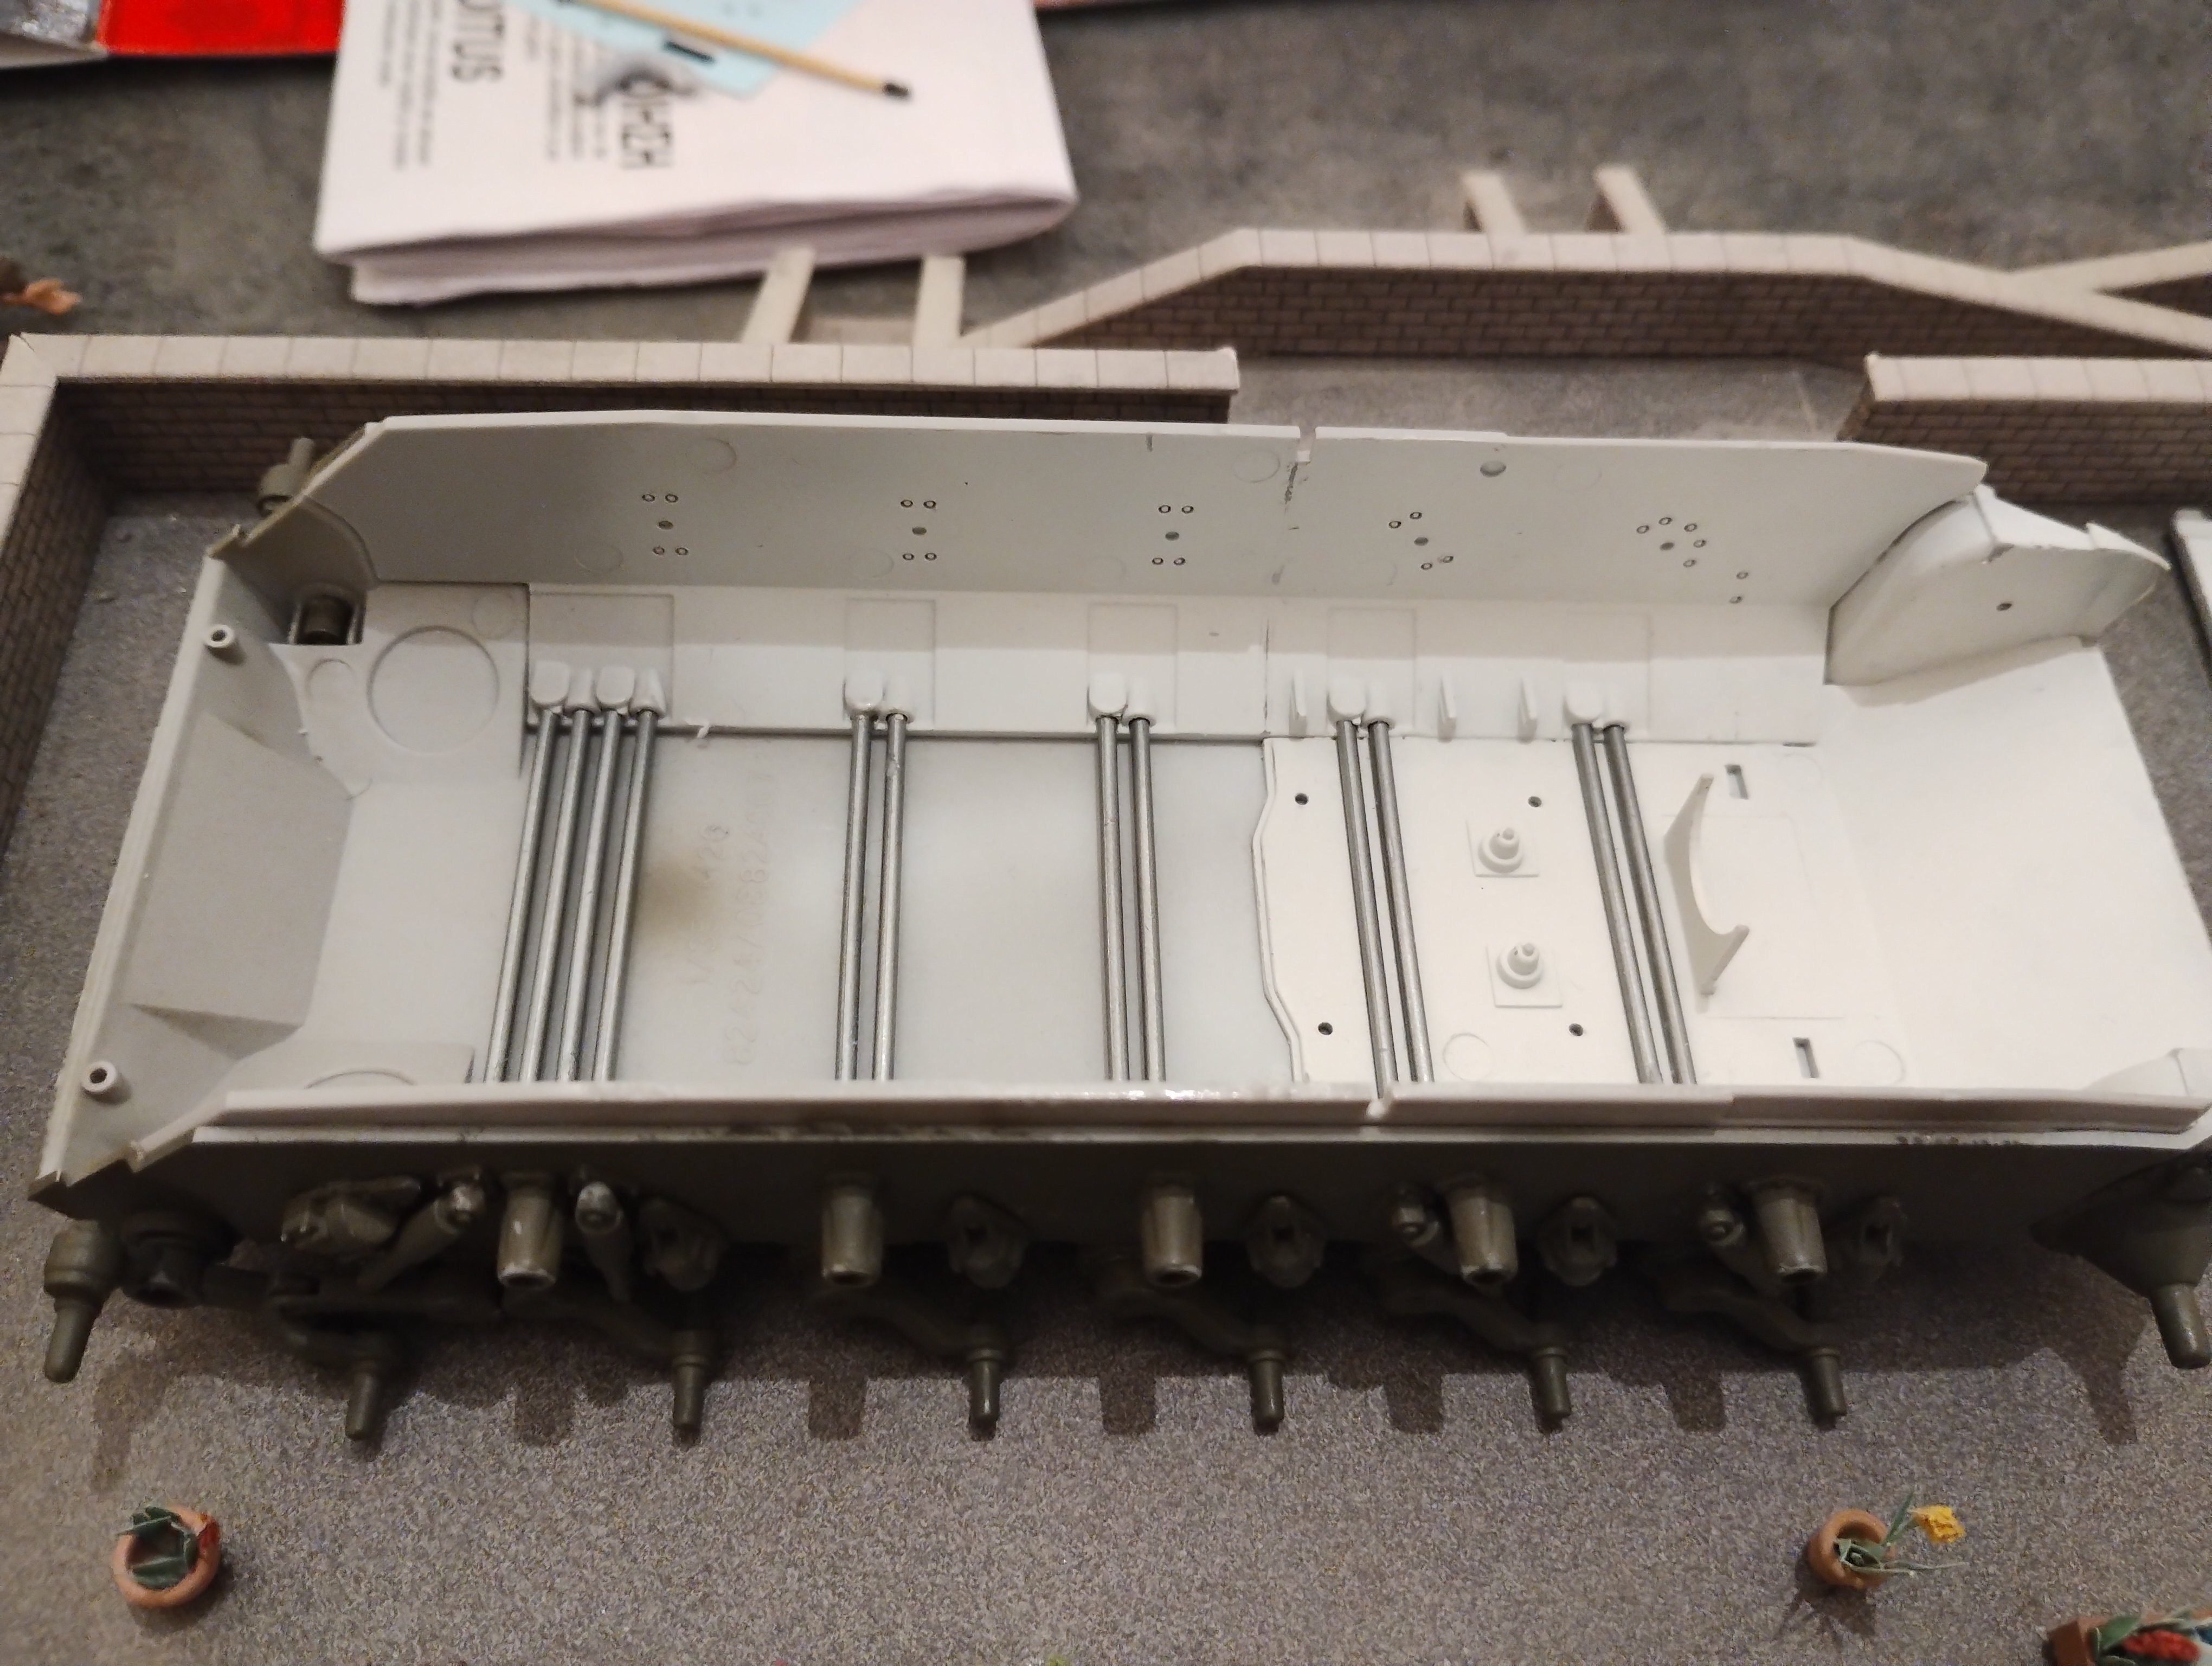
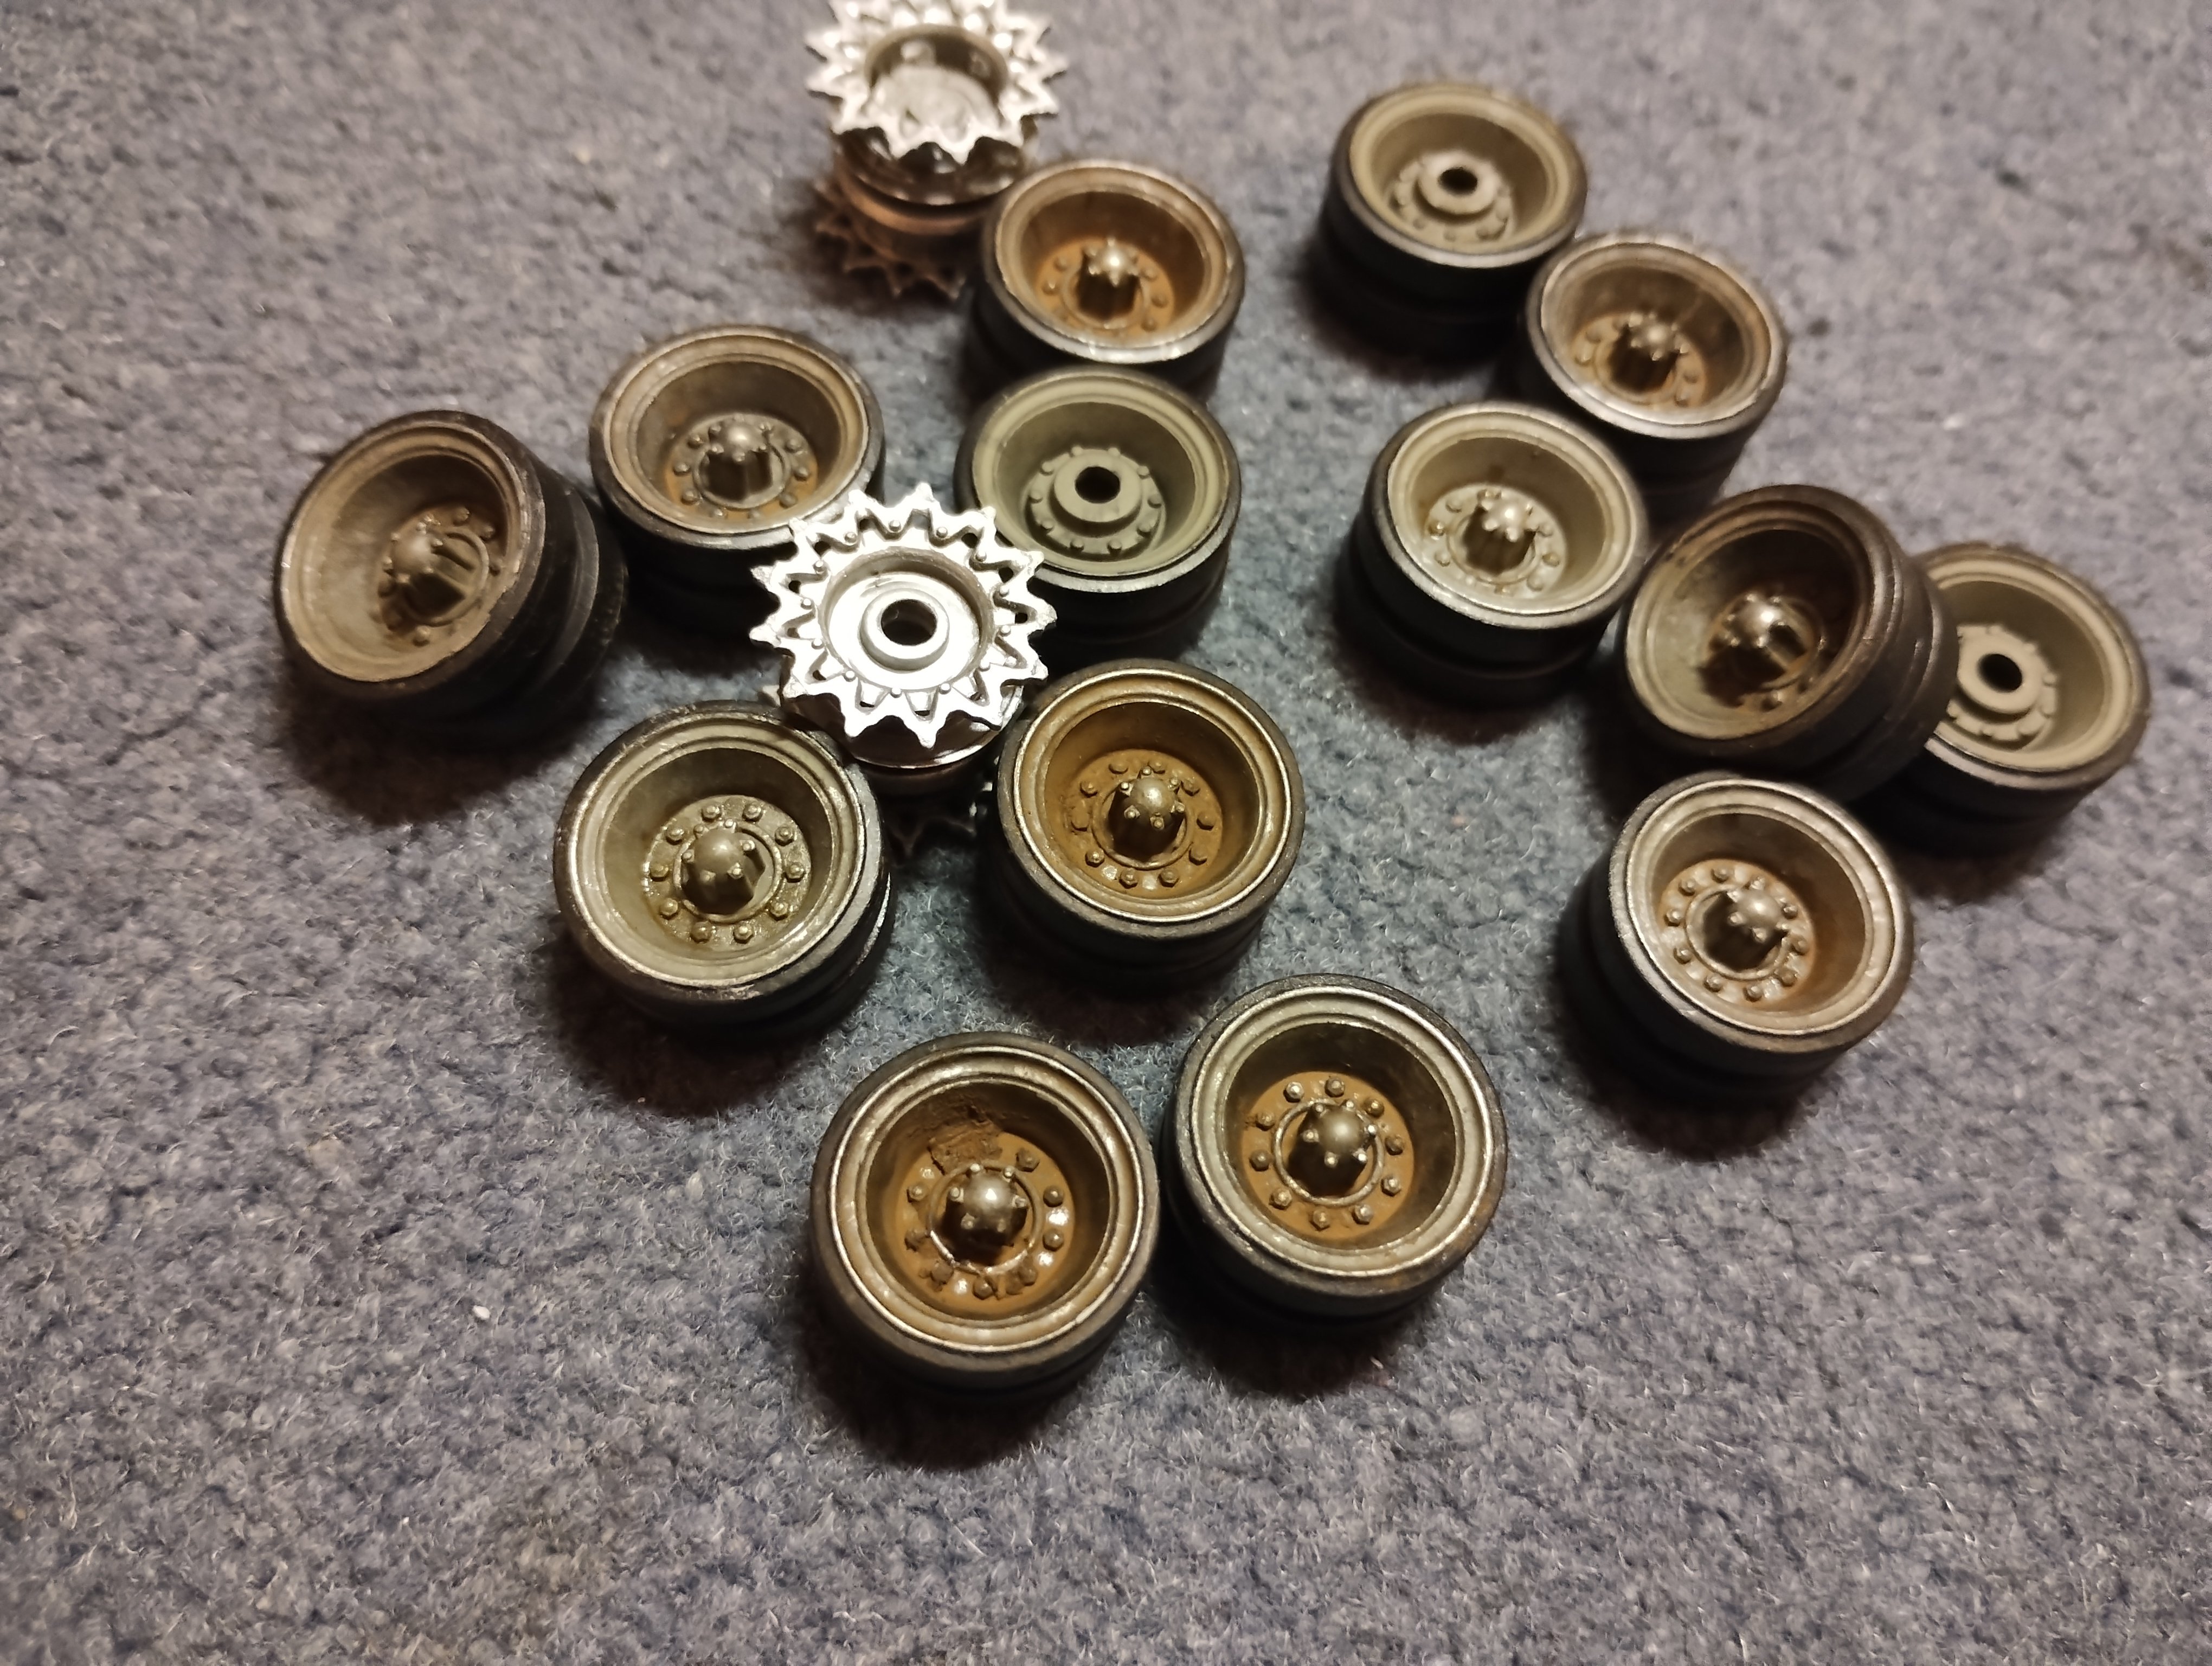
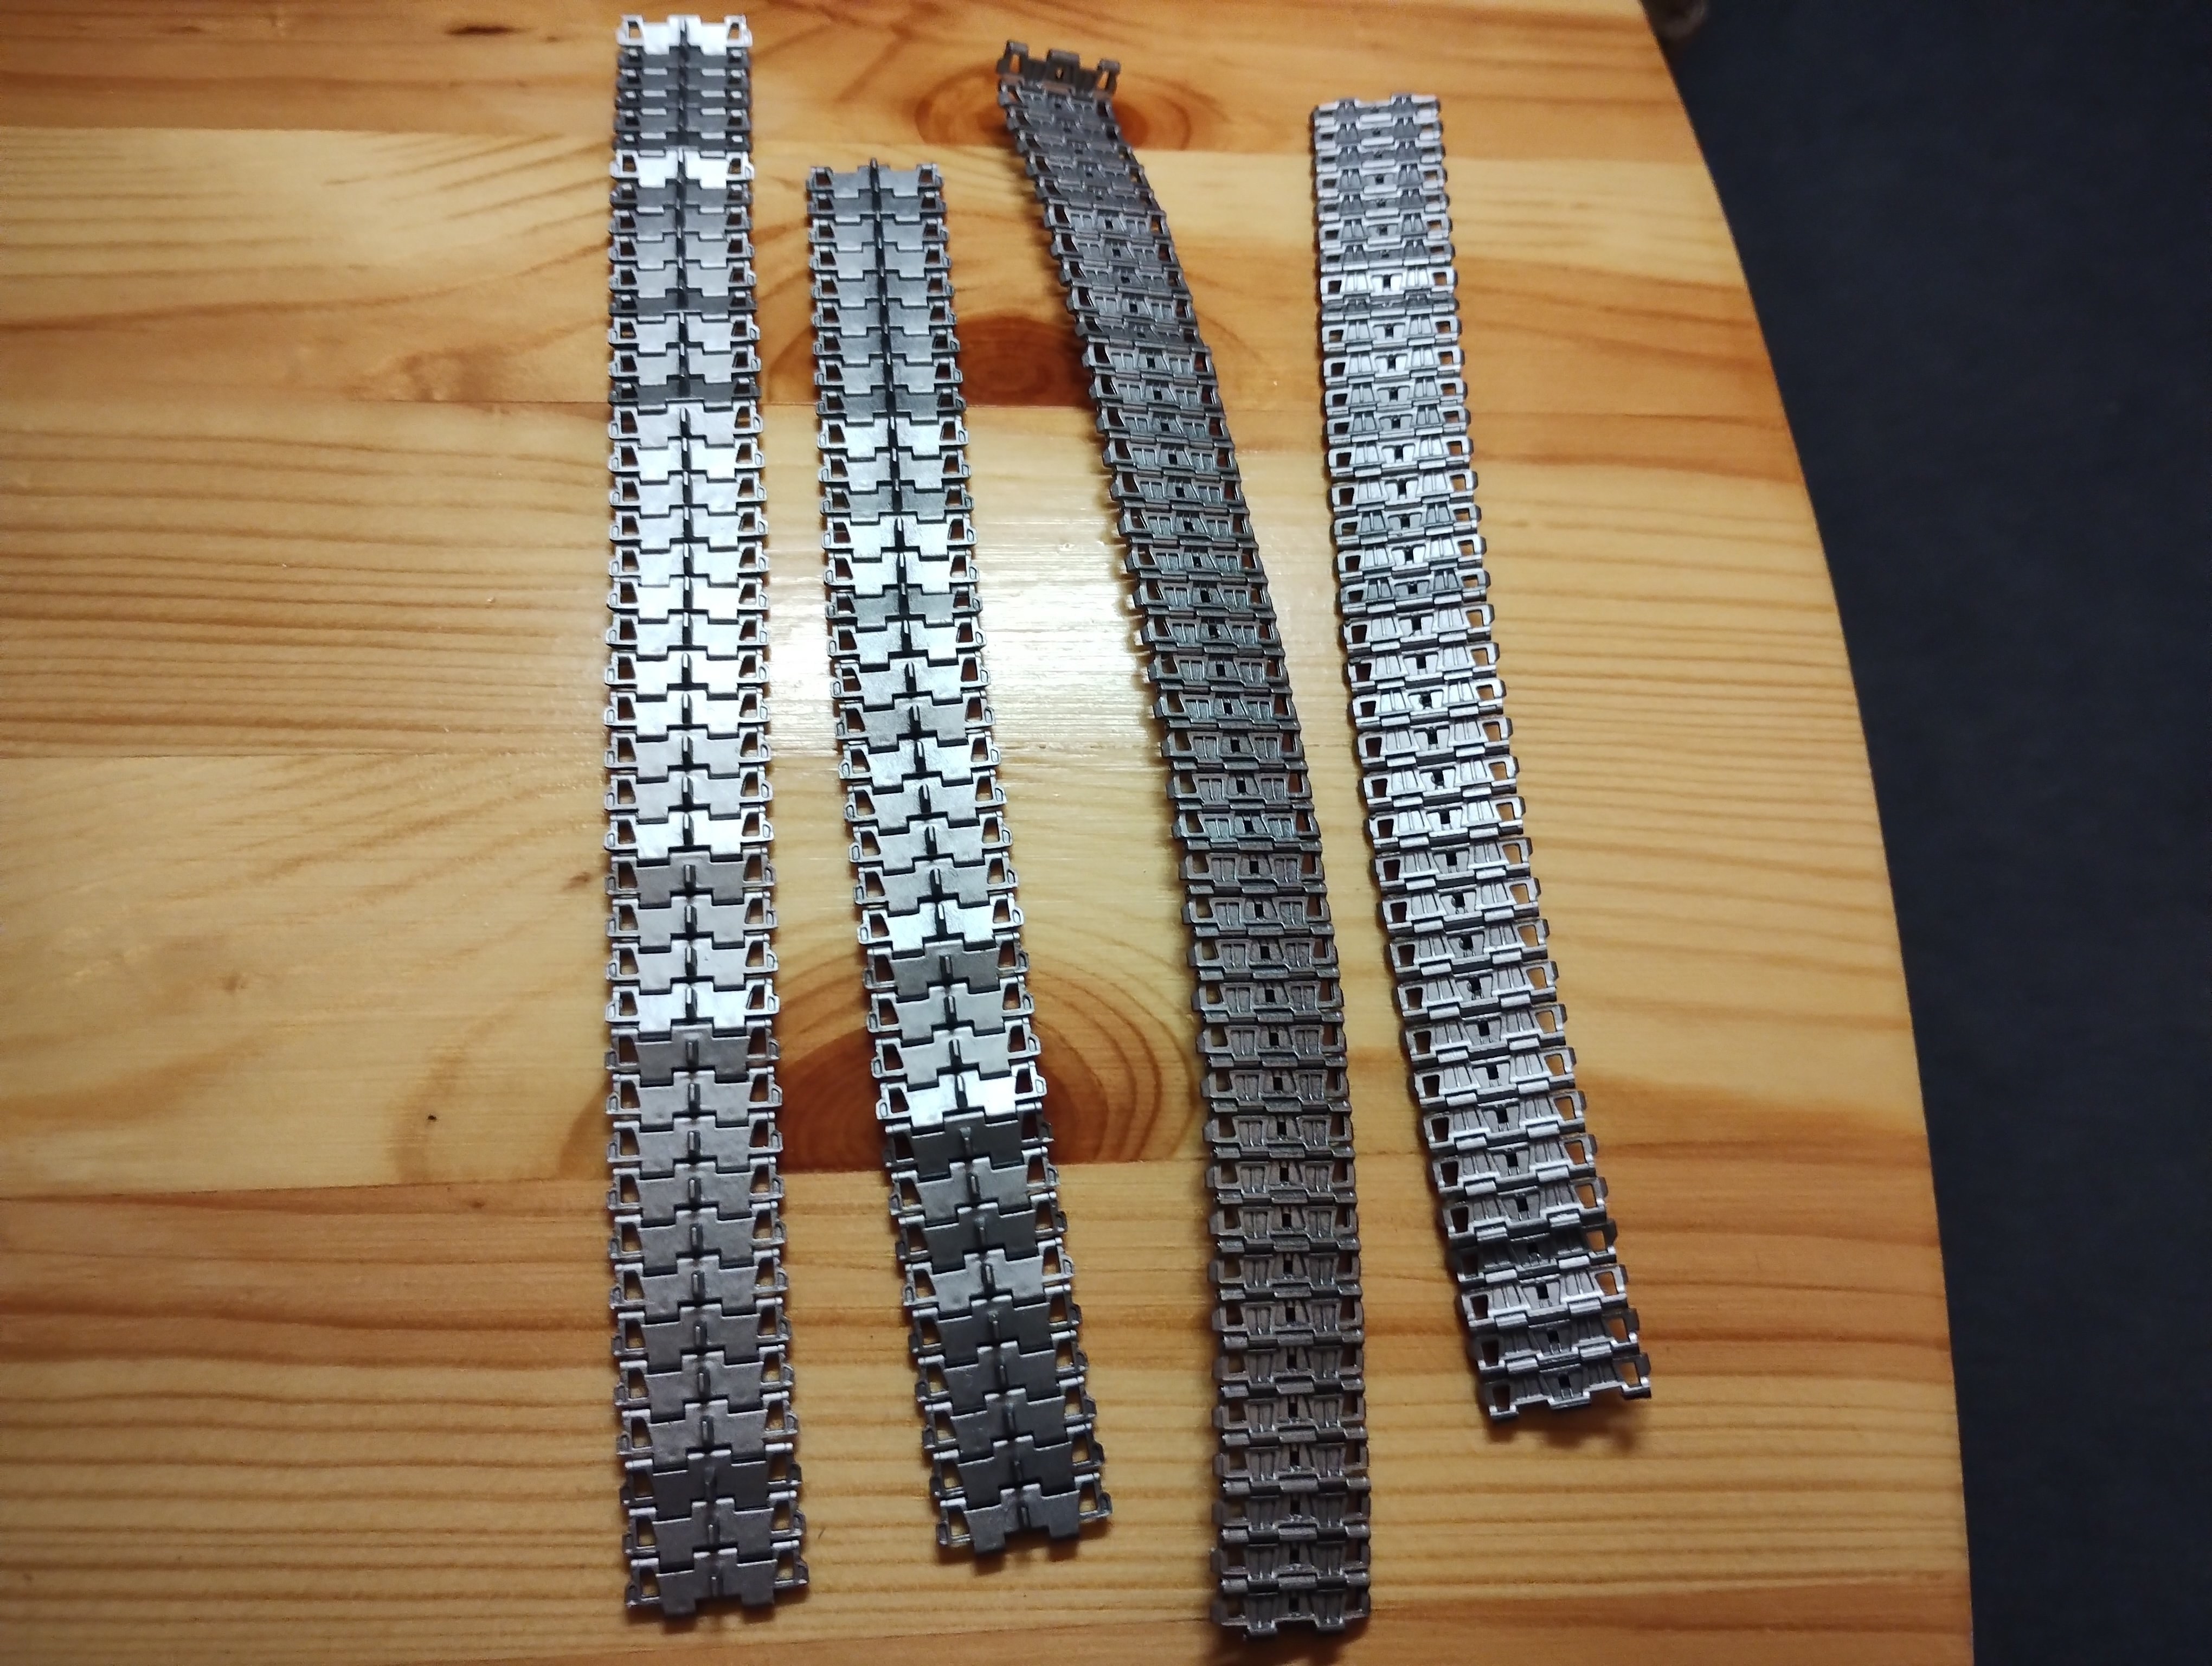
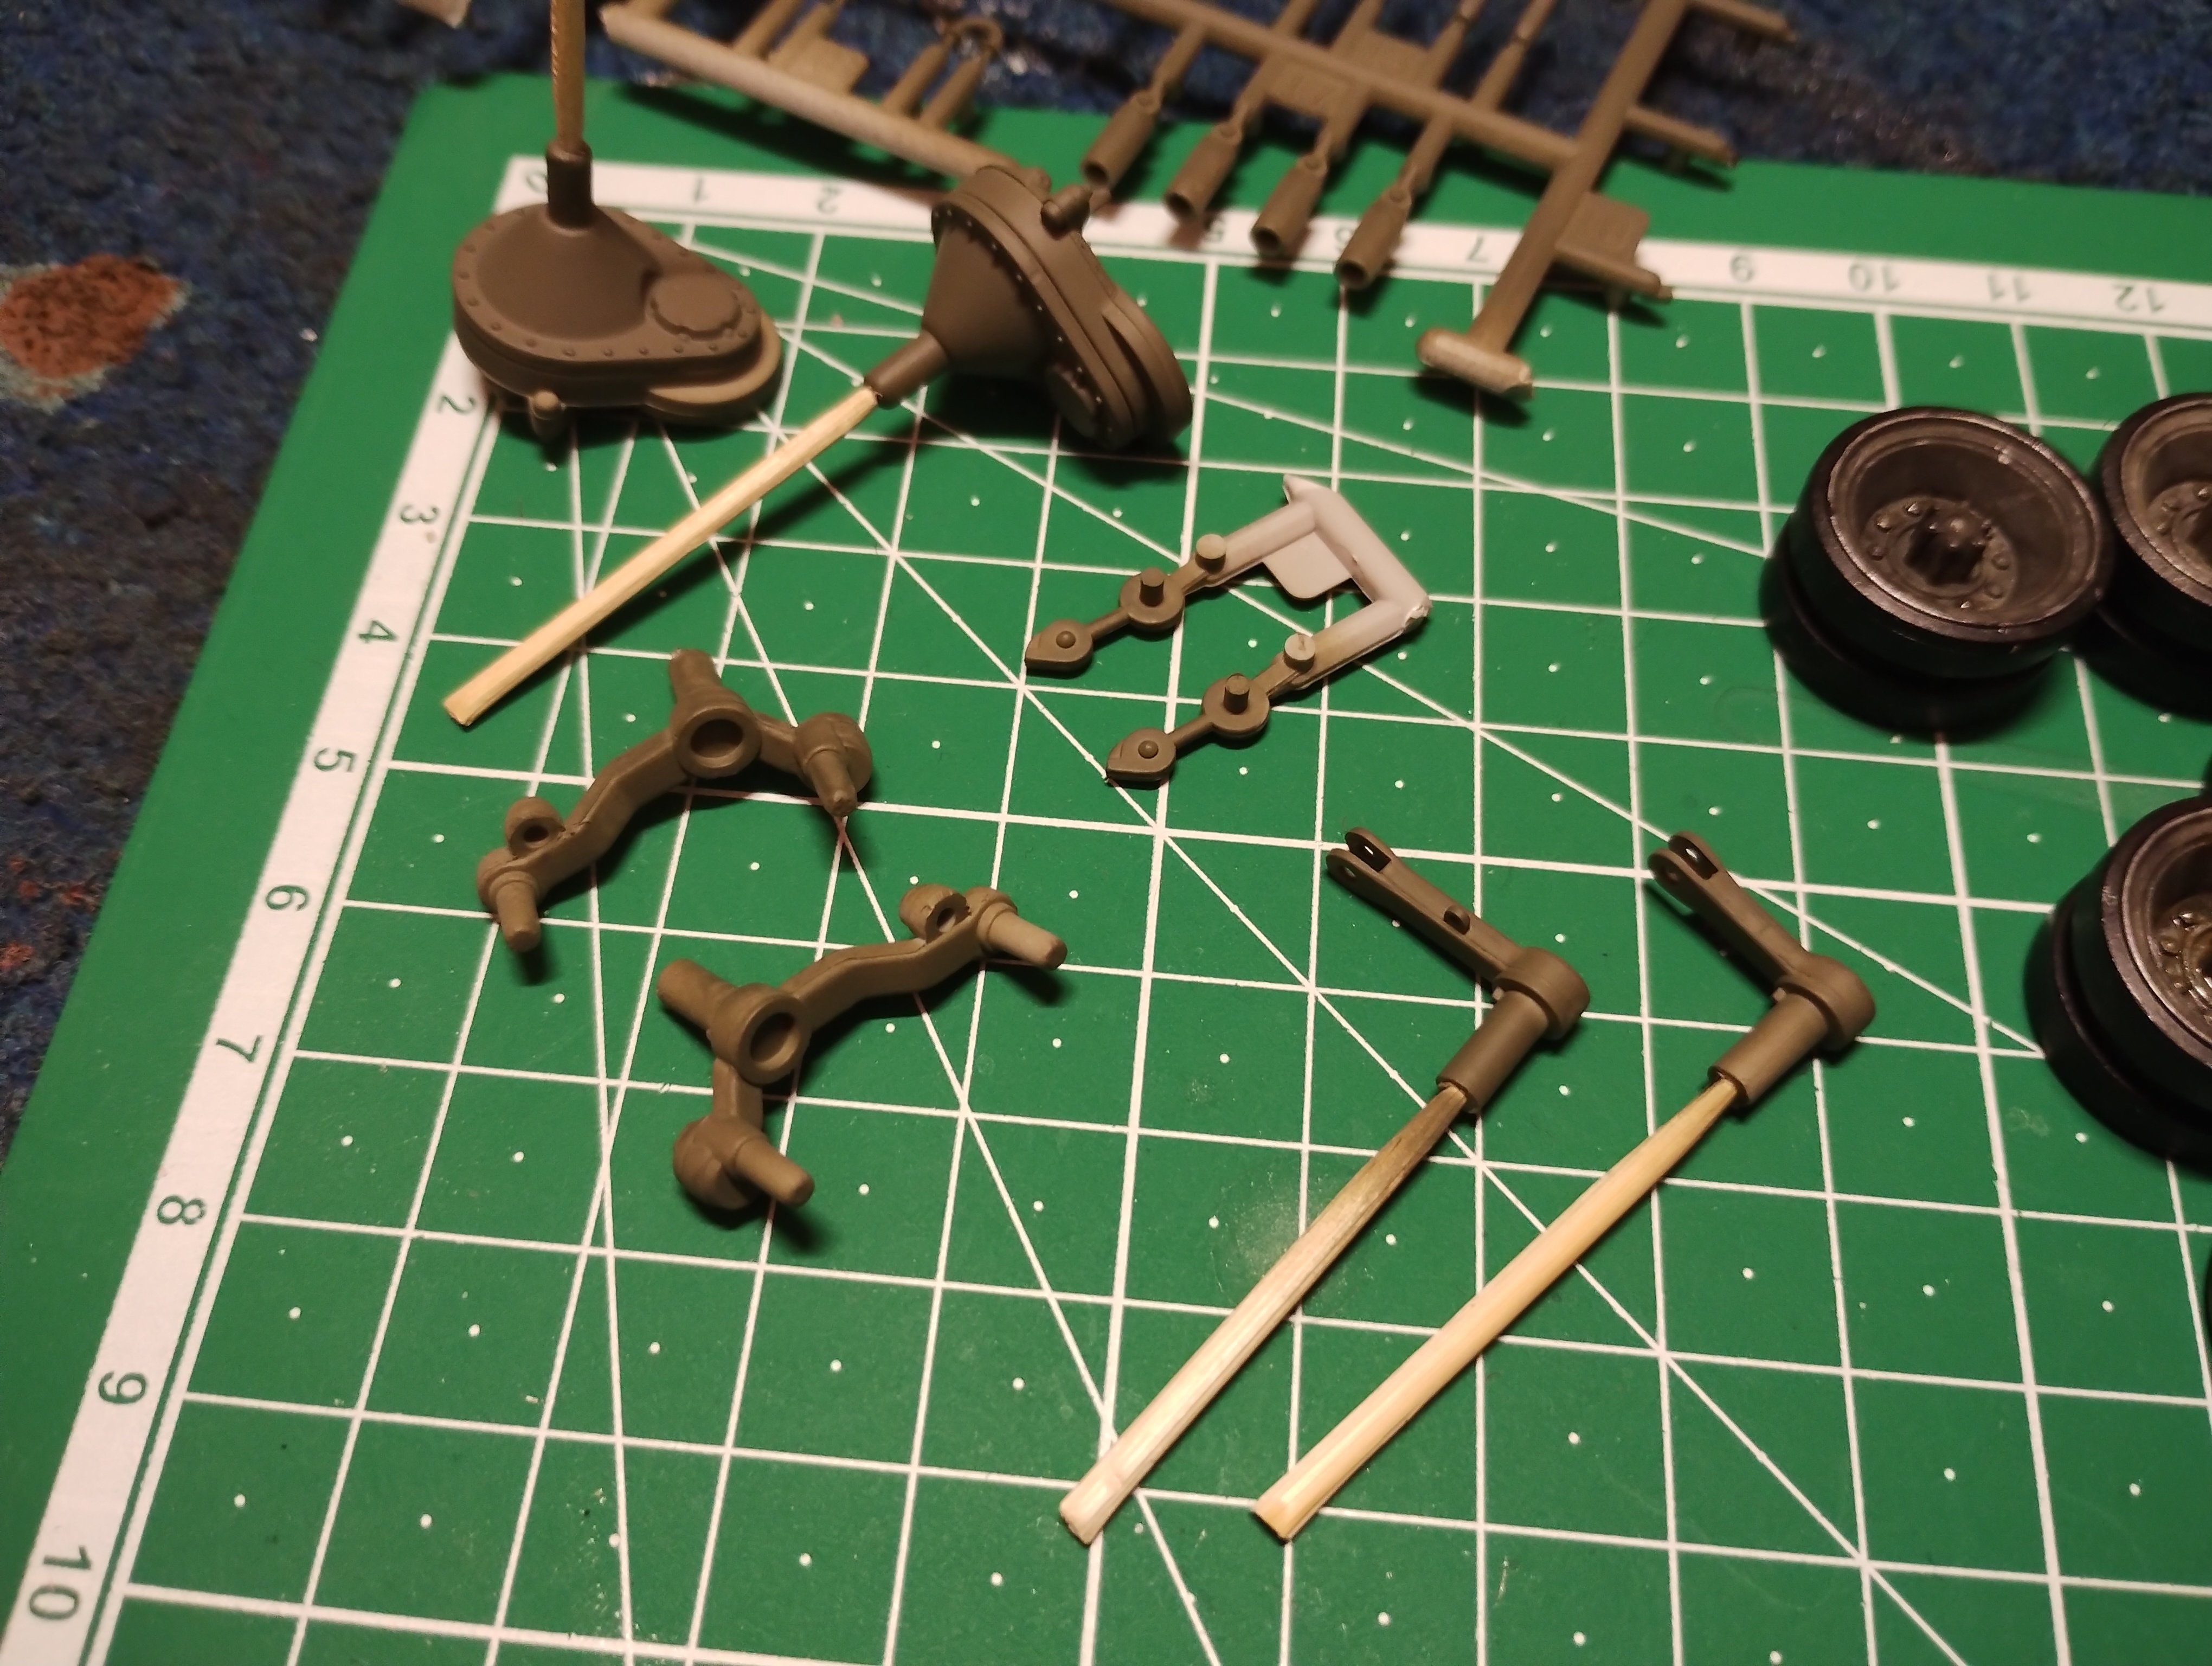
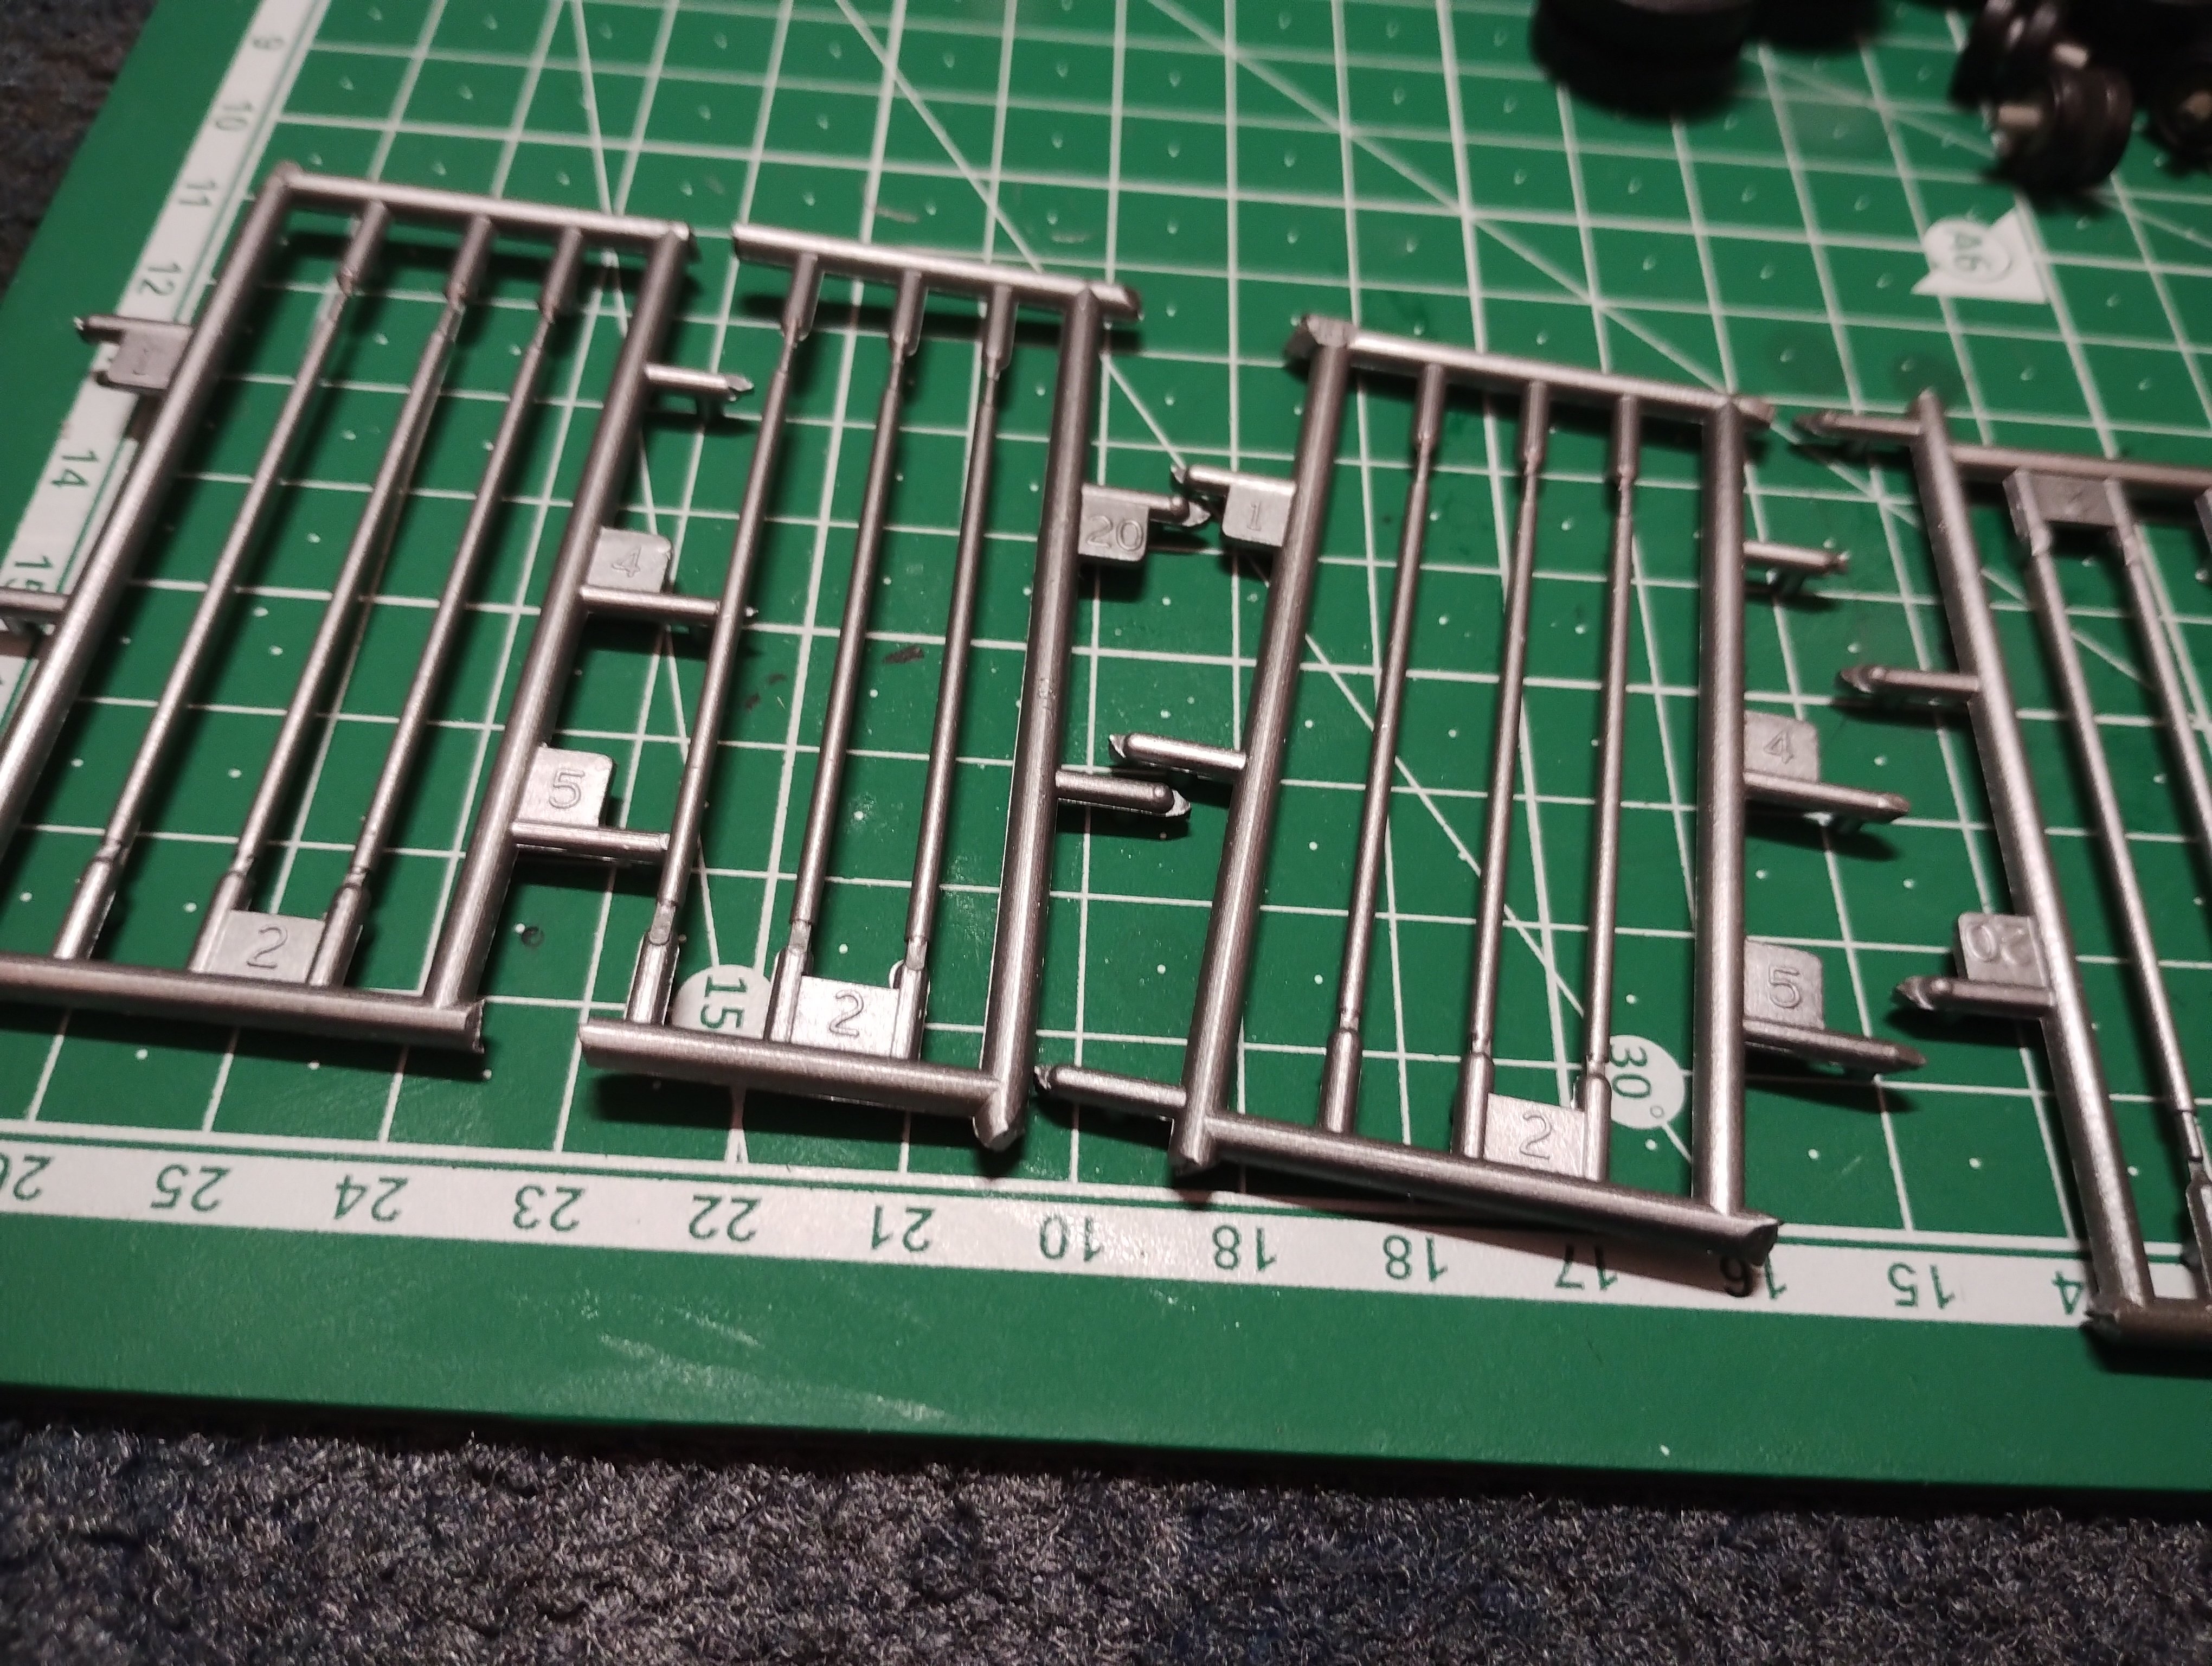
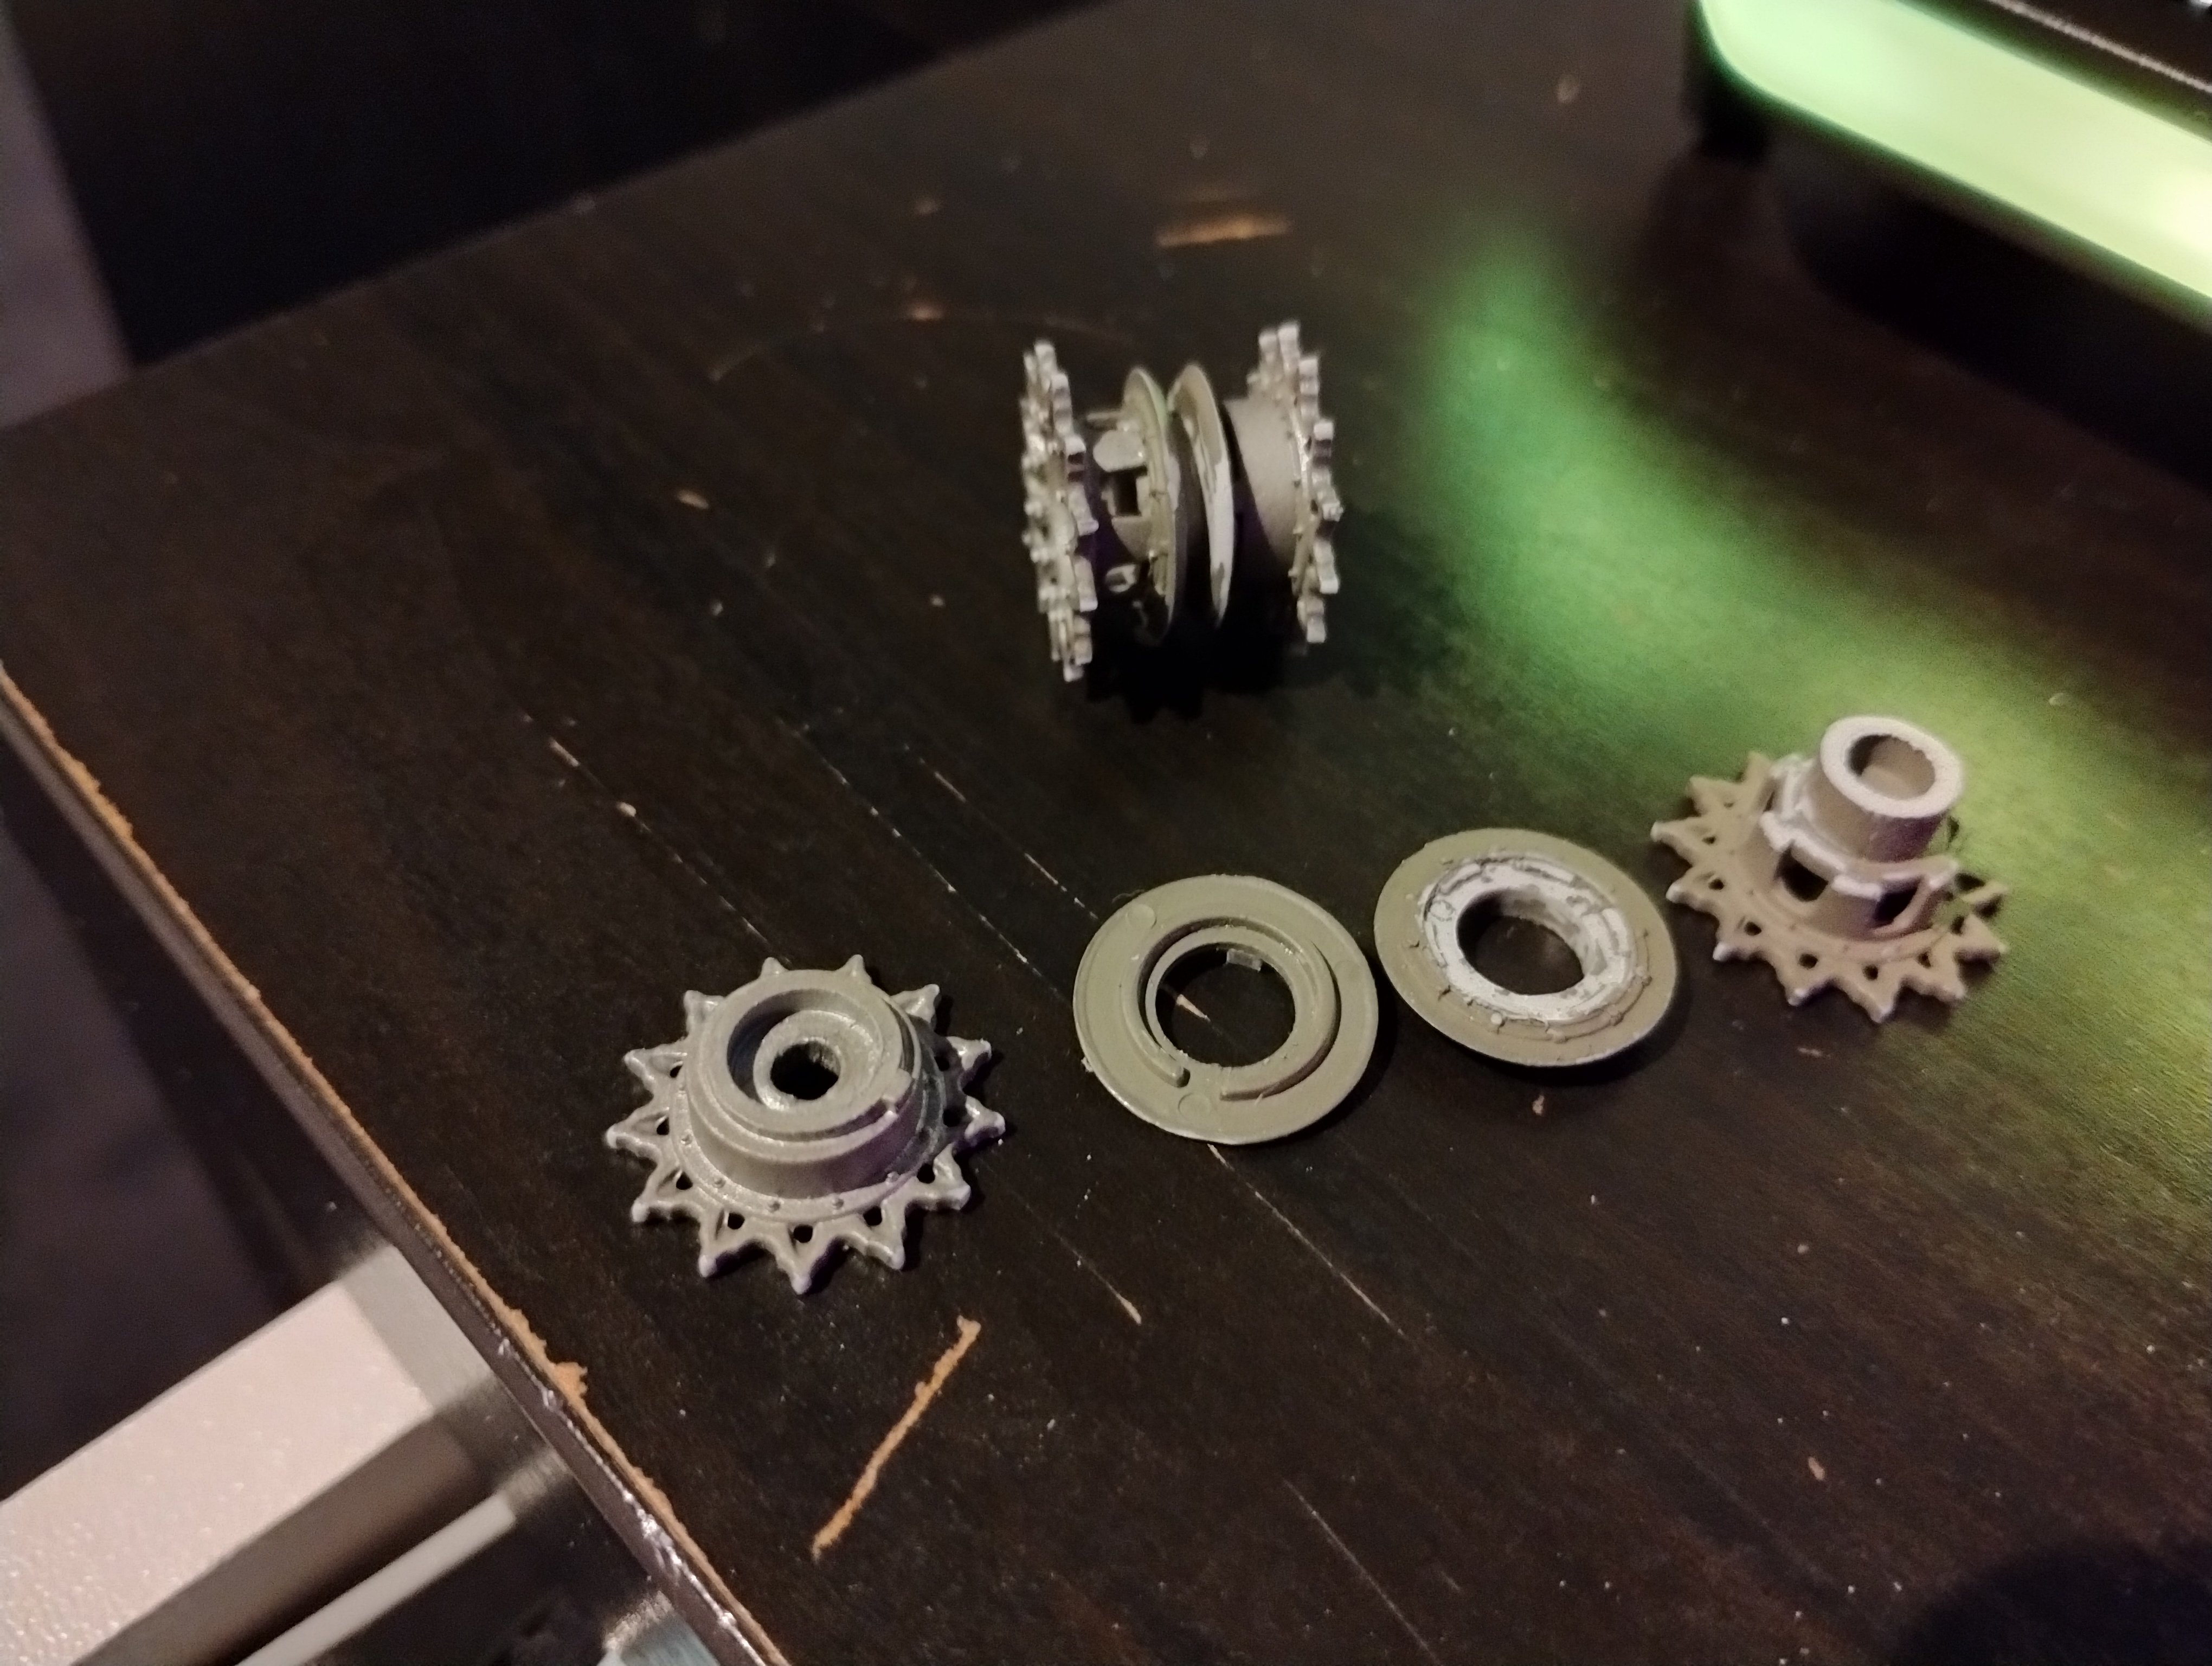
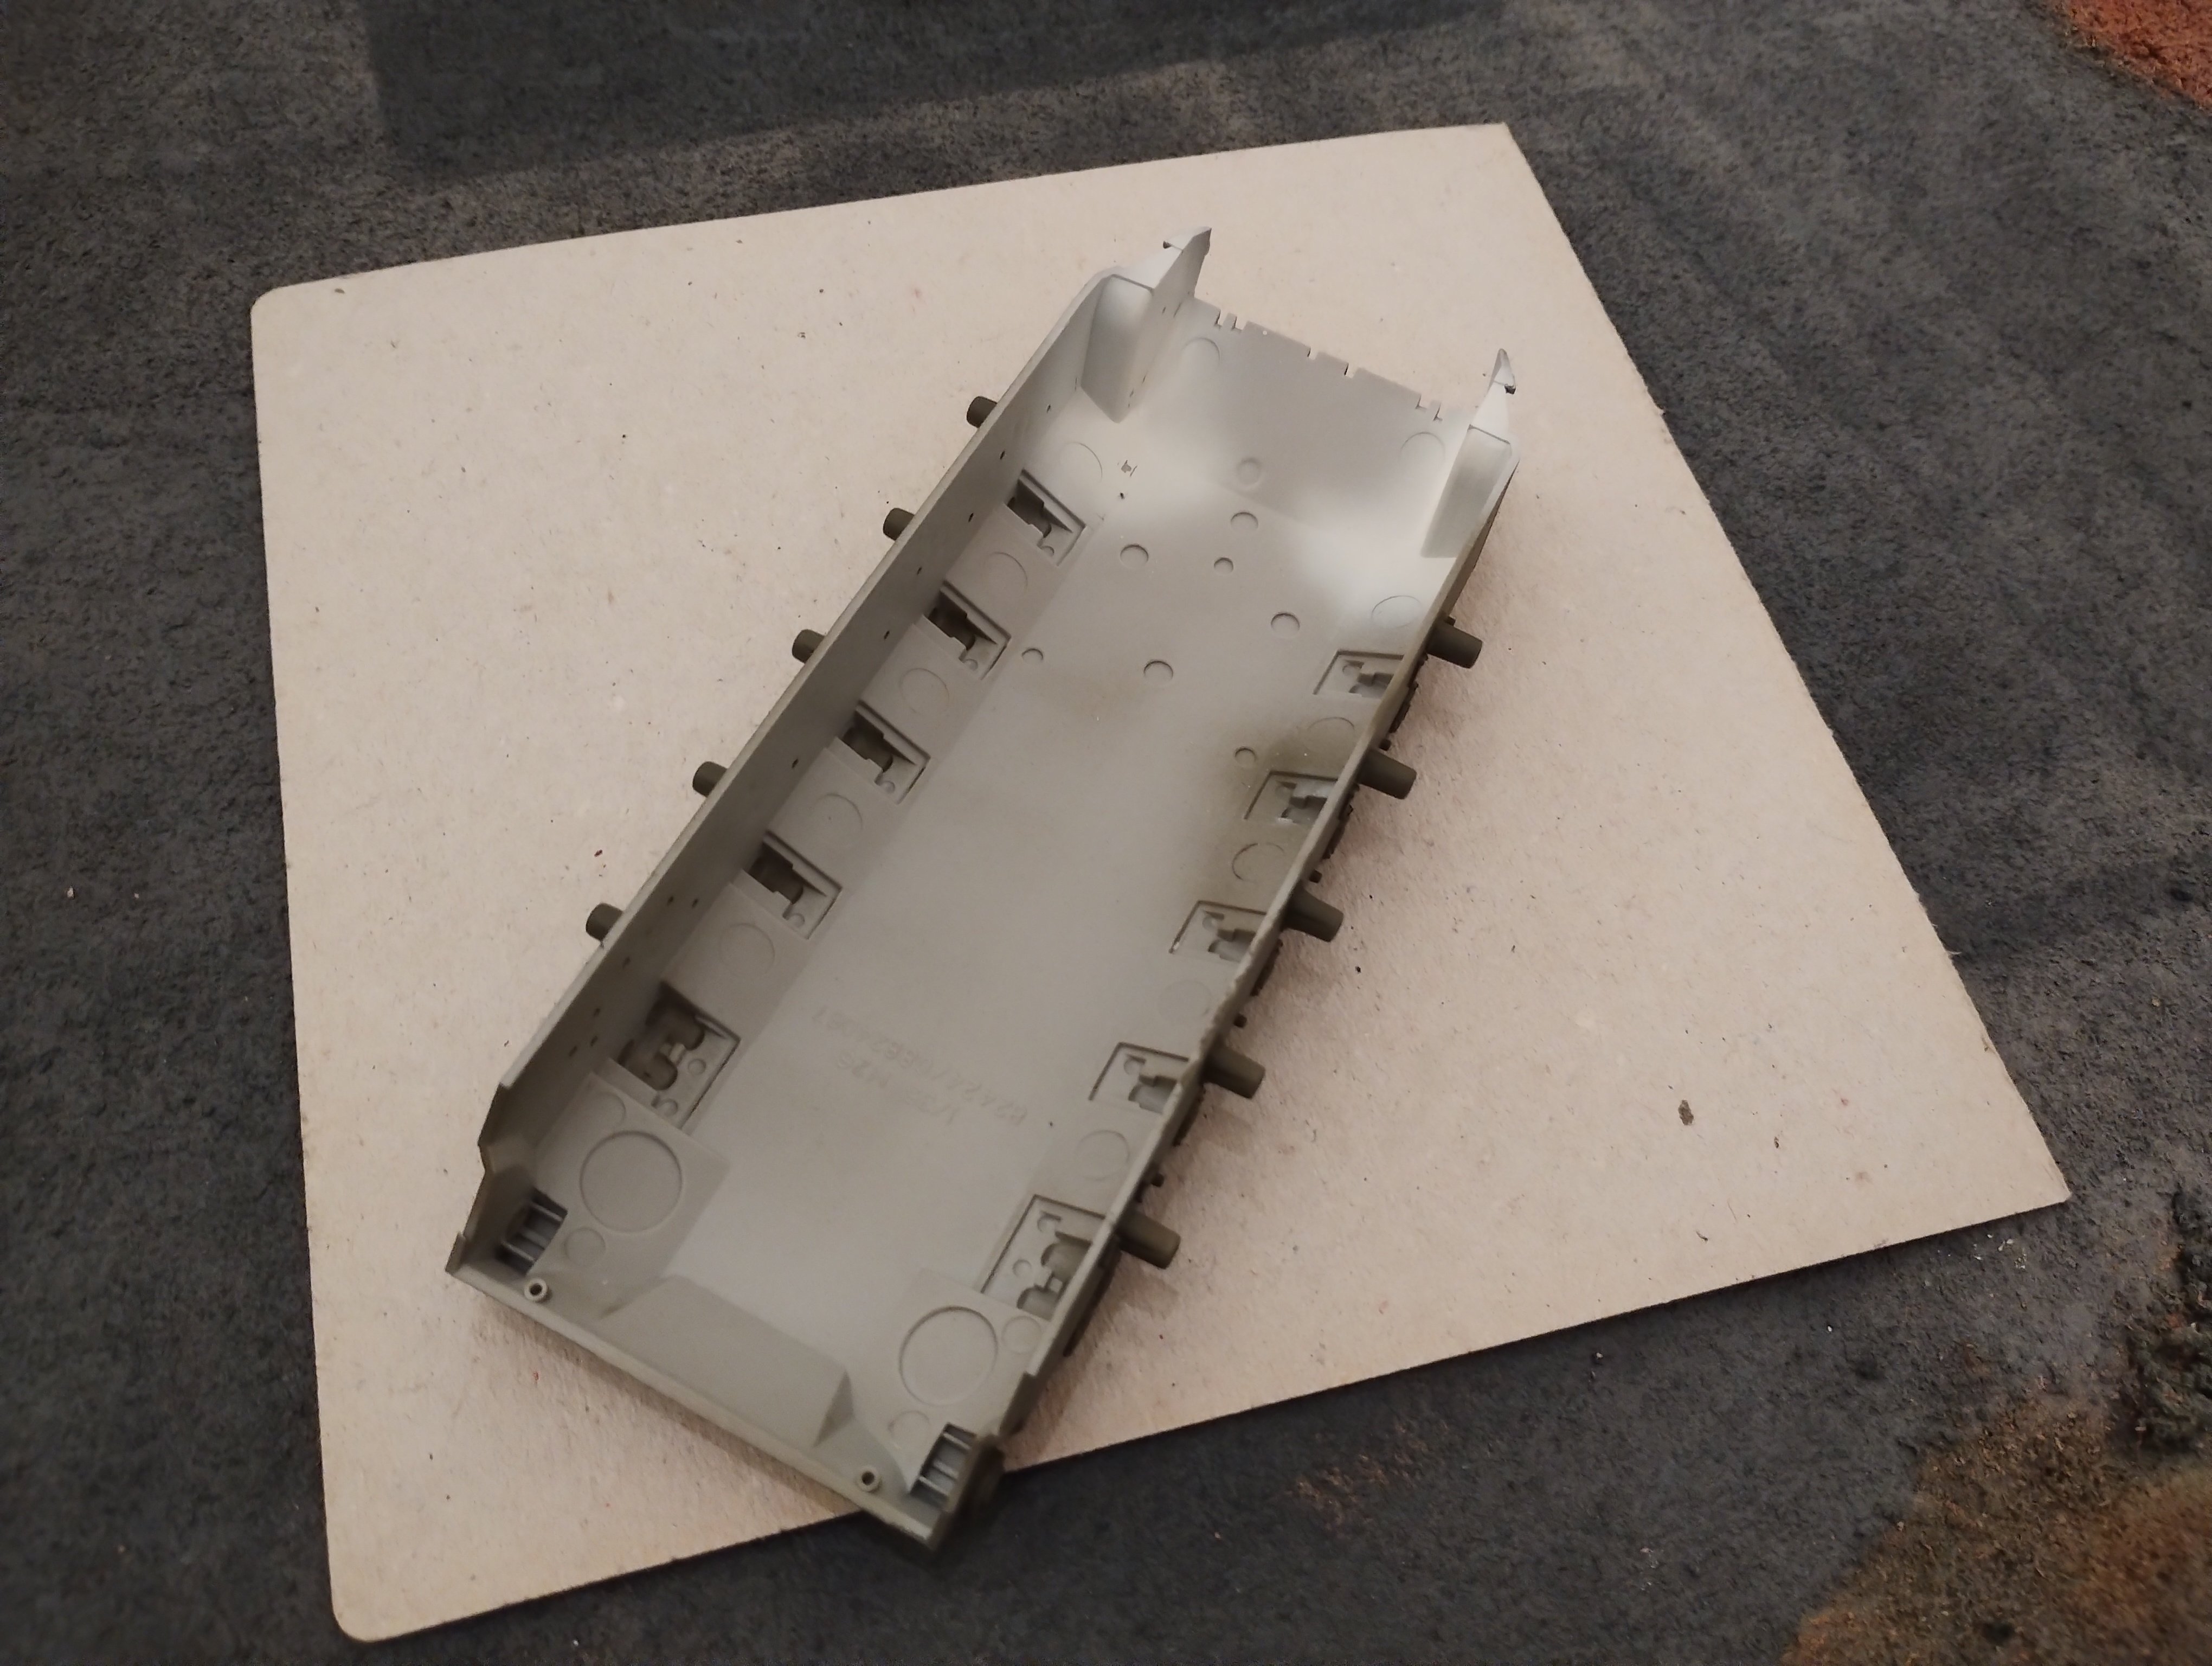
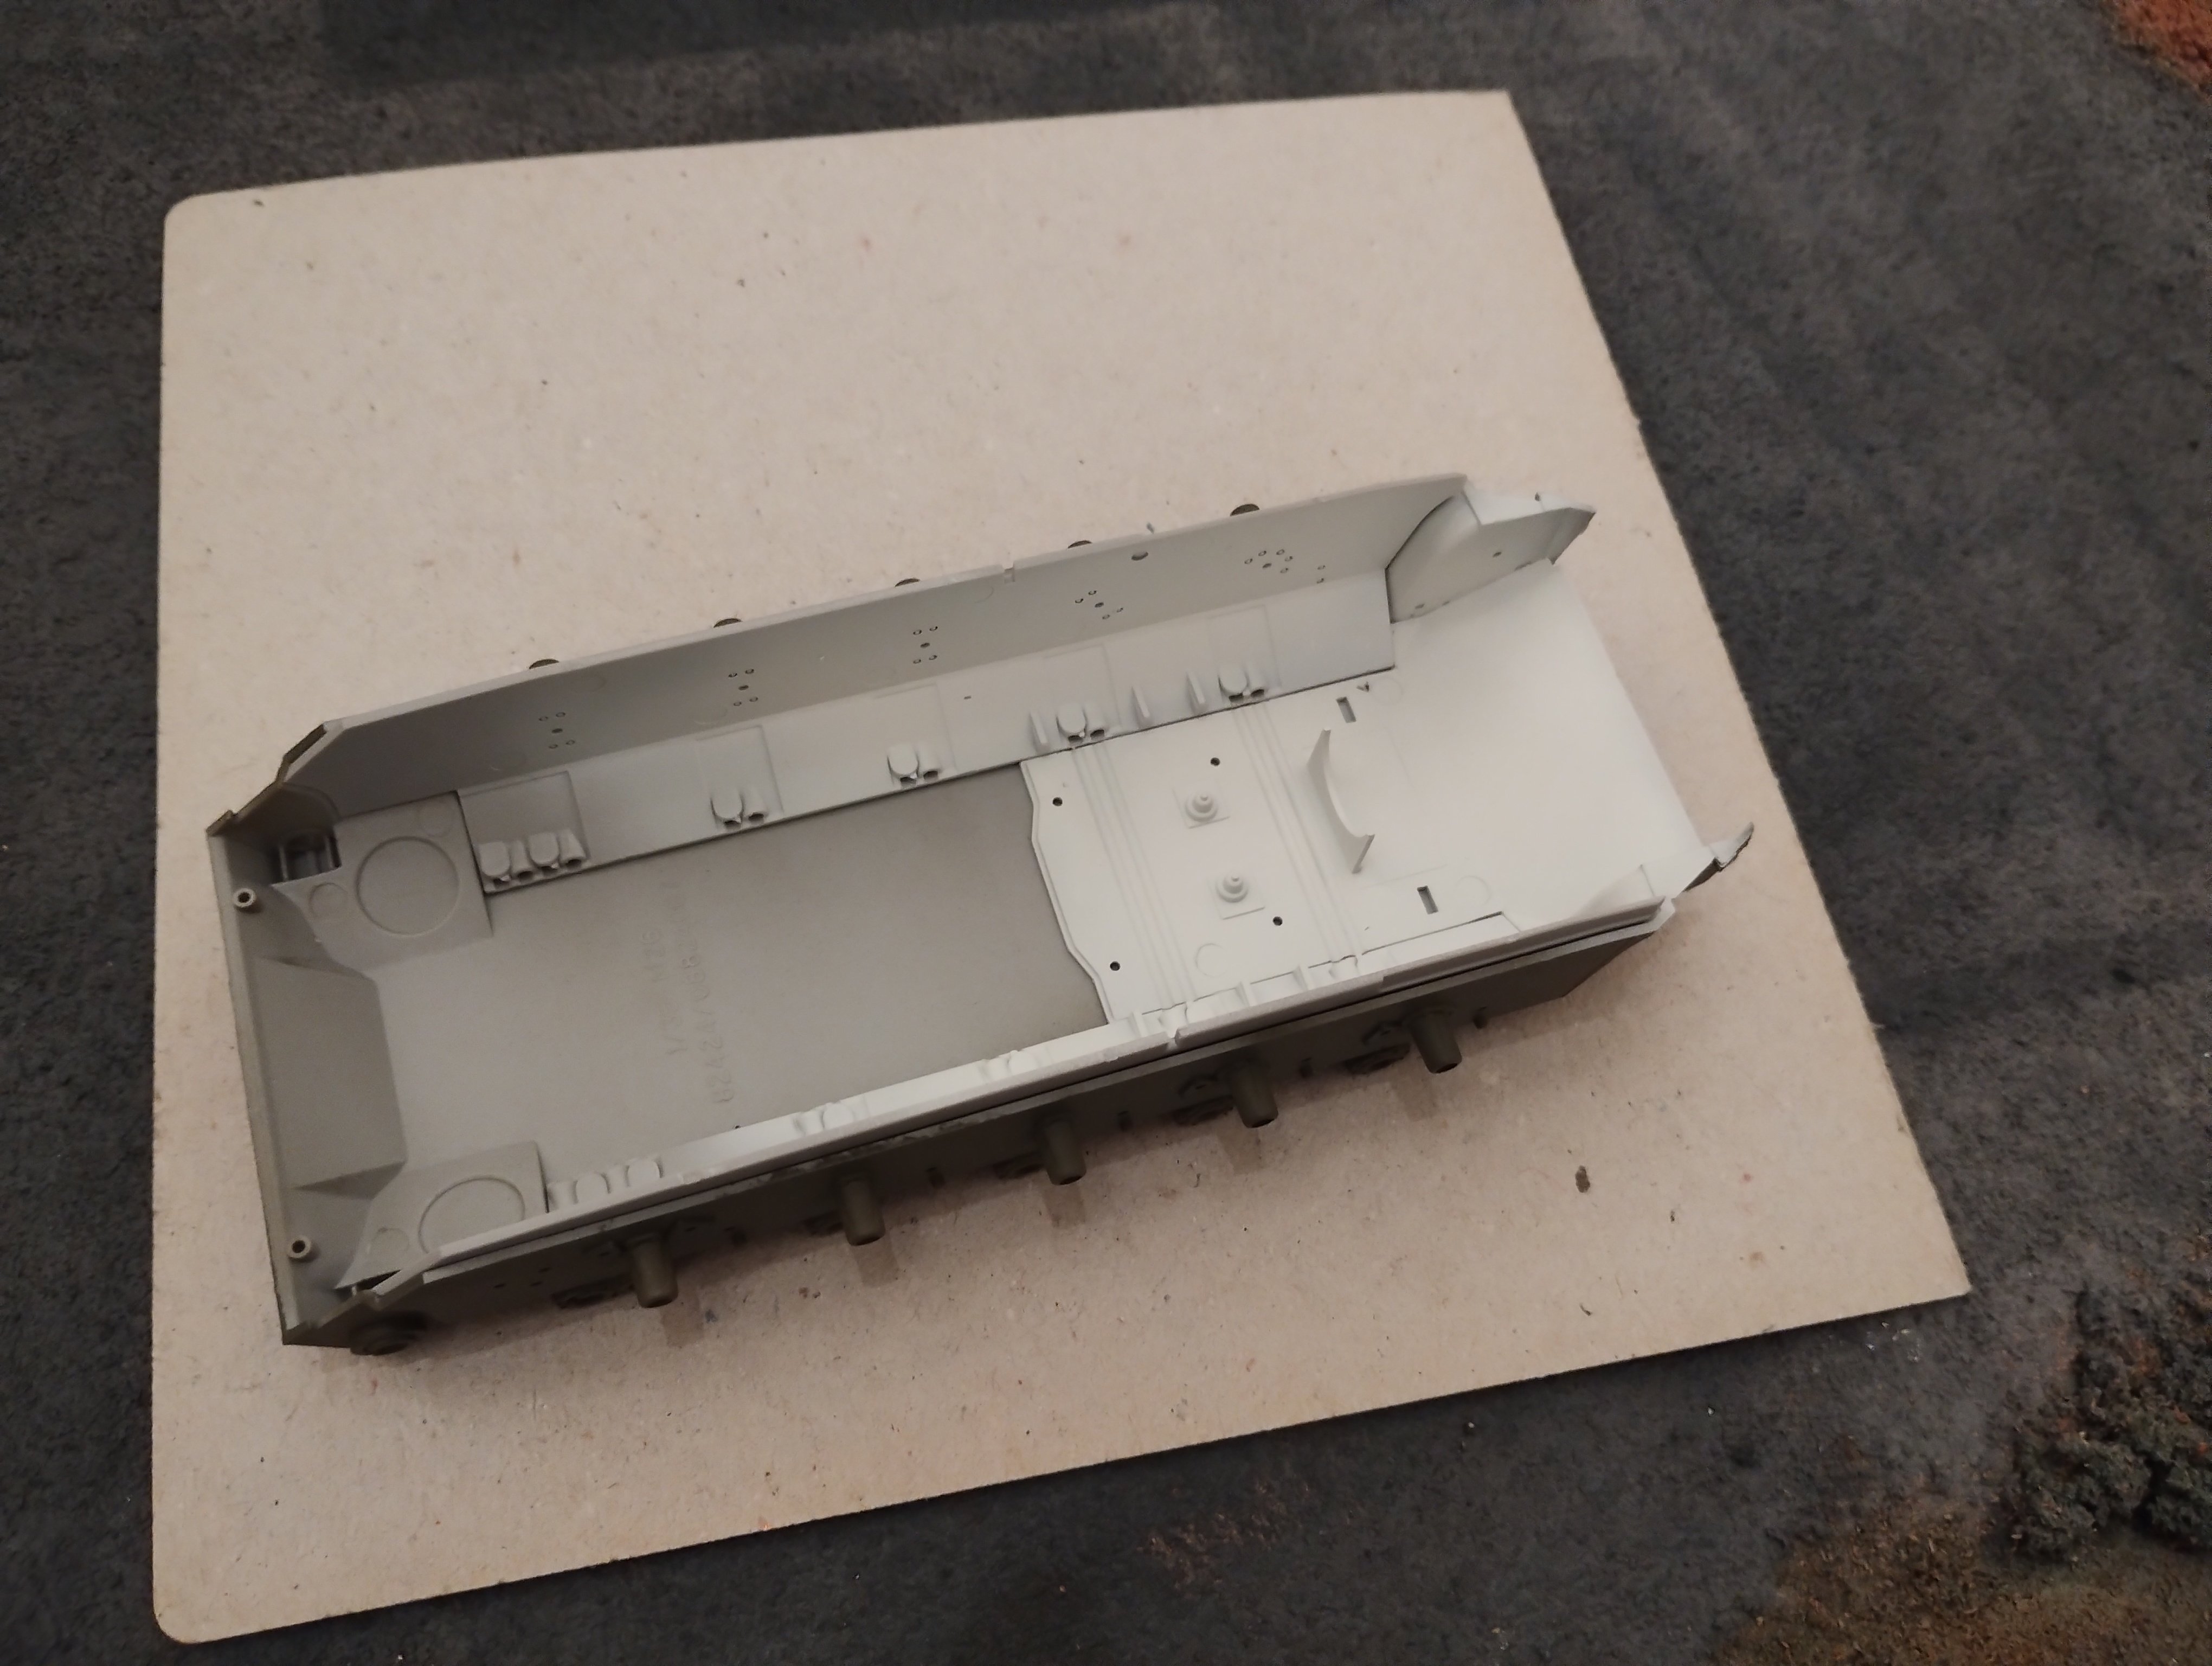
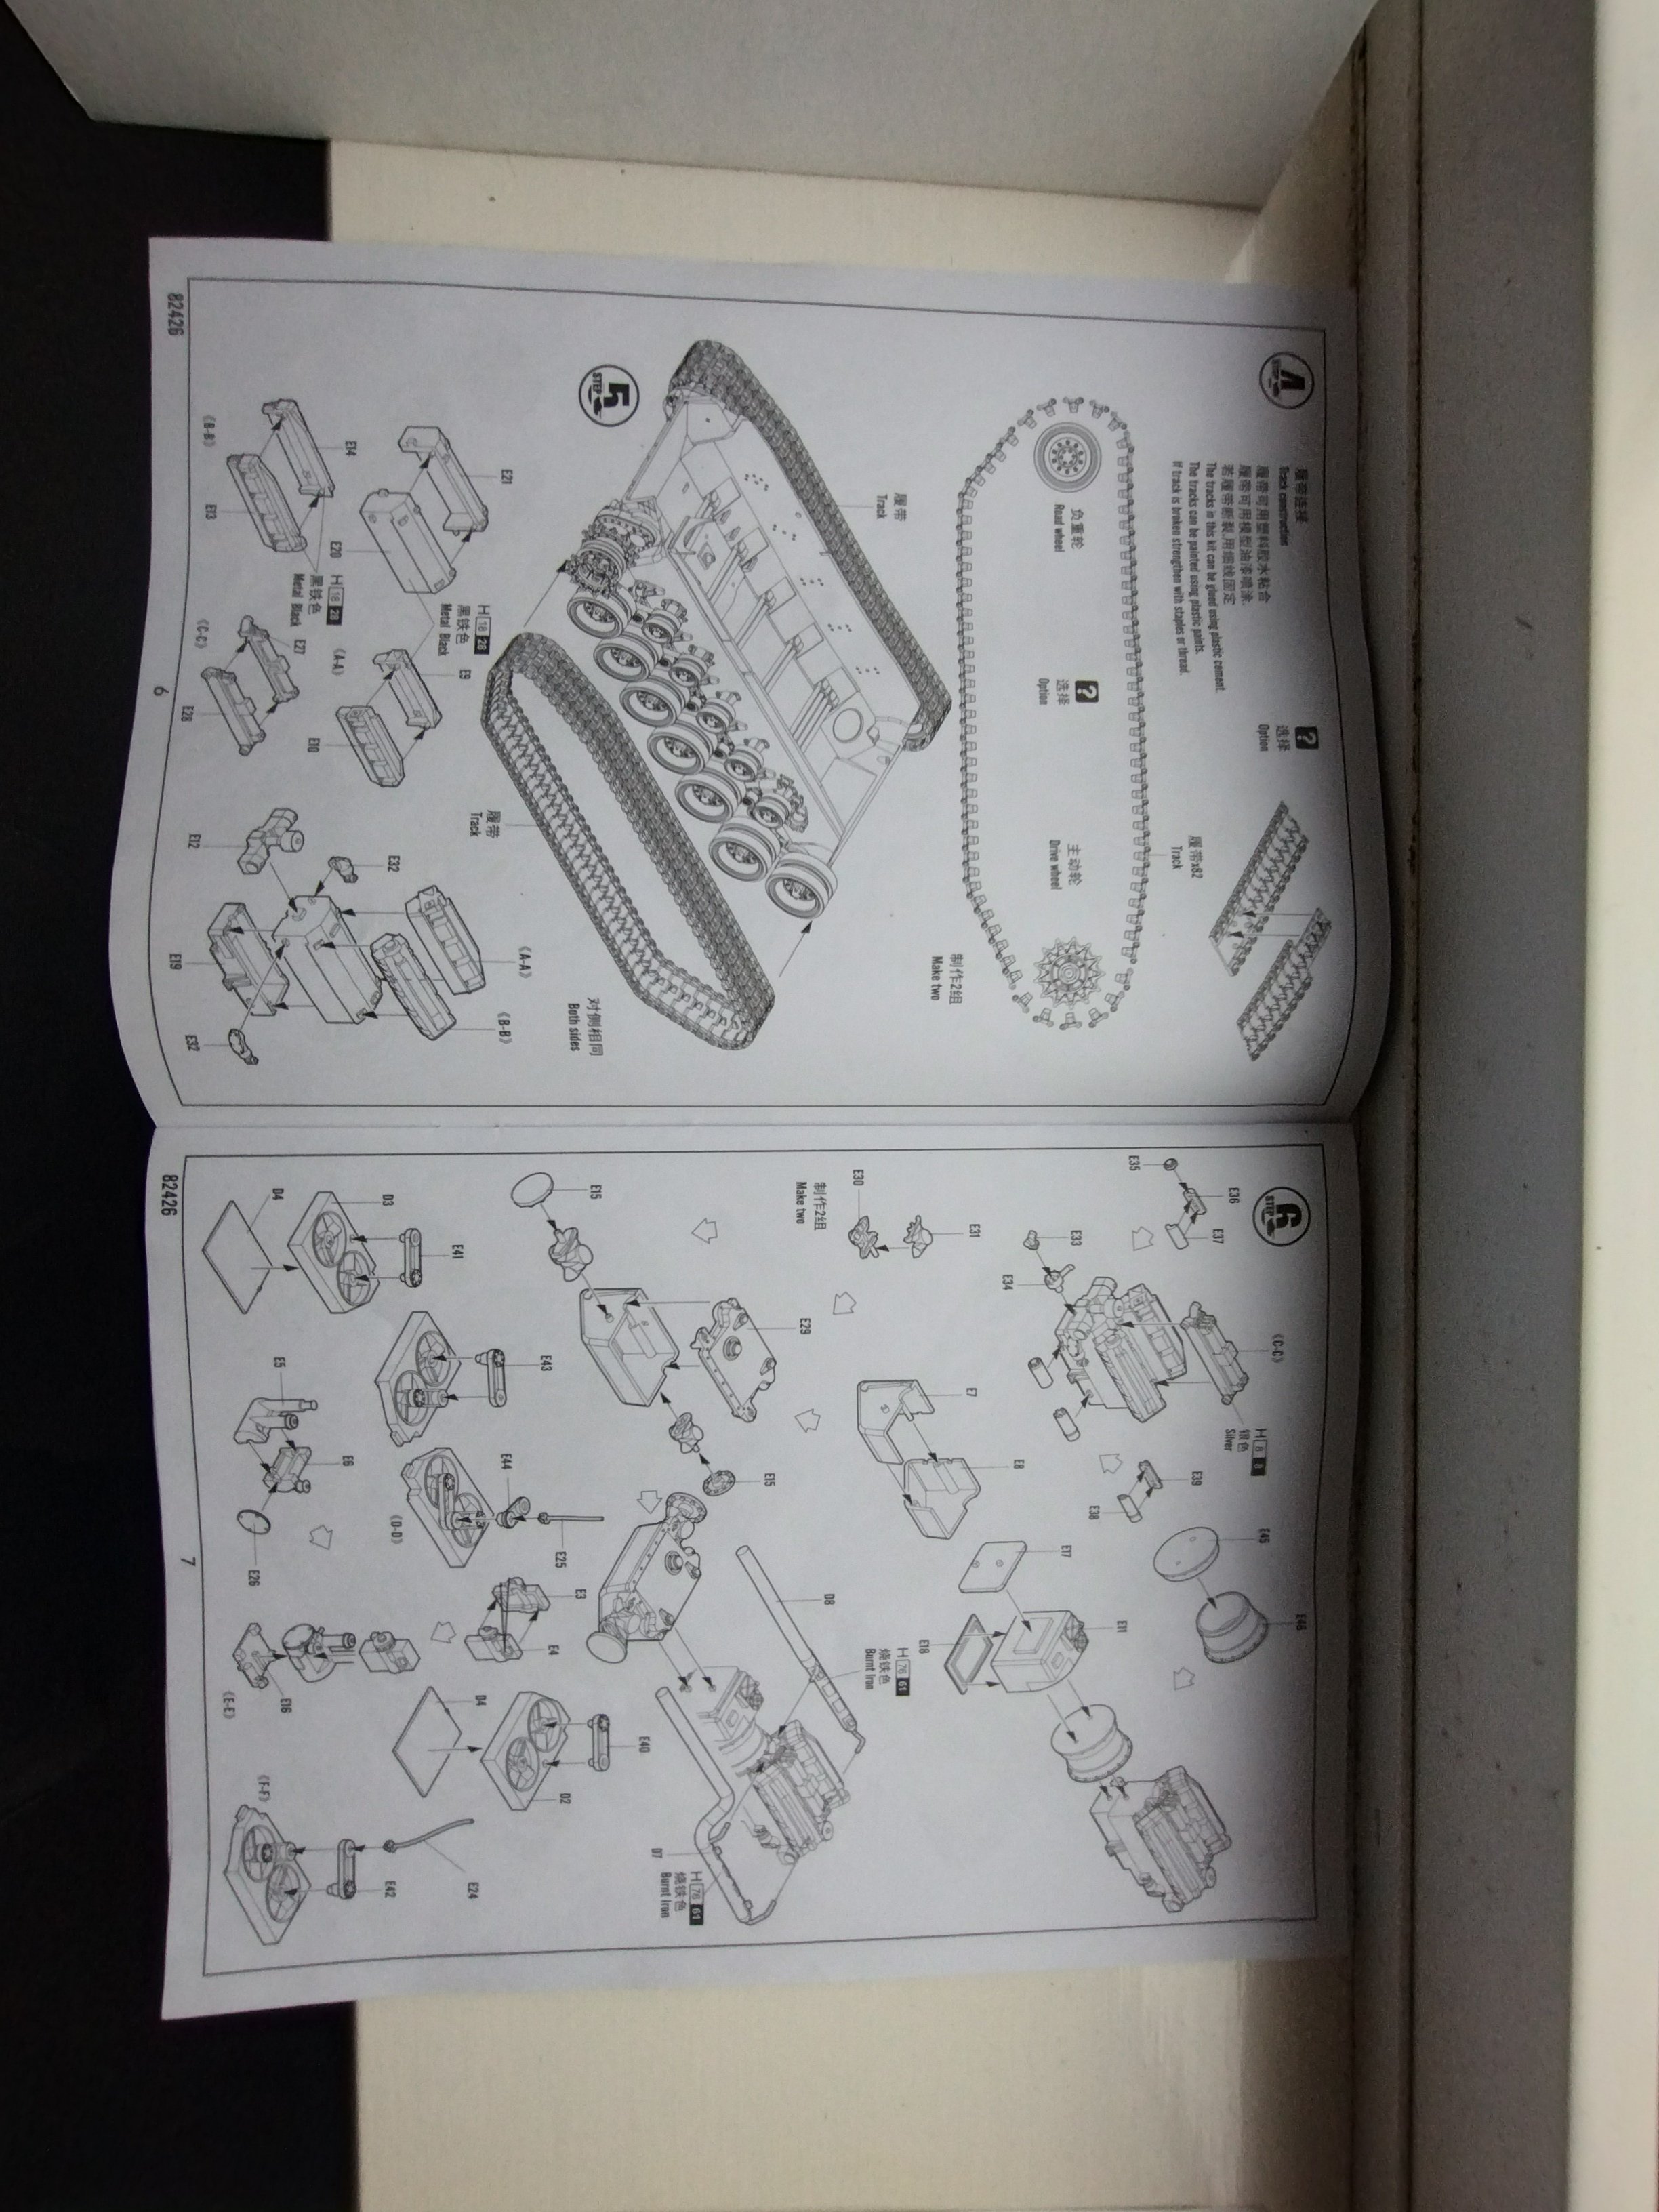
All of the suspension arms have now been fixed in, Road, Sprocket and return rollers painted and some weathering added, tracks have also been cut from sprues,cleaned up and primed + painted.


It took some time to get most of the simpler parts stuck together.


And then everything has now been primed


-
7
-
-
Looks really good. Personally being also an avid game player I use WarThunder for images and ideas of things like how stuff should look. The tanks are modeled really well and you can preview anything in any nation so gives a good 3D model you can look at. Might be helpful might not.
-
3
-
-
On 1/21/2024 at 4:57 PM, Bomber_County said:
Never built HobbyBoss so interesting to see how it builds up…….looking good
The level of detail is pretty damn good. Love the fact that there is actually torsion bars modeled in and fitted together properly. Unfortunately it's gonna all be glued in place as the plastic doesn't have enough strength to actually work. And the shock absorbers can't pivot or move angle wise. But it all fits and looks great together
-
6
-
-
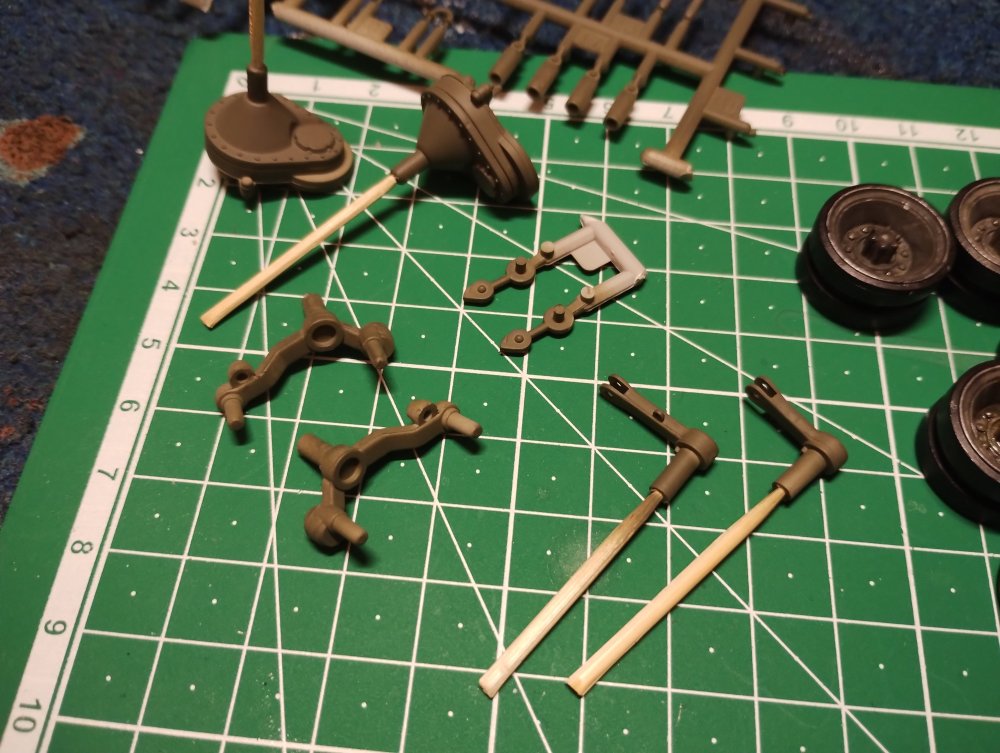
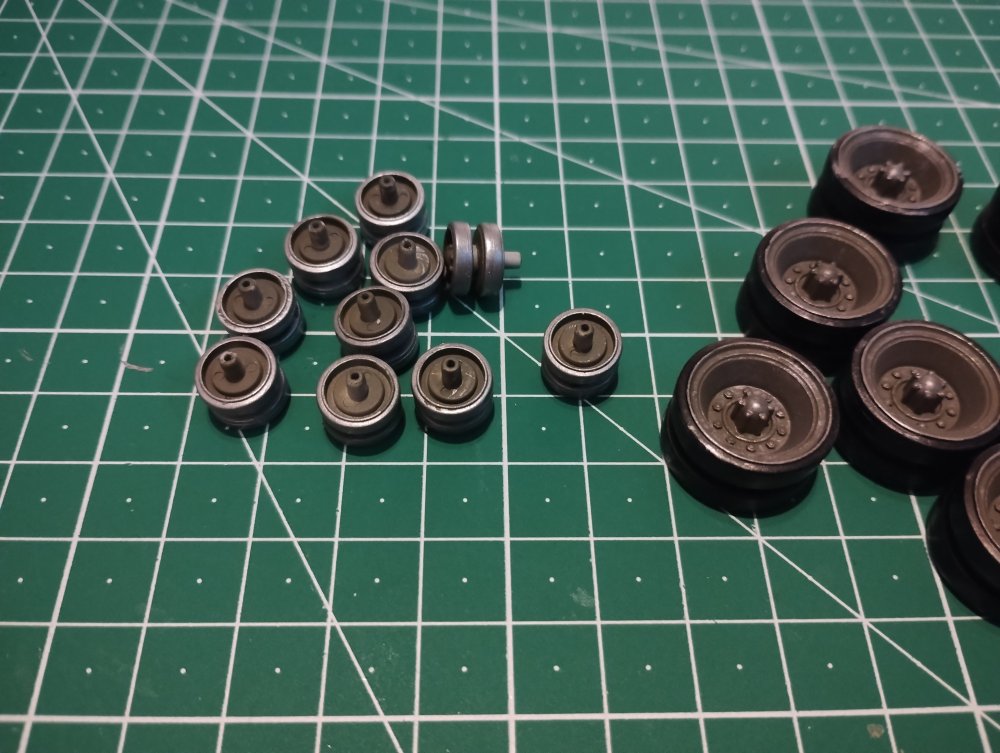
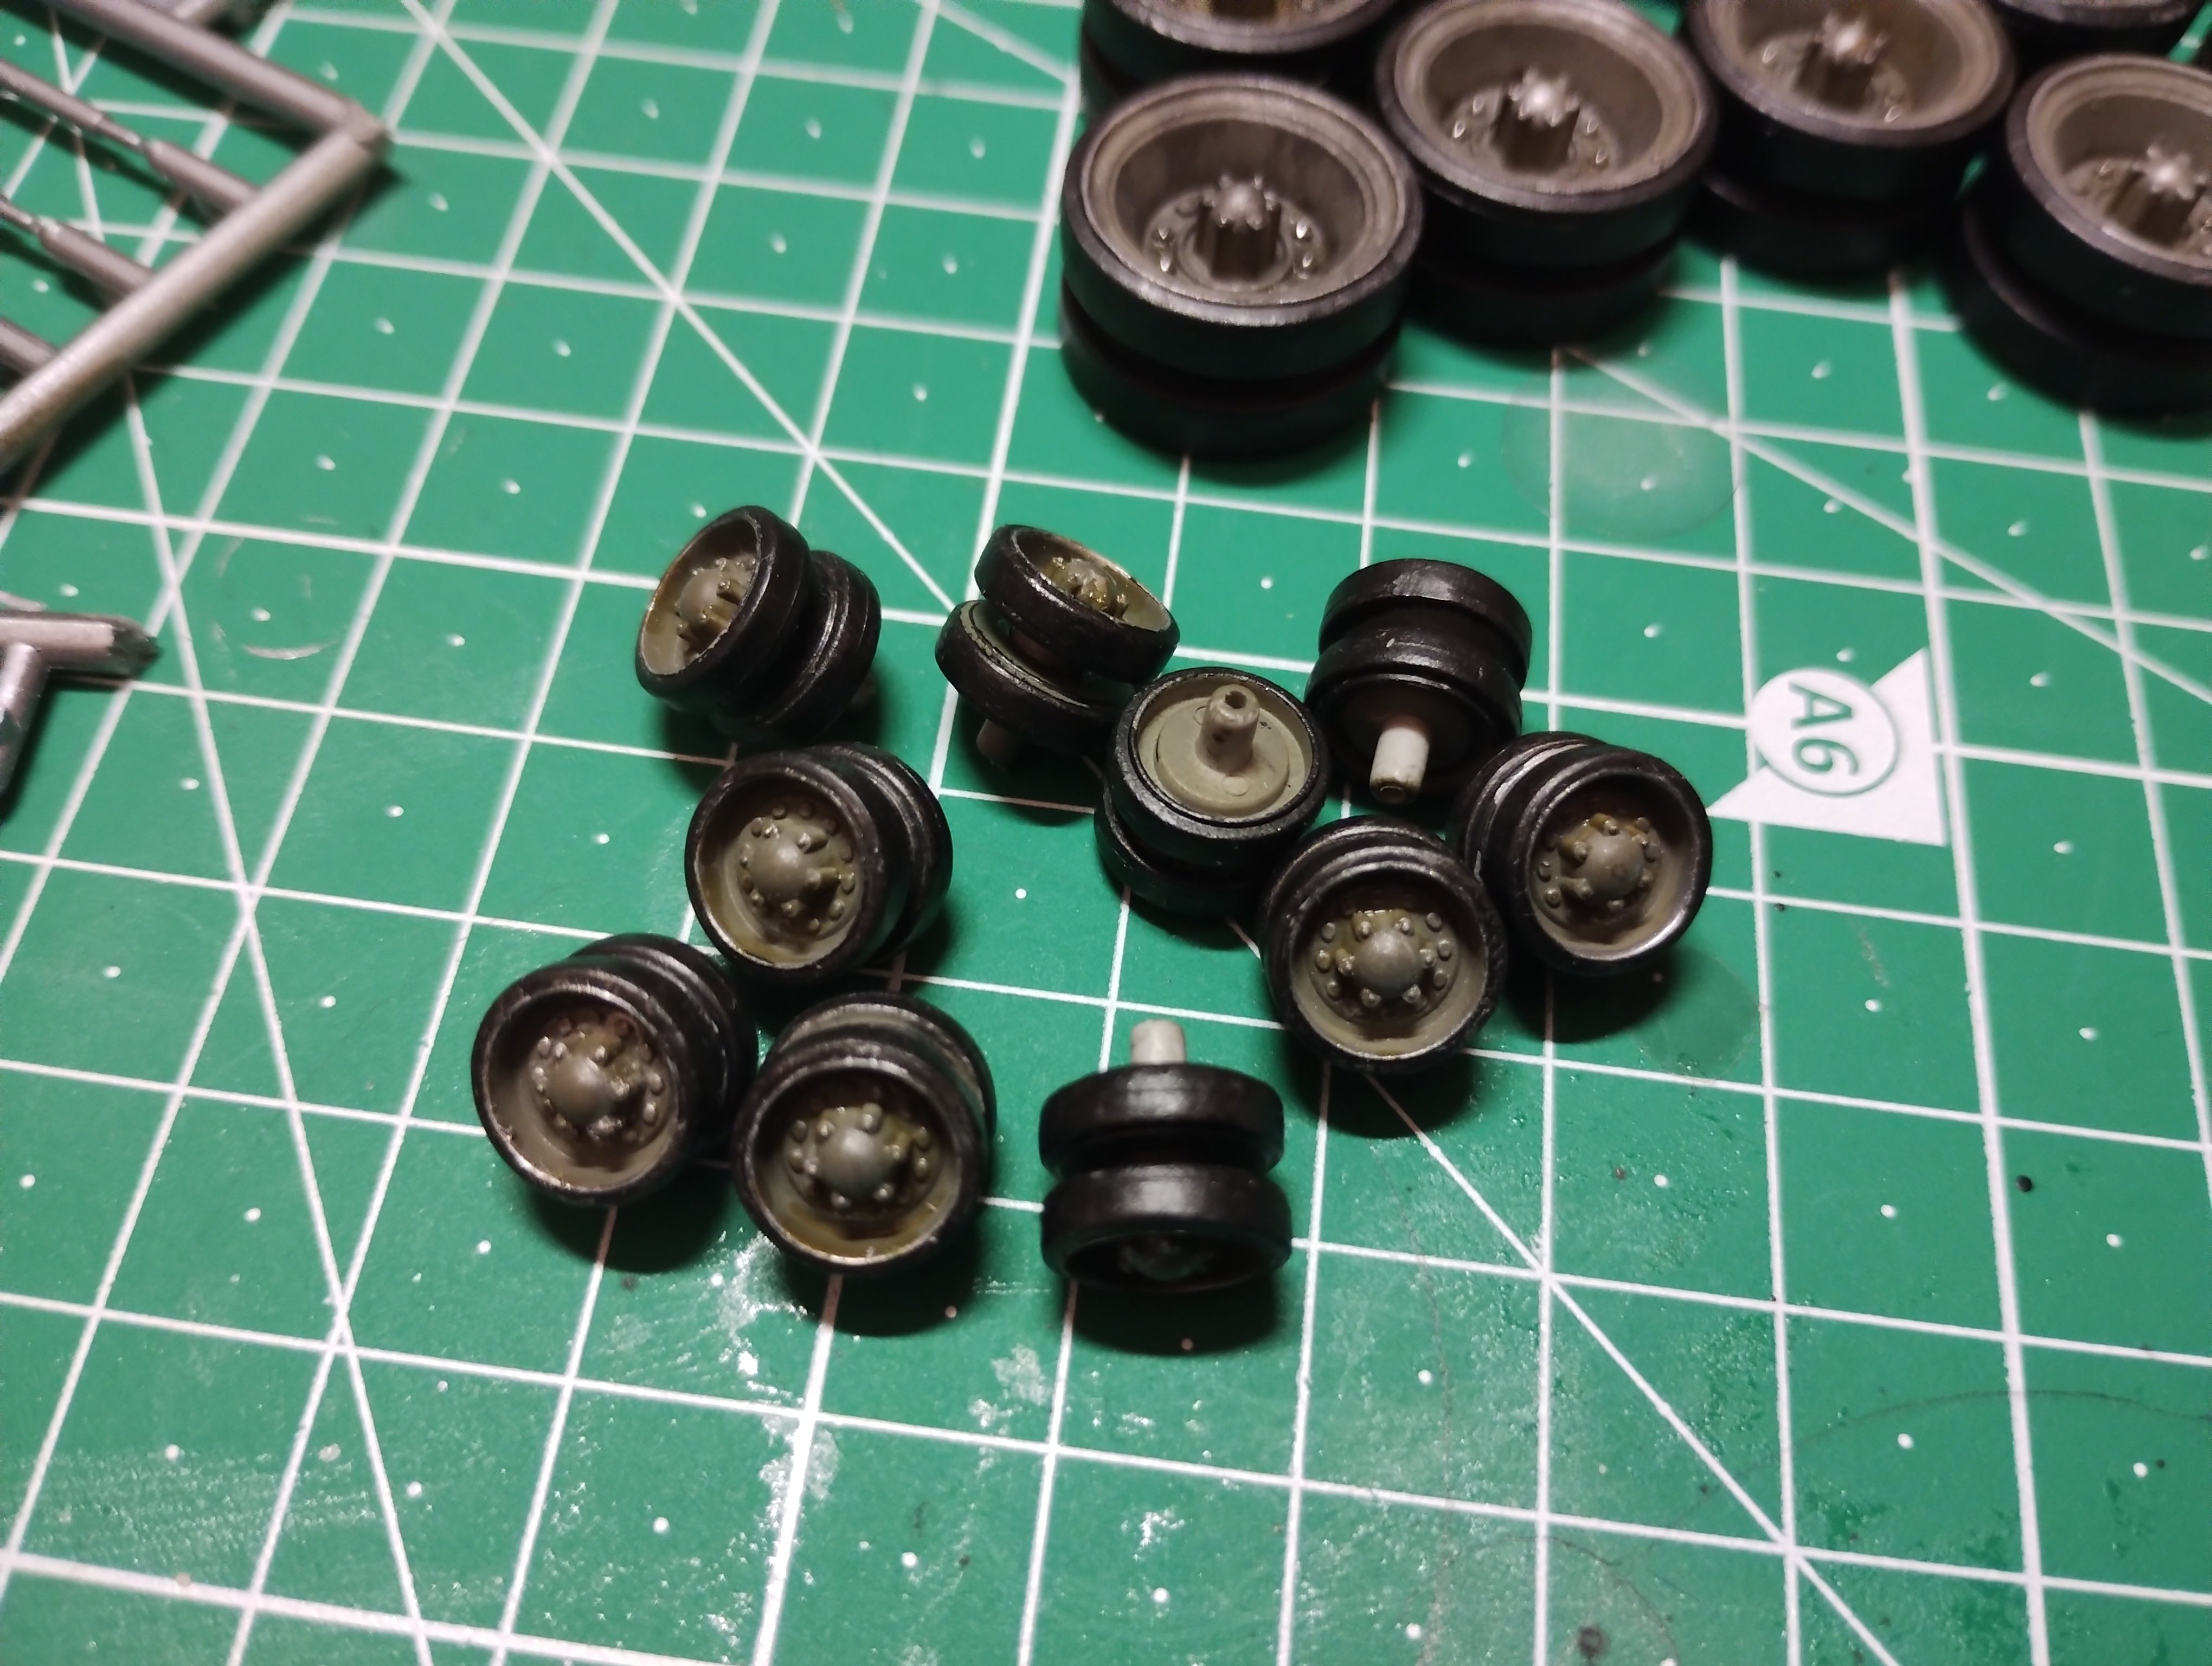
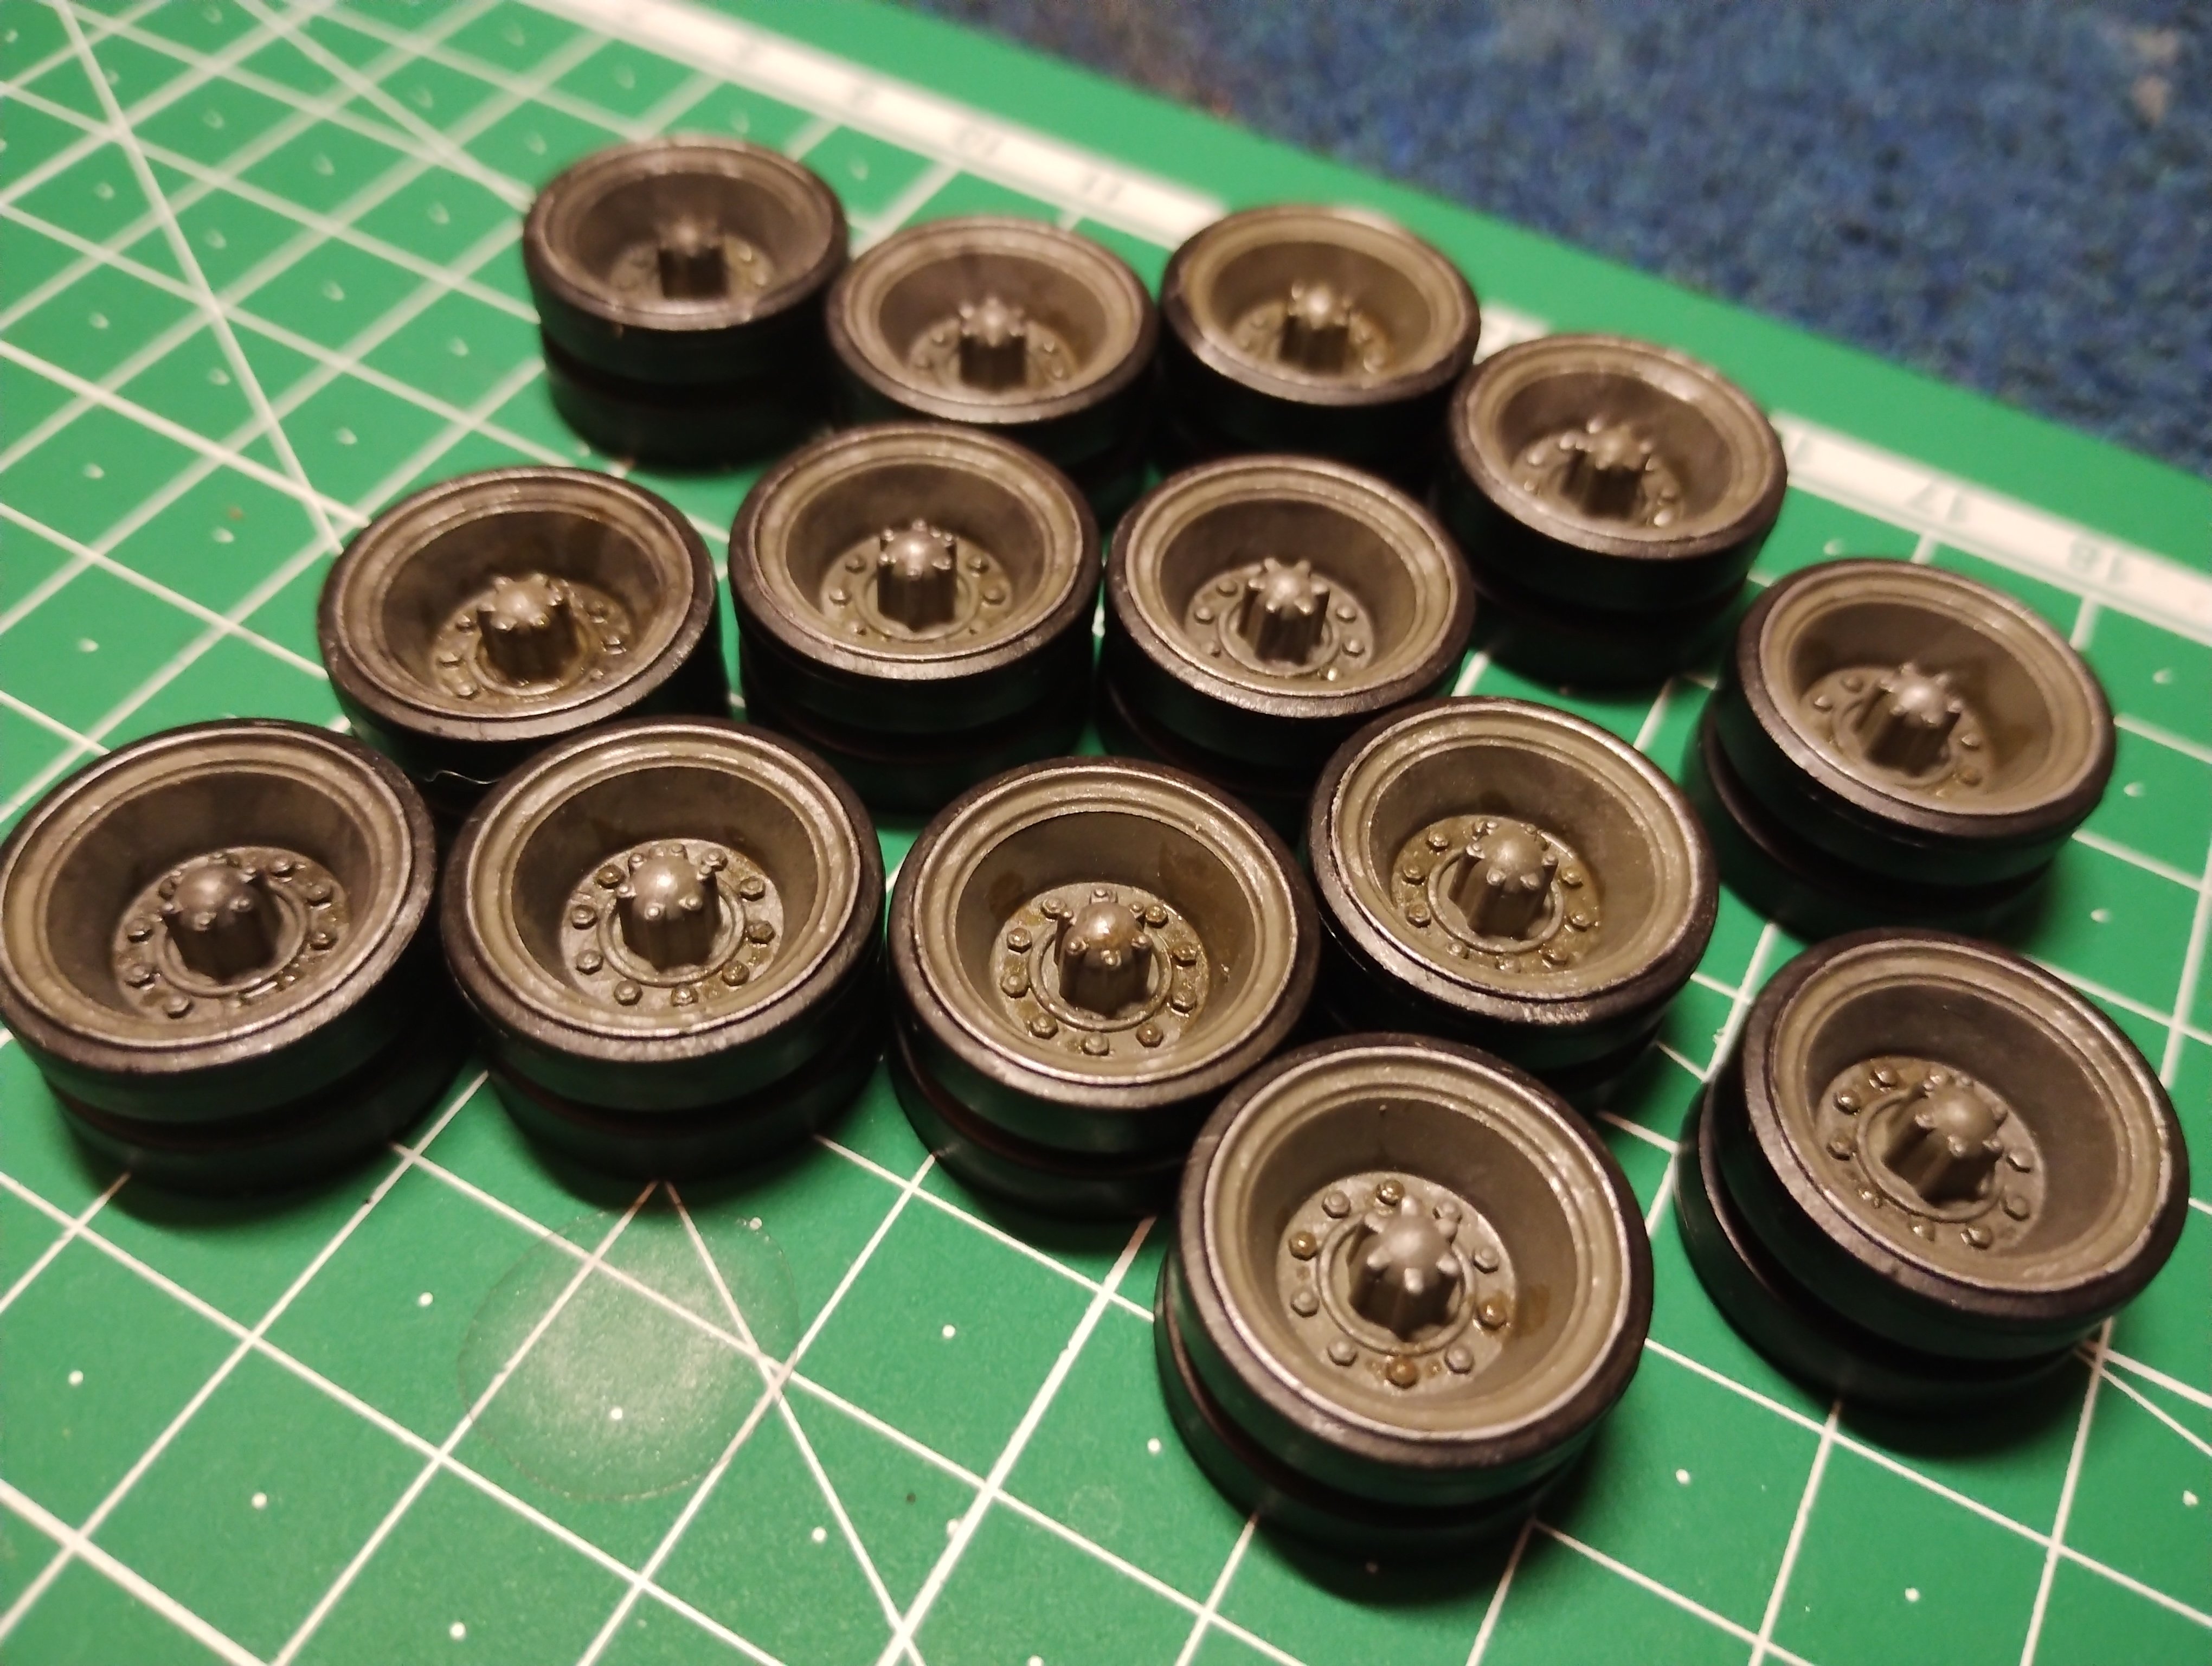
There. That's better. Got the wheels all done. Added some black wash and oil/grease to them as well. Got all the suspension and running gear parts done and ready to be put on.


-
5
-
-
5 hours ago, Martinnfb said:
E3 walk around that could help
Quite helpful thanks. Been using videos from the chieftain for info. Not quite sure why I decided the rollers were metal honestly 😅
-
1
-
-
6 hours ago, BlrwestSiR said:
Nice but of progress. I always find cleaning up and painting road wheels the most tedious part of an armour build.
I don't find it to bad. Tho it is annoying getting the colours to not cross sometimes. Although making any kind of Churchill tank is an exception. Or German for that matter. So so many road wheels ha ha
-
3
-
-
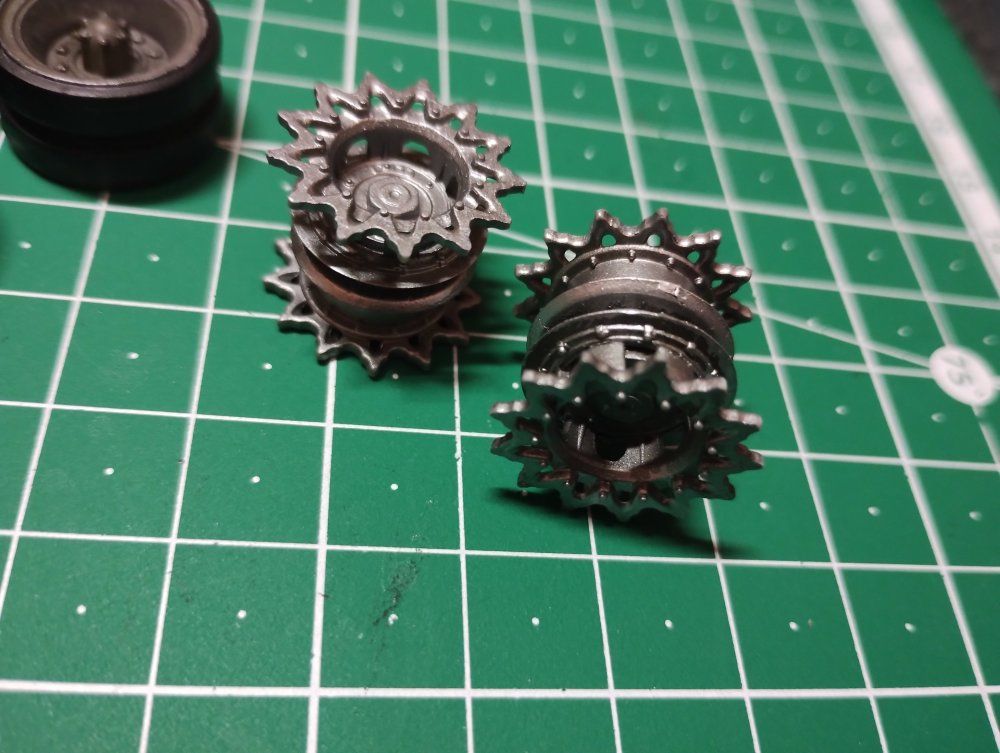
Here some work. Been doing the road wheels and return rollers. Started with adding the weathering to them as well.

-
7
-
-
Looking awesome so far. Love the headlights and all the smaller details. Will be following along for this one.
-
1
-
 1
1
-
-
Thanks for the interest helps keep my motivation going.
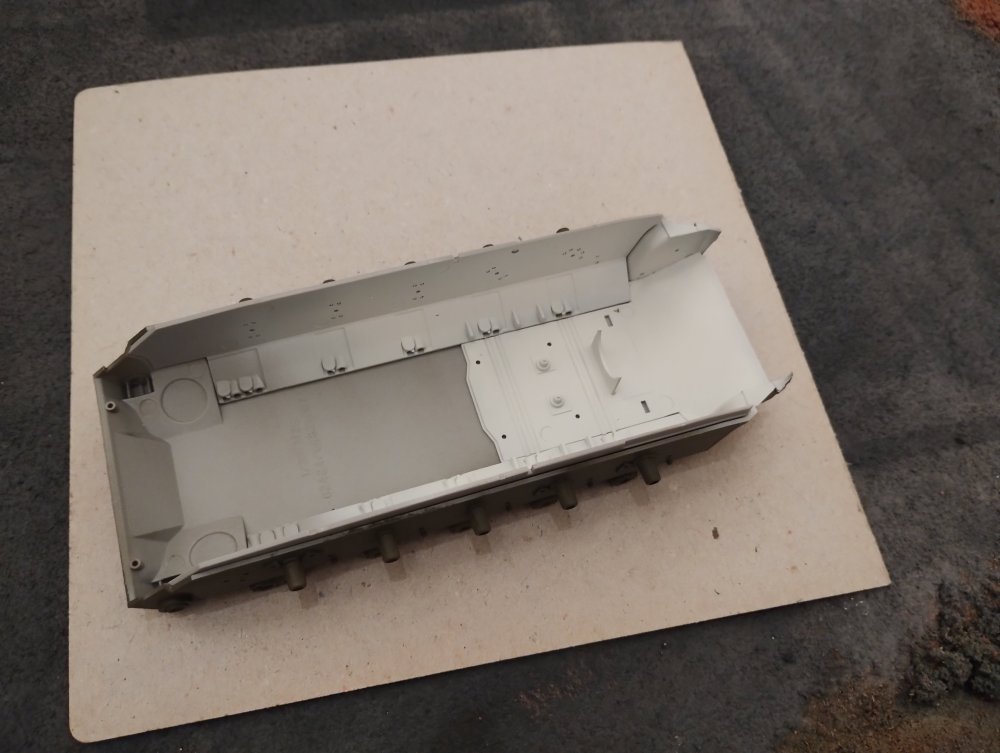
Just done some painting so far. The road wheels suspension arms and hull coated with my new air gun.
Also painted inside the inside engine bay area and fire wall.


-
7
-
-
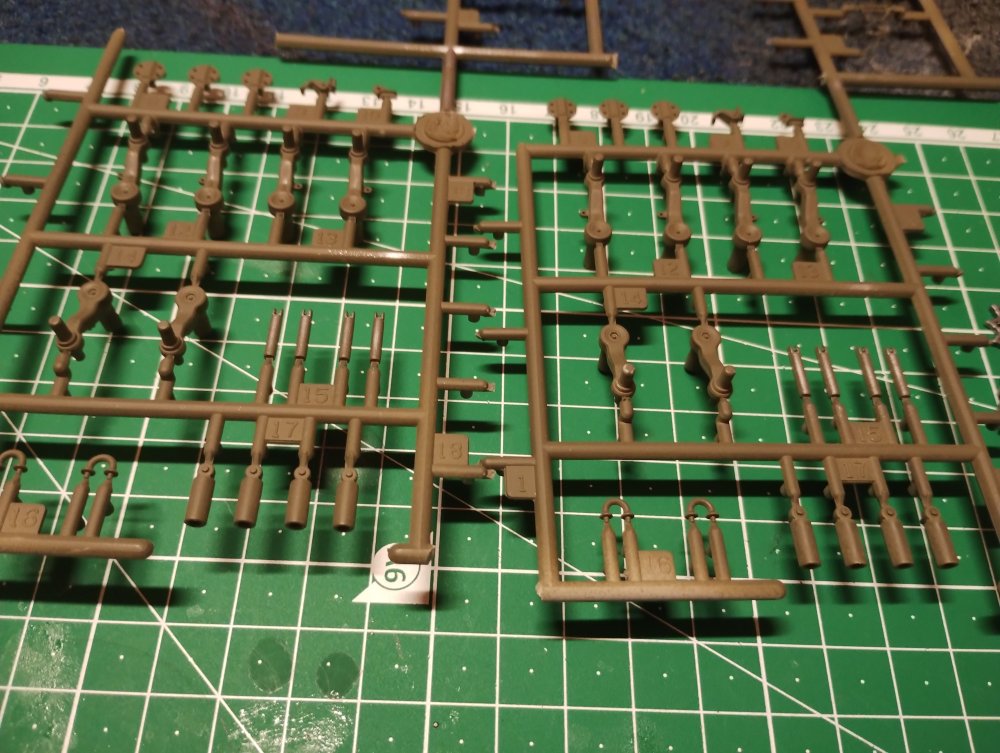
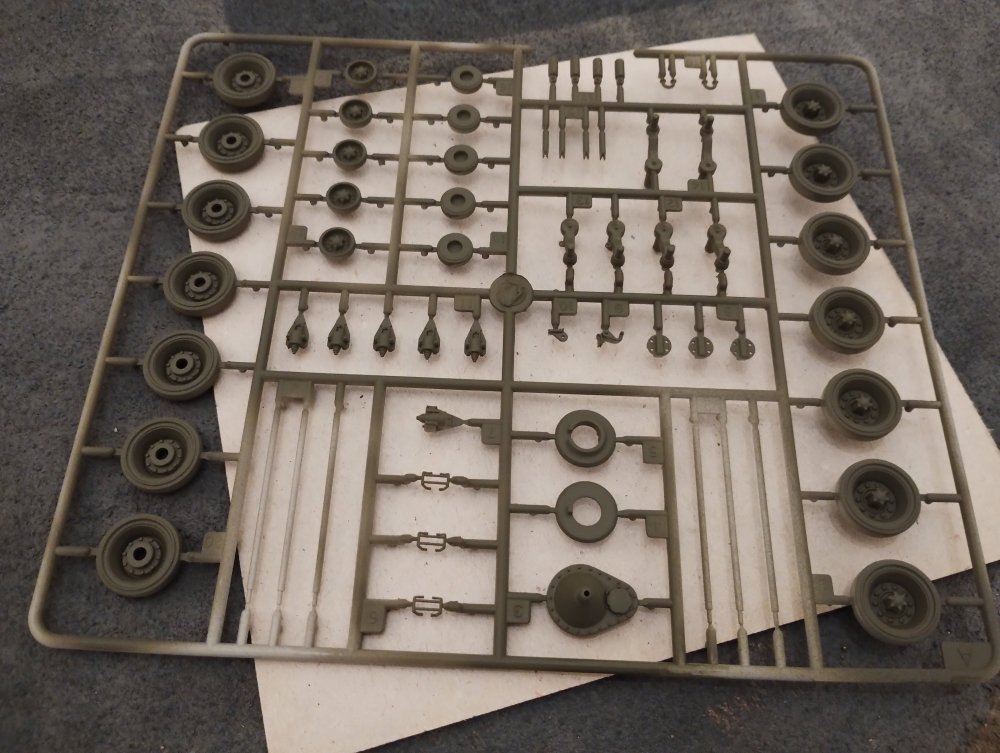
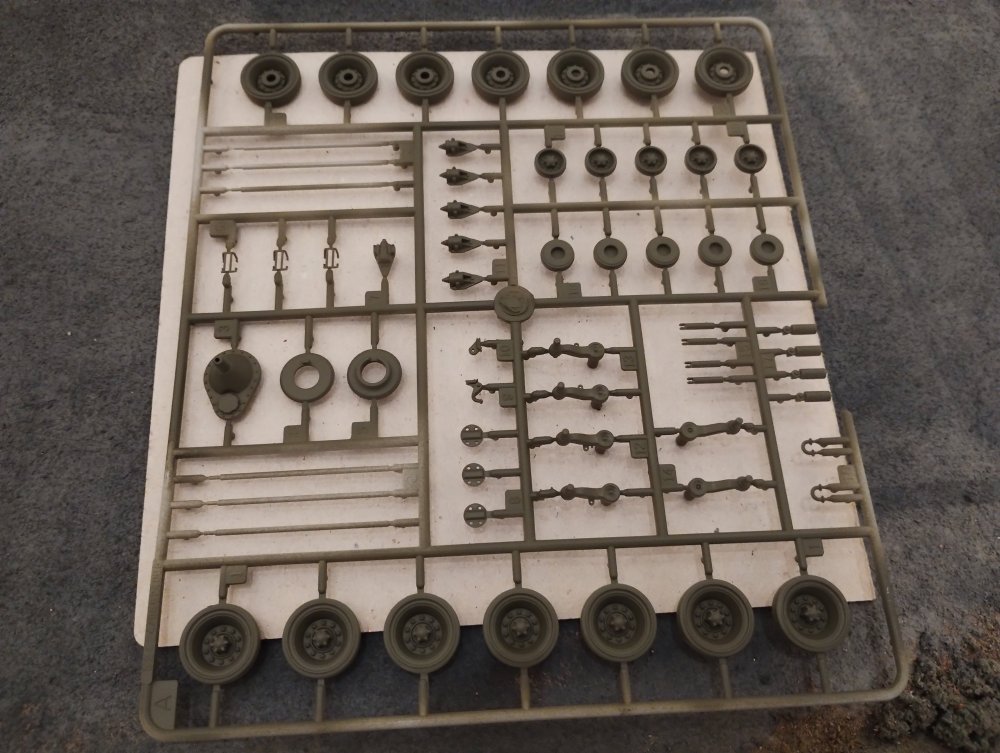
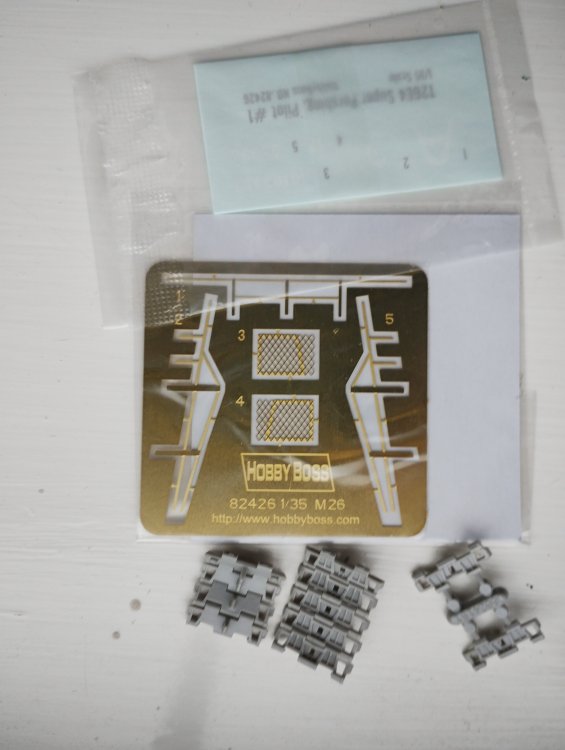
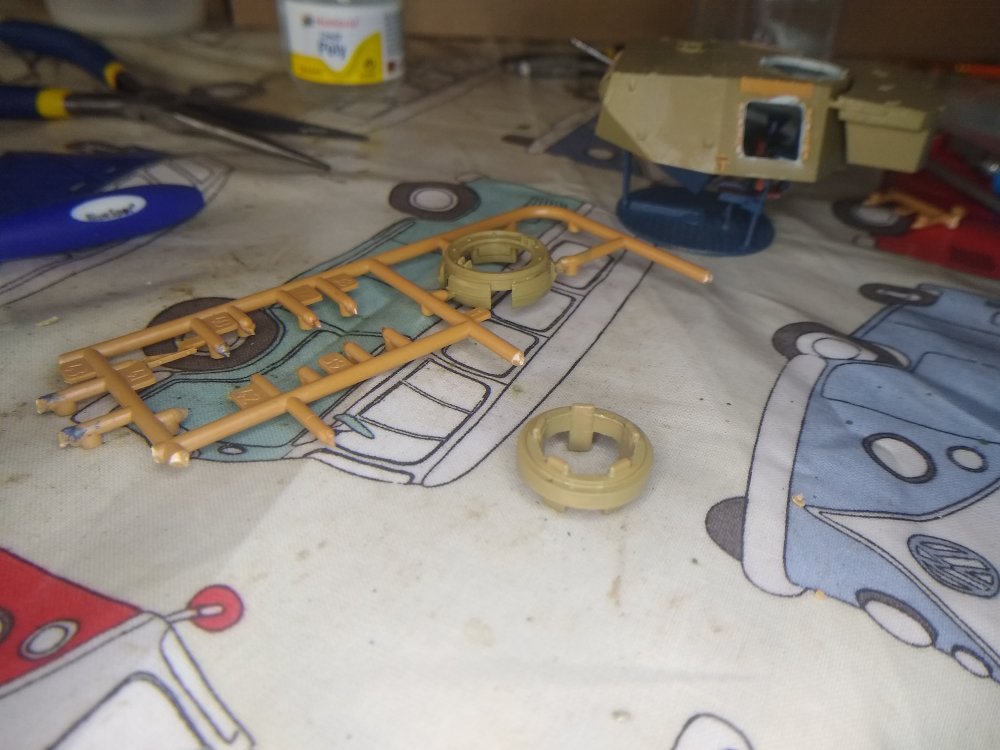
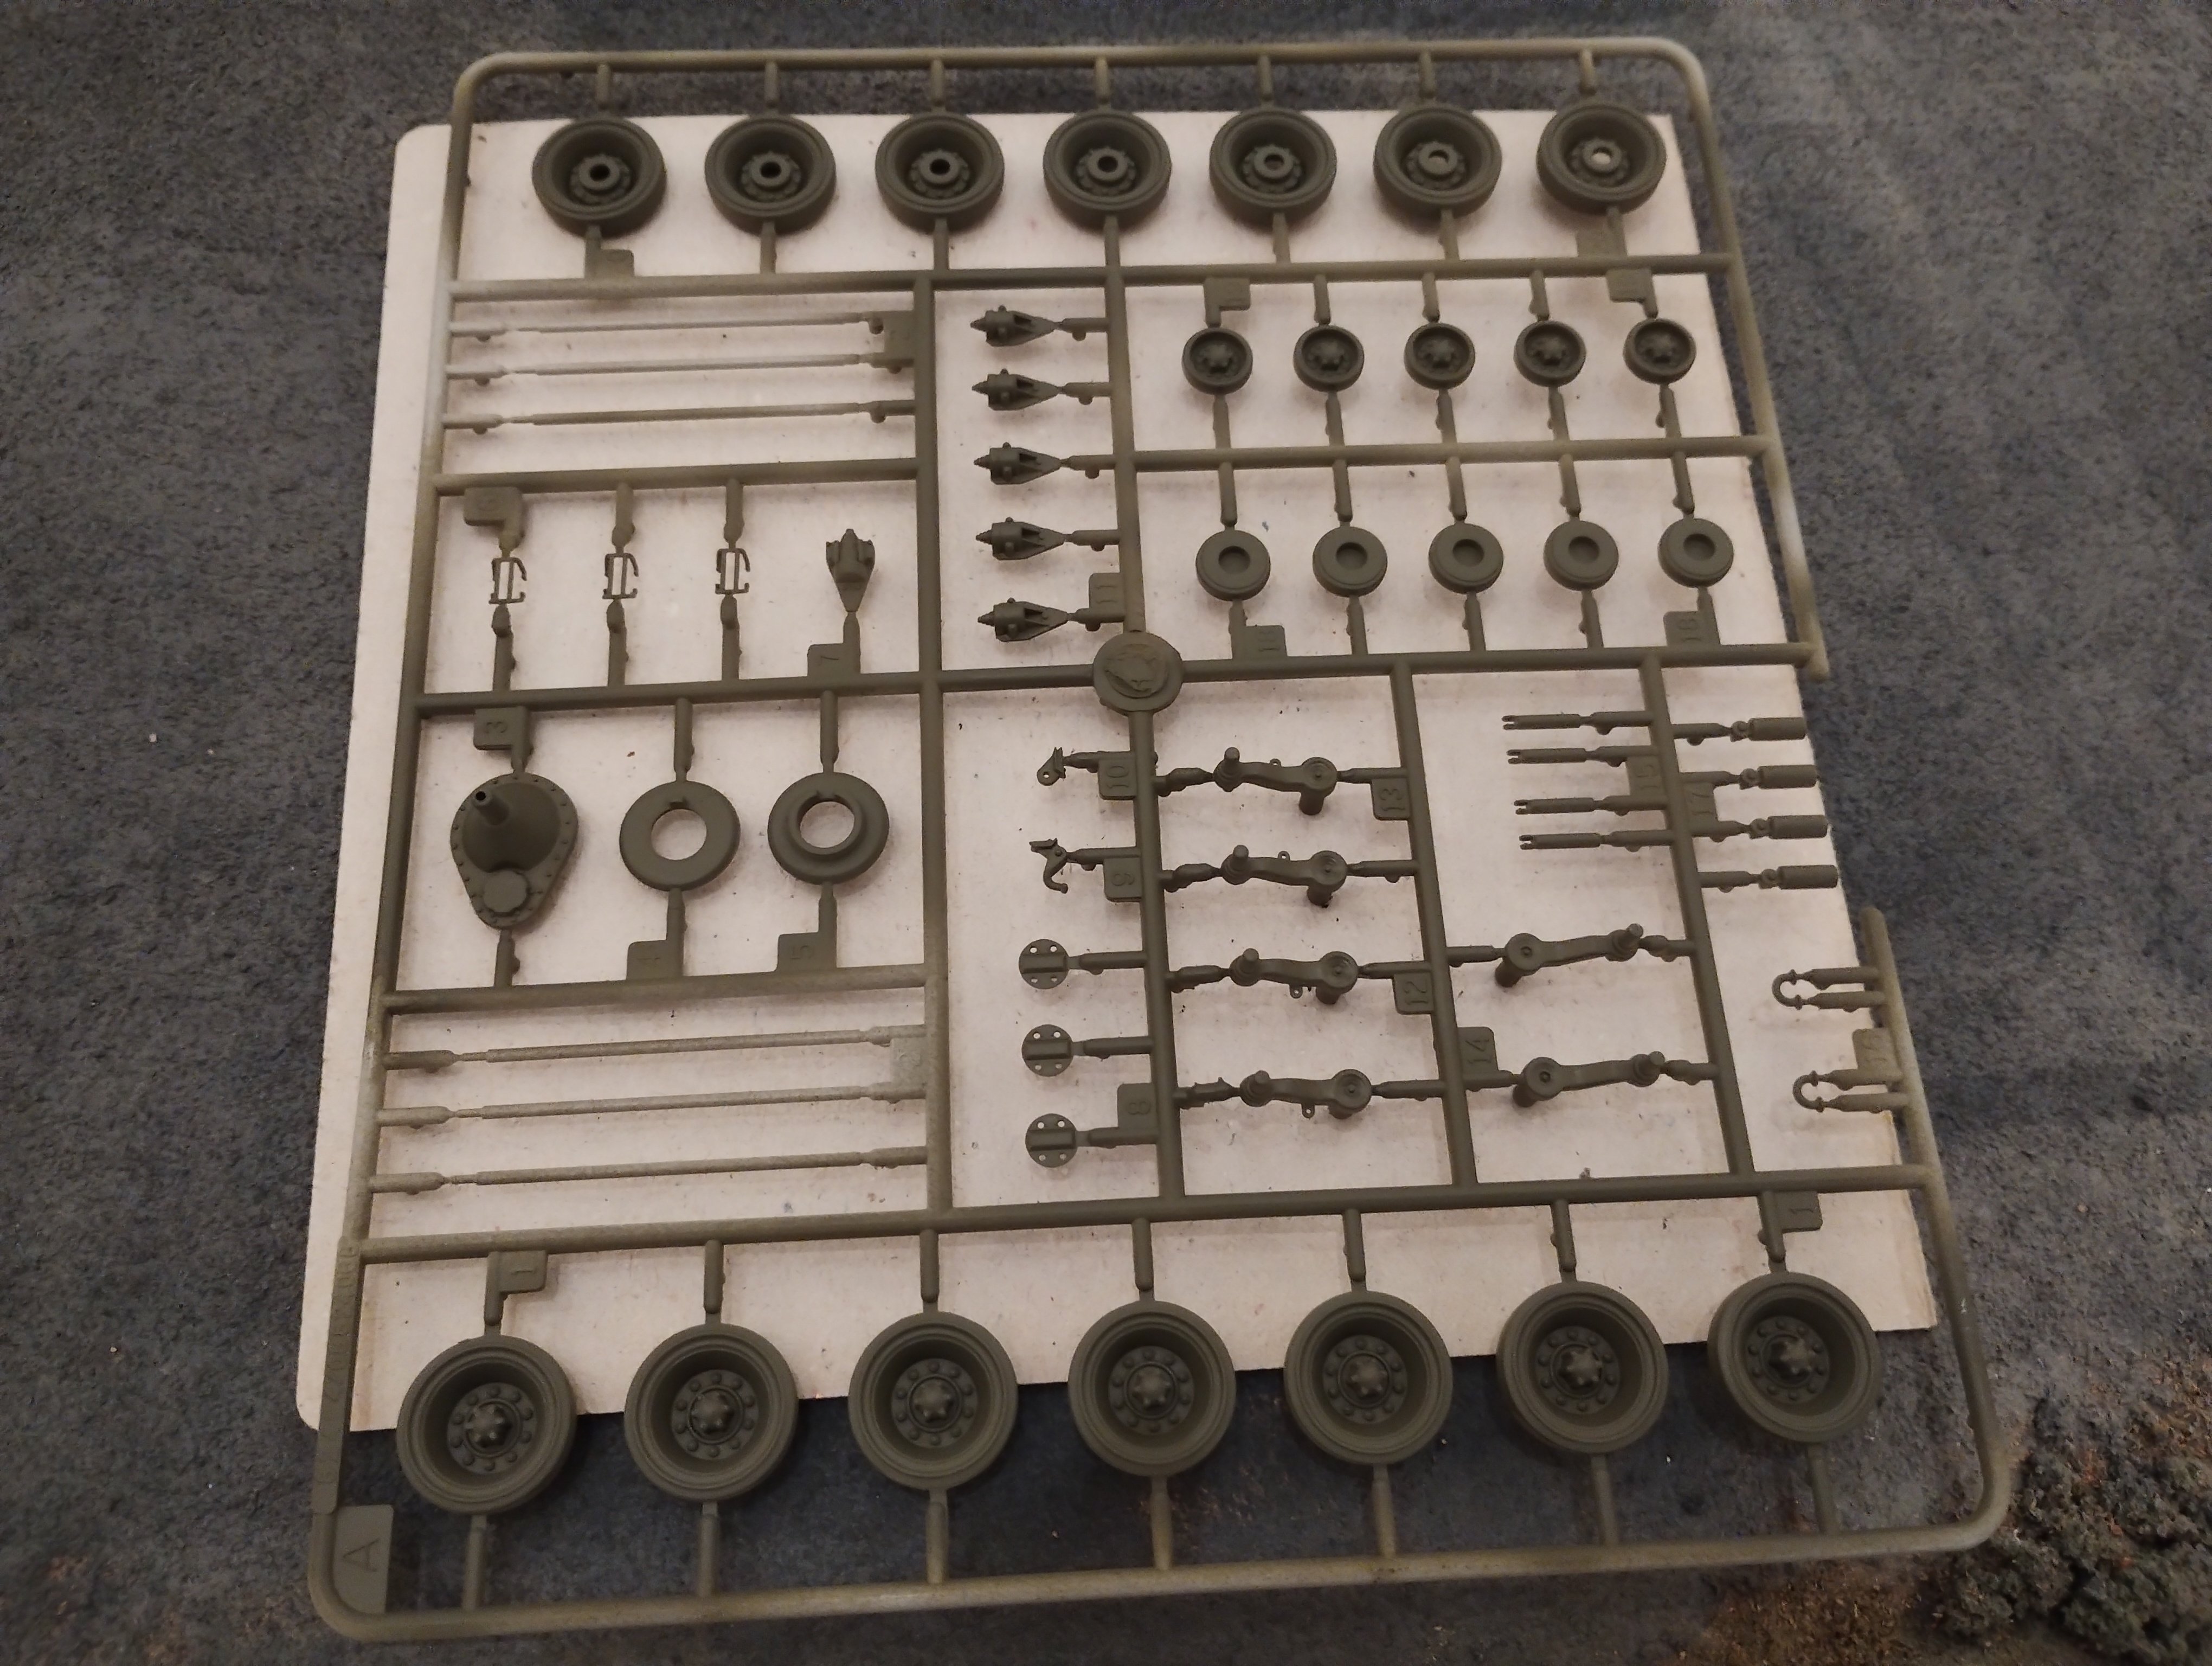
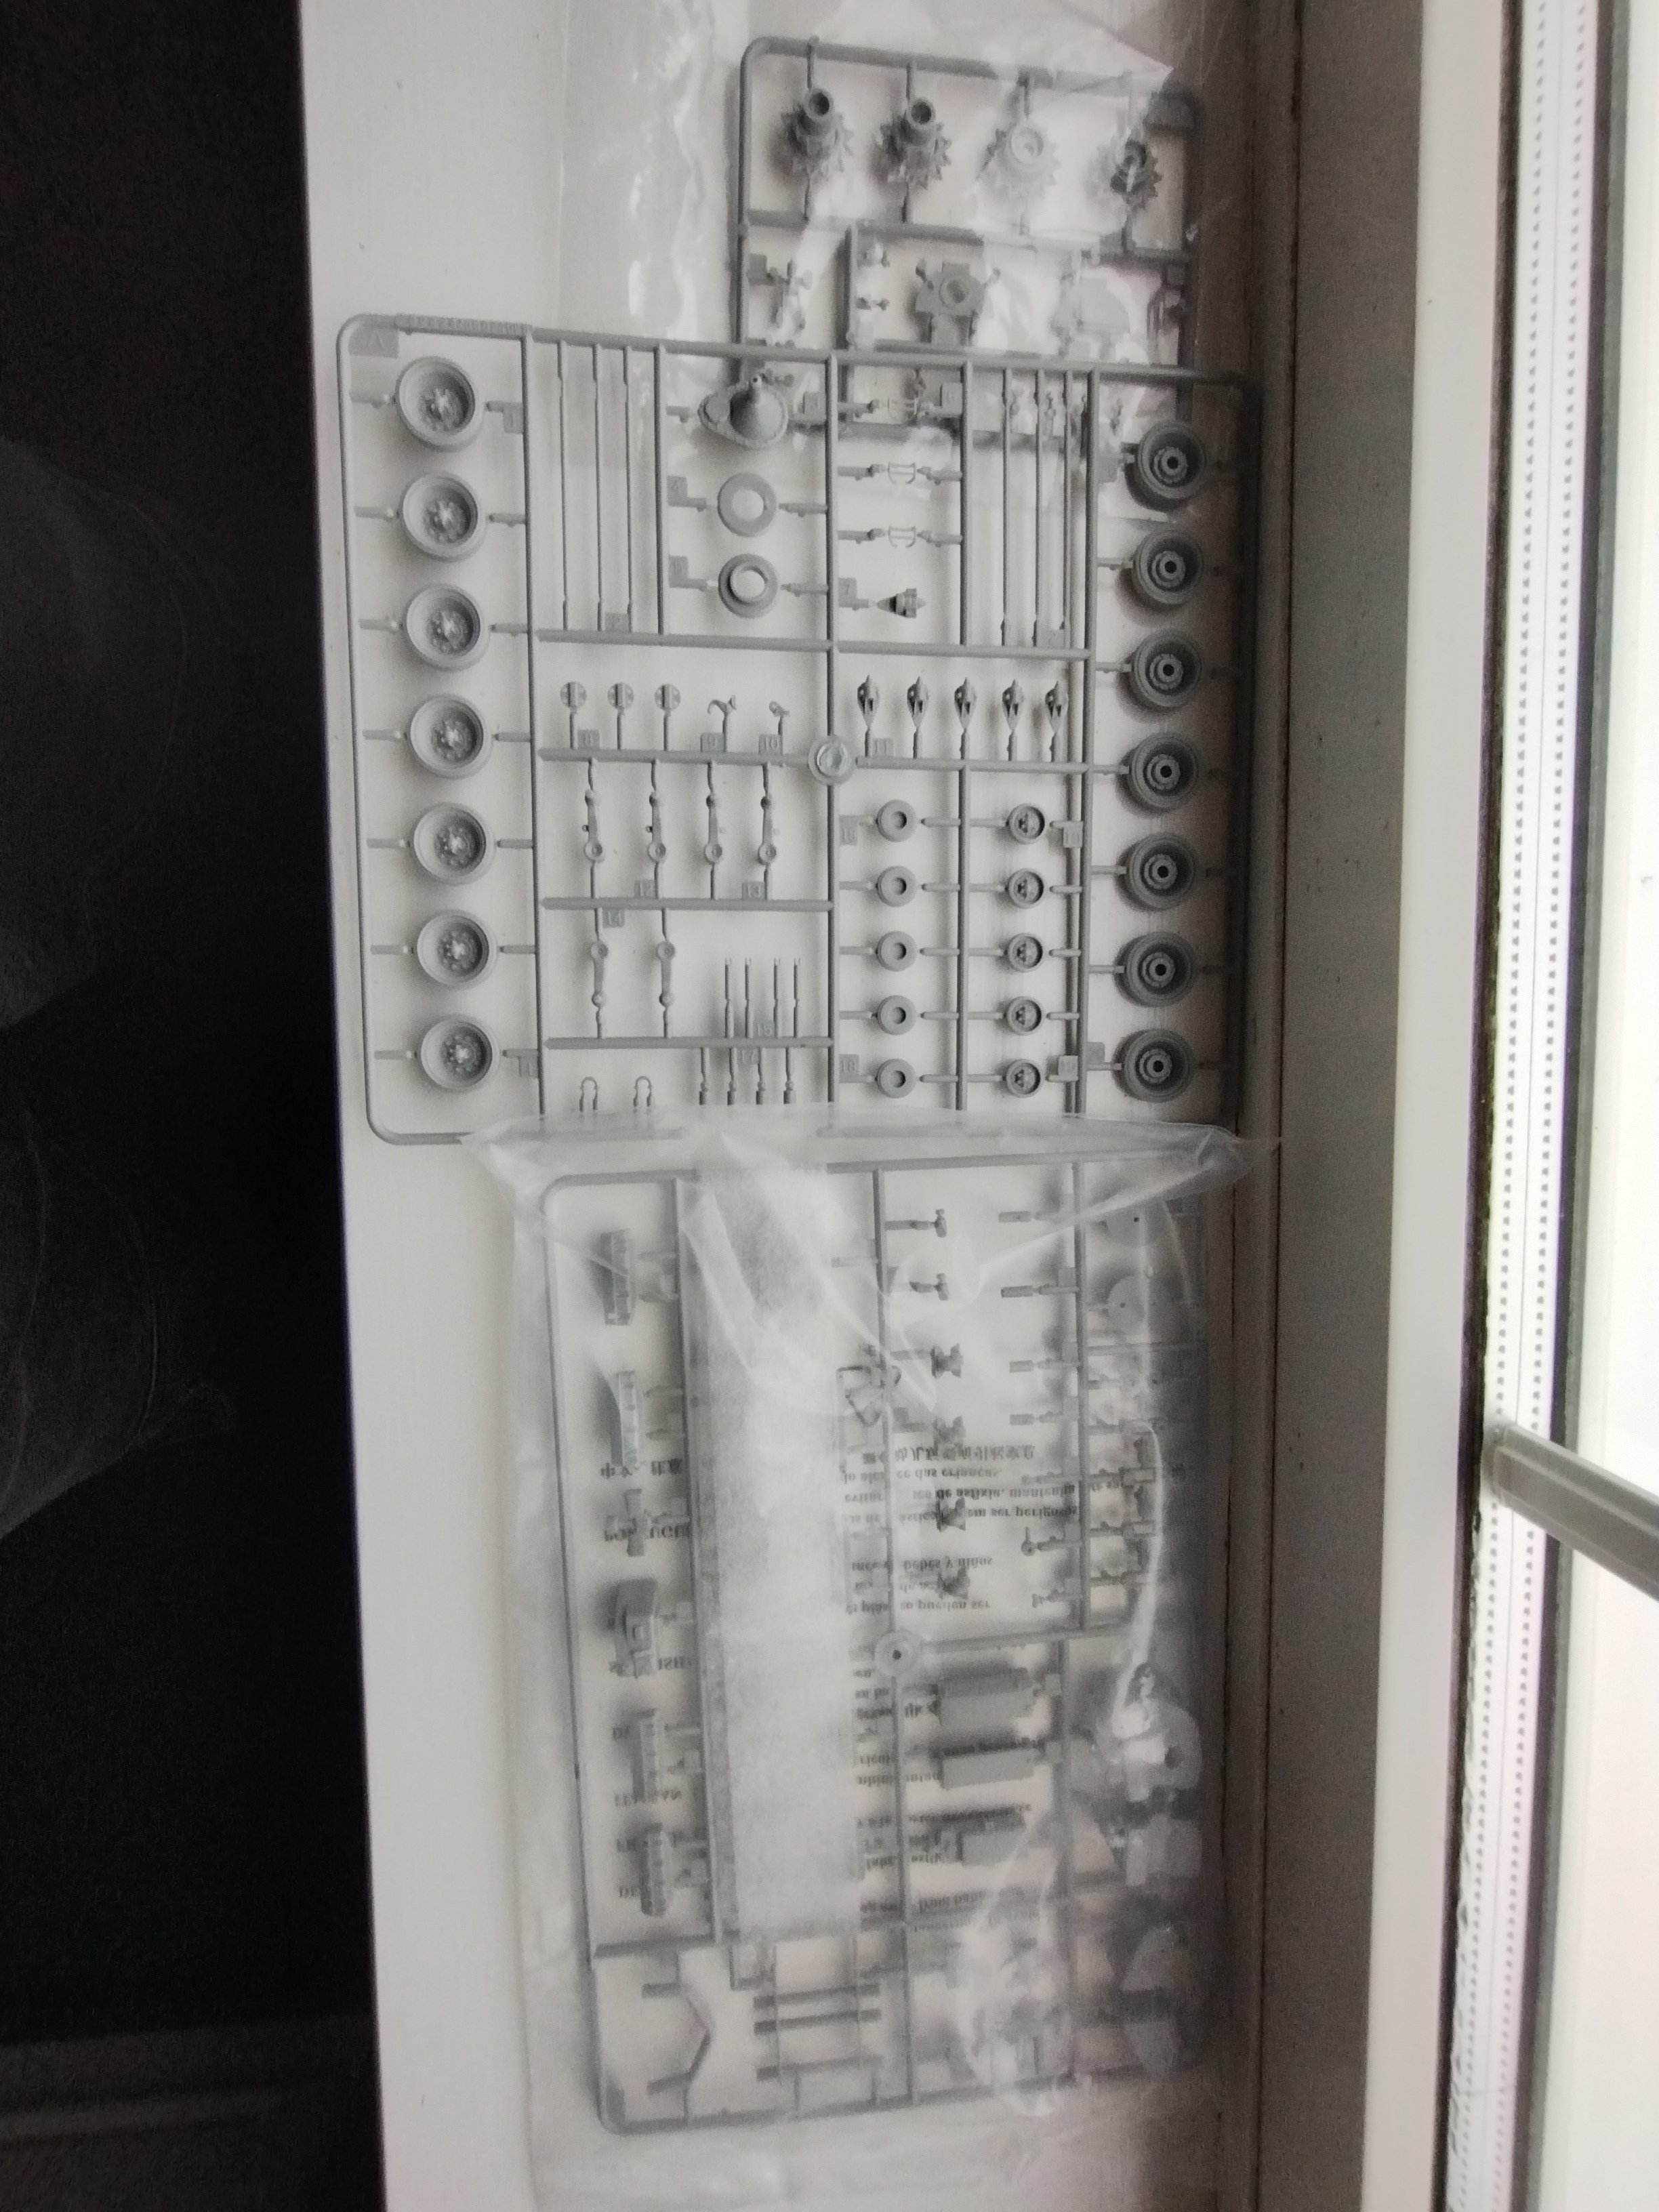
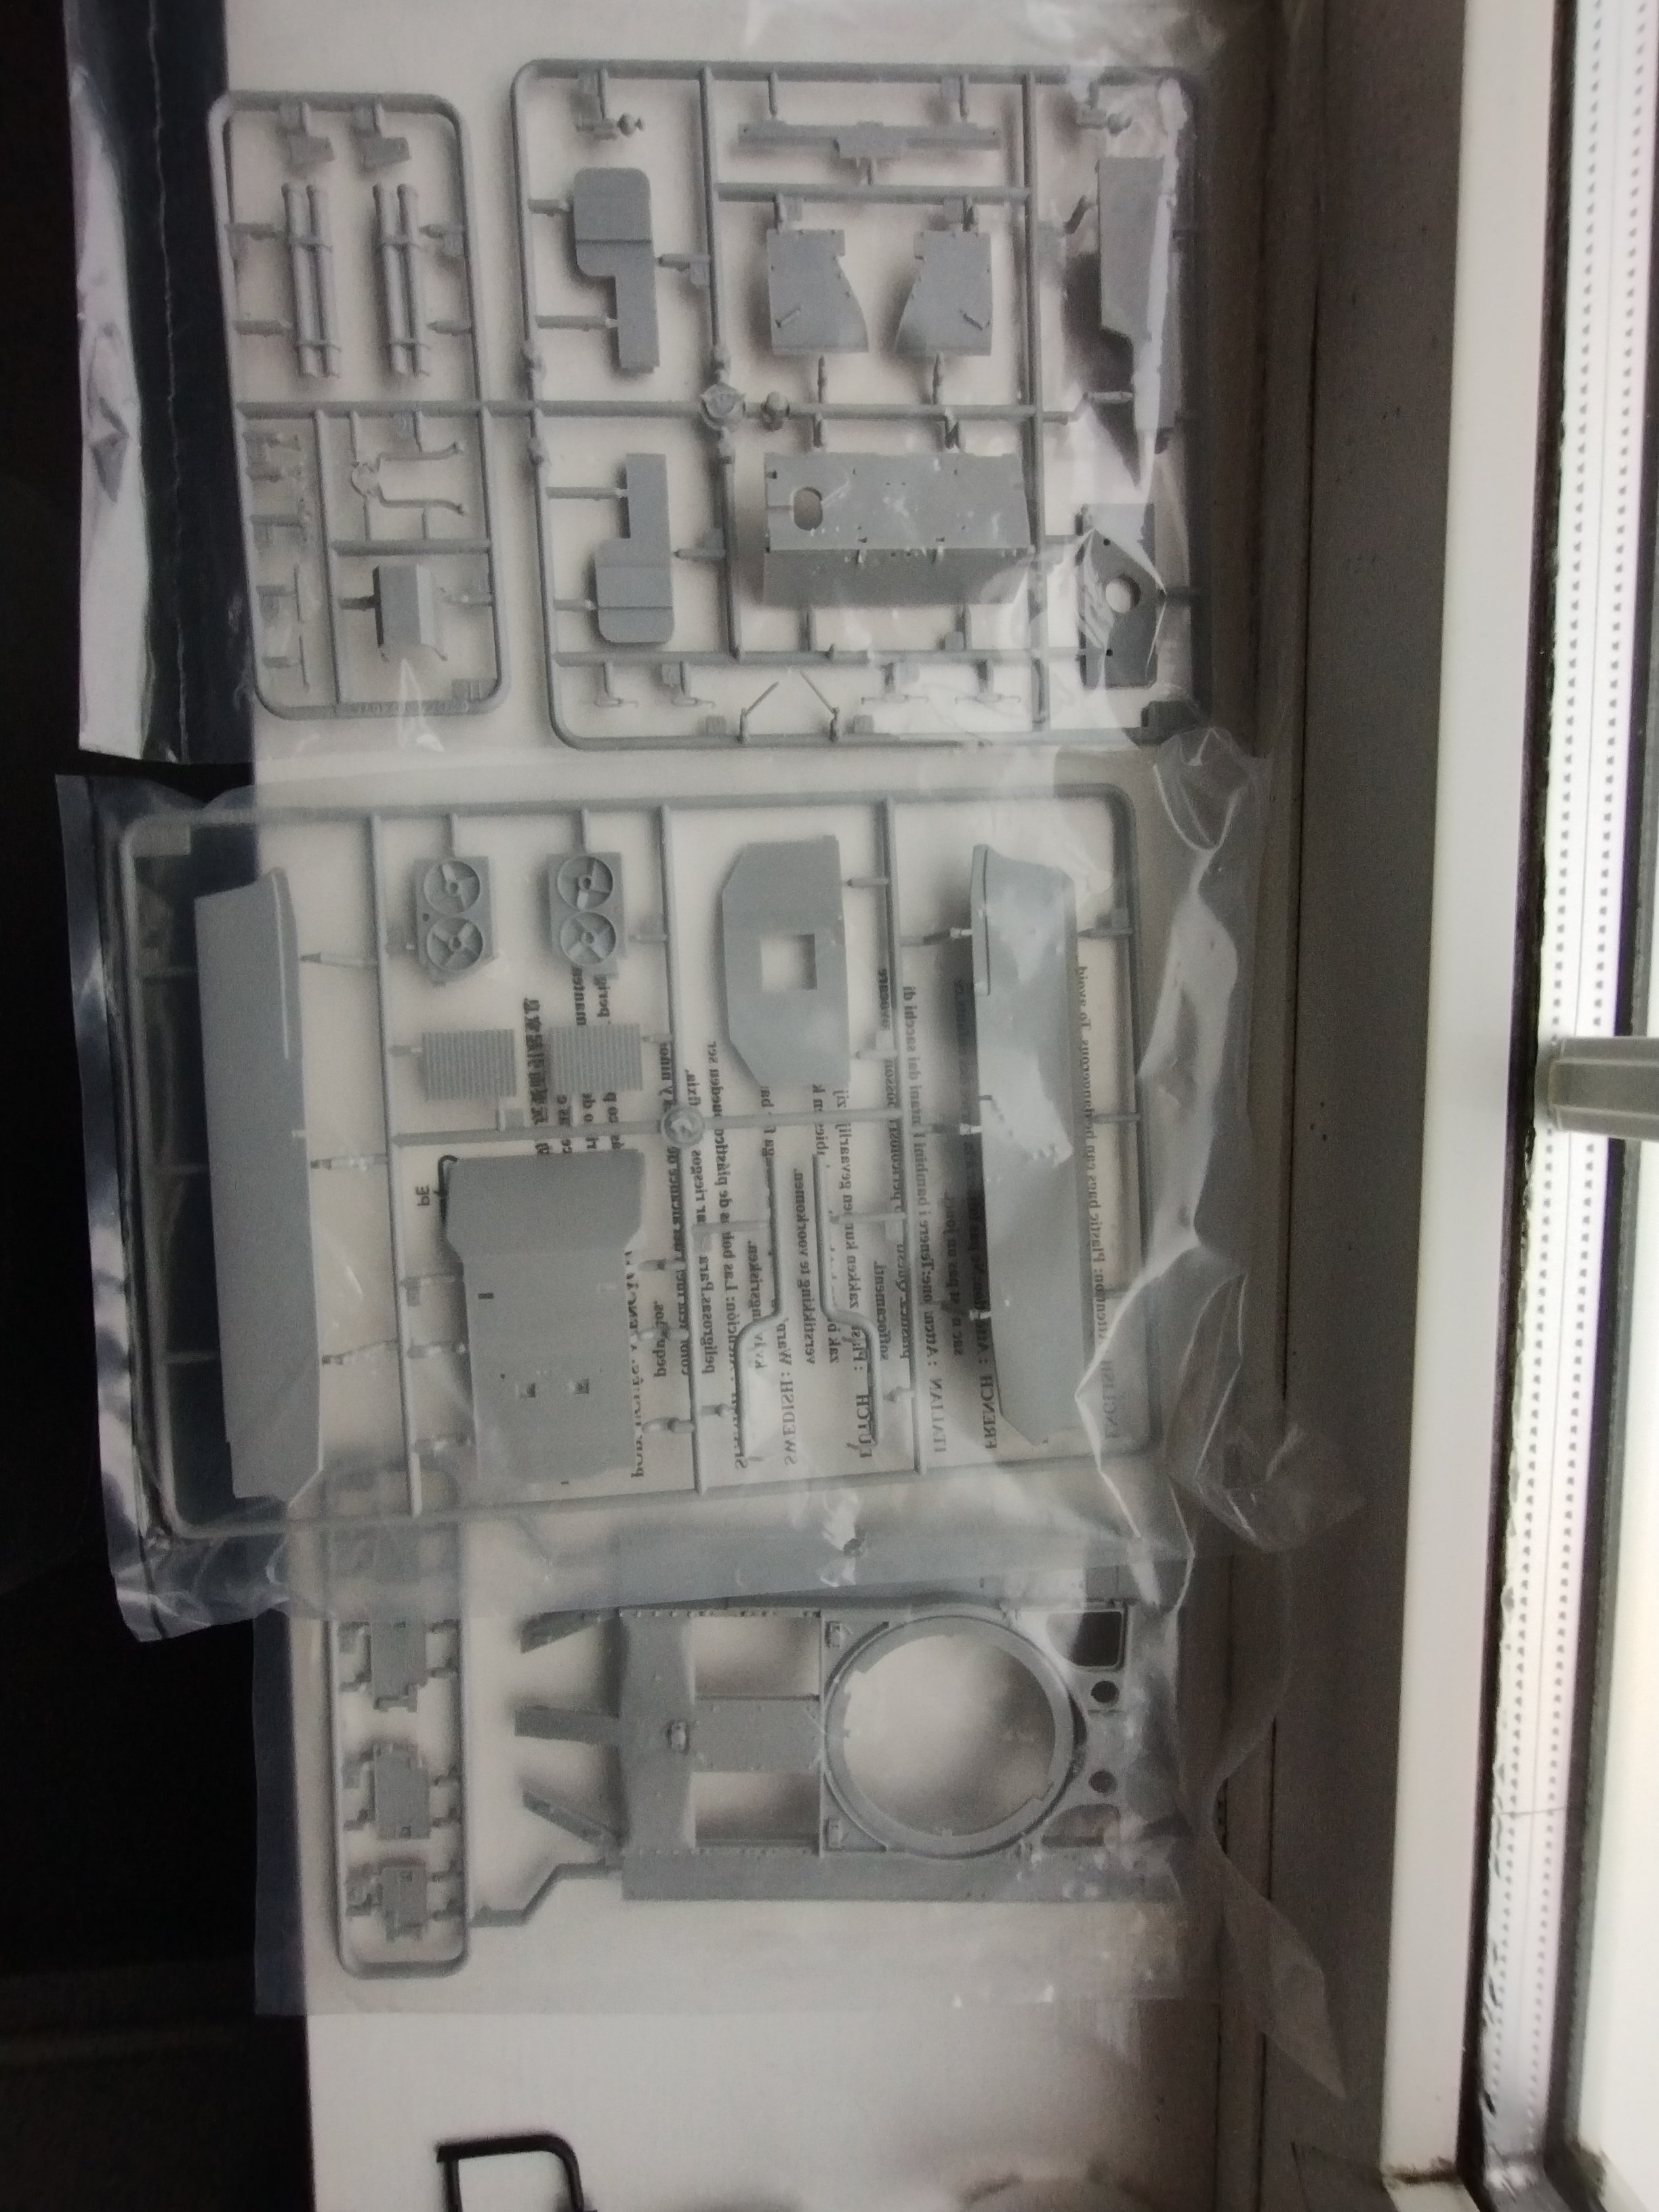
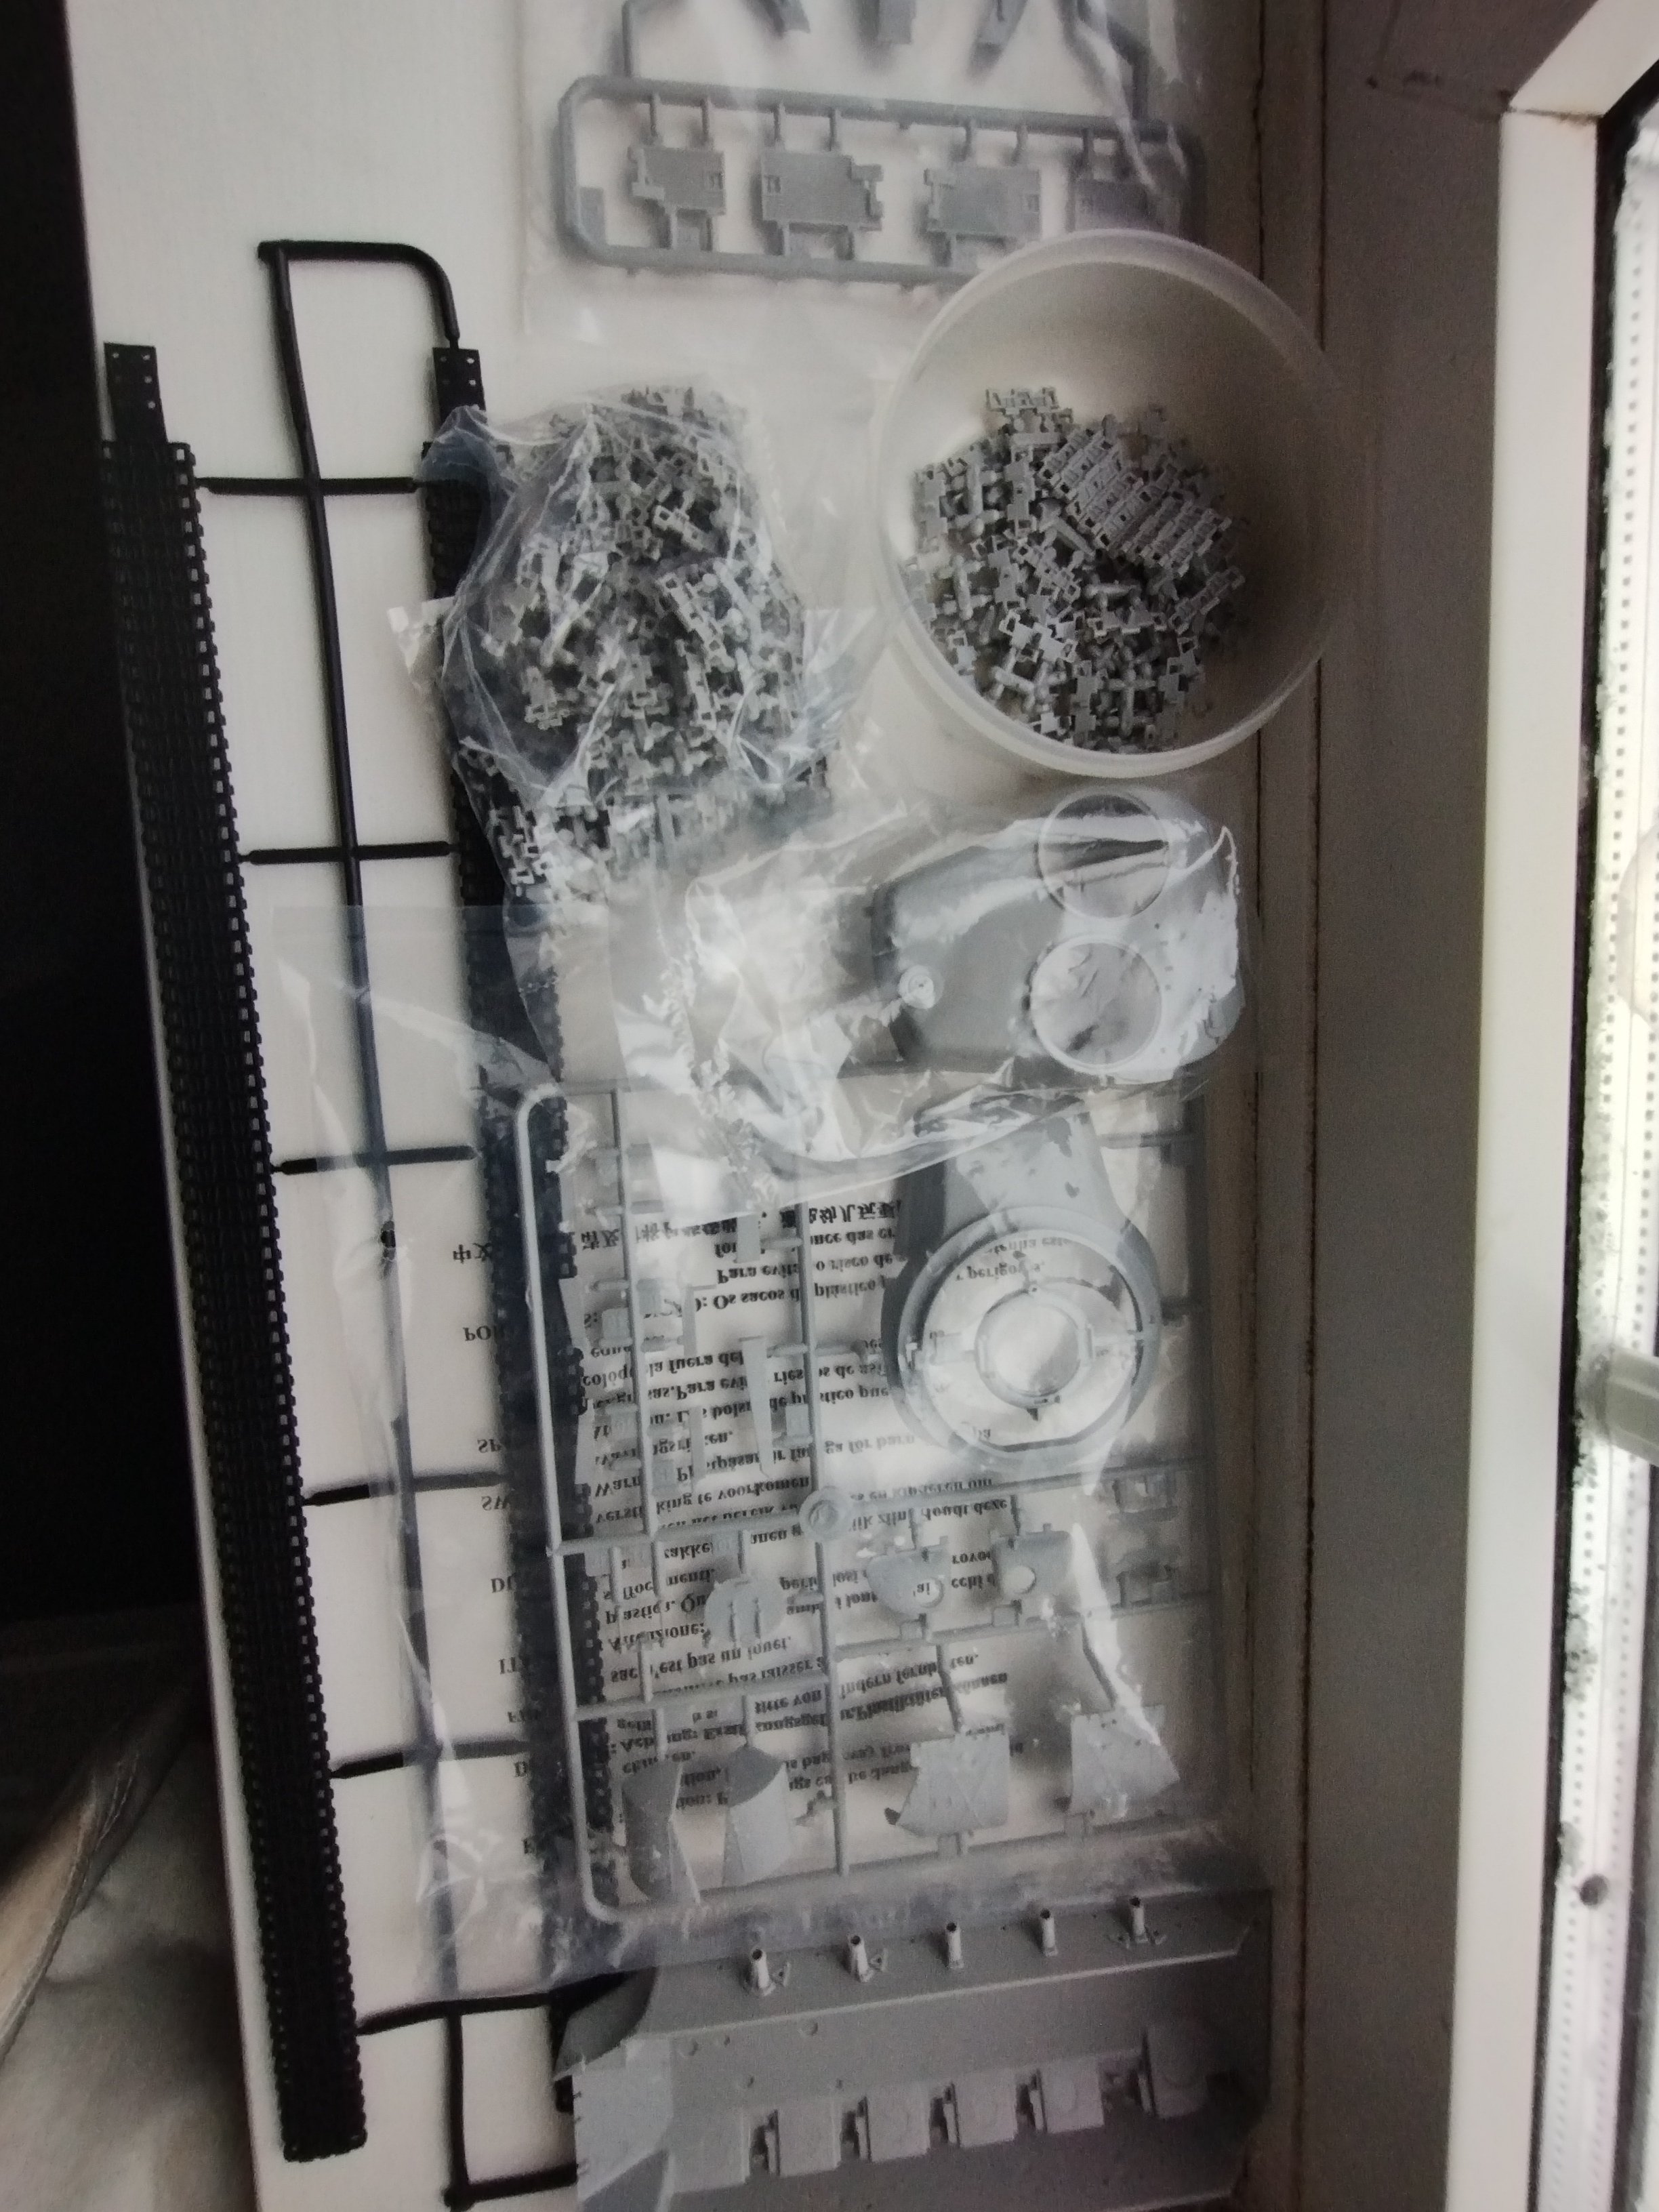
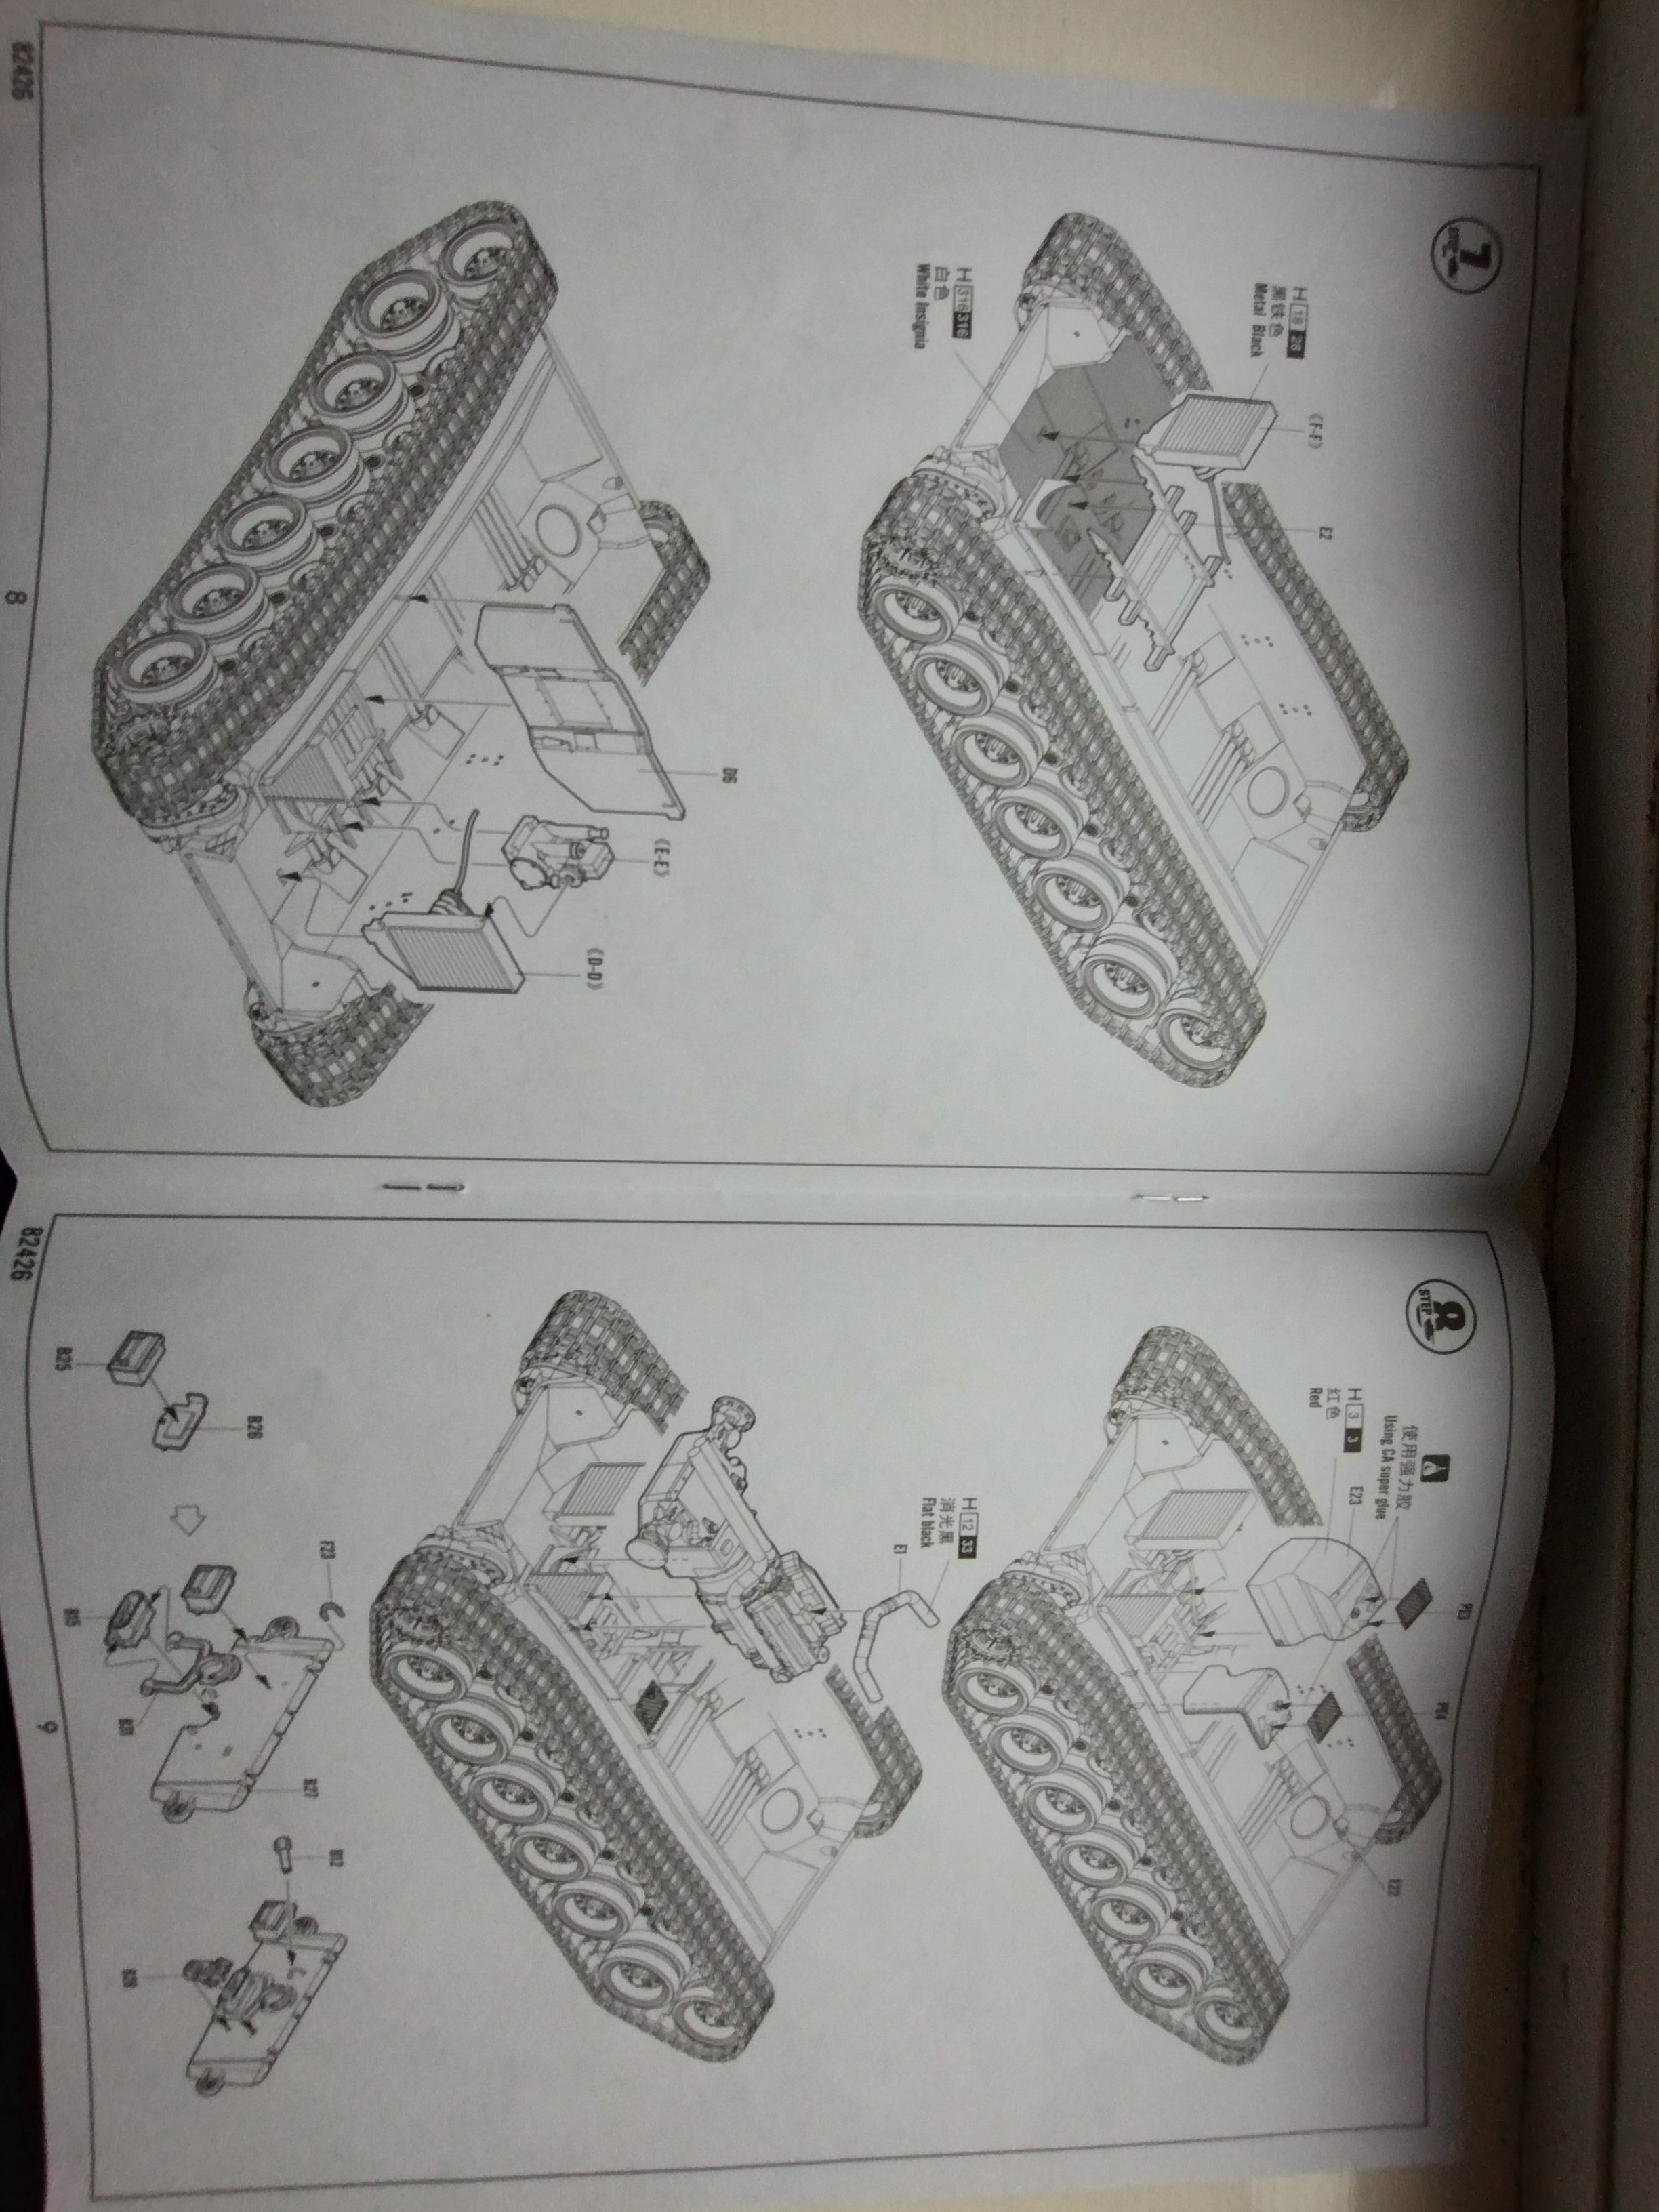
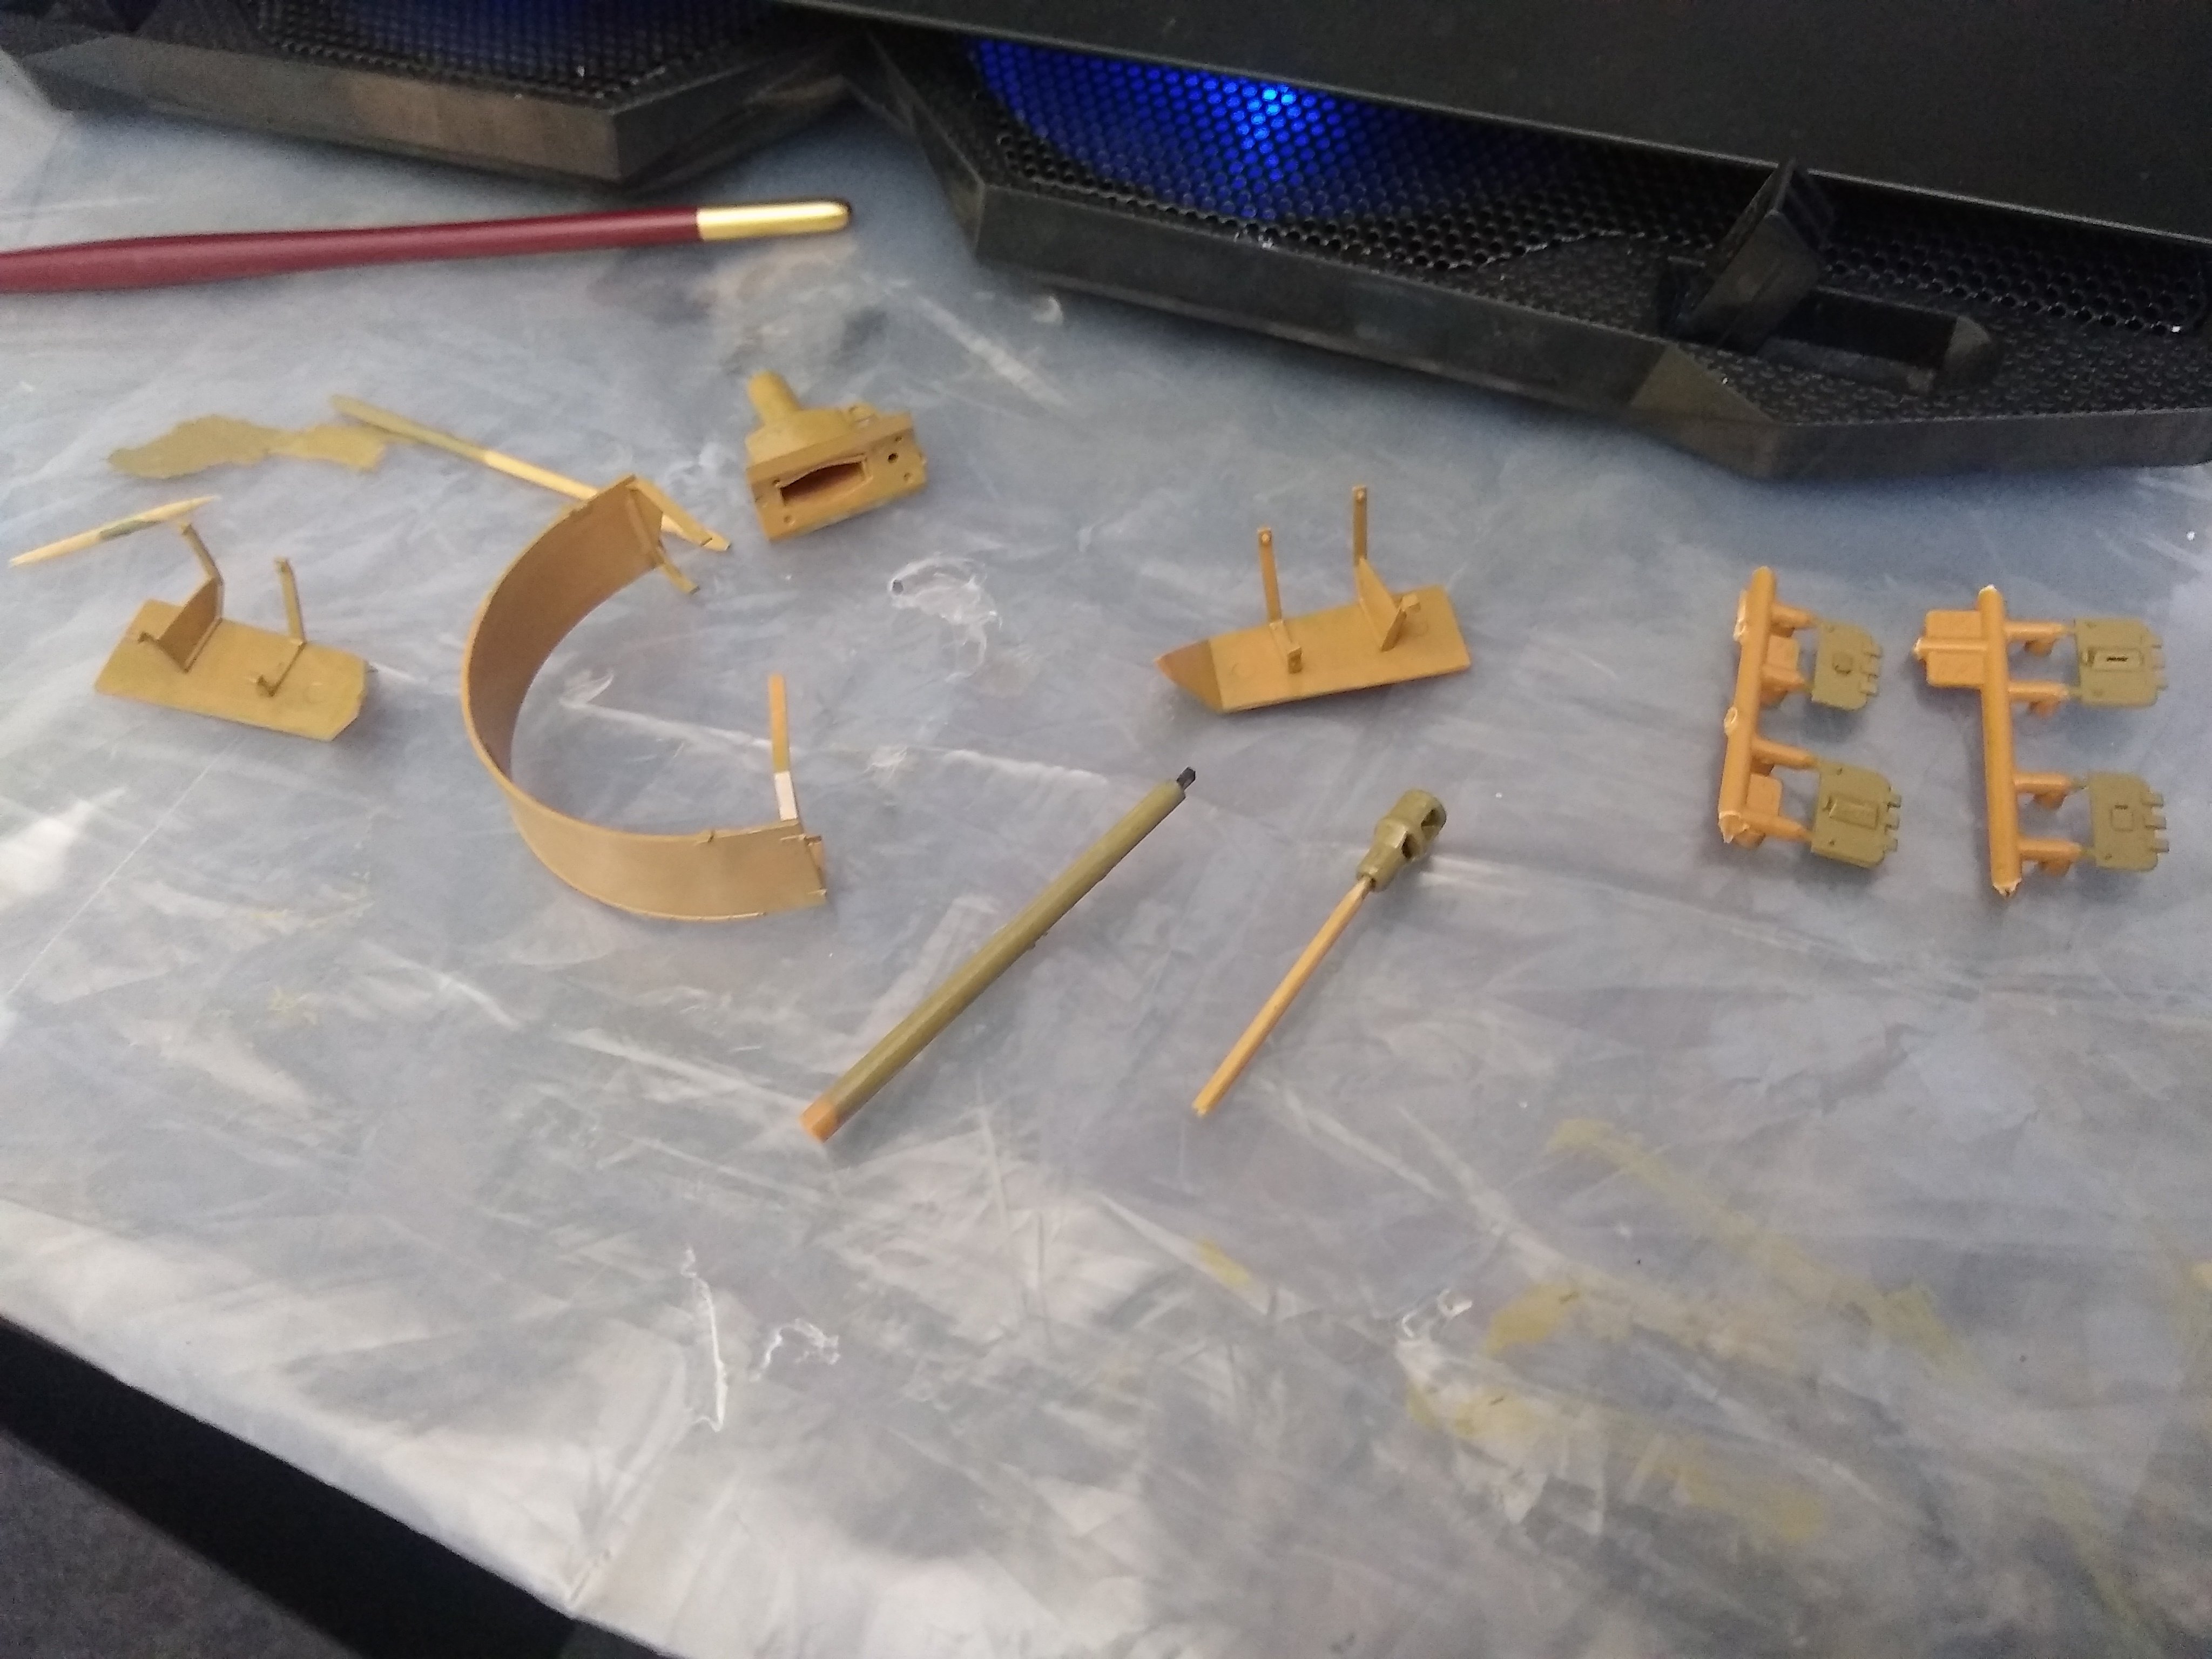
First up is all the parts. Including all the track links. Brass details and even some pieces that are wrapped in some foam for protection


-
6
-
-
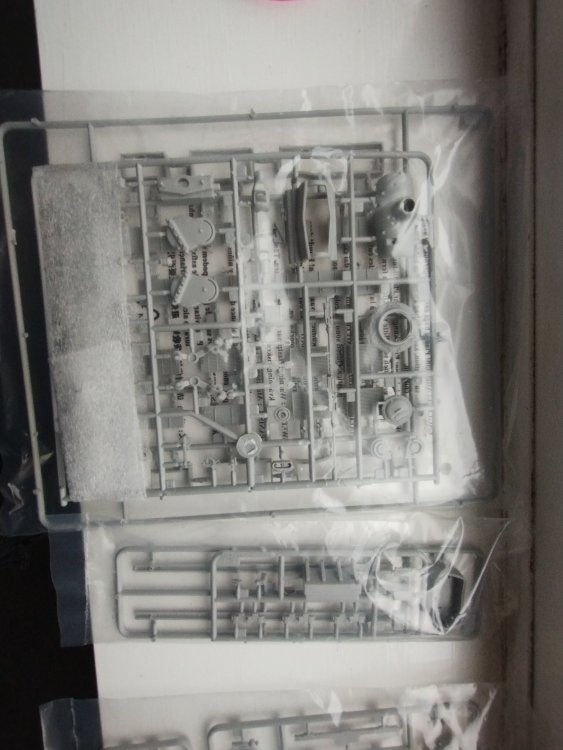
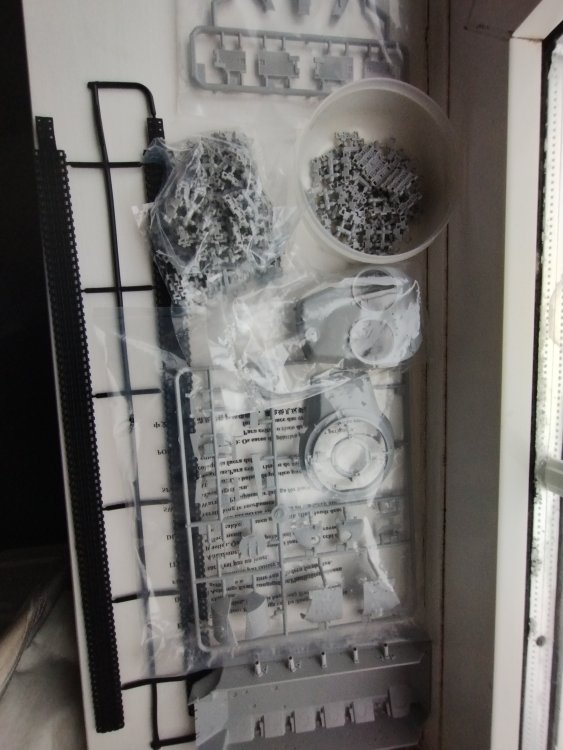
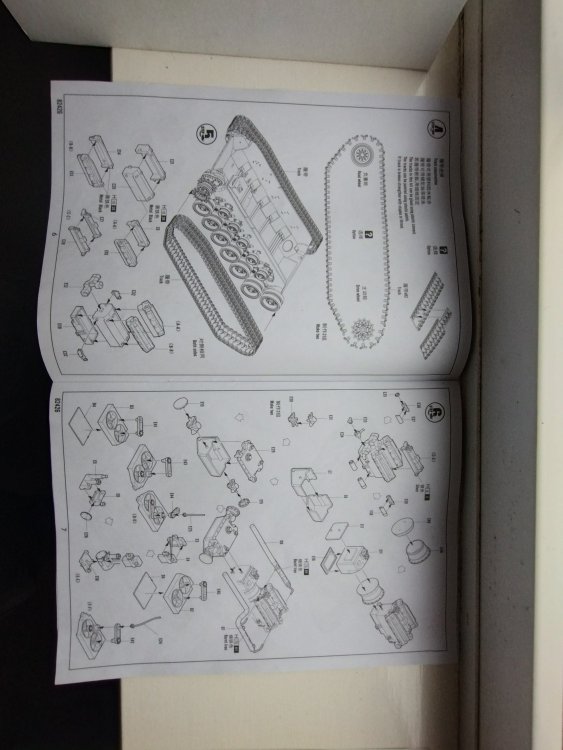
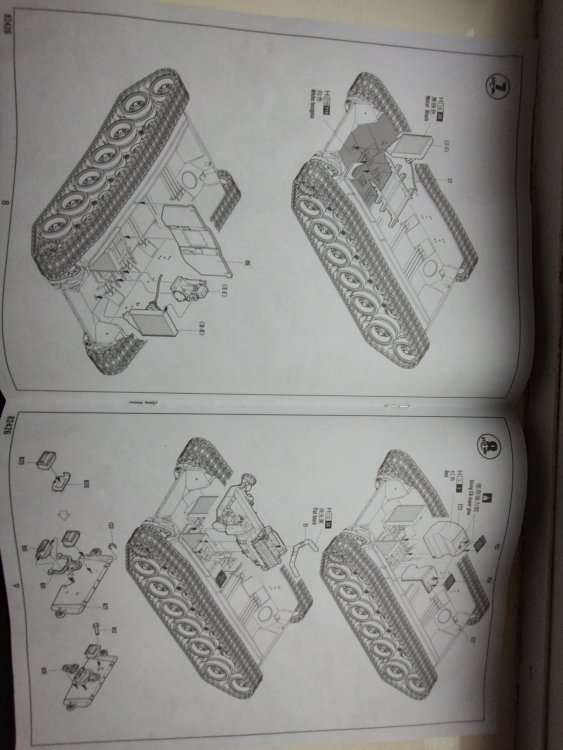
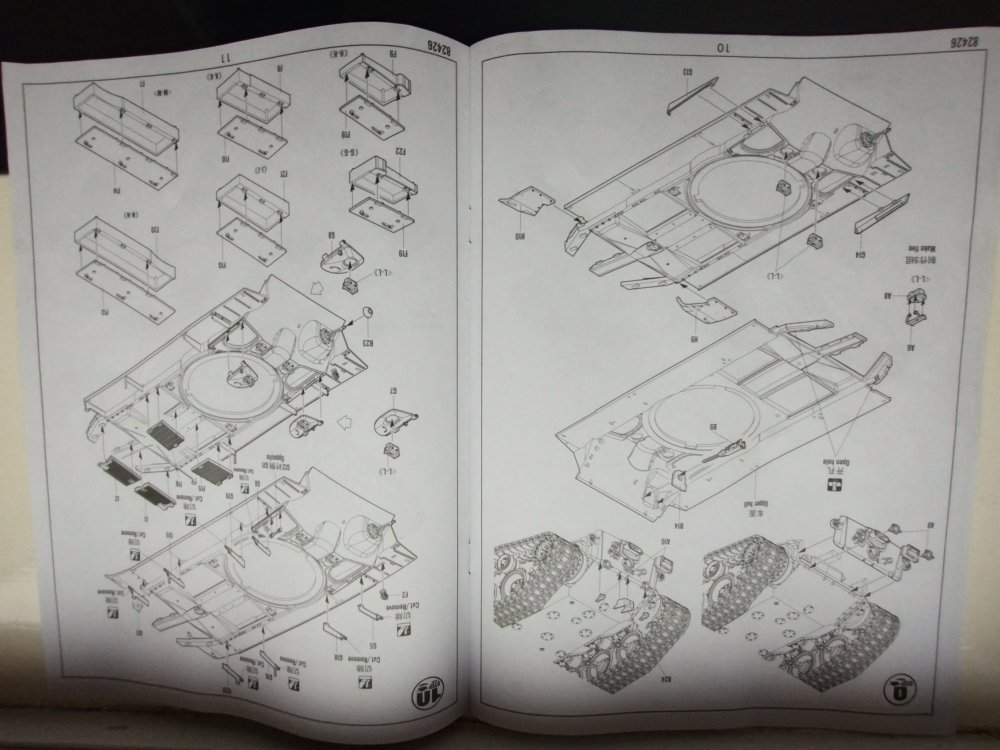
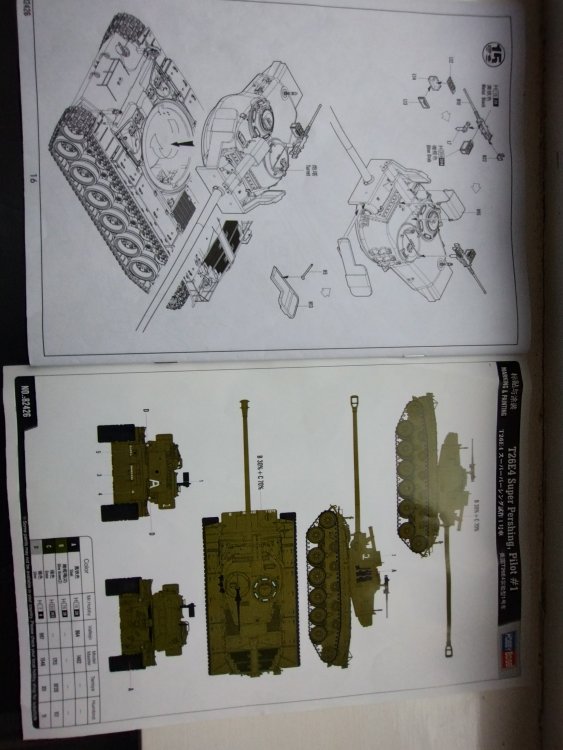
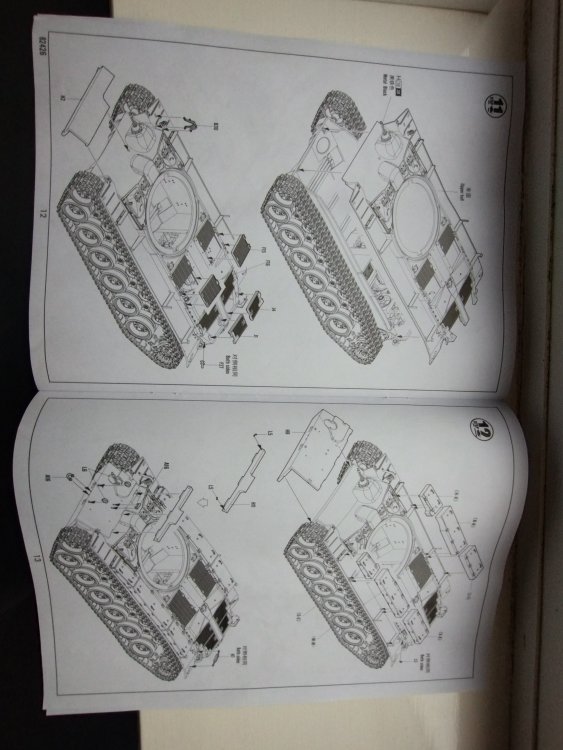
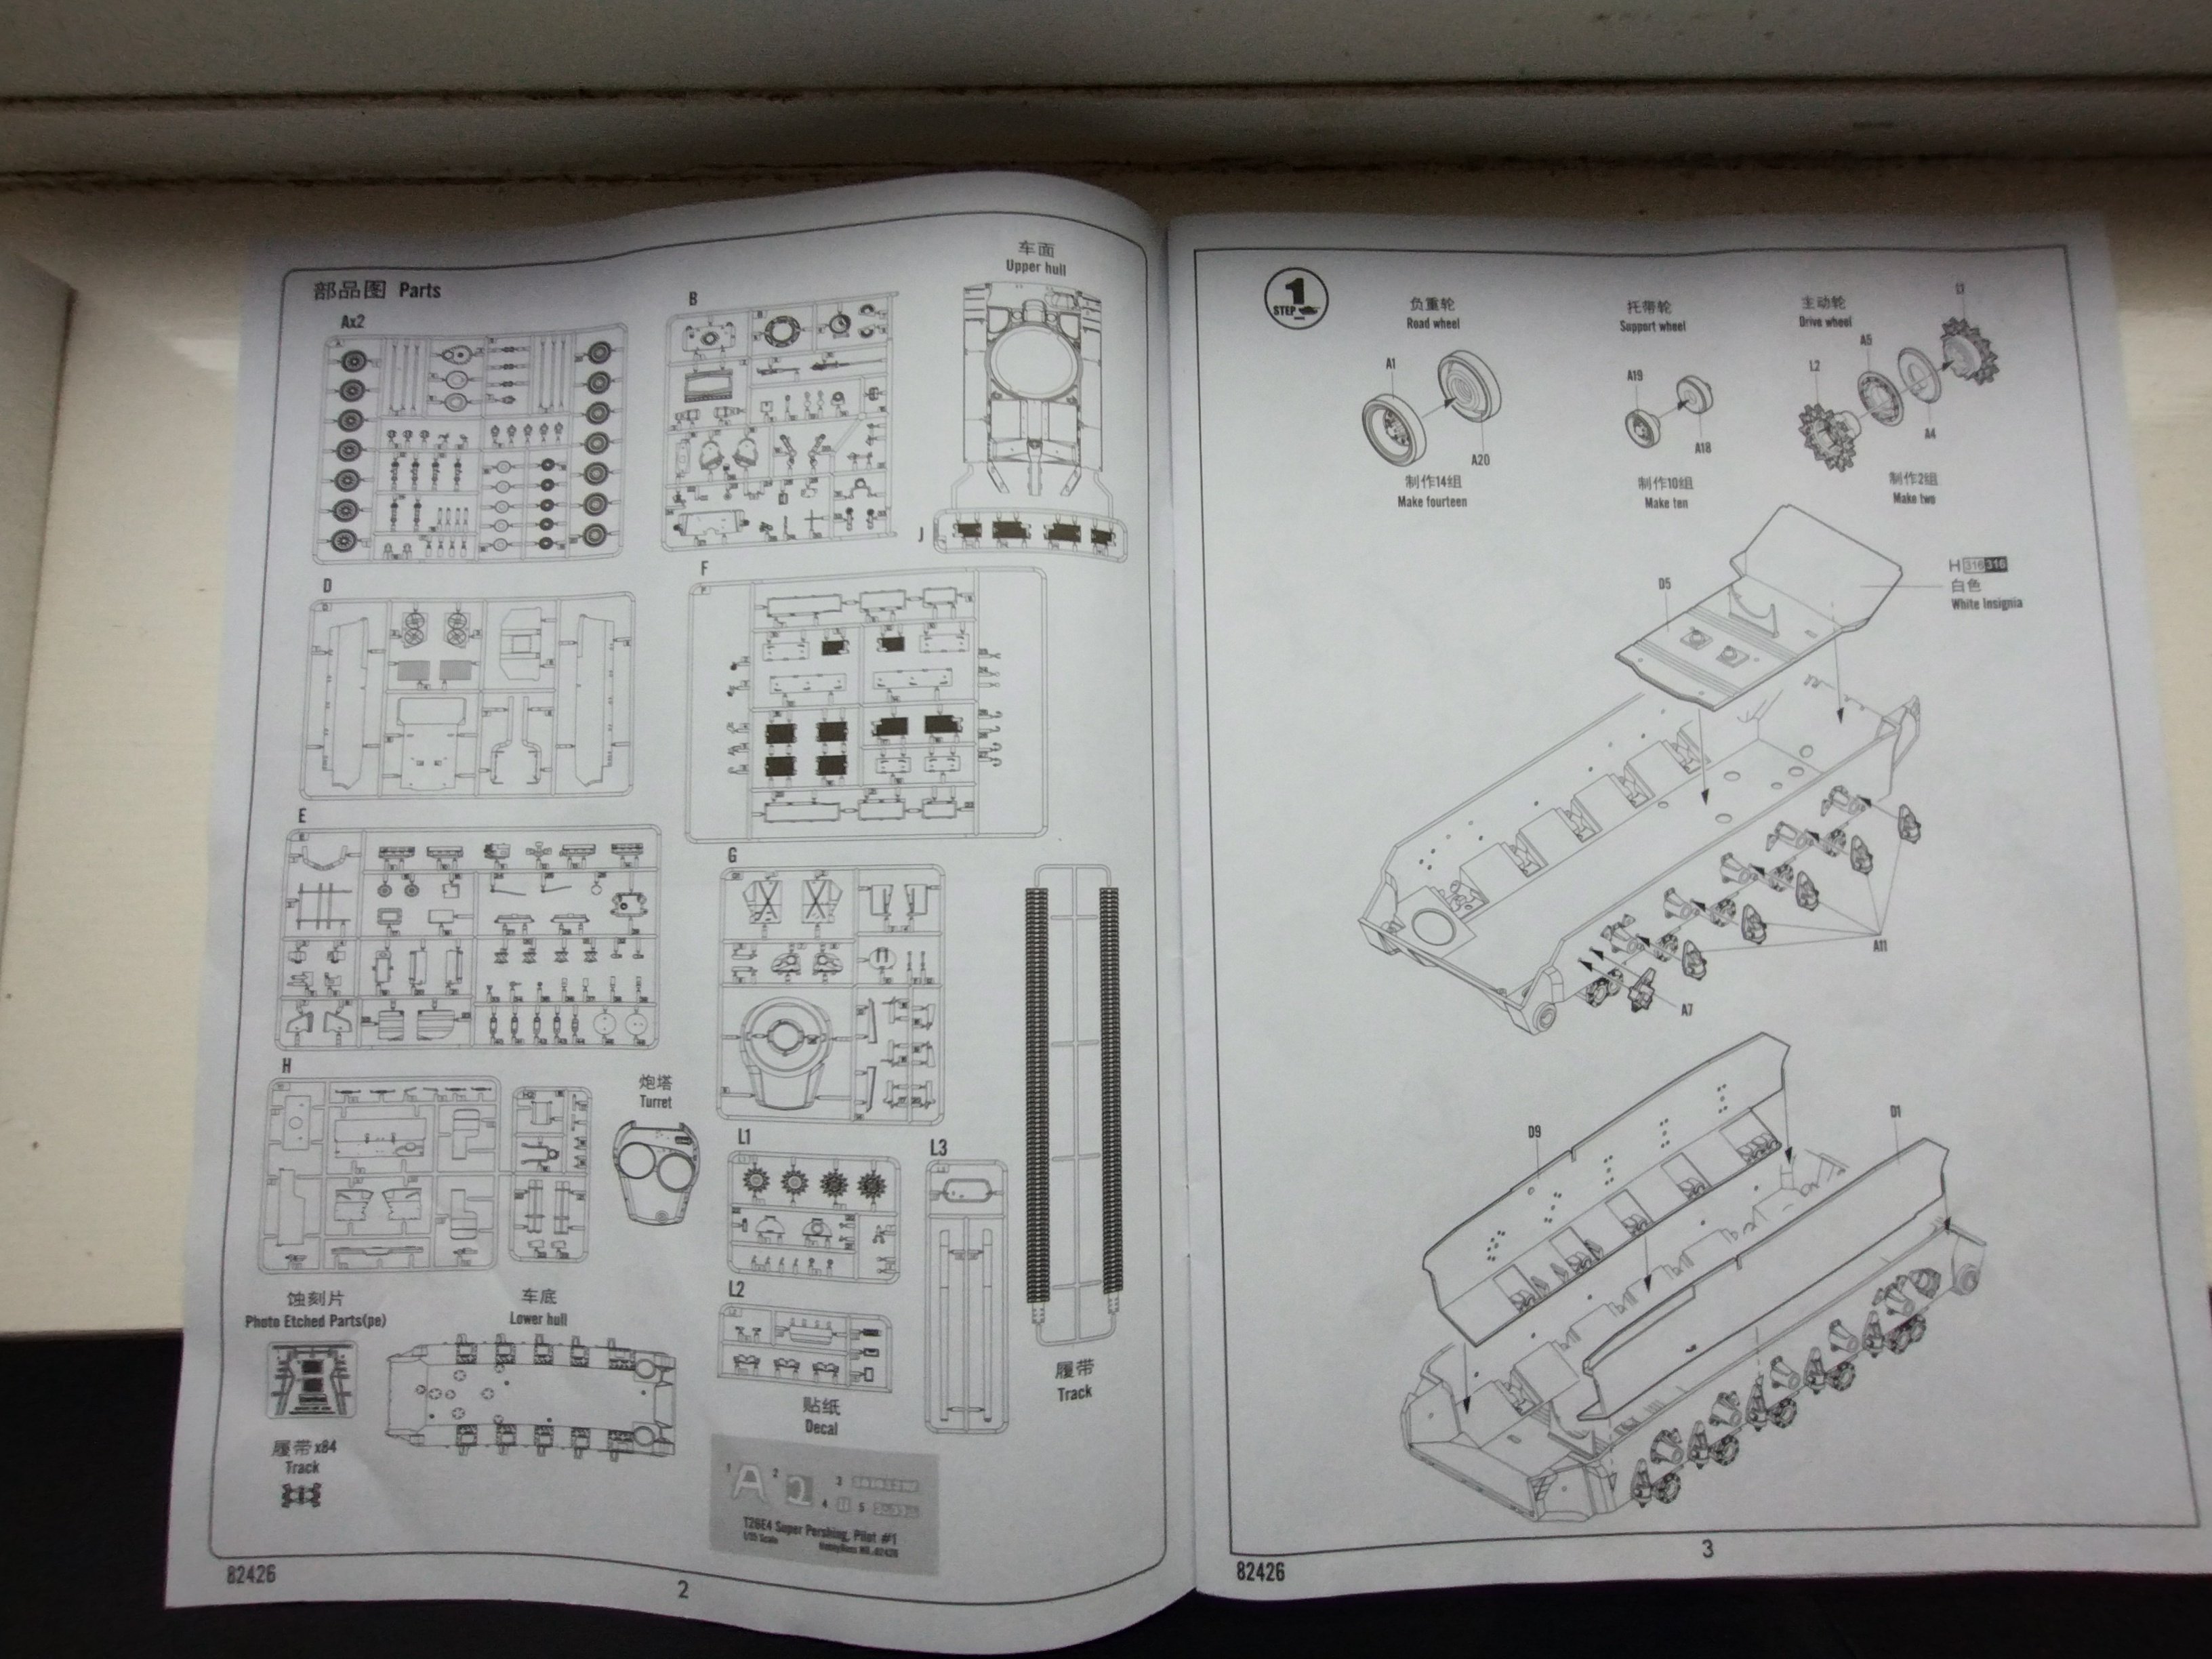
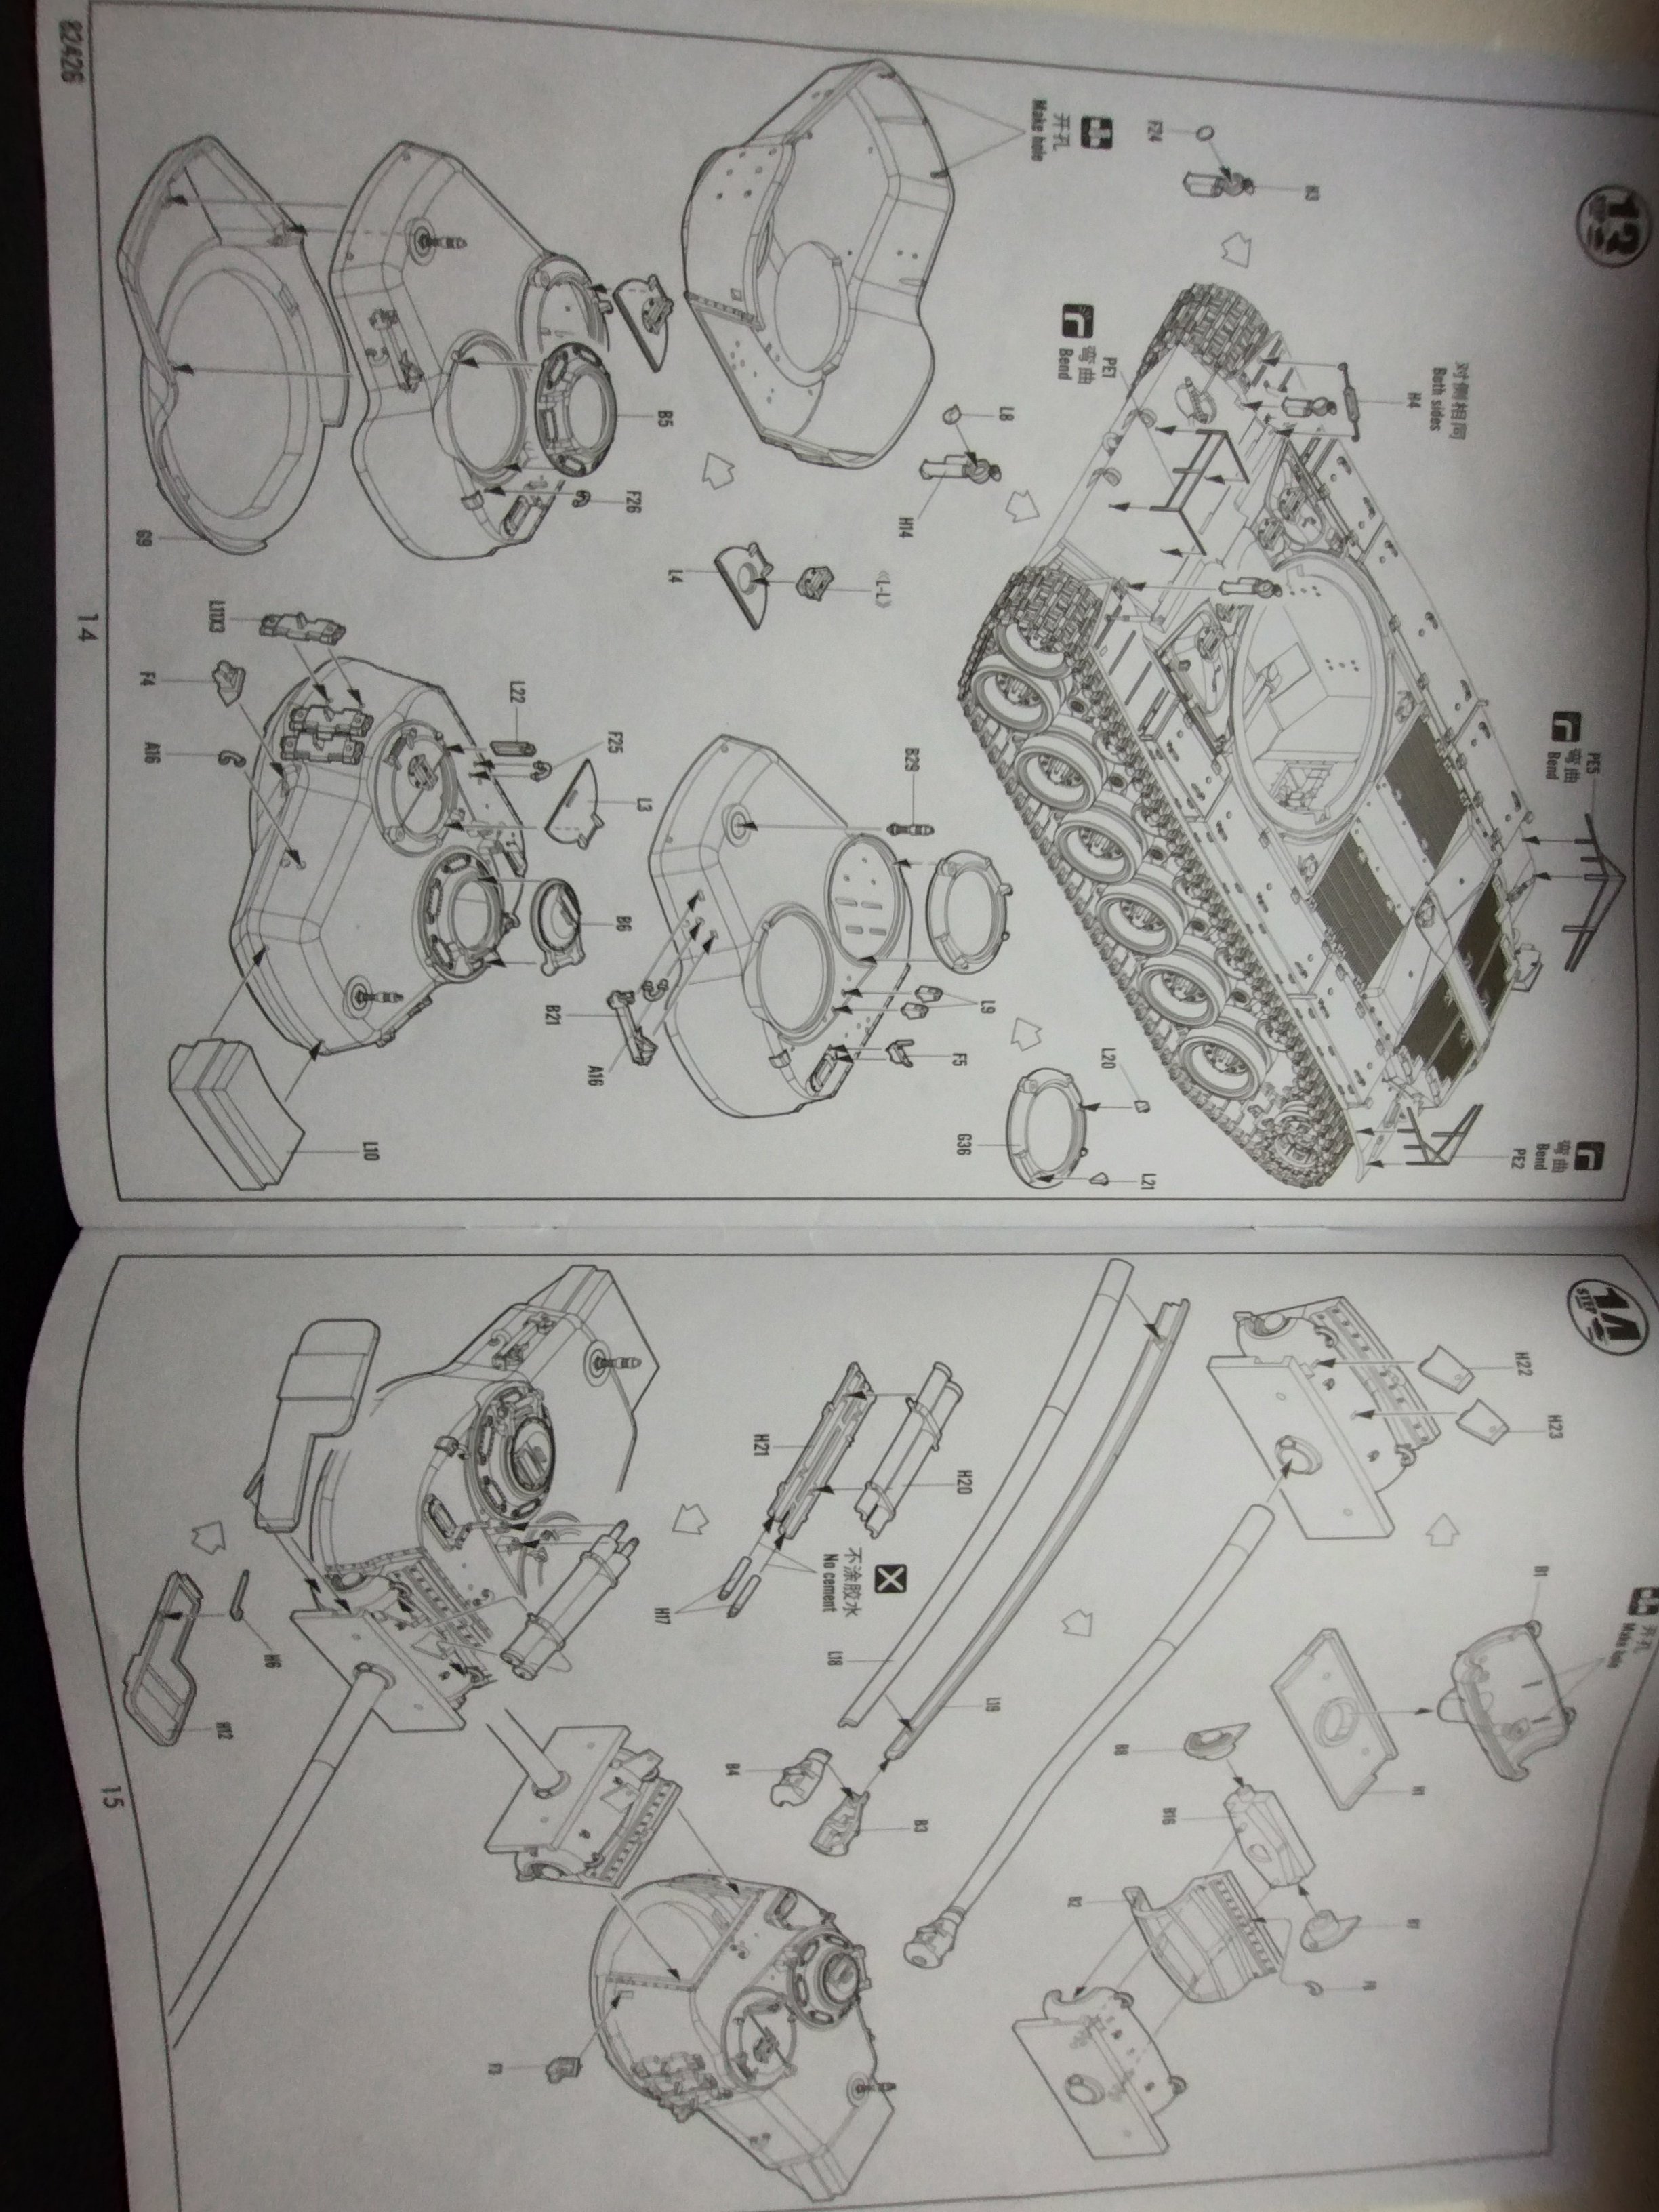
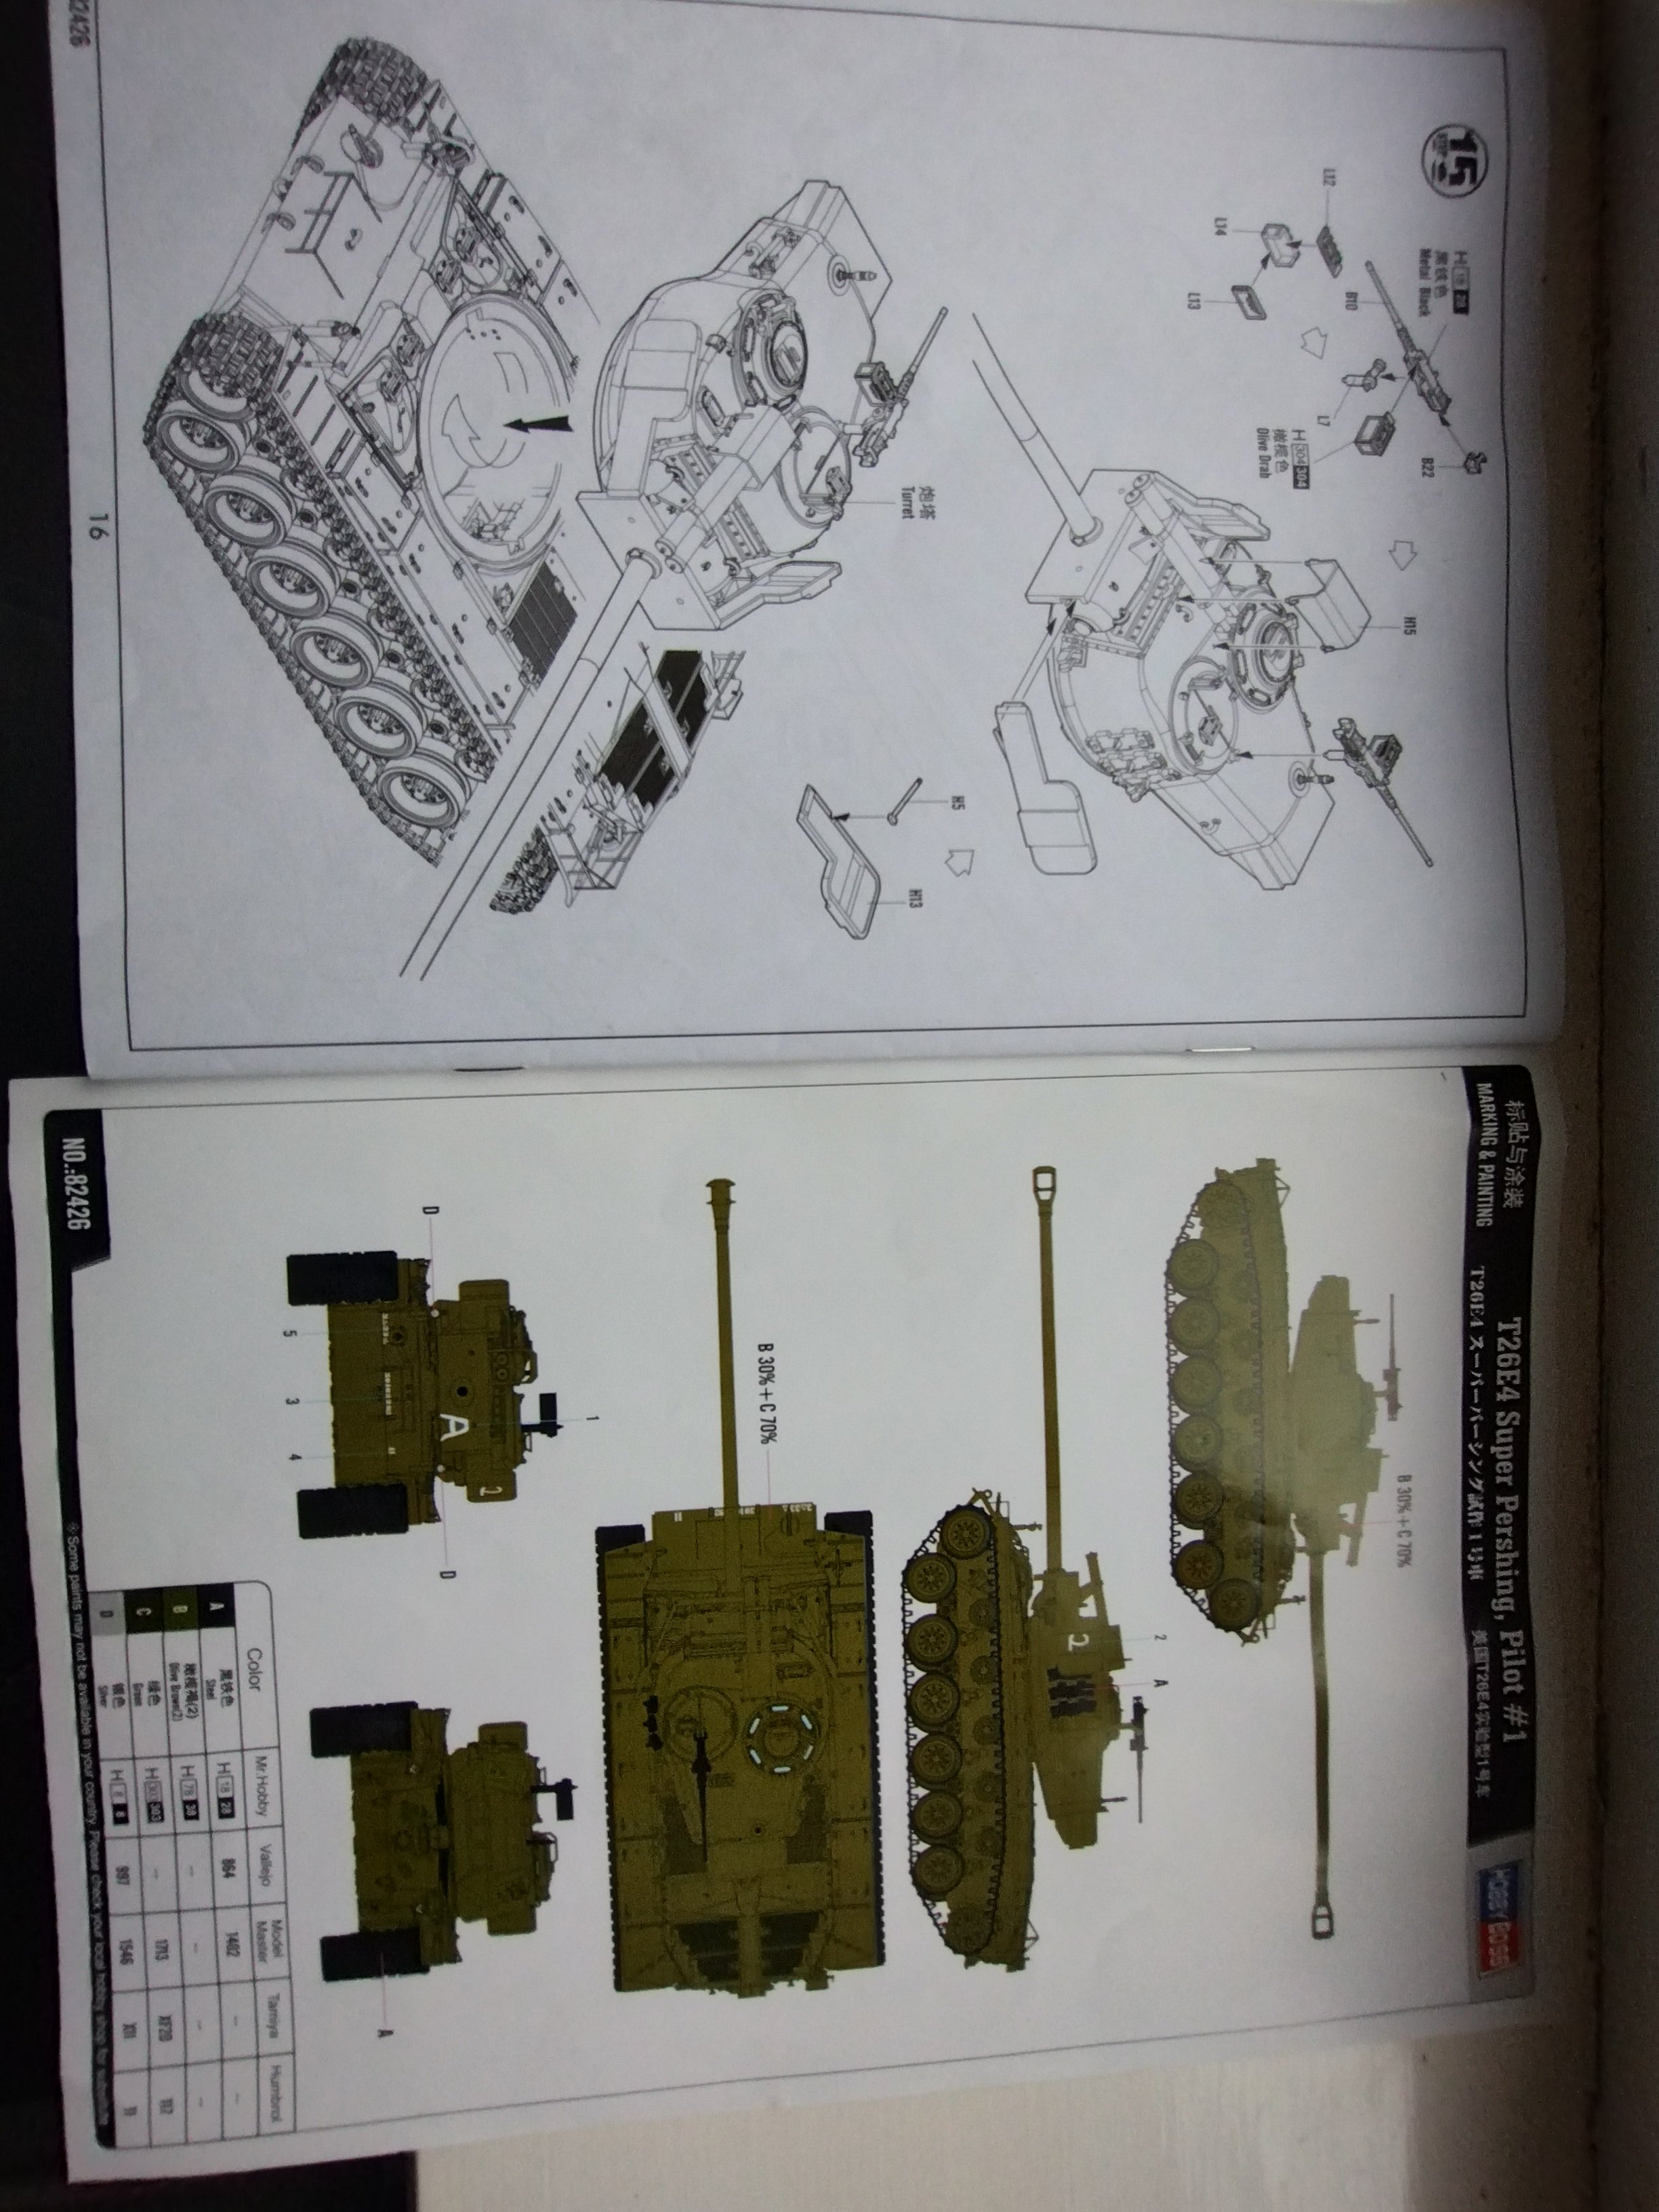
This is a interesting model of the Super Pershing from HobbyBoss.
The kit has a lot of details including full engine bay and individually linked tracks. Along with torsion bar suspension.


-
3
-
-
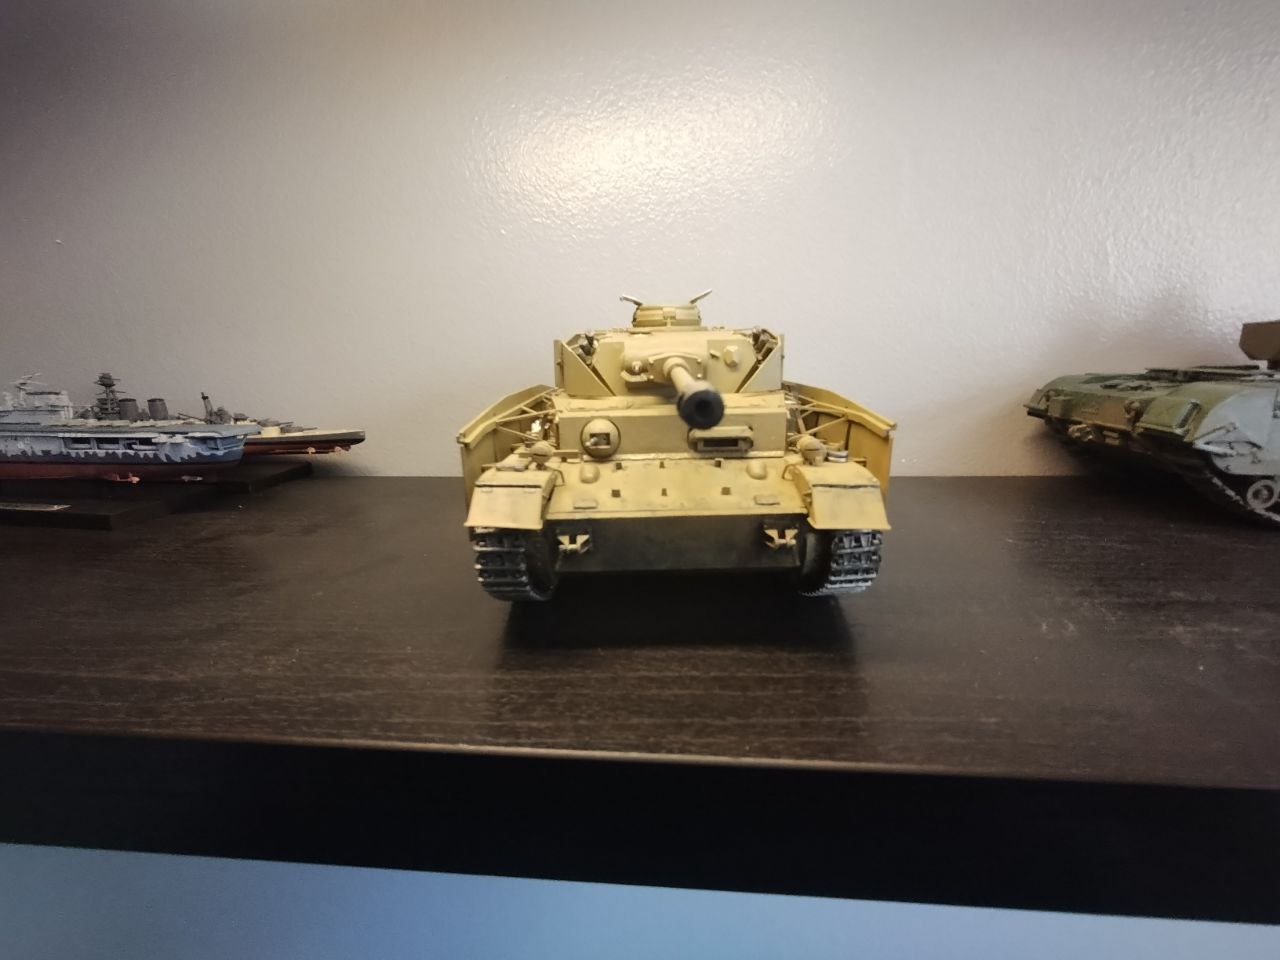
I have finished this model now. had some stuff change in my life over the last few months so just forgot to upload the images but here they are. just deciding what model to do next.
.thumb.jpg.2ac1a0bd9348979a19592ed3743390d2.jpg)

-
2
-
1
-
-
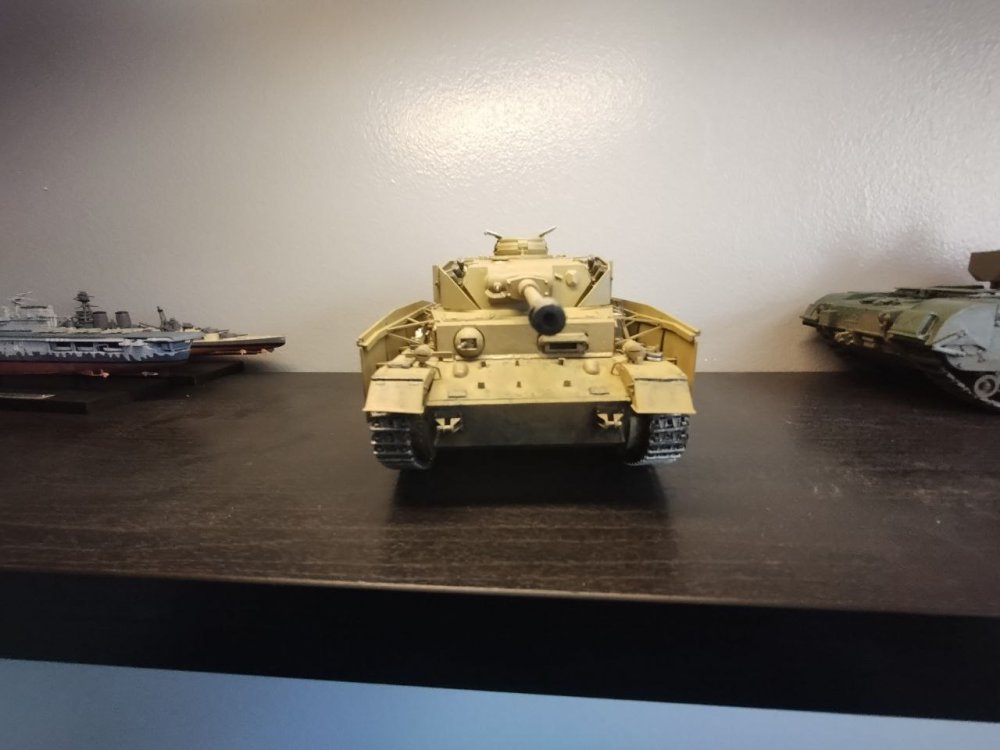
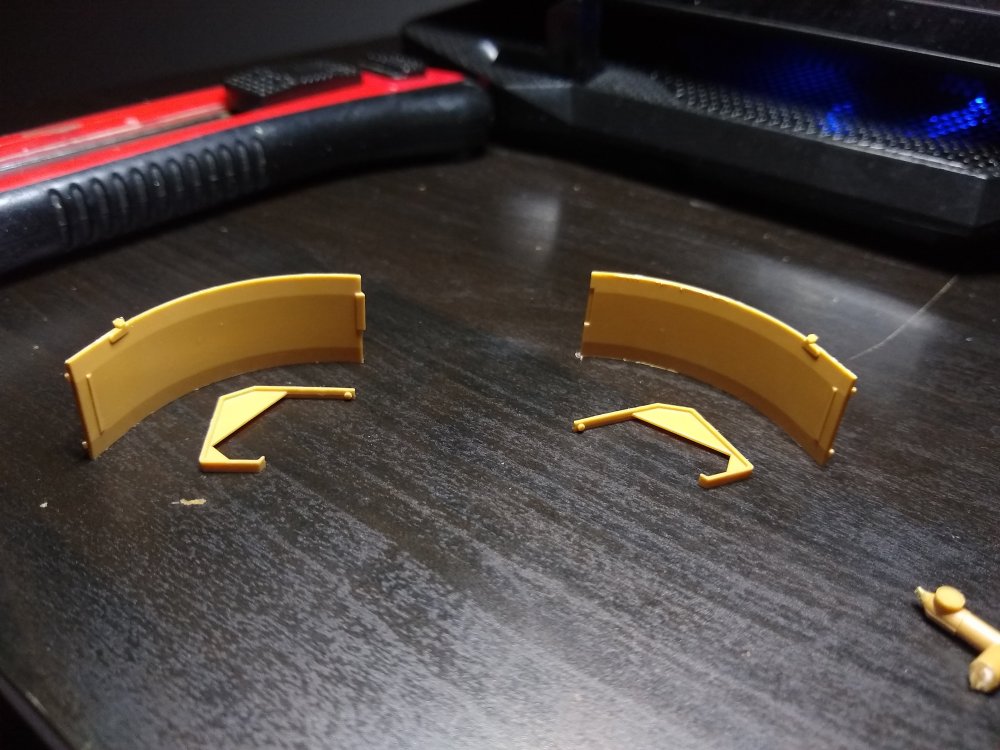
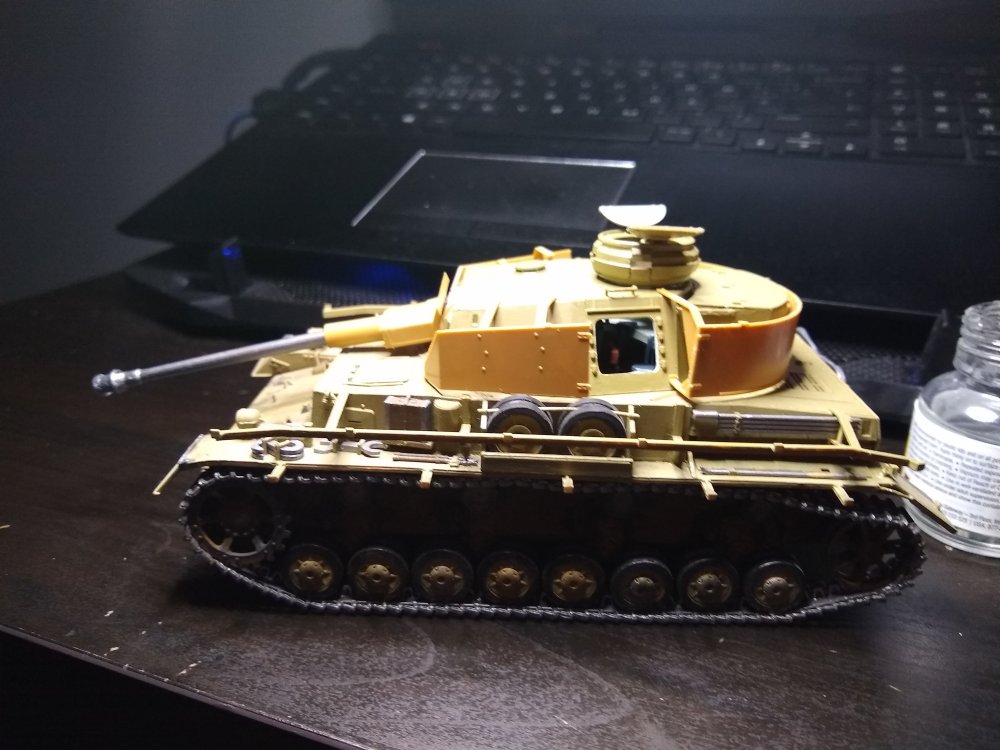
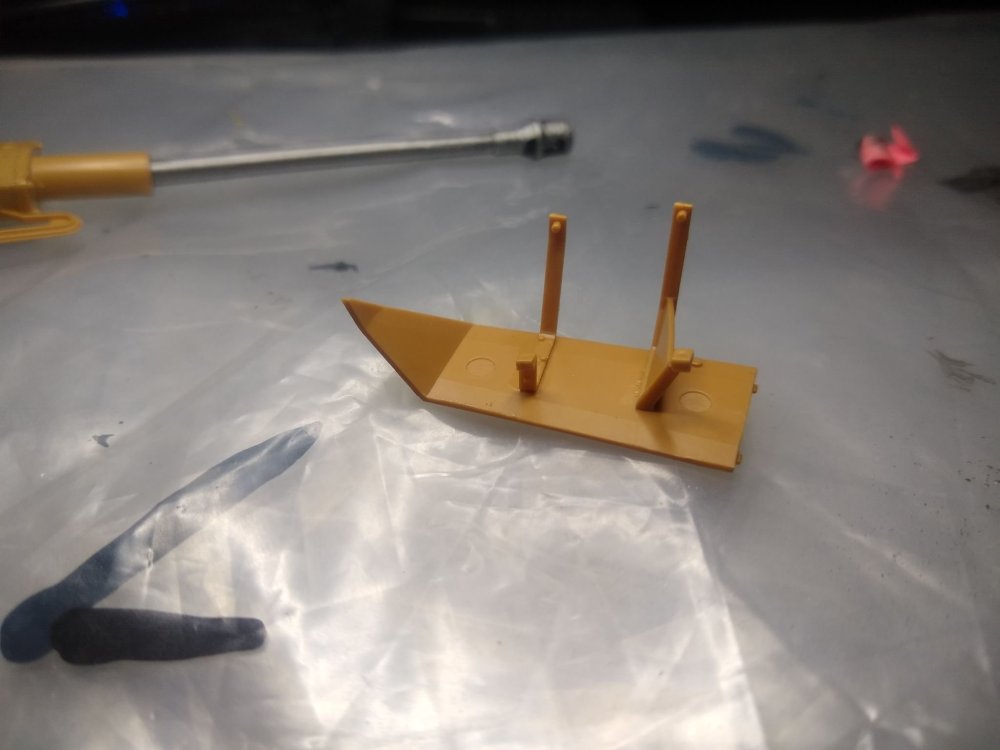
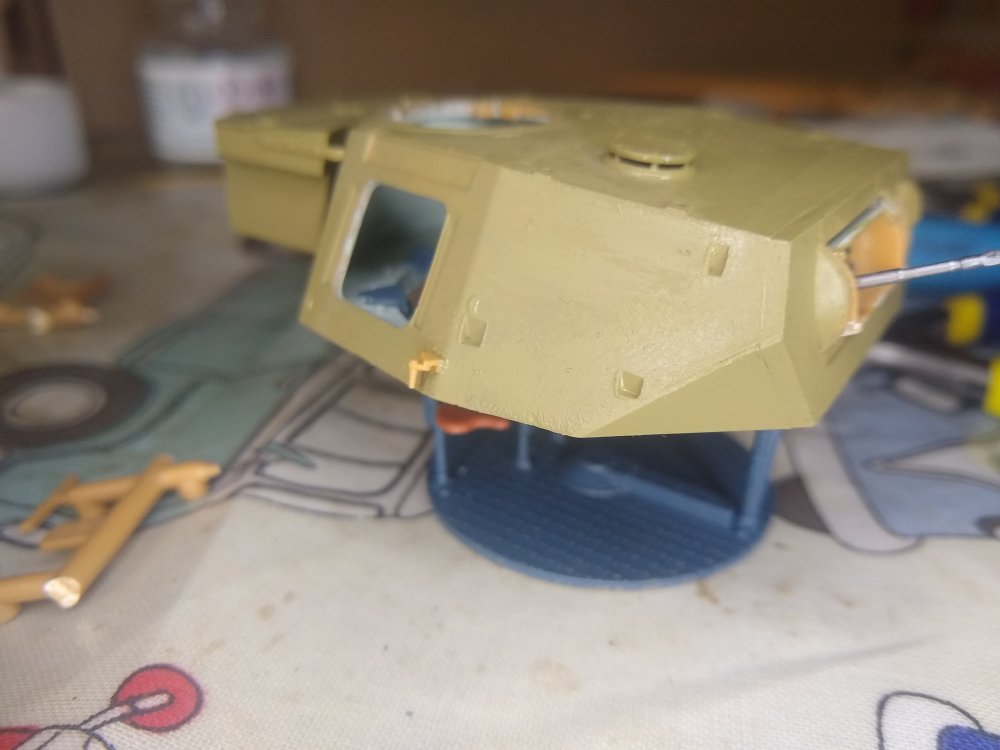
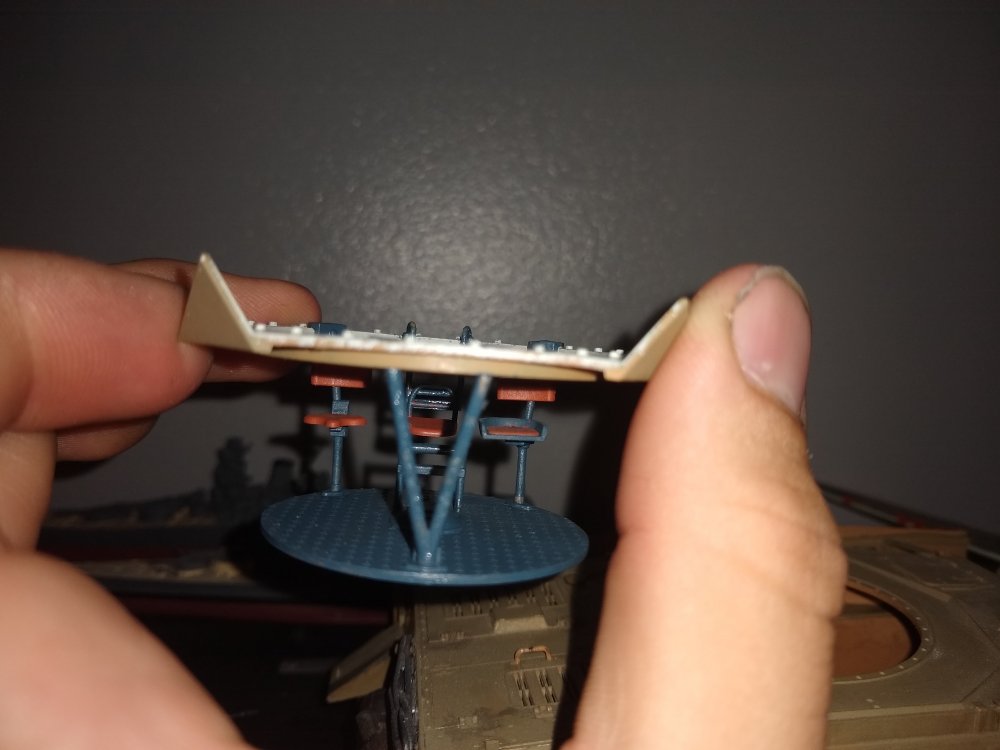
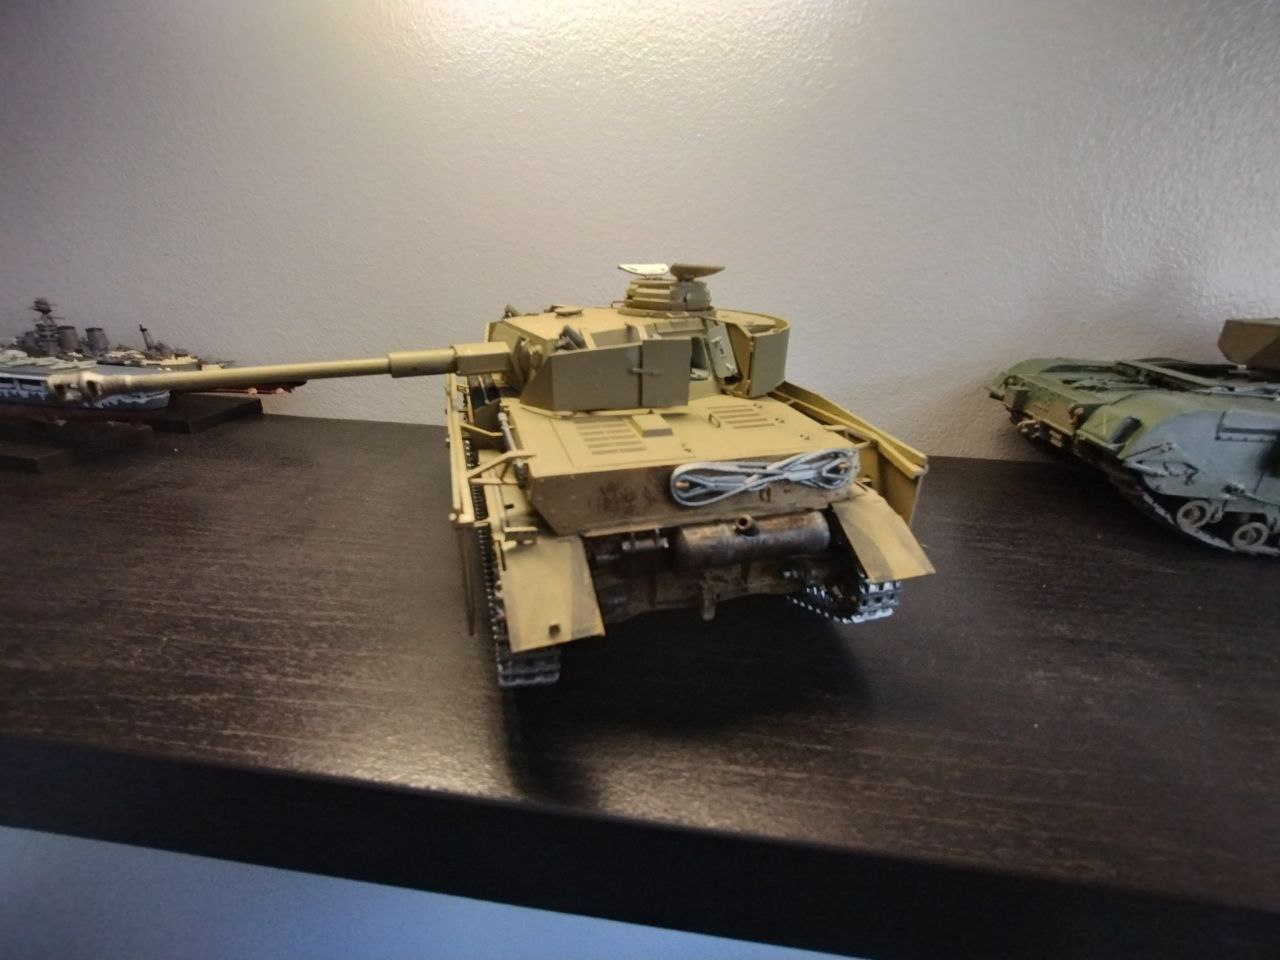
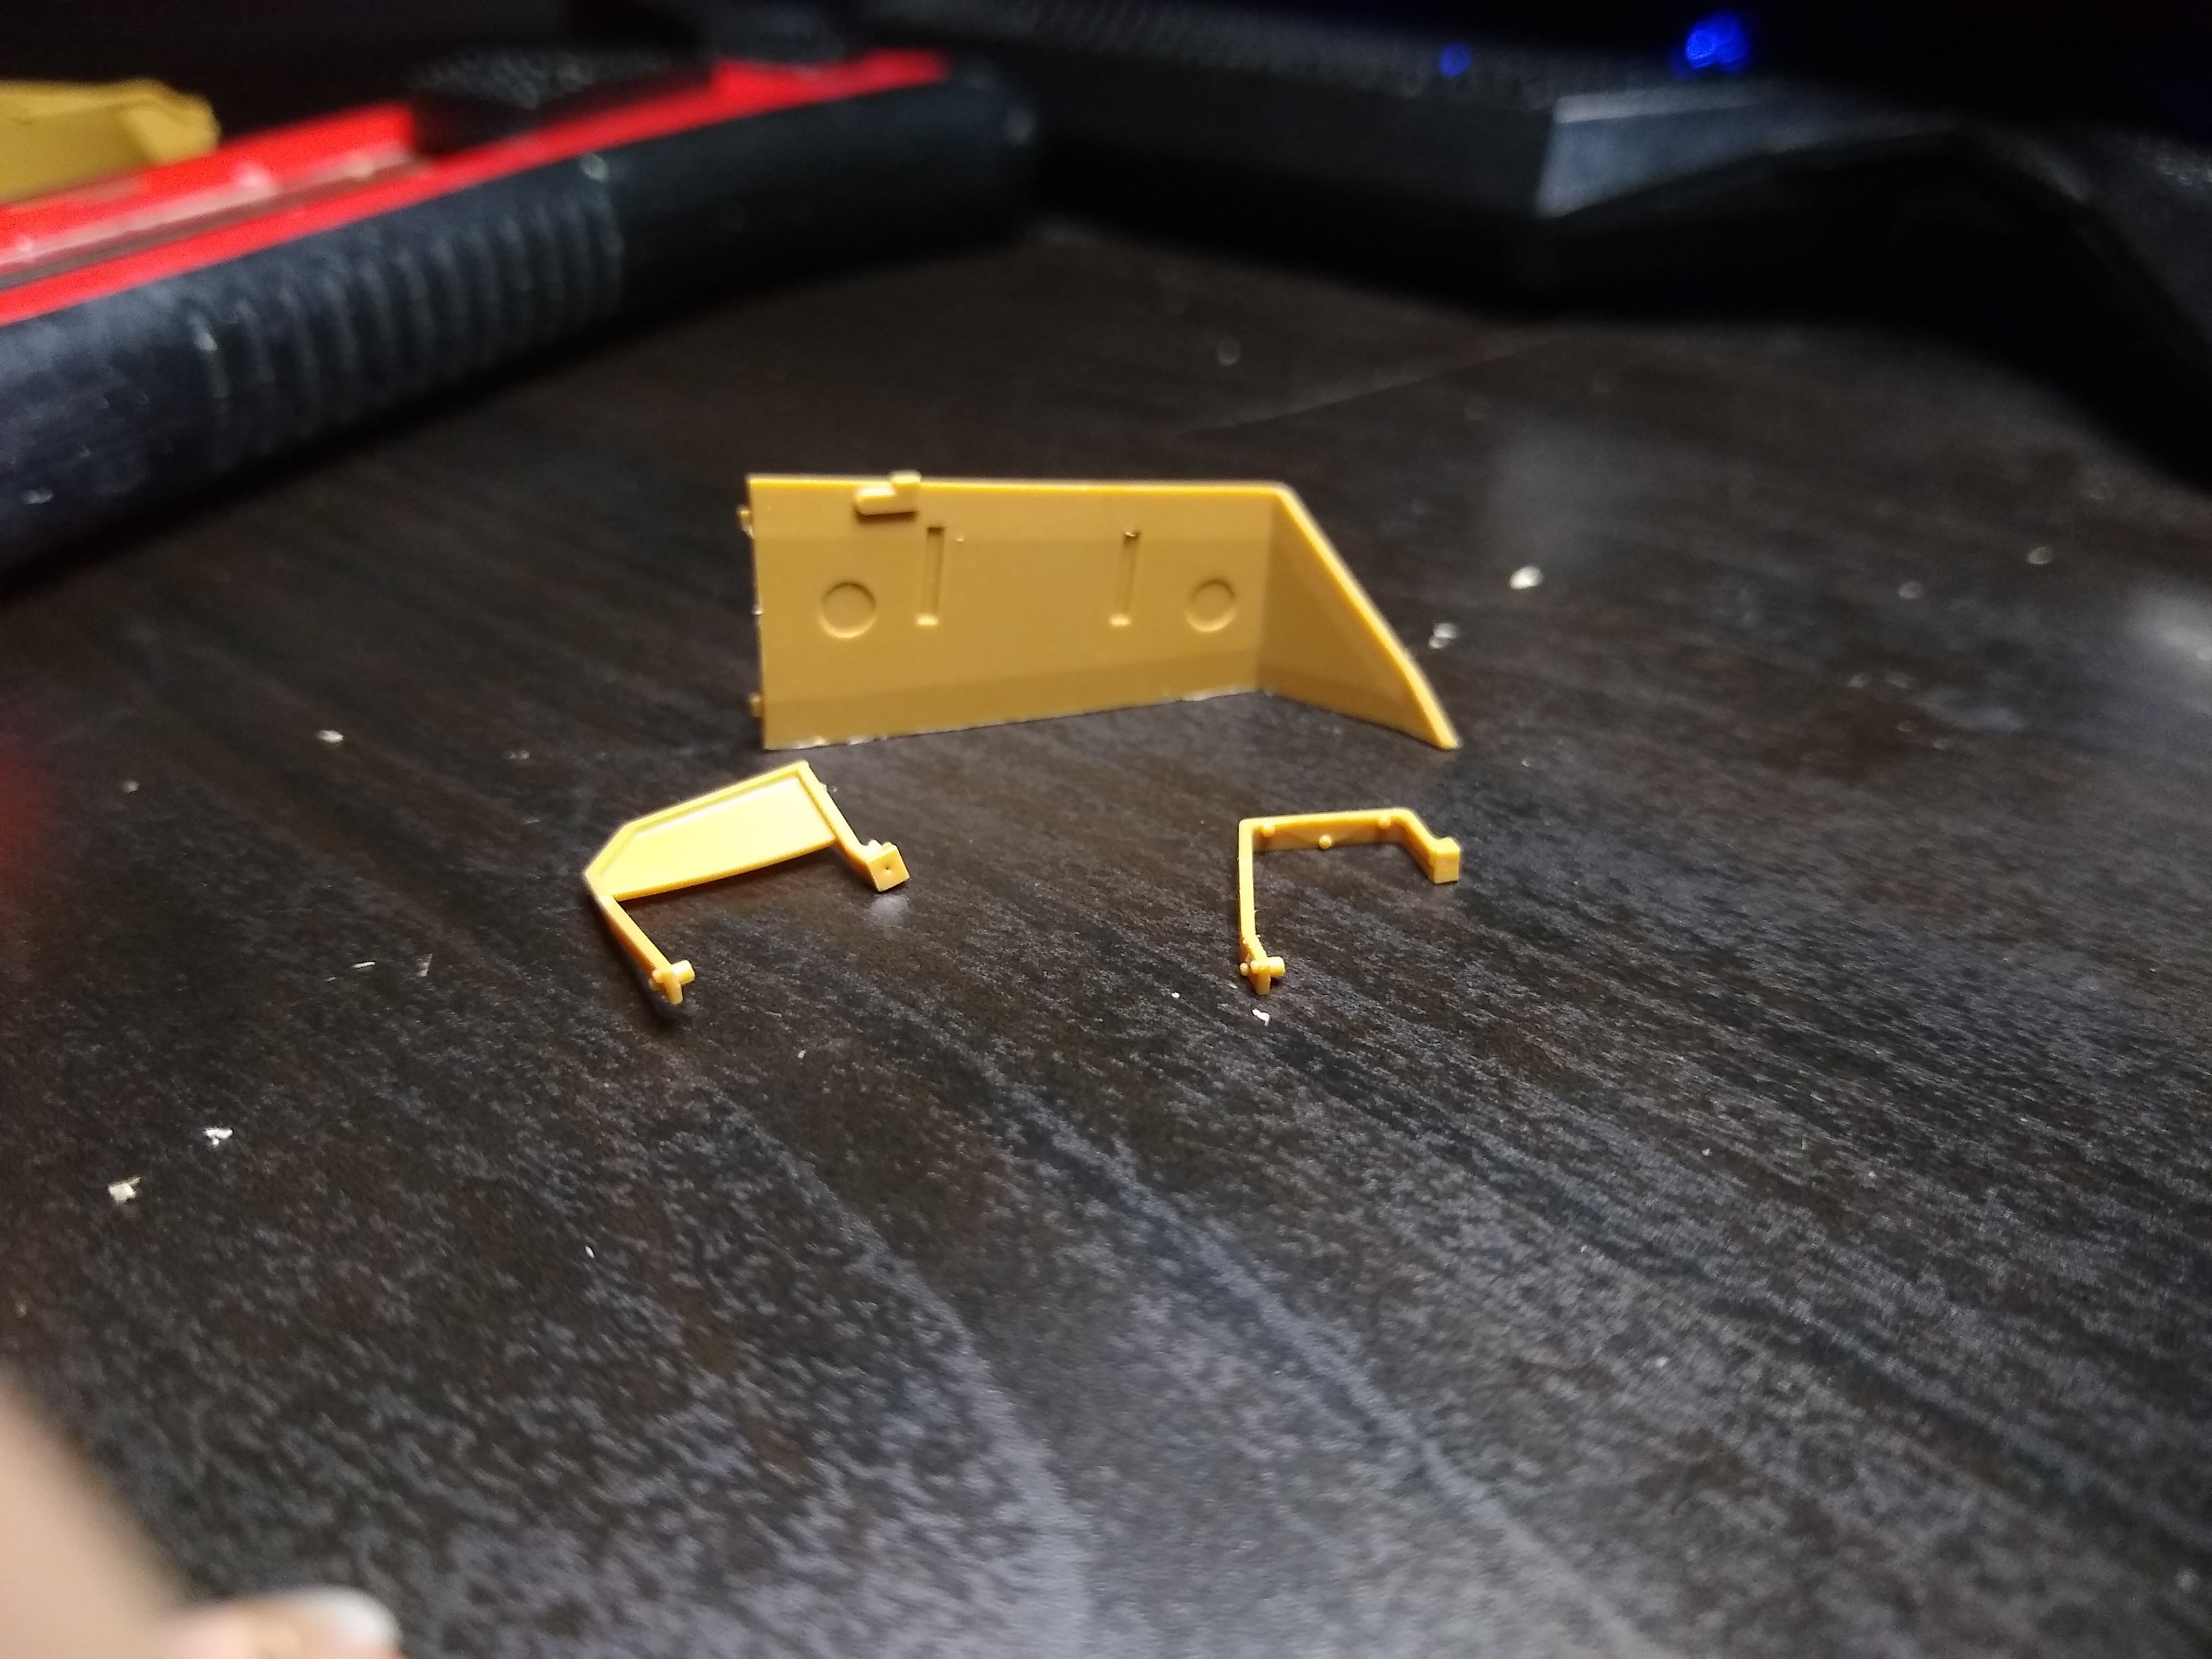
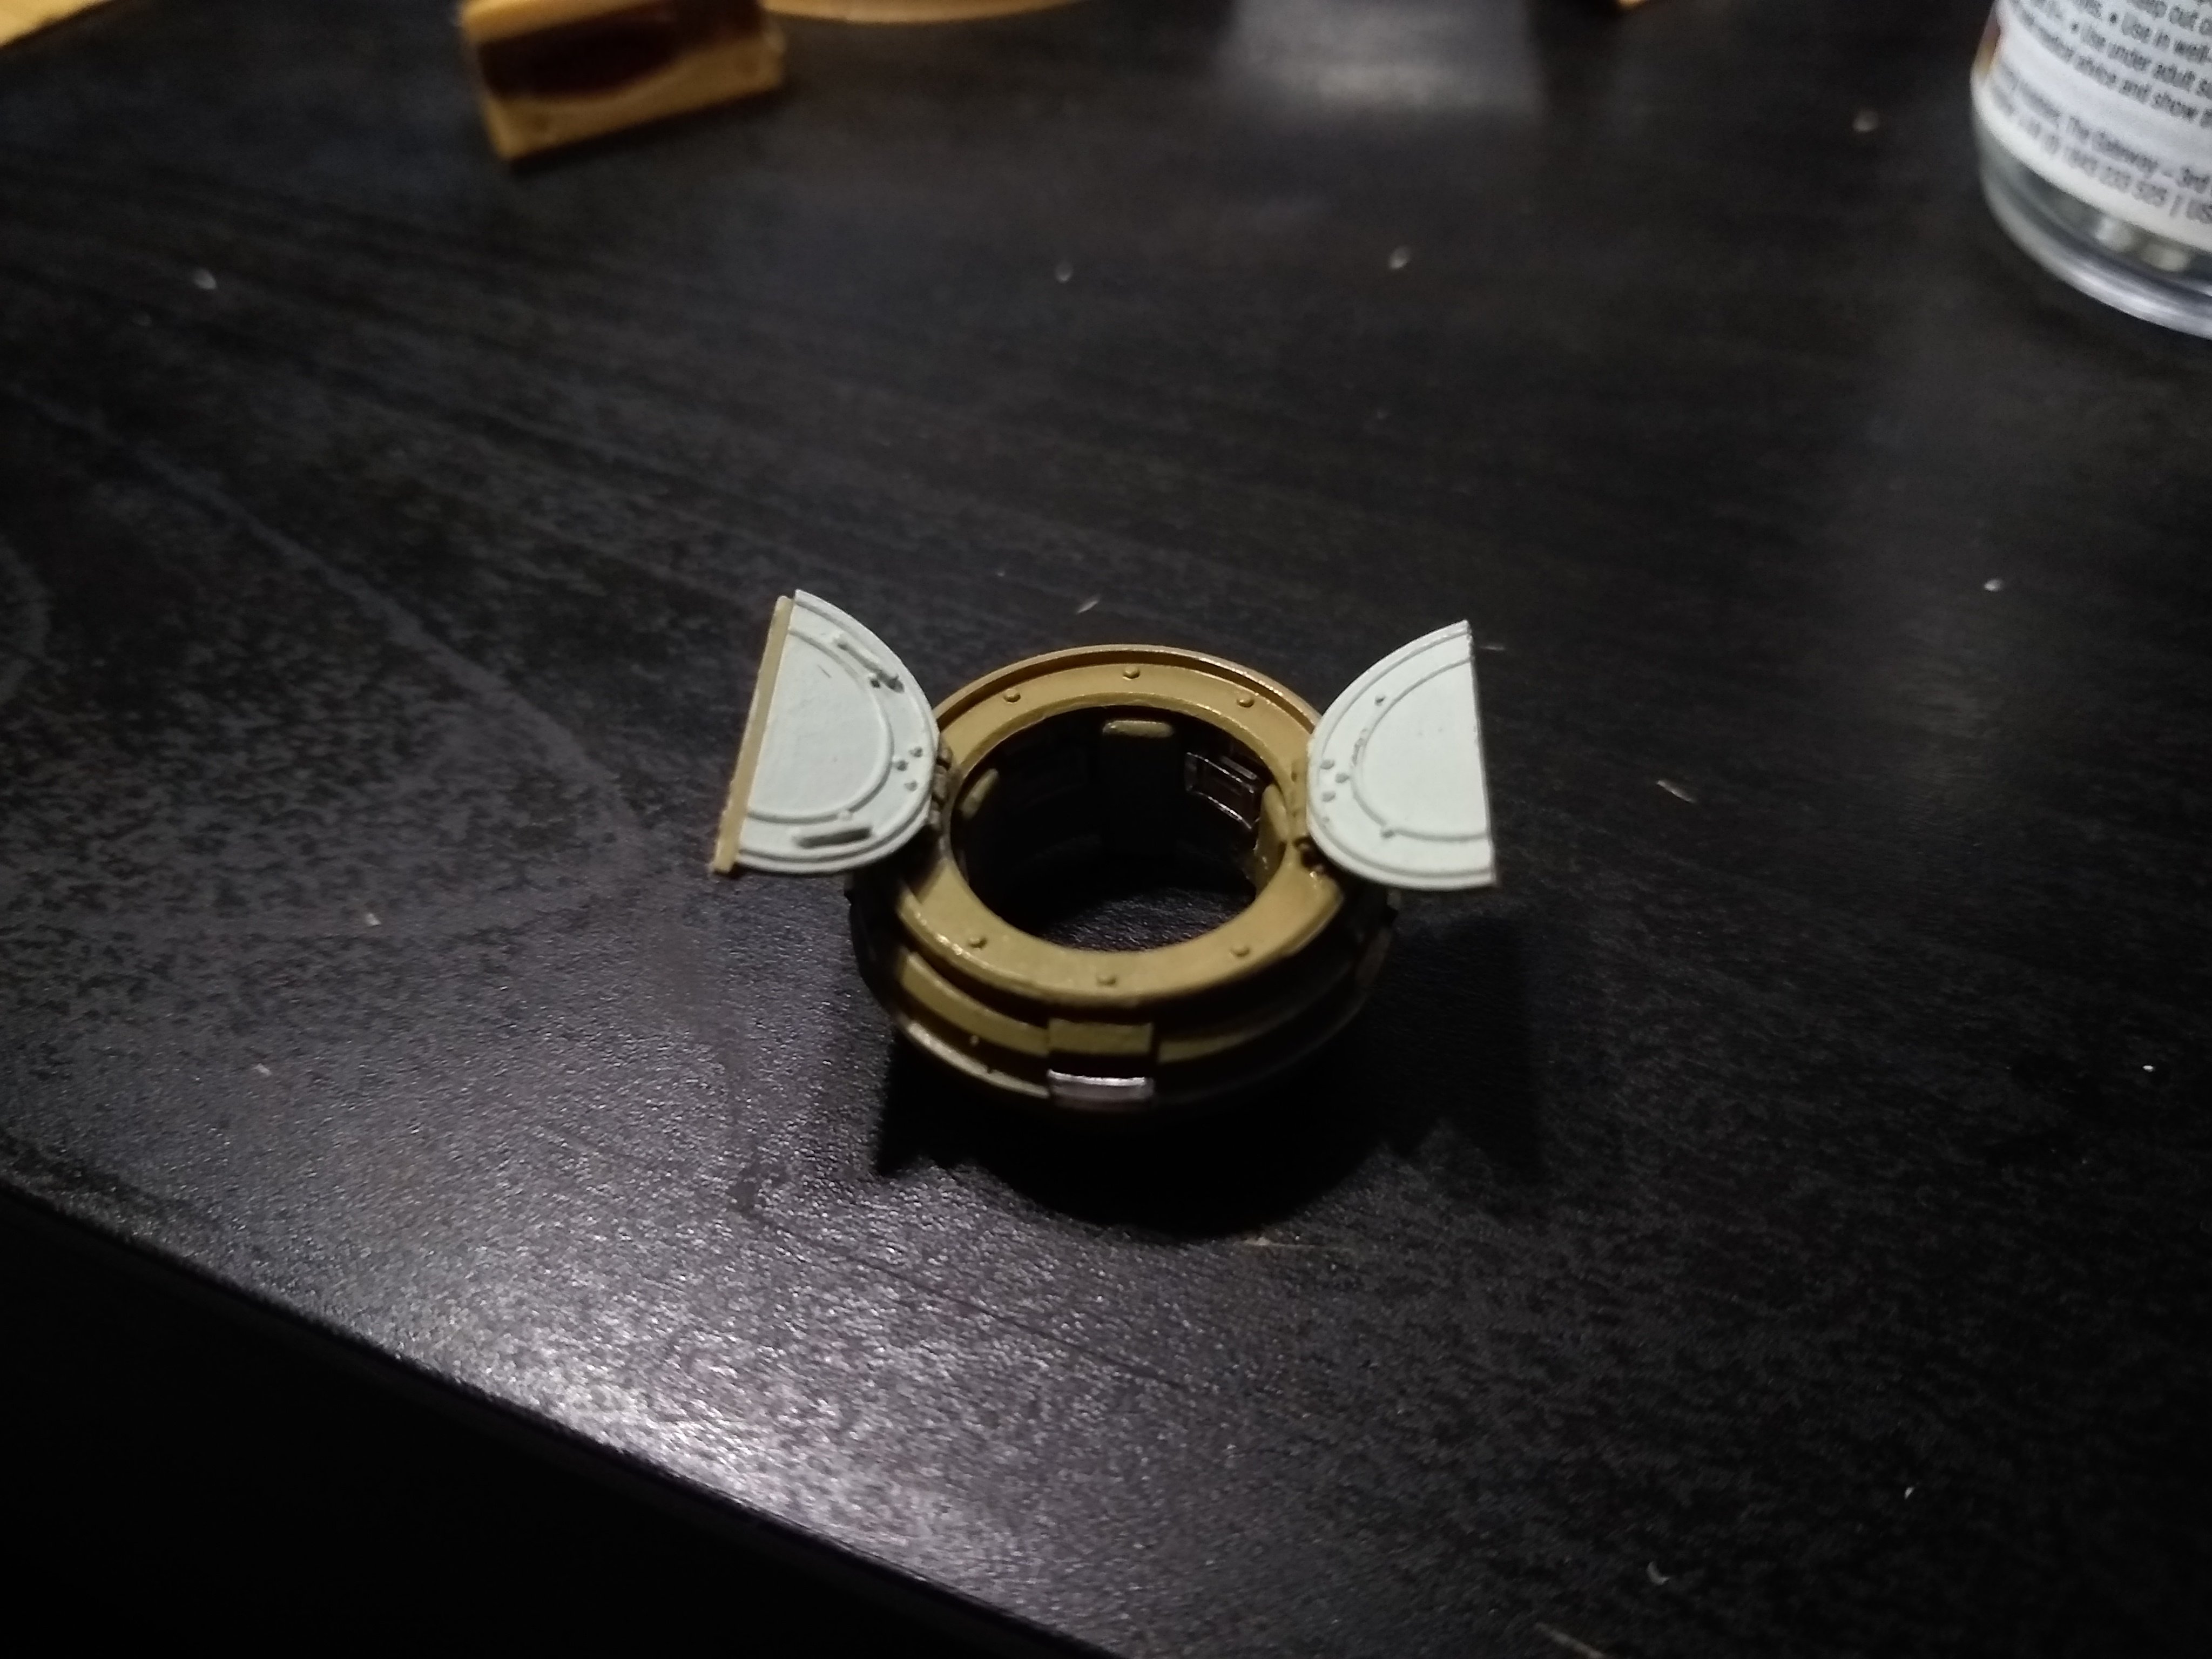
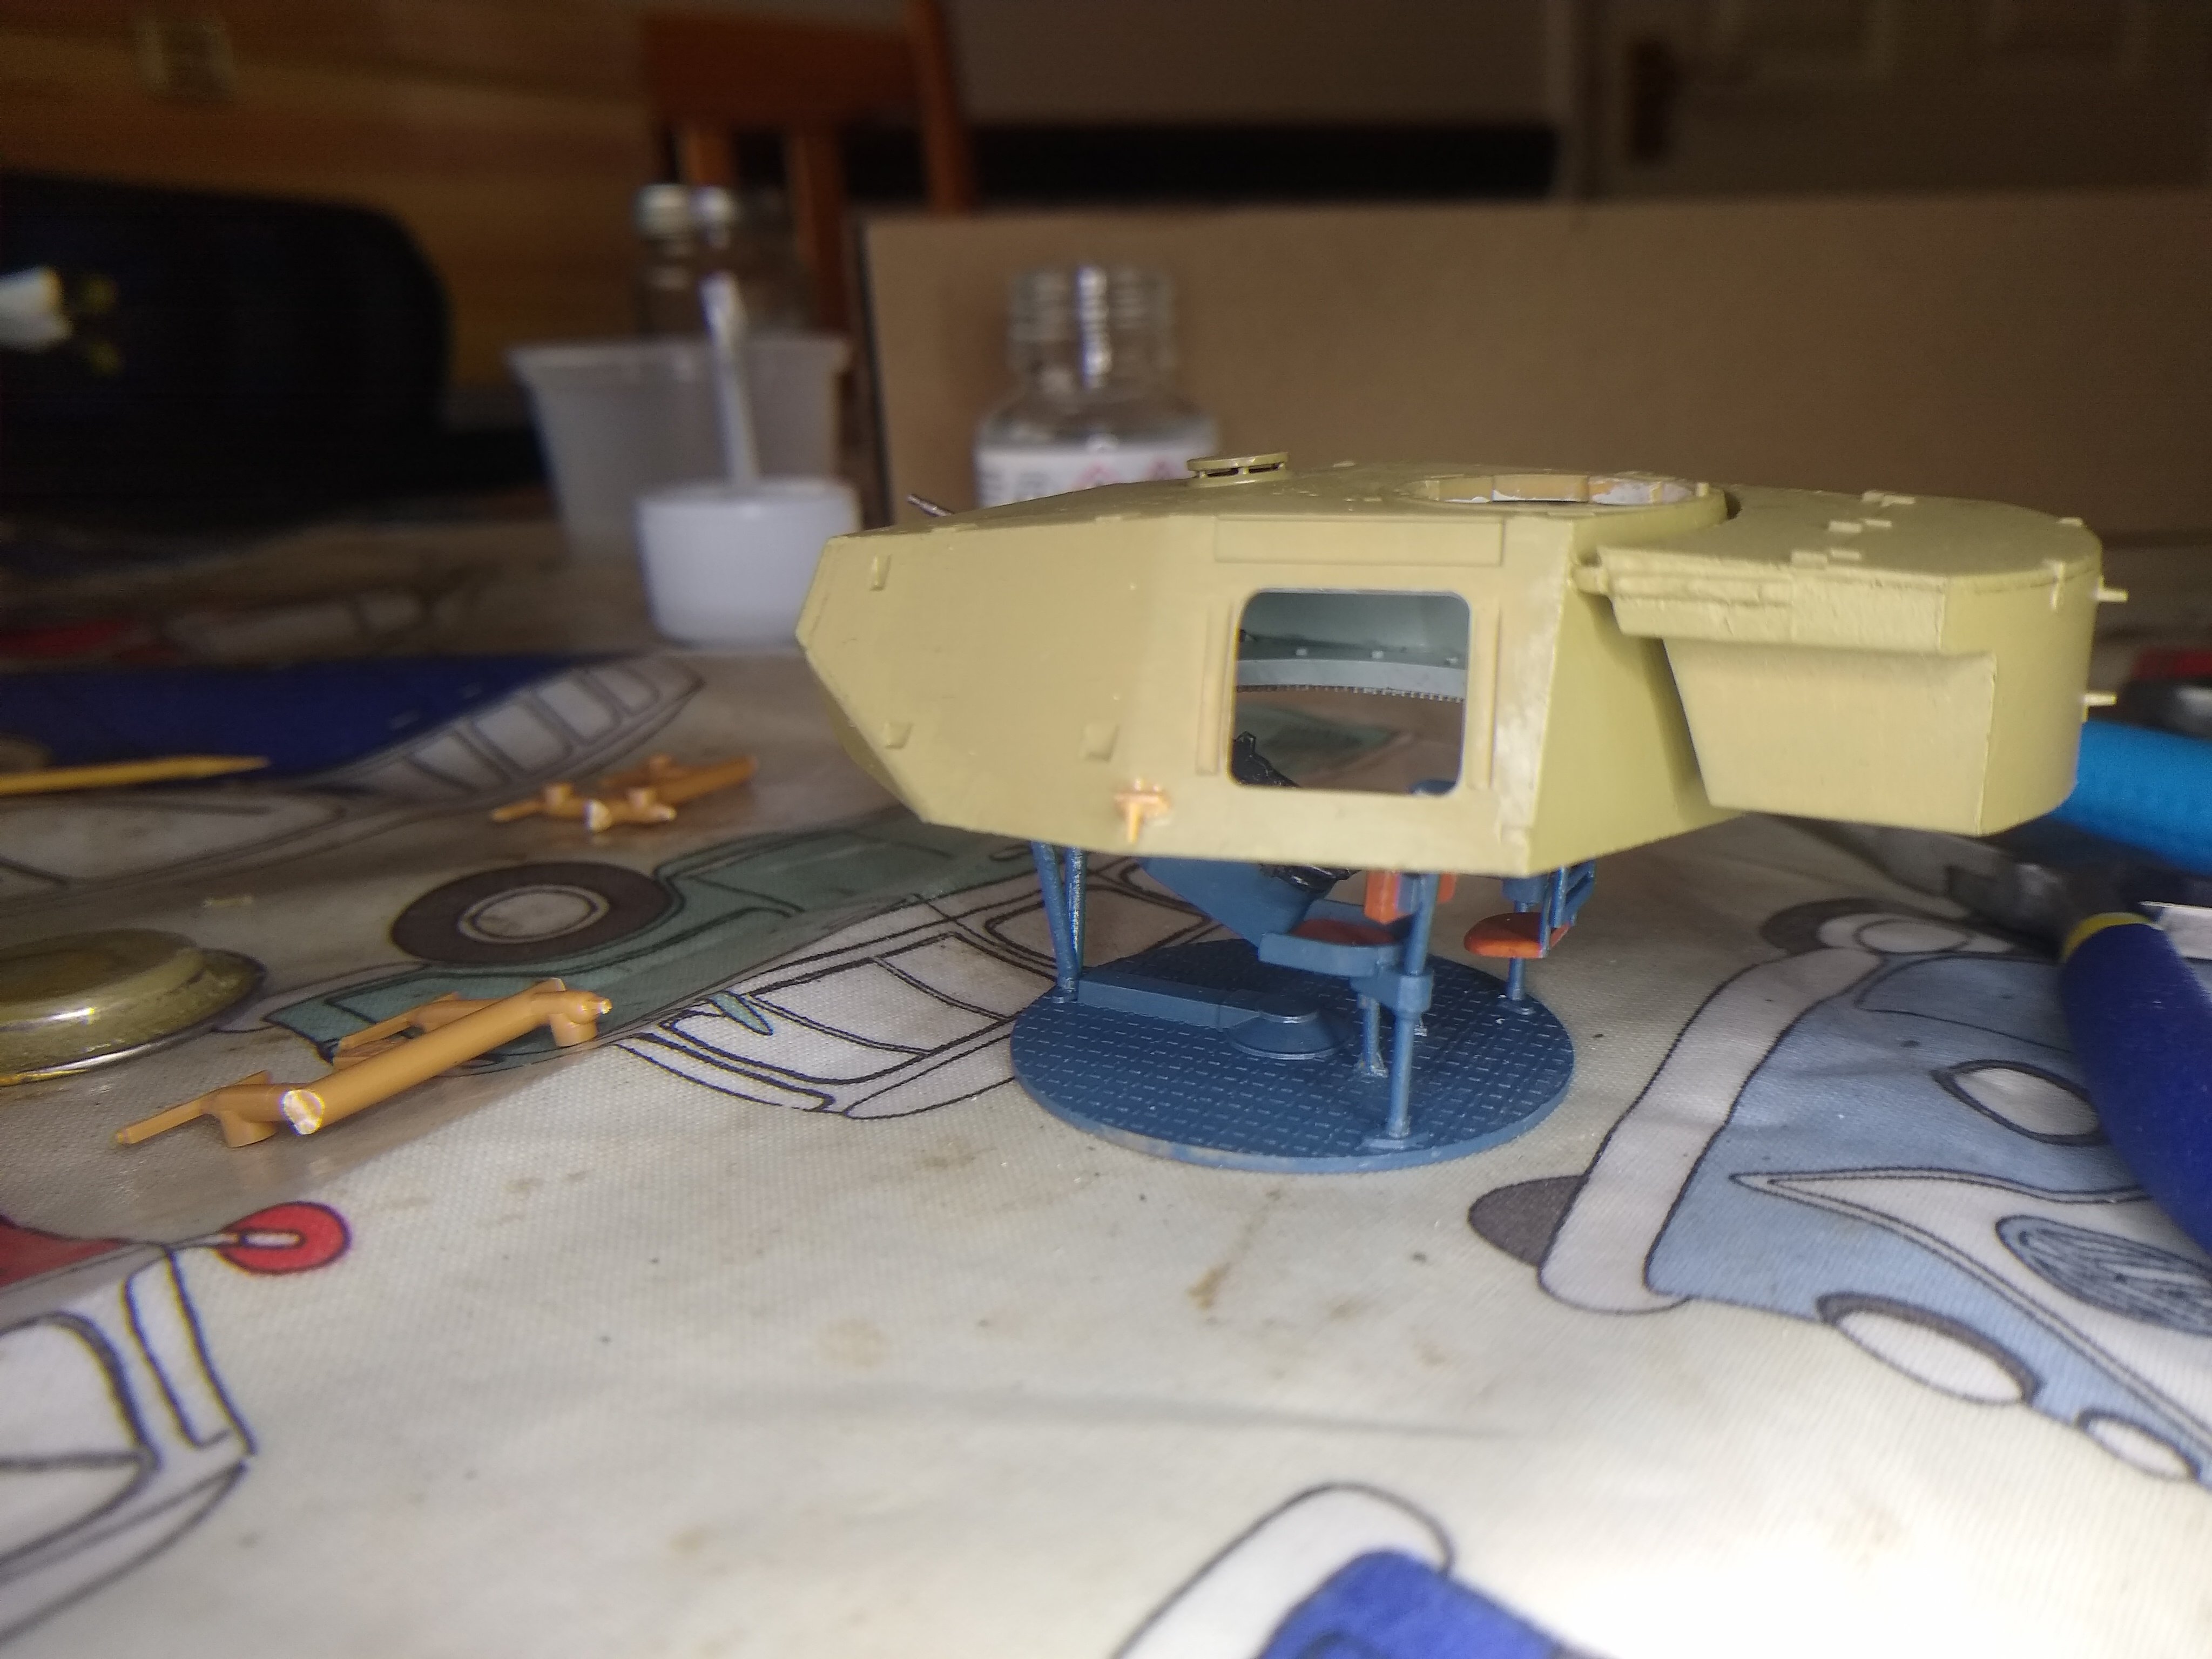
Quite a bit of progress since last check in. got the turret skirts all on.
Sorted the gun and muzzle break out with a bit of weathering and now gonna to add more to the whole turret at some pint now.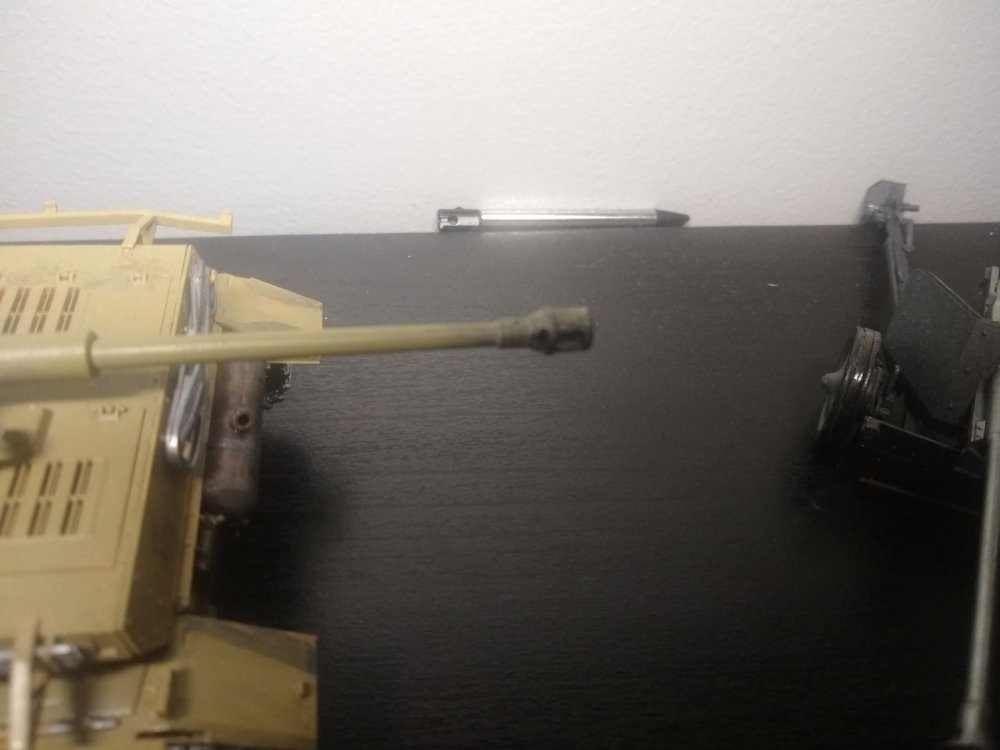
I have made the smoke launchers on ether side of the turrets front god they were fiddley with 8 tiny pieces each. But there looking good now.
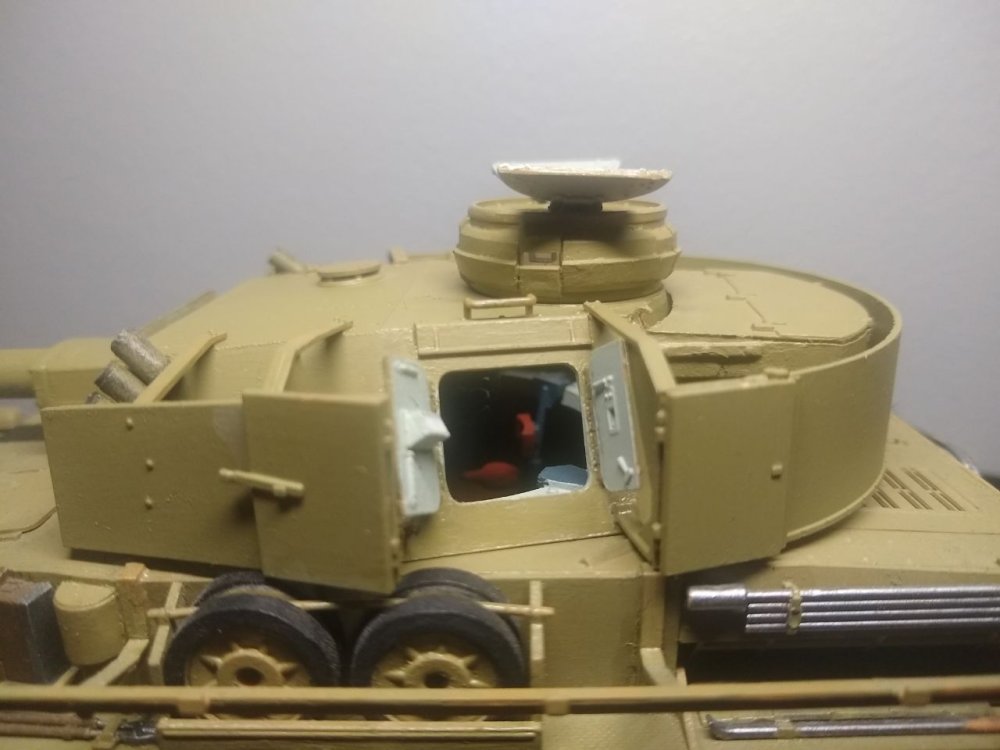
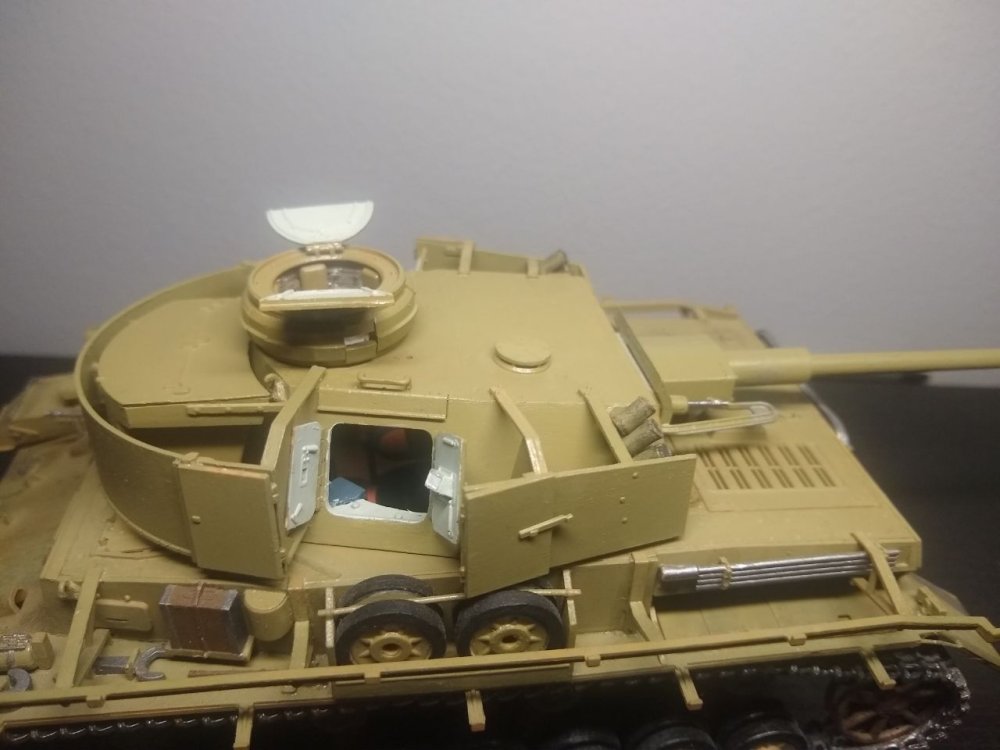
have decided to have all the hatches open on the turret so worked that out best I could and it looks great. Even if I do say so my self.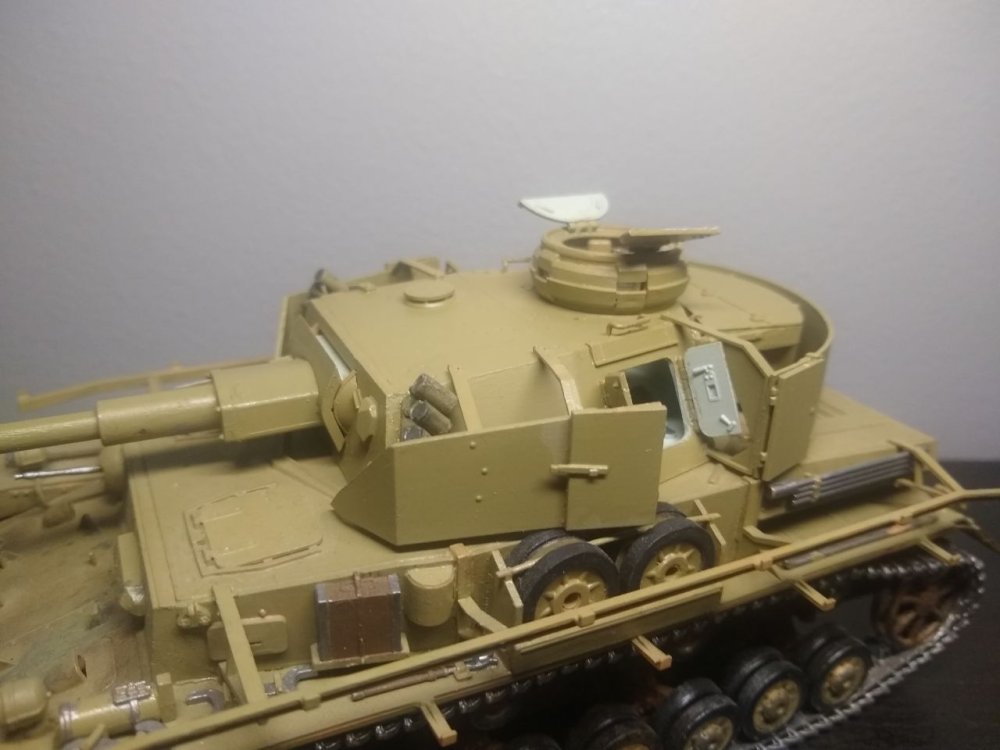
-
3
-
-
Bit of paint never hurts

-
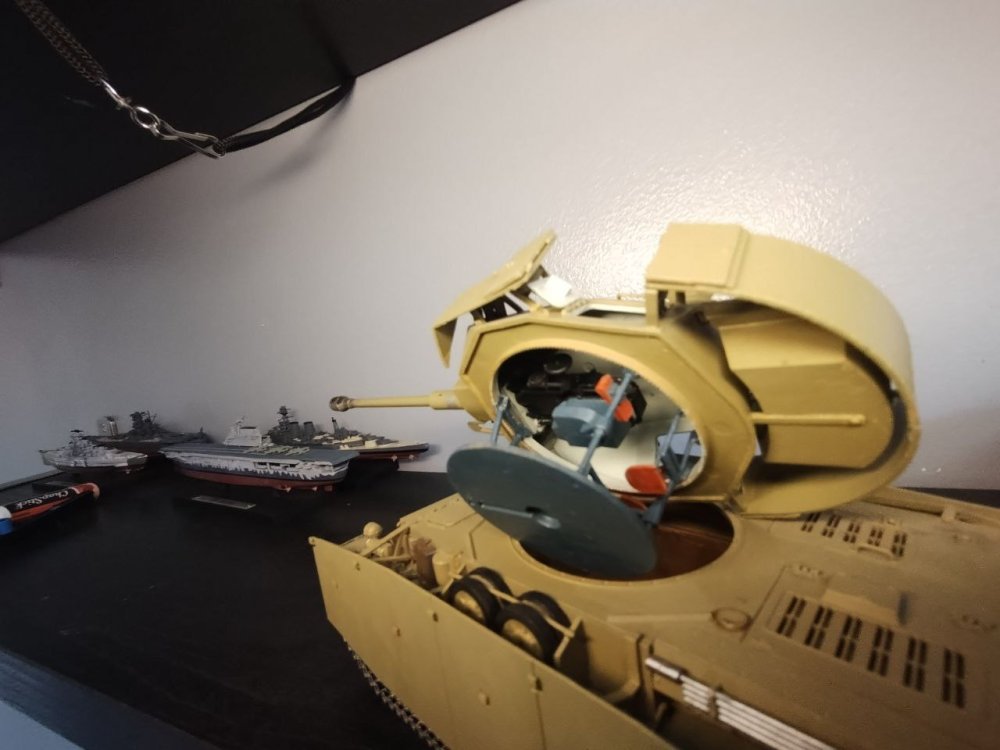
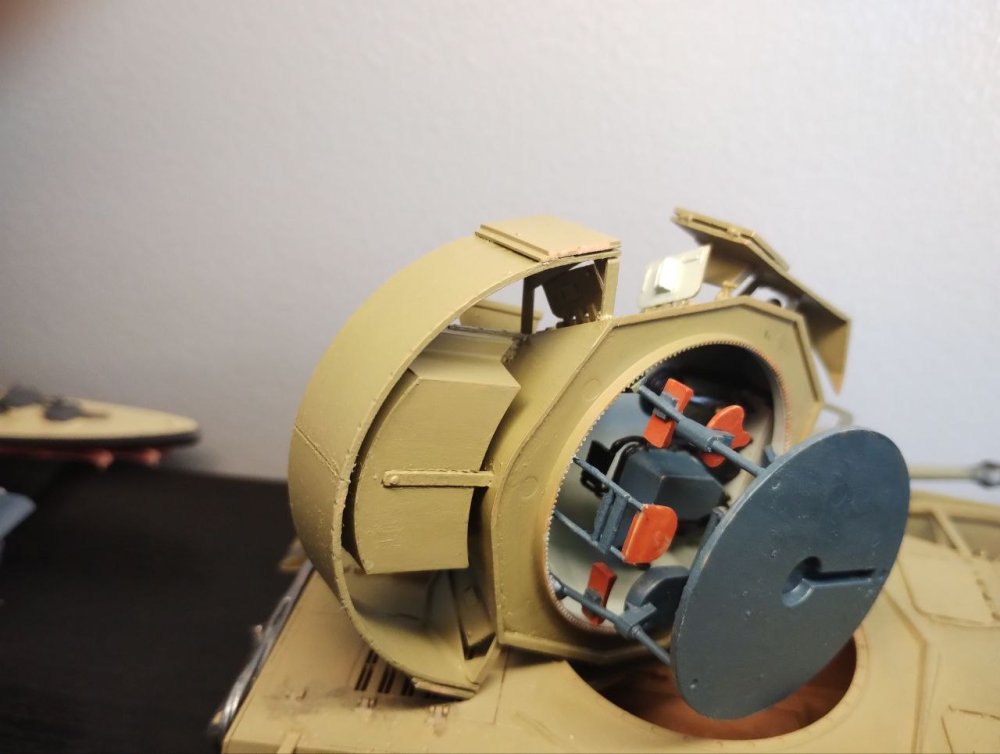
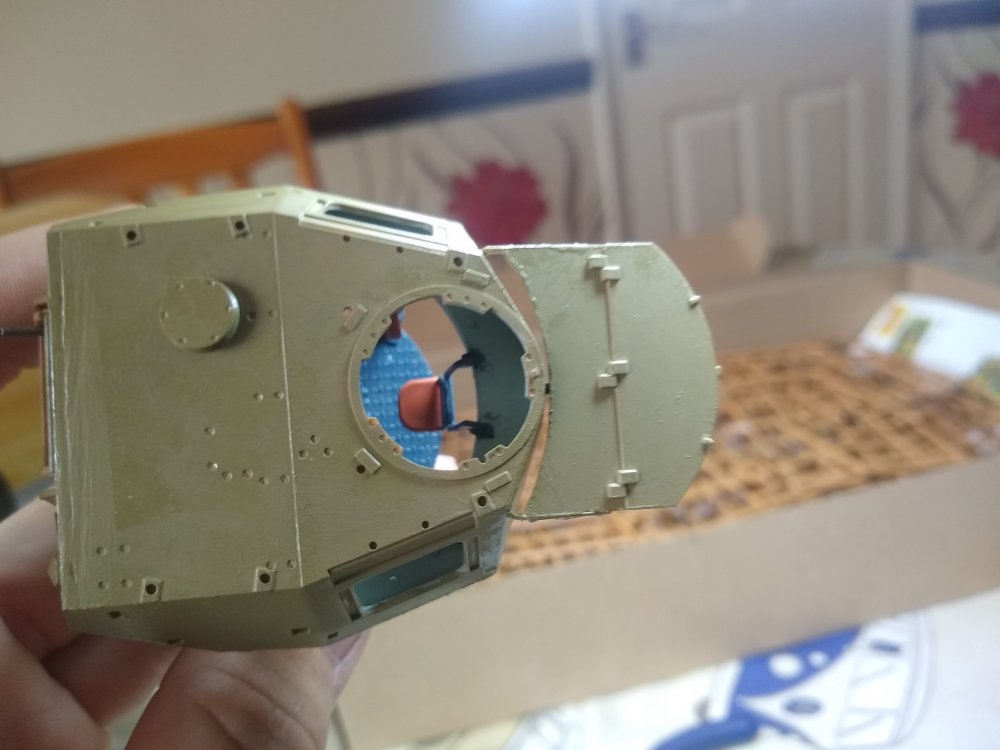
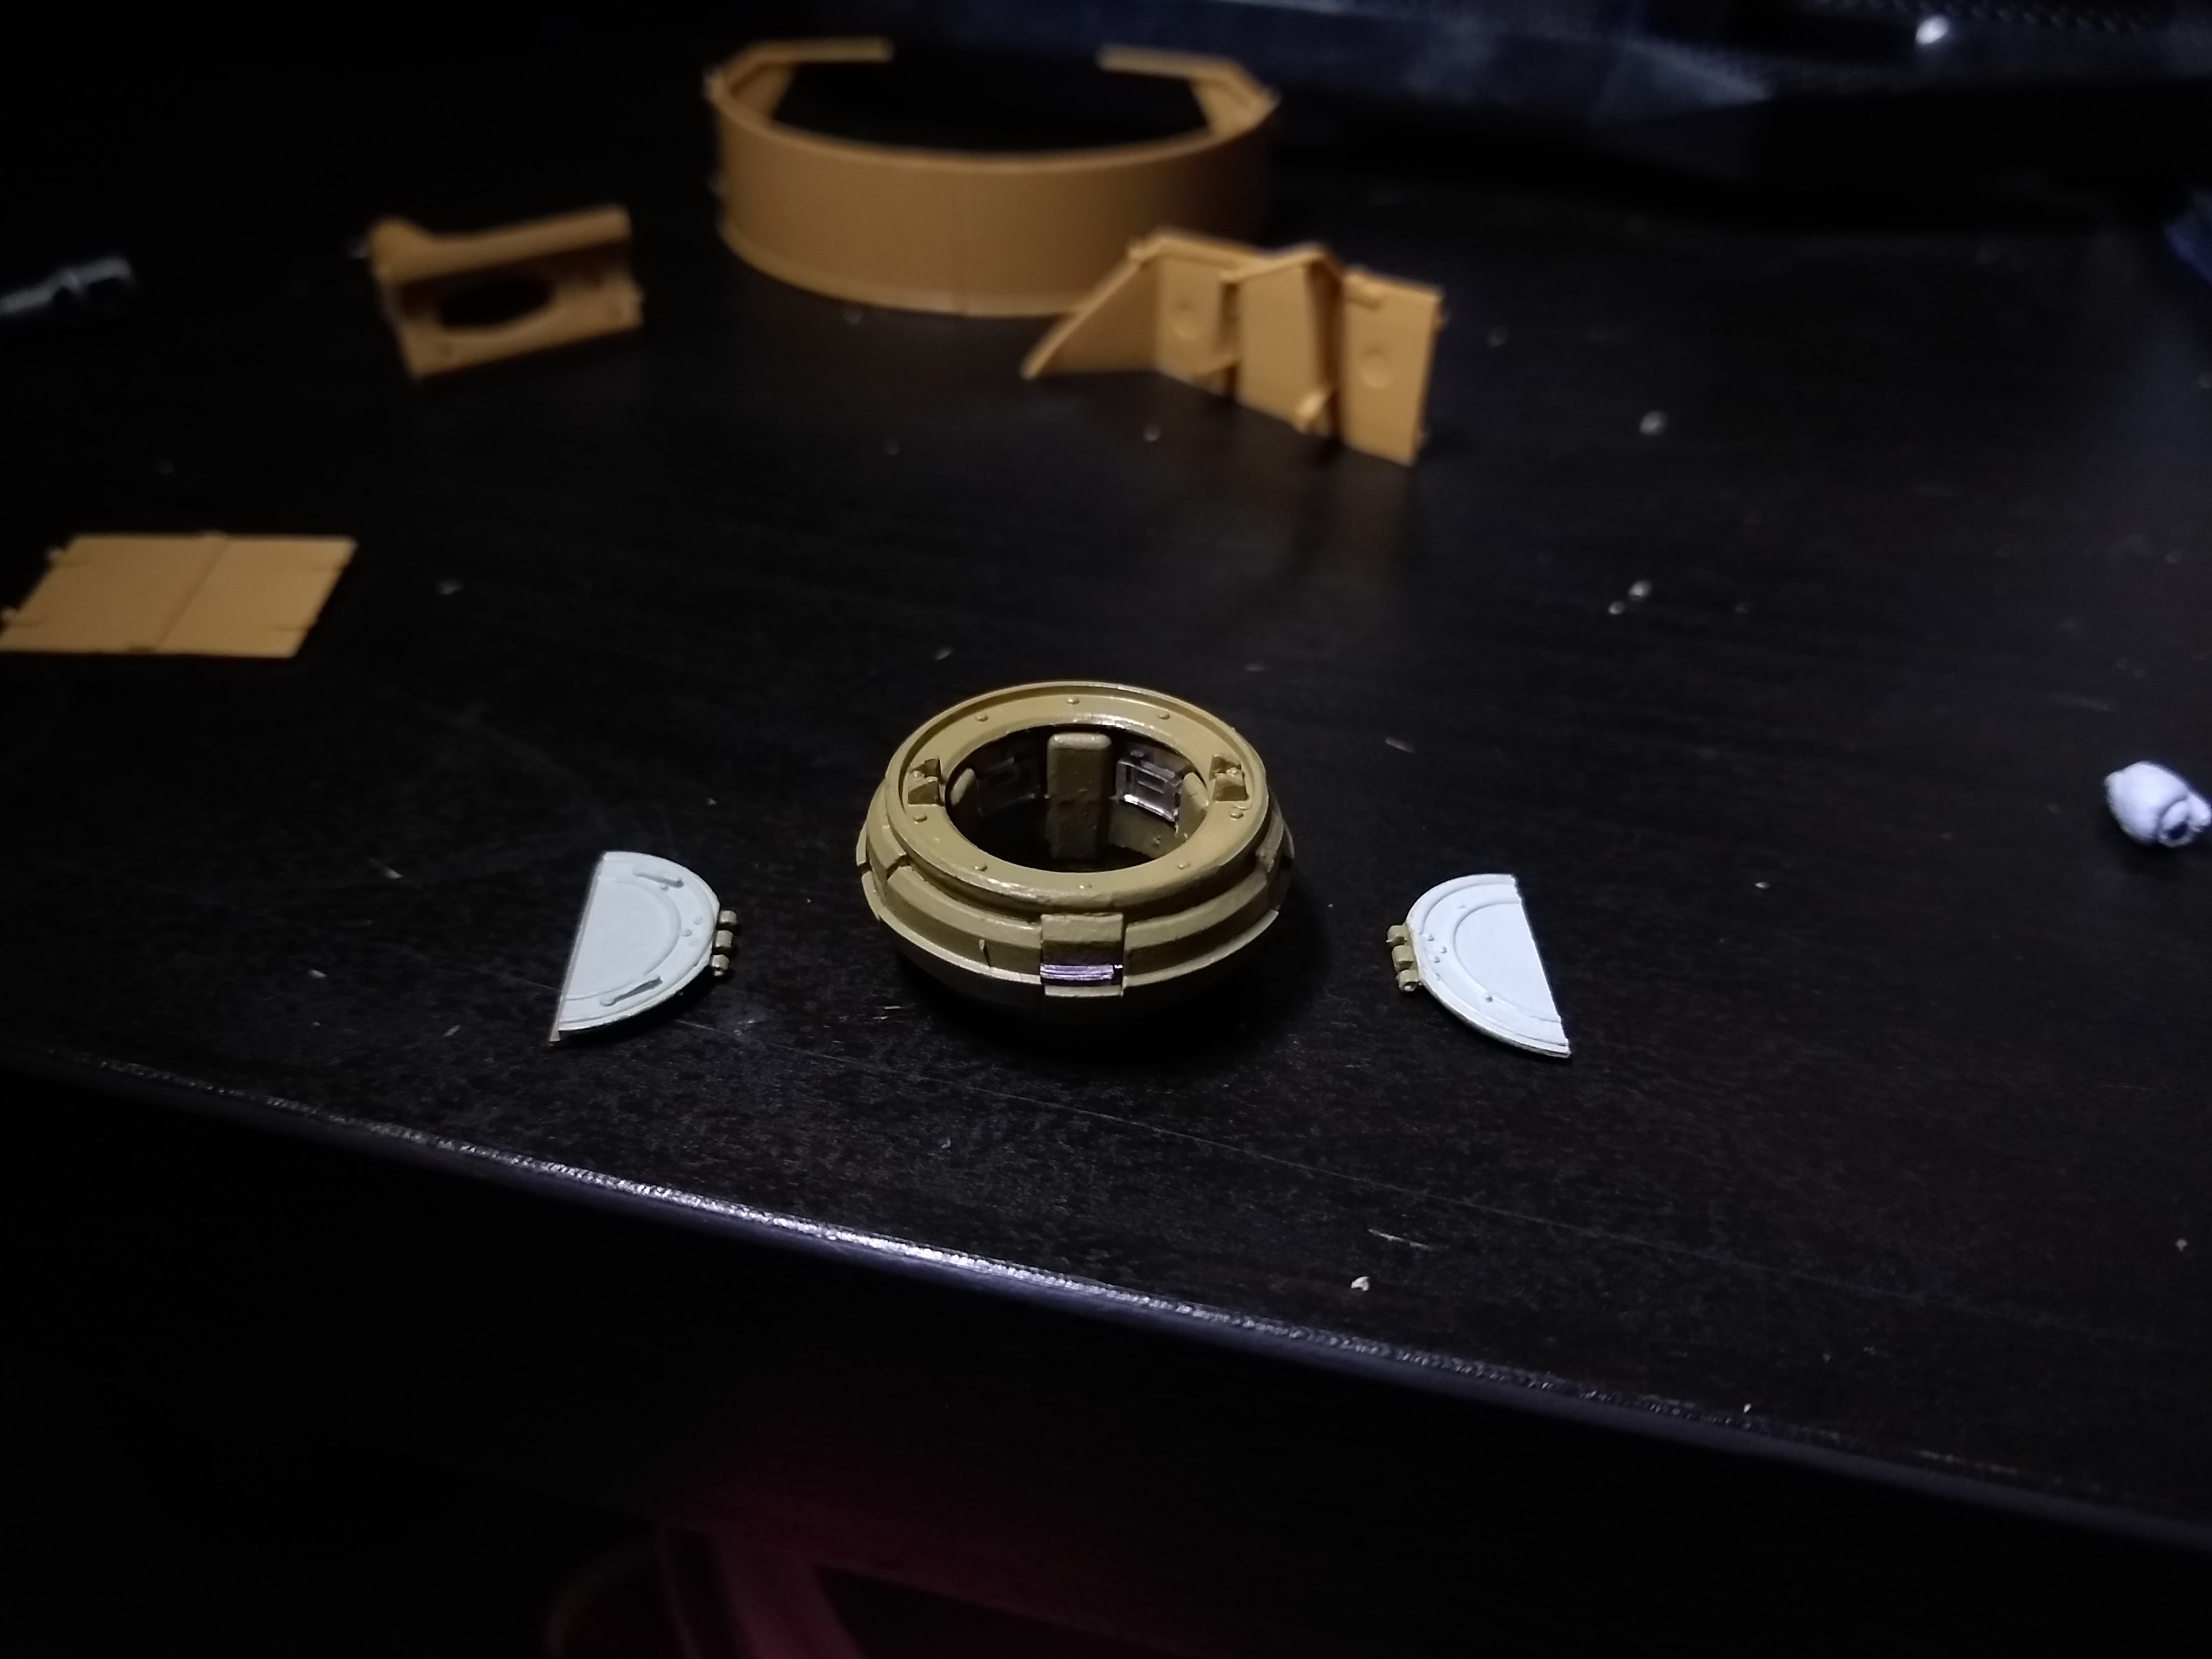
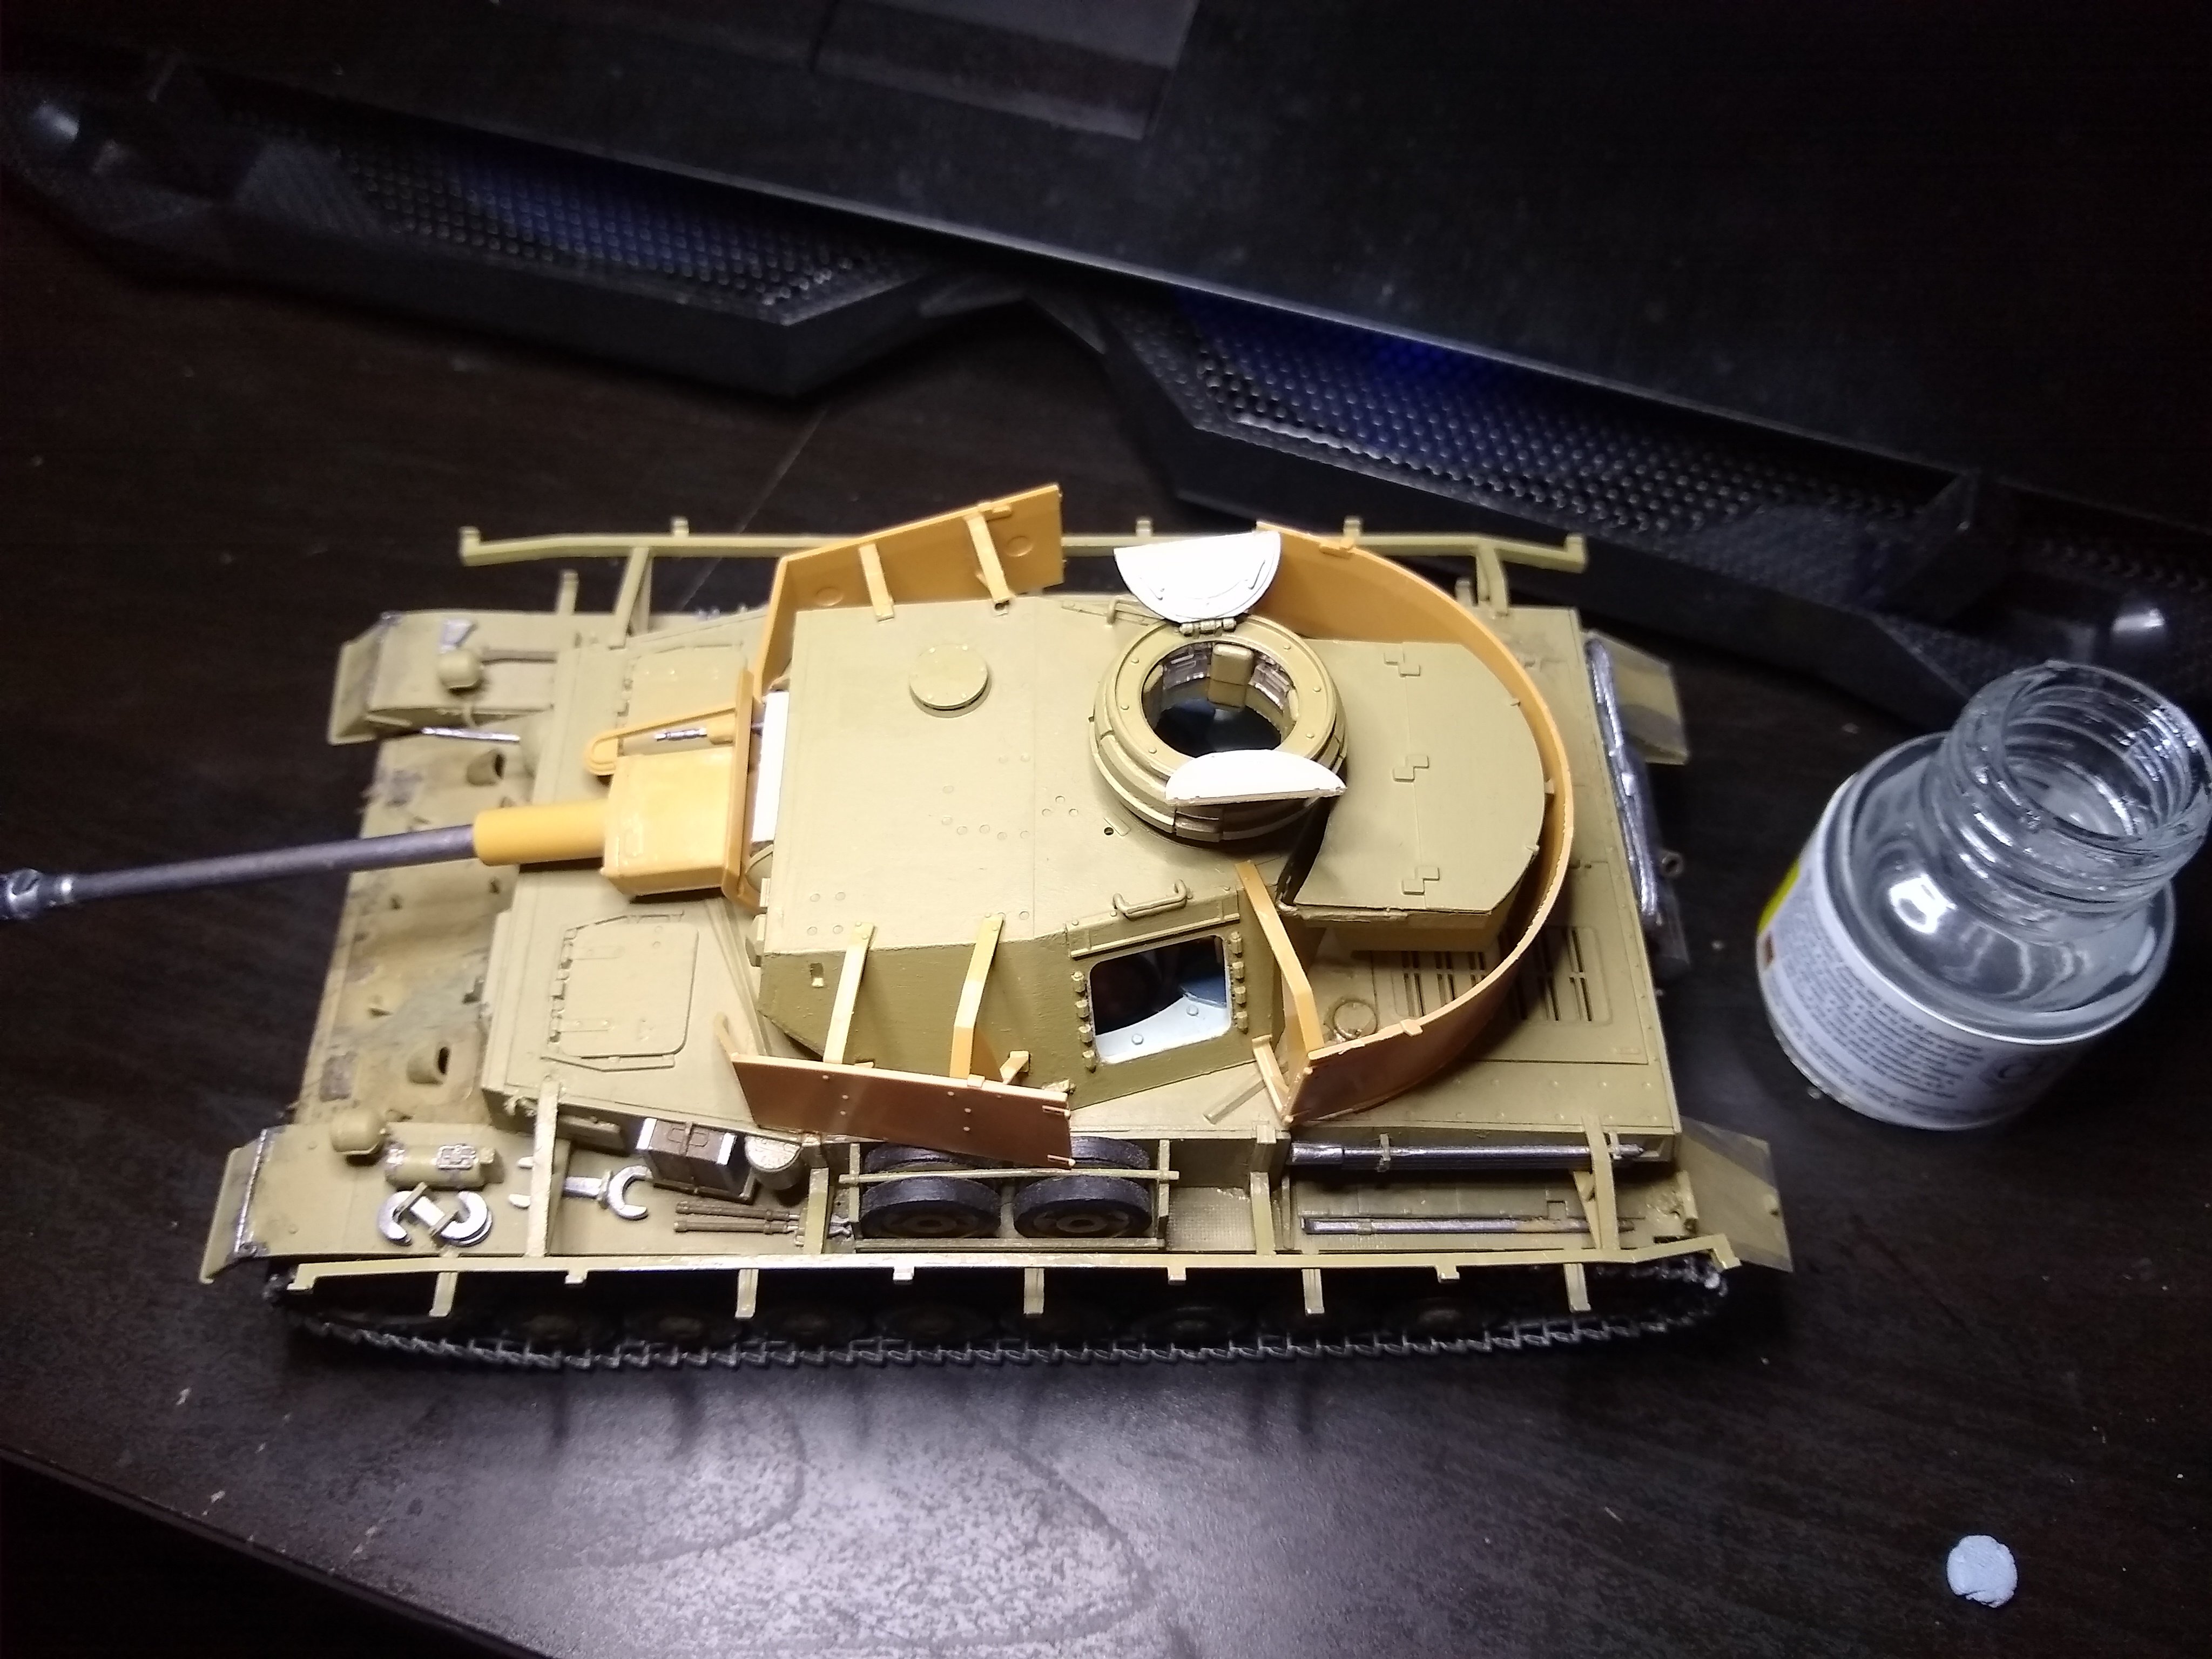
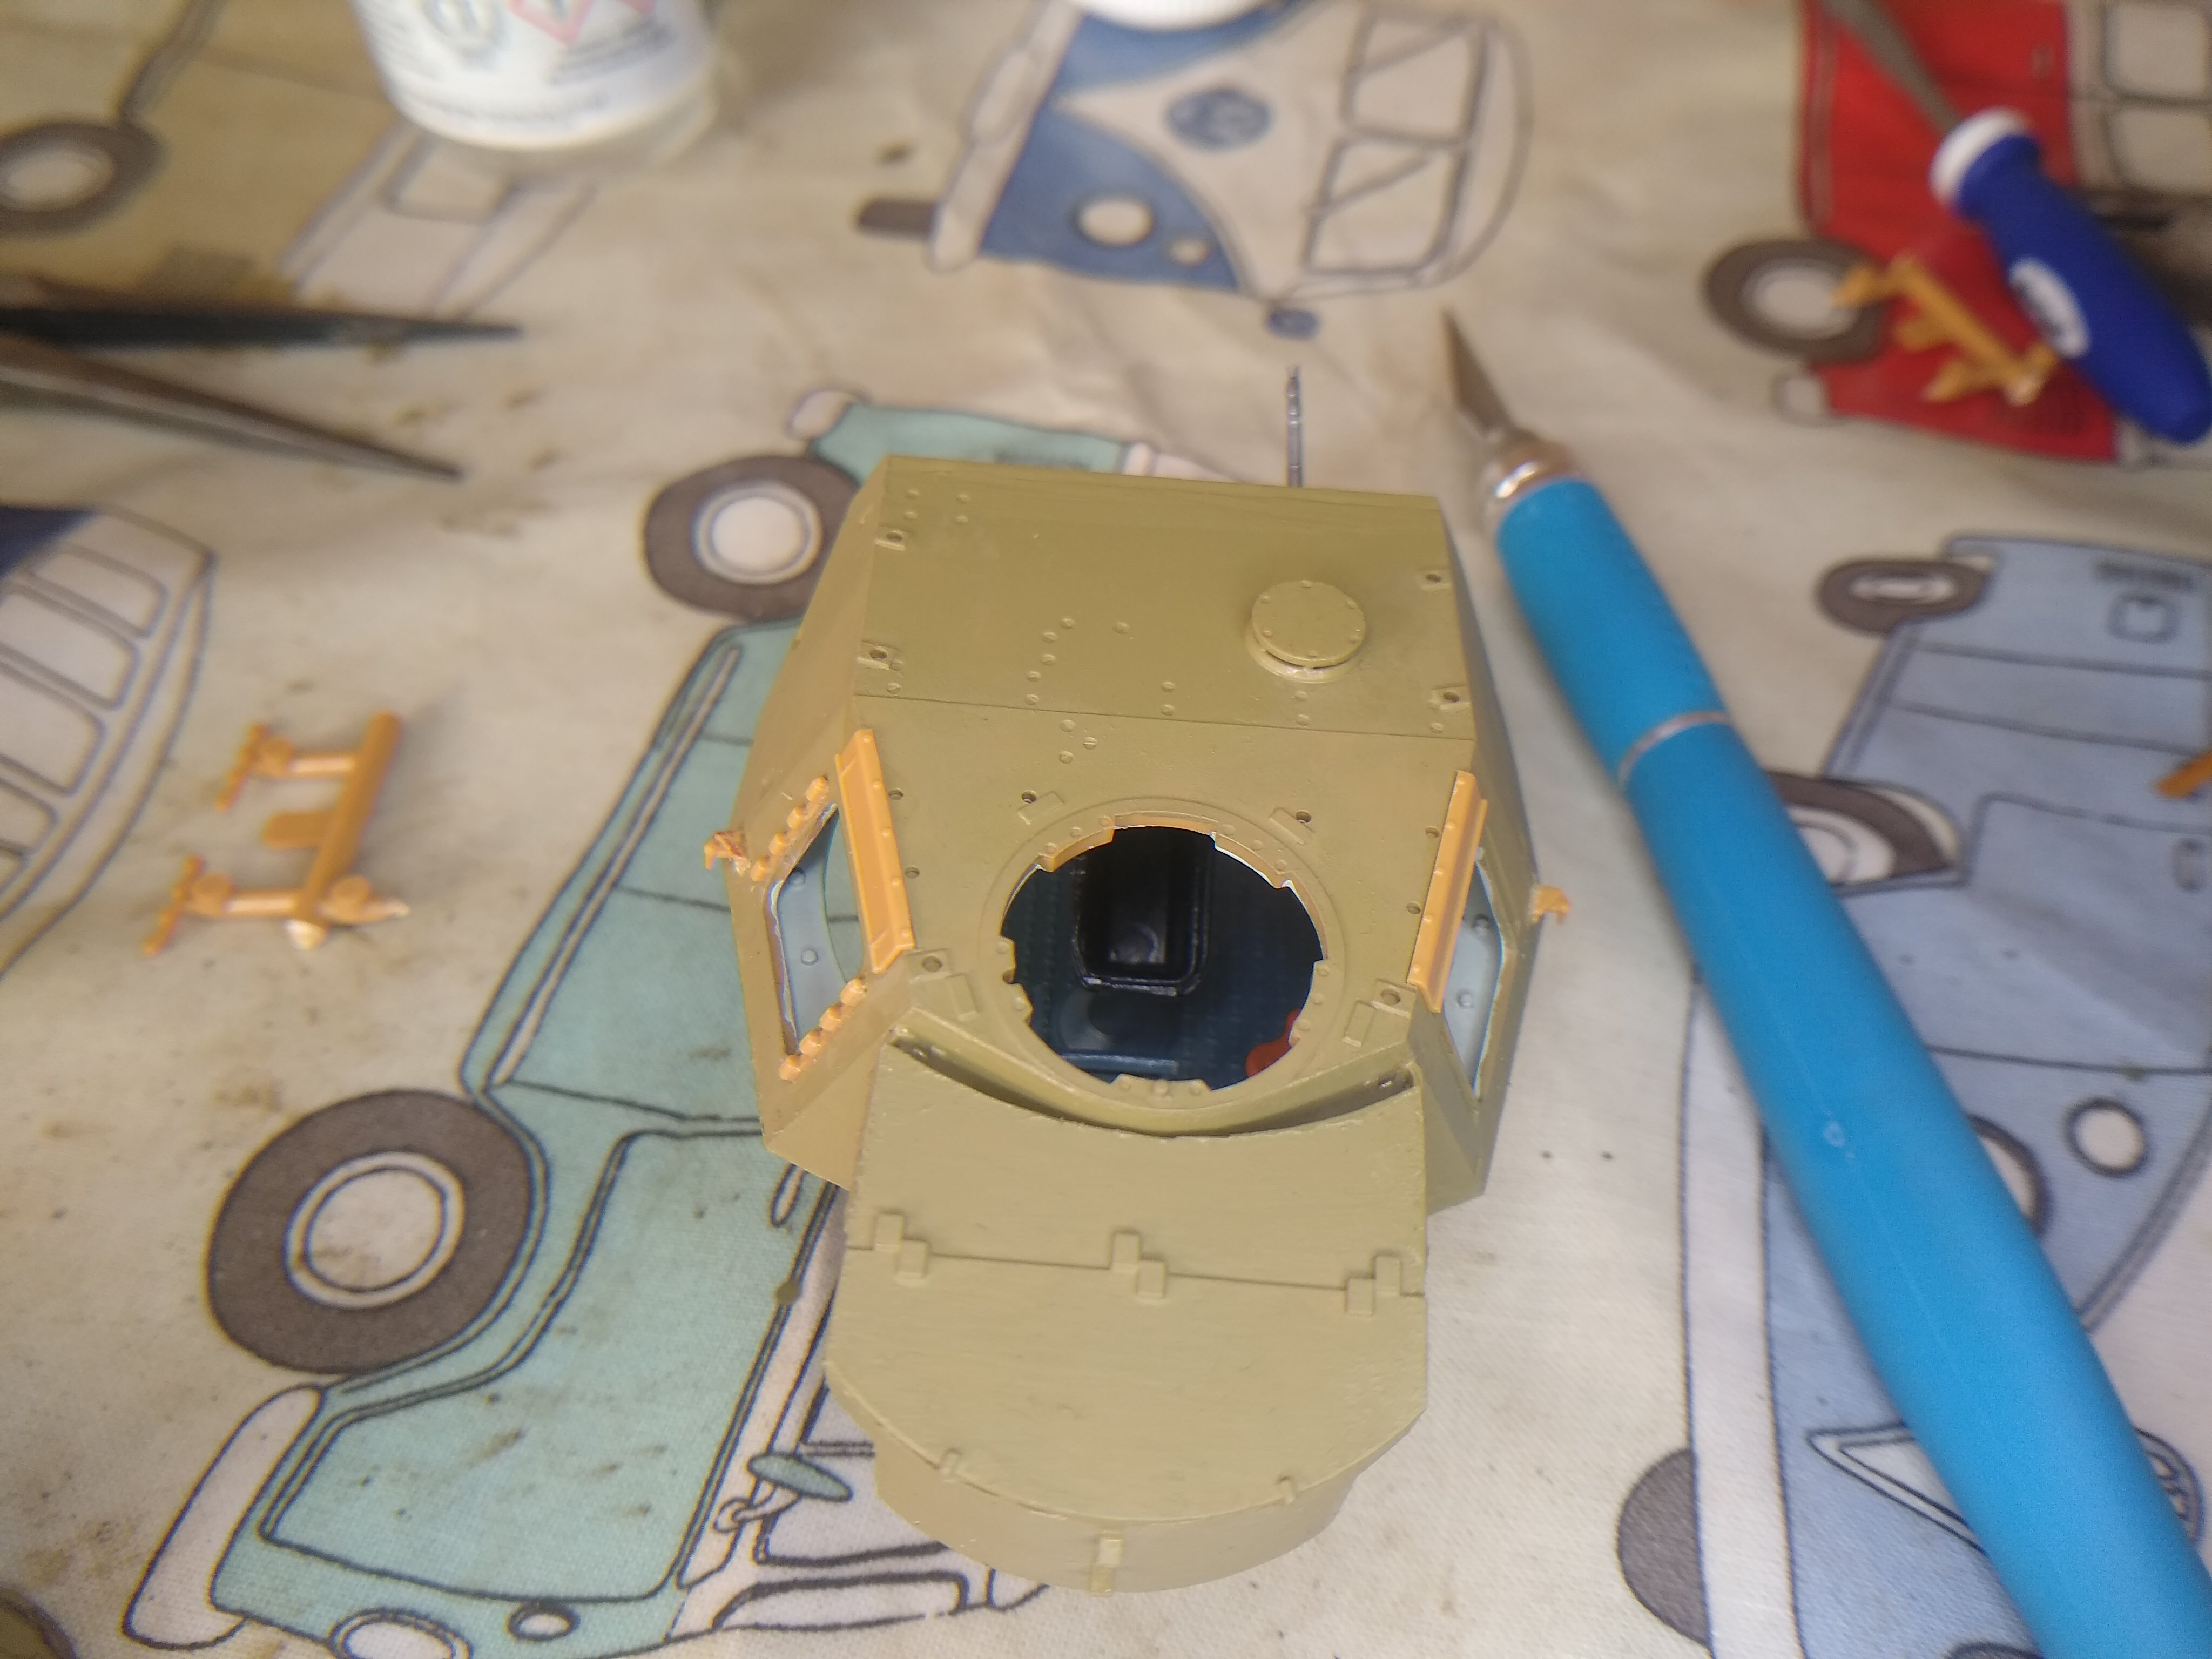
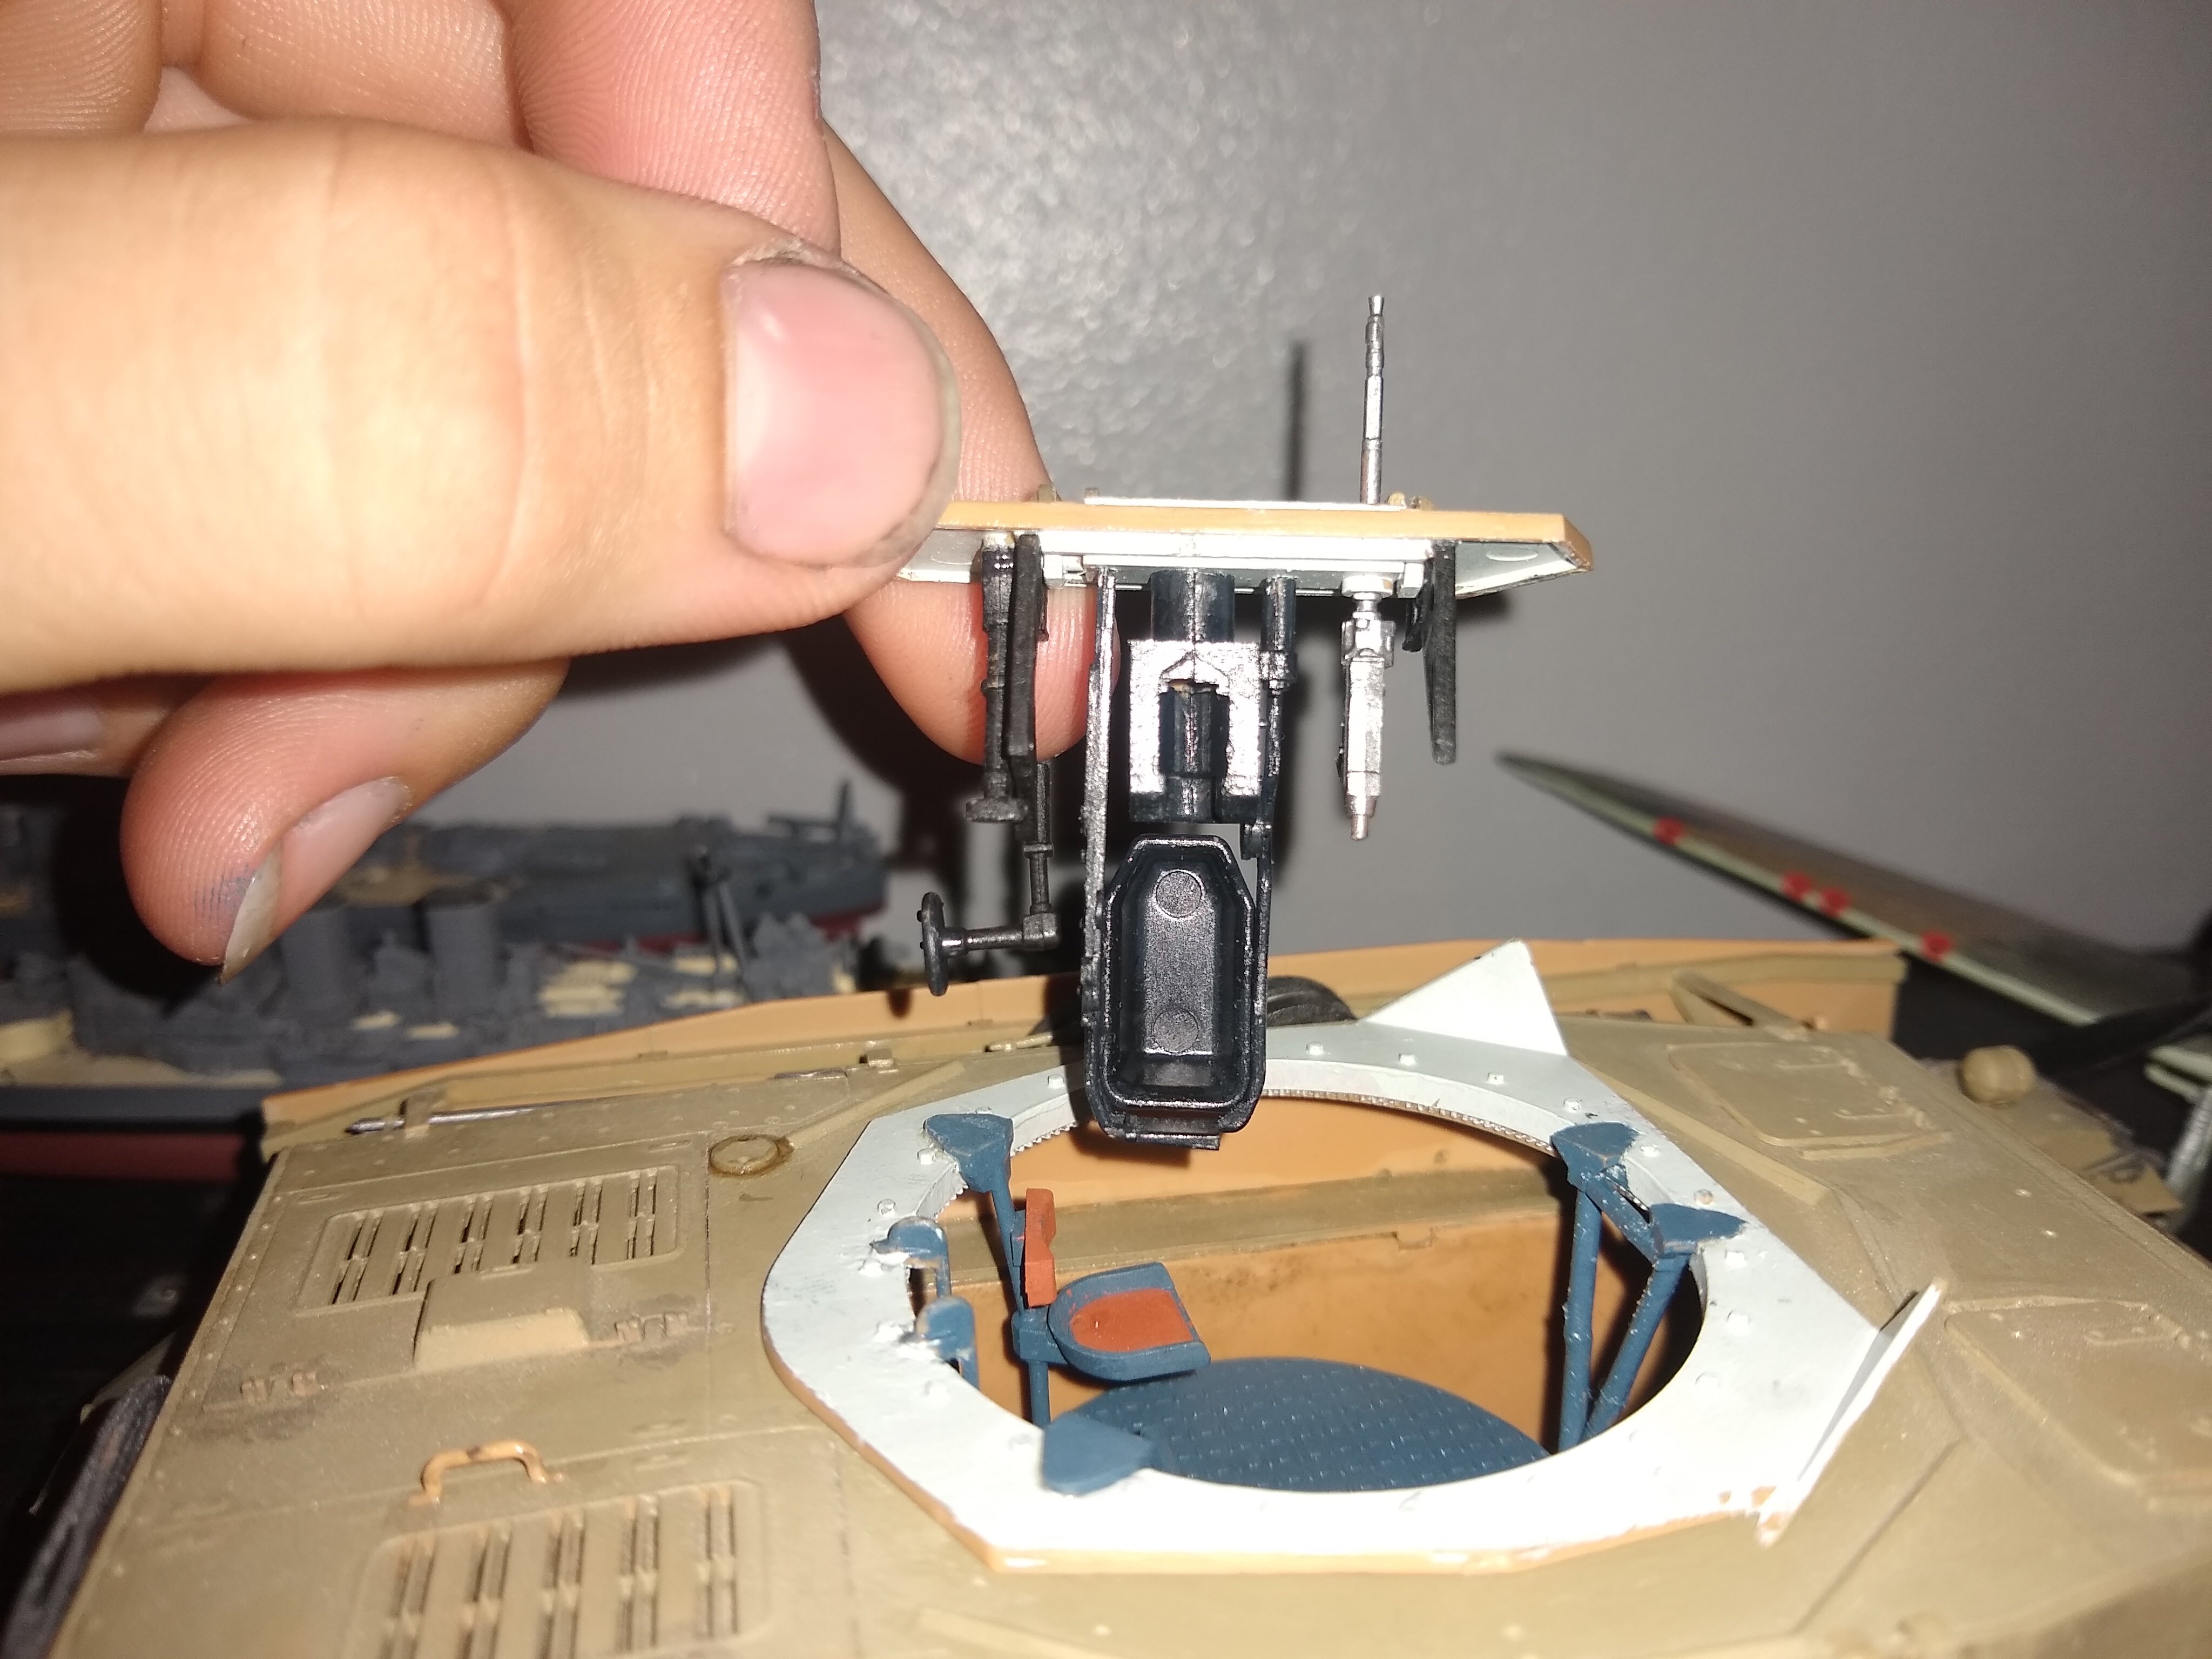
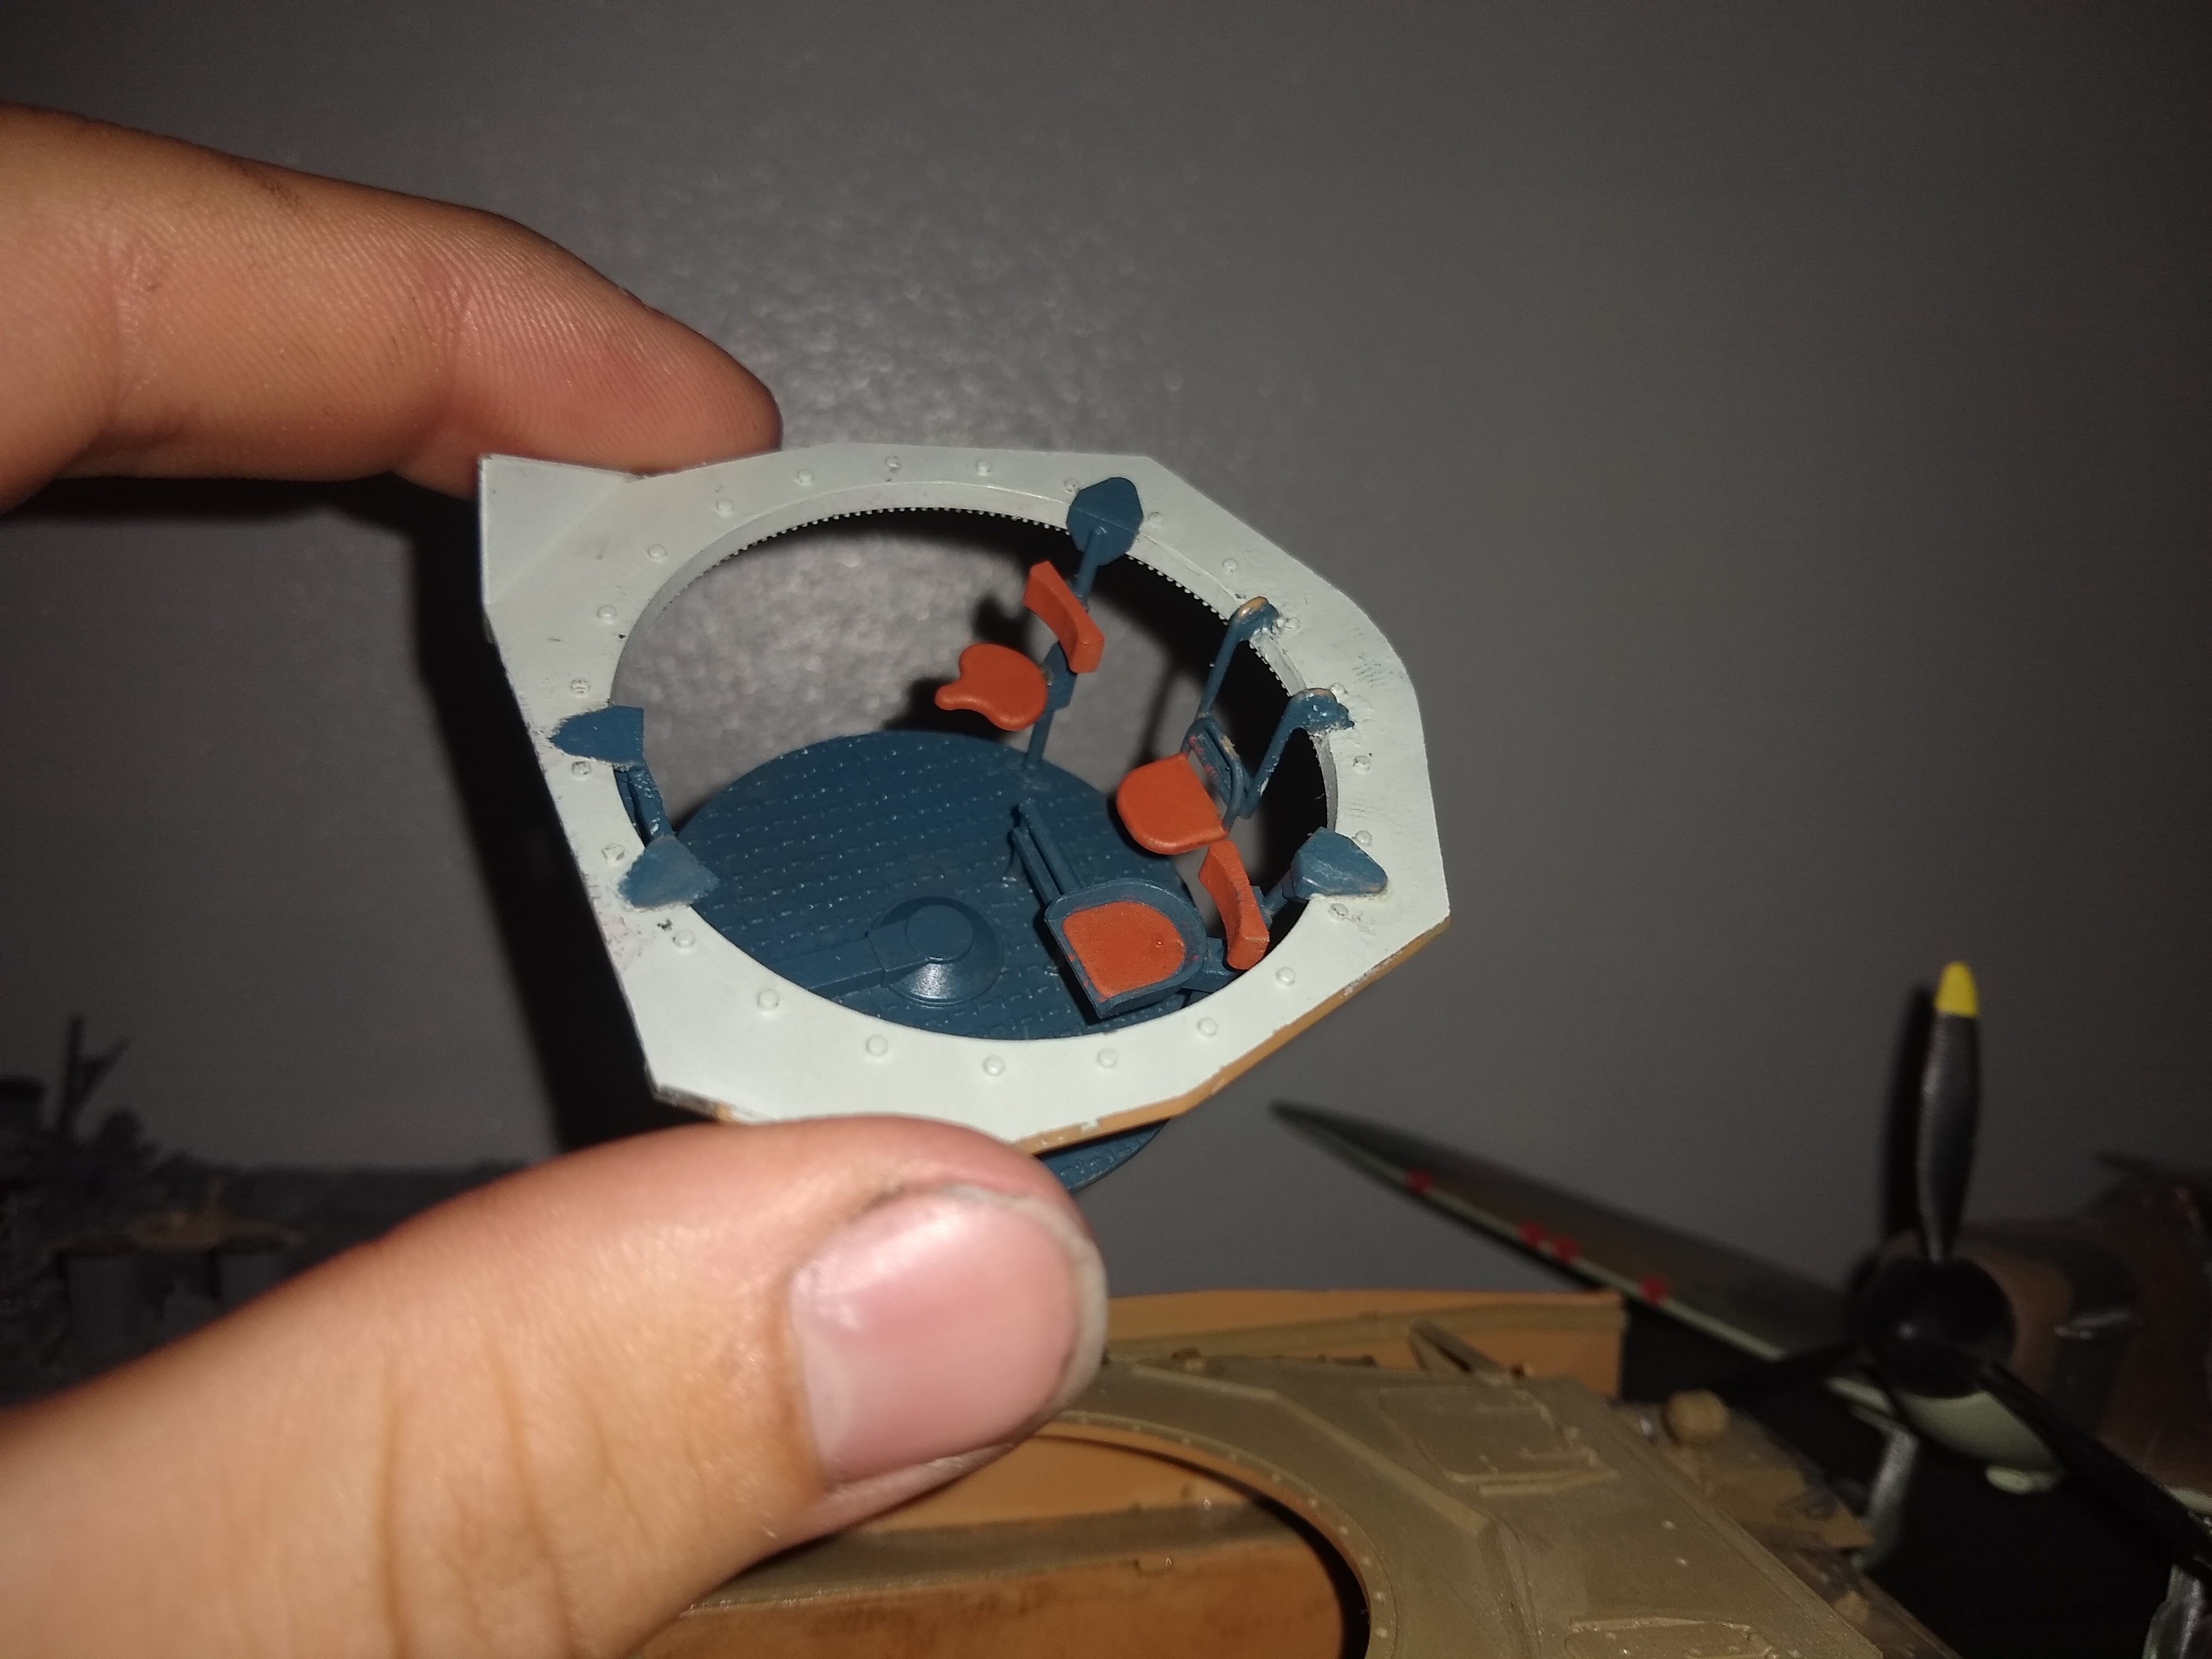
Finishing up putting the parts of the turret skirts together. And dry fitting them to the tank along with the gun. And commanders hatchets
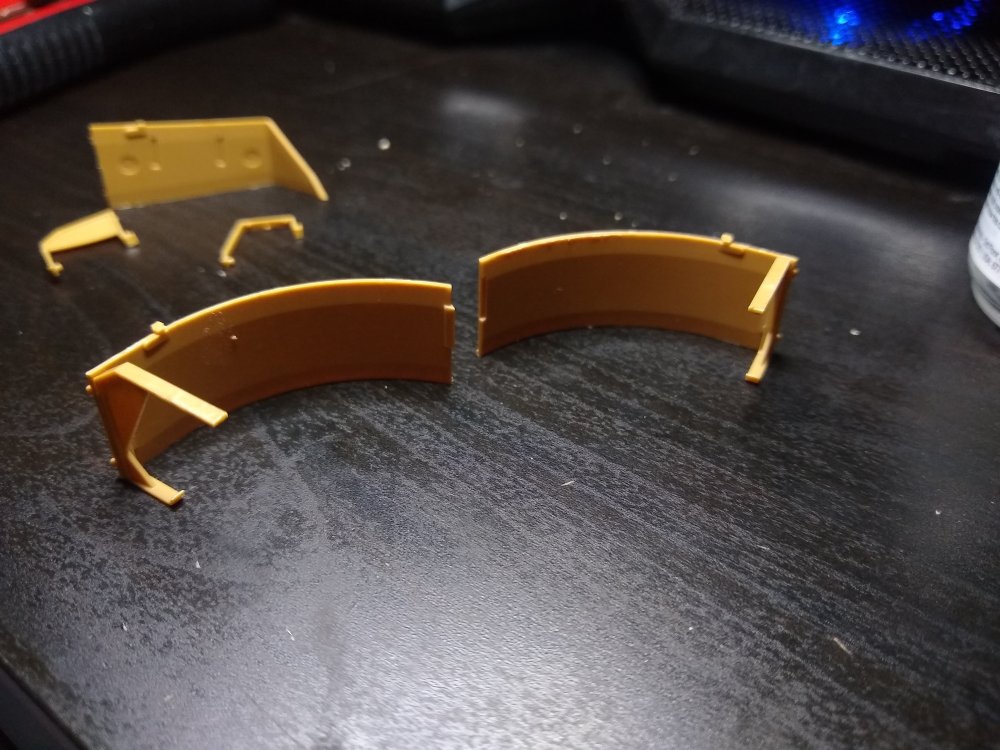

Quite happy with the hatches and cupola.

And with the parts dry fitted to the tank. Gonna paint the unpaited bits now and add the rest of the turret hatches. In the open position.

-
2
-
1
-
-
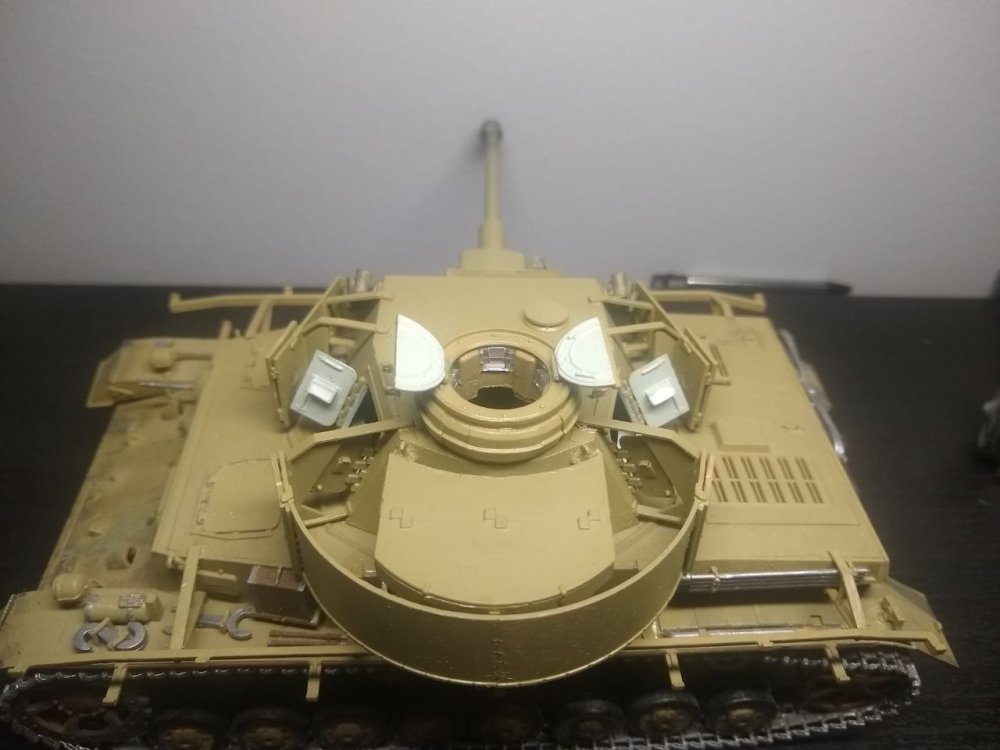
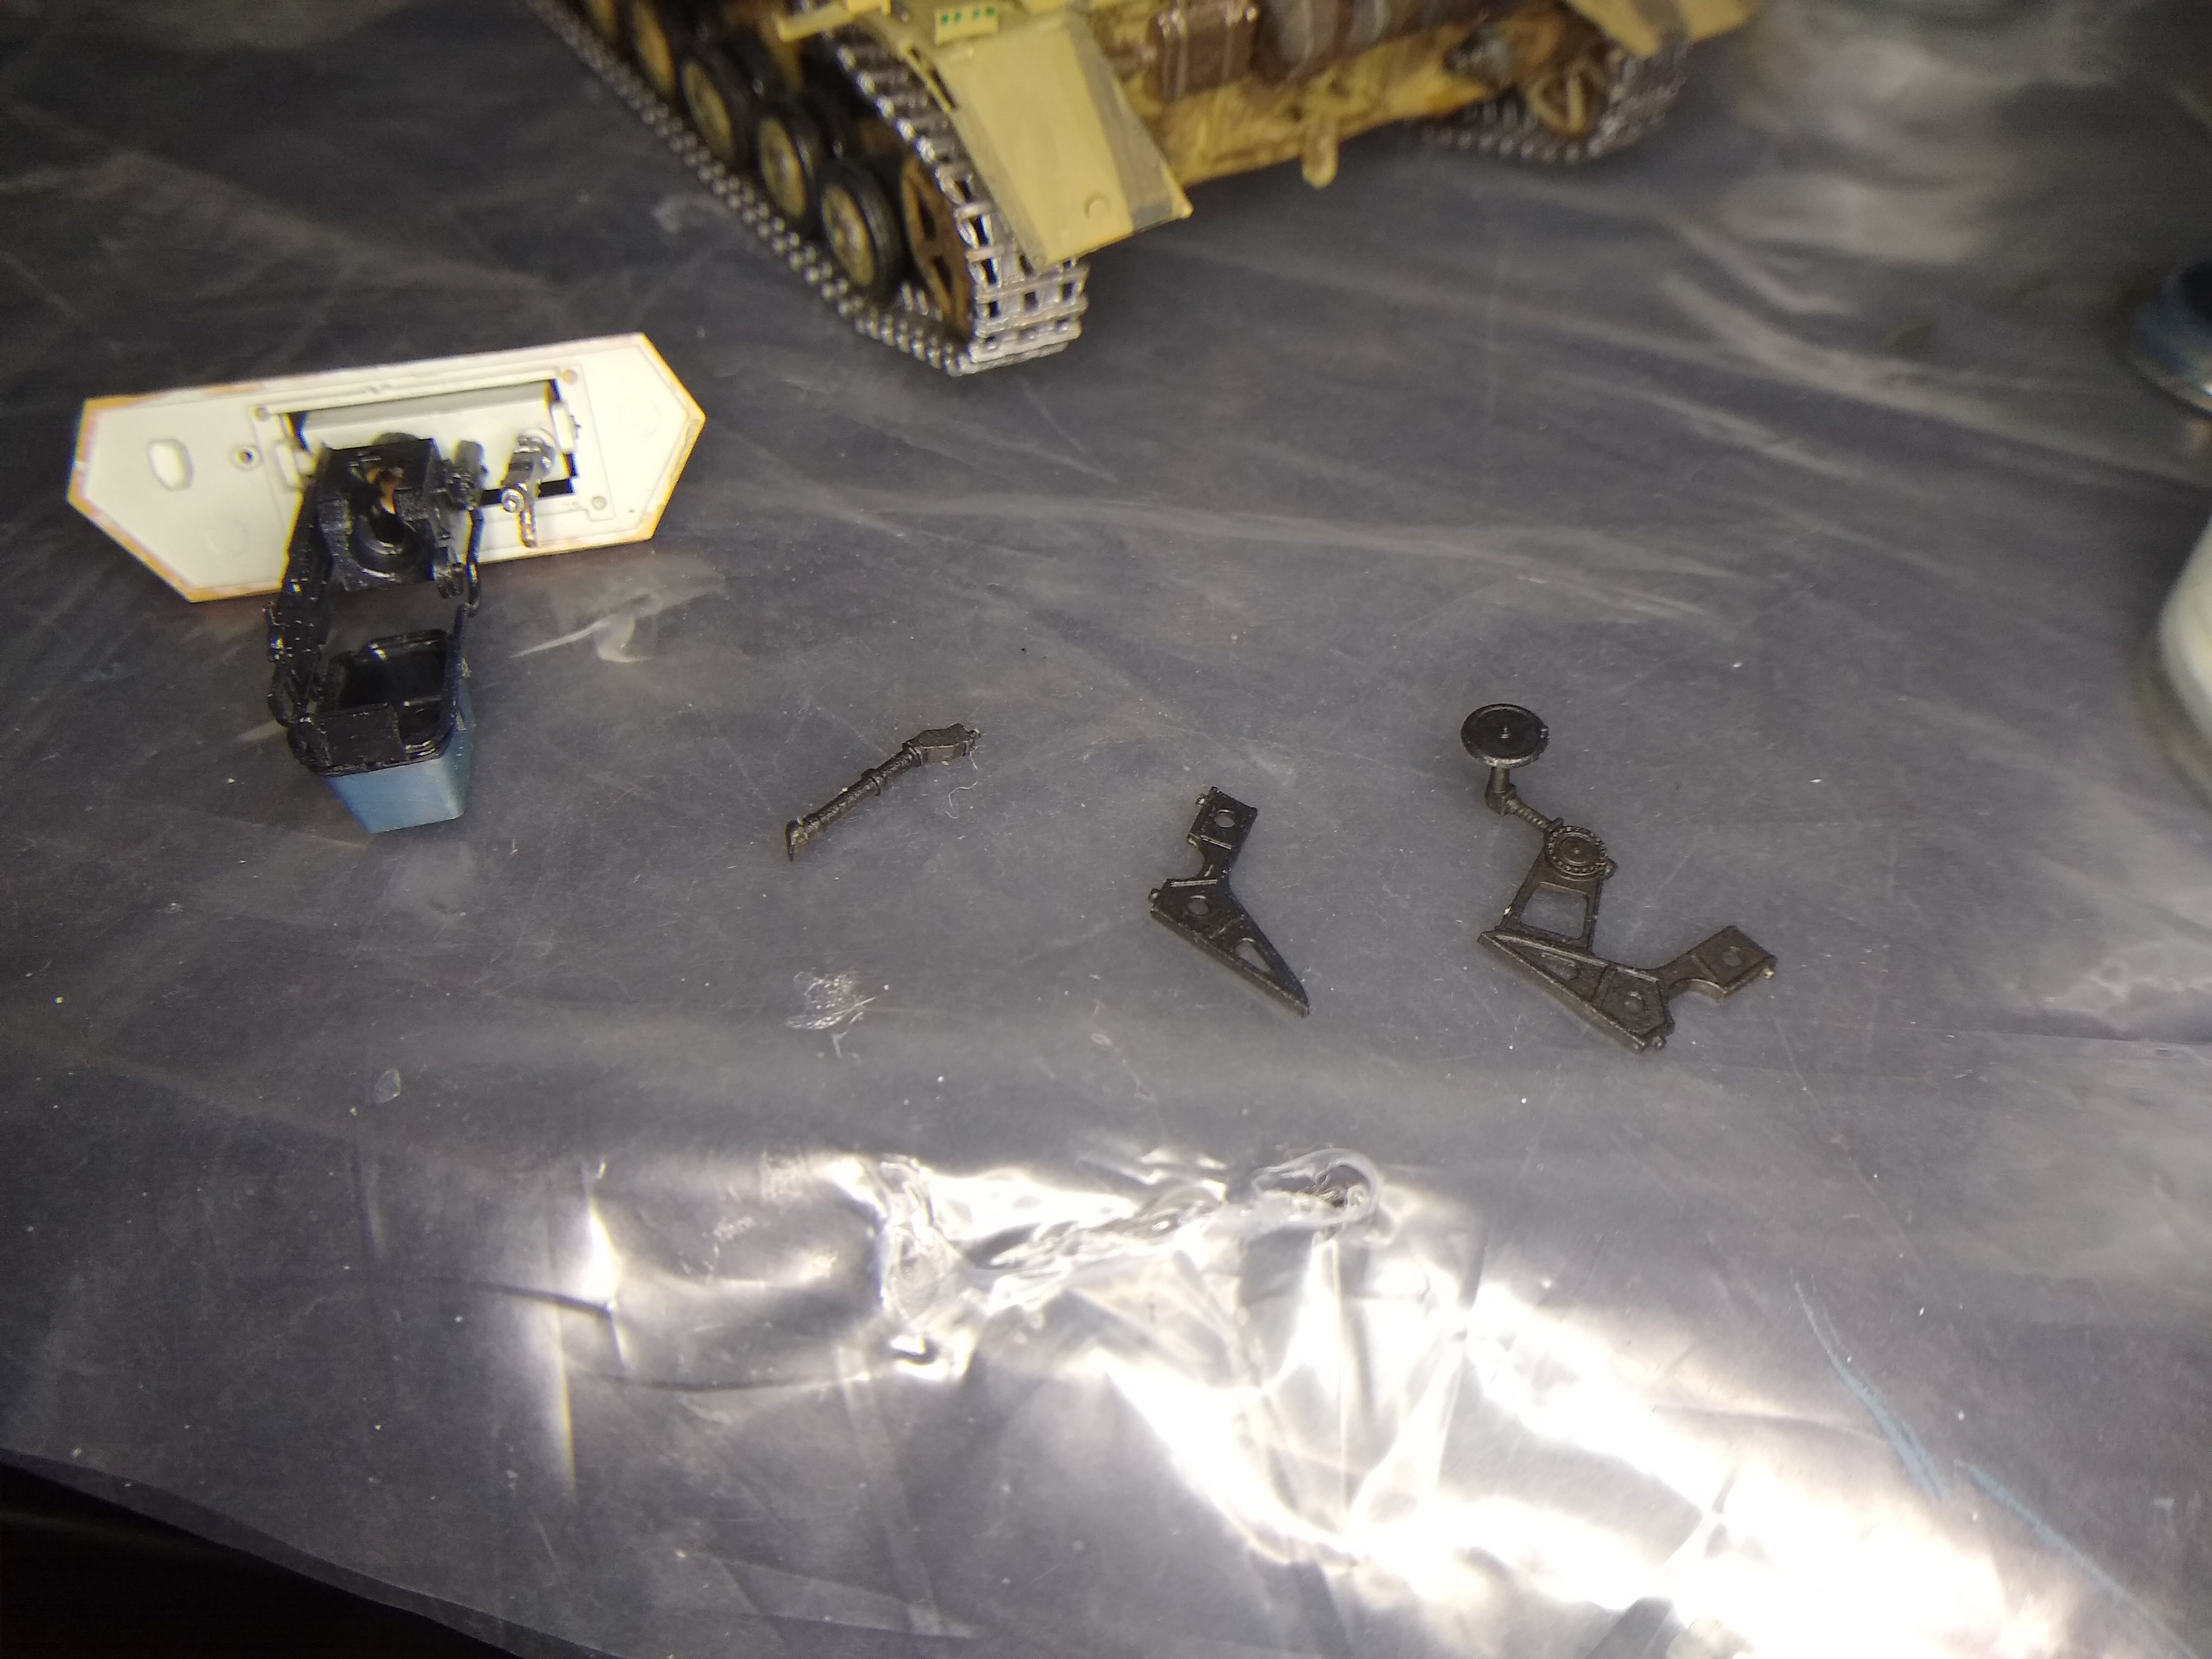
Done some more work on the Panzer. Got the front of the Gun mantlet put together. And the barrel along with it.
With those pieces glued together I moved onto painting and dry fitting the gun barrel and muzzle.

as a whole these parts fit together very nicely. however I find that I had to file down the aligning lug inside the mantlet piece as the barrel was actually sitting with the break at a 30° angle instead of being level.
Also stuck together one piece of the turret skirts. to see how it looks.

-
2
-
1
-
-
That's quite the list of extra pieces will be following for sure.
-
3
-
-
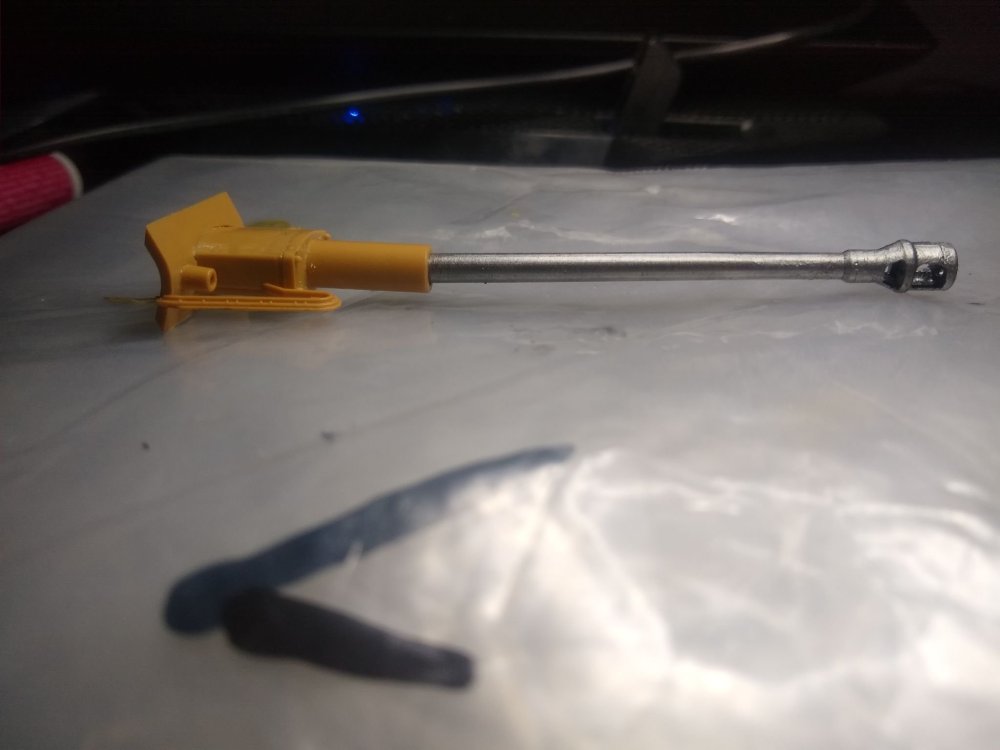
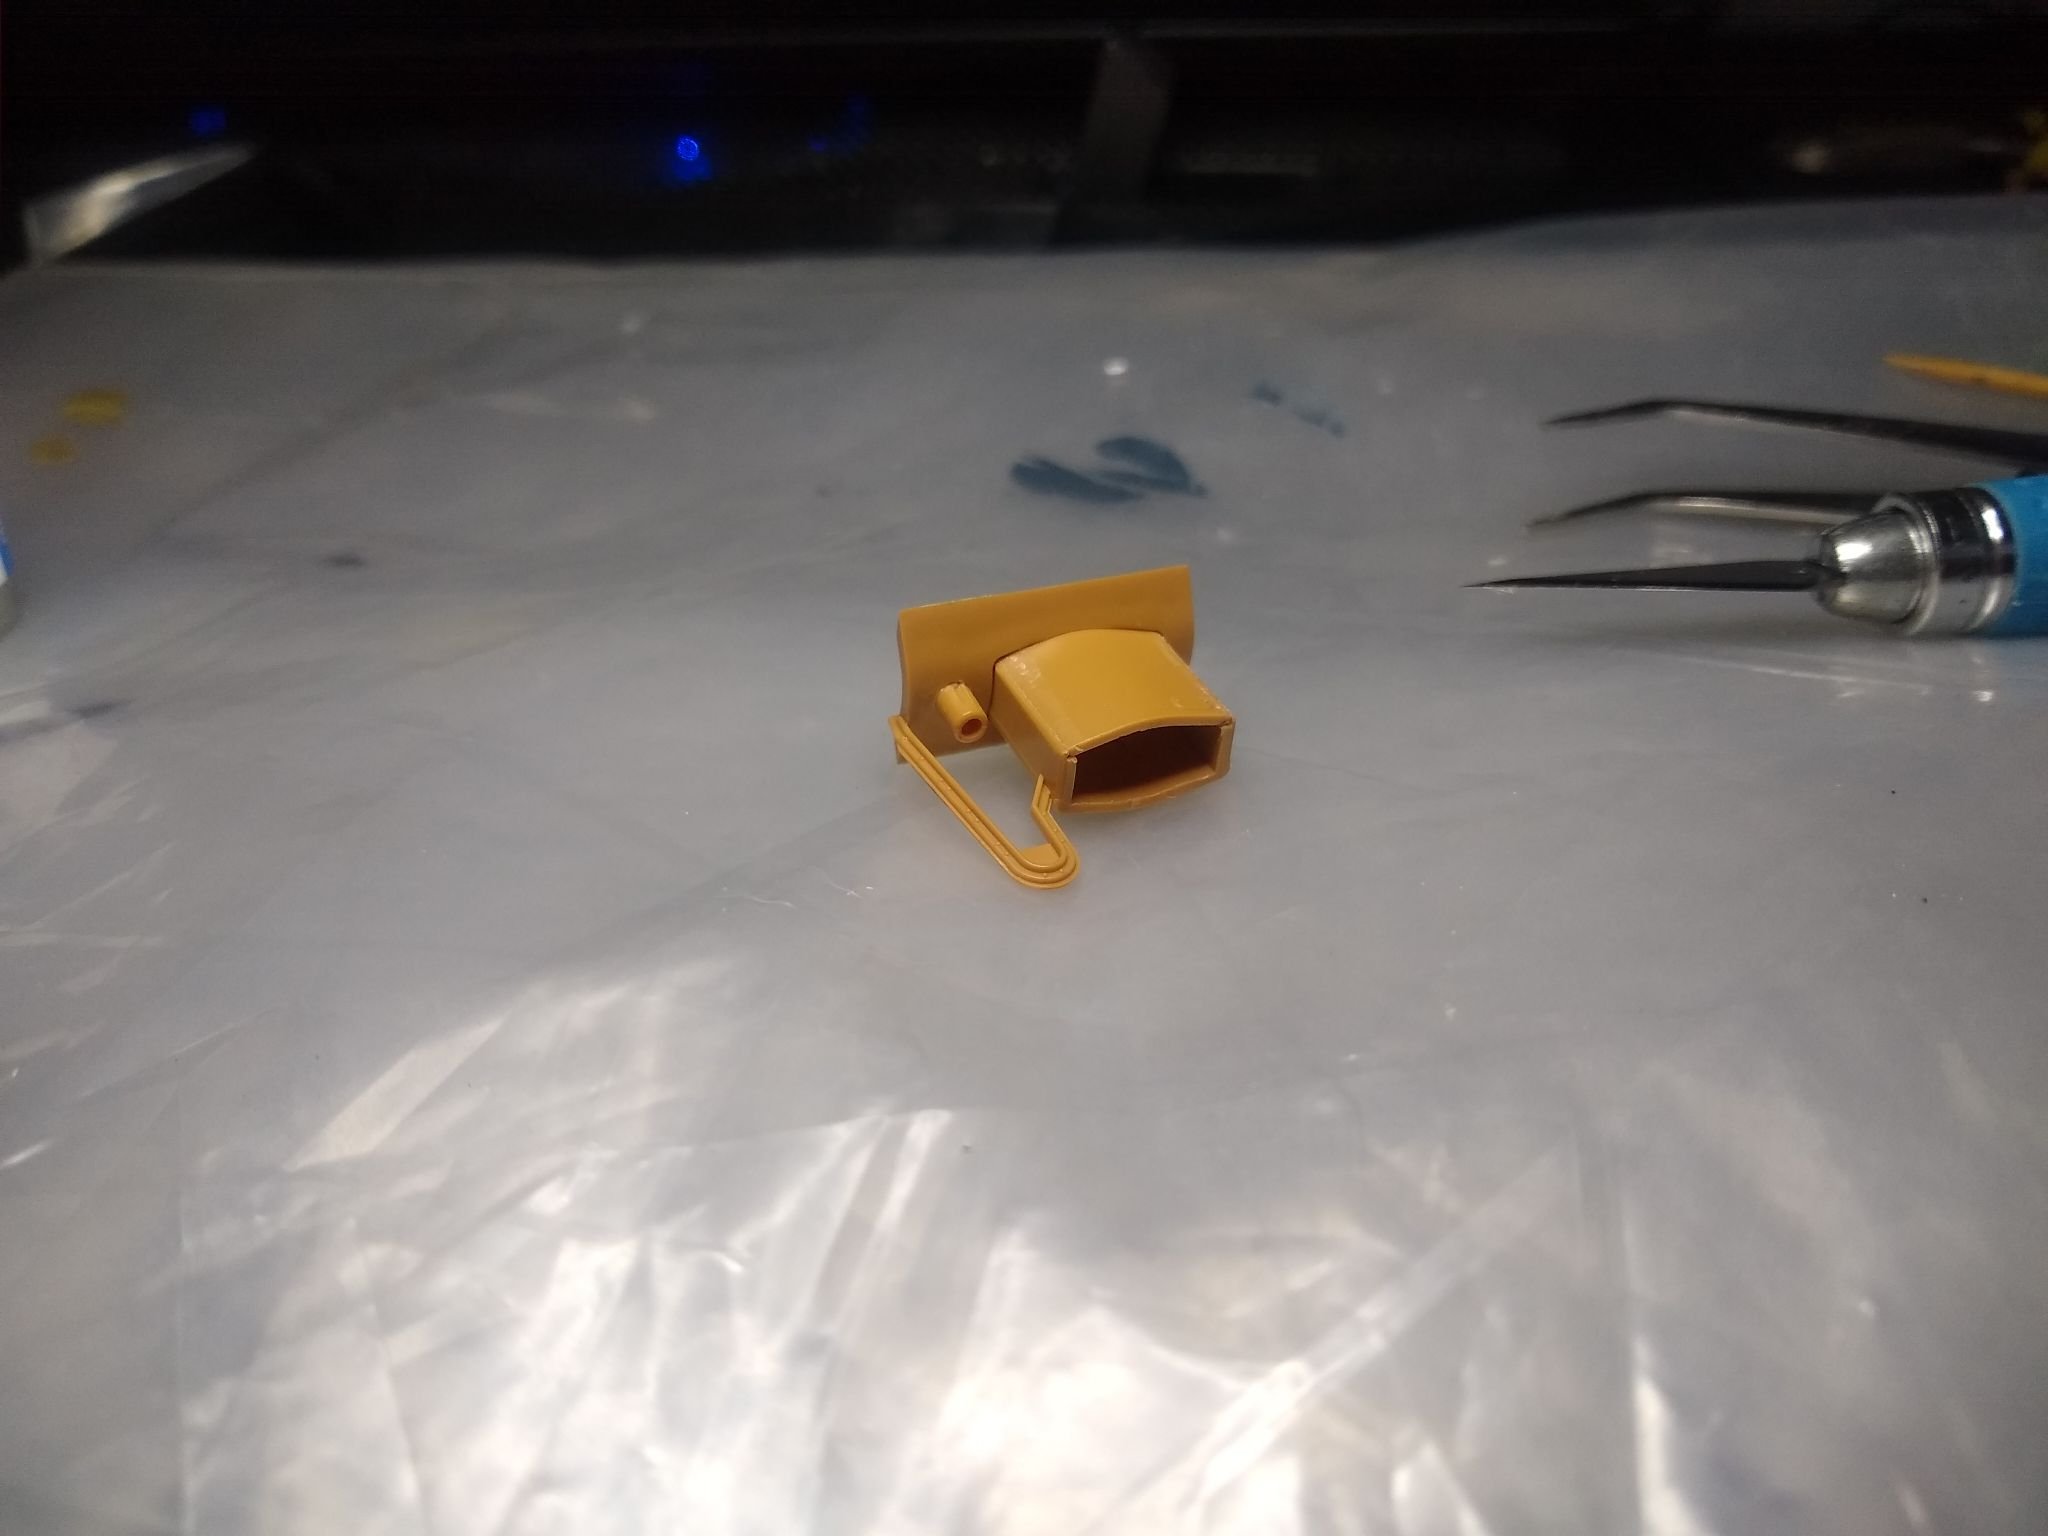
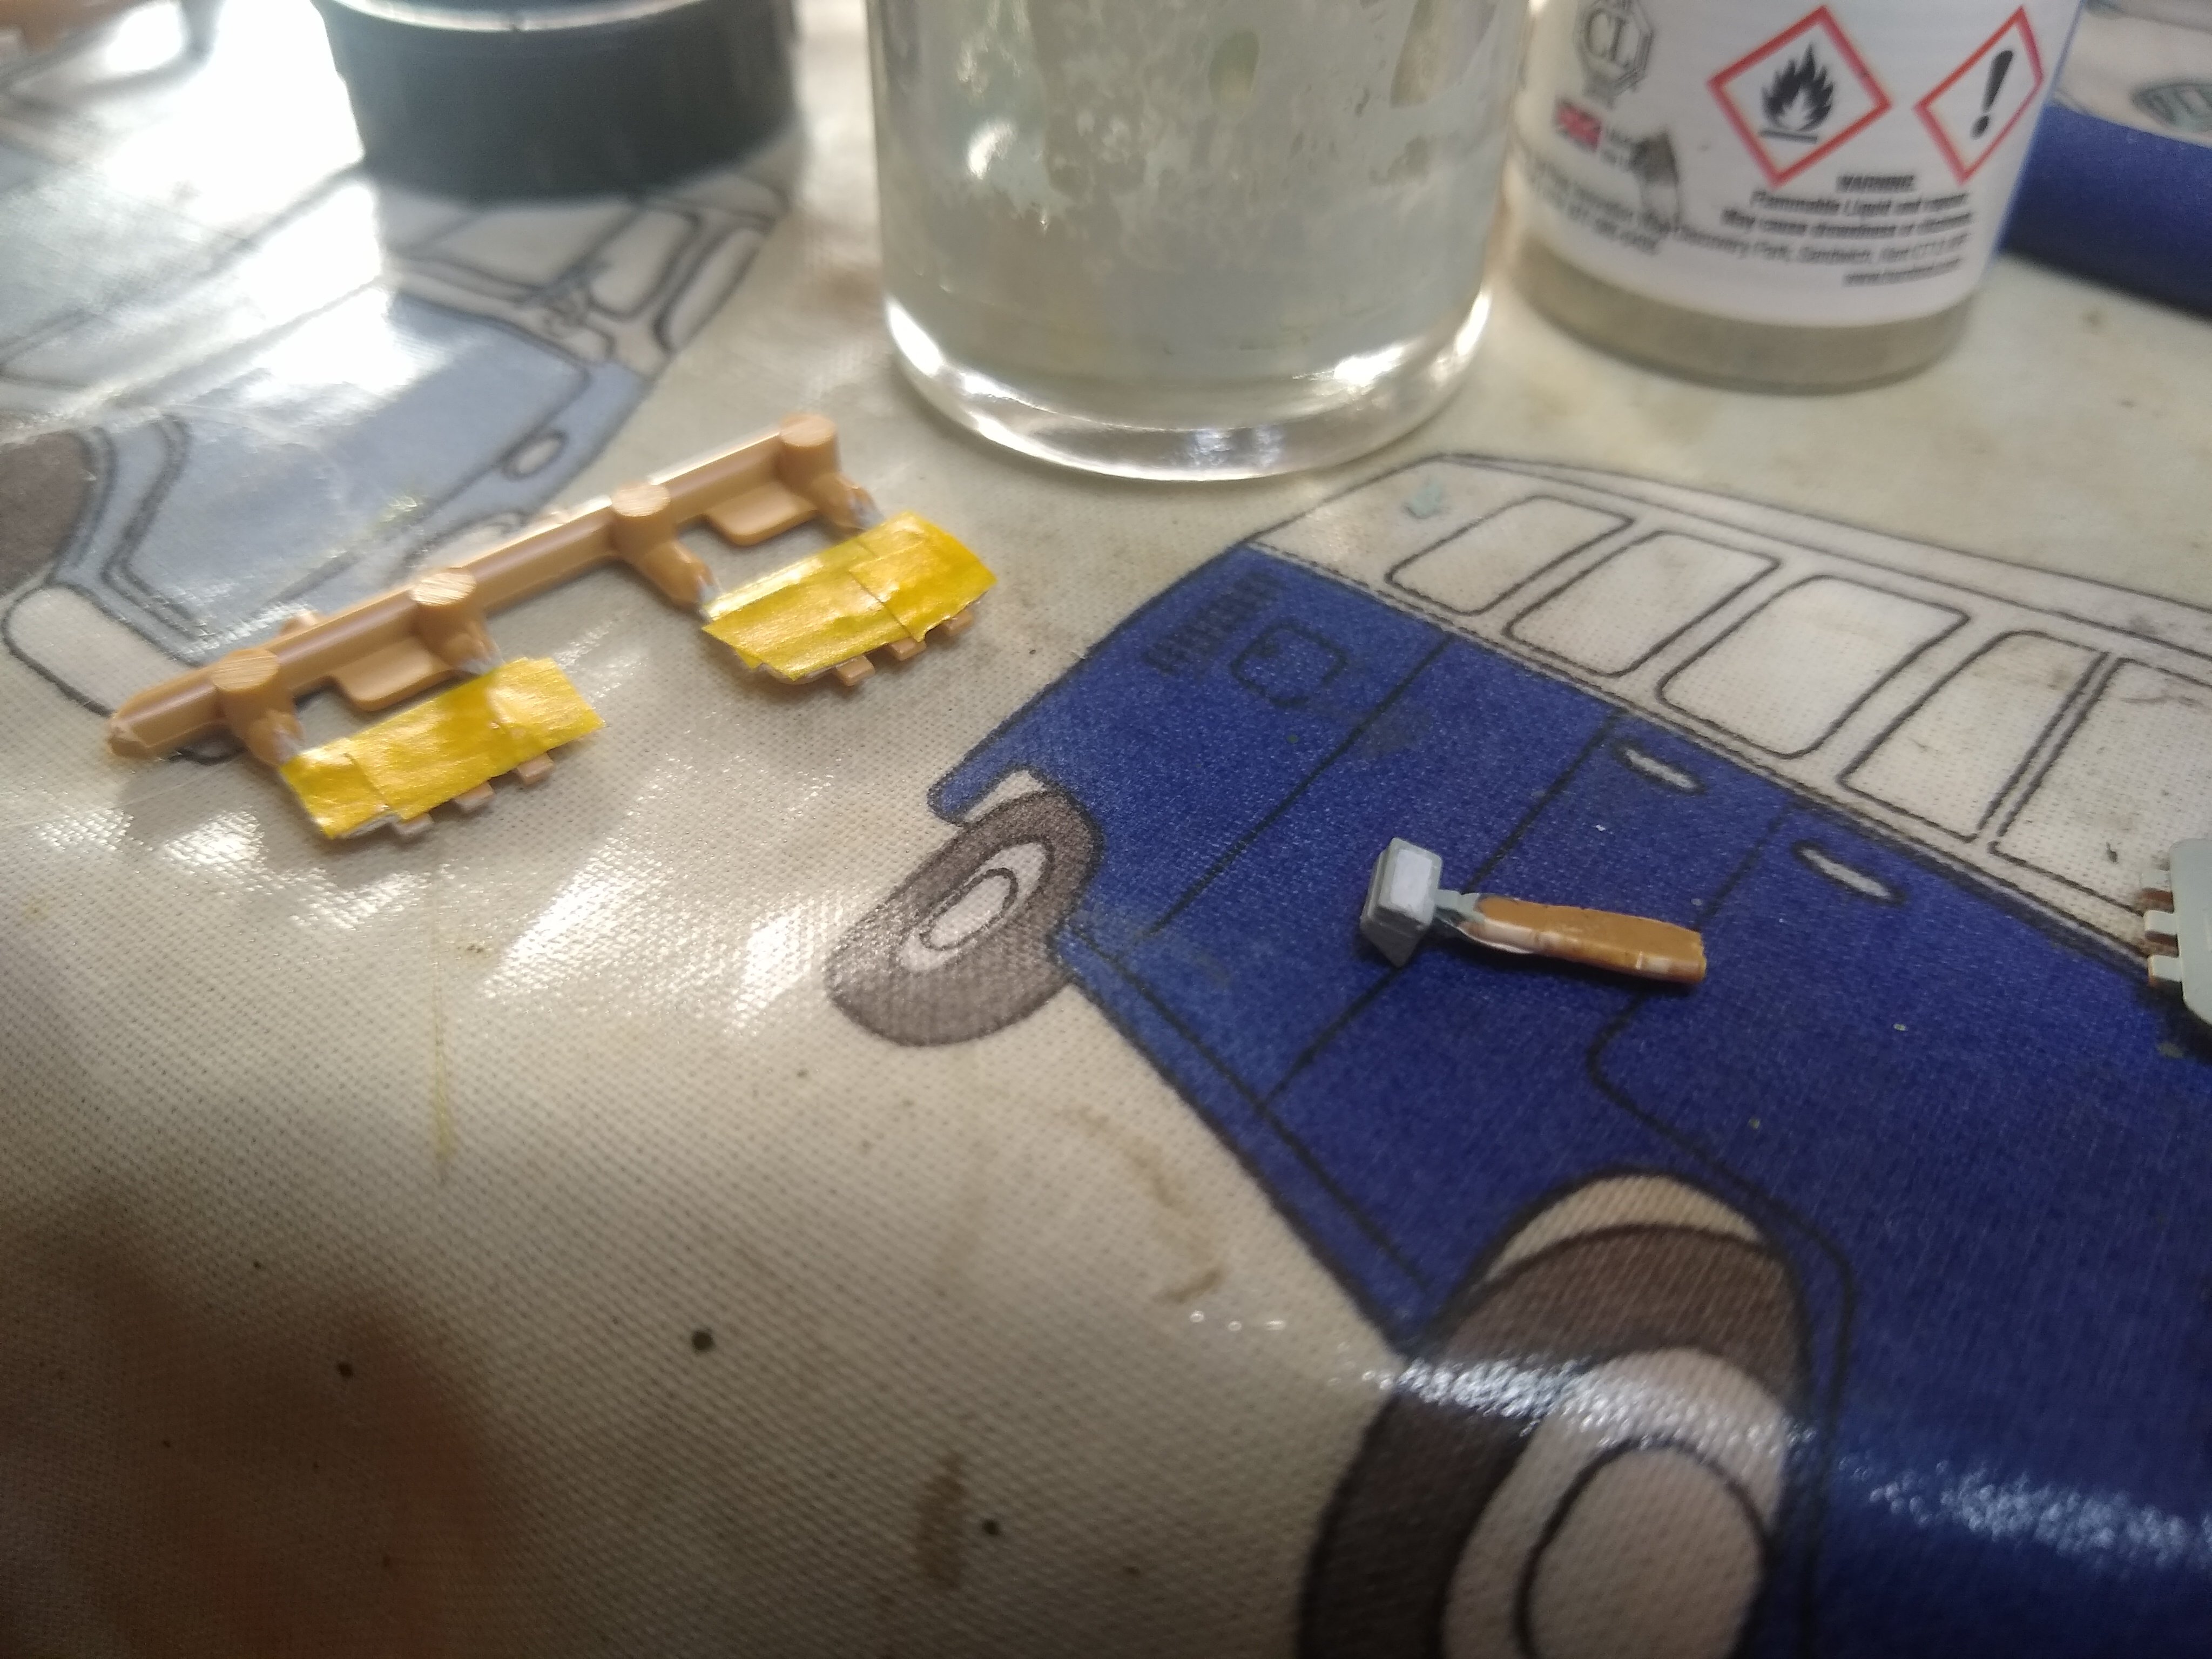
A quick bit of progress. PaintIng the vision ports and associated hatches for them.


-
4
-
-
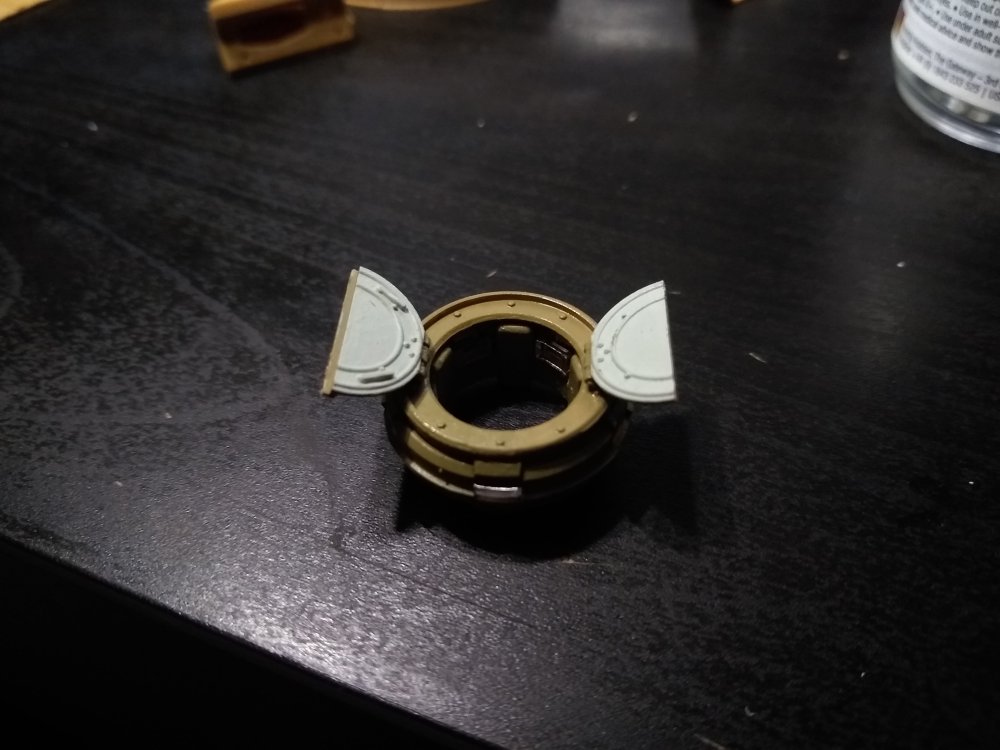
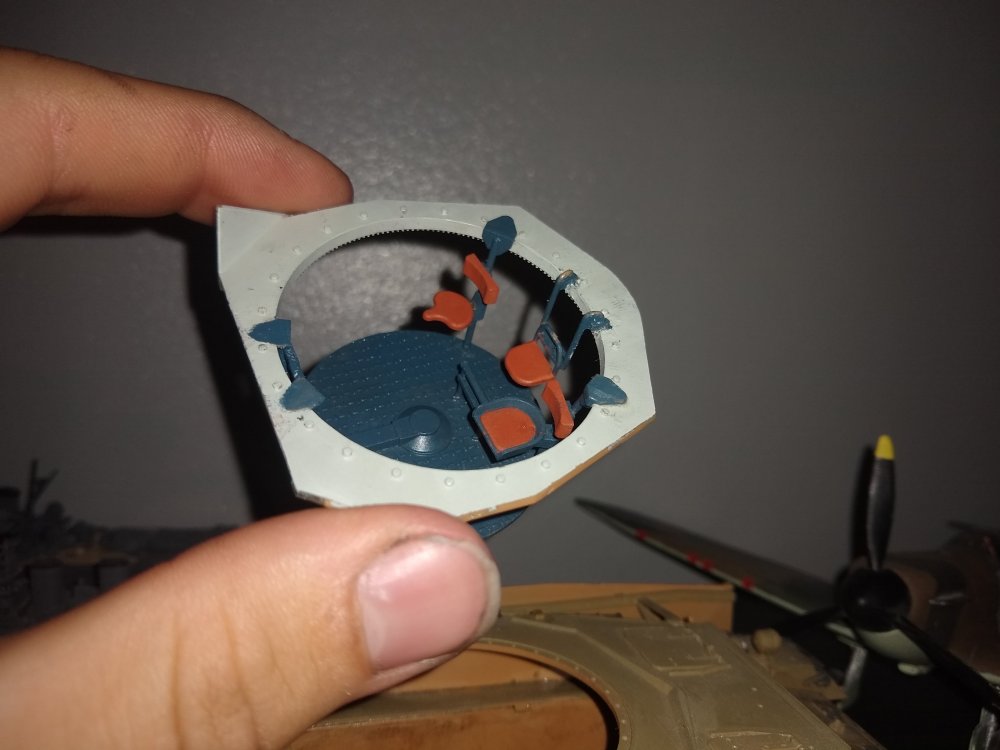
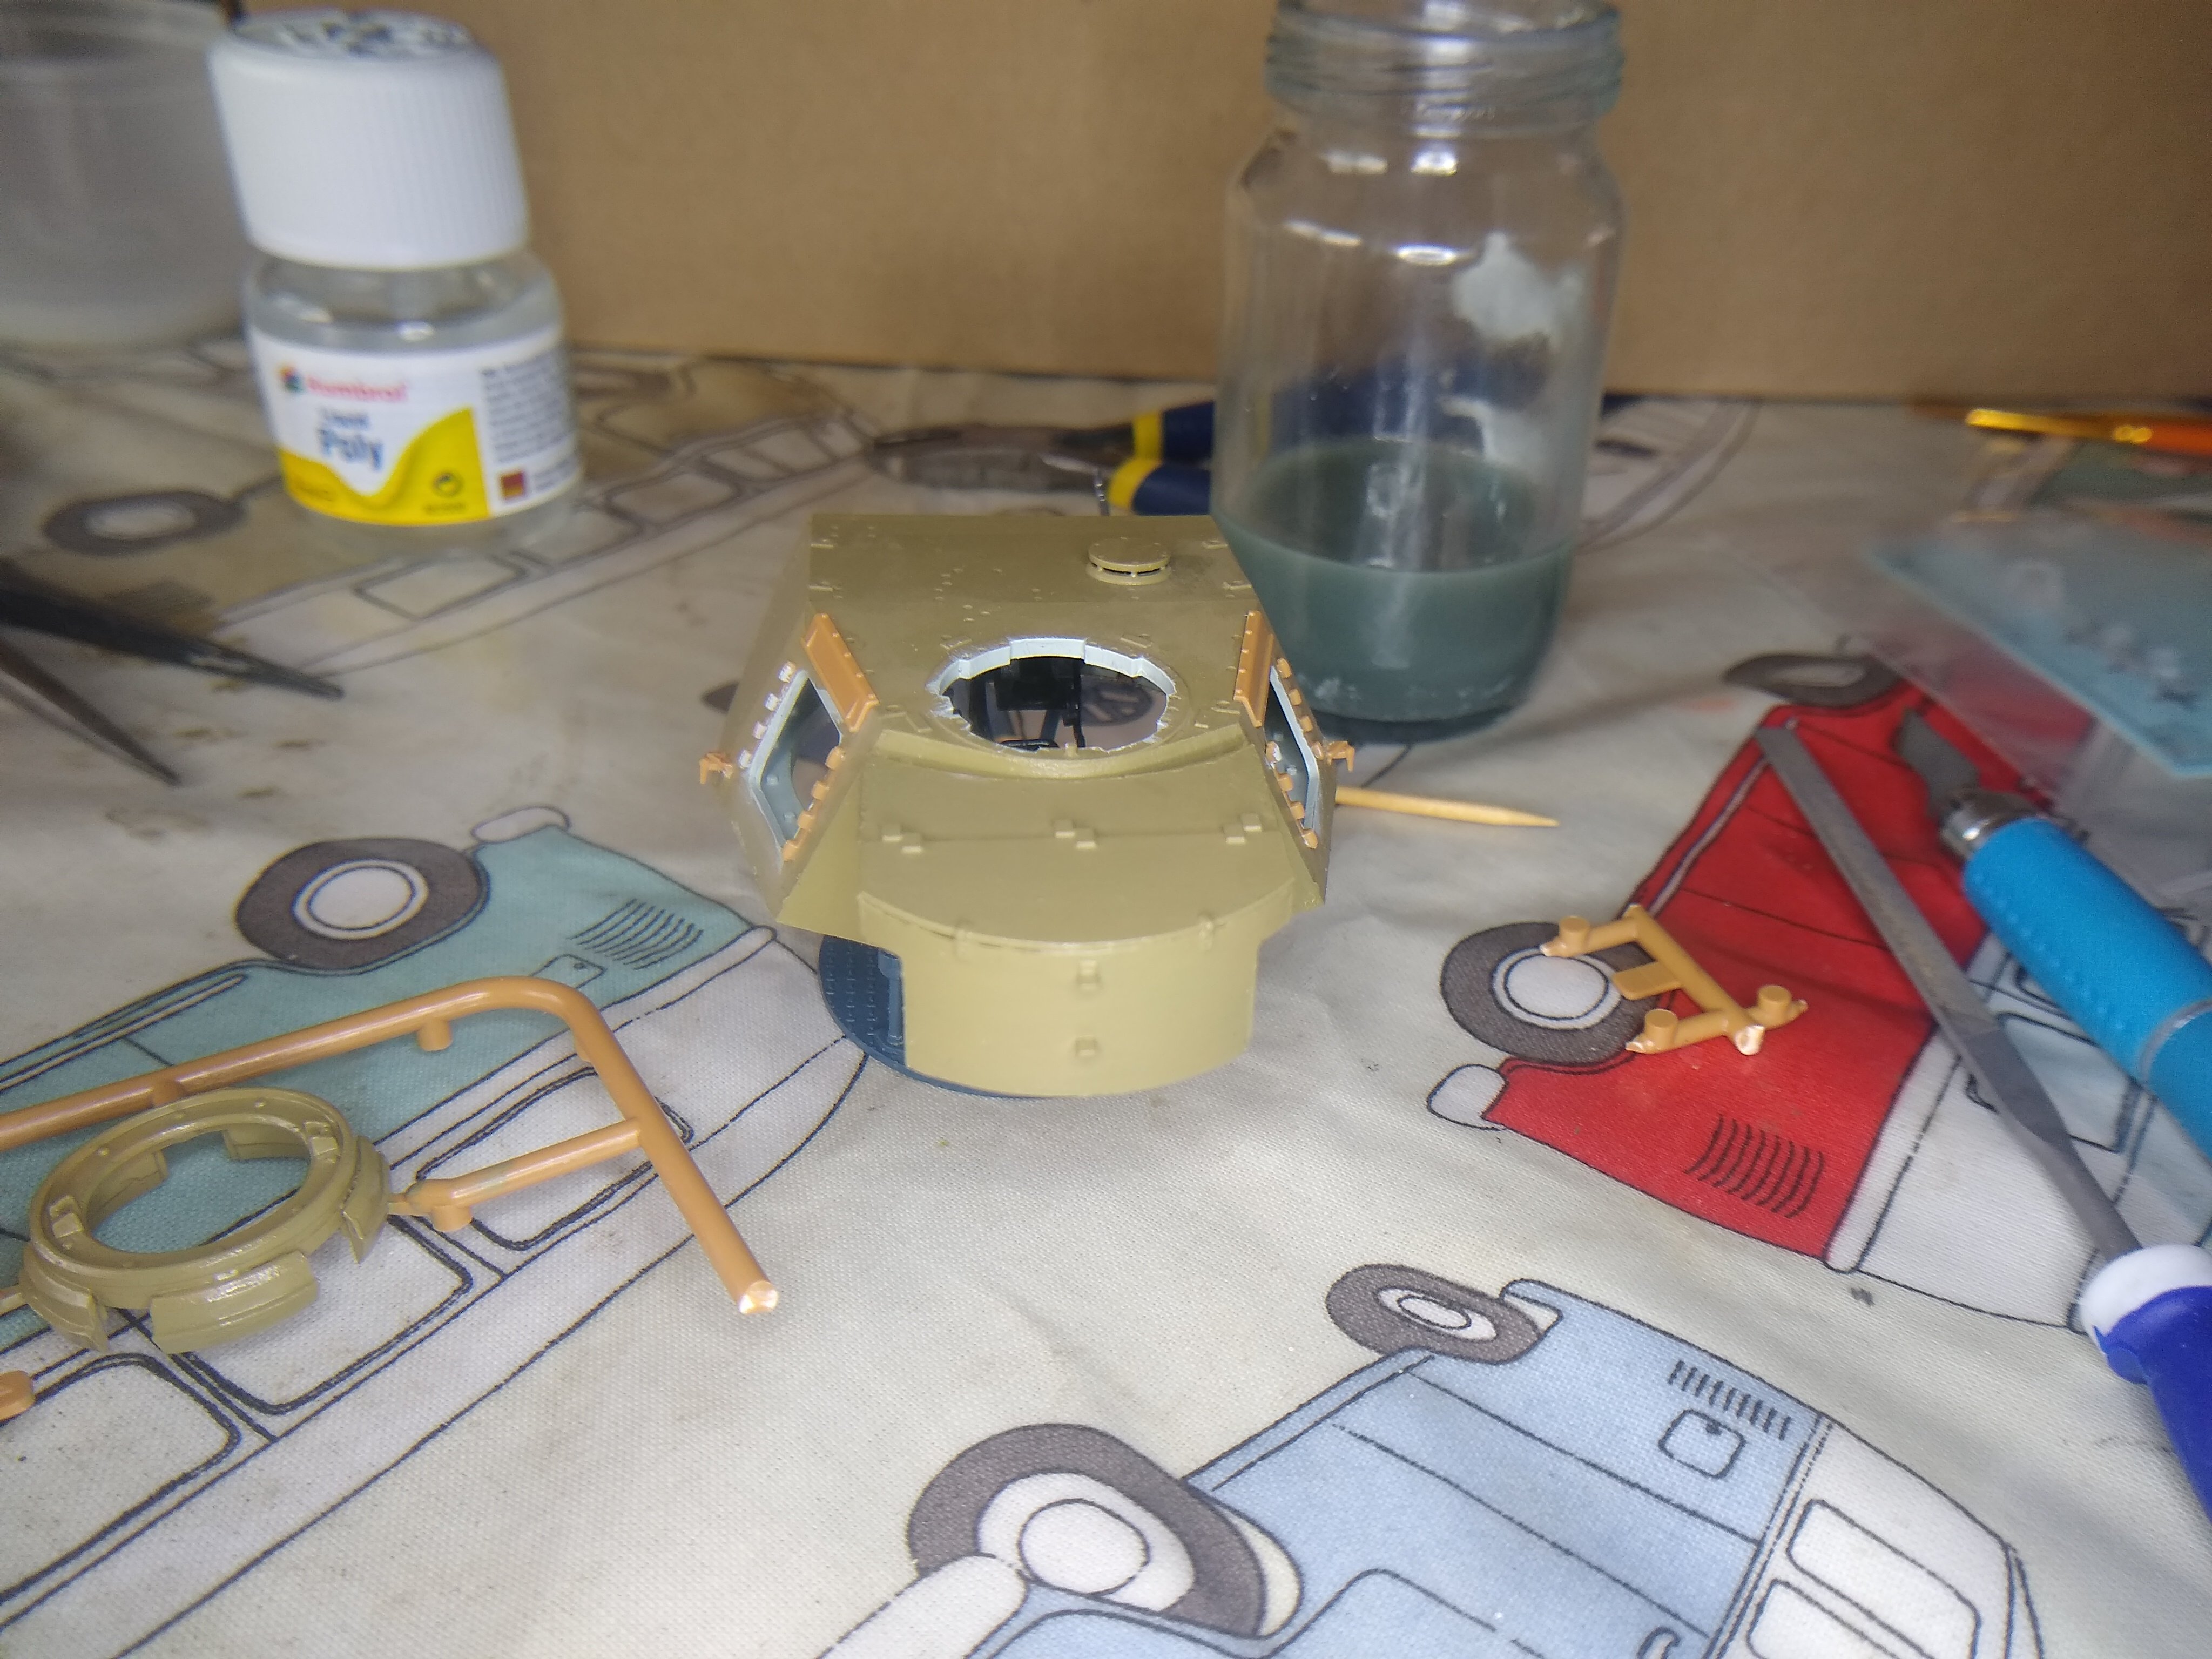
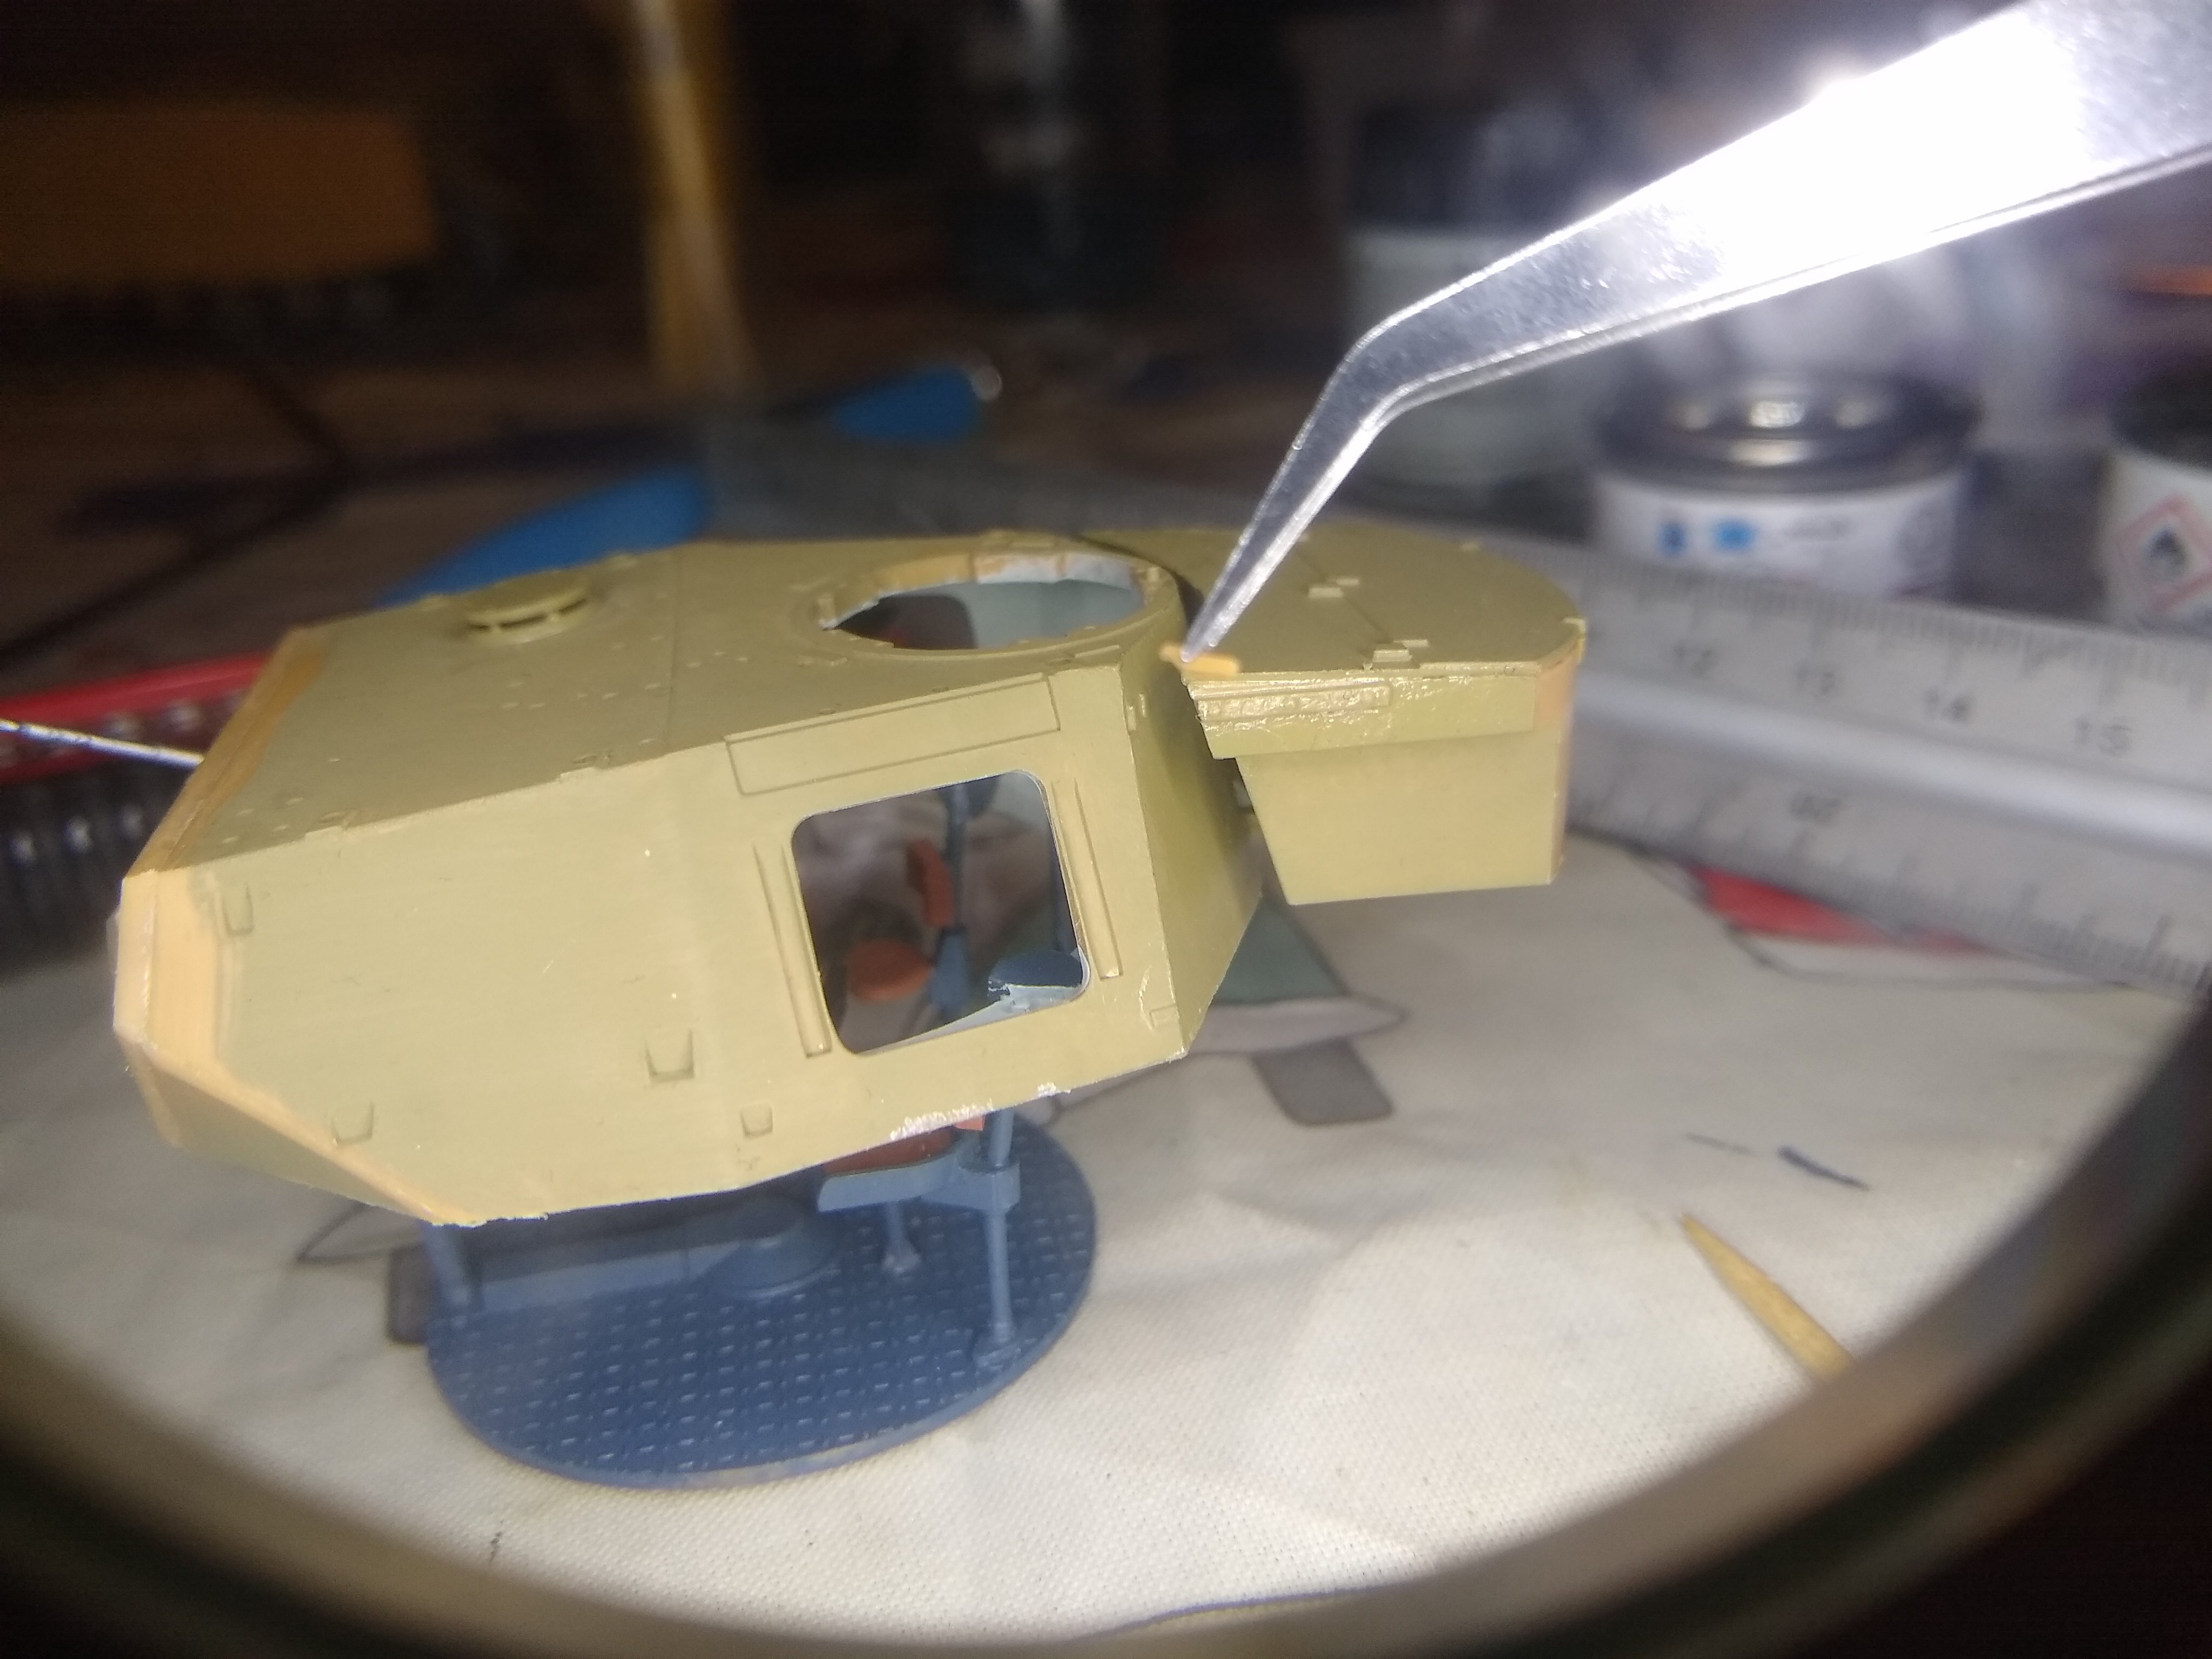
Installed some of the extra parts on the turret. And cleaned up the paint.


 and started on the commanders cupola. (Think I spelled that correct)
-
3
-
1
-
-
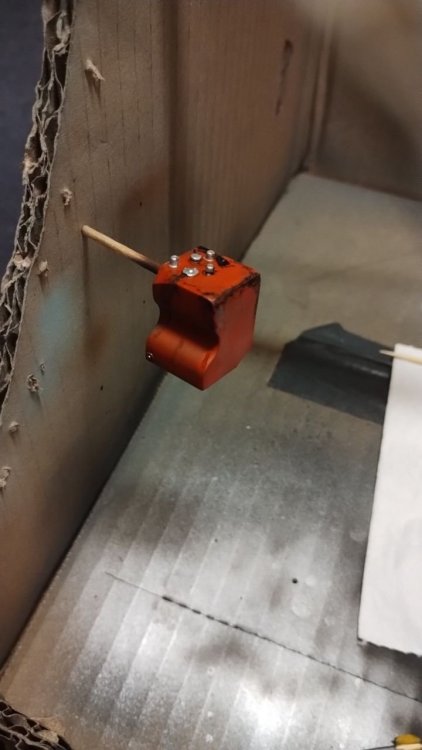
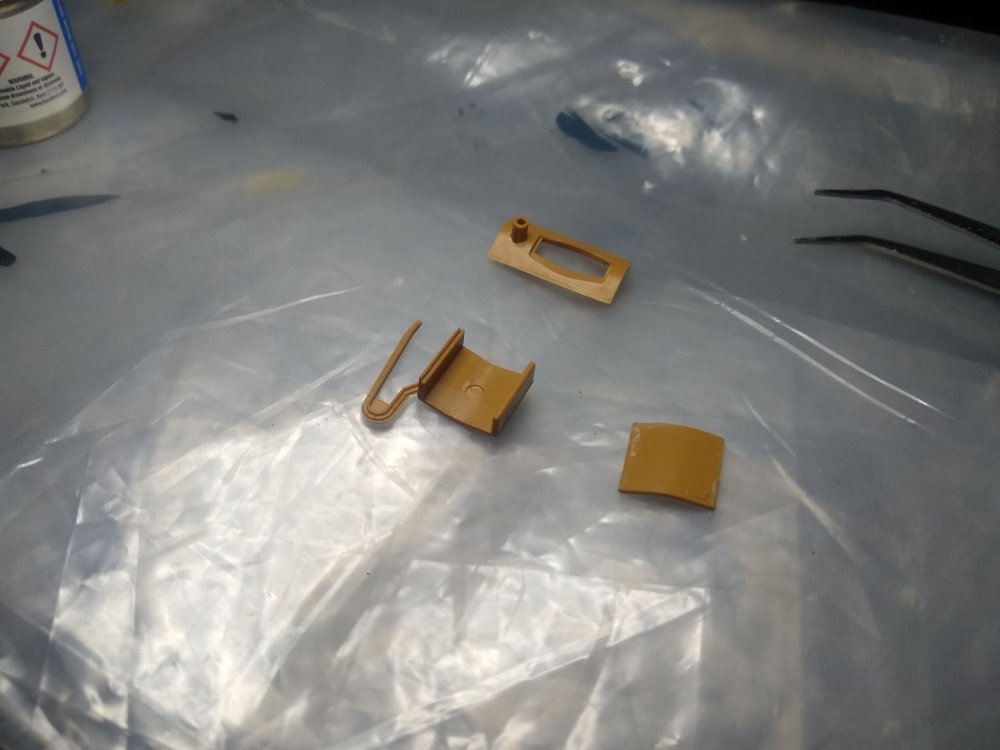
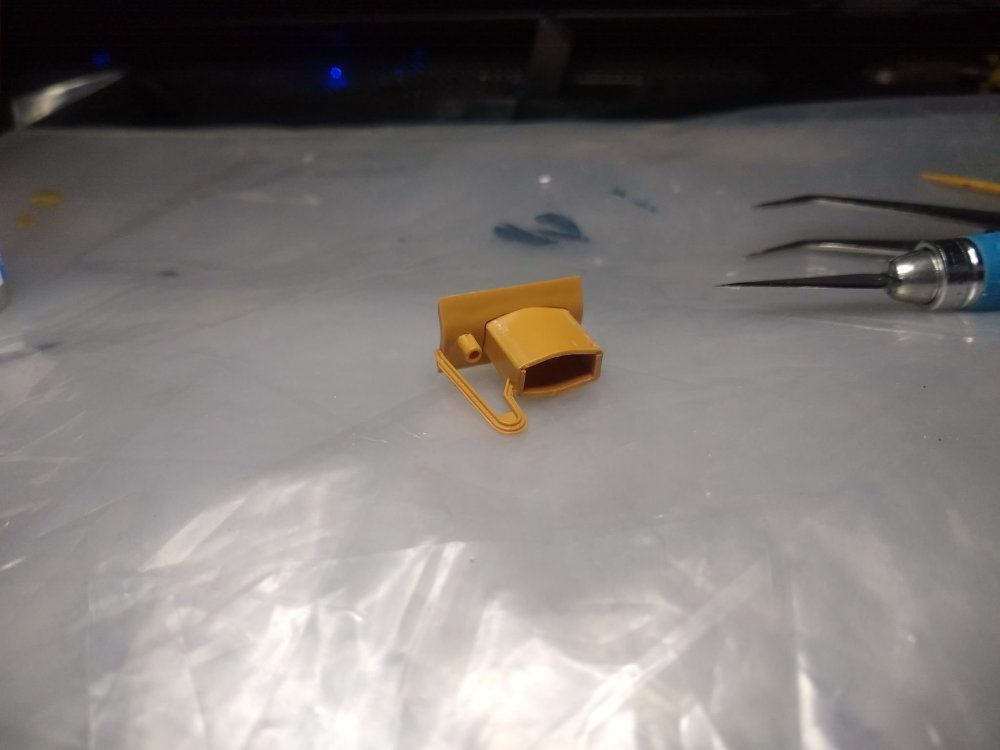
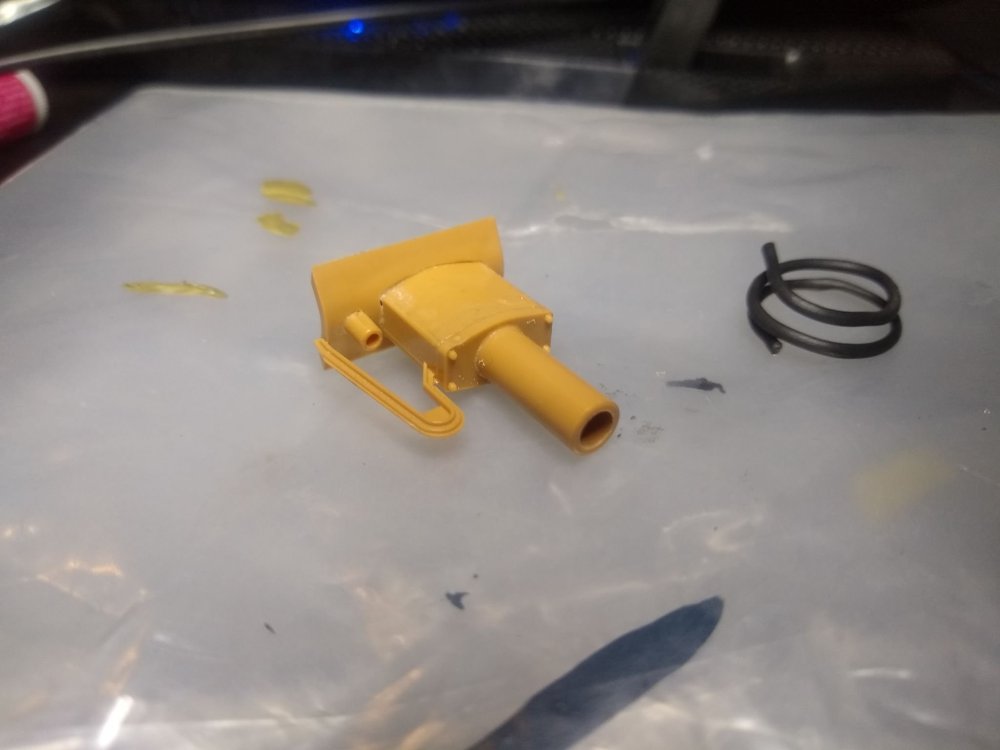
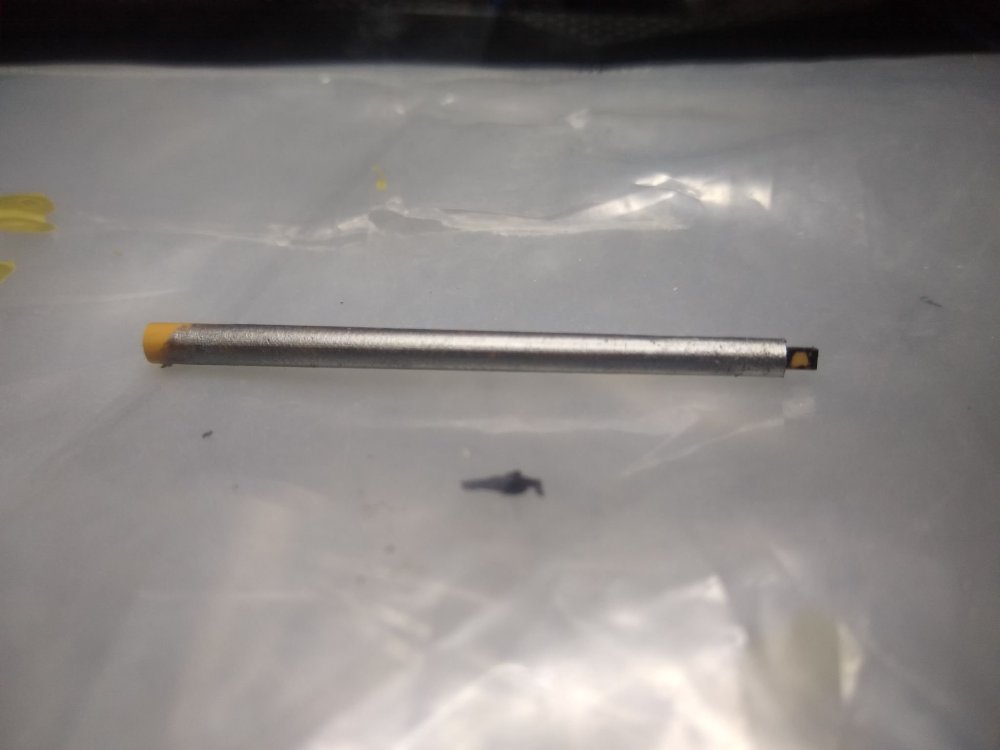
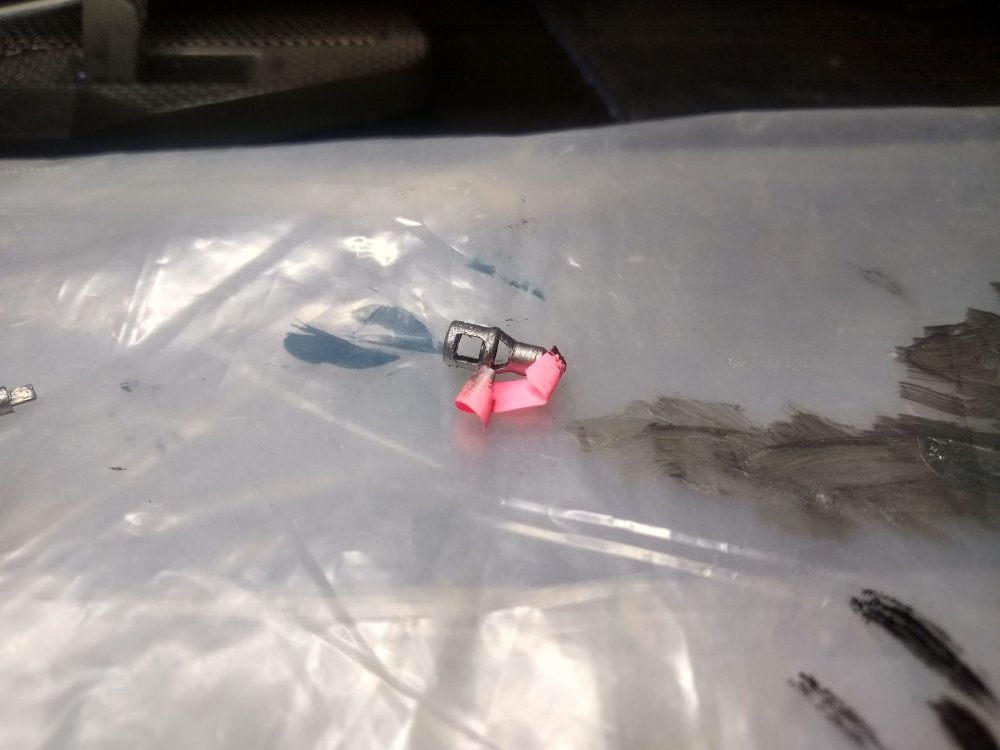
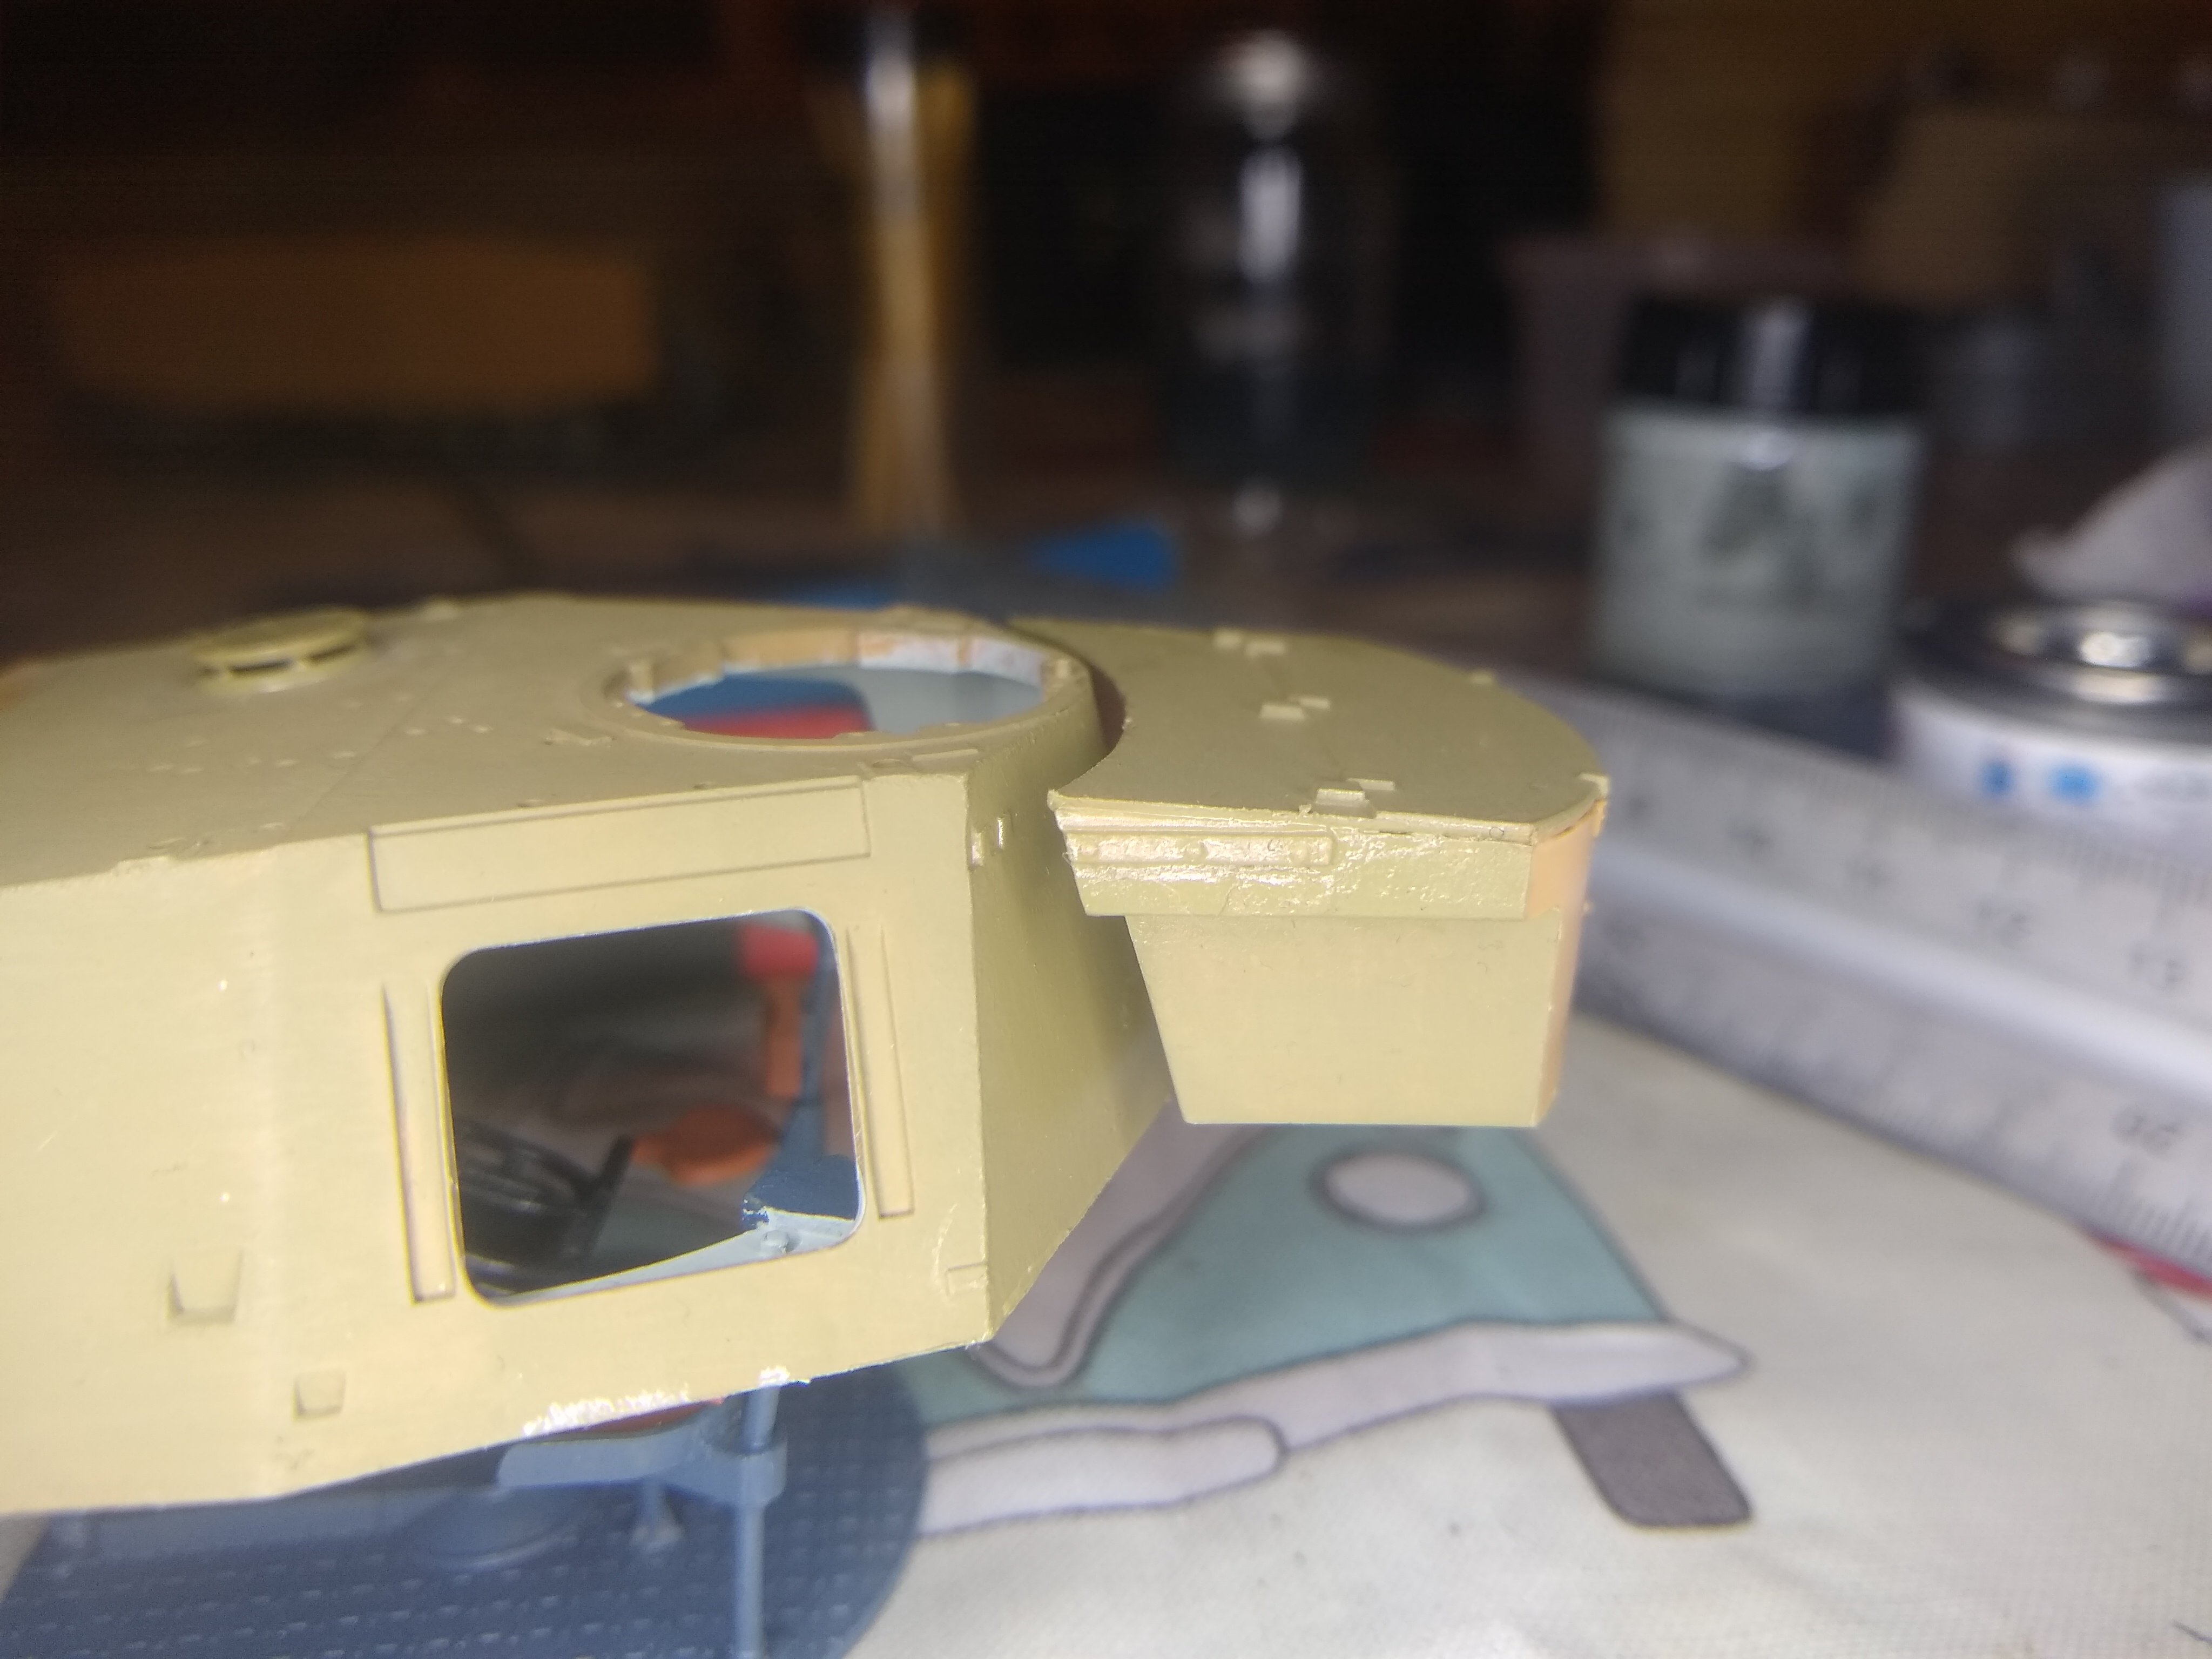
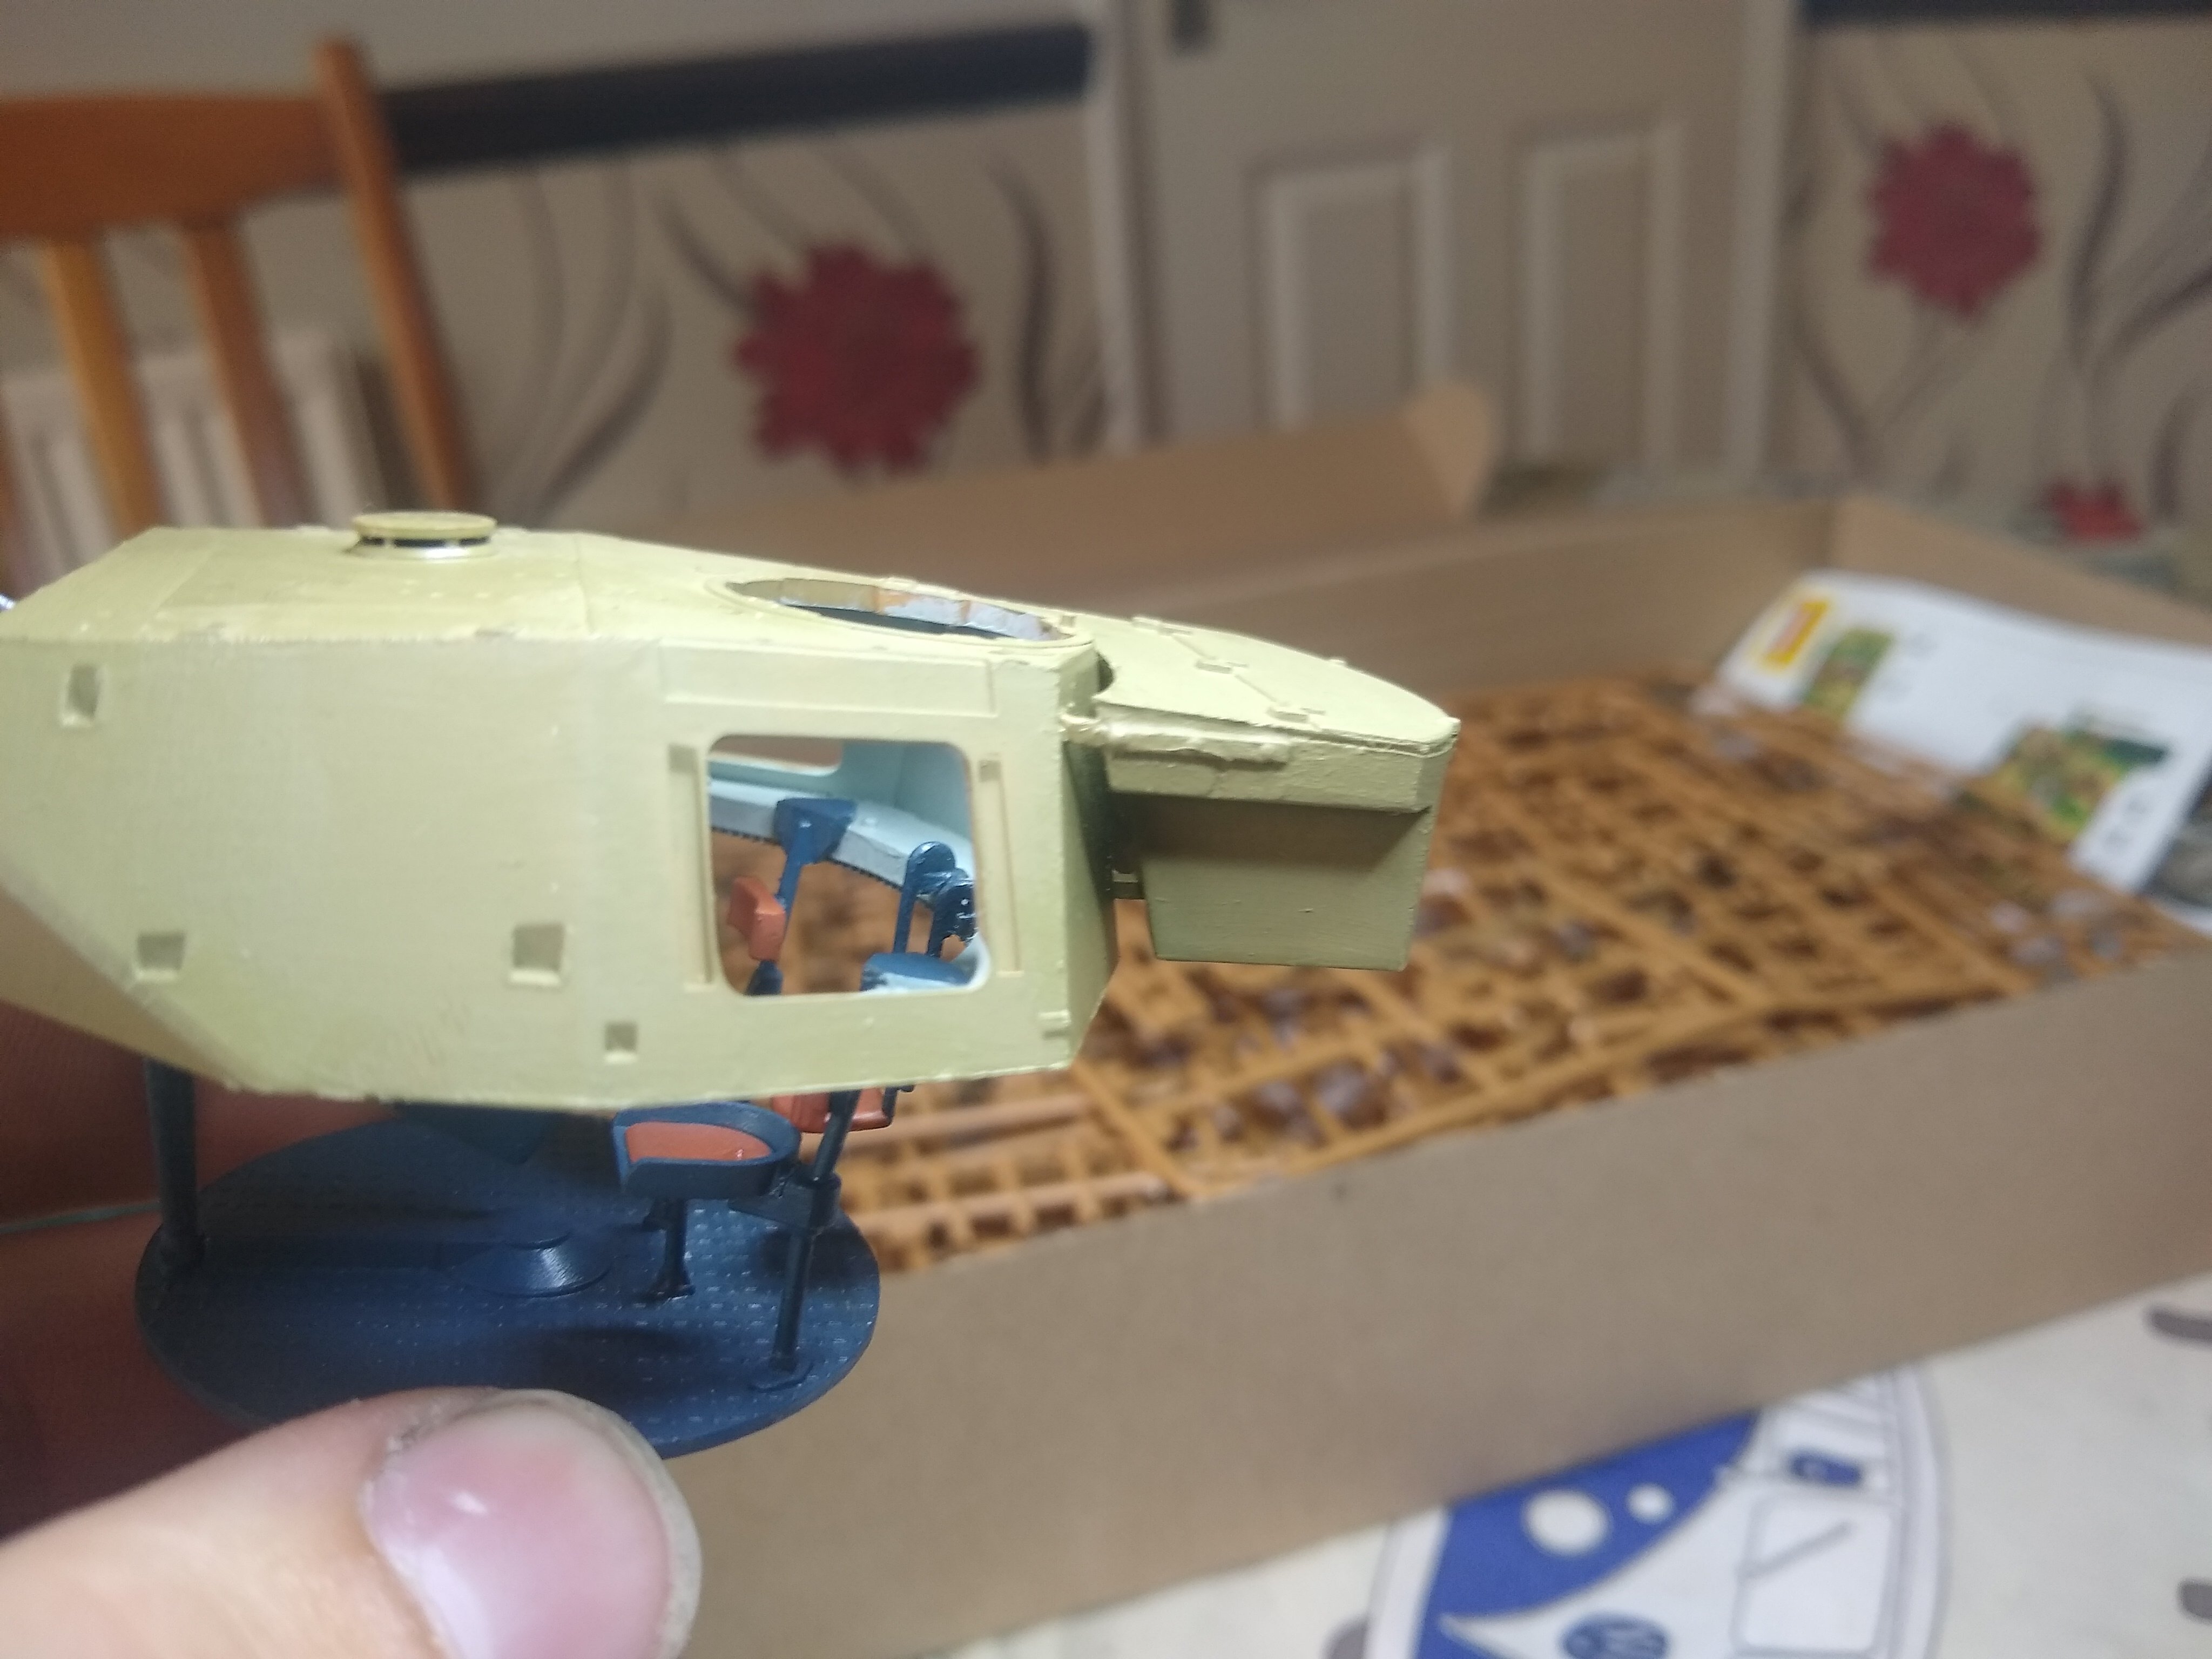
Had a small pice break in removing it from the sprue. Managed to repair and place it. So main storage box is now installed on the turret too.


-
4
-
-
7 hours ago, Bomber_County said:
Well back, I always get confused with interior colours for AFV’s……..
Ah yes I did a lot of searching and looking in some games like Tank Mechanic Simulator. and found that majority of courses showed a light cream/Beige colour. the blue colour. was supposed to be darker but I quite like the look and contrast so I kept it instead of scrubbing and starting again.
-
1
-
-
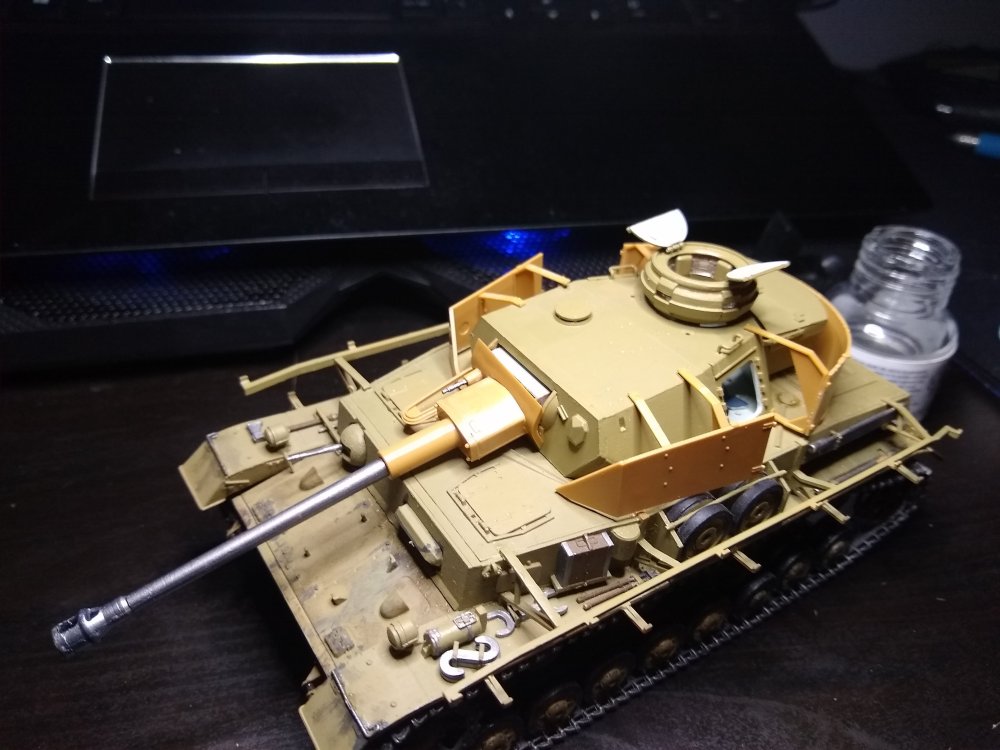
Well it's been a while. Have been to a convention and a military show (Militrax in the Netherlands) while waiting for replacement parts to come in. But now atleast work can continue.


-
9
-


.jpg.f15b78c579319dedd28ae194a3f1e9f2.jpg)


T26E4 Super Pershing
in LSM 1/35 and Larger Work In Progress
Posted
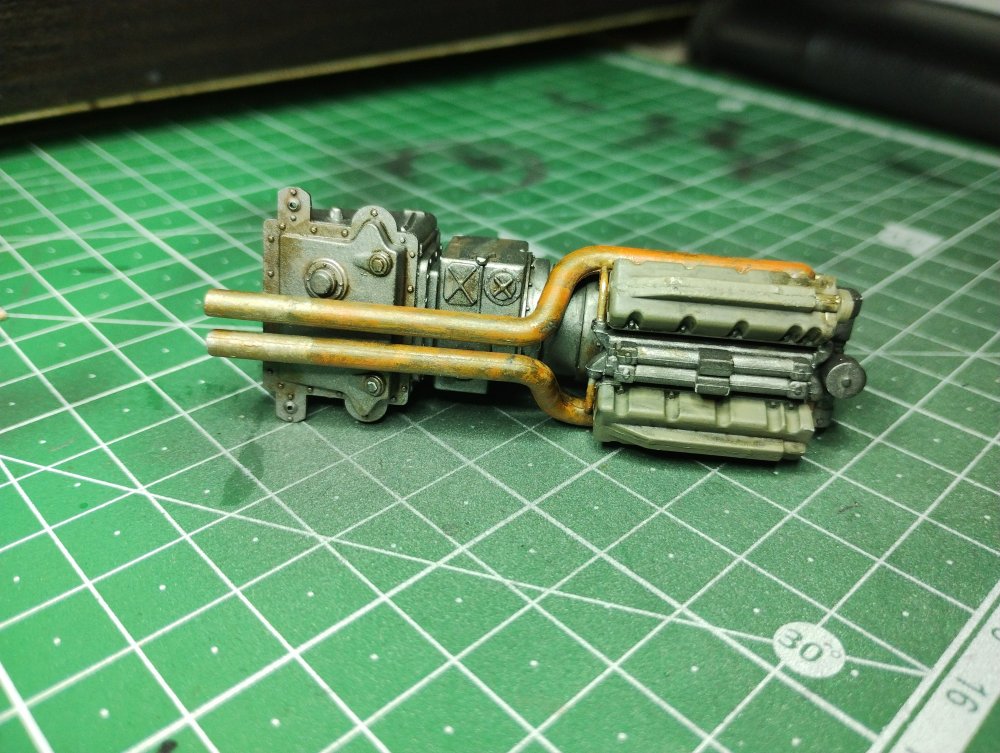
Not too good at blending. But it's definitely looking pretty good.
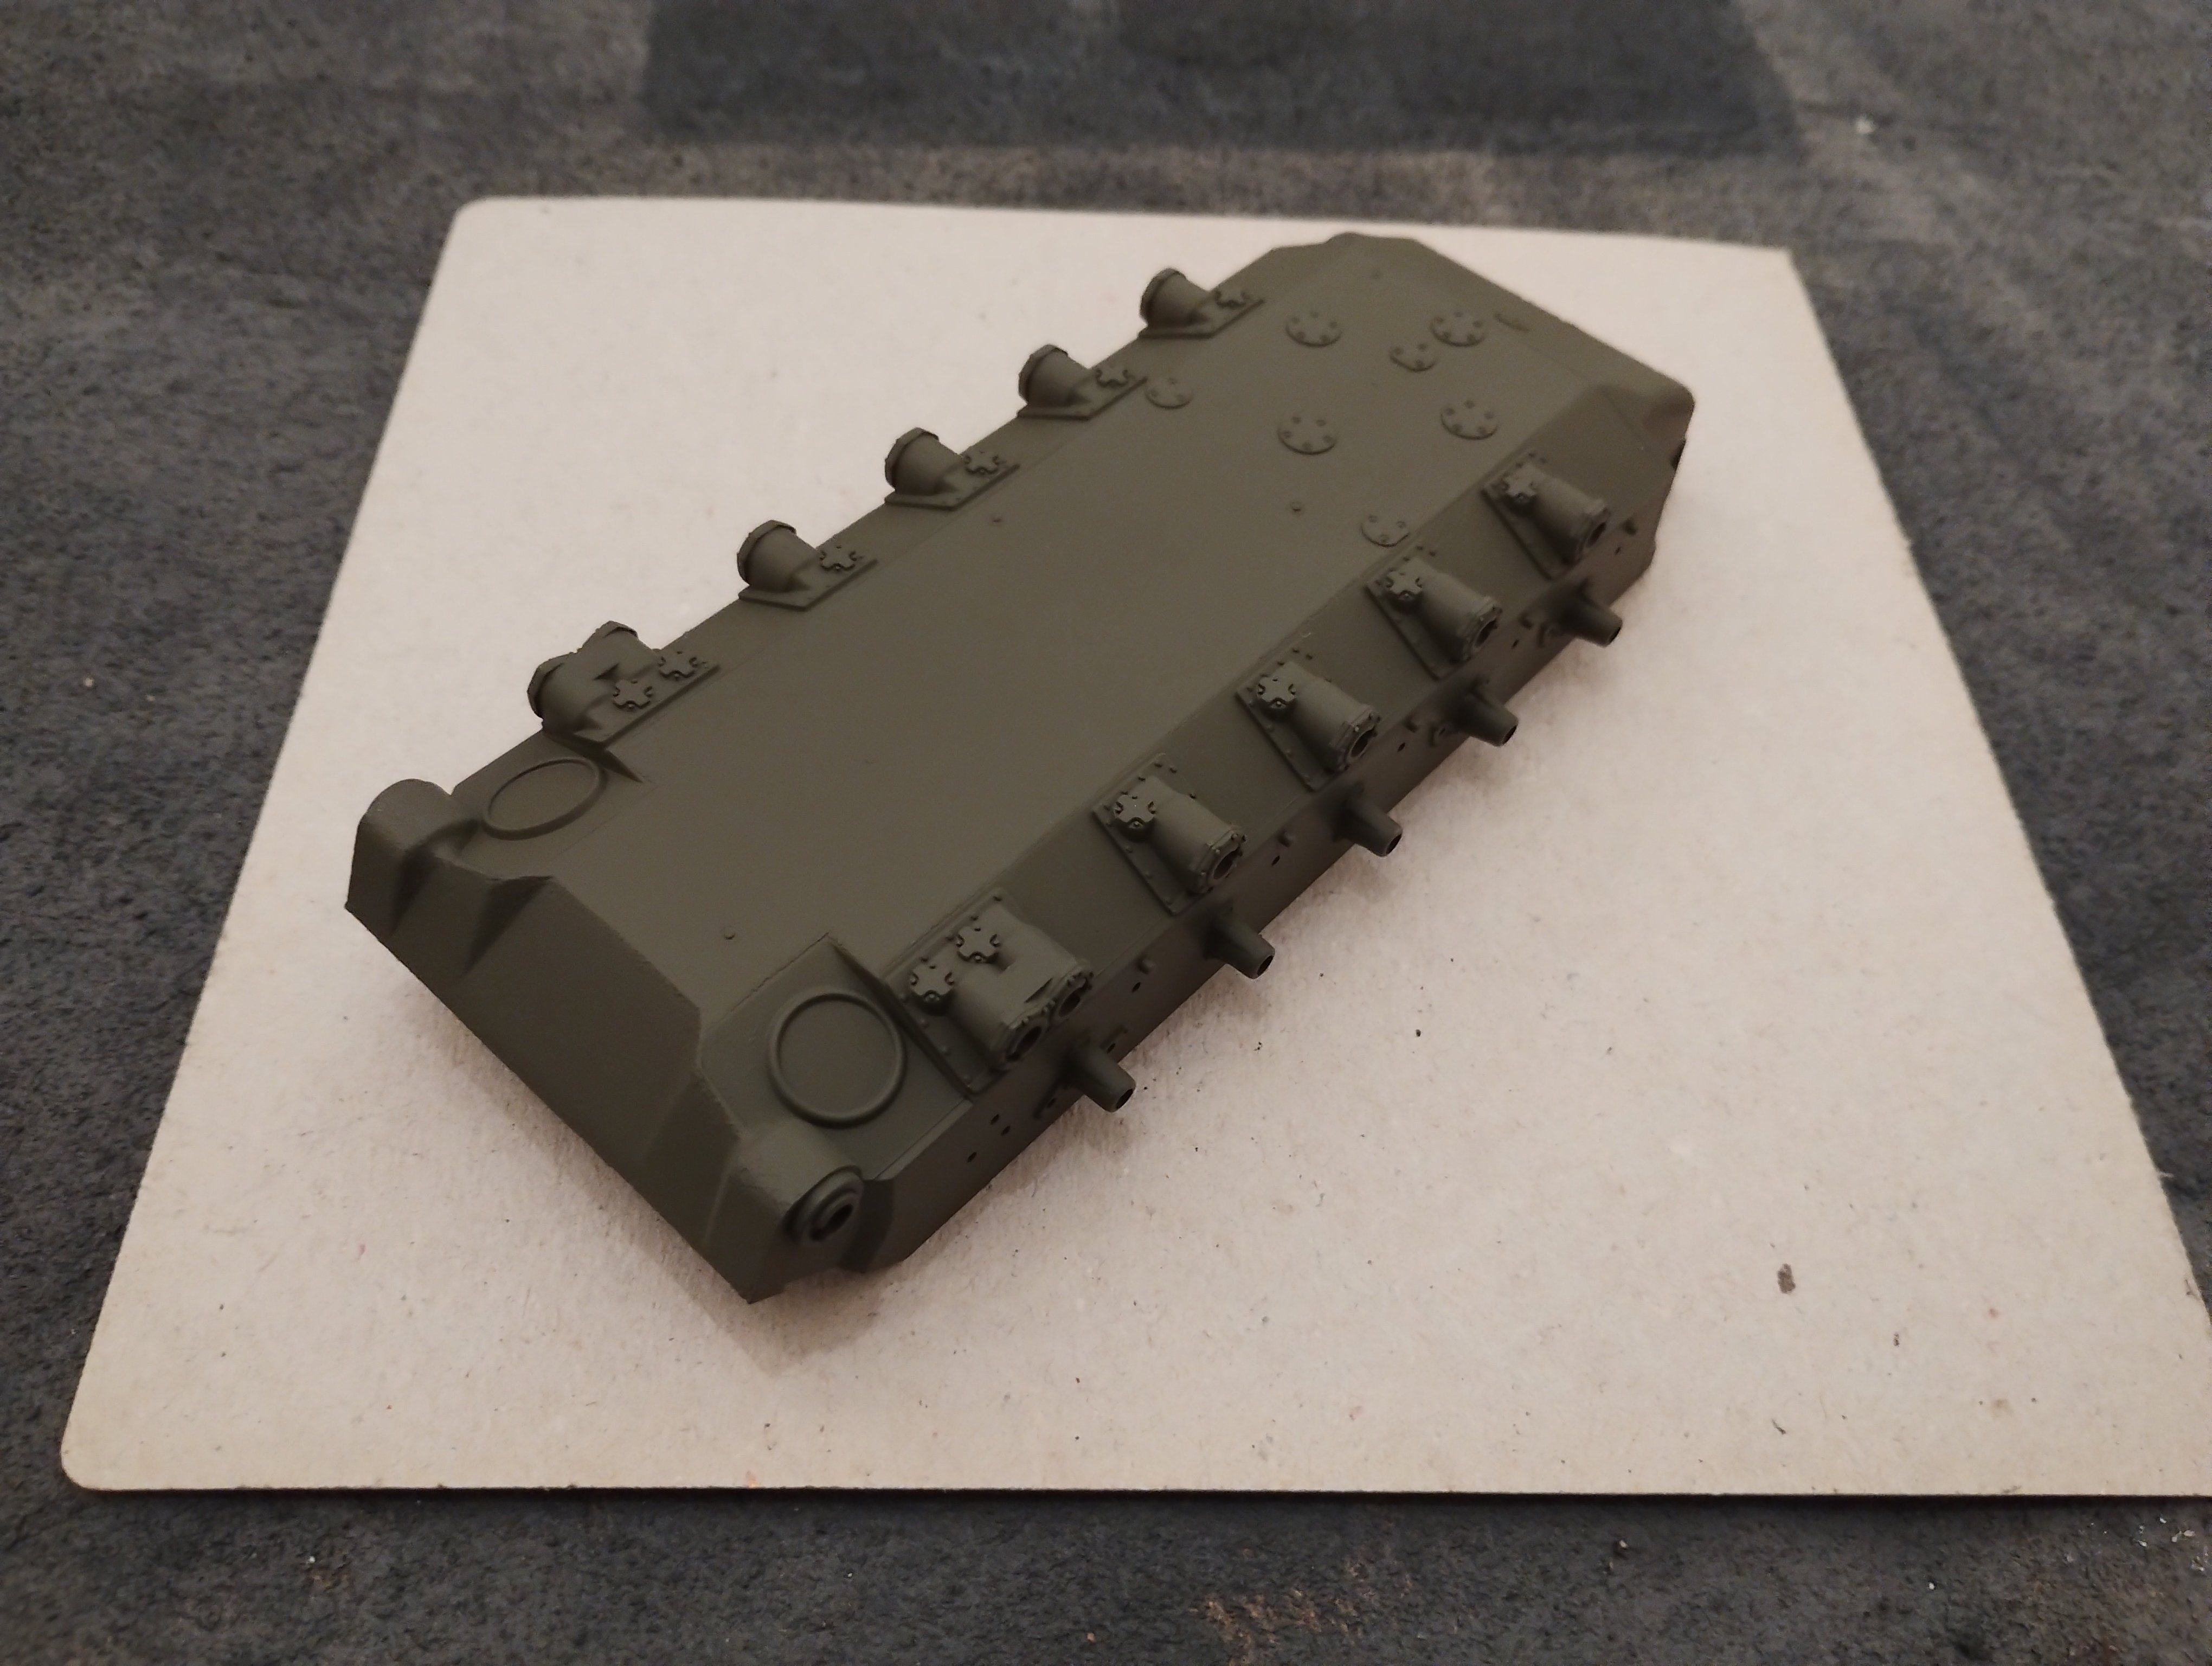
Loving the detail on the engine. Painted the rocker covers with a more olive drab look. Think it really makes the engine just look that extra bit