


Rowdy
-
Posts
125 -
Joined
-
Last visited
Content Type
Profiles
Forums
Events
Gallery
Posts posted by Rowdy
-
-
3 hours ago, Kaireckstadt said:
Looks absolutely realistic!
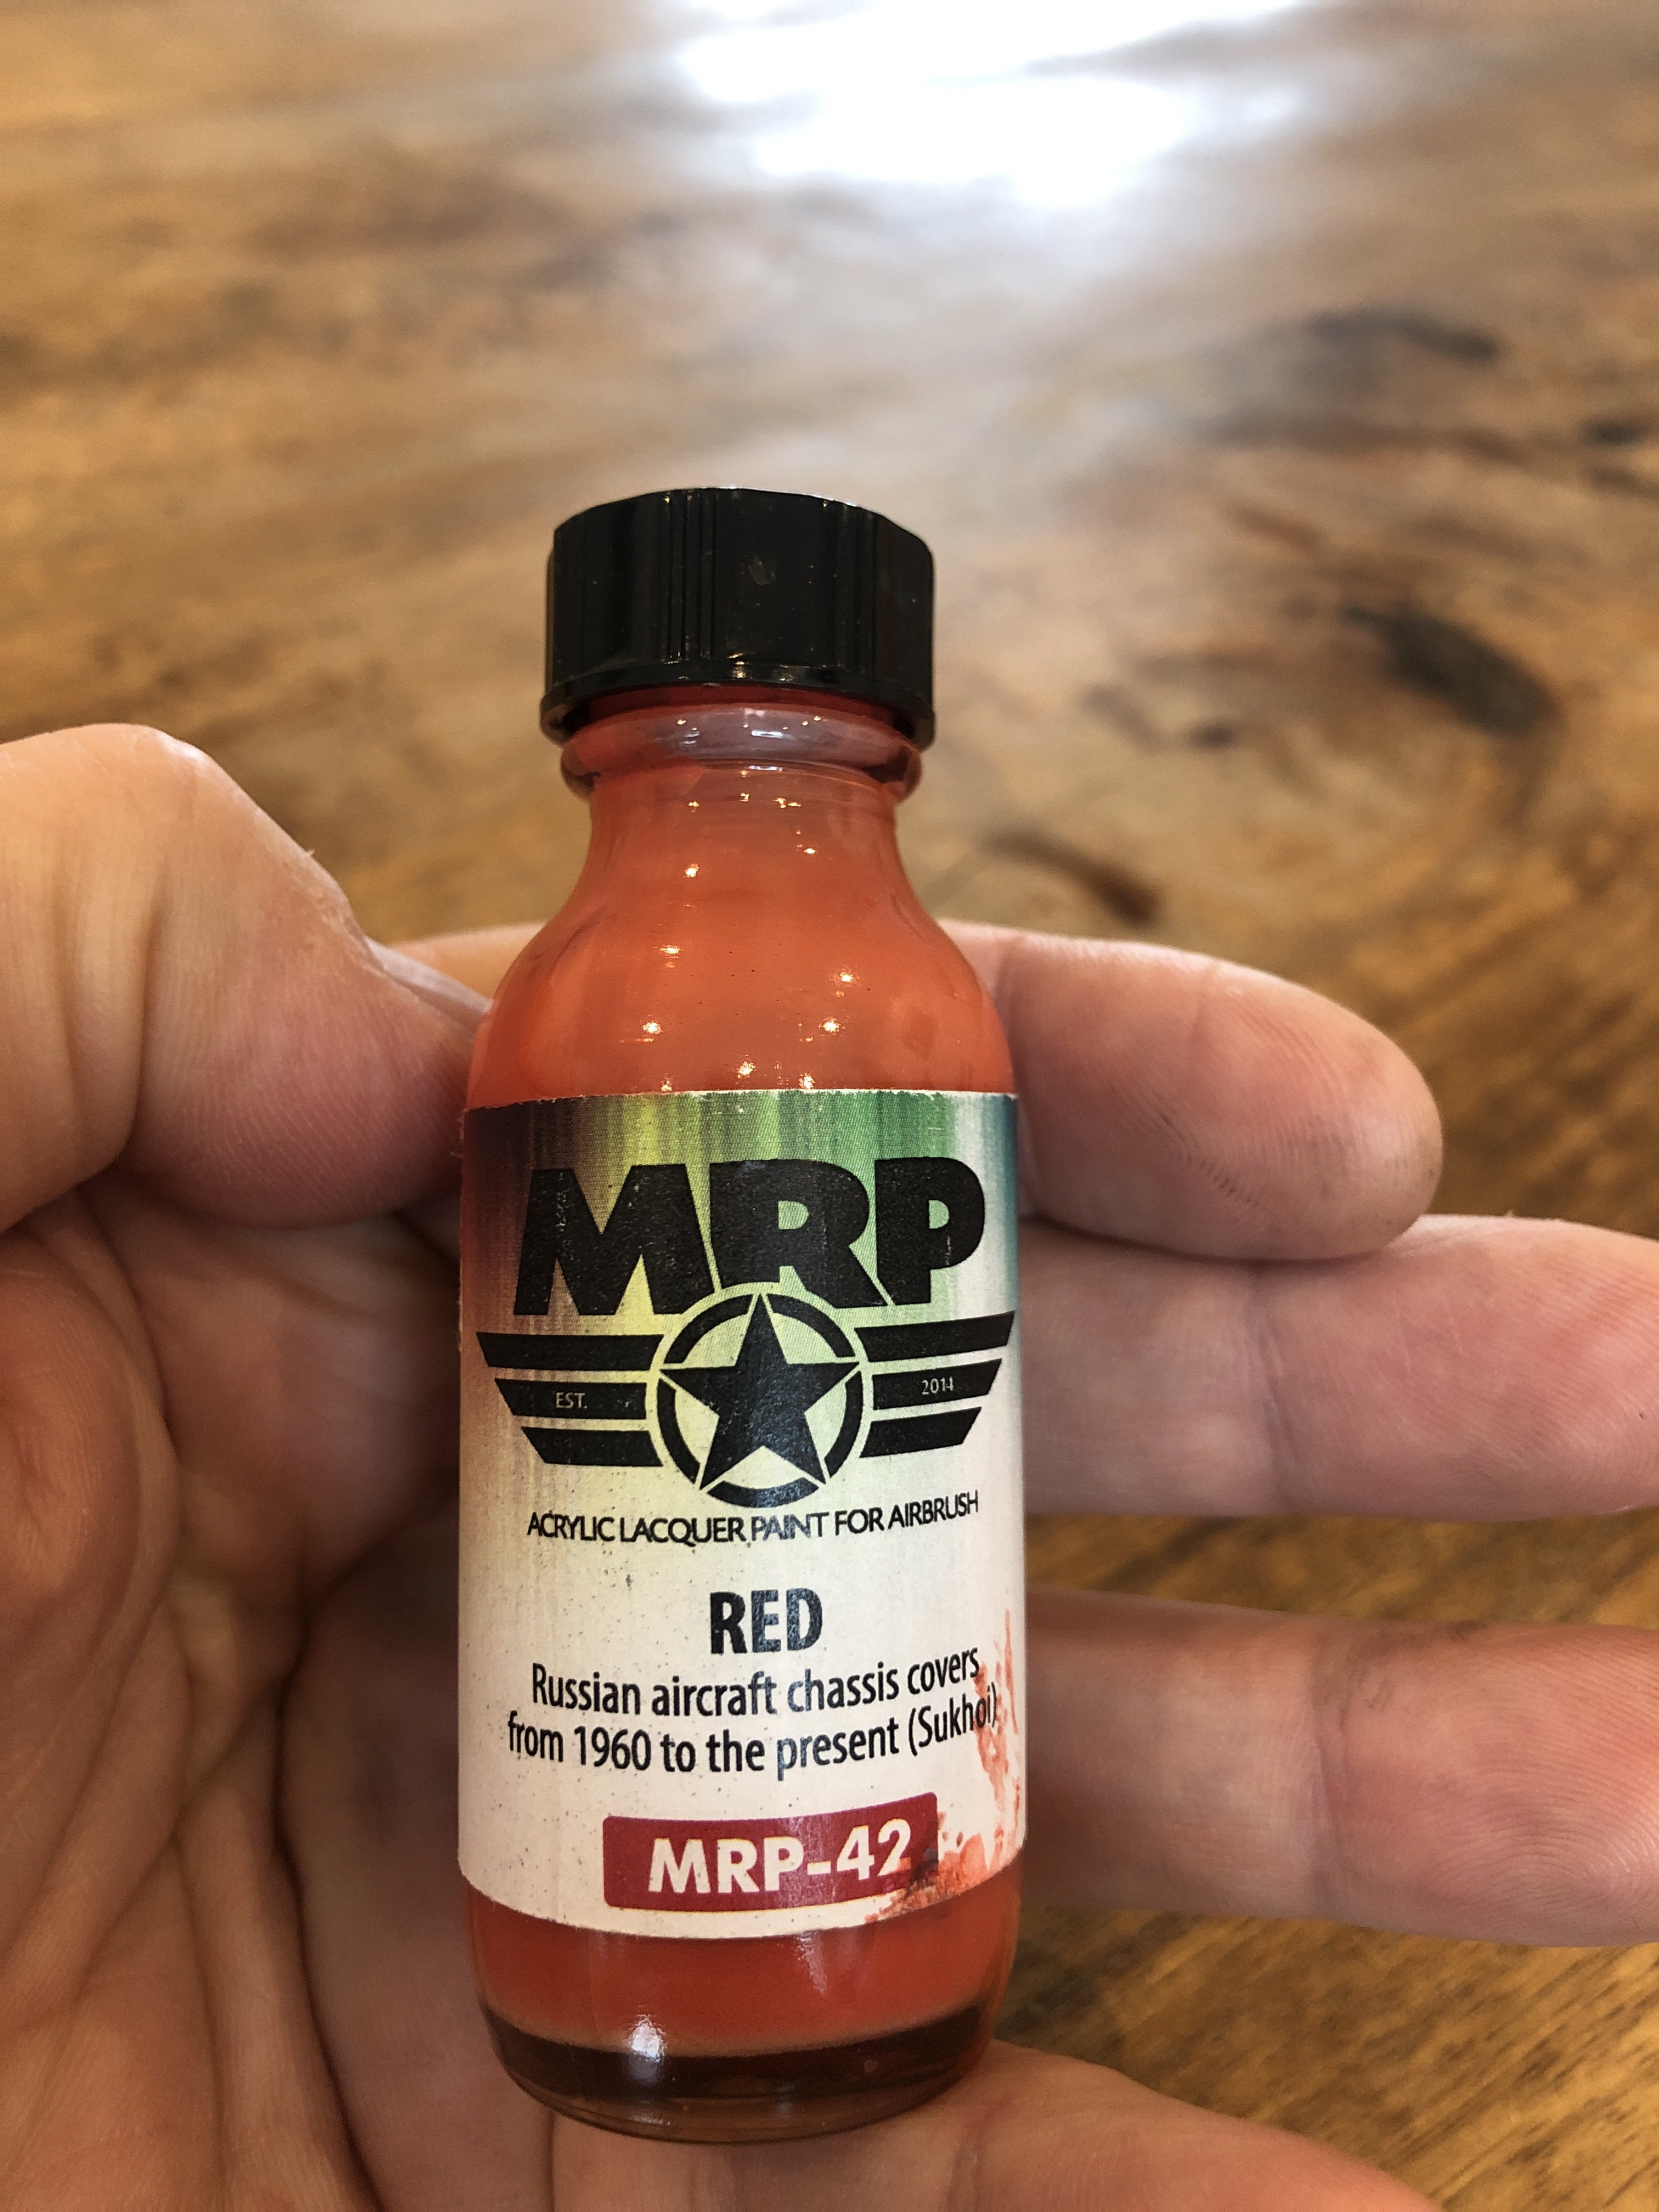
The idea with the unpainted repair areas is really nice! Which color did you use to simulate the primer?
Thanks matey!
I used Russian aircraft cover red from MRP for this!

-
 2
2
-
 1
1
-
-
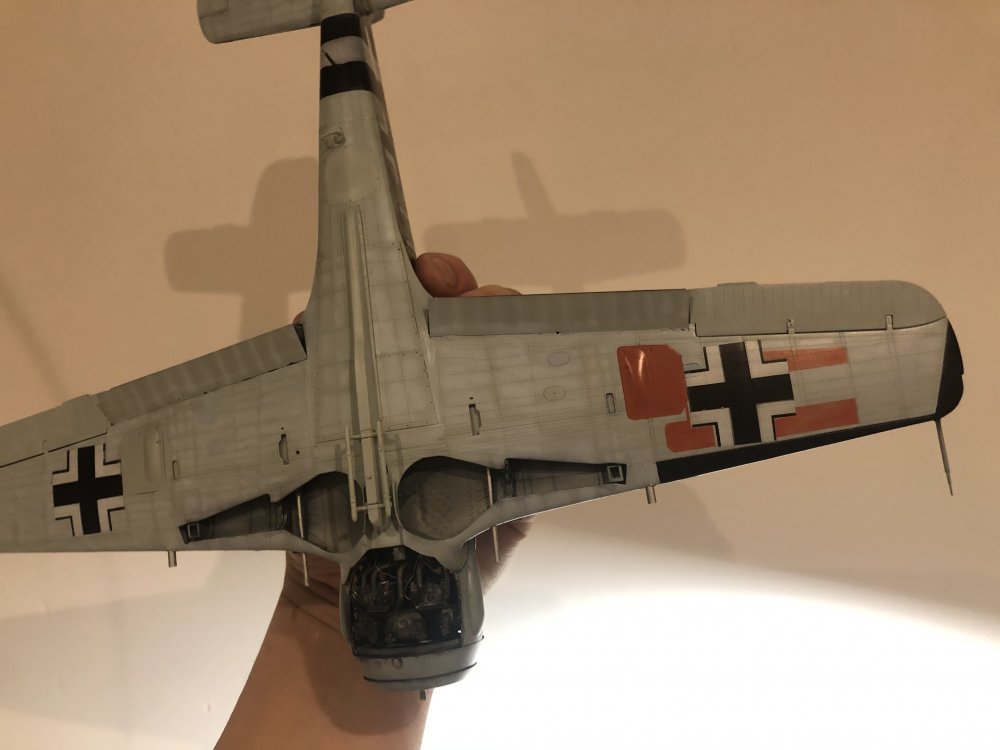
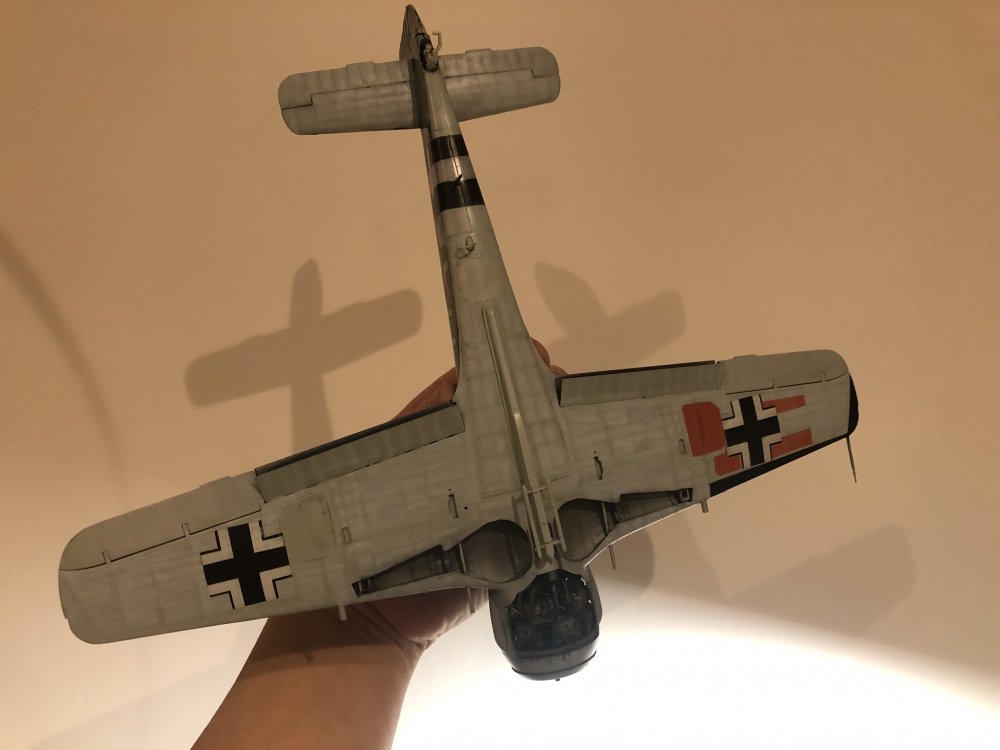
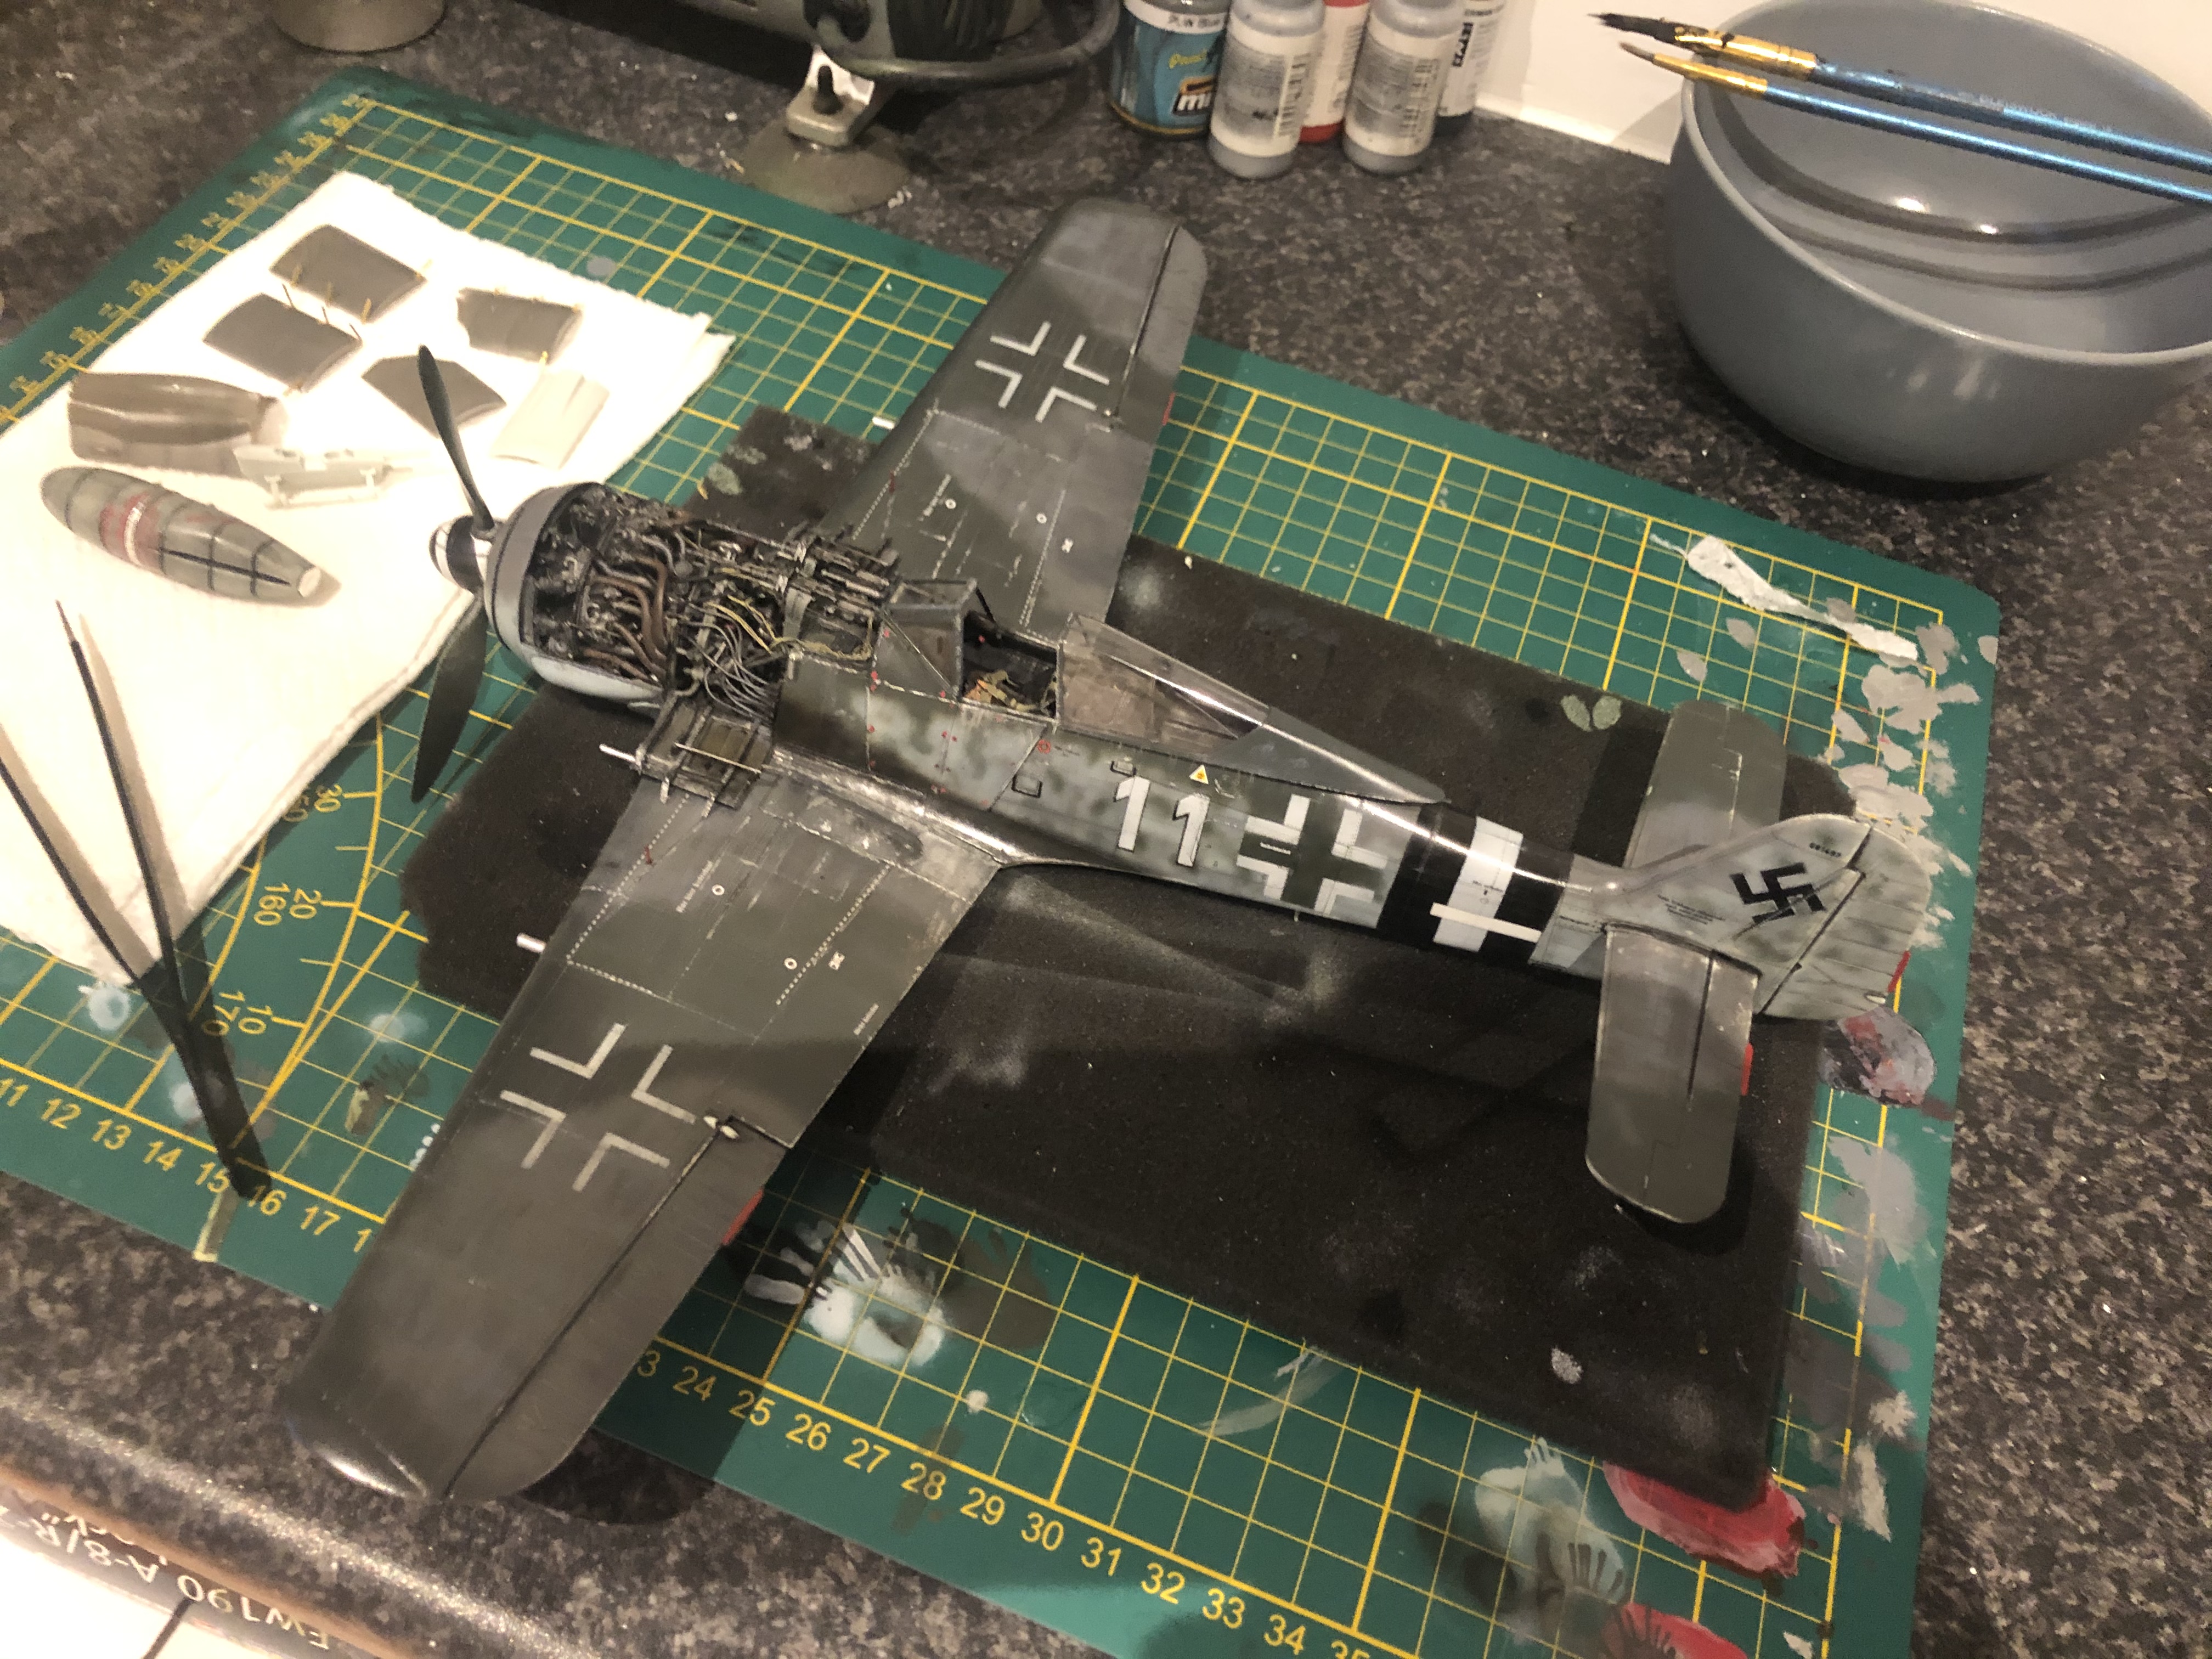
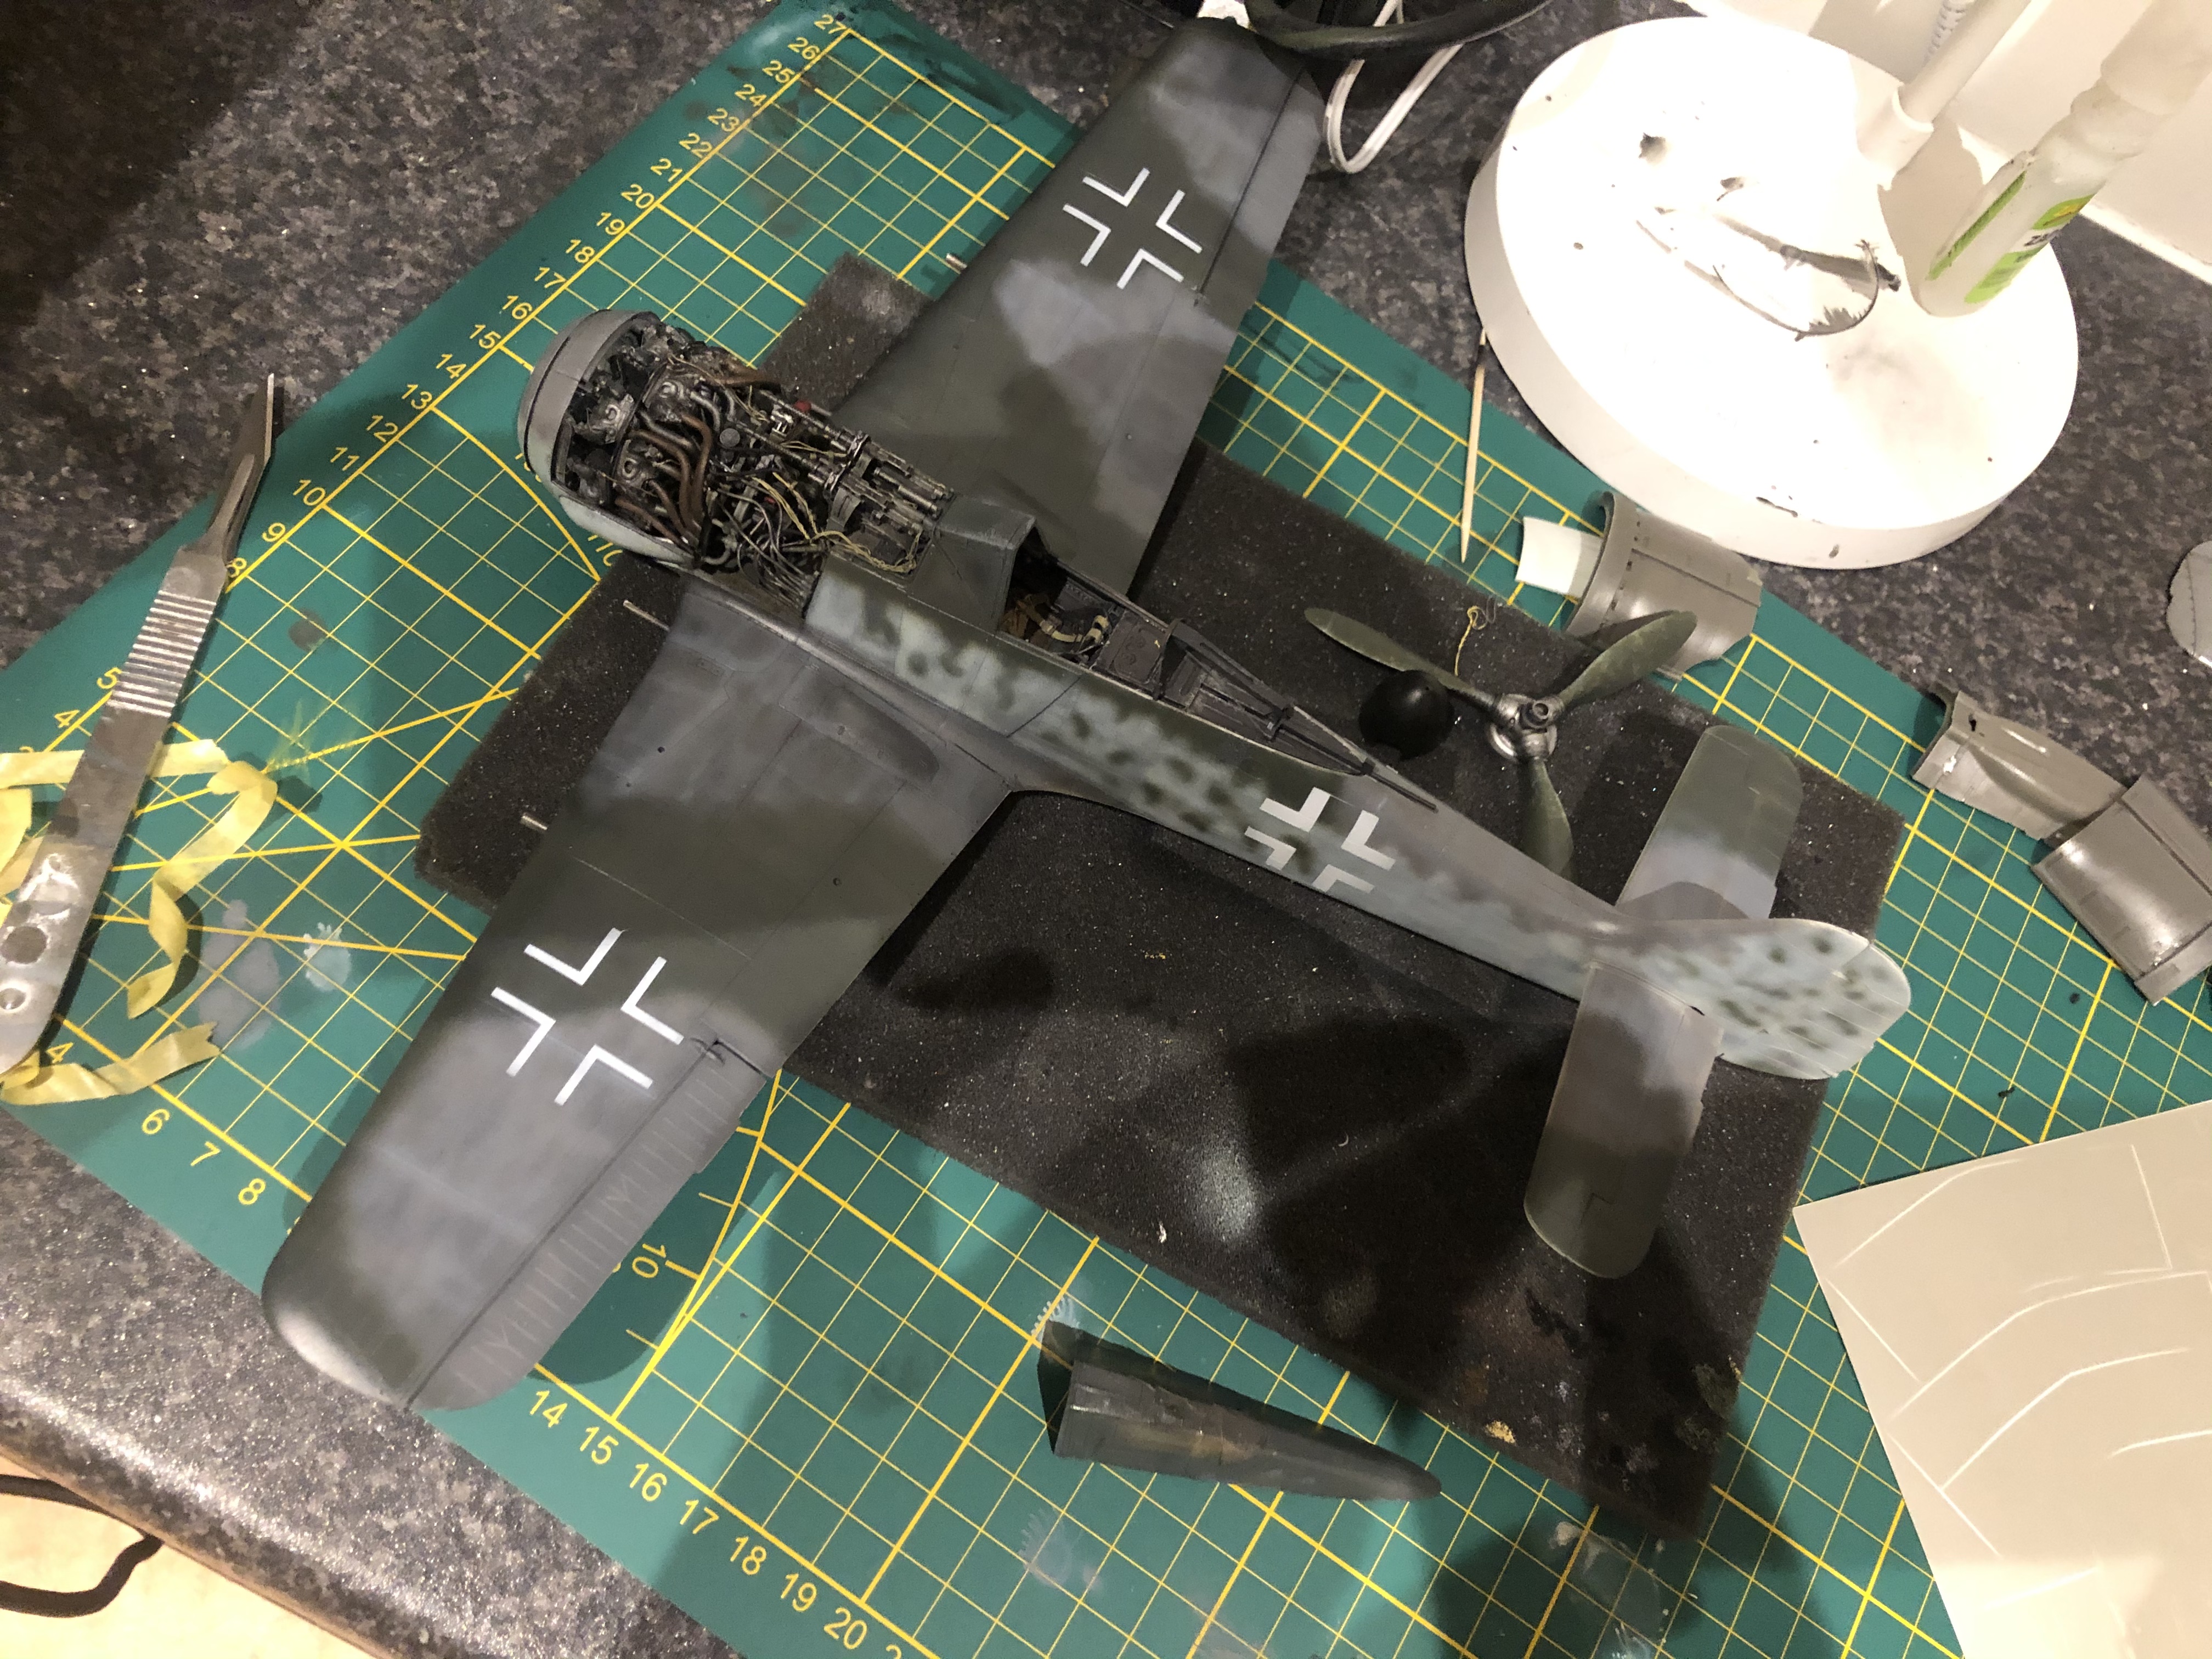
Underside done, now waiting for some wheatering!
Sorry for the crappy pics!
-
6
-
-
3 hours ago, JeroenPeters said:
So I couldn’t really understand why Eduard did not produce the wingroot mg151 gun bays. Found Aires does so ordered it:
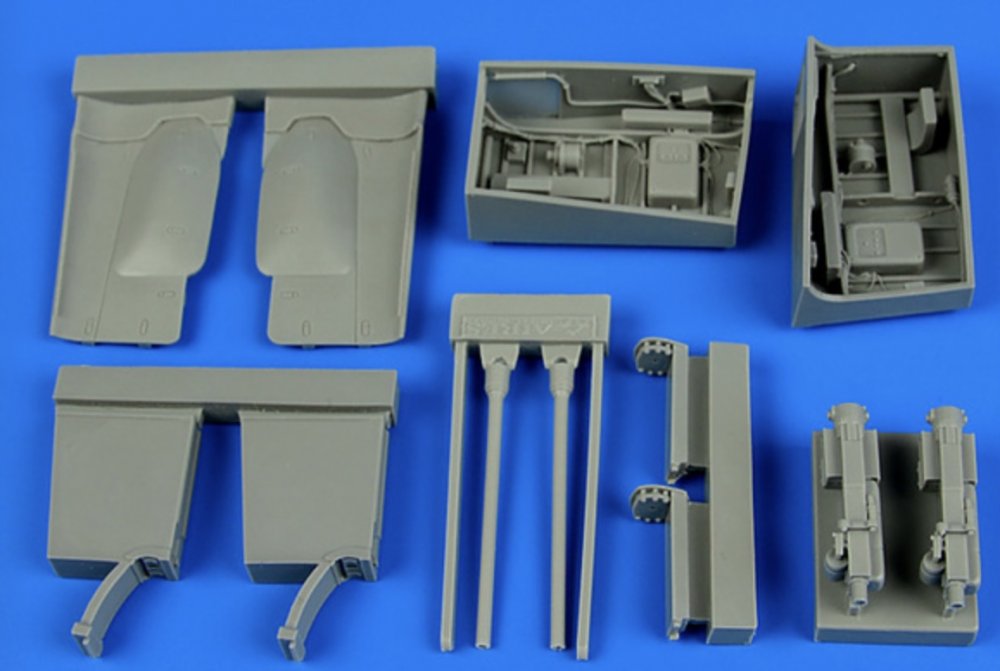
There is huge plastic box... somewhere in The Netherlands... which contains these parts...
")
All you had to do was send the new owner a message!
-
6
-
-
Great colors and paintjob!
And a lot of respect to you, it’s a real hard kit to assemble! But the result is outstanding so far!
-
6
-
-
Some progress made last week!

-
7
-
1
-
-
Ok.... the heat is on!!
Yoking Jeroen, looking forward to your build!!
I hope we can expect some early A versions in the future as well, so we can make some great stuff of which flew in Holland!
-
9
-
-
1 hour ago, Kaireckstadt said:
That looks awesome Rowdy. Just like the real plane. It’s really an exceptional build. Will you put it in a diorama? The open engine-bay cries for that!
Hi!
Thanks!!
No I just want to place it on a nice piece of olive wood. I’m afraid that all the details and wheatering will be falling away when it’s to ‘busy’ around the model.
-
3
-
-
1 hour ago, DocRob said:
This looks so real. I will store your pictures and use them as a guideline, when I build mine, but I'm sure, my result will be a bit more simplified
.
Cheers RobThanks Rob!
no problem, it’s an honor!!!
-
2
-
1
-
-
Yesterday evening I did some chipping and wheatering!


-
7
-
2
-
-
Apart from the magnificent work you did on the crew and Jeep as well the 335....
how’s your hand doing now? As I can imagine it’s not good to have a Willy Jeep driving over it!
-
5
-
-
4 hours ago, DocRob said:
That looks very WOW. Great modulation and great work with layers, beside from all the enhanced detail.
Cheers Rob
Many Thanks Rob!
-
4
-
-
19 hours ago, Kaireckstadt said:
That looks great Rowdy!
How did you do the chipped paint?
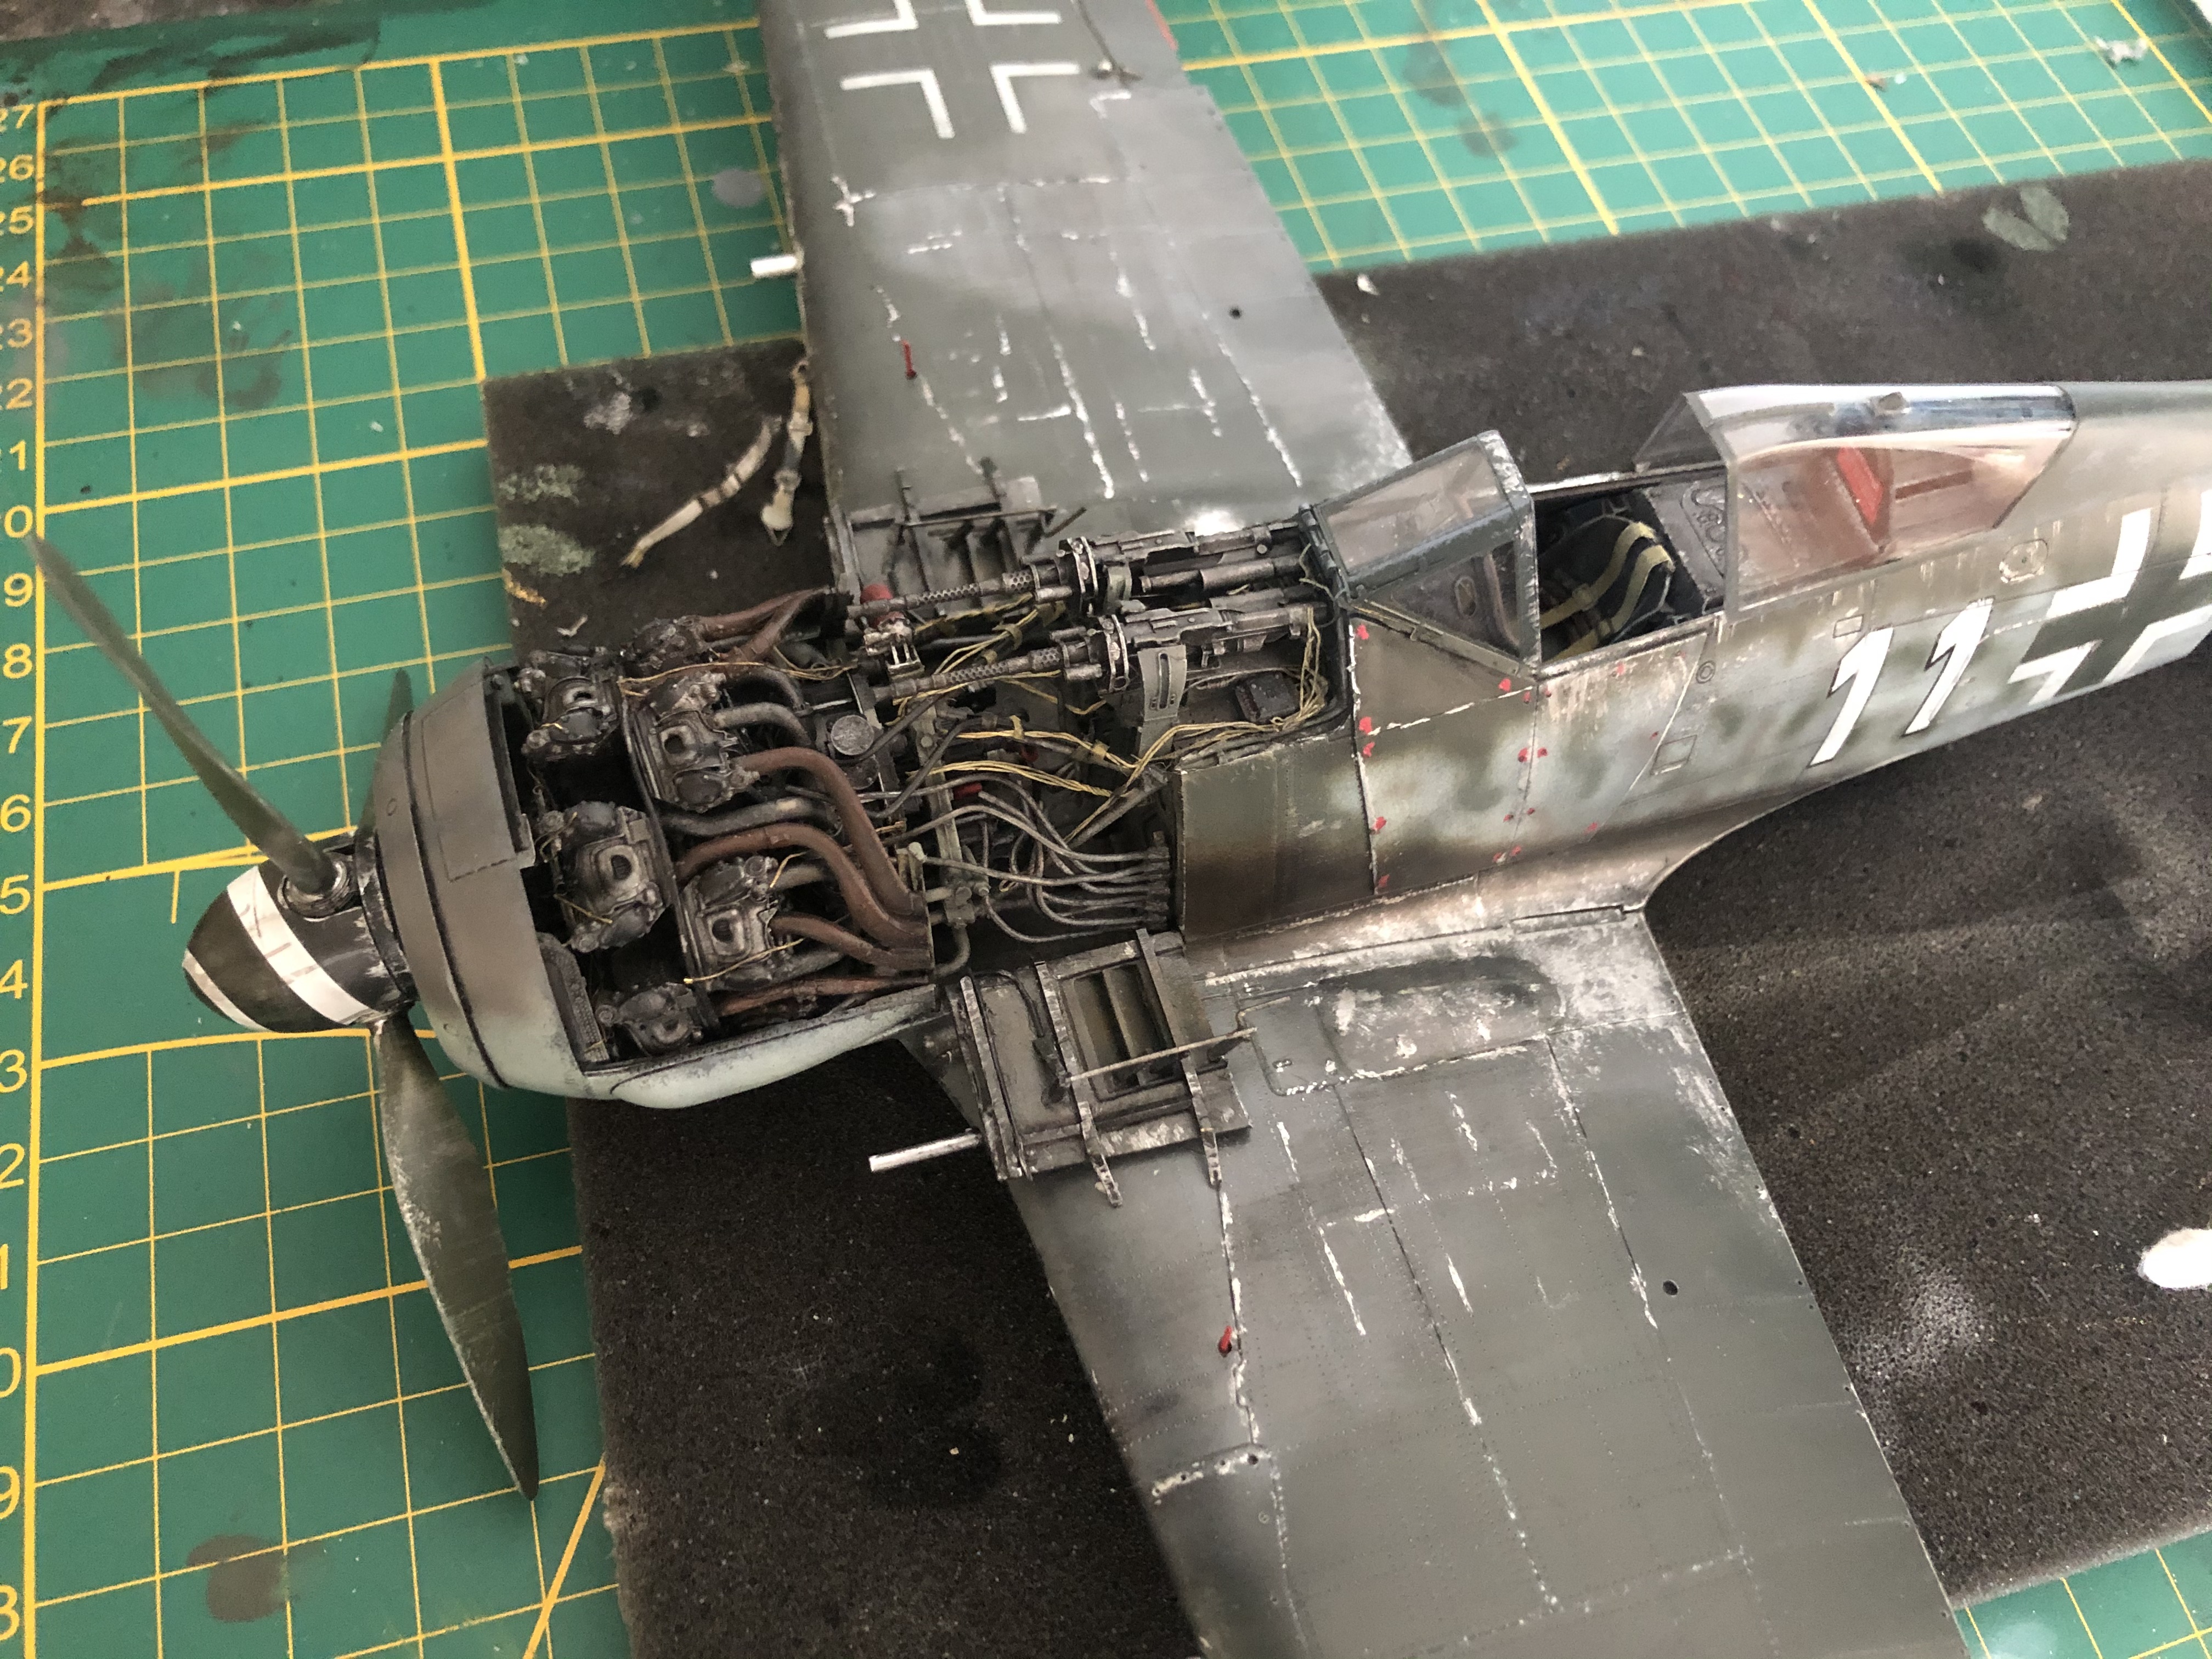
I love the engine and auxiliary section.
That’s simply amazing

I just did this with Vallejo chrome and a thin brush, afterwards a Black/grey wash over the varnish
")
-
3
-
1
-
-
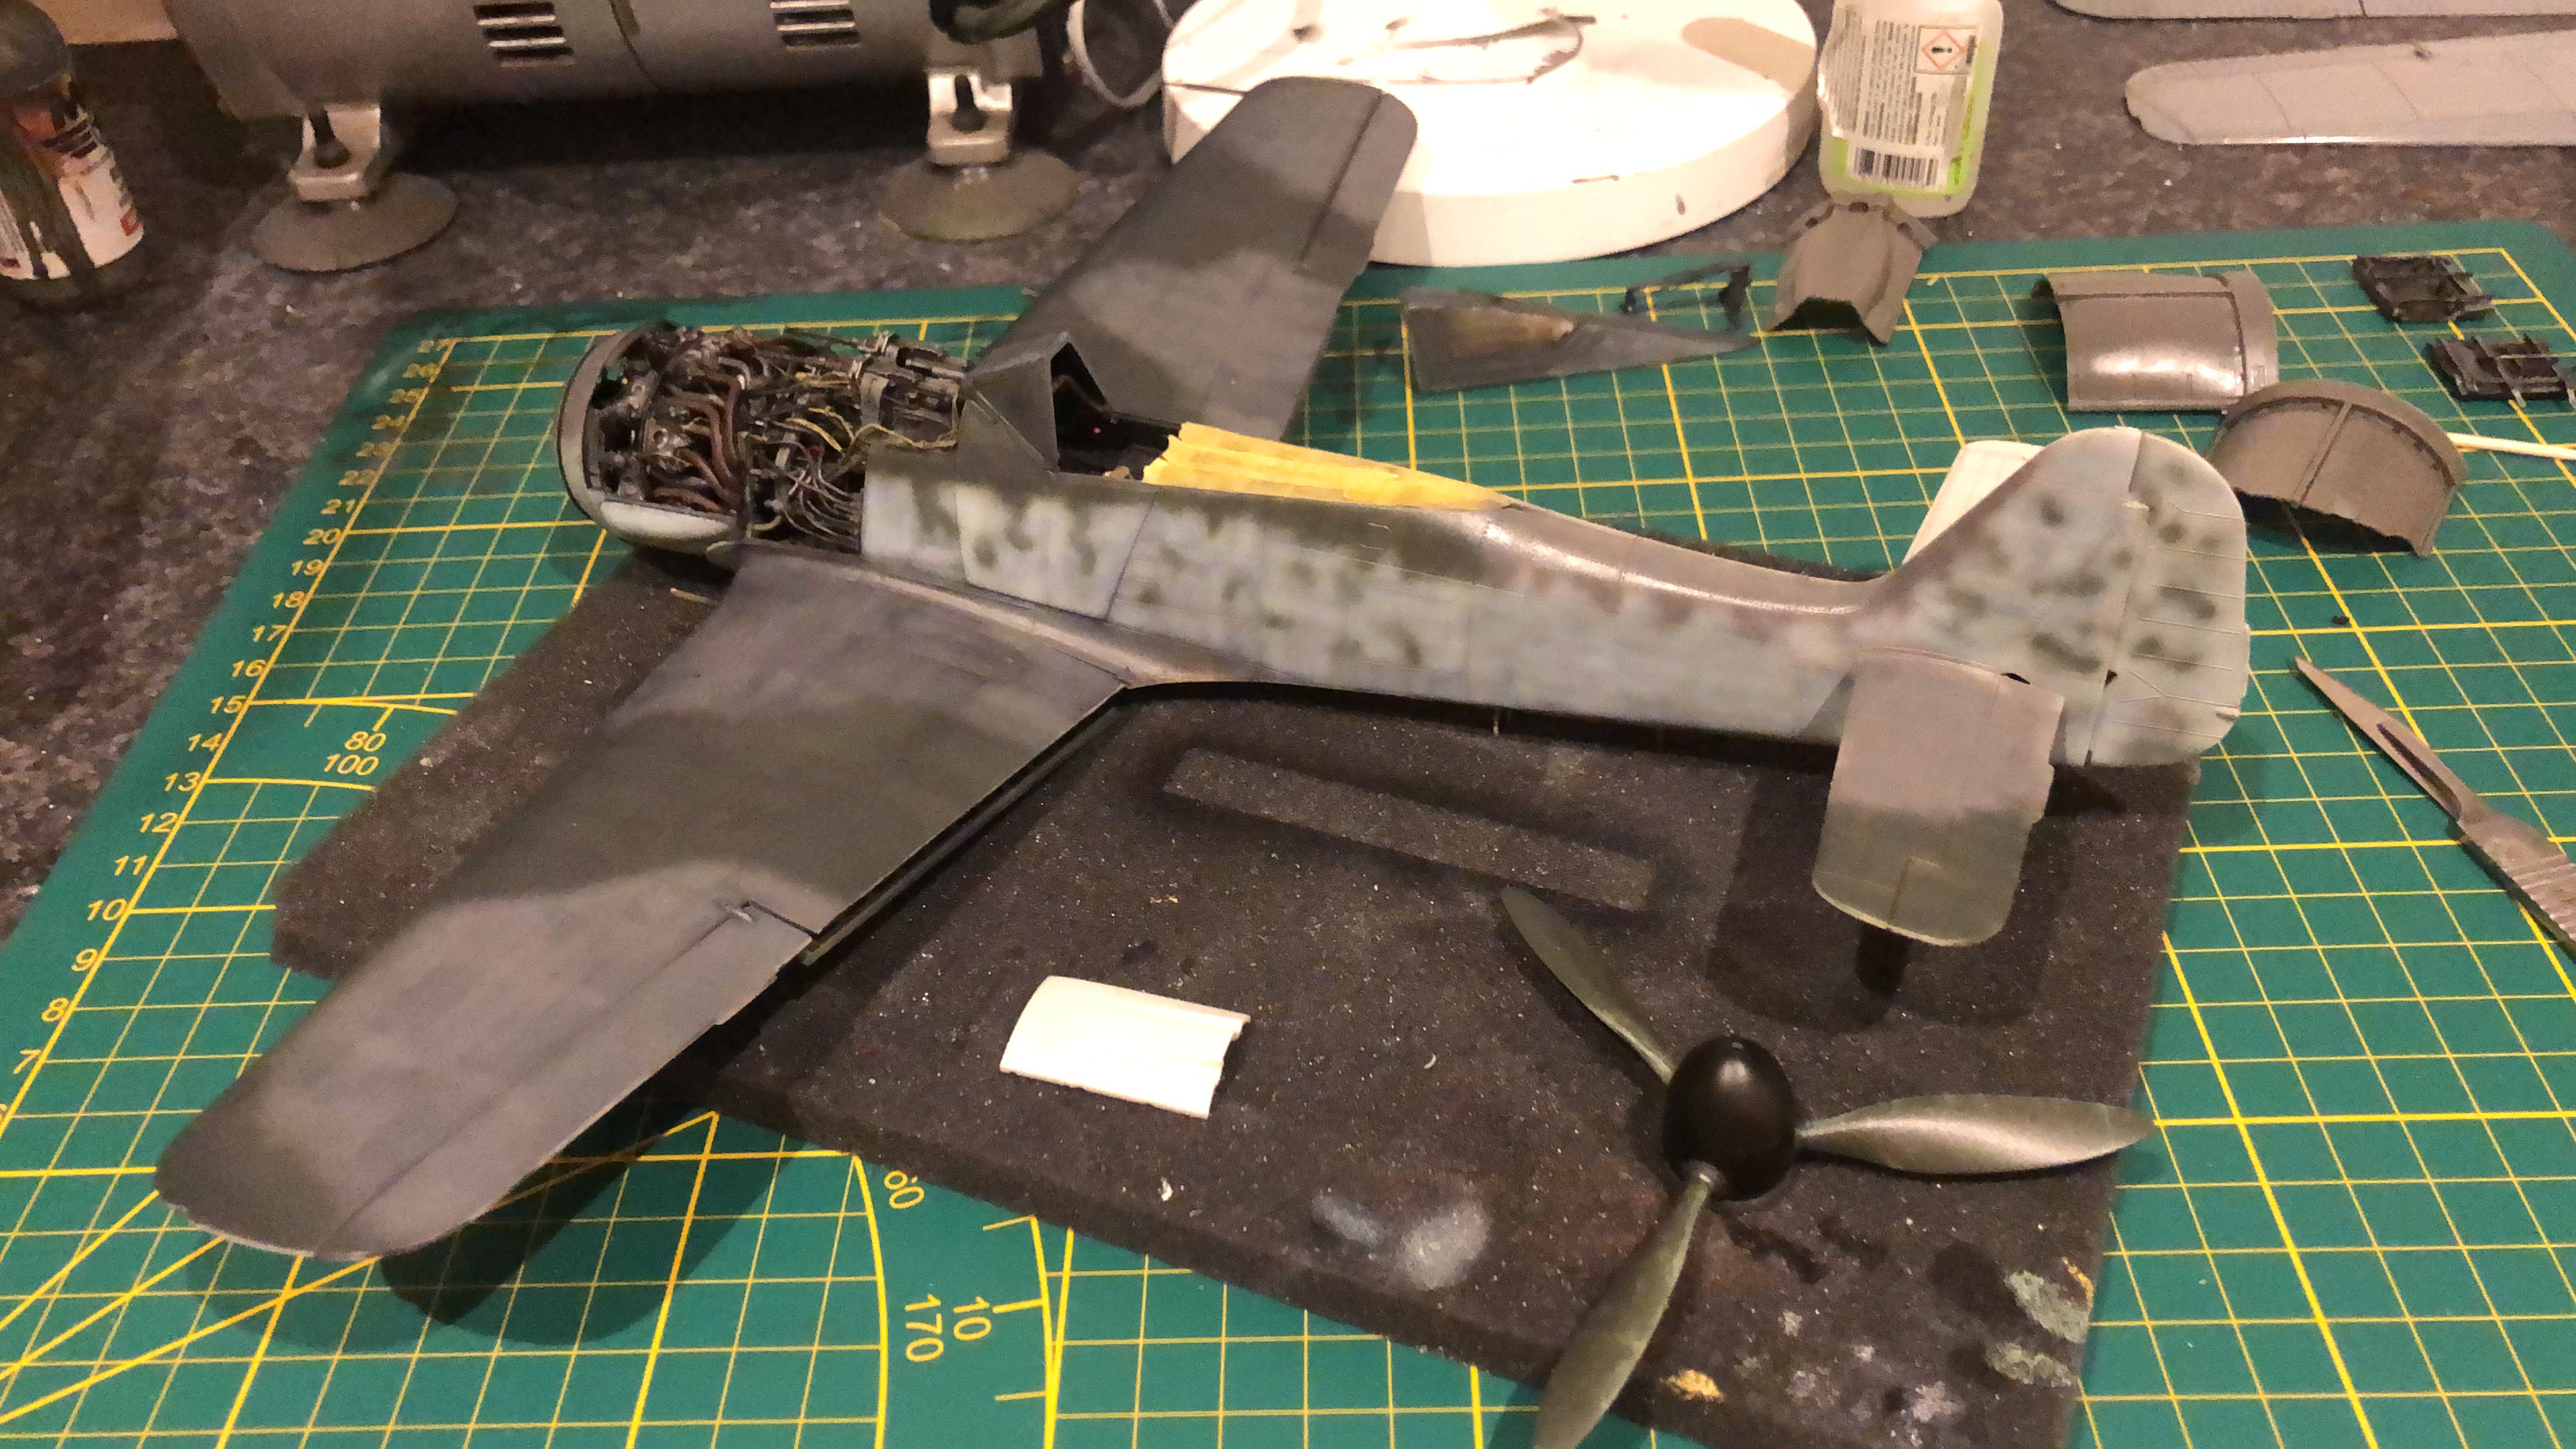
Some wheatering!
I never have a planning while building actually, still need to spray the underside
-
9
-
-
Some paintwork done!!

-
10
-
-
Thanks guys!!!
-
2
-
-
Now off to bed!
-
8
-
-
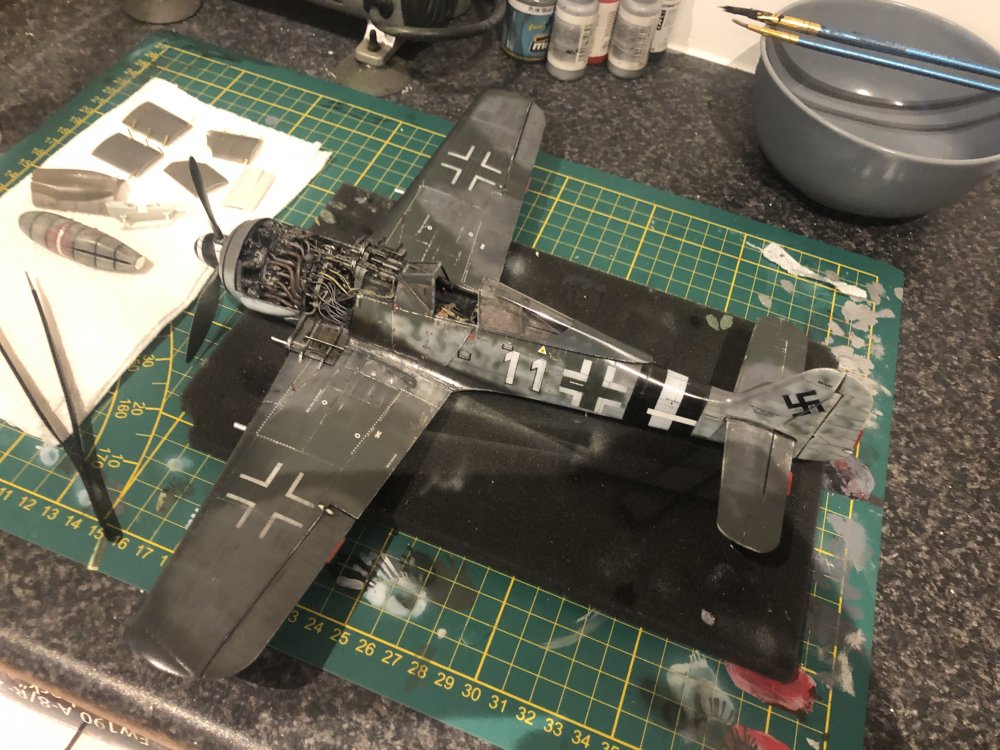
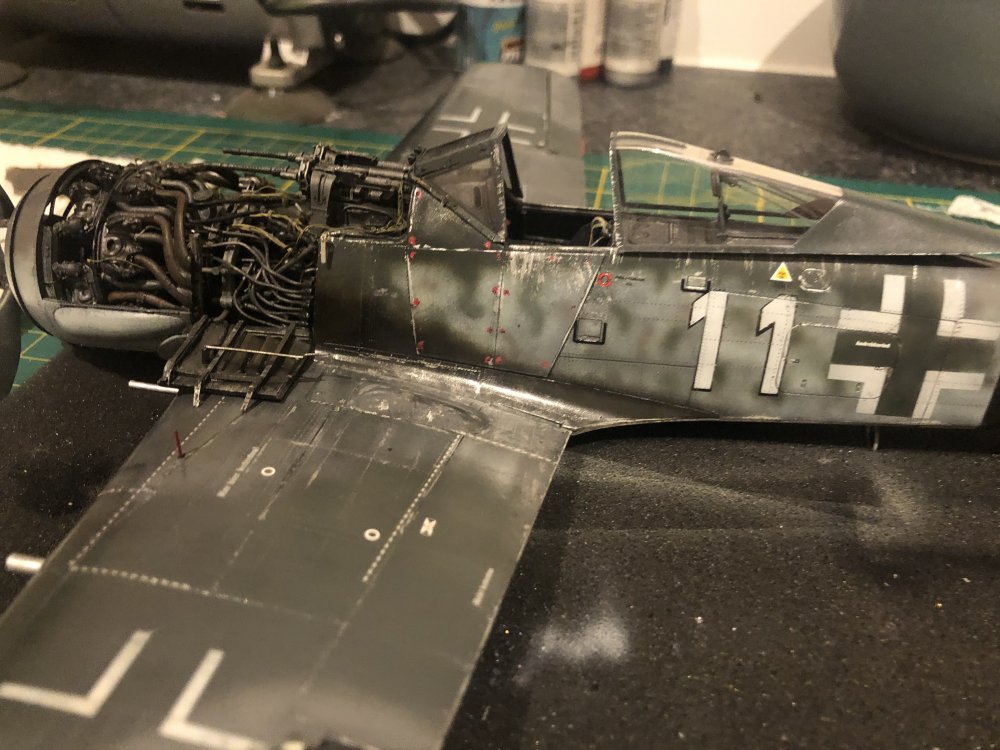
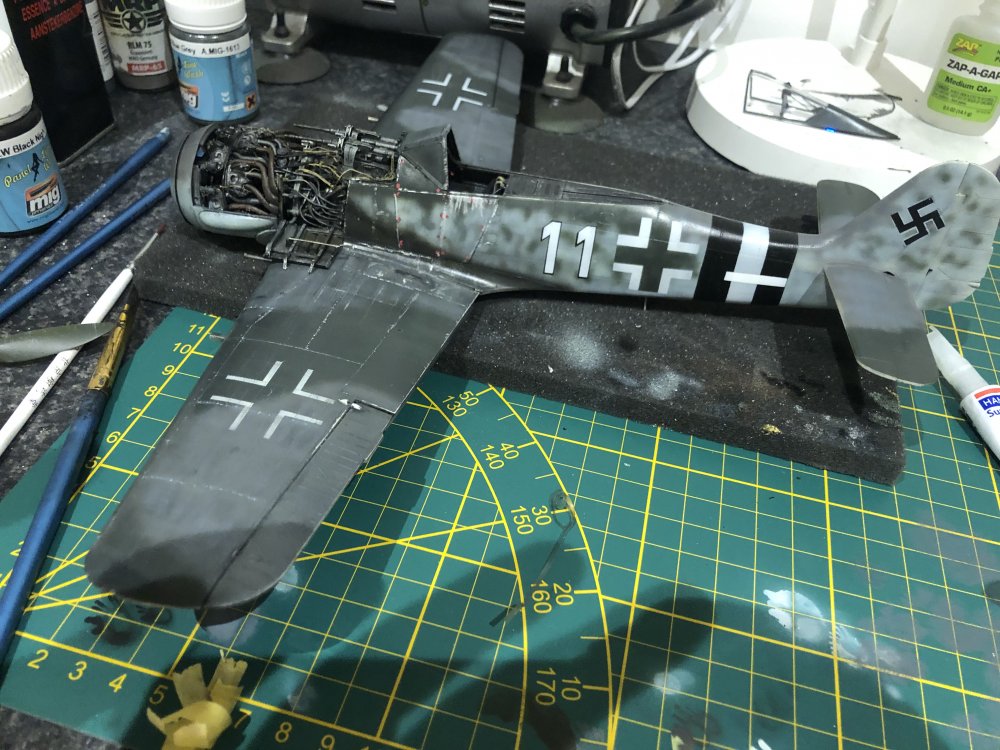
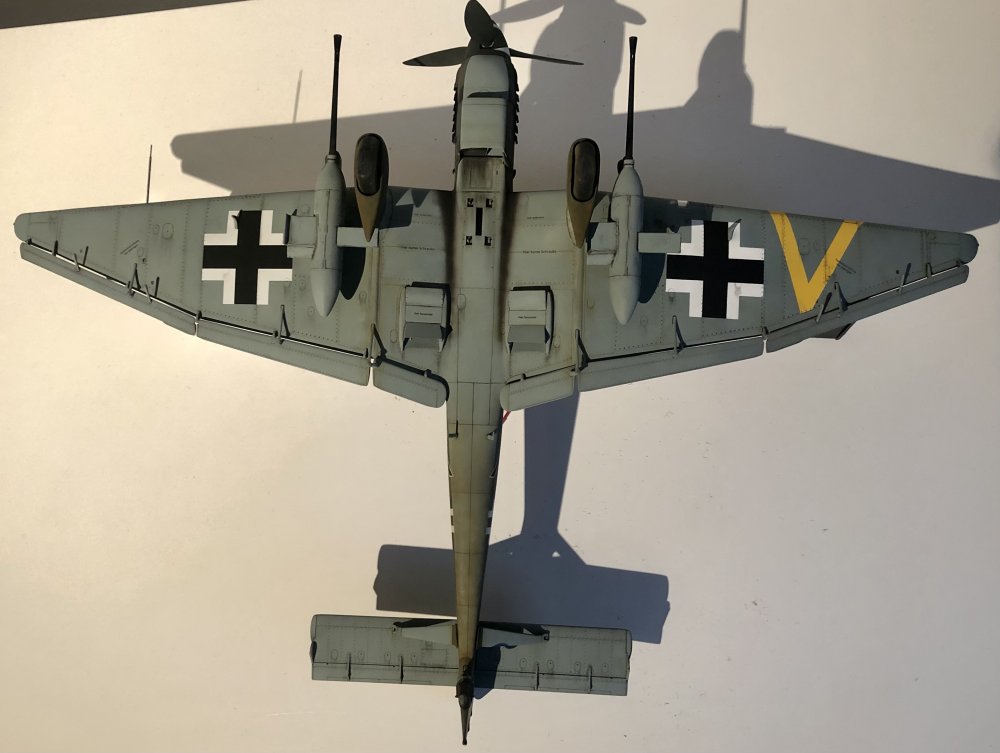
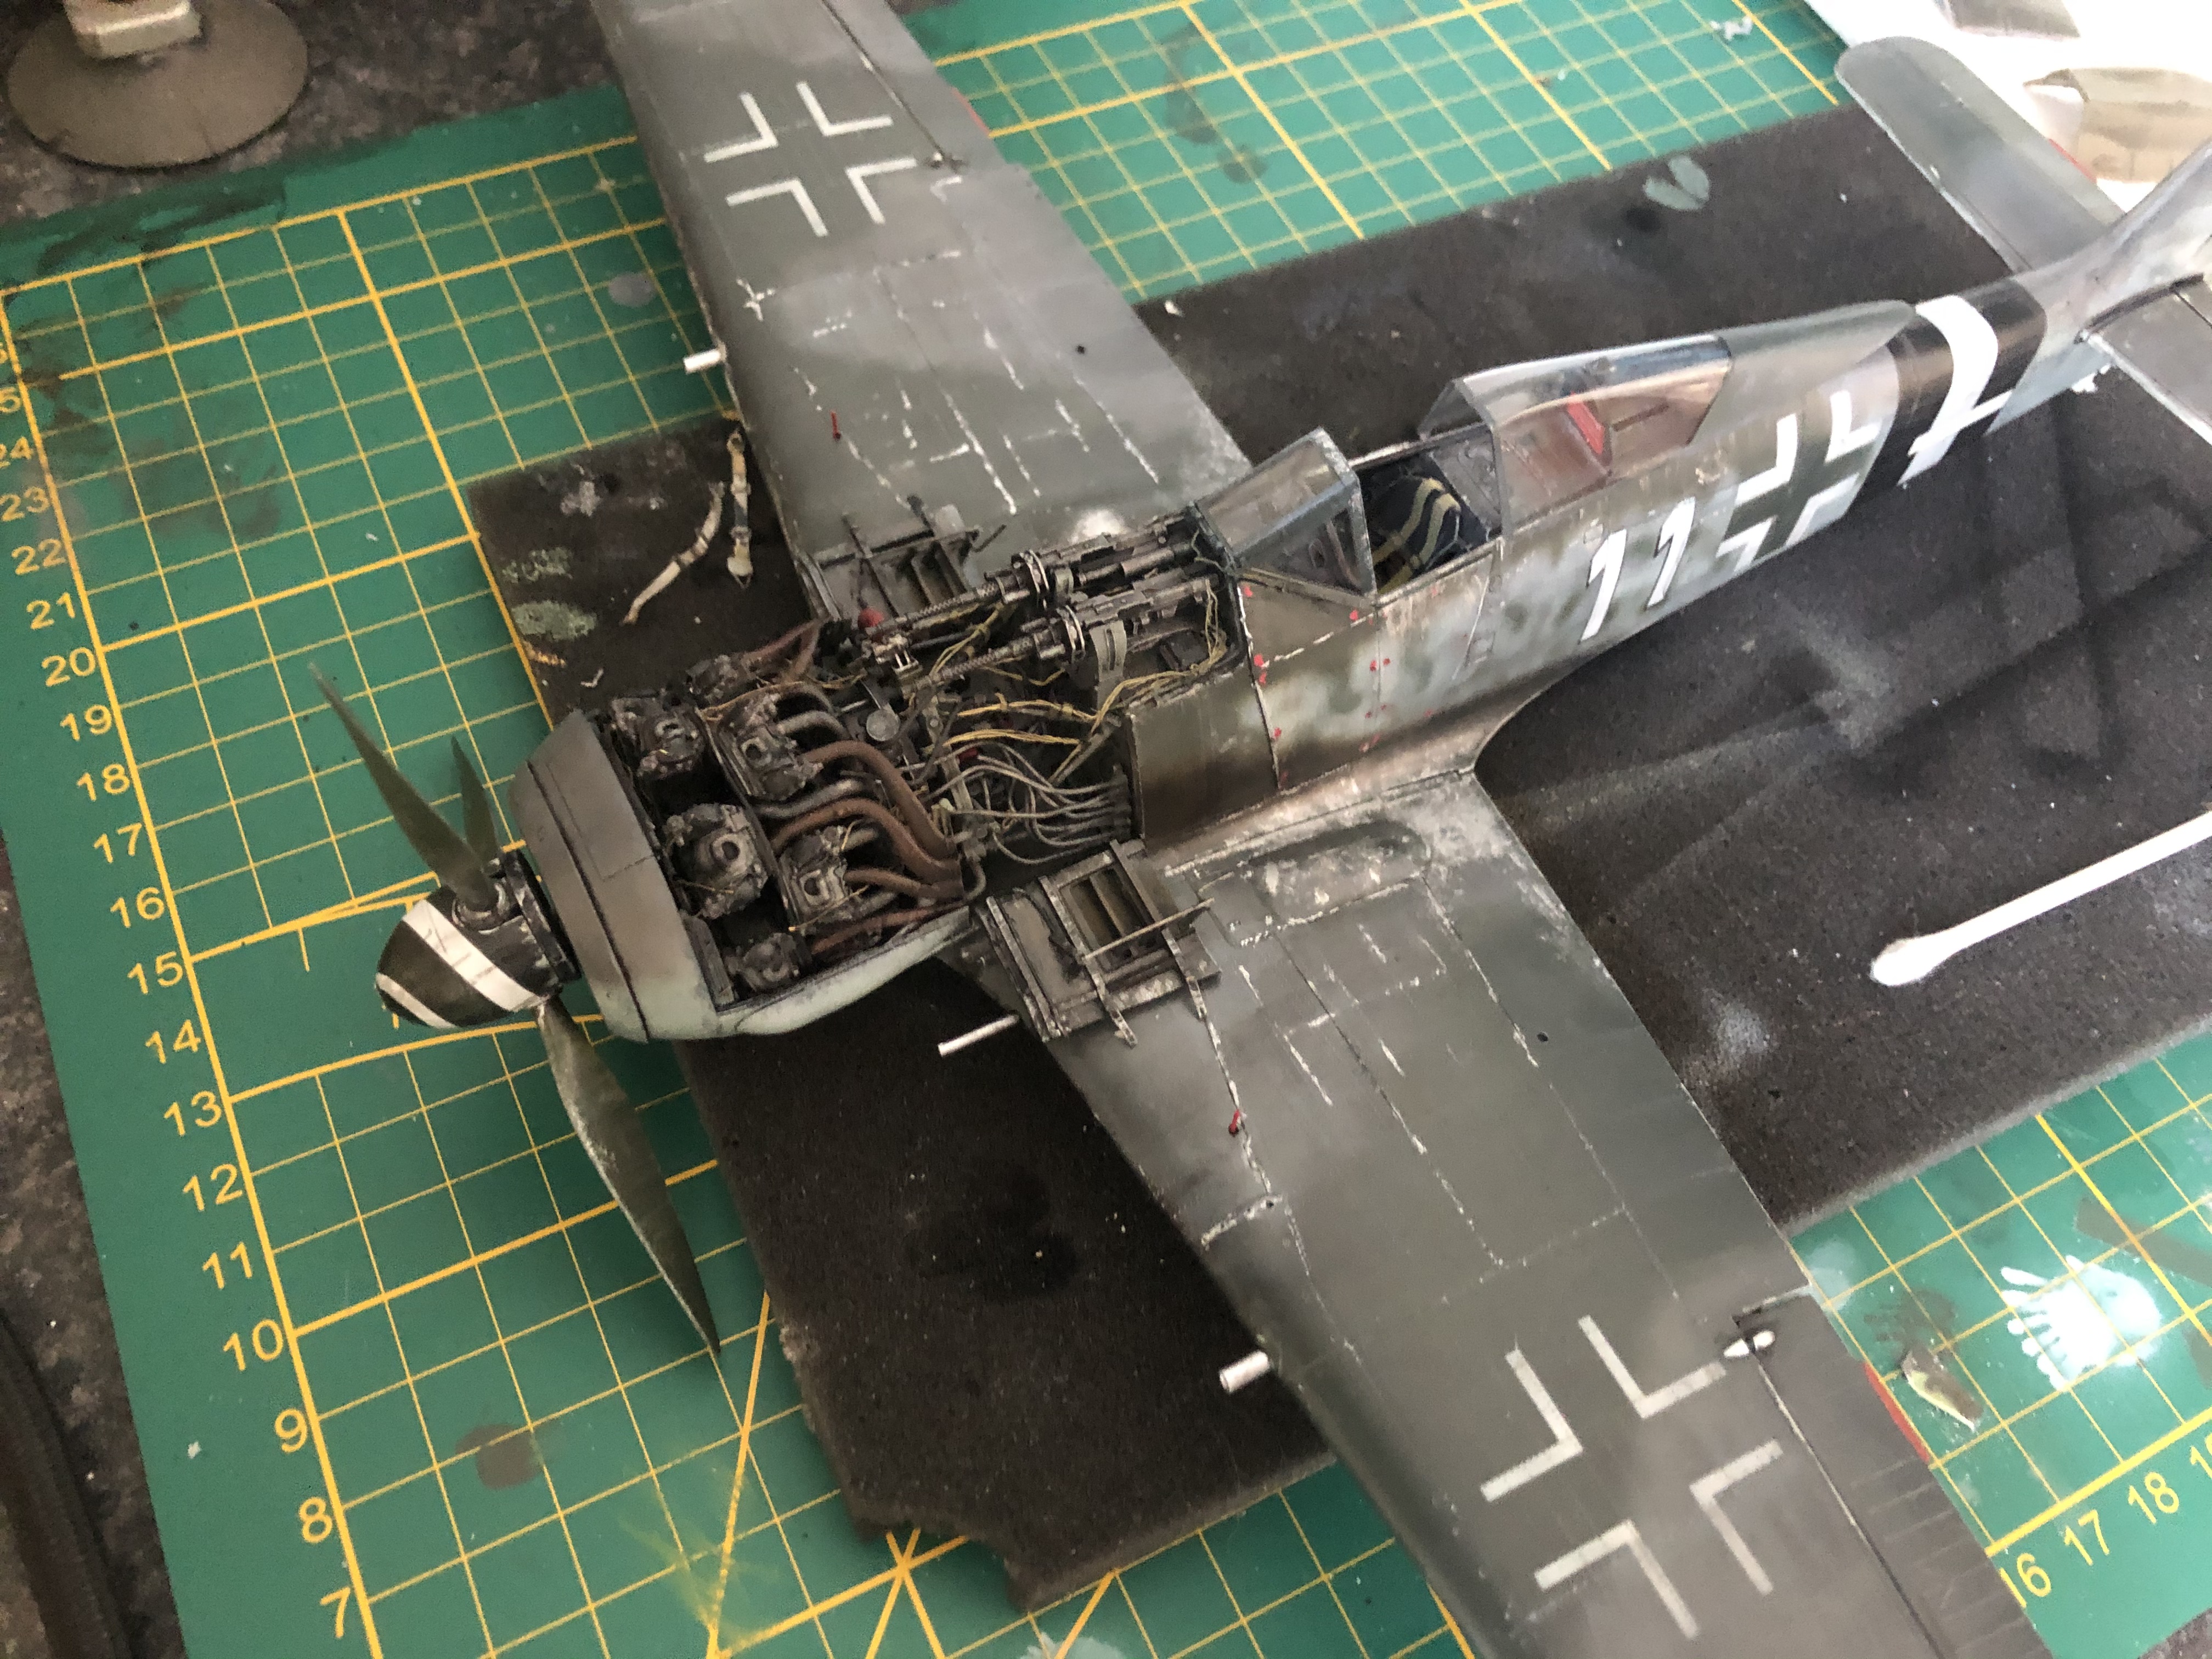
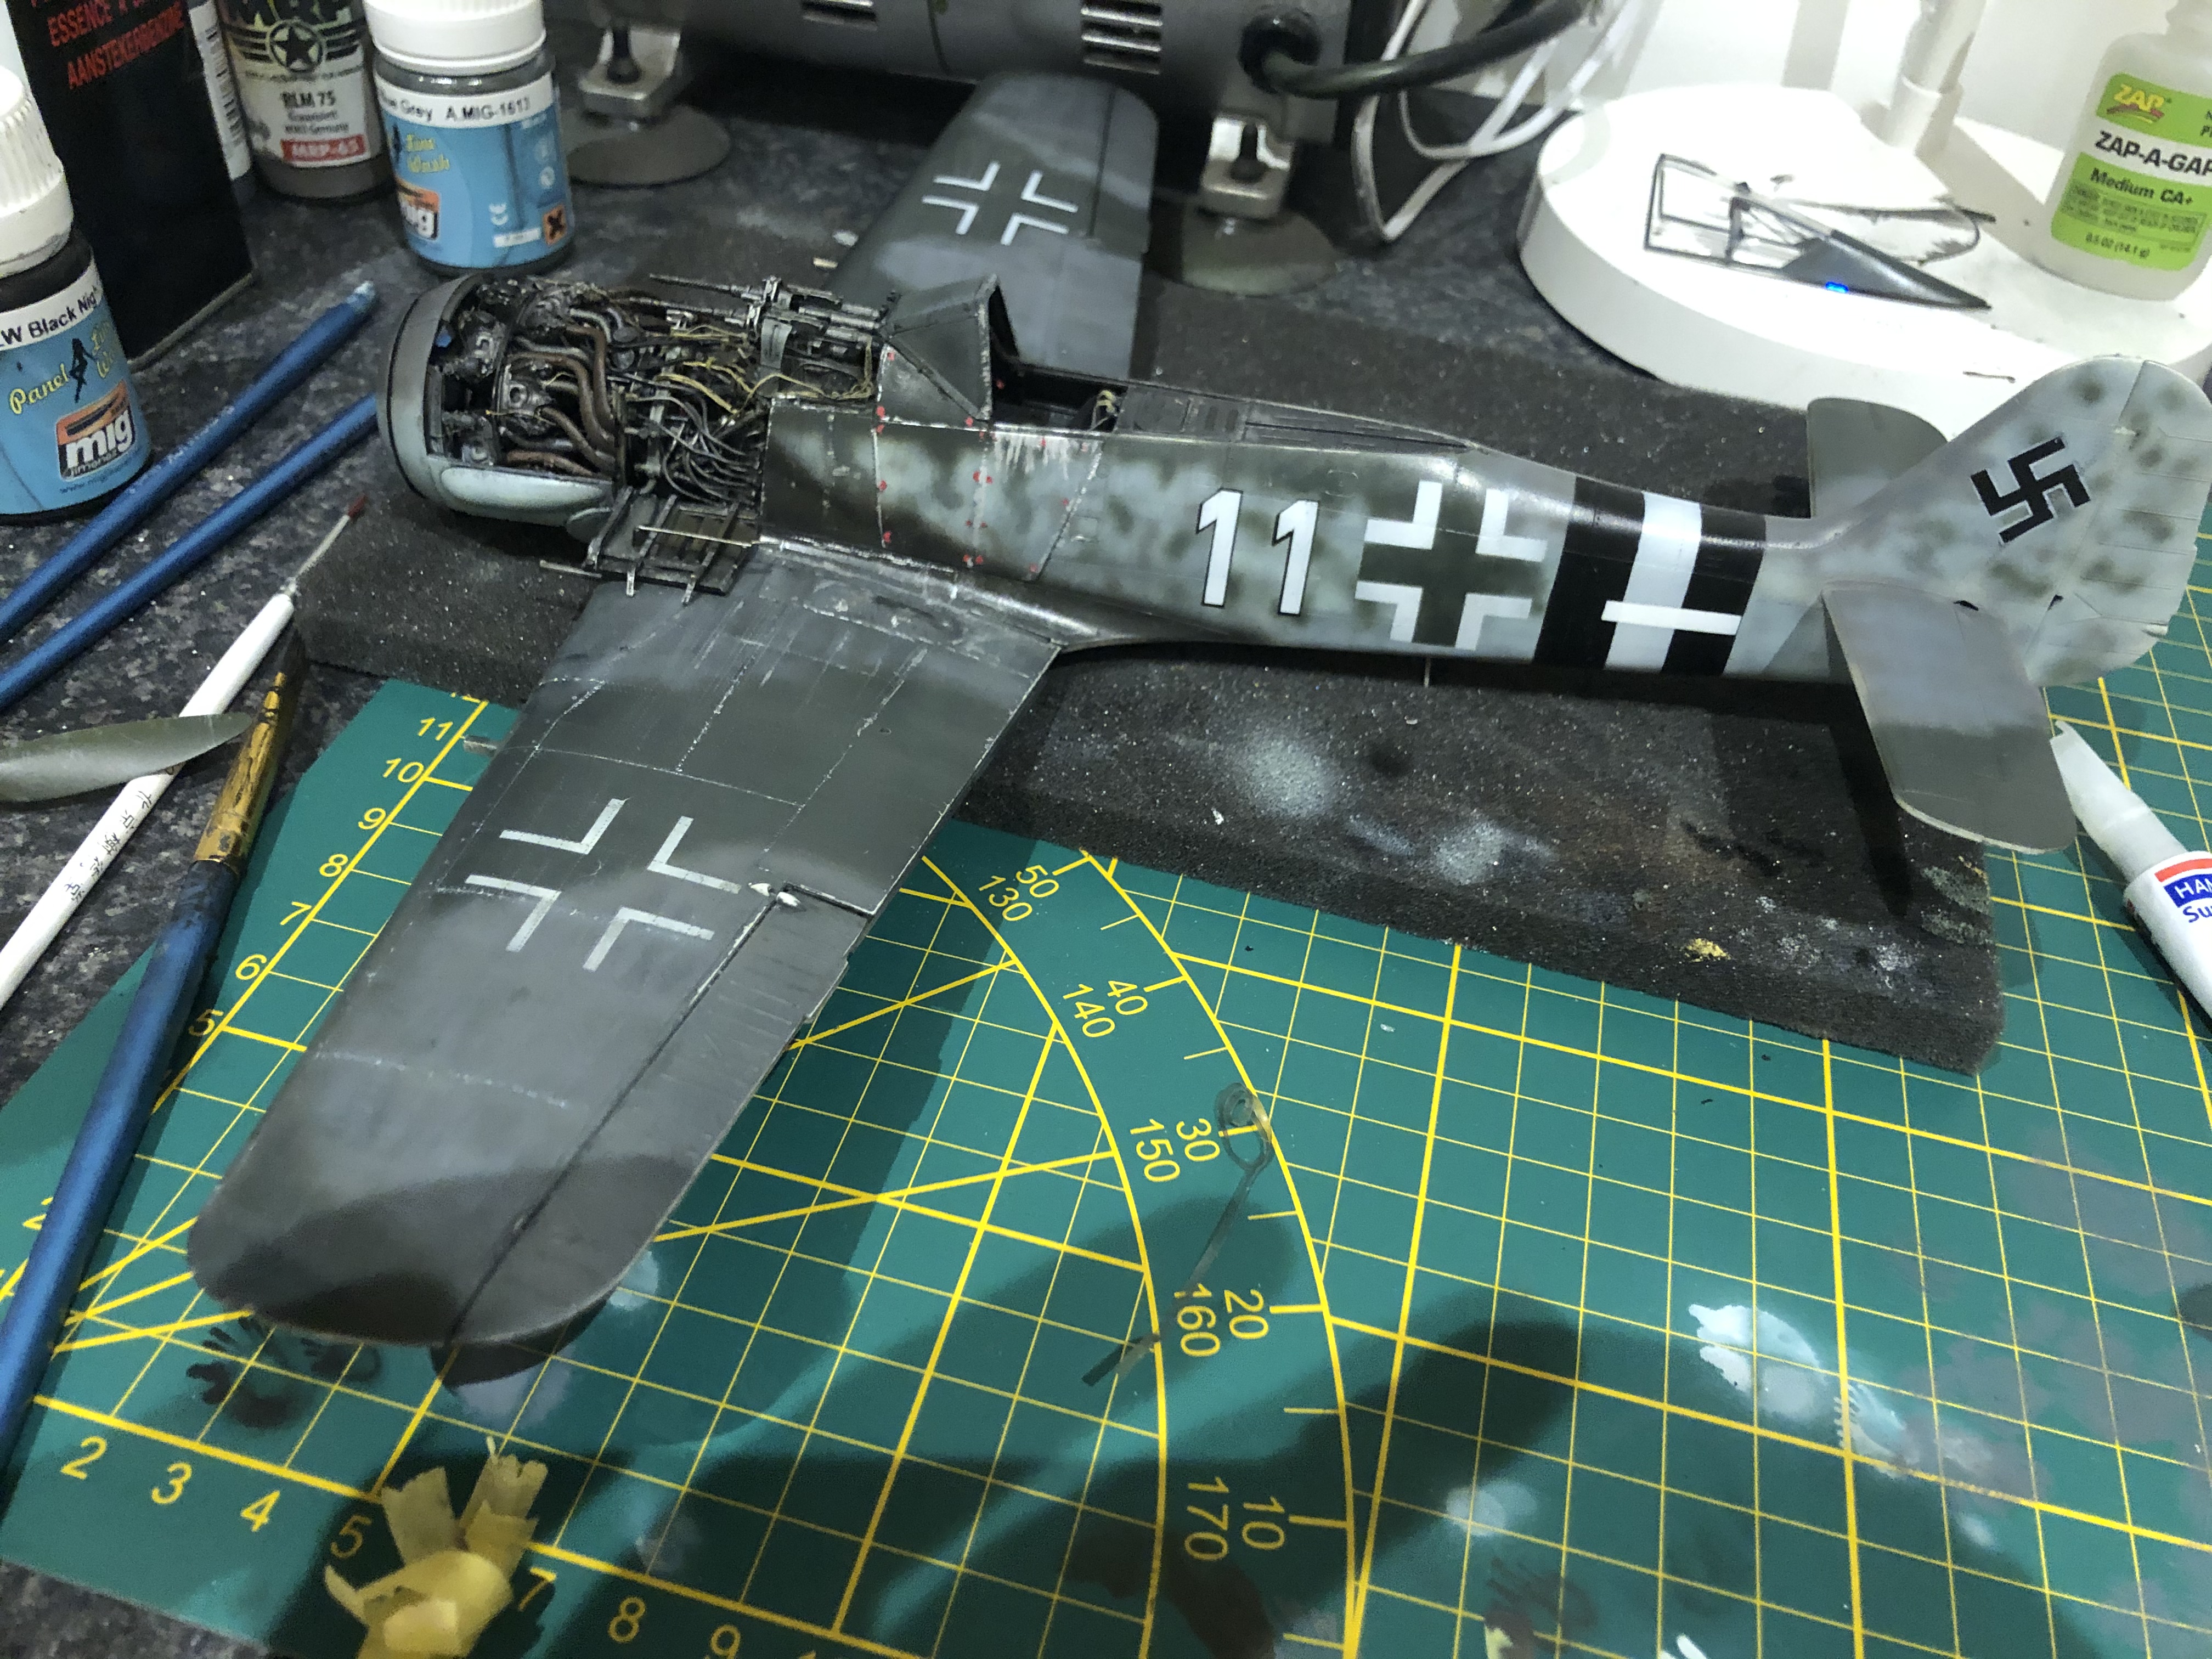
Did some paint test on this one today.
I used Mr.Paint RLM 74 with a shade of RLM 70 on the panel lines.
For the RLM 75 I used al little drop of black to highlight the panel lines.
I also used black primer and choose not to marble this one because this particular aircraft had a really worn camo on it.
Please note that the varnish and washes needs to be done
Let the pics speak for them selfs, any comments and tips are welcome!


-
12
-
-
On 12/20/2020 at 4:11 PM, Kaireckstadt said:
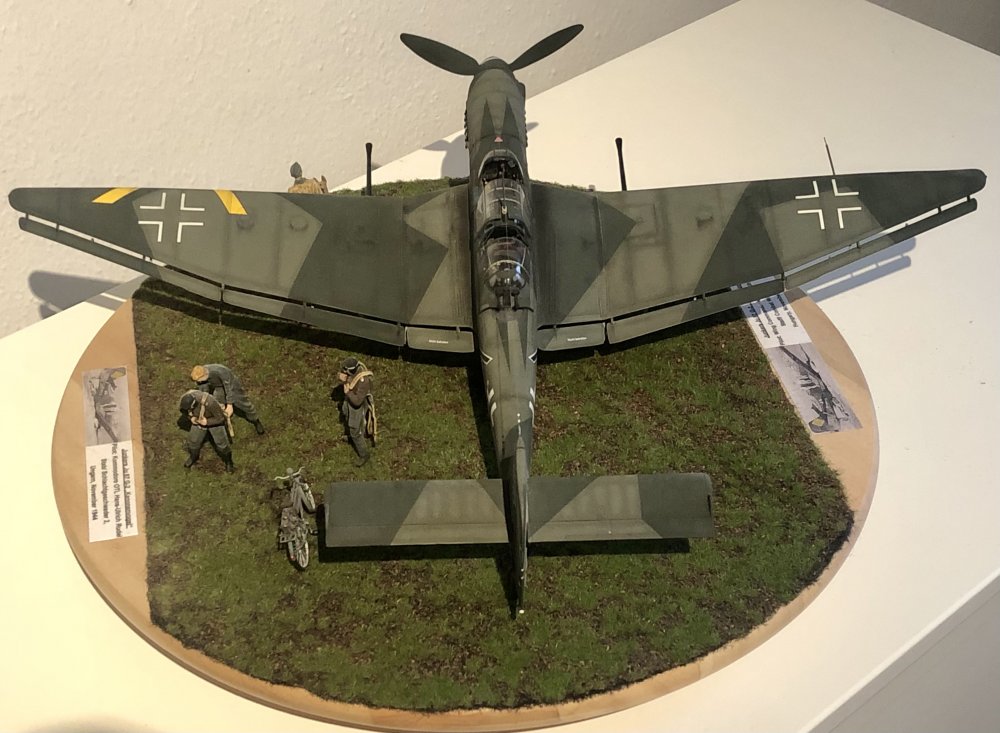
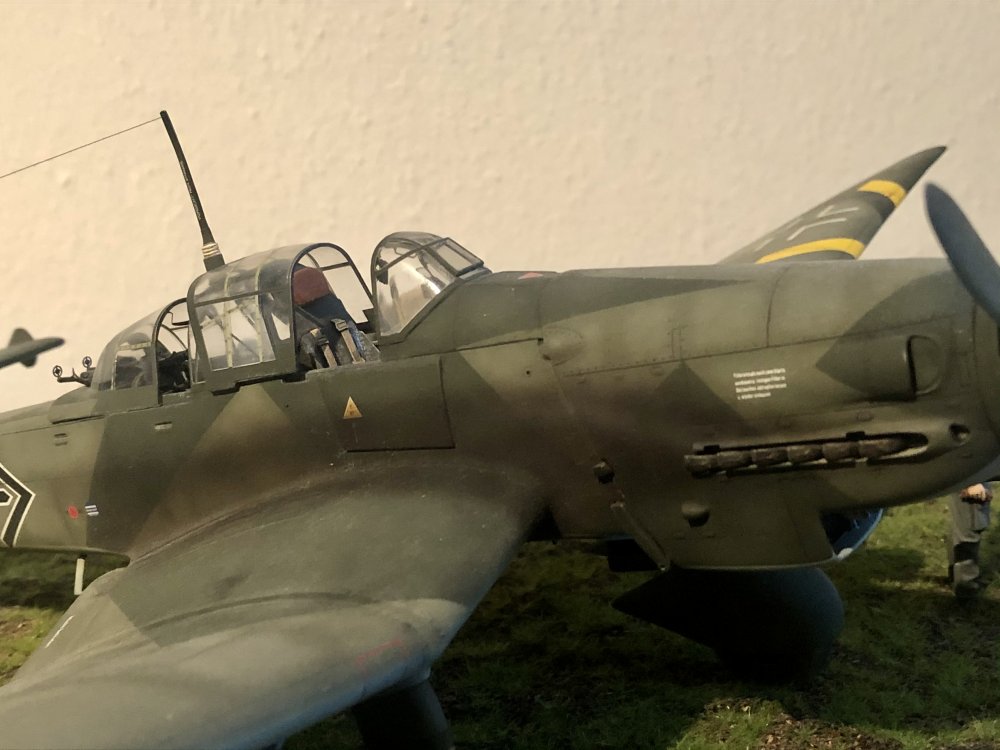
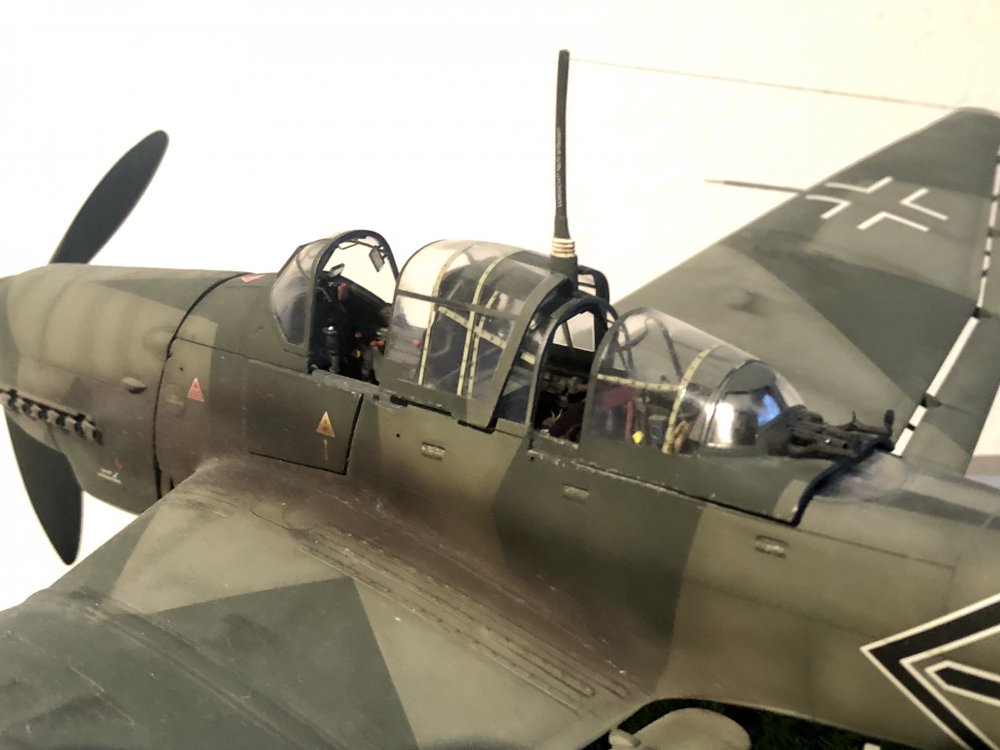
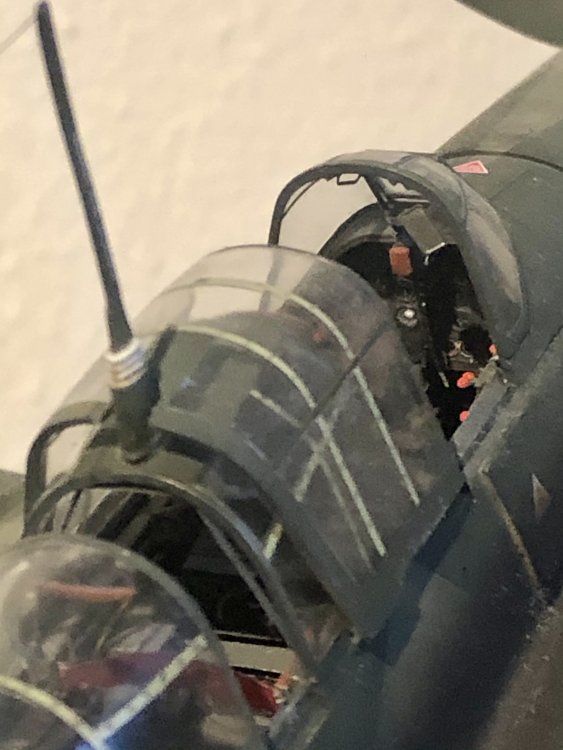
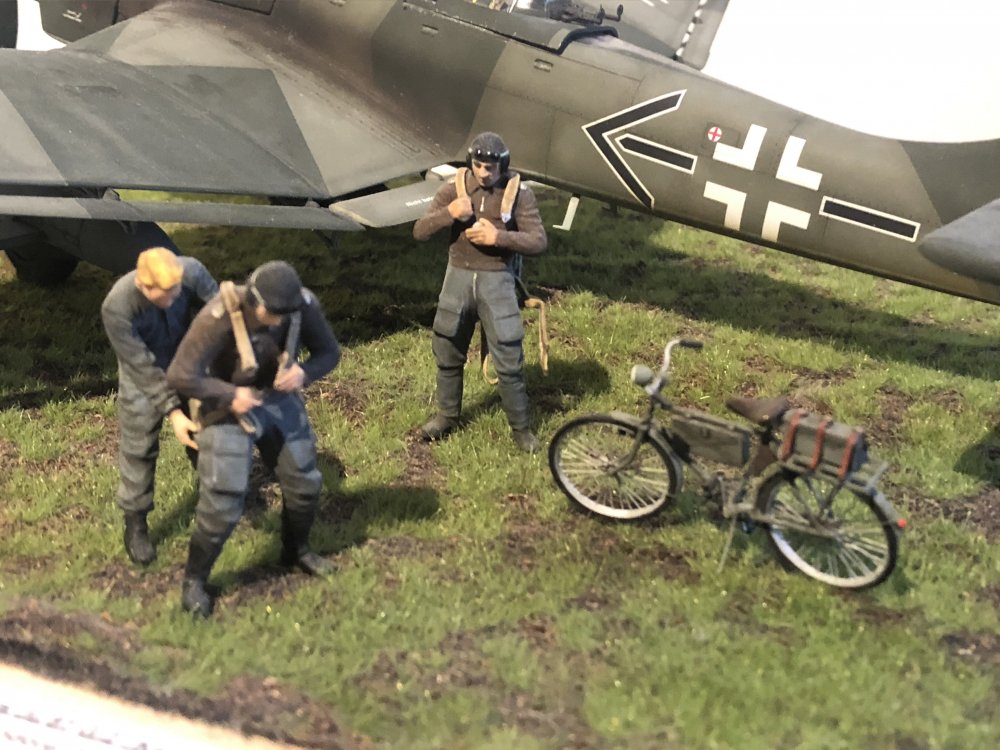
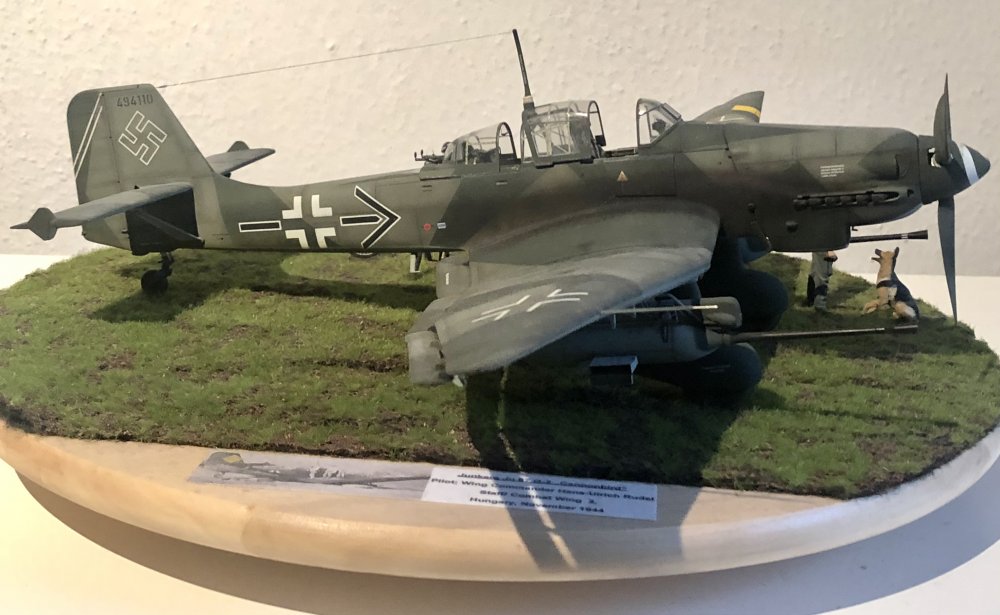
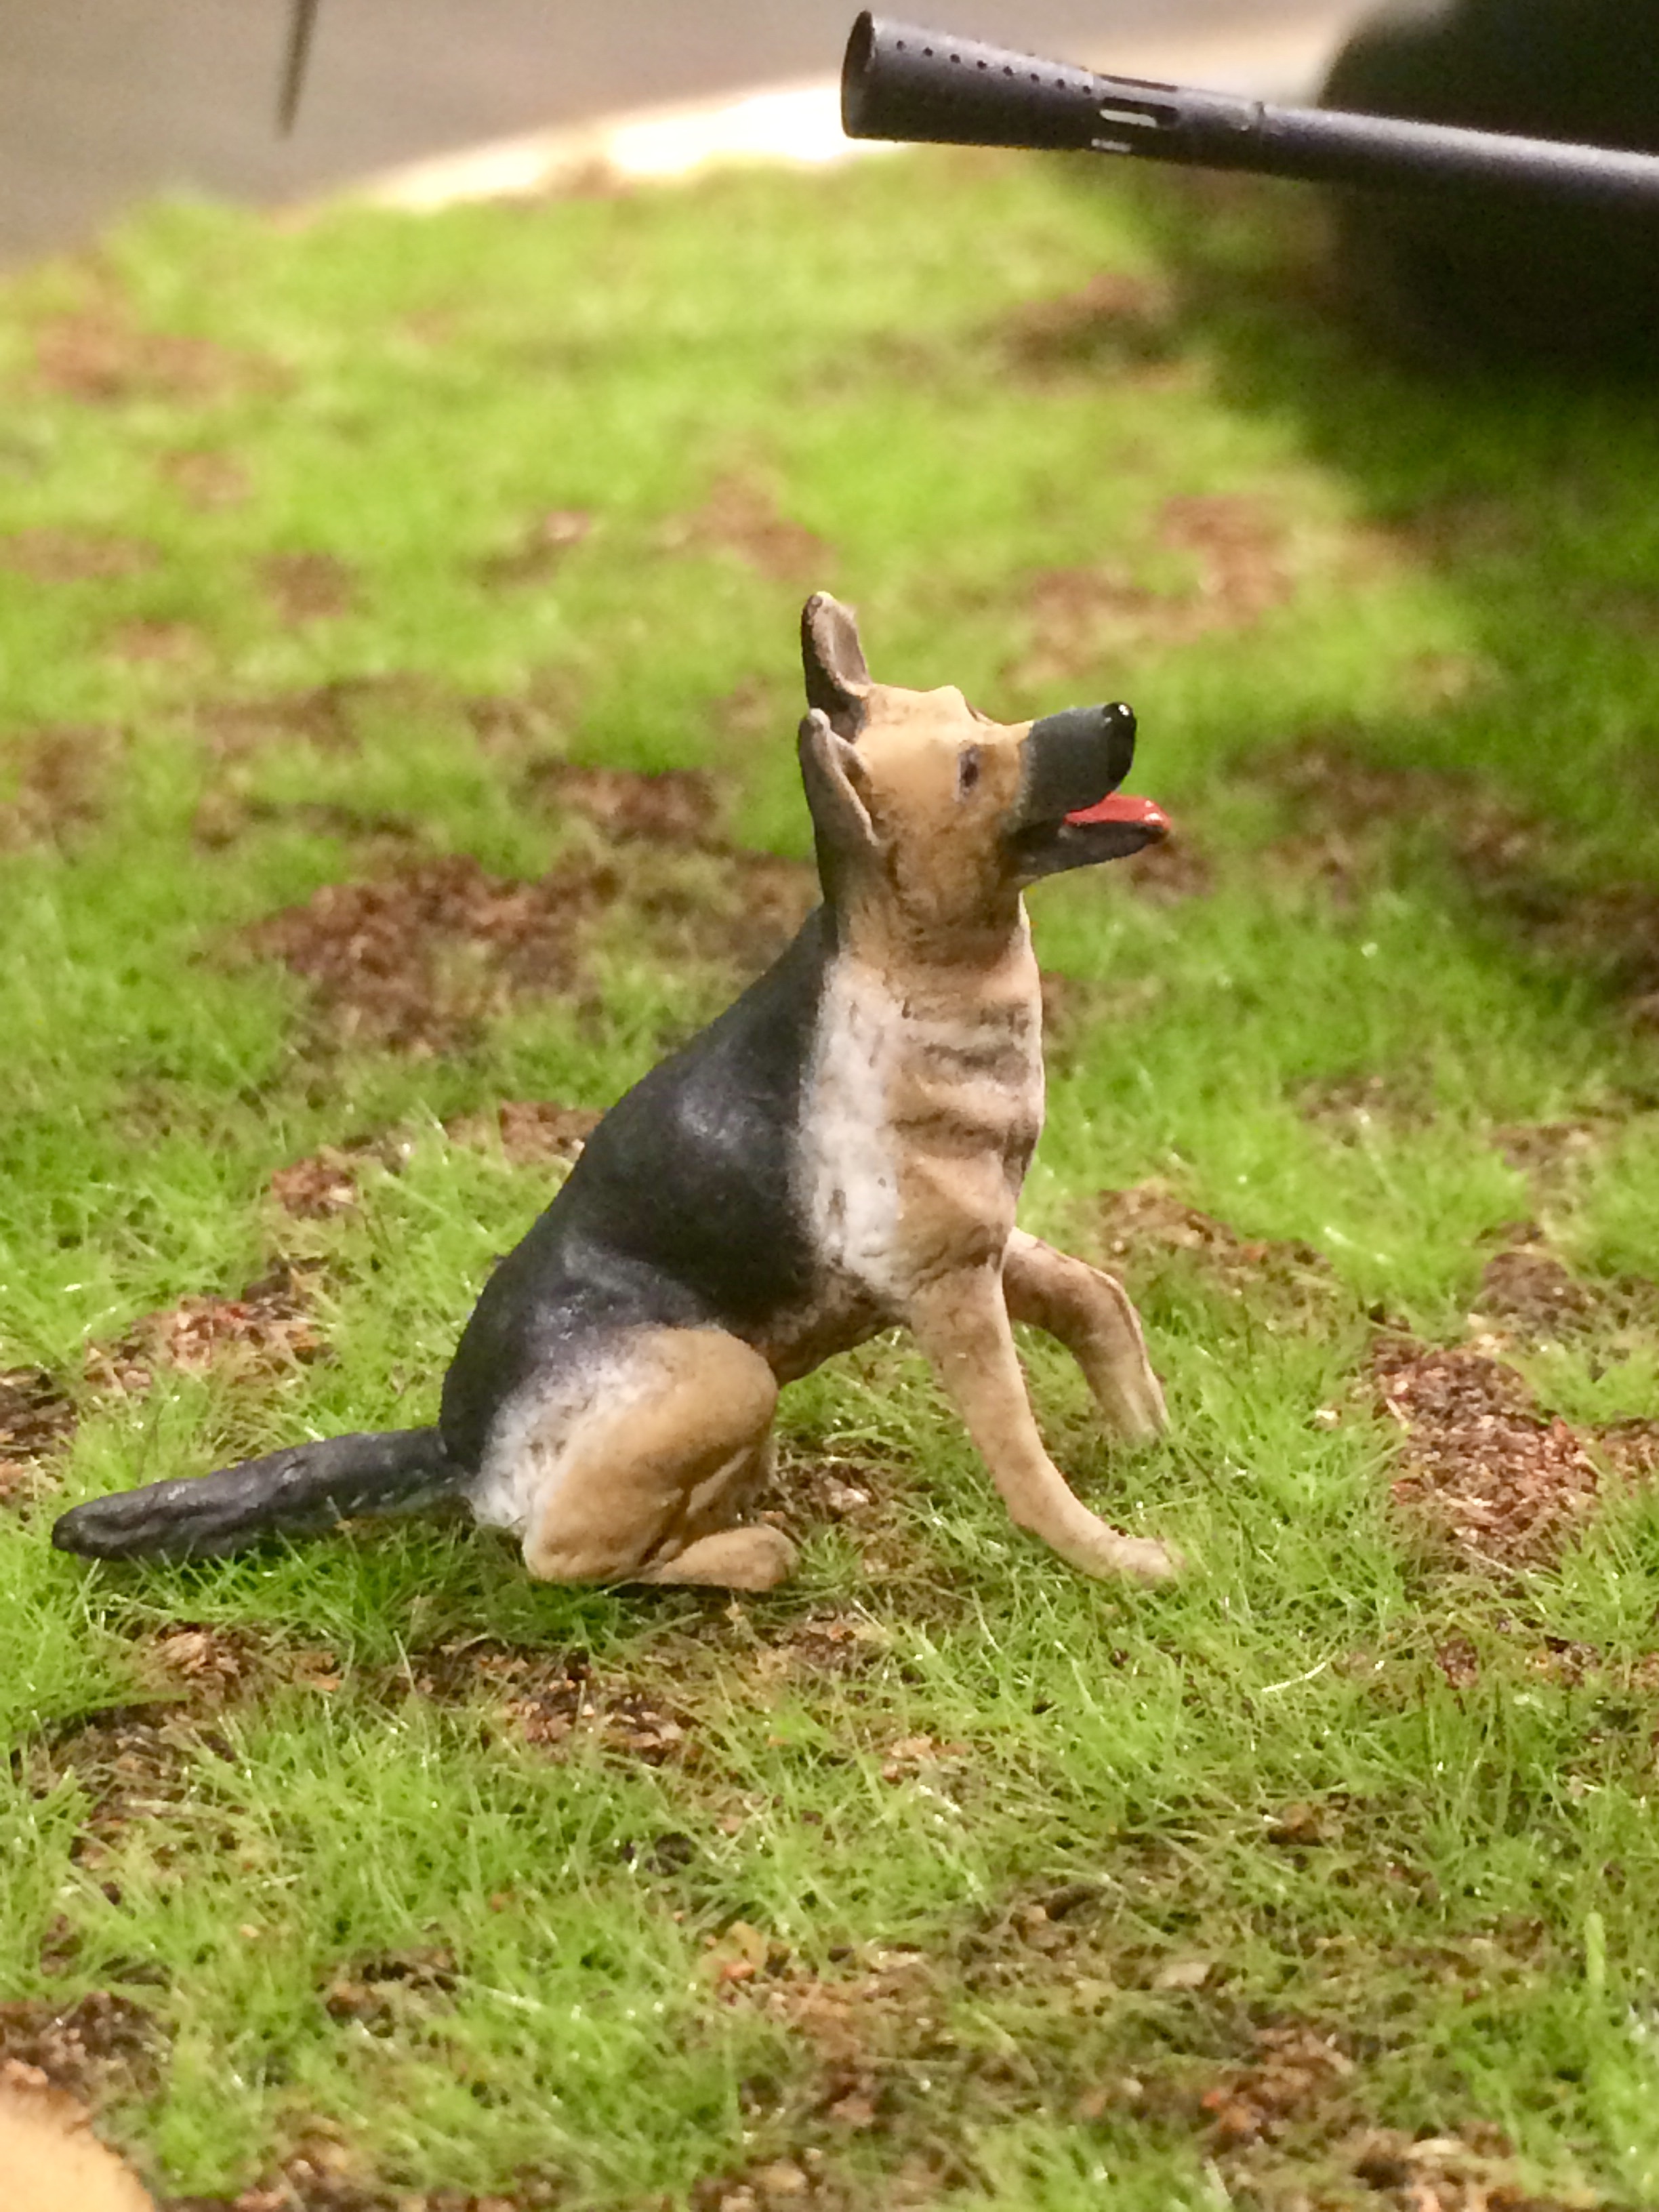
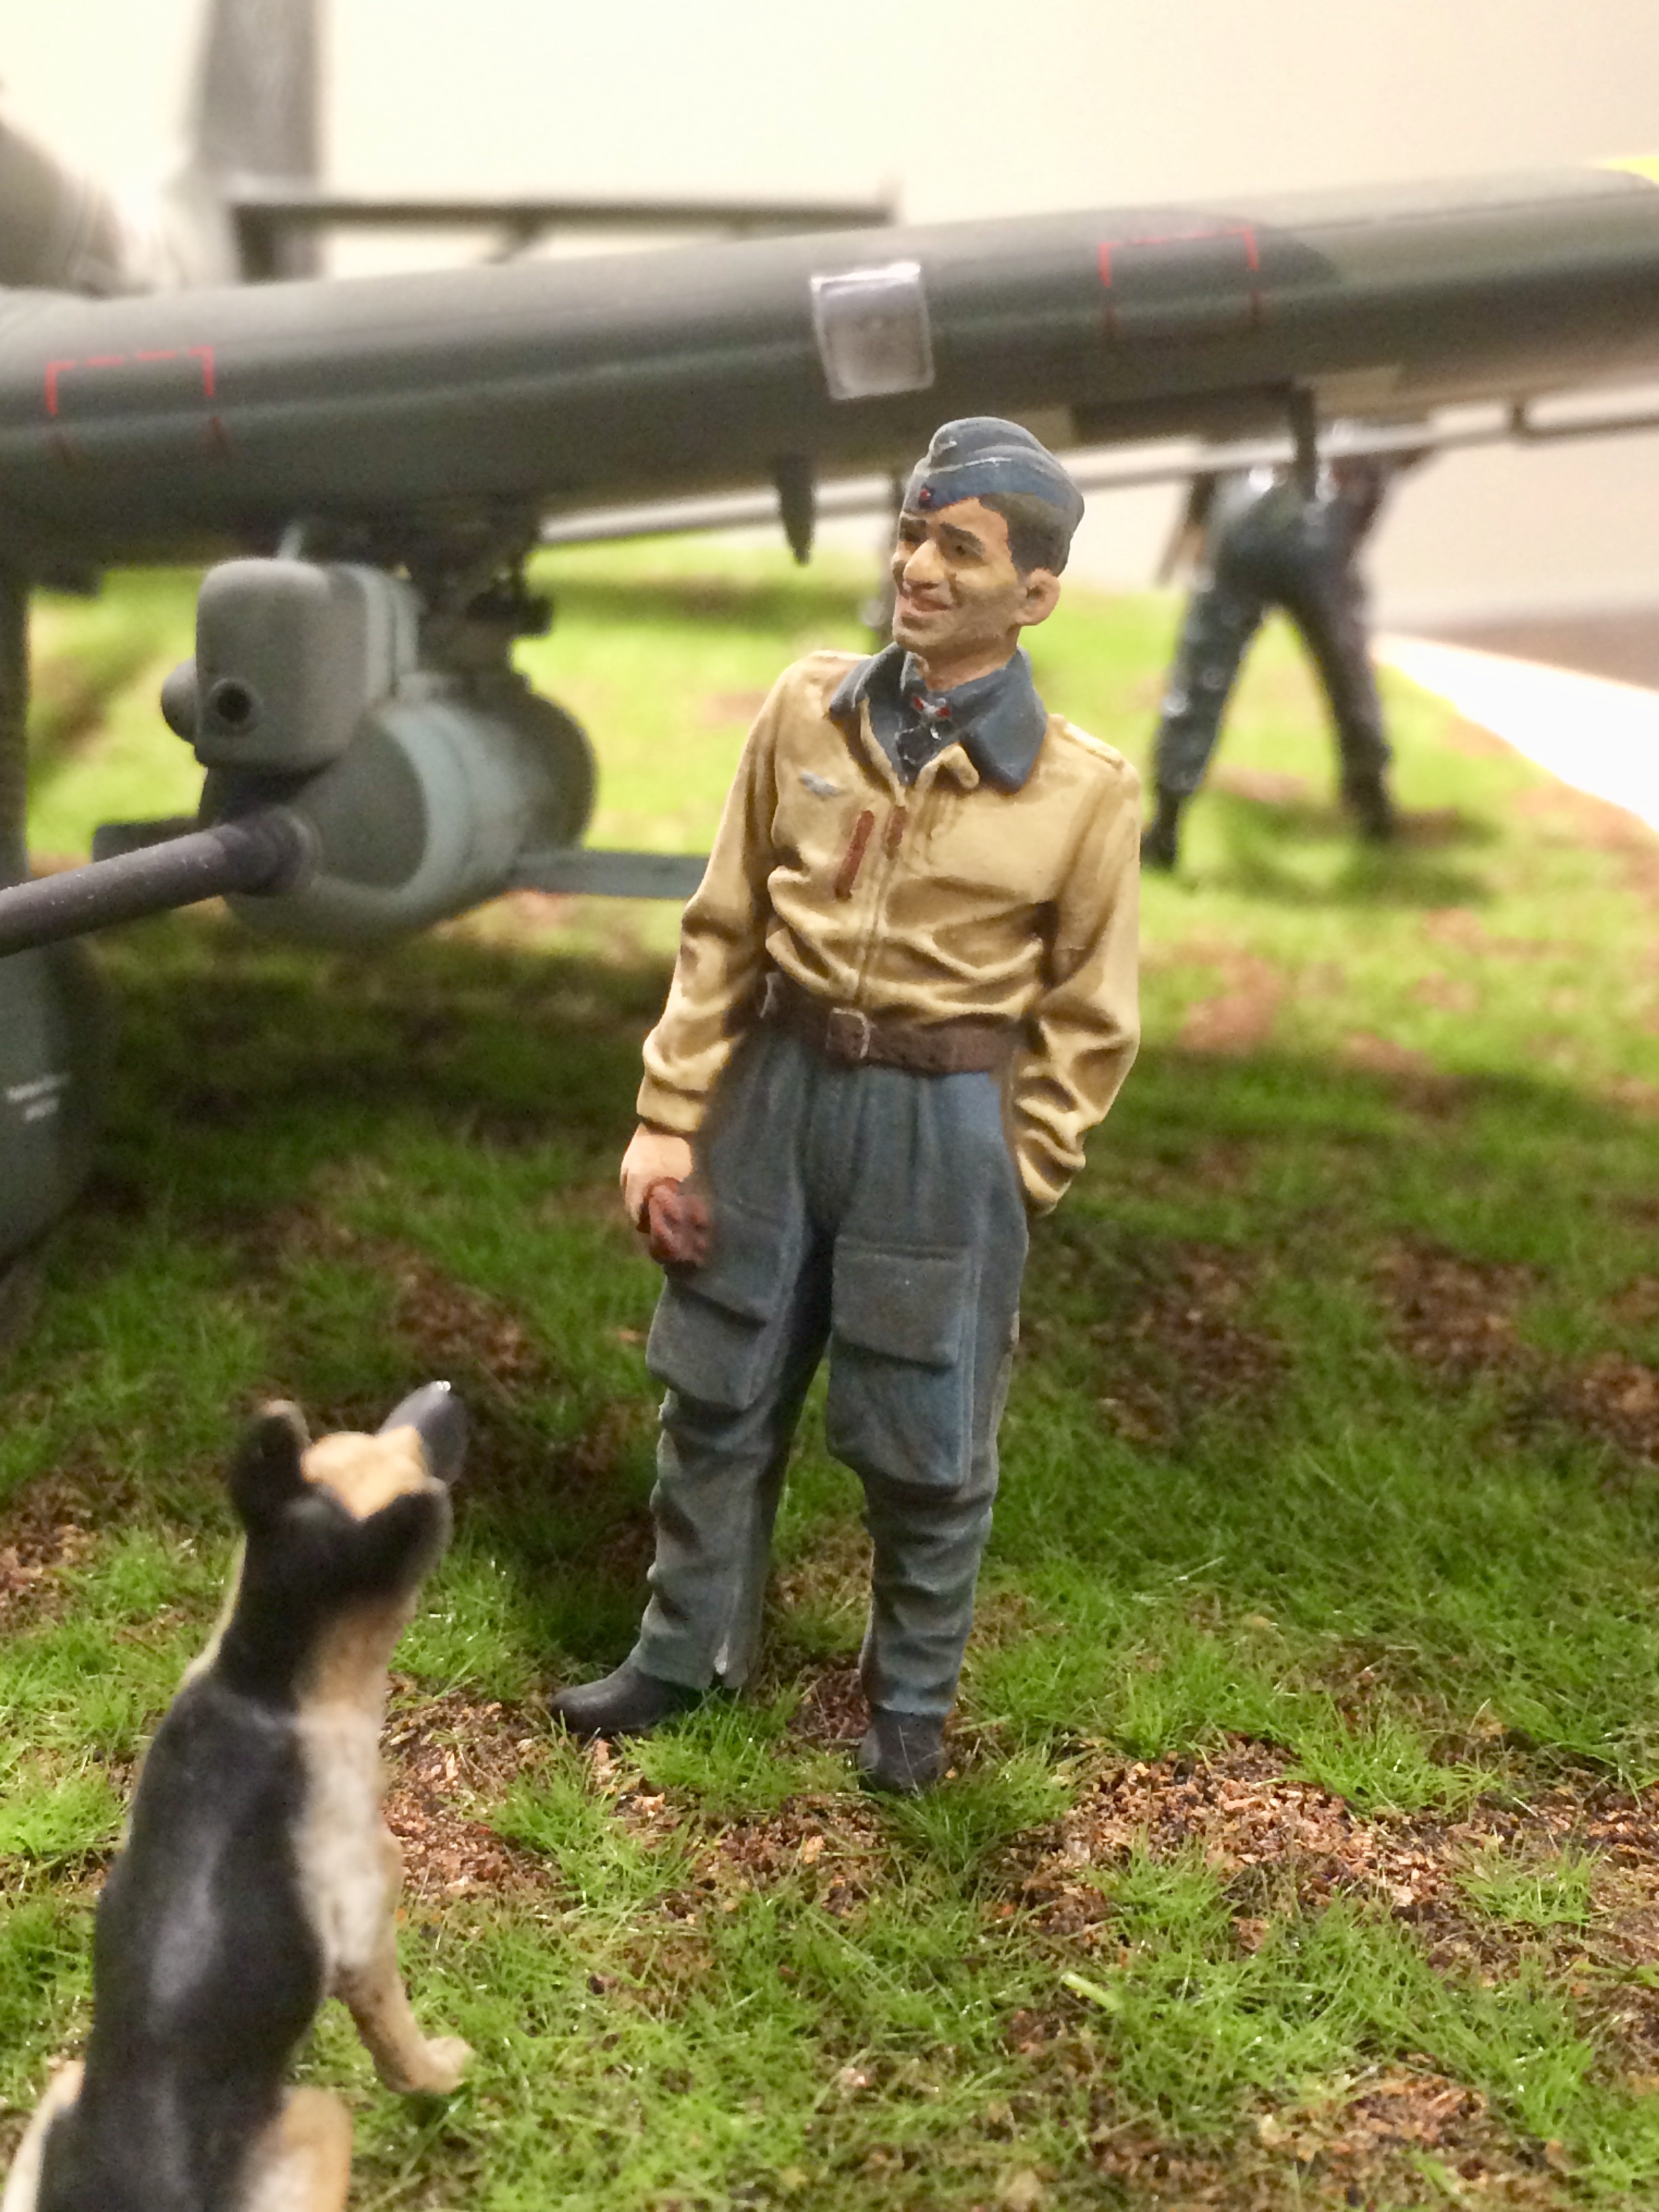
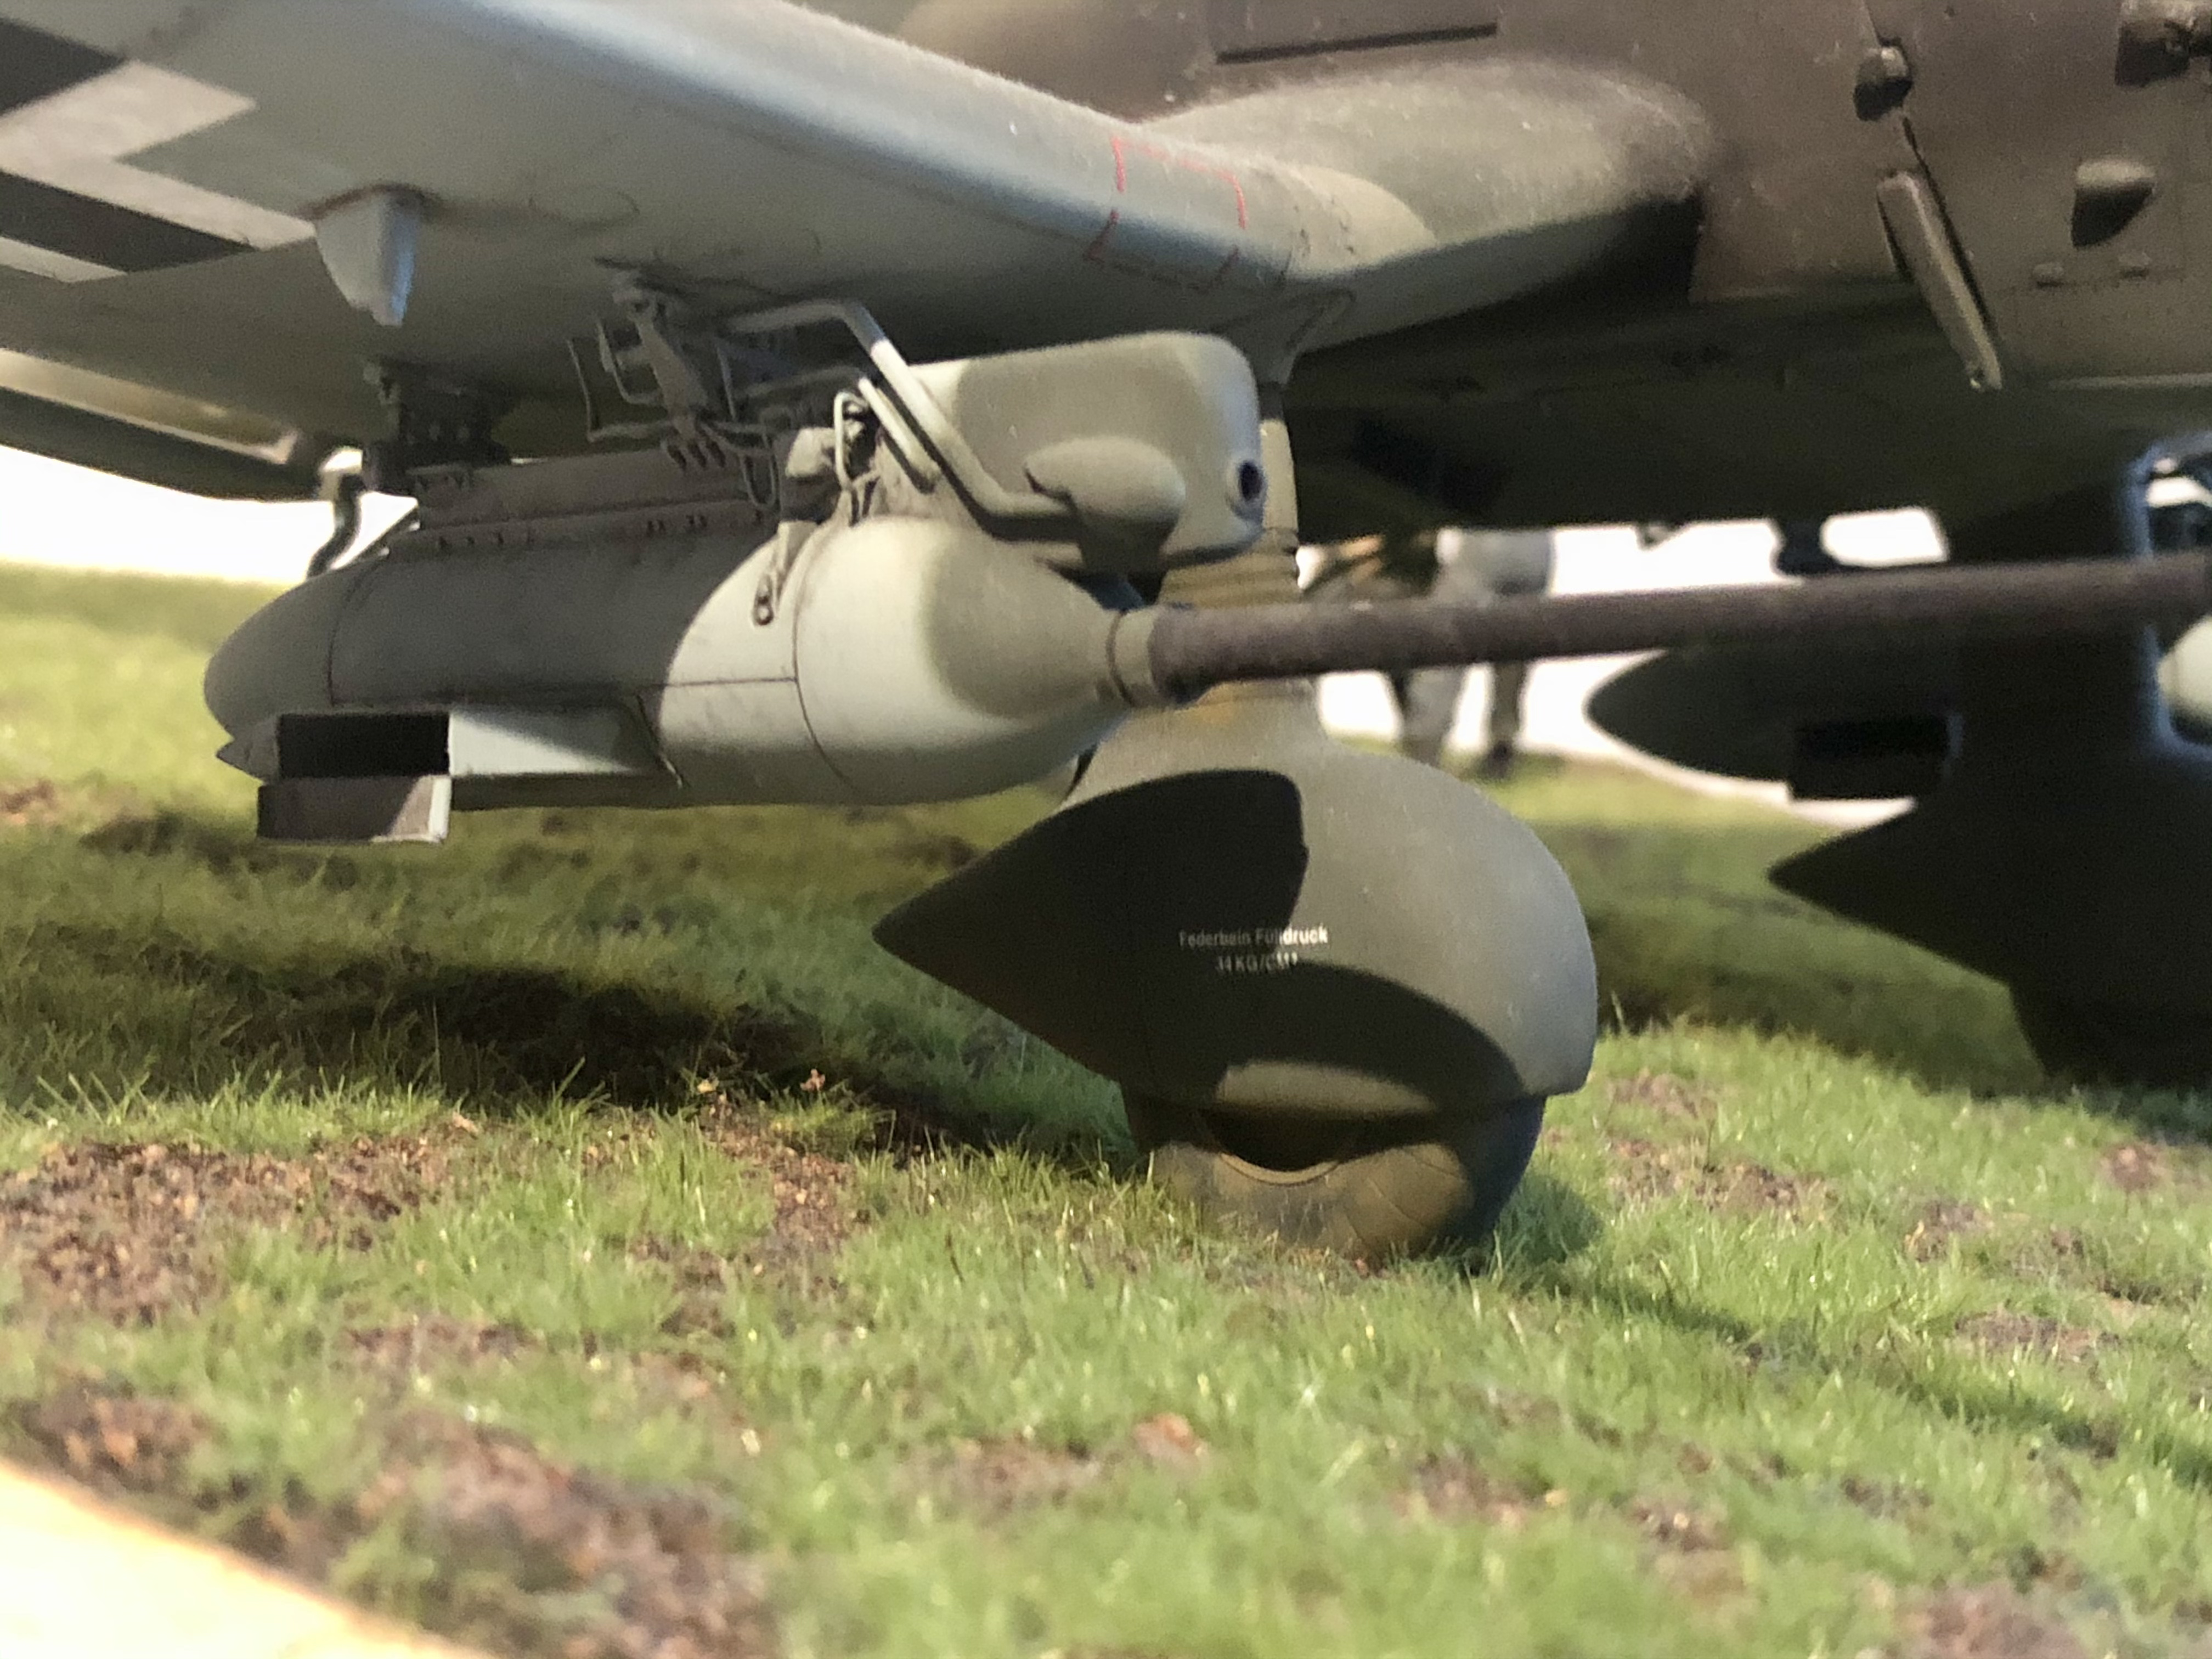
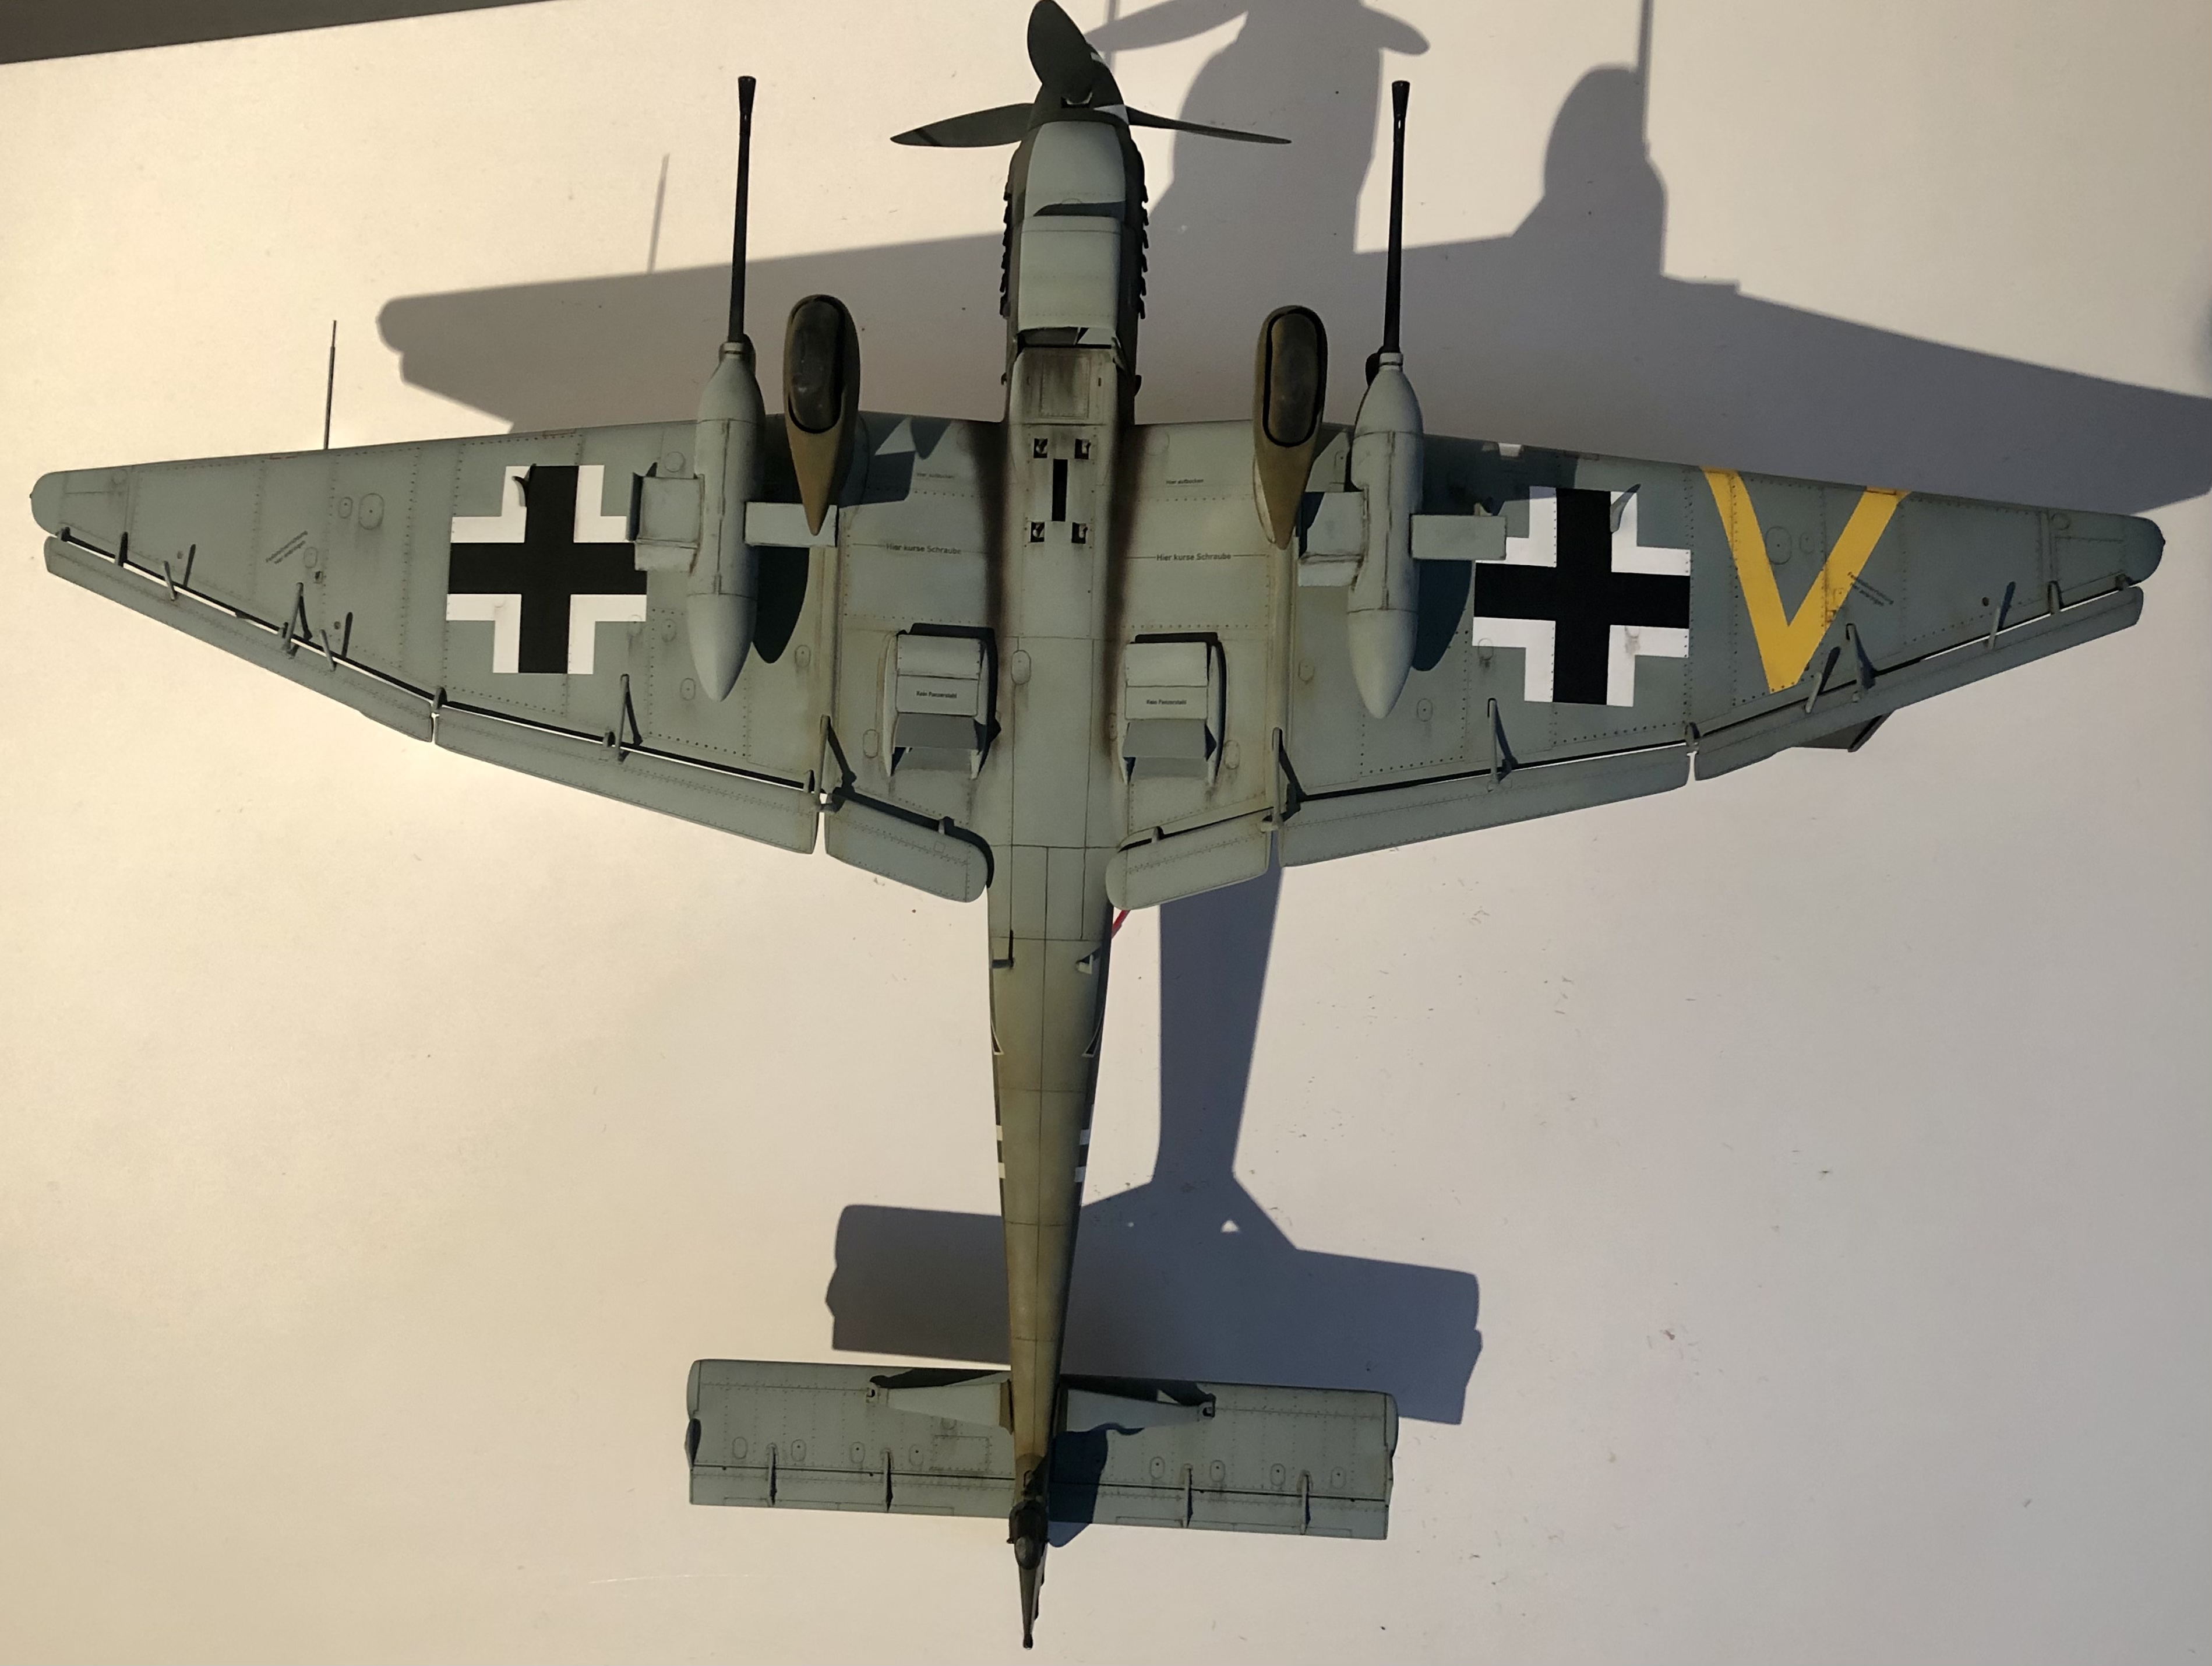
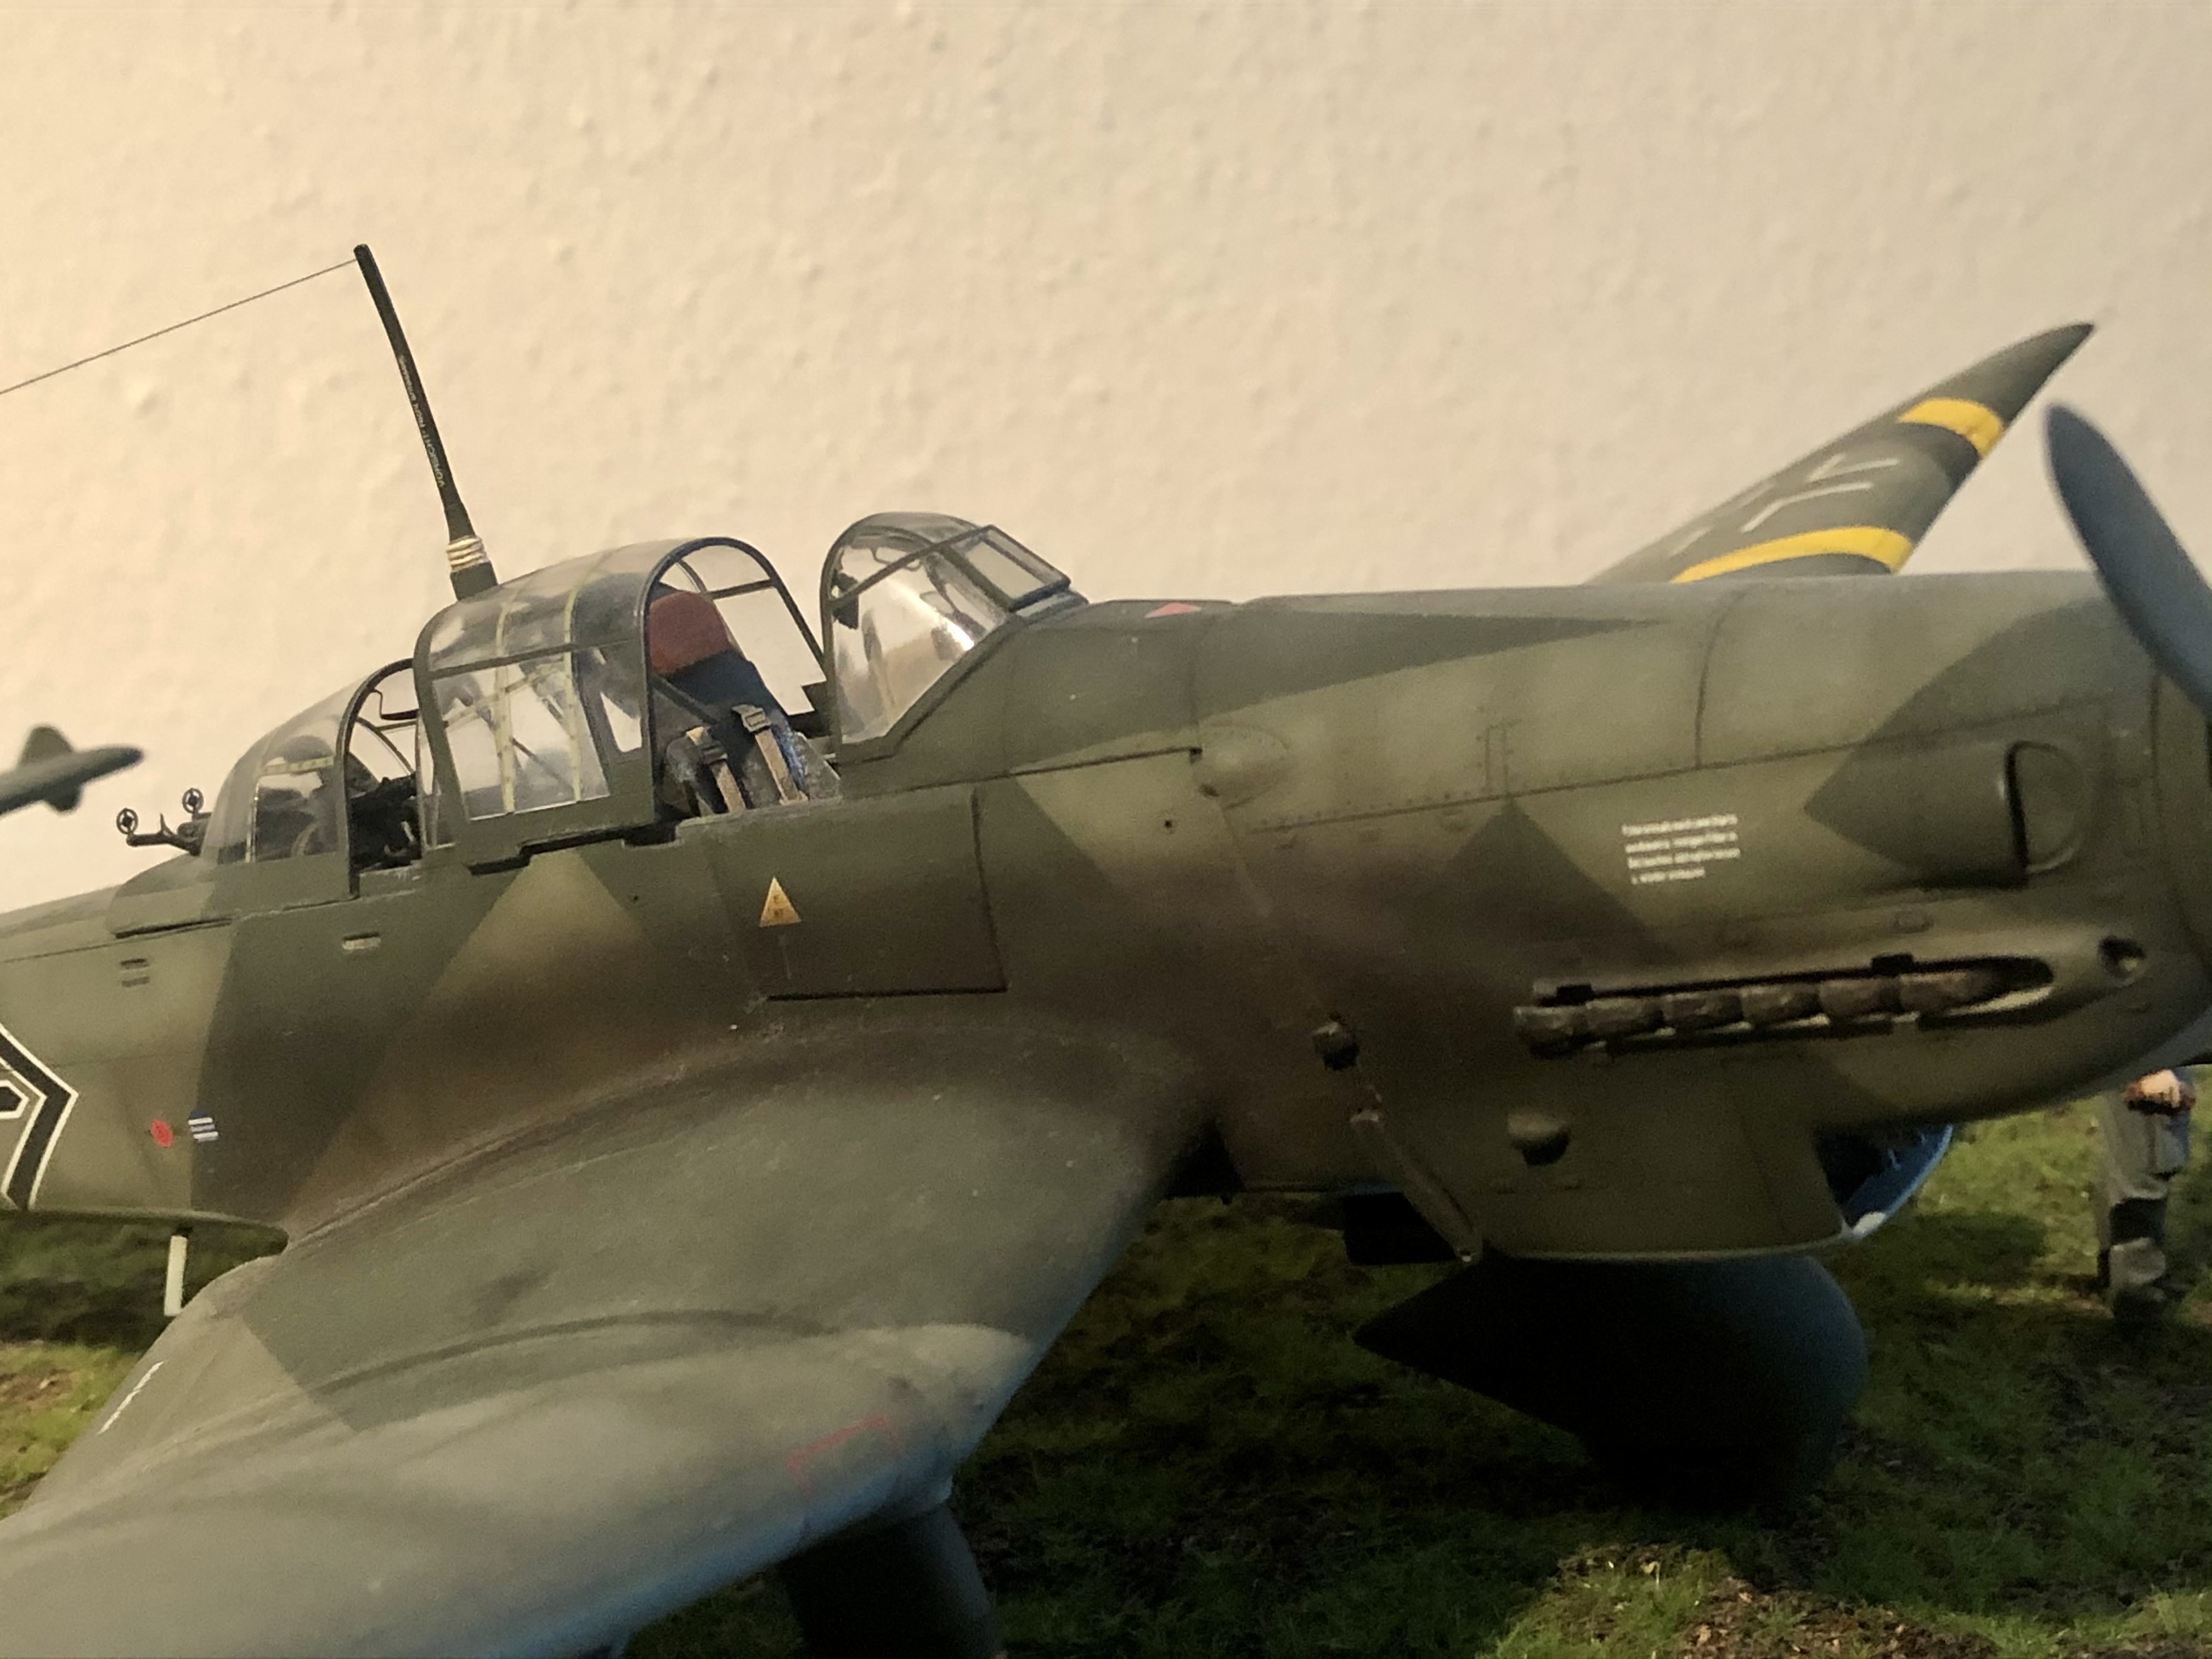
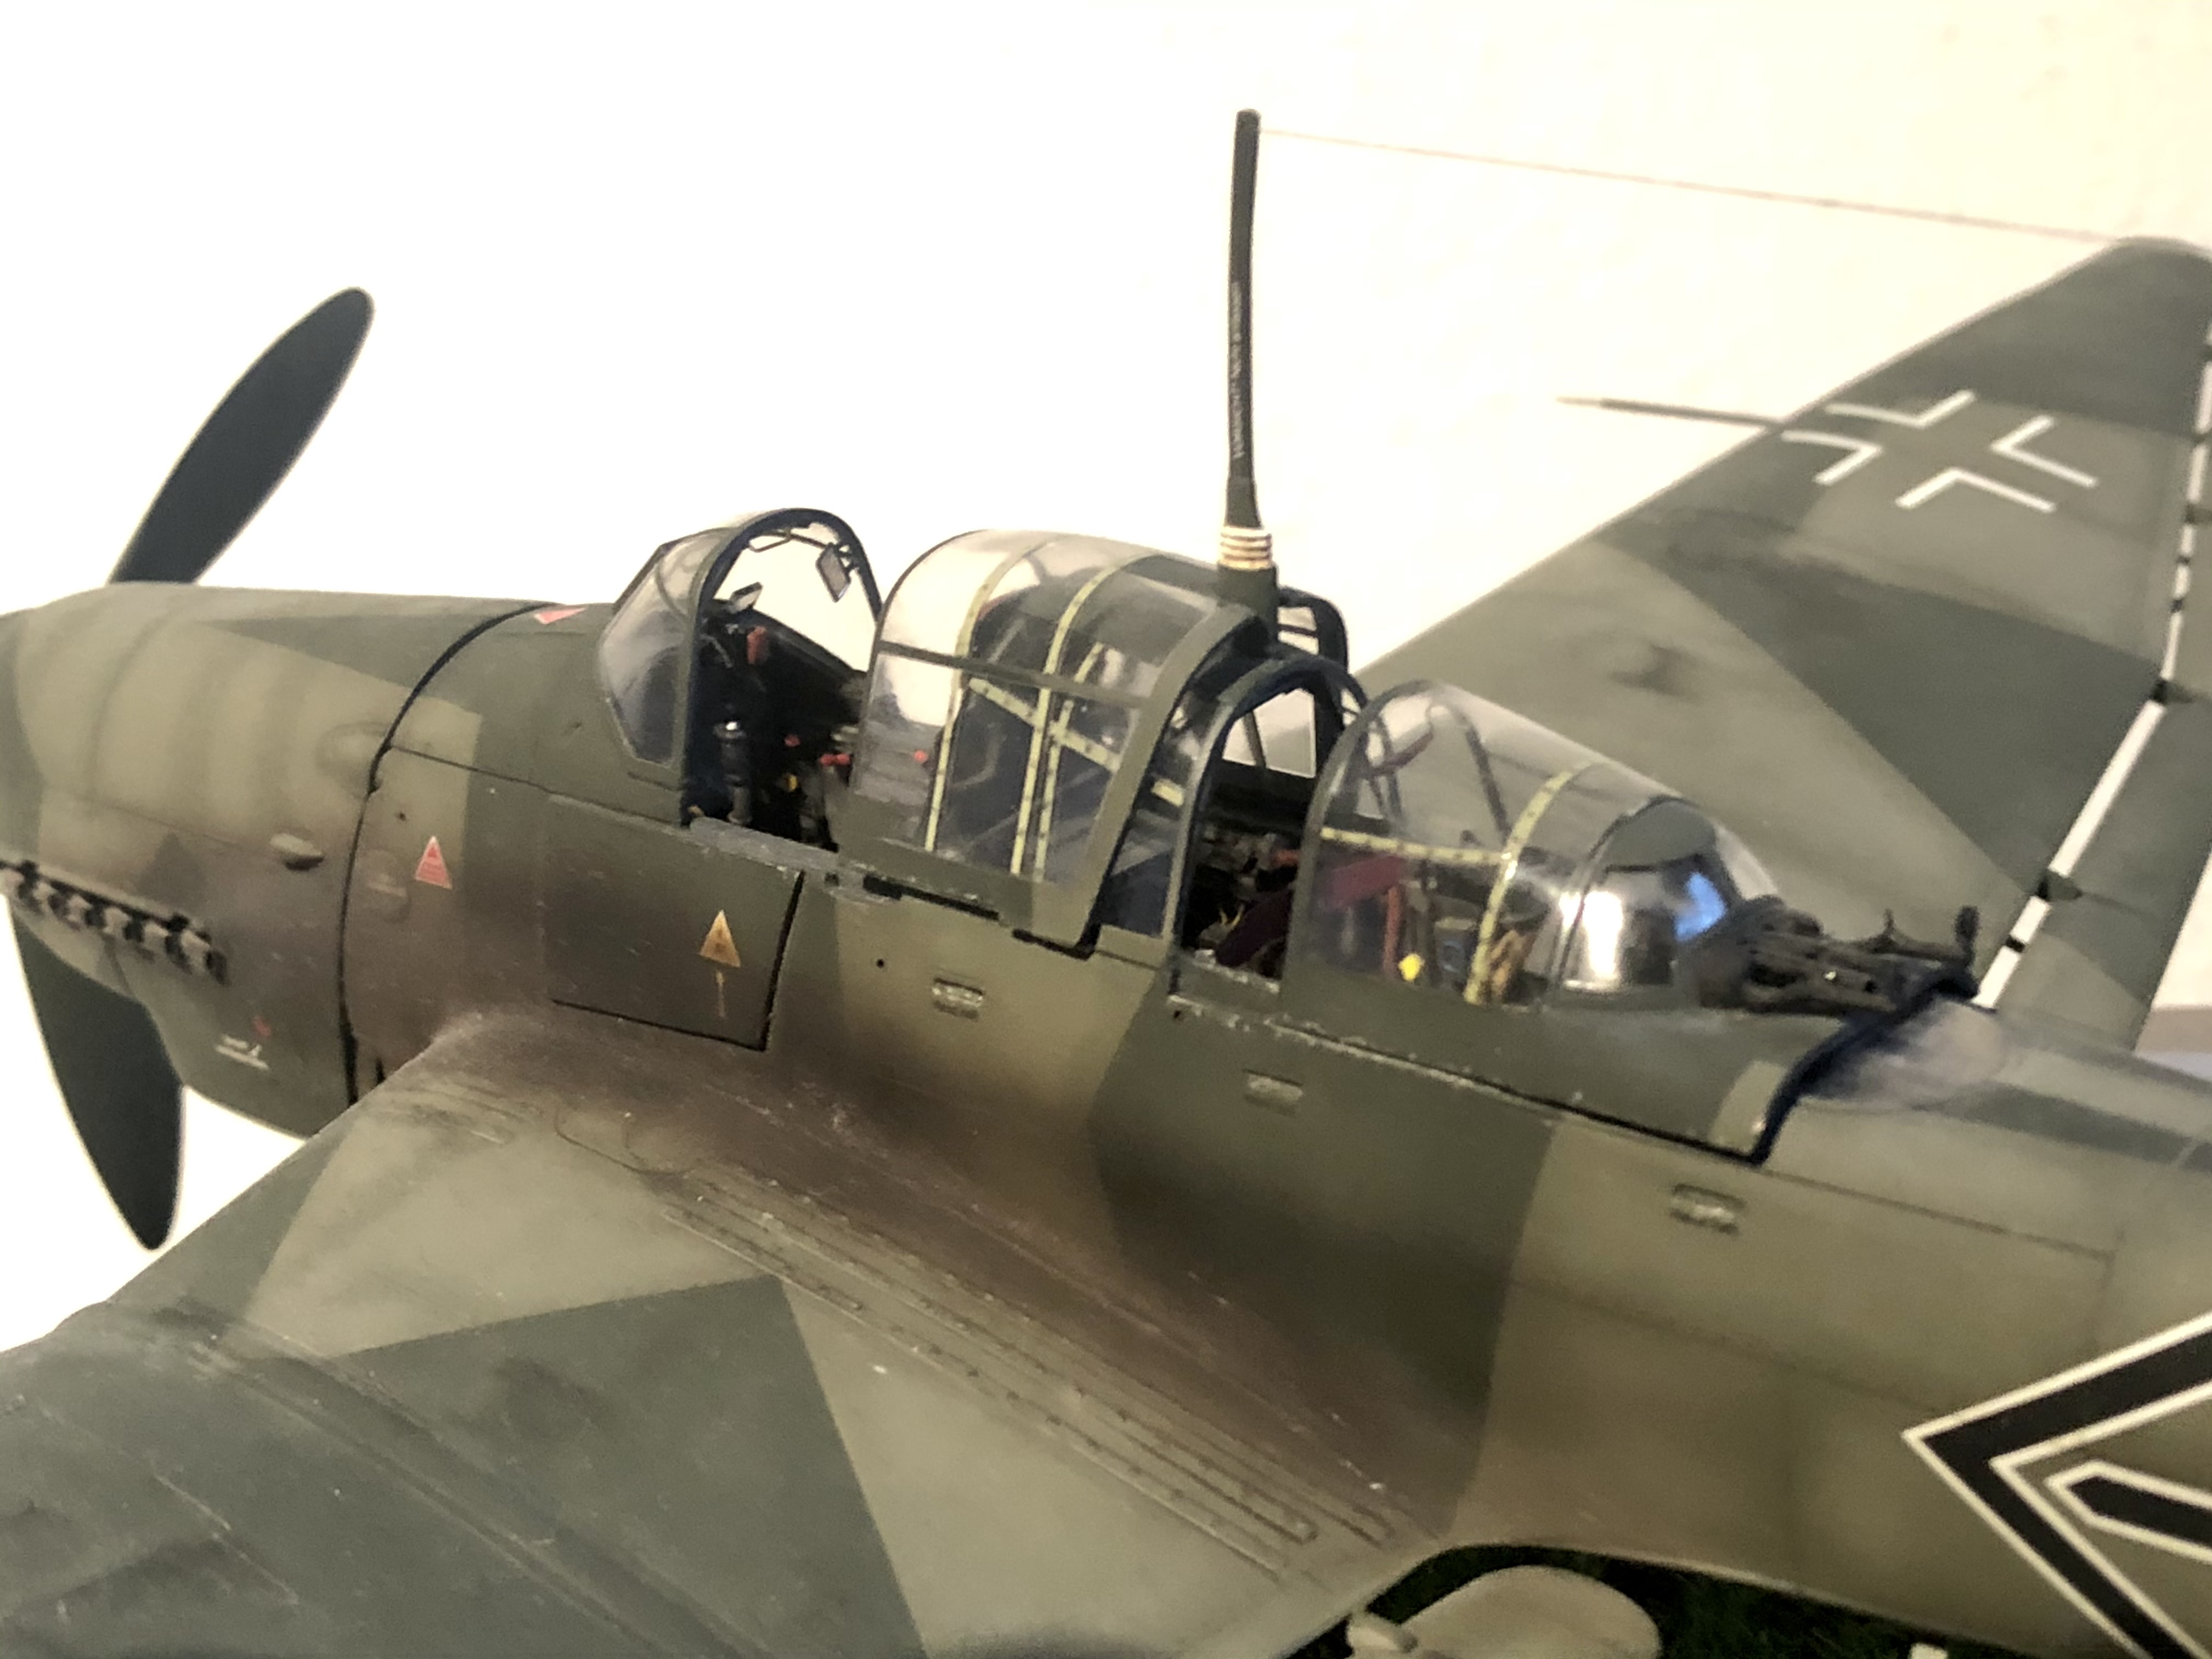
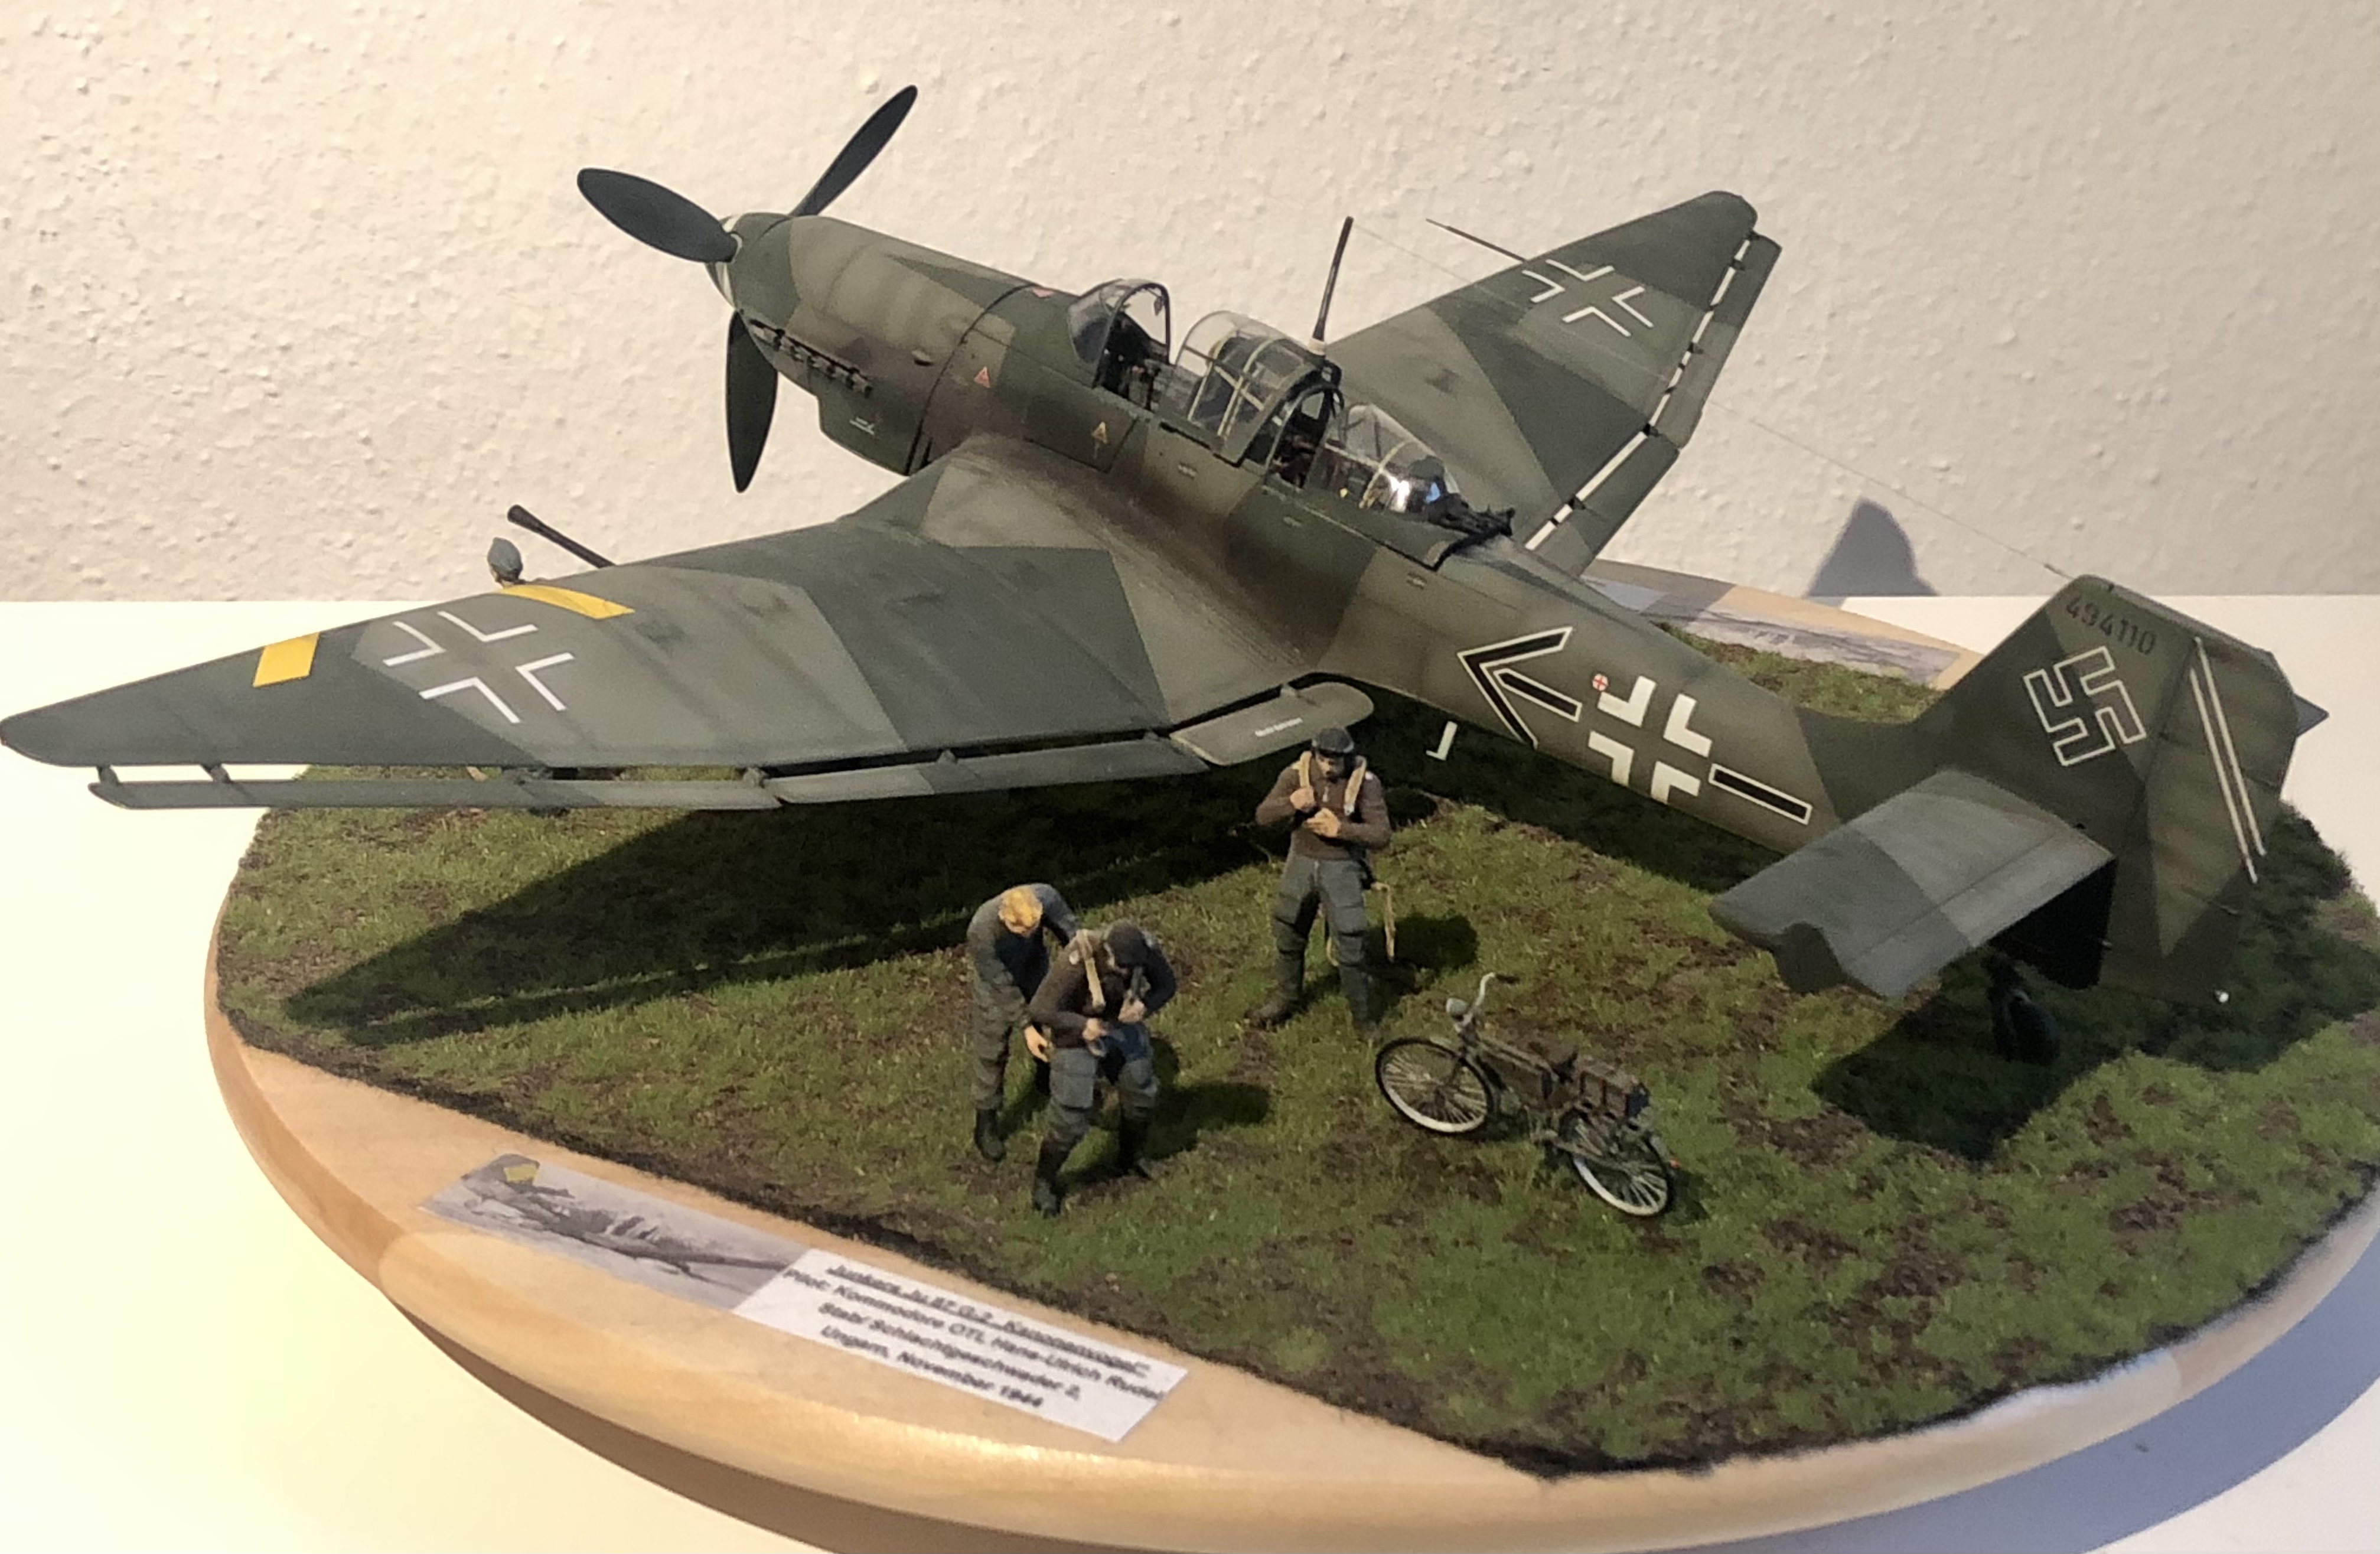
 Here are some pics of a diorama I finished last year. It depicts a pre-flight scene of Rudels Ju-87G Tankbuster in autumn 1944.
This is the Hasegawa-Stuka with a figure of Rudel and his dog.
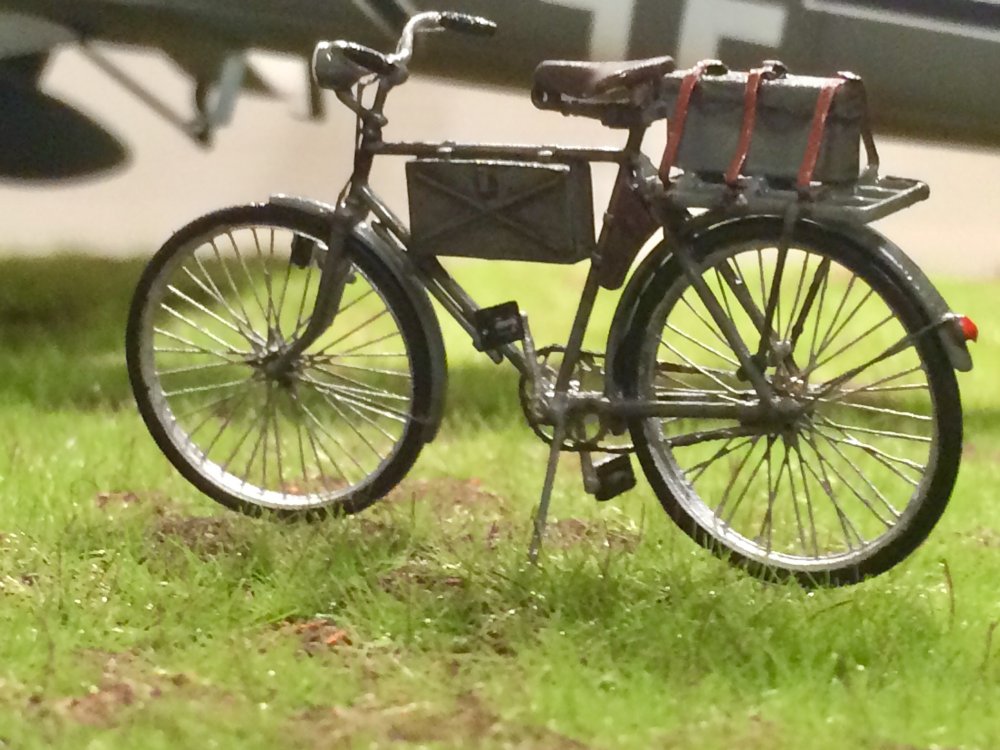
I added 2 crew-figures from Master-Box and a mechanic and a bicycle from the same supplier.
The cockpit and the guns were enhanced with Eduard brass and some scratchbuilding.
It was painted with Gunze acrylics.
The base-plate is turntable and comes from IKEA.


Absolutely stunning work!
Love the details as well the paintjob!
-
1
-
-
11 hours ago, JeroenPeters said:
Lovely! Trying not to get tempted to build mine. That would stir up my whole agenda. Great work on that engine.
Thanks Jeroen!
-
1
-
-
Result of a few hours engine work,

-
7
-
1
-
-
Those tank kits are so stunning these days, makes me want to build one!
Awesome work guys!
-
6
-
-
9 hours ago, Wumm said:
This is a complete understatement...
I can fully appreciate the work involved in getting to this stage, as I have all of this still to do on my build. My only criticism... More photos please!
S
Thanks sir!
Following your work as well on the cilinders of the BMW engine, try to do the same as you
Many thanks for your great words! (All of you of course!)
-
2
-
1
-
-
1 hour ago, AlanG said:
That's good to know. I won an evilbay Fw190 F8 with a Brassin cockpit, gun bay, undercarriage set and prop set. Was thinking of going the whole hog on it and get the engine for it too. This thread is defo making it look like i will
Cool Alan!
Its a good buy! And a real great addition to the Revell kit, as the base of this kit is quit good on it self.
looking forward to see your working going by!
-
4
-
-
21 minutes ago, wackyracer said:
Superb! I'm guessing the cockpit, engine and gun bay are Eduard resin?
Exactly!
-
3
-

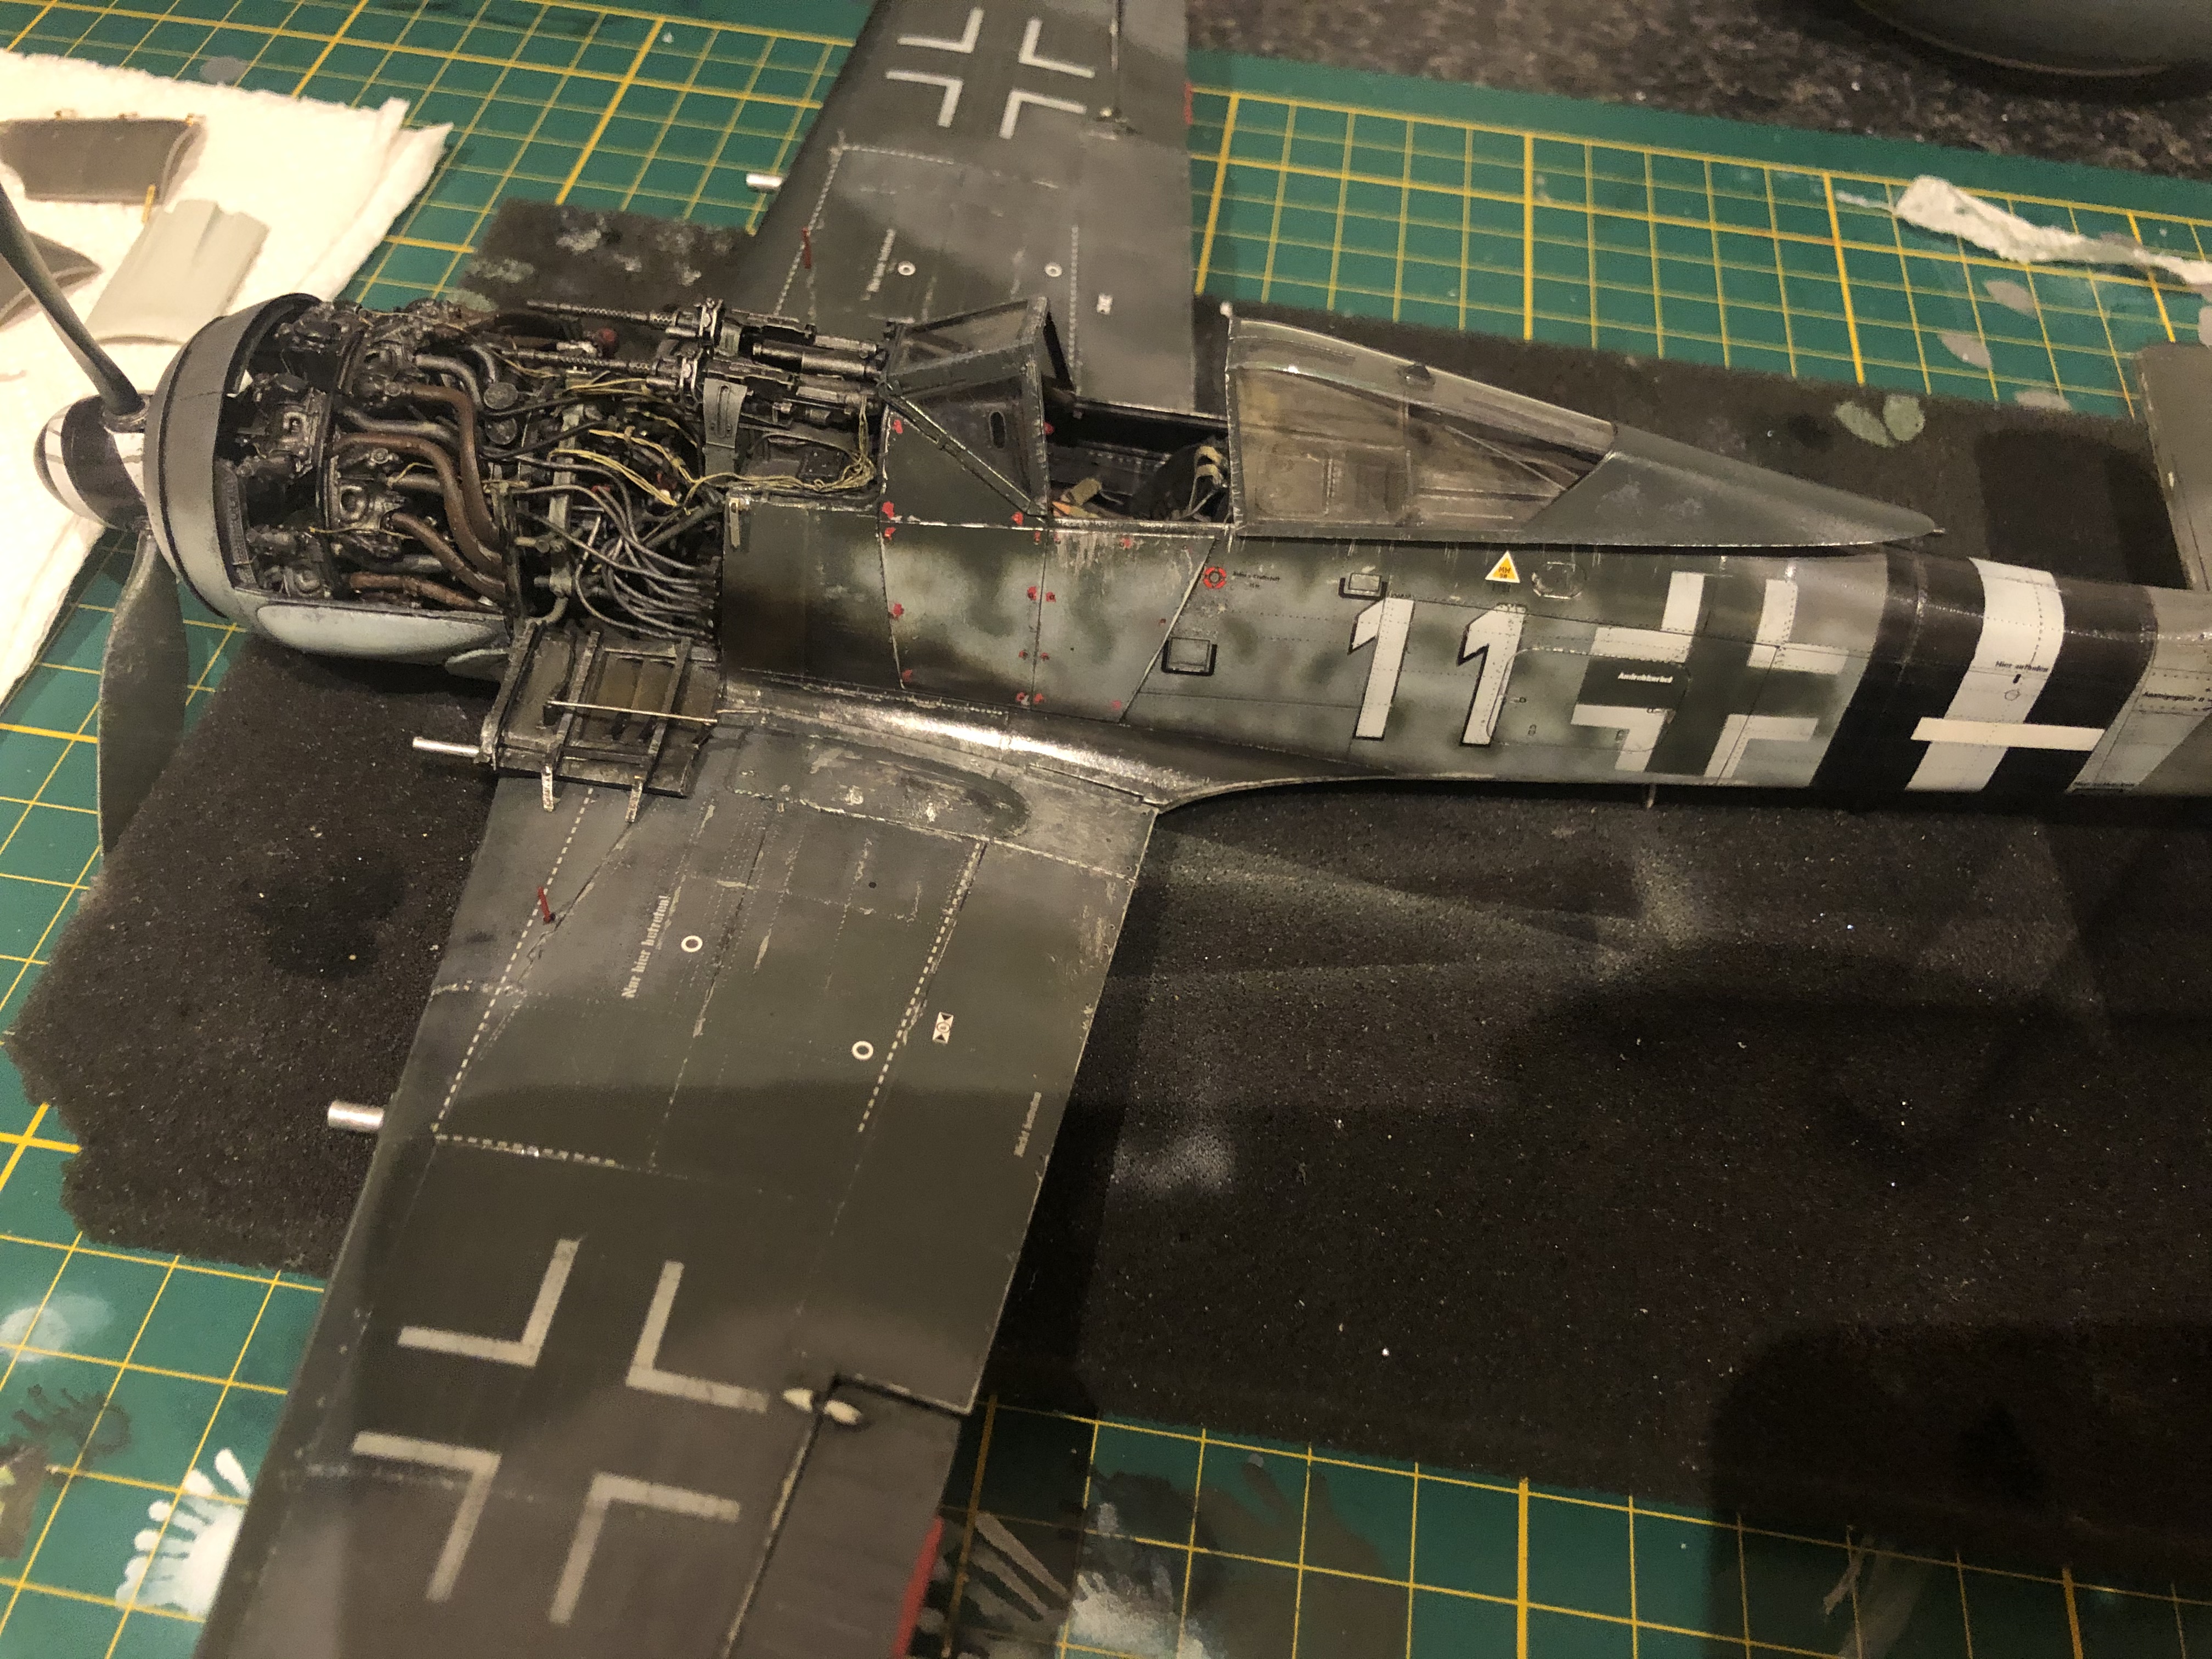


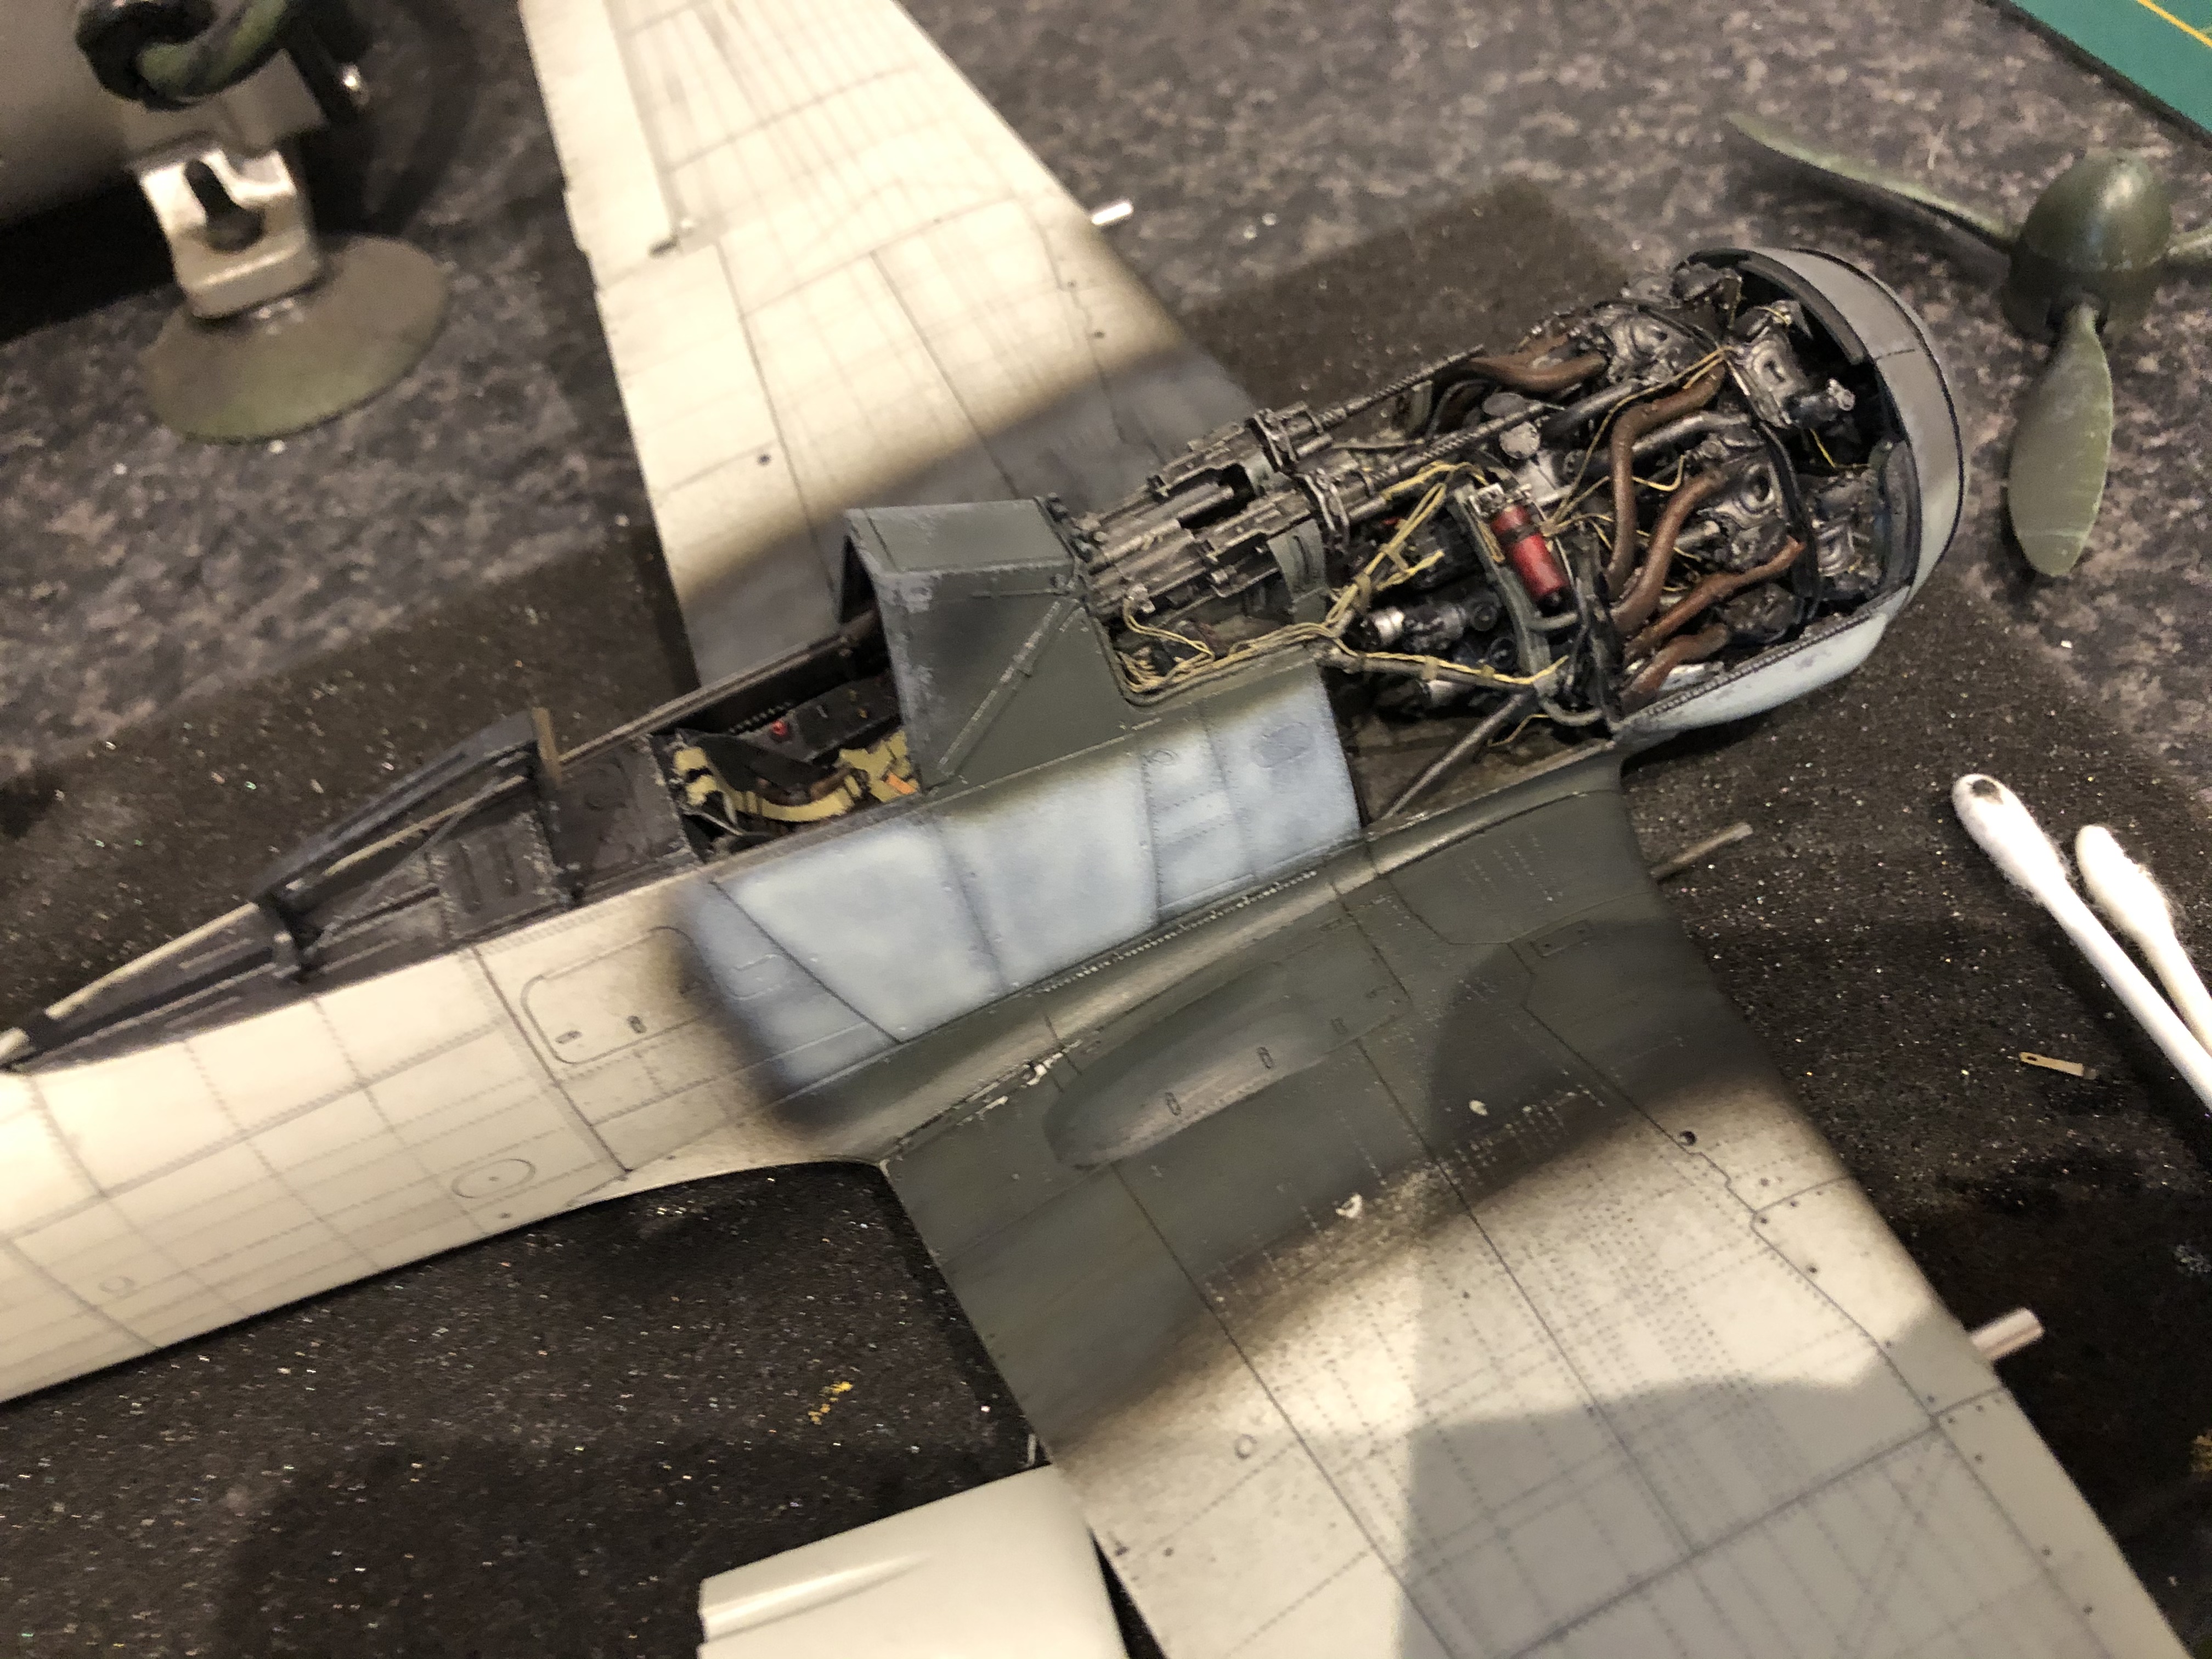
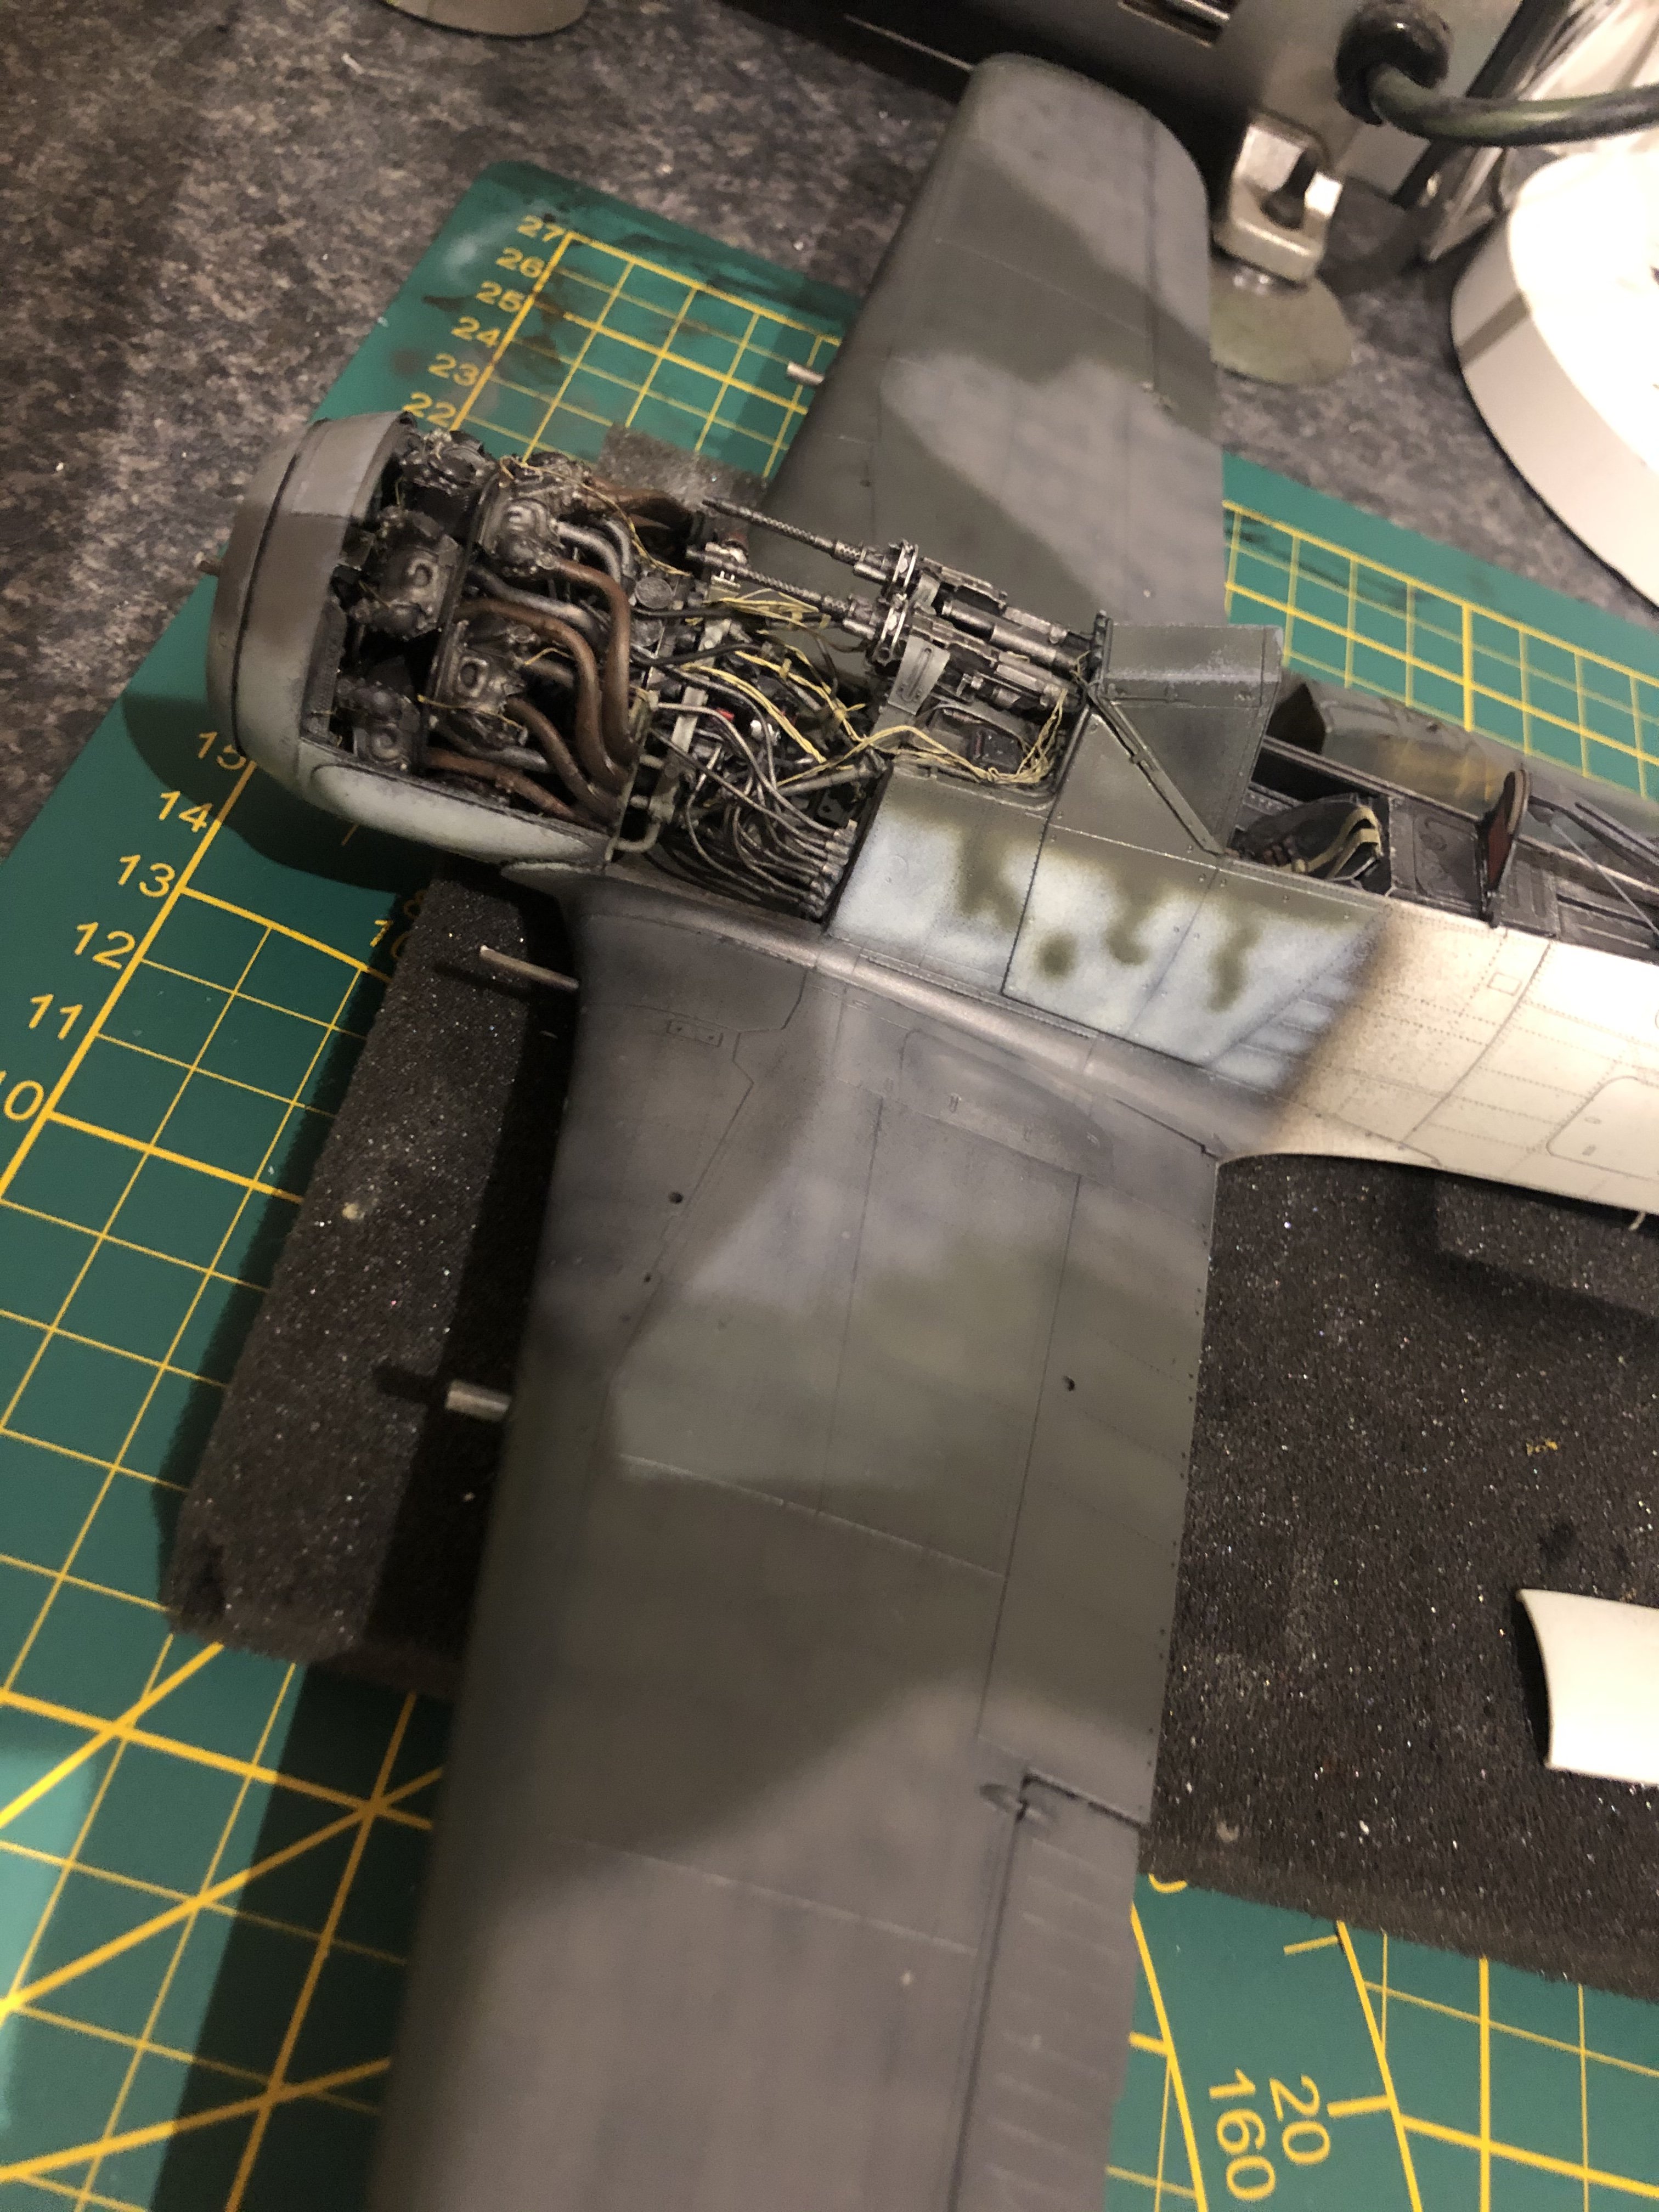


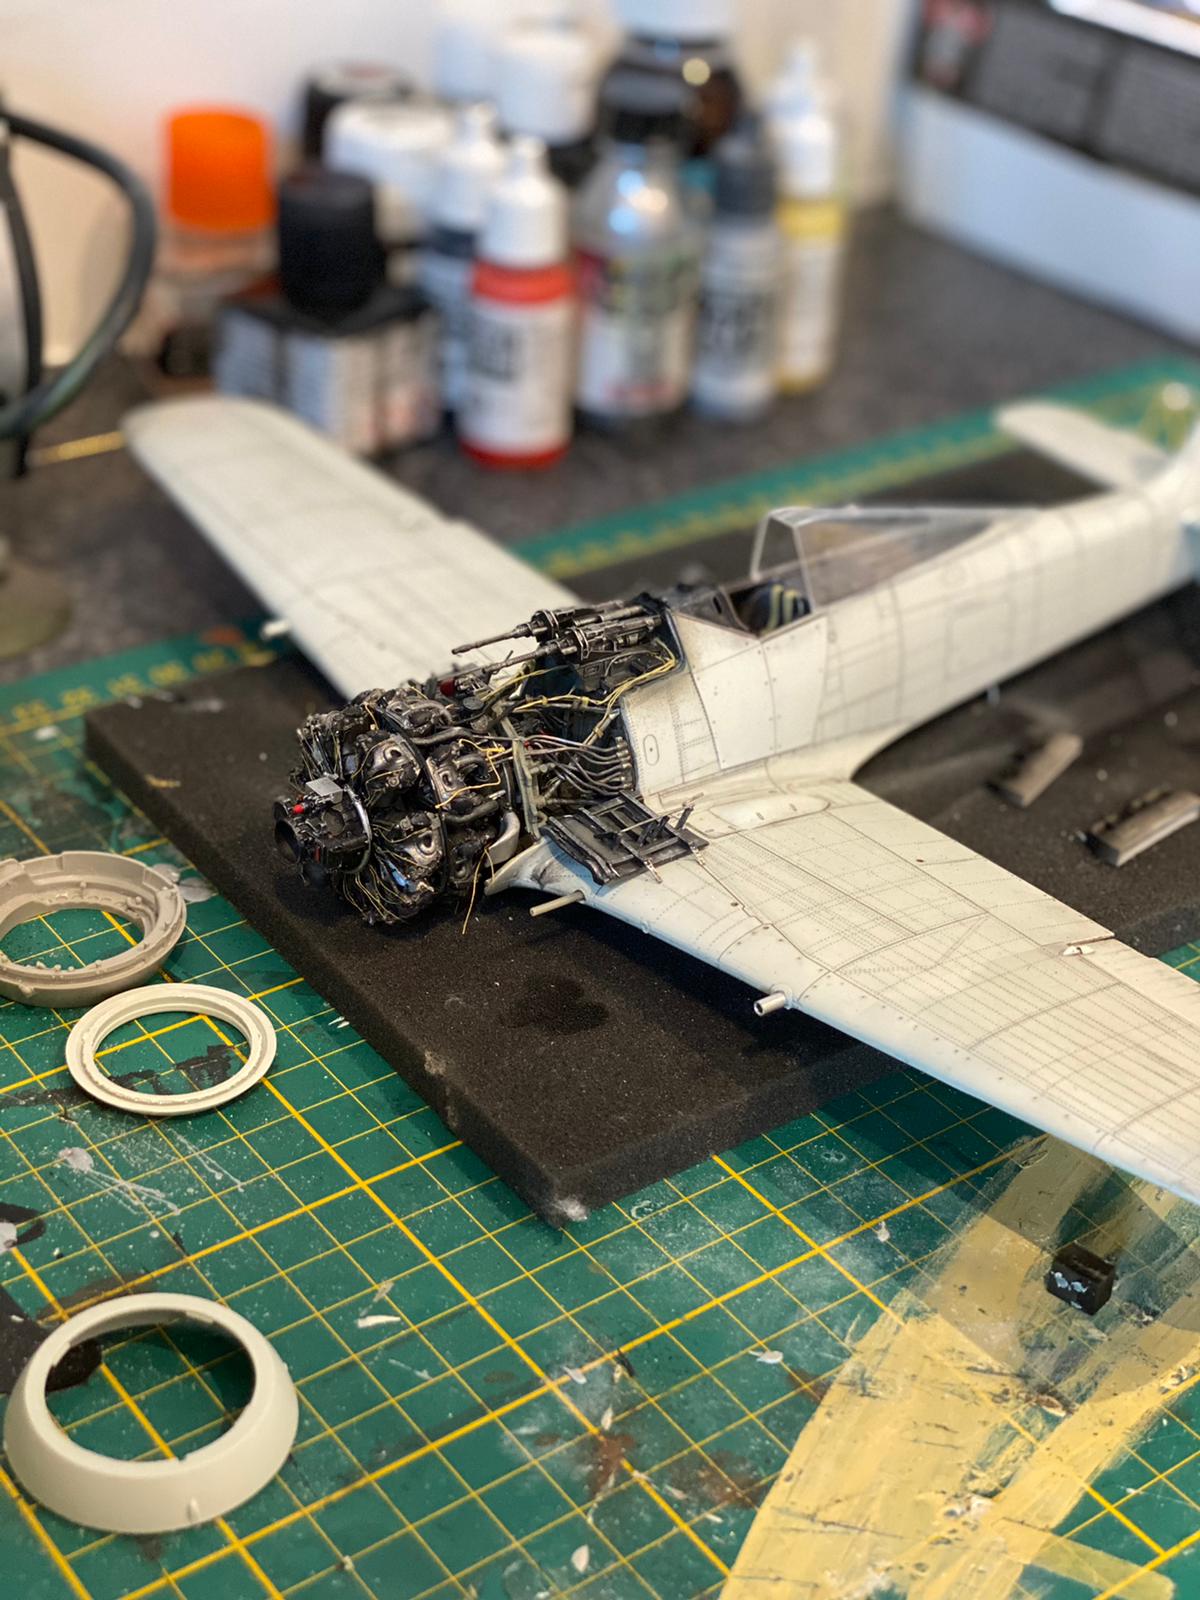
Focke Wulf A8/R2 // Revell
in LSM 1/35 and Larger Work In Progress
Posted
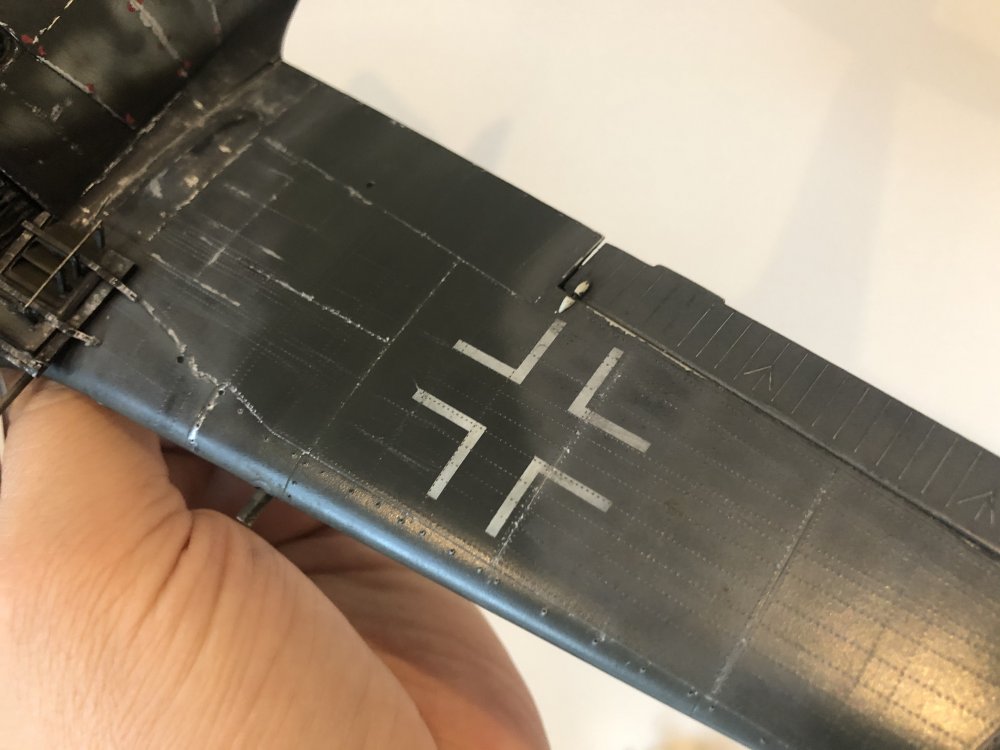
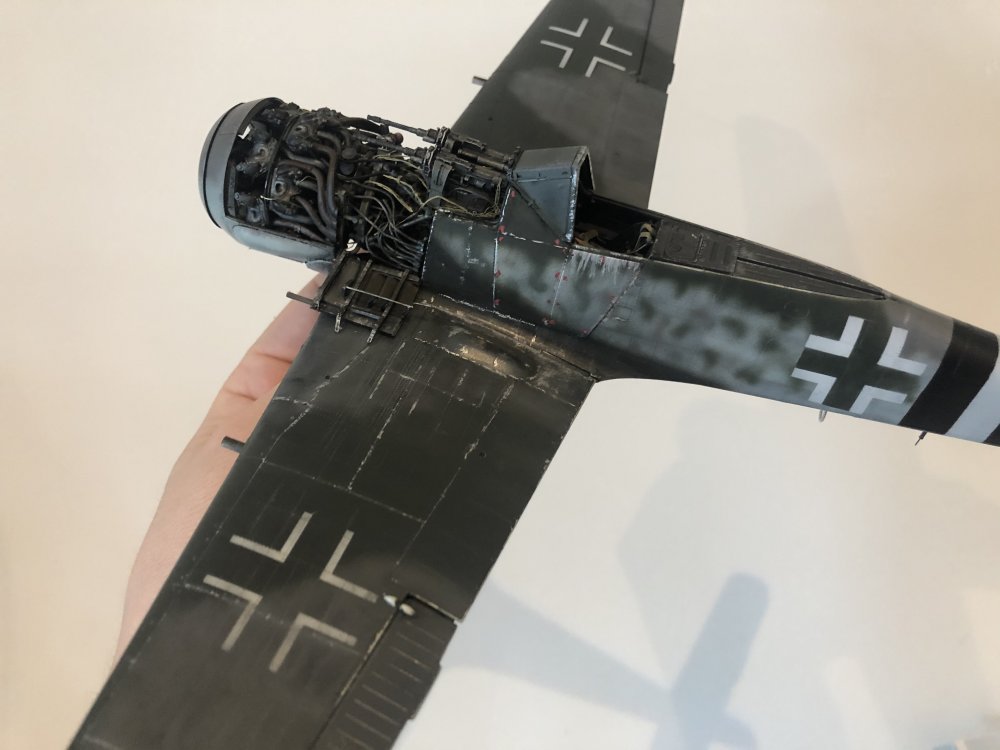
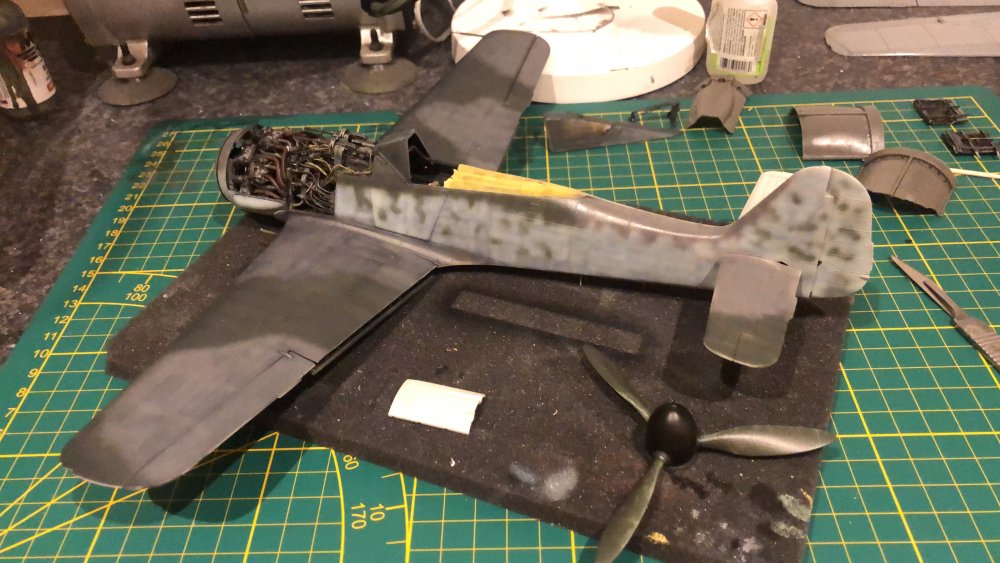
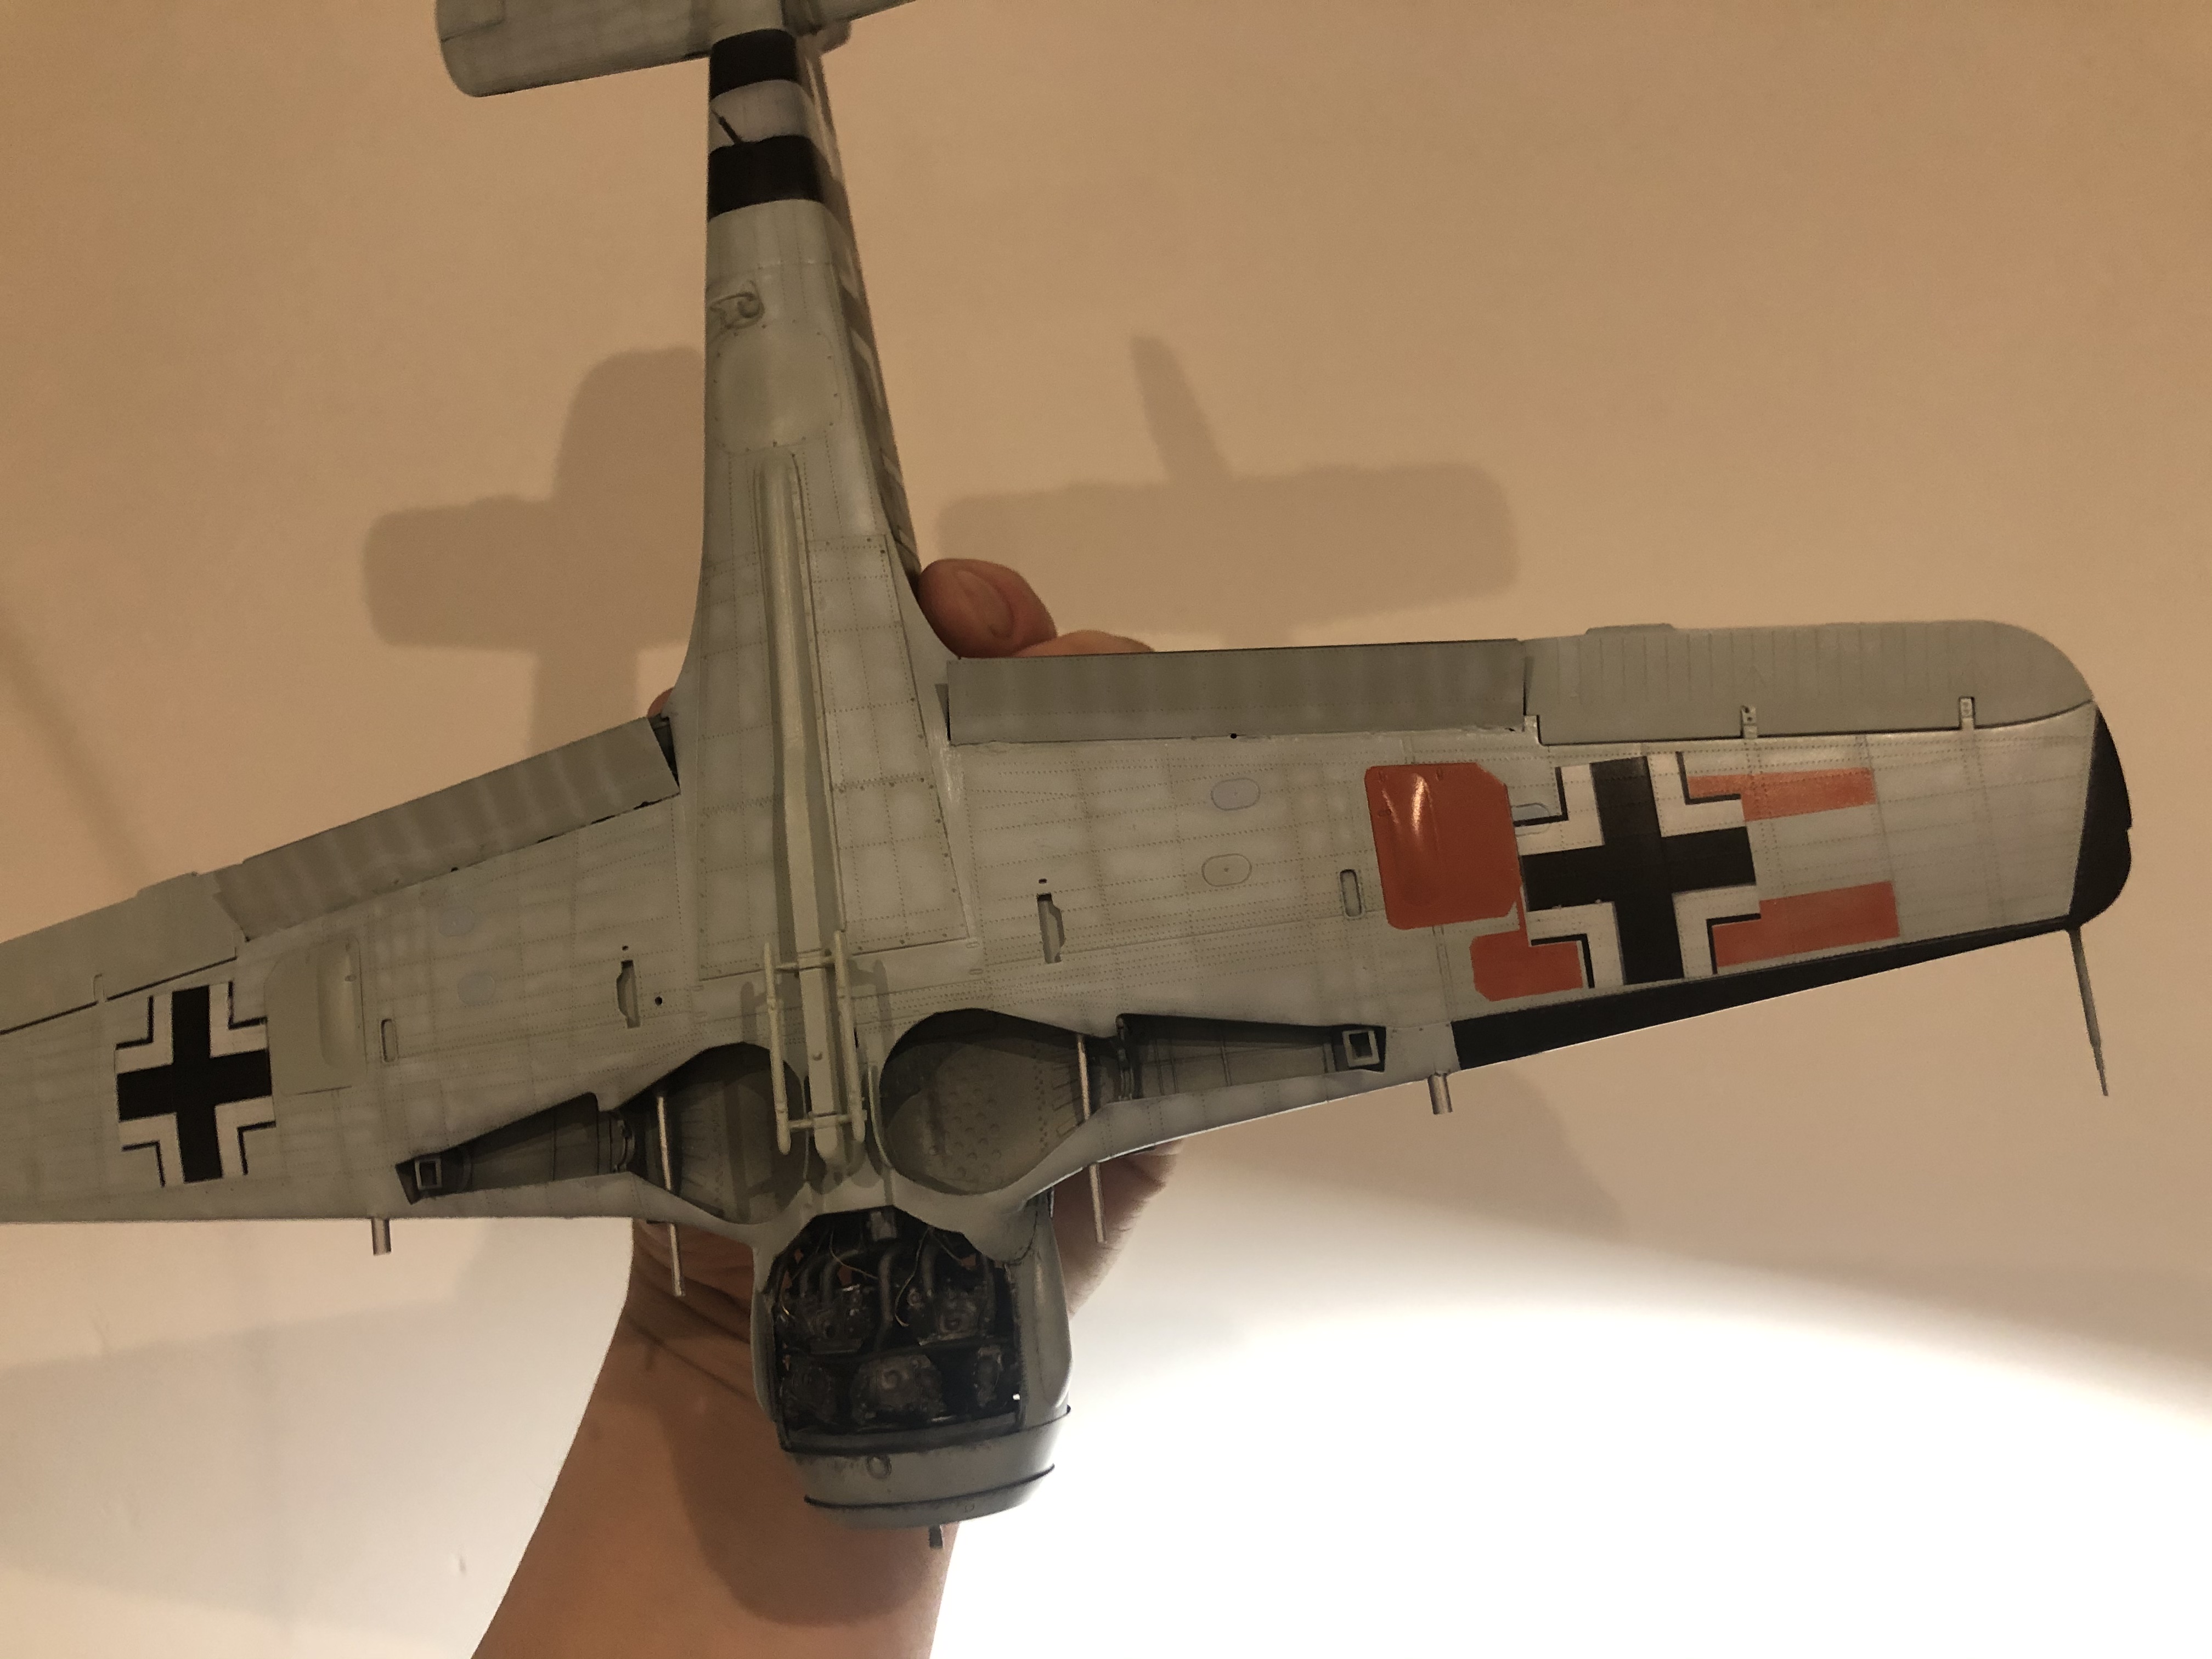
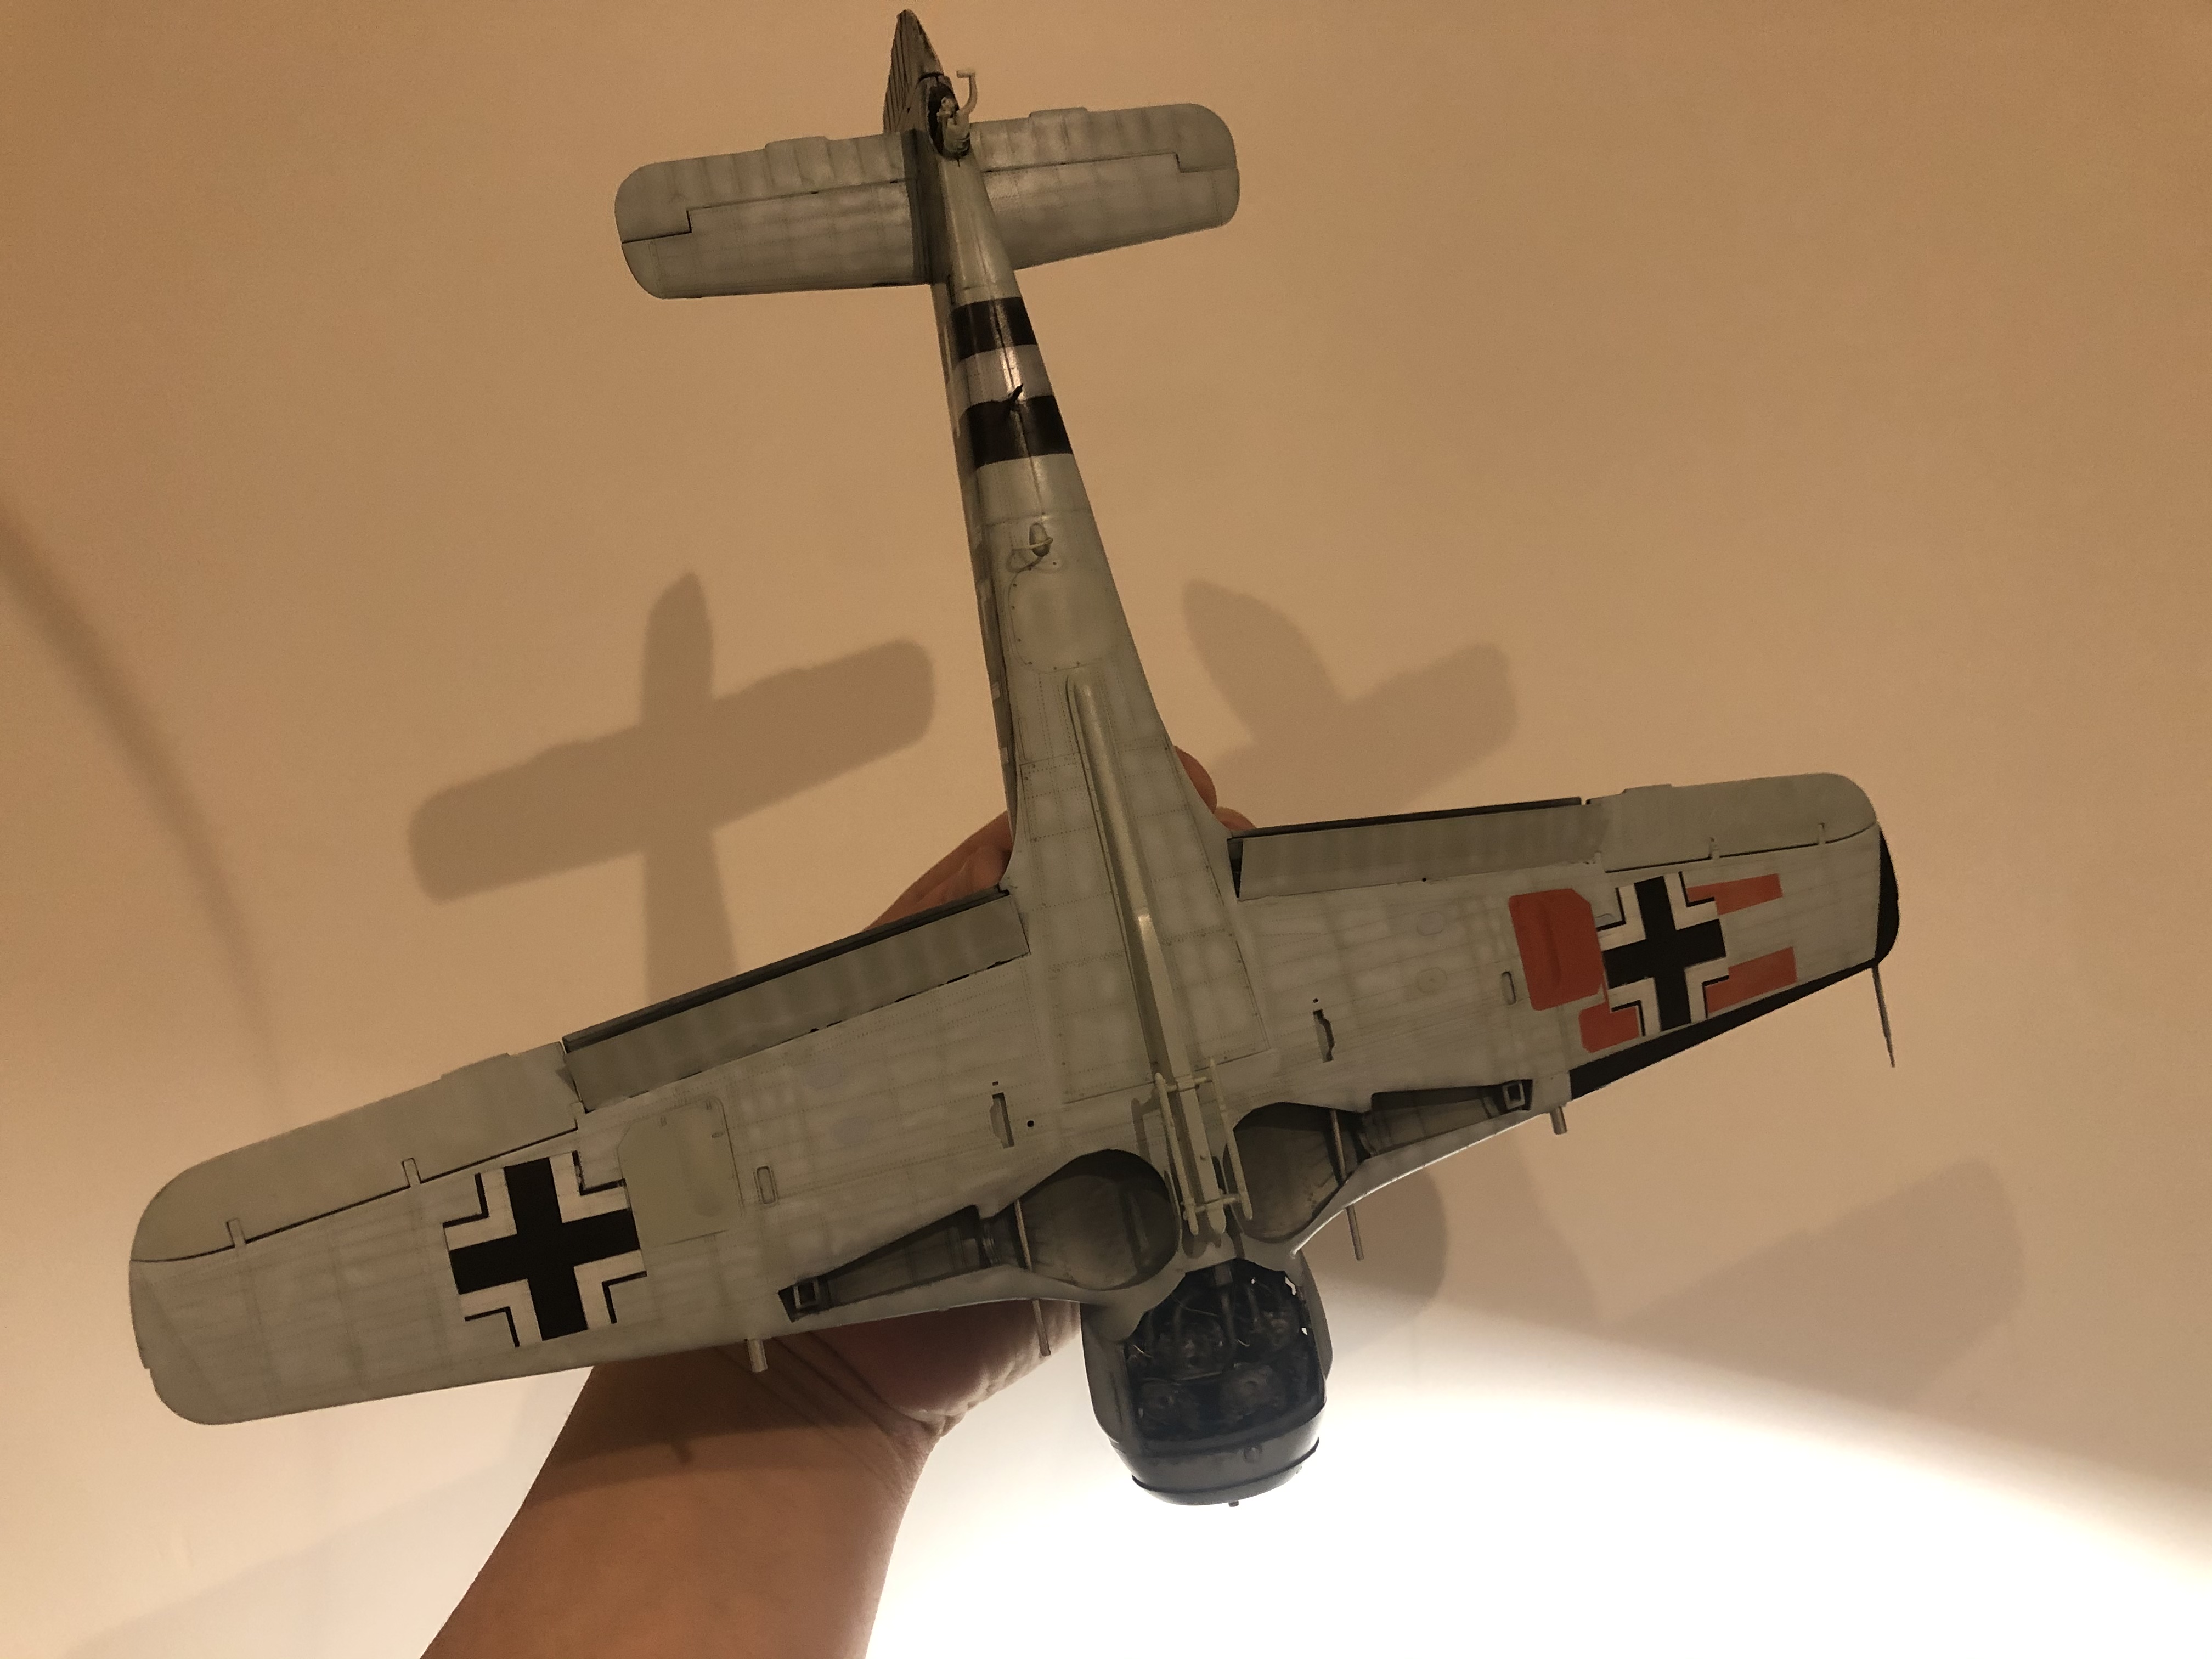
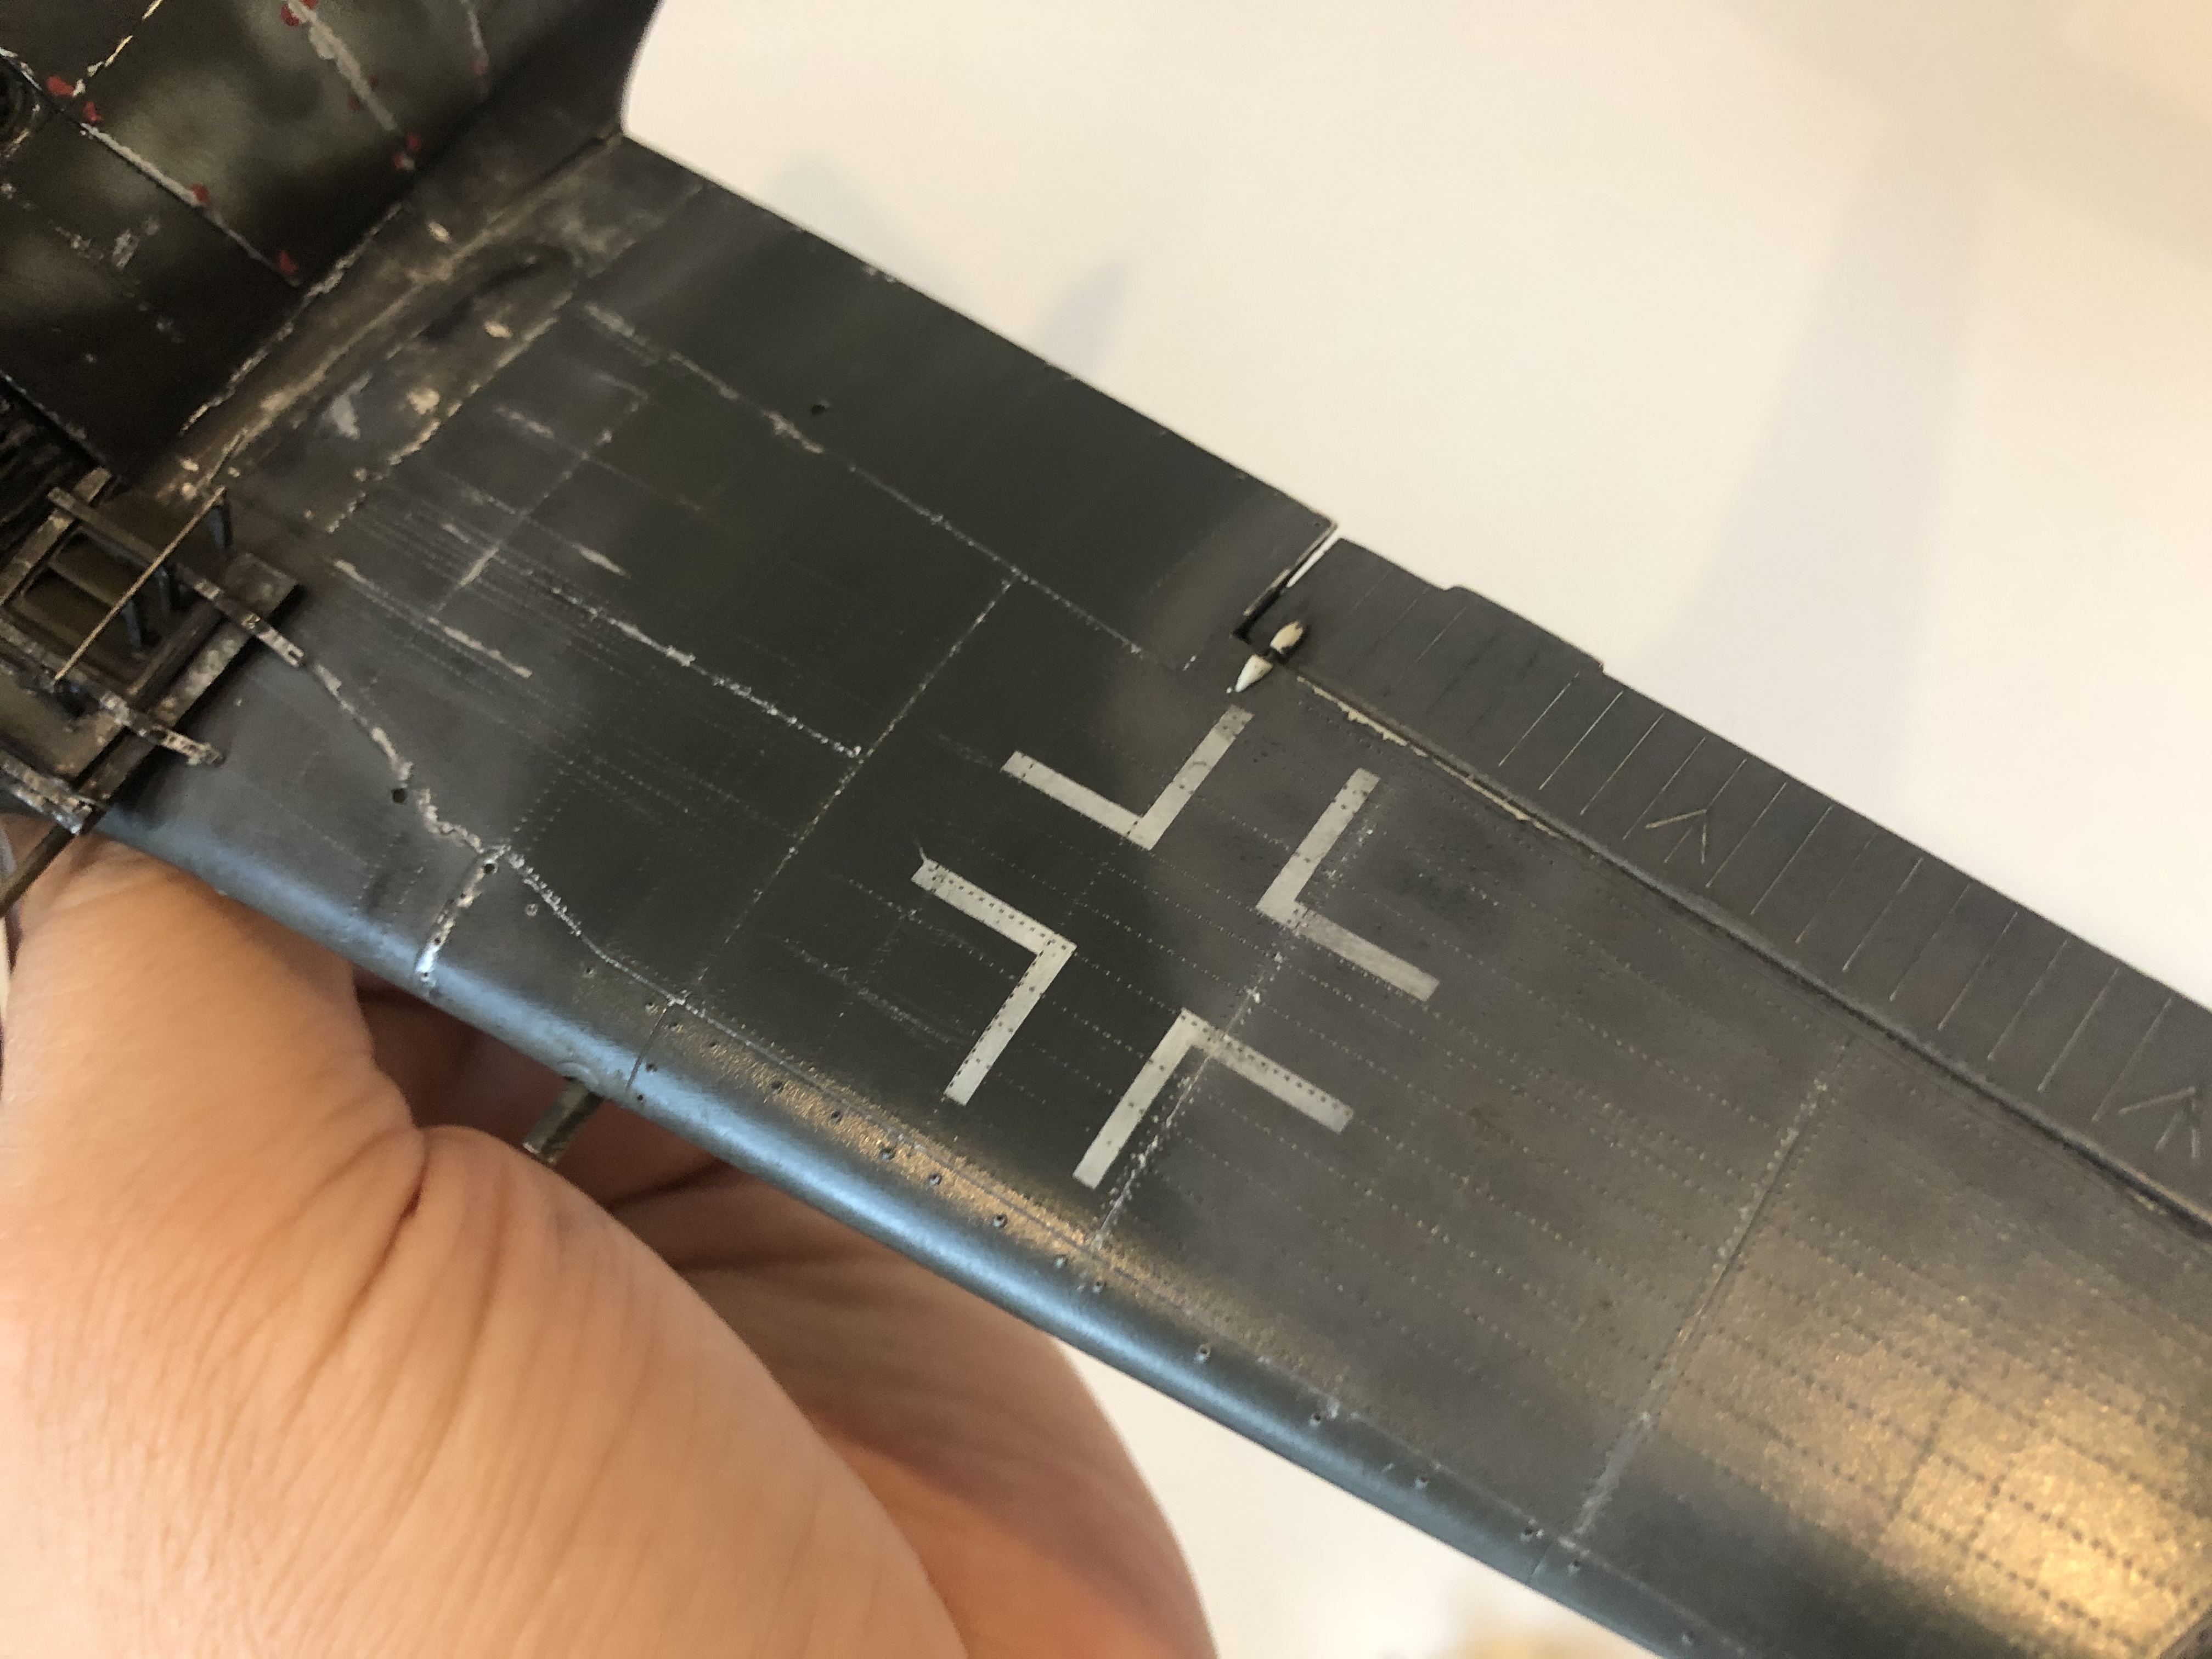
Some work done on the underside.
tried to show the wear and tear by a revised leading edge, and some primed panels.
positive chipping still needs to be done!