


GazzaS
-
Posts
6,396 -
Joined
-
Last visited
Content Type
Profiles
Forums
Events
Gallery
Posts posted by GazzaS
-
-
9 hours ago, DocRob said:
Indeed Gaz, the material is very forgiving and the process seem to allow differently casted shapes, which reduces the parts count. As I'm new to printed parts, I tested primer and glues on residues. Tamiya rattle can primer doesn't do harm, but you definitely need CA for gluing, Plastic cement doesn't work.
Cheers Rob
If you ever find yourself inclined to build an early Nachtjager, these printed aerials by Gaspatch Models have been available for over a year.

-
 3
3
-
 2
2
-
-
21 hours ago, Kaireckstadt said:
That’s a cool and cheap method, Gaz! I will try that too! Is the PCM plastic as sturdy as on e.g. the Tempest-Kit?
Not easy to work with! Very good job so far!
Looking forward to your updates!Thank you! I cannot really complain about the PCM plastic. It's not soft like the stuff you get on kits from Russia.
-
2
-
-
Those engine parts look pretty amazing! I like that 3d printed parts are less brittle than resin. A lot of options have opened up with 3d printing that could only be done with metal before.
-
4
-
-
Great looking Totenkopf!
Bombs look great, too!
-
3
-
-
-
Great job on the Pfalz Bill!
-
4
-
-
It's a great one, Harv.
-
5
-
-
-
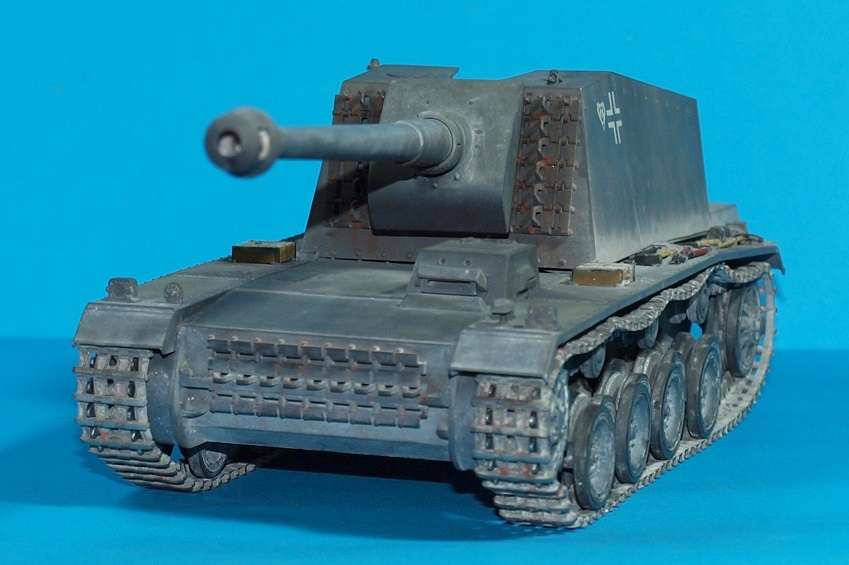
I try to get 12 builds done a year. But this year with figures and a couple builds that went long, I've completed much less. However... I've done more LSM's then ever before. So... here we go:
First up was this Trumpeter Sturer Emil 1/35.
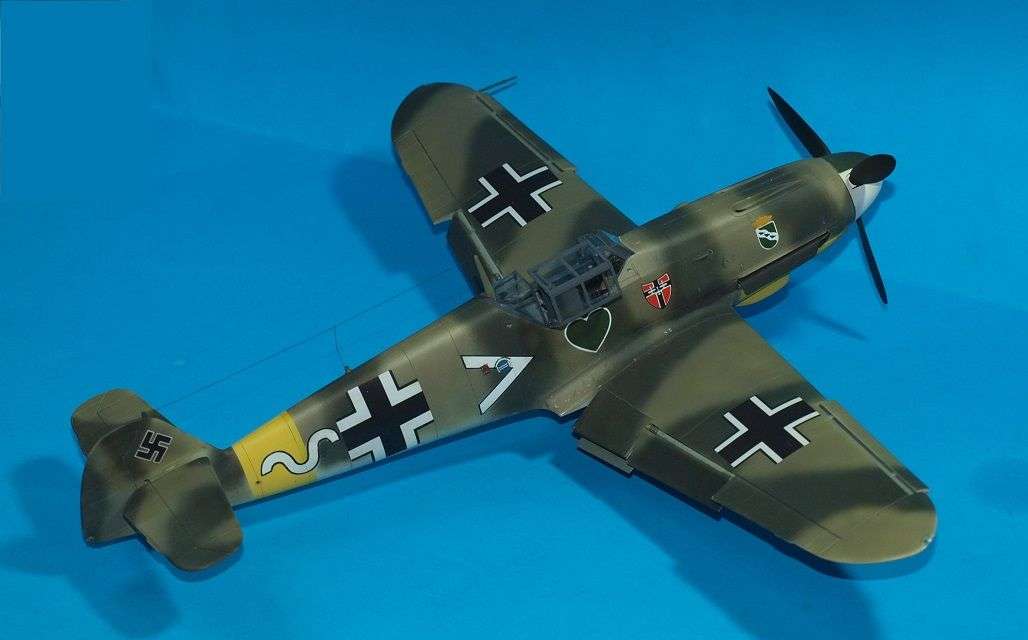
Then this Hasegawa BF109 F4 flown by Erwin Leykauf
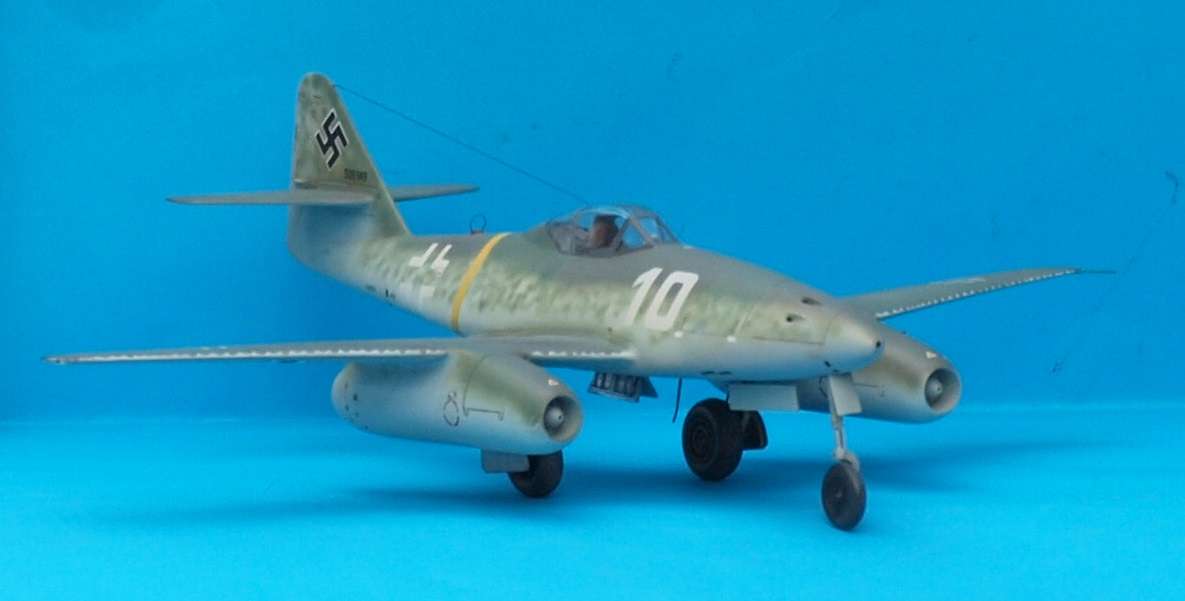
I whipped out this 1978 molds Revell Me-262 pretty quickly.
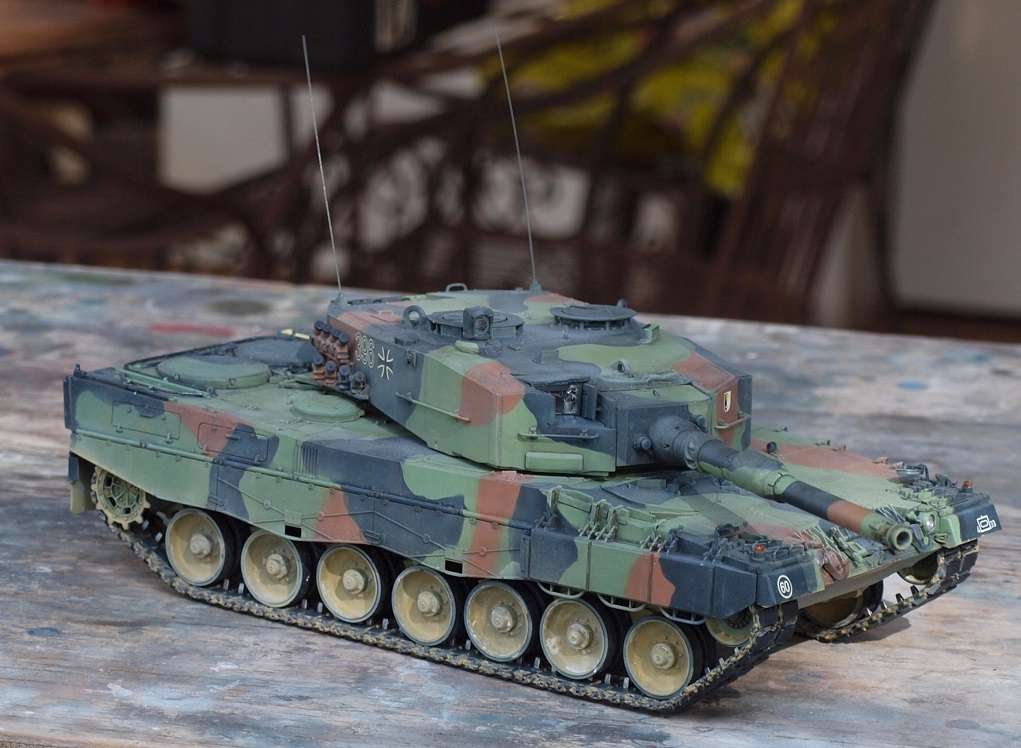
And then I got myself tied into three Bundeswher builds

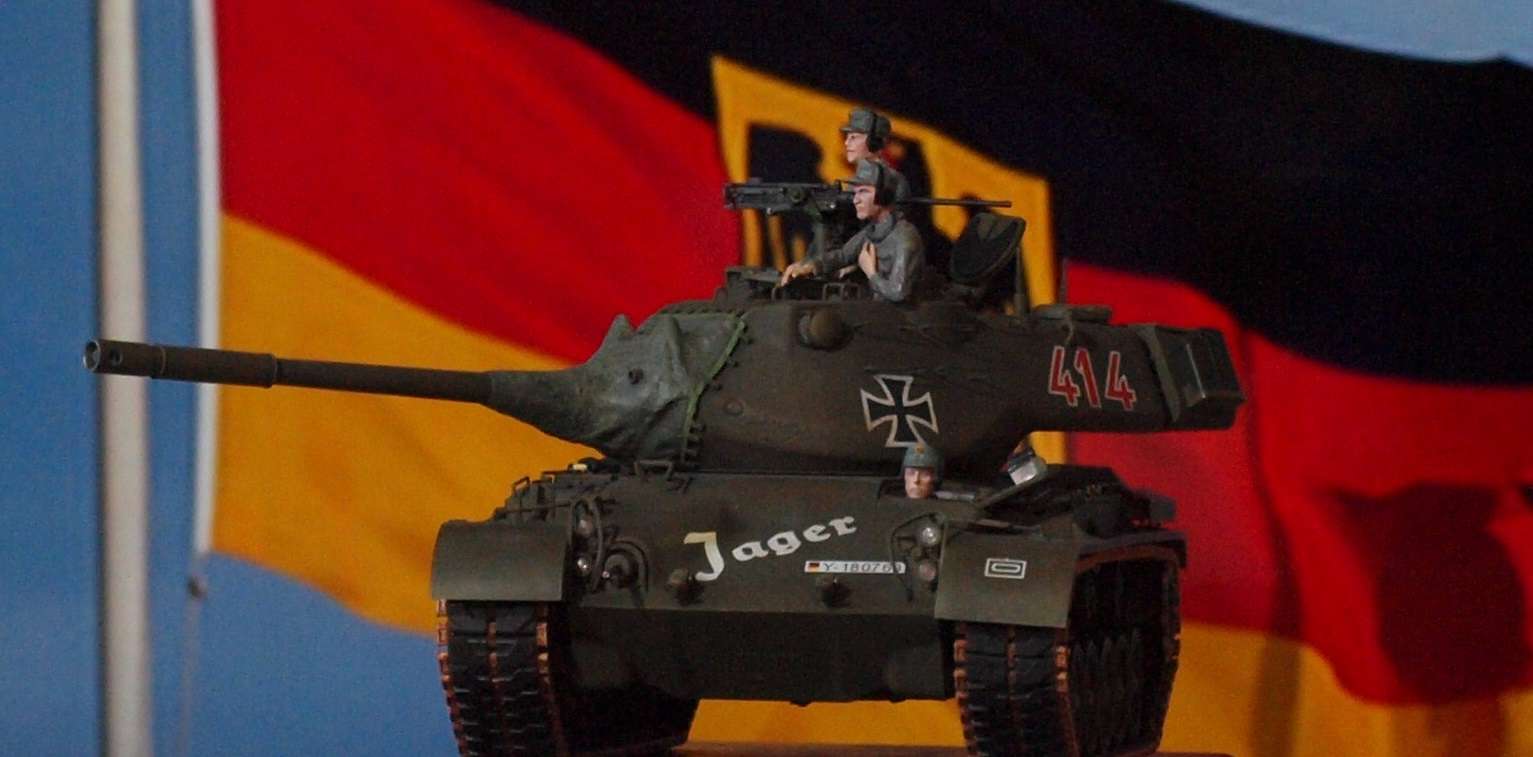
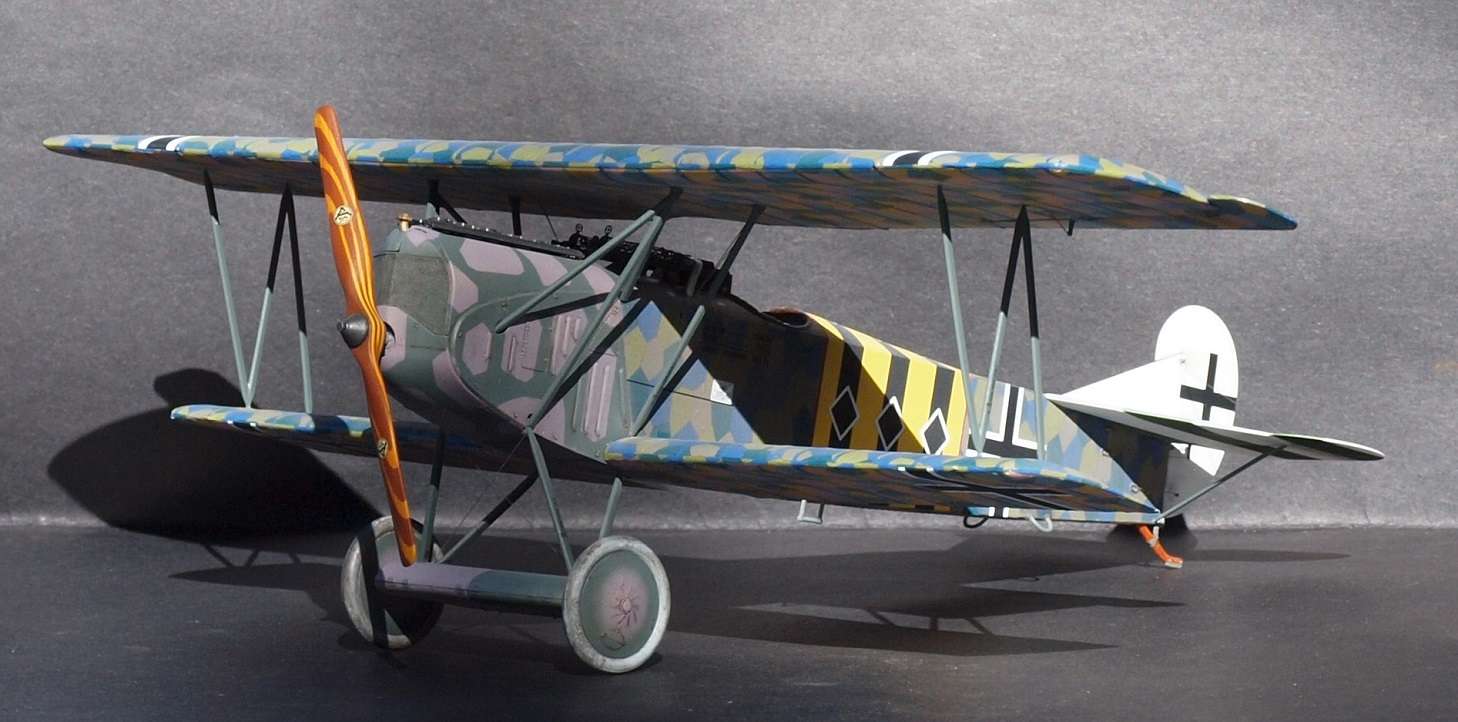
While doing them, I spent a lot of time on this WNW Fokker D.VII. I had to ruin one WNW Fokker to complete another. I gave the wreck away.
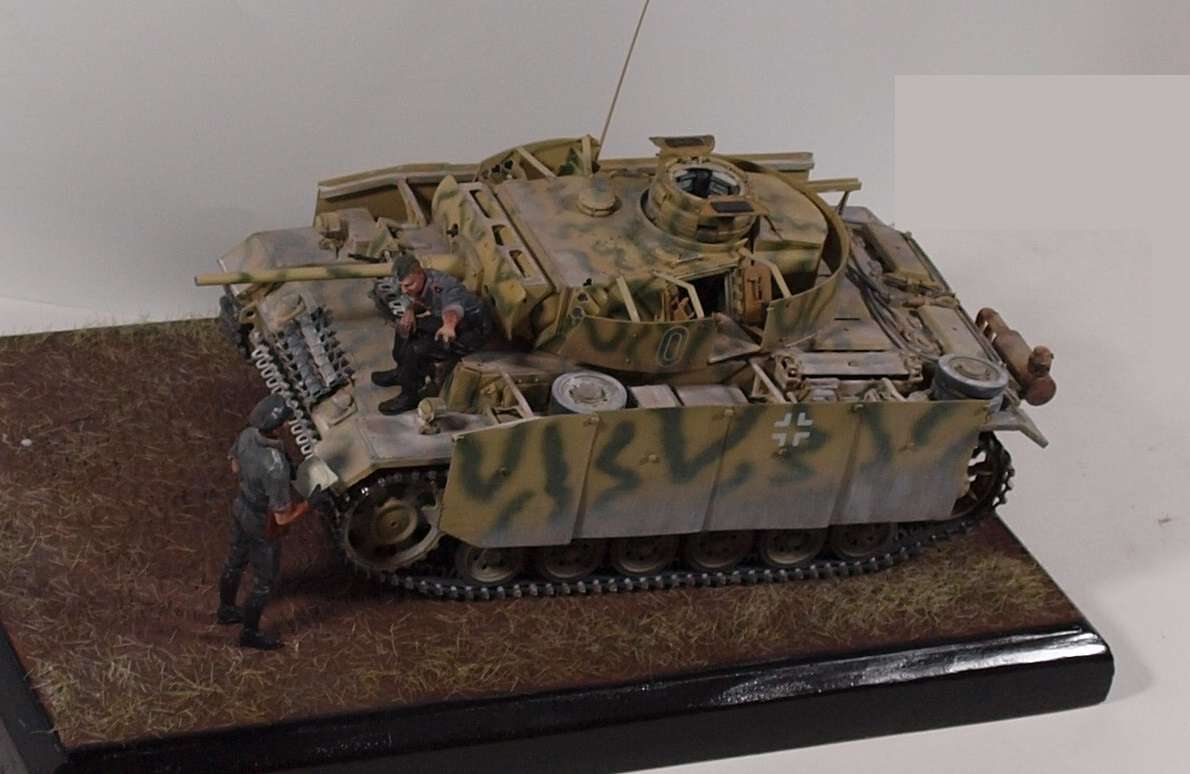
Then, I went overlong on this Dragon PZ III M.
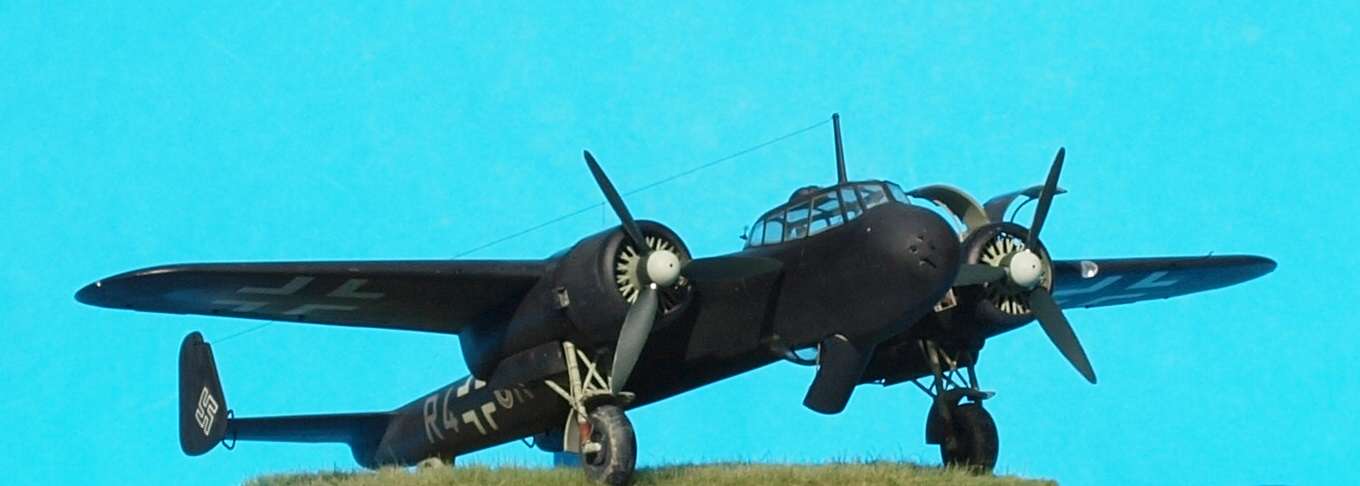
Although all builds are somewhat rewarding, I reckon this Dornier Do-17Z-7 Kauz I was the most rewarding.
-
8
-
1
-
-
Great work! Always happy to see aircraft with "Marine" on them.
-
4
-
1
-
-
Nice collection, Brad! I particularly like the PCM Macchi. You've had a productive year for sure.
-
6
-
-
Great work, fellas!
-
3
-
-
Great production for the year, John! All great looking, though I do admit a fondness for the P-39.
Though there is a suspicious lack of Corsairs. BTW... Don't you like Wildcat or Hellcat?
Gaz
-
4
-
-
It is a beauty, Ern. Don;t want to go too far.
-
5
-
-
17 hours ago, DocRob said:
Whatever a 'D' is, it seems, that you are not very fond of your build and I don't understand why. I like the paintjob a lot and the way, the figures interact, make the scene believable and interesting.
Cheers Rob
Thank you, Rob. I'm most disappointed in the figures and the base. Somehow, on the day when tested the static grass on a piece of cardboard,it stood nicely. However... this time it did not. Static grass applicator is on order.
Gaz
-
4
-
-
56 minutes ago, BlrwestSiR said:
You don't see too many of these made.
Carl
I think that if I had paid retail, and been expecting something akin to Hasegawa, I might have been upset, and chucked it into the stash to be built or sold at a later date.
But, I got my first PCM kit for free... the TA-152 C. I looked it up, and retail was around 80 bucks US. It provided some hurdles, but I was happy with the result. I got this A-1/A-3 in a trade. So, I knew what kind of quality to expect and decided it was worth it to be able to build a version that isn't covered by anyone else.
-
2
-
-
Well, finishing up the year with a bunch of learning experiences. So, I'm giving myself a D on this one.
A friend has suggested using white backgrounds. All I think a white background does is mute the rest of the photo.
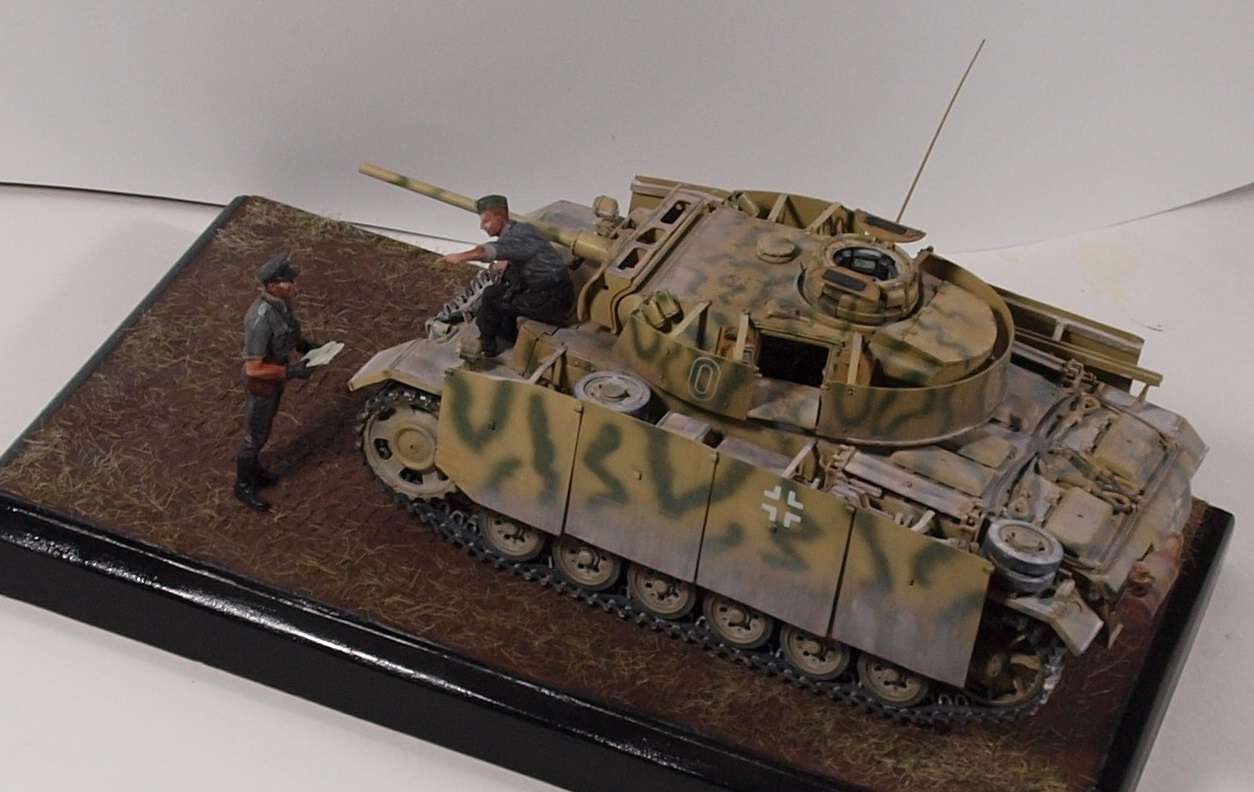
After seeing Uncle Nightshift do his figures with acrylics, I thought I would have another go. Trust me... they look better farther away.
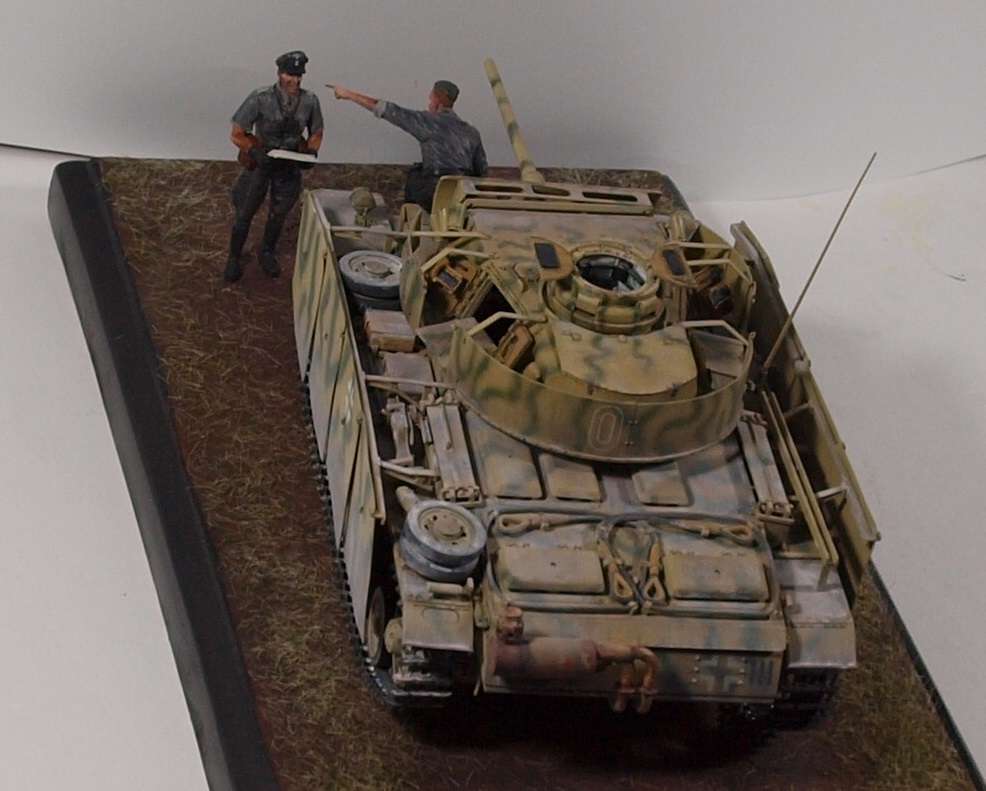
Finally... Static grass. Must get a static grass applicator.
Anyway... I can call this one done, and get it off my bench and out of my mind.
-
5
-
1
-
-
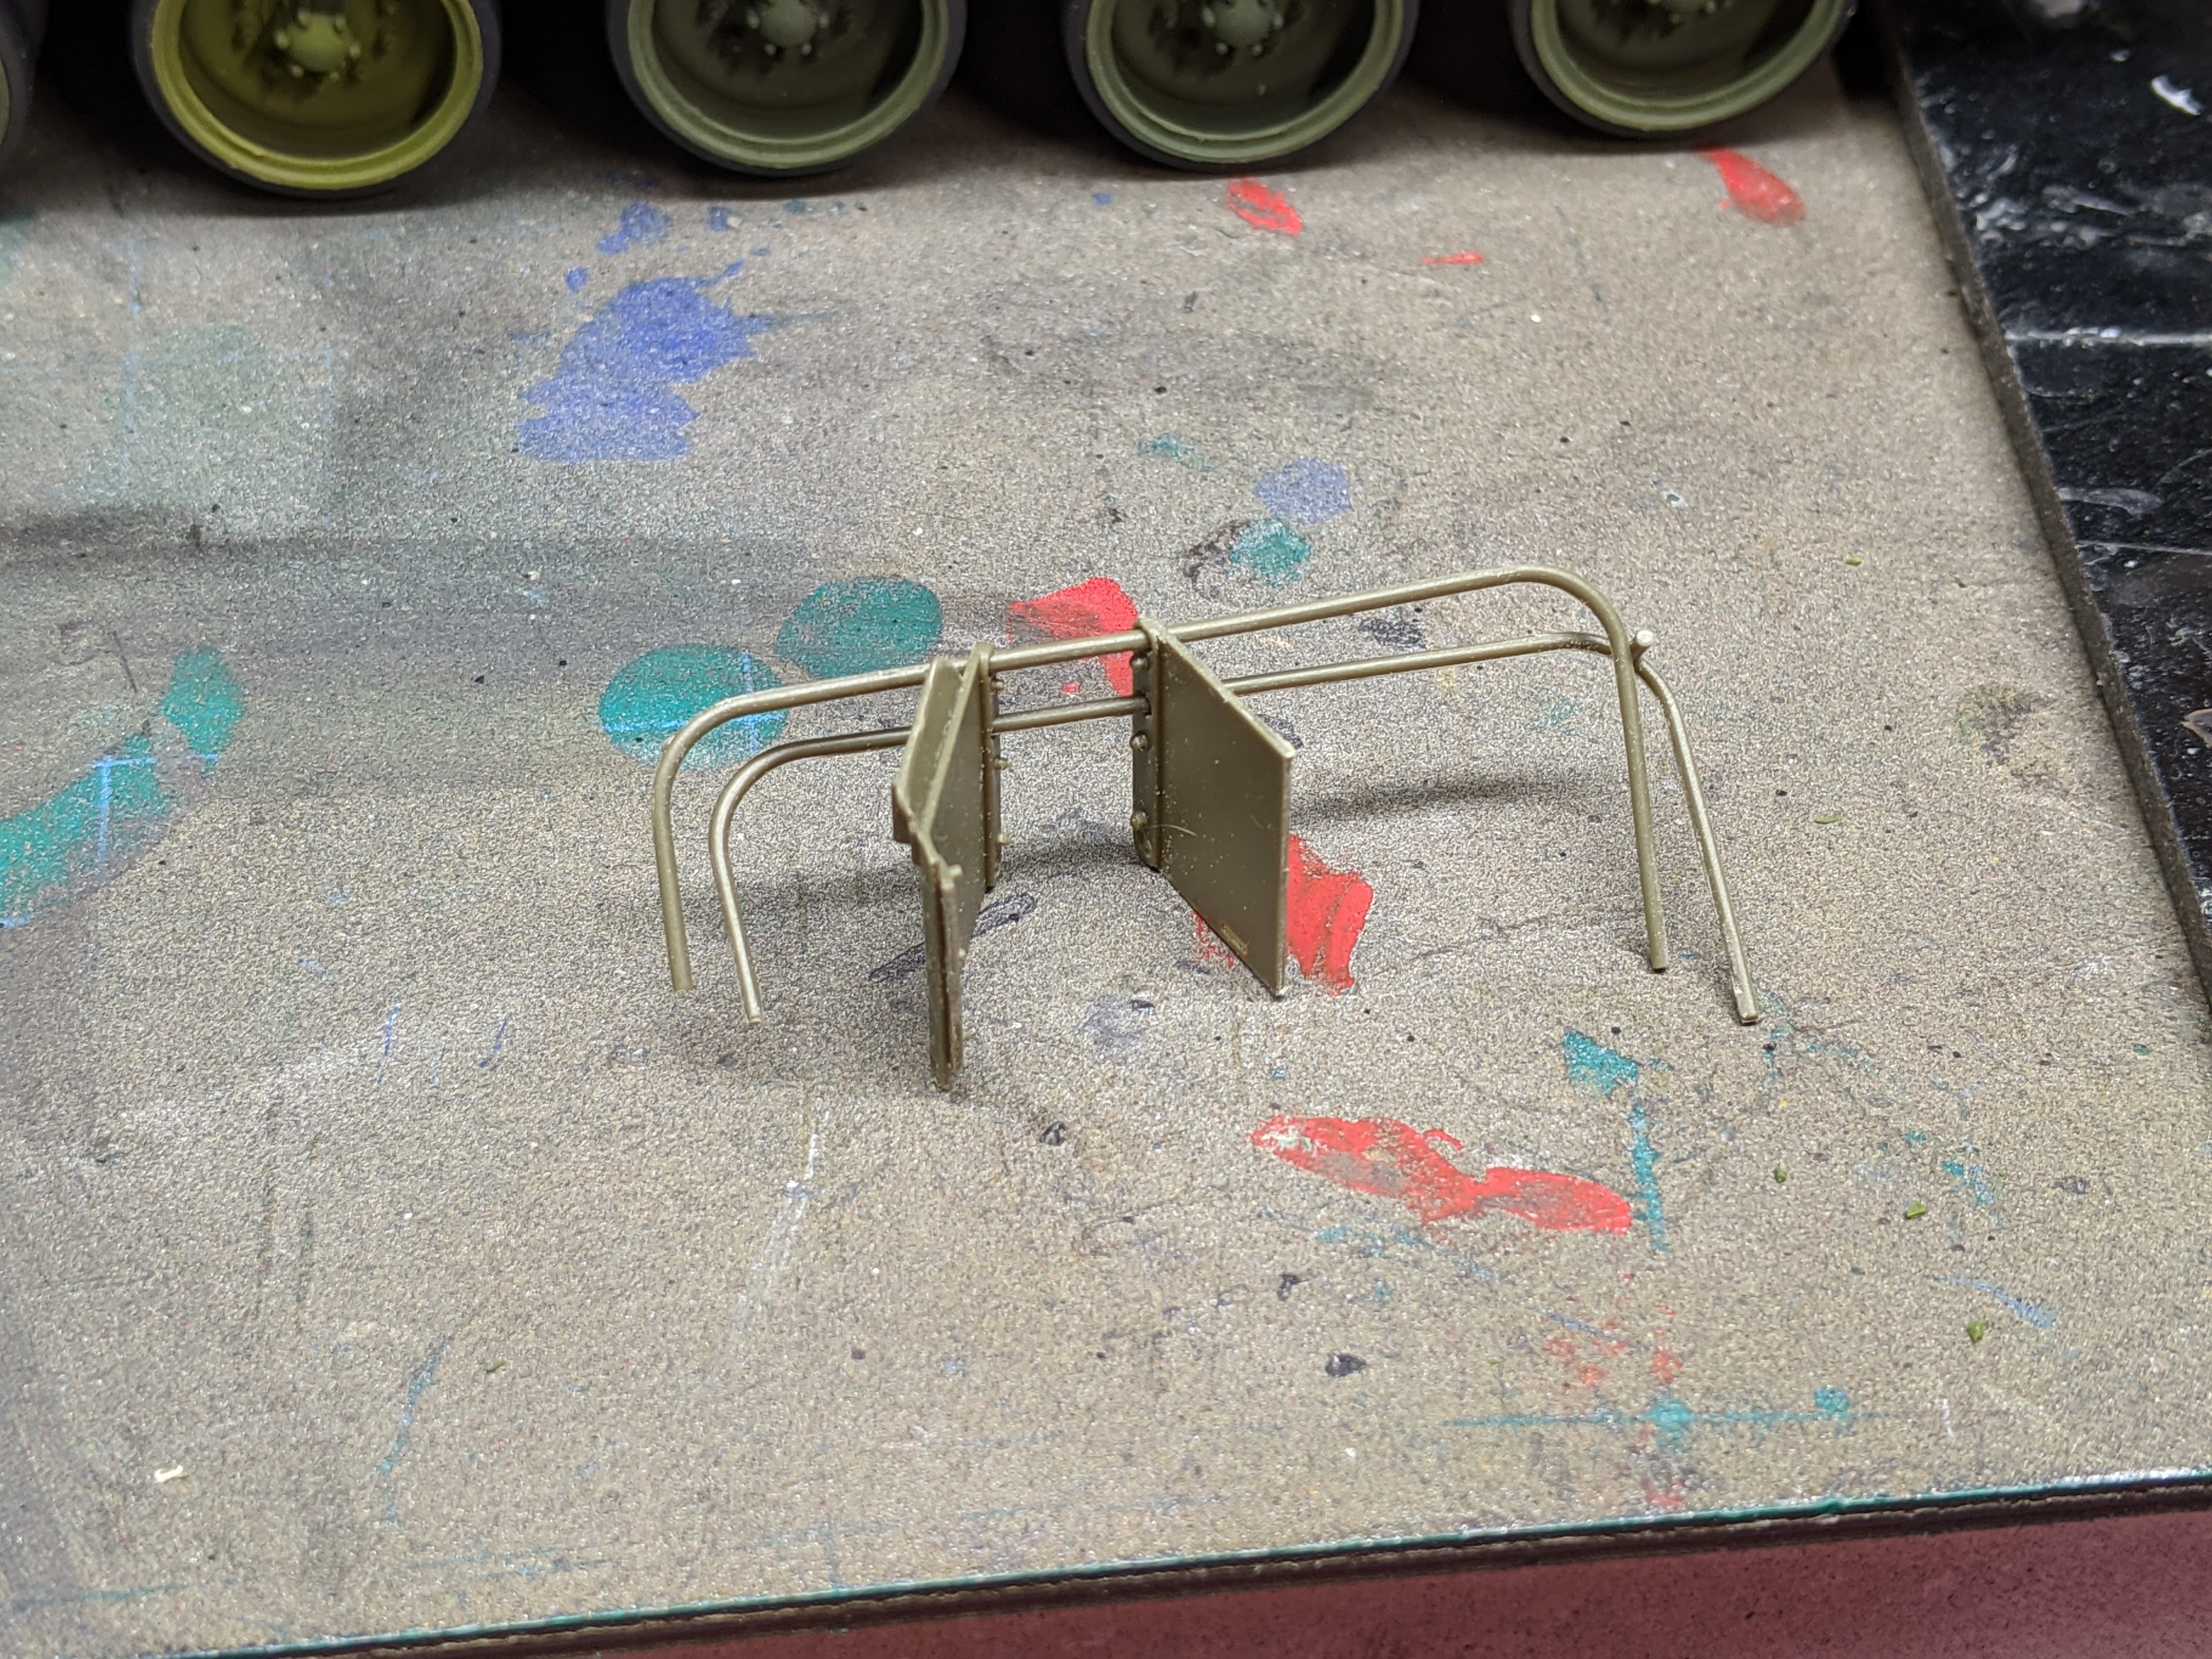
2 hours ago, BlrwestSiR said:
More work on the Patton. AFV Club have make the turret bustle rack out a billion fragile bits. Not really a billion but close enough.

This bracket is 5 parts alone.
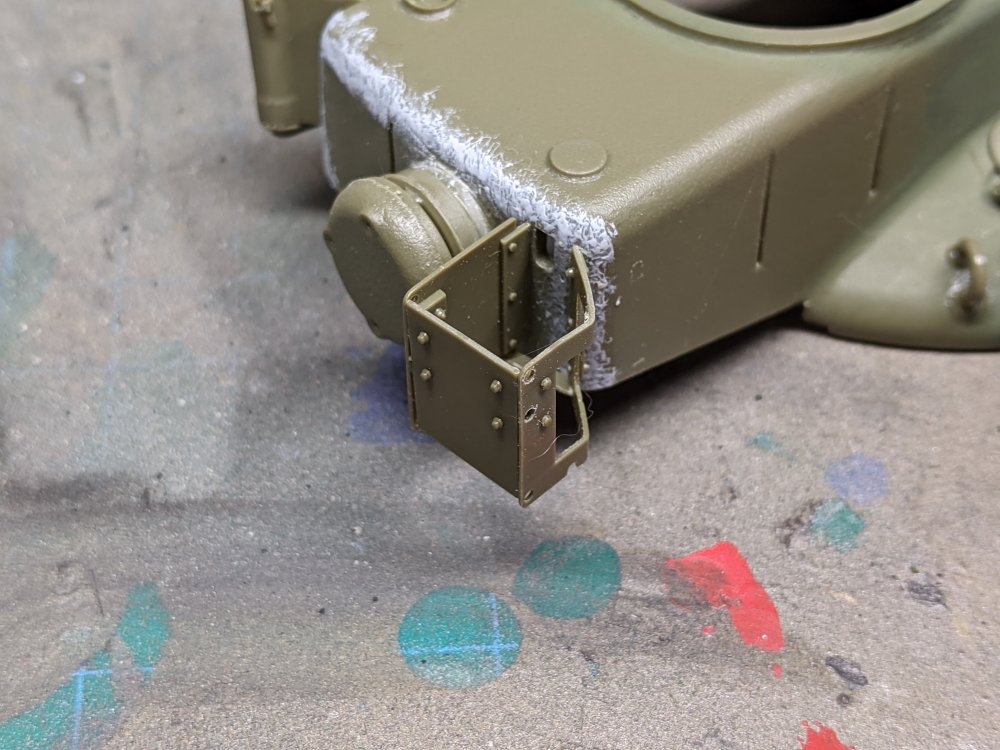
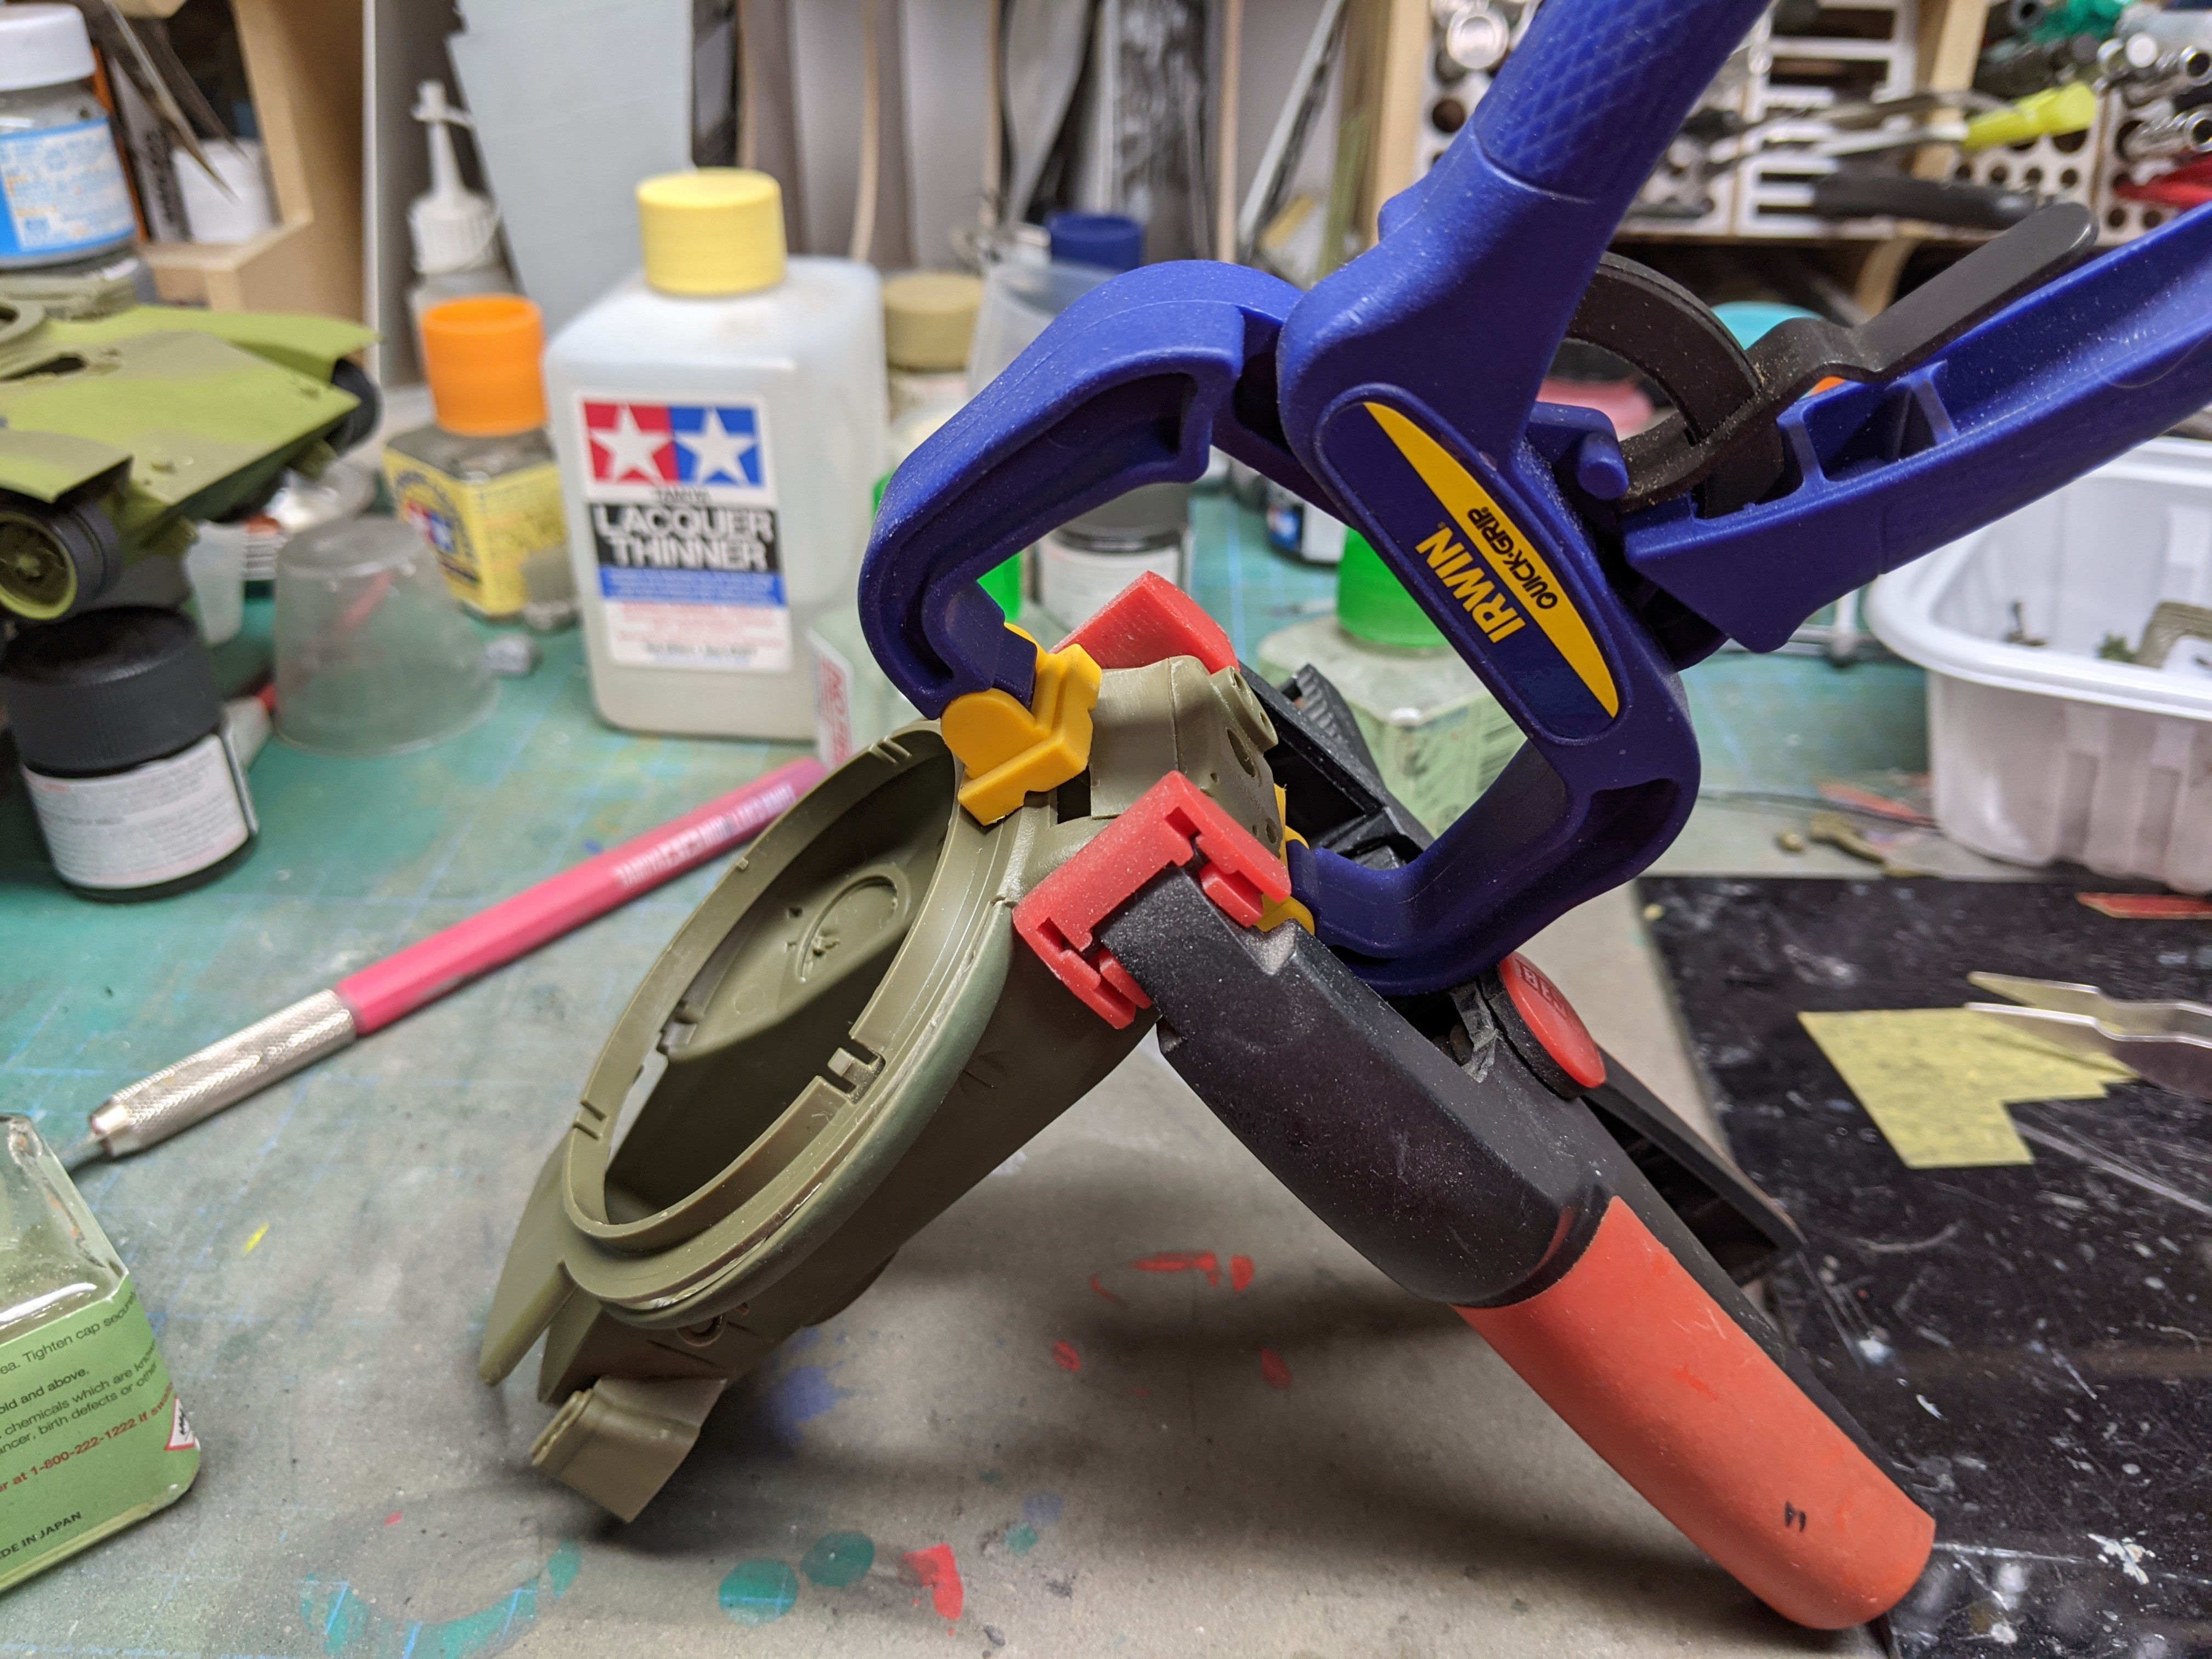
Turret halves are together.
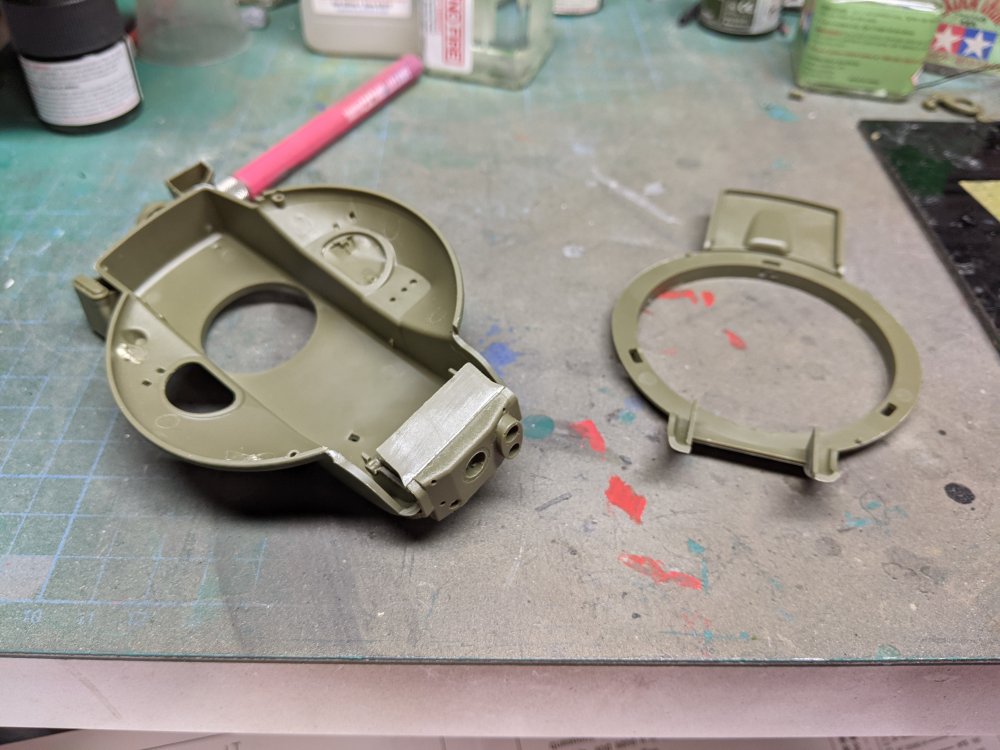

Once the front is dry, I'll glue the rear half together.
Turret racks and hand rails.... the bane of modern armor modelling. I really need to spend a ton of time improving my soldering. You've done well!
-
3
-
1
-
-
5 hours ago, Bomber_County said:
Nice, wow the count is small!!!!!!! Looking forward to the next segment....
Thank you. Yes, it's much more like an up-scaled 1/48 kit than a good 1/32 kit.
Gaz
-
3
-
-
7 hours ago, DocRob said:
Nice engineering on the Würger, I mean your work, not the plastic
") . I have to build one in the near future, I have only a TA-152 to show for, which is partly untrue, because I gave it to a friend.
. I have to build one in the near future, I have only a TA-152 to show for, which is partly untrue, because I gave it to a friend.
Could you enlighten us, how your electric toothbrush sanding device works, as a tool nerd, I really like to know.
Cheers Rob
Thank you, Rob!
Materials: Electric toothbrush, Double-sided tape, and No-fil Sand paper. No-fil paper is best because regular sheet can clog up quickly. The double sided tape I have has a foam center and is about 1.5mm thick.
Next, shave all of the bristles off the disposable toothbrush head. Then cut your double sided tape to a desired size. Mine was about 10mmX10mm for this task. Attach the double sided tape to the bristle-less toothbrush head and peel off the backing from the side of the double-sided tape facing you. Tear off a piece of sand paper near the same size as your tape. Attach it to the tape. I use 600 grit when I want to remove material quickly, and 1200, for slow removal. If I want to remove stuff really fast, and there is no raised detail nearby, I use 320 grit.
As a safety measure, tape over any raised detail nearby.
For this task I used CA as a filler. Even though I had to apply it 4 times to fill every divot, I didn't have to wait overnight. And if you do use CA... don't let it cure overnight. Because then you will end up stripping more around the CA than to the CA.
Since I started using the toothbrush, I hardly ever hand sand any more.
Gaz
-
2
-
1
-
-
Looks pretty sweet, Harv!
-
1
-
1
-
-
Just a small update here...
Before I went to painting anything pretty, I wanted to take care of some mechanical features.
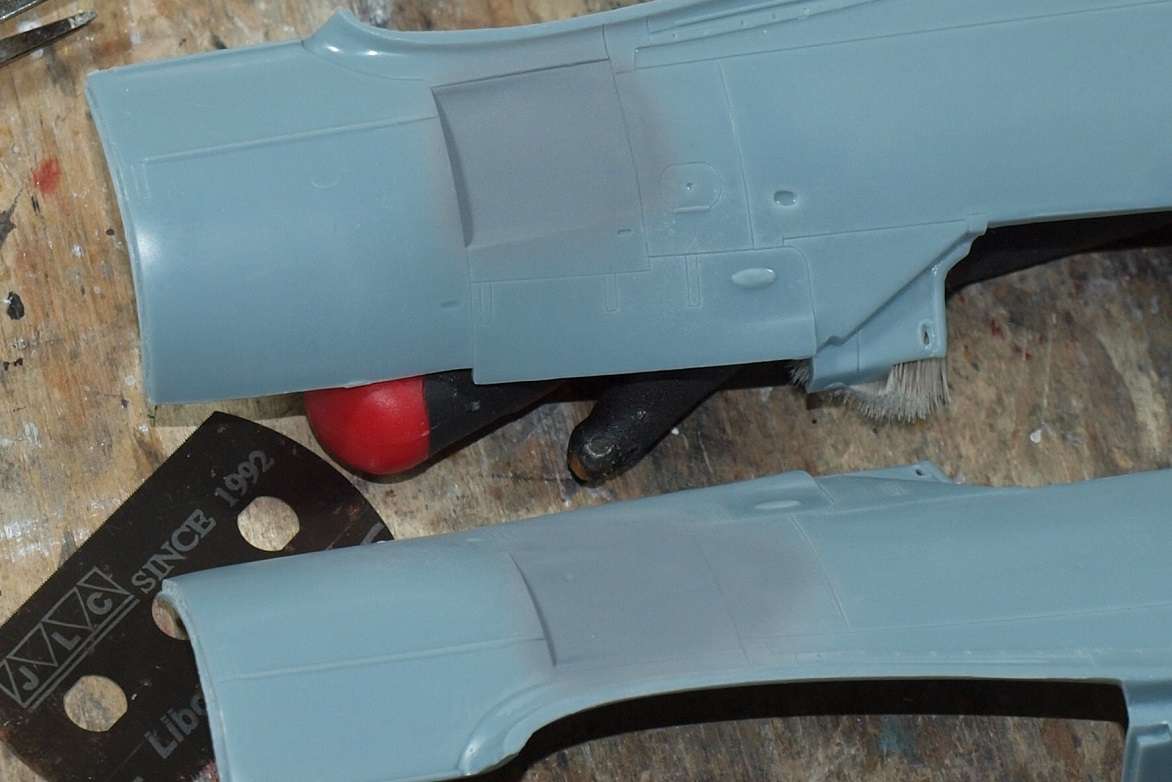
The fuselage is molded for A-2 and A-3. Converting to the A-1 requires the placing of two plugs inside the fuselage halves. And some filling...
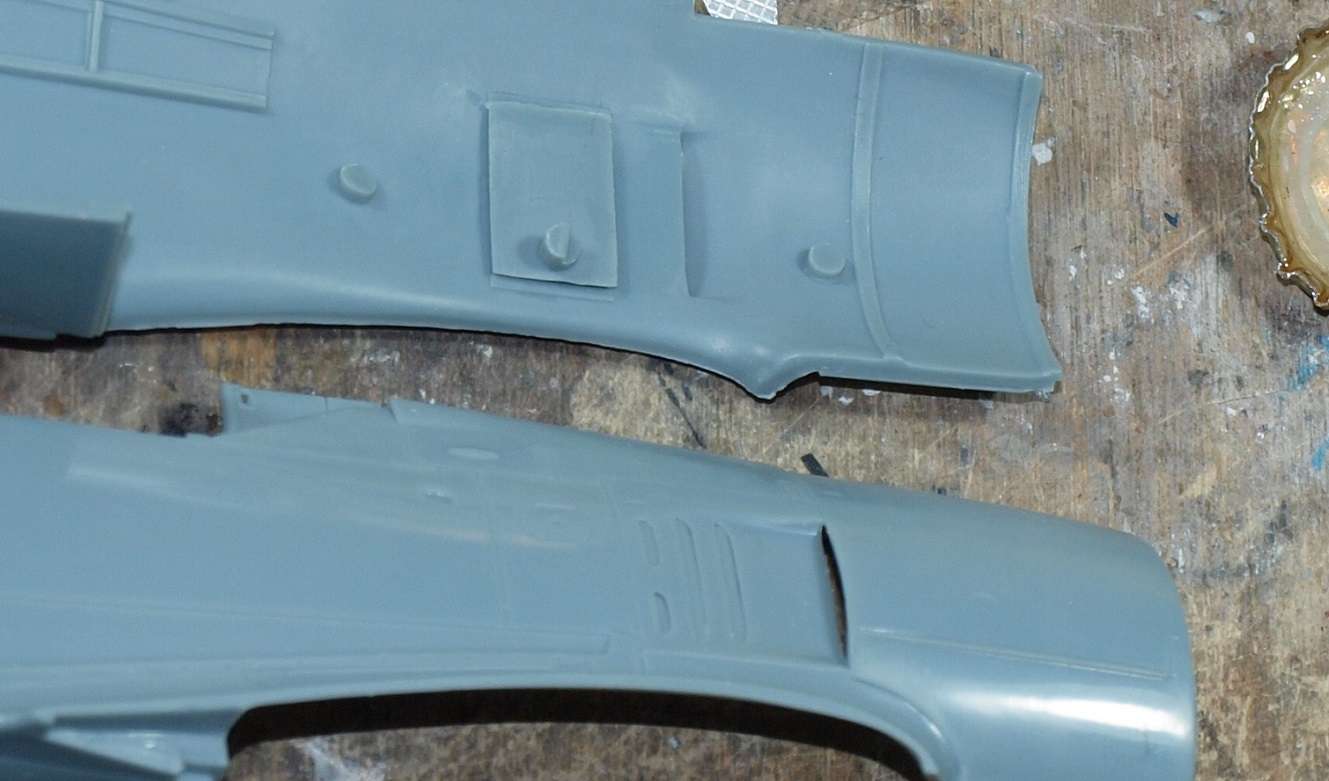
The fit isn't exactly 100% tight.
And one of my pet peeves is a non-rotatable propeller. If it can't spin, I can't position it for photos and it's more than twice as easy to break off. Originally, I would have glued the engine to the fan to the spinner.
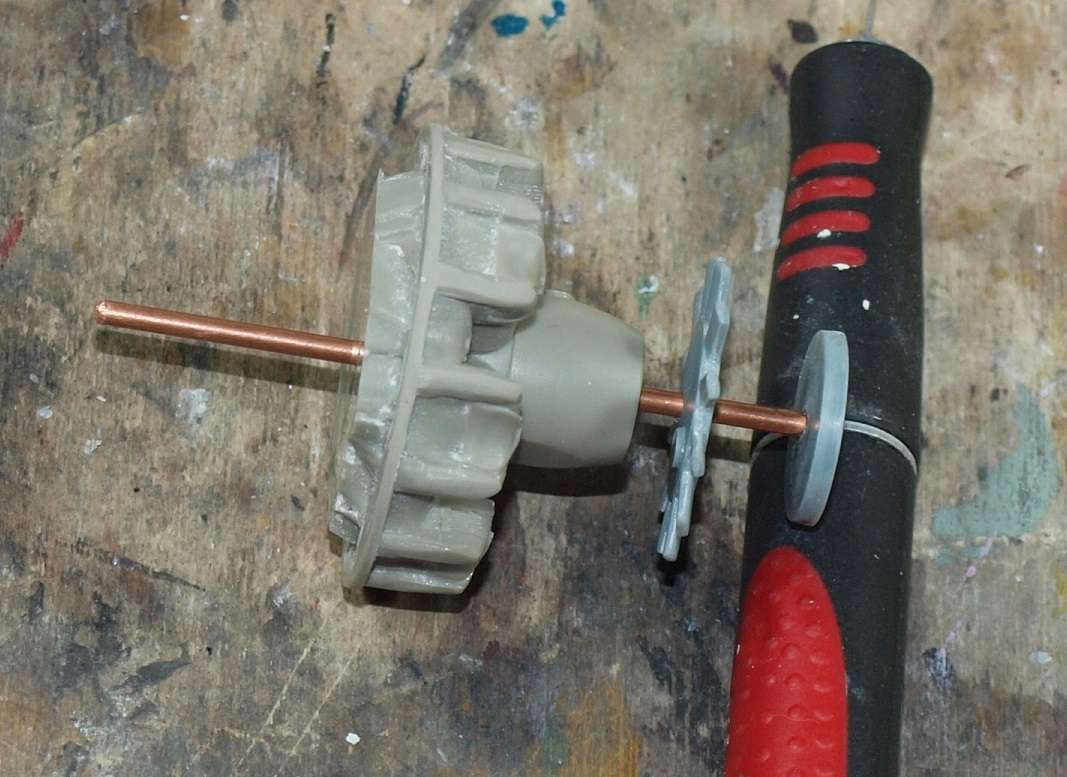
So, I drilled though the resin motor plug, the fan, and the base of the propeller spinner, and inserted a piece of 2mm Copper tube. This will give me a lot more freedom late in the build.
I used my electric toothbrush sanding system to sand the small area between raised details of the exhaust area. I'm quite pleased with the result.
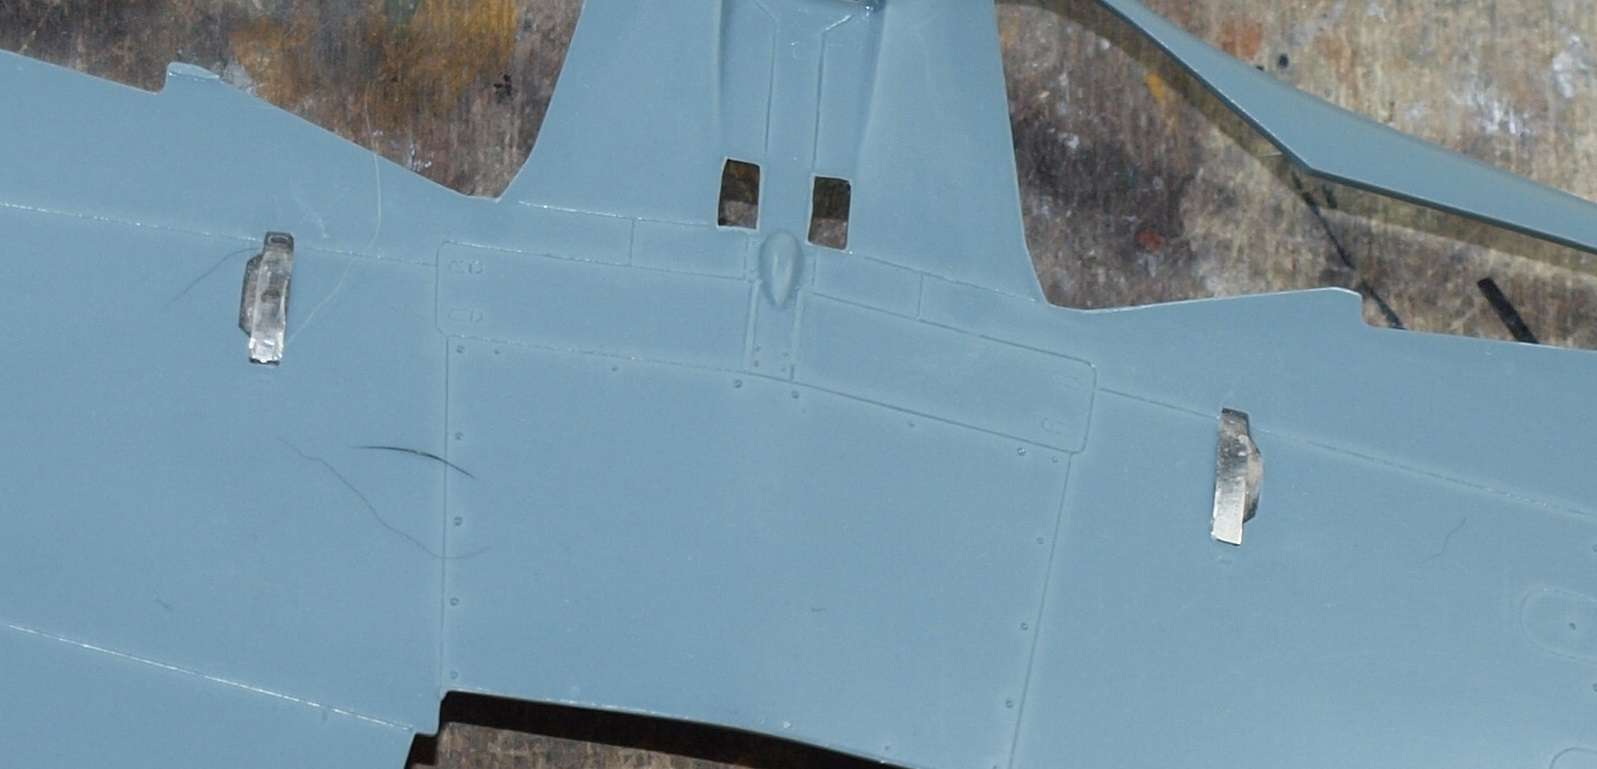
The final early feature to add was blanking off the MG 151 shell ejector chute ports. This was facilitated by two small pieces of PE.
Thanks for looking!
Gaz
-
6
-
1
-
-
Nice!
-
2
-
-
On 12/24/2020 at 1:51 PM, krow113 said:
Last minute gifts going out;
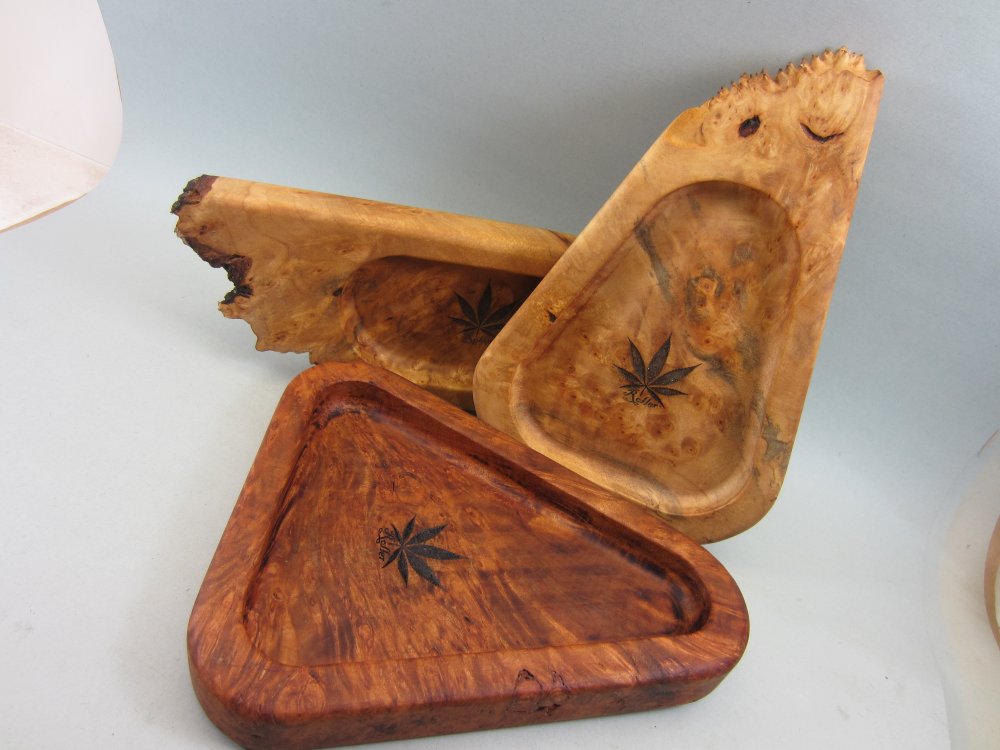
The 2 in the back are maple burl with all the striations , birds eye, spalting , etc. The red one is a rare juniper burl.
Almost ready for A Gotha onslaught.
So, what are they? "Special ashtrays"?
-
1
-
 4
4
-


PCM Focke Wulf FW 190 A-1/A-2/A-3
in LSM 1/35 and Larger Work In Progress
Posted
My dilemma now is to rivet or not to rivet. I'm more inclined not to rivet. How's the surface on your A-8?