JohnAA
-
Posts
9 -
Joined
-
Last visited
-
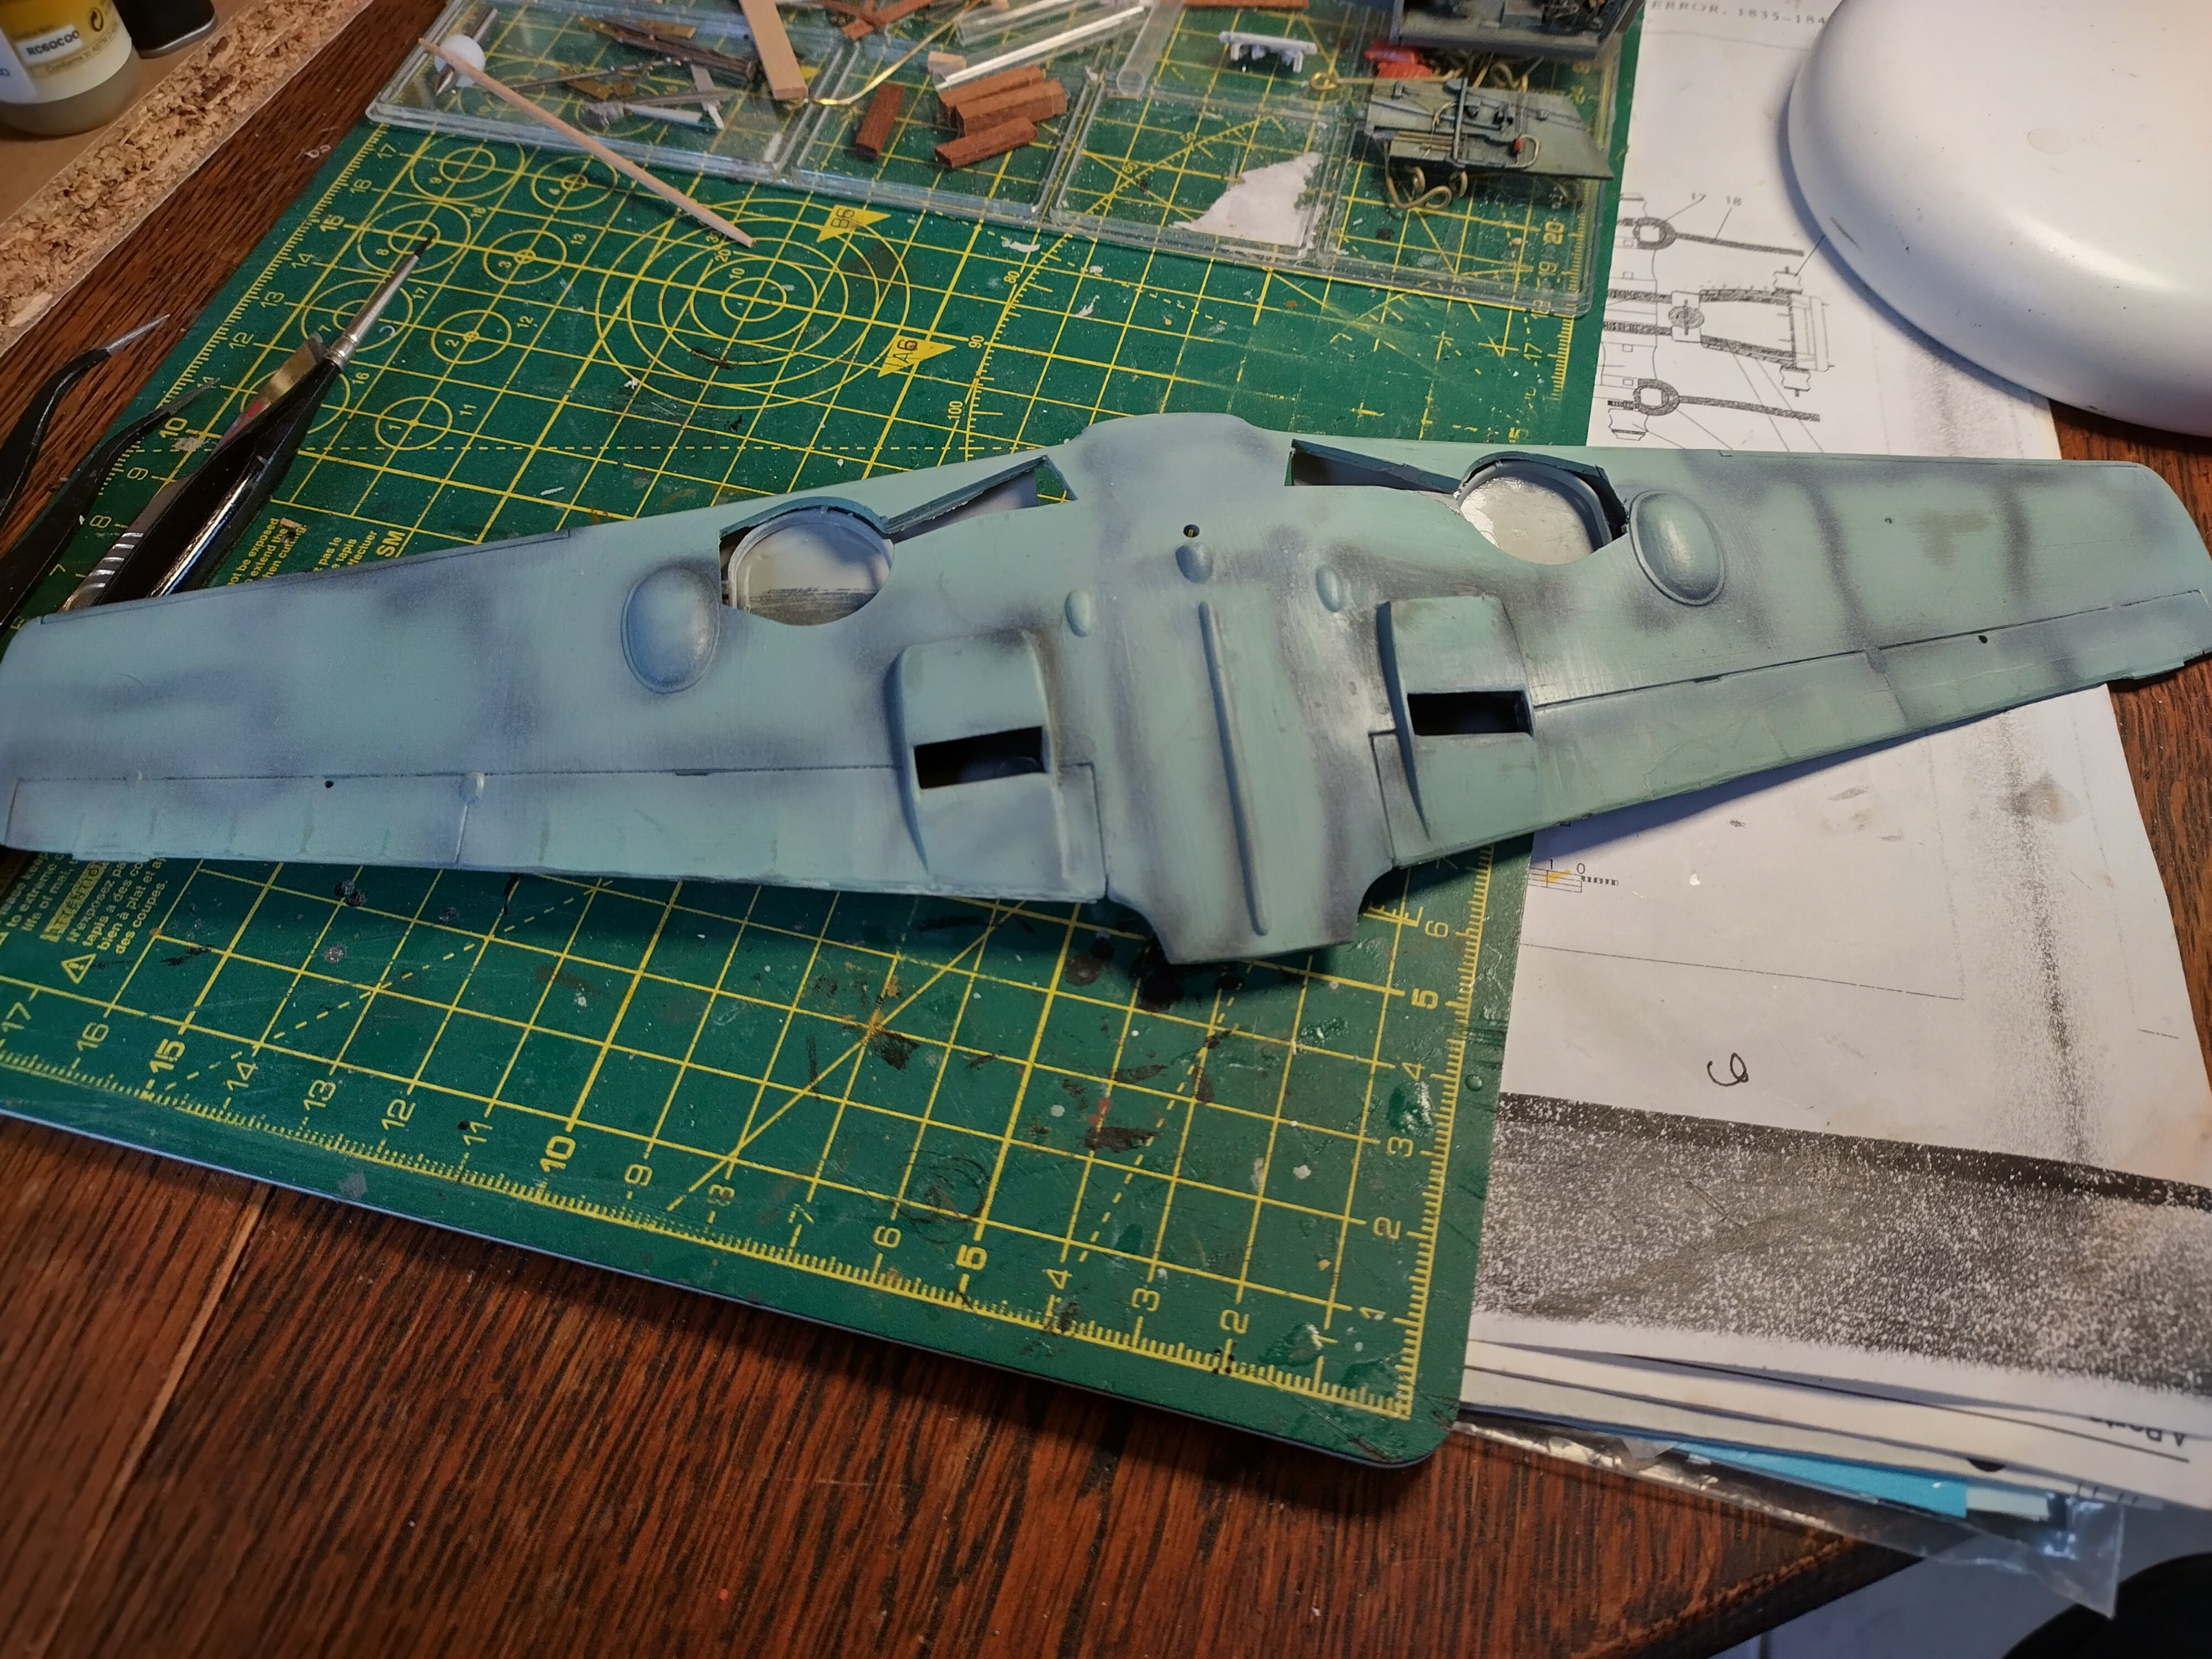
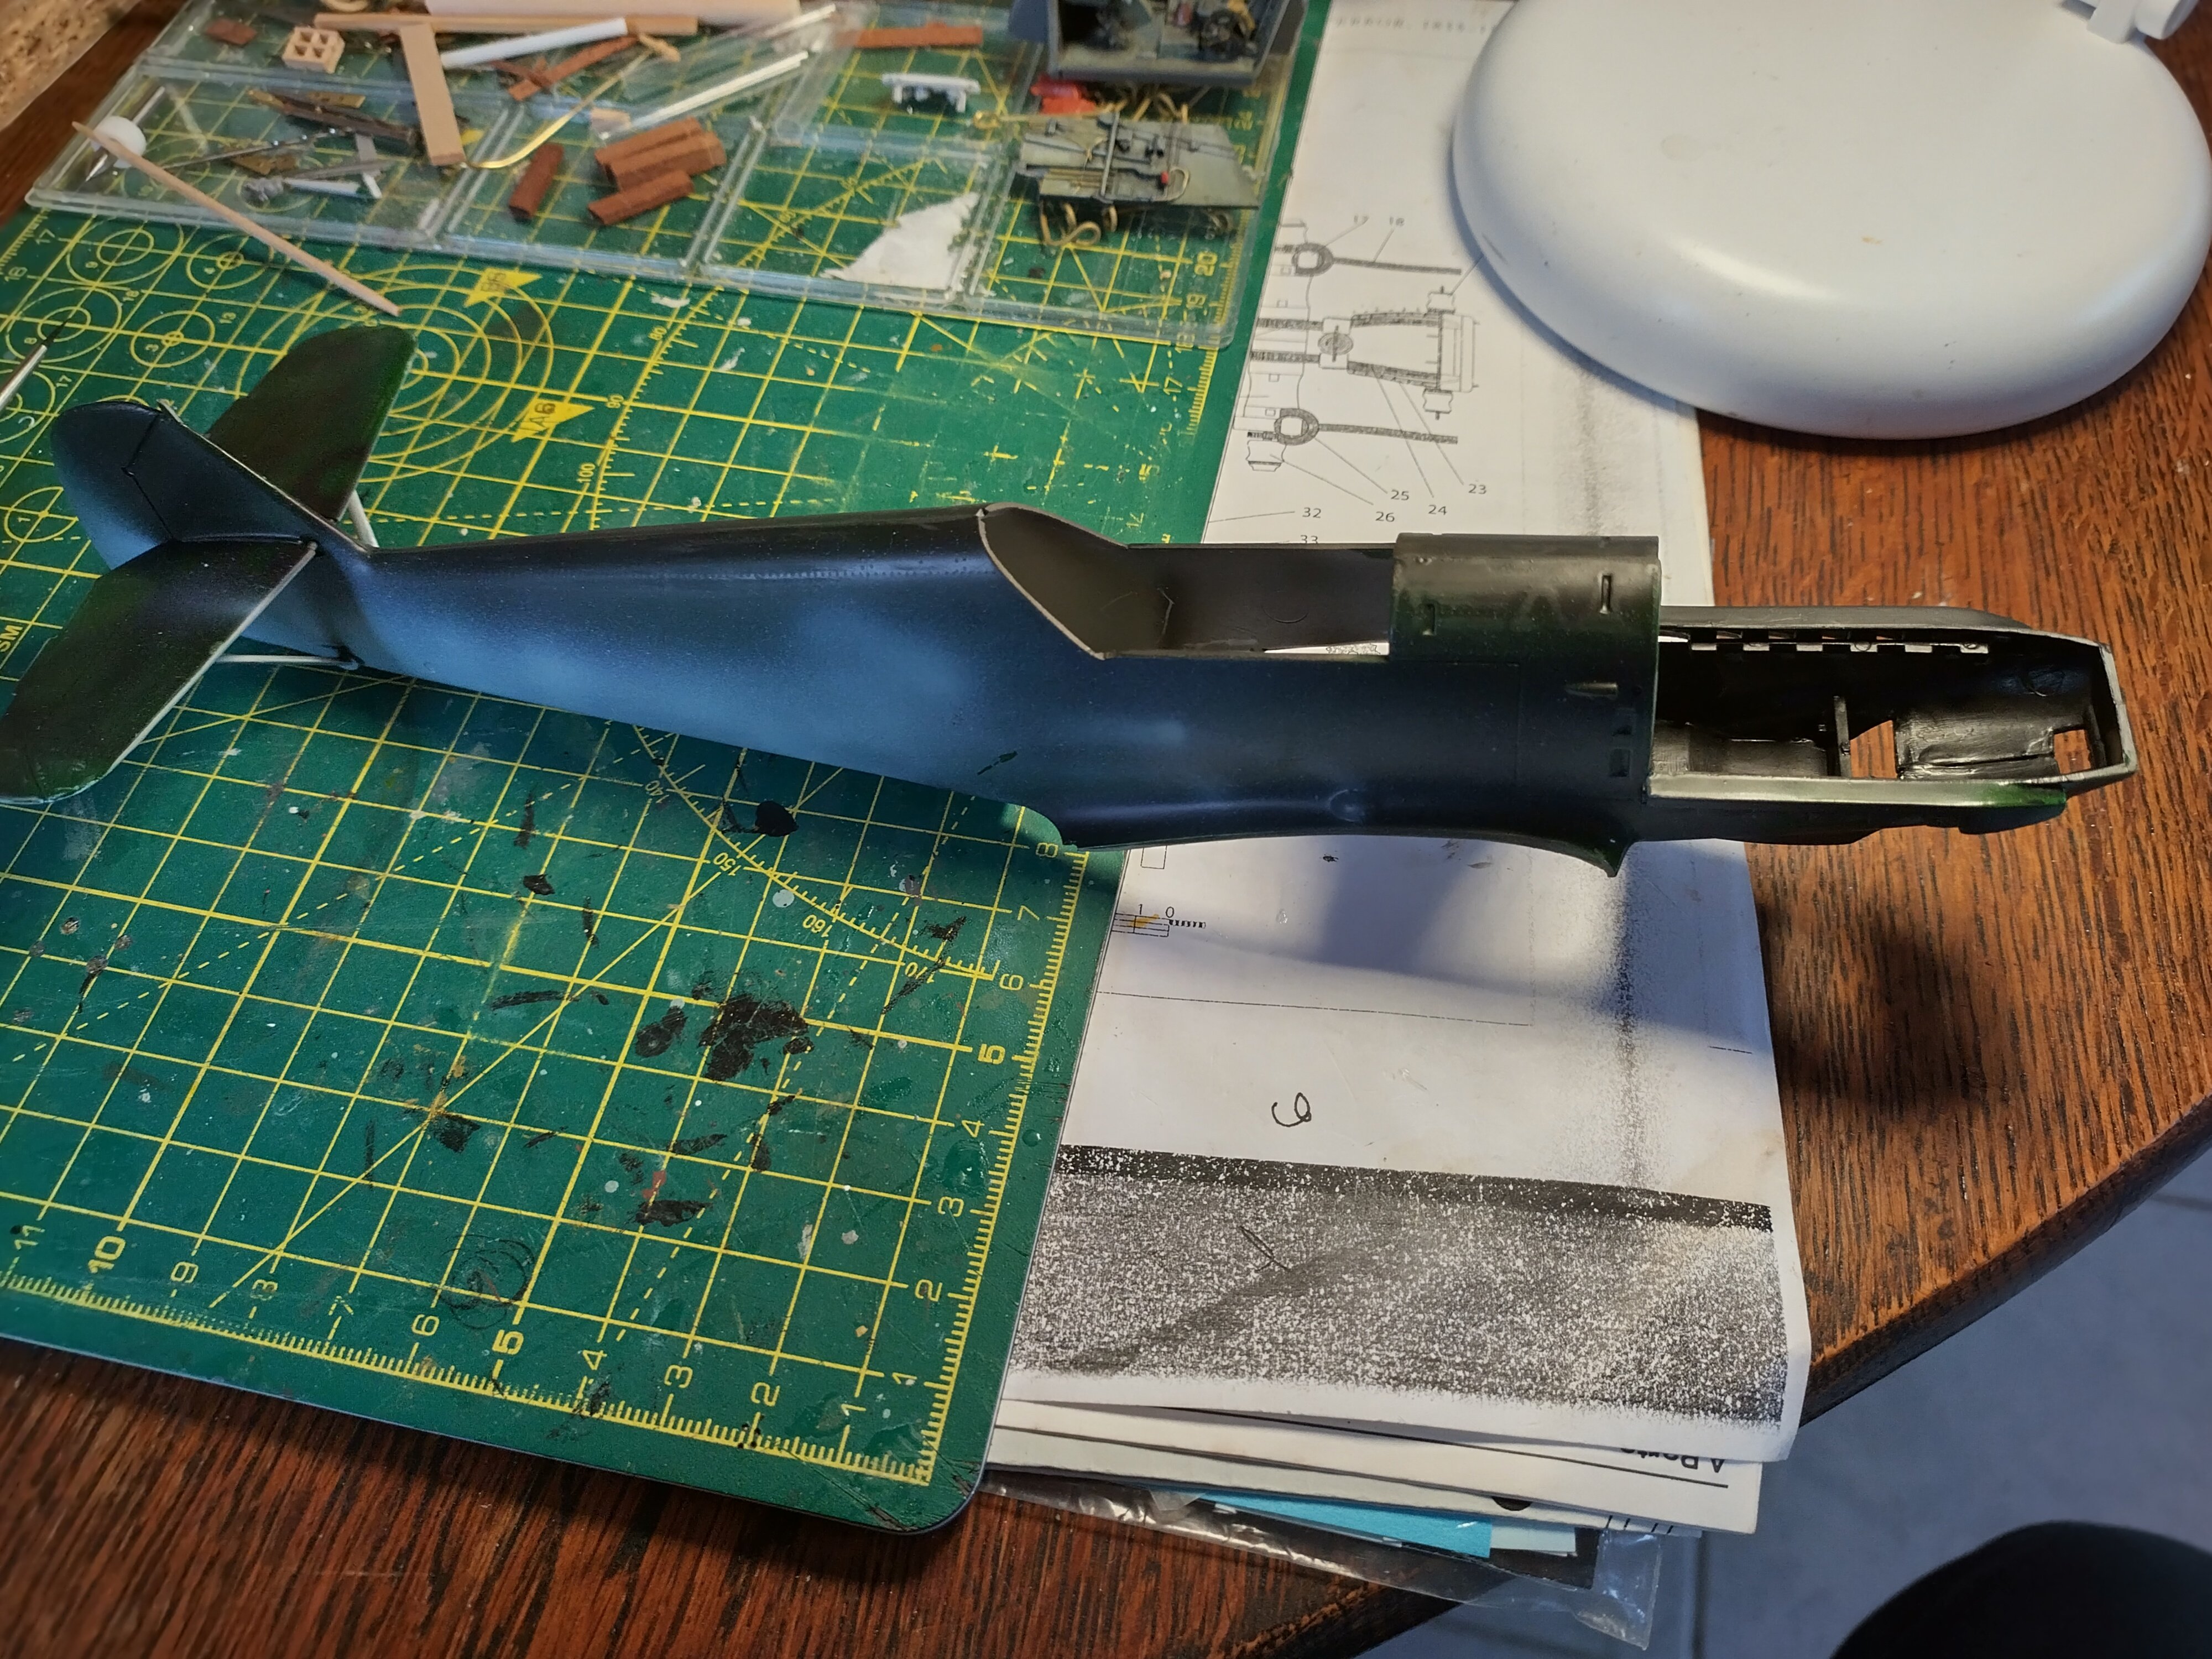
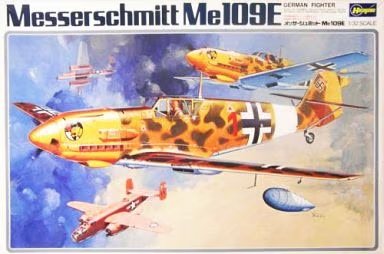
Still putting finishing touches on ZM 109 and got a bid fed up with it, particularly upper wing paint job and canopy masking, will post soon. Picked up 10ish quid Hasegawa 109 I built as a kid, no cockpit but everything else Ok, 1 broken undercart leg, canopy in good nick. It was started and hand painted with enamel light blue on under surfaces of wings and tailplane, gloss emerald green on fuselage and top of wings - sort of thing I used to do long, long ago. New office from Aires, loads of detail and most will not be seen, enjoyable to make and guess where some parts go. Fuselage needed some filling and wings a bit of light sanding to remove paint, will prob describe a few panel lines. I know this kit is more a representation than faithful replica in places, have started to detail some bits like wheel wells, maybe guns, don't really want to spend any more on it. Have some Xtradecals for a new scheme, undecided which to go with yet, although limited choice.Quick spray with Tamiya black and RLM 76 on lower wings to start preshading and inspect sanded areas.


- 1 reply
-
- 6
-

-
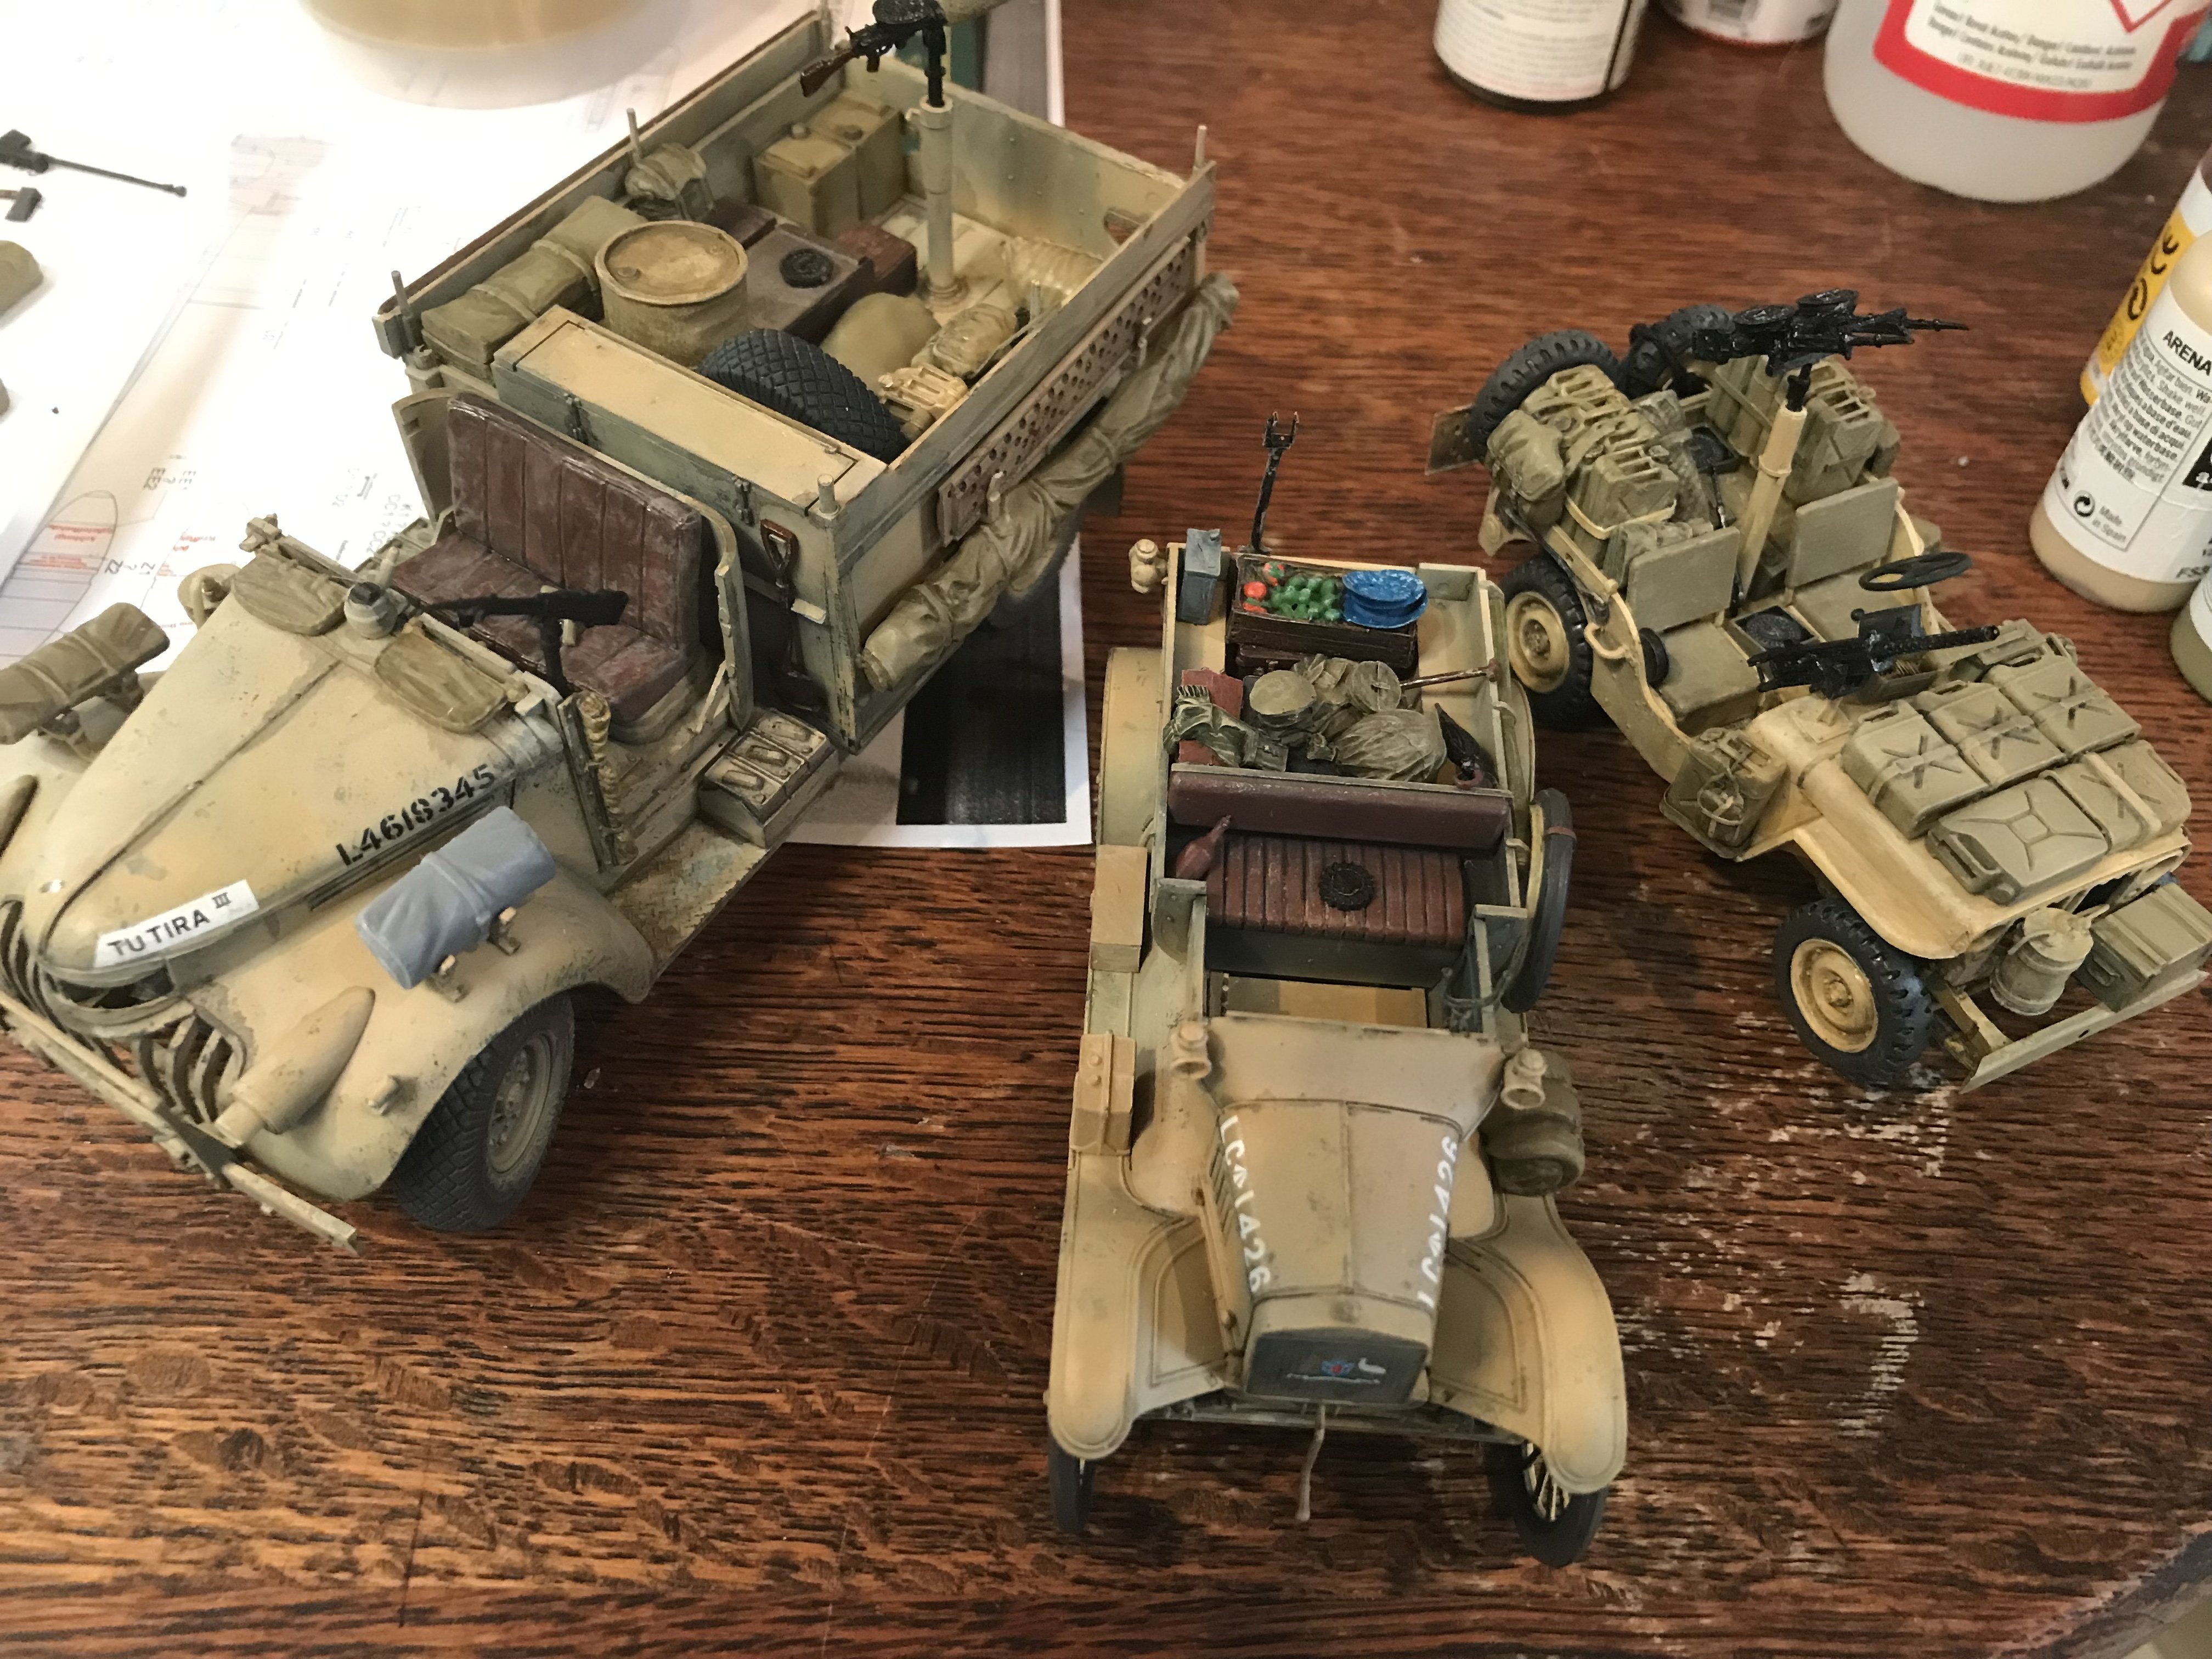
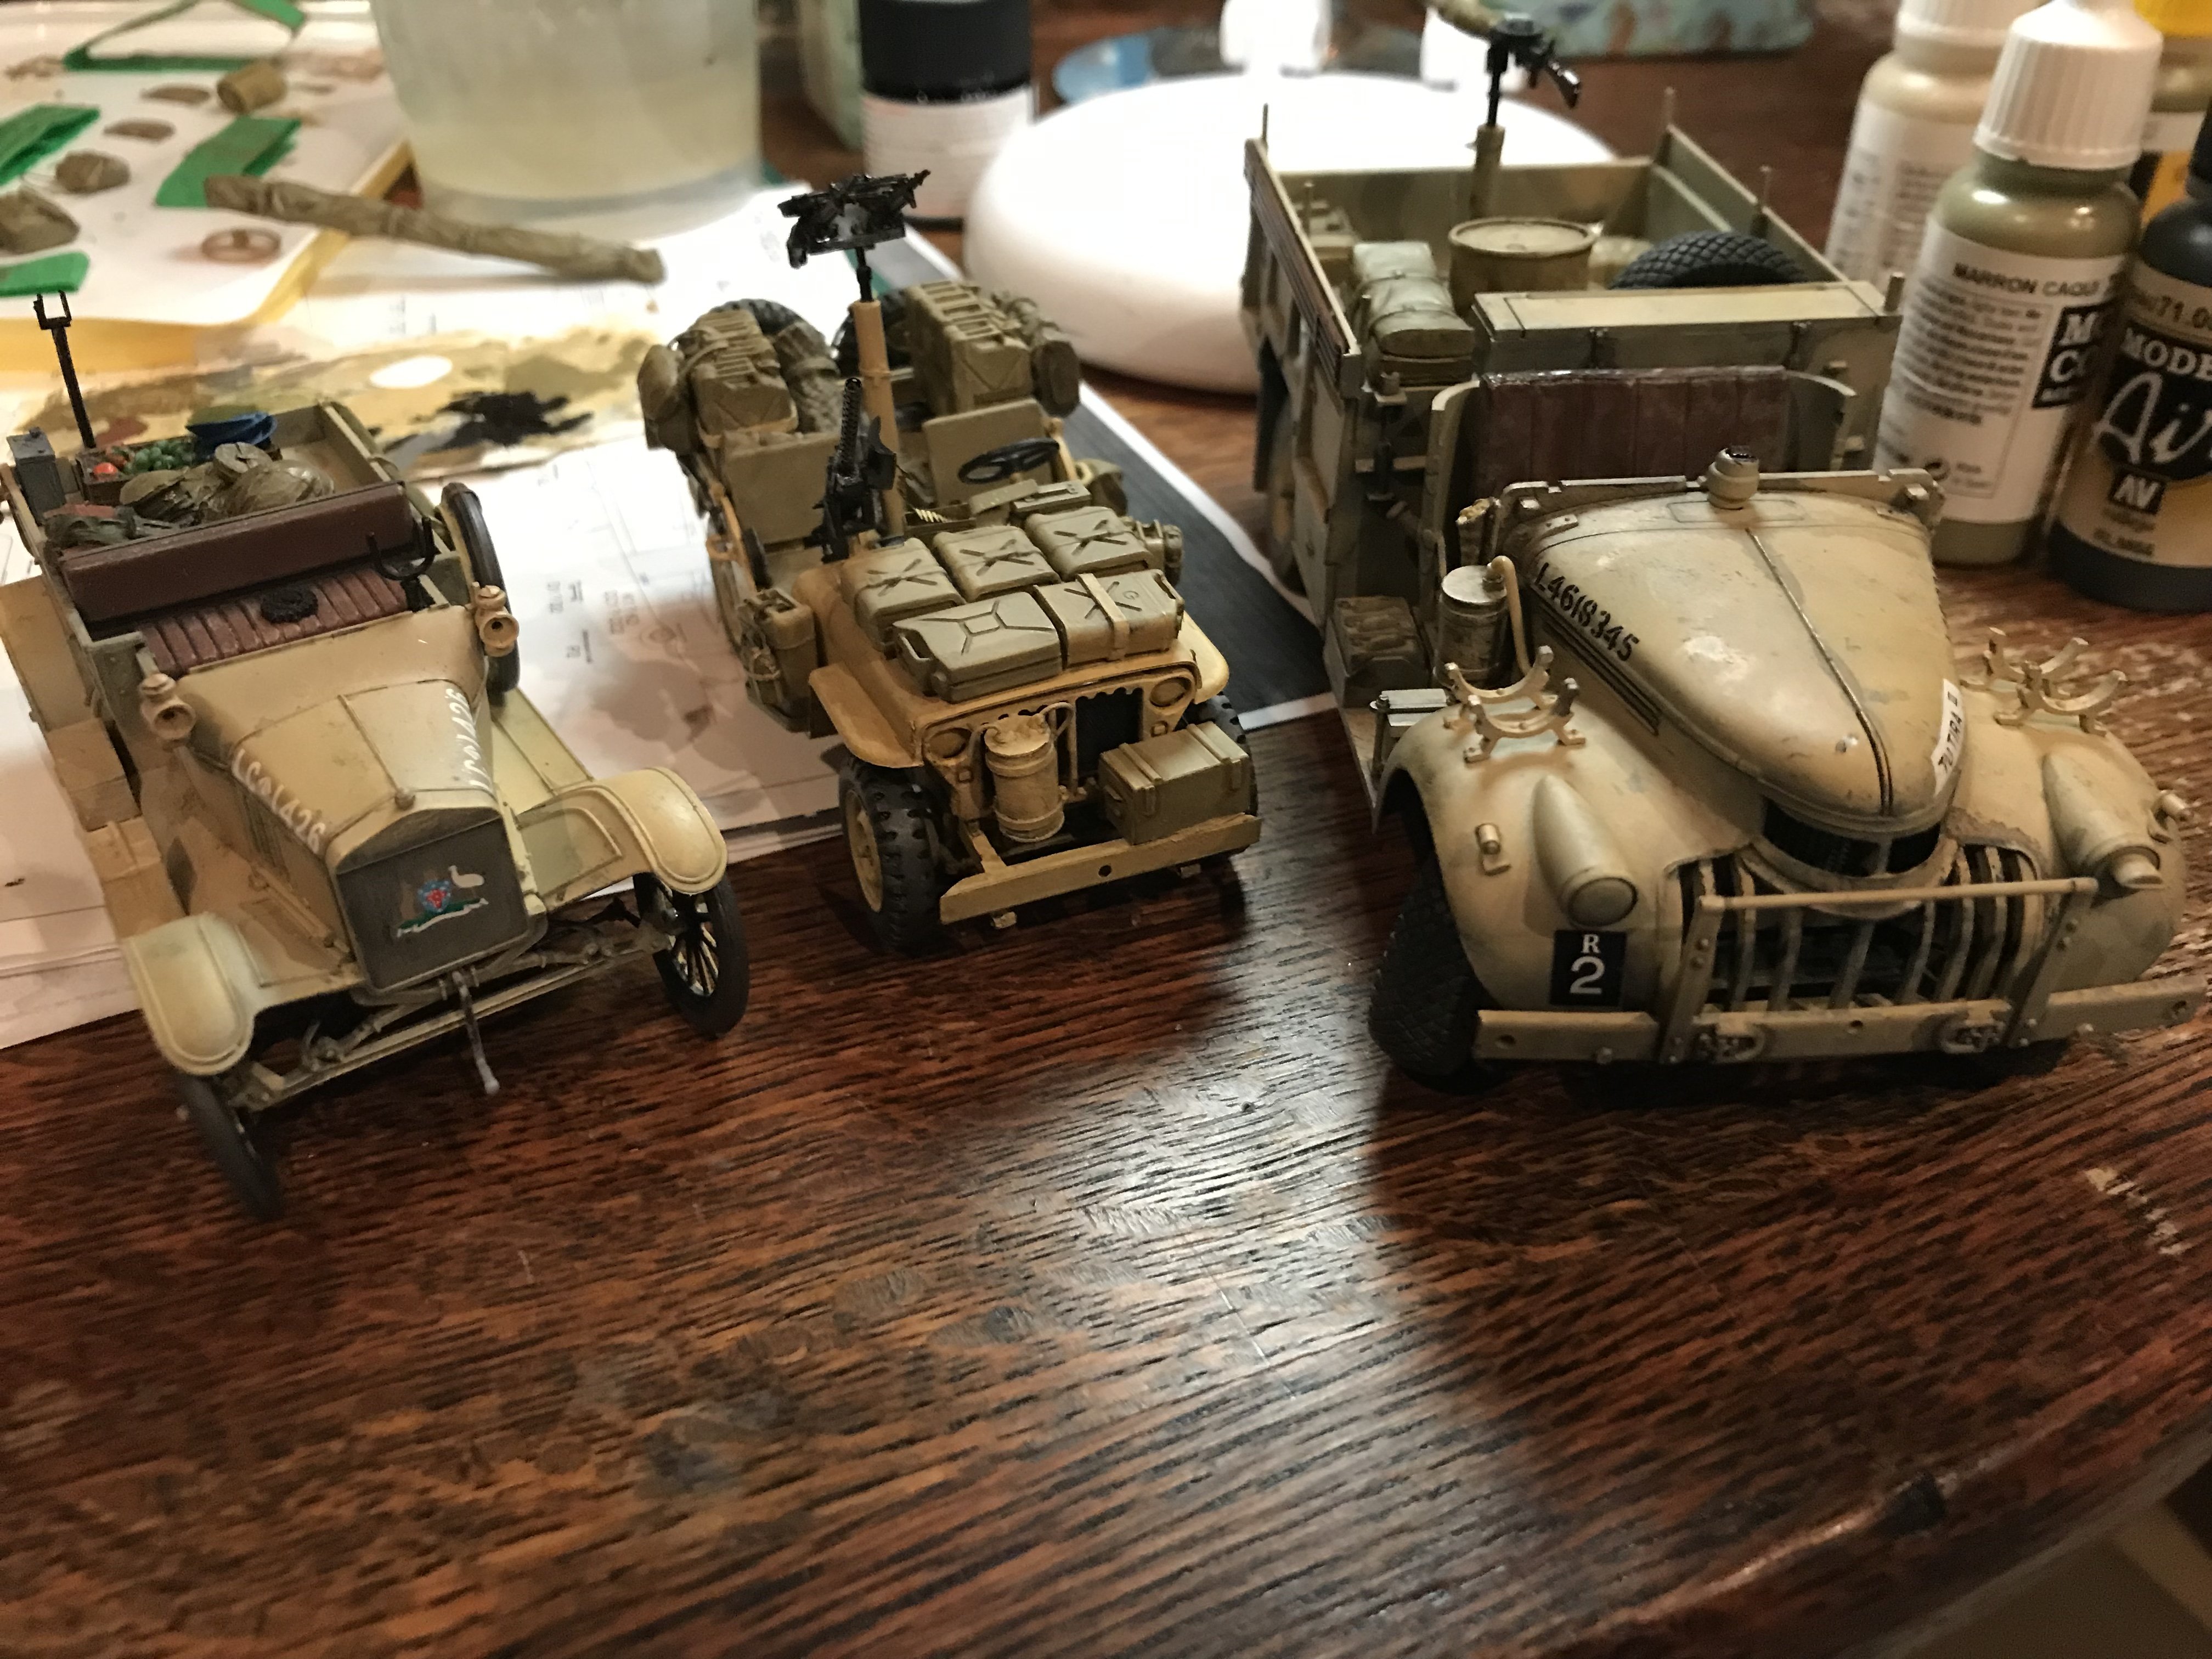
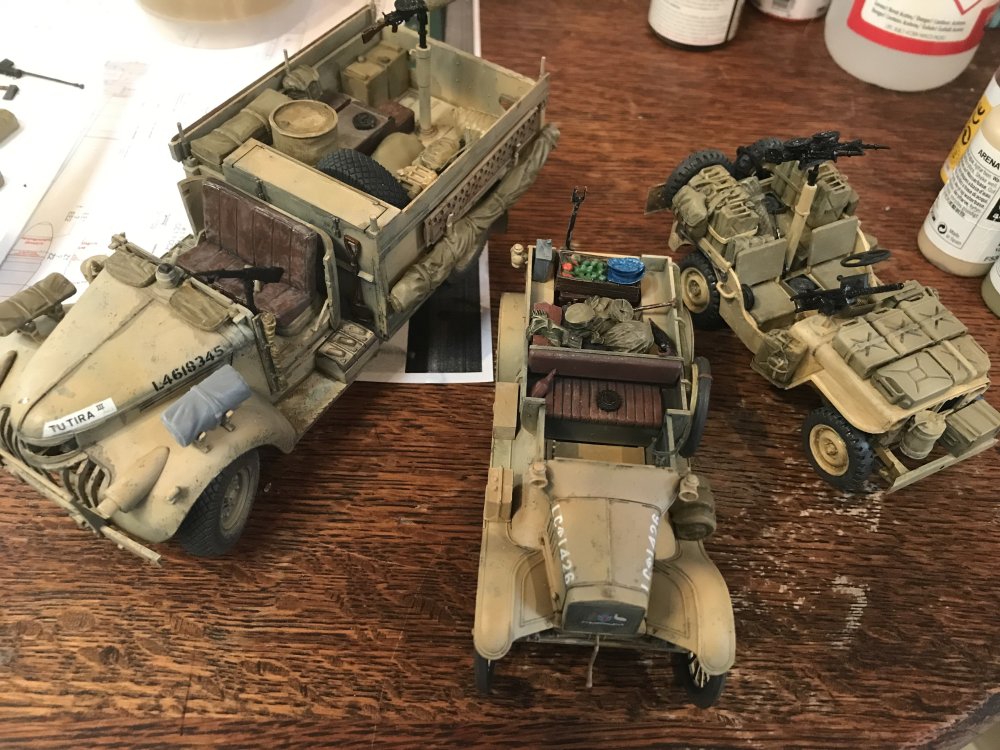
Posting work in progress/almost done of these three desert dudes, some finishing to do (weathering and additional gear). Thinking about a diorama with LRDG/SAS motors separated by a ridge from the Anzac Ford next door, kind of a time travel theme. Have some Anzac blokes to add to Ford.

- 1 reply
-
- 7
-
-

-
Hi All, couple of WIP pictures, finishing off work on office and prop, tidying up paint issues. Working on canopy, but not sure about the masks? The fit wasn't great so will be some freehand work. Also, I'm really not happy with the larger decals and considering scrubbing the decals and paint work on upper wing surfaces. I can't get rid of the ridge around the cockpit coaming and have given up with filler and filing, will accept it as it is. Prop looks a bit odd as is hanging down slightly, will resolve this with a spot of CA. Hope all are well, have a good BH weekend UK LSMers, Regards, John


-
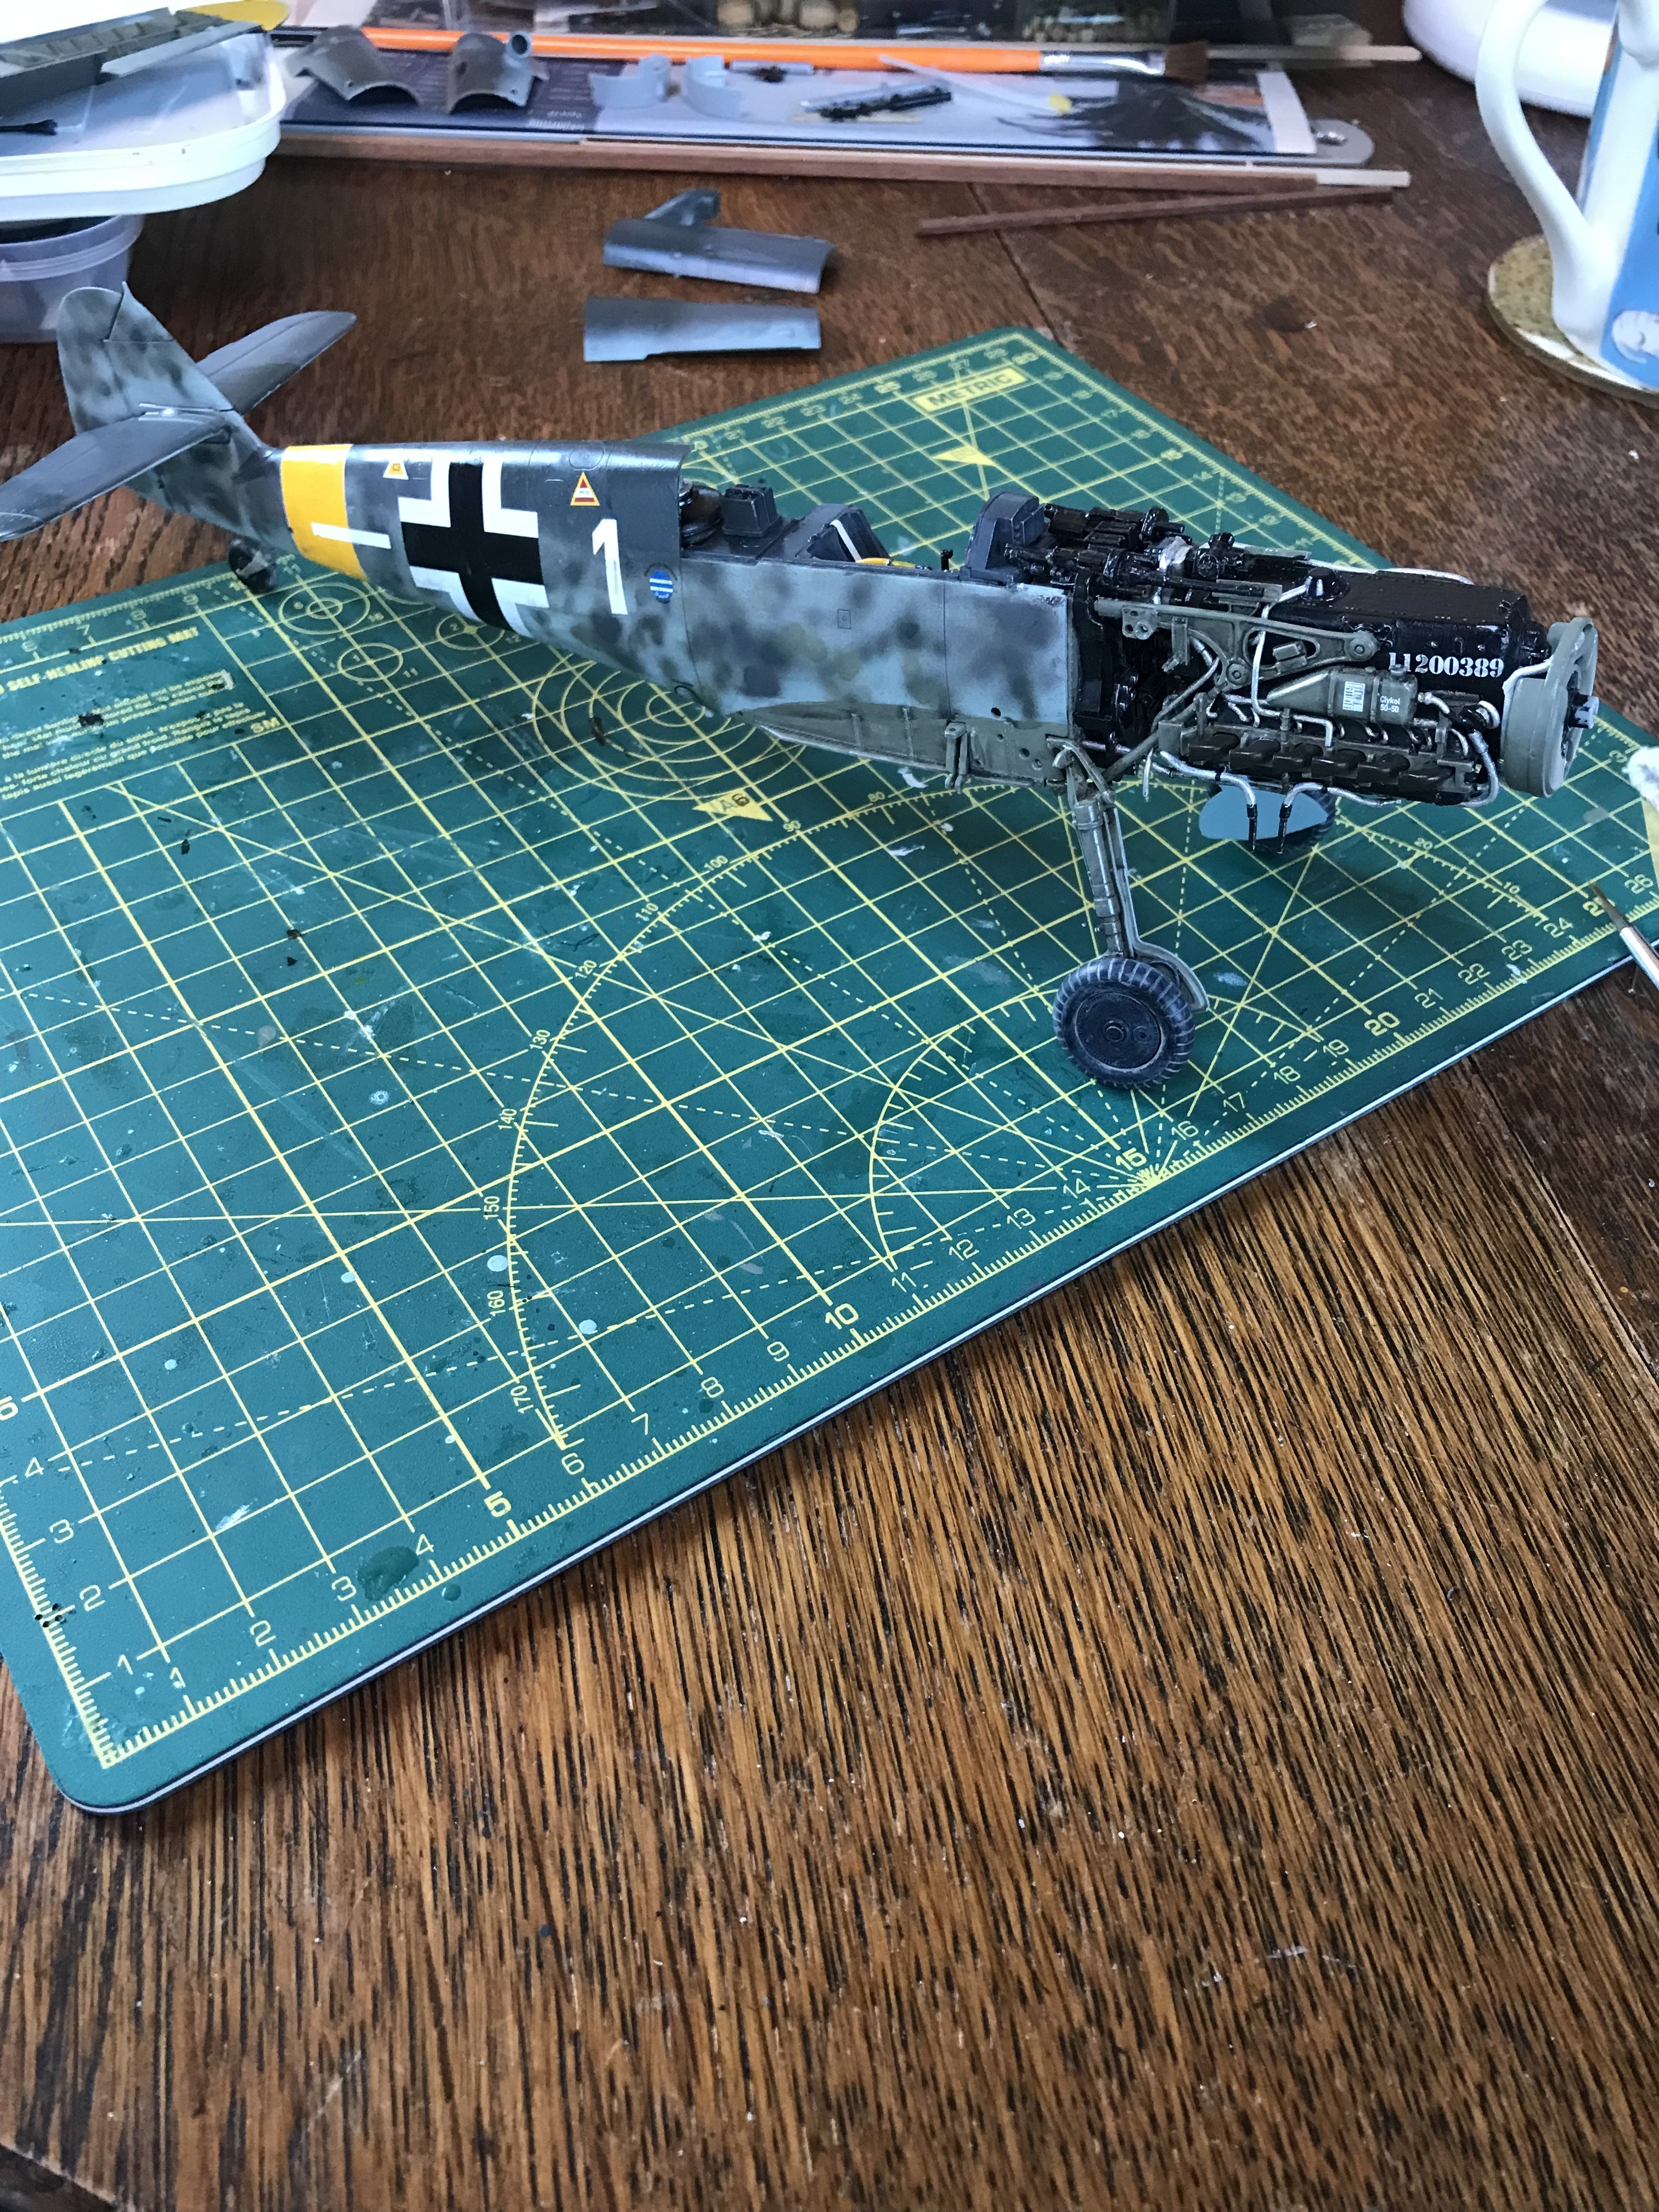
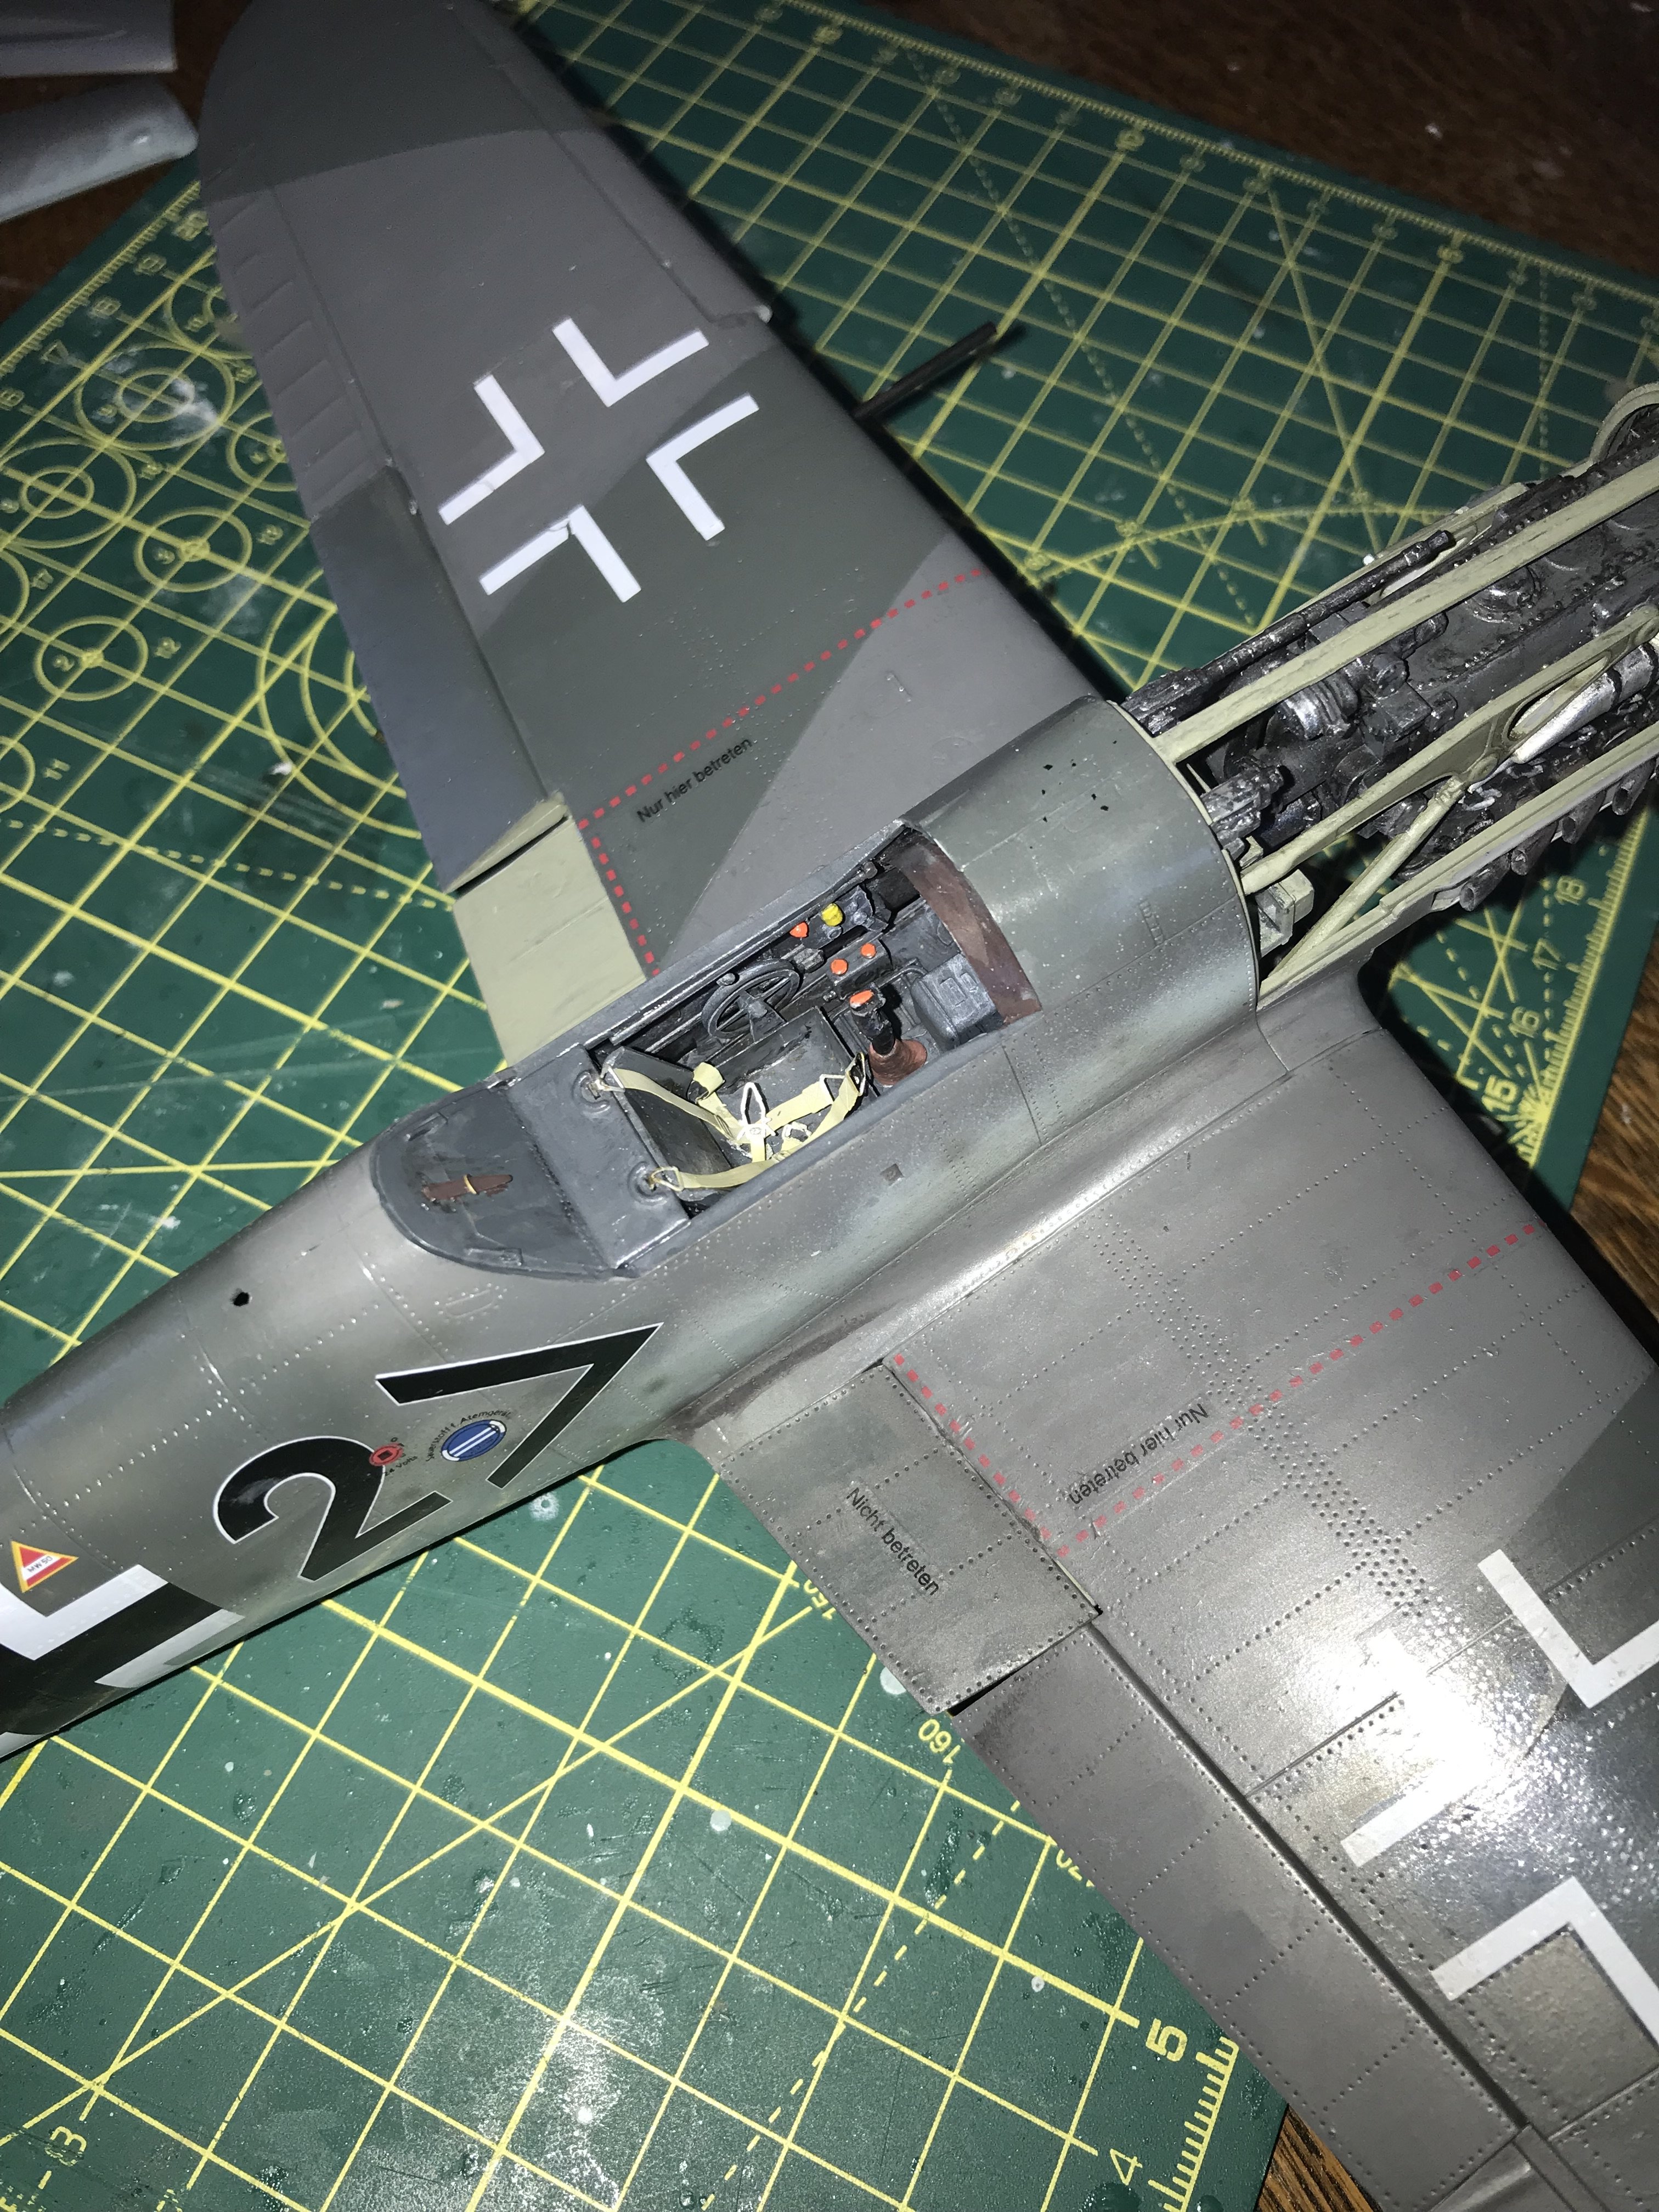
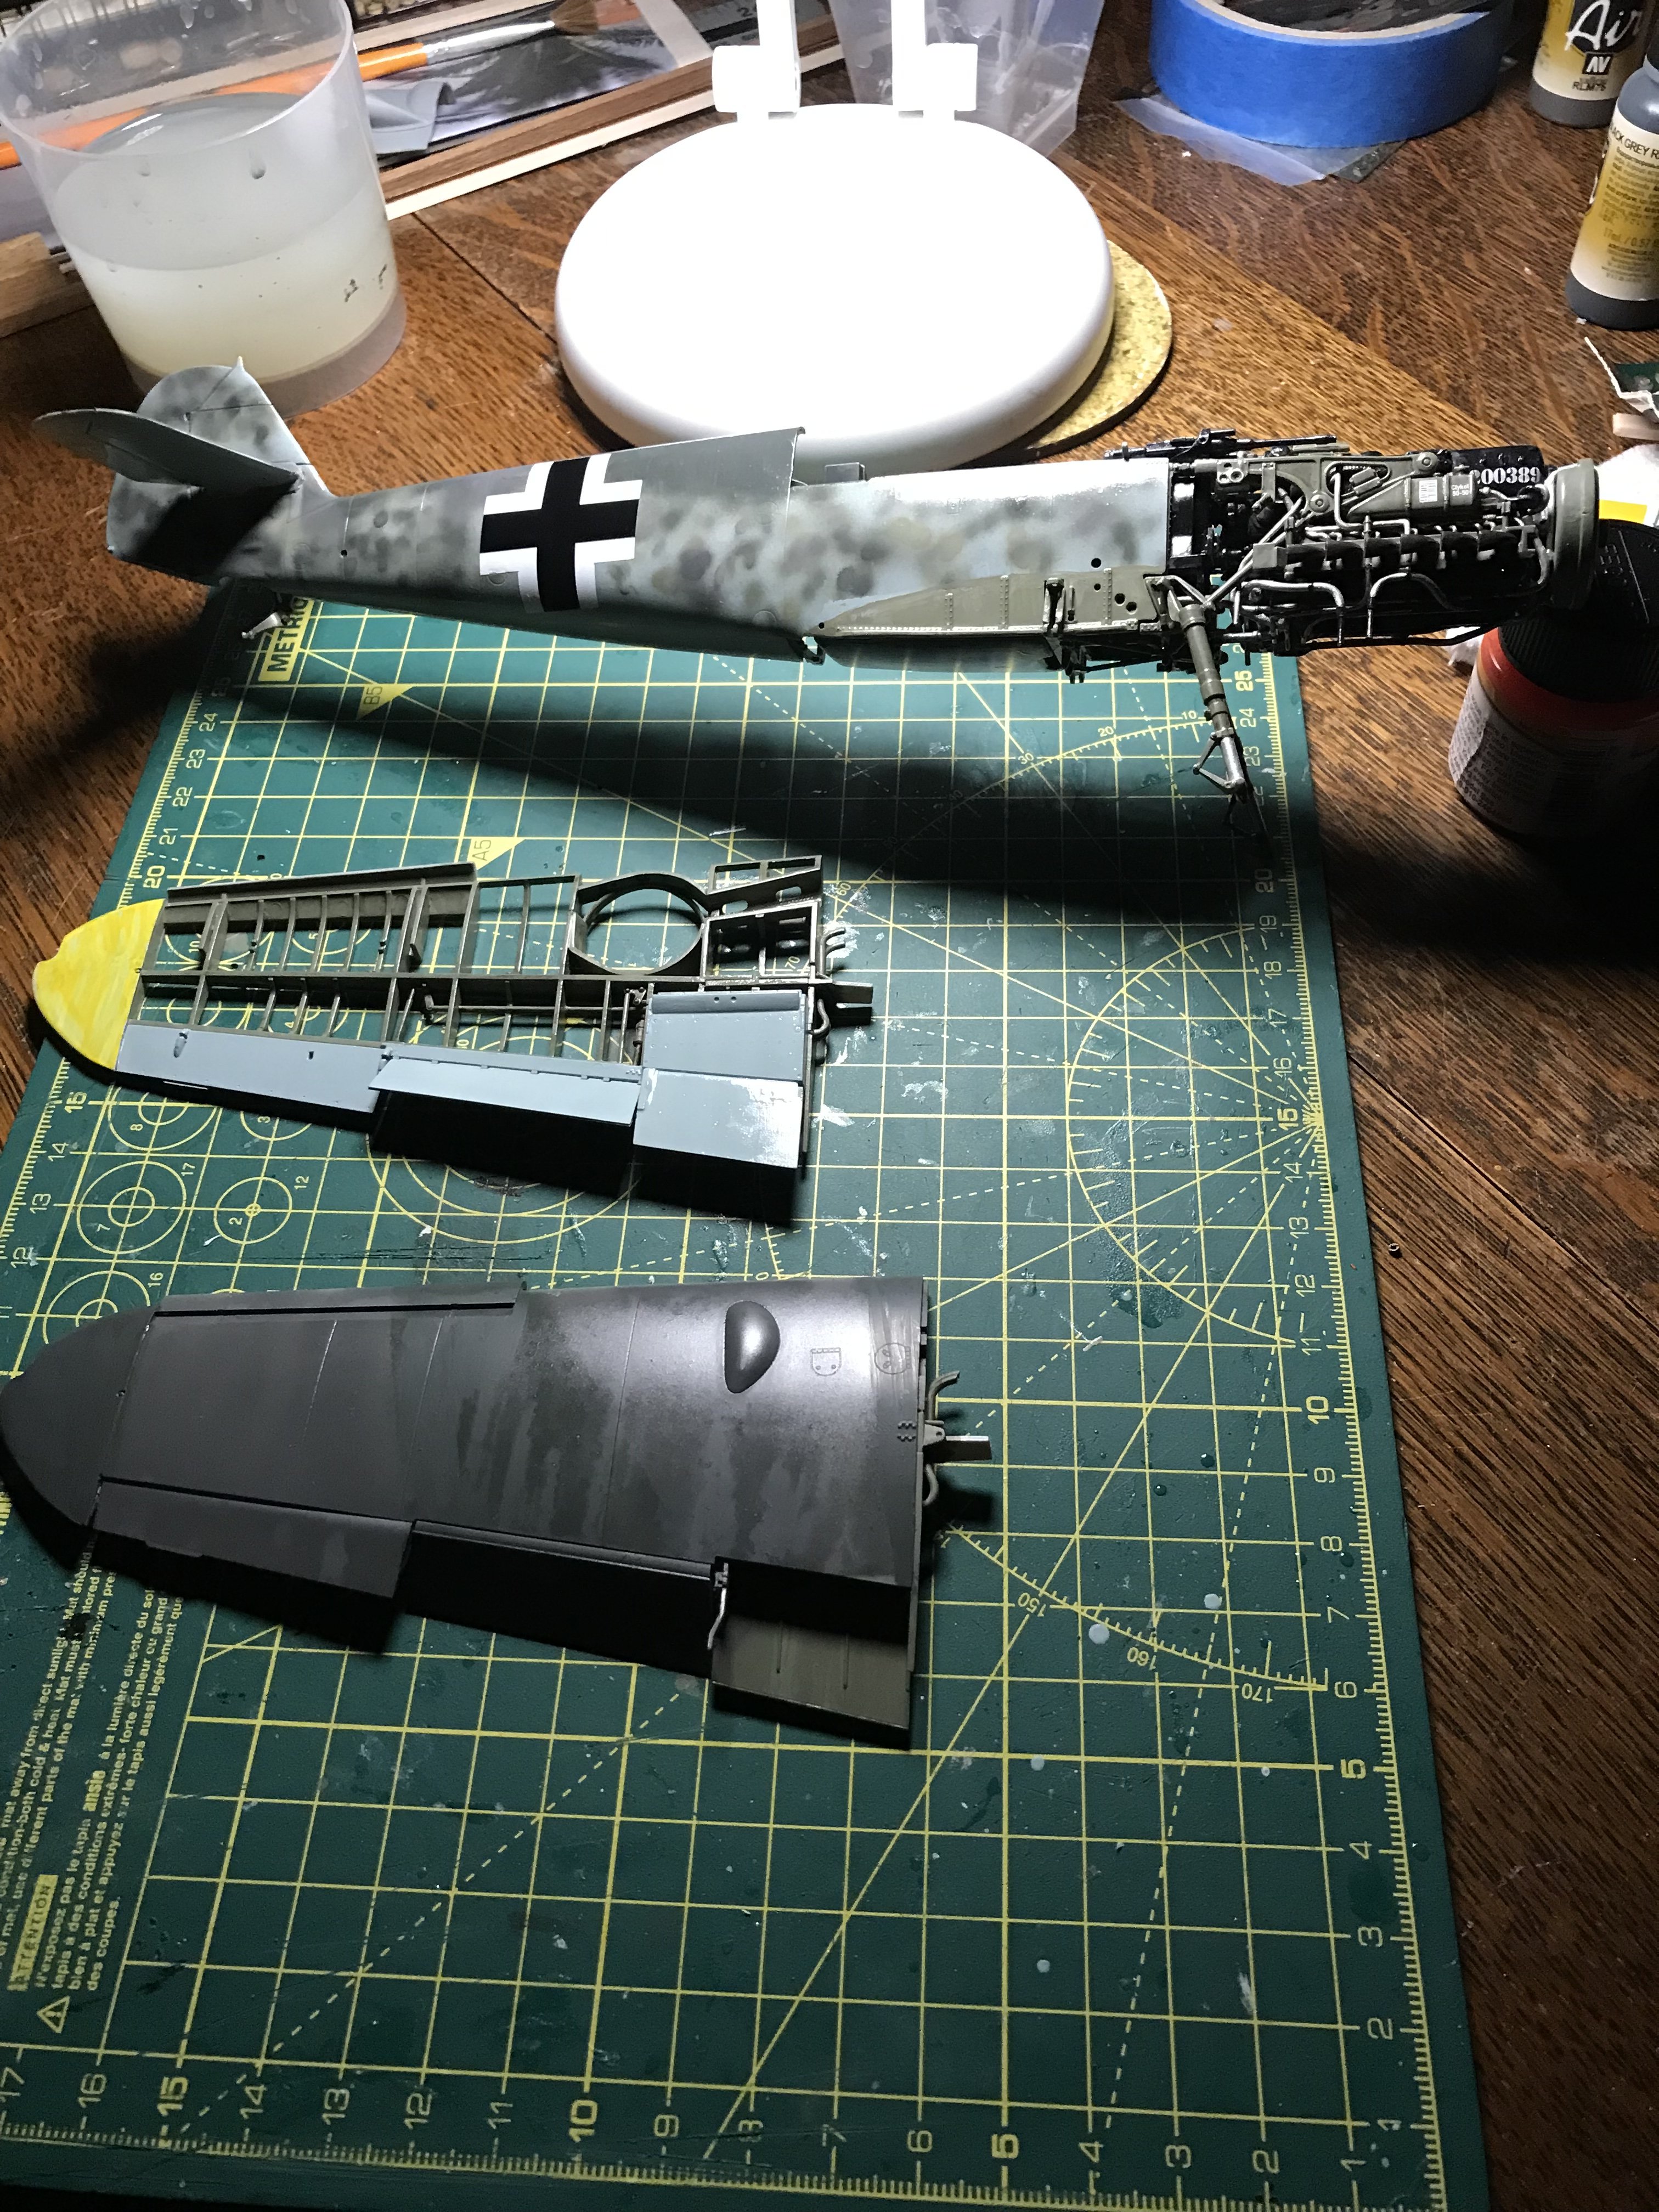
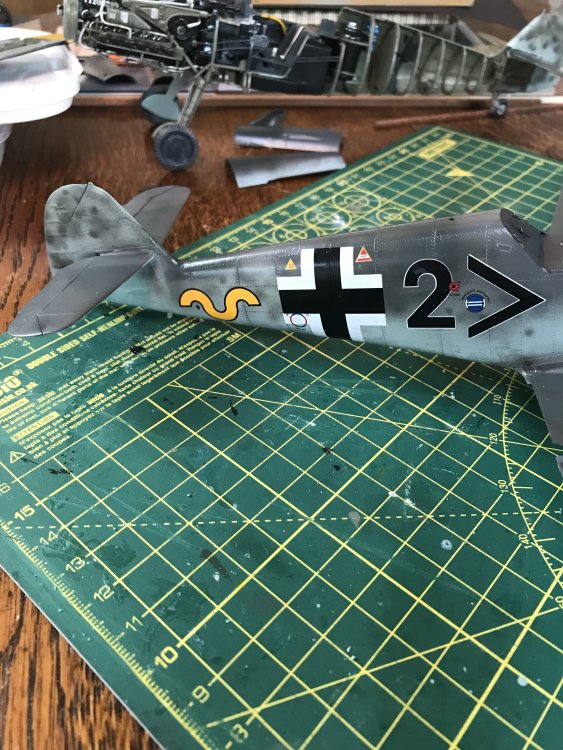
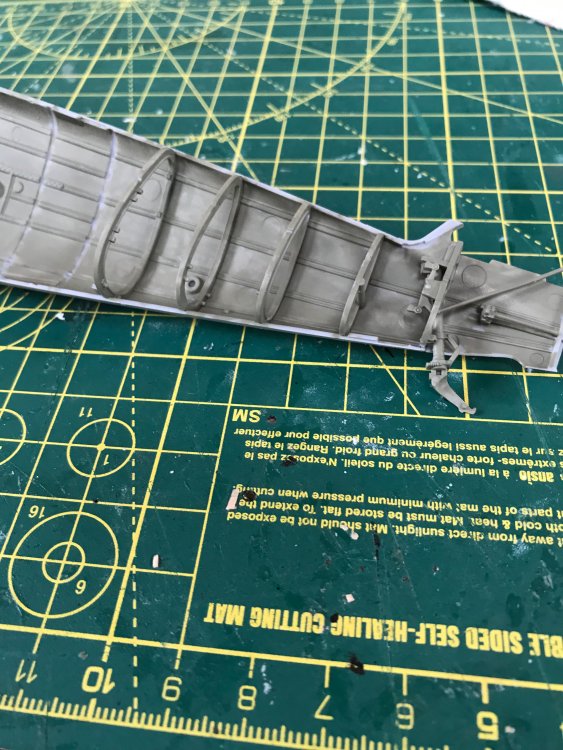
Hi All, Thank you for comments and support, started finishing work with decals, fine tuning some of the paintwork and fit of the wings to fuselage. Found some of the decals hard to work with, and looking back, wish I'd painted the wing crosses and yellow fuselage band - might do this yet, really not happy with them. I've been surprised by some of the fit and mold issues with the ZM, didn't expect this at the price point for this kit, but the level of detail compensates. To do list - wing root for port wing, in paint shop at the mo, rear of the cockpit canopy to think about, and the dreaded canopy to mask and paint. More stencilling decals, weathering and varnishing (couldn't airbrush Vallejo satin, don't know why, and decal set made it peel which was a pain). Might take out the additional wing components by the leading edge slats and I would have liked to have drilled some more internal wing detail but think this would compromise integrity (although ZM Uhu had a good PE set for the wings). Have also attached couple of pics of Trumpeter Bf109, quite different to work with, but nice in different ways to the ZM. Stay well & Regards, John

-
Thank you Gazza, will take some daylight pics without all the shinyness, and they always show something I've missed!
-
Dear All, back to work, some airbrushing done although L wing needs a respray. A bit of coating with Future, although this new stuff seems a bit patchy. Enjoying this build, but surprised how many mould lines and ejector pin marks are present. Also, found cockpit ?coaming a bit of a tw*t to fit and not finished yet. Regards all, John

-
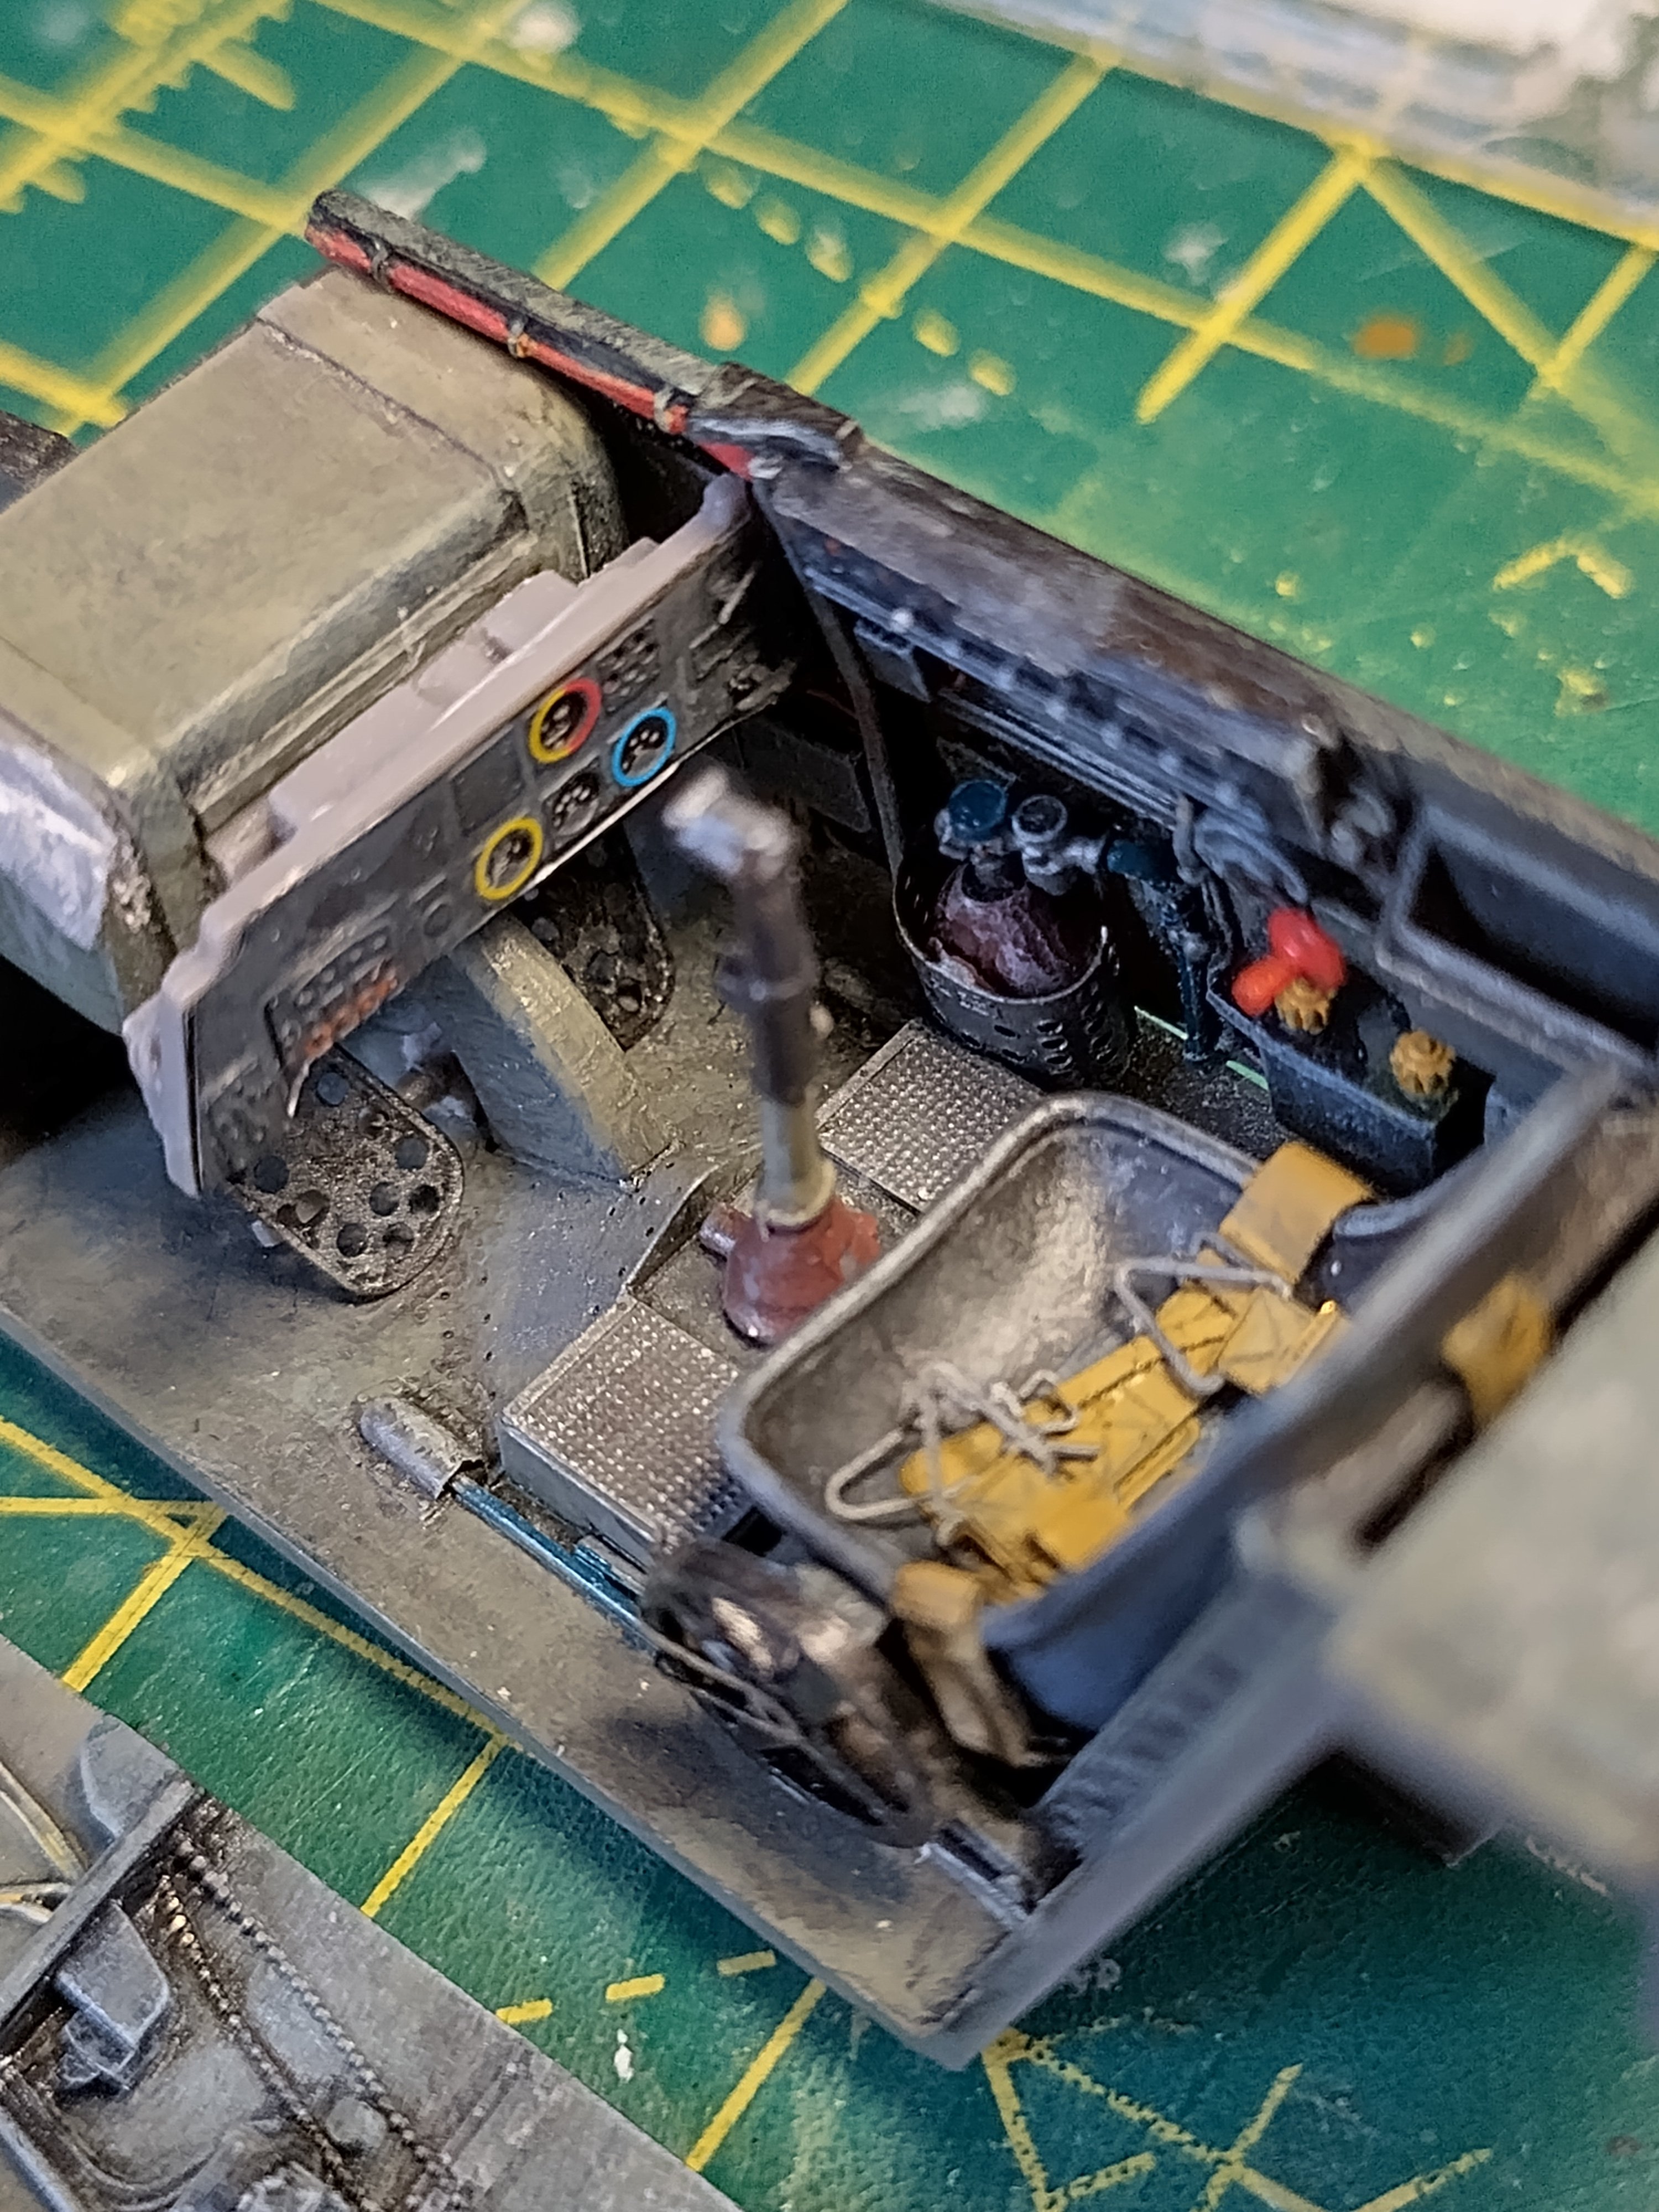
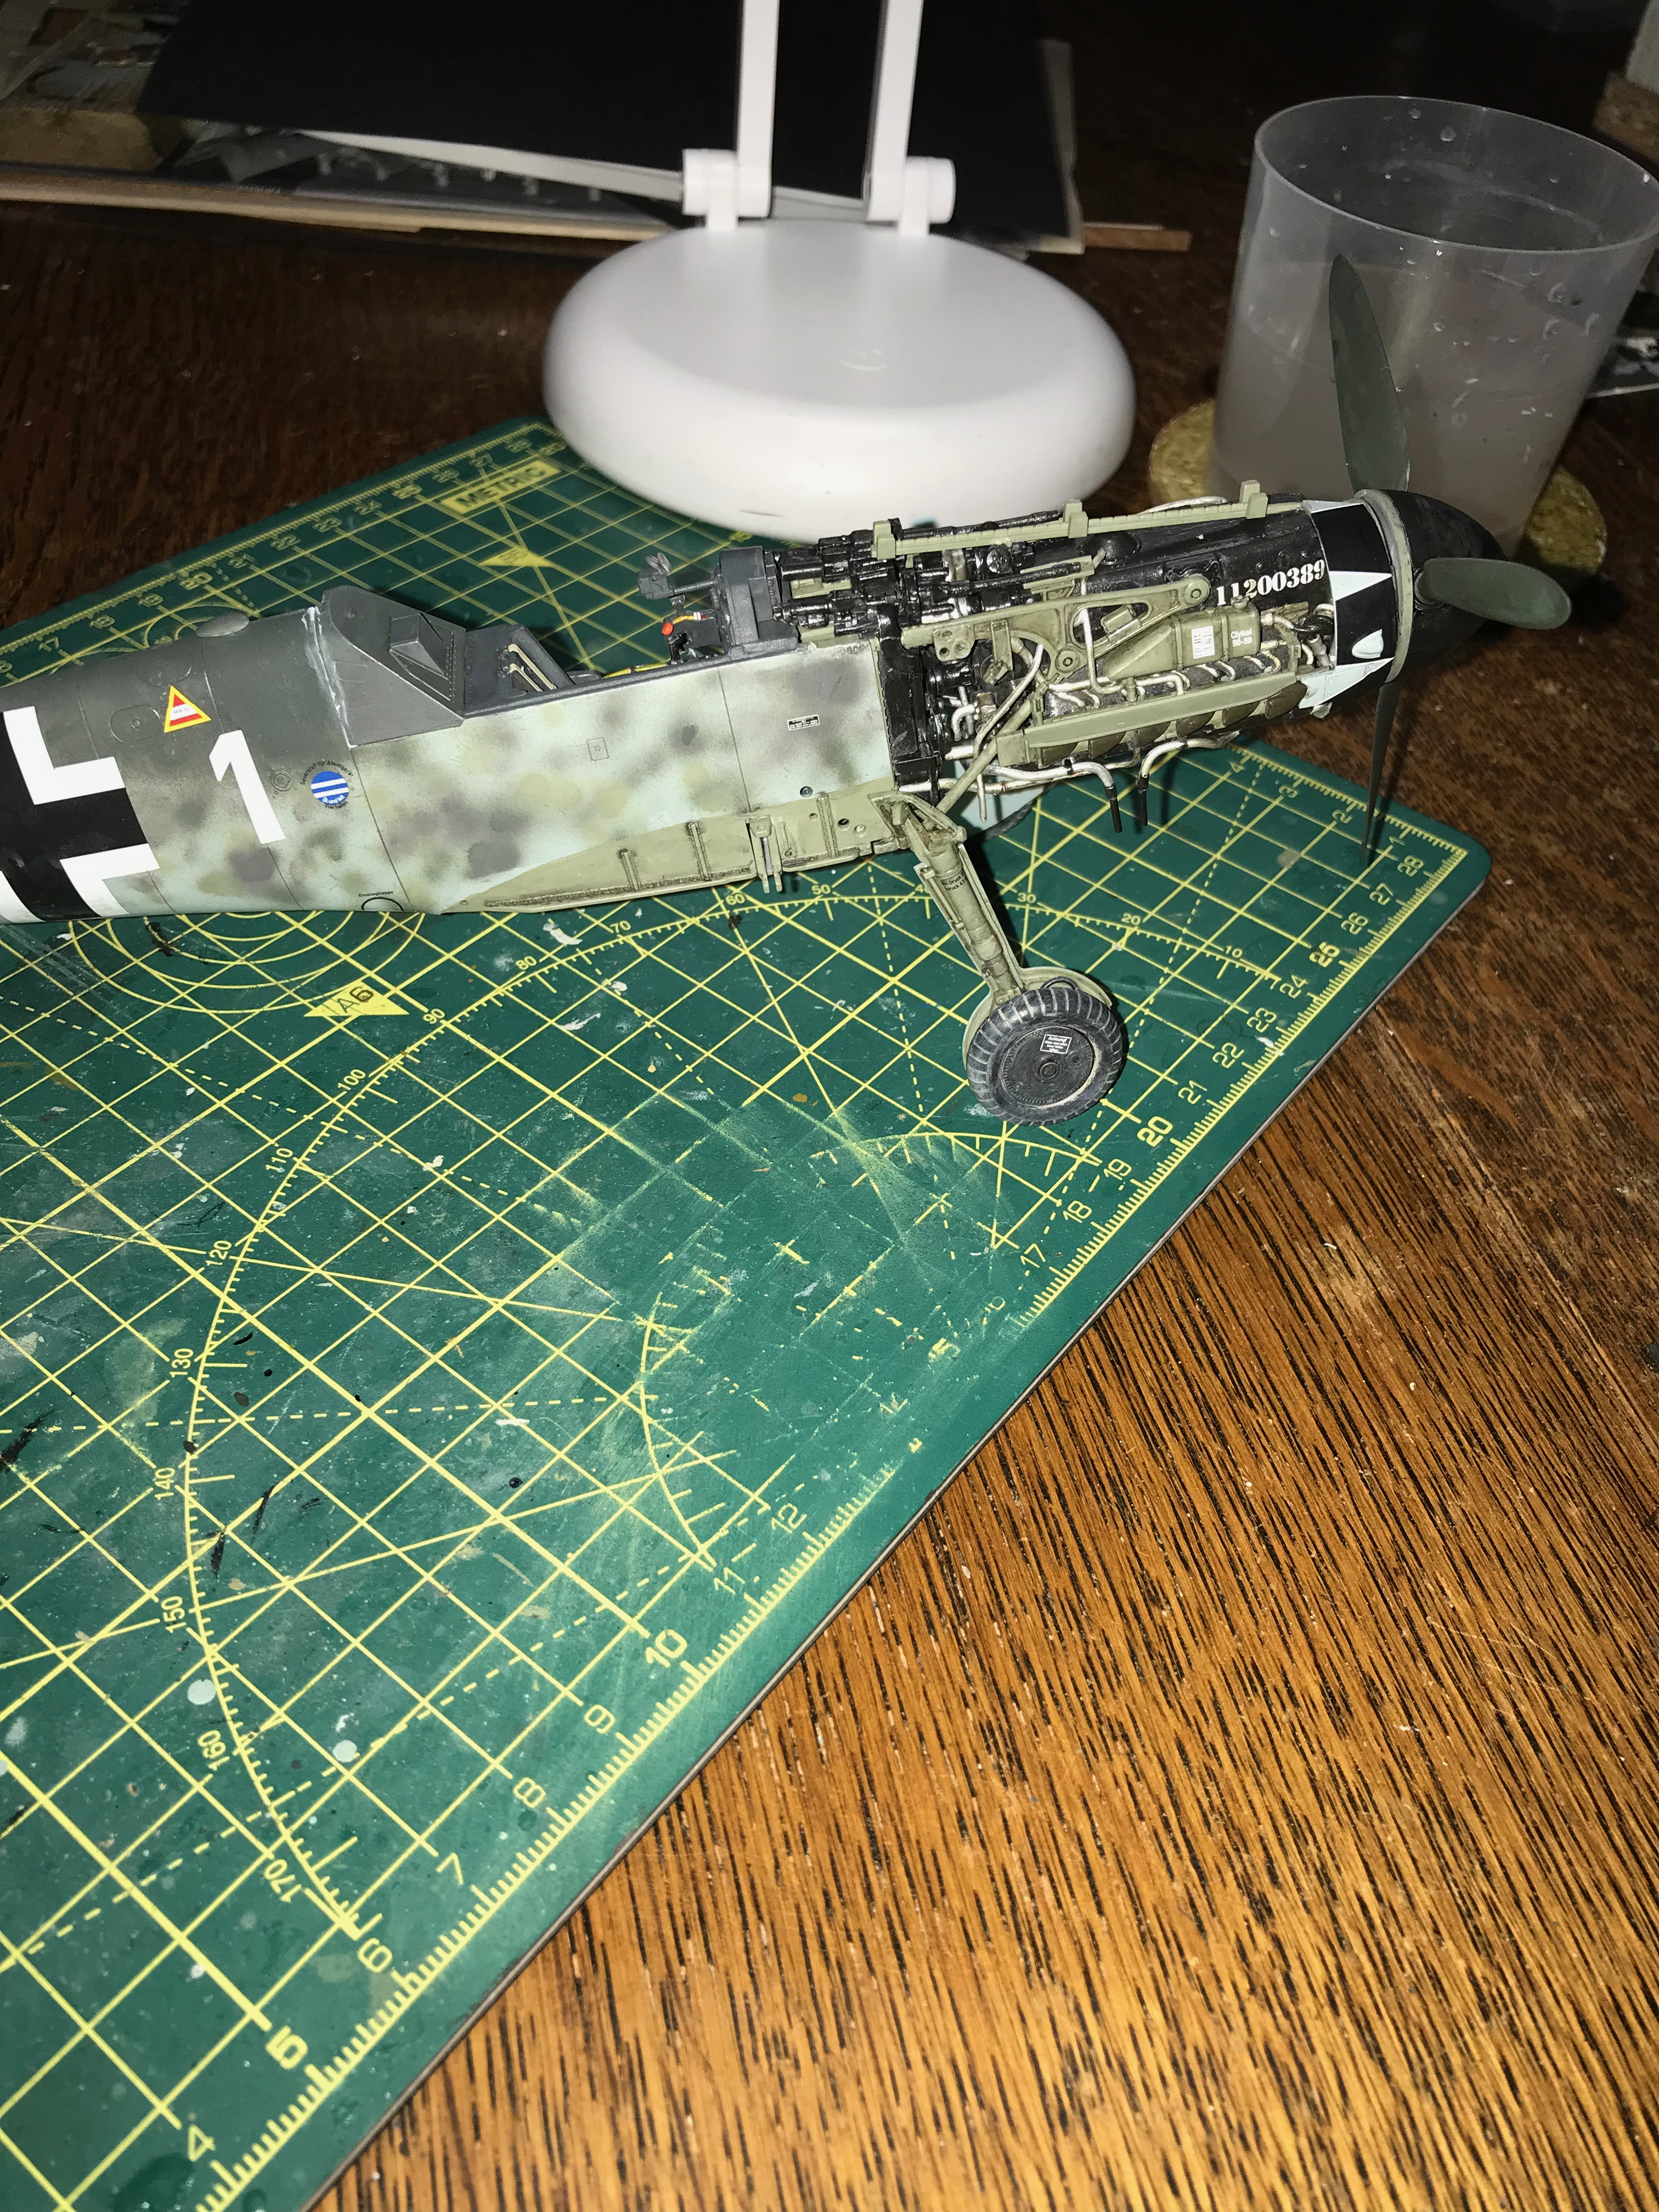
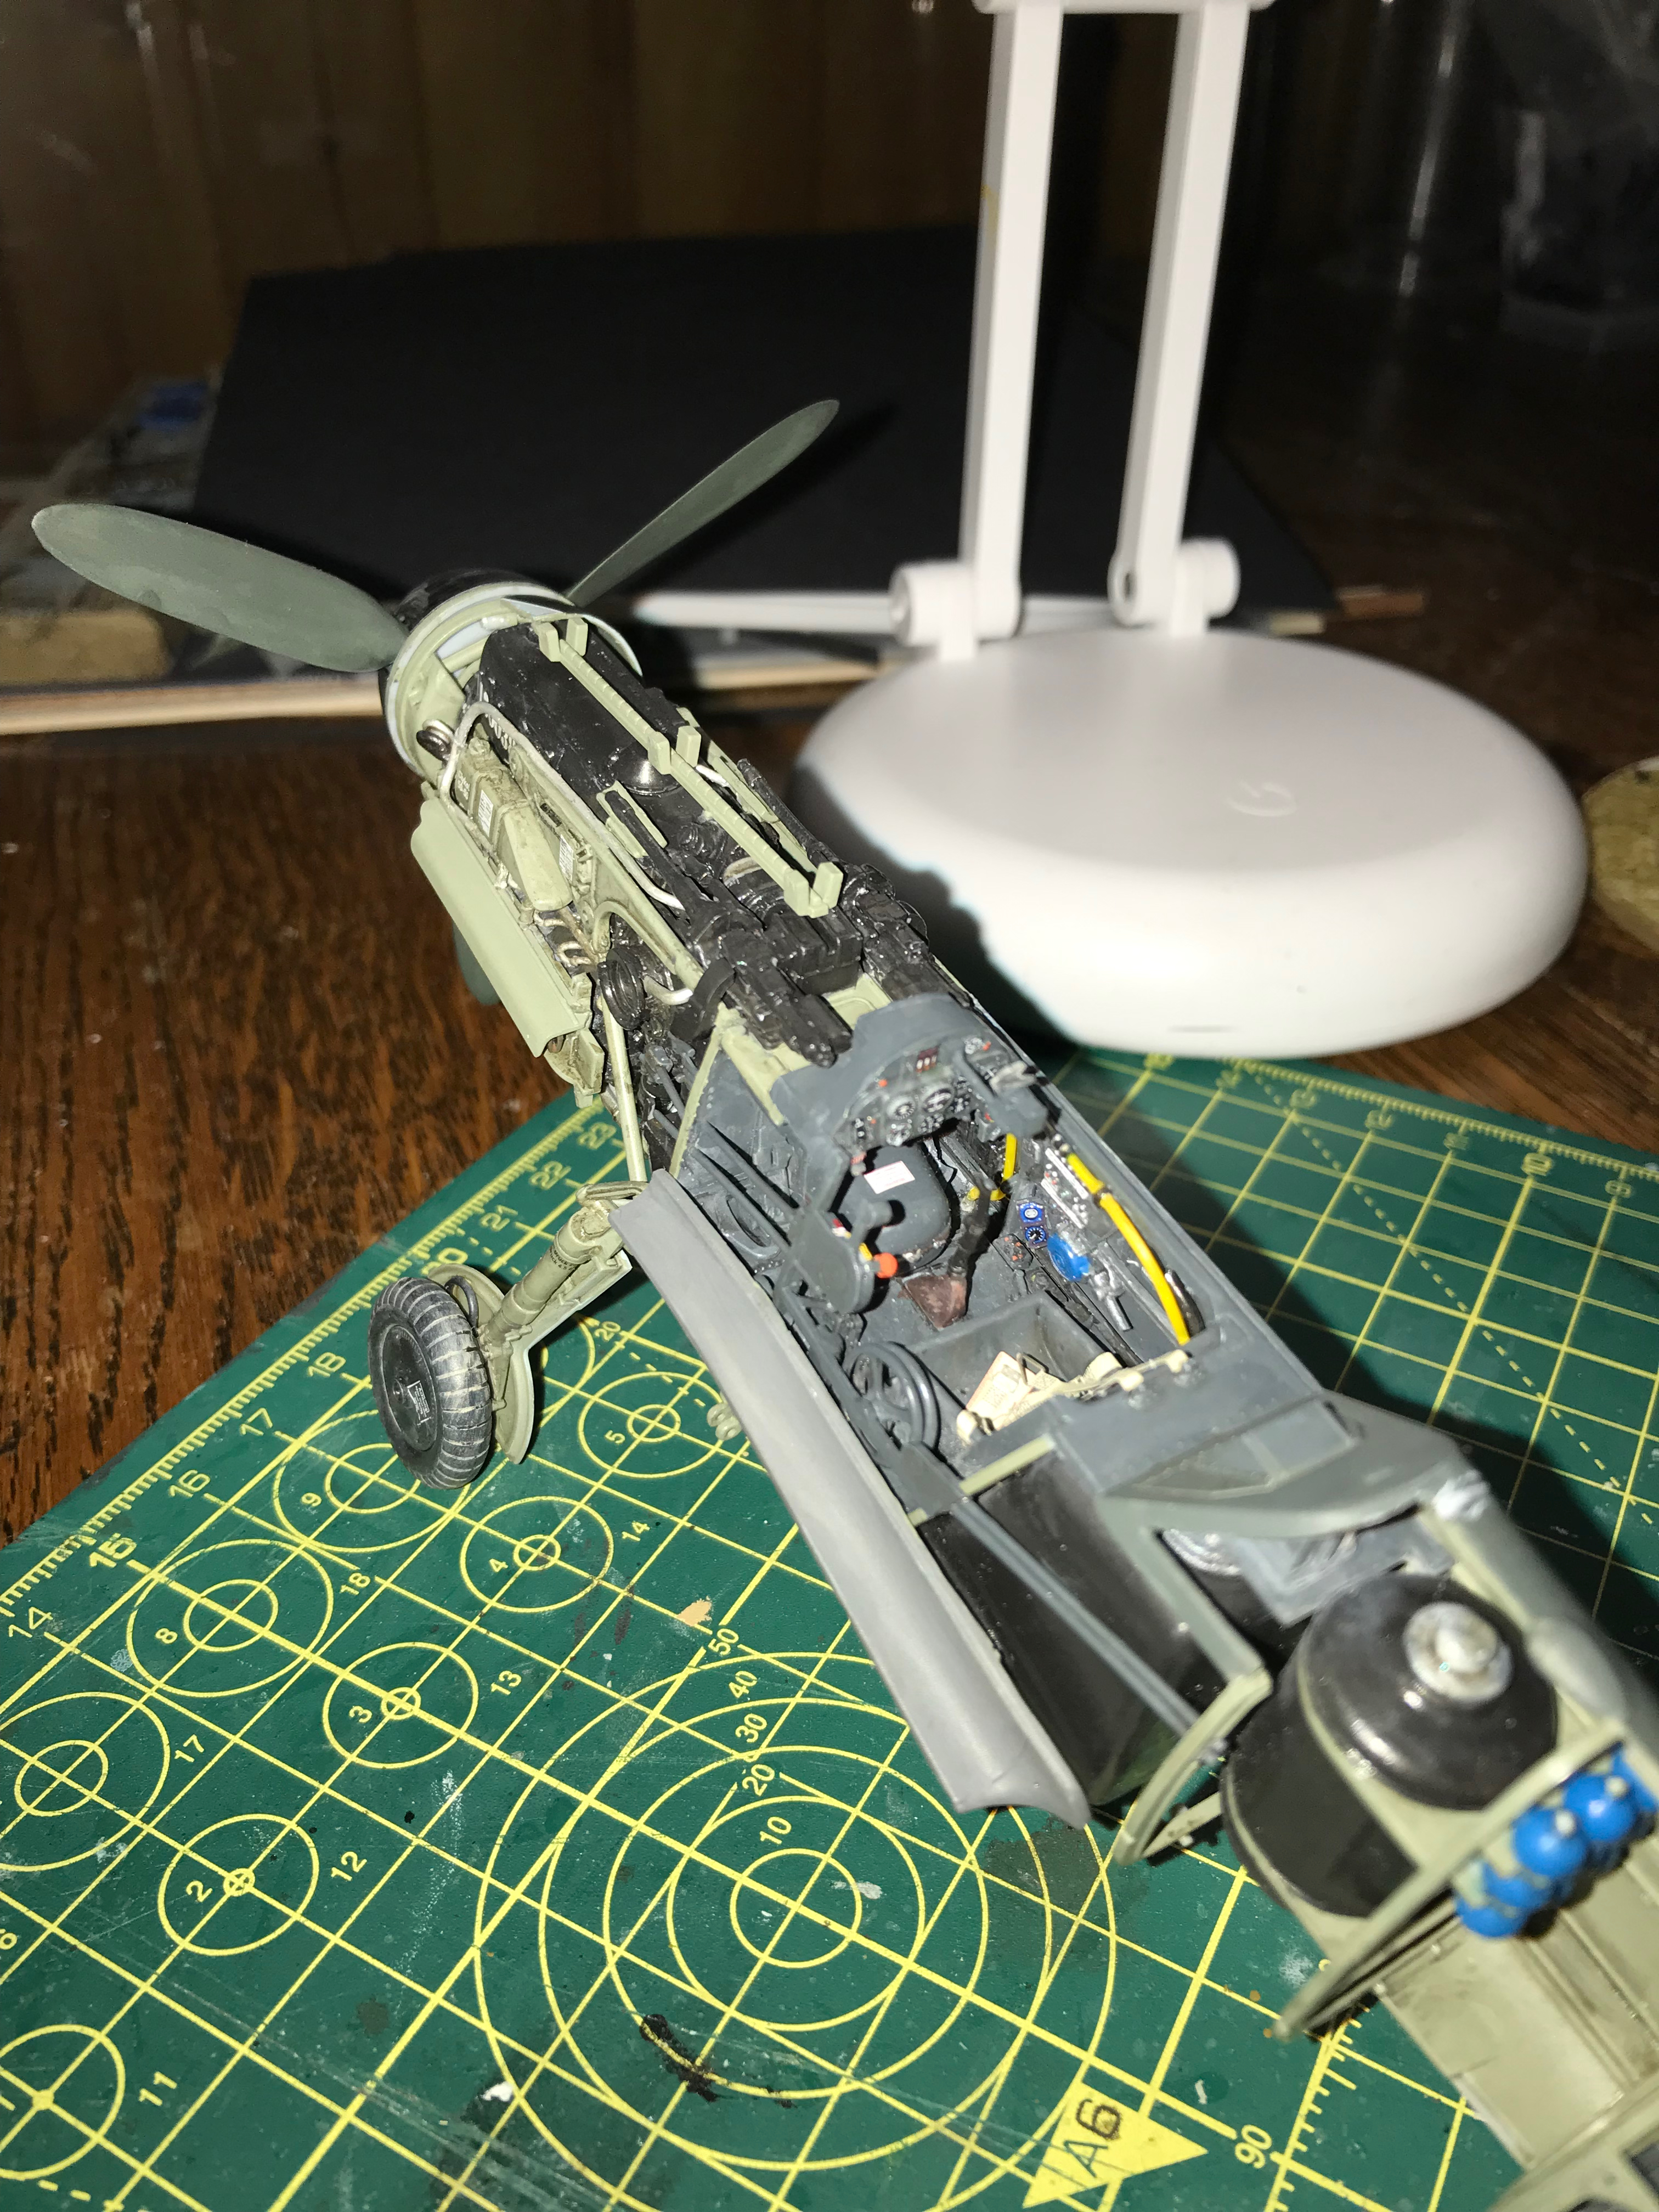
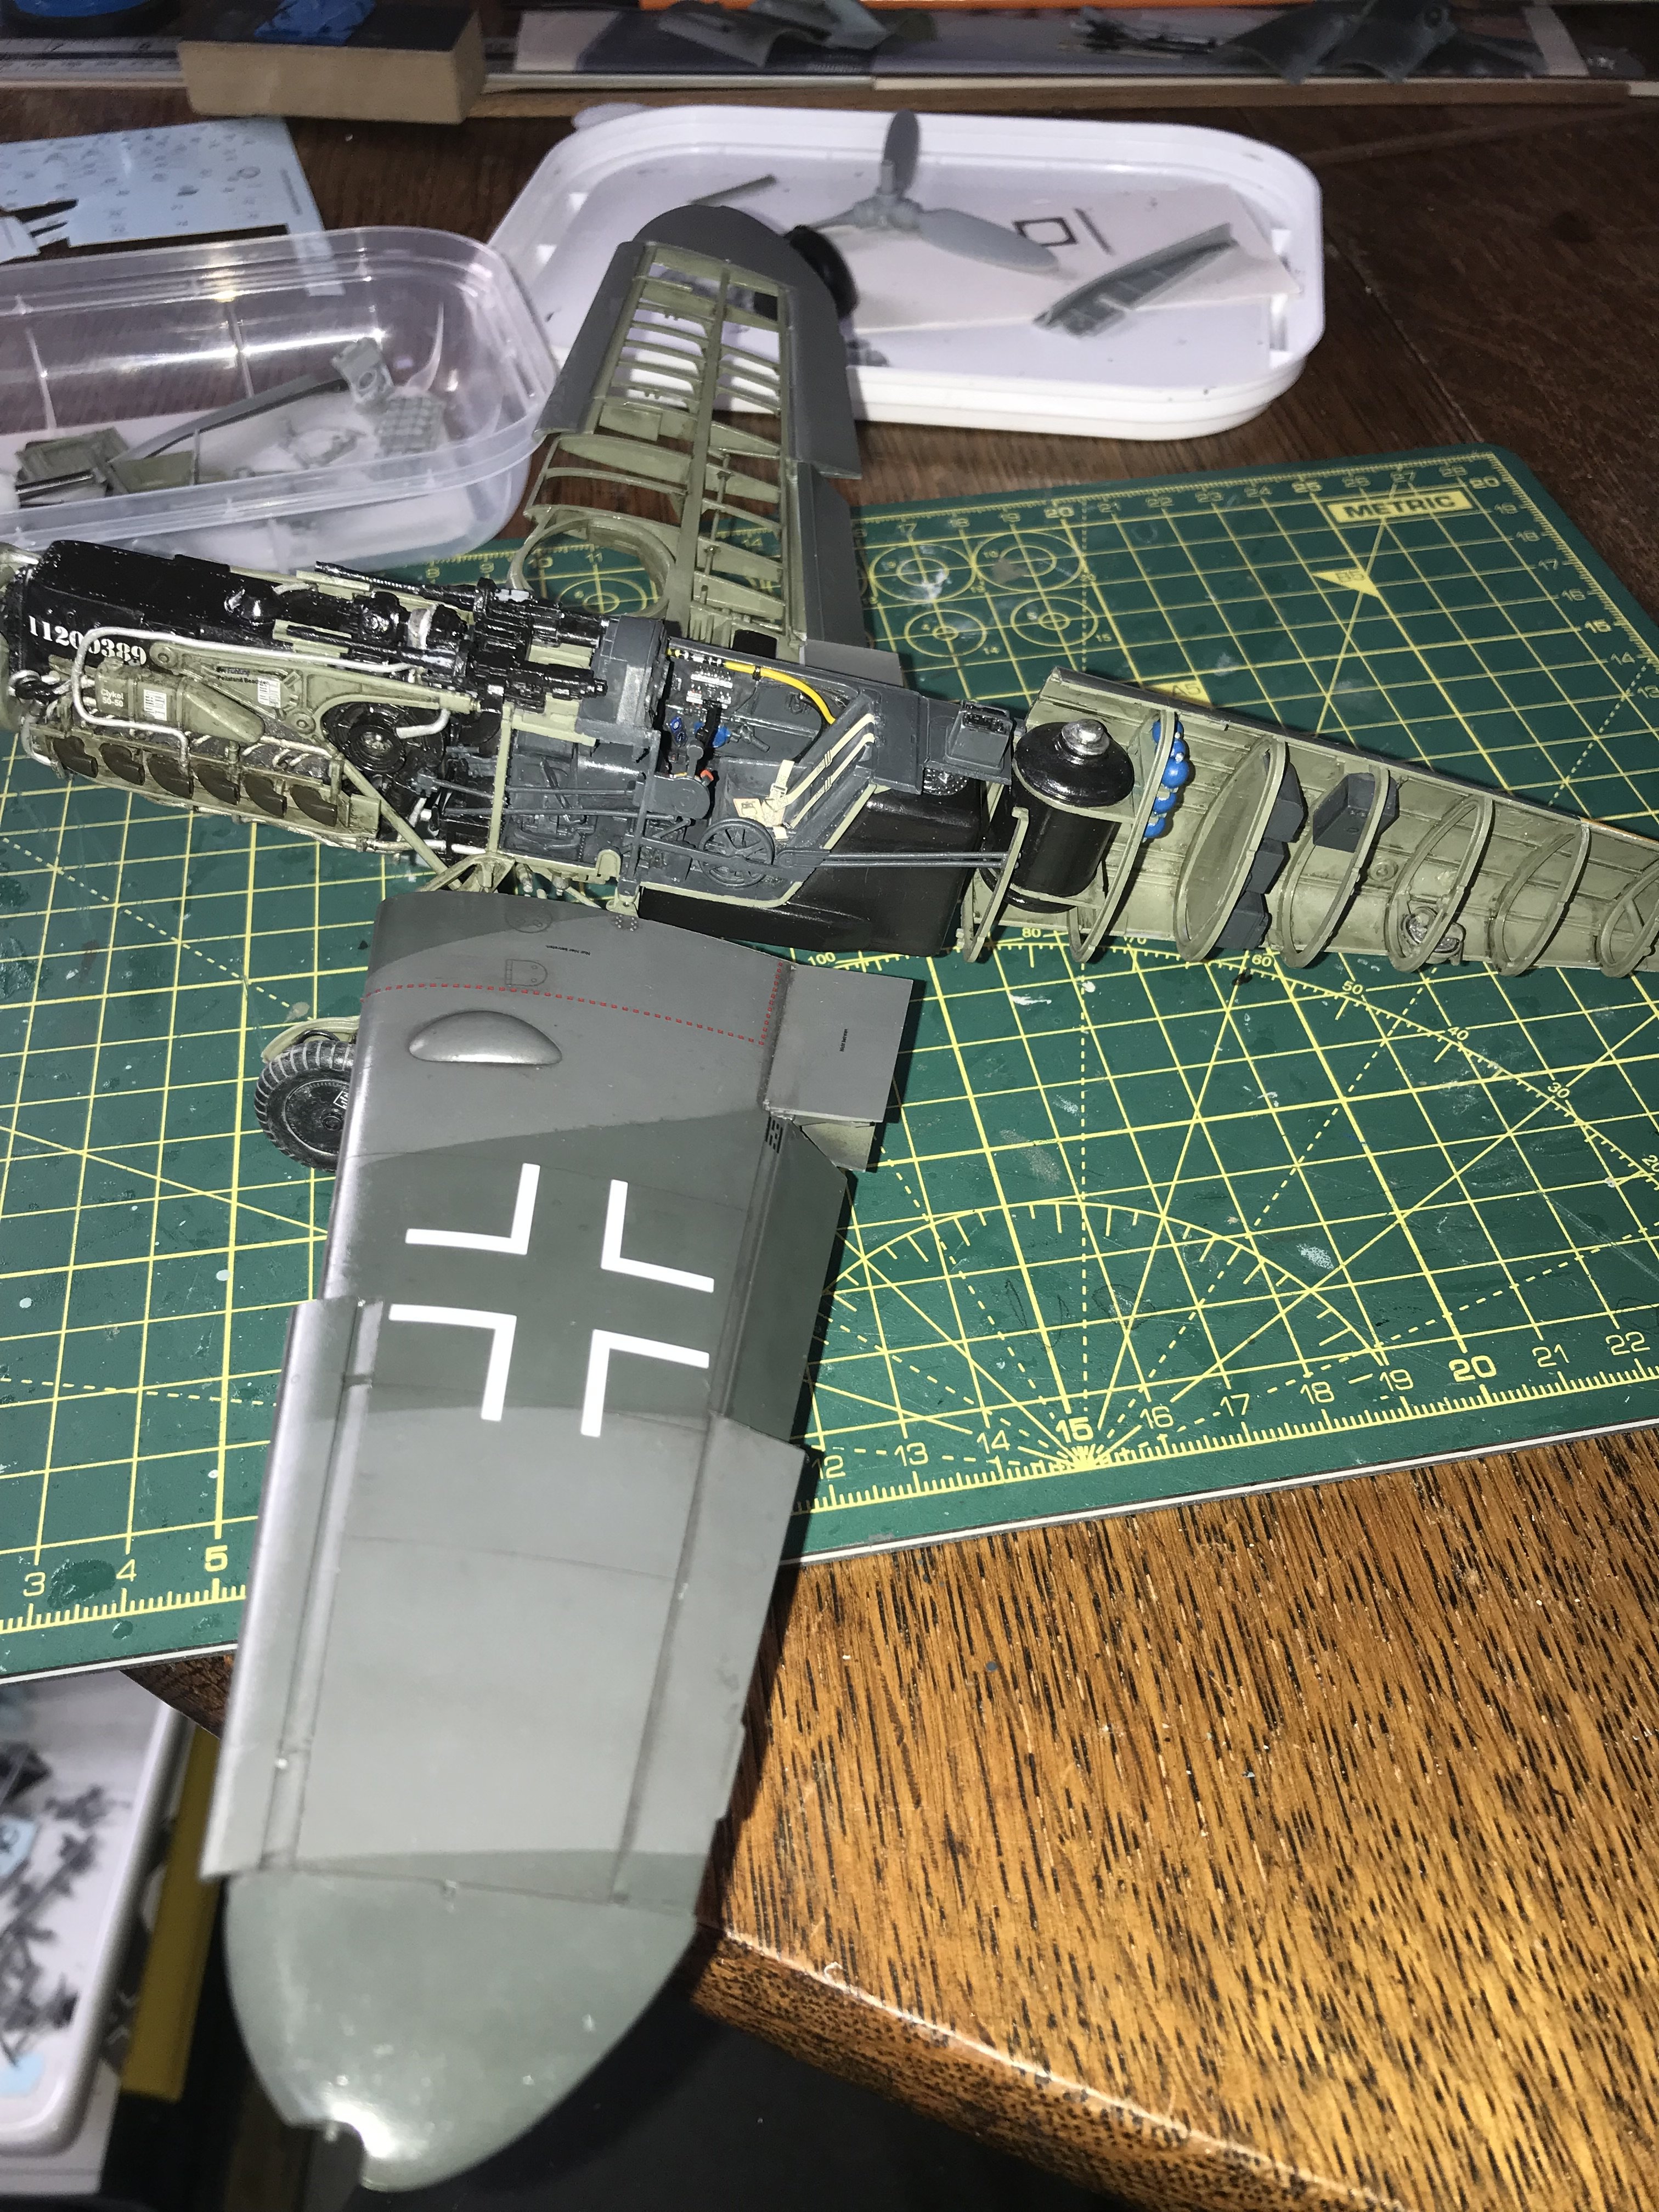
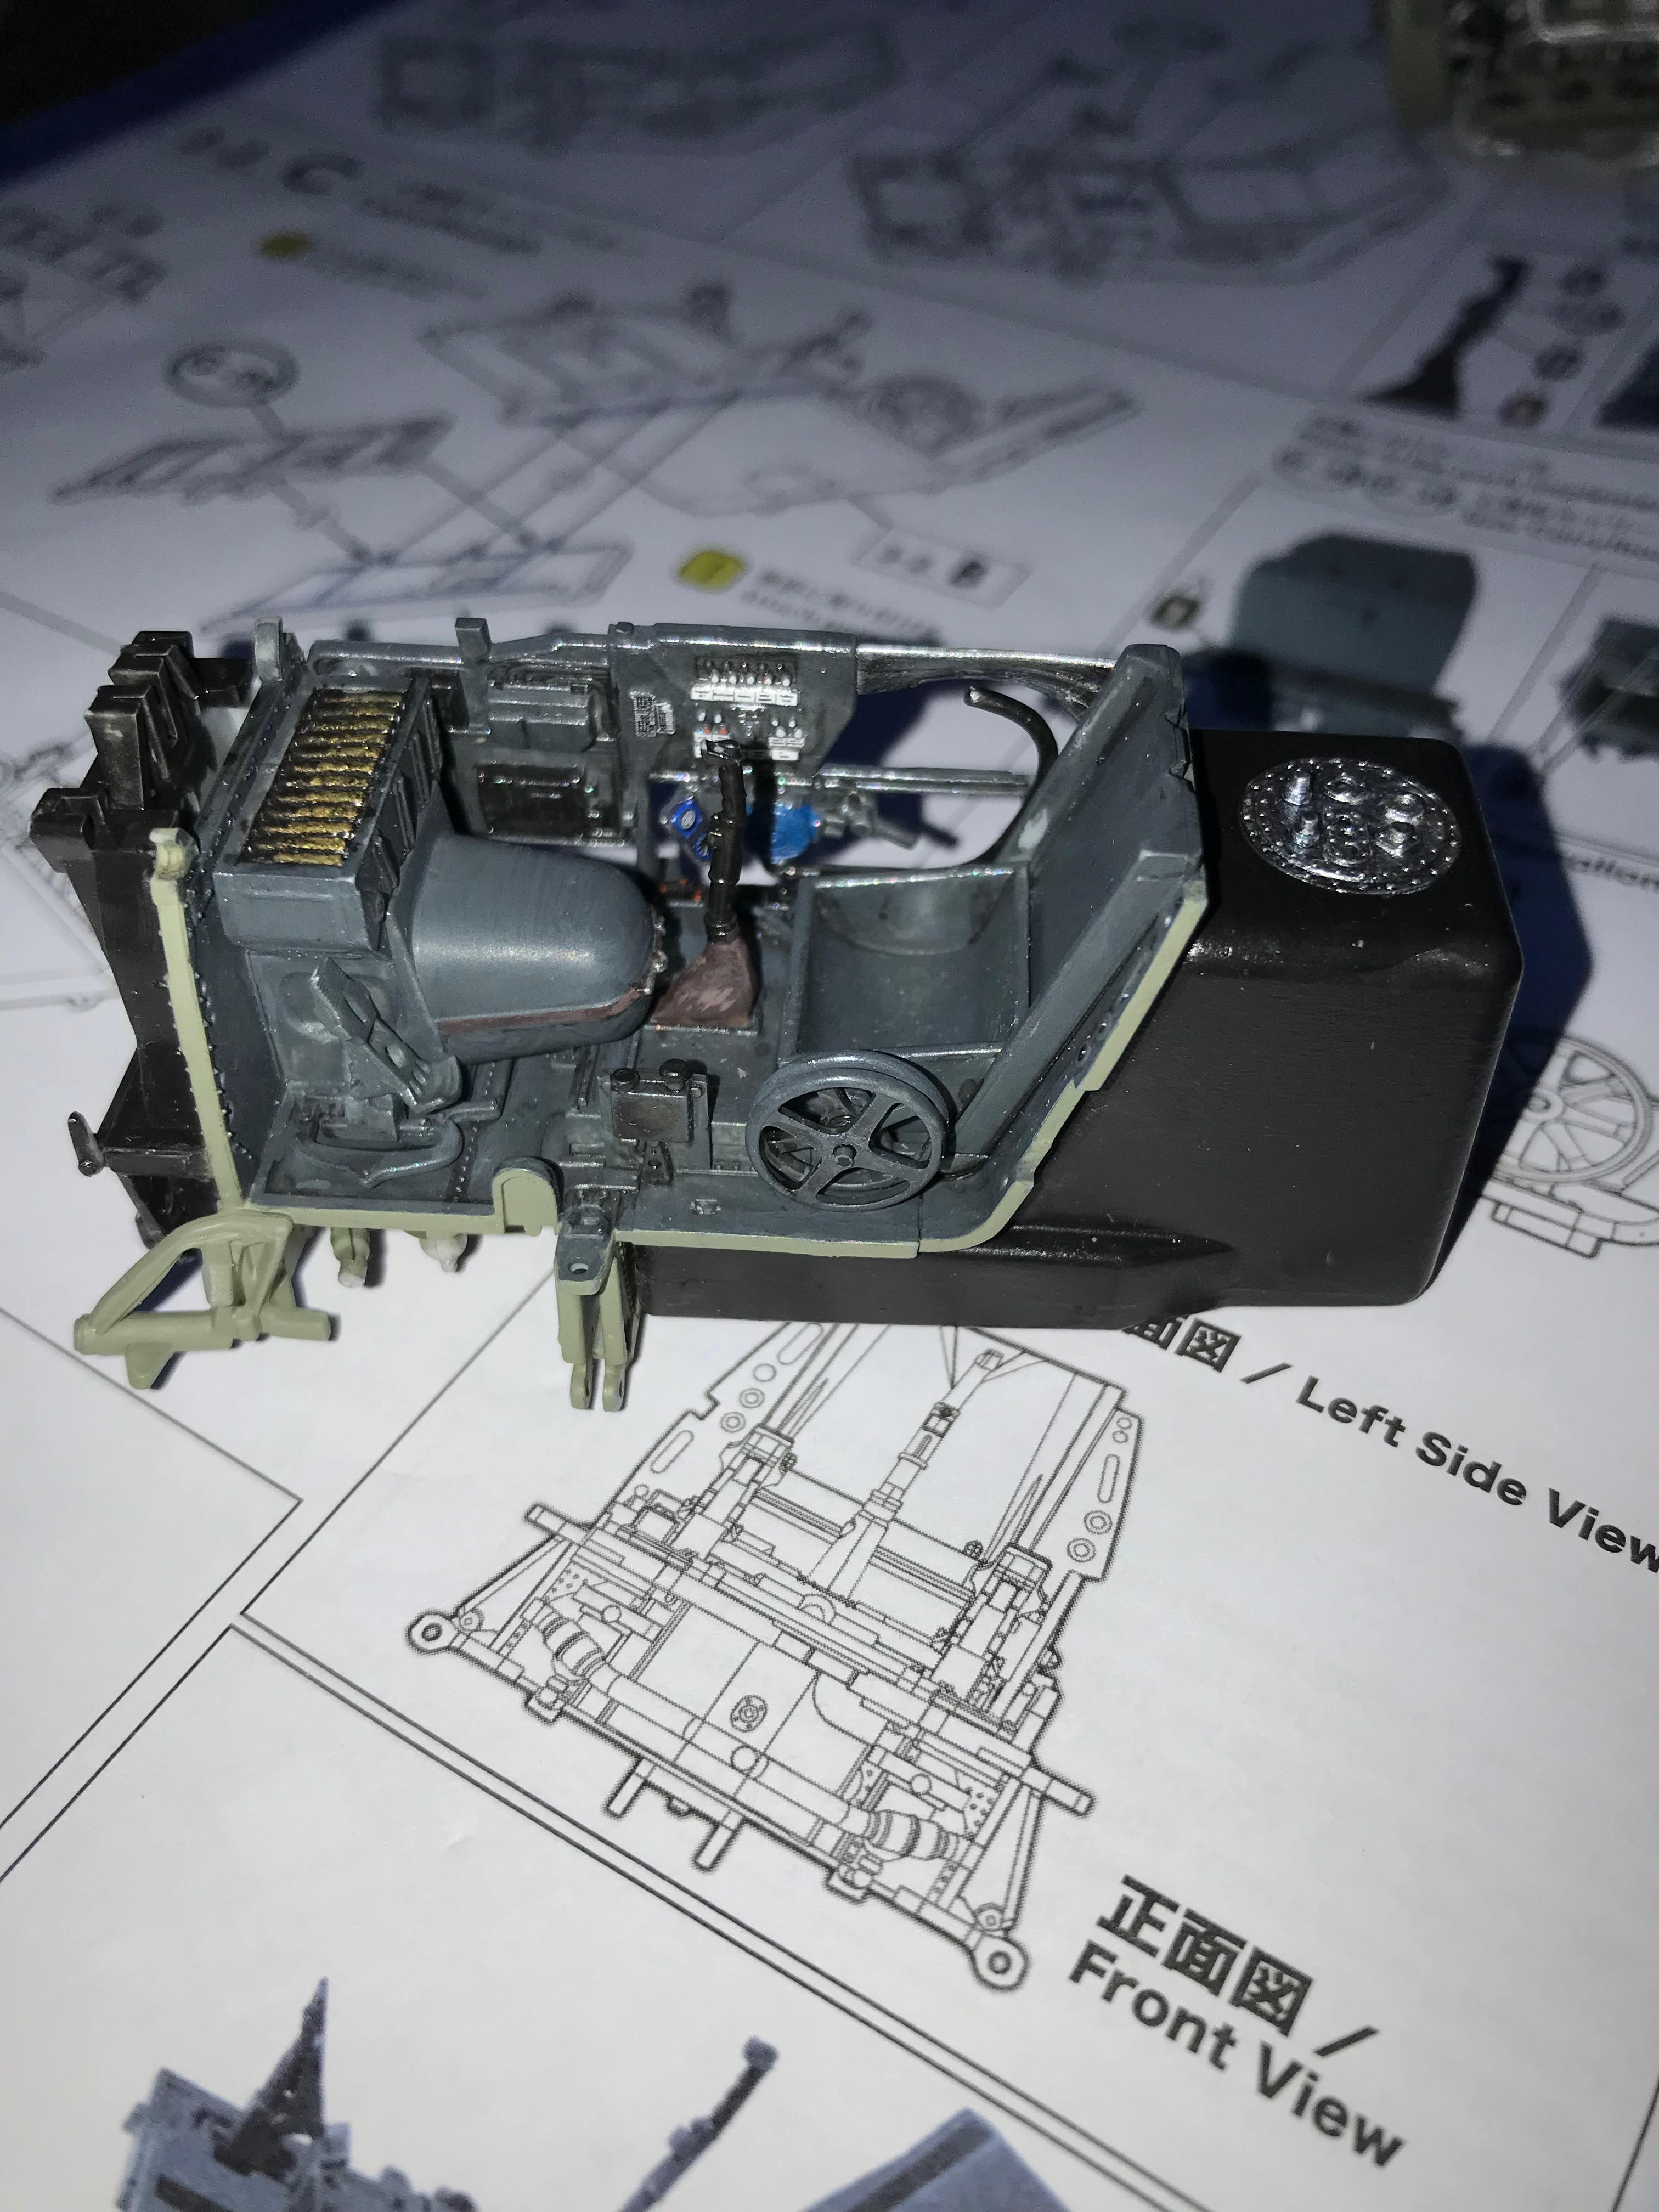
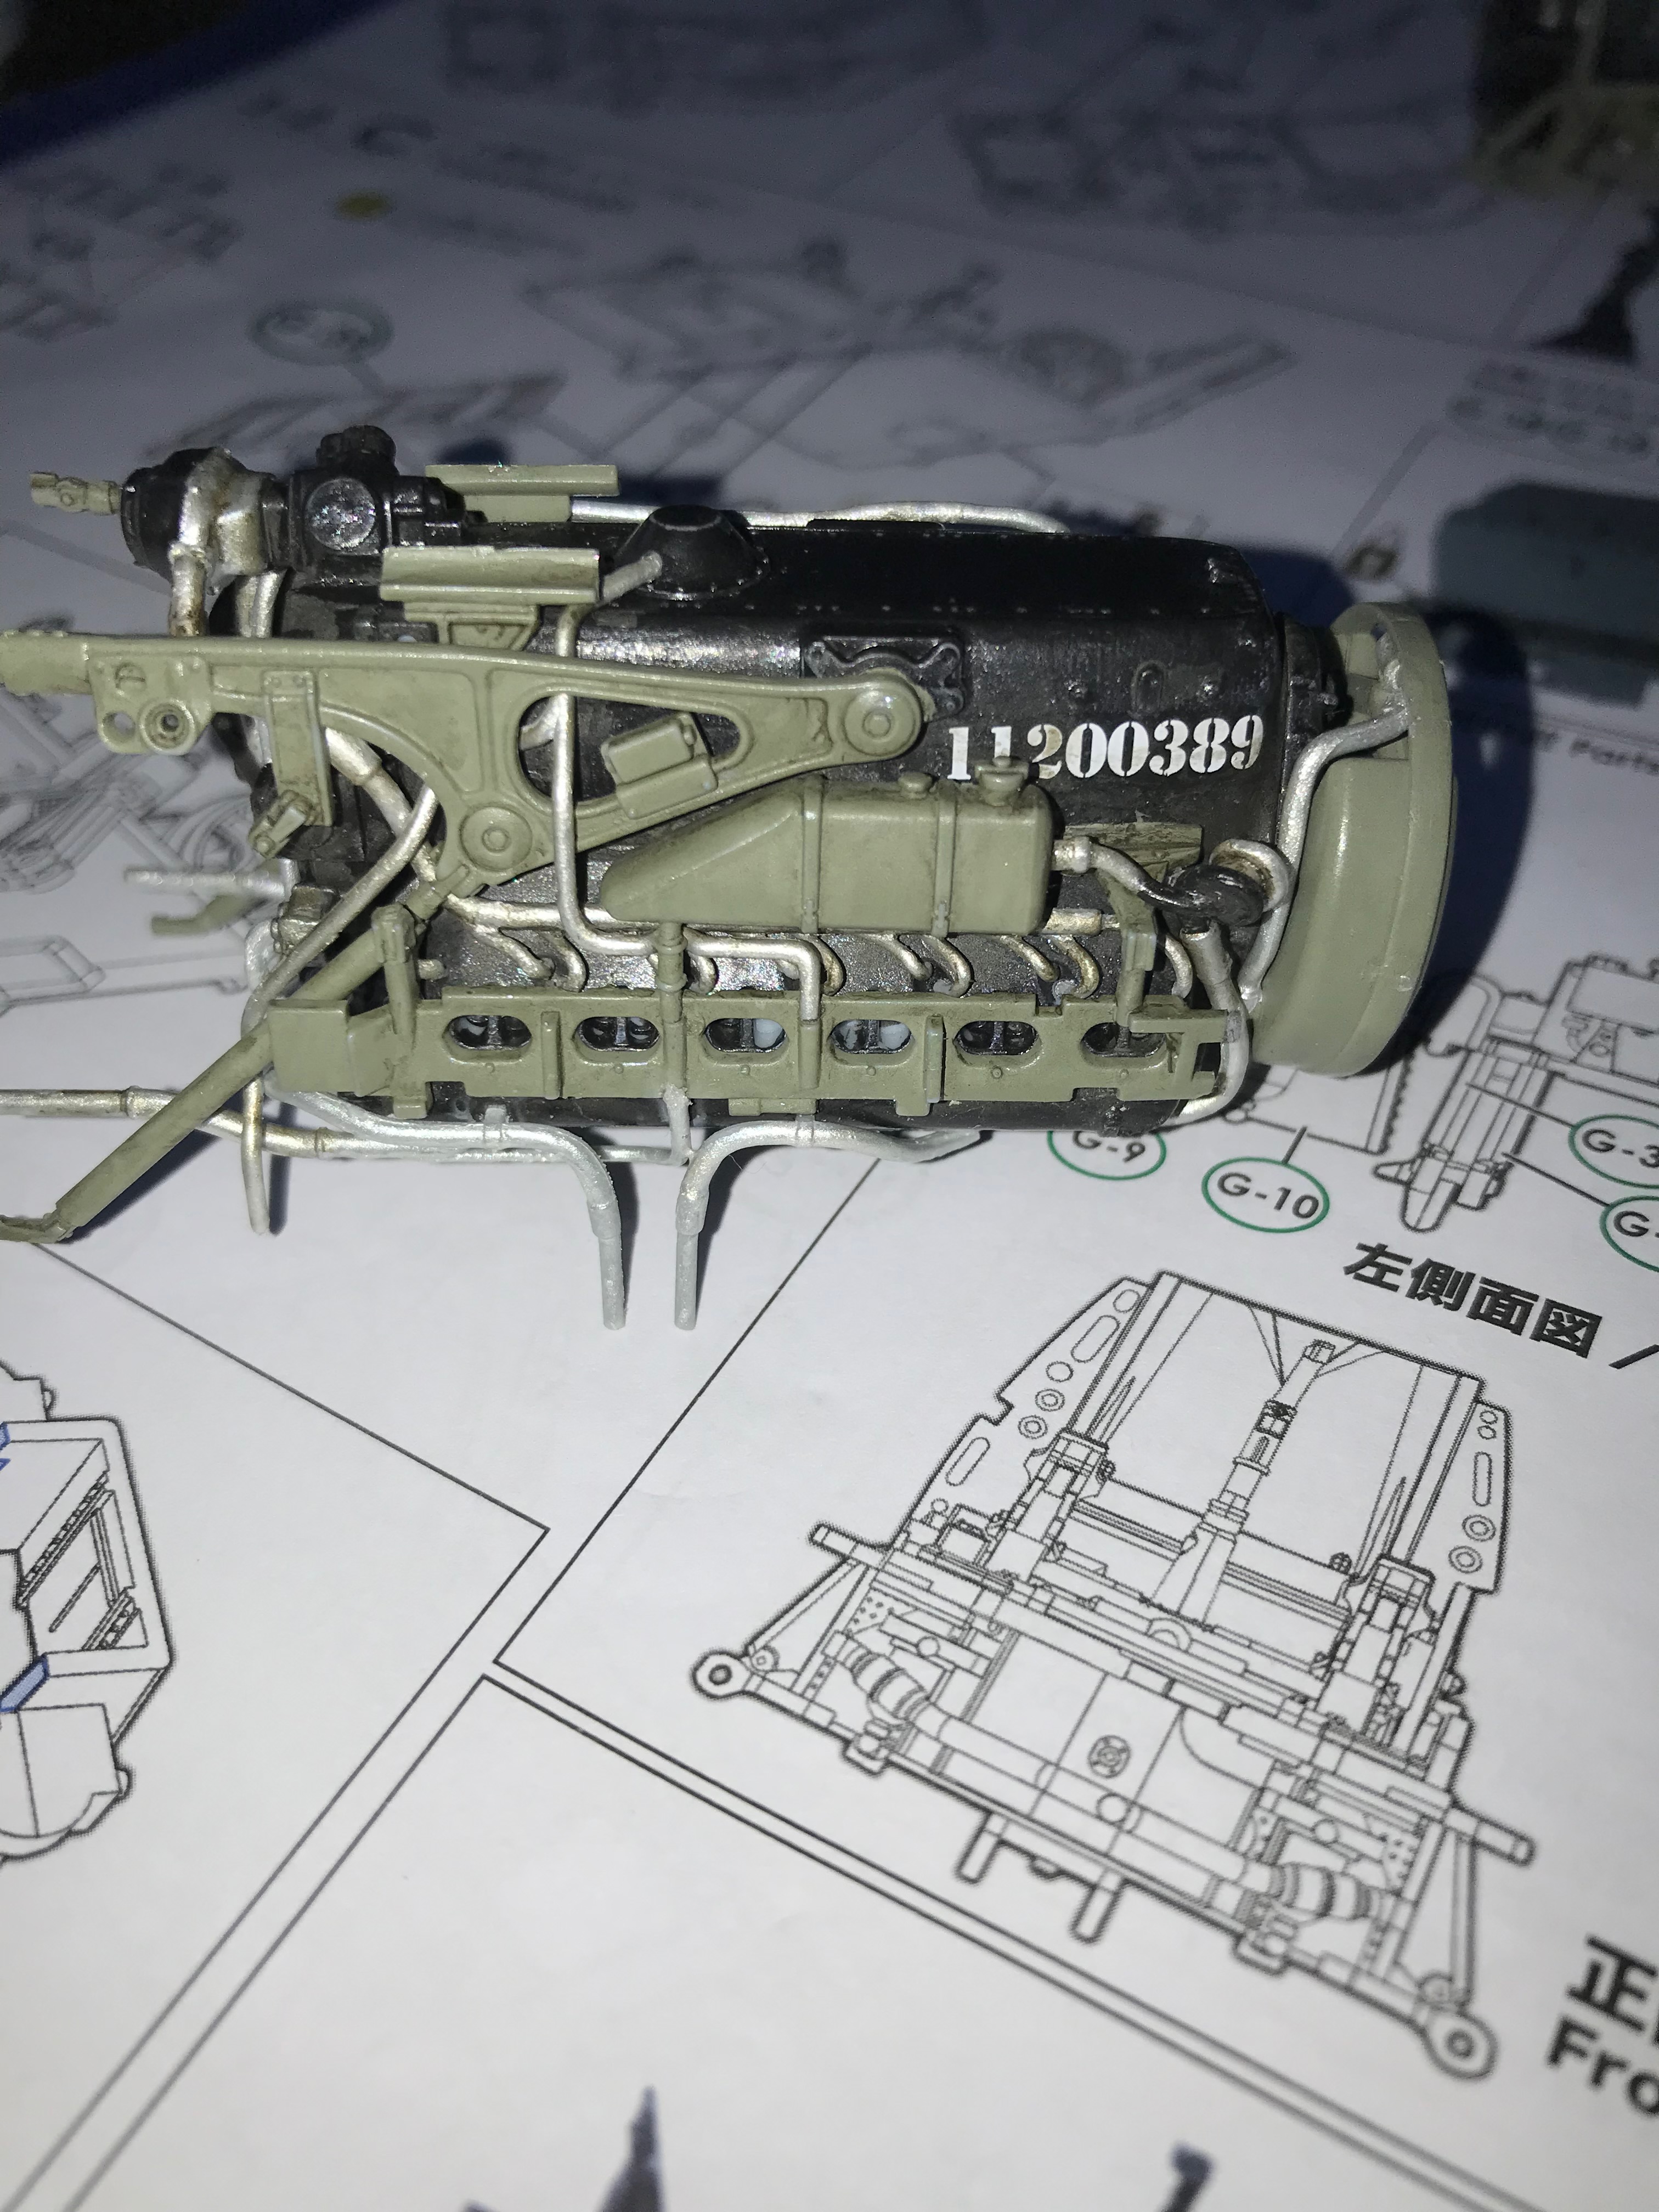
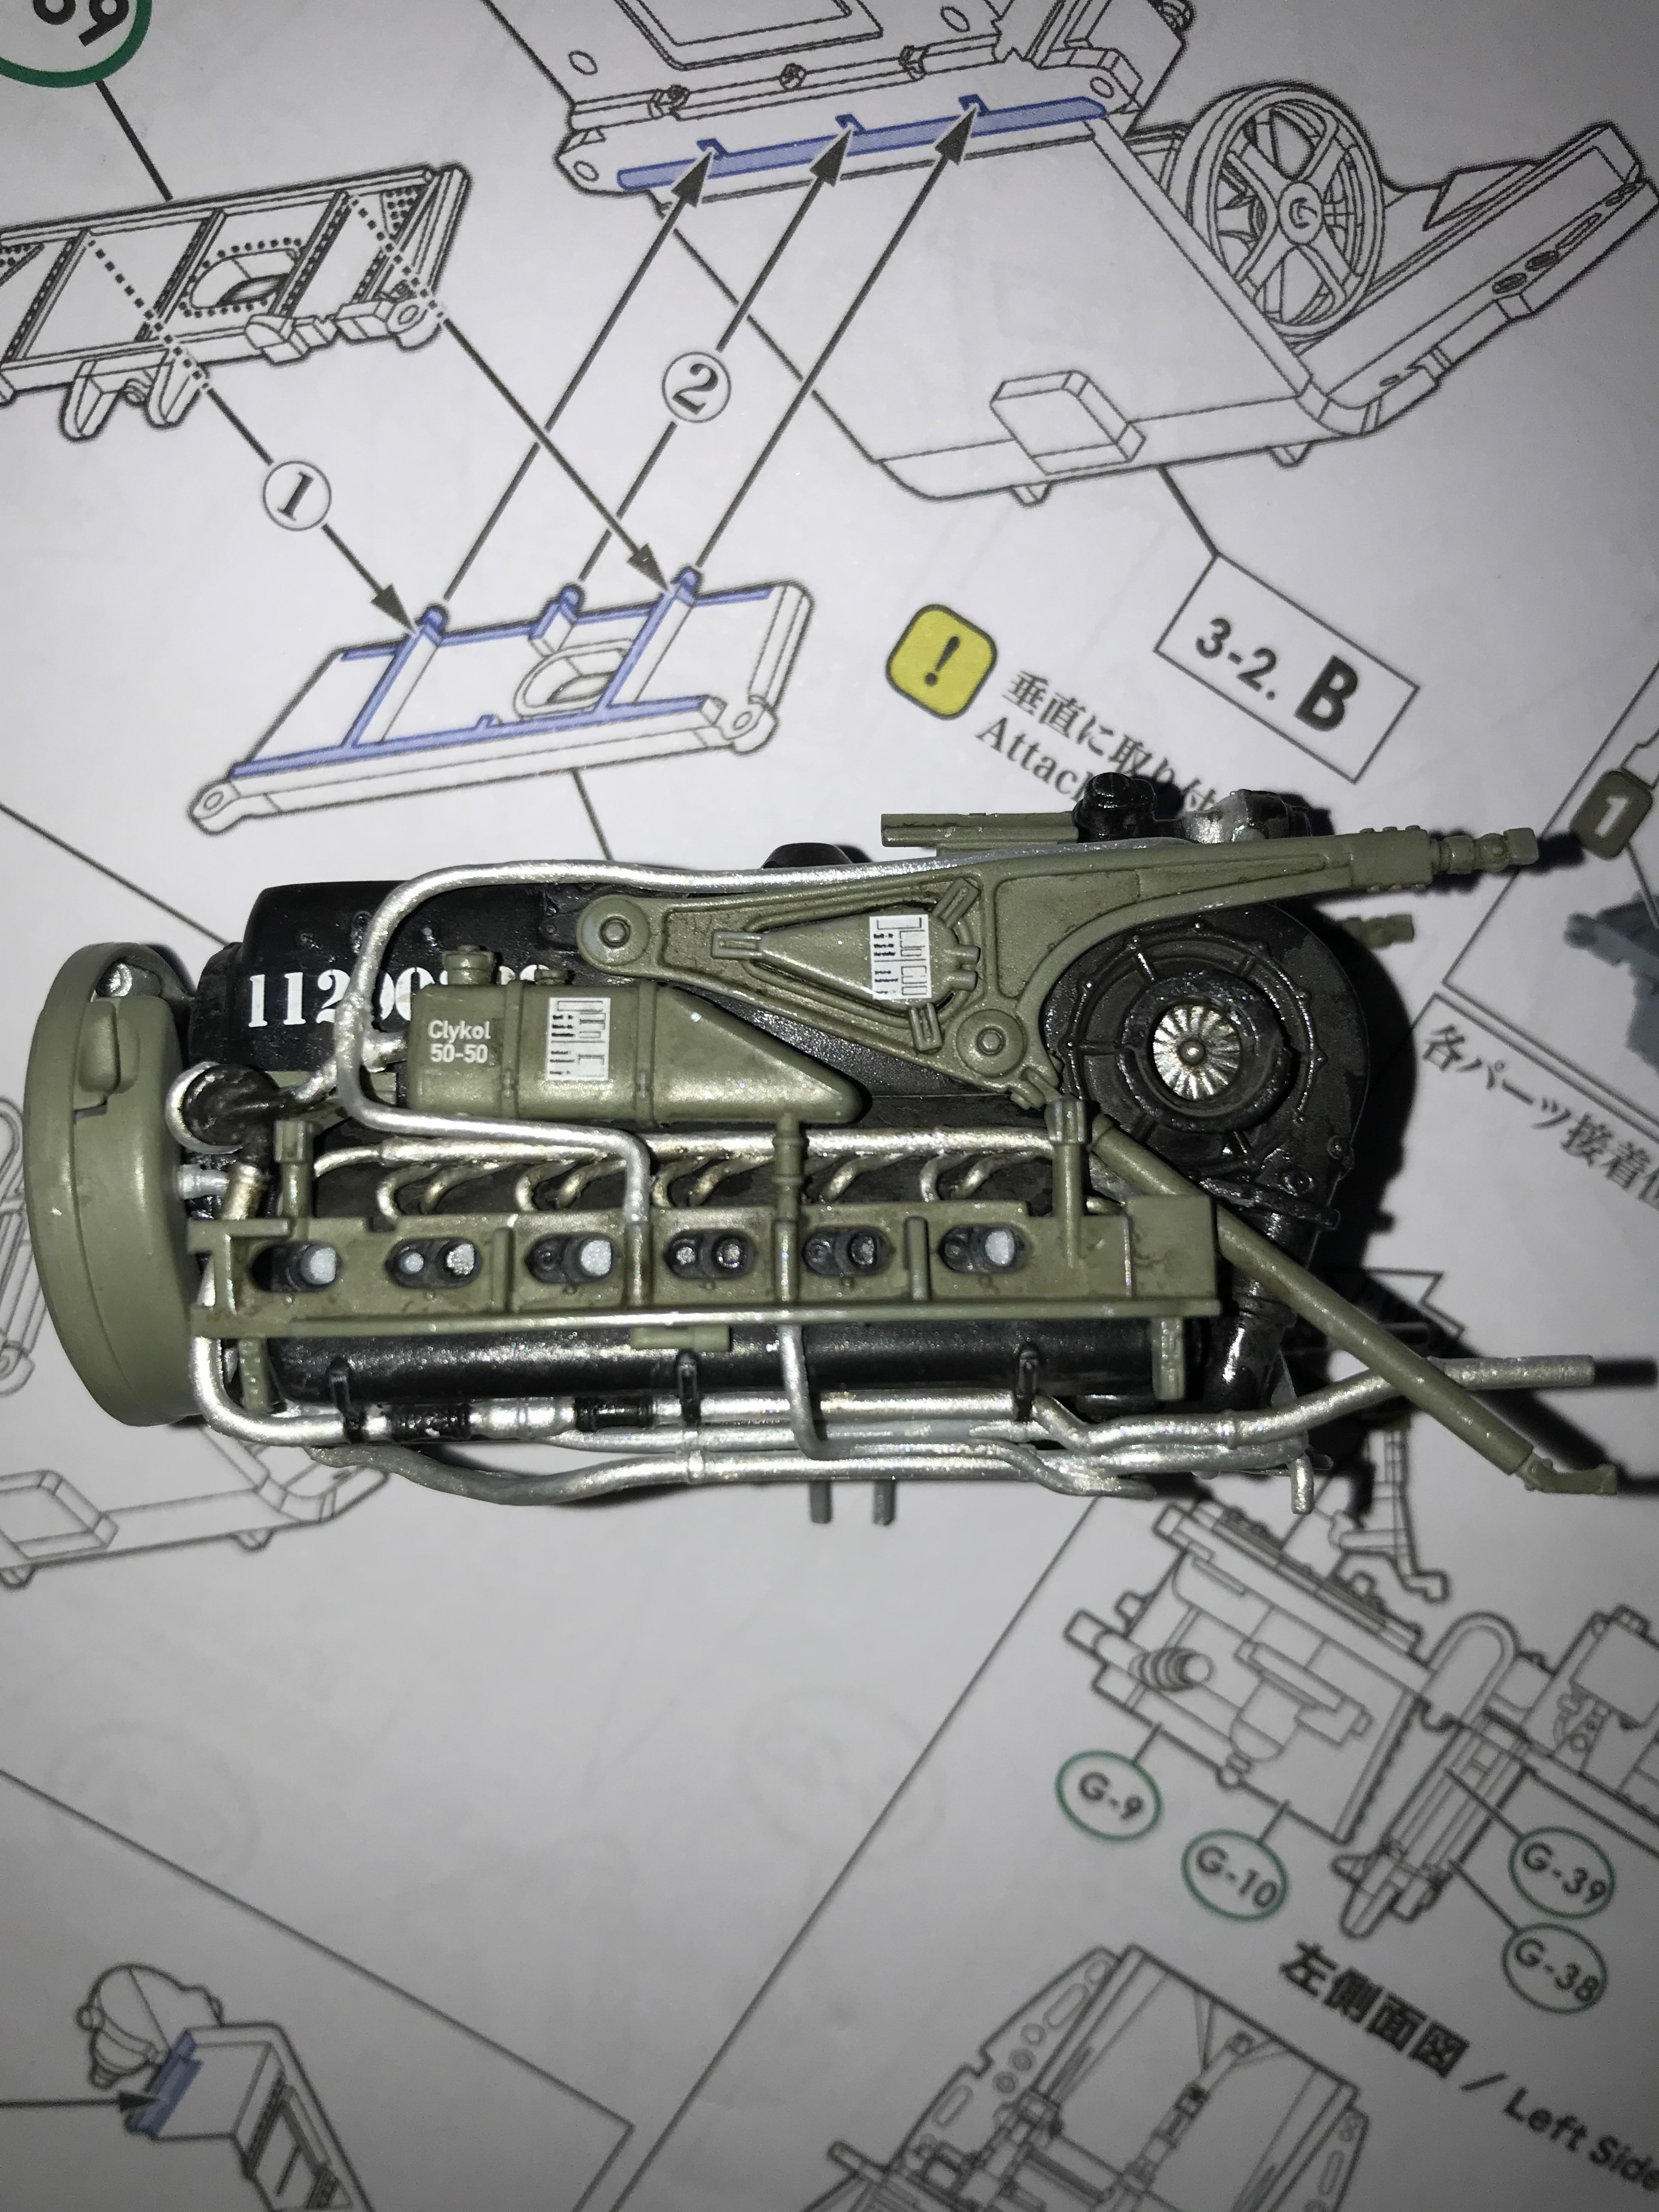
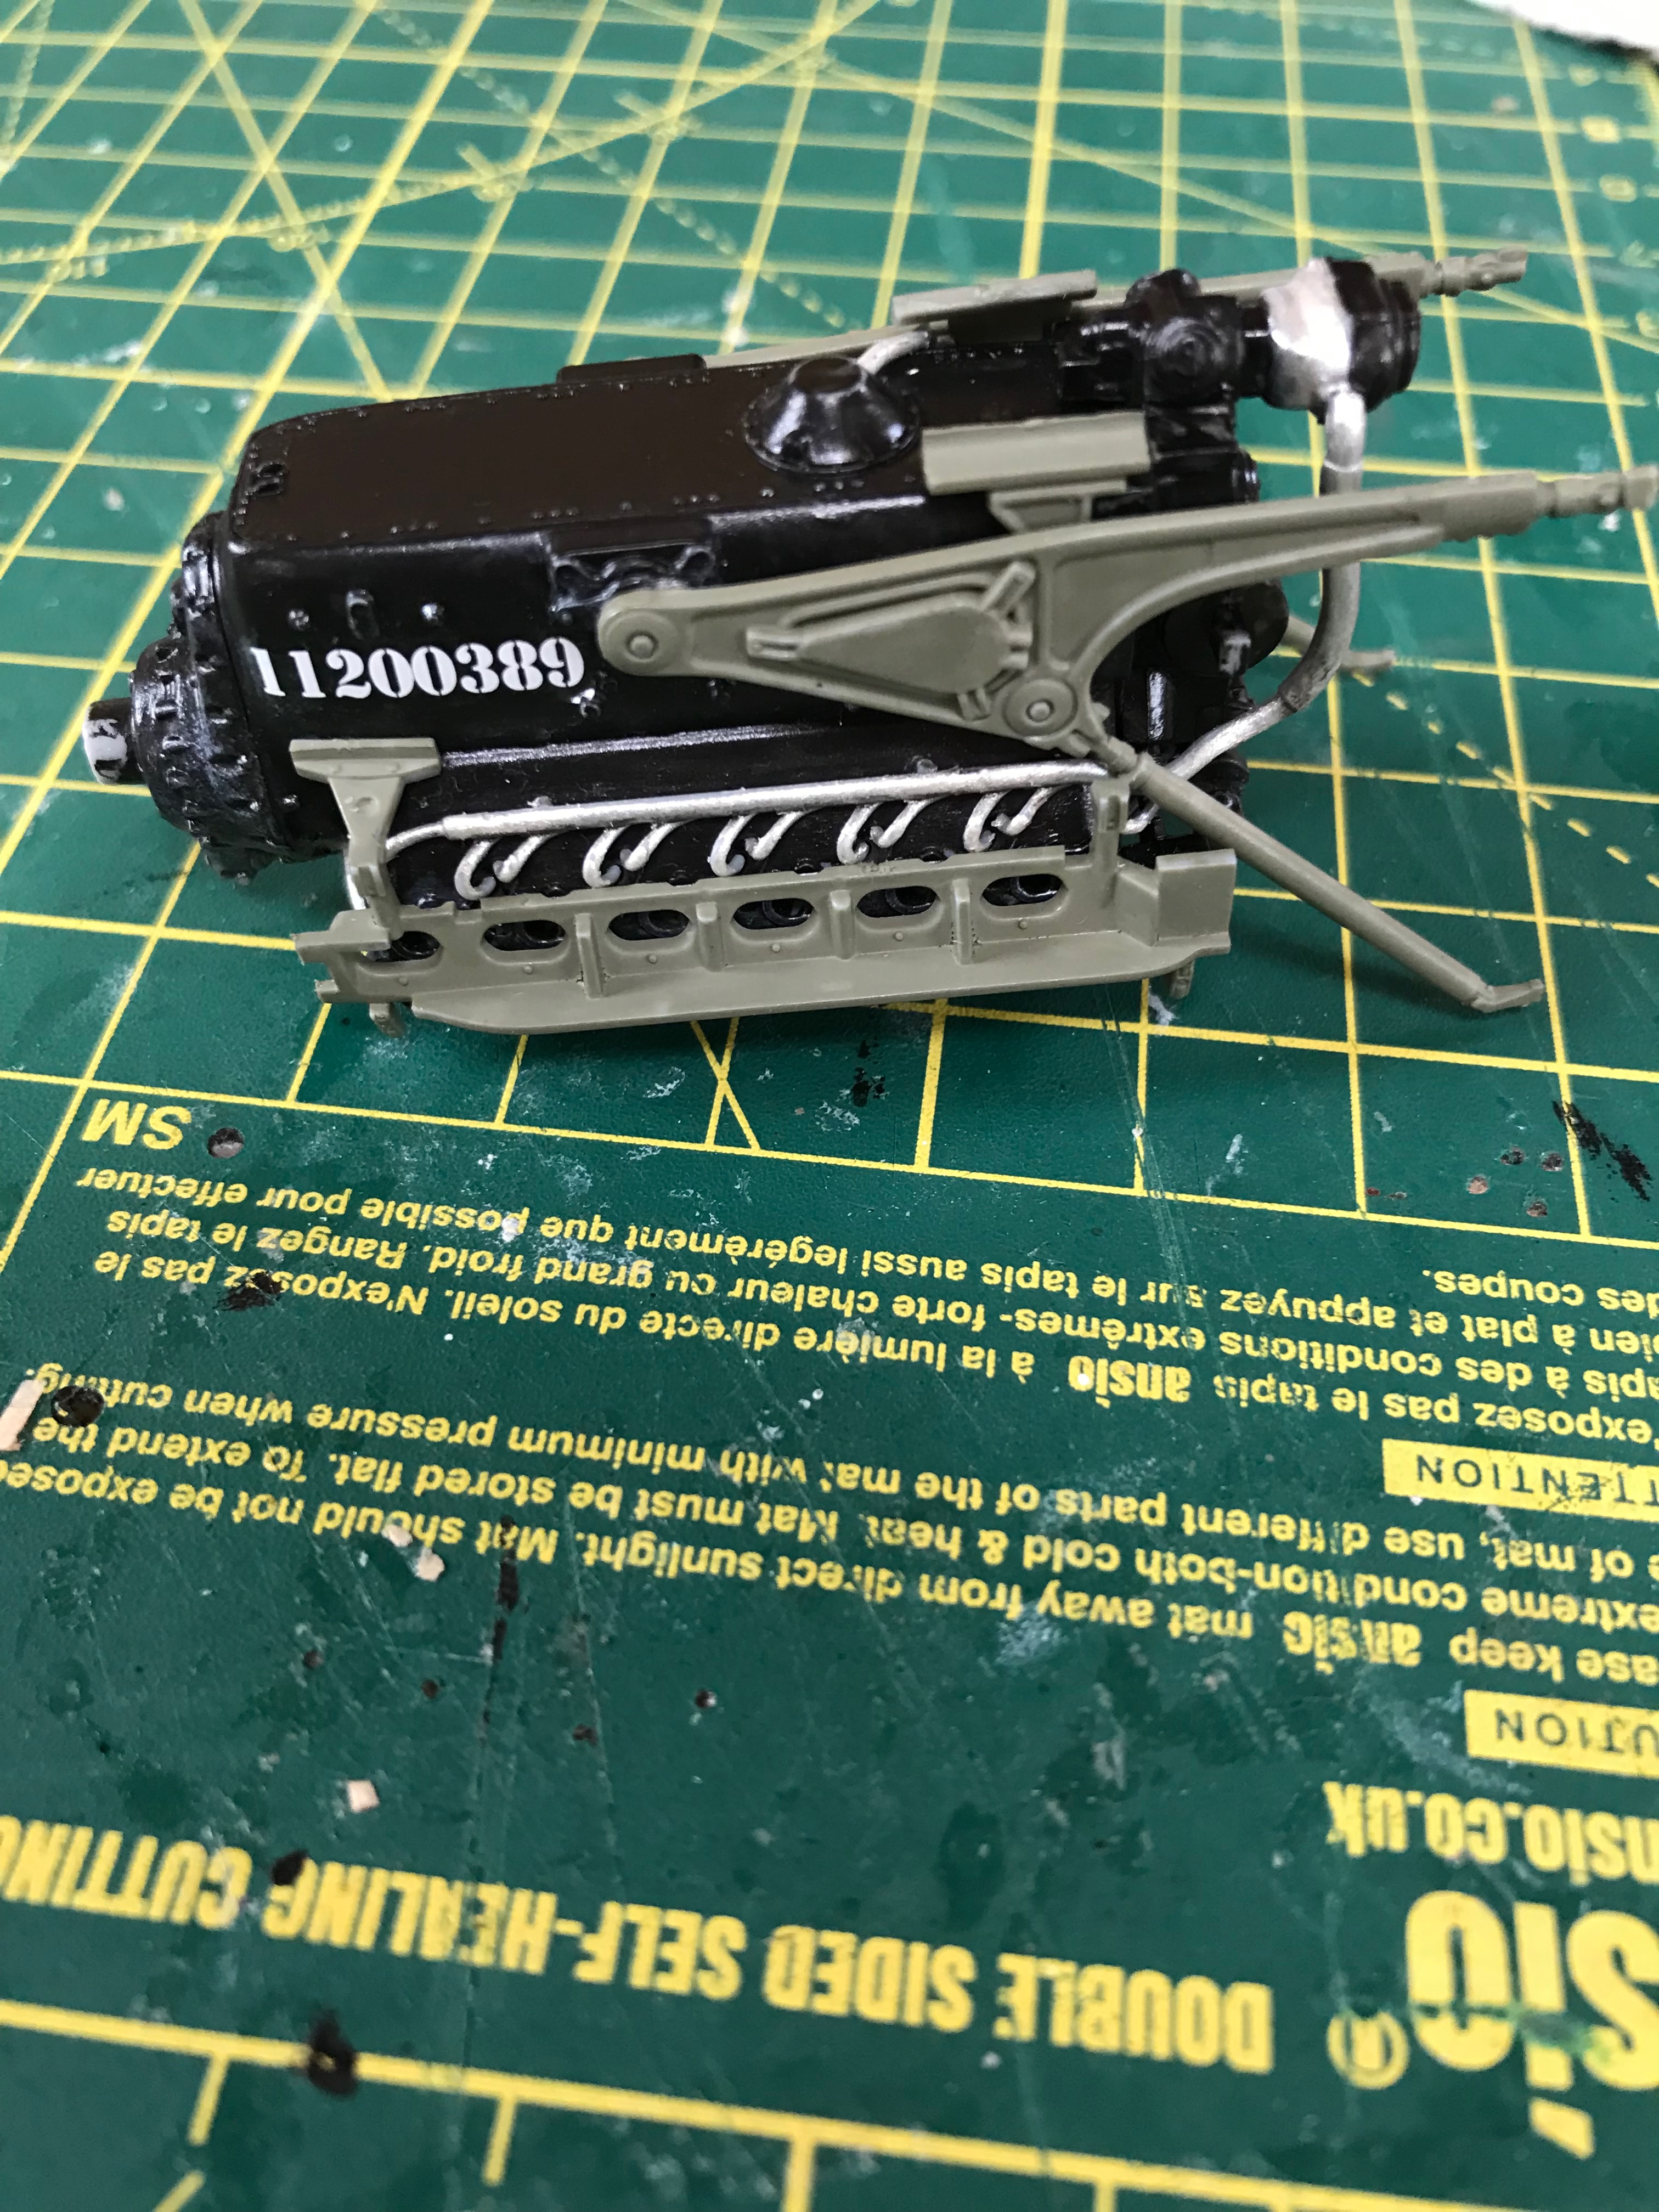
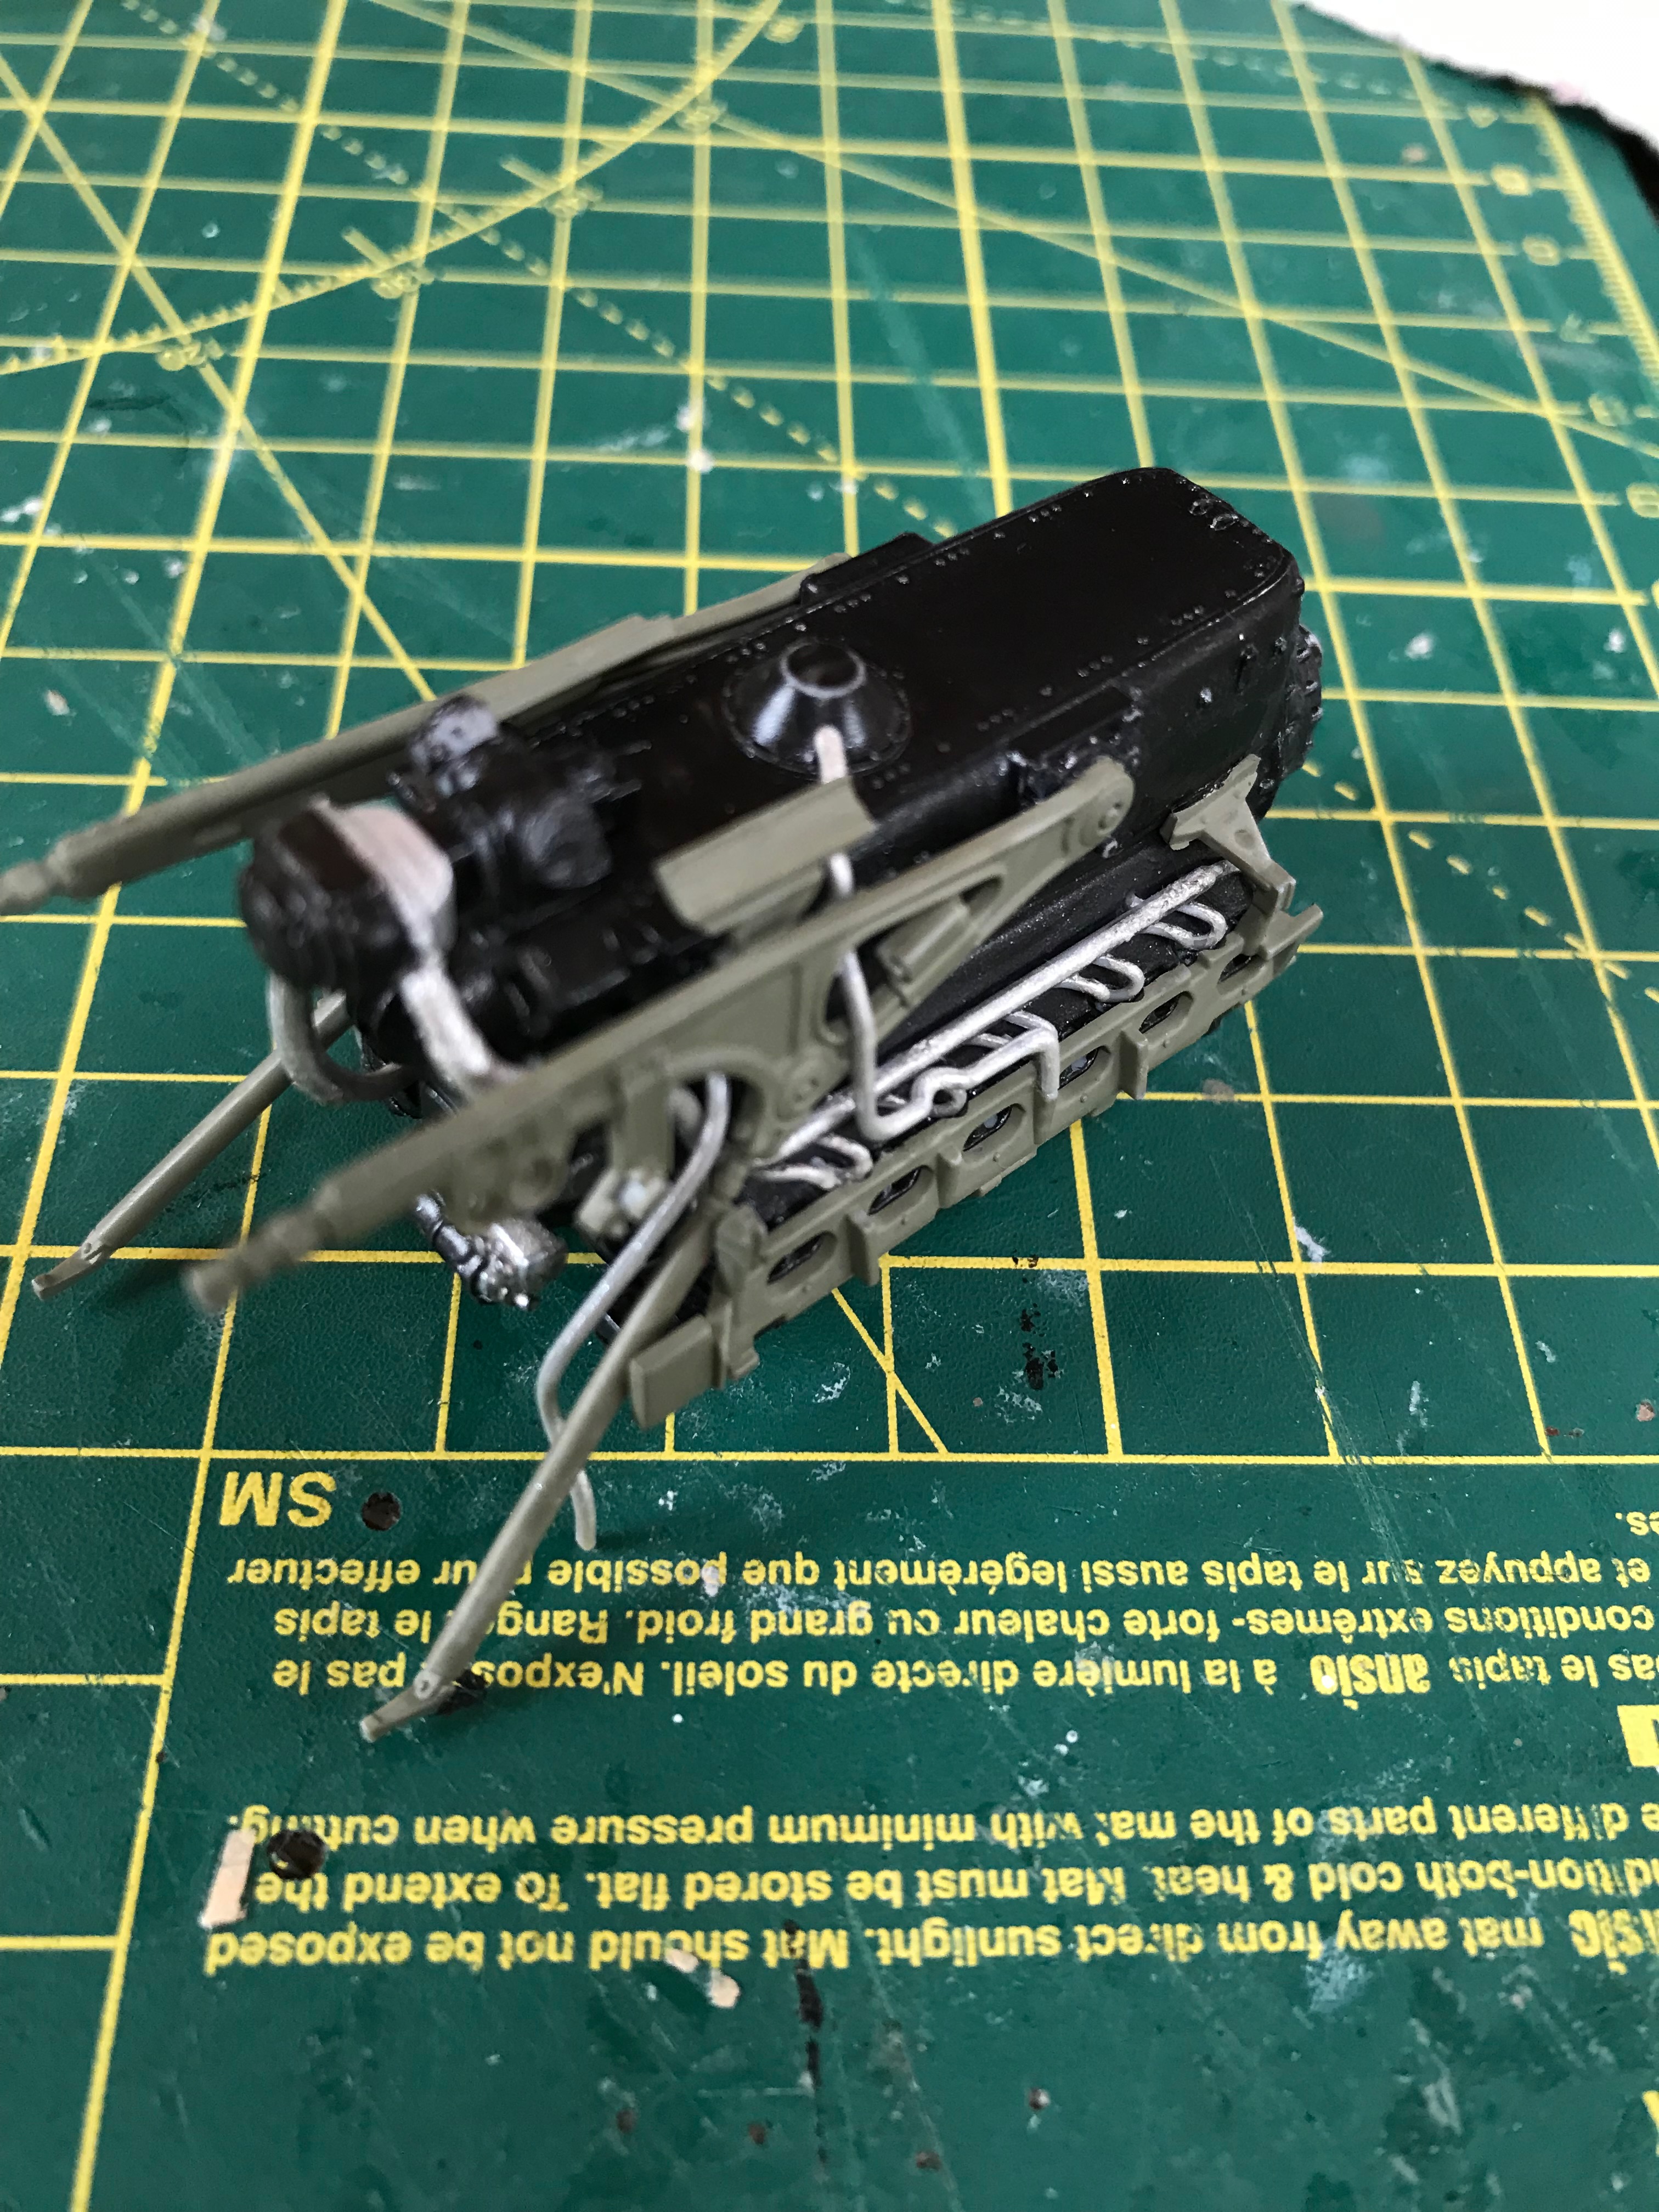
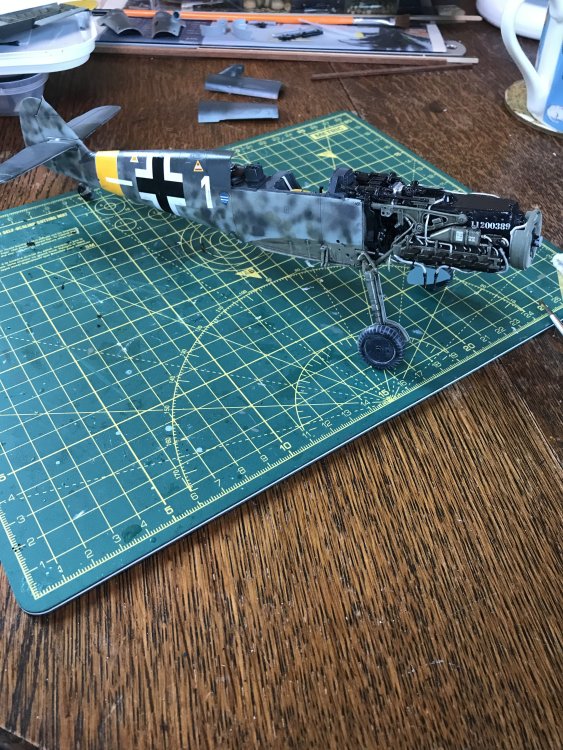
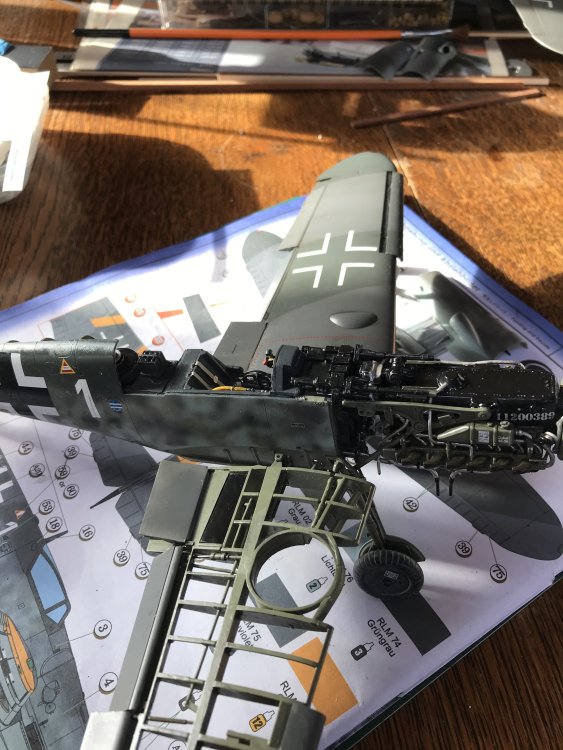
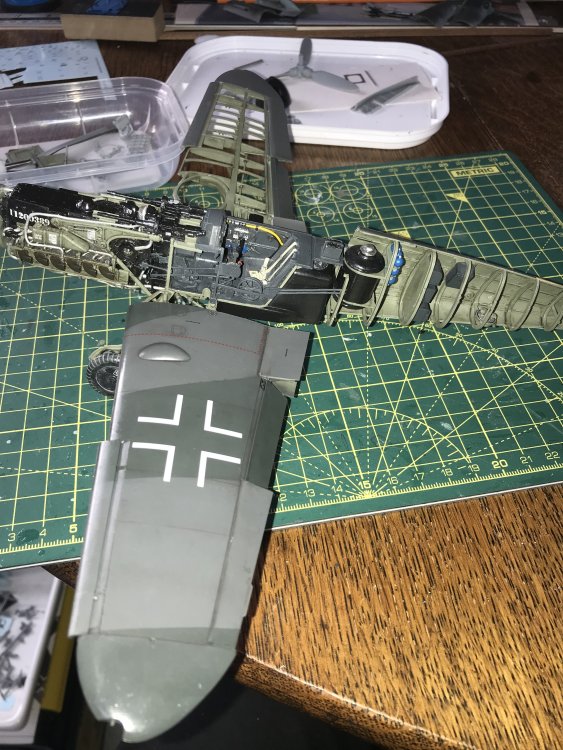
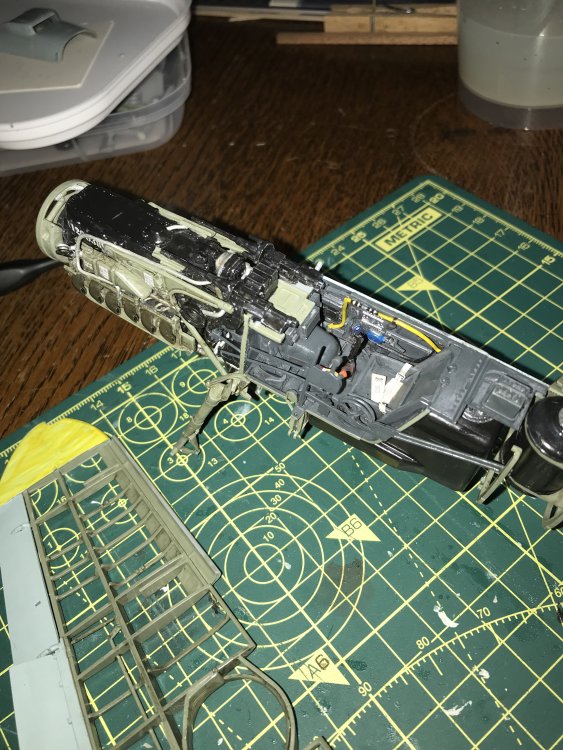
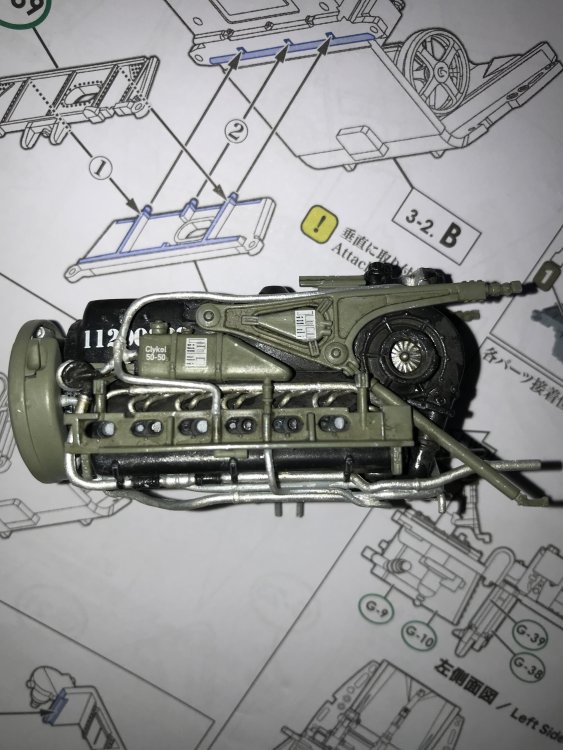
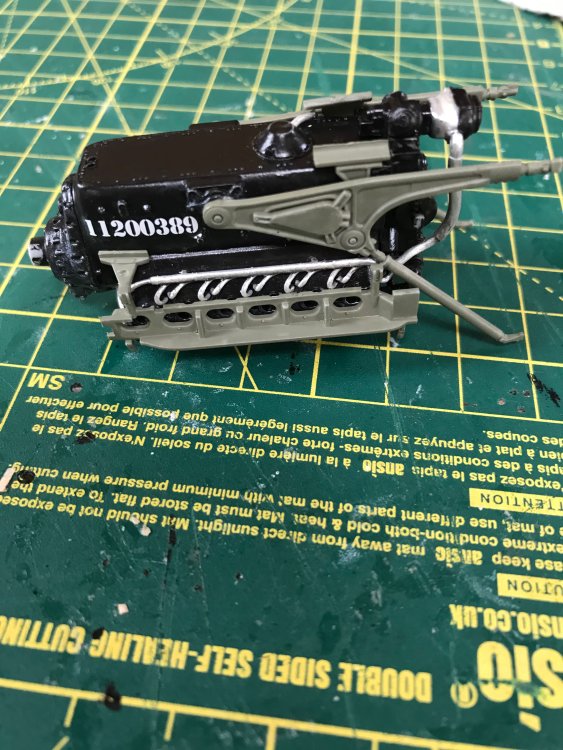
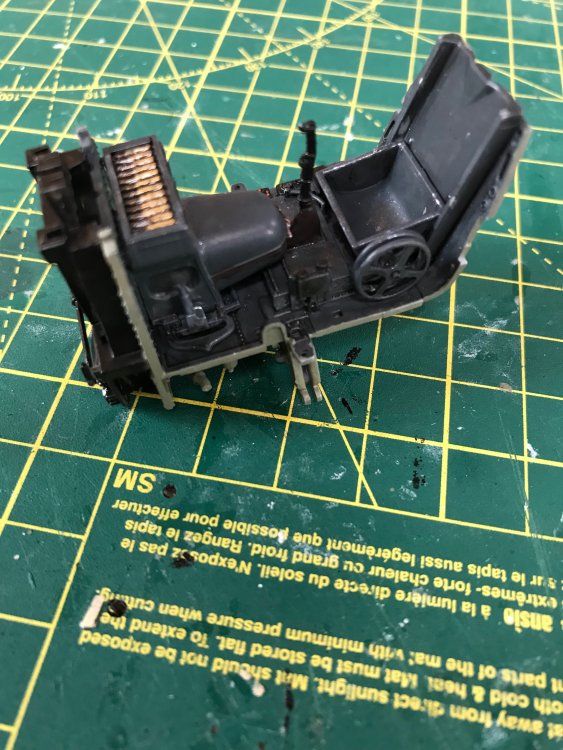
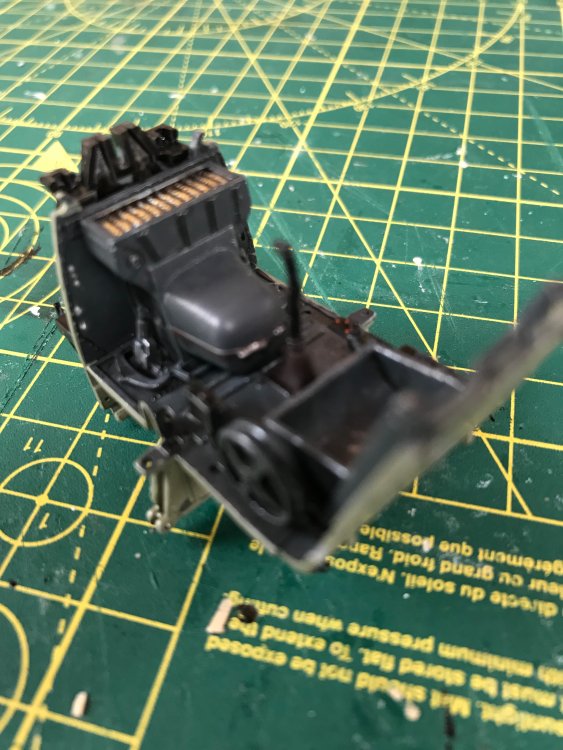
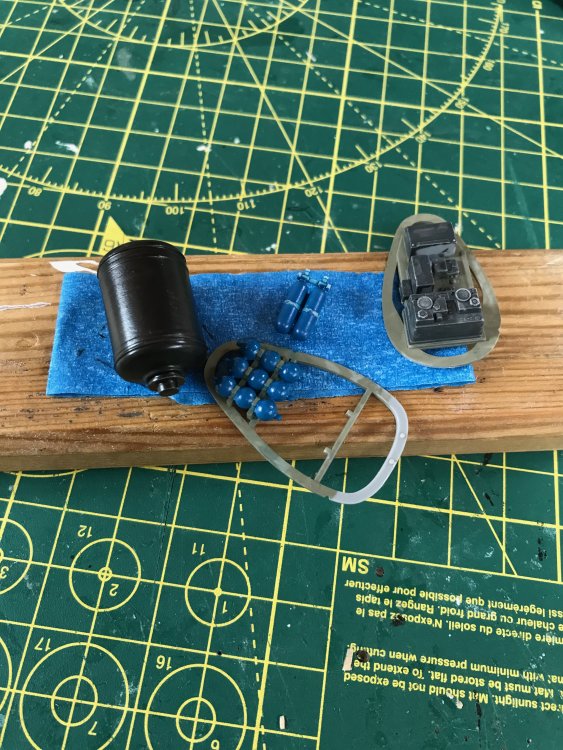
Dear All, TY, more pics of work to date. Working on detailed painting and finishing of office and engine, some fuselage shading done but needs some reworking. Engine plumbing has been fiddly and had another pipe break, although not sure when it happened and found a piece missing - some brass wire will sort out. The long pipe that goes around the top of the engine and to the rear was a real pain, you can see the join in the left hand view of the engine by the serial number. Still have engine pipe work mountings to paint, compass to fit and have a PE radio hatch I'll fit. Have painted yellow fuel line, needs a bit of paint detailing before I fit it. Enjoying the kit, found silver acrylic paint hard to work with compared to old enamels, pigment doesn't seem to mix well.


- 23 replies
-
- 10
-
-
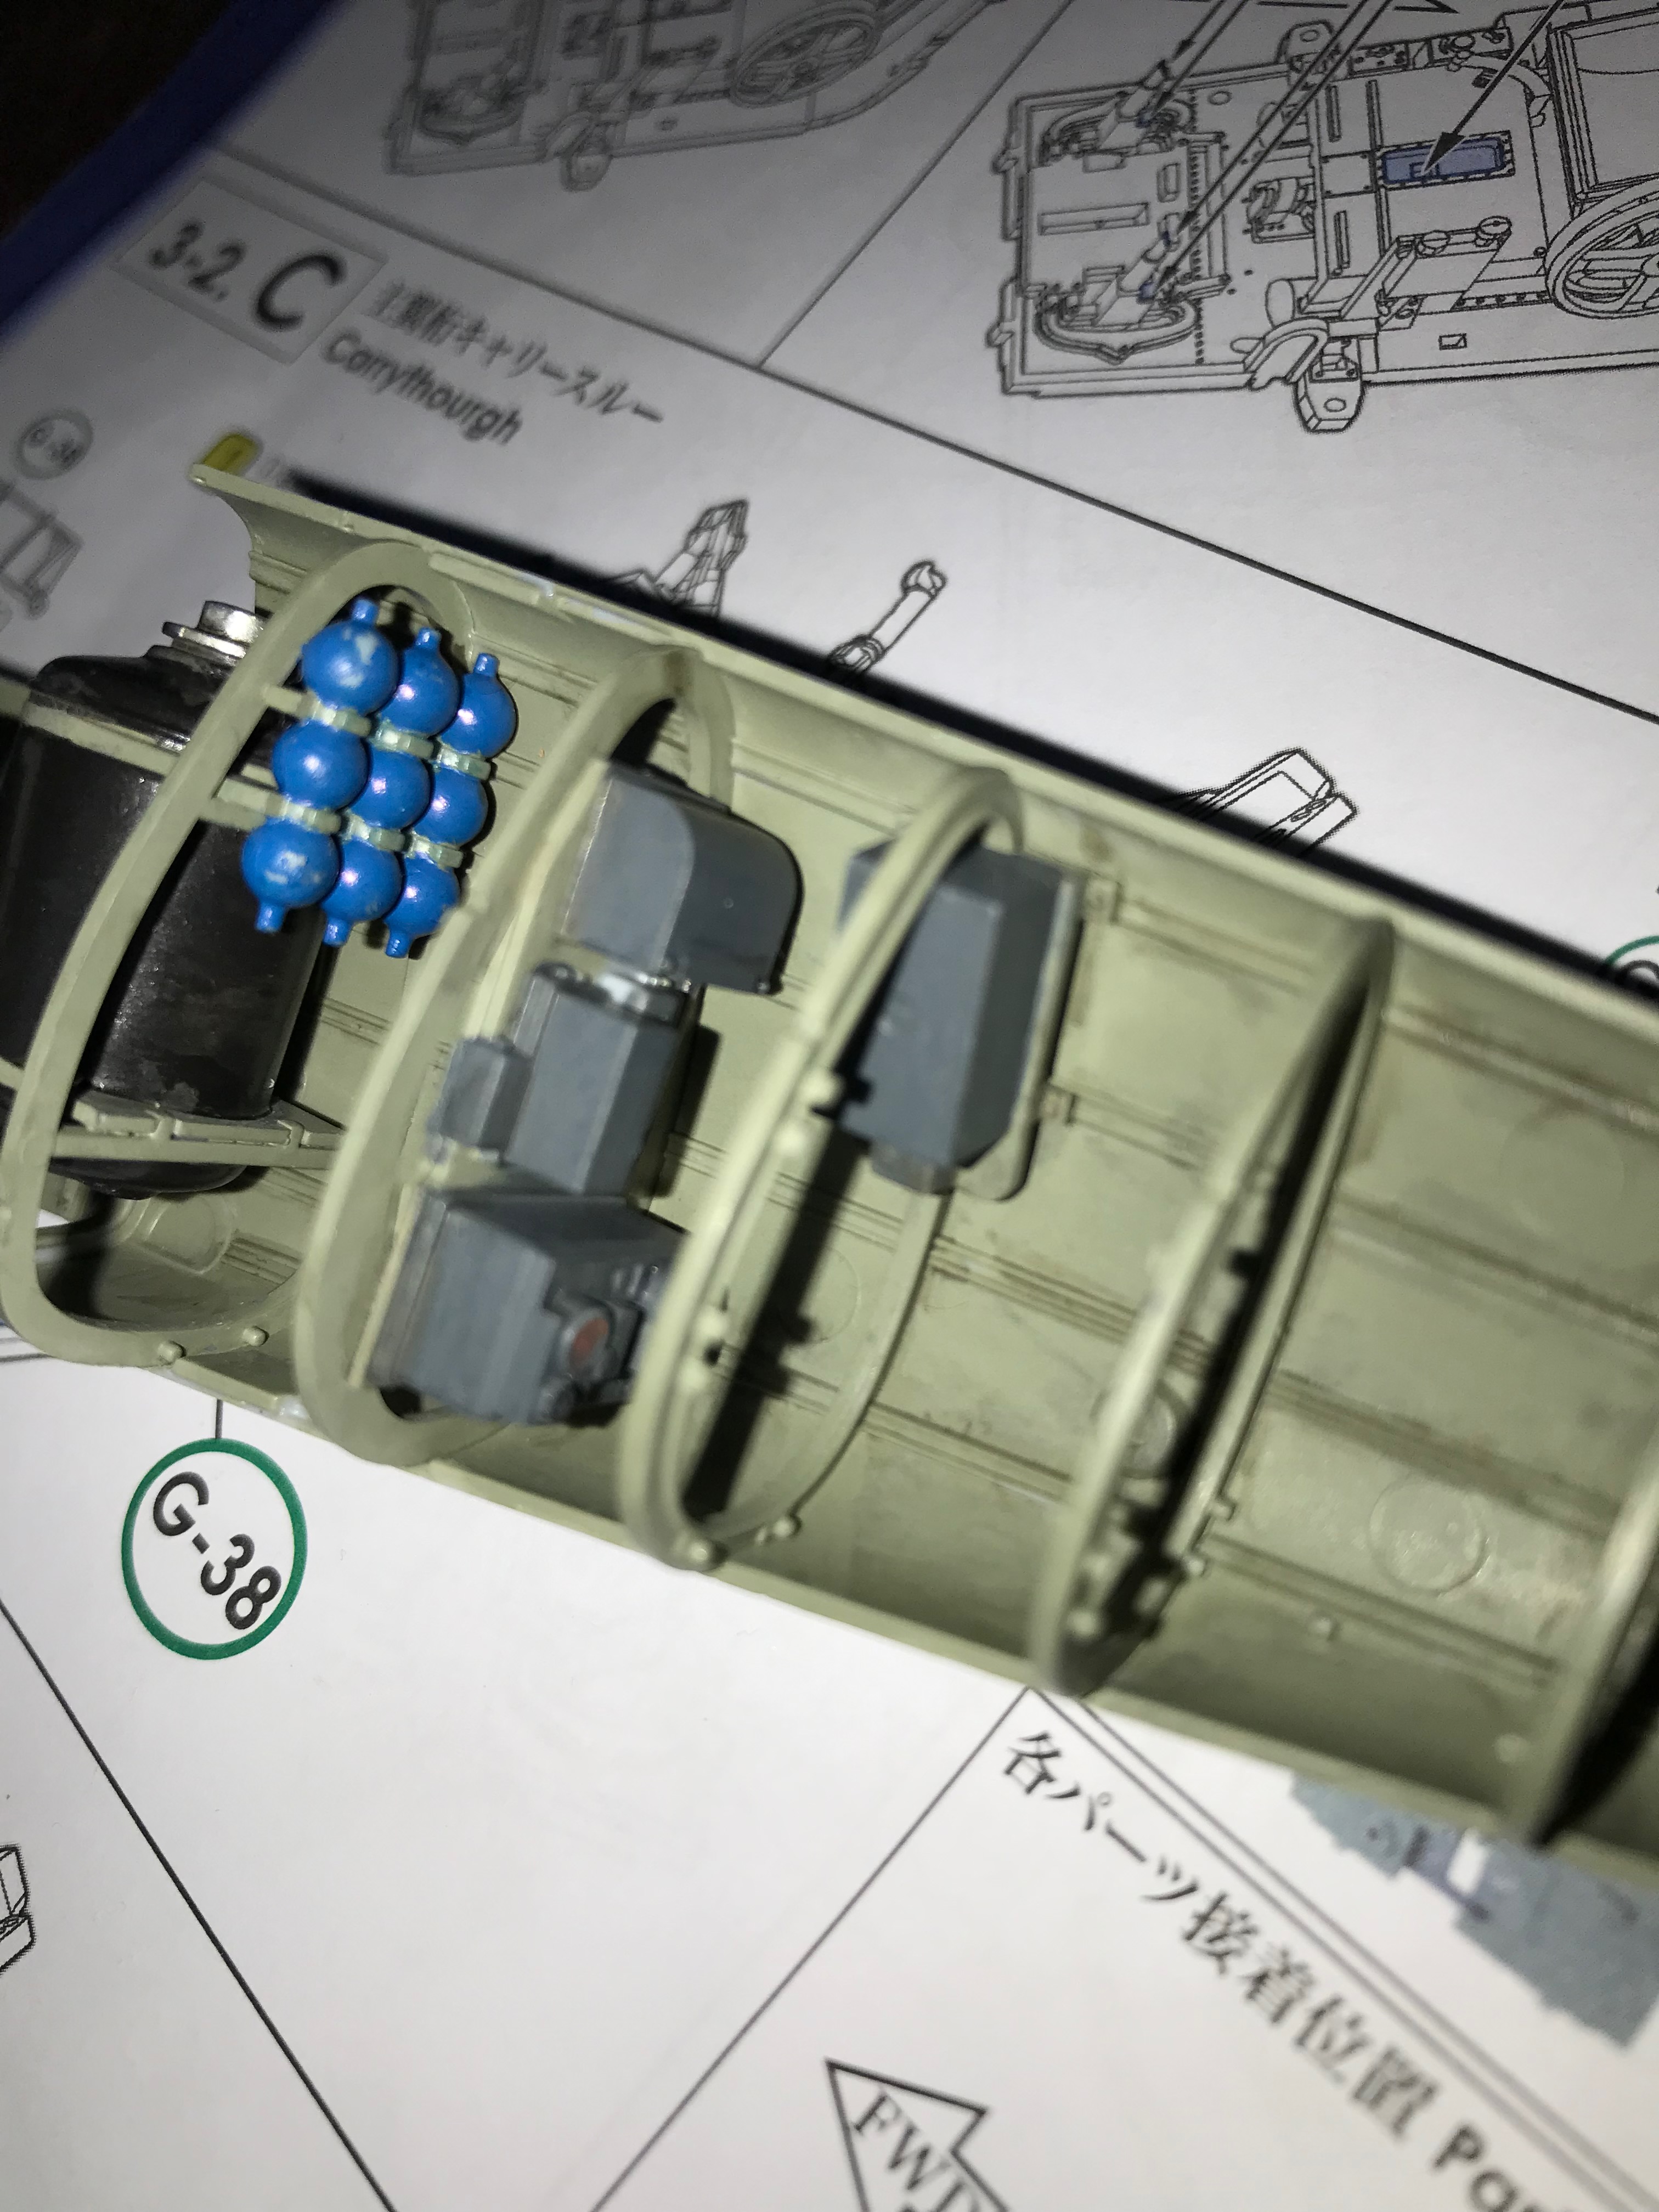
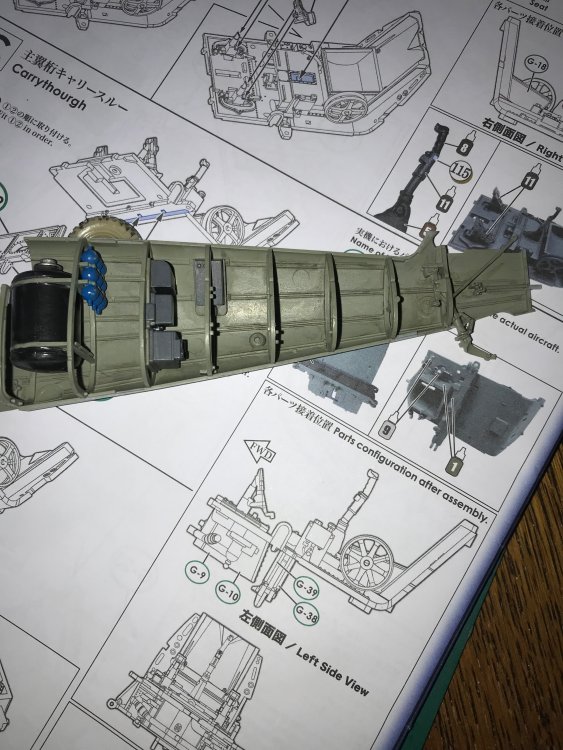
Thank you all, Appreciated, just realised how poor my pics are, please excuse initial paintwork and will have to do something about ejector pin marks, I'm brushing this one and have a lot to do on inner fuselage. Planning to have halfy-halfy with interior exposed, not sure what to do about tail just yet and thinking about the ammo box and guns, but have some ideas. Also, might not follow historical accuracy completely & would like to put the ?O2 tanks in R wing which I think are for a K, but anyway, this is my ship and it appeals to my inner kid, I used to love those exploded drawings and books. I know 109s are done to death in the modelling forums/fora, but I like them and Gazza's build has helped a lot - built a lot of kits as a kid, Airfix (most of the catalogue bar ships, wish I'd kept the Stuka and fire engine...)/Frog/Aurora (knights and tanks...). Jeep build is just started with loads of tidying up parts, also fancying the ICM Model T Ford LCP with WW1 Anzac figures and accessories. Kind Regards, John

- 23 replies
-
- 10
-
-
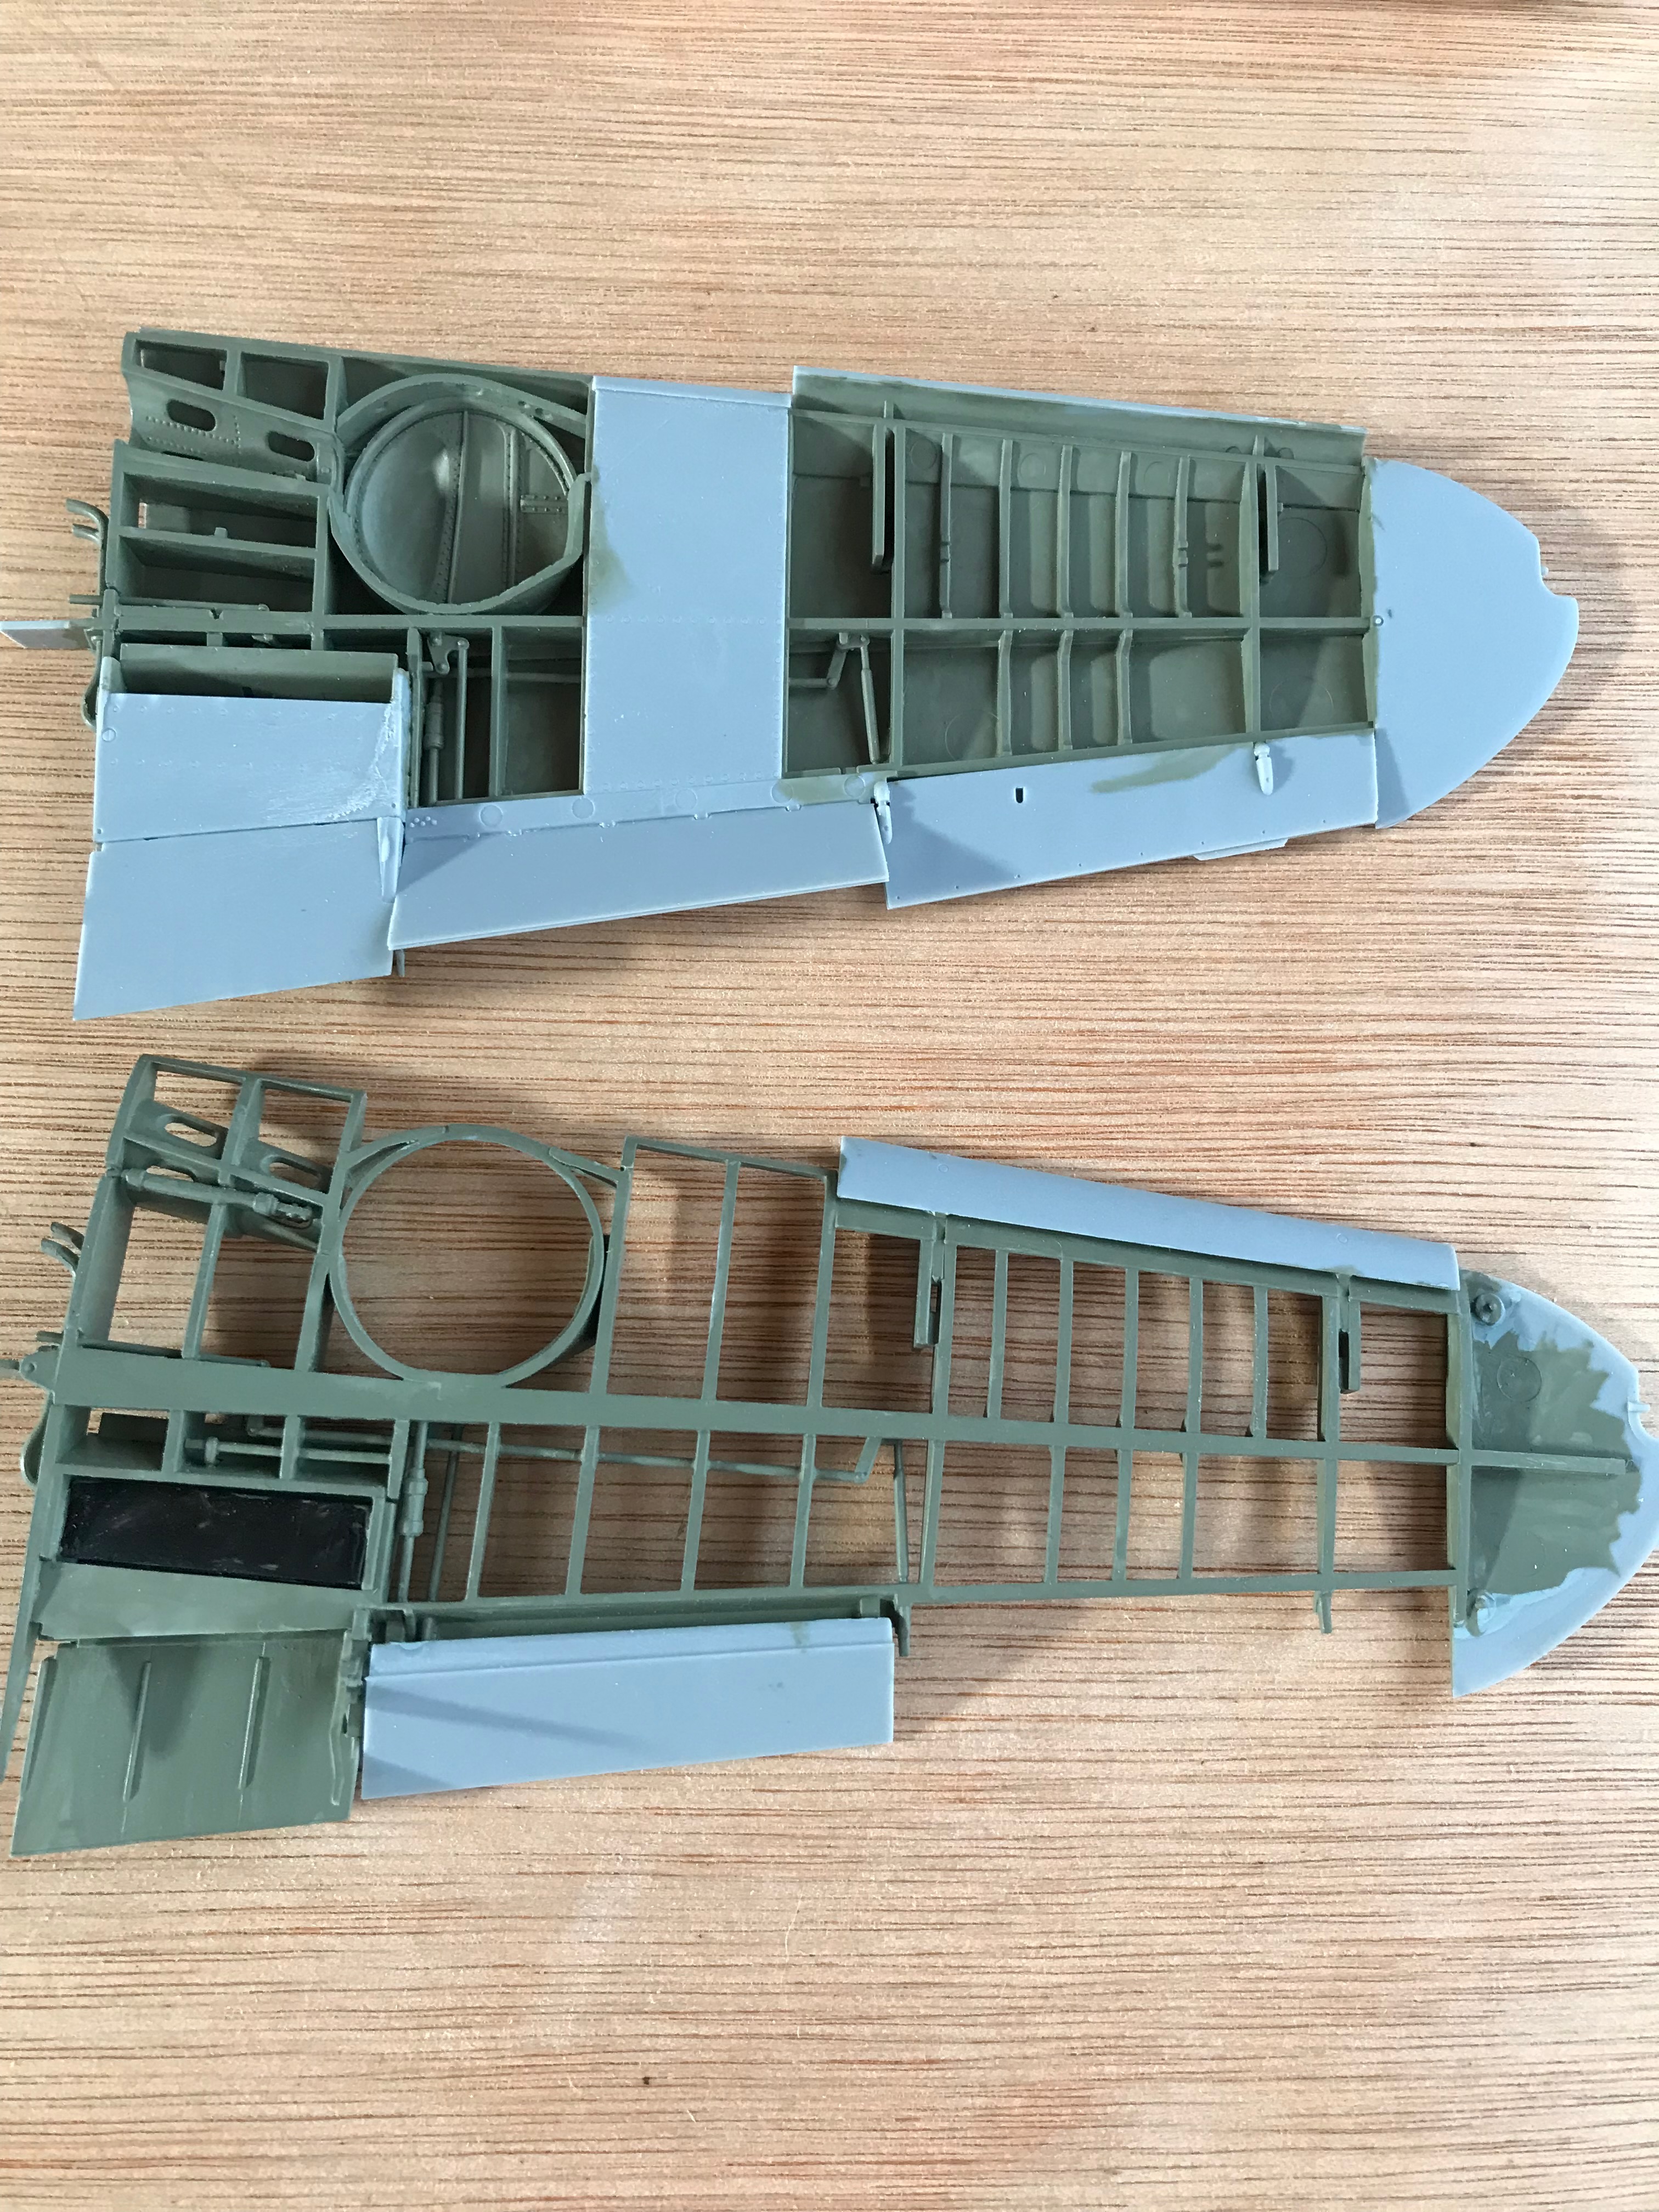
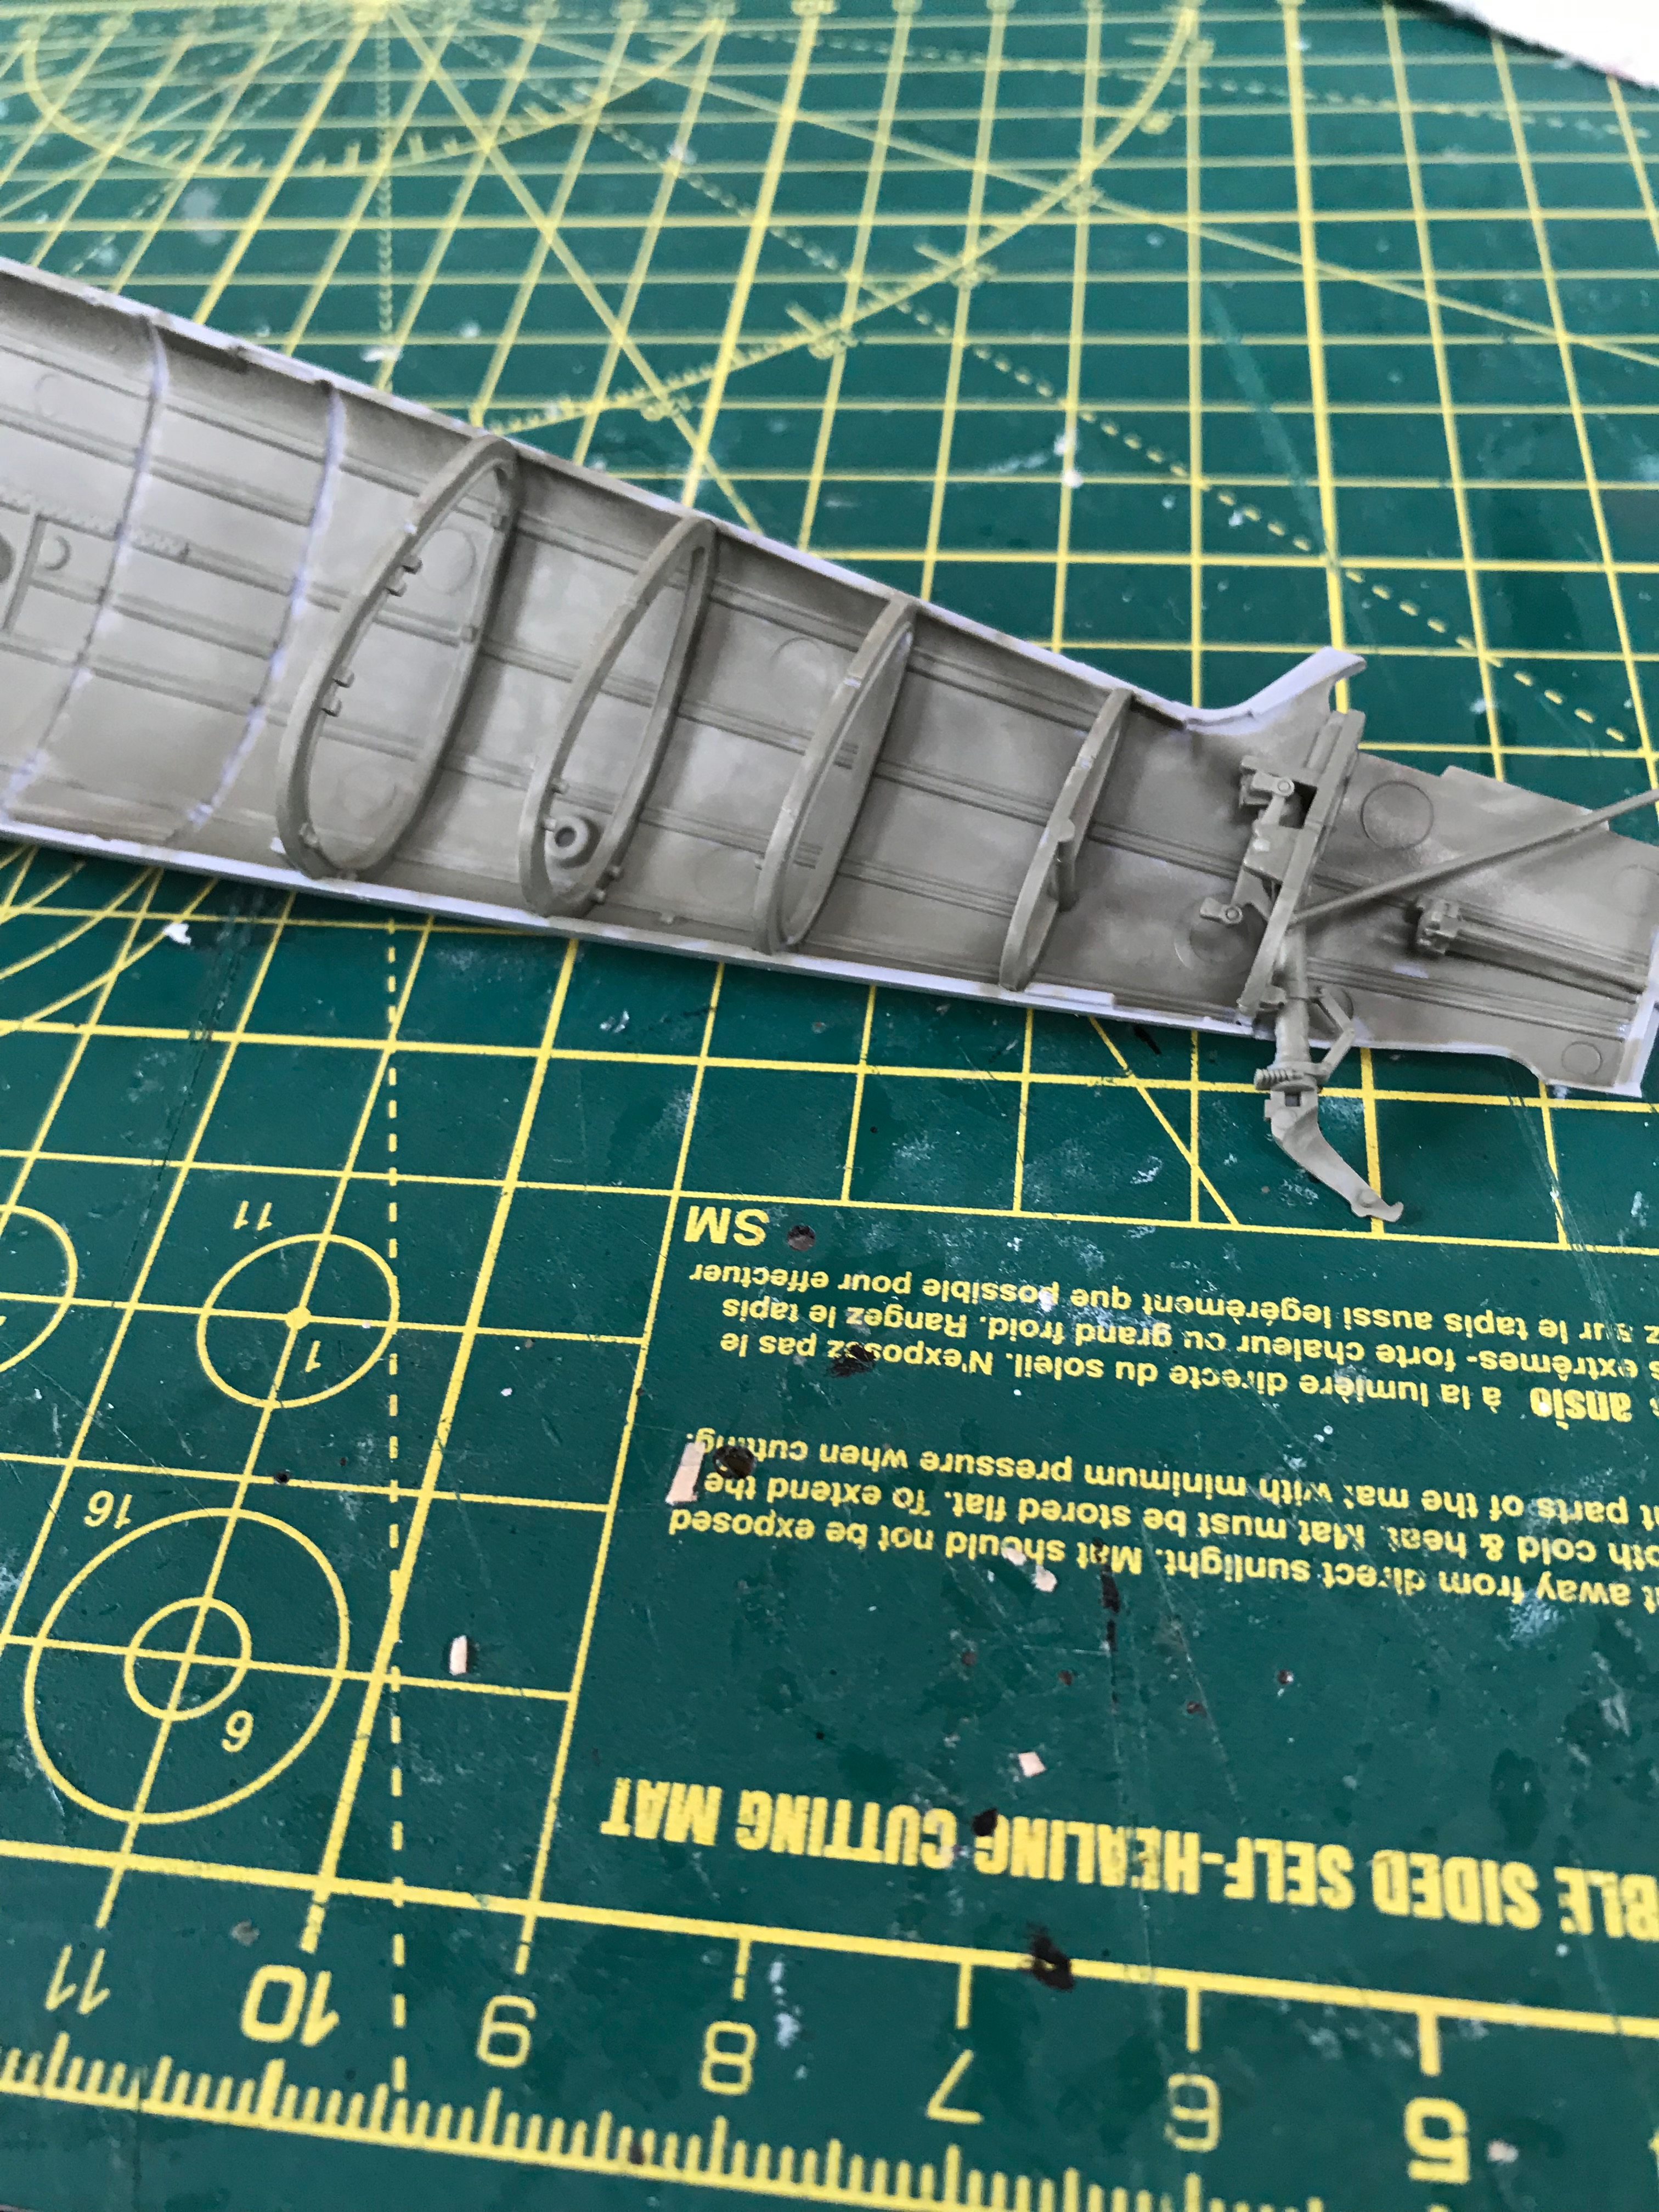
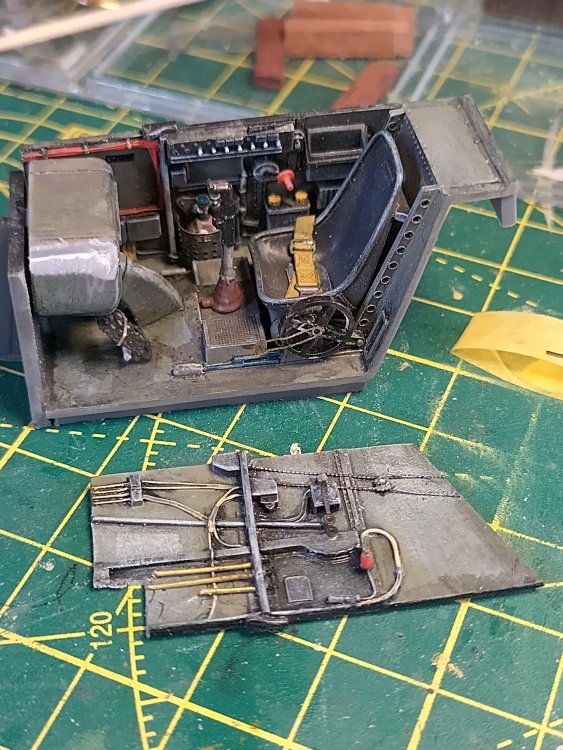
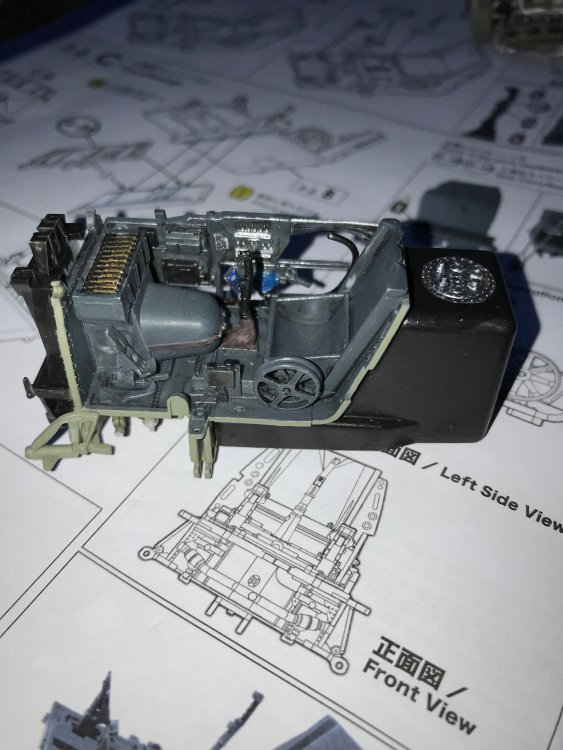
Hello all, Have resumed kit building after some years out, working on Trumpeter Bf 109 G2 for a warm up and now on the ZM Bf109 G-14 OOTB, few pics below. What a kit! Working on different subsections according to time and what keeps me interested. Some observations about the ZM - engine is great to build, pipework is fun though and some work needed on mould lines on a few of them, also, as a reviewer has pointed out they are quite fragile (one breakage, part no 21, so far) - this was a result of the sprues coming apart at the engine display mount sections, these are quite weak areas. Wings are really nice, but some fit issues around wheel bays needed some sanding and filling and still not entirely happy with finish. Office is great, really detailed and will add some Eduard PE belts which are under construction. I like the fuselage detailing, radio needs some careful painting to pull out the detail & looks better than a resin version I have for the G2. Loads of painting and finishing to do yet. Have some other builds on the go including the old Tamiya SAS jeep, and working to resurrect some Hornby trains.

- 23 replies
-
- 12
-