NoAirbrushDave
-
Posts
10 -
Joined
-
Last visited
Content Type
Profiles
Forums
Events
Gallery
Everything posted by NoAirbrushDave
-
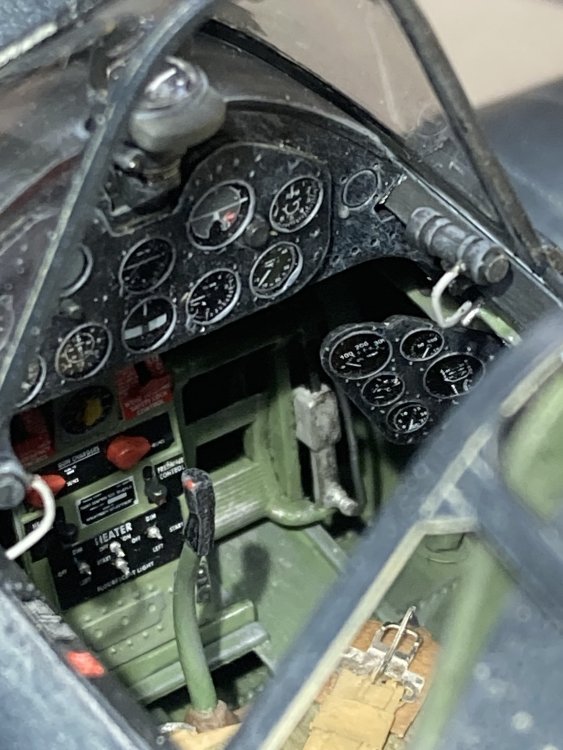
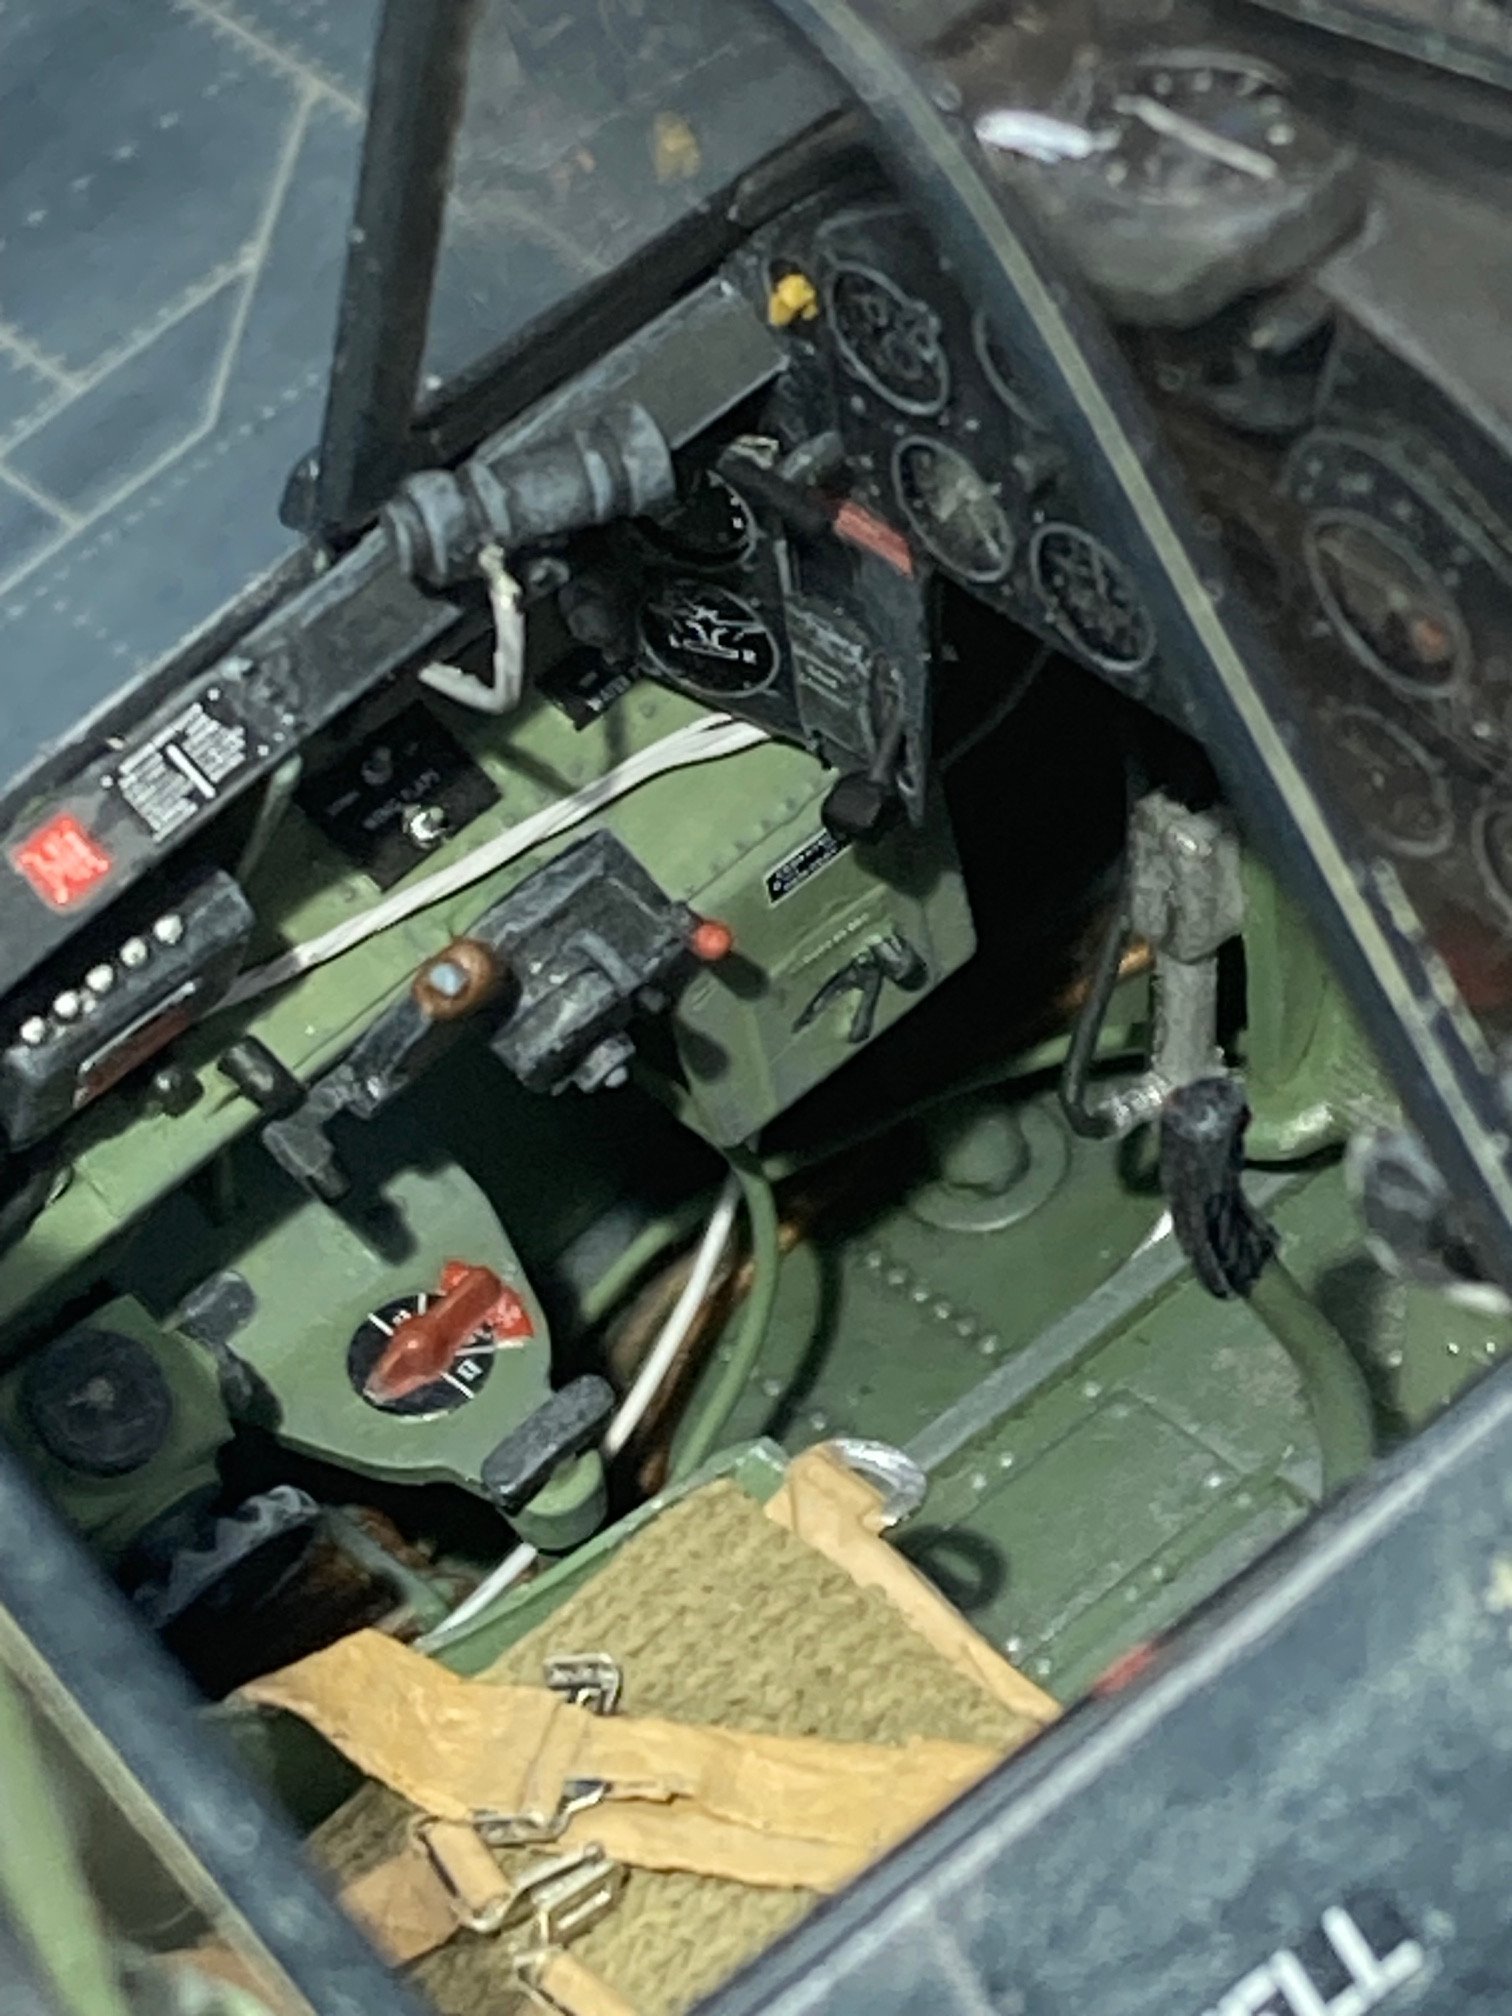
 Thanks a lot, Merad. I've never had a stash of kits and I'm always puzzled when people talk about them. When that Hellcat kit arrived in the mail I was immediately and joyously incognito for 5 weeks. I could never in a million years let a kit site there. Don't wait anymore and get going. Nobody ever learned anything from sitting around and doing nothing. There are a lot of aftermarket upgrades that really bring this particular model to life but take a long time to arrive from Europe after ordering, so get that rolling first. The Airscale cockpit instruments kit is essential, along with the inside/outside Eduard canopy masks (which should have been part of the Airfix package) and the ANYZ sparkplugs, braided wire and knob packages. The Airfix seat belt upgrade is also good but just for the metal parts; use masking tape for the belts themselves. I like NATO black for the instrument panels lightly dry brushed with a medium gray to give them that old dusty look you see in photos. Of course, during the war nothing had gotten dusty yet.
 -
Thanks a lot, Dennis.
-
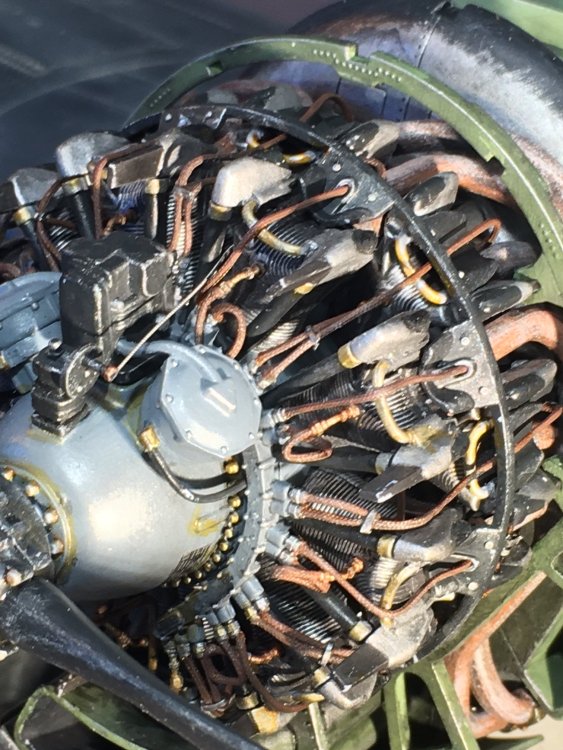
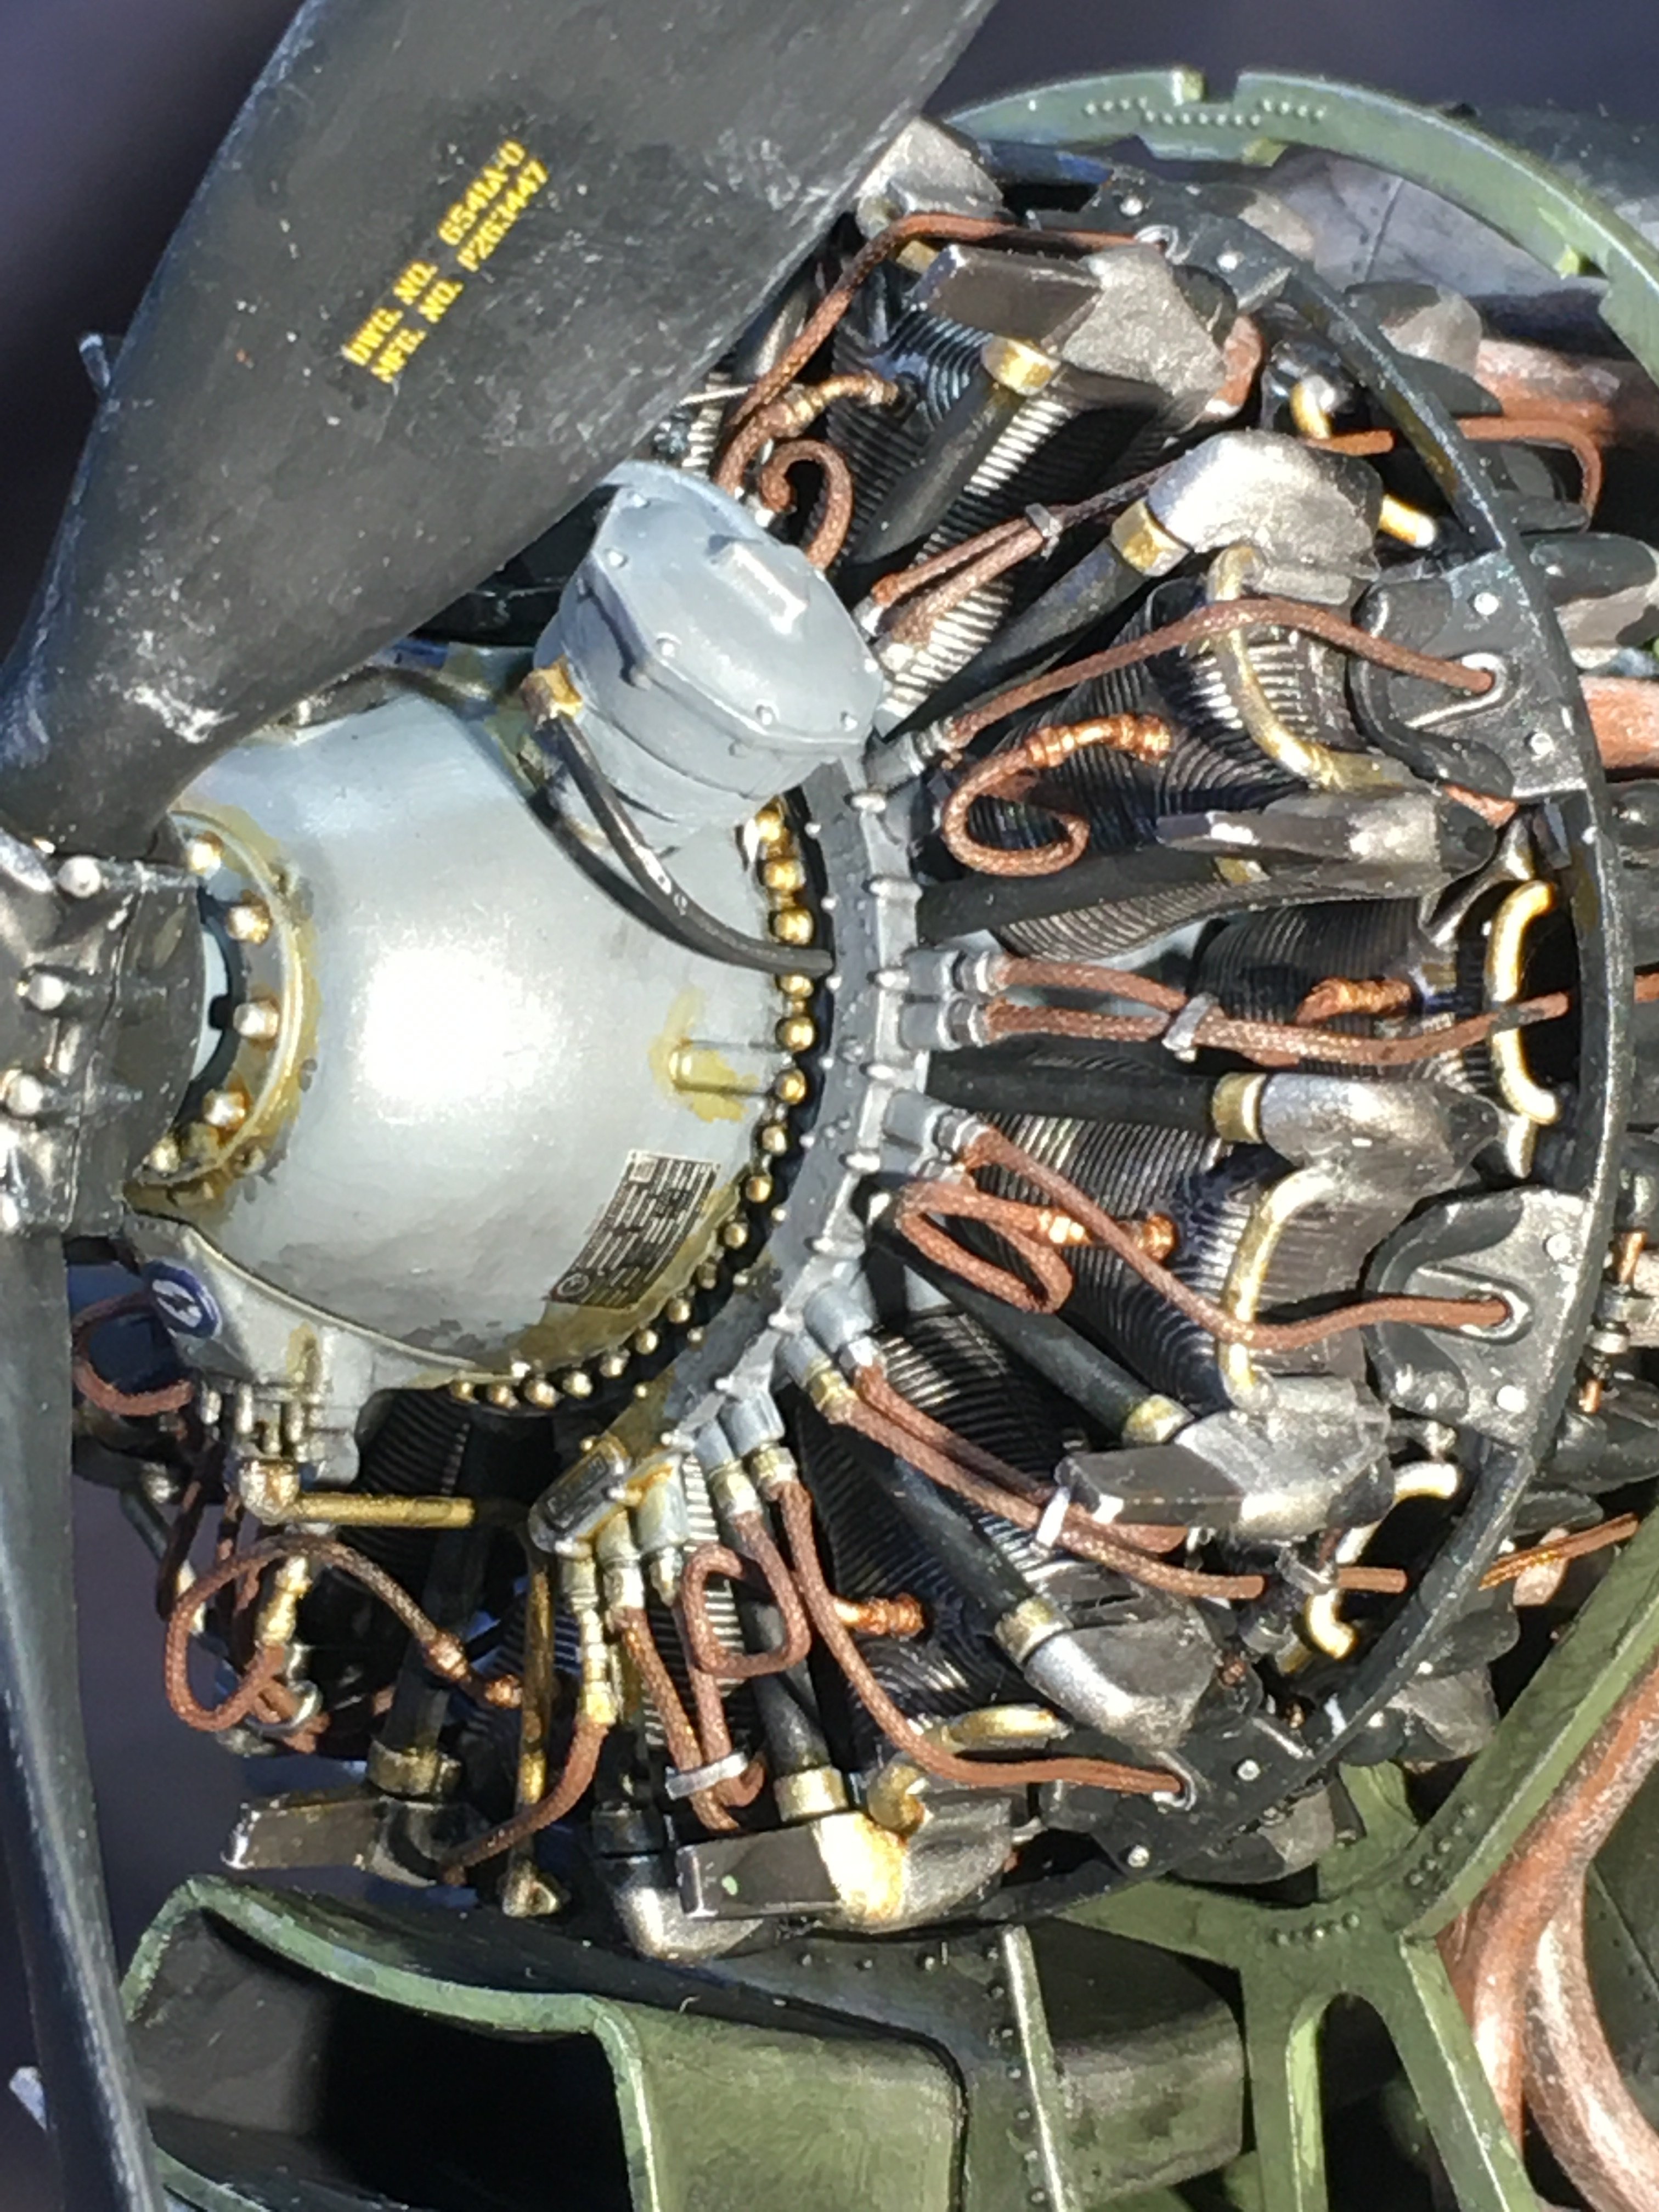
Thanks, John. It was a lot of 'work', every free moment over about 5 weeks, but I loved every one or those moments. It's not work at all, I get obsessed. When you do start yours do a lot of test fitting of the fuselage halves. I found that the bulkheads fore and aft of the cockpit are just too big and need to be filed down massively. You can just leave out the radio compartment bulkhead. Similarly, the crankcase tube that the cylinder and push rod rings slide onto is simply too large and that also has to be filed way down. Many other parts require sometimes radical "customization" to go together properly. Never blithely put glue on a piece and assume it's going to fit - as with a Tamiya kit, for example. Even the clear wingtip running light covers are bizarrely way off. I'm wondering if maybe that's why this otherwise fantastic kit (sooo much work obviously went into producing it) is no longer sold? Oh, and install the tail wheel when putting the fuselage halves together early on, don't wait until the end as suggested as an option in the directions, there's a lot of carving and modifying needed to get the strut to fit right in there that need to be done while there is still access to the tail wheel bulkhead. These things are the "despite its challenges" part of the topic title.
-
Thanks. I had an inch high pile of photos of the surviving planes and every available wartime picture I could find on my workbench. I just curse the black and white photography of the time.
-
Thanks a lot, Jostro. I appreciate it.
-
It took some fiddling with the magnetos, but I got the engine started.

-
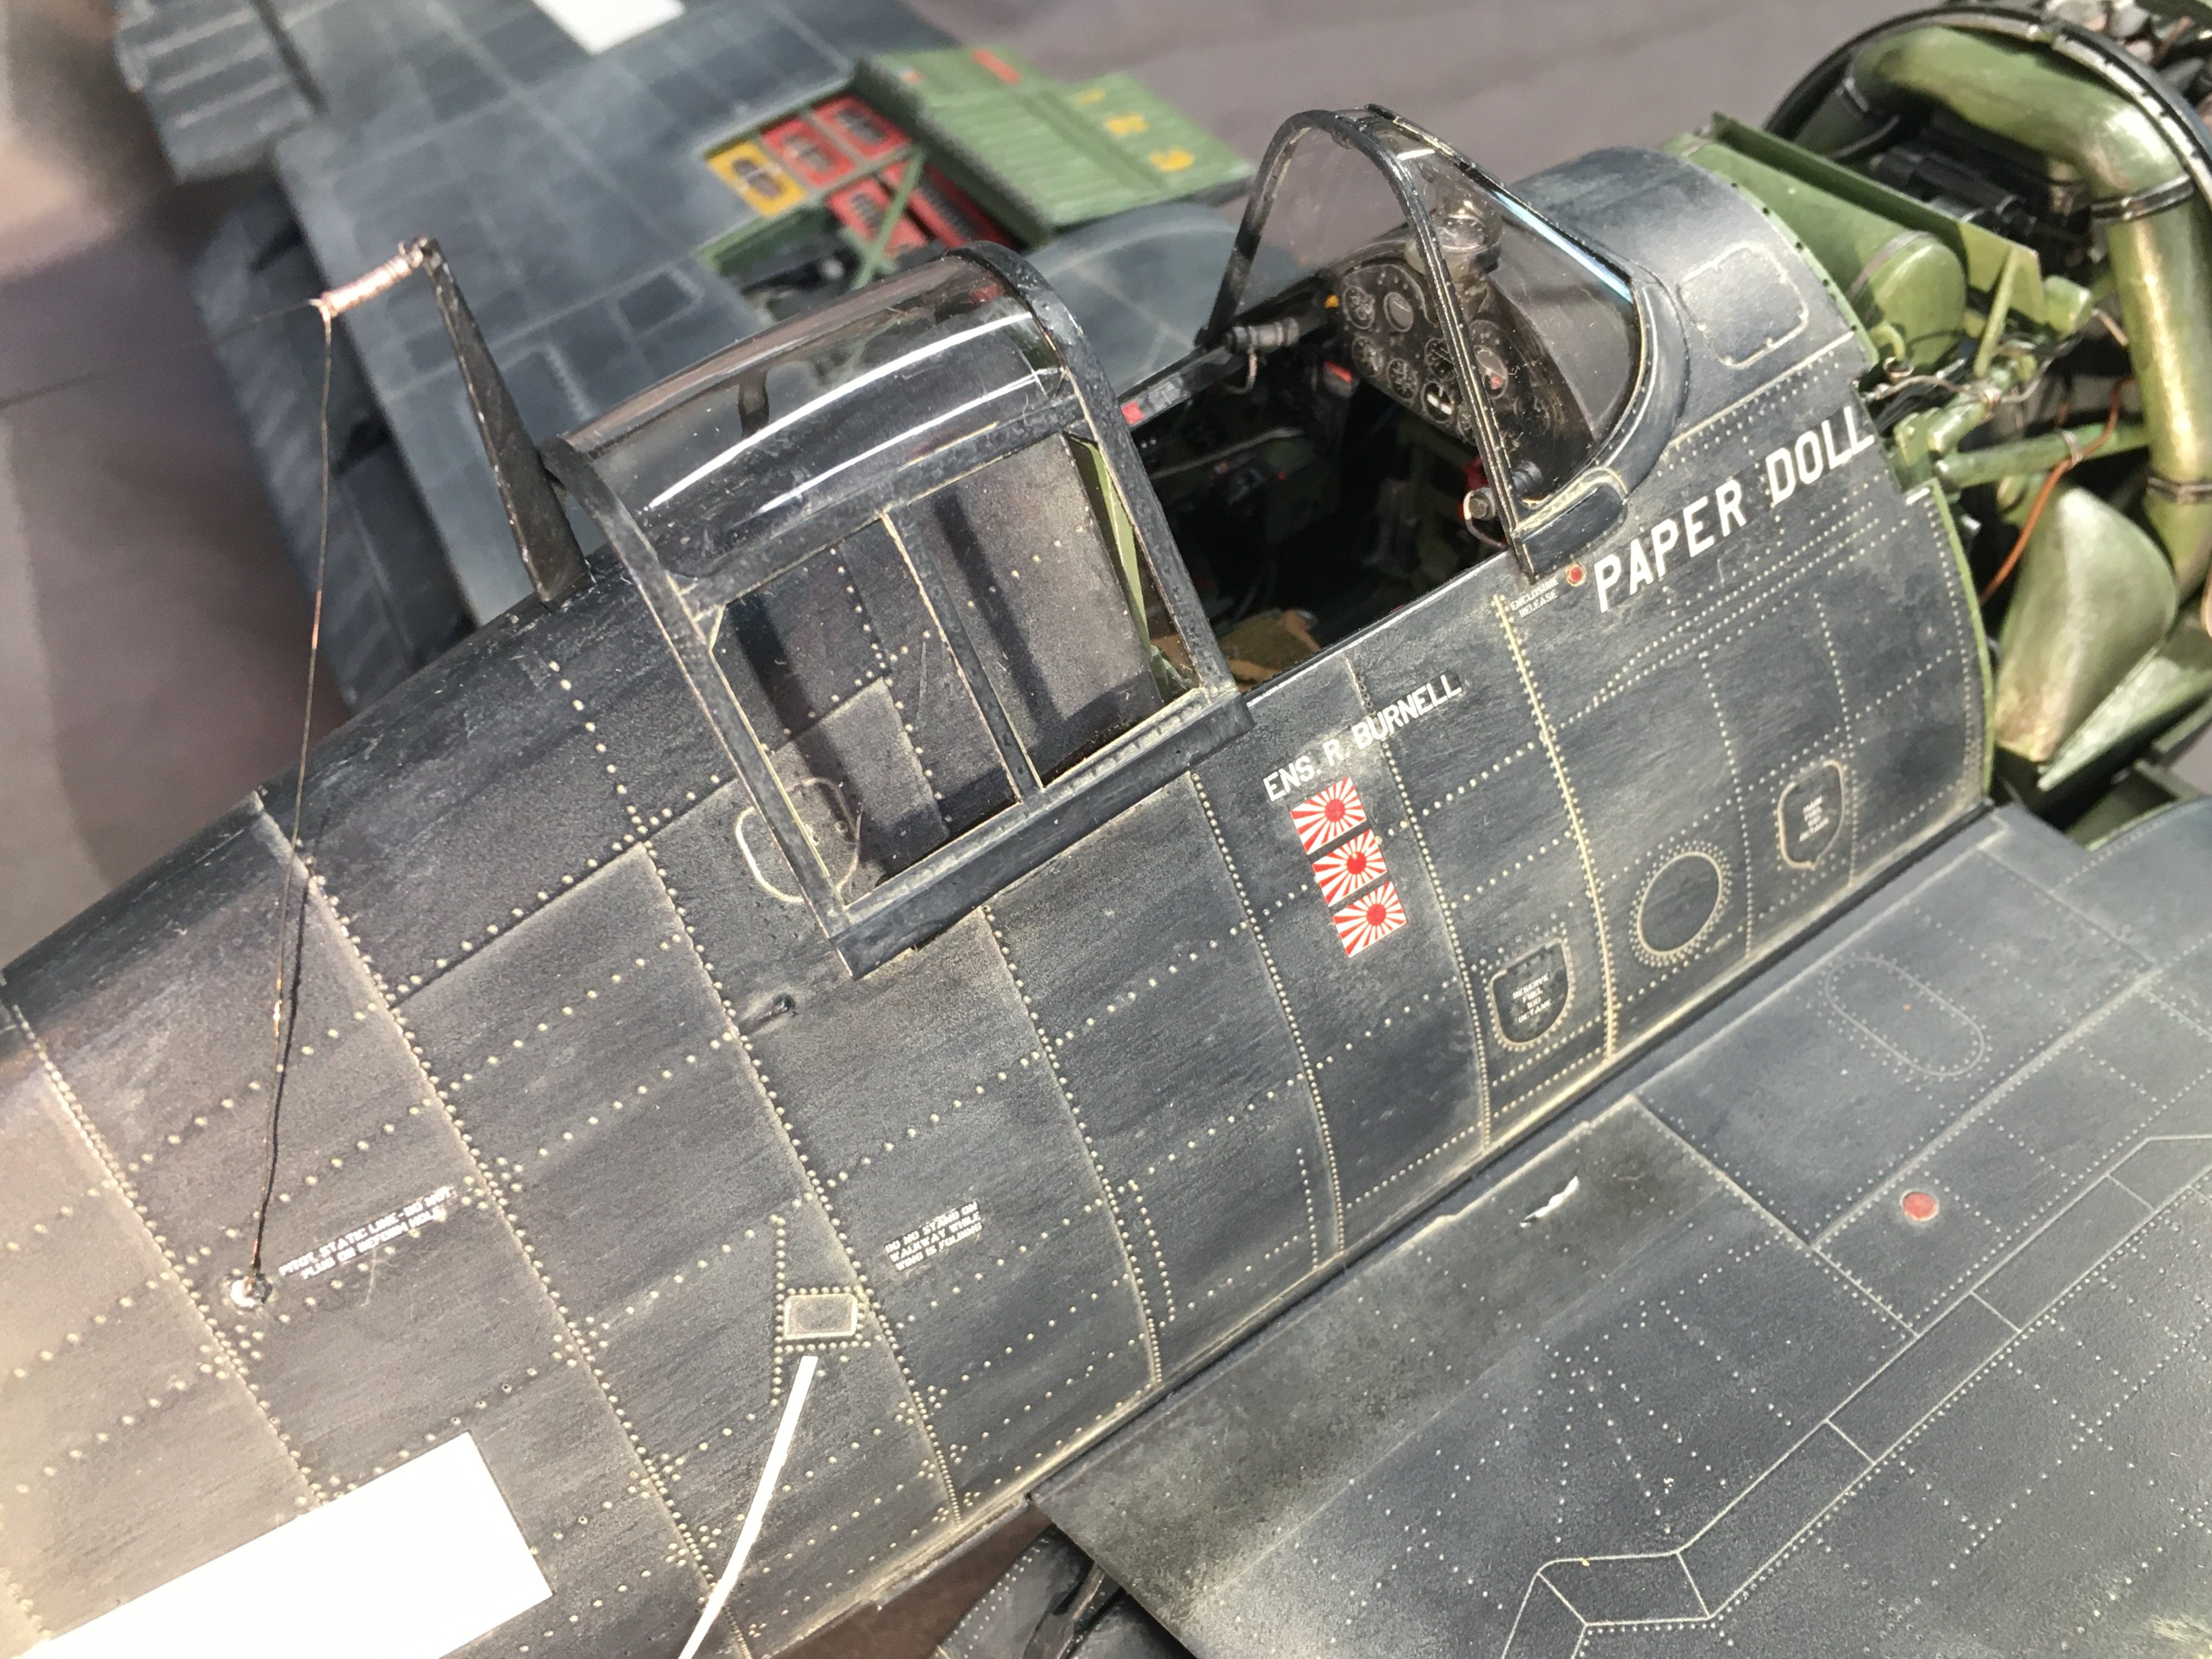
Thanks, Rob. MrWeatheringPaste 'White Mud' is magic. Brings out all the rivets and panel lines, giving much more interest to otherwise plain surfaces like wings. As I mentioned in my remarks, this kind of treatment is not right at all for a carrier plane and I had every intention of washing over it to dim the effect way down, but ....couldn't bring myself to do it. Speaking of paint job, I have never used or even owned an airbrush, as my handle suggests. I think it makes models look exactly like models, and not shrunken down artifacts of history. I'm a huge fan of Ian Toll's pacific war trilogy. One of the best books ever written - on any subject. Recommend.
-
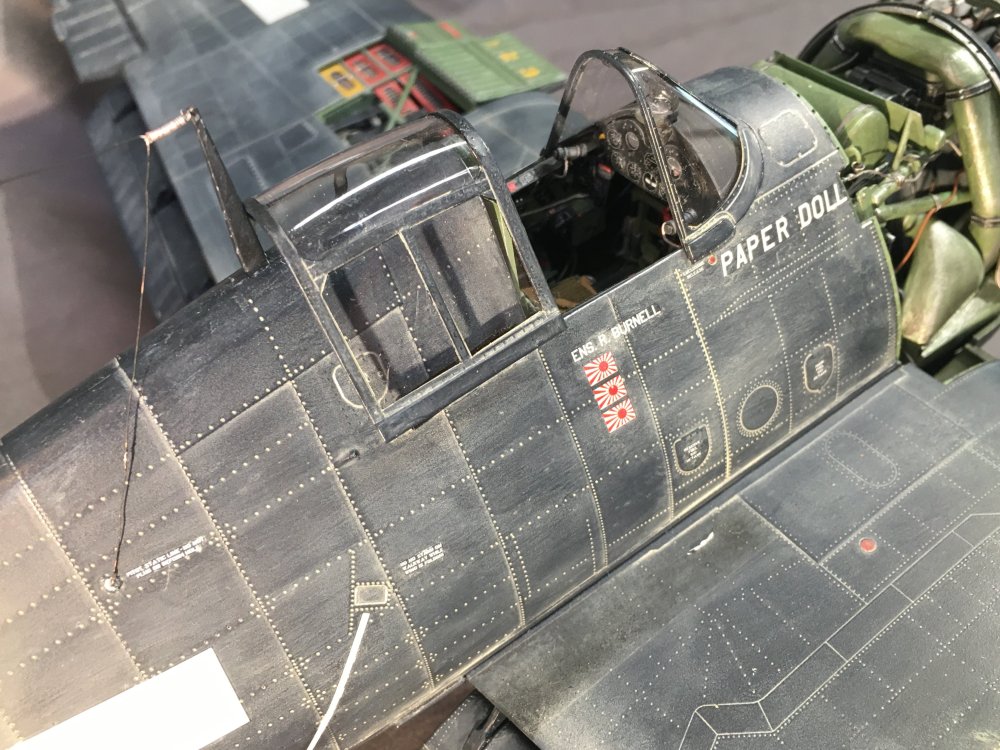
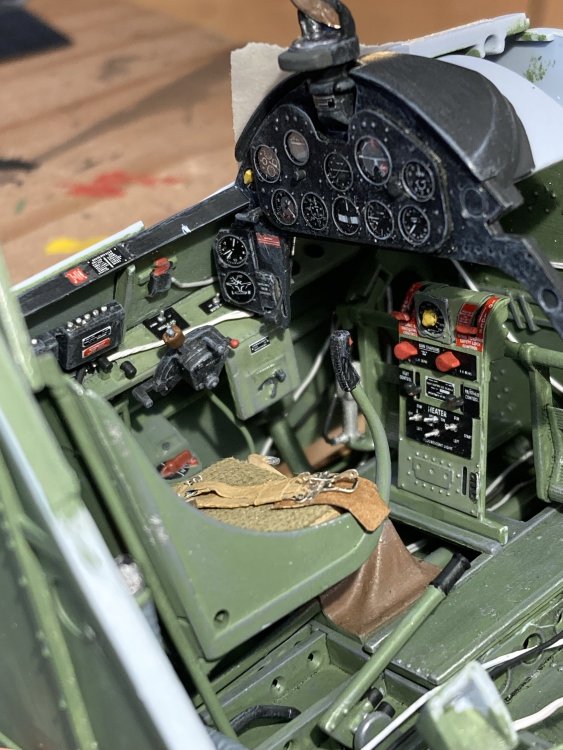
The seat belts are made from common blue painters masking tape, painted tan. It's flexible, has a nice texture and sticks to itself after being fed through a buckle. The paper belts that came with the Airscale seat belt upgrade kit were not usable at all, but the photo-etched metal parts were good, including the stitching tool. I made one of the belts hang down to the floor, and probably should've had others do the same. No one crosses them on the seat before getting out of the plane, except airline cleaning crews.
-
Thanks a lot, Full. Tanks models are great. I did the drivable, motorized Tiger when I was 14 - some 50 years ago.
-
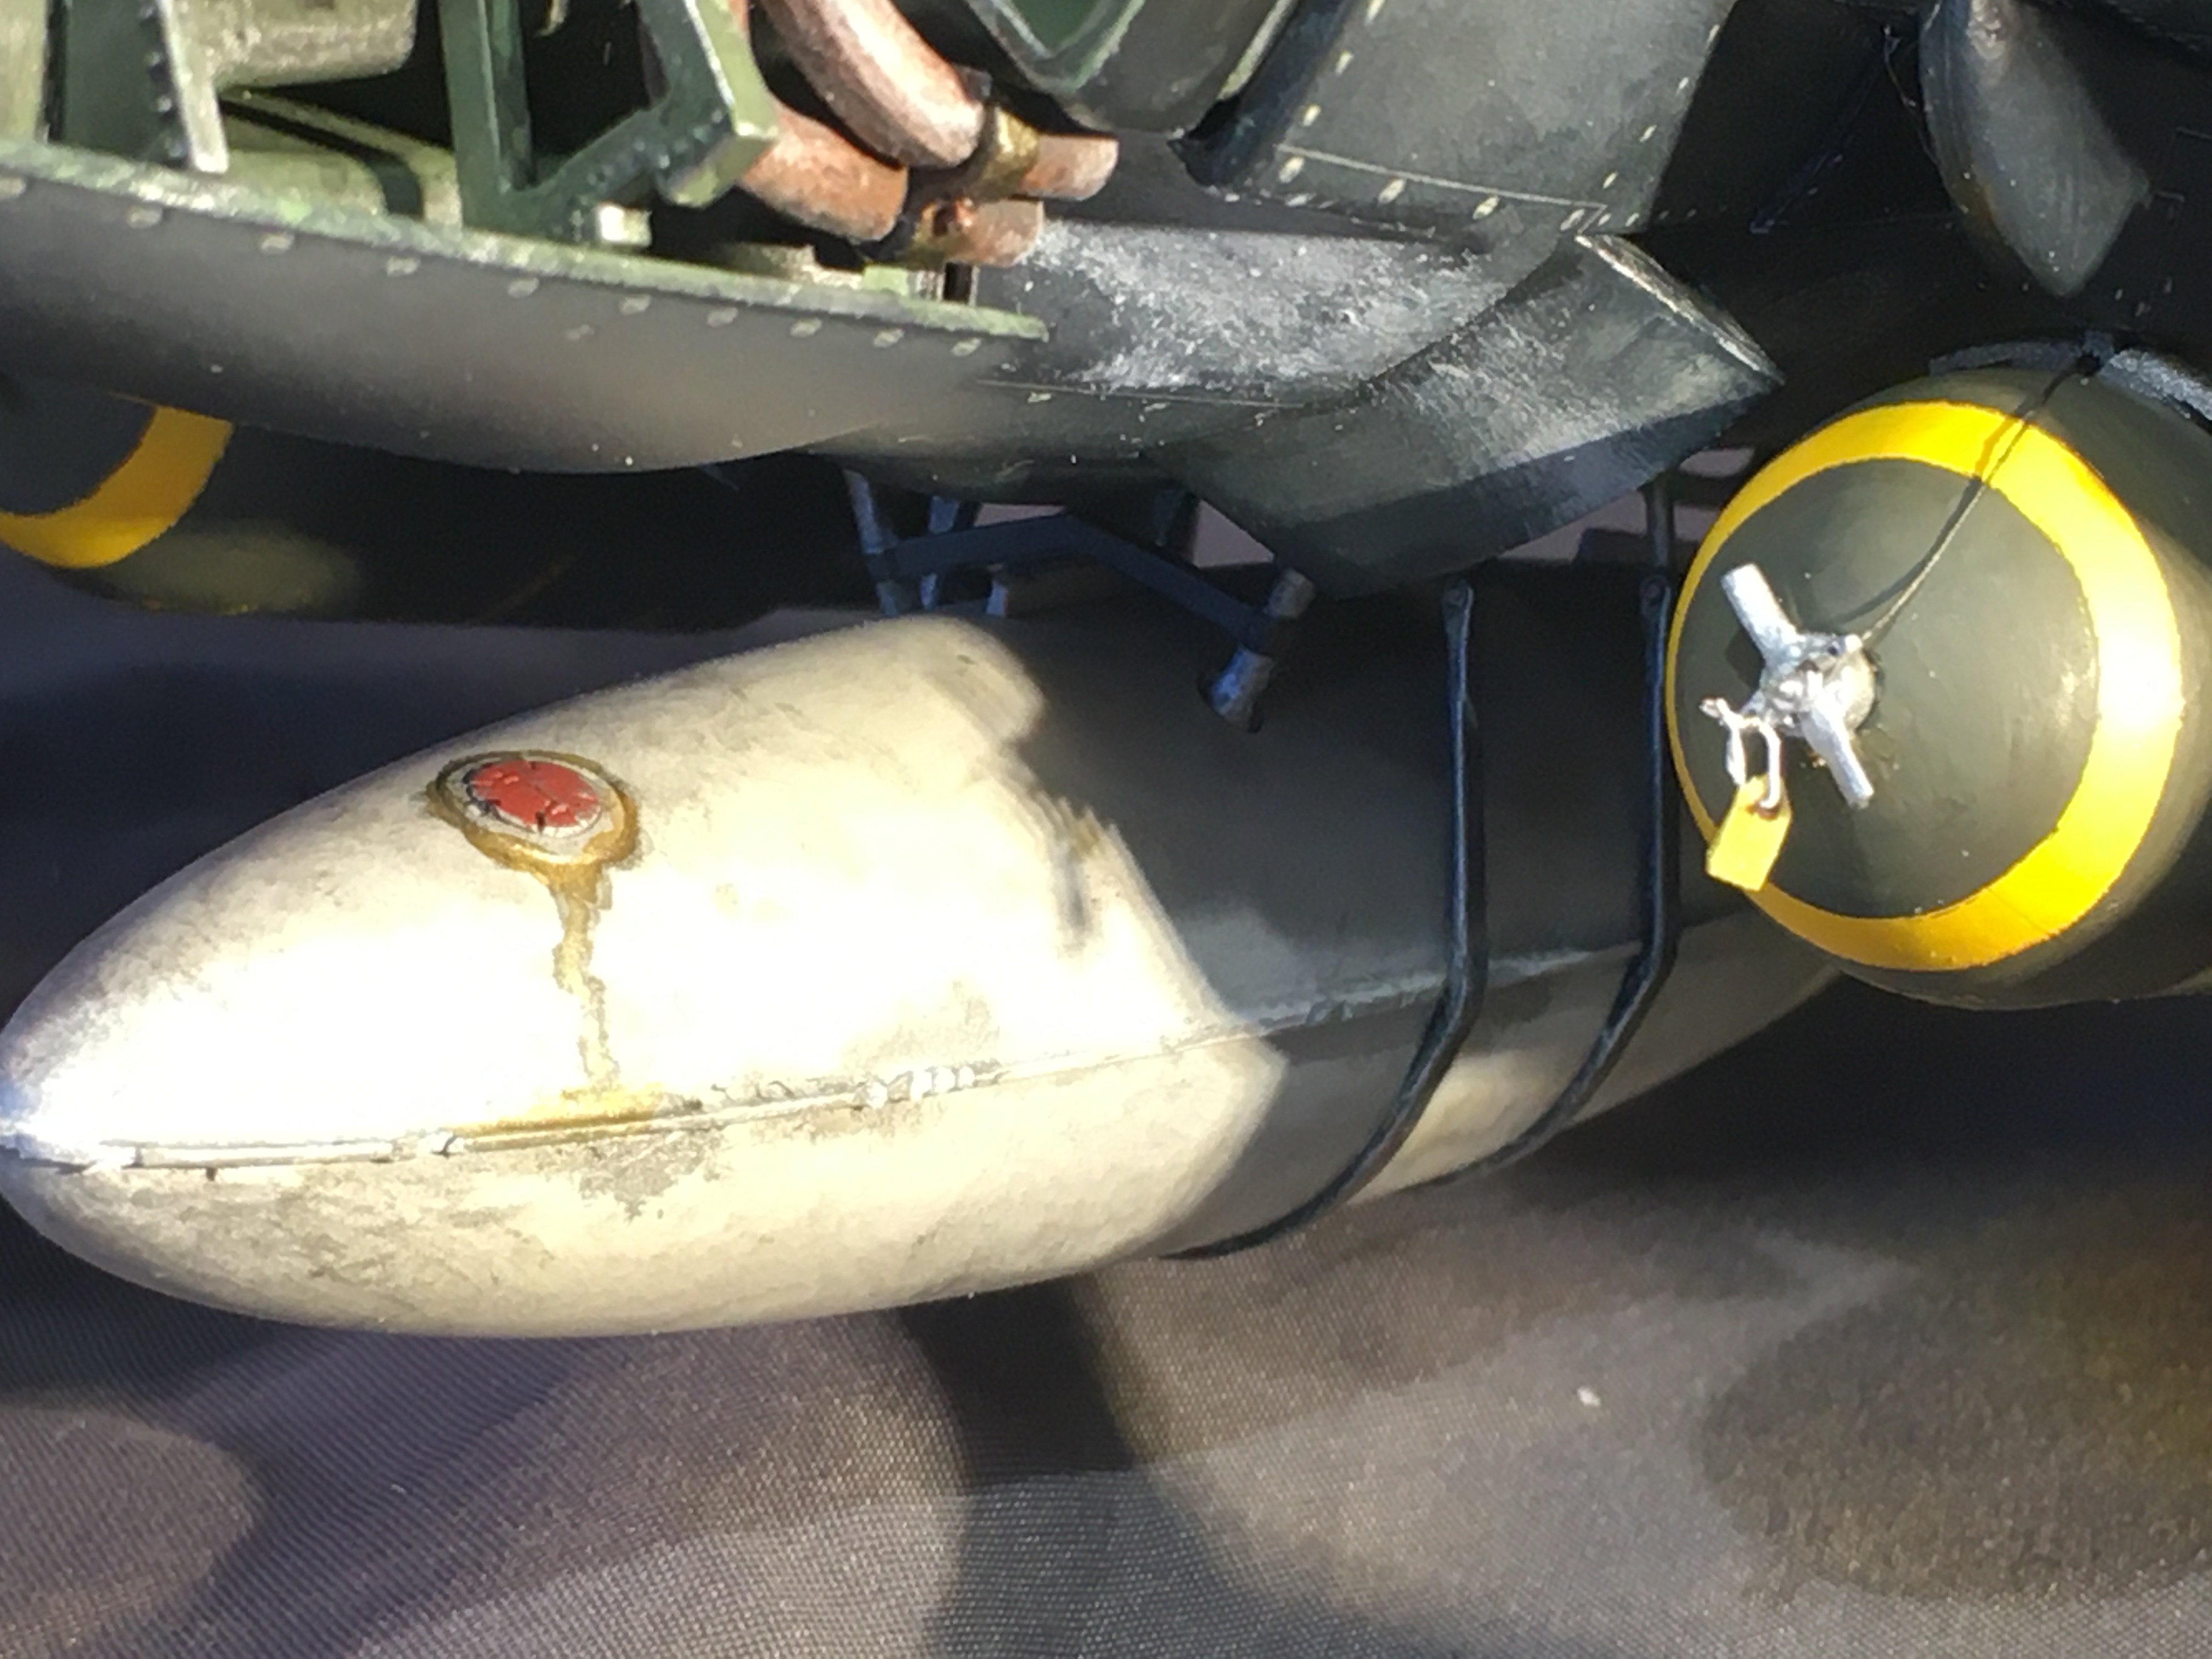
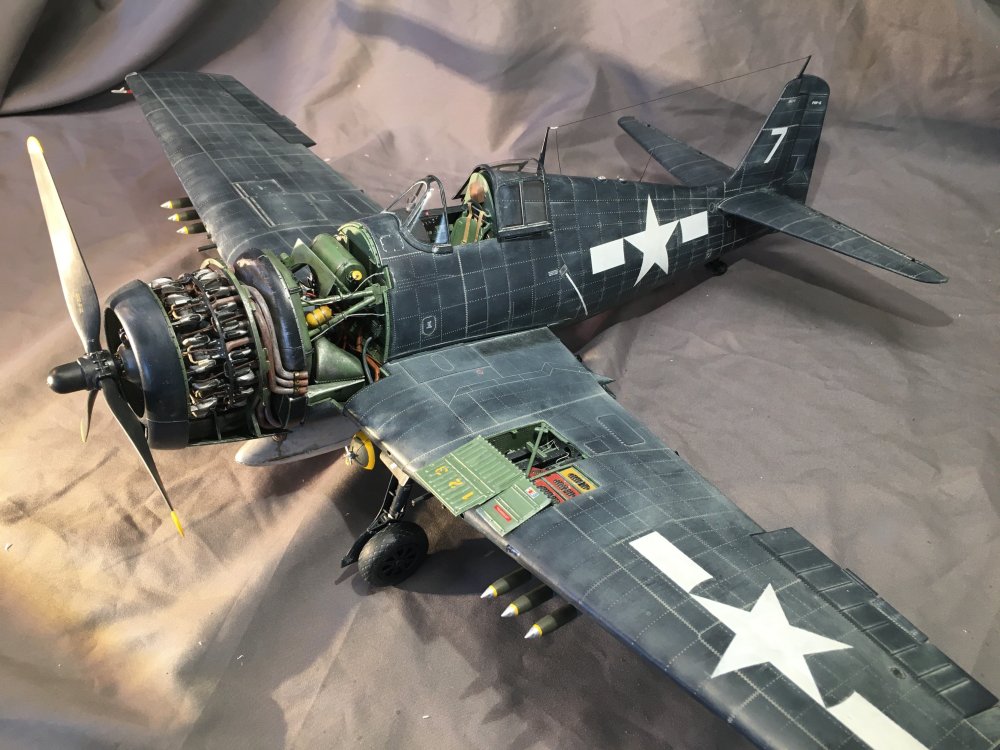
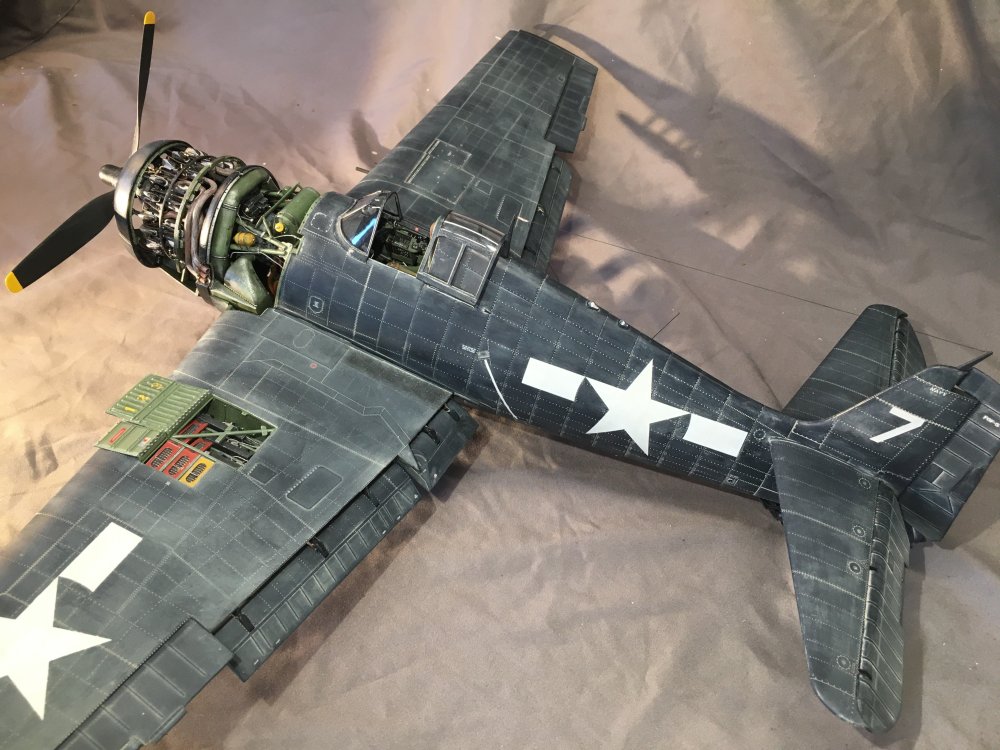
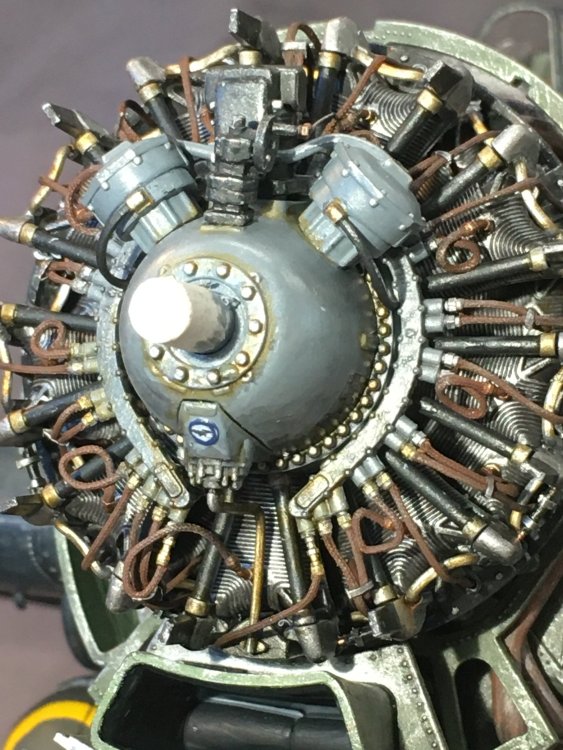
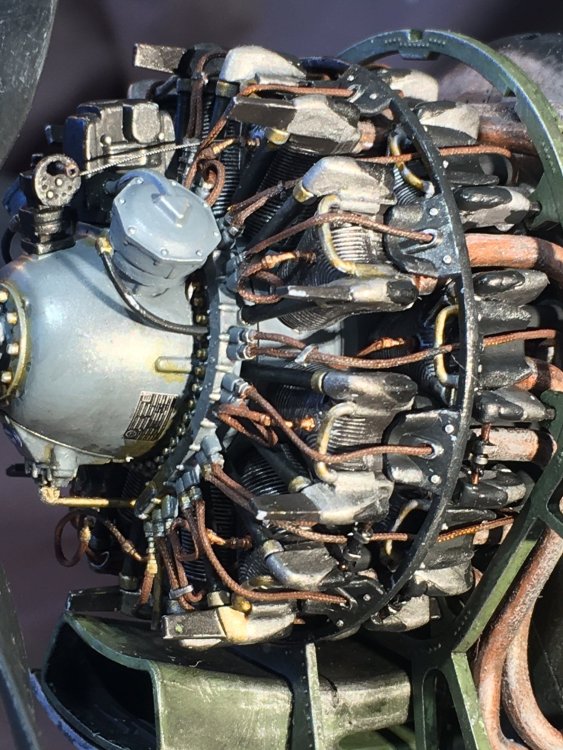
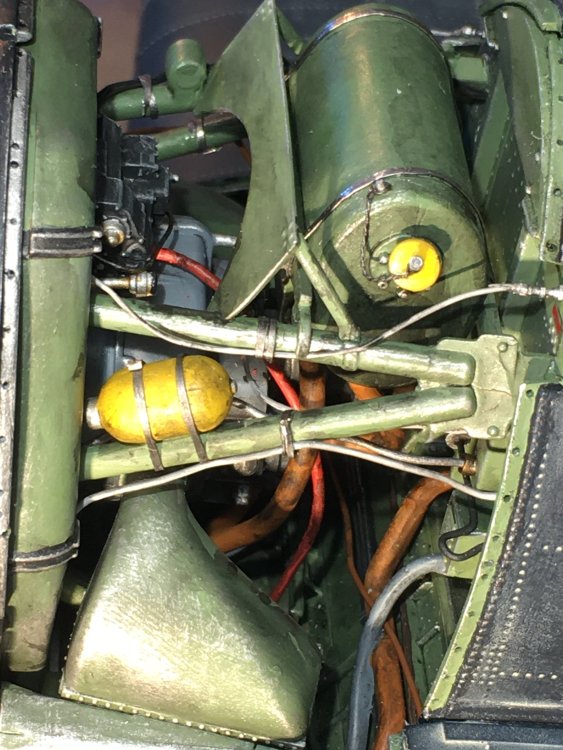
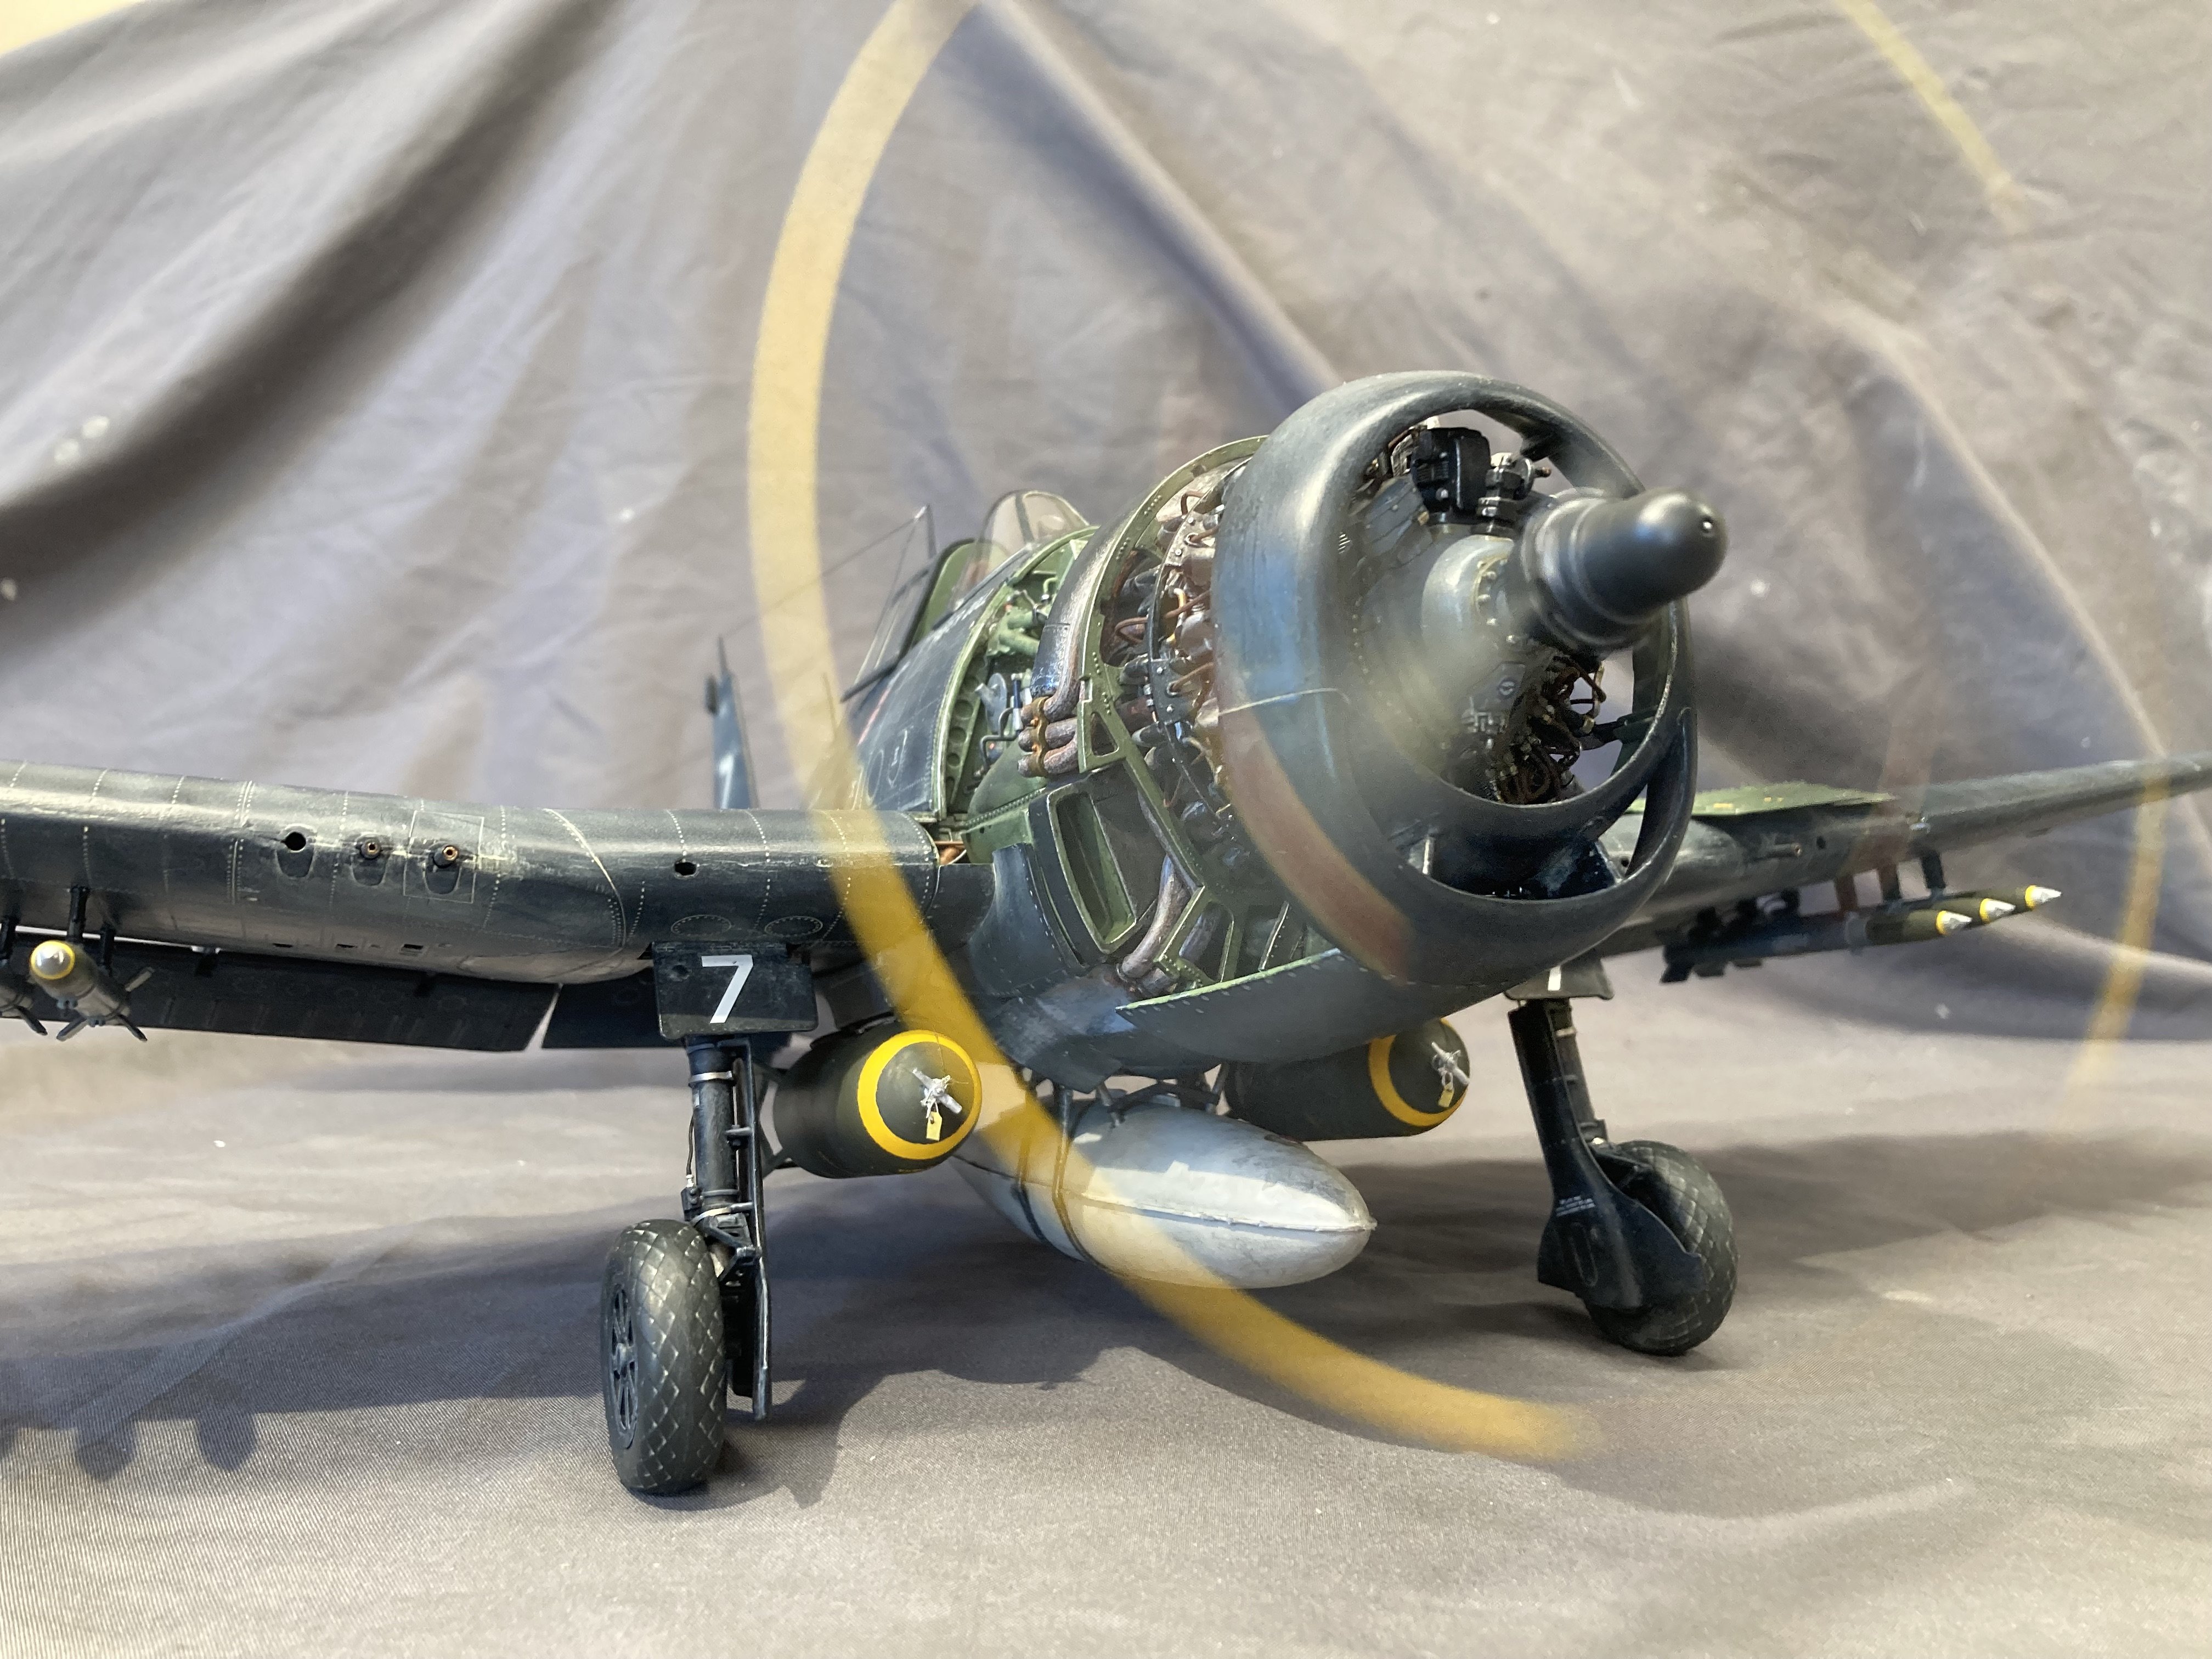
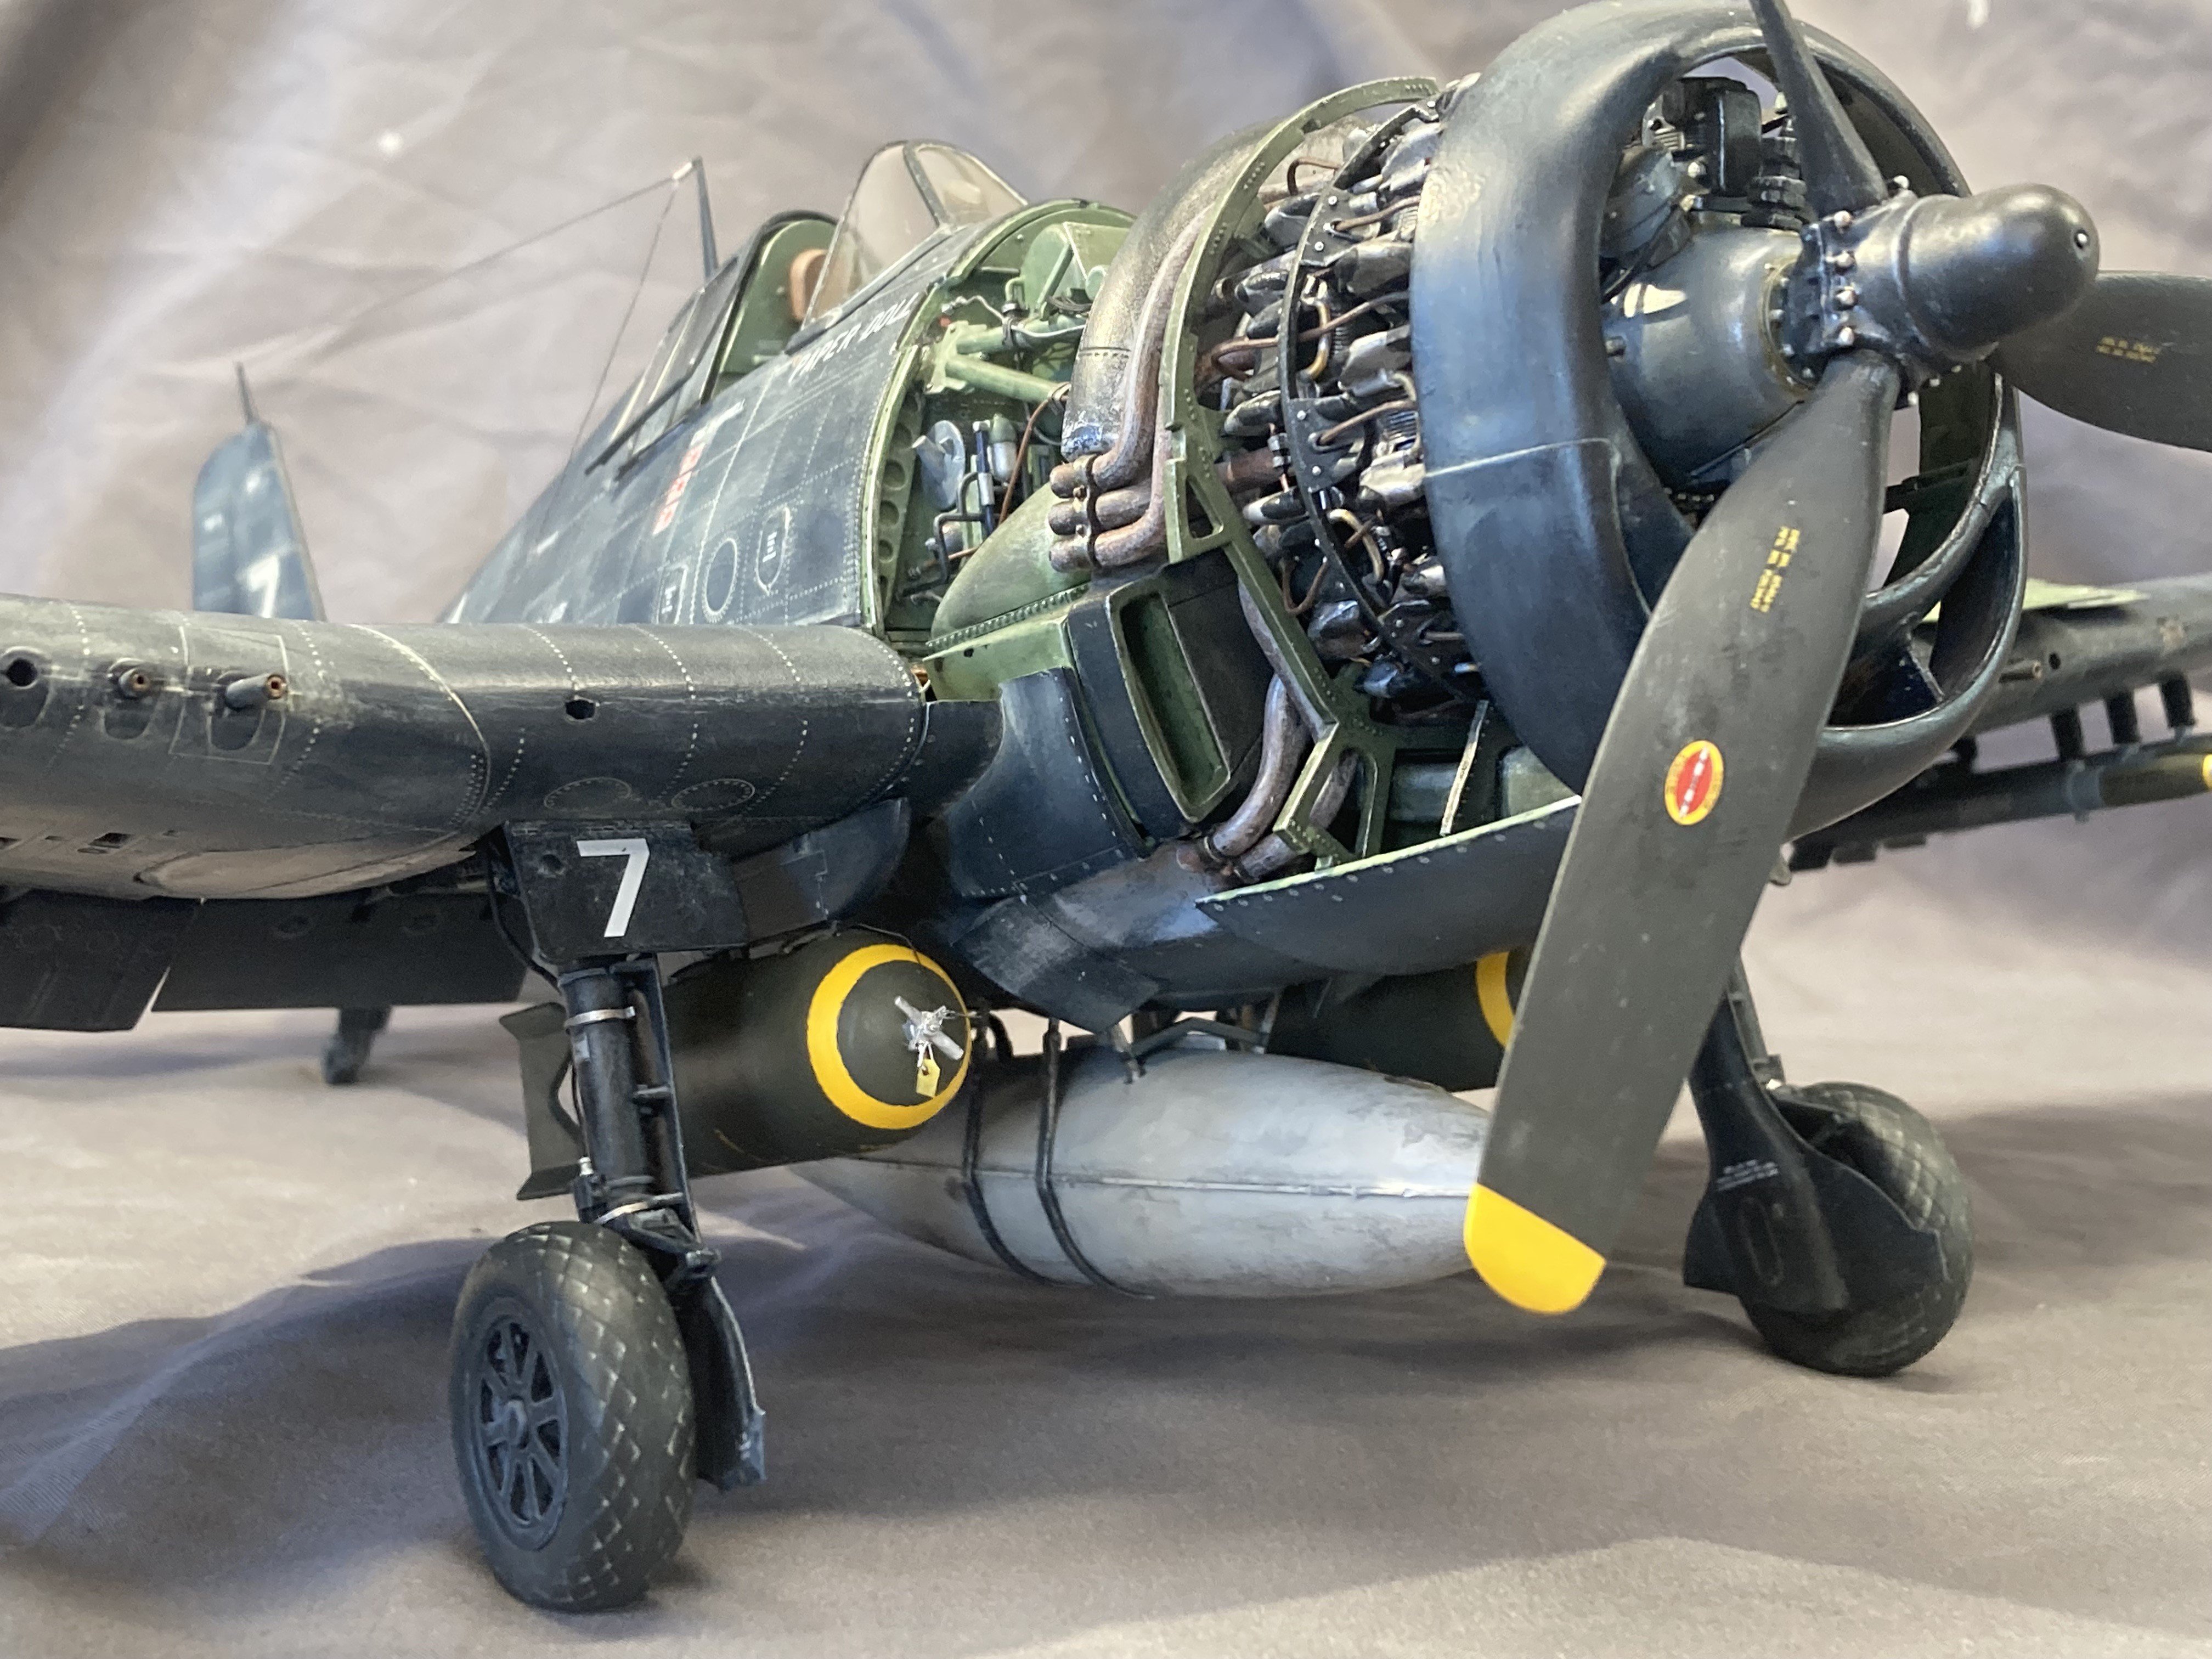
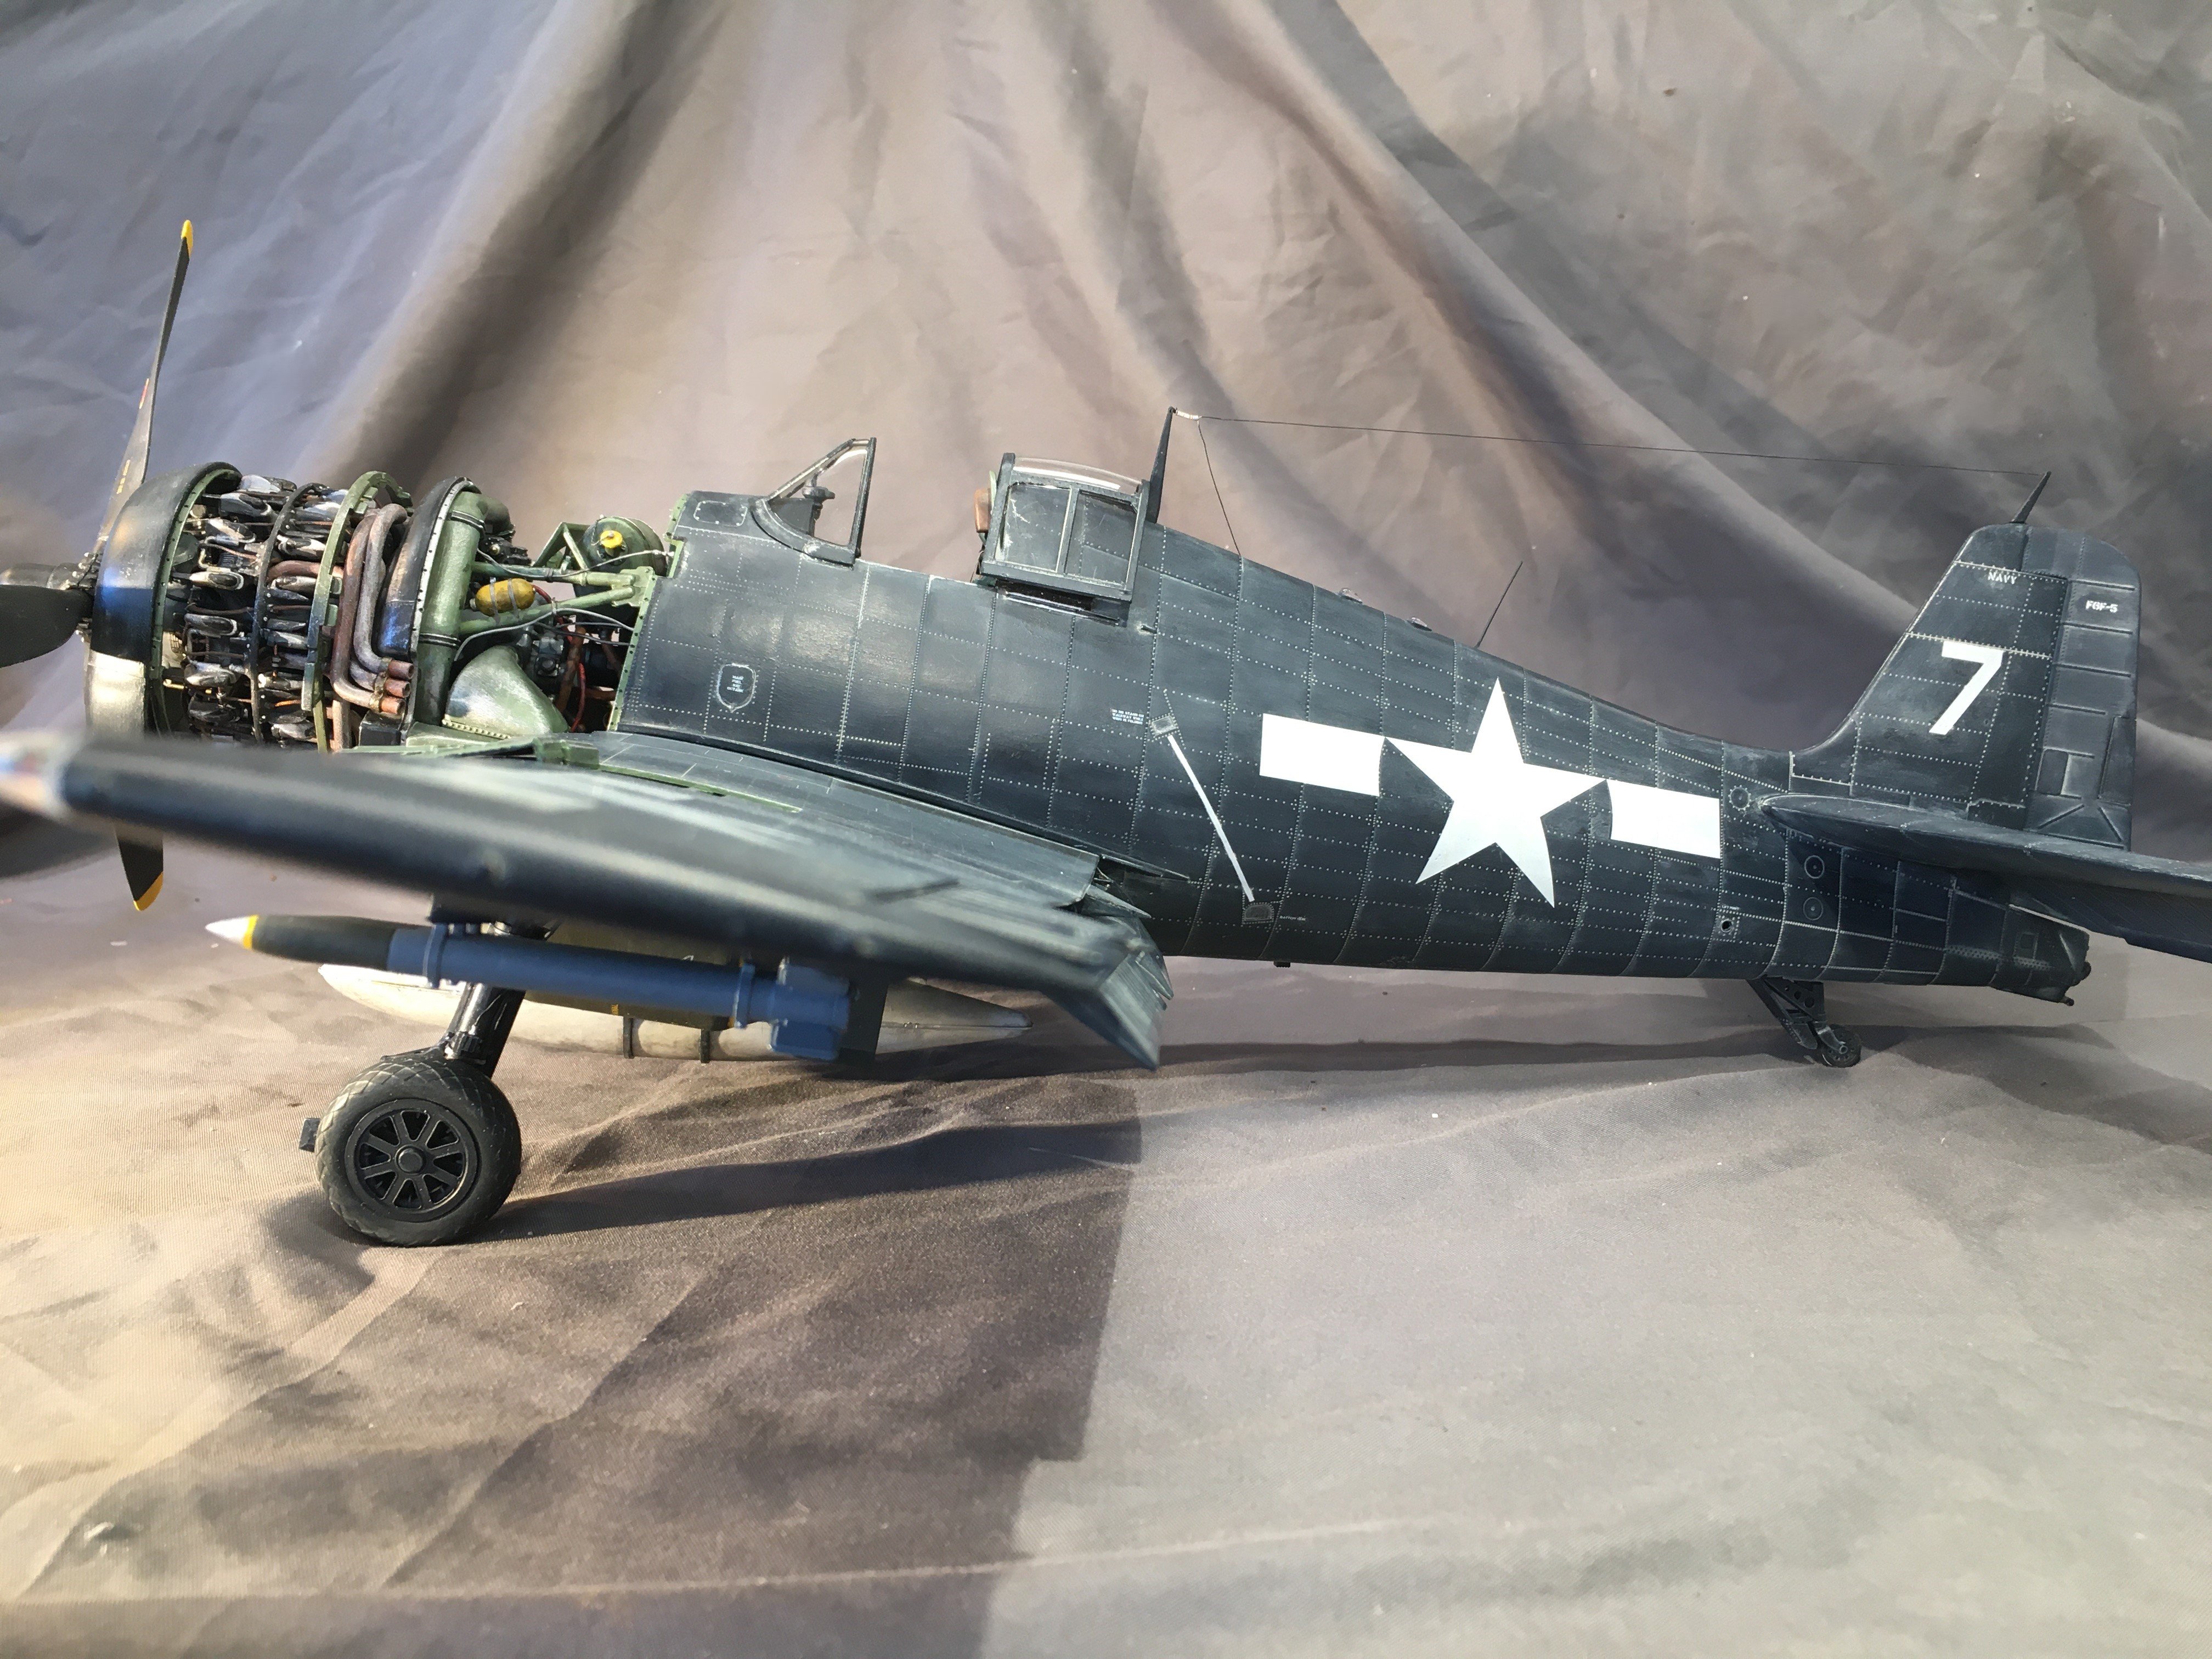
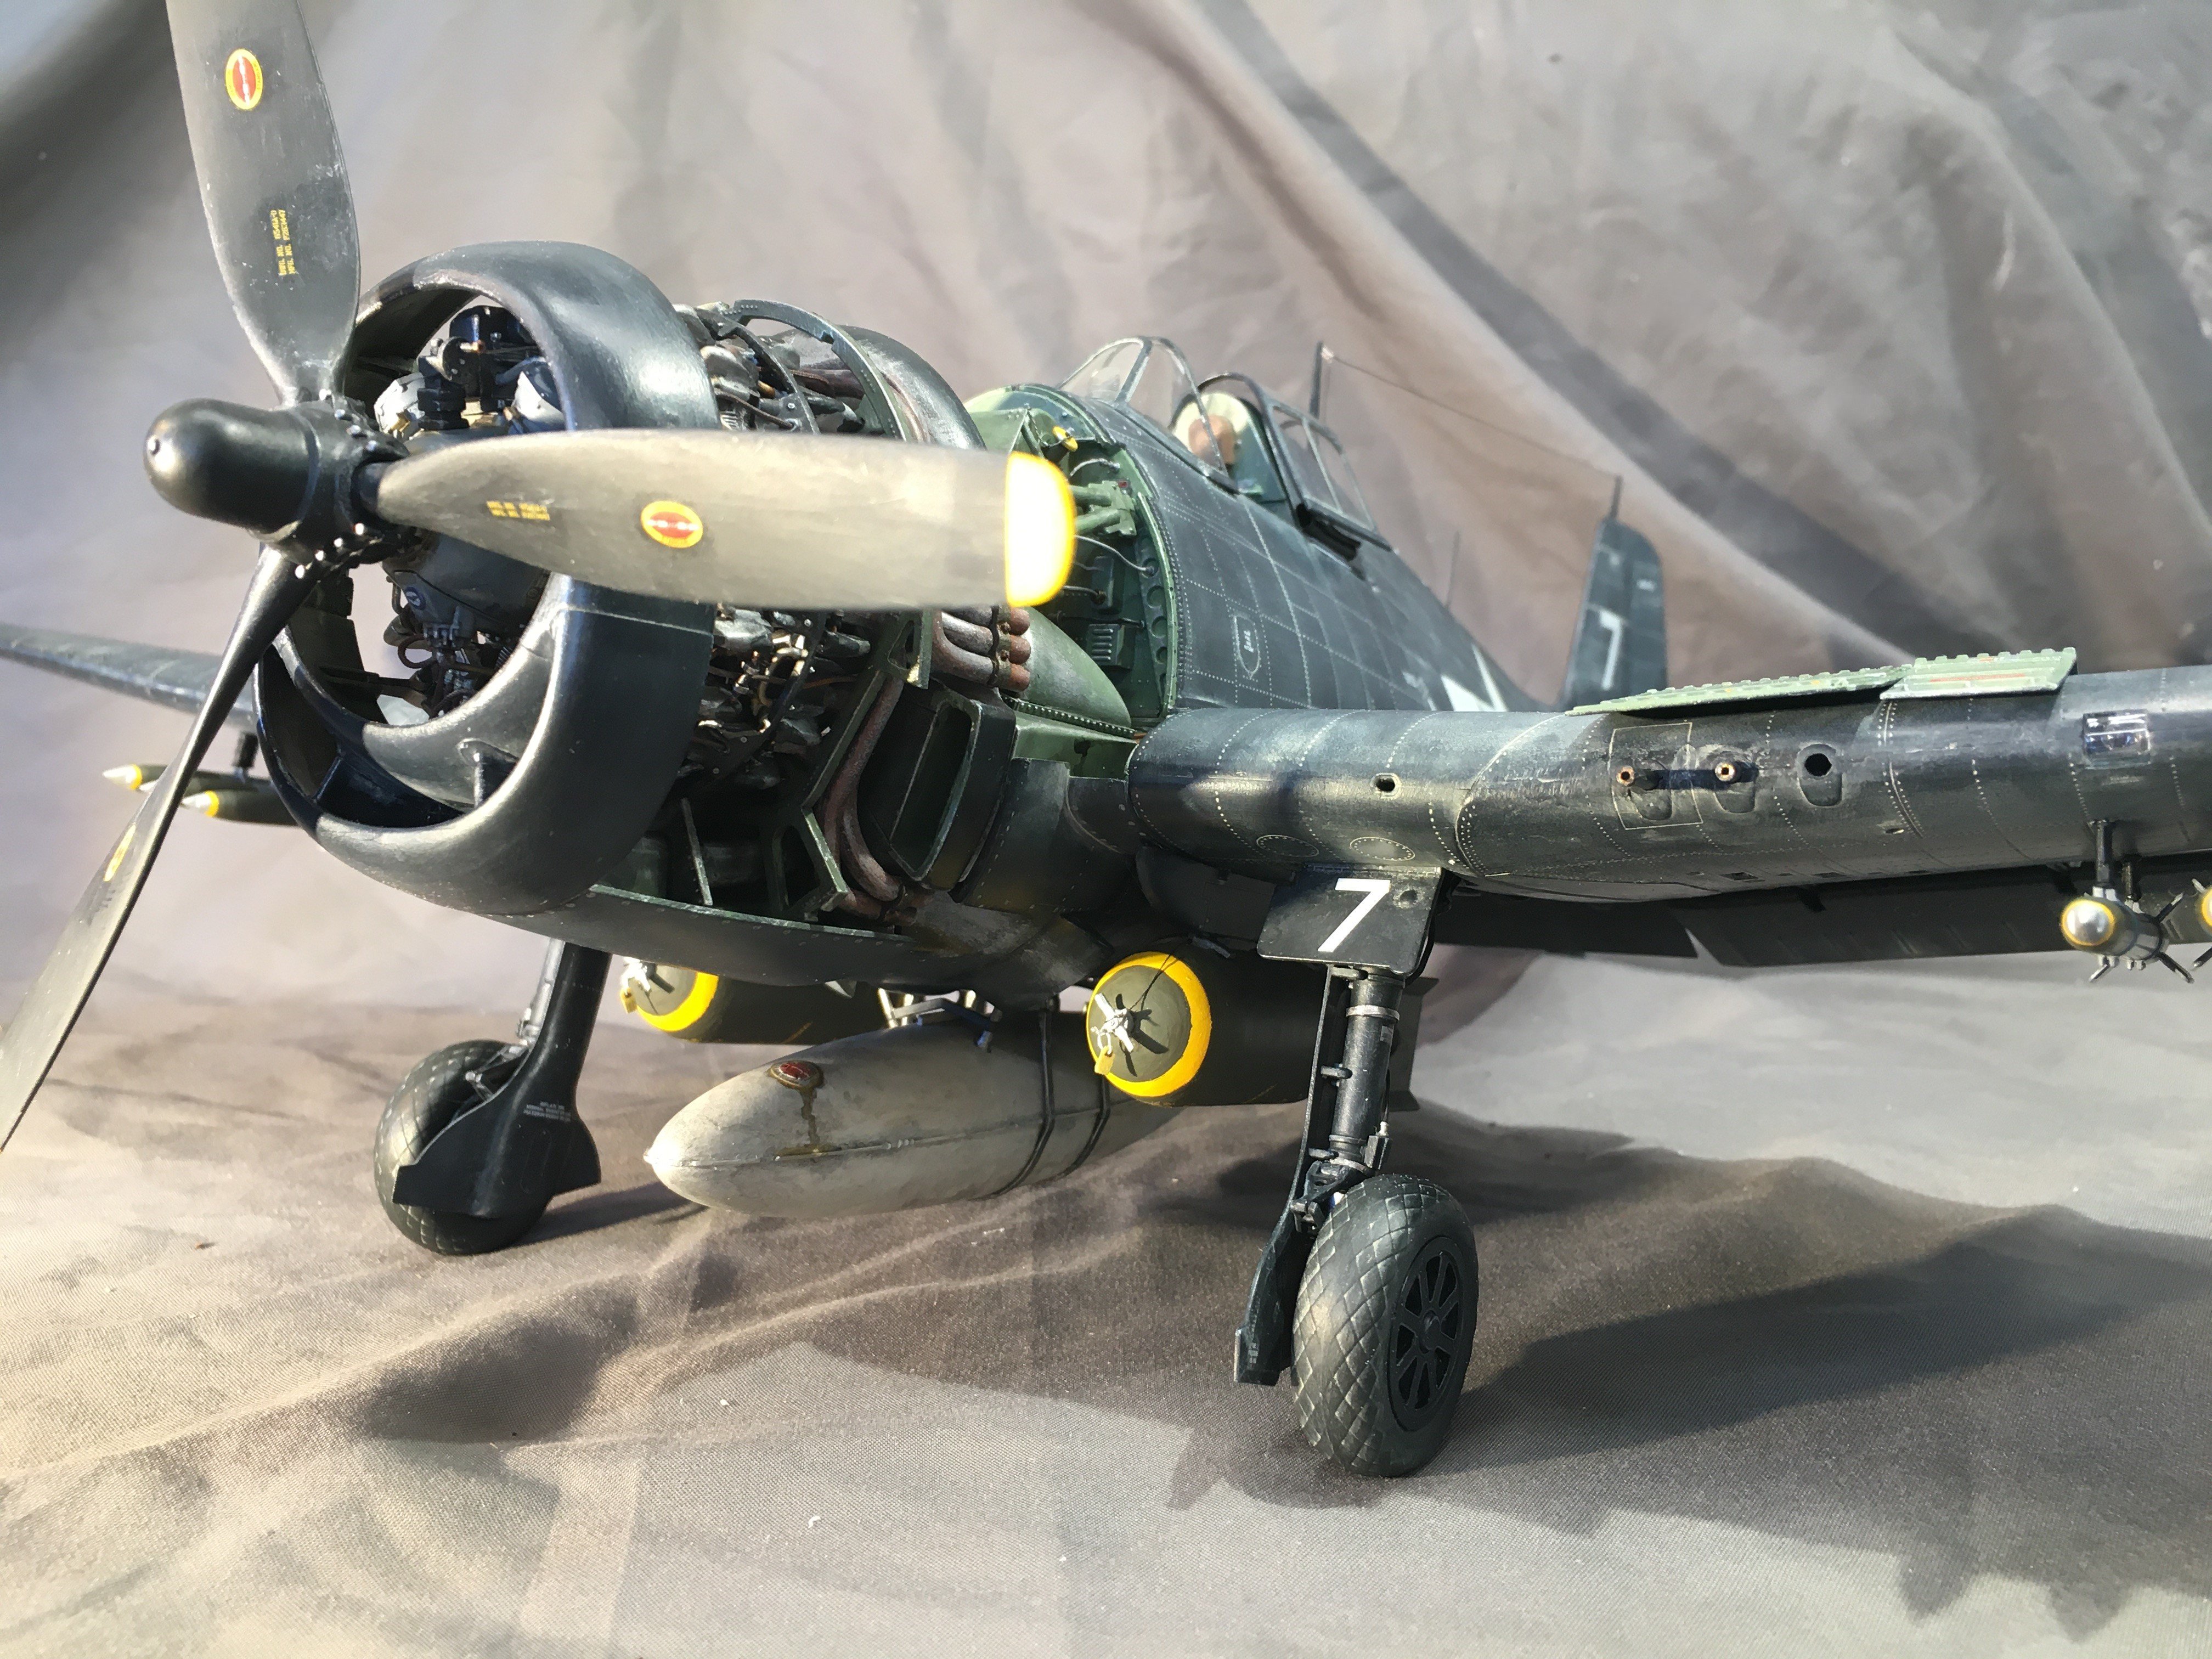
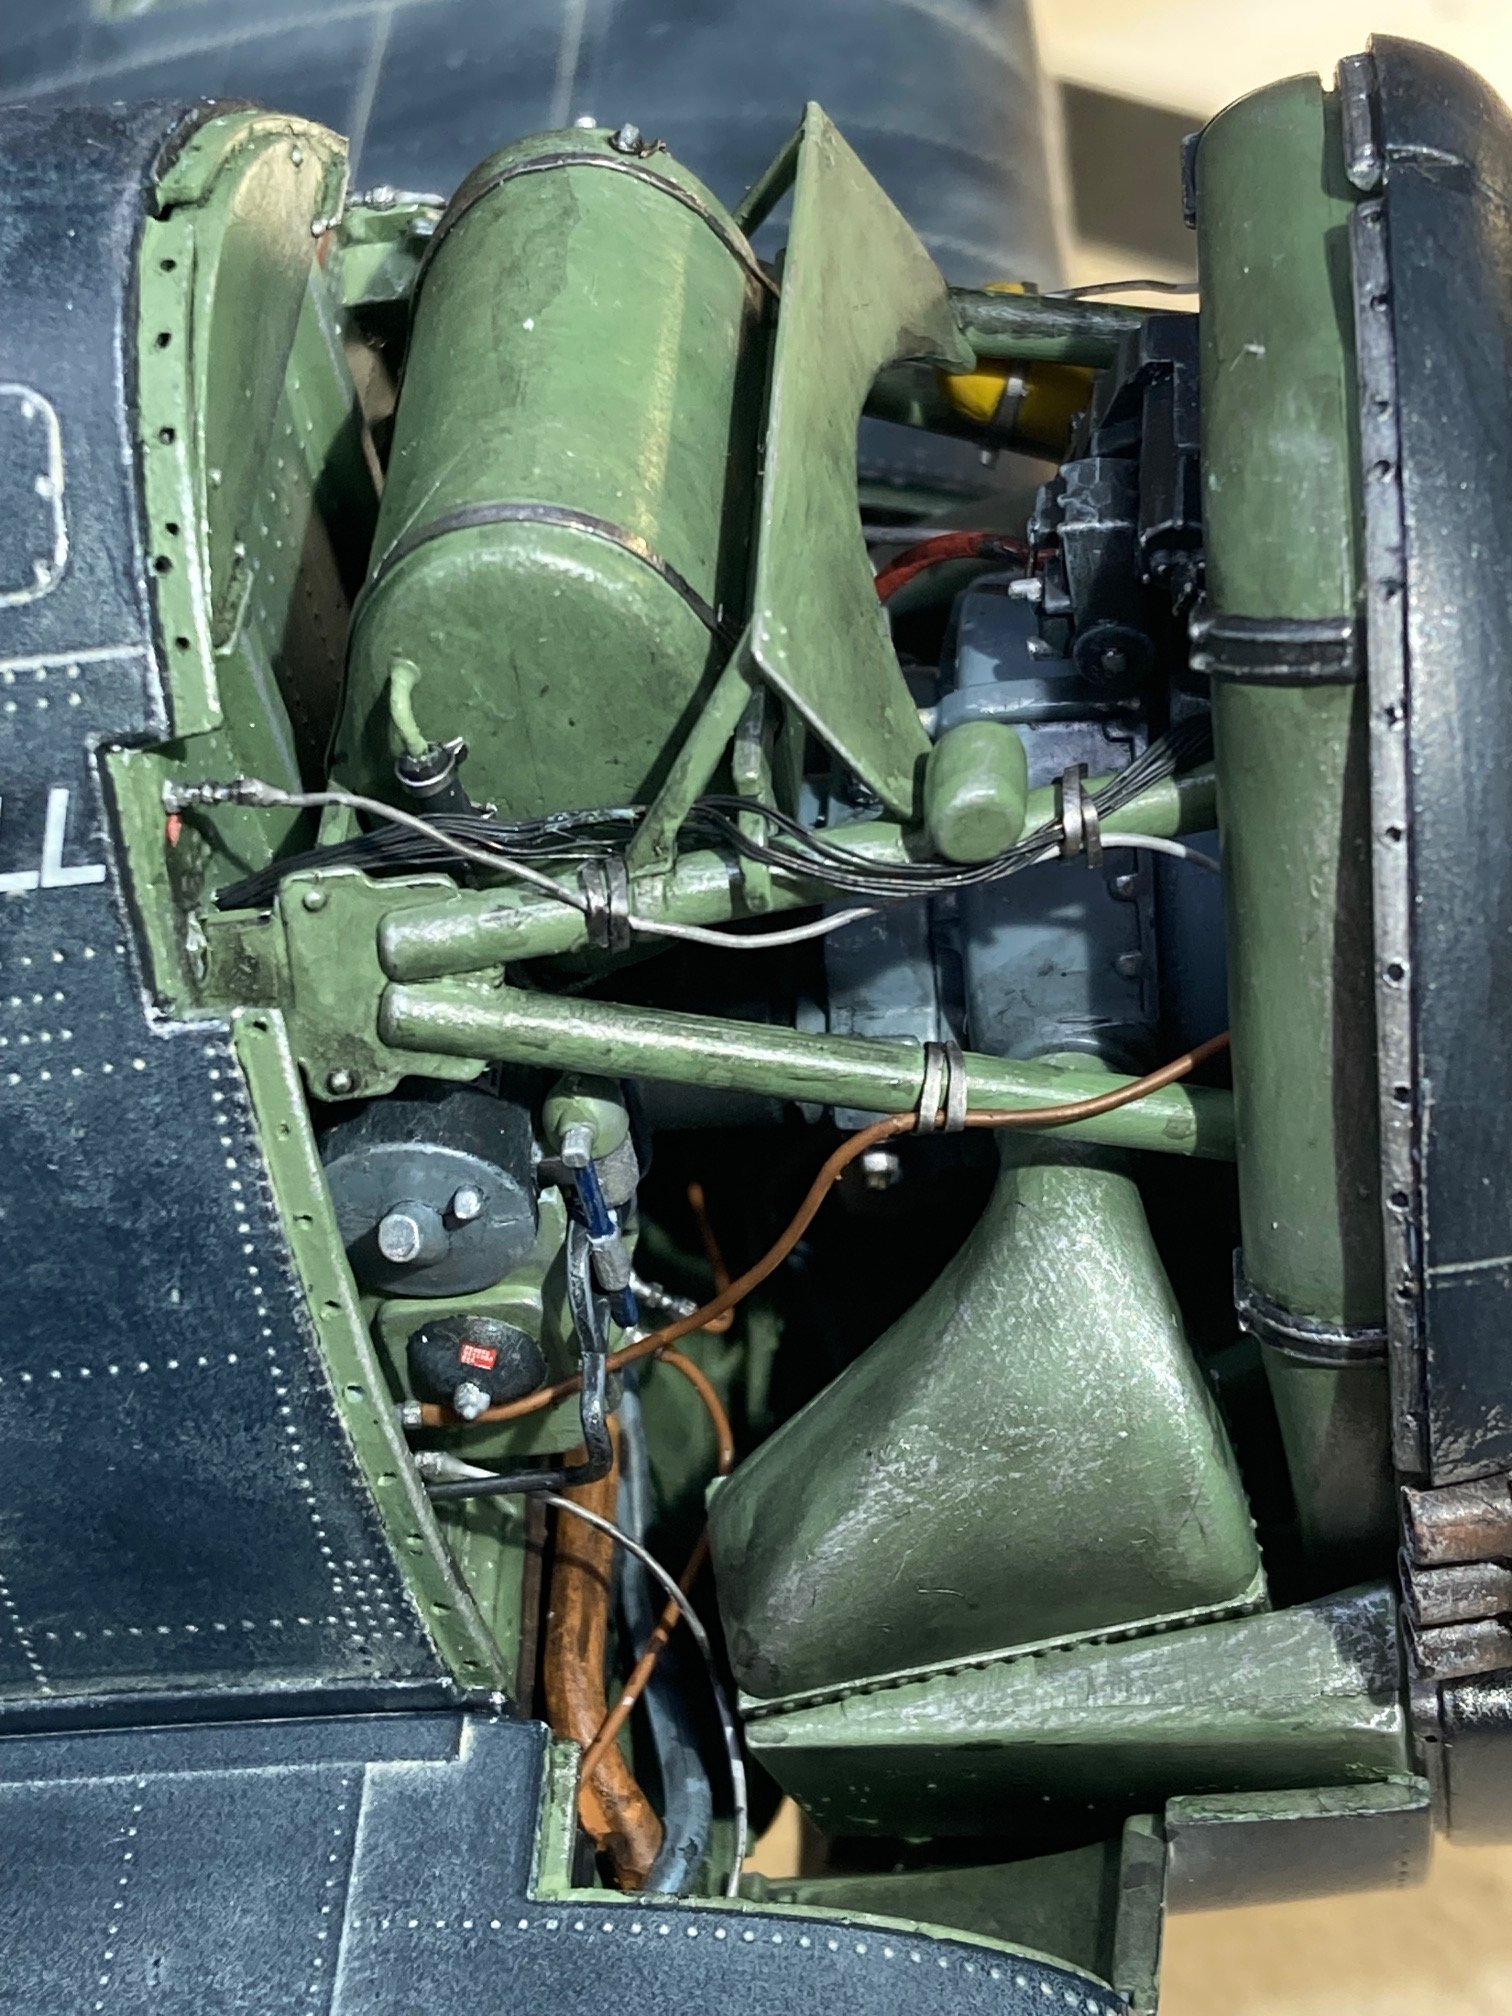
Just finished this big bird. In this scale there's a lot of room to add fun, additional details, such as the ground handling tag and arming wire (held on with a Fahnestock clip) on the bomb fuses, electric connections to the gun solenoids, the oil tank cap chain (Image 7746) and the pilot's oxygen hose (5932). Disappointingly, no decal for the Pratt & Whitney eagle logo on the engine nose was provided so, although I could have ordered one, I freehanded it with a one hair brush (7770). I had planned on an overall wash to diminish the haze from the weathering putty, which is inappropriate for a carrier plane, but I ended up just liking the look even though this kind of dirt would be more typical of a Corsair stationed on Vella Lavella. I solved the challenge of painting the un-maskable yellow stripes on the tapered parts of the bombs by putting together a kind of mini lathe to spin them with a small motor and just touch the brush on - instant straight line. Like I said: fun.


.thumb.jpg.05a1fd6d00a8cd57da0307095ca14d36.jpg)

- 20 replies
-
- 15
-

-


.jpg.a467cca0d7e56ec38006e1f316edd4f2.jpg)