

av8shunmodels
-
Posts
28 -
Joined
-
Last visited
Content Type
Profiles
Forums
Events
Gallery
Posts posted by av8shunmodels
-
-

Test Fit of the engines,
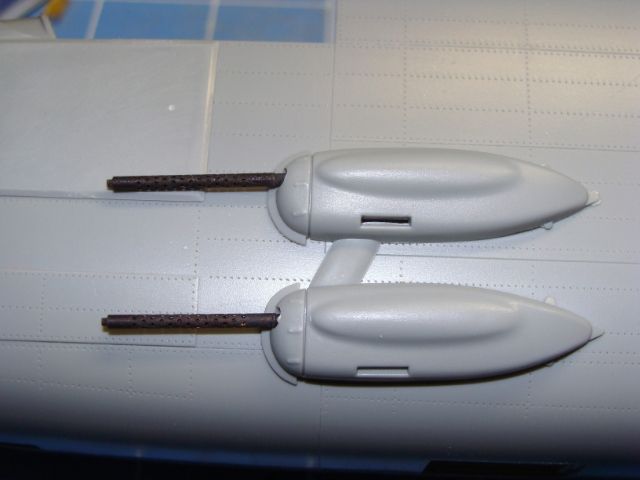
Test fit of the Gun pods and dry fit Profi Modeler barrels, the pods them selves seem to sit to low and the deflection of the barrels is a bit to extreme, should be 2-4 degrees down angle, both will be adjusted when I get there.
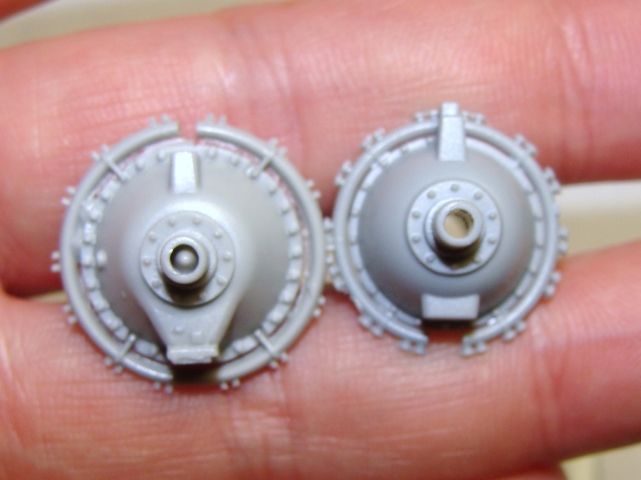
Left is HK, Right is AMS resin..the AMS parts are shaped correctly and the profile from the side is scale thin, really nice work Harold!
Now the crank case, please excuse my crappy pics but you'll get the point.. AMS on the Left HK on the Right, AMS's part much more closely represents the correct crank case in shape and relative size, they should look excellent when they are applied.
-
This was started Feb 4th, my birthday on LSP, I'm moving the contents of the thread to here and will update posts at both sites.
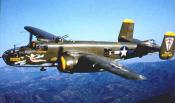
In this online build I will be building a "to be determined" version of the excellent HK Models B-25J glass nose version. I may do either a Crusader or Air Apache version and haven't decided on NMF or OD/Gray, I have PLENTY of time to decide as the insides will be the same either way.
There are a few "issues" with the kit but some may elect not to deal with them. If you are a nit picker/ rivet counter or just REALLY love the B-25 you'll want to address the following issues: ( I just really love the
B-25! )
NOTE Do not take this as a slam of the HK kit, I'd buy 5 more if I had unlimited funds and I am quite sure a great model can be made almost out of the box. I am simply pointing out obvious omissions for those who wish to go the extra mile and 3/4.
OK this is the list of things I am planning to correct, there may be more:
There is VERY minimal detail in the flight engineers/ top turret gunners position, no radio racks, no ammo feeds or charging handles for the "cheek" gun pods, no hydraulic accumulator, no wiring harness or box's, a whole "deck" of structure is not present, the rib detail is not repeated as it is in the cockpit so if you want to add it you're in for some work. There are no heater units or ducting for the forward or rear fuselage.There is no "tunnel" leading into the nose position so if you doing either version and want to see up into it from below you better be prepared to do a fair amount of scratch work or just live with the "void" The exterior perimeter of the top turret is not correct, see detail pics to see what I'm talking about. The leading edge of the wing doesn't not have the heater intake duct, the prominent "bolts" on the leading edges of the wings are missing, the landing light openings are to large. The life raft compartment that should be visible in the rear fuselage compartment is missing, all the folding seats are missing, there is no strike camera or opening for it in the lower fuselage, and most of the supporting structure for the main landing gear would have to be built unless you don't mind looking up into the wheel bay and seeing bare plastic and the mounting stud for the main gear legs. The interior structure in the rear fuselage is generally in the correct locations, but it needs substantial fleshing out as well as the proper floor structure installed. None of the canvas spent cartridge casing bags are present. The sextant and gun sight as well as the ring and bead back up sight is missing too. I will be addressing all of these issues.
Suffice it to say, that if one really wanted to go all out and make a giant cut away model this one lends itself to that really well!
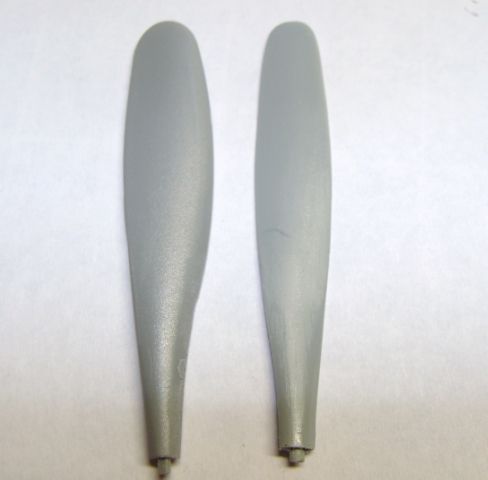
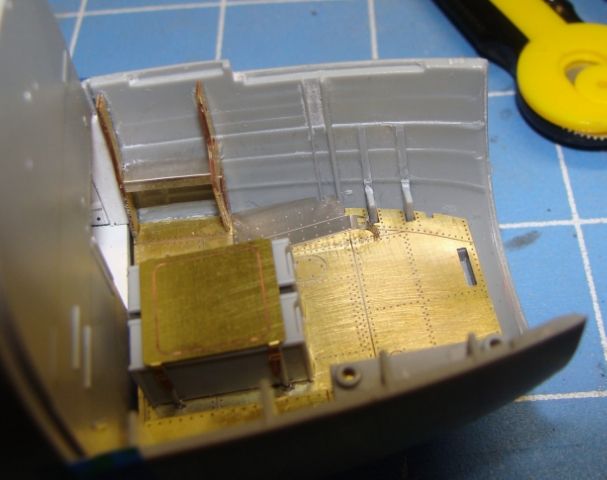
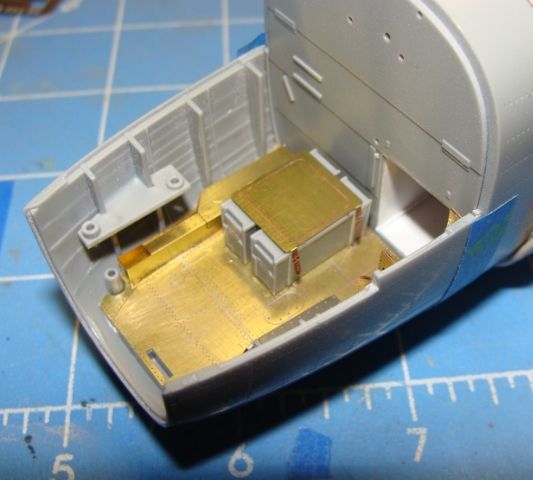
To start with I have:HK's Kit,Eduards PE sets for the nose, cockpit, interior ( main fuselage ) and bomb bayBrassin Wheel setG Factor metal landing gearProfi-modelers sets for the antennas, and their brass gun barrelsA few billion linear feet of various widths of strips and shapes polystyrene ( ok, maybe a little less )Just shy of a billion linear feet of various gauges of wire, solder etc. ( Teresa says "I never throw anything away" )AMS Resin's Excellent crank case and propeller blade replacementsHGW's seat beltsVarious rivet decals from ArcherAbout a dozen reference books to go along with the MAAM link posted above, but those are just in case as the website has almost all of the stuff I have in books and online.So here is a quick shot of some of the "stuff" ( not all of it is pictured here,it's already on the bench )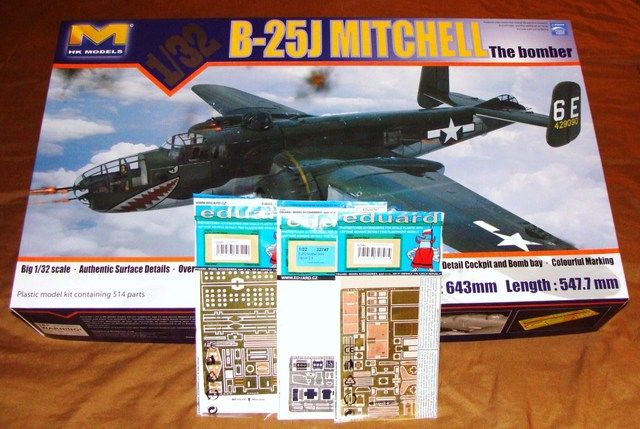 OK, so one of the first things I did was glue in the Eduard "structure" parts for the pit and check it with some Tamiya gray primer. First the lugs and plugs they locate into need to be removed to properly use the PE in the pit. some of the molded in details need to be removed as well.I also set about to scratch build the details in the tunnel. This area is still being refined and detailed, but I'm pretty happy with it so far, although you will hardly see any of it.
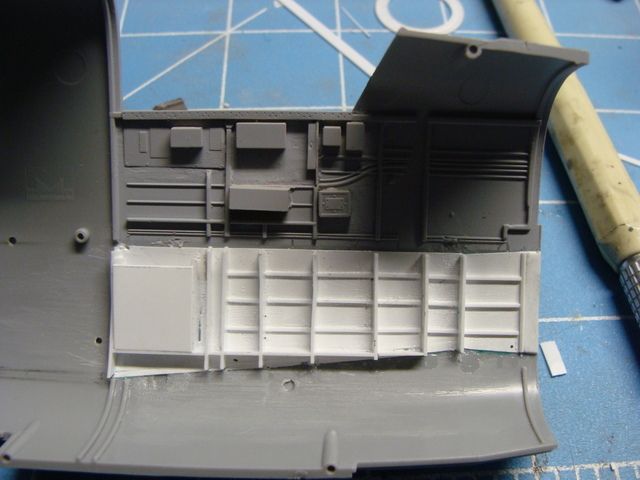 I sheeted everything with .005 styrene and used RB productions rivet tools to add rivets.( hopefully they will show up under paint.
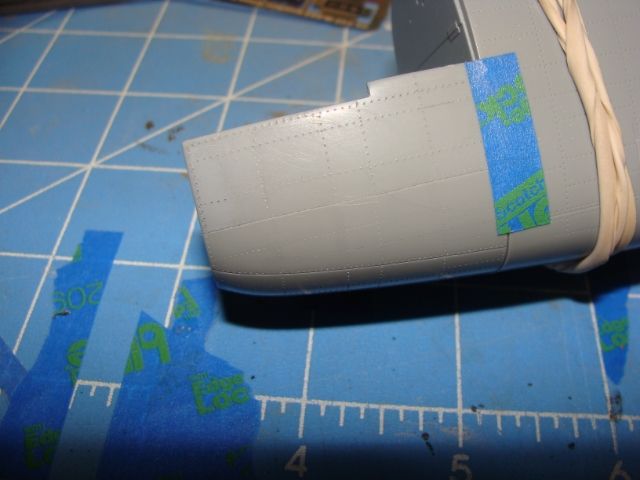
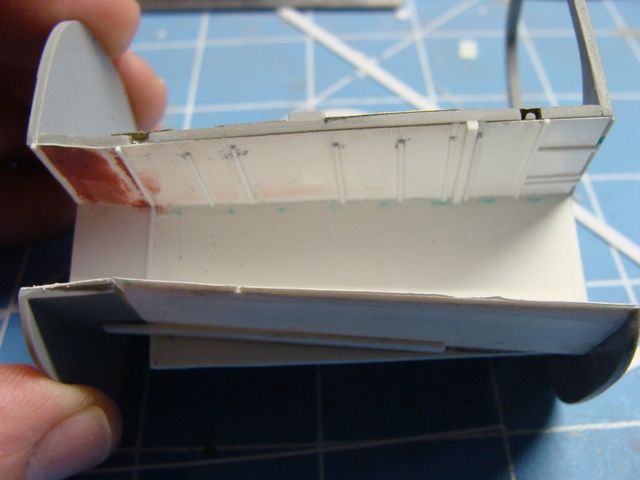 I noticed some slight distortion in the molding of the forward nose area, and the rivet lines ghosted in and out in spots, so I had to fix that.
Here are the sides I had to re rivet, I ended up using Radu's Rivet tool/wheel with the 1MM wheel installed, perfect match to my eye.
Here are a couple of the brass interior parts so far. I'm trying to add the parts of these various sets that have to be interior green and then add the rest that are black after the interior color is on. The seat base on the ammo box's is just sitting there,not glued on yet.
HK Models B-25 J
in LSM 1/35 and Larger Work In Progress
Posted
I cant believe the engine took all dang day, and its still not done, but here is a pic of the front ( what you'll see in the cowling opening)
I don't think it turned out half bad, I just hope I can get the other one to match! I'm going to knock out the building and painting of the other engine tommorow, may as well get it done! I decided to use .020 solder instead of the kit parts for the wiring, still have to add some parts to the crankcase and wire looms.