

TeWika
-
Posts
307 -
Joined
-
Last visited
Content Type
Profiles
Forums
Events
Gallery
Posts posted by TeWika
-
-
Peter,
Incredible work, very, very nice!
You're doing a stellar job!
Cheers
Ted
-
Mikester,
Nevermind. I tried your suggestion. Not sure I managed to recreate what you did but this is where I´m at:
-
 1
1
-
-
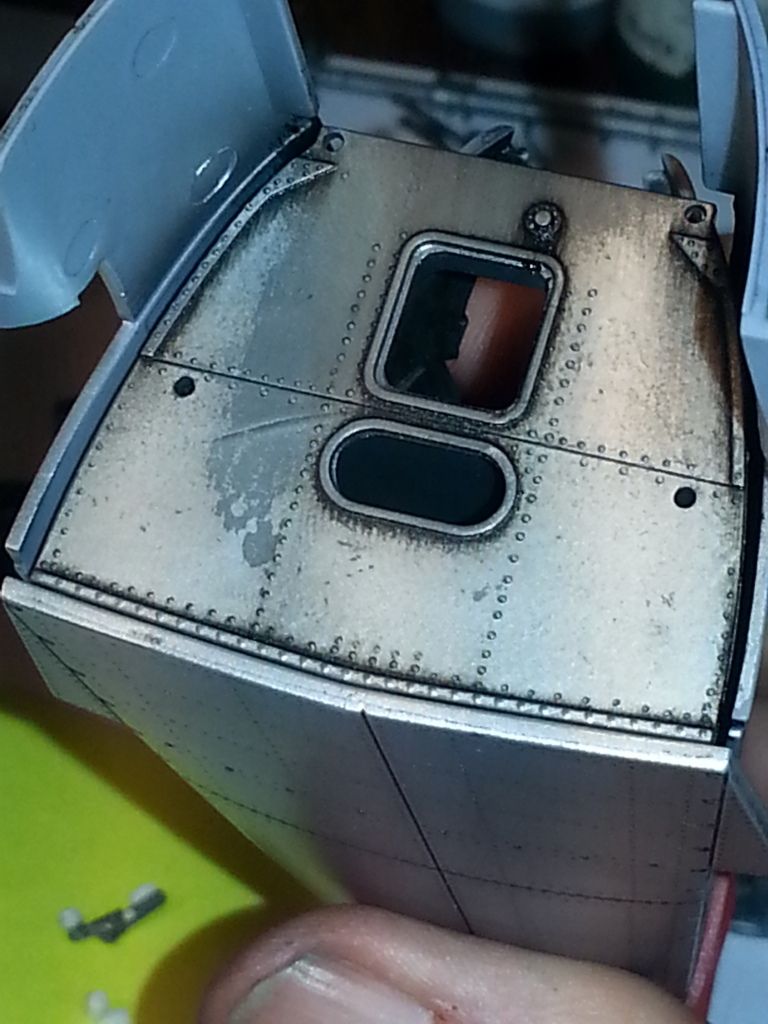
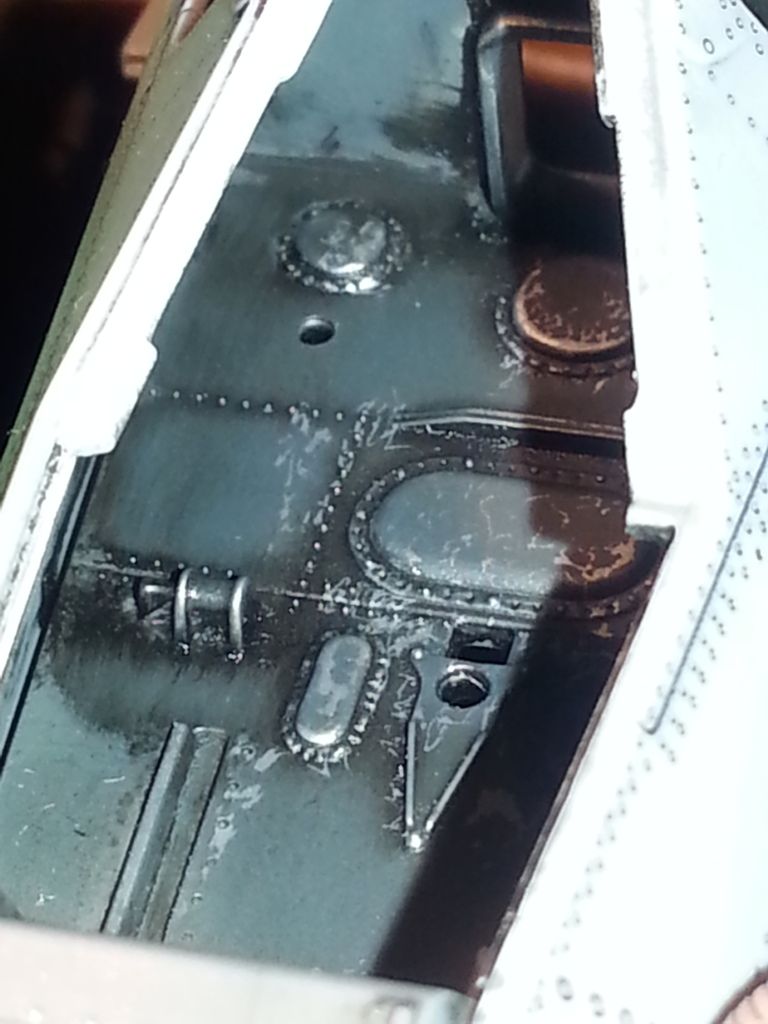
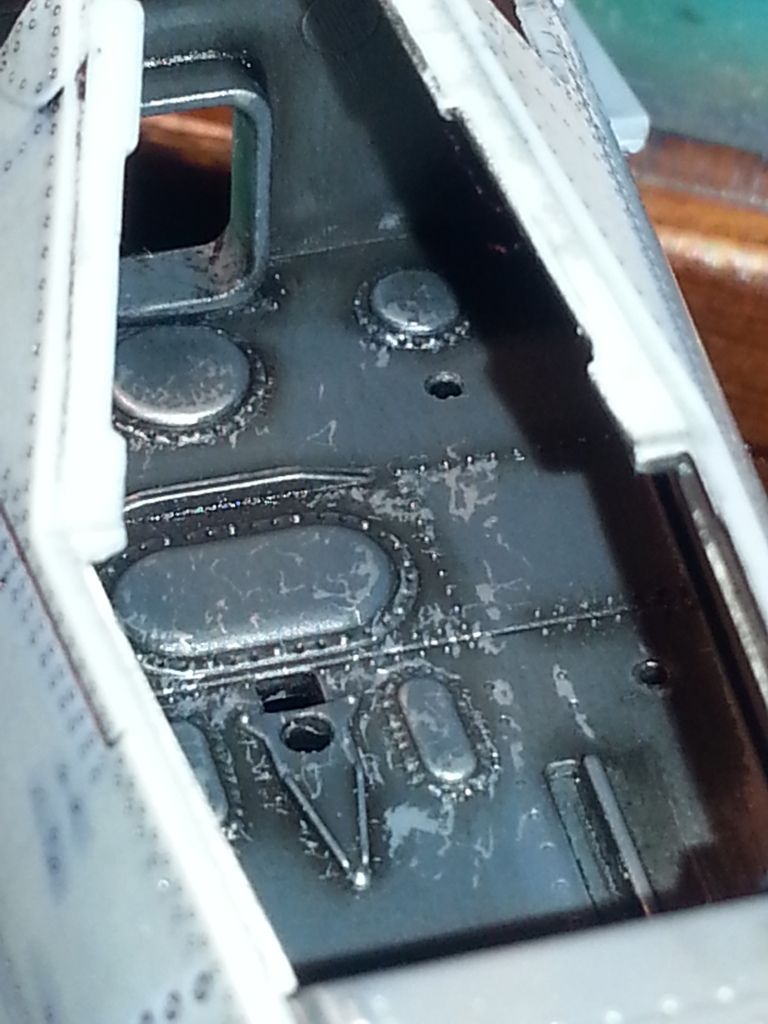
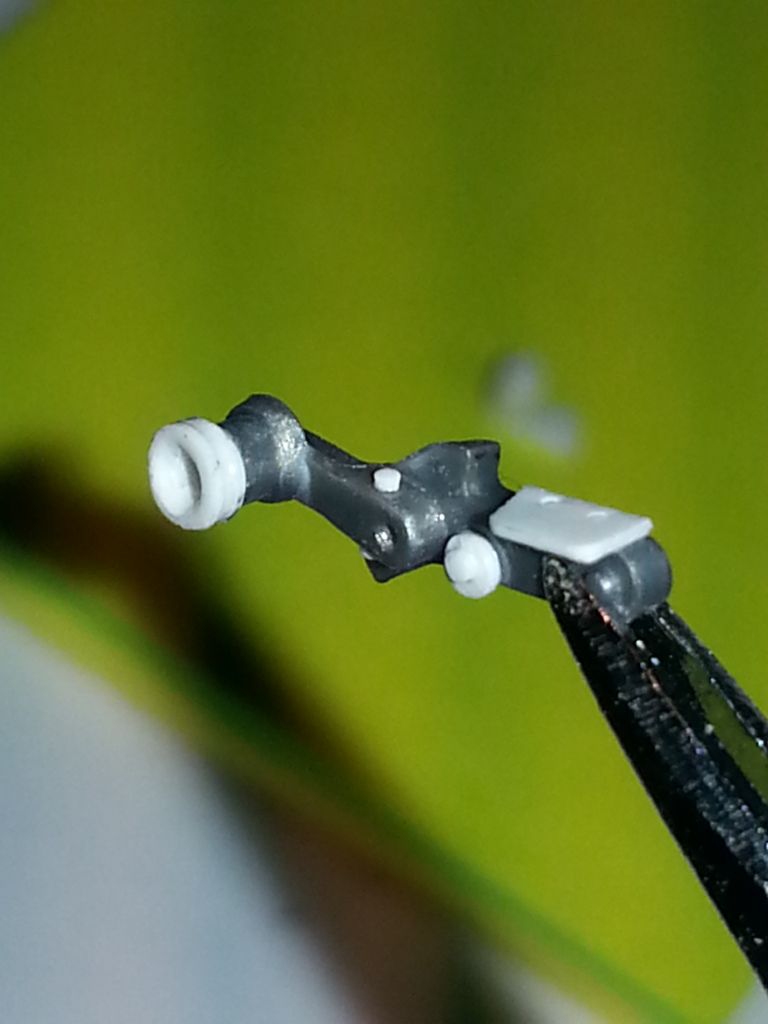
Hi gang,
I chickened out on the I.P..New decision tomorrow:P
Today I manage to paint the cockpit floor and sides after adding some evergreen here and there and started the weathering just a bit to see what will be visible once closed.
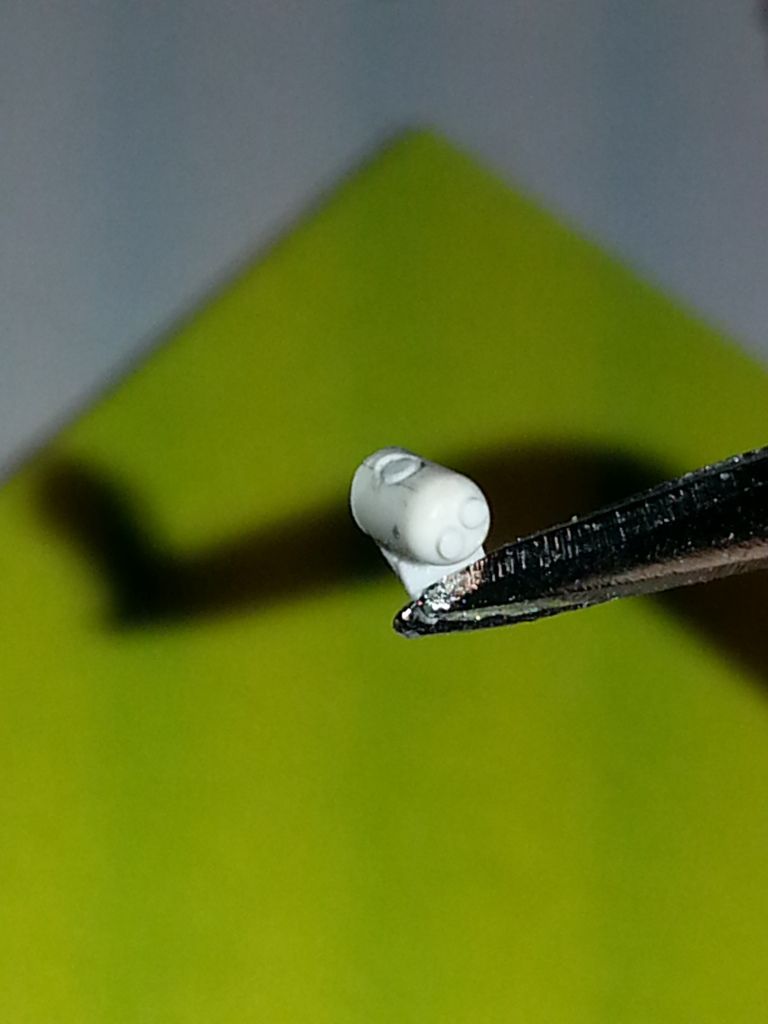
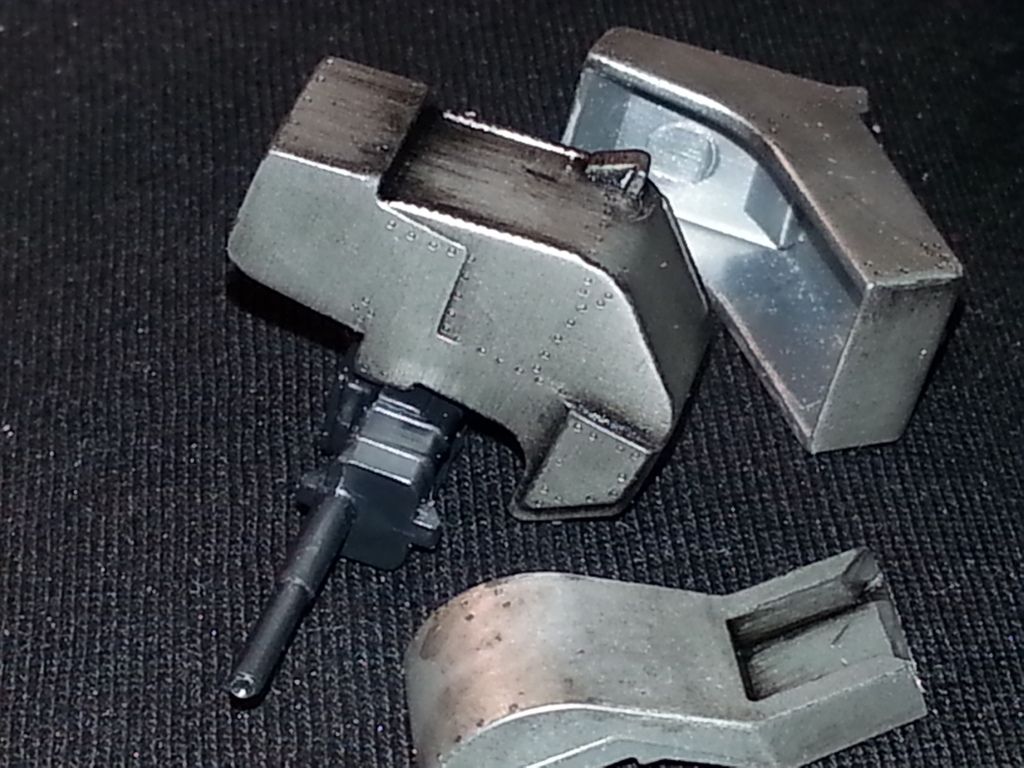
I also made the throttle and a lever on the opposit side. started on the rail for the canopy, prepared wirings and bits and bobs. Oh and the MK108 and the ammobox plus shute( not much will be visible)
Also some plumbing in thet wheelwells.
Hope you like it.
All the best
Ted

-
4
-
-
Peter,
fantastic....brilliant...no words...!!!
what tools and machines do you use?
All the best
Ted
-
Intressting thread,
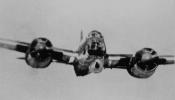
I hope for a Do-217 and or a He-126.. Maybee a P-38/F-5..That's something!
All the best
Ted
-
Jeroen,
As allways a true joy watching your work.. you are a master of shades and colour..
well done!
Is this Oob?
All the best
Ted
-
Hi Gang,
Mikester@ The reason I asked if it was "just" all you did is that your I.P is not the same as my version from zoukei-Mura.
My I.P is much more clustered and looks smaller than the I.P in your picture.
Peter@ Yes, that's is another alternative. The thing is that I have very little experience with photo etch... Decisions, decisions..
Thanks guys for the good advice, I'll try this afternoon and we see howvit turns out.
All the best
Ted
-
Thanks Mikster,
That's a sweet instrument panel and looks like good time management.
No, I'd prefer your solution if I can pull that off- was that all you did, mask and spray?
Good advice Mikester- thank you!

All the best
Ted
-
Good work Matt, you' re fast!
Ted
-
1
-
-
Well done Matt!
I must build one of these... I love the form.
All the best
Ted
-
1
-
-
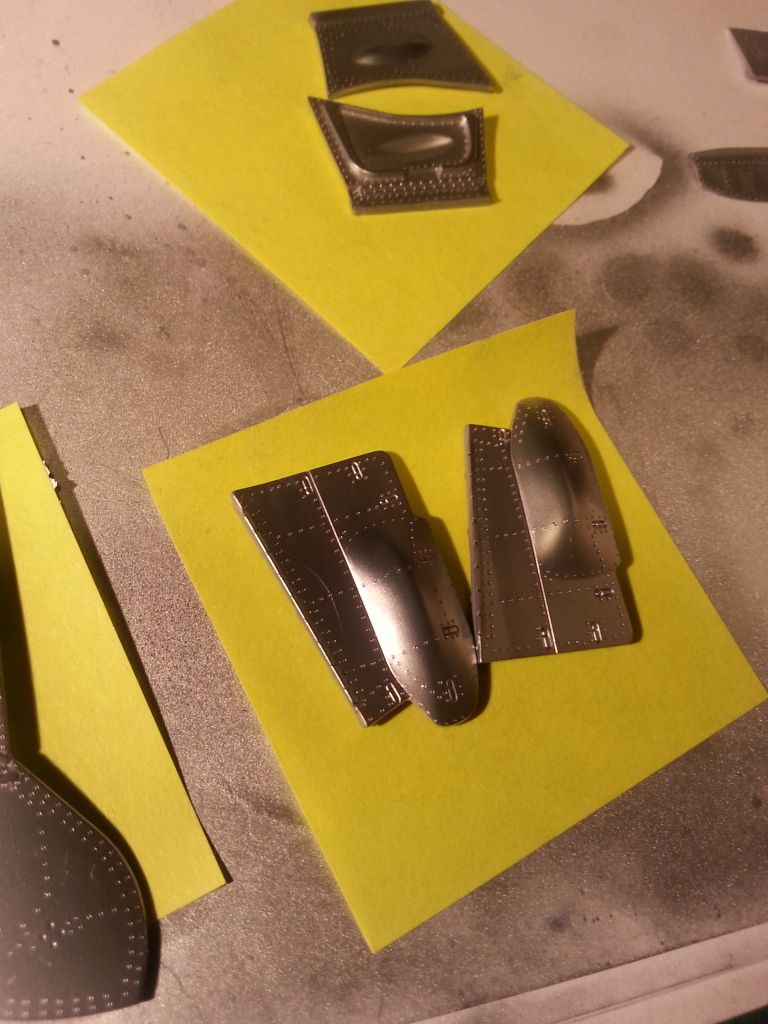
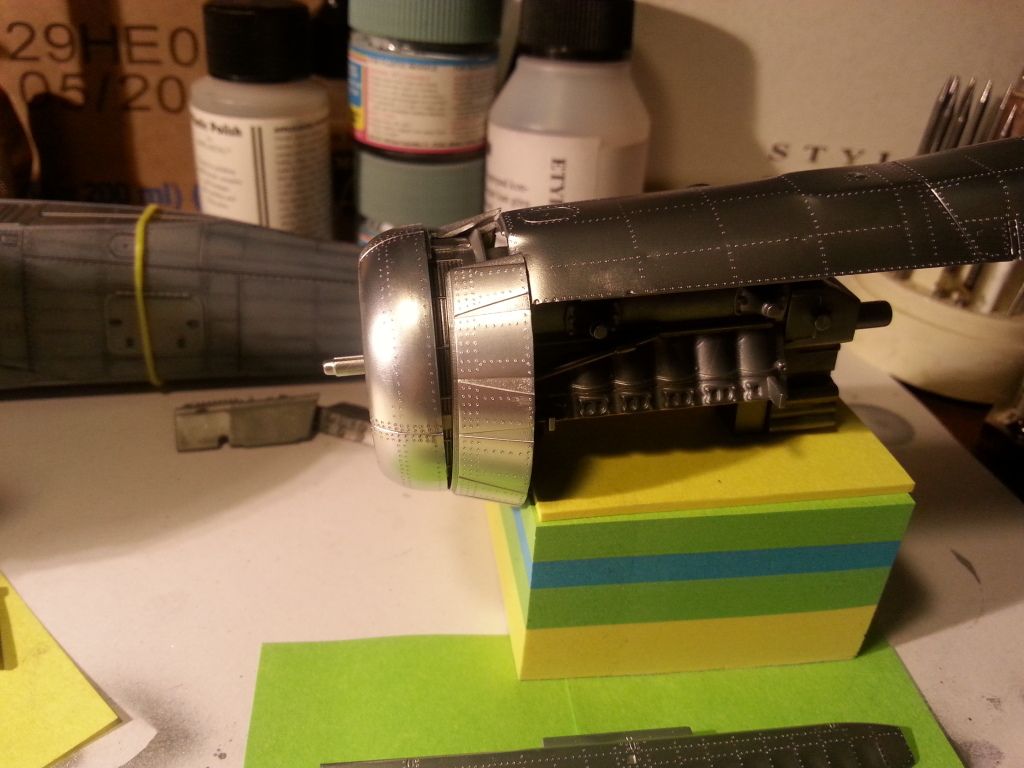
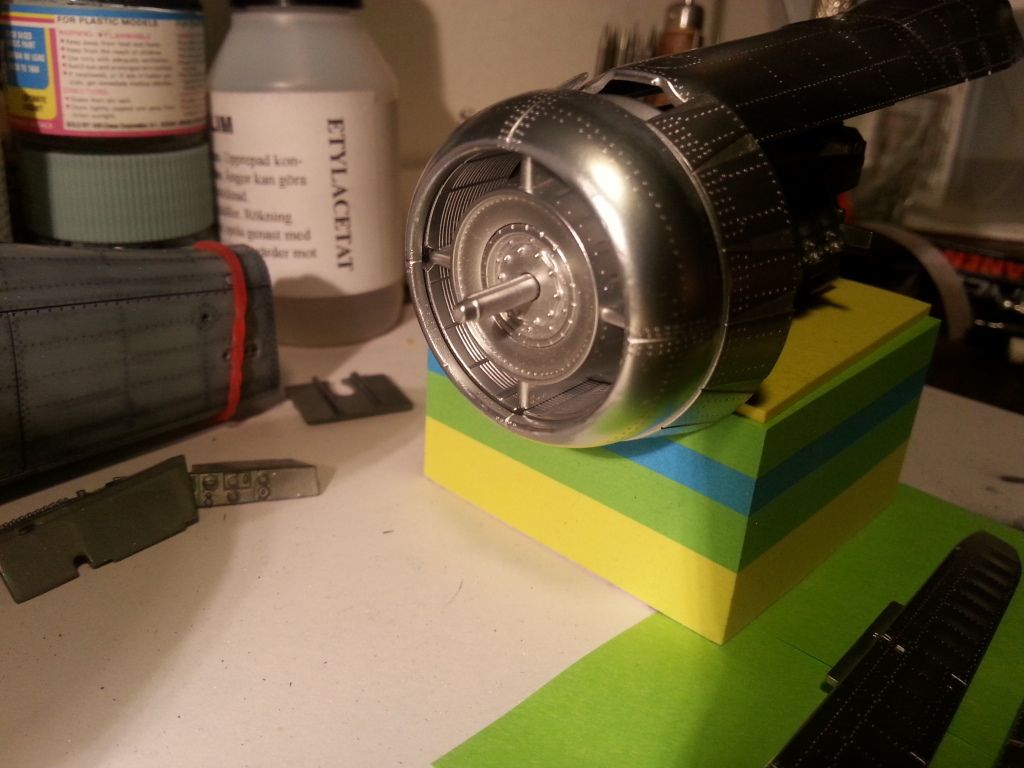
Hi gang,
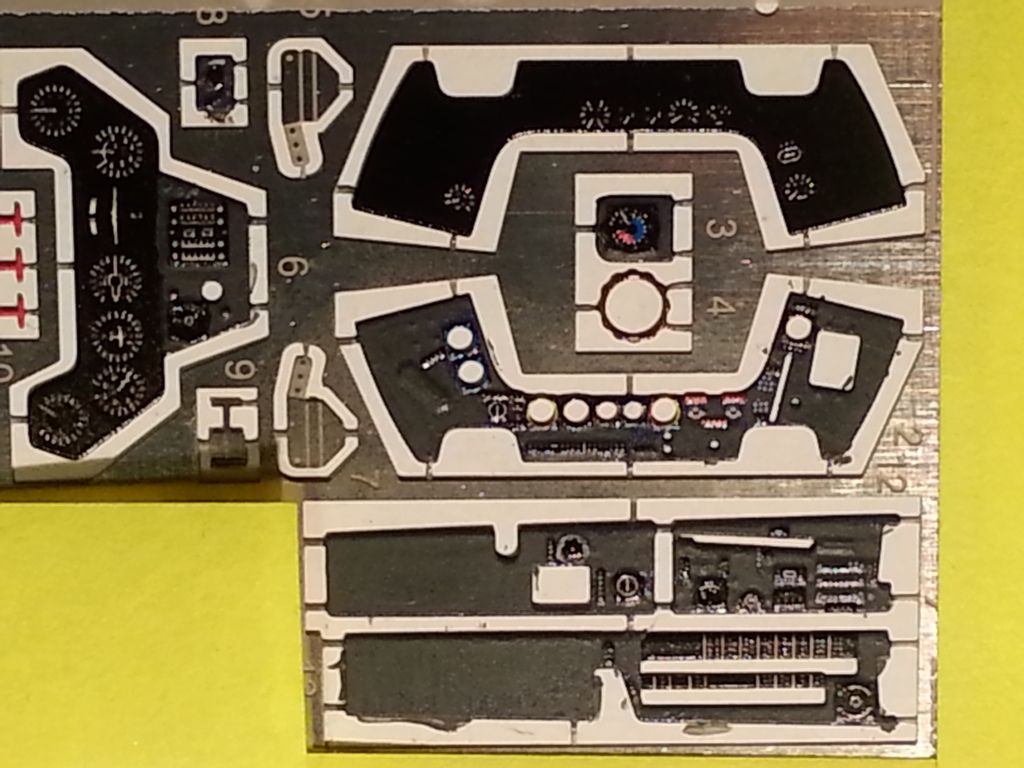
I´ve been struggeling with the cockpit since last update. I think all is good except the Instrumentpanel( my skills aren´t good enough to make it glow)
the photo etch one from ZM is rather blueish and when I looked for a replacement at Eduard they had the same blueish finish(?), so I must make one my self..
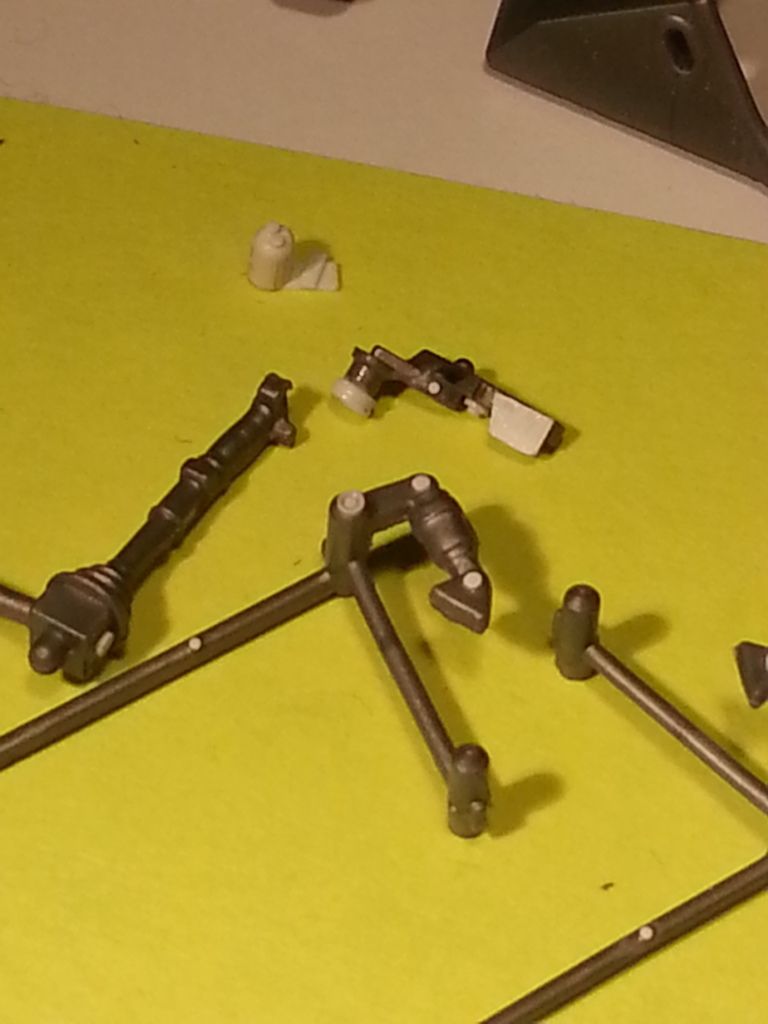
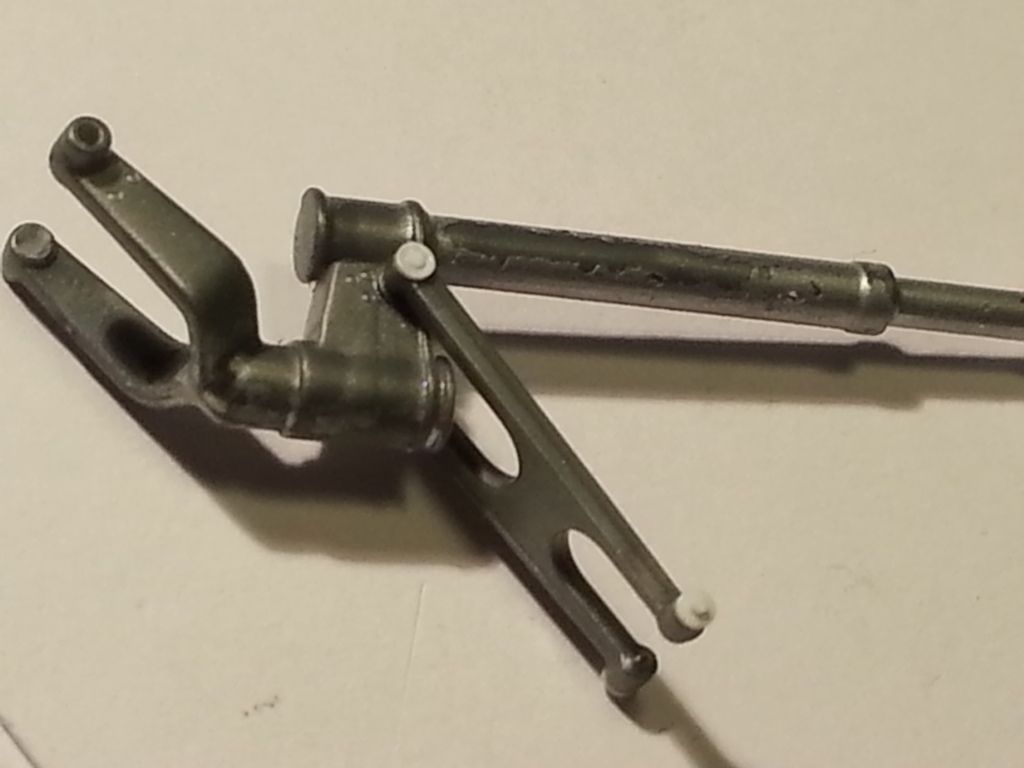
I don´t have enough photos of the landing gear so I´m stuck there tooo ...hmmm..
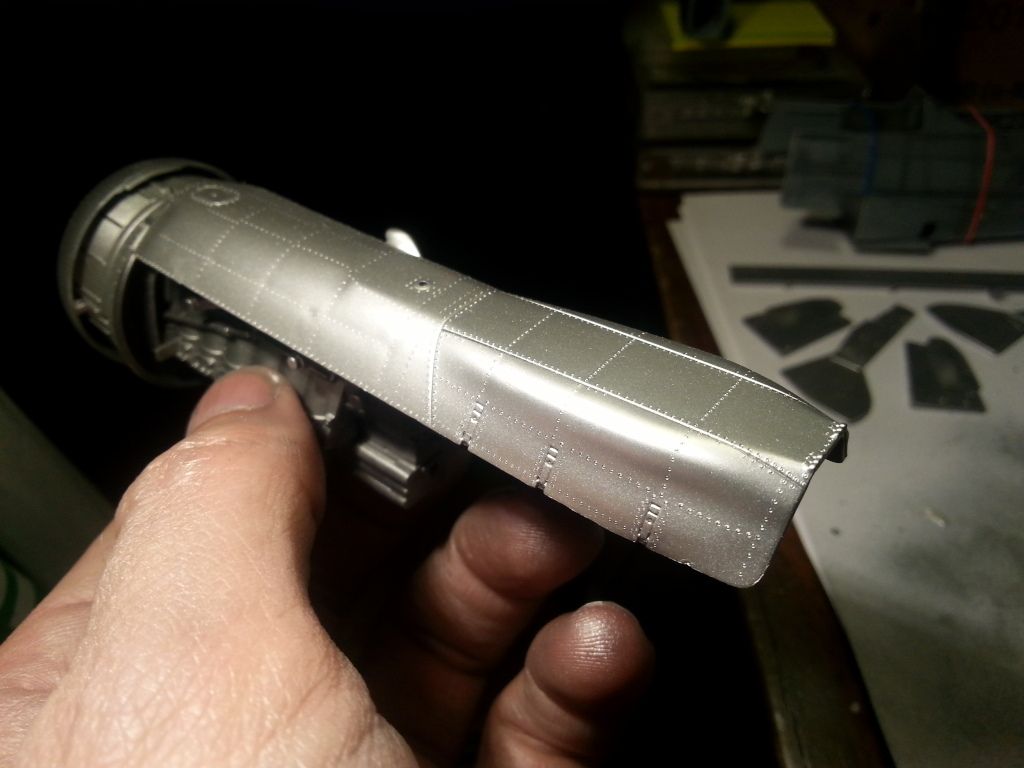
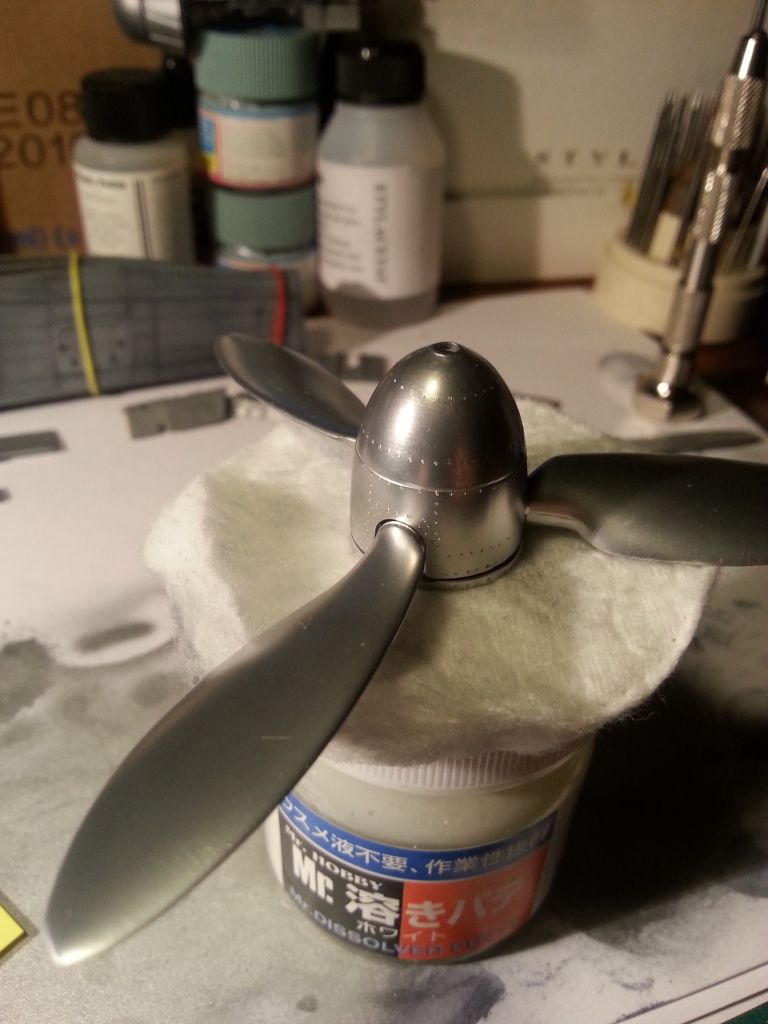
I decided to shoot some Aluminum in order to keep this from stalling.( I really hope the stretchskinn and all the dent´s show- they to most time to make)
hope you like it
All the best
Ted
-
1
-
-
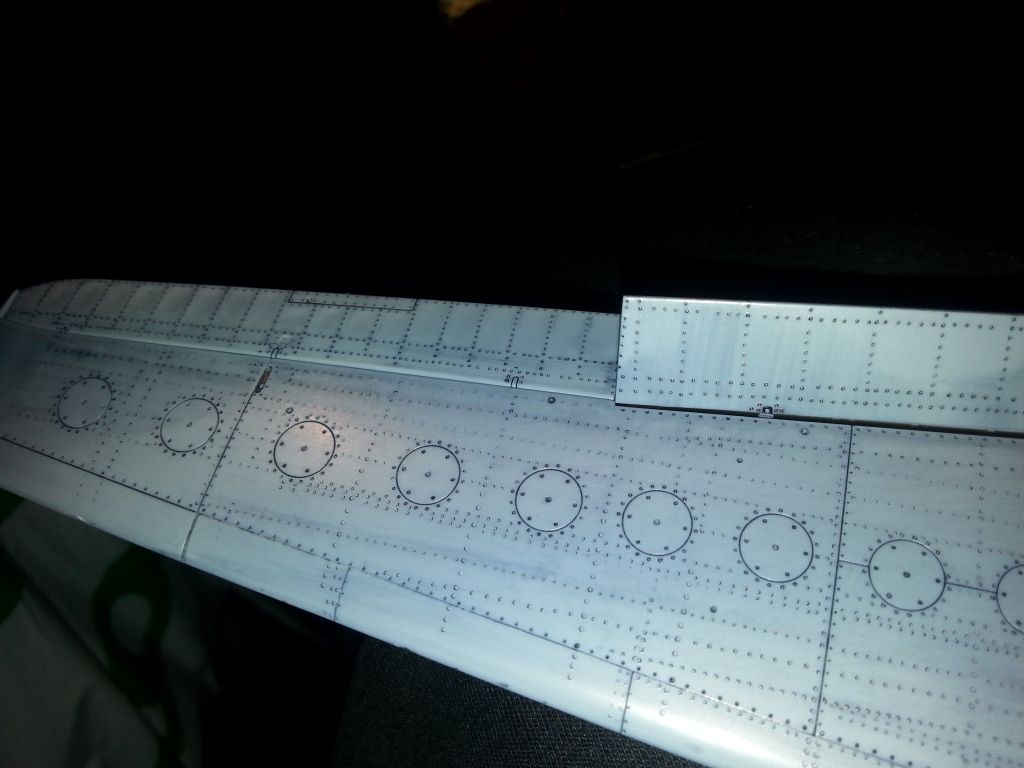
Thanks Ted, I'm loving your 152 rivet work ... I'm halfway through riveting that kit my self, oh the humanity !
Cheers,
Peter
Thank you Peter,
I know... but there MUST be rivets!!
Imagine rivet a Corsair, B-25 or B-17... (crying)
Incredible joy watching your build
All the best
Ted
-
Ralph,
The more I look at her the more I realise what a long way you've come- she is a beauty!! Well done!!
All the best
Ted
-
Jeroen,
She's looking good (and the Claw) you will have a super duo between the Ardo and Owl- so cool!!
All the best
Ted
-
Peter,
Outstanding craftmanship!!
All the best
Ted
-
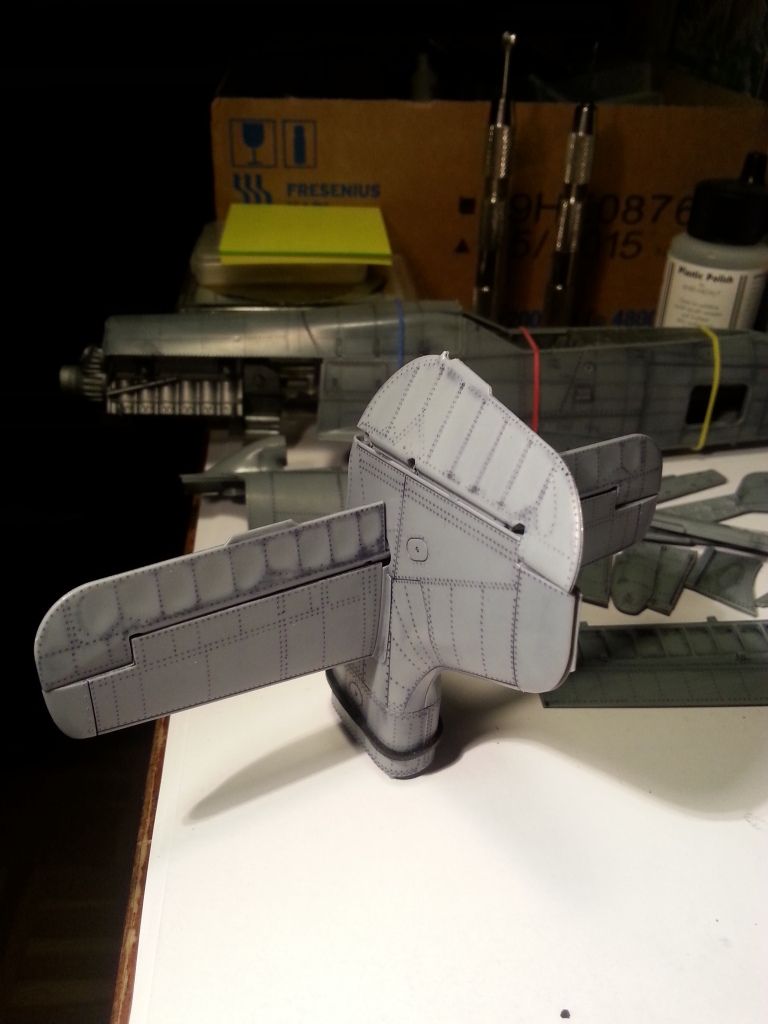
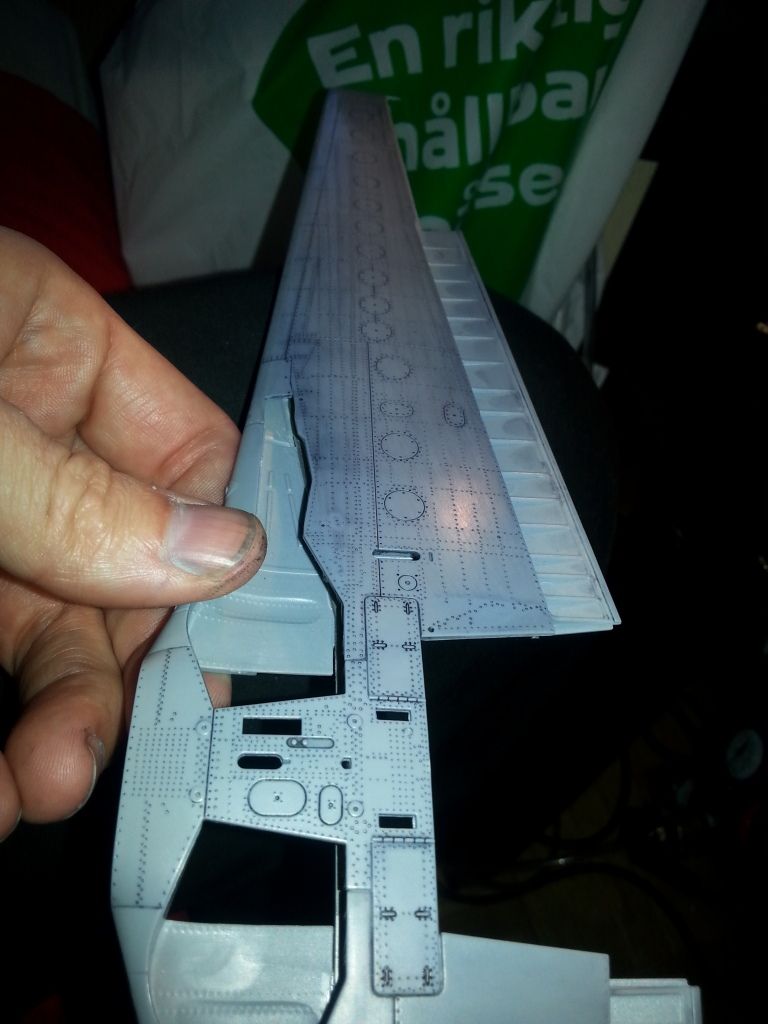
thanks guys!
the main wing is finally finished, but I must get more ink before I can photograf the result:(
I will start with the cockpit and landing gear tomorrow... Aaaaah- soon she will be ready for some paint!!
All the best
Ted
-
micha,
You work so fast and with so much presision, well done!
All the best
Ted
-
Mish,
Robert Duvall I think is a great actor (watch him in the great Santini if you haven't allready seen it) and is perfect in that roll, your build is equally great! Well done- you are much braver than I'm
All the best
Ted
-
1
-
-
Come on Jeroen.. show us your new Batcave!
Ted
-
Well done!
Thank you for linking to the buildthread, nice read!
Again; well done!
All the best
Ted
-
1
-
-
Thank you Honza!
I easely get "Anal" and my dear wife thinks I go "full retard" evertime I pick up a kit...
I hope it's worth it in the end!
All the best
Ted
-
Hi Nige,
Lucky no one can hear me when I rivet and sand, I really have a bad mouth at times!:P
I hear you Nige, it is not what I would have expected for a modern kit, but I do enjoy the general shape and form. Mi biggest issue with the kit is the different colour sprues especially the semimetallic parts, so hard to see what I´m doing. I won´t be using any of the details on the inside wich make the fitting issue less problematic.
I also "just"filled ever gap with Cyano( works best for me) so I can rivet without punching throuh the shimes.
I hope you can muster, becuase she is a beauty overall.
I´m glad you liked her.
All the best
Ted
-
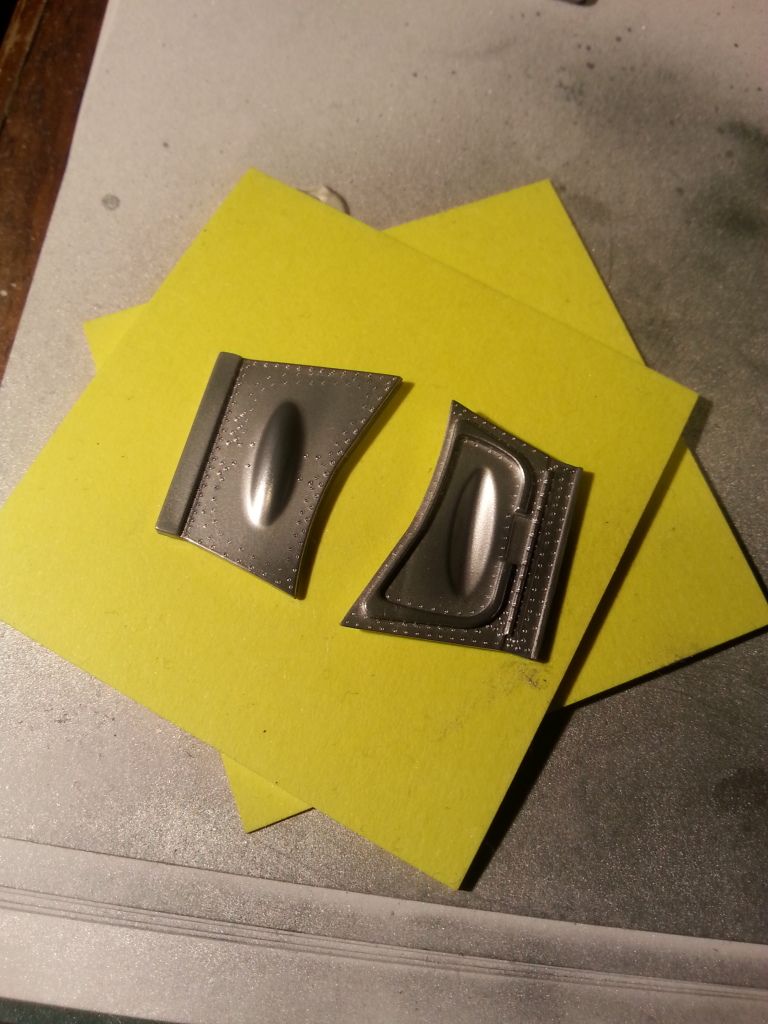
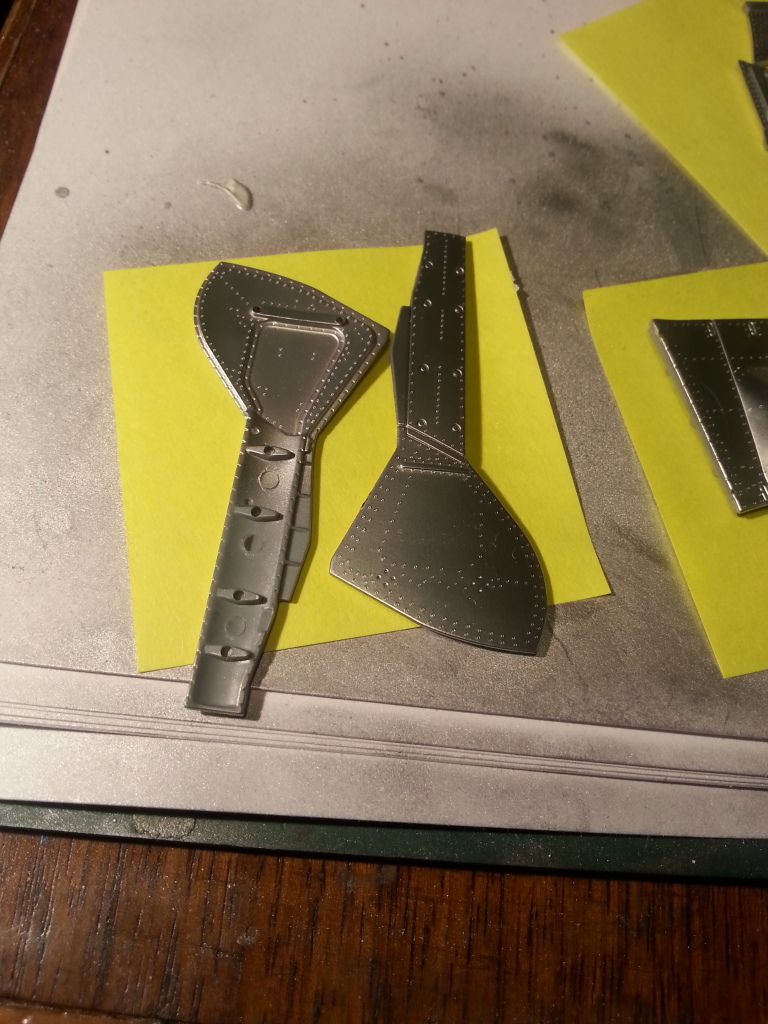
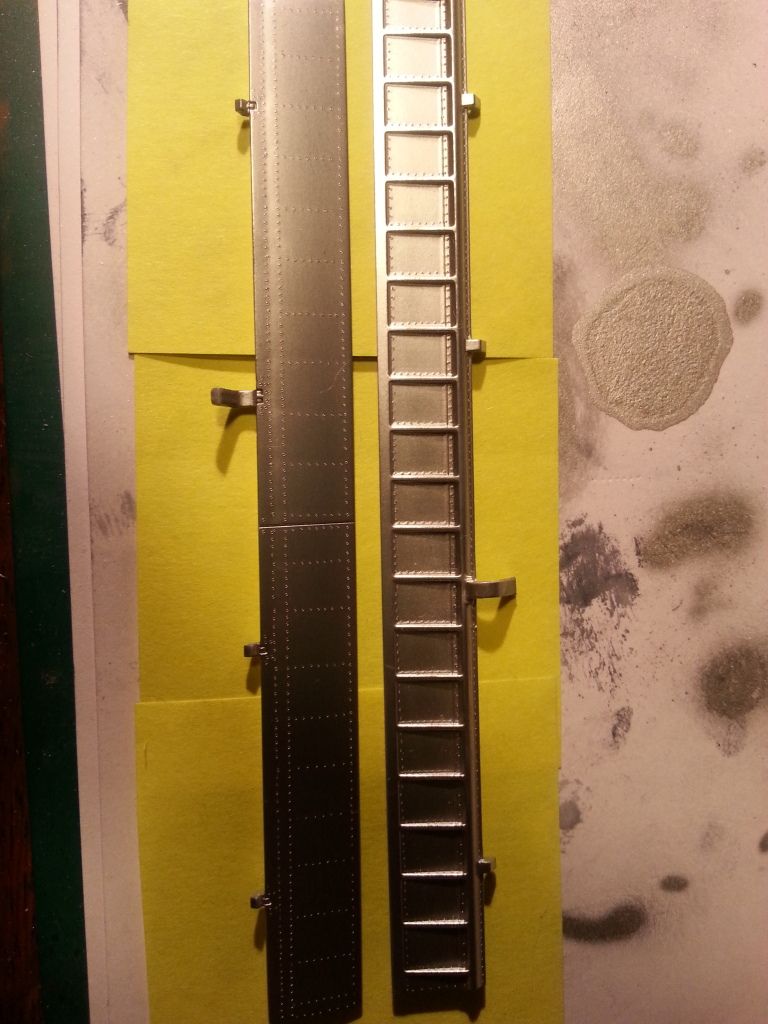
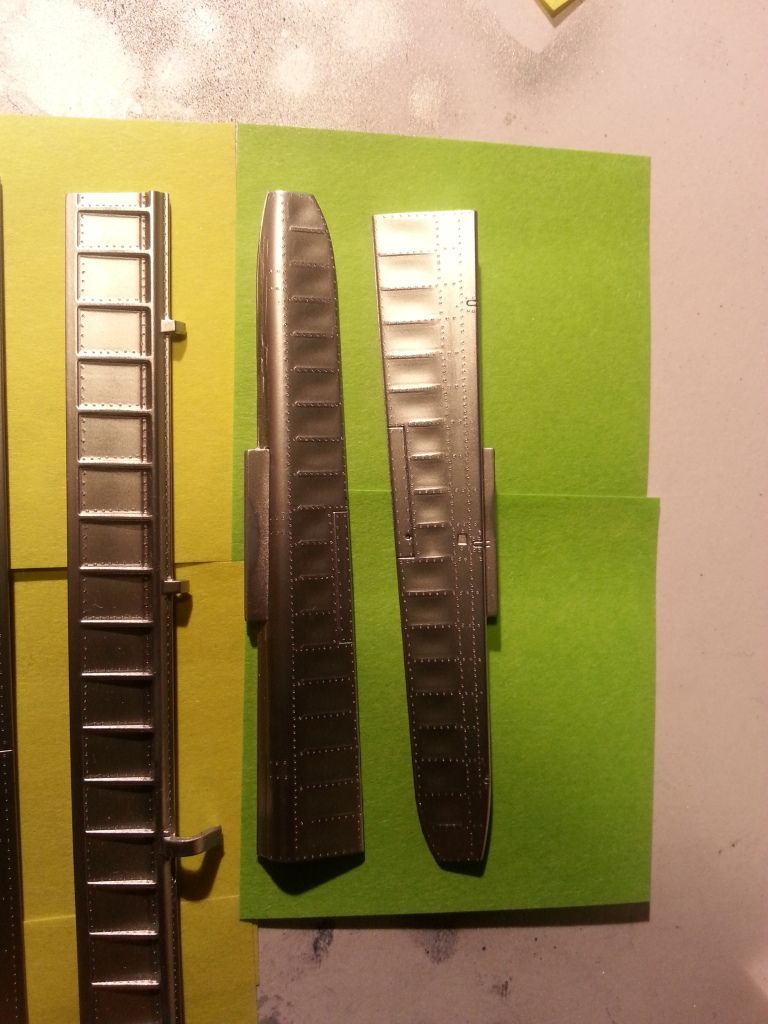
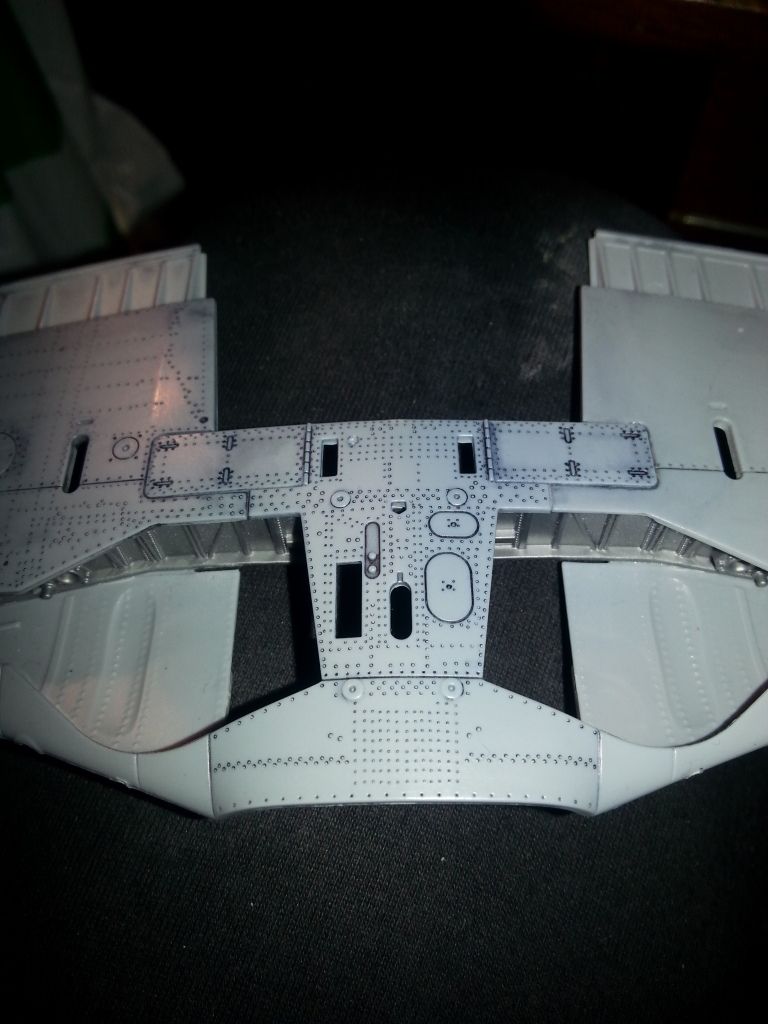
Hey Gang!
I´ve made some more progress on the tail and mainwing. after much work sanding the lowerwing adding some stretchskinn and dents here and there I completed one side( it took about 8 hours) I tried to follow the rivetlines on the NASM bird thereof the sniggly lines( these late war birds sure was sloppy work)
I must say that the softness is very varied over the surface(?) so I needed to tone it down in places.
she looks somewhat unfinished in places , but I connect the topside lines with the bottom later.
Hope you like it so far
All the best
Ted
-
2
-
-
Mish,
Good work- I really like the Mustang.
All the best
Ted
-
1
-
Wingnut Wings 1/32 Fokker DVIIF 505/18 "Mimmi" Wilhelm Hippert, J74
in WNW and WW1 Ready for Inspection'
Posted
Beautiful!
Cheers
Ted