deanreynolds
-
Posts
11 -
Joined
-
Last visited
Content Type
Profiles
Forums
Events
Gallery
Everything posted by deanreynolds
-

Hobbyboss 1:18 UH-1
deanreynolds replied to deanreynolds's topic in LSM 1/35 and Larger Work In Progress
Awesome work, good to see it can be done -
Hobbyboss 1:18 UH-1
deanreynolds replied to deanreynolds's topic in LSM 1/35 and Larger Work In Progress
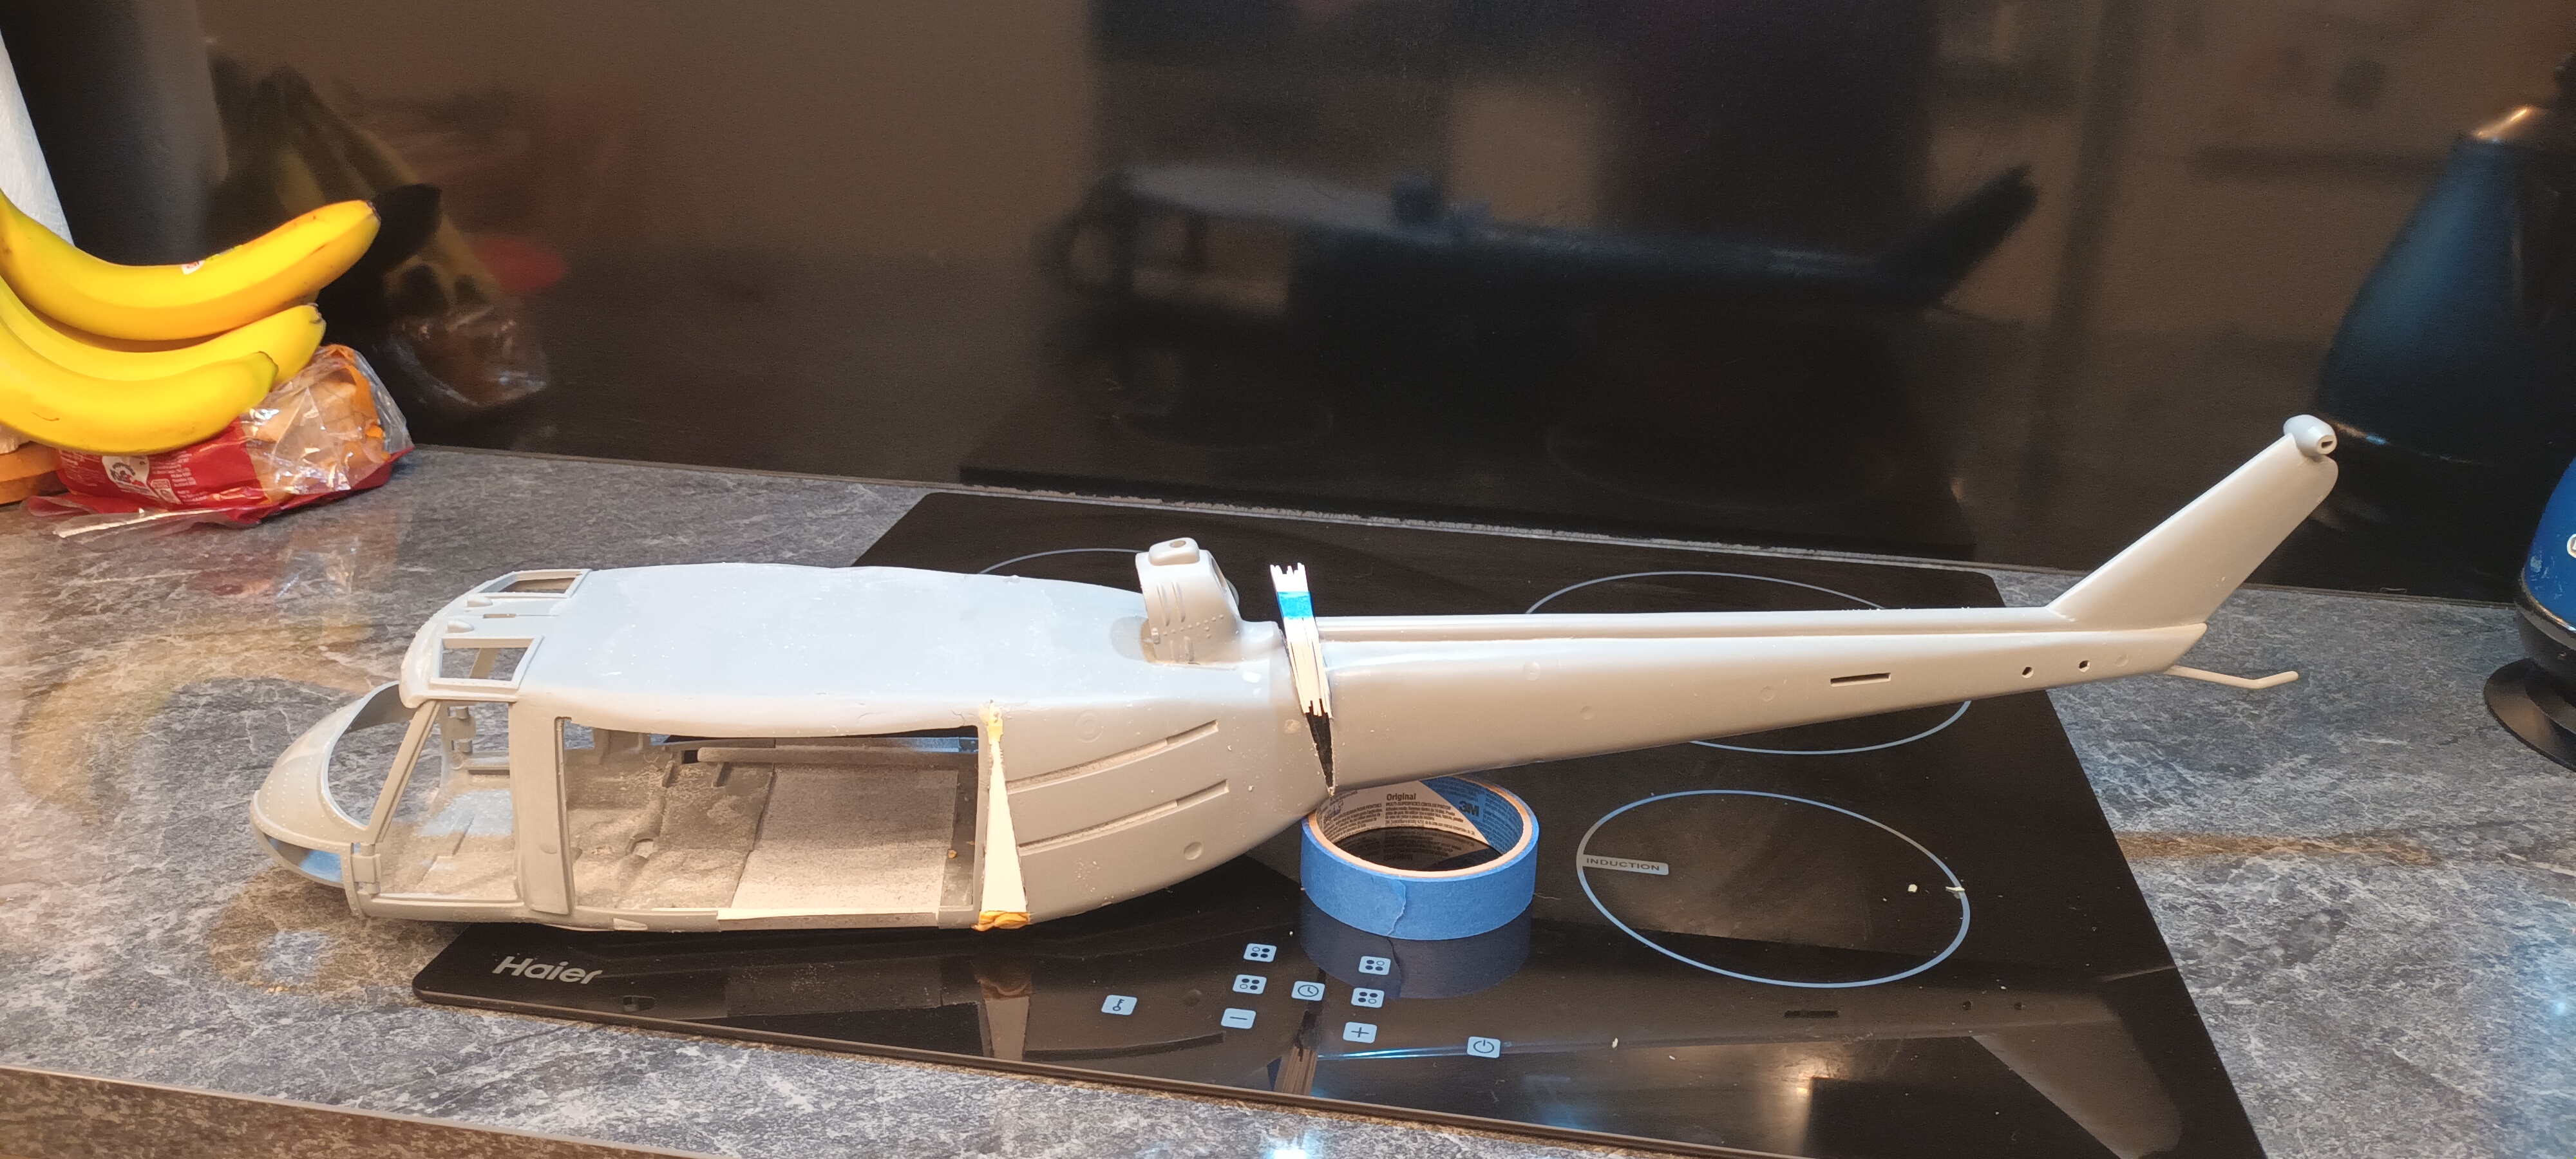
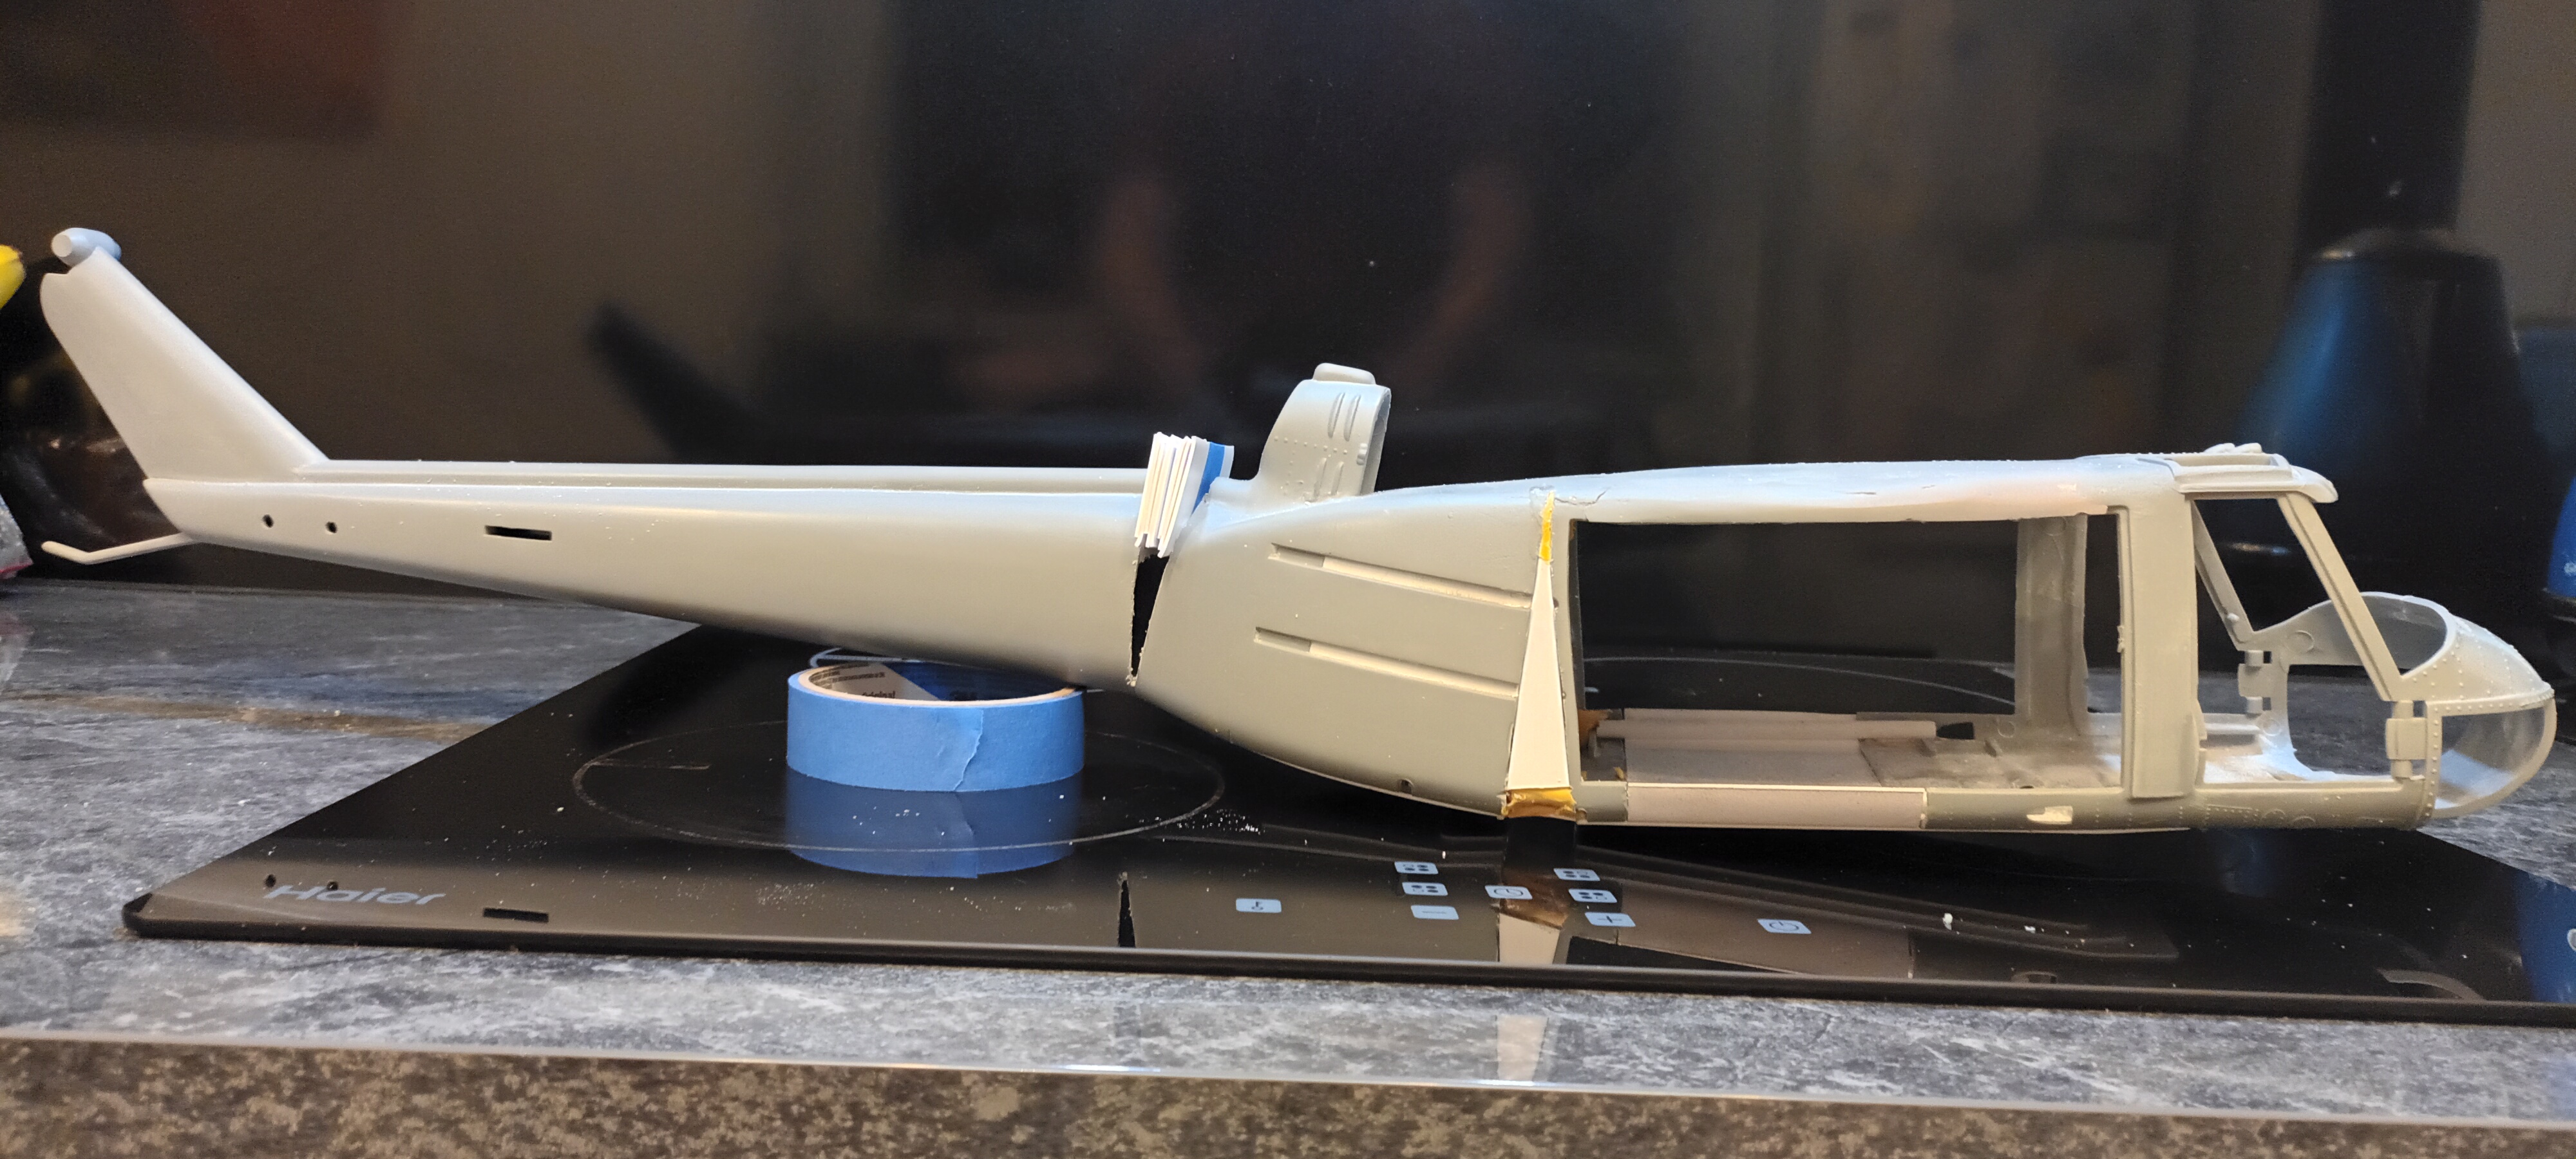
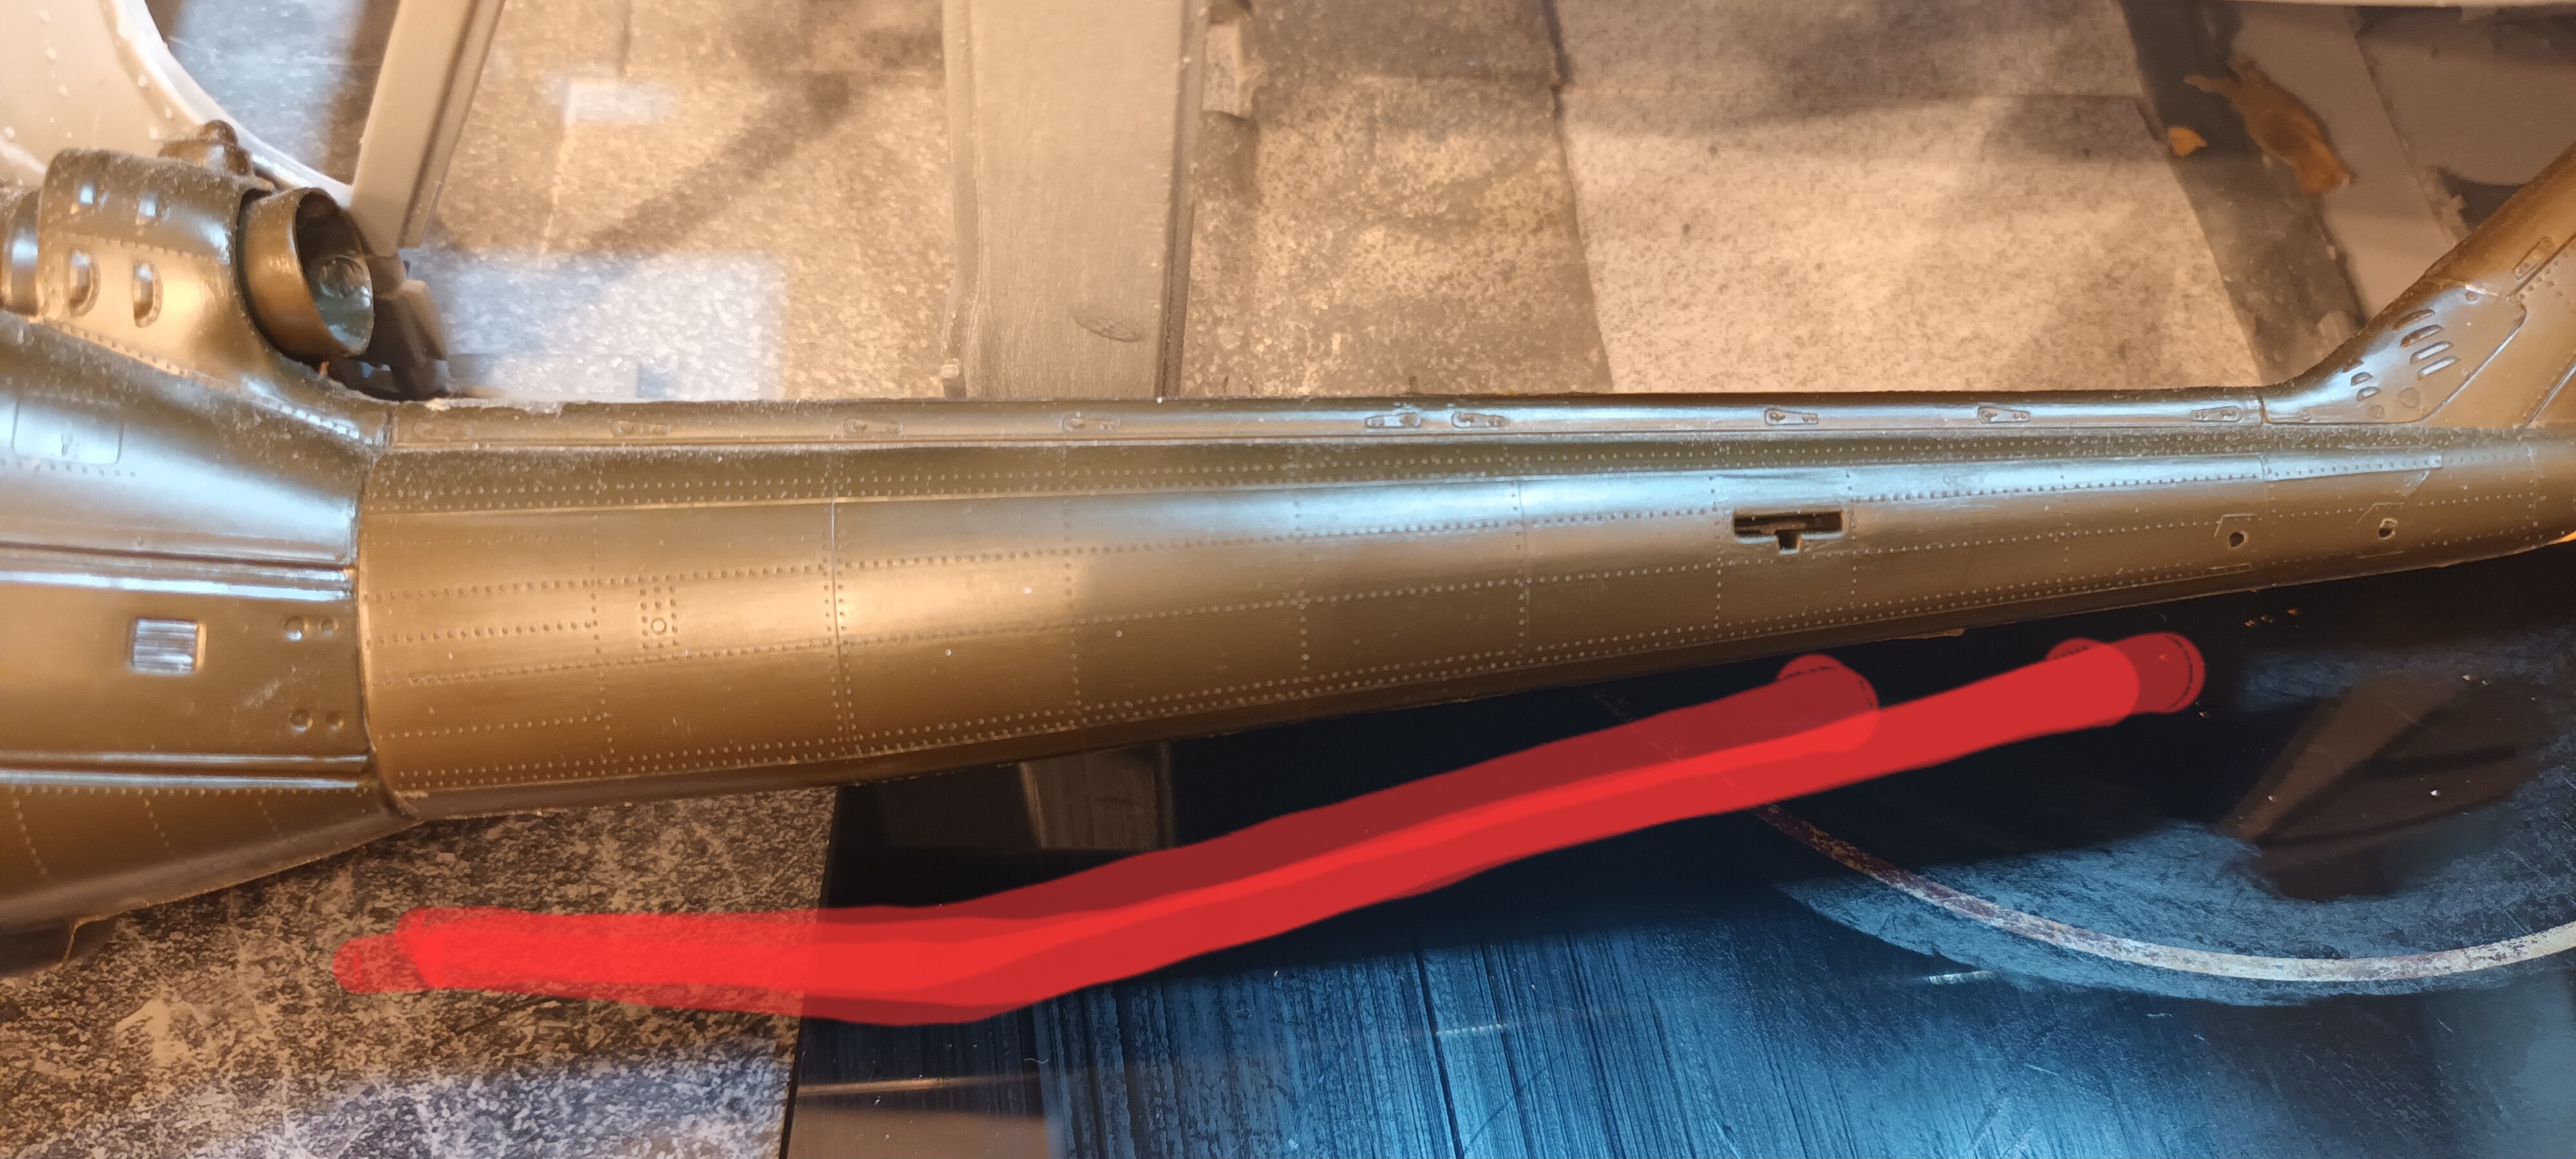
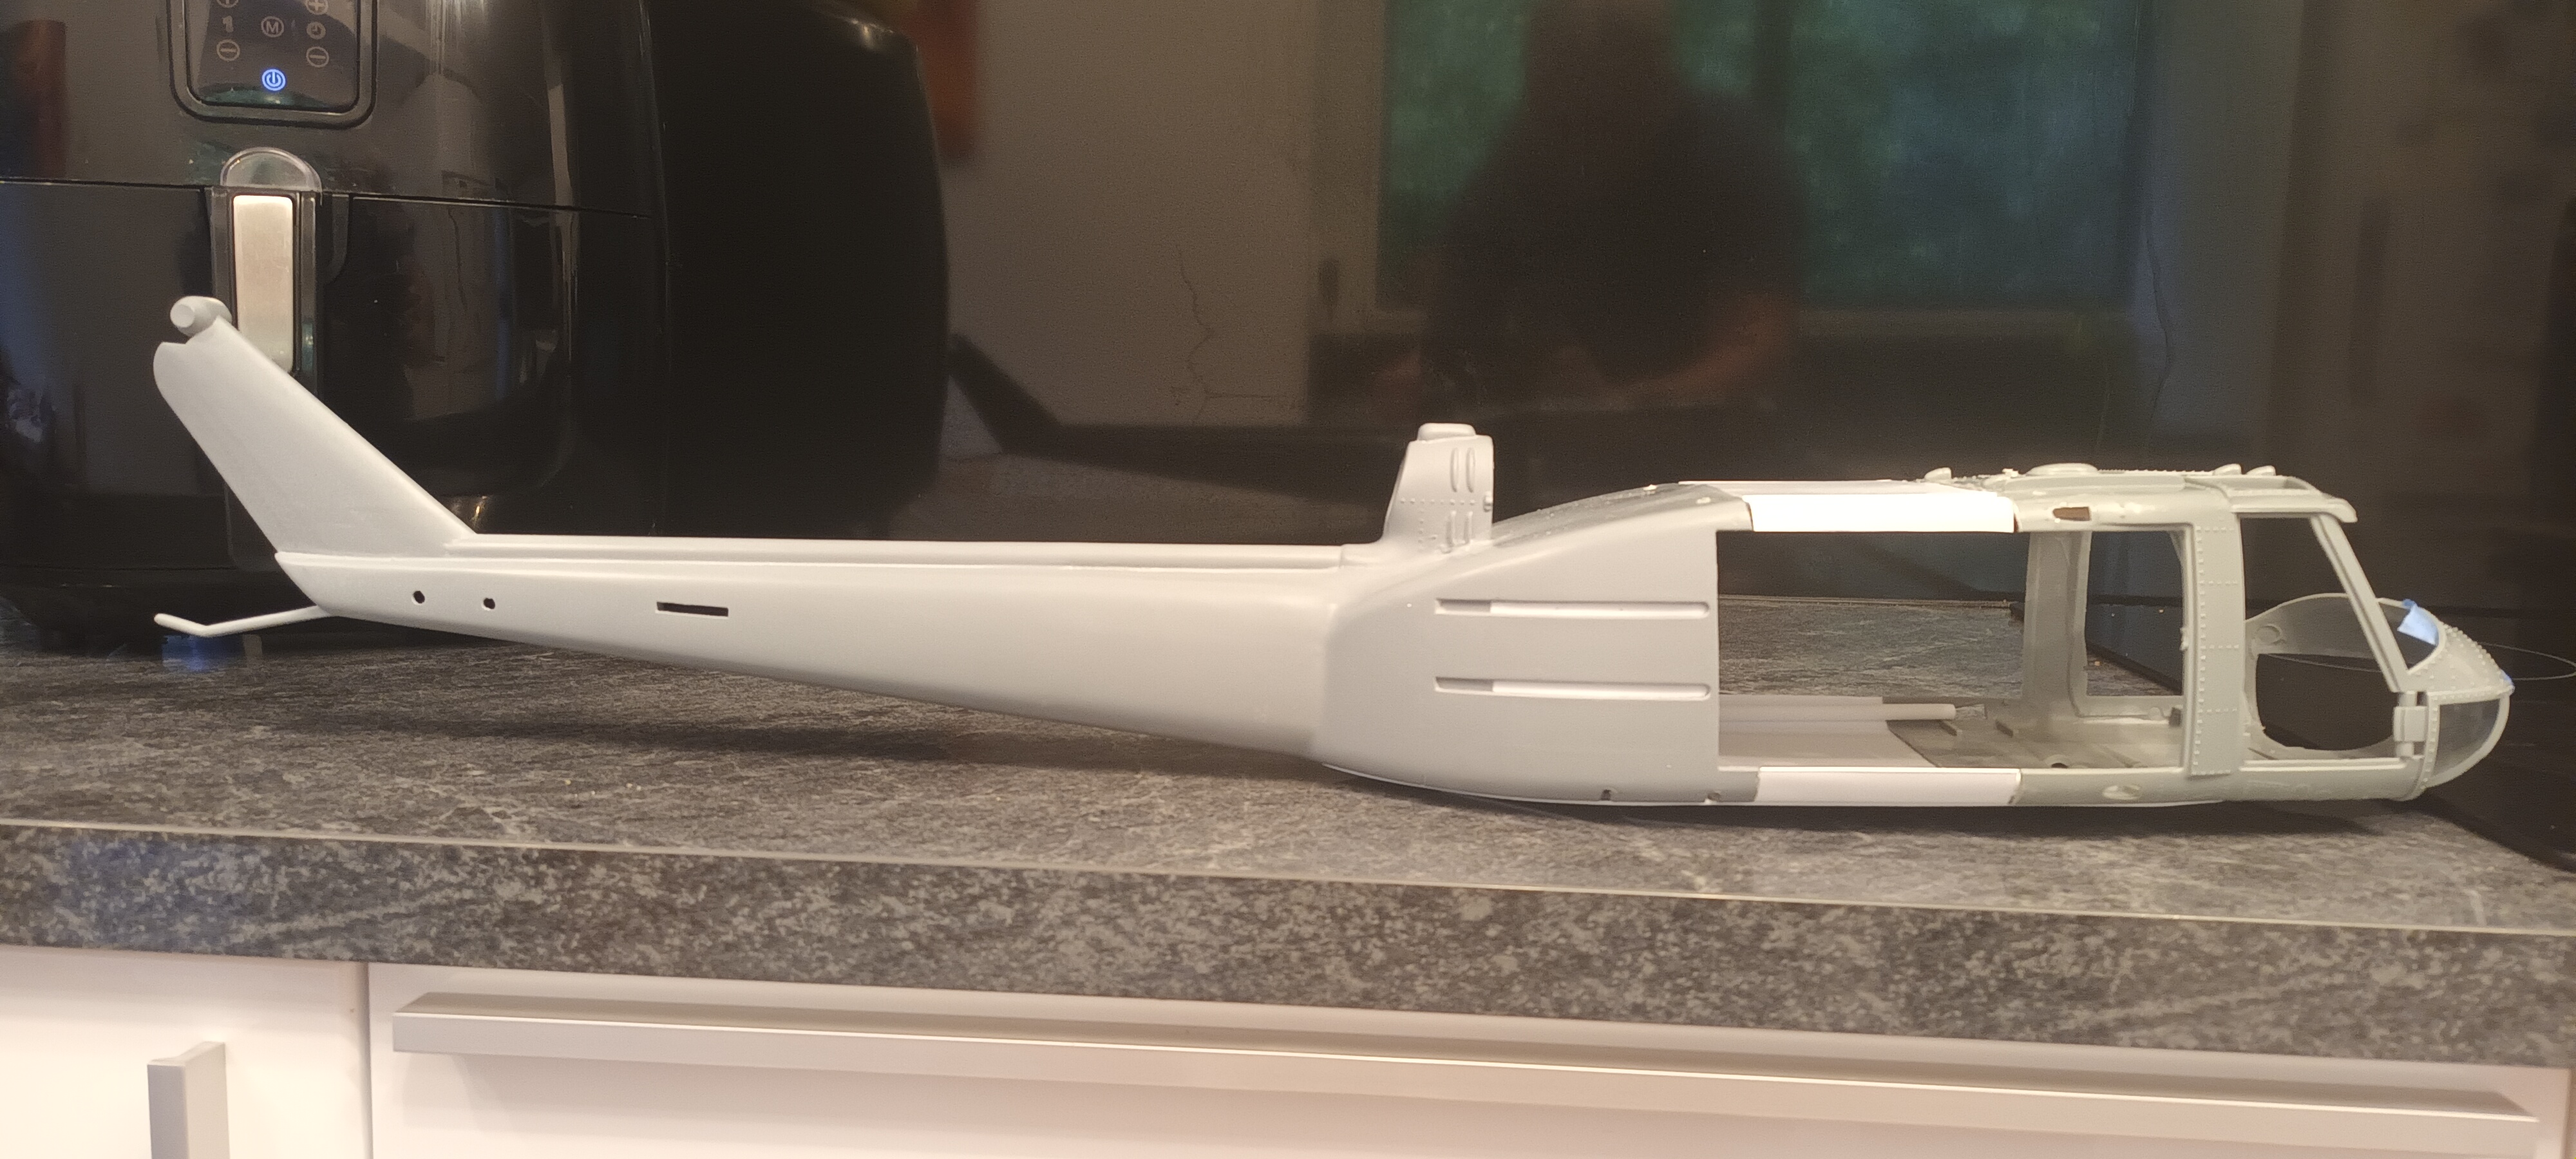
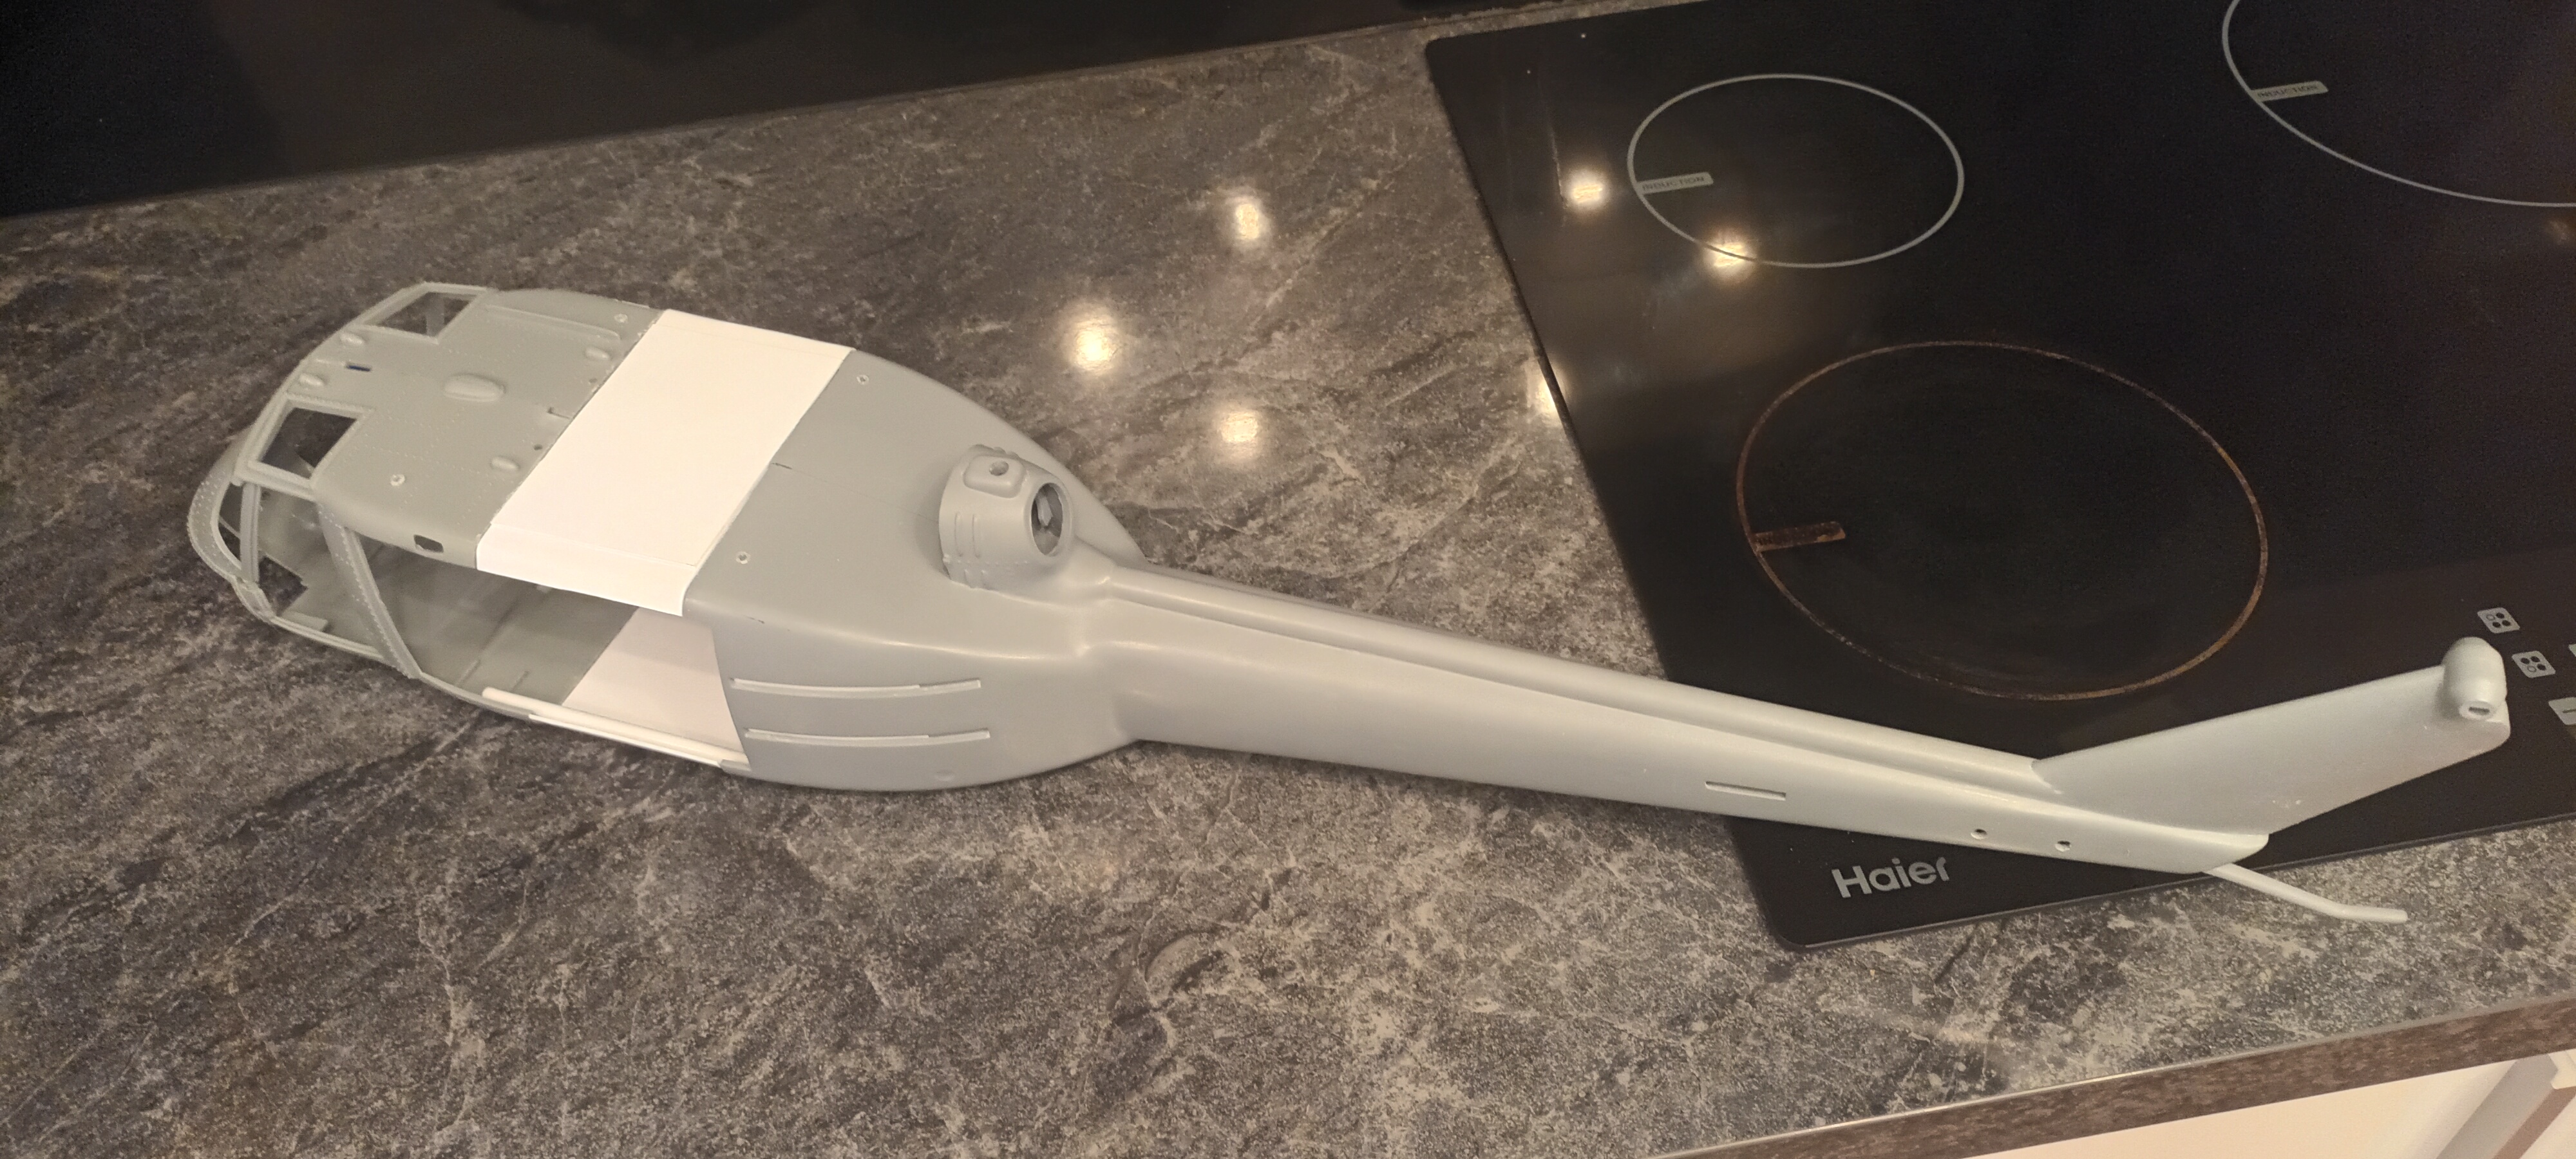
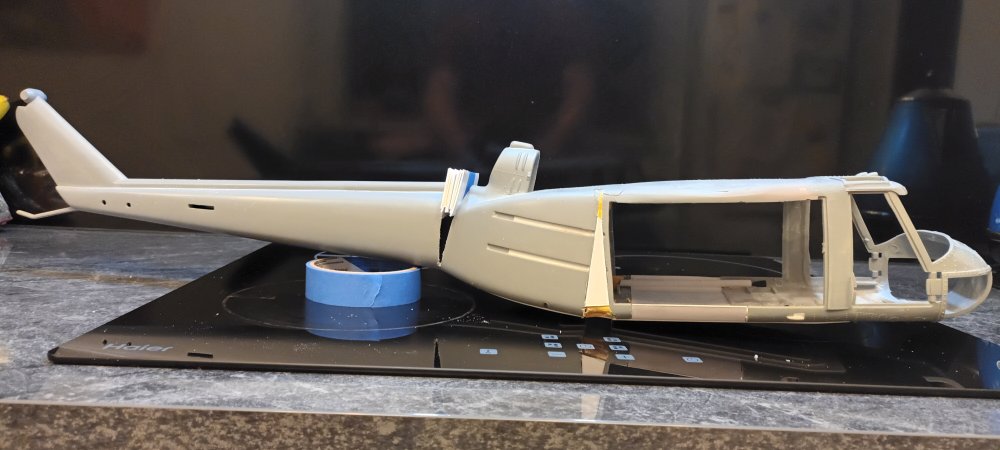
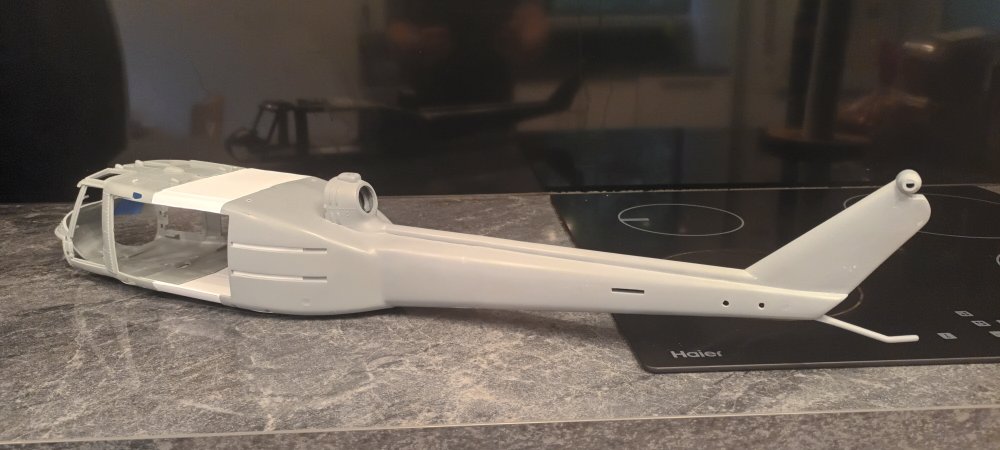
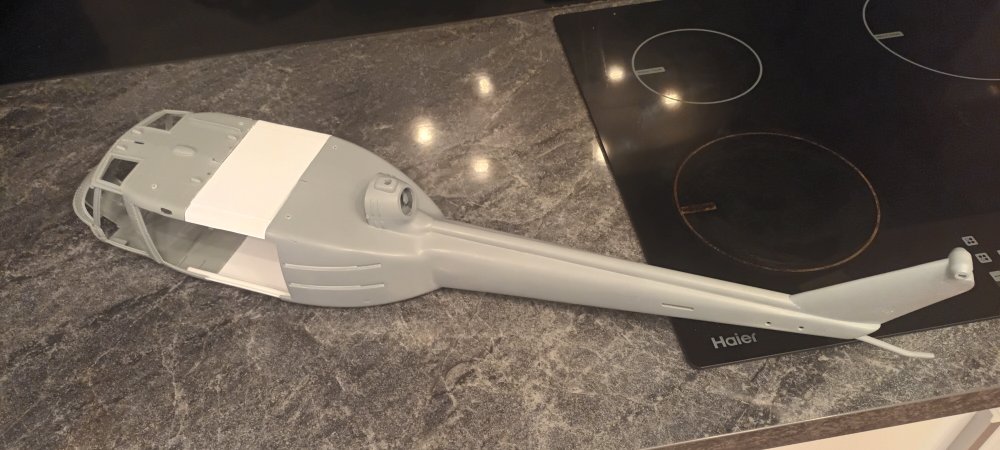
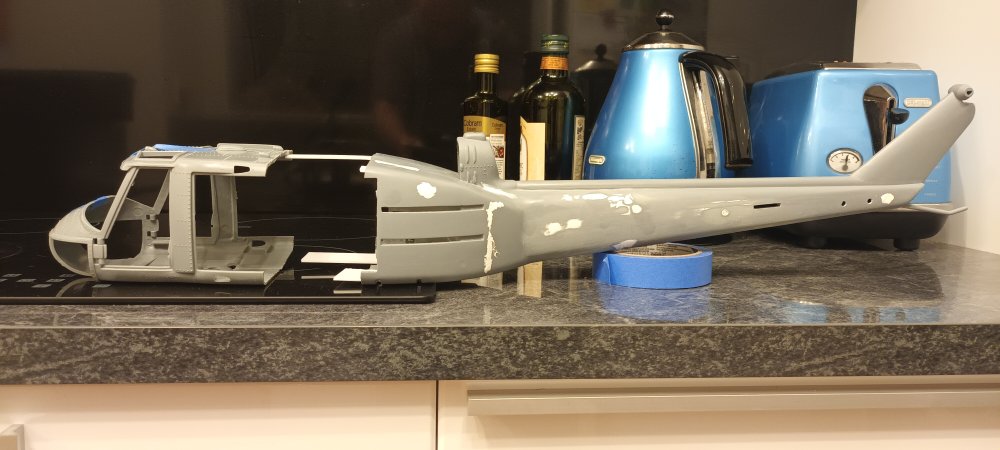
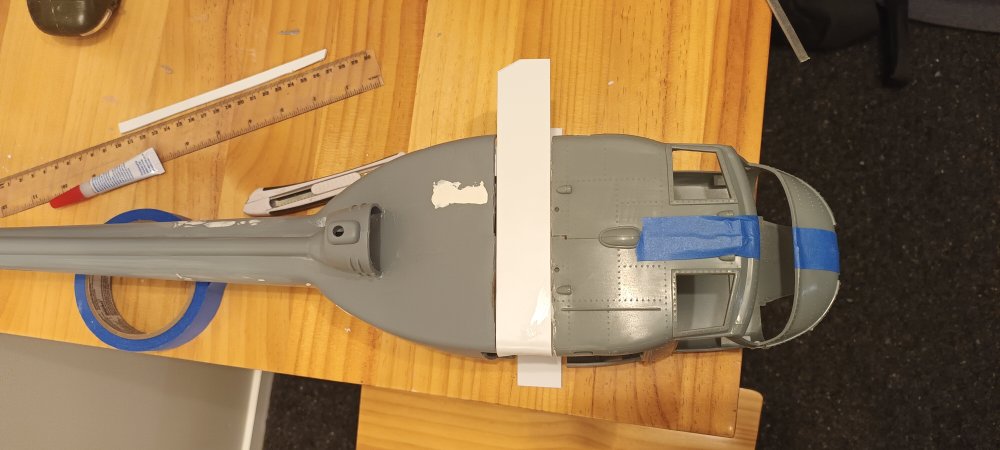
Haven't made much progress lately. Now the boom is reshaped, it doesn't match the rear fuselage. That needs to be trimmed down and reshaped next, before it can all go back together.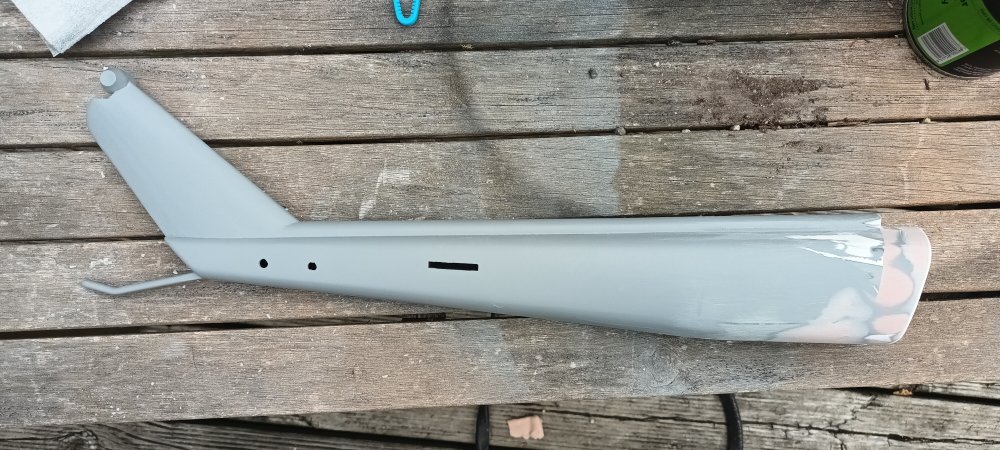

-
Hobbyboss 1:18 UH-1
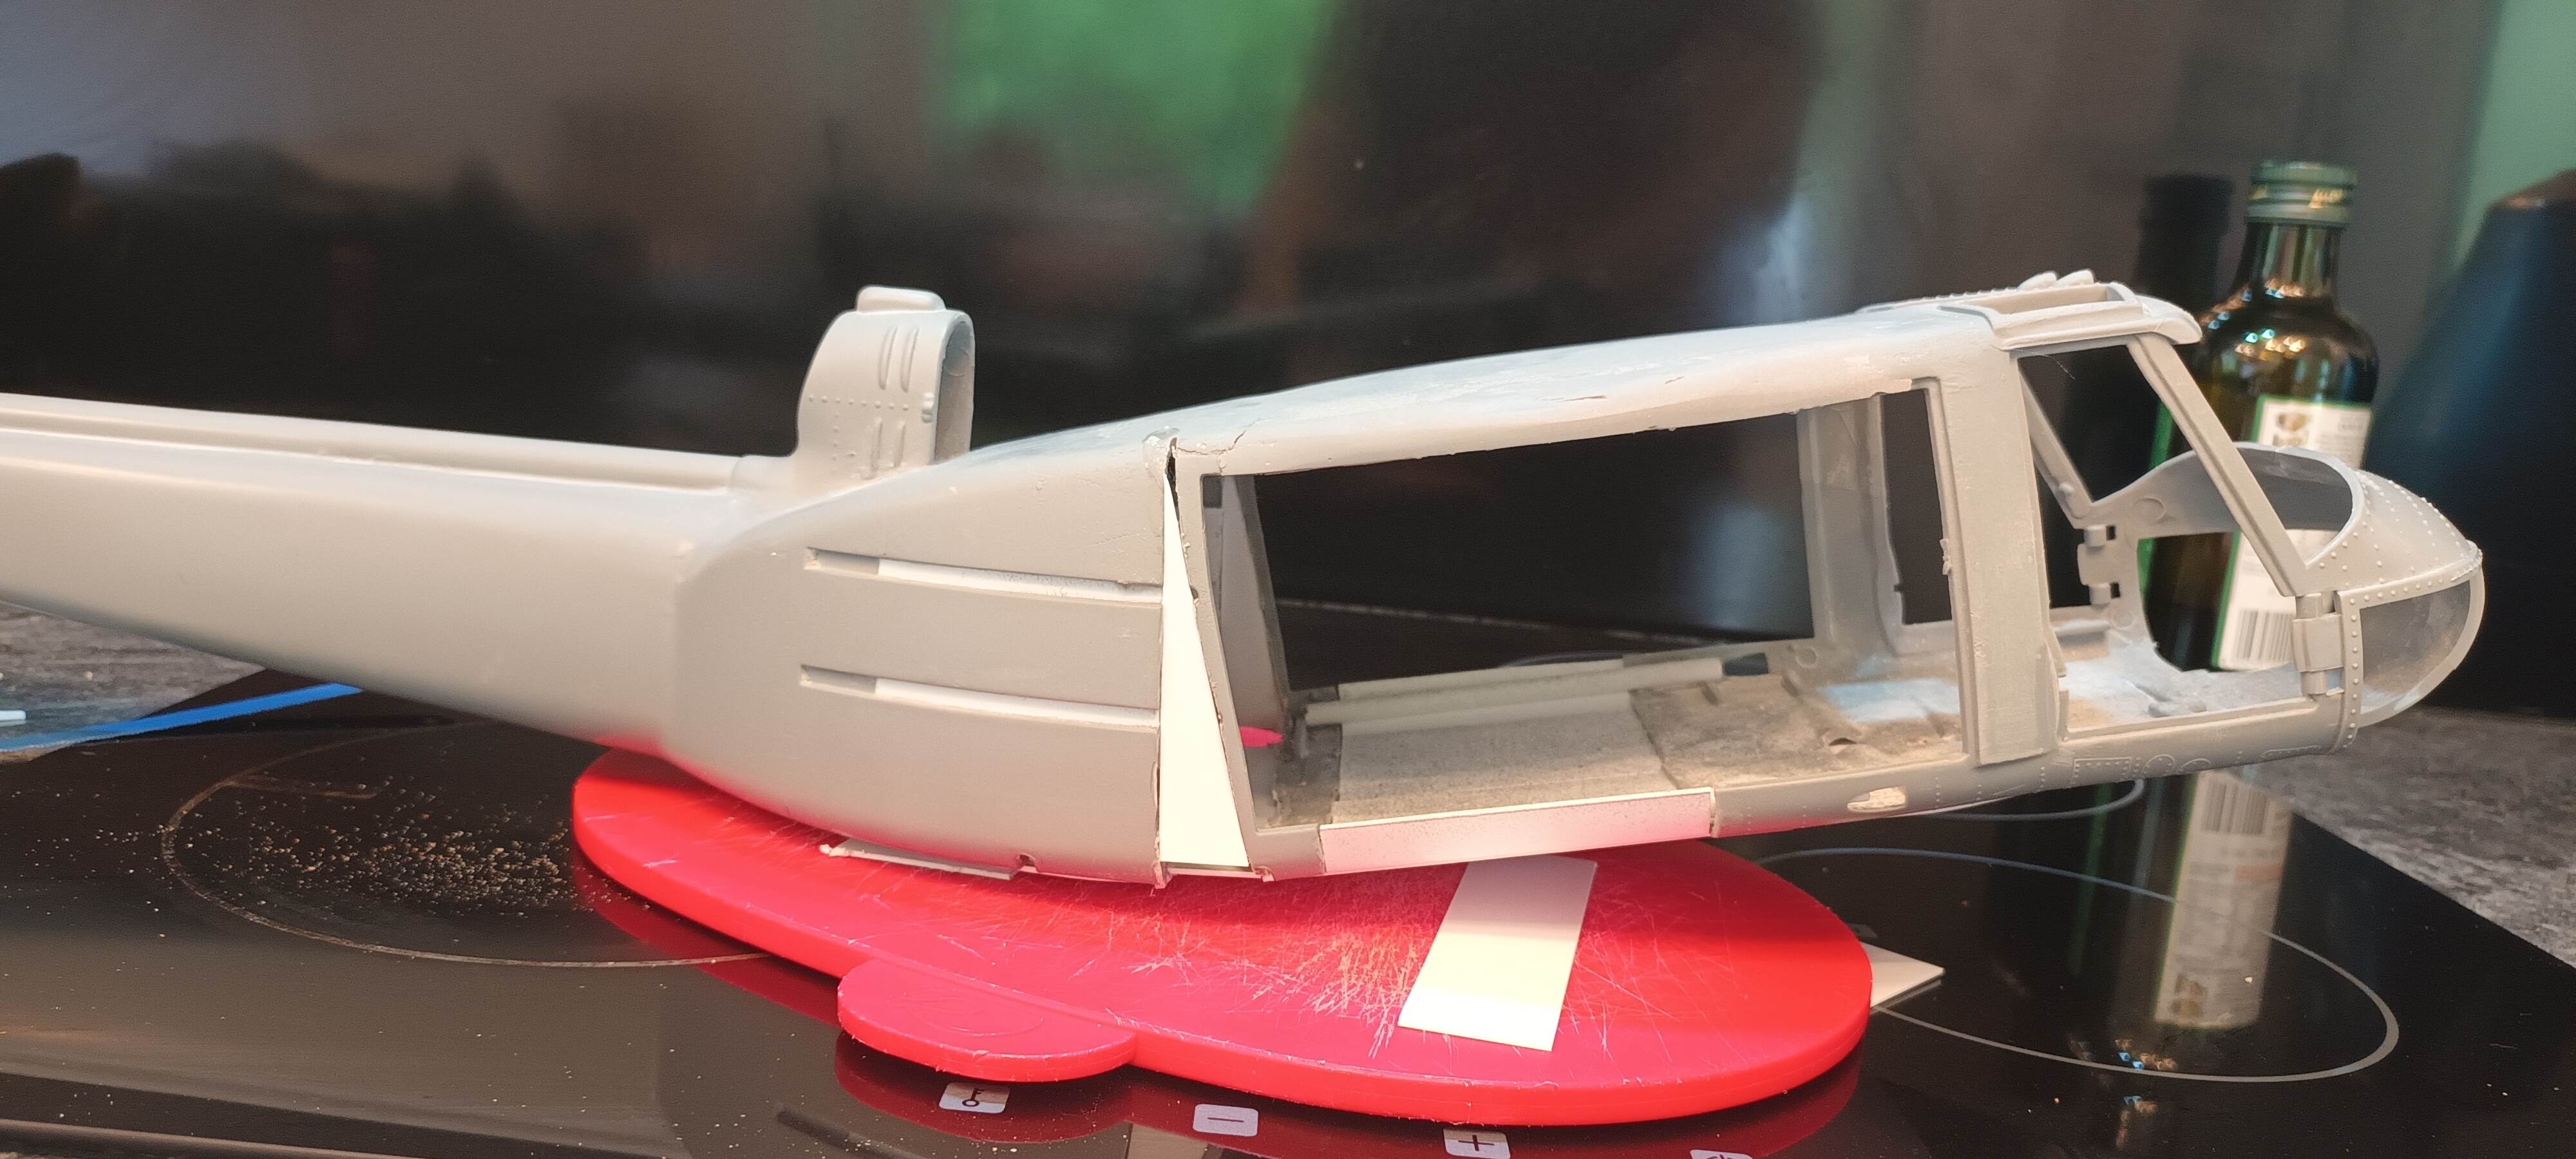
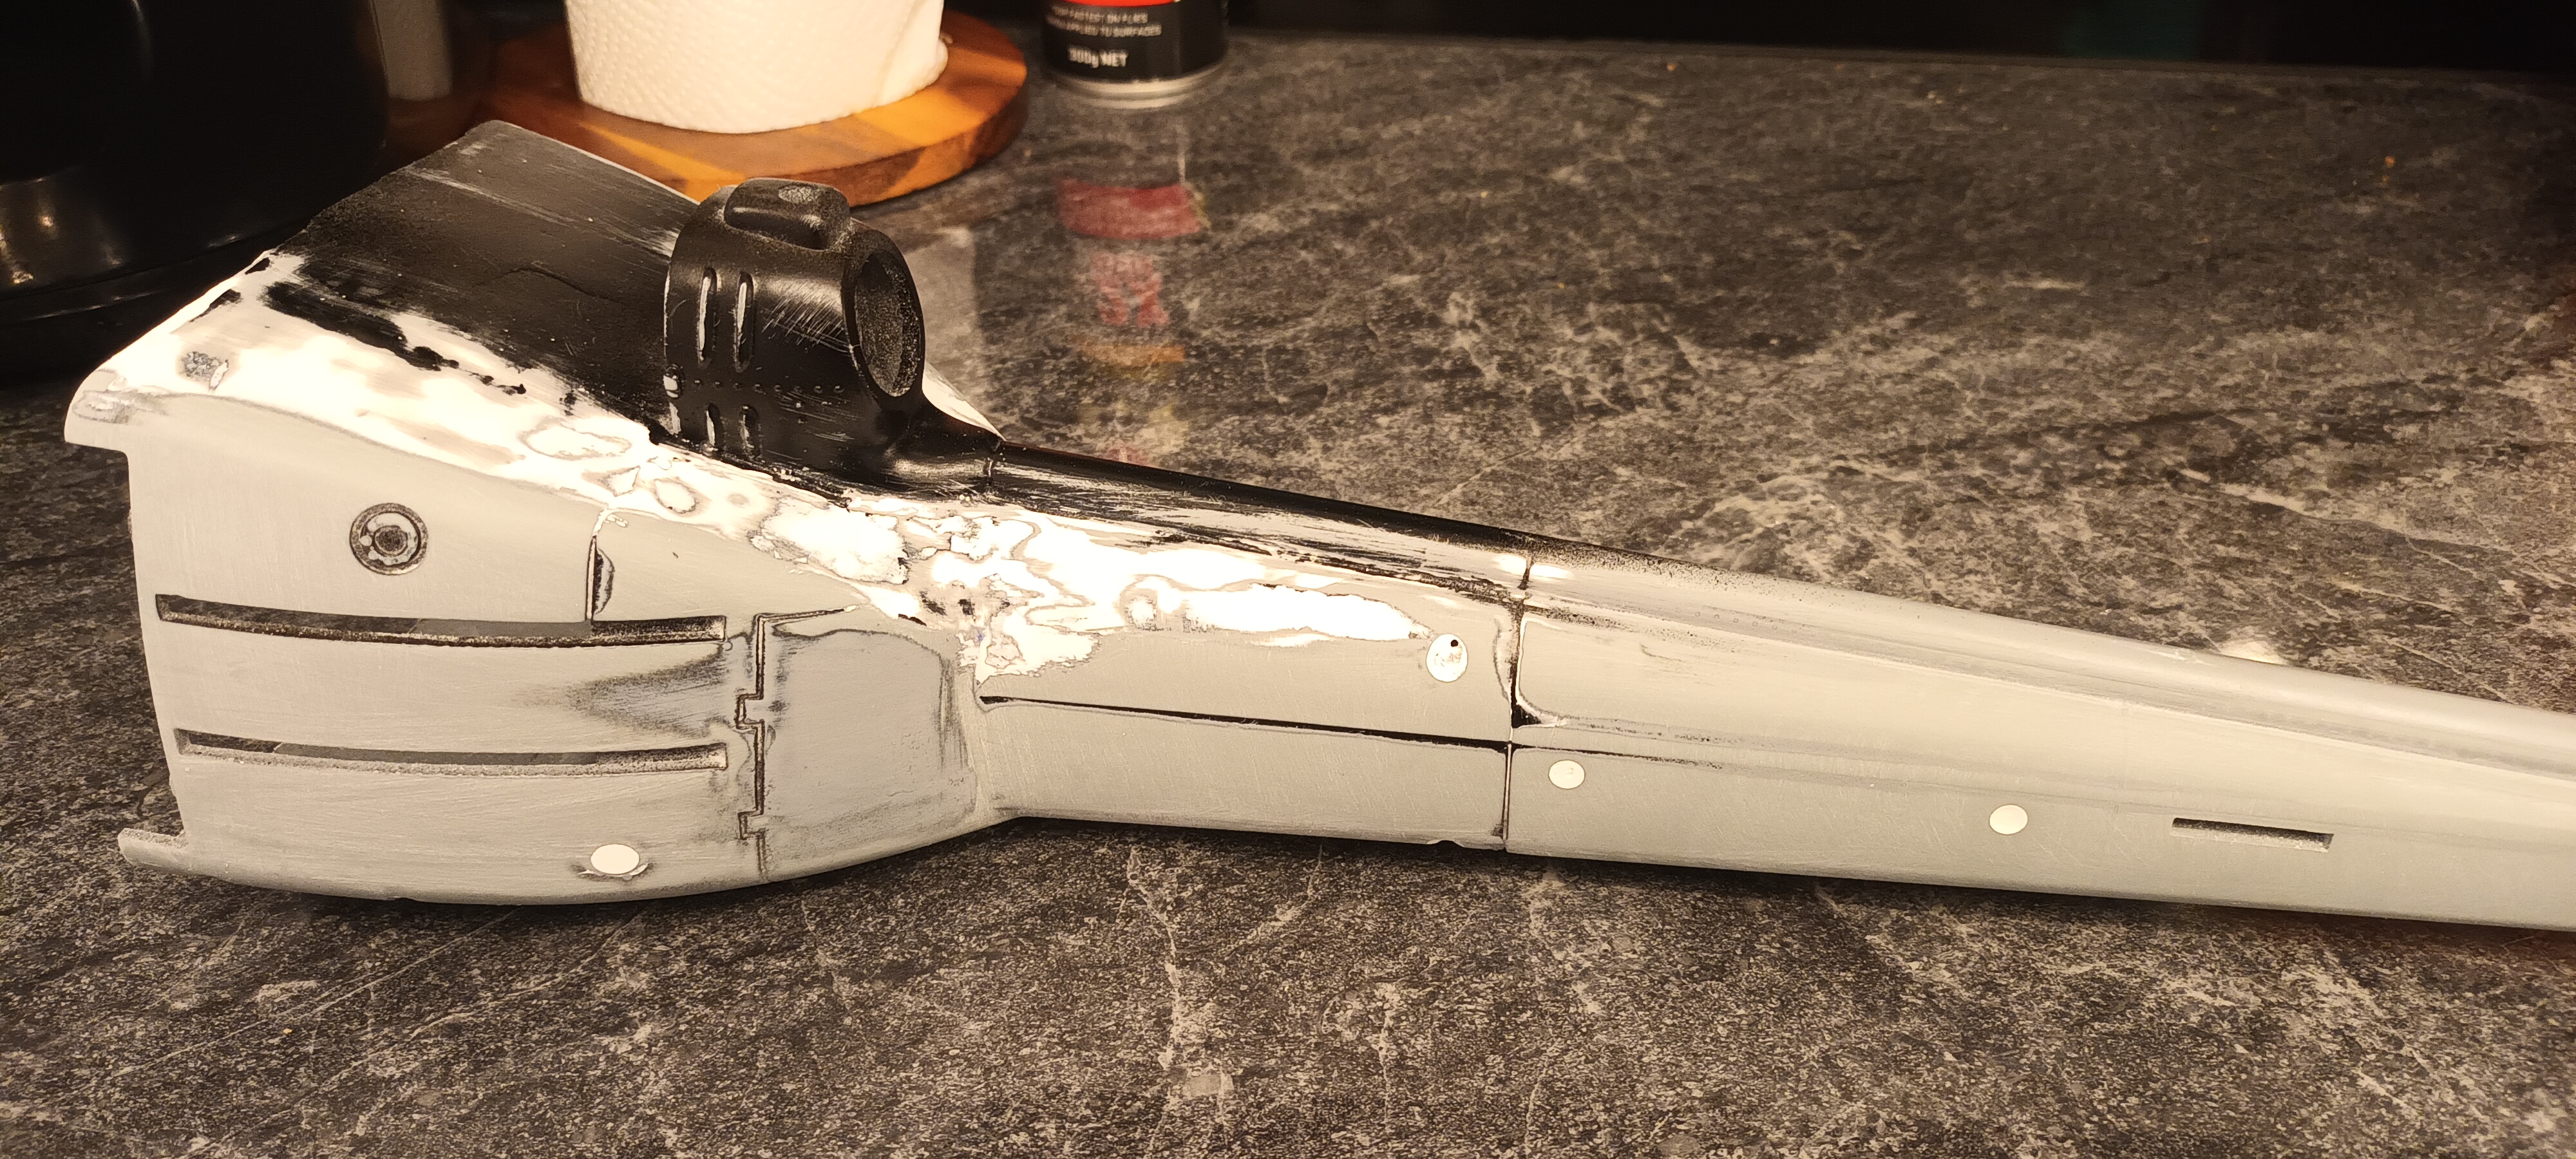
deanreynolds replied to deanreynolds's topic in LSM 1/35 and Larger Work In Progress
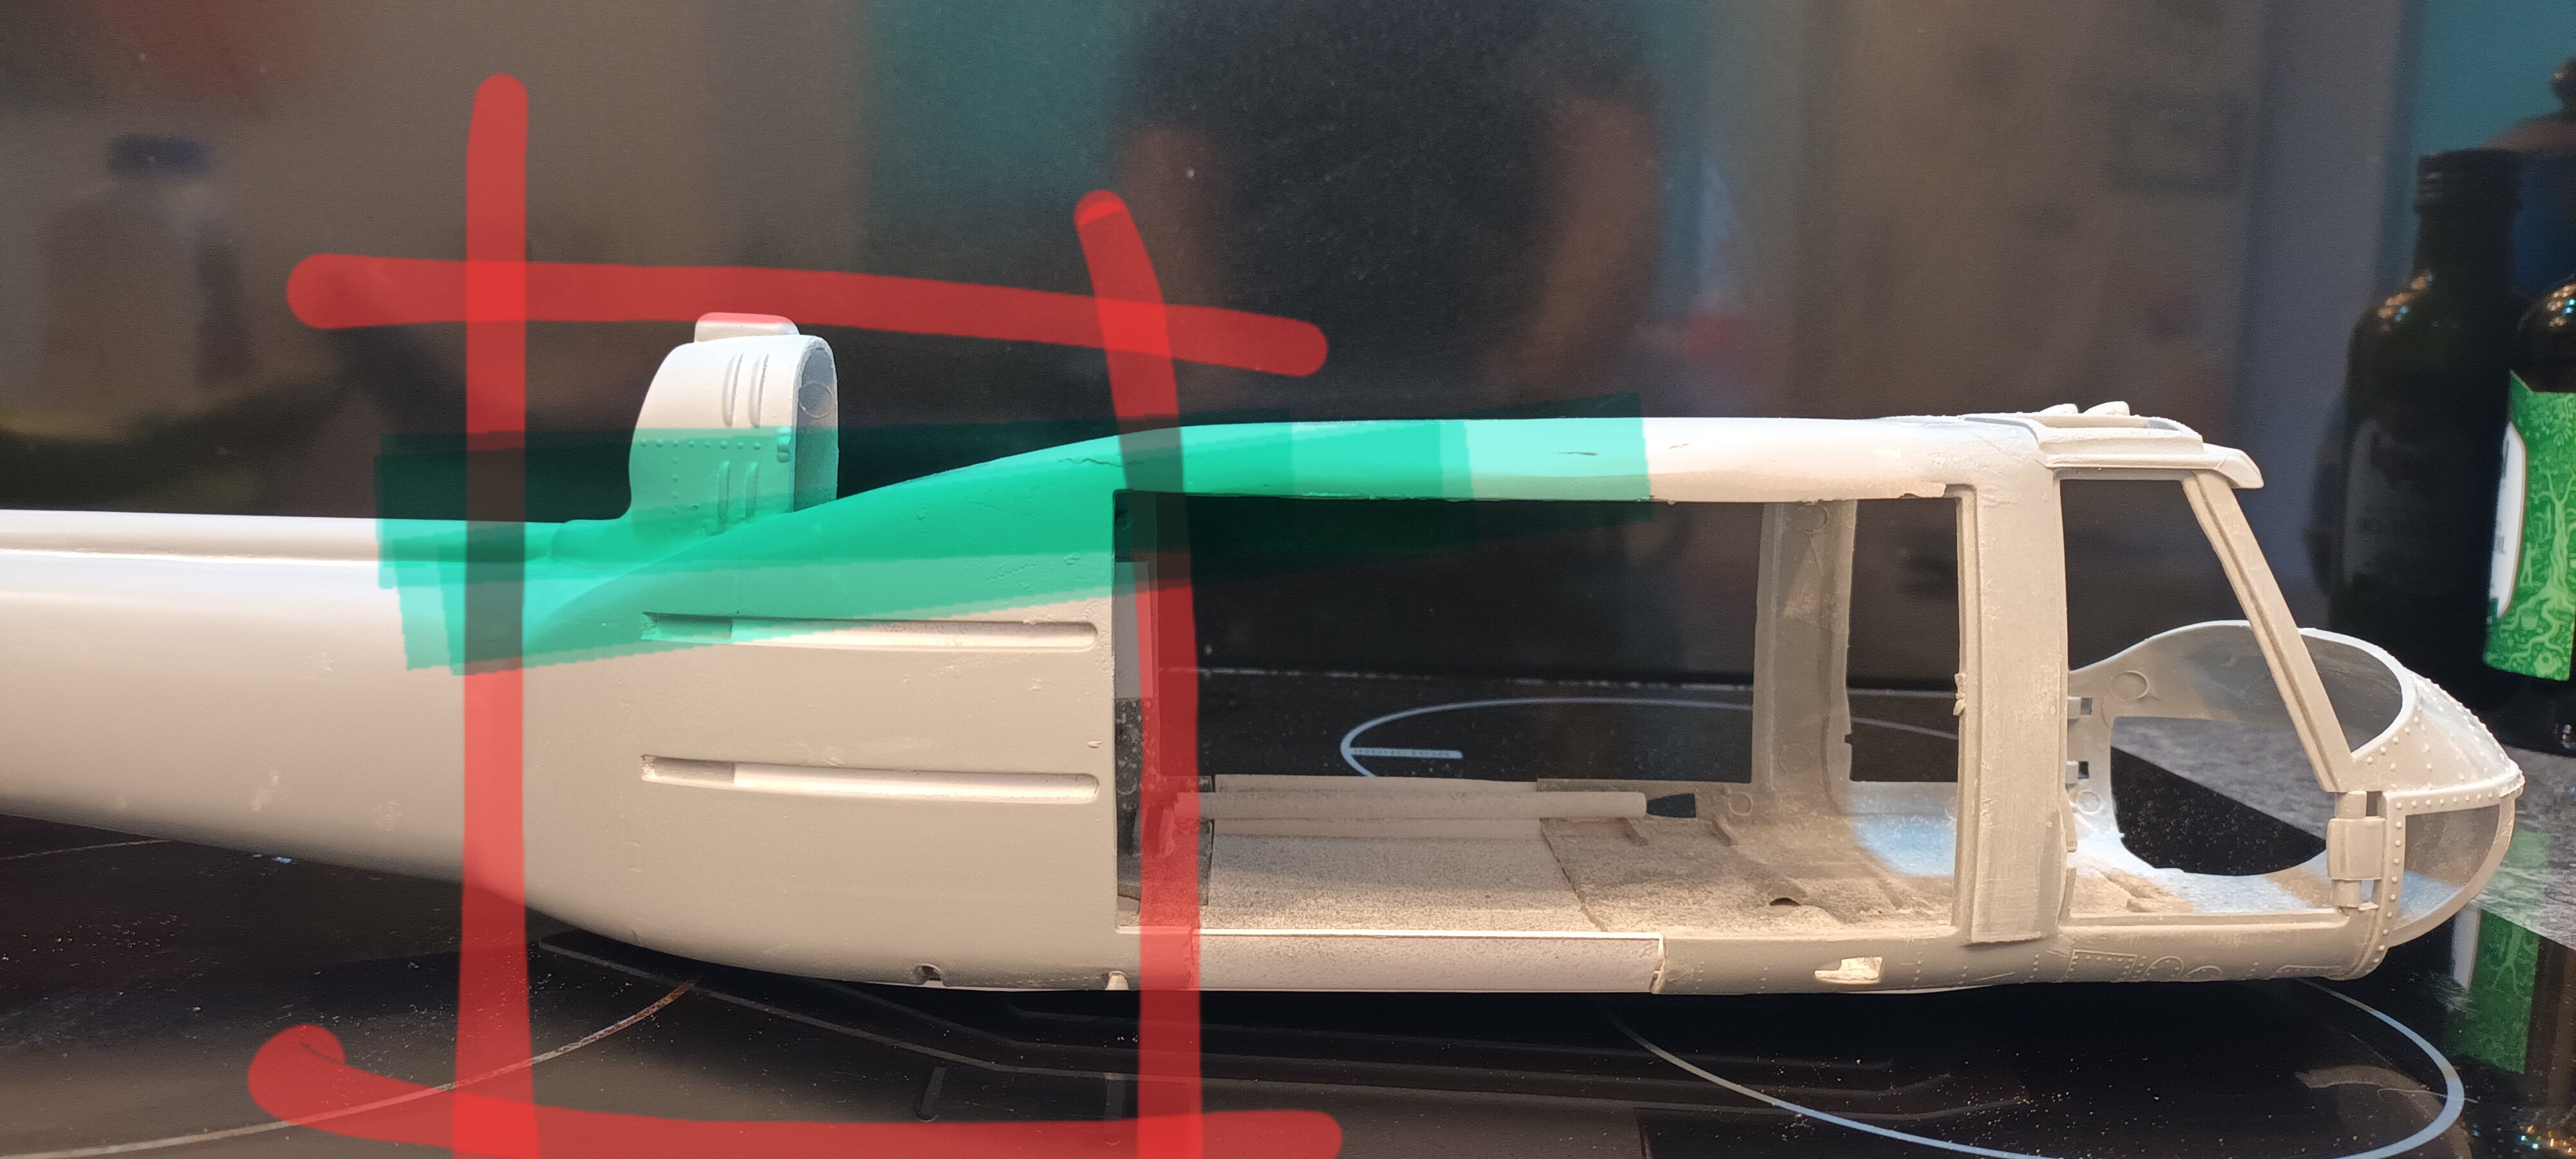
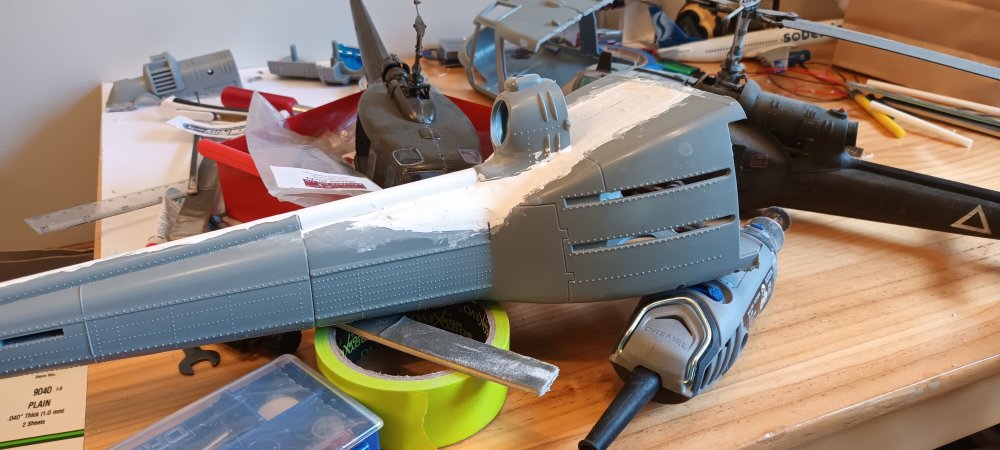
Well, that opened another can of worms! Excuse the state of it but I'm experimenting with a saw rather than designing it on paper. I've changed the rear section of the fuselage, but that made the boom sit far too high. I then cut the boom the opposite way, but now the top sits far too high. After trying to figure out what was going on, I eventually noticed on the 1/35 kit the end of the boom closest to the fuselage has a flatter bottom. Therefore, my next job is to take the boom off completely, reshape the bottom, realign it so the driveshaft lines then reattach it. Goes without saying but the exhaust housing now needs to come off again. I'm starting to think I should have just brought a scale RC fuselage and fitted it out as a static model, but where's the fun in that! Haha


-
Hobbyboss 1:18 UH-1
deanreynolds replied to deanreynolds's topic in LSM 1/35 and Larger Work In Progress
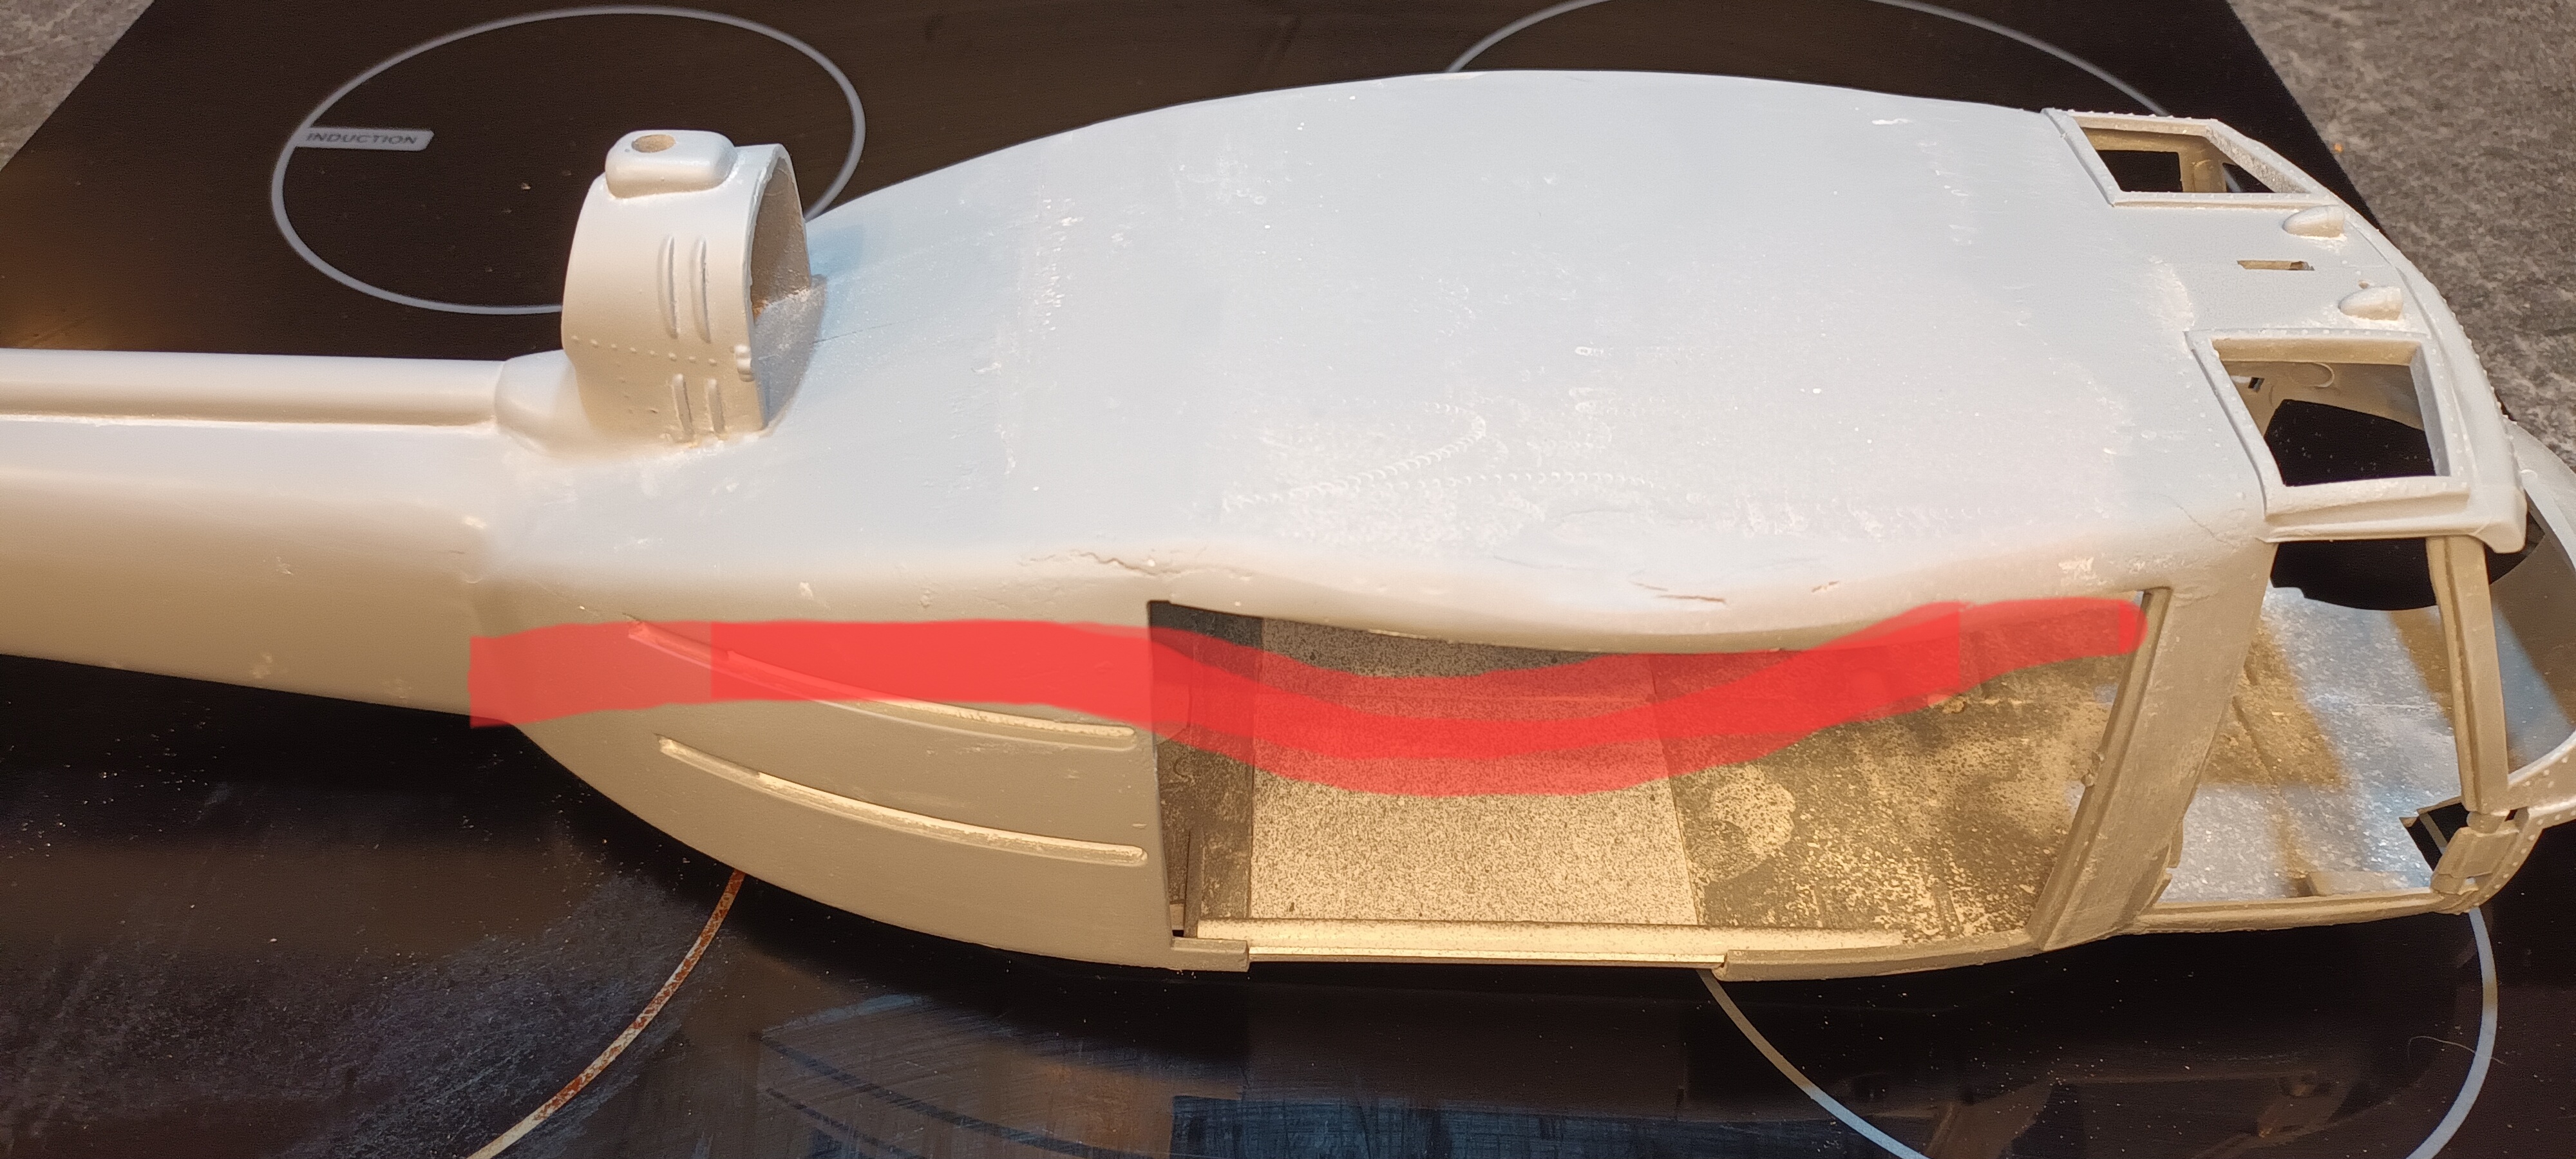
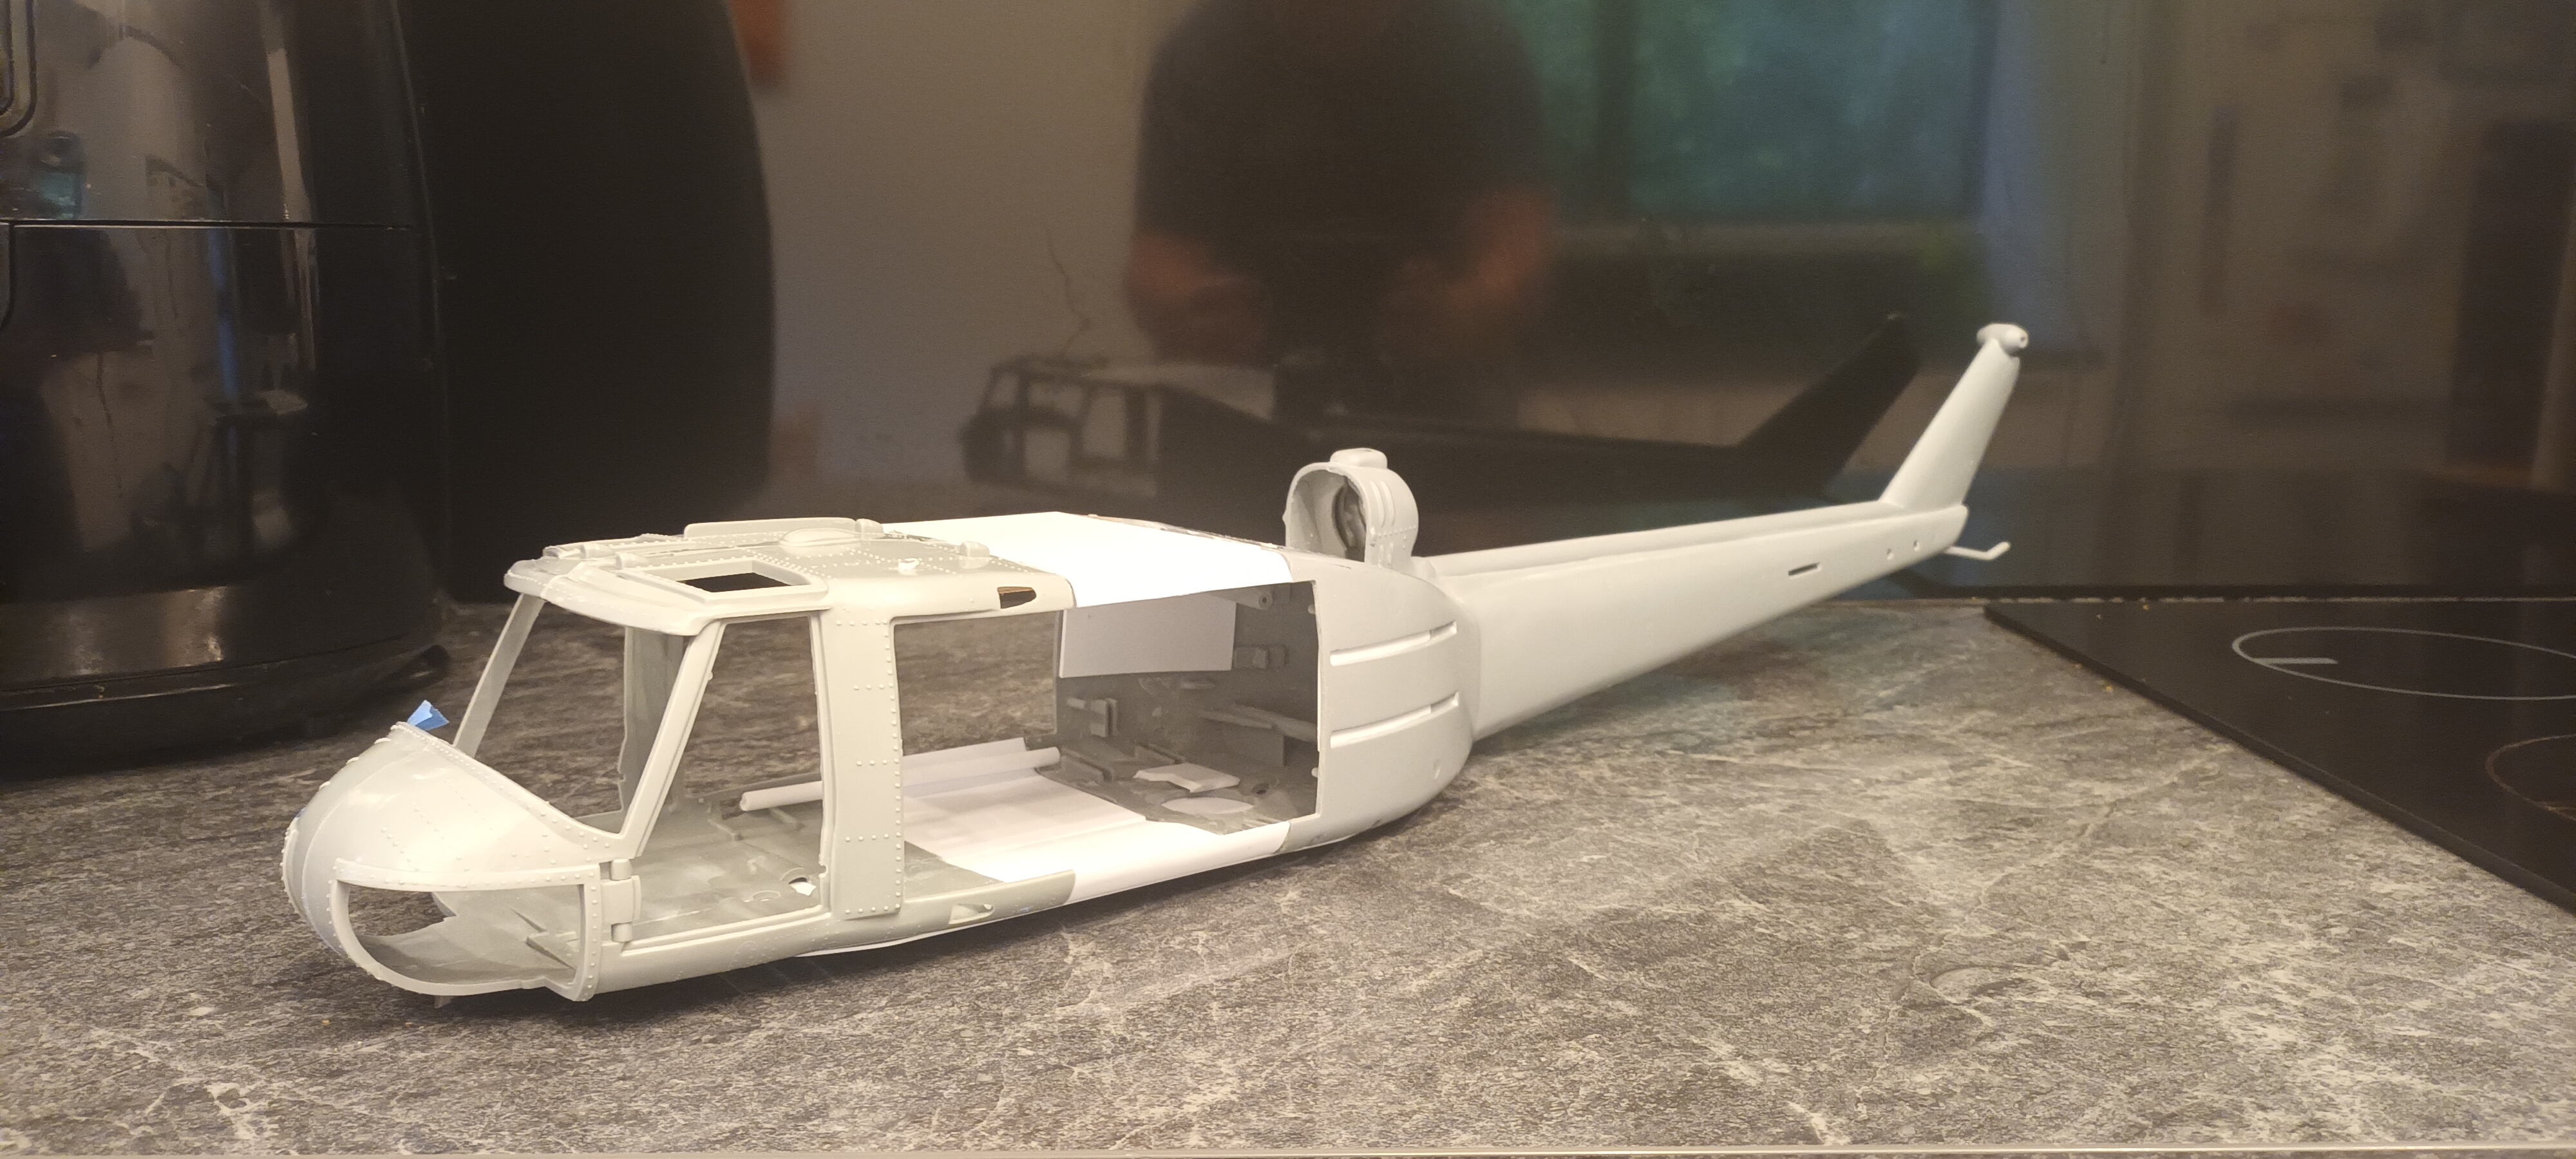
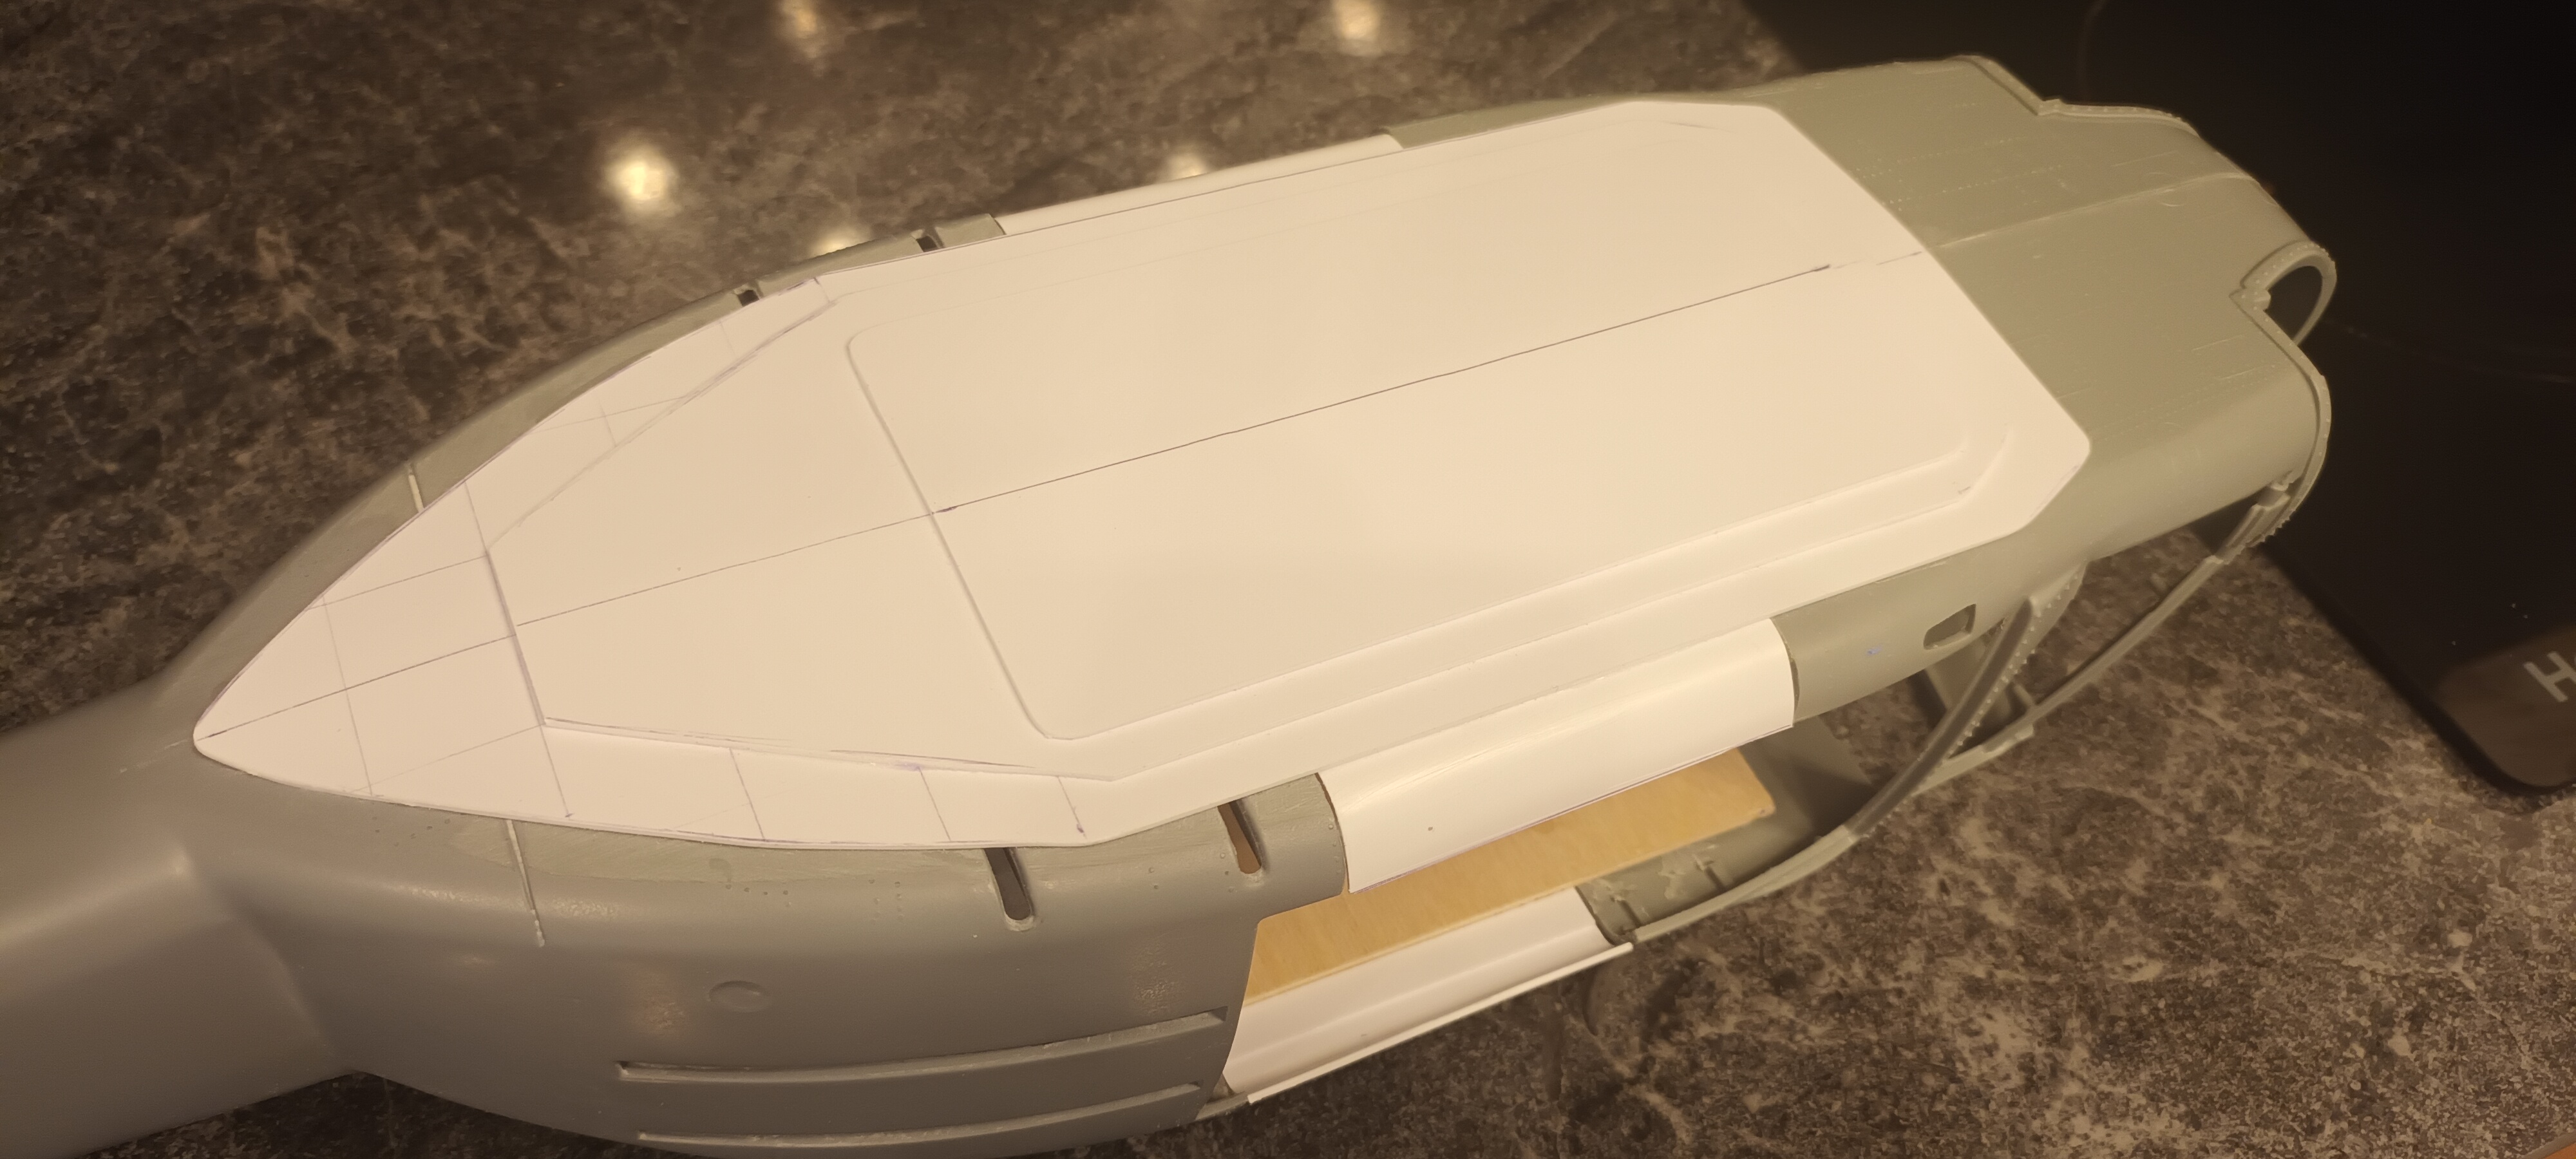
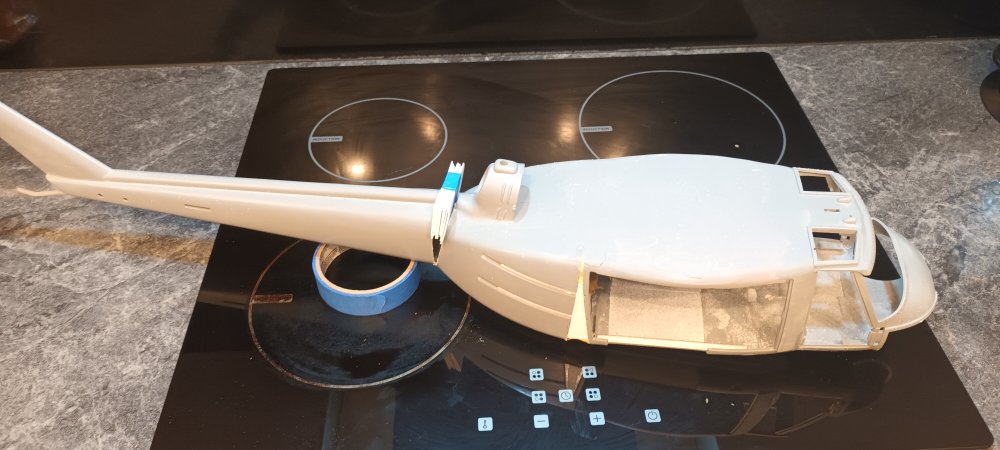
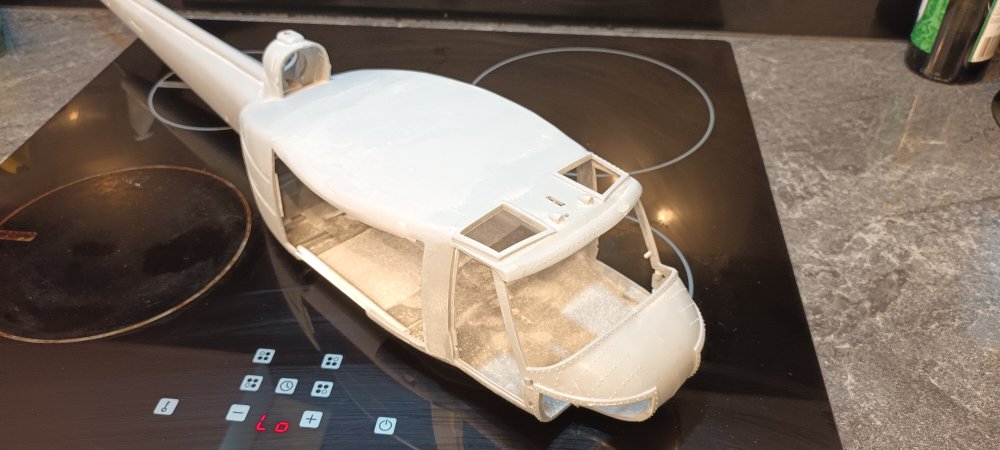
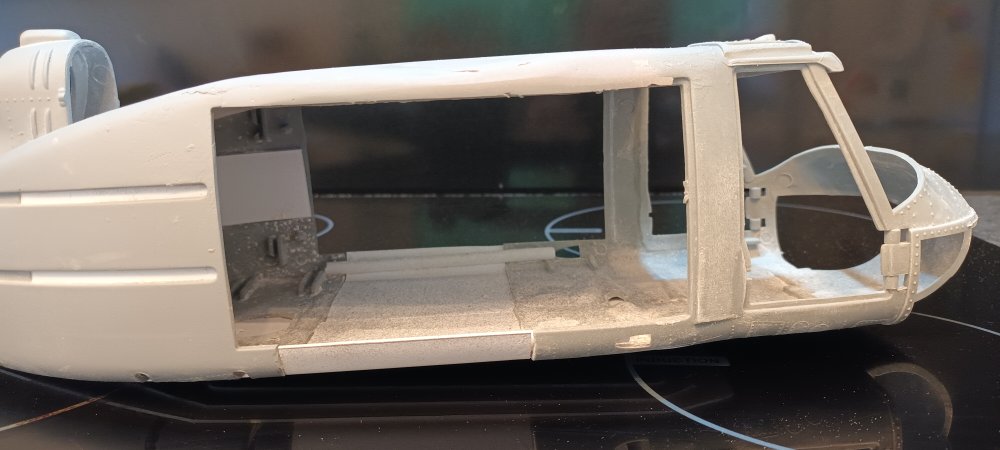
Now I've started shaping the fuselage I need to address the rear half. It's always bugged me but now it really stands out. If I don't try and fix it now, it will look even worse when the sliding doors go on, so time to hack it up again. I have a rough idea on how I can go about it, hopefully it works.

-
Hobbyboss 1:18 UH-1
deanreynolds replied to deanreynolds's topic in LSM 1/35 and Larger Work In Progress
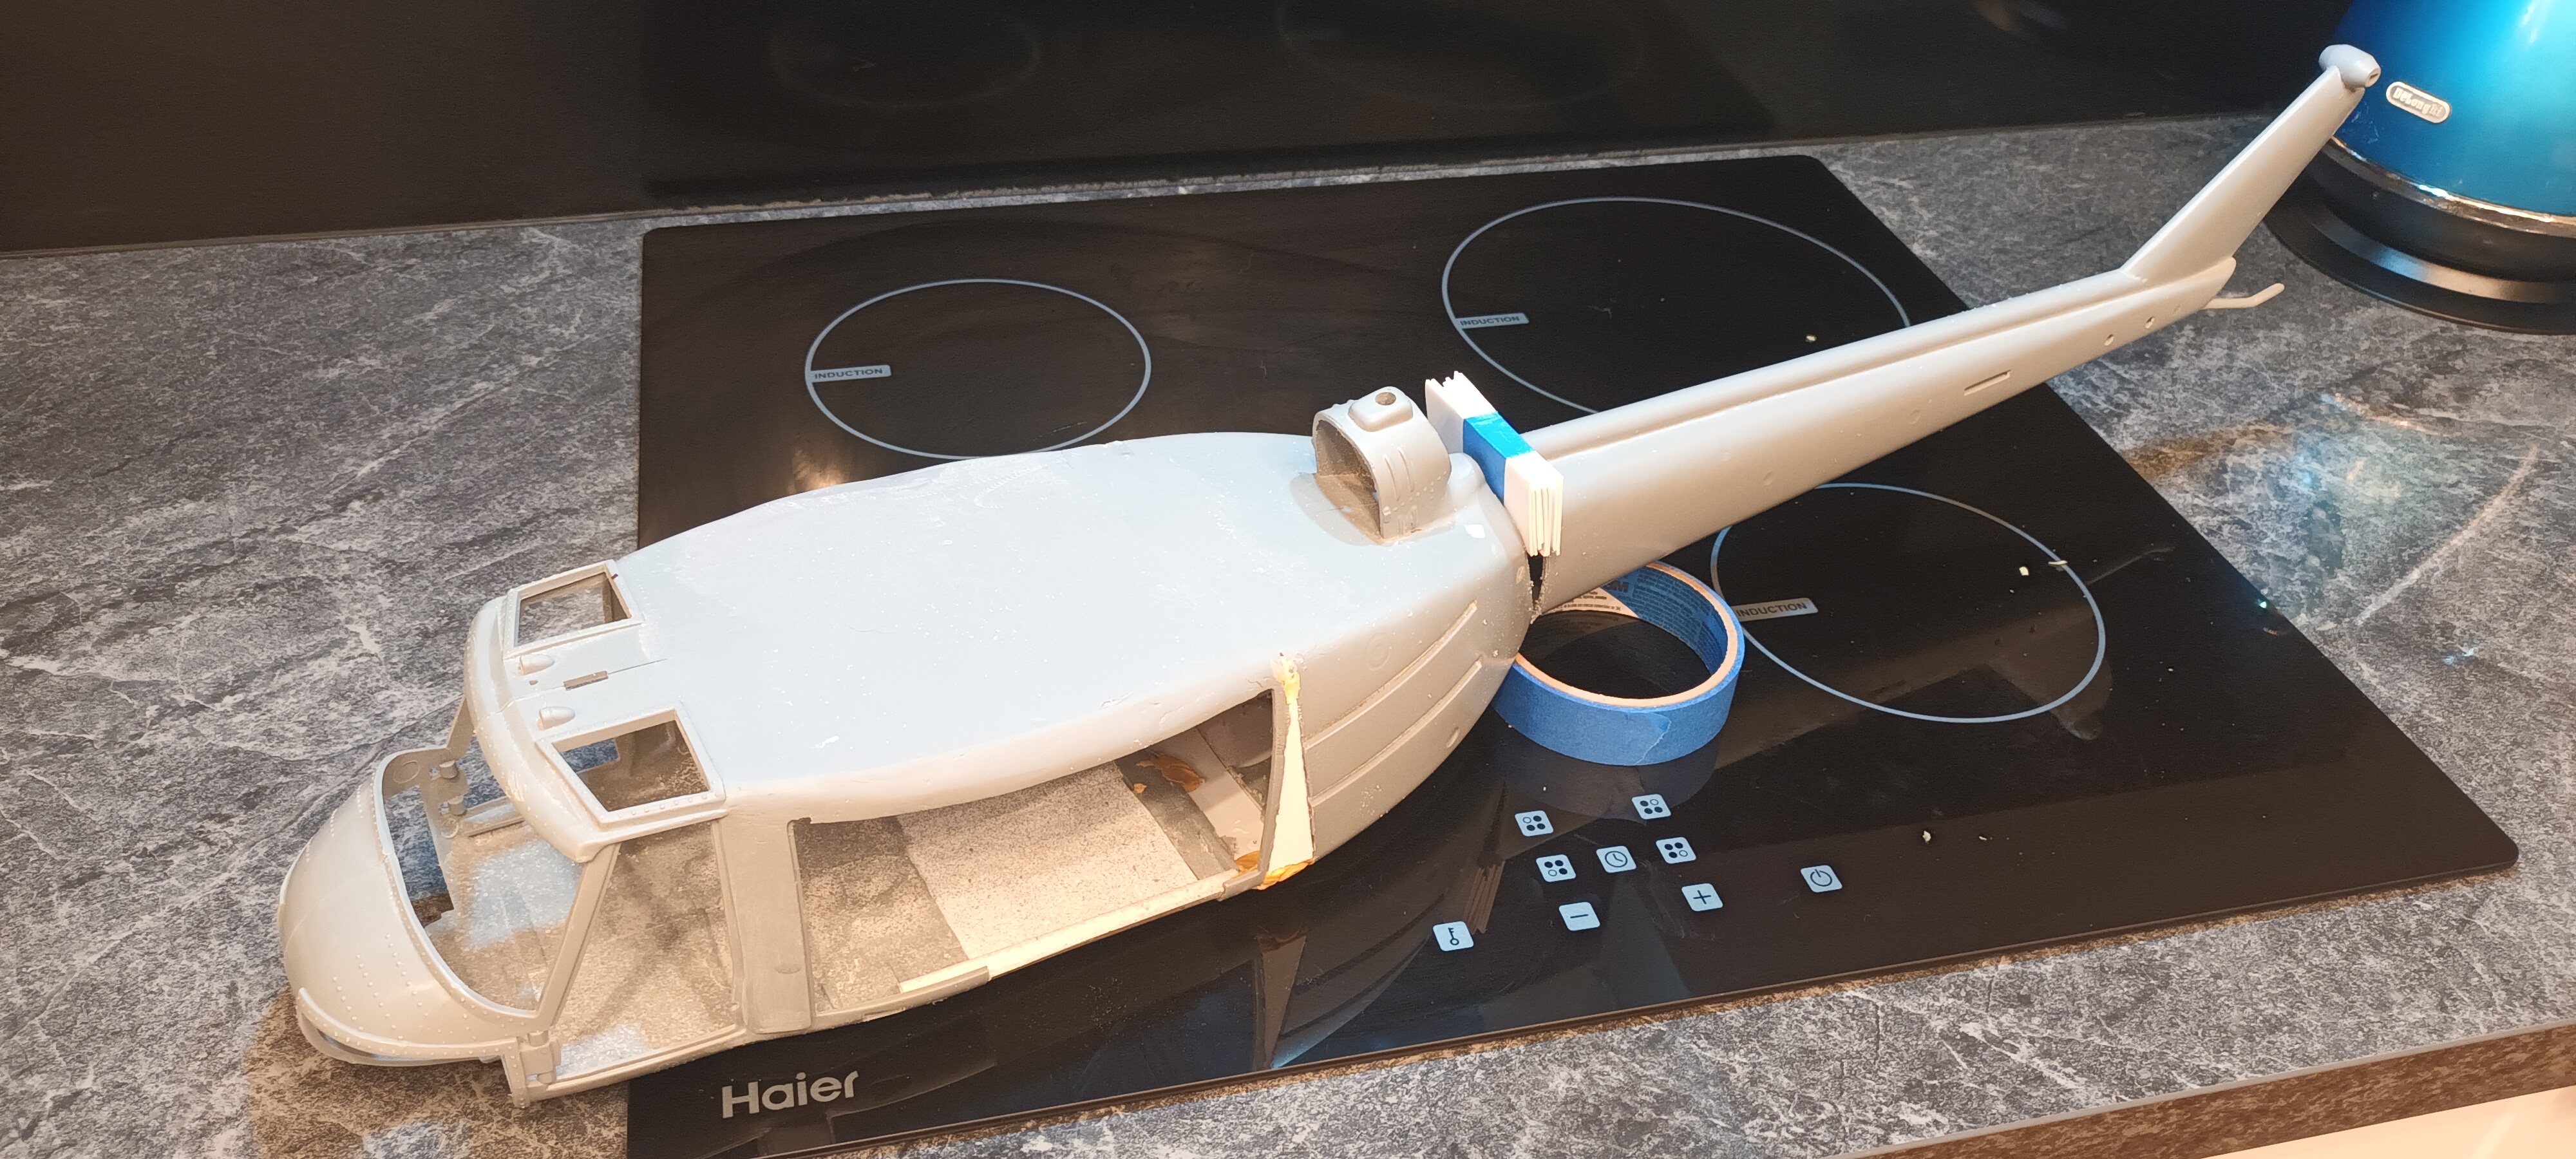
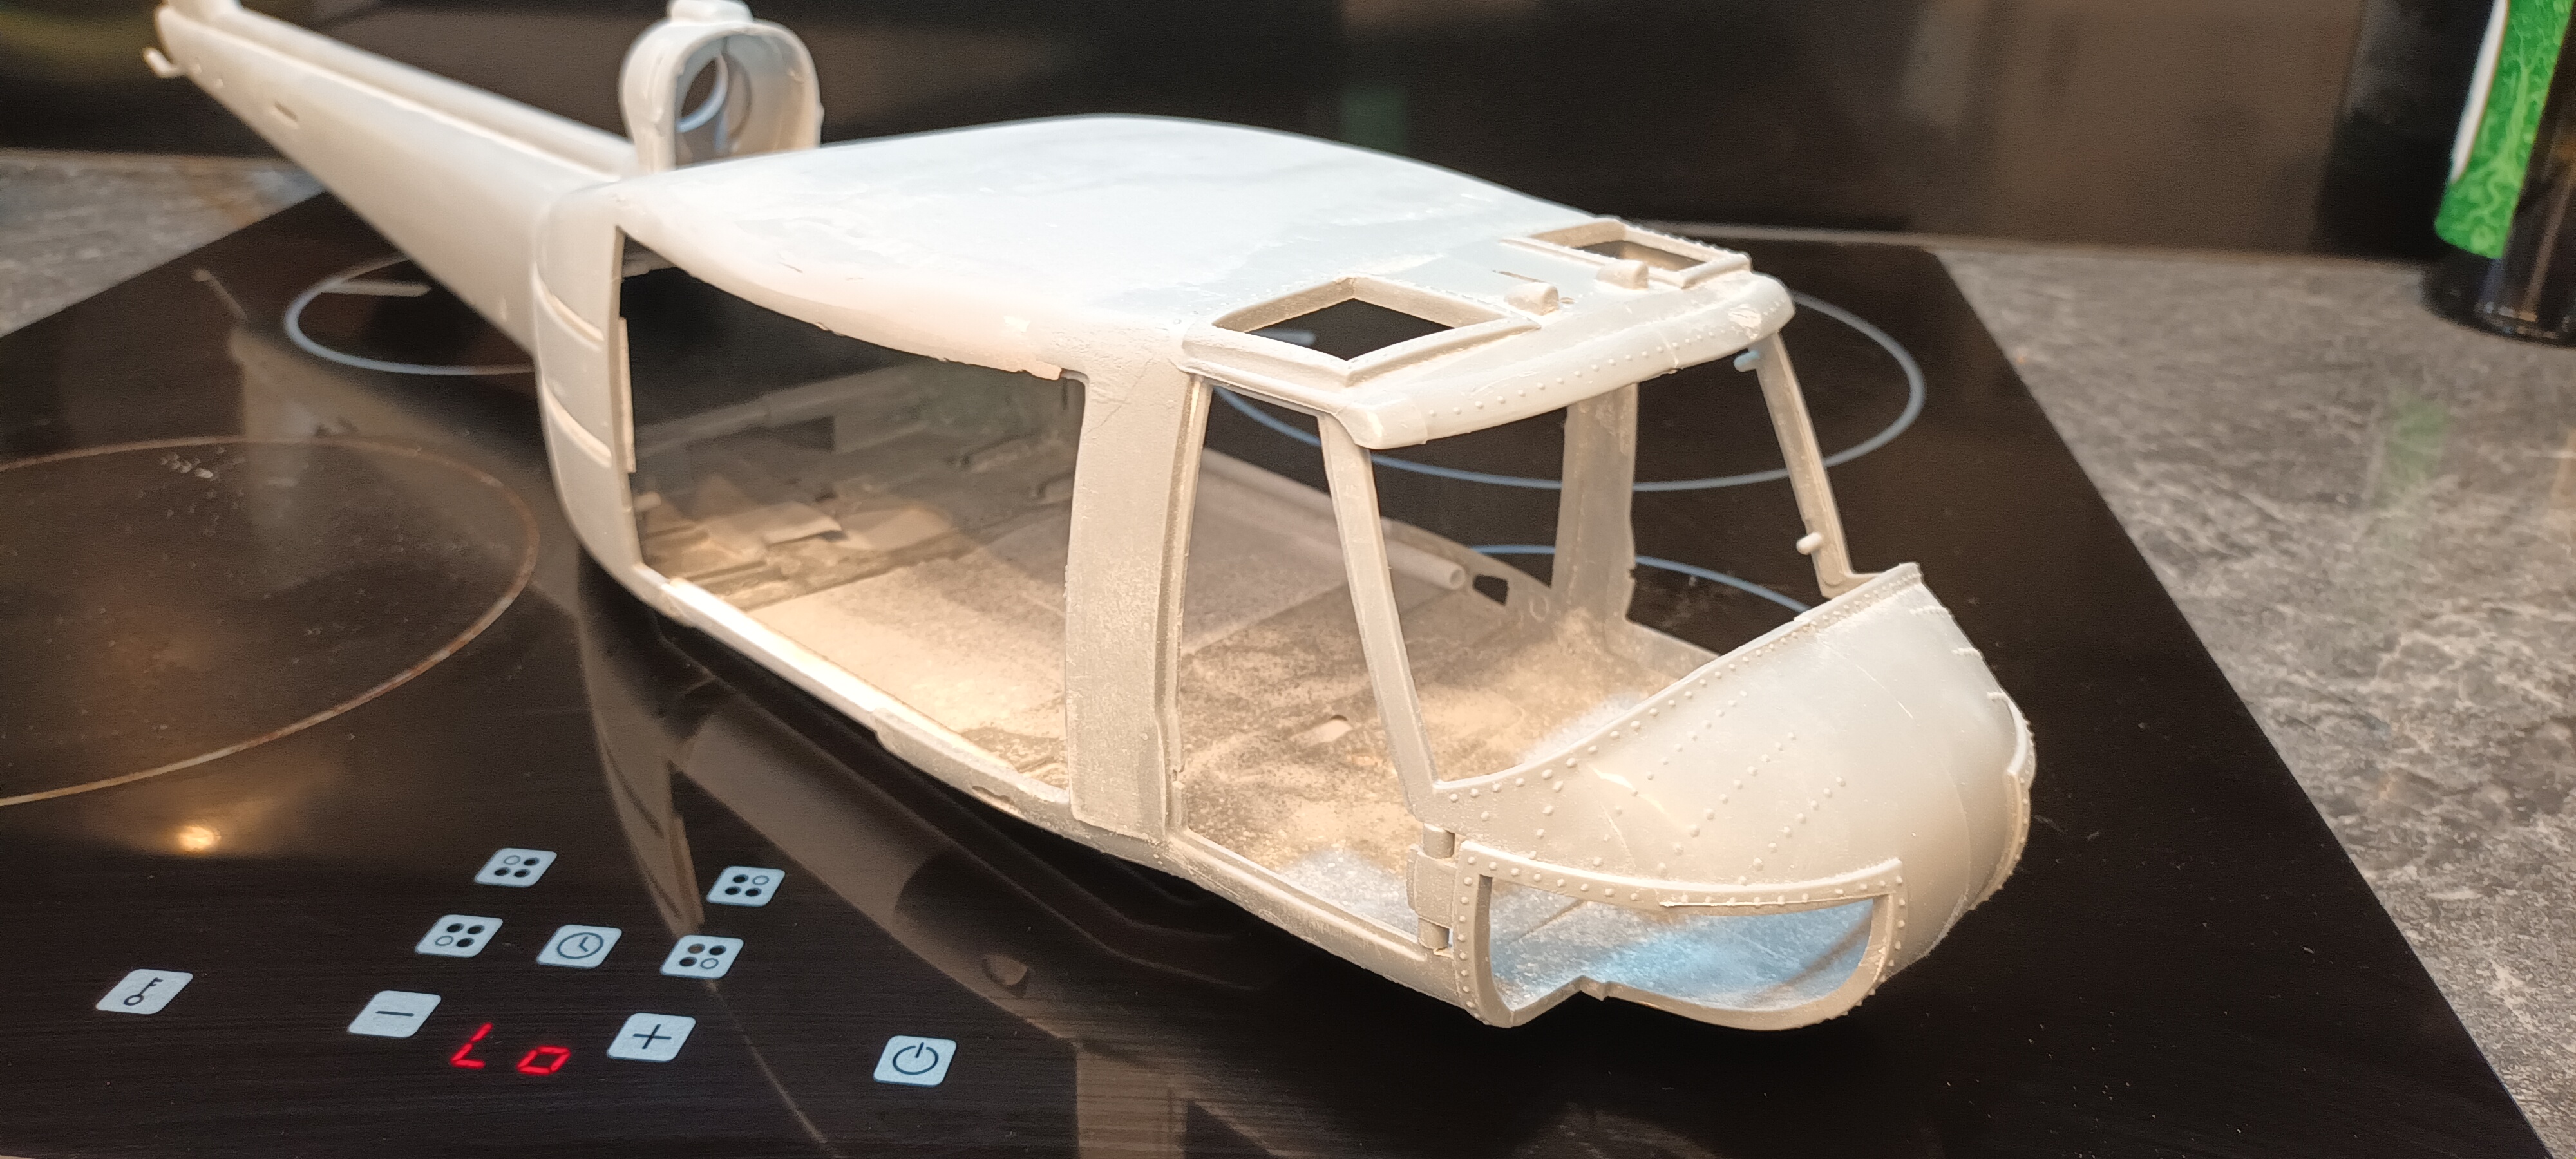
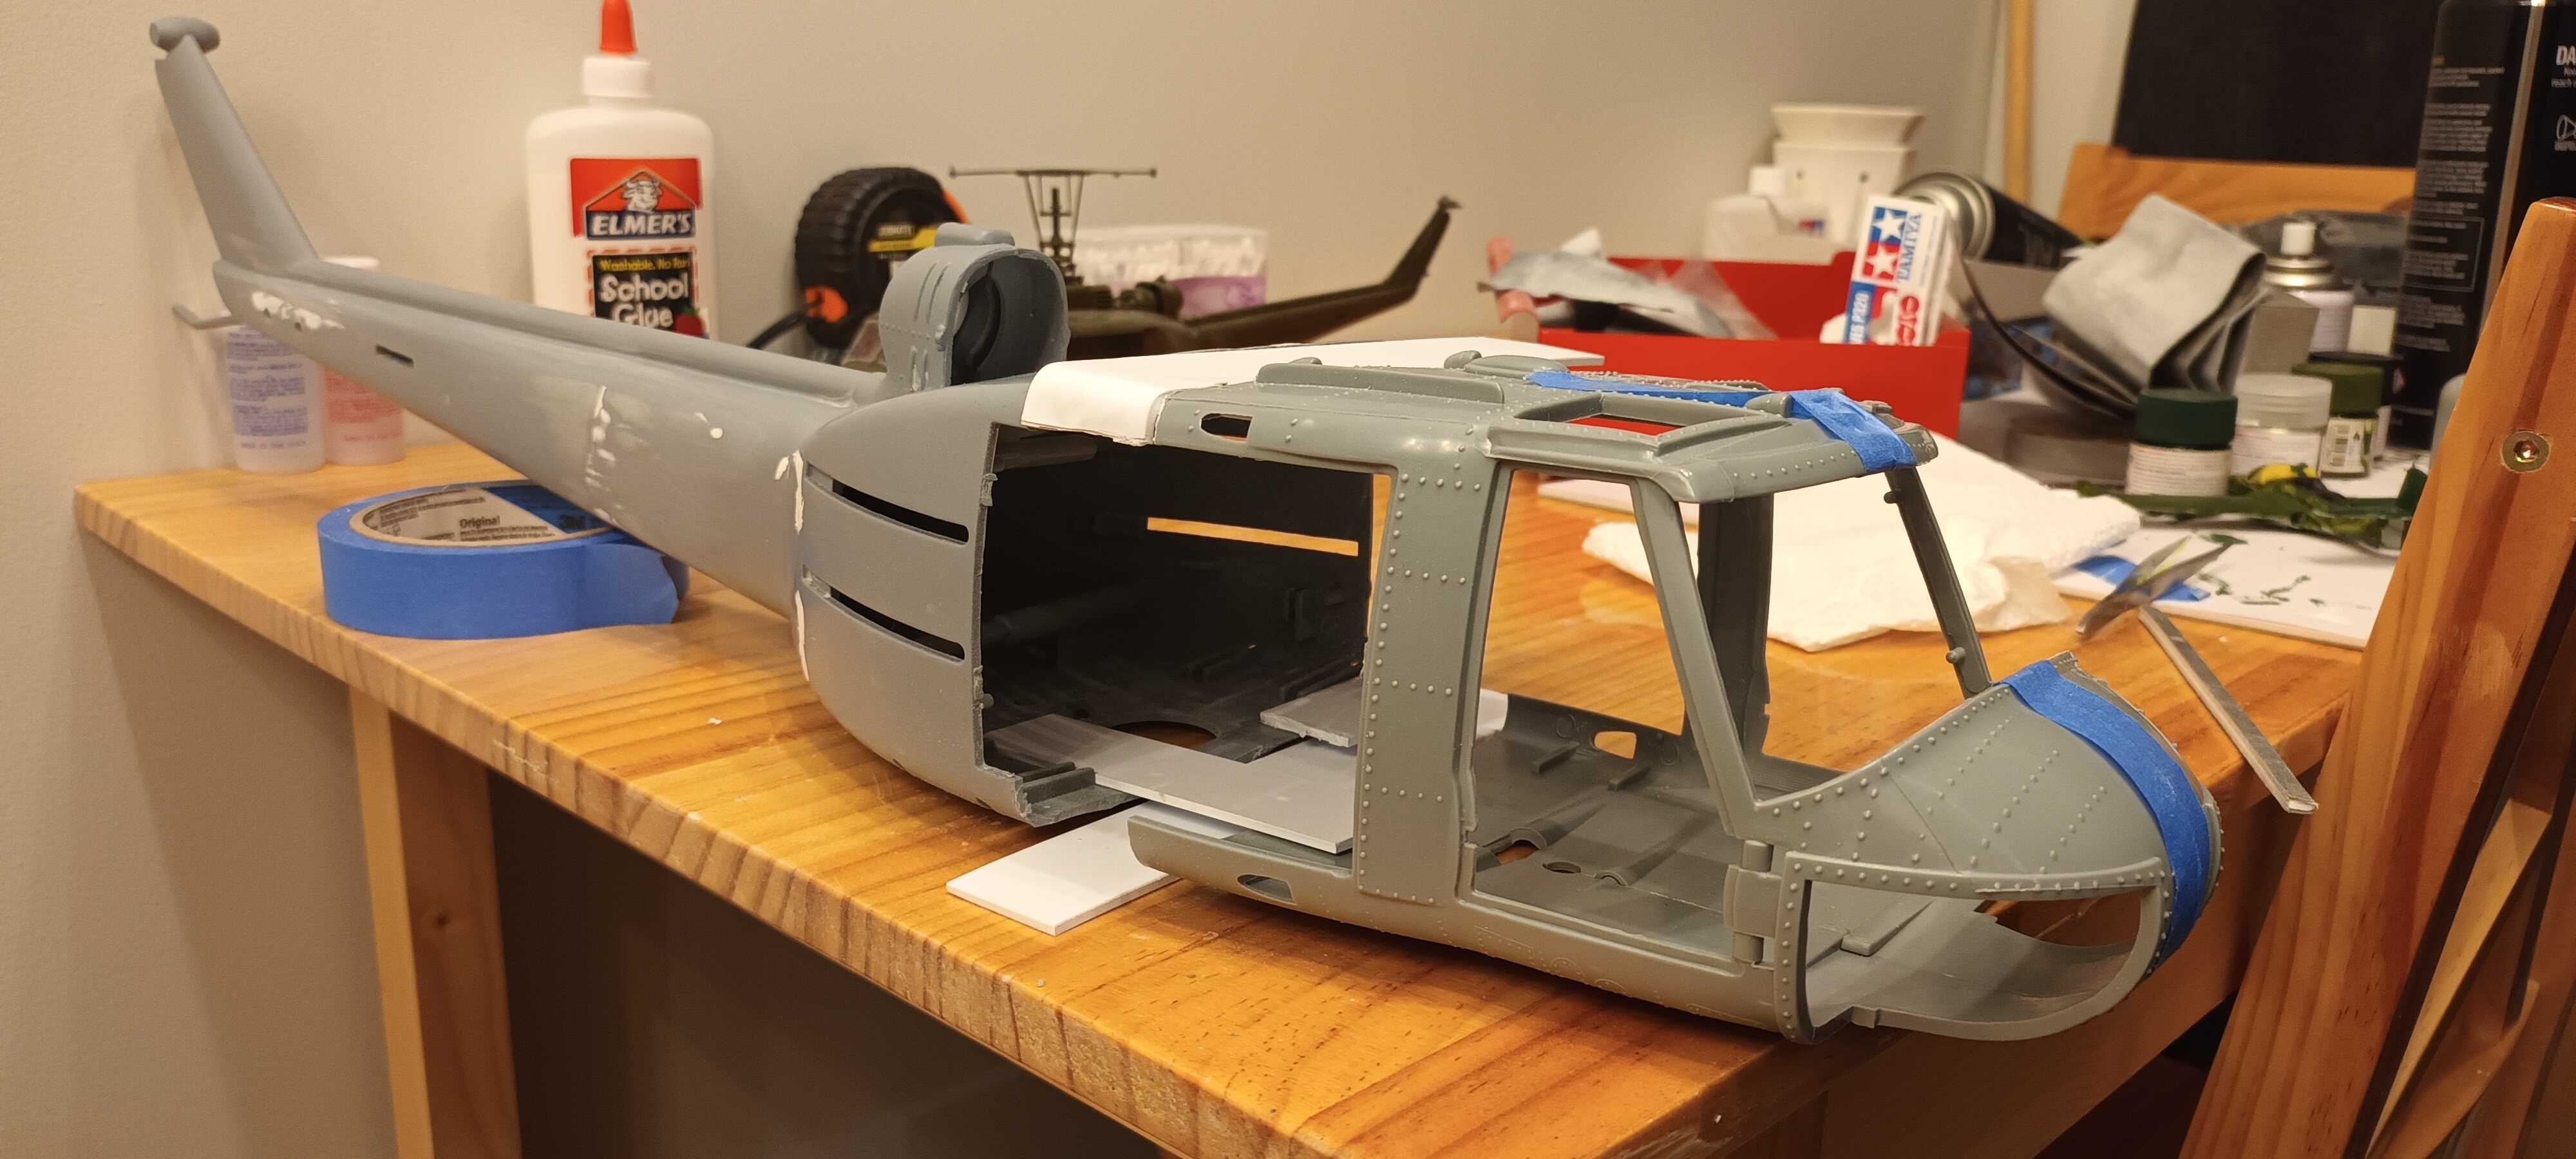
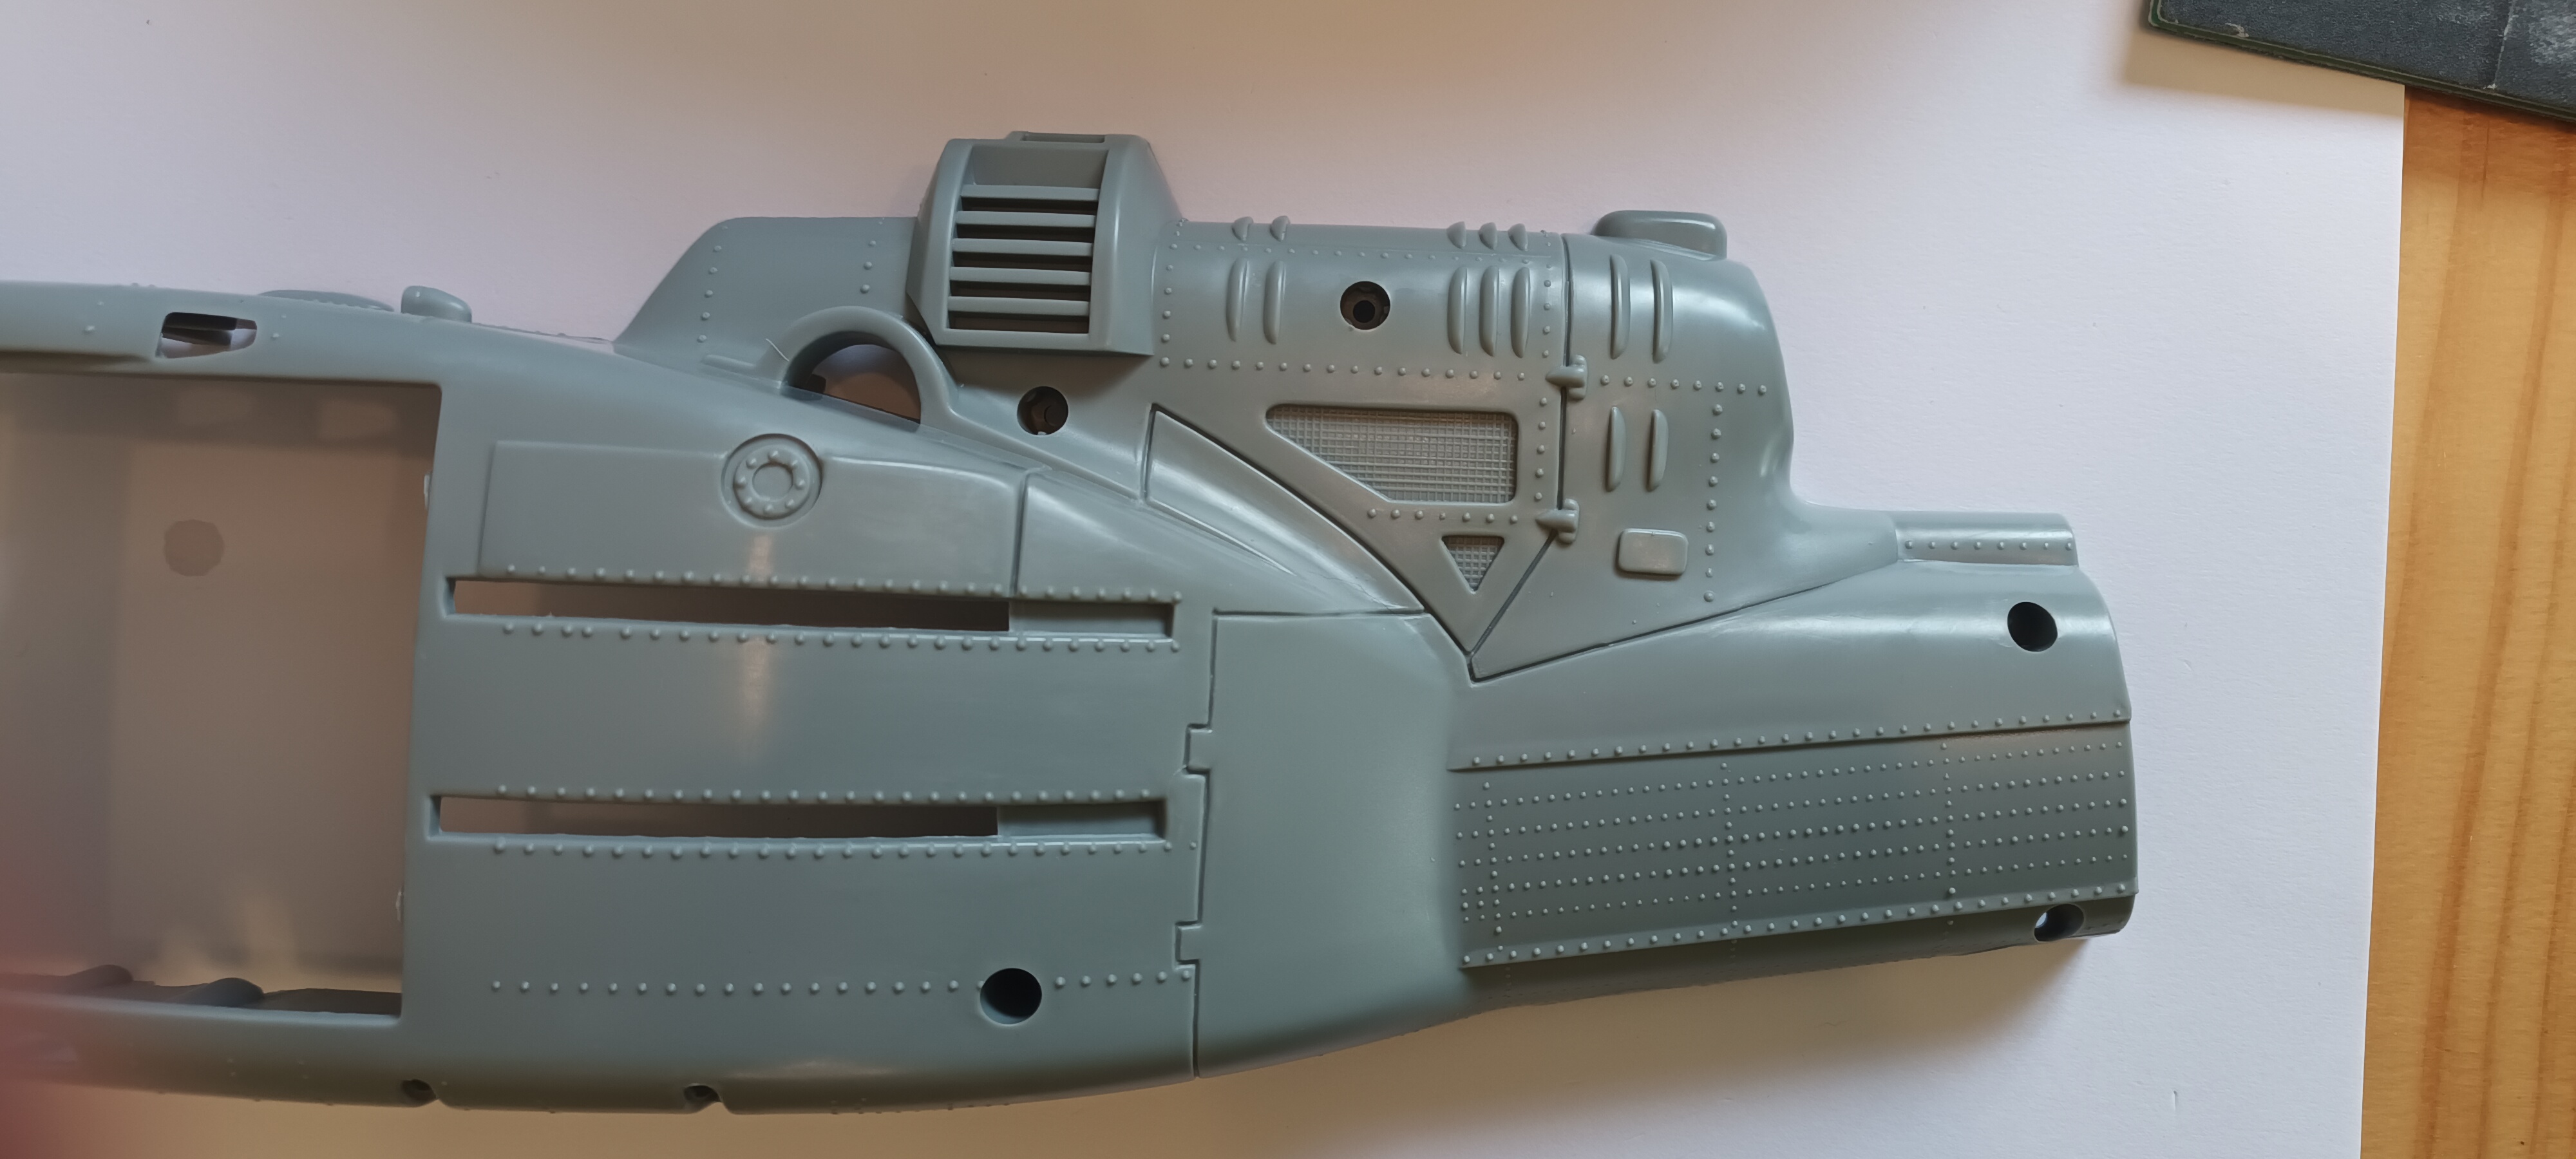
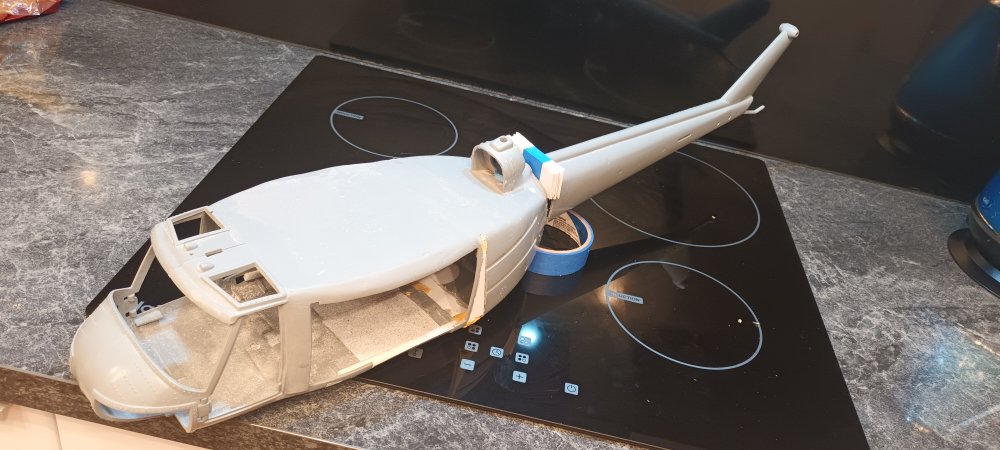
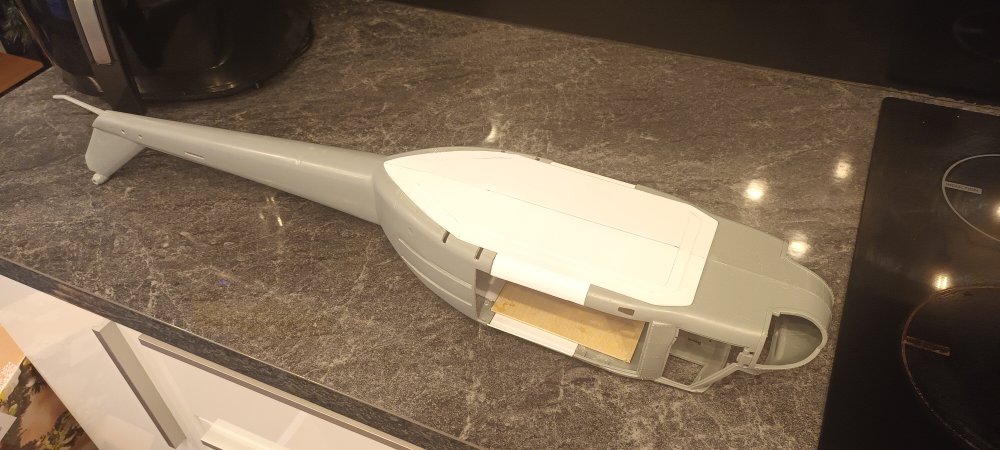
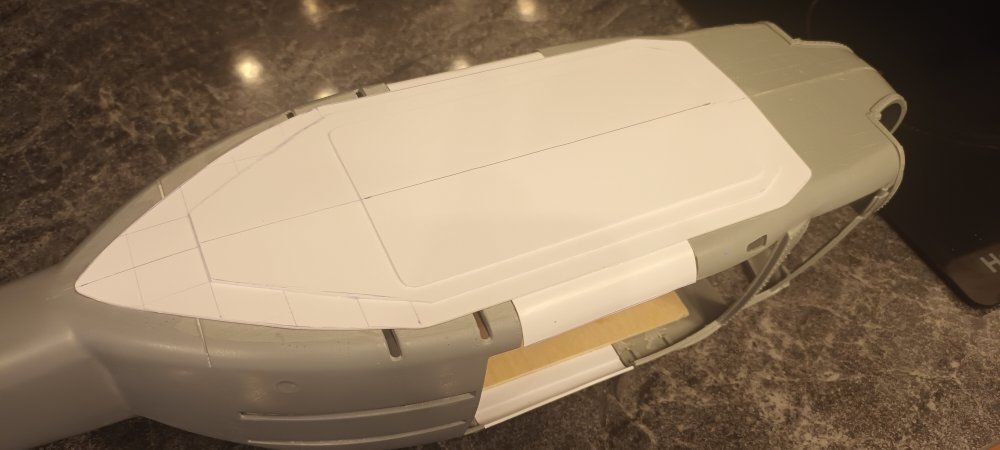
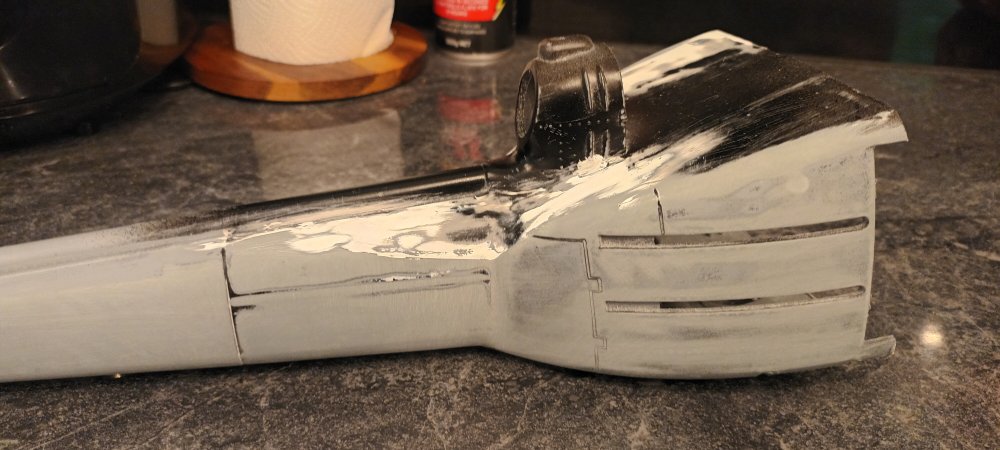
Well now the holidays are over, I've started making some slow progress. It's still got a long way to go but I've started filling out and shaping the top half. Already looking much more like a tadpole. Hopefully I'll start on the underside this week too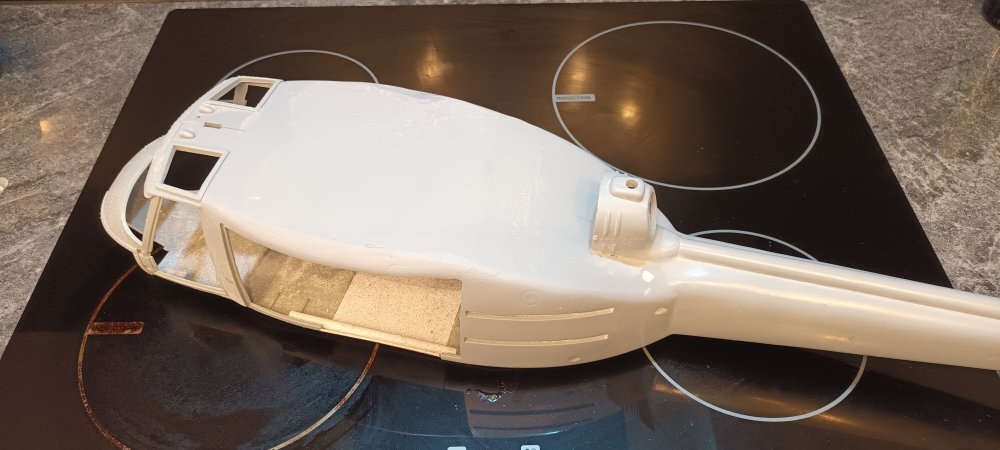


-
Hobbyboss 1:18 UH-1
deanreynolds replied to deanreynolds's topic in LSM 1/35 and Larger Work In Progress
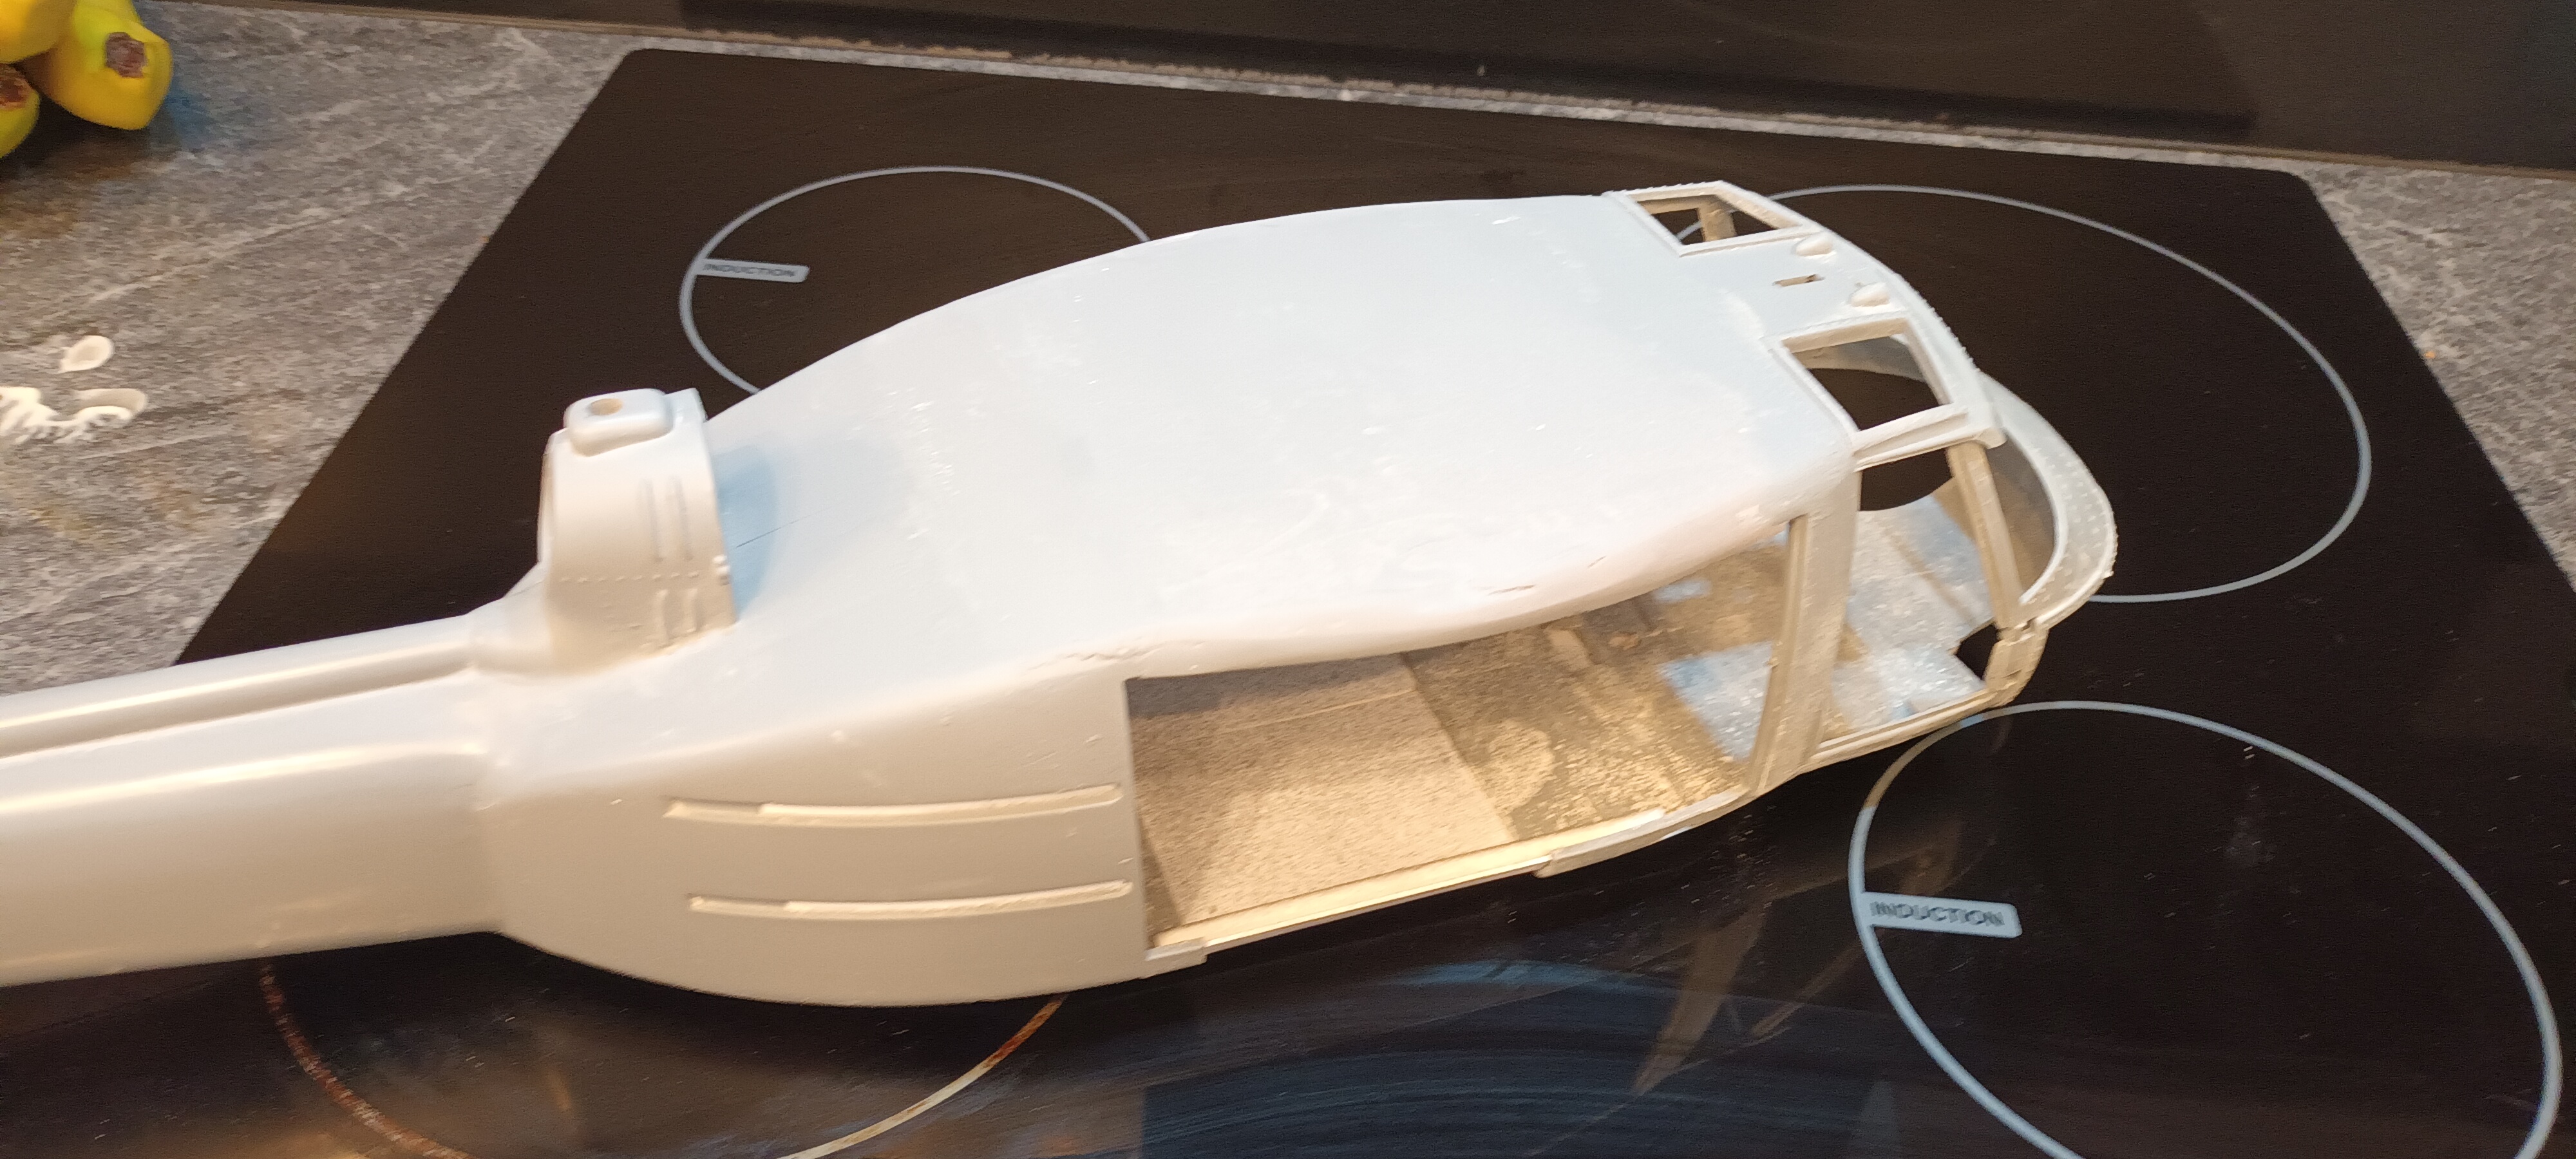
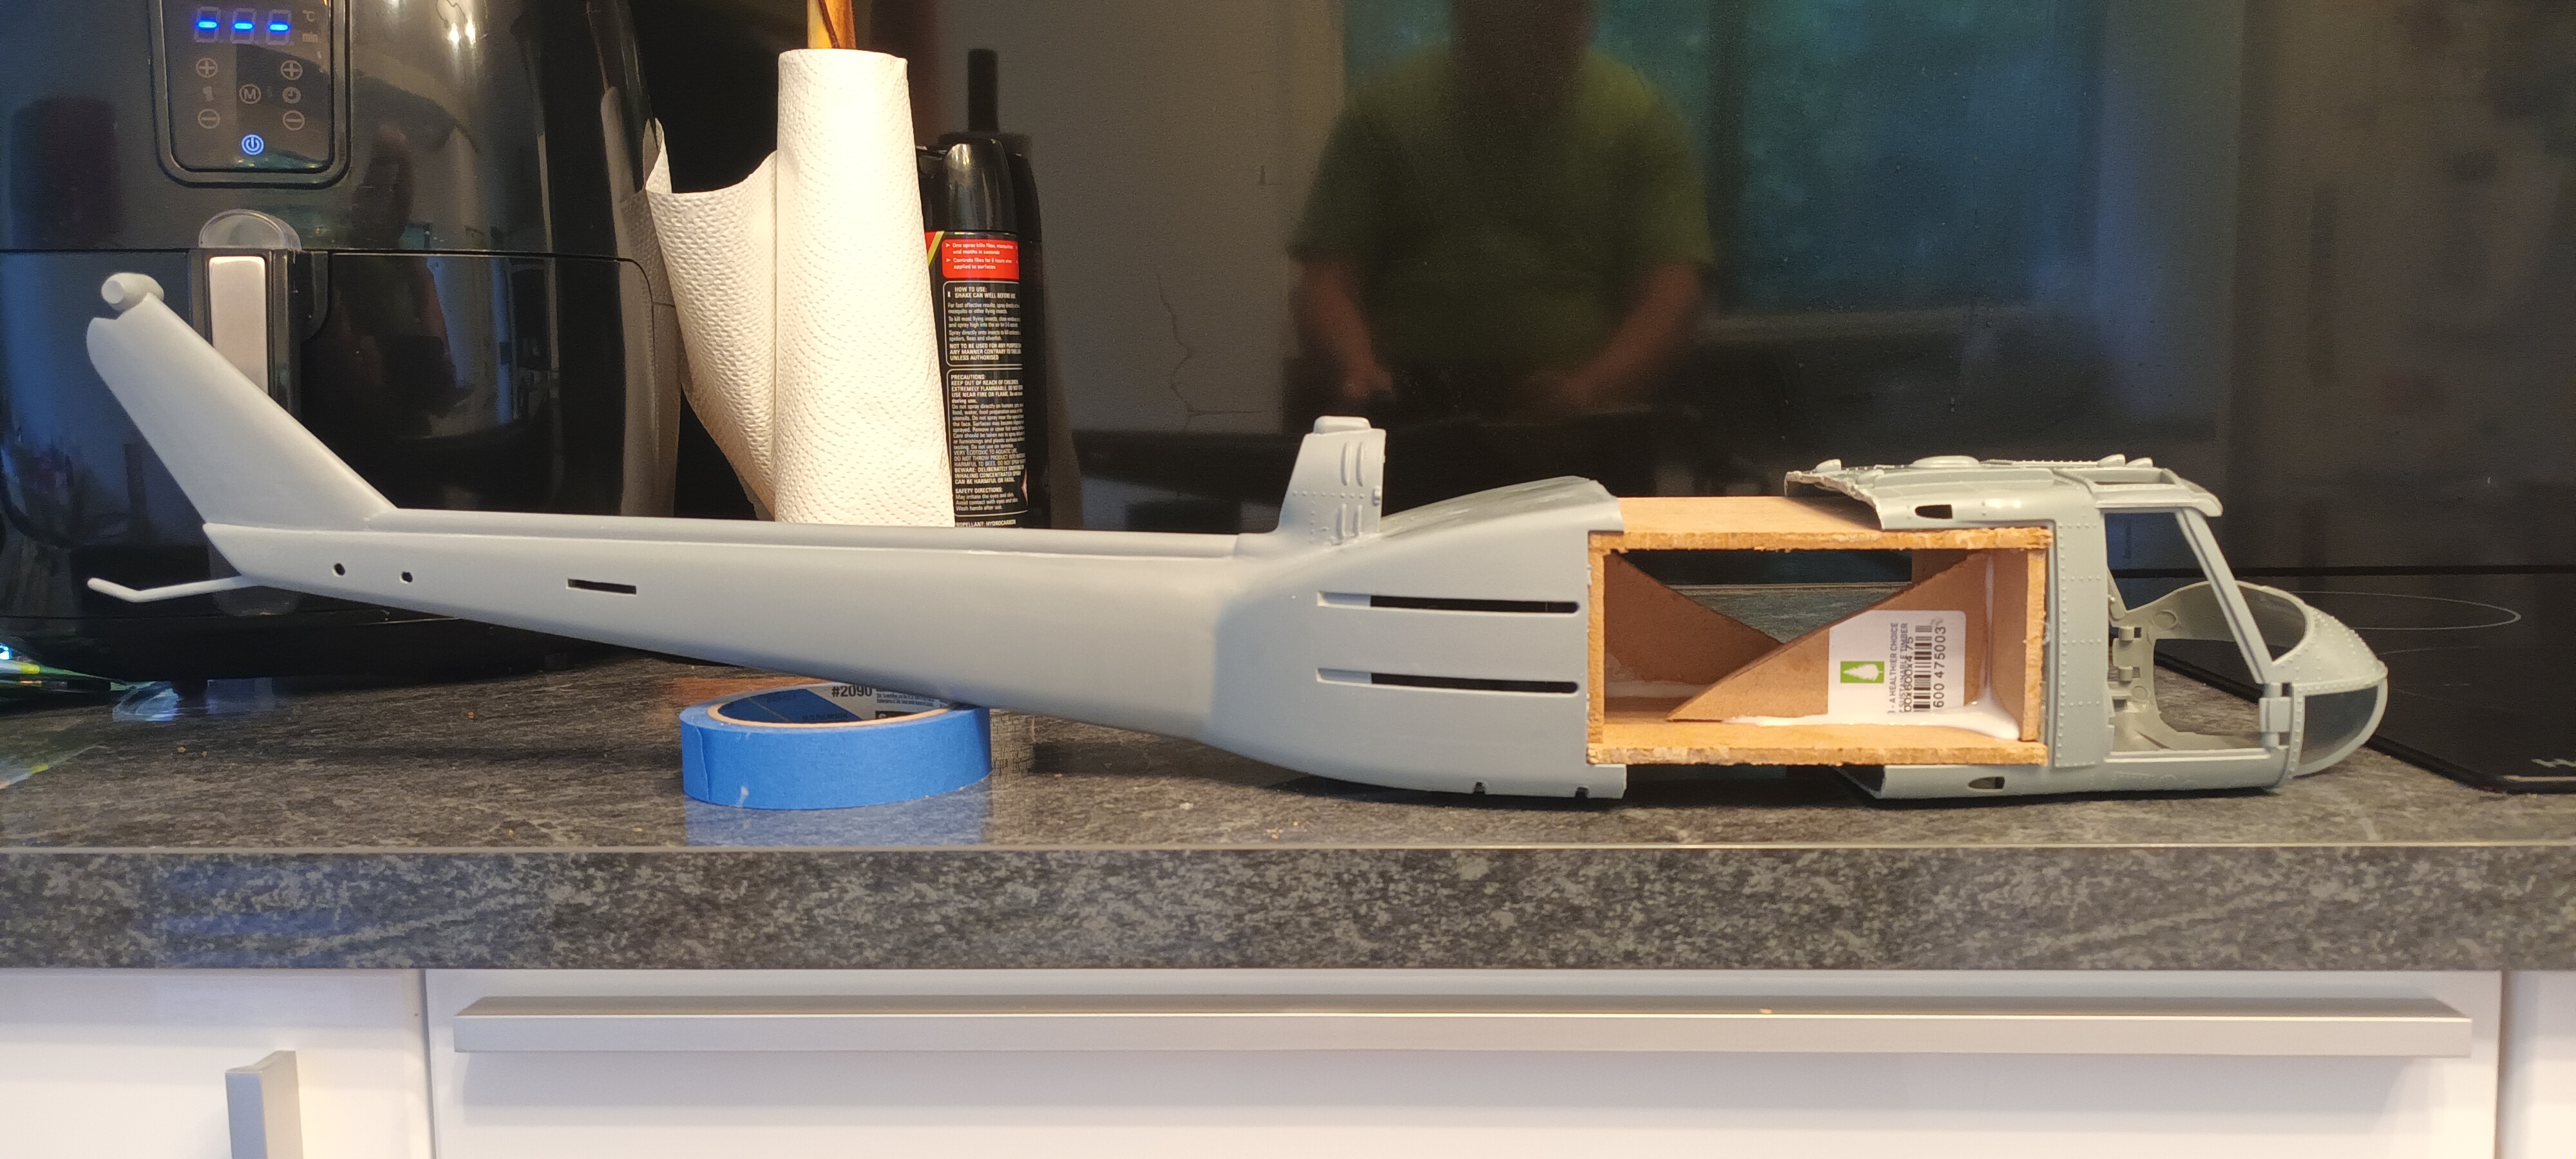
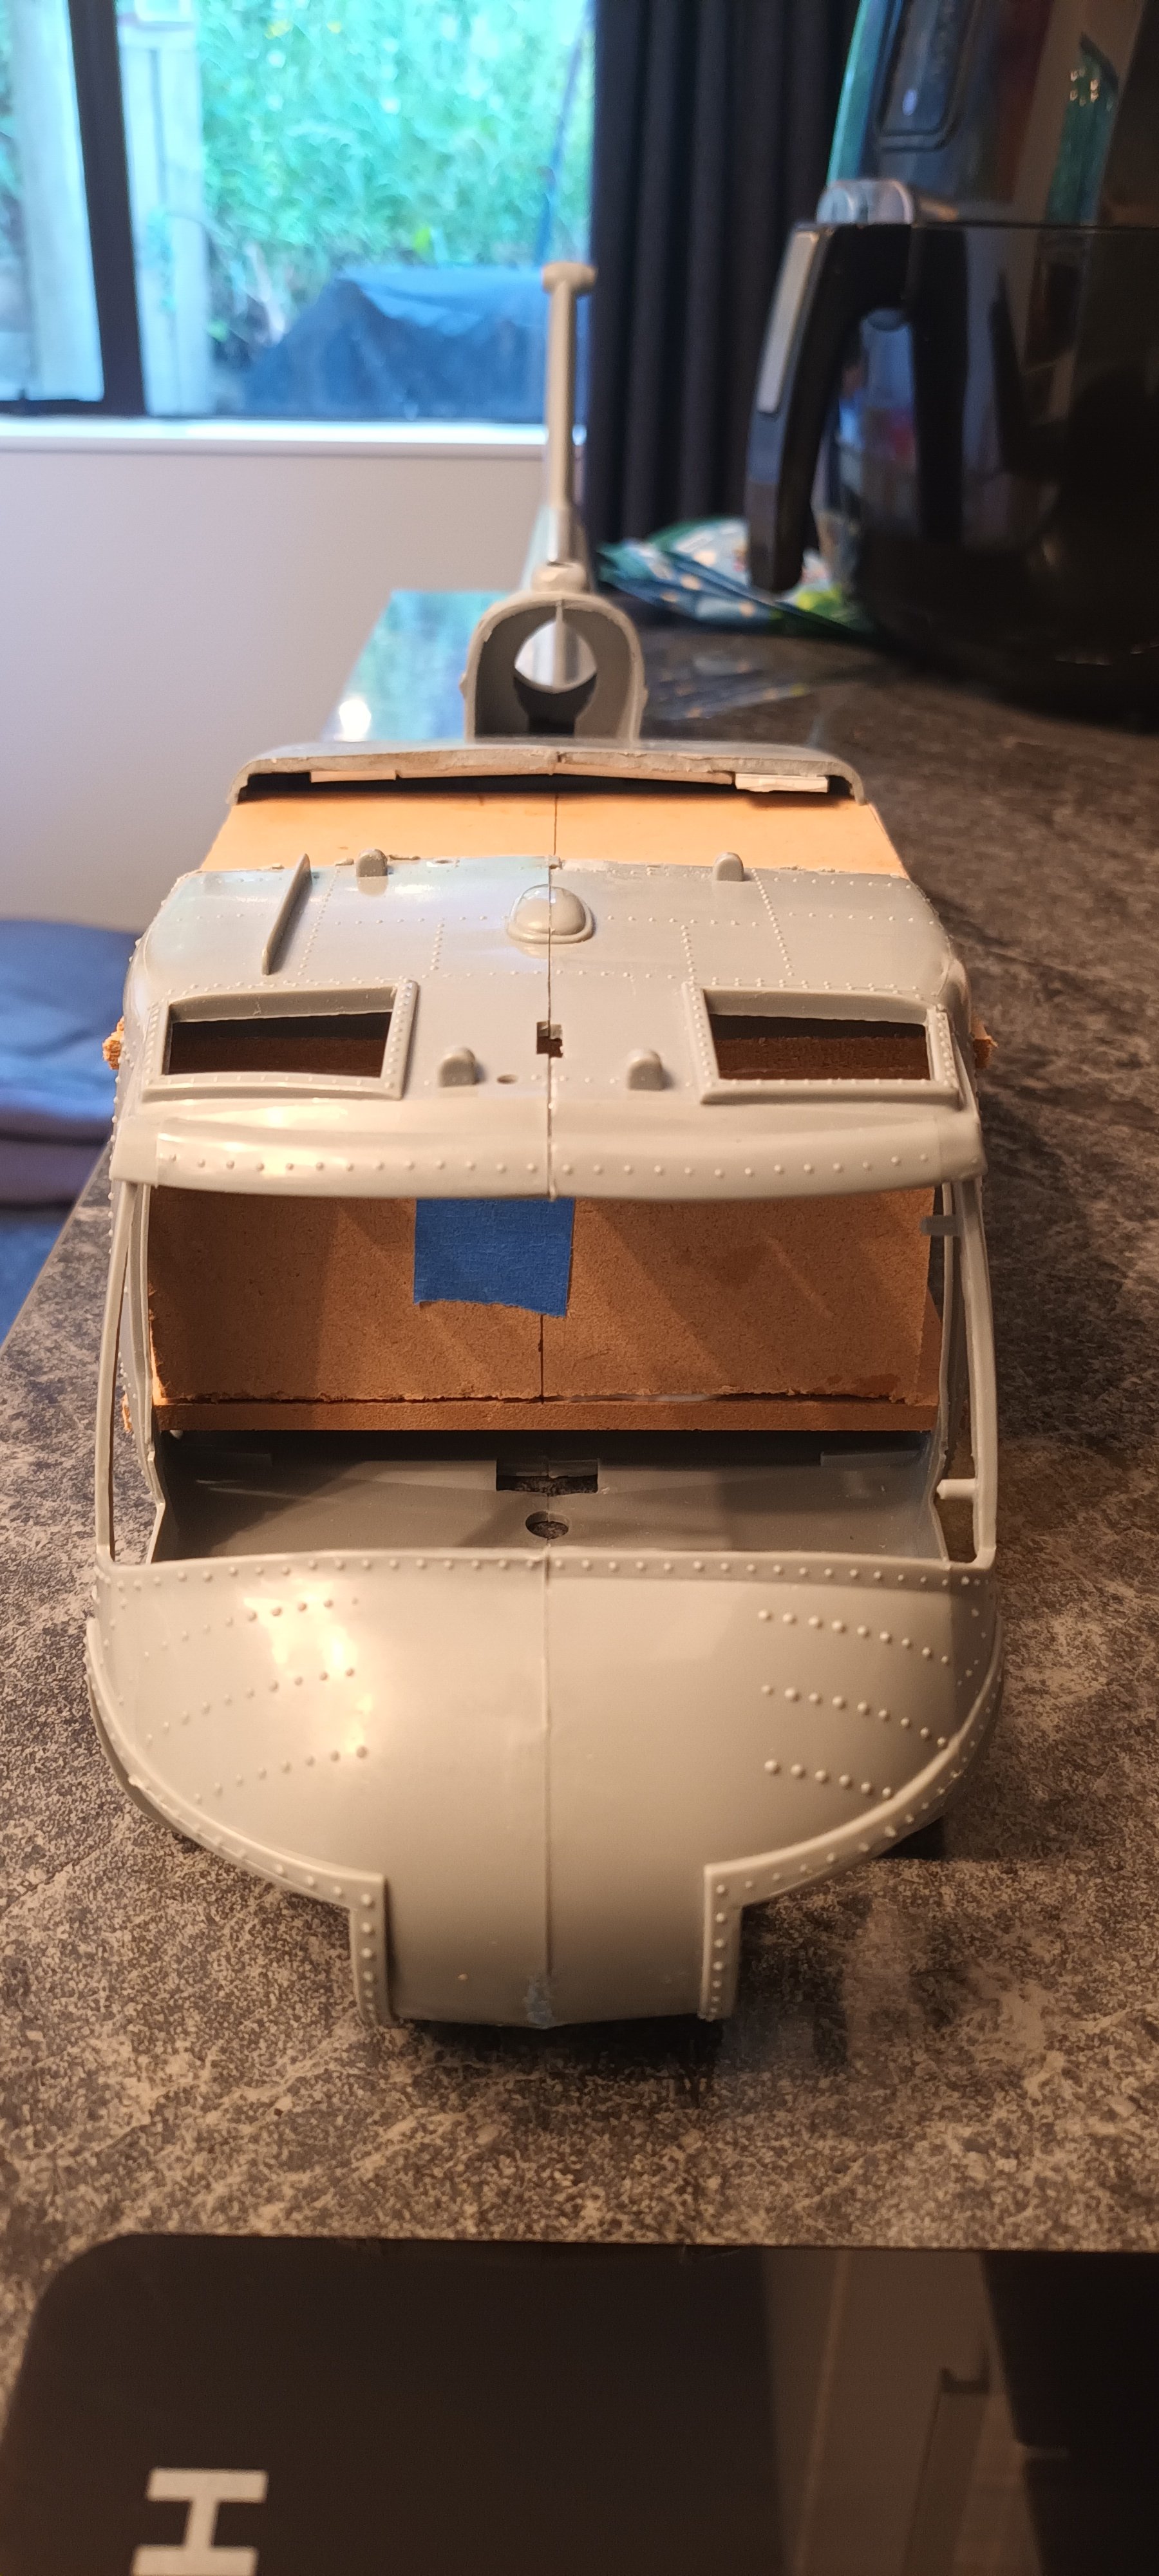
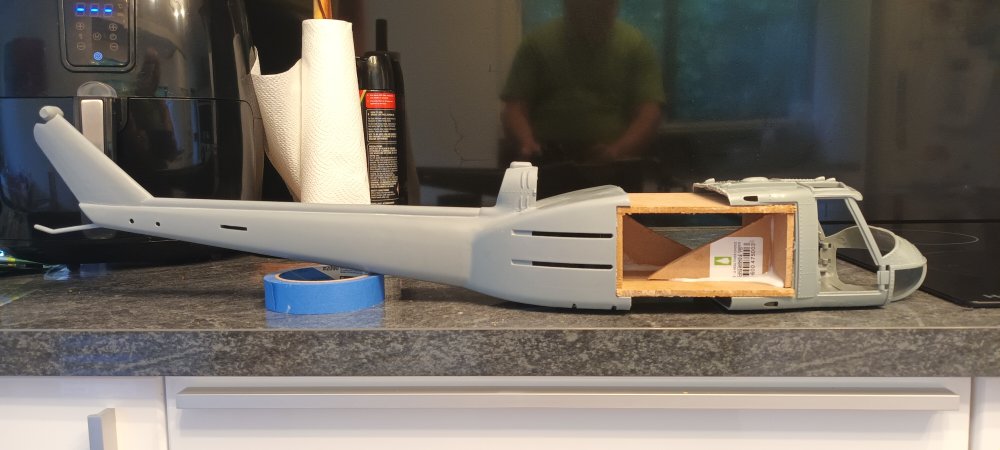
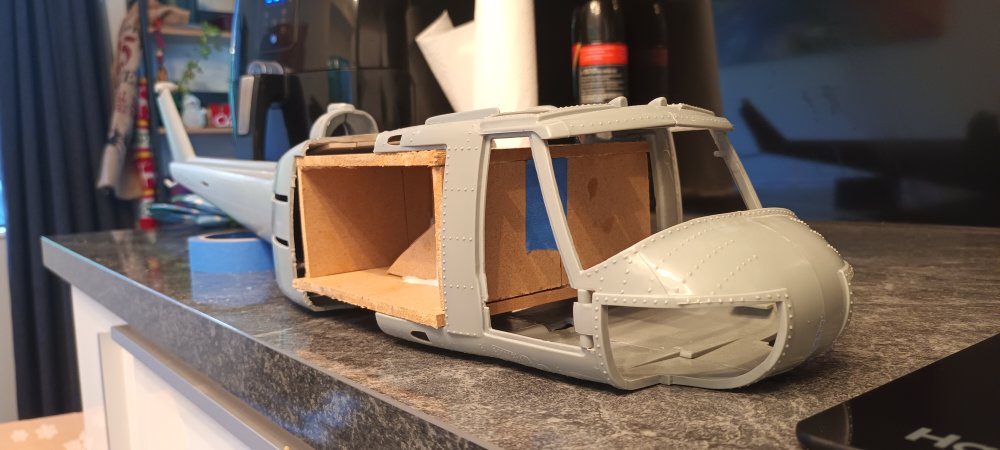
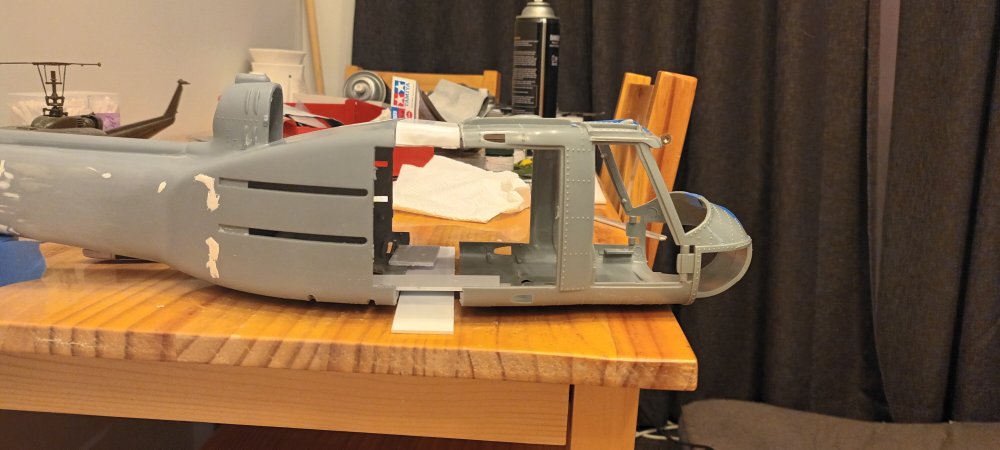
Thanks guys. It's finally in one piece. The underside of the "D" model is a lot rounder than the shorter versions so I built it up with a few layers of 1mm evergreen card. The layers gave it strength, and I'll use car body filler to shape the sides. I screwed a couple of brackets into the roof while I glued some plywood into the inside with epoxy, then built it up with more plastic card. When I get round to it, the floor and ceiling will add extra strength, but for the foreseeable future I'll be filling and sanding!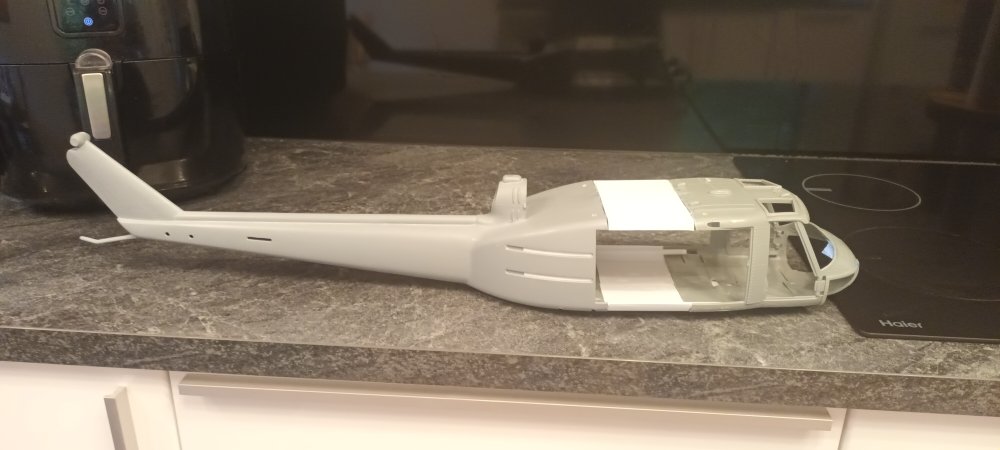

-
Hobbyboss 1:18 UH-1
deanreynolds replied to deanreynolds's topic in LSM 1/35 and Larger Work In Progress
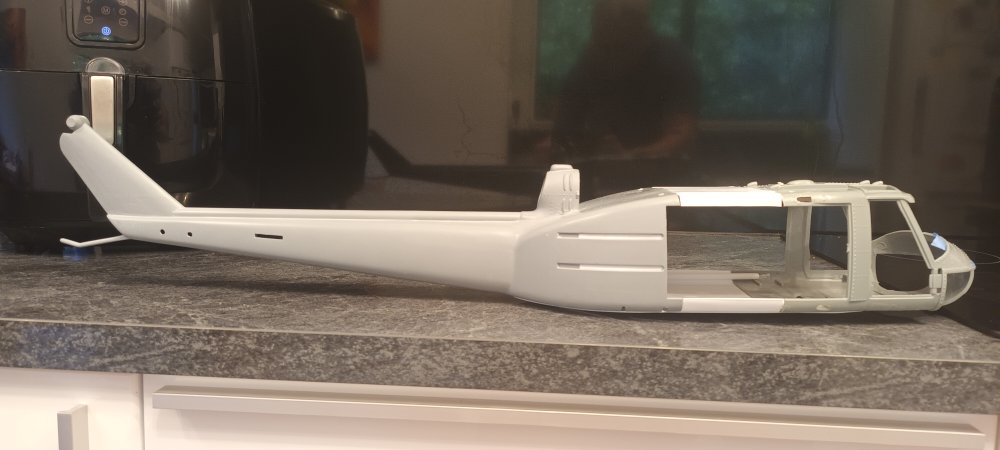
Well, I've got the stretch sorted and aligned. Now the hard part, figuring out how to actually join the halves together.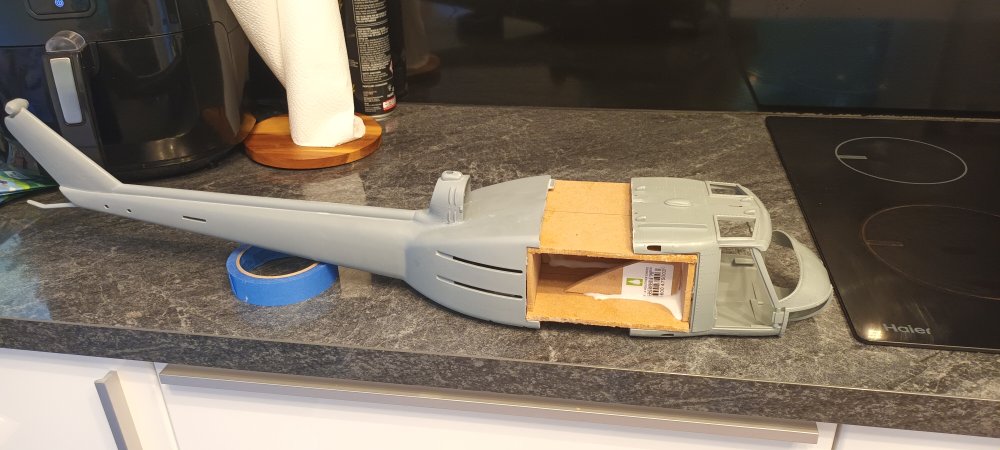


-
Hobbyboss 1:18 UH-1
deanreynolds replied to deanreynolds's topic in LSM 1/35 and Larger Work In Progress
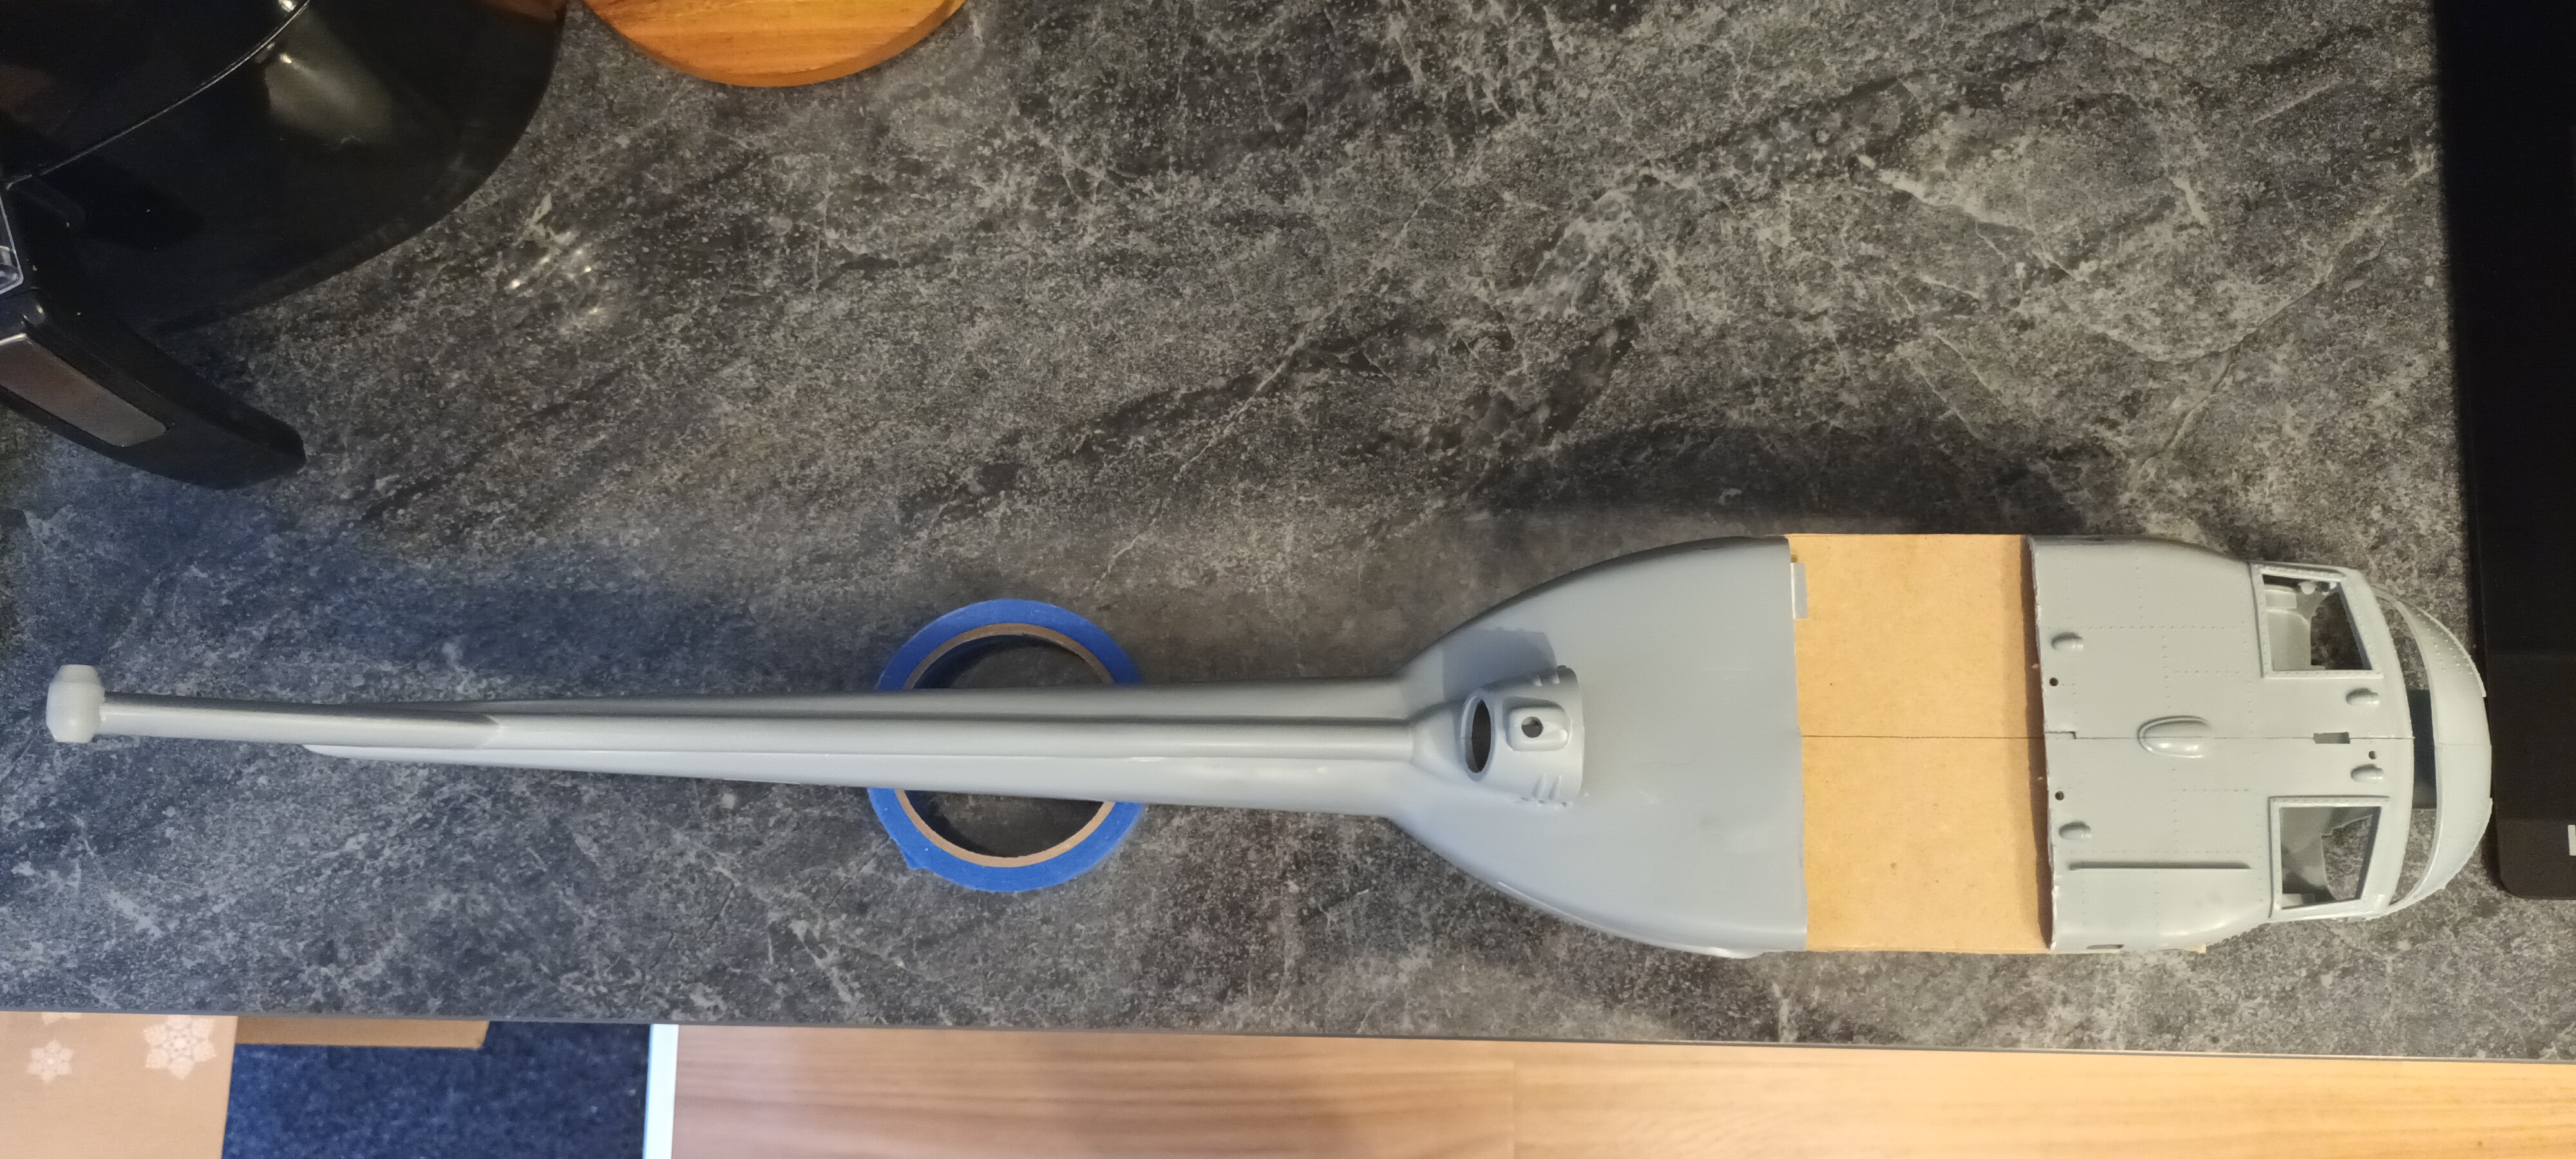
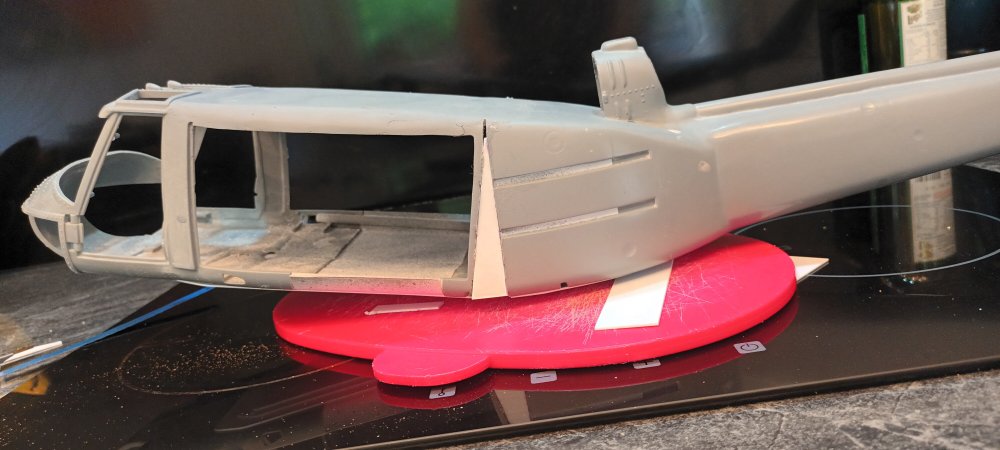
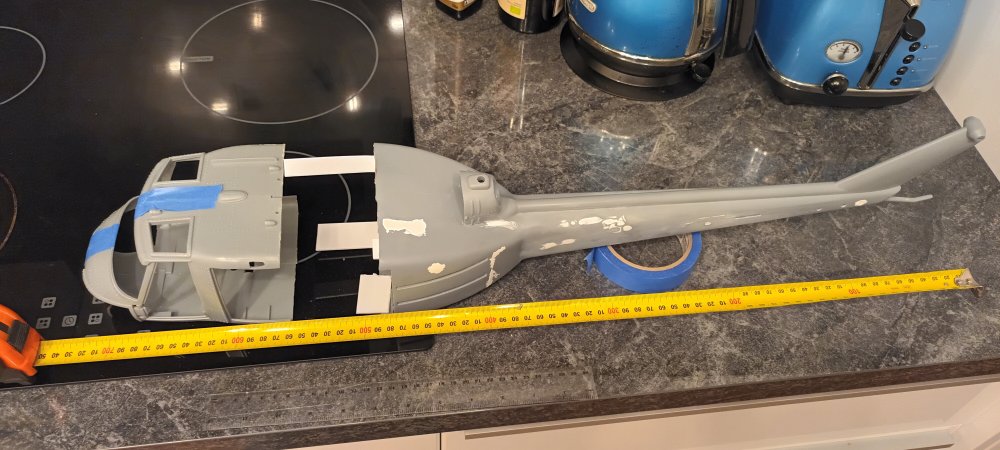
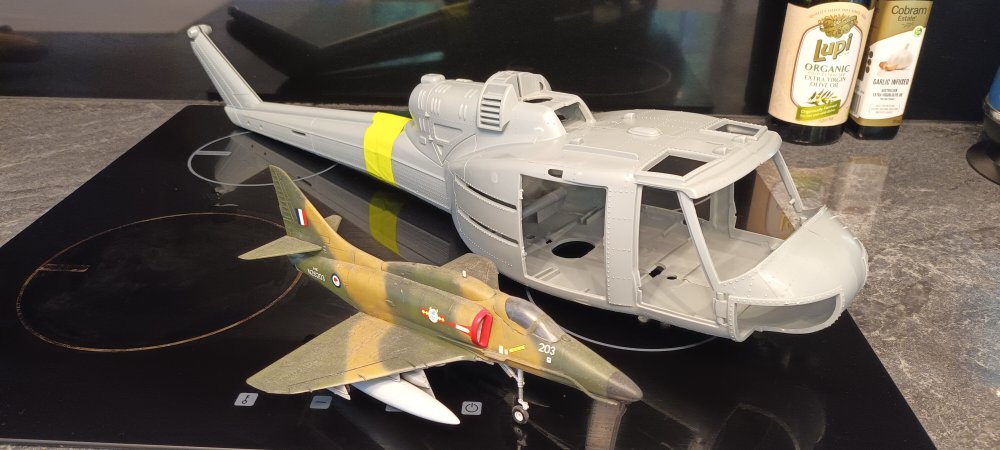
Maybe not. I found this which made the stretch 130mm! That looks much better, and I think I've come up with a way of keeping it all aligned when it goes back together. (All the plastic card will come off).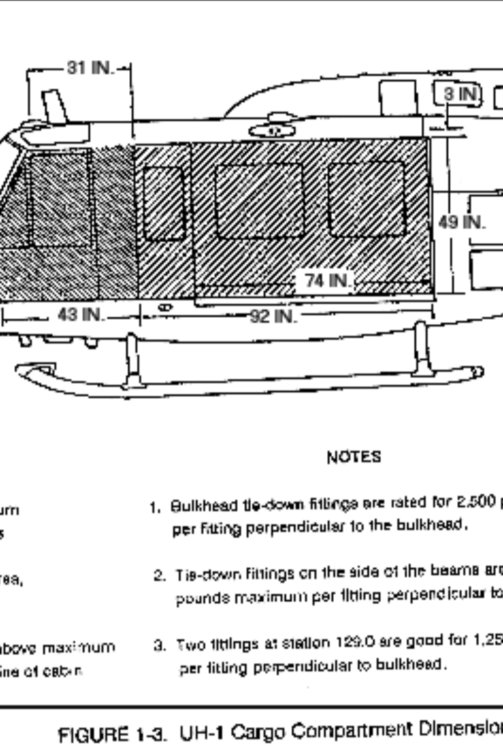
- 31 replies
-
- 10
-

-

-
Hobbyboss 1:18 UH-1
deanreynolds replied to deanreynolds's topic in LSM 1/35 and Larger Work In Progress
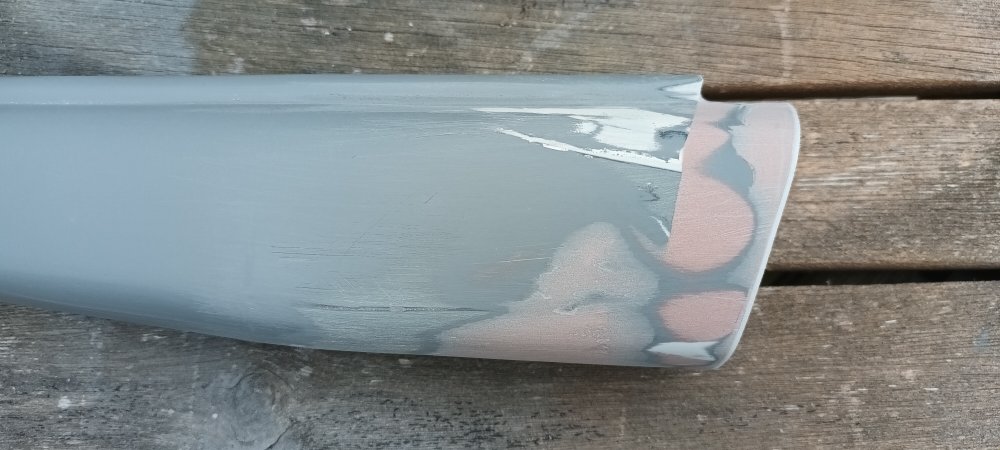
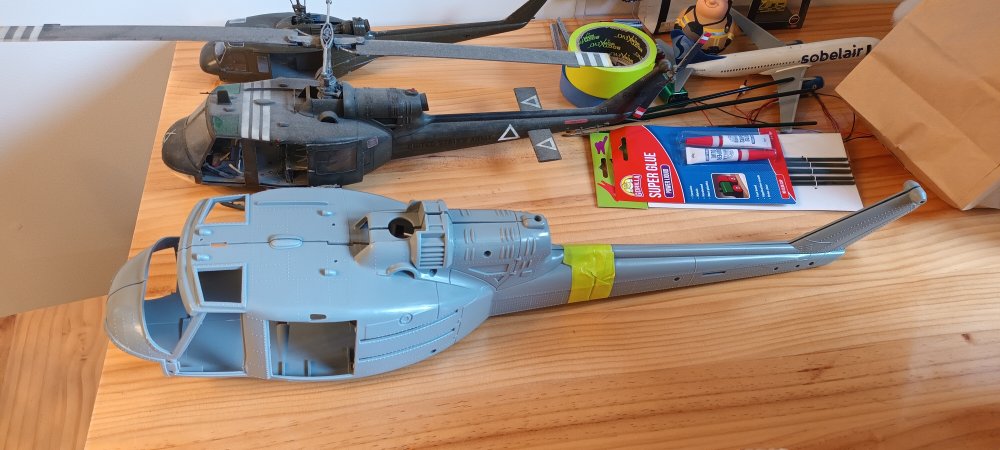
Thanks guys, Still working on getting the boom nice and smooth so I can build the details back up later. I very crudely mocked up the front half. The stretch looks ok but I won't make anything permanent until I find definite dimensions. 30mm is looking about right though.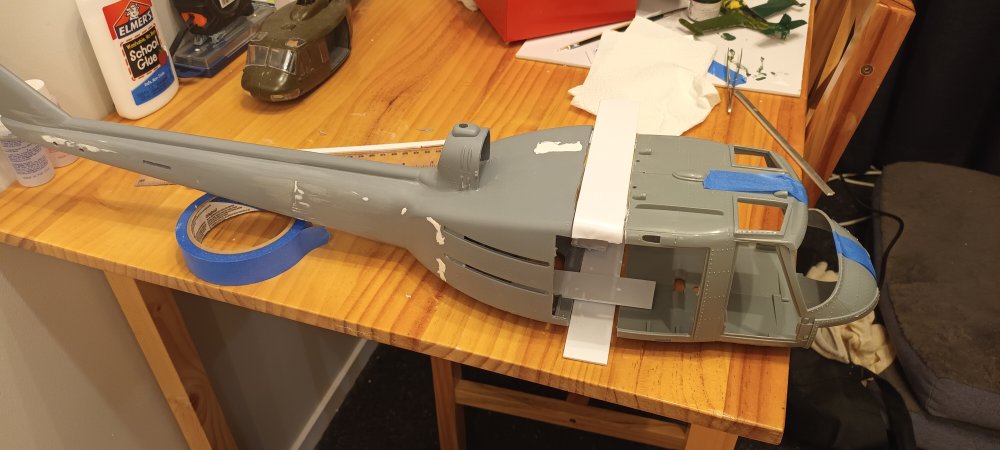

-
Hobbyboss 1:18 UH-1
deanreynolds replied to deanreynolds's topic in LSM 1/35 and Larger Work In Progress
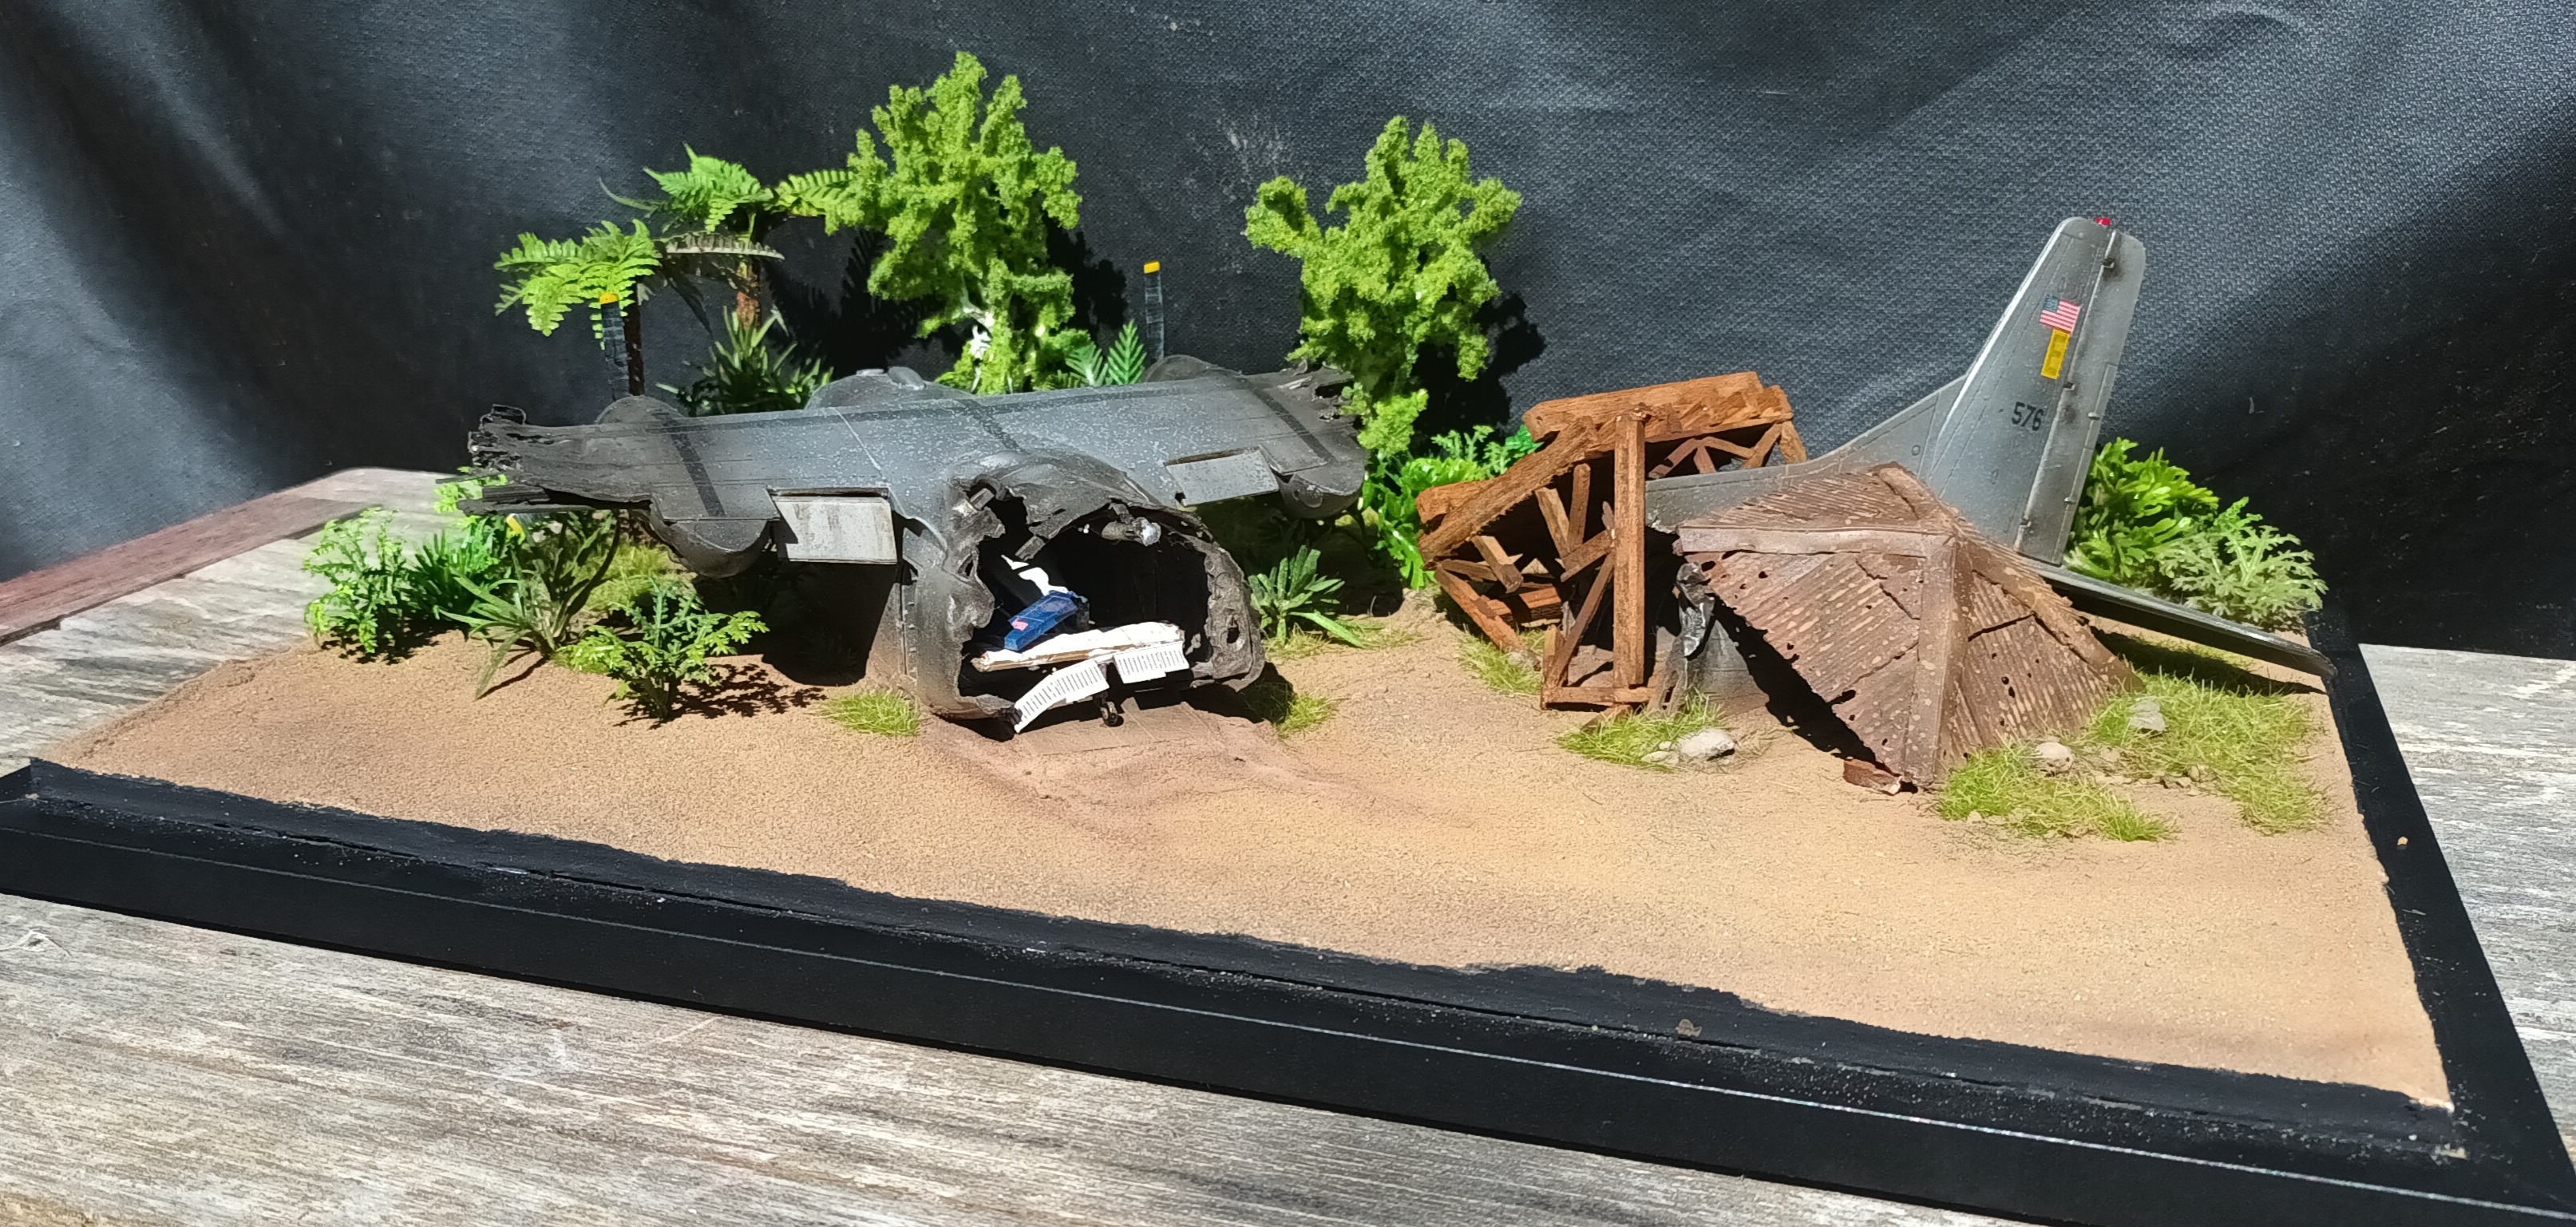
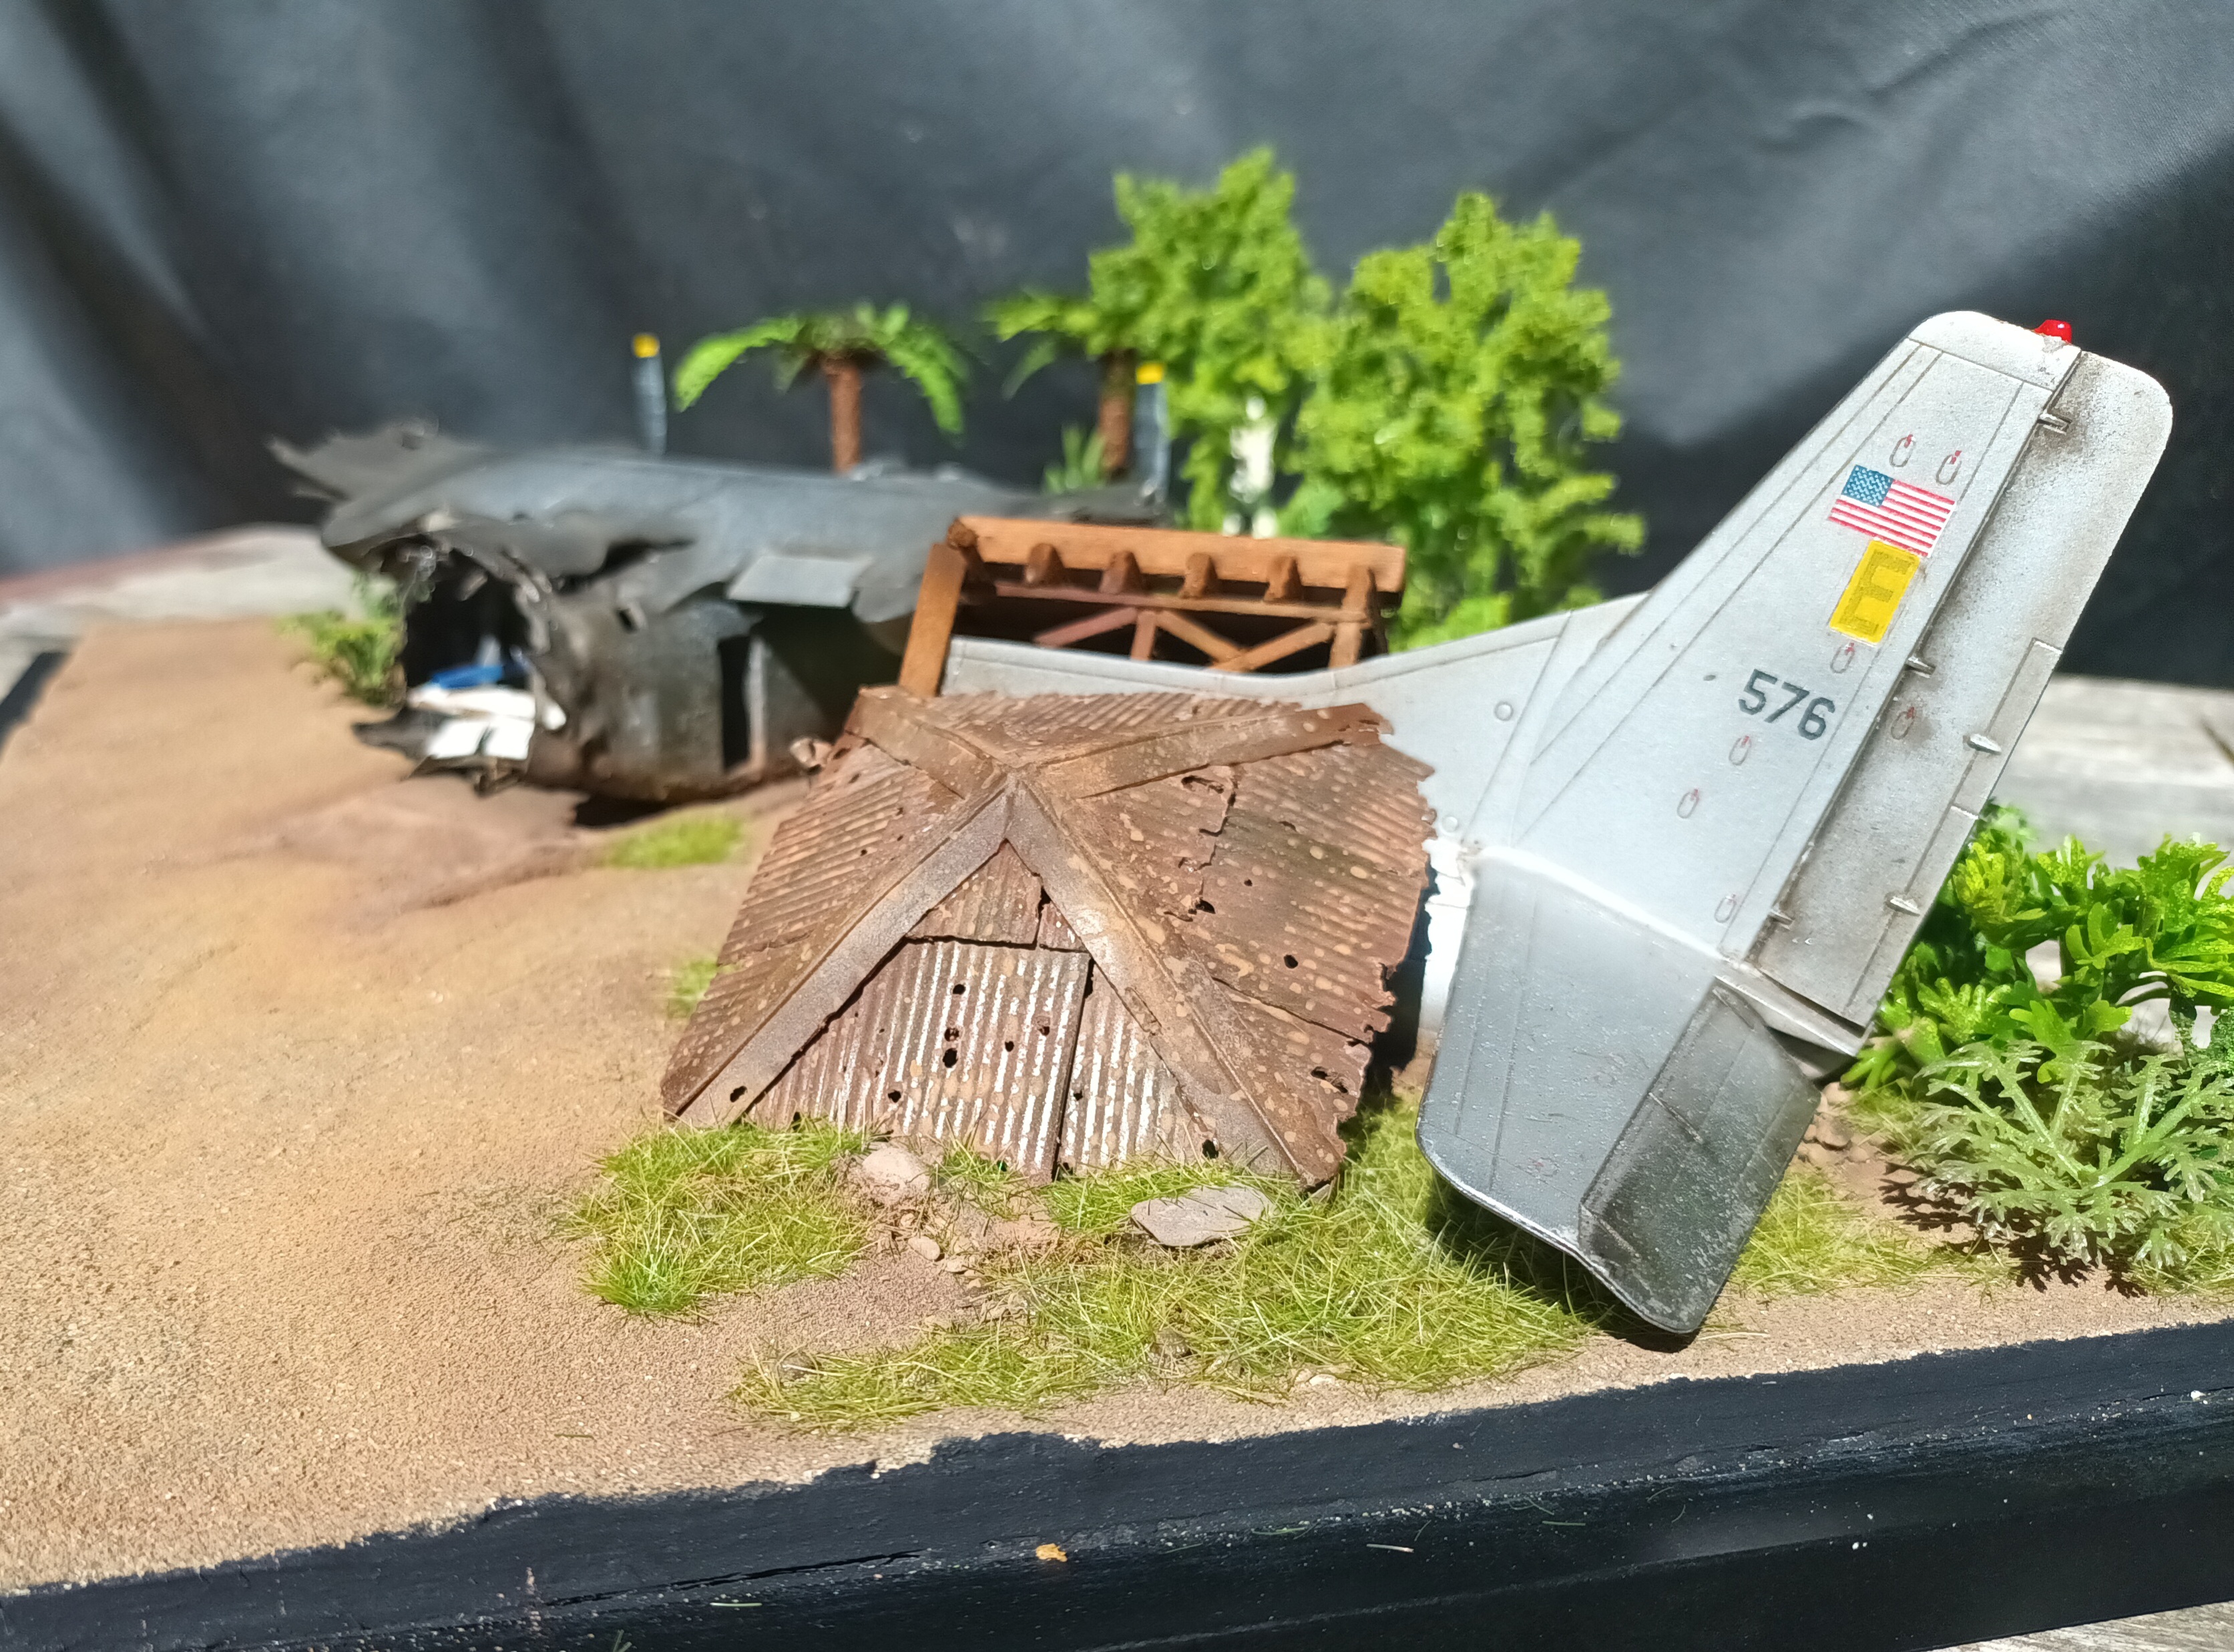
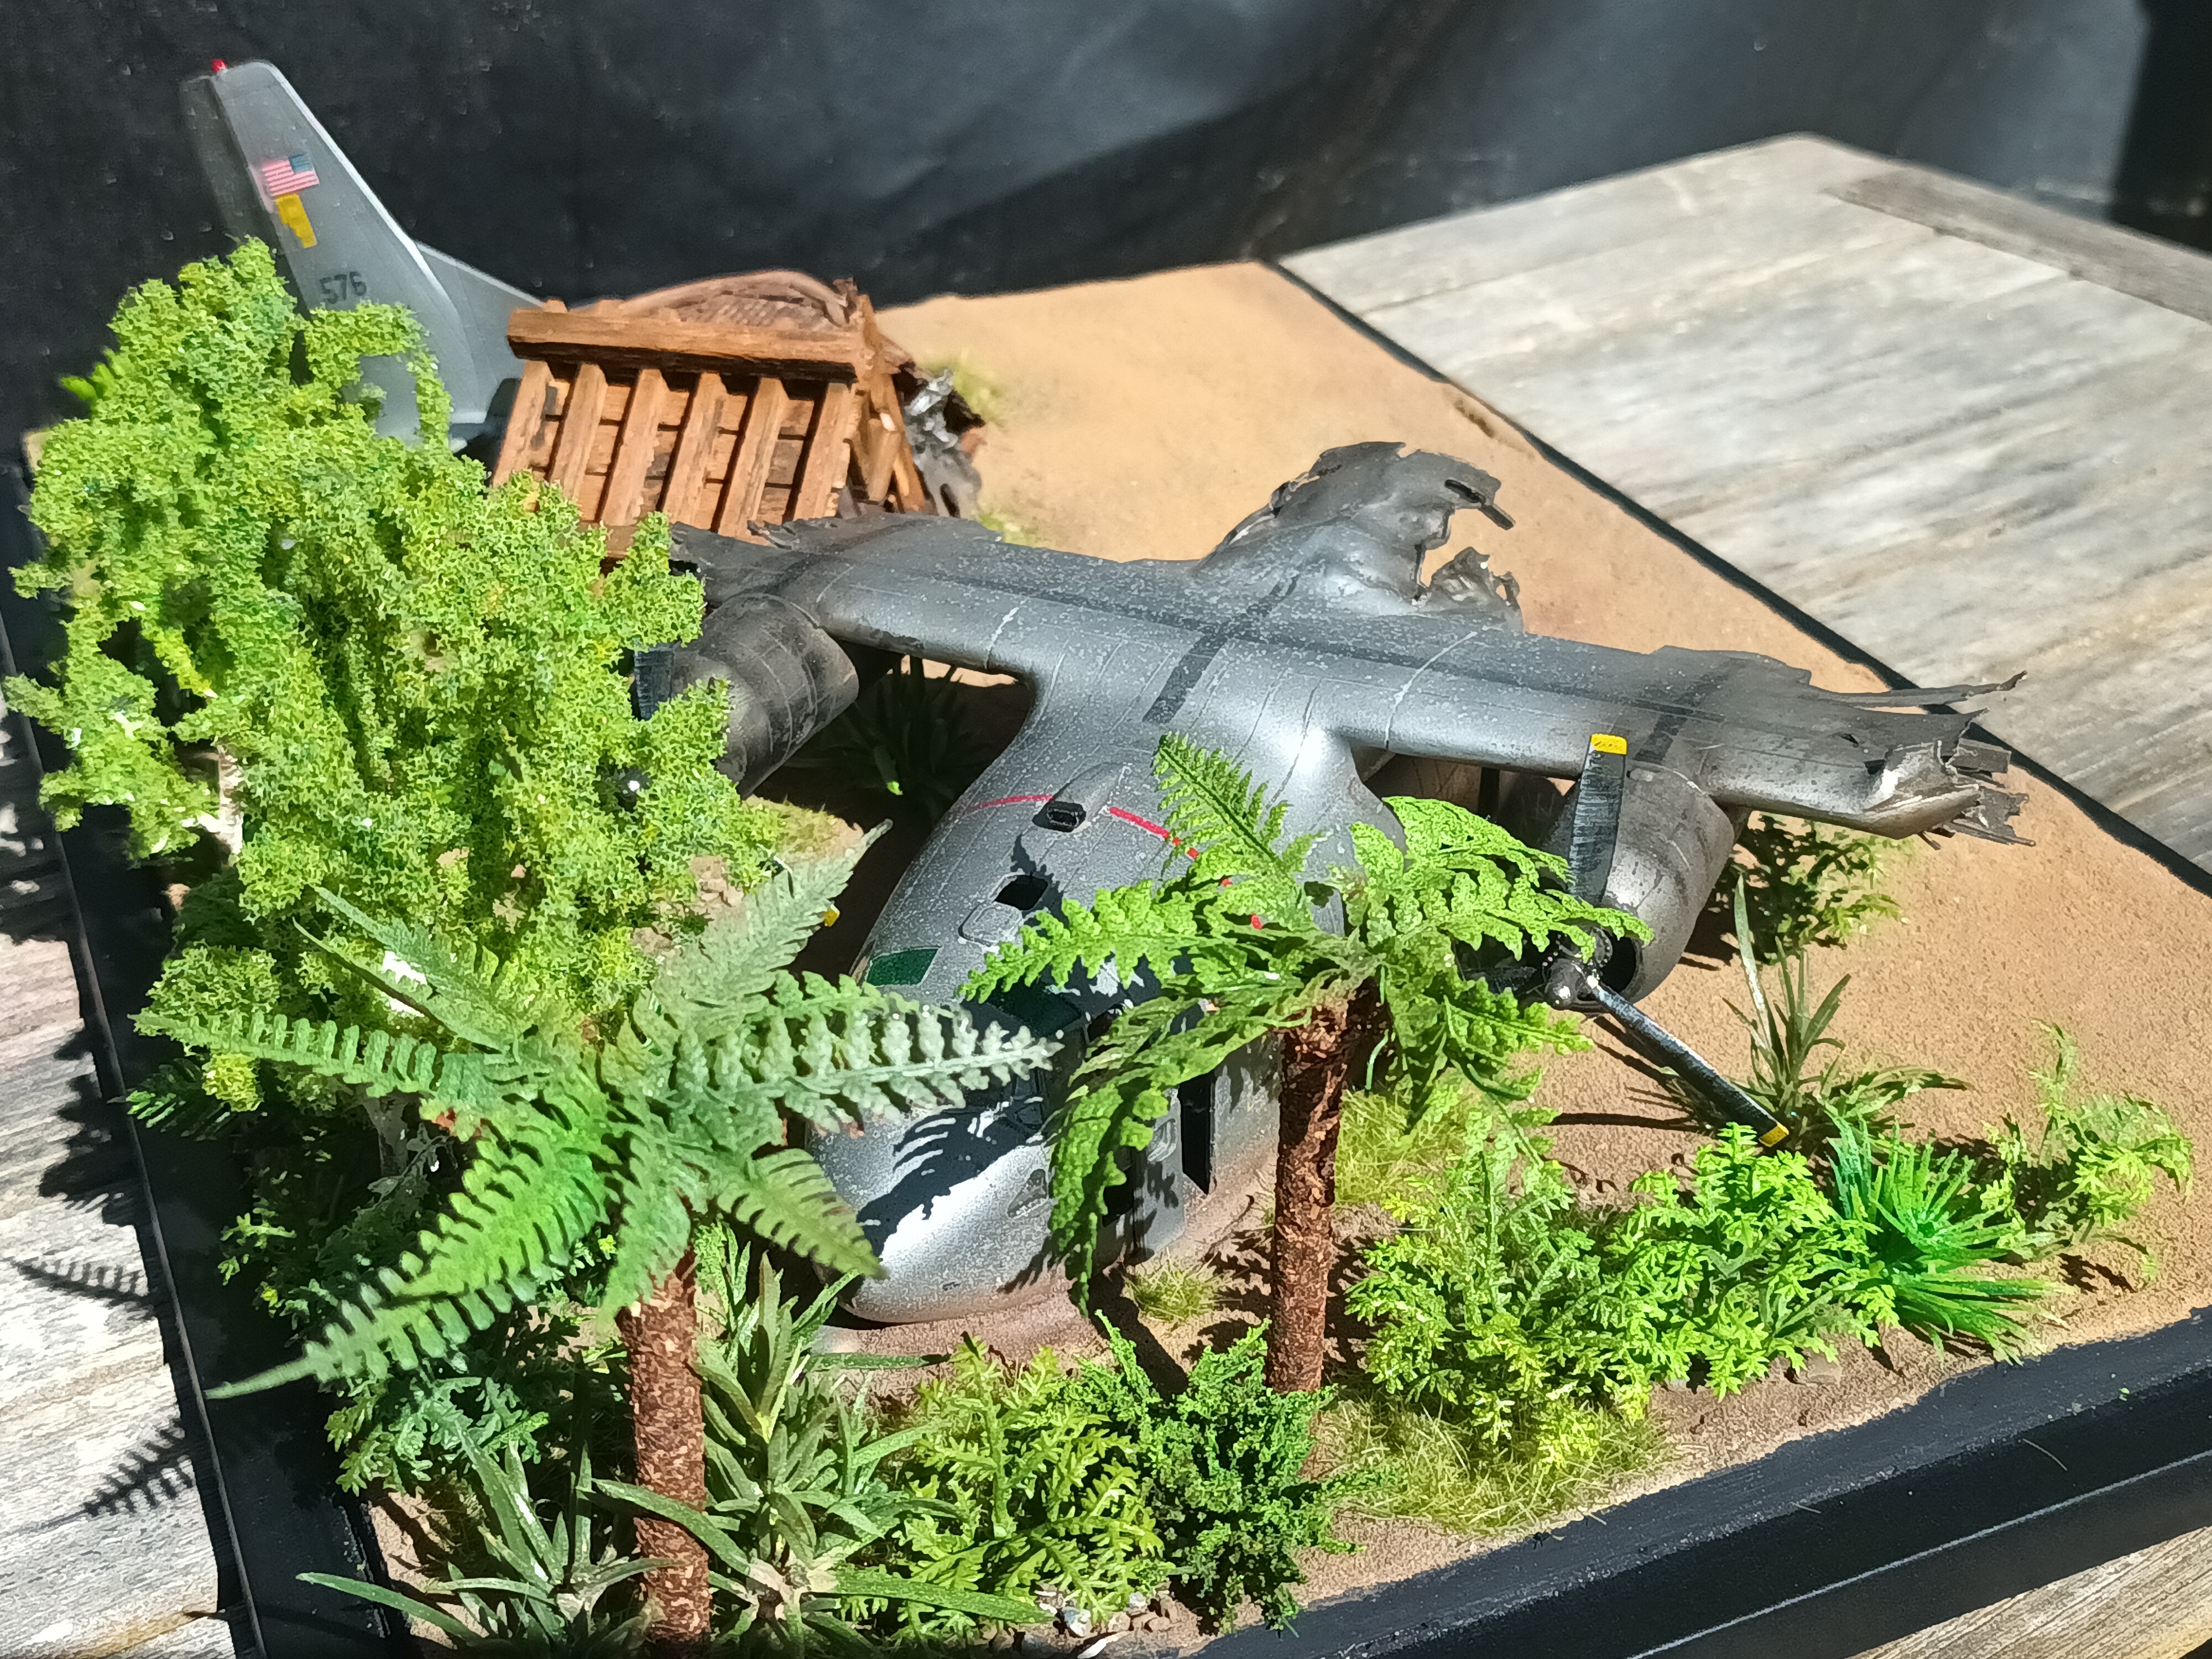
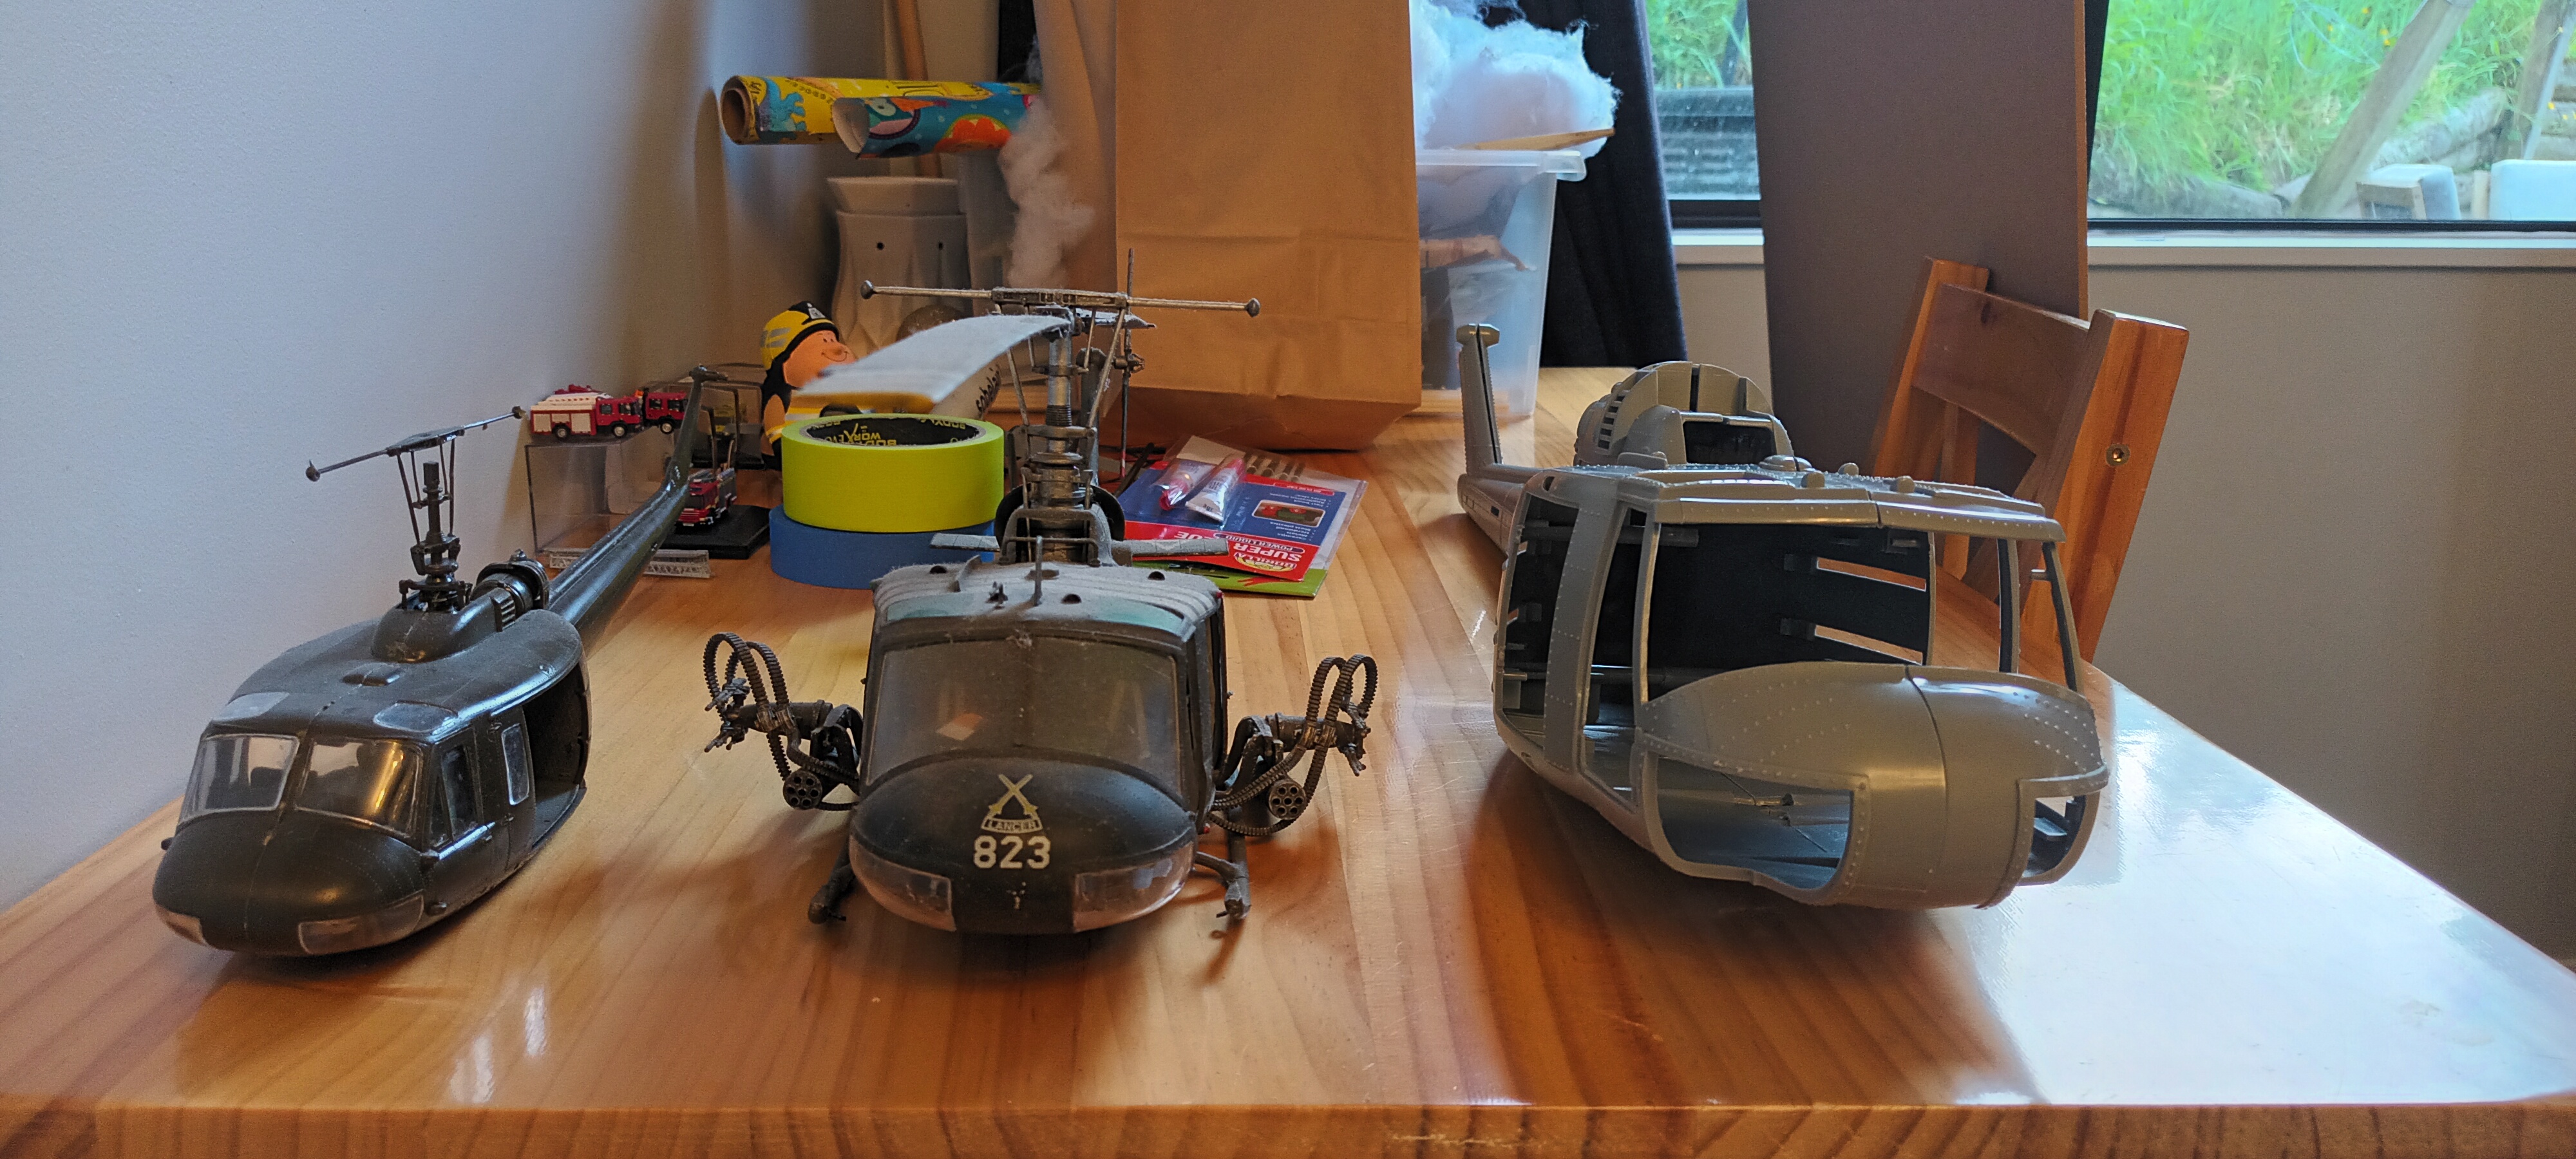
Thanks guys. It is definitely big alright. Believe it or not, they are 1/35 and 1/24 scale Hueys sitting next to it on the table. The 1/35 will eventually be finished in Air America colours yo go along with my last little diorama:


-
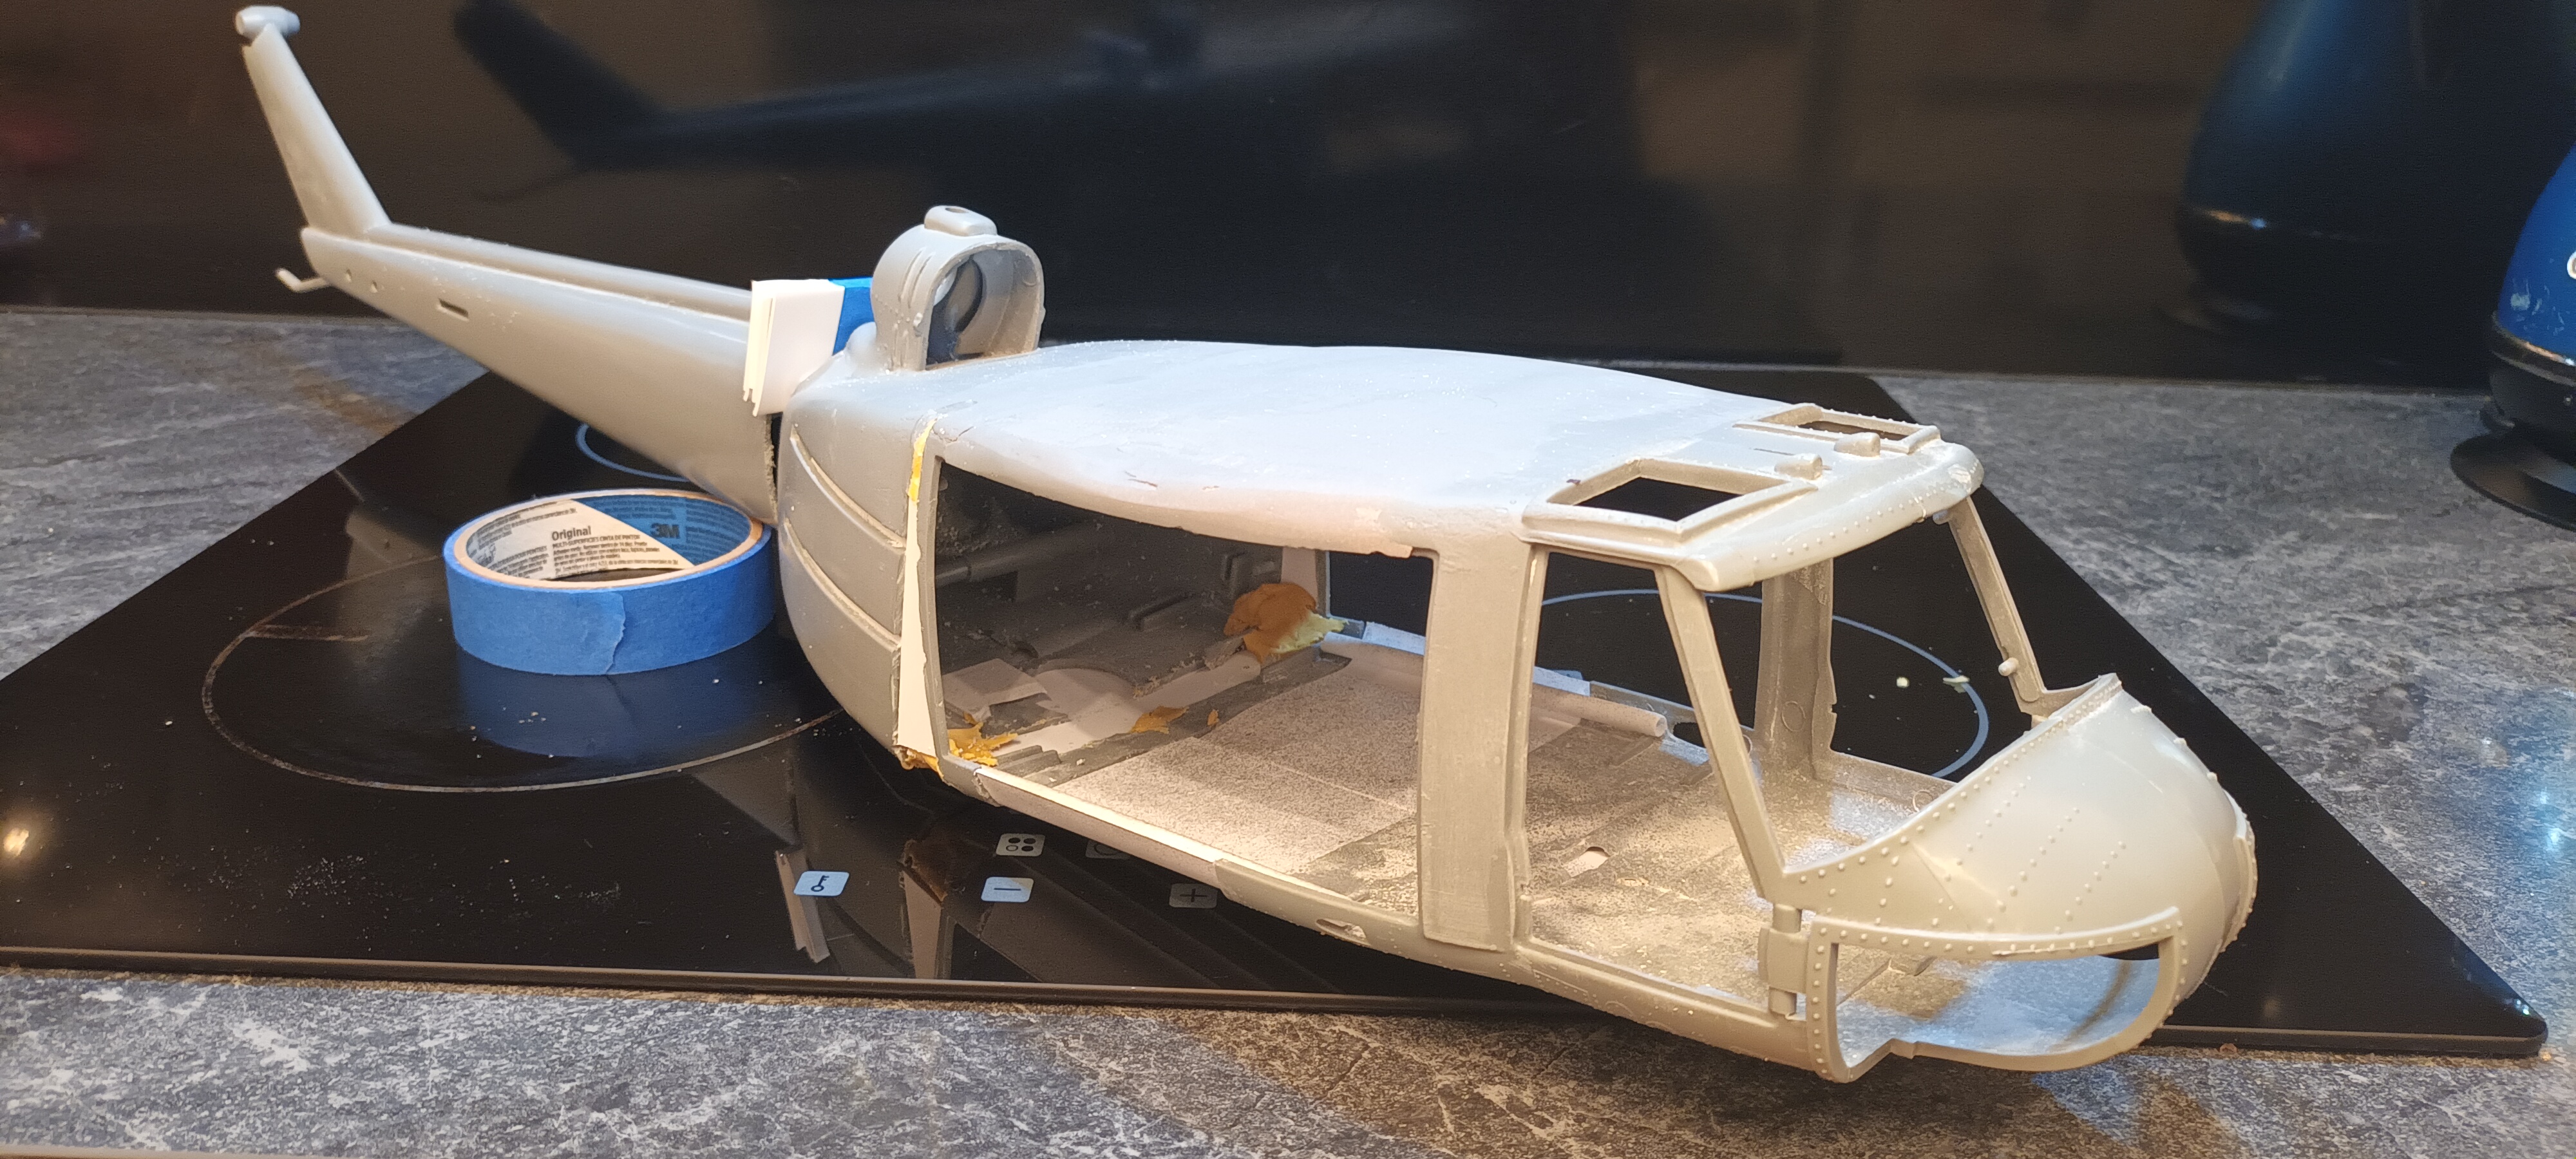
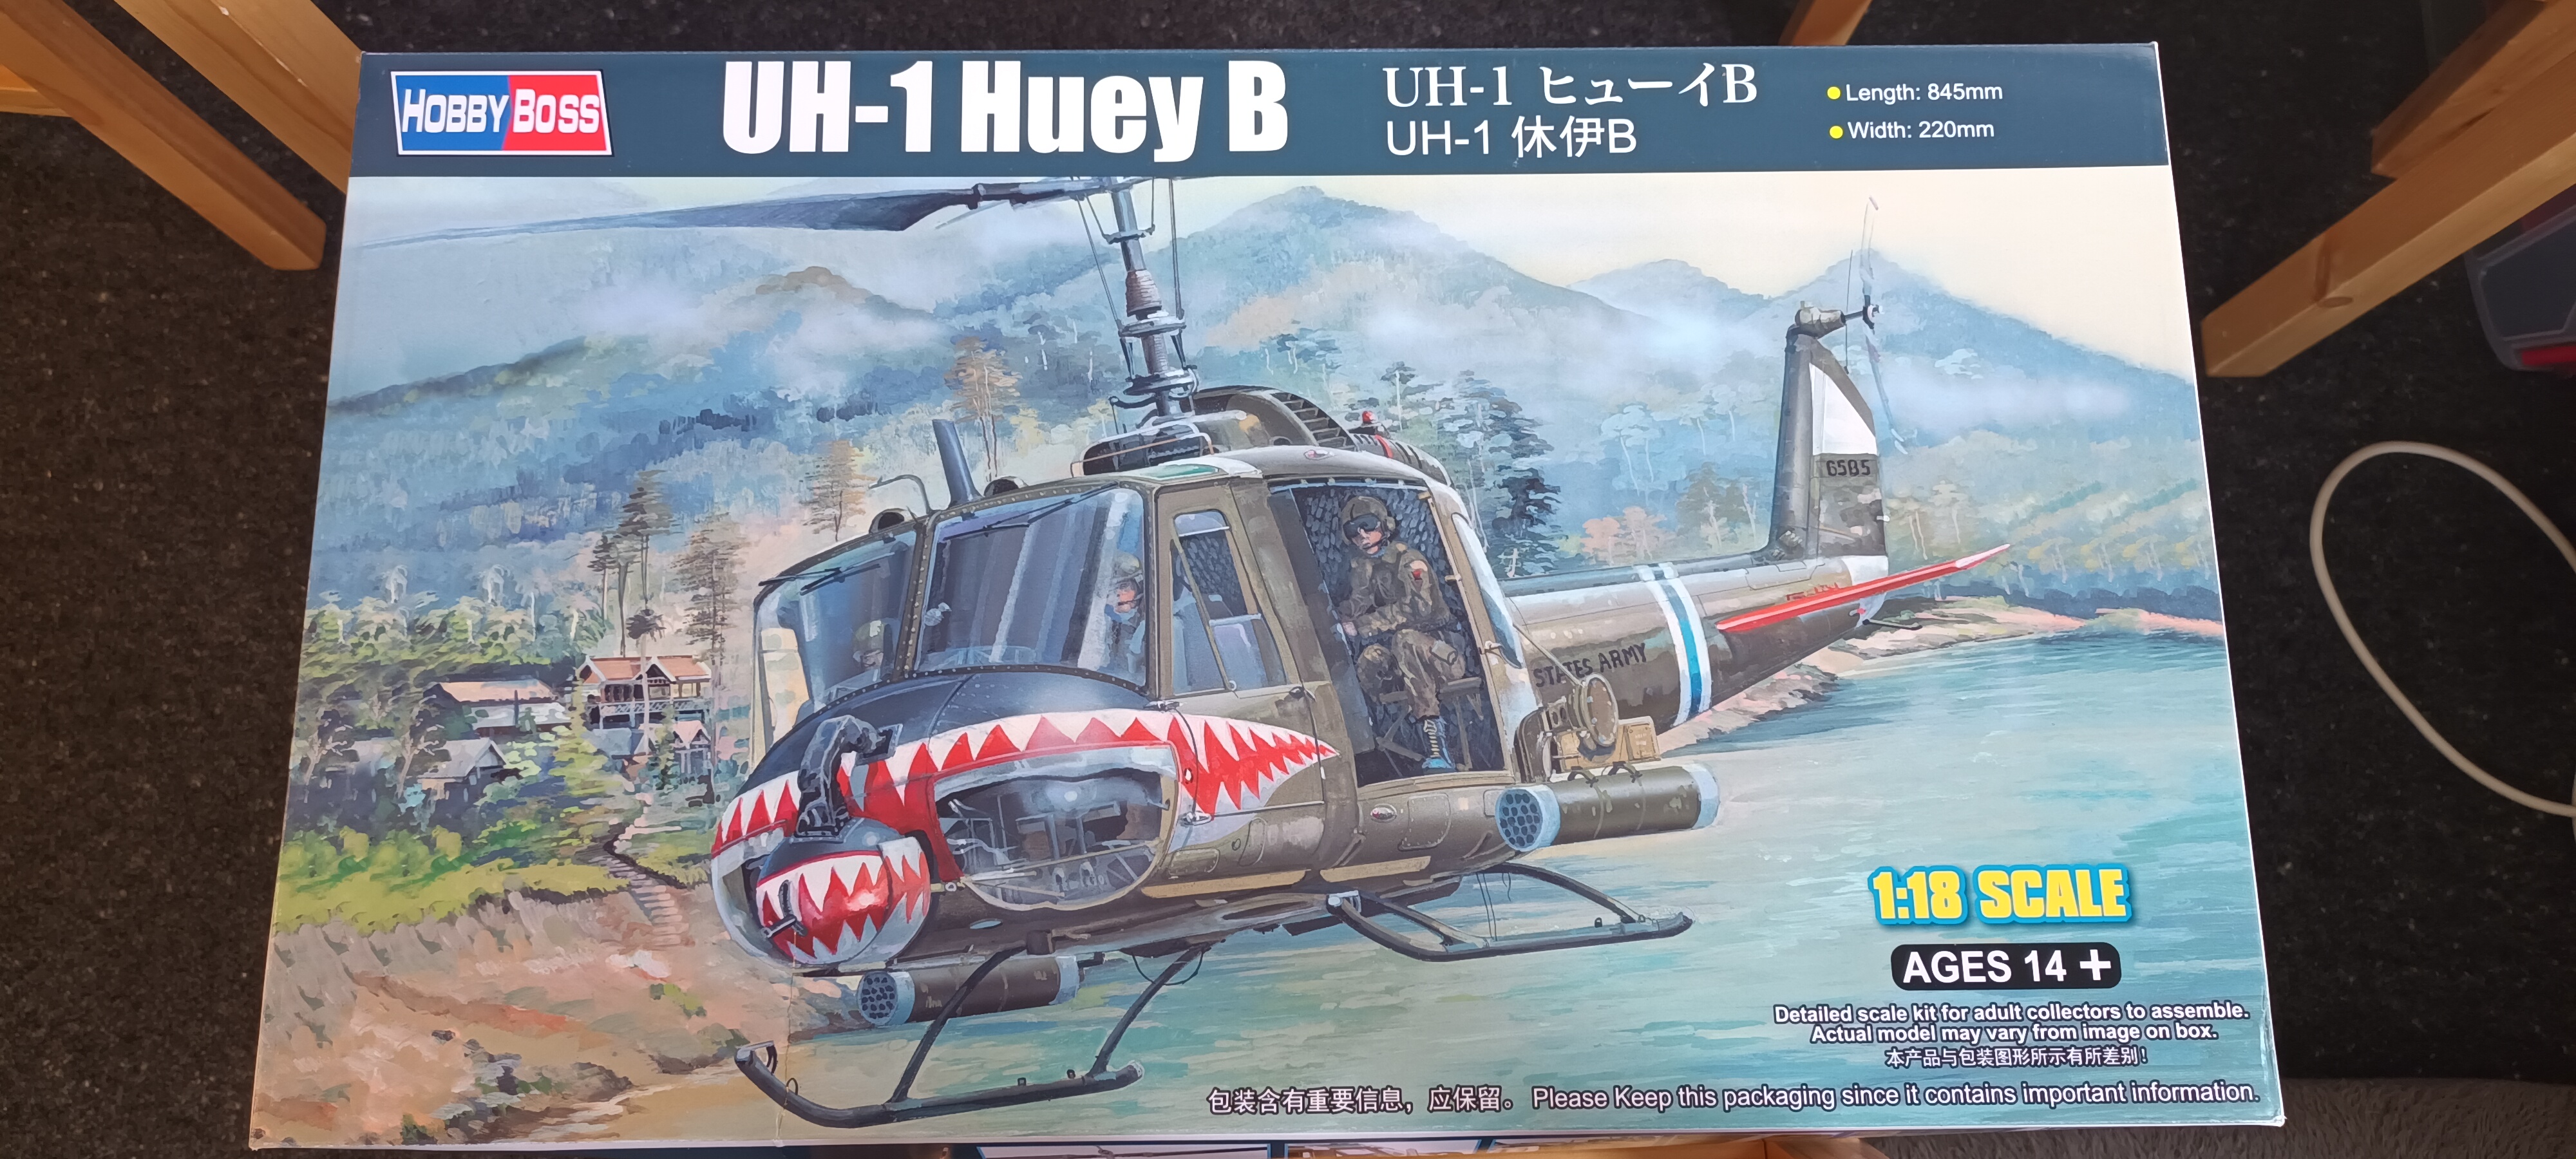
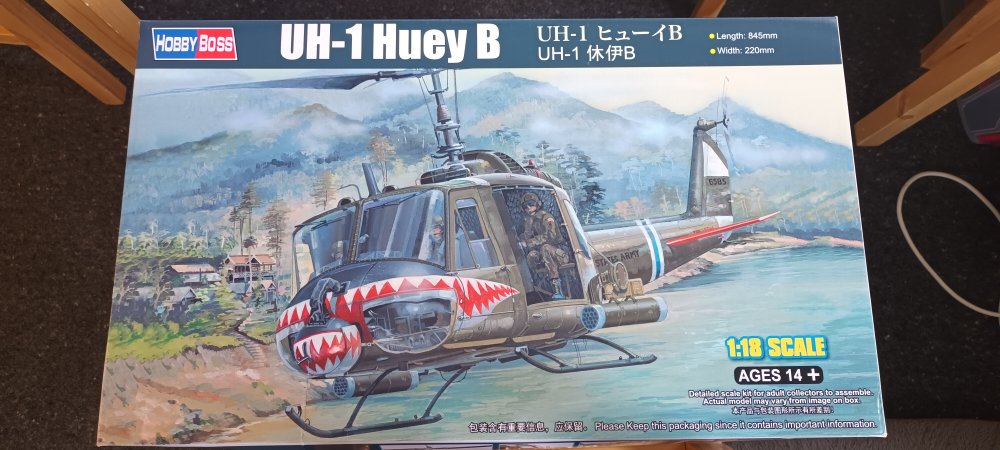
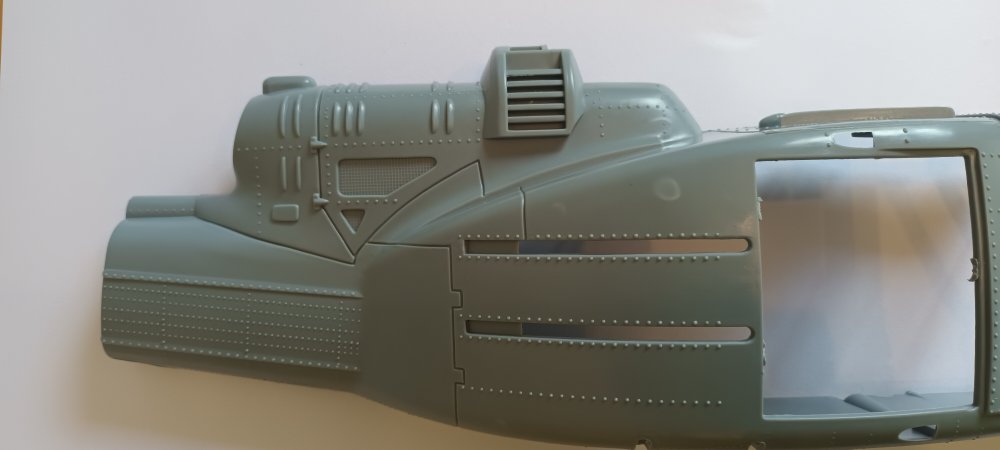
Hi all, This is my first post here. Before I start I'll put a disclaimer. I'm aware this is an inaccurate child's toy that was basically taken off the Production line half way though, put in a box and called a model kit. If you're into extreme accuracy this is not one to follow. I'm just having fun with it to escape the real world for an hour or two at a time. Haha. I've done the Revell 1:24 Huey so I thought I'd give this one a go but make a challenge out of it. The first thing I did when I opened the box was cut it in half. I'm going to stretch it so it (slightly) resembles a "D". So far I've removed most of the exterior detailing from the rear half and repositioned the rear part of the Engine/exhaust cowling. Eventually it'll be finished in either the green/brown or euro1 camo of the RNZAF.


- 31 replies
-
- 11
-
-