


Mark 'ozzy' Ostler
-
Posts
127 -
Joined
-
Last visited
Content Type
Profiles
Forums
Events
Gallery
Posts posted by Mark 'ozzy' Ostler
-
-
Looks the goods so far!
-
Hi doc, I've been watching your project slowly roll off the bench and I have to admit that these ZM kits really do tax a lot of mojo out of you during the construction phase but hang in there ( I did with my 219 Owl ). I found some things superb like cockpit detail, other things ordinary like the the main wheel struts very nerve wrecking. But what pissed me the most was the PE. I wasted hours & hours building up superb looking etch panels to find most of it didn't fit especially the engine access panels on top of the wing. So I hope your effort with the flaps works out for you. Keep up the good work and I hope eventually everything fits nicely. Cheers Oz
-
 1
1
-
-
Hi Doc, I always watch your work, and I'm glad your building a good subject choice! Ive been a 'Wulf' addict all my life, I like watching your builds for inspiration. So I'll watch your technique painting this beast as we all know how tricky german camoflage is to apply. Having one in the stash myself, I'm still praying to model gods for the likes of Tamiya to BUILD a decent FW-190- 'A-5 - A9' and more IPORTANTLY a 'D-9 - D13' before my time is up. Not to mention a P-47 D Razorback Thunderbolt with some decent rocket tubes, but that's another thing! Keep up the good work, again, I'm glad your building this kite! Cheers Oz
-
1
-
-
Hi Mac , nice subject choice, I've one in the stash as well, so I'm interested in watching you start yours. Might mount mine on a stand wheels up in flight, we'll see when it makes it to the bench. These days I draw straws about which kit emerges from the stash as a build, after my P40 warhawk is finished (soon) it will be time to re-draw. cheers Oz
-
22 hours ago, DocRob said:
Hi Oz,
I have just recieved the package and had a rough sighting of the sprues, looking for damaged pieces. So no schedule for building the warhawk and no reference material besides the comic book
") . Actually I'm waiting for some internal and external PE-stuff from Eduard to add to the bird.
. Actually I'm waiting for some internal and external PE-stuff from Eduard to add to the bird.
I haven't thought about riveting this one, do you think it is really necessary?BUT you are on your way with the "Ruth A" (another lovely scheme) and I have not seen a single picture, Did I miss the WIP?
Cheers Rob
Hi Rob, no WIP on this one, might post a photo later, will start on rivets tomorrow before I pre shade panel lines. Photo bucket a pain in butt but will sort something. I've finally landed a D-9 wulf from Hasegawa, just waiting for resin parts to turn up, so the P40 is on the workbench currently. I like this kit, the undercarriage looks great, primed wheels etc and ready to go. I like the decals that you've got for yours, the skull looks really mean and the white spinner looks the part too! Is that what your building? Cheers Oz
-
This is supposed to go to doc Rob, sorry Danny if it's ended up in your email! Cheers. Oz
-
Hi doc, got mine built up to external paint, can u enlighten me with some reference material to help me with the rivet process that I want to achieve. I'm doing version 'C' as I've always wanted to do an earlier version of the warhawk. I'll be watching your WIP . Cheers oz
-
Hi doc, I got one too, just finished the build, external paint to follow. I'm building the version on paint scheme 'C', I've always wanted to build this version. Got any plans for the riveting? I need a reference, any advice appreciated? Cheers Oz
-
Many thanks! Oz
-
On 1 September 2017 at 5:08 AM, Trigger said:
Hello there,
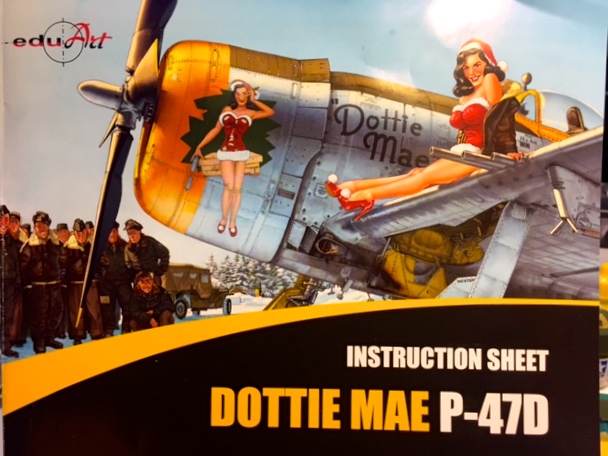
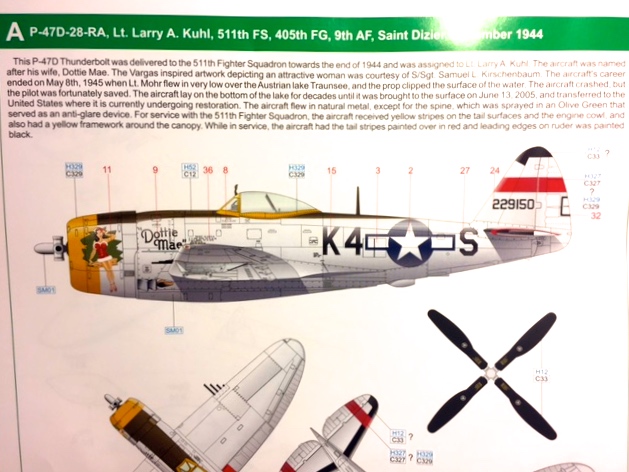
There has been a lot to do lately about the P-47 " Dottie Mae" , this aircraft crashed in an Austrian lake in the last day of WWII, the pilot could barely get out alive while his plane sank to the bottom of the lake. The aircraft was salvaged from this lake a couple of years ago, and has been restored to flying condition. There are numerous films on you tube about this salvage operation, and about her restoration.
The boys at Eduards must have been interested, so they made a limited production run of this aircraft in 1/32 scale with some beautiful artwork and some extra's in the kit.
The subject raised my interest to, so i searched the internet for this kit, and found one for a reasonable €80 euro's, shipping costs included. (price at Eduards today €124,- without
shipping).
I won't do a review of the parts and the kit itself, since there are a number of reviews on the various web sites of this kit,
So, on with the build,
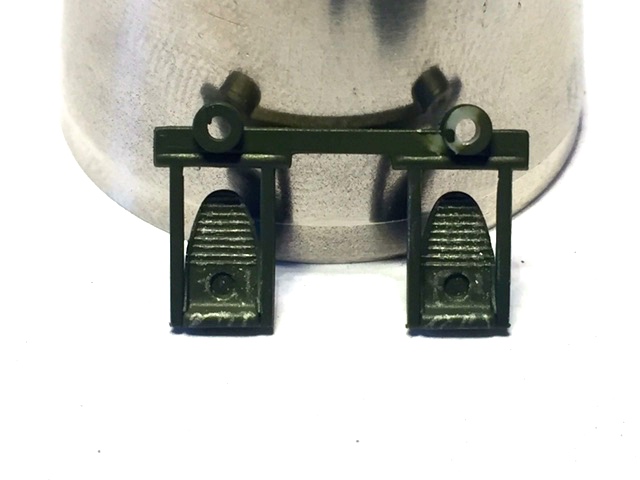
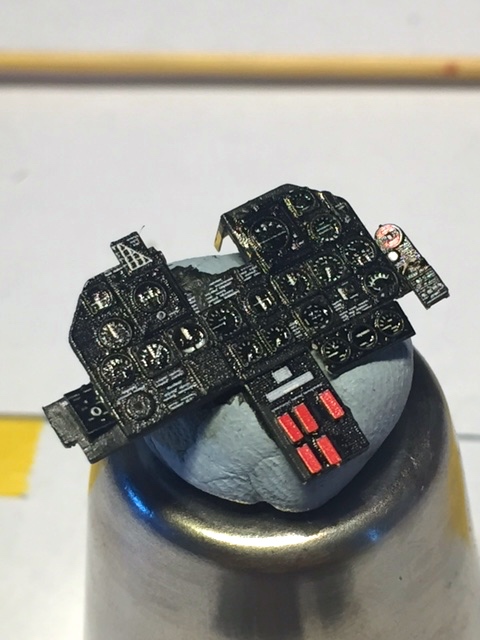
I started the build with the cockpit, added a lot of pe parts that come with the kit,
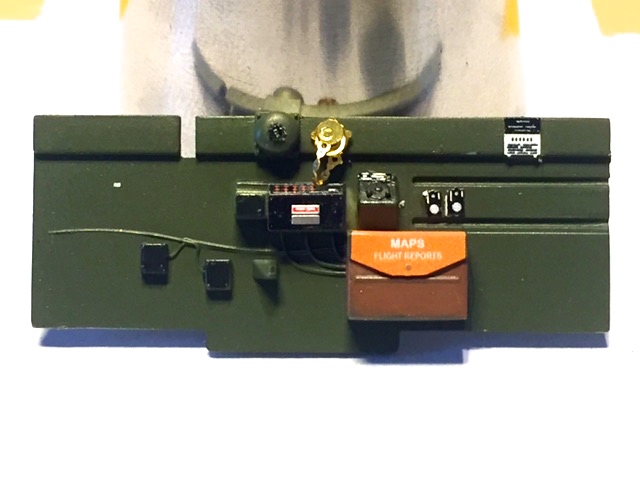
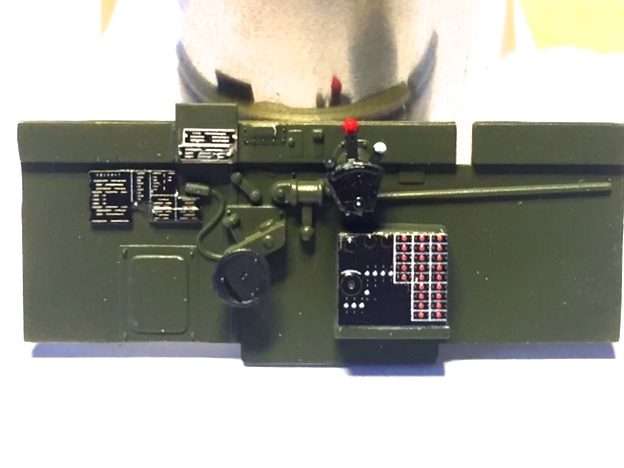
The instrument panel,
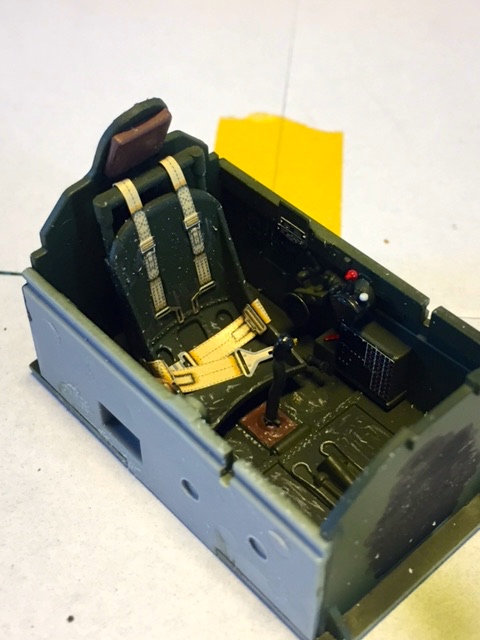
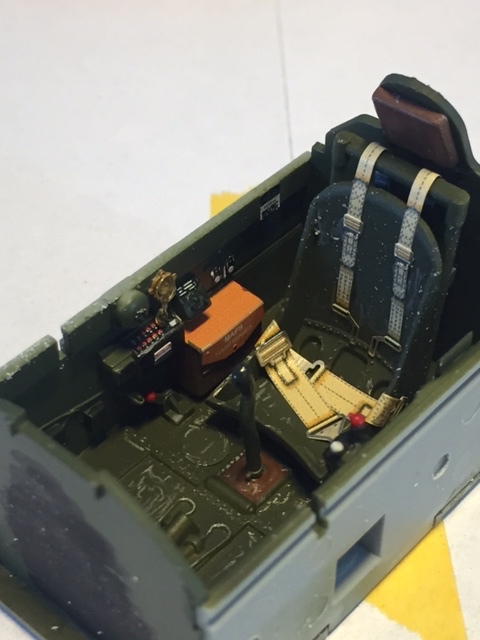
Cockpit complete, (still need to dirty up the cockpit a bit with various washes),
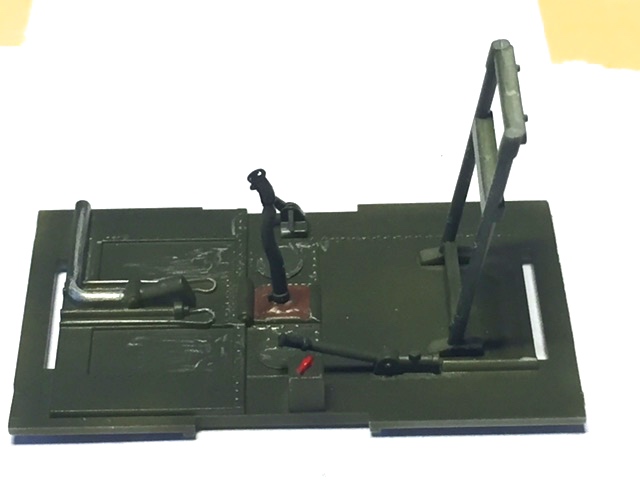
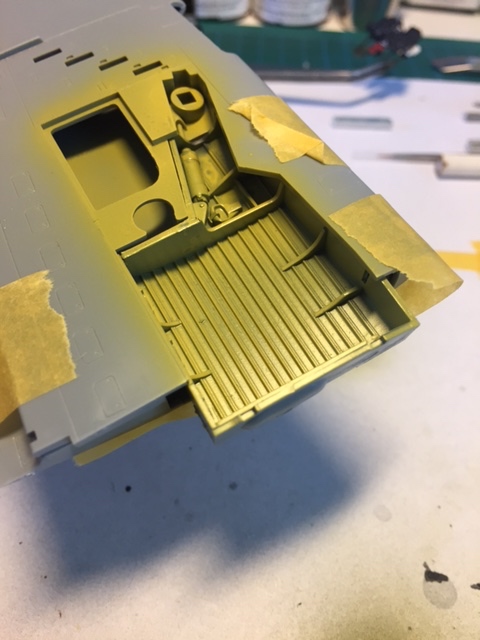
Started on the wheelbay's, sprayed them in zinc chromate tamiya xf4,
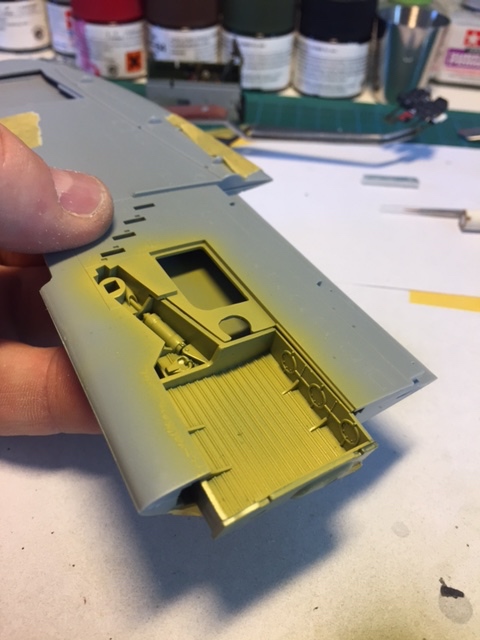
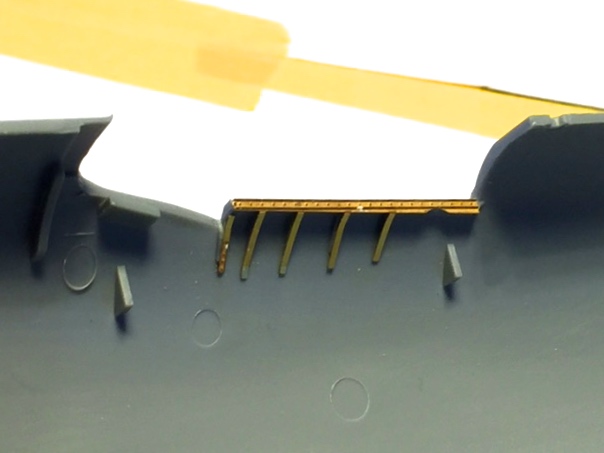
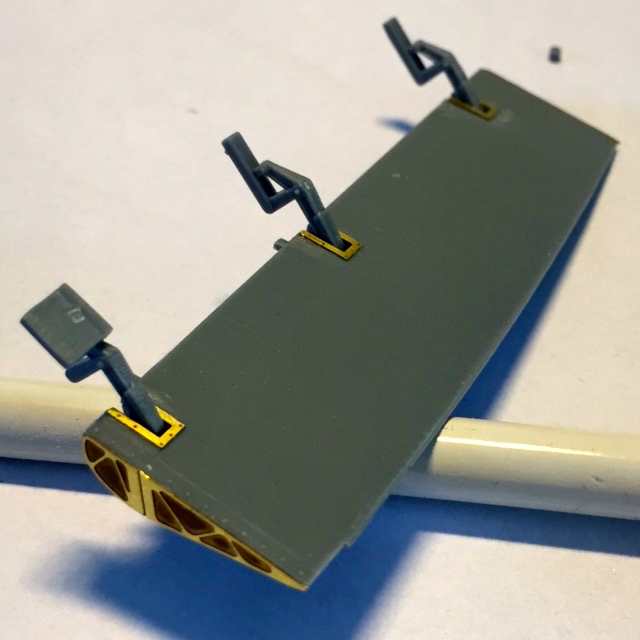
Done some work on the flaps, added some pe parts that come with the kit,
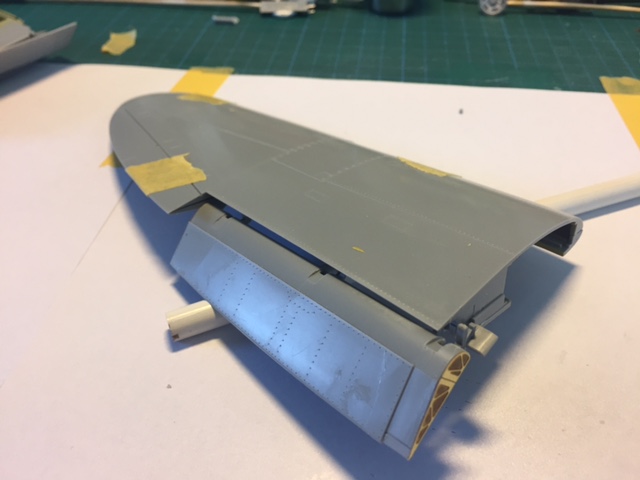
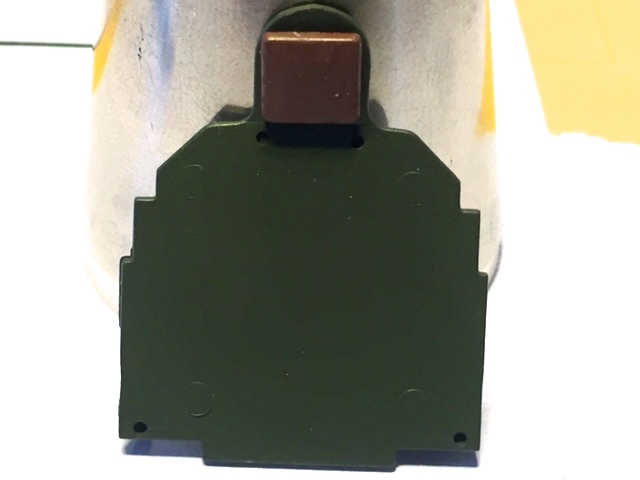
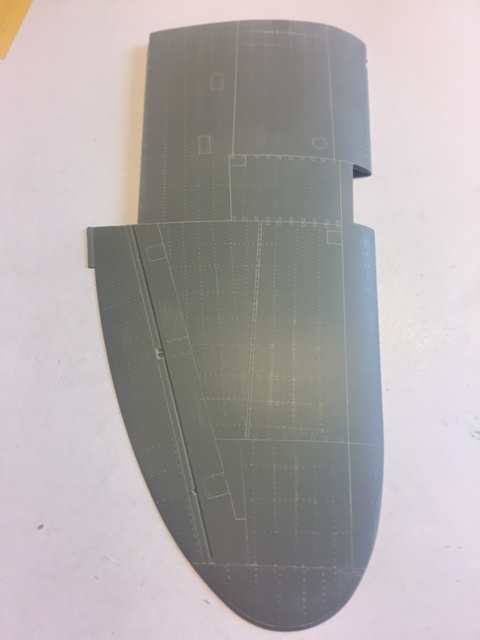
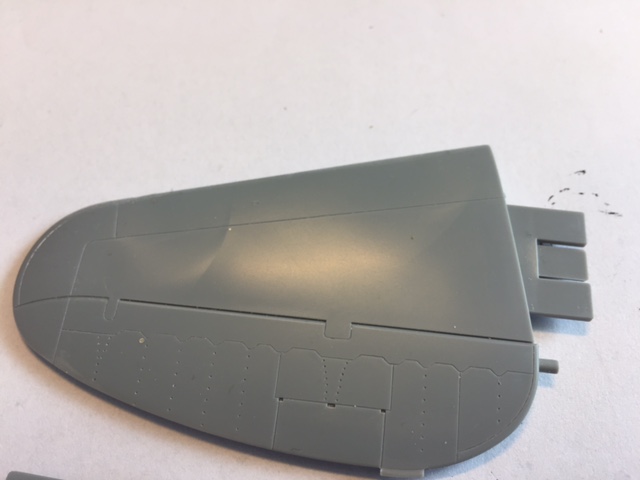
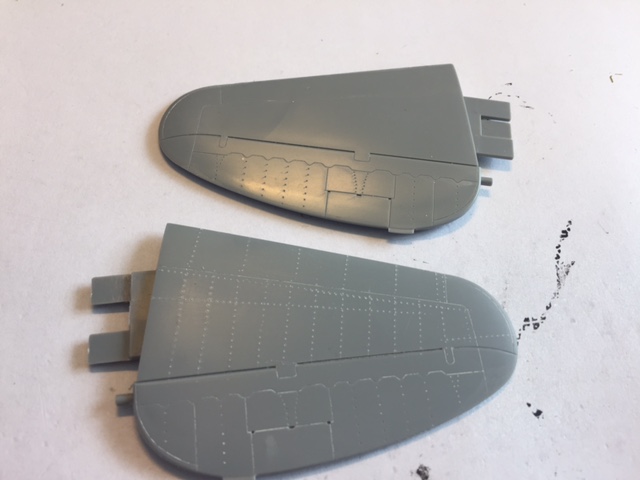
Looking at the wings, i got the (stupid ) idea to add more detail as in rivet lines that are missing. The kit is basically a Hasegawa kit, and is missing these kind of details, and since the aircraft has a bare metal look i thought i was a good idea to add them to the kit. But what a tedious job!, almost regretted that i ever started it, anyway, here are some pics, before and after riveting,
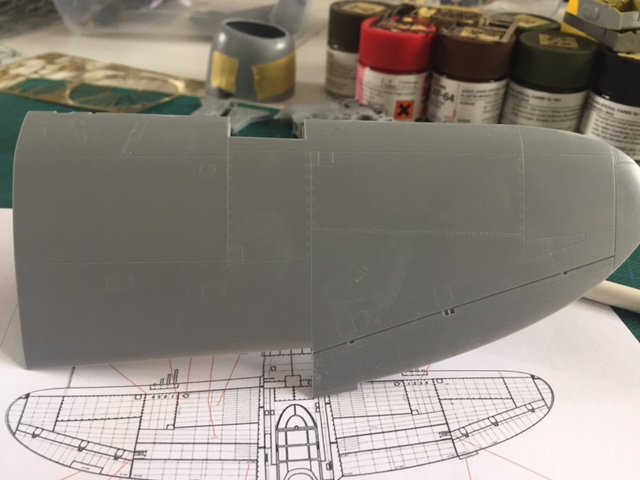
I am now working on the fuselage to add riveting lines, so more picture to follow,
Greetz,
Frank

Hi frank, nice subject choice. I'm glad to see that your tackling the pop rivet issue, I've got a 'Dottie' as well, and I was wondering about how to rivet the beast. I've got a trumpeter P47 that won't make it to the hall of fame, but left in the box as a kit o shame, but at least it's a visual reference to rivet. What is the reference that your looking at? I can't ever find these things on the web, can you enlighten me please? Keep up the good work! Cheers. Oz
-
On 4 August 2017 at 3:13 AM, rkranias said:
Just finished the wheel well assembly. Heavy drinking to follow.
")
Sounds good!
-
I will certainly keep an eye on this, the stern of the sub looks awesome! Thanks for renewing my enthusiasm..cheers Oz
-
Nice subject choice, will watch this one progress. Looking cool so far! Cheers Oz
-
I think I paid $65-75 for the 109G and $85 for the wulf, that's why I'm hurting. The 190 is the better kit, especially the instructions!
-
On 19 July 2017 at 9:09 AM, mikester said:
When Amazon had their big "Prime Deal Days" a couple of weeks back I scored 4 Revell Bf 109G-6s and 4 Fw 190F-8s for $76, delivered! Really didn't need them but just too good to pass up at a little over $9 a kit!
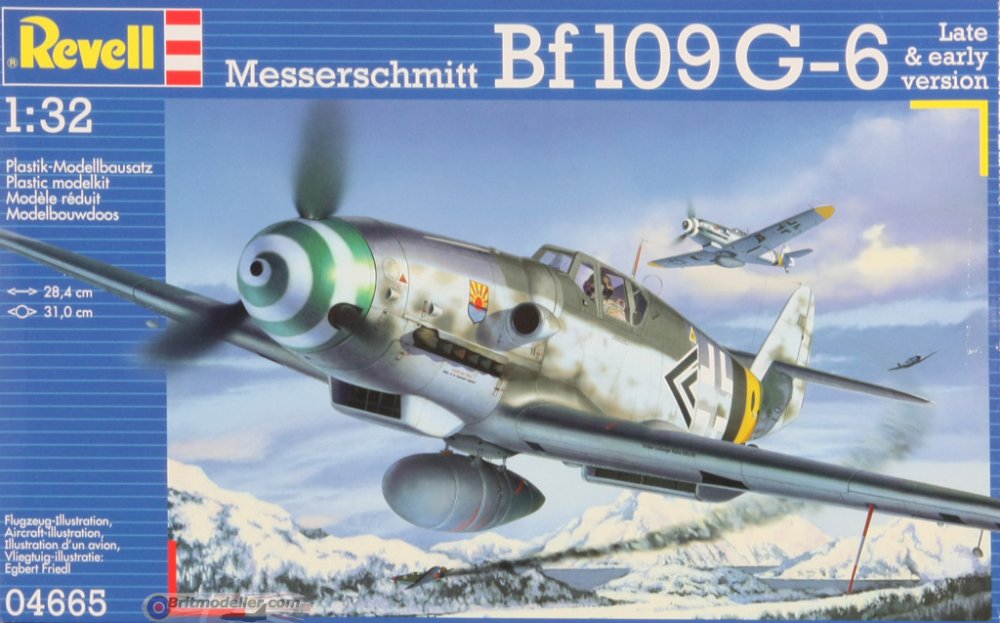
Both kits are crap, I think u got ripped off paying 9$ each
-
13 hours ago, DocRob said:
Hi Ozzy, thanks for your kind words. A nice collection of subjects you have to choose from for your next adventure. I will finish "Red Star 47" for the Resin-GB next or maybe a 109 Emil with a lot of Resin I started some month ago.
Back to the masking, predominant subject of my days right now.
For the first stage of chipping on the Raiden beast I used Mr. Masking Sol Neo, which is pretty thick and easy to peel off. You have to be really carefull while applying because it tends to get a little blotchy. I used a very fine stiff brush and a sharpenend toothpick.
On my Corsair build I used Microscales Micro Mask, which I chose because it is thinner and more fluid, meaning it is easier to apply on fine detailed parts. This way it worked, but peelin off the stuff proved to be a nightmare, because it sticks like hell. I will not use that stuff again.Speaking of Masks, the beast is clothed in Maketar precut masks.

And dressed to paint (I'm a coward with overspraying)

Finally some color, white for the Rondels and priming for the following red and yellow. I always have my troubles with white, red and yellow. Theese colors tend to clog in my airbrush much more than others. For the white I used Tamiyas flat white, which was horrible in every degree of thinning. Then I switched to a Scale 75 white which was slightly easier to handle. For red and yellow I will use my 0,4 mm Airbrush, not the usual 0,2 mm nozzled one.
Cheers Rob
I always use tamiya enamel, never fails, easy to get the right consistency, only found one problem, the paint will turn to poop if you mix general purpose with enamel thinners, the paint goes really thick and generally turns out kaput, strait in the trash it goes. You've put me onto another good thing, these make tar masks, I want to try them as montex leaves a glue on the clear pieces that near impossible to remove and makes your canopies look fugly. Keep up the good work mate! Cheers. Oz
-
1
-
-
Hi Doc, watching your beast with interest, good to see something different being built. I think I might buy a bottle of mr masking fluid or whatever it's called. Vallejo just doesn't cut it for me, it's too 'runny' for my liking. I've just purchased Hasegawa's 1/32 Mitsubishi A6M5c and a Messerschmitt Bf 109 F, and both of these things being paint chipped to the shithouse and back, I'm glad your showing this stuff in your build. Jap aircraft suffered in the tropics, as did the Aircraft in the Mediterranean/ African theatre. So if this product is as good as say 'their' primer, I will be a happy hound... PS .what's going to be your next build?? I've got the choice of the above mentioned, plus a ZM Ta152 , P47 Dottie Mae, plus a few nearly finished. I'm going to use HGW's super rivet set on the 109F just to see if it's worth buying a set for the zero. Anyhow, keep up the good work bloke, cheers Oz
-
1
-
-
I'm liking this beast. Something about that big radial 'donk' makes it look brutal. Makes the aircraft attached behind it look diminutive. Gunna keep an eye on this puppy! Oz
-
1
-
-
21 hours ago, DocRob said:
No comments on the best chipping method? Then I have to rely on my own method thinking
. I will try to do the base chipping with liquid mask dabbed onto the silver primed fuselage and wings with a fine stiff brush. I try to empasis the spars and seamlines to do so, as to achieve a stressed surface effect. I deceided against the hairspray method, because I'm afraid of peeling to much paint of when masking with tape for later stages of painting.
Raiden with goose skin:

First paint for the pilot:

Cheers Rob
-
1
-
-
Hi splif, may I ask you how much these WnW kits are? I am thinking about purchasing a couple soon. Cheers Oz
-
On 6 May 2017 at 0:50 AM, spliffsecond said:

missed out on the first series, i could not resist to preorder.
Been sidetracked on the corsair by something else will post soon
grtz
free
-
On 1 April 2017 at 8:00 PM, DocRob said:
Hi Ozzy, it was a pleasure to follow your Owl-build. The result speaks for itself you achieved a great UHU, which is an altogether fascinating airframe.
The paintjob, specially the mottling looks just right, a thing I'm a little afraid of painting mine. It is a big plane, a big project and it is good to see the thing finished in such a nice way.I guess when I'm building mine you should be prepared to answer a lot of questions
Cheers Rob
Thanks rob, be glad to help in any way. This thing makes p47 look like 1/48 scale. My first tip would be buy a circular table with a rotating top, very hard beast to manipulate with flaps down and gun bay doors open. Leave undercarriage / doors antenae's till last. Figure out where your going to put the thing when your finished. I didn't think that far ahead. Cheers Oz
-
1
-
-
Thanks everybody for the positive feedback! Yes I spent a lot of time standing up due to its size, hand wobbles are more noticeable when u can't rely on the bench for support. I recommend to all who build this kit , don't mate the wings / fuselage to you absolutely have too, and strengthen the wing wing spar with ZM's aftermarket kit for the job. In hind sight of I ever do this kit again I would endeavour to build a jig that holds the kite vertical for ease of painting. Rivet before assembly, the engine cowlings rounded shape are hard to rivet once glued in position that I can tell you. Avoid the ZM - AM panels and latches, not a good fit, however the gun - ammo bays did work well. The scharge musik cannons need carefull attention to get the end of the barrels up to the right height, and the decals for the wheels were over sized to look convincing, hence why I left them off. If ZM ever released an A2 or A7 I would jump straight in again, this time I'd go for a blacked out theme. Cheers. Oz
-
1
-
-
Hi all, well after 5 months of building my owl, I'm just about finished. It's a big kit, plenty of workbench space needed for a project this big. I'm looking foward to starting a new build, this one took too long. I'm happy with the result (including my in-corrections and stuff ups) but I'm happy with the result. I ended up using the Zoukei-Mura AM tyres without a tread pattern, they just looked a better fit than the Barracuda items I purchased (plus no front tyre in this kit to utilise!). I ended up choosing to spray the clear & matt paint from Mr Color spray rattle cans in favour of the Alclad method just to speed up the process. In hindsight I should of waited 24 hours for the clear to completely harden, which I did not ! leaving a heavy green patina from the color washes using Abeitlungs 502's oil paints. I like this stuff, worked well except for my lack of patience in applying the stuff. I actually thought about using a concrete wash from Ultimate weathering products on the top surfaces. I've had good results with this project on F4U-1A Corsair after watching a build review from the legend Paul Bretland of E-models's birdcage build. I decided not to use it, just leave it as is, my chain of thought is that these machines are warbirds, not showpiece's on a shop floor. I would rate this kit as 8.25 outta 10.0. Some of the parts were heavy with mould flash, no big deal, just time consuming to remedy. I have a Zoukei- Mura FW- 190 Ta 152 in my stash, it's seems to be a better kit, ie ; better moulds with less flash. The instructions were vague in pictorial detail in certain areas such as attachment points. But being ZM's 6th kit, I'm sure things will improve with every new release. Well, I've got a choice of kits to choose from for my next project- Trumpeters Me 263 A1-a heavy armament( kit no 02260) will be the next kit on the bench, the birdcage corsair, P47 Dottie Mae, Ta 152, these can wait, I've got the itch to build a WW2 kero burner hehe! (yes Controversary welcome about the 'kero' bit, hehe) Thanks everyone for their comments, I'll try a little harder with this 262, with more photos during the construction sequence this time, just acquiring AM bits for this kit before I start. Cheers . Ozzy
-
2
-


FAA Corsair II
in LSM 1/32 and Larger Aircraft Ready for Inspection
Posted
Nice colourful machine, what colour paints did you use for the top camoflage surfaces? Thanks for sharing Oz