-
Posts
127 -
Joined
-
Last visited
Content Type
Profiles
Forums
Events
Gallery
Posts posted by Mark 'ozzy' Ostler
-
-
Hello Cees,
I did smooth the milliput with a wet finger, then a couple applications of Tamiya grey putty.
-
Hu GusMac, I've just found GSI Creos have a compound that is 3000 grit, the finer stuff is out of stock. Might even try some ultimate buffing sticks, if that doesn't work I'll try the micromesh cloths. As its Christmas I can't get anything sent to me until the 29th, so I can't paint till the canopy until it's sorted and masked, and I can't drill out the radar Stubbs until I get some appropriate sized drills. Post some photos a soon as the first coat of paint is laid down. Cheers Oz
-
Thanks doc, I need to buy some bits & pieces so I will do this shortly. Tamiya's coarse and finish polish's are available (dubious about the coarse) with some micro mesh cloths are on the order list & some drill bits to install the Master radar antenae's. Moving closer to painting. Cheers. Oz
-
Cheers mikester, any tips to remove the mold seam off canopy, I need to order some micromesh polishing cloths and some compounds, and recommendations? Cheers. Oz
-
 1
1
-
-
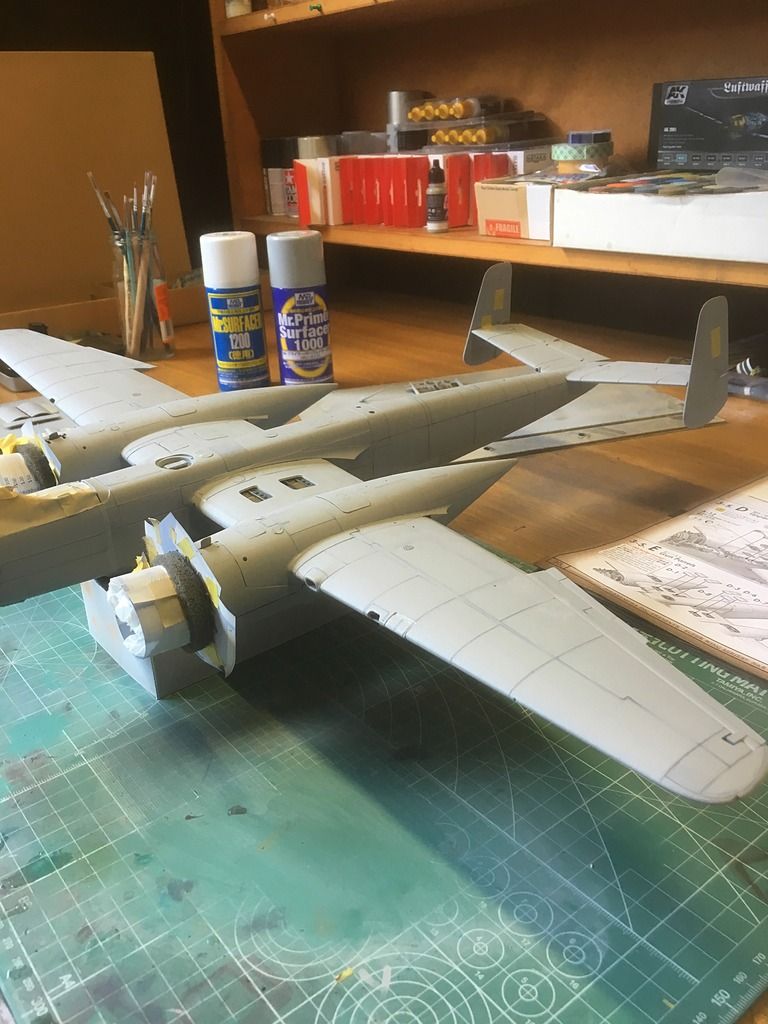
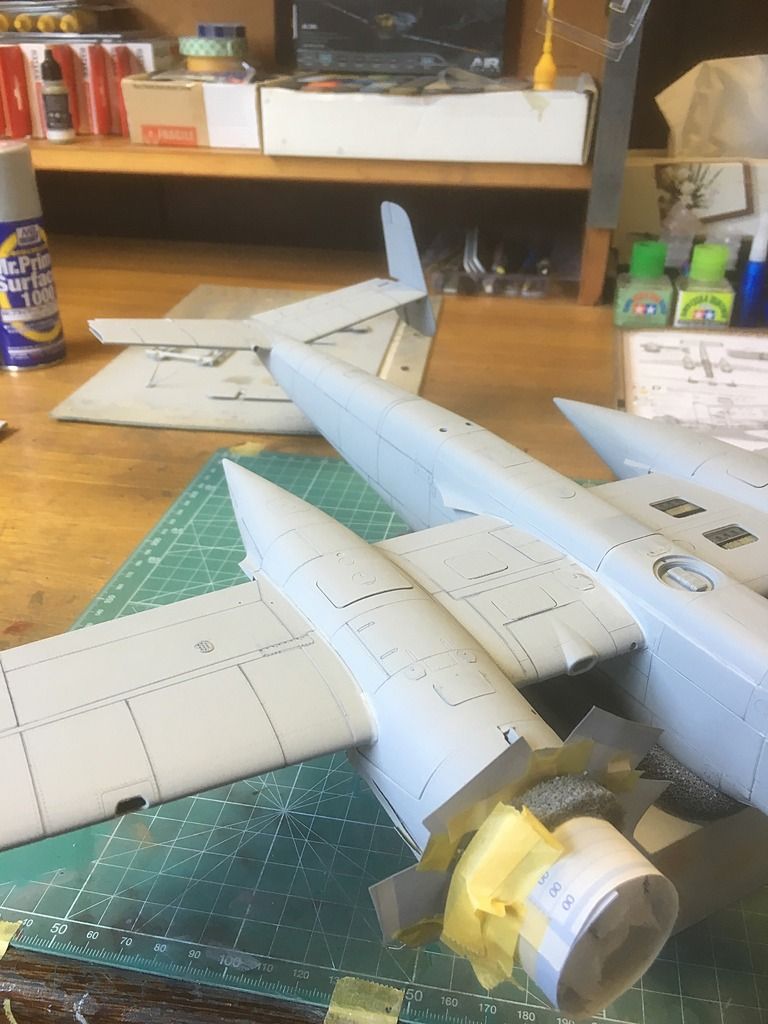
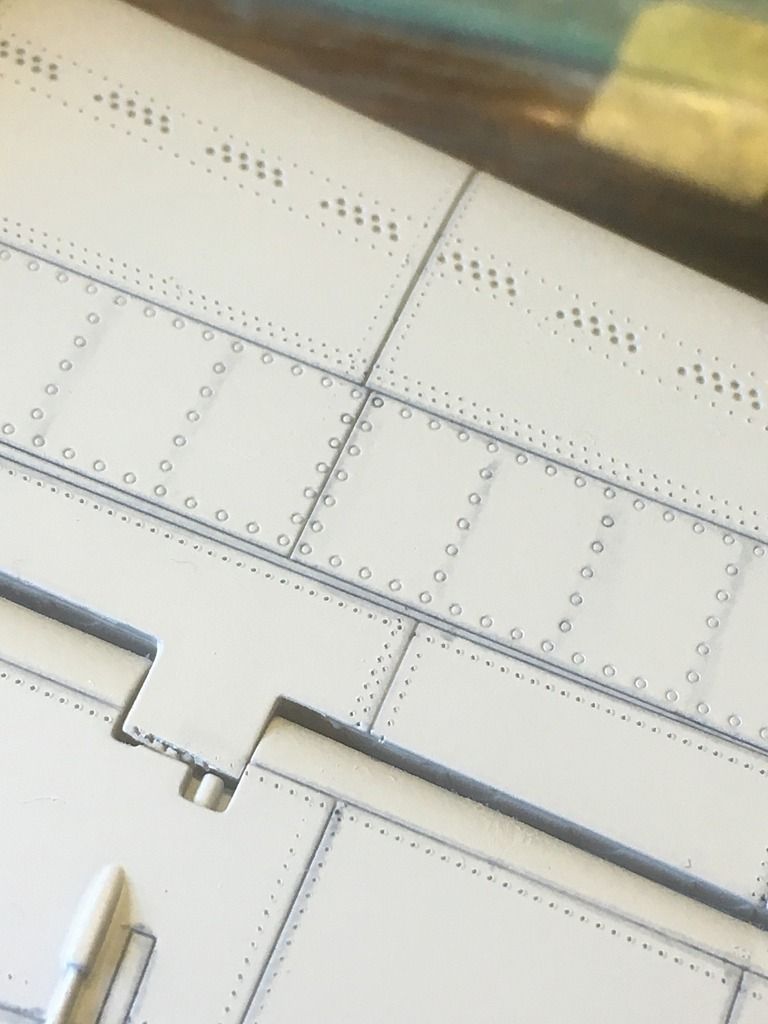
Right, time to fix up rivet errors, re scribe, sort out gap between cockpit and fuselage. I used mr surfacer 1200 and I must say that I'm impressed with this primer, all corrections can be easily identified to remedy, and it has a silky smooth surface texture- superb in fact. I've decided to use tamiya enamel for the exterior as I like the way it sprays. I find acrylic too temperamental getting the viscosity right, never fails with enamel and I don't encounter blockages at the needle tip. I will make my own colour up for the lower surfaces (RLM 76) as Tamiya's XF 23 doesn't look right out of the bottle. Most of my paints are always tweaked for personal taste. First coat will be the upper RLM 75 followed by the lower RLM 76 and mottling. I need to work the mold line off the canopy pieces before I can mask, so that's where I'm at the moment...cheers. Oz
-
-
-
-
-
-
-
-
The first coat of primer has been applied, now it's re correction time for the best result. Oz
-
Hi Pardelhas,I must get one of these WnW's kits one day, I hope they release a Spad, that's if they haven't already. Cheers Oz
-
 1
1
-
-
Hi fab, yep ZM offer a few AM sets for all of their kits, the cockpit detail upgrade is absolutely a must have as the 'den' is highly visible on the owl. If you have a punch & dye set you could achieve a good result placing all the gauges on the instrument panel. I don't possess one, so I chose the AM set ( ZM have got Eduard to make it) and it is really good. Recommended by me for sure!
-
Oz's He 219 Owl
-
Hi Danny, I thought my stach was getting a little to big but you got some work cut out for yourself. I noticed an old "matchbox" kit of the seavenom, I loved building those 2 coloured kits when I was a young pup, it's probably worth some $ now due to its age! Well done with your workbench, it's a work of art. What's the next project? Cheers. Oz
-
Thanks rog, can I ask how much is the B17 worth in "oz dollarz" ? I want one, but I'd prefer the B29 if they ever make one. Cheers Oz
-
Hi doc, I've had an accident with the owl as I broke the port wing at the wing root. After many heart palpitations I've got it sorted. I've looked at the net and the AM wing spar detail set might help strengthen the spar which is fairly flimsy. The cannon apertures are the weak spot, I'm sure these steel enhancements will improve its rigidity. I'd recommend if you 'rivet' your owl, do most of it before the build, it's pretty tricky getting around the engine cowls when built. The clear lens for for the wing light was a fight in its self, poor fitment. Shave the back of the resin lights, remove the locator pip as the above sat too far foward to seat the lens cover and a bad fit was this gadget. I hate to whinge, but these things should be a thing of the past. You will need lotsa clamps, tapes and assorted glues to get the best out of this bird. I've got a Ta 152 -HO in the stach and the 'mold' seems to be a real improvement over the owl. Things can get better I believe. I've spent a lot of time just sanding / mr surfacer 500, re scribing panels not to mention the rivets, it's a lot of time on the bench. As for fitting bits & pieces, ZM are not in the big 'T's league at the moment but I hope they improve with every new release. Back to kit its almost time to prime, will post some pics tonight after a few tweaks and detailing still continues until I'm happy with the result. I like this kit, it just could be better, I think I need a decent jig that swivels, would be very handy due to this kites size. Cheers. Oz. oh I like to tip about the fingerprints, rofl!
-
 2
2
-
-
Hey rog, I can't wait to see your B-17 when you get it built. How many tiger's have you got in your battalion?
-
Top shelf stuff, exellent work!
-
What have you got in the boxes dan?
-
 1
1
-
-
Hey doc, I think the gun replacements might be a good investment as this where I struggled to get everything to seat properly. My top notch paint job on the weapons got finger handled a little too much and lost its charm, so I decided to close most of it. The gun bodies are fairly average, be careful how your align the gun body to the vertical feed chute, lots of dry fit tests before committing to cementing
-
Hi Doc, don't bother buying the AM panel set, most of the large hatches have major fitting issues, all the top wing panels will be spares in a diorama, but the lower gun panels are superb. Another silly mistake I made was buying the barracuda open cowl set, they only fit the revell kit, I have didn't take too much notice until I got them in mail, more spares


Experimenting with Tamiya's 1/32 F-4E horrible Jet Intakes
in LSM 1/35 and Larger Work In Progress
Posted
Nice work Padubon, it's not like tamiya to leave a fundamental issue in one of their kits. Top job on the correction work. Oz