CP1
-
Posts
527 -
Joined
-
Last visited
Content Type
Profiles
Forums
Events
Gallery
Everything posted by CP1
-
I like it
-
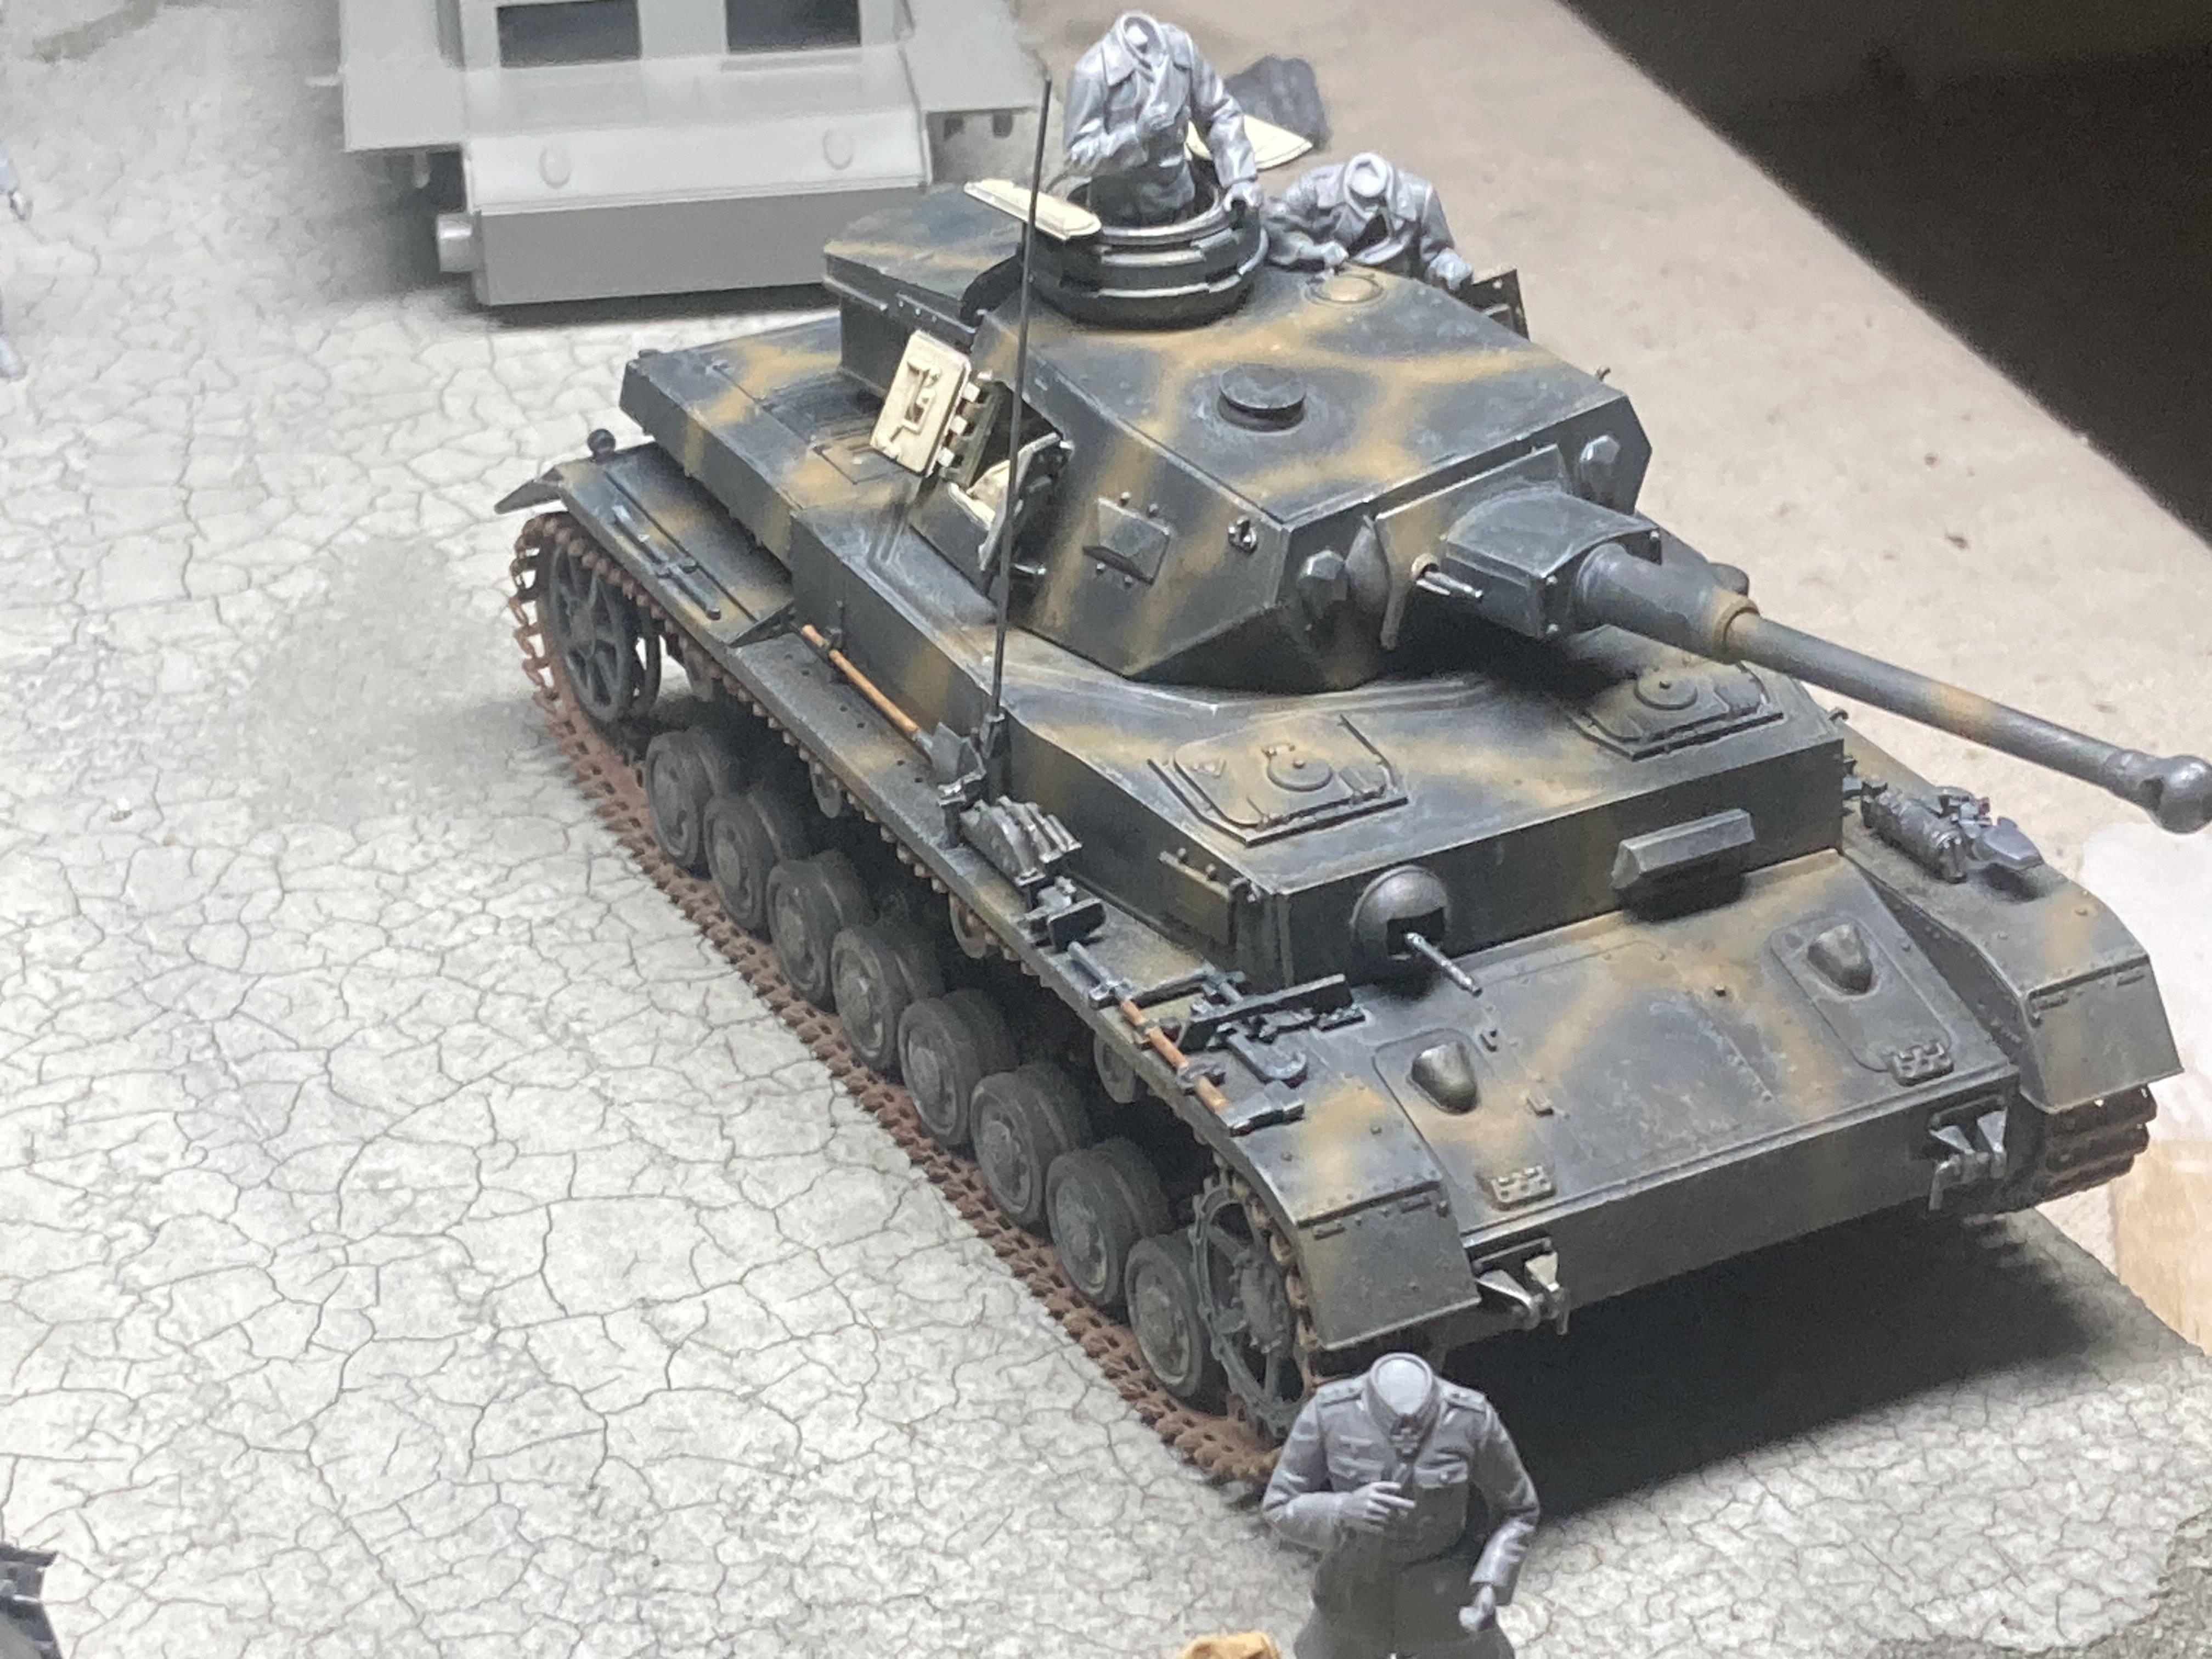
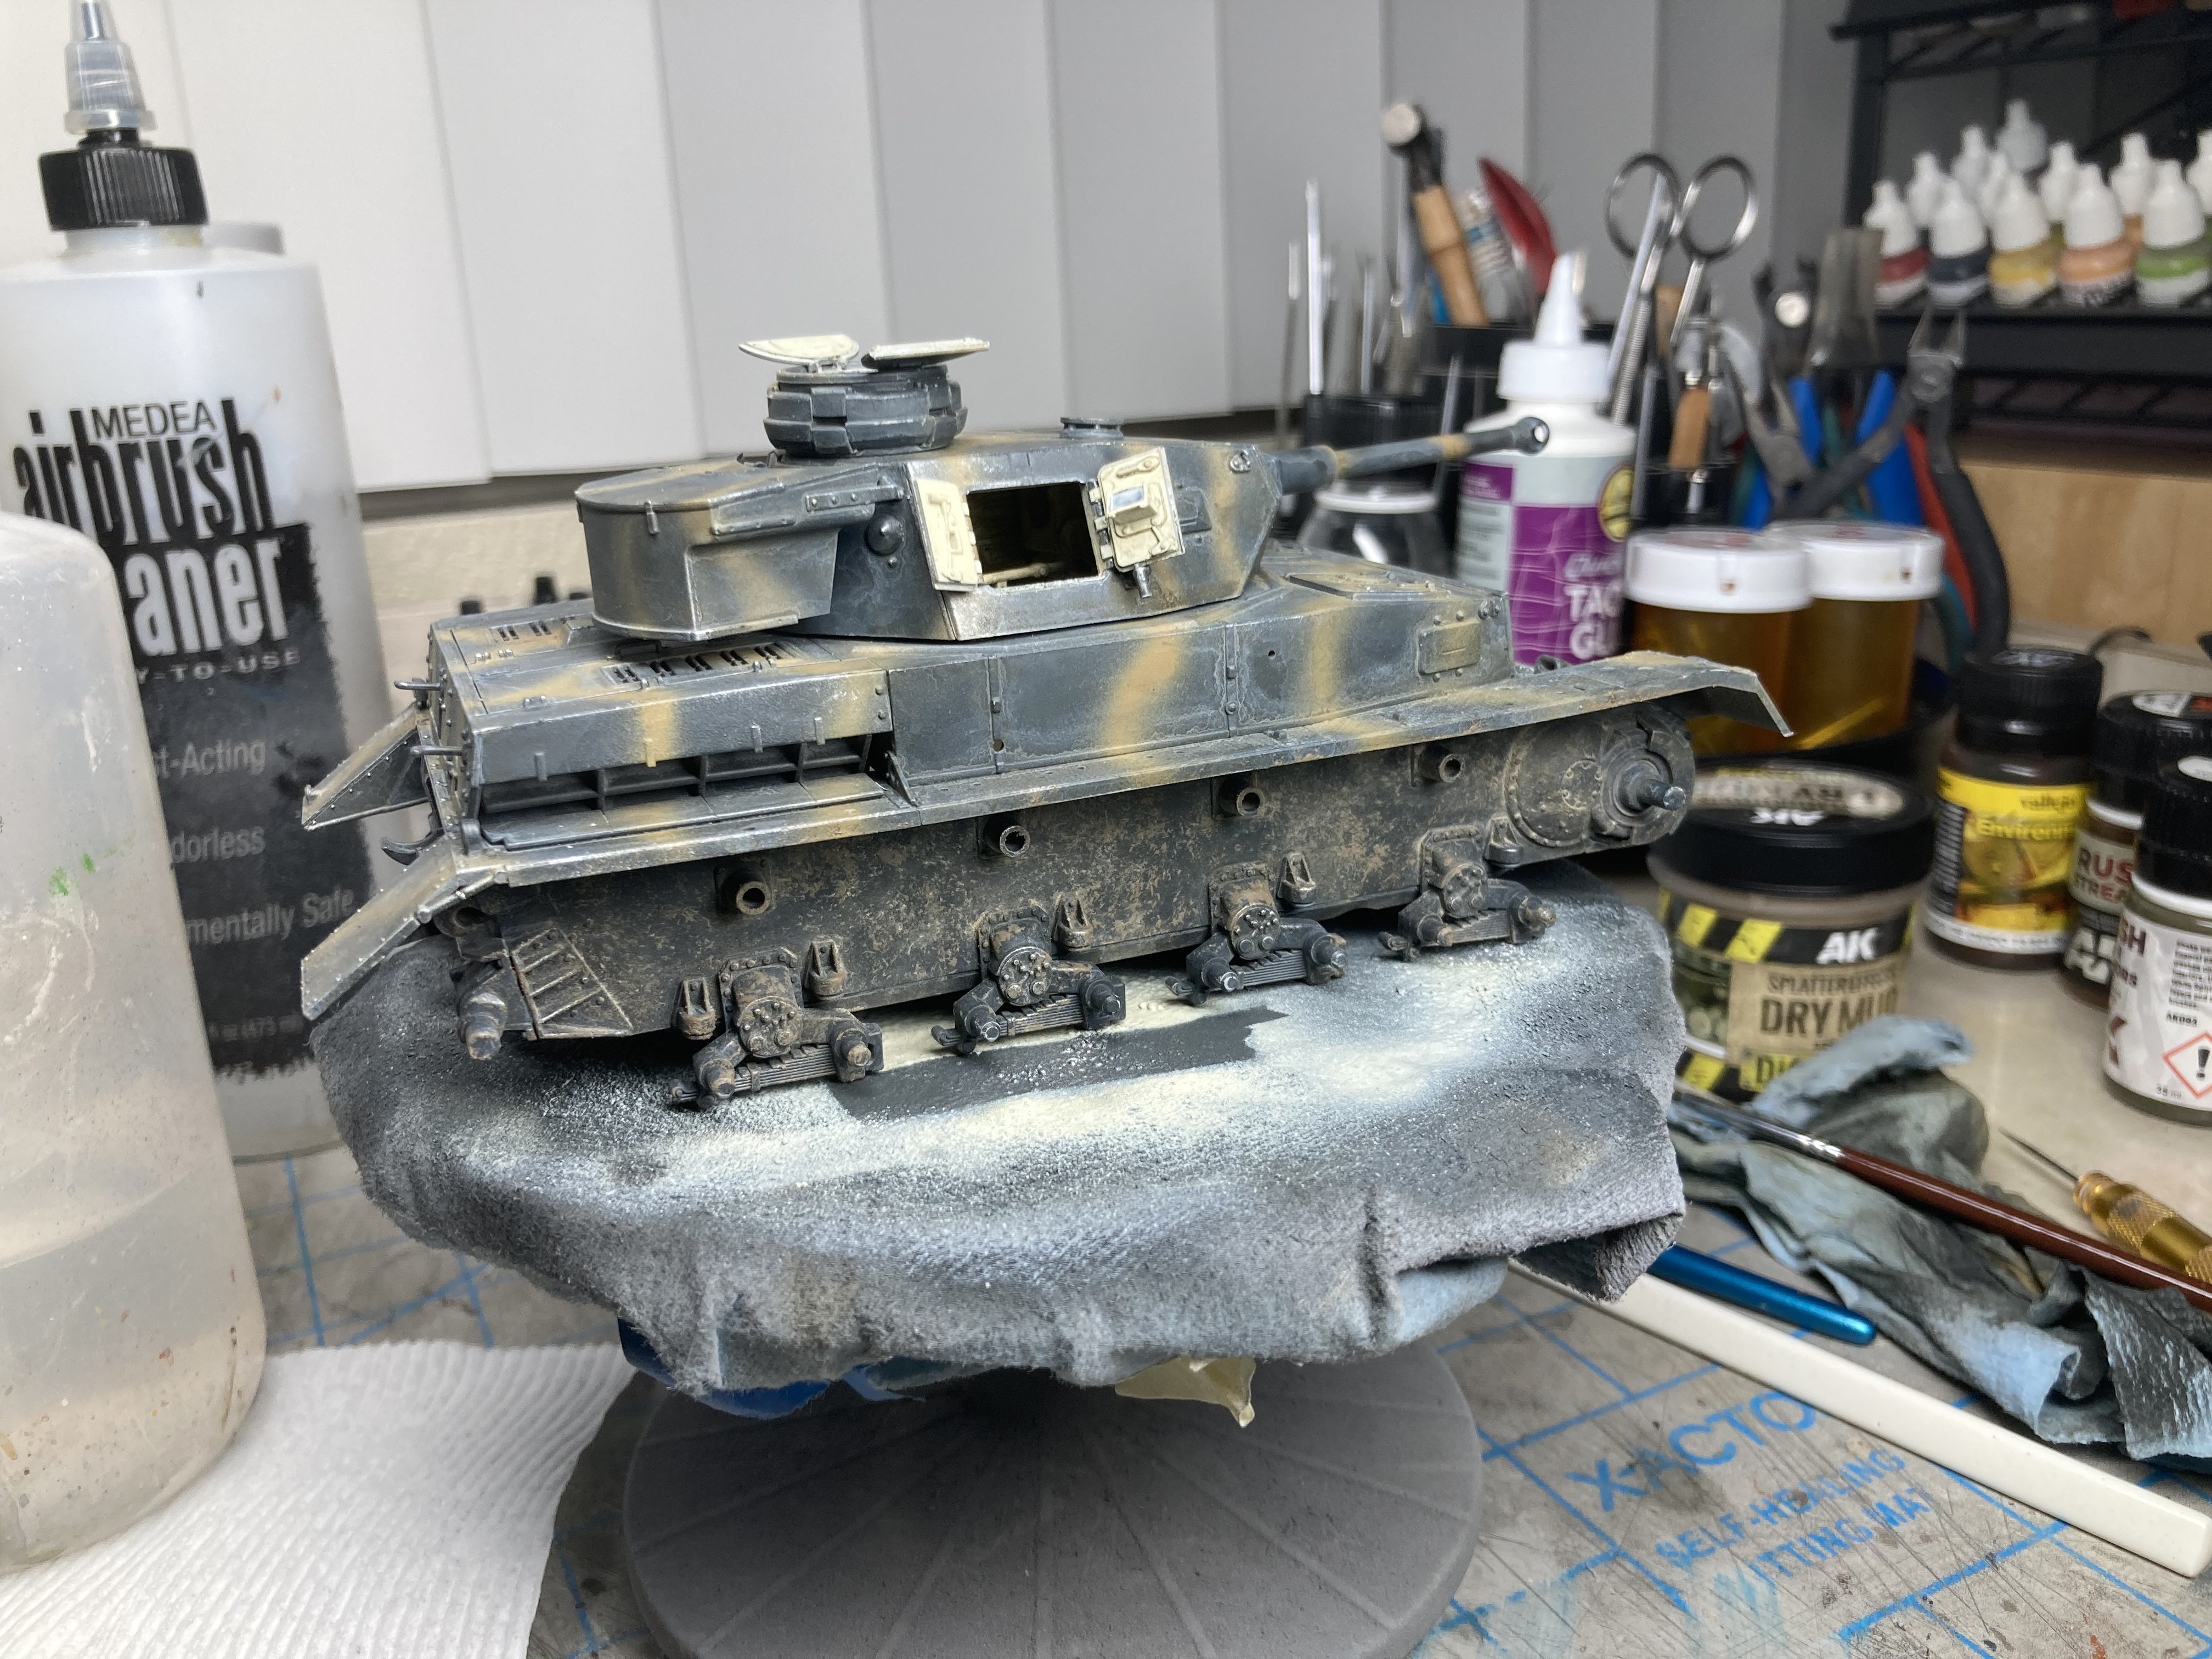
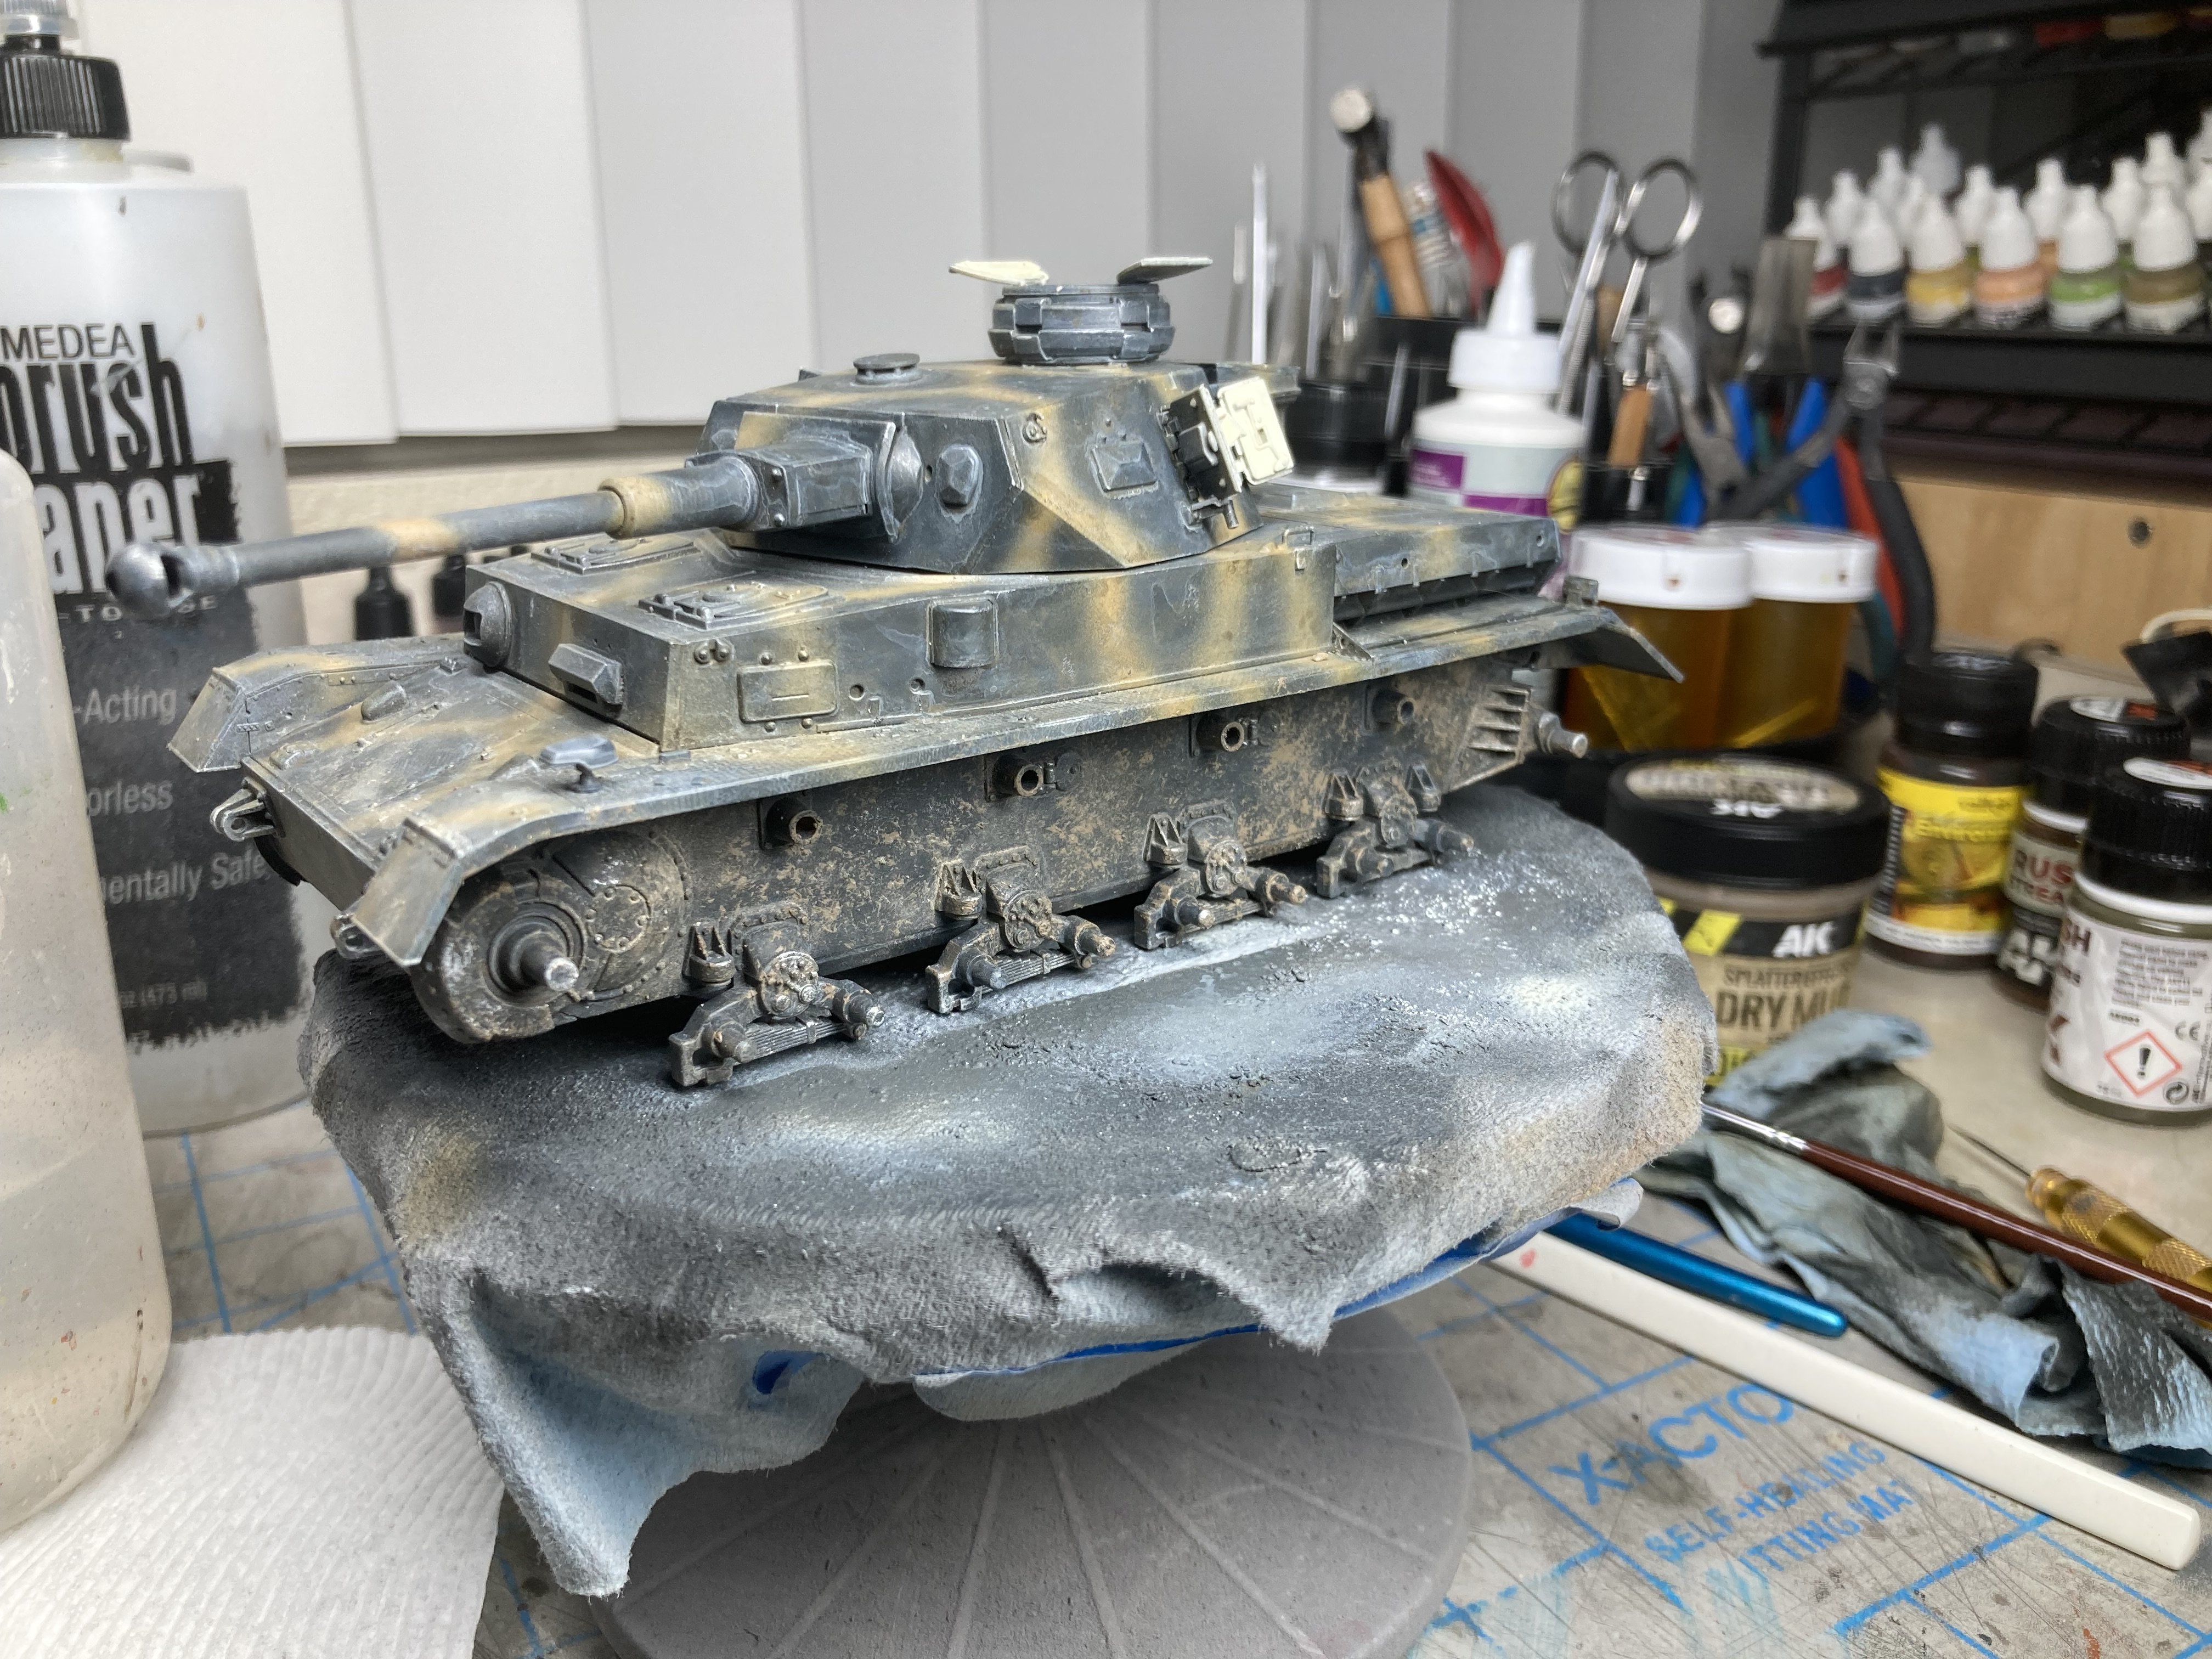
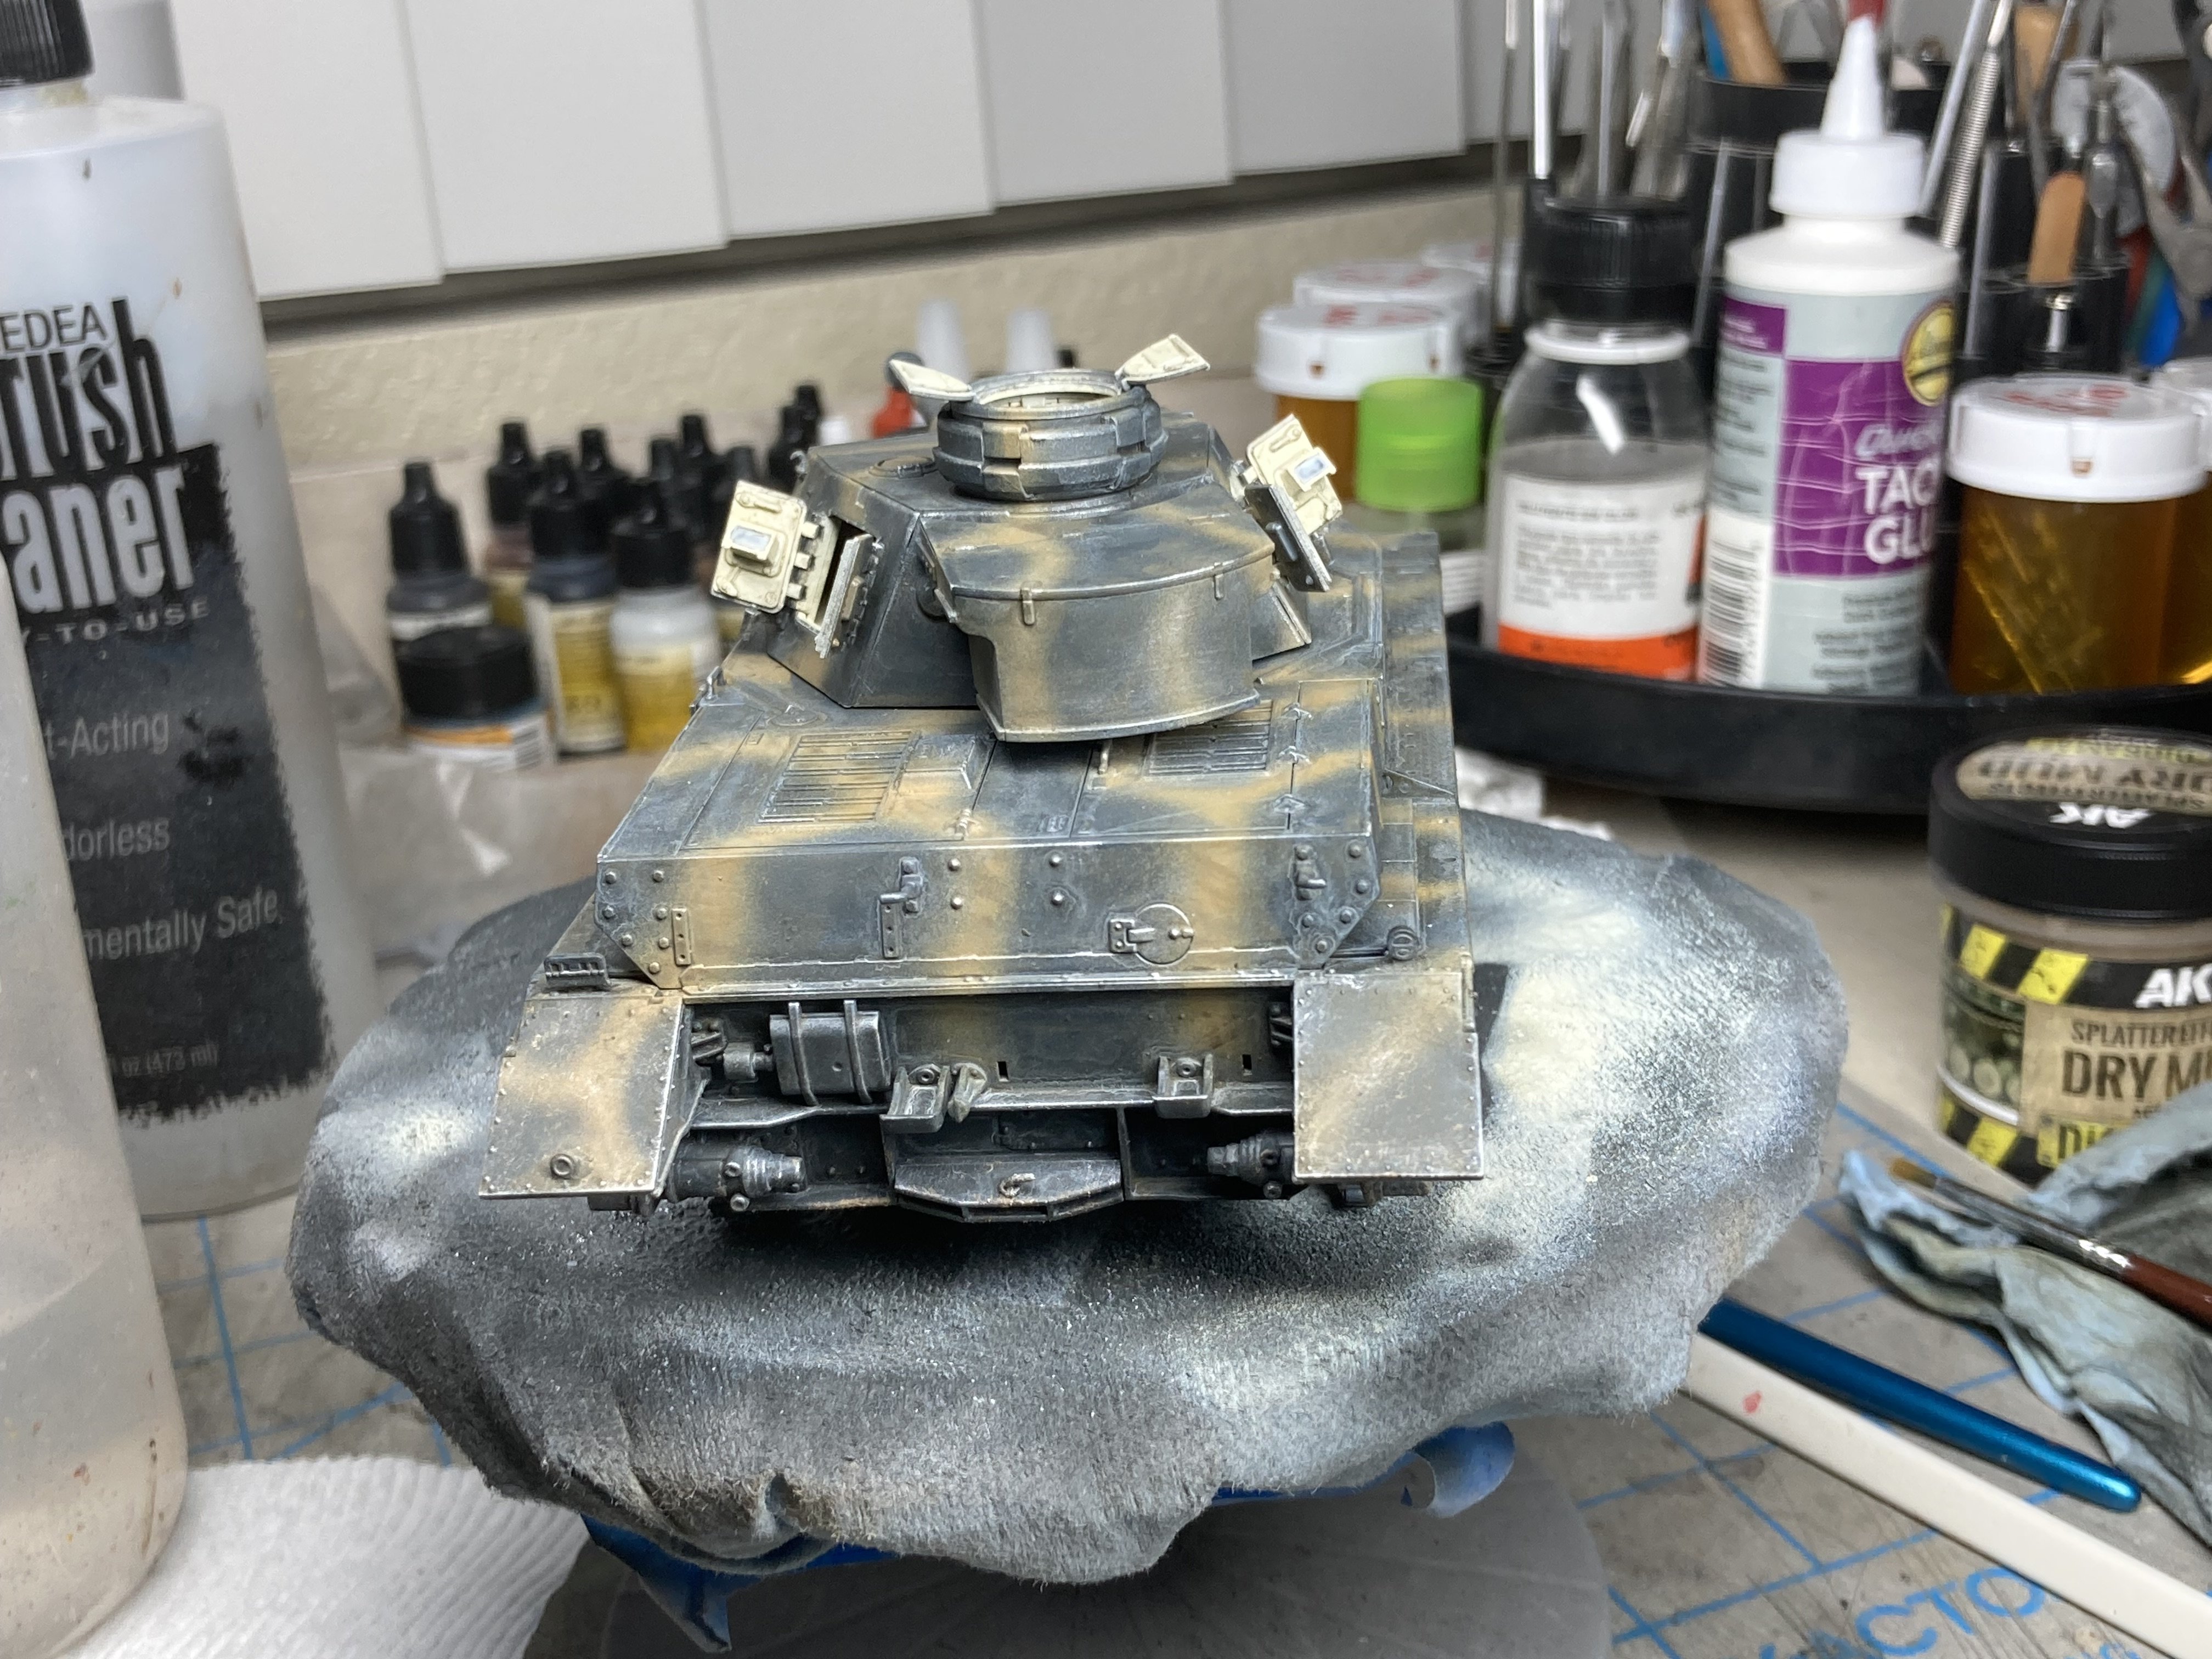
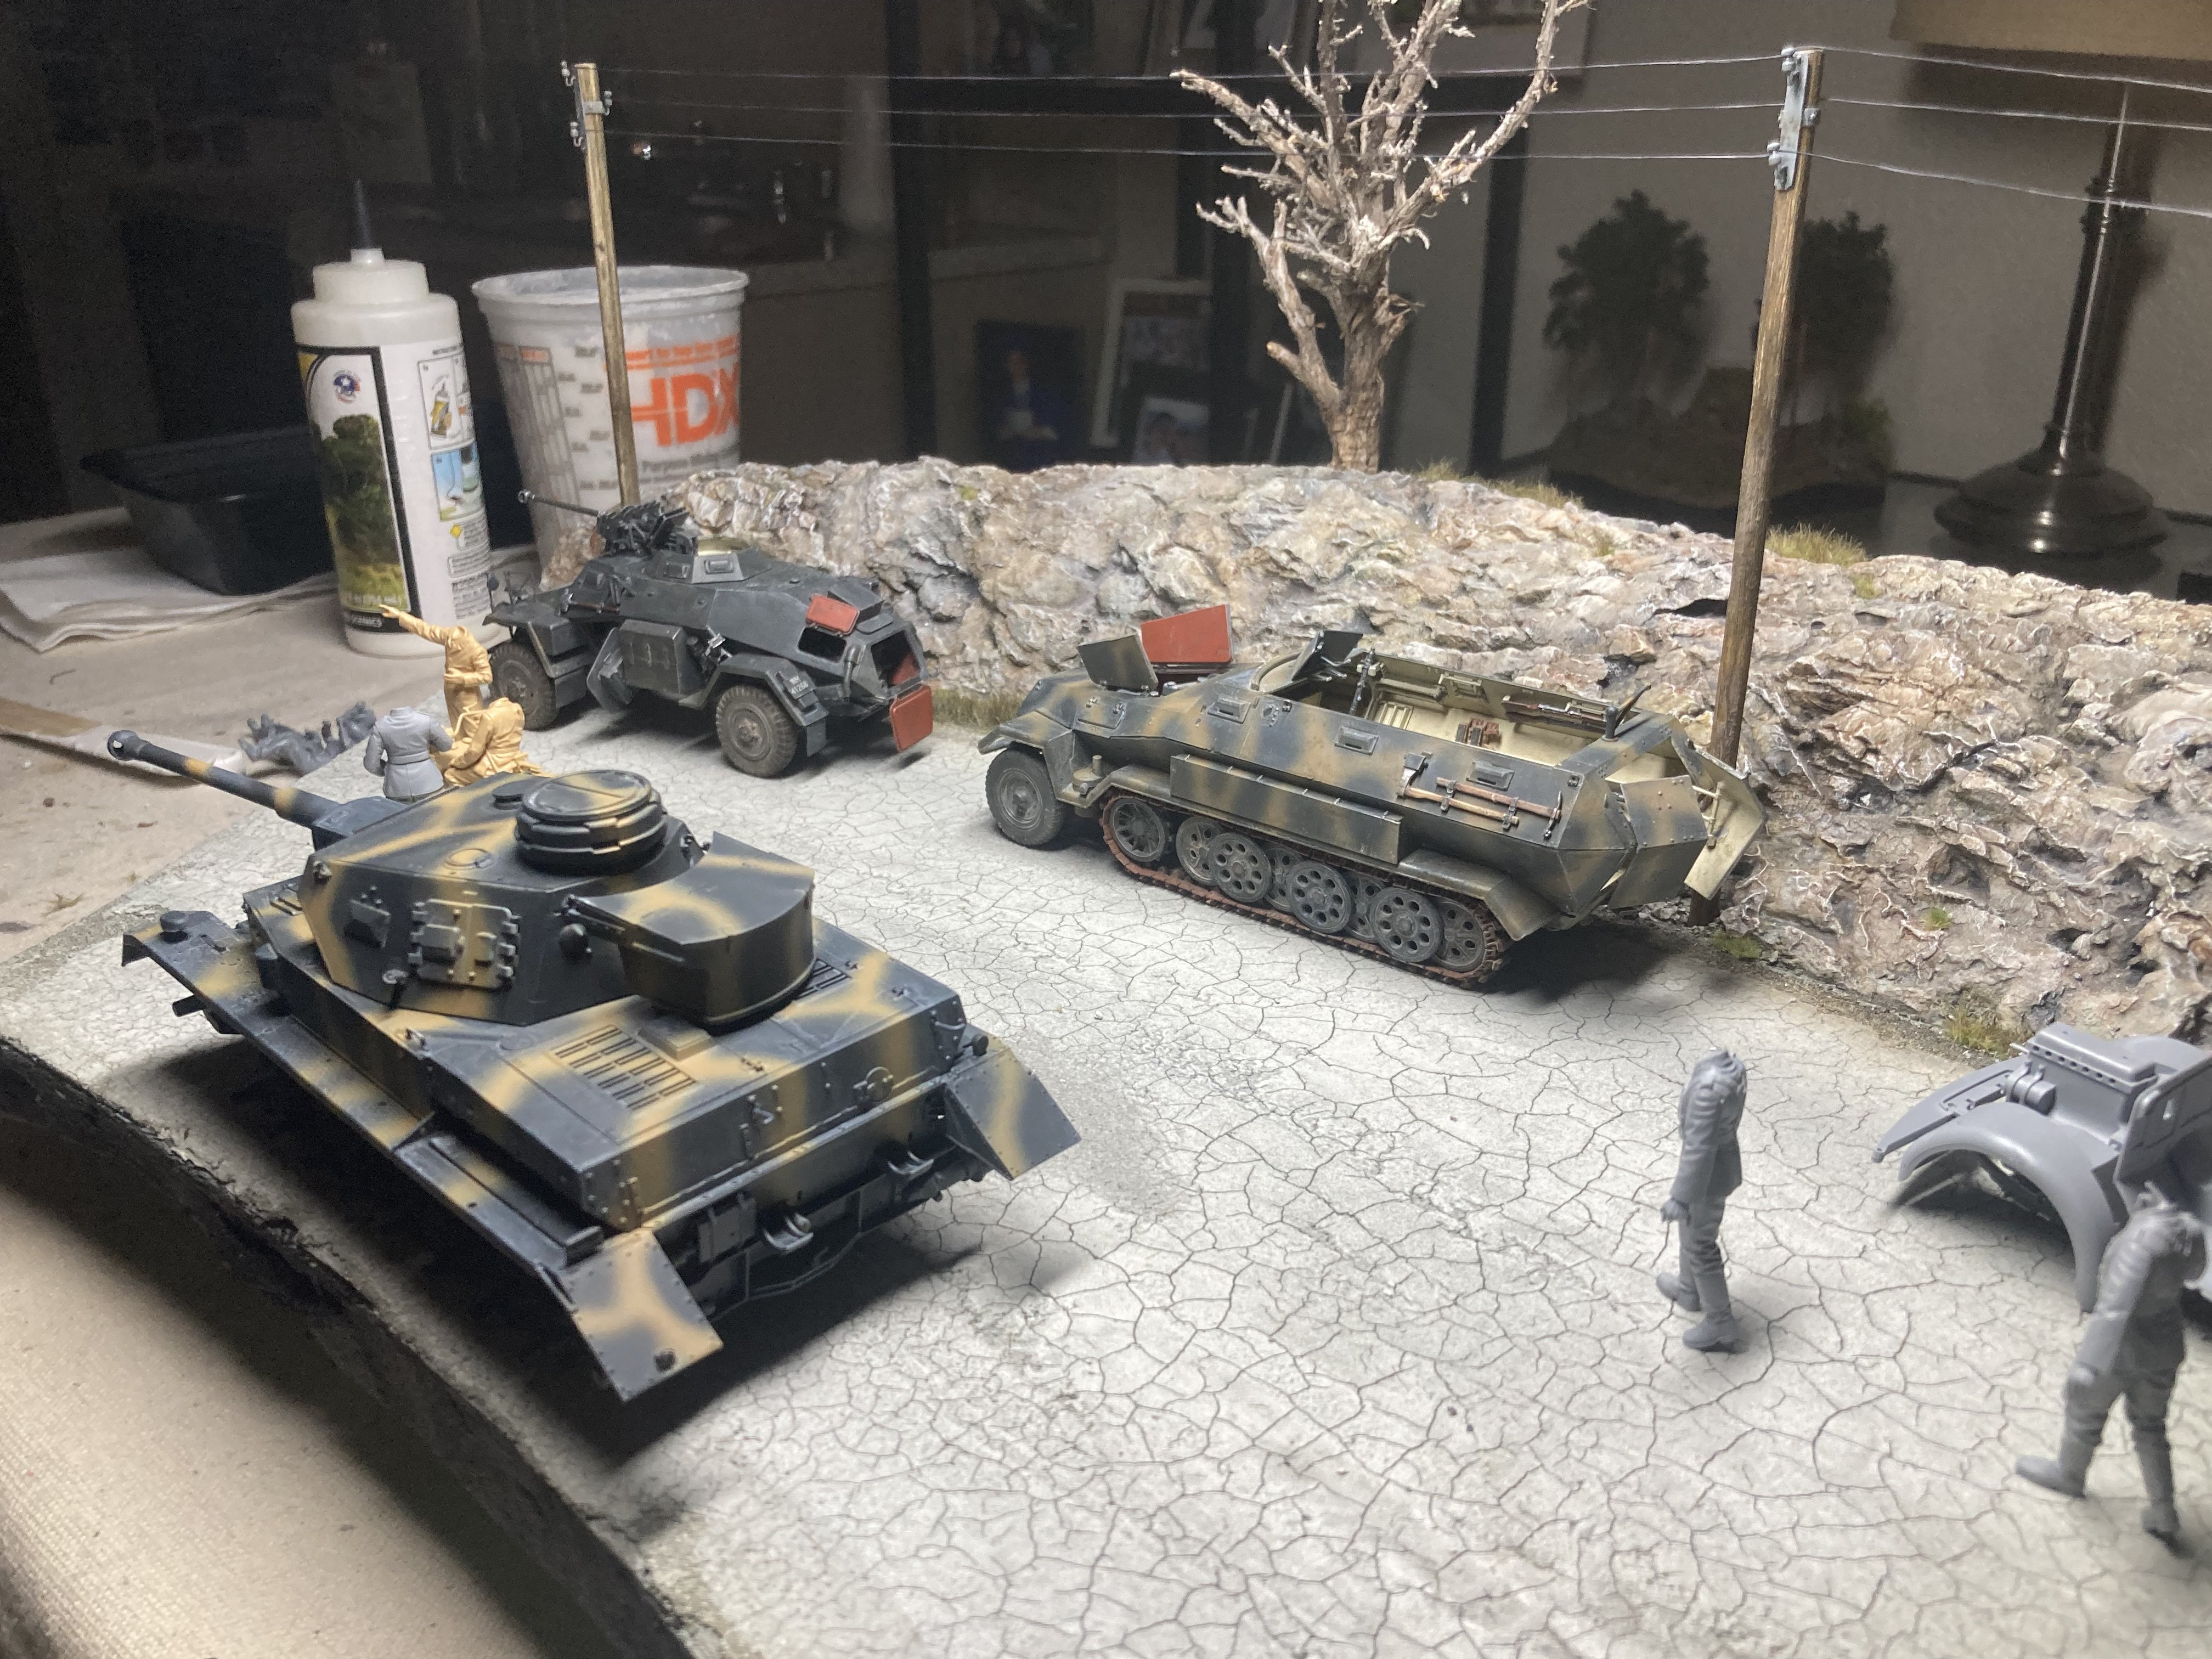
Need to weather tank


-
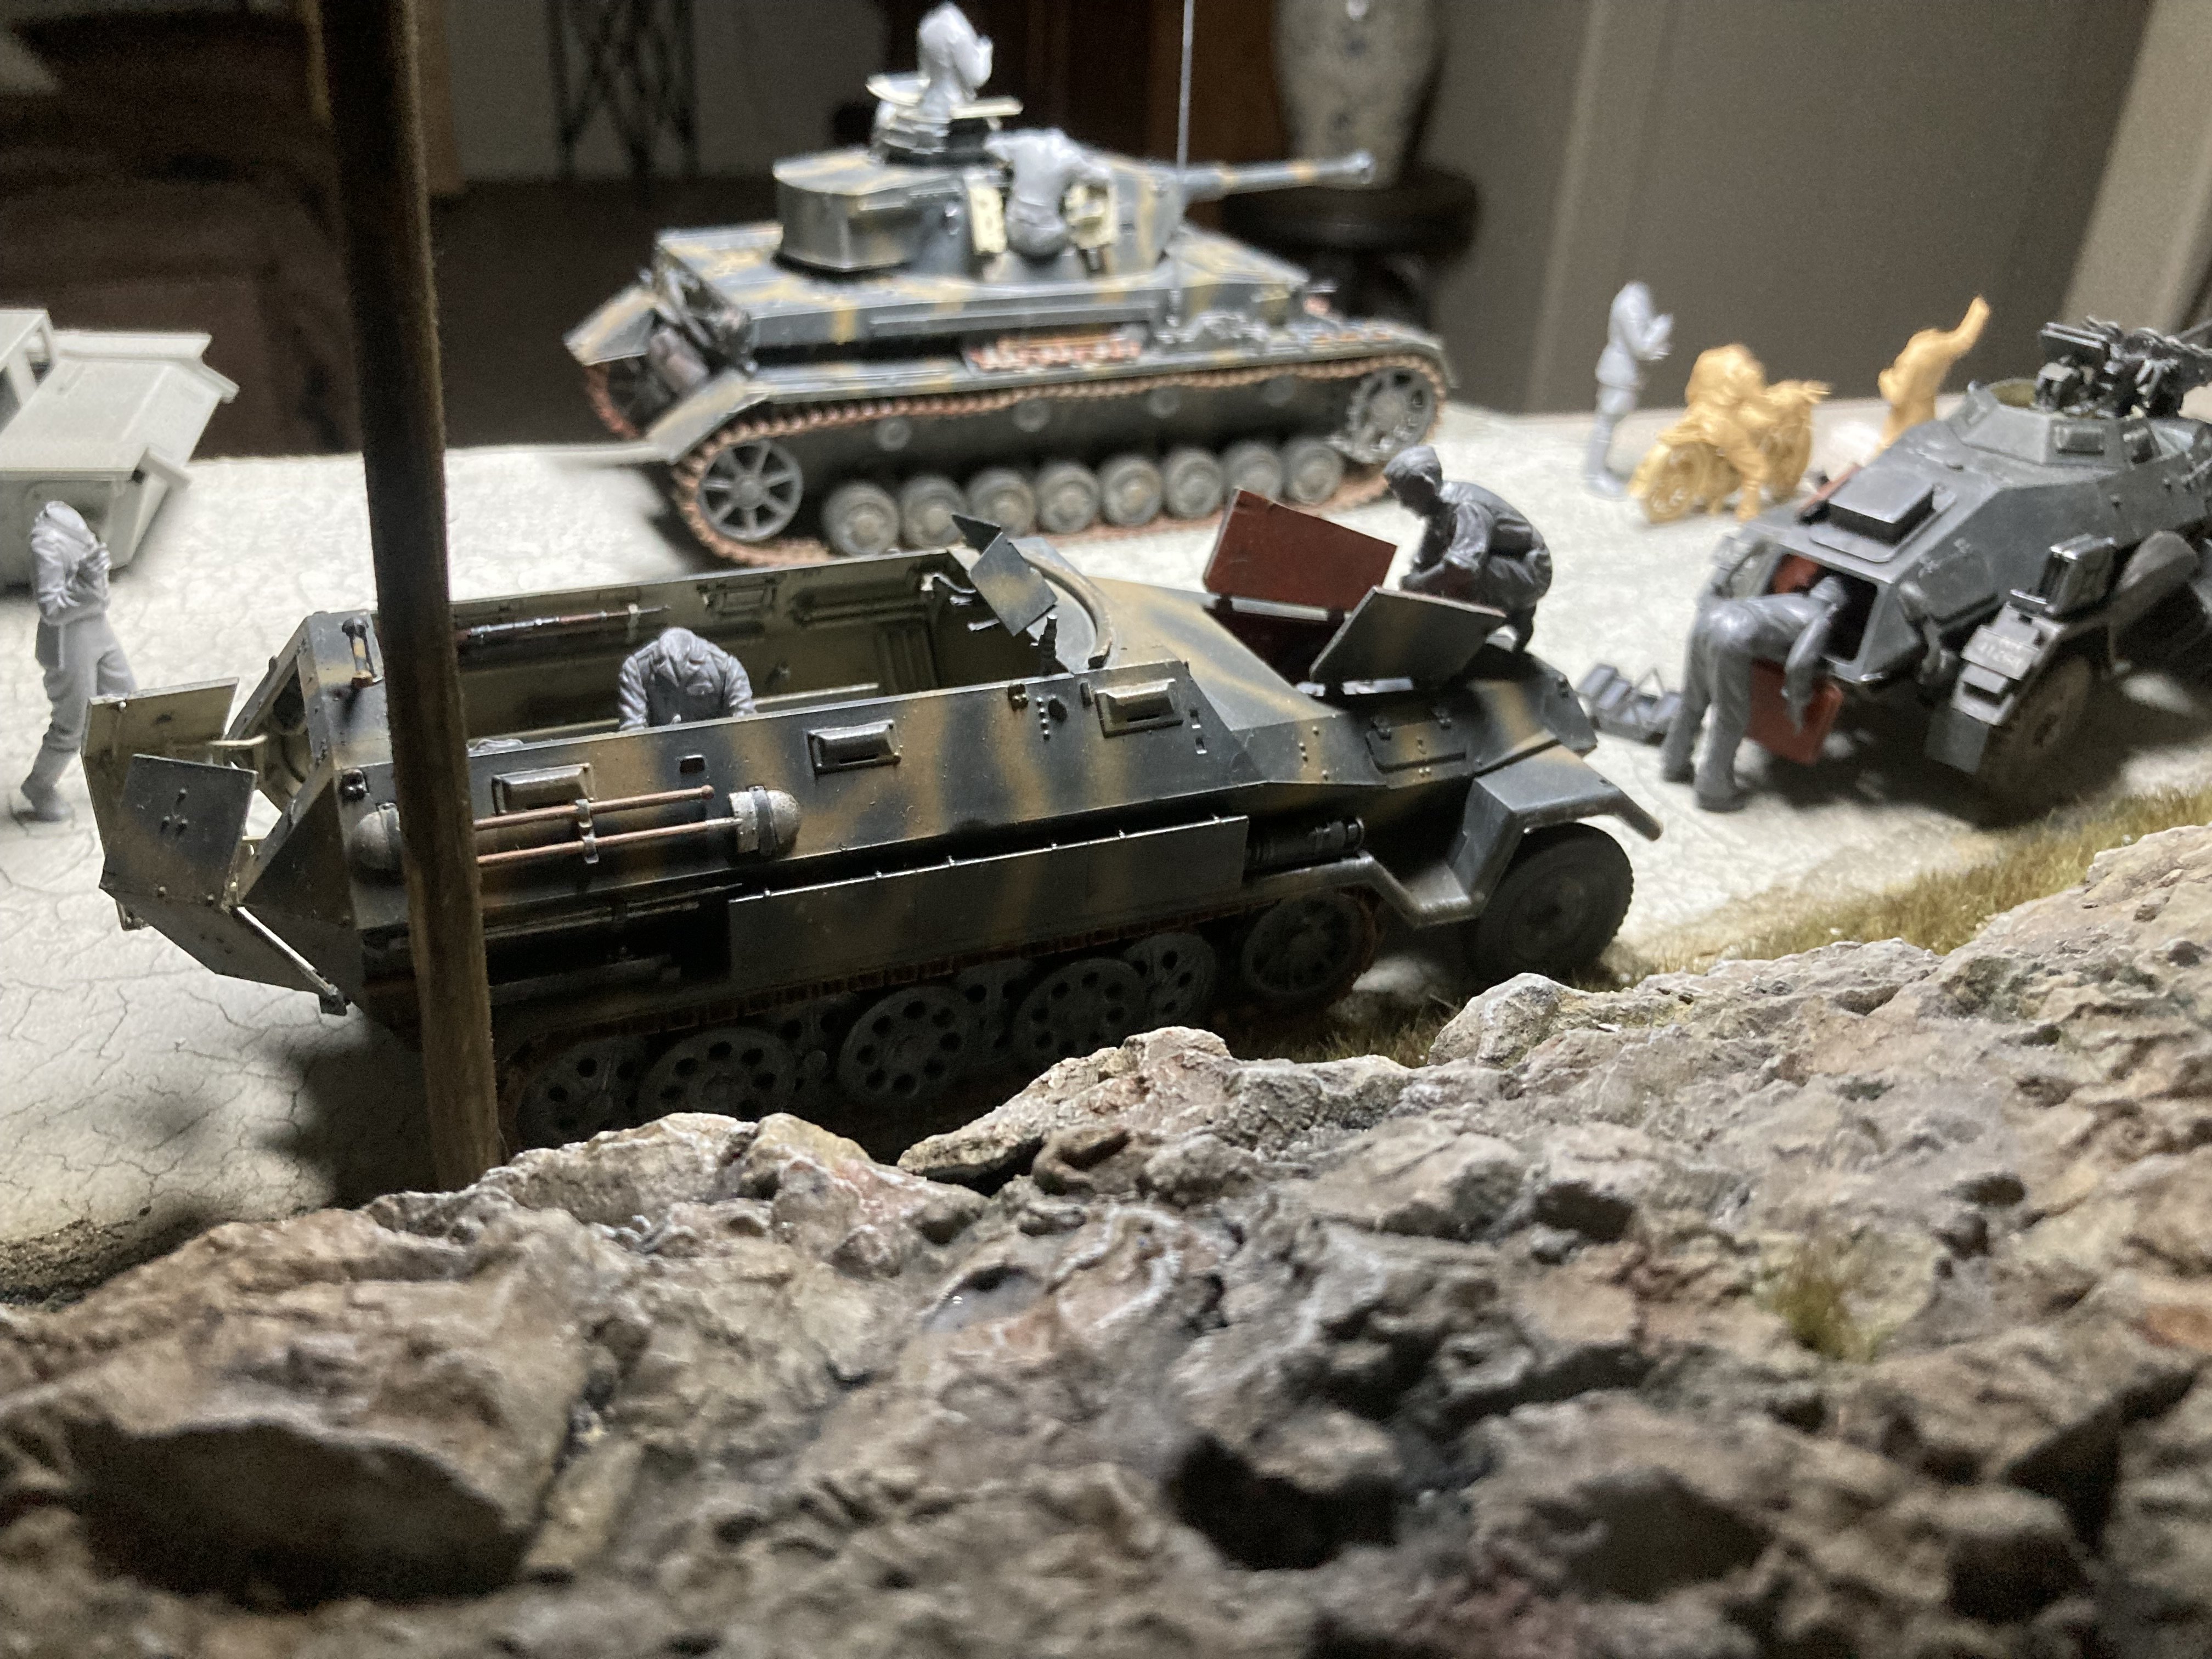
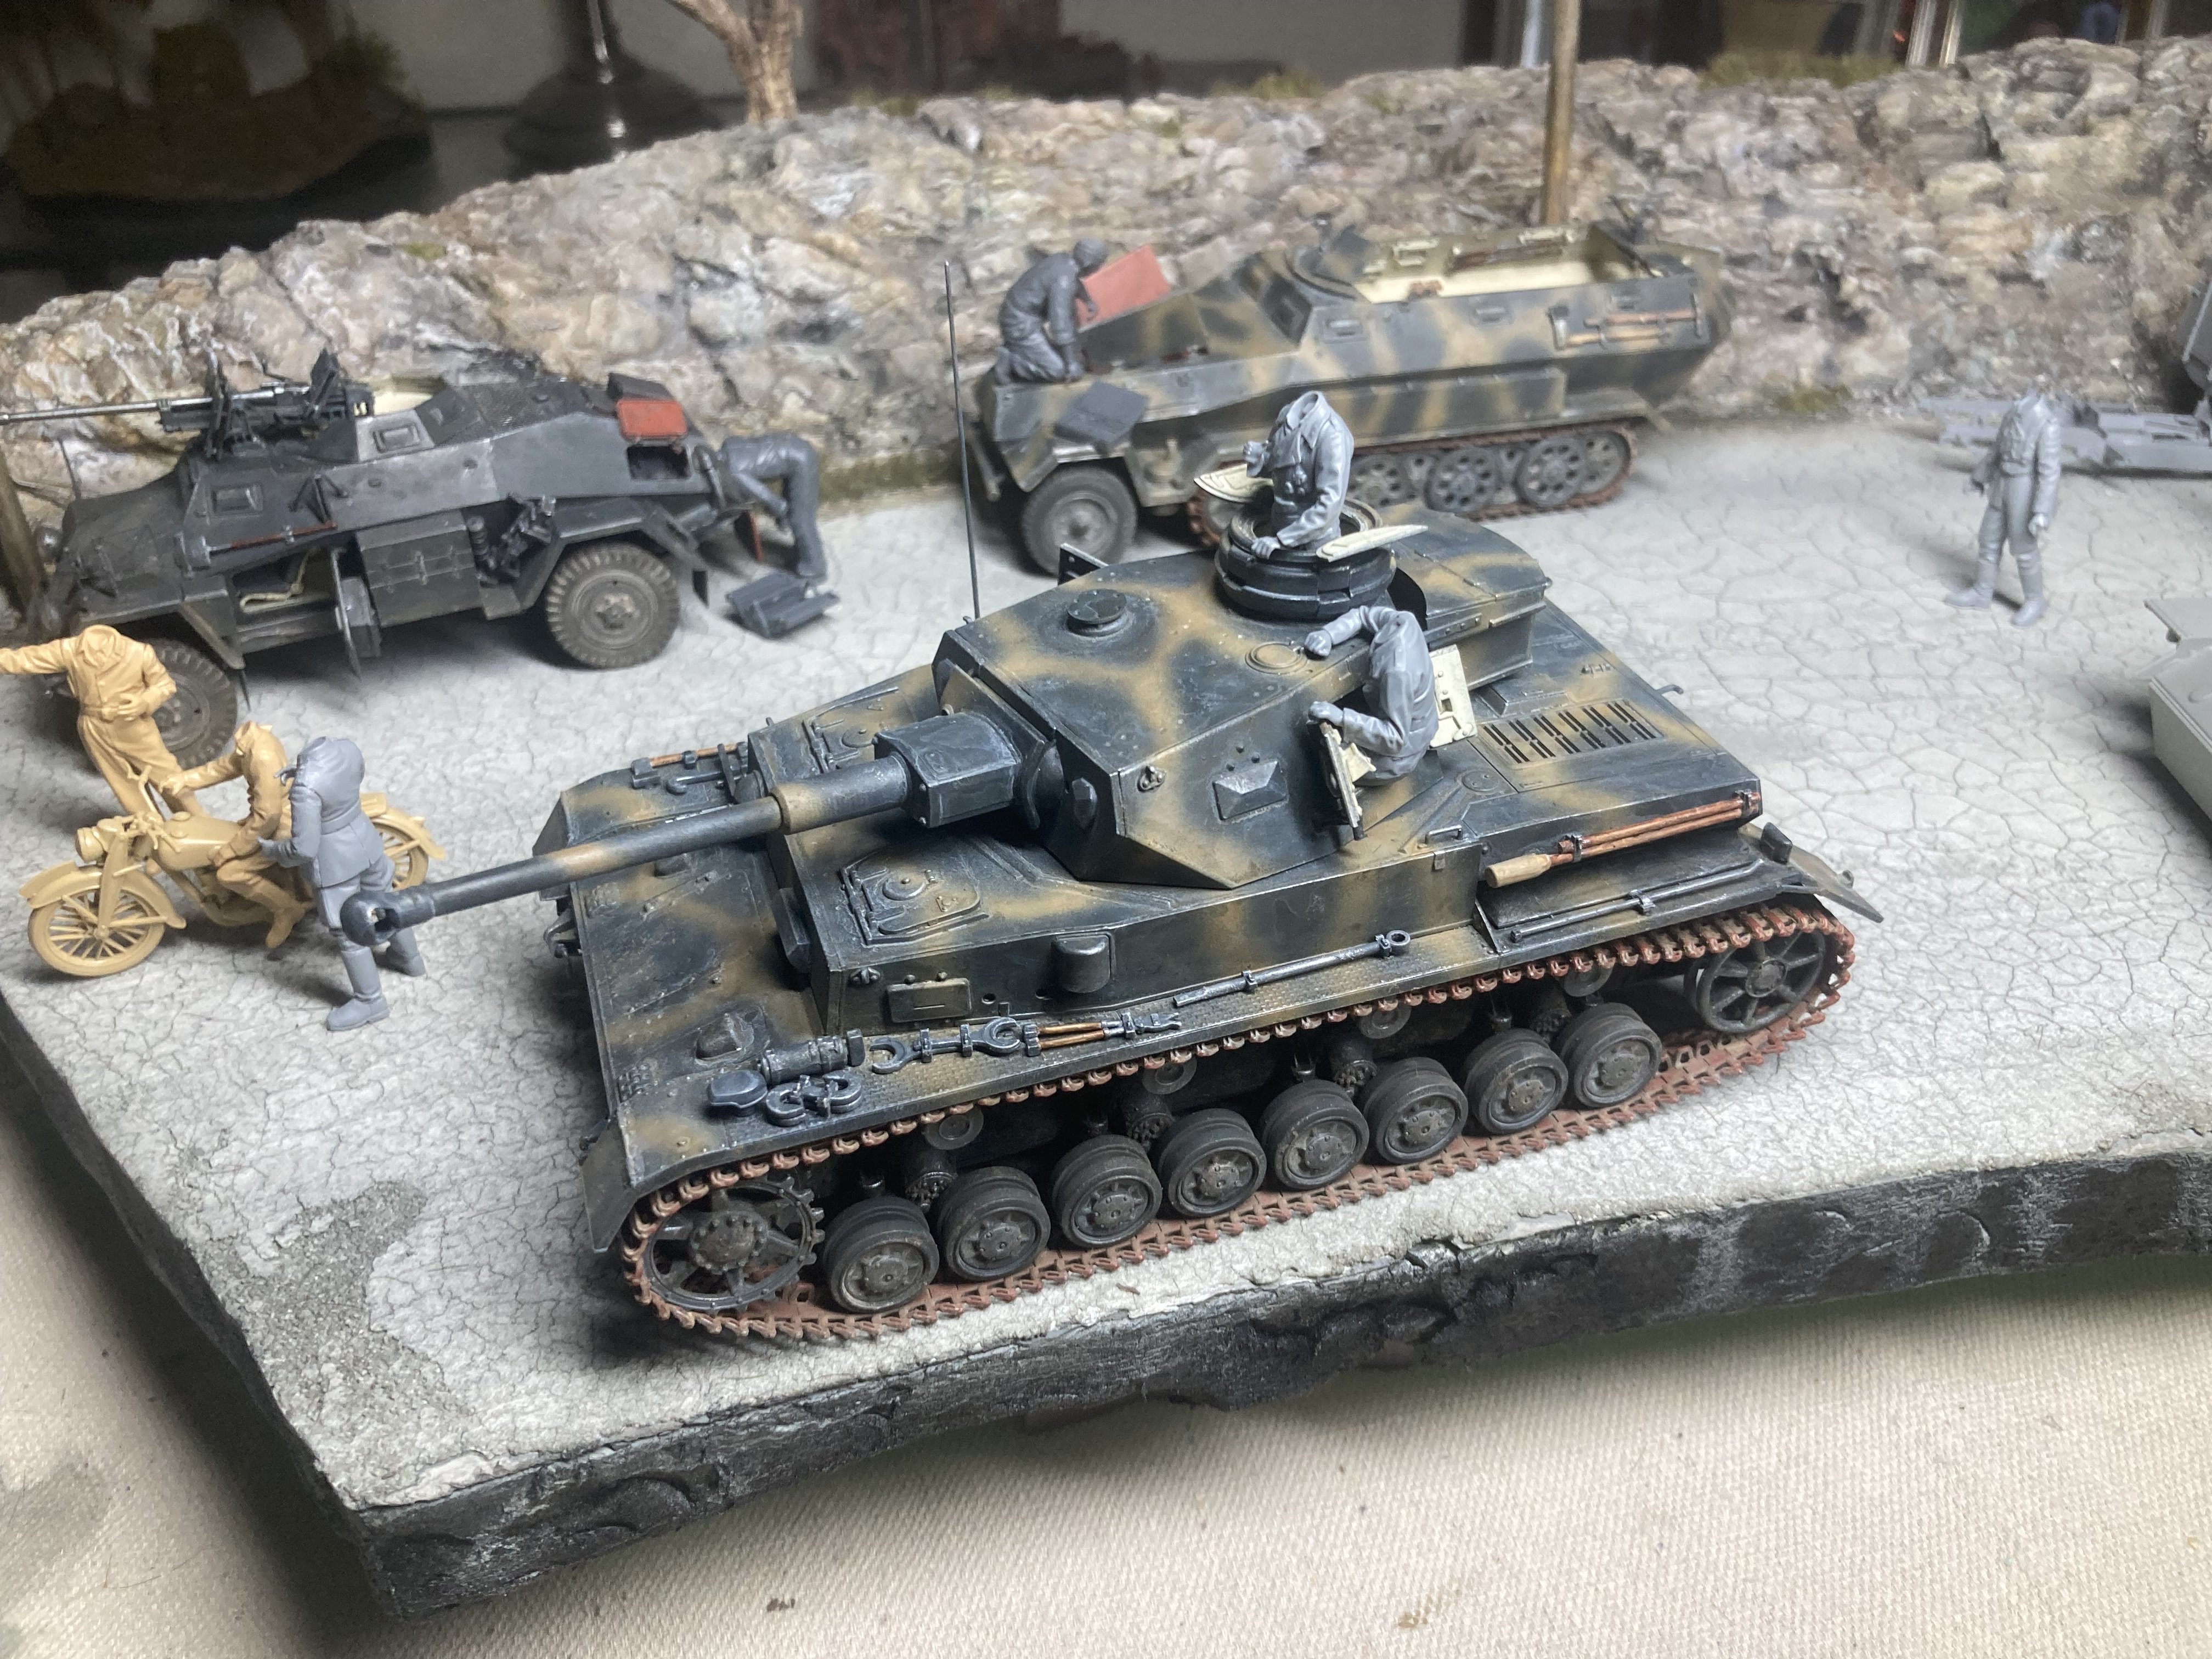
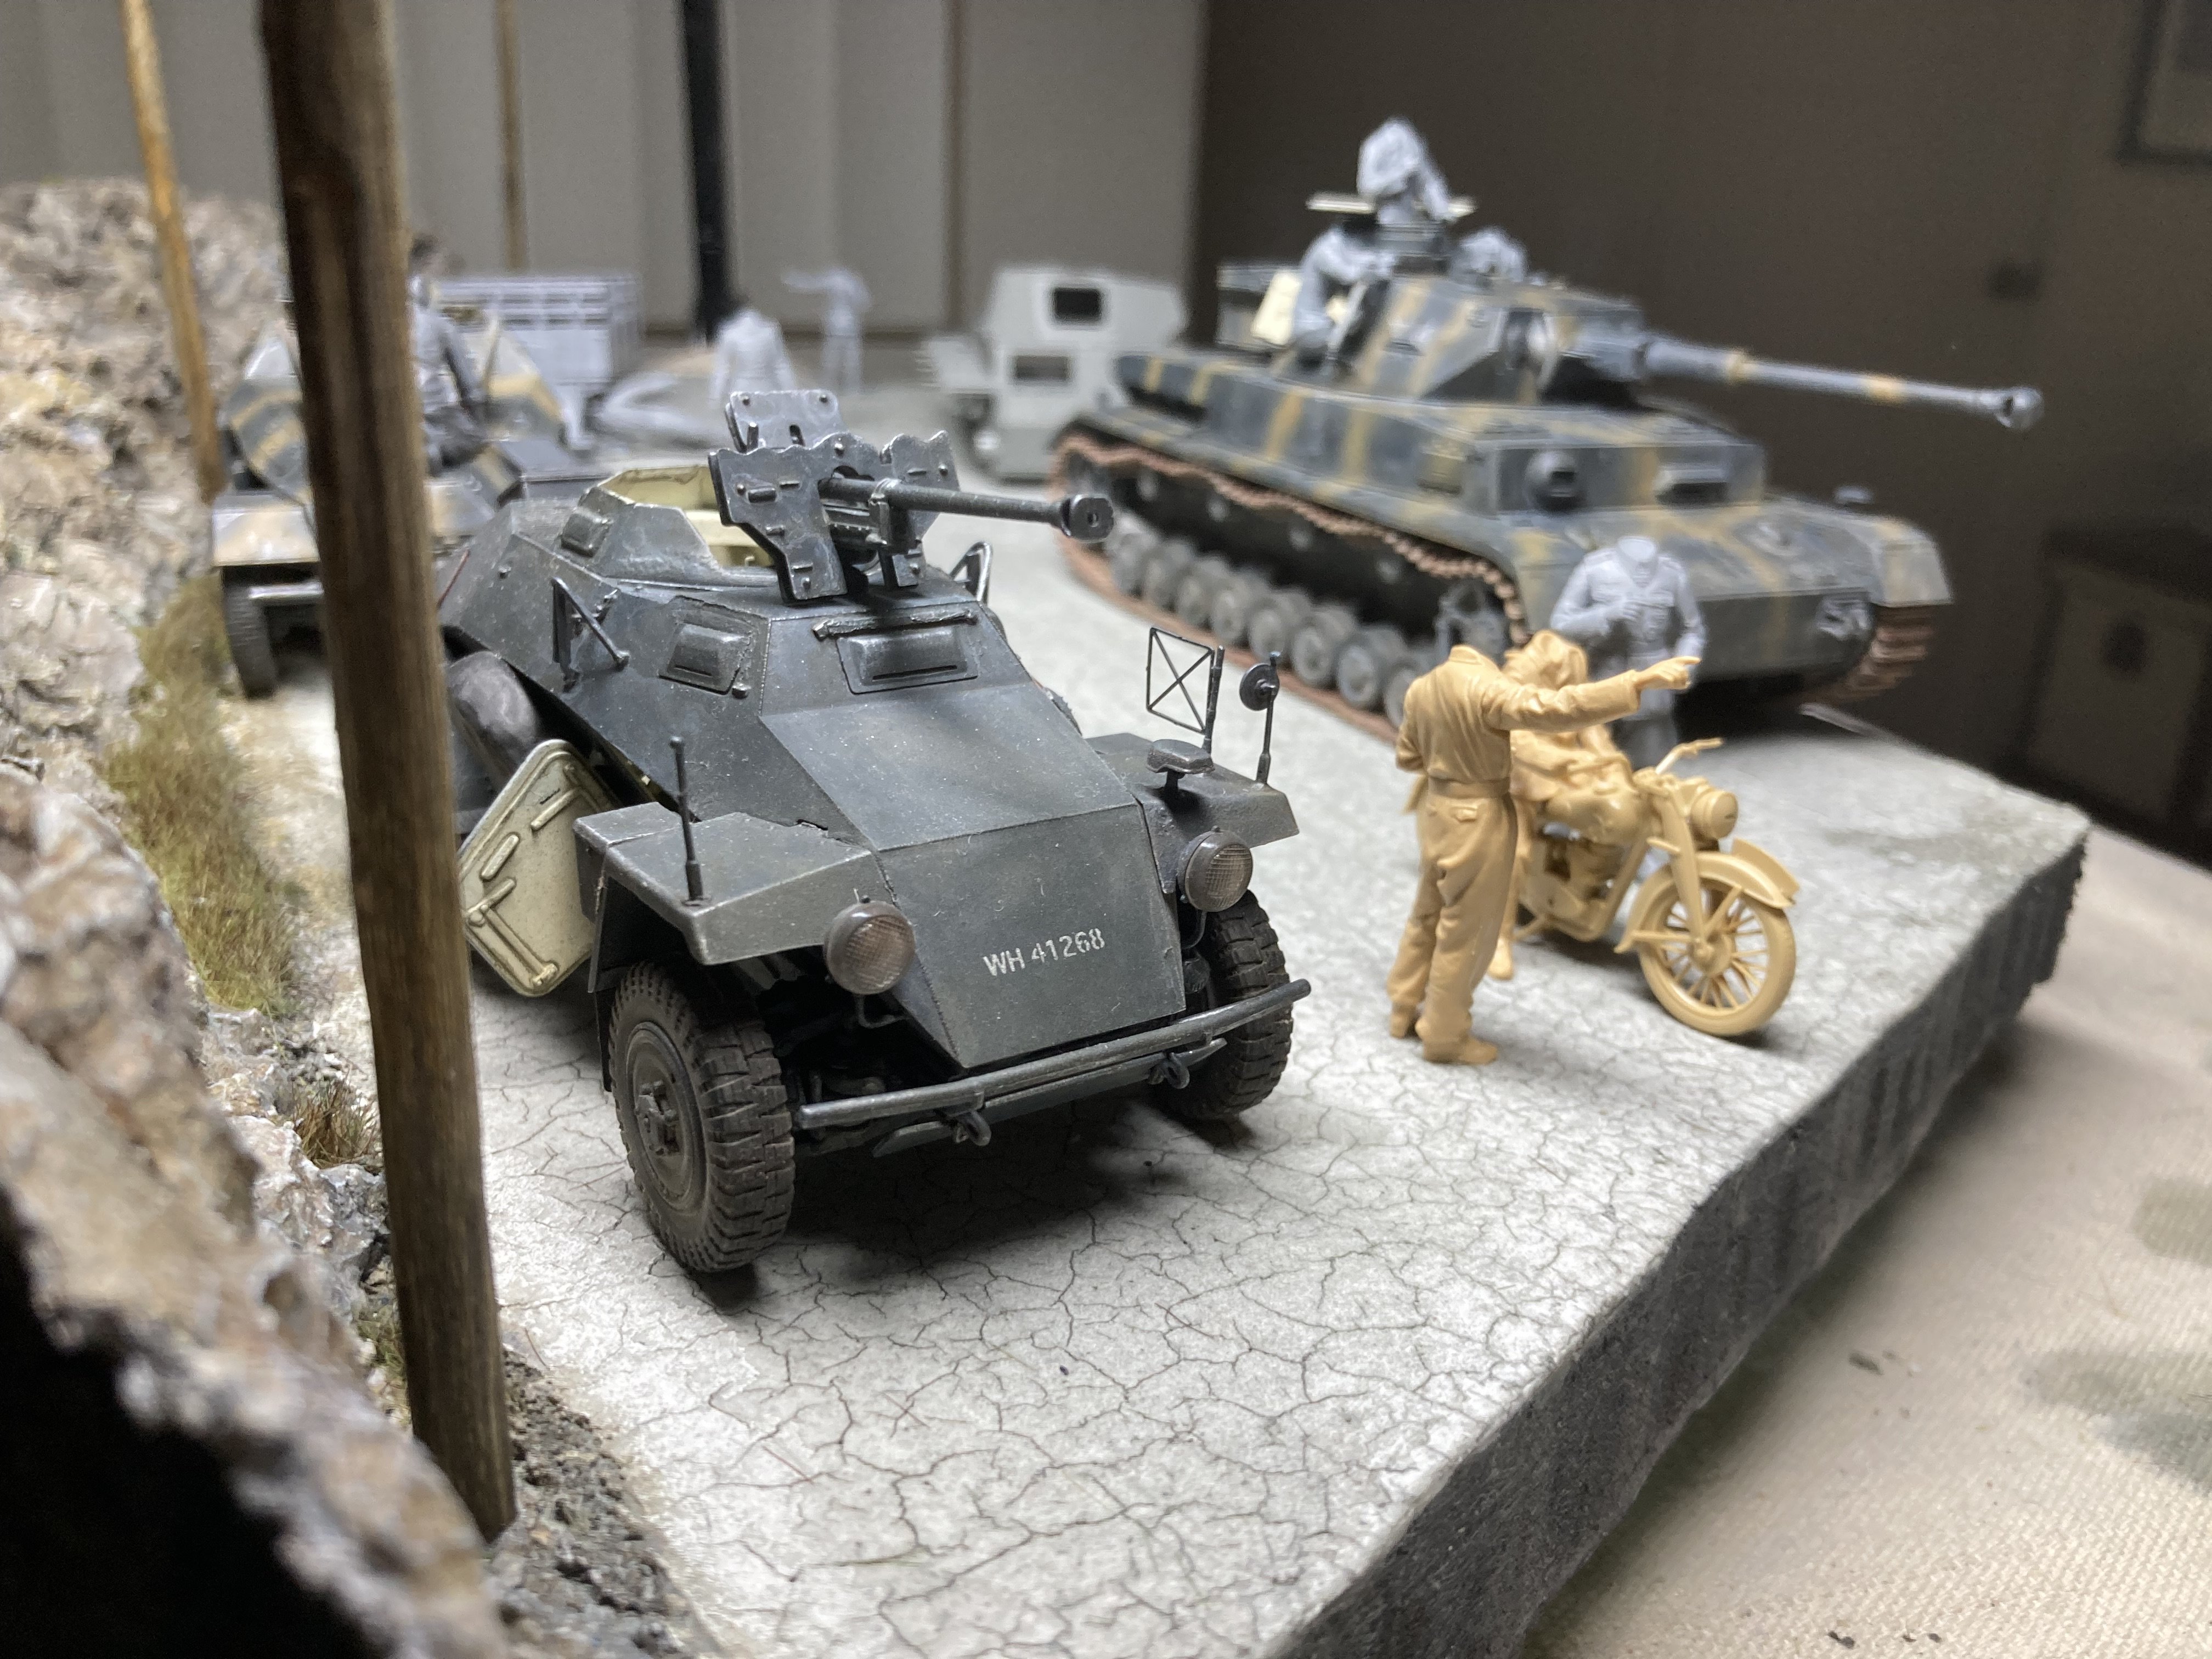
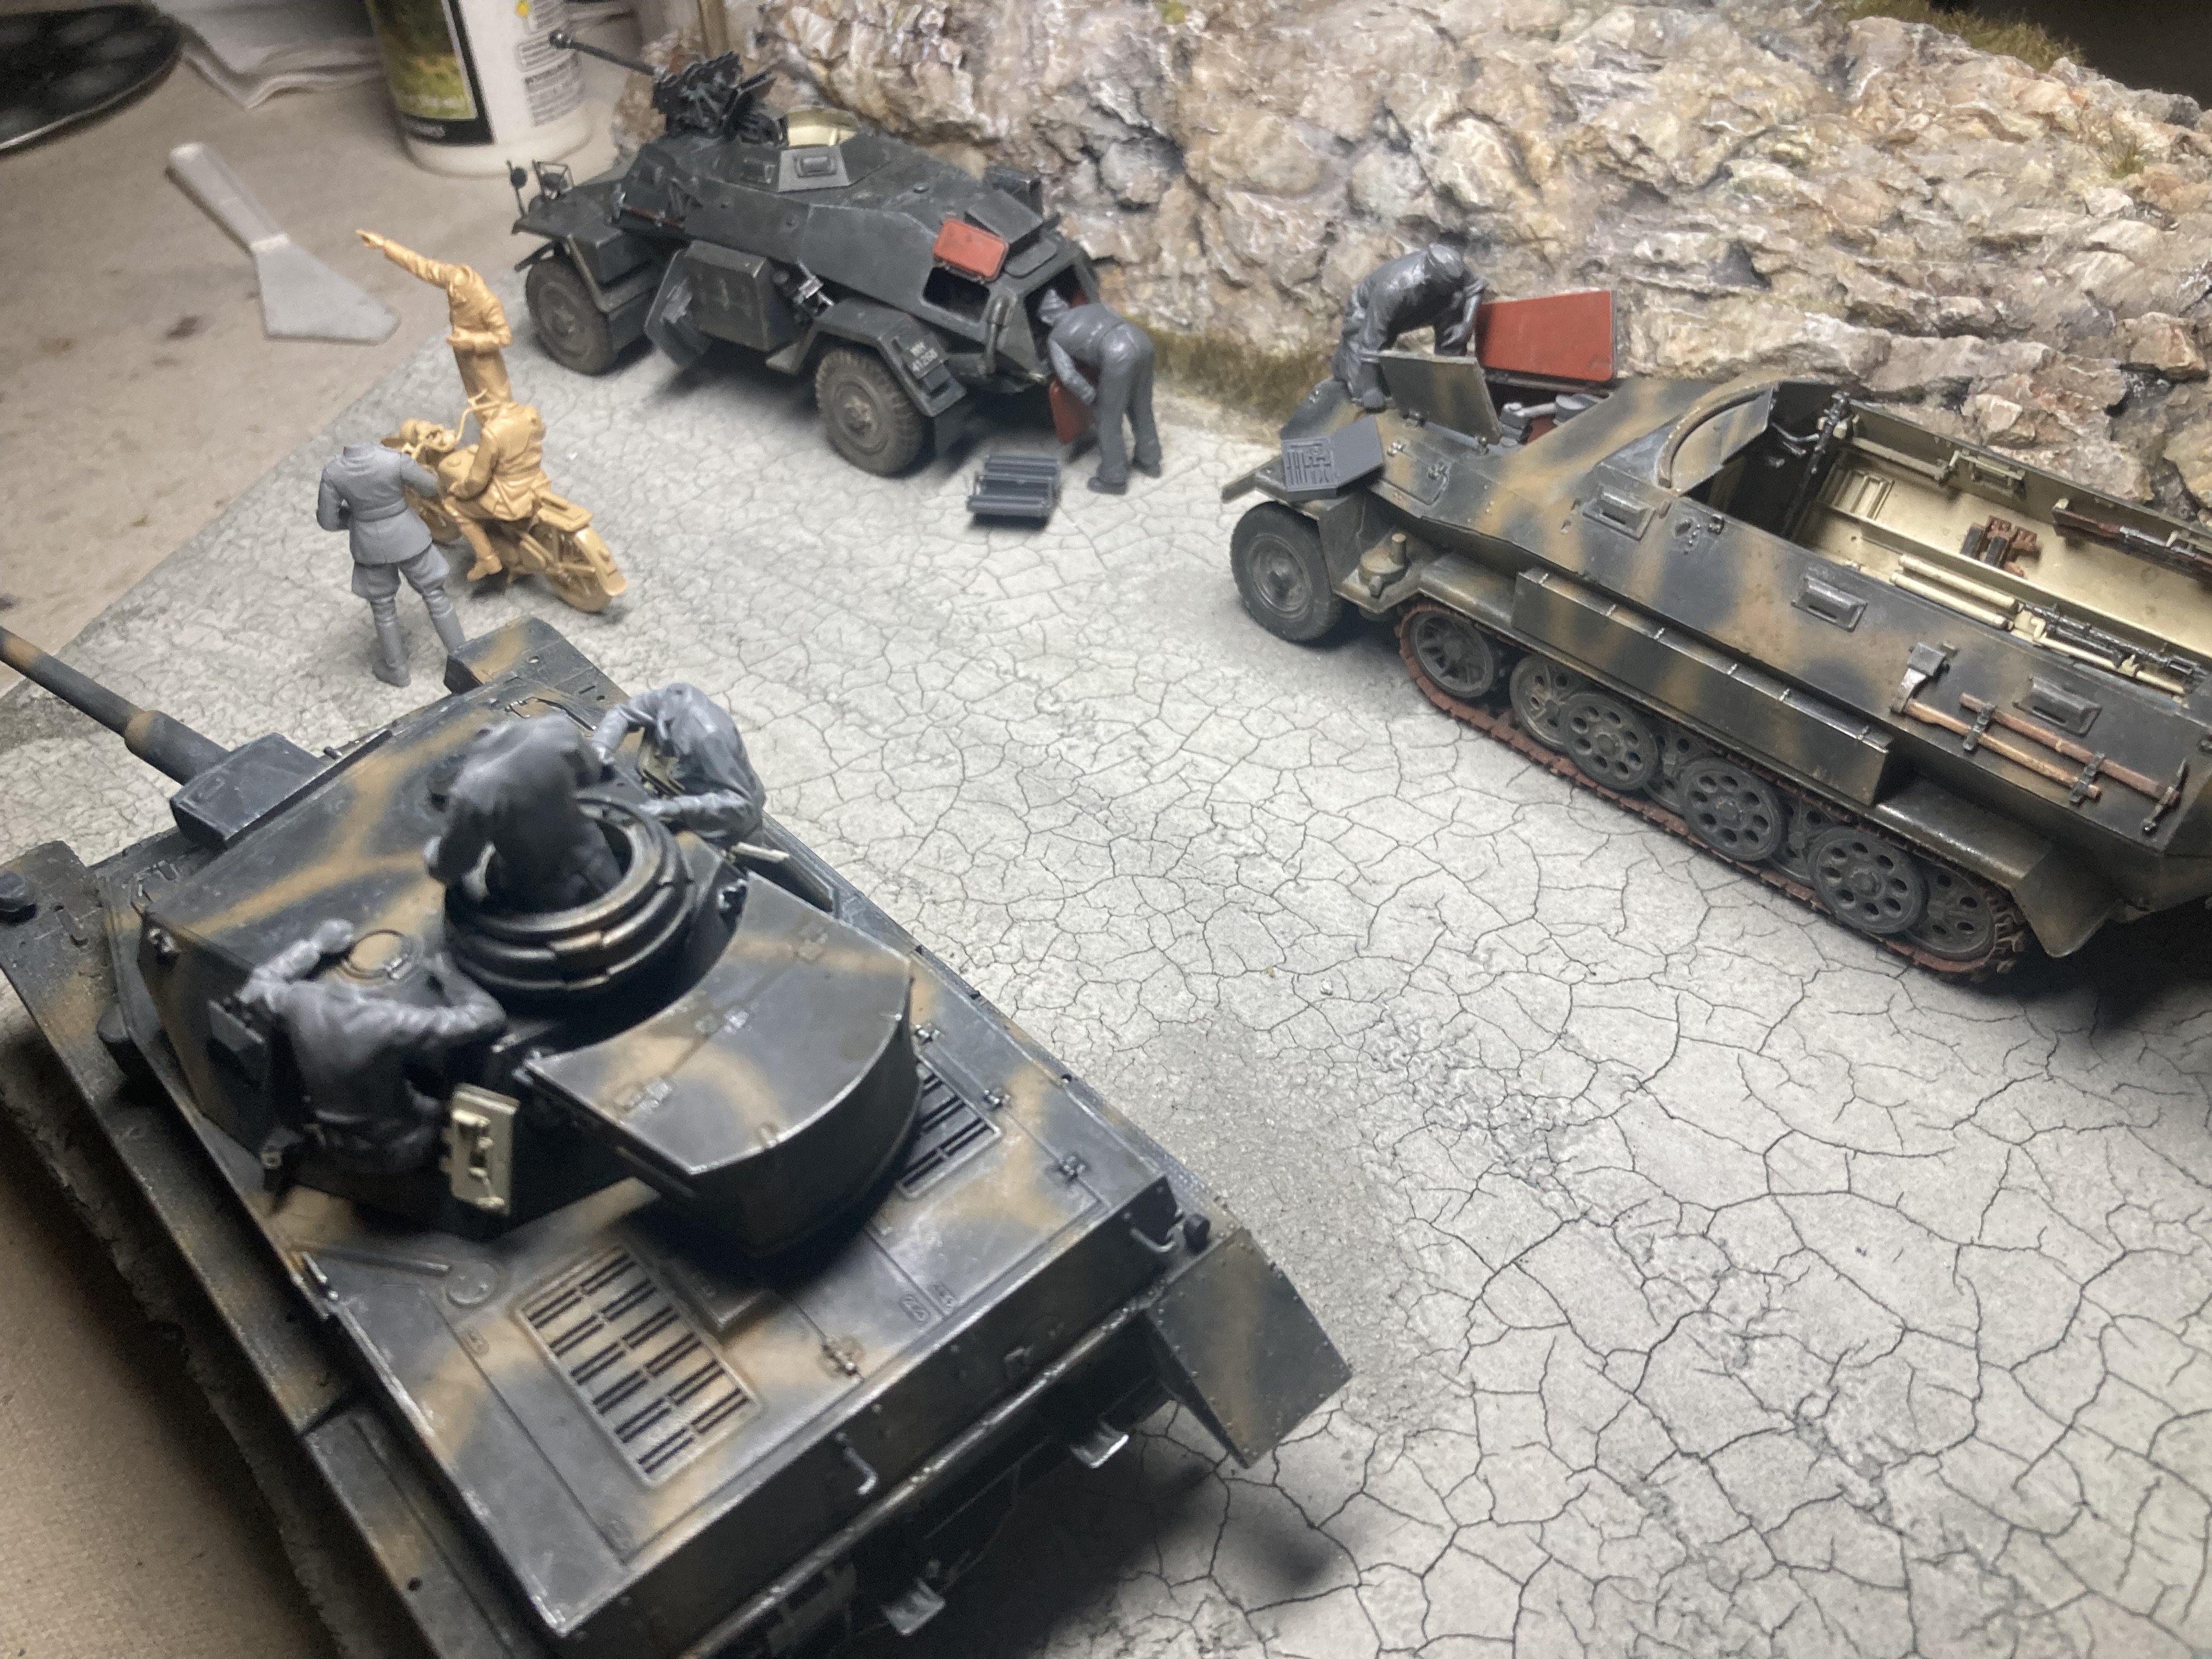
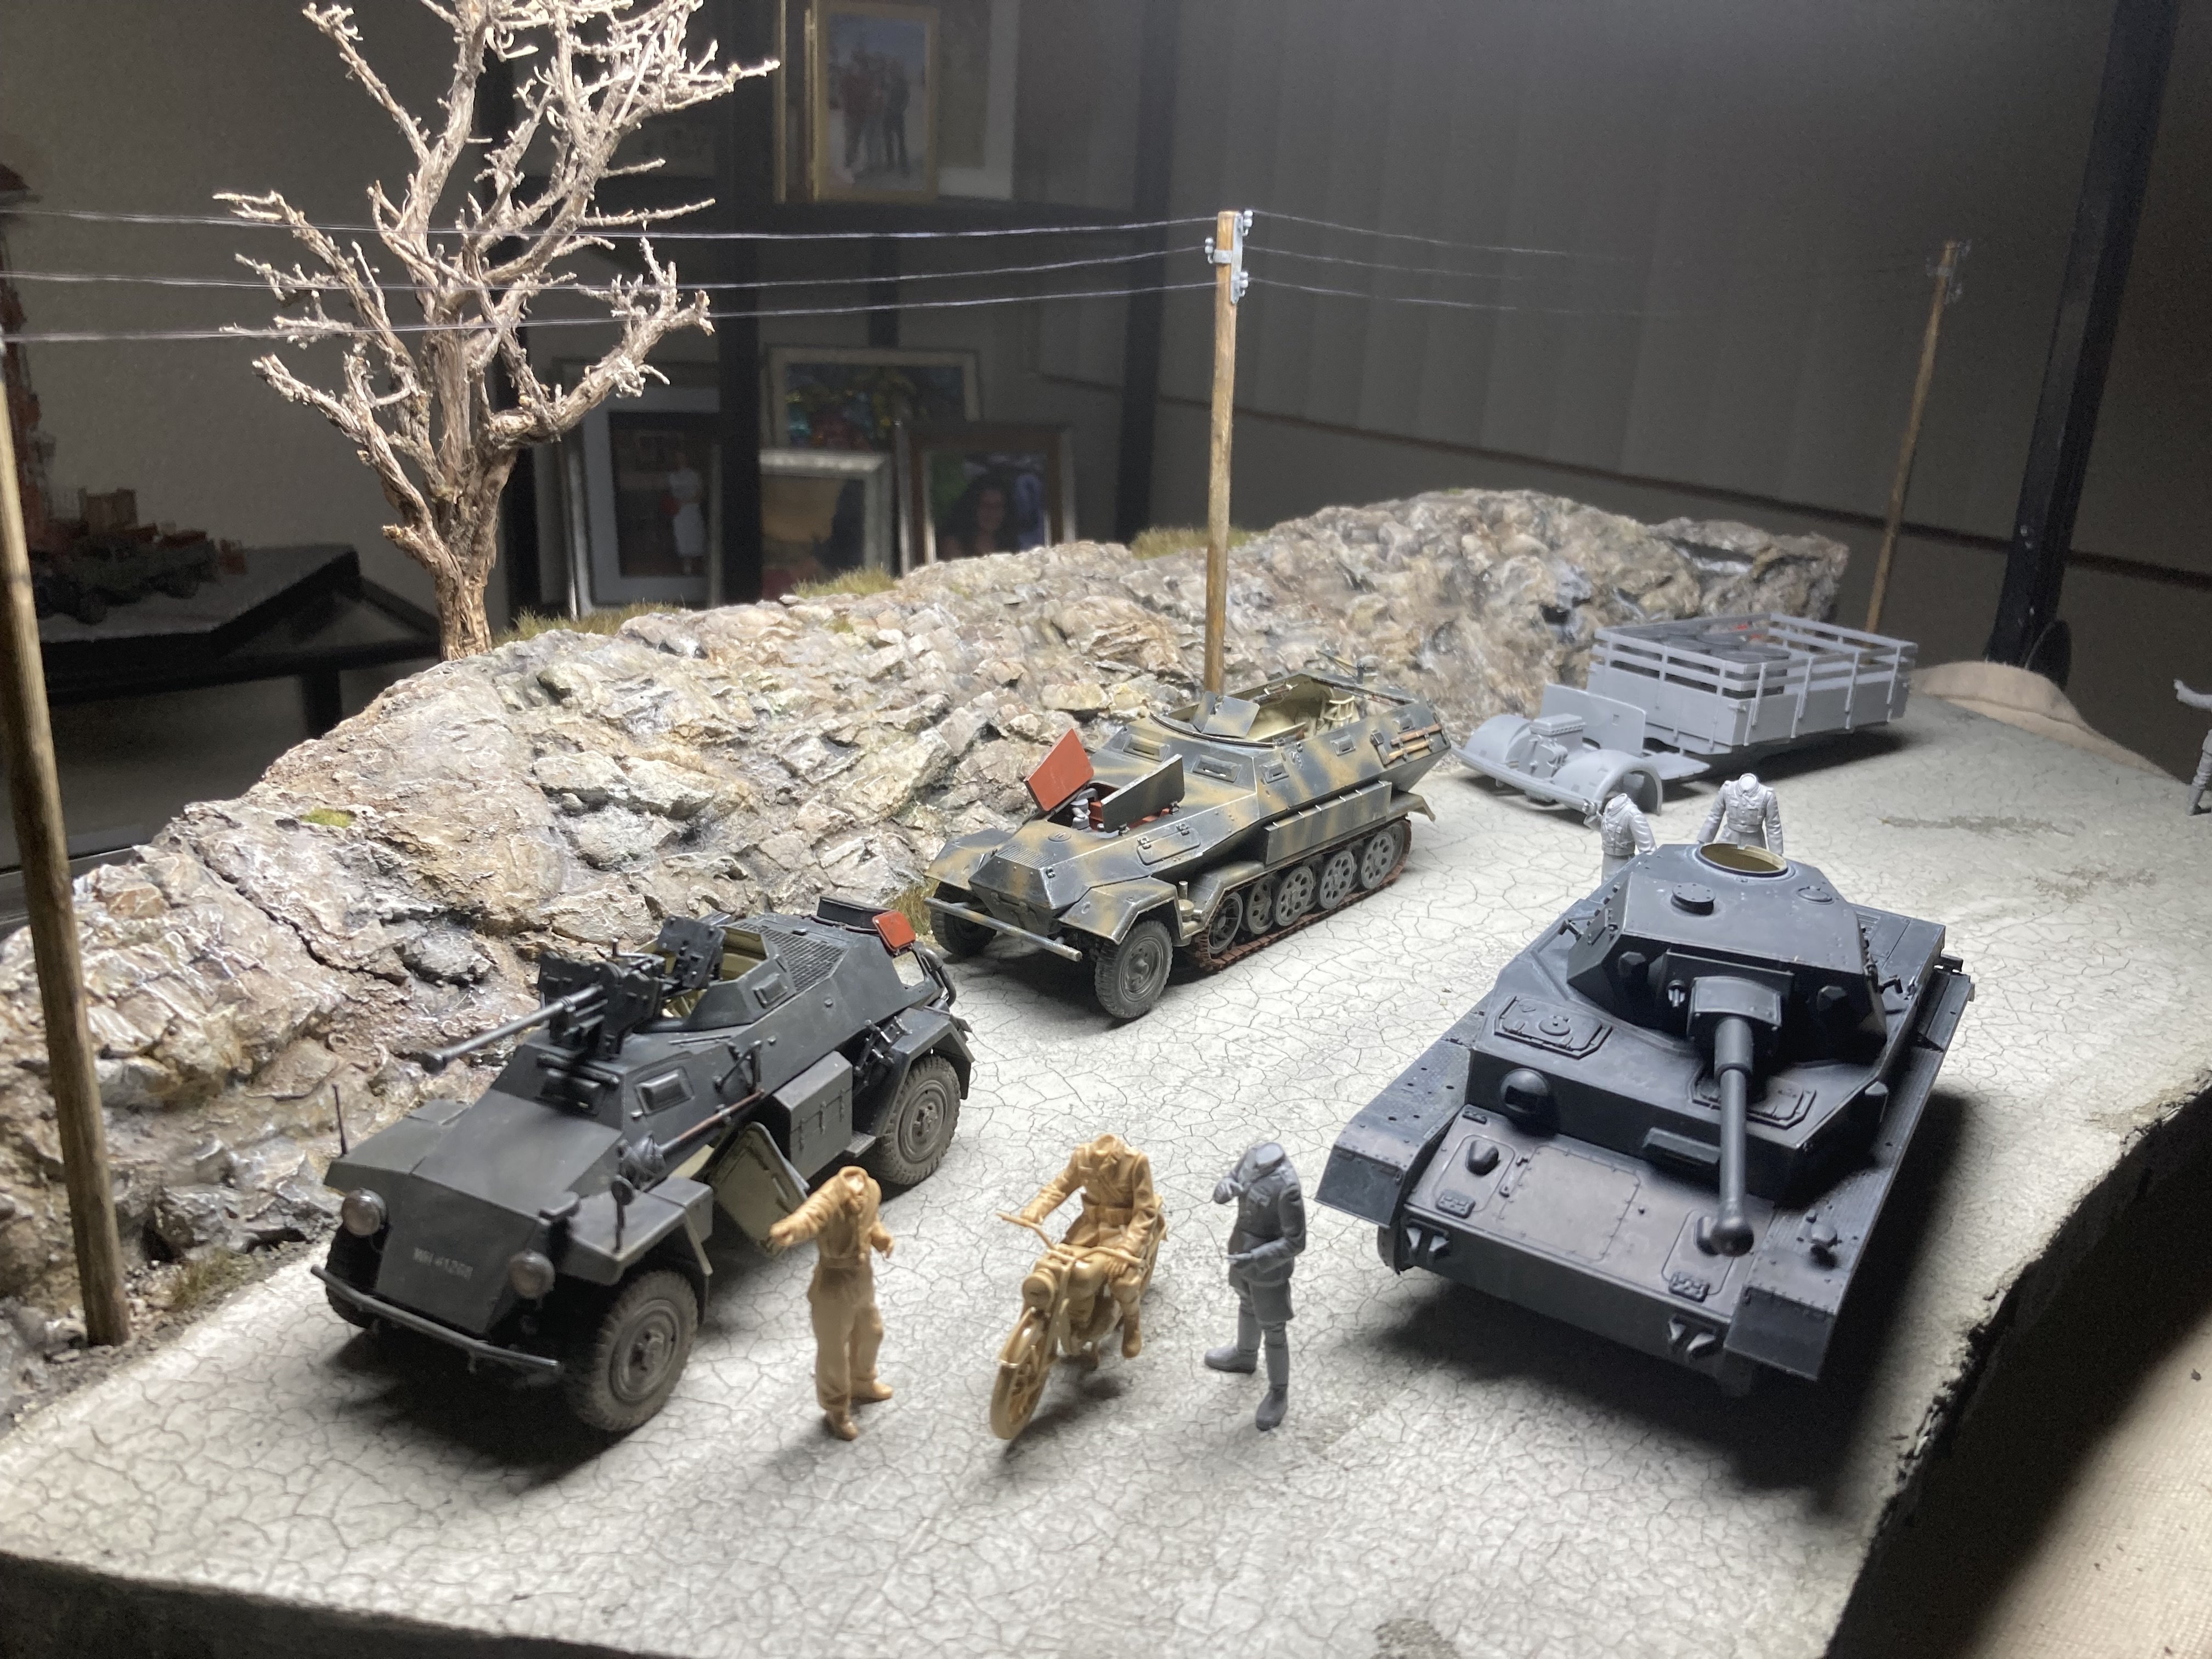
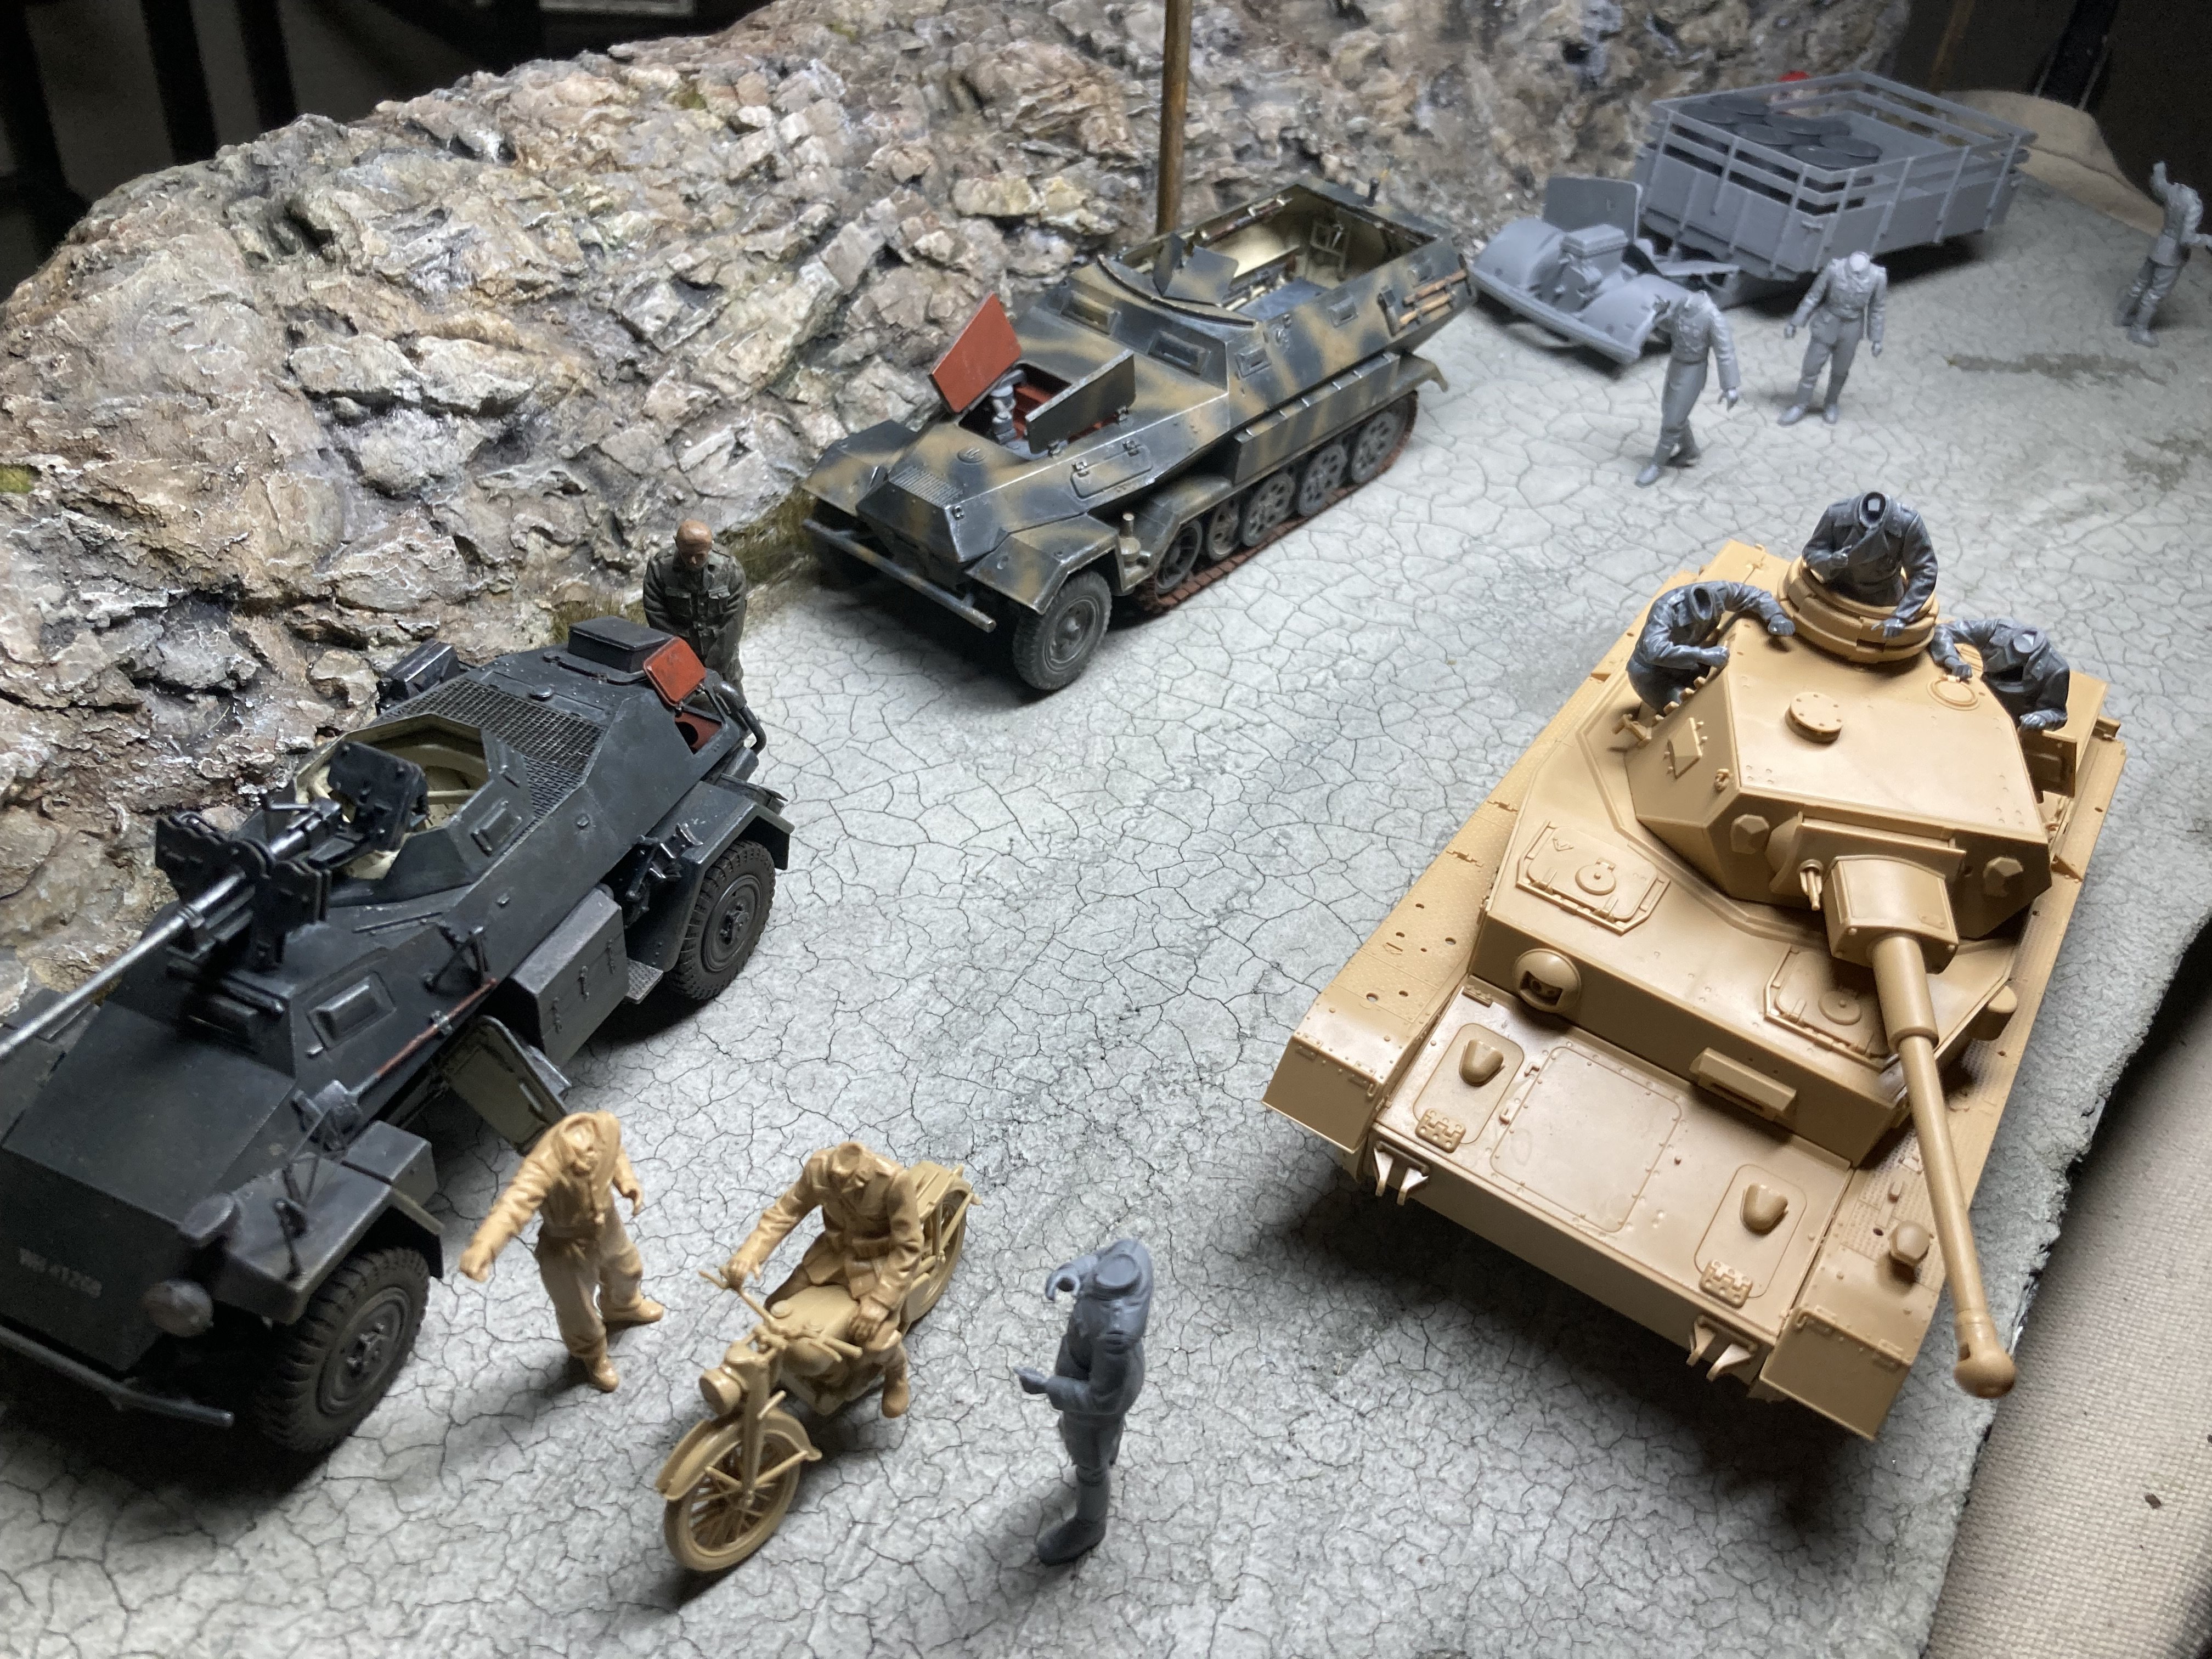
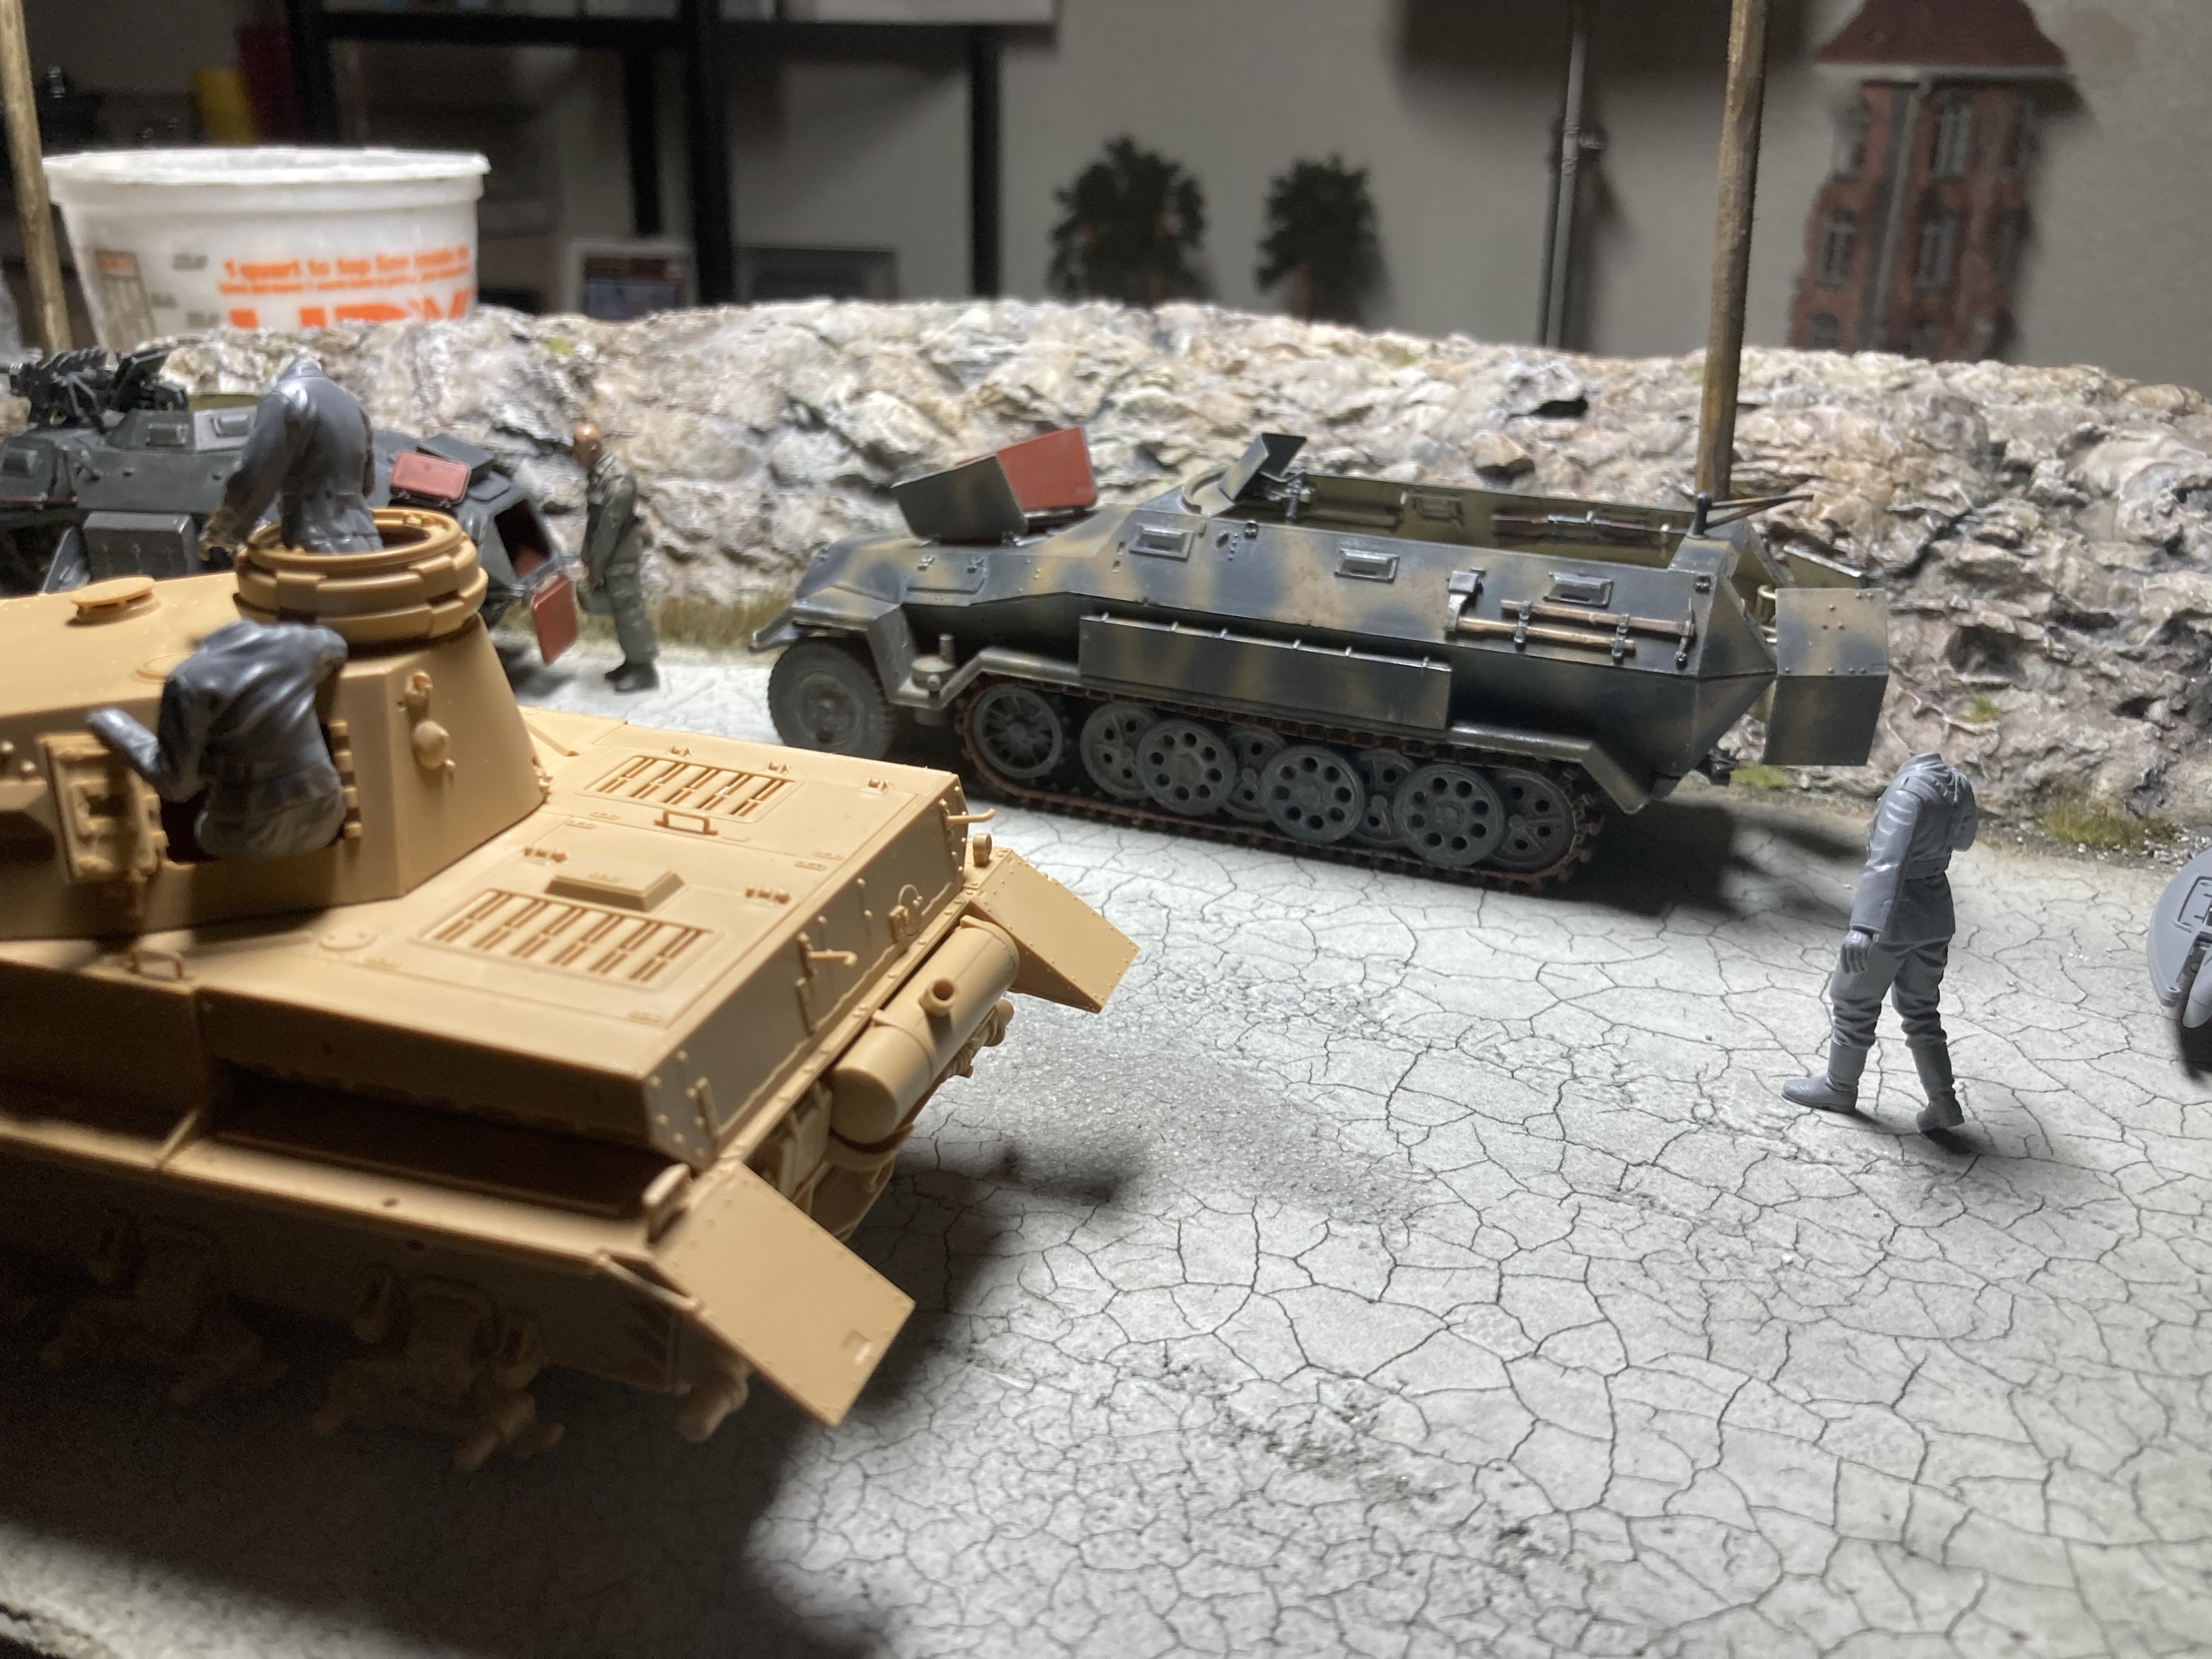
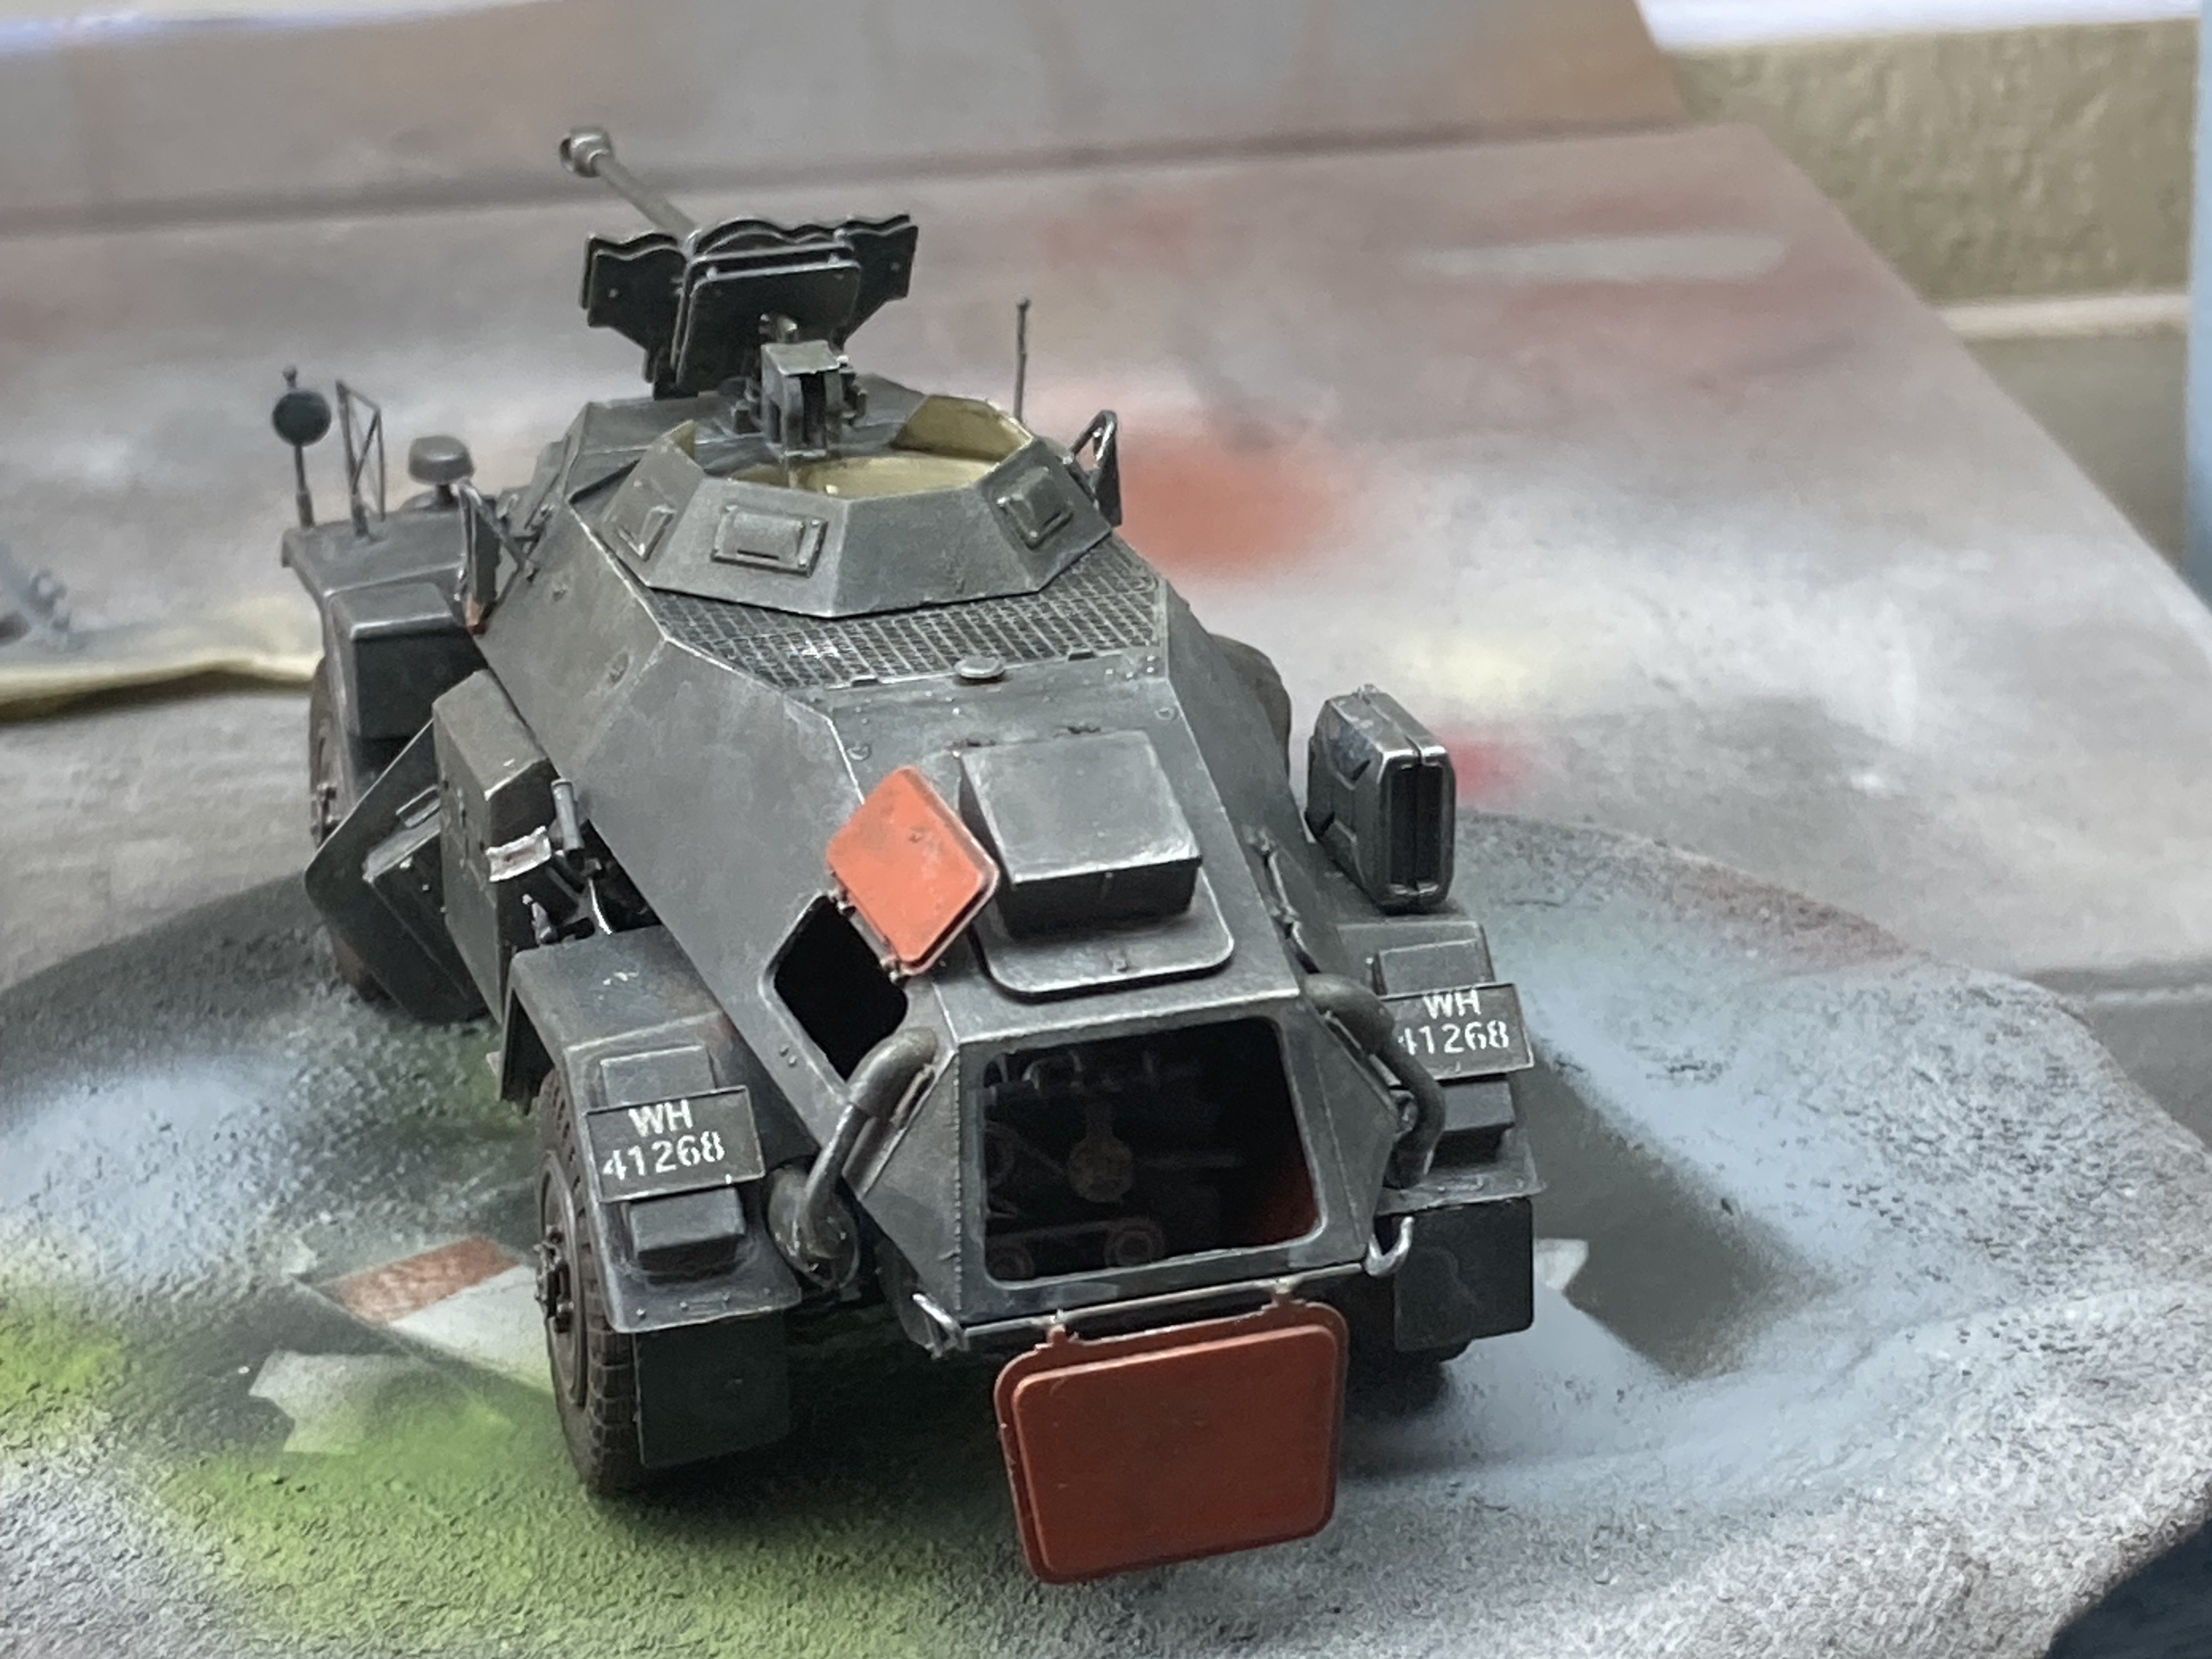
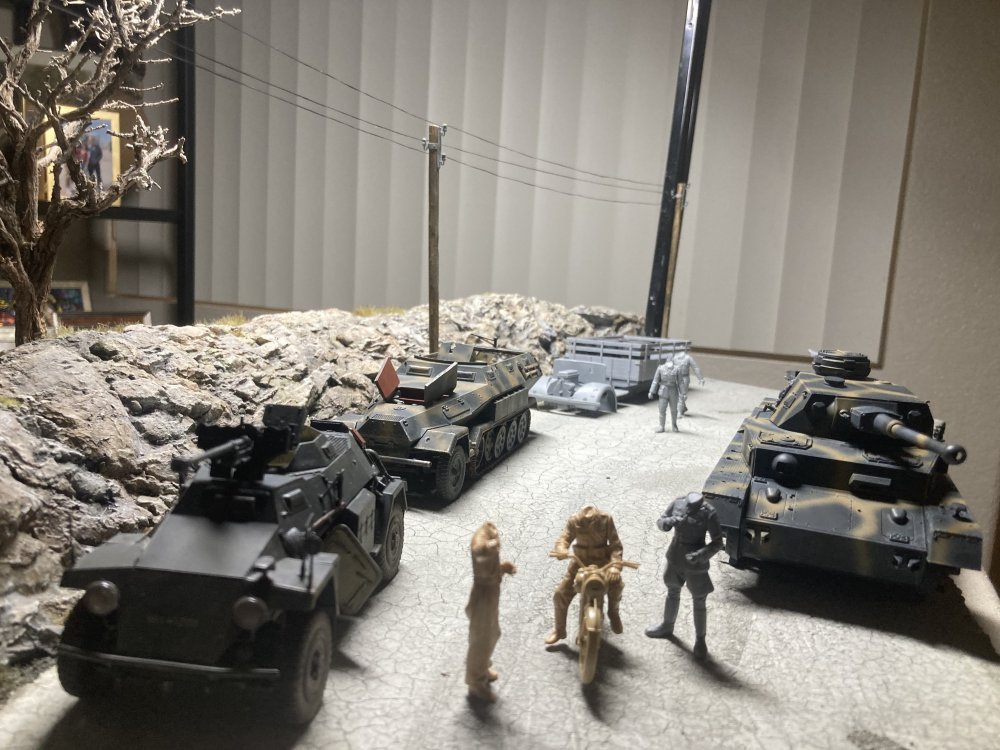
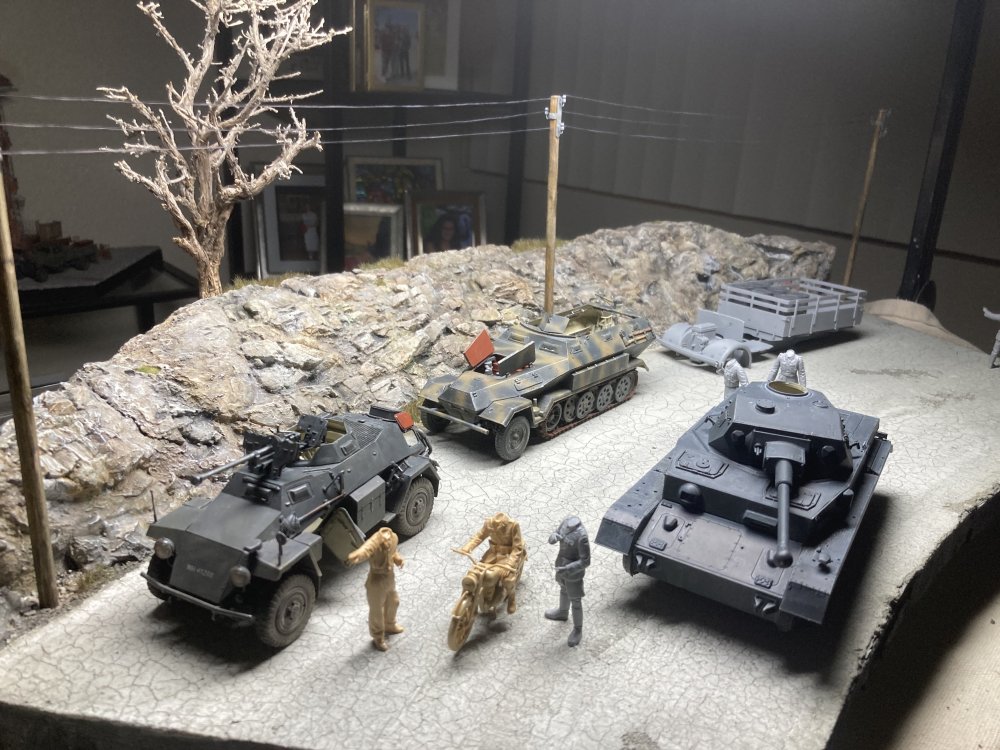
Added lines to utility poles and started painting panzer iv
-
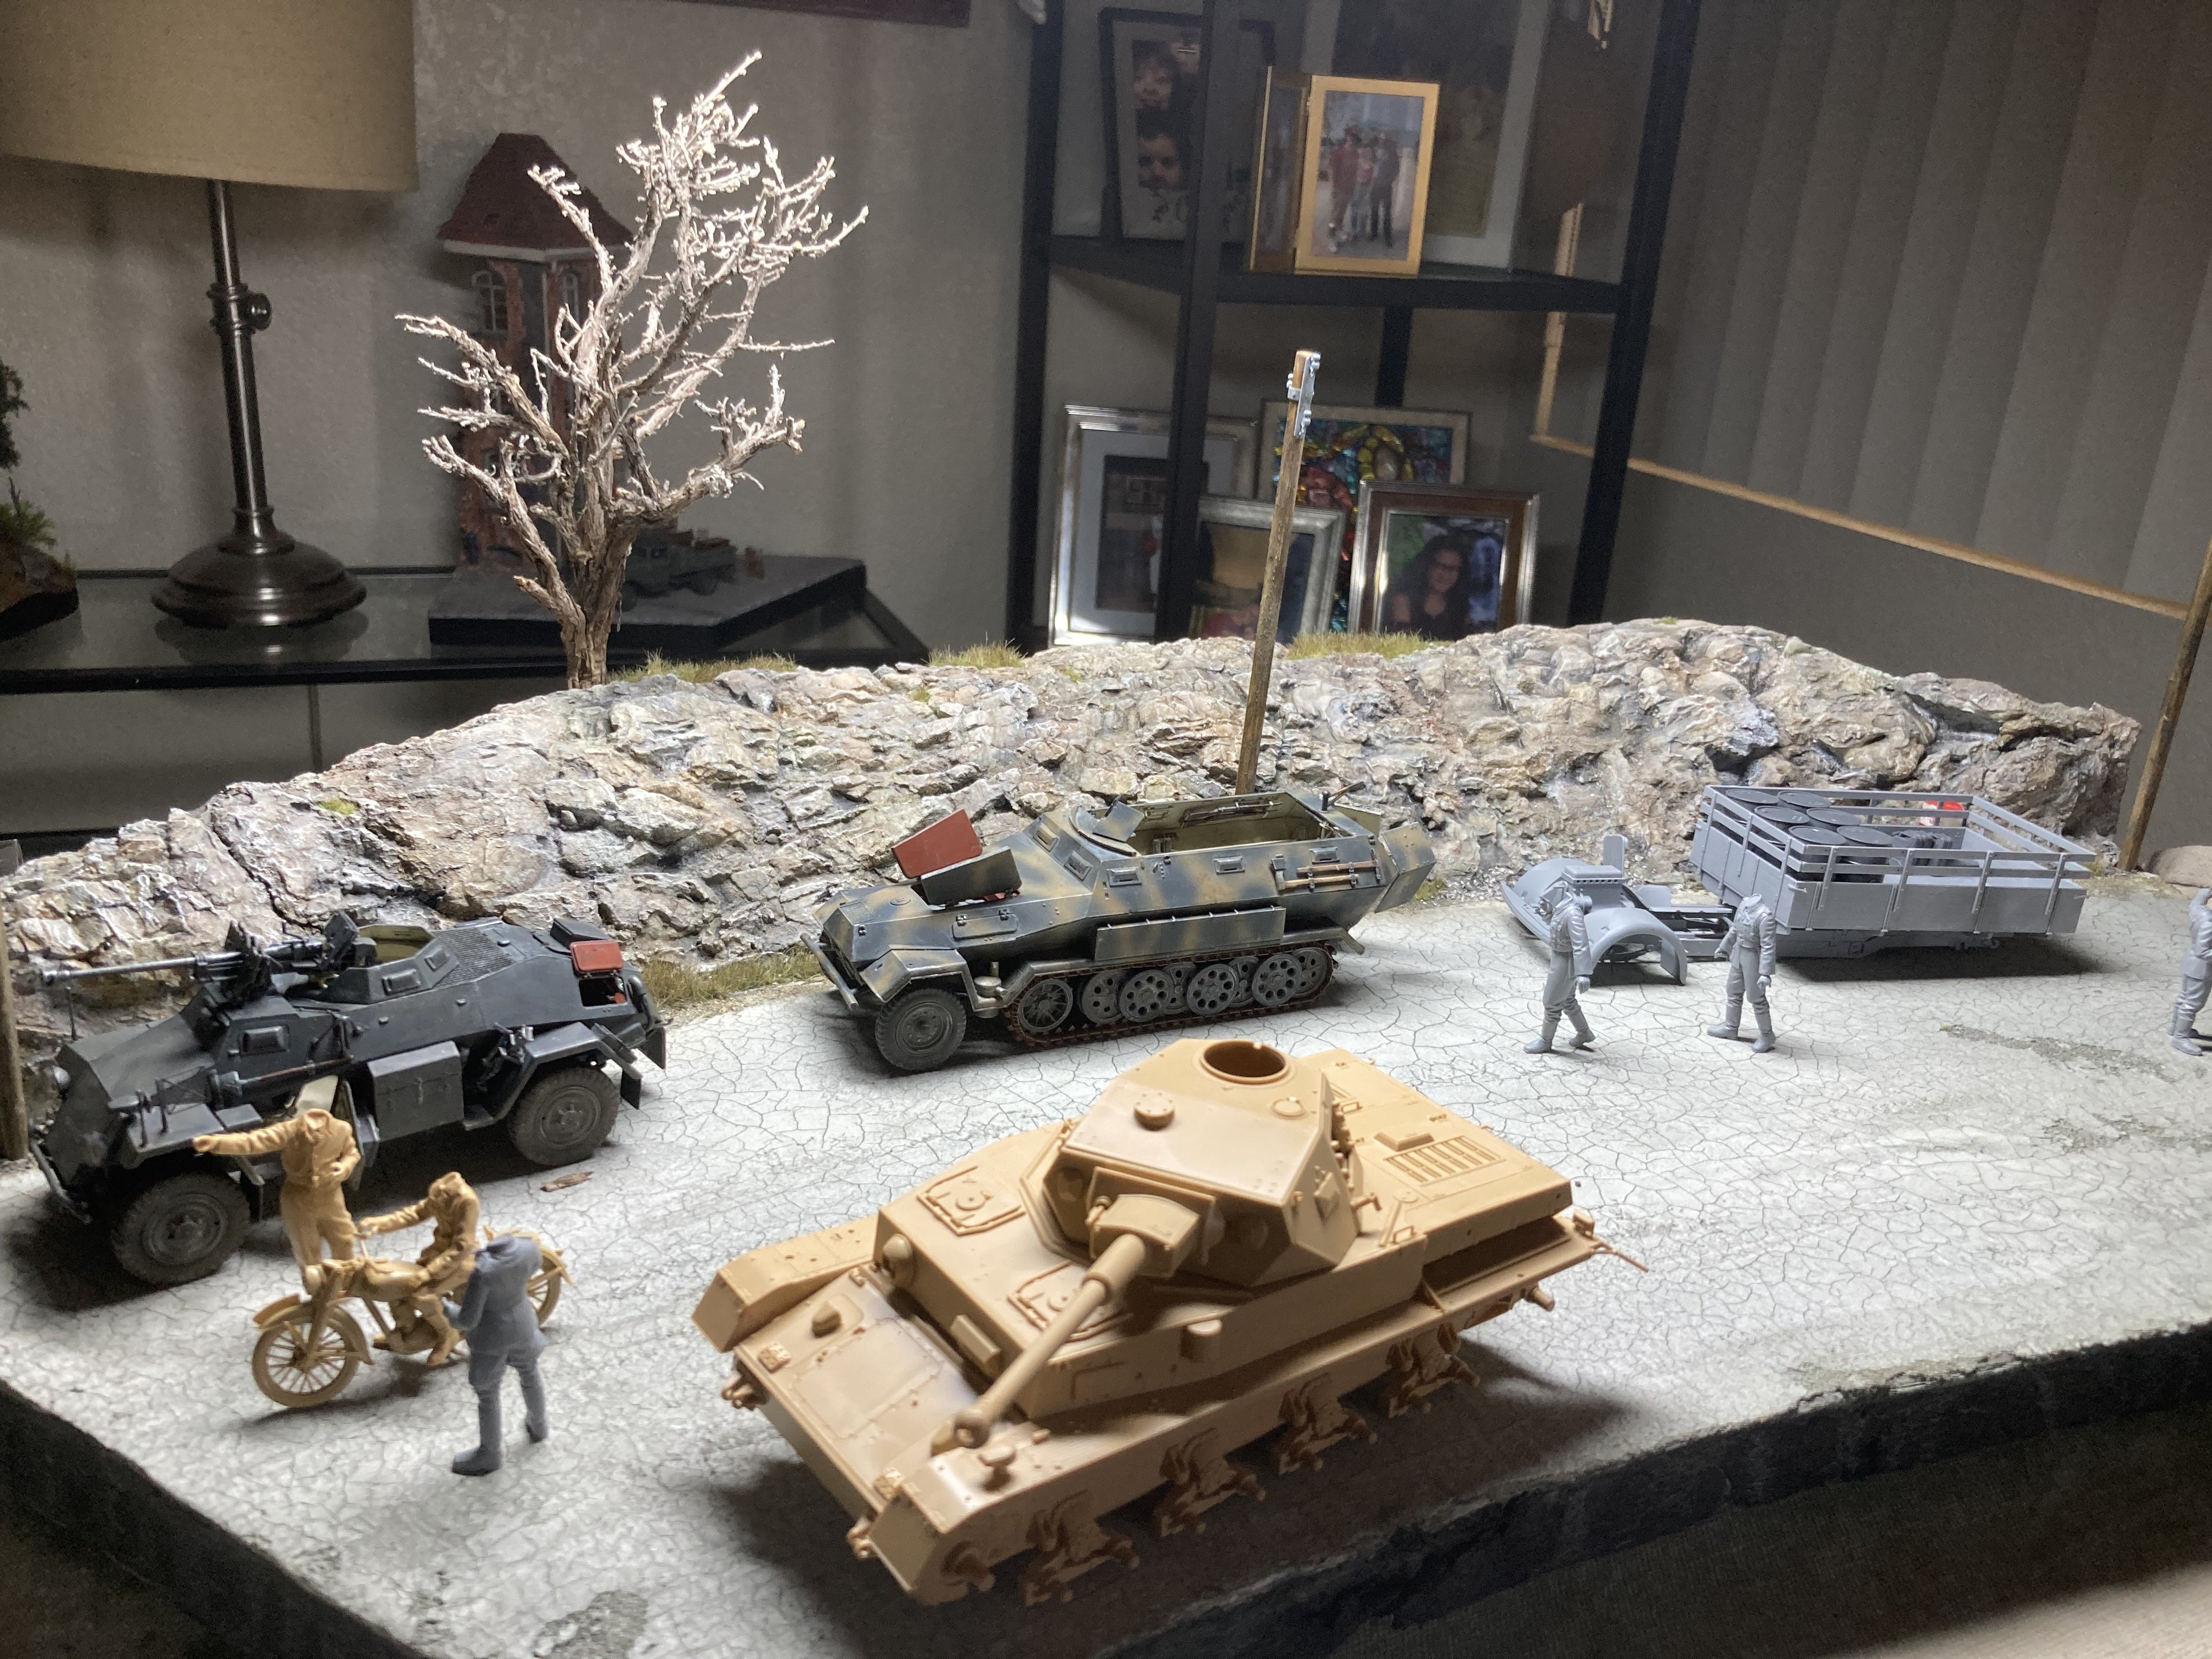
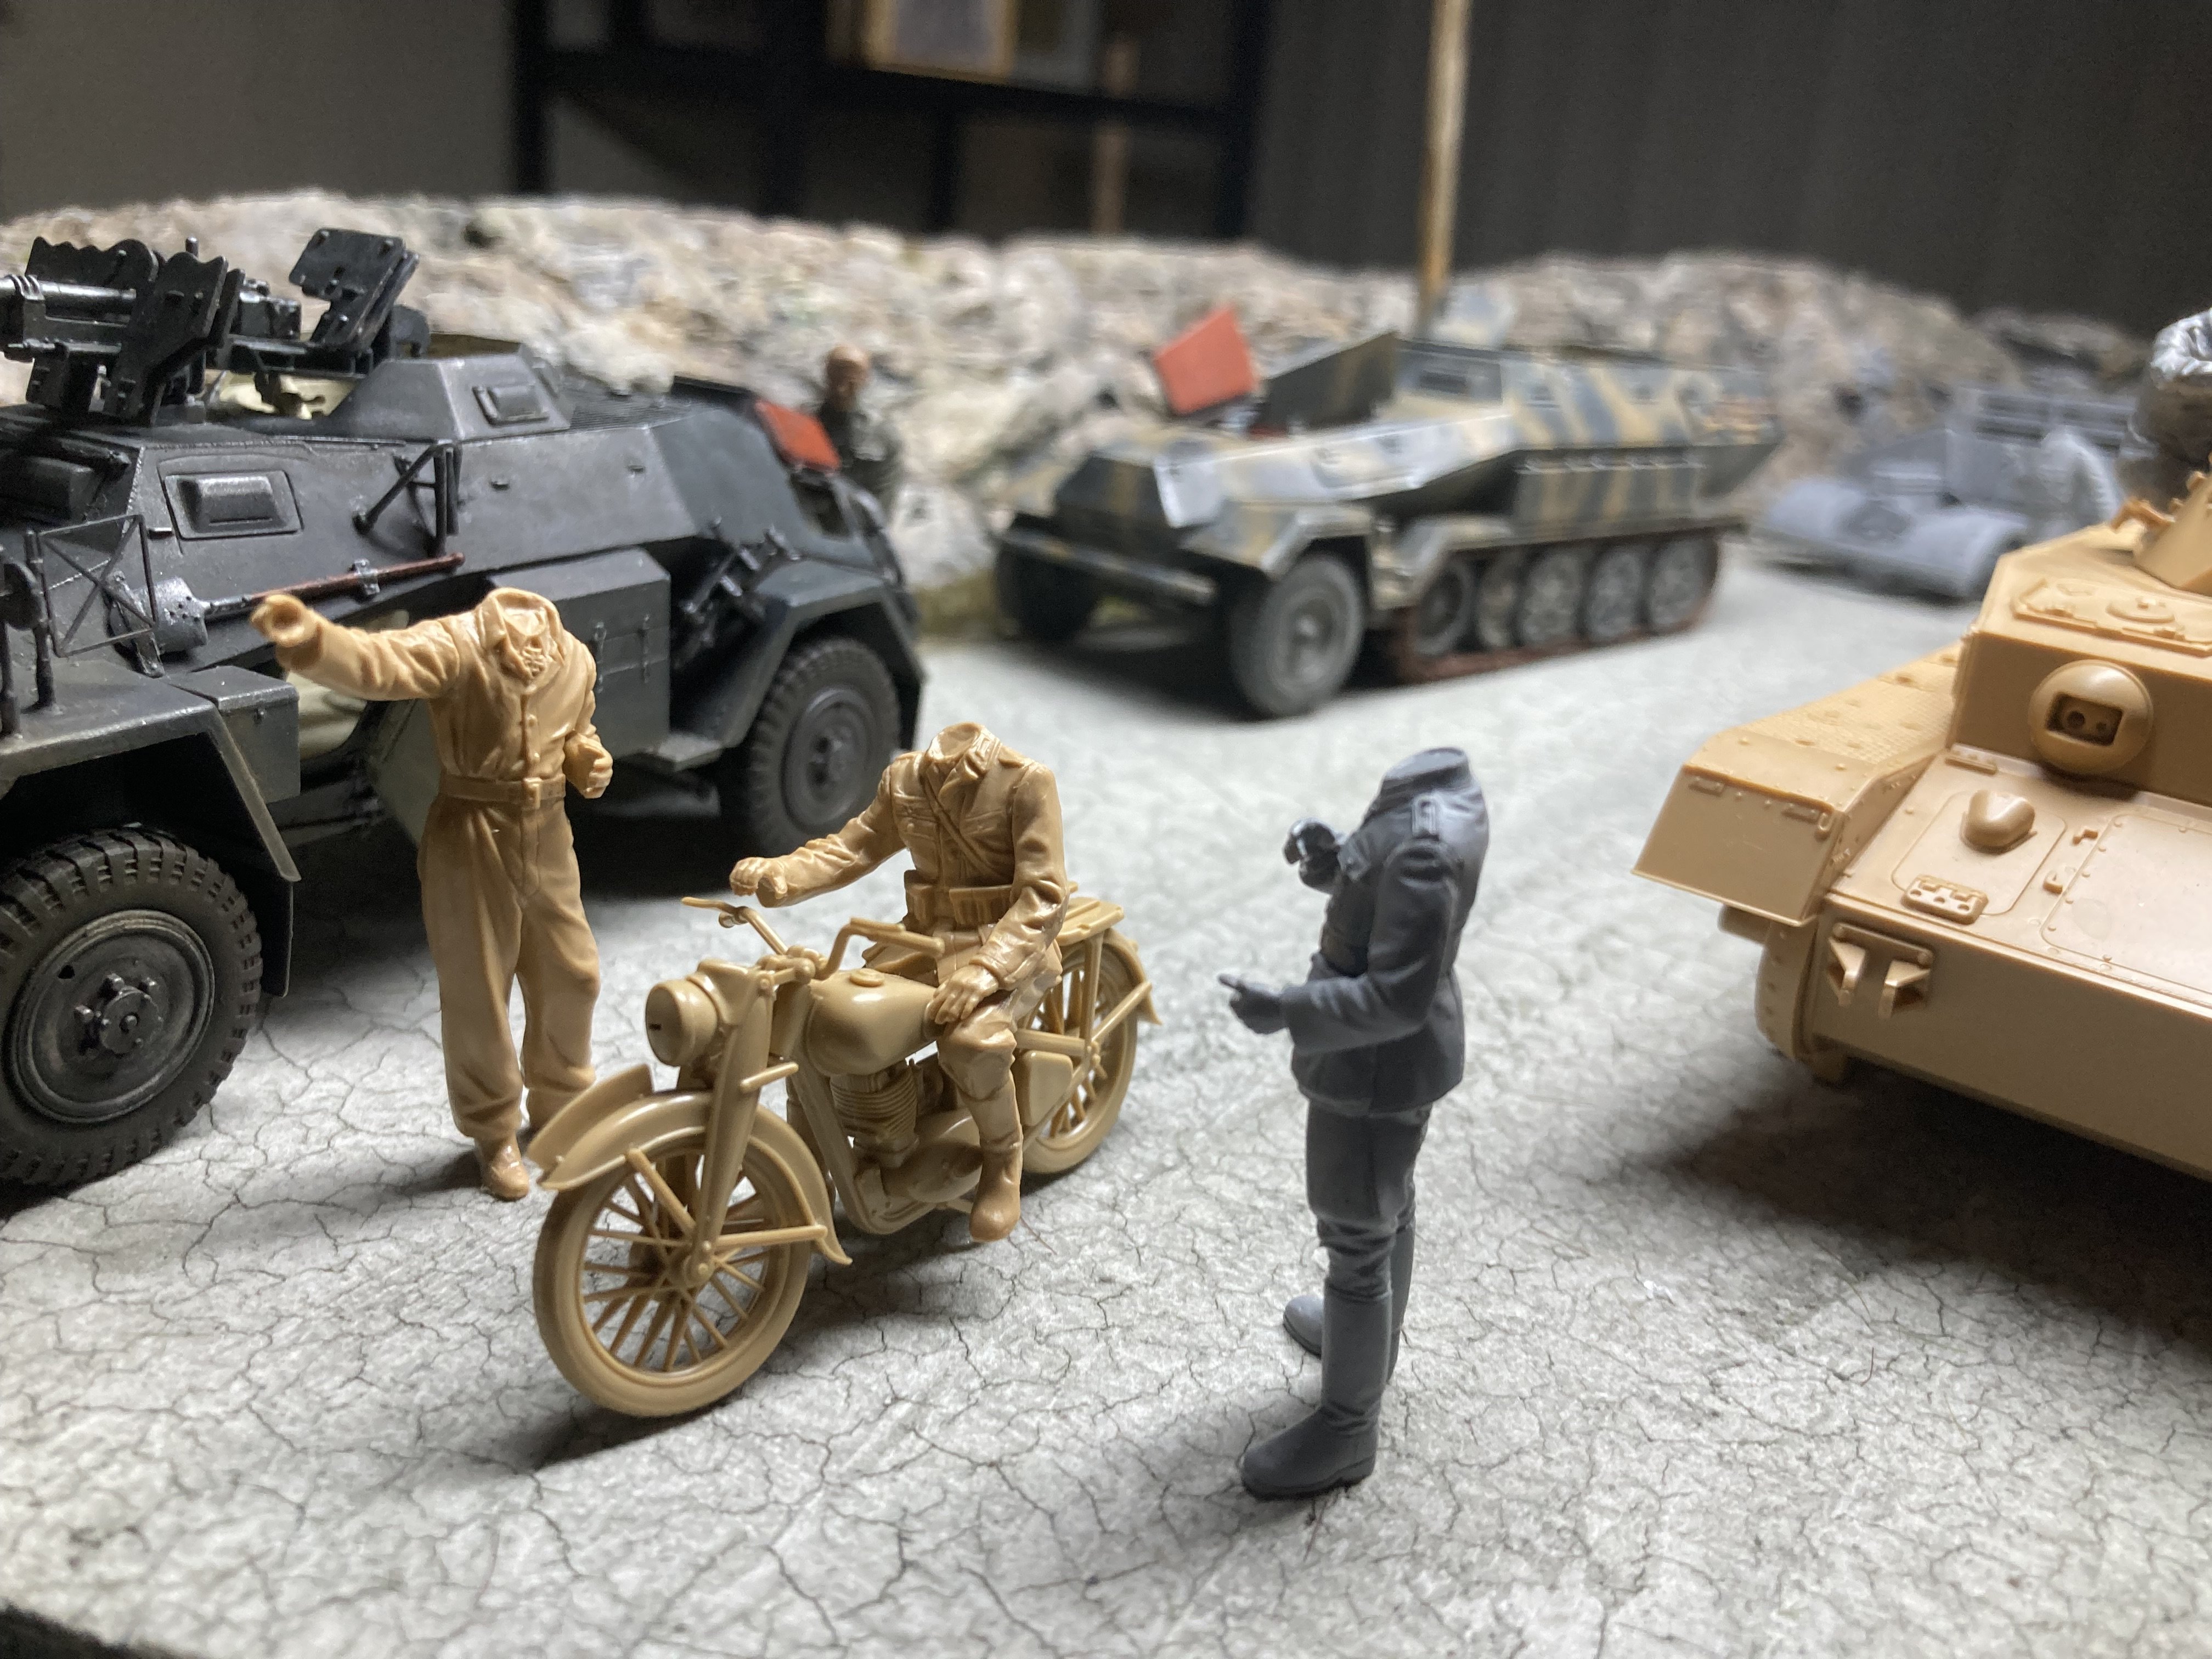
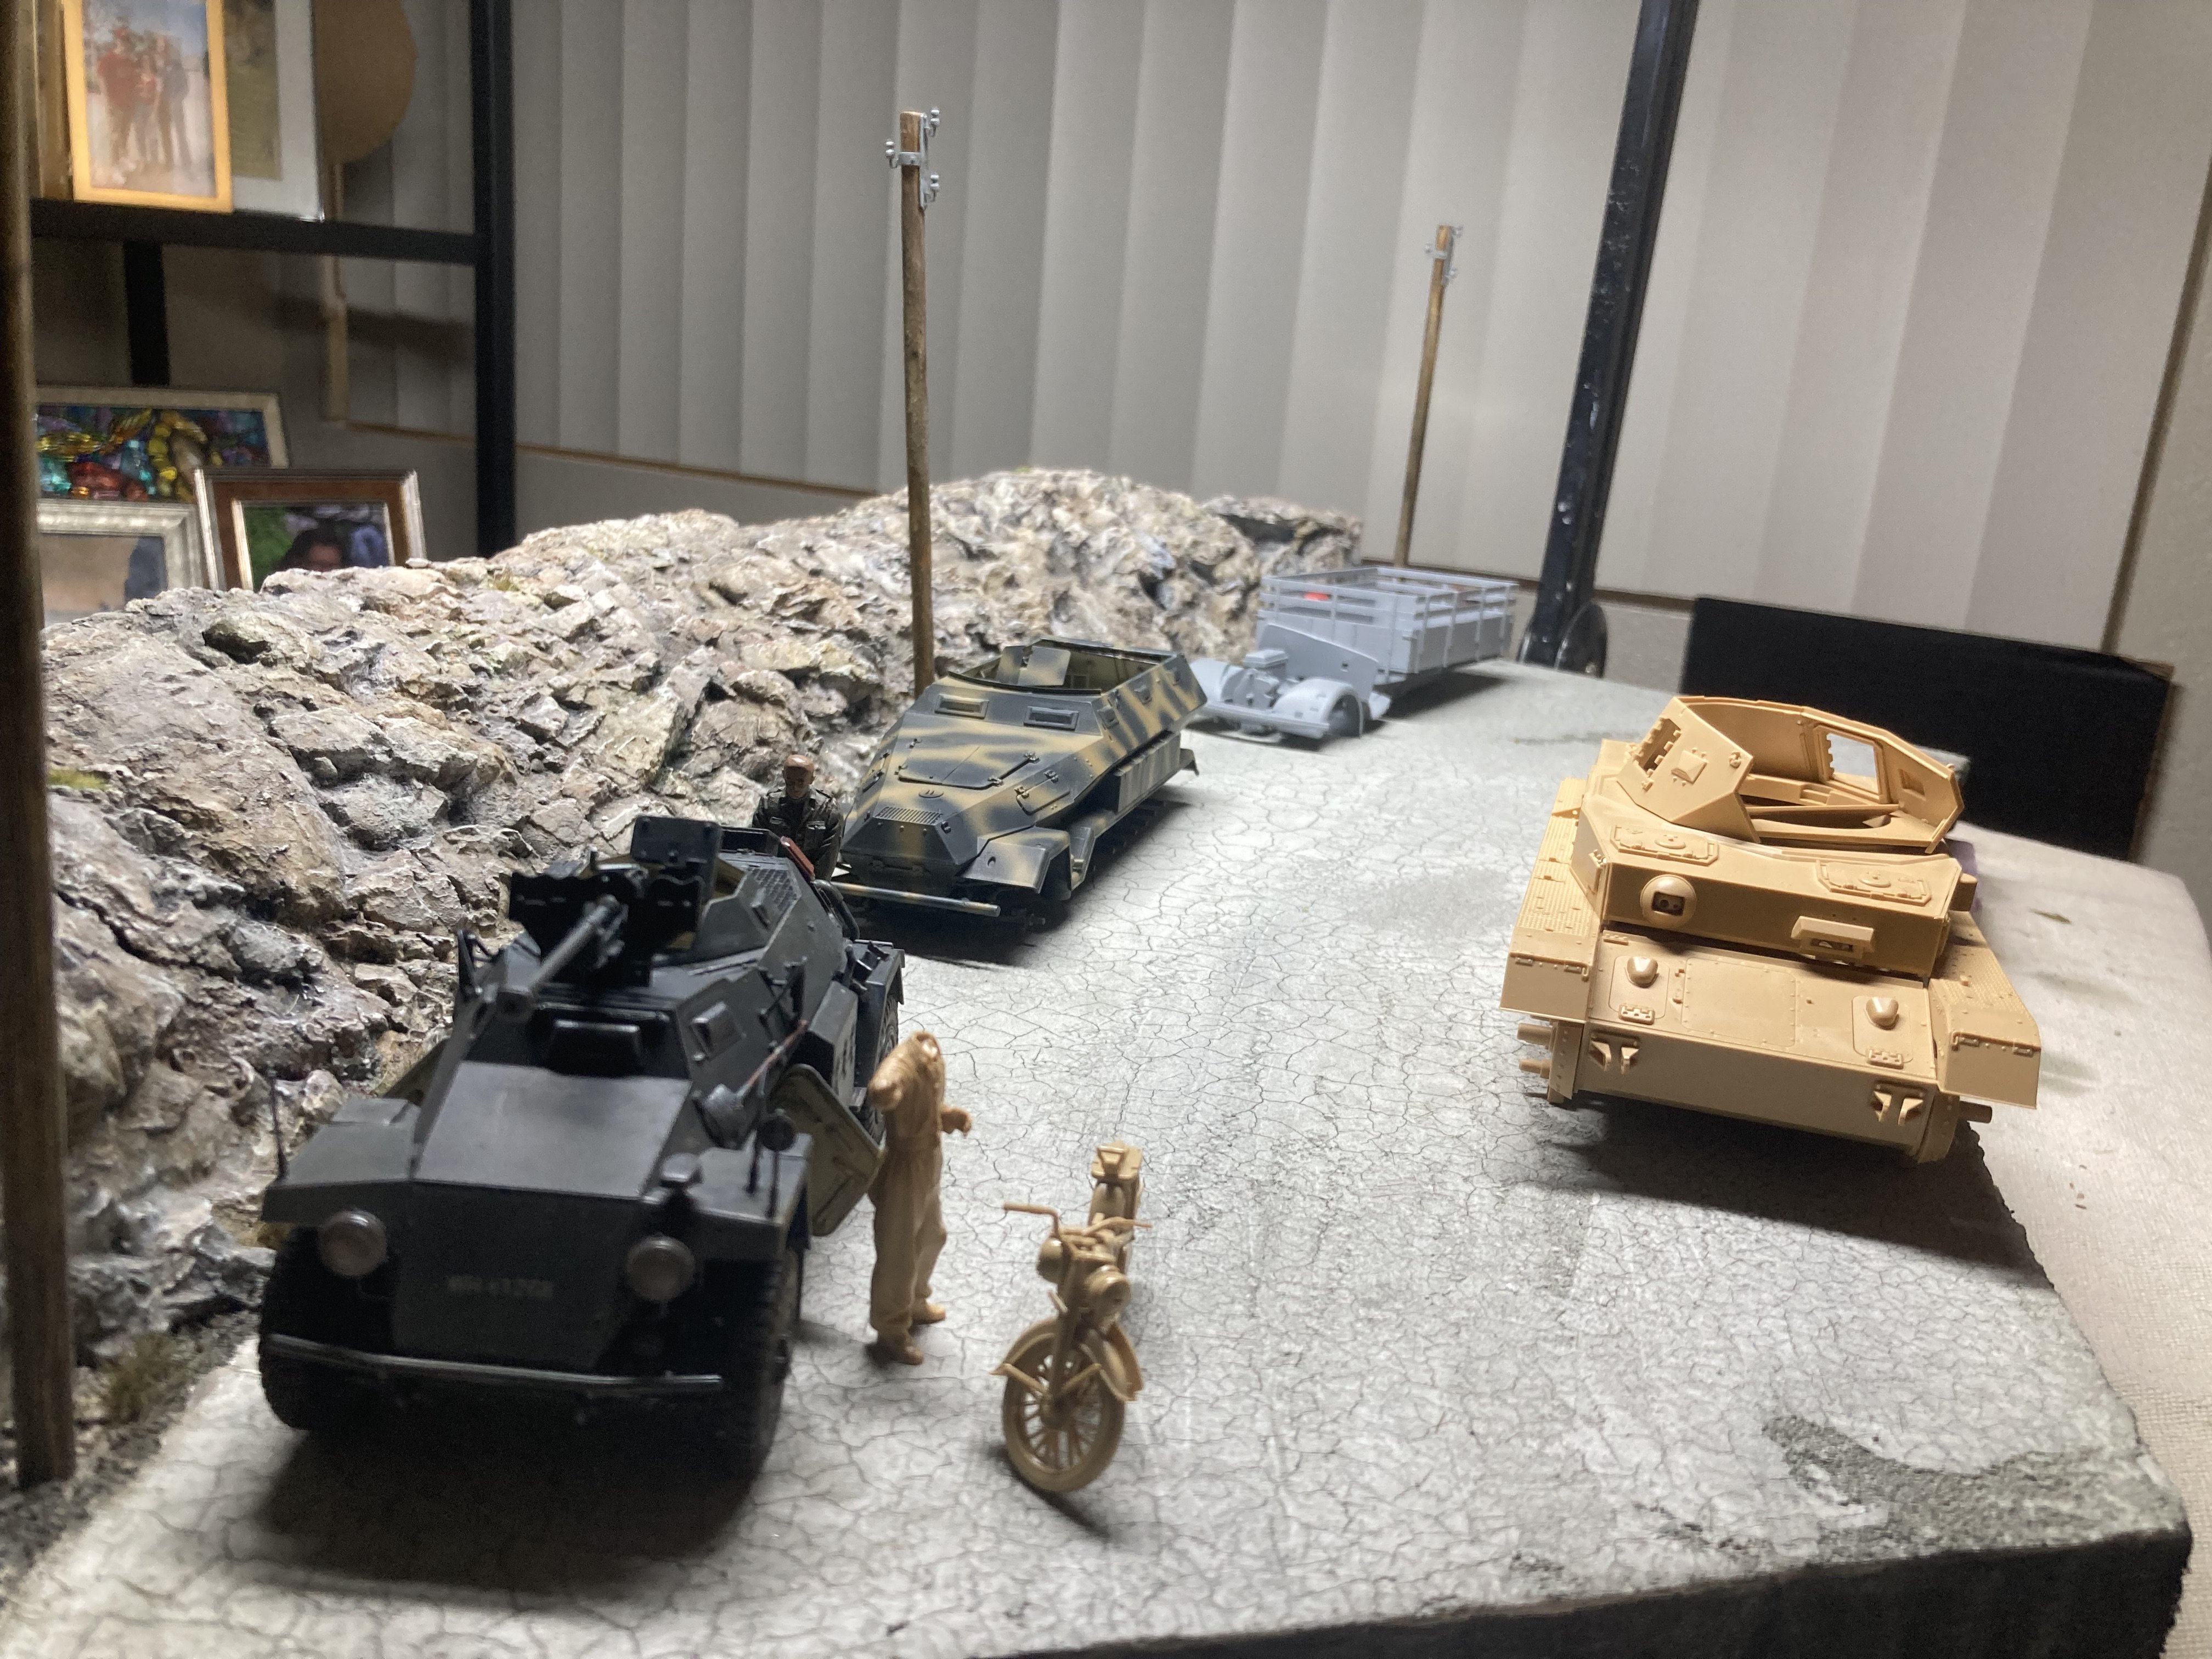
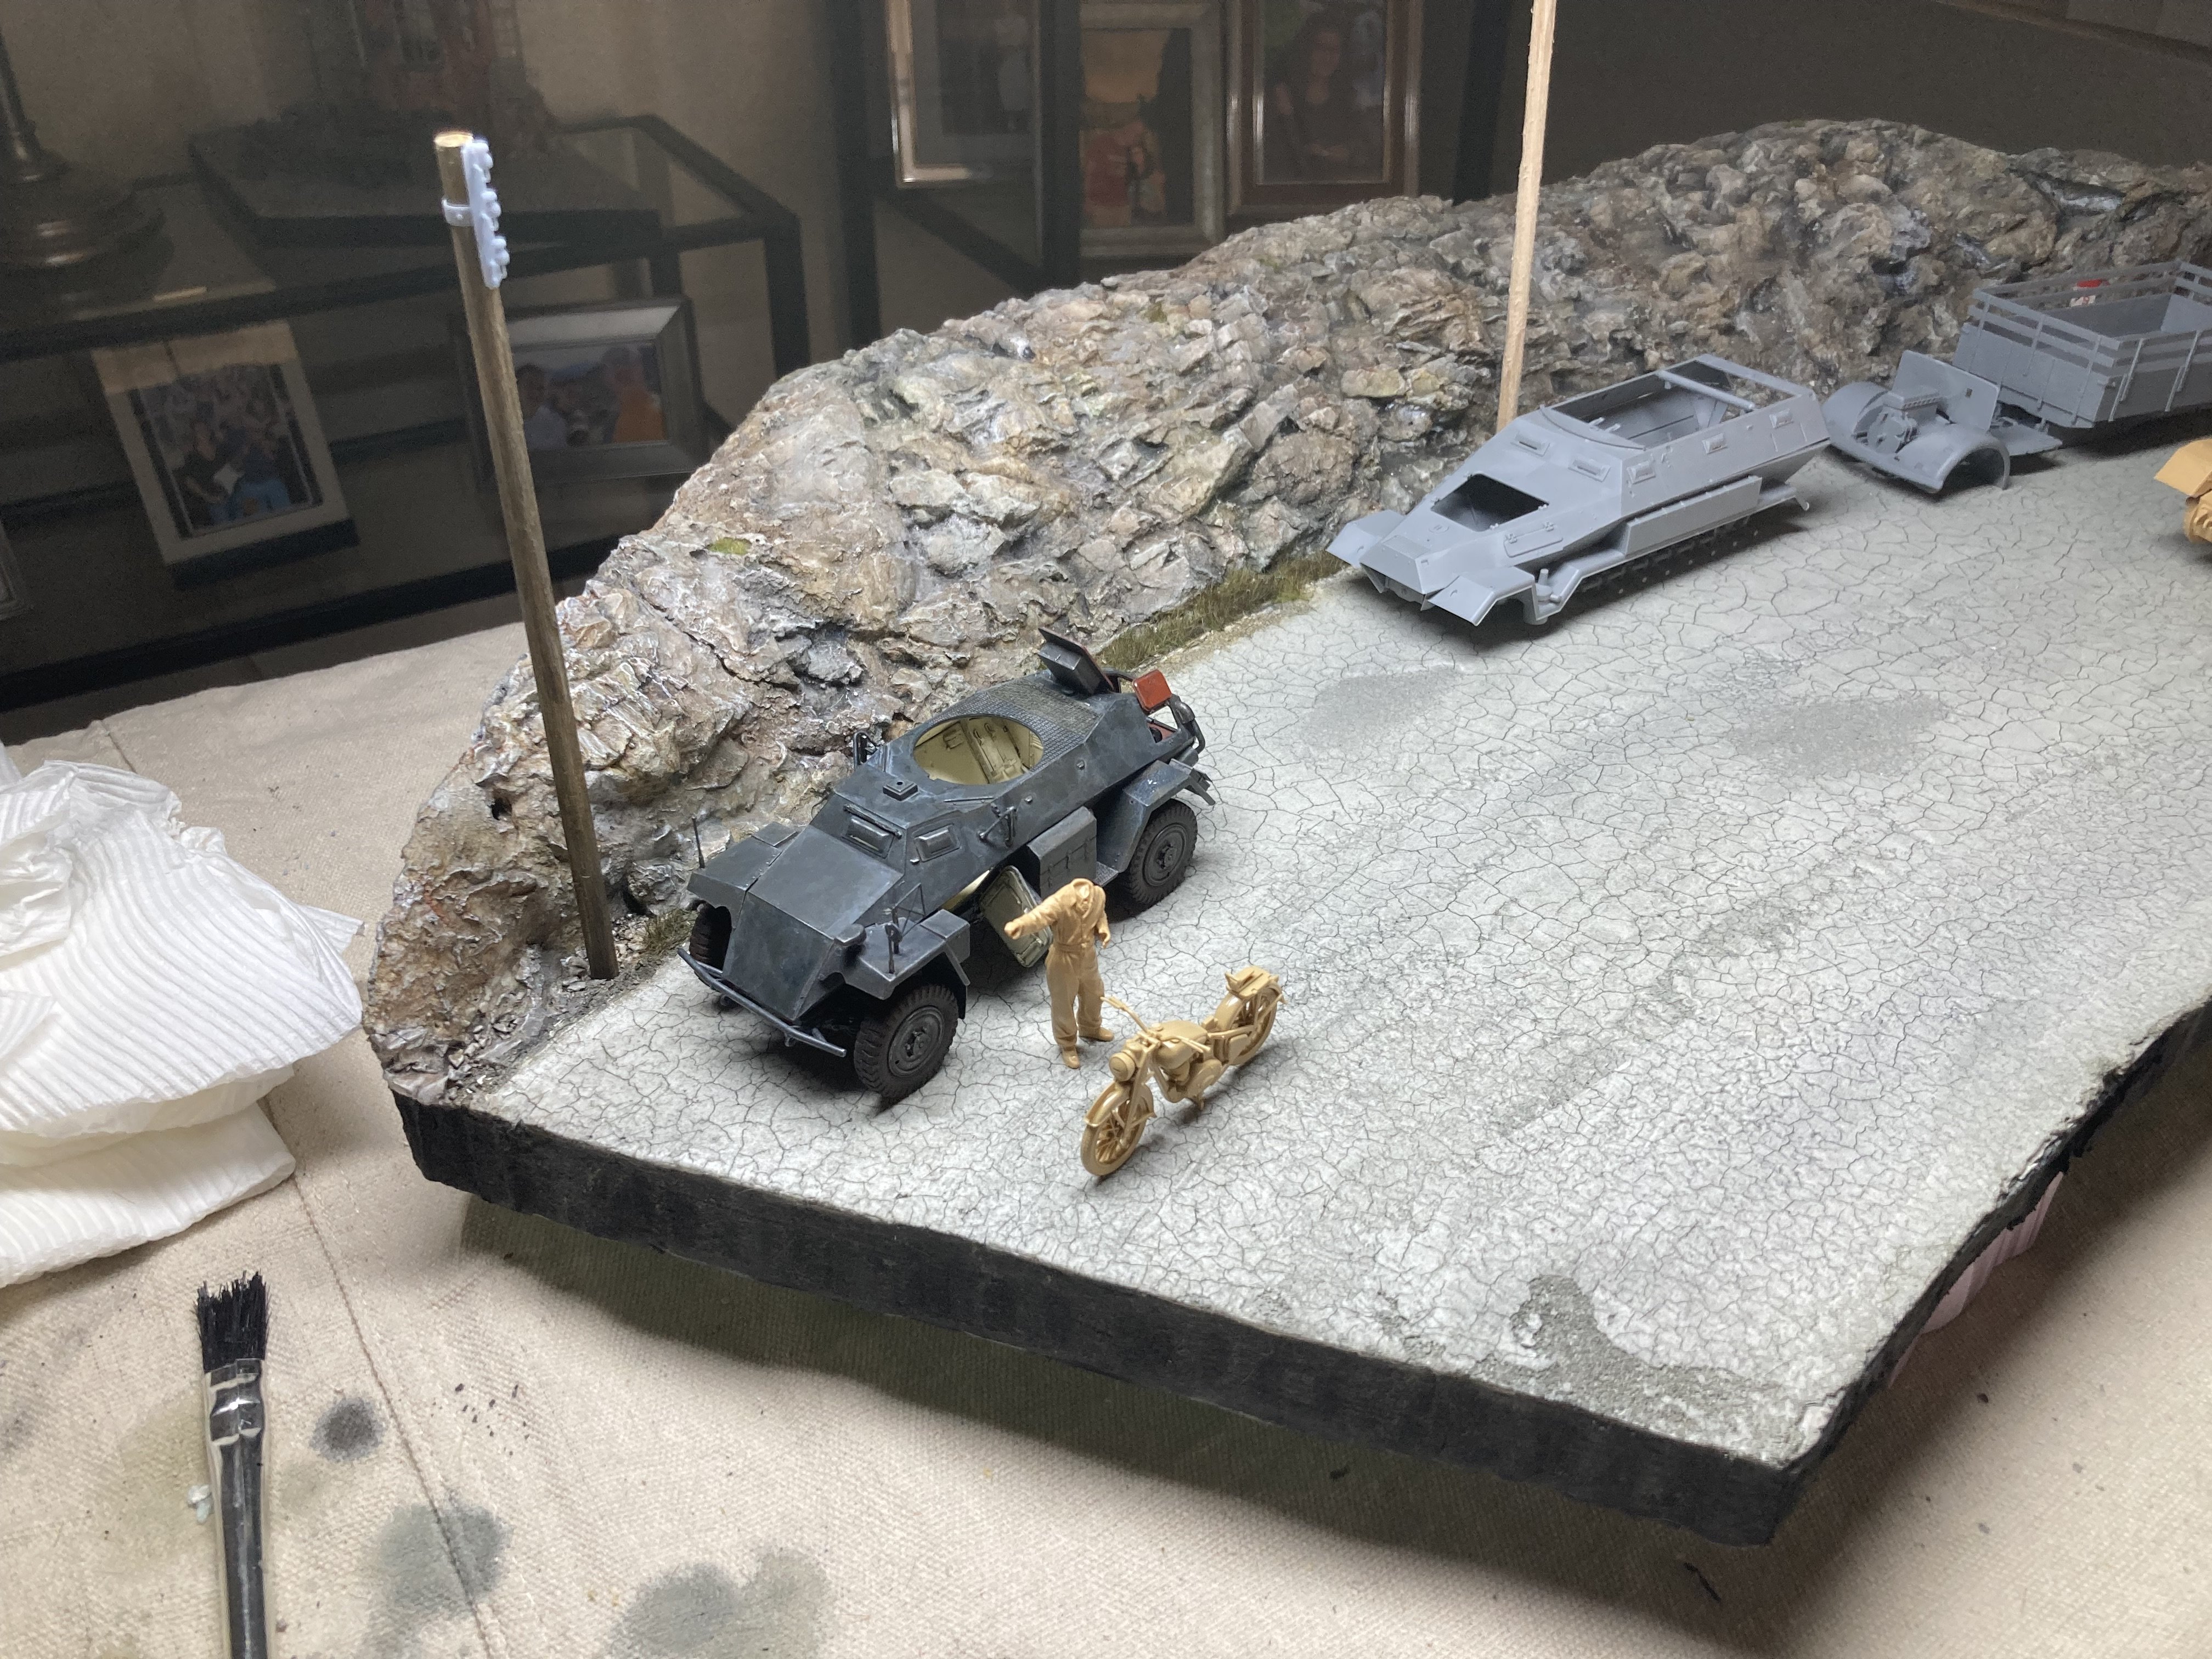
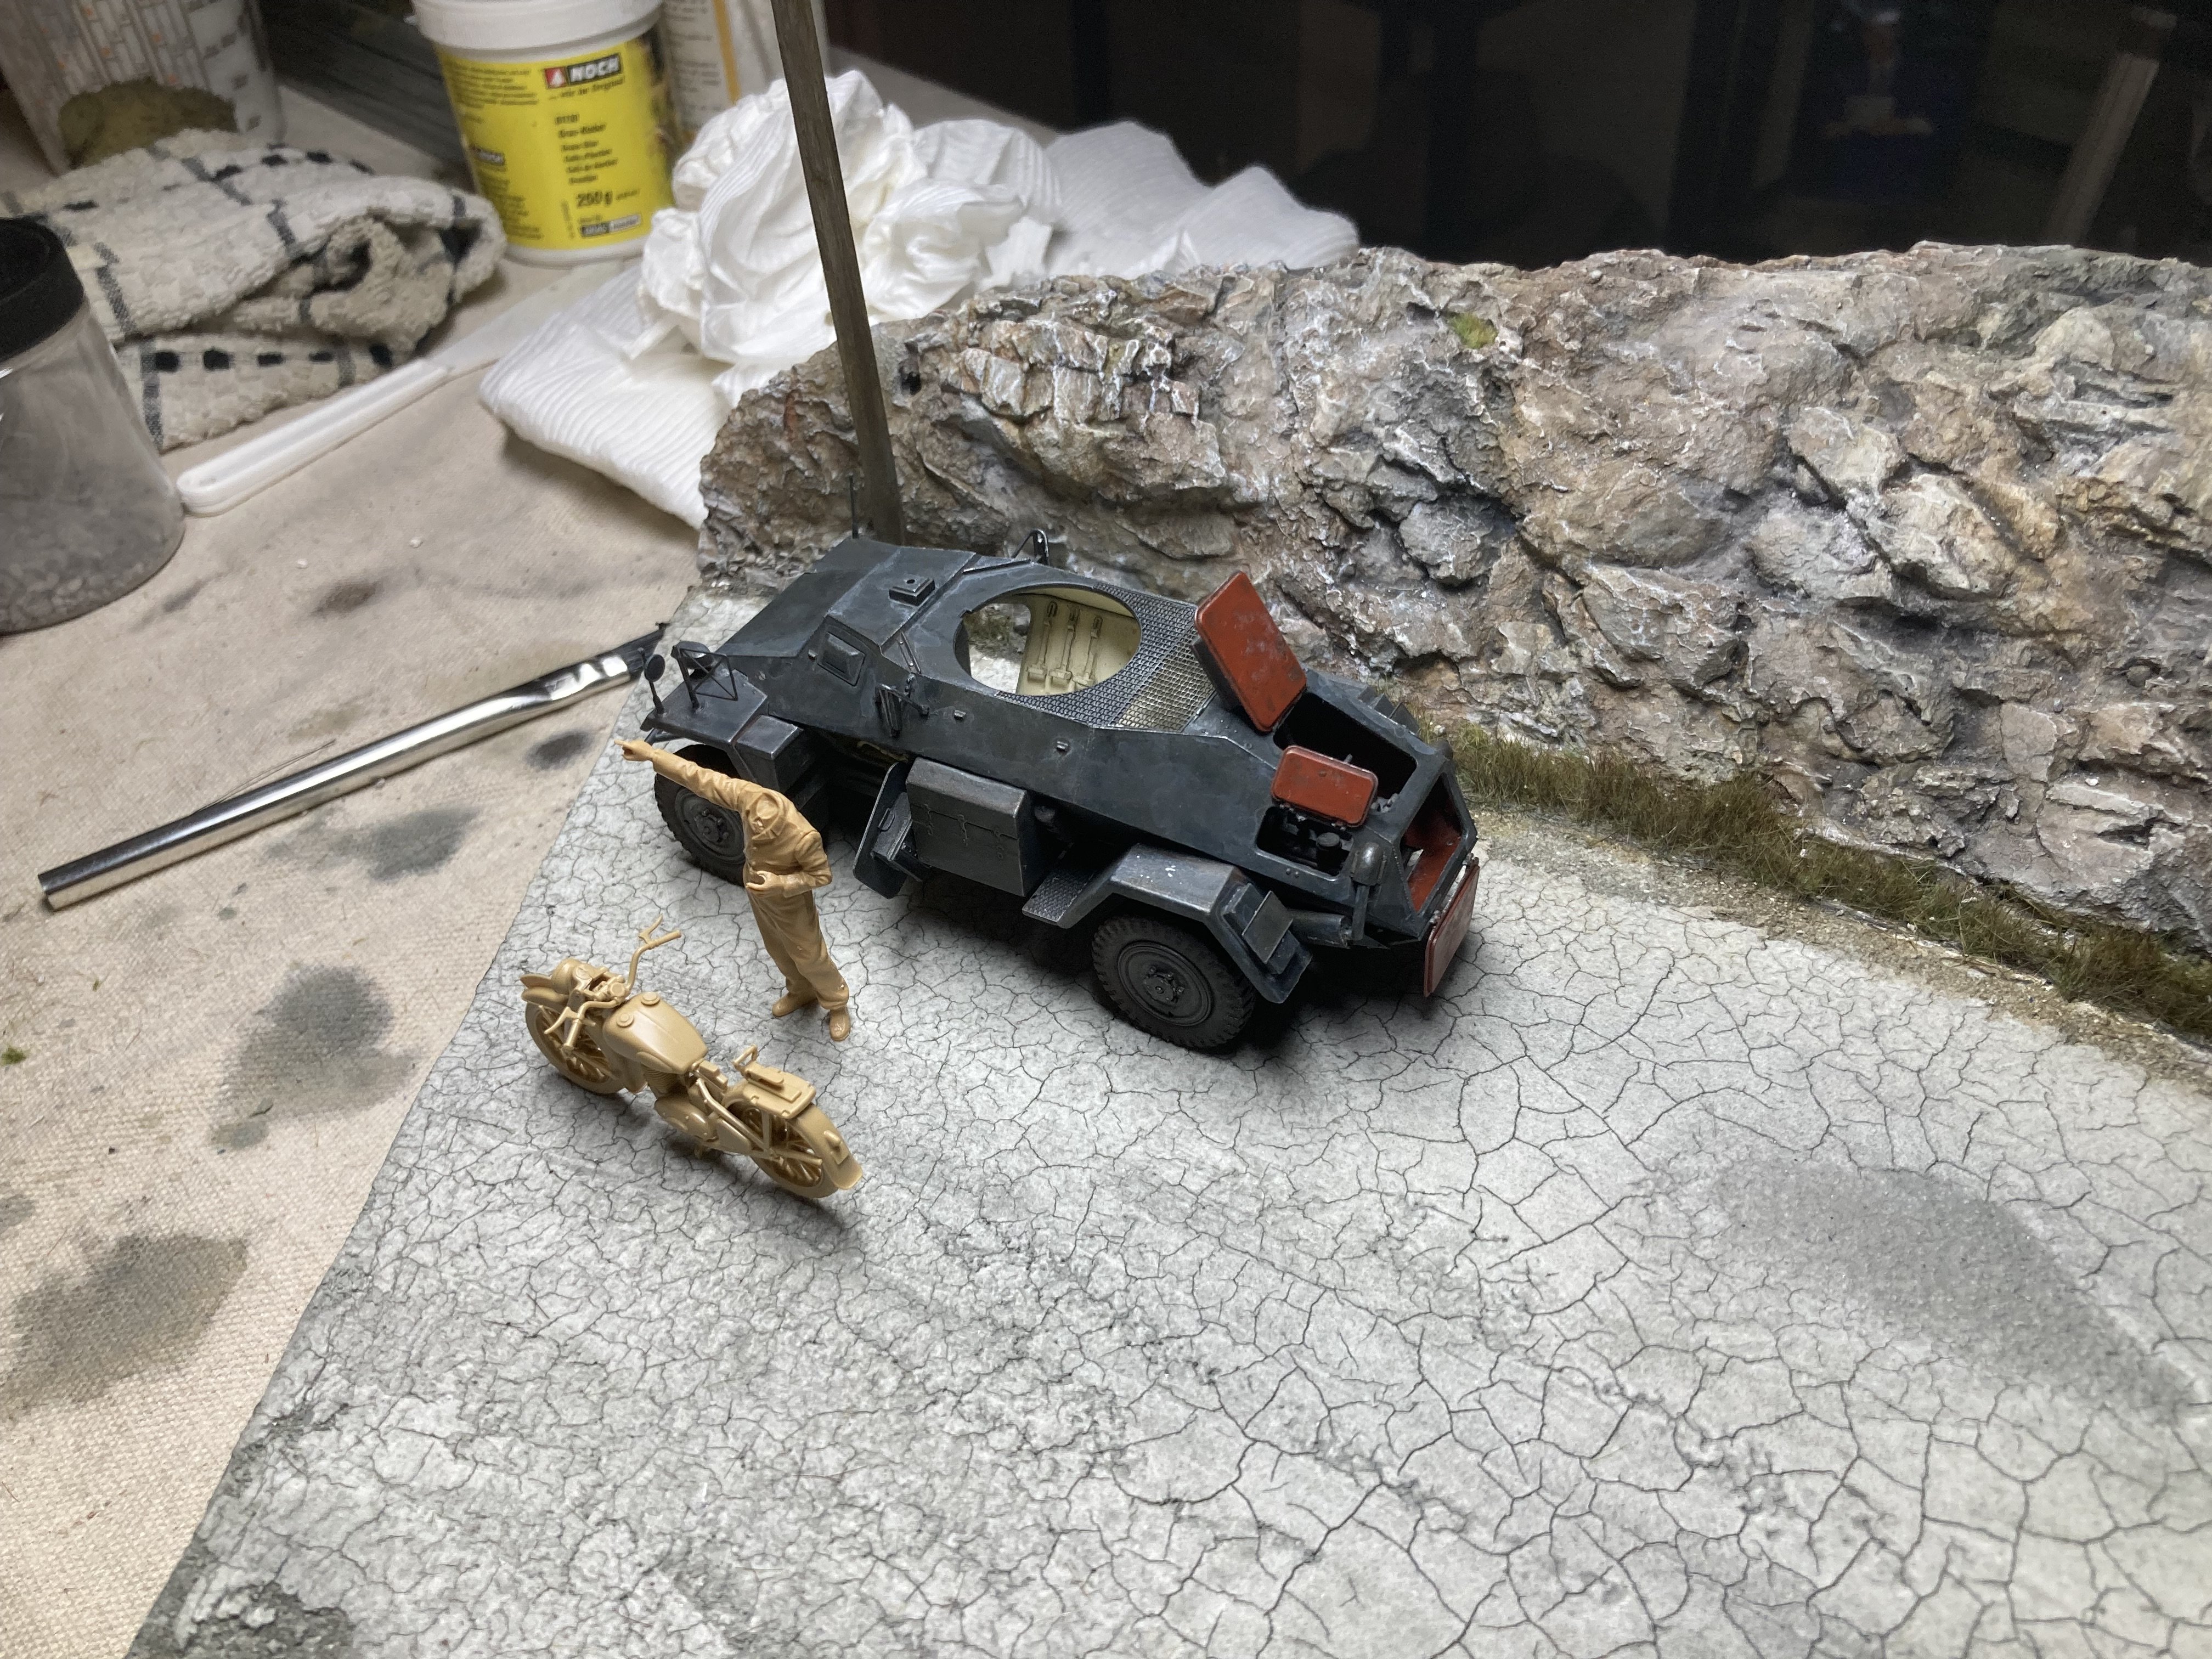
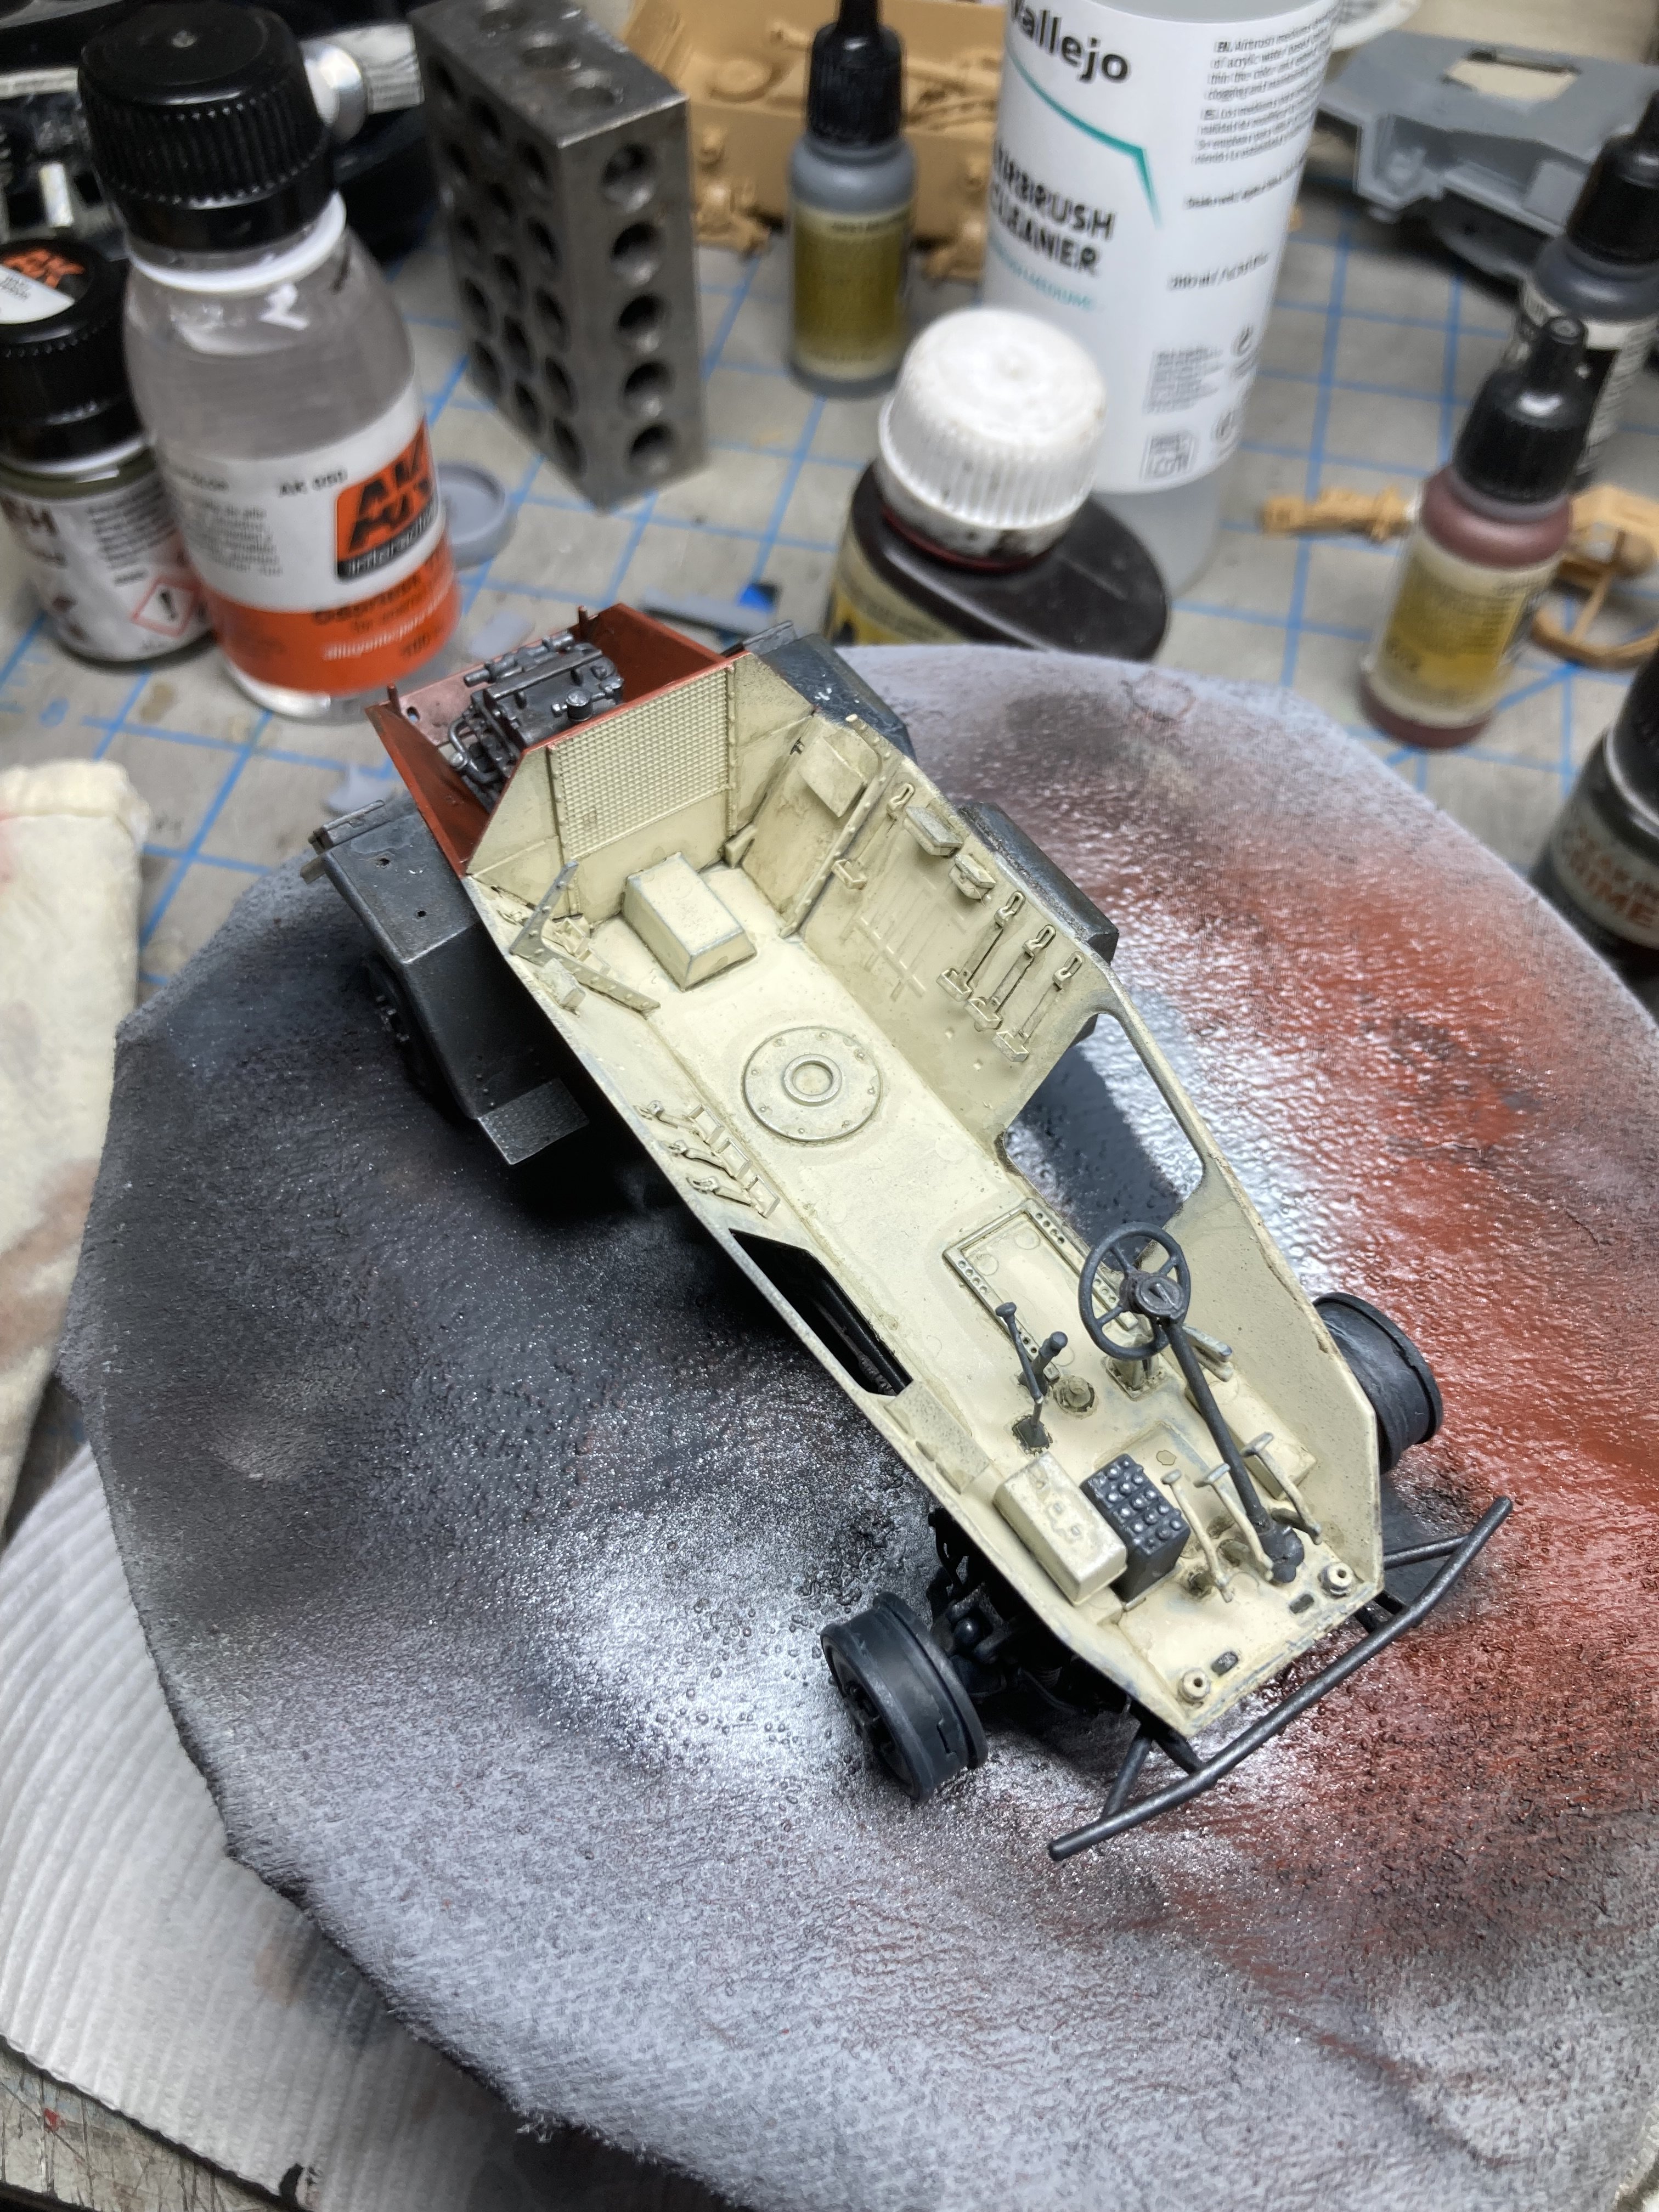
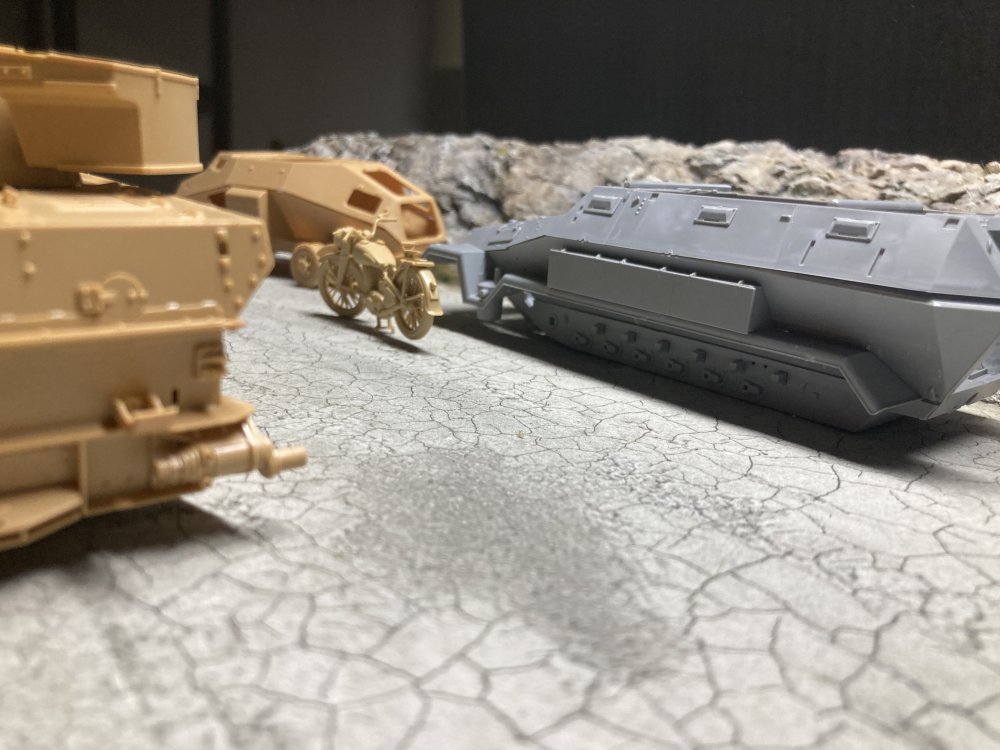
No sidecar just the moto…working on road wheels now. After that I will start weathering the exterior.
-
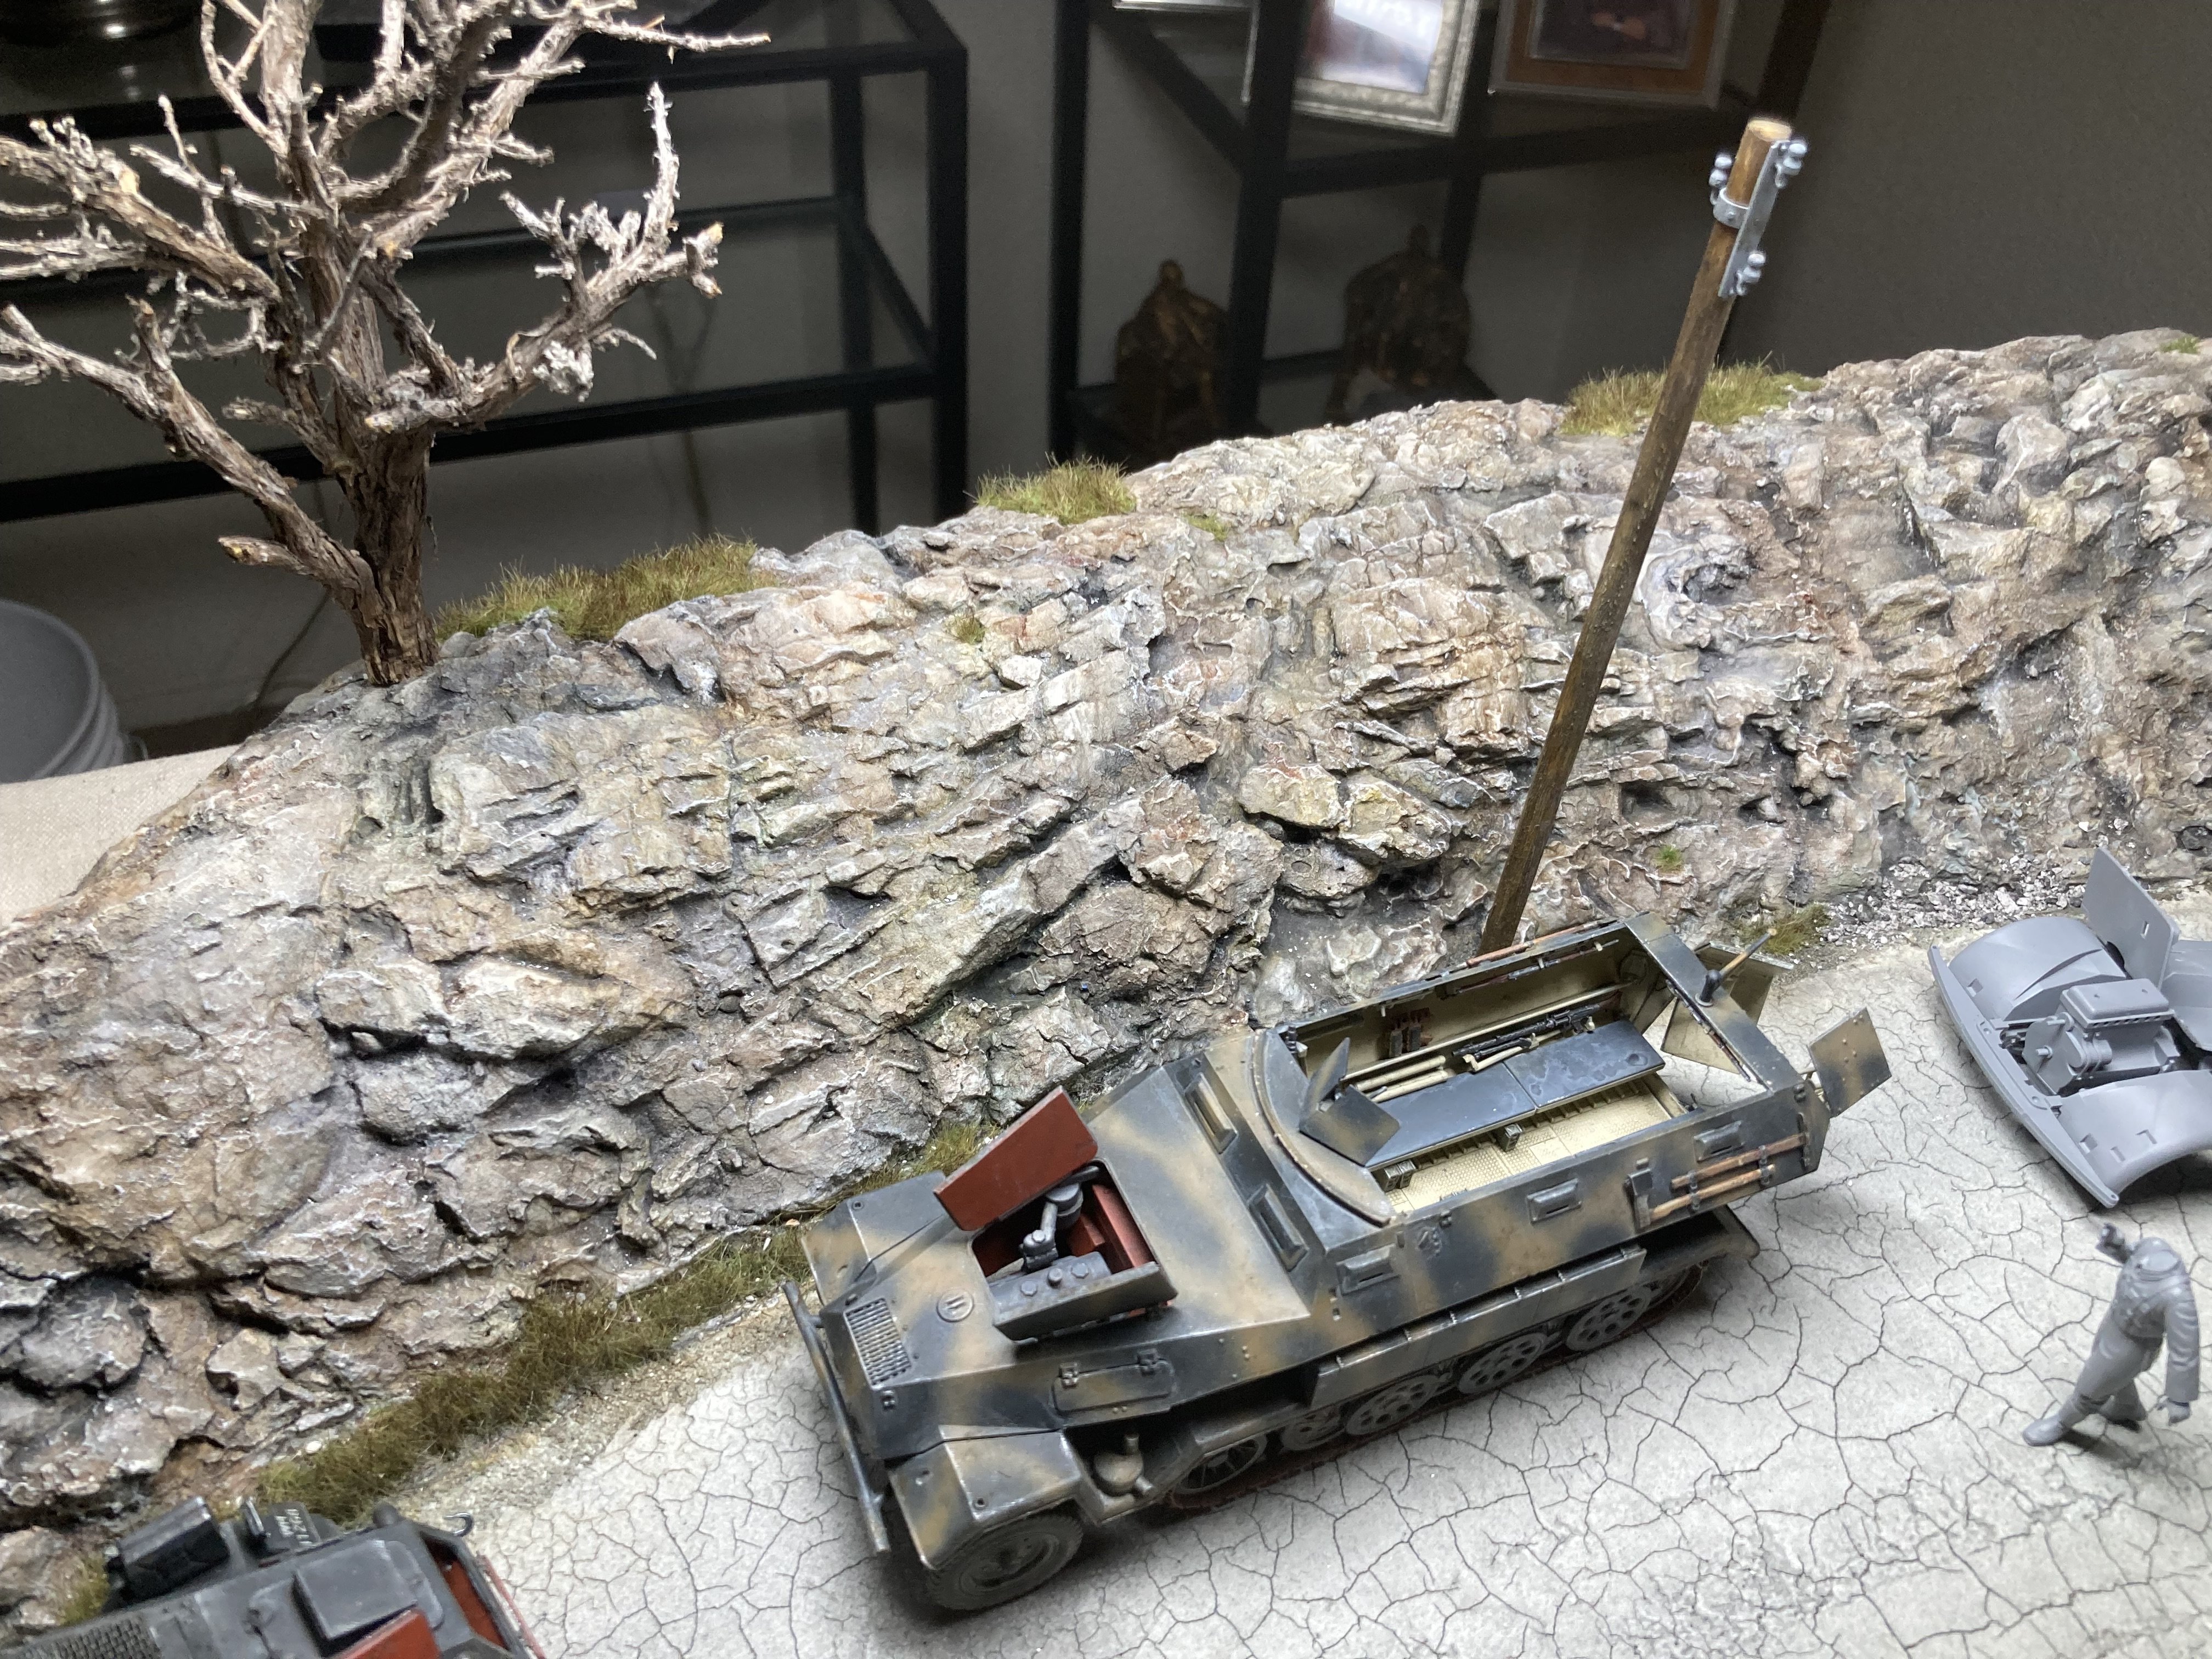
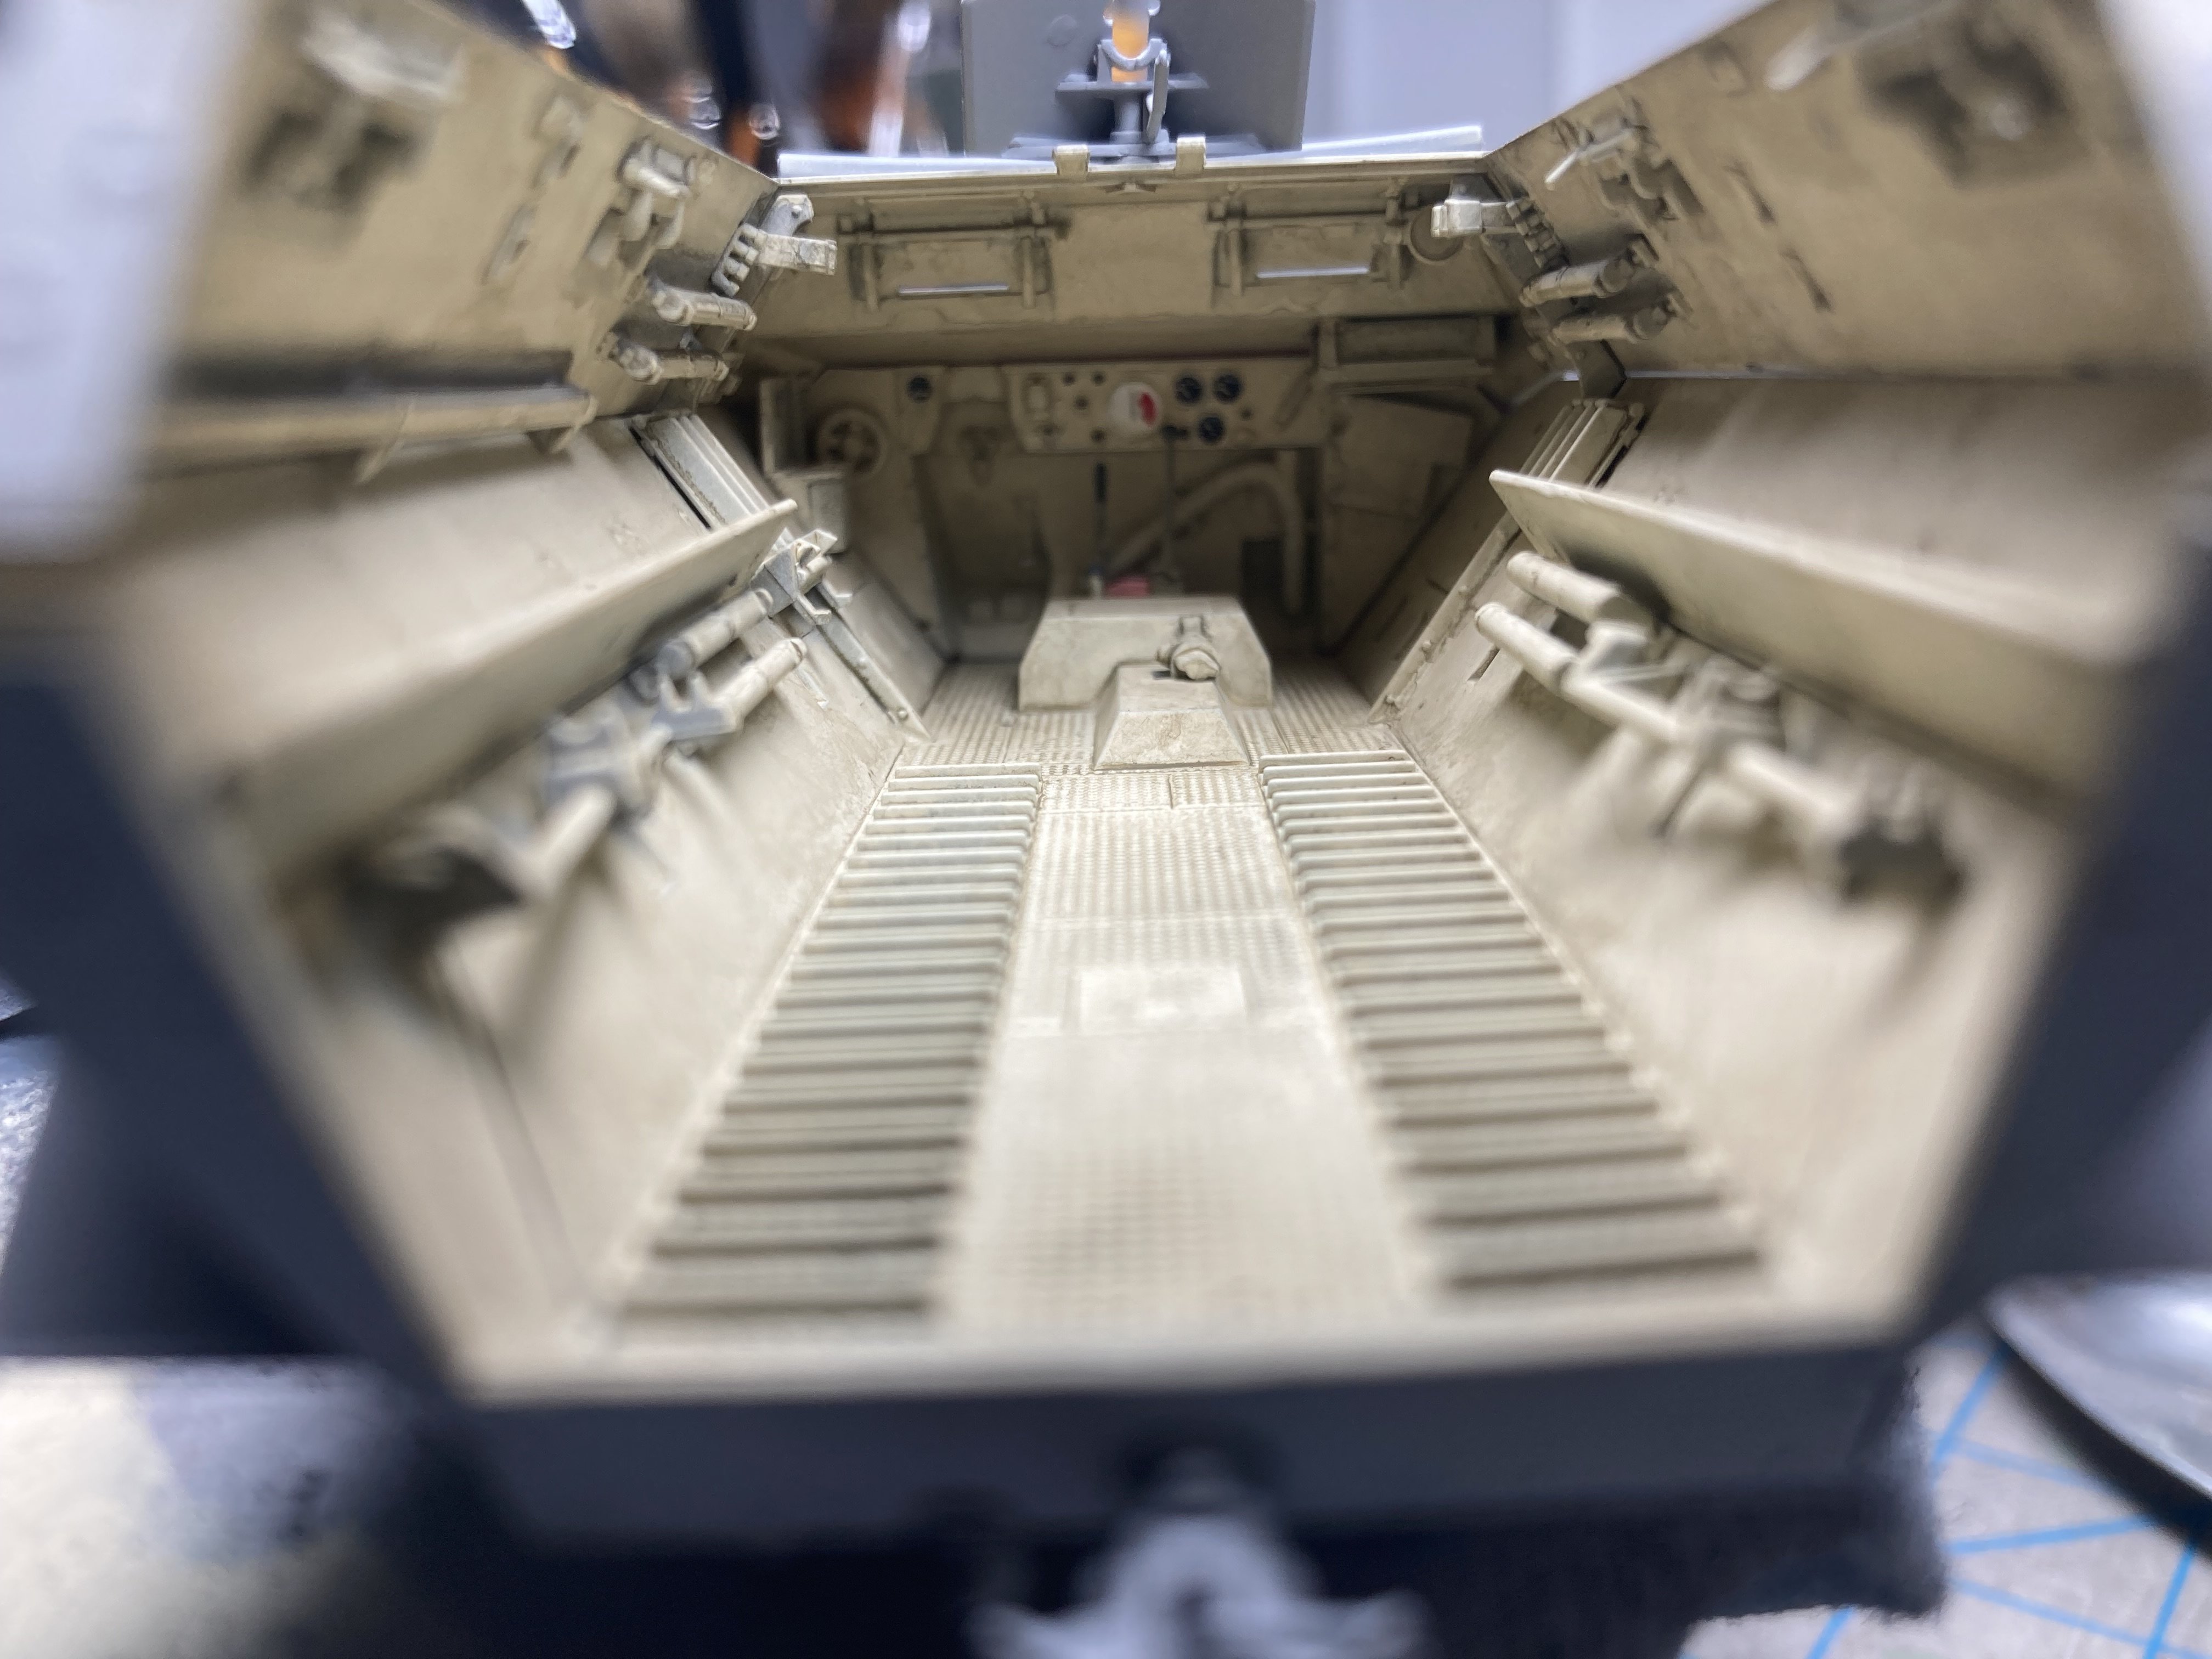
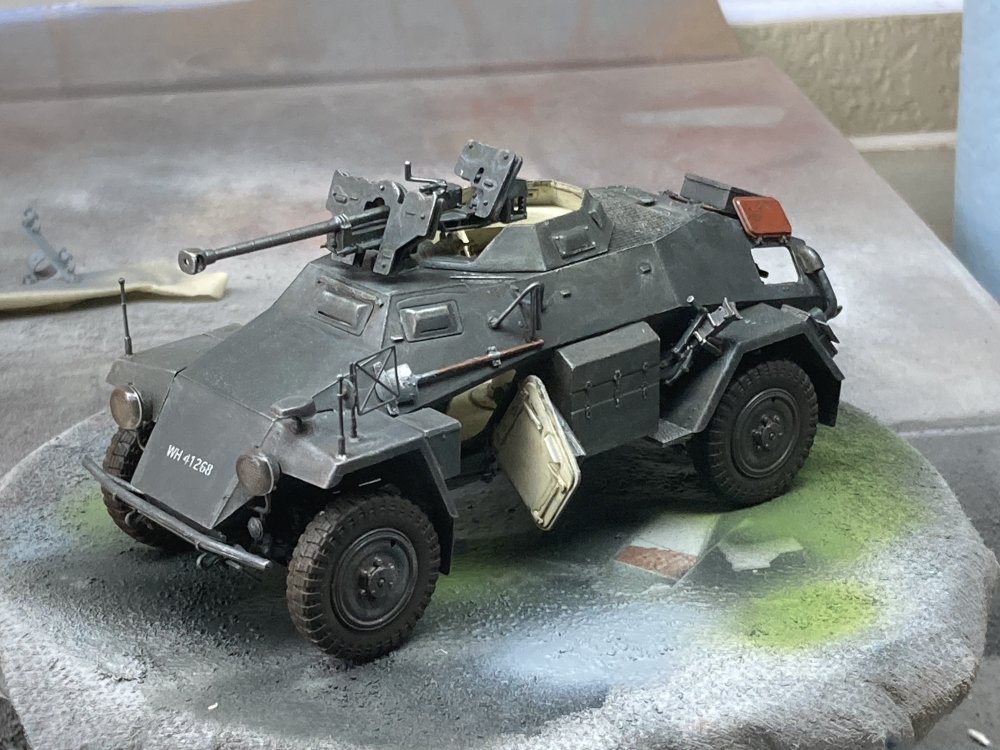
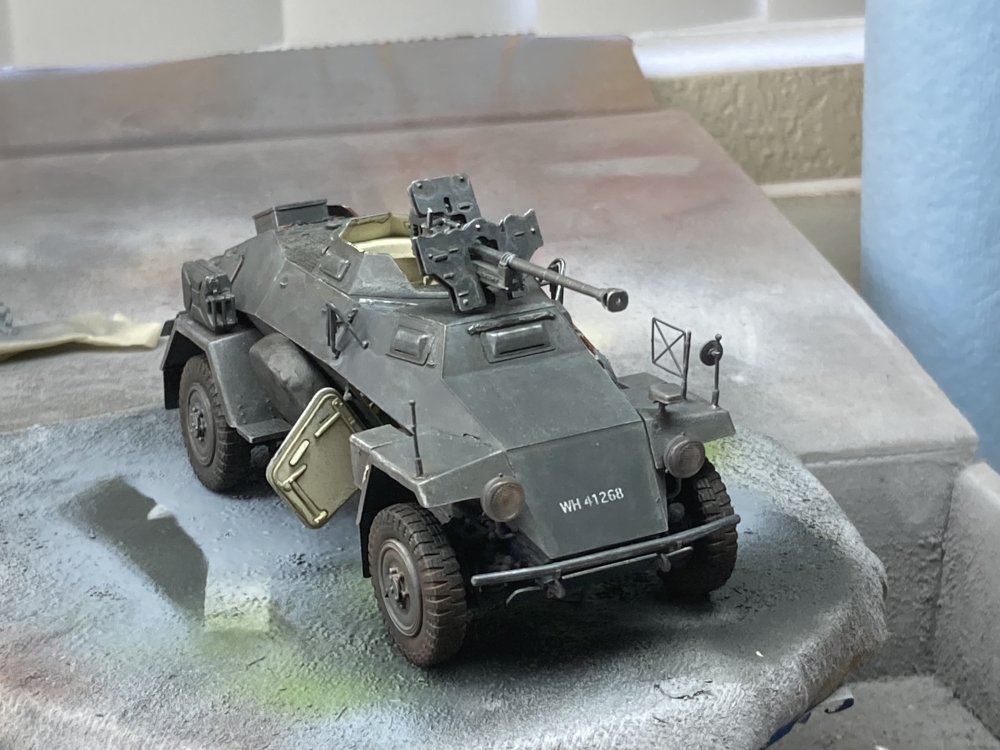
Getting there…work on doors tomorrow and start painting the exterior.
-
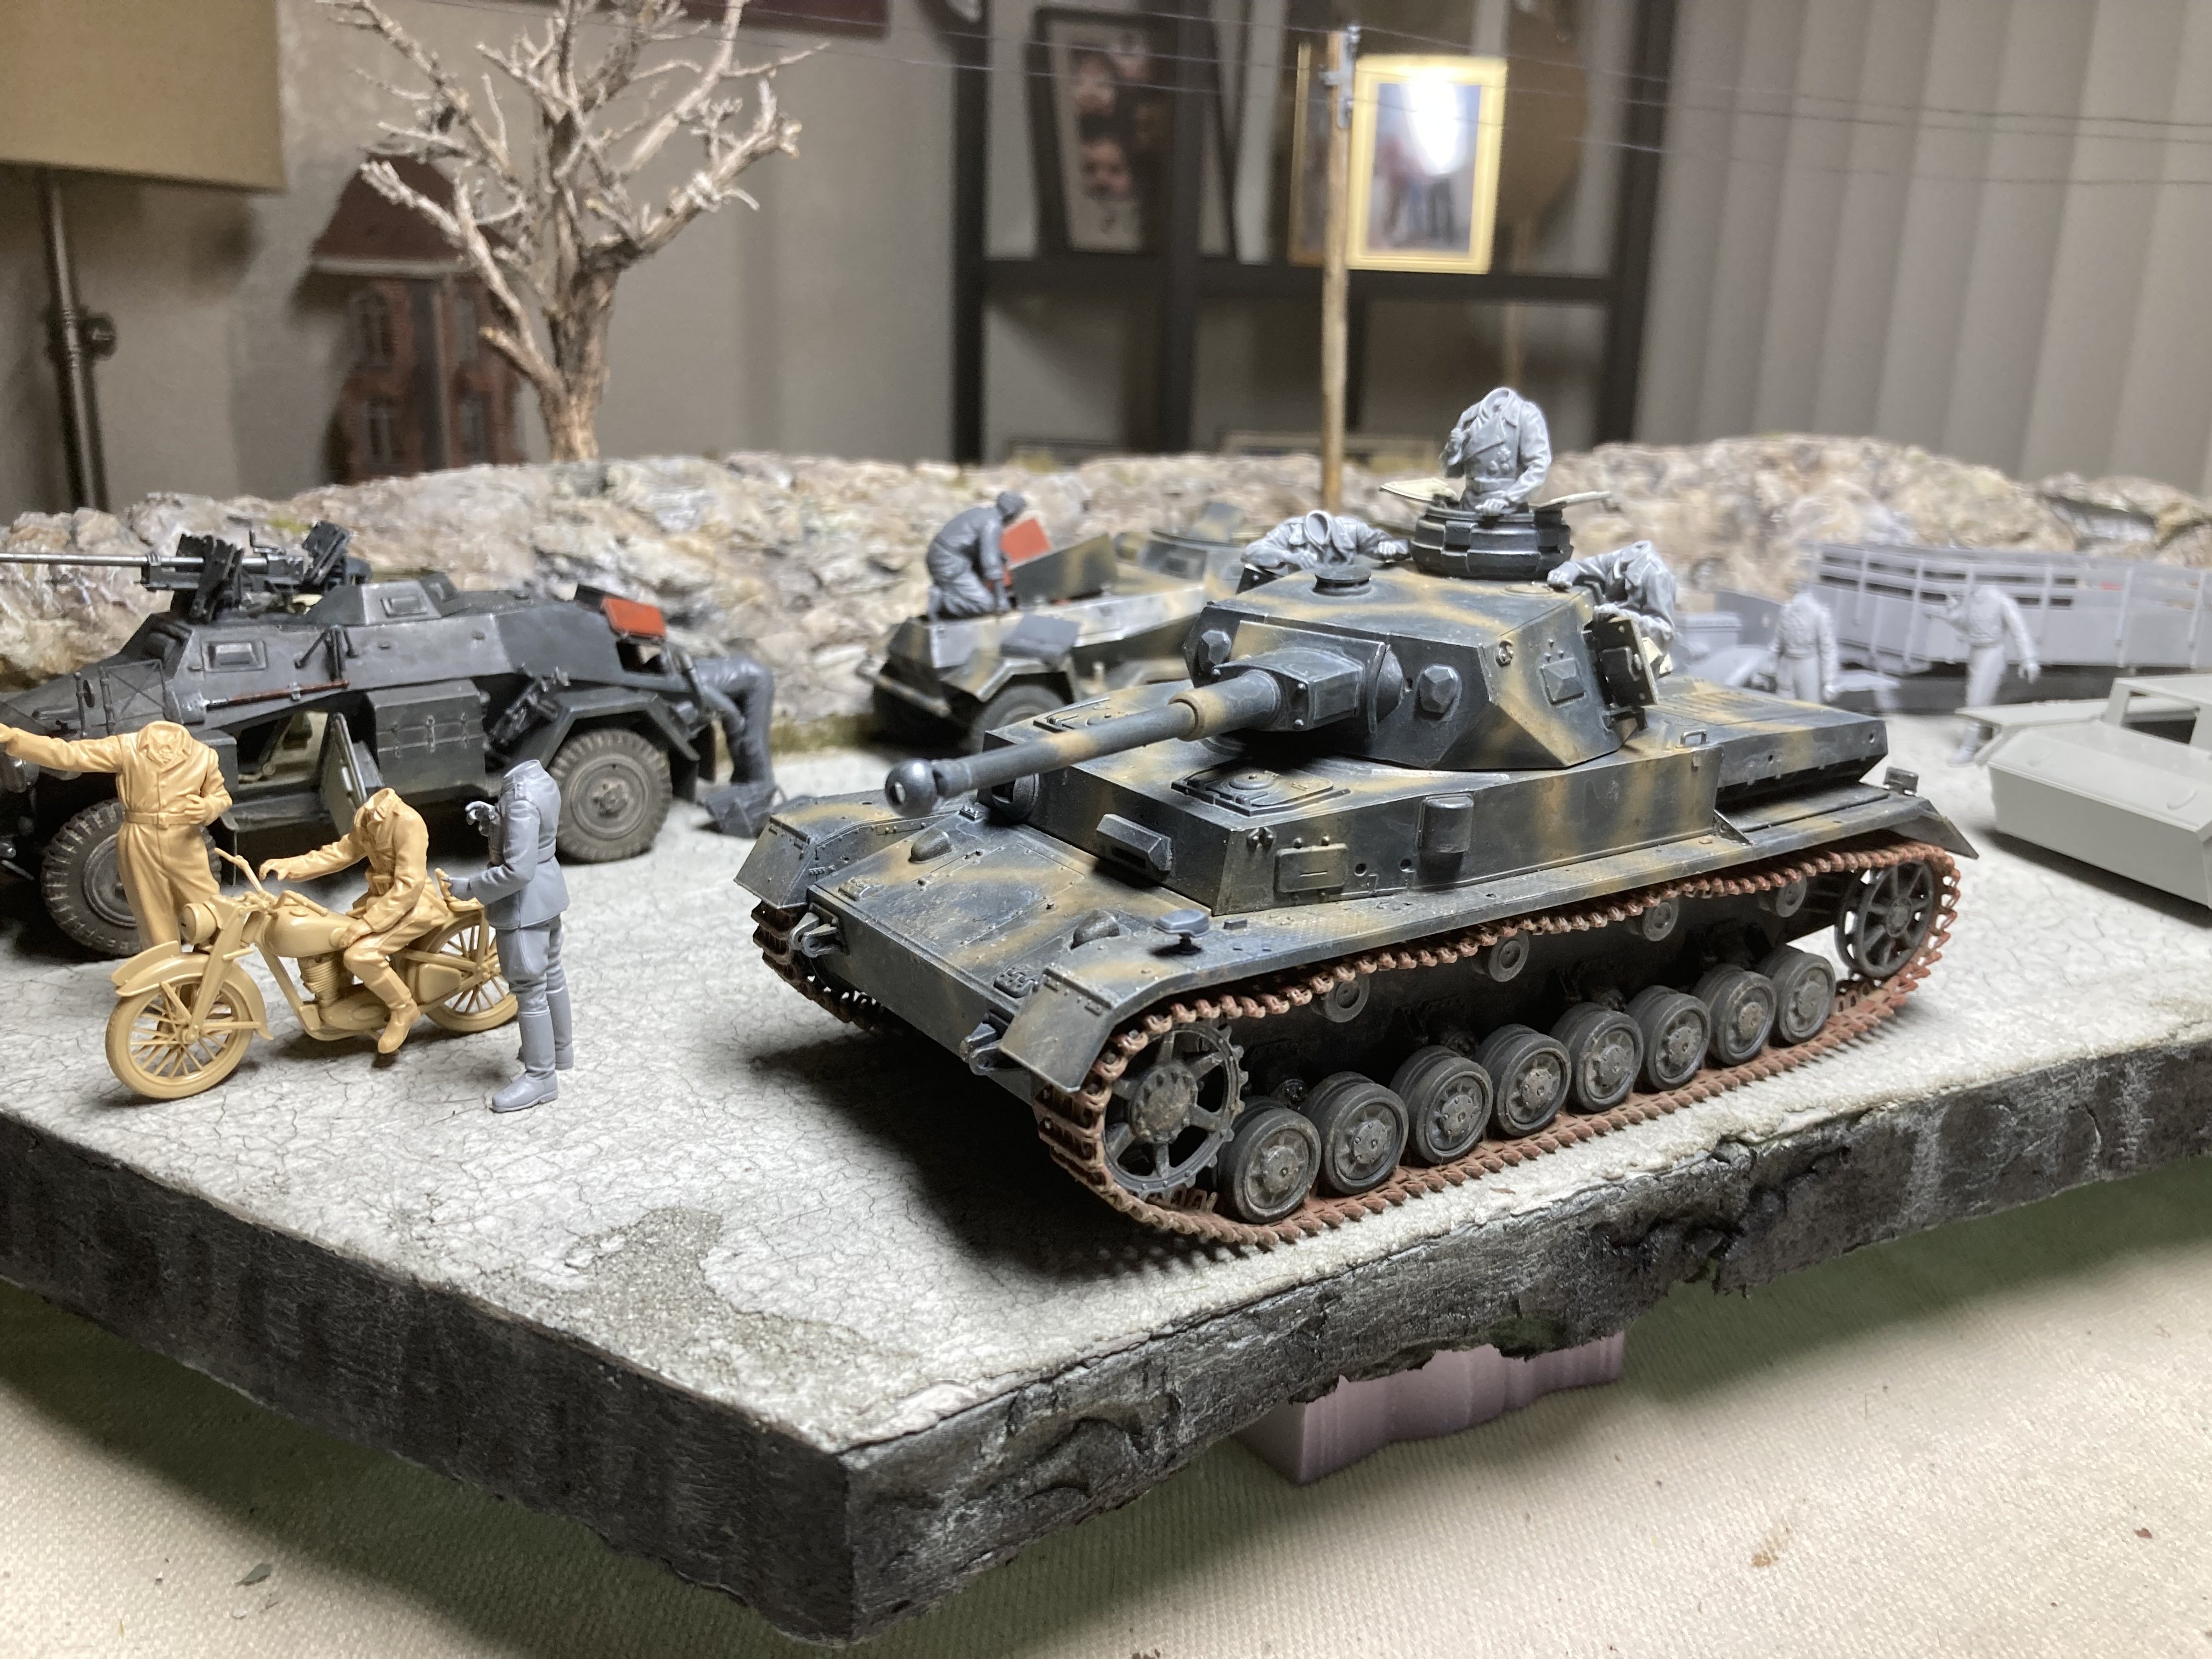
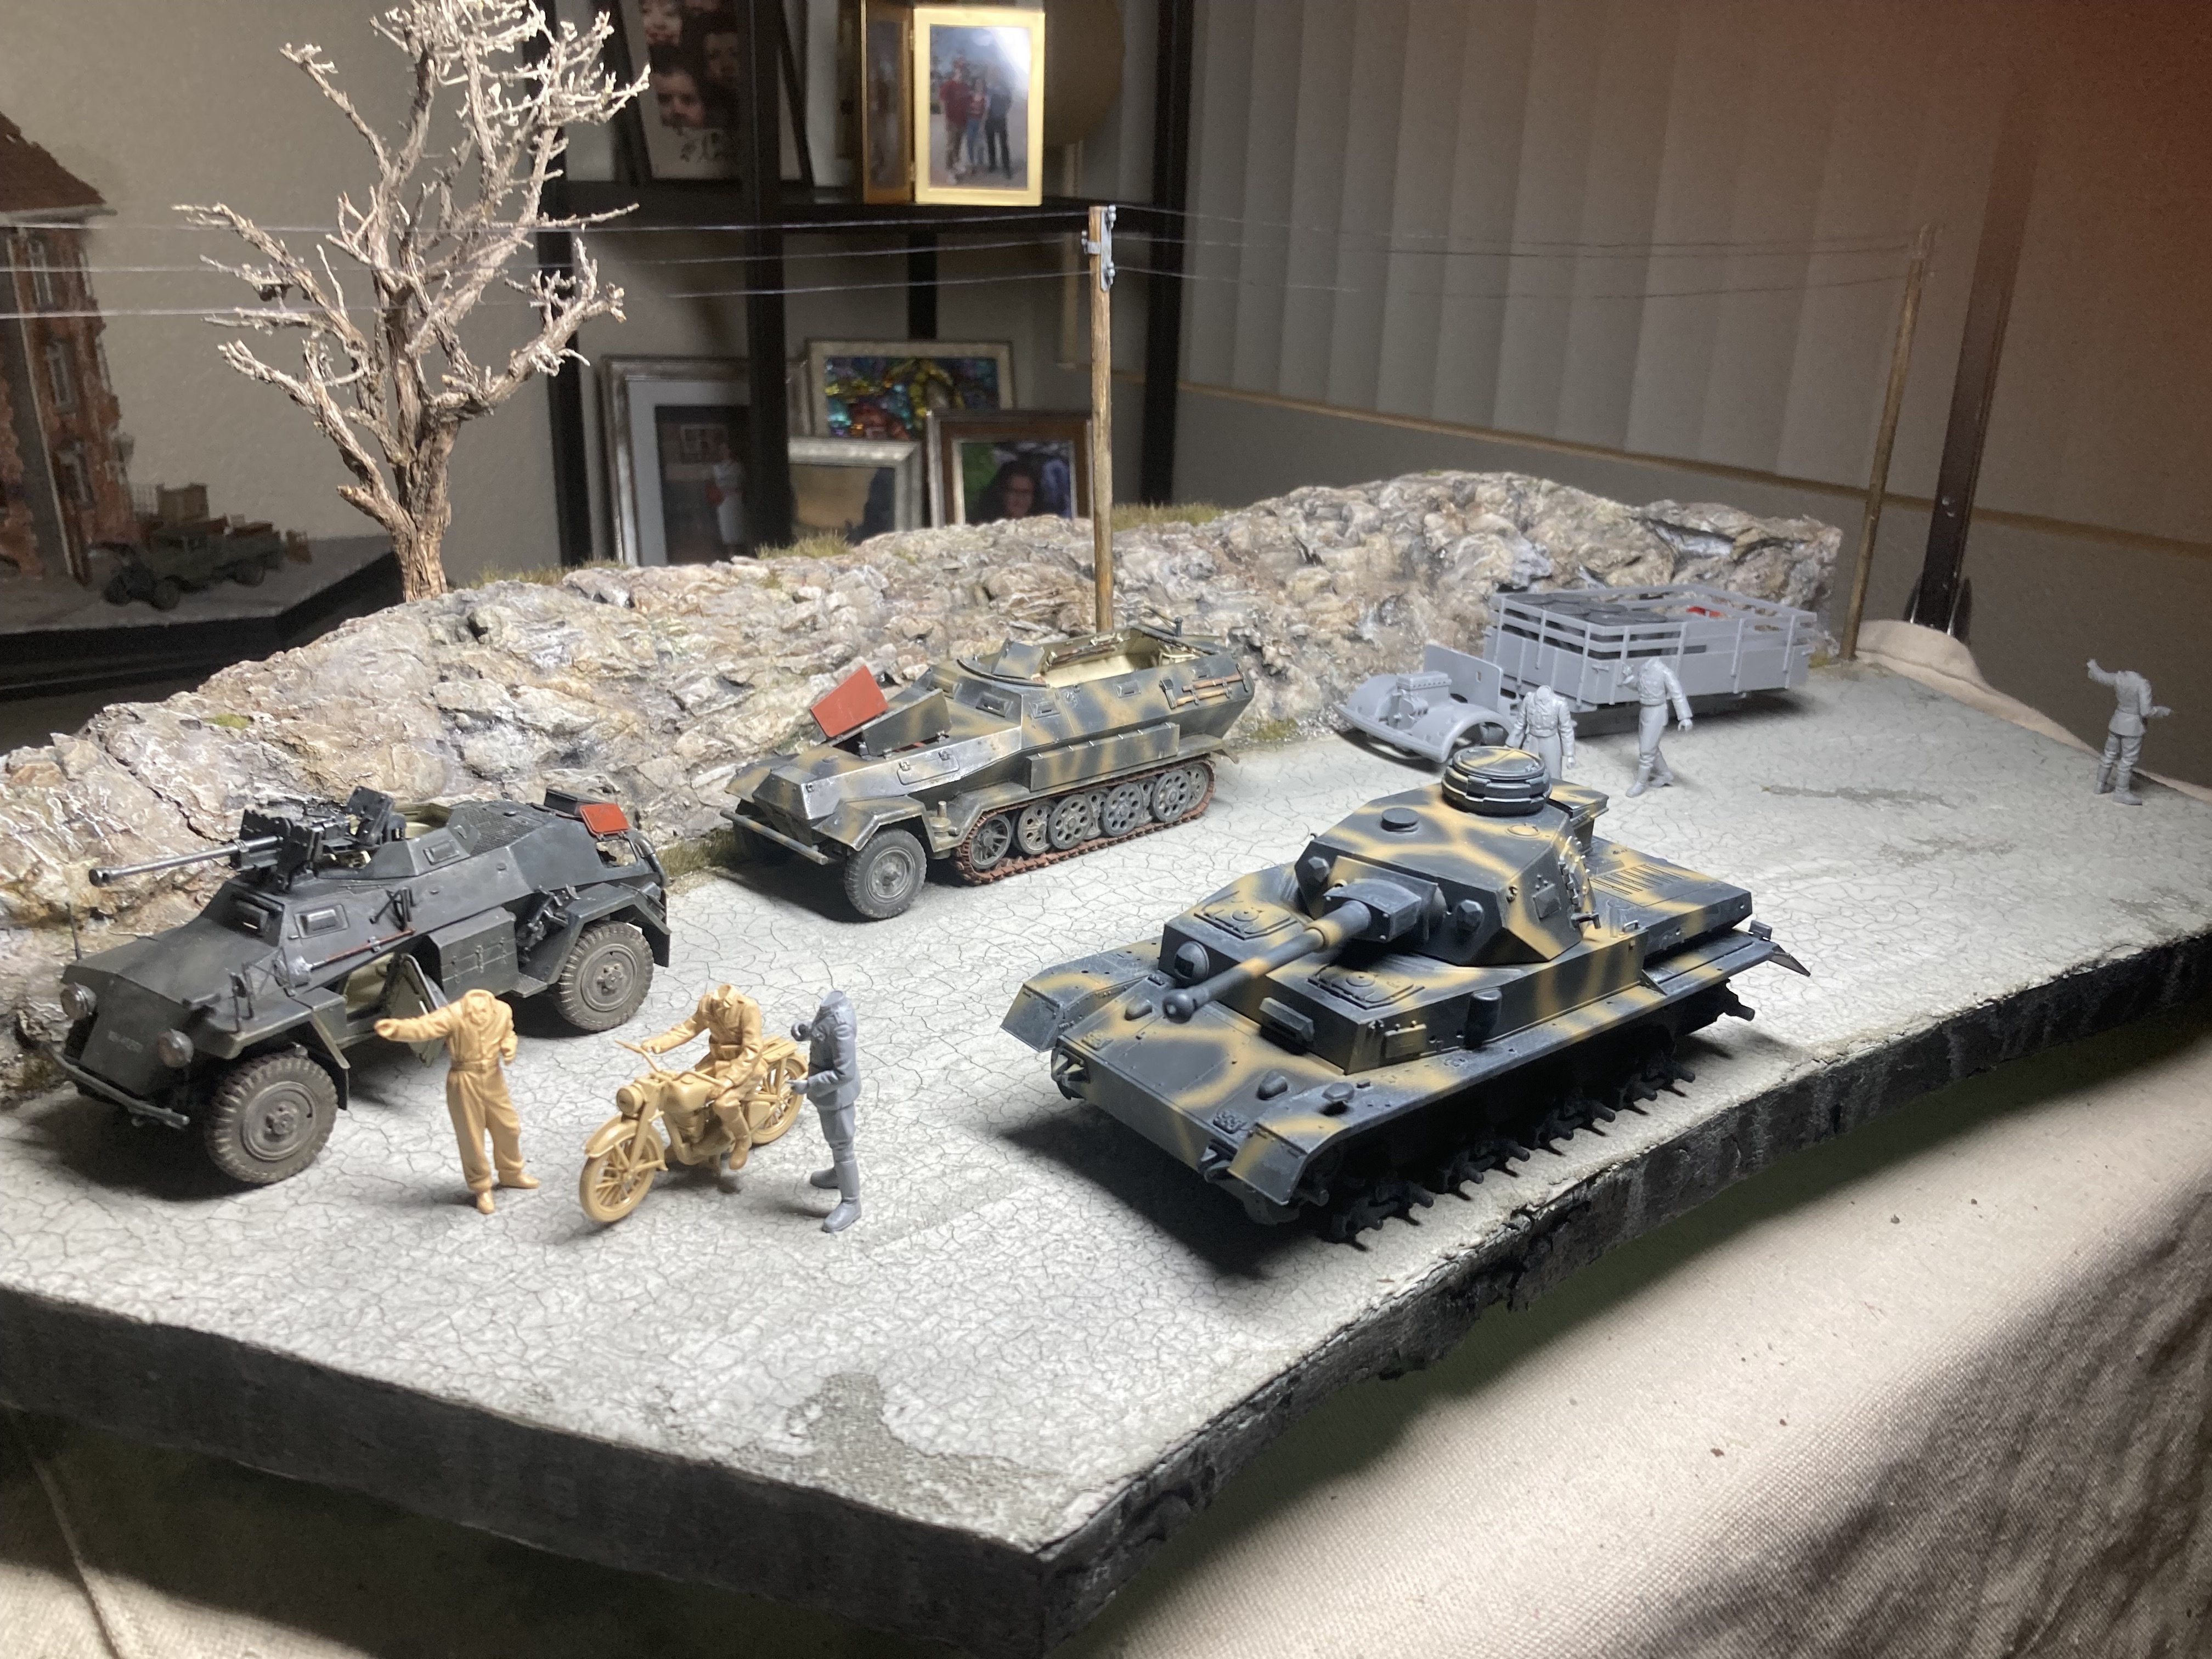
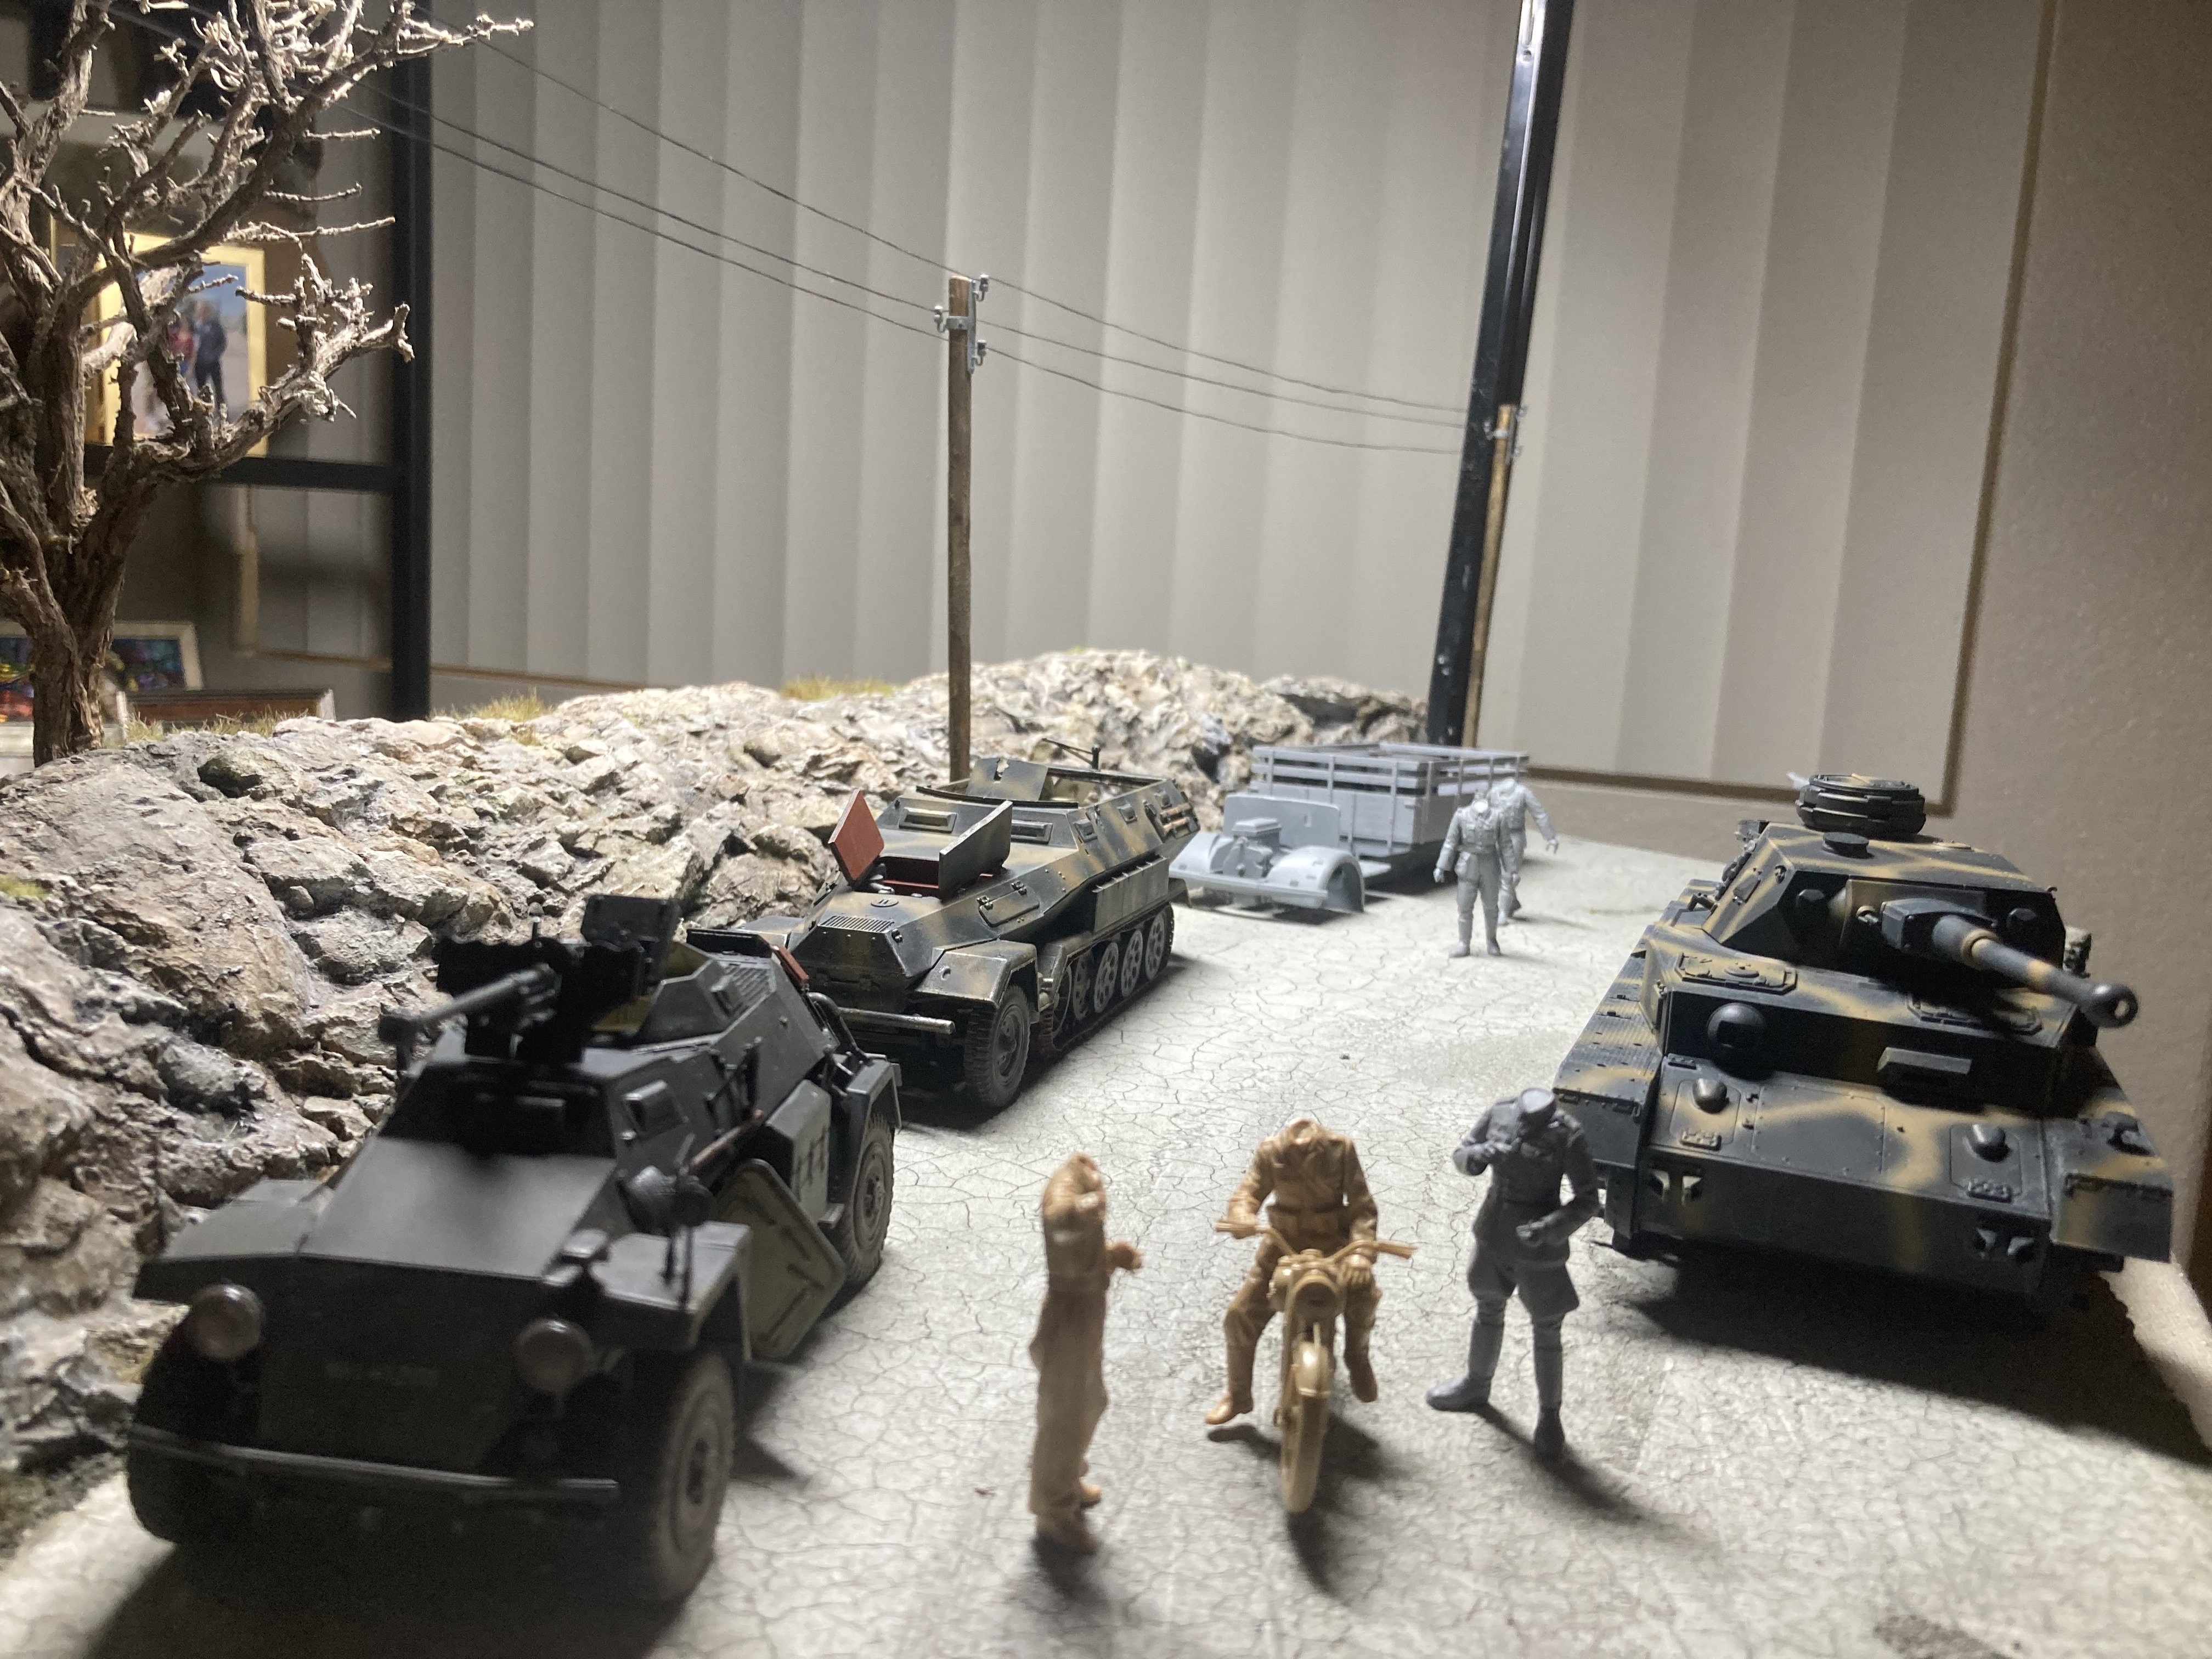
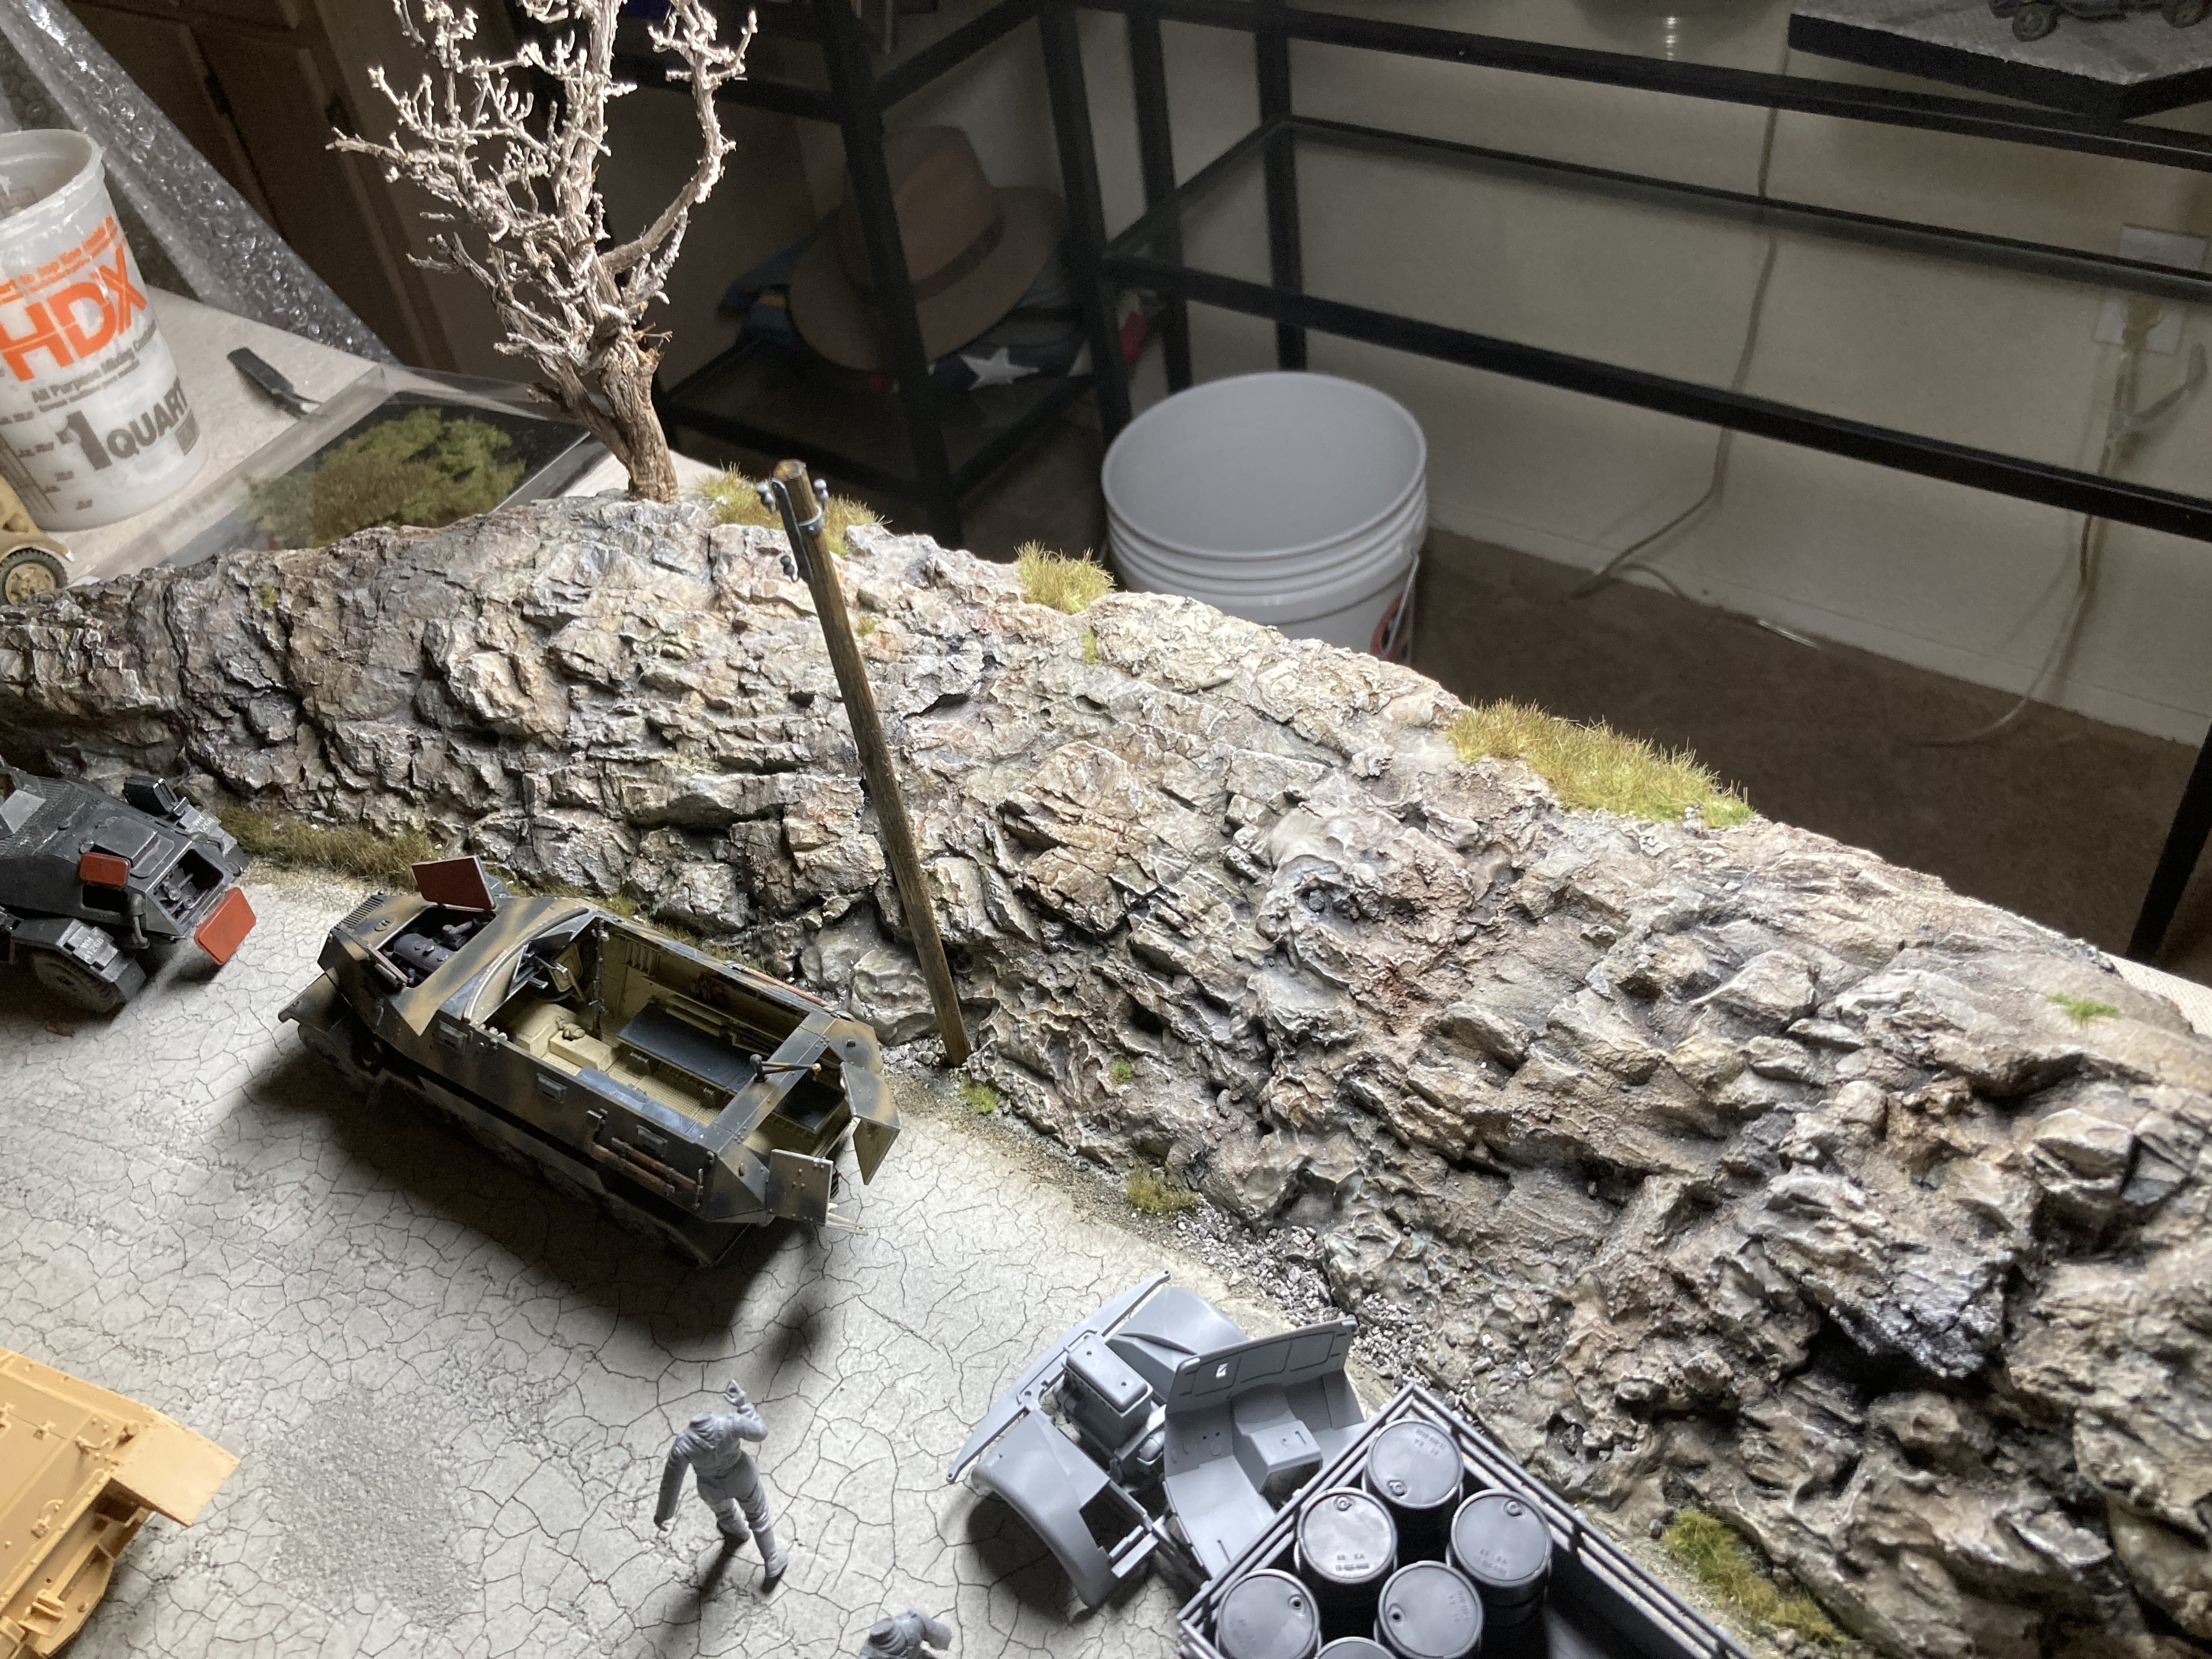
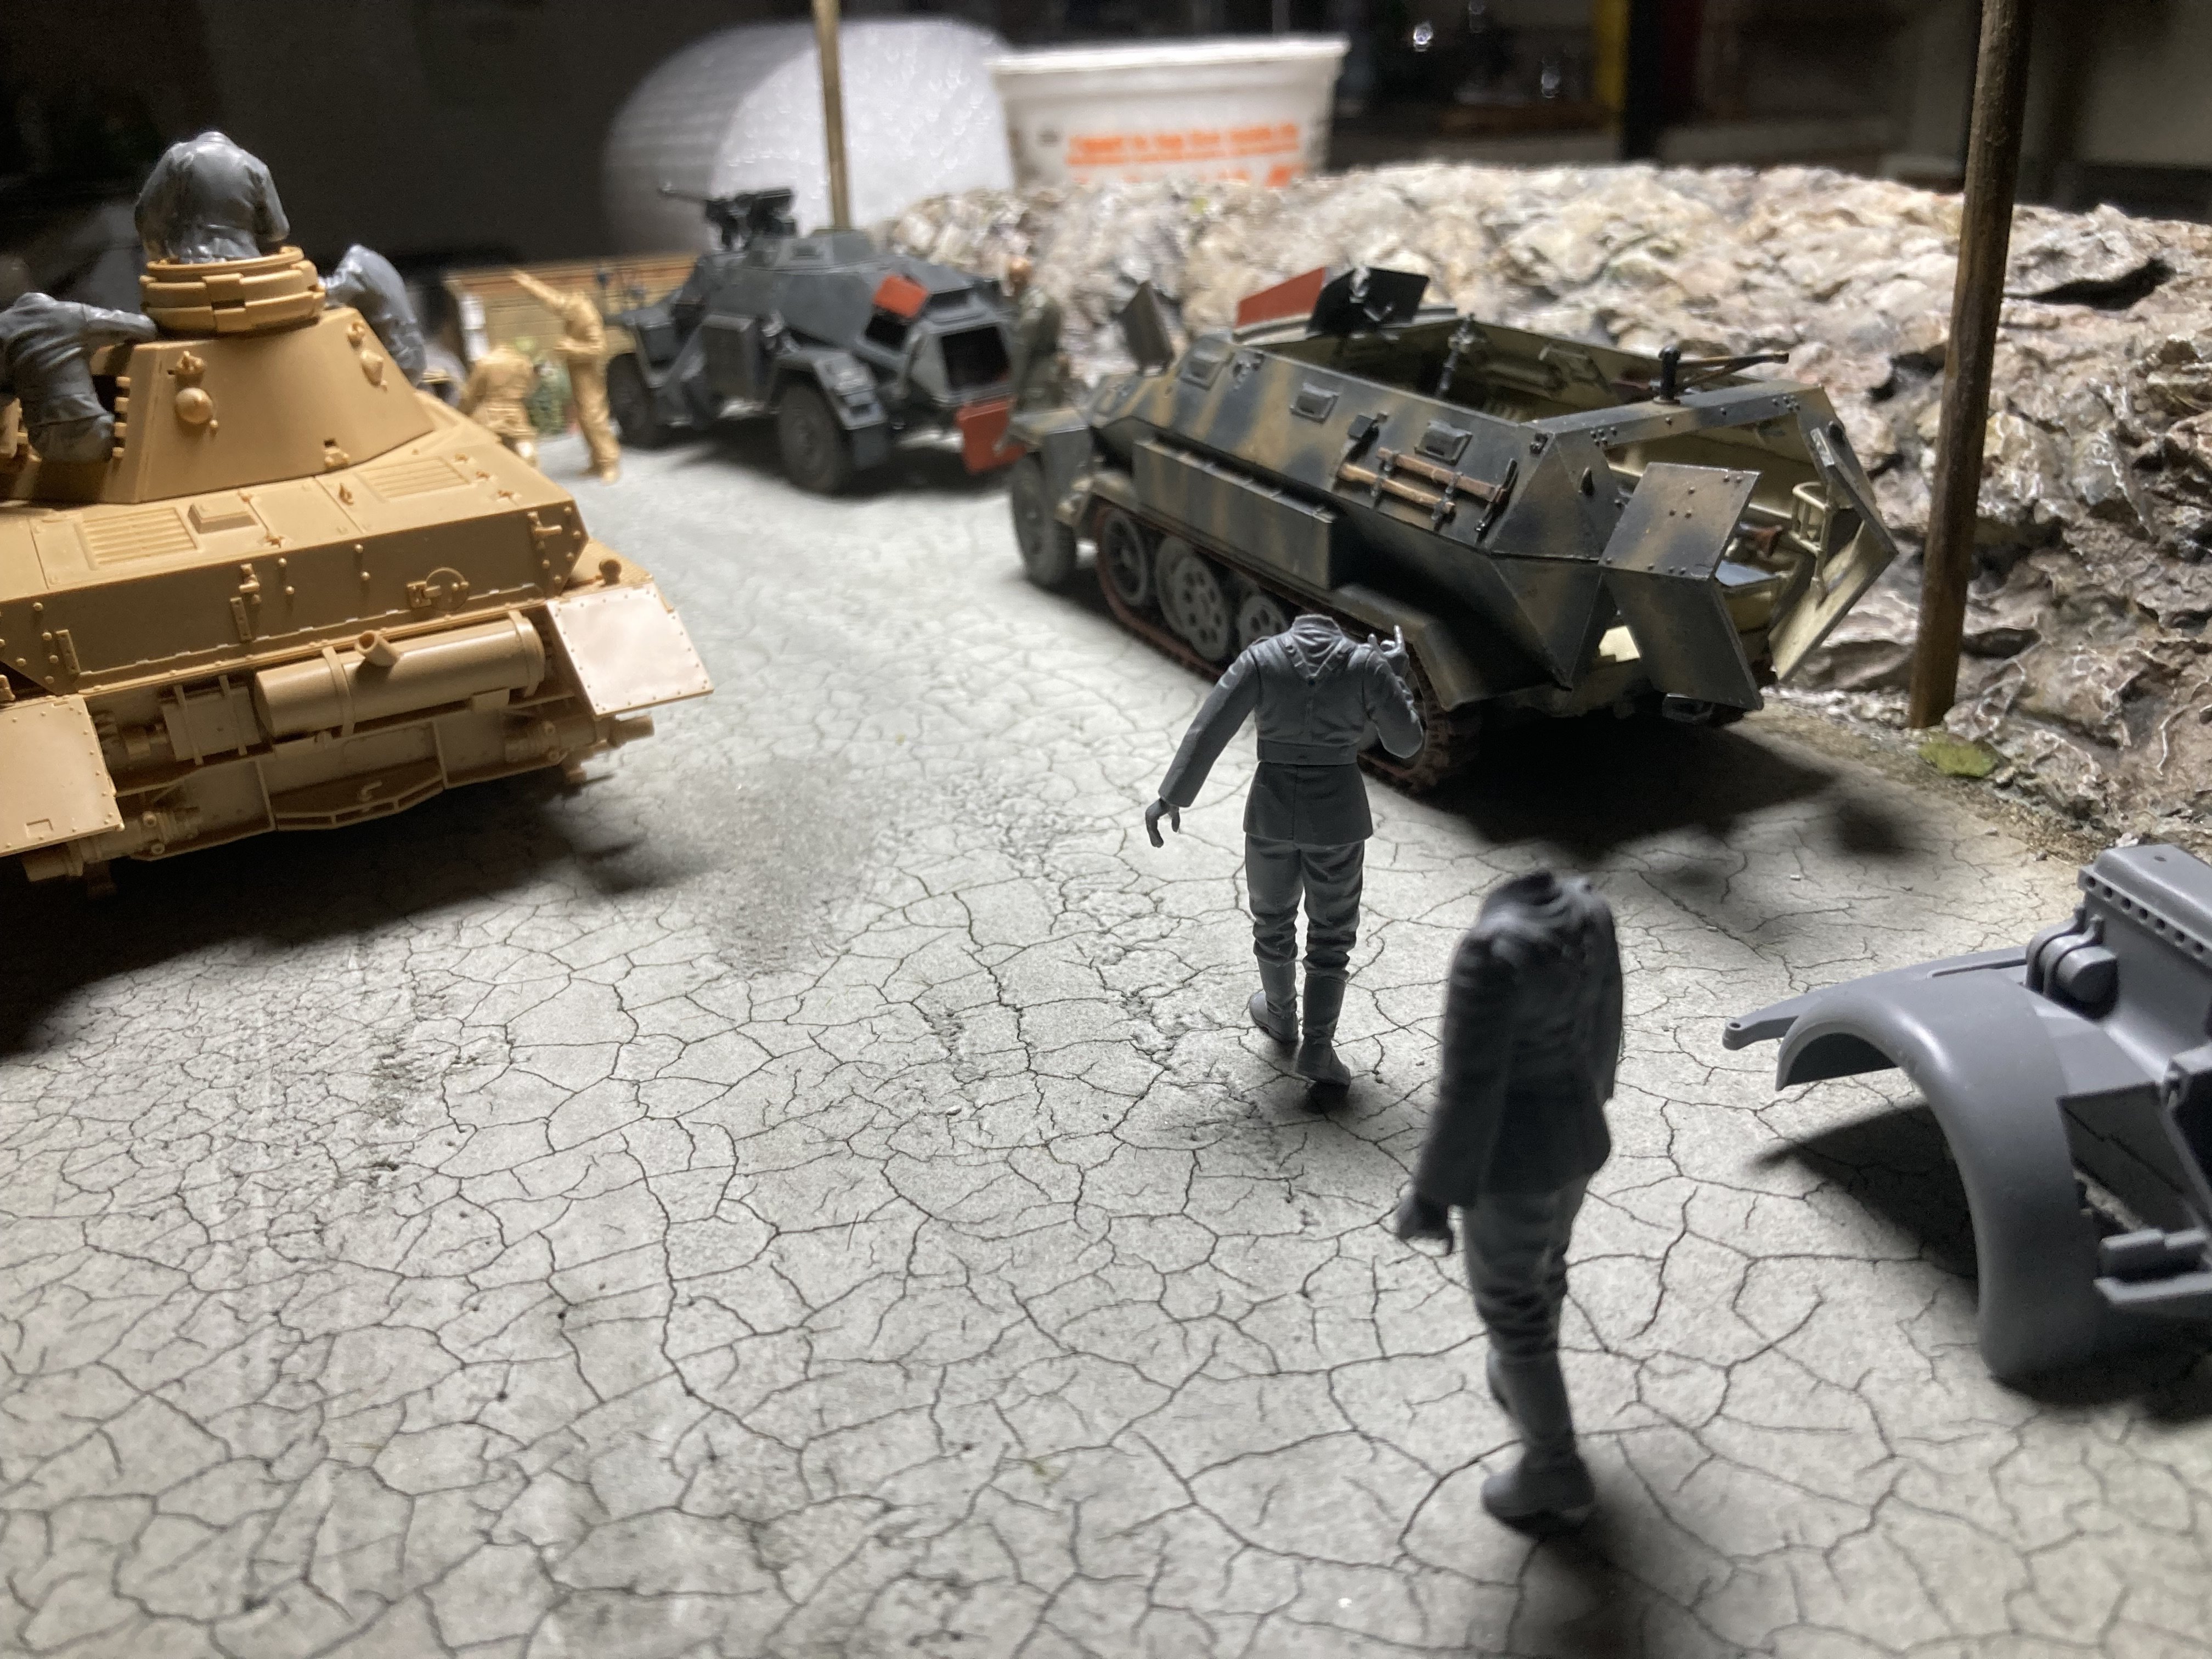
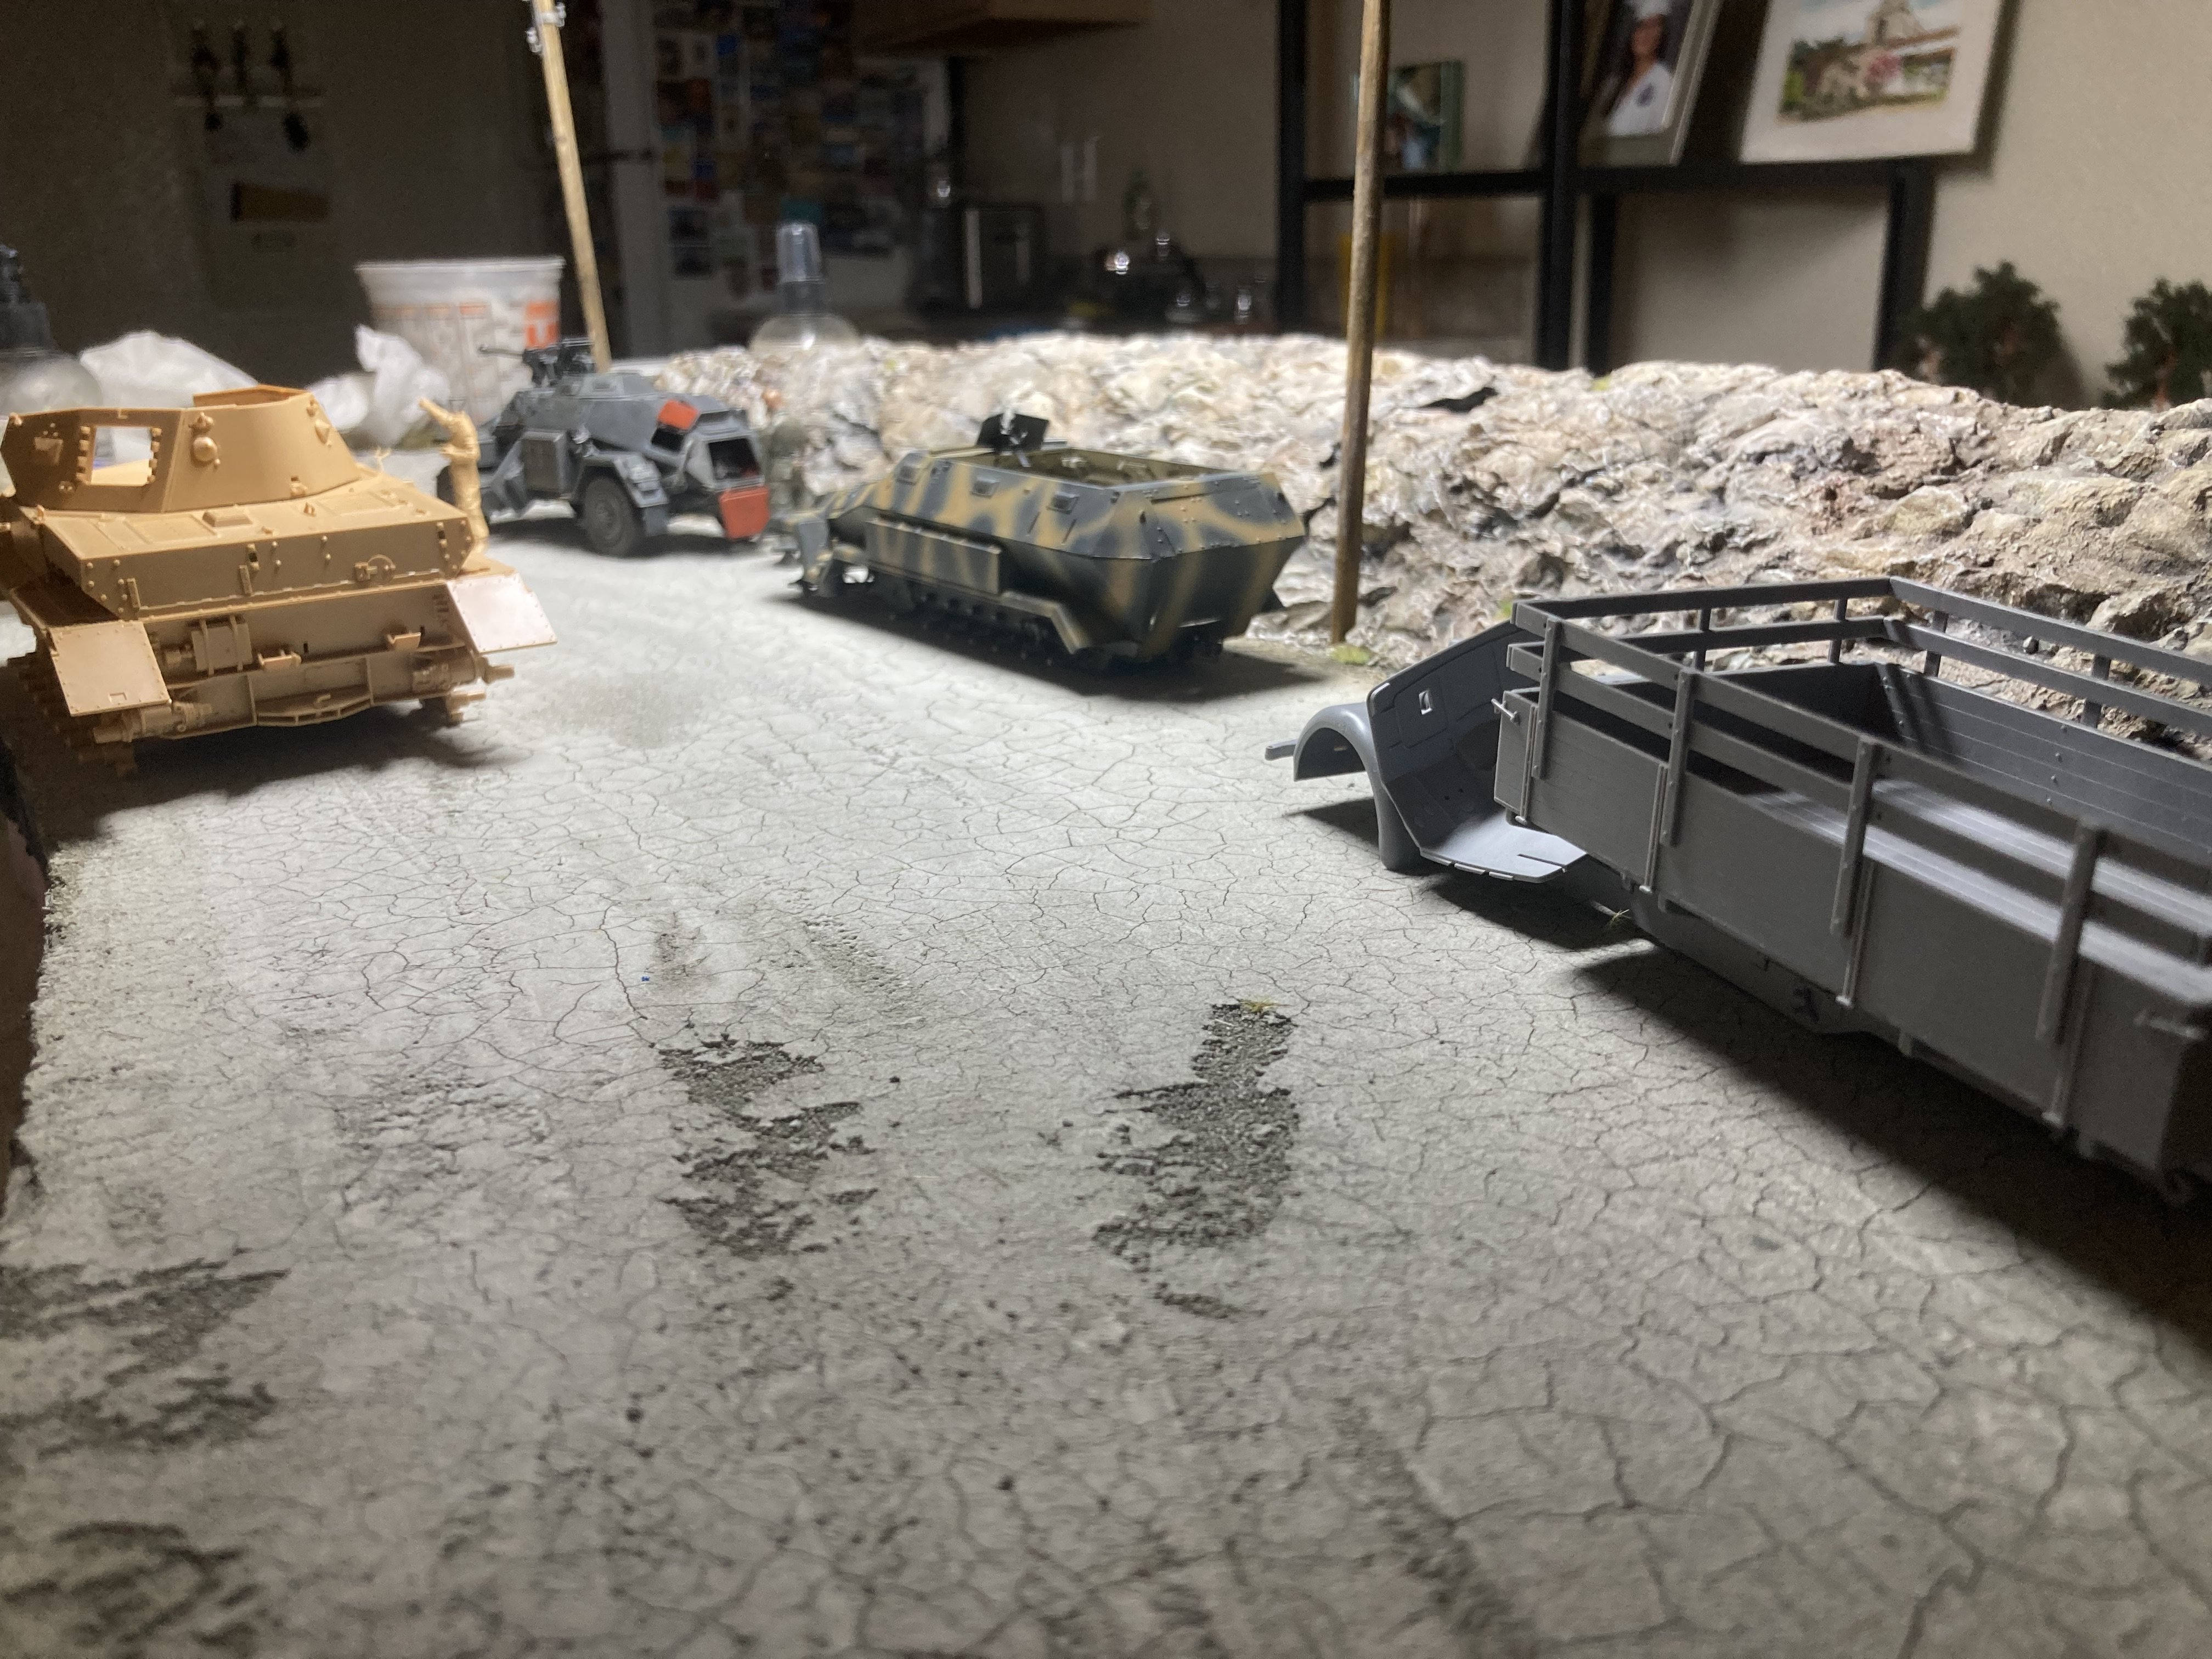
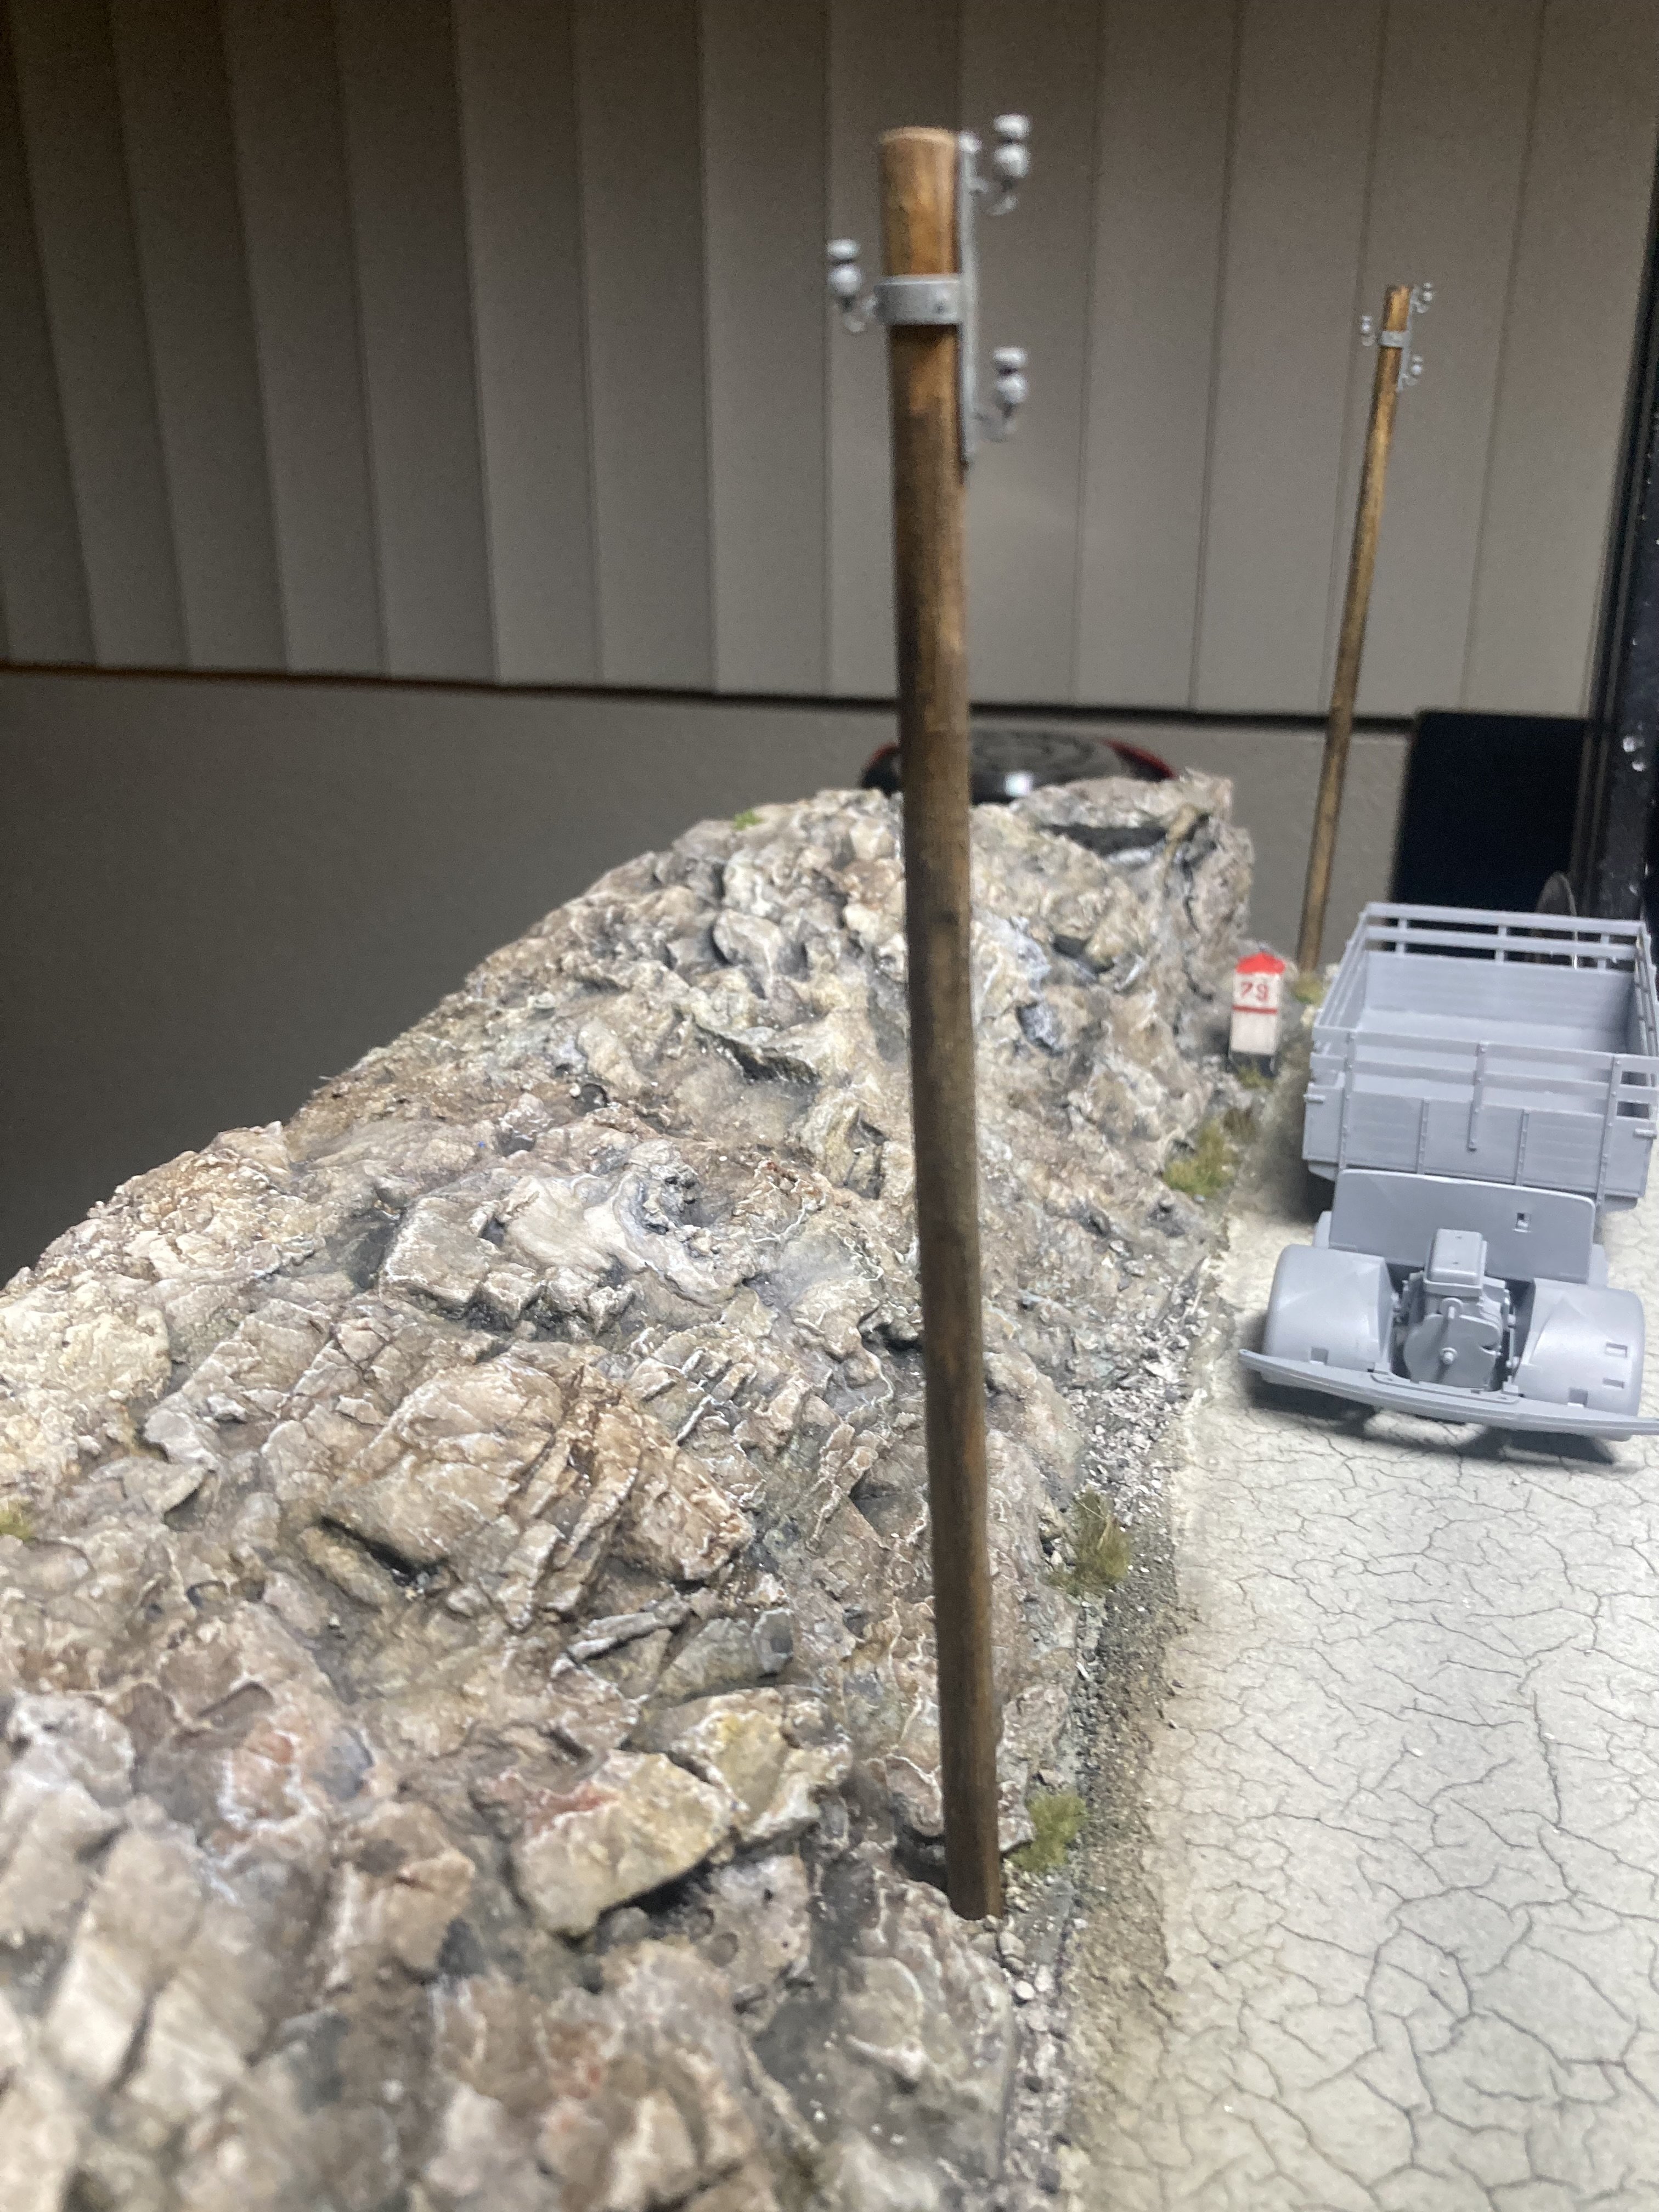
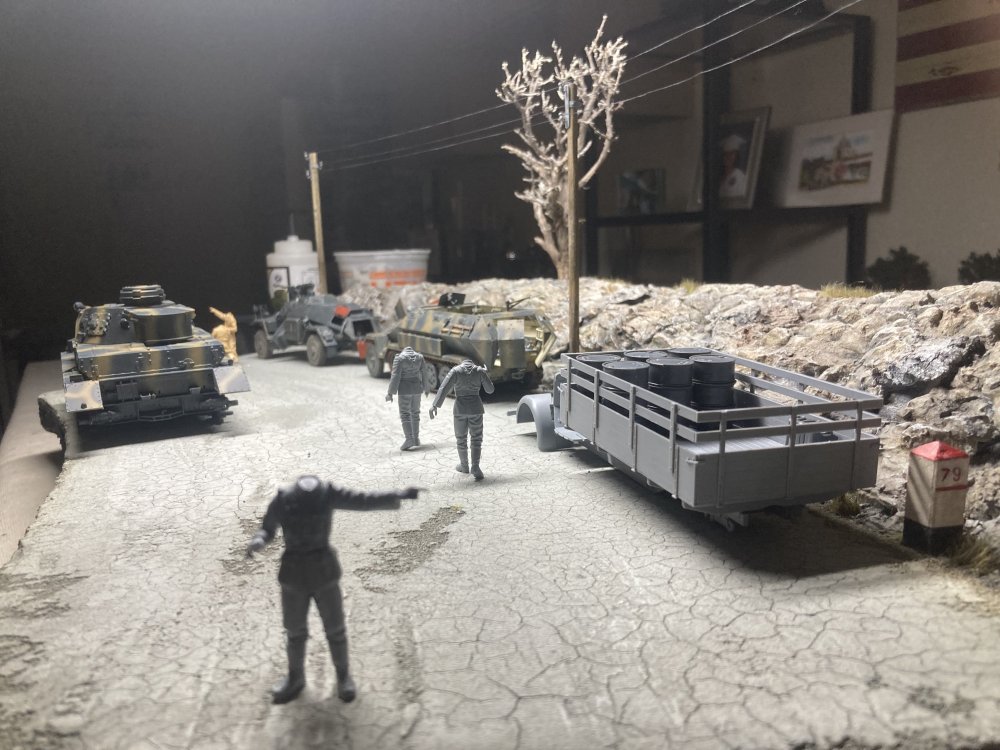
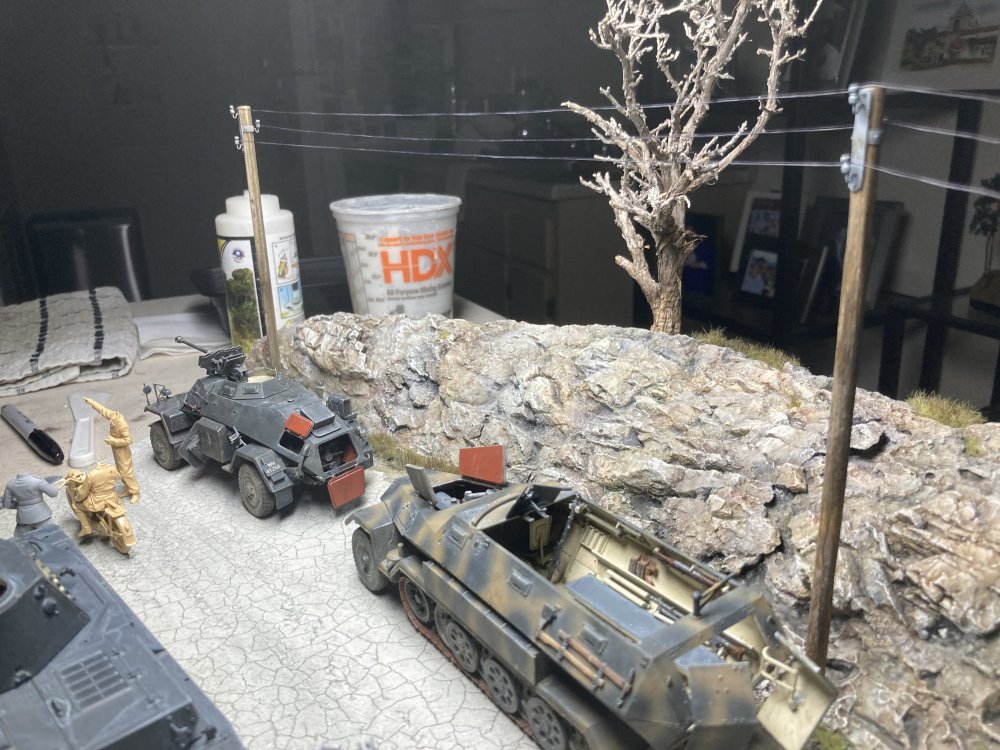
New utility pole setup

-
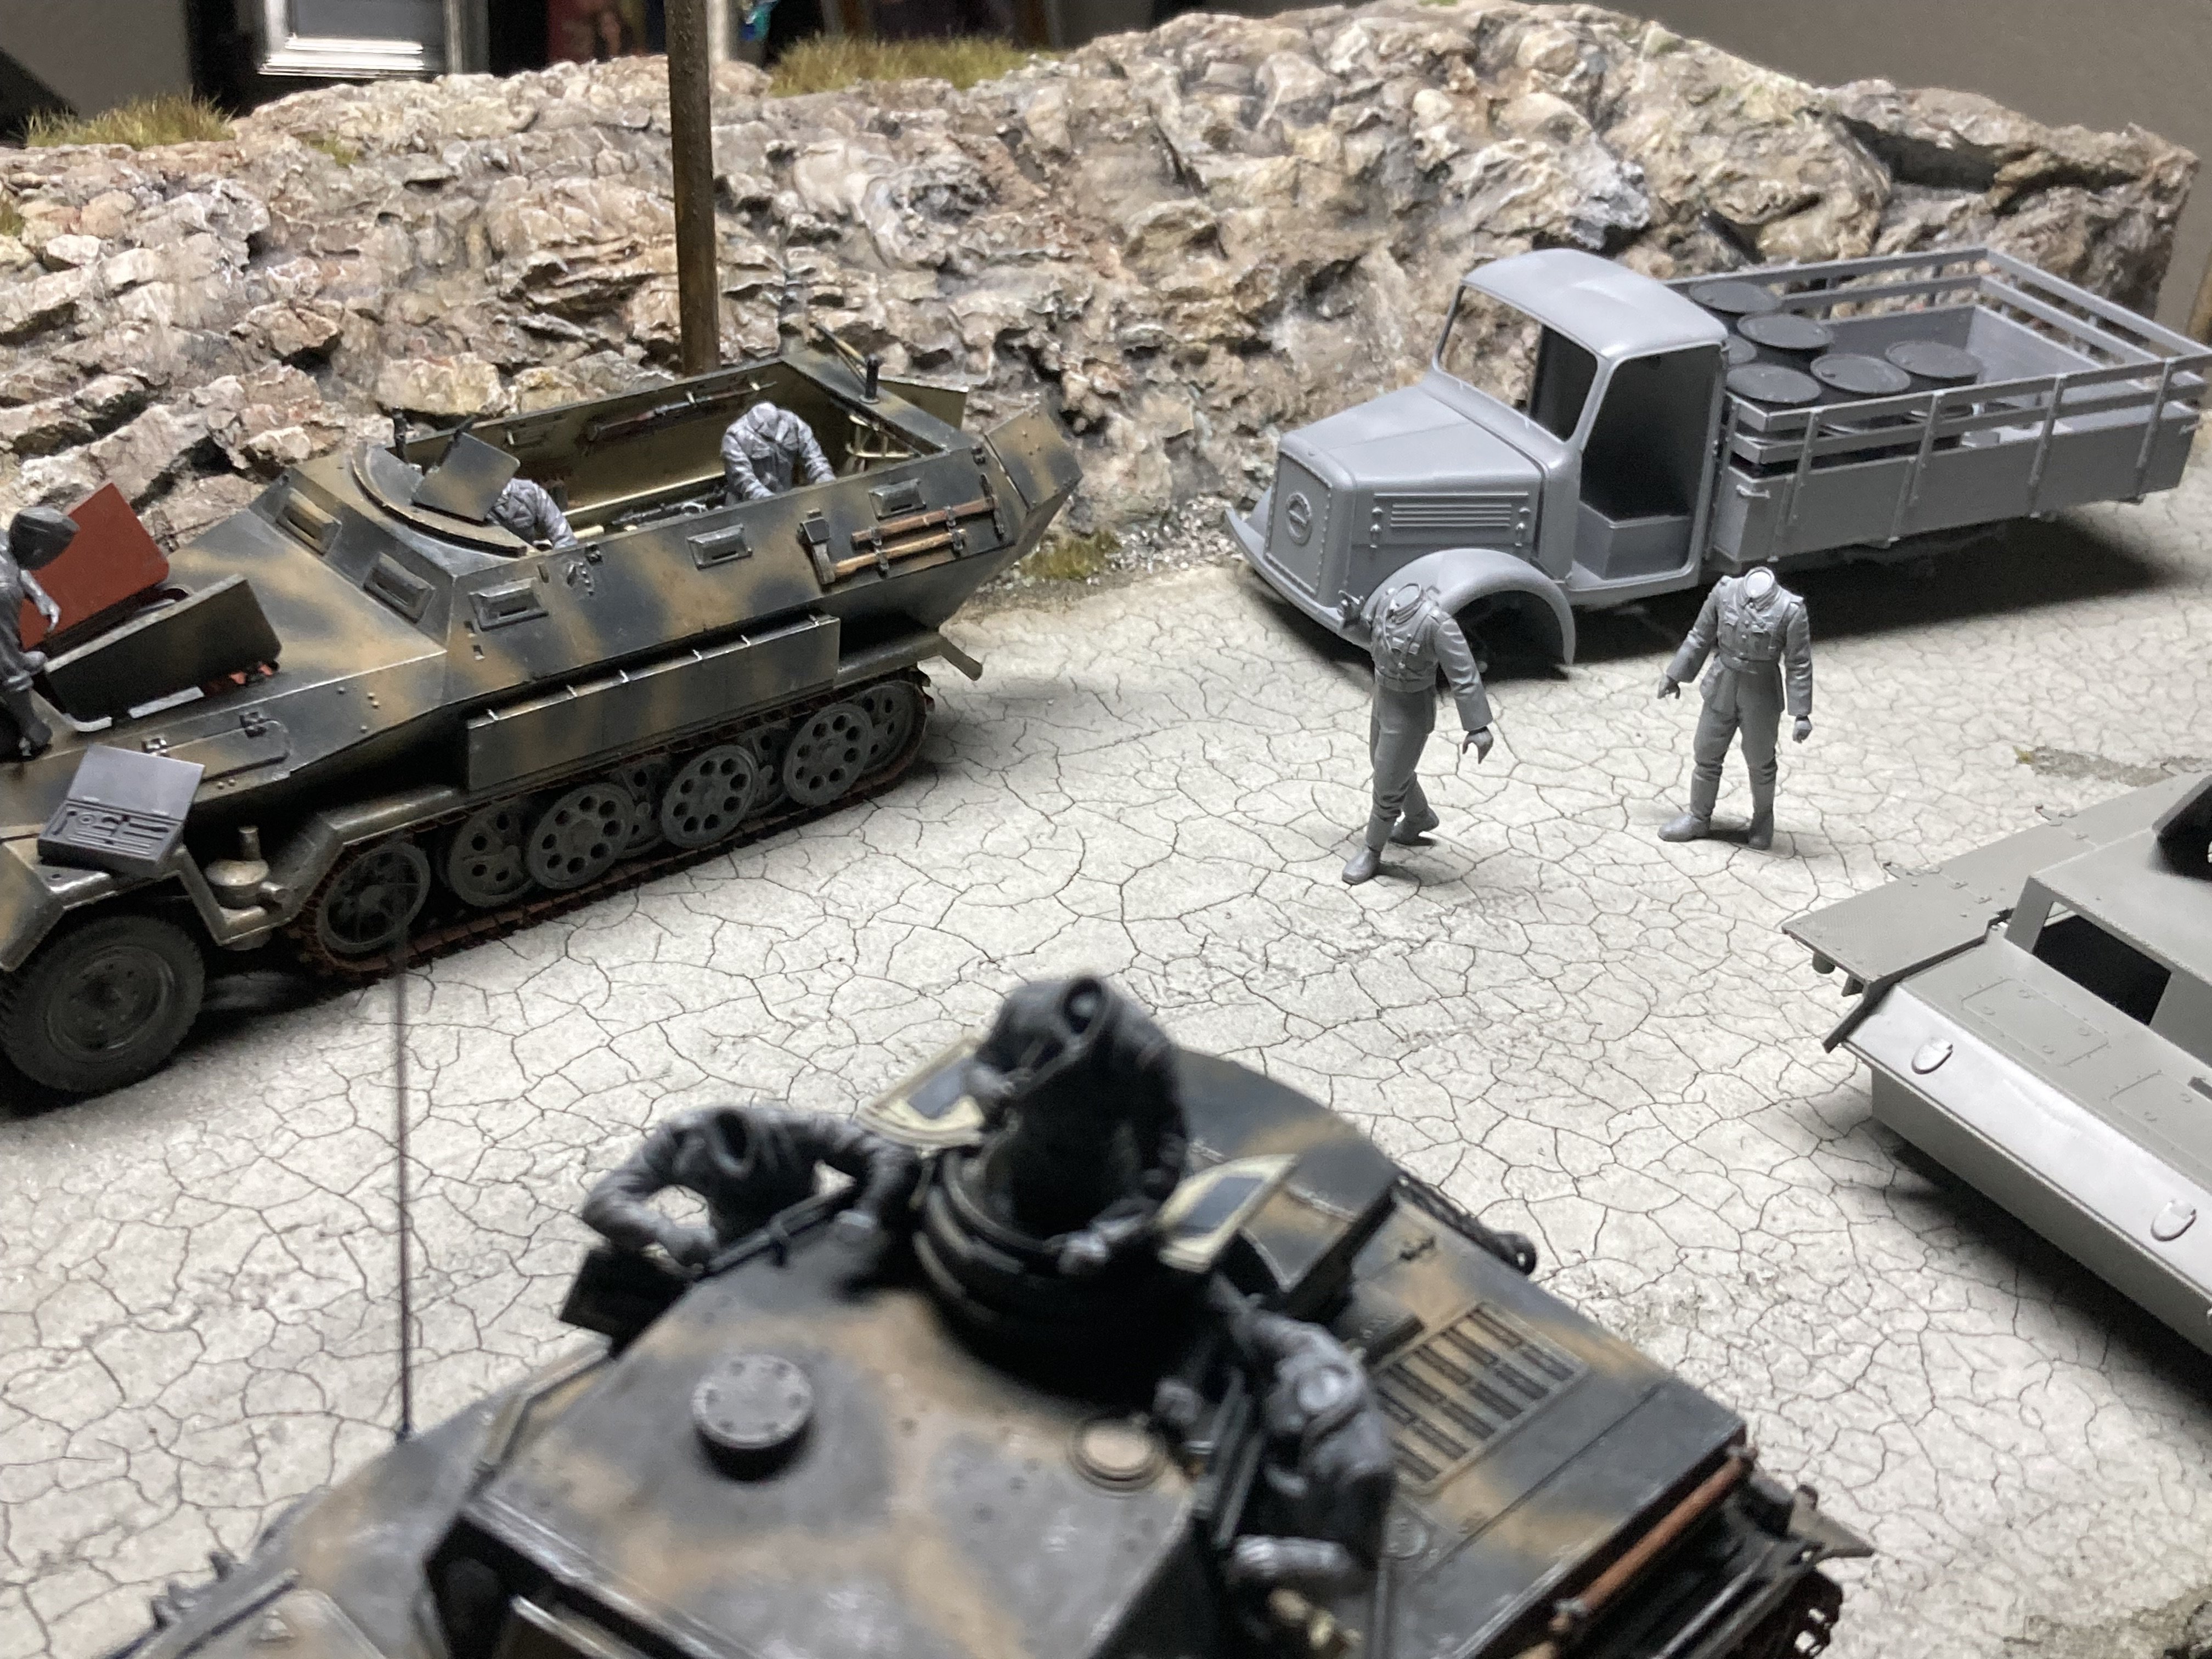
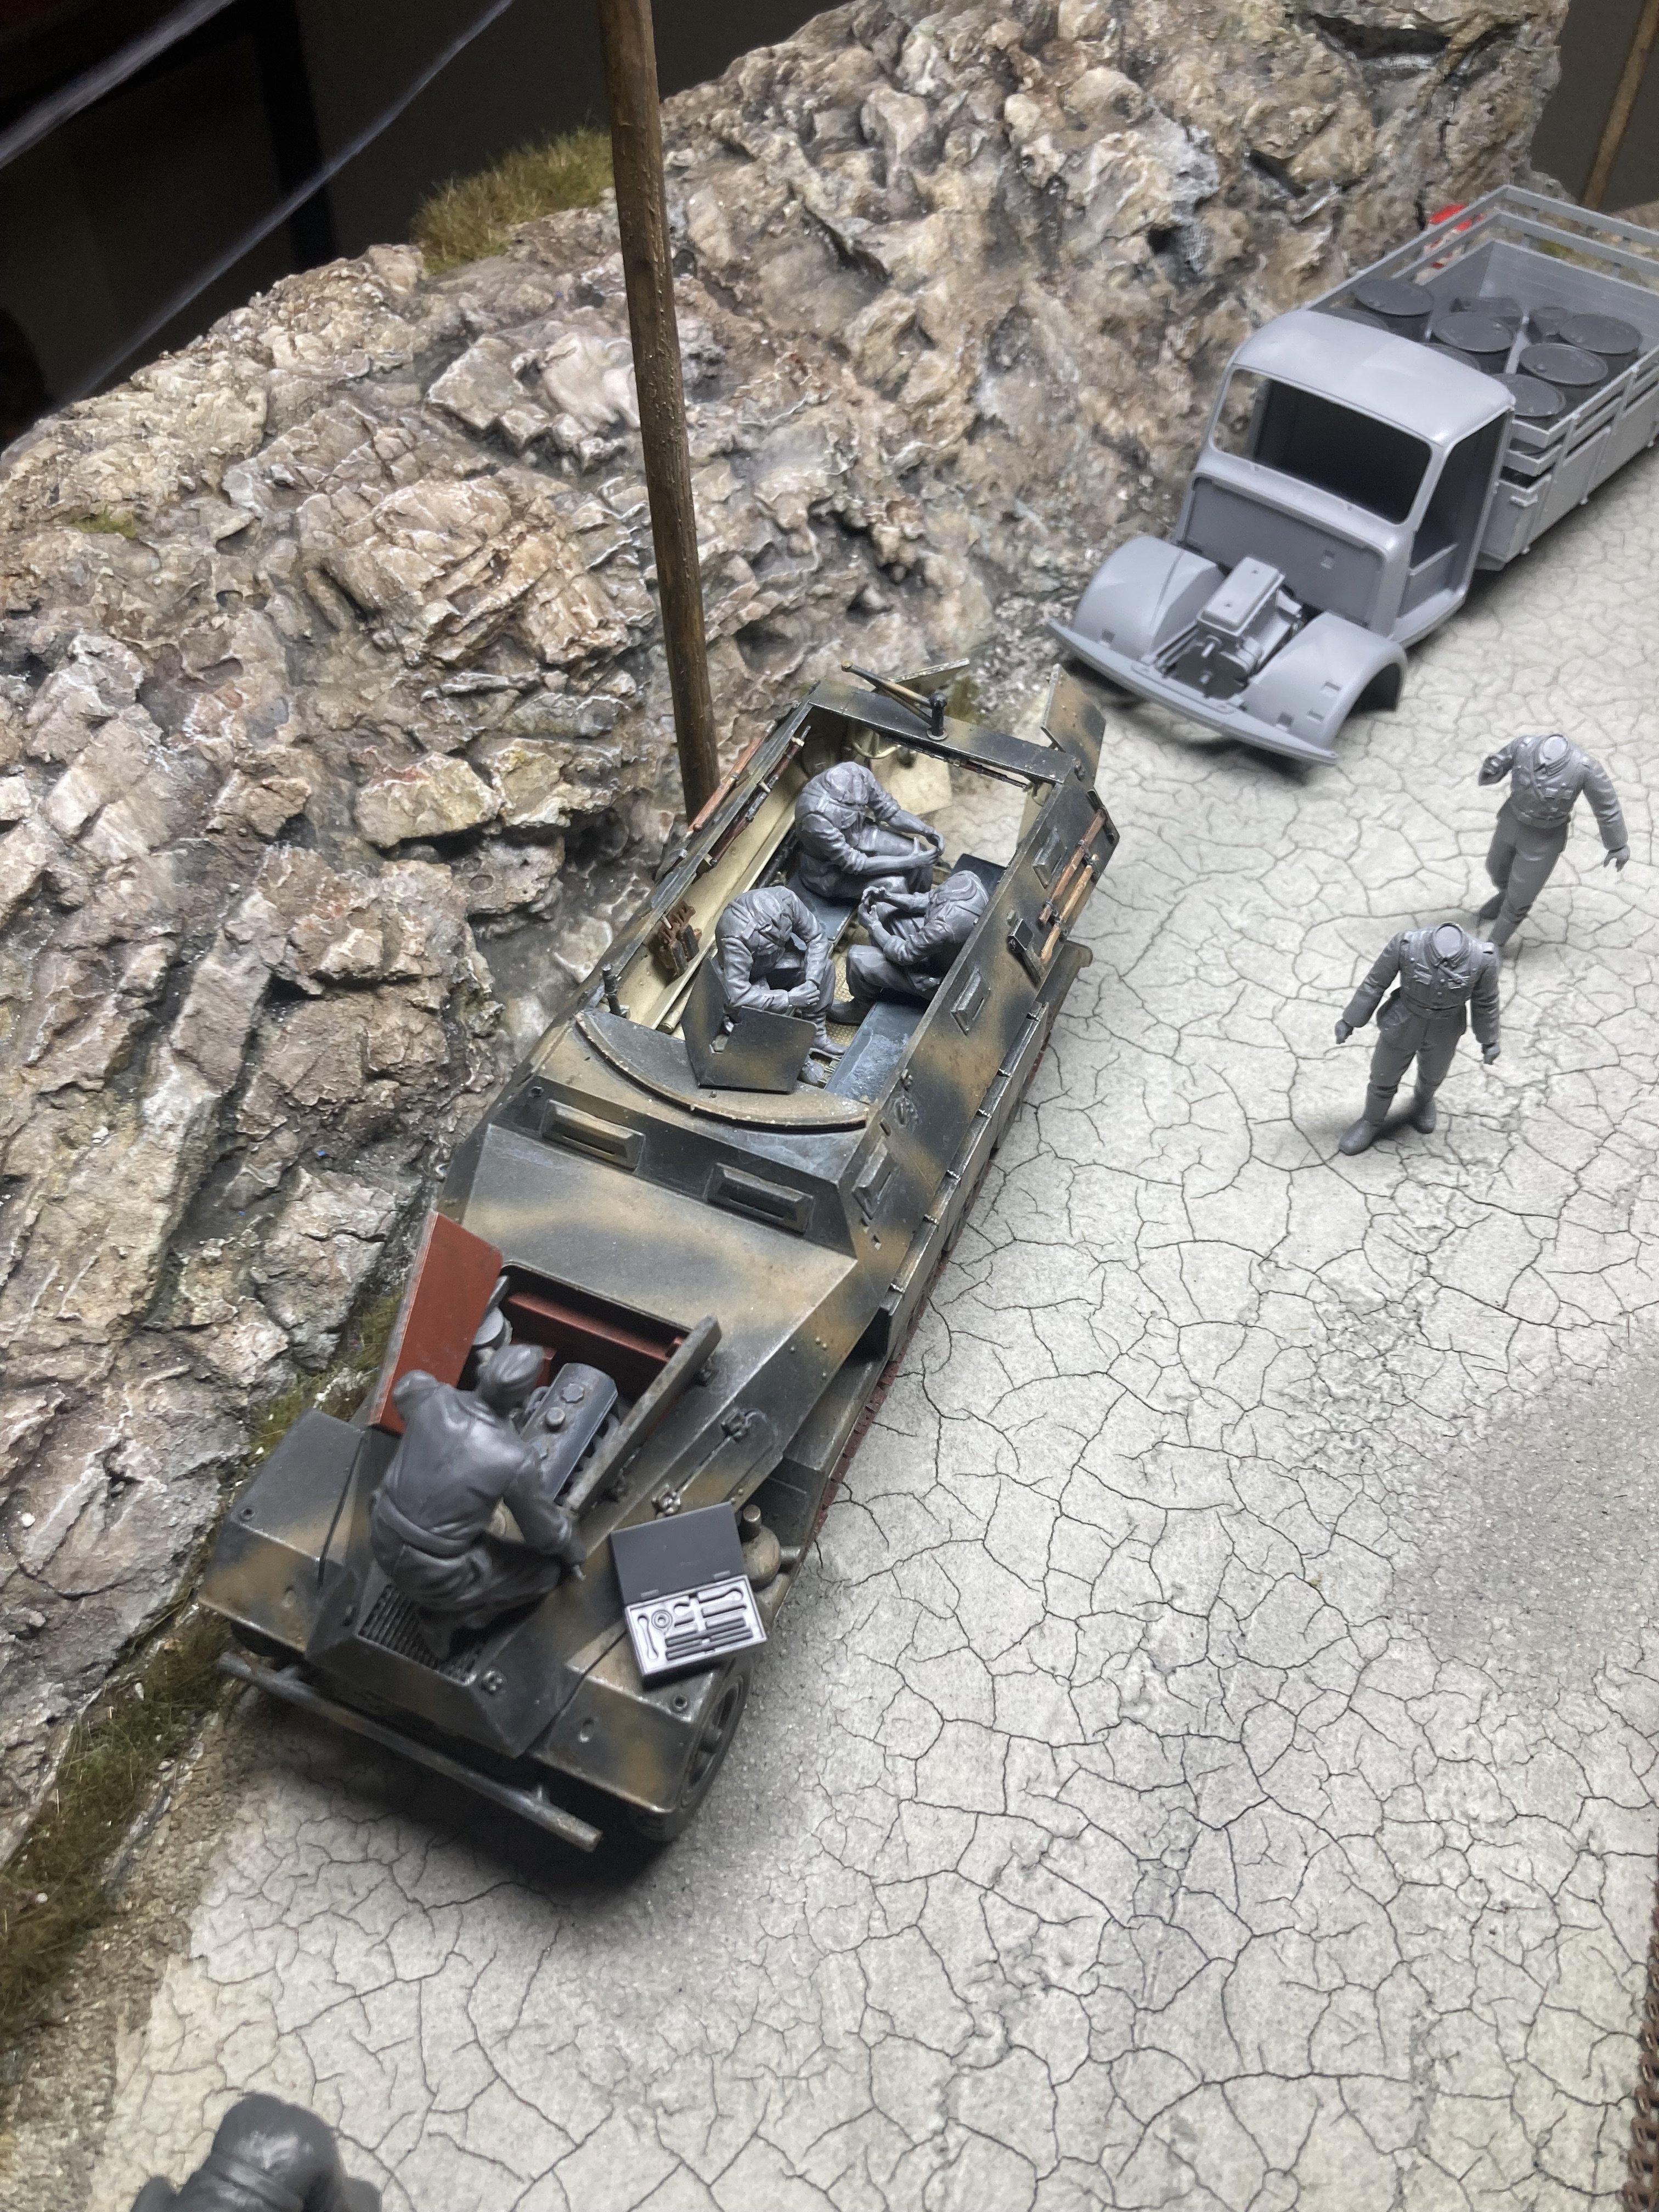
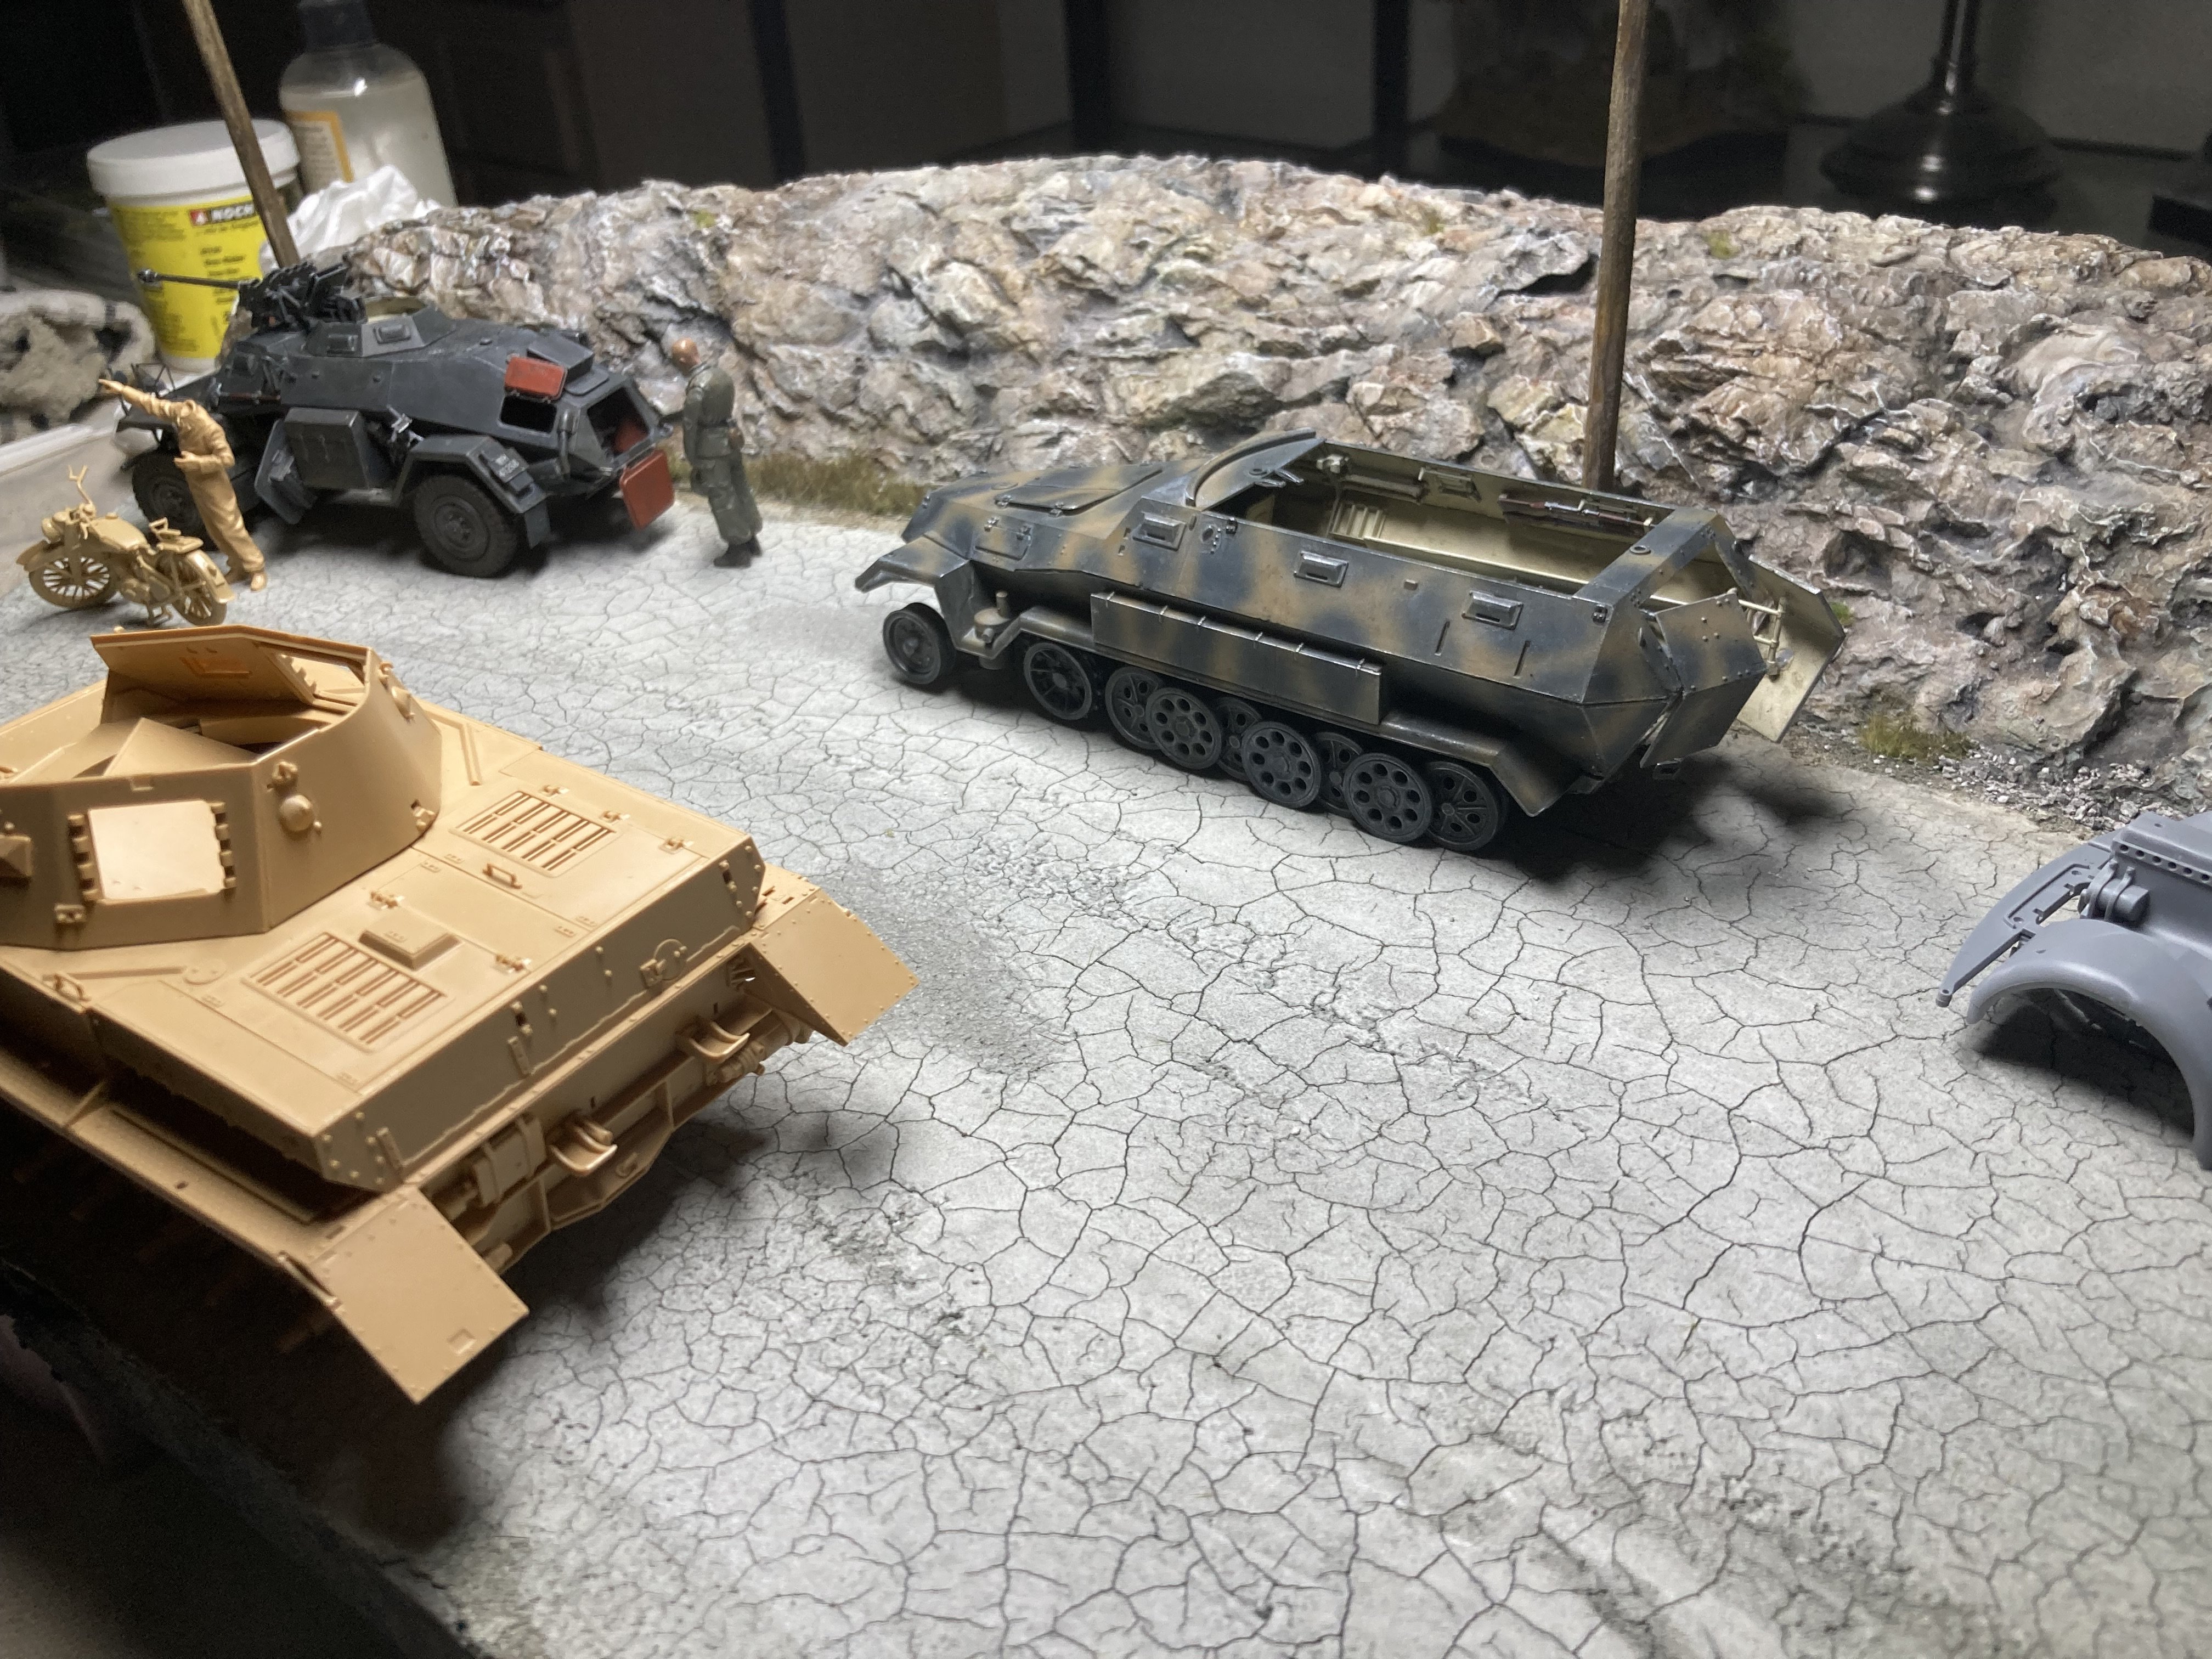
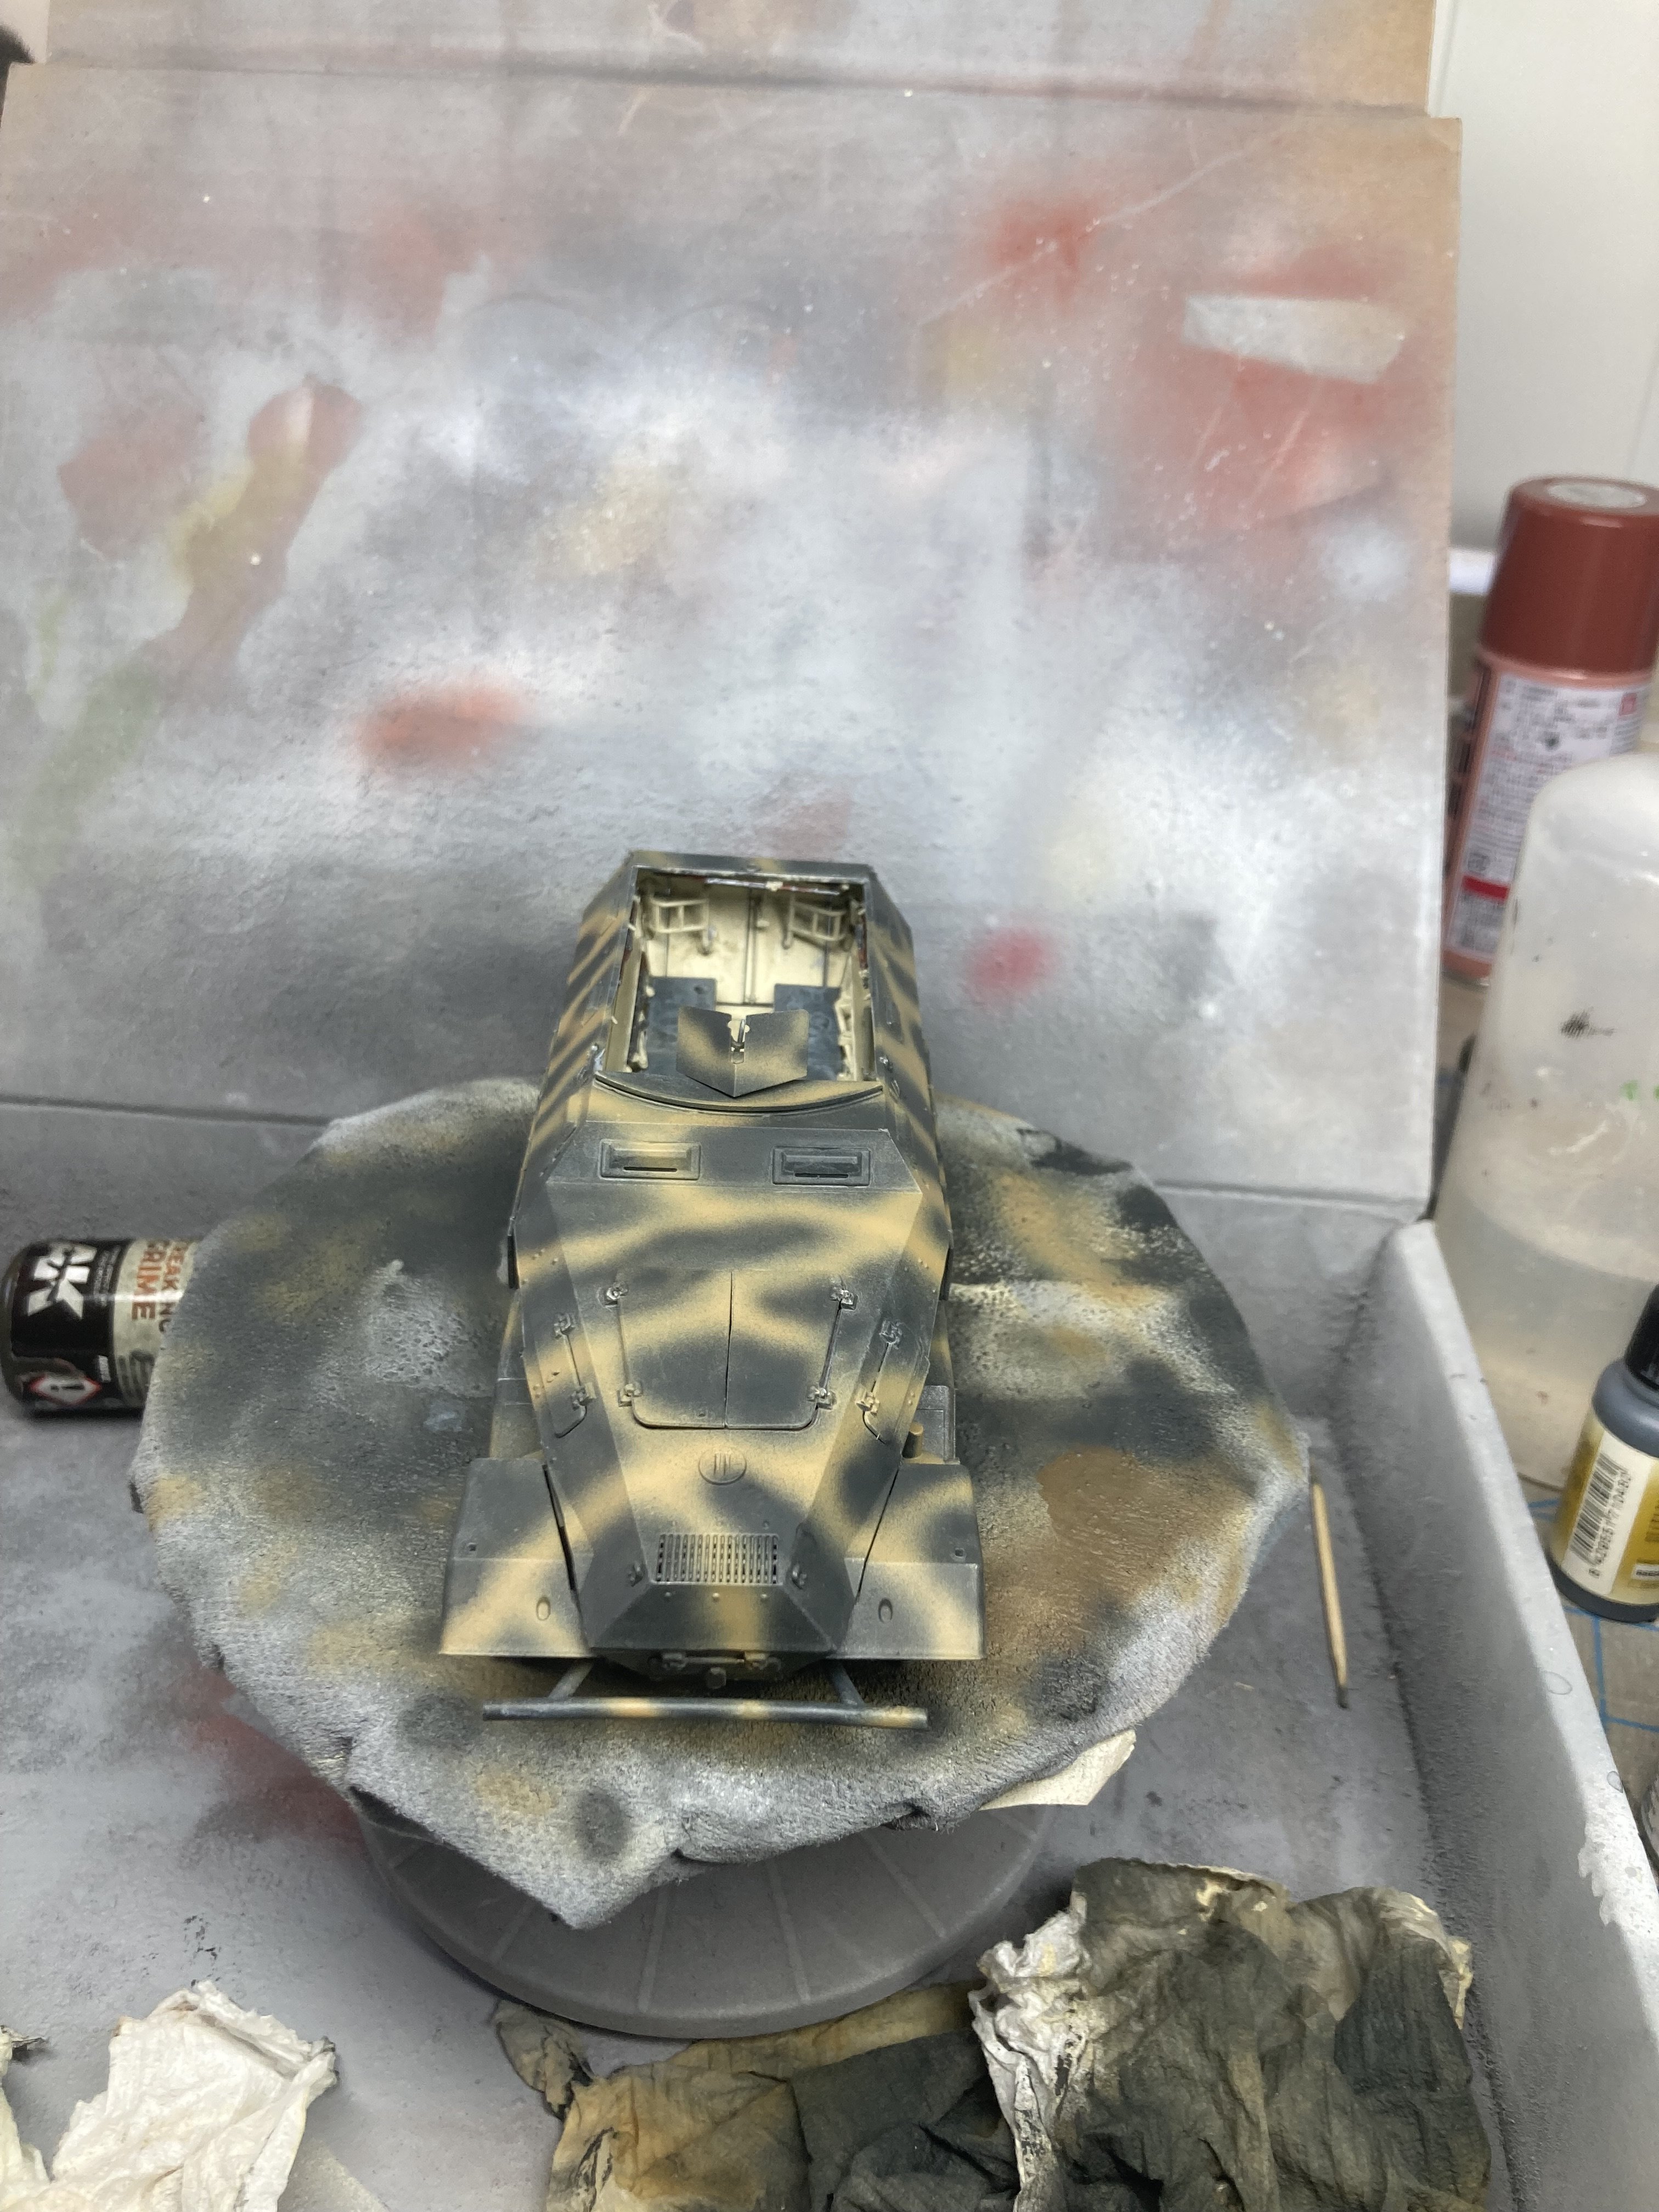
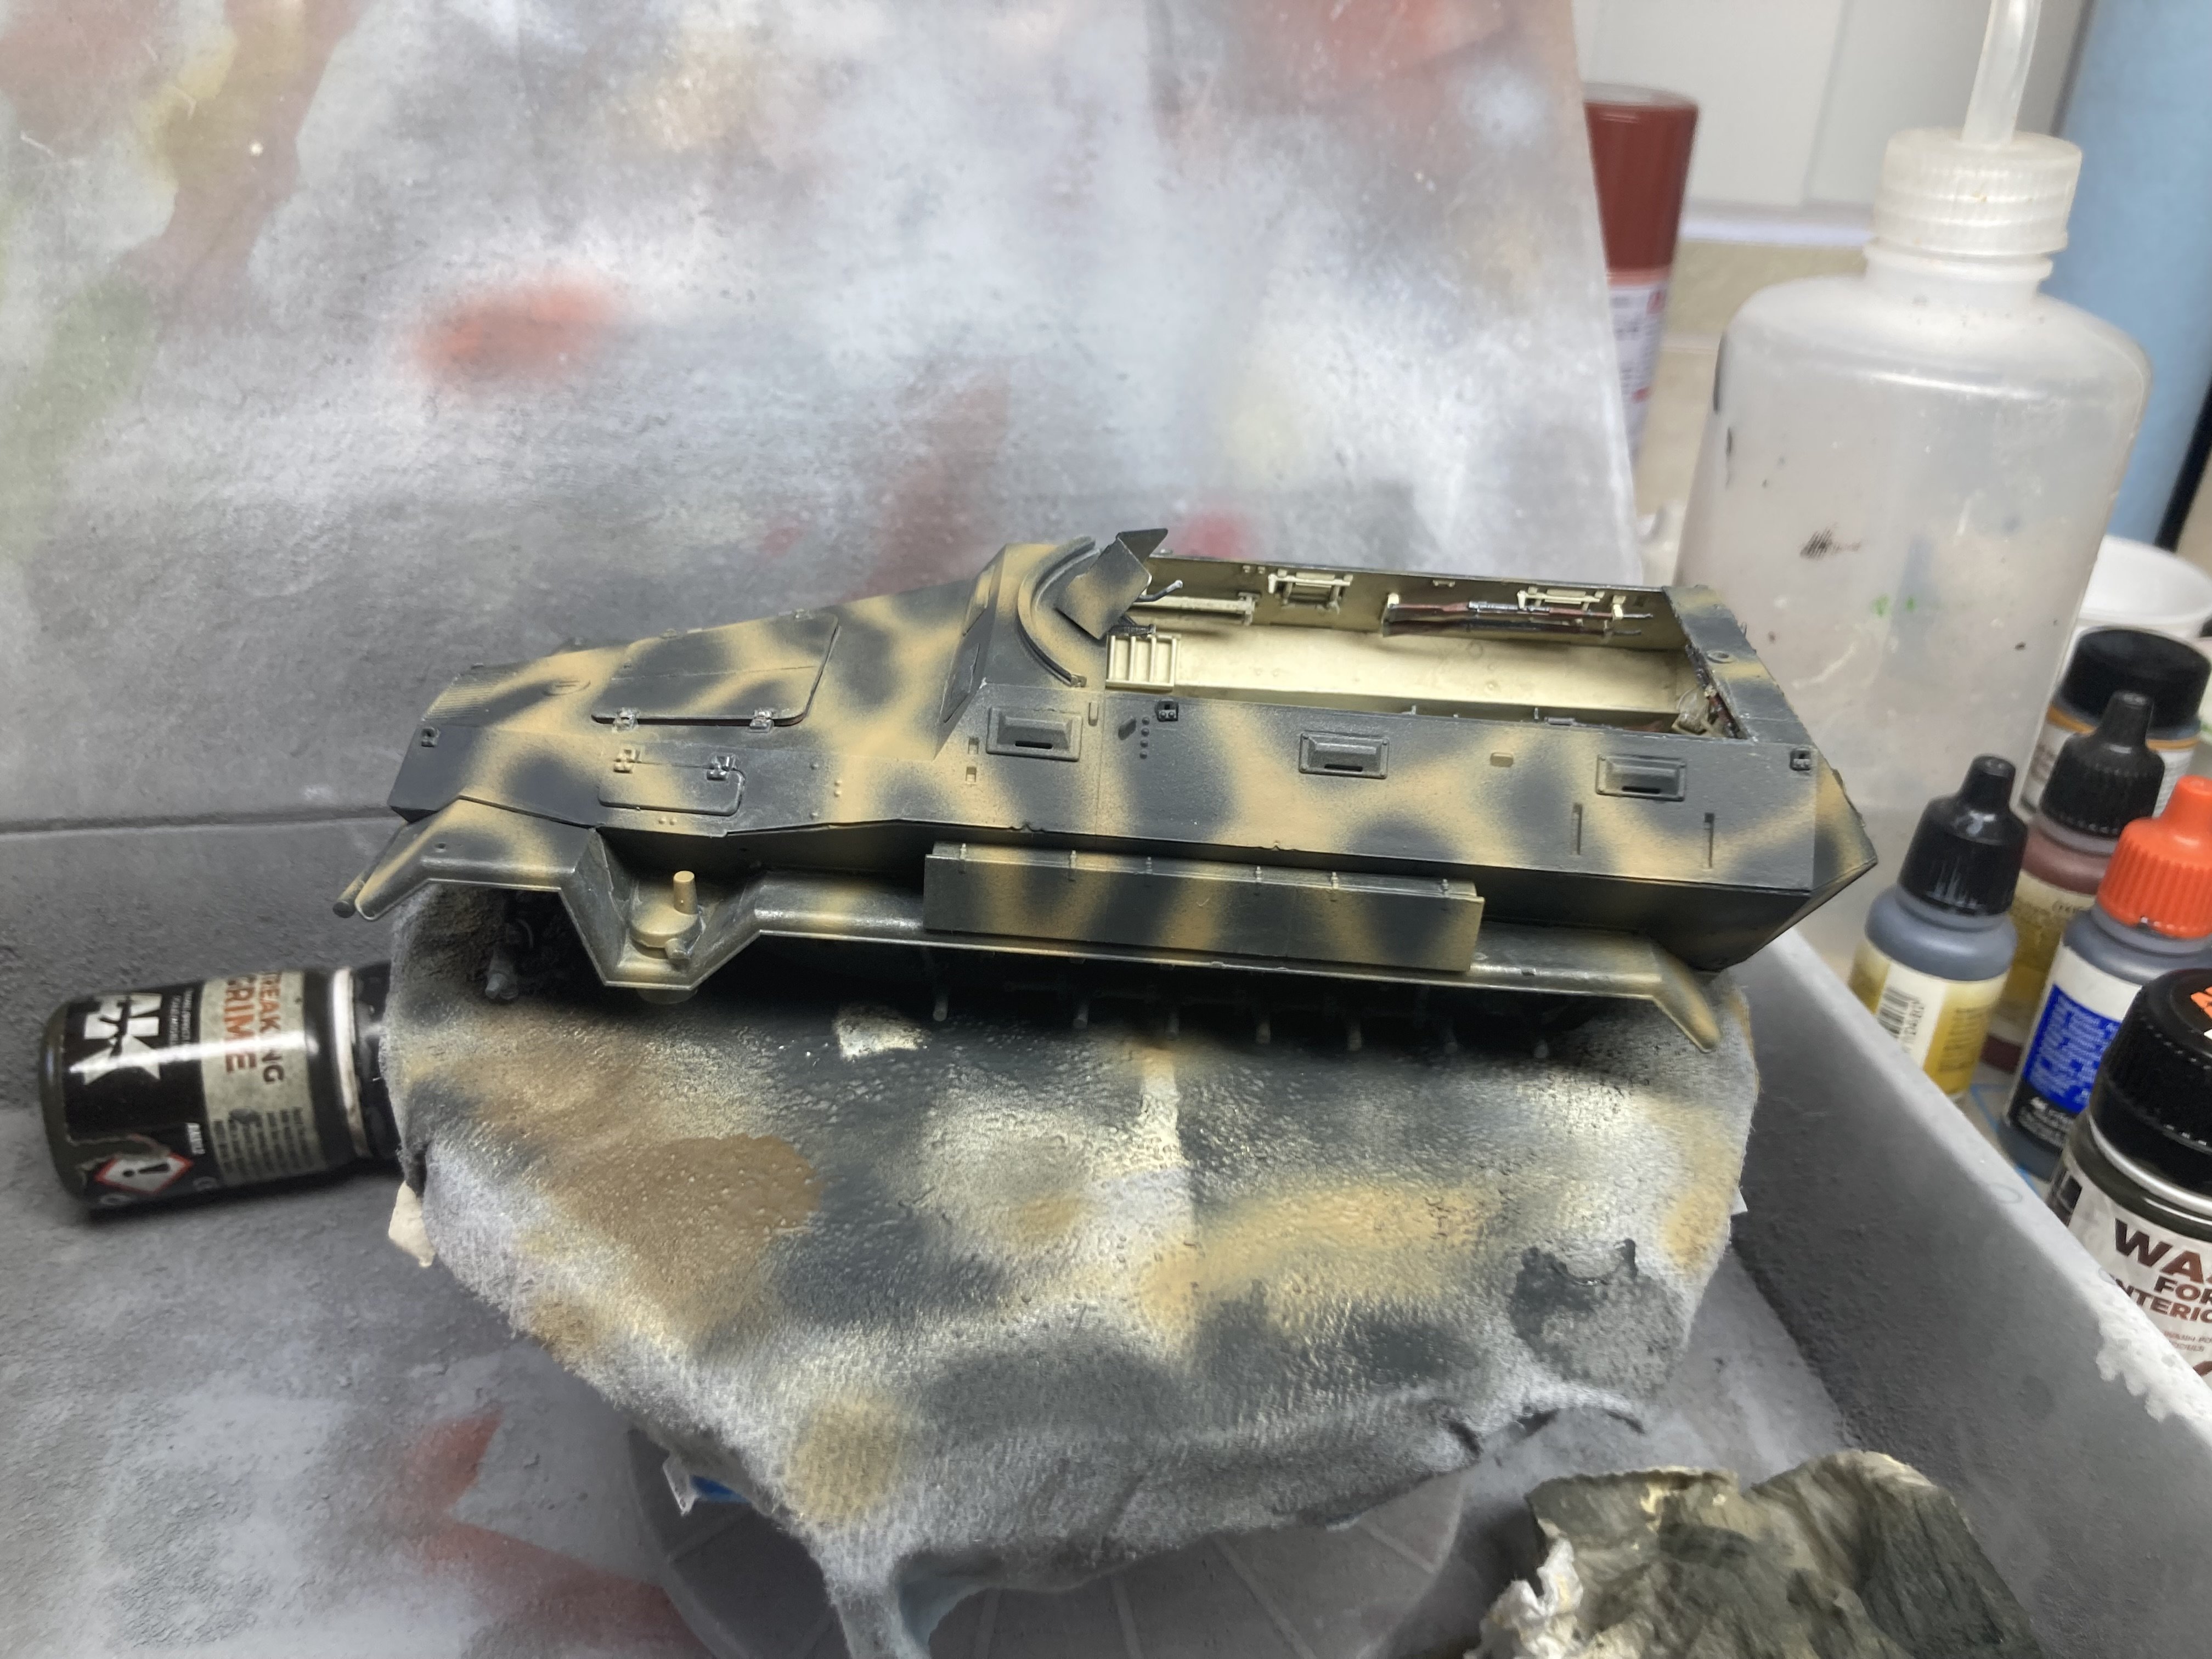
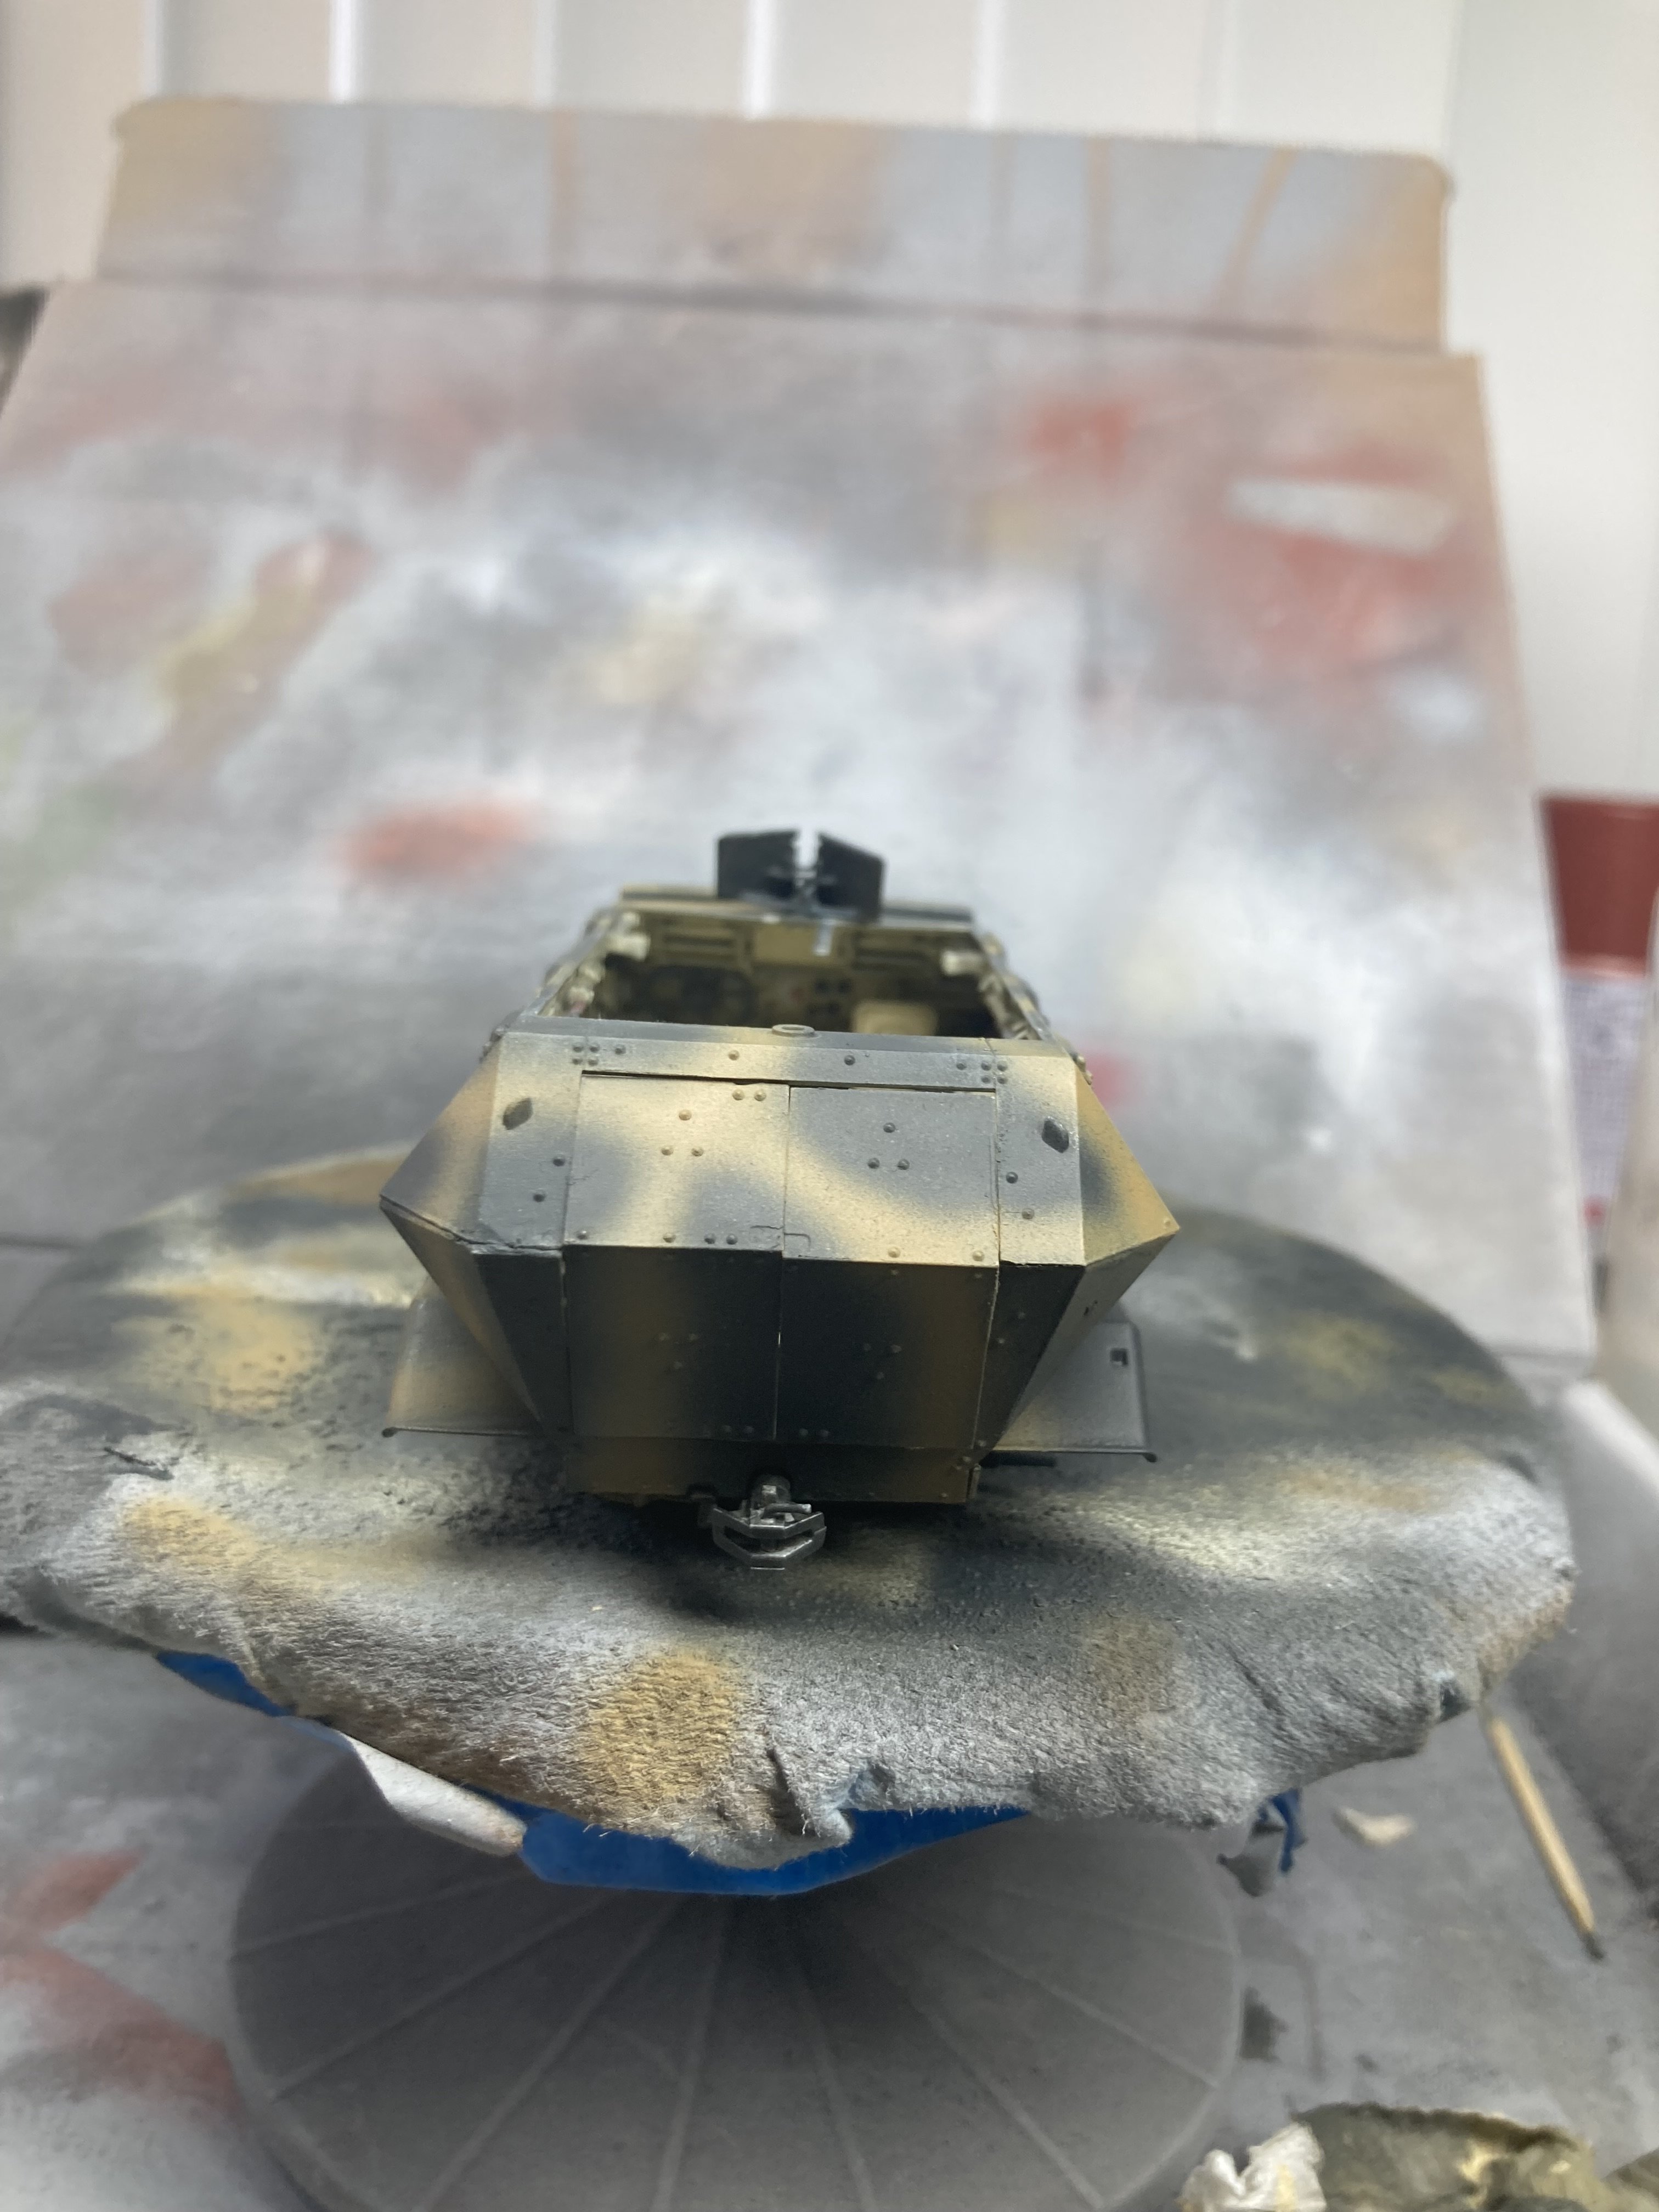
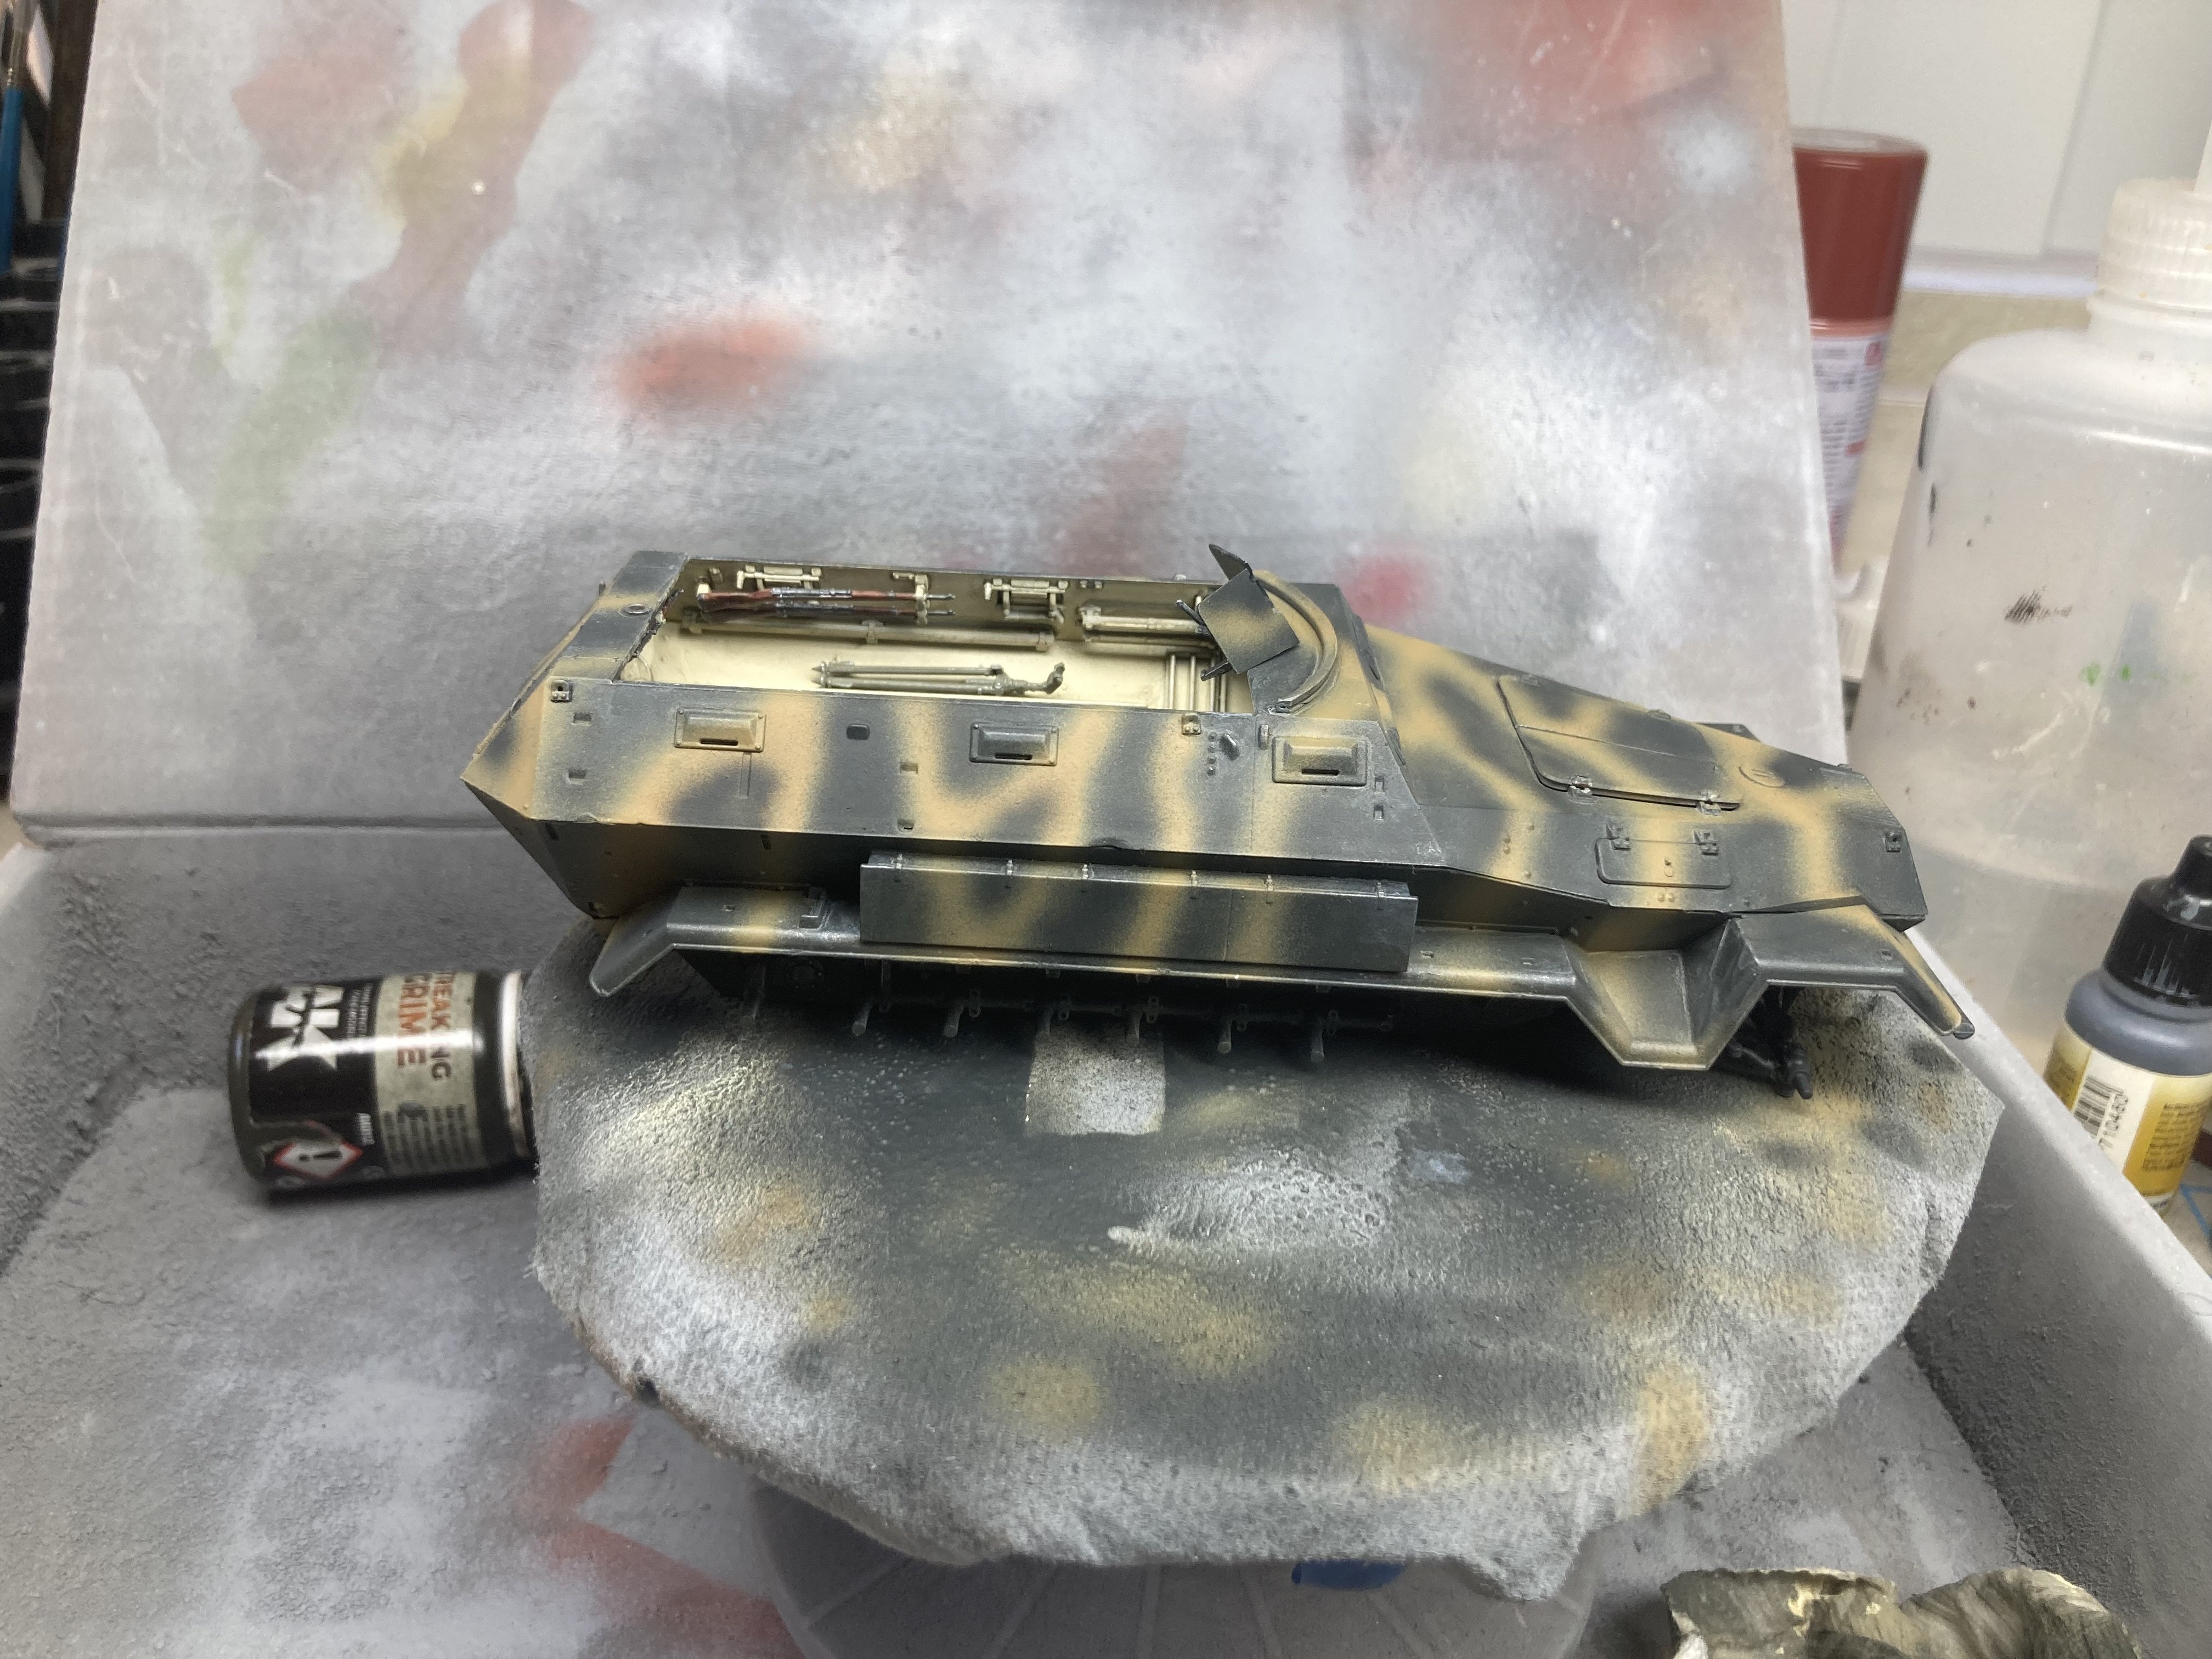
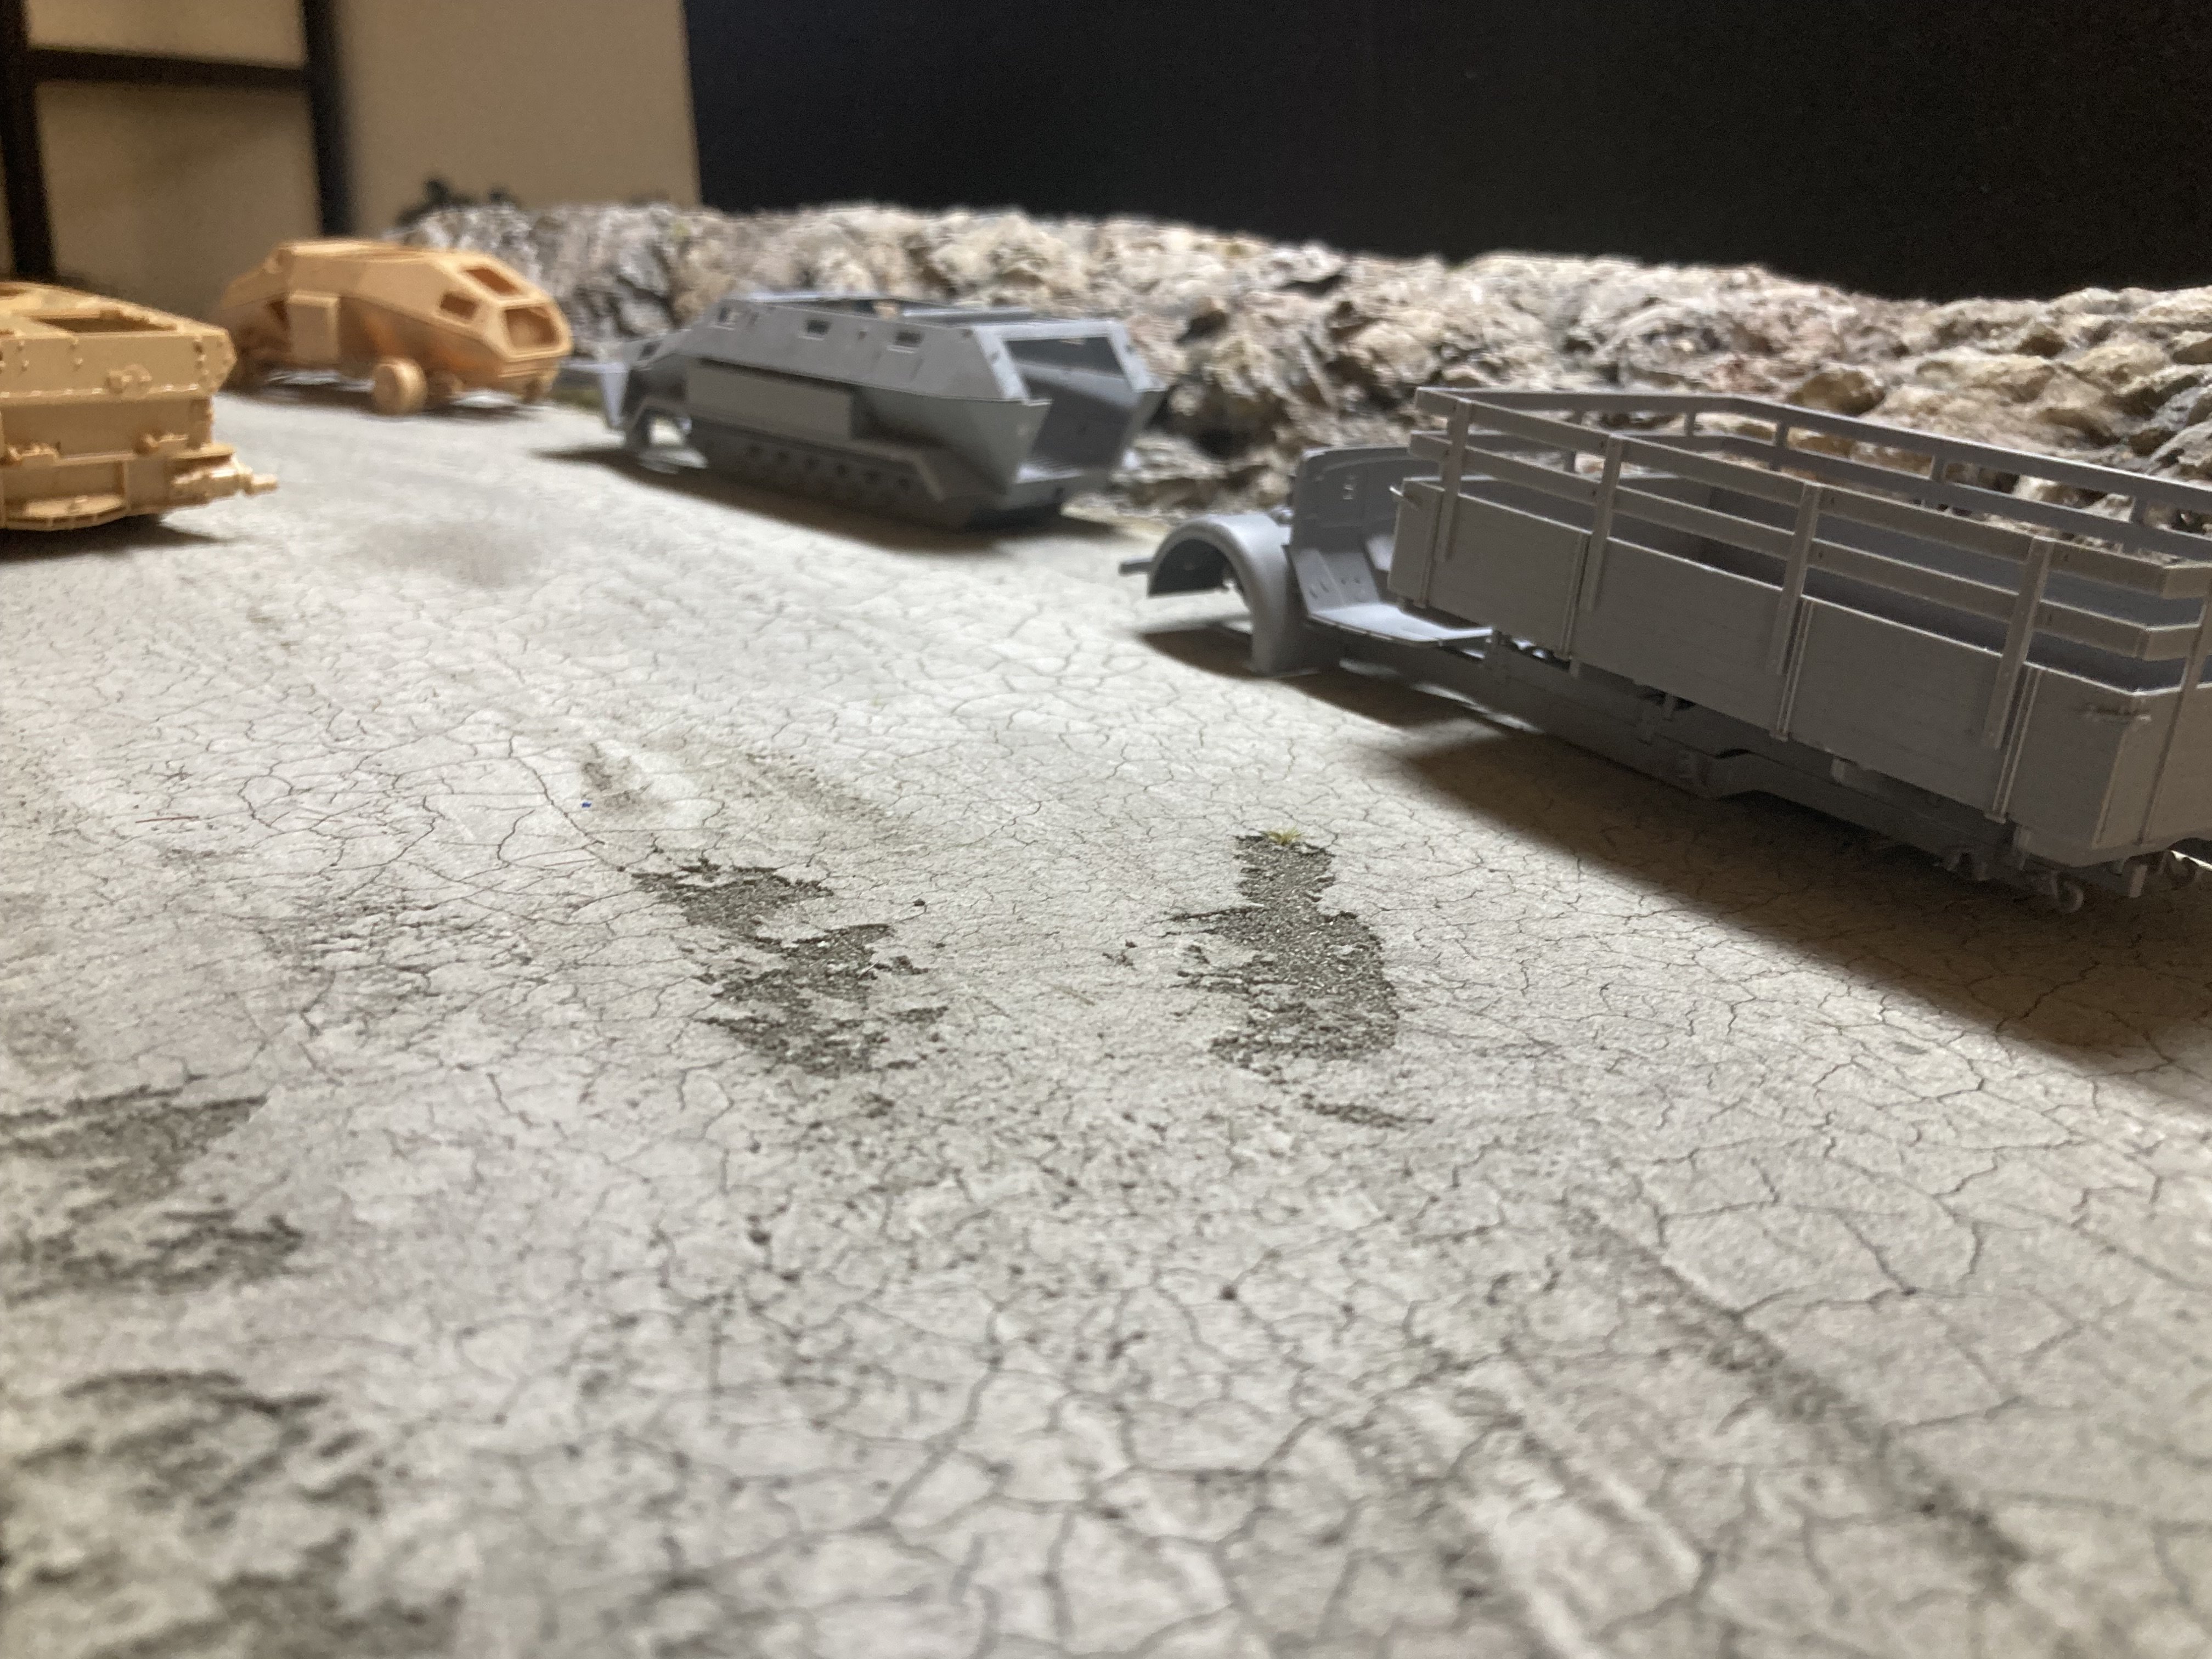
The next one will be the halftrack. Just need to add taillights.

-
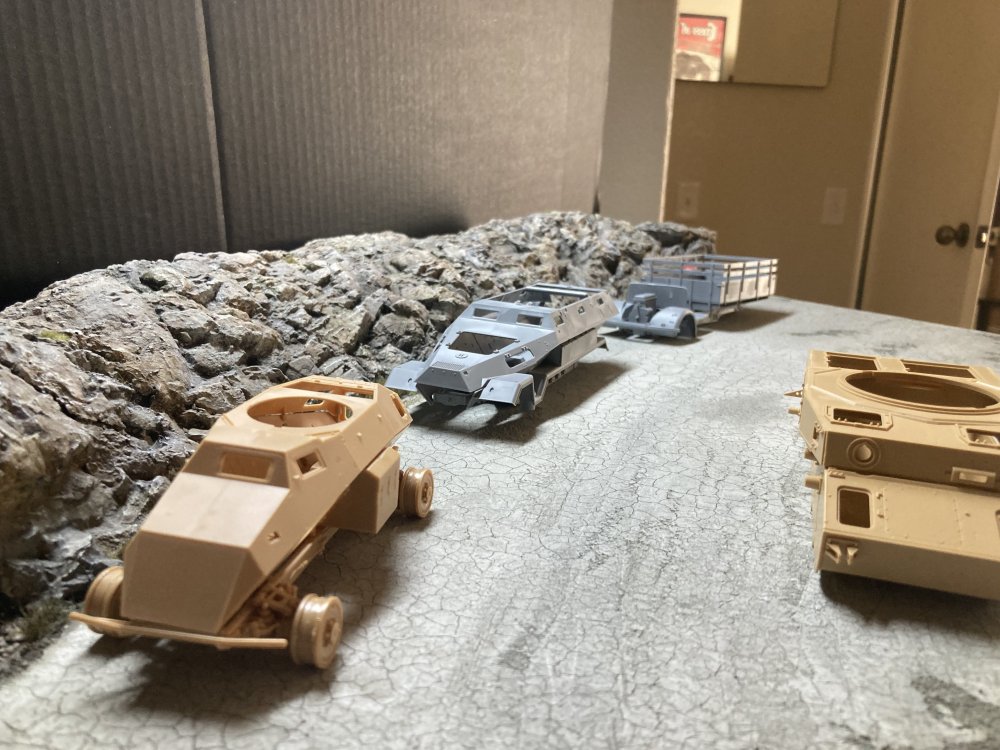
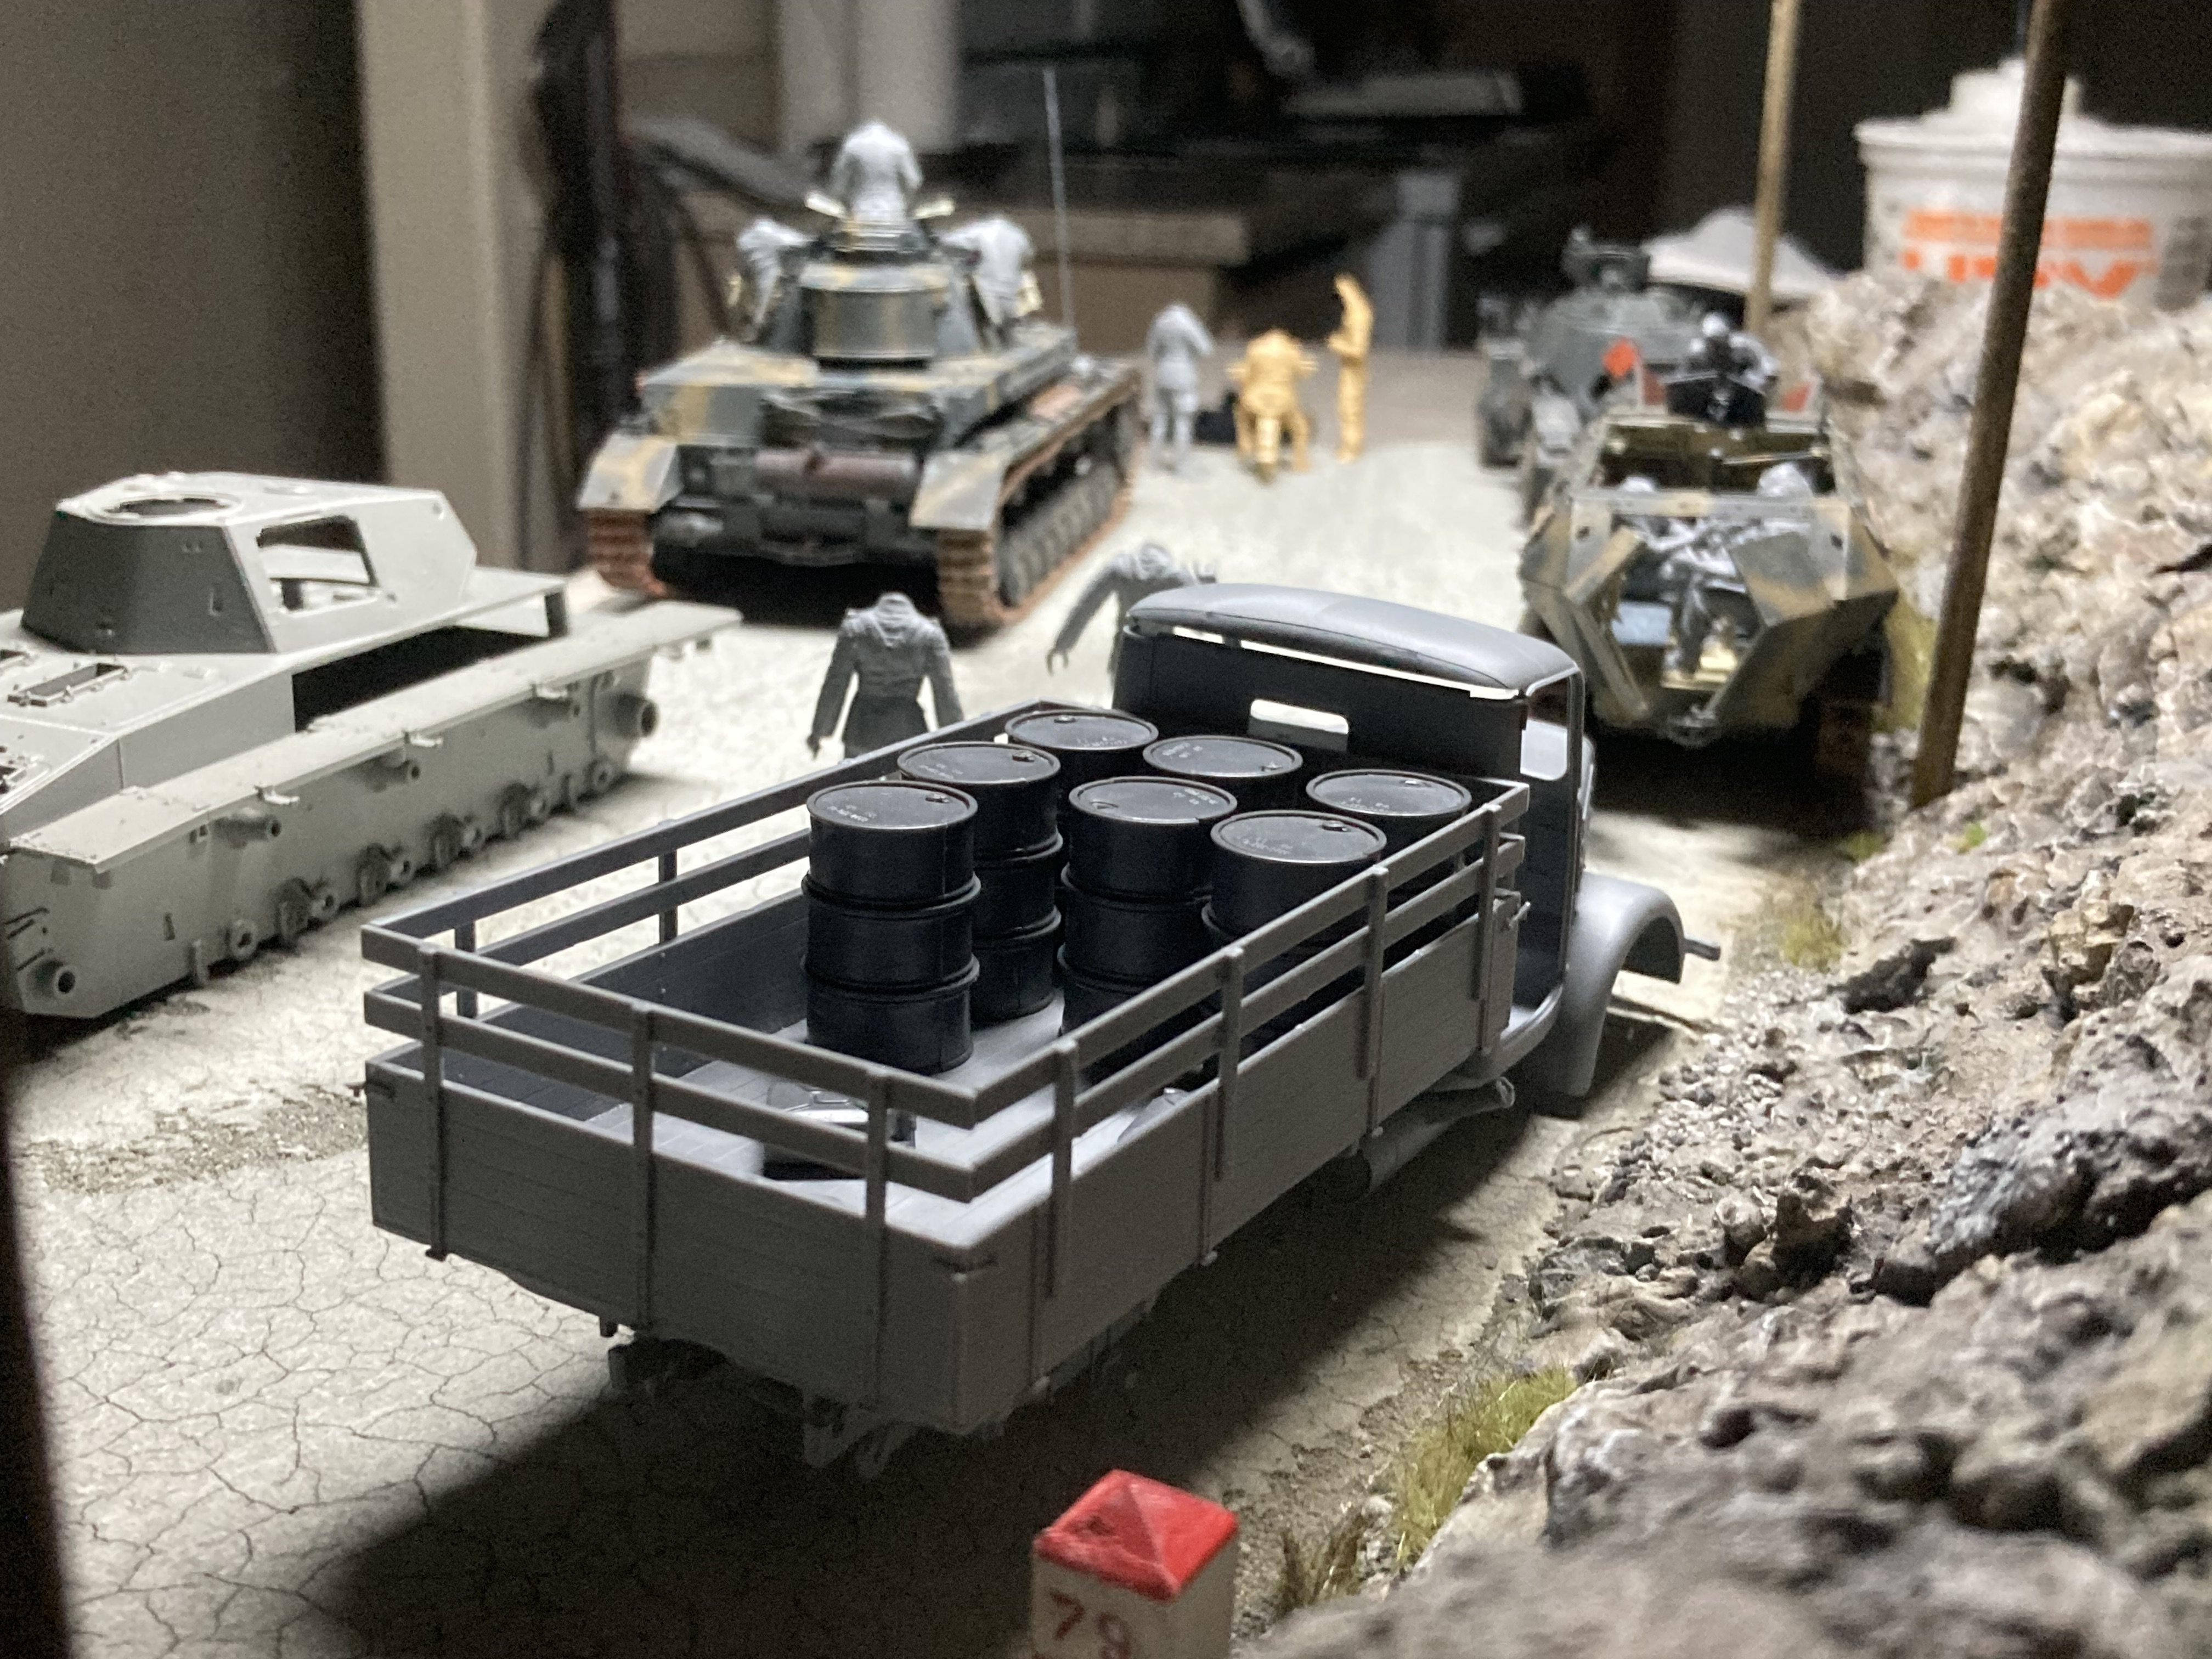
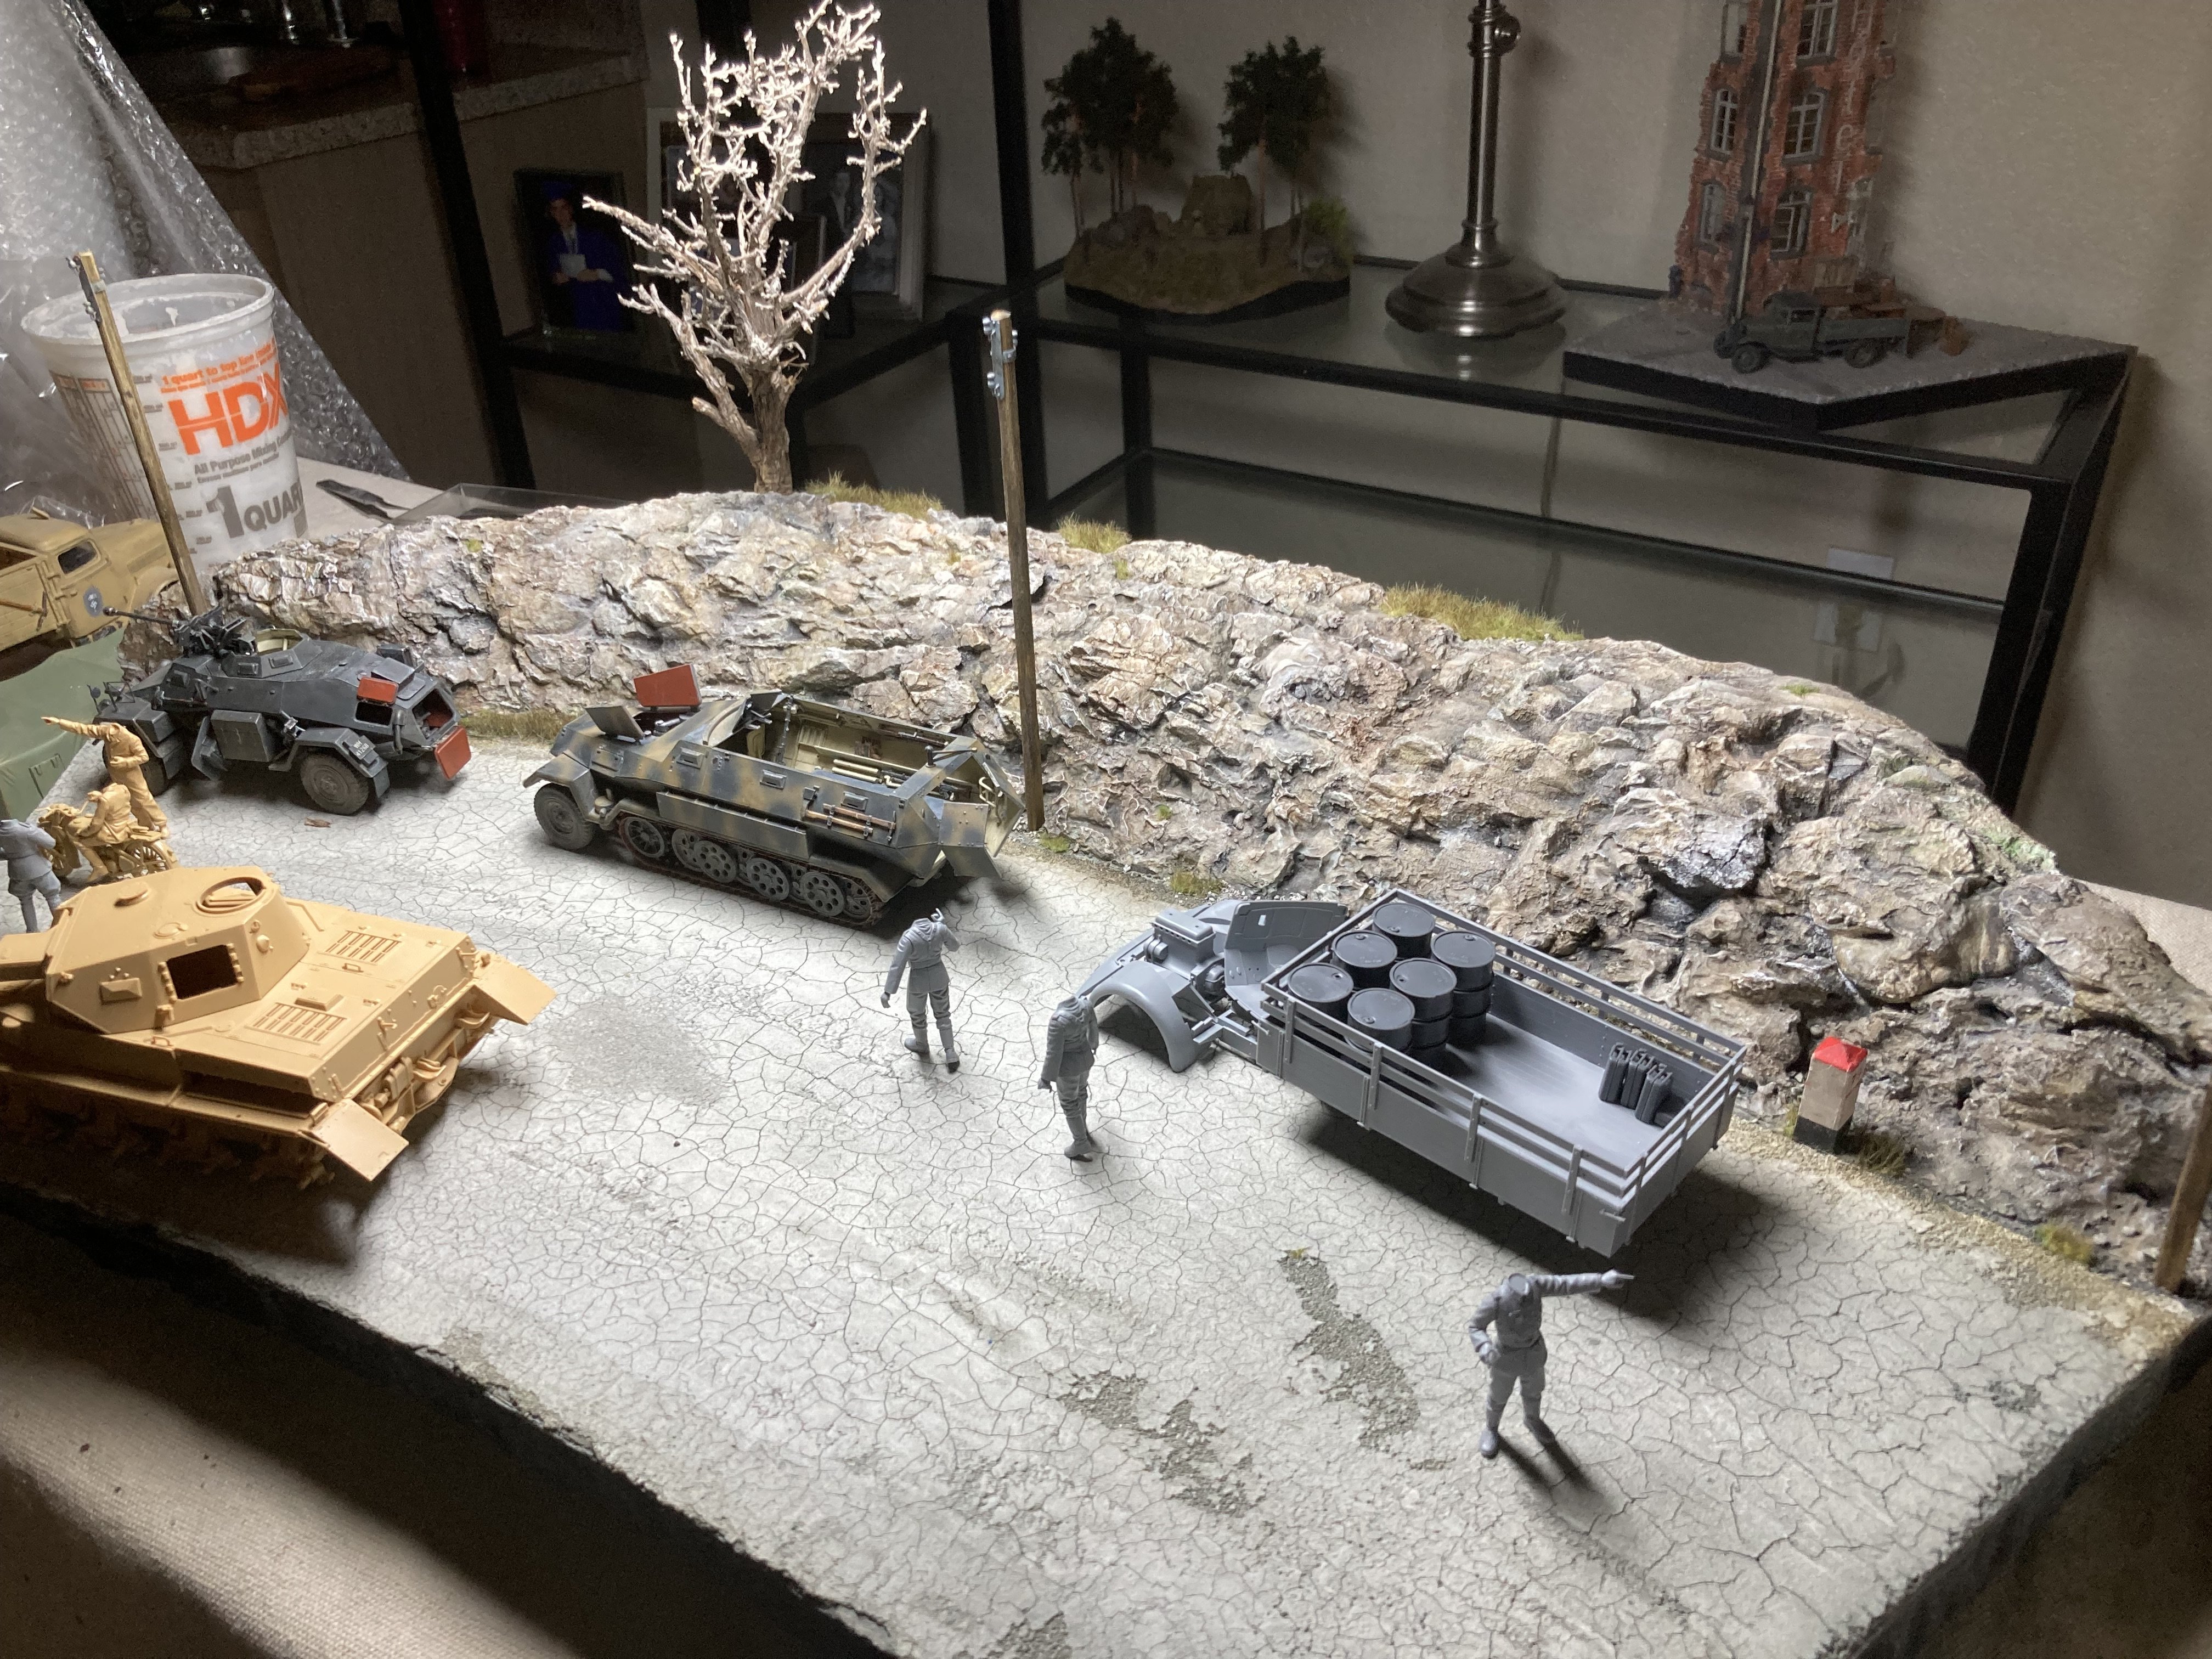
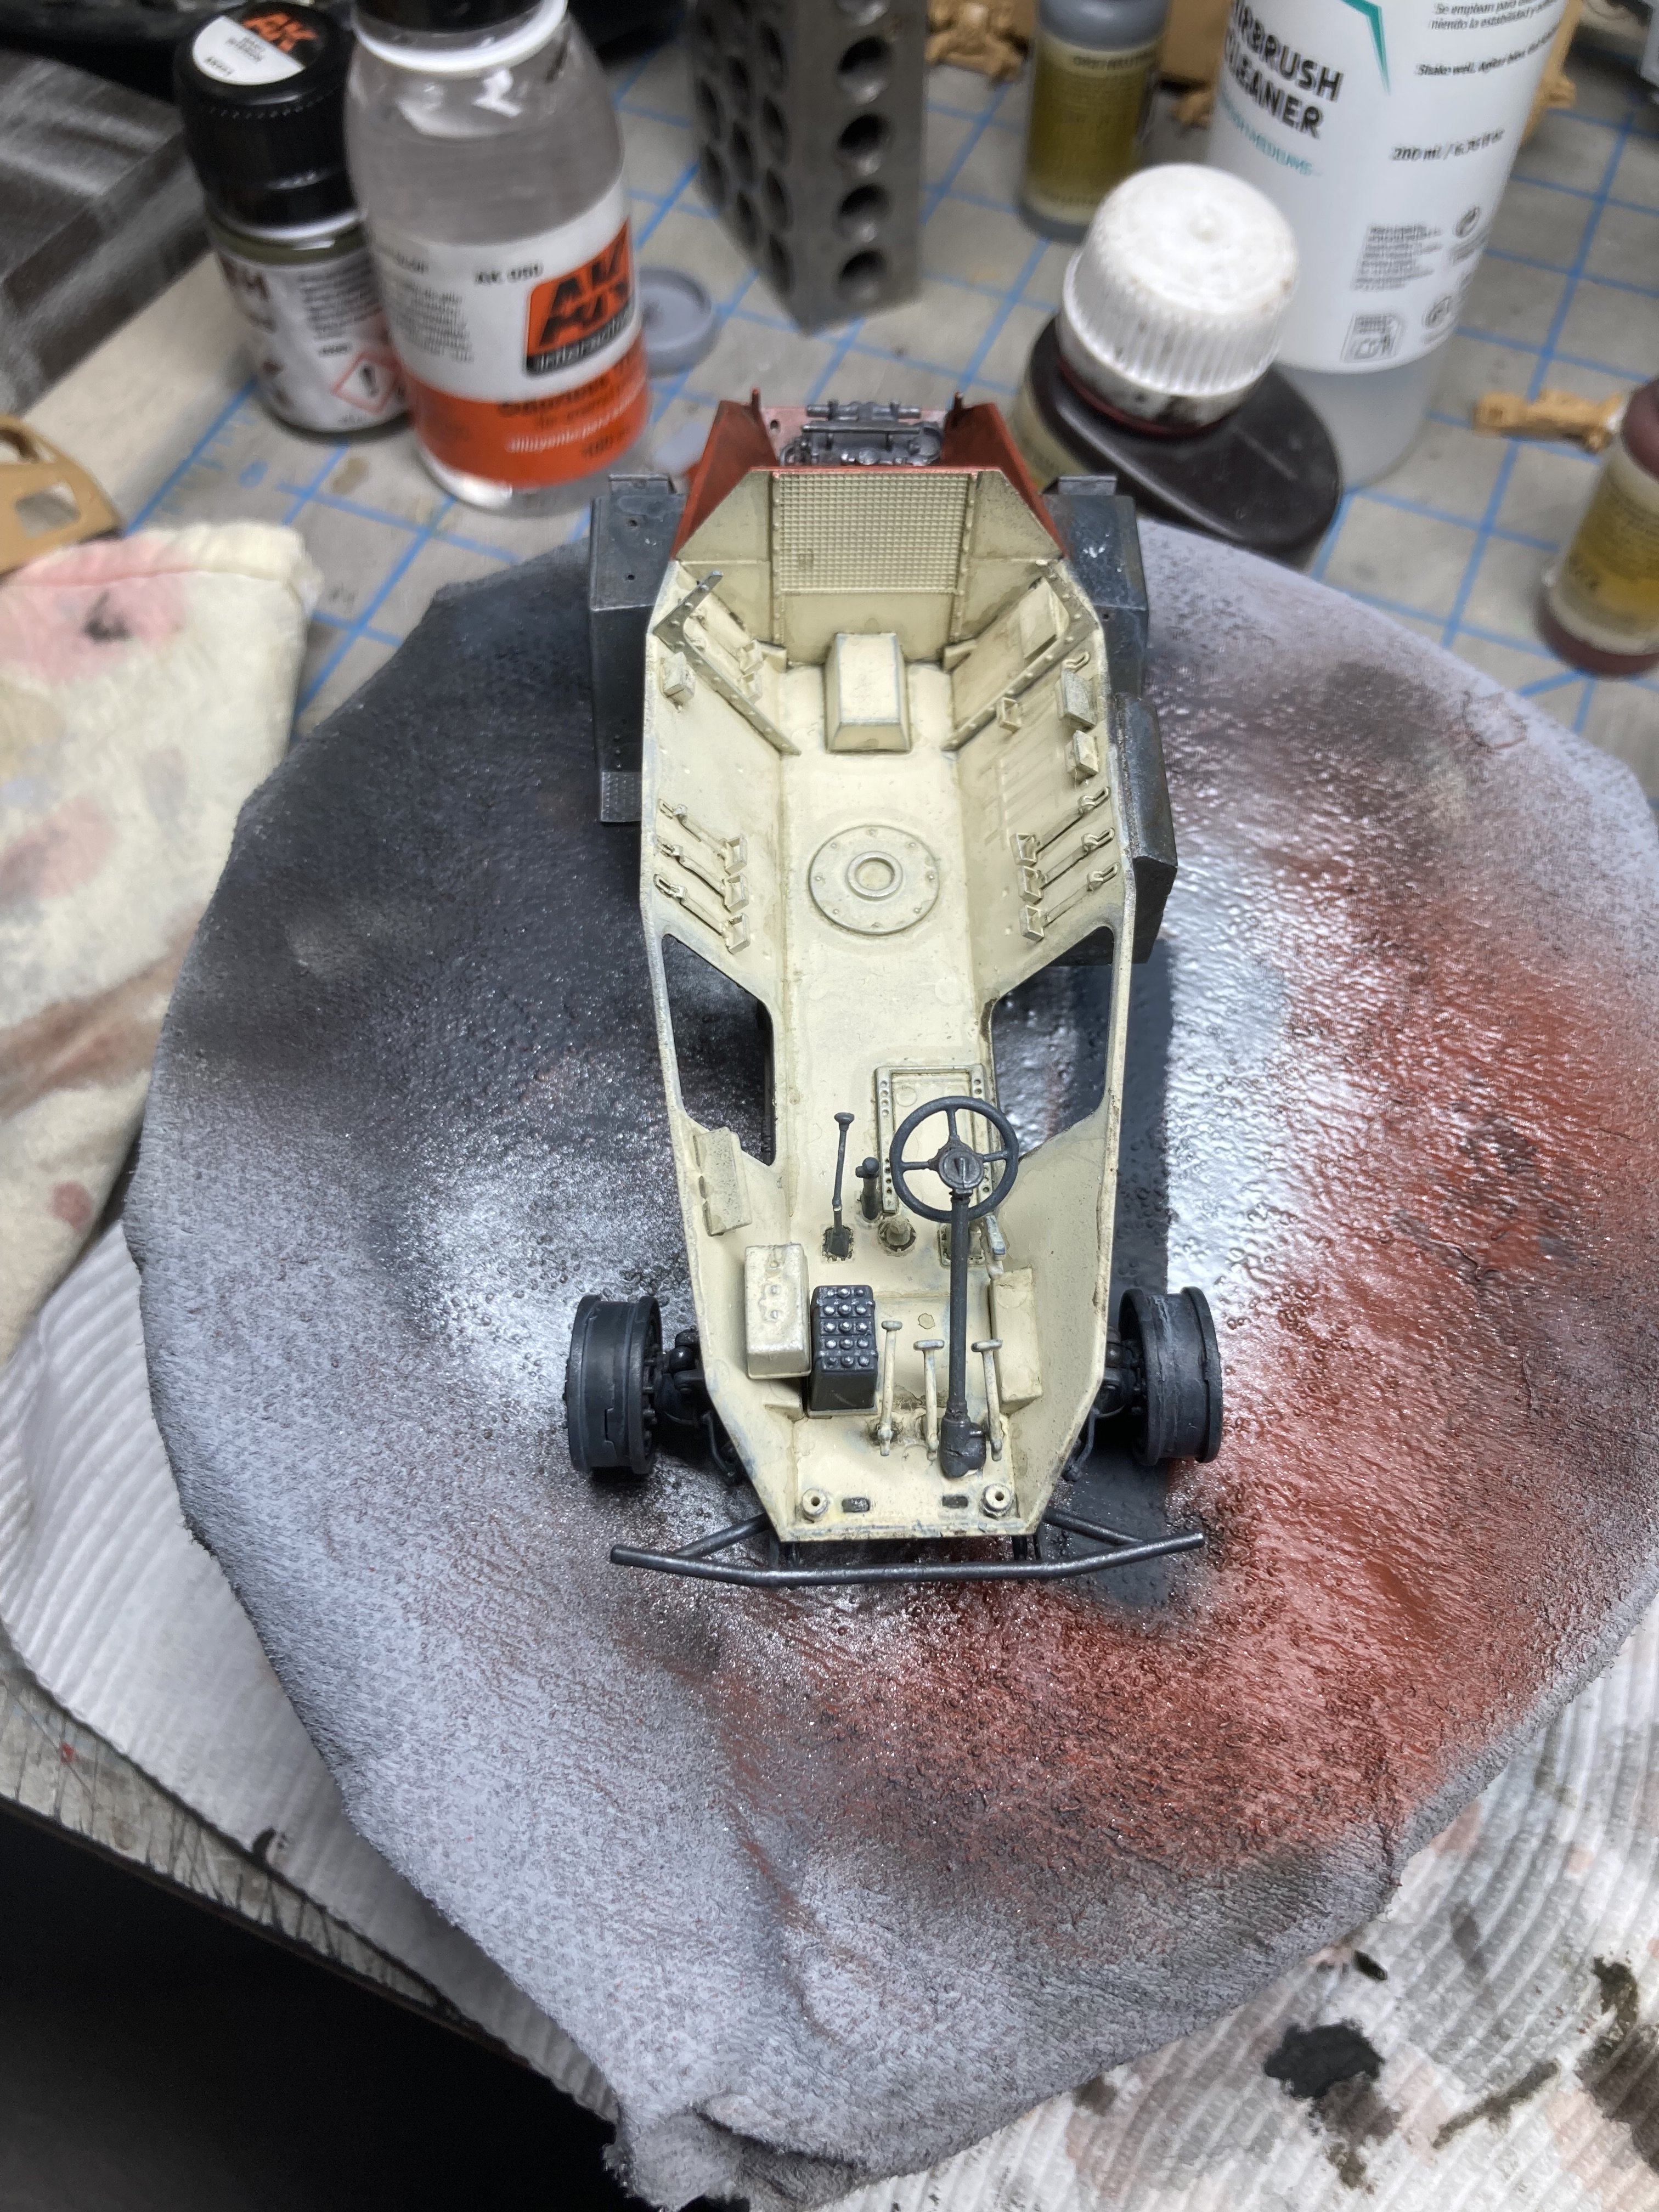
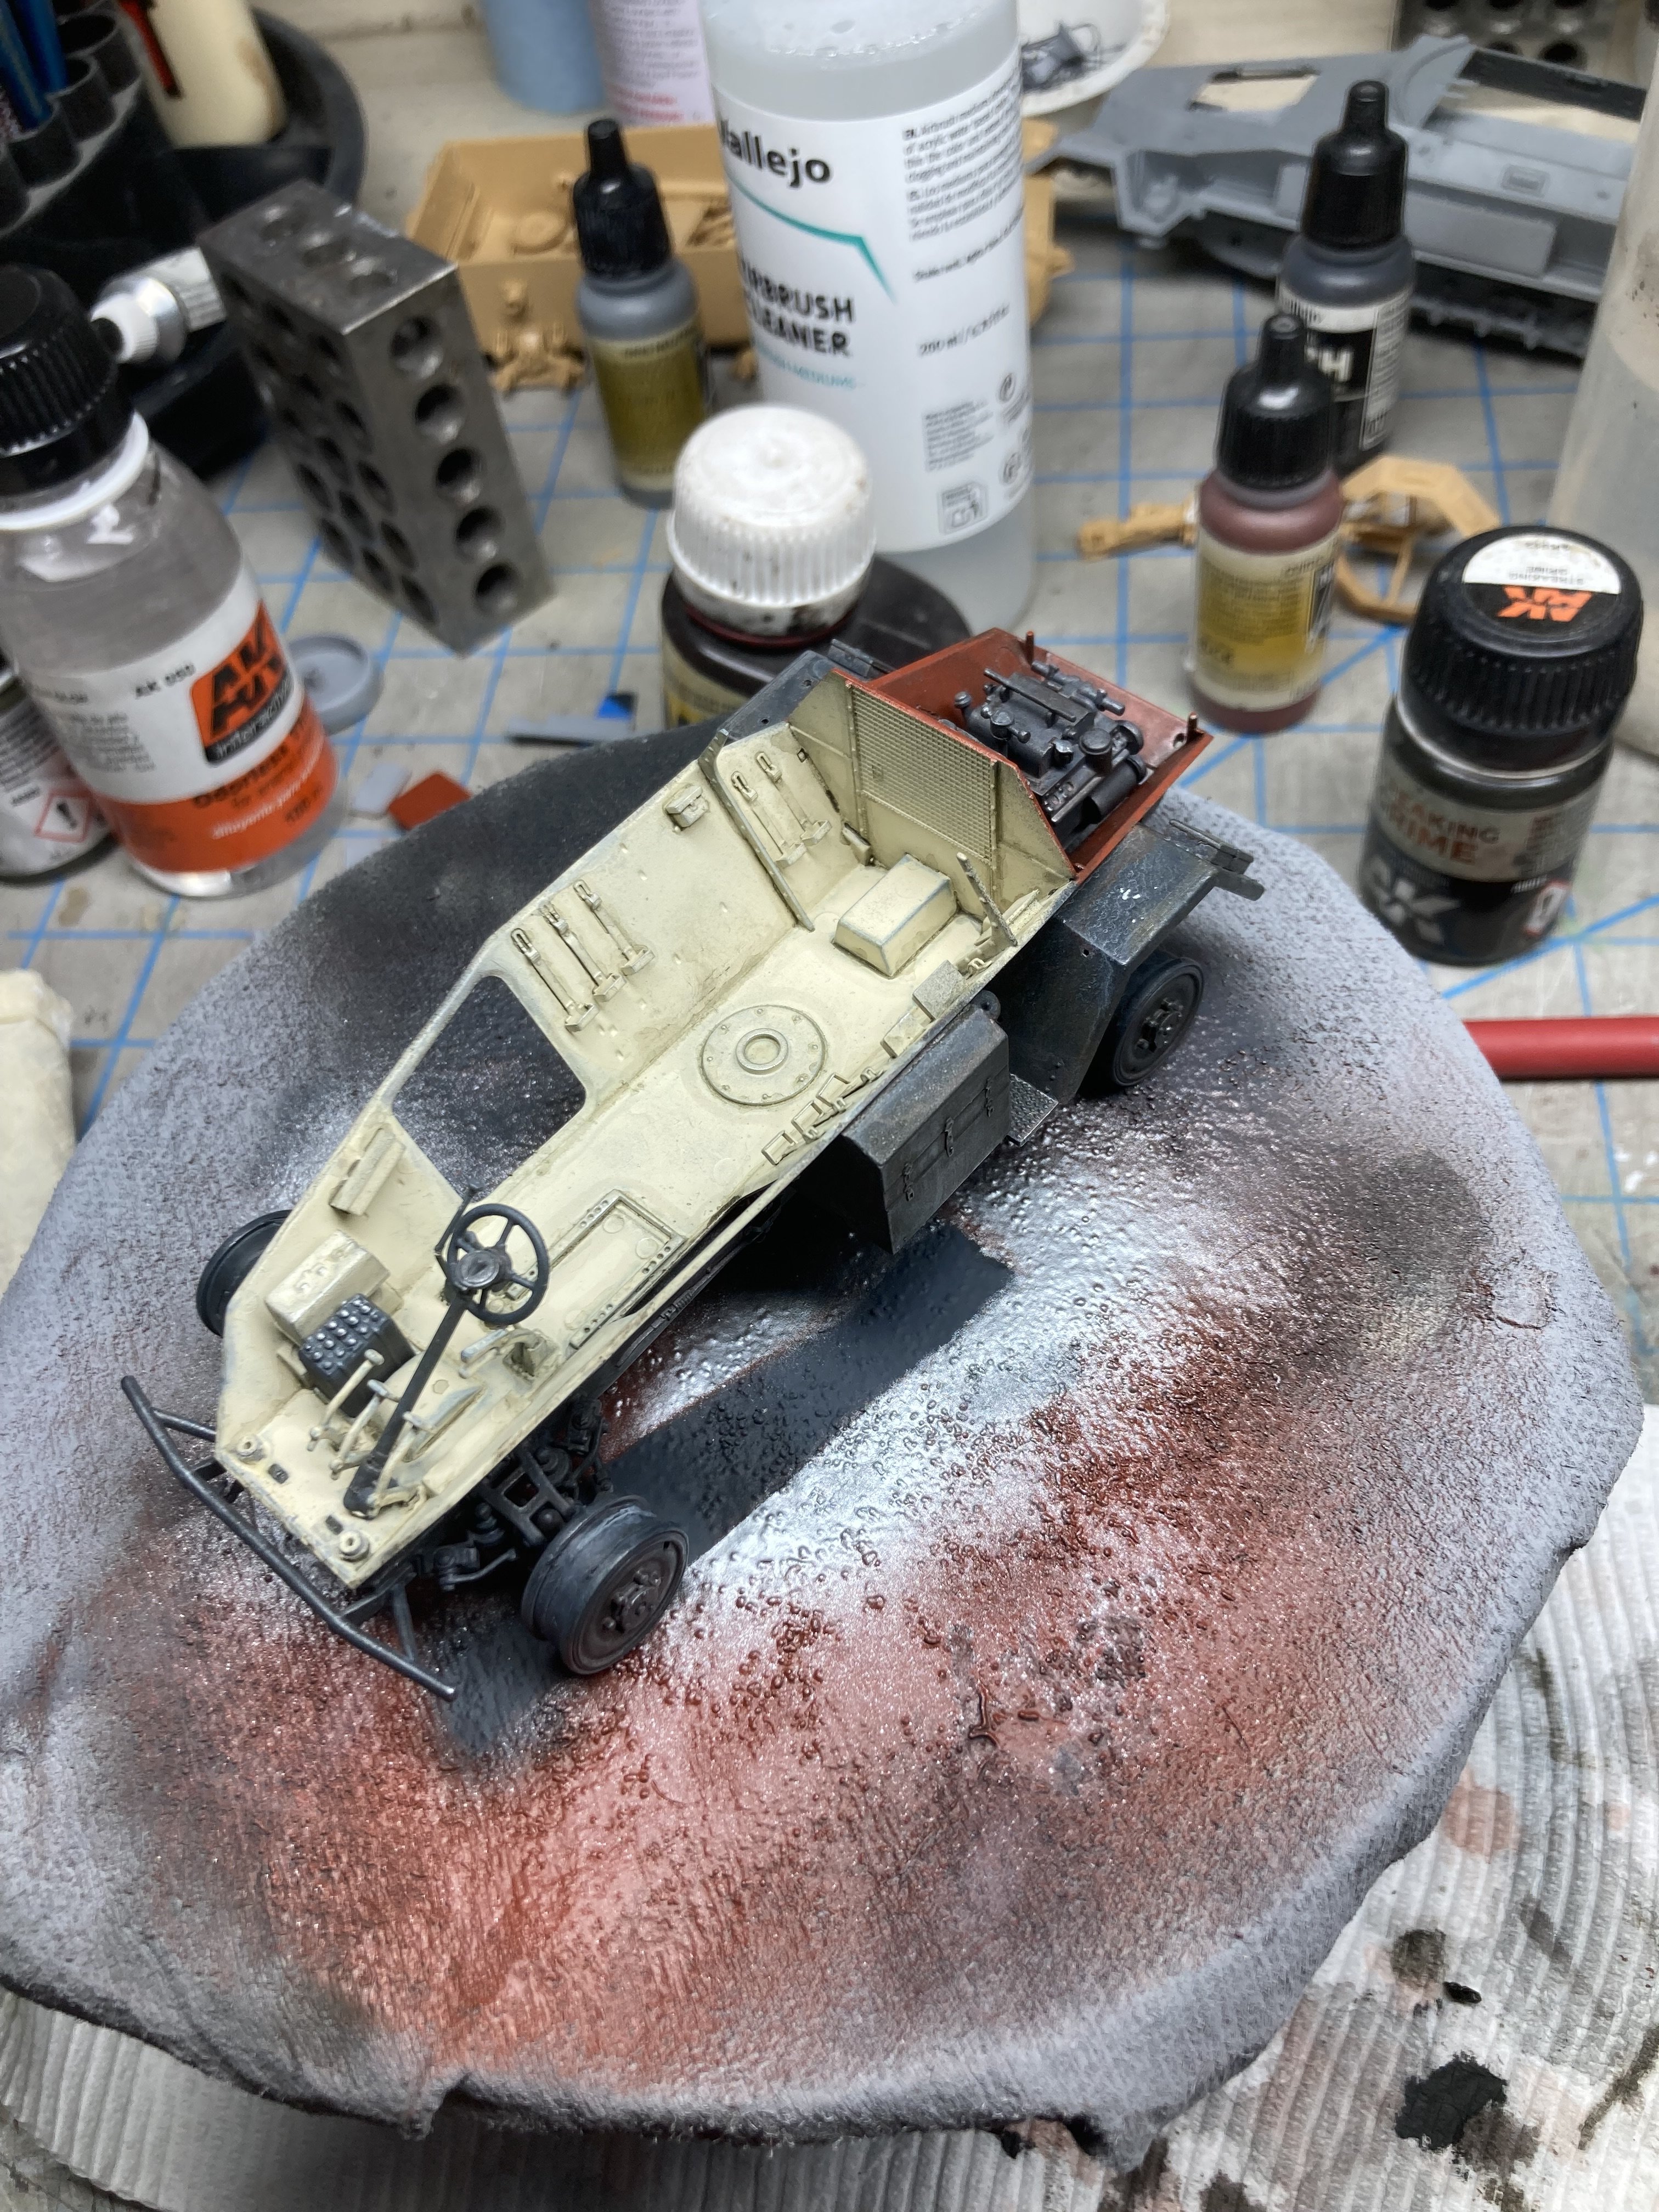
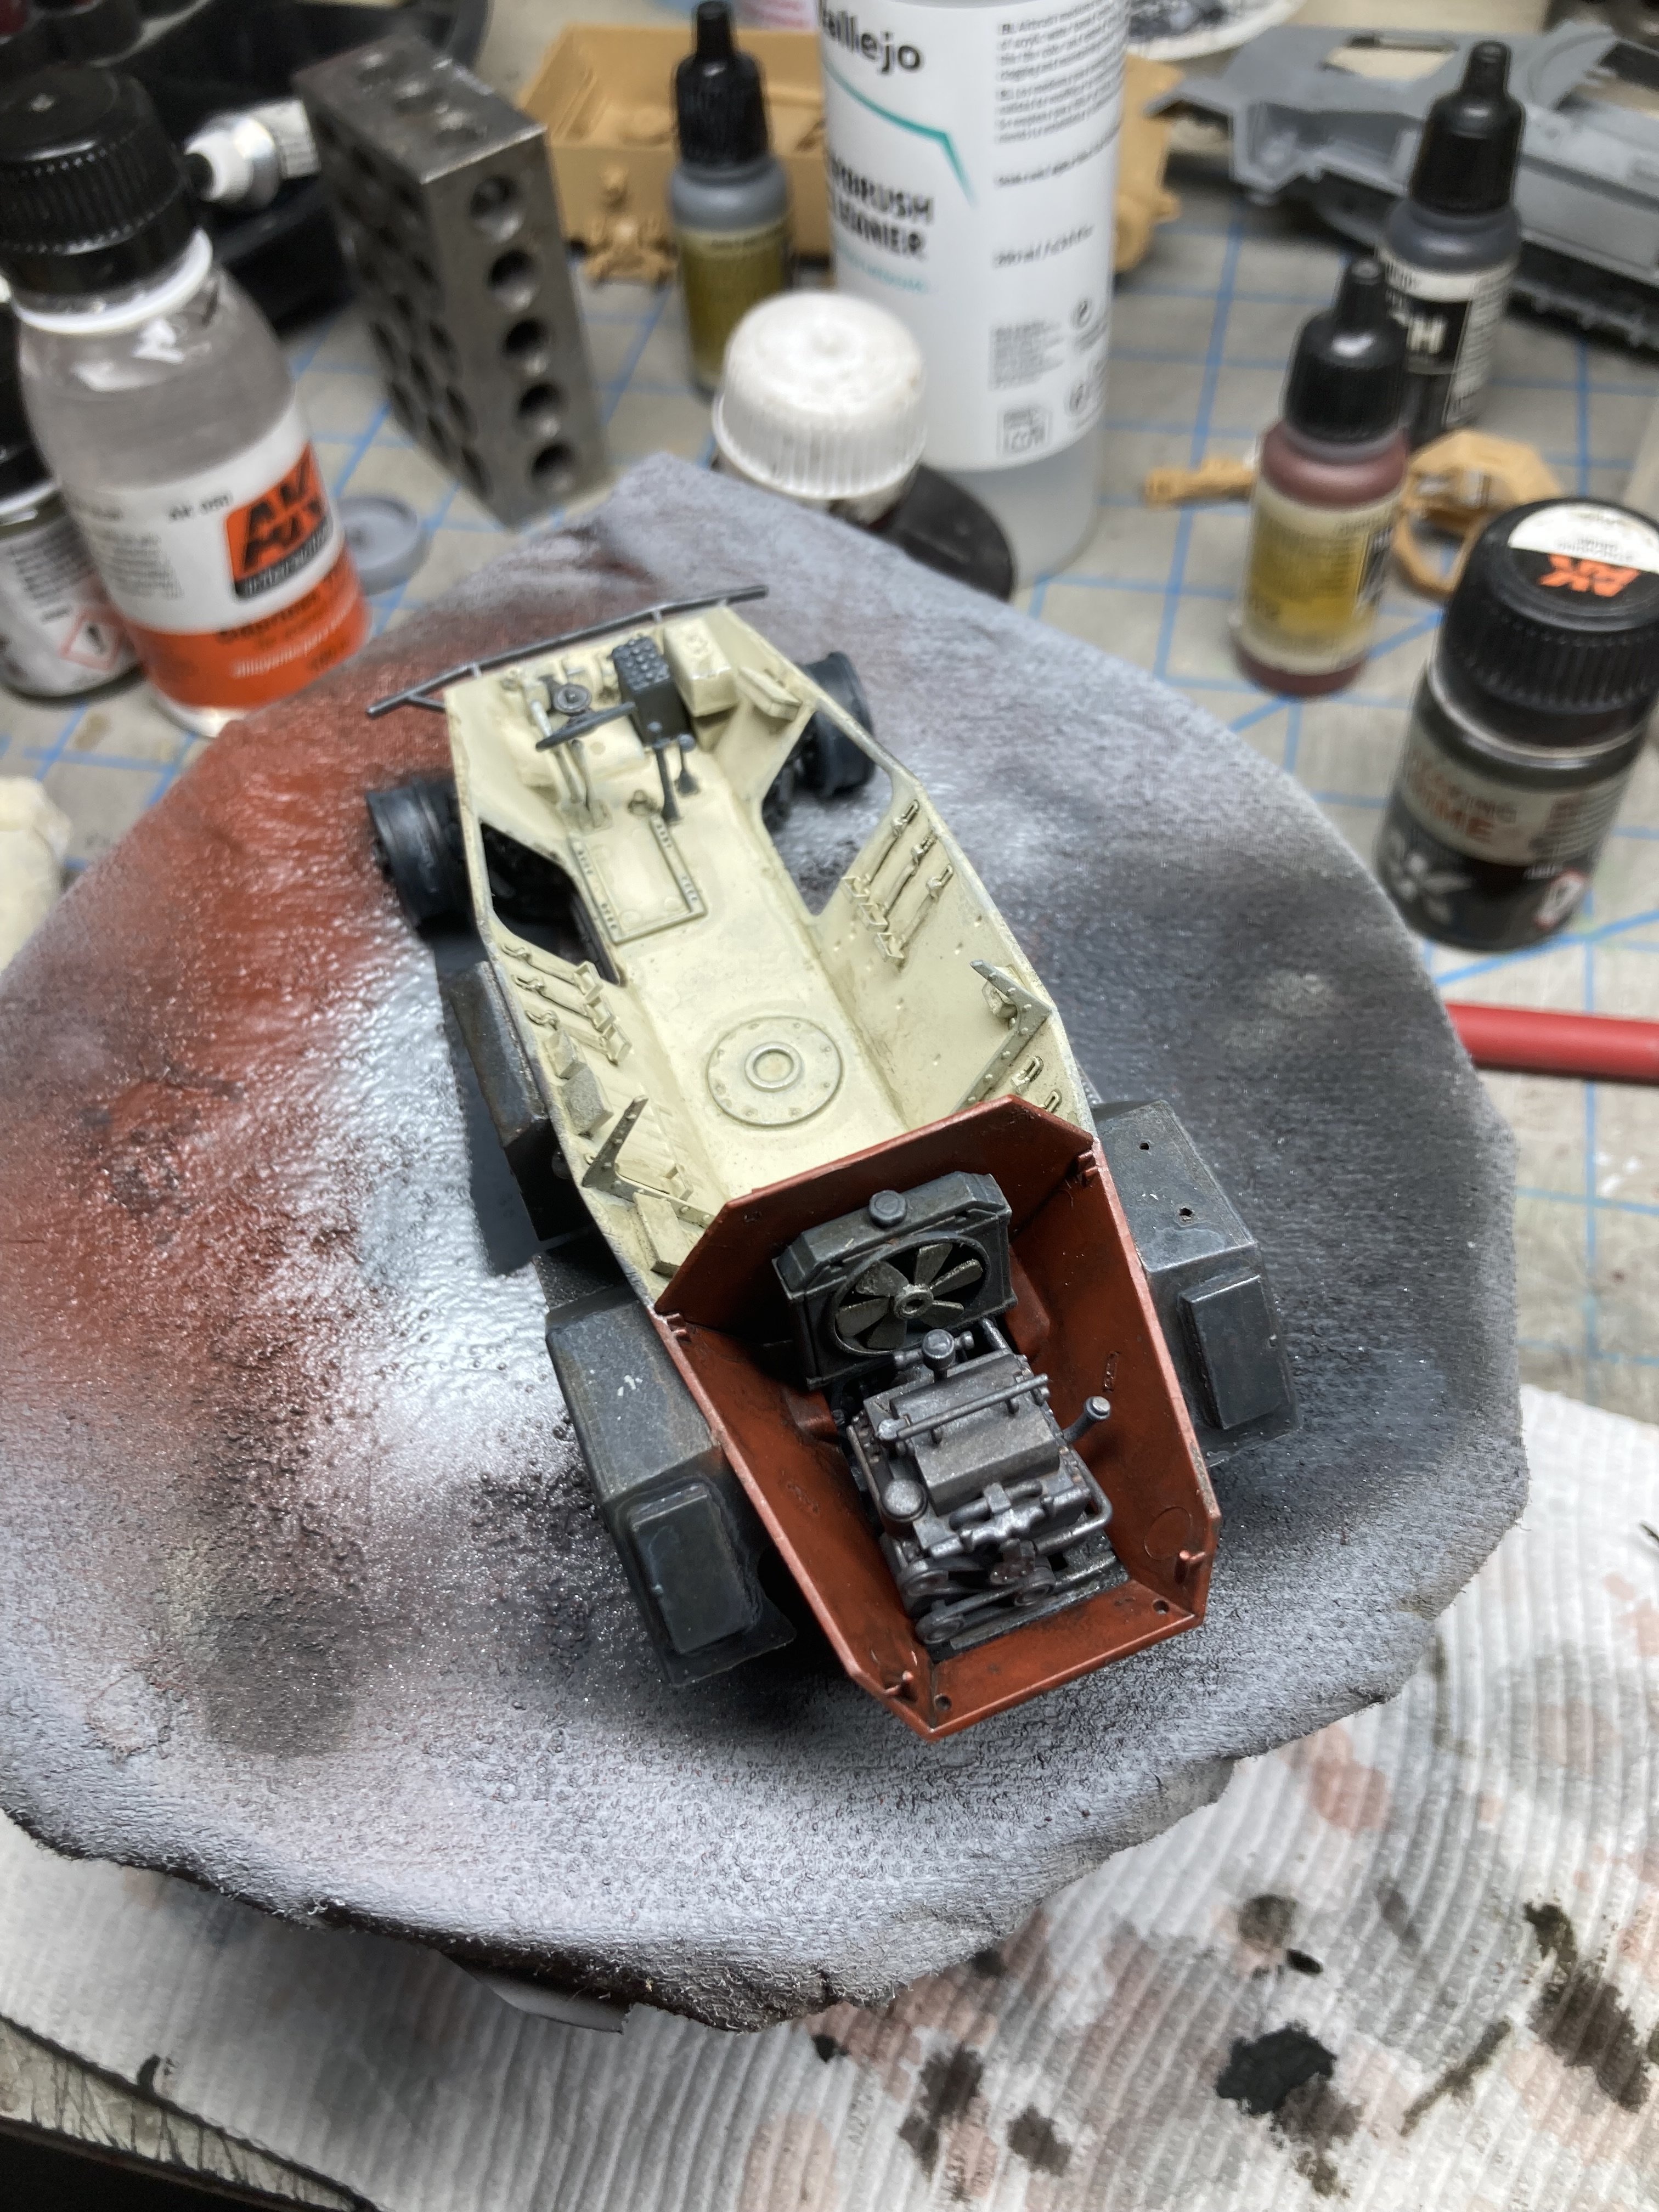
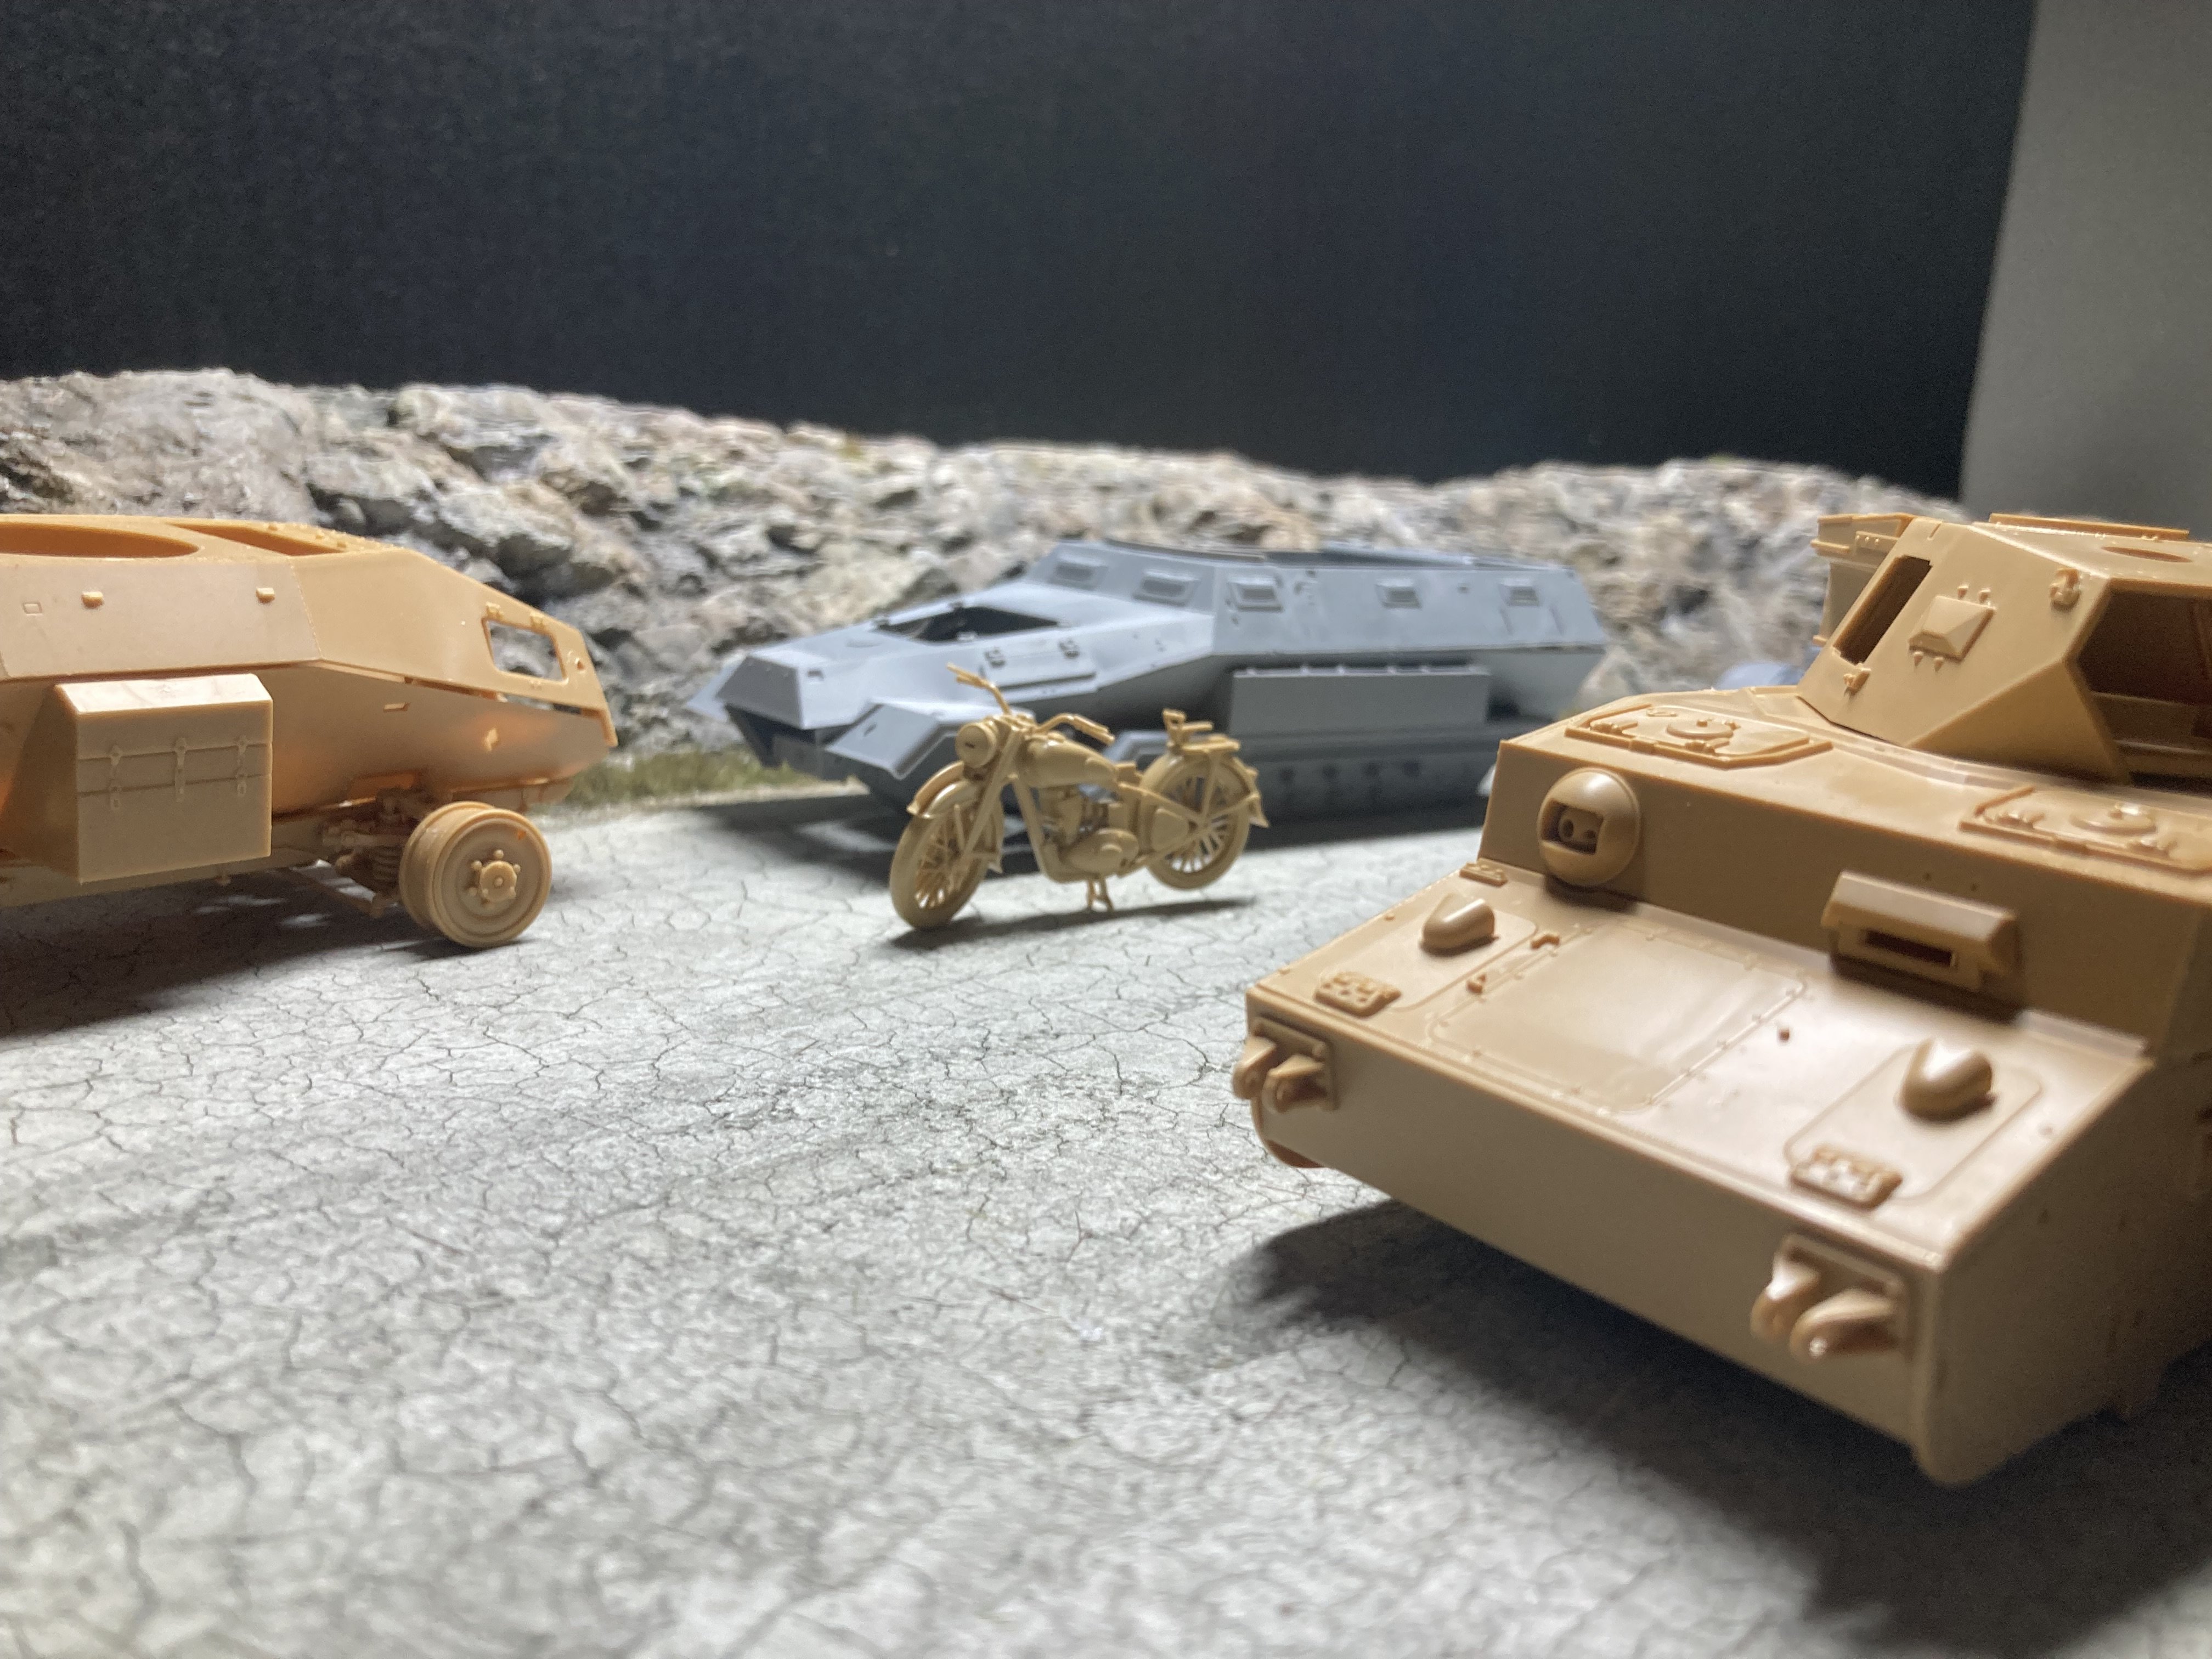
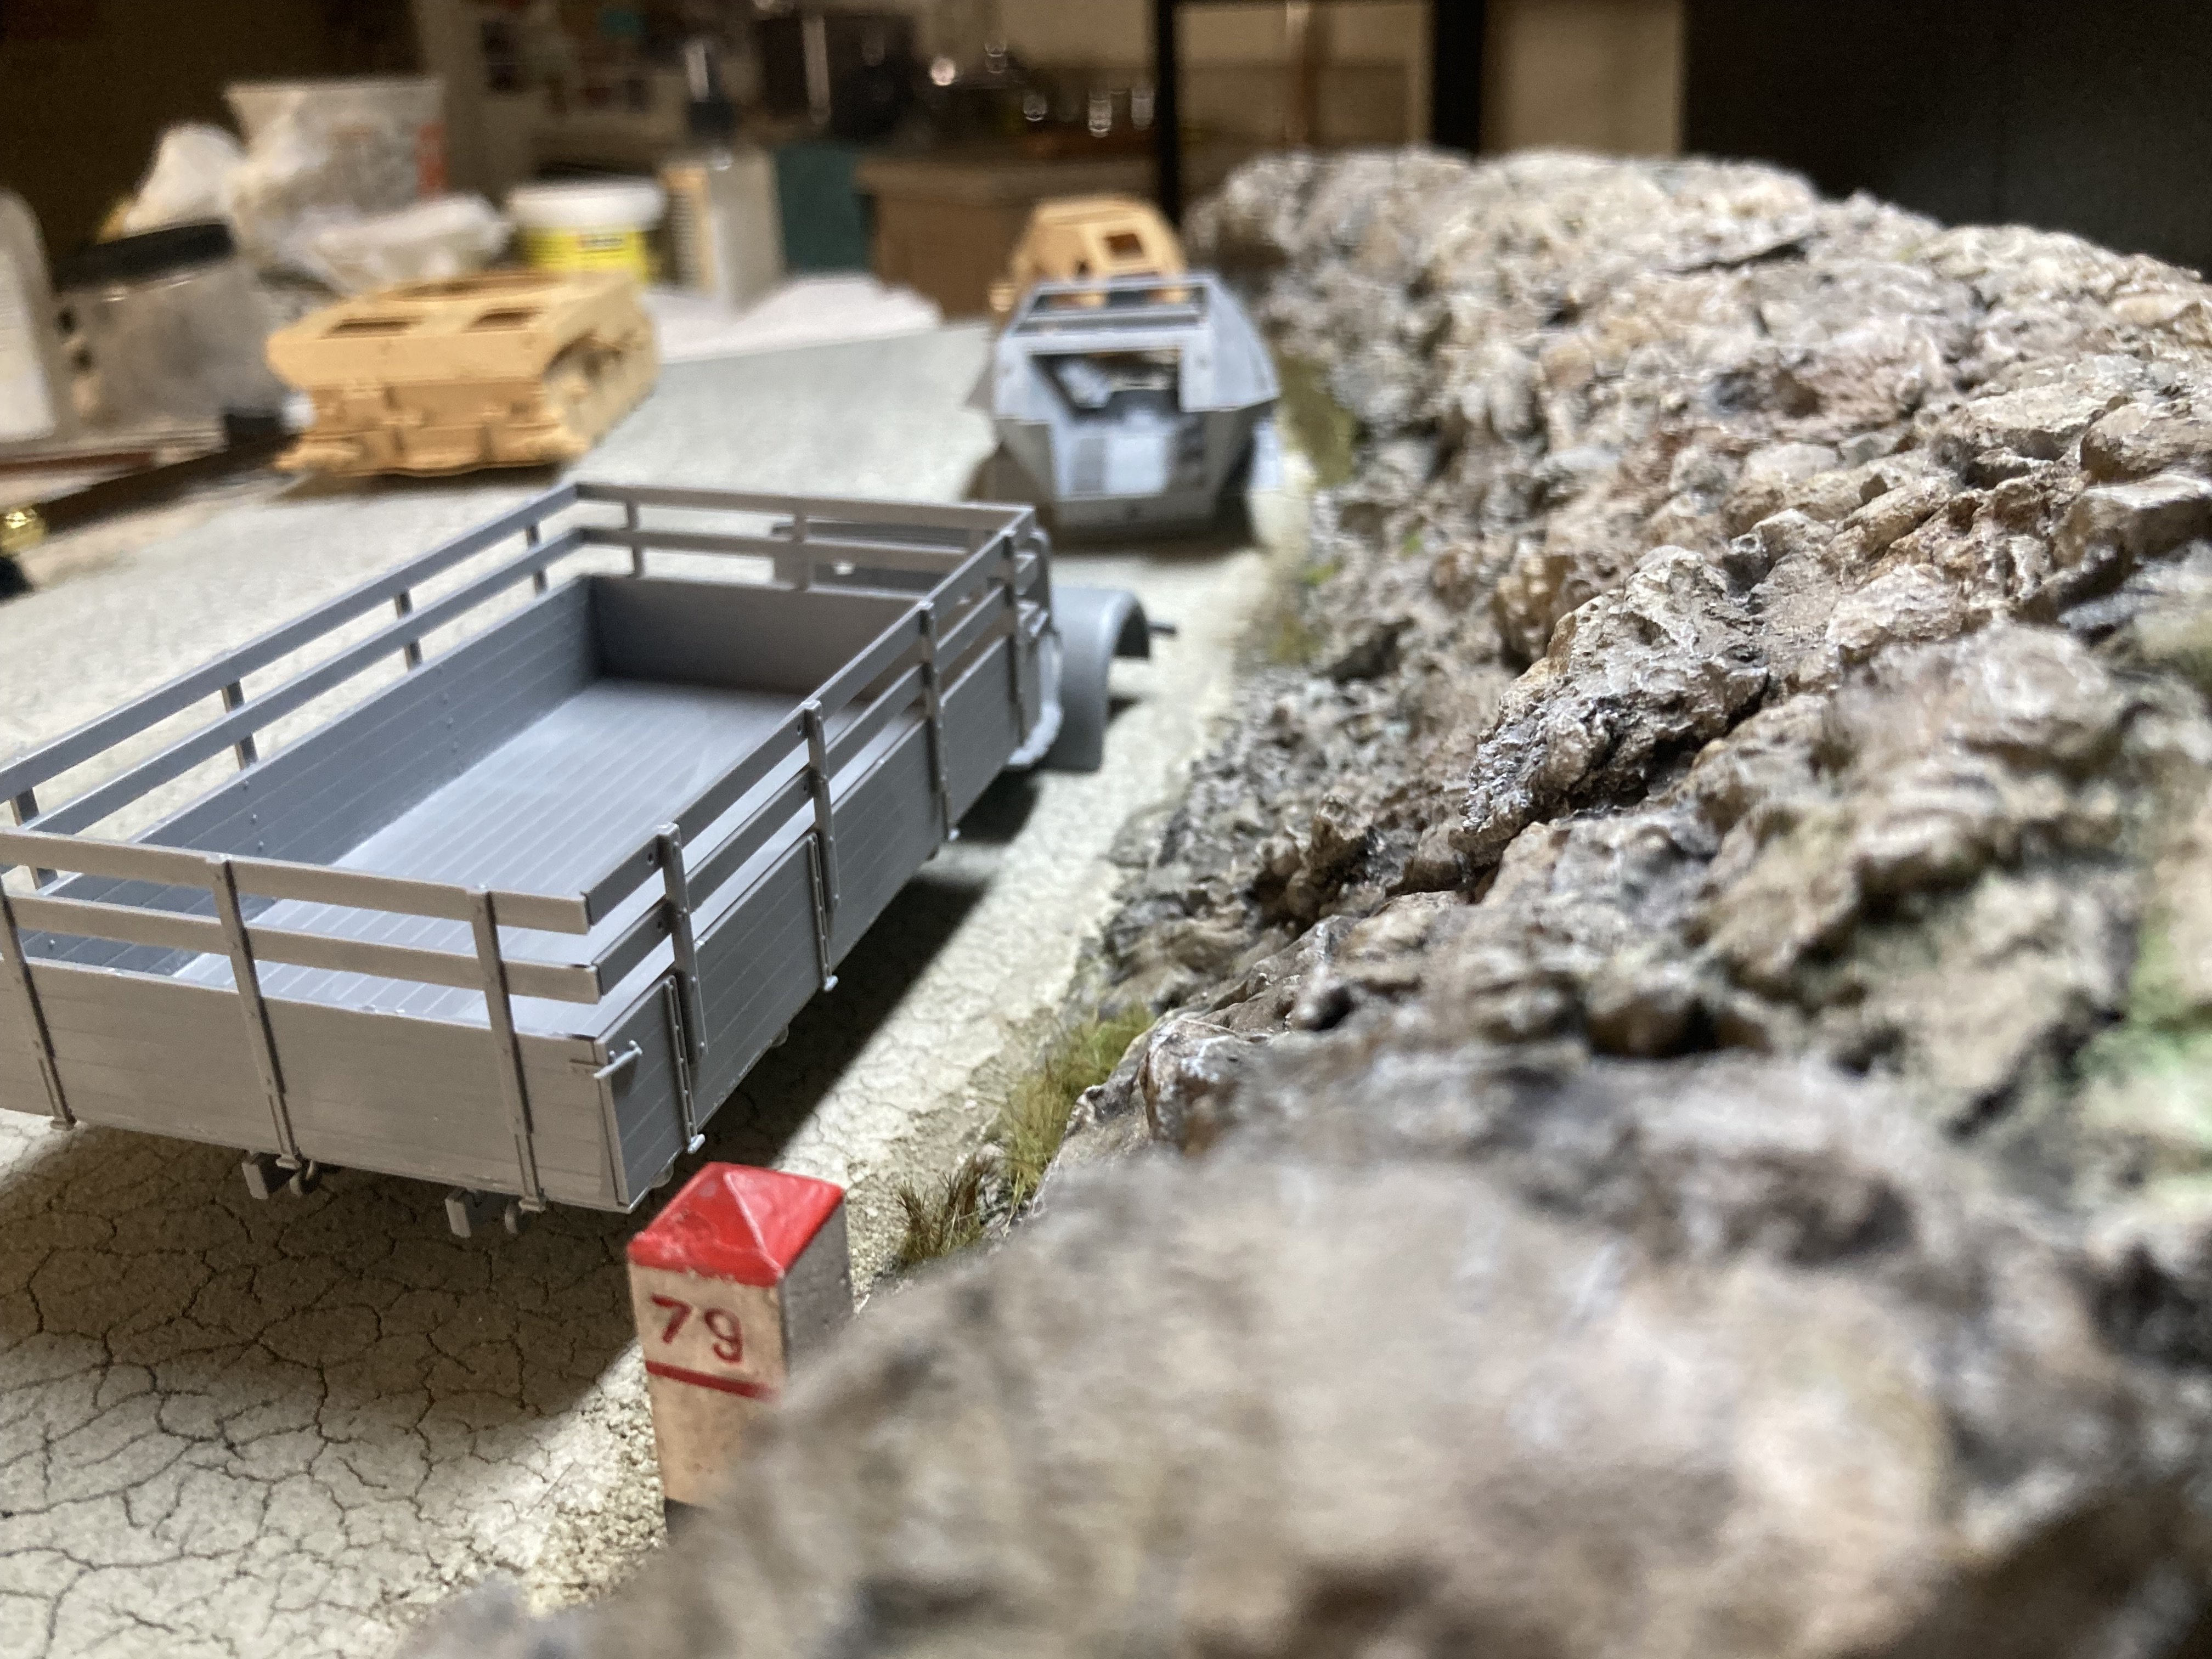
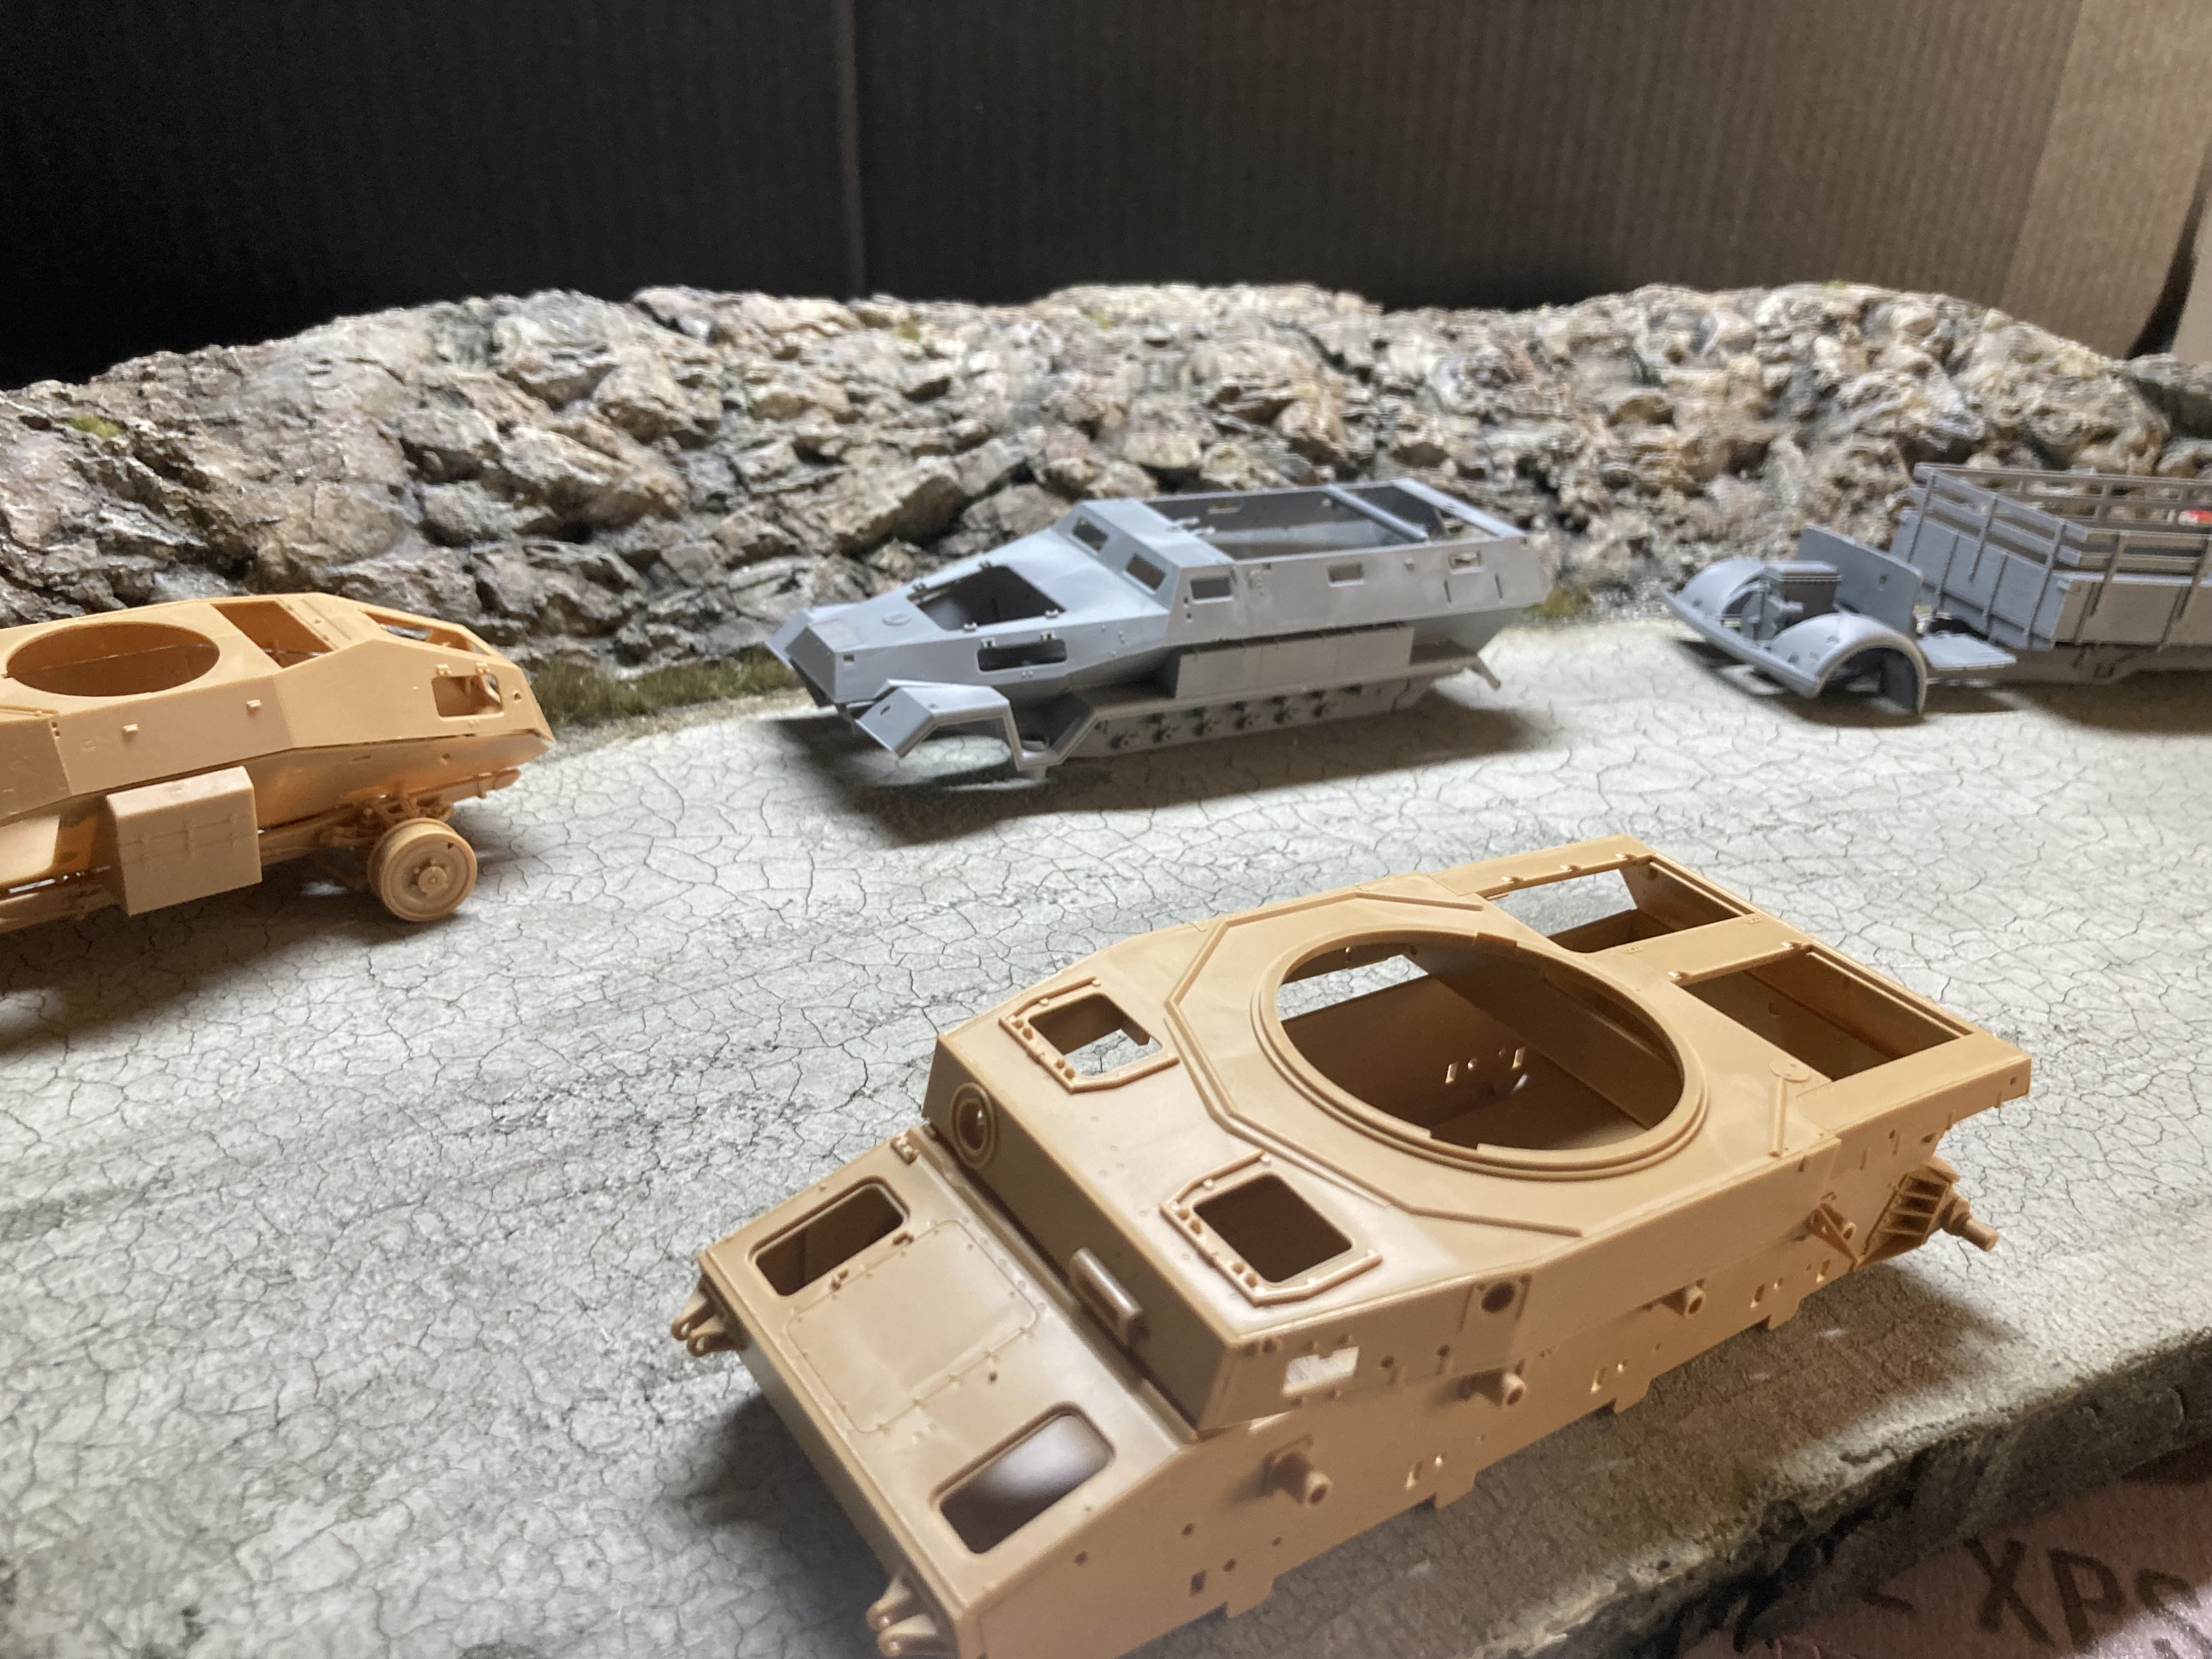
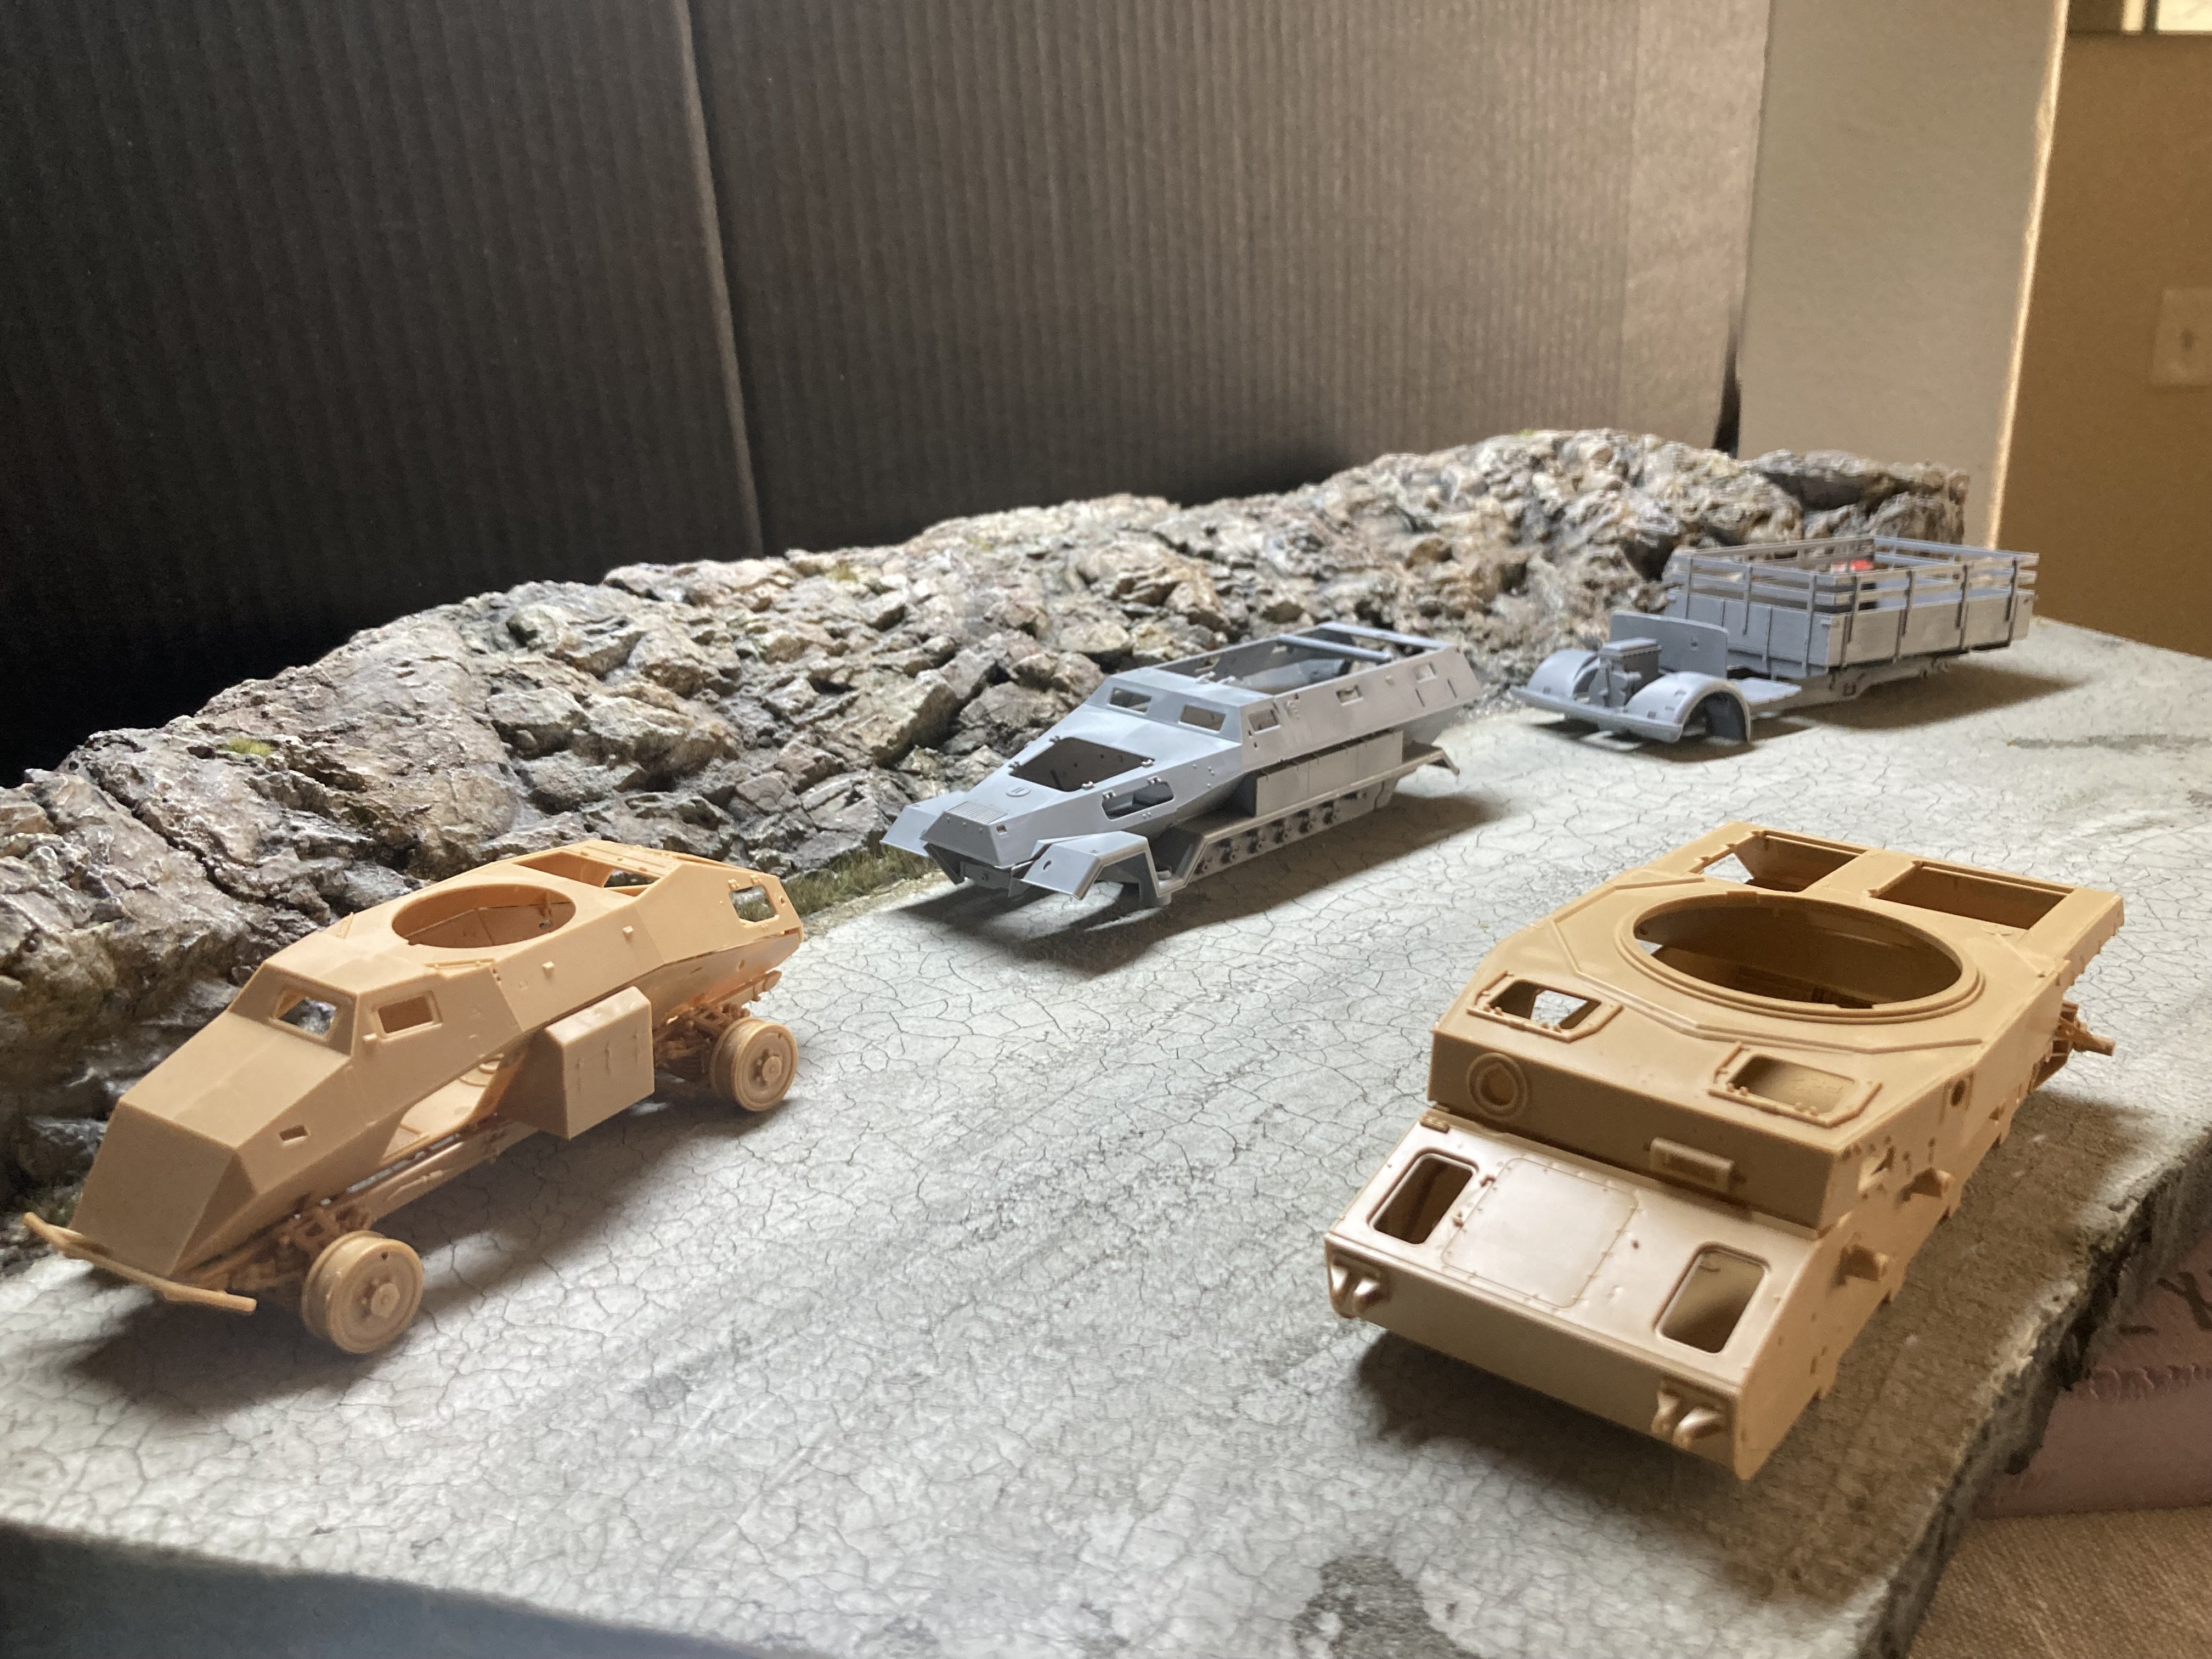
Building all vehicles so I can paint them at the same time.

-
Going to add the horse drawn kitchen between the vehicles once it arrives