-
Posts
2,545 -
Joined
-
Last visited
Content Type
Profiles
Forums
Events
Gallery
Posts posted by Dave J
-
-
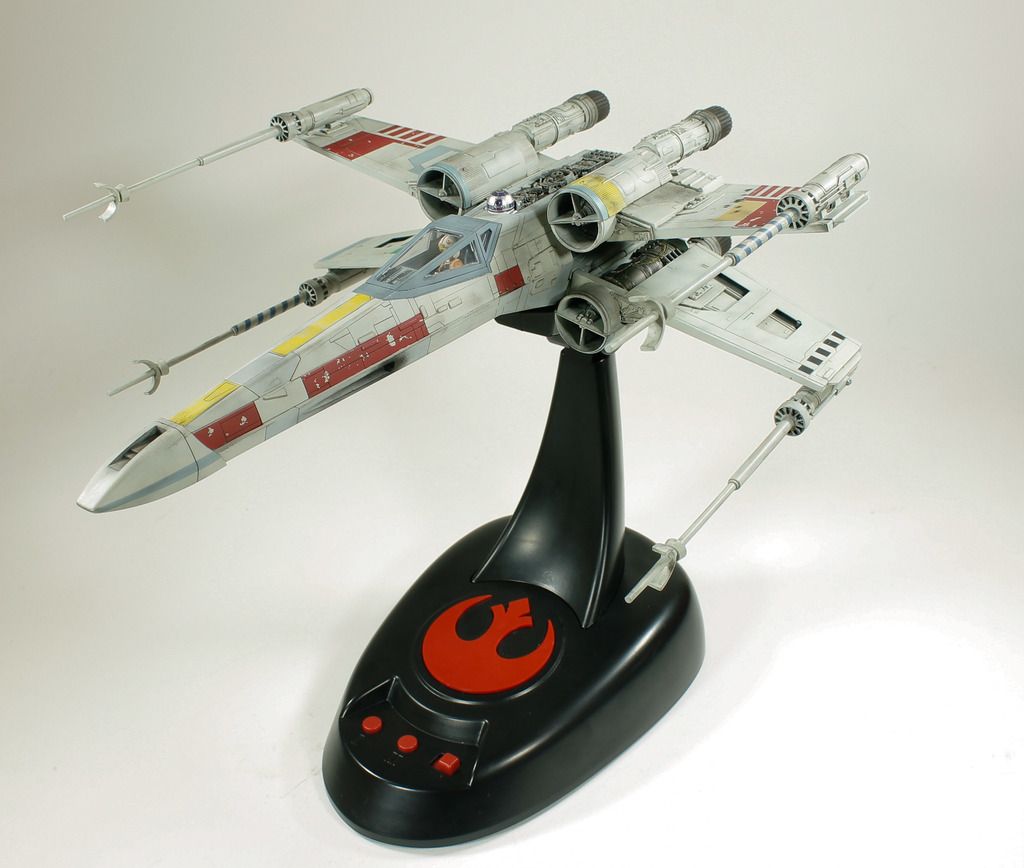
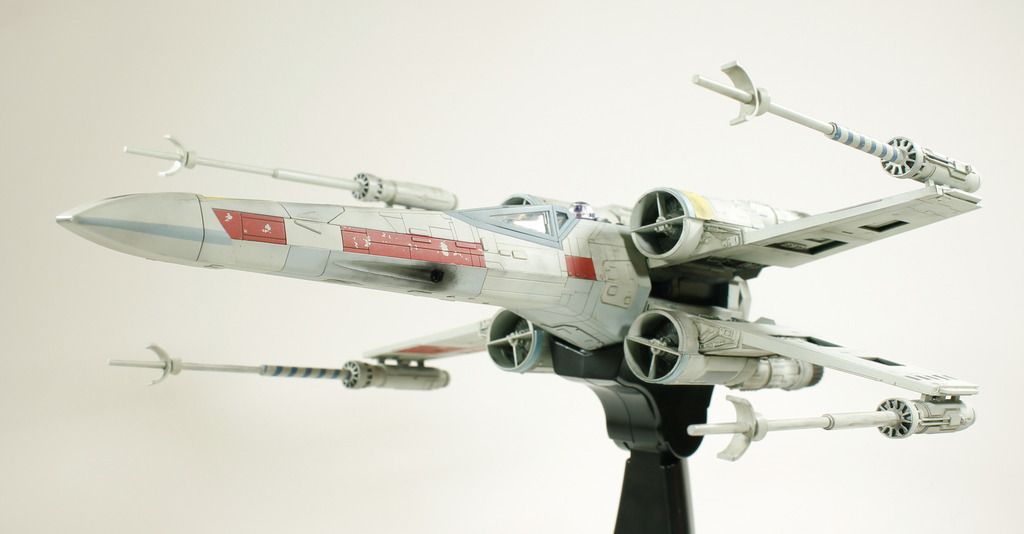
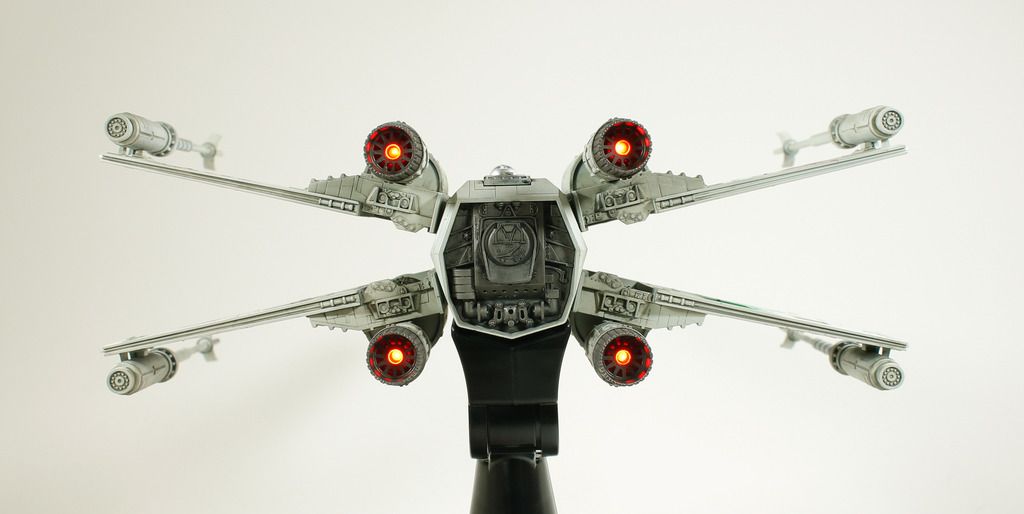
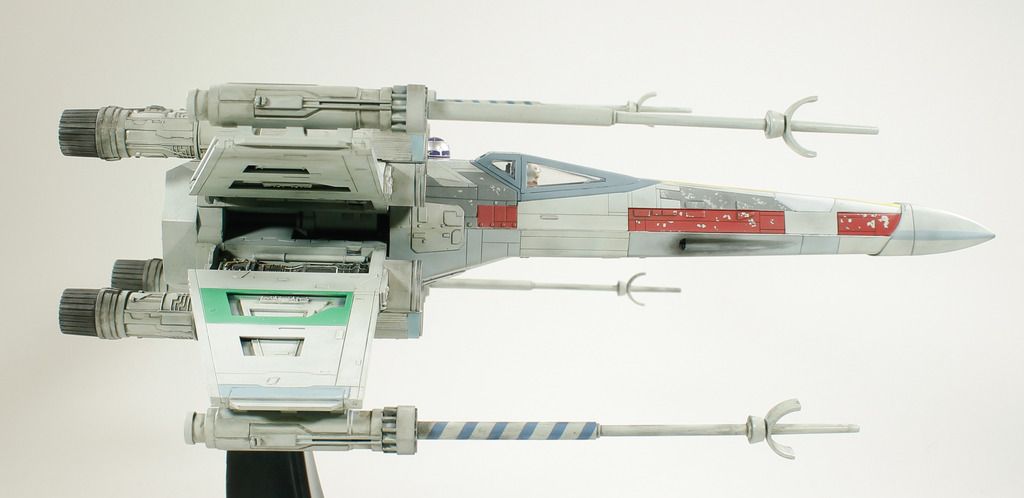
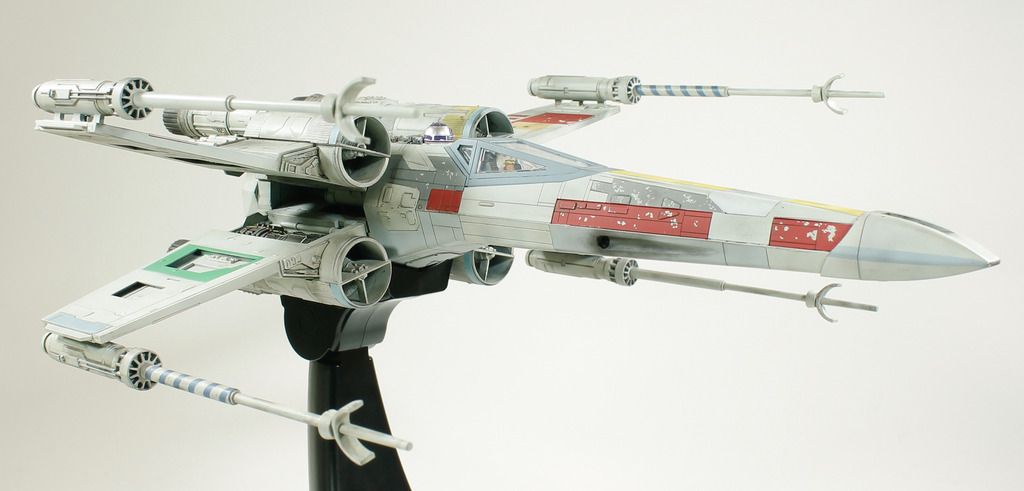
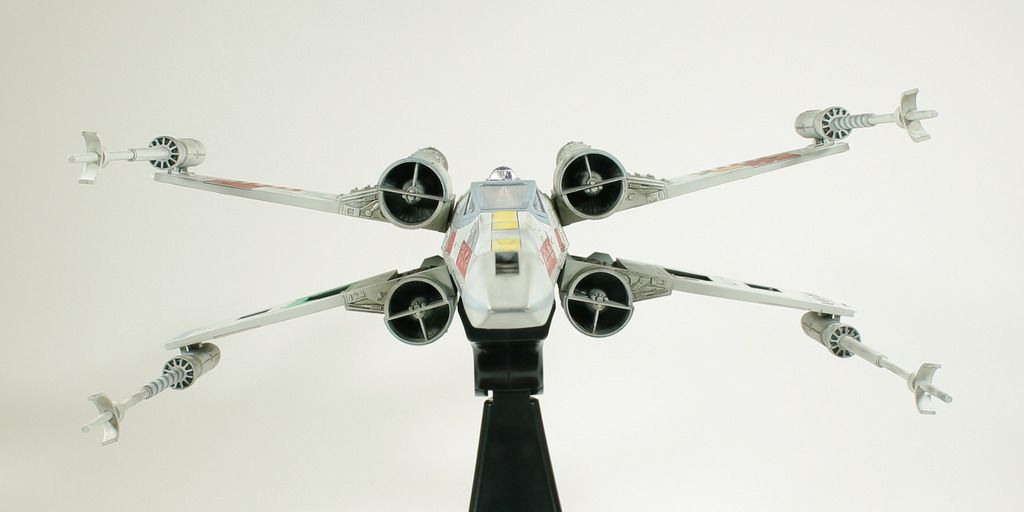
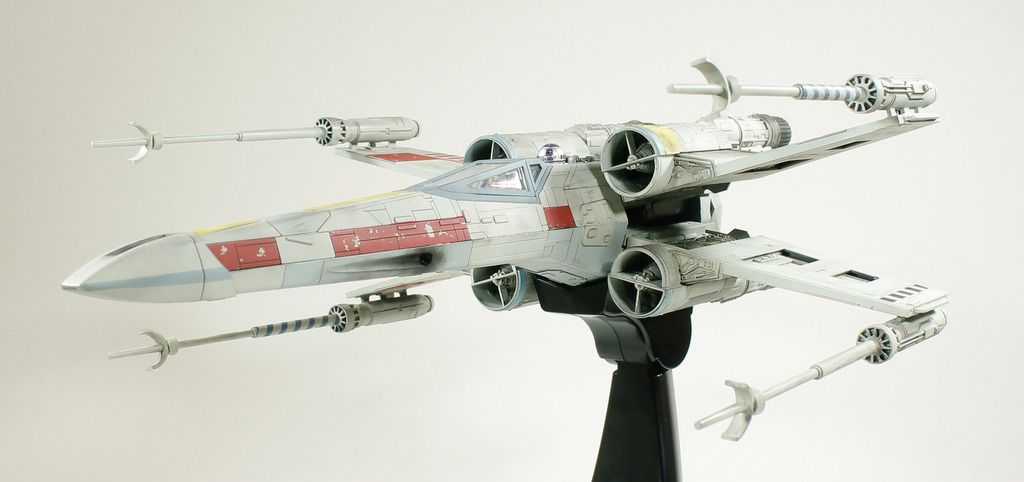
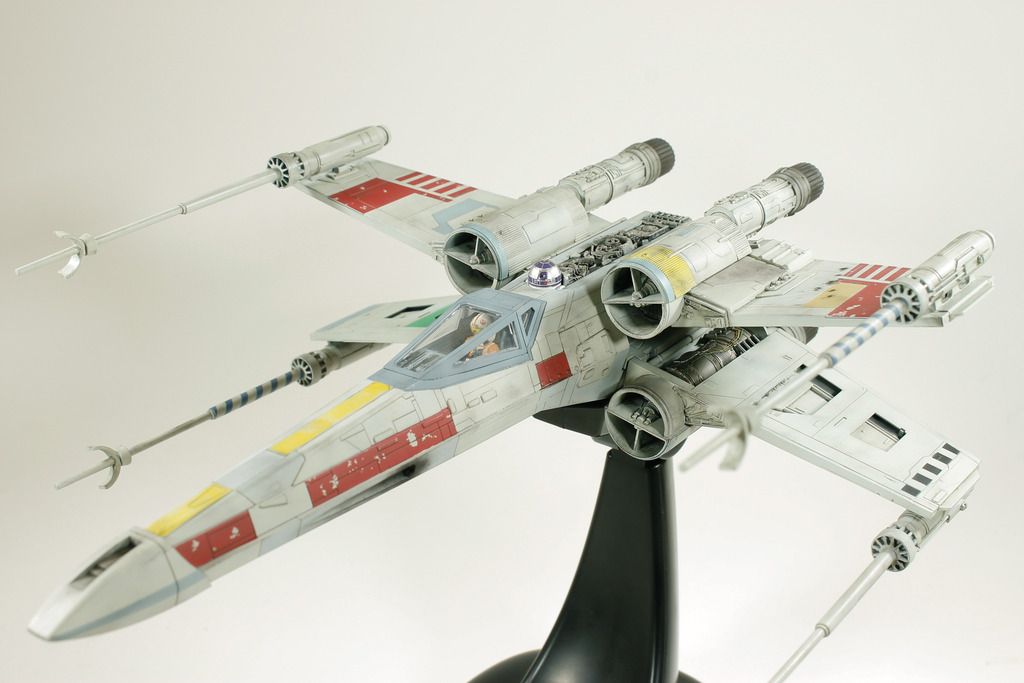
So I am calling it Done-ish! I want to revisit the base sometime. More pics in Completed area - http://forum.largescalemodeller.com/topic/4361-148-bandai-x-wing-red-5/
-
So I'm calling this Done-ish! I would like to revisit the base at some stage and see if I can pull out the guts of it and make something else..
Awesome kit, took me just under a month to build.. Probably a lot less, it I worked on it every night. I will be getting another one of these in the future!

-
 3
3
-
-
-
Nice Setup! Having a toilet/kitchen so close its a handy! I have to run upstairs each time
-
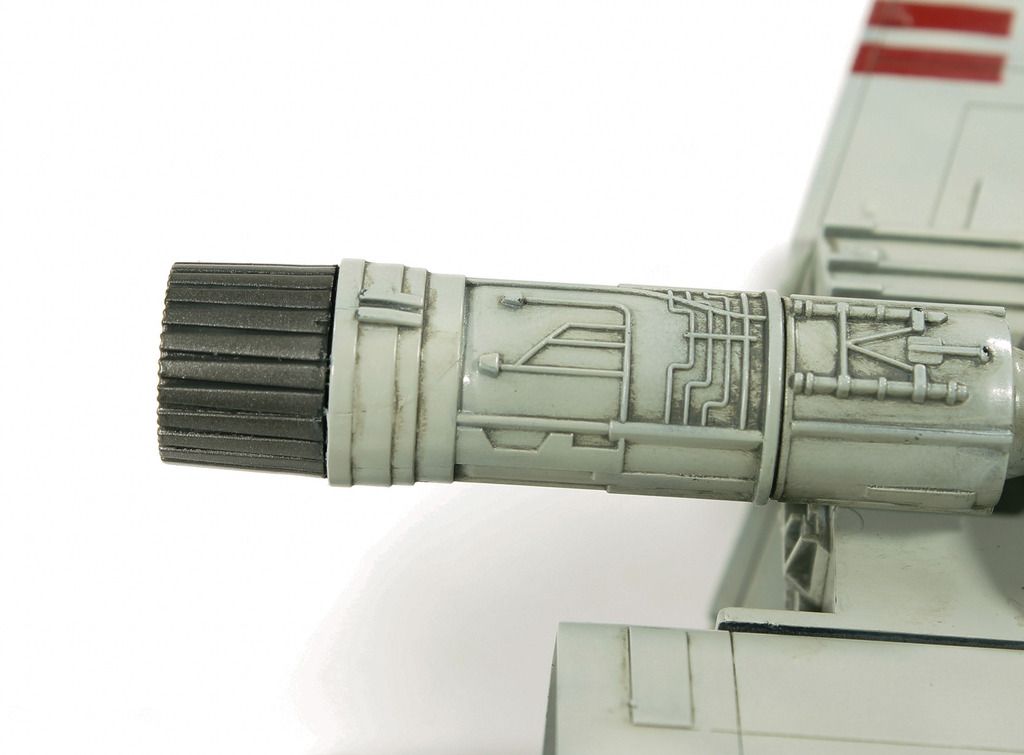
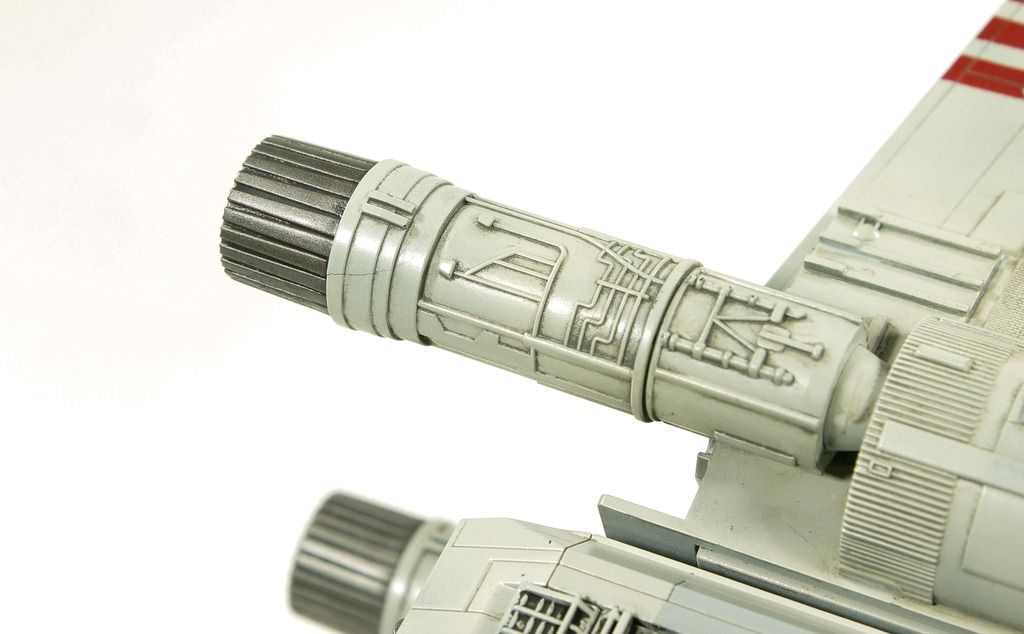
So this was my fix for the cracked parts around the nozzles,
I applied Tamiya Extra Thin over the cracks and allowed the melted plastic to oozed out.. then Tamiya Tape around the nozzles really tightly and allowed to dry for a few hours.
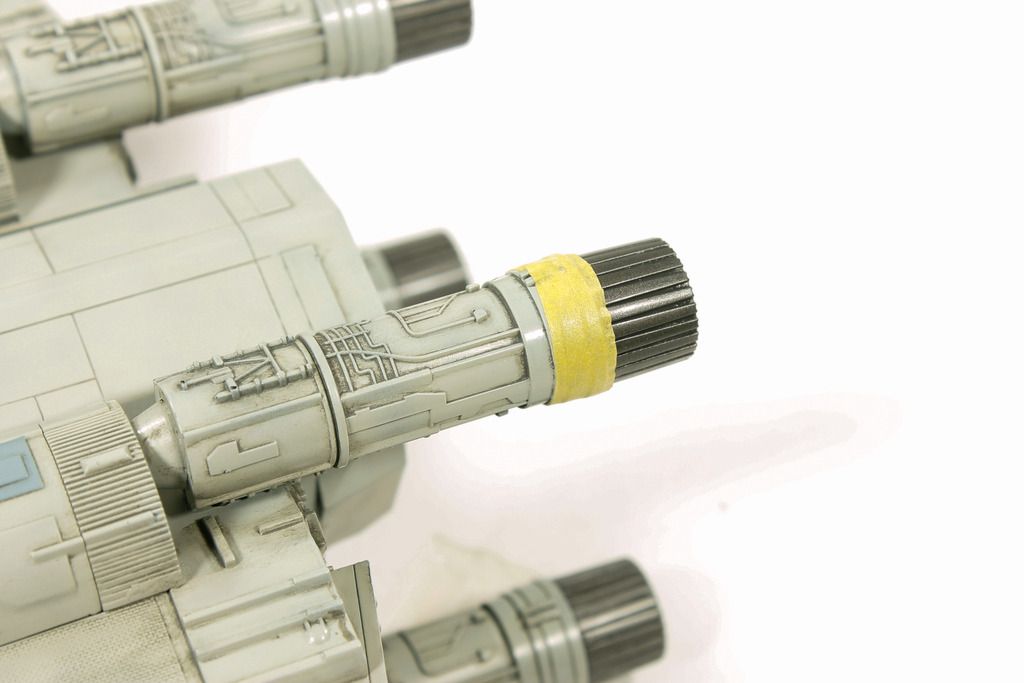
Then the offending areas were sanded smooth and resprayed.
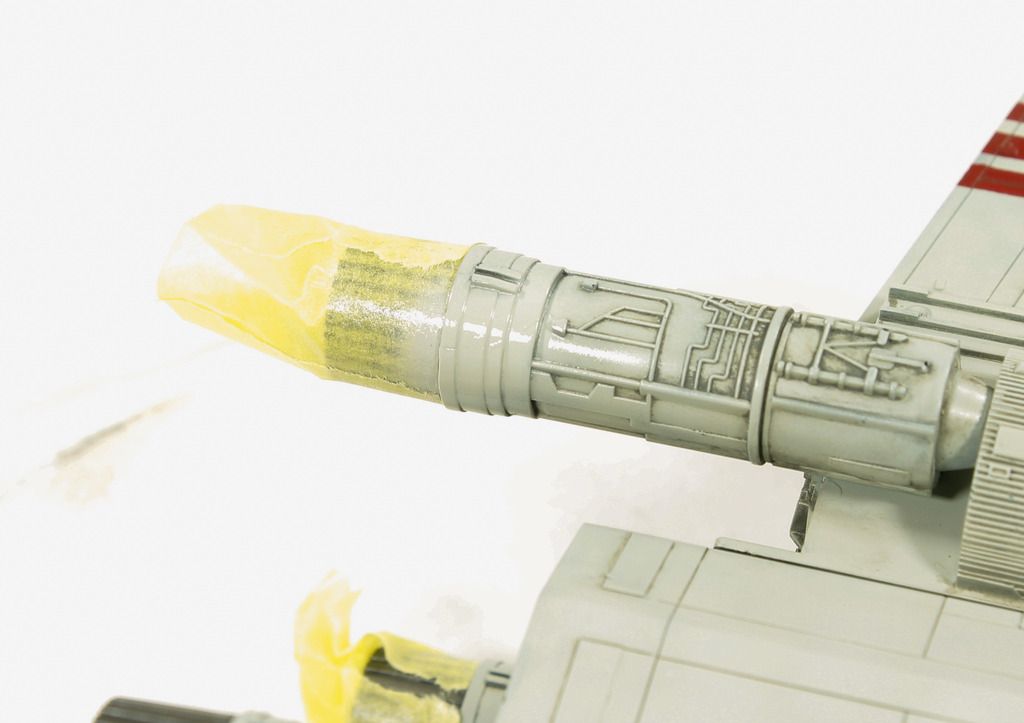
And then AK Washes reapplied!
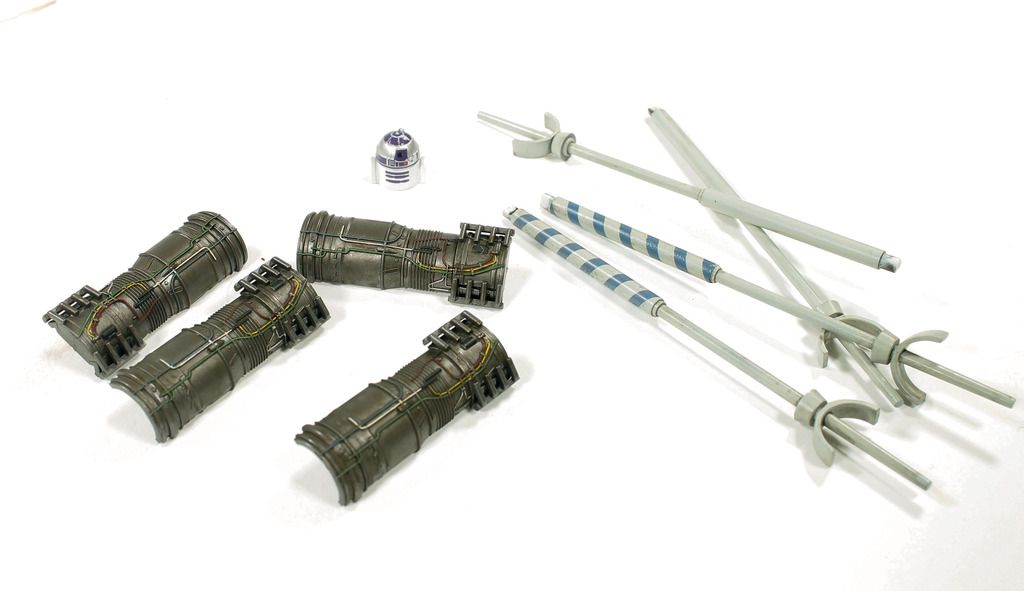
Also got all the small items done.. So now its a flat coat and some last weathering with pigments.
-
Hi Krow,
Have you read this - http://forum.largescalemodeller.com/topic/1464-how-to-post-photos/
It may help you out!
-
 1
1
-
-
Looks great!
What colour did you for the Inter Green? Looks a tad light in the photos but that could be light playing tricks...
-
Weathering started yesterday.. Prior to that I sealed everything in with a good coating of Mr Color GXIII Gloss.
I used AK Naval set for the washes to start off with,
The lighter shade of grey on the Xwing, I used the Kriegsmarine Grey wash, and Wash for Grey Decks for the darker grey patches on the fuselage.
Before -
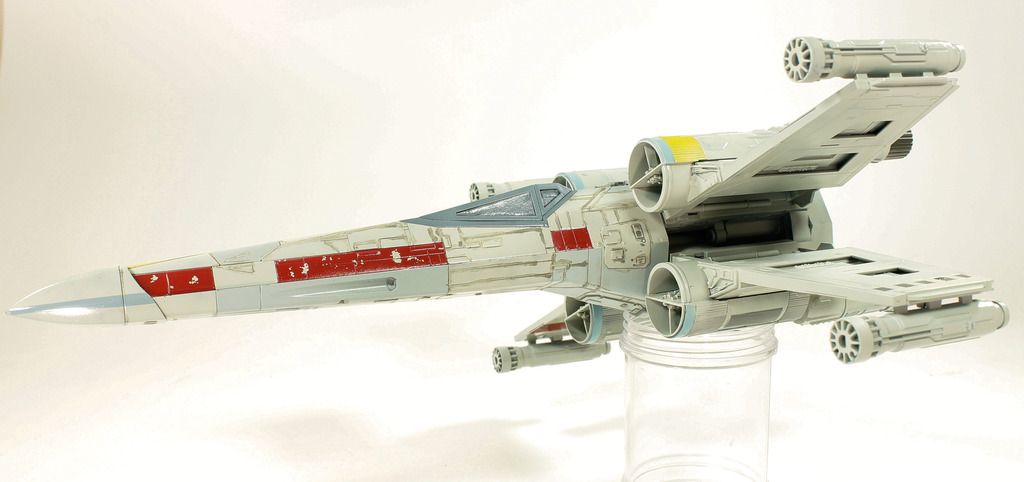
After -
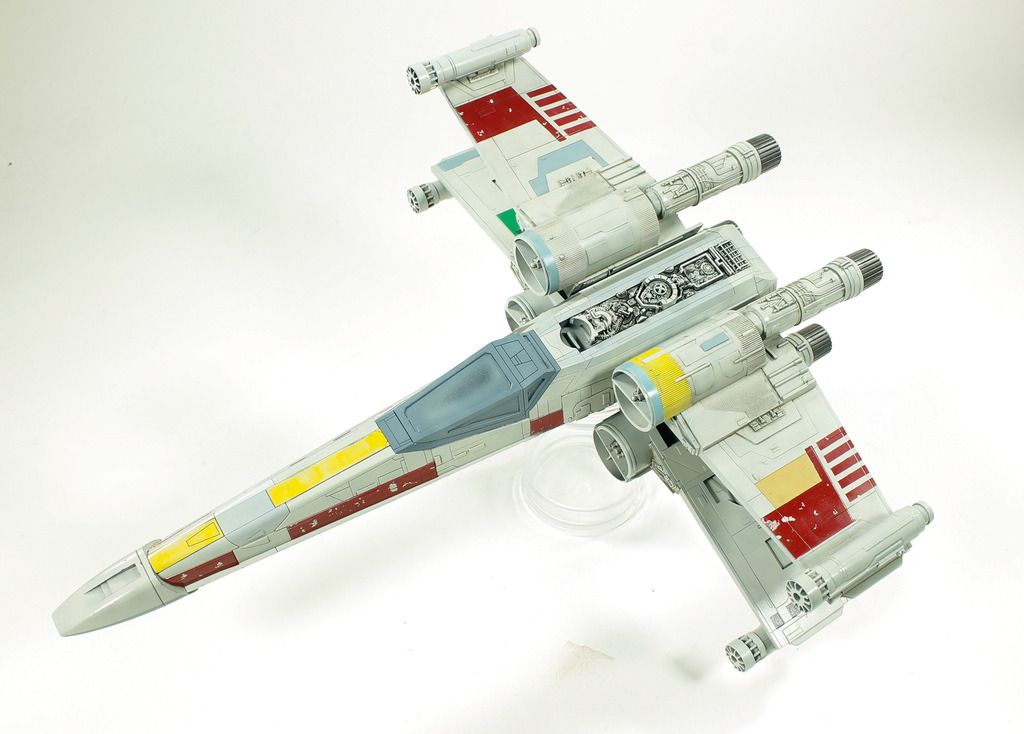
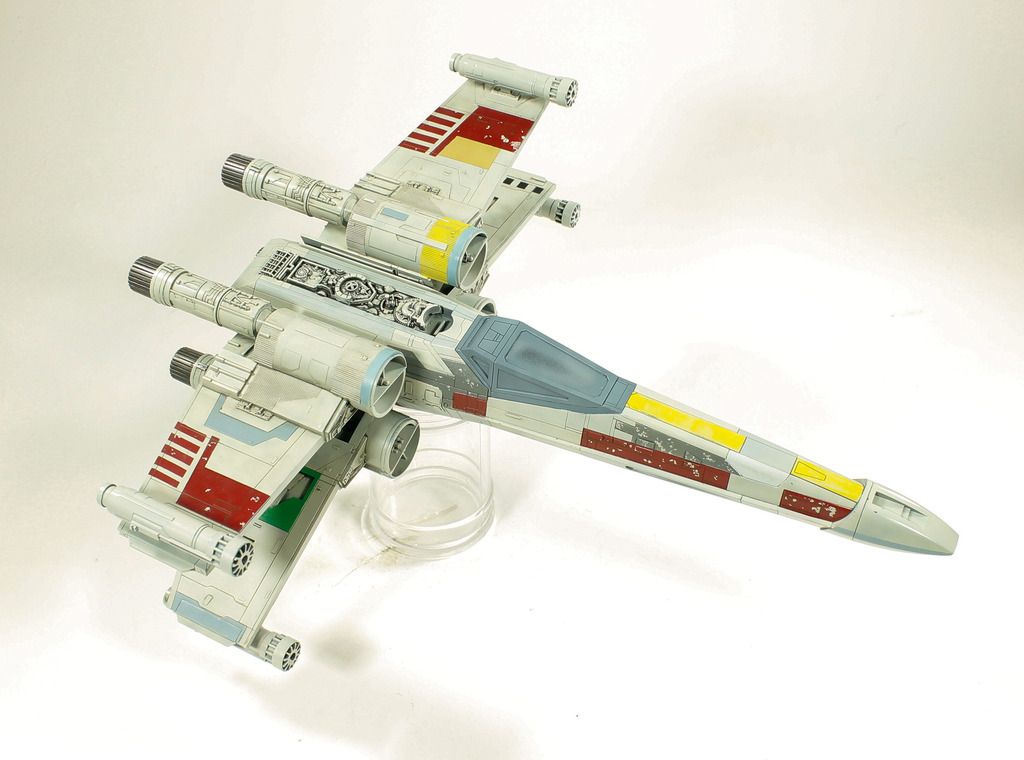
For the Red patches I used Wash for Dark Yellow.. Thanks for Jims input on that one!
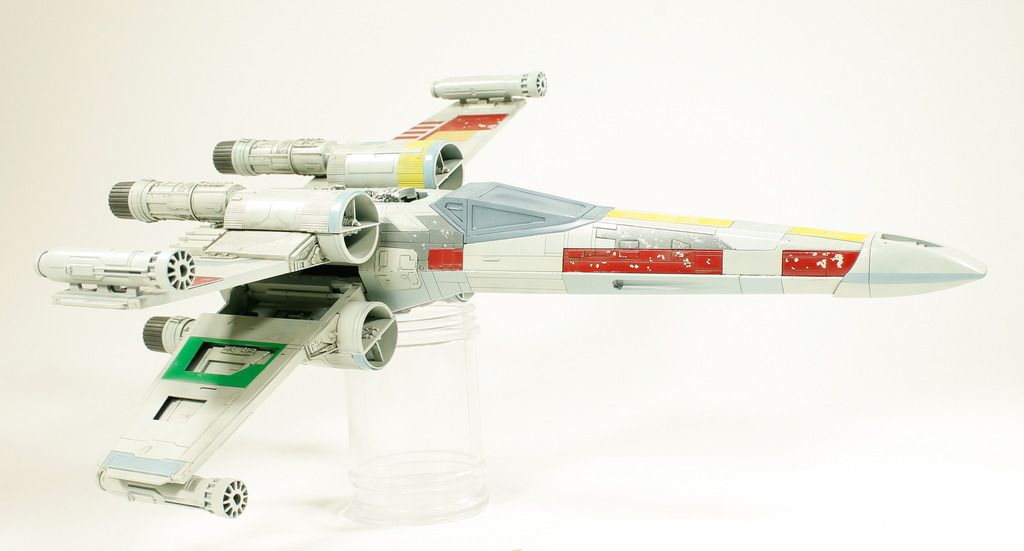
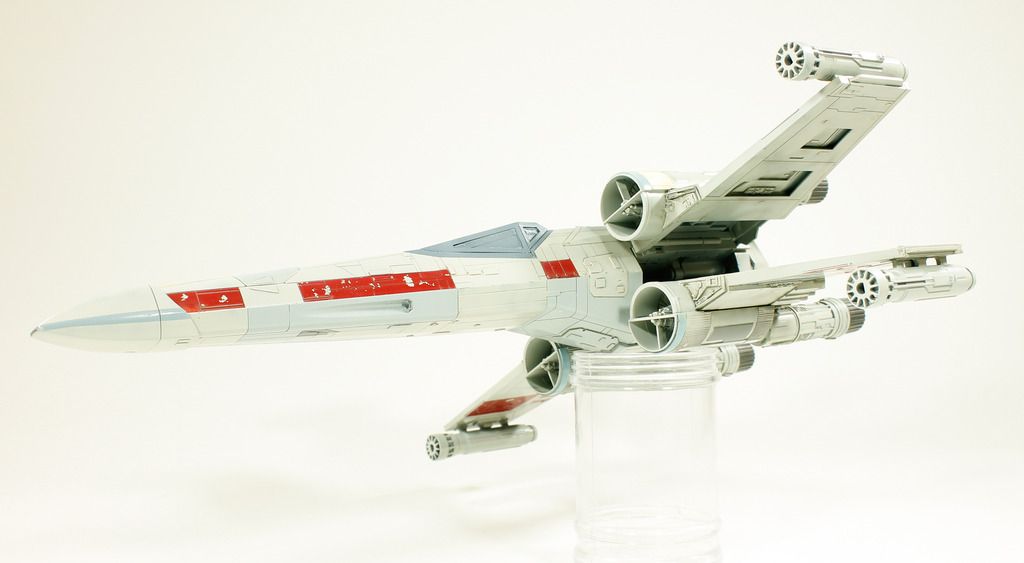
Up till now, I have been lucky.. But I been hit with the Bandai curse! I had 3 of the 4 engine pods crack on me...
-
Frickin AMAZING!
Were all these machines painted differently to ID the pilot?
I know each of them was different paint job.. but I don't know if it was pilot choice.. I think its what ever is laying around...
-
I never wash....

-
 1
1
-
-
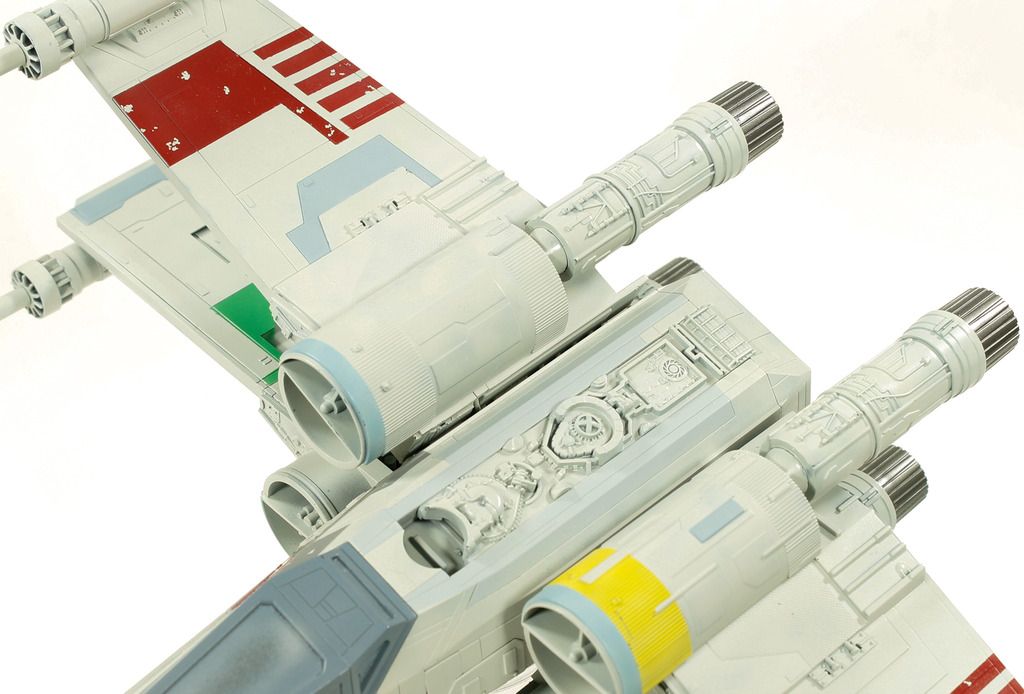
Cheers guys! Moving forward with this again today... Added the last lot of patches to it with the little time I had this afternoon. I am pretty happy with were it at currently. So tomorrow if I get time, I will do a few little touch ups from over-spray etc.. and then I can start the weathering it!
I am open to feed back to.. Anything you thing I need to add/redo etc?
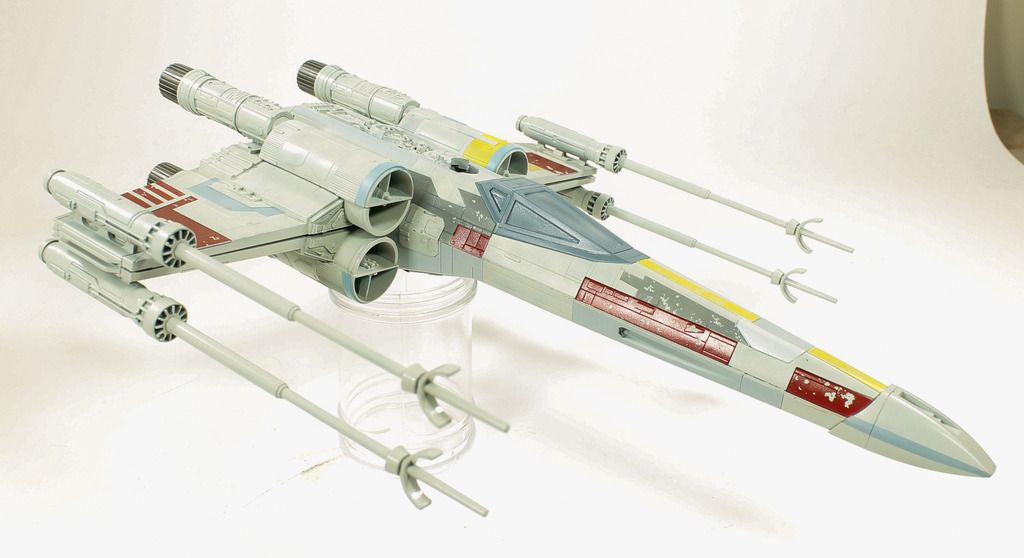
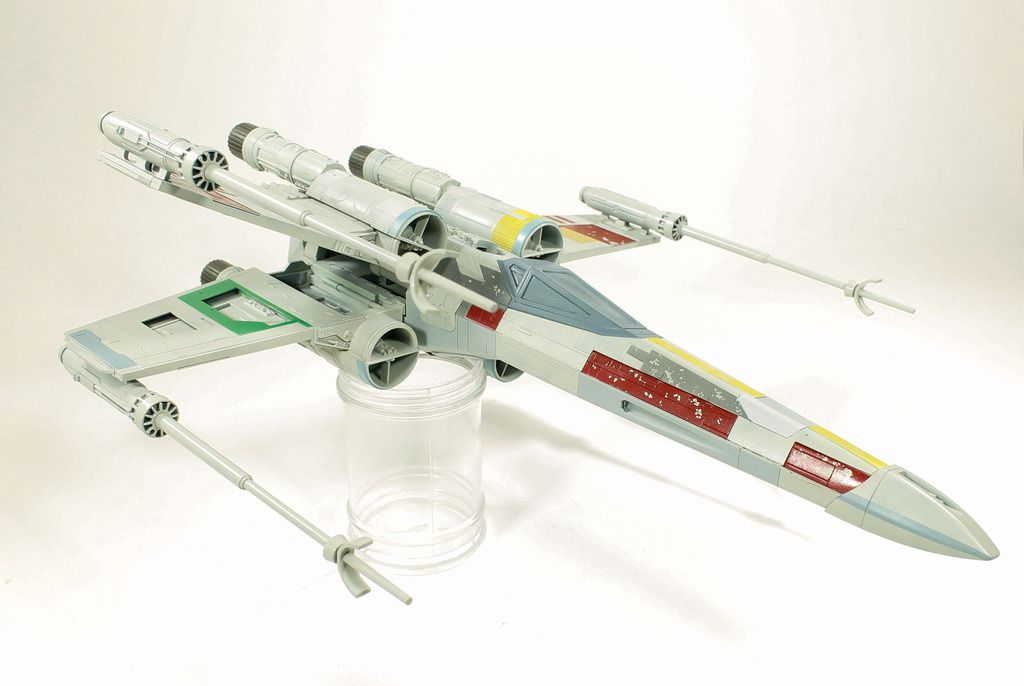
I also repainted those baby blue patches to a darker shade, looks way better I think! I haven't touch the areas around the intakes, I am in two minds about changing it...
-
 1
1
-
-
Back and forth between the spray booth today... I think I am up to 11 different colours so far.. But I can see that the end is near and I can start weathering in the next few days!
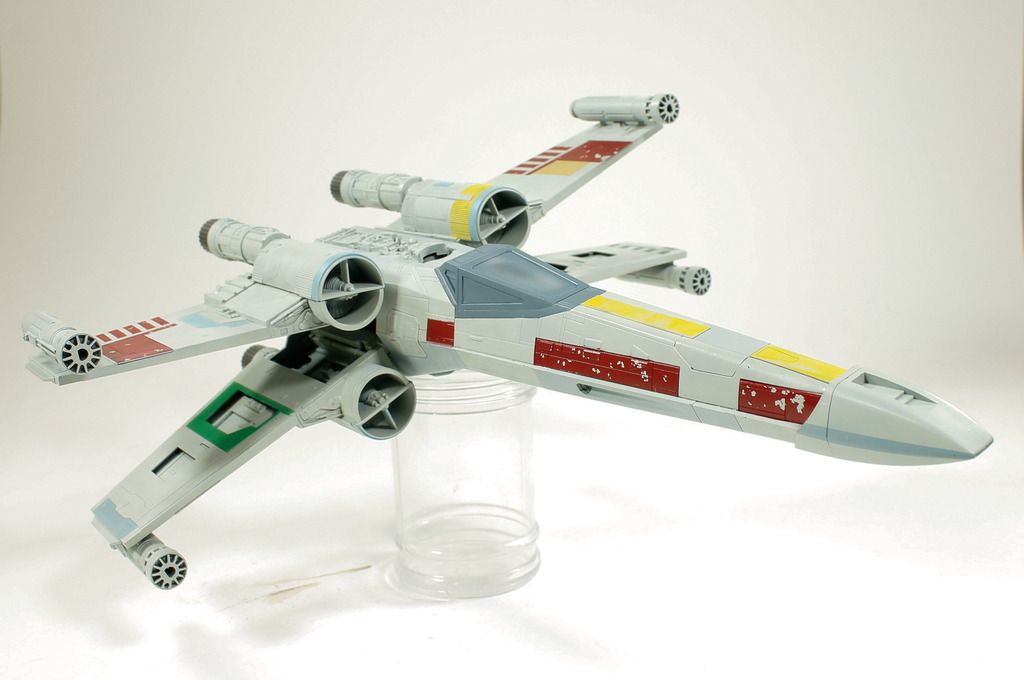
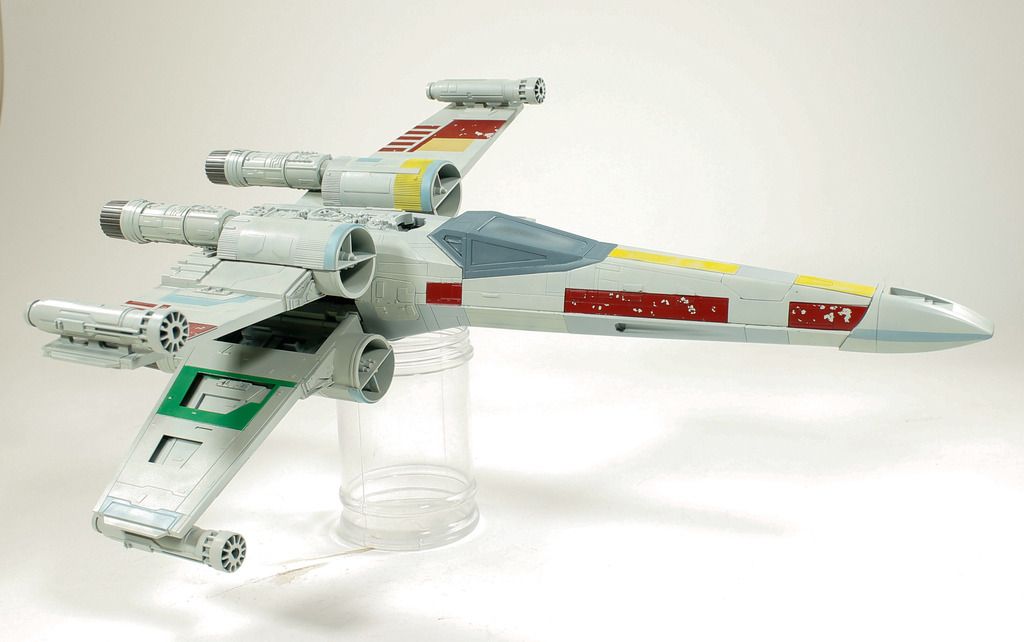
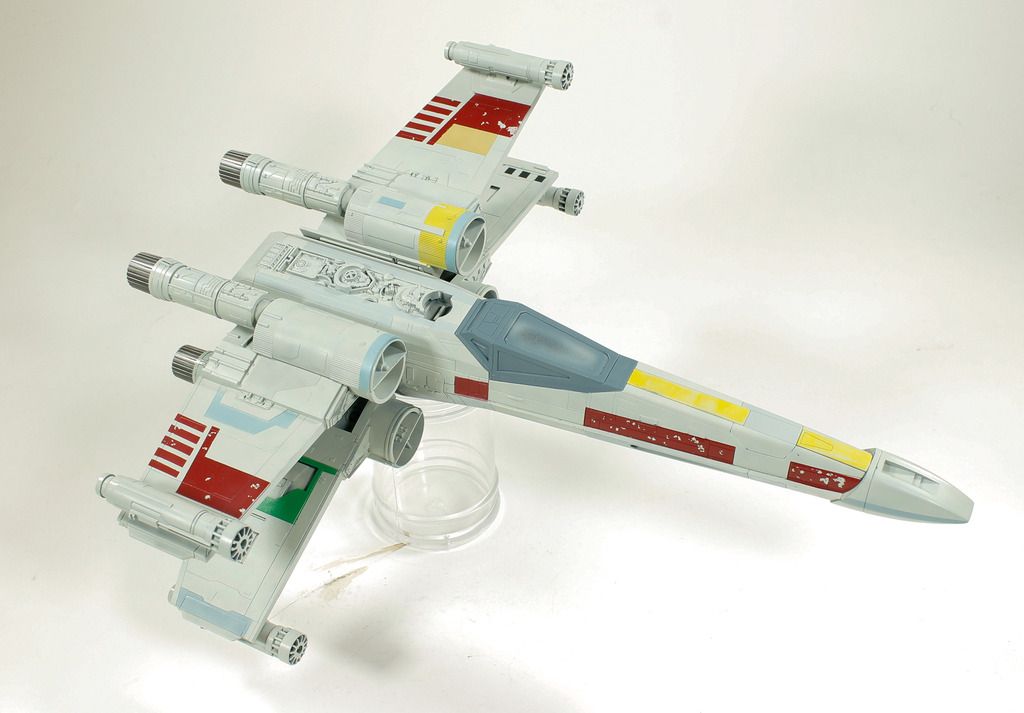
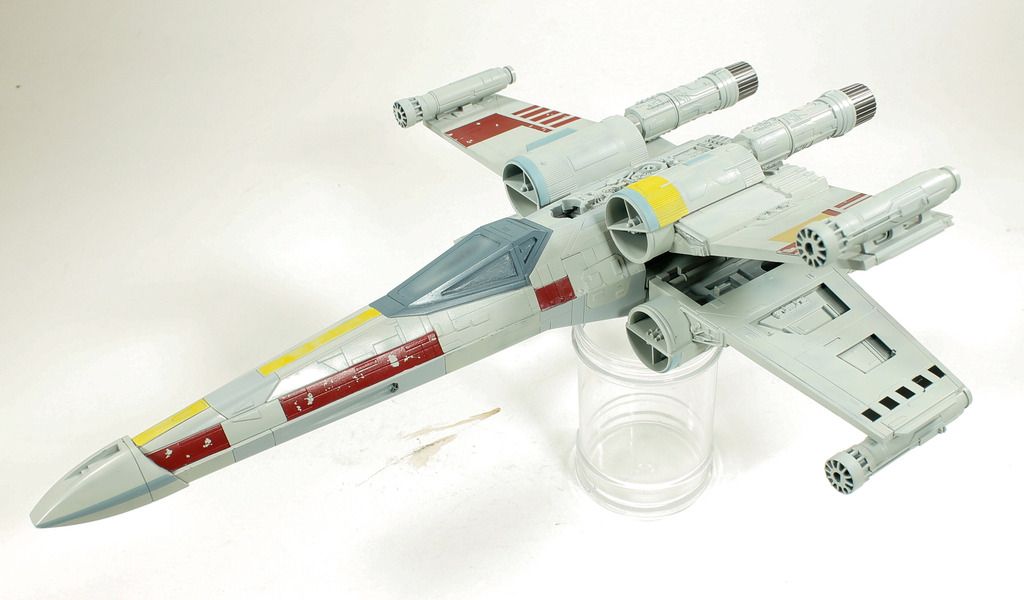
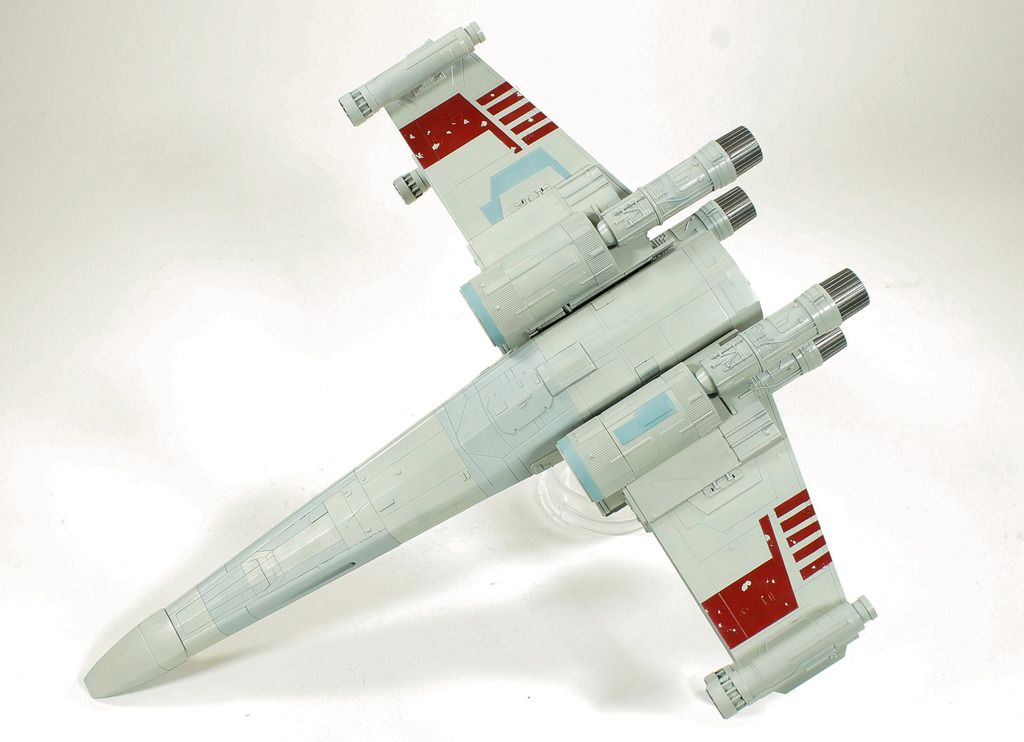
I am not really happy with that Baby blue around the engine intakes and panels, so I am going to repaint them with something a shade darker.
I must admit the that I do like the stickers that Bandai have included as I find them helpful to make masks for different panels
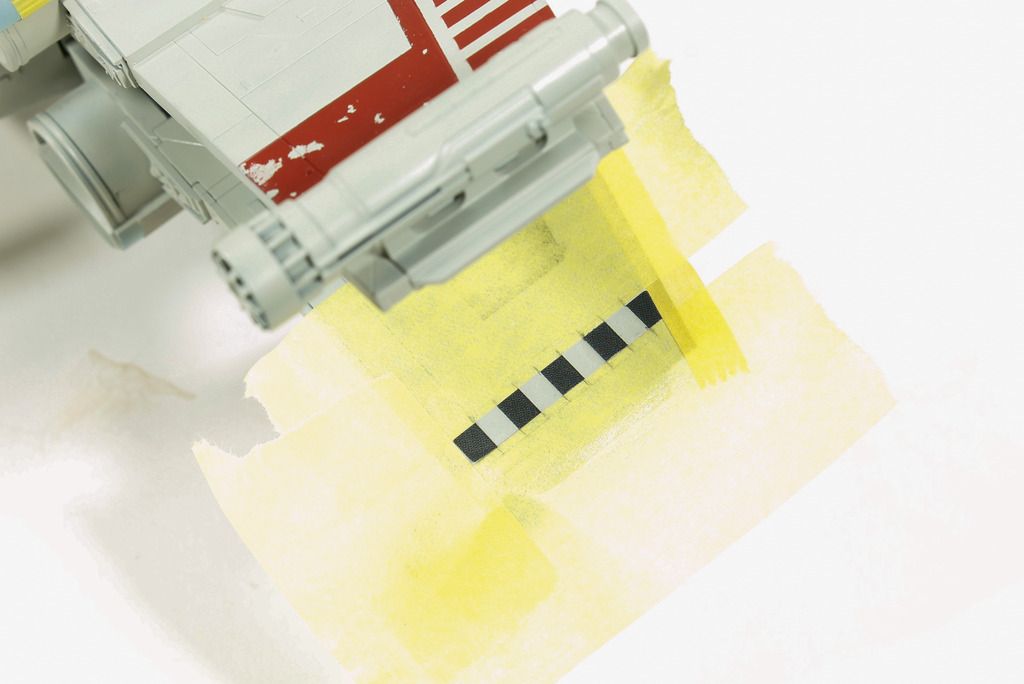
-
 2
2
-
-
Yeah it's the best stuff that I have found so far. Comes up pretty easy with tape/toothpick or whatever
-
Cheers everyone..
Jim I used RLM O4 misted on
-
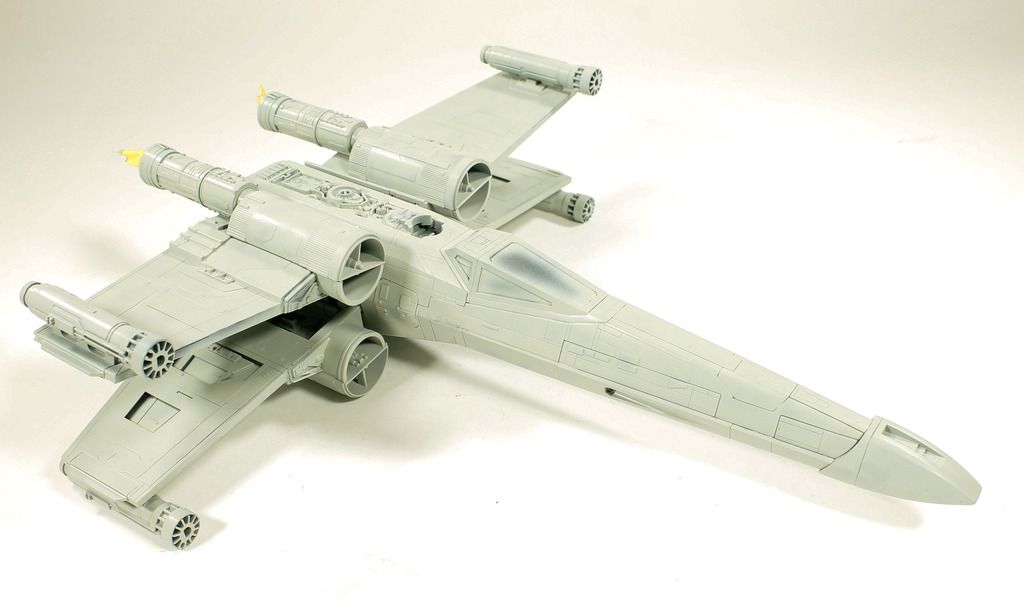
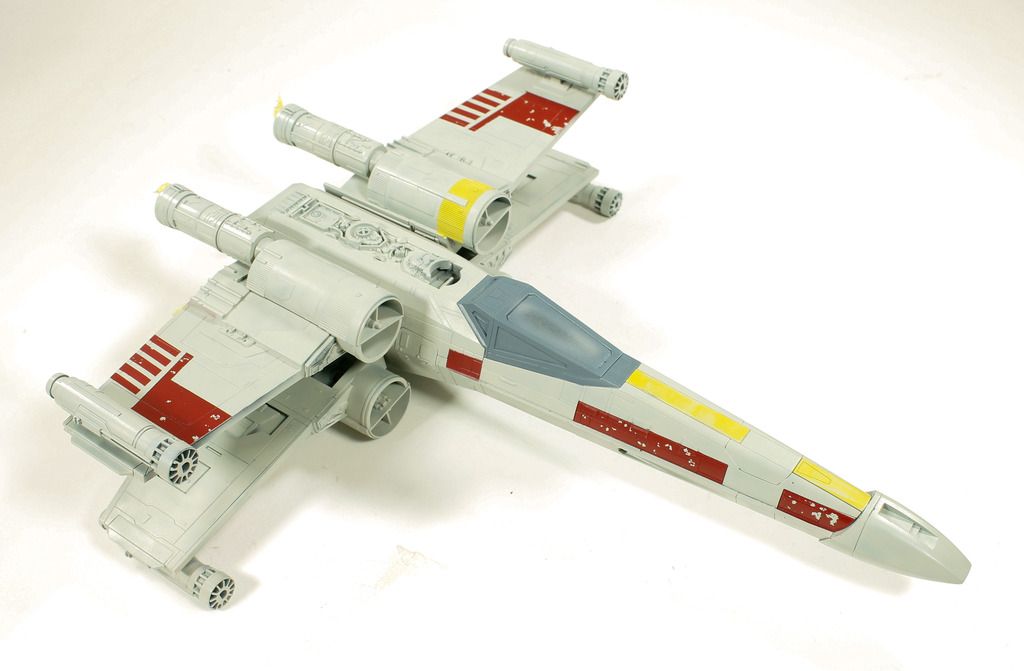
Everything has been primed with Mr Surfacer Black... Then looking at all the different greys I have.. nothing was quite right so quick order to Seal model in HK.. 4 days later I had the paint in hand! Didn't expect that... was thinking it was going to be at least 10-14 days as per normal.
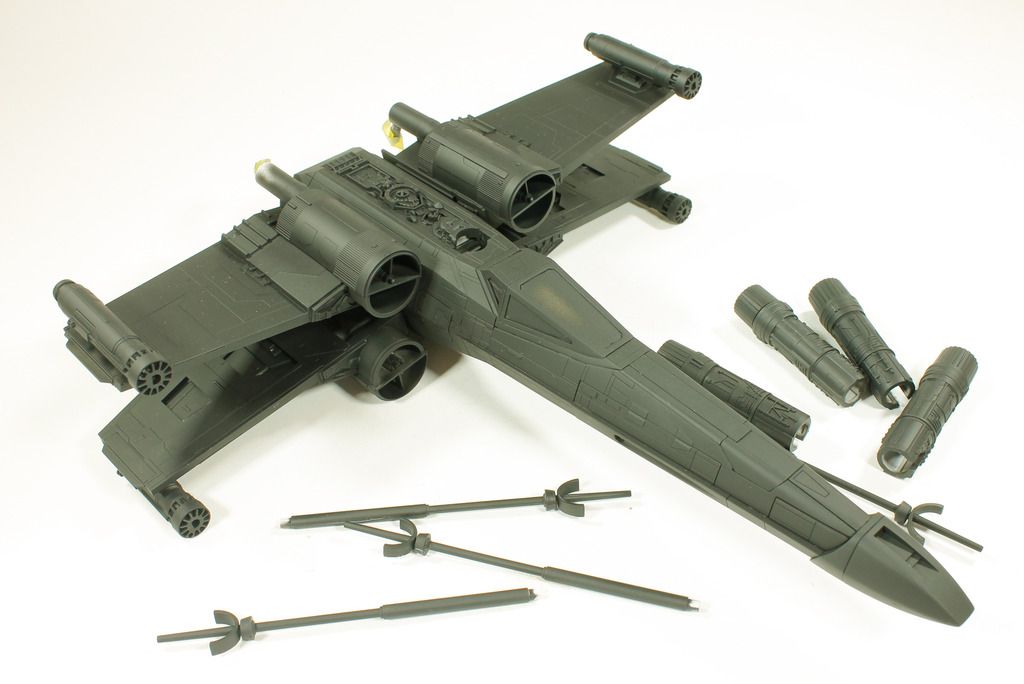
Mr Color C315 was my base colour, looks to be a pretty good match to me!
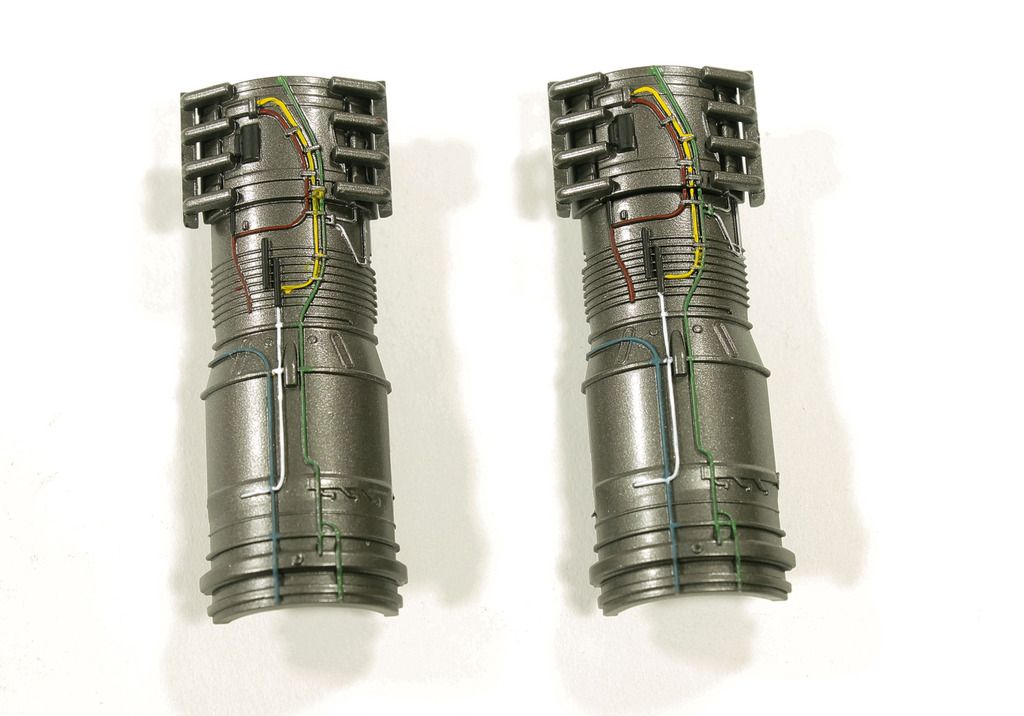
The inner wing engine pods were painted with Steel and then lines/wiring were picked out with some colour to brighten it up!
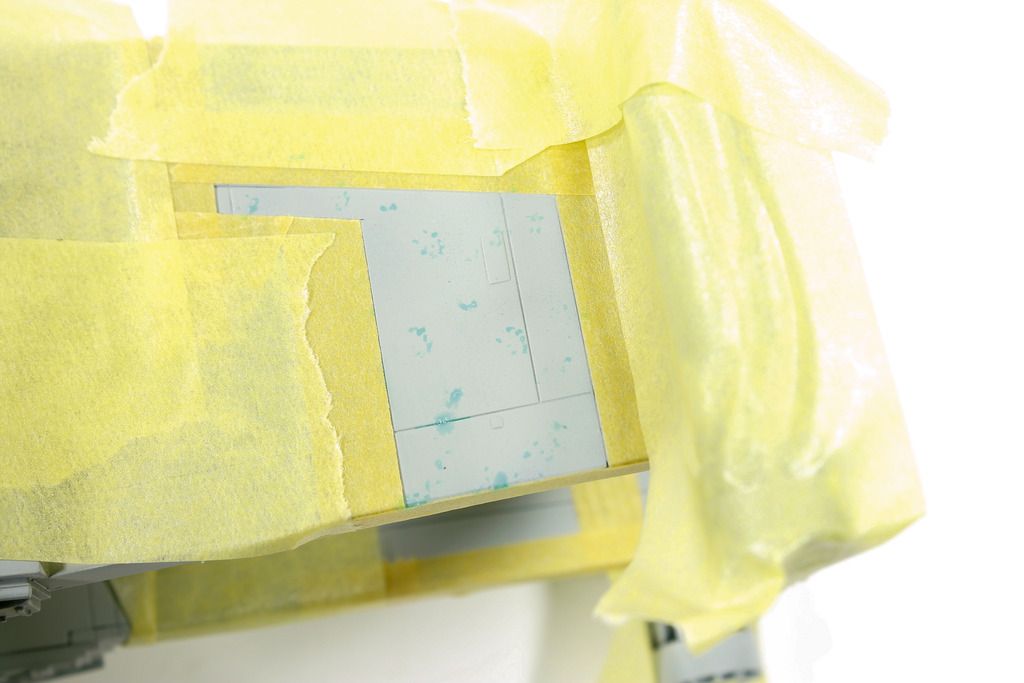
Marking stripes were masked off and Mr Neo Sol was dabbed in random spots for some chipping
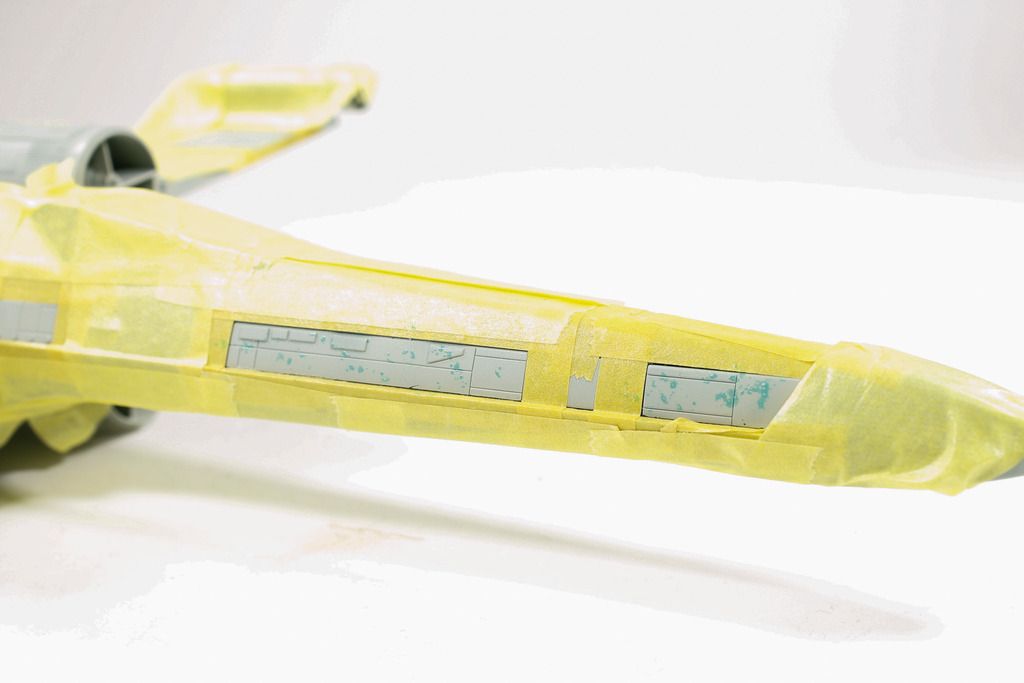
As this is where I am currently...
-
Nice choice!
-
Shame Matt... looks like you got some good progress on it. You should get going on this one again!
-
 1
1
-
-
Looks great! I really need to get mine off the shelf one of these days!
-
 1
1
-
-
Ralph, I used straight from the bottle. No issues what so ever!
-
 2
2
-
-
Been working on this over the last few days.. Got a ton of stuff done..
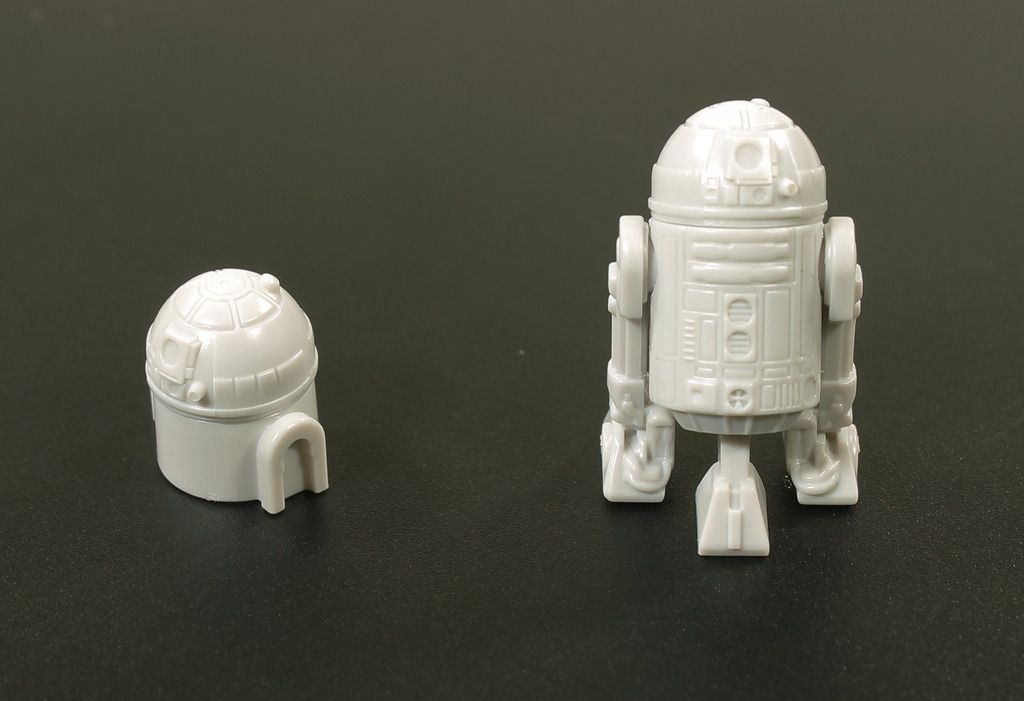
R2 Units built up, not hard as there are only 2-4 parts each.
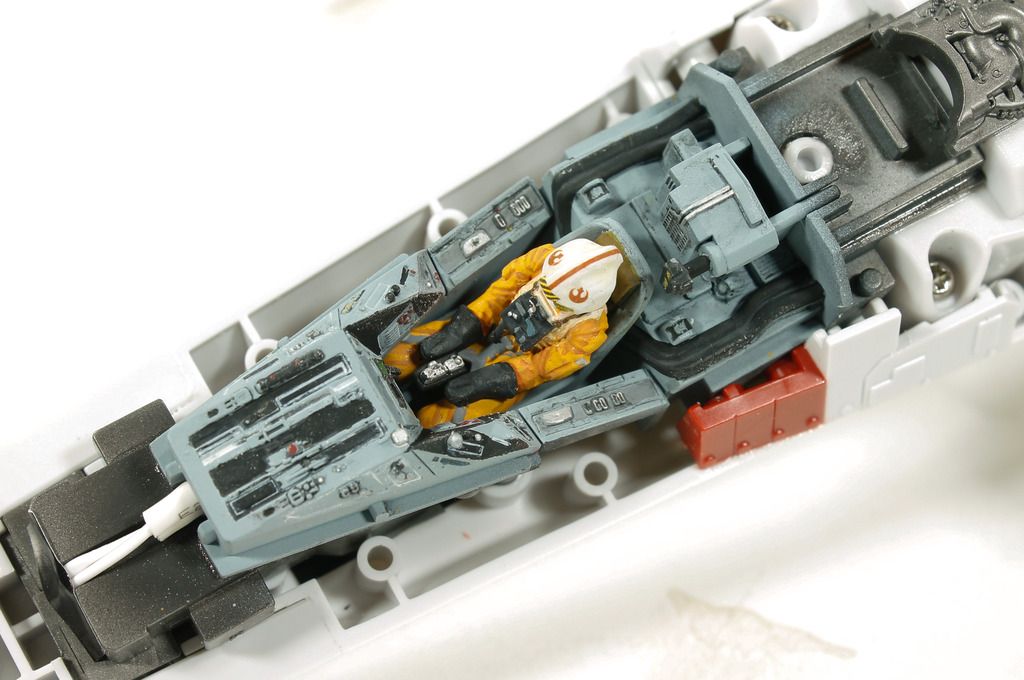
Cockpit has been finished and painted with Vallejo paints and weathered with AK washes. I tried a new Matt vanish for this too, Its the Ultra Matt varnish from AK... Fantastic stuff! I will have to get a couple more bottles of this stuff! I also painted the interior canopy frames, prior to them being fitted.
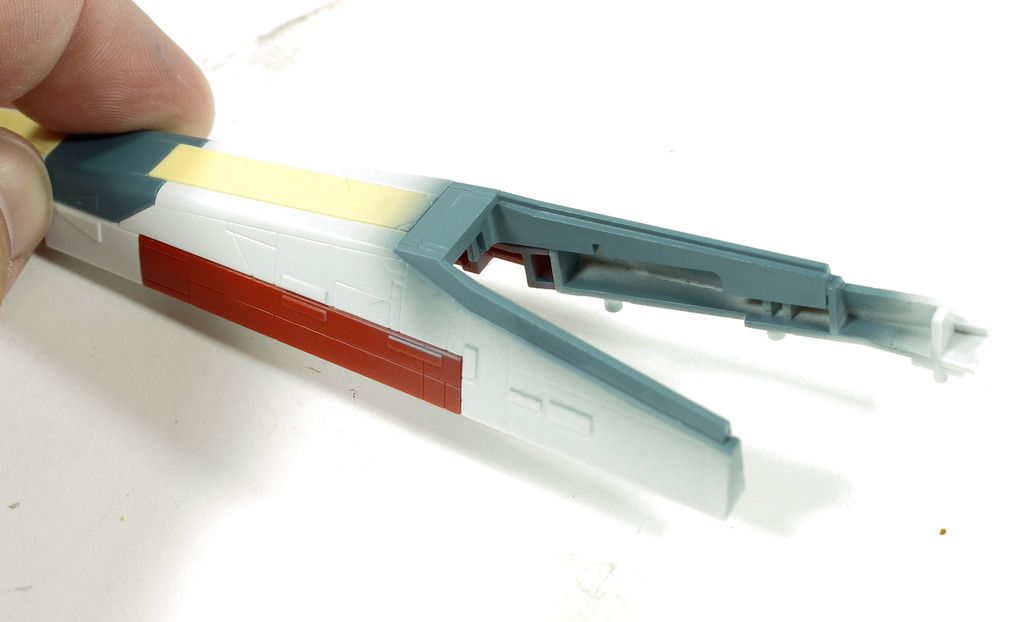
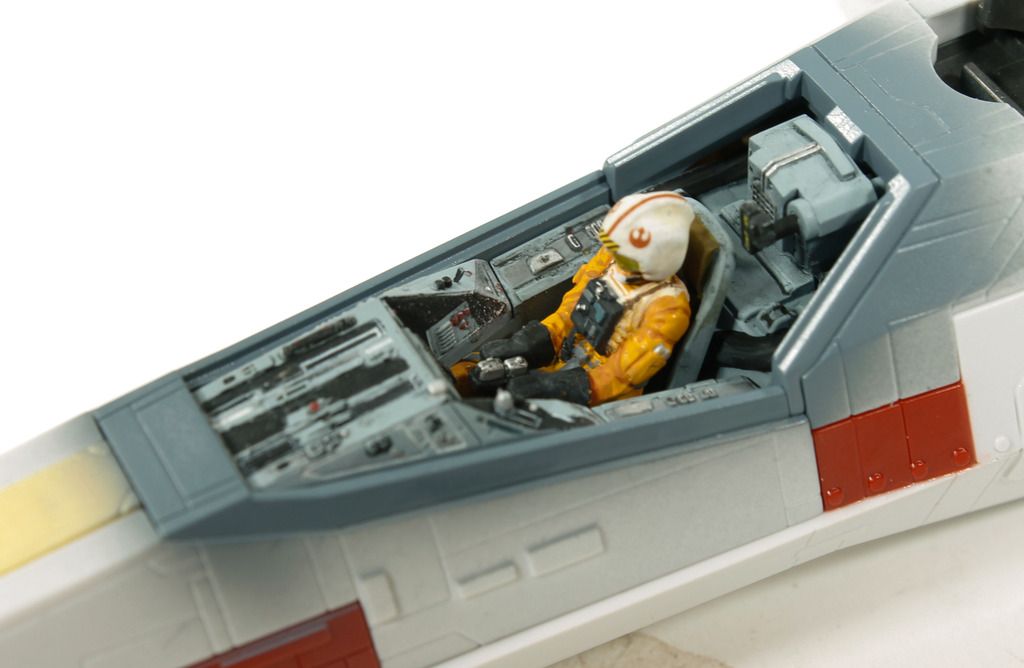
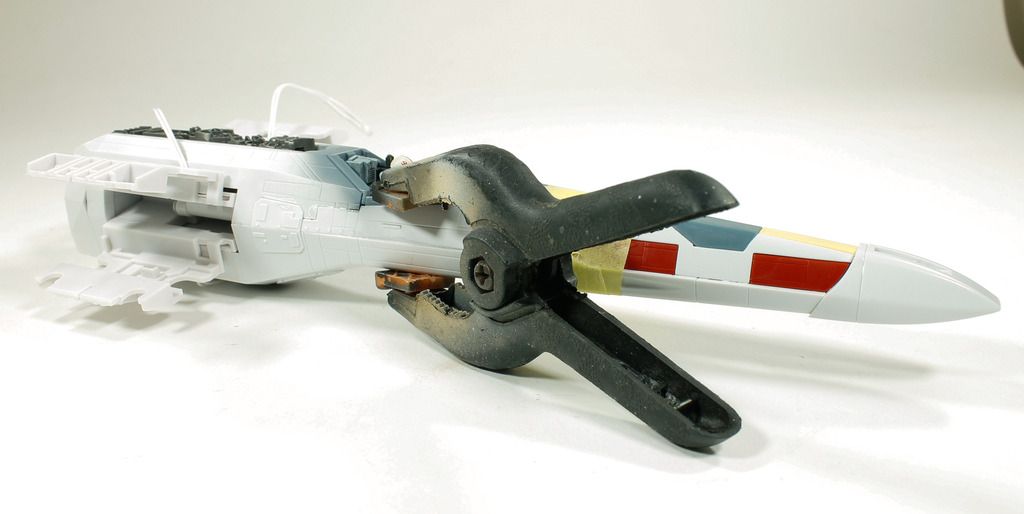
Everything has been clipped together, I did find that right side was very tight and it produced a small gap. I had to clamp it down so the glue can set.
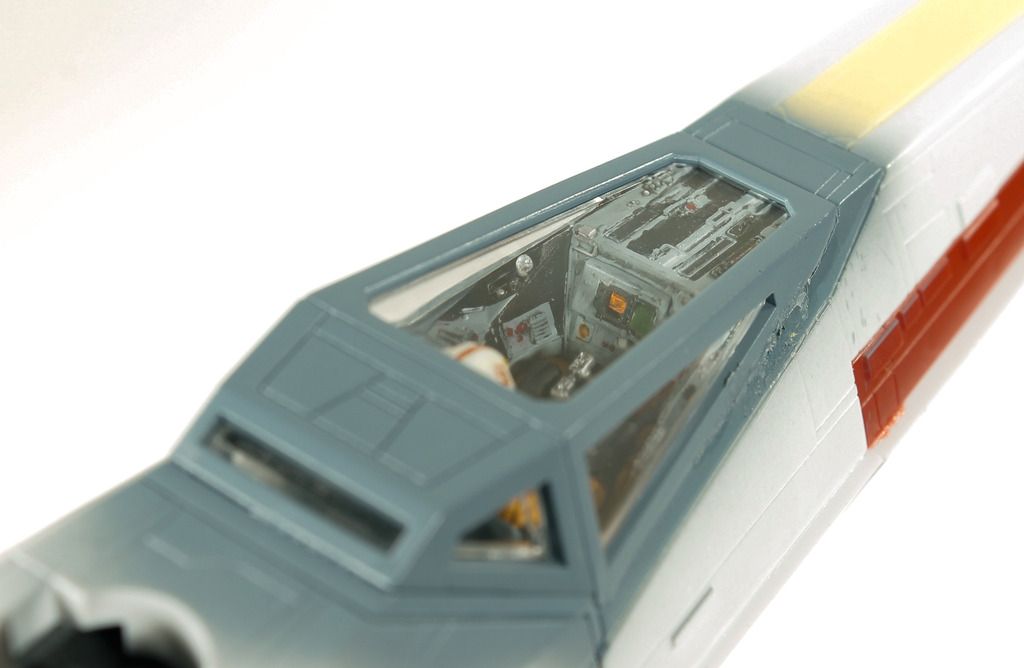
Canopy fitted. Nothing special.. I am kinda wishing that I added those extra LEDs now.. Maybe on the next one I will!
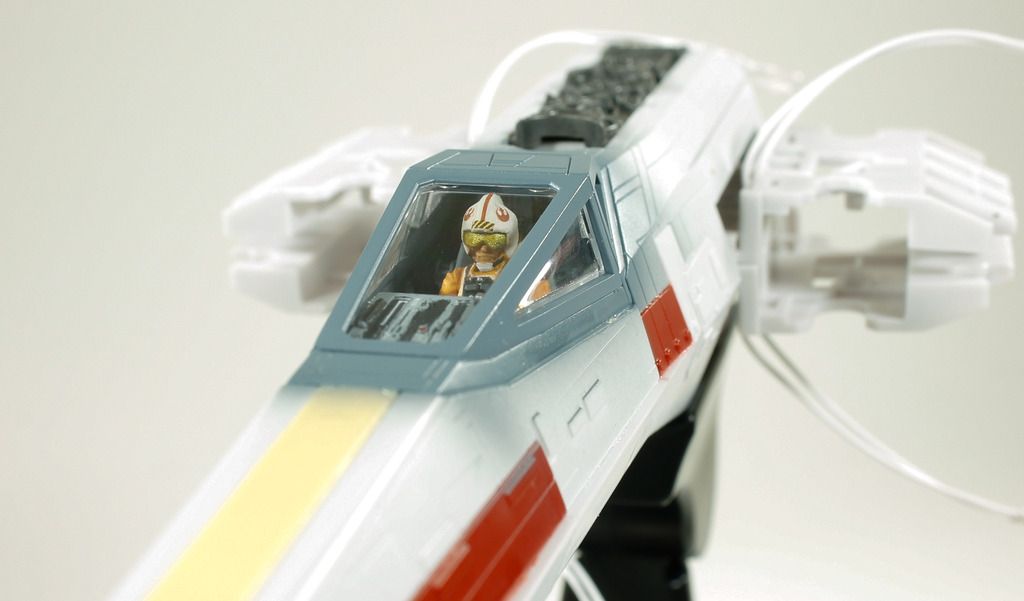
Foils/Wings attached and everything finally finished.. With LED's on!
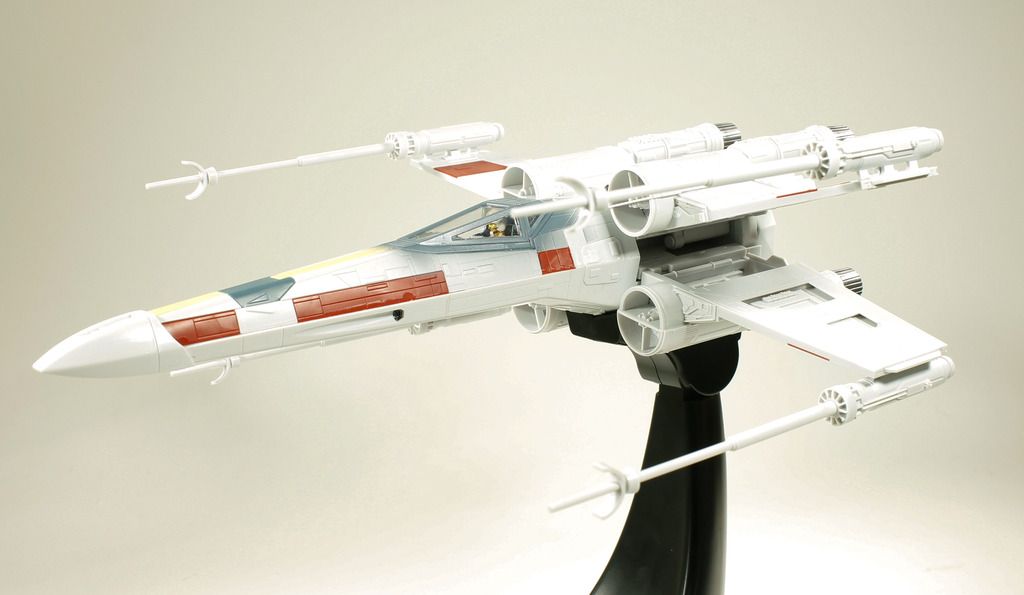
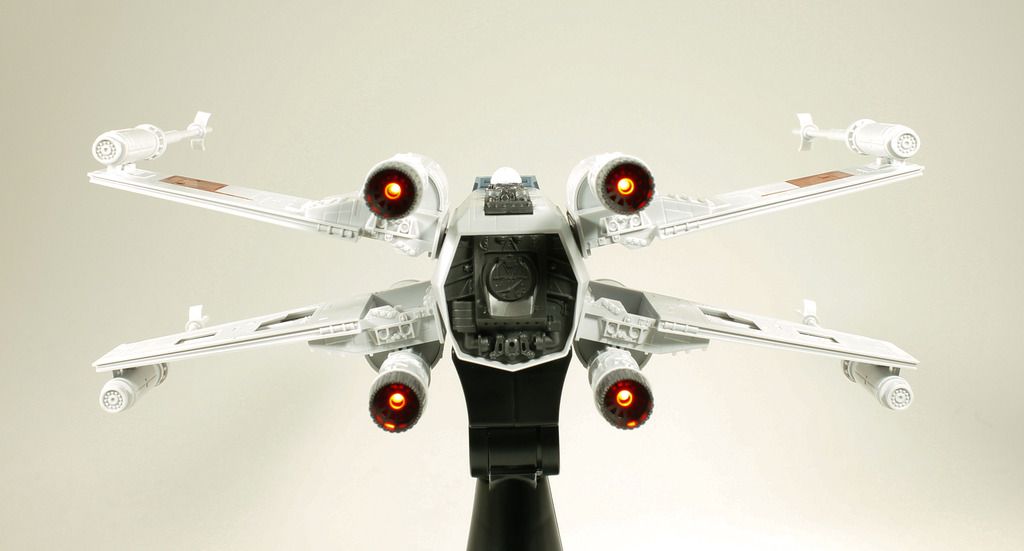
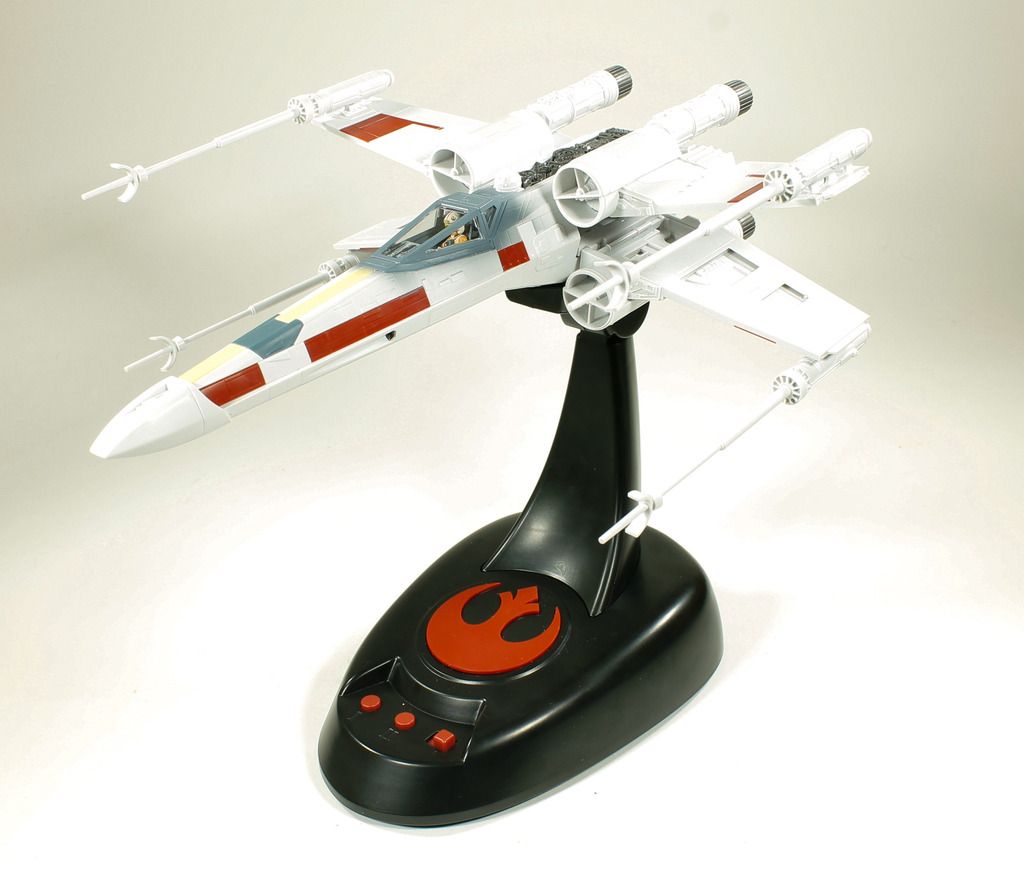
I am not to keen on the stand that comes with the kit, as it only allows you to move the display in a Up or Down motion.. I would like it banking off to the side, so I may strip out the guts of the stand and design something else for it at a later date.
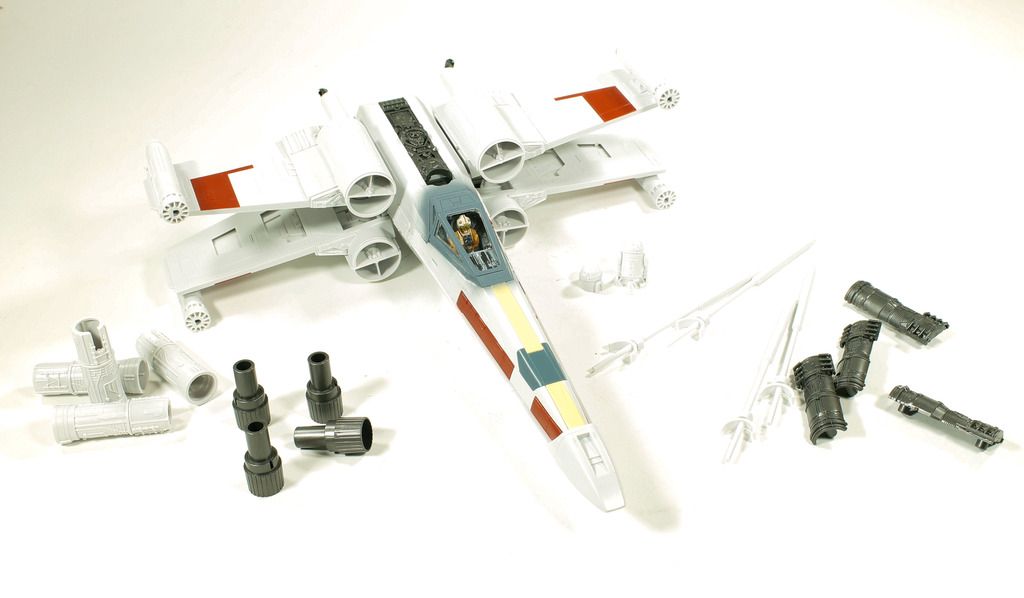
Stripped down, ready for me to mask off the LED's and Canopy, and a coat of primer!
-
 3
3
-
-
Very hand review Jeroen! I have a few of these parts on my watch list on ebay already!
-
 1
1
-
-
Looking forward to this! Thats a nice looking scheme!
-
 1
1
-
-
Top stuff as per normal from you Ralph!
-
 1
1
-
-
Great stuff! Nice looking kit too!


Meteor T.7, RNZAF on Cyprus, 1952
in The HK Models Official International Contest initiated by LSM
Posted
Looking forward to this Mikey!