alberto49
-
Posts
66 -
Joined
-
Last visited
Content Type
Profiles
Forums
Events
Gallery
Everything posted by alberto49
-
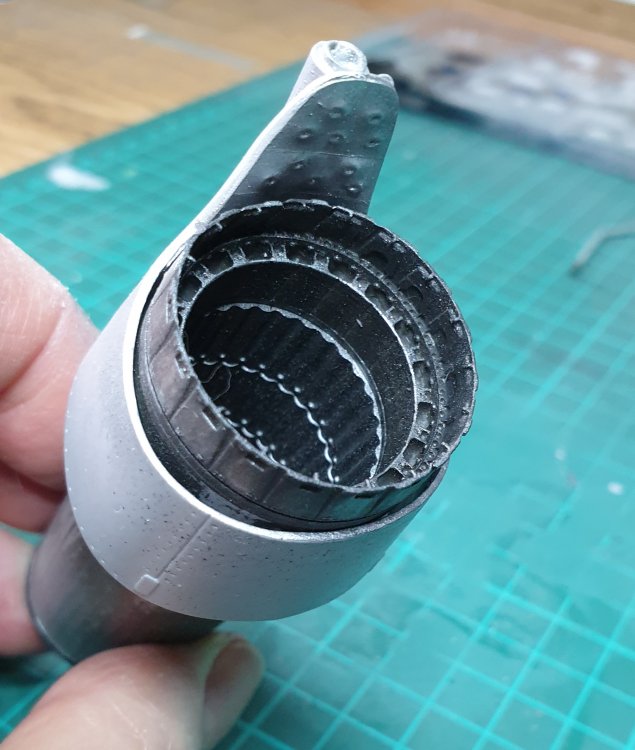
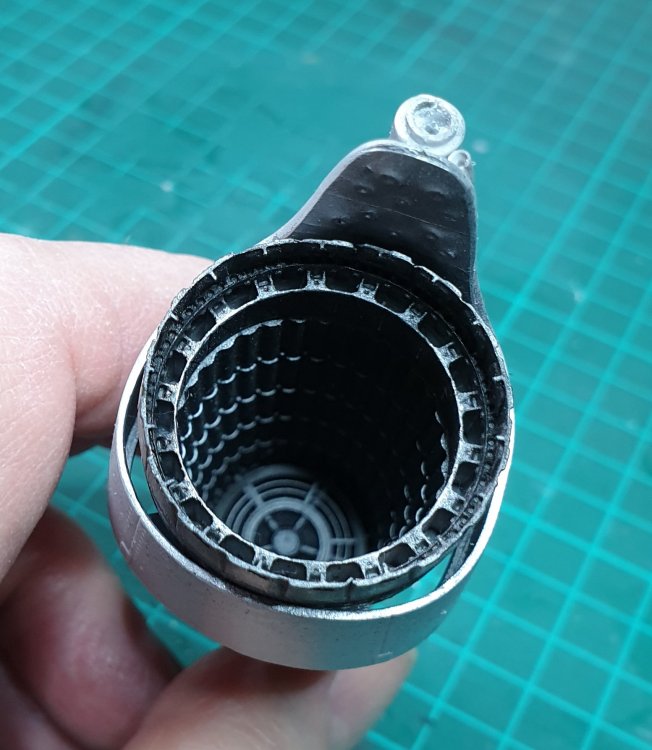
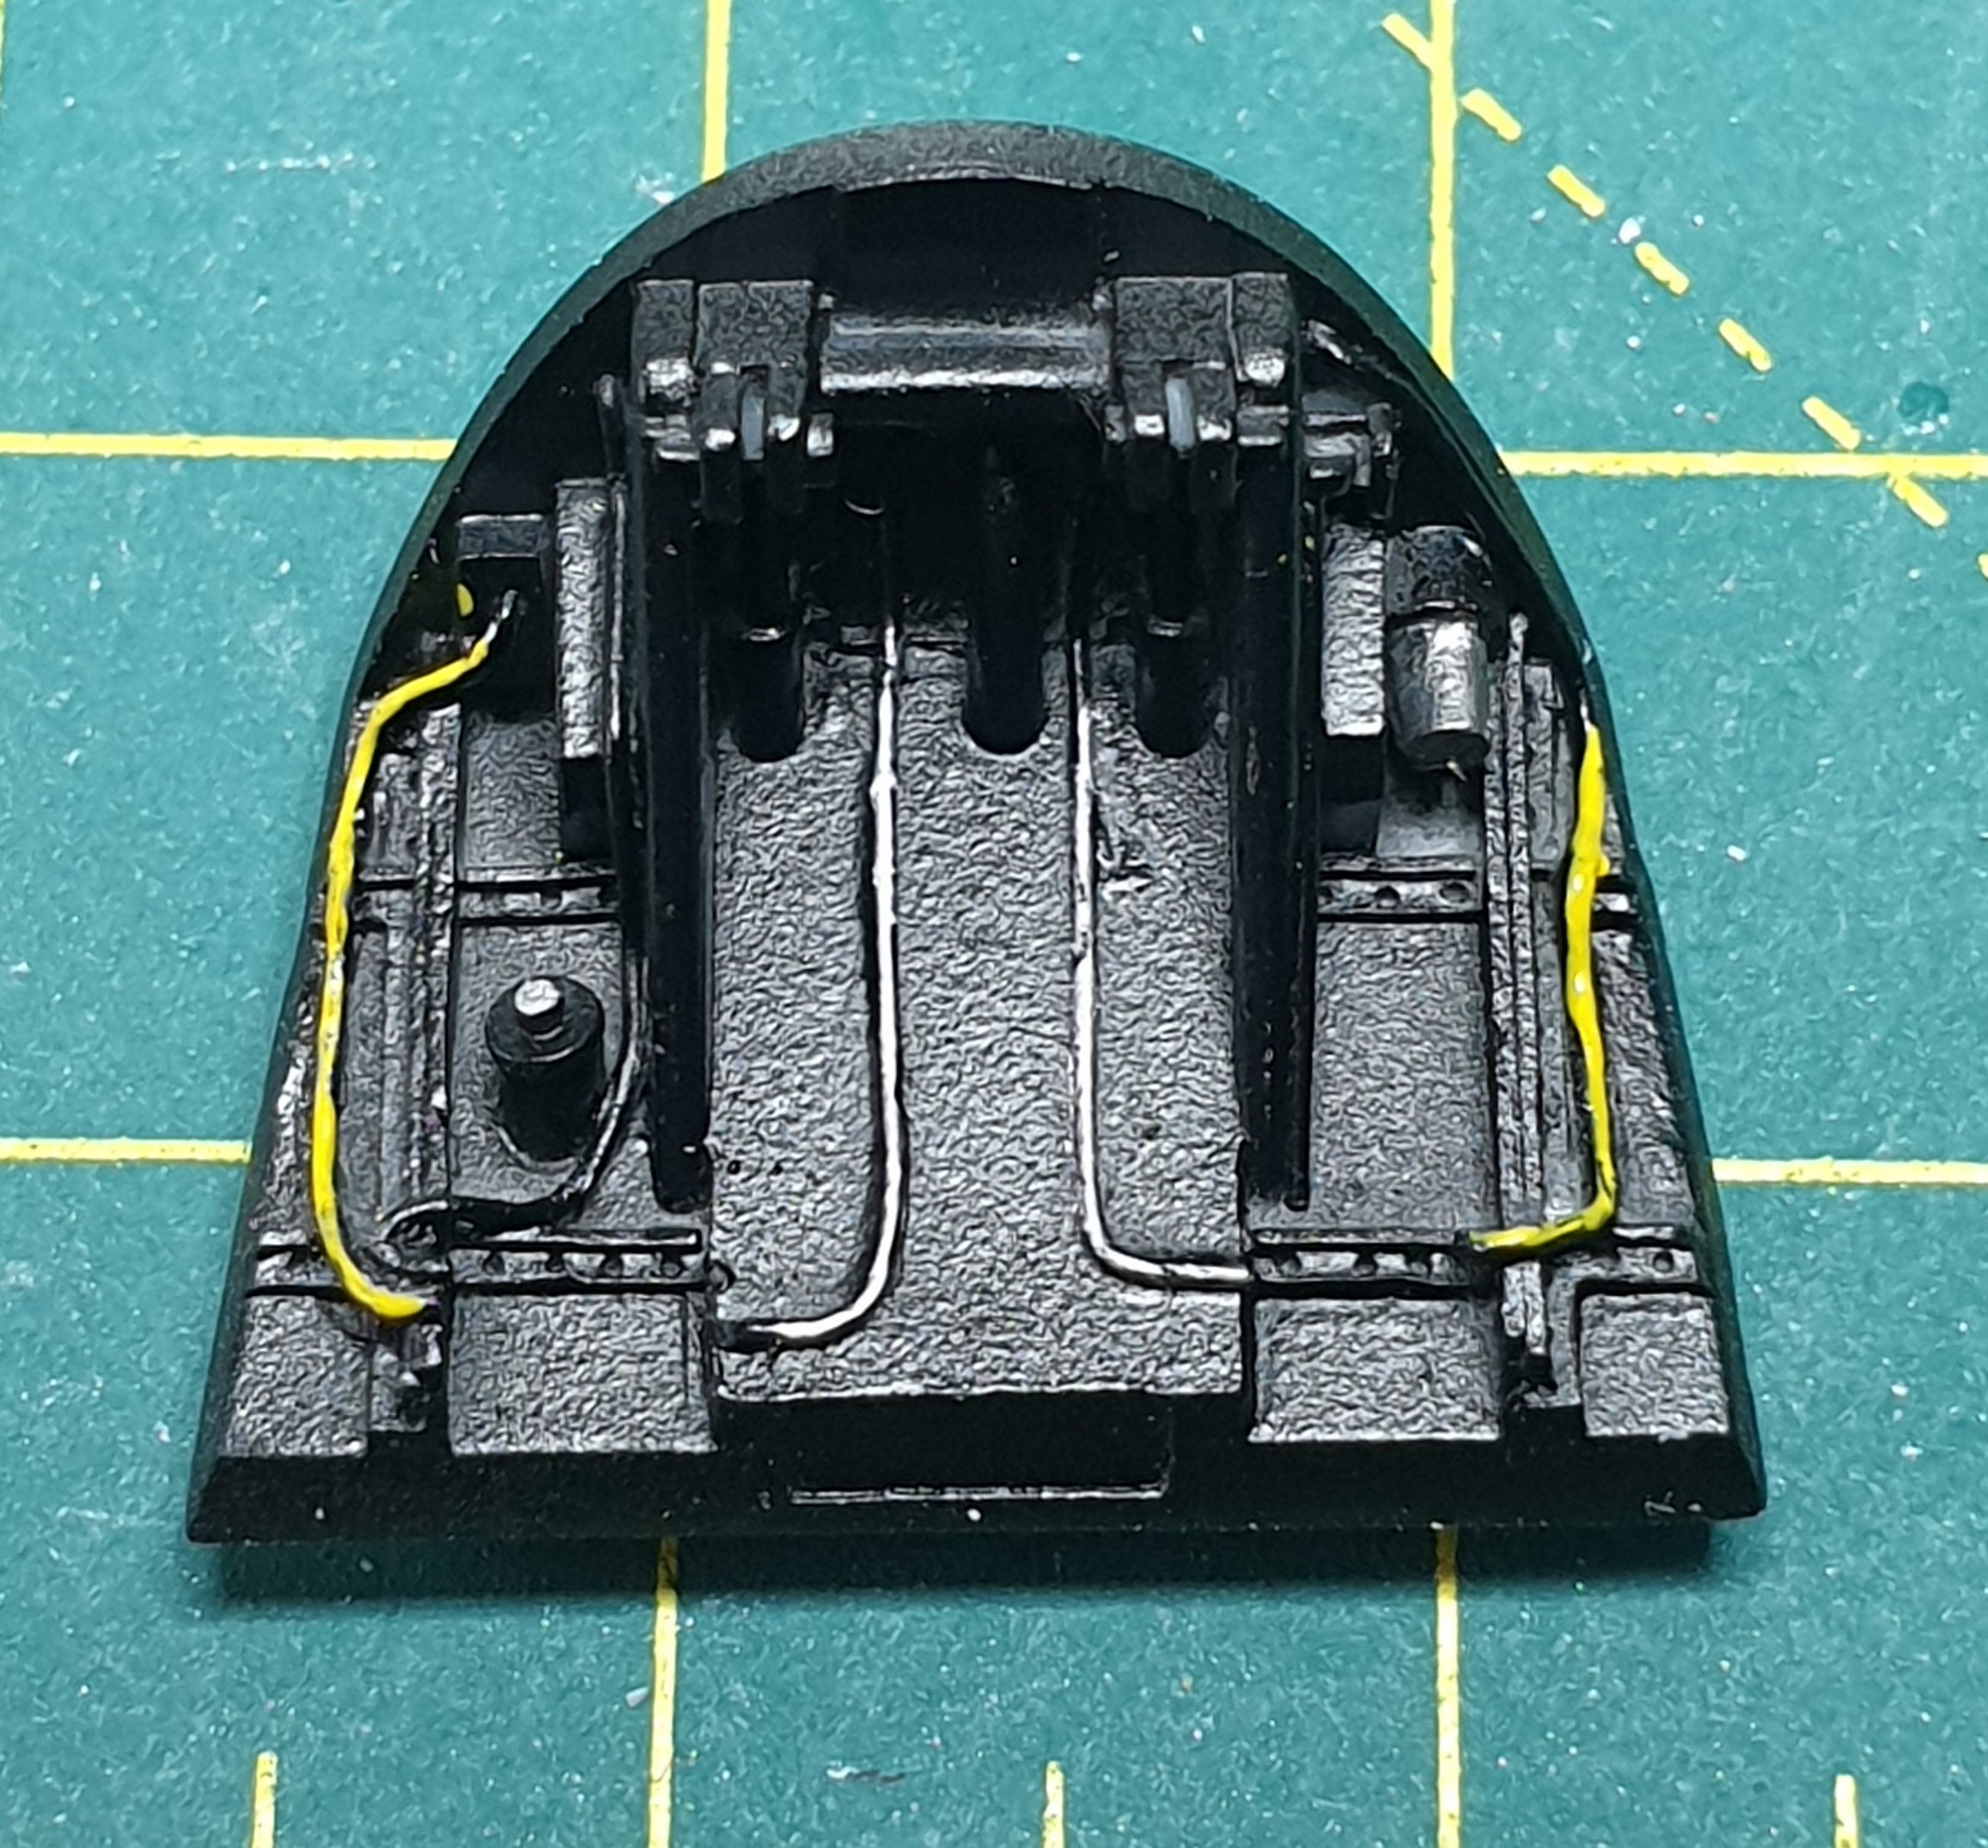
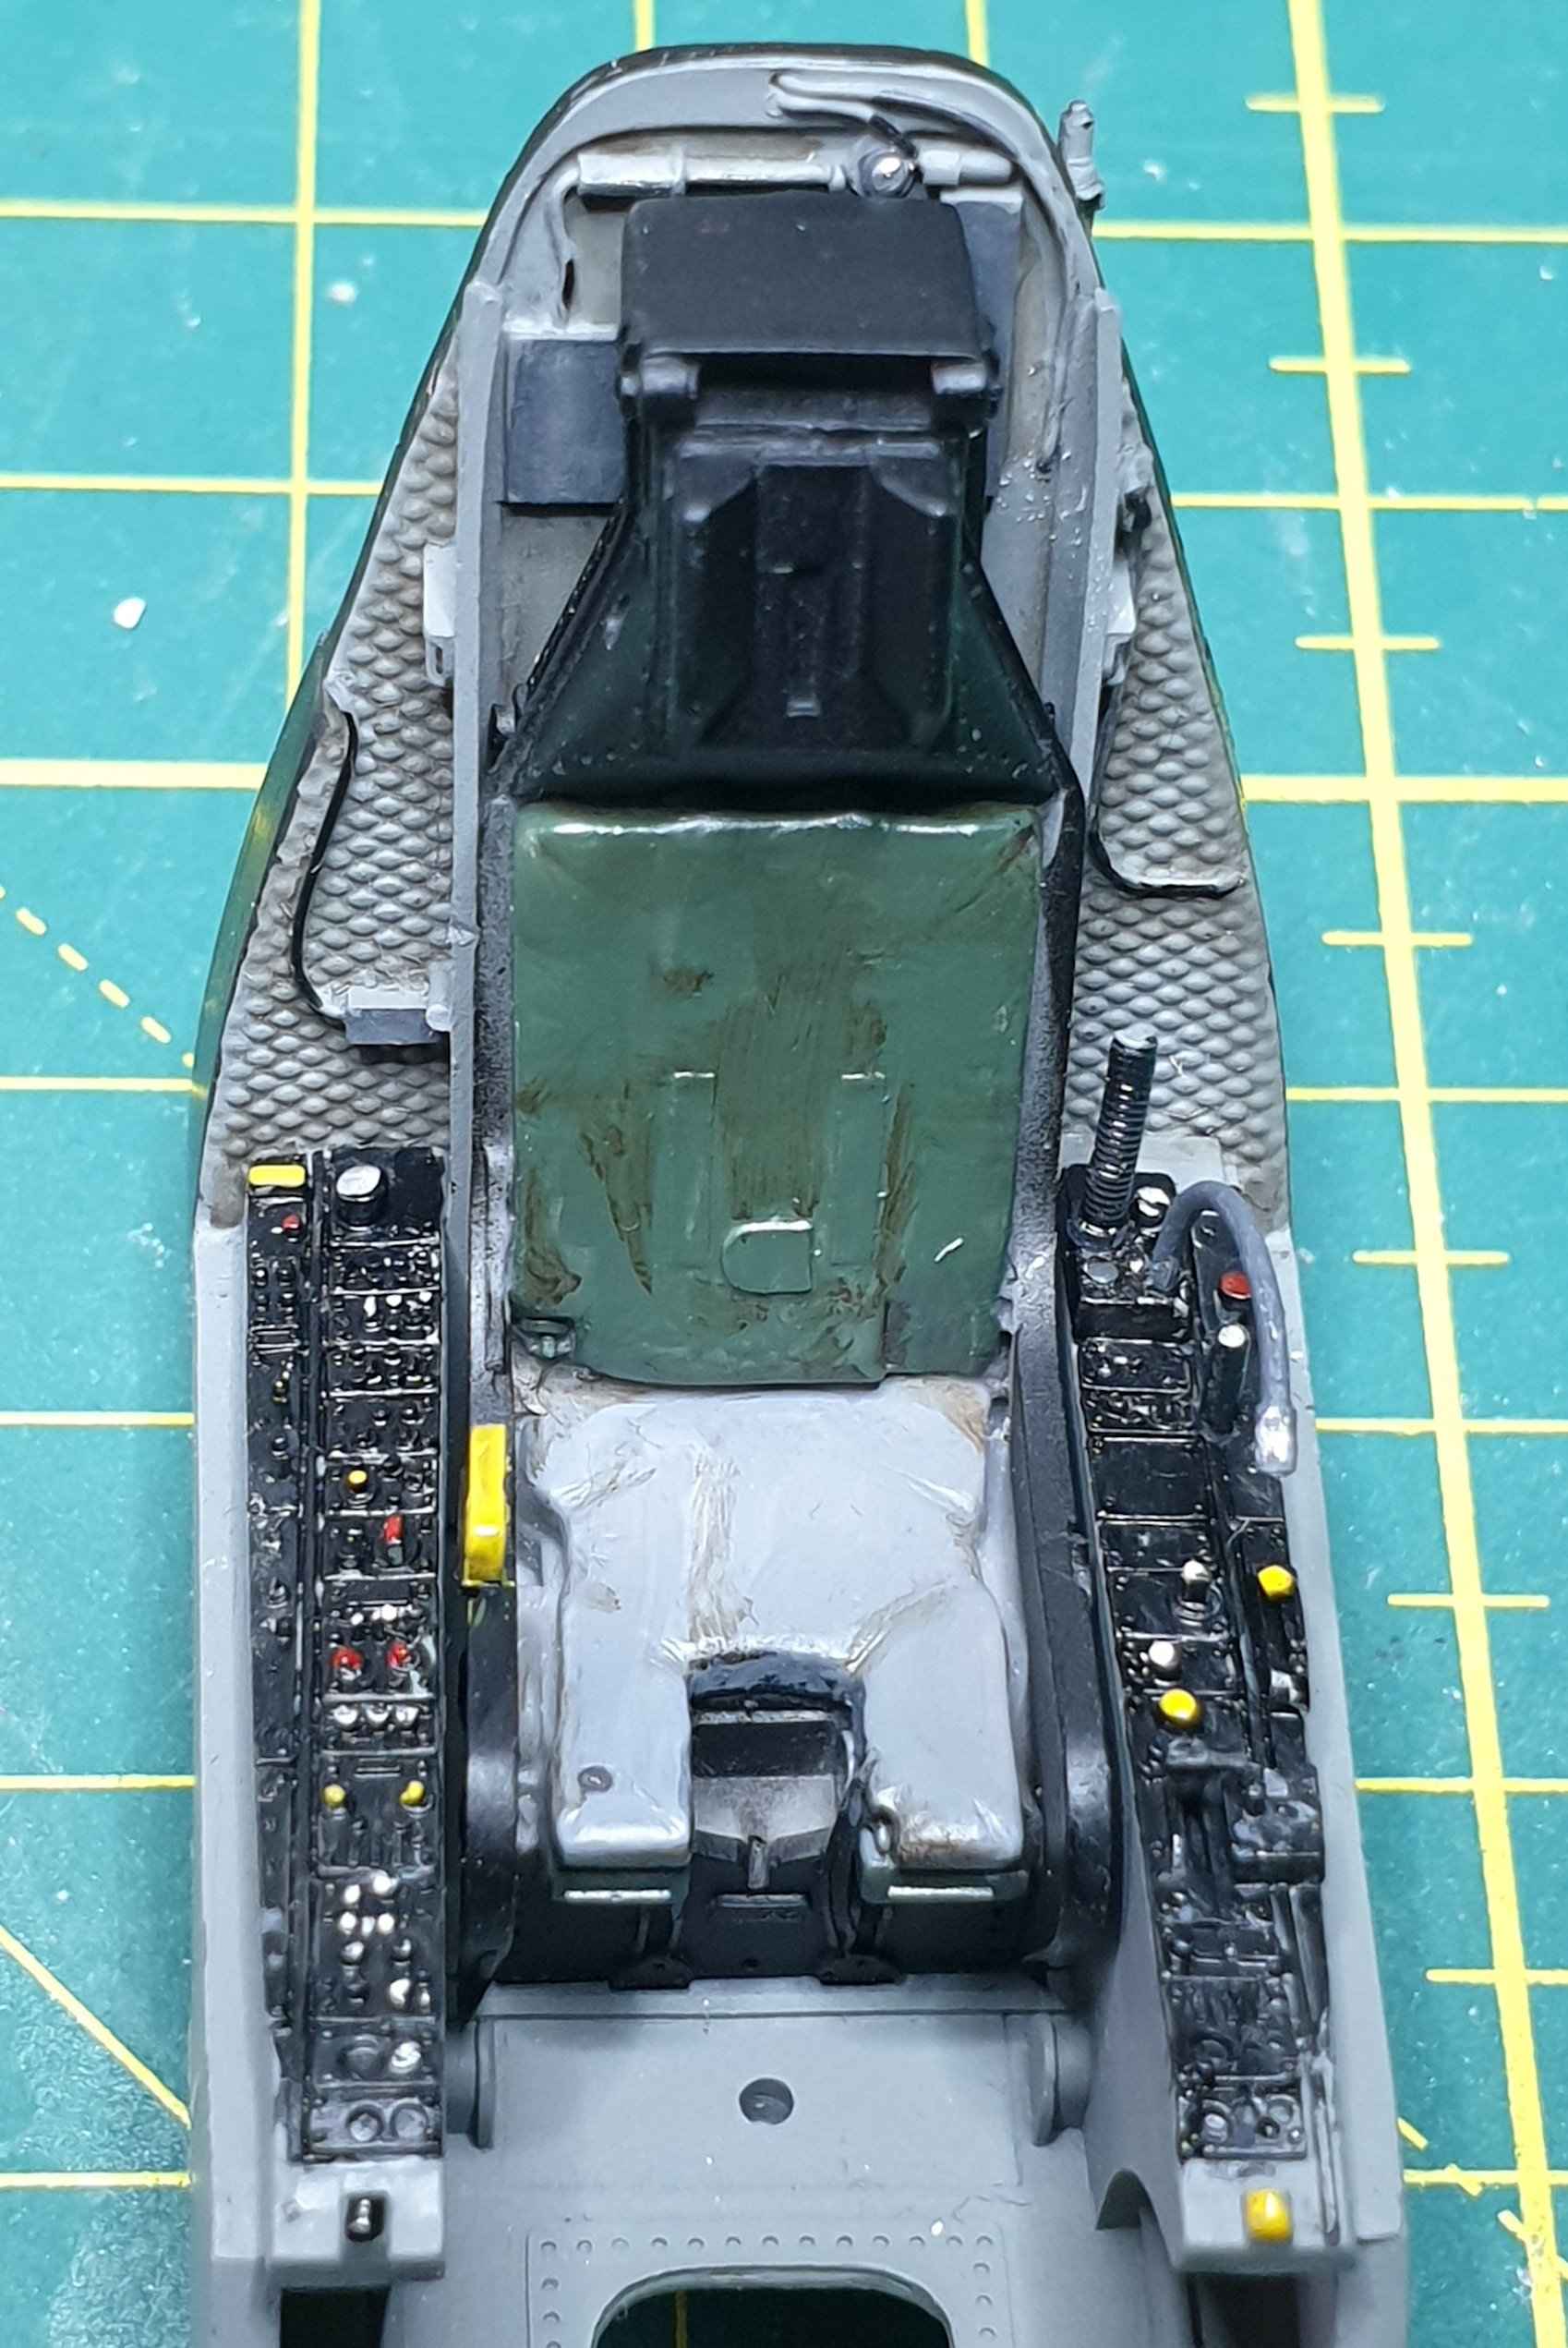
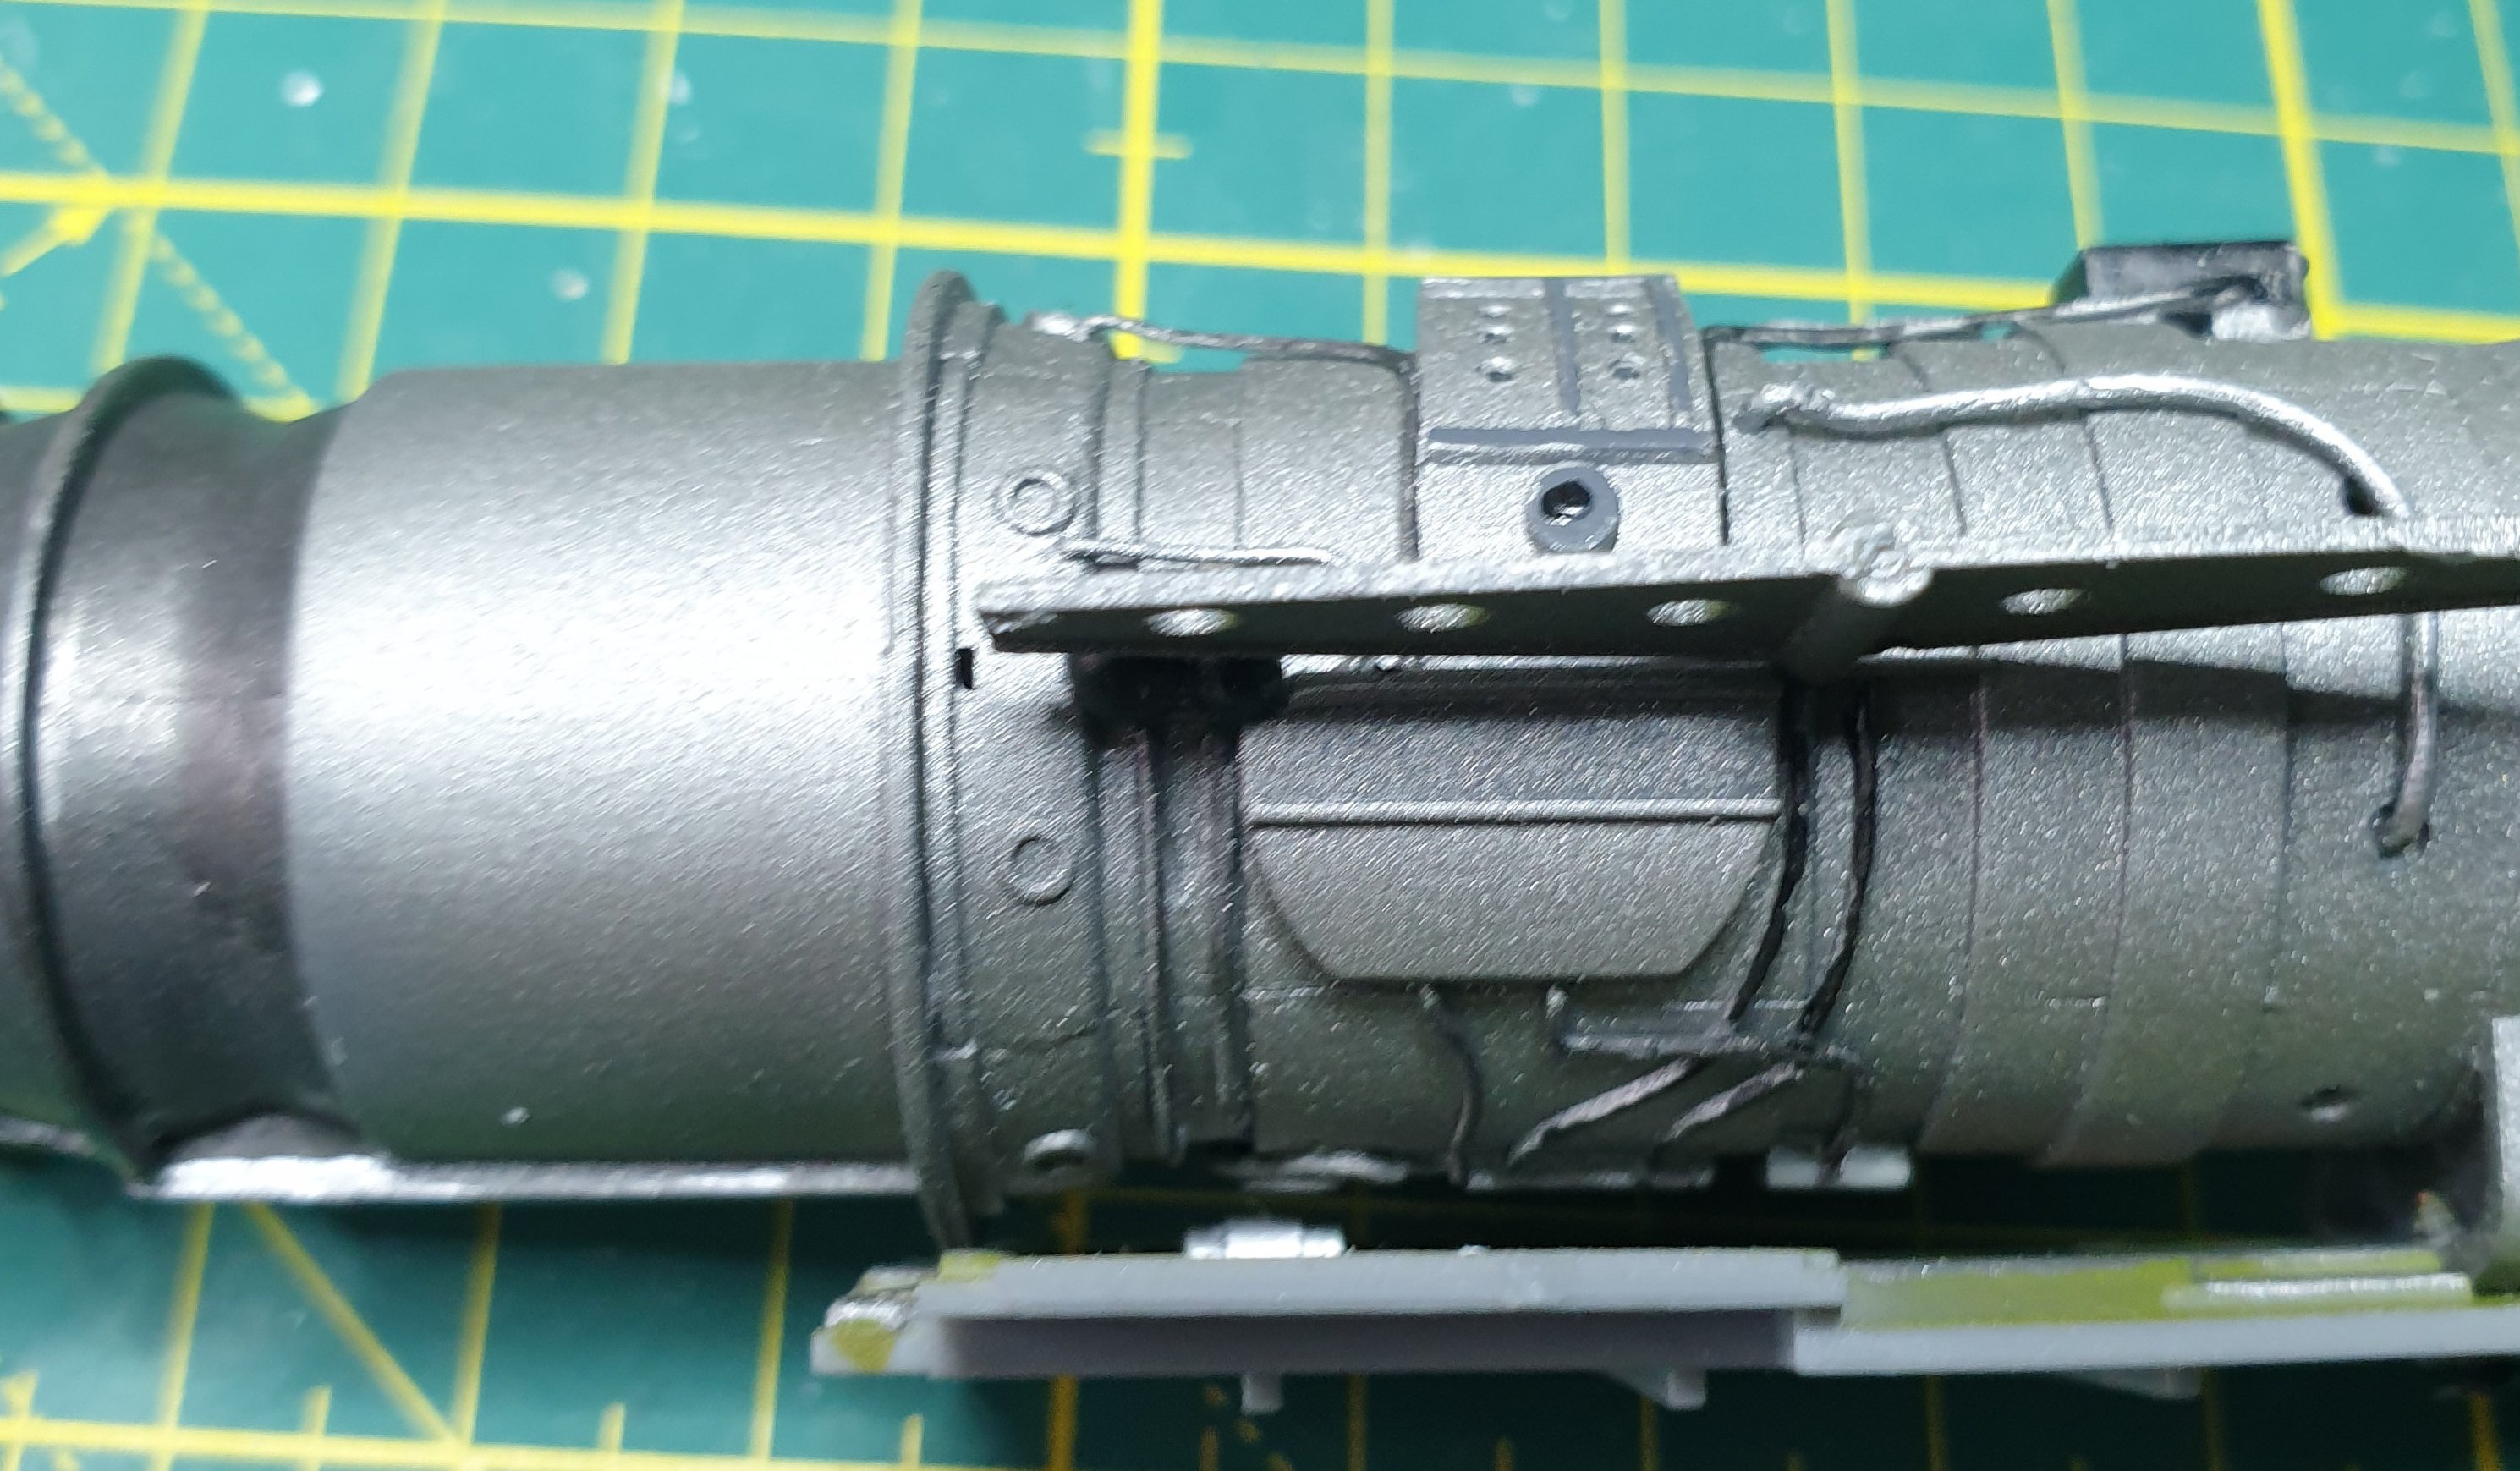
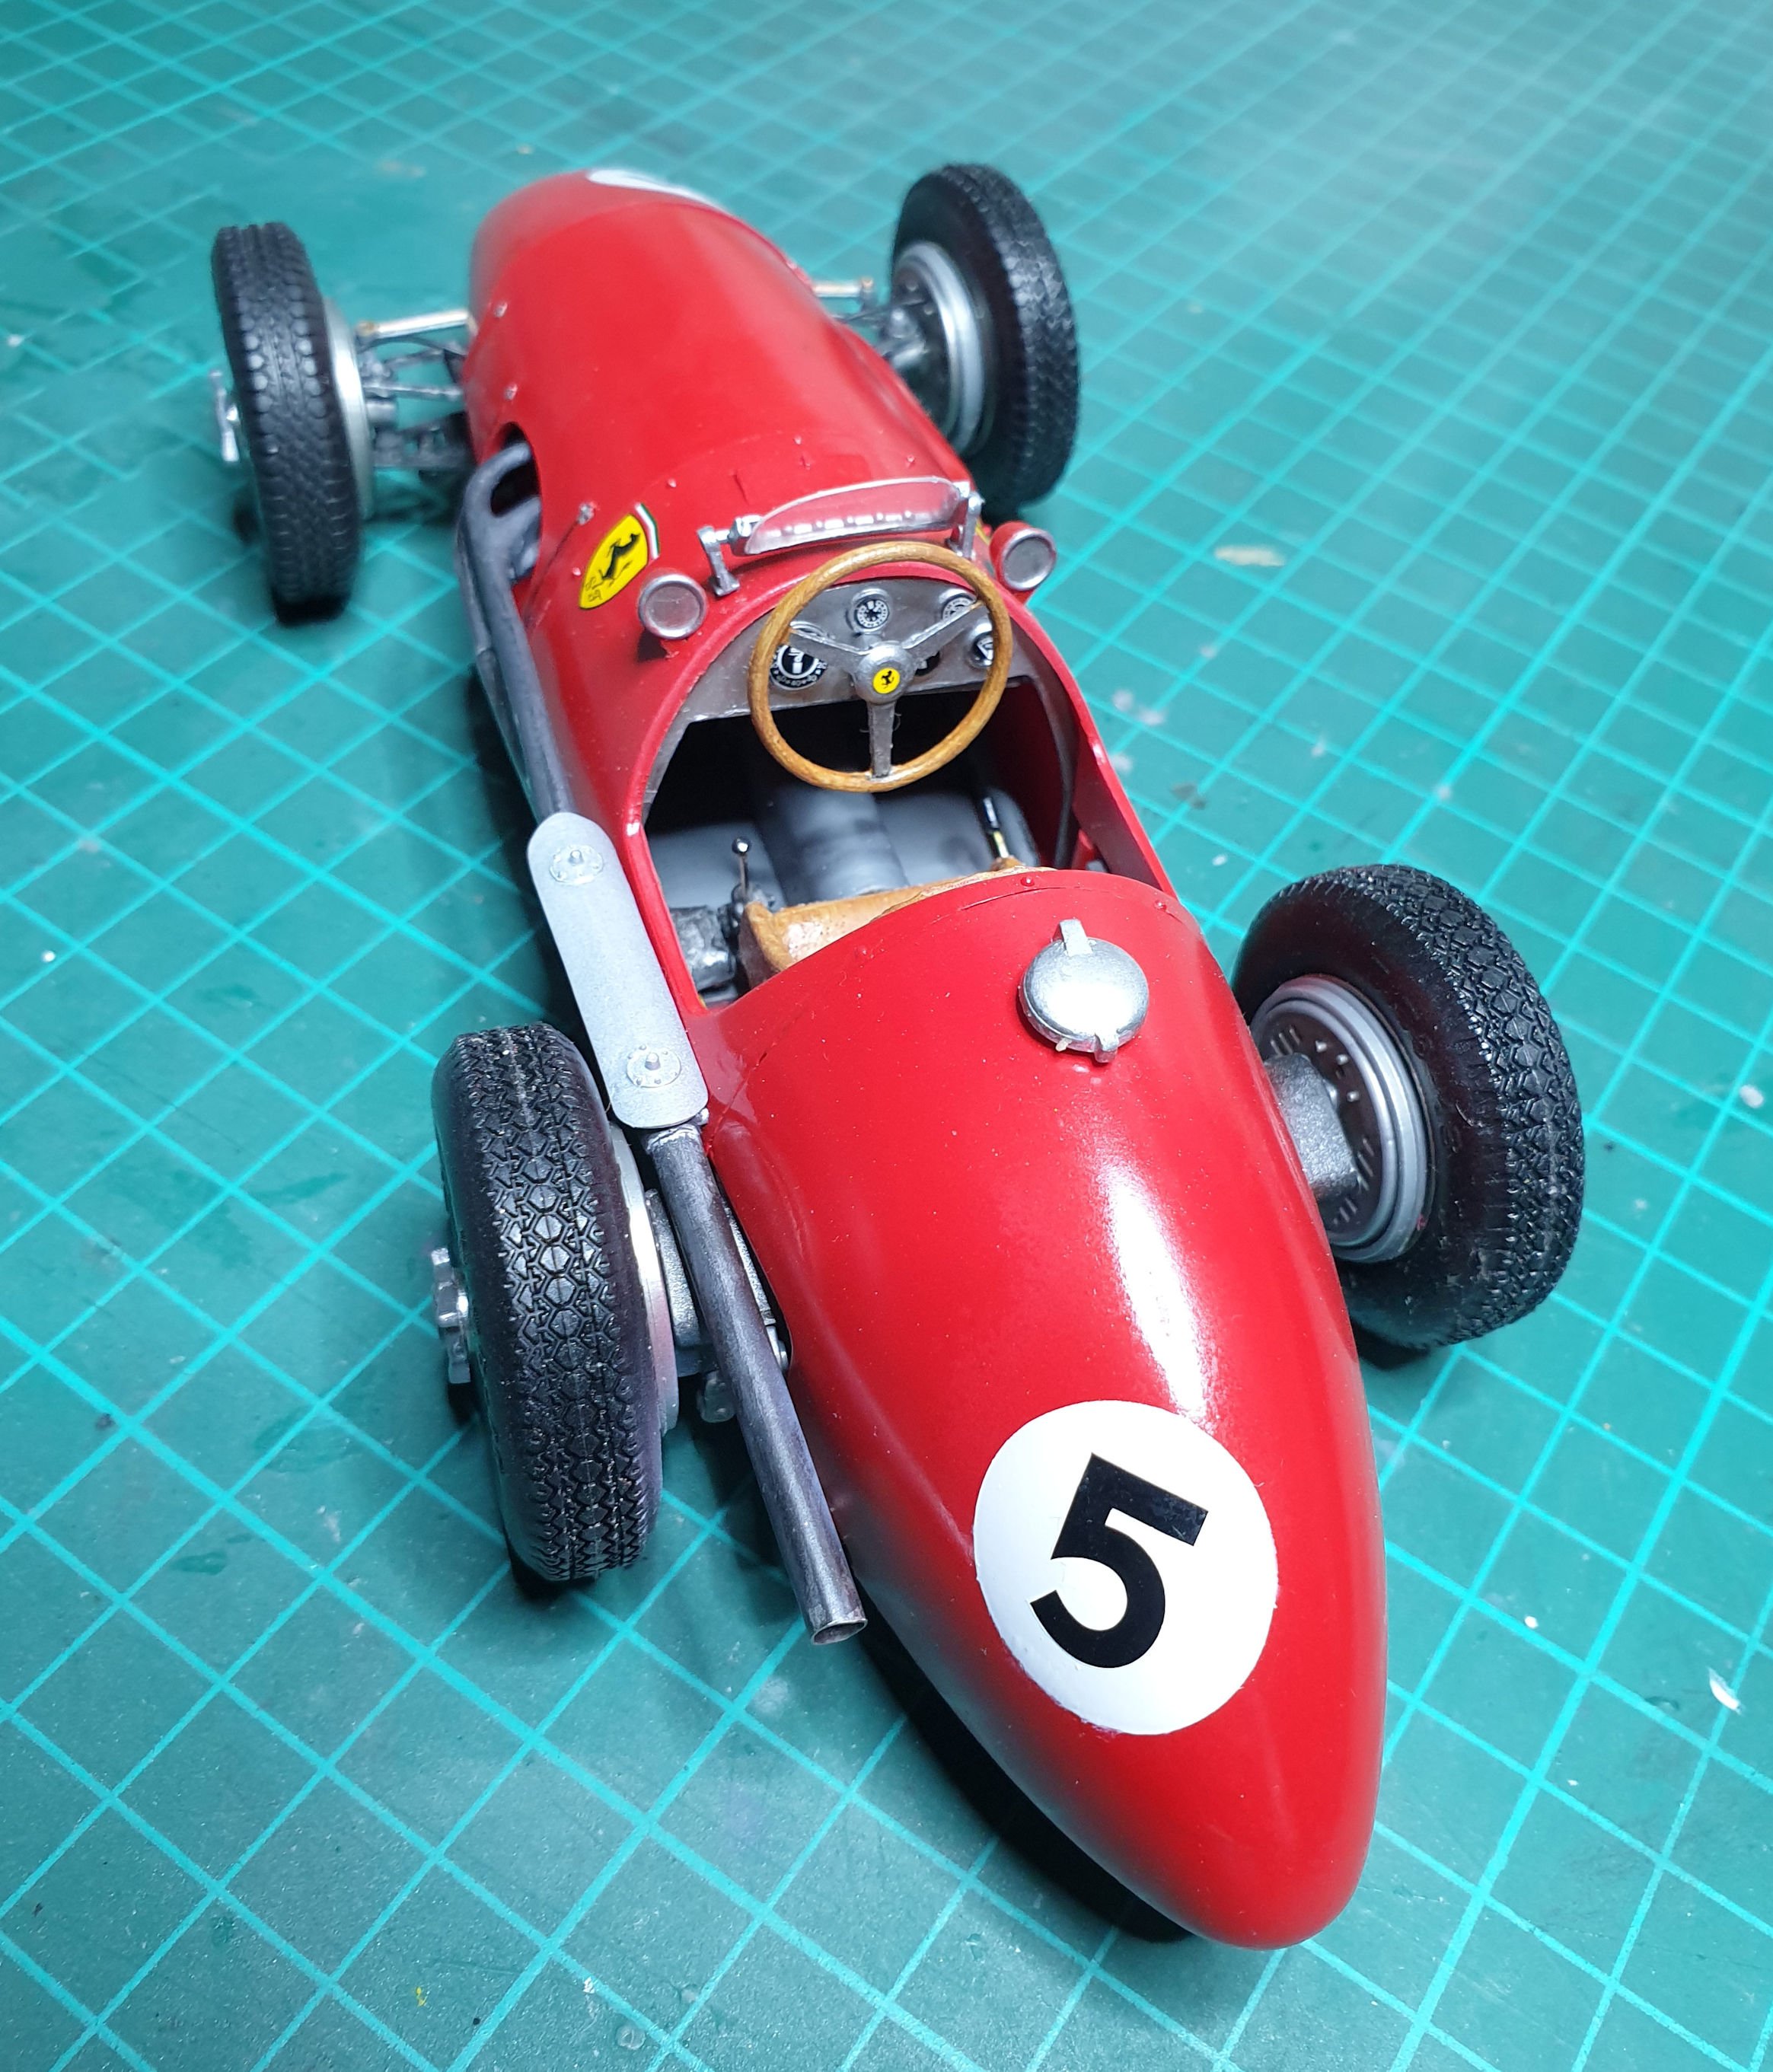
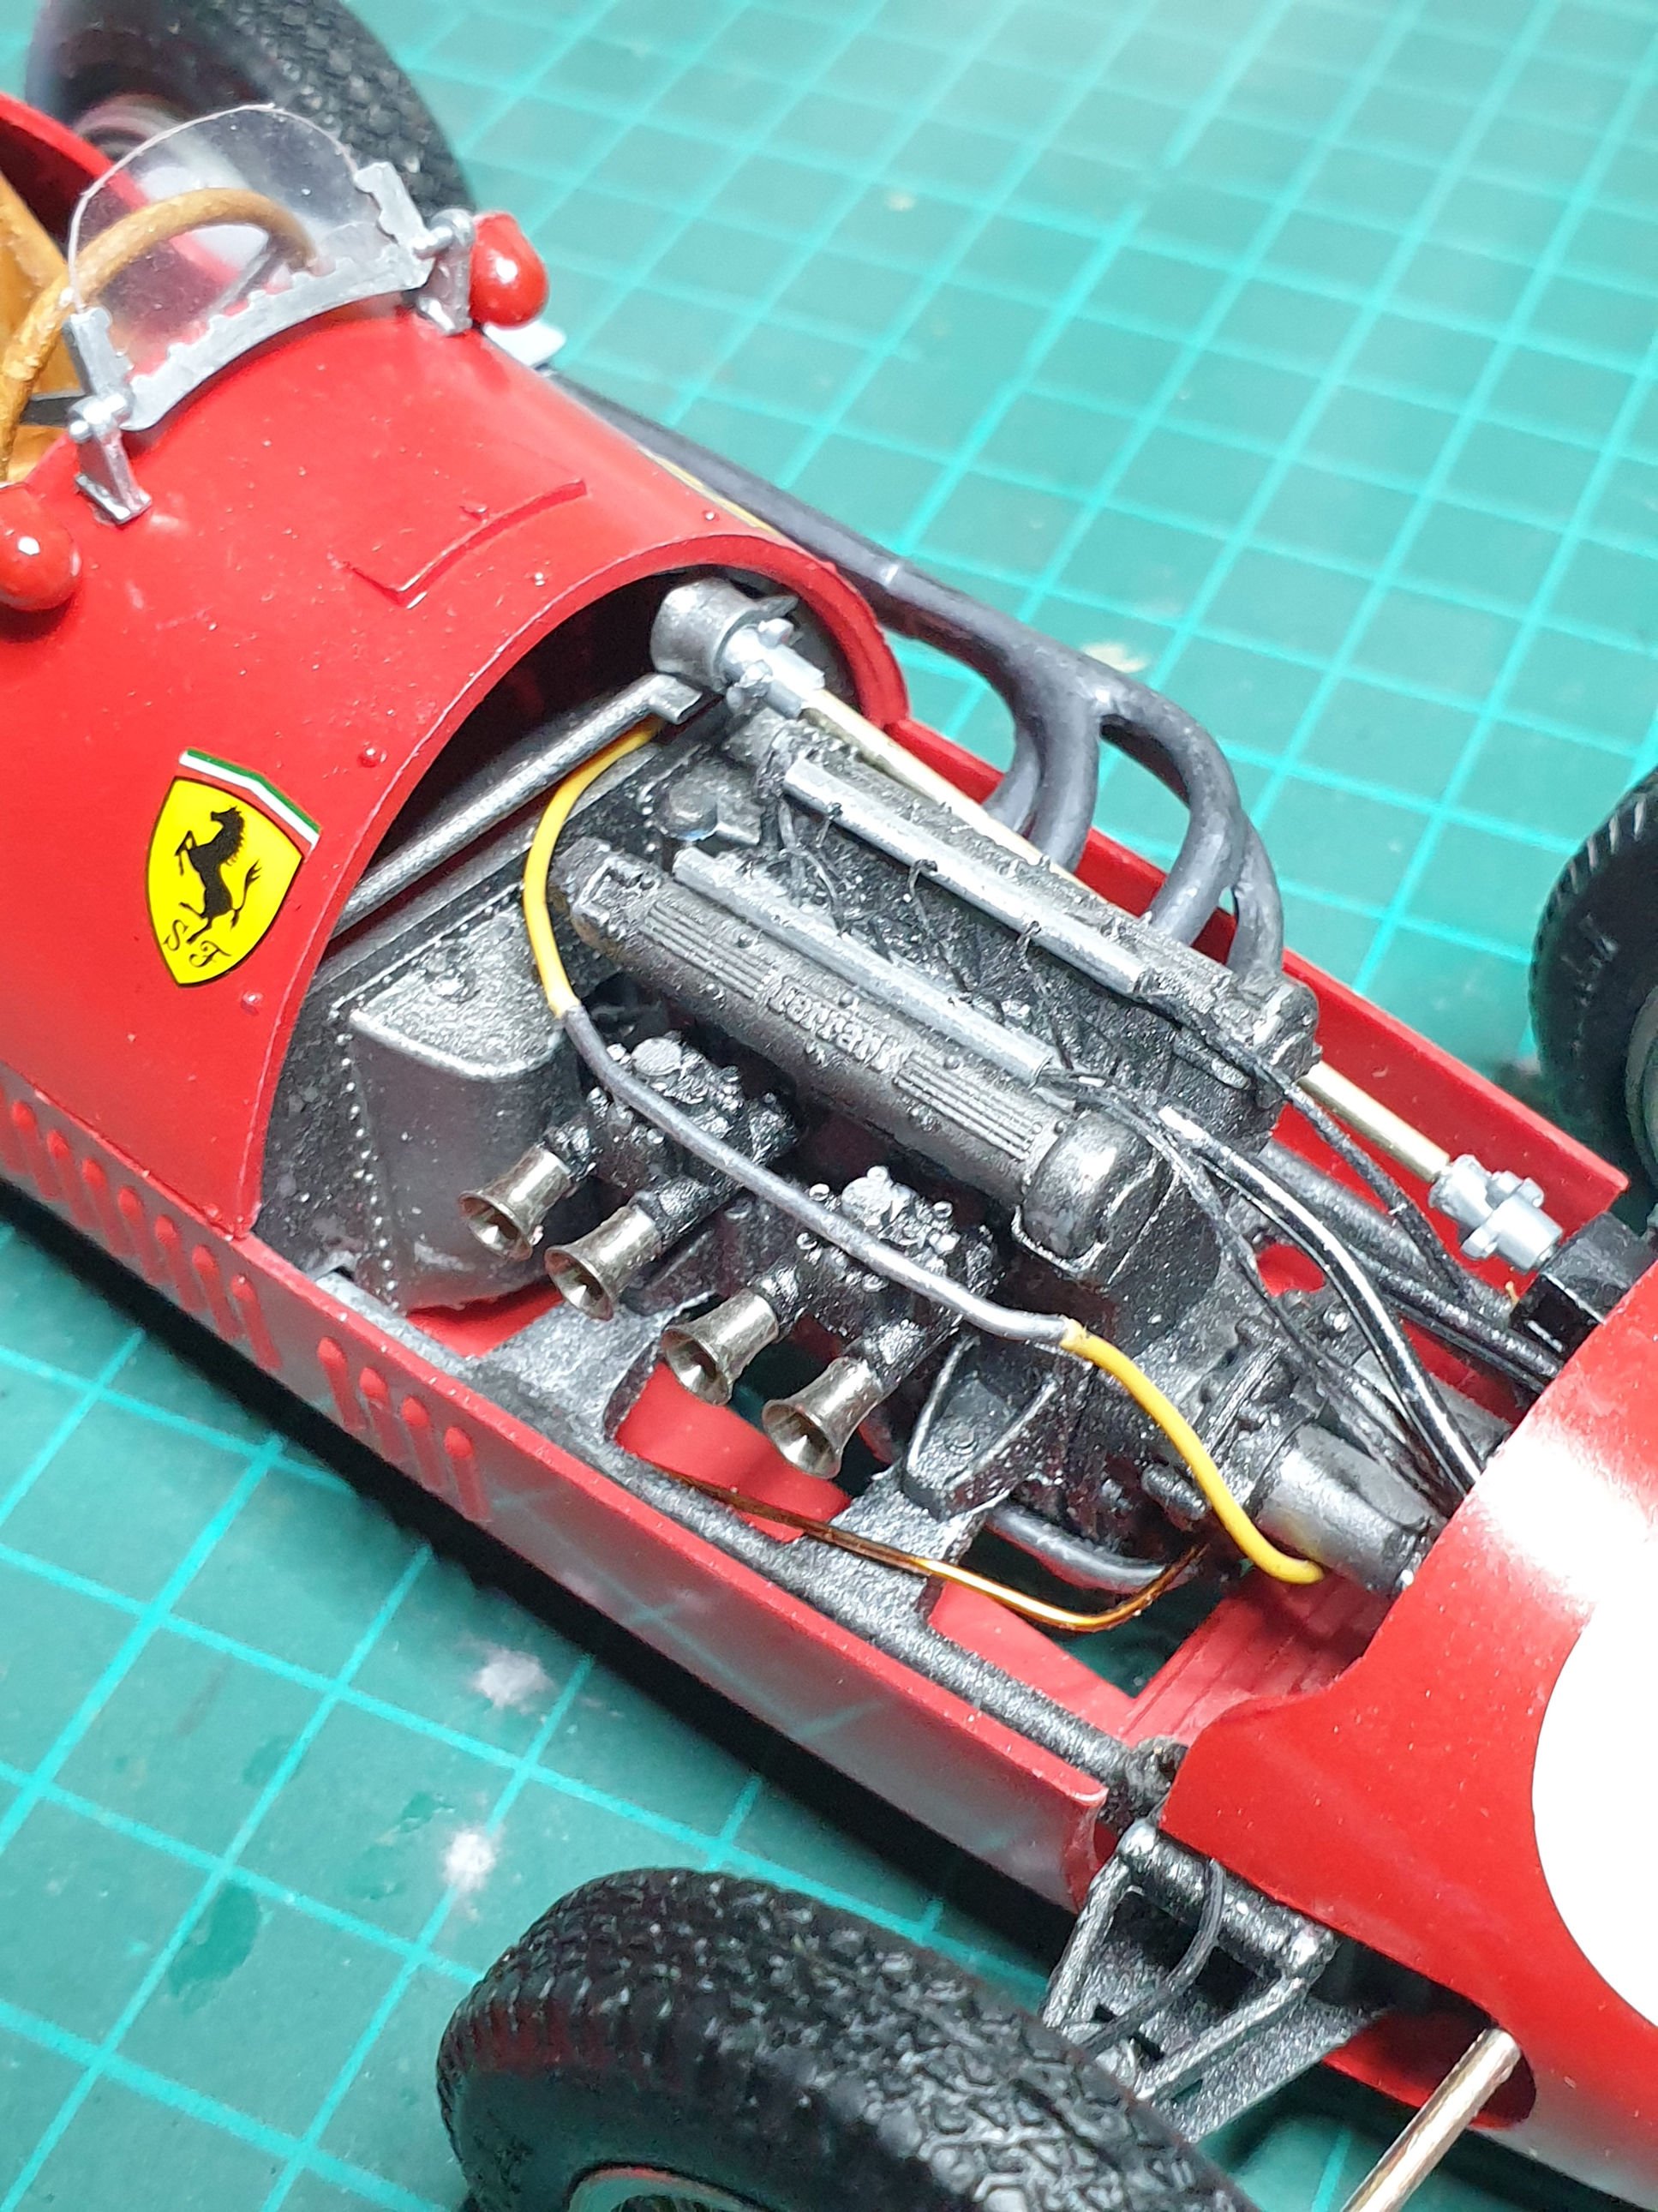
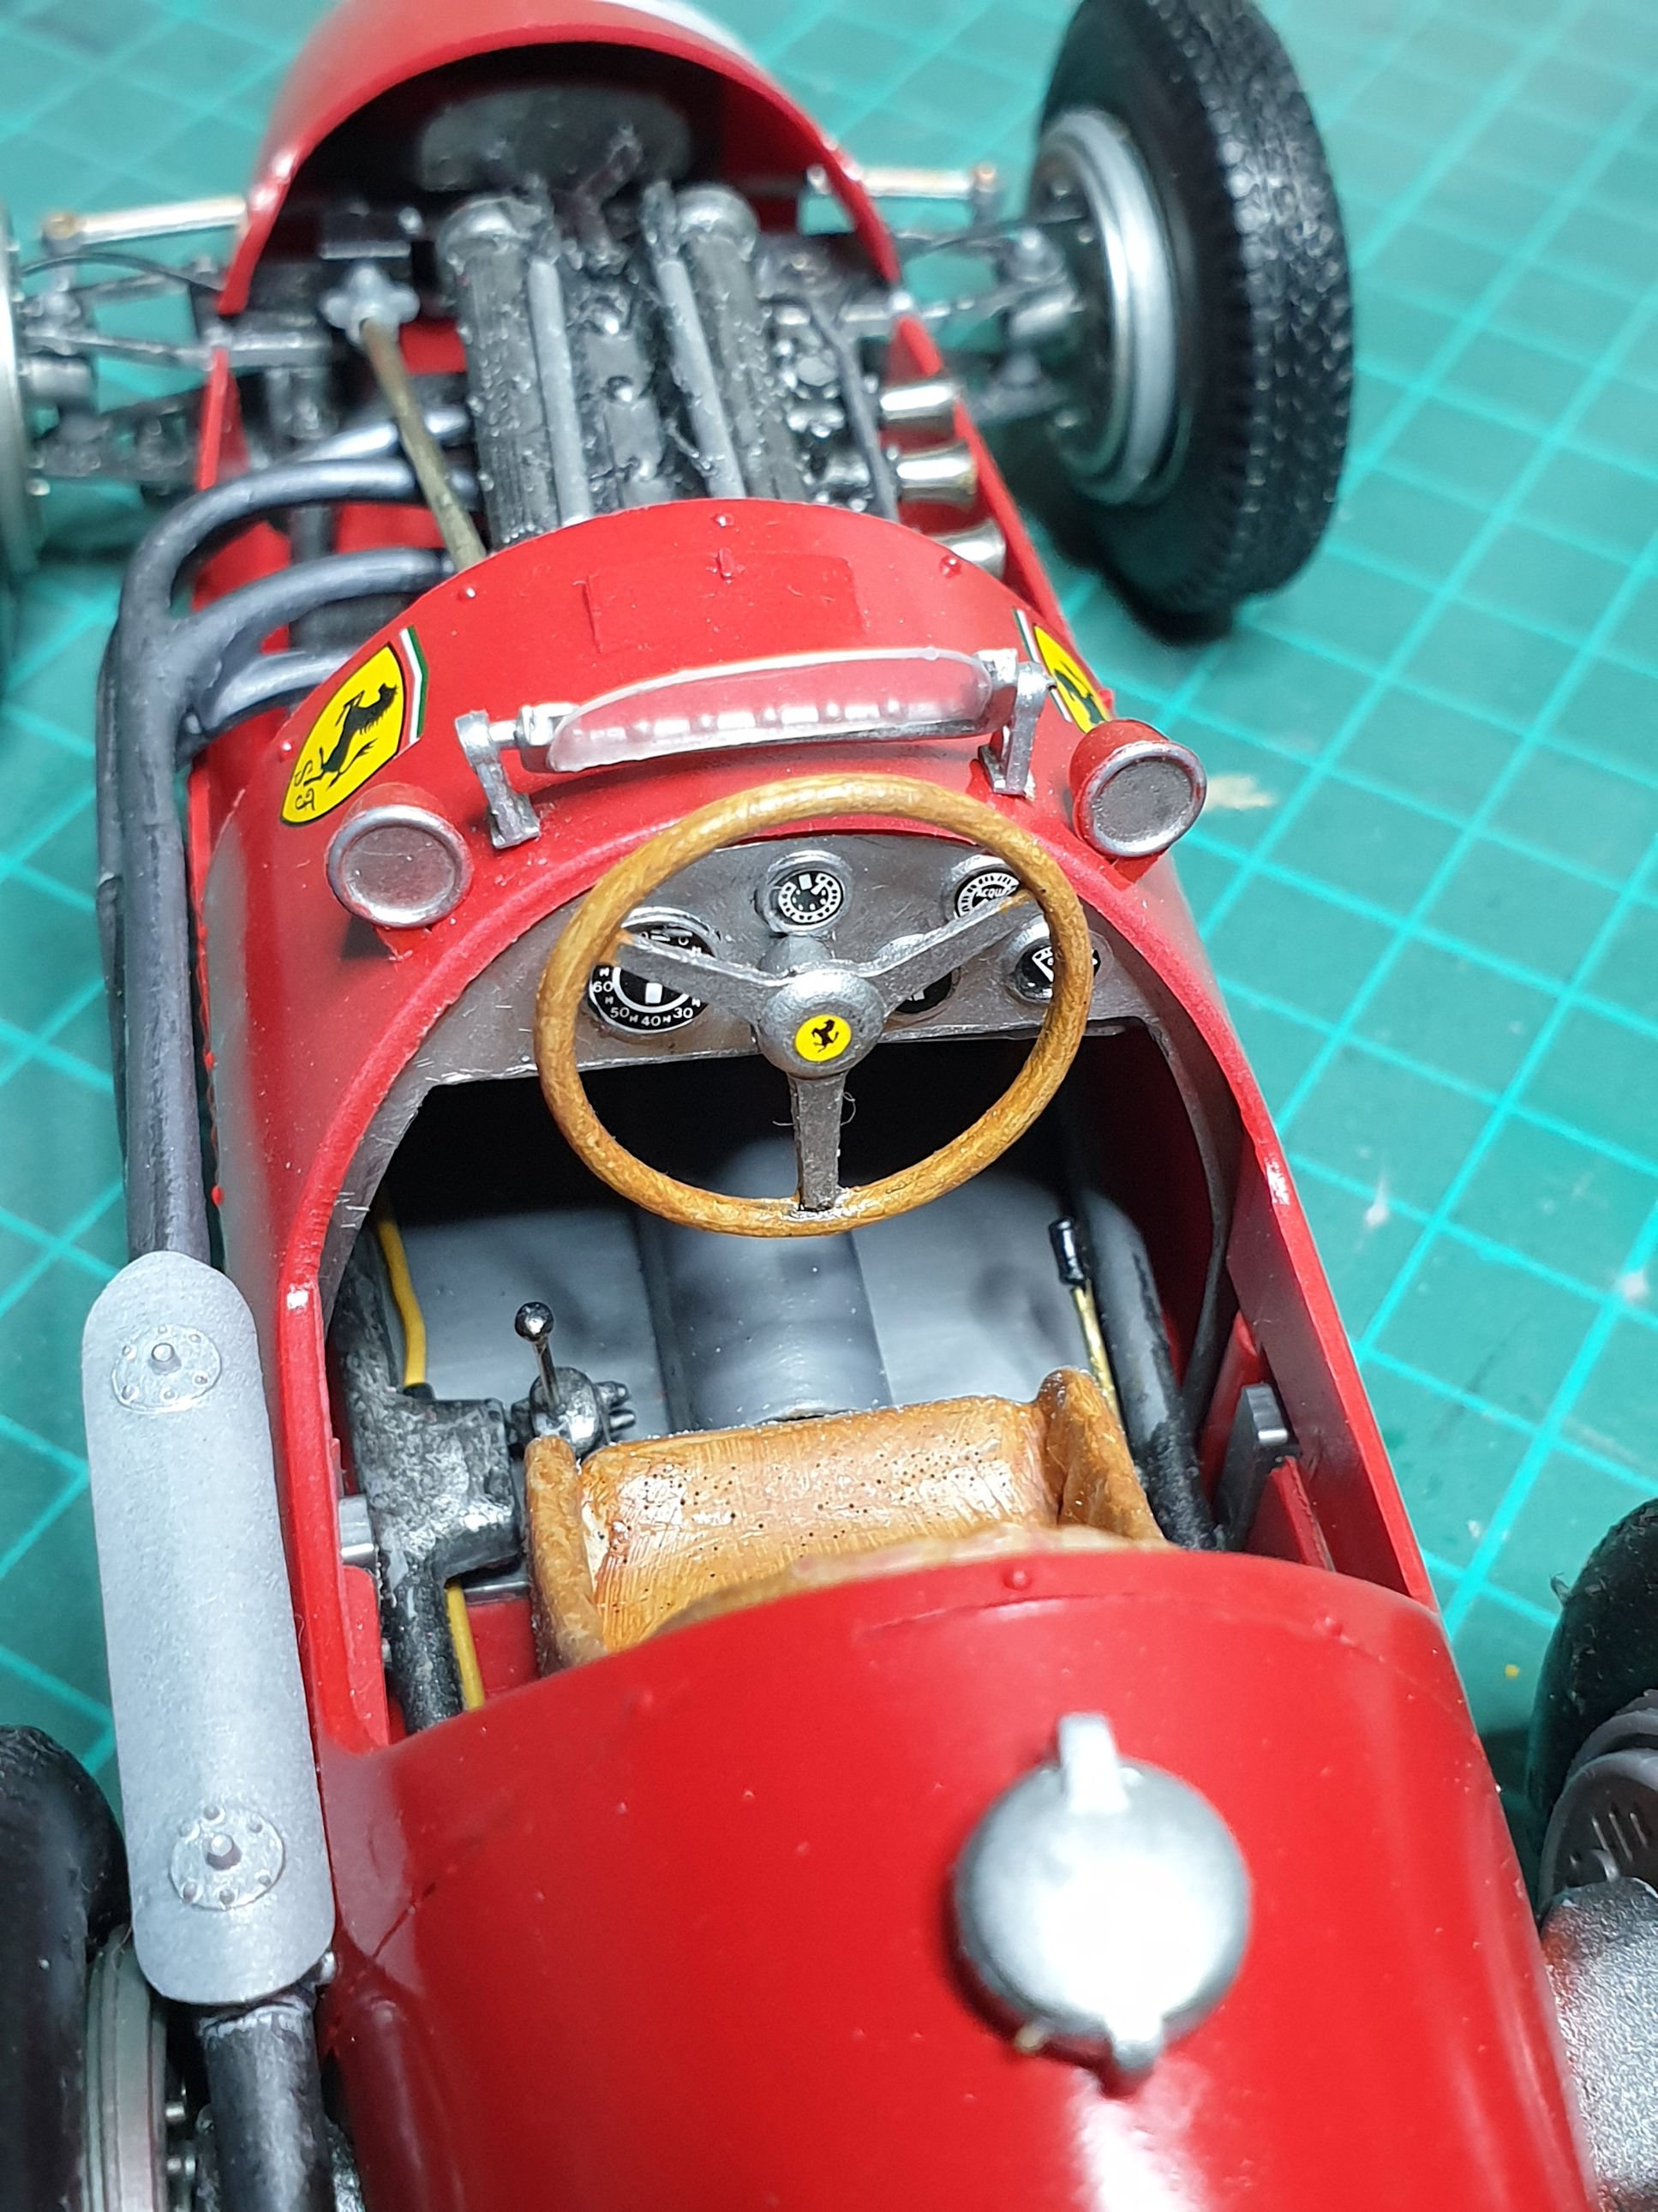
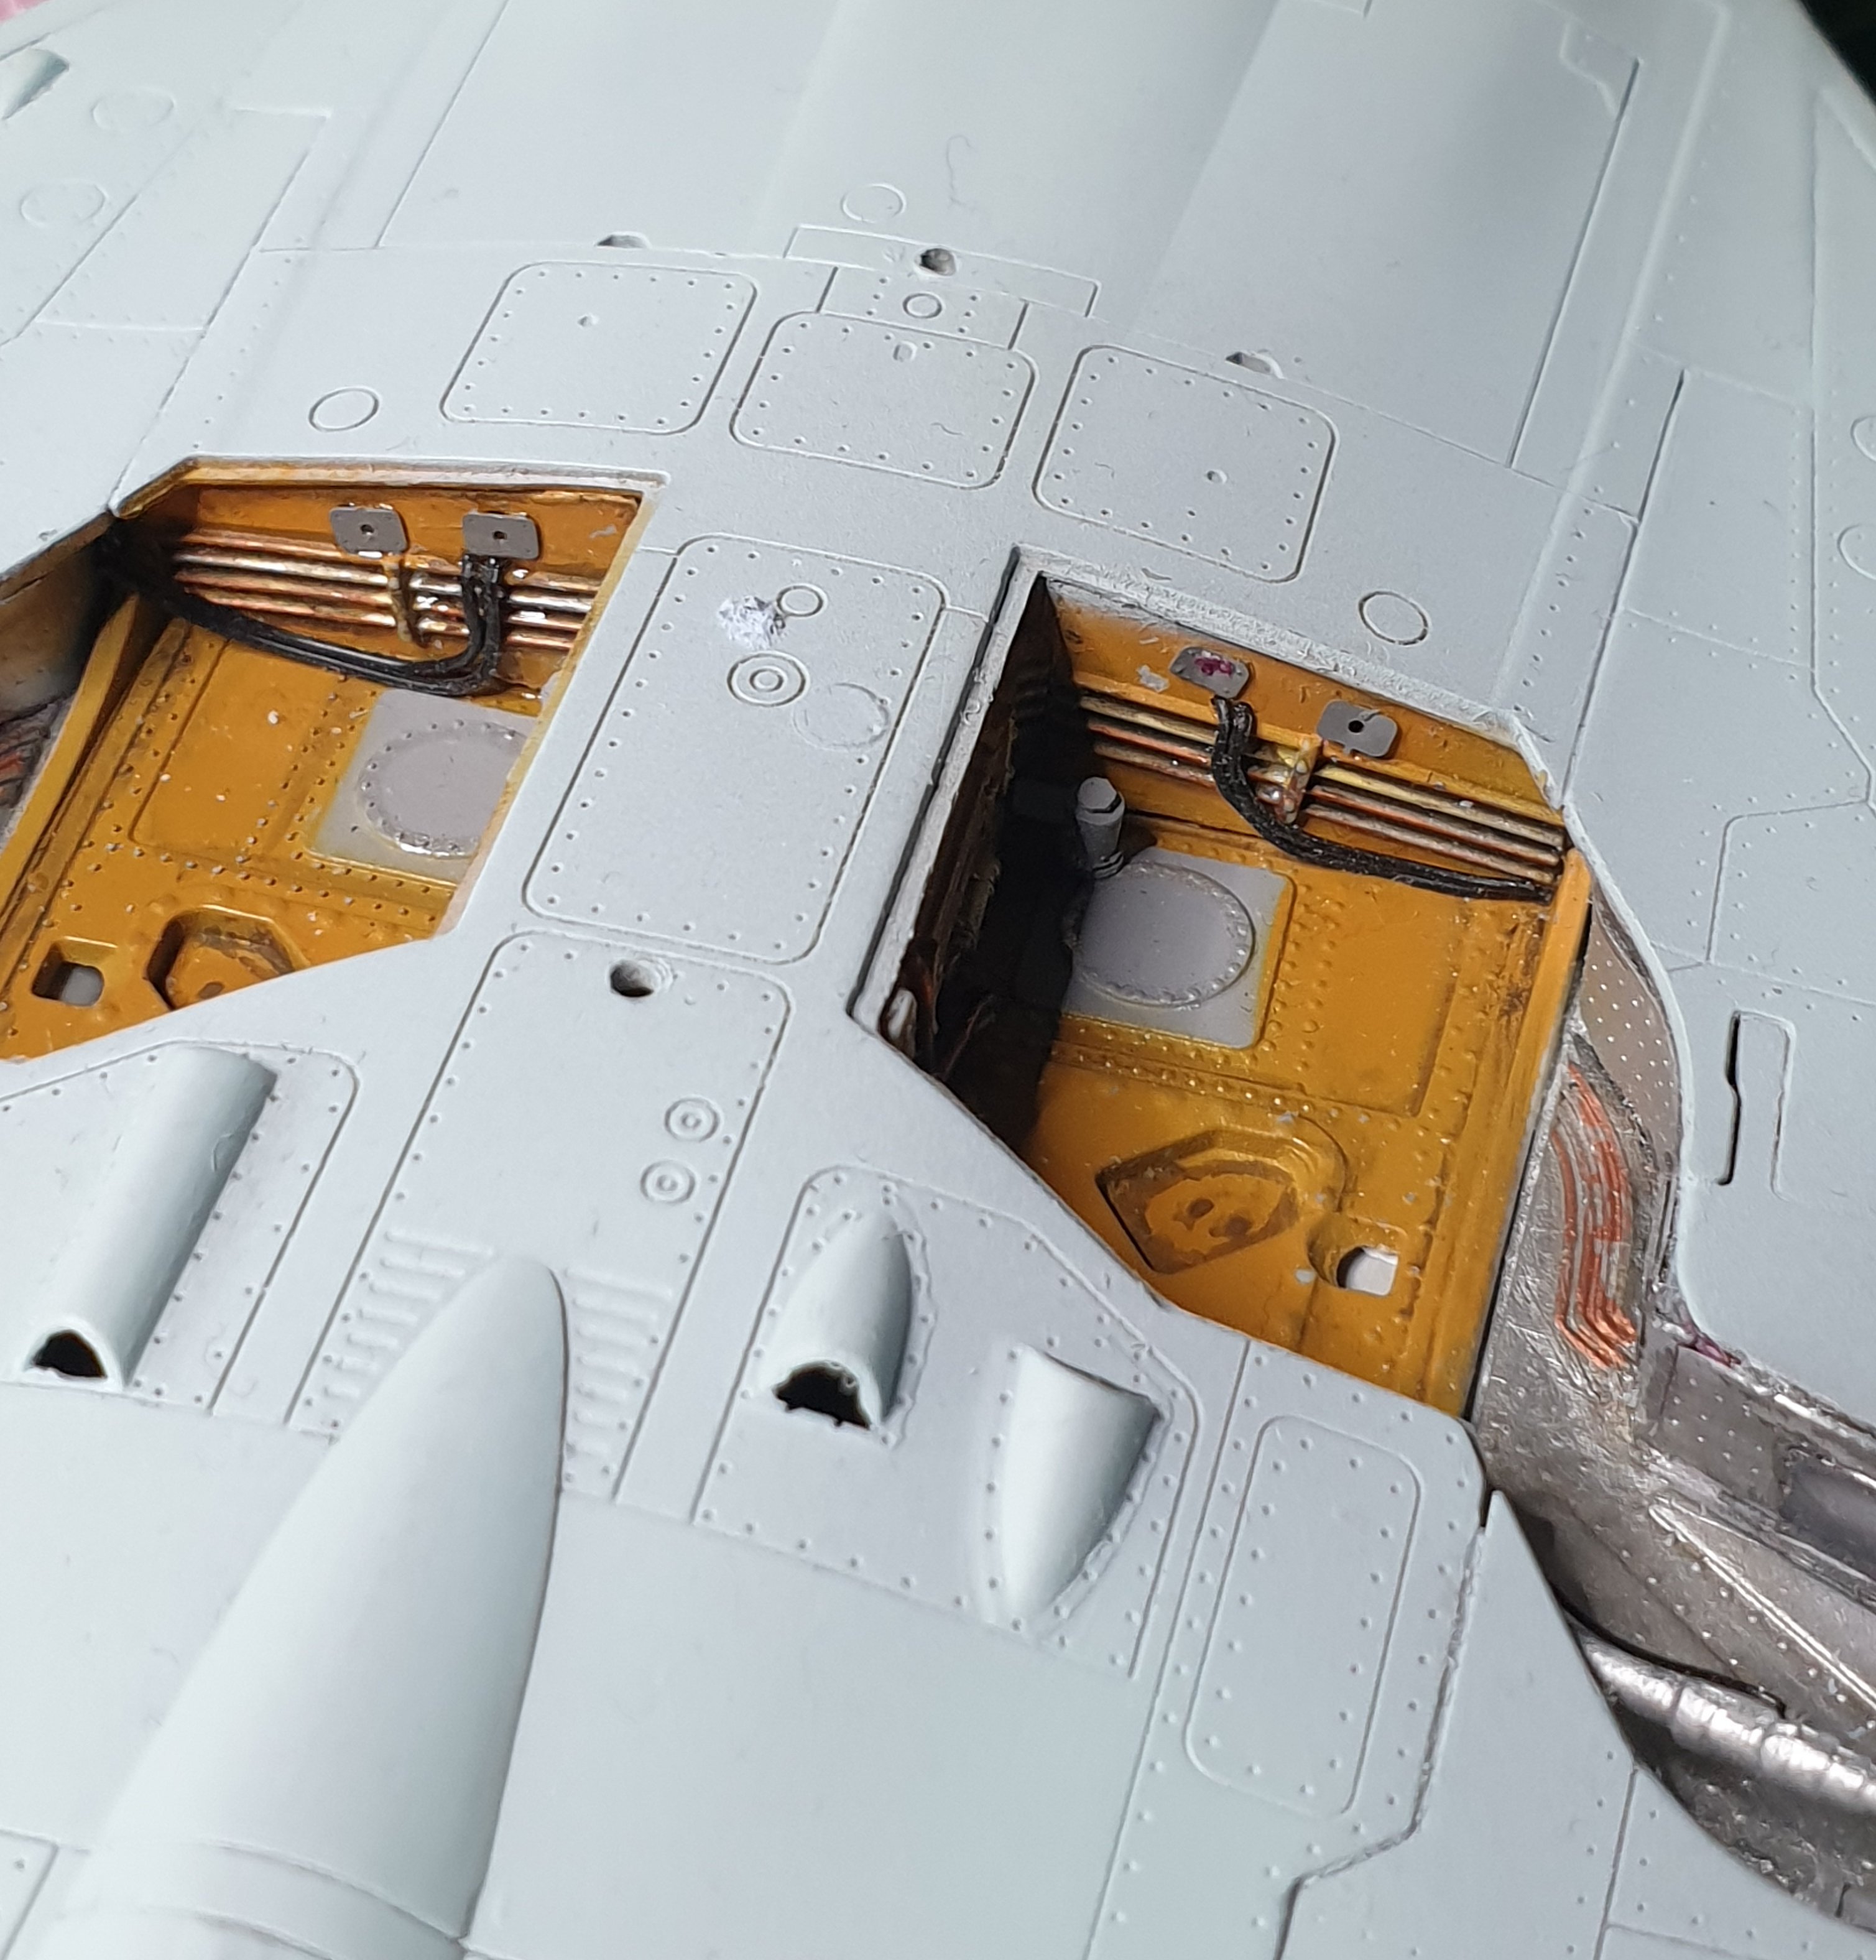
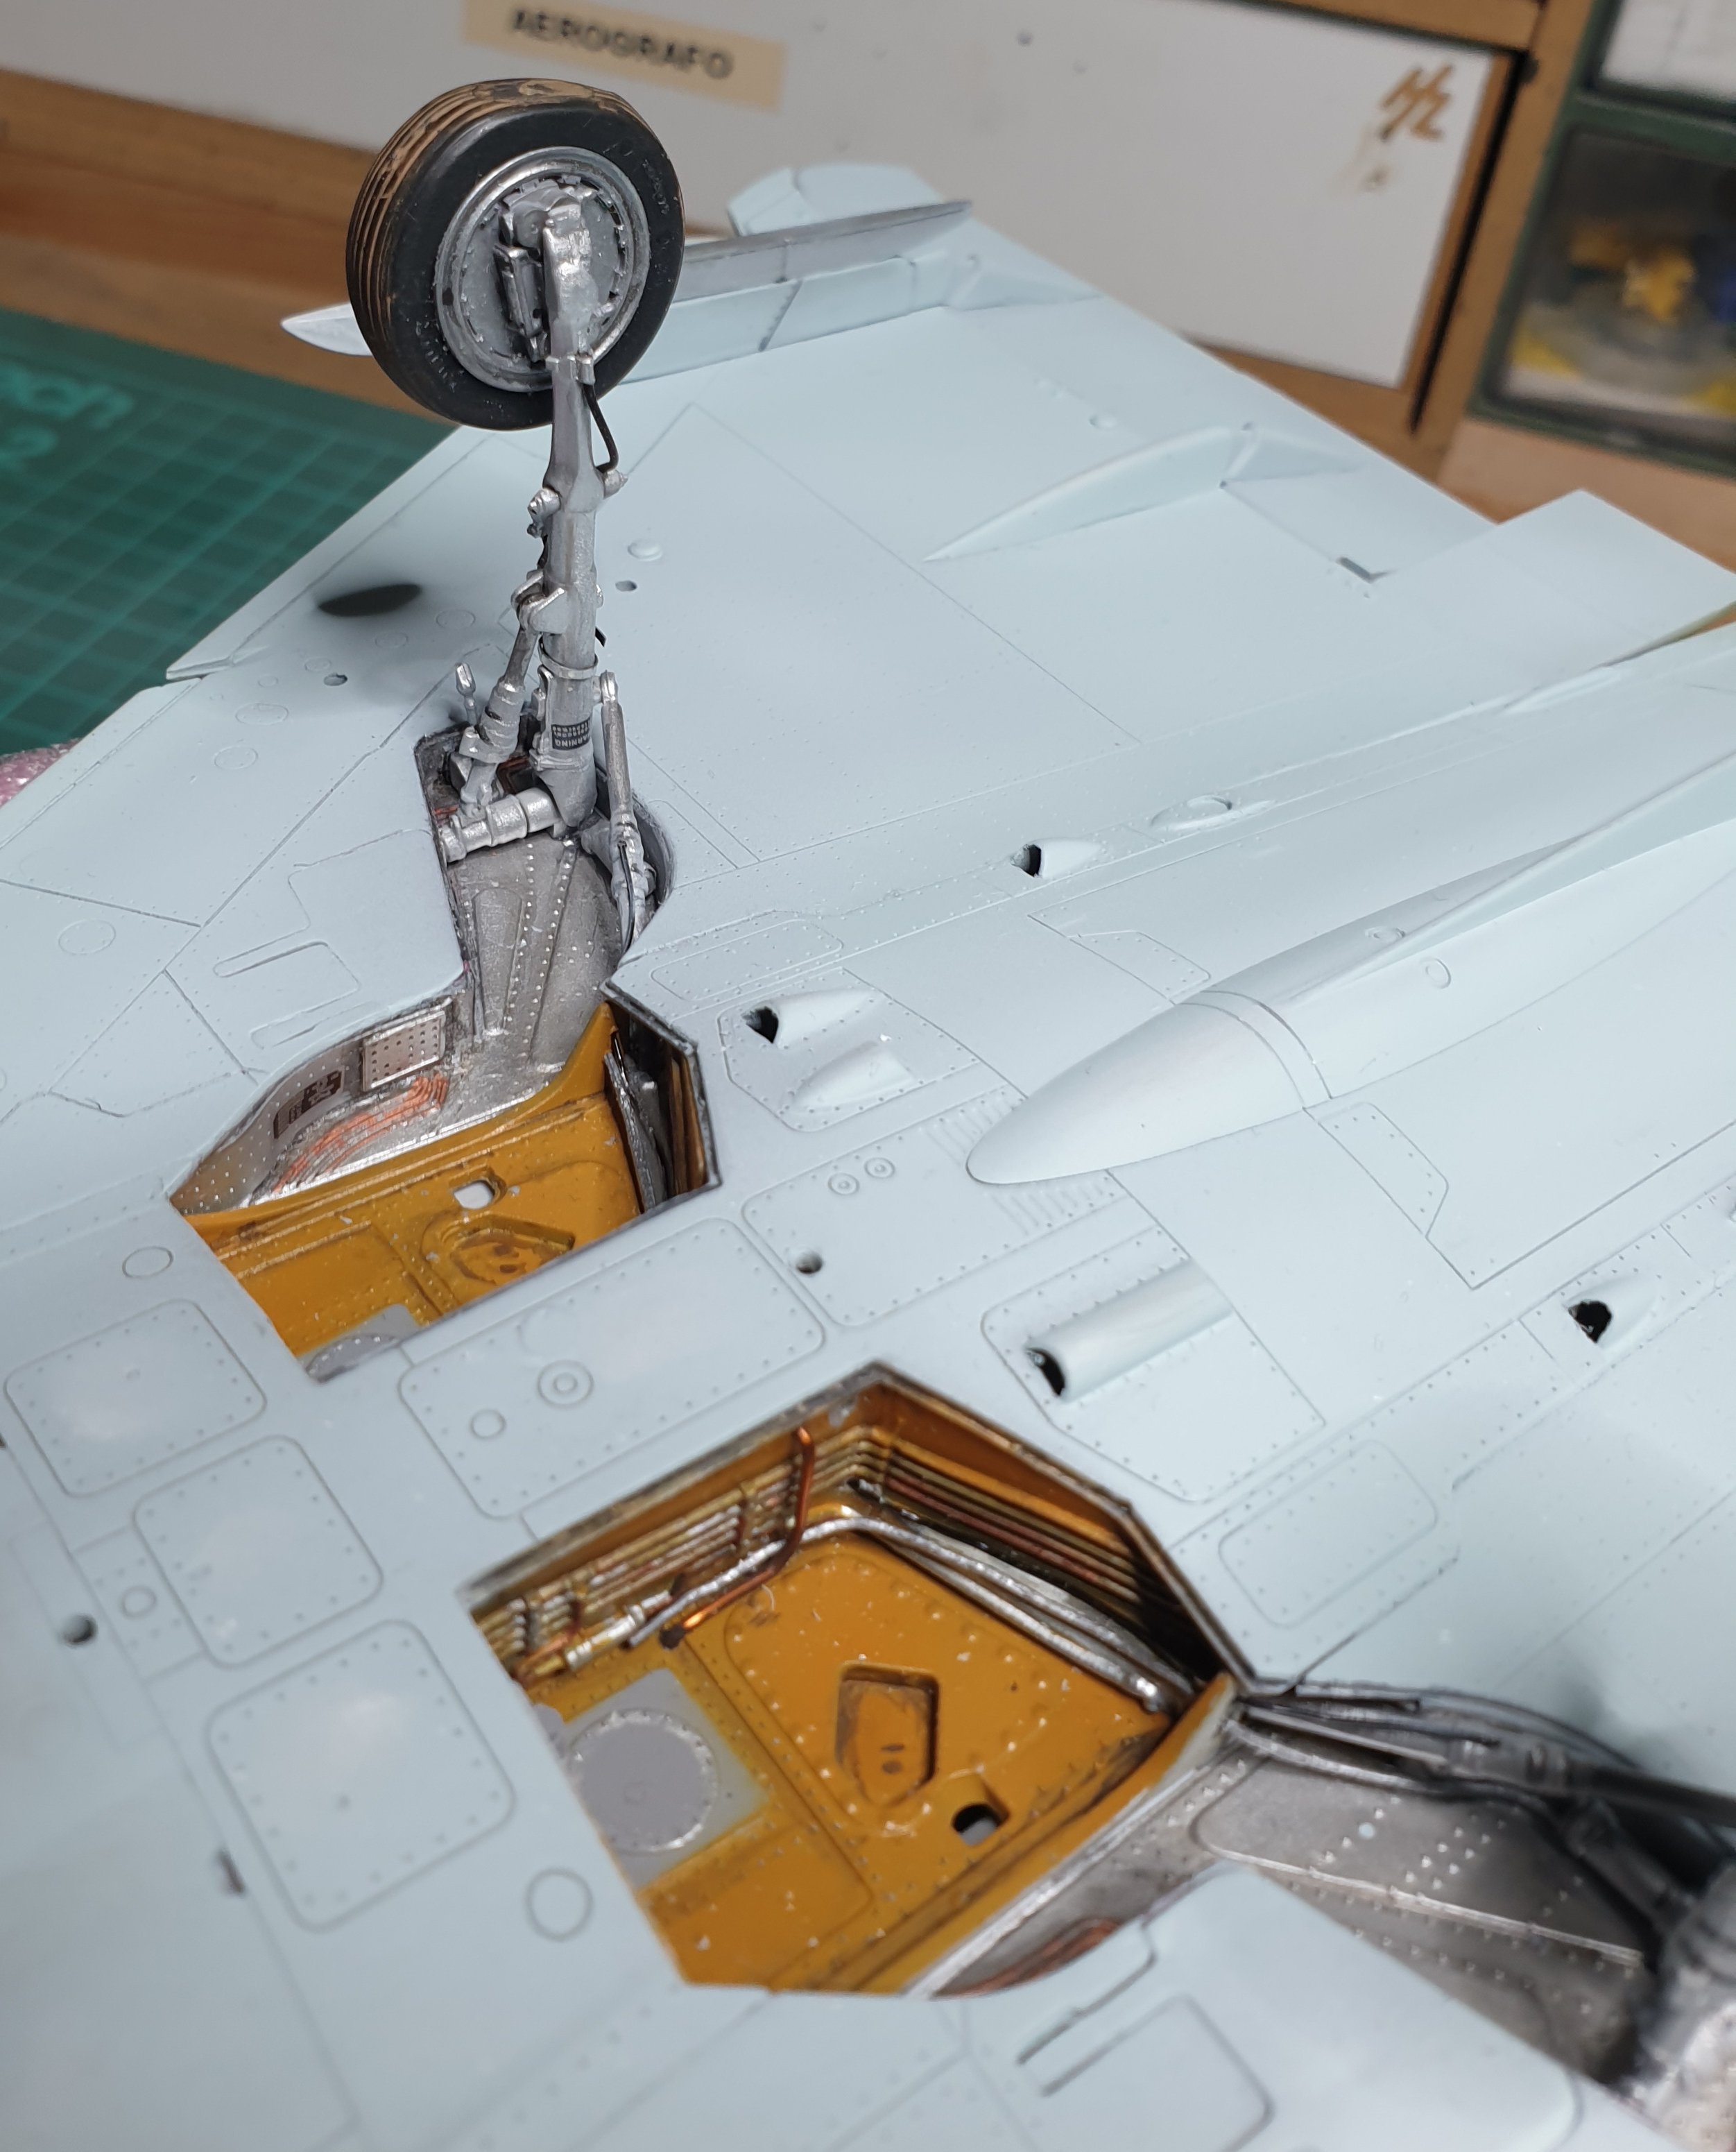
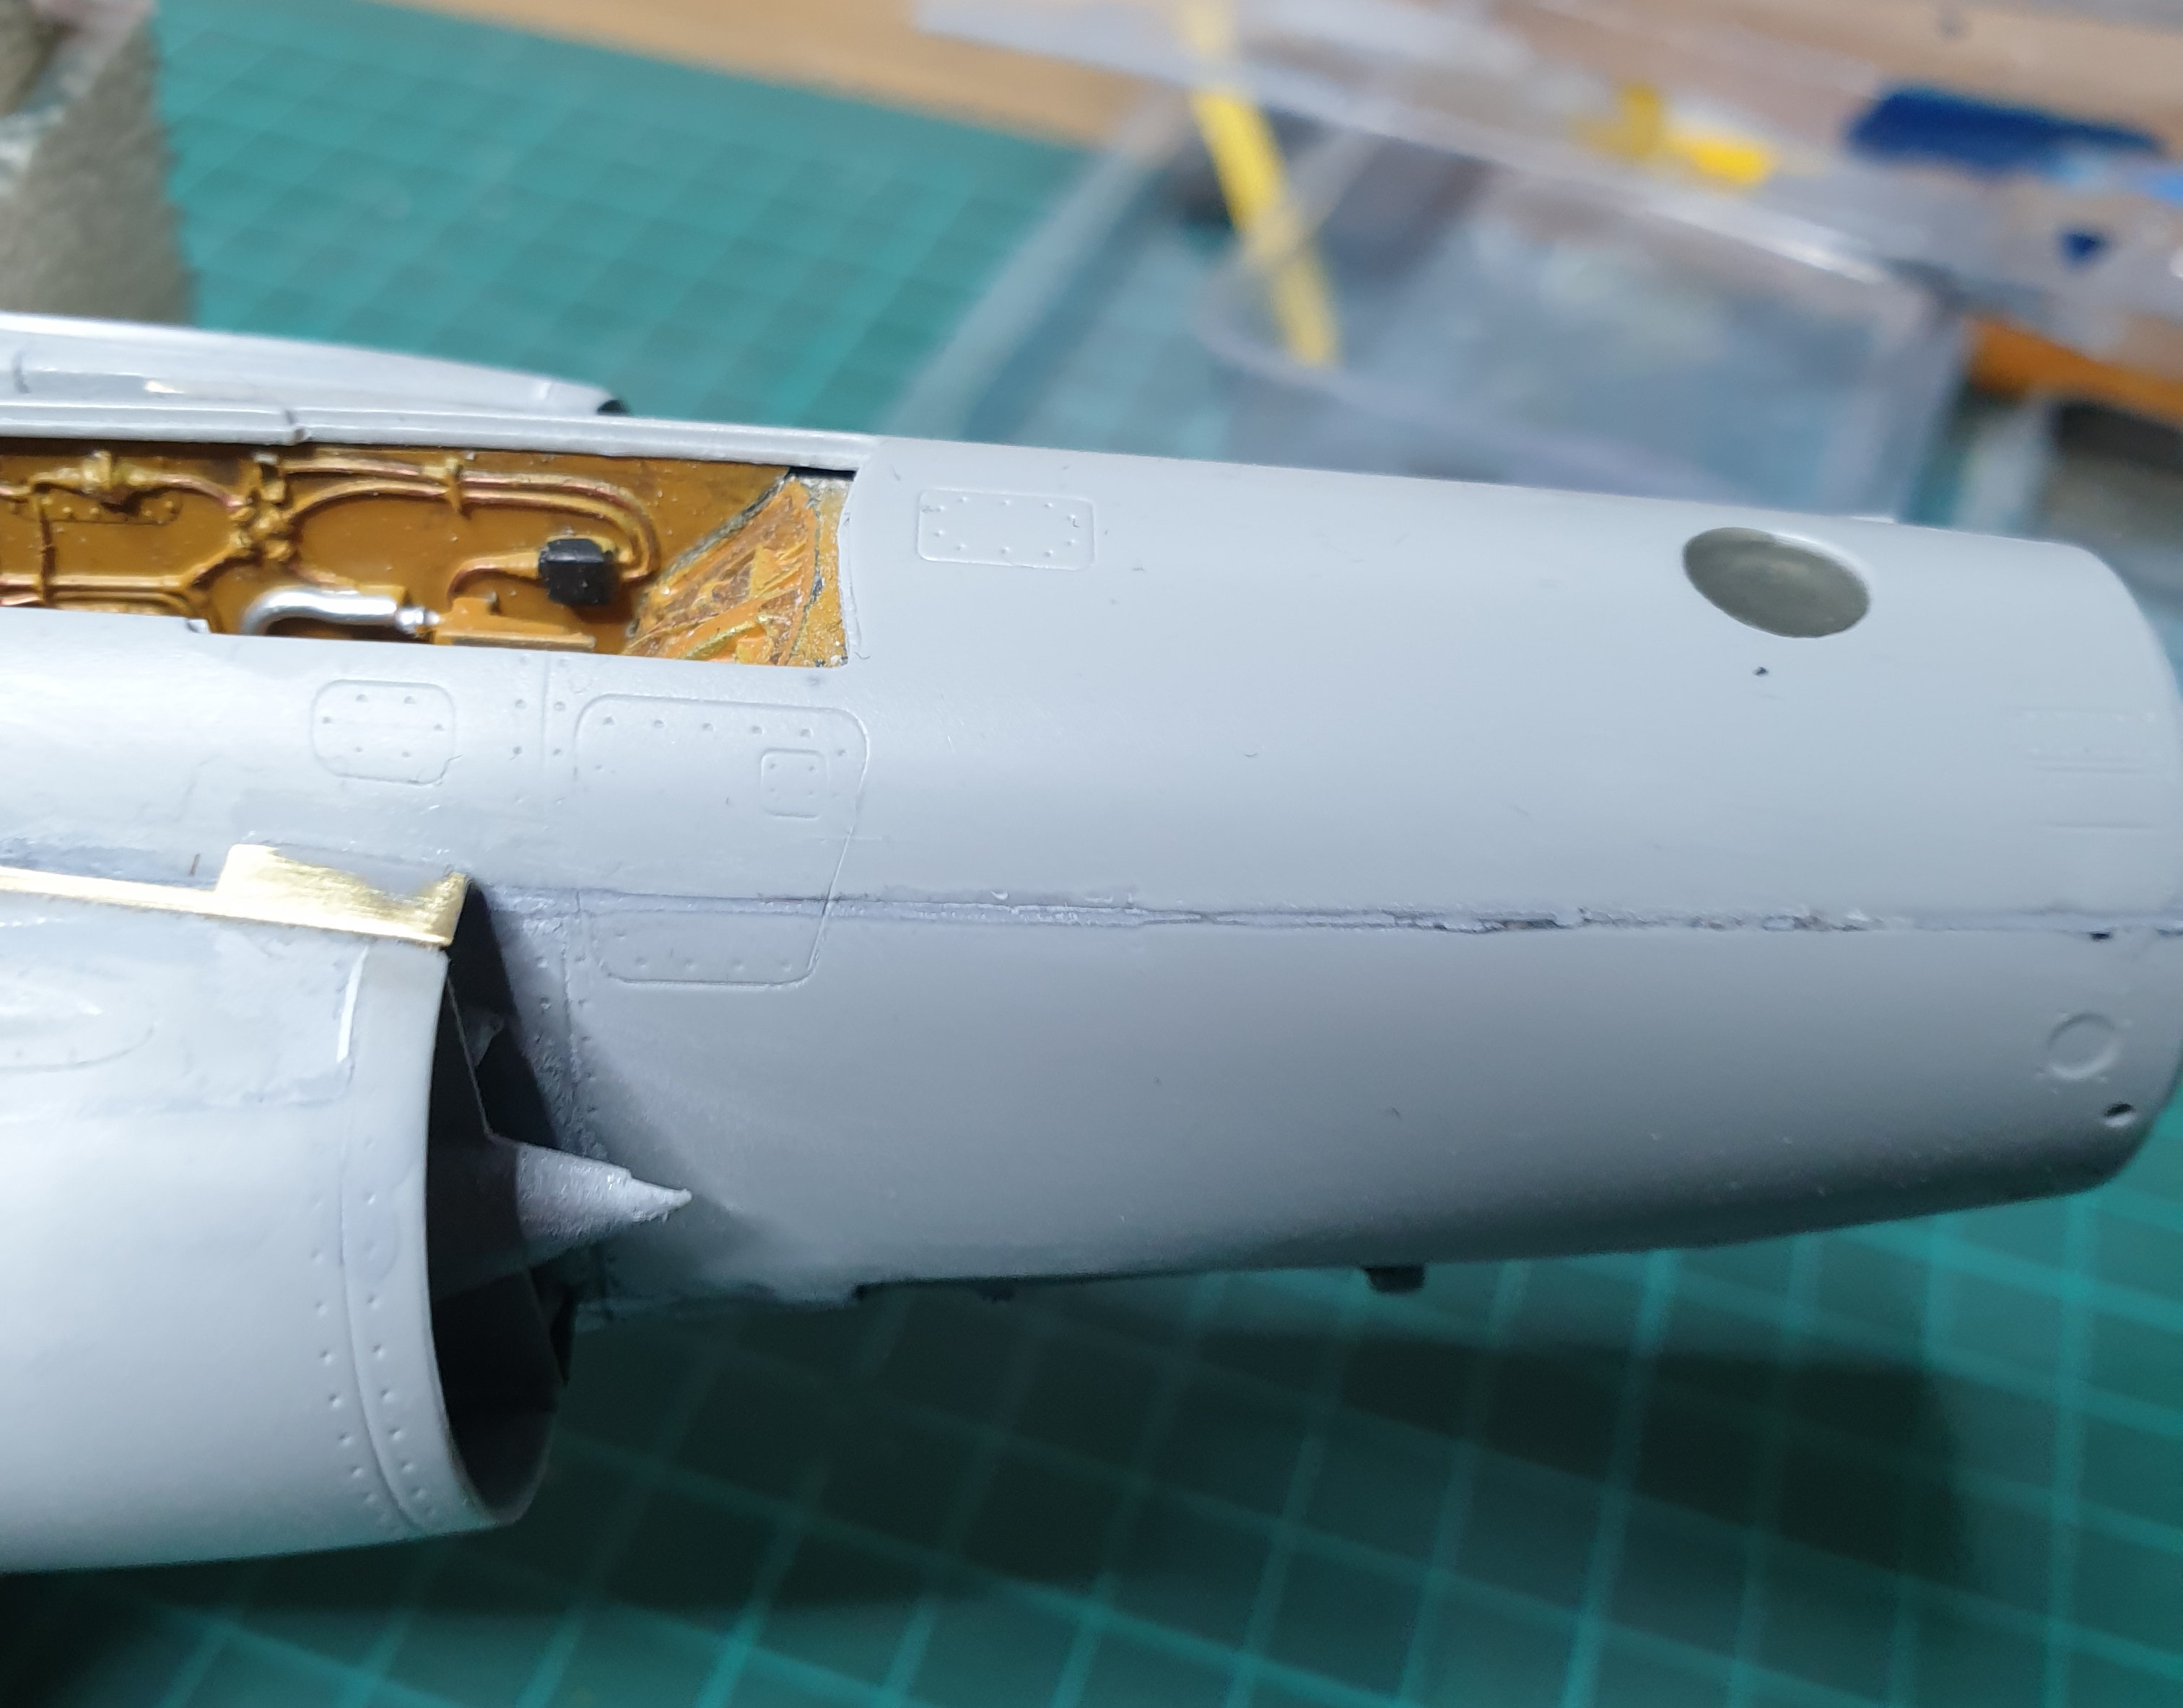
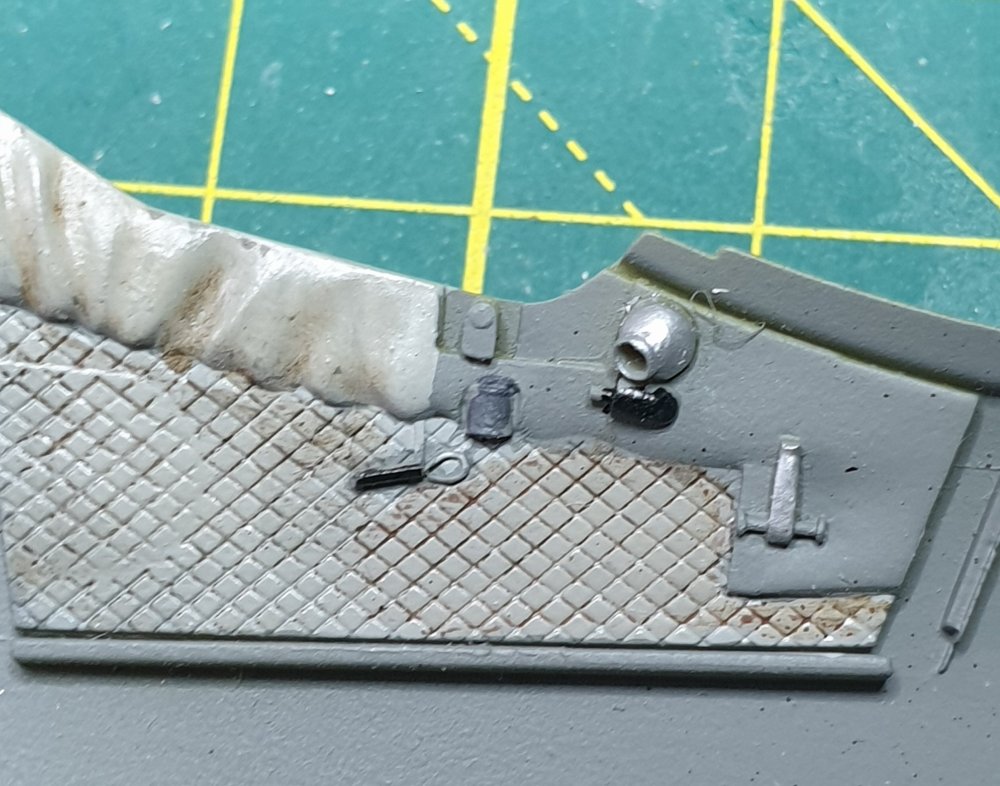
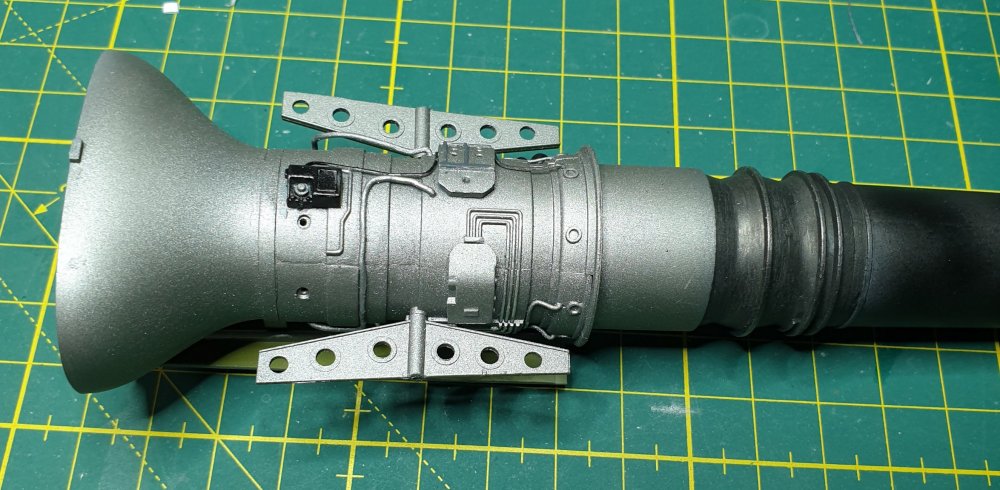
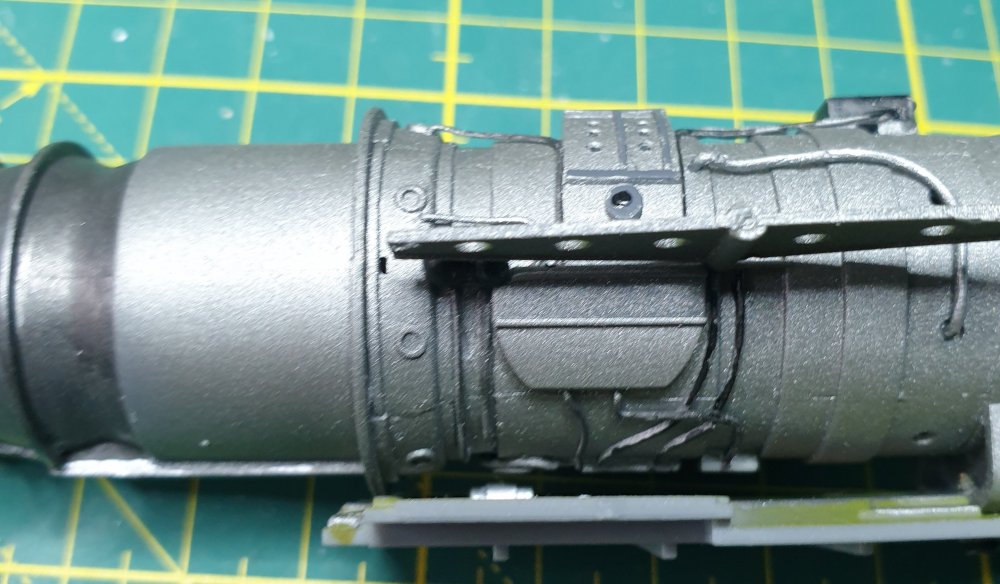
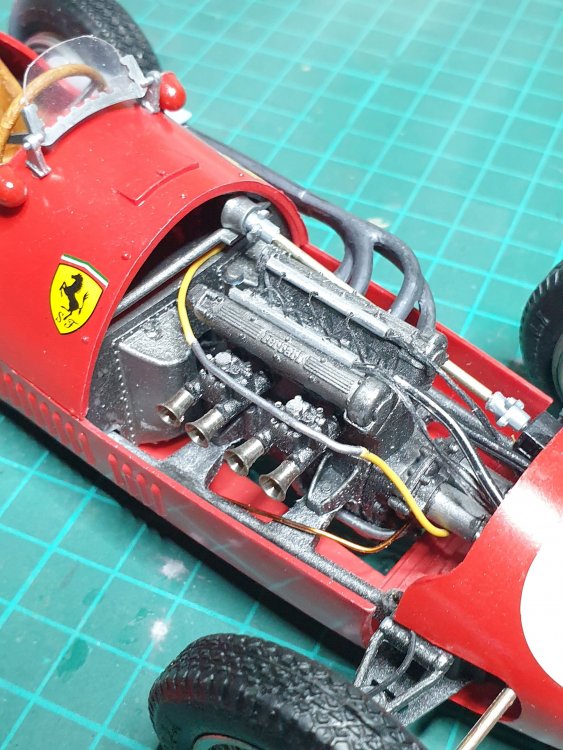
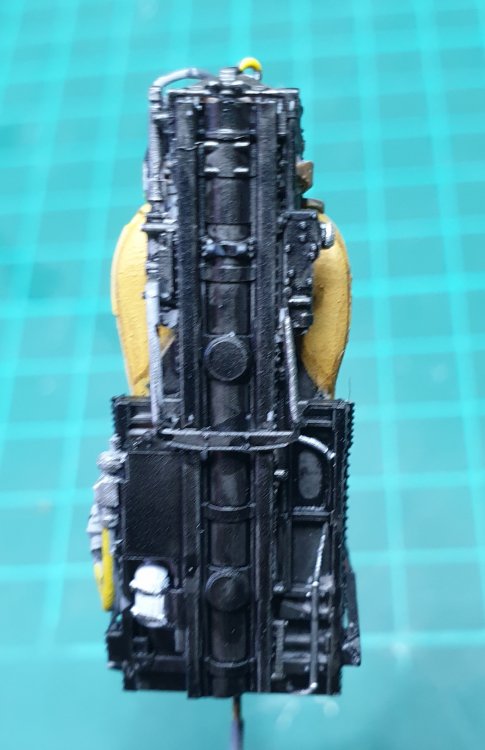
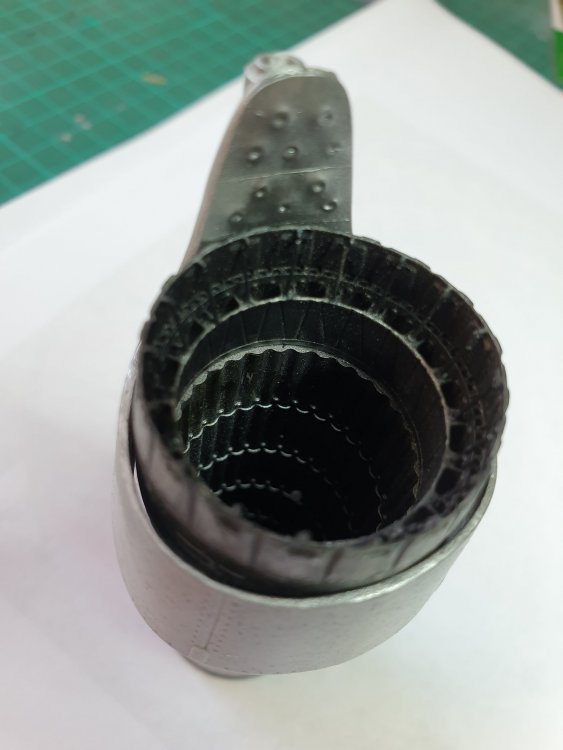
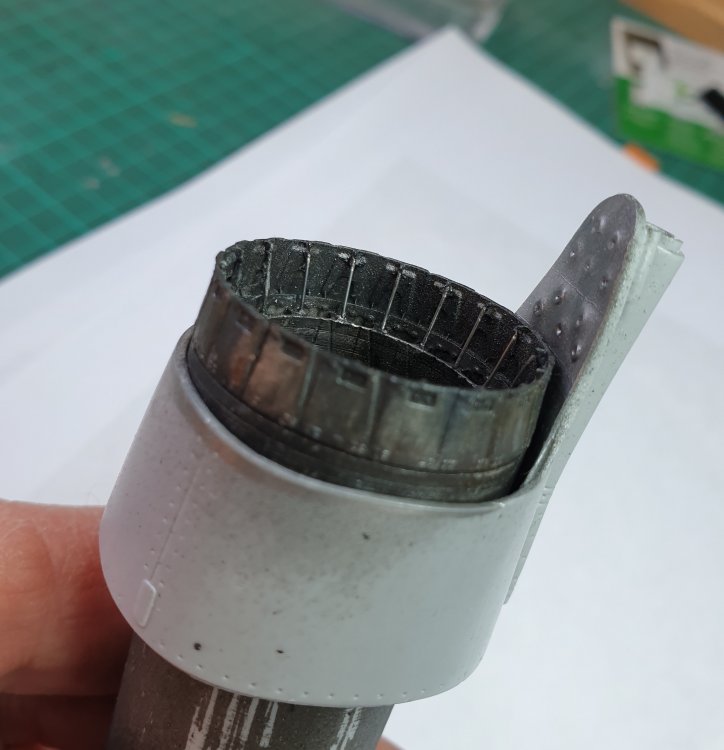
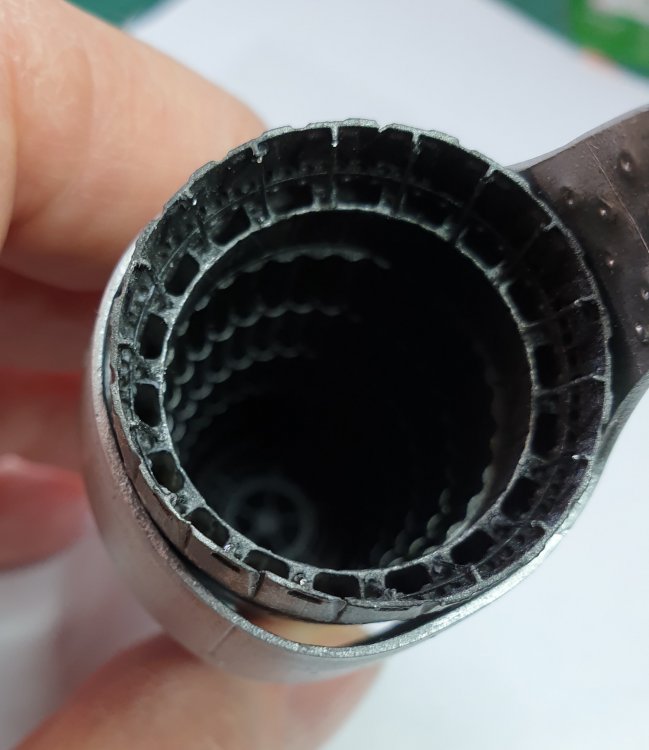
Some pictures of the w.i.p. Unfortunately only a very small portion of the engine will be visible ... so I added just a few detail, just for the pleasure of doing it.


-
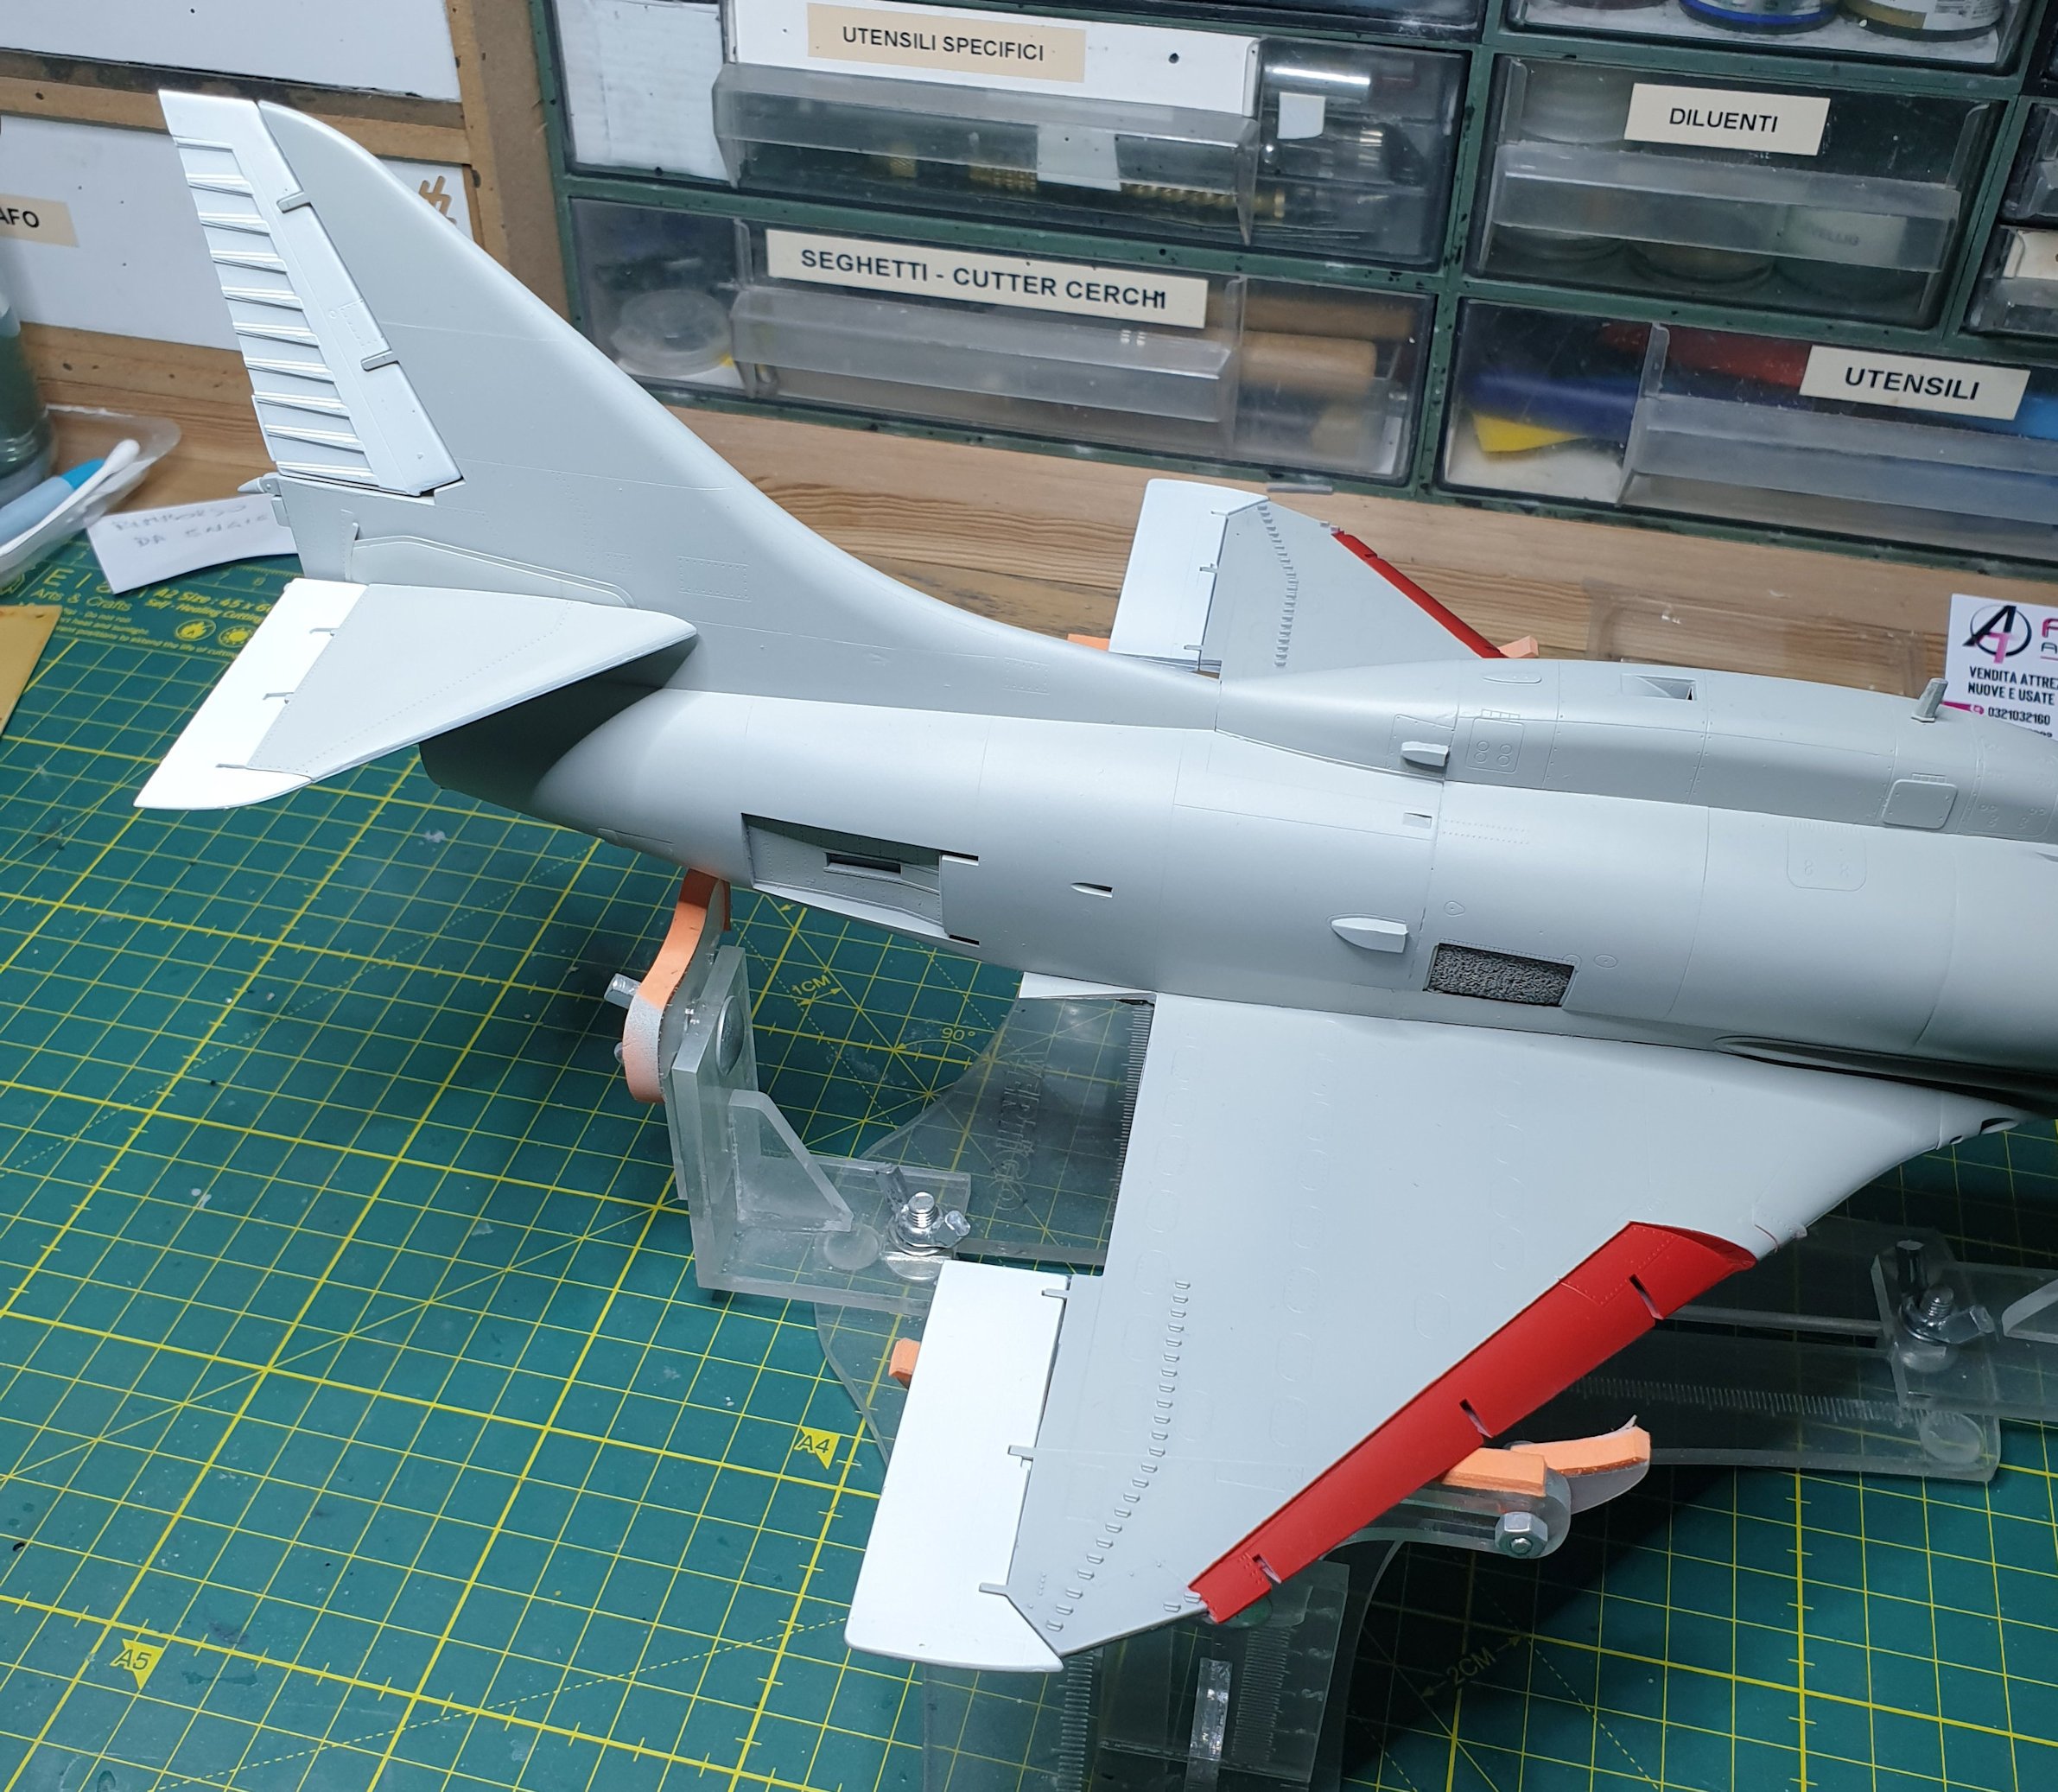
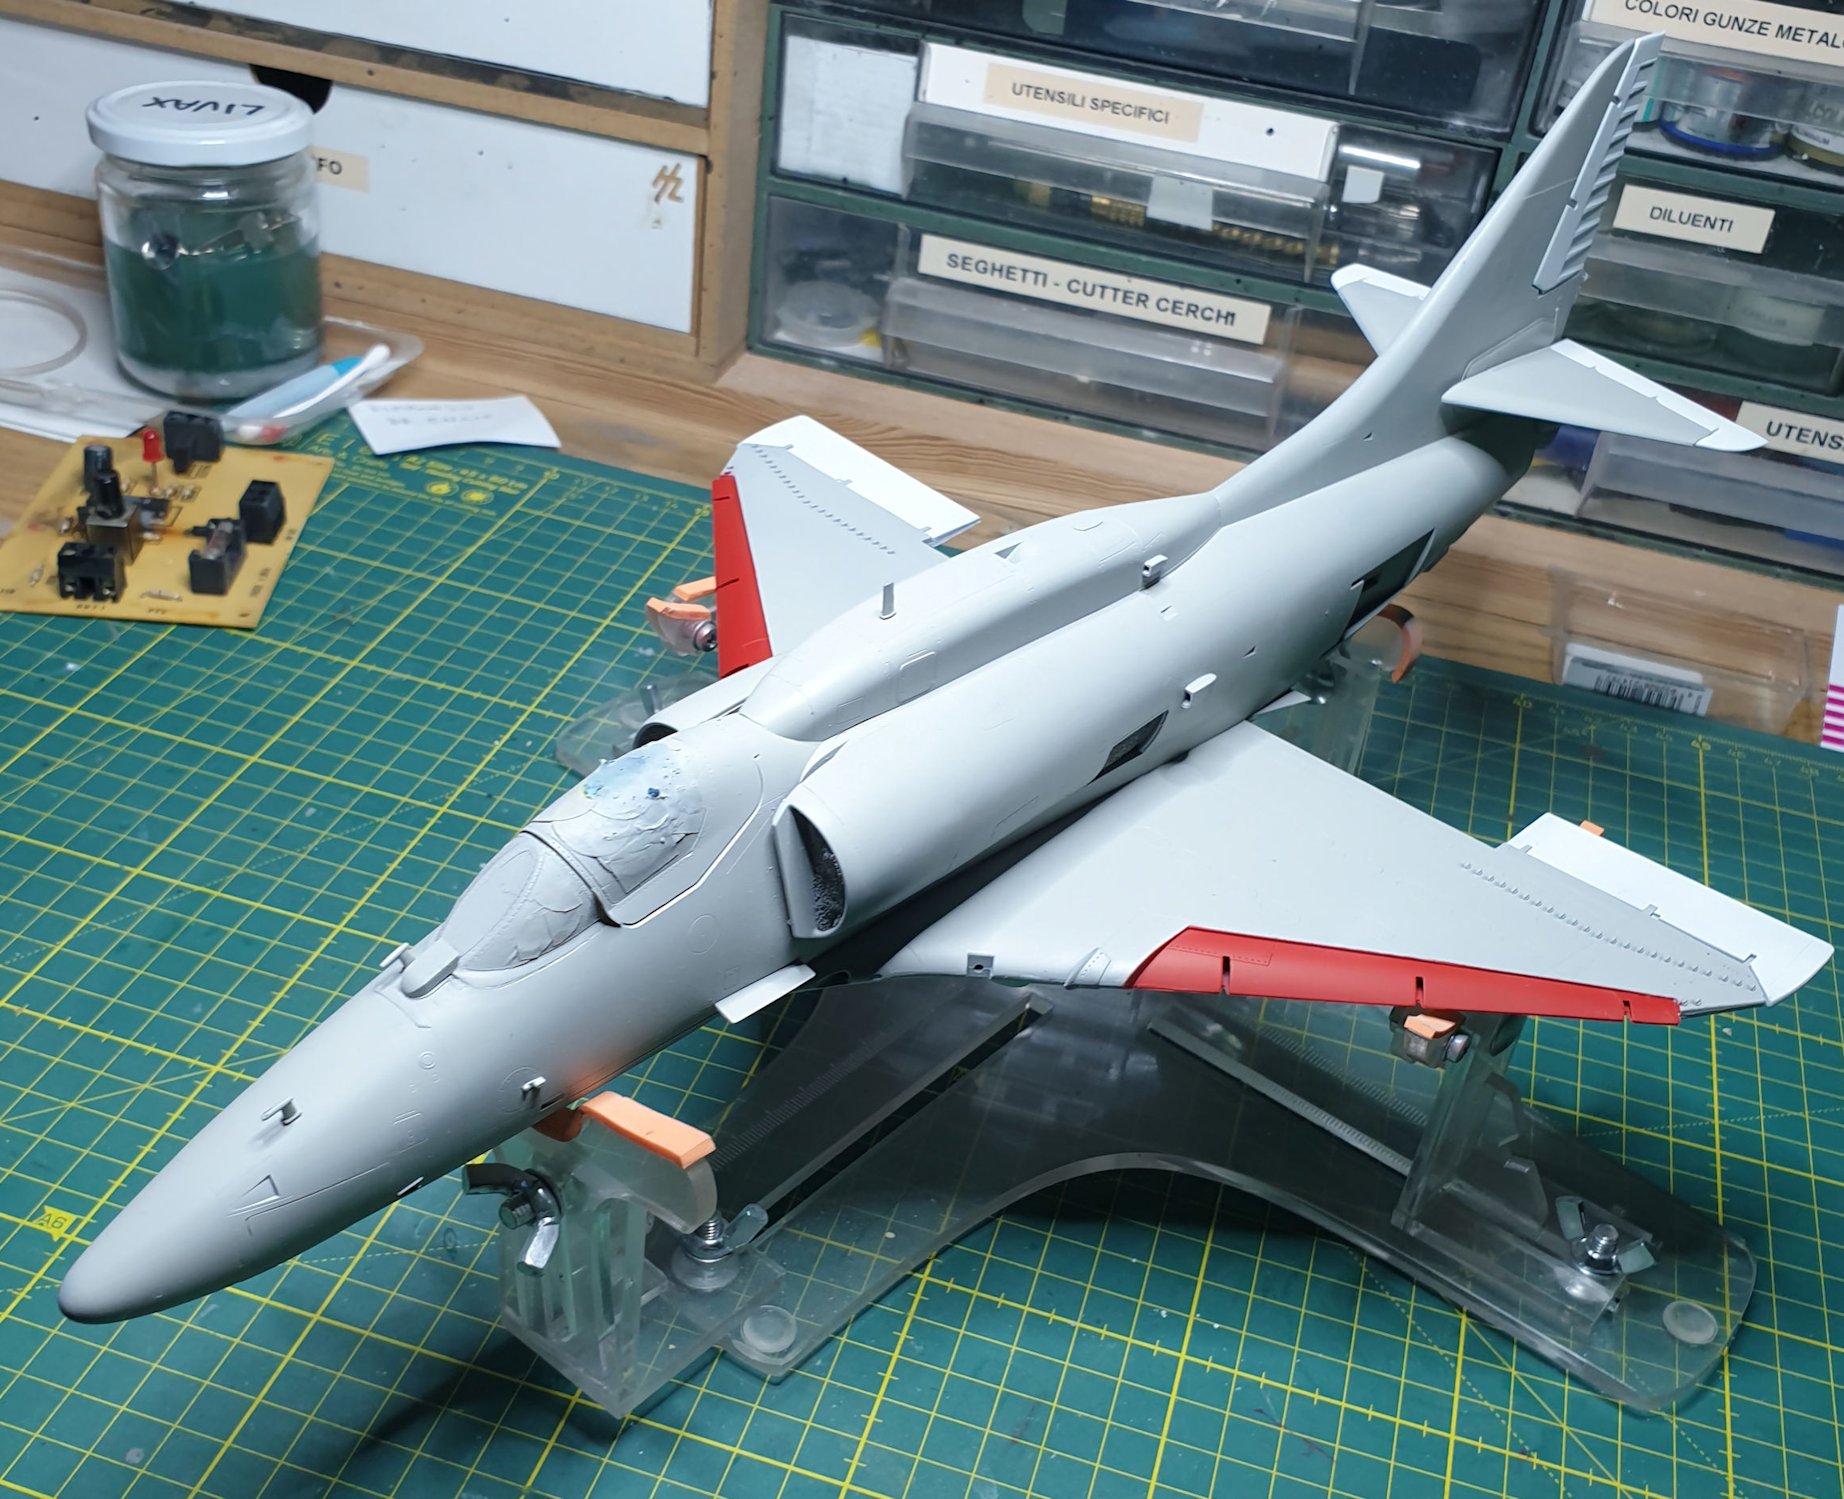
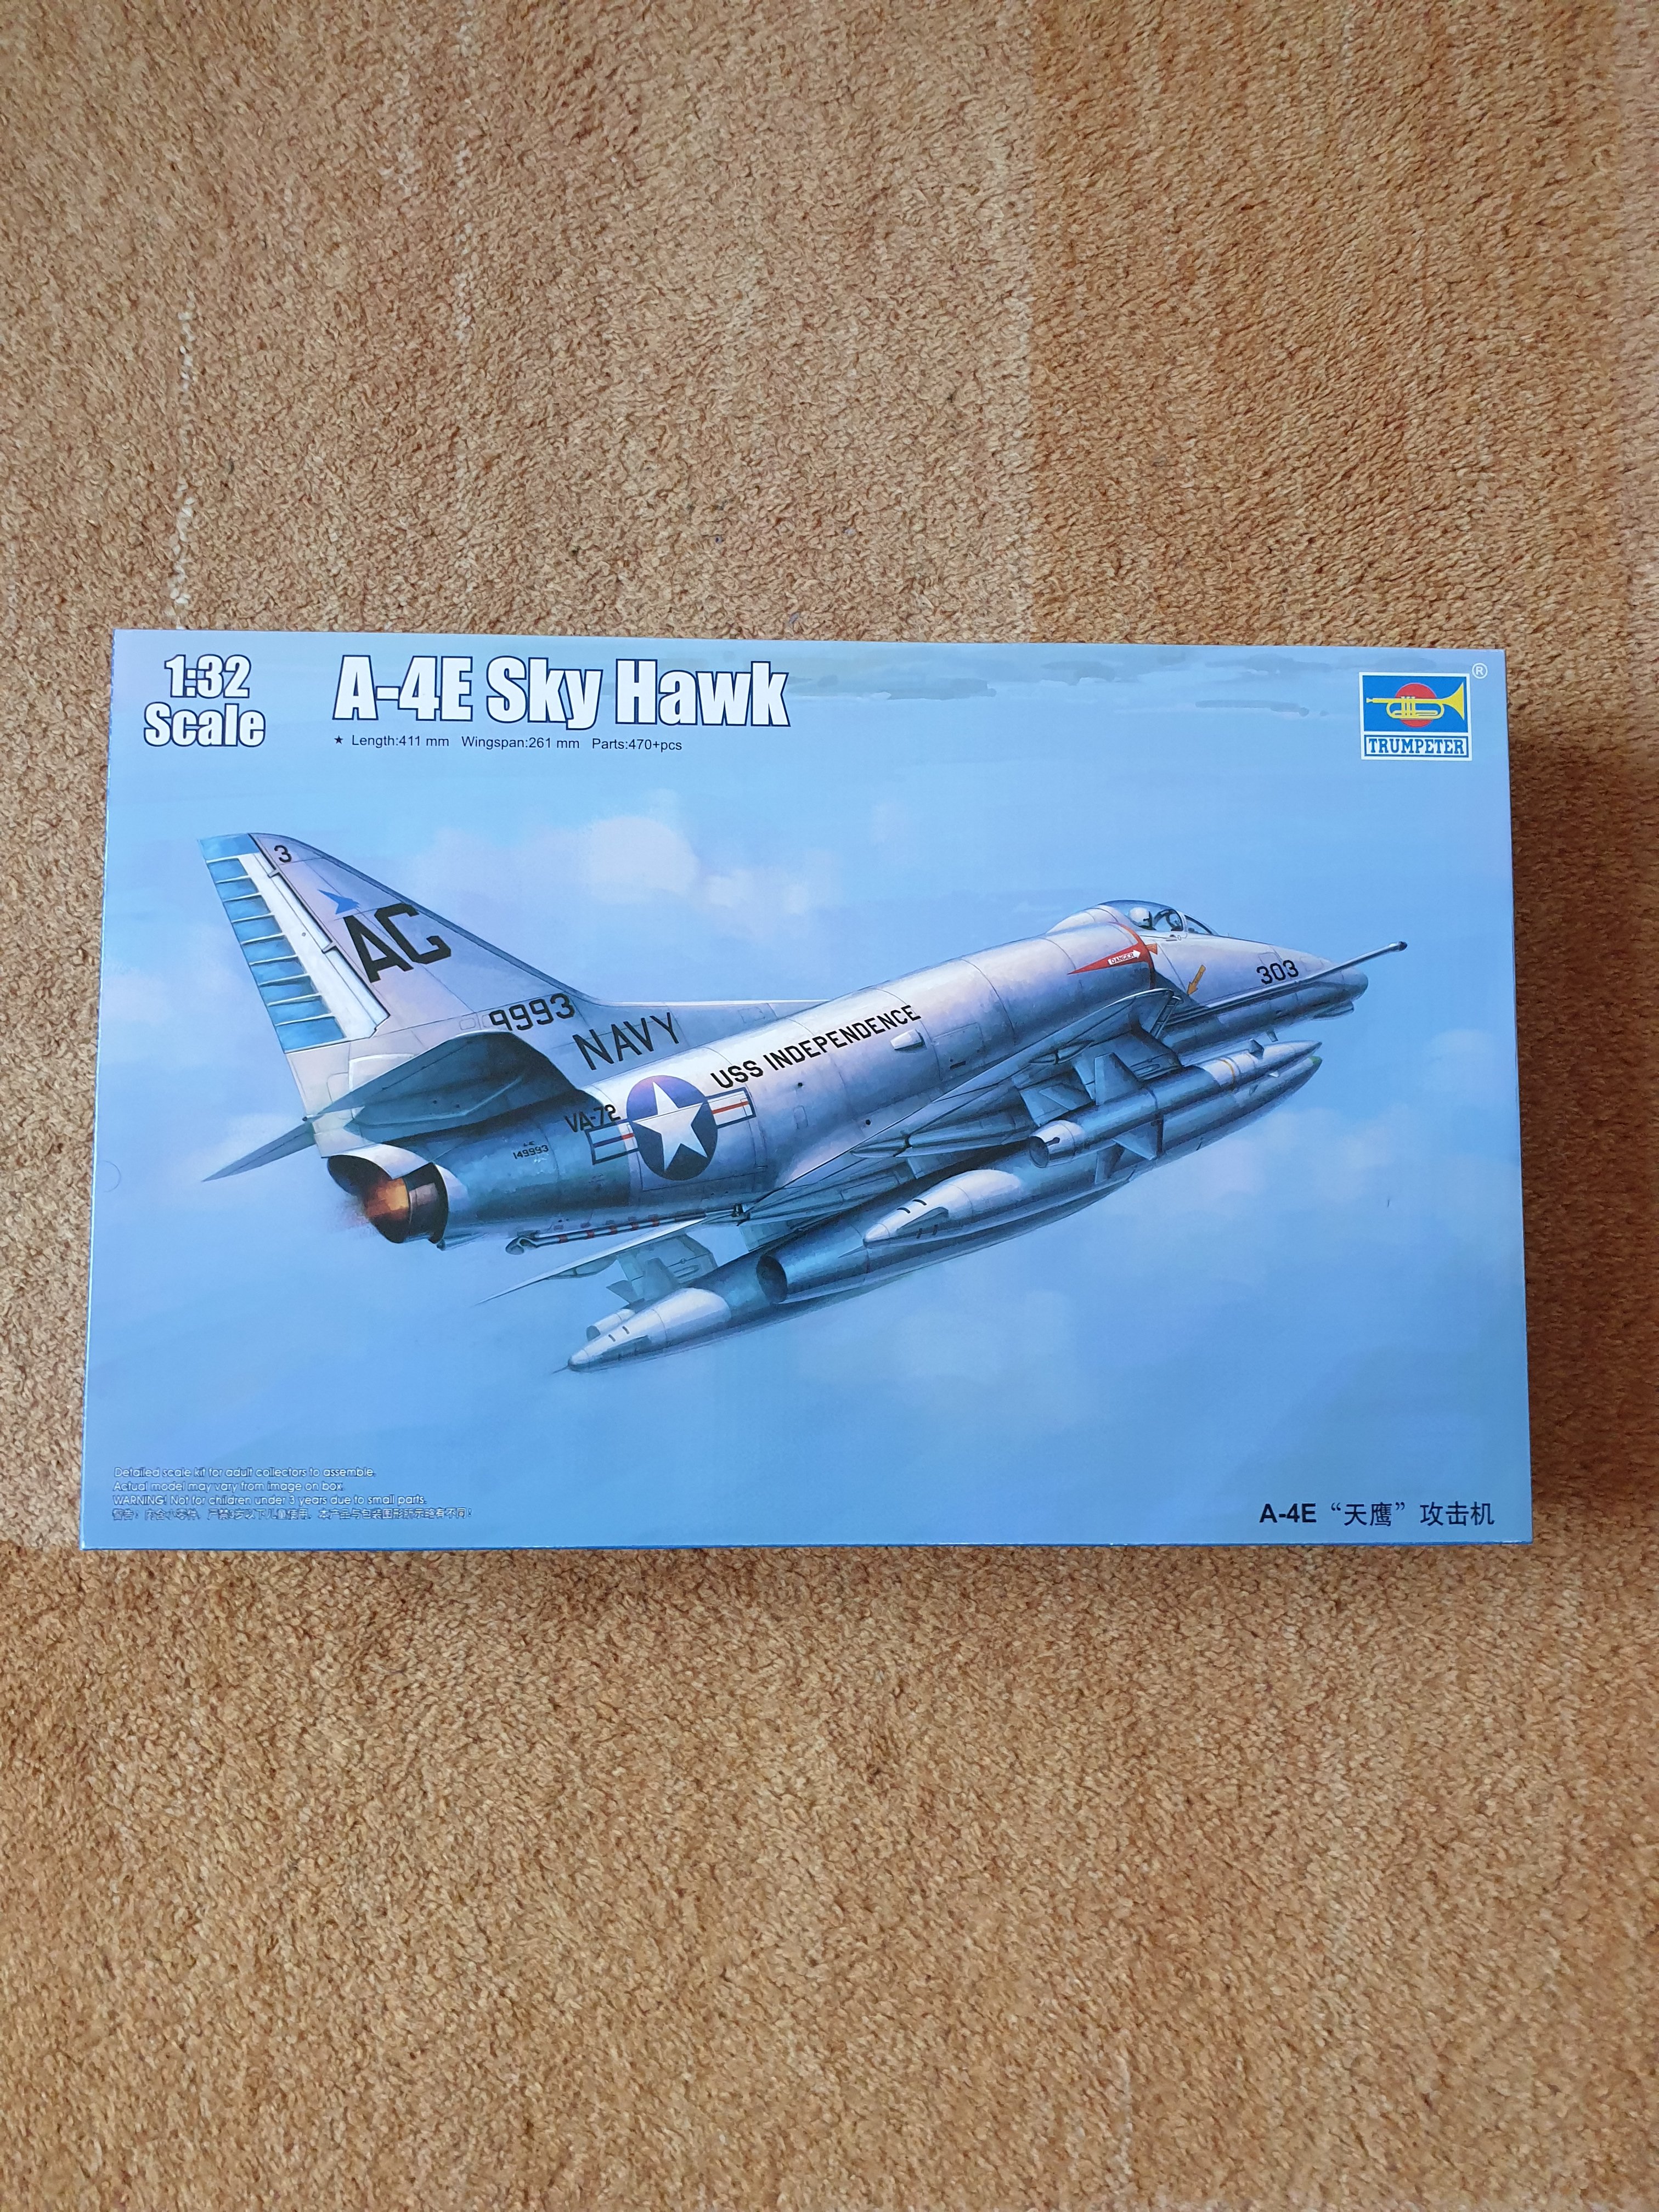
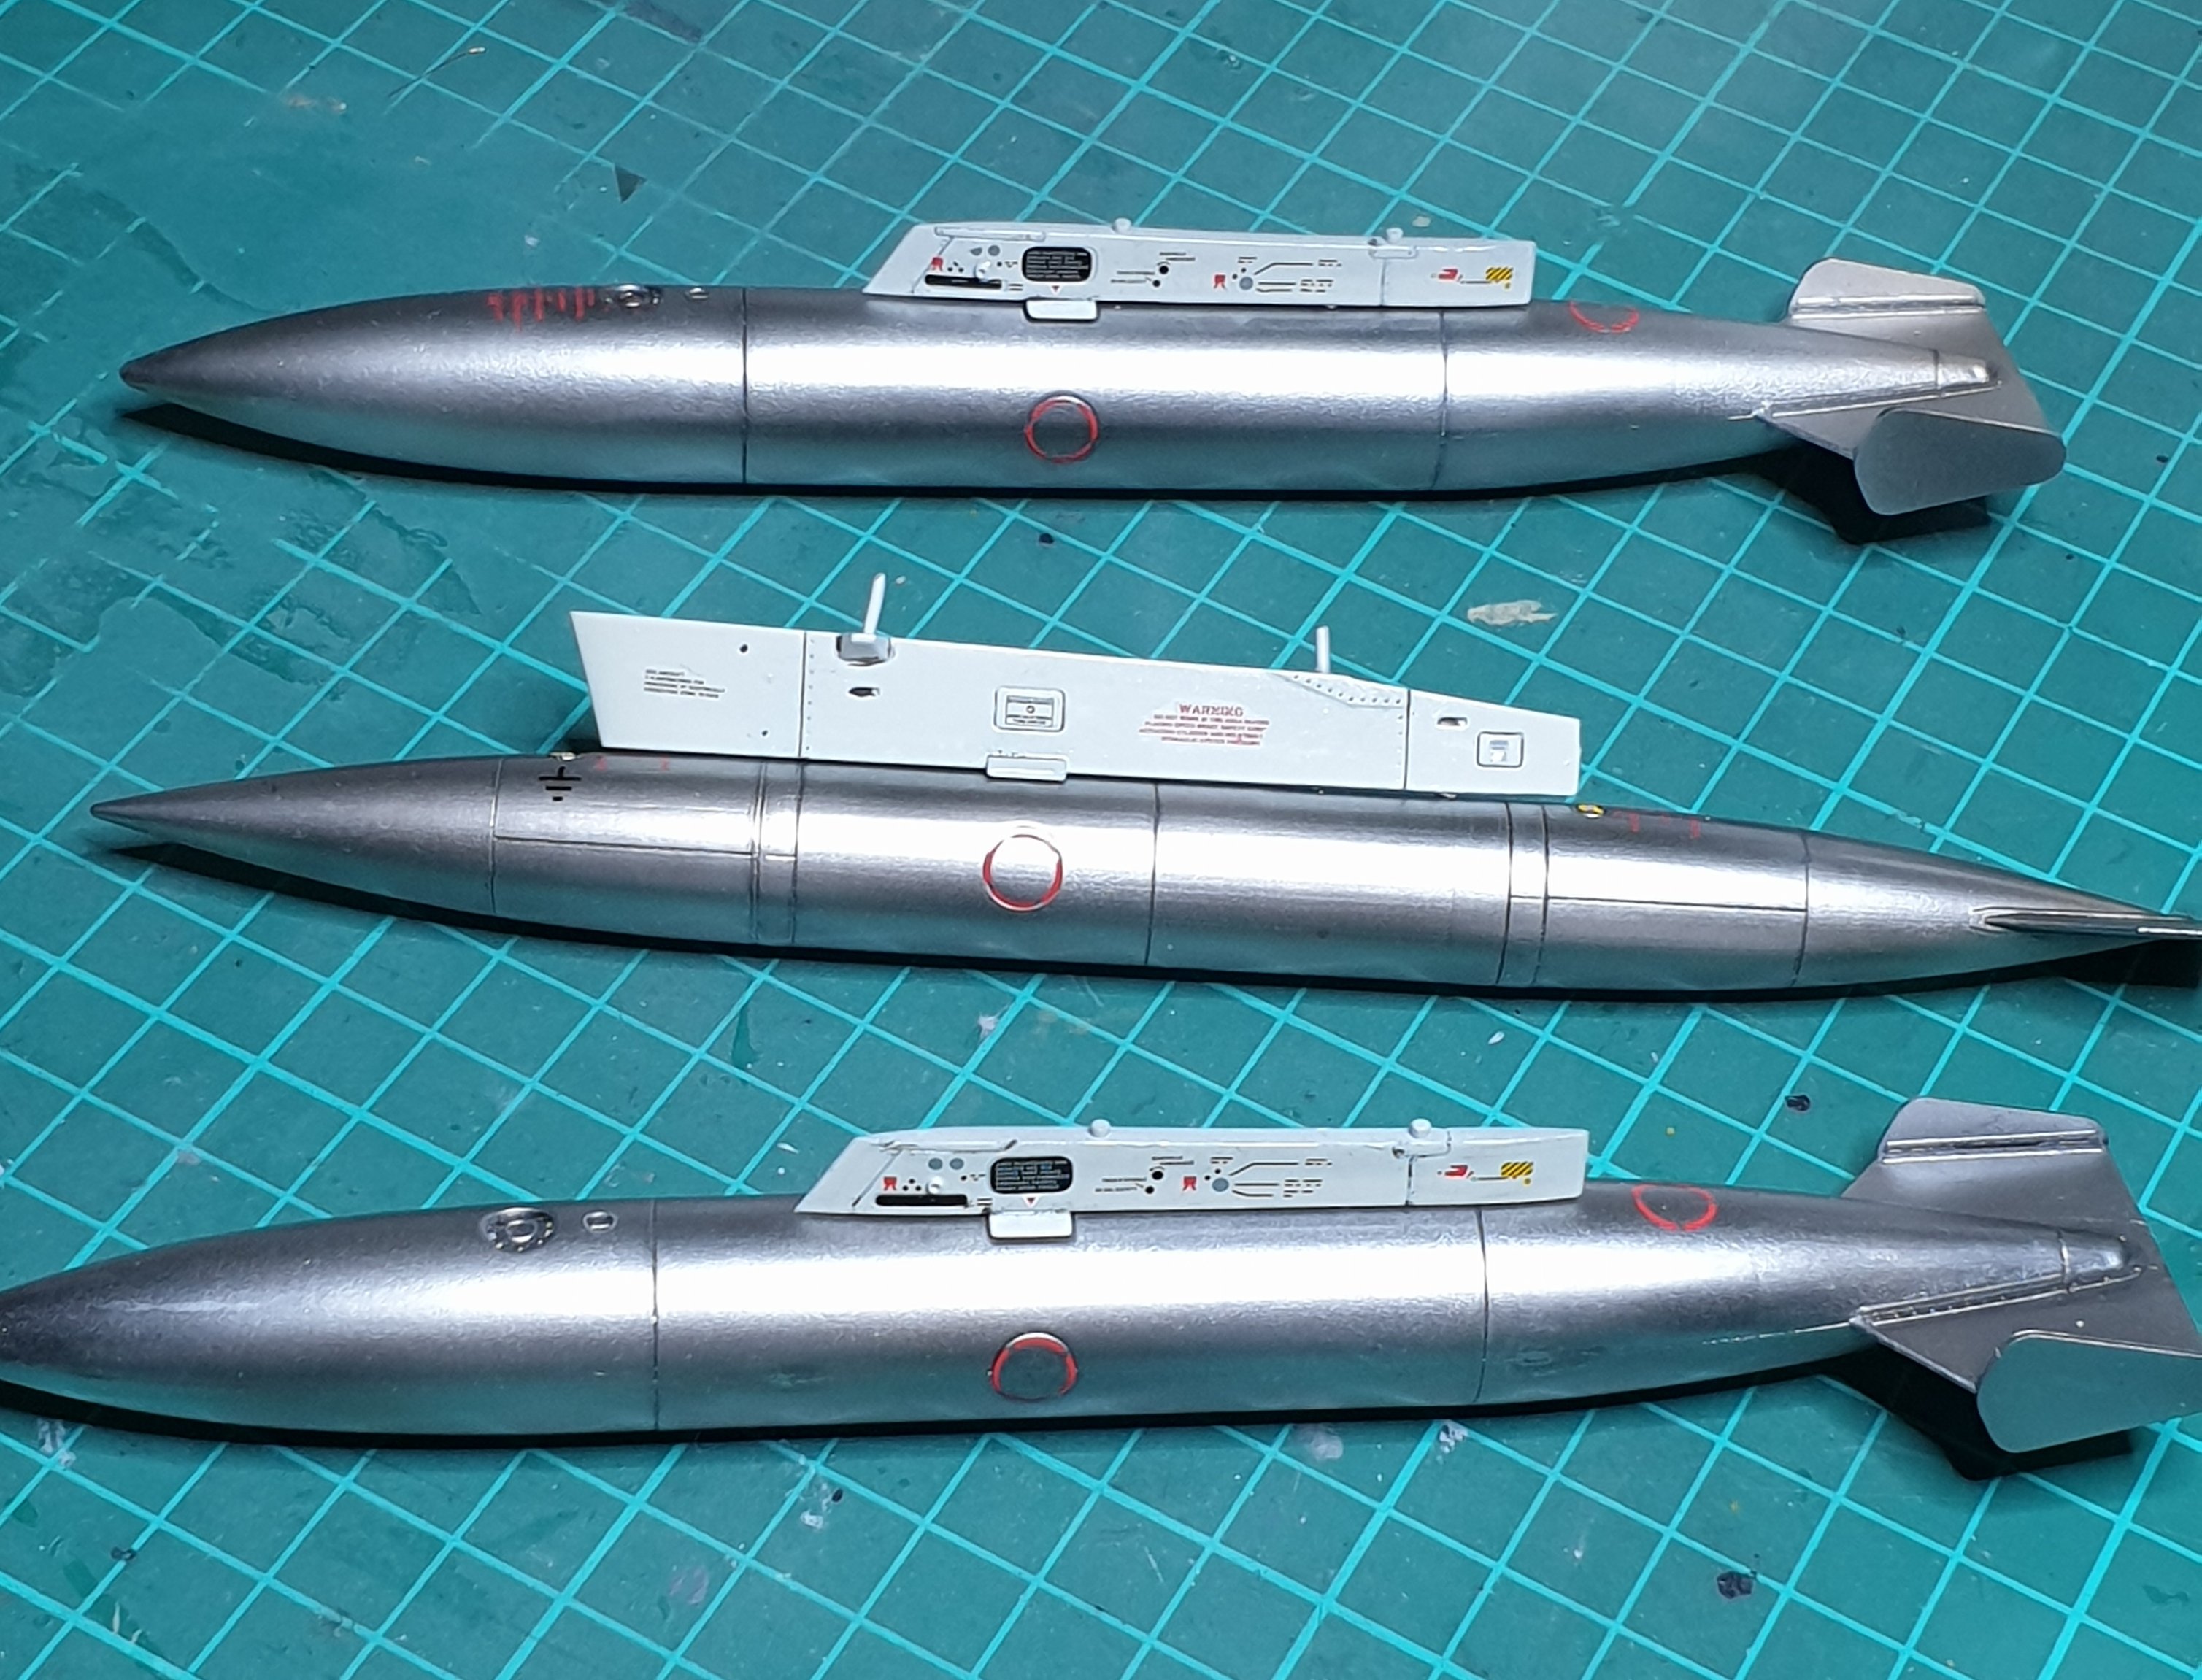
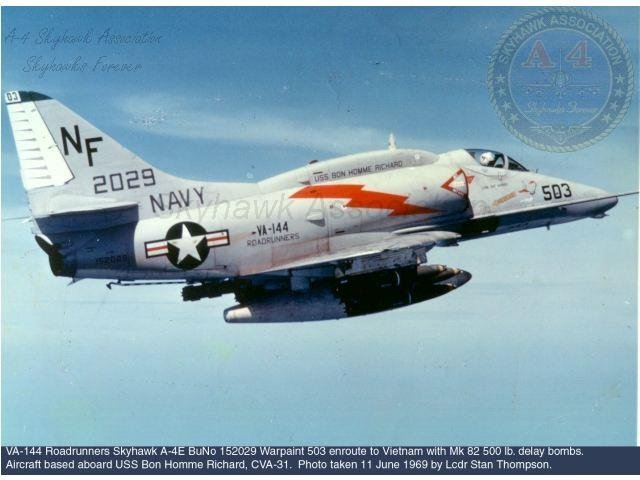
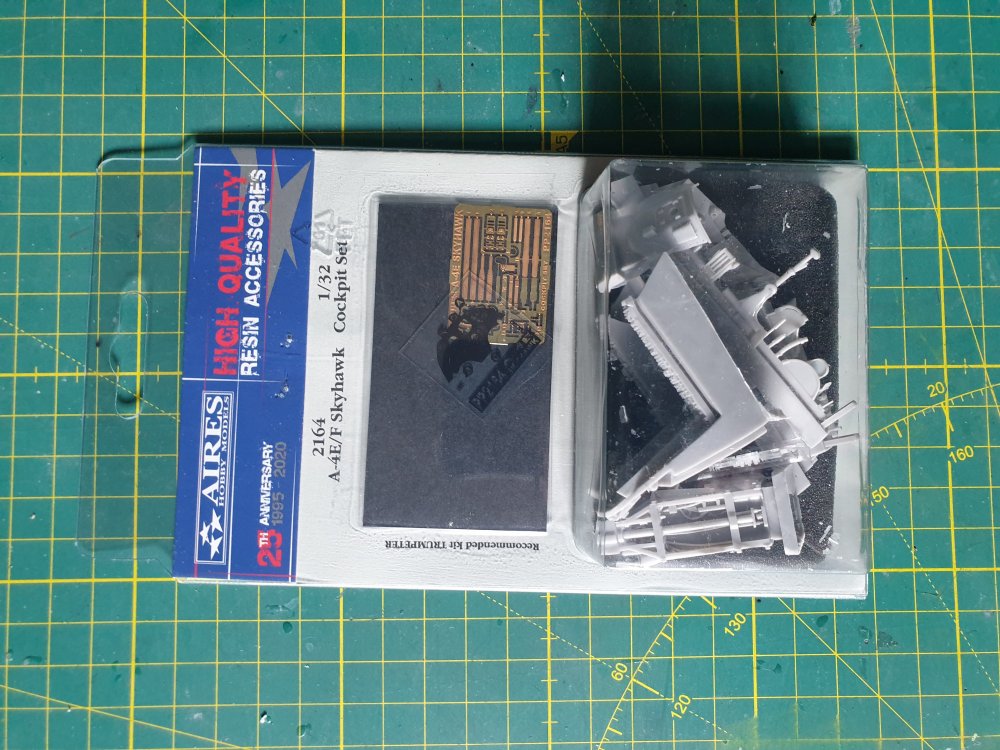
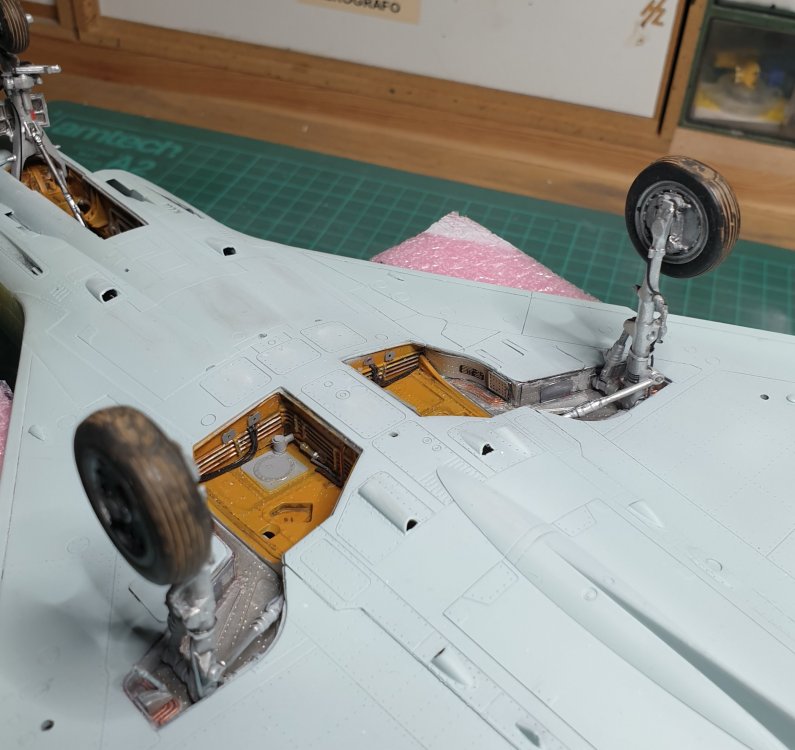
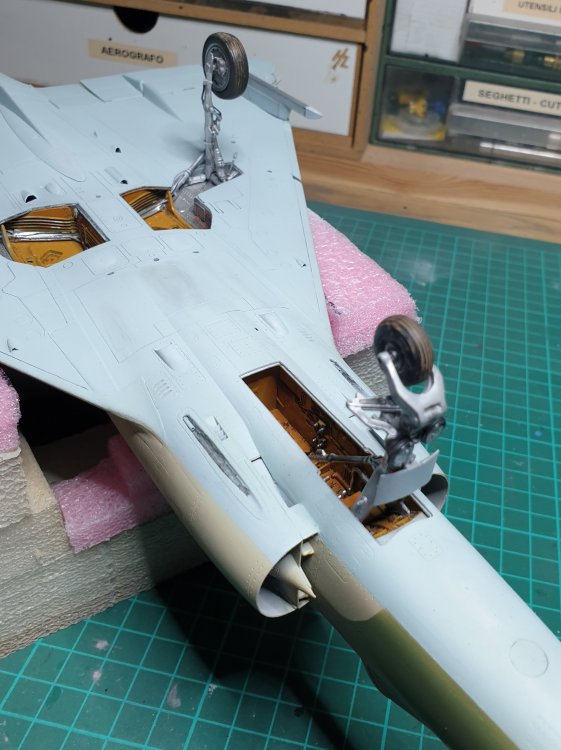
While I was working on completing my Israeli Mirage, I also started working on a new project, the replica of a VA-144 Roadrunners bird based on Trumpeter kit, with some extras: AGM-45 from Brengun Reskit wheels set Eduard interiors and Mk.82 w/ Mk.15 Snakeye Fins Aires Cockpit Set AOA Decals

-
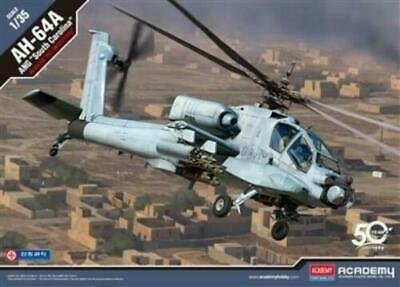
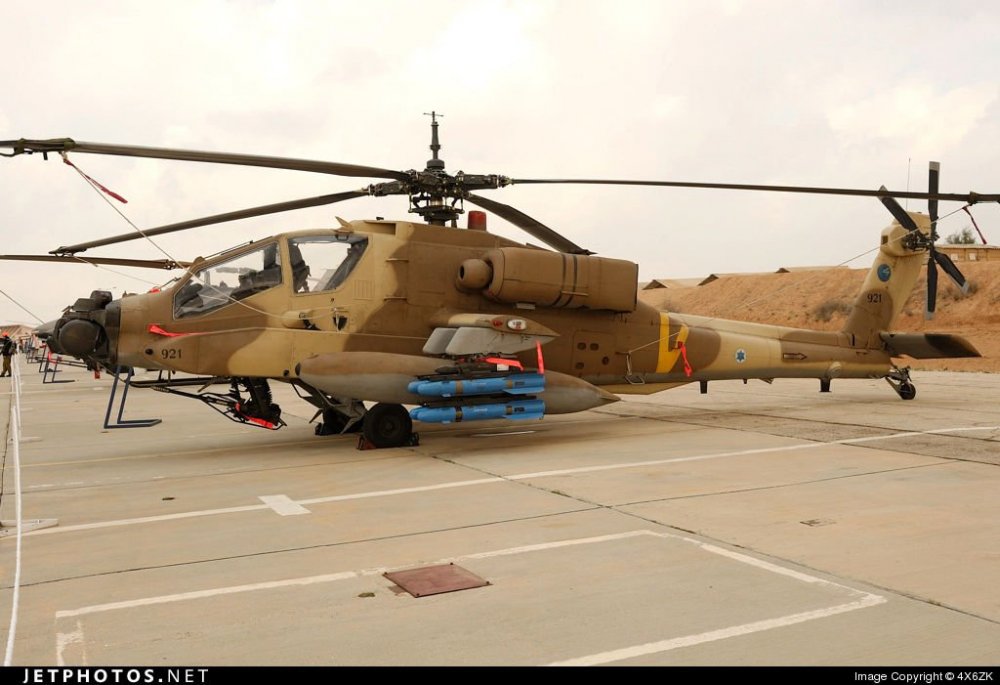
Hello everybody, the abo will be my next project and I wandering if someone would help me because I'm searching docs telling me additions and modifications are necessary to convert original US heli into the Israeli version. Many thanks in advance Alberto
- 1 reply
-
- 3
-

-
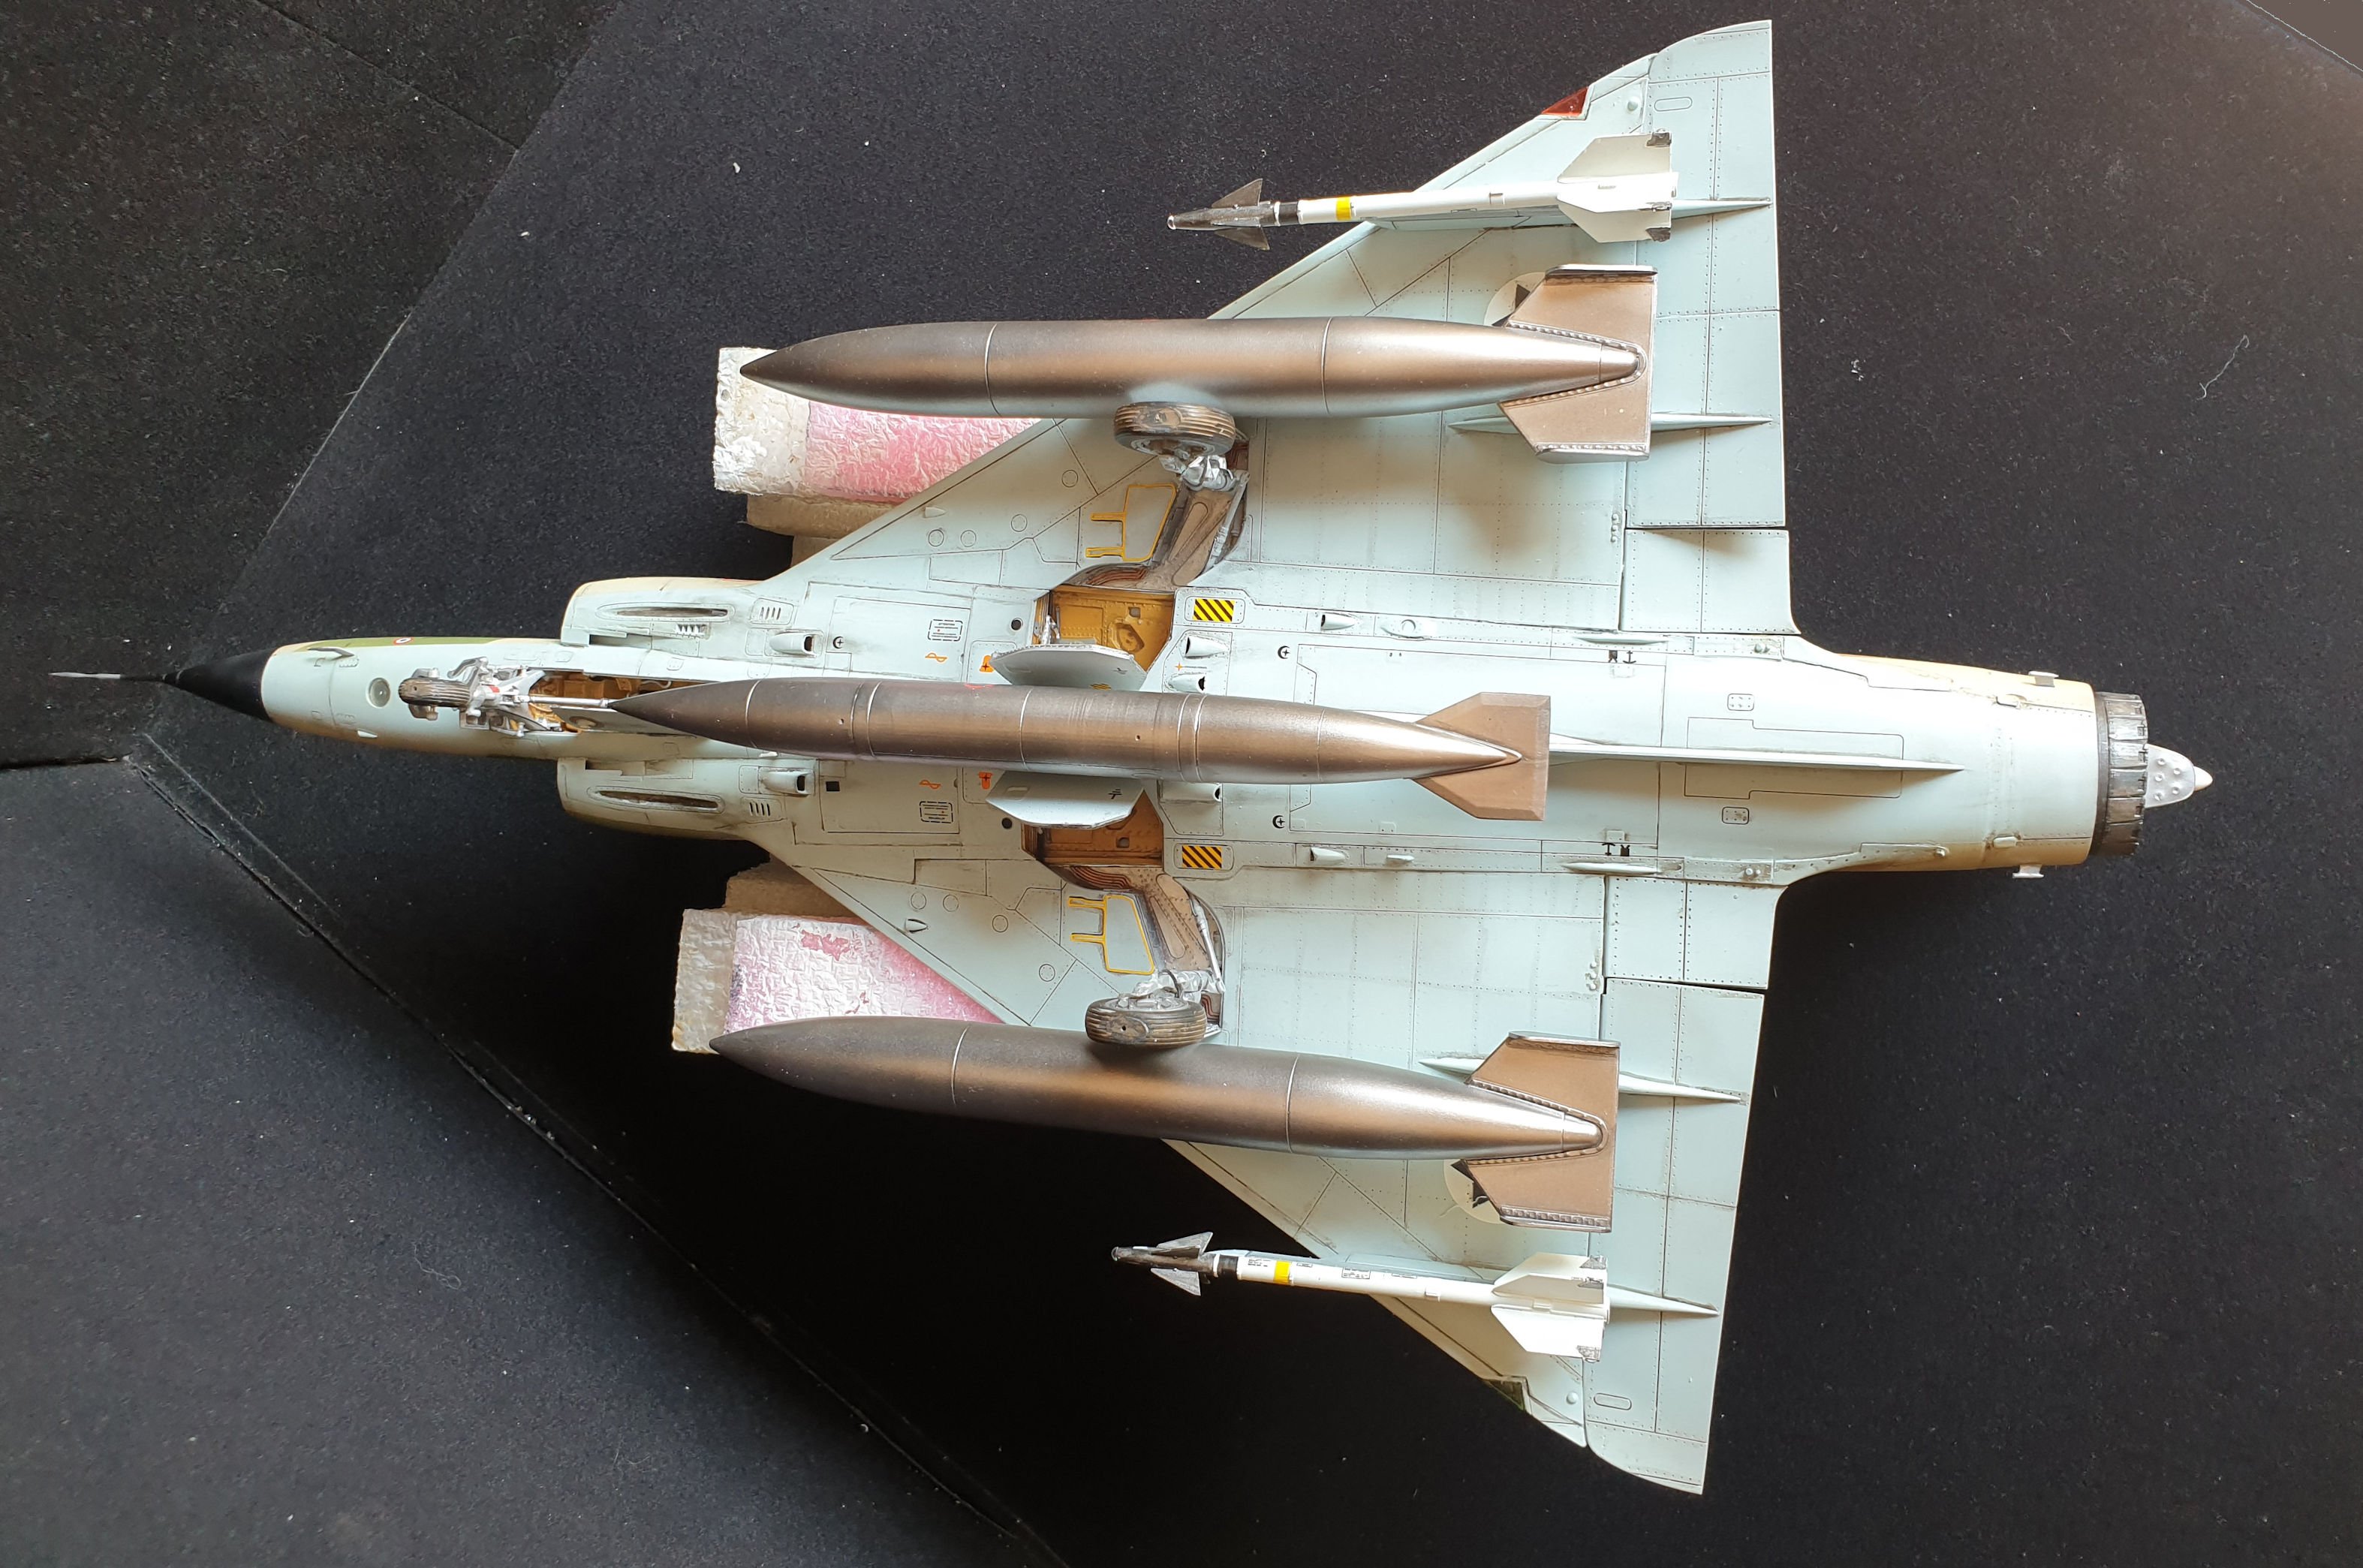
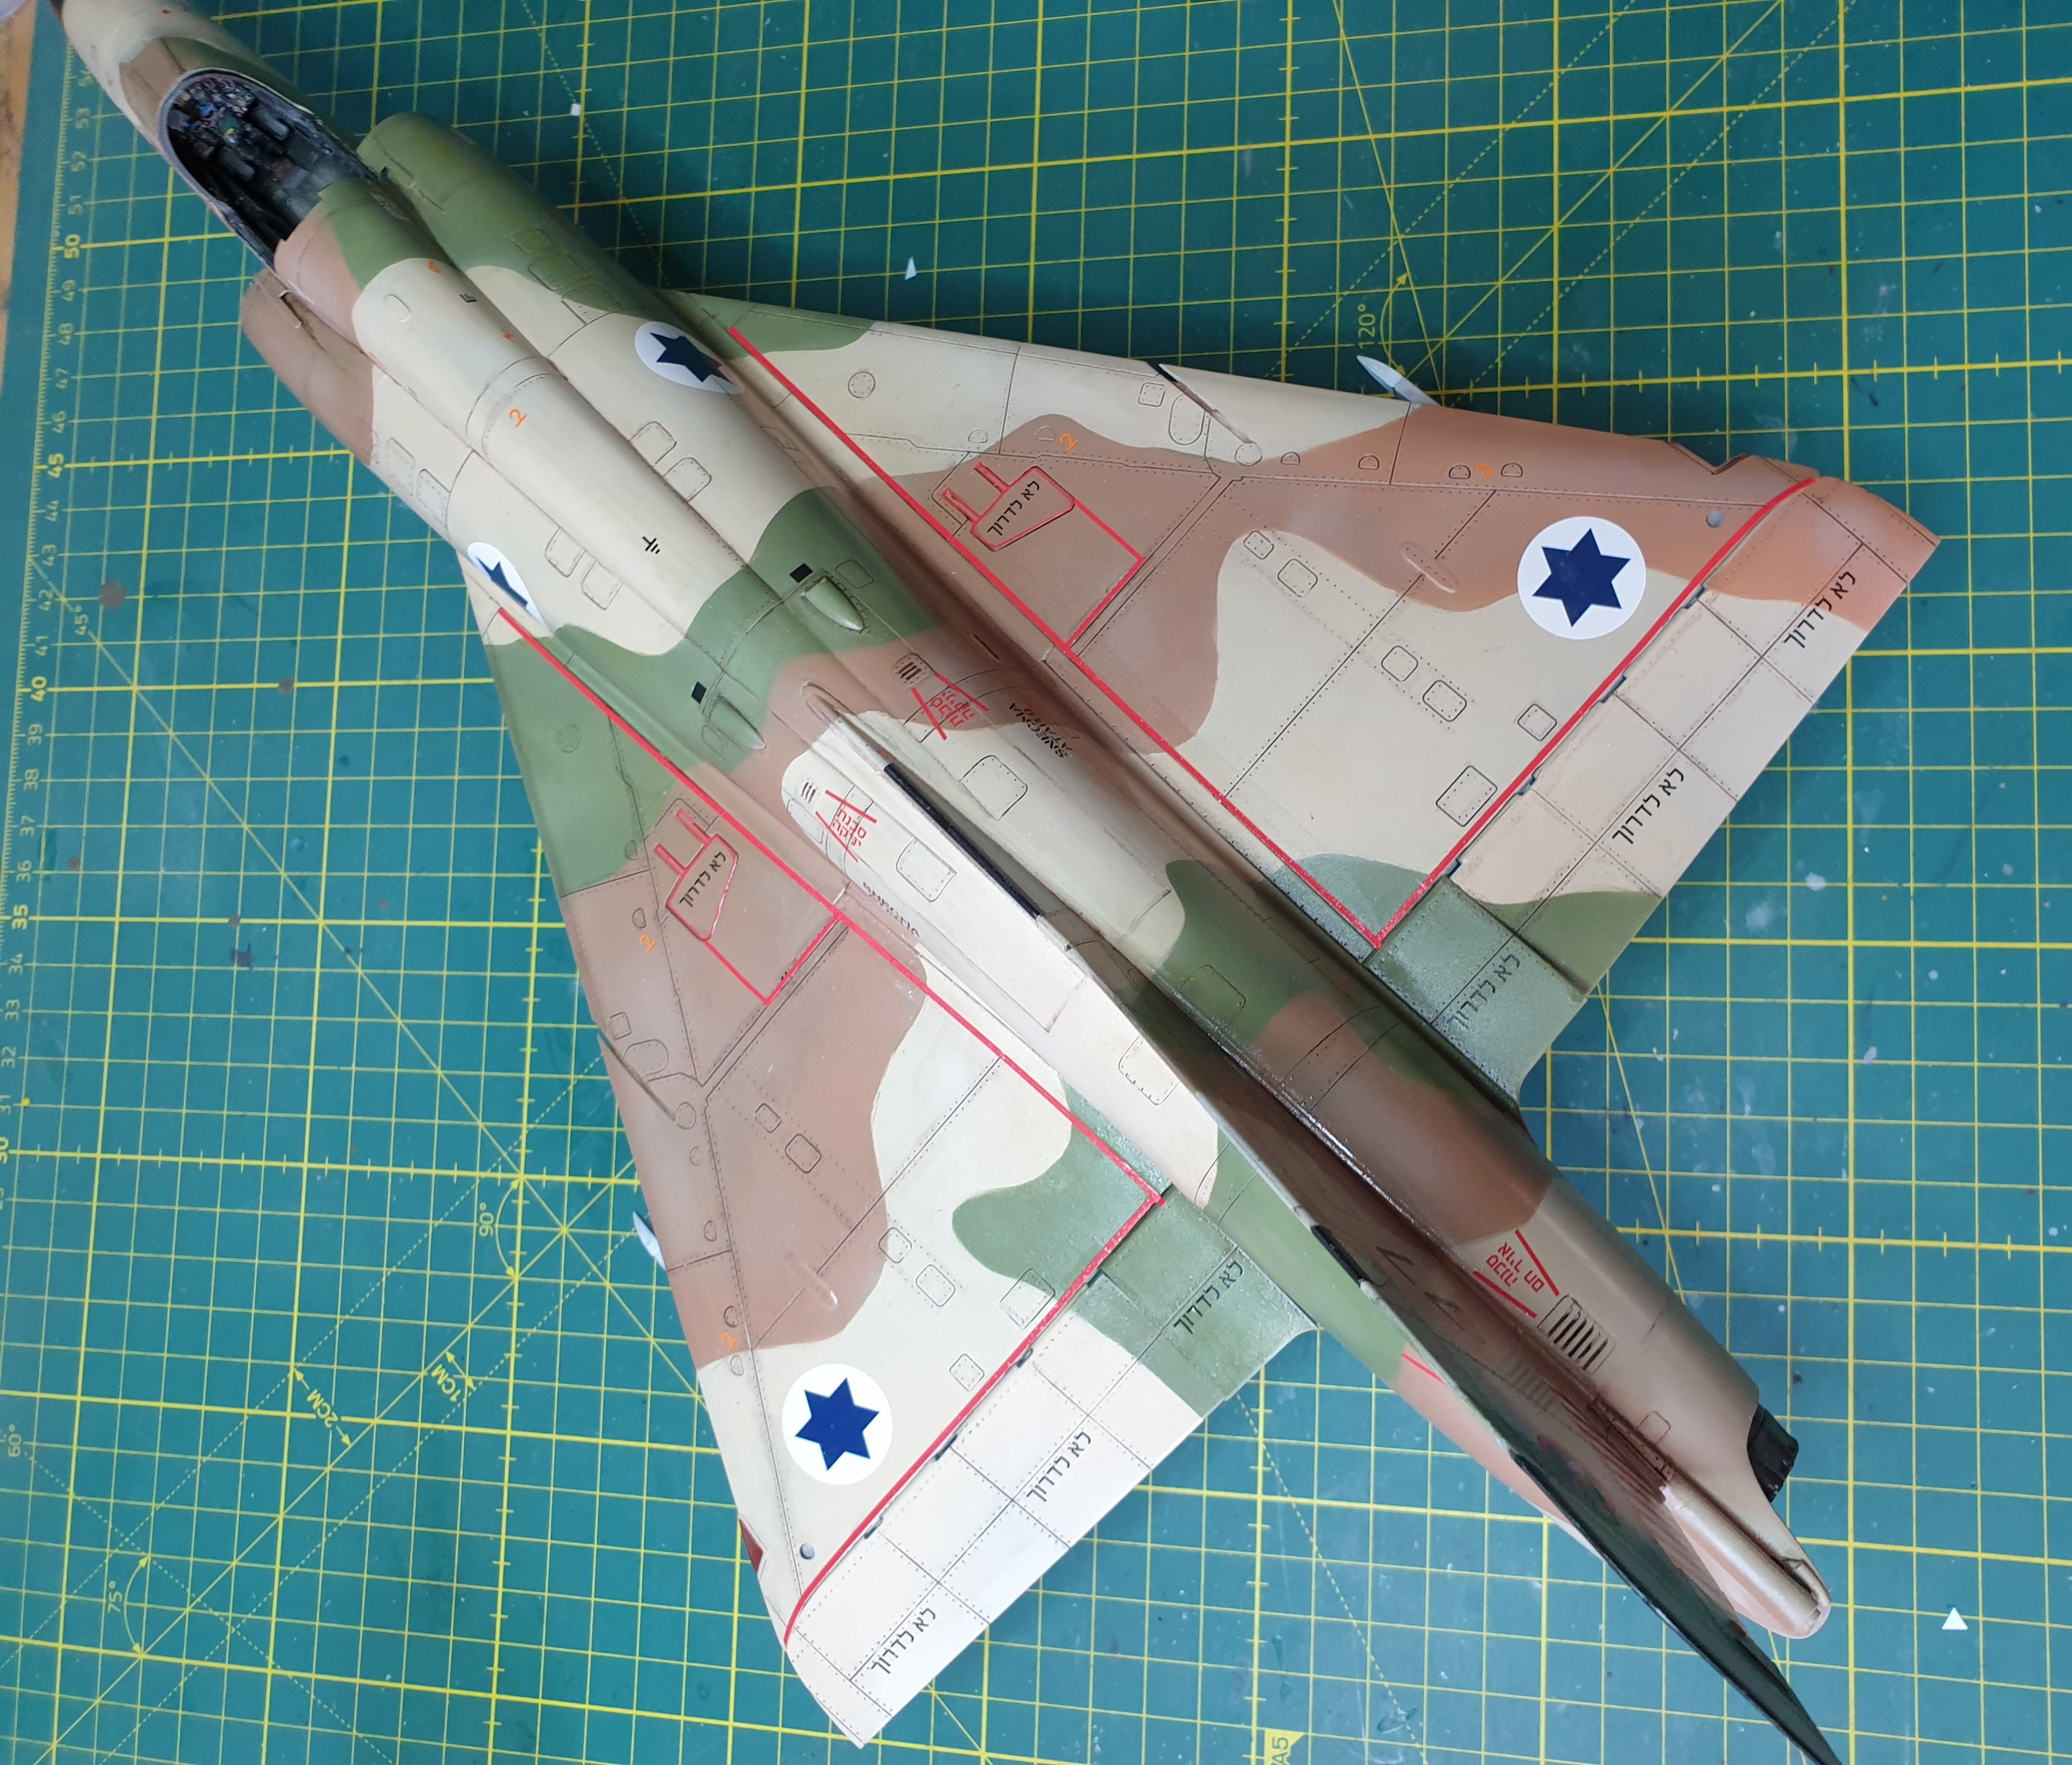
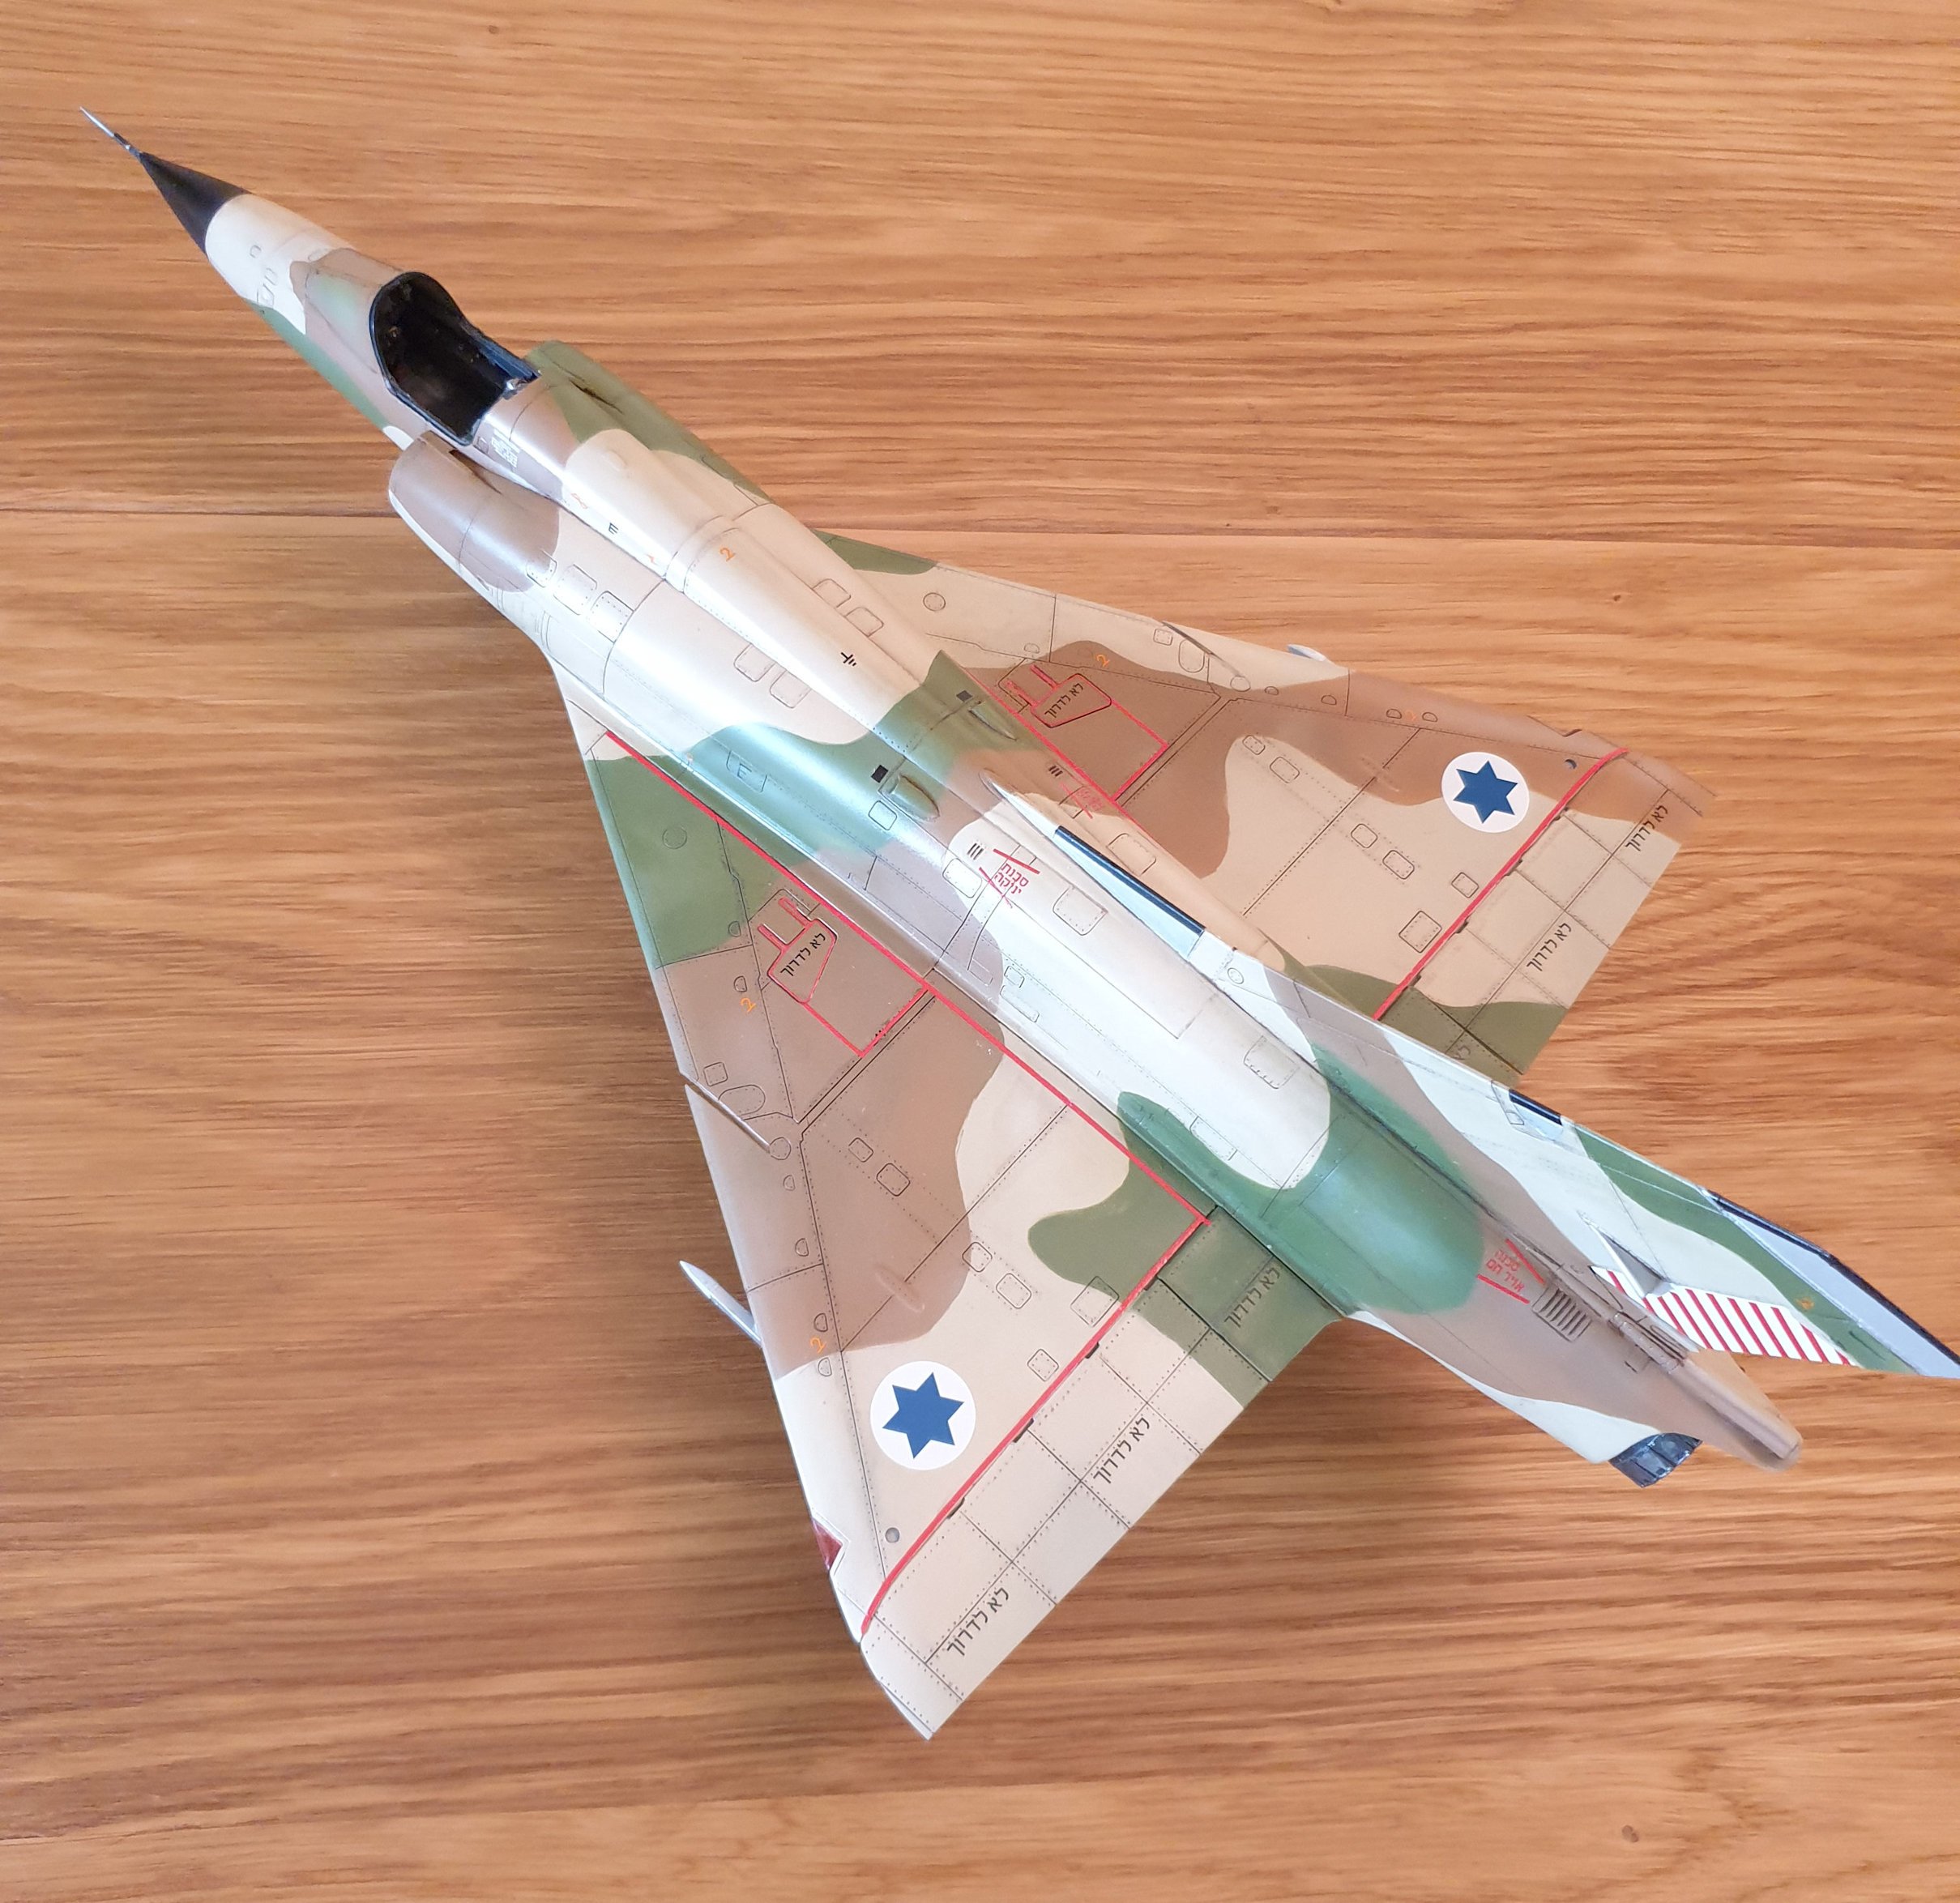
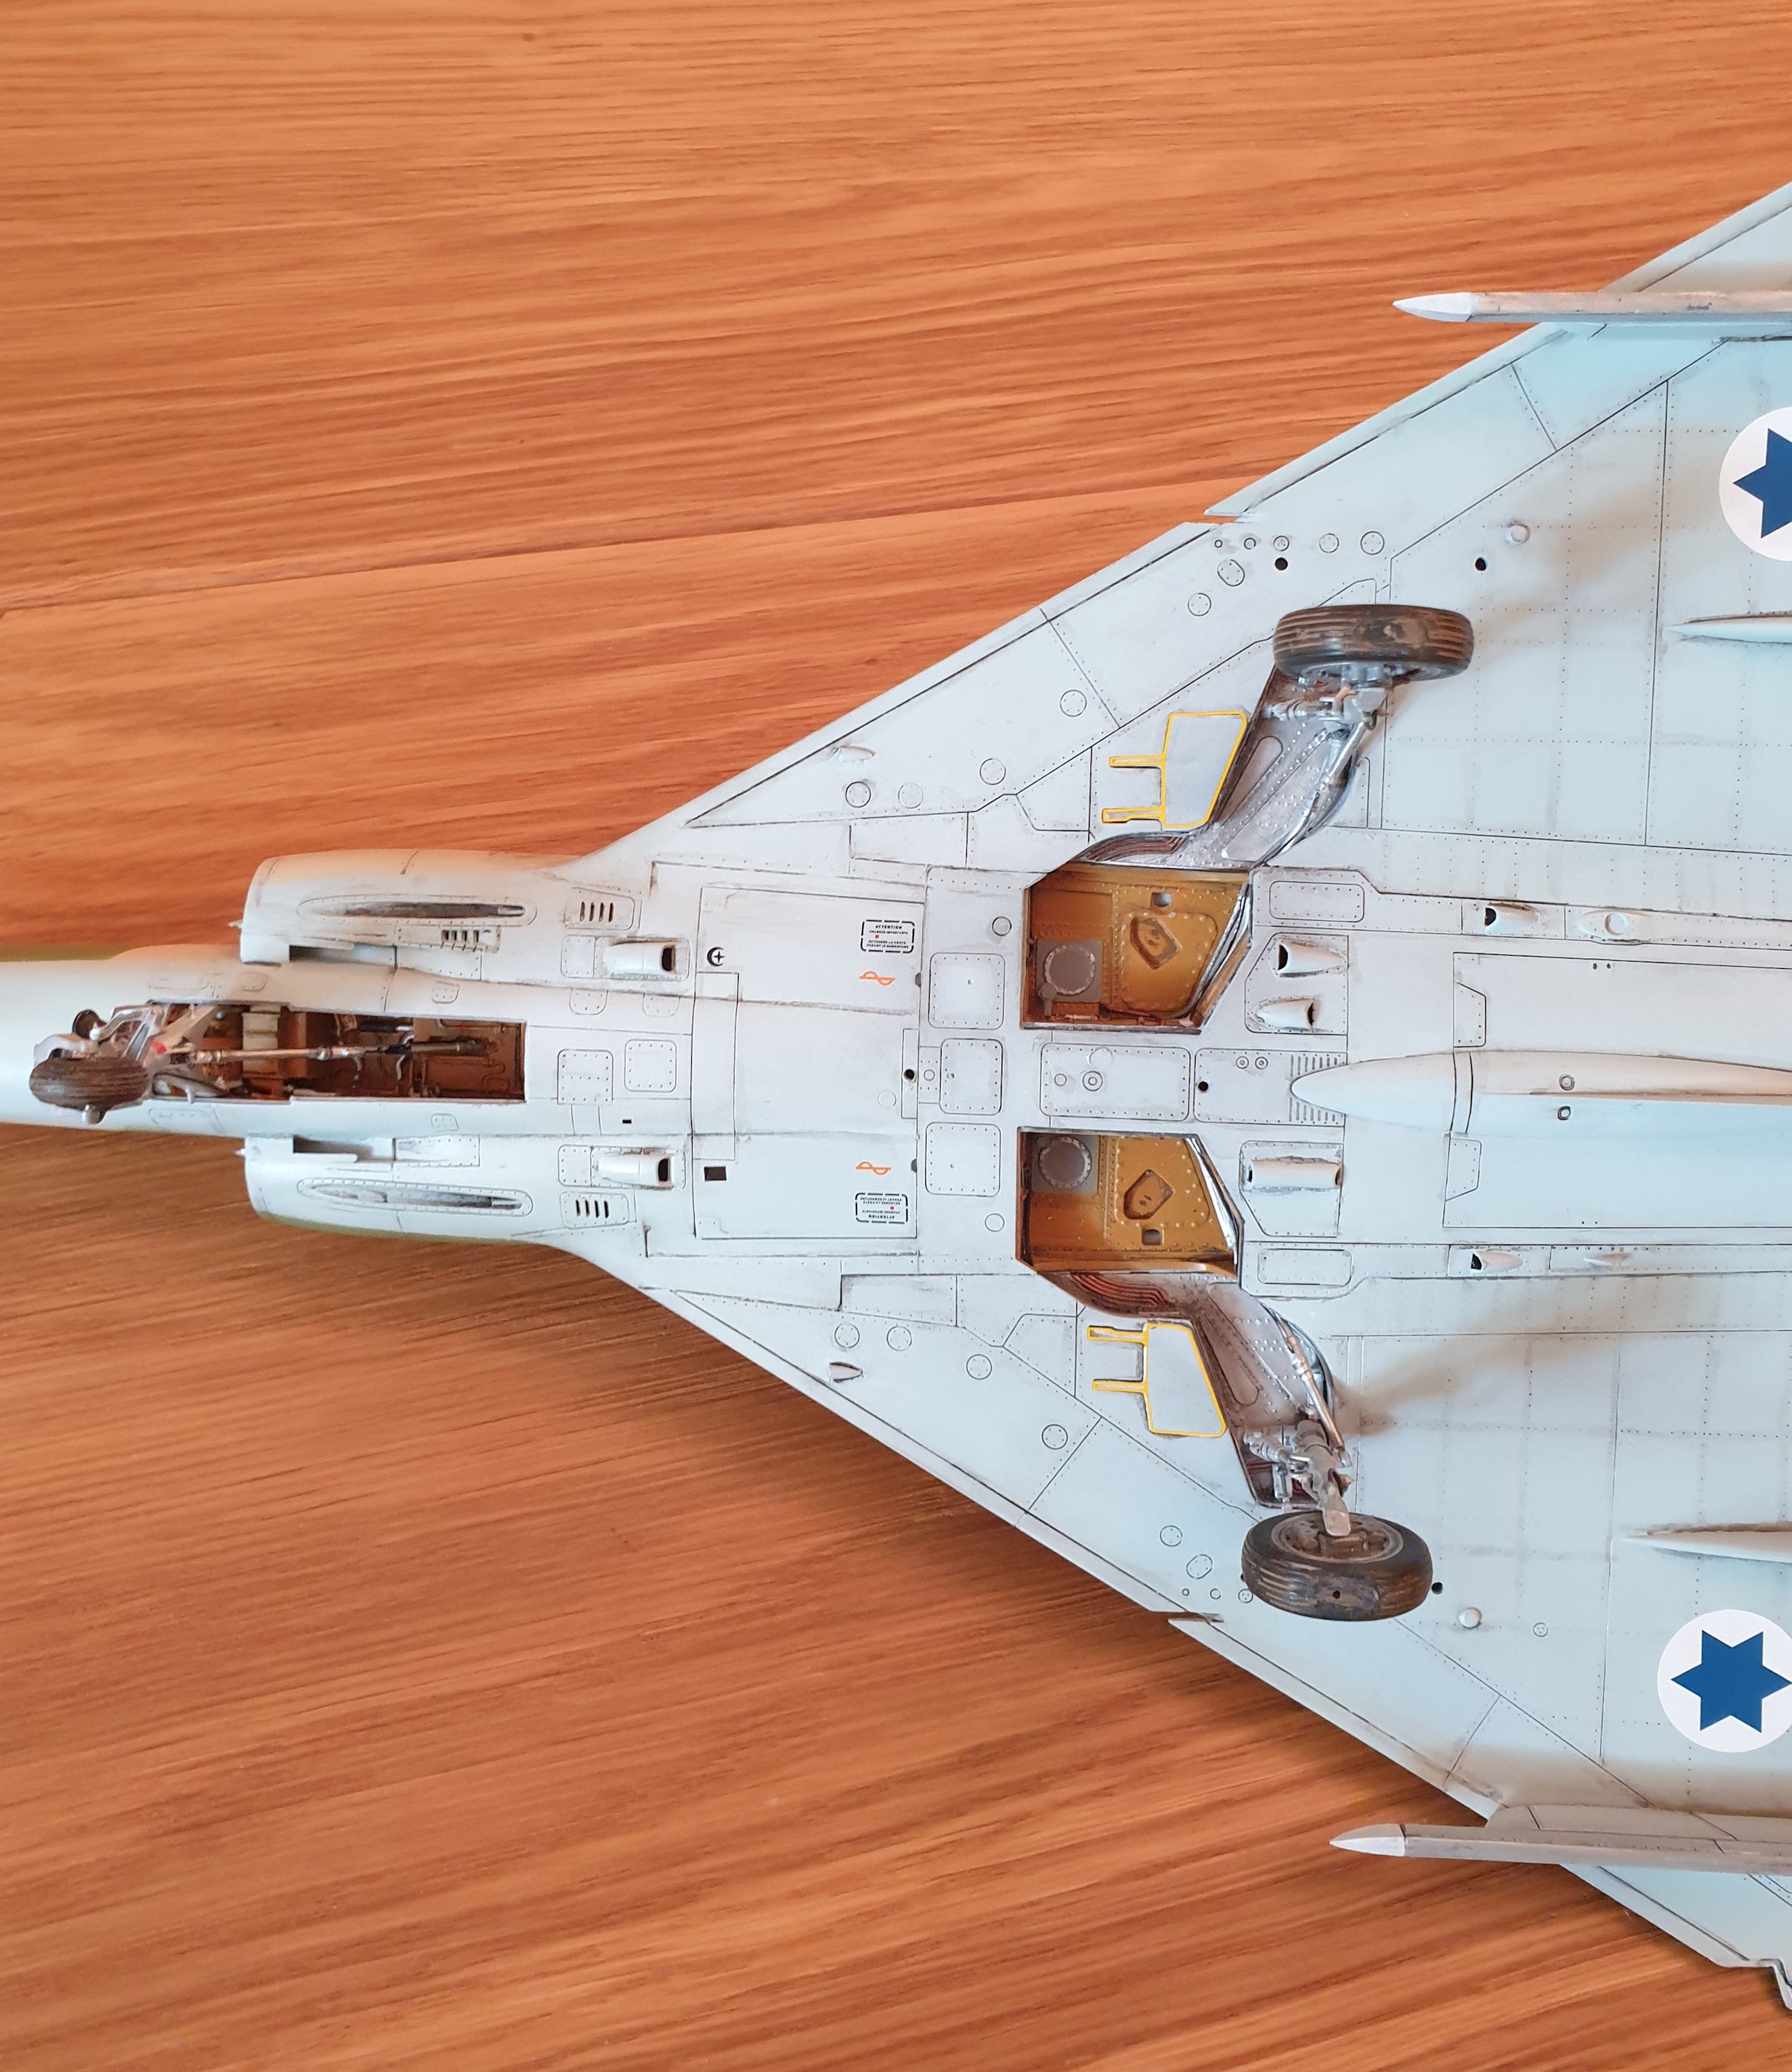
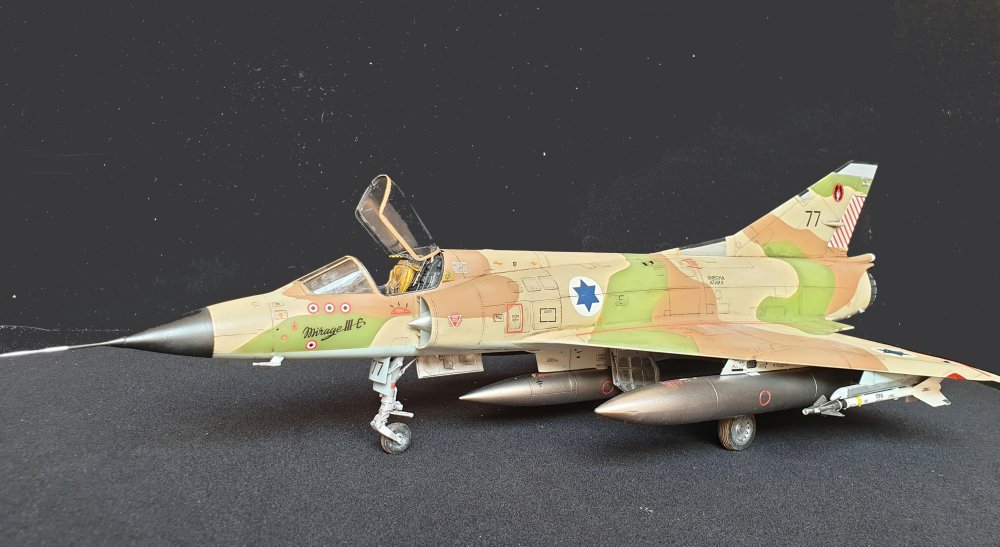
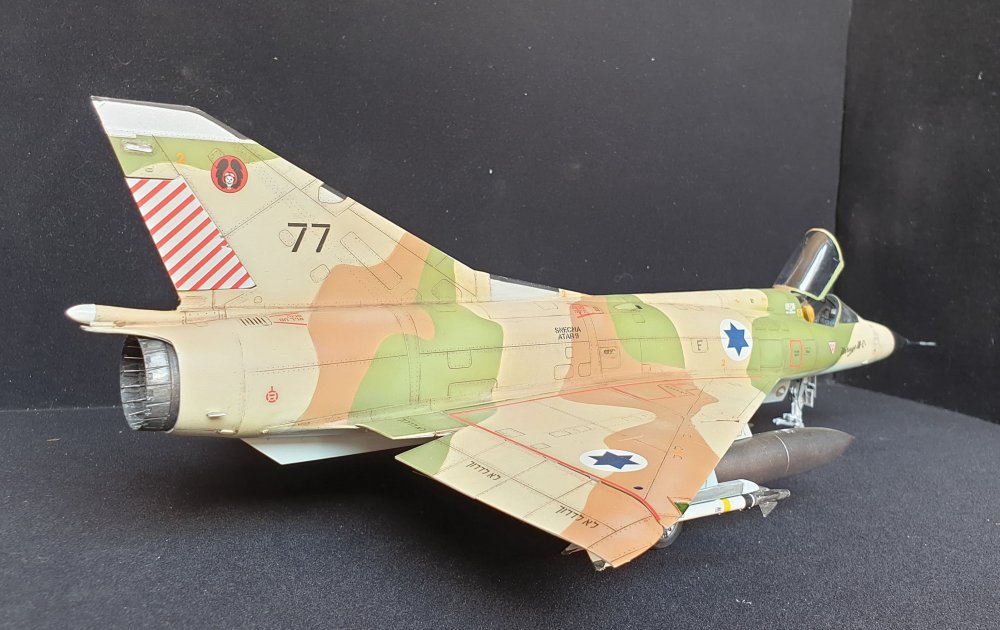
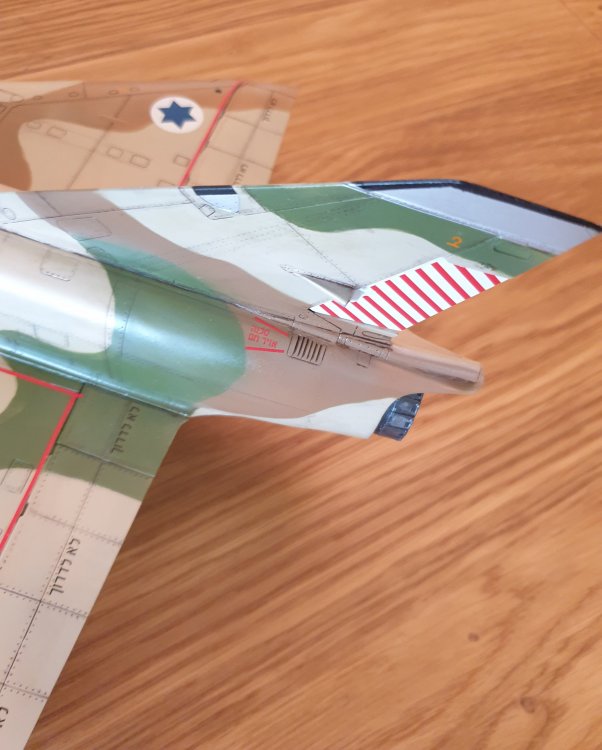
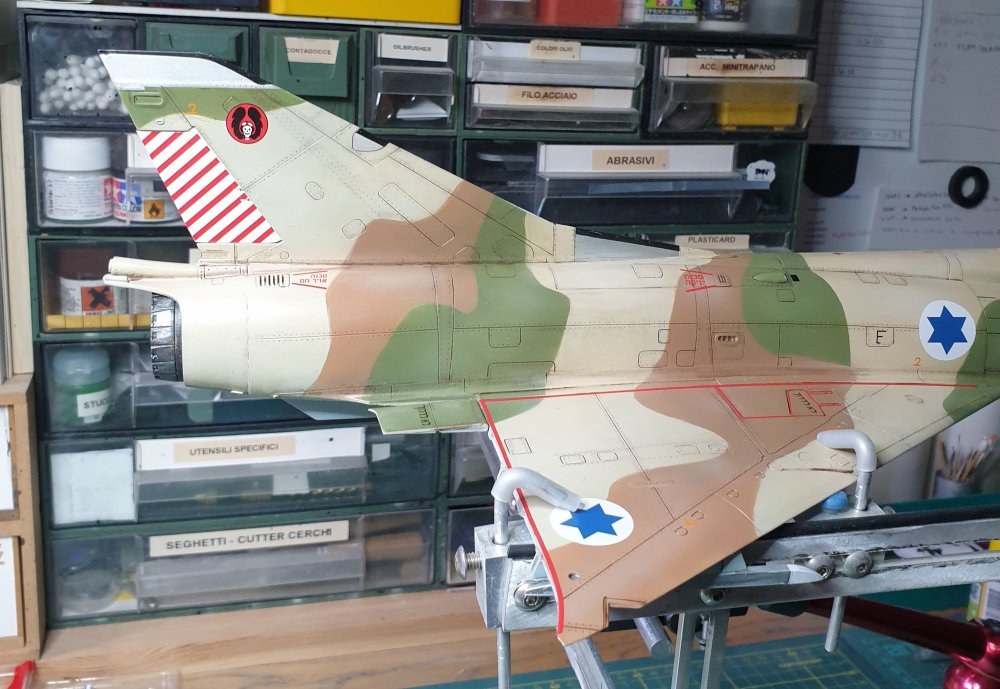
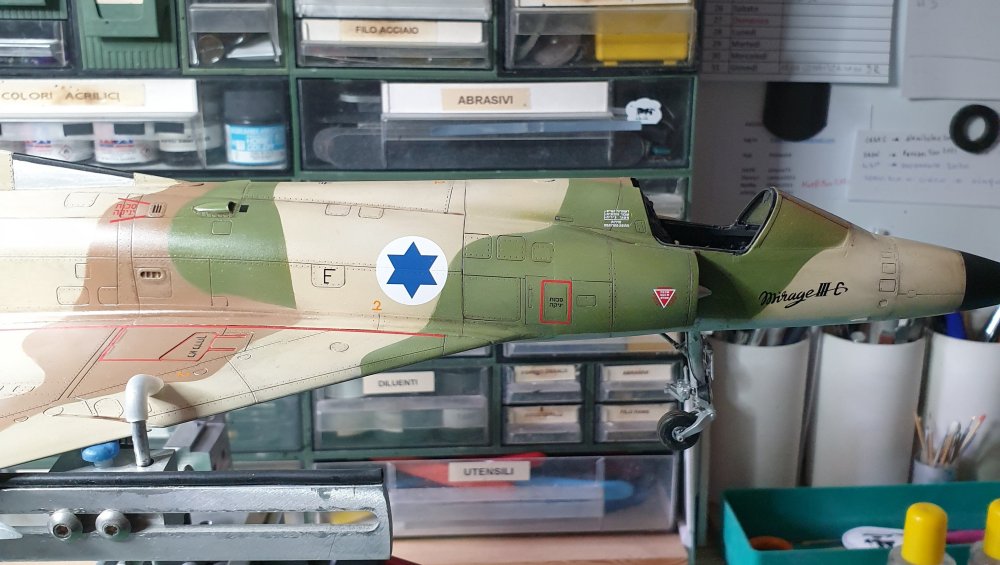
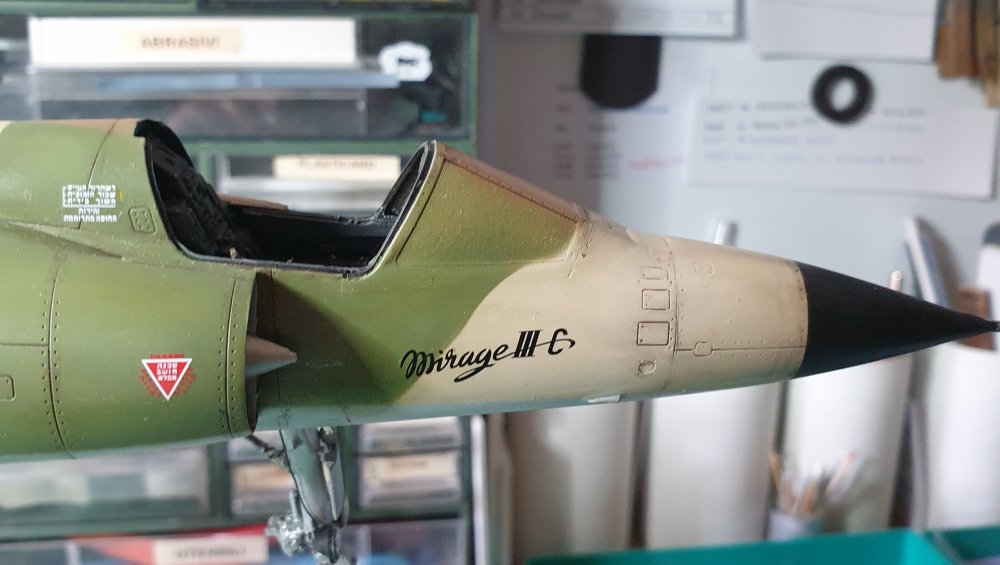
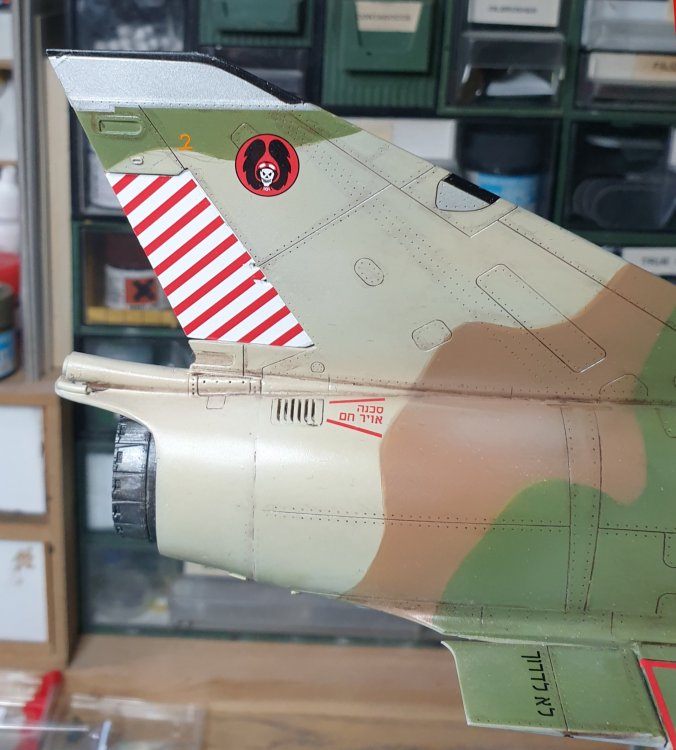
Hi everybody! Finally I'm posting pictures of the finished model with all the wing loads and canopy in position. I hope you will like it.


-
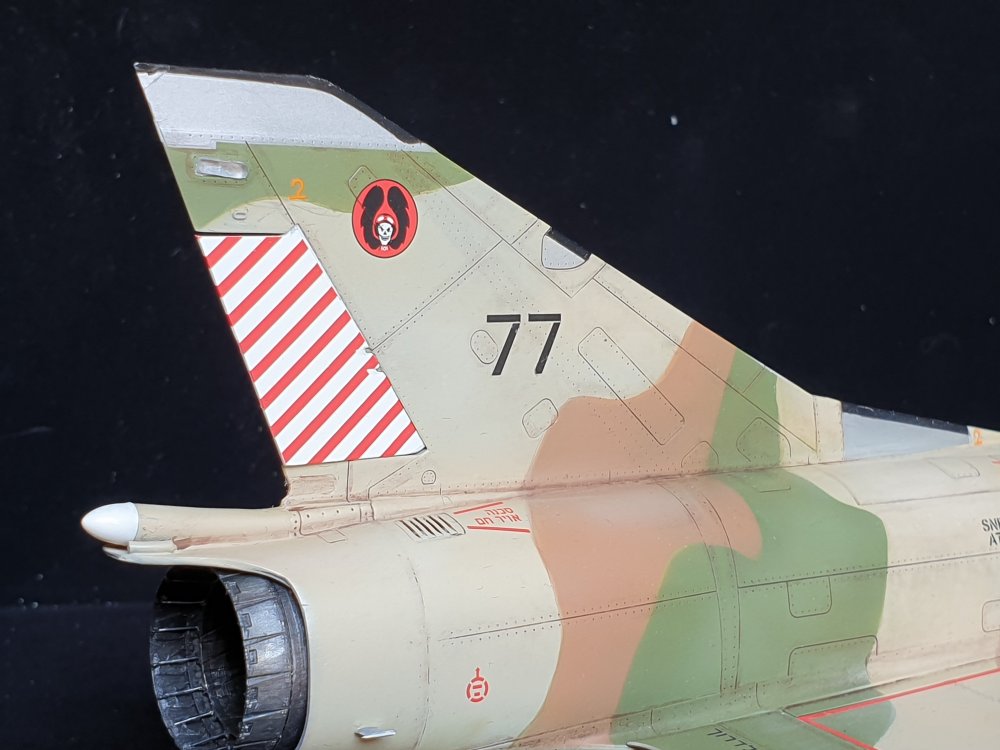
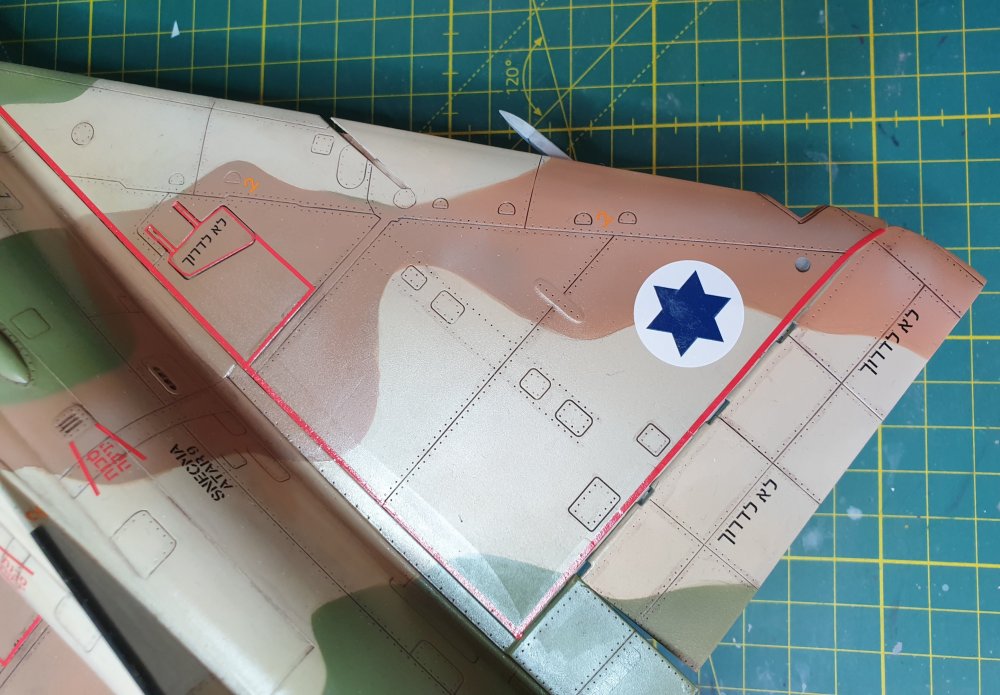
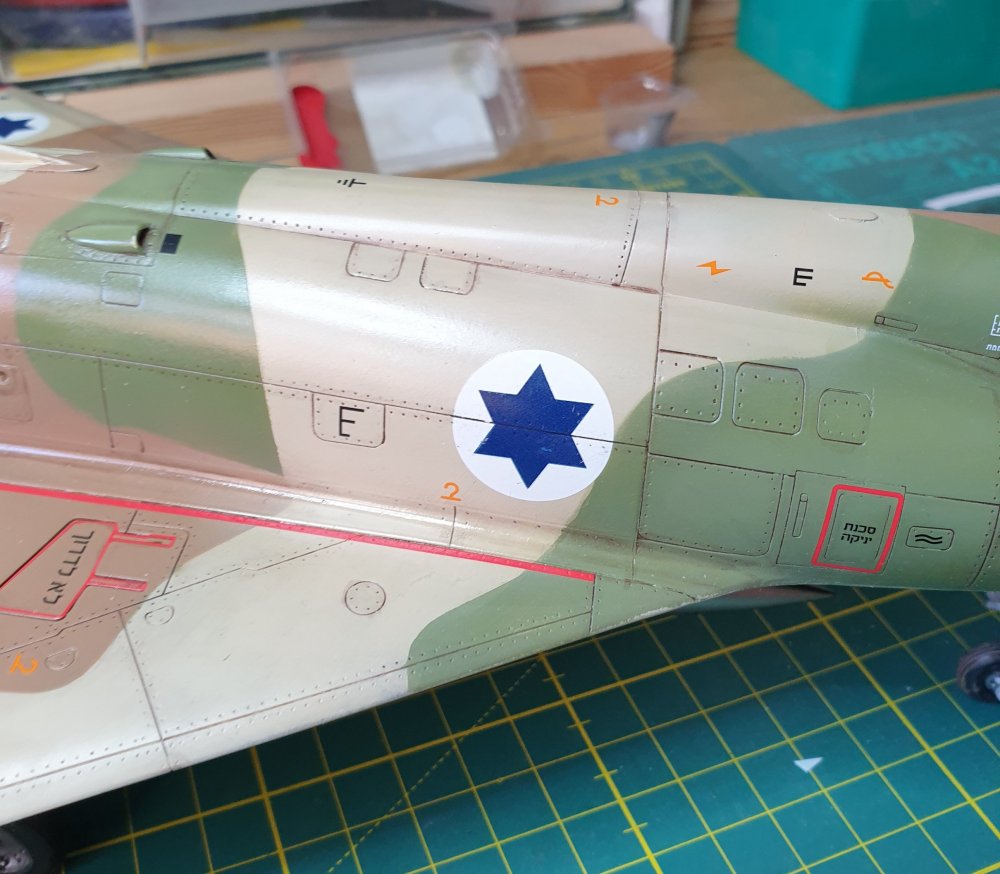
Some updates on my w.i.p. First of all I replaced David's stars with darker ones and went on with some more details. More to follow soon Alberto

-
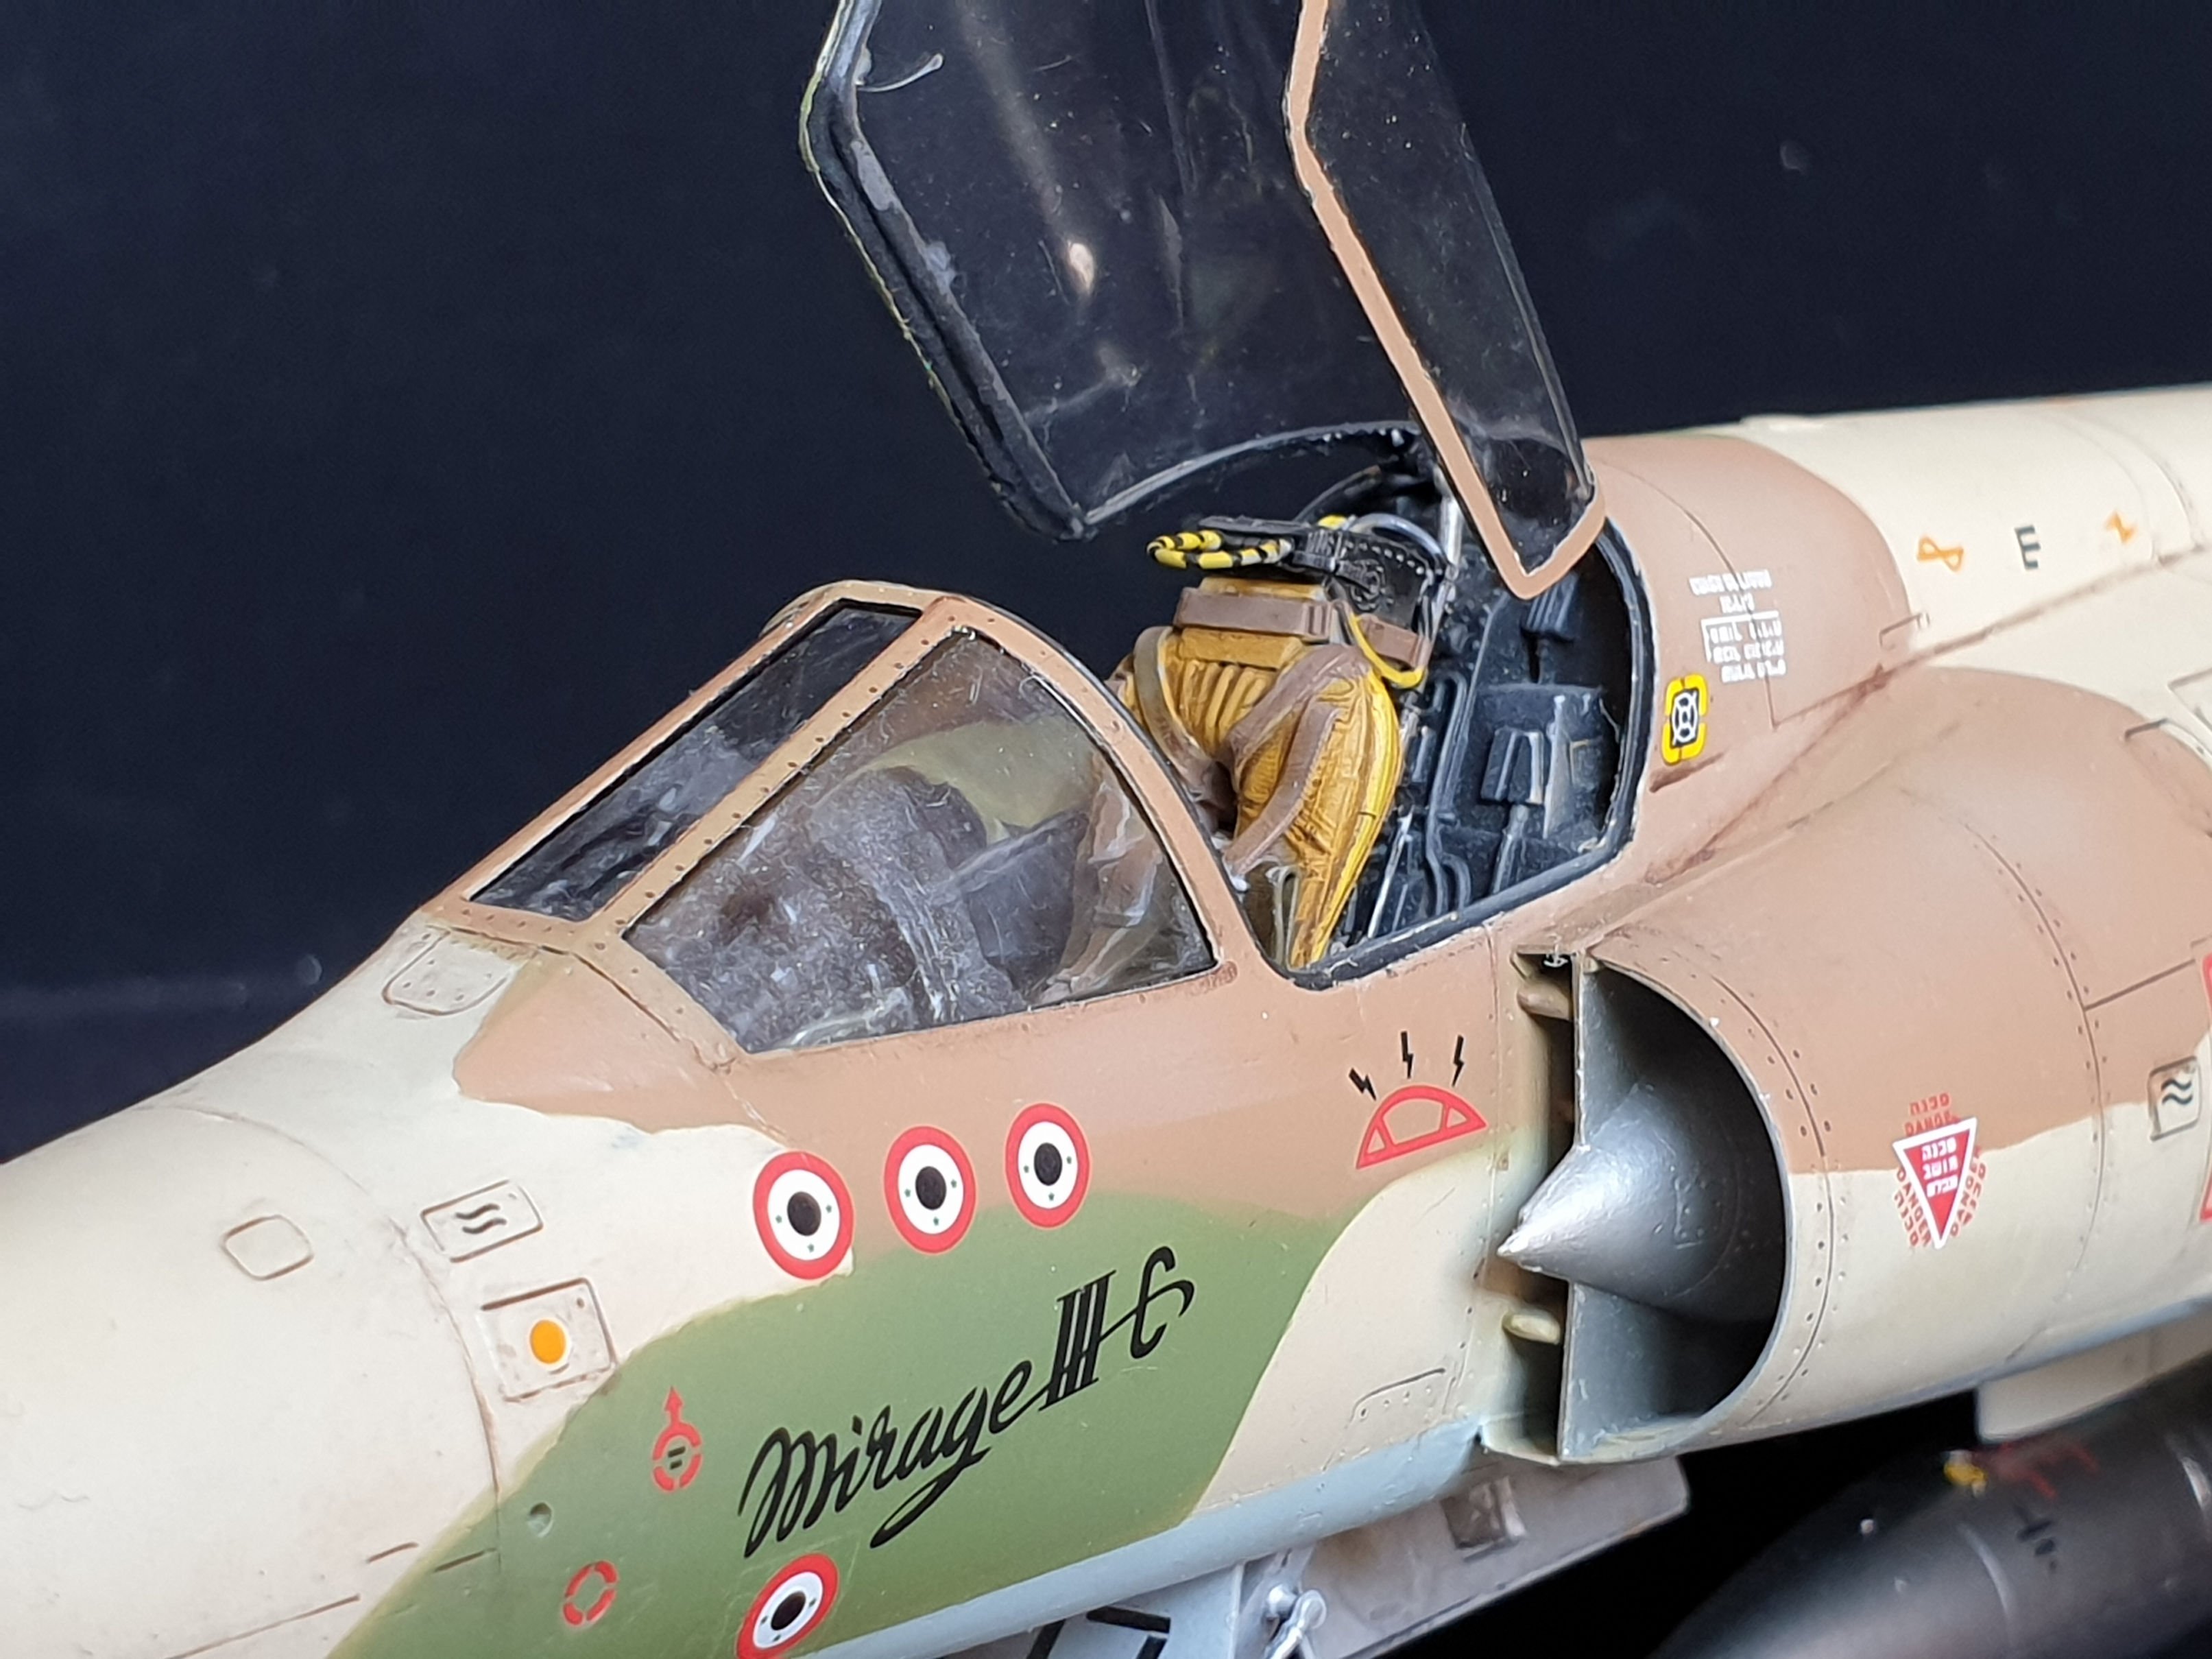
Israeli Mirage III C with Atar9C
alberto49 replied to Kaireckstadt's topic in LSM 1/35 and Larger Work In Progress
Yes, very helpful! So that stem from the back of canopy goes through the hole behind the seat! -
Israeli Mirage III C with Atar9C
alberto49 replied to Kaireckstadt's topic in LSM 1/35 and Larger Work In Progress
Hi Kai, my model is progressing well, I will post some pictures very soon, but I have question for you, could you please post an other picture of the canopy positioned in open position? I'm struggling to understand how it's fixed to to the cockpit. Many thanks in advance. Alberto -
Hi, many thanks for your comment! taxi-lights will soon disappear from my model! In the mean time I've found that blue color of Israeli star is probably too pale and I'm preparing new darker ones.
-
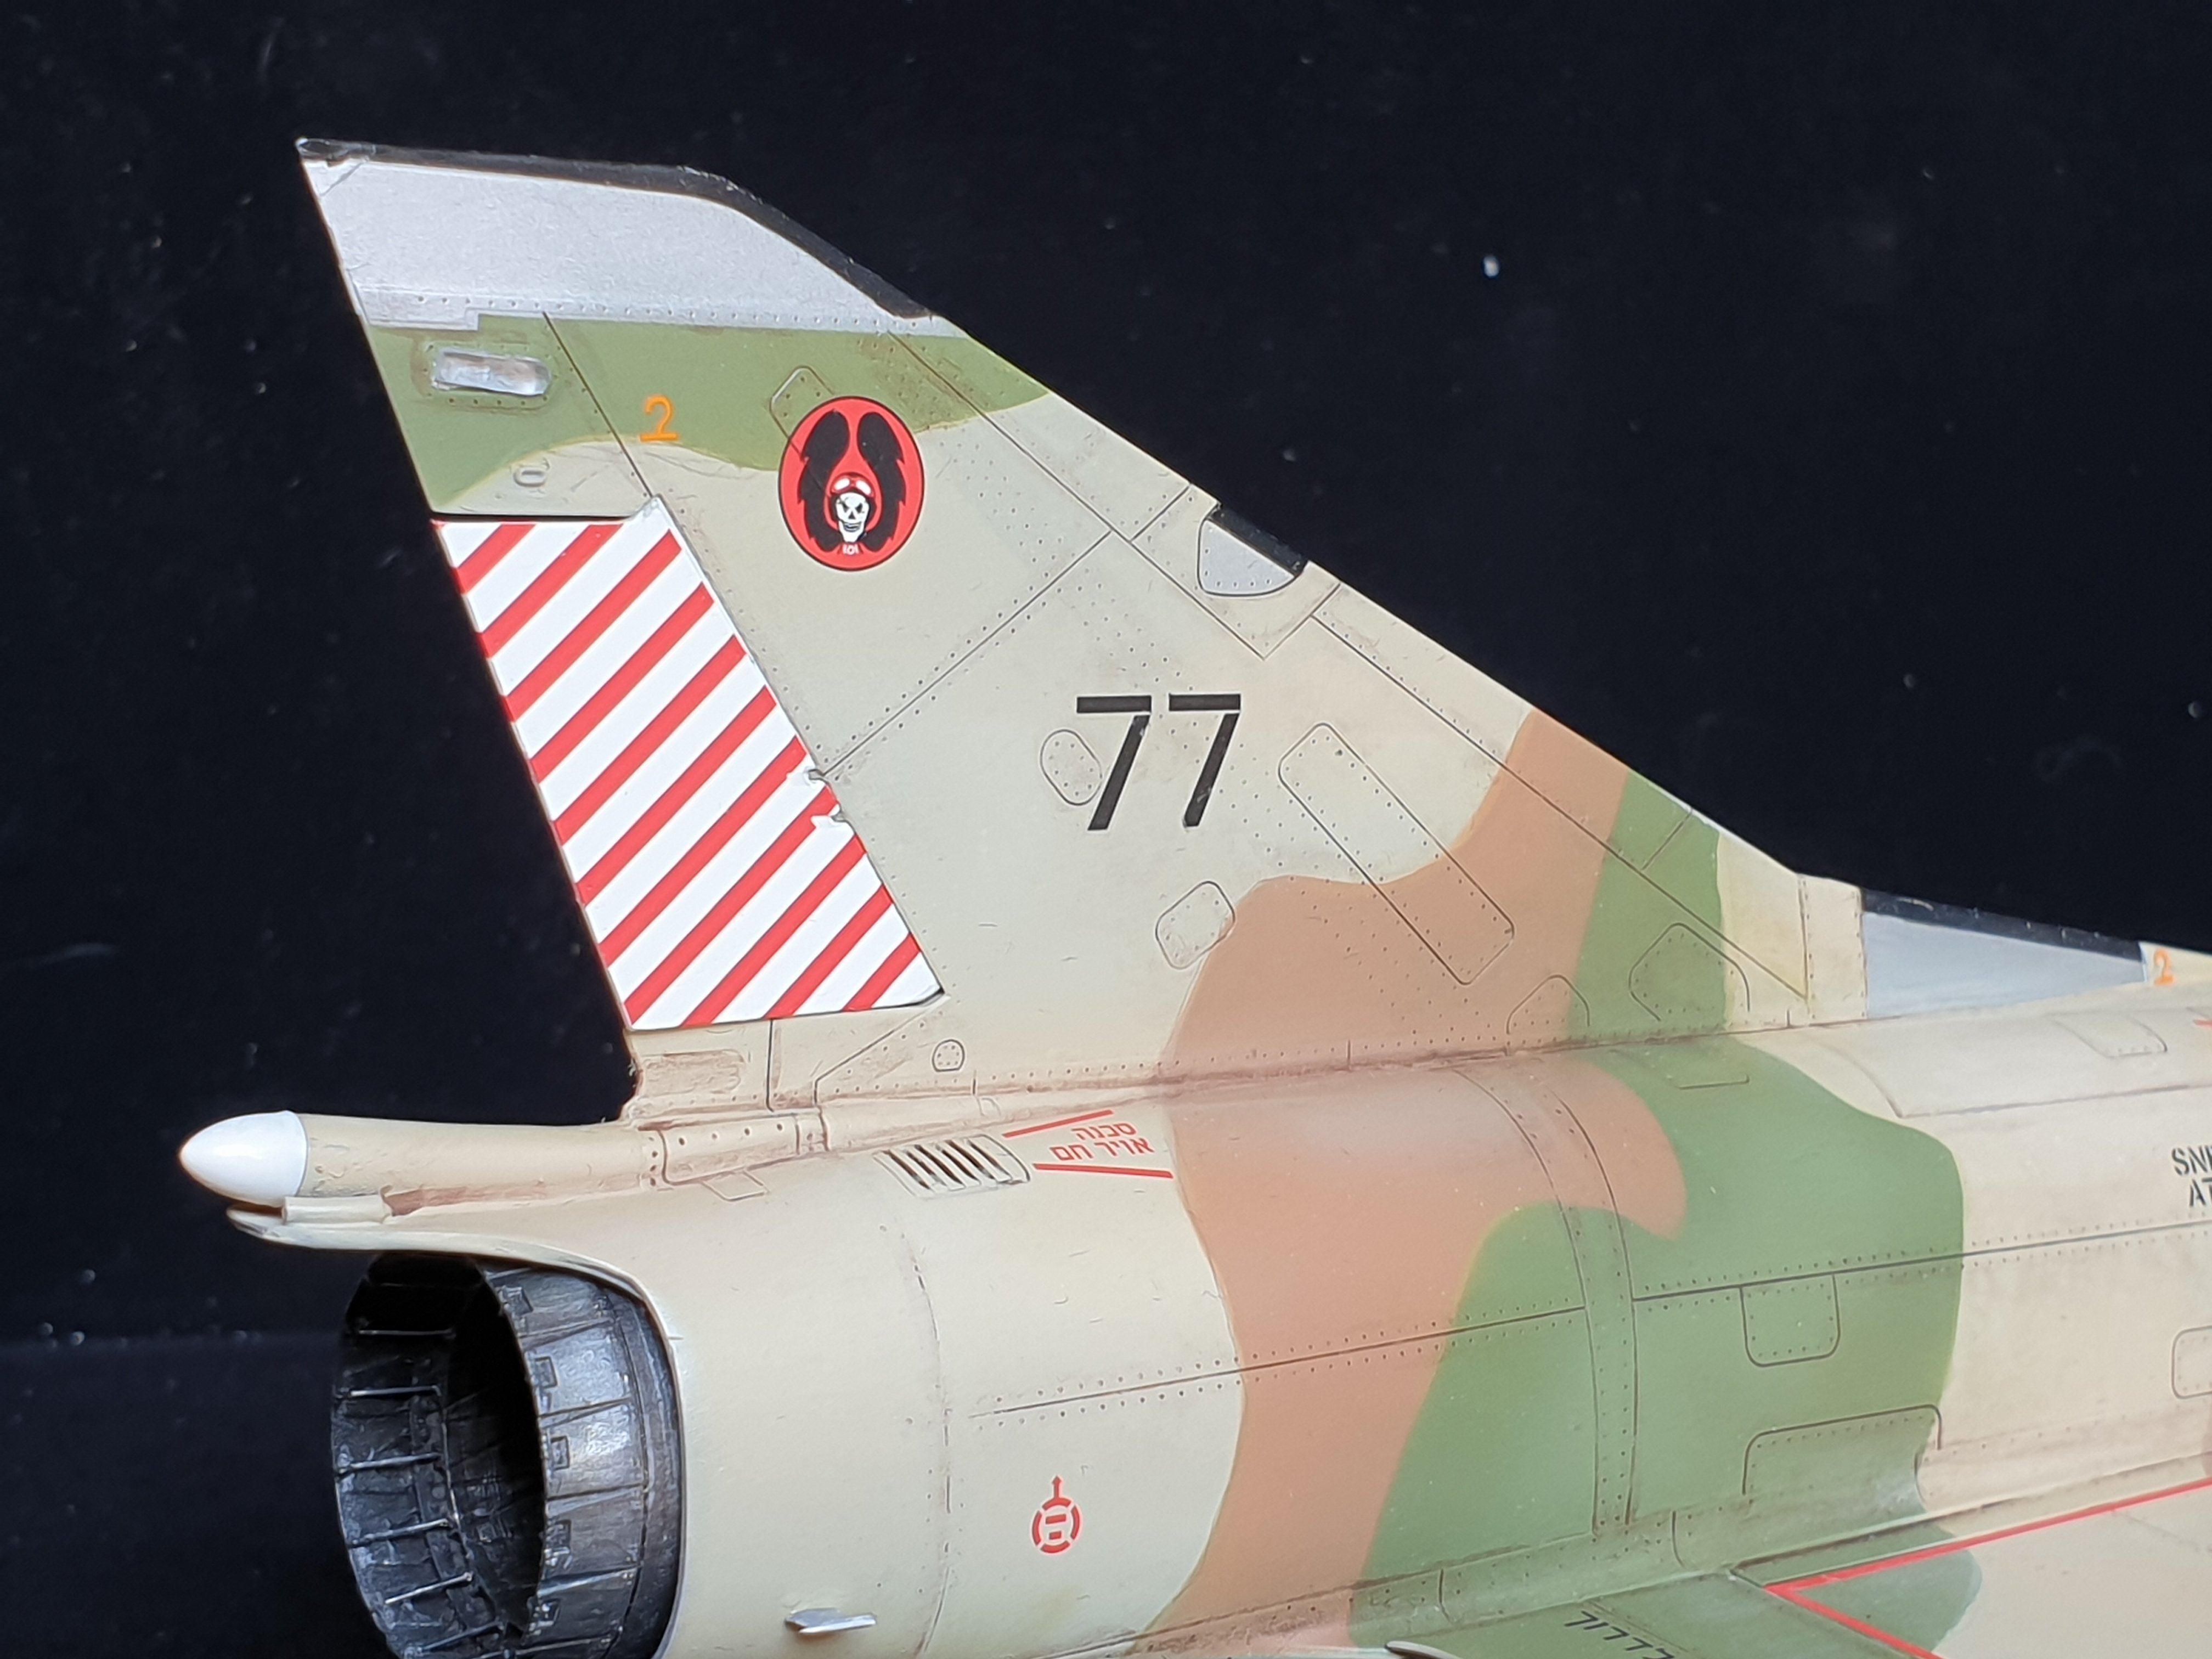
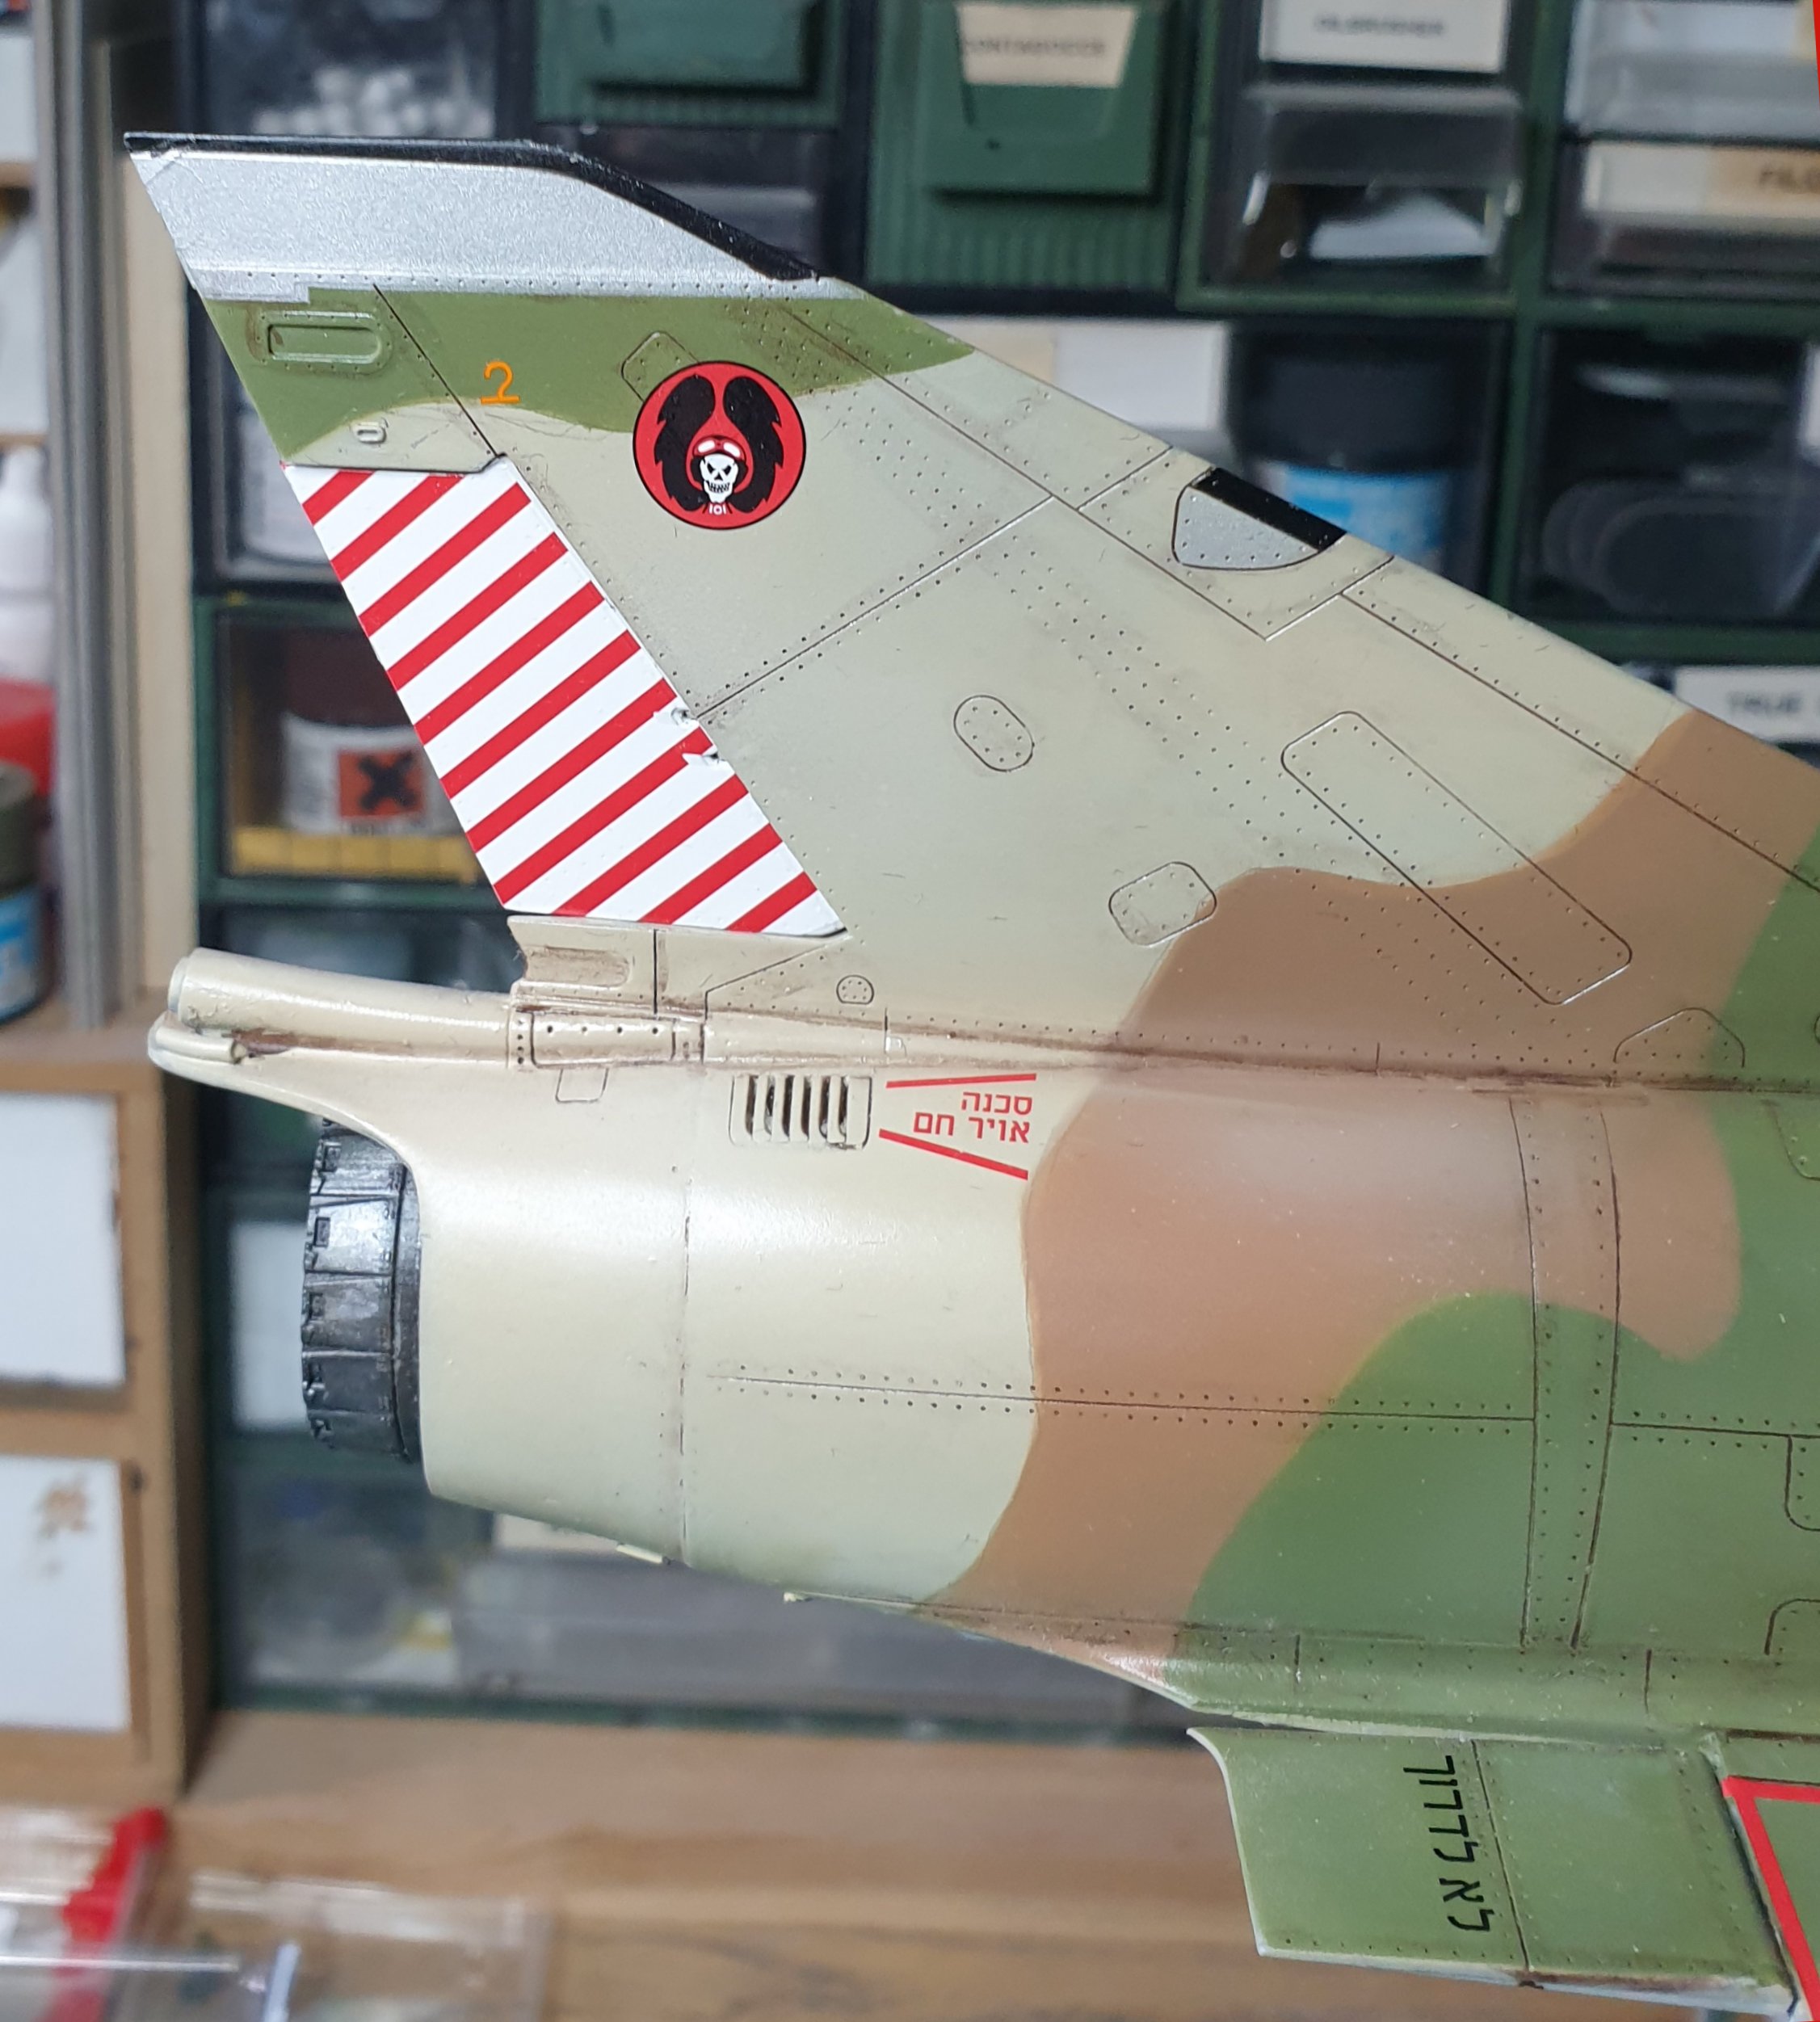
Hi everybody, after some time I'm coming with some pictures of my Shahak with some decals on! Some more will follow soon, also because I'm consideering to replace David's stars with darker ones! Alberto


-
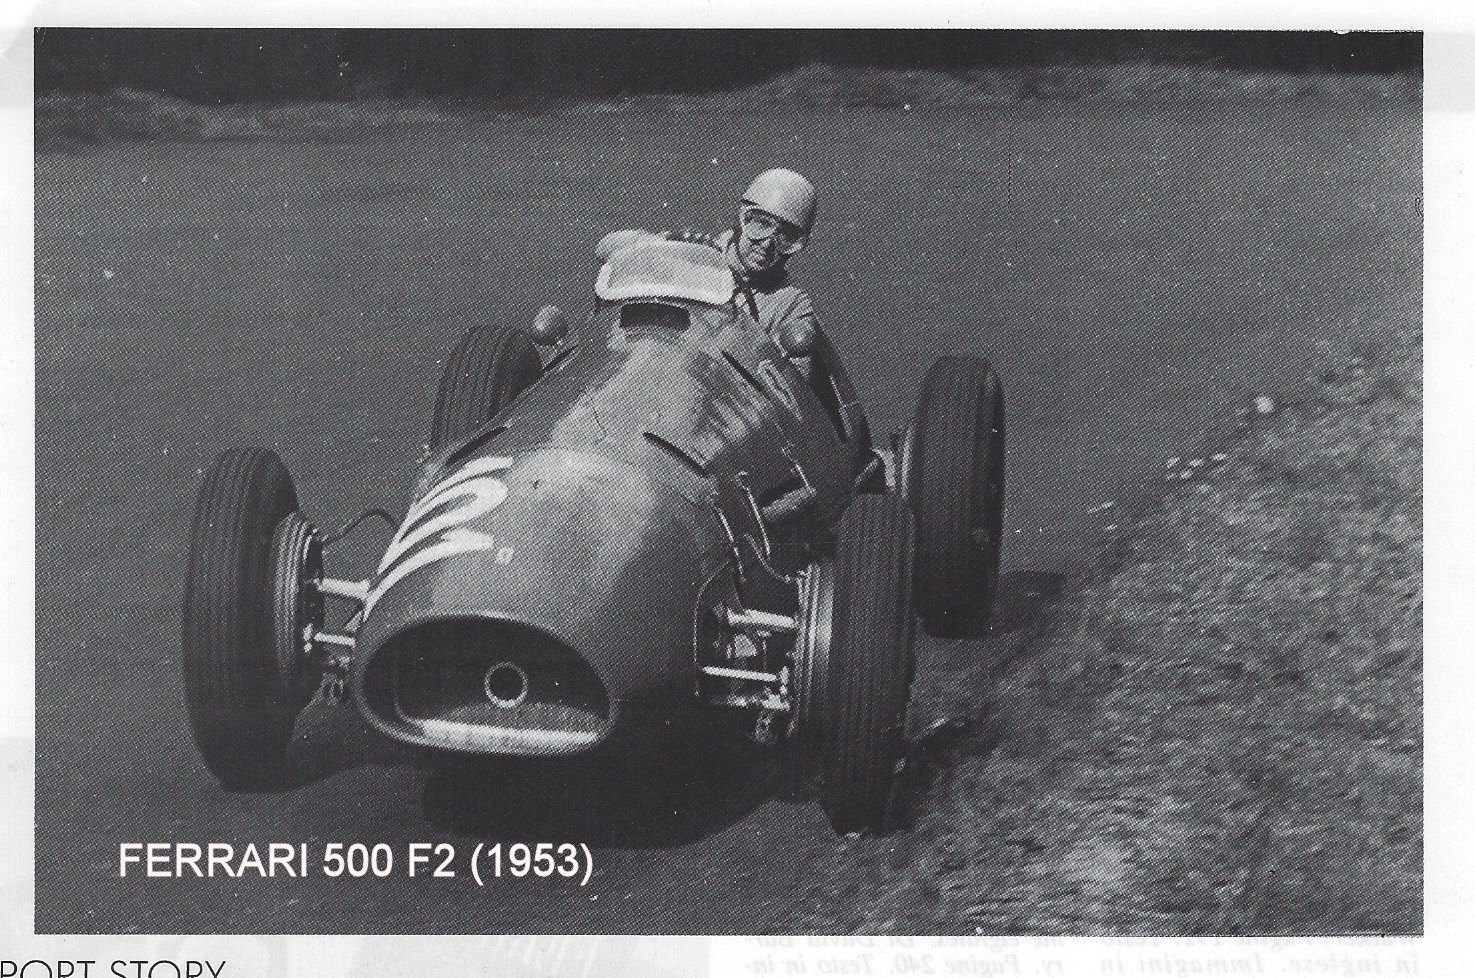
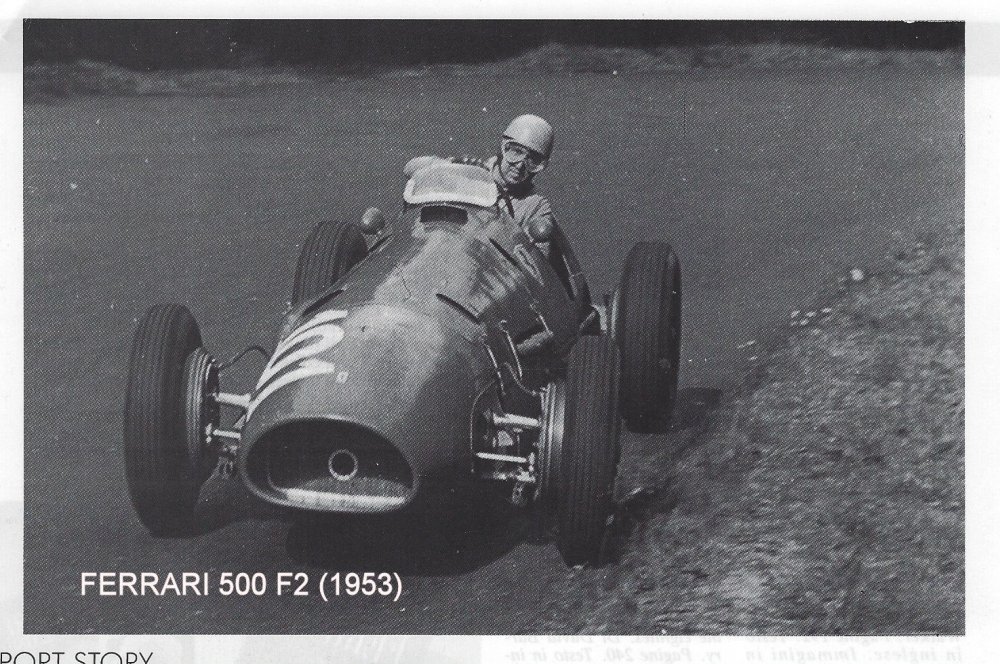
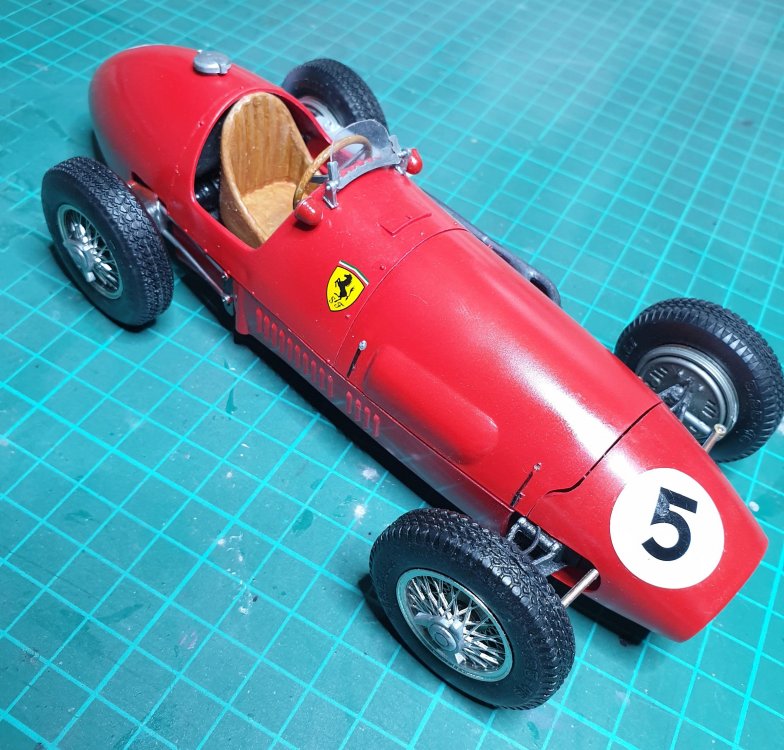
Many thanks for your nice comments! By the way, during last Summer, when I was in my holiday place, I started a little project that I just completed. It's totally different from my usual subjects, it's made by an Italian company called "Revival" and it's in 1:20 scale. Look here:


-
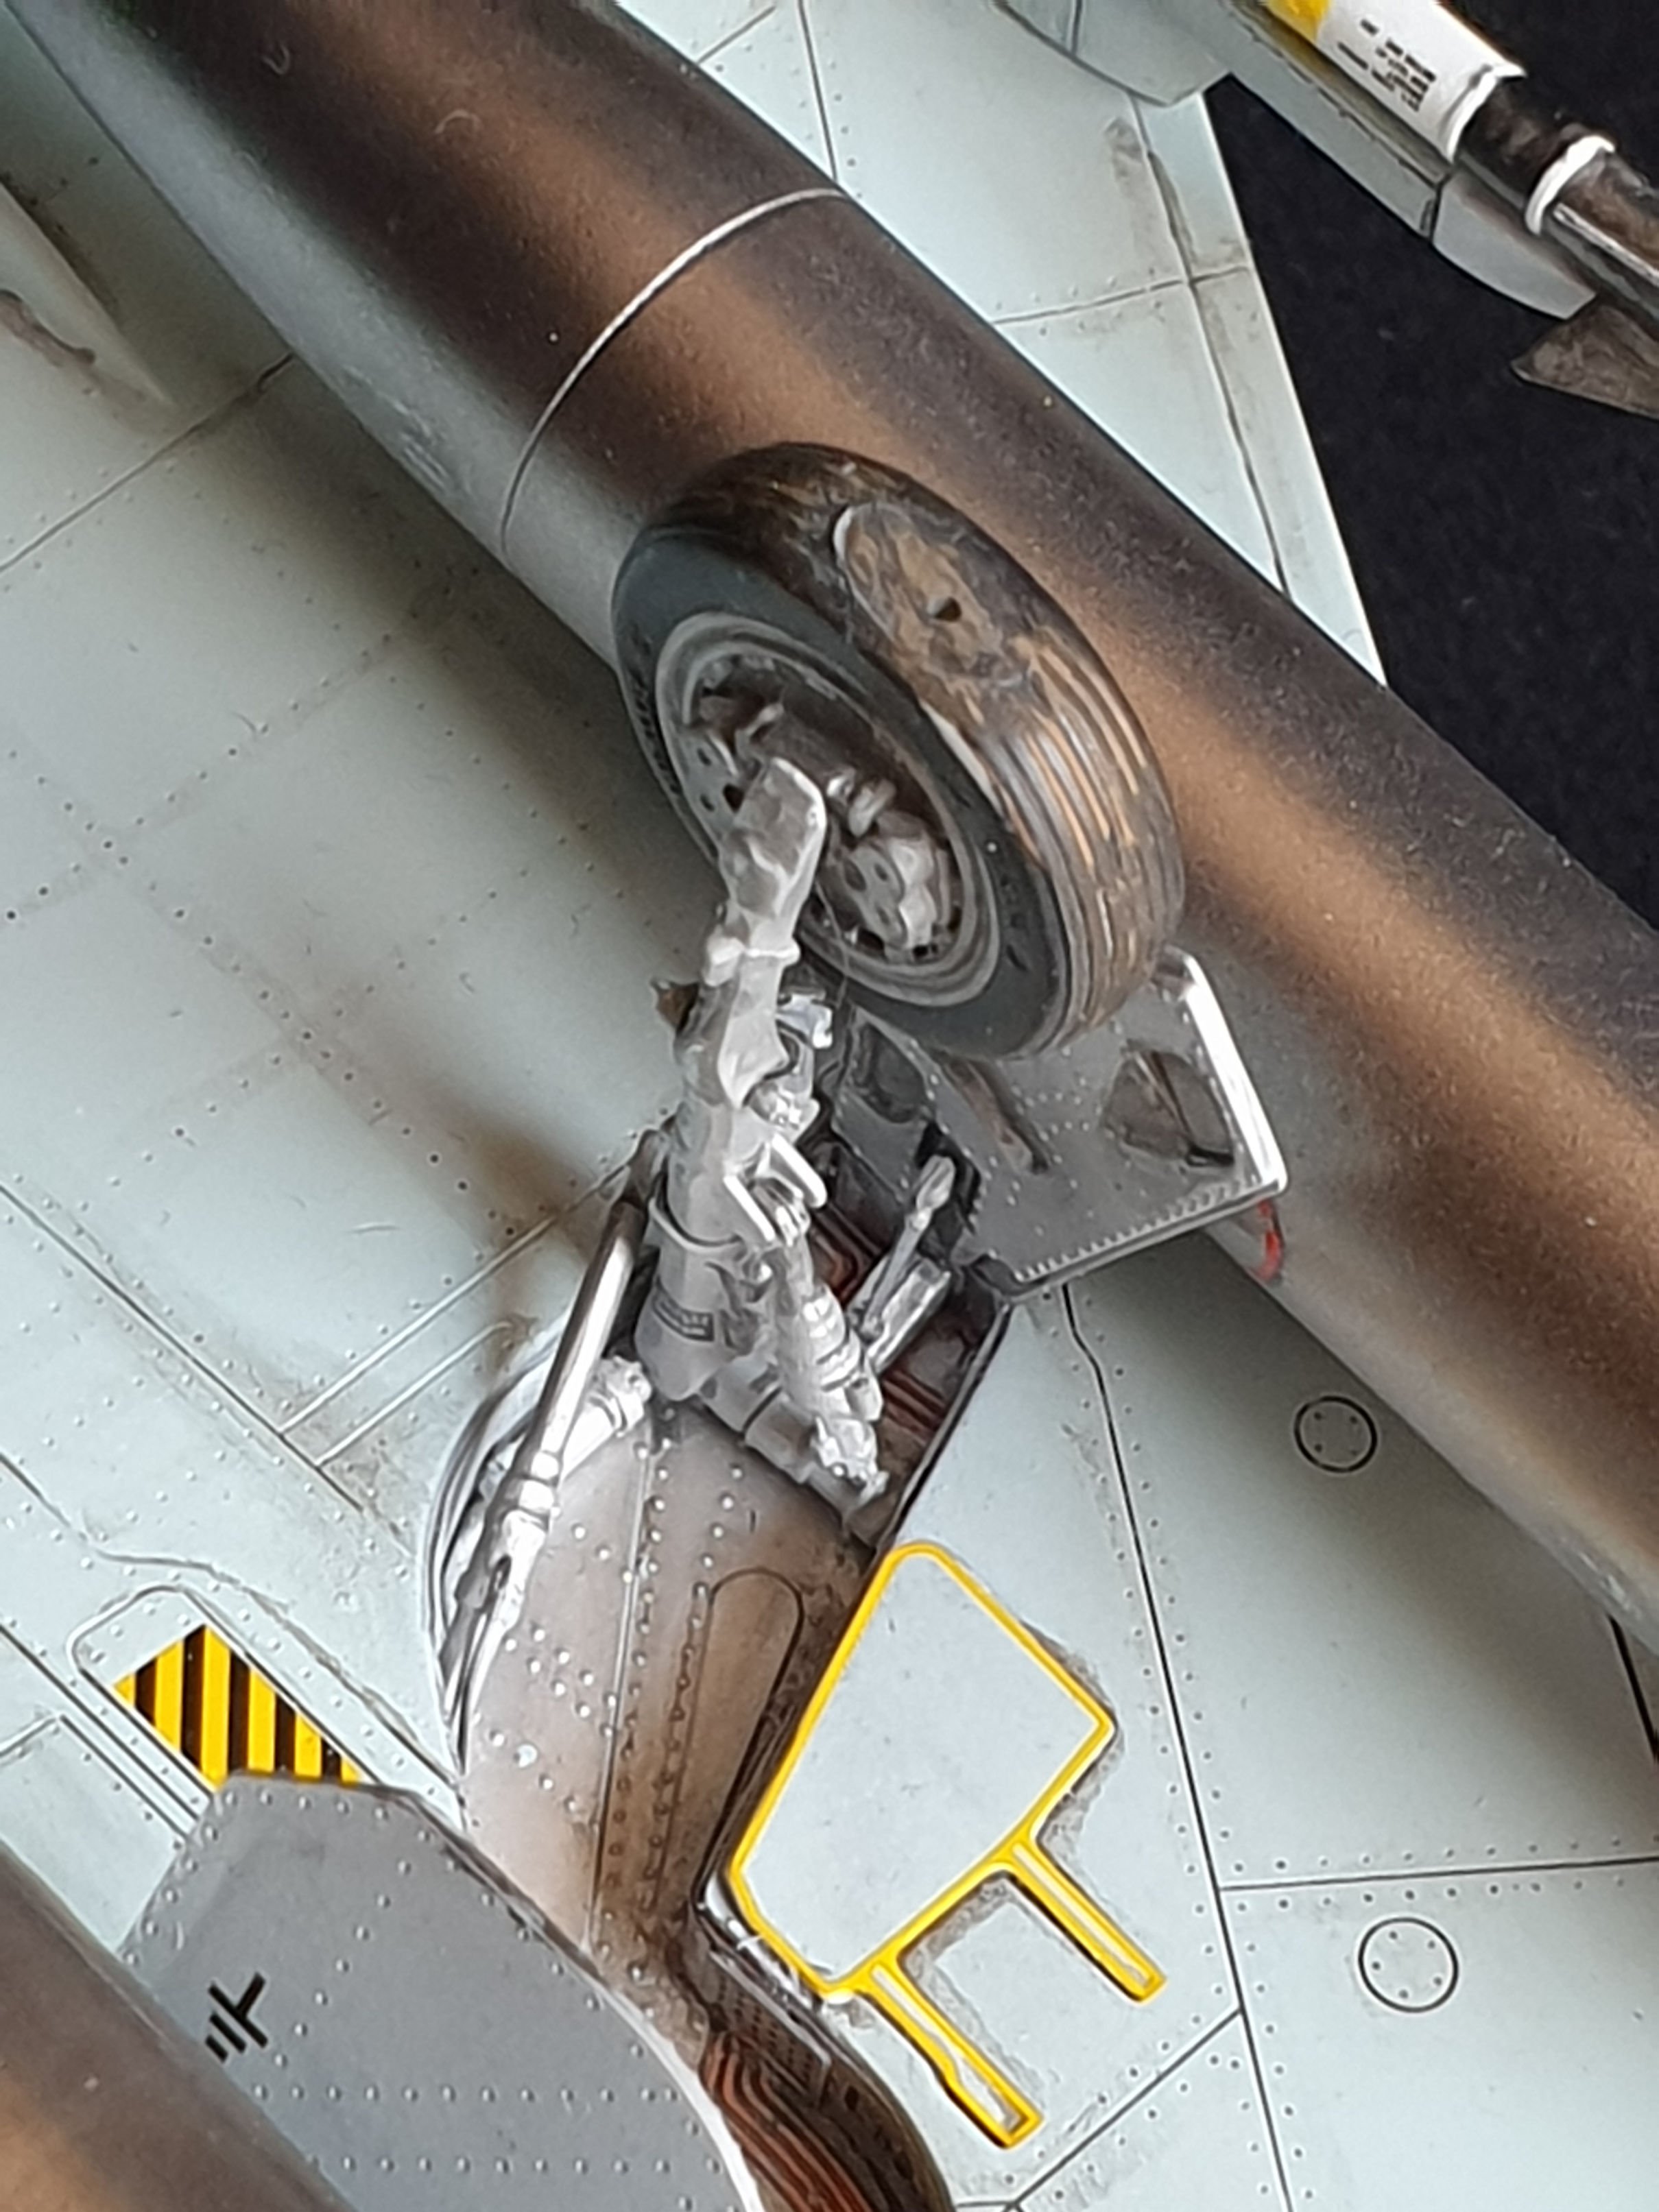
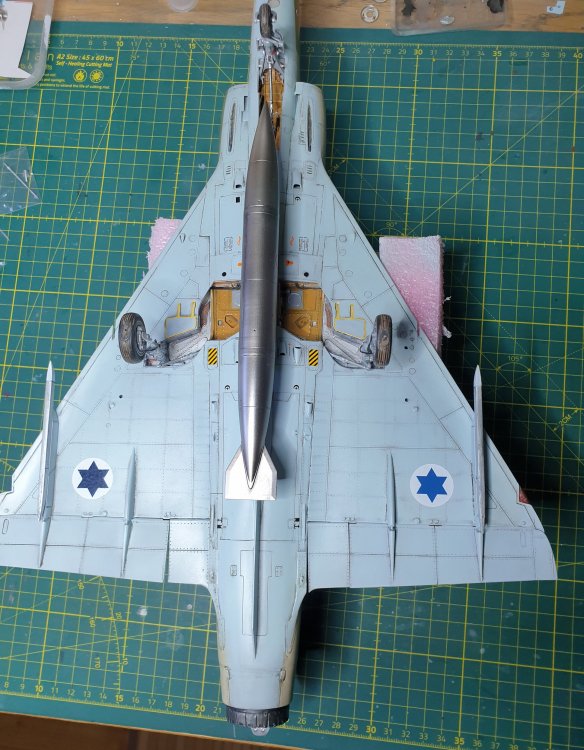
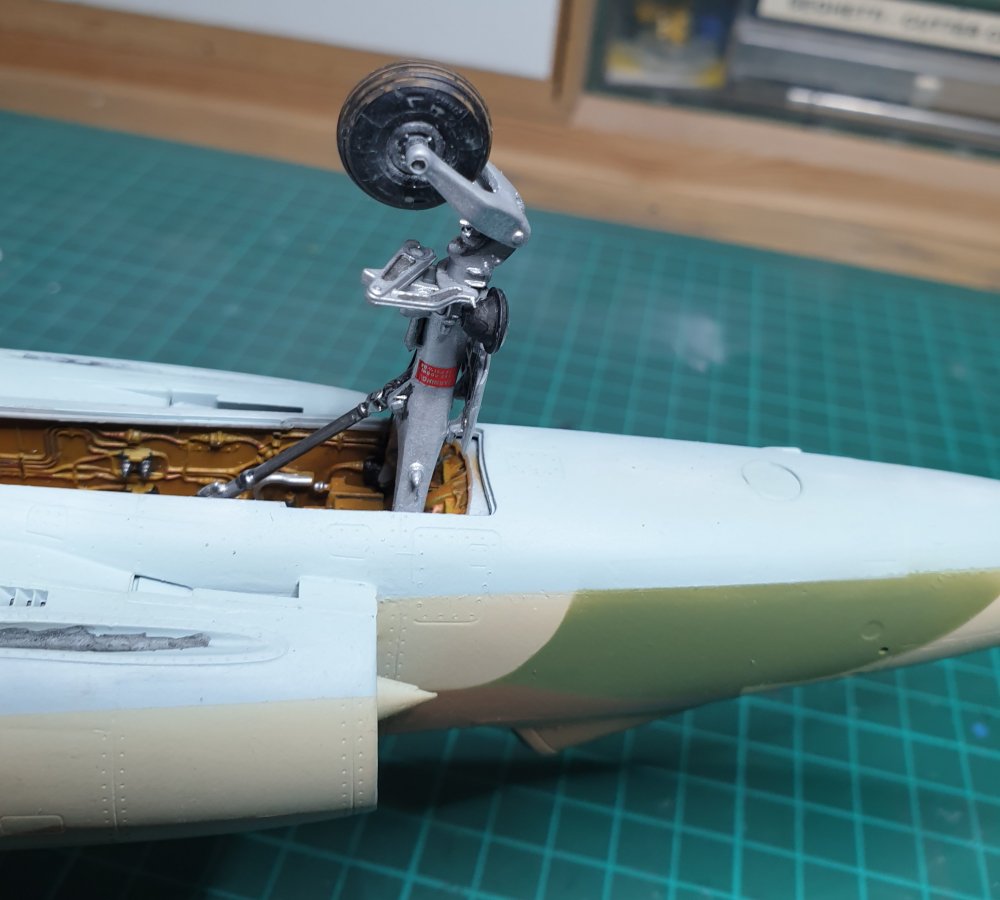
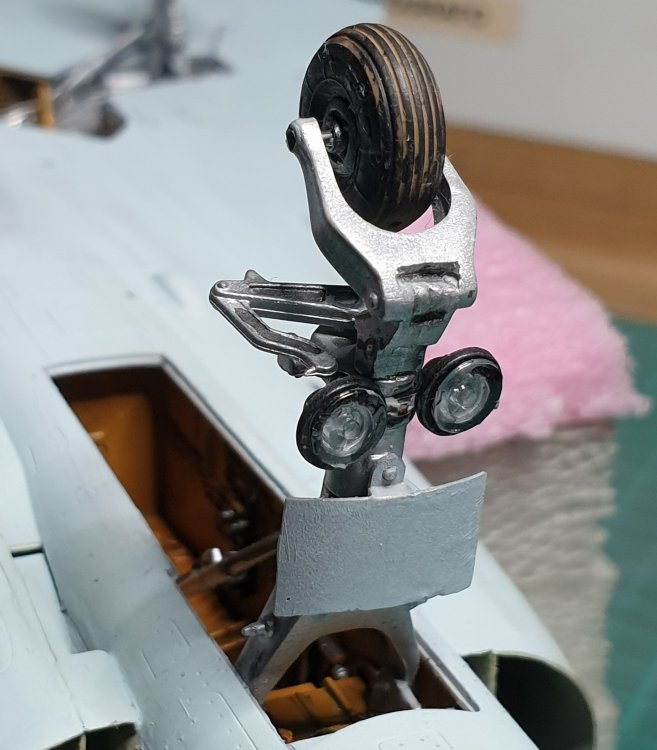
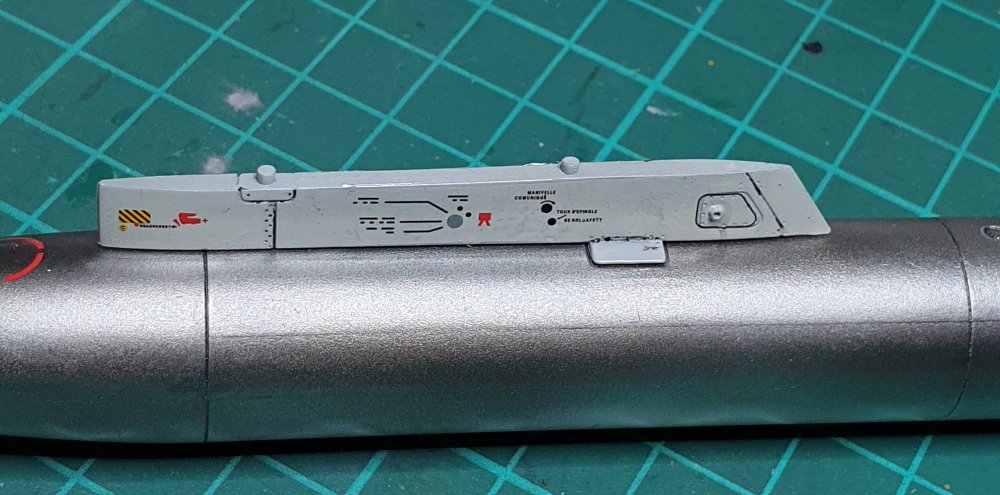
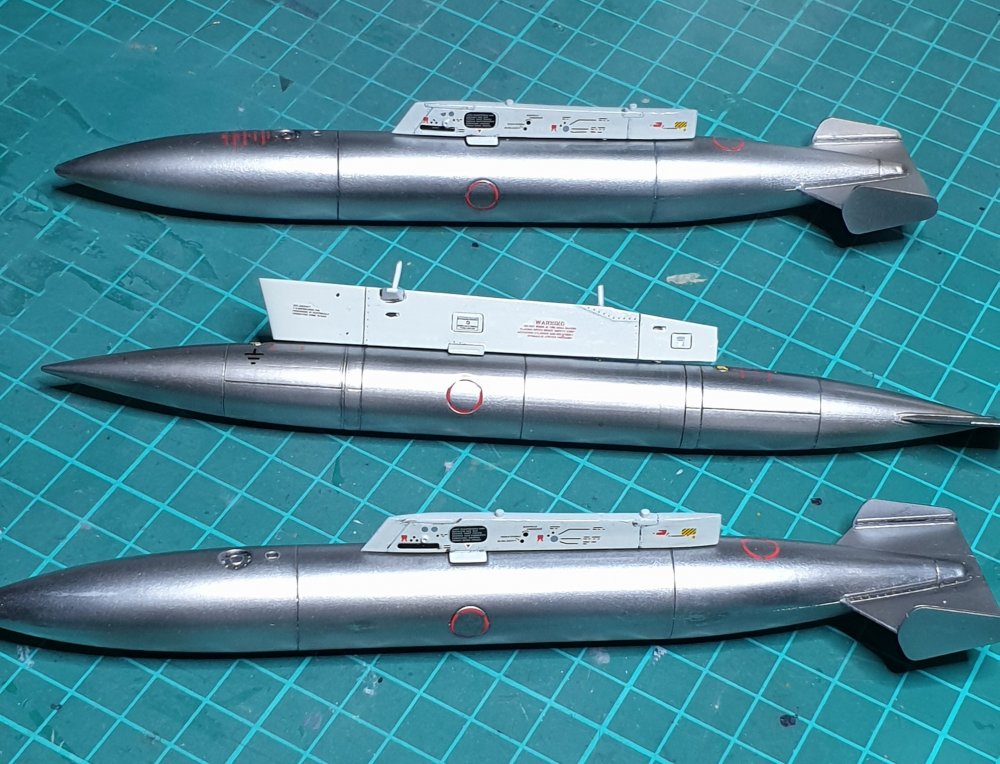
Hi everybody, some more pictures of my "in progress" Shahak: added landing gear and further detailed the pipework. Also painted and decalled supplementary fuel tanks. Next will be to work on fading upper surface colors. By the way, Happy New Year !!! Alberto


-
617 Sqn Tornado Dambuster 70th
alberto49 replied to Kaireckstadt's topic in LSM 1/35 and Larger Work In Progress
Again an impressive project, I will follow with great interest, even if a 1:32 Tornado isn't in my plans, mostly because I will have no place big enough to store such a big kit. -
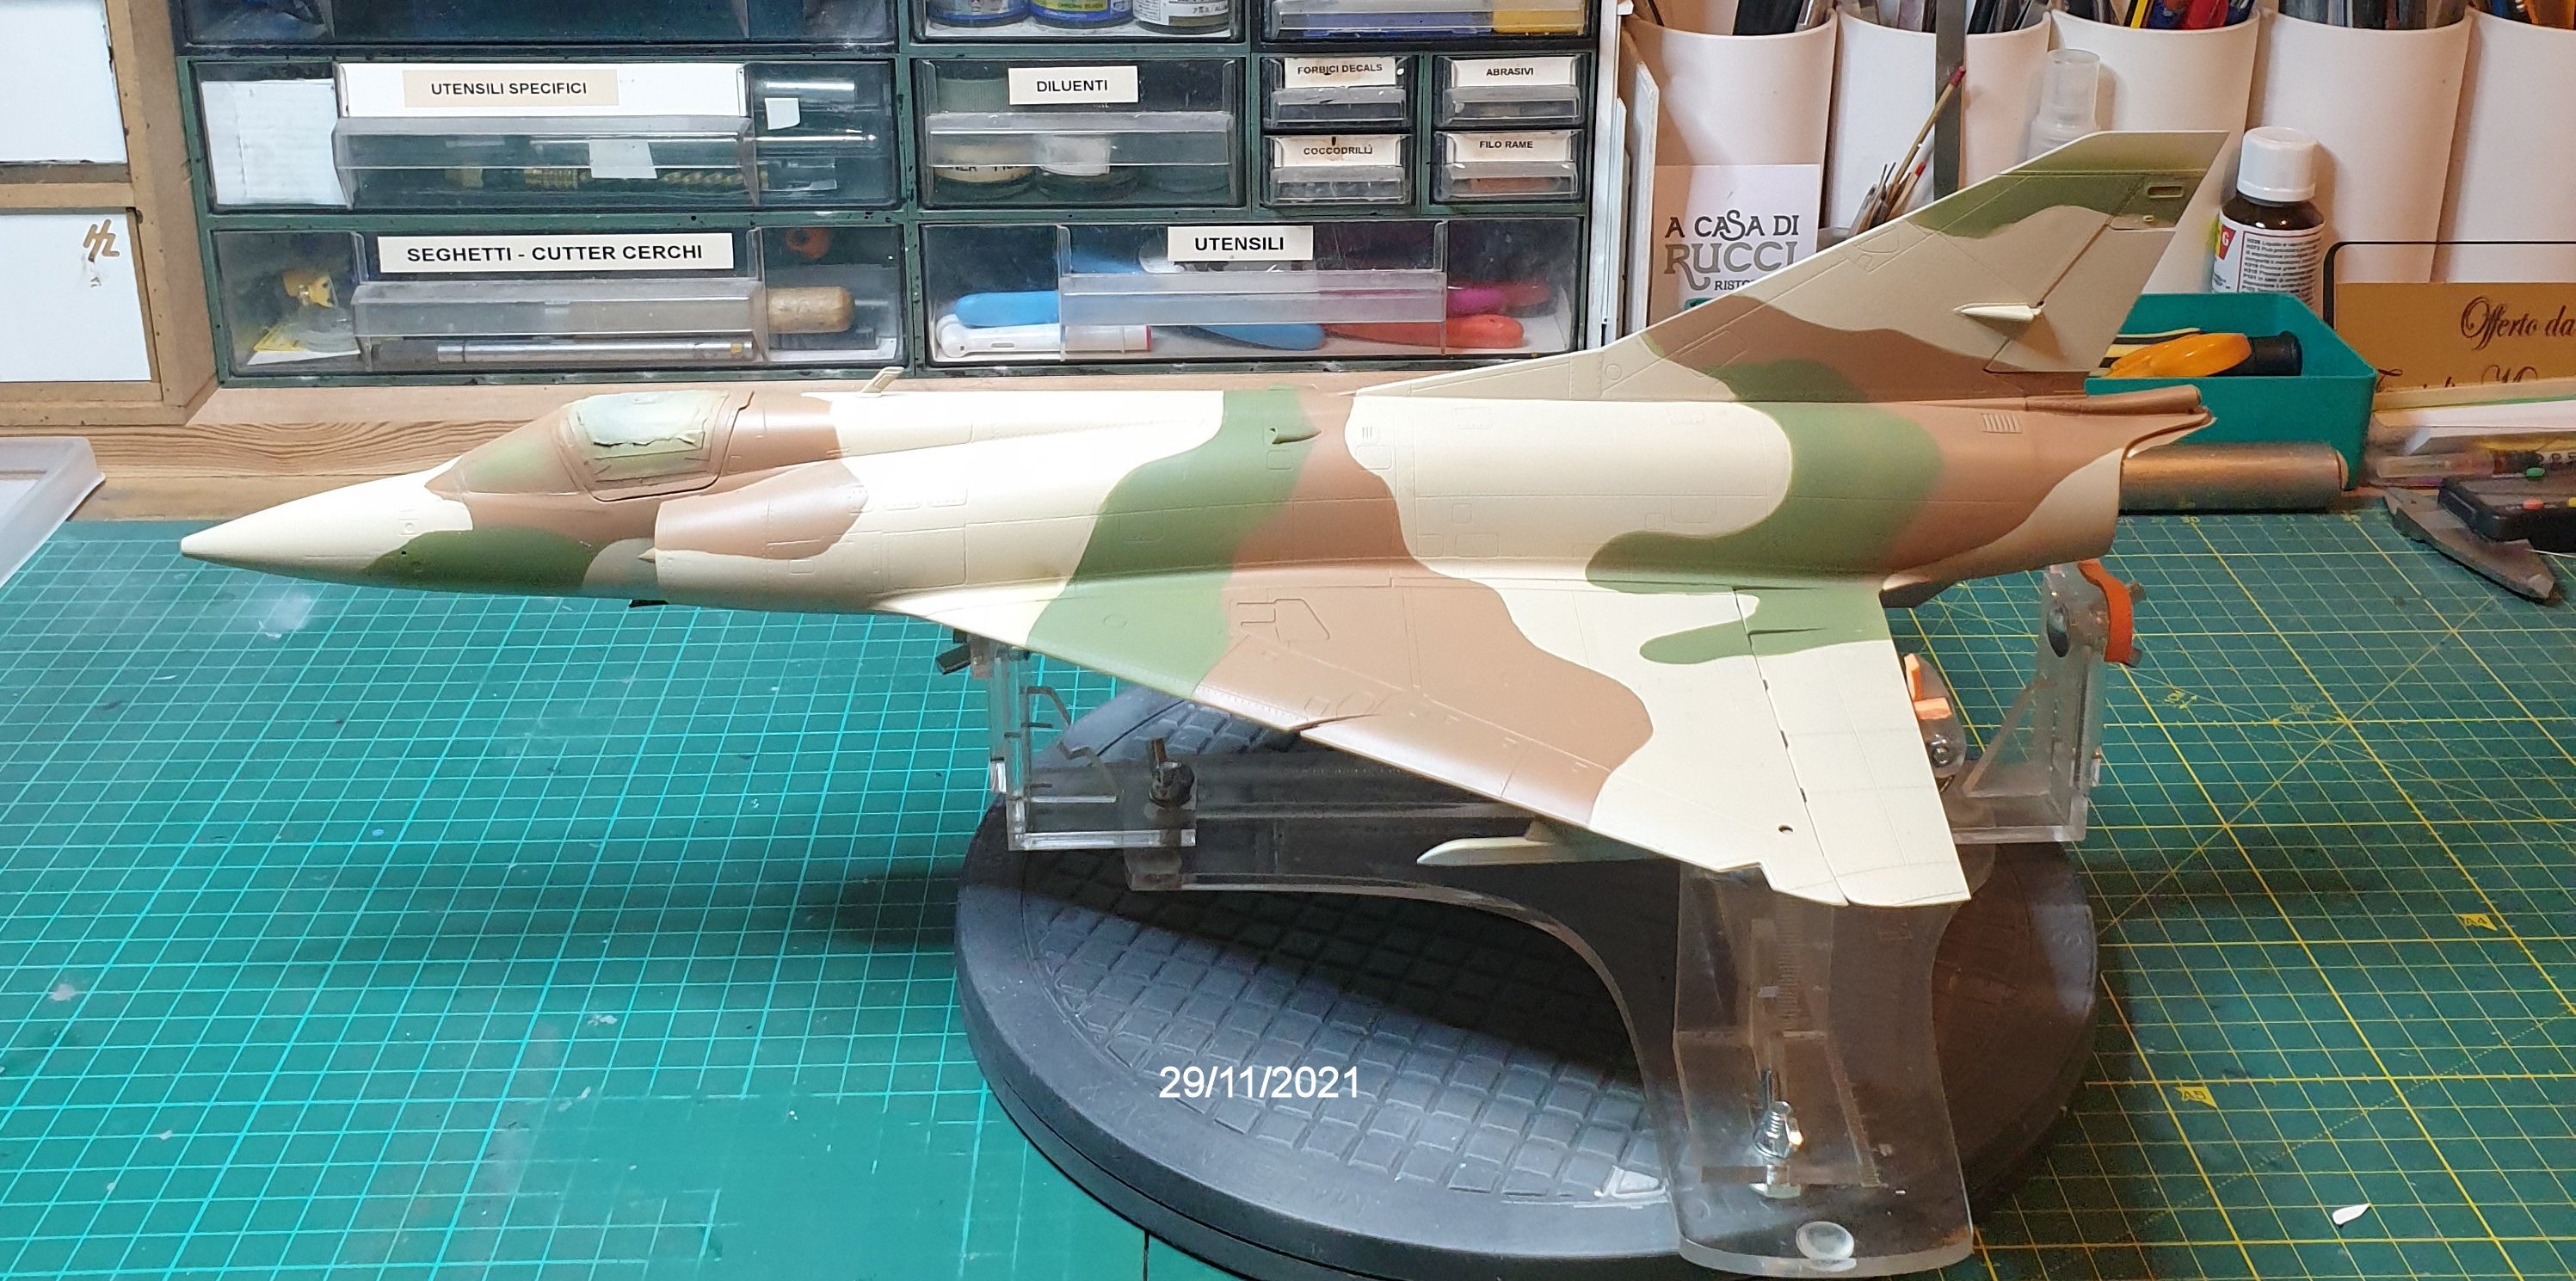
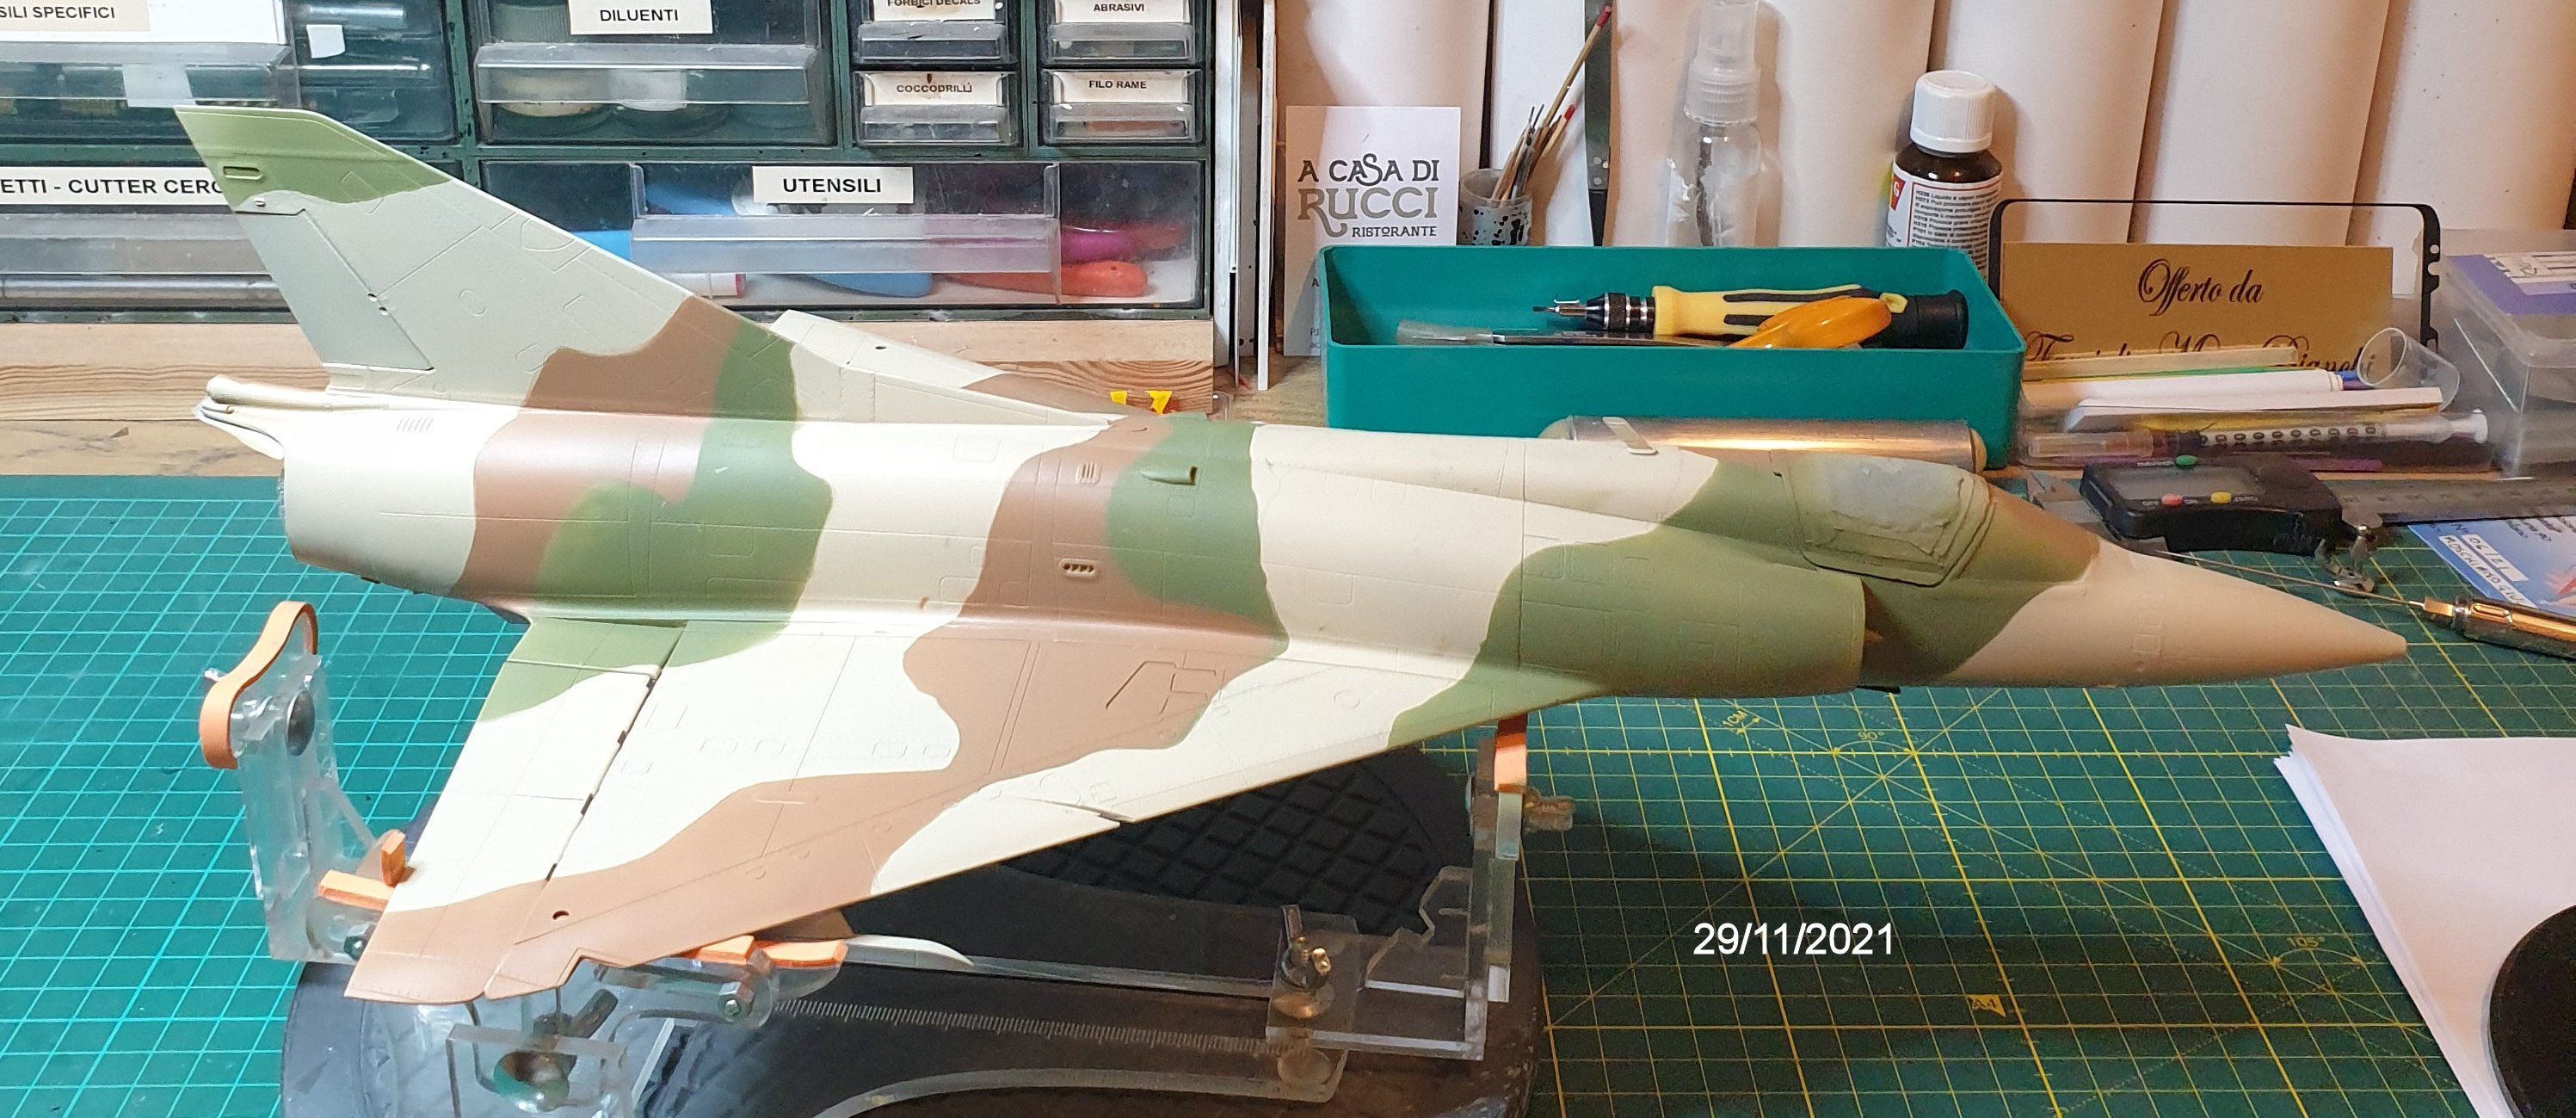
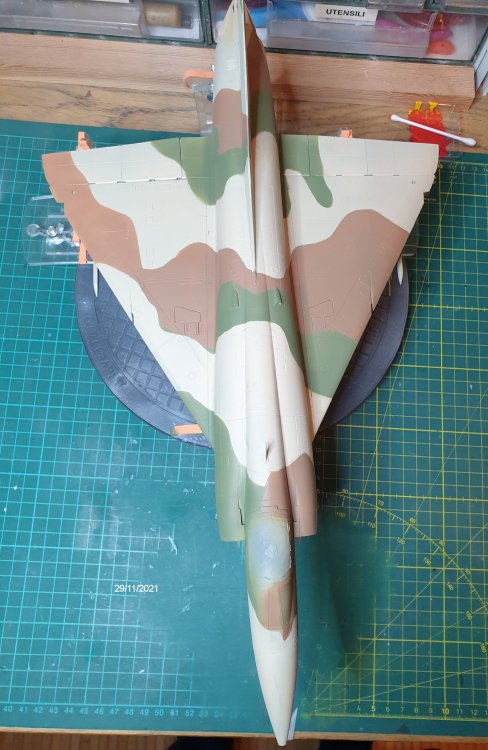
Hello everybody, after a lot of time I come back to my Shahak project. In facts, when I came back from my vacation place, I got almost immediately involved in a big commitment regarding the inauguration of the new church just finished to build in the area where I live, so modelling was put aside for another two and half months. But eventually, I stared painting the camou, see pictures if you like.


-
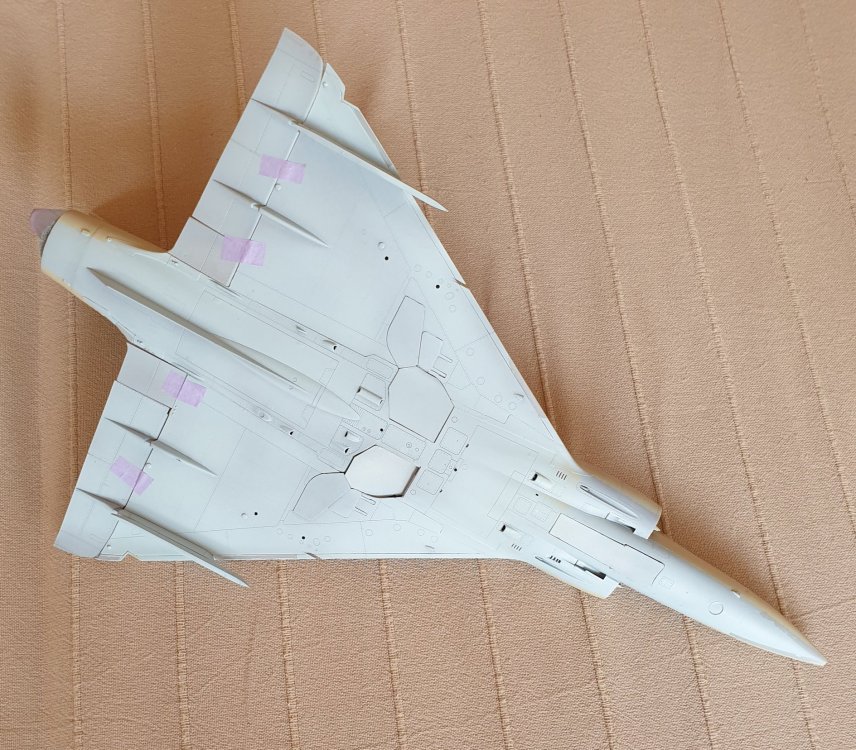
Hi, not finished yet! On early June I left Milan to go to my holiday place in Tuscany, I will continue the job when I will be back in September. Before leaving I just gave a coat of the lower surface color and a coat of the main upper color.

-
Israeli Mirage III C with Atar9C
alberto49 replied to Kaireckstadt's topic in LSM 1/35 and Larger Work In Progress
Very good point, gun barrel must be added! I will see if I can manage something similar in my own Mirage model. -
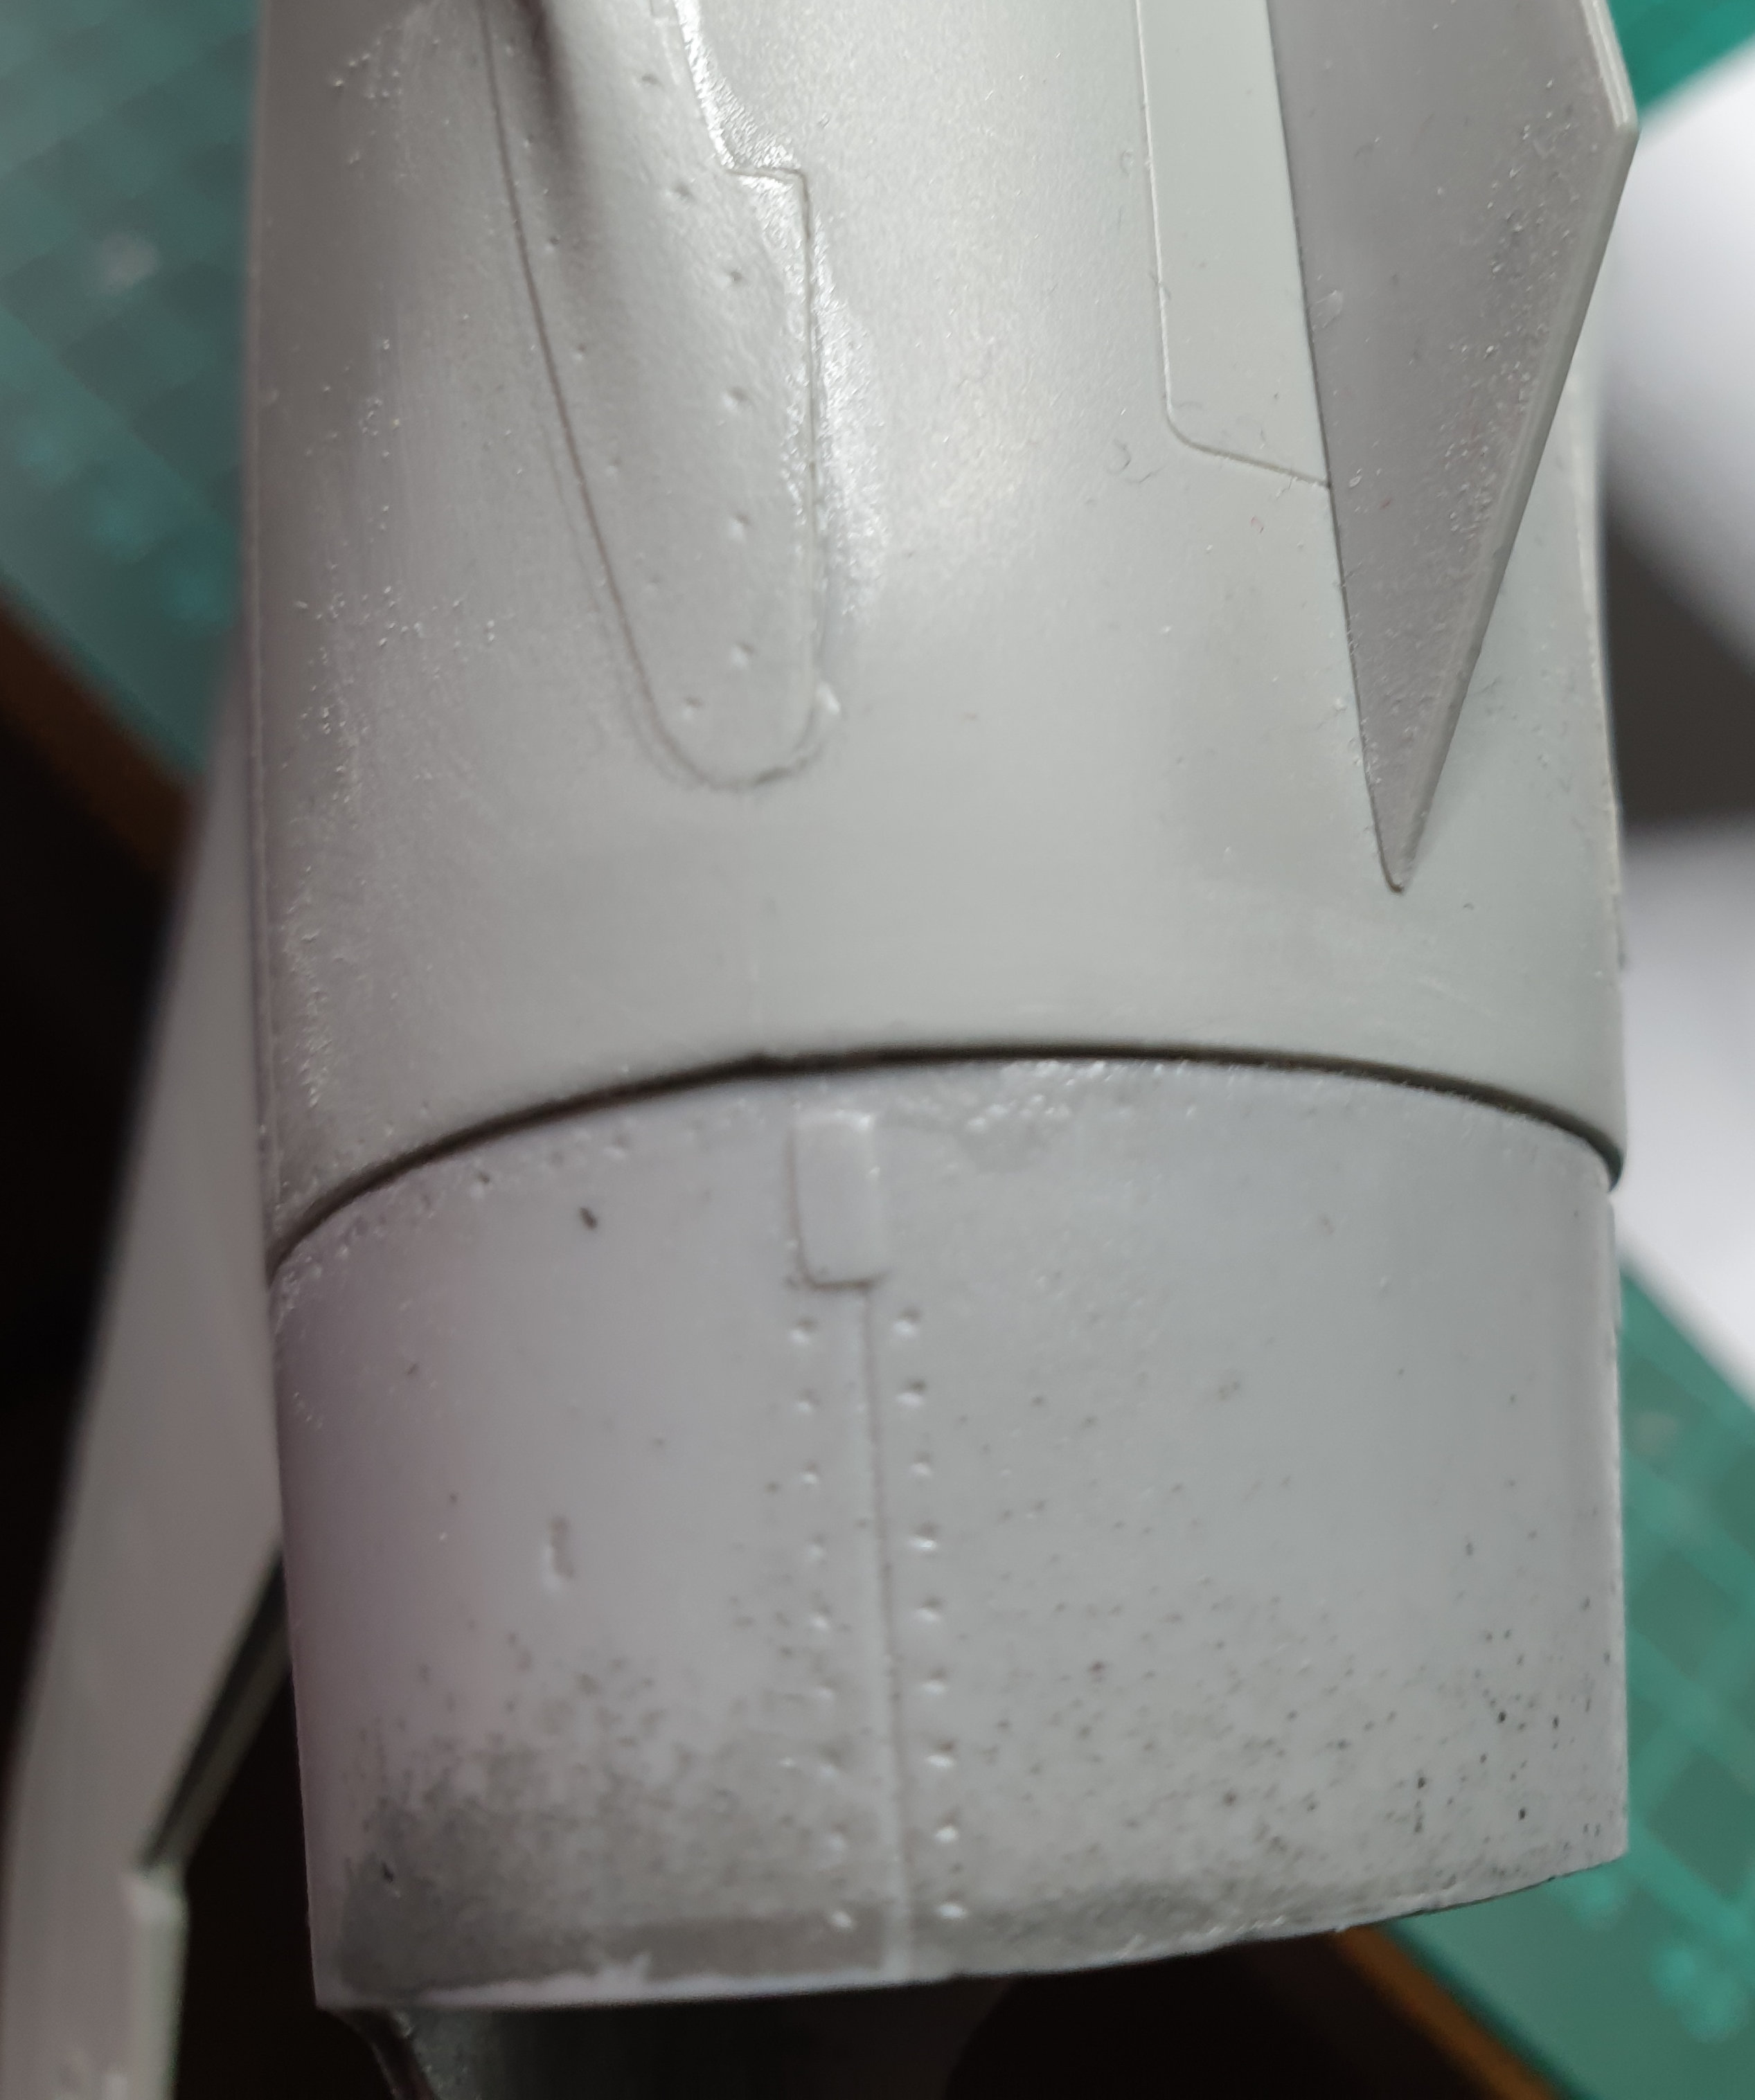
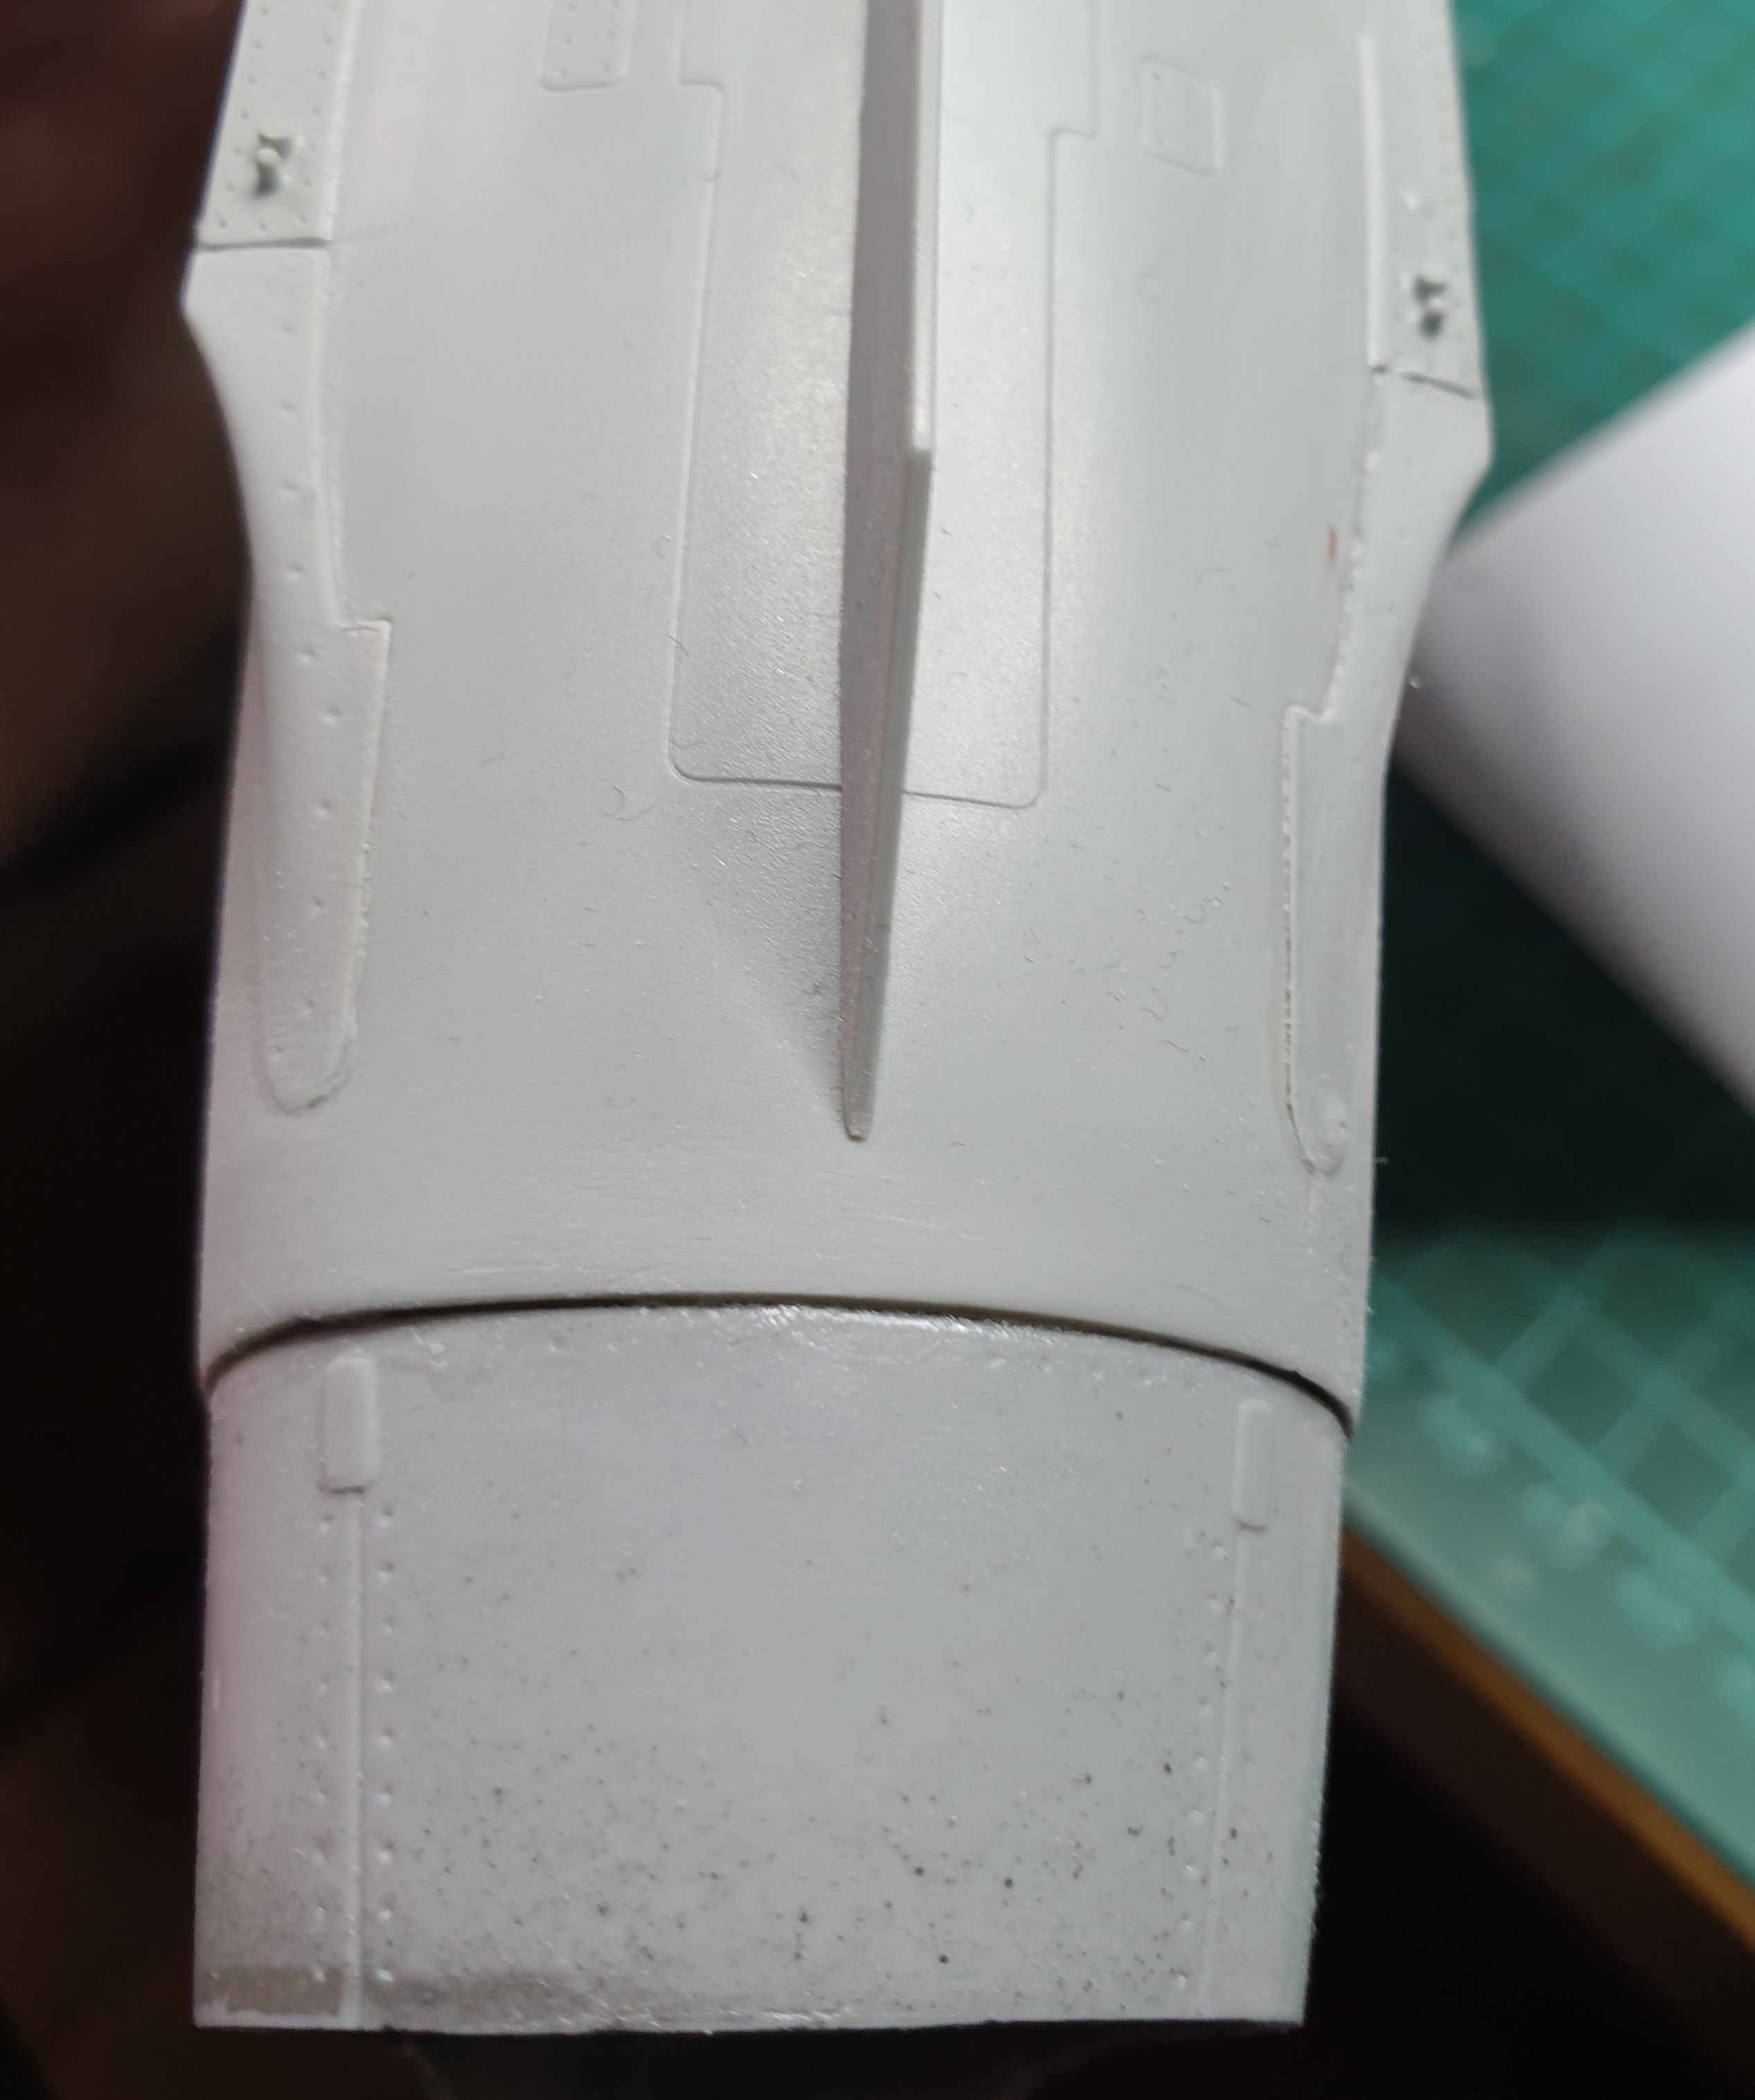
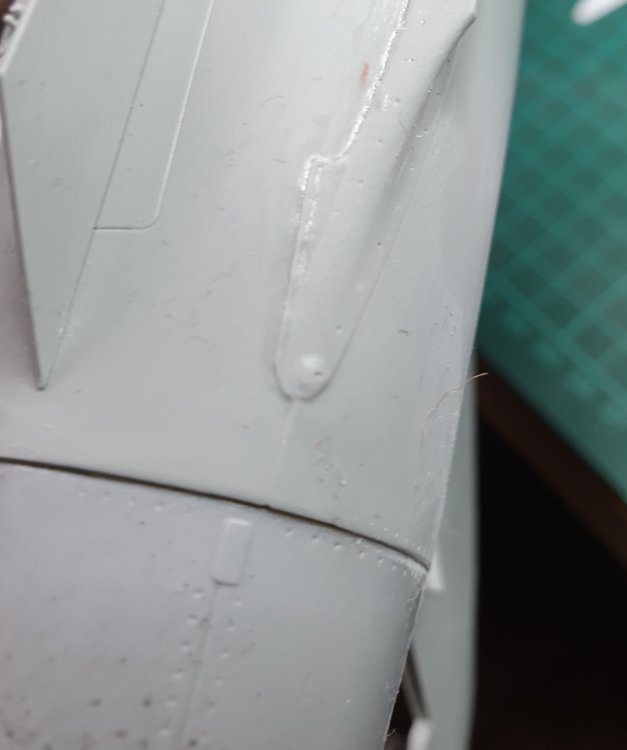
Yes, in coming days I will start with primer and I'm a bit afraid that some more imperfections will show-up ... Let's wait and see.
-
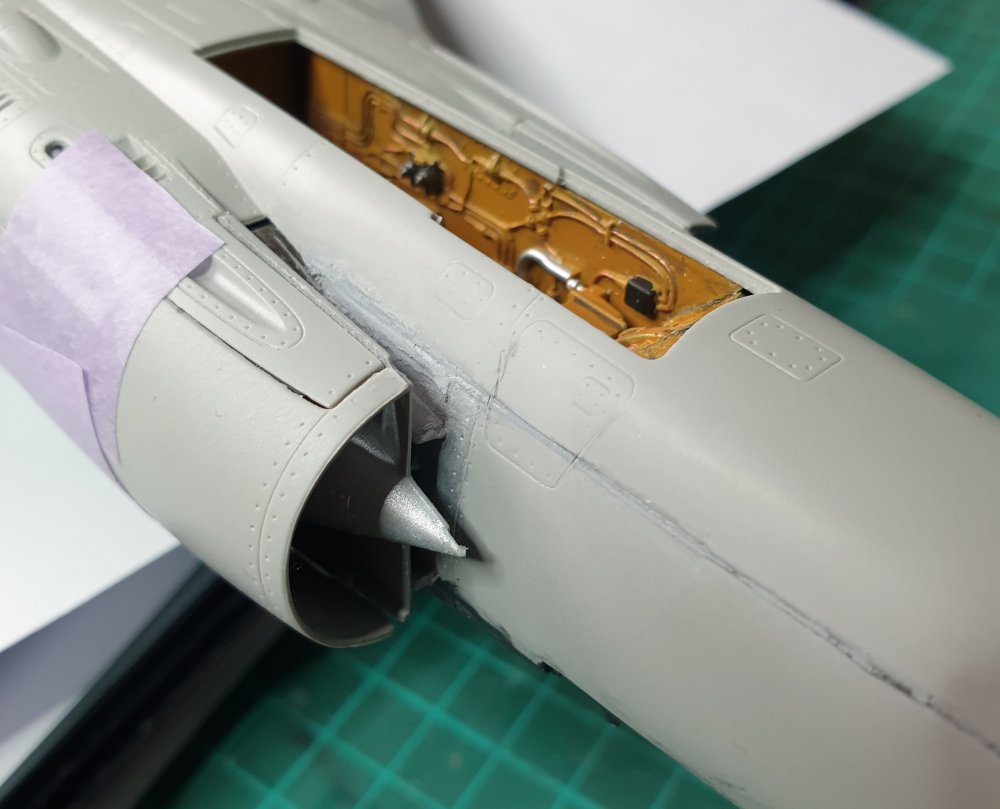
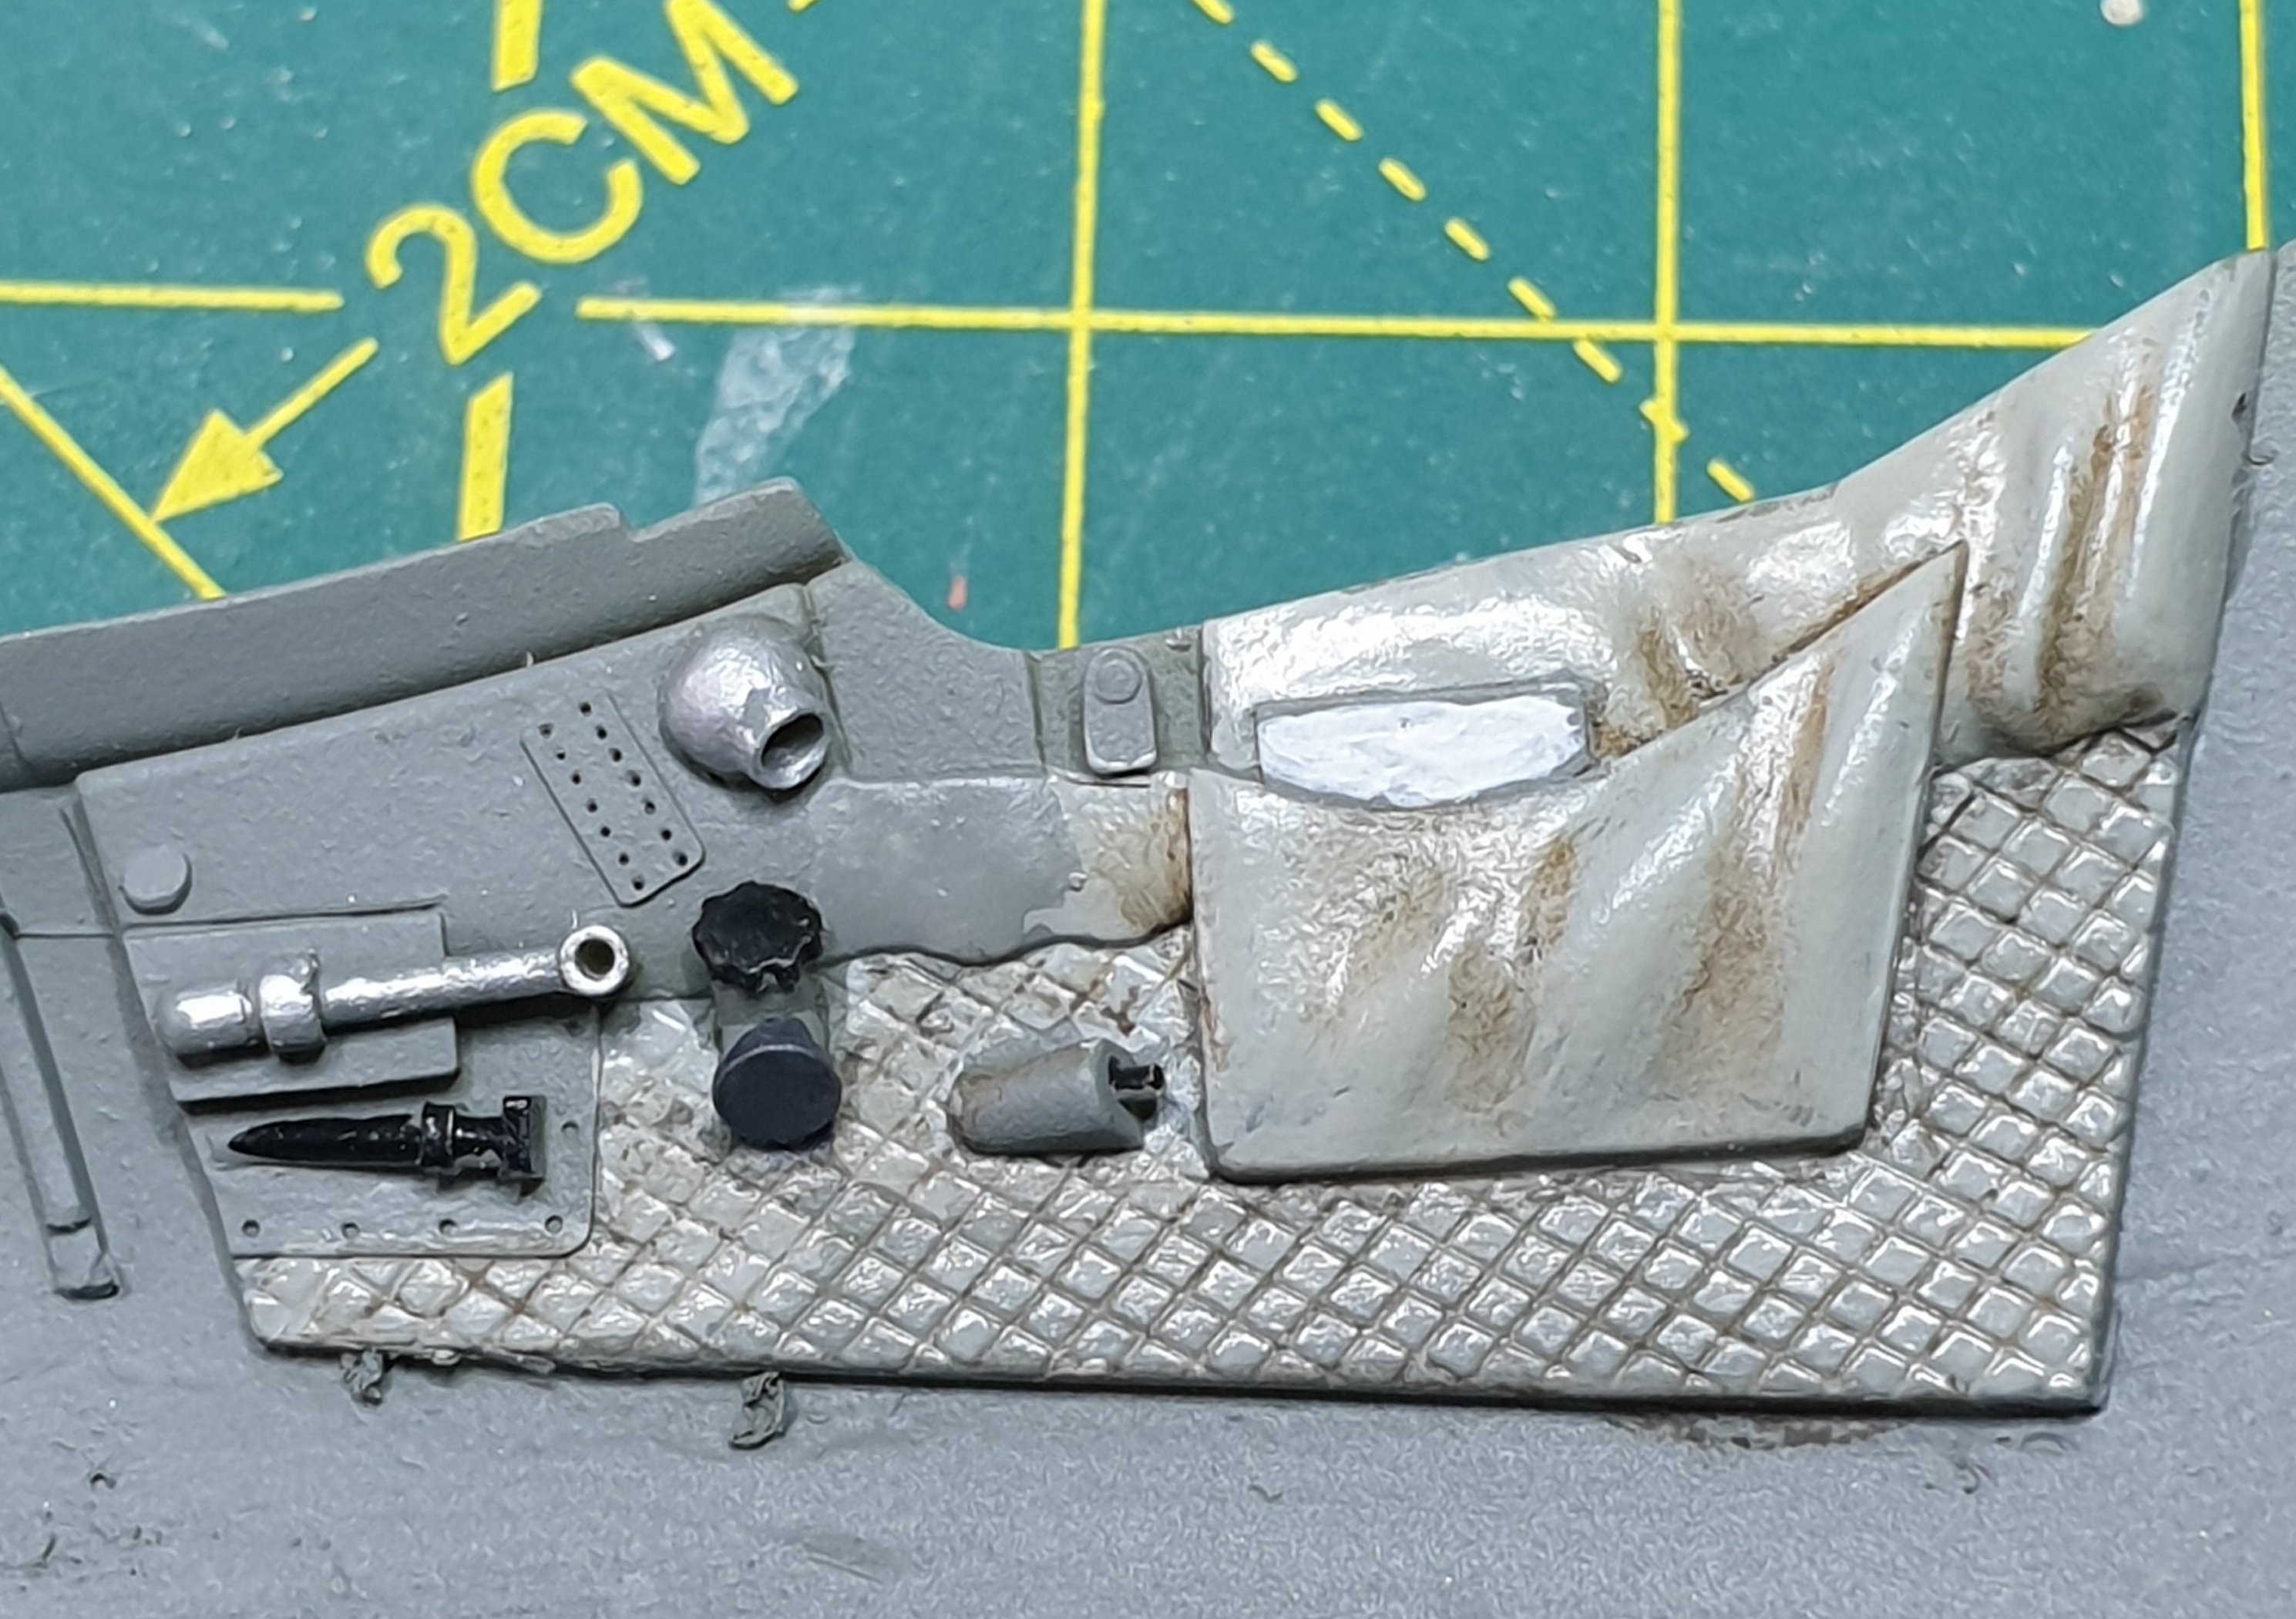
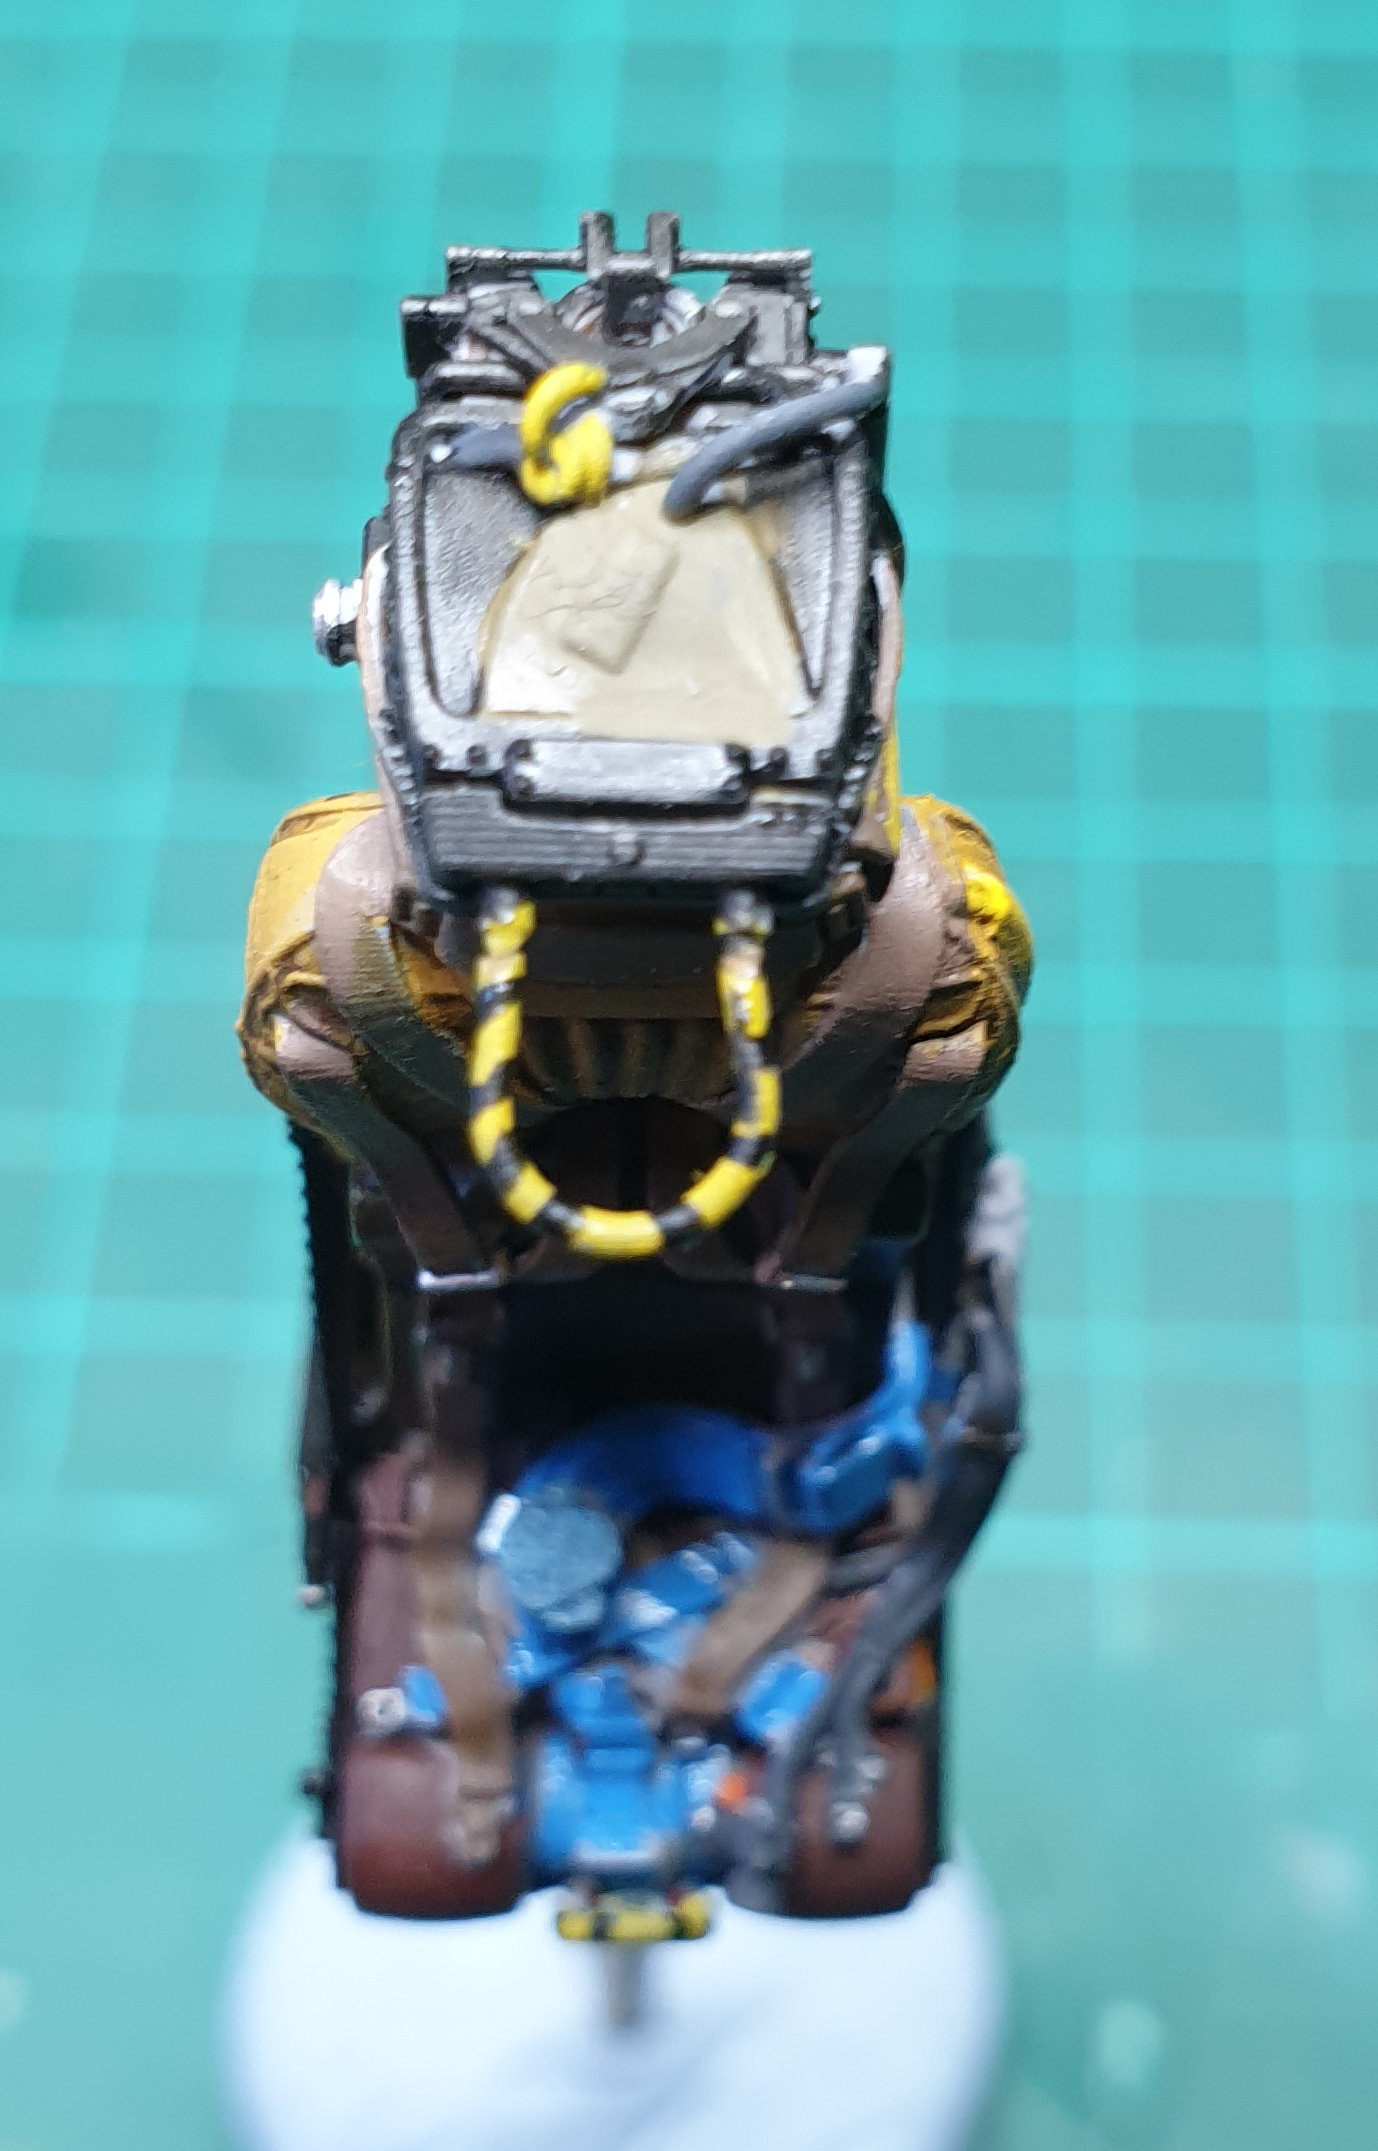
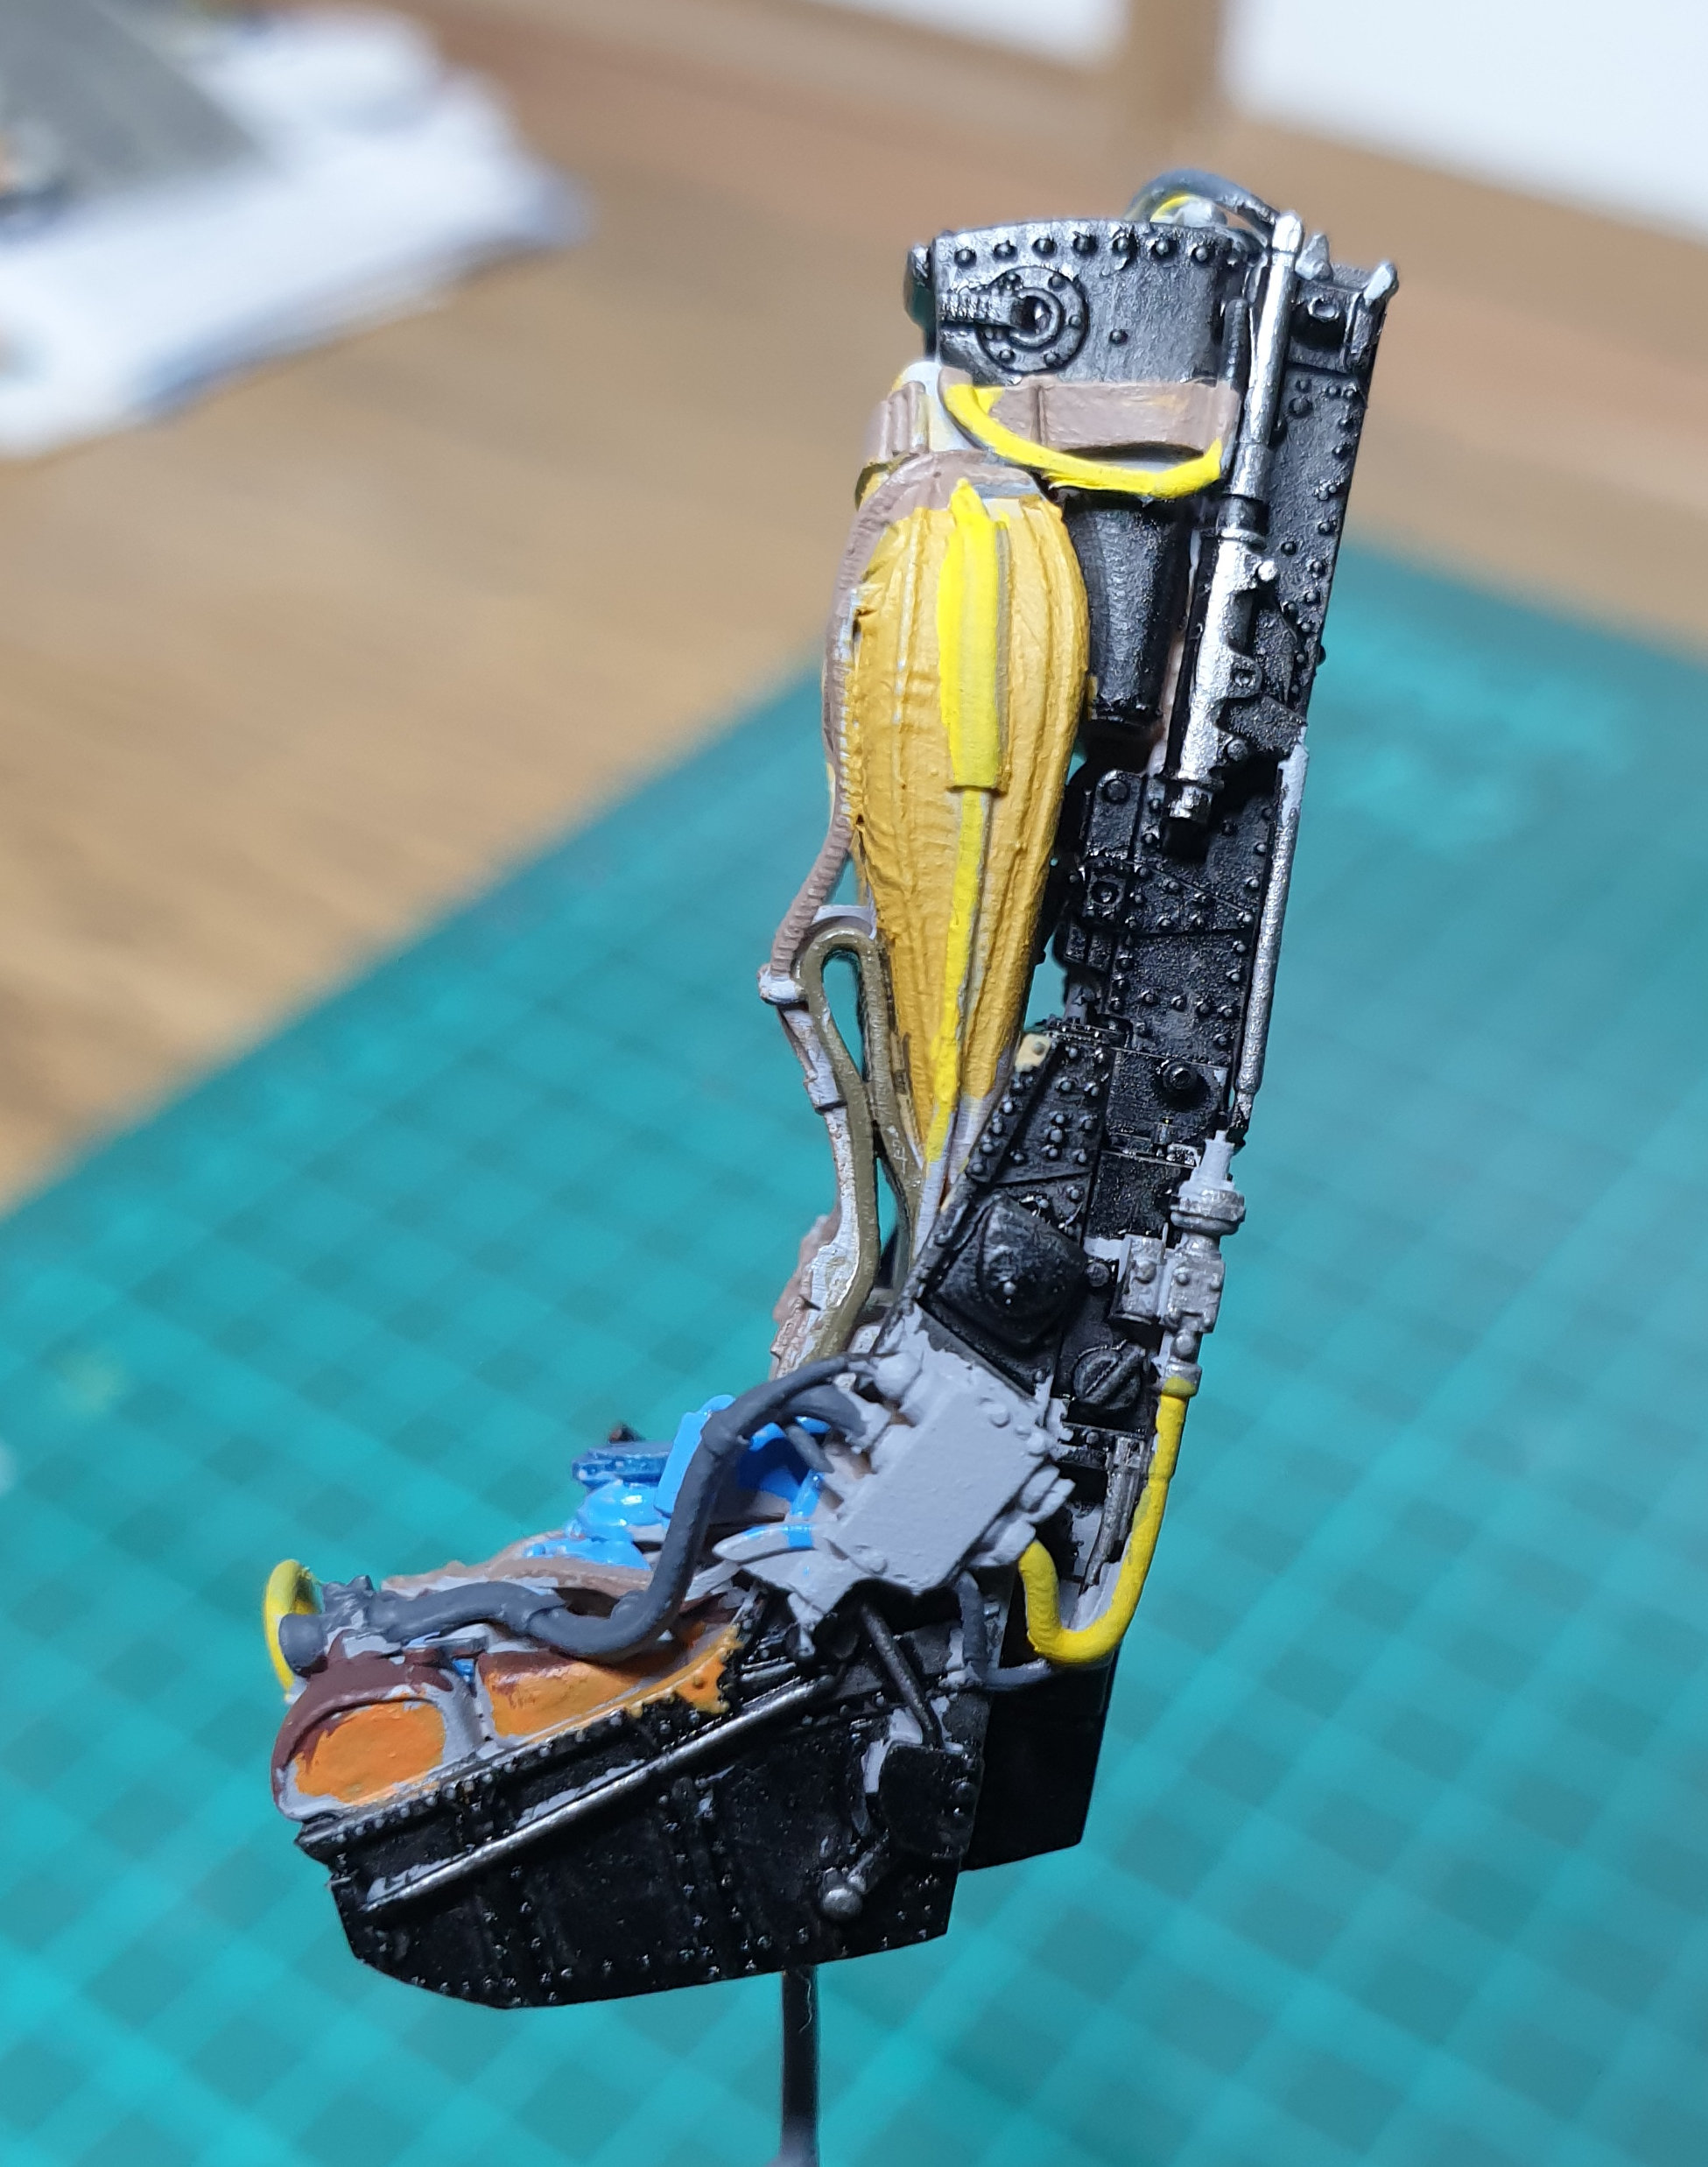
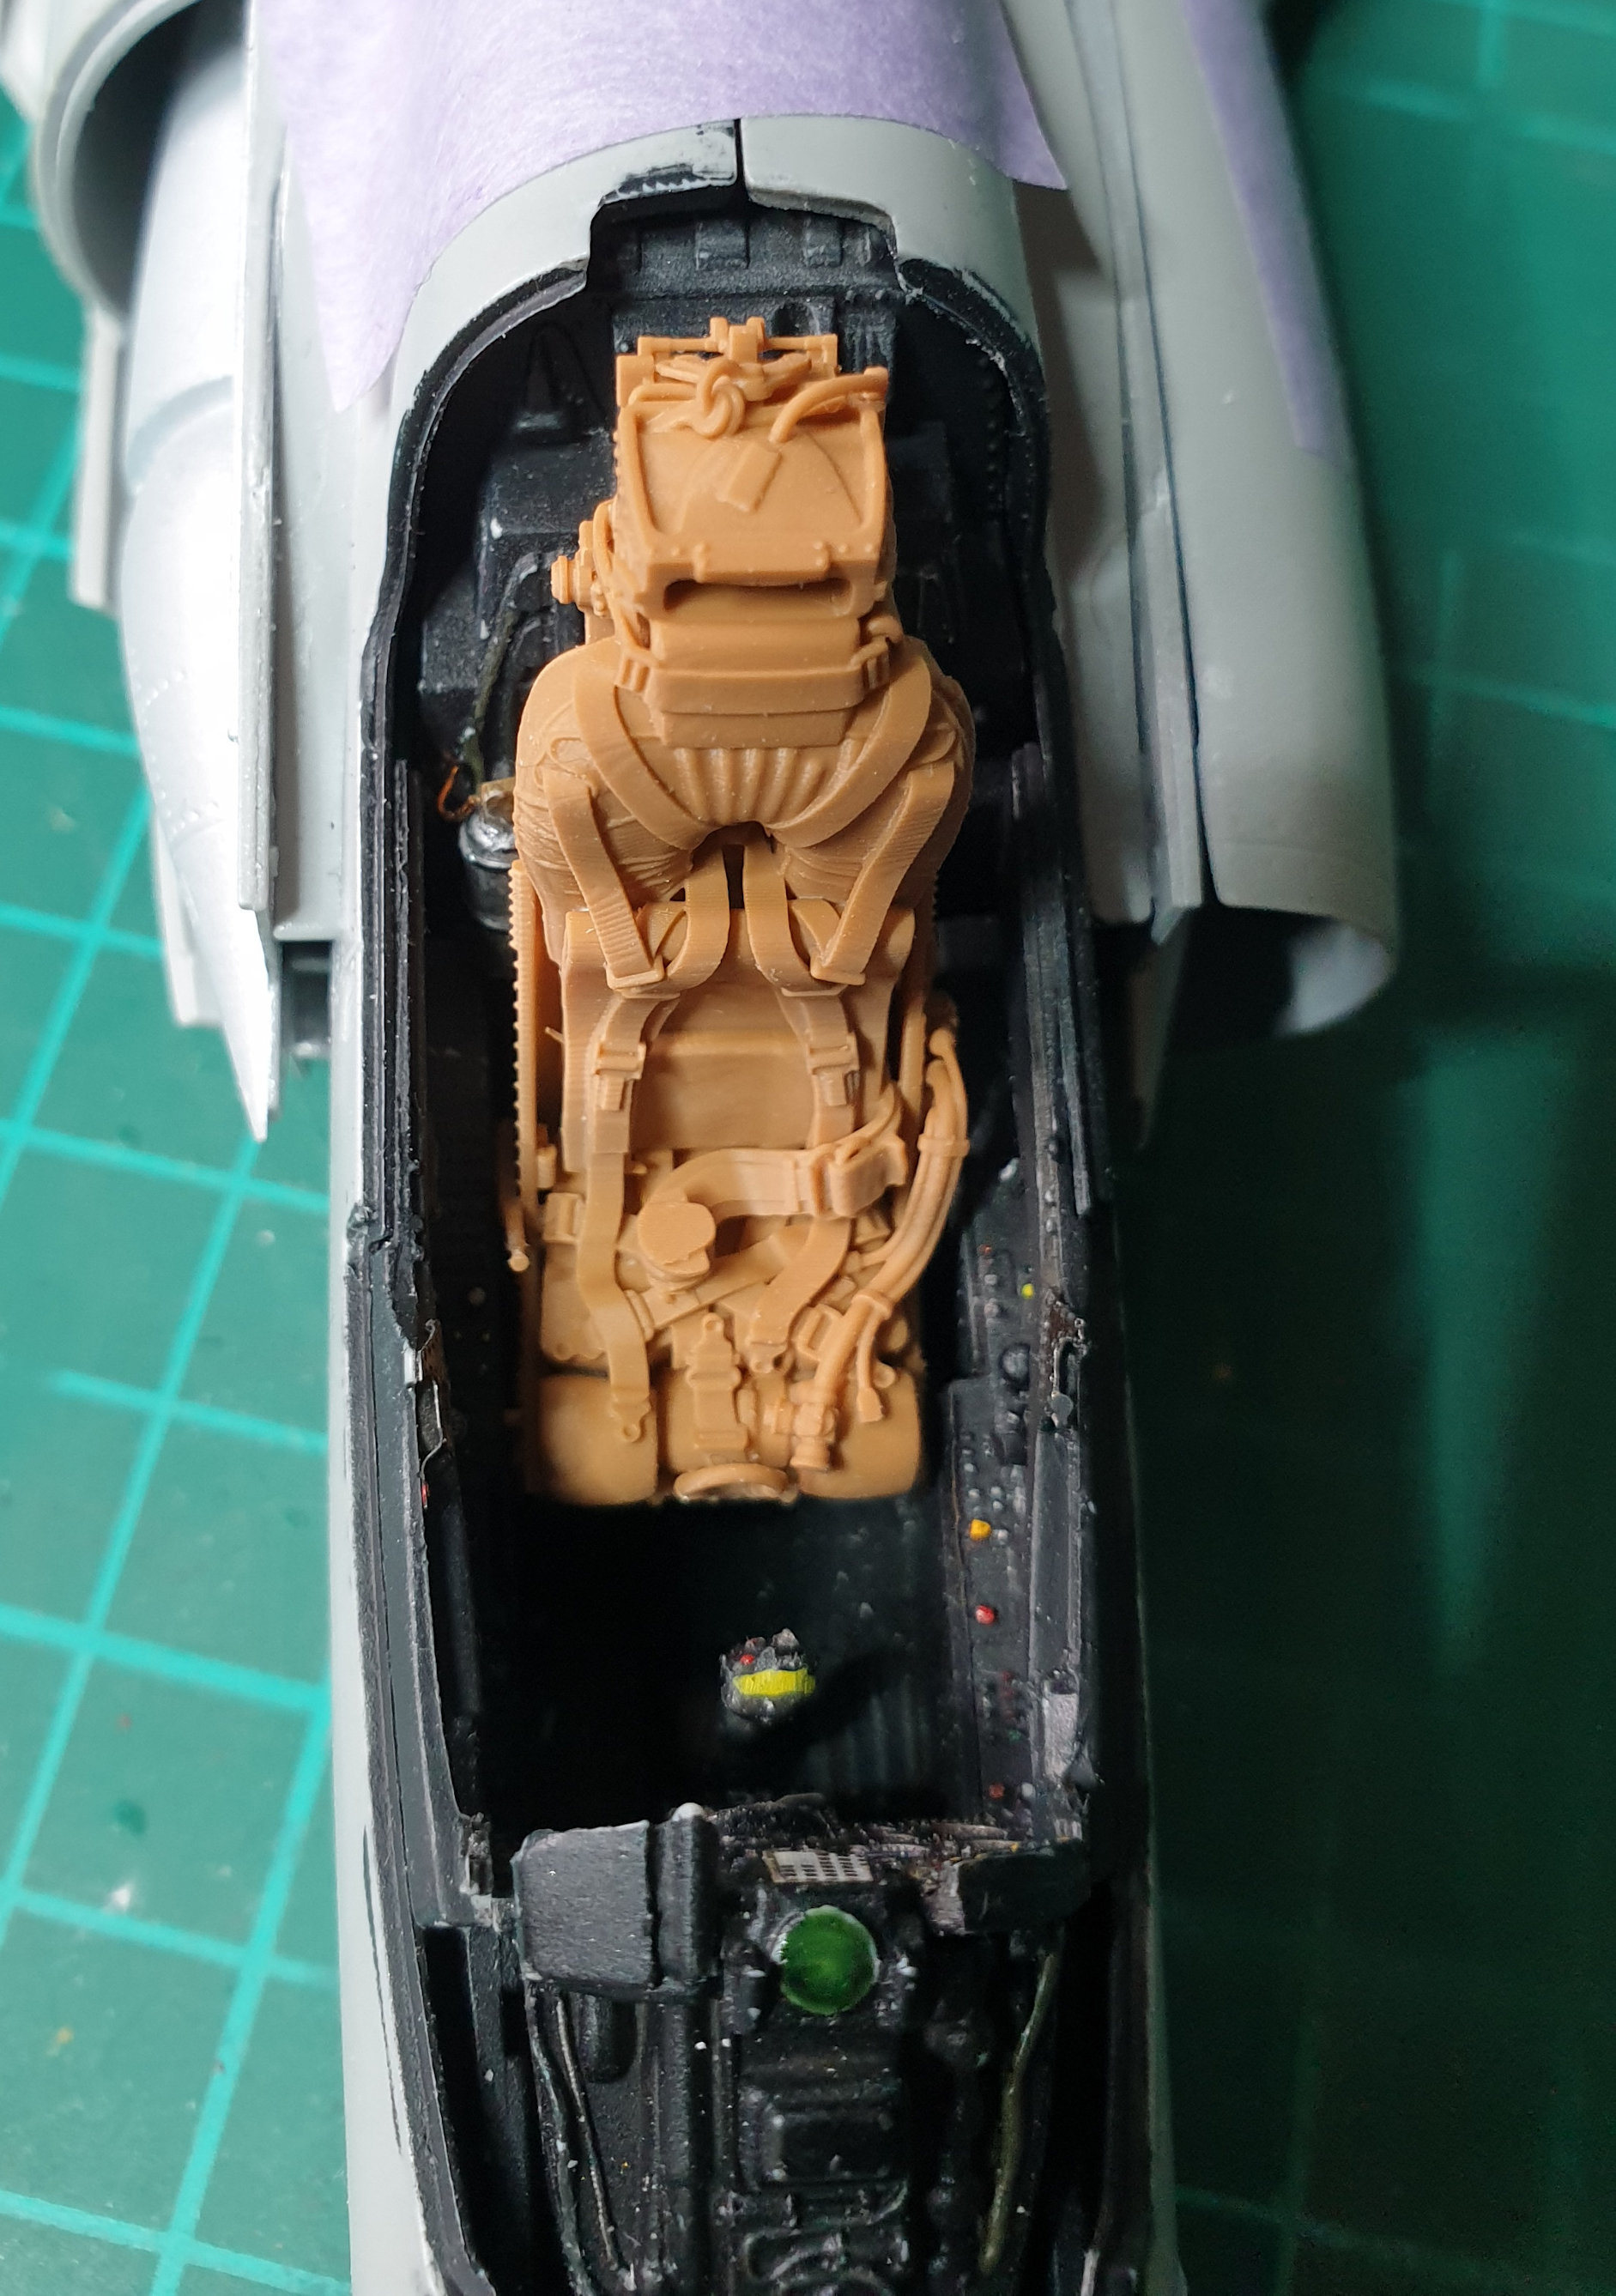
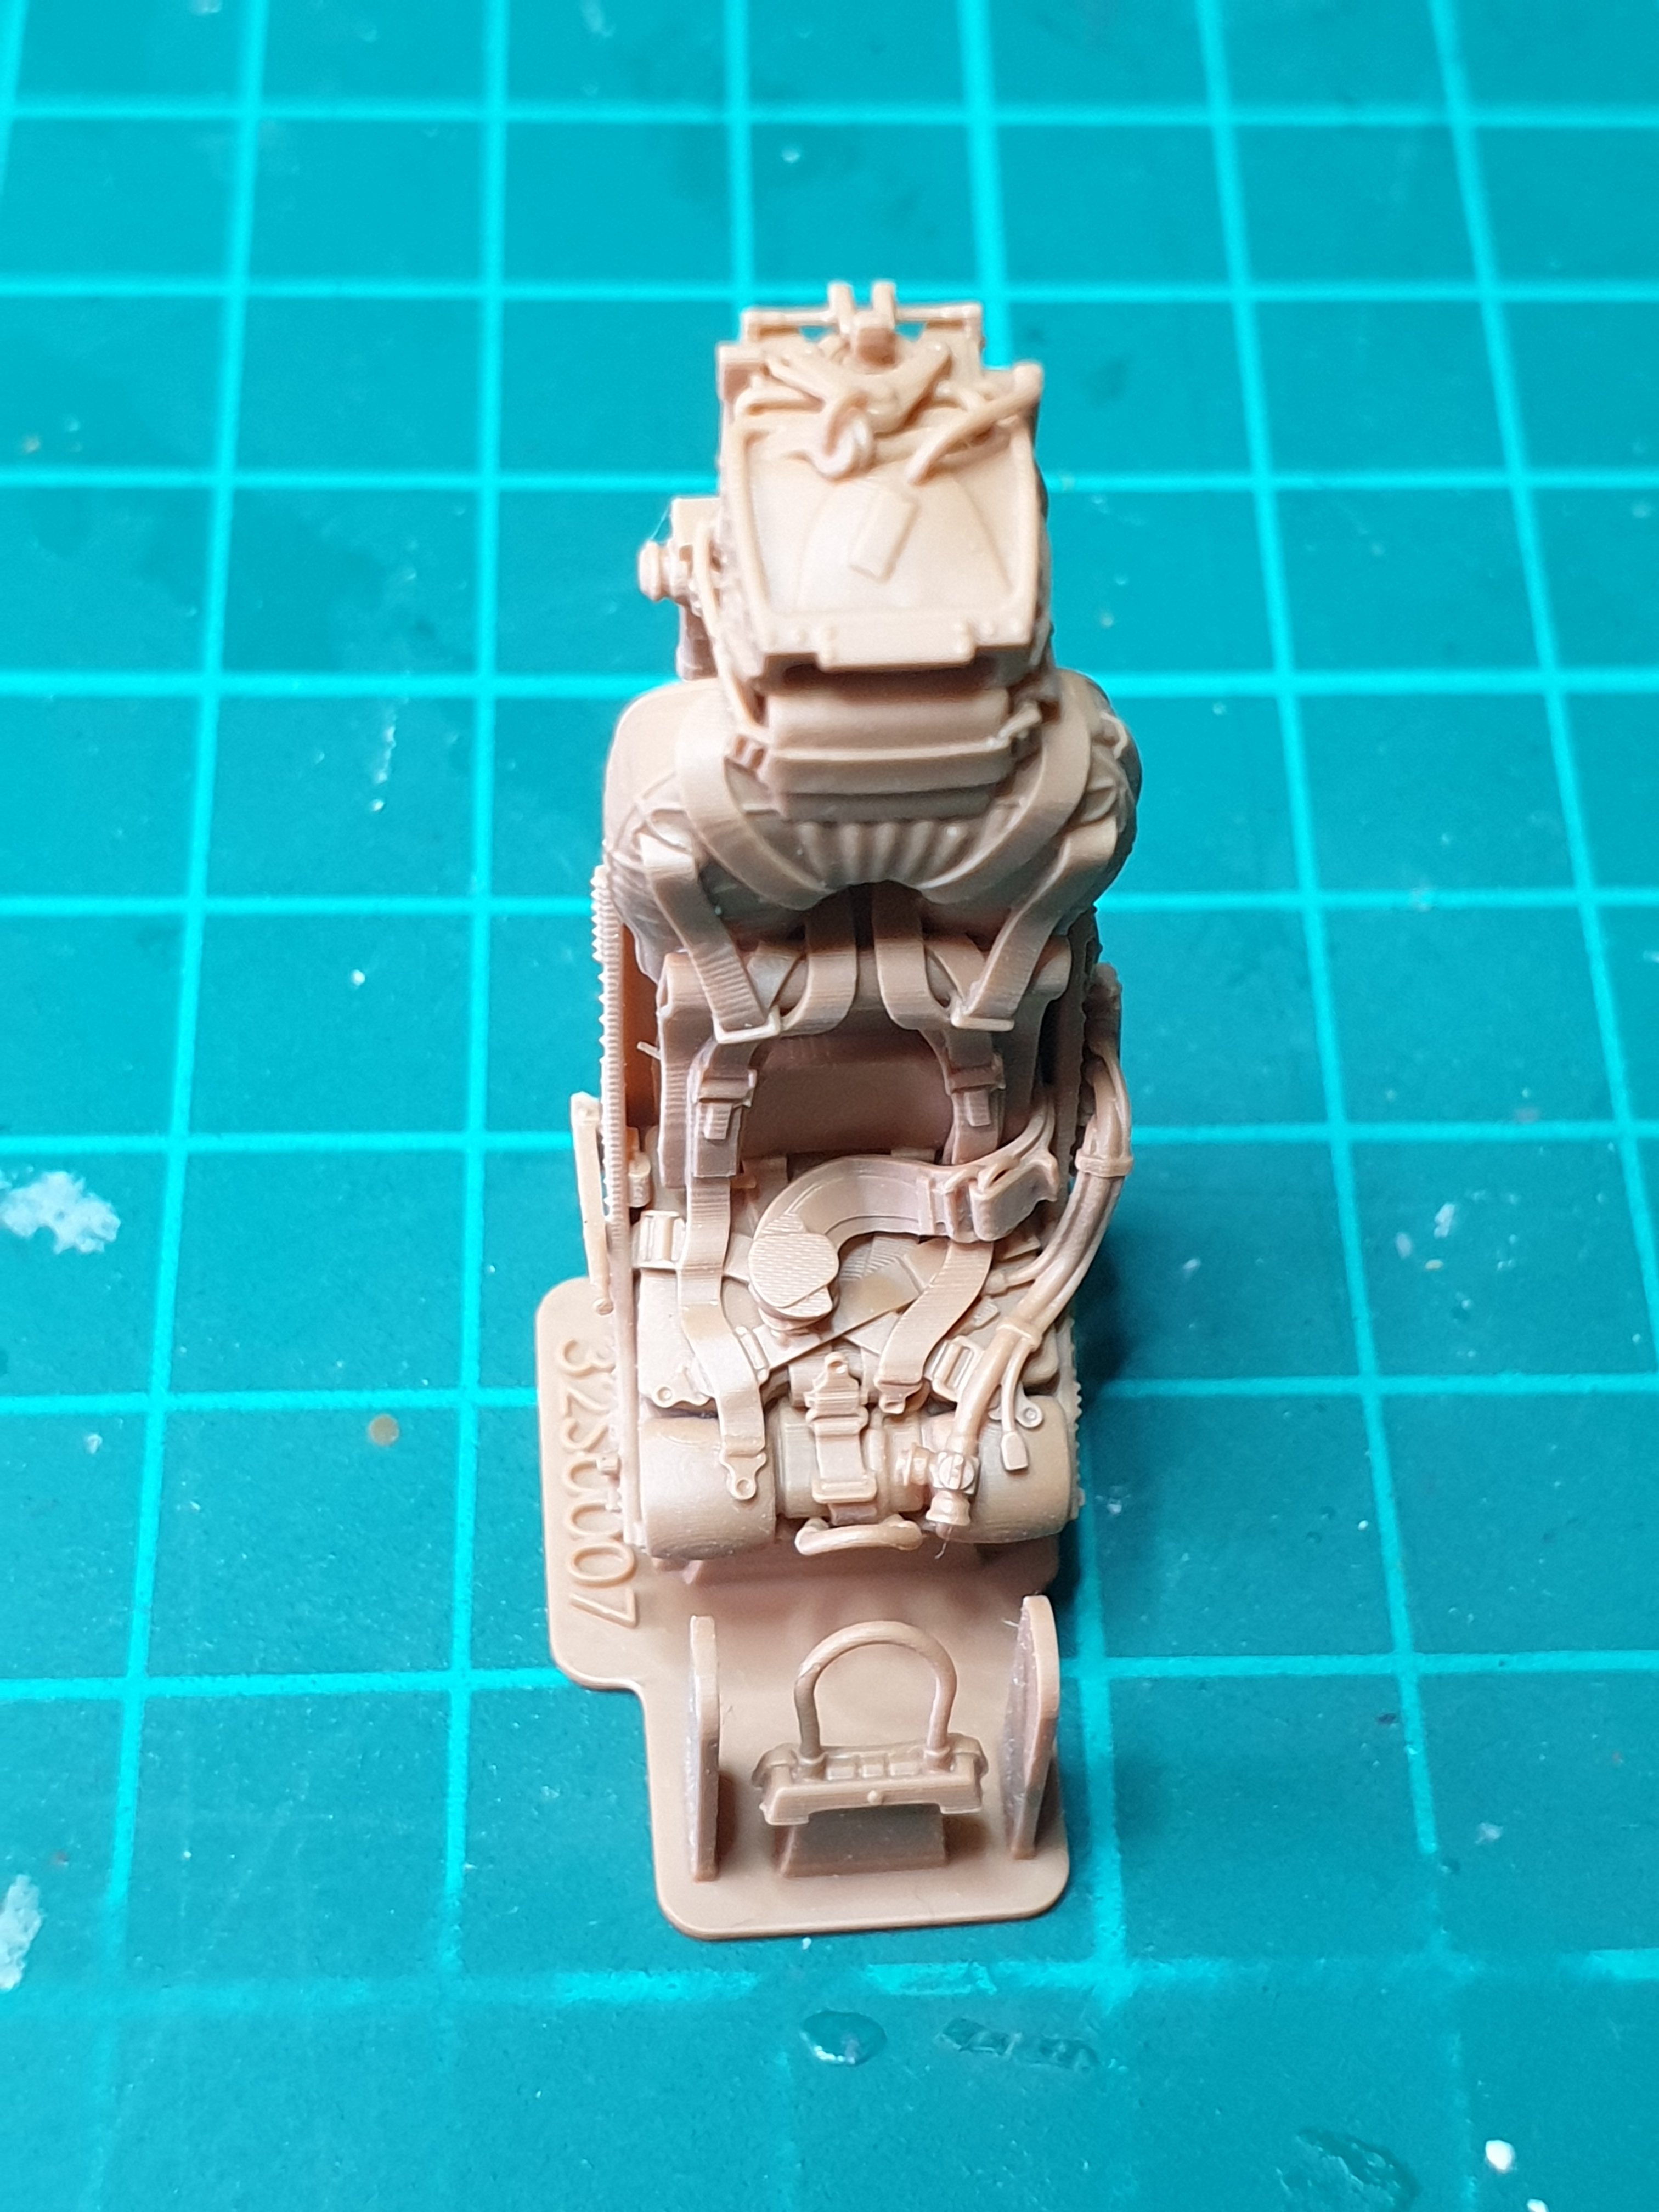
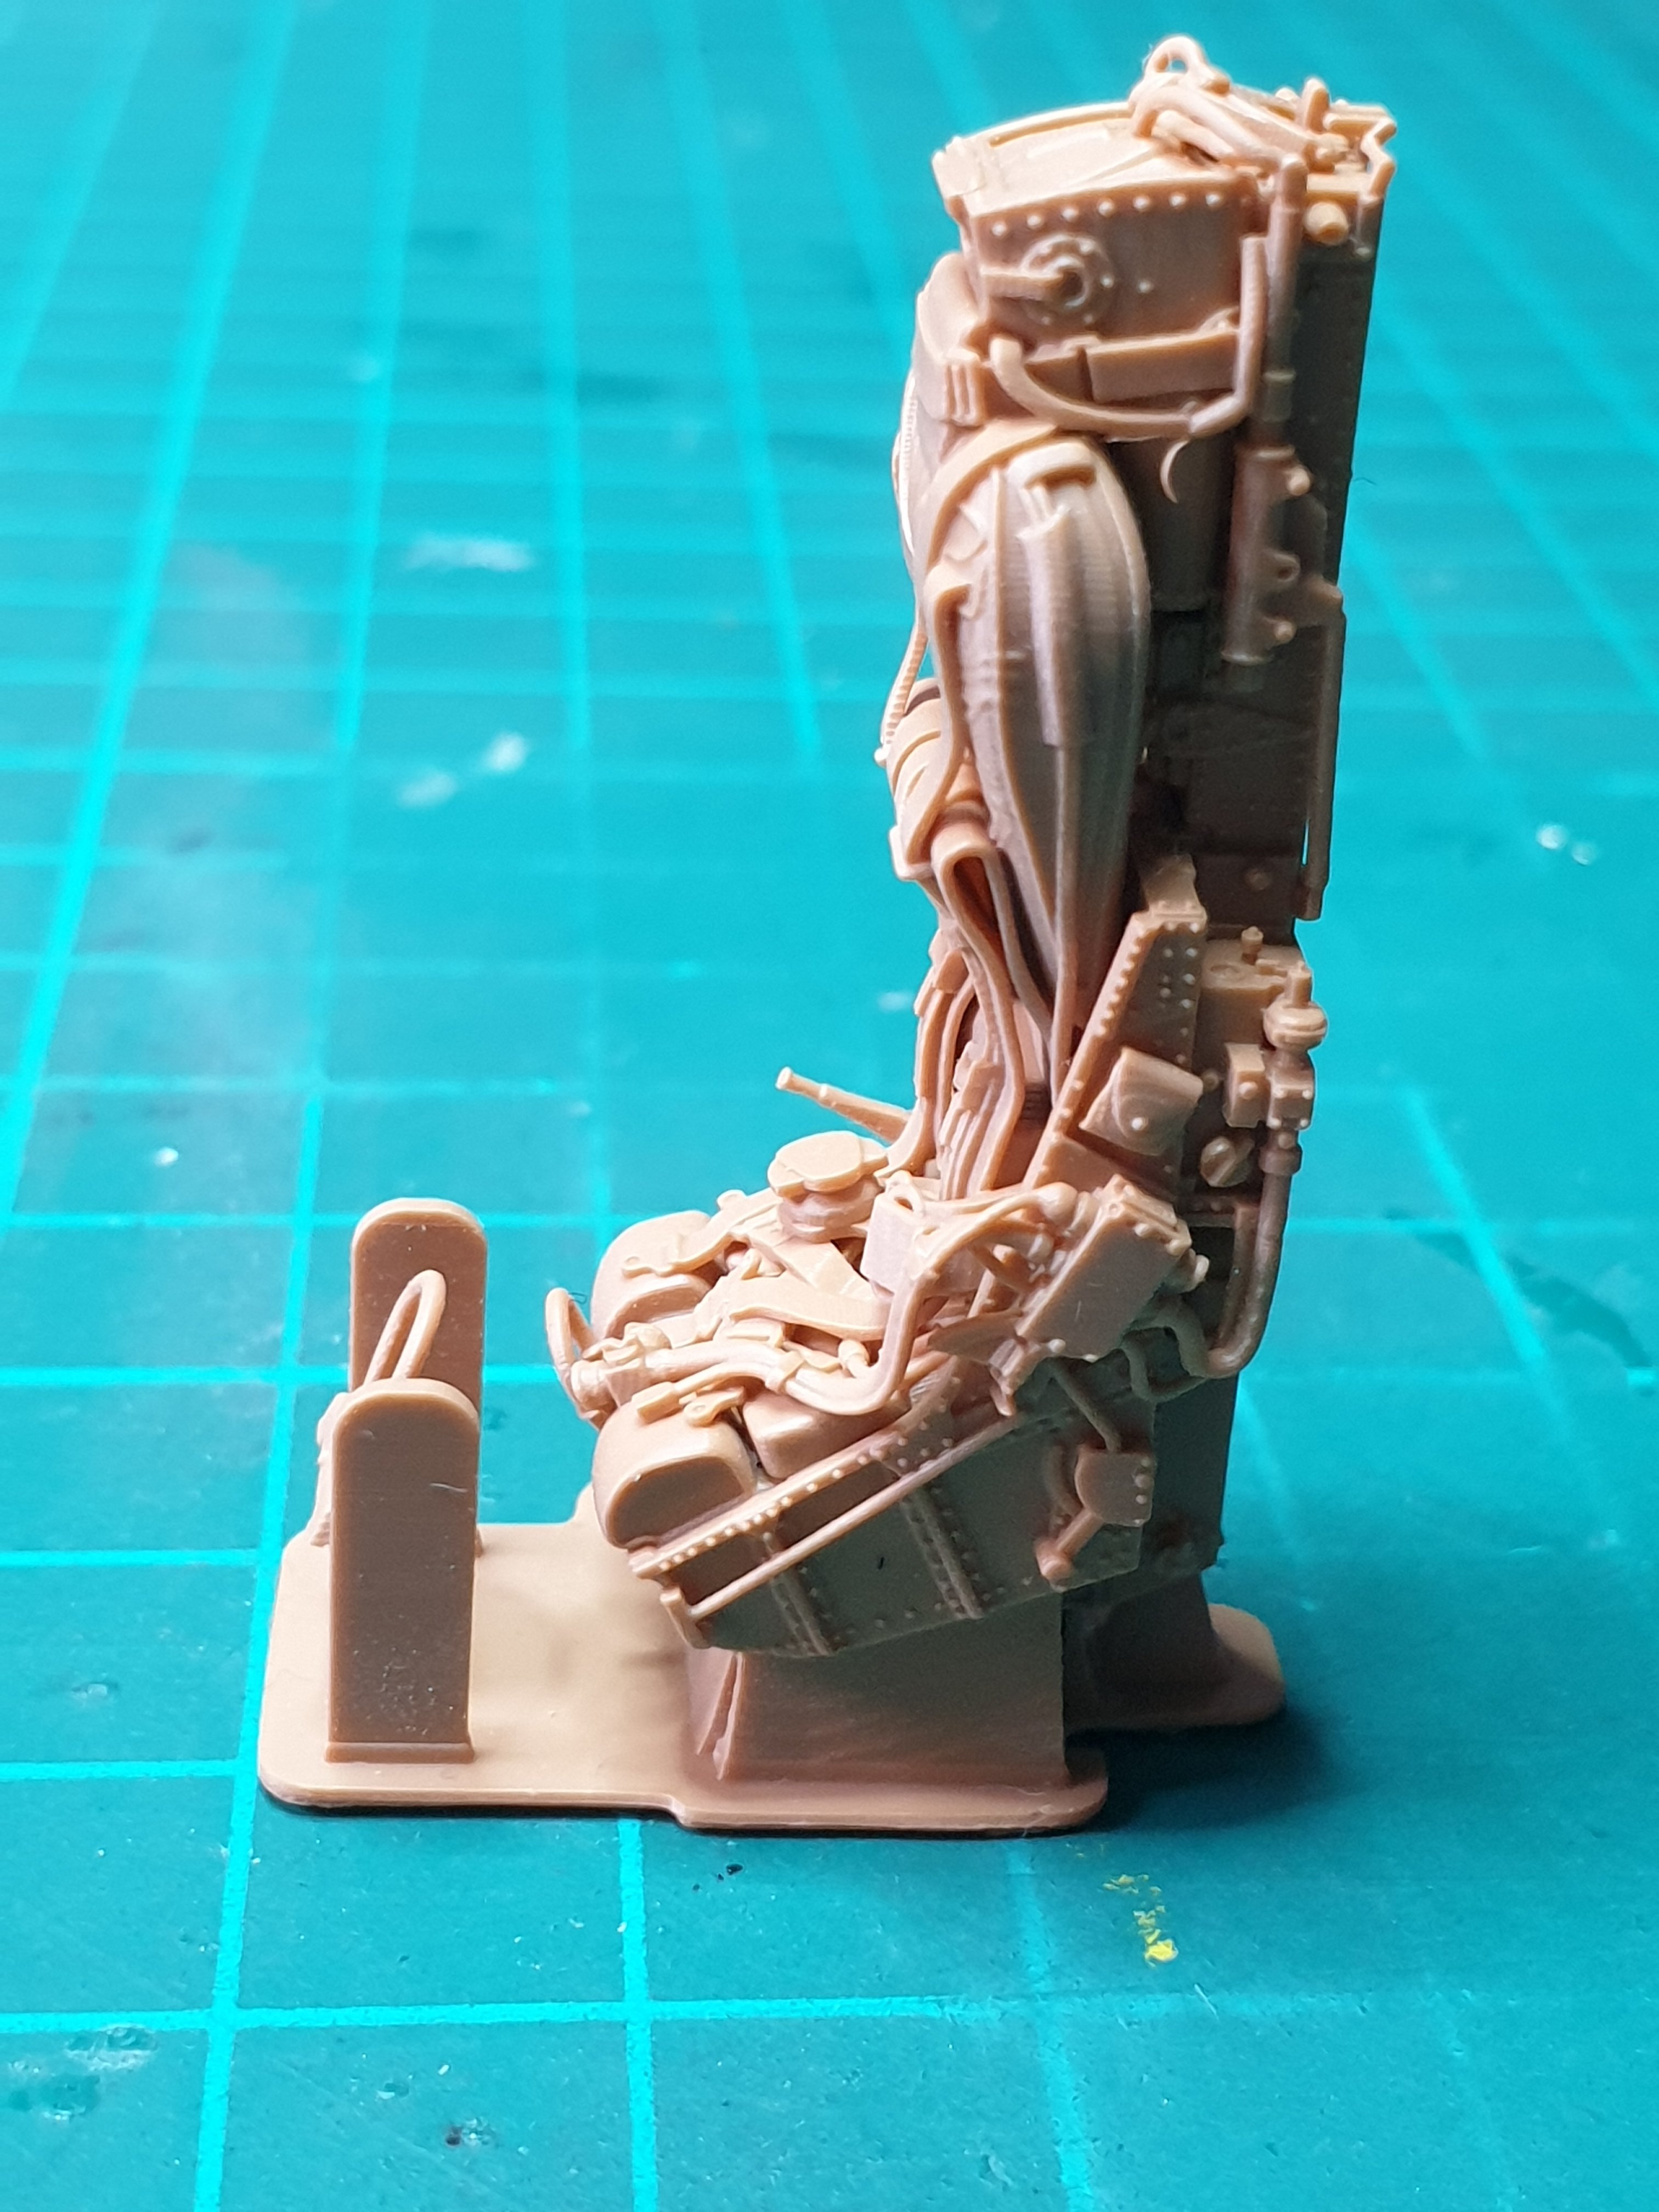
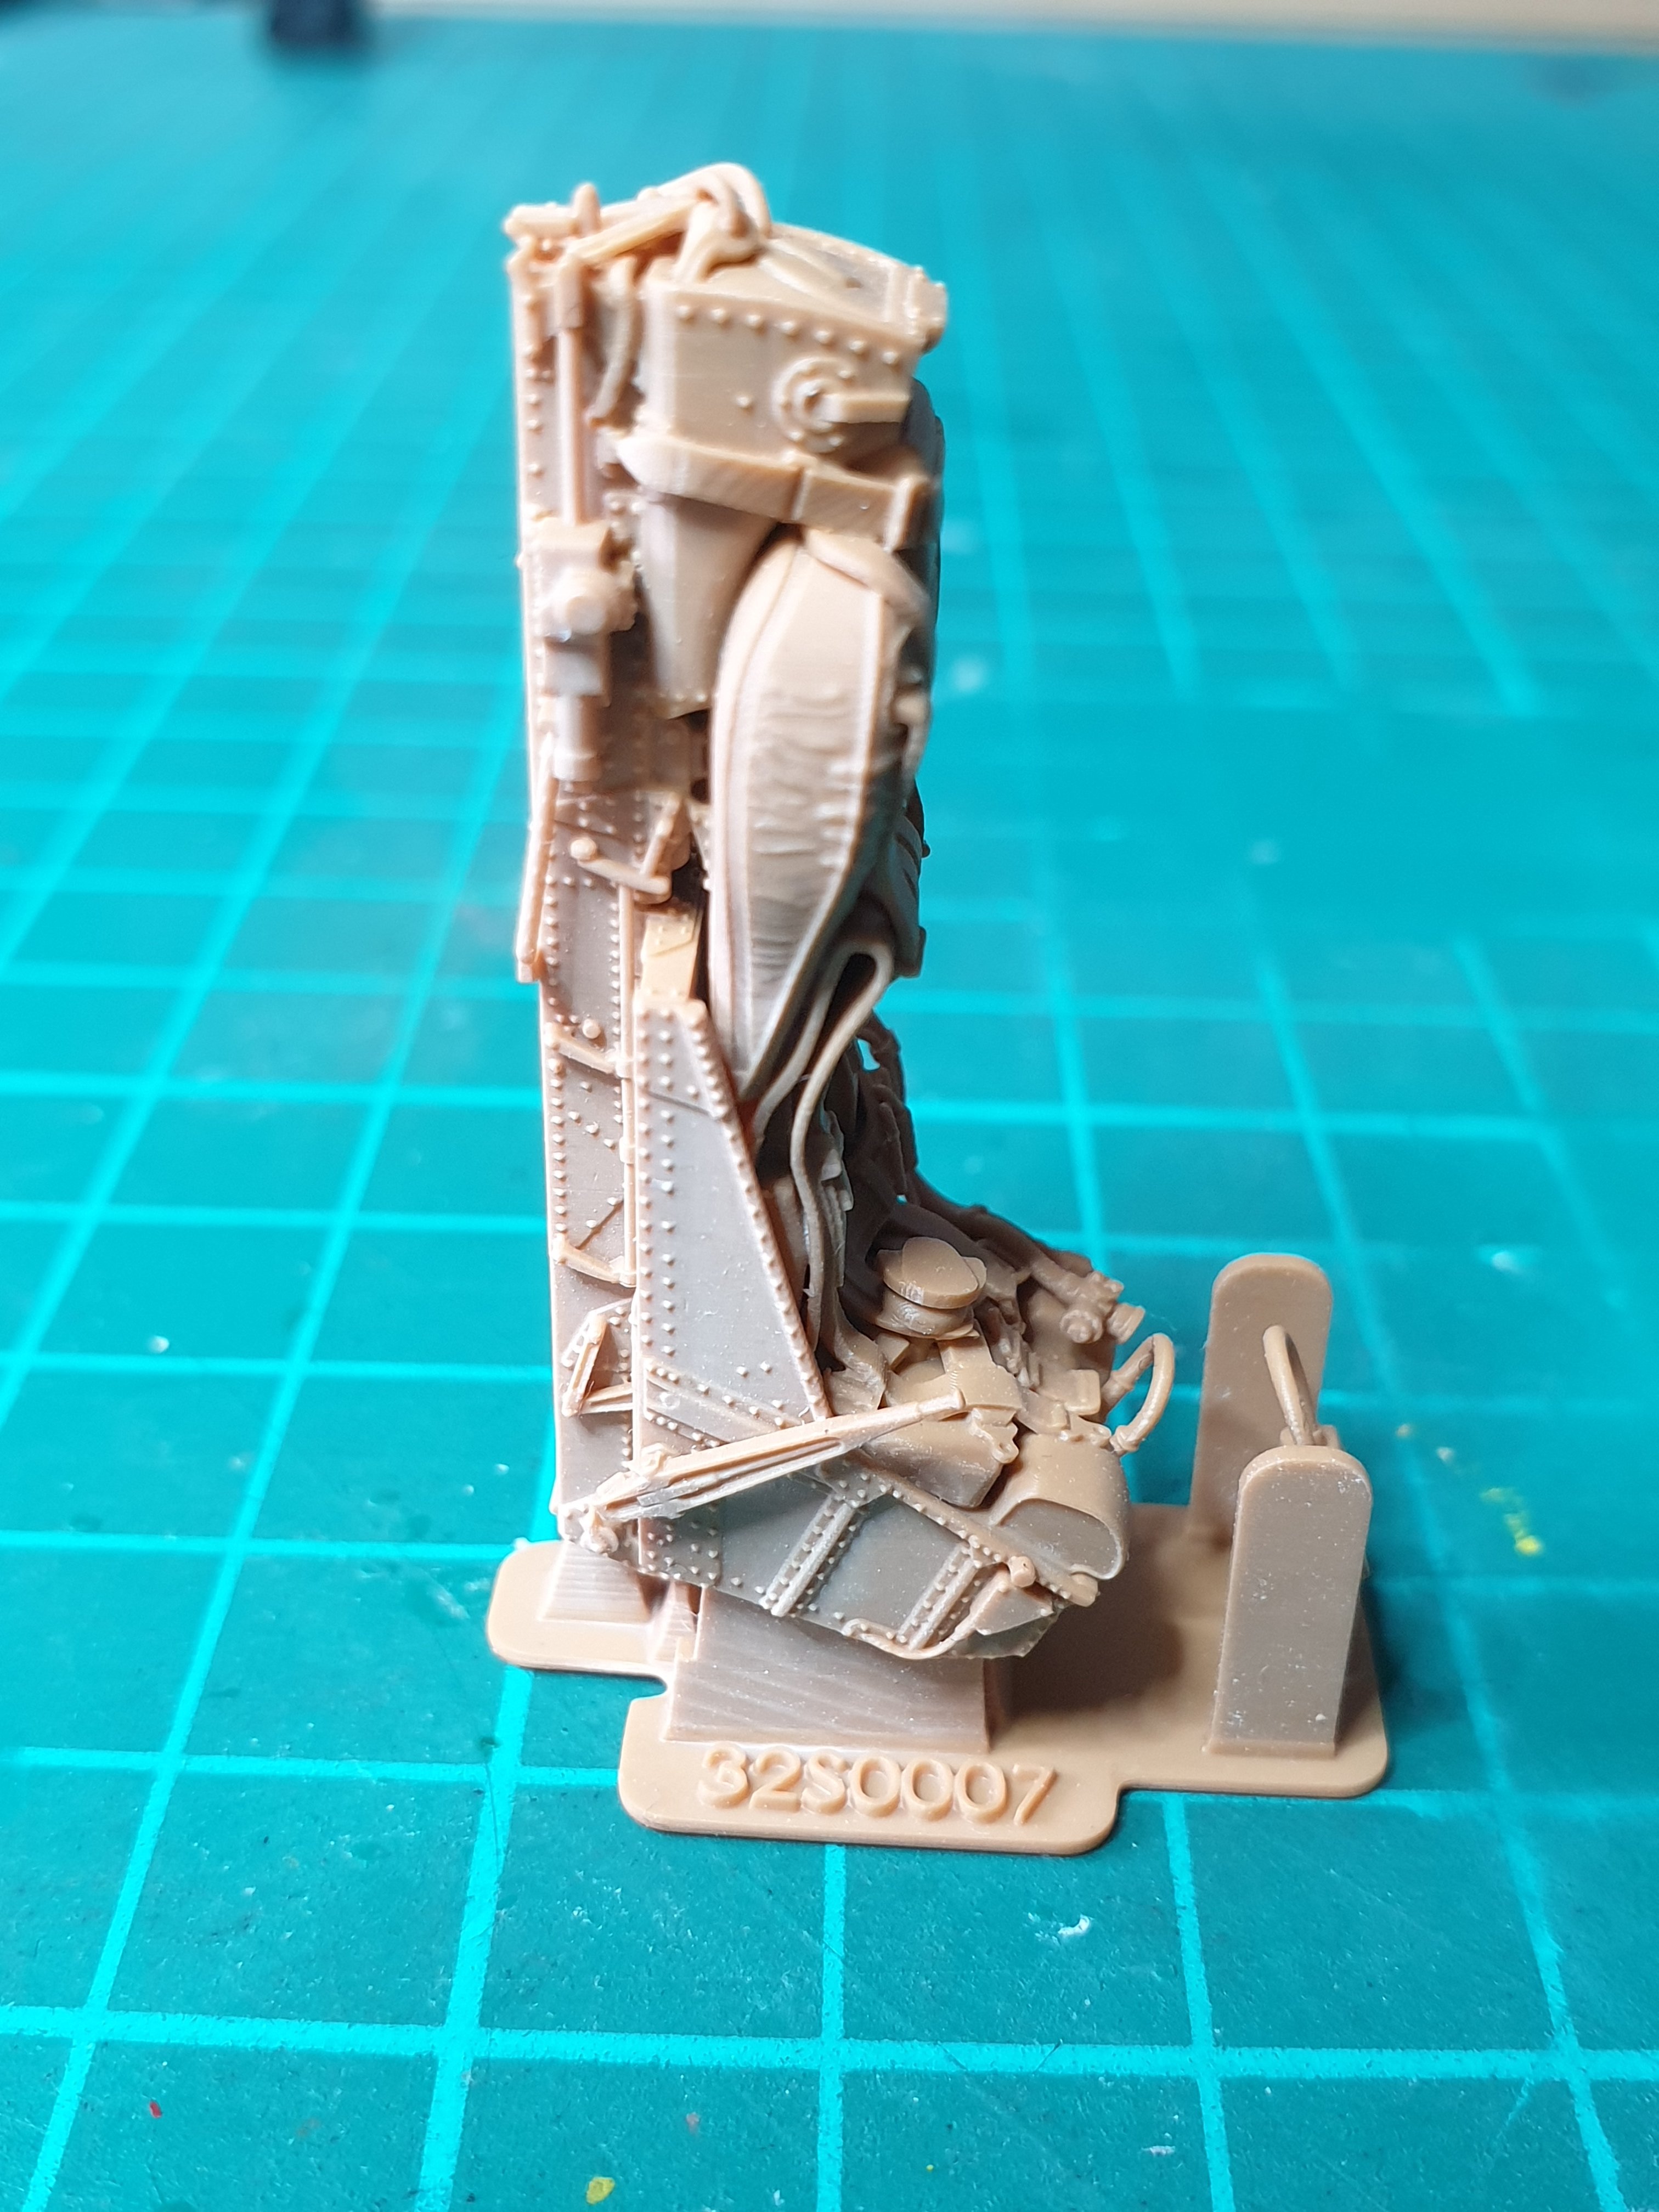
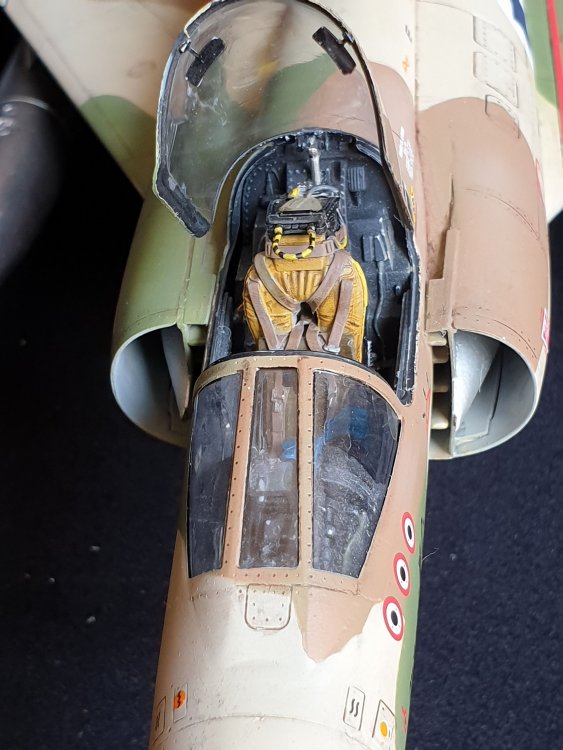
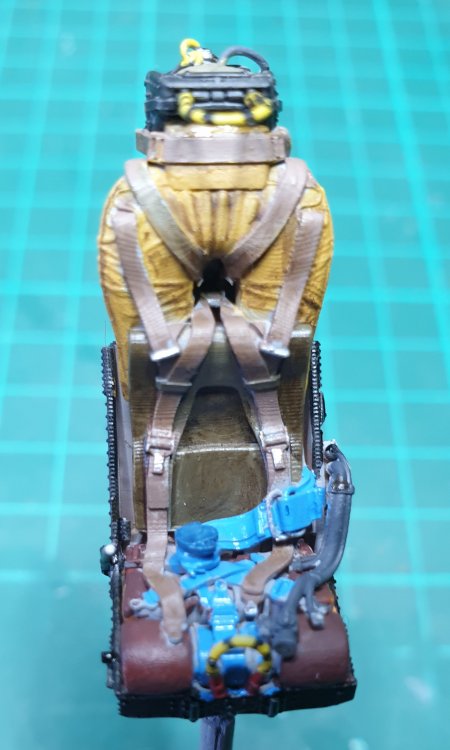
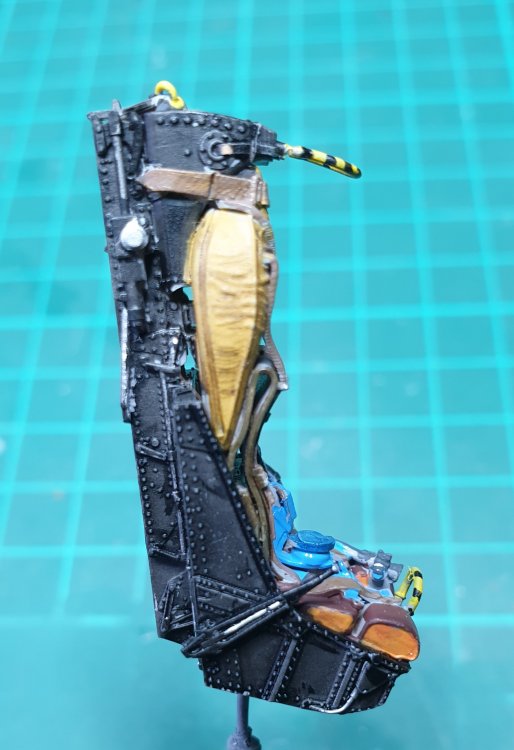
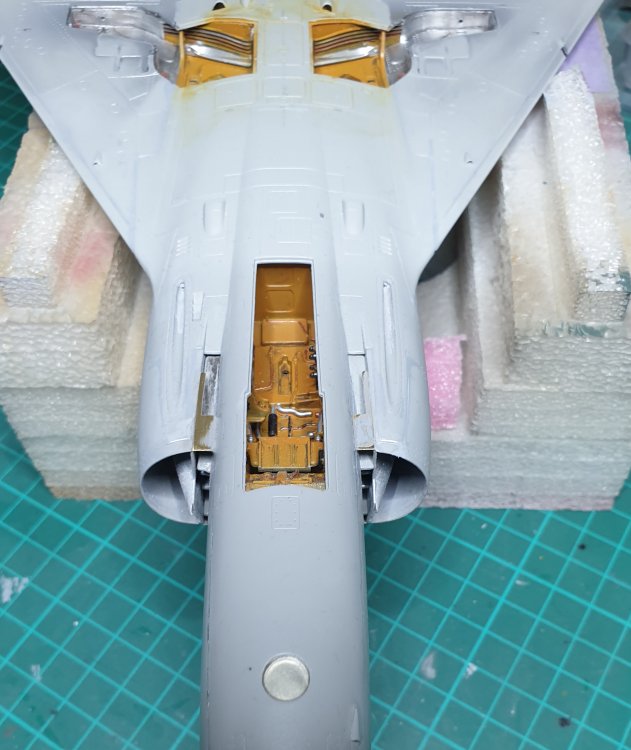
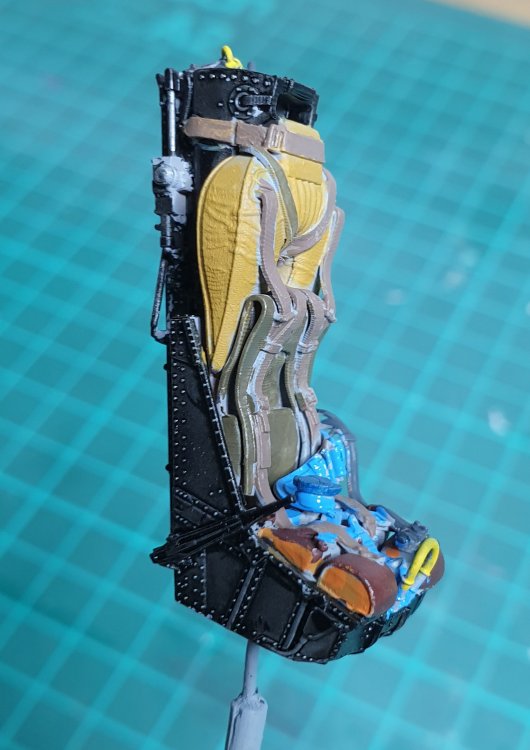
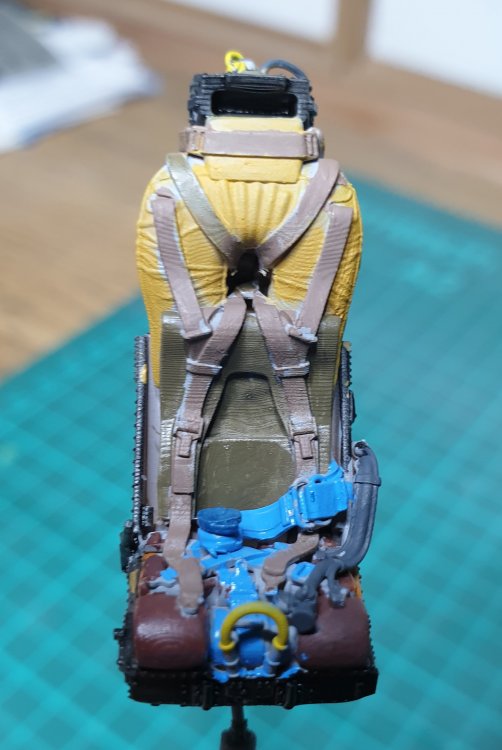
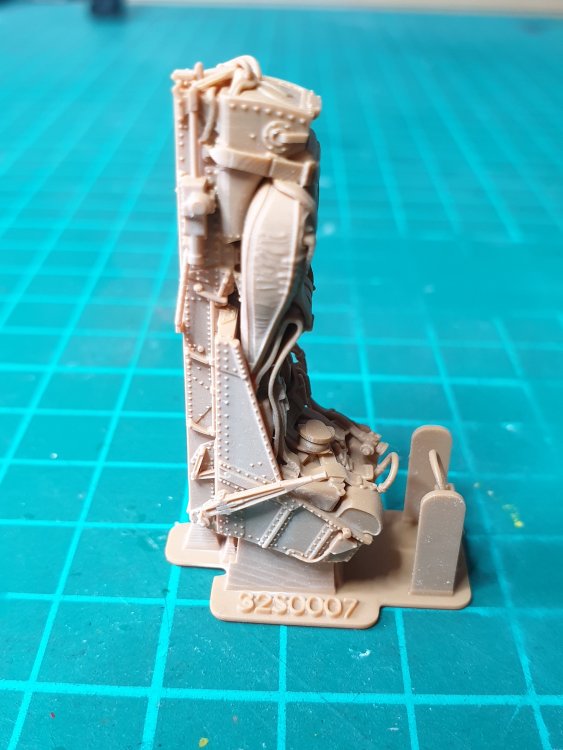
Hello everybody, I'm here again with some pictures. First I will show you the seat, 95% complete and then the current status of my attempt to seal with Tamiya all unwanted imperfections and finally push rods added in the afterburner.


-
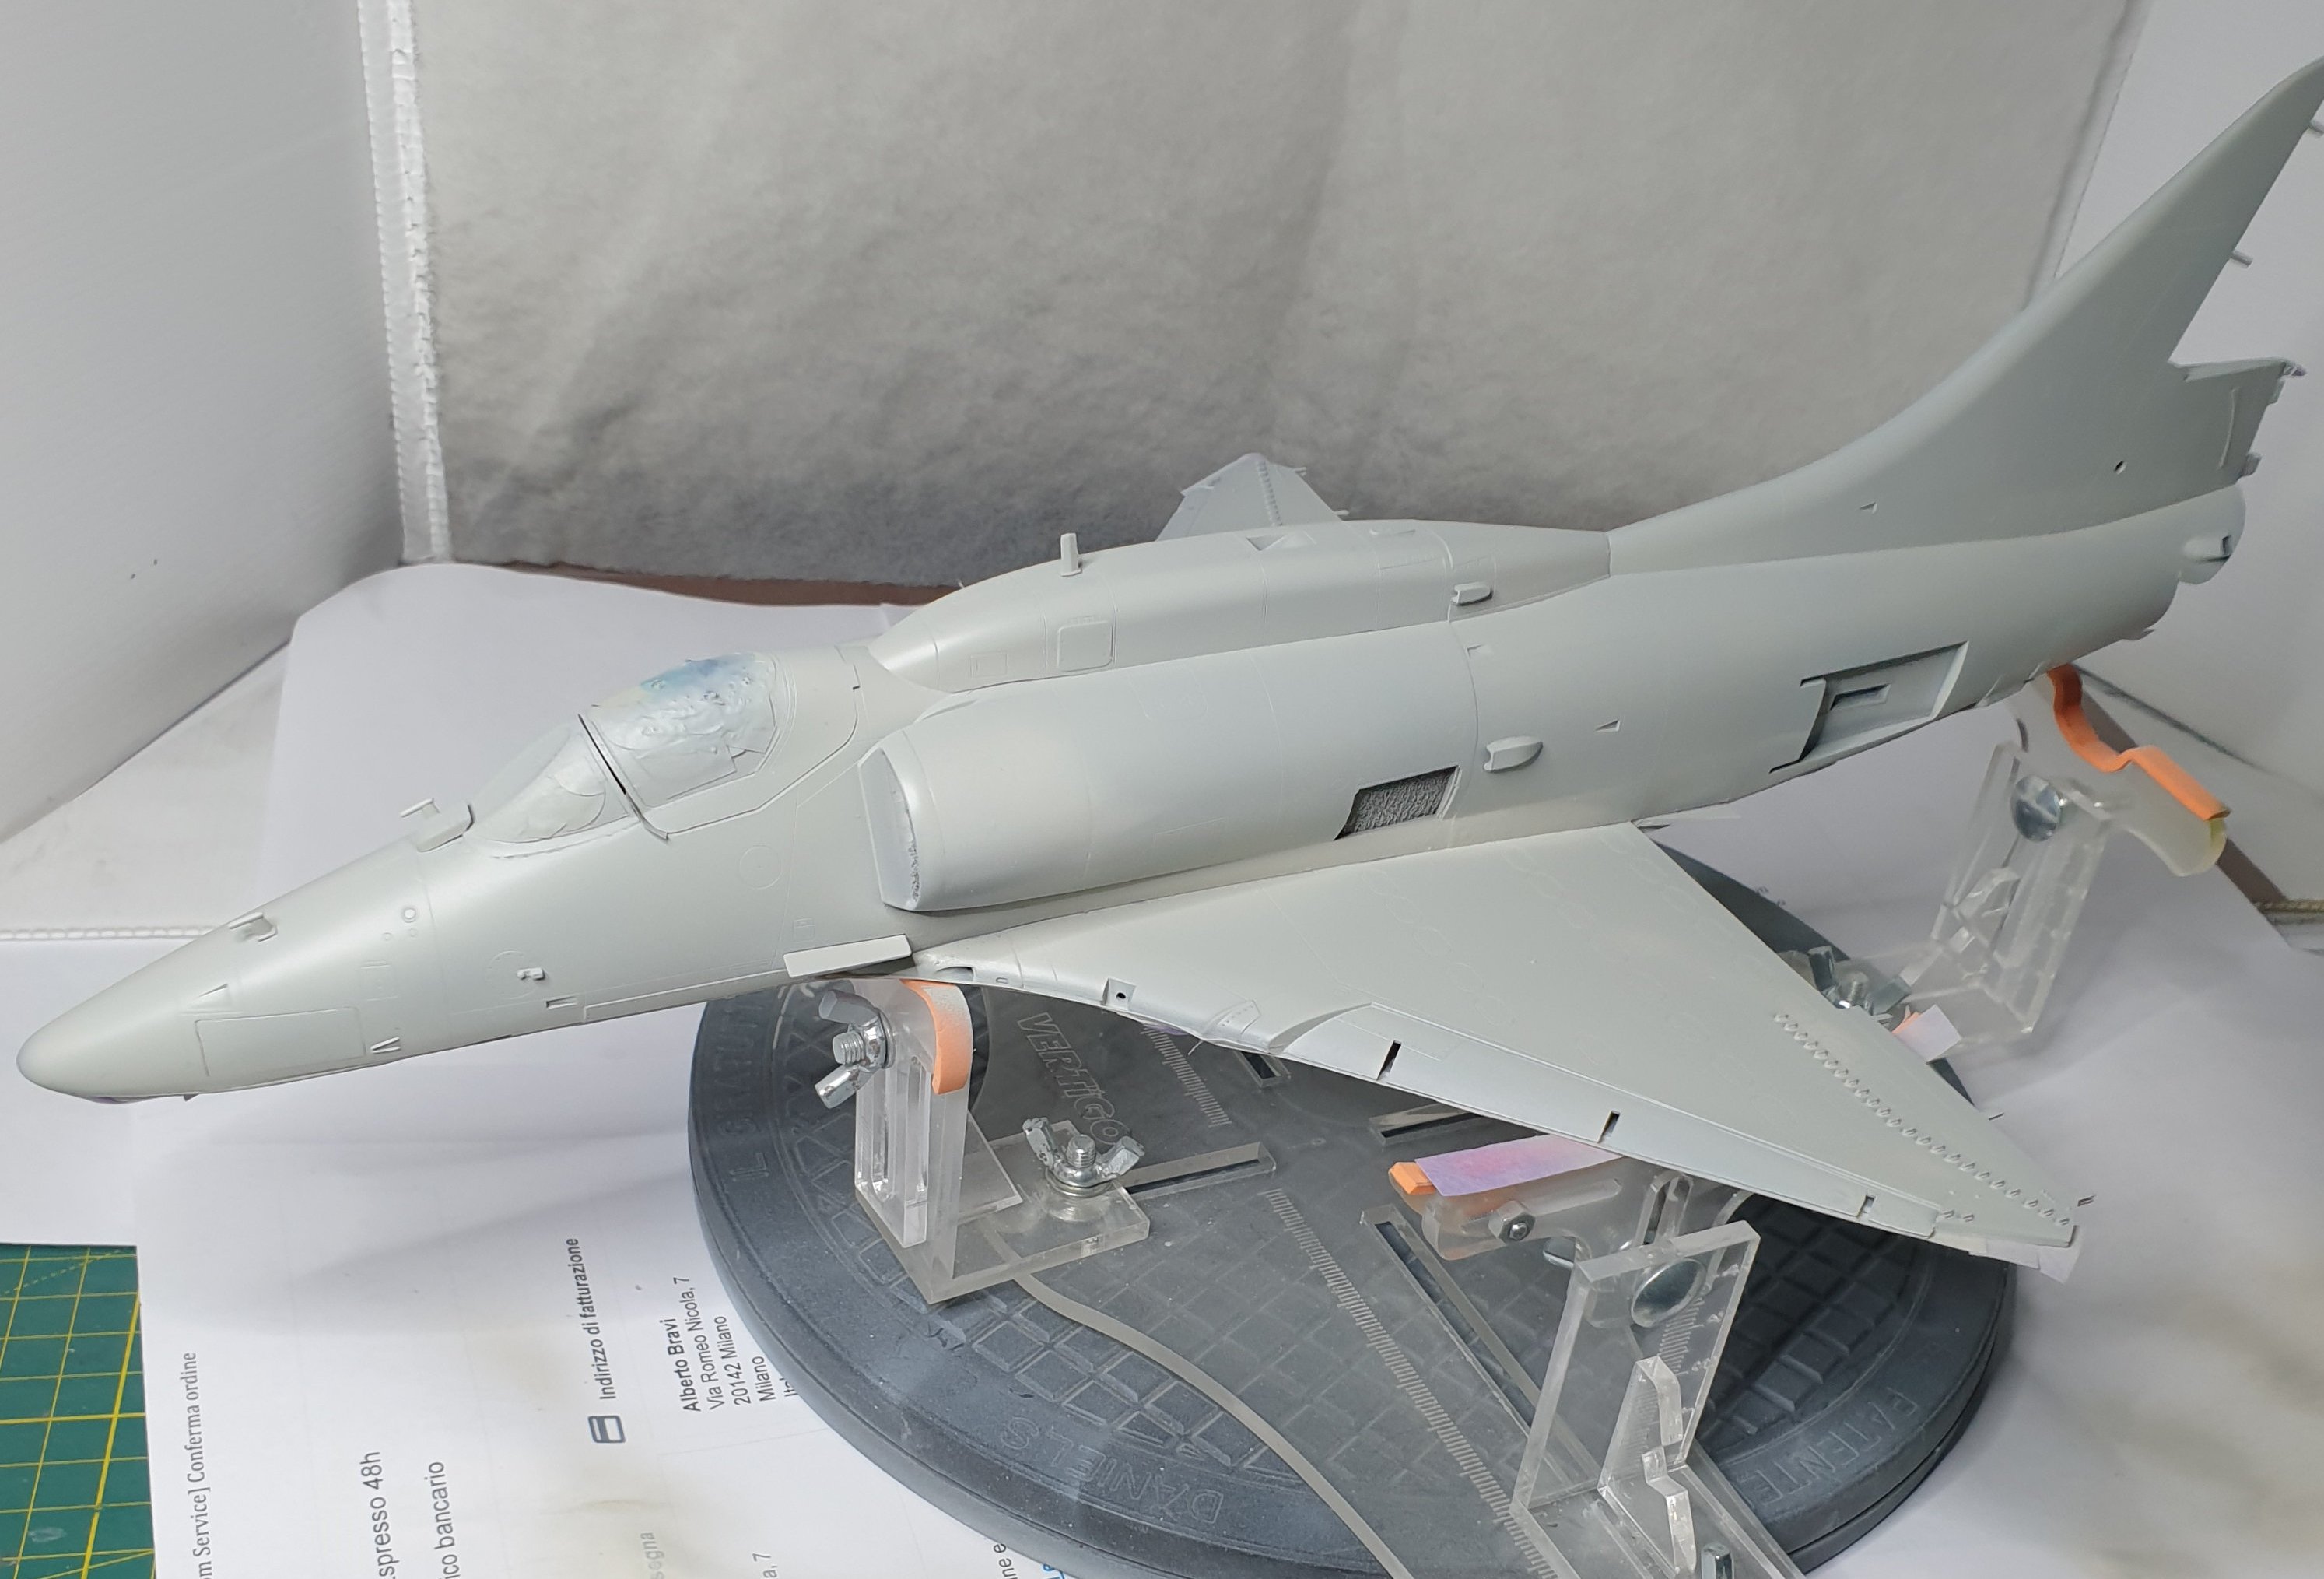
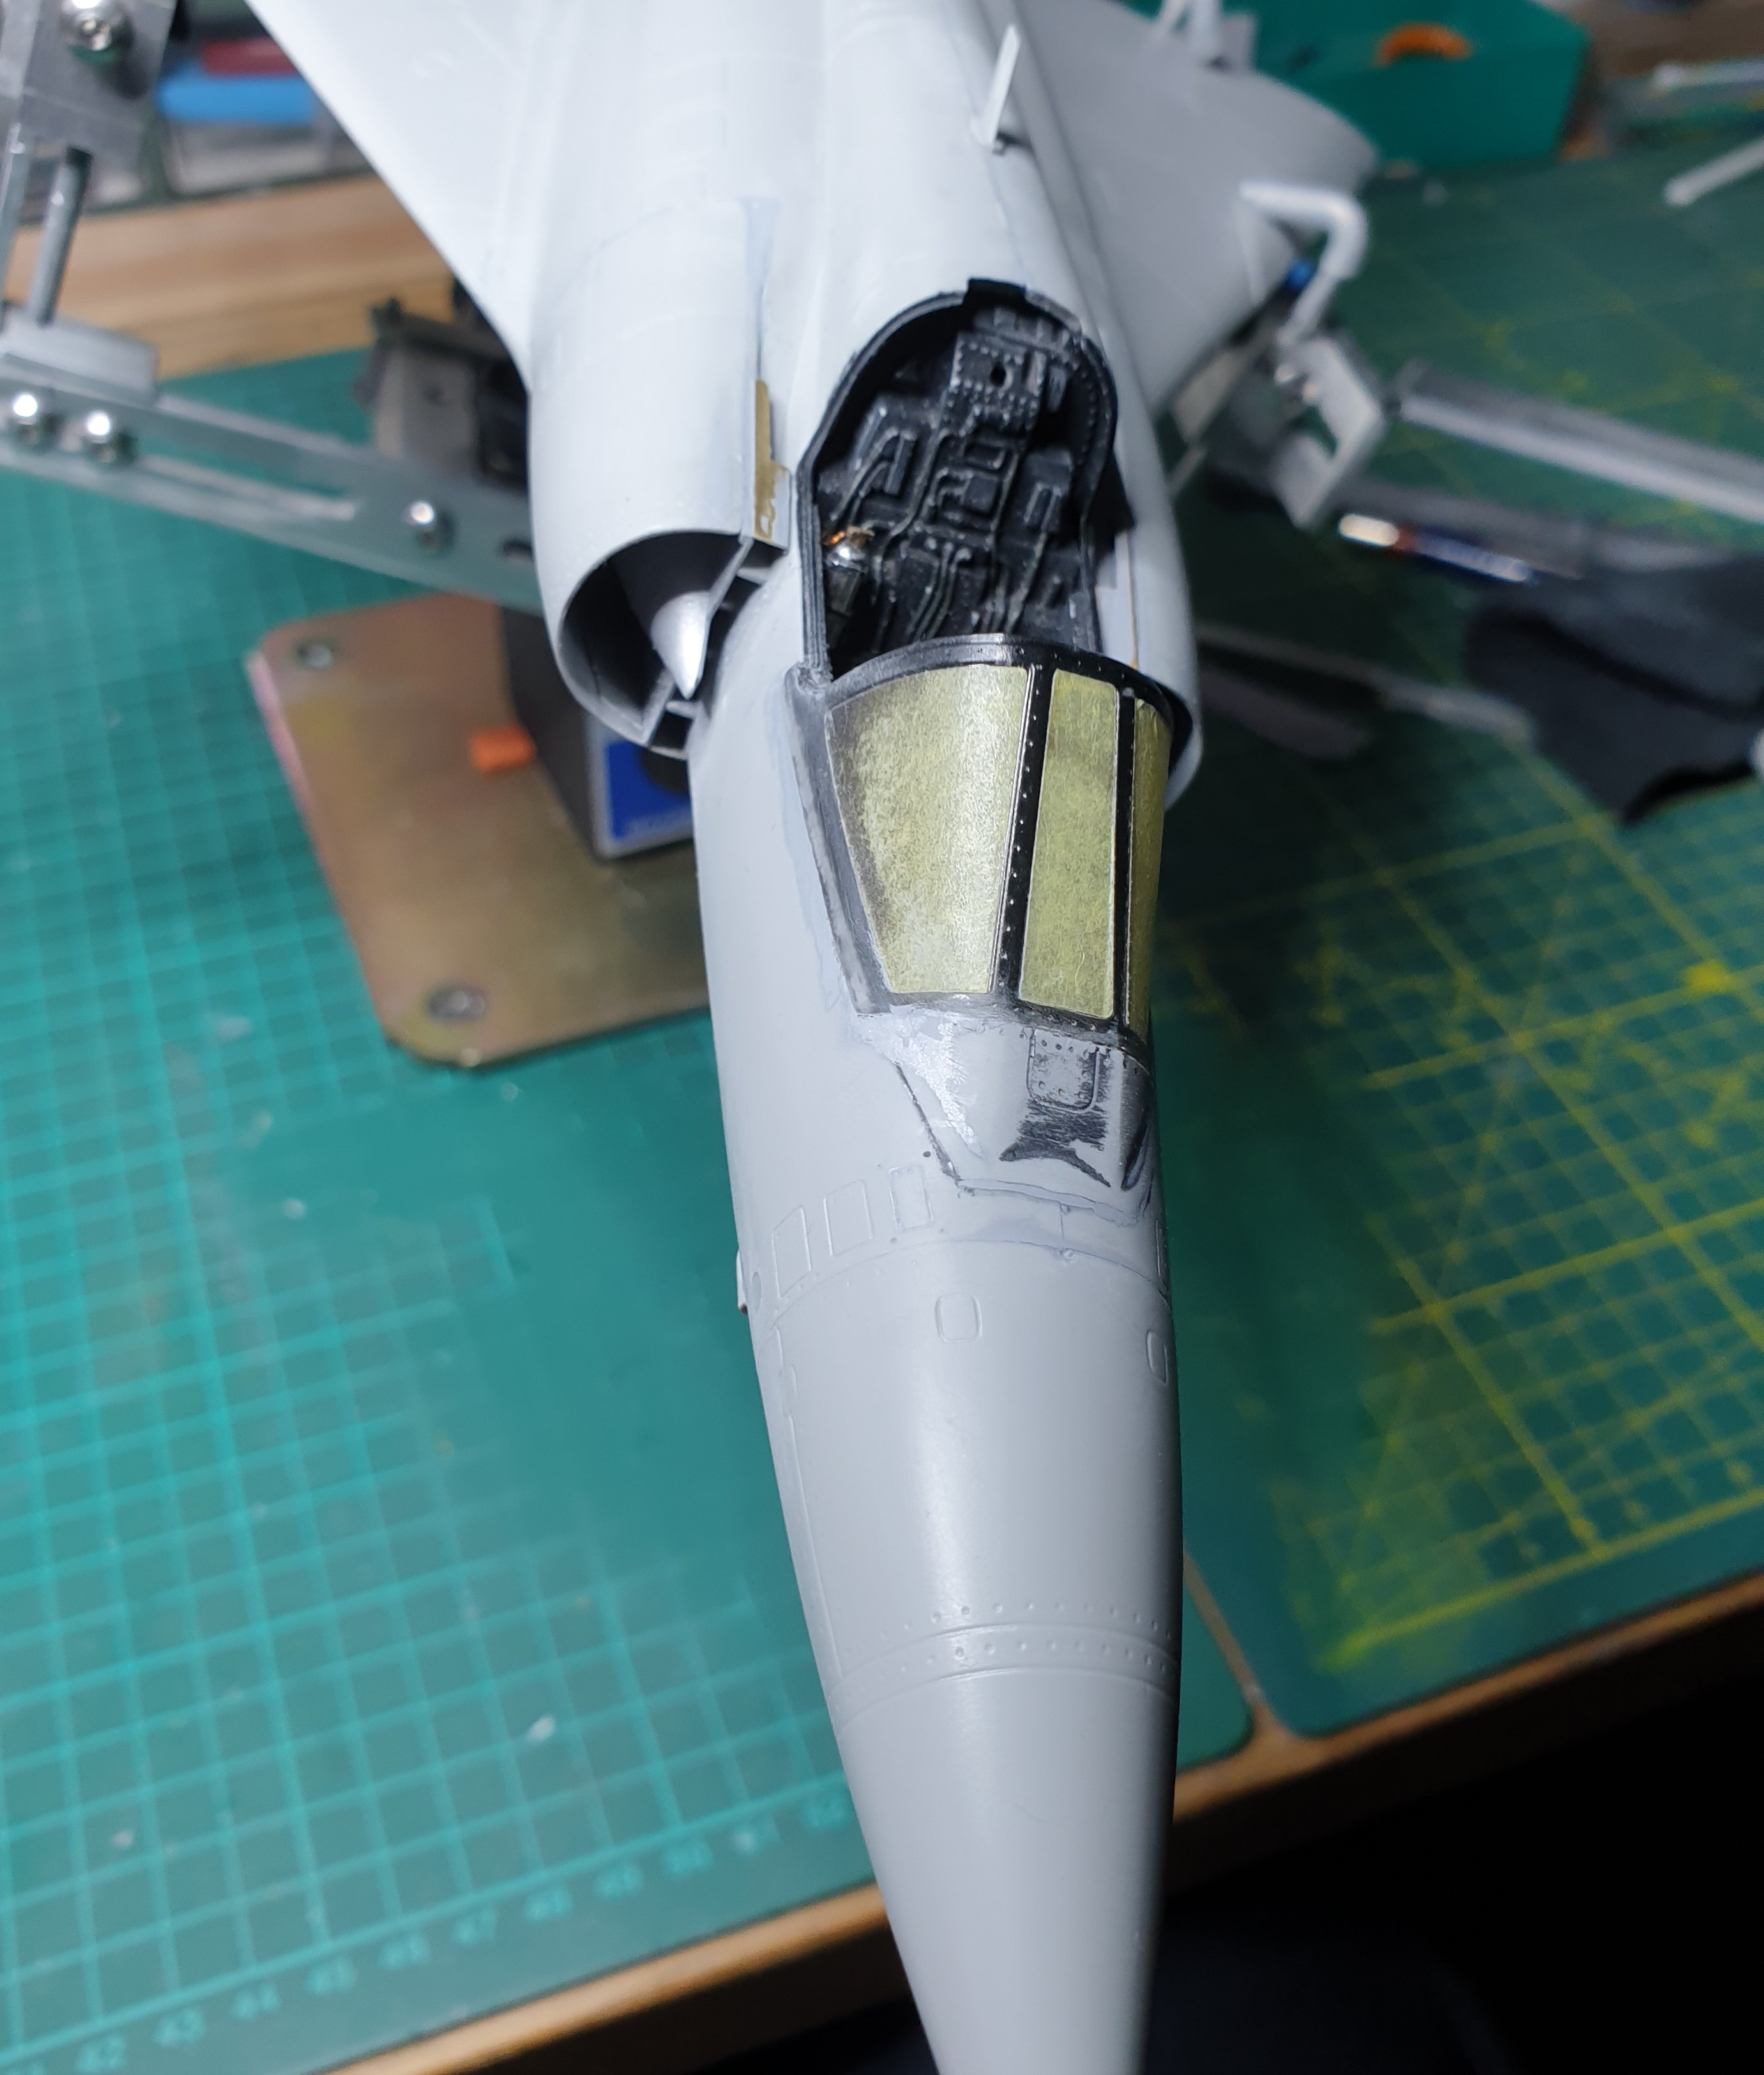
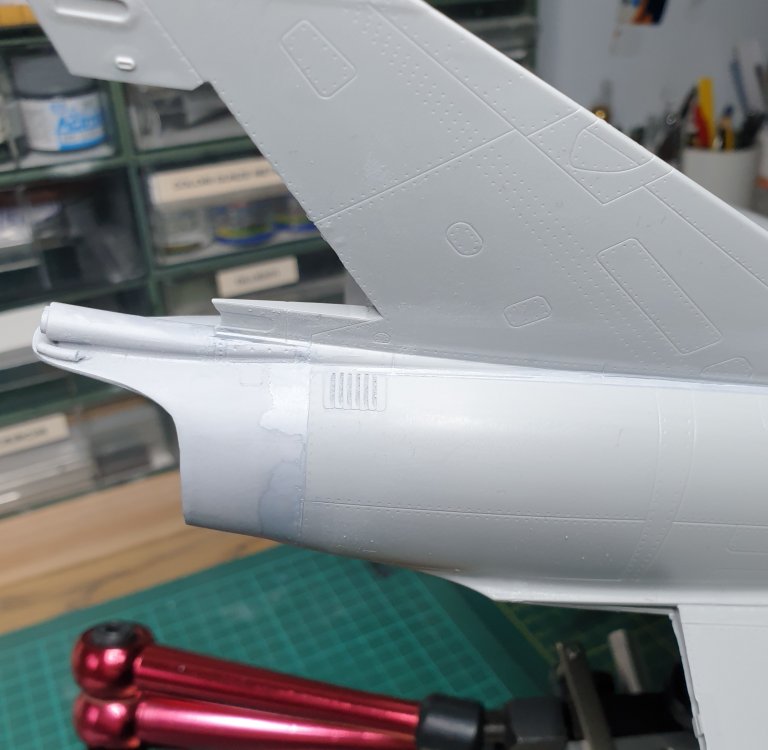
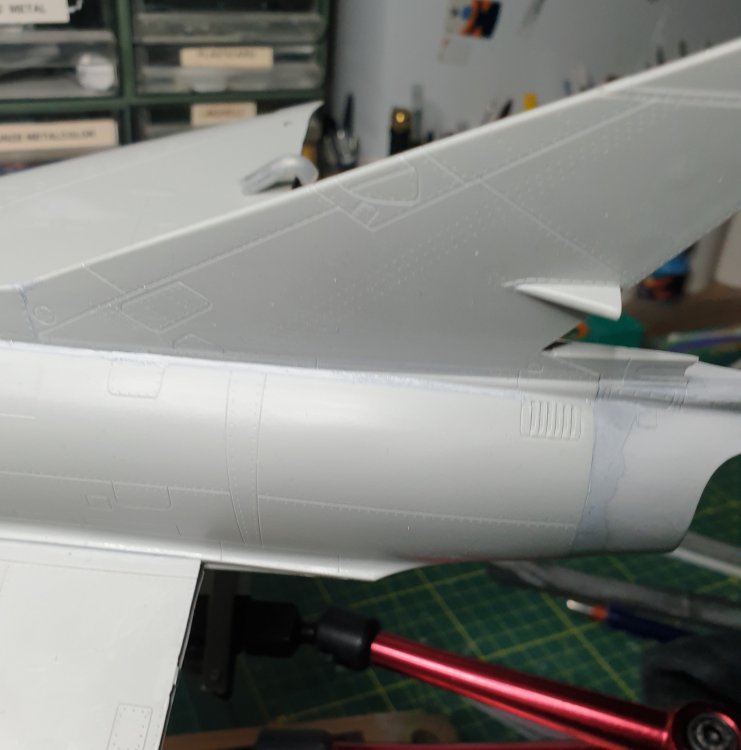
Hi everybody, gone forward a little bit: - fuselage glued to wings - seams filled with Tamiya putty and sanded - glued and sanded p.e. parts - started painting the seat Here some pictures.


-
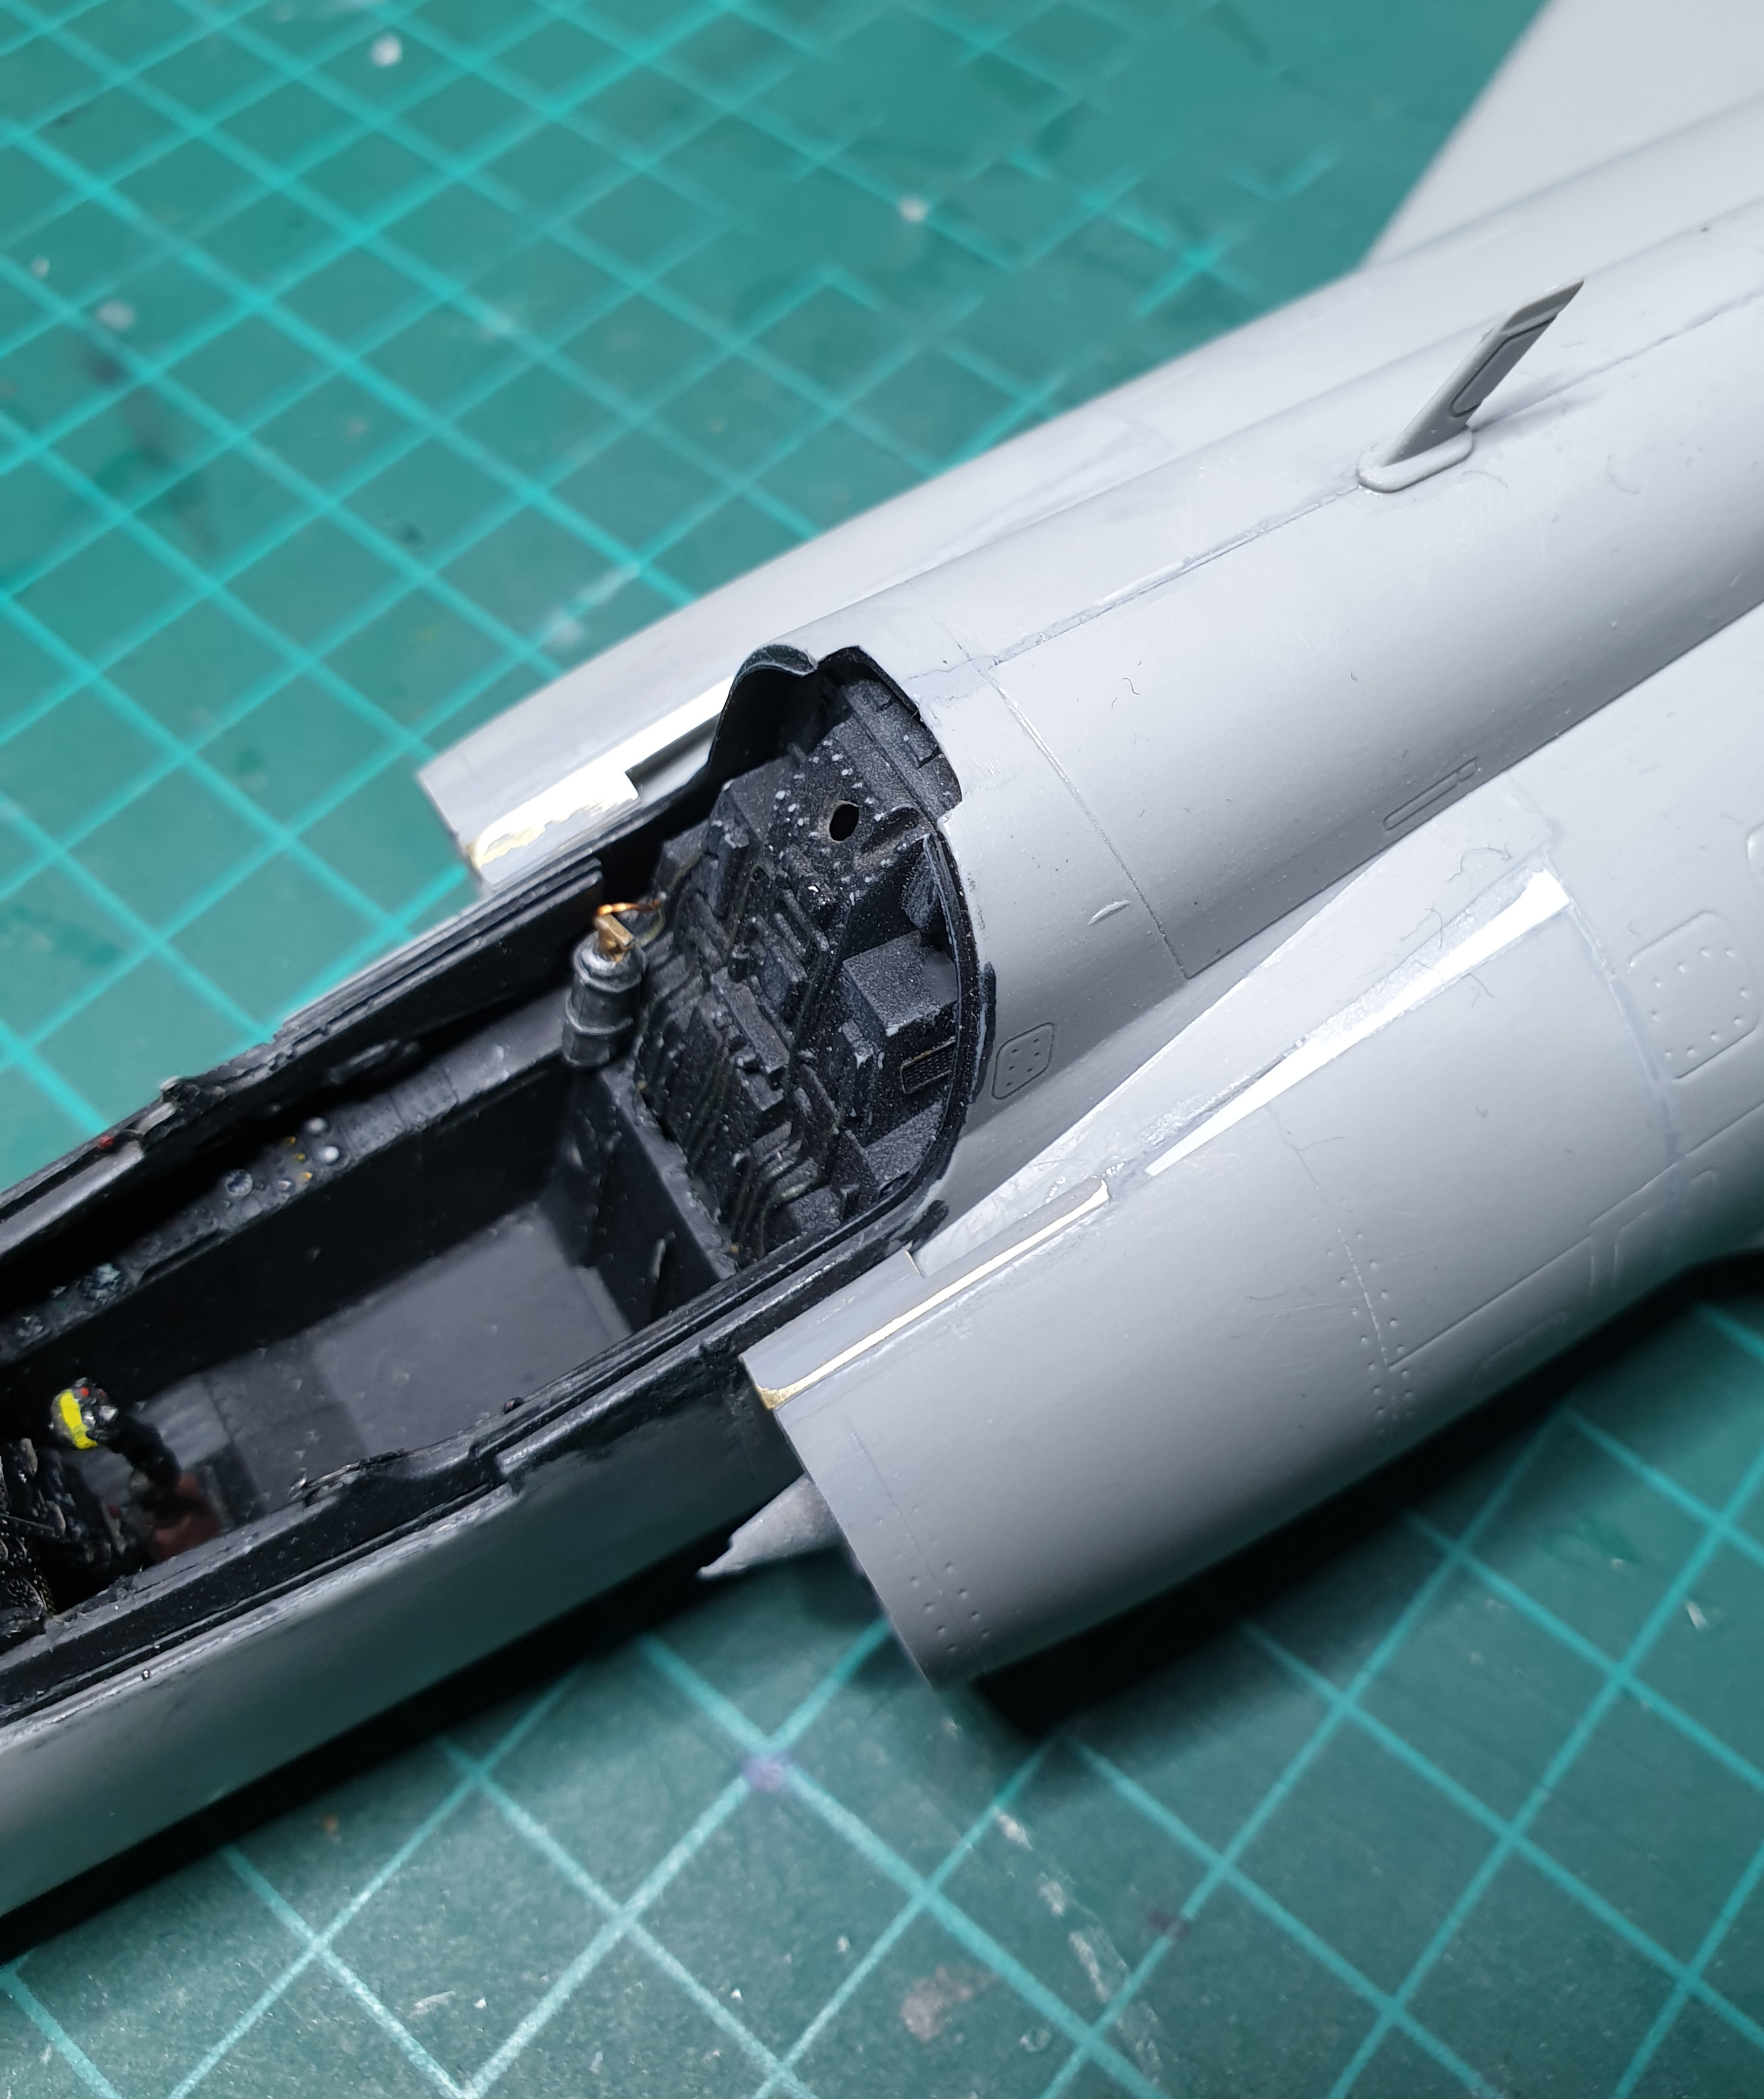
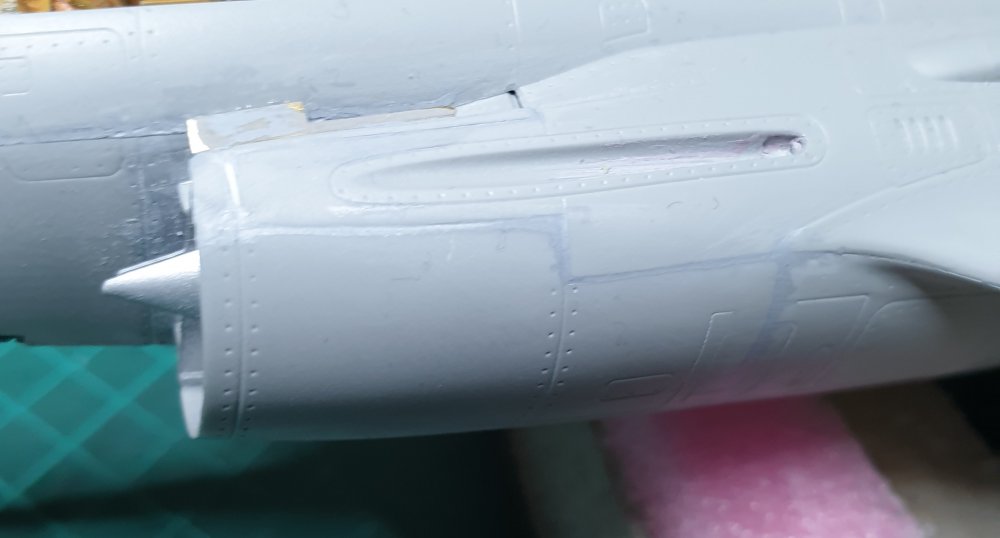
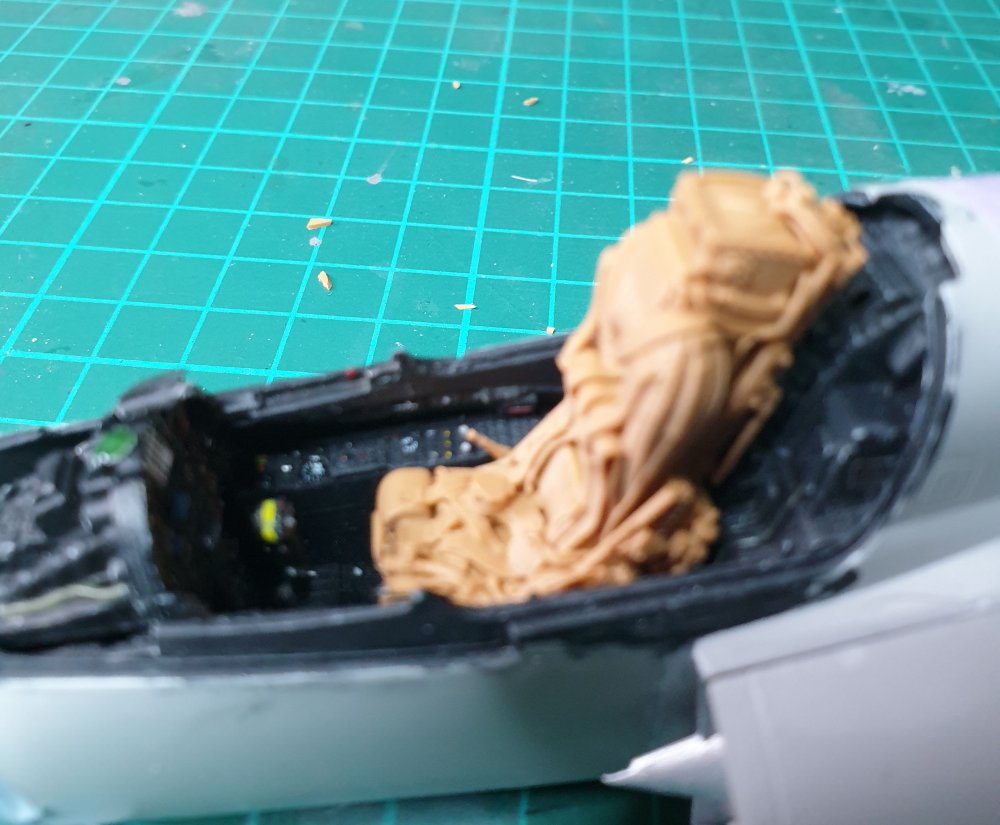
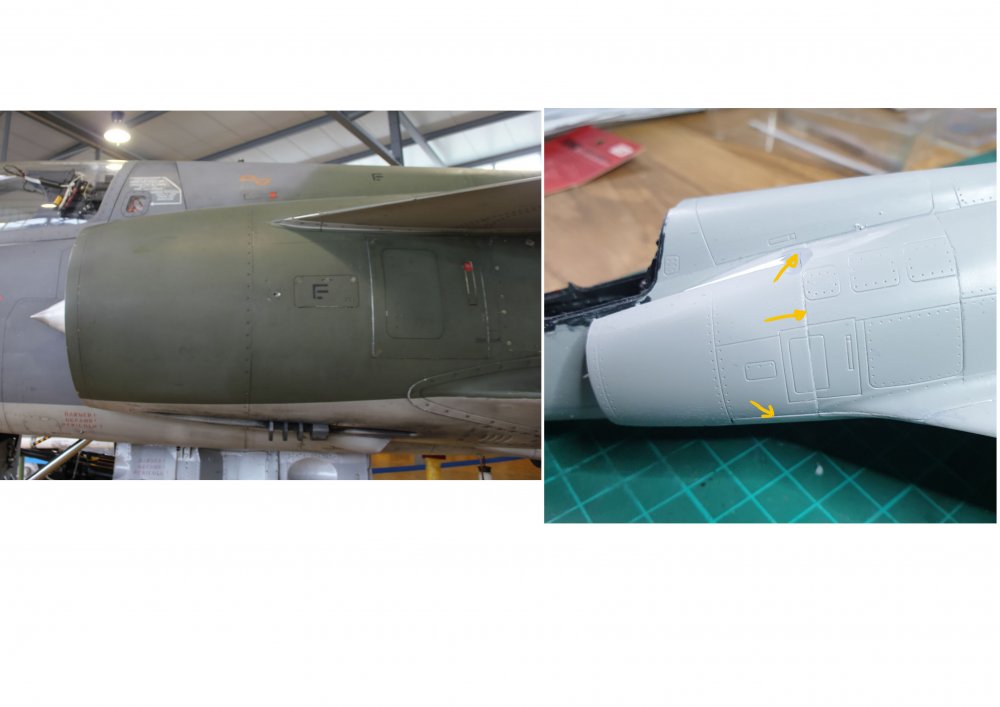
Hi everybody, here some pictures of the fit test on the seat after removing the lower portion of the ramp. Also a picture of the next challenge: wings are glued to the fuselage, just with the need of a little putty, but there is an area that requires a lot more work, see the picture comparing the real plane and the model. More to follow Alberto

-
That's OK, there are aprox 3 mm.
-
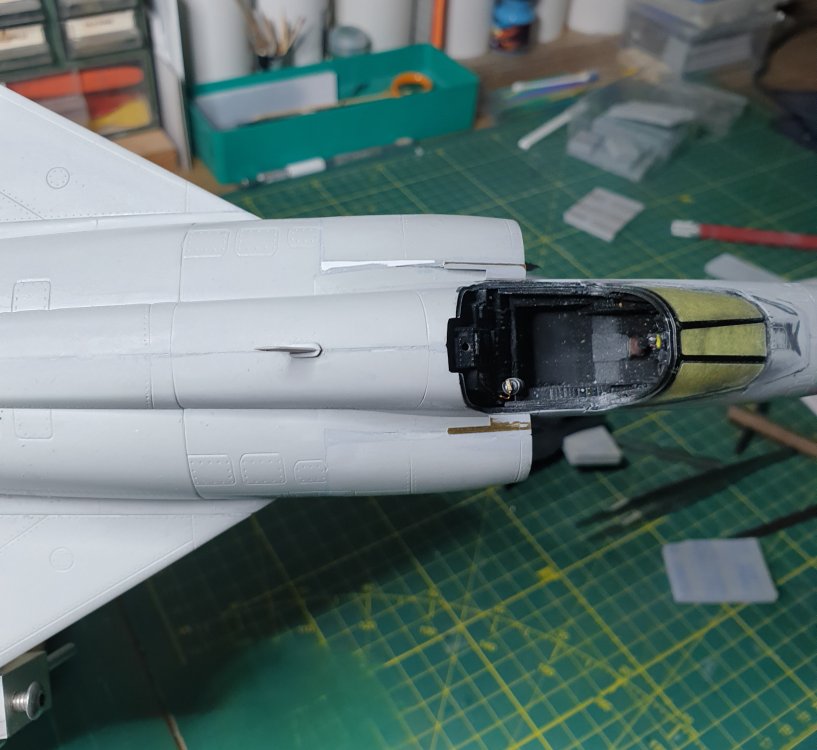
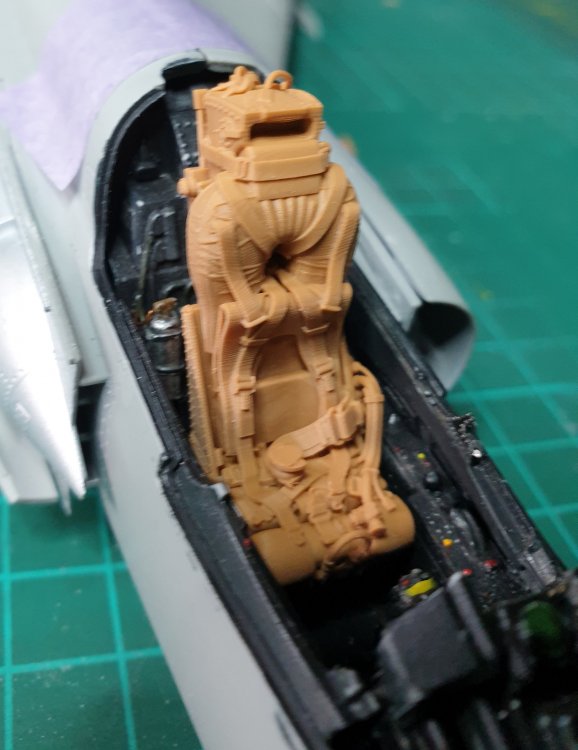
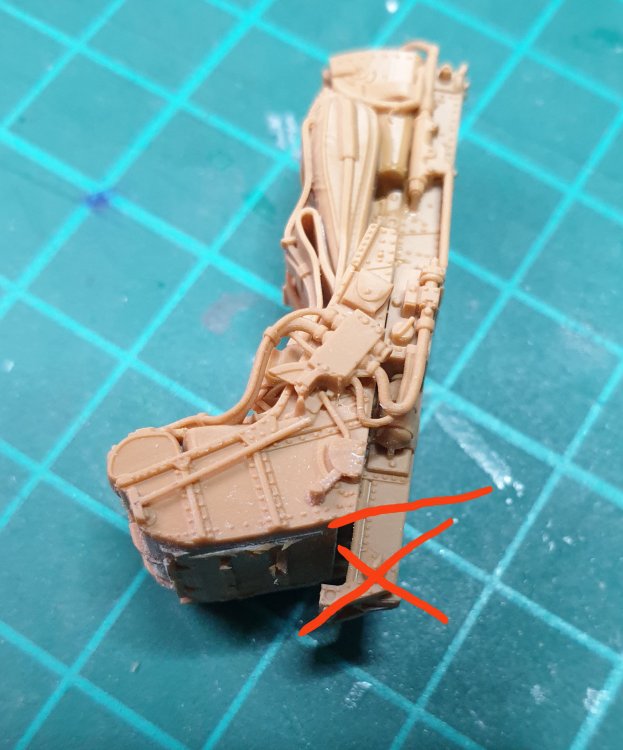
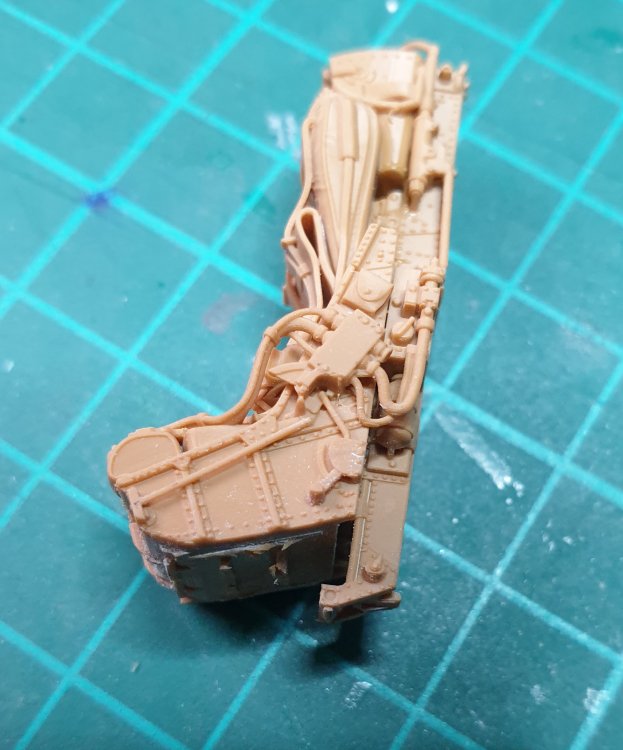
Apparently the fit is good, but the seat is too toll for the pit and I will have to cut the portion marked in the picture, then test with the canopy and, in case file a little bit.

-
Hi, many thanks for these pictures, they will be very helpful! May be I will consider to add actuation-leveres or, at least, I will try.
-
Also, today arrived the new seat from Sparkit and the supersonic drop tank made by Matterhorn Circle. The seat is great, details are astonishing. The tank is just doing the job, look at pictures! Seat dimension are ok, I will only have to cut a portion of the ramp (is it called so?) in order to align it with the seat lower surface. More to follow, soon or later ... Alberto


-
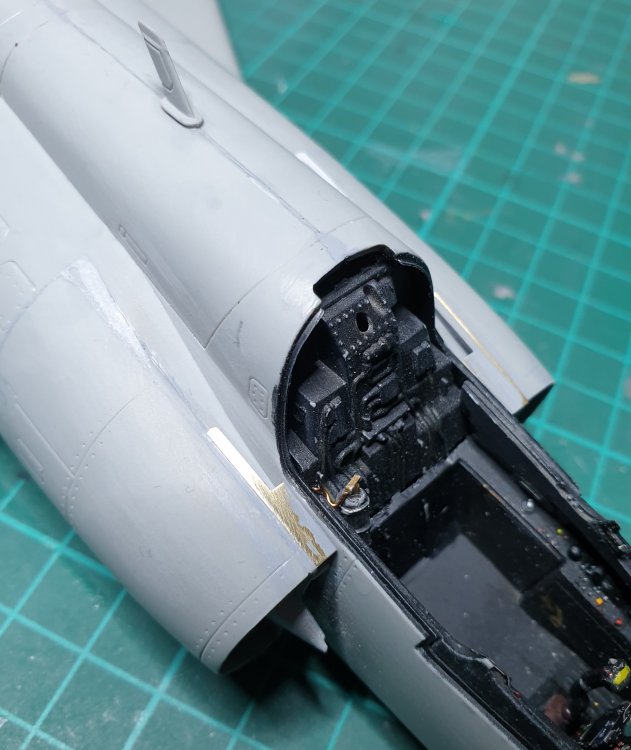
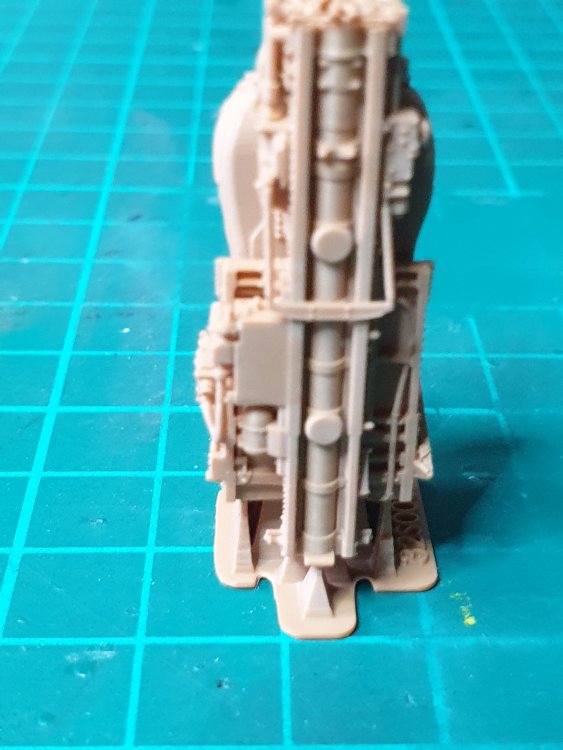
Hi everybody. I decided to glue the left side of the fuselage to the wings and compensate the seems with a little putty, not much really, so I was able to position the back panel. Also I did a first attempt to paint the ATAR 9C engine. According to photos, I should add inside a few green and some brown, I will see later how to accomodate that. Some picture here: