


beaz
-
Posts
73 -
Joined
-
Last visited
Content Type
Profiles
Forums
Events
Gallery
Posts posted by beaz
-
-
So, first attempt at using a new craft cutter, inspired by Dave in his WNW D.VIIF - Wilhelm Hippert's "Mimmi" thread, was to use its built-in software to trace a scan of Monnington's personal insignia. Here's the first test, cut out of post-it note paper:
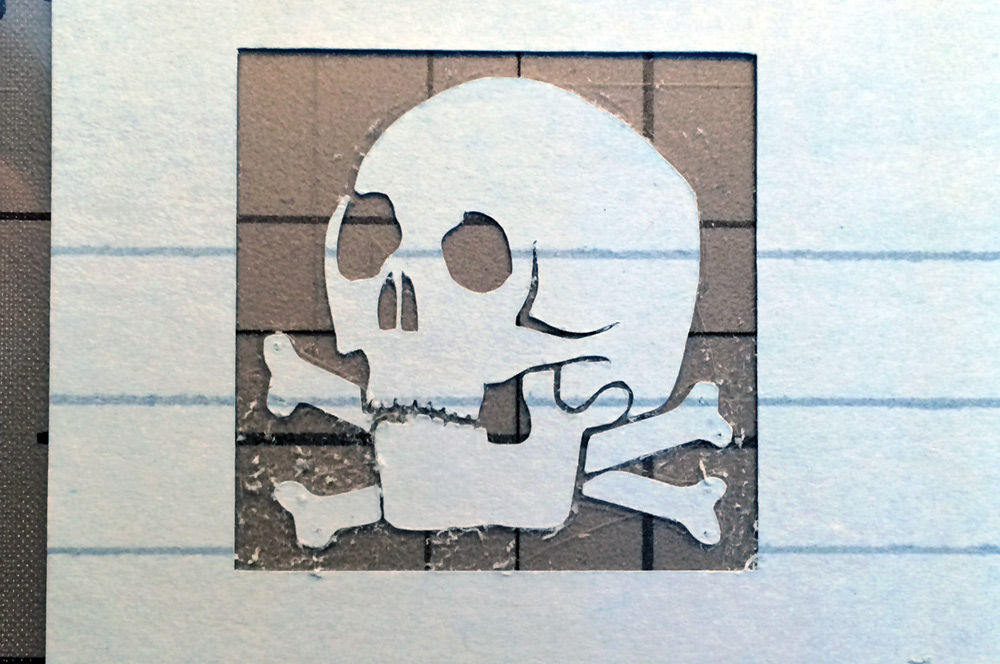
Have some adjustments to make to clean up a few of the cut lines, especially around the teeth, but it's already pretty close. Have some Tamiya masking sheets coming any day now and hope to make a test run with the airbrush soon.
Thanks to Dave for the inspiration this week!
-
 3
3
-
-
Dave, this is an awesome tribute to the first true fighter pilot and the machine he flew almost exactly 100 years ago.
How ever will you find a replacement fuel filler cap, tho?

-
Wow...now that's an introduction! Welcome to the forum.

And thanks - catching up on this impressive build you've also inspired me to finally take the plunge on a digital cutter. Looking at what I've spent on masks over the past two years, and how many times I've been frustrated by kit decals (I mean, c'mon Tamiya!) I'm hopeful it'll pay for itself over the next year or two.
-
Gotta love a grubby eindecker!
-
Incredible! And now I have a new desktop image for my shop computer...
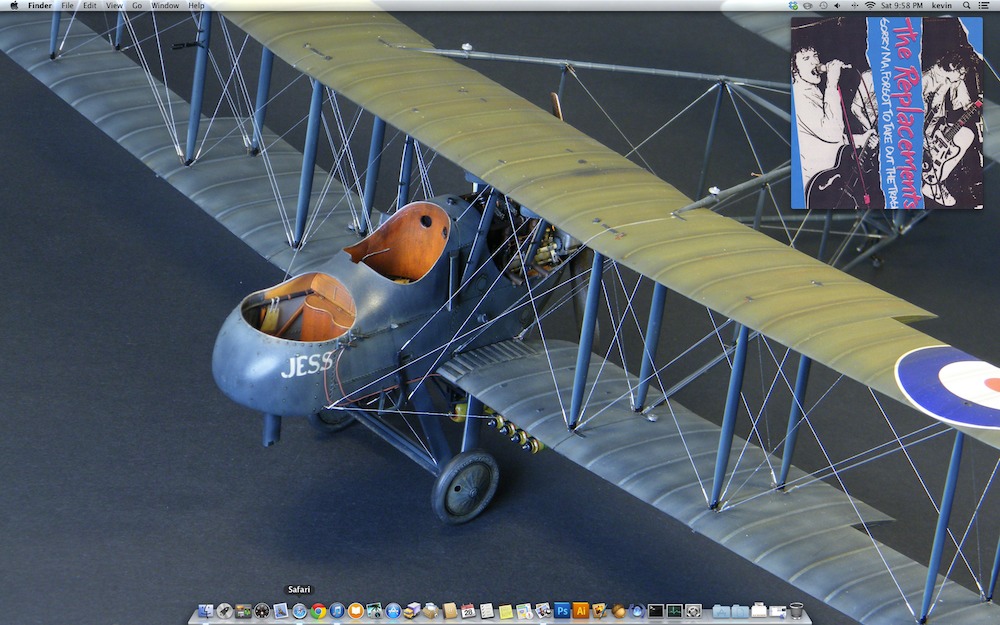
Thanks for the extra inspiration today Jeroen!
-
3
-
-
Getting there...
-
3
-
-
That's a very nice way to rise to this particular challenge Dave. Love, love love the finish on that.
Amazing shot of it sitting on the original fabric, too. Did that come from a museum there? Too cool...
-
1
-
-
Ordered both and they've already shipped!
I mean, how cool are all of those schemes? Living where I do, how could I not build the USAS "Old Carolina IV"?
And the Japanese Otsu 1 is calling out to me...
"Build me....build me right now...."
-
1
-
-
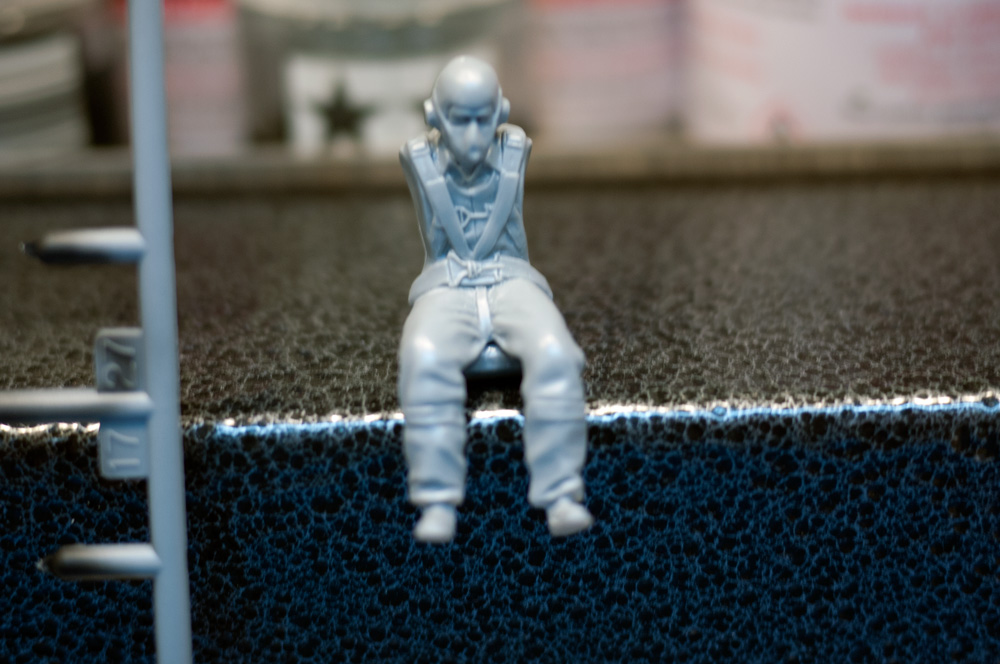
Thanks again guys.
I'm quite the inexperienced figure painter and am having a second go at finishing the pilot after muffing the first attempt and stripping the paint back down to bare primer. Have spent a good bit of time researching and working out suitable Vallejo mixes for his final palette.
So here he is all base coated, minus goggles and mask hose:
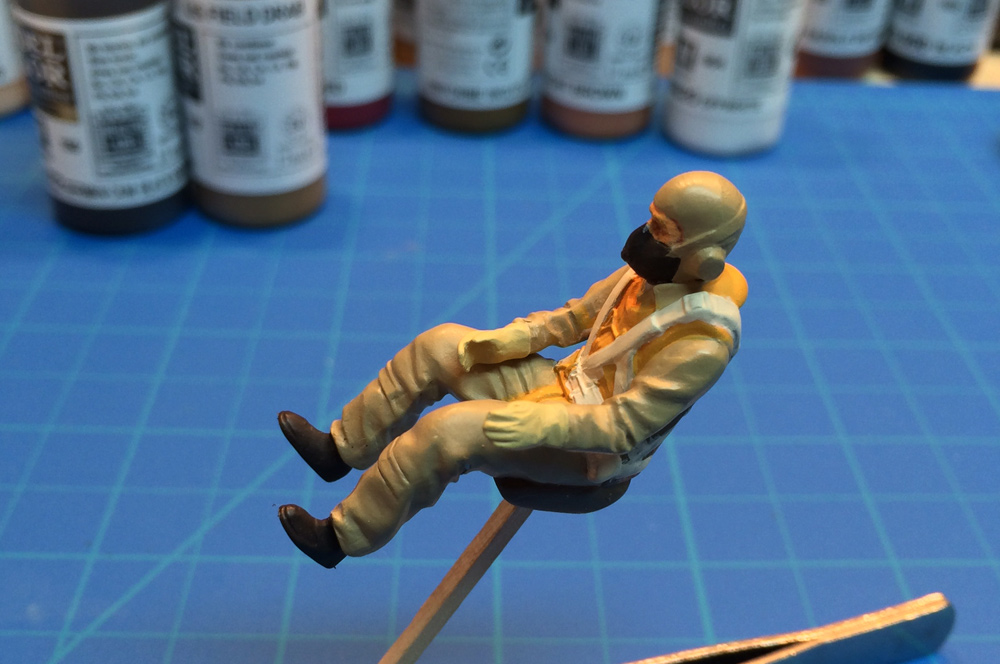
Wanted to paint his face before I attach the clear plastic goggles, which will be tinted a light clear amber on the inside. Then just have to put on the final colors, highlights and shadows, and then it'll be back to the airframe.
-
1
-
-
Thanks!
The included pilot figure is wearing the entire harness minus the strap sections that attach to the back of the seat, so the current plan is to use cut-down straps from Radu's "1/32 US Seatbelts" set trimmed right up to the first set of buckles. We'll see how well I can integrate the two with a little stick-glue and a bit of paint...
-
You better hurry... its on sale now!
Oh crap!!!
And ordered...
-
Was just starting to wonder when we'd get a look at this kit, and here it is. Must be nice to be you, Dave!
Great build. Love the color palette, the finish and the nice, perfectly grubby weathering.
Need to go finish up my E.III before you guys start selling this one...
-
1
-
-
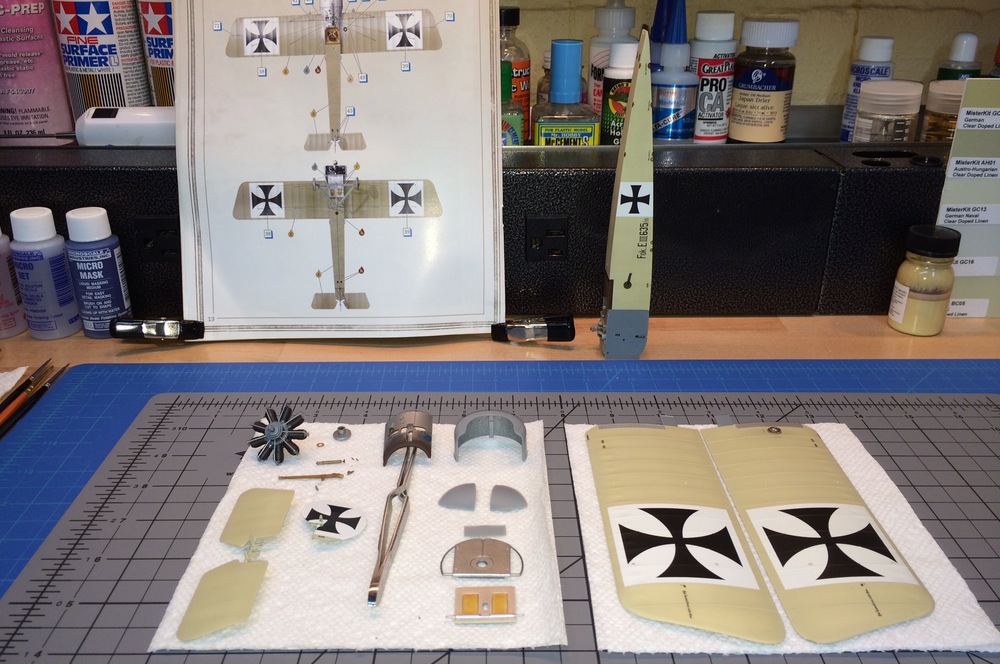
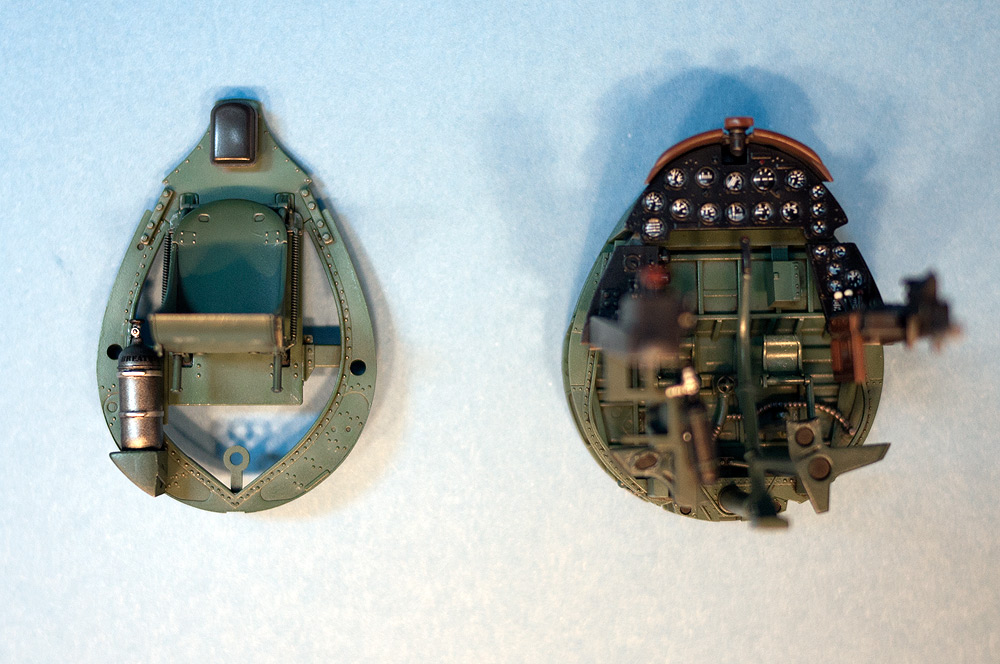
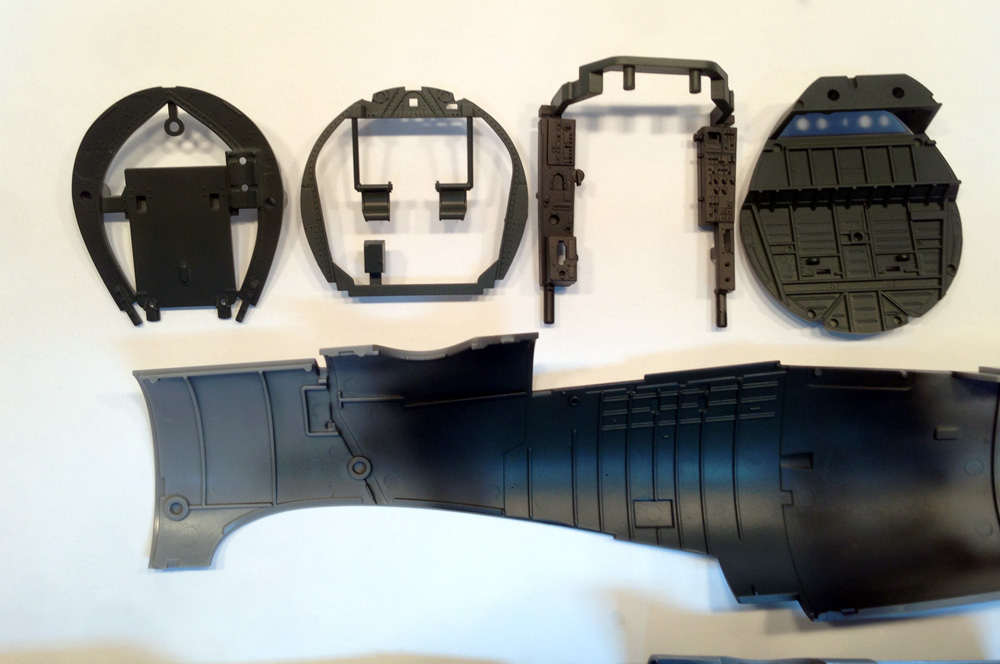
Thanks Dave, I'm pretty pleased with the final colors too.
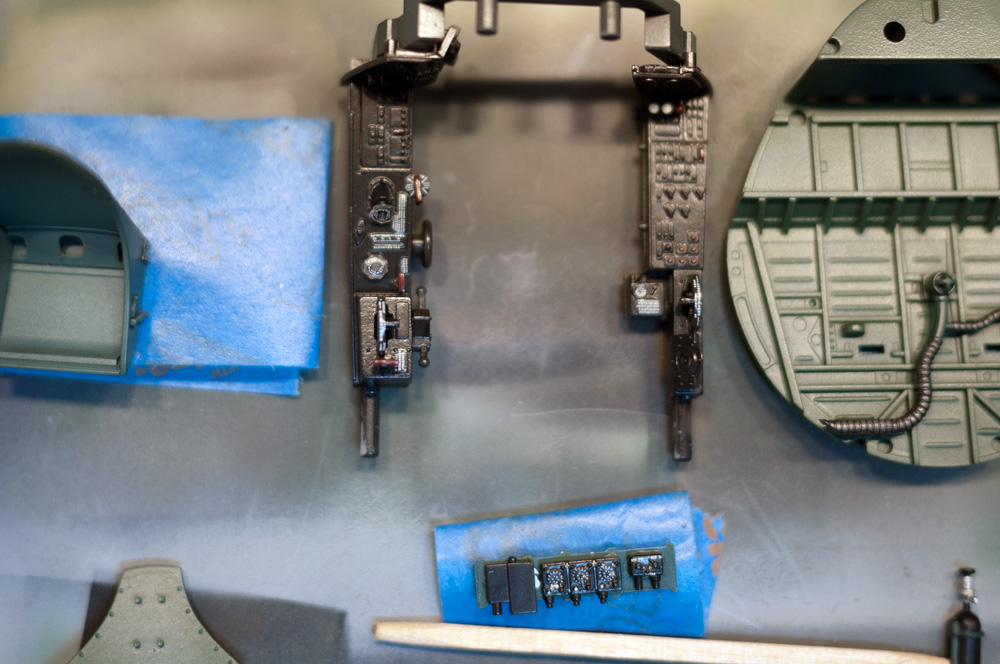
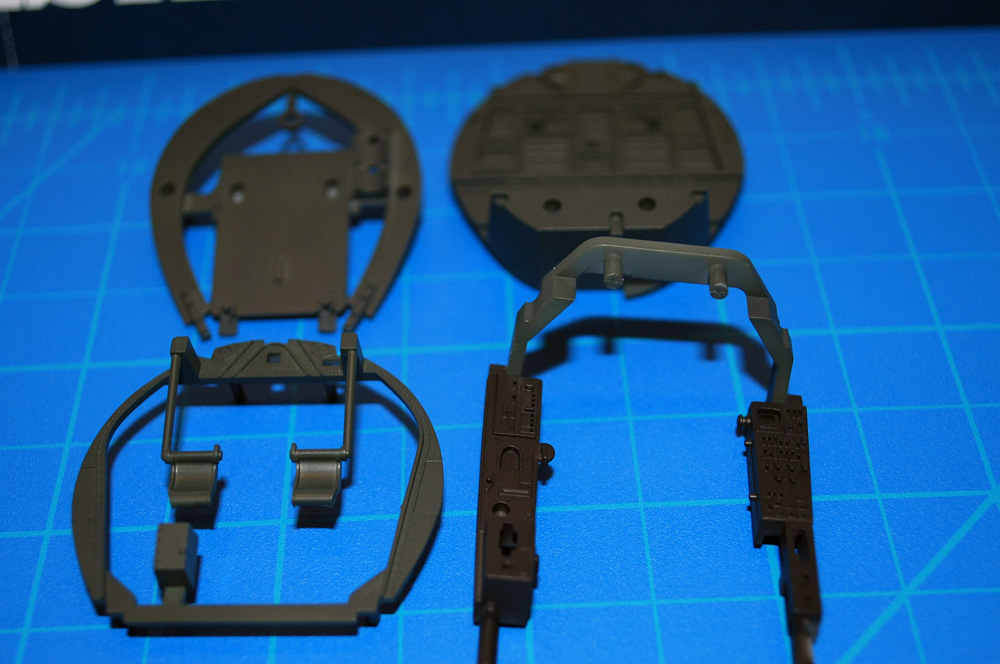
Here's a shot of the kit cockpit bulkheads:
-
2
-
-
Thanks guys!
About to zip up the cockpit and fuselage:
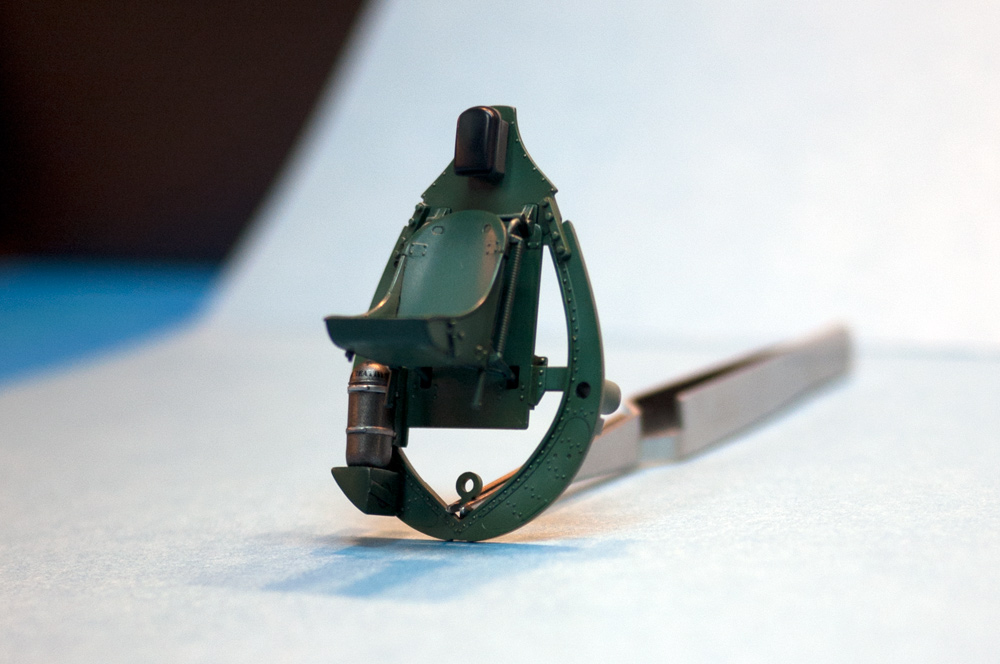
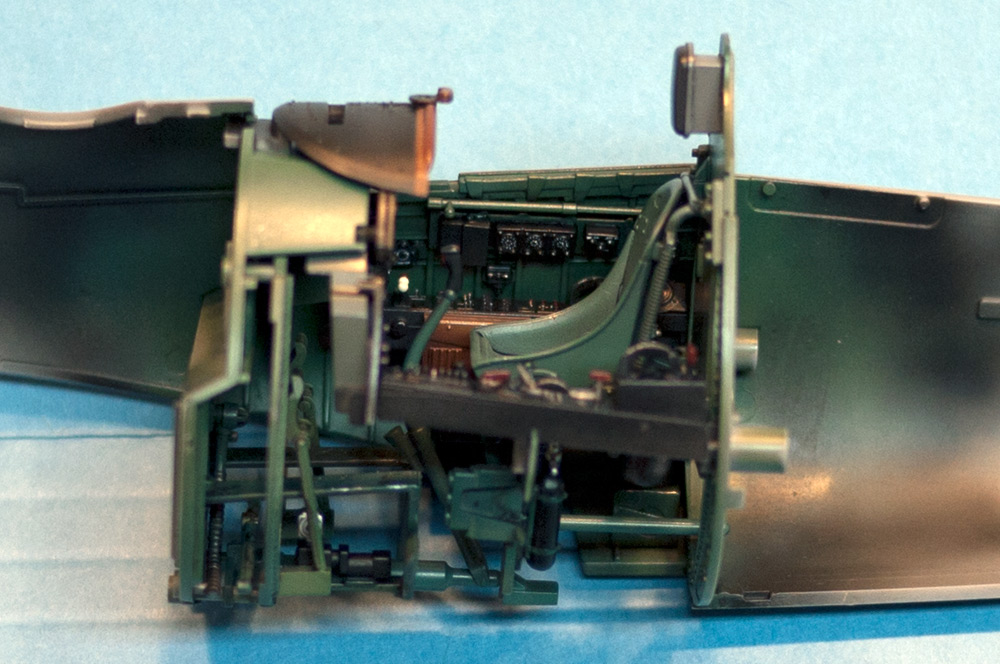
Now to finish up the pilot...
-
Wow, thanks guys!
Do you have a bottle of the 365 FS15042 Gloss Seablue from the US Navy set? I would be interested to hear what your thoughts are to that instead of the AS-80 or C14 colours...
I have both Mr. Color Sea Blues, the standard-issue one and the one from the three-color US Navy set and while they look same-ish in the bottle I haven't sprayed them both for a direct comparison just yet. Will be doing pretty soon as I need to decide what I like best for the base exterior colors.
Forgot to mention that I used a good bit of Mr. Color 122 "RLM82 Light Green" mixed with the Tamiya AS-08 for highlighting the darker bronze green base coat.
-
1
-
-
Looking awesome Kev!
What was your mixture for the Bronze Green? I may have to steal your mixture for mine!
Thanks Dave!
In the end I mixed Tamiya AS-08 "Navy Blue (US Navy)" decanted from the spray can with Mr. Color 126 "Cockpit Color (Mitsubishi)" in about a two-to-one ratio, blue to green. To my eye, the Mr. Color 14 "Navy Blue" was too green as a starting point, and the Tamiya version is a good bit bluer. Had no problem at all mixing the two brands of lacquers in my airbrush along with the usual amount of Mr. Color Leveling Thinner.
-
1
-
-
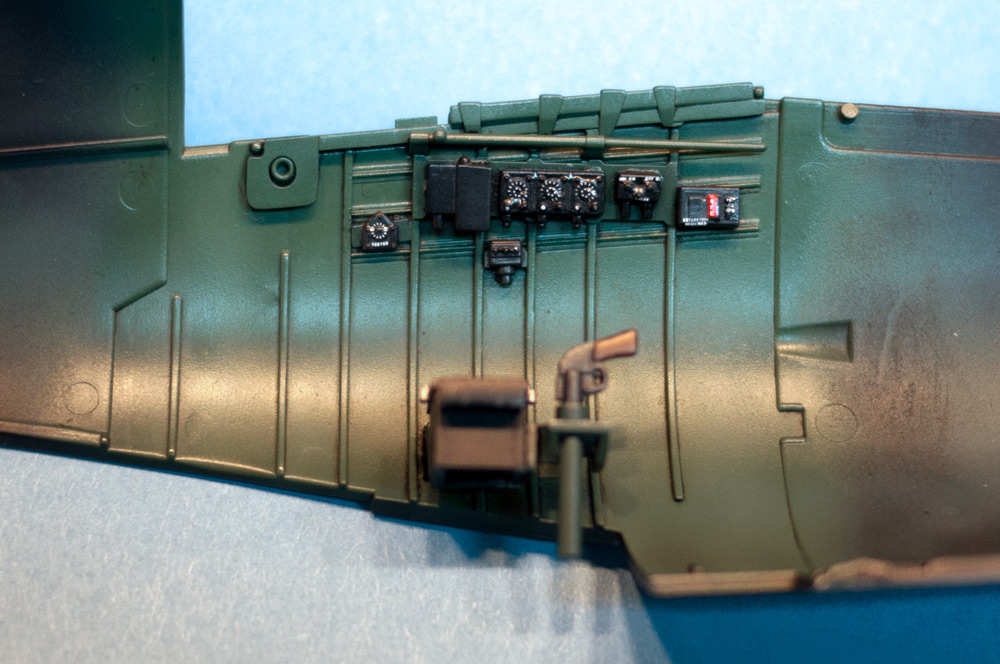
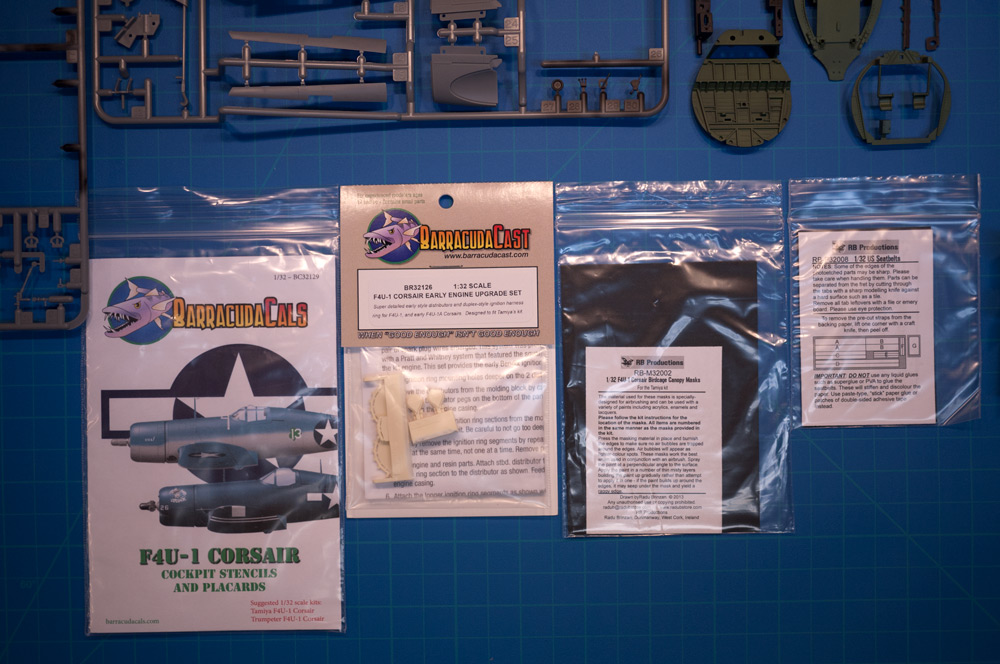
So now "out-of-the-box" includes the new Barracuda cockpit stencils and engine upgrade, or accuracy "downgrade" as the case may be, as well as RB Productions' masks and seatbelts :
Some more research and trial-and-error getting the interior colors nailed down:
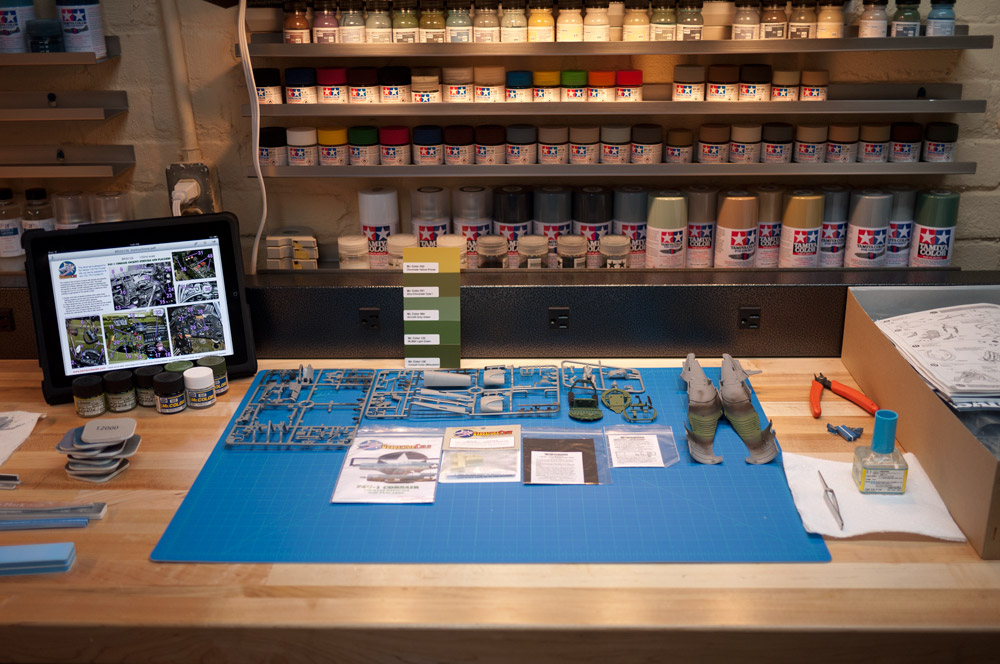
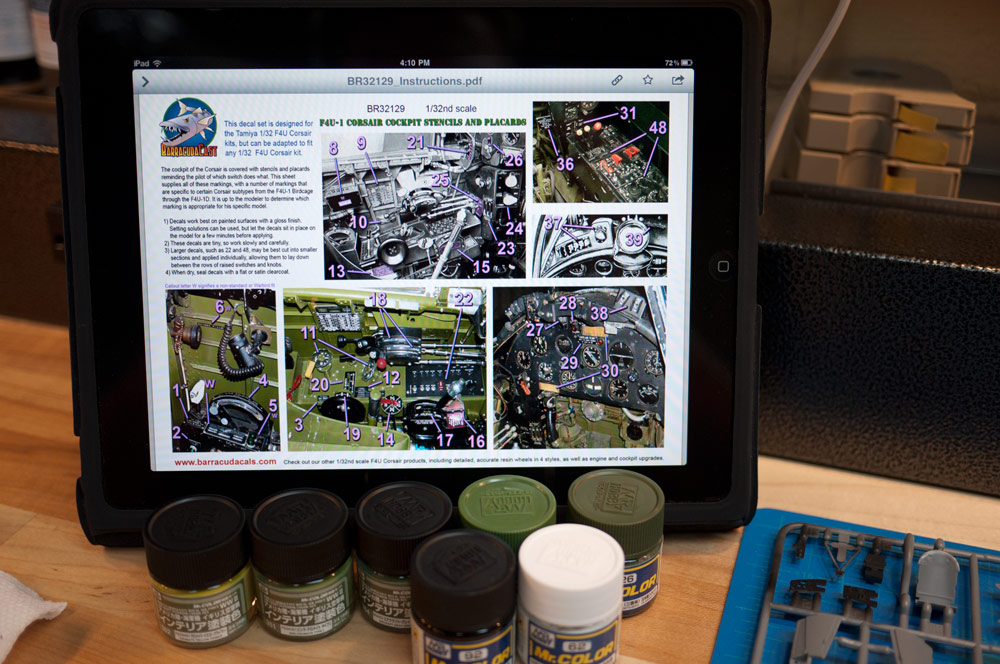
The Barracuda stencil set instructions are online, which is easier on my eyes than some tiny paper insert. Very nice:
And now finished with interior base coats and stencils for the interior sub-assemblies:
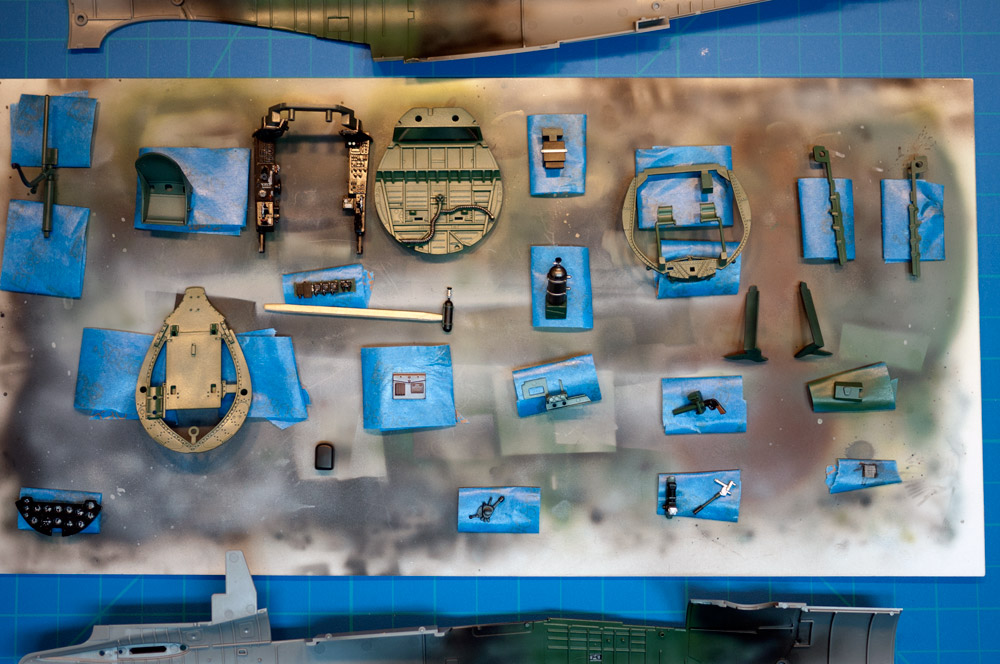
Still need to do some chipping and washes and then assemble everything. Really enjoying this kit, as it's easily the best one I've ever built in just about every way.
Here's a close-up look at some of the Barracuda instrument stencils in place:
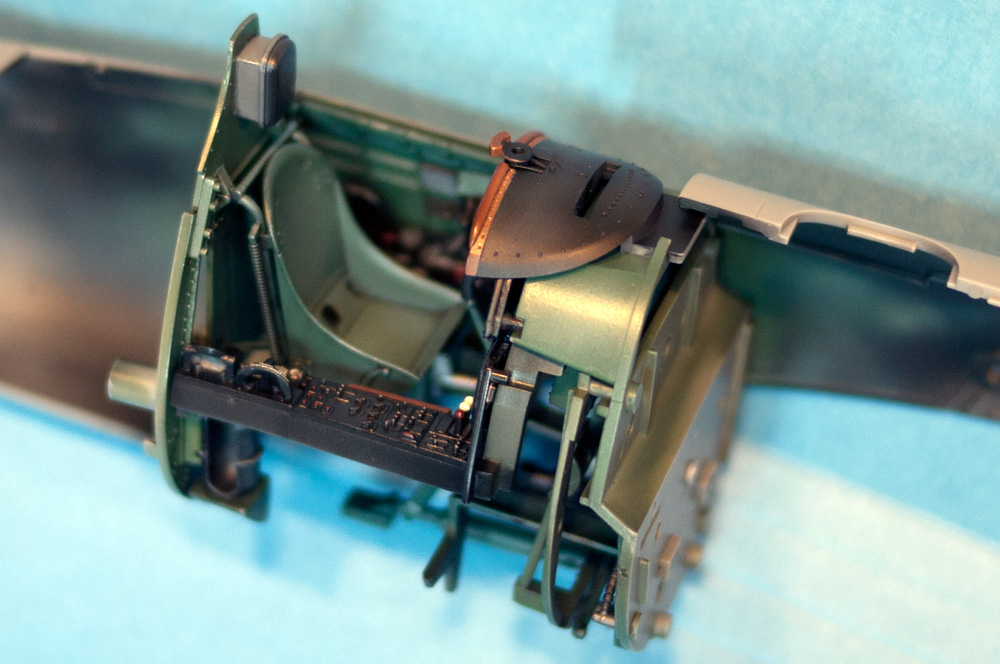
More interior bits:
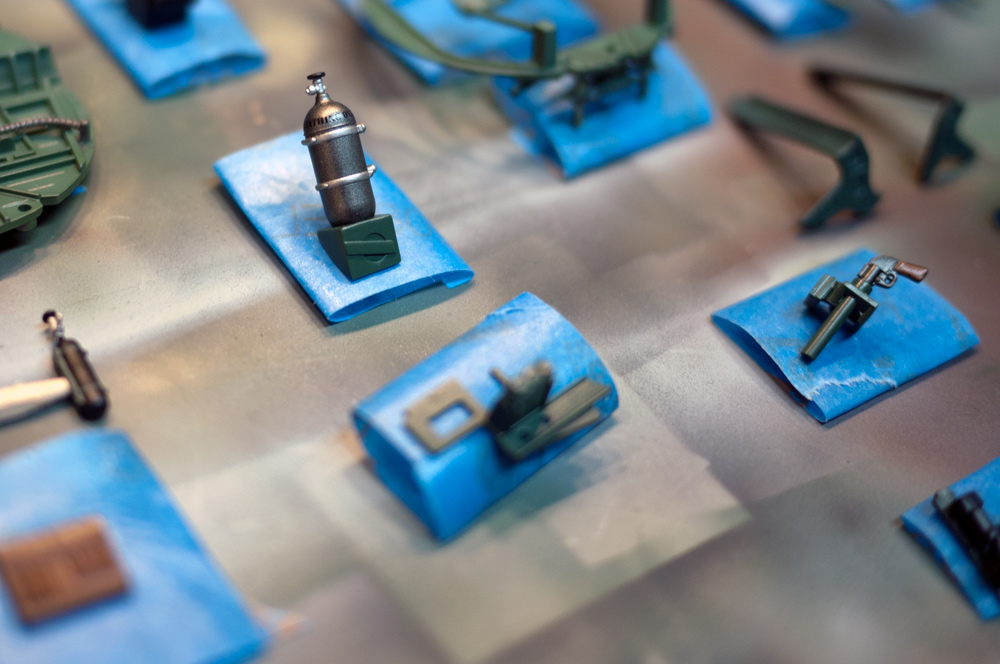

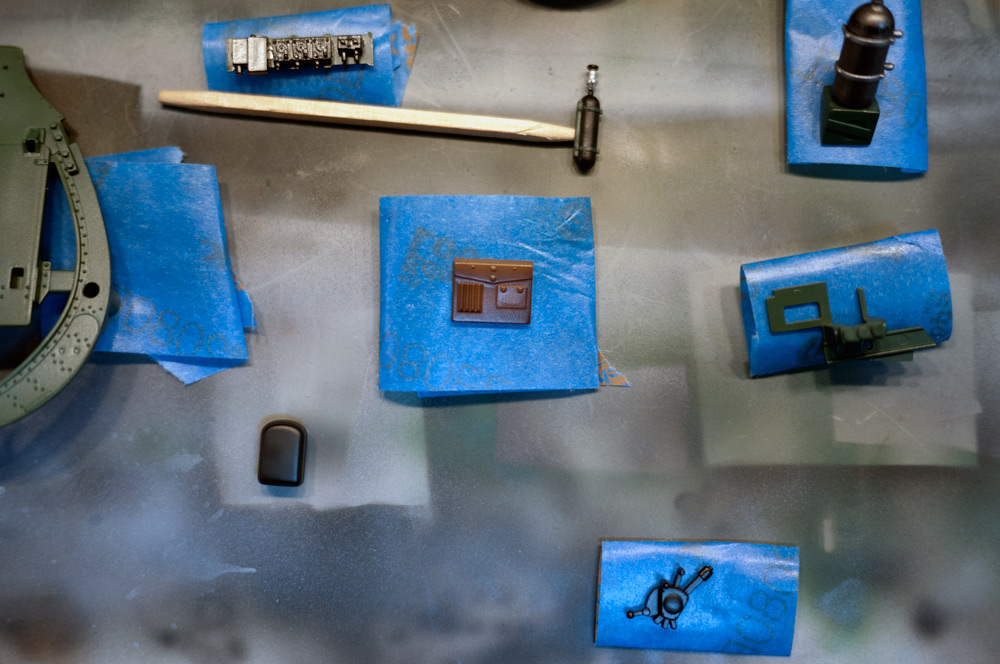
Meanwhile this guy watches the progress on his new ride:
-
3
-
-
So what color is the right color? What paint are you using?
There's definitely no right color, IMO. At the moment I'm trying out different mixes or Mr. Color 14 "Navy Blue" and 126 "Cockpit Color (Mitsubishi)". Heavier on the blue than the green. Dave and Matt have covered the "why" and I'll only add a couple of links that I've found helpful:
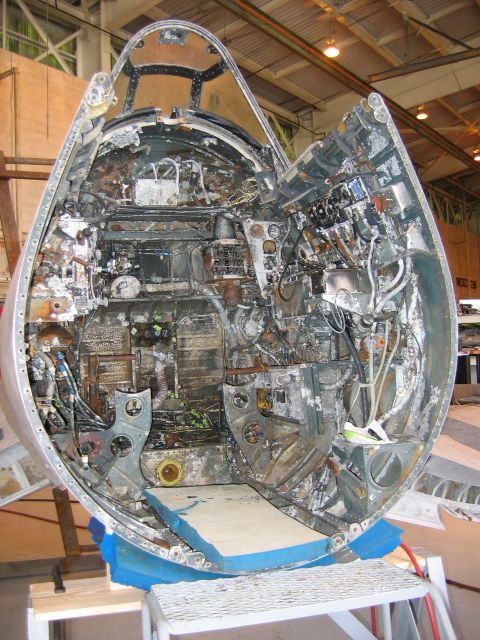
- a small but great picture of the cockpit of the F4U that Dave mentioned was pulled from Lake Michigan
- a thread on the ARC forum where some guys show off some salvaged B-24 parts still painted in what is probably "Bronze Green"
I've base coated my cockpit but haven't done any shading, so while what I have now is dark it's only going to get lighter from here:
You should do it wheels down coming in for a landing and try pulling off that "blurred ground" effect for a base.
That would be too cool. Something like this:
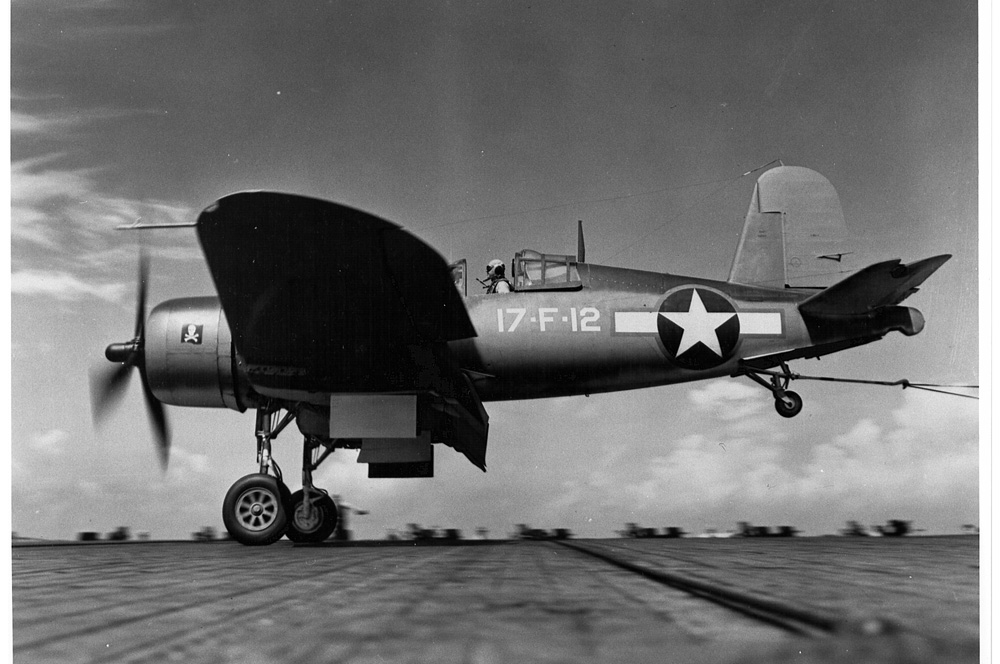
or maybe even this guy coming in too hot:
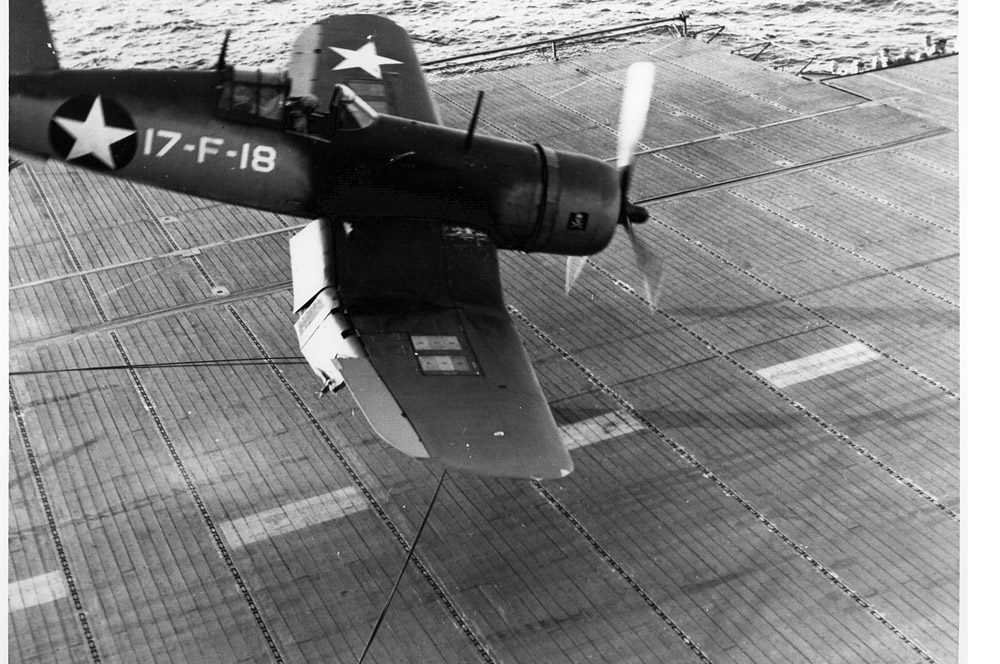
How sweet would that be?
-
Brilliant review Dave!
This kit is so much fun and has turned me into such a fanboy that I had two order two new Tamiya t-shirts just to wear when I'm in the shop working on it. Selfies in my build thread after a bit more progress...
The surface detail has to be seen to be believed. One of the real tricks to building this I think will be finishing it without flooding all those details with paint. I really love what Spence Pollard did with his kit, even though I'm not 100% sold on the likelihood of all that zinc chromate chipping everywhere. Chipping most definitely, but zinc chromate or bare metal underneath?
Either way I'm hoping my rendition ends up looking half as good...
-
1
-
-
Thanks! I'm working on her again this weekend.
And I'm using Radu Brinzan's brilliant 1/32 Rigging Turnbuckles for this build. Highly recommended!
-
1
-
-
Progress:
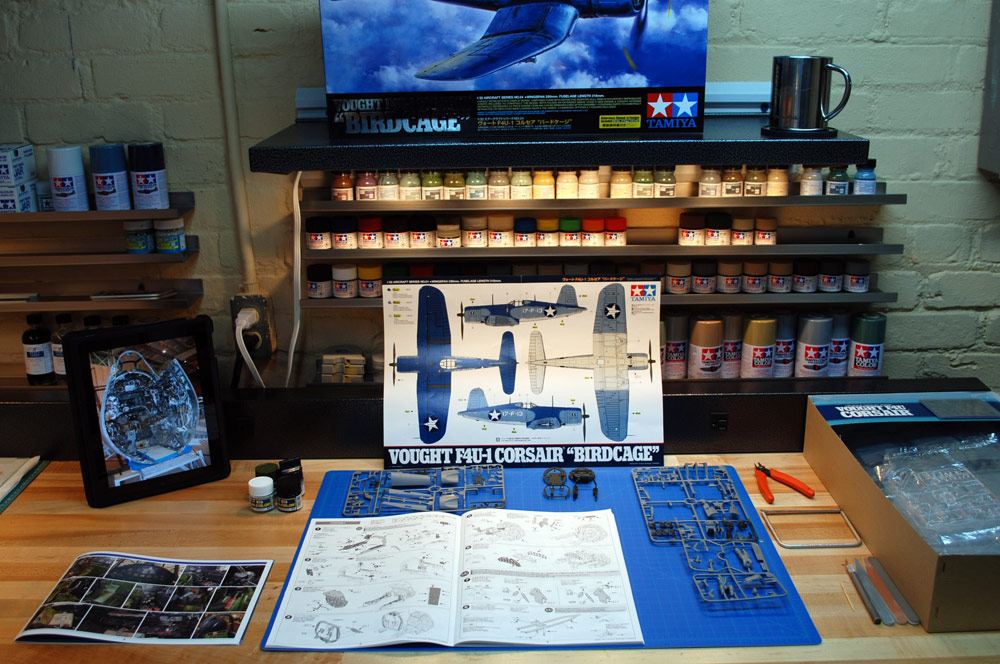
Cleaned this extra side workspace and finished new shelves and lighting for now.
Working up base coats of bronze green and black for the cockpit:
Having a great time researching the interior colors of the early Corsairs as well as the period US pilot's uniform, as I've decided I absolutely need to have him in there.
-
Hey, you're nearly a day ahead of most of the rest of us, no fair!
Nice progress and great scheme selection, Dave.
-
Thanks guys. This is one of my favorite schemes as well.
Awesome choice Kevin! I will love to see how you do the overall black paint!
Me too, man! Going to take some practice to get the translucency of the black paint over the wood panels just so. Not to mention all those overlapping layers of paint and decals, decals and paint...
-
1
-
-
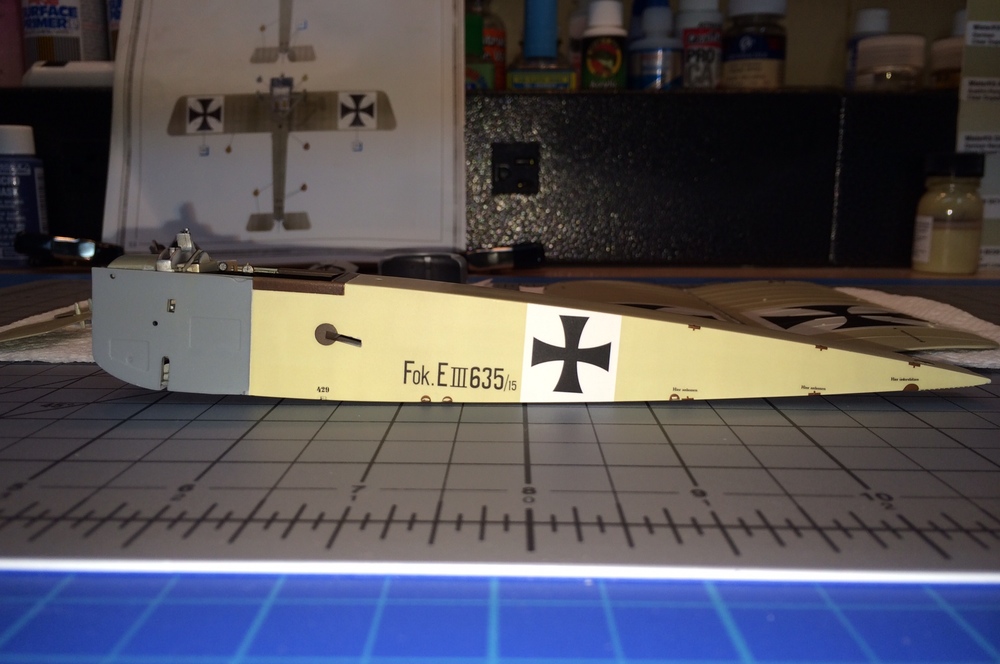
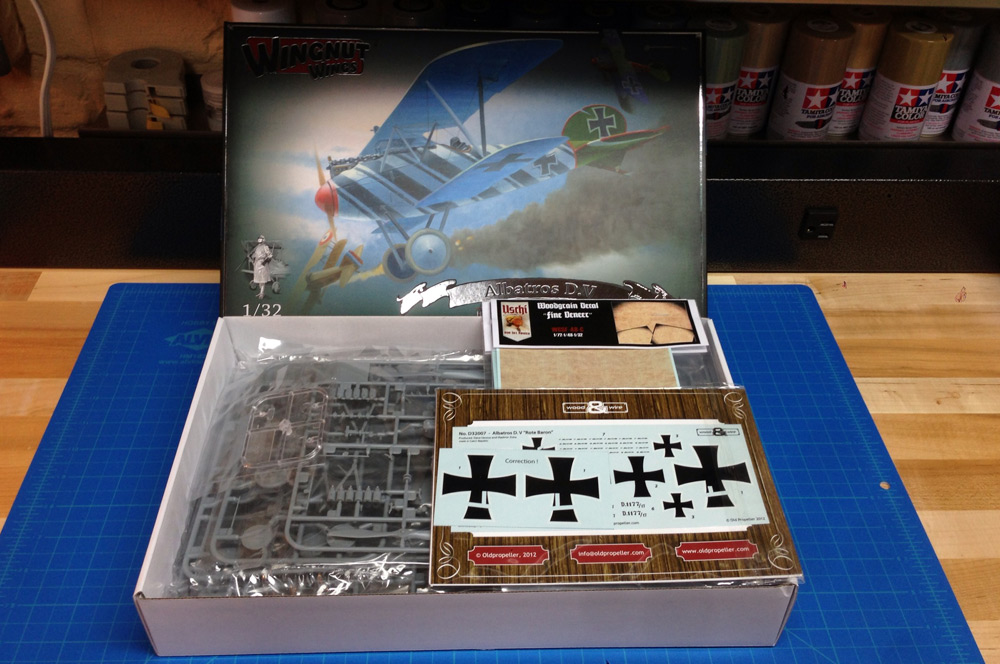
Out of the box, with woodgrain decals by Uschi, lozenge decals by Aviattic and aircraft markings from Wood & Wire and other sources:
WnW Fokker E.III 635.15
in LSM 1/35 and Larger Work In Progress
Posted
Thanks guys!
Jim, I taped off the wing attachment tabs on mine while painting because I noticed they were a very tight fit straight out of the box. Have test fit everything a couple times since painting and it takes some wiggling and effort to remove the wings now as well.
Even with the tight fit, the wings are so long and heavy that they have a tendency to droop. Going to attach mine with tube glue and let the whole thing dry upside down overnight using the box as a jig in the hope that the wings will come out nice and straight. Looking at photos, wings on the real planes could get a bit wonky, but from the factory they were more or less without dihedral or anhedral.