


Landlubber Mike
-
Posts
1,252 -
Joined
-
Last visited
Content Type
Profiles
Forums
Events
Gallery
Posts posted by Landlubber Mike
-
-
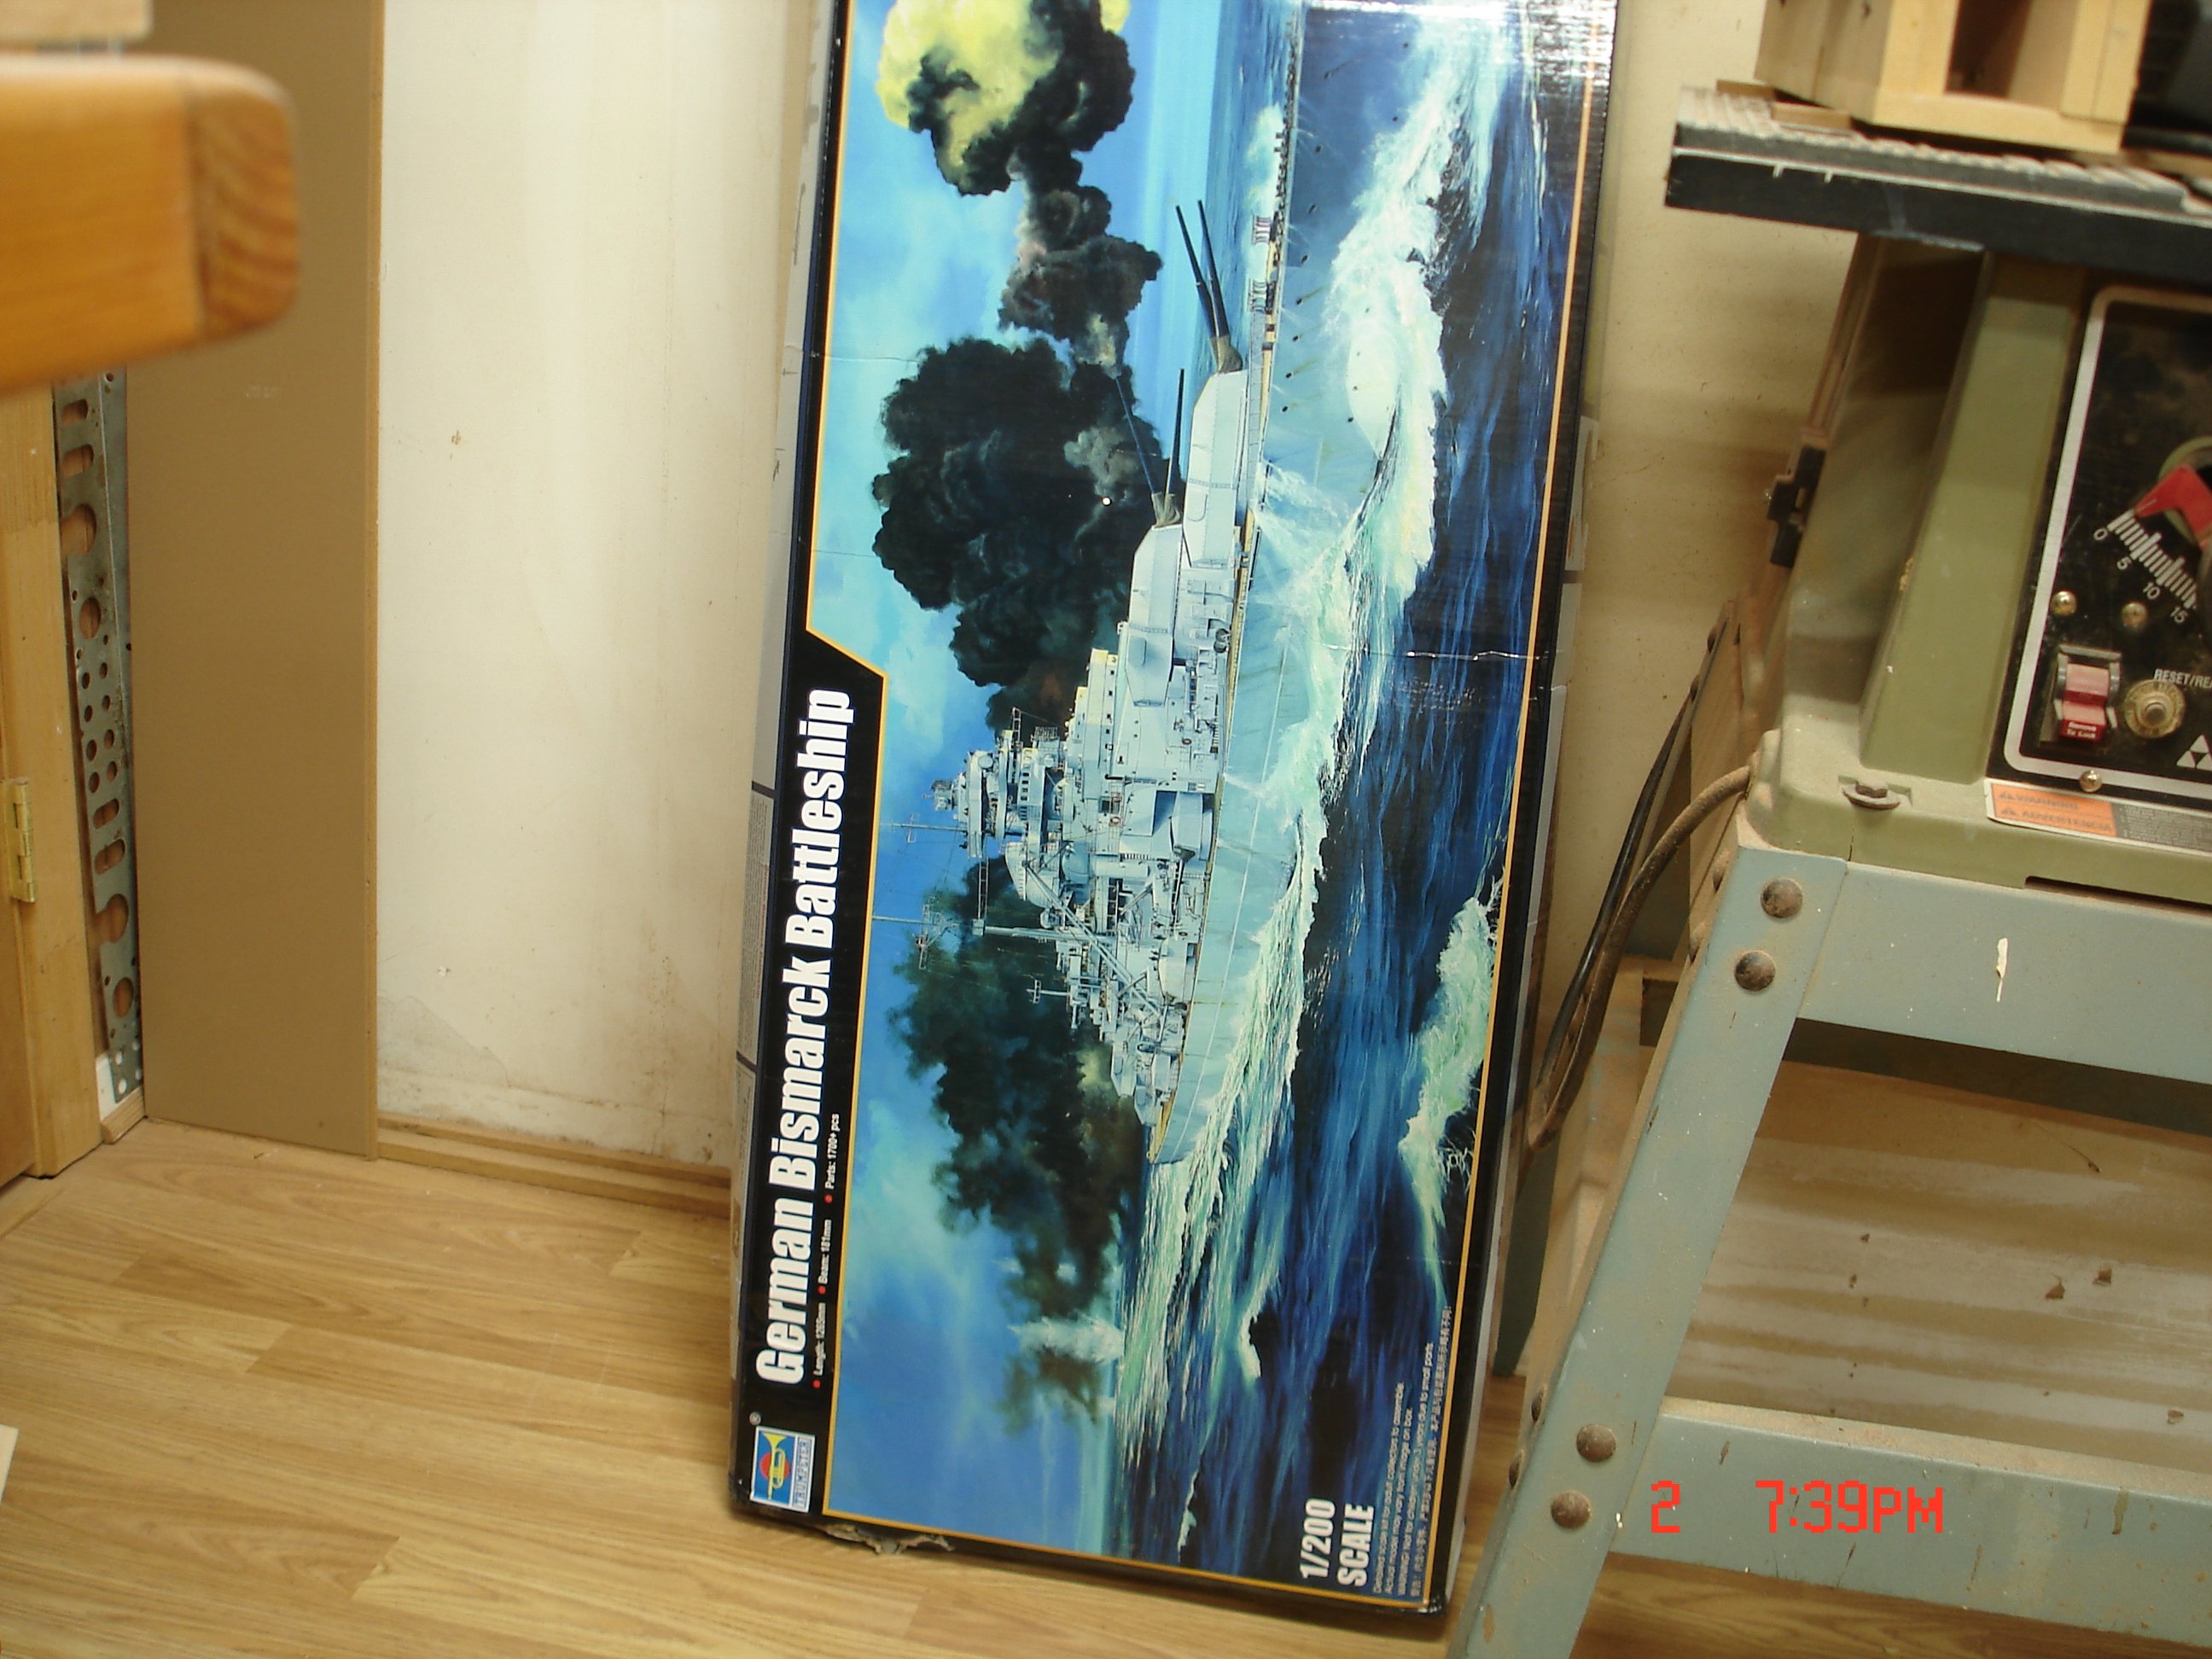
On 9/2/2025 at 9:16 PM, KevinM said:
The Bismarck in 1/200 since the Scharnhorst is going to wrap up in the next six months methinks
")

I have this kit with full boat AM in the stash with the various Pontos, Veteran, deck and other upgrade sets. If anyone might be interested, send me a PM. With the upgrades, it's a really stellar kit. I just don't know where I would put it.
Looking forward to your build Kevin!
-
 1
1
-
 1
1
-
-
I have to try Tamiya's LP line. I got their gloss black for undercoating metallics. Seems easier to find than the Mr. Color Ueno Black that I've used. I feel like the longer in the hobby you are, the more you realize there is to learn.
Thanks for sharing!
-
2
-
-
Welcome back Chris! That model must be massive! Cool that you are building it for a friend.
-
2
-
-
5 hours ago, DocRob said:
Thank you Mike, I indeed use the same multiple coat process for paint and clear coat. One reason is, the later added layer levels the layers applied before with the higher thinner ratio, when sprayed after only 10 to 20 minutes of curing time between the layers (for the usual suspect colors from Zero Paint or Number 5 for car bodies). The other reason is, these colors are very hot. When I sprayed my McLaren MP4/6, the white color ate through the primer and into the plastic, which caused a lot of sanding and respraying. The first, relatively less thinned color layer is sprayed thin and got dried with the airbrush and is a protective barrier for the later coats.
Cheers RobWould you take the same approach for paints and clears other than from Zero paints - i.e., like colors and clears from Tamiya and Mr. Color? Those definitely don't run as hot, but I do like the idea of the multiple coats that help level things out.
I've been working on trying to build a "flower power" VW Samba Bus T1 for one of my daughters, and had a bit of a time trying to paint a decanted Tamiya blue color for the body. A big part of it was that the plastic parts didn't have a clean edge to be able to mask properly, so there was a lot of touch ups required. Other problem was it seemed I would get a different shade of blue between sessions, but after multiple thinner coats, the panels seem to all have hit the proper shade. I finally got it straightened out, but I might try the multiple layered coats in the future.
It's nice with planes and other subjects where you can hide paint defects with weathering, etc. Much harder with cars where you generally want a pristine finish!
-
2
-
-
Just catching up with your log Rob. Nice job! Coming along quickly and excellently per your usual!
Thank you for sharing your painting process. Just to confirm, you do the multiple coats with added thinner percentages for both colors and clear coats? I haven't quite figured that out yet, but seems like a good approach versus trying to get the color down in one coat. This is probably especially helpful with colors like reds, yellows and blues that may not reach the full color on a single coat.
-
1
-
 1
1
-
-
Looks like something out of Mad Max. Really cool subject Rob, nice work!
-
2
-
1
-
-
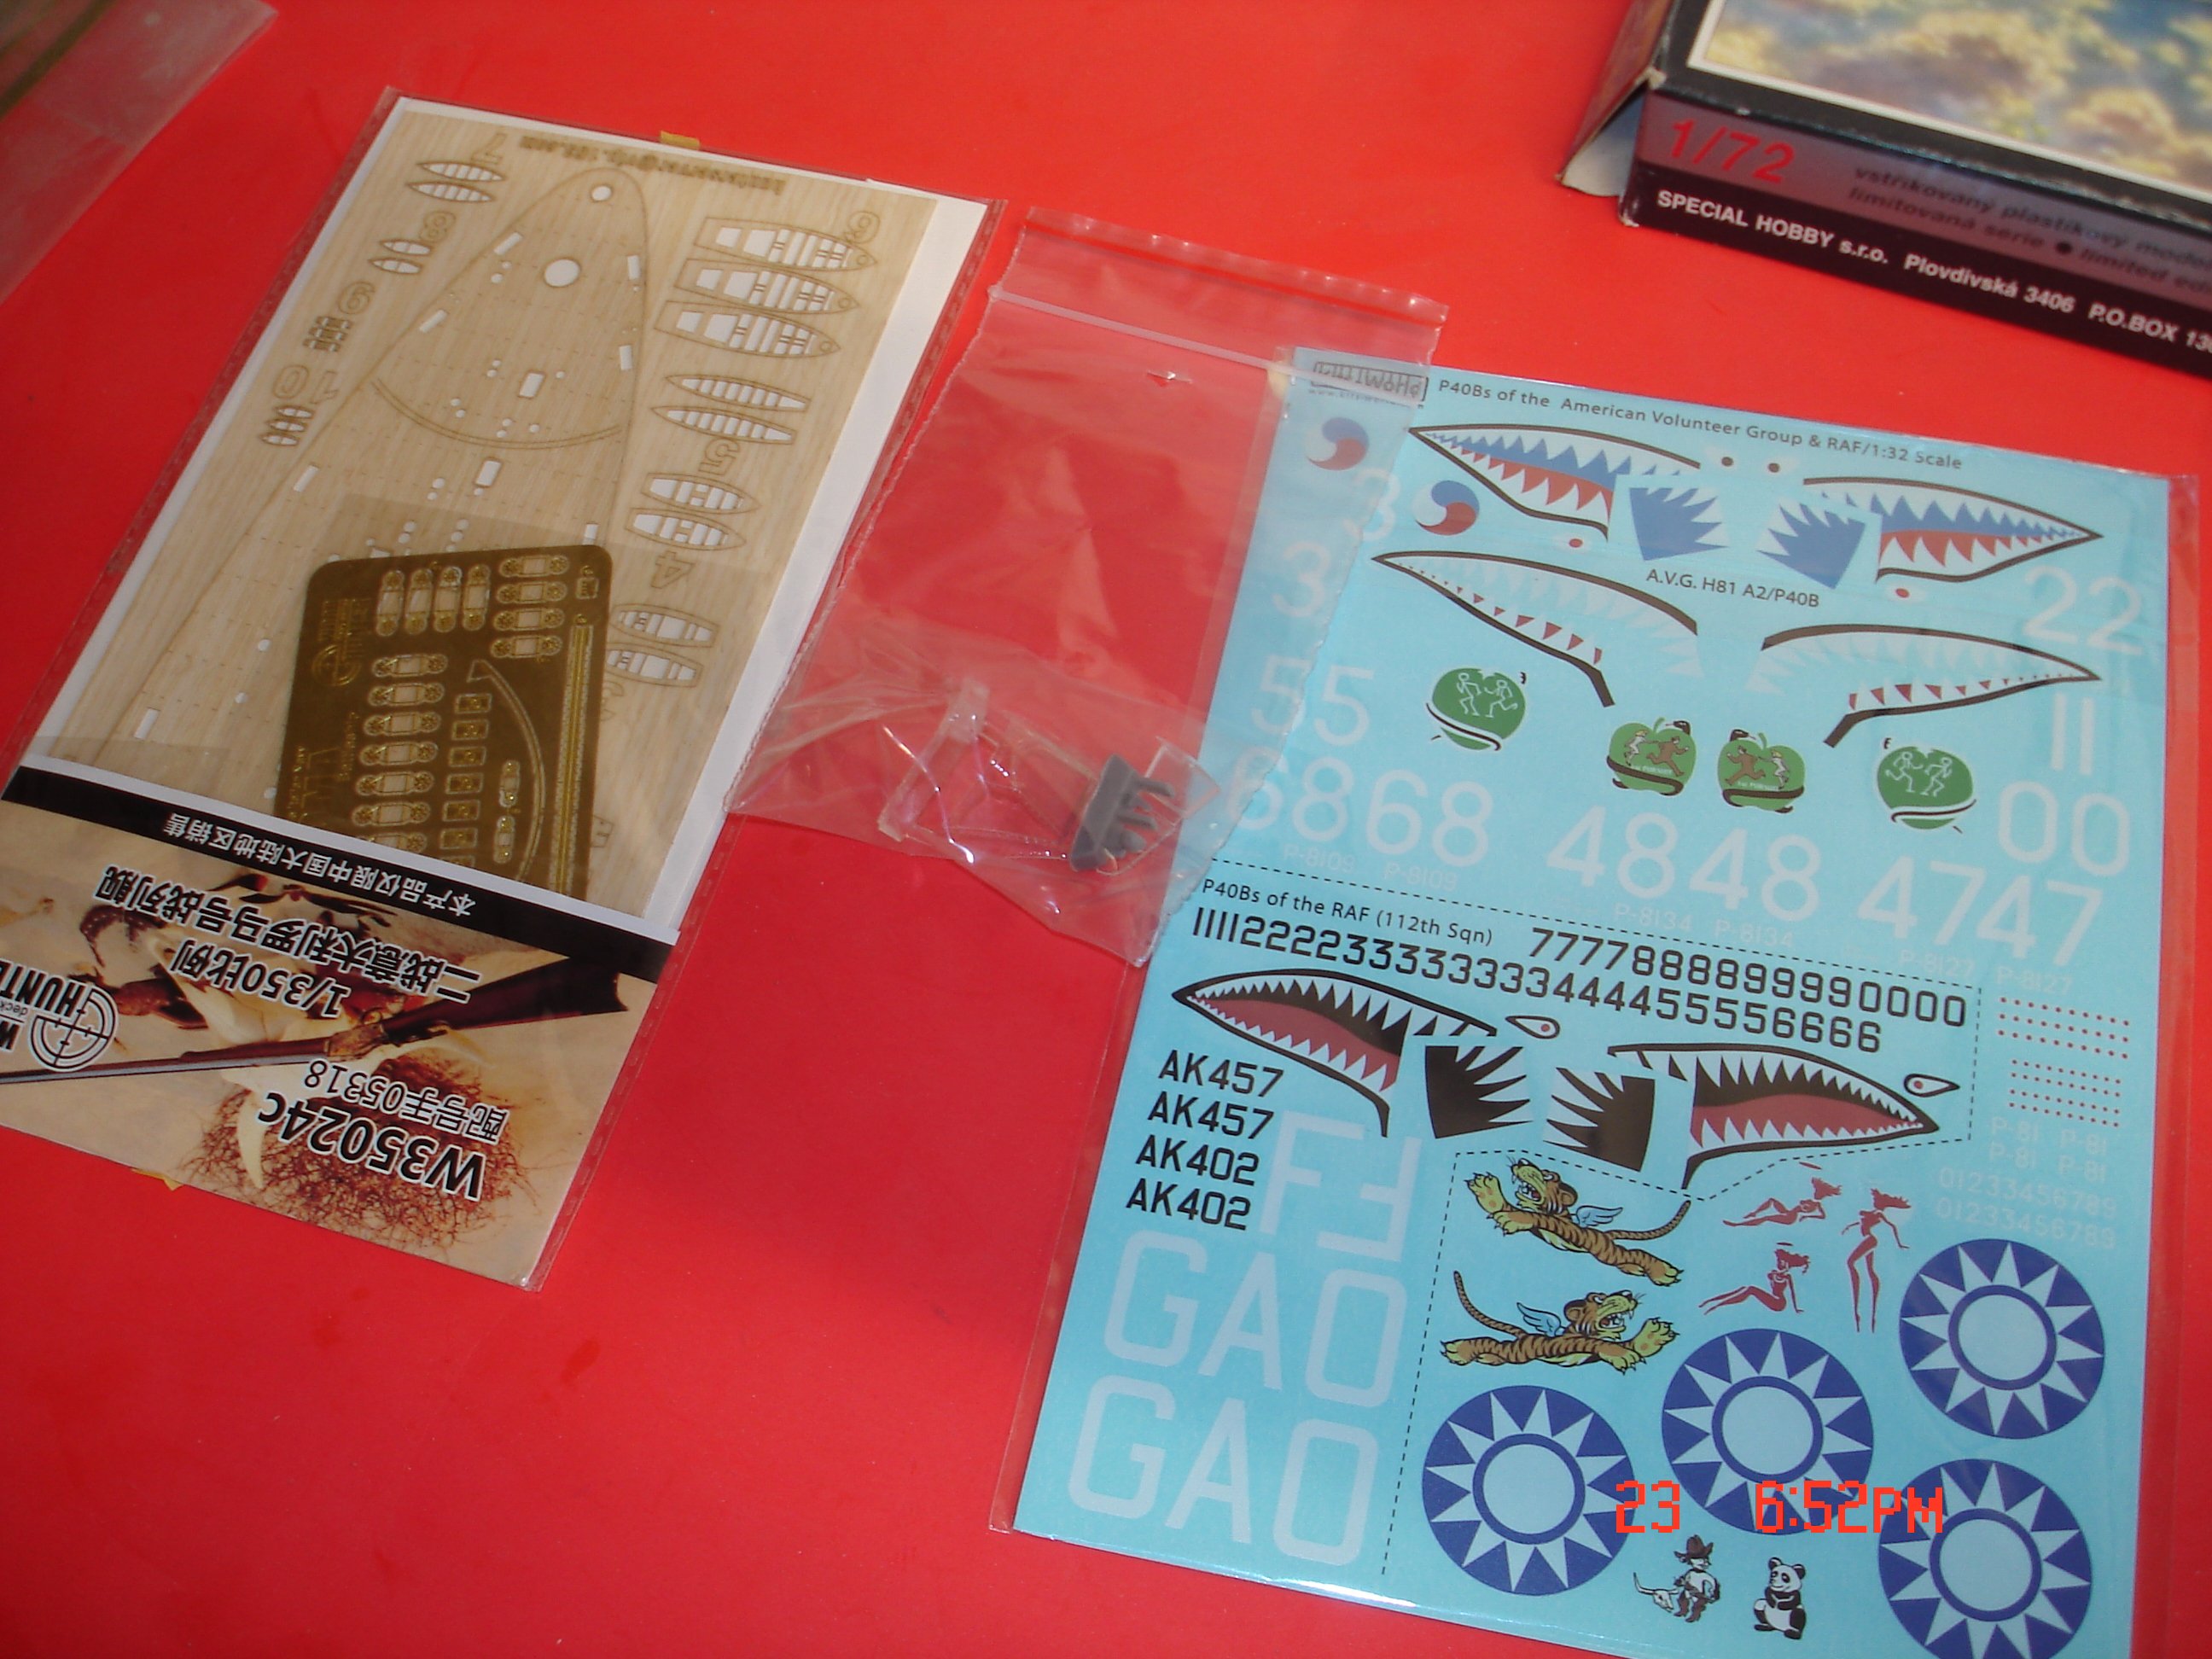
On 8/23/2025 at 8:34 PM, KevinM said:
I had four small pieces come in the mail today from L-R wood deck 1/350 Roma,New front Windscreen for Trump 1/24 Spitfire and some decals for the 1/32 Trump kit.I also not picture got my new holding rack for the four airbrushes it will hold six.

The Roma is a really interesting ship color wise. In case you haven't seen it, Plasmo did one in 1/700 that is spectacular as per his usual:
-
4
-
-
Cool little project. Ugly looking thing, but in an interesting way with some cool details. Nice job!
-
1
-
-
Looks like a fun build. I saw someone else refer to these kinds of builds after a long build as a "palette cleanser" - maybe that will get your mojo back up and running.
-
3
-
1
-
-
Very cool - i have a few of the Royal Class boxings, was close to pulling the trigger on this one. Looks really good and with good options on decals.
-
3
-
-
Thanks for posting these pictures. Great models for sure! The best of ship class is amazing - that wire tower structure in the middle really is incredible and sets it off from other models.
-
3
-
-
On 8/14/2025 at 9:40 PM, denders said:
So, my haul from NATS.
First the registration packet contents. I did buy a shirt too.
Wow, nice haul for sure! Was that the one in VA Beach? Is it there every year? Once my kids are out of the house, I'm going to try to make it to a show. By then, hopefully the stash will be a little smaller so I won't feel as bad adding to it.
-
Martin, this is modeling at its finest. Really great job man, impressive!
-
1 hour ago, PanzerWomble said:
Gave me wood ….🫠
The sloppy hand job in part four?
-
5
-
-
17 hours ago, PanzerWomble said:
I've only had a little play , seems ok to me . Solid in construction even though t must be 15 years old .
Bit like the DeWalt/ Makita power tool dichotomy .....I have the Proxxon drill and transformer so went that direction 😀 ...oh and the hot wire table ....see these obsessions breed. ..and I'd buy German over Chinese tools most days of the week .
I have the hot wire table. Really great for cutting foam boards, etc. for dioramas.
I used to have a DB250 small wooden lathe for my wooden ship models. Really helped making masts and spars. I ended up selling it when I upgraded to a Sherline lathe that can do both wood and metal turning. Sometimes I kick myself as the DB250 was so easy to set up that I probably should have kept it just for that.
All this to say, I've found the Proxxon tools to be good quality - at least the two I've owned.
-
3
-
-
On 8/6/2025 at 7:12 AM, PanzerWomble said:
My Proxxon addiction continues ....goodbye old toothbrush hello new to me sander ...
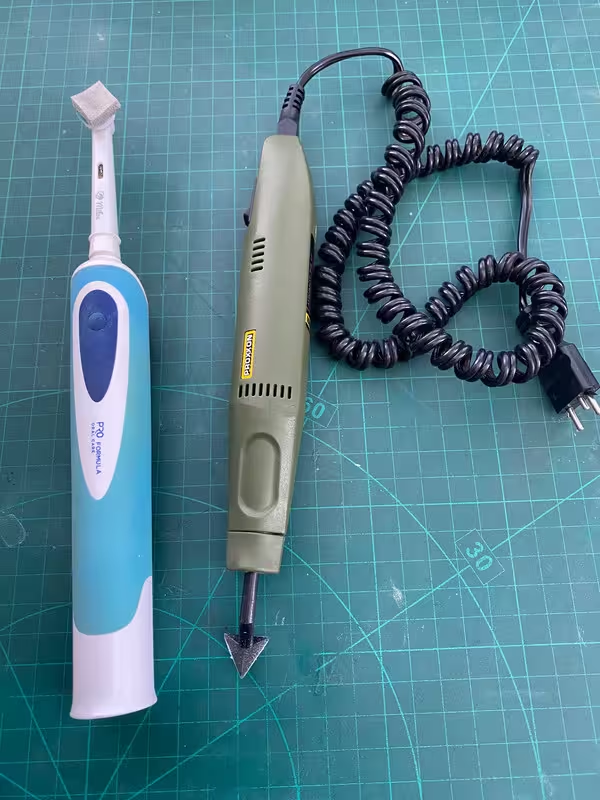
What do you think of it? I've been considering this one or the Dspiae one.
-
1
-
-
Wow, this is insanely good!! Well done!
Nice to see these kits being built, rather than just hoarded like gold.
-
1
-
-
Nice vehicle Ralph - next upgrade I see in your future is Robert DeNiro's custom-designed climate controlled motor coach from Meet the Fockers...
-
3
-
-
Just catching up with your log now. Looks like a great kit, and I remember Rob's great build. I'm always a big fan of spending 3x the amount of the kit on AM, so I'm in on this one
")
Awesome to know about the customer service! I tend to buy most of my kits second hand, but even when buying first hand, I tend to check all my kits and AM packages to make sure everything is complete and not broken, etc. I've had more than a few instances where I've been short changed in one way or another, but thankfully, the manufacturers have always come through.
Great start!
-
1
-
1
-
-
On 7/28/2025 at 11:55 PM, Merad said:
That is amazing, looking at the first few pics it it took me a minute to realize it was the finished model instead of a reference photo.
Me too! Really amazing paint work, wow!
-
I had a package two weeks ago coming from IL I believe that first went to PA, then somehow went to CA, then TX, back to PA, then finally VA. Guess it wanted to see the country.
I've had other packages come to the my local sorting facility about 5 miles from me, back out to a sorting facility 30 miles from me, back to the local sorting facility, then finally to my zoned post office.
With the amount of packages USPS handles, I can see there being some that slip through the cracks, but seems to happen more than one would expect, especially in this day of tracking info, etc.
-
1
-
-
On 7/28/2025 at 11:22 AM, Reuben L. Hernandez said:
Never sold or traded kits (purchased, yes) on this form and I'm thinking of trying this form. Question, is there a limit or restrictions for listing other scales. I know on another site, which shall not be mentioned here, I was berated for even asking such a blastomas question.
Thanks,
Reuben
San Antonio, TX.
I can only guess - probably same place that did so to me as well. 🙄
-
6 hours ago, DocRob said:
I have the street version of this kit as well, but I think, I will convert it to this hillclimber.
Fiat650 NP Giannini gr2 - Full Transkit - With decals | KMP-Scale Models
Cheers RobWow, that Fiat transit looks fantastic! Good choice!
-
5
-
-
Interesting on the nose shape. Looks like you don’t need to take too much to get closer to an accurate representation, nice work!
I’m hoping to start mine in the next couple of weeks. With kid activities over for the summer, I finally have a lot more time for the work bench. I’ve got two Planet Models resin kits - a 1/48 Curtiss SNC-1 Falcon and a 1/72 Northrop Gamma 2J - that just need some weathering and I can call them complete to free up some space (I didn’t post build logs for them as I don’t think they would generate much interest here given the subjects and scale).
-
2
-
Lotus 49C - Ebbro - 1/20
in LSM 1/35 and Larger Work In Progress
Posted
Amazing job my friend! I’m sure very satisfying with the extra work you had to put into it. Congrats on a great model!