
RalphSarc
-
Posts
2,070 -
Joined
-
Last visited
Content Type
Profiles
Forums
Events
Gallery
Everything posted by RalphSarc
-

Tamiya 1/35 M26 Pershing Build Thread
RalphSarc replied to RalphSarc's topic in LSM 1/35 and Larger Work In Progress
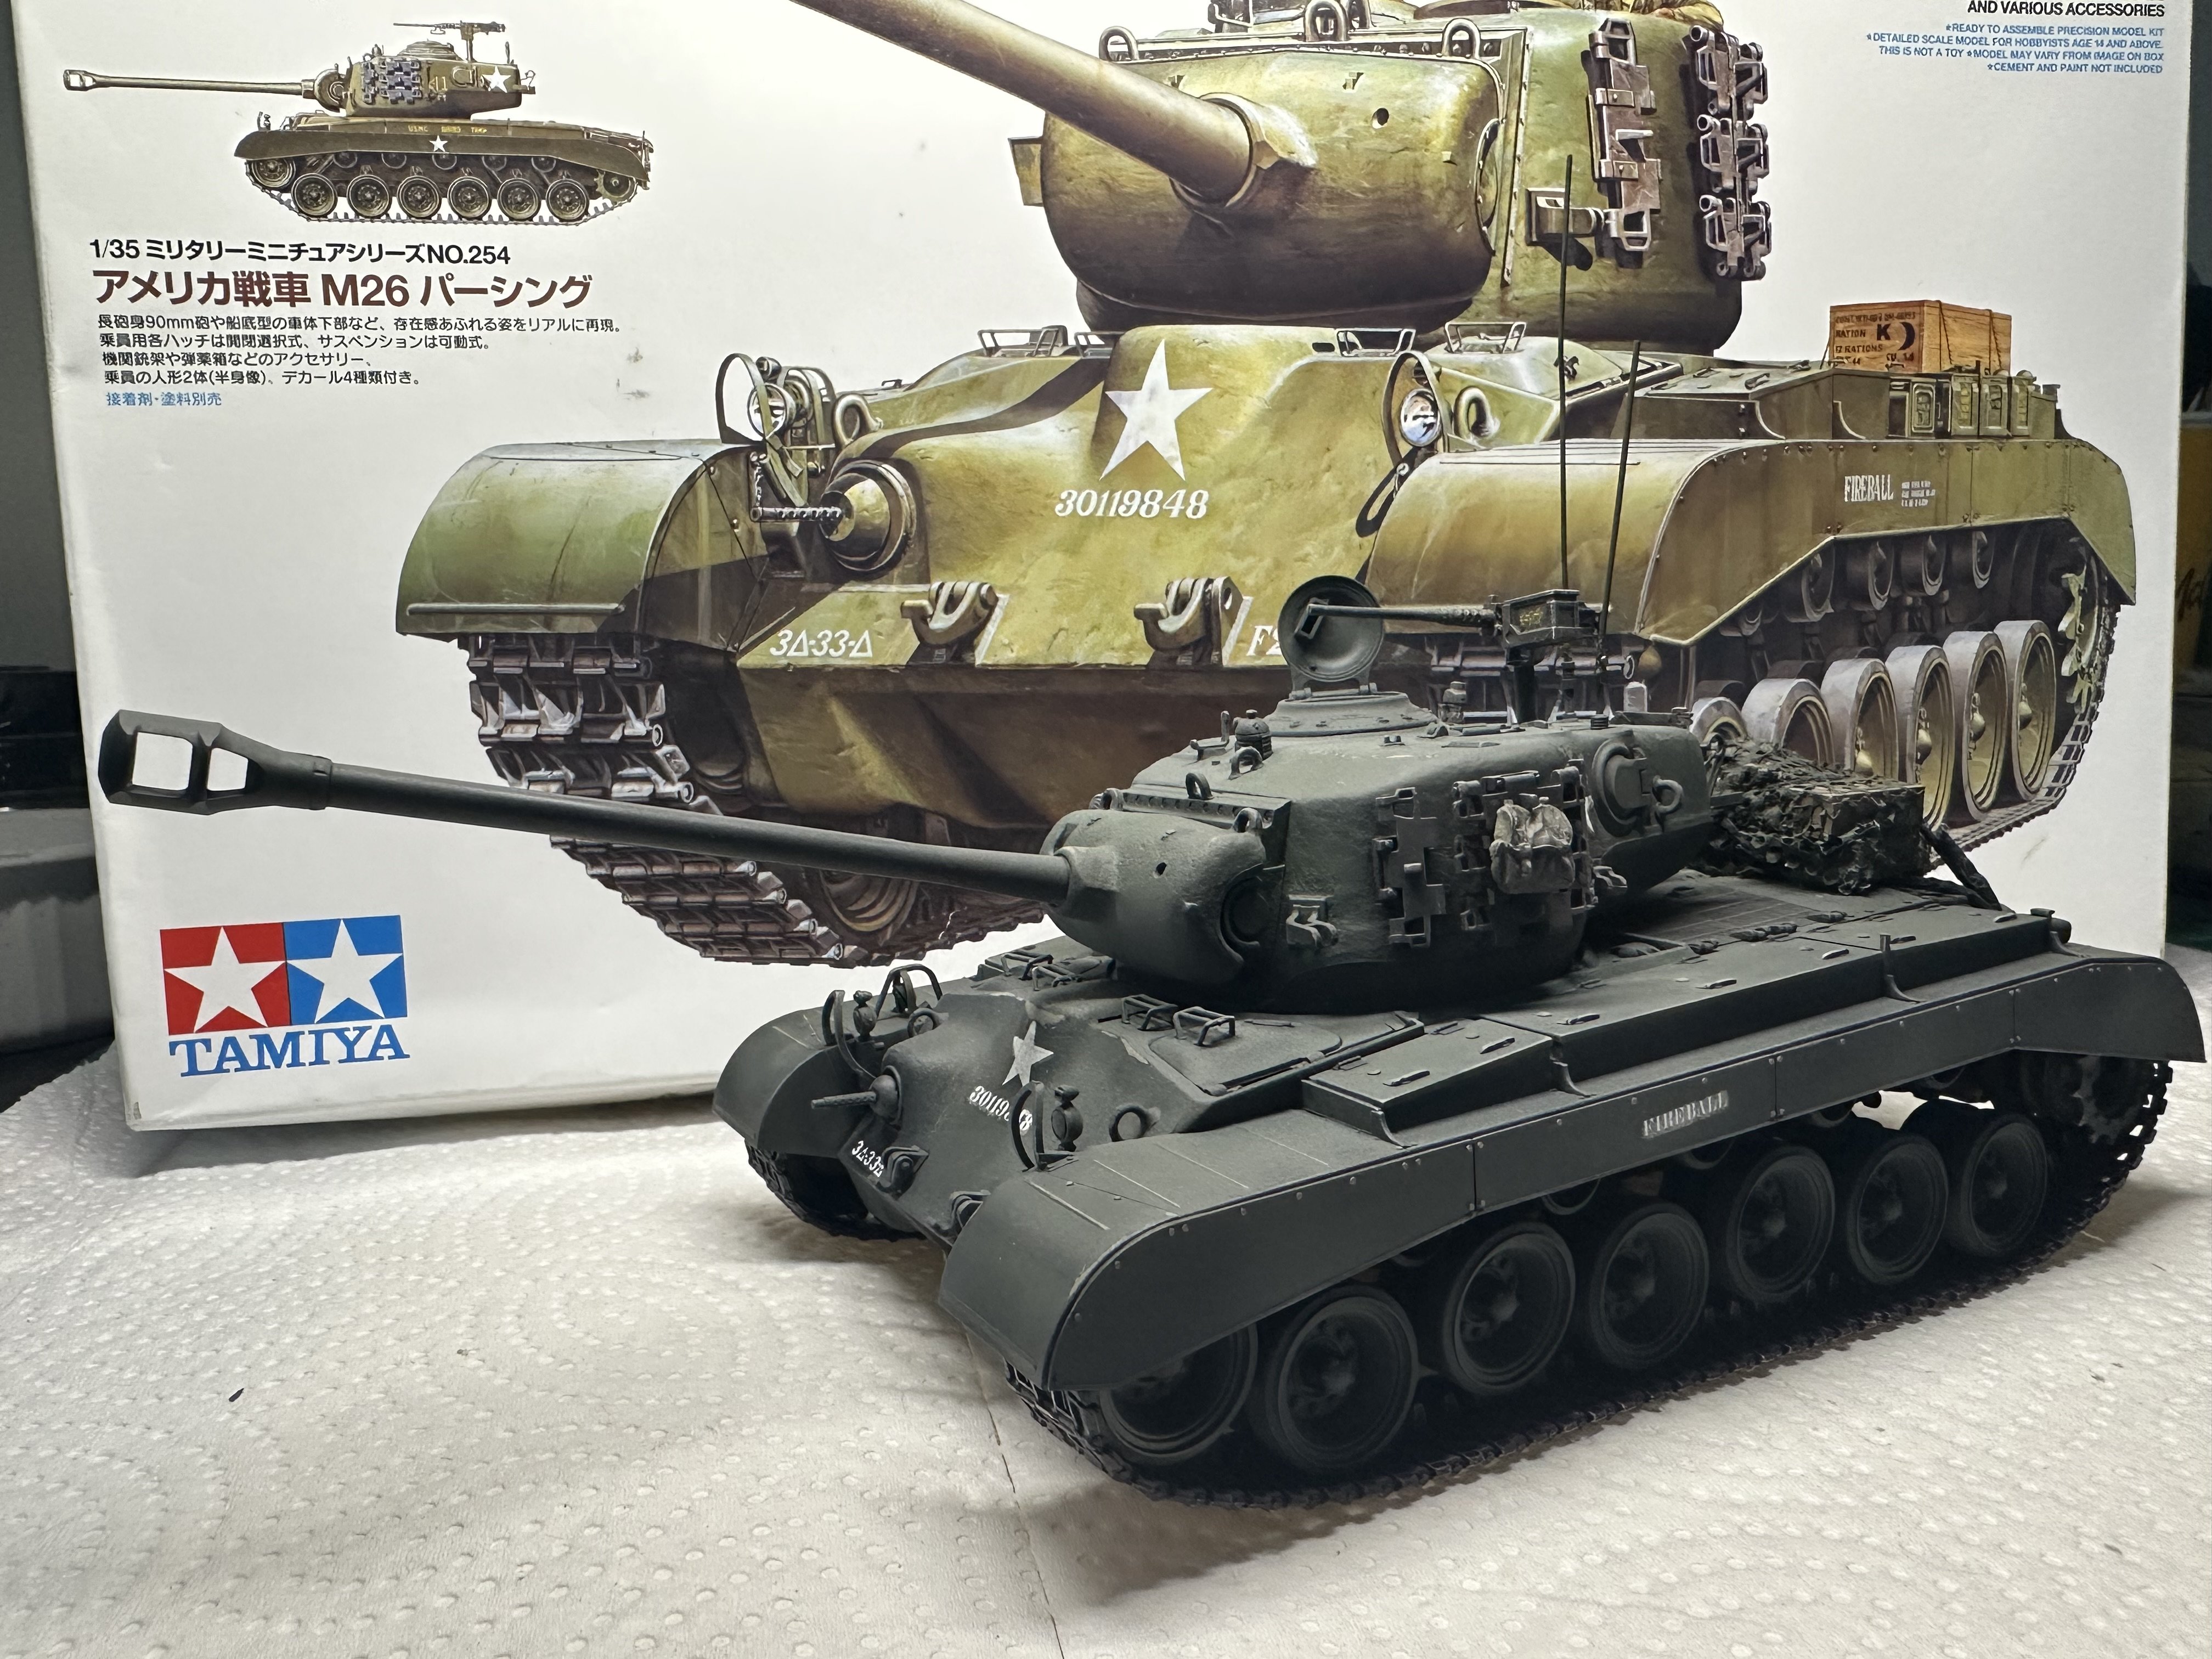
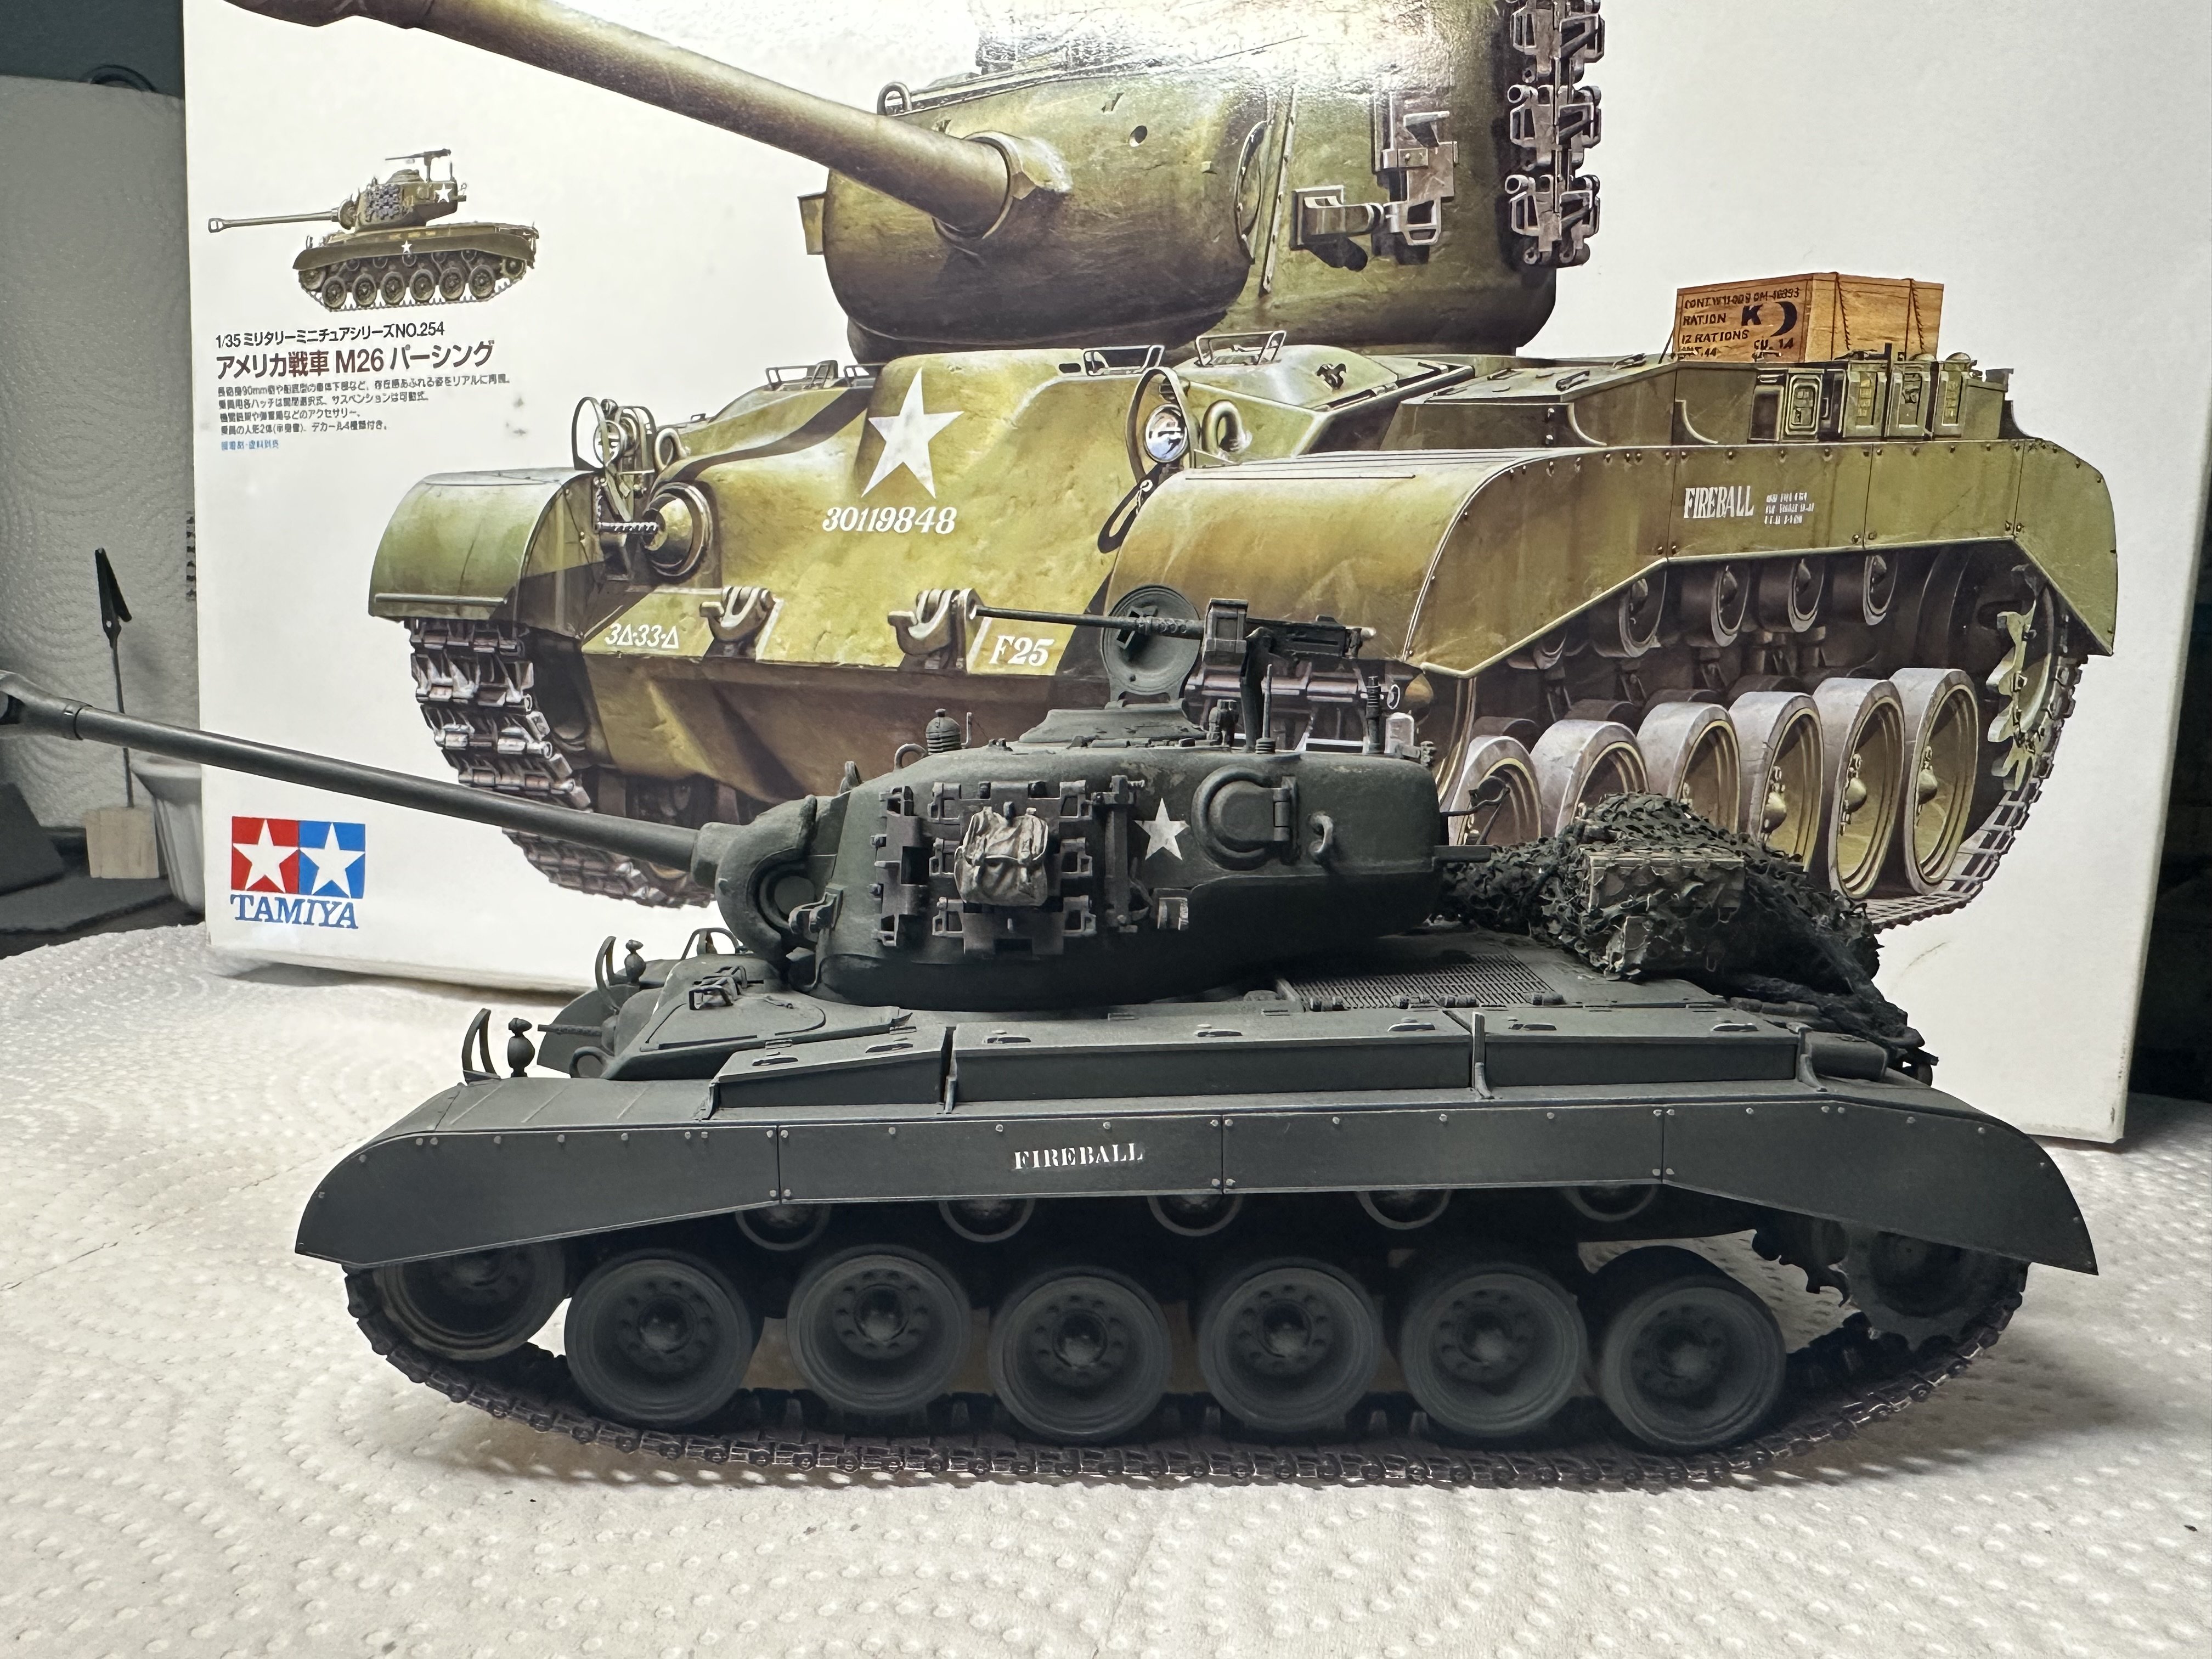
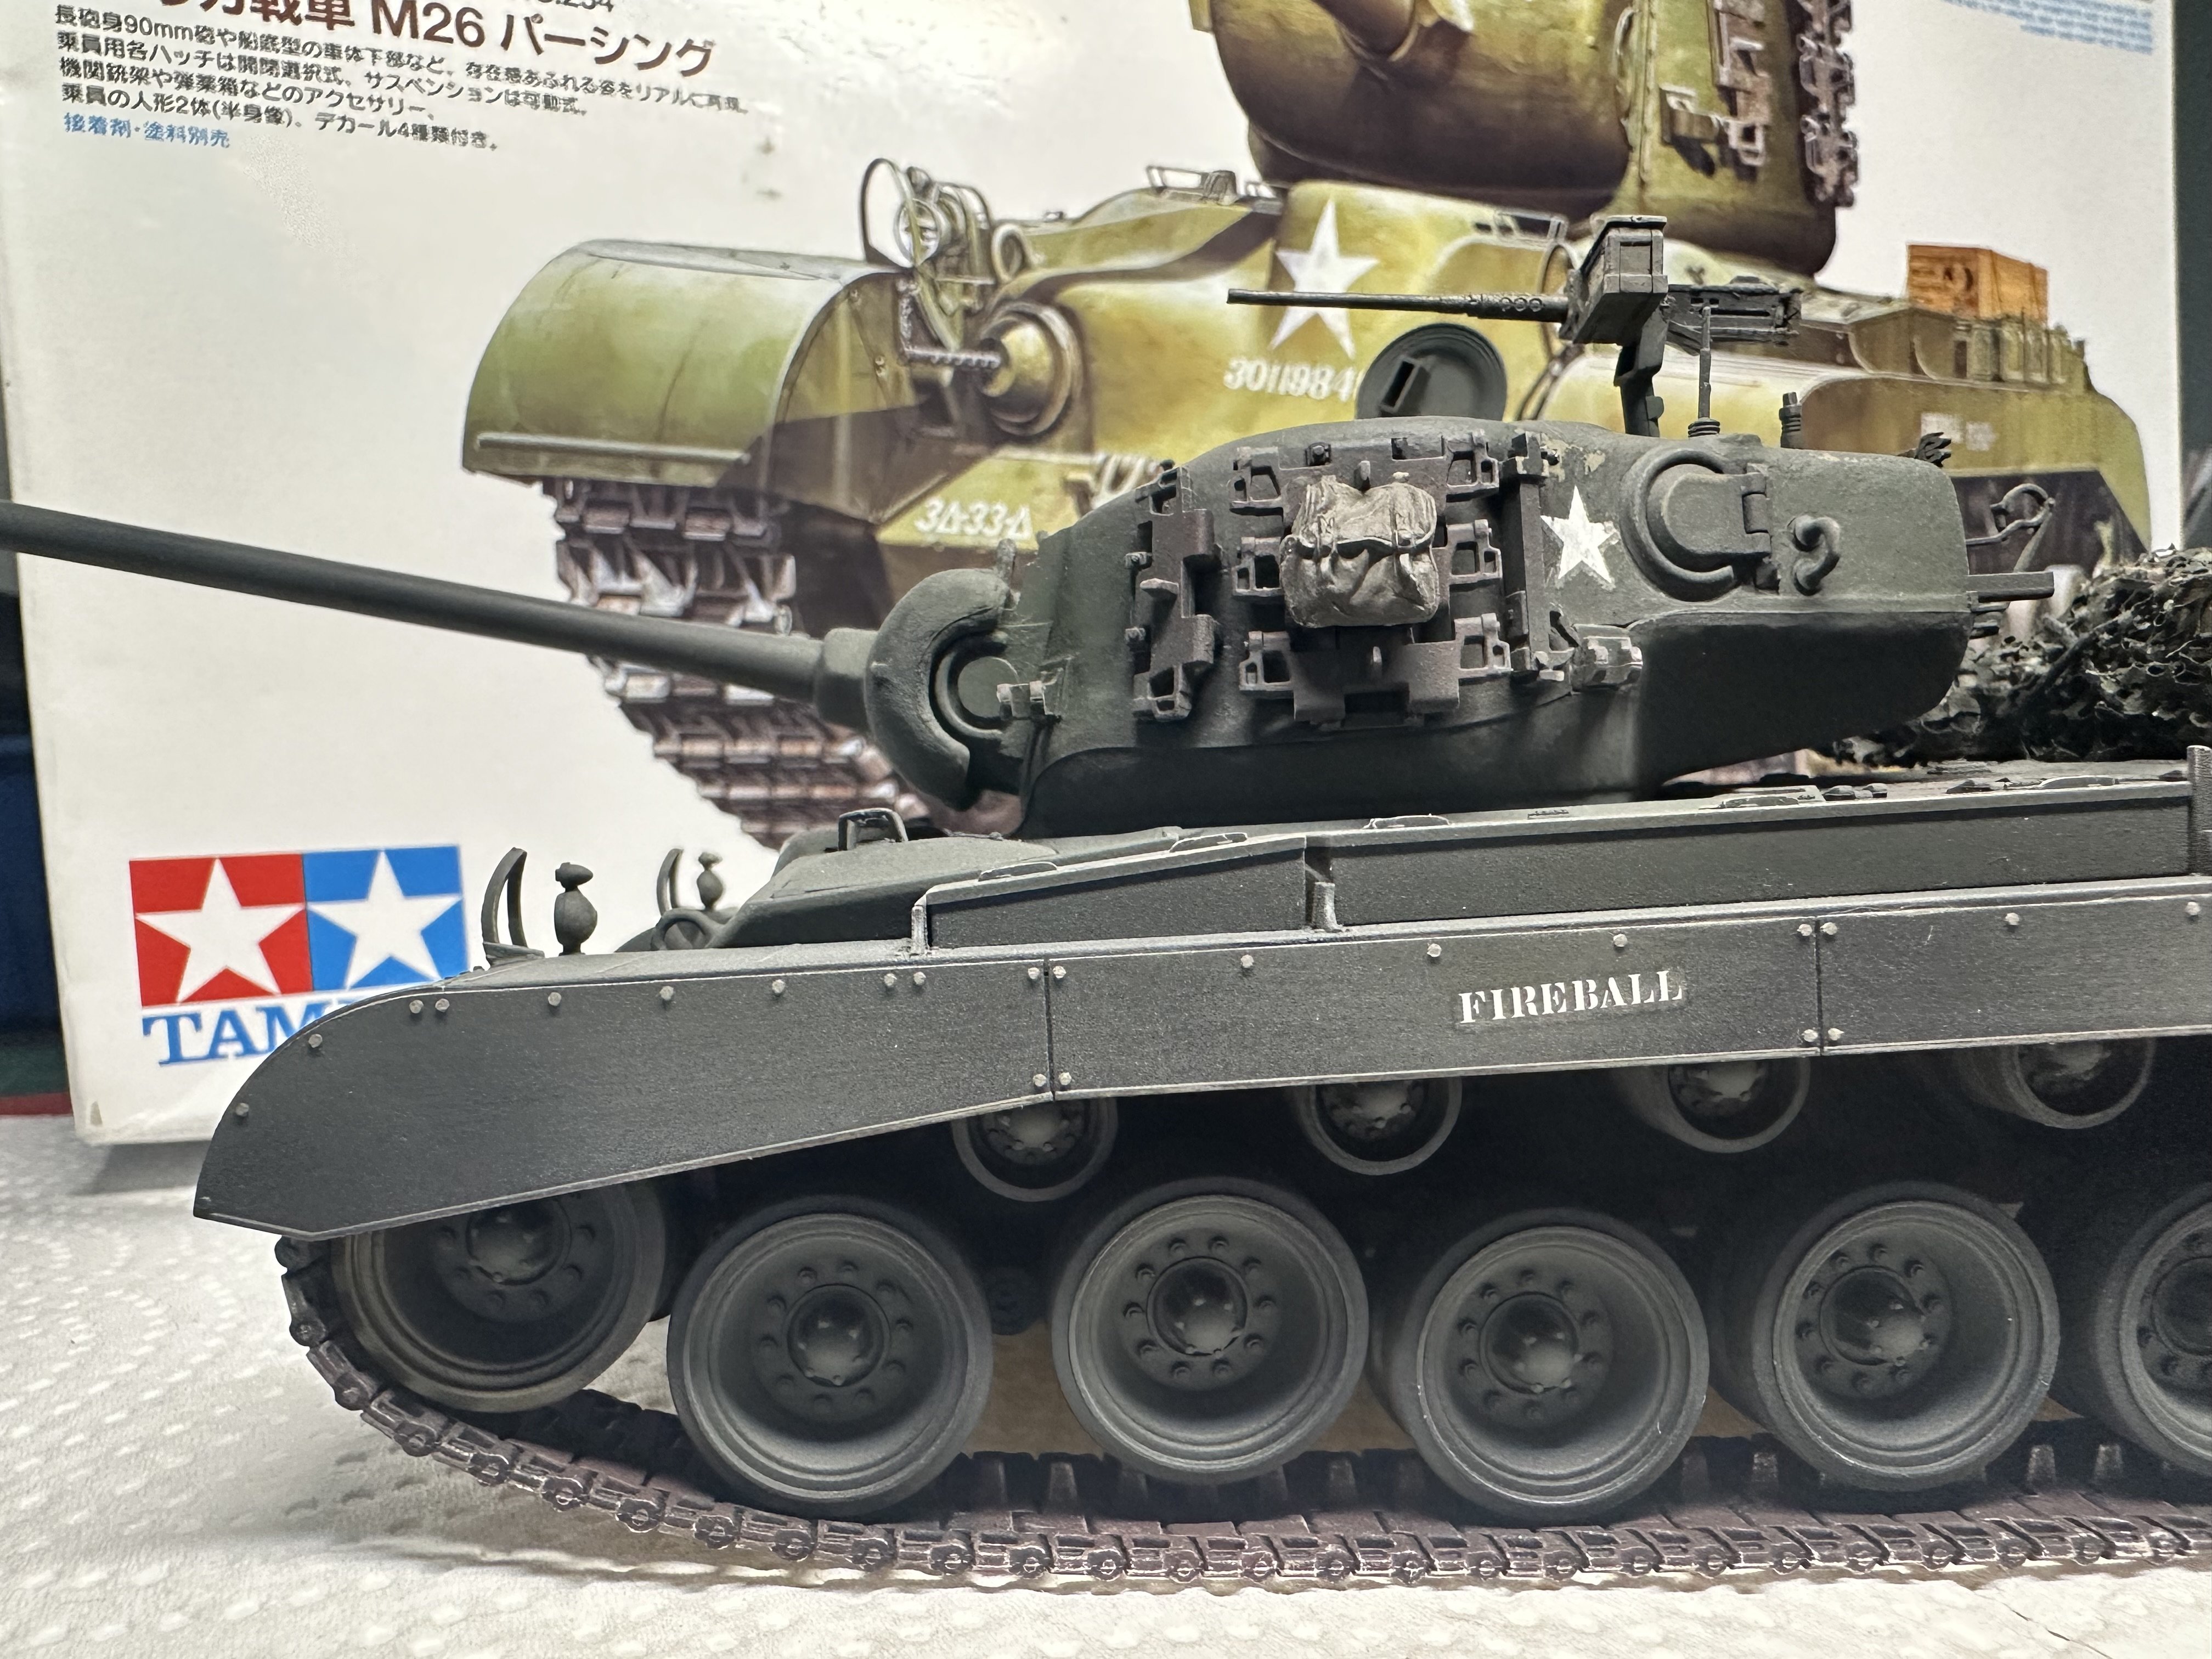
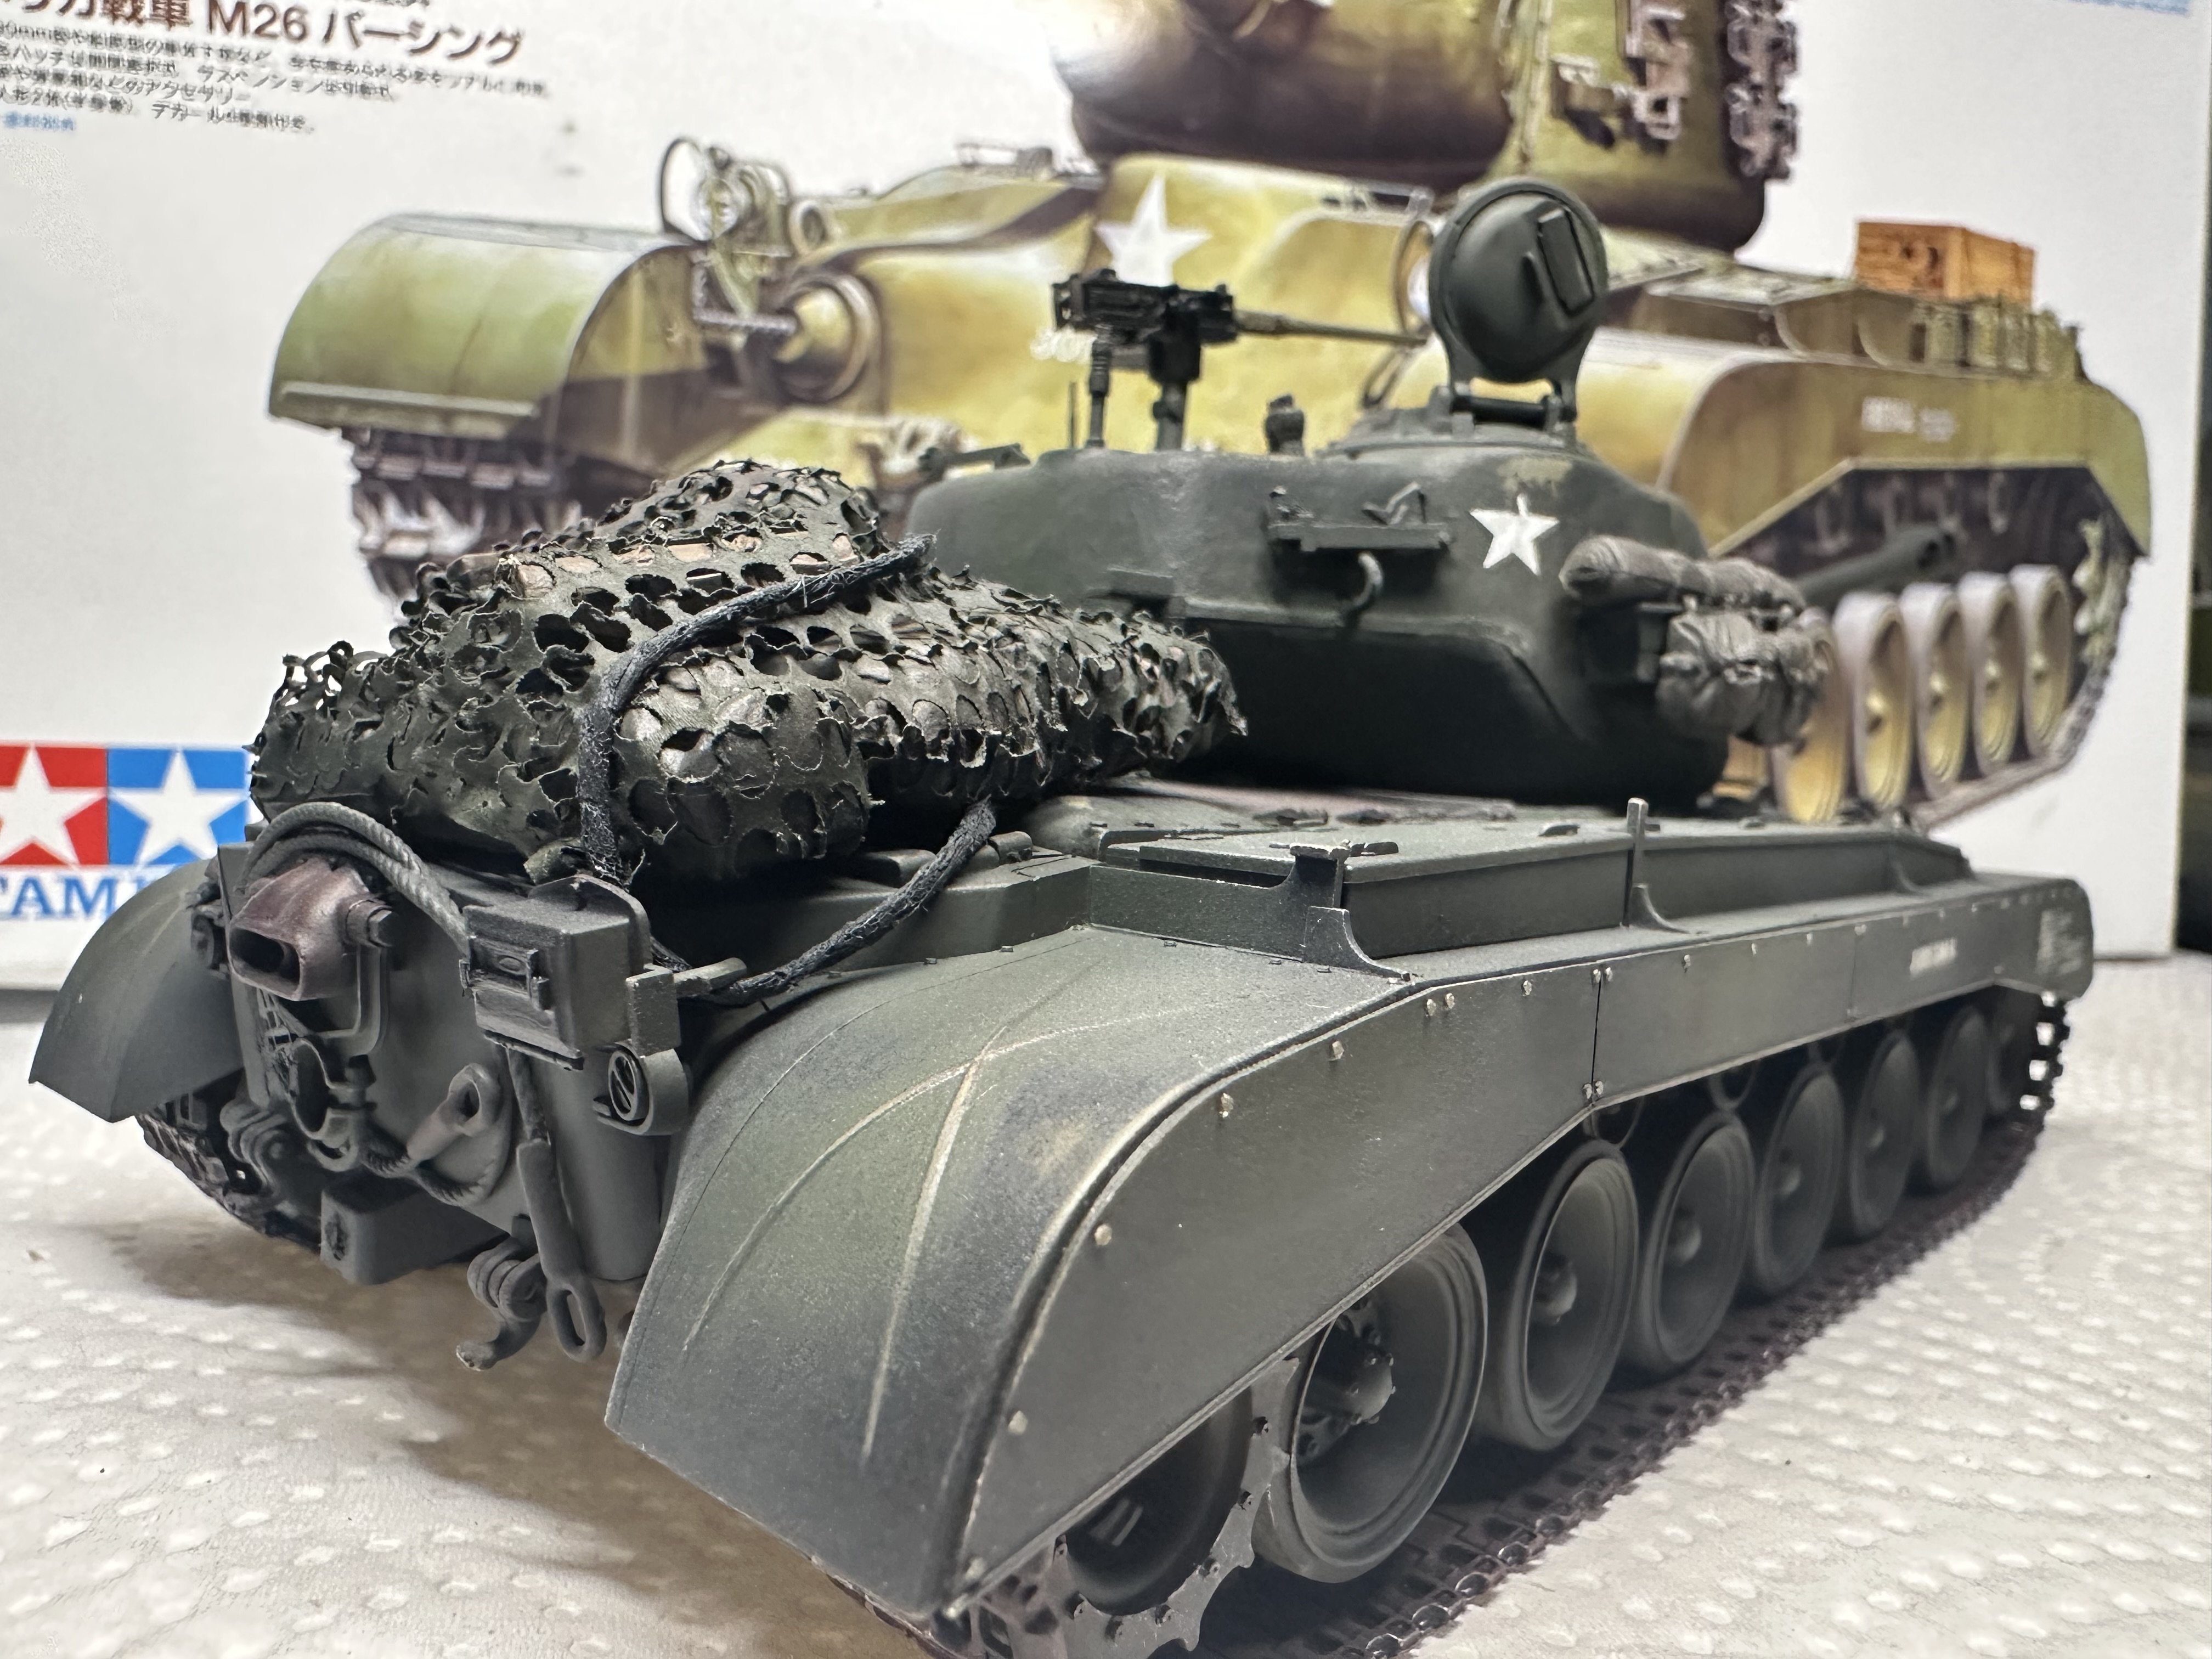
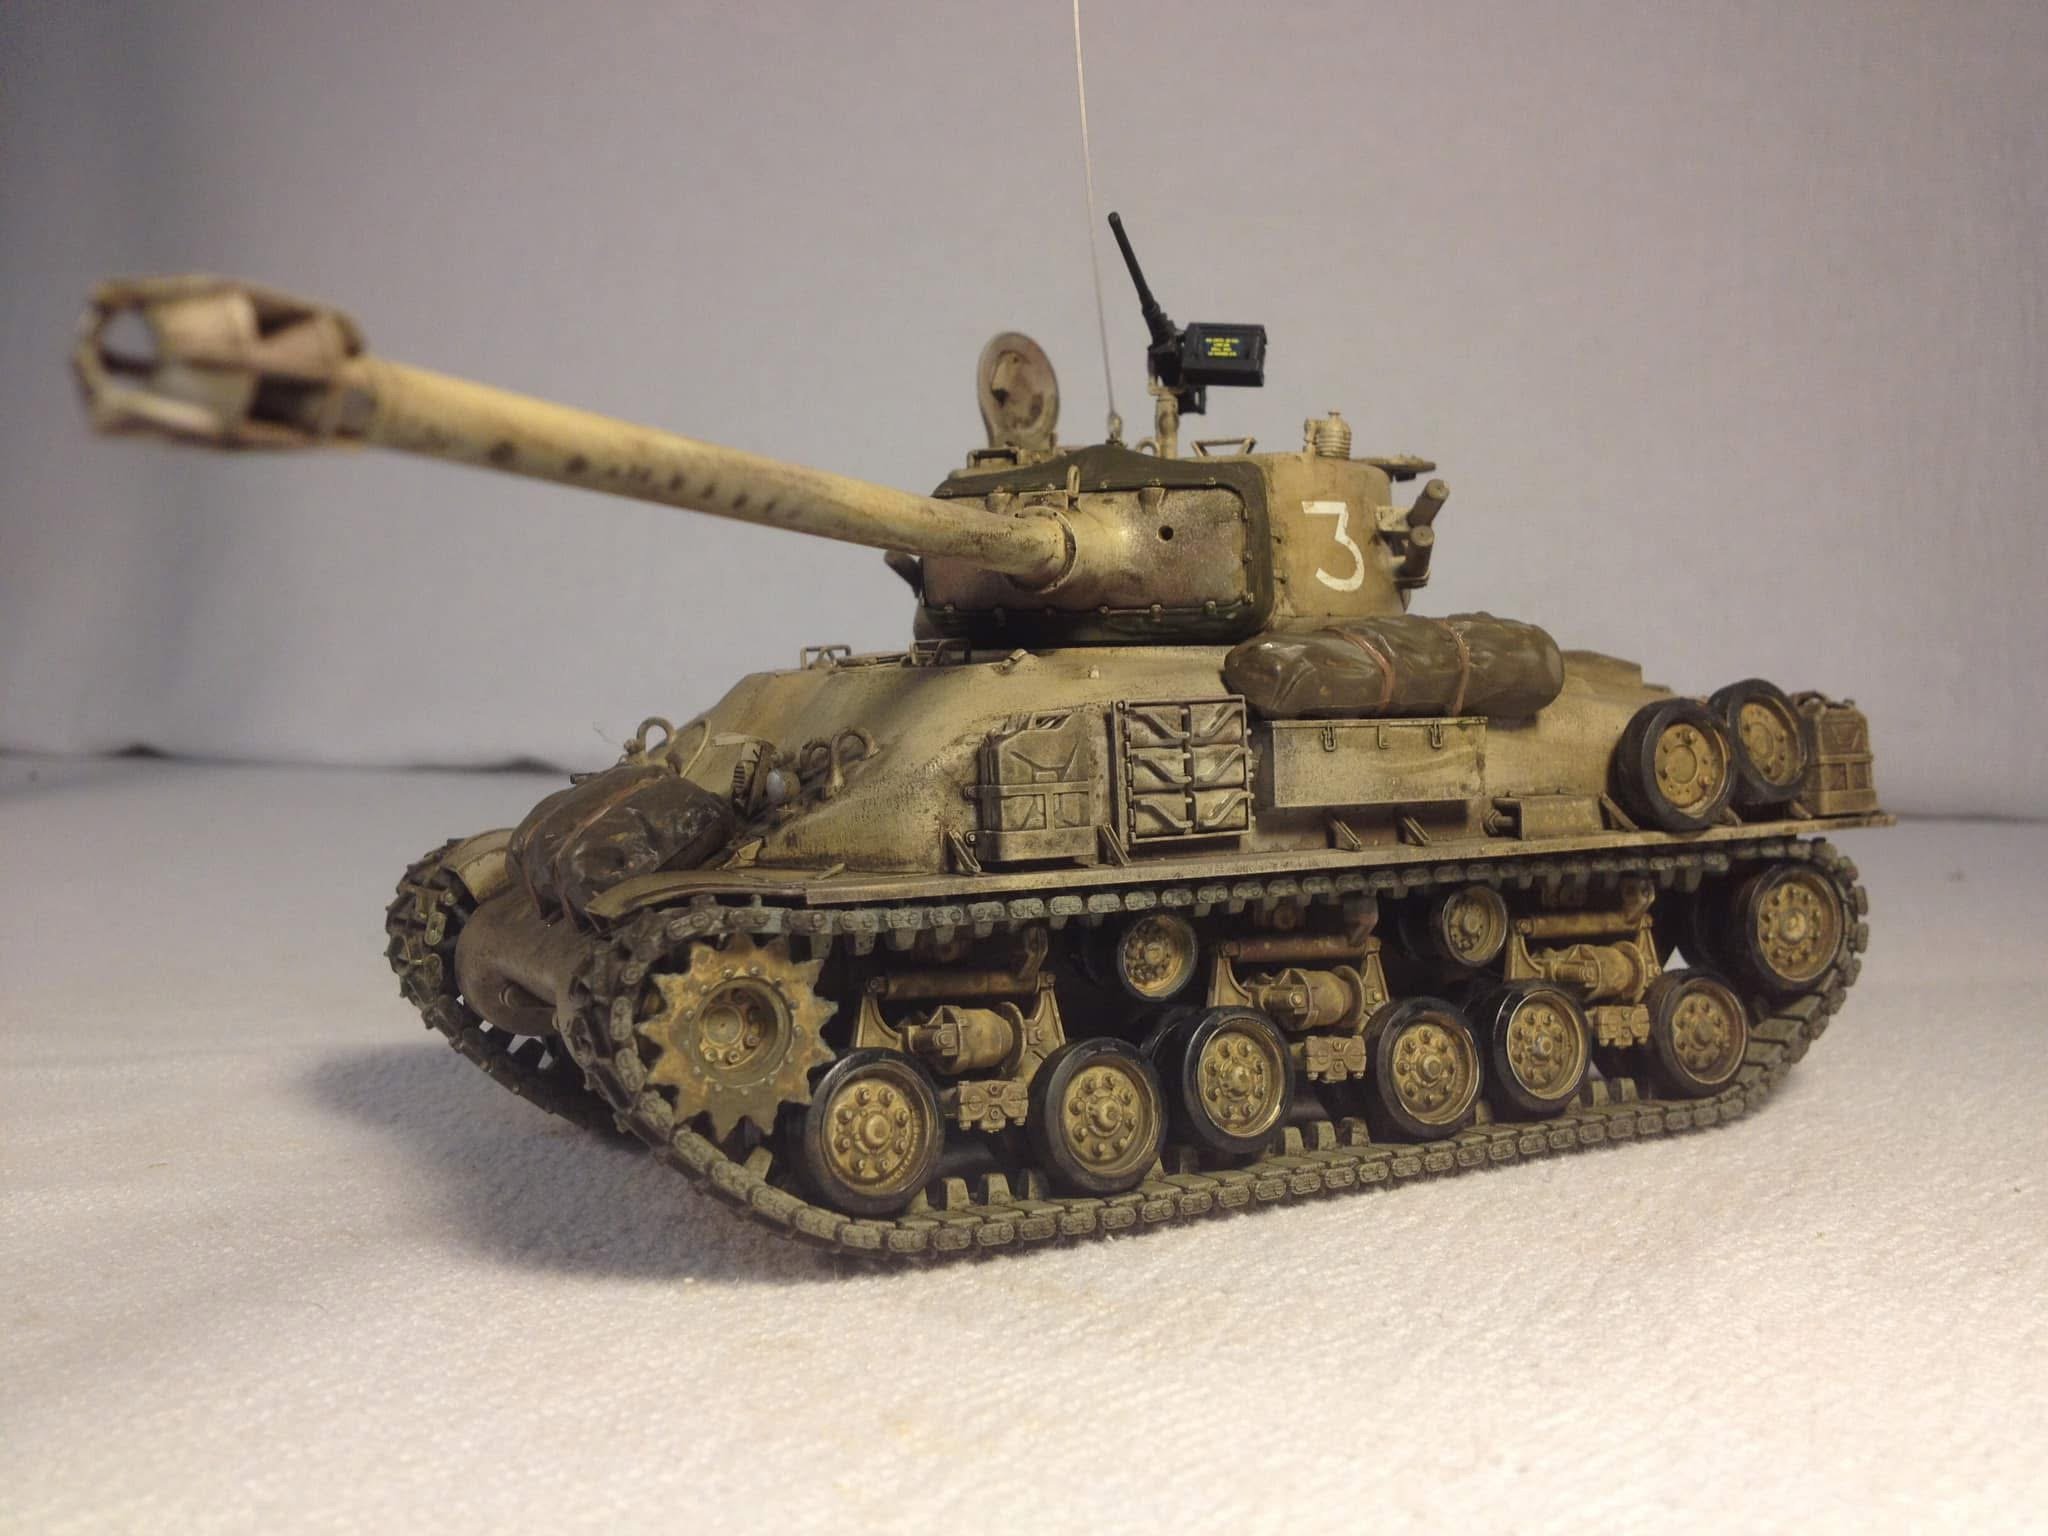
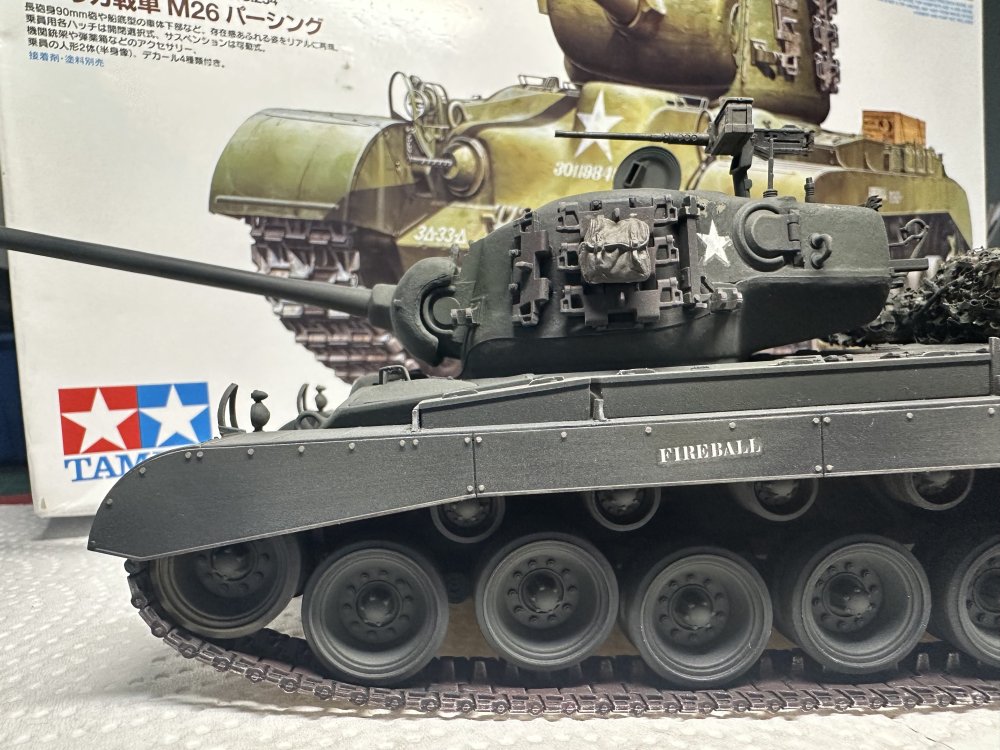
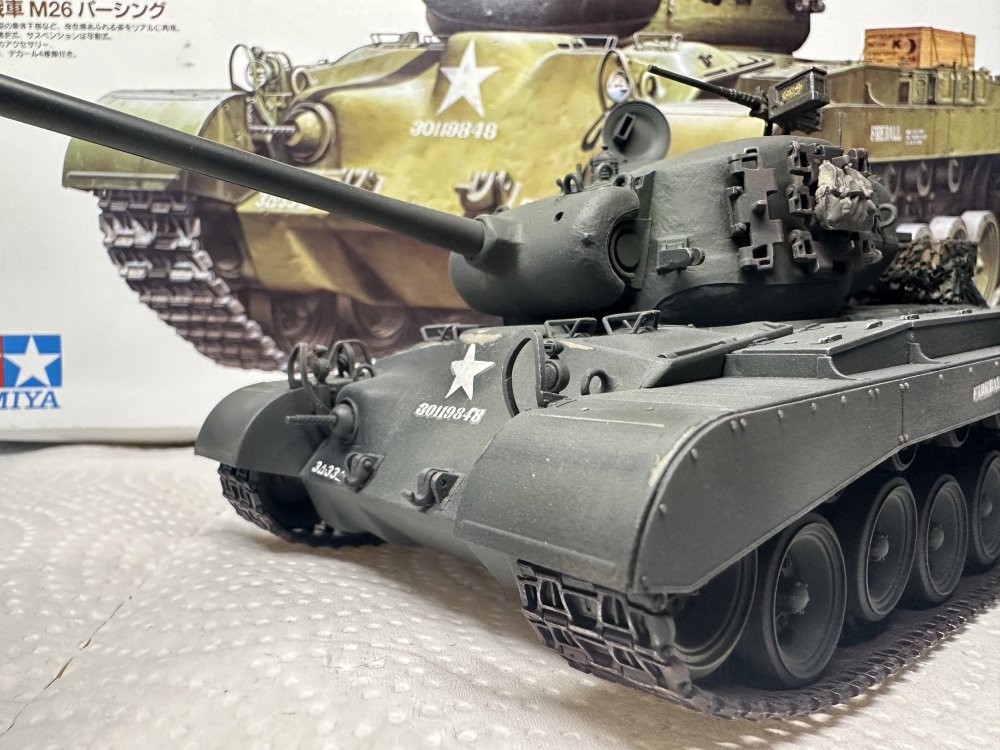
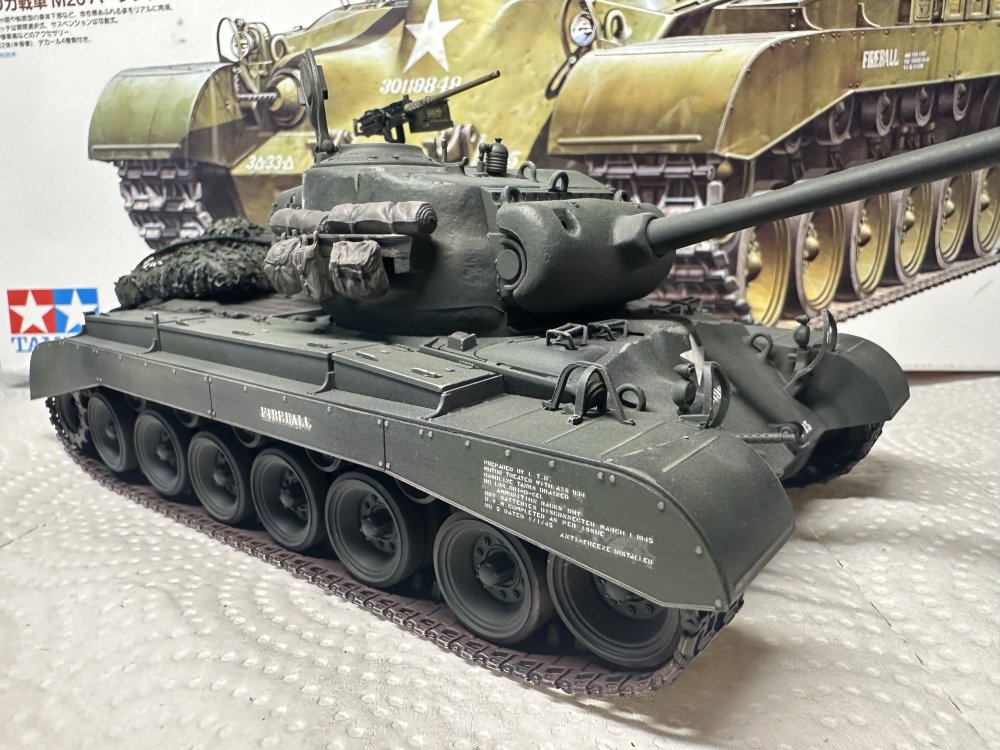
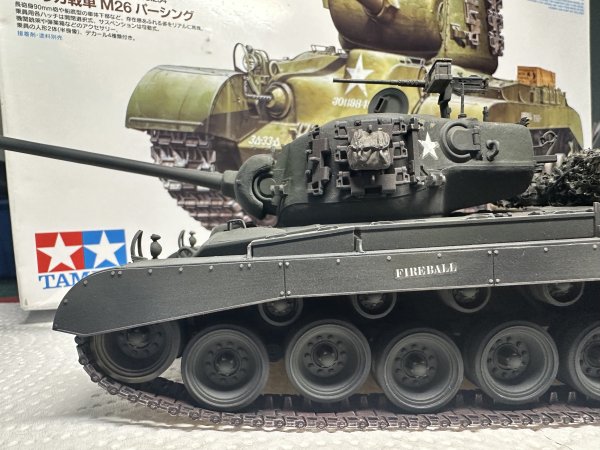
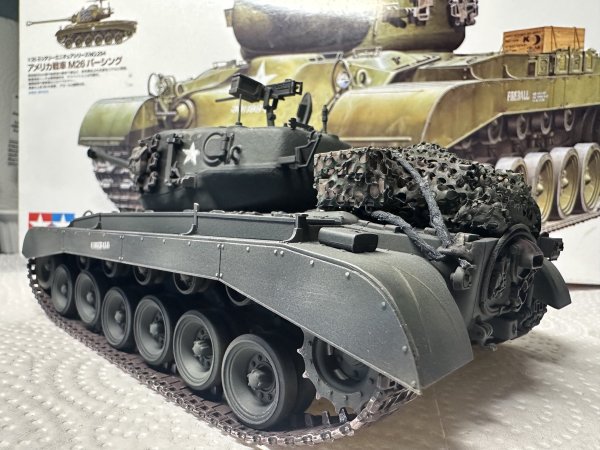
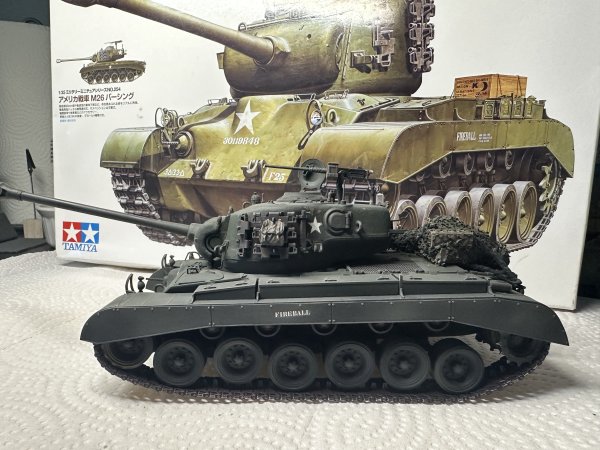
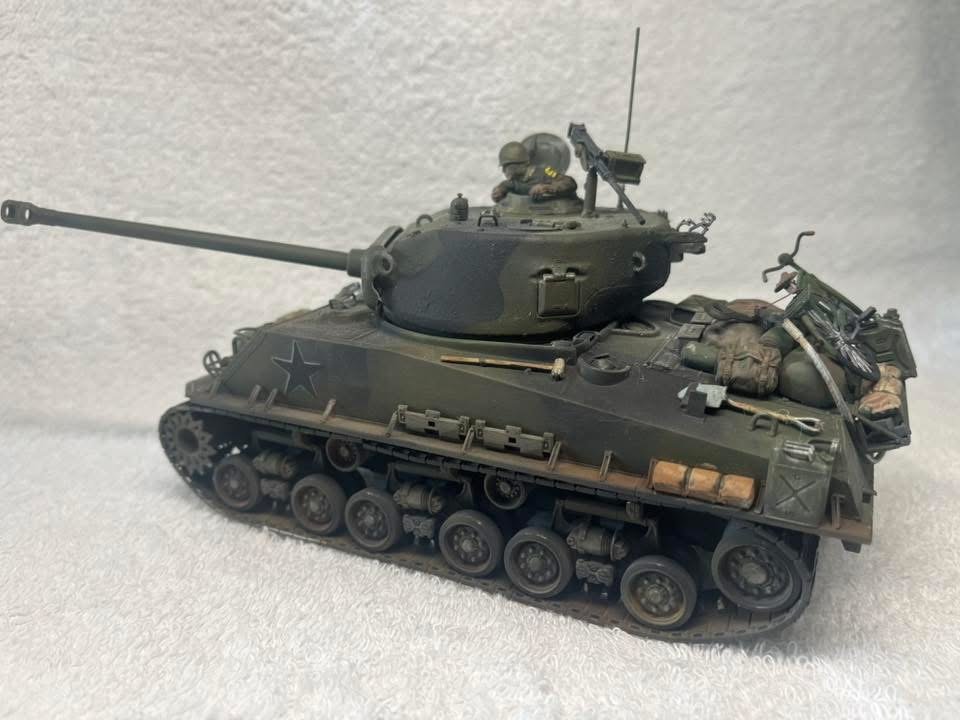
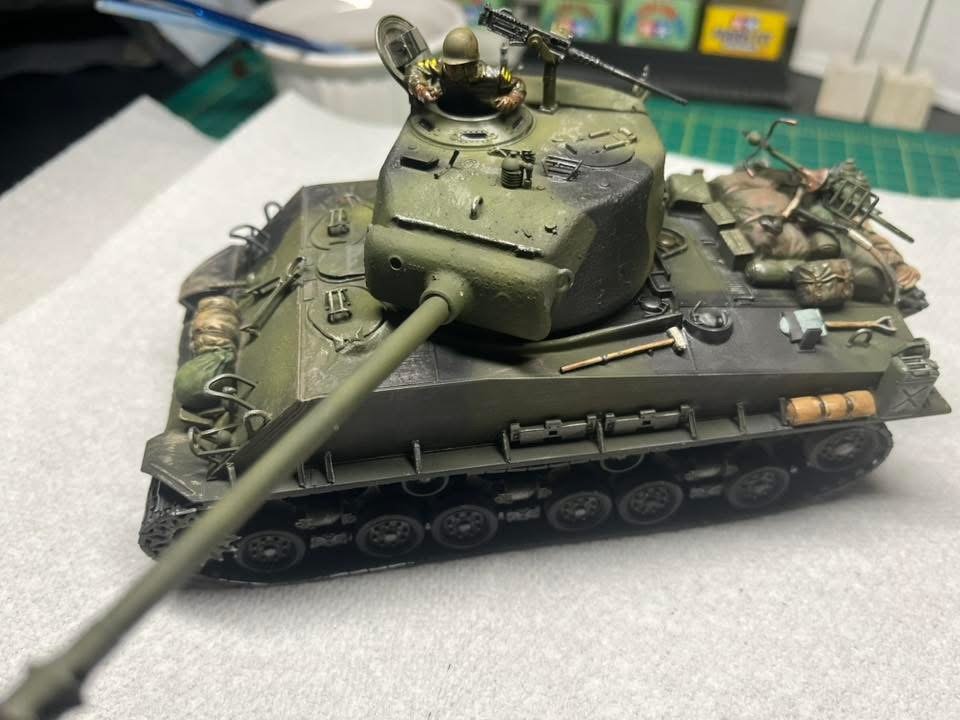
First build of 2026 complete! Tamiya 1/35 US M26 Pershing (Medium Tank)


-
Tamiya 1/35 US M26 Pershing (Medium Tank)
Images added to a gallery album owned by RalphSarc in Gallery of COMPLETED Armour models
First build of 2026 complete! Tamiya 1/35 US M26 Pershing (Medium Tank) -
-

From the album: Tamiya 1/35 US M26 Pershing (Medium Tank)
-

From the album: Tamiya 1/35 US M26 Pershing (Medium Tank)
-

From the album: Tamiya 1/35 US M26 Pershing (Medium Tank)
-
From the album: Tamiya 1/35 US M26 Pershing (Medium Tank)
-
From the album: Tamiya 1/35 US M26 Pershing (Medium Tank)
-
From the album: Tamiya 1/35 US M26 Pershing (Medium Tank)
-

From the album: Tamiya 1/35 US M26 Pershing (Medium Tank)
-
Tamiya 1/35 M26 Pershing Build Thread
RalphSarc replied to RalphSarc's topic in LSM 1/35 and Larger Work In Progress
It’s a great kit. -
Tamiya 1/35 M26 Pershing Build Thread
RalphSarc replied to RalphSarc's topic in LSM 1/35 and Larger Work In Progress
I have Tamiya’s 1/35 IDF M51. I also built it years ago. Great kit!
-
Tamiya 1/35 M26 Pershing Build Thread
RalphSarc replied to RalphSarc's topic in LSM 1/35 and Larger Work In Progress
I agree. The Easy Eight is my favorite Sherman. -
Tamiya 1/35 M26 Pershing Build Thread
RalphSarc replied to RalphSarc's topic in LSM 1/35 and Larger Work In Progress
Yeah it’s hard to bet Tamiya’s engineering. Over the years I’ve built 50+ Tamiya kits and absolutely love them. Even the rubber tracks, lol!! Good luck with your M4 build. I just finished Tamiya’s 1/35 Easy Eight kit. Super great kit!!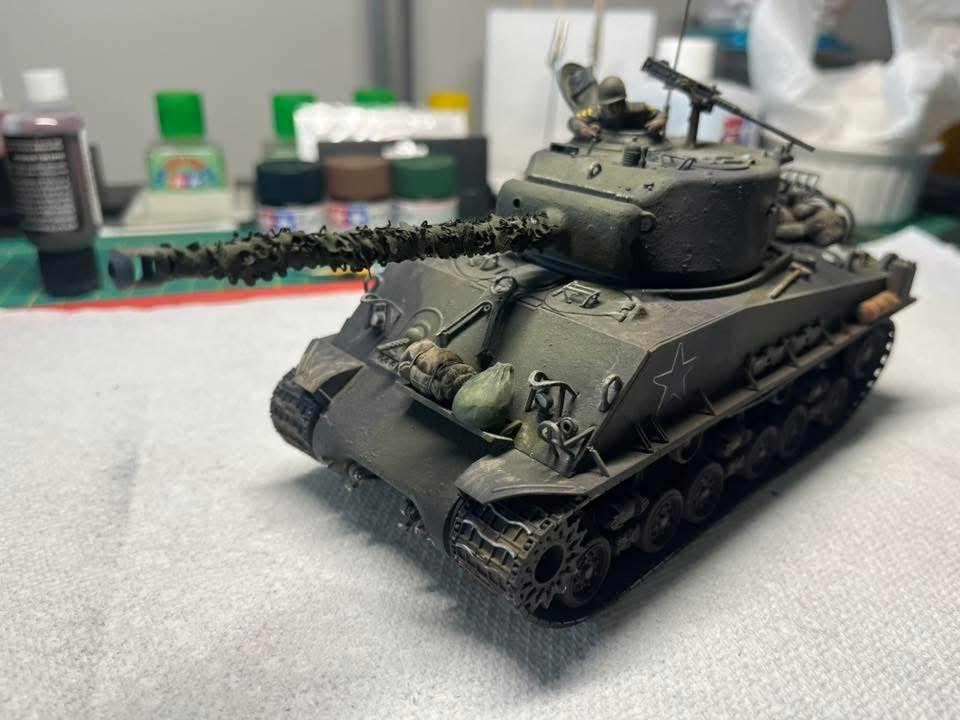
-
Tamiya 1/35 M26 Pershing Build Thread
RalphSarc replied to RalphSarc's topic in LSM 1/35 and Larger Work In Progress
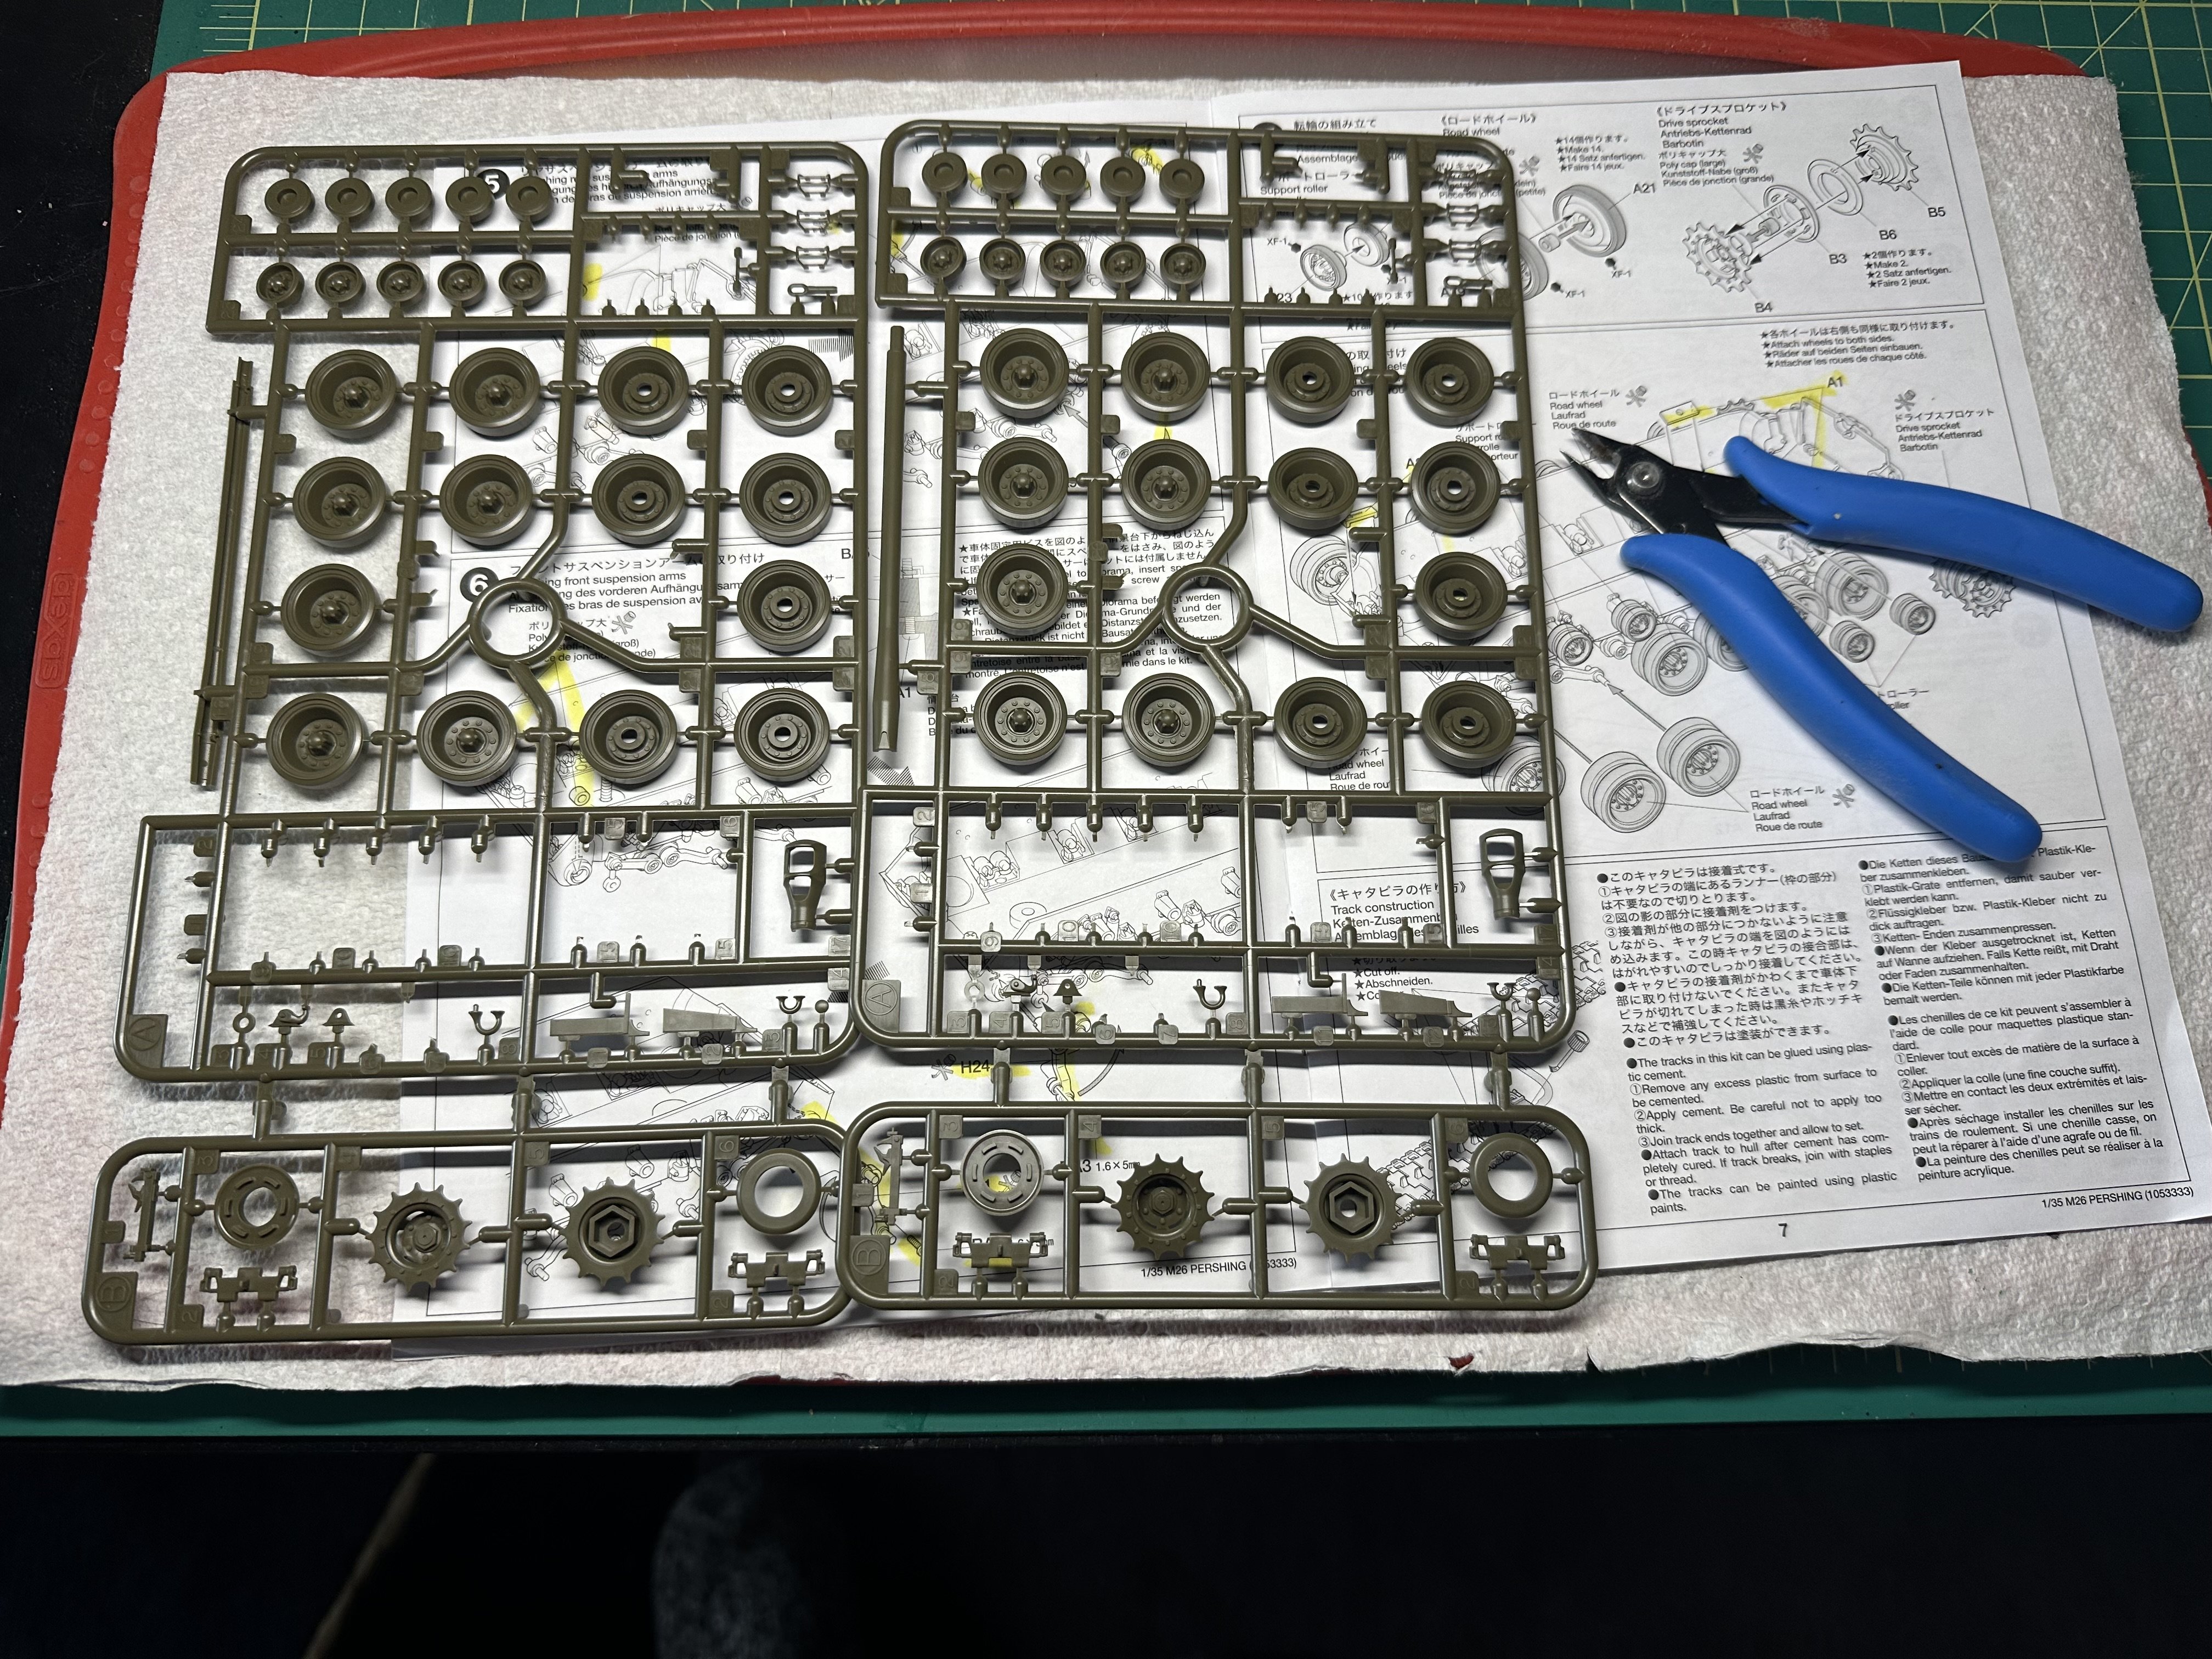
Yes it’s that time!!! Everyone’s favorite!!! Building road wheels, lol!!!
-
Tamiya 1/35 M26 Pershing Build Thread
RalphSarc replied to RalphSarc's topic in LSM 1/35 and Larger Work In Progress
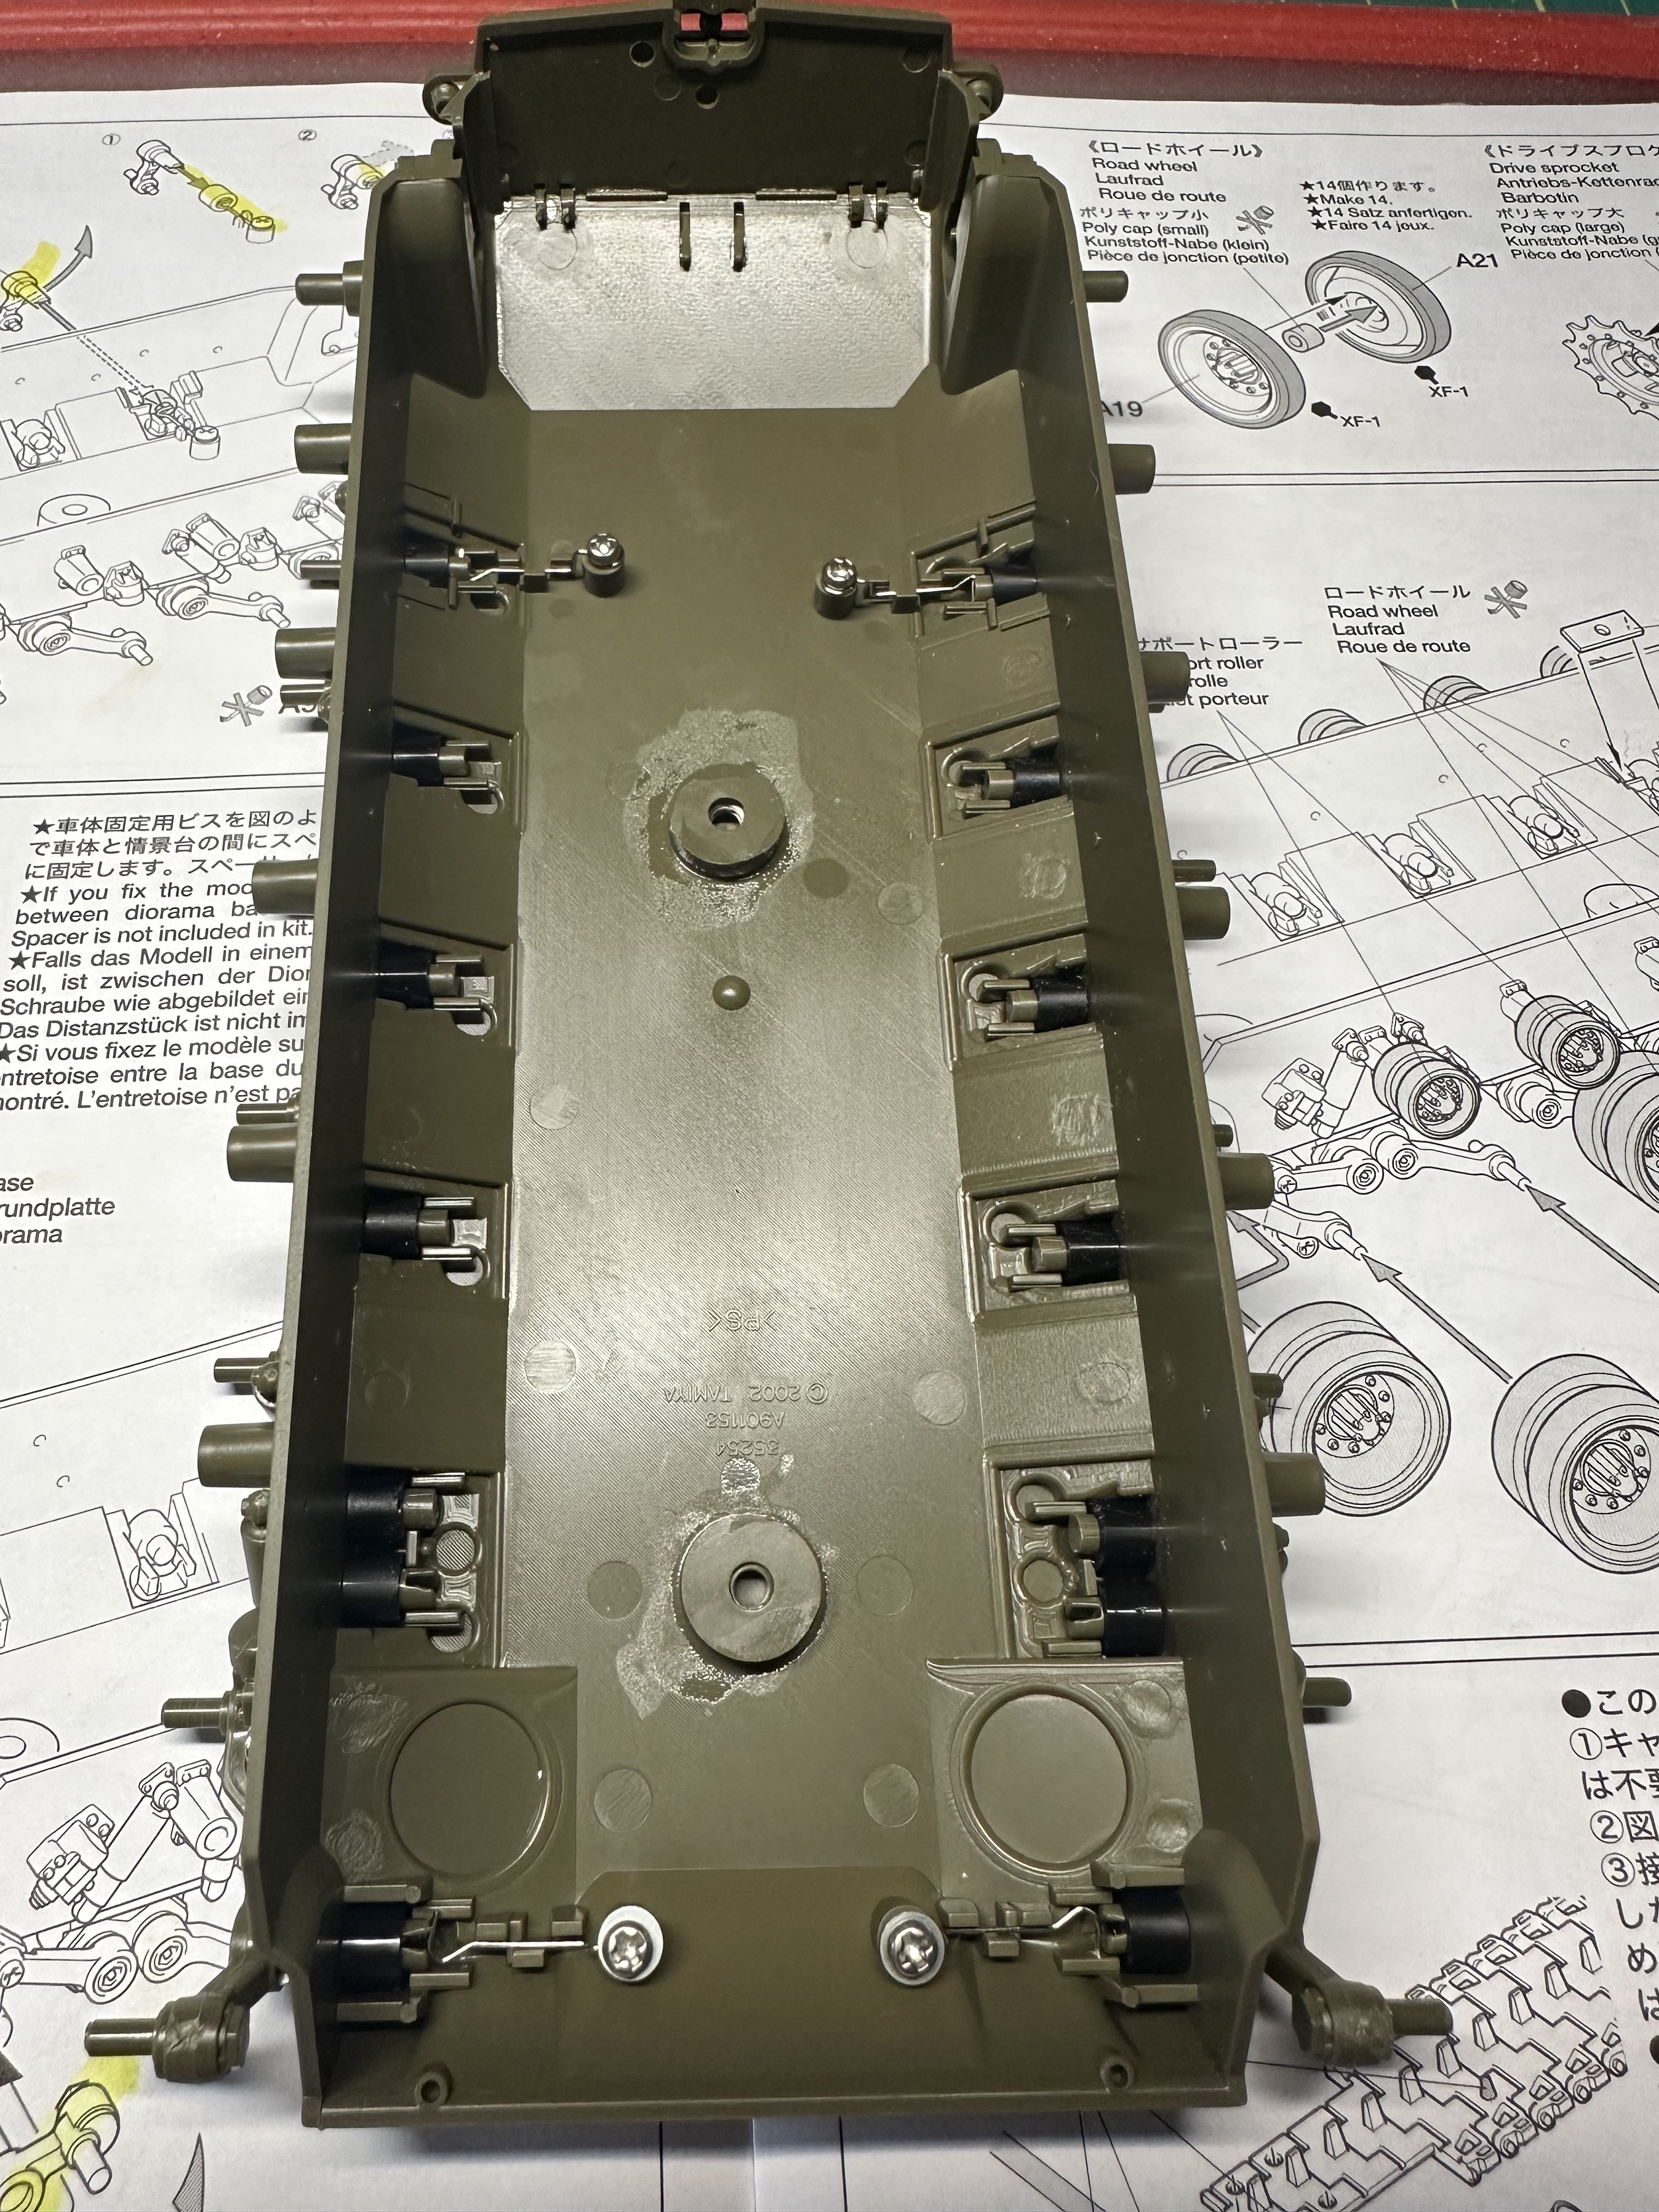
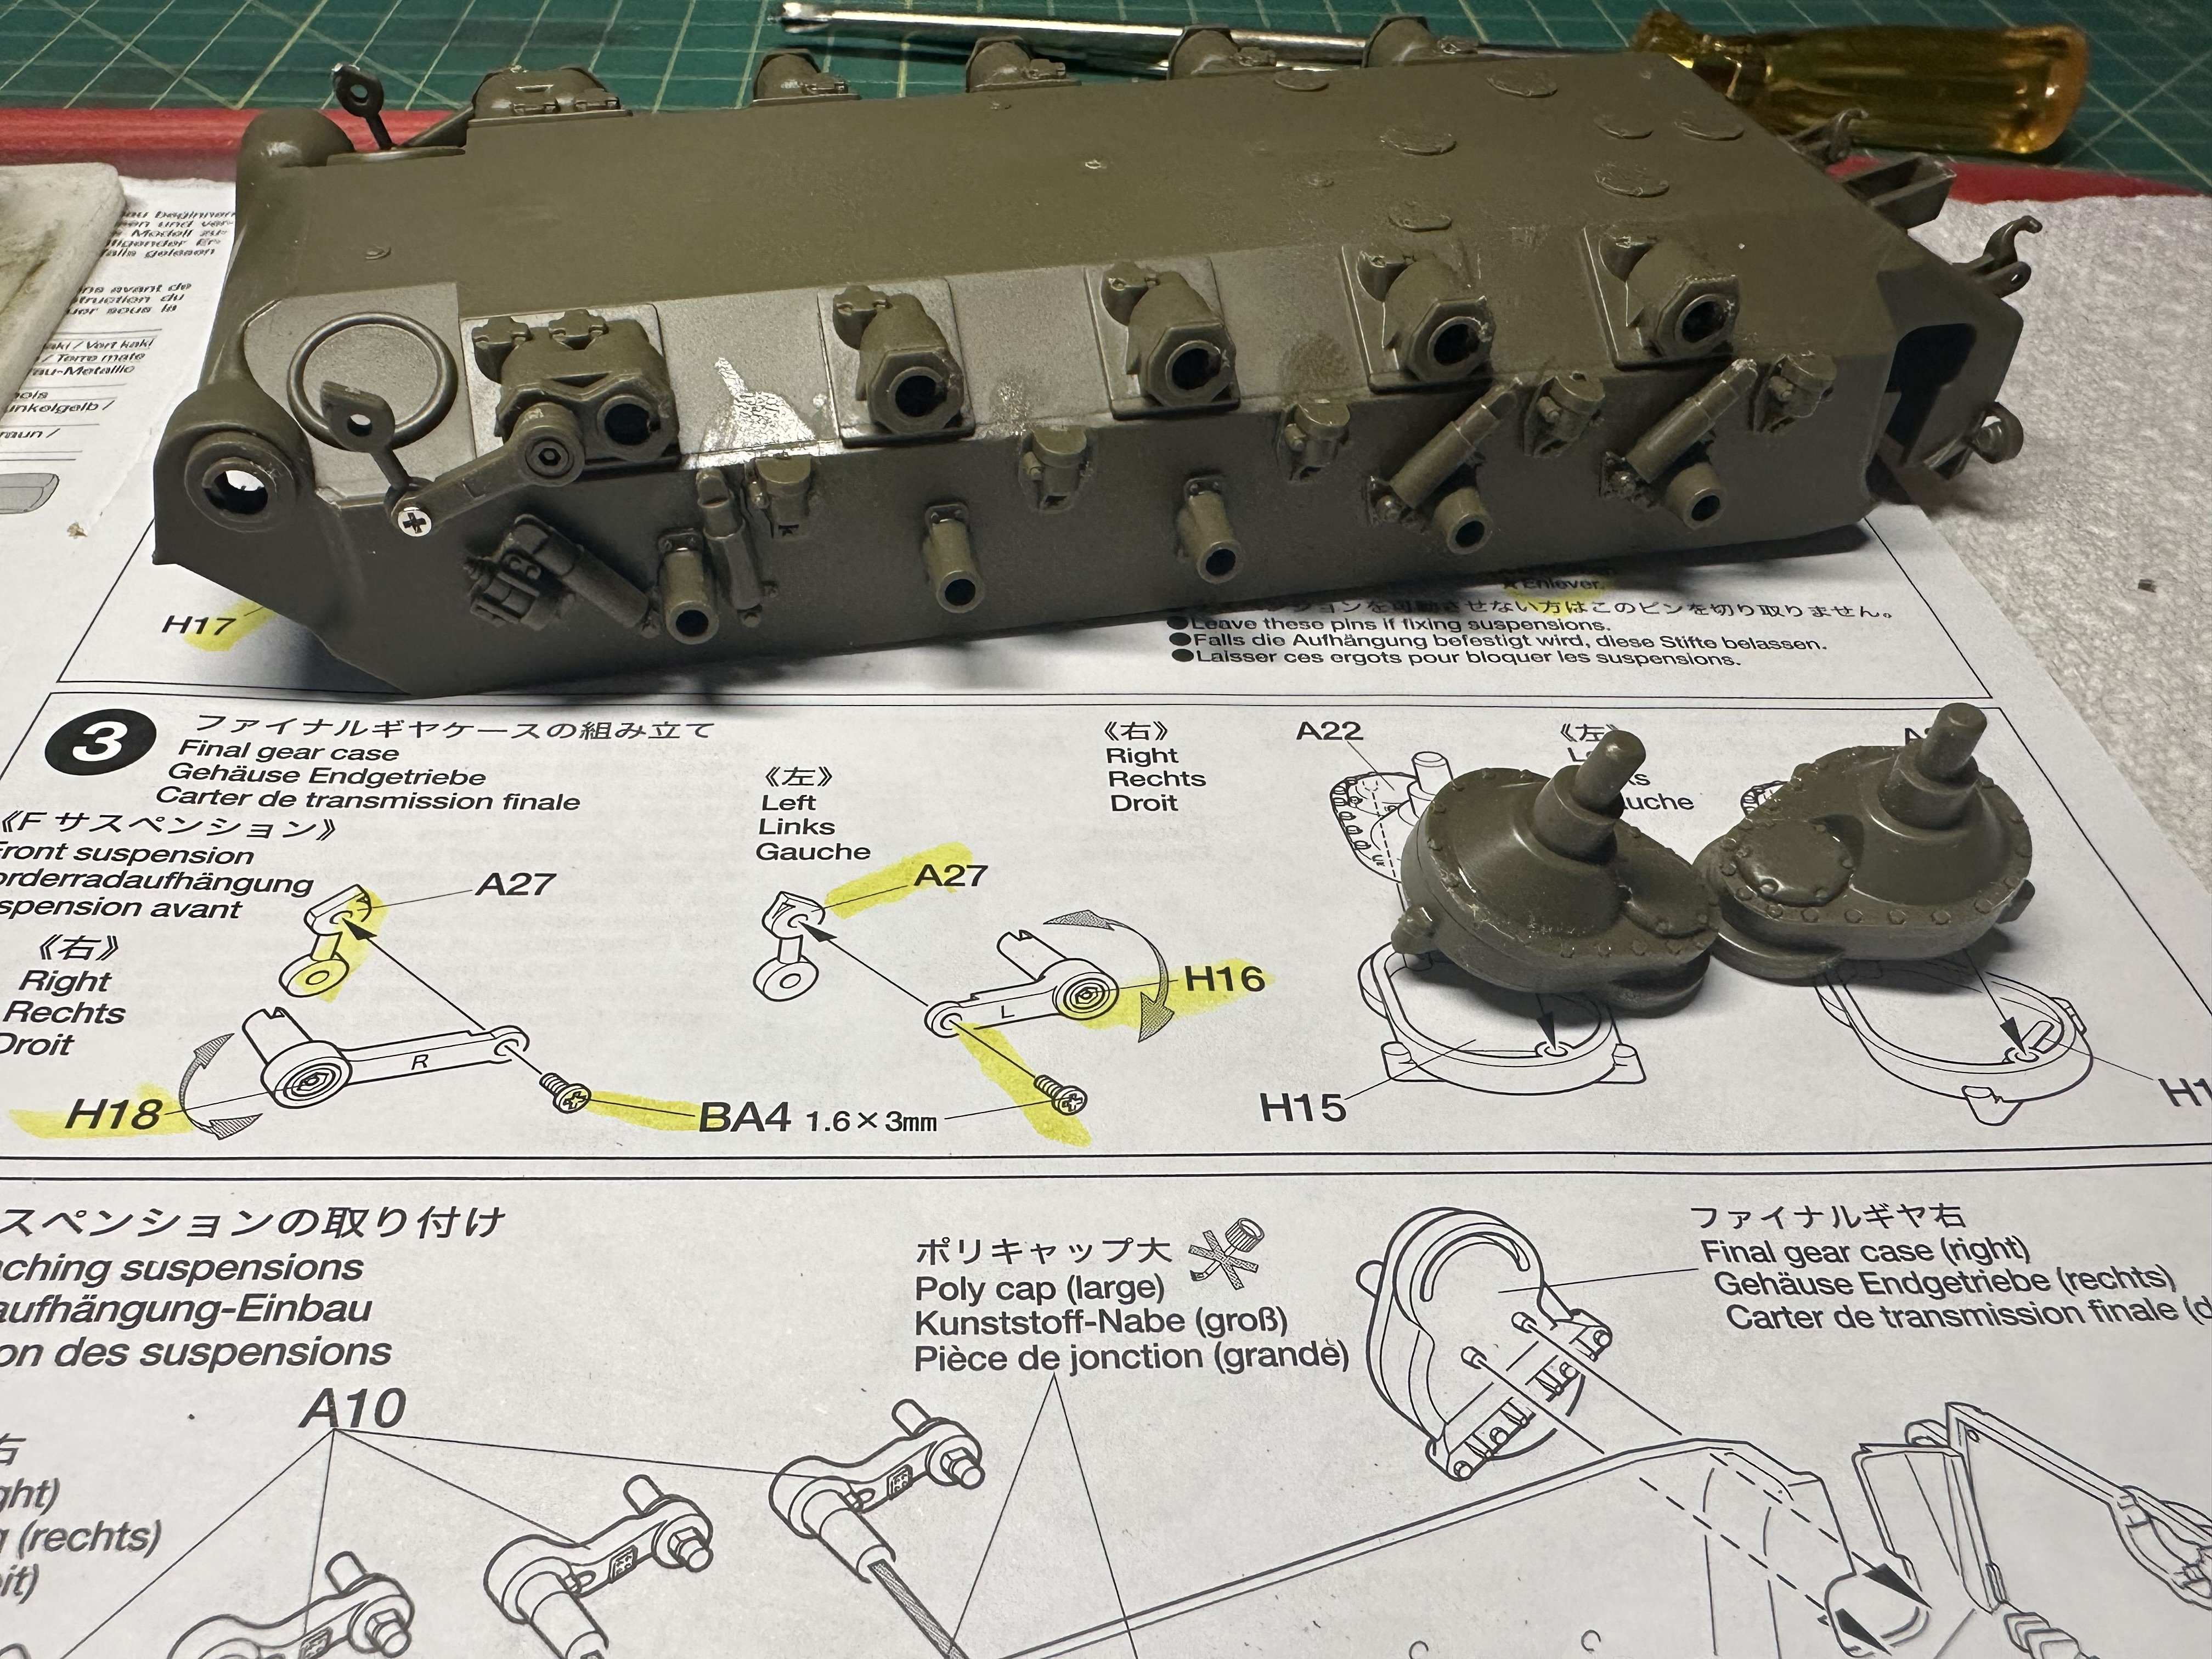
As the front and rear suspension arms actually articulate step 5/6 involved some very small screws, springs and arms.
-
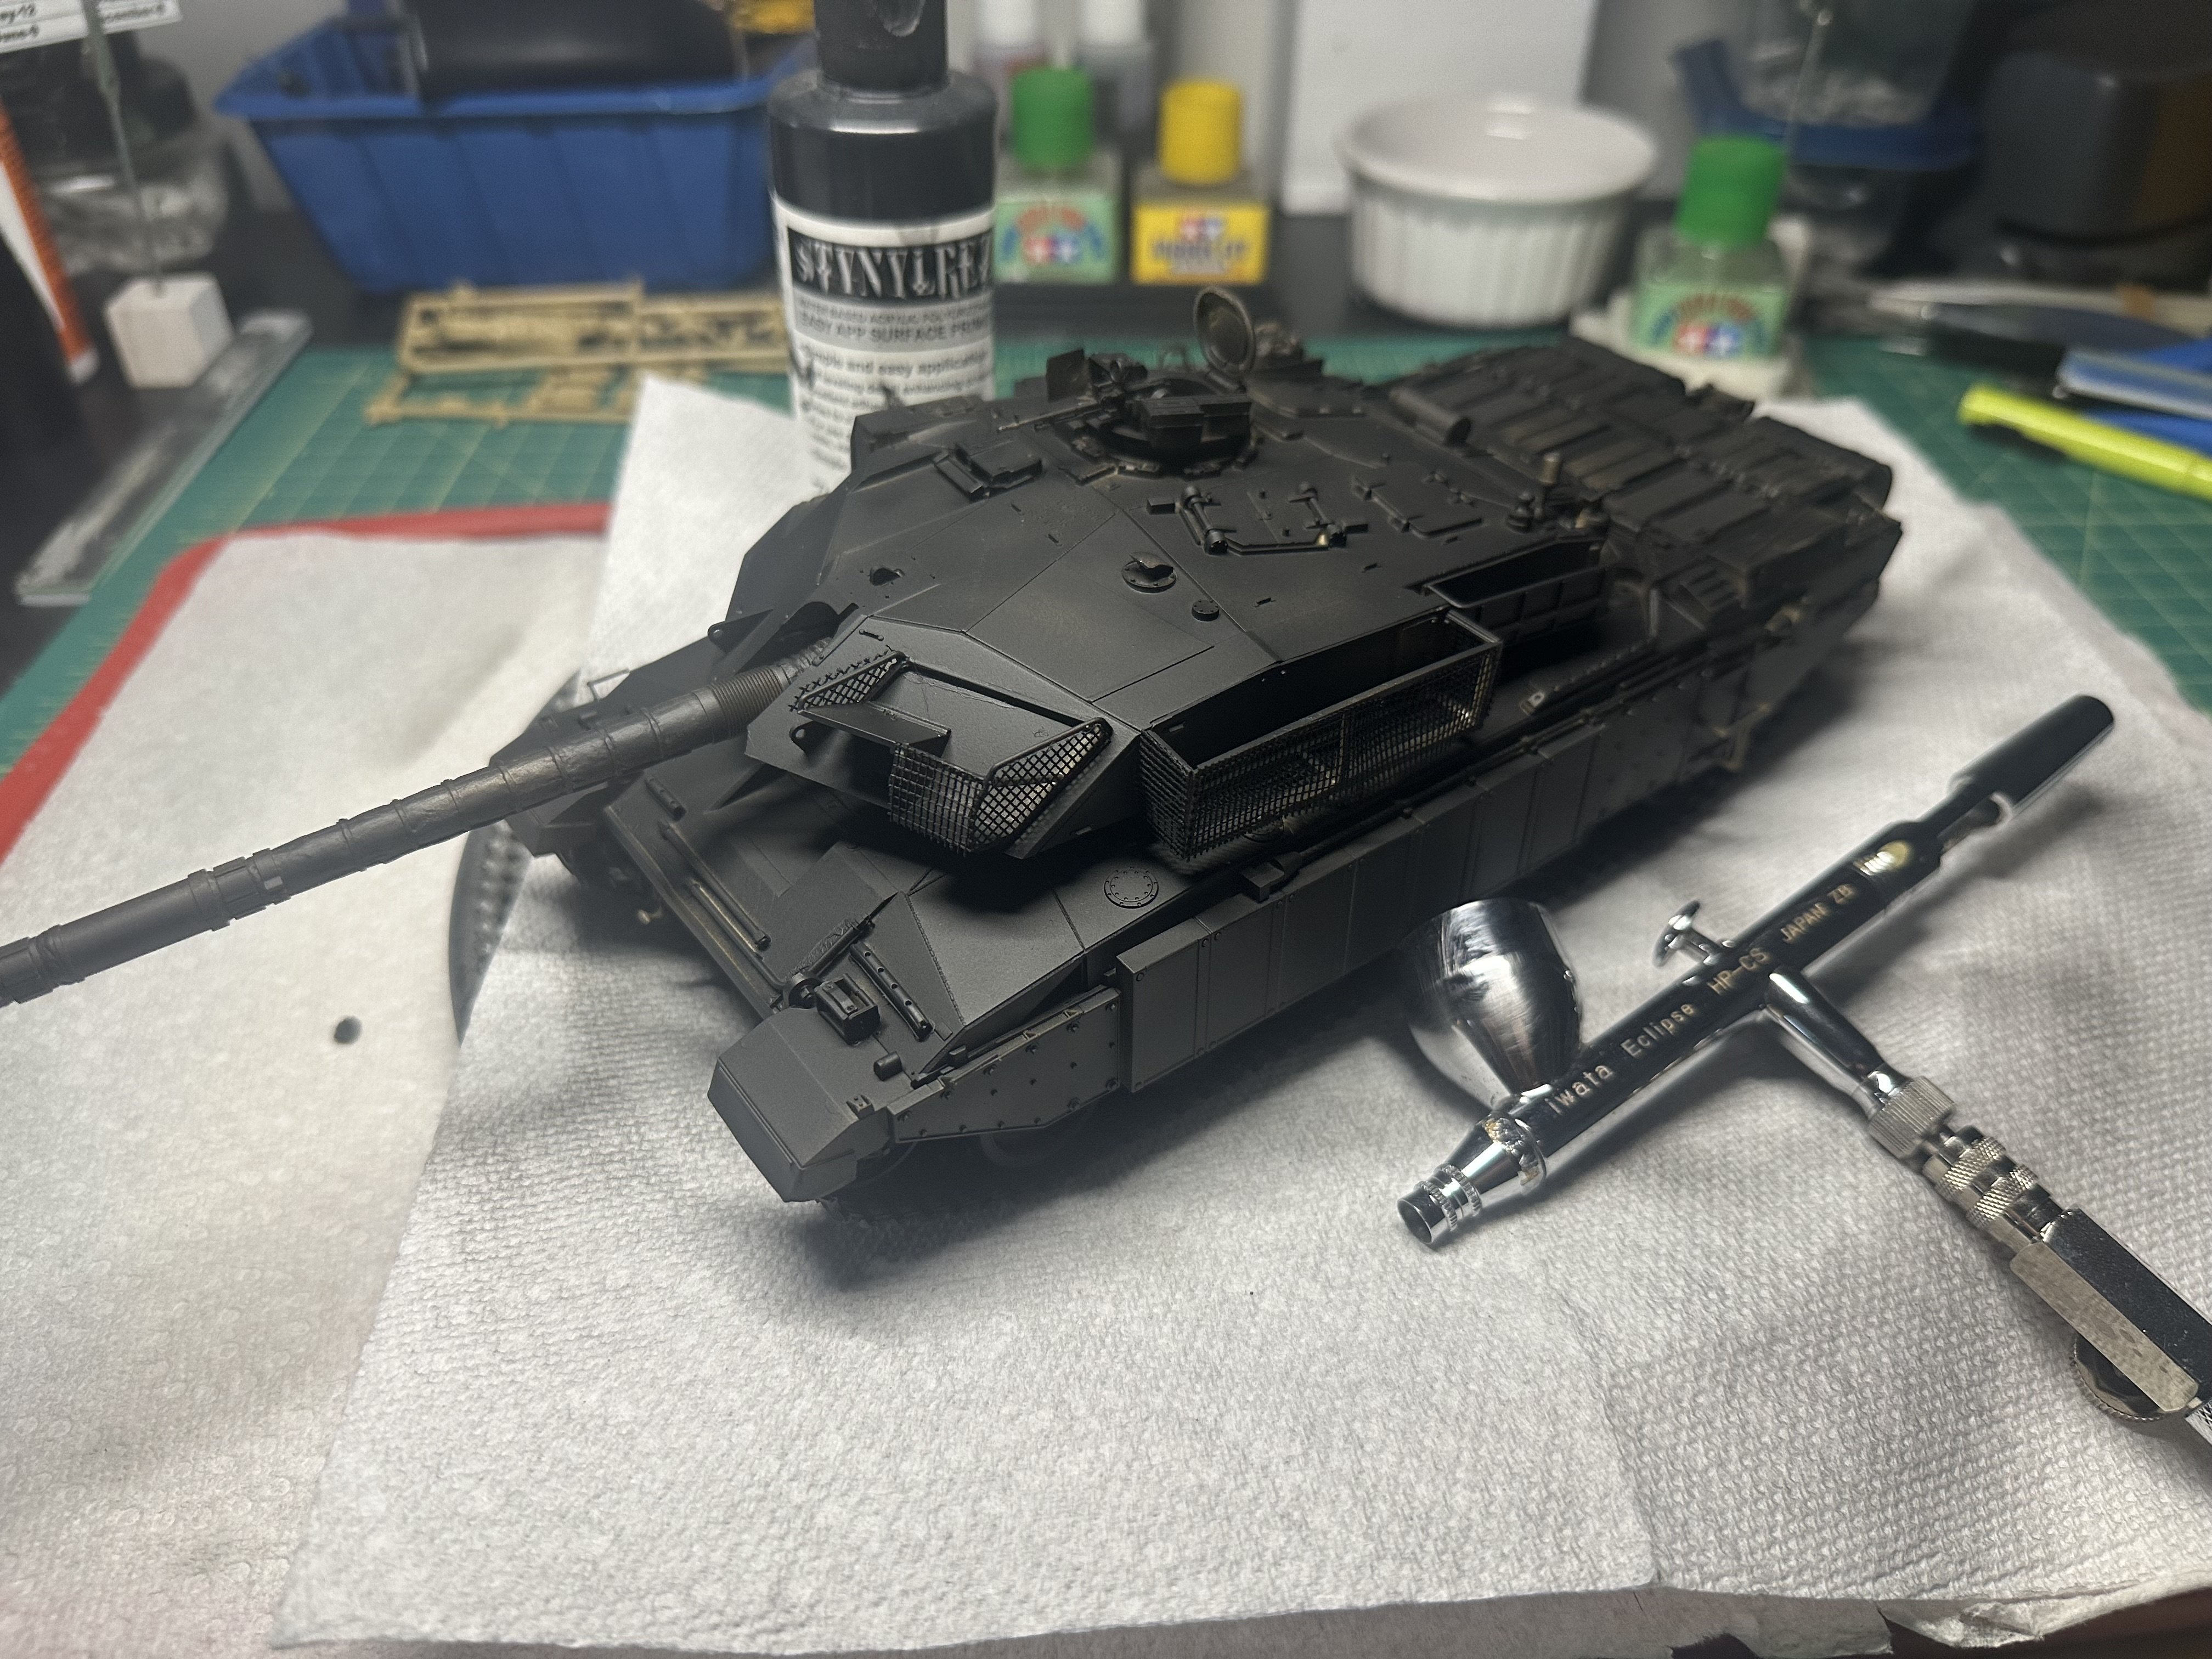
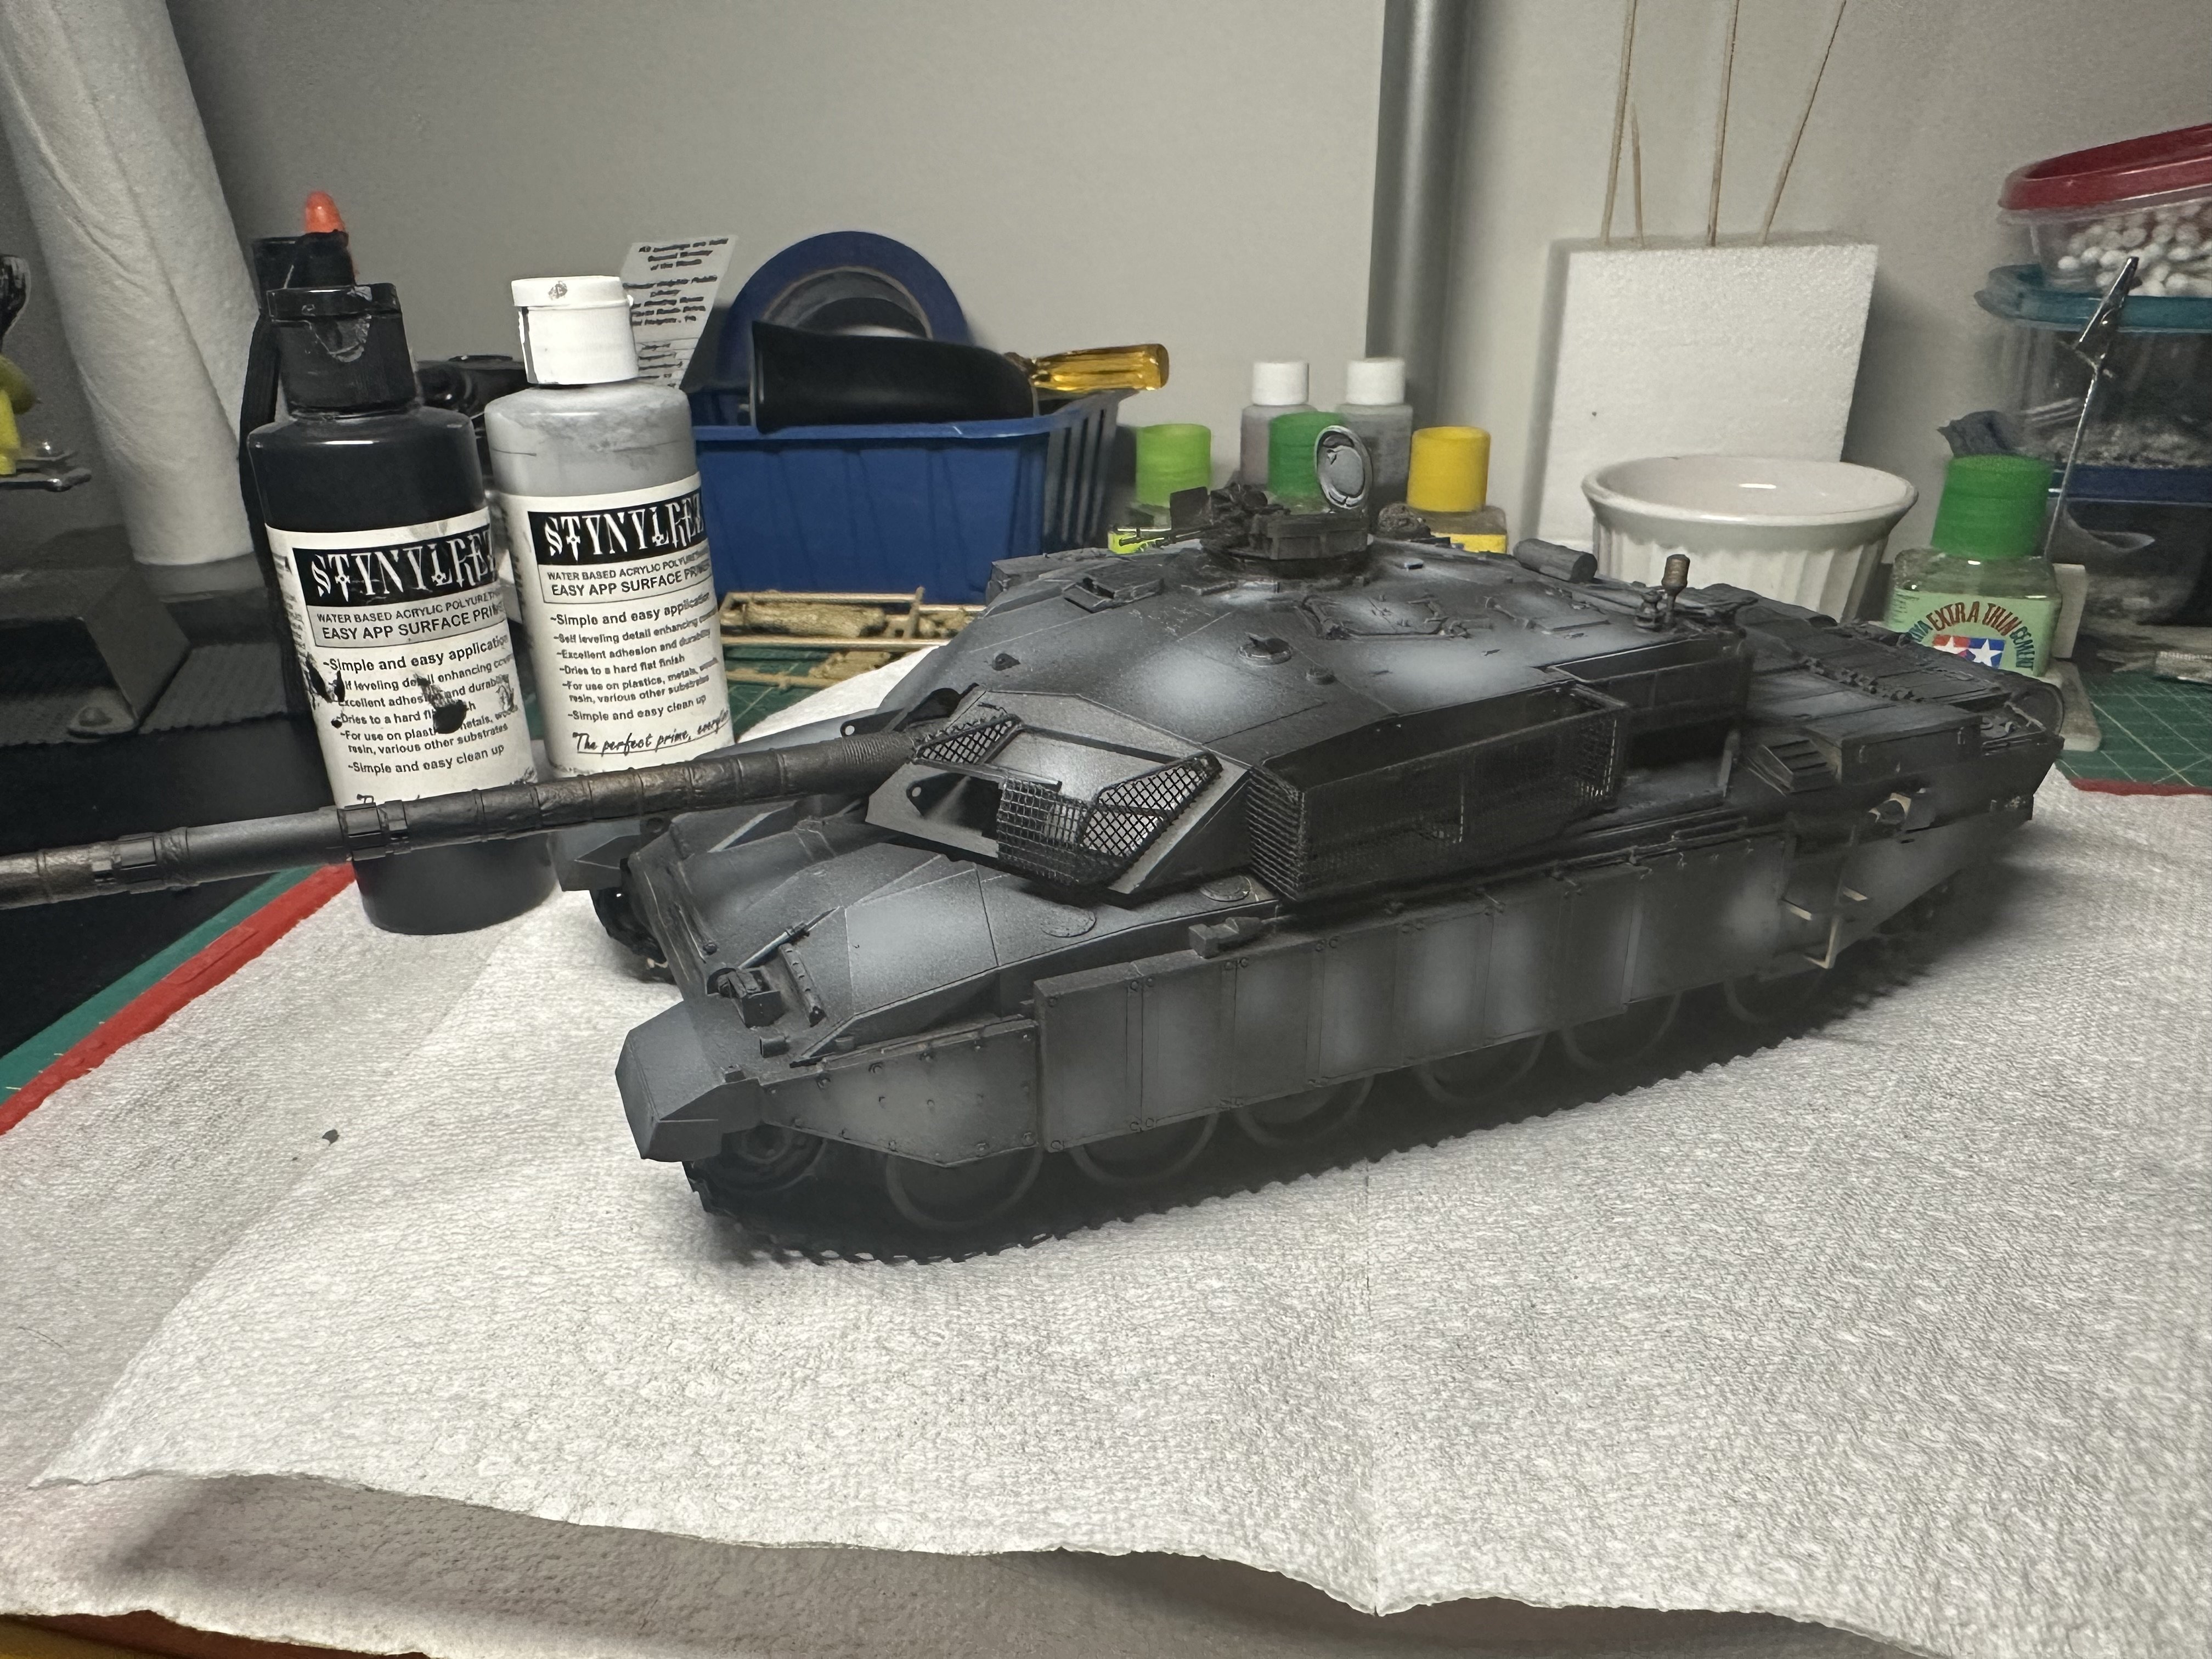
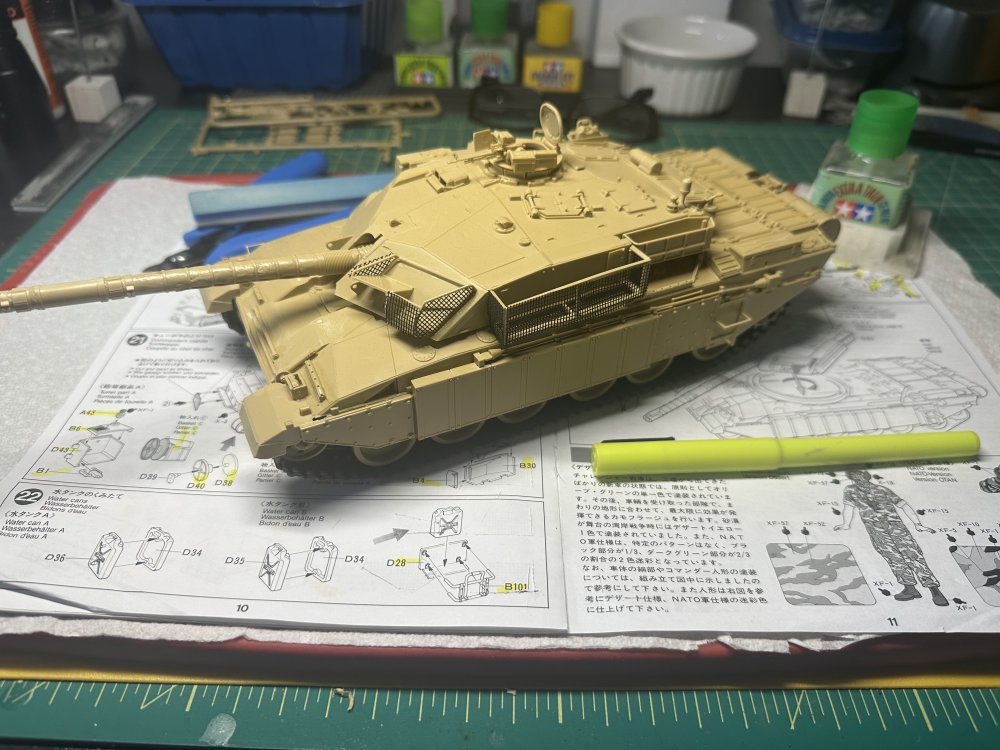
My paint shop crew sprayed a Styntlrex black and gray shadow base coat on the Challenger yesterday in preparation for its multi layered color coat later this week.


-
Thats quite the shot!!
-
I agree! Definitely futuristic in every way. Wouldn’t want to be in front of one!!!
-
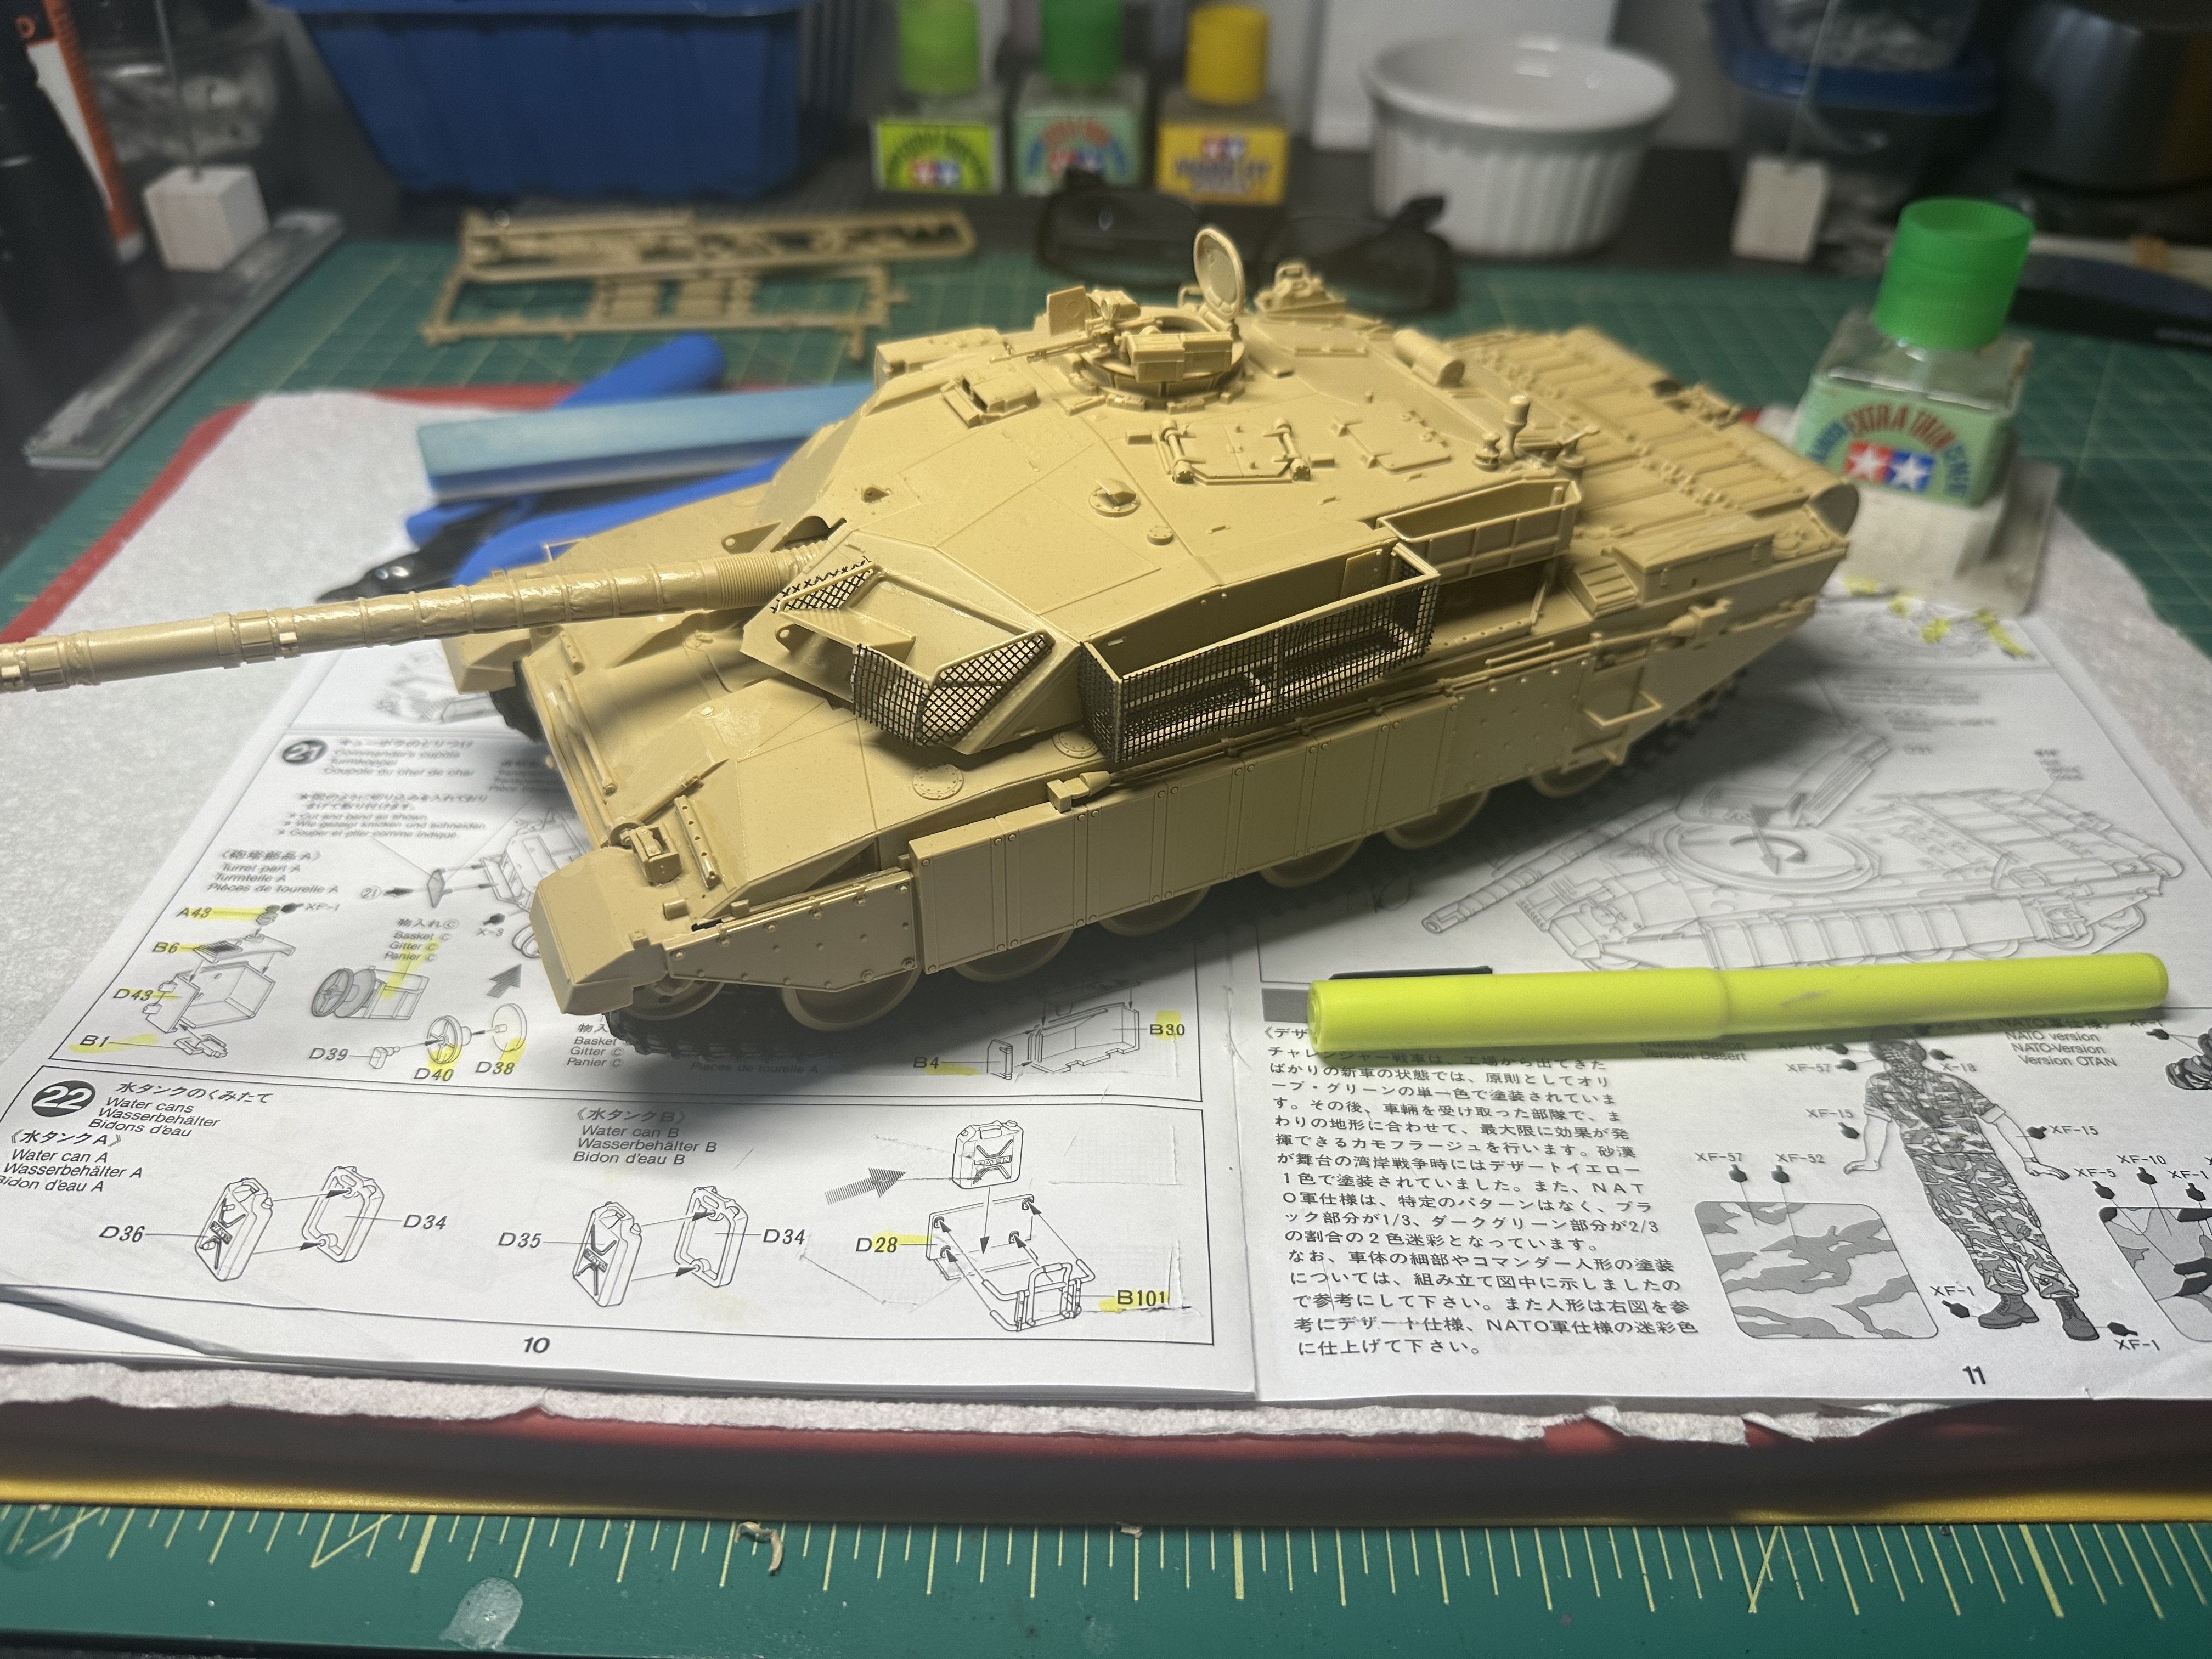
I started this build 8/27/2025 and finally finished the build portion of the kit today!!! Happy to finish so I can at last send it to the paint shop!
-
Tamiya 1/35 M26 Pershing Build Thread
RalphSarc replied to RalphSarc's topic in LSM 1/35 and Larger Work In Progress
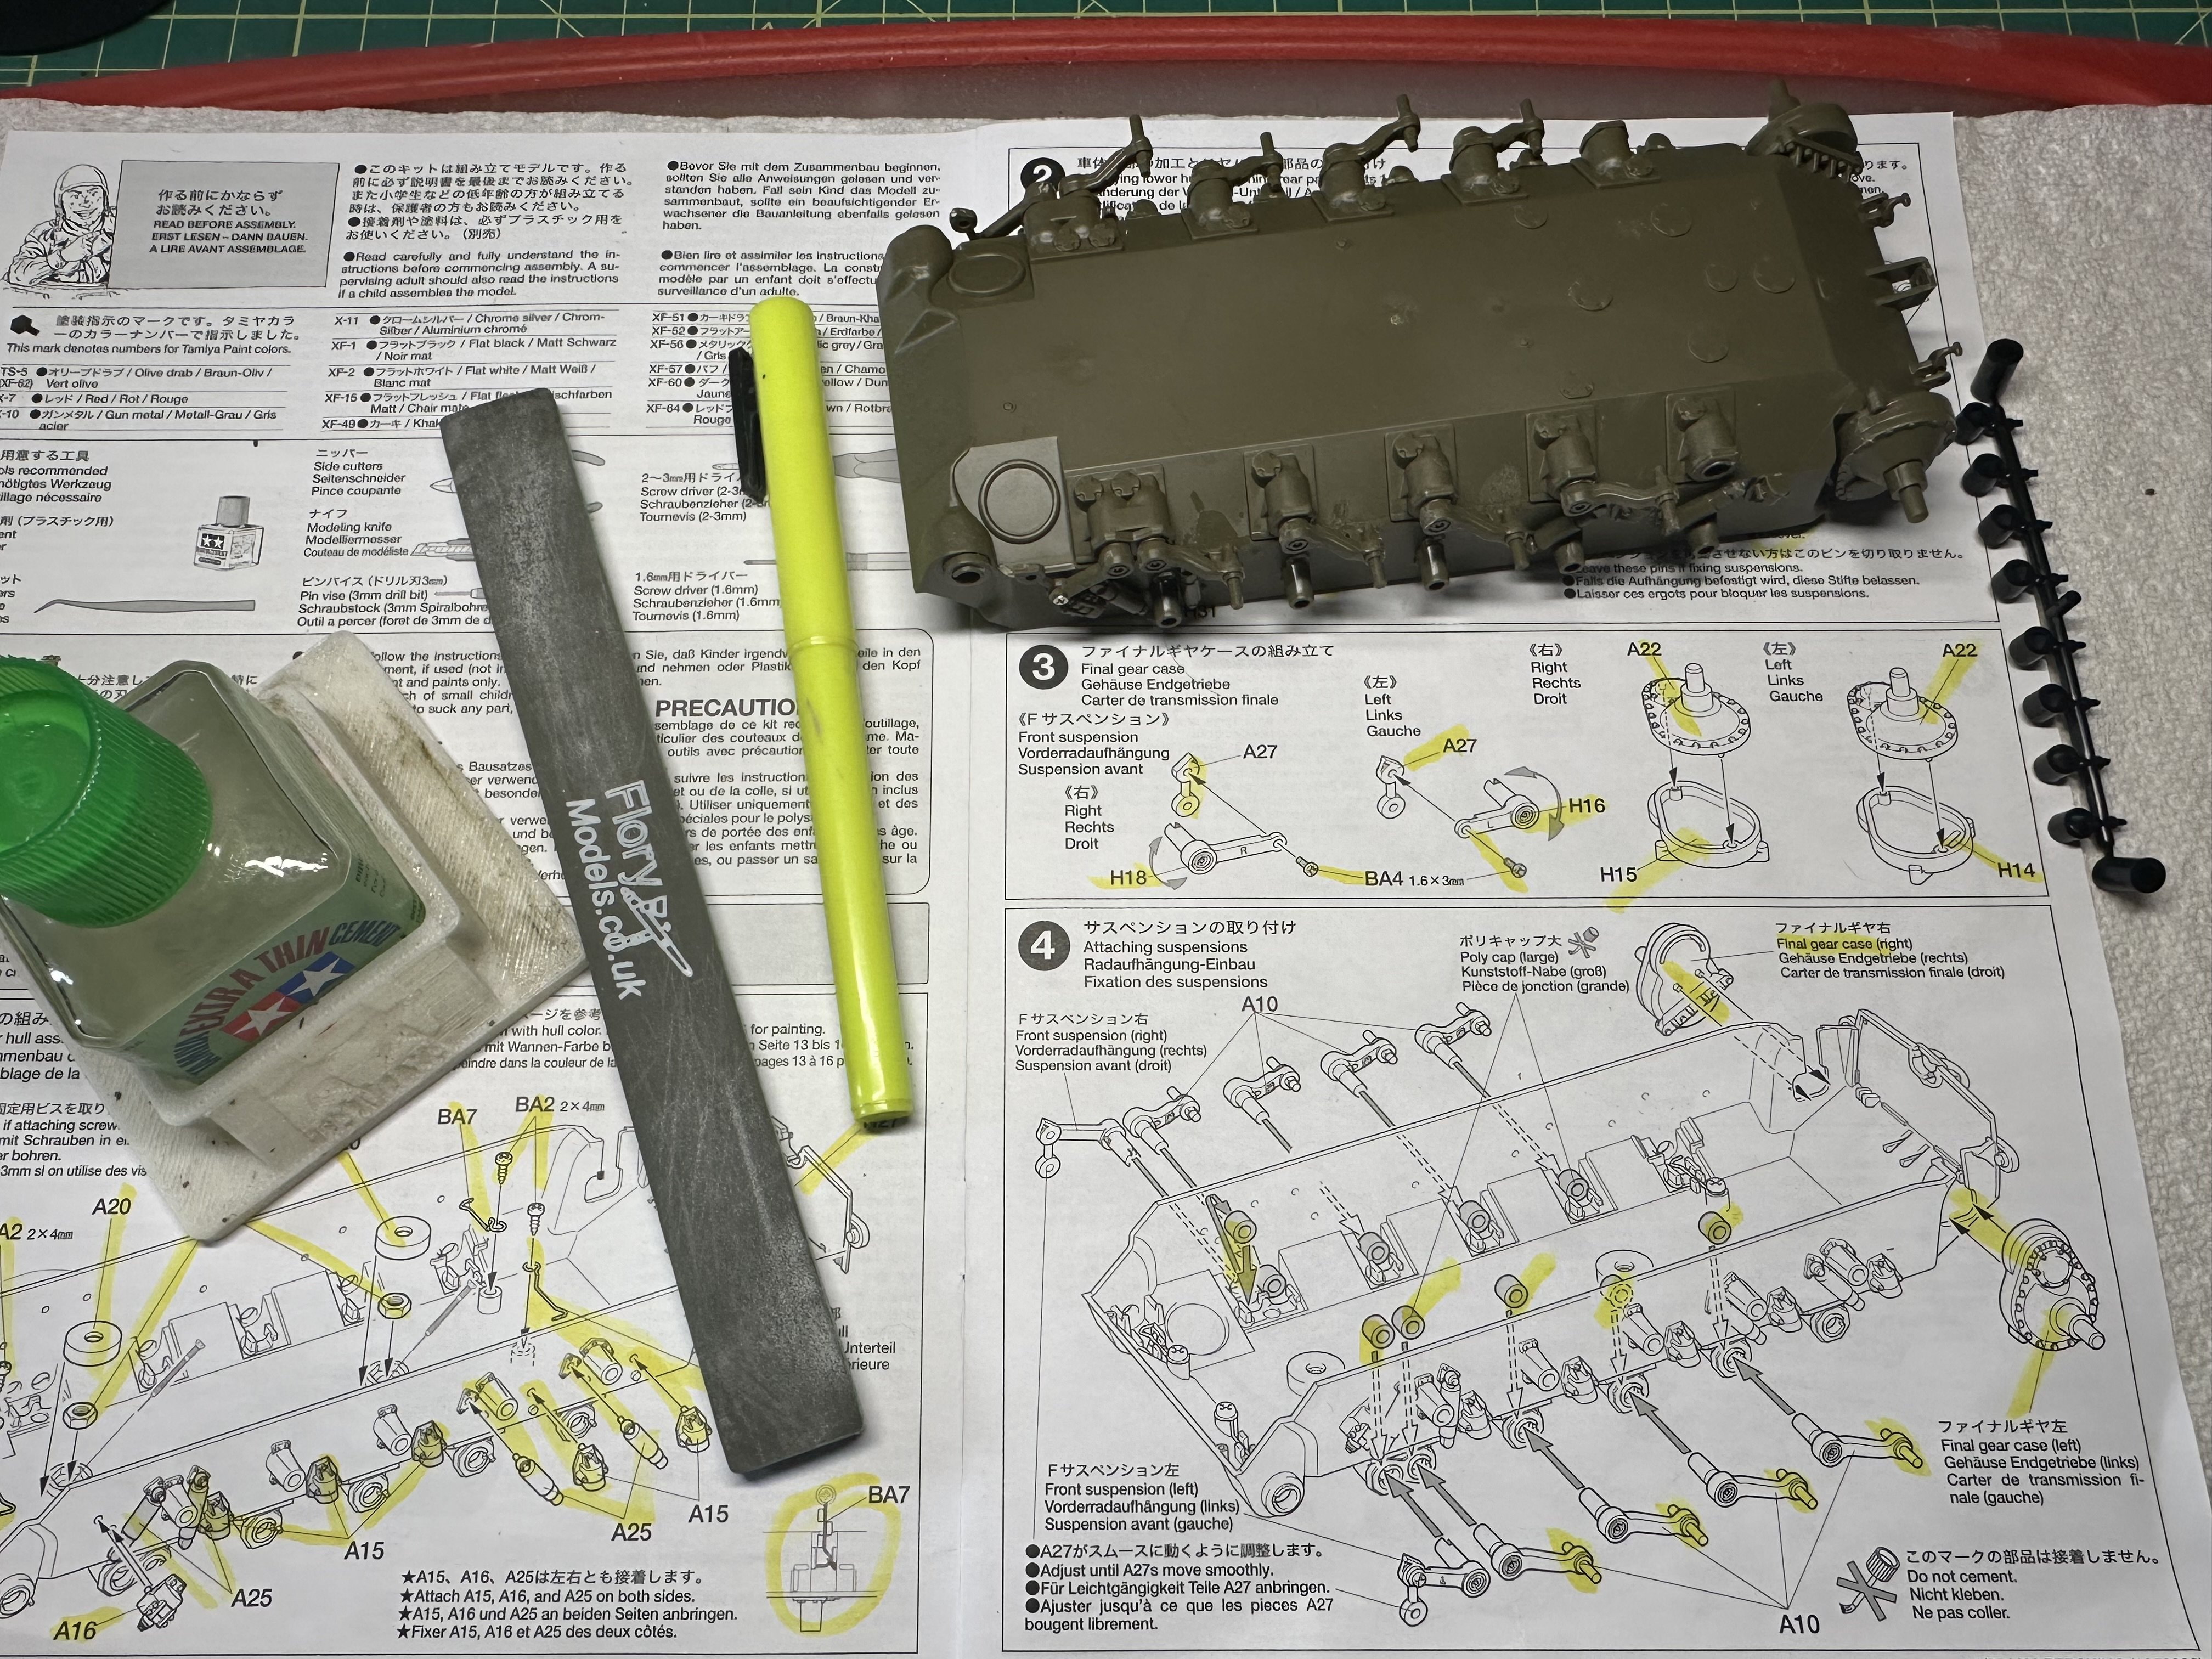
Completed step 4 assembling the lower hull suspension arms. So far no fit issues other than a lot of suspension pieces.
-
Tamiya 1/35 M26 Pershing Build Thread
RalphSarc replied to RalphSarc's topic in LSM 1/35 and Larger Work In Progress
Completed step 3 assembling the front suspension and final gear casings.
-
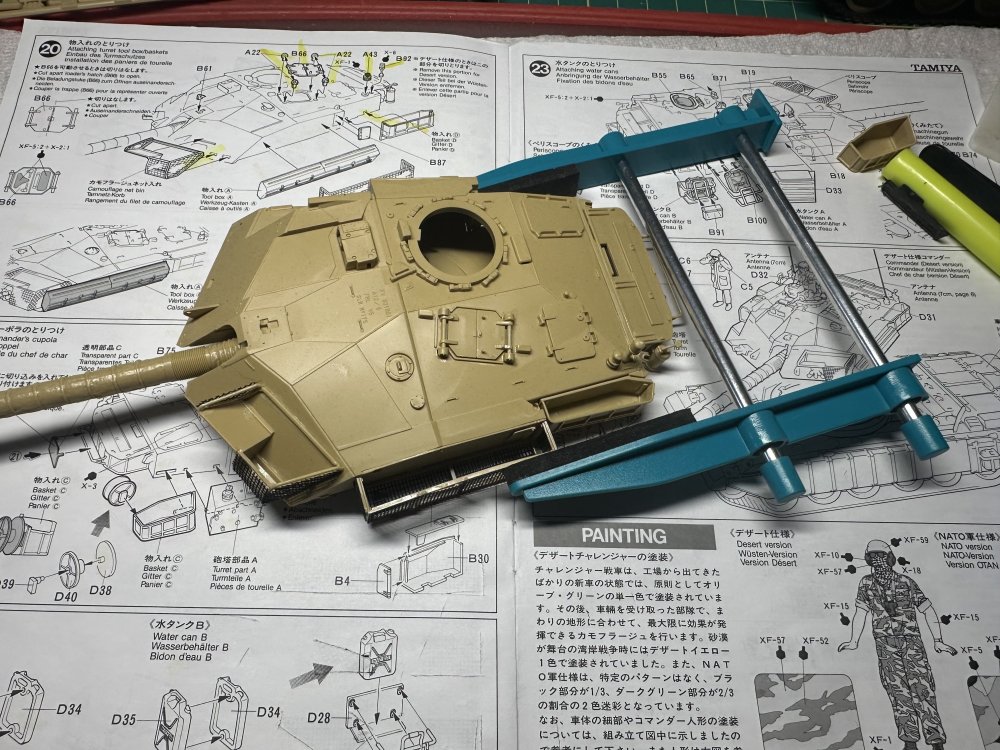
Securing the turret storage boxes in step 20 plus one upper hatch!
-
Tamiya 1/35 M26 Pershing Build Thread
RalphSarc replied to RalphSarc's topic in LSM 1/35 and Larger Work In Progress
Completed step 2 modifying the lower hull. Removed 12 guide pins per the instructions and add tow hooks and exhaust to the rear bulkhead.
-
Tamiya 1/35 M26 Pershing Build Thread
RalphSarc replied to RalphSarc's topic in LSM 1/35 and Larger Work In Progress
On your mark….get set….go!!! Completed step 1 assembly of the lower hull of my Pershing build. Cheer me on…… I need the mojo, lol!!!
-