

Dennis.E
-
Posts
216 -
Joined
-
Last visited
Content Type
Profiles
Forums
Events
Gallery
Posts posted by Dennis.E
-
-
It's great to see another modeler who still uses those long funny pointy things with bristles sticking out the top...looks great Rossco!
-
I like it!!!!
-
Excuse me whilst I peel my lower jaw off the carpet....
-
 1
1
-
-
Those Daimler Benz engine blocks leaked a lot of oil and were generally an awful mess at the best of times Arno...I don't think you can
'over' weather your subject here!!
-
1
-
-
..My Uncle back in the UK owns the entire front end of a Junkers Ju88 (from the rear of the cockpit to the front glazing, complete with many bullet hits) - I have seen the photographs my late Father took of it. He used to keep it in a barn somewhere (the exact location of which has always remained a family secret), and now my uncle is gone I have no idea where it is!!!
-
1
-
-
It's great to see a project that's slightly off the mainstream...I'll be tagging along with this!
-
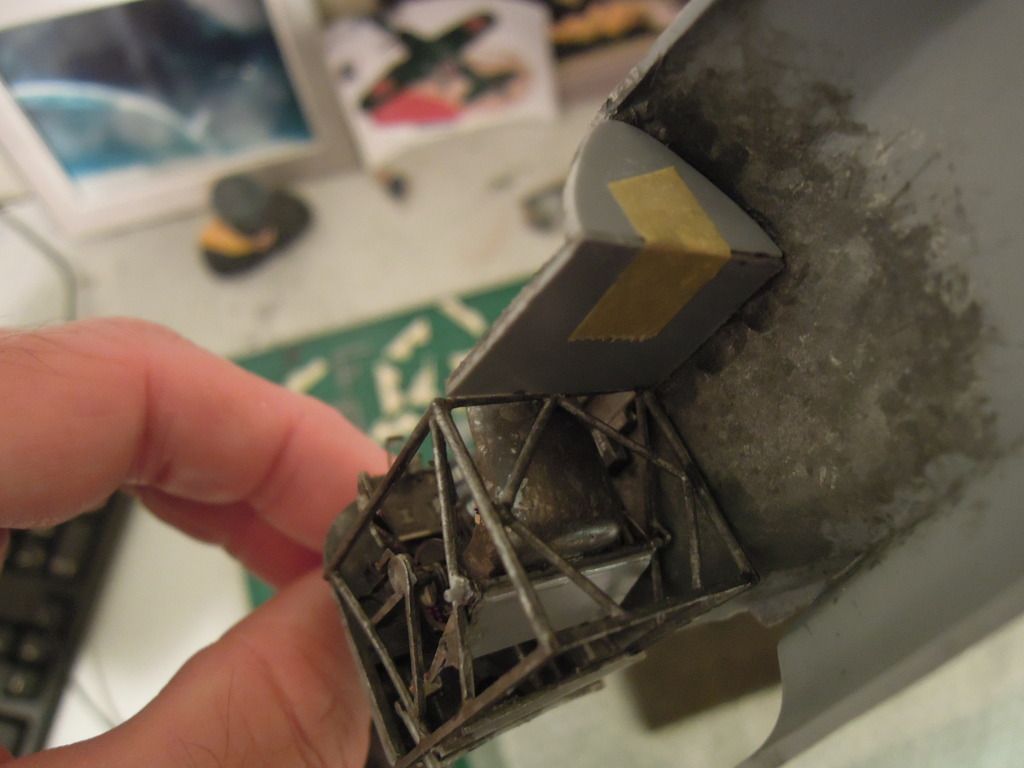
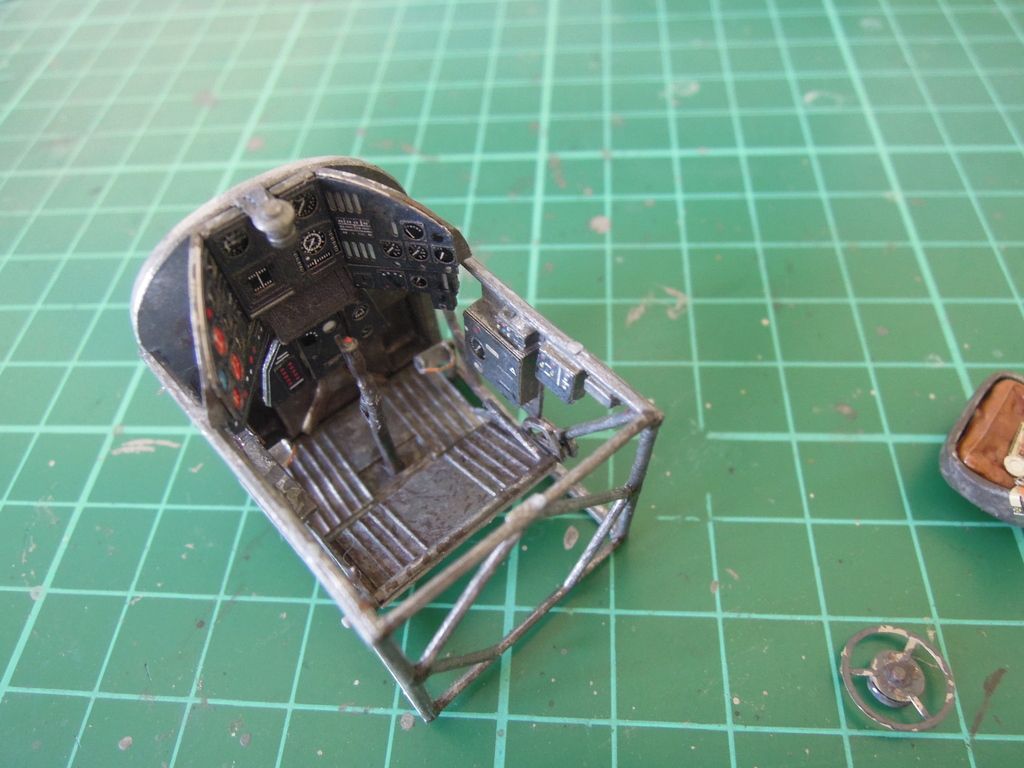
...mating the cockpit cage within the fuselage half was trouble free...in fact I have have had more trouble with more main stream manufacturers!
There was a slight gap between the rear decking and the cockpit cage - nothing to write home about though.
Just how the other fuselage half will fit remains to be seen...we'll find out tomorrow.
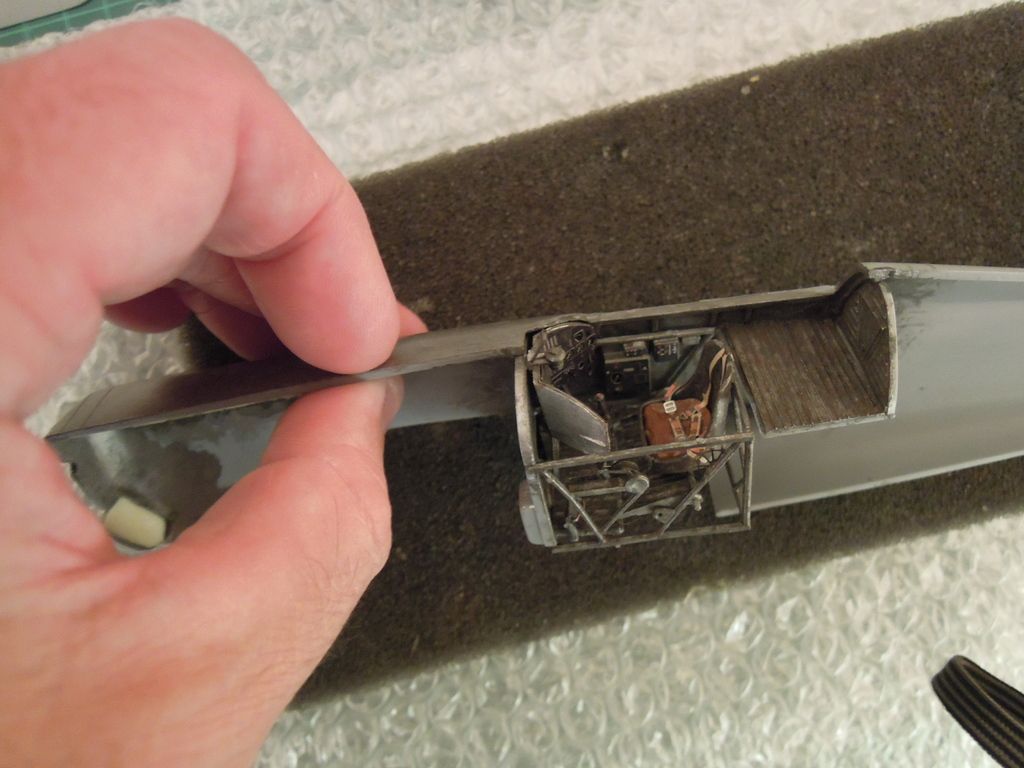
One issue I have noted is a discrepancy at the front of the fuselage halves from the cockpit to the front of the air frame. I am not quite sure exactly what the problem is, but the result of this issue is that upon trying to close the fuselage halves one half wants to ride up over the other creating quite a 'lip'. I noticed this when I test fitted the parts at the beginning, and another modeler has noted it in his review of this
kit - unfortunately for him too late, resulting in copious amounts of filling and sanding.
-
1
-
-
...Would something like a varnish have the same effect Jeroen? I don't have any of the other products you mention and getting to a hobby store for me is like a trek up the north face of Everest!
-
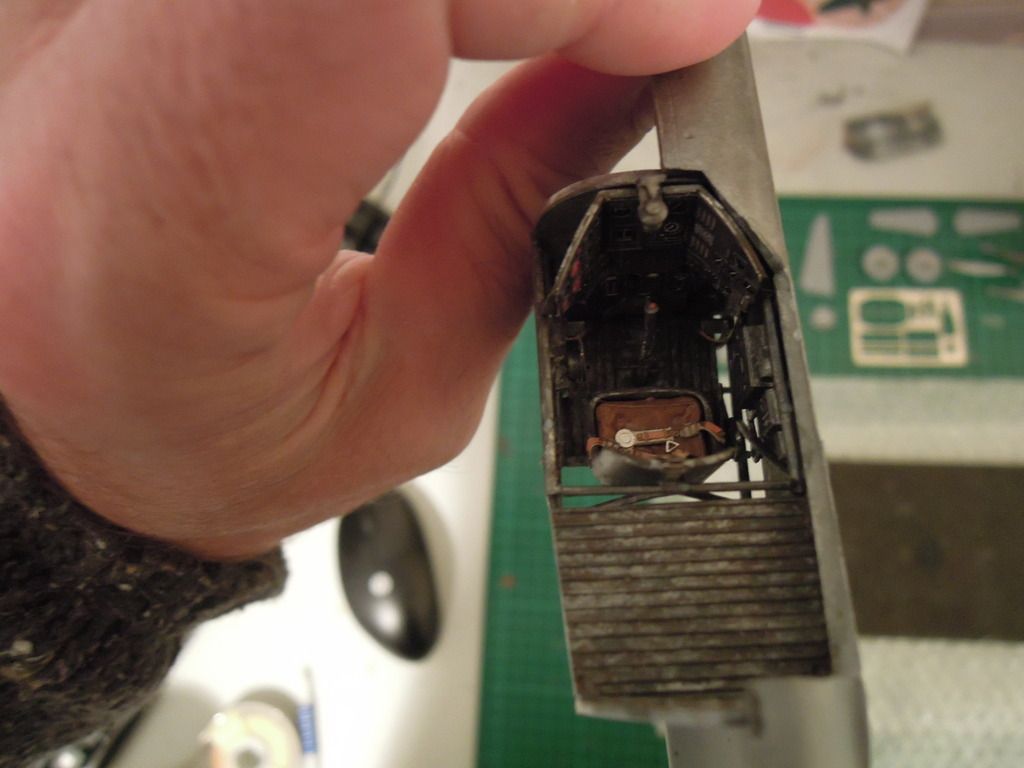
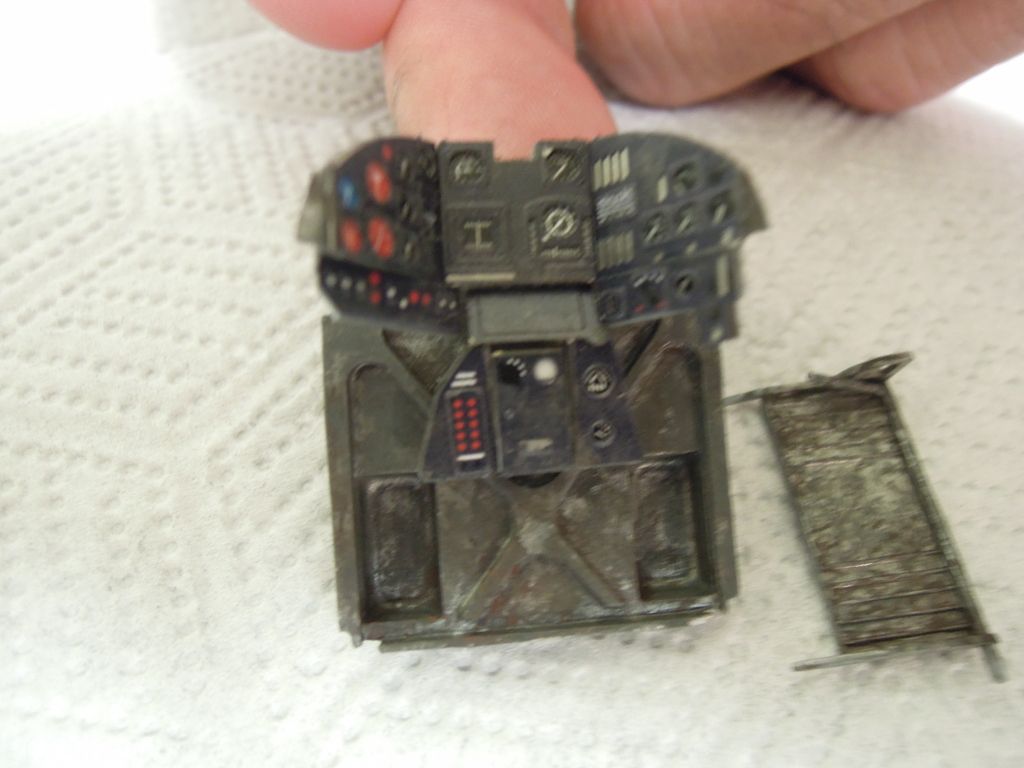
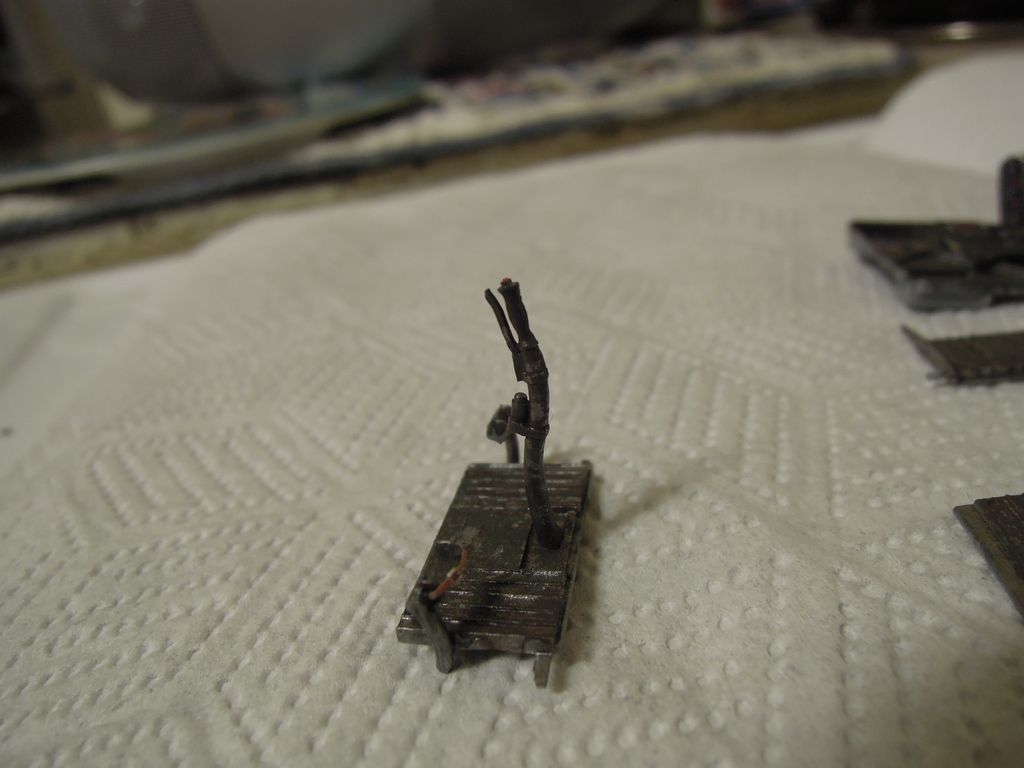
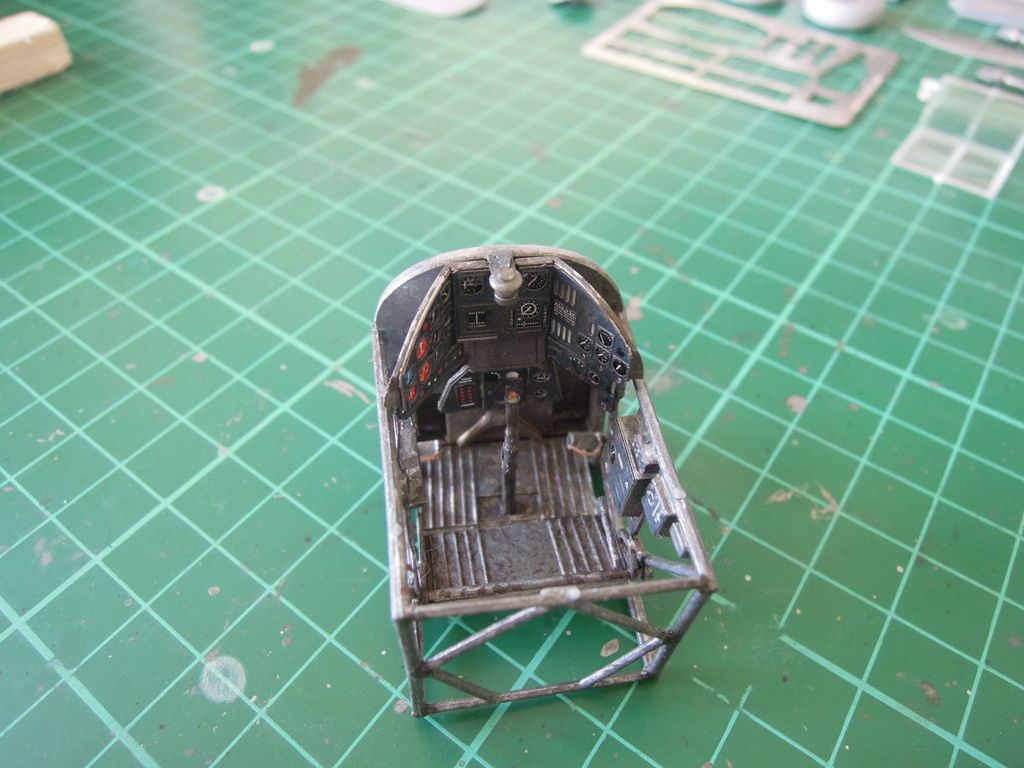
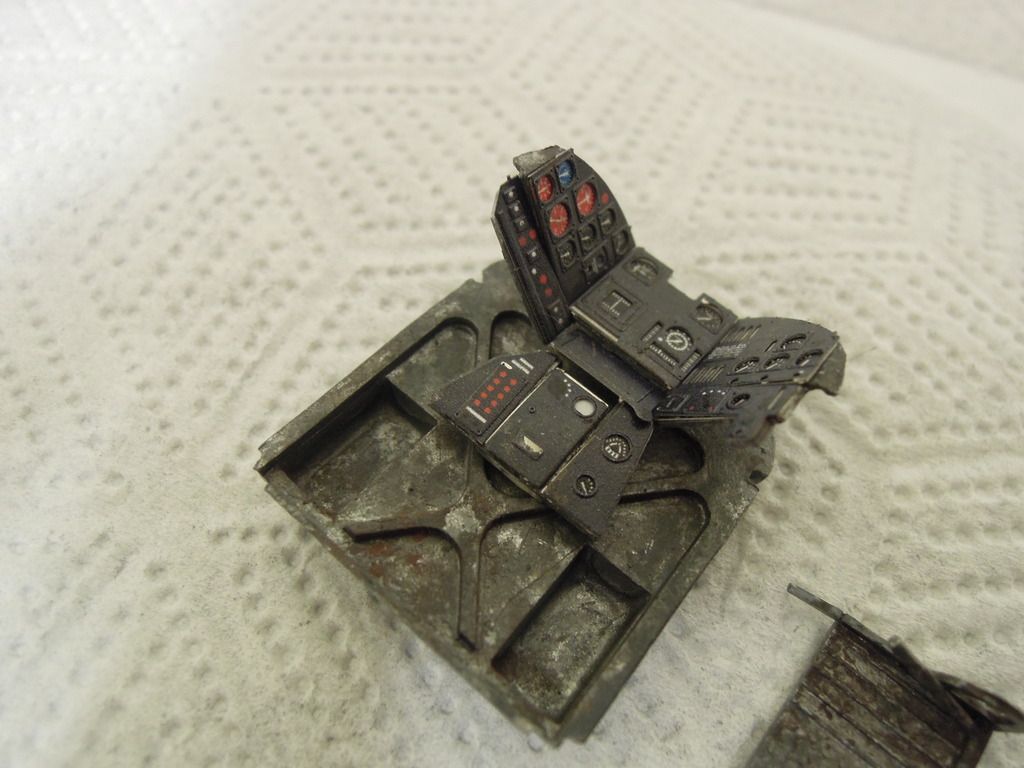
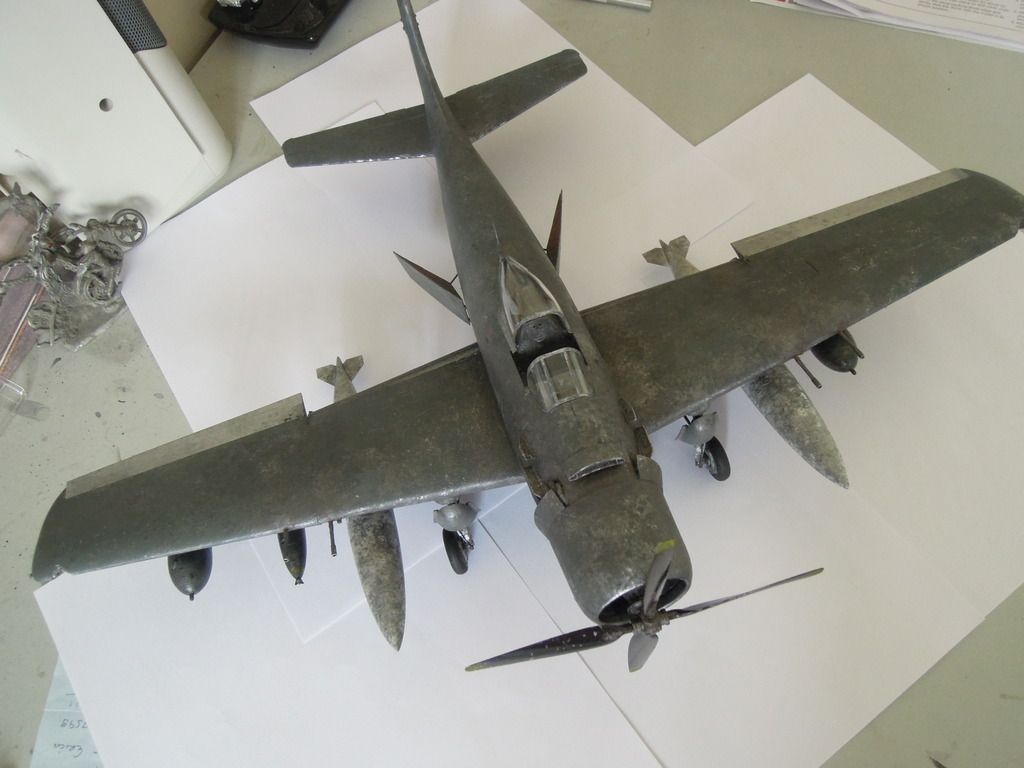
Hi All,
Over the past few days I have had a chance to make some headway on the MS.406...there have been/are some
issues, but that is just something you have to live with with Special Hobby kits.
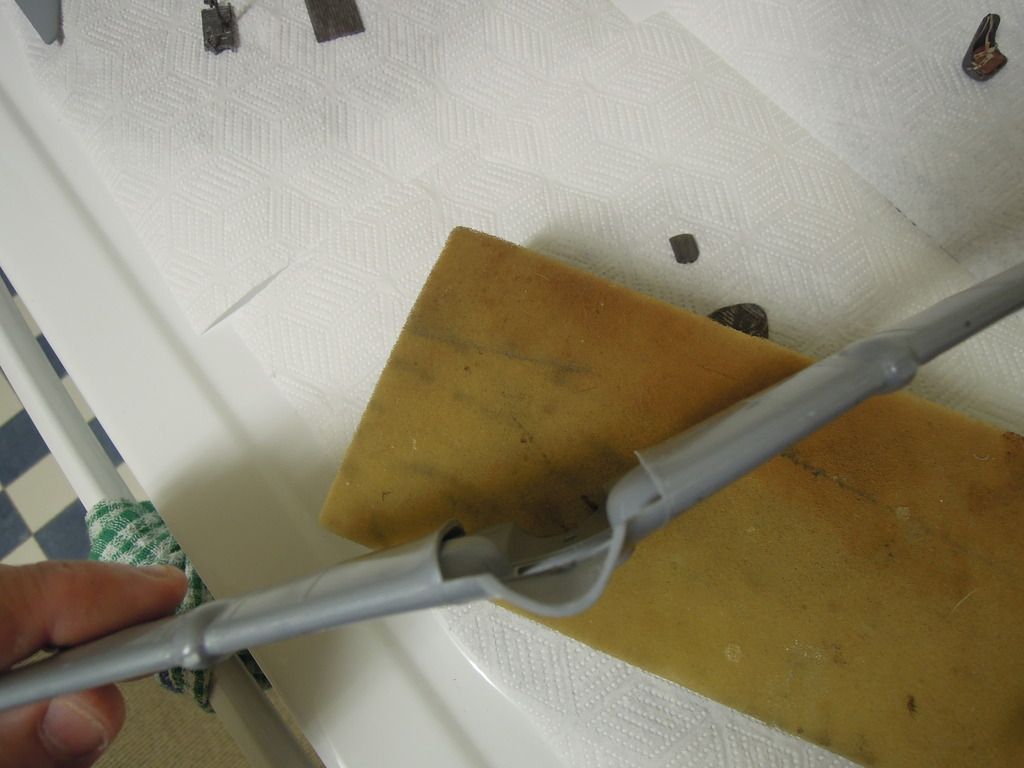
Anyway, I started on the cockpit; the trim wheel doesn't fit when installing the seat, and most of the numbering on the instruction sheet is all wrong. You have to work it out for yourself, pretty much. Still, that's not the end of the world, as this kit doesn't have a large volume of pieces.
The photo etch is lovely, and easy to work with...it's just SMALL!!! I simply couldn't install the tiny switches as they really were just too small for my mark 9 eyeballs...
The gun sight is scratch built per instructional requirement, and I have installed the exhausts in place, where they fit like a glove.
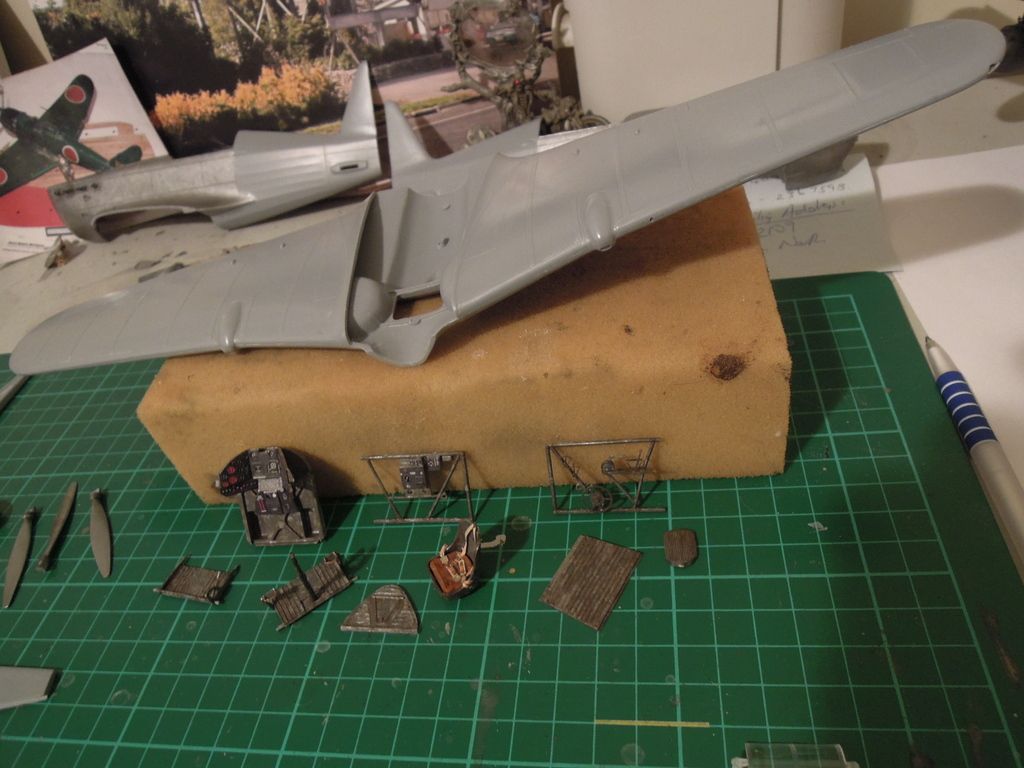
The main wings also fit together very well. There does appear to be a slight gap when I test fit the main wings to the fuselage...we'll see how that pans out when the time comes...
I've now finished the cockpit cage, and found it slightly warped...never mind, we'll see how it goes into the
fuselage.Right now...I'm happy!
-
1
-
-
Fantastic Rog! - Many thanks!!!
-
This
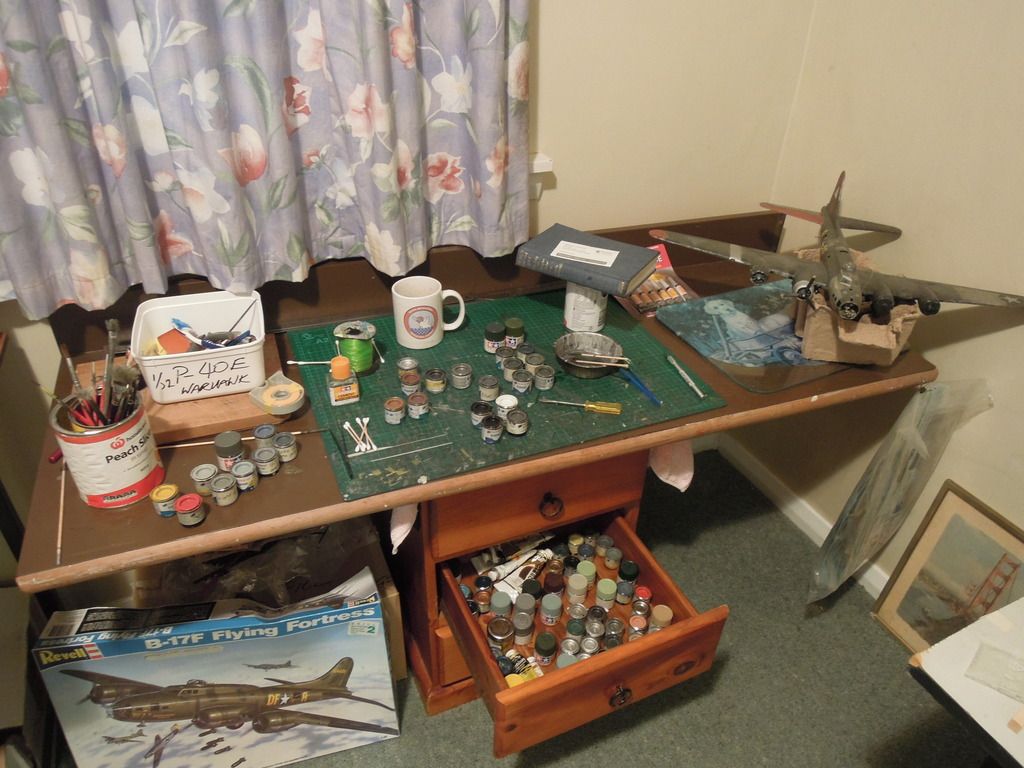 is my current stash - we are living in temporary accommodation right now, so I'm doing the best I can with wh
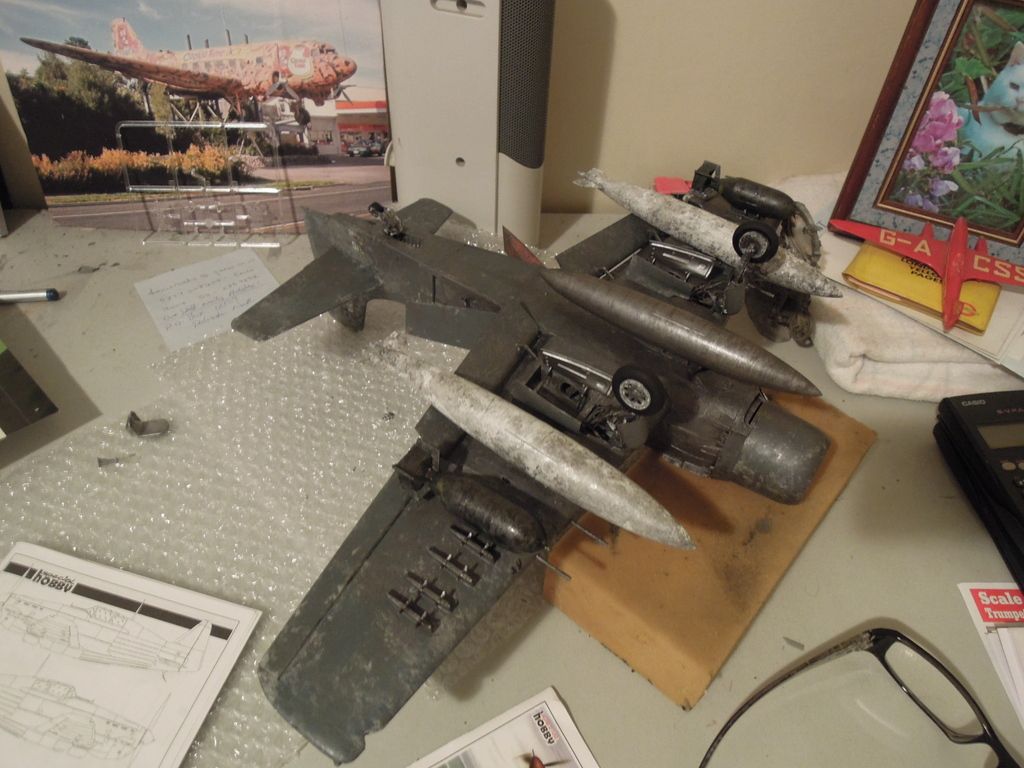 at we have got.
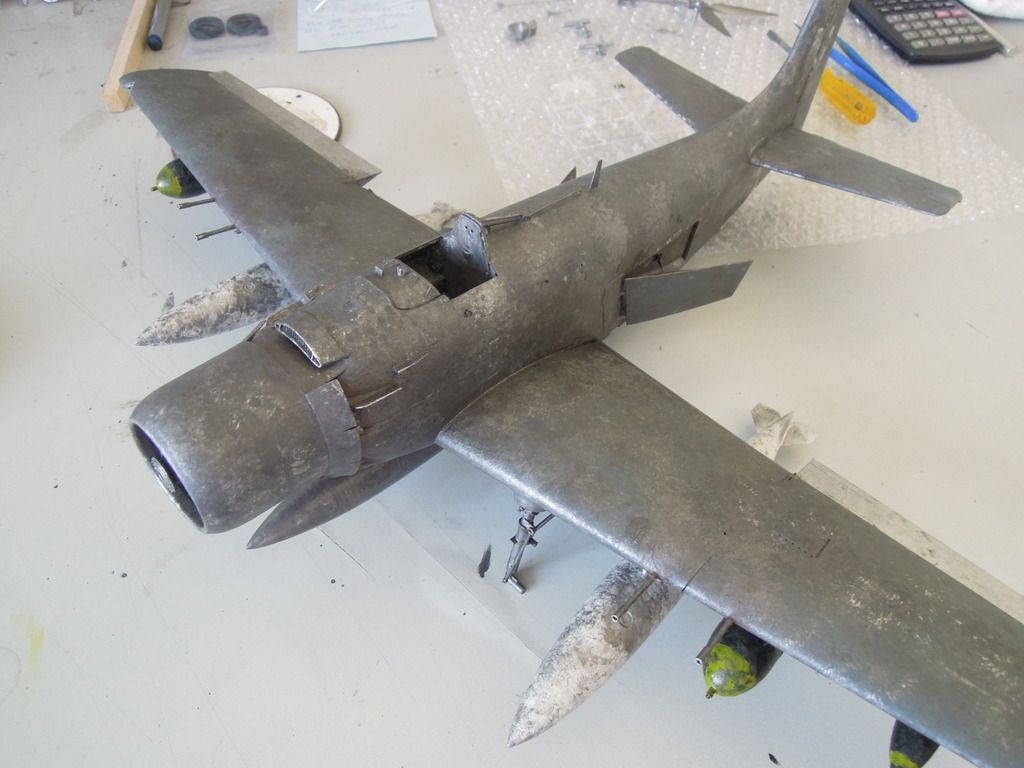
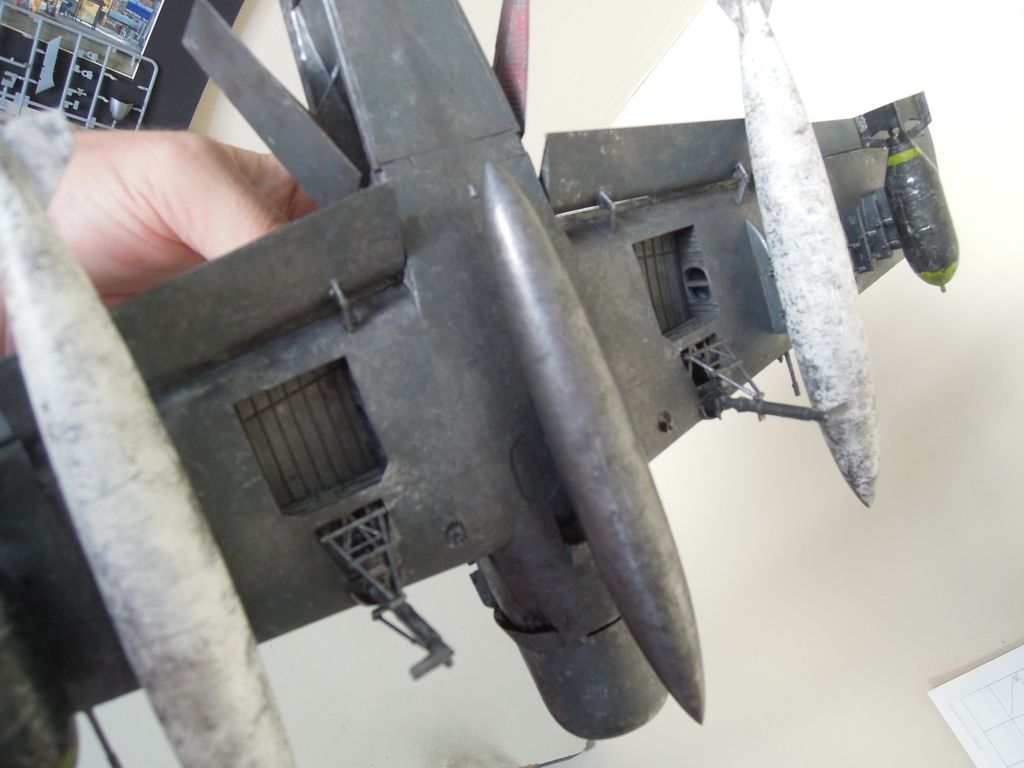
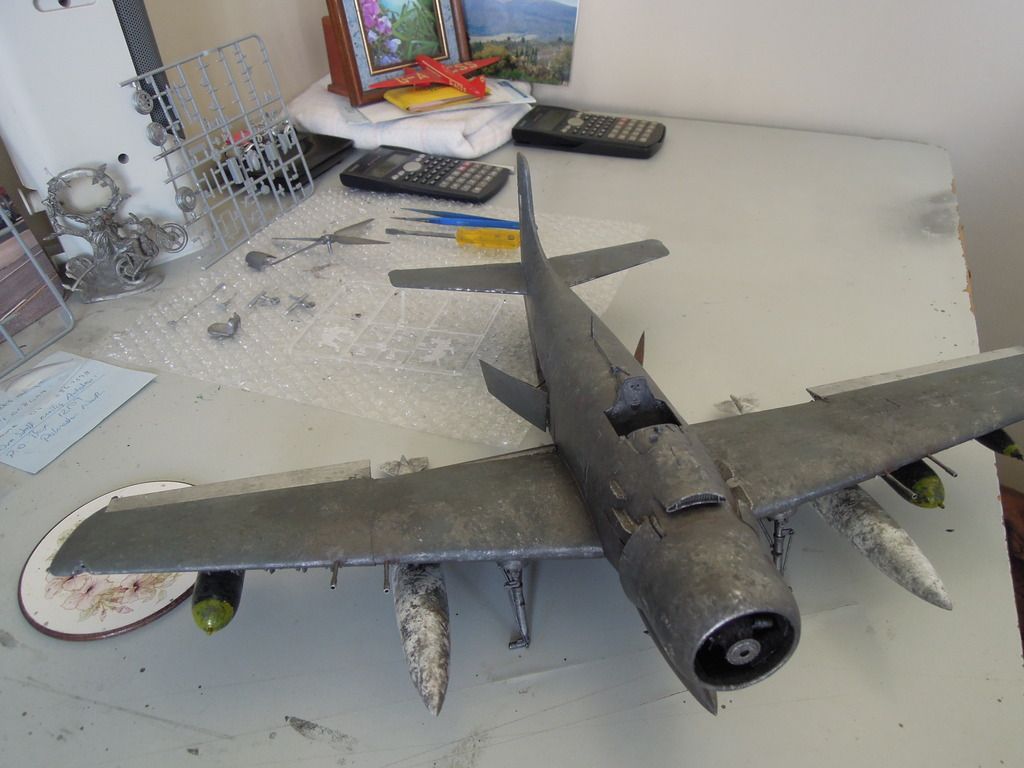
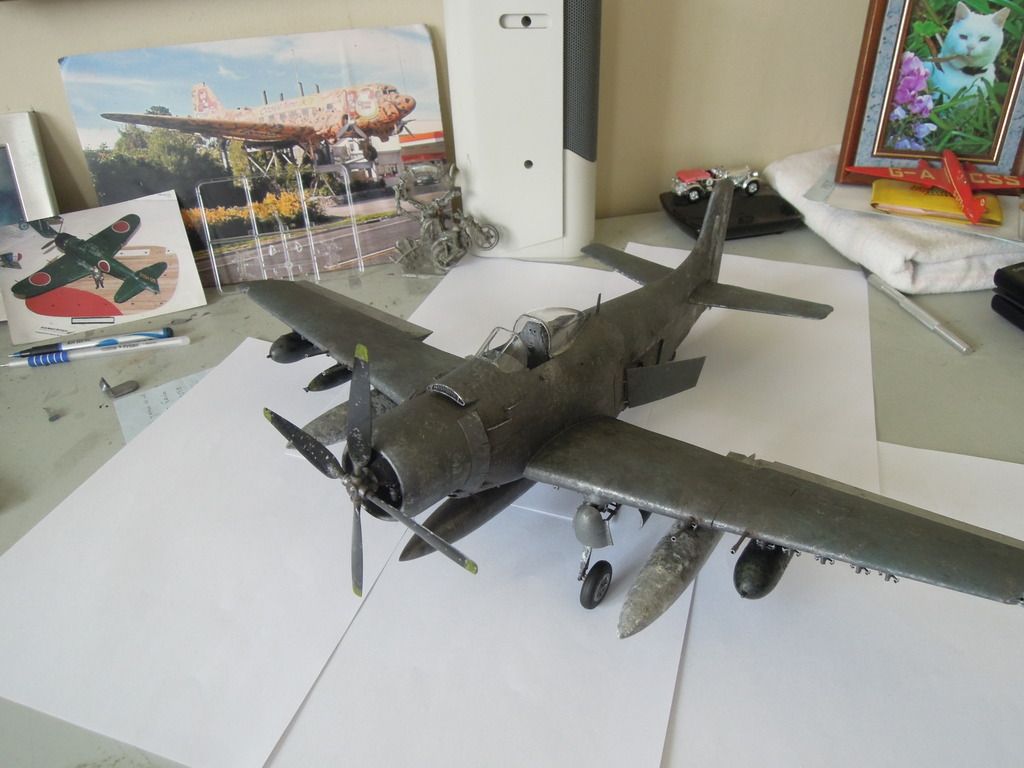
I've been battling with this Trumpy Skyraider for months, and after a battle that involved far to much superglue, and enough coarse language to bring down an Army Platoon I gave up on the thing...until I started reading what some of the guys here are going through, and deciding once and for all
 I model for me - if it gives me pleasure, and I like the end result, that's good enough for this disgruntled modeler...
 After a spell finishing the skyraider canopy and prop, the workshop manager needed another rest....
That's about me right now...
-
2
-
-
That super Hornet does look very nice....
-
YOU THE MAN!!!! Good on ya Matt! Check out my r
 esurrection dream....see what I mean? If I can do it....
 -
..That's the 'reply to this topic' button Cees??
-
I'm glad you stuck this project out Pete; fantastic weathering restrained and very realistic! You have given me hope for my old sawtooth...
-
Love your 32 scale jets...is that a Revell or Tamiya IAF F-15 I see over there on the bench..???
-
Beautiful detail Arno - I look forward to following along with this project!
Dennis
-
1
-
-
Actually guys...can I ask for help?? How do I write my next forum thread?? Do I just use the 'edit' function,do I use the 'start a new topic' or is it another gateway??
Cheers
Dennis
-
Thanks guys! - As soon as I get started I'll get some images up...I am still learning the genteel art of using photobucket, and writing this forum.
Dennis
-
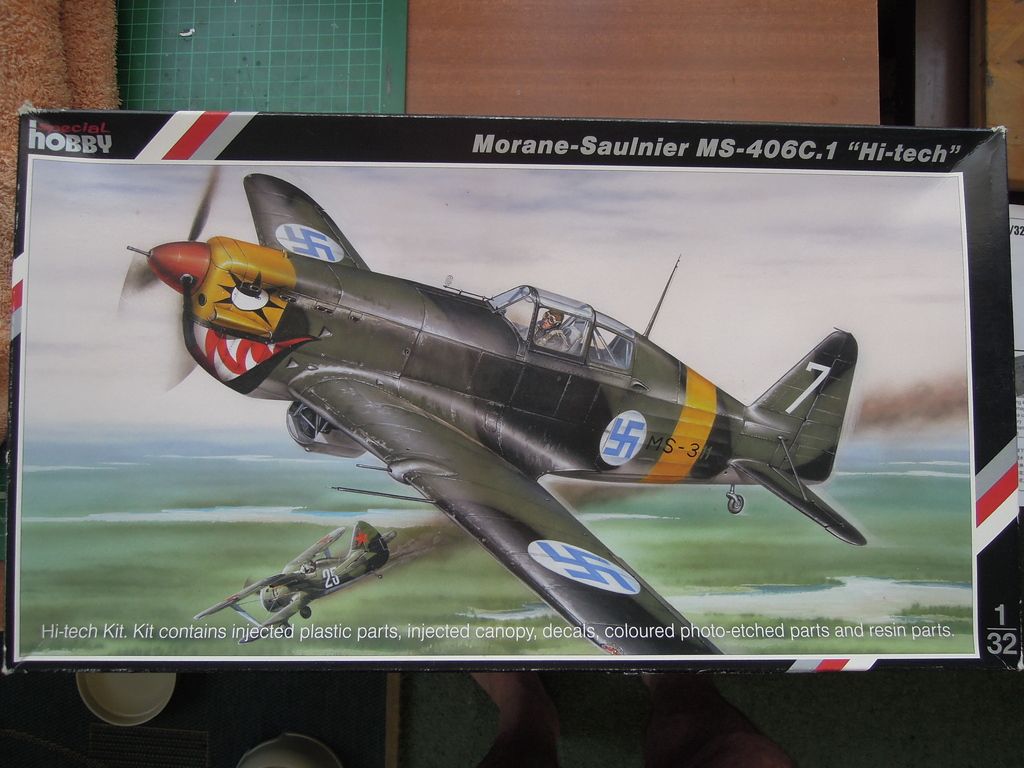
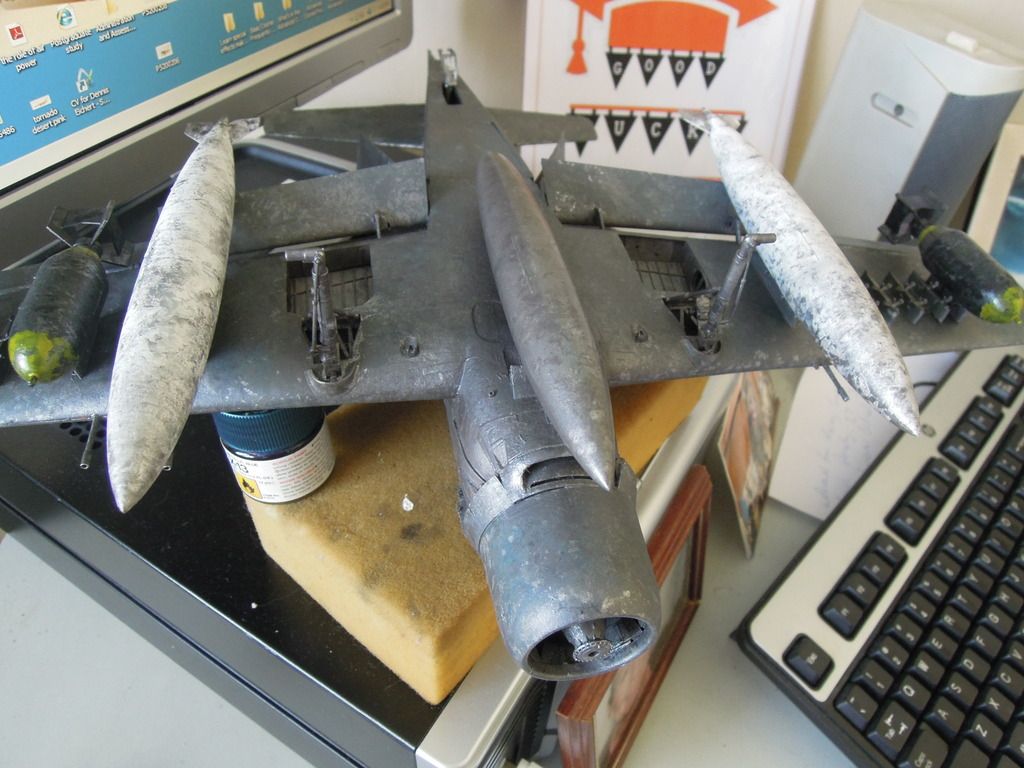
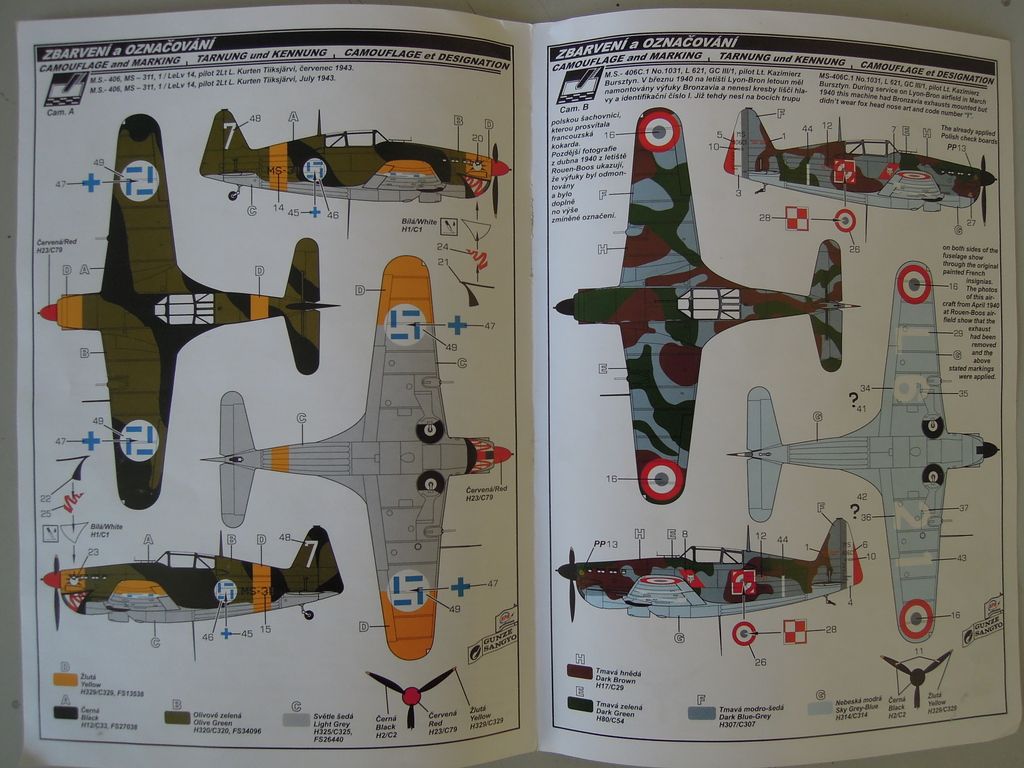
I brought this from another modeler back in October if memory serves me correctly. It's kinda quirky, kinda different and emerges timidly from the Special Hobby stable... more in the days and
 weeks to come guys....
As soon as the workshop Manag
 er comes back from her holiday we'll be away...
I want to have a go at the color scheme on the left - it's a striking looking scheme and I think one, that with a bit of the old weathering in the right places will come up great!
I plan on starting Sunday, after cleaning u
 p the decorations from Christmas tomorrow...
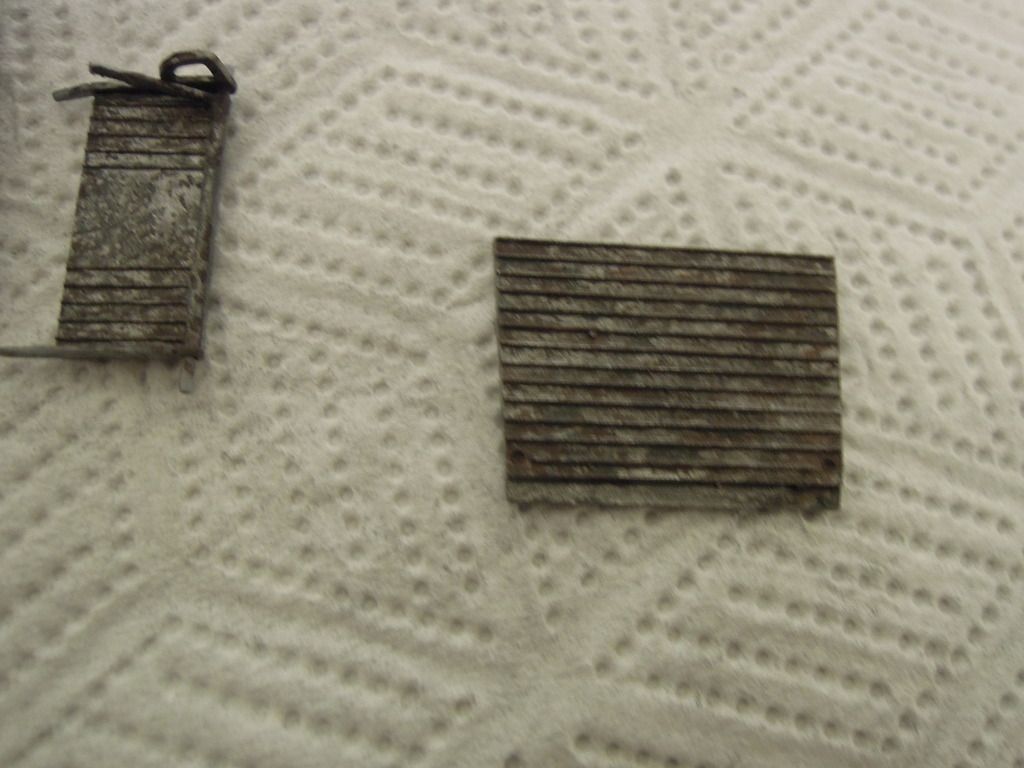
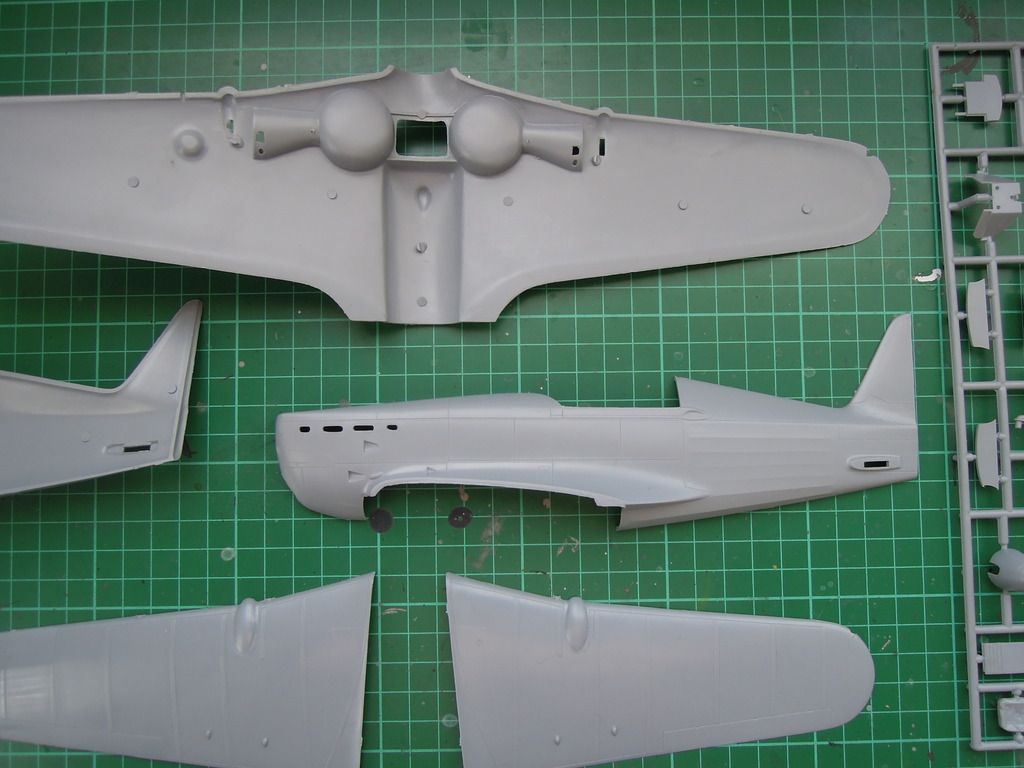
I'm sorry these images are'nt as clear as I would like...I hope to improve as we progress.Surface detail is very nice on some parts...not so on others. Sti
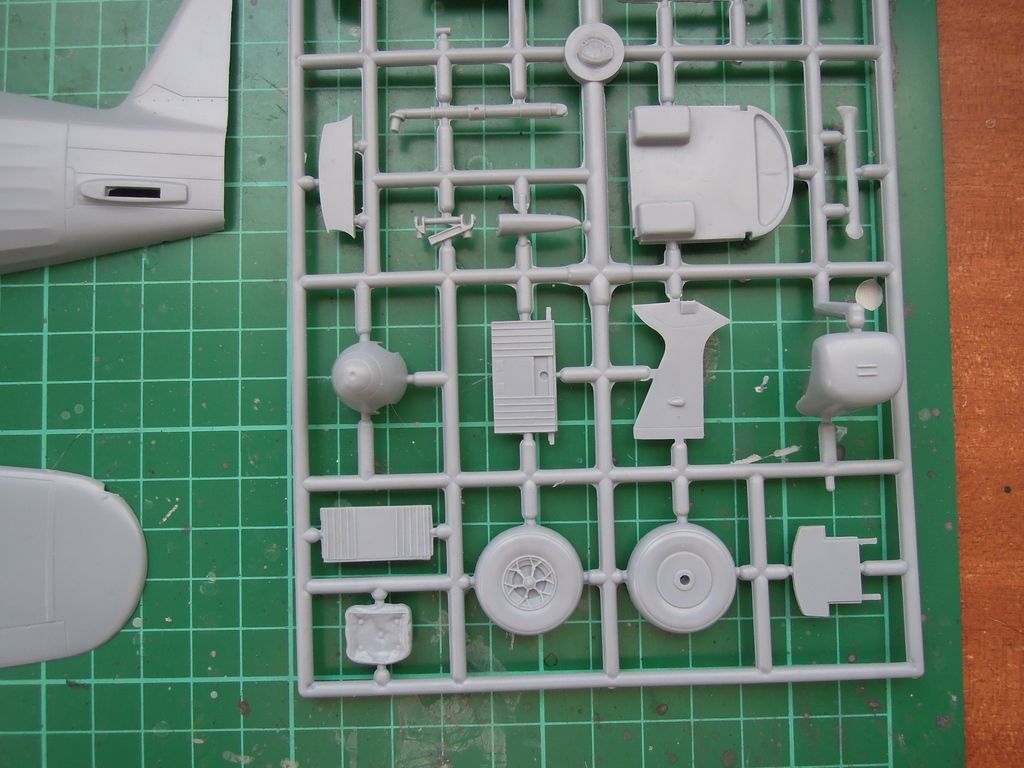 ll, you accept that with a Special Hobby kit so I'll refrain from moaning and give these parts a bath...
-
2
-
-
...Oh hell...sorry John; take out the "no" I have written in there mate - that should read 'I build for me as well John'.
-
You can't fail if you stick to your guns John, and continue to build for yourself. In any case, somebody who wants to complain you have your colors wrong either better have irrevocable proof or was actually there. Even then, the physics of light and color are such that we all see things in a slightly different way - and that's pretty much the way it should be, especially in our hobby.
I build for me no as well John - after all, if you aren't enjoying what you are doing...why do it at all...???
From what I have seen, your next project will probably be as captivating as this one is....
-
...It does work, nice to have a you tube link on a build thread!
-
..Get well soon mate.


Don't laugh.....but
in Modelling Discussion
Posted
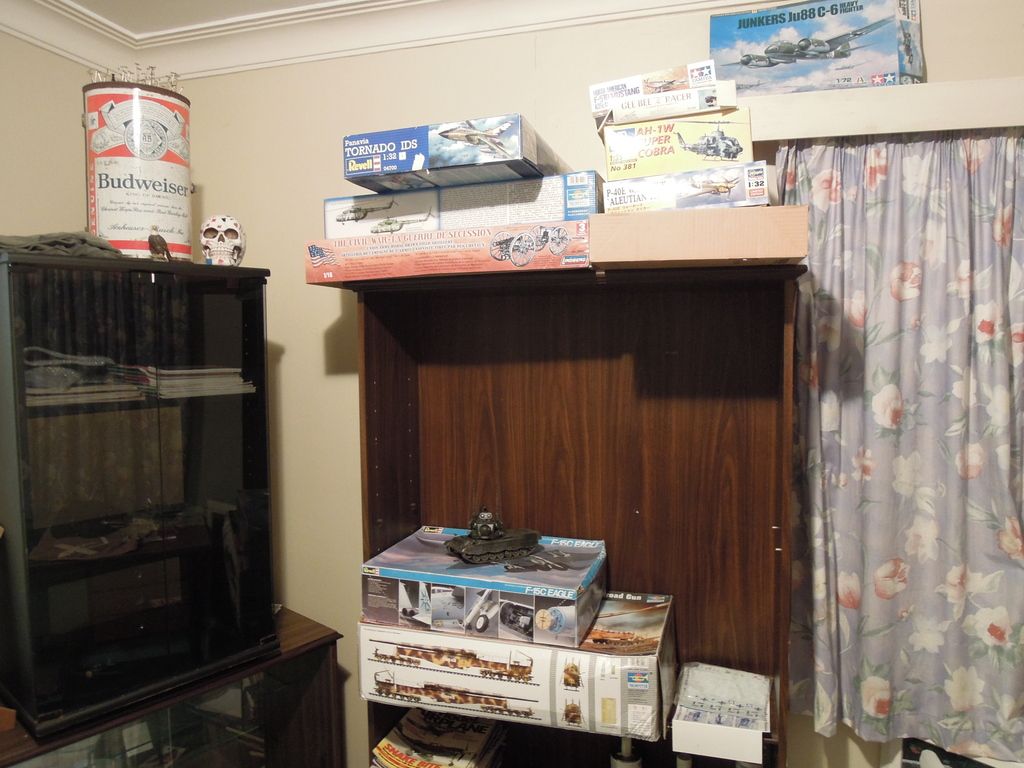
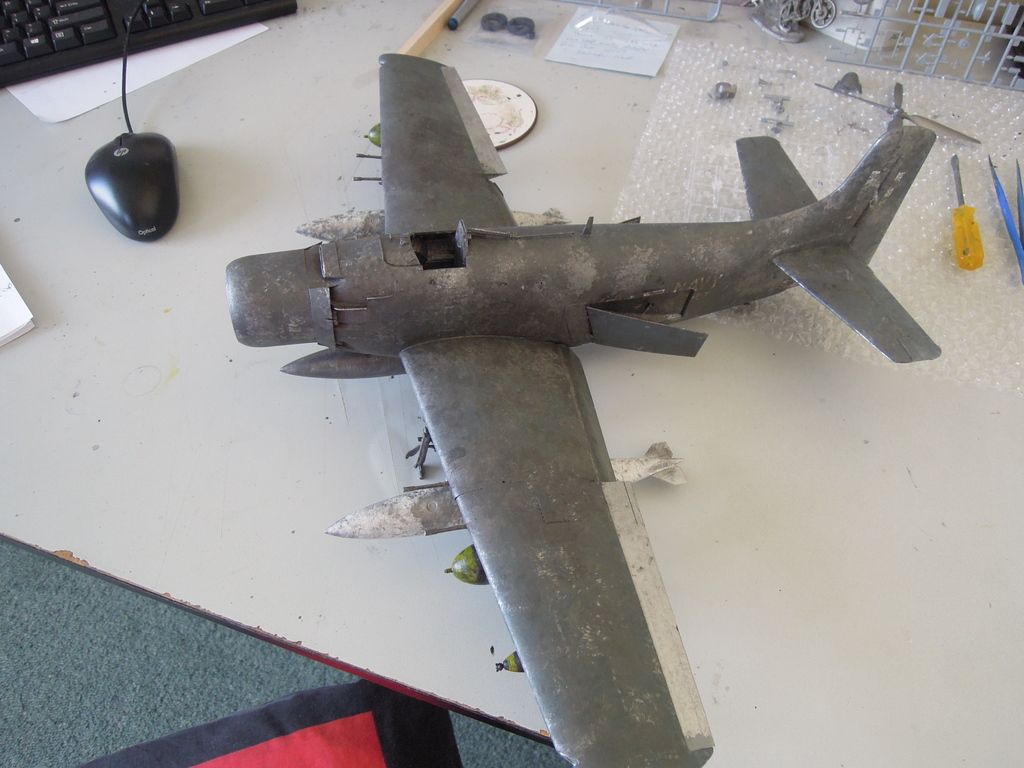
It's a whole heap messier now!!...thanks to Matt21 and his 109 I'm off and running again - the computer bench has vanished under a 1/35 AH-1W Super Cobra, a Hasegawa P-40E, my MS406 project and a Trumpy 35th Mi-8MT Monsterchopper...