alberto49
-
Posts
66 -
Joined
-
Last visited
Content Type
Profiles
Forums
Events
Gallery
Everything posted by alberto49
-
OK, but I think it's still a good kit and probably the best in this scale.
-
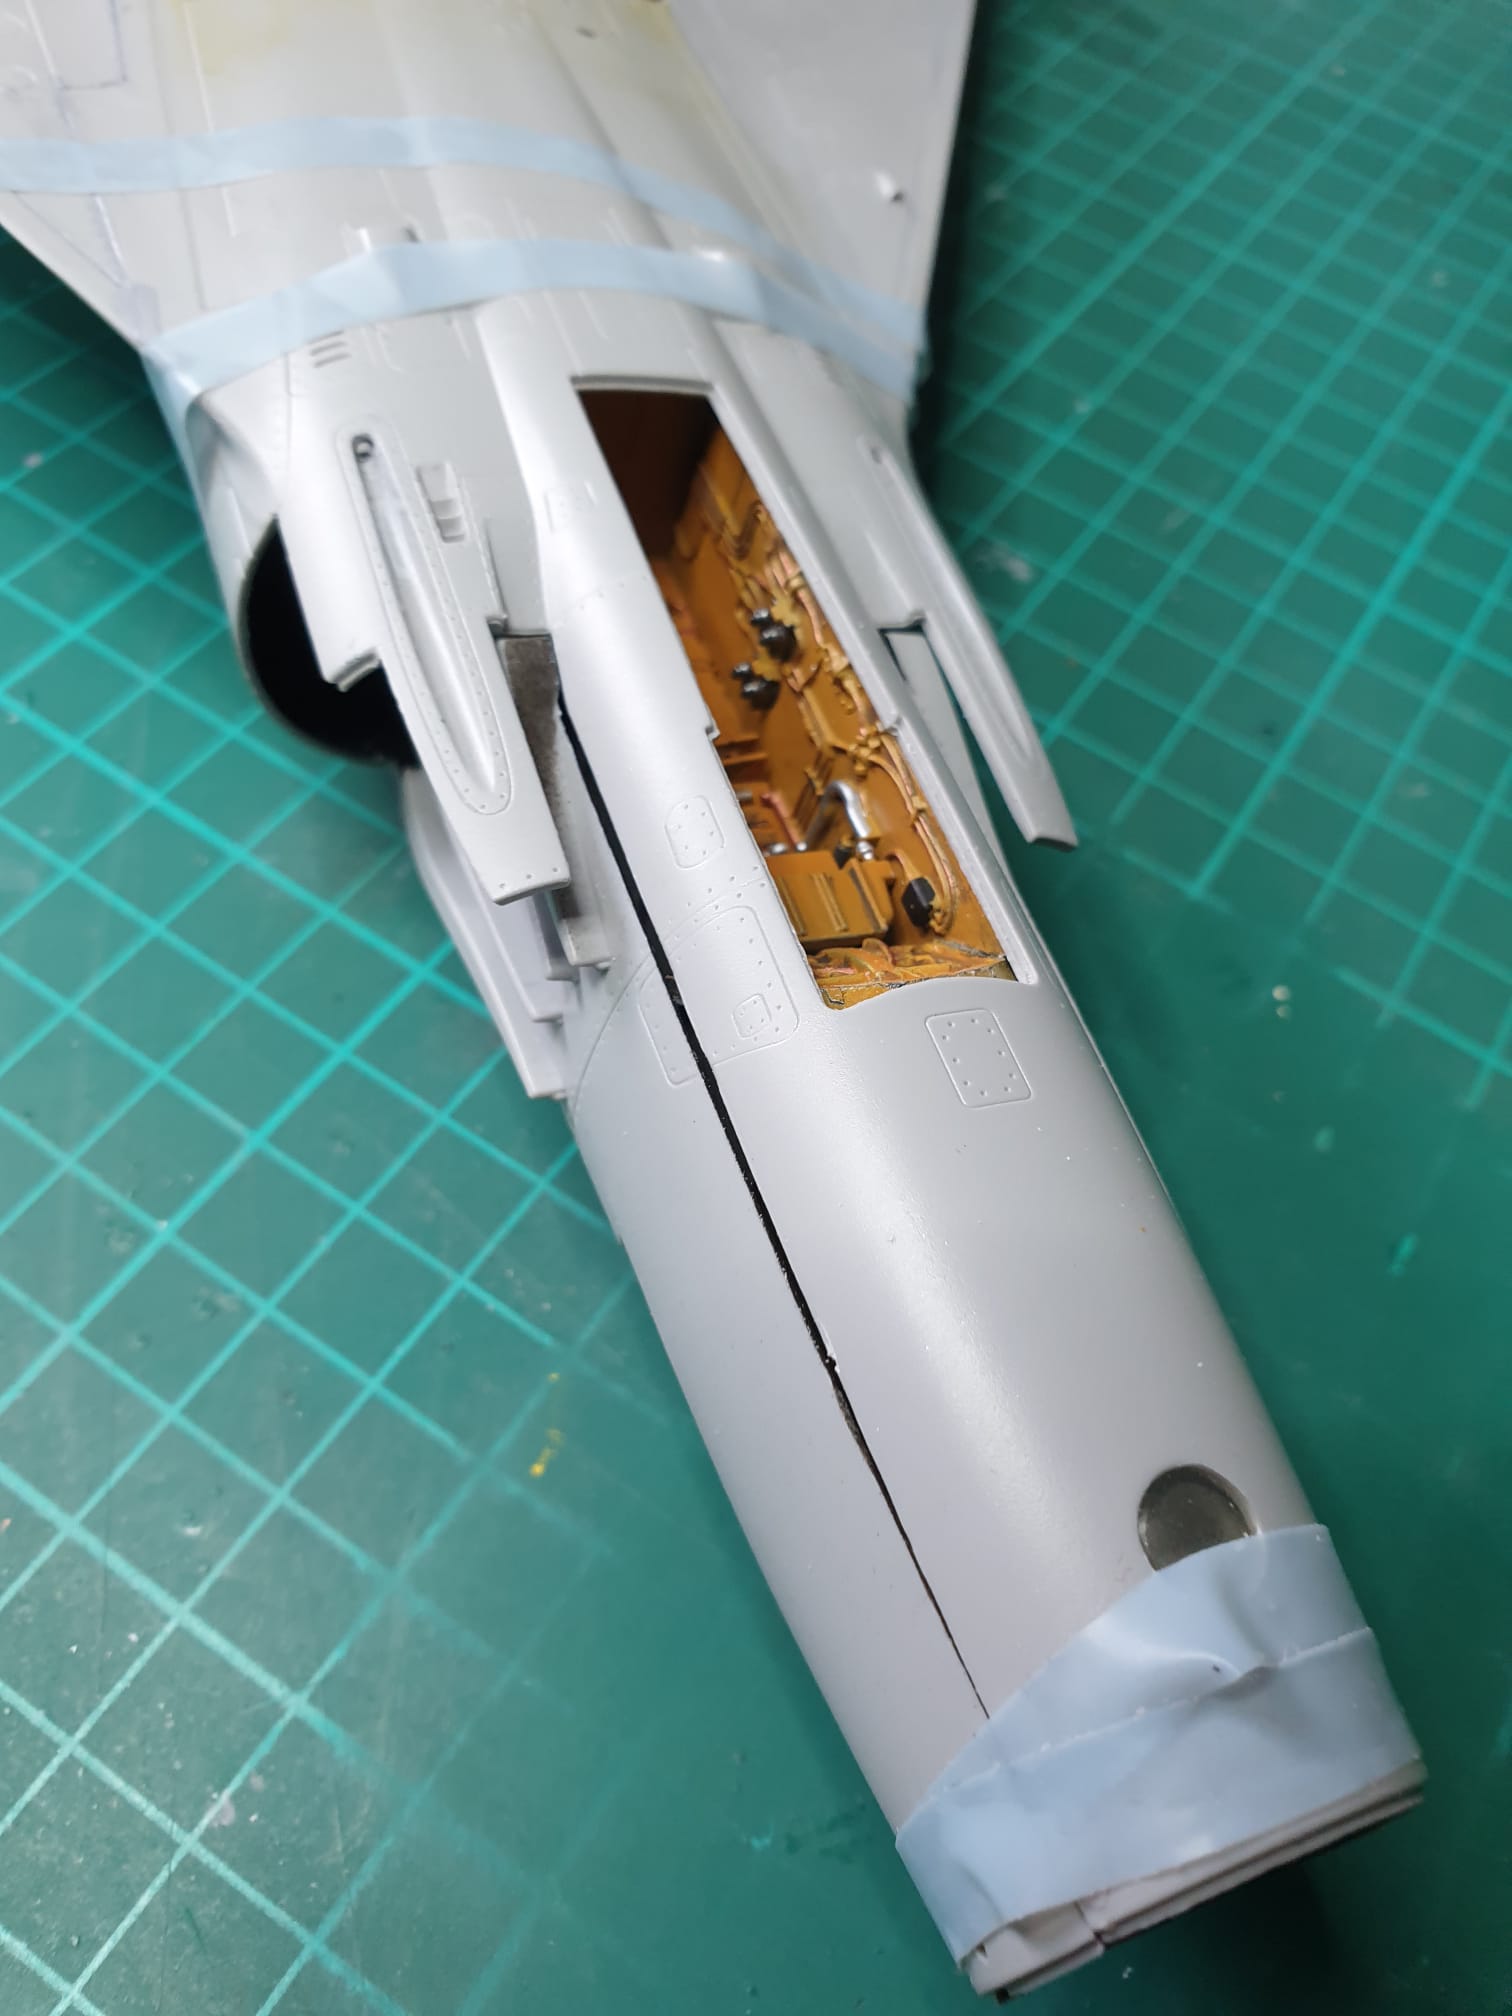
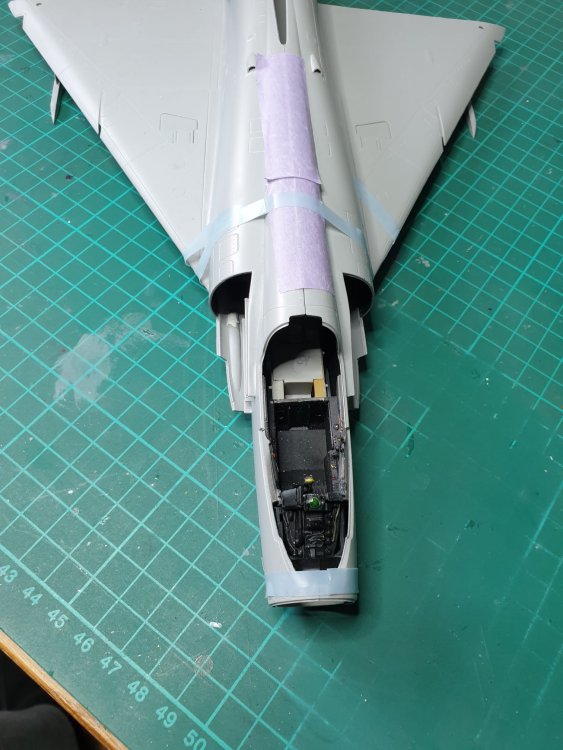
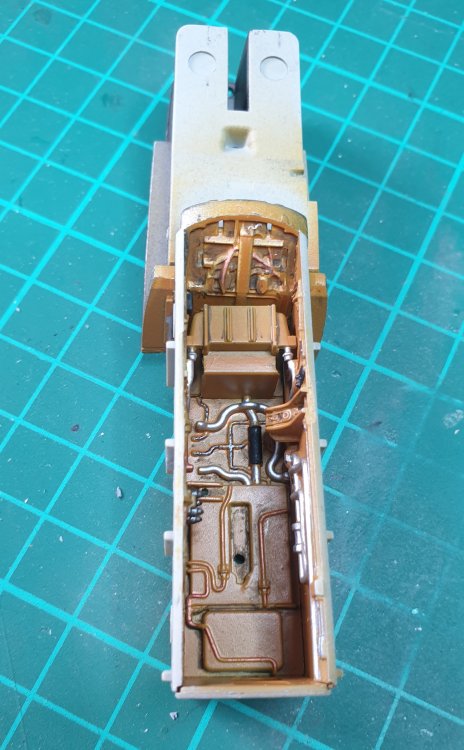
Correct. I'm trying to fit the cockpit first, then I have to take care of the step existing between upper wings and fuselage. Again aprox 2 mm of plastic to shave.
-
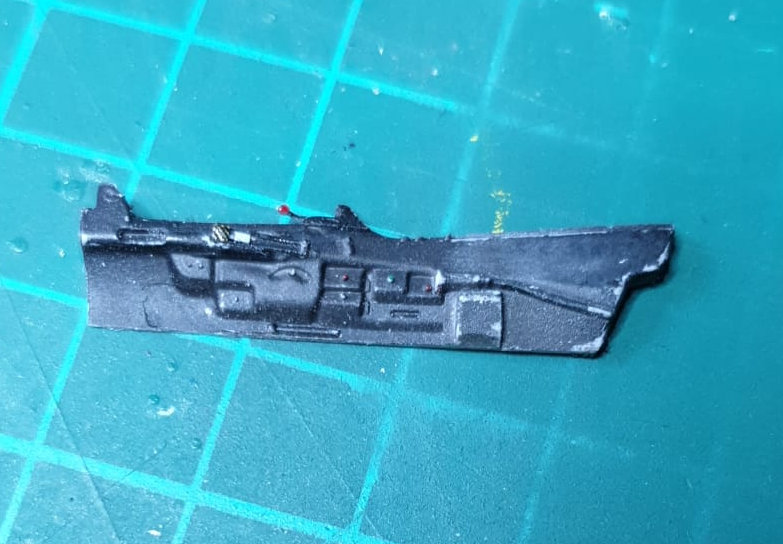
The matter is that dimensions of side panel are wrong. I already filed away at least two mm from the bottom side and reduced the thickness, but still doesn't work, to day I will continue. I'm surprised for that because previous 1/32 kit from Italeri, the F-104G, went together without any problem. More pictures will follow.
-
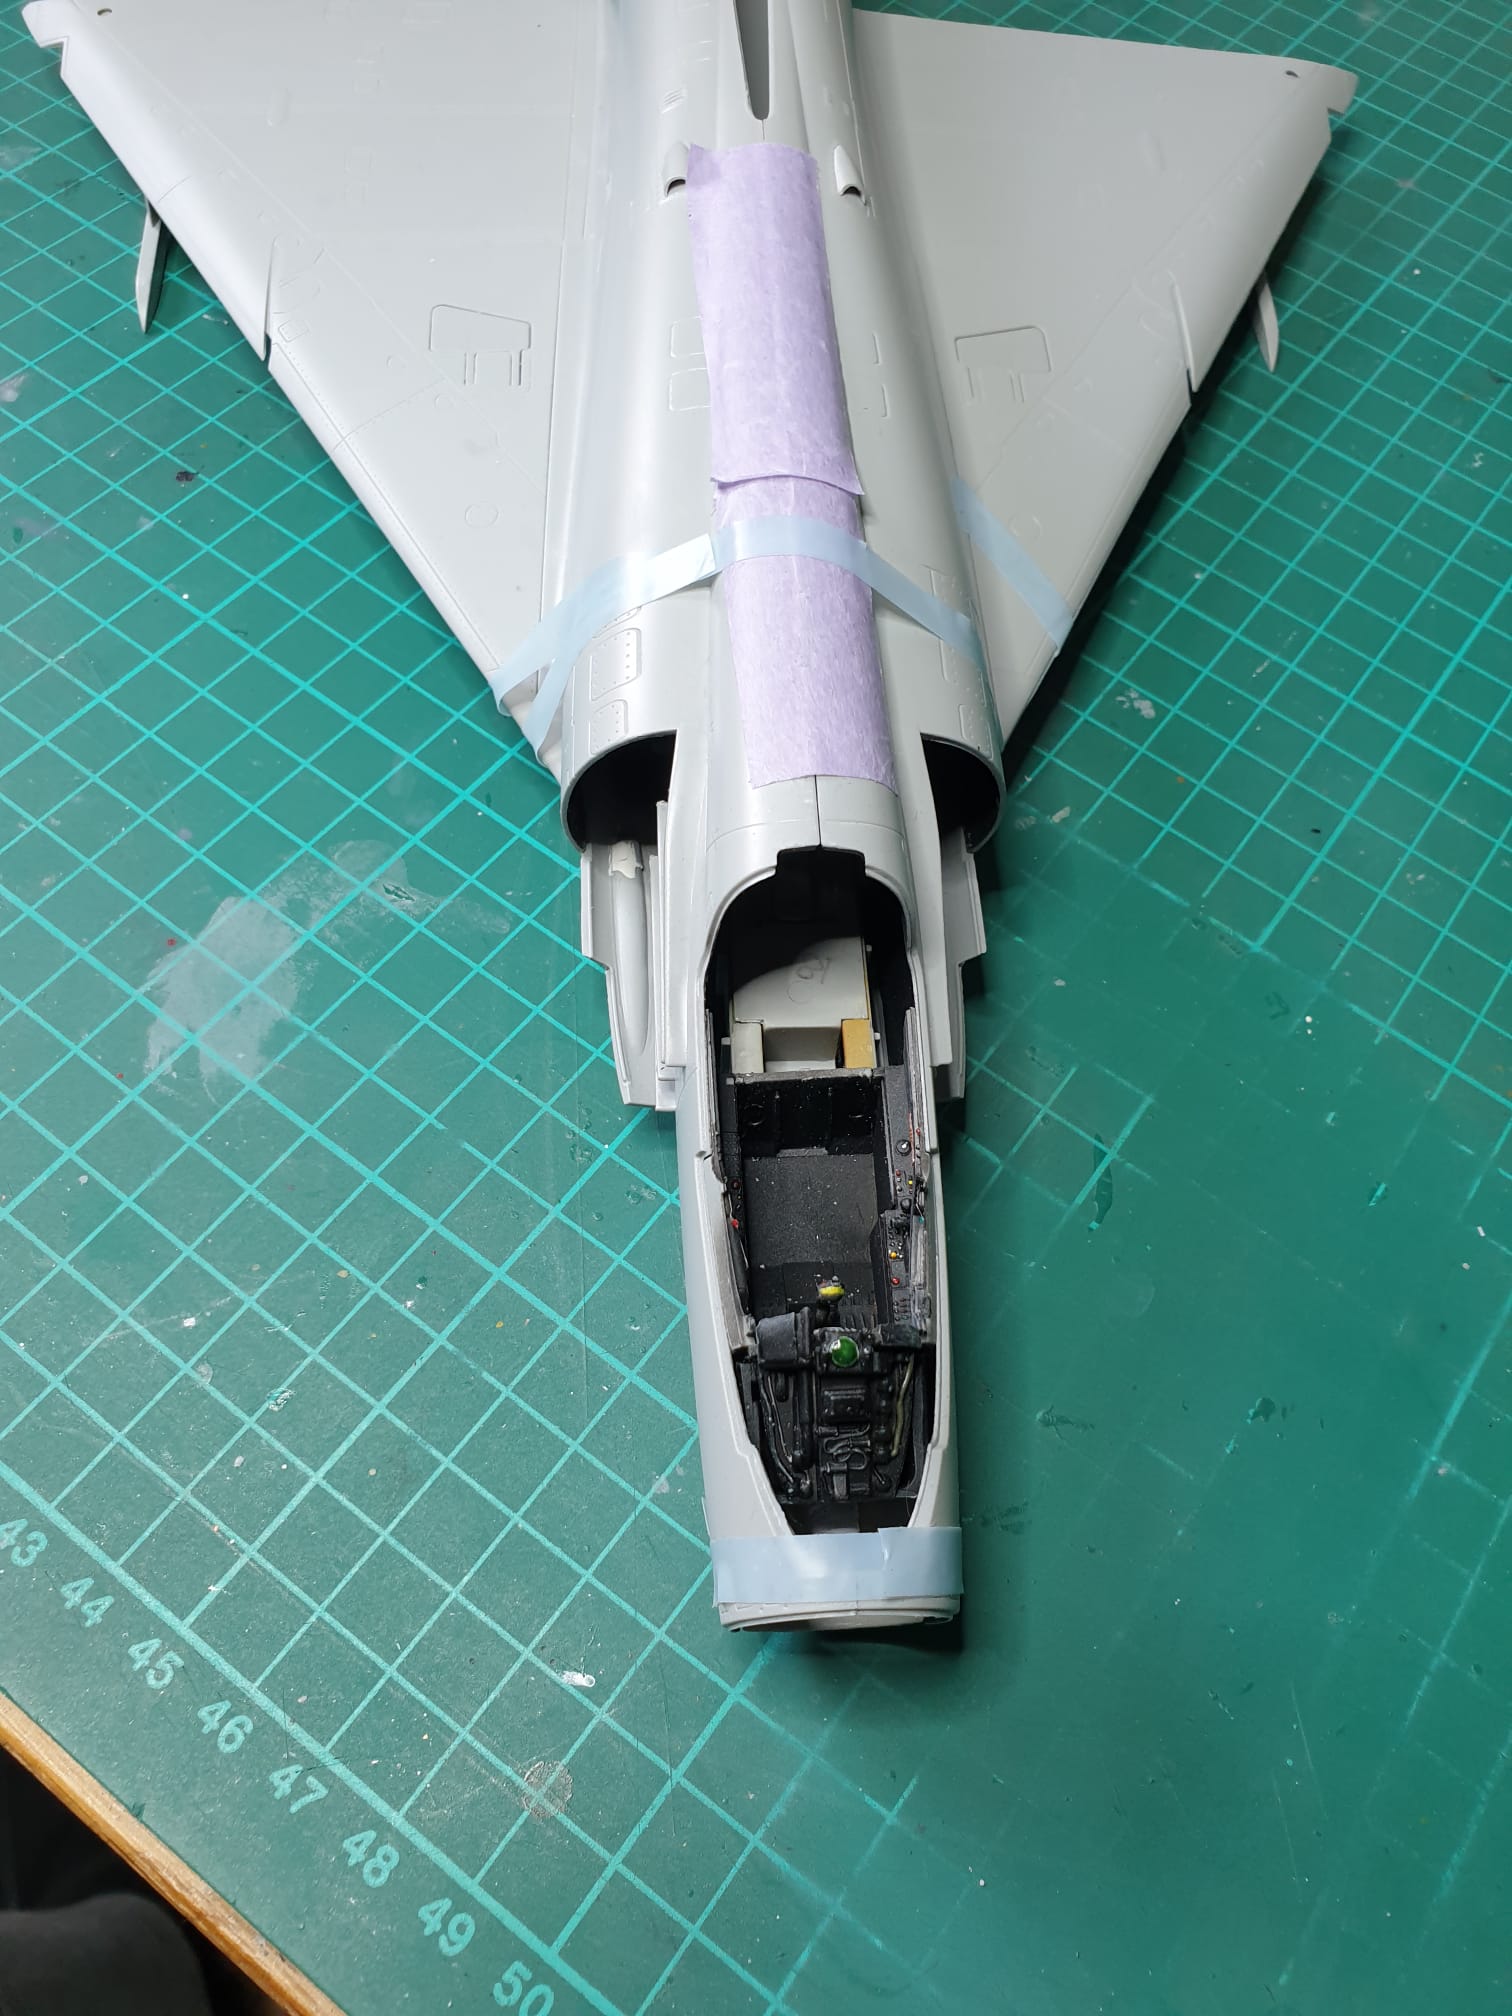
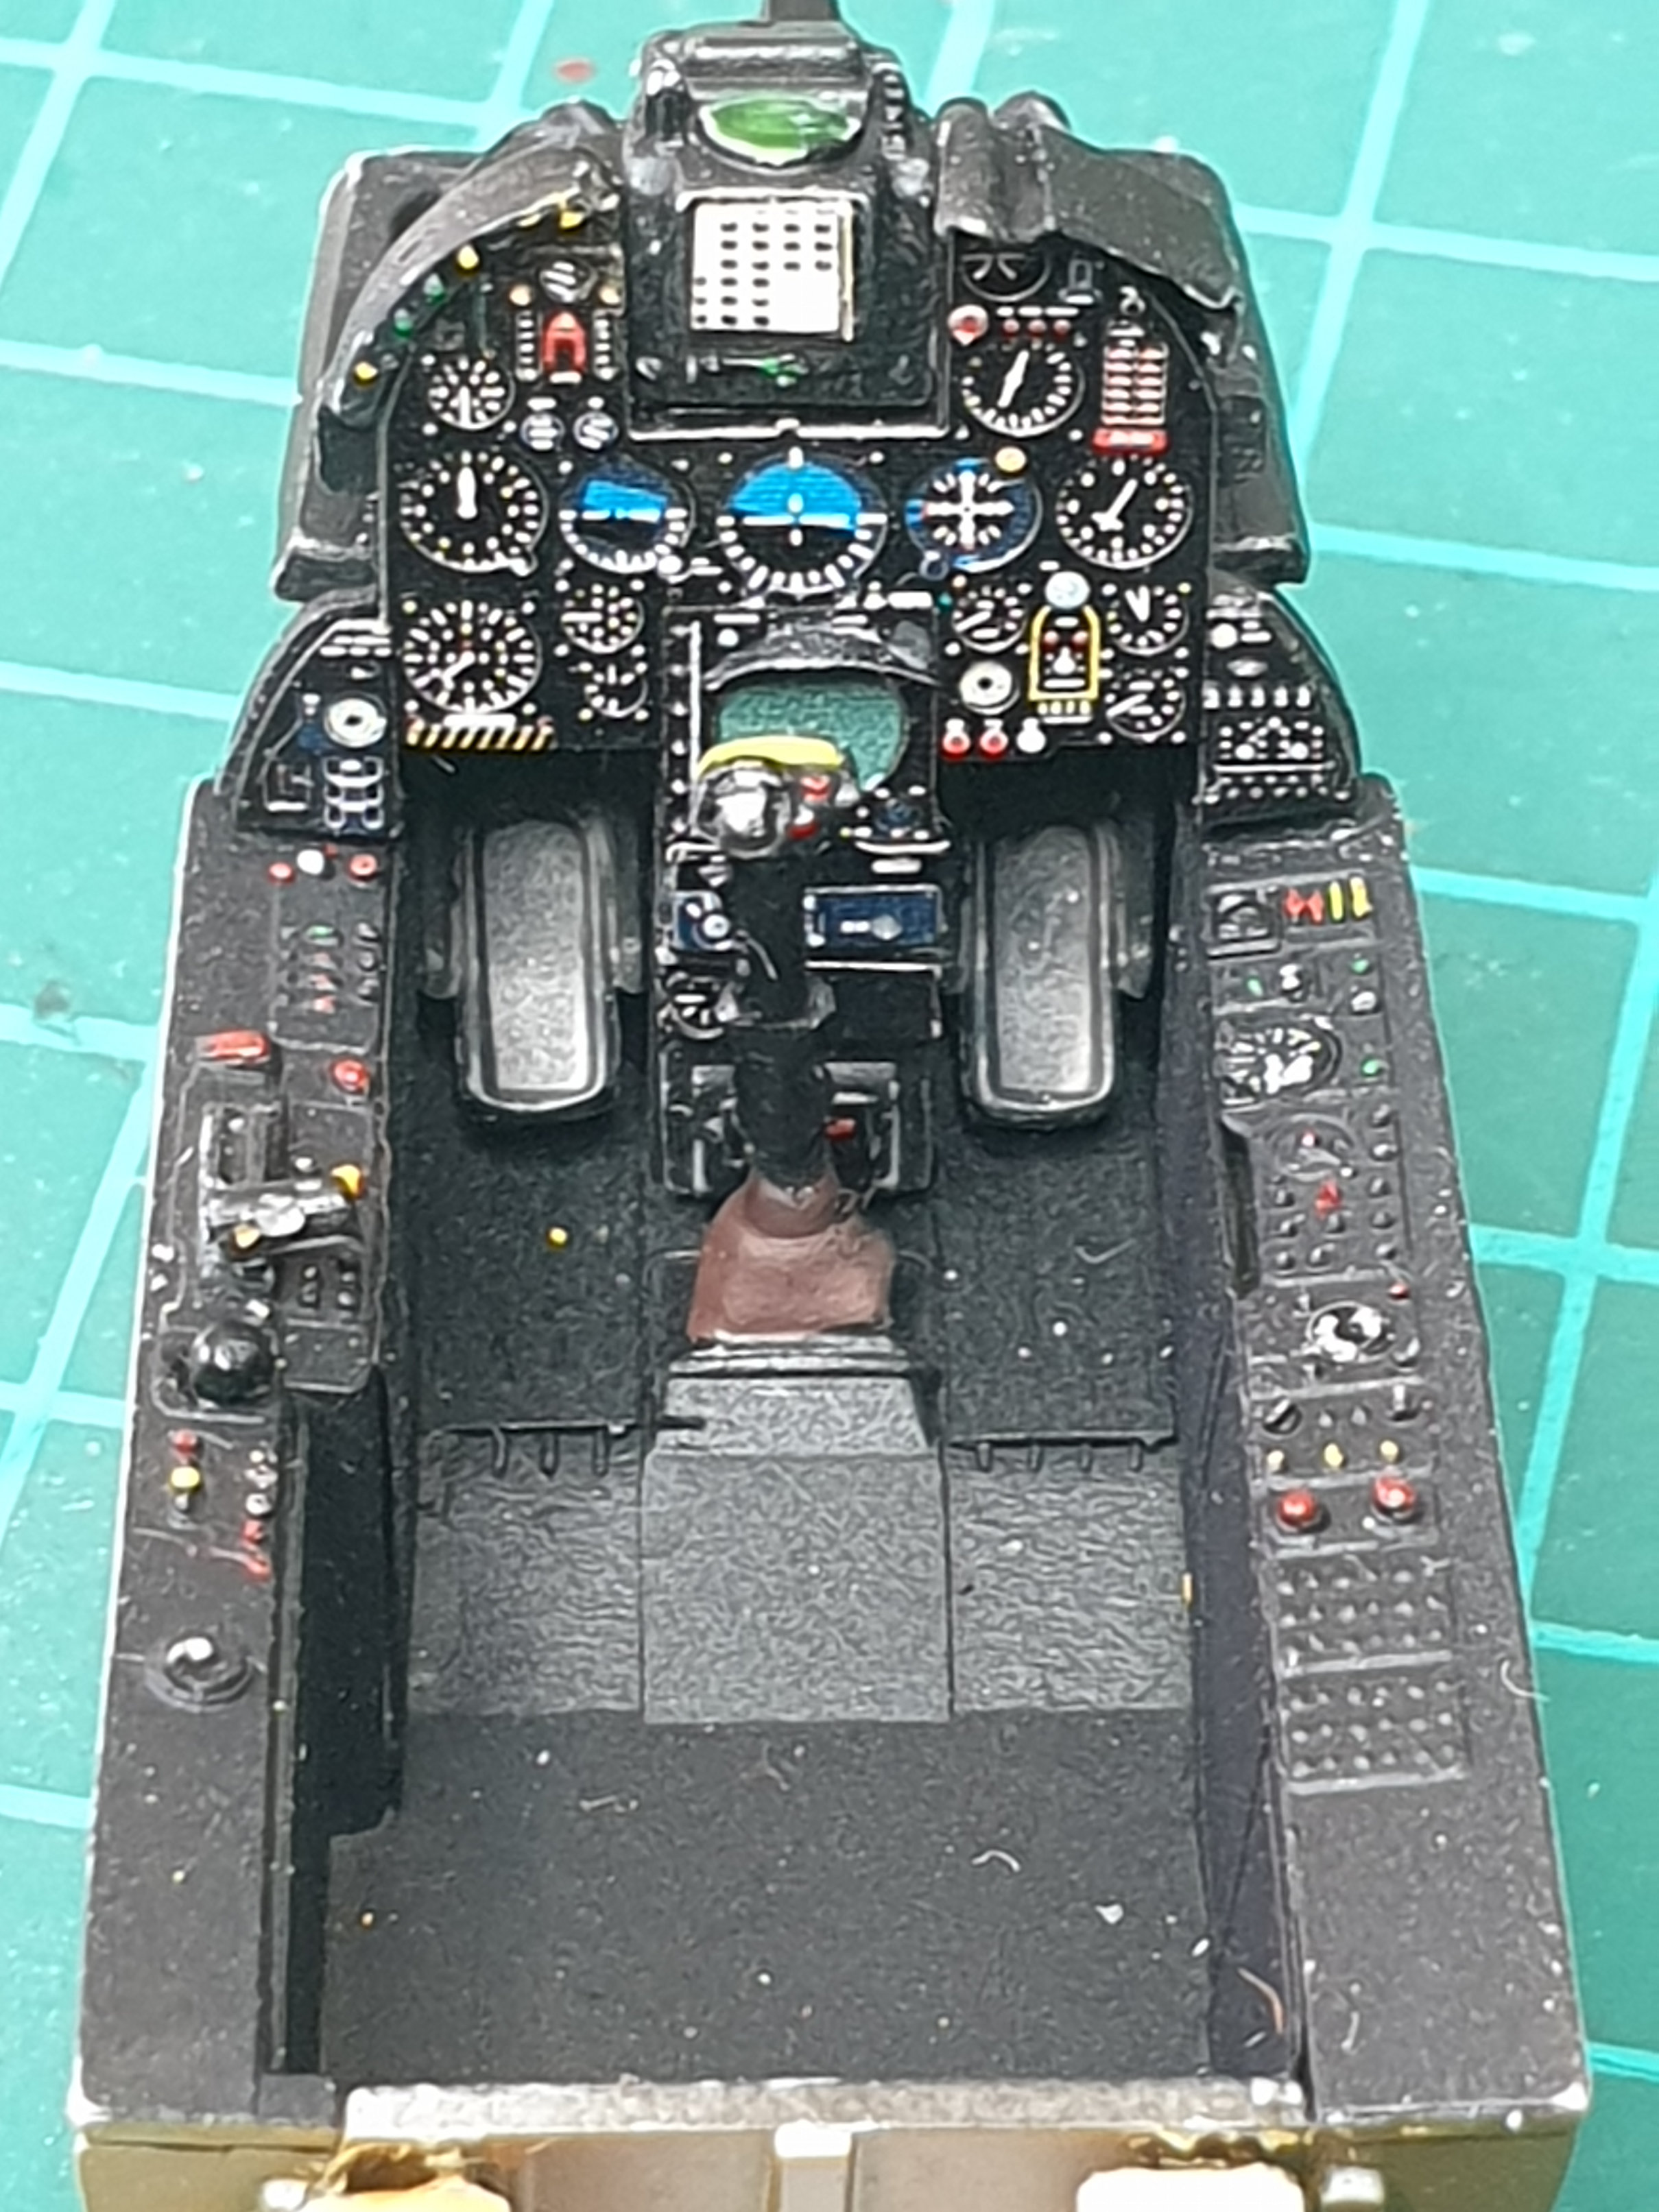
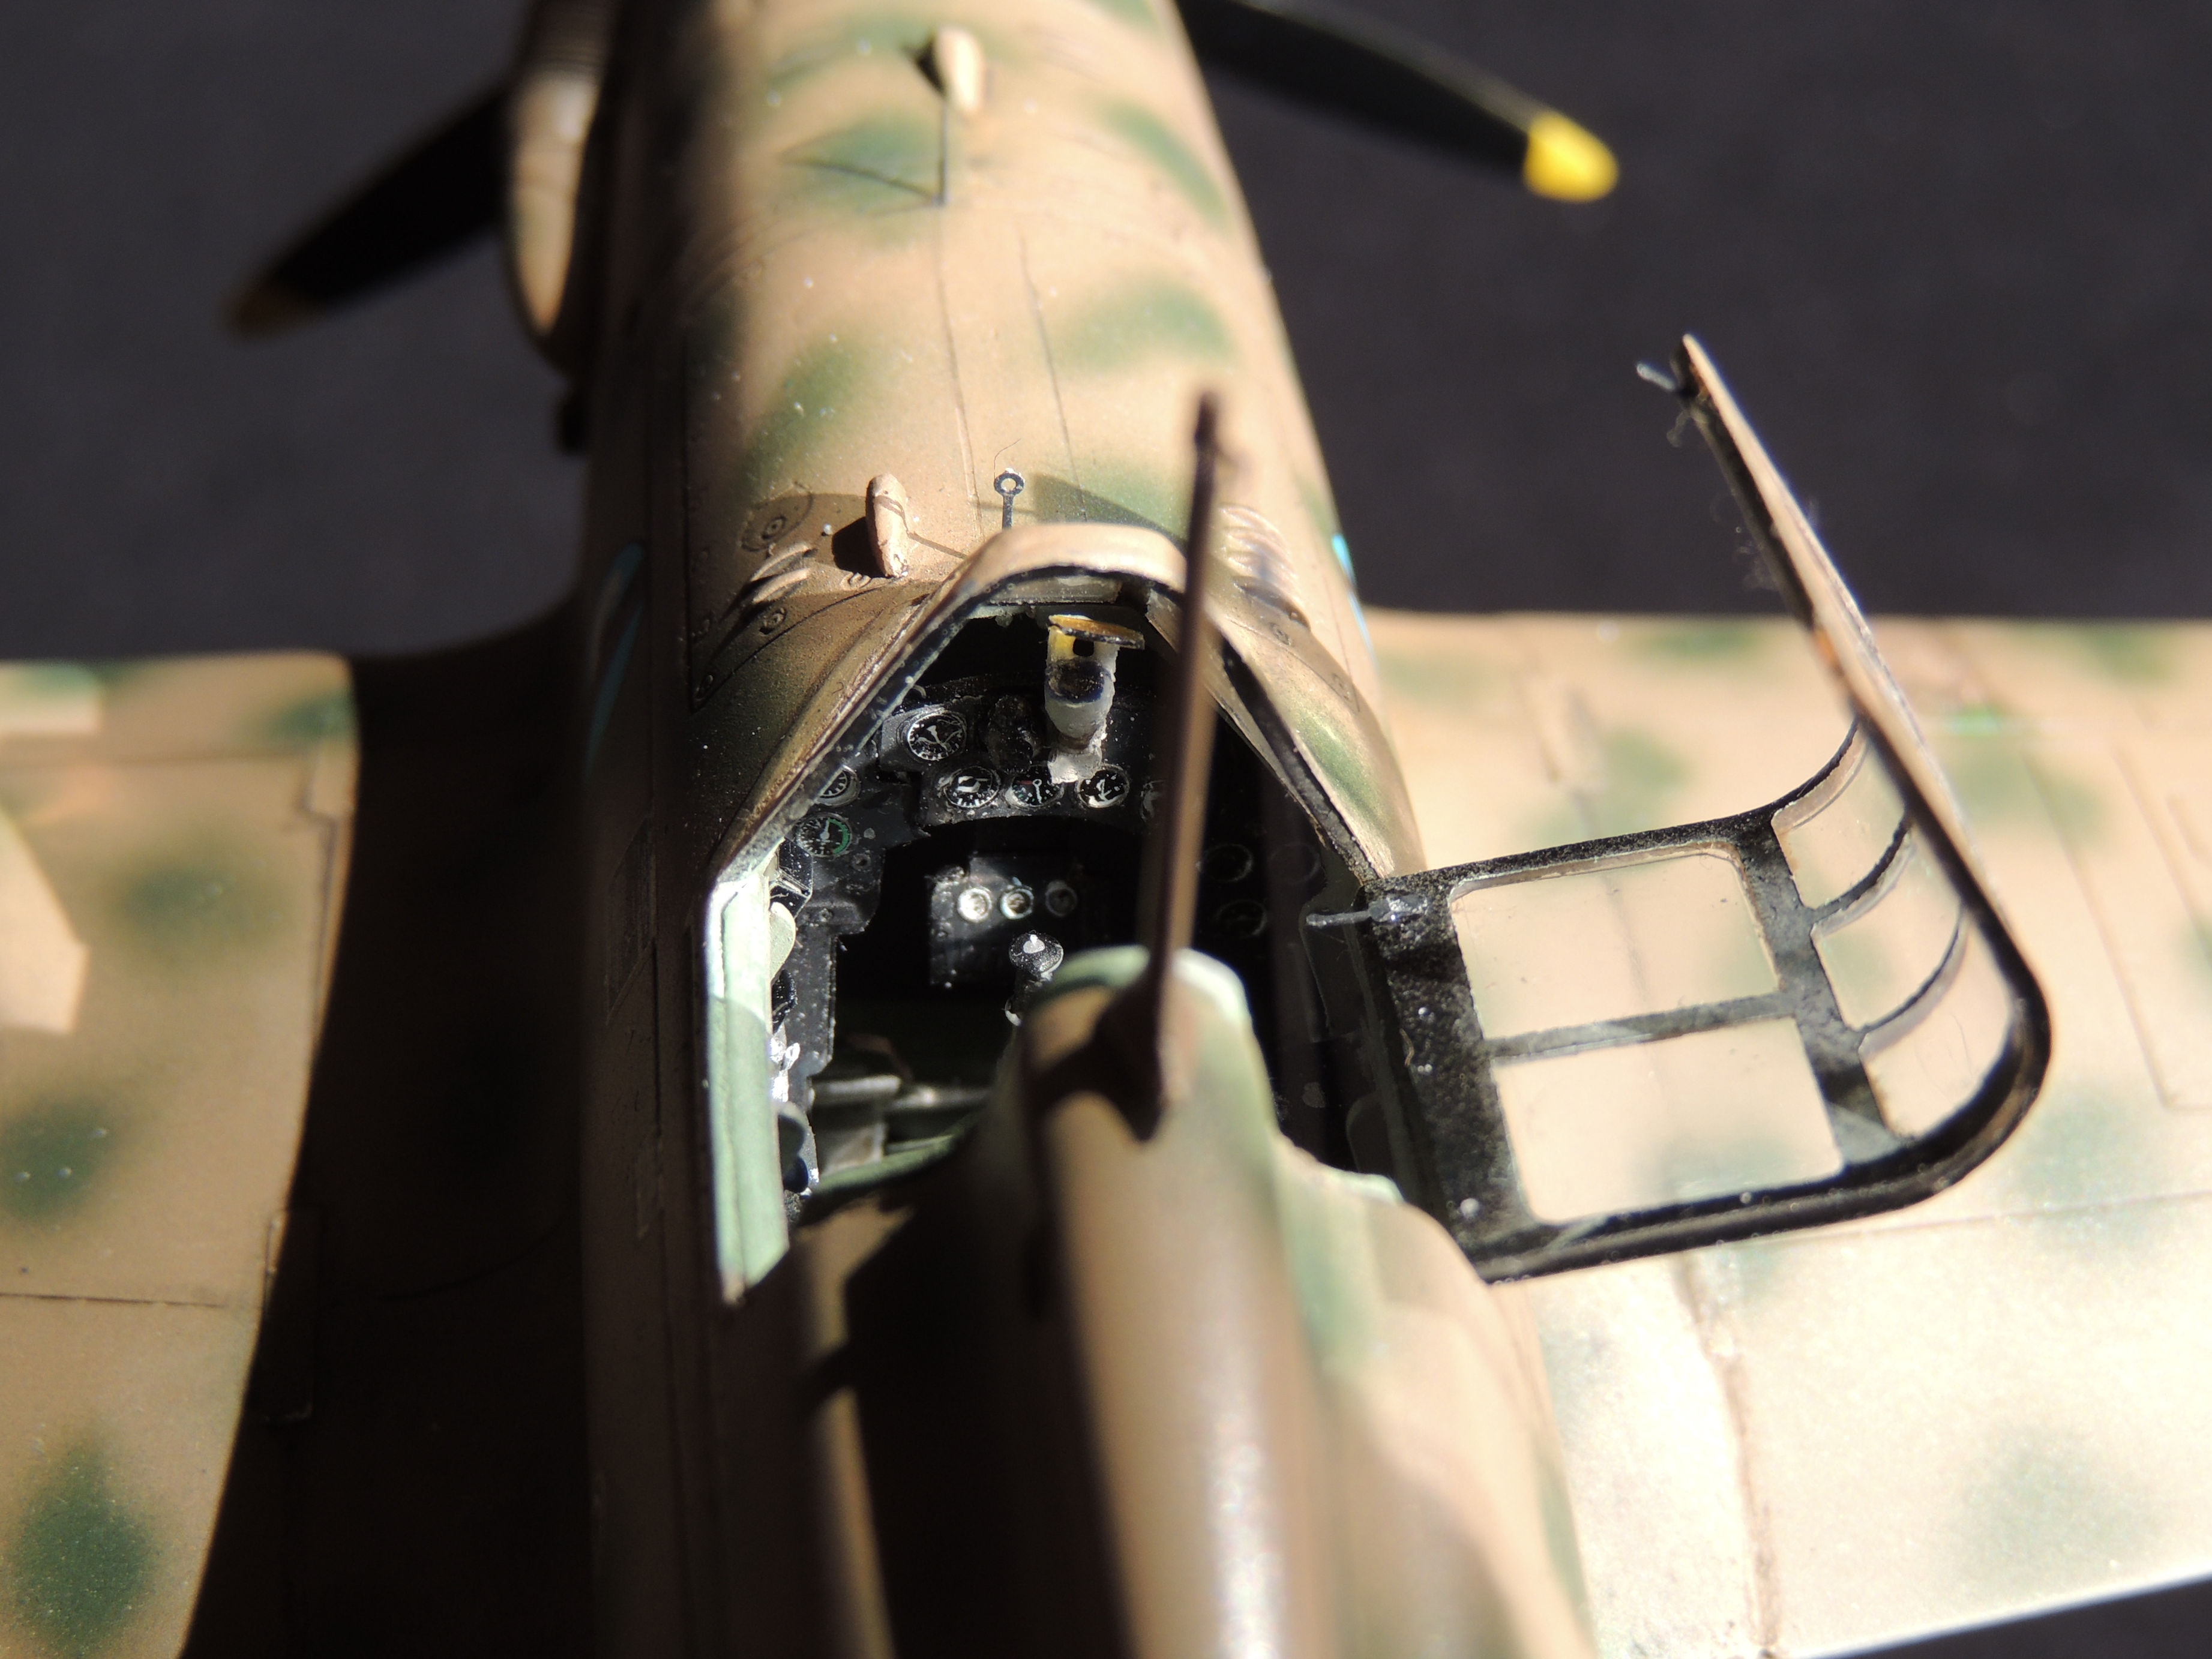
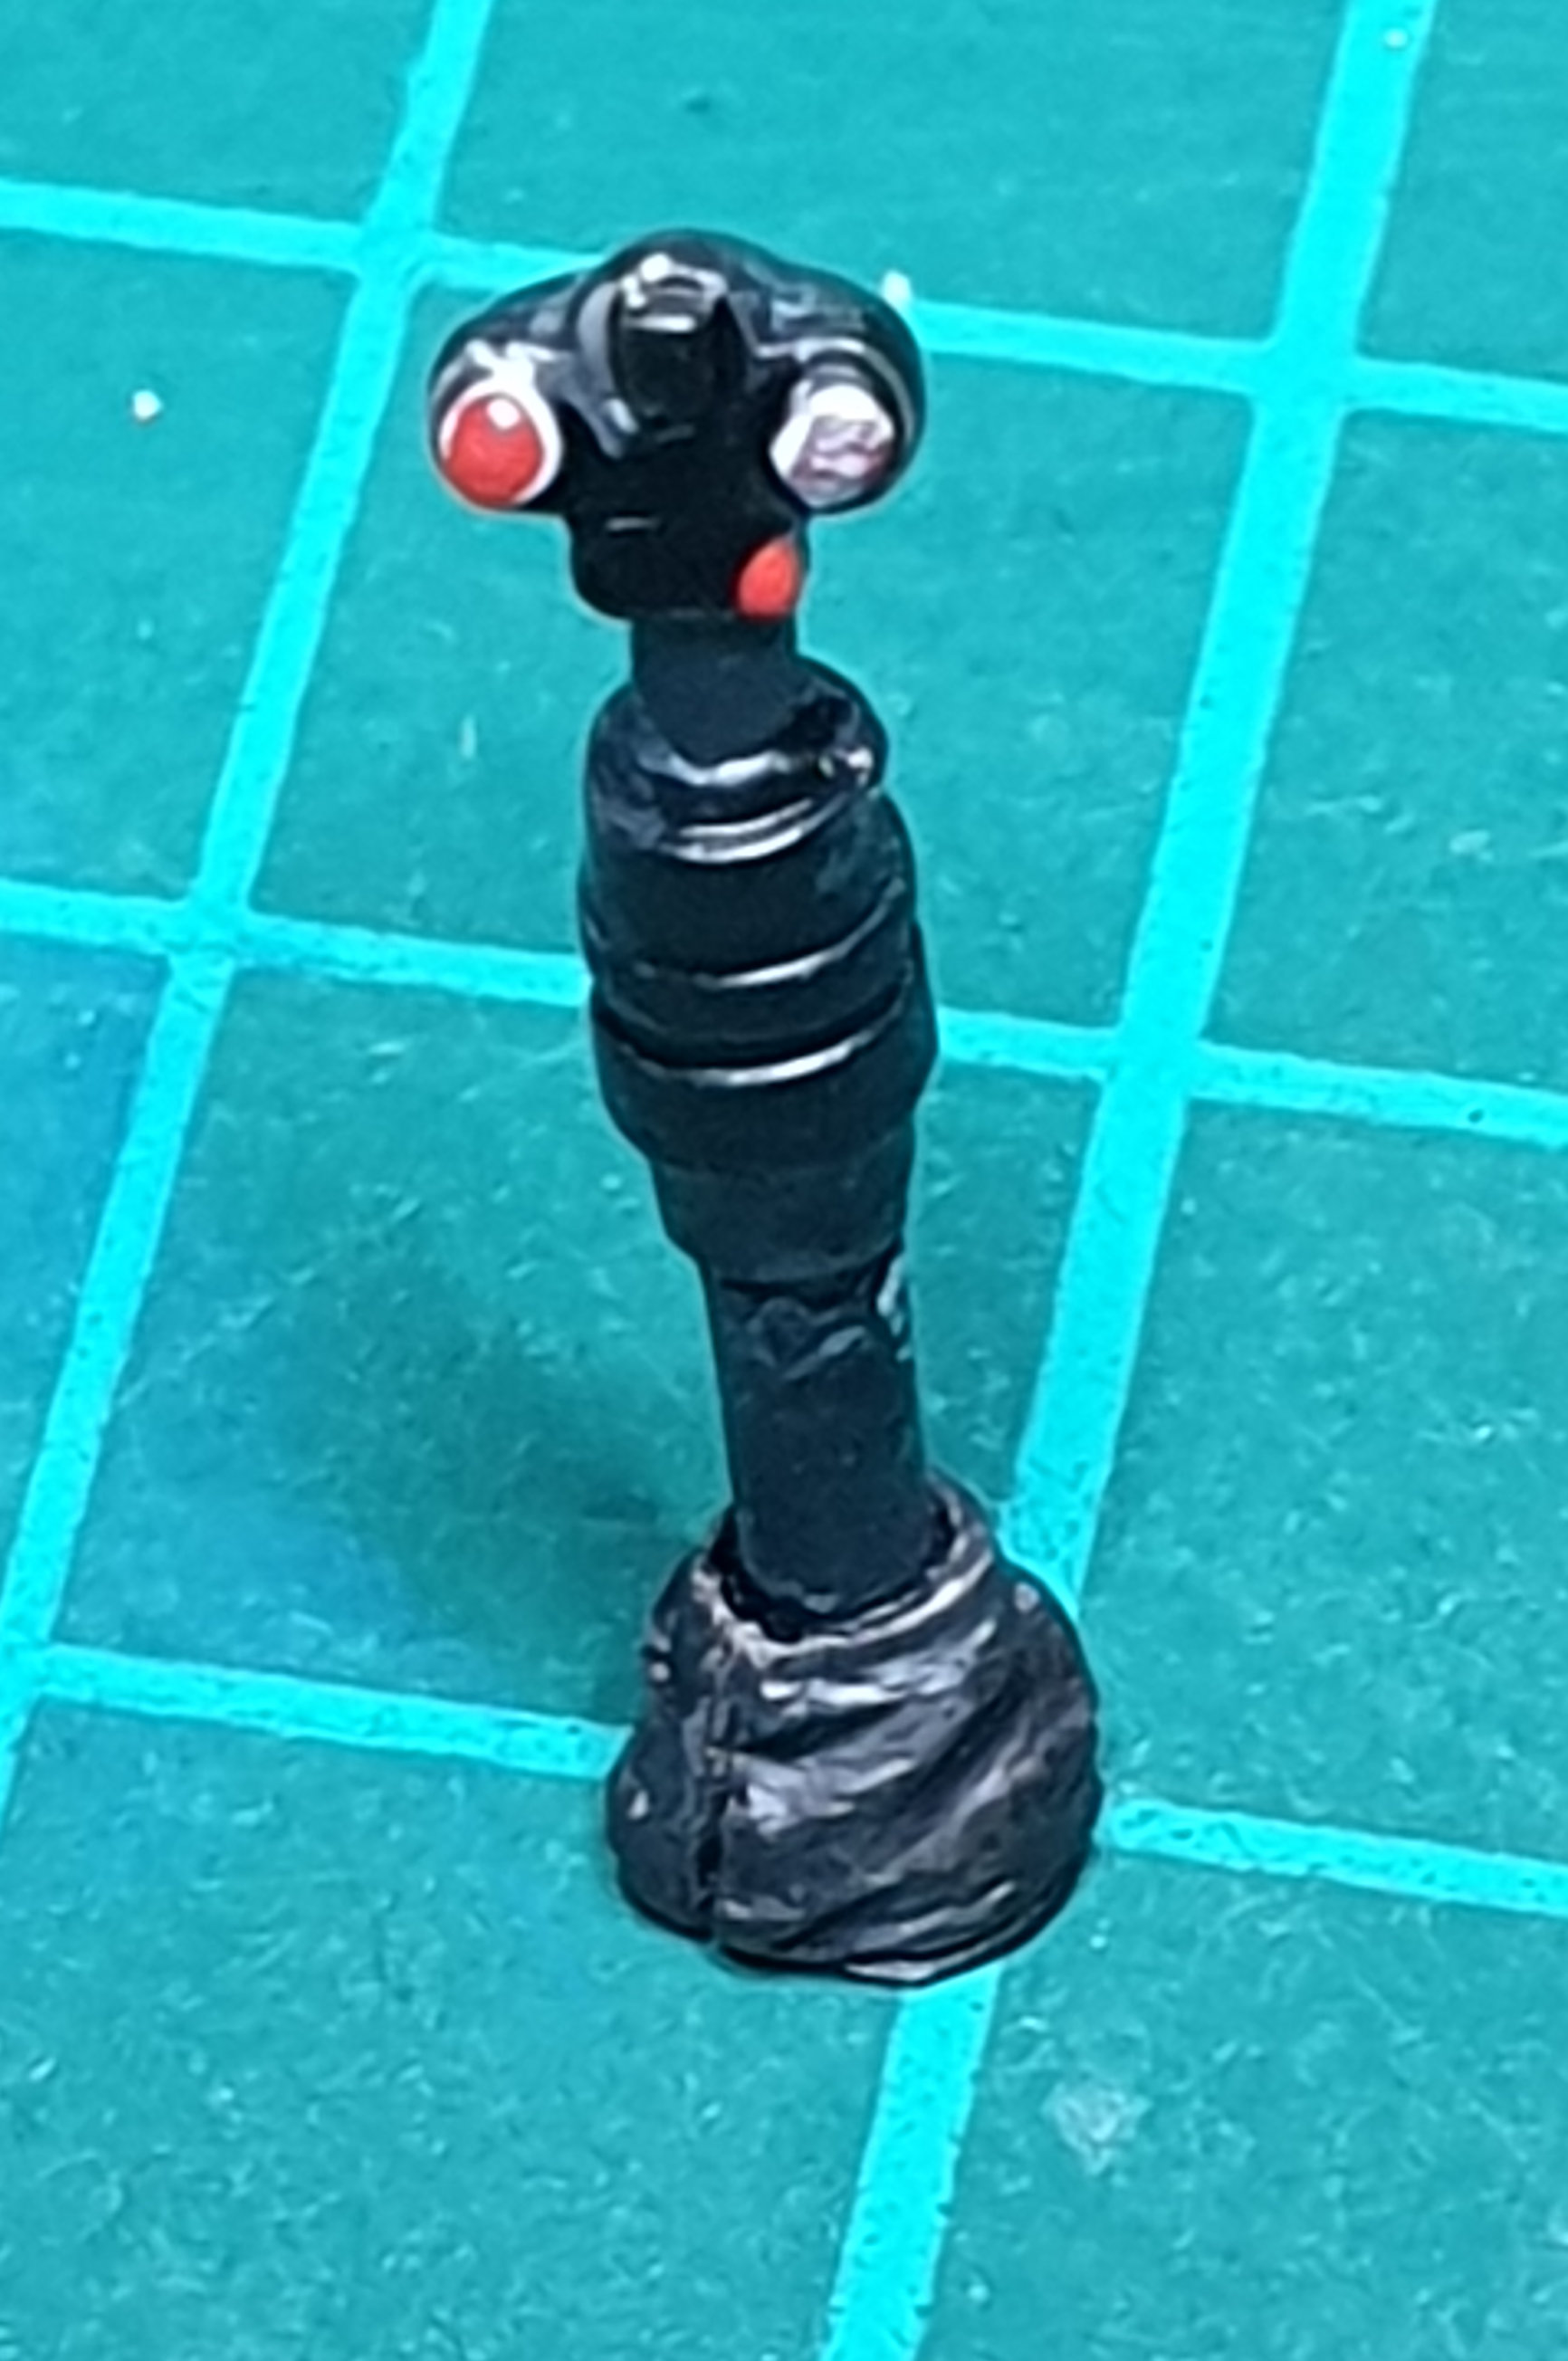
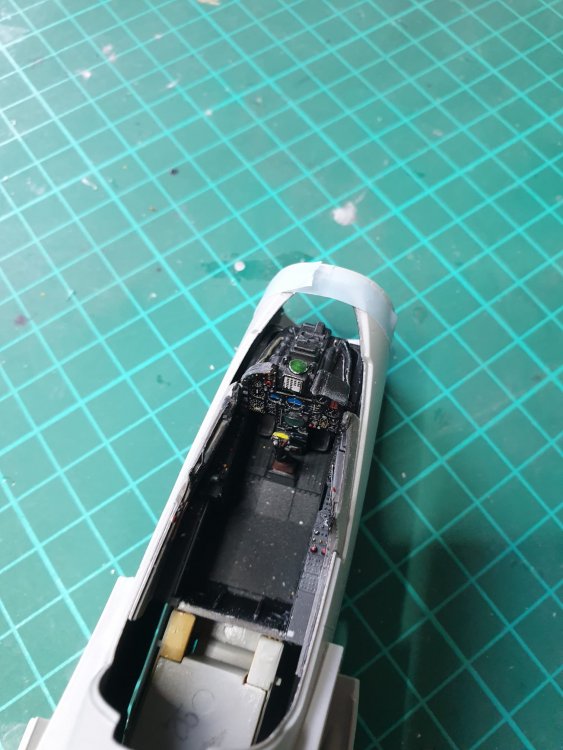
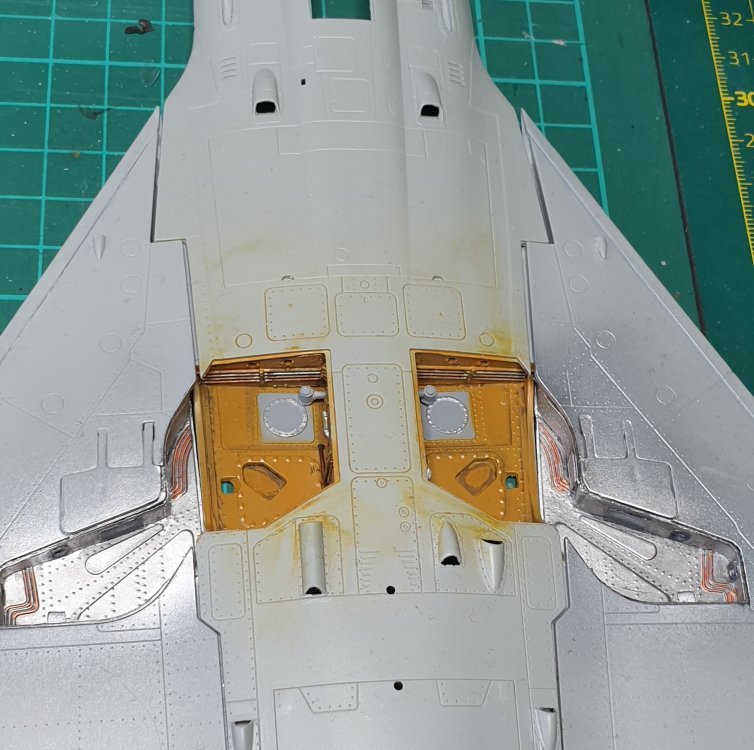
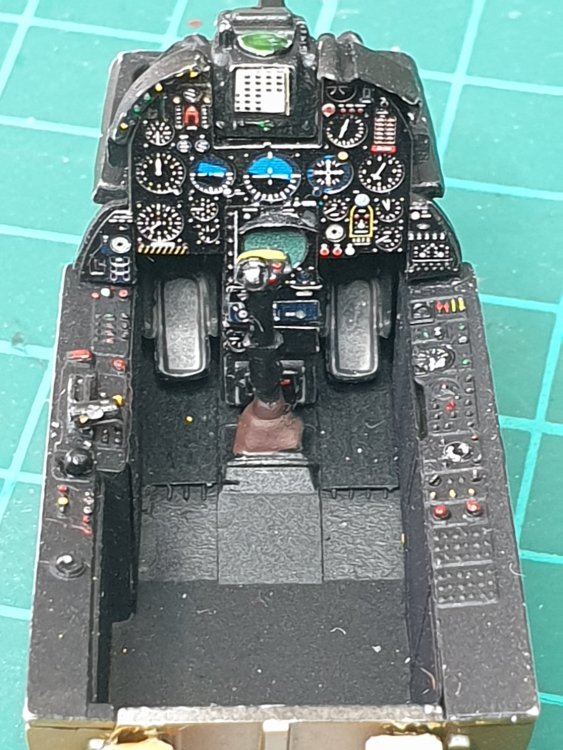
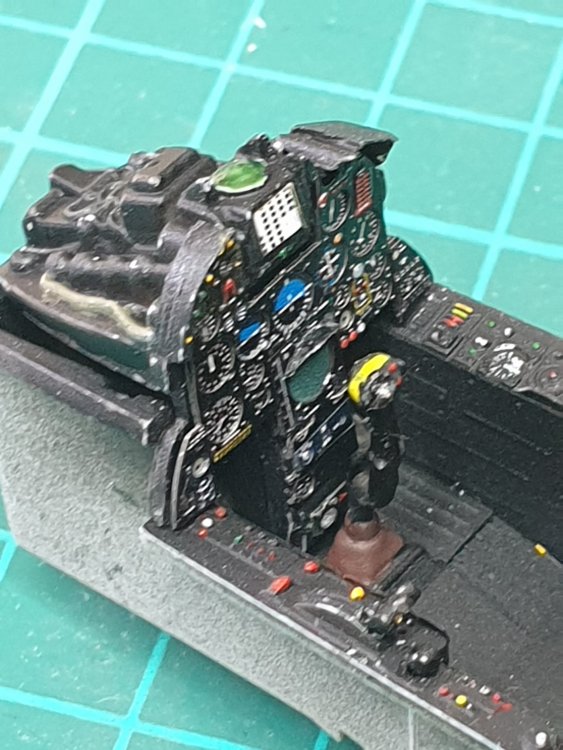
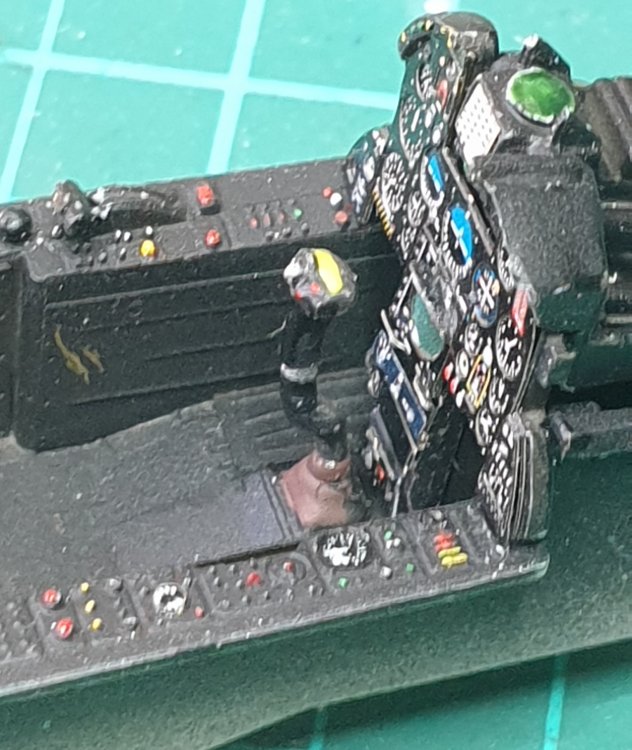
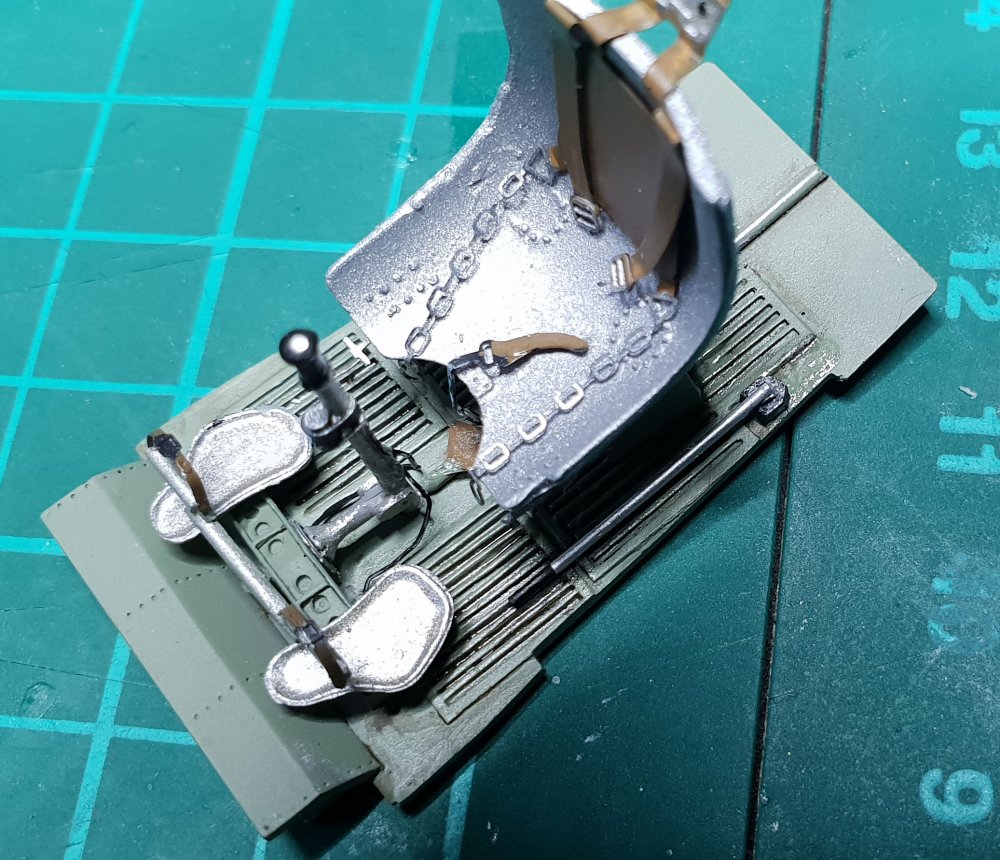
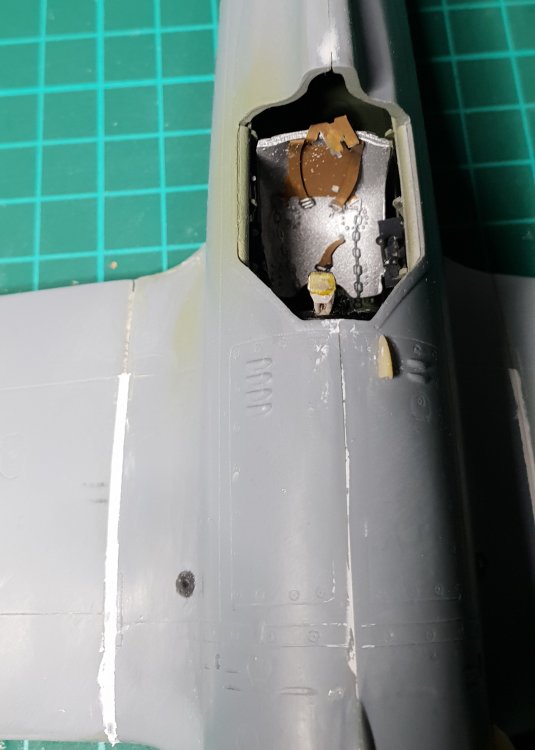
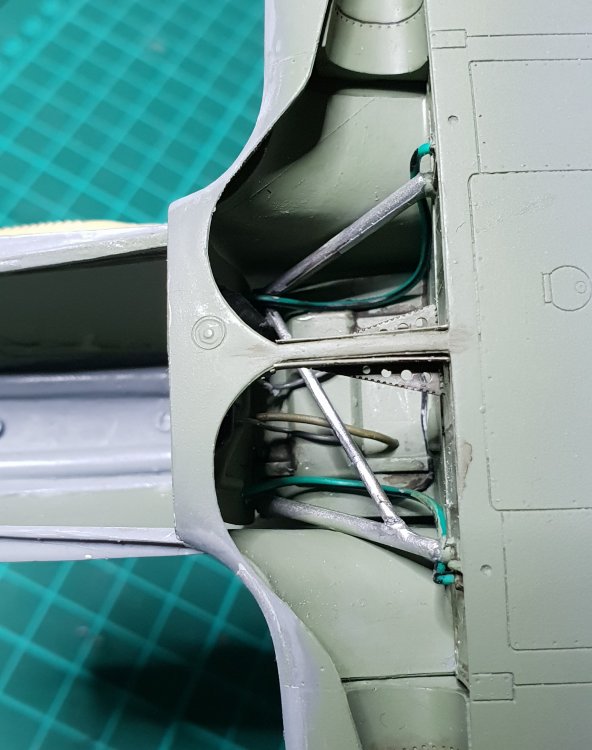
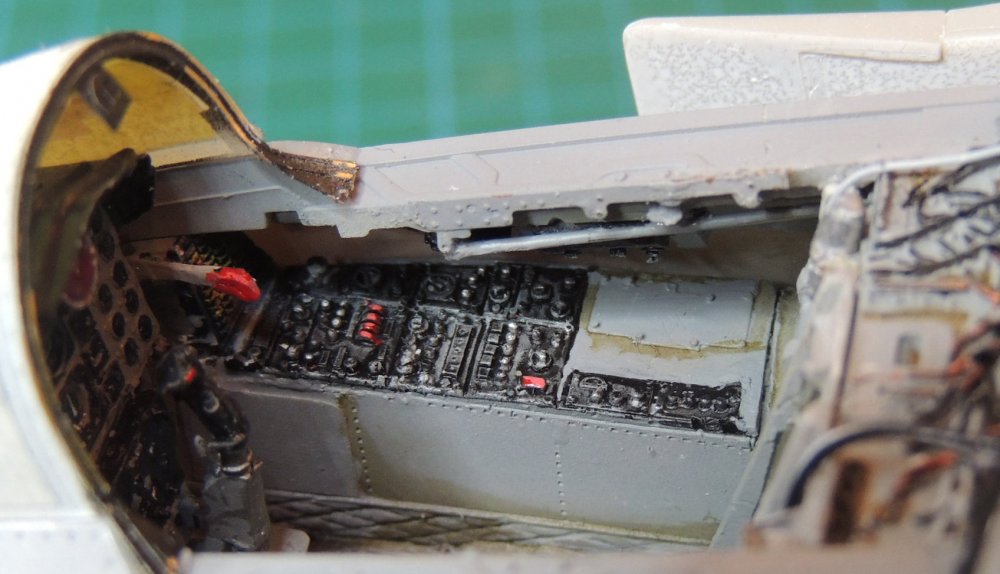
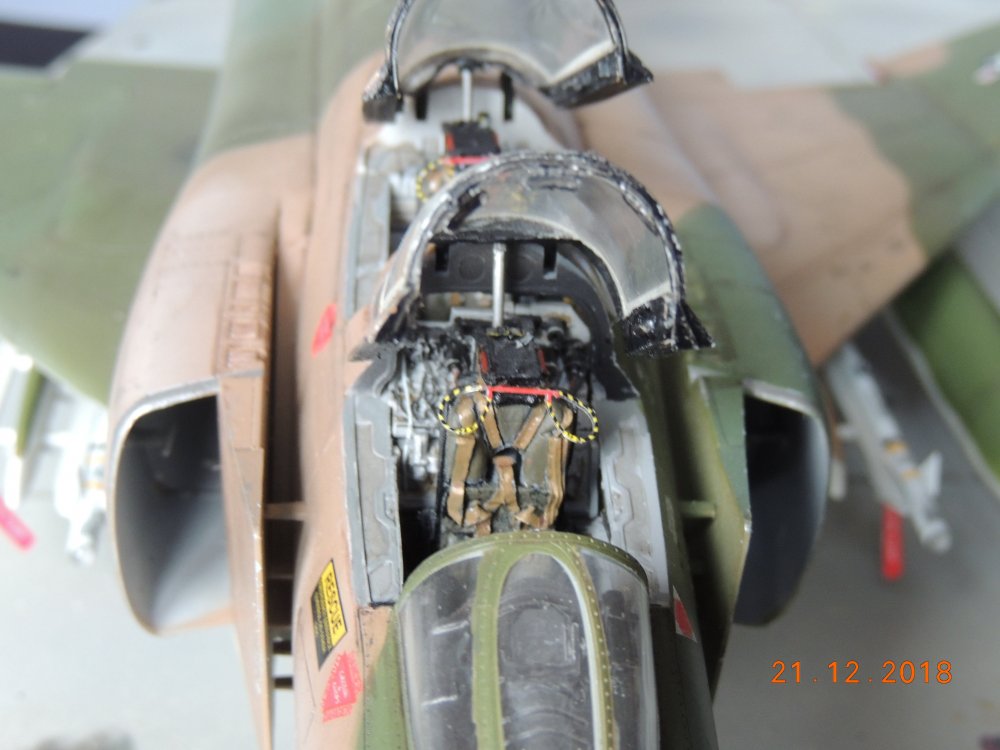
Hi, just a little upgrade on my wip: since yesterday I'm fighting to get cockpit elements to fit into the fuselage. First attempt is shown in following pictures. First two pictures are from the top, everything seems to be OK, but look at the following taken from the bottom:

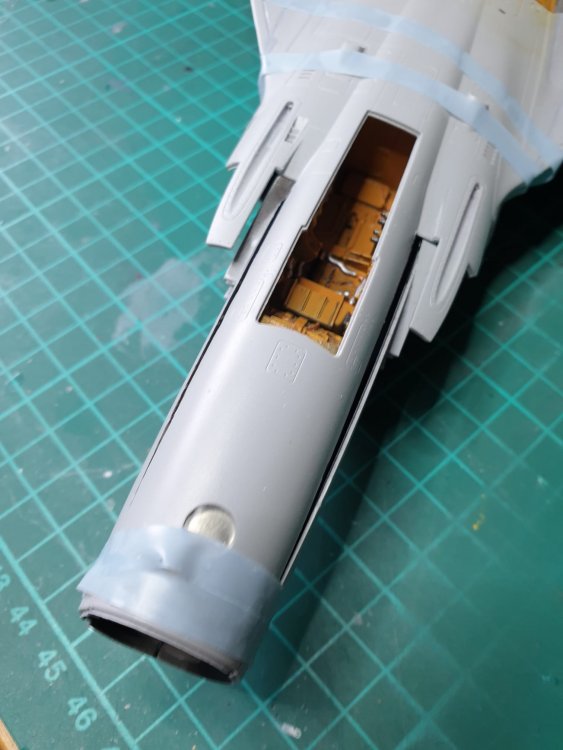
-
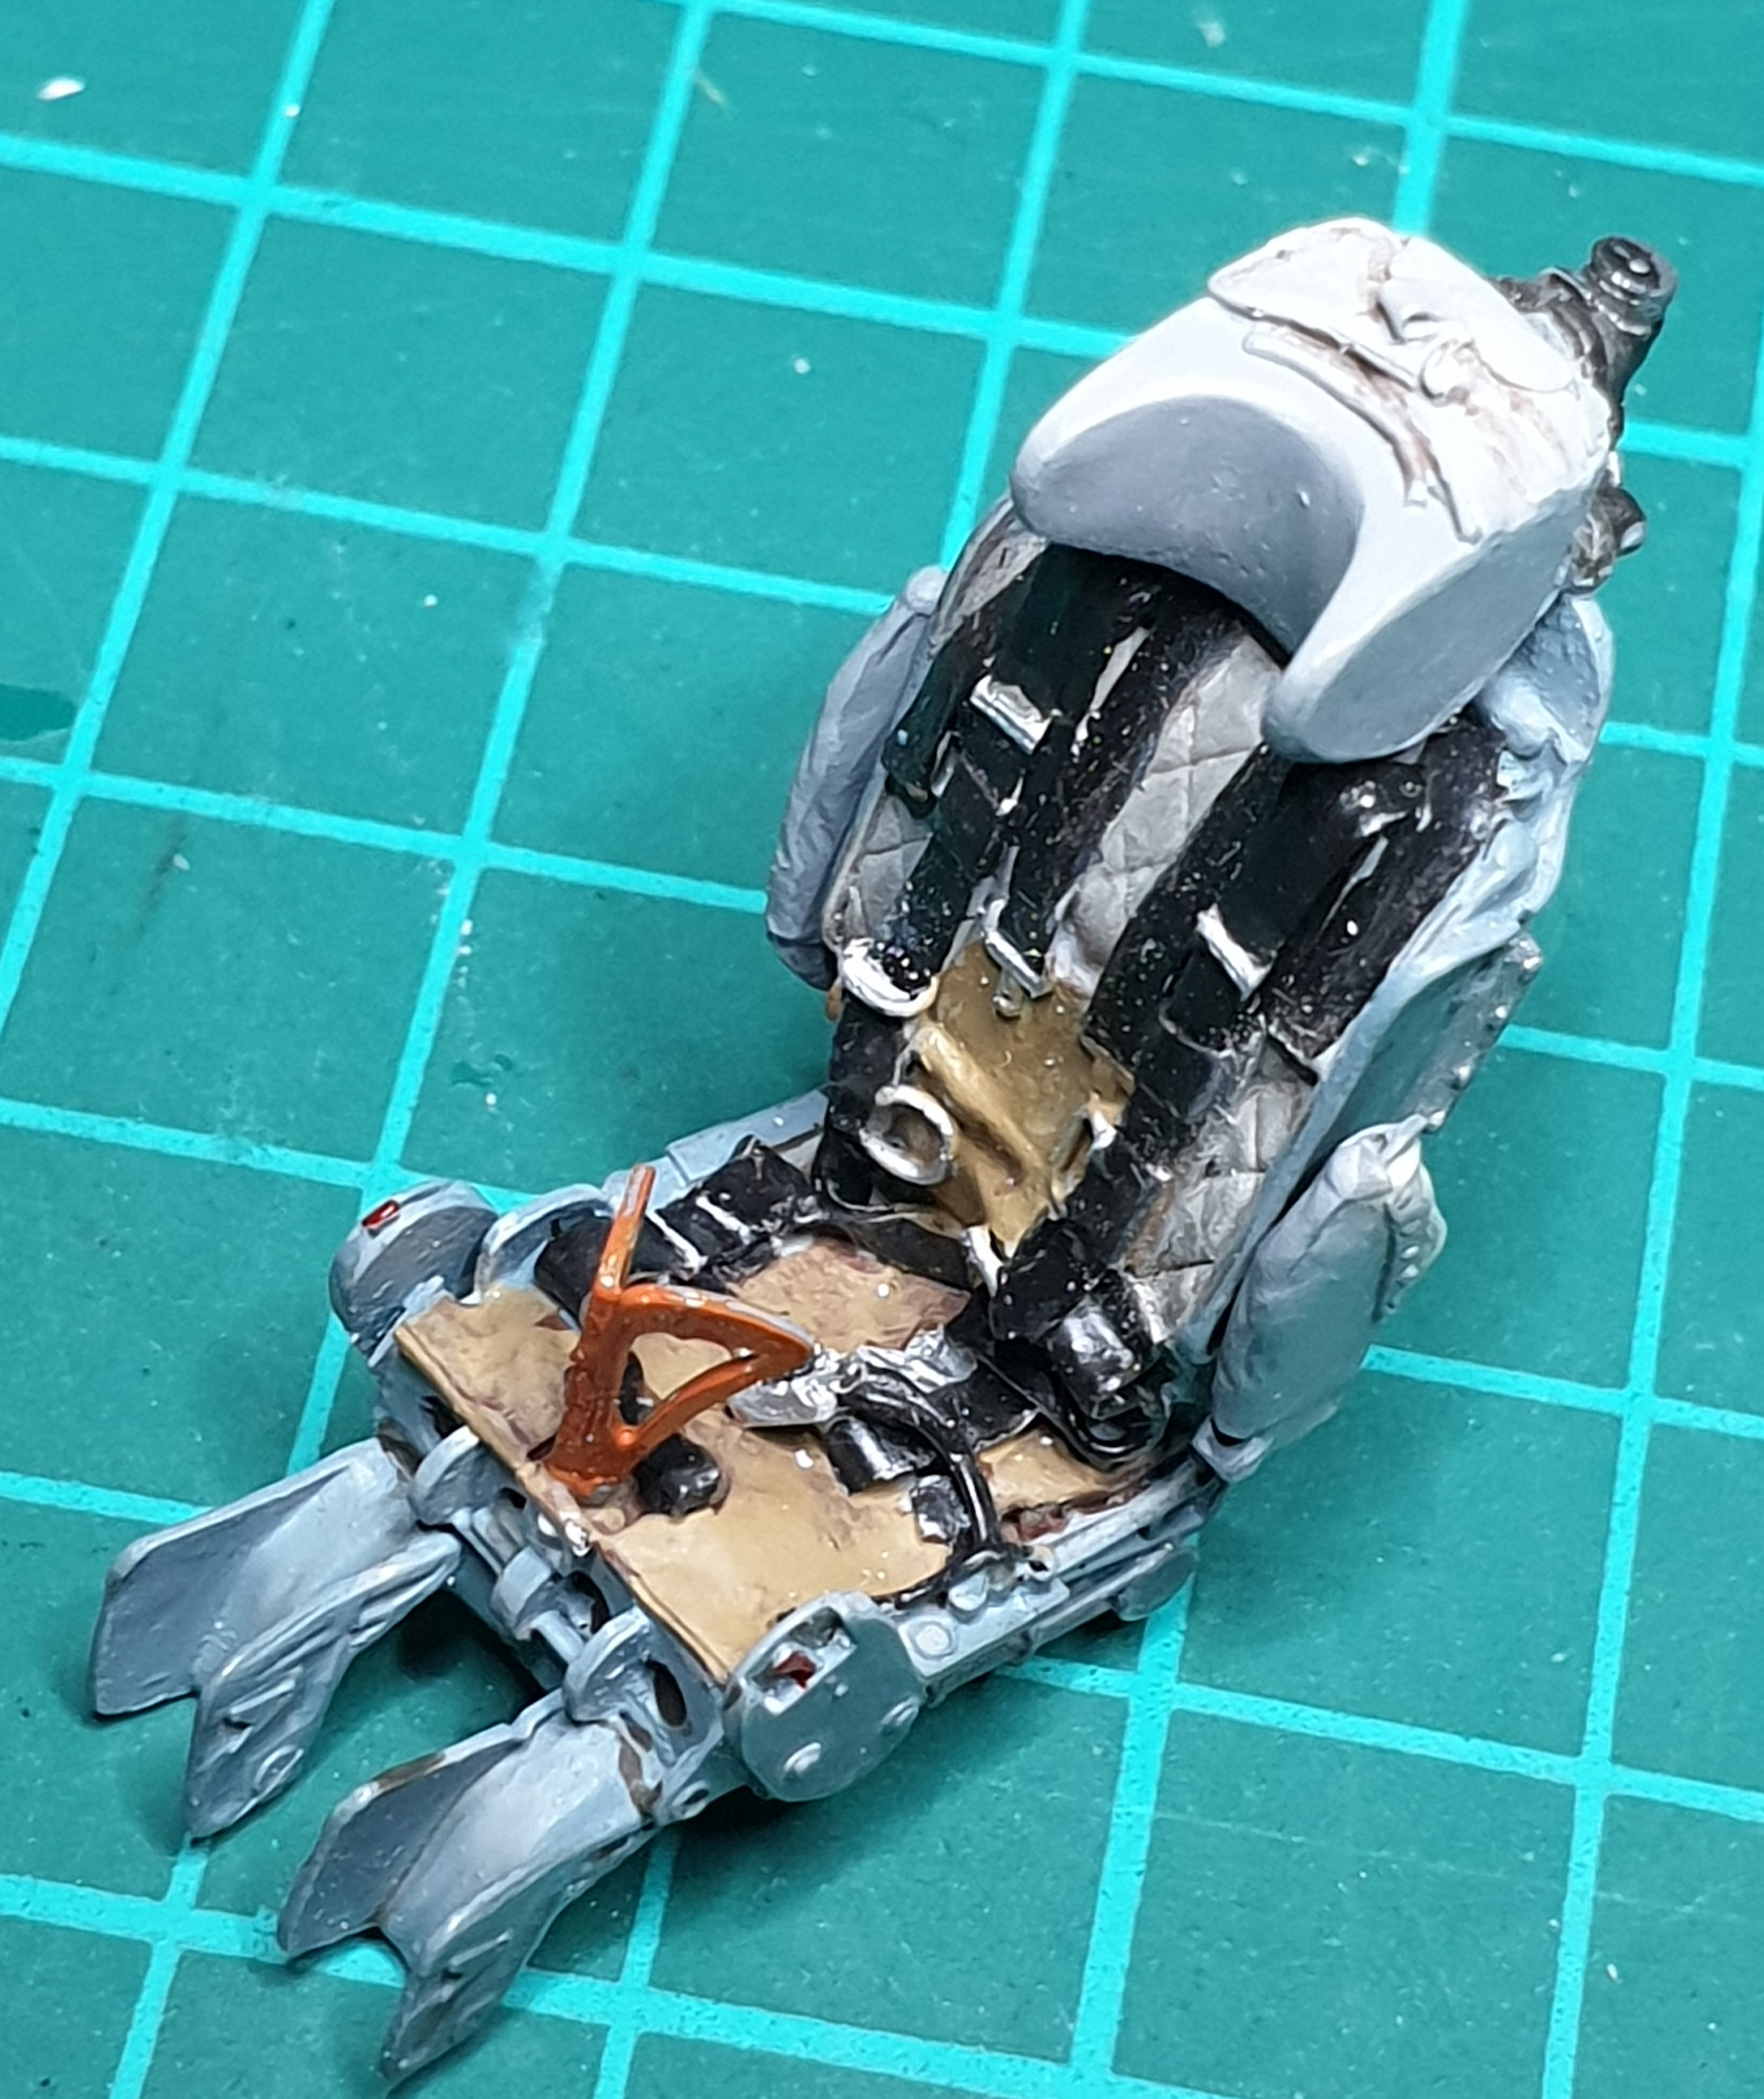
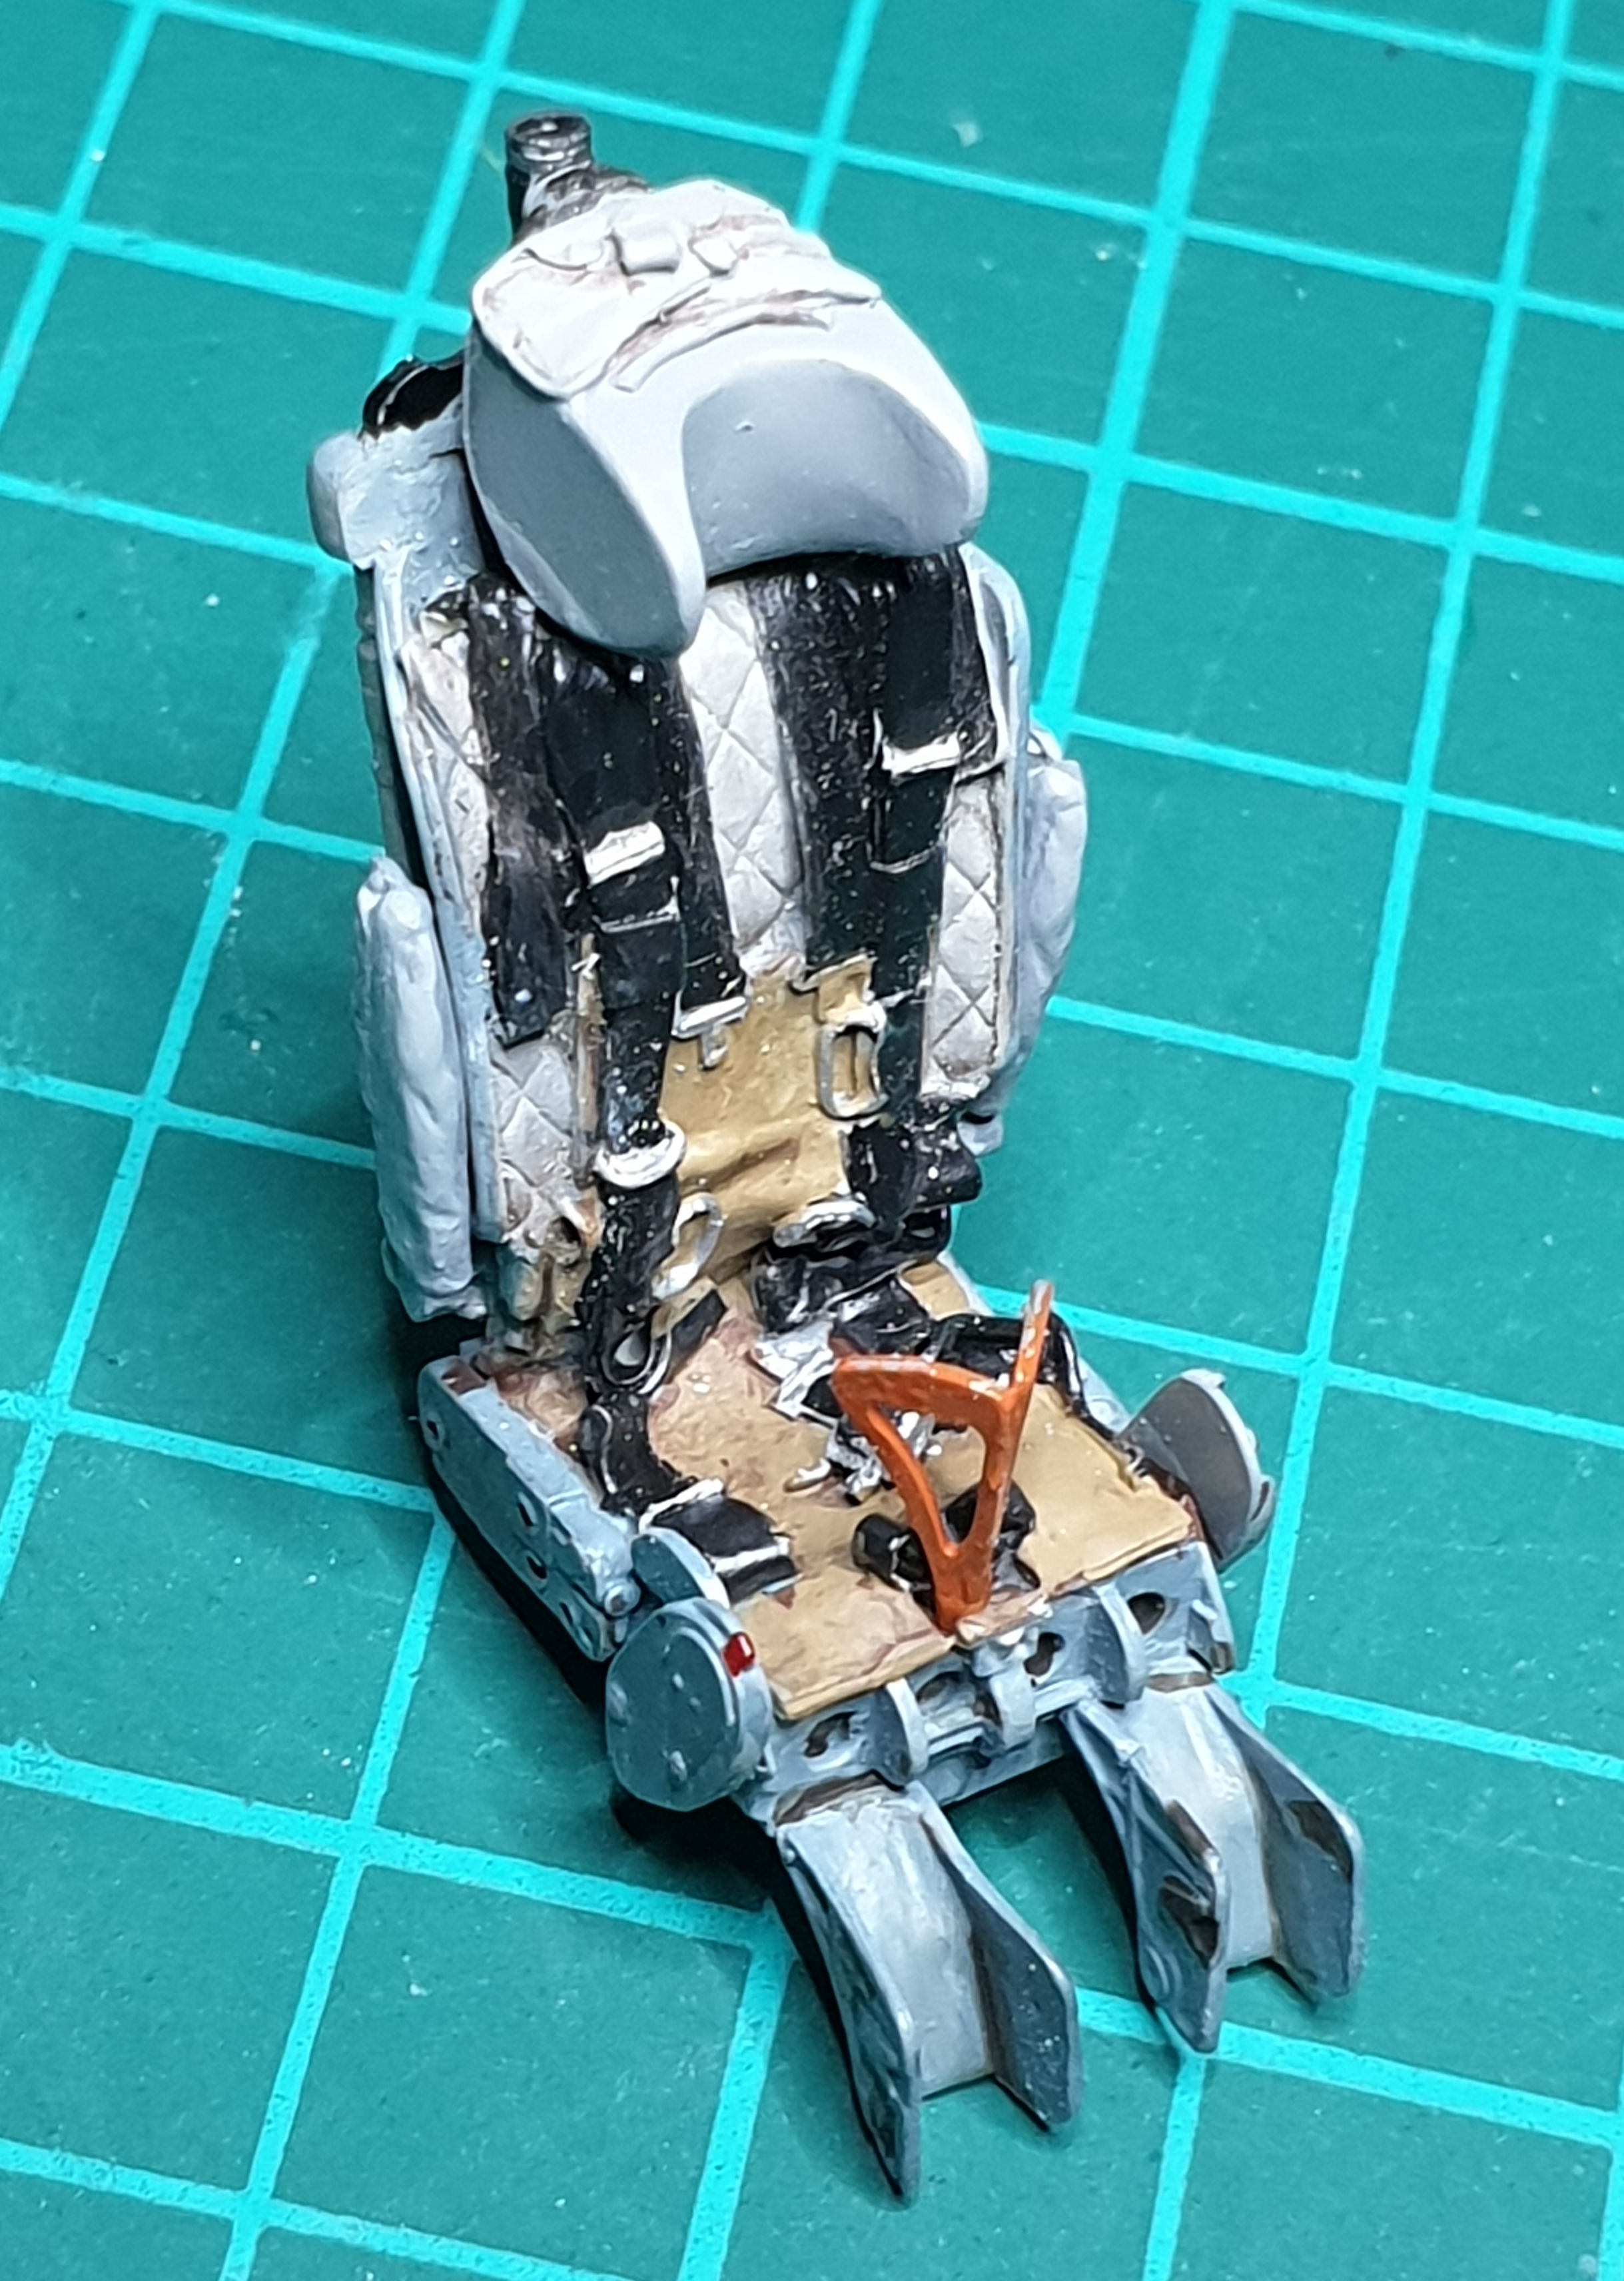
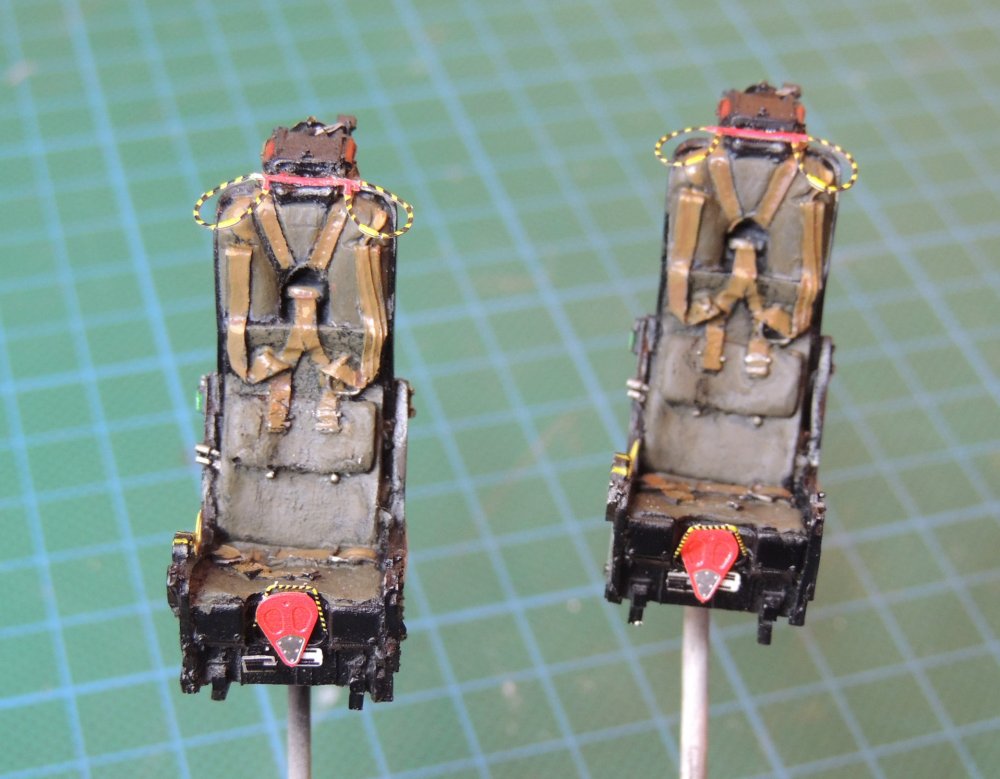
Many thanks for those photos of the real seat, will be of great help when I will start painting mine. In the mean time I found an other supplier of resin items, they look very nice and I decided to order one, see the enclosed link if you are interested in more details https://sparkit-models.com/en/cockpit/44-siege-mk4-jrm-pour-jaguar-a-et-e.html
-
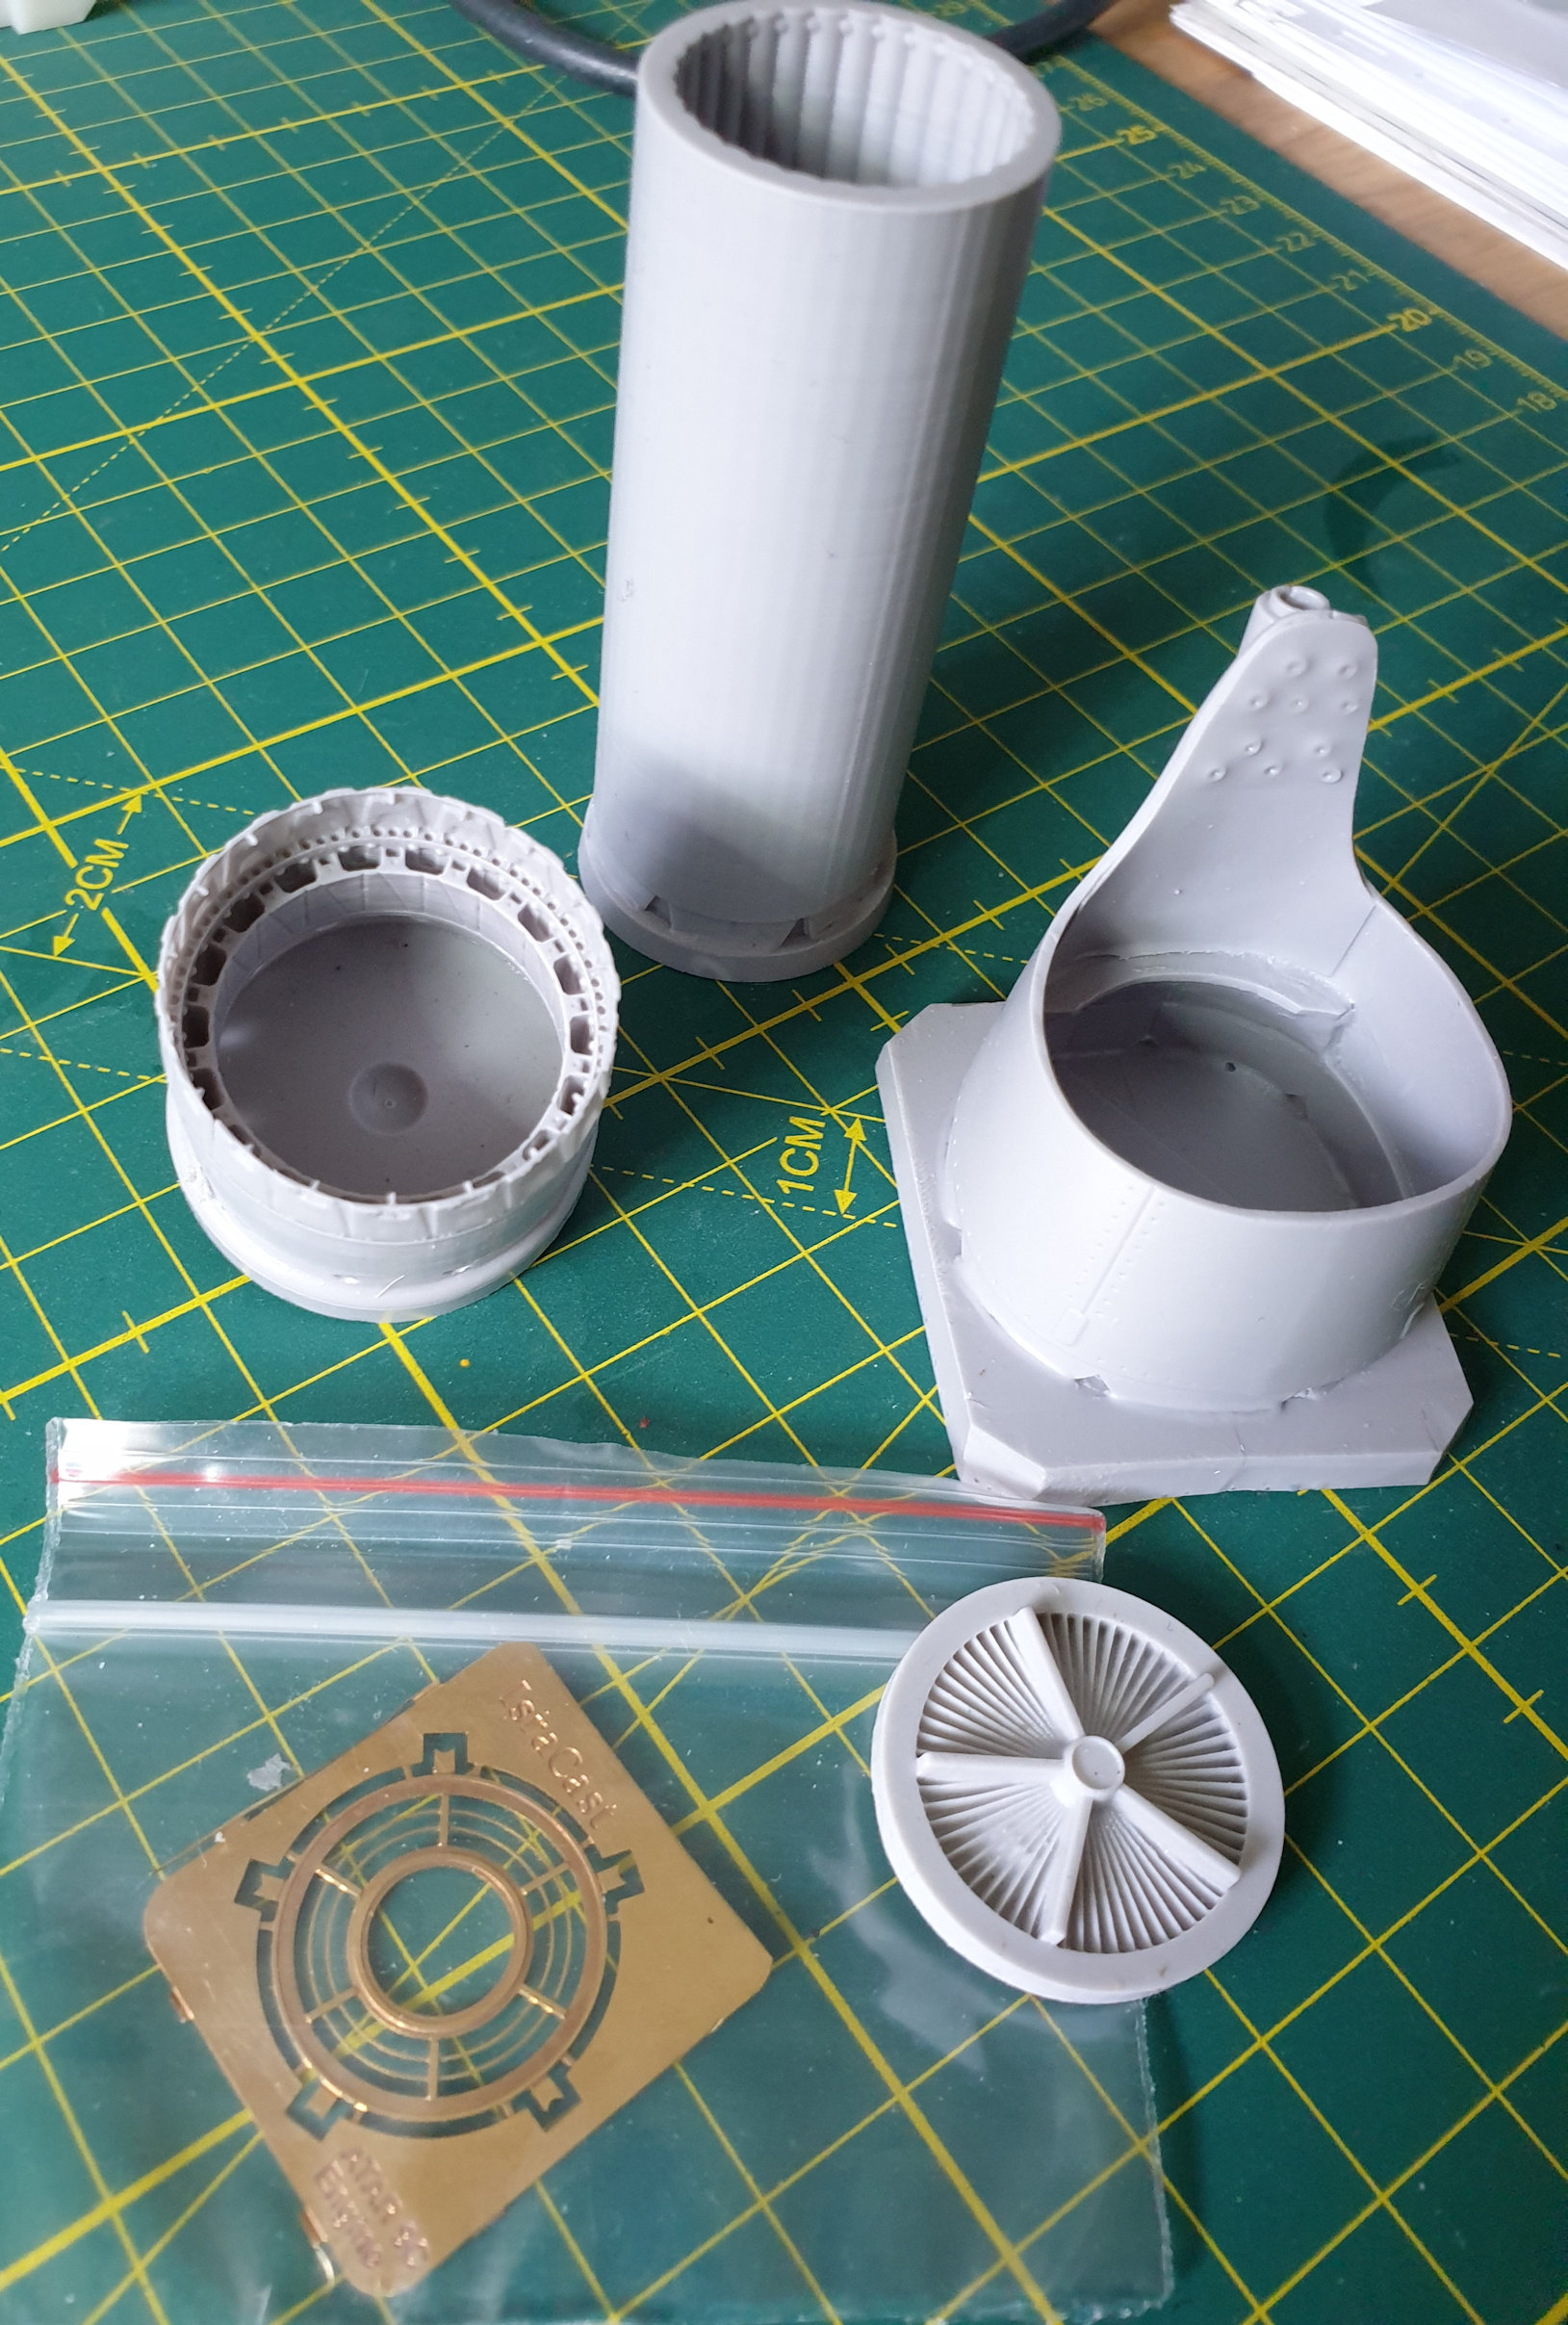
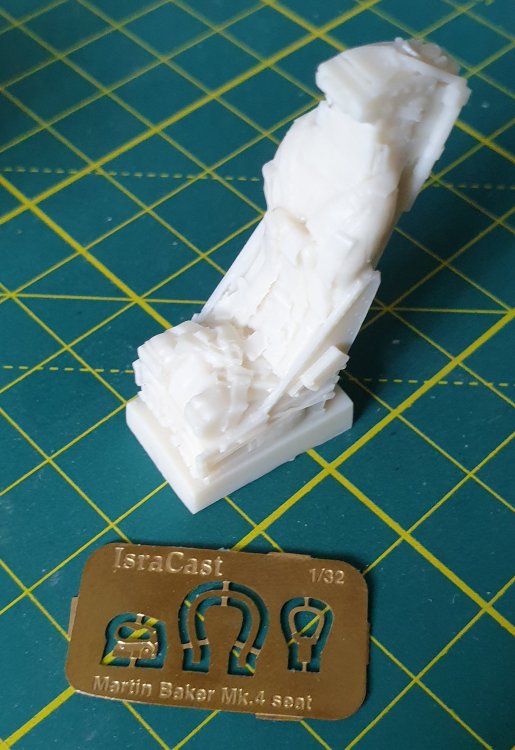
Hi everybody, today I finally received the kit from Isradecal, quite a nice one with very crispy details, specially on the exhaust. I also received the resin Mk-4 seat, still from Isradecal, but it looks a bit strange. In any case, now I can continue my build.

-
Israeli Mirage III C with Atar9C
alberto49 replied to Kaireckstadt's topic in LSM 1/35 and Larger Work In Progress
Yes, it's going to be there as well! I posted here because I wanted to refer to issues you had with these parts. -
Israeli Mirage III C with Atar9C
alberto49 replied to Kaireckstadt's topic in LSM 1/35 and Larger Work In Progress
Hi everybody, today I finally received the kit from Isradecal, quite a nice one with very crispy details, specially on the exhaust. So, remembering what Kai mentioned above, I want straight to check the fit and, at least on dry, it seems almost ok.
-
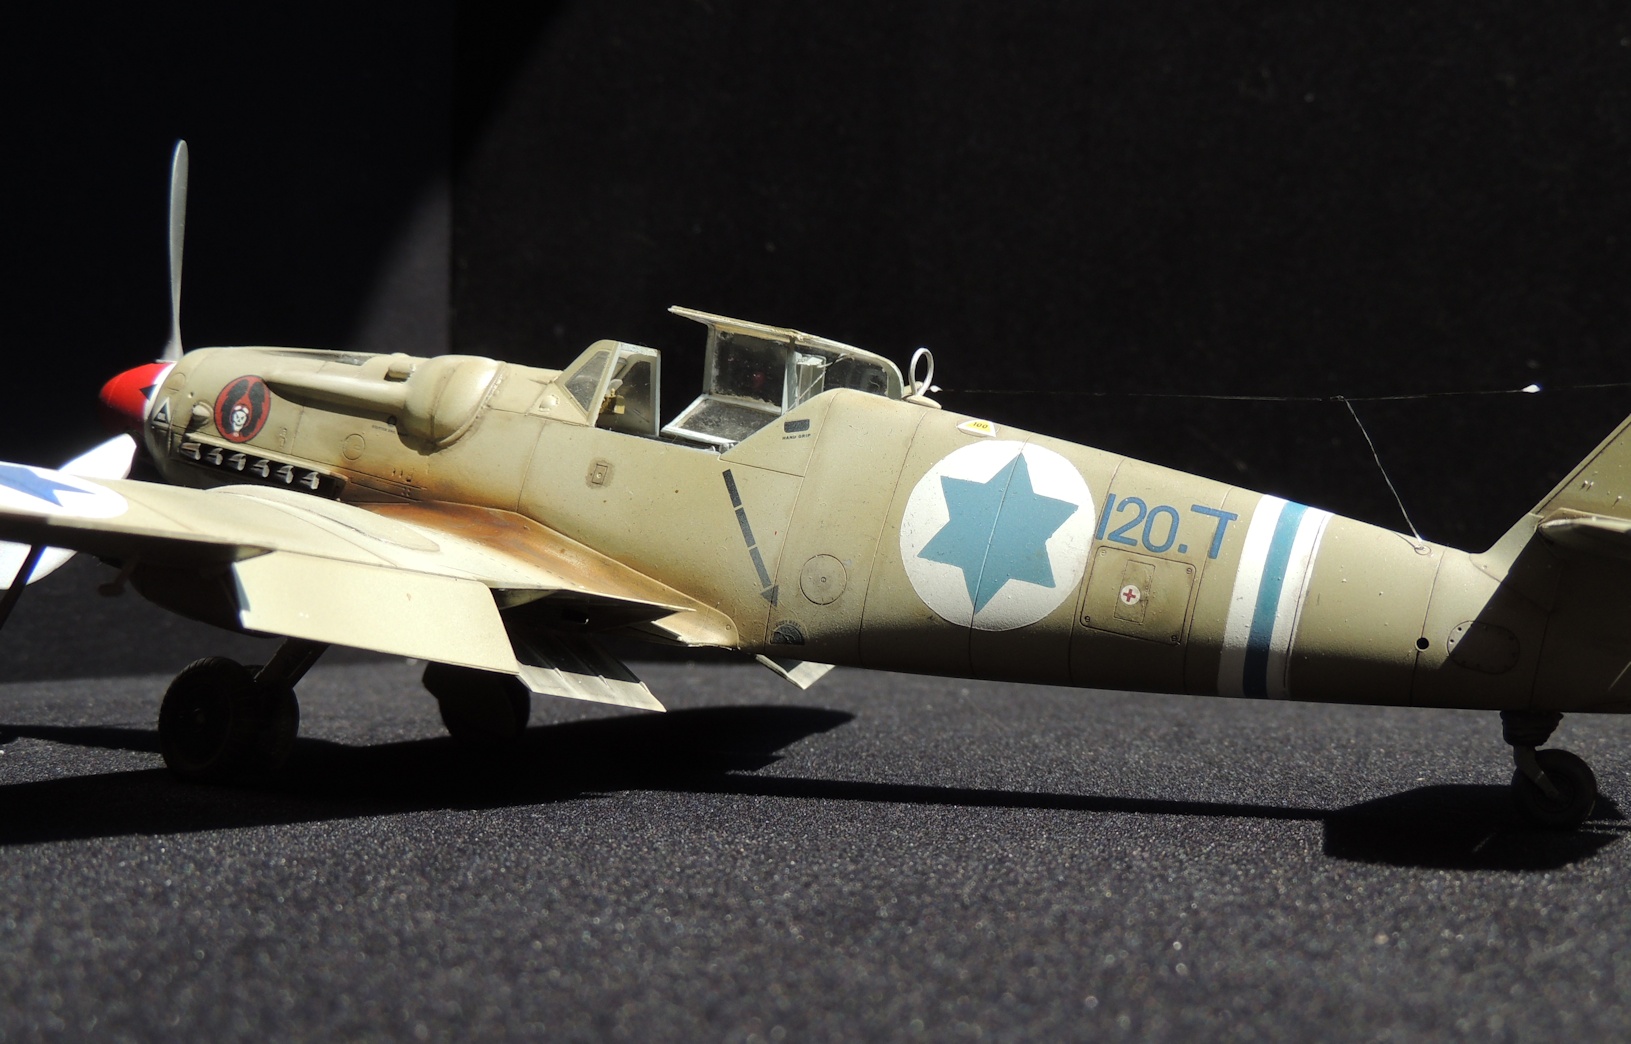
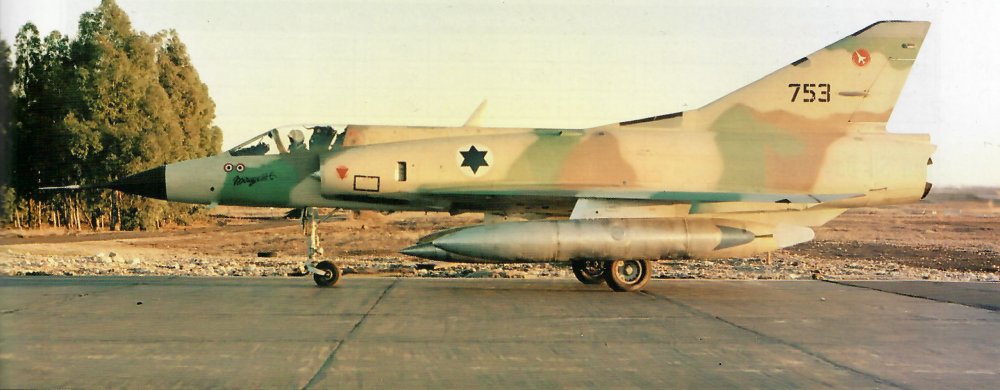
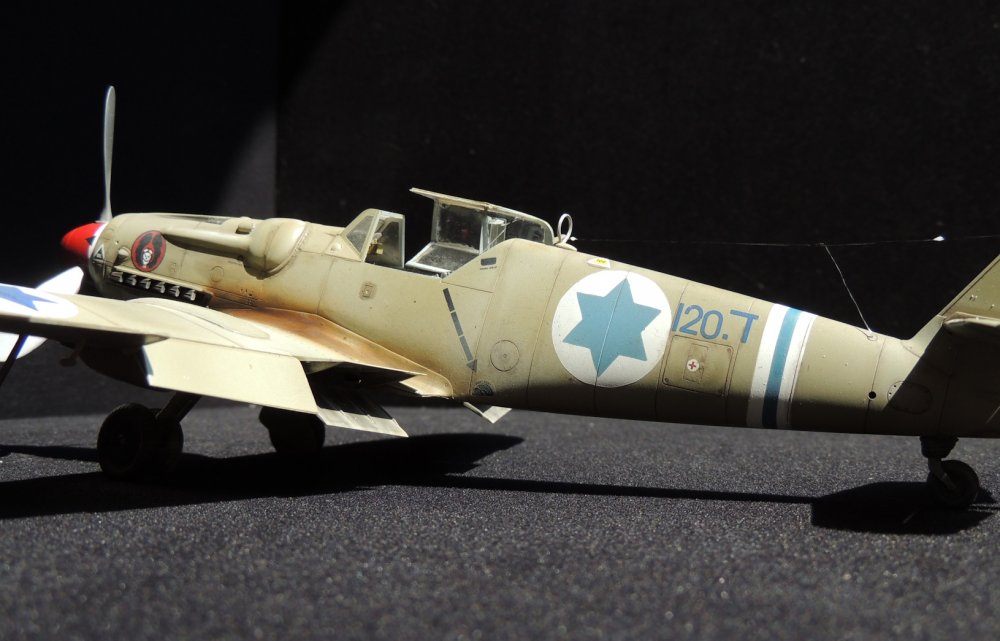
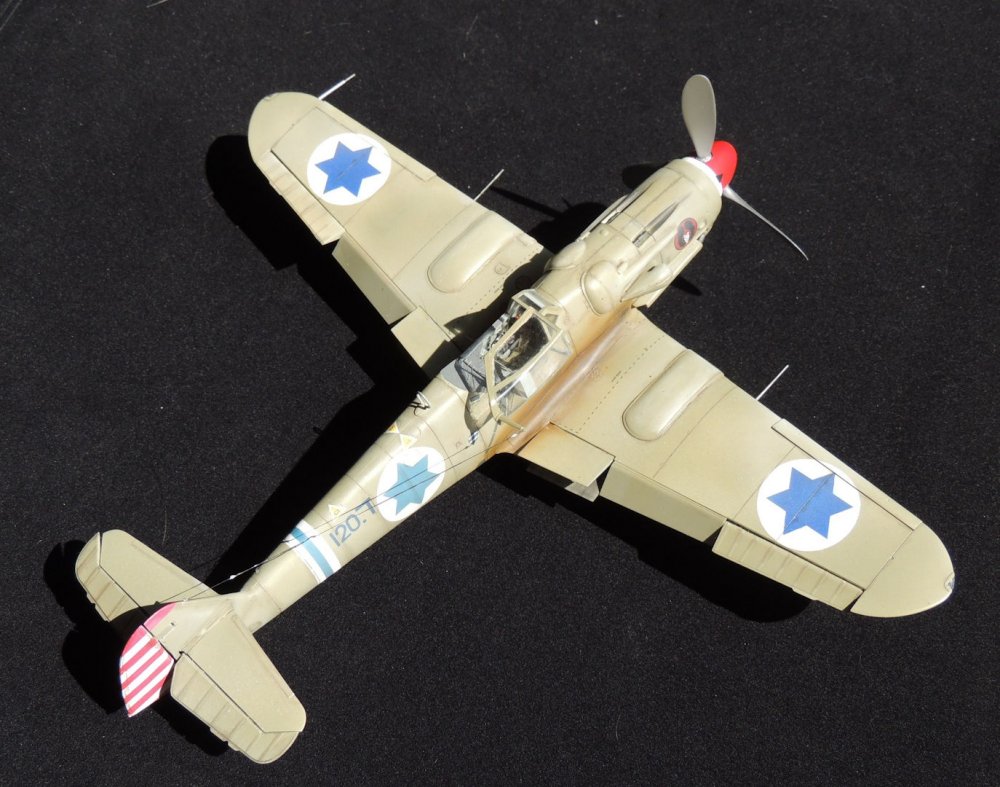
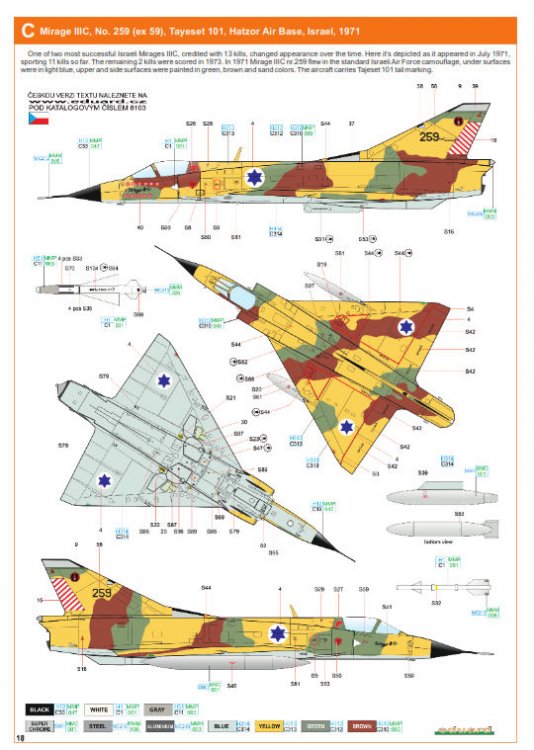
Many thanks for your comment Peter! Really I'm more inclined to do the 1971 camou as shown in Eduard's scheme and, for instance, in the enclosed photo. Colors should be the same (FS 34258 - 33531 -30219 and 35622) but no yellow/black triangles, added to avoid confusion with Libyan Air Force Mirages. By the way, early next week I should eventually receive the conversion kit form Isradecal and so I could progress with my build. Alberto
-
Hello Kai, I just sent you a p.m. My idea is to build, if I can get enough info and good decals, a plane belonging to 101 Squadron in an ideal continuation with the Avia S-199 I made 6 years ago from an Hasegawa kit with Ciro models conversion.

-
Not yet decided. Very likely it will be a mimetic 259, like in the Eduard profile, because the only decals I have available are those supplied by Italeri, but I could do also a different call number, by making those decals myself.
-
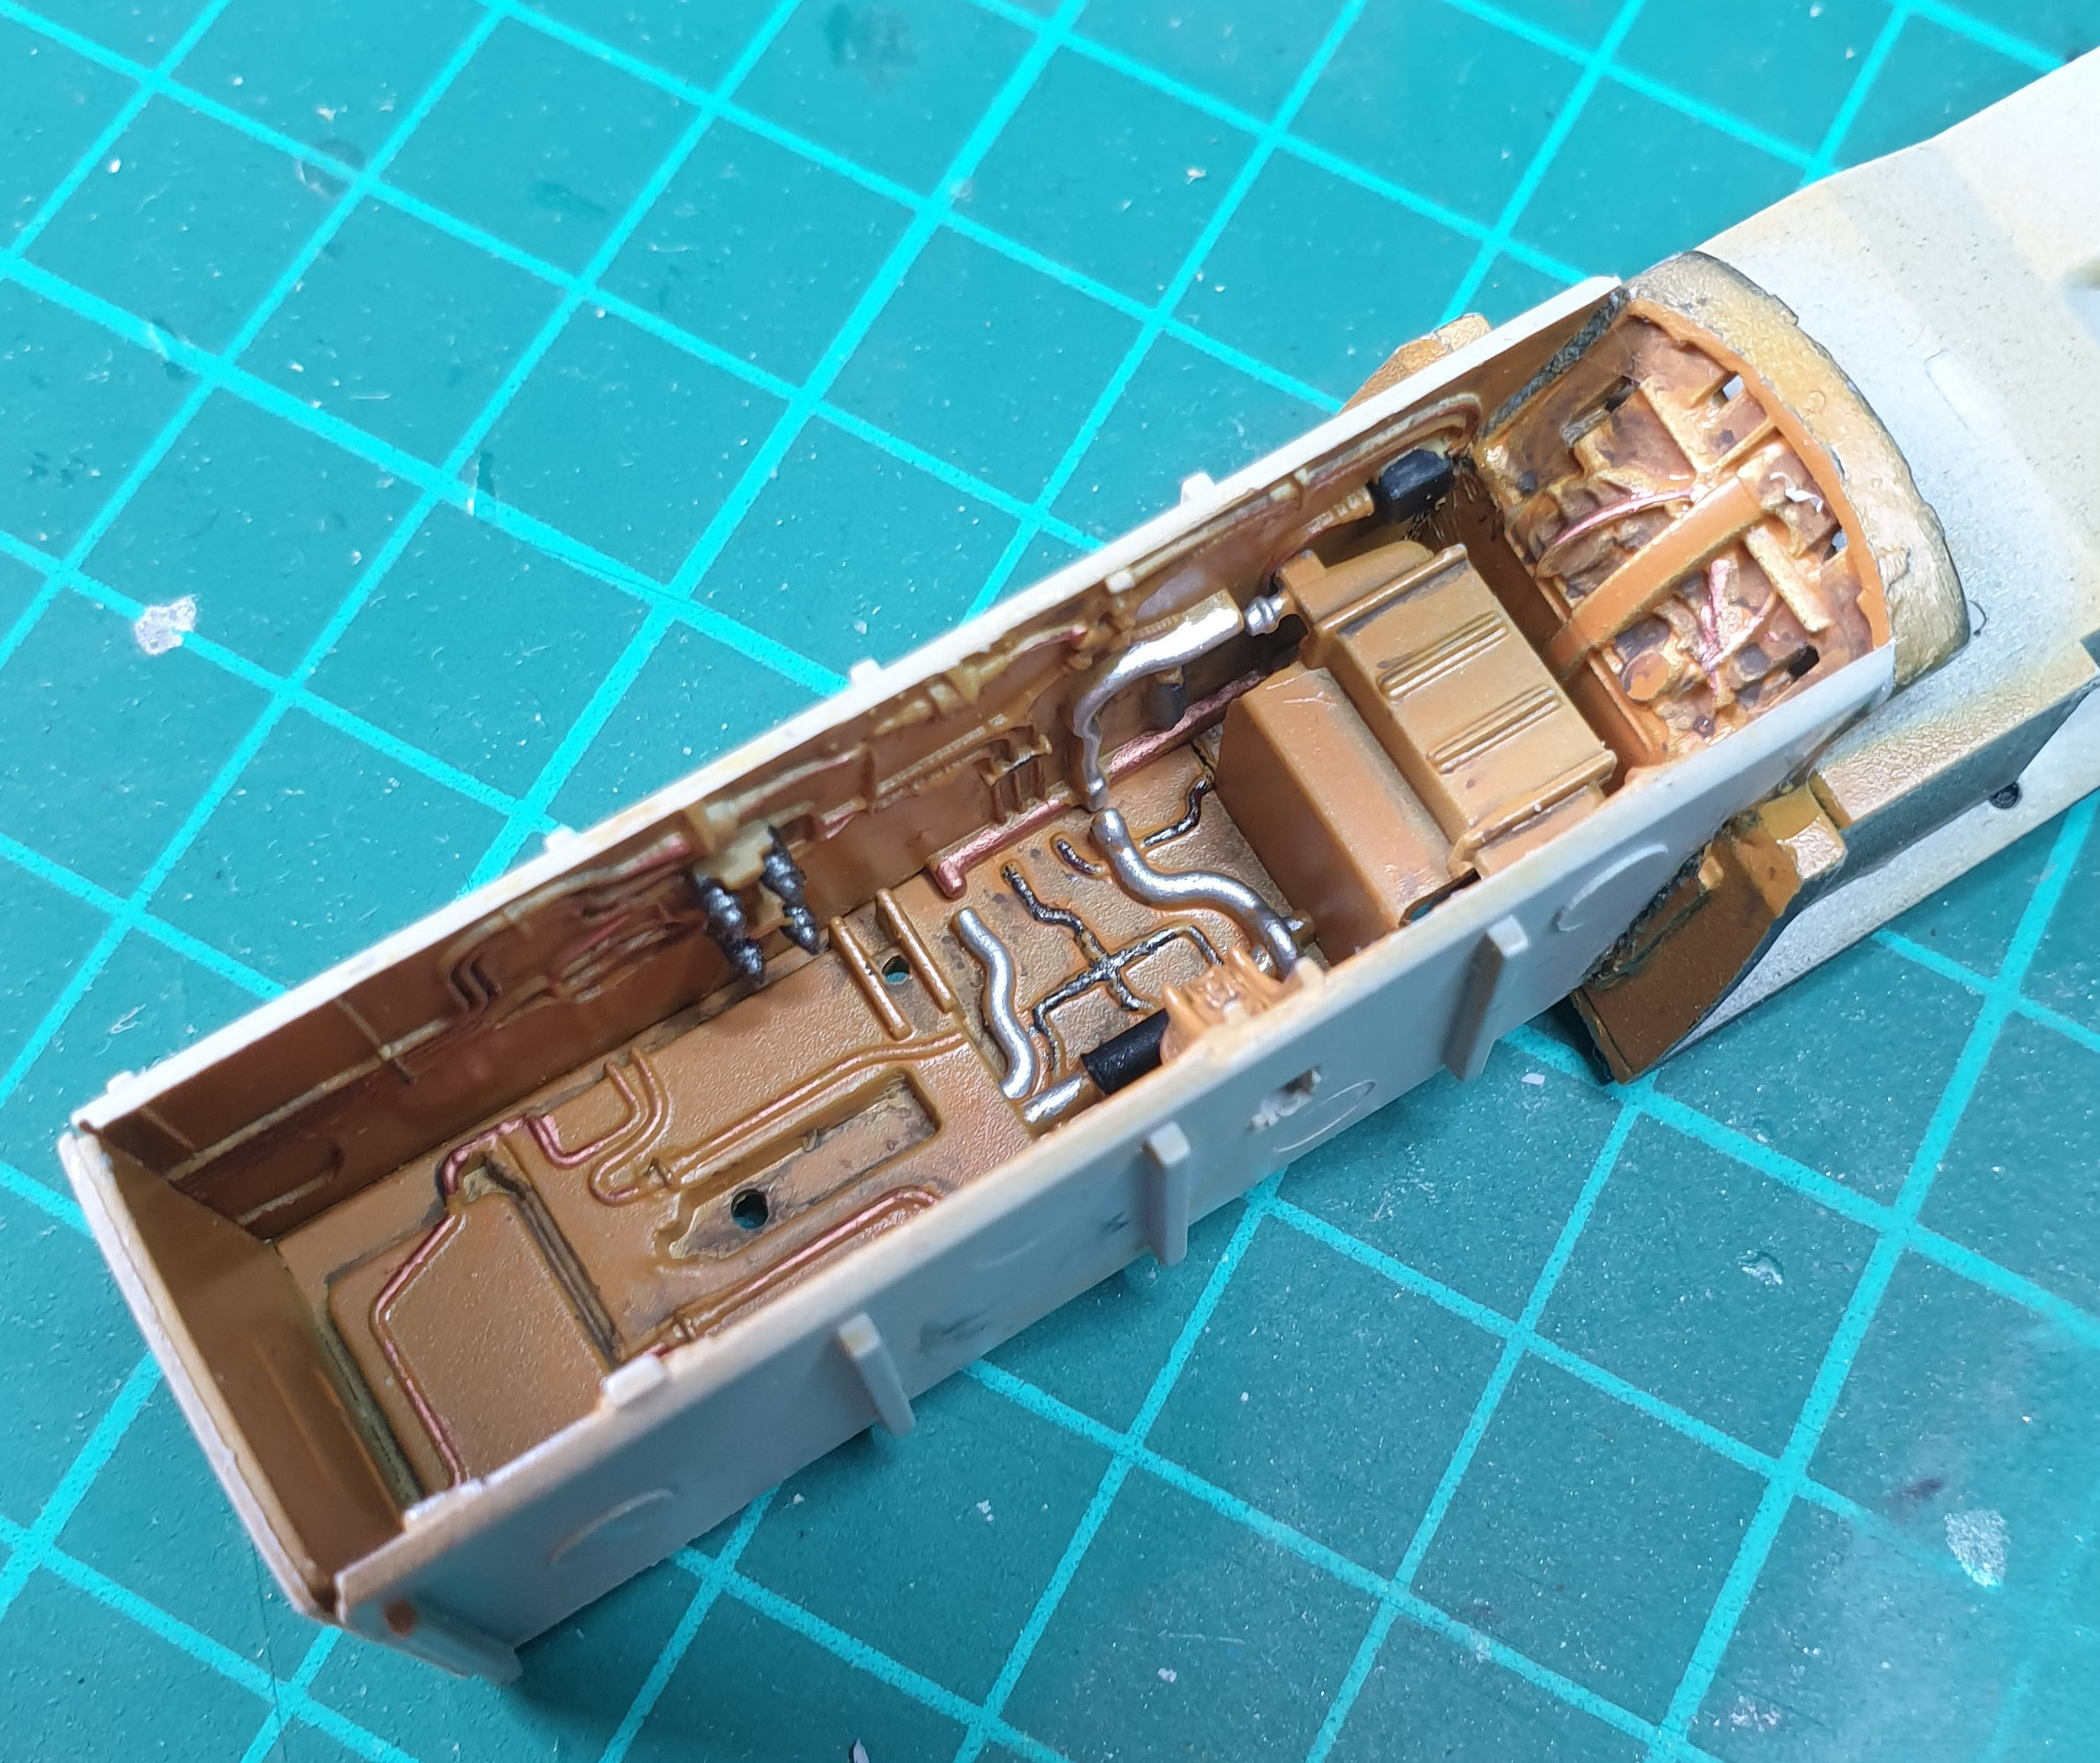
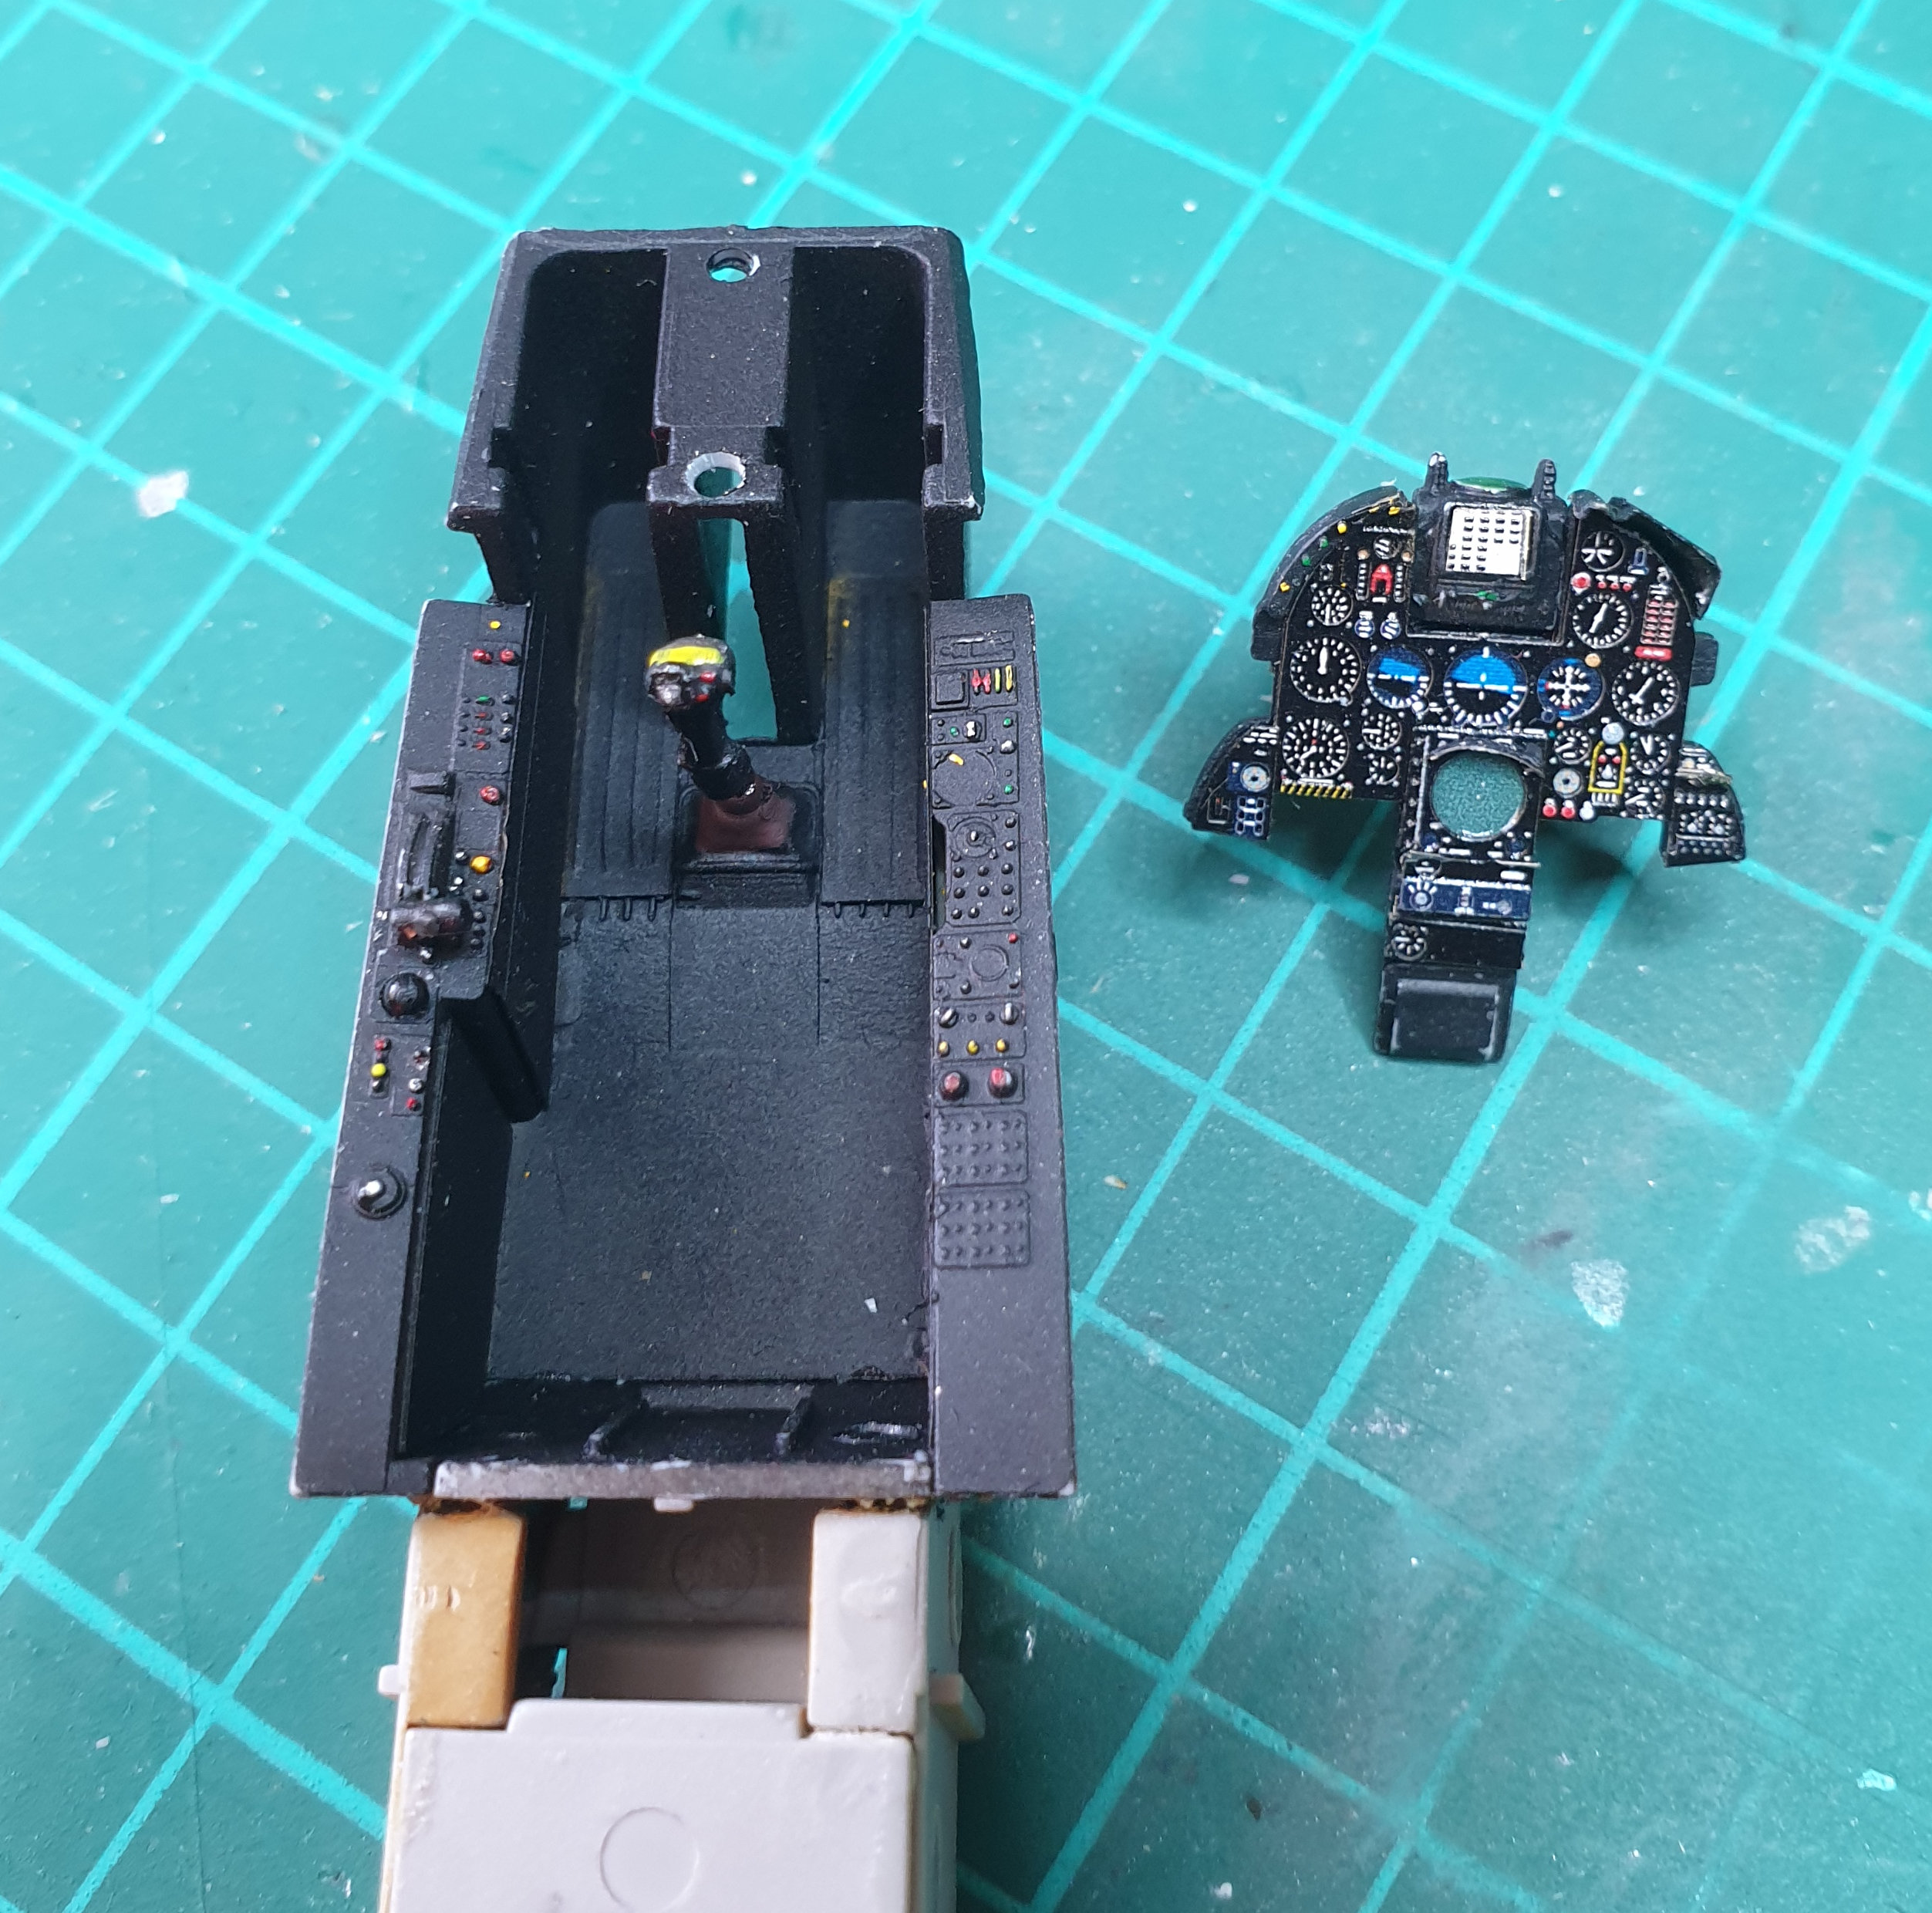
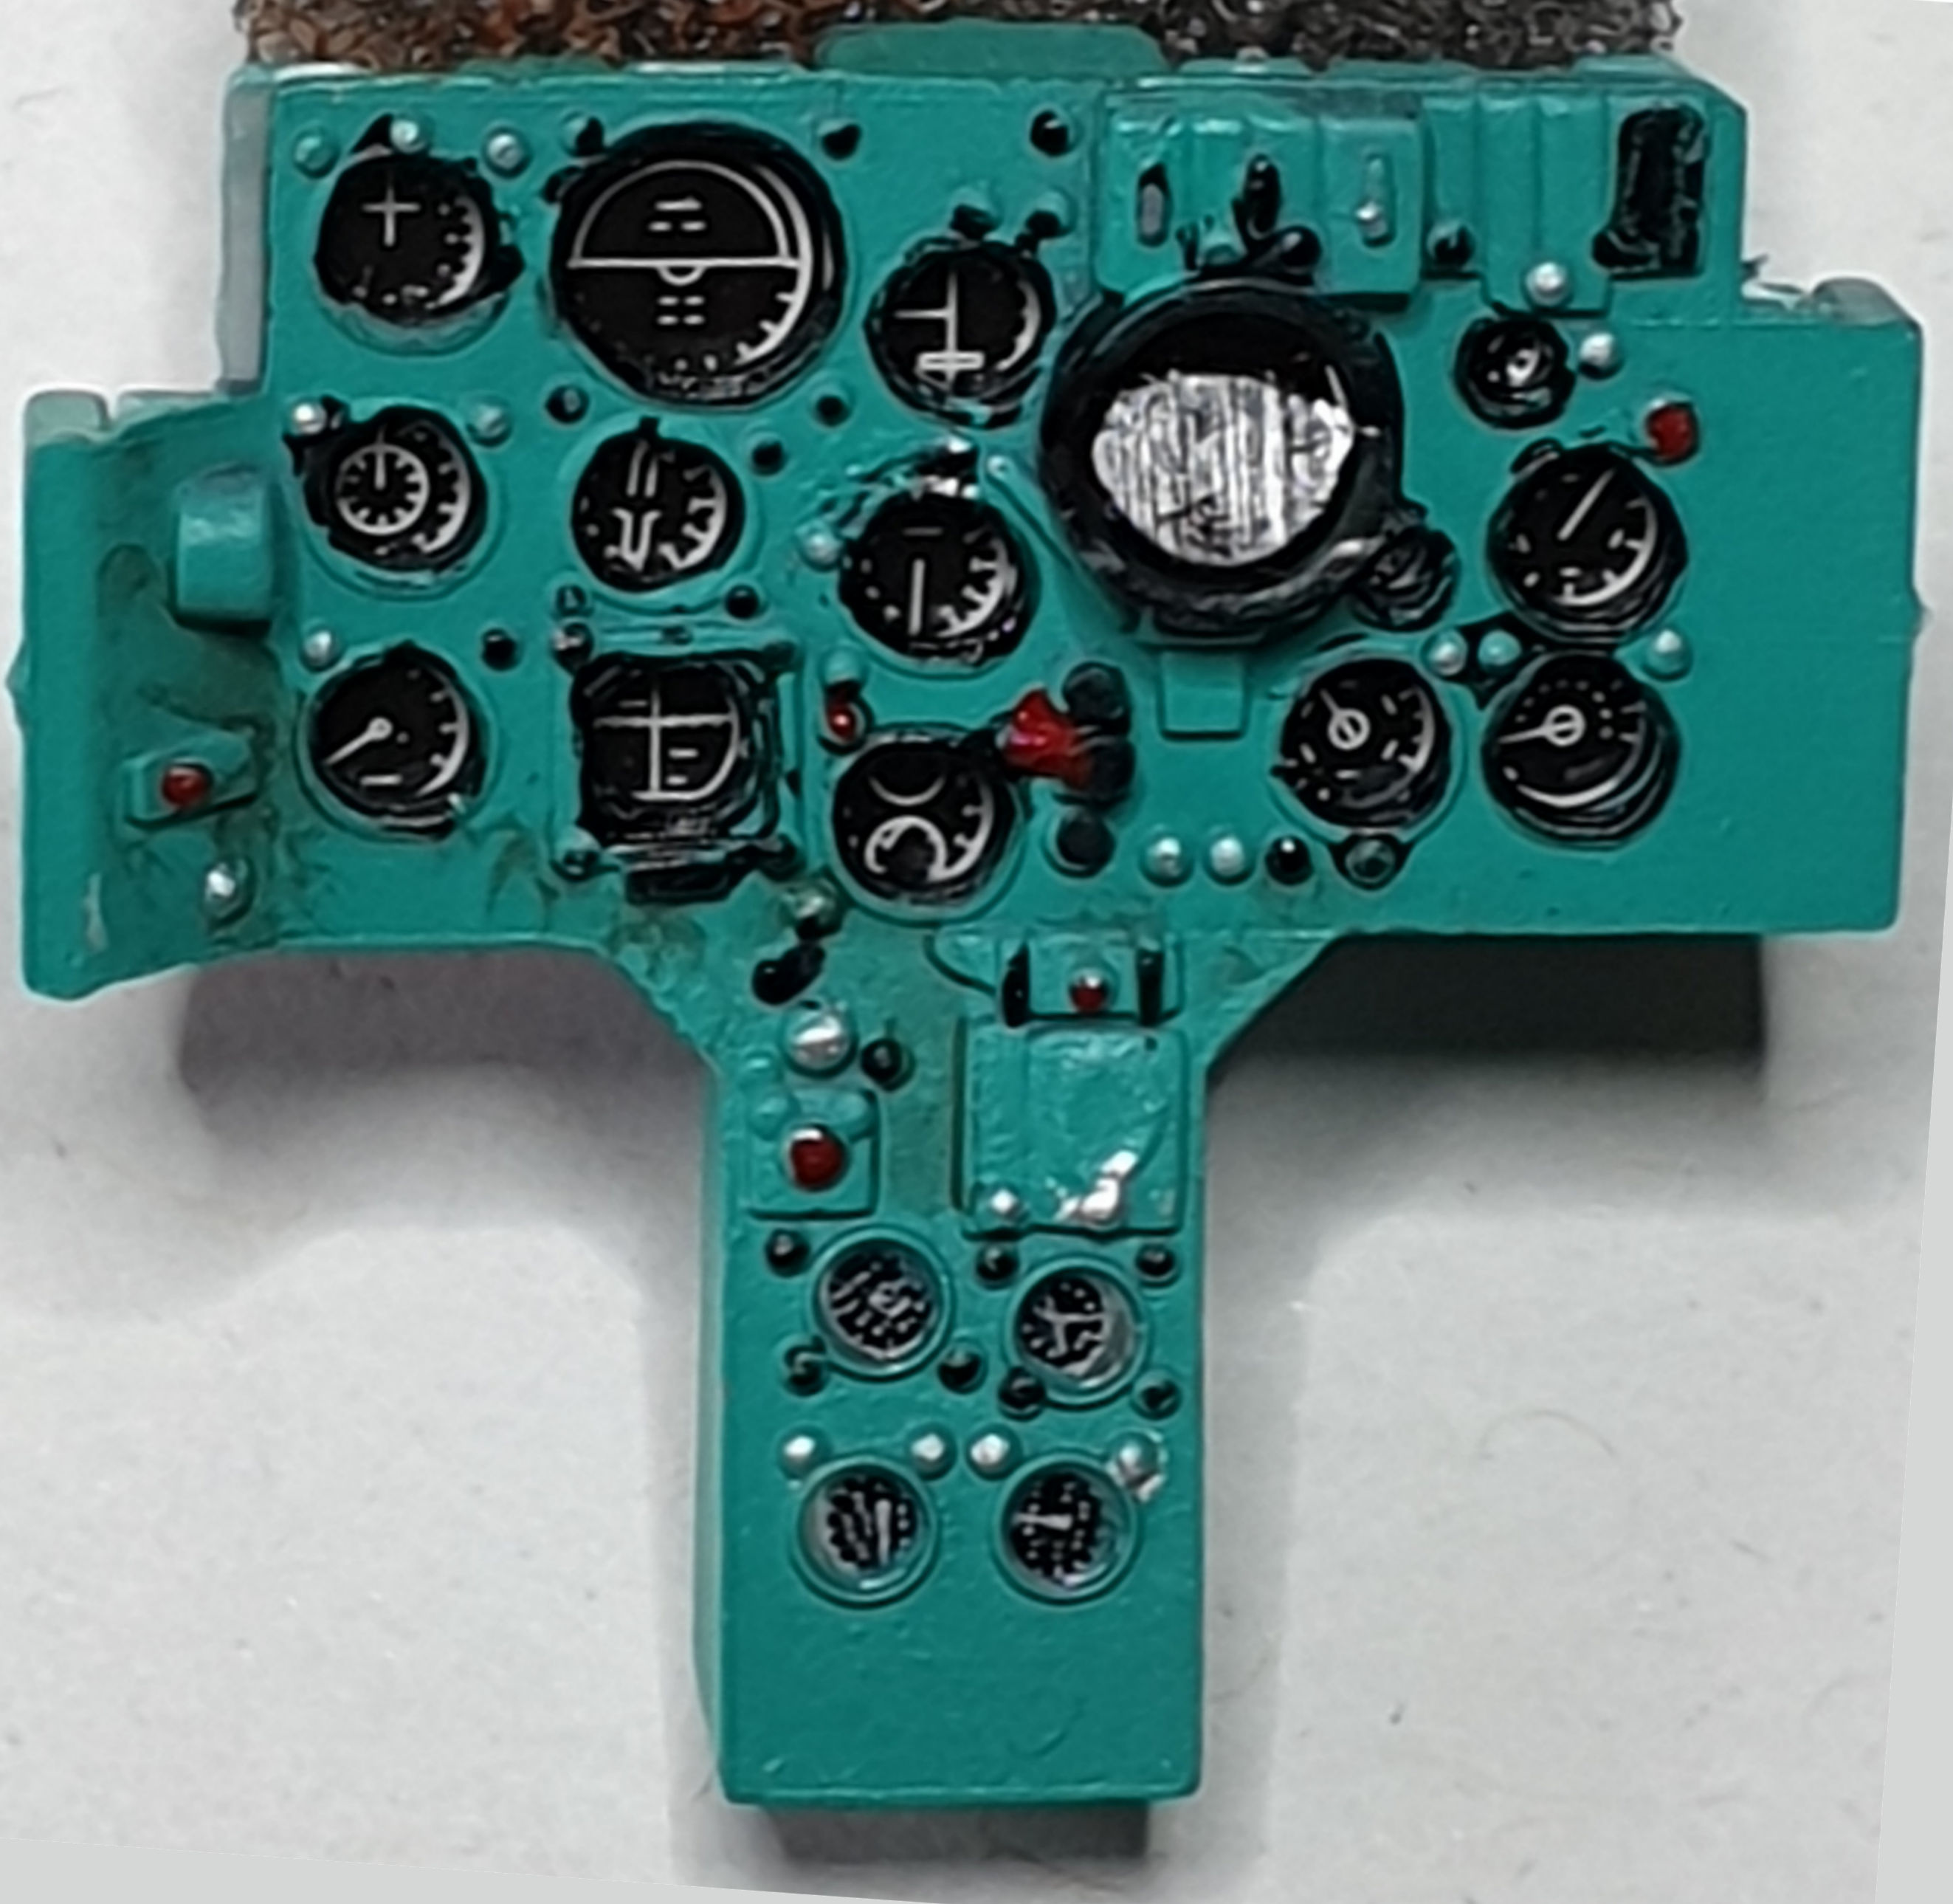
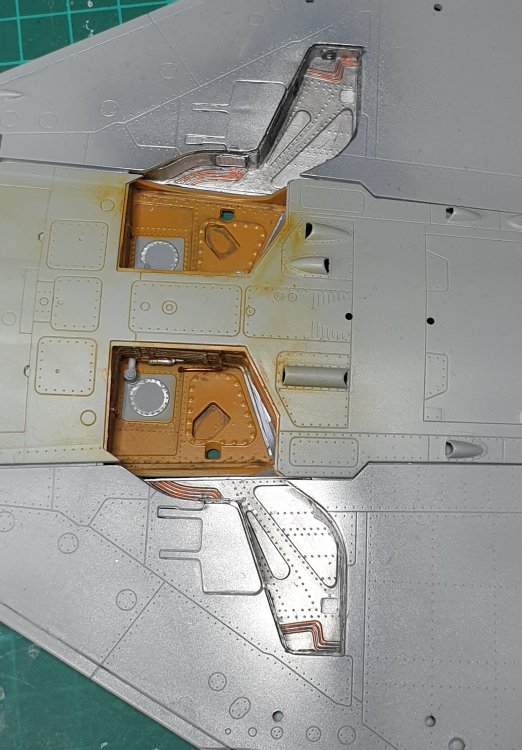
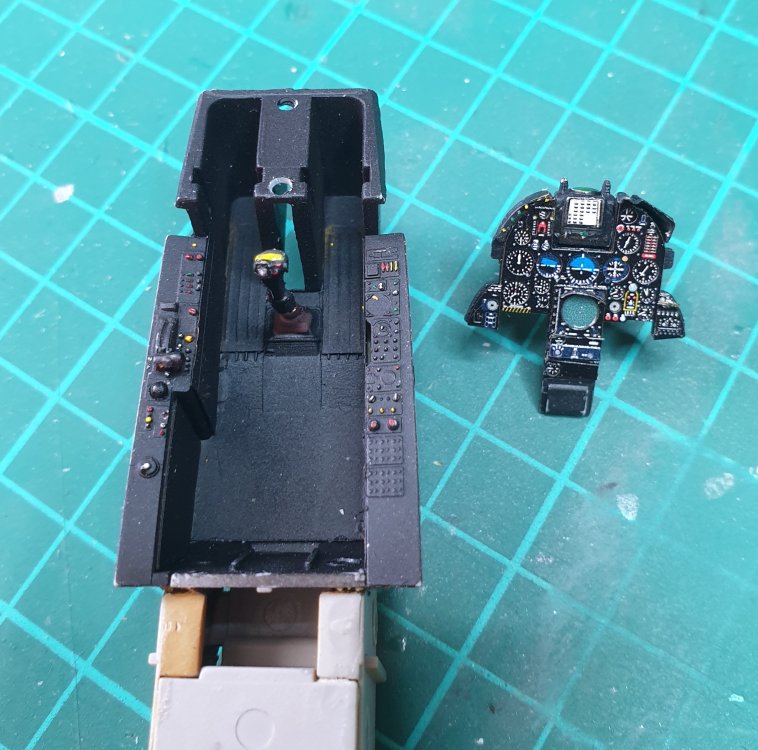
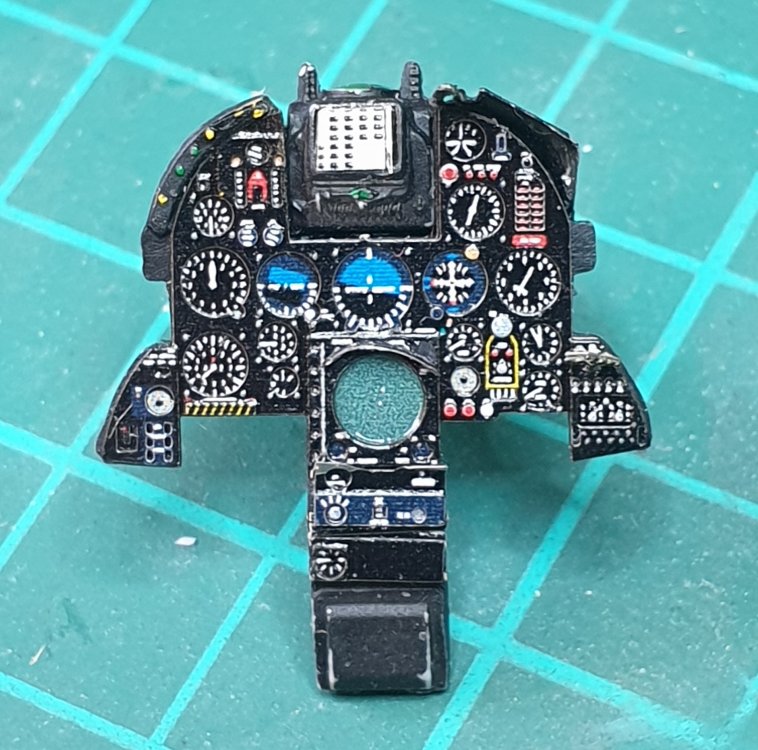
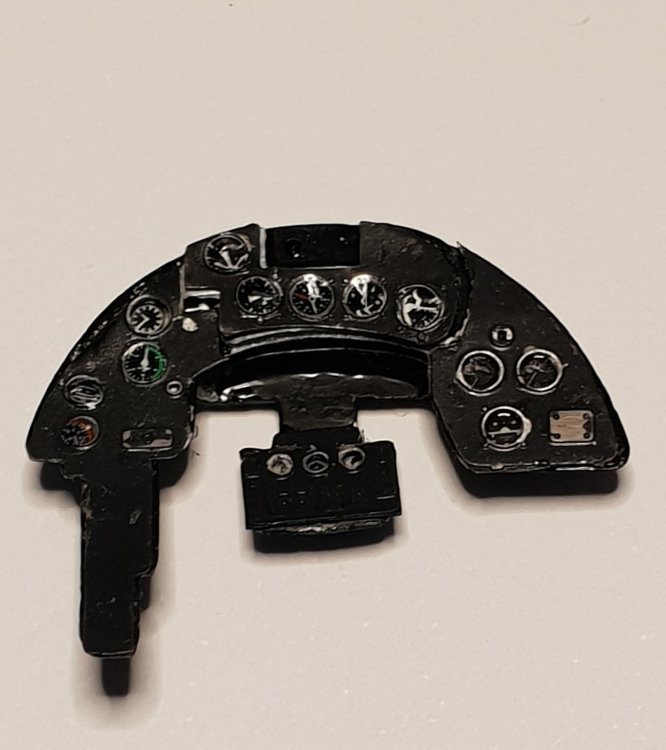
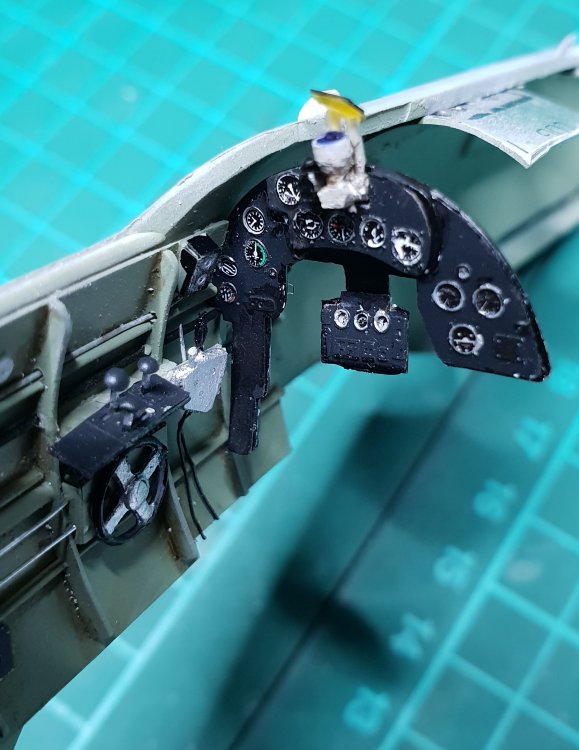
Hi everybody, it wasn't in my plans to build the above, but when I was offered a discount by Italeri, I had to choose a kit to purchase and my choice fell to the Mirage IIIC But which Mirage III? I decided to go for Israel Shahak, so I also ordered the conversion kit and seat made by Isradecal. Also I got a lot of inspiration from Kaireckstadt model also being presented in these pages. OK, let's have a look on what I've done so far: Landing gear wells Cockpit (without the seat, because I'm still waiting for the packet from Israel). Dashboard is from Eduard, side consolle from kit. More will follow as soon as I get the parts I'm waiting for. Alberto

-
Israeli Mirage III C with Atar9C
alberto49 replied to Kaireckstadt's topic in LSM 1/35 and Larger Work In Progress
Hello, I went back to your build after some time and I was shocked by the amount of adjustments you had to do! But I must thanks, because it's a very good advise for my own model I have started to build recently. If you want you can go and see my thread that I will be posting in minutes. Alberto -
Phantom F-4C from 1:32 Tamiya kit
alberto49 replied to alberto49's topic in LSM 1/35 and Larger Work In Progress
Same for me. It was my haunt, in the late sixties that occasionally gave me enough money to purchase Airfix kits in plastic bags! I must say that those assembly instructions, pushed me to try to improve the English language I was teched at school! -
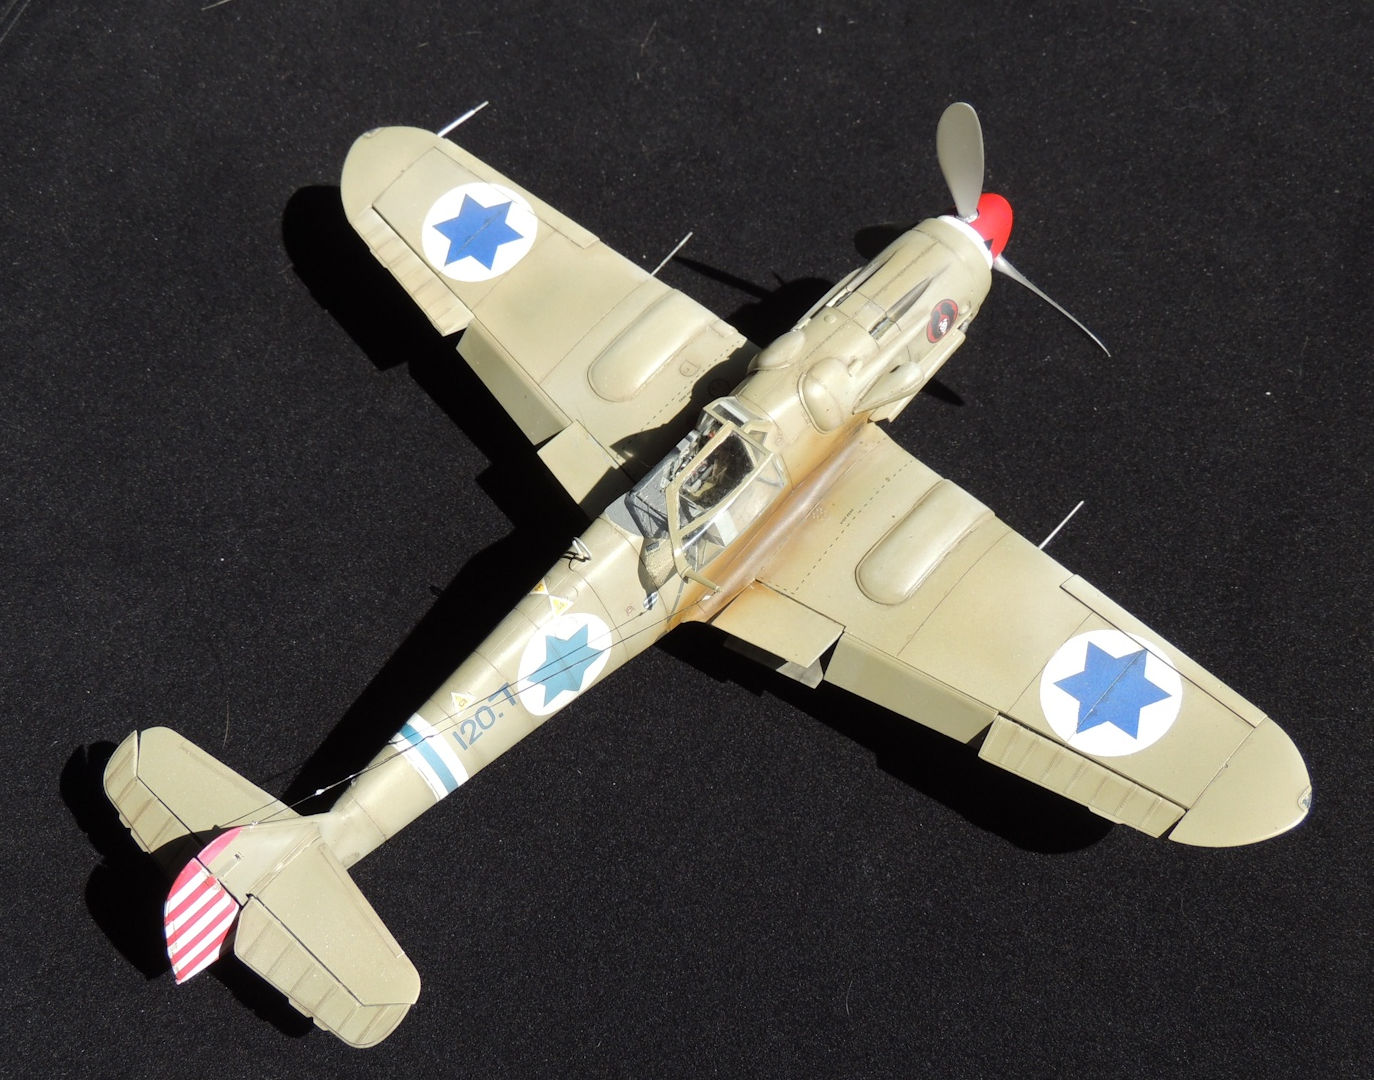
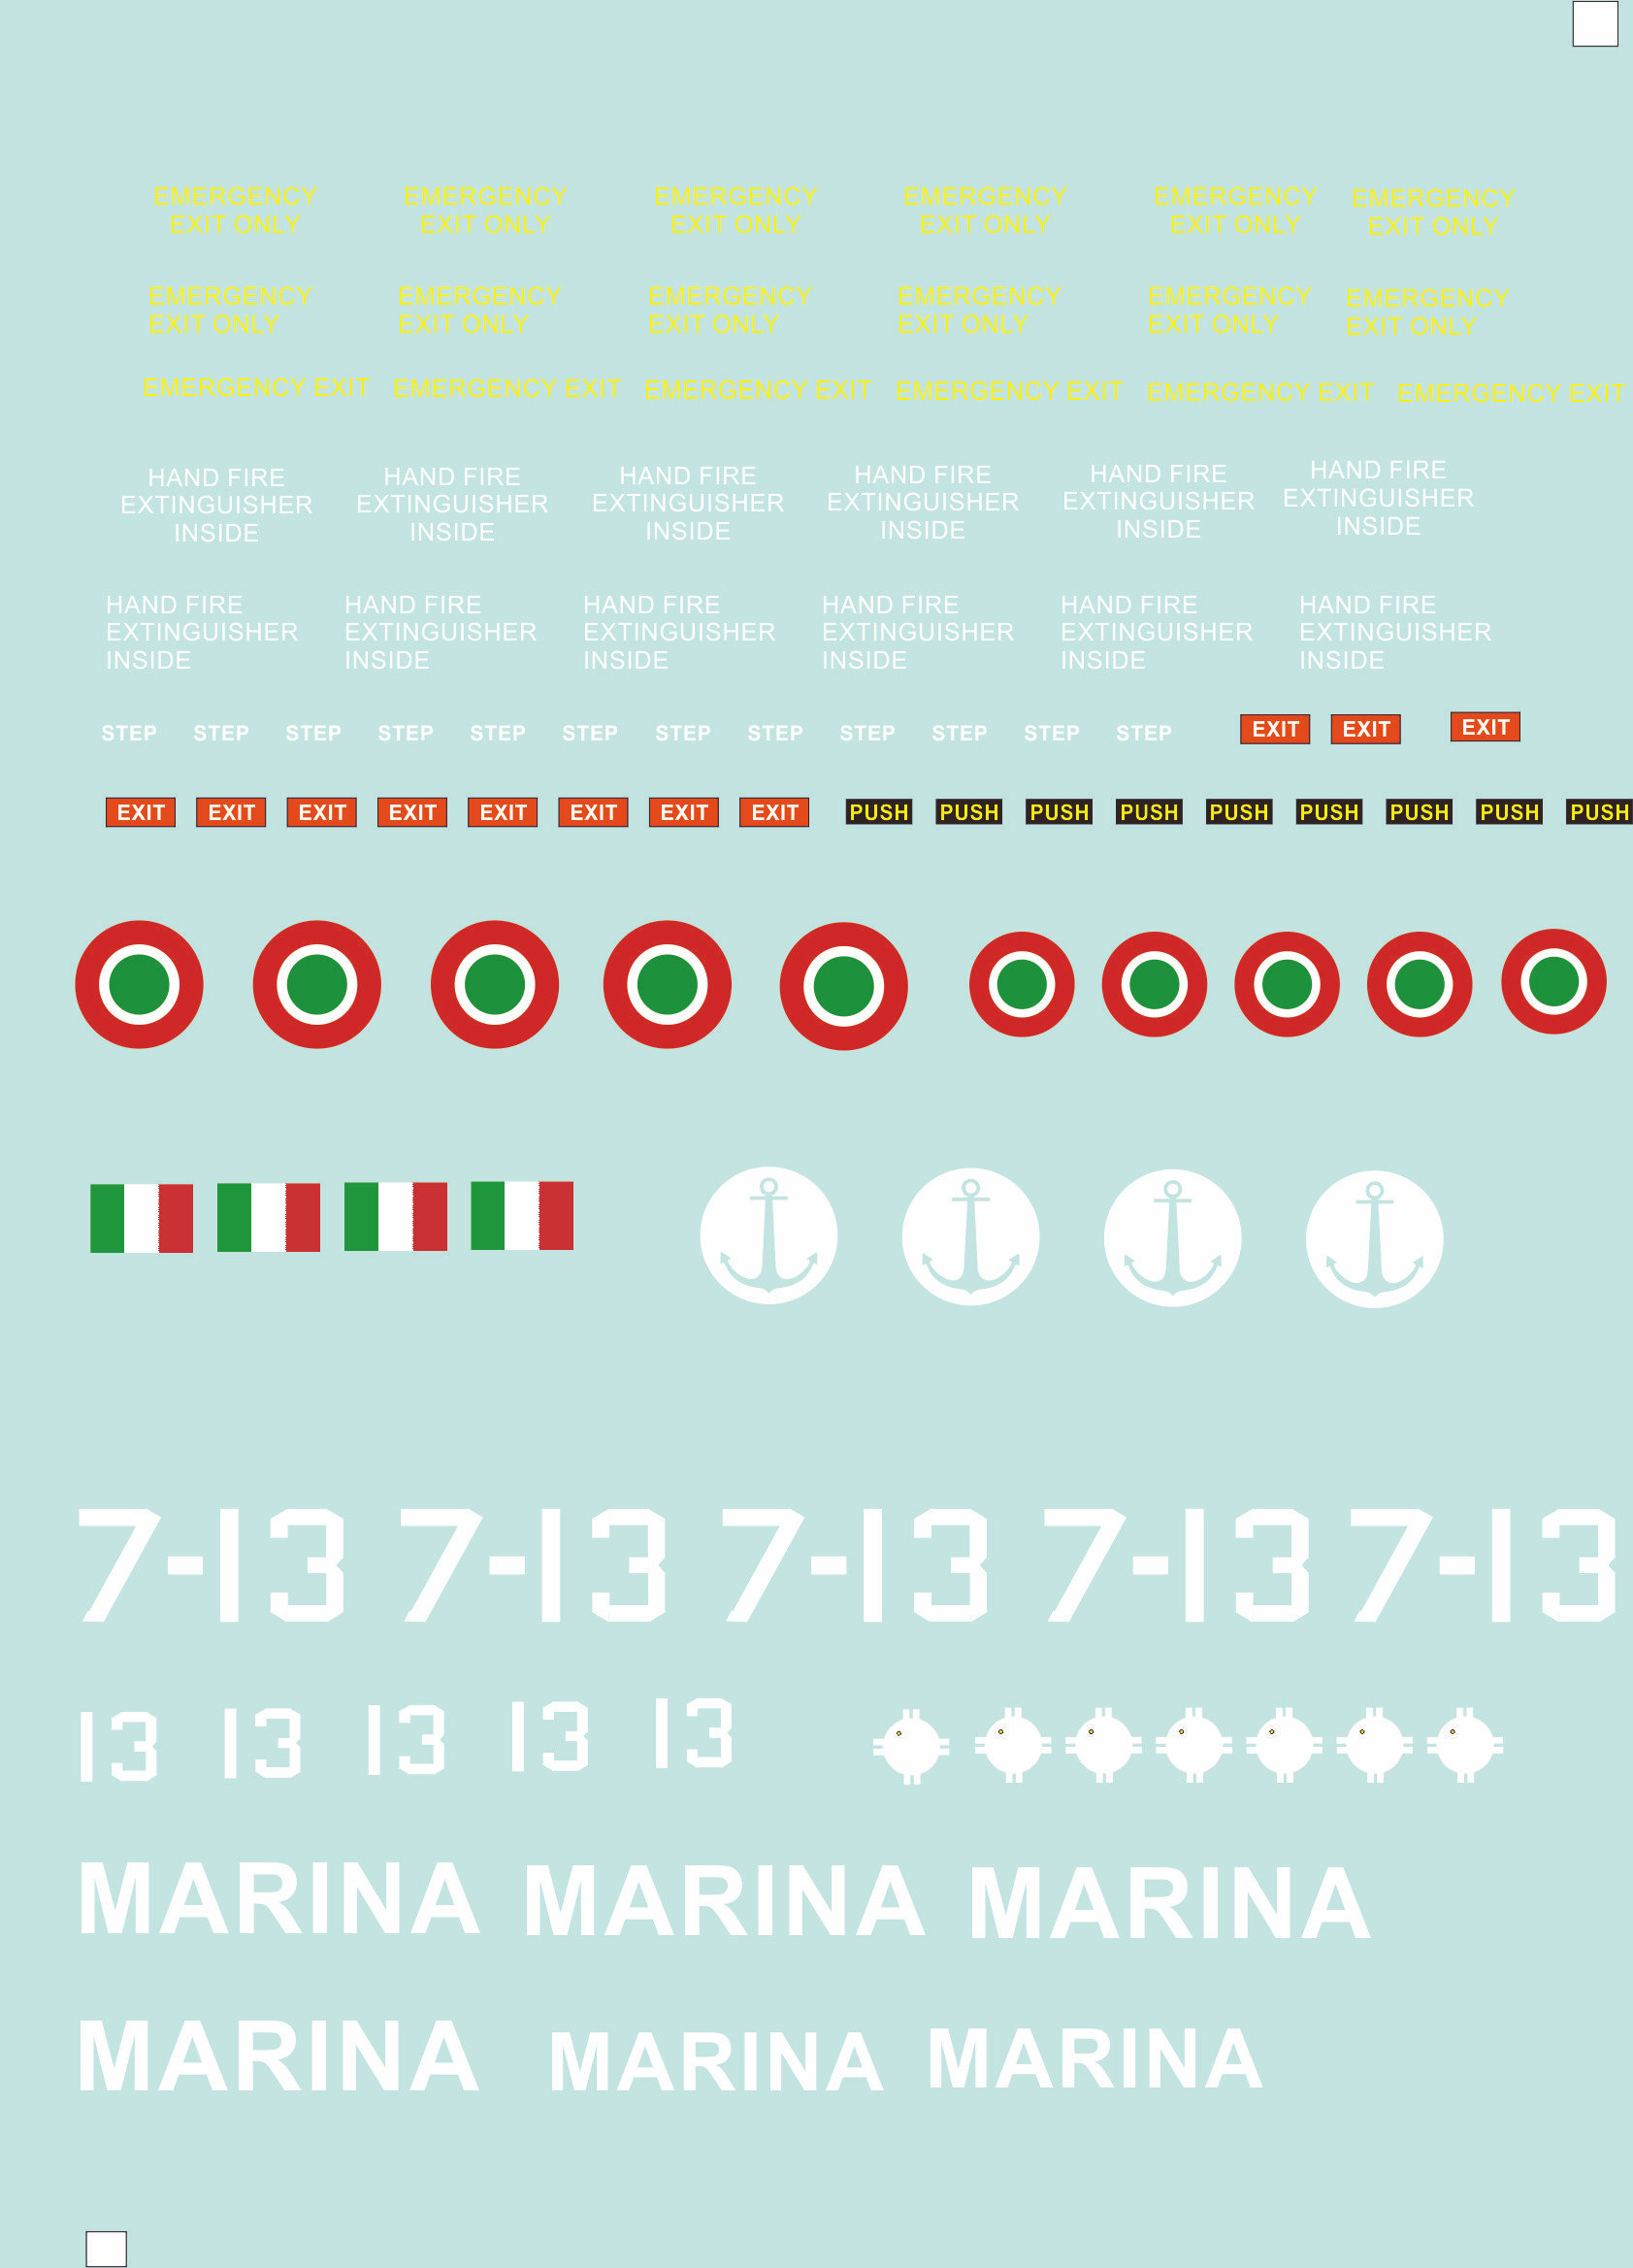
Finally, here are some pictures of the complete model: I hope you will like it Alberto Foot note: all decals have been designed/arranged by myself and printed on order by a local company.


- 8 replies
-
- 9
-

-
- helicopter
- submarine
- (and 2 more)
-
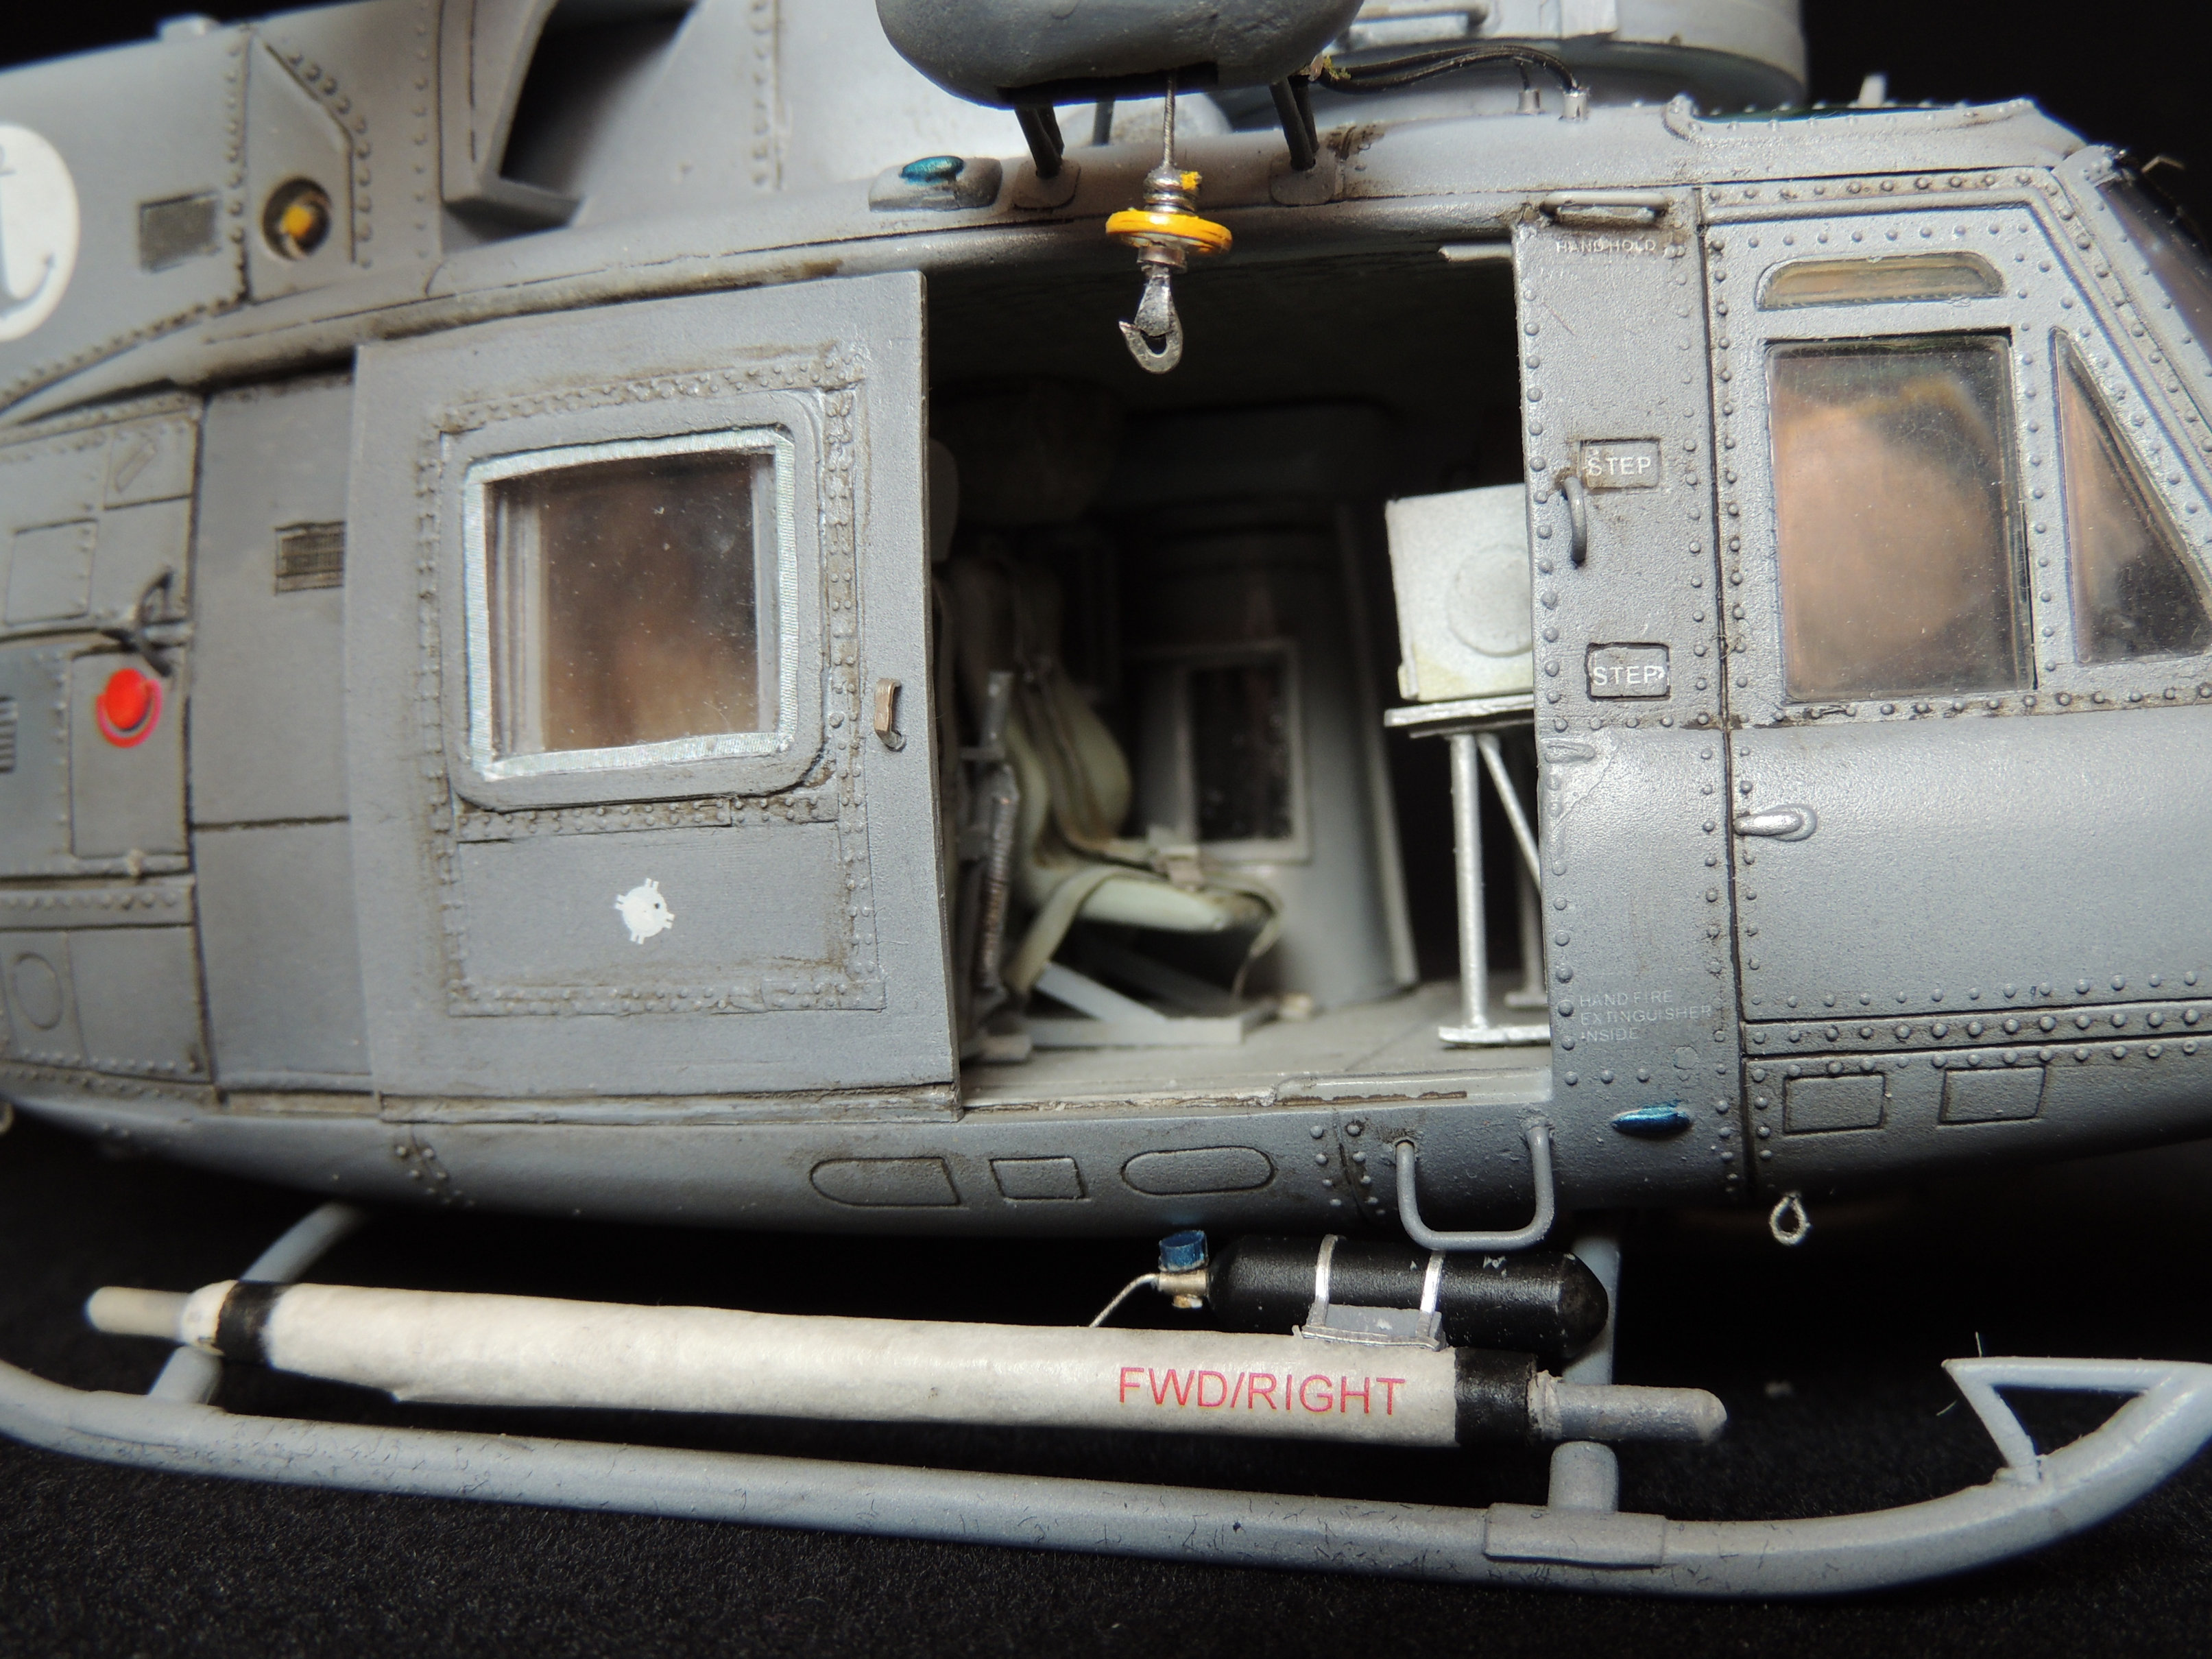
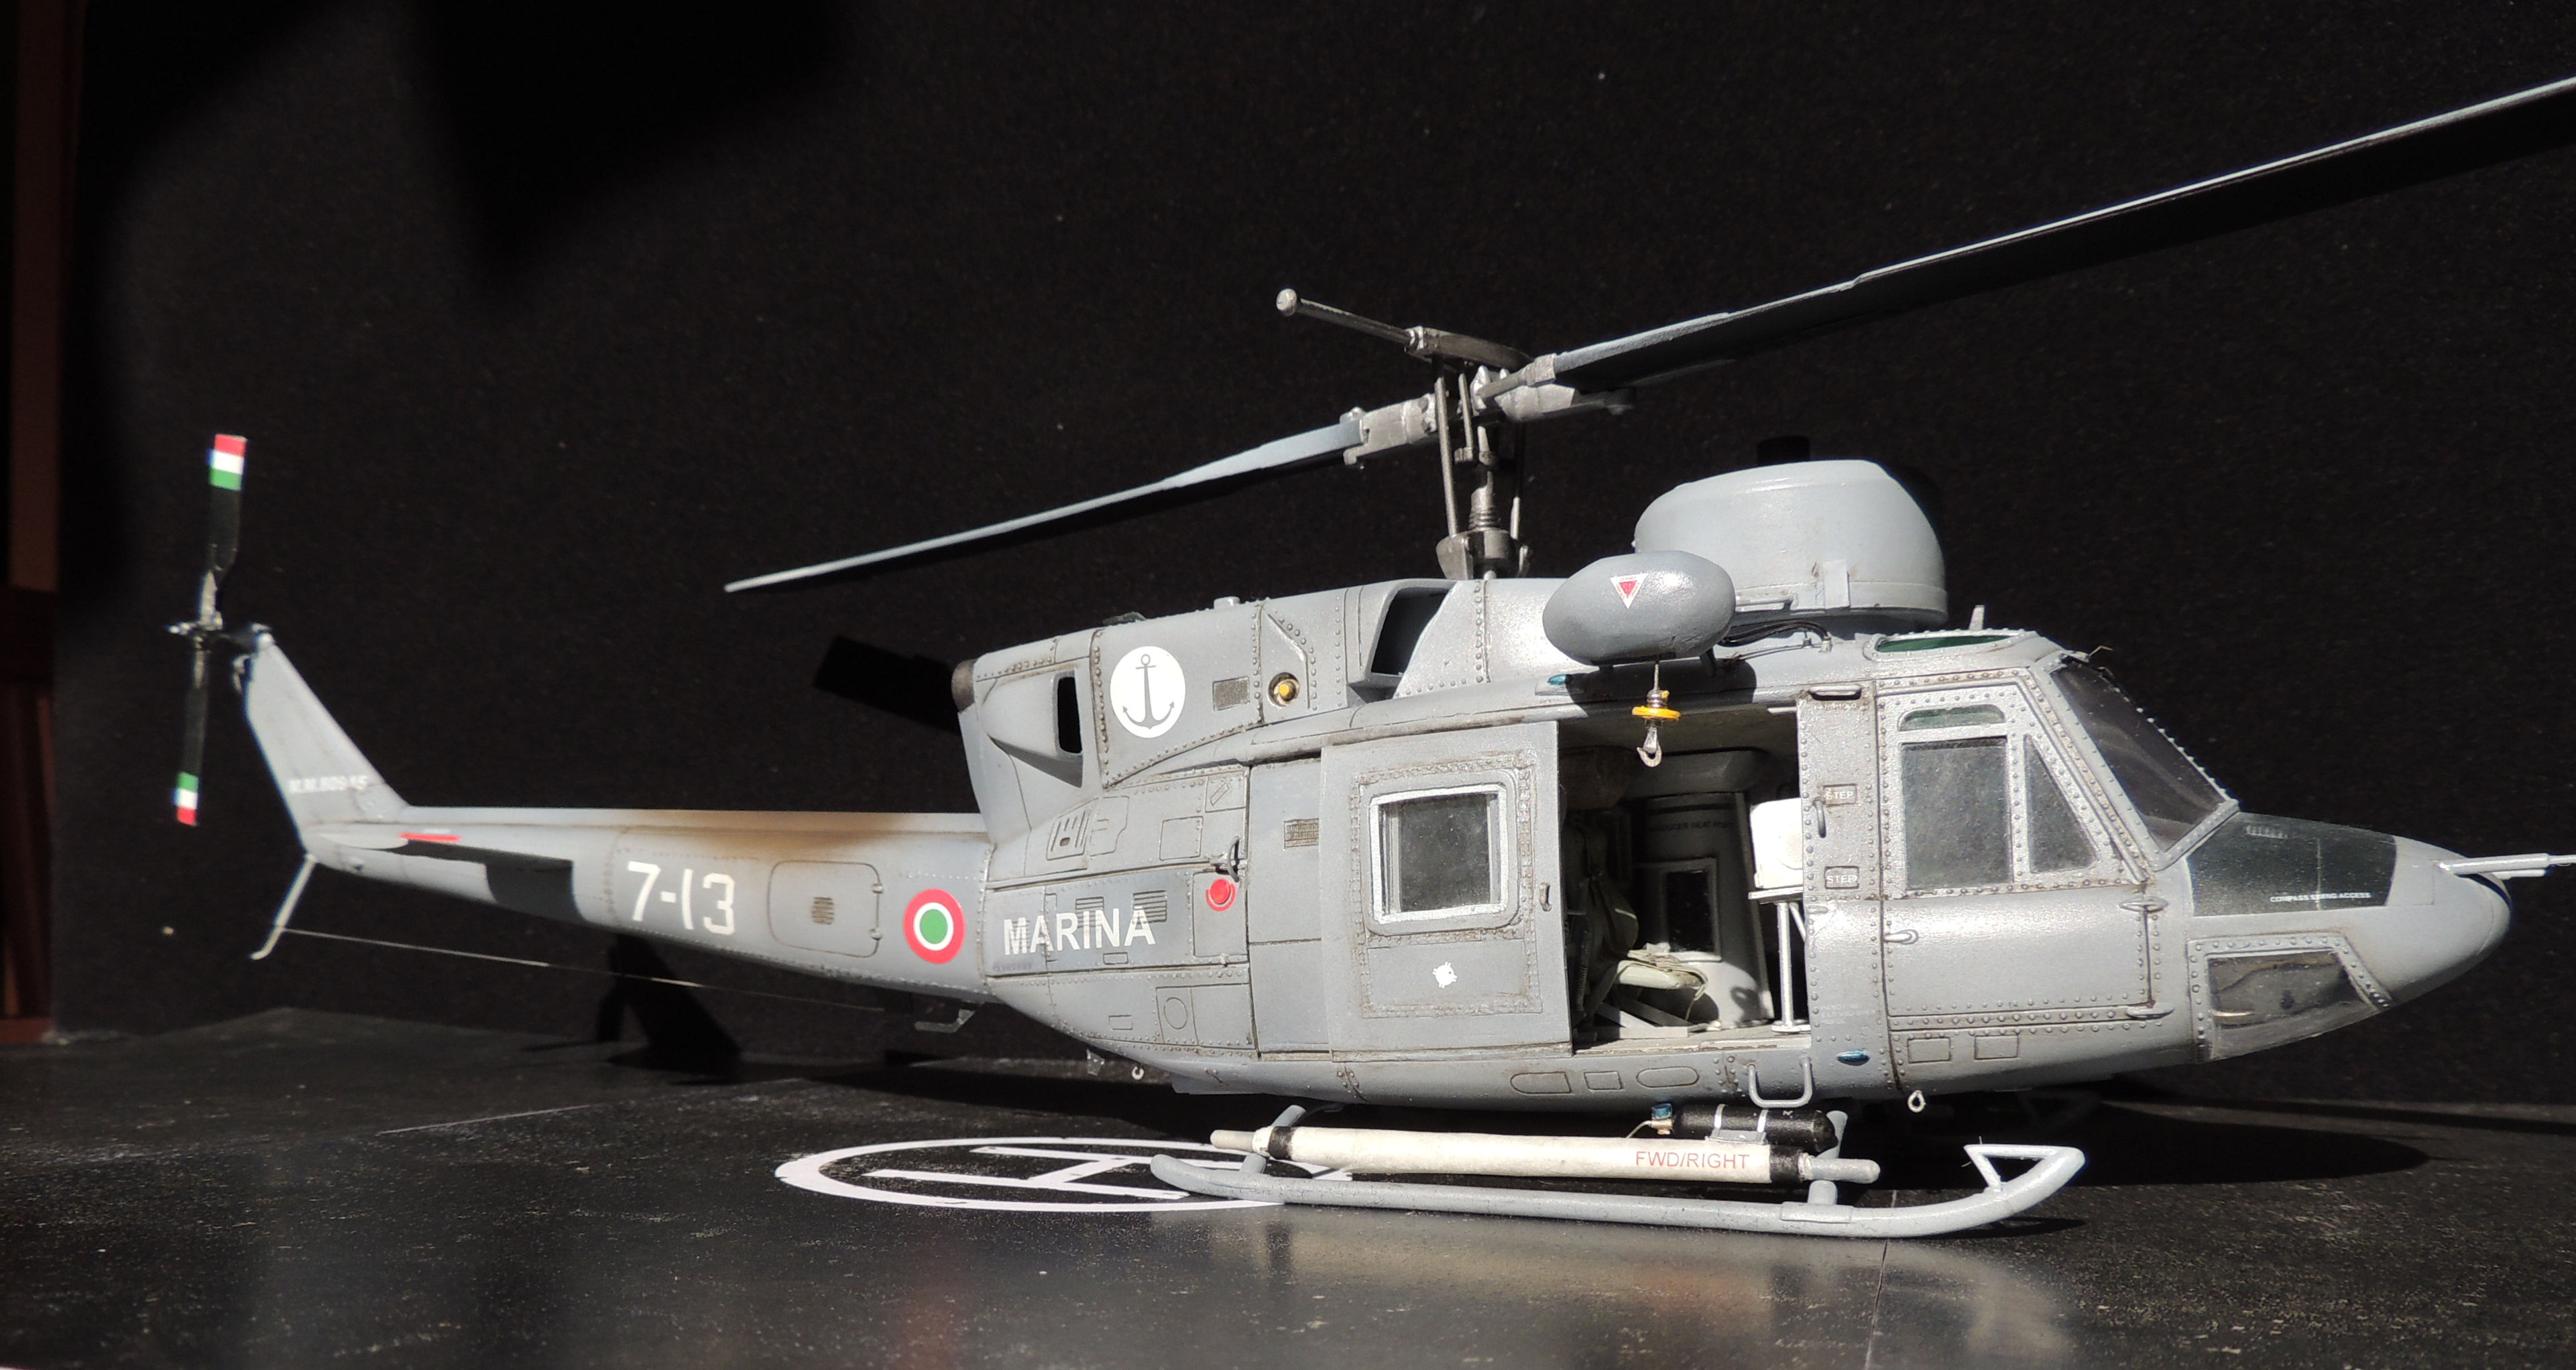
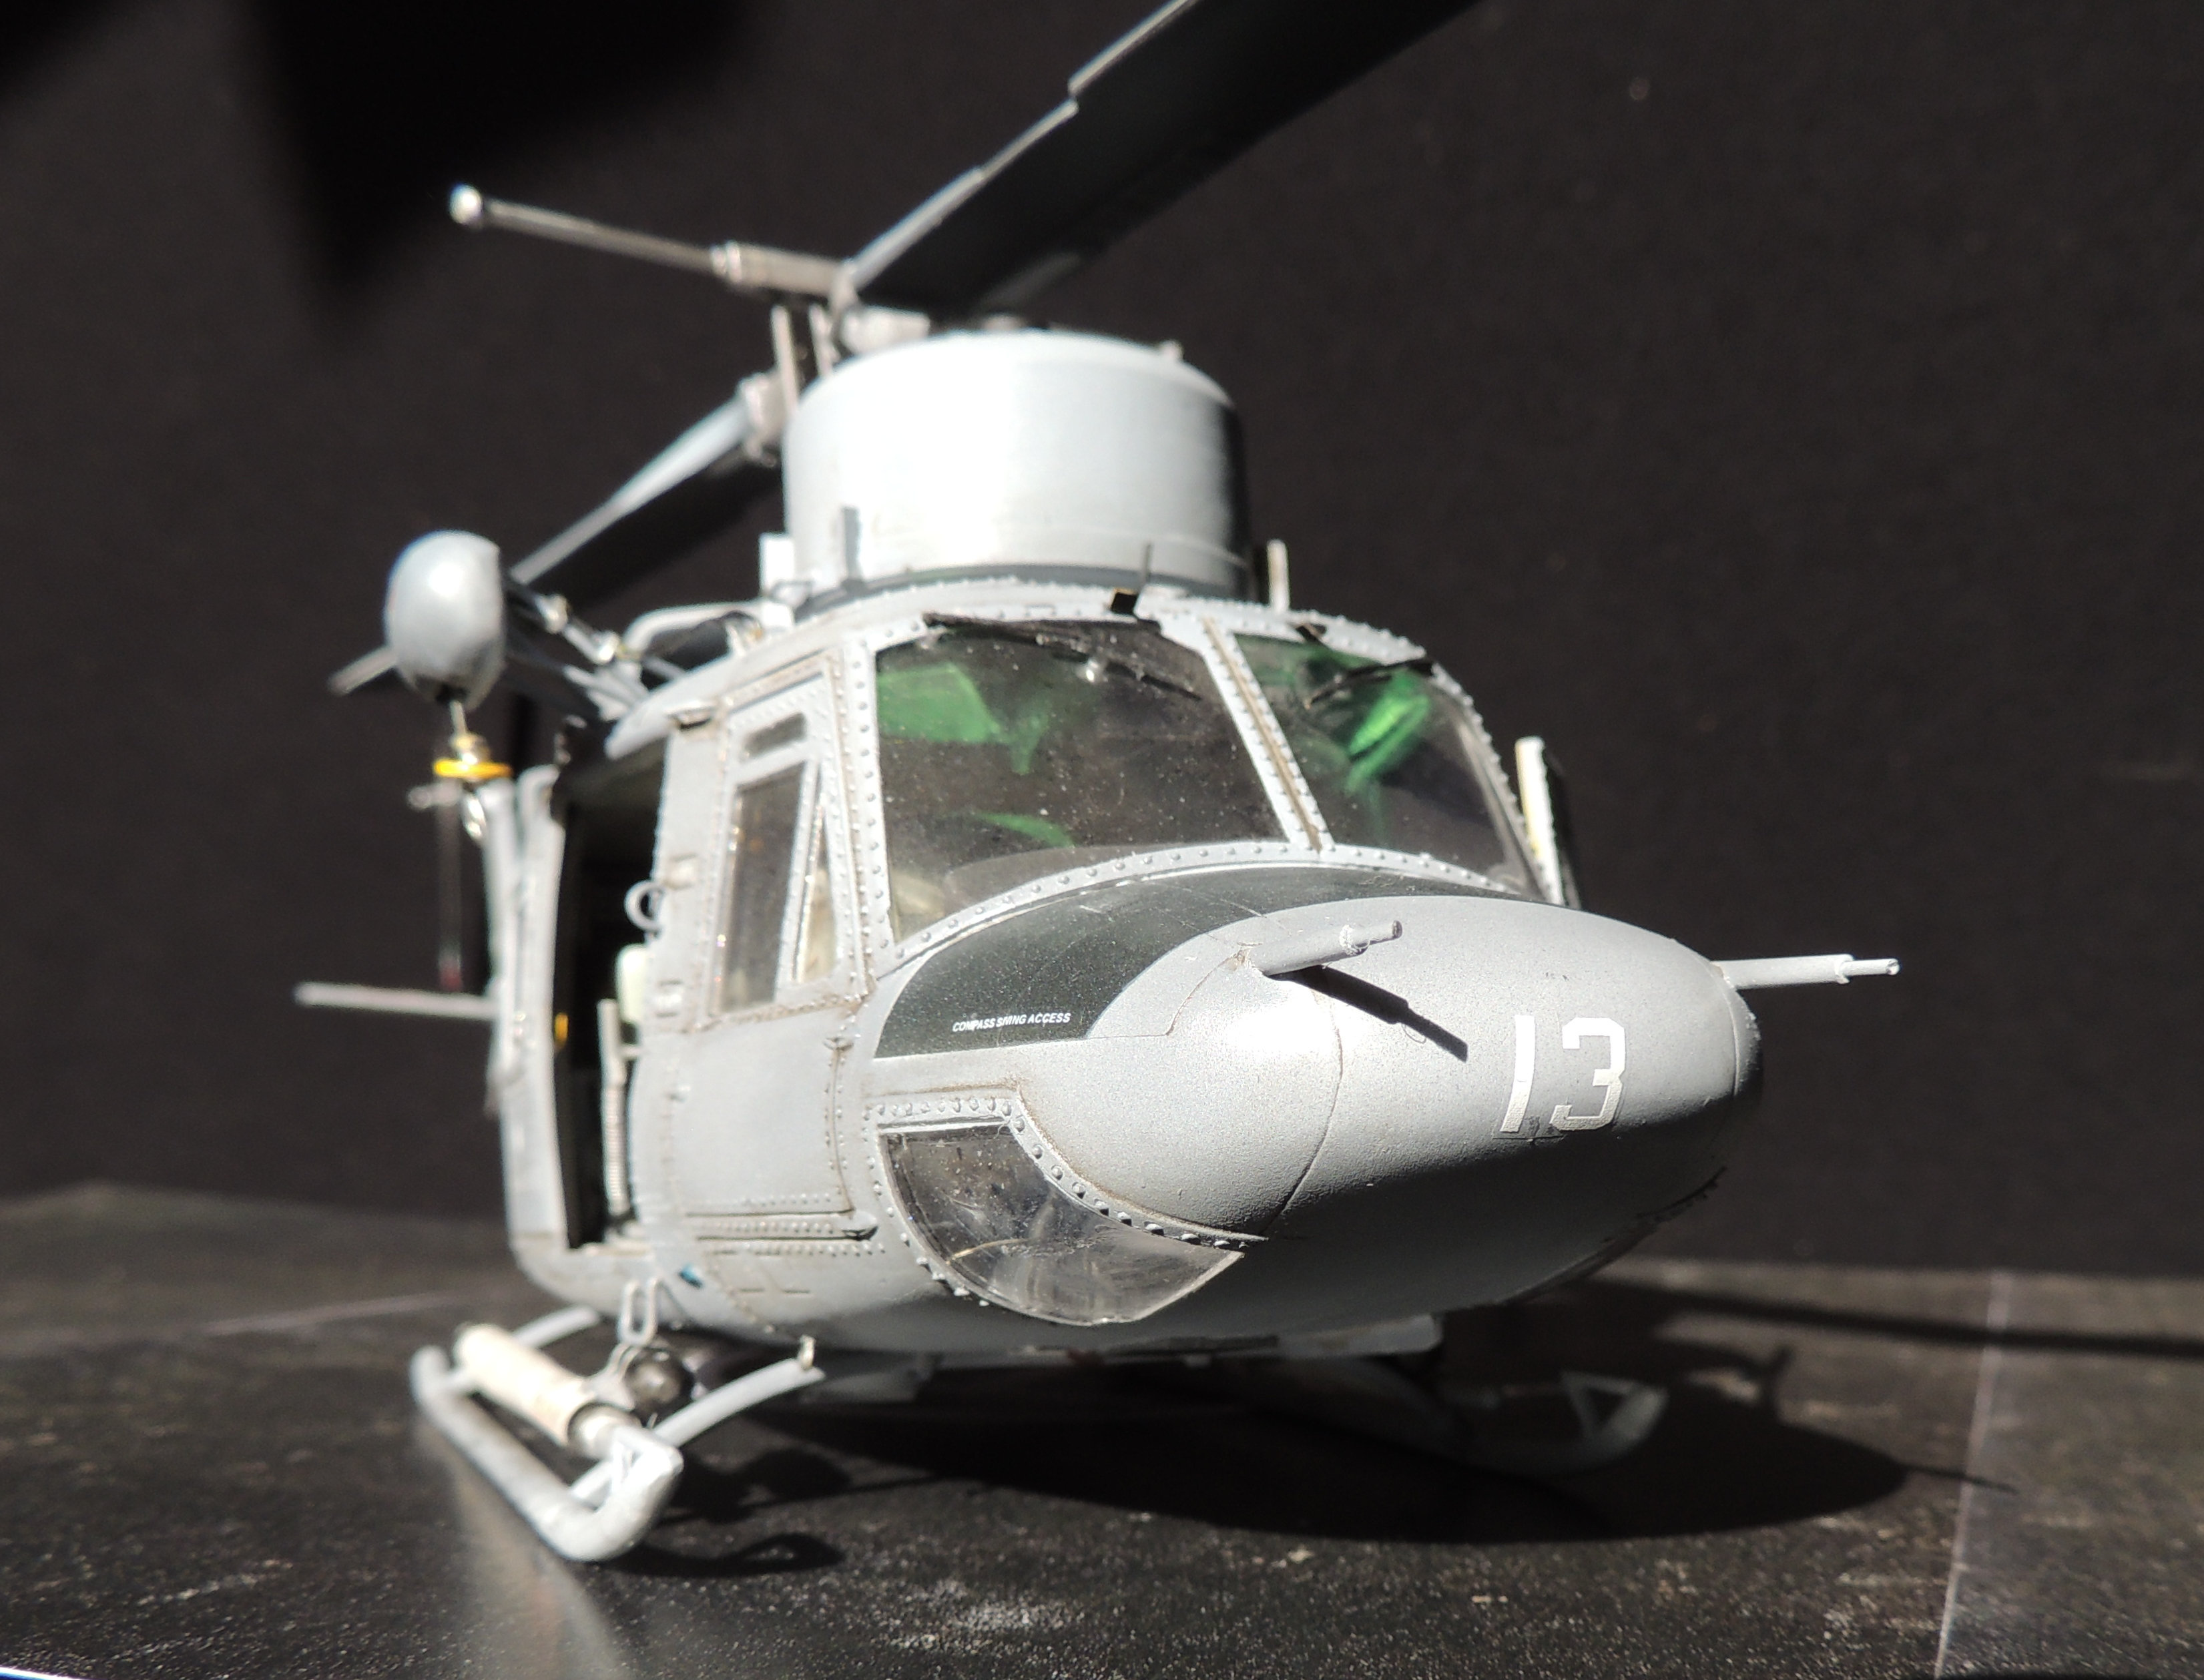
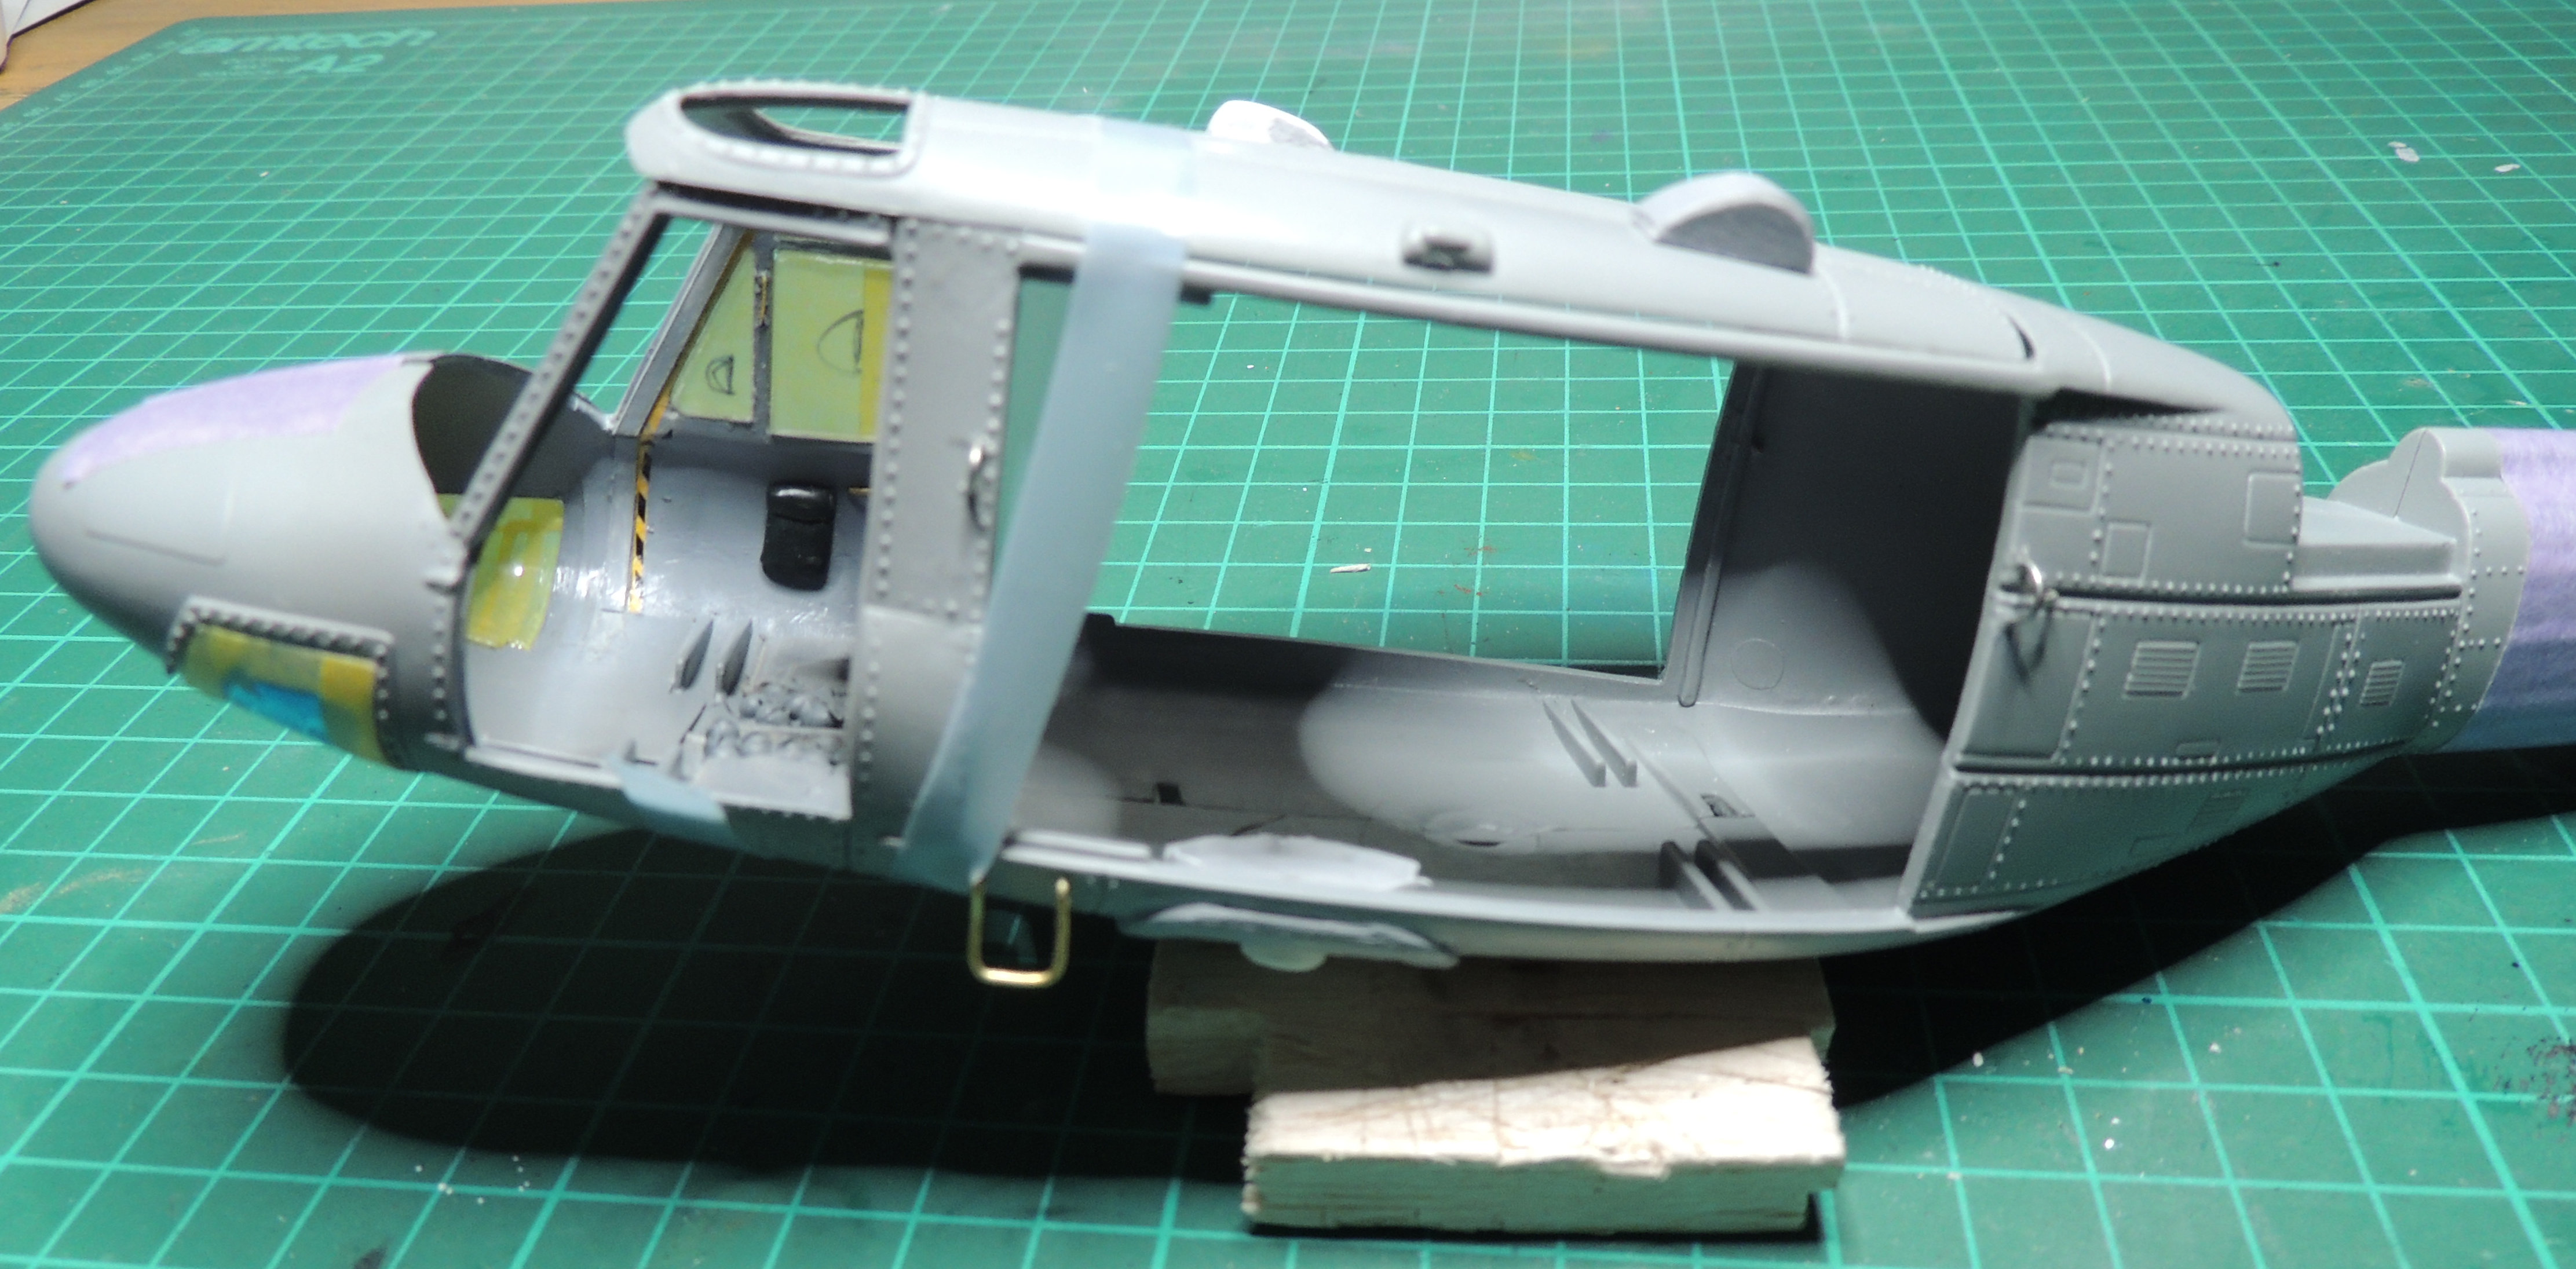
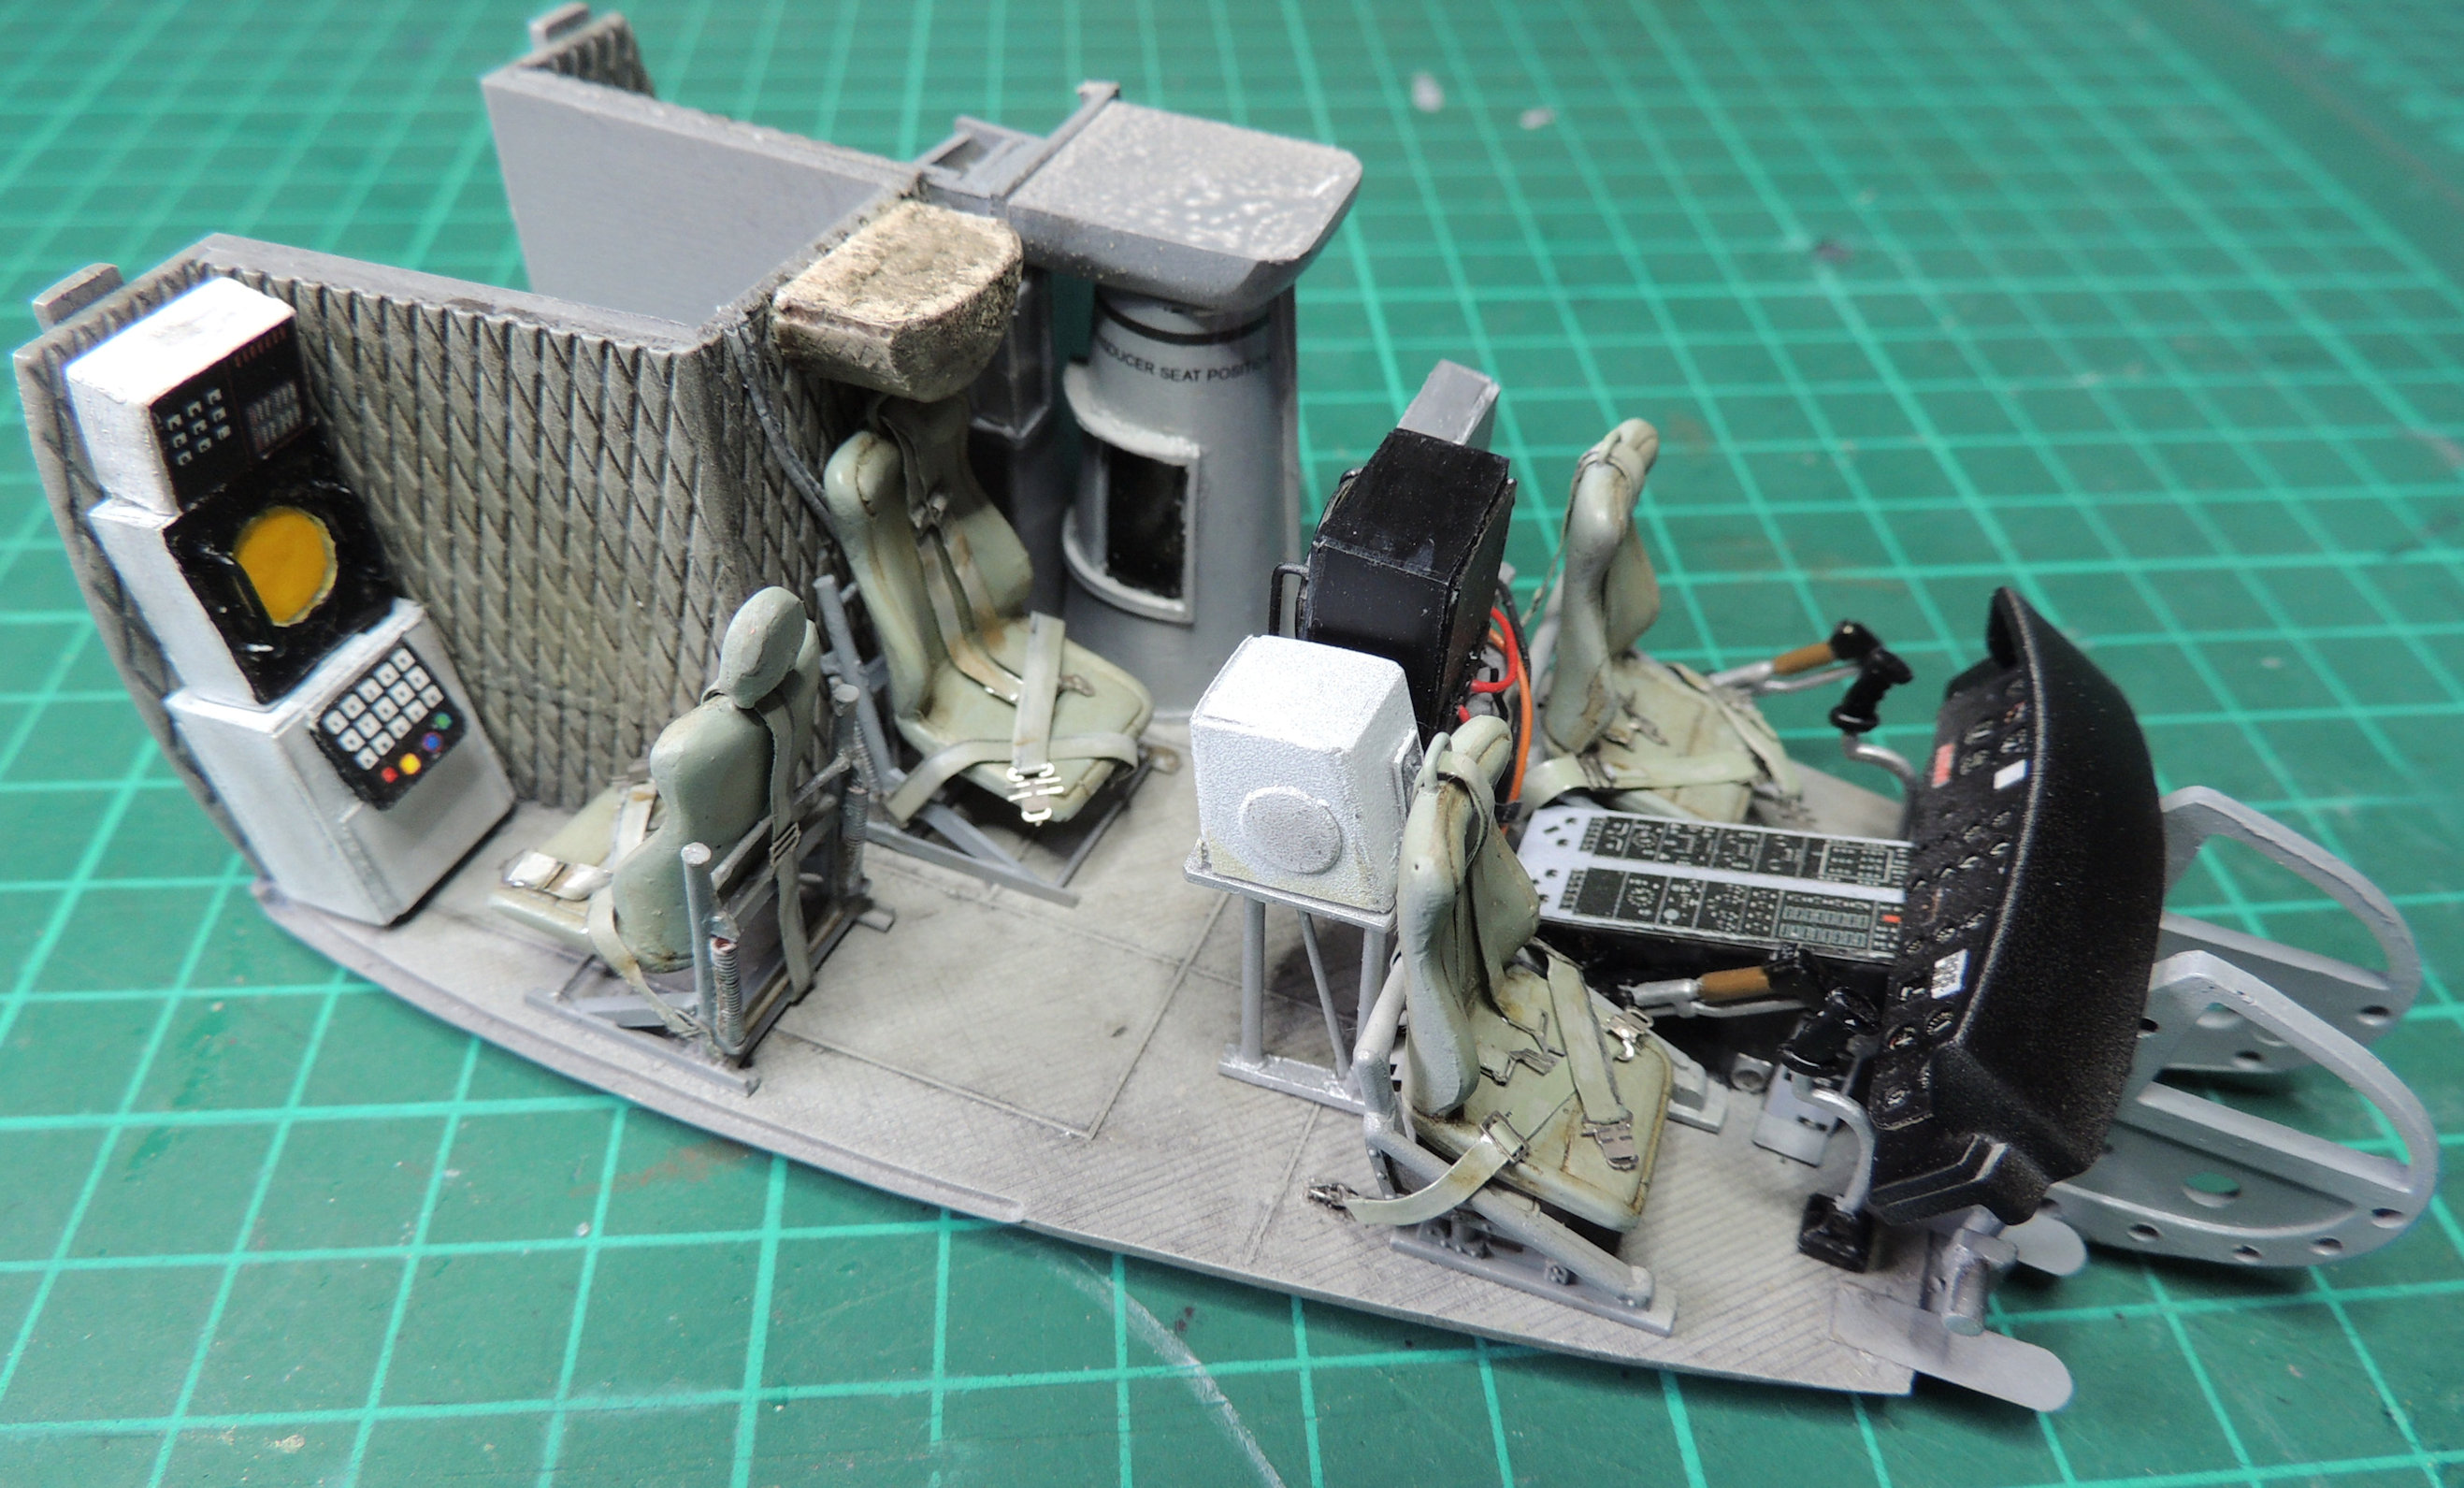
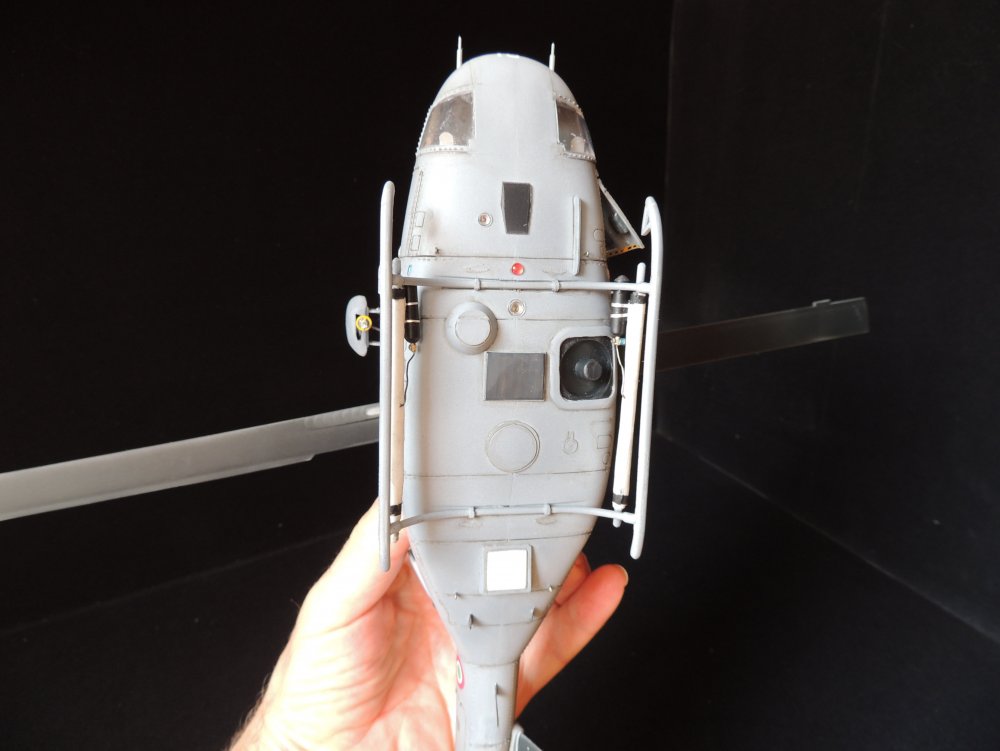
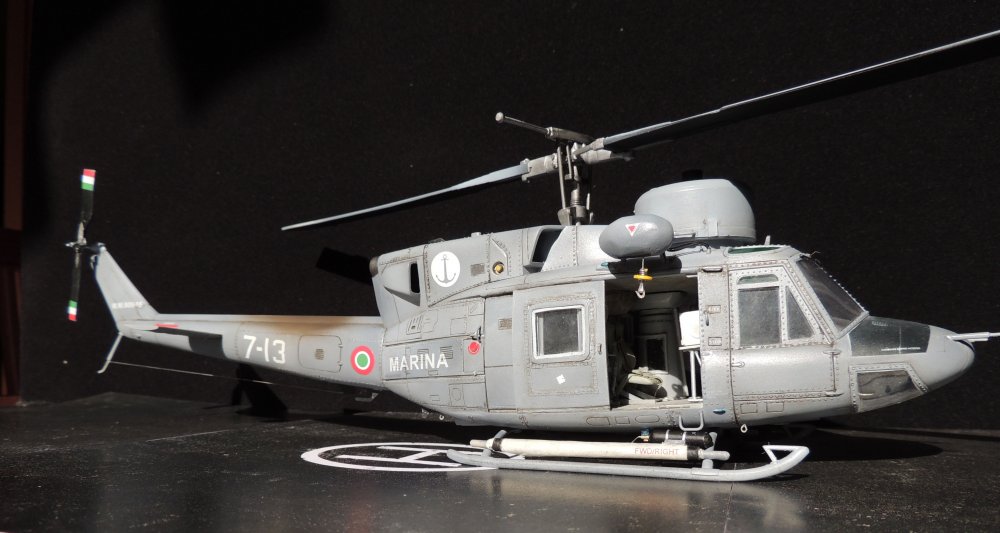
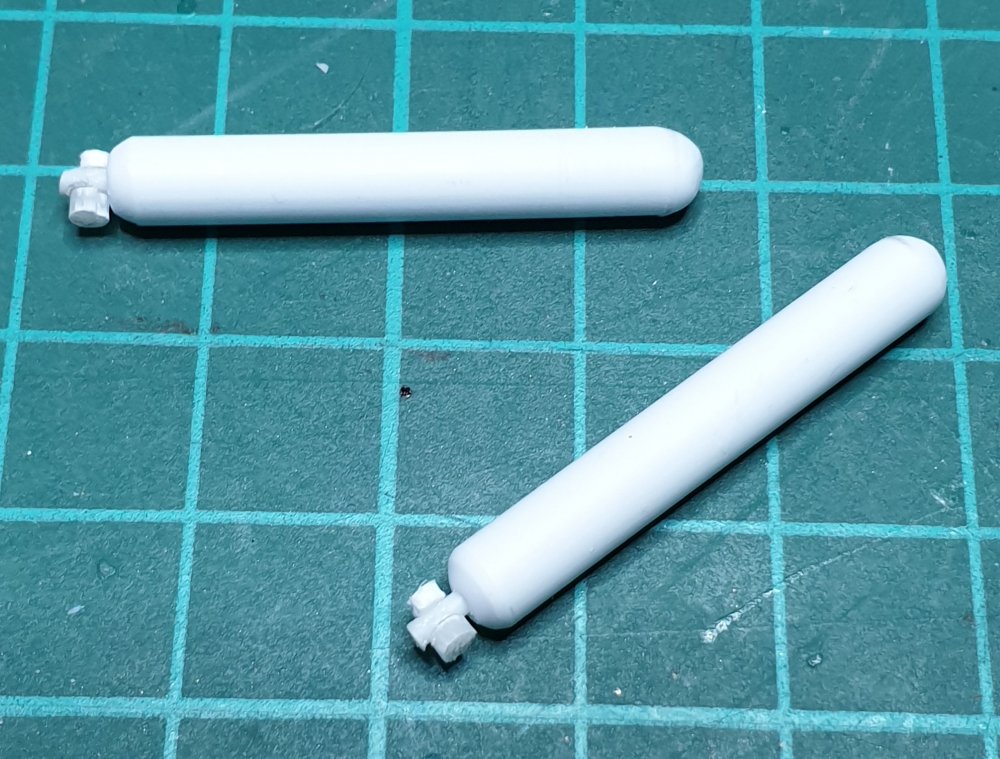
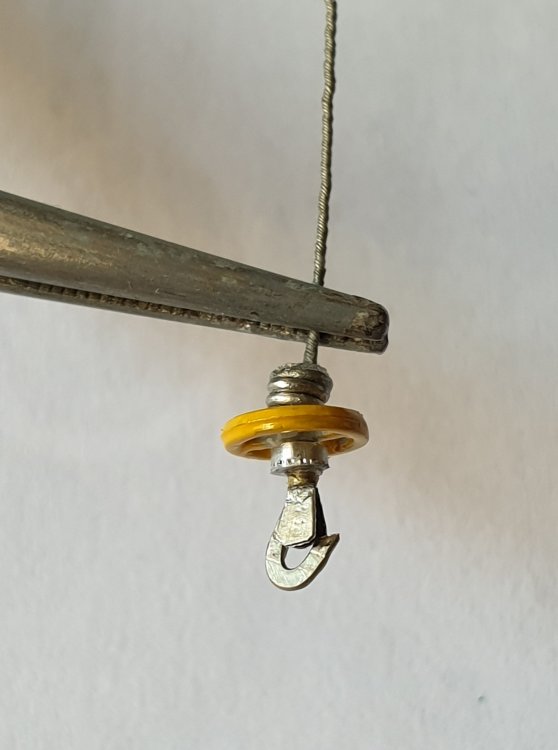
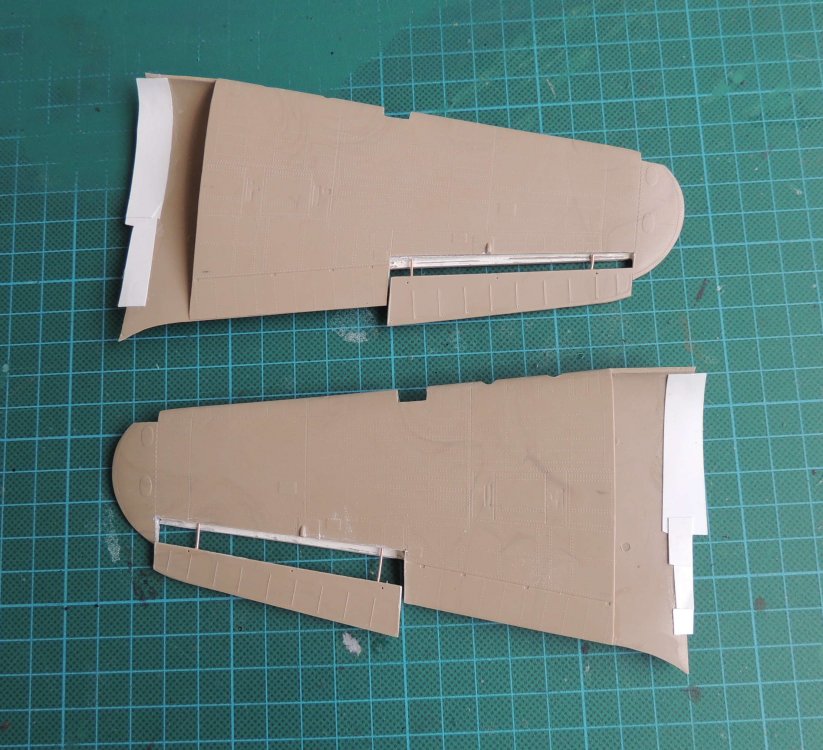
Then, I discarded existing model and I subcontracted new ones to a guy who has a 3D printer All the needed holes were made on the belly and a winch and two nitrogen cylinders were scratch built. To be continued.


- 8 replies
-
- 3
-
-
- helicopter
- submarine
- (and 2 more)
-
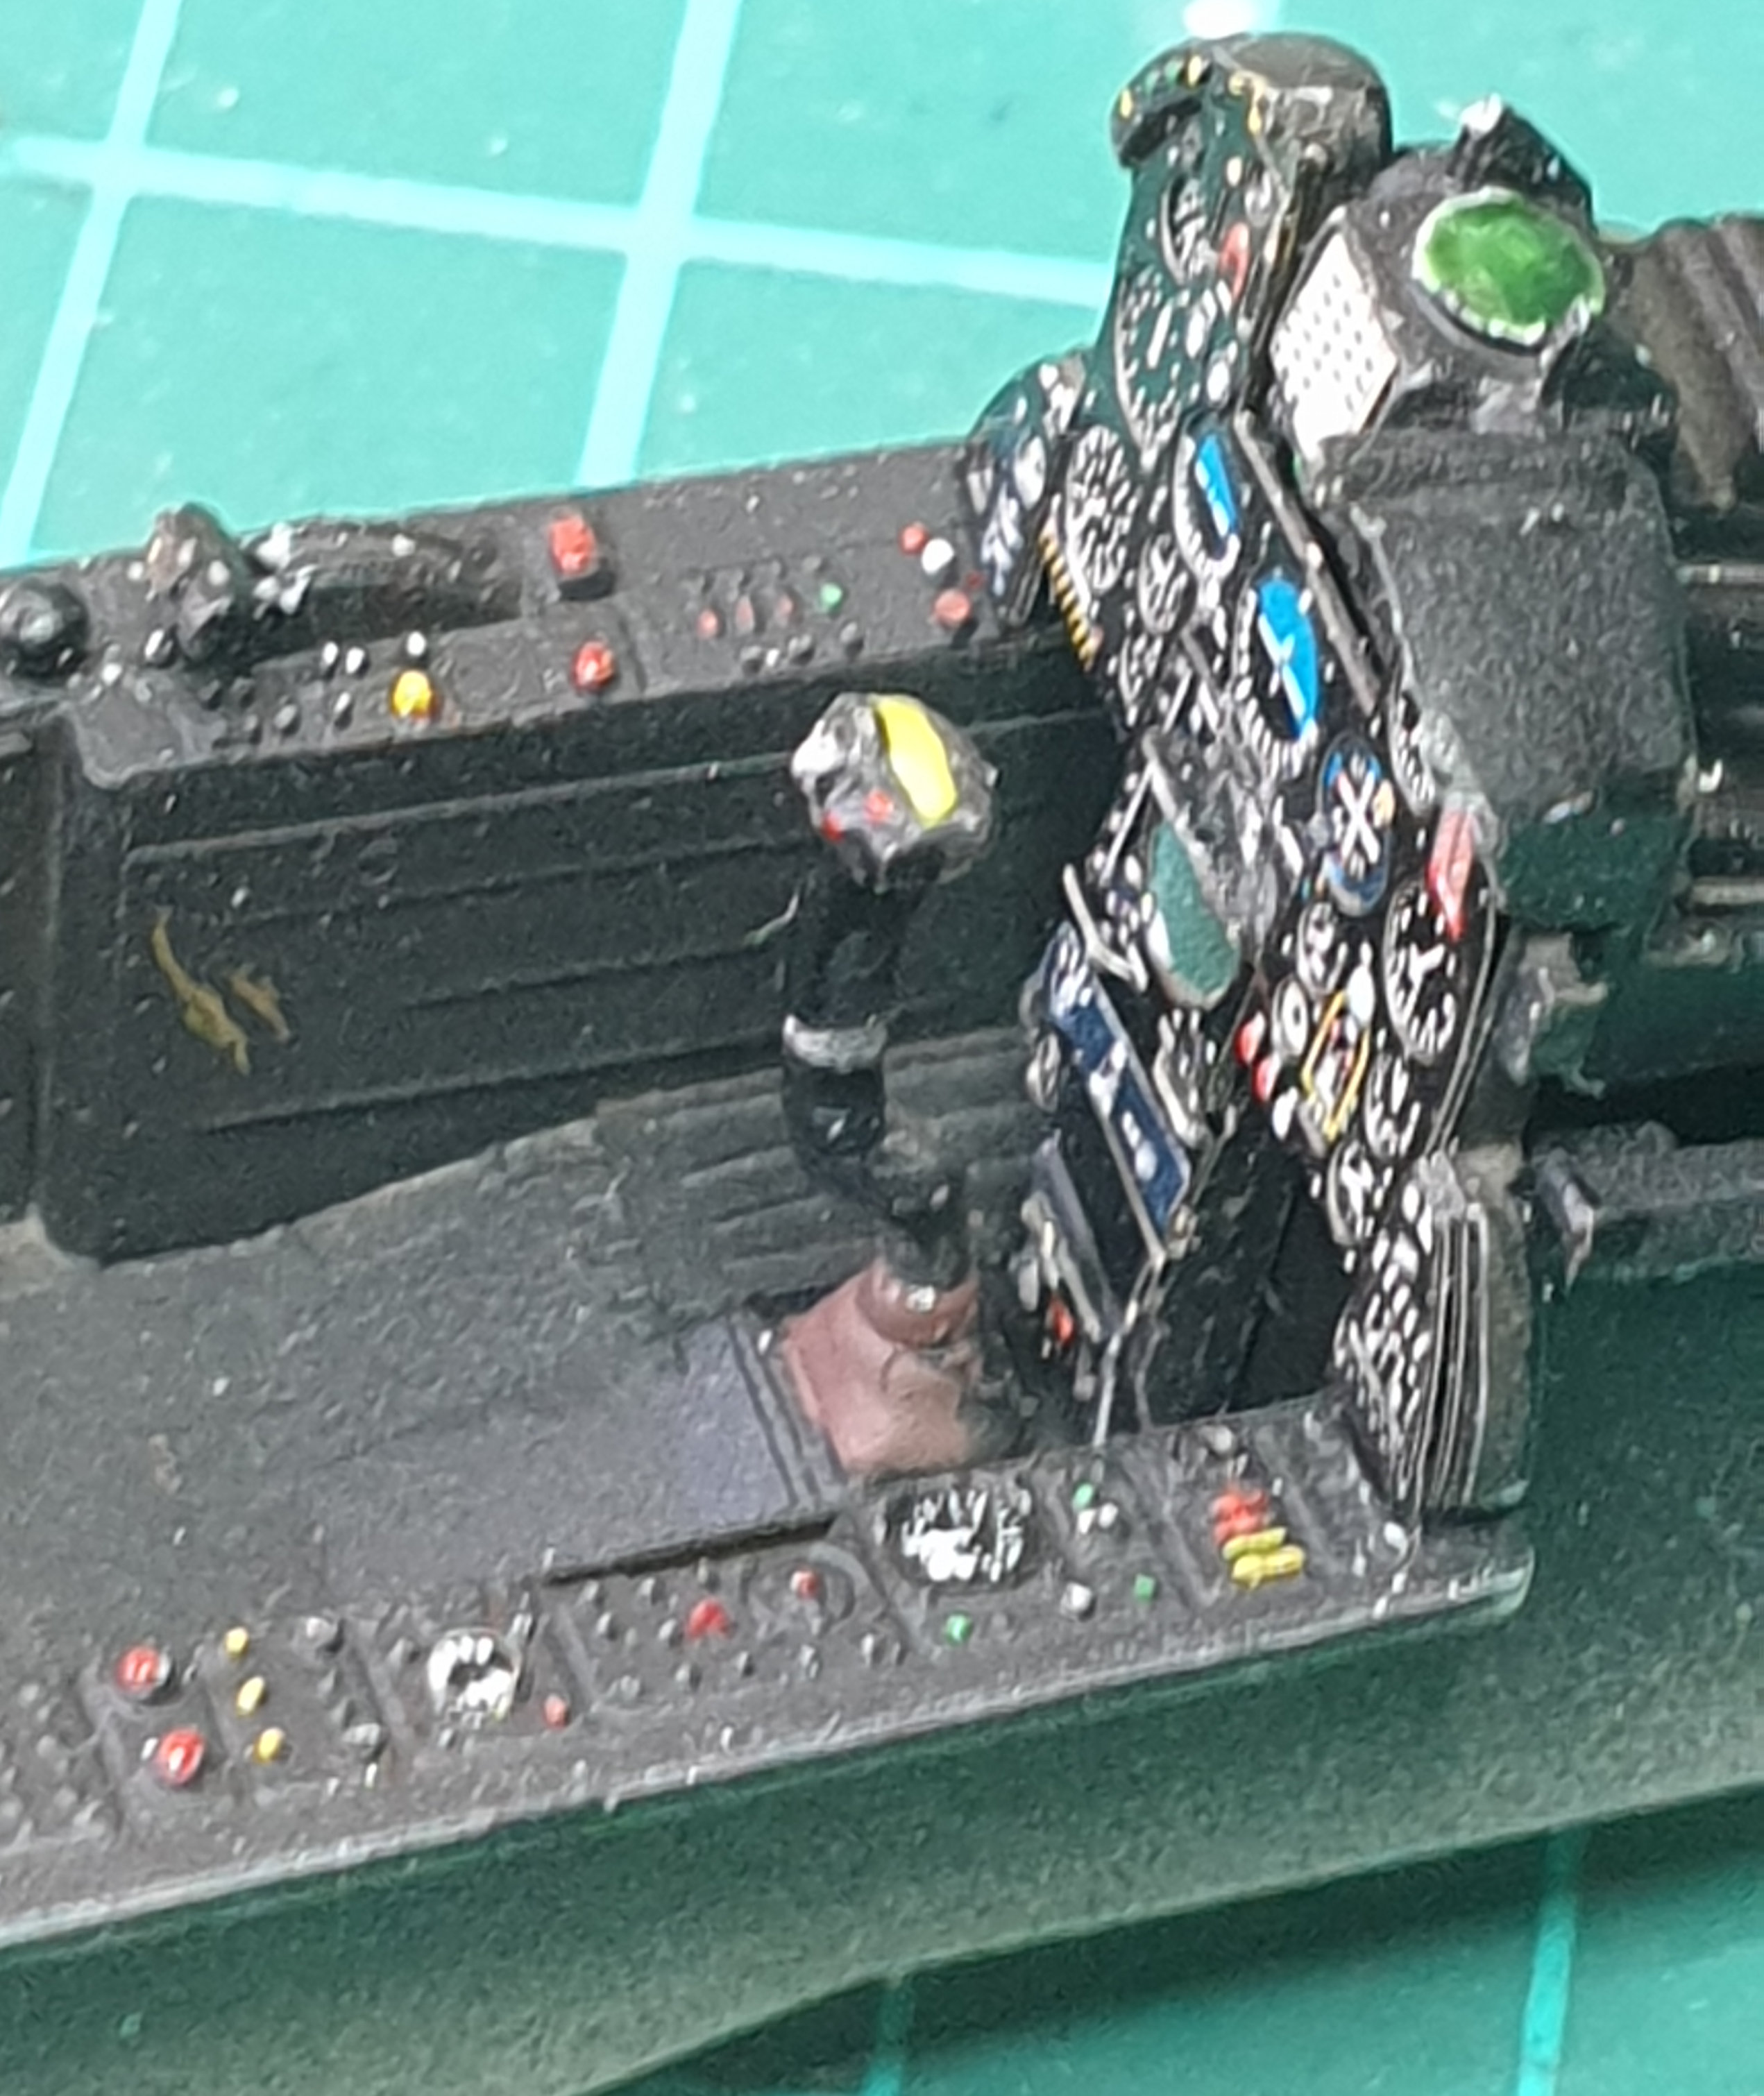
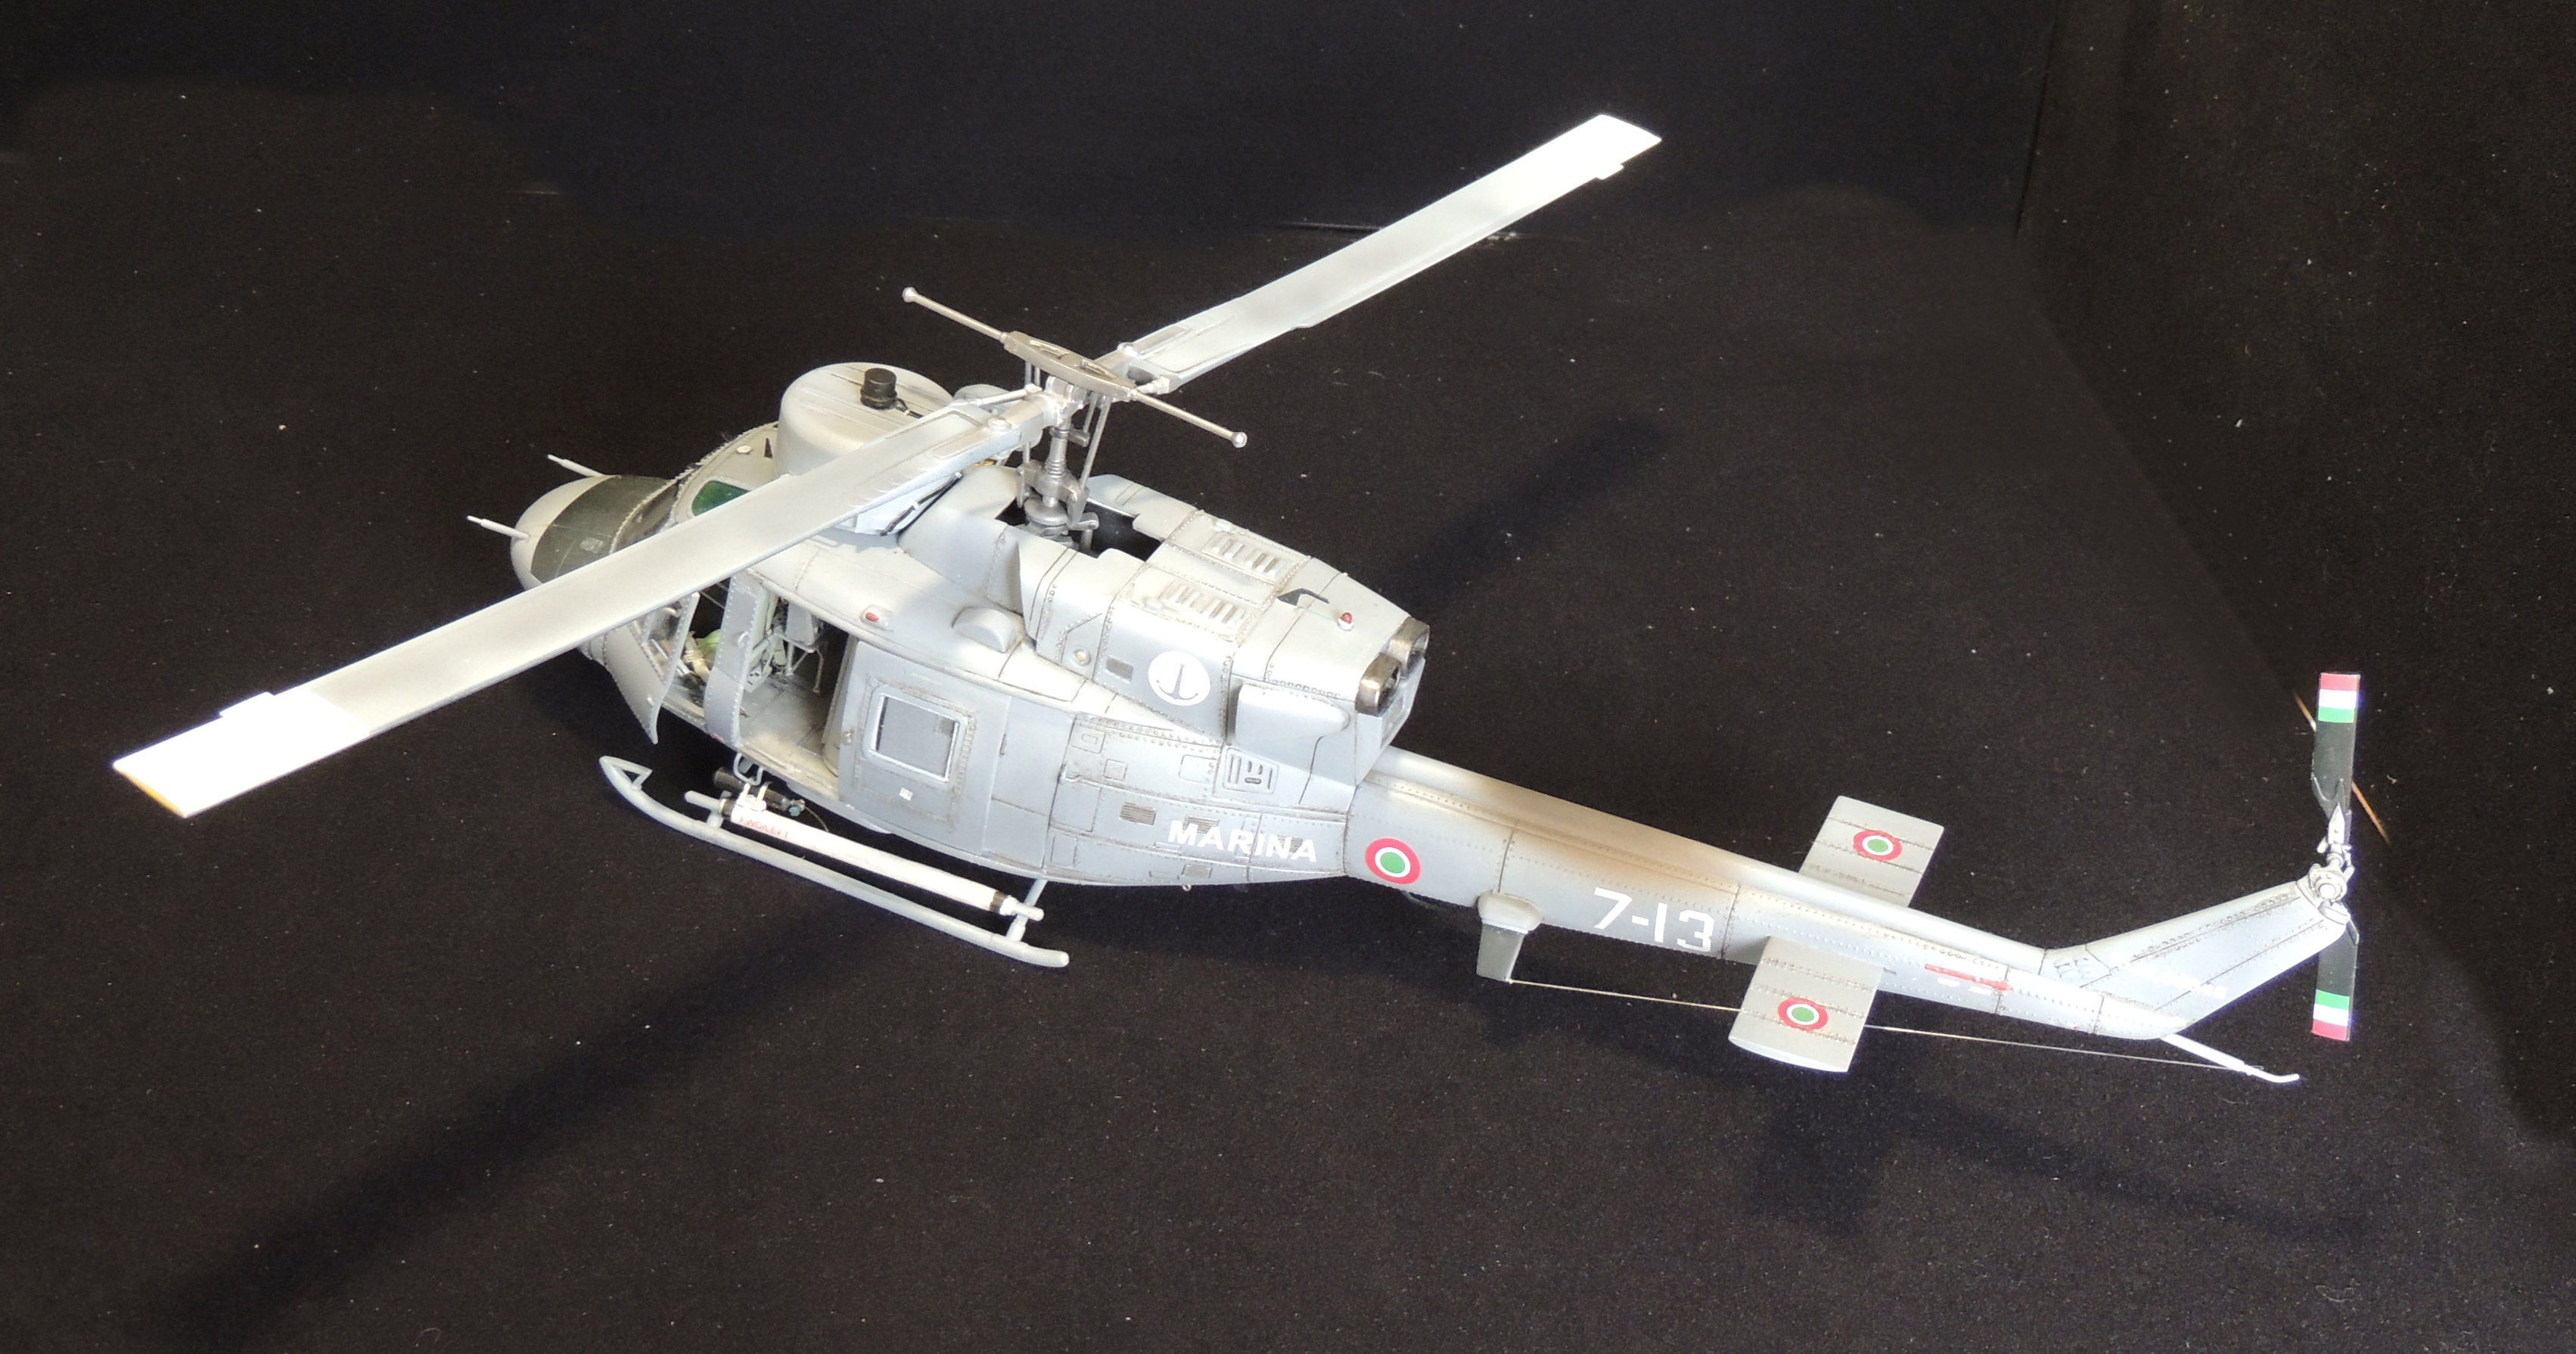
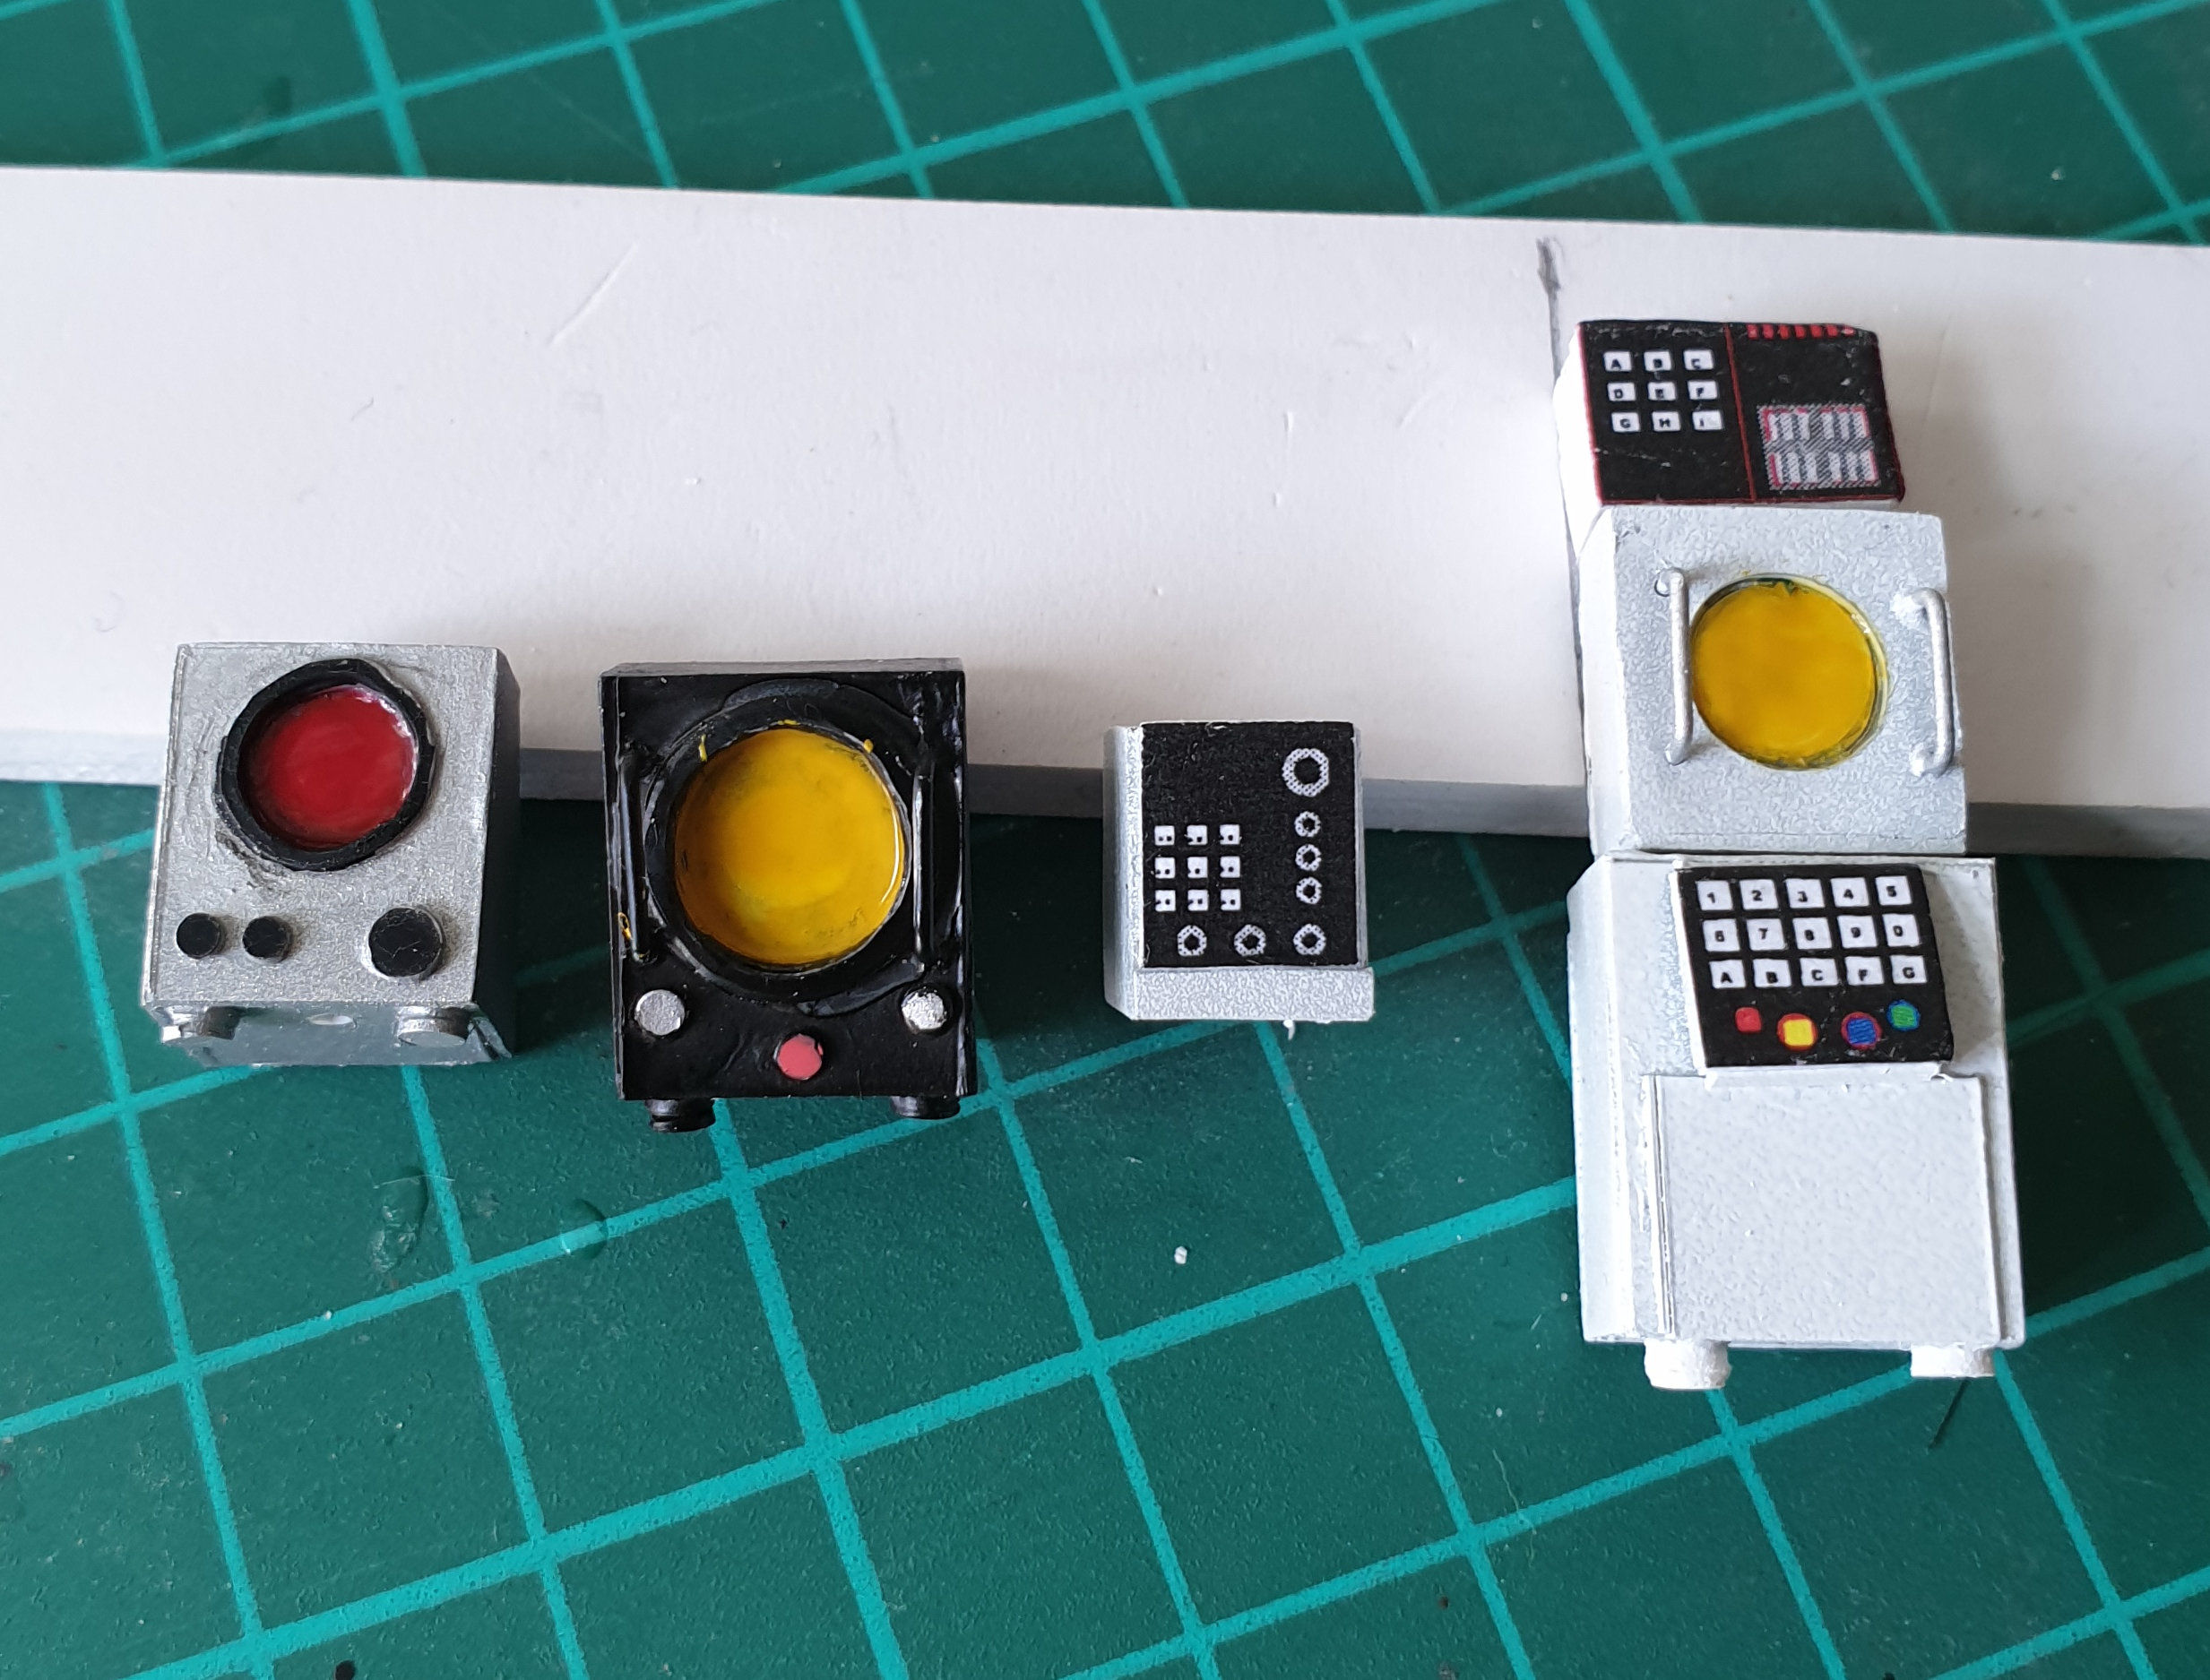
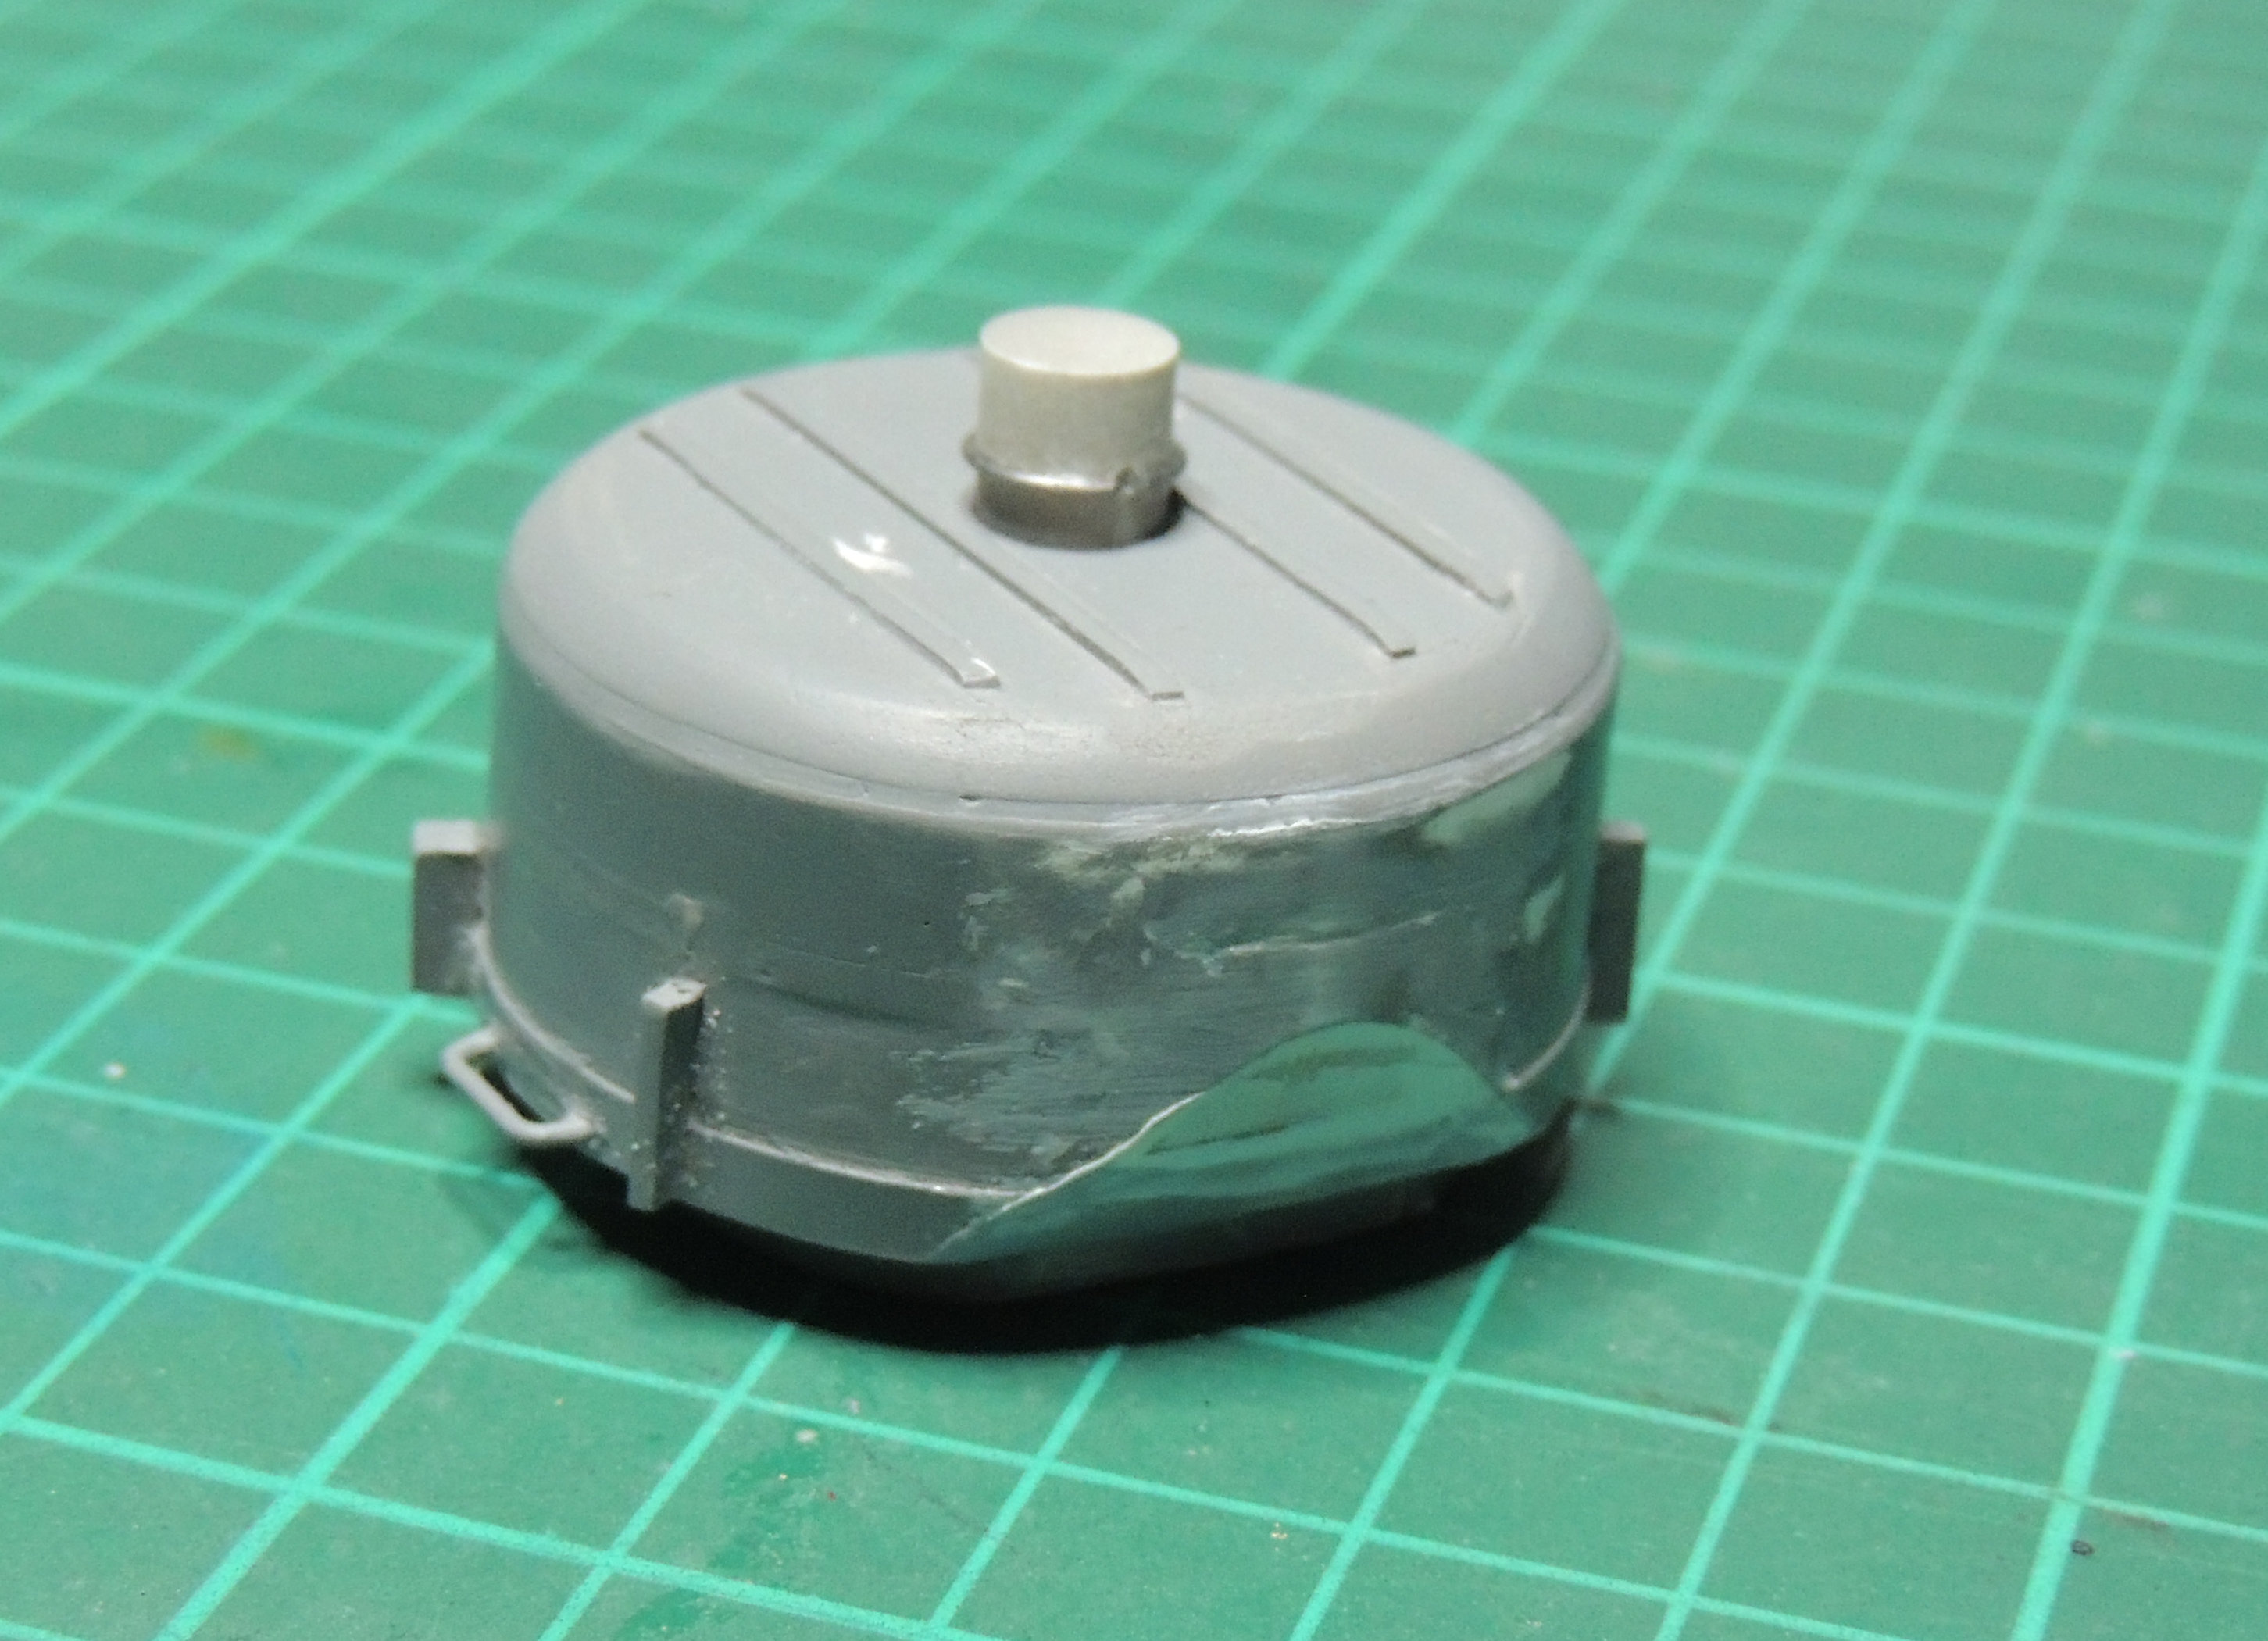
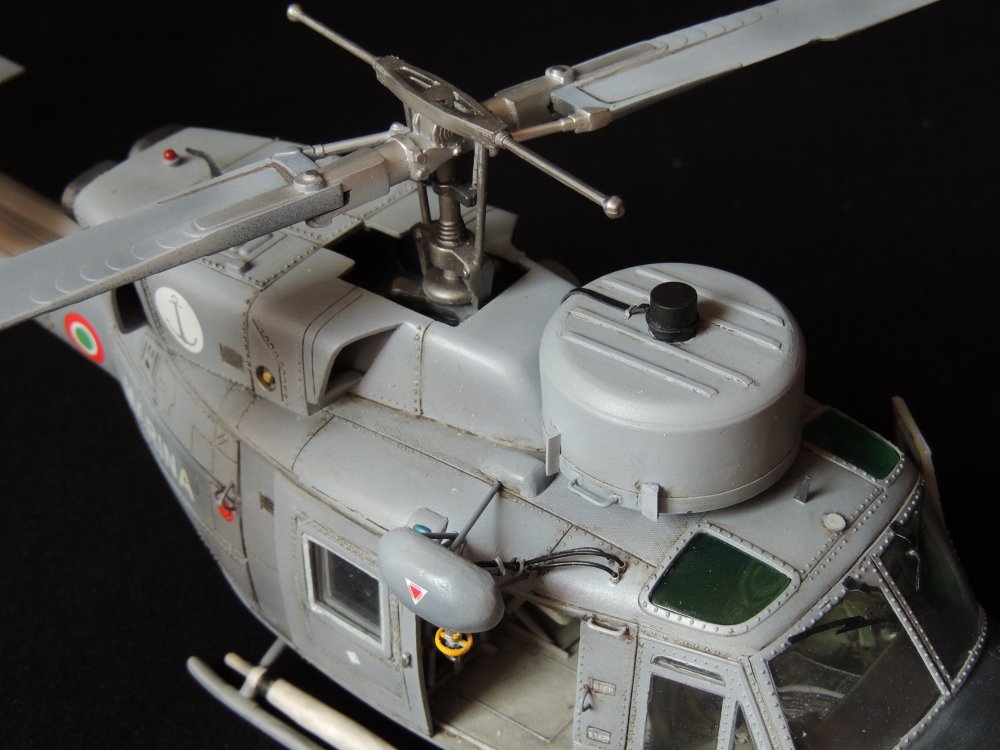
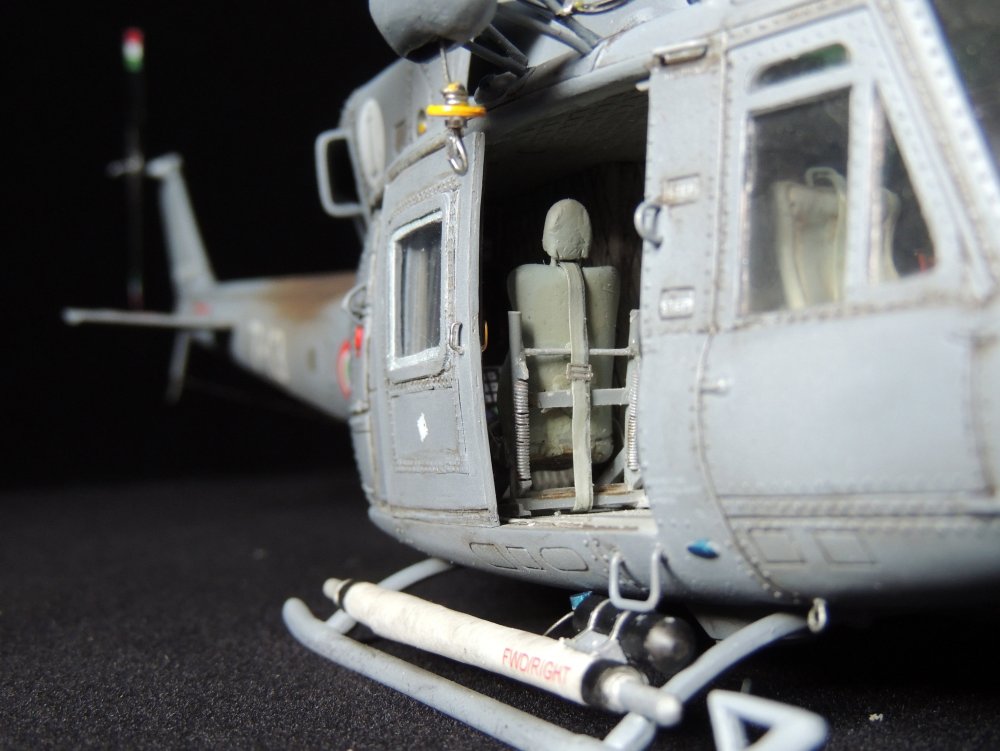
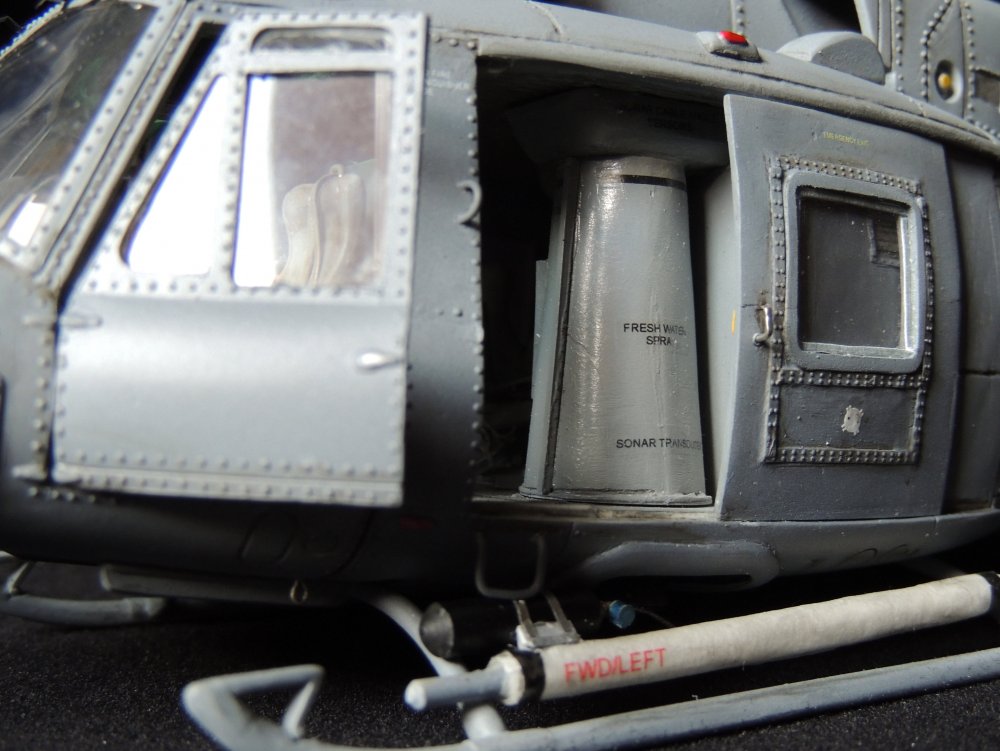
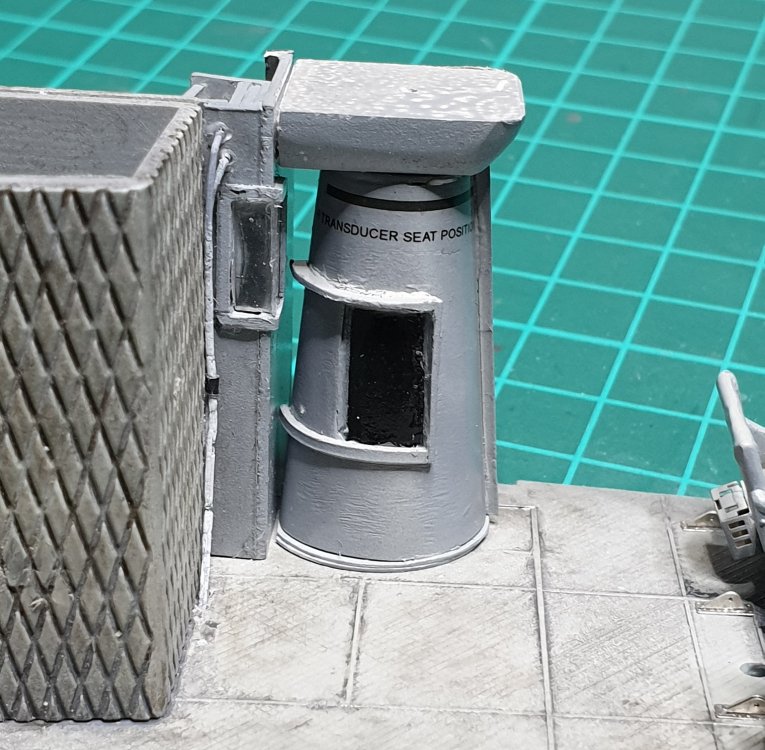
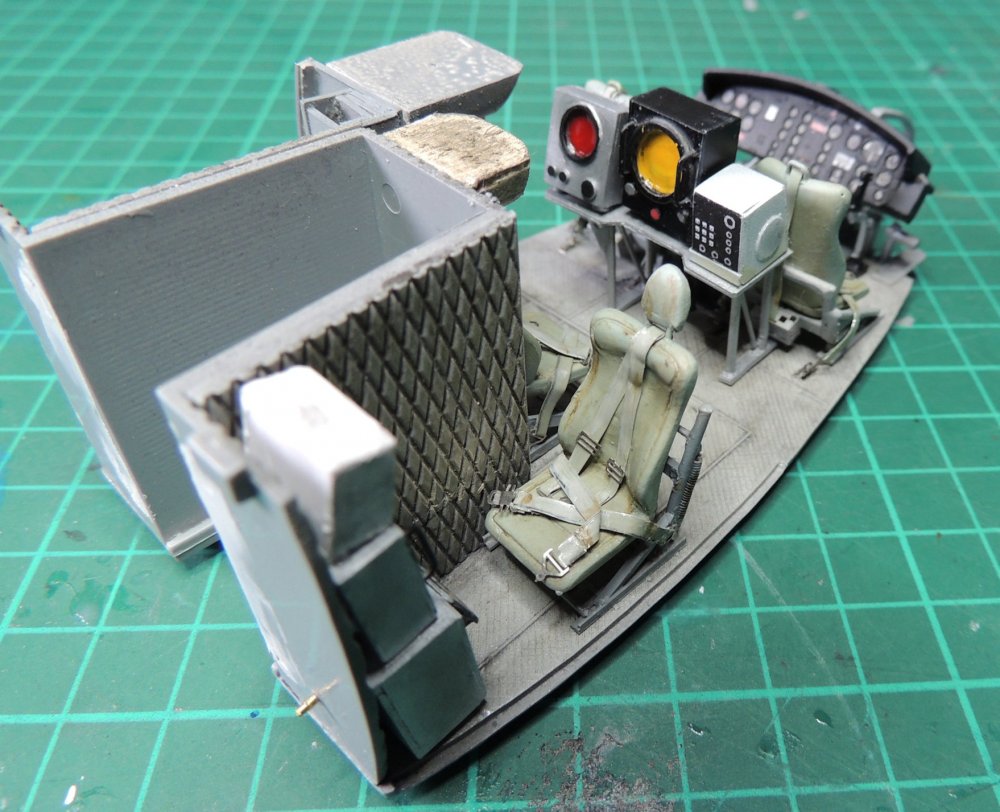
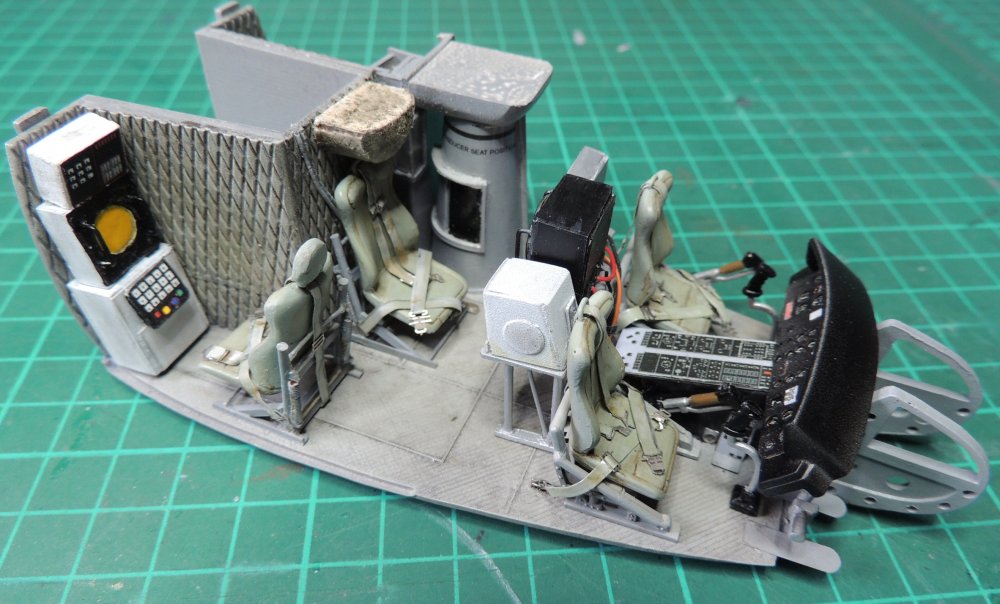
Searching and navigation instruments installed inside have been made with plasticard while the sonar dome was casted in resin. The same for the additional seats. The radome was made by sandwiching a balsa wood cylinder between several plasticard disks and then turned to size and shape. More to follow.


- 8 replies
-
- 3
-
-
- helicopter
- submarine
- (and 2 more)
-
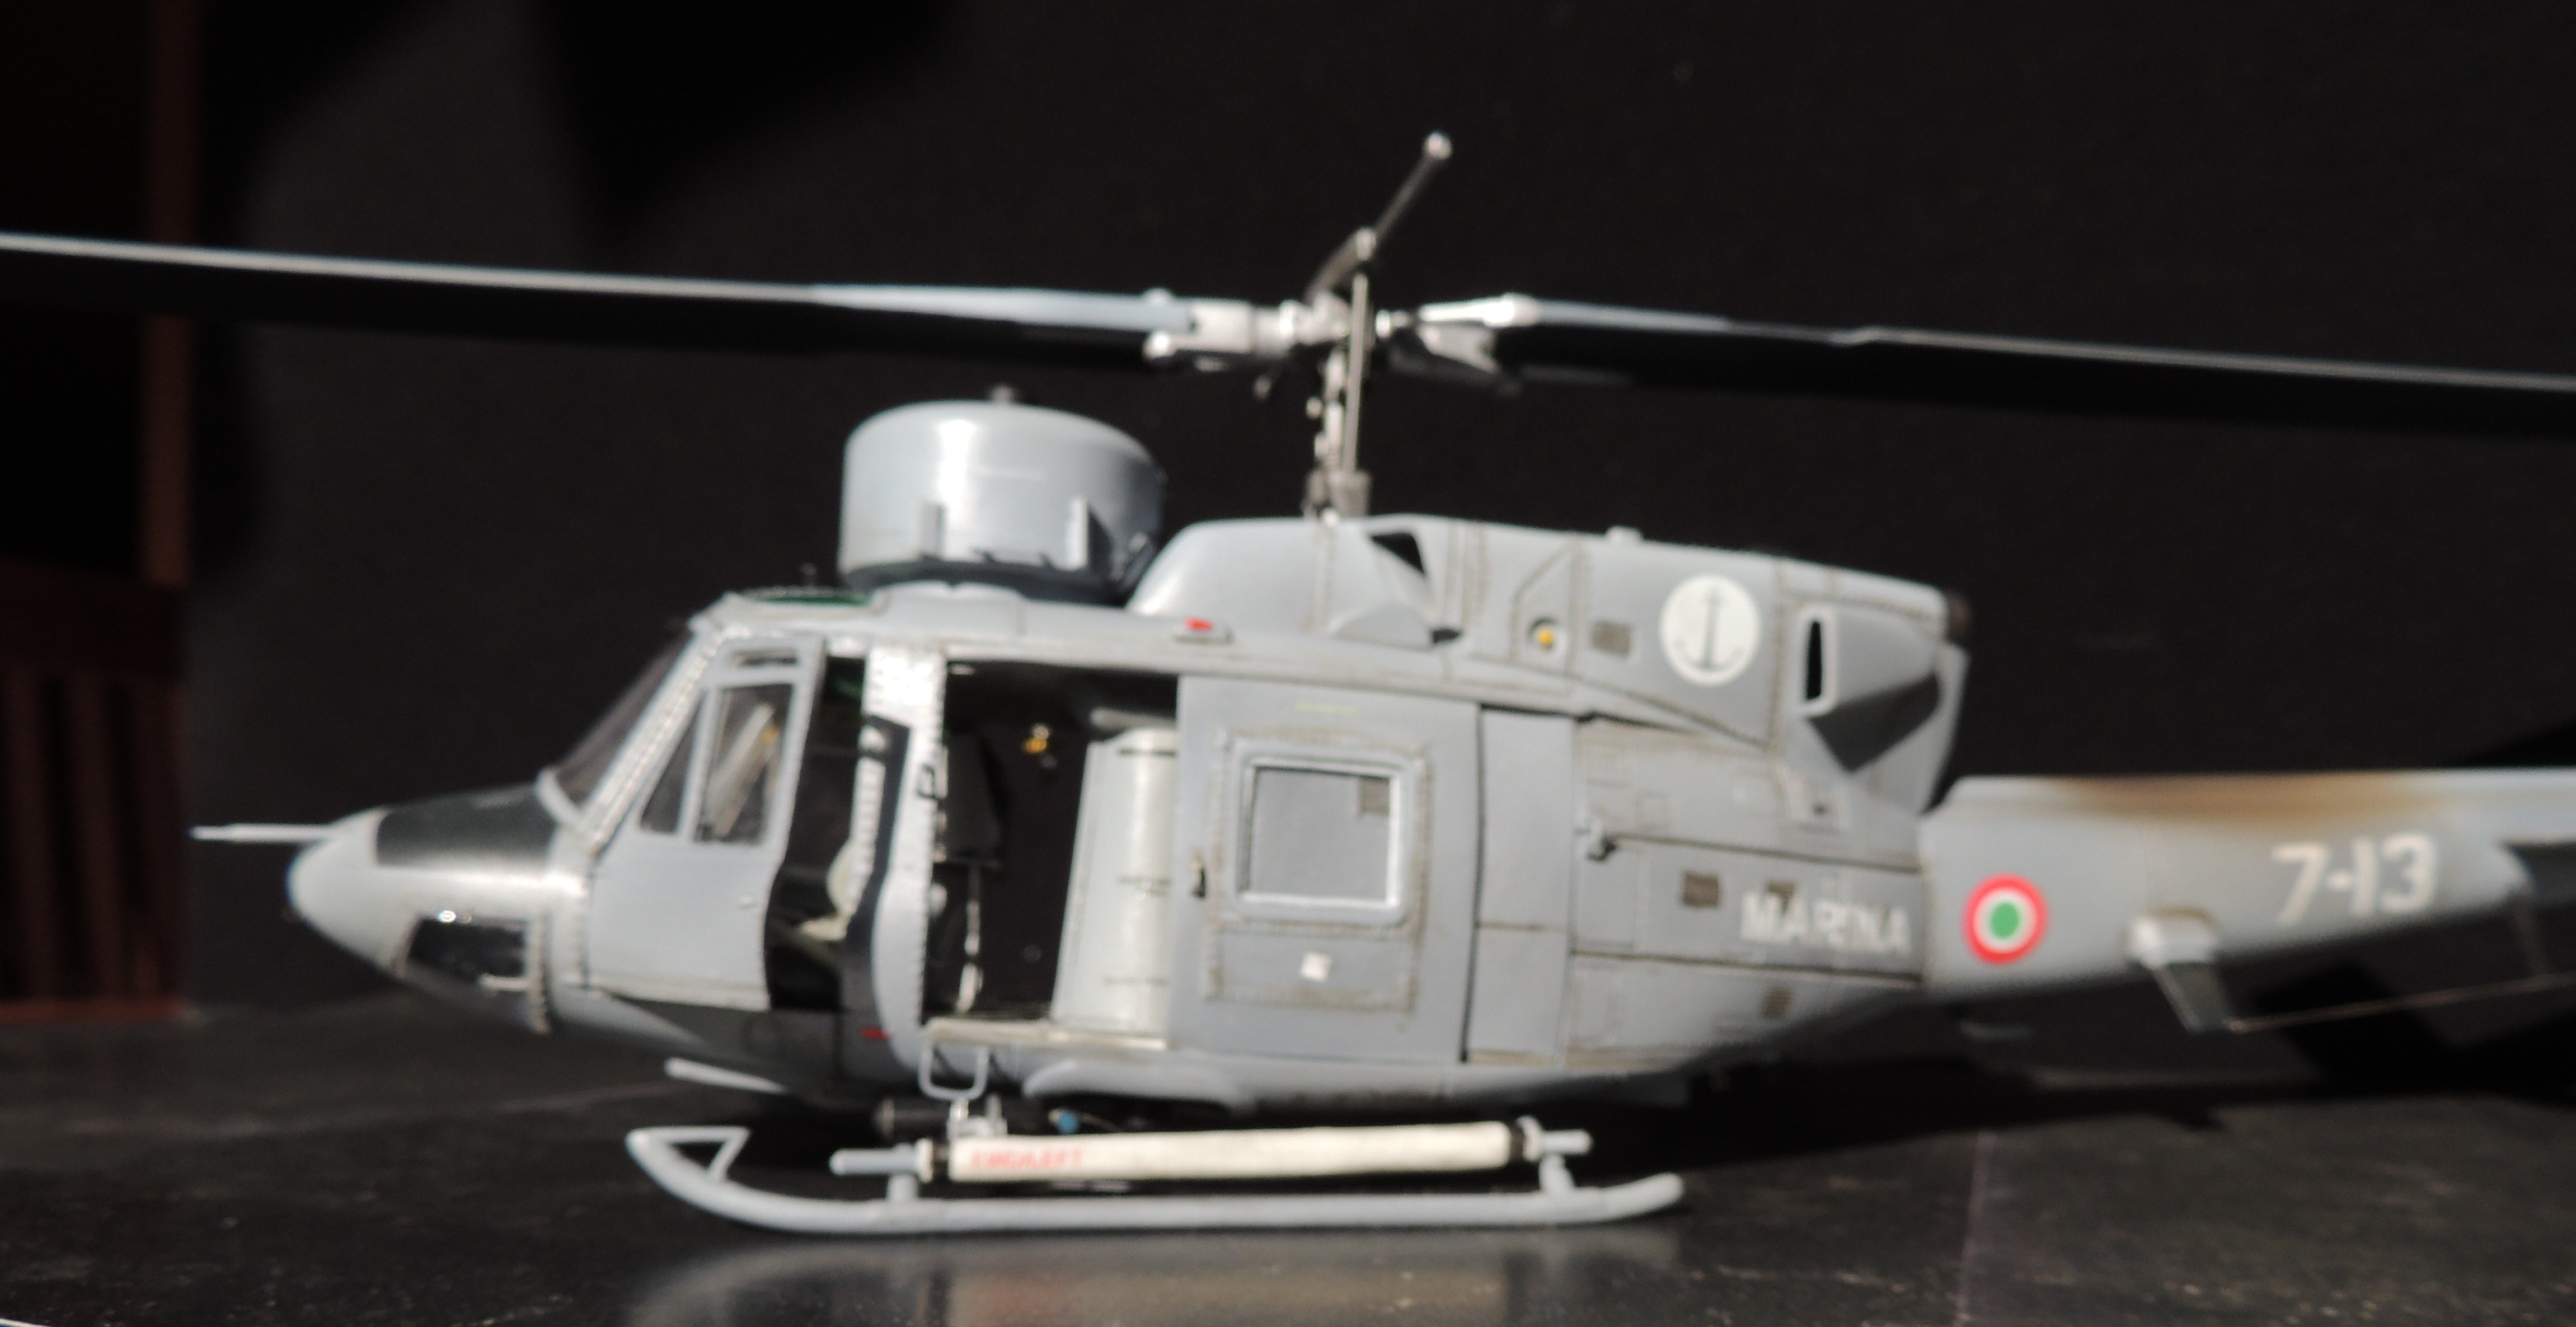
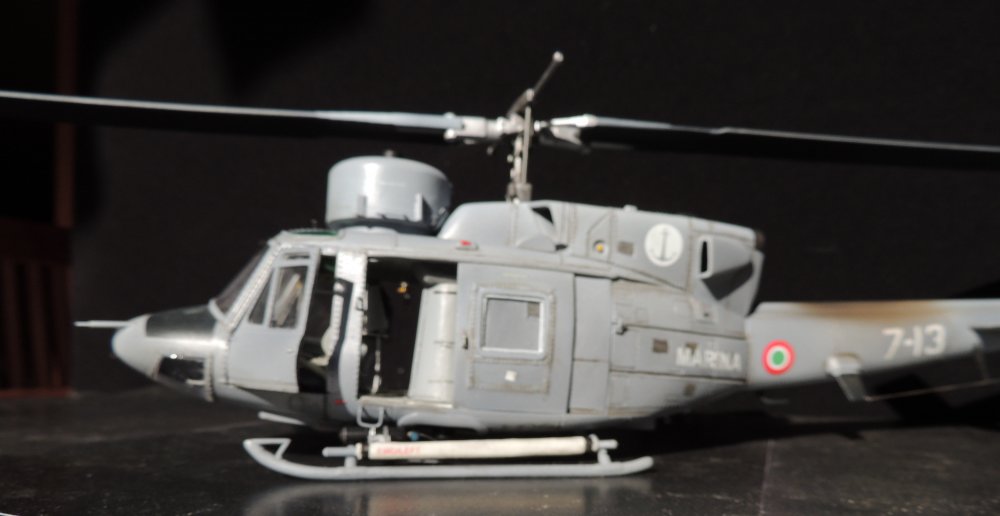
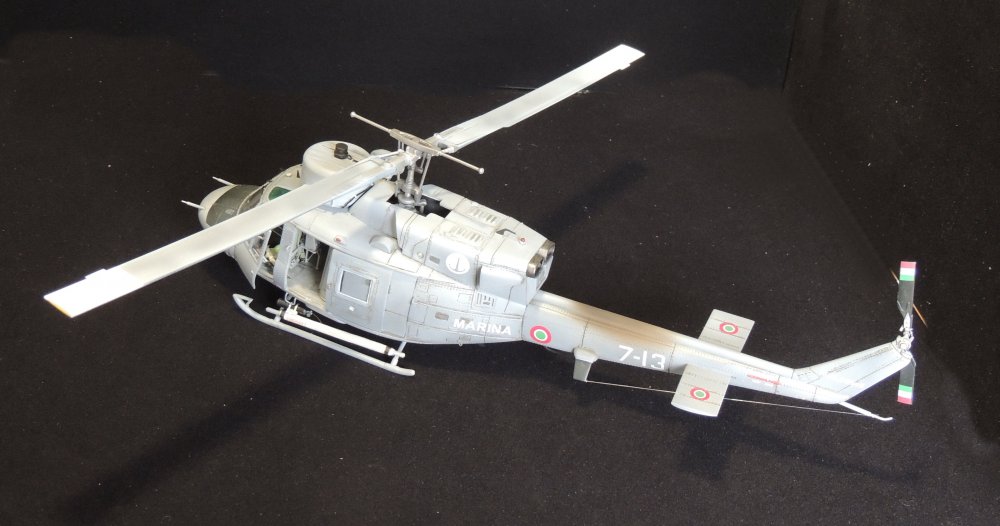
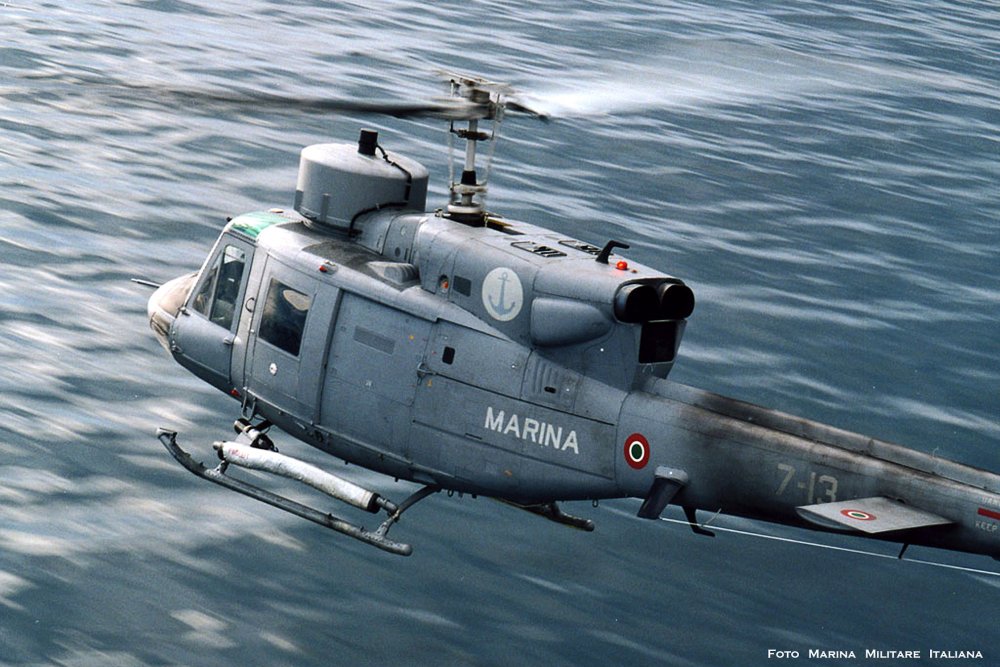
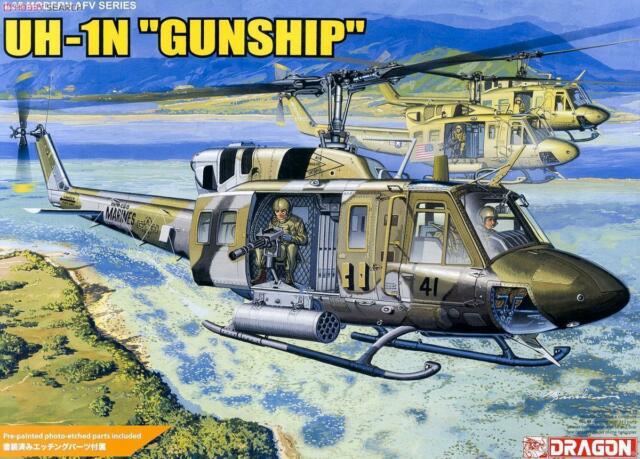
Never did an helicopter model in my modeller life (besides one specifically made for my grandson to play with) until one day, during the first lock-down, I was intrigued by the first picture below. So I started looking around for suitable kit and the best I found was the Dragon UH-1N in 1:35. But there are many important differences between the two subjects: 1) Internal back arrangement is totally different 2) Back doors are different 3) No radome on the roof 4) No winch and several other different details More to follow. Alberto
- 8 replies
-
- 3
-
-
- helicopter
- submarine
- (and 2 more)
-
Phantom F-4C from 1:32 Tamiya kit
alberto49 replied to alberto49's topic in LSM 1/35 and Larger Work In Progress
Well, it's a short run product, but my feed back is good. Of course there is some extra work required, for instance: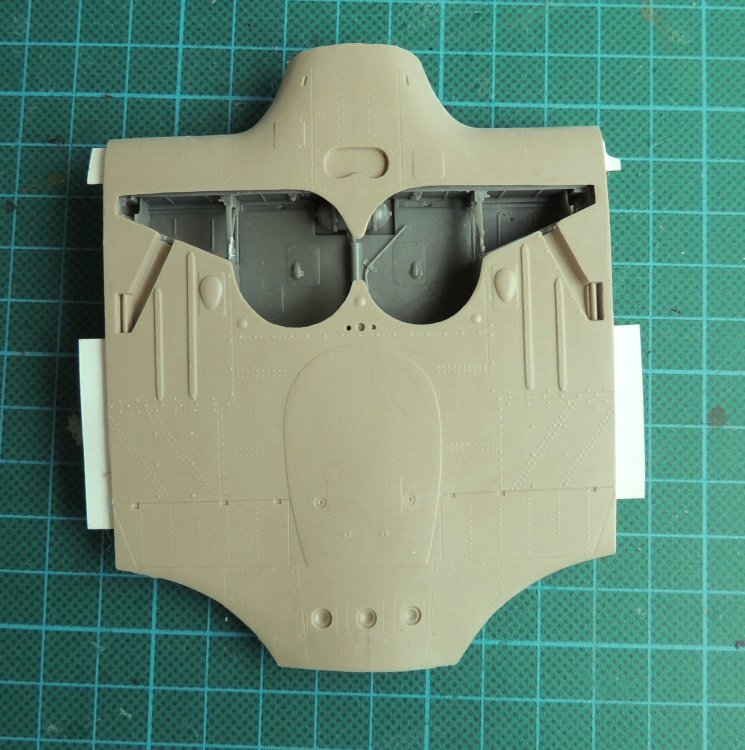
-
Israeli Mirage III C with Atar9C
alberto49 replied to Kaireckstadt's topic in LSM 1/35 and Larger Work In Progress
Good news about my stuff from Isradecal: today I got a mail telling me that the shipped and a tracking number! -
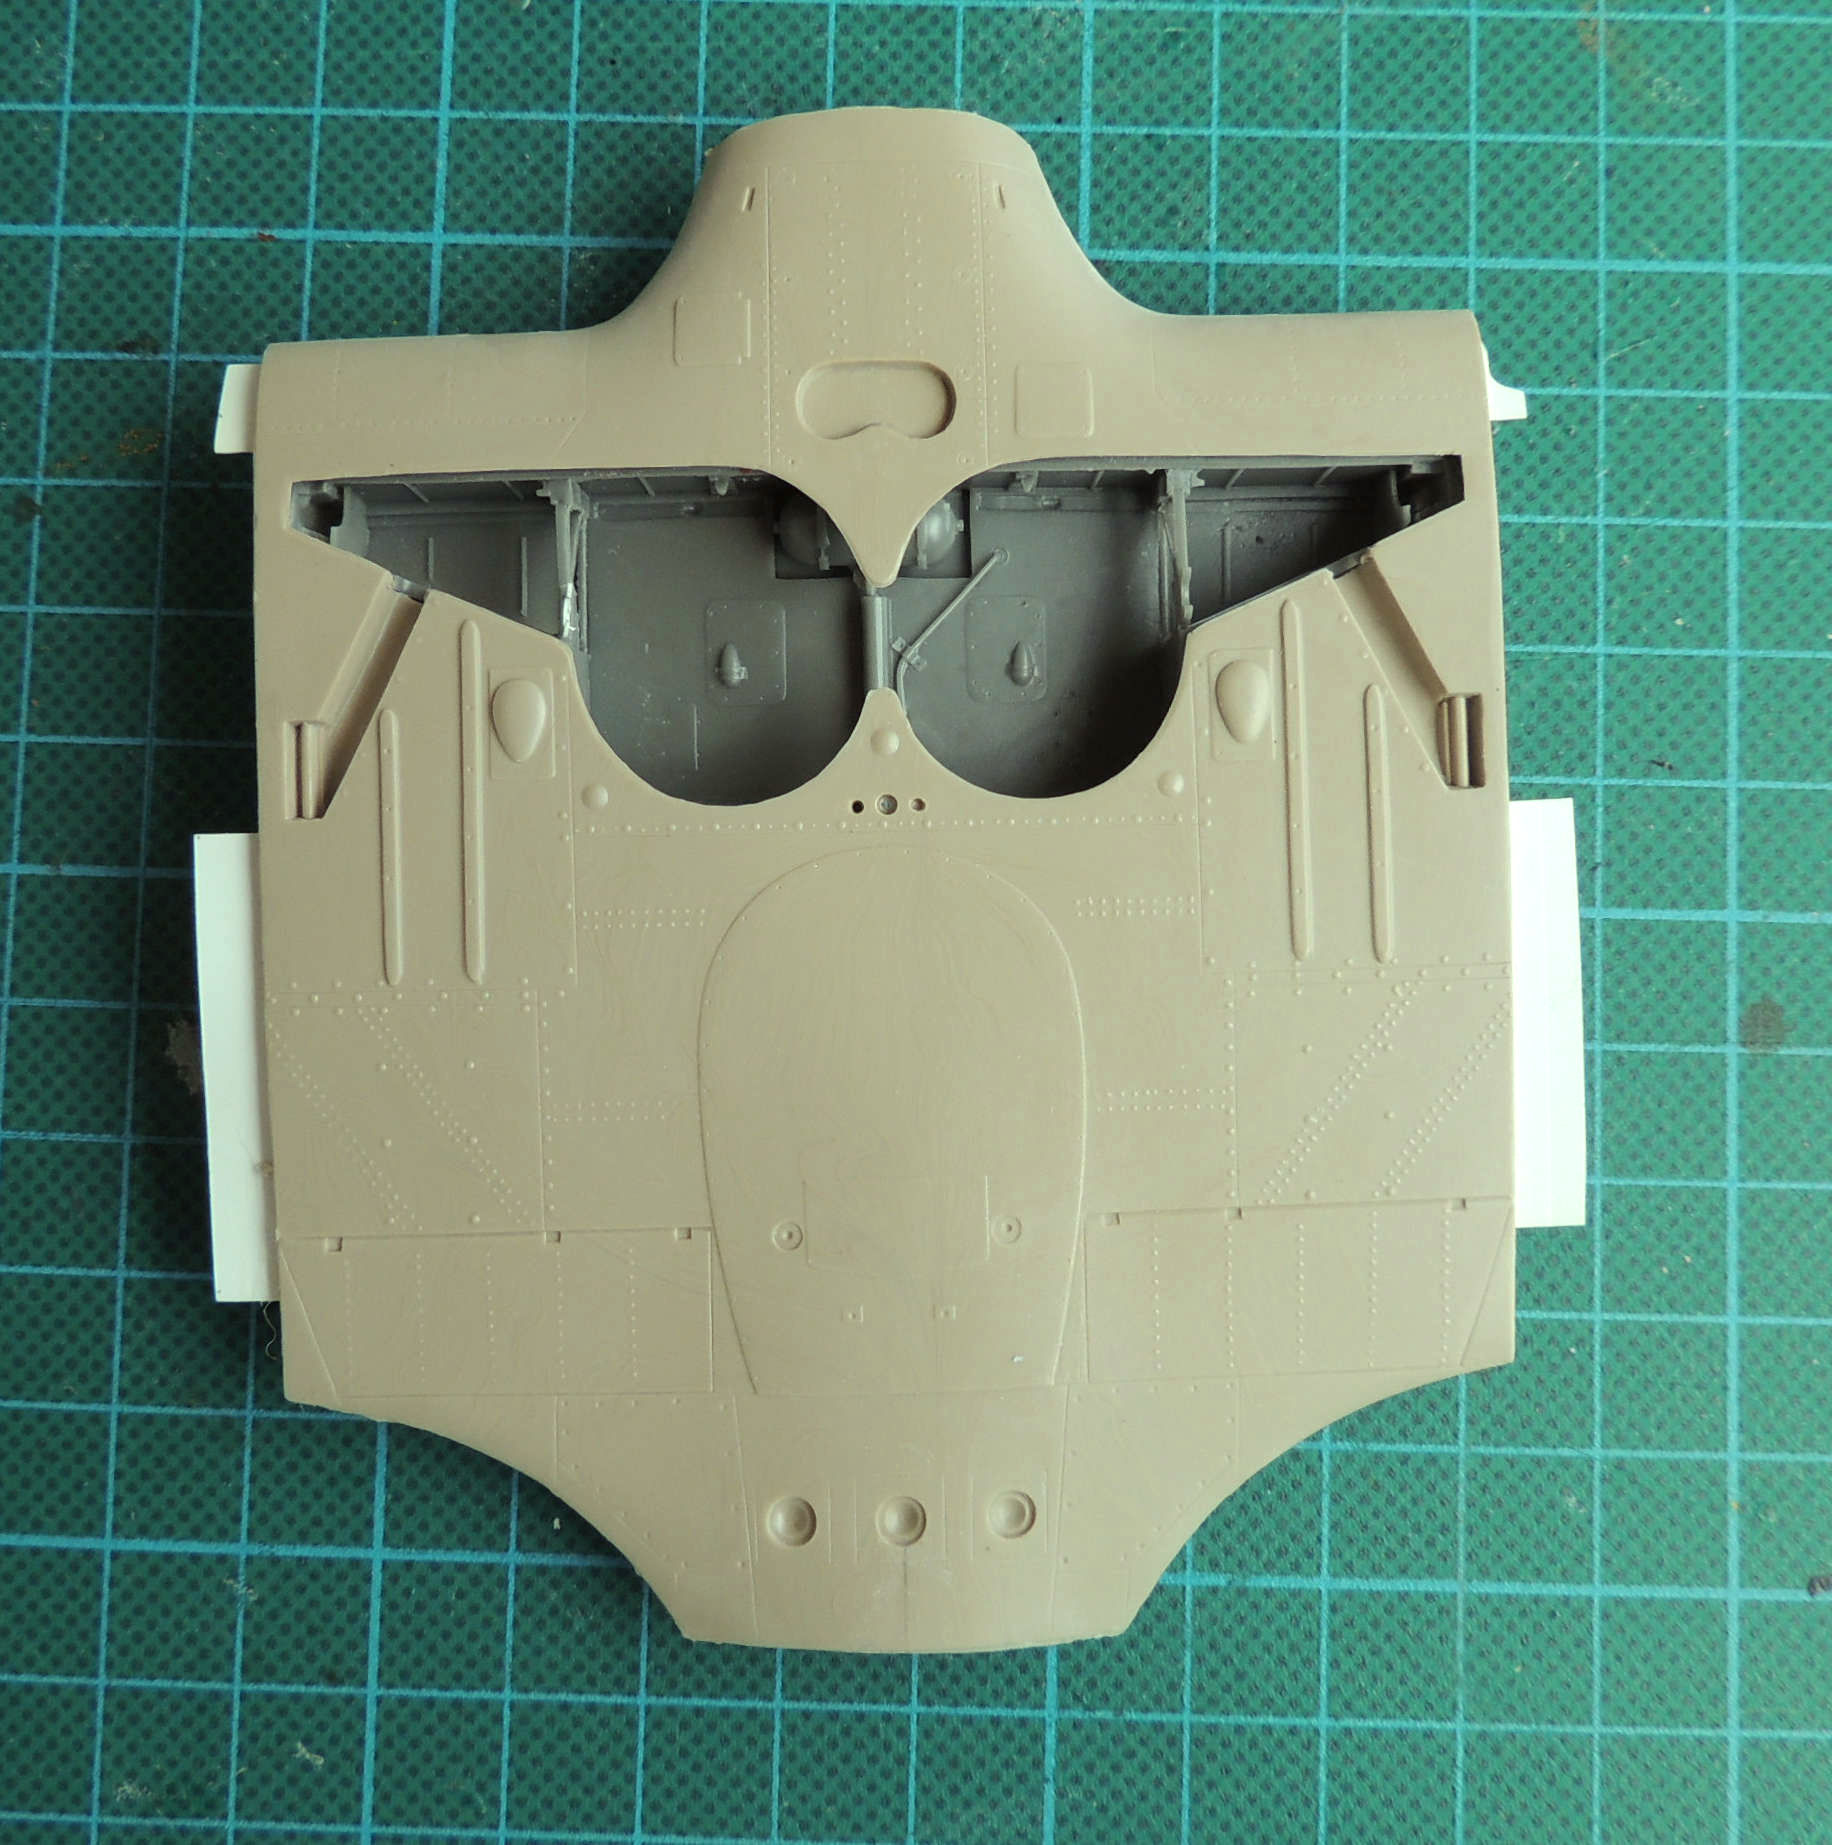
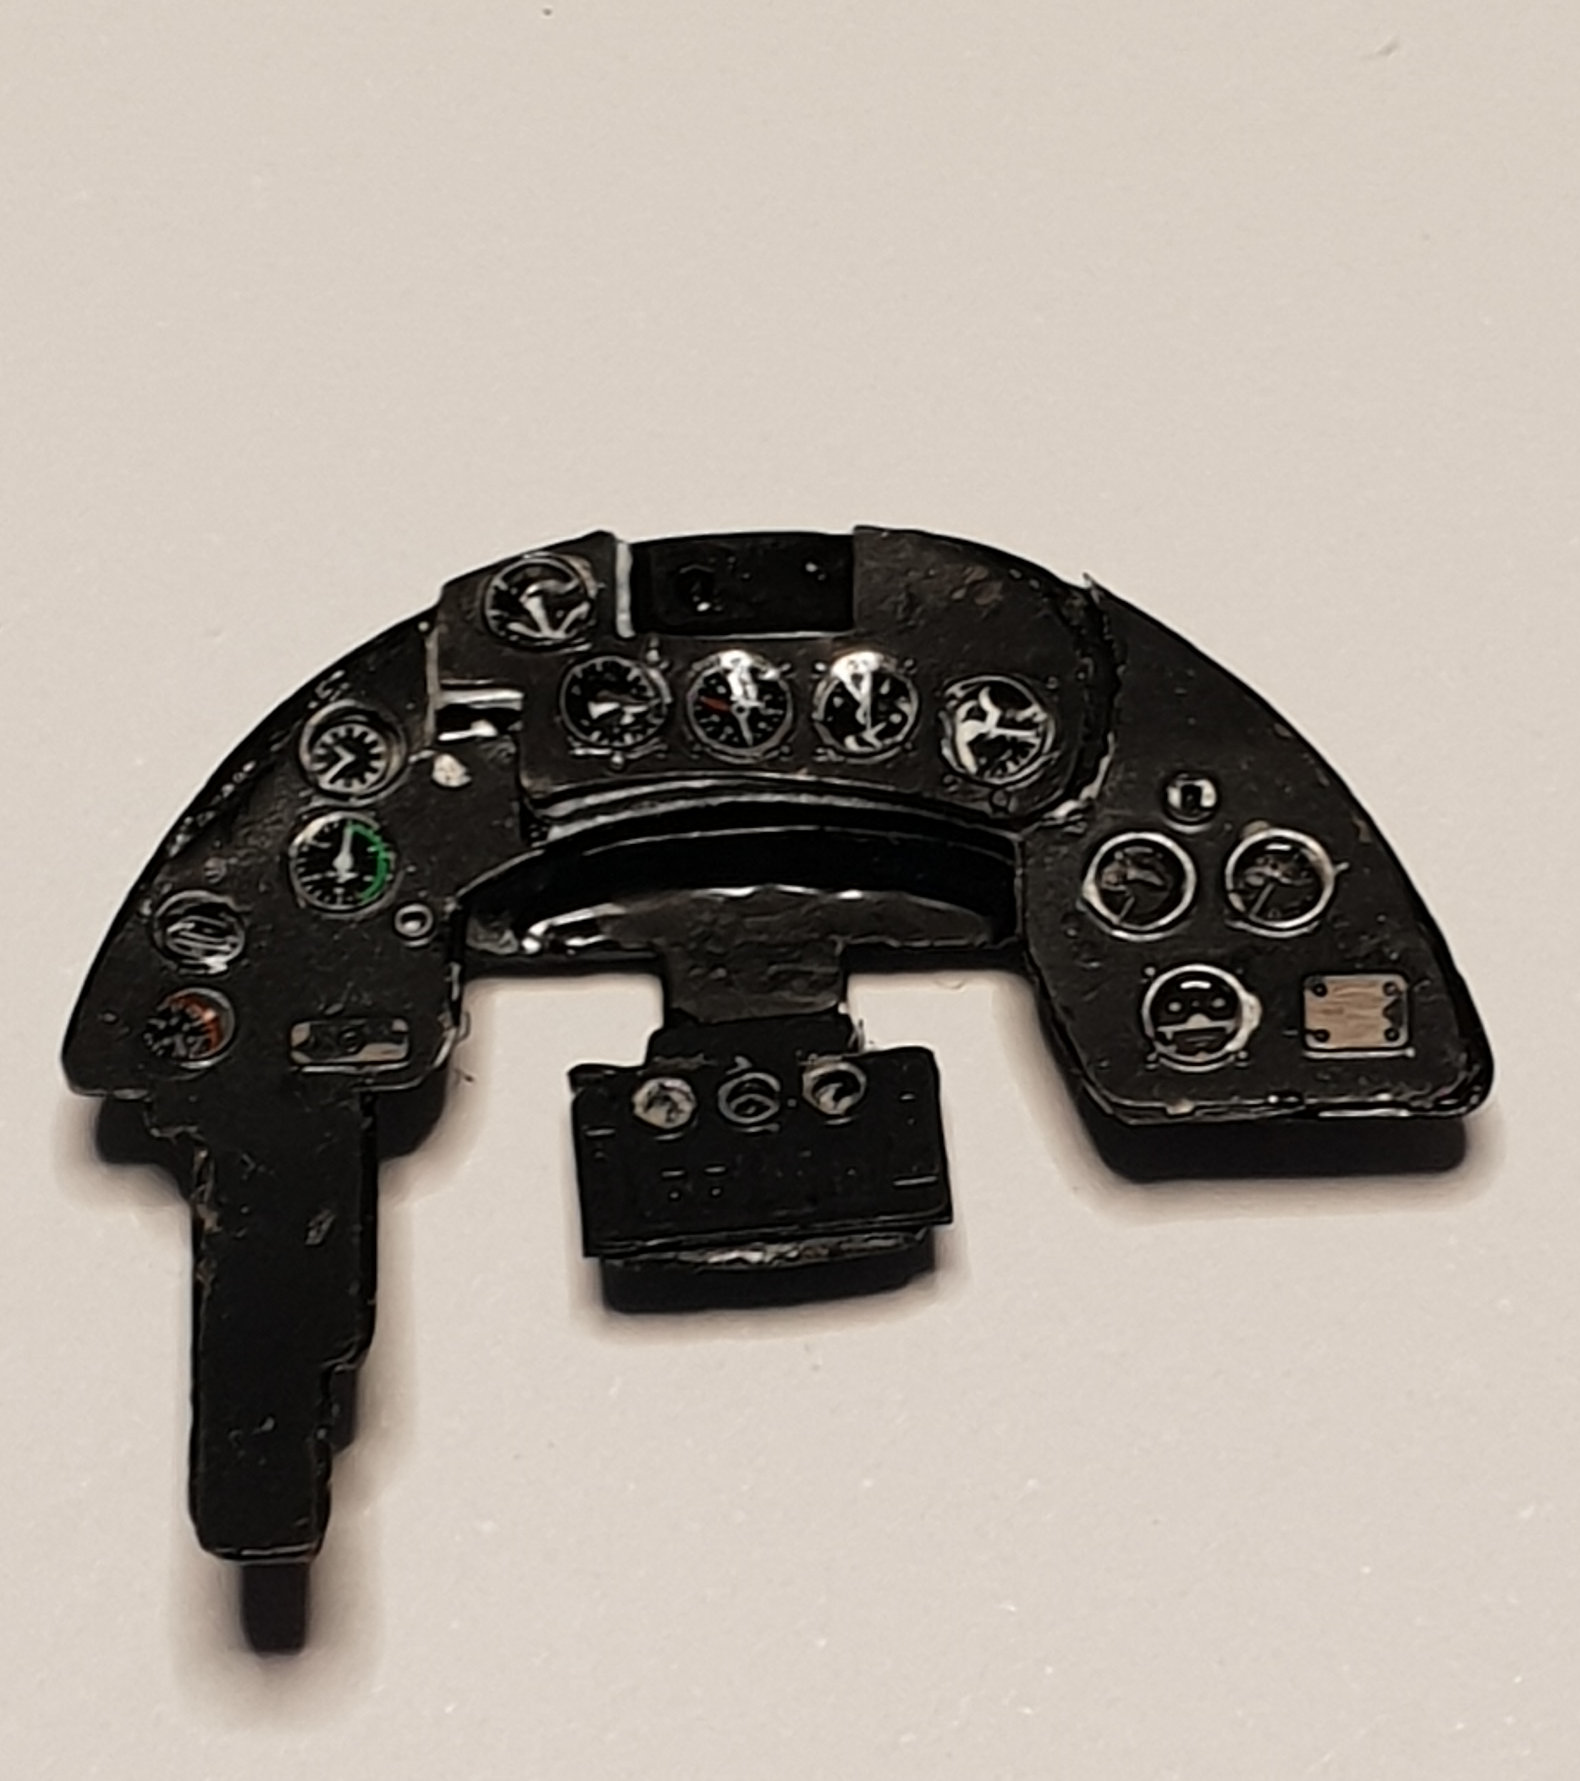
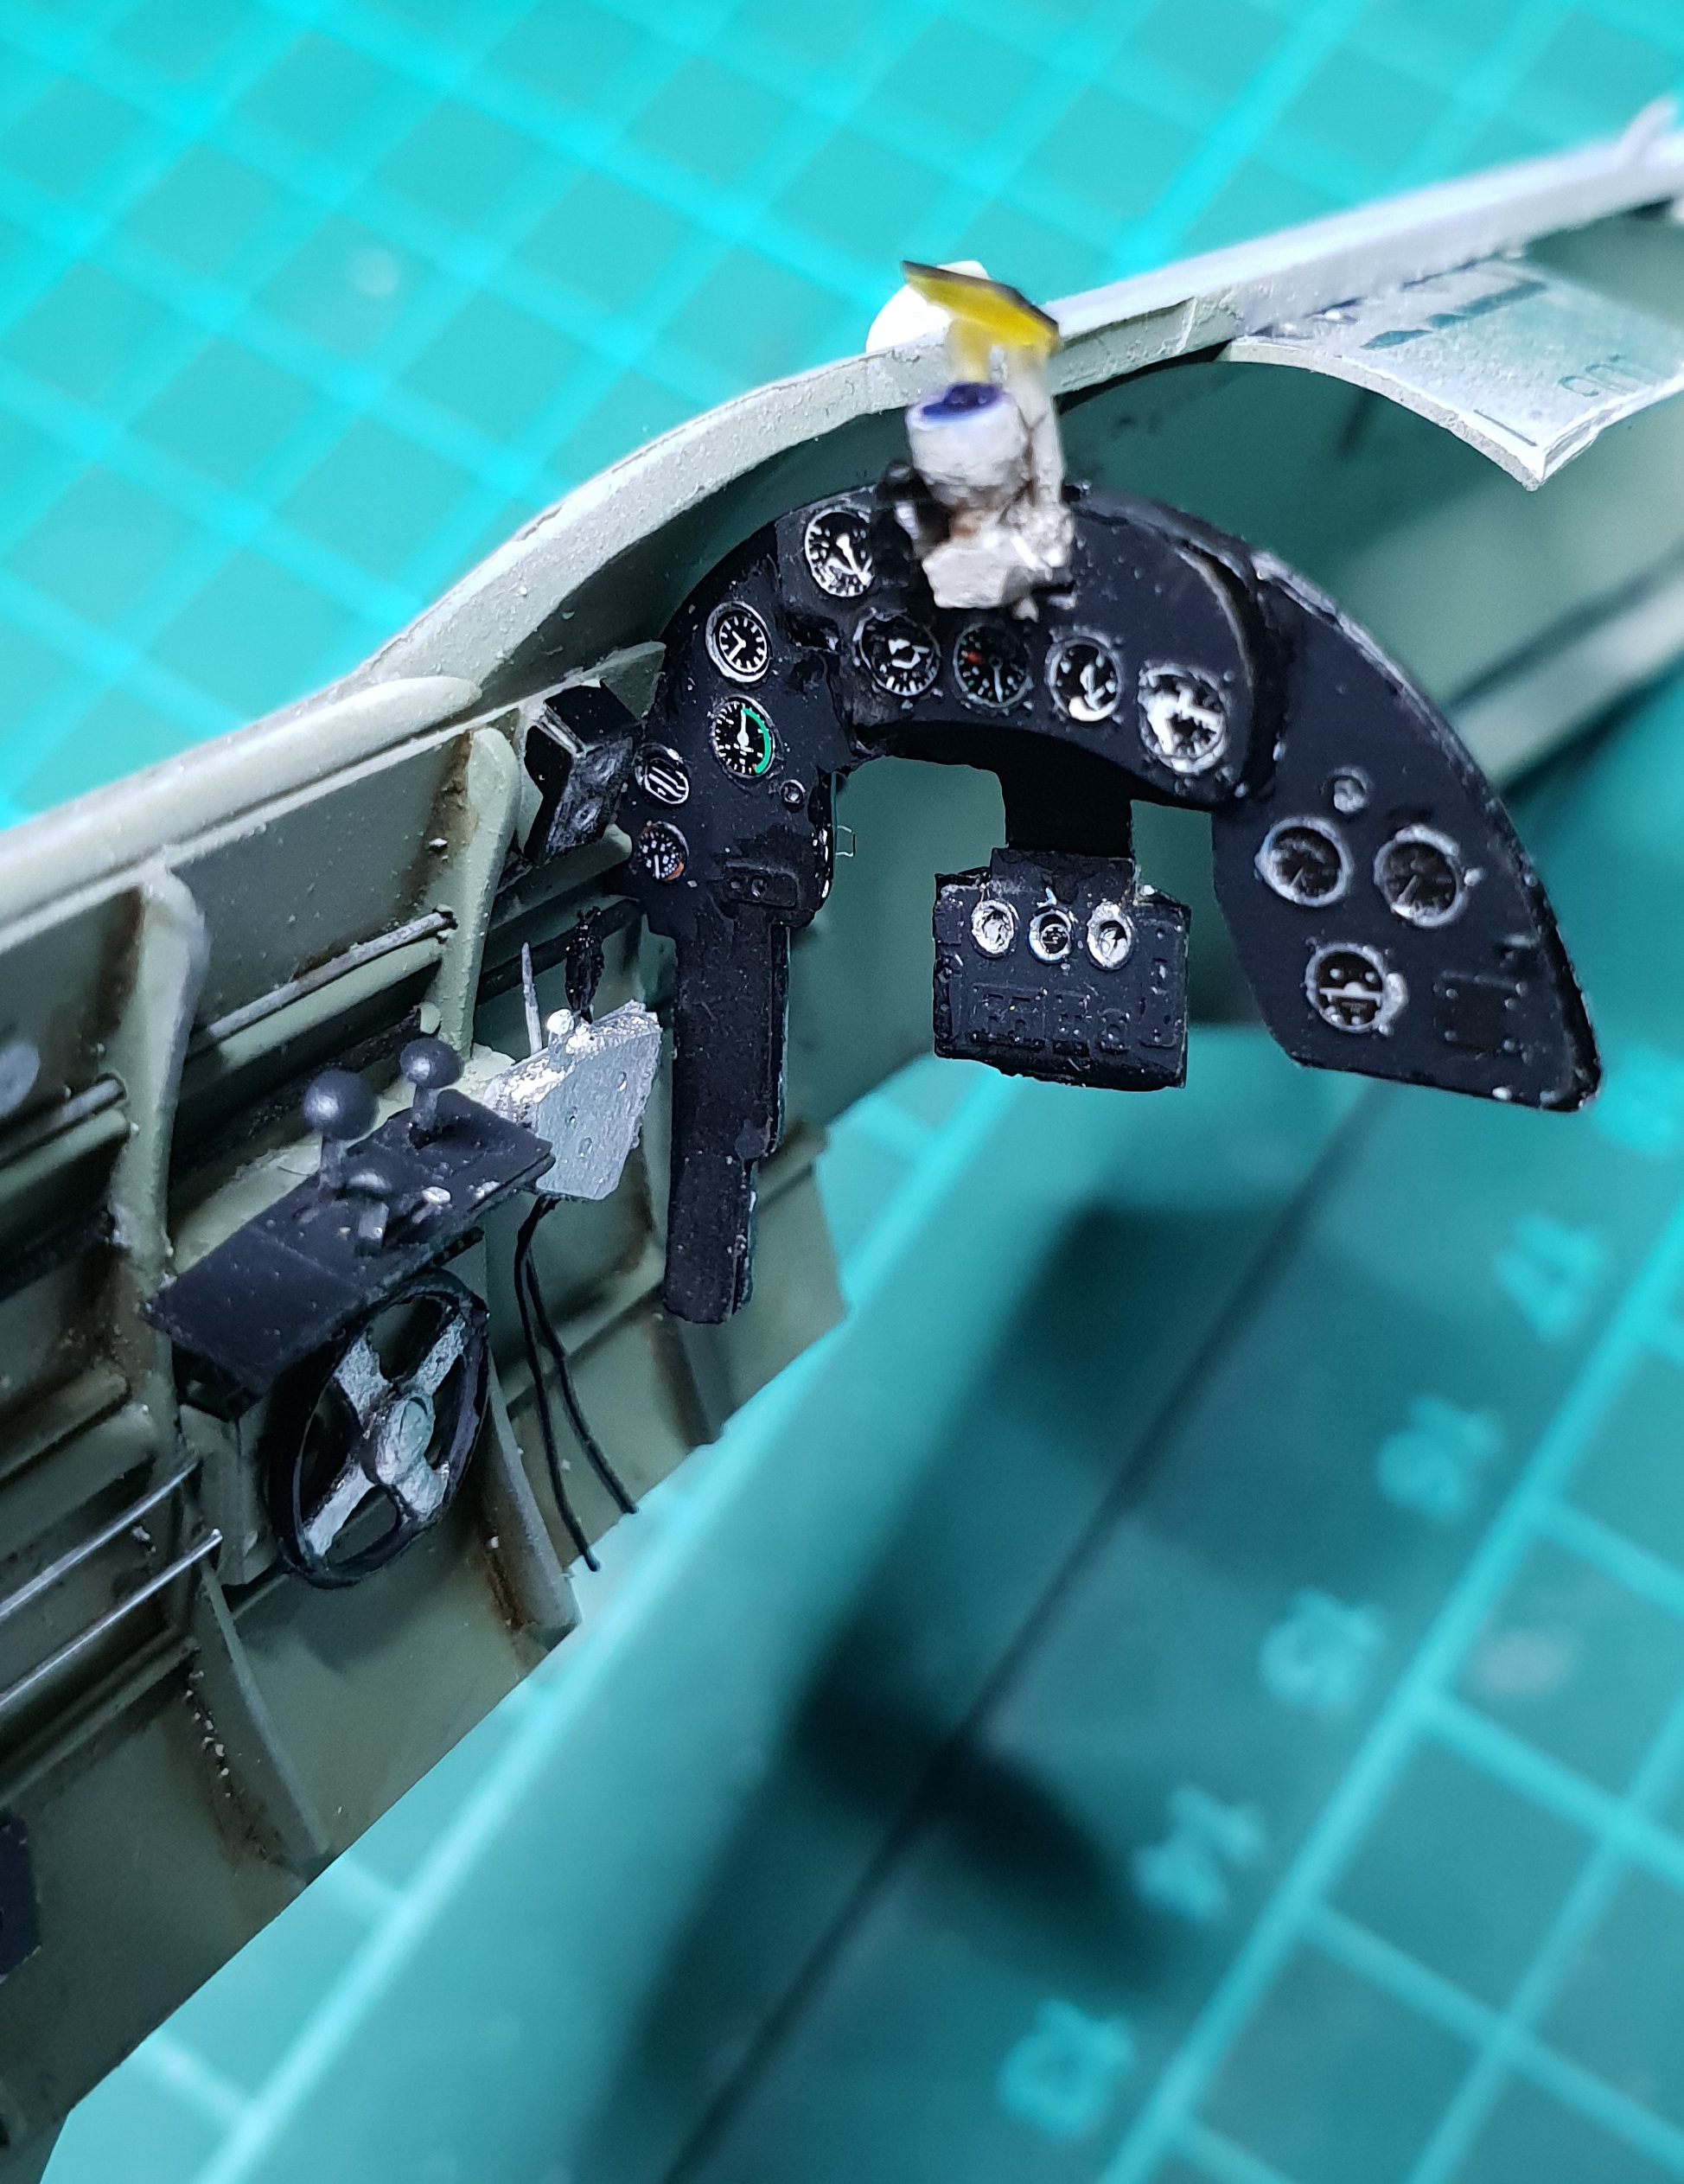
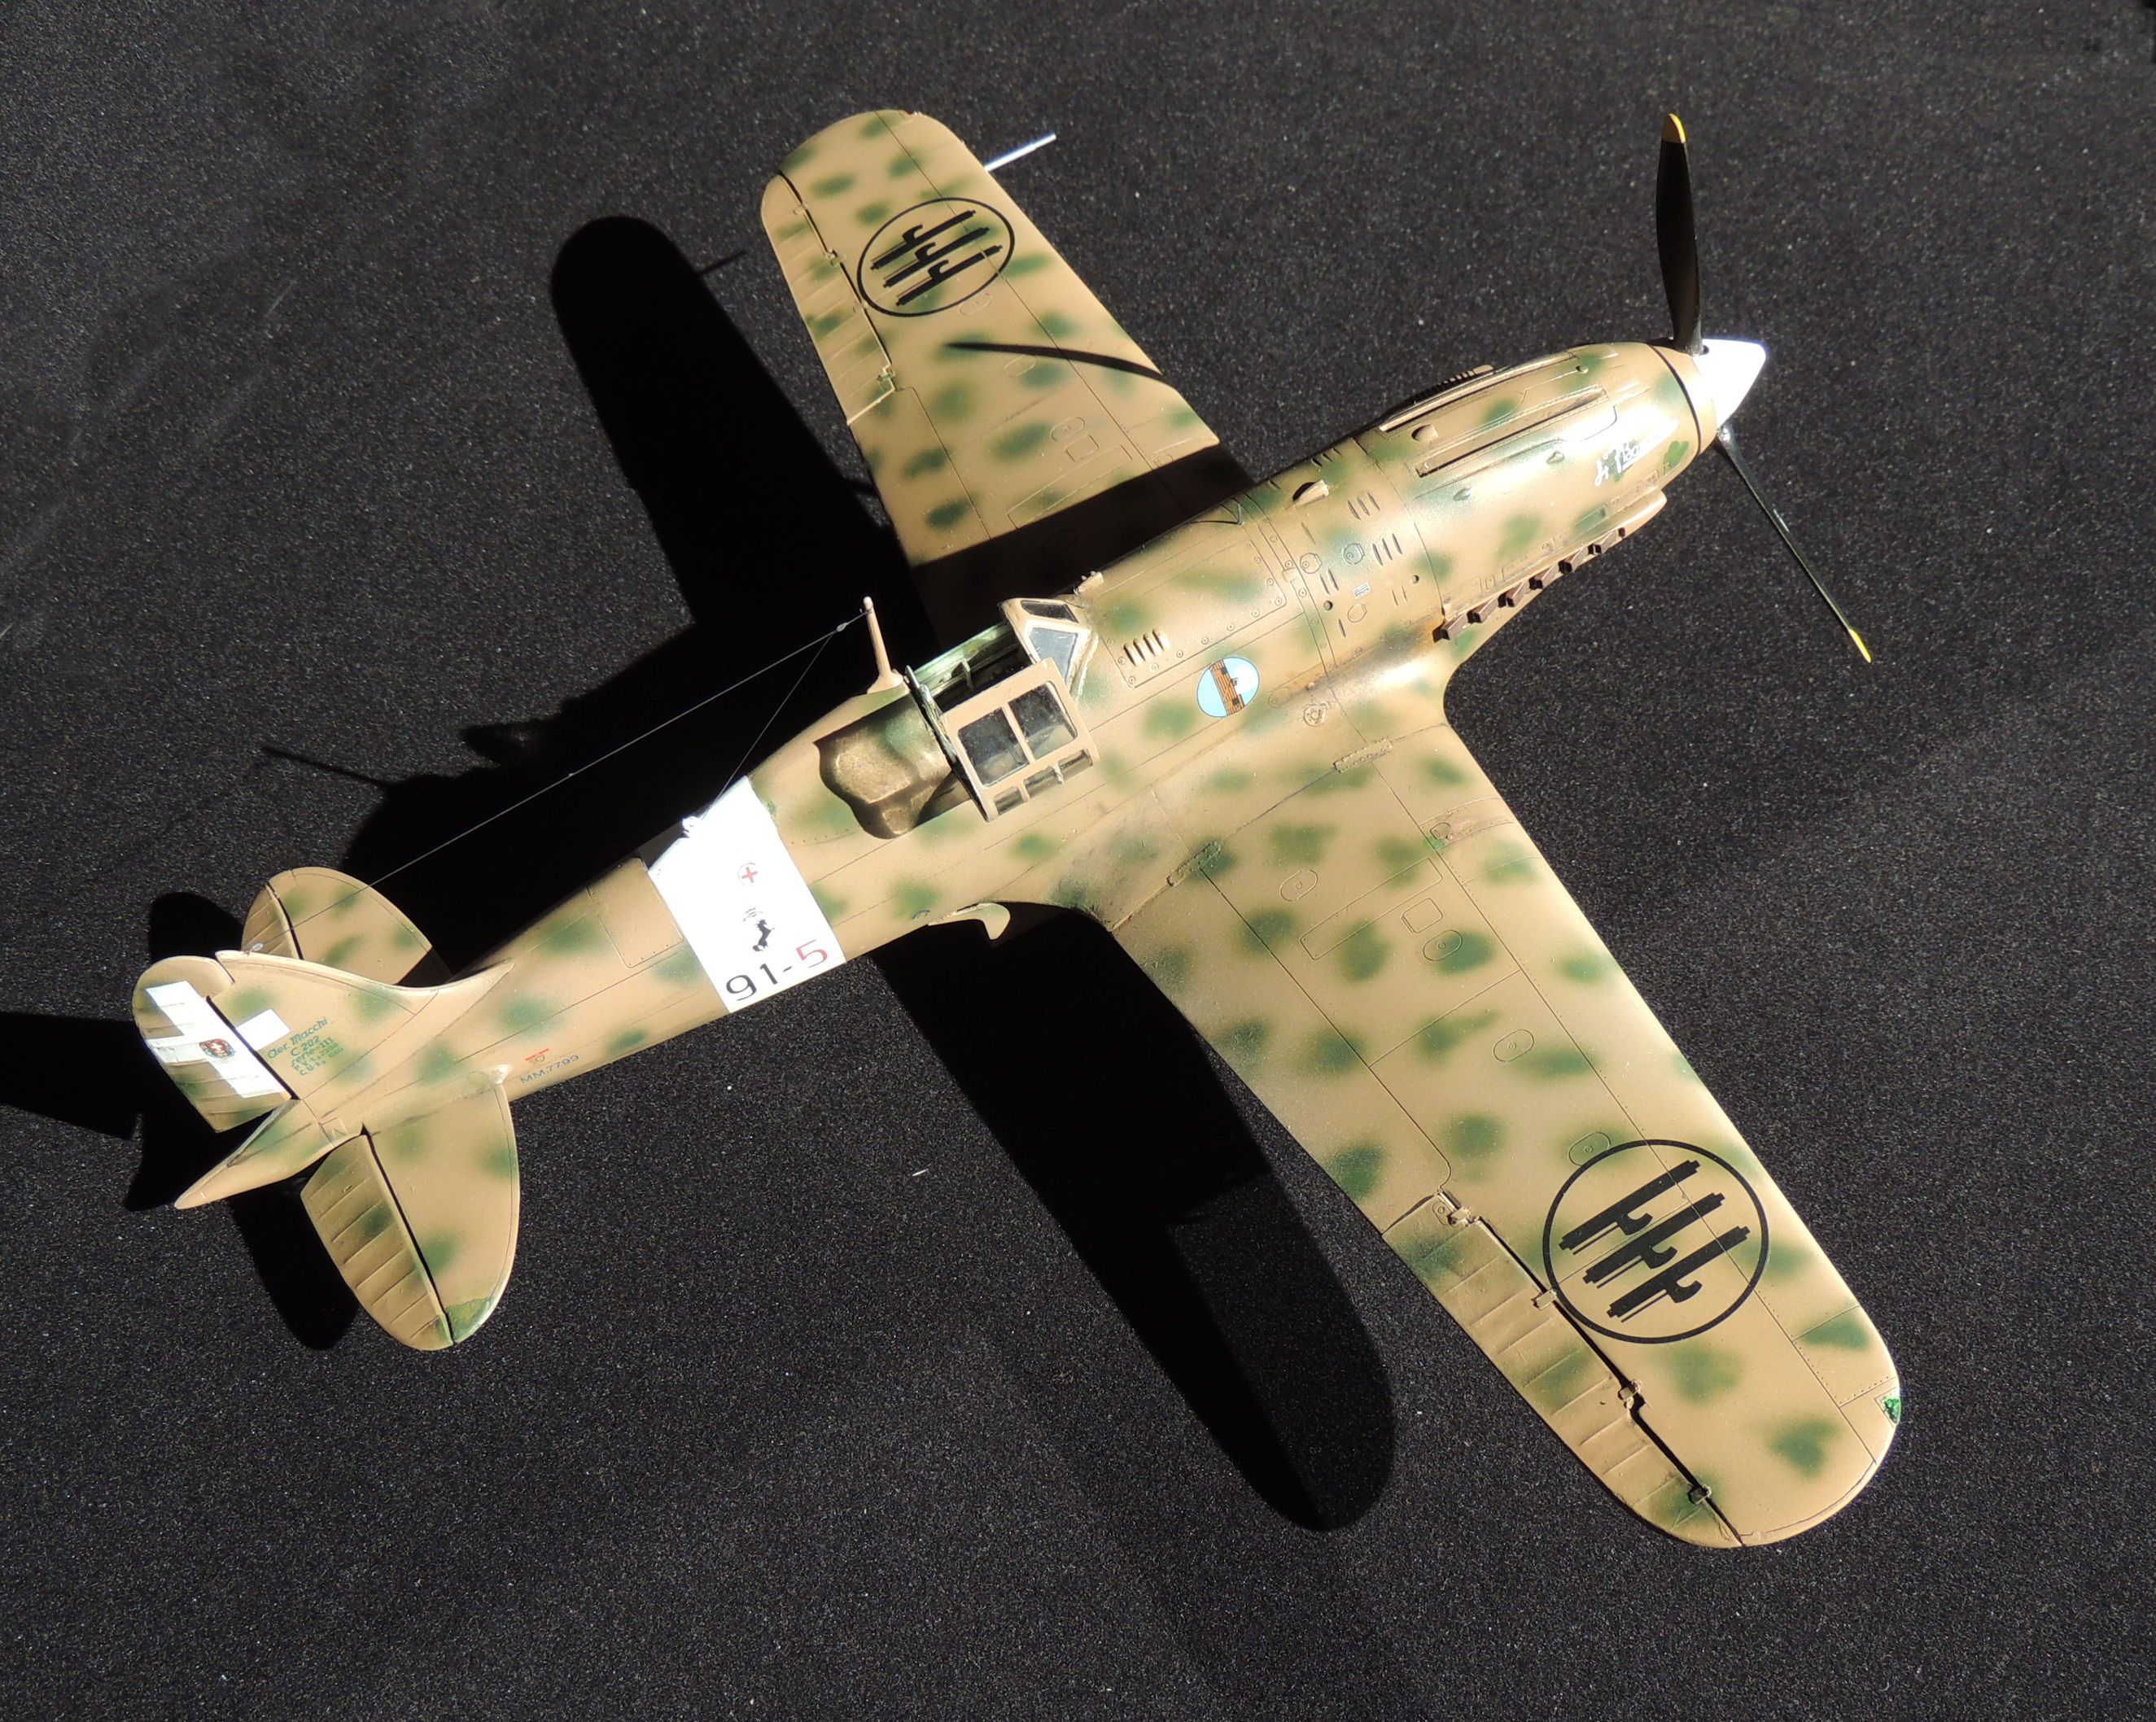
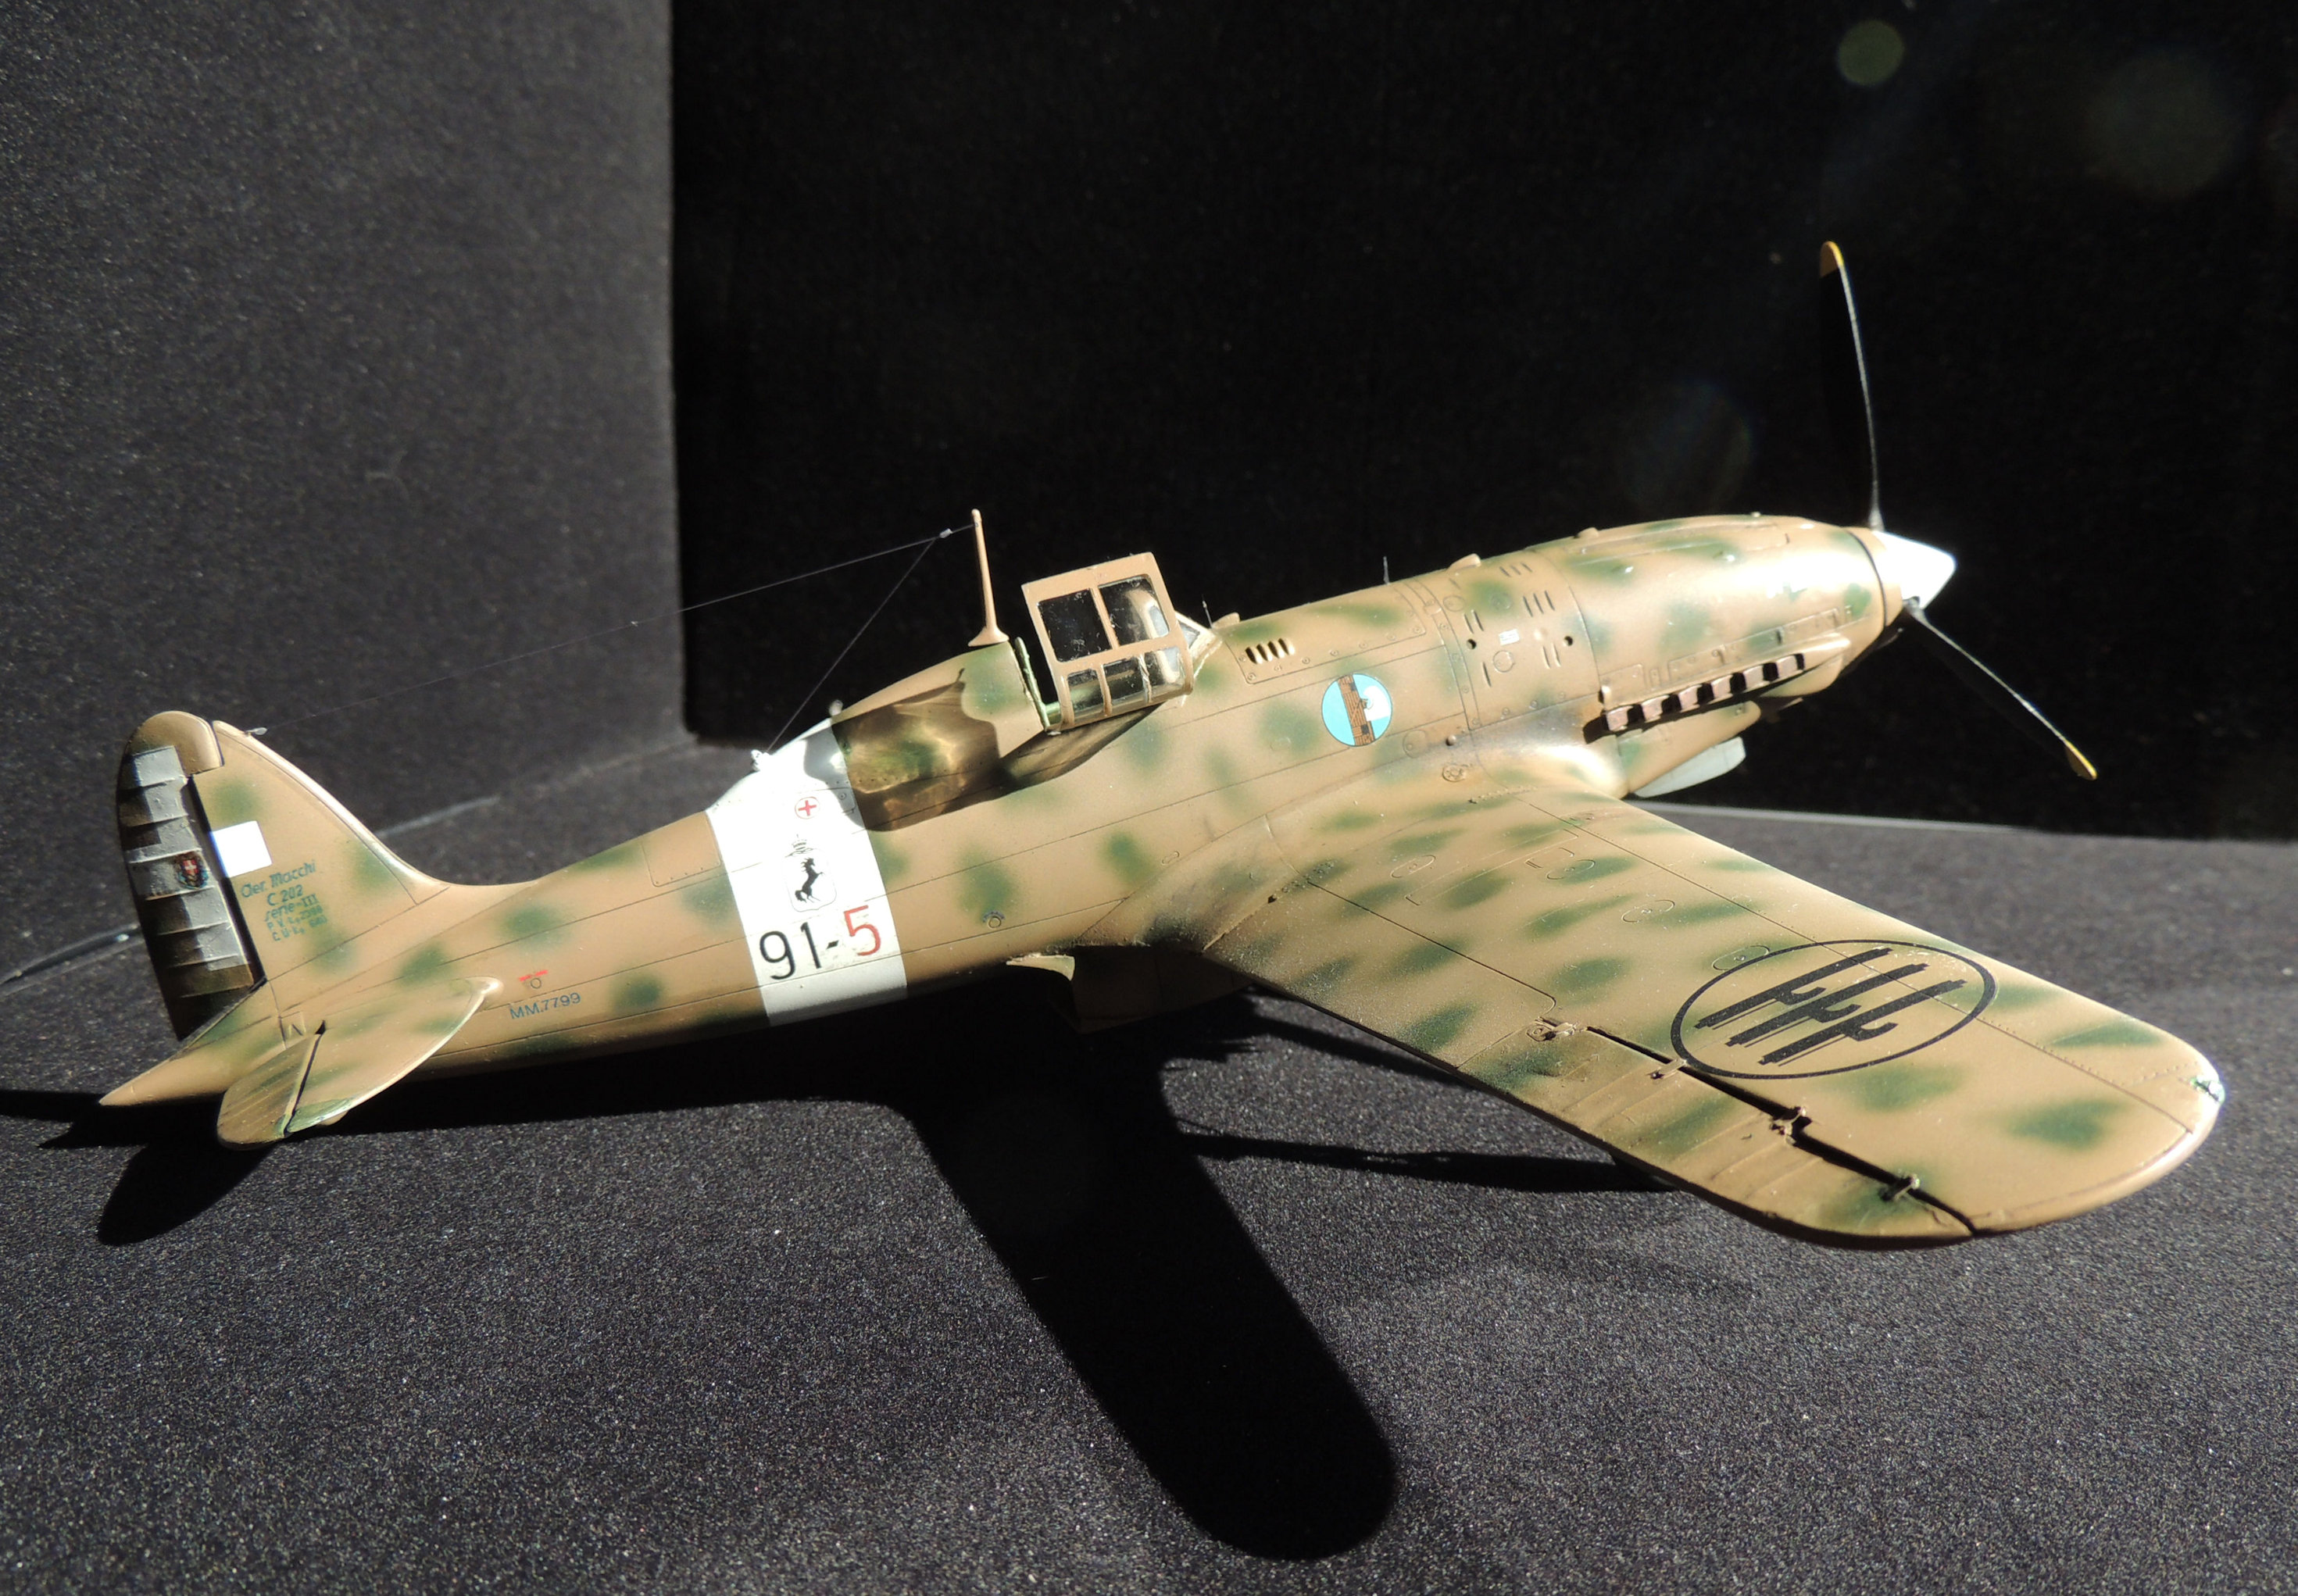
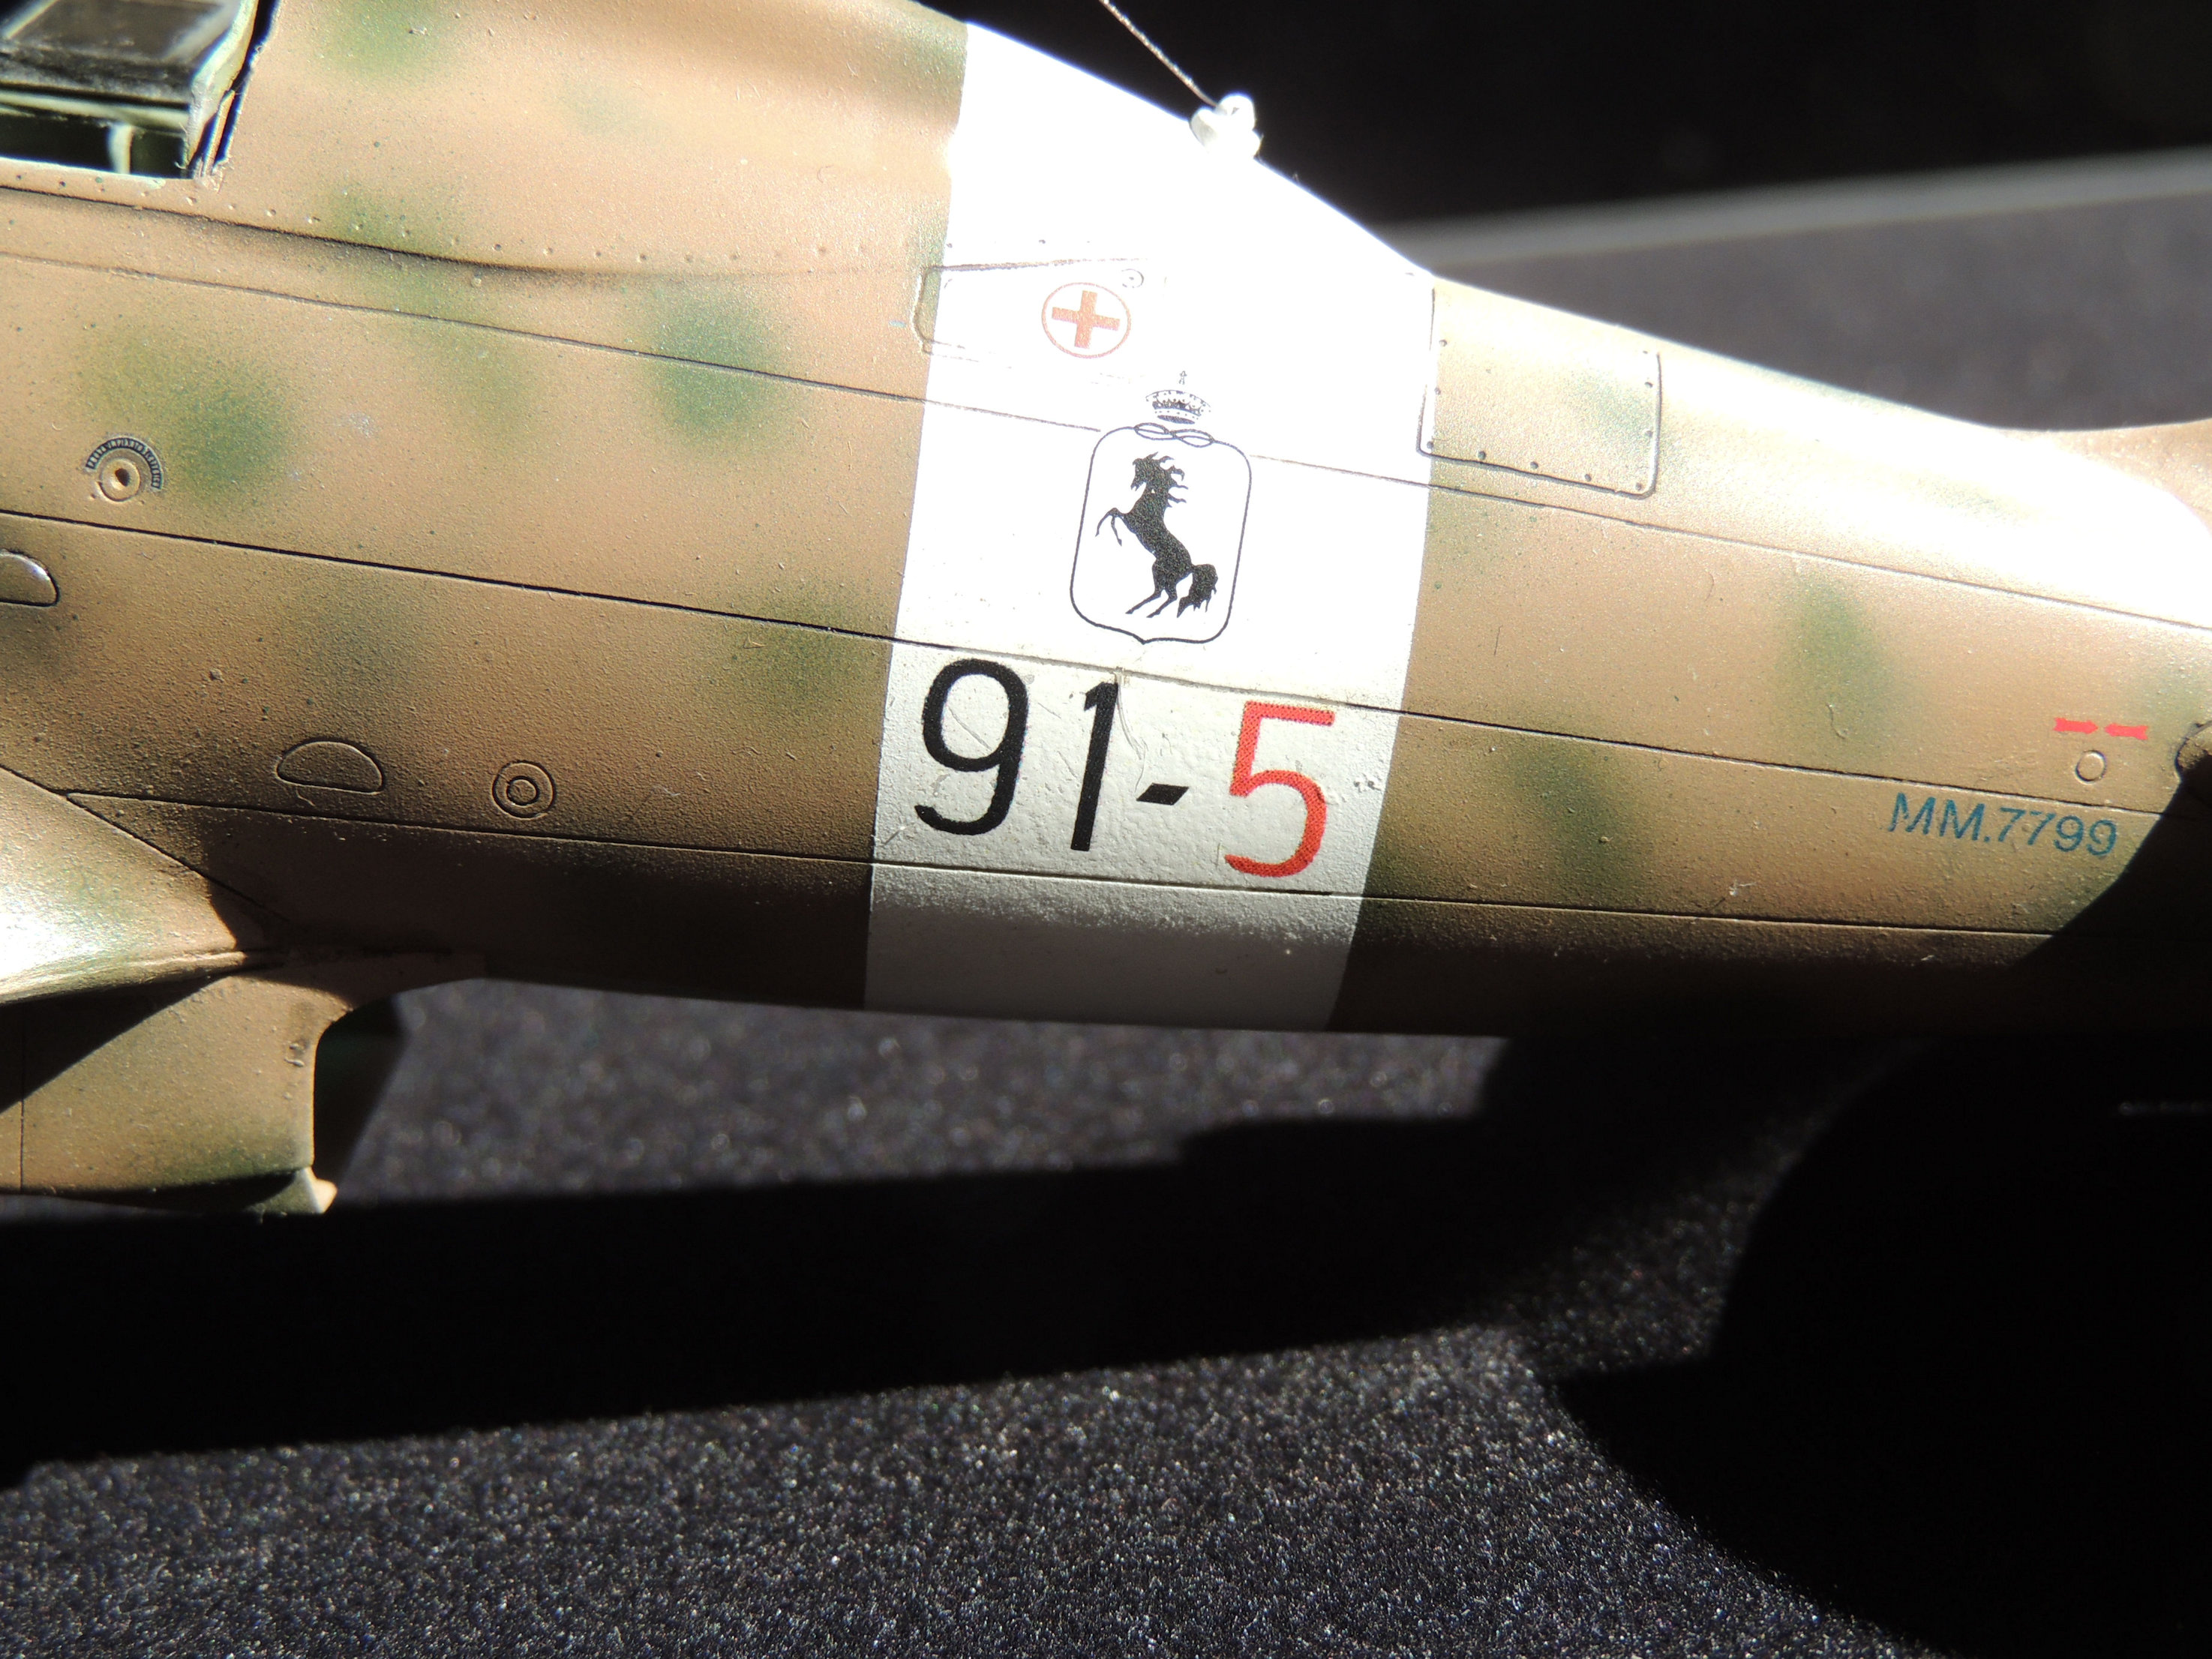
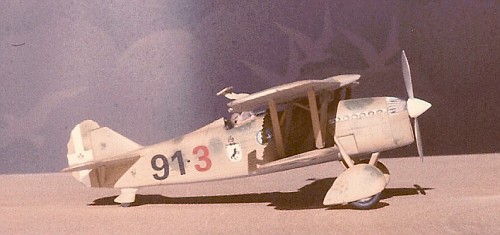
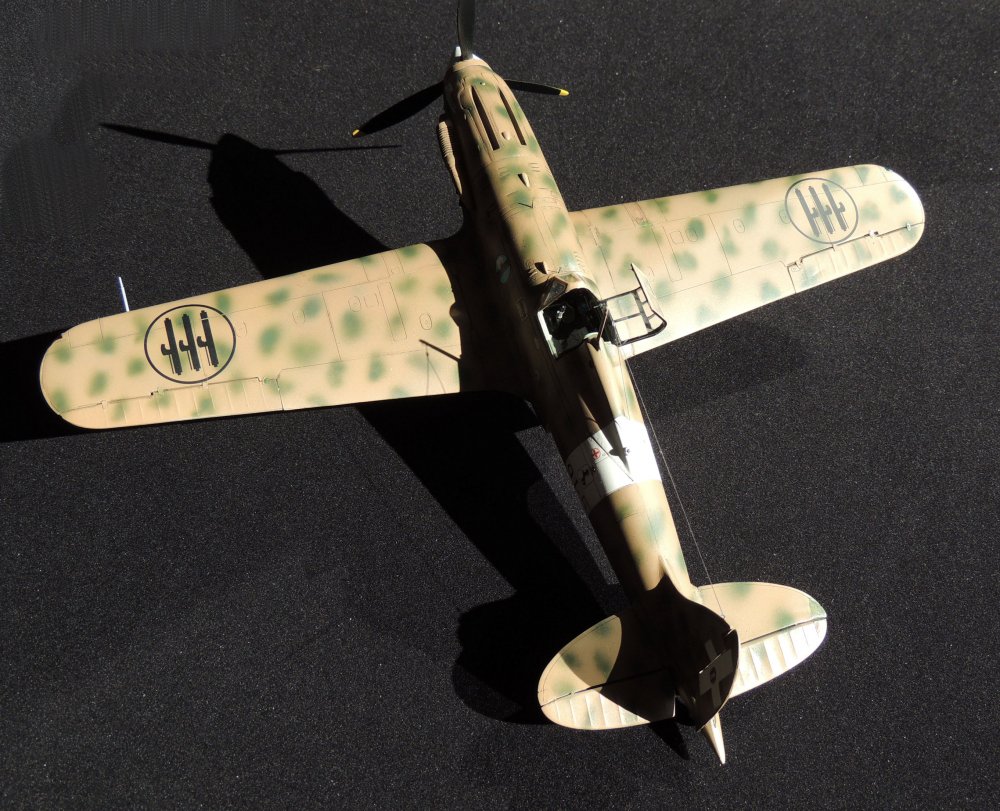
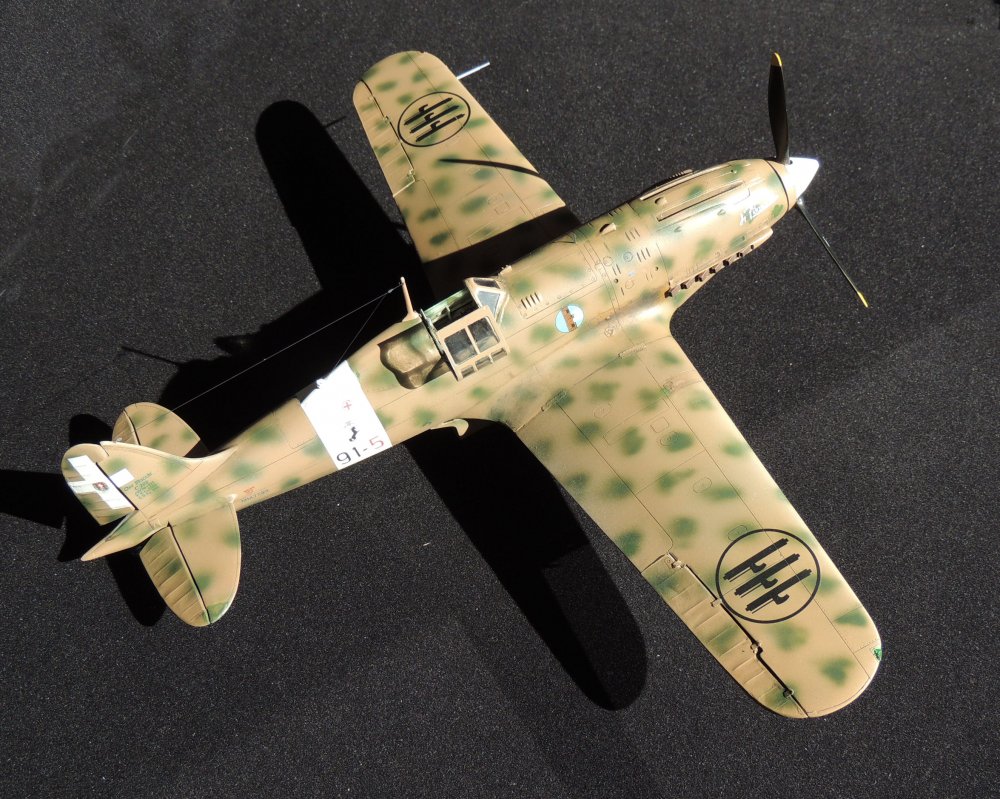
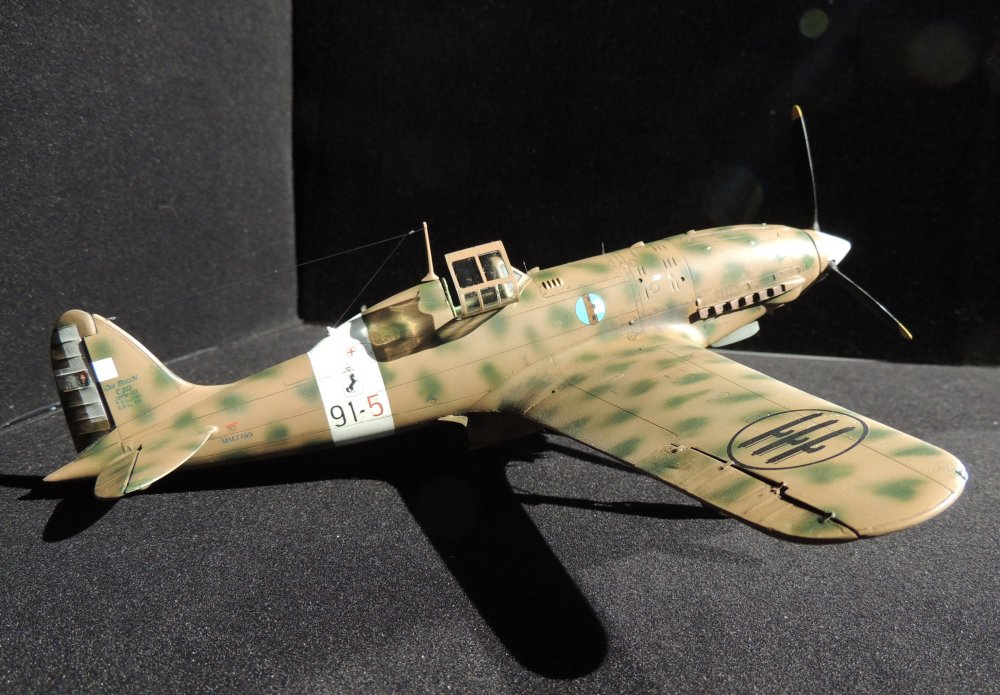
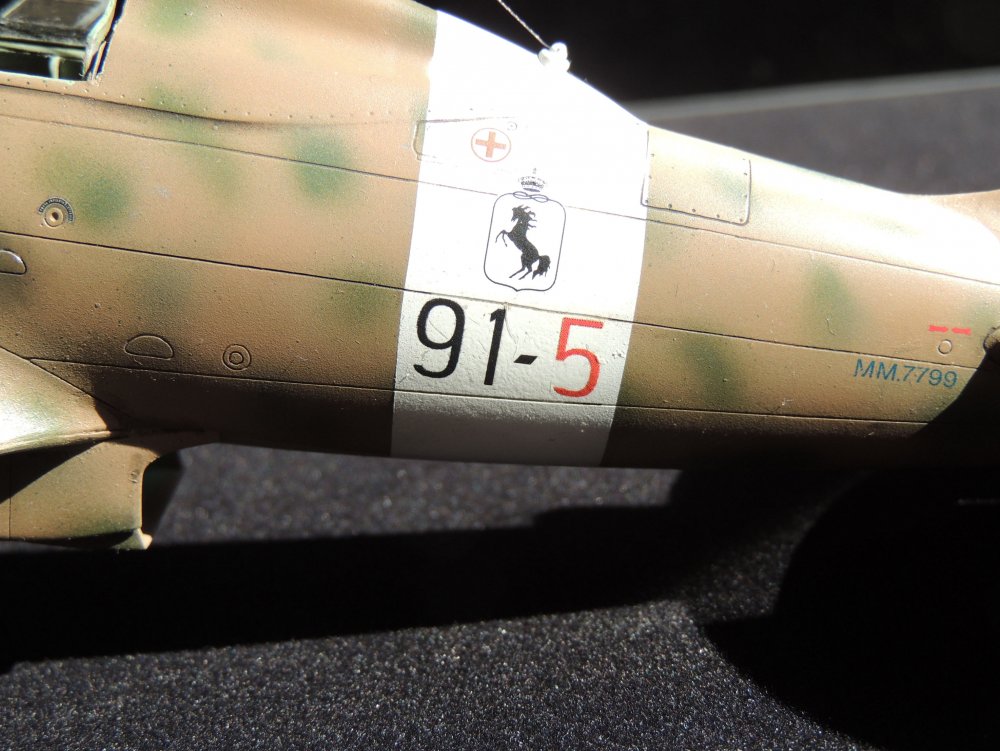
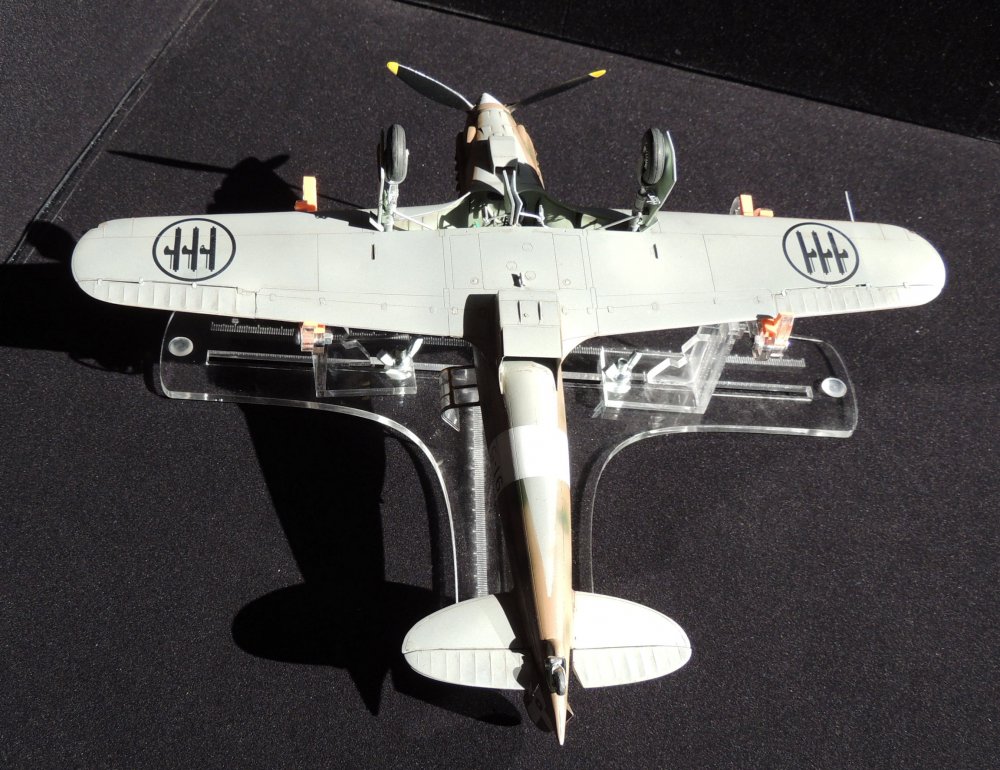
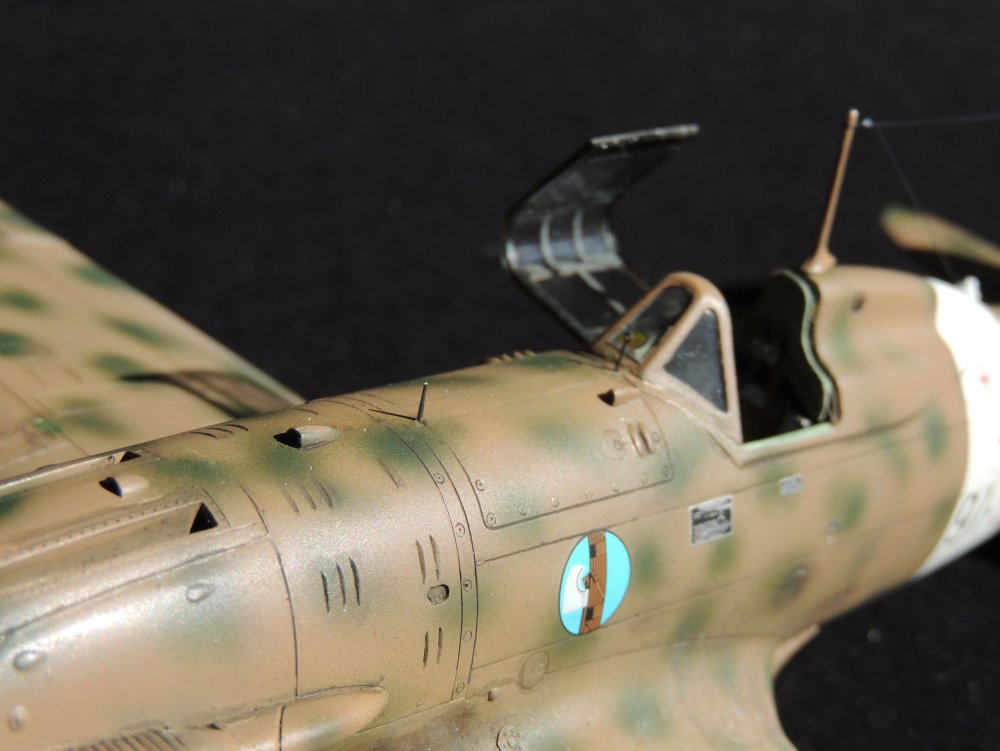
As much as I can, I always try to link my models to a specific event or human being. In early nineties, during a business trip, I visited a customer in Vicenza (Italy) and when I met the owner, I saw on the wall behind him a number of photos and post referring to 4 Stormo (wing) which existed during WW2 and still exist now. I was meeting Mr. Orlando Mandolini, a seven victories ace during WW2. By that time, I made for him a model of the Fiat Cr-32 fighter he flew in the early months of WW2, see first picture. More then thirty years later, when I decided to build a Macchi C-202 I decided to try to replicate in North Africa. Here are some pictures:

- 4 replies
-
- 7
-
-

-
- macchi c.202
- italy
- (and 3 more)
-
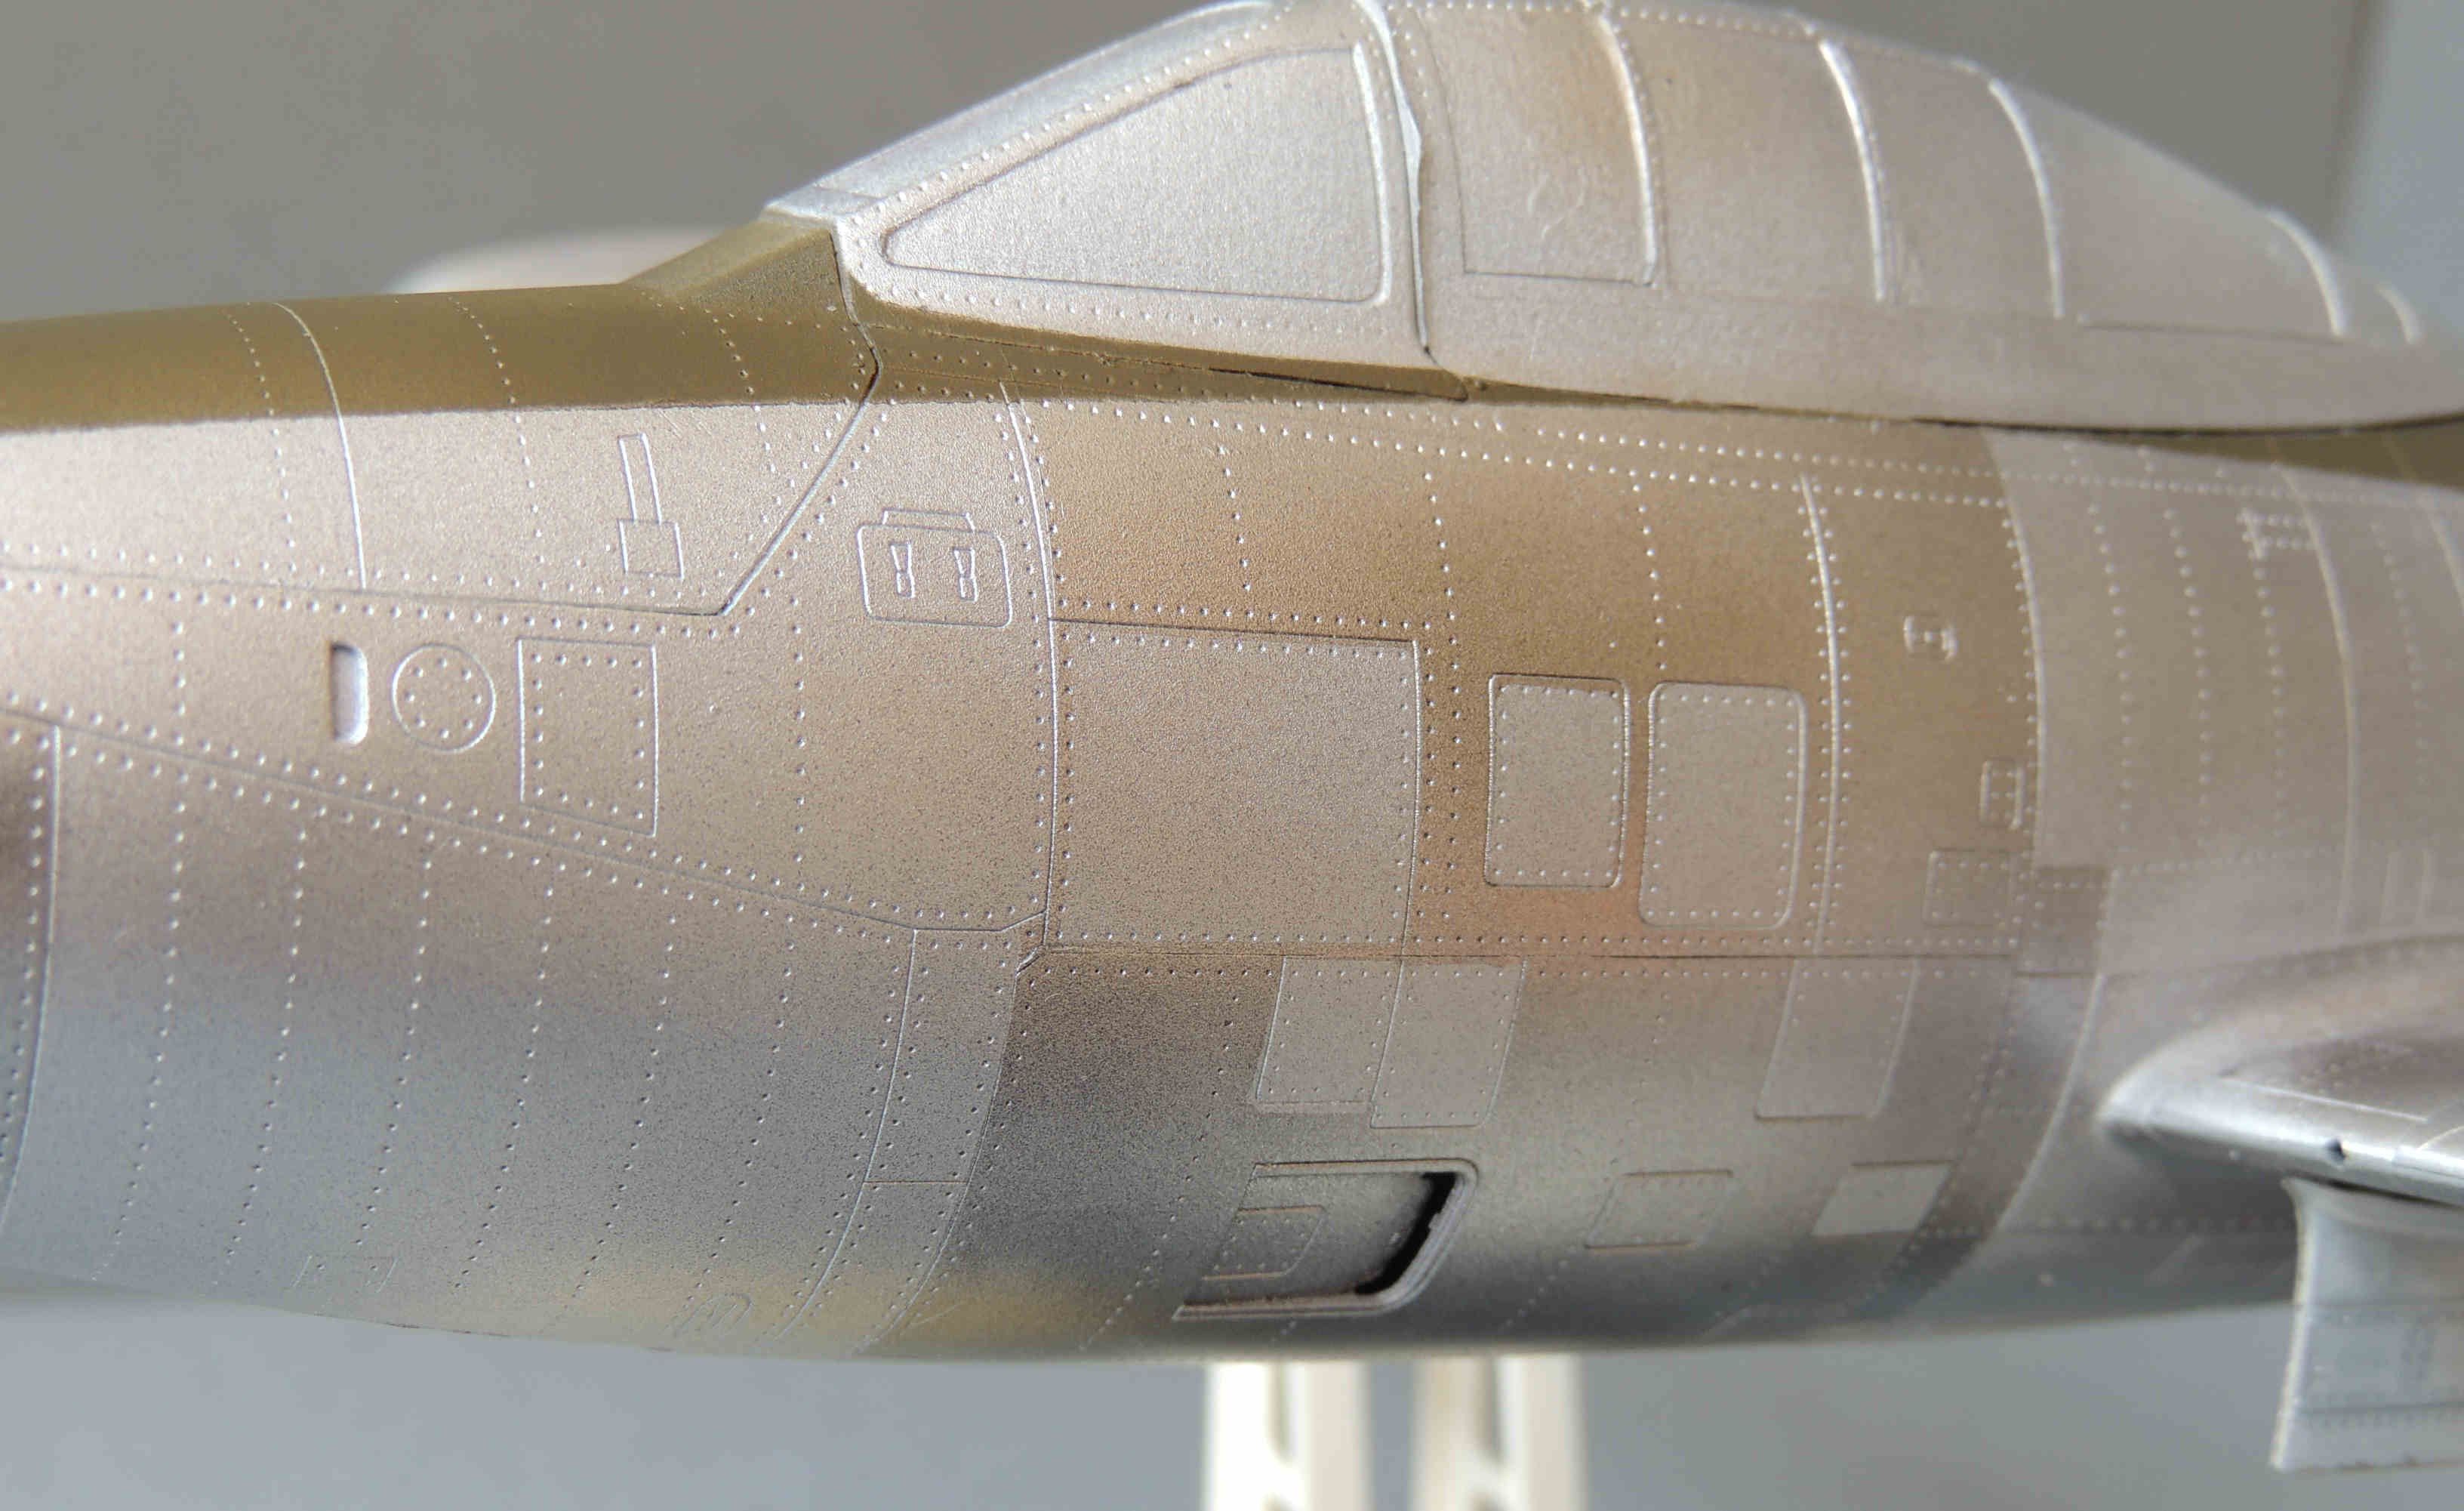
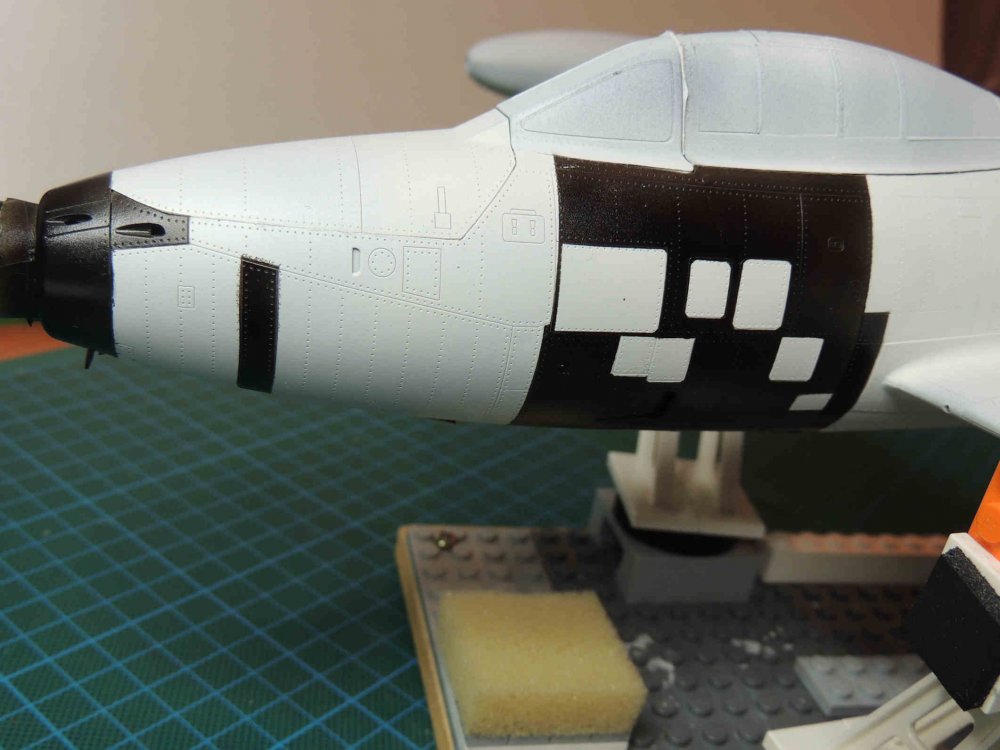
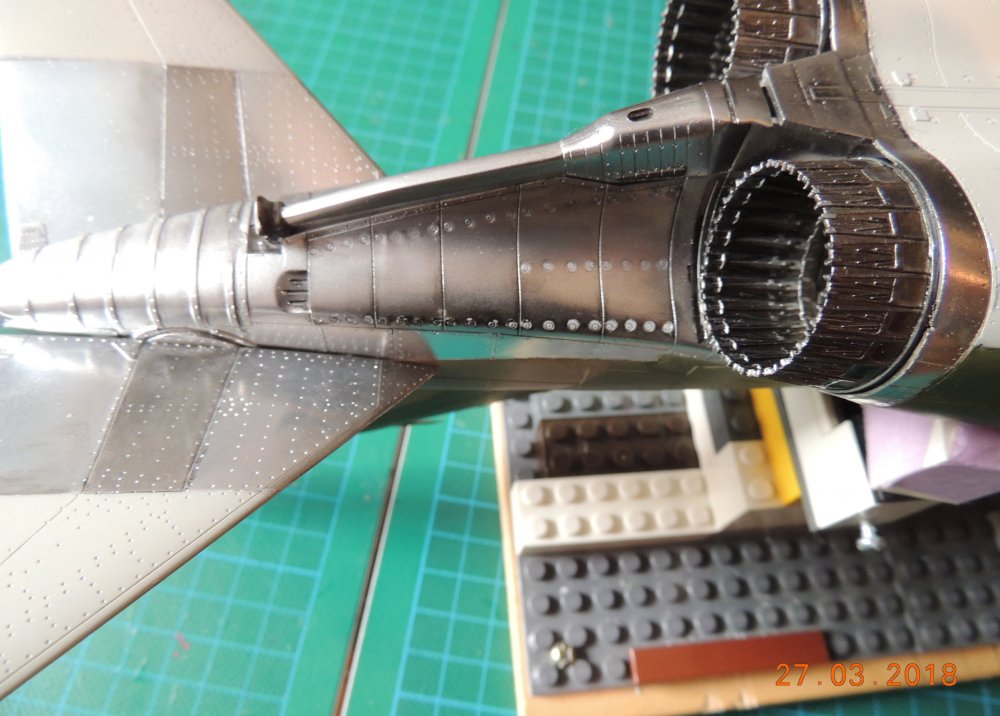
Honestly I don't remember how I did the red knob, probably I used a toothpick dipped in red paint. About NMF I used an Italian brand, Kustom Service: https://www.kustomservice.com/it/18-modellismo With those acrylic paints the technique to obtain good variations in NMF is to paint the model with different colours: white, grey and black different portions of the model and then spray all-over with aluminium or other metallic. An example taken from different model, before and after:

-
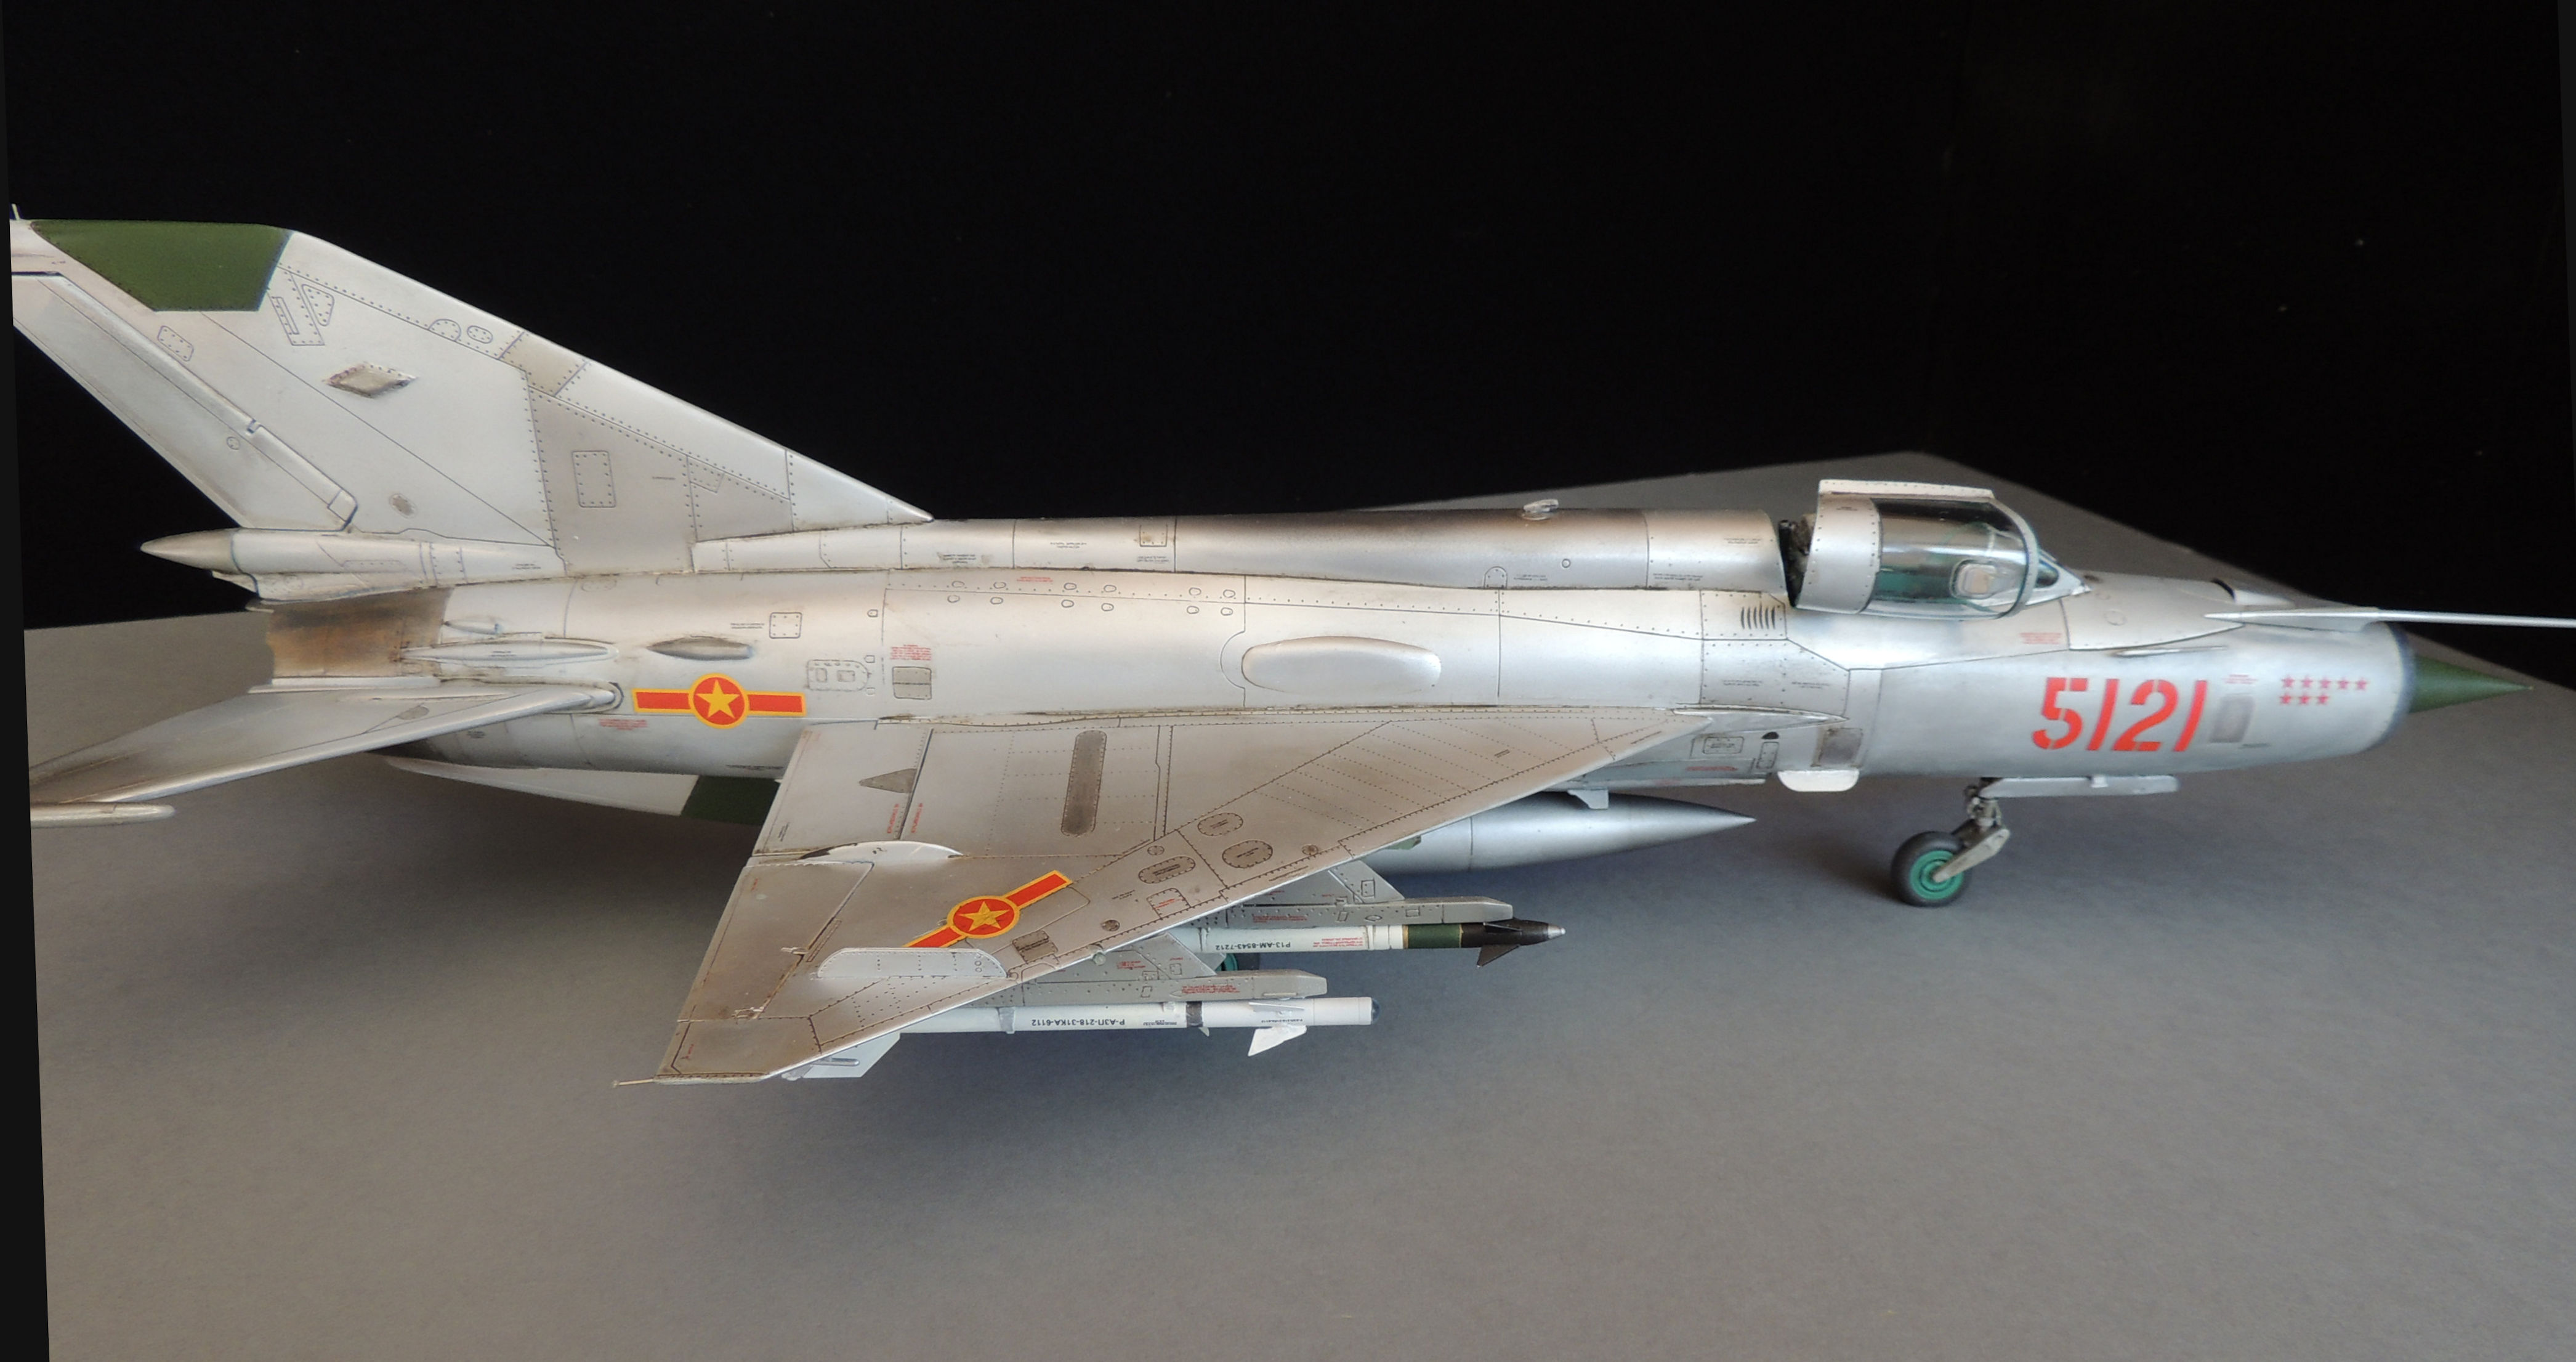
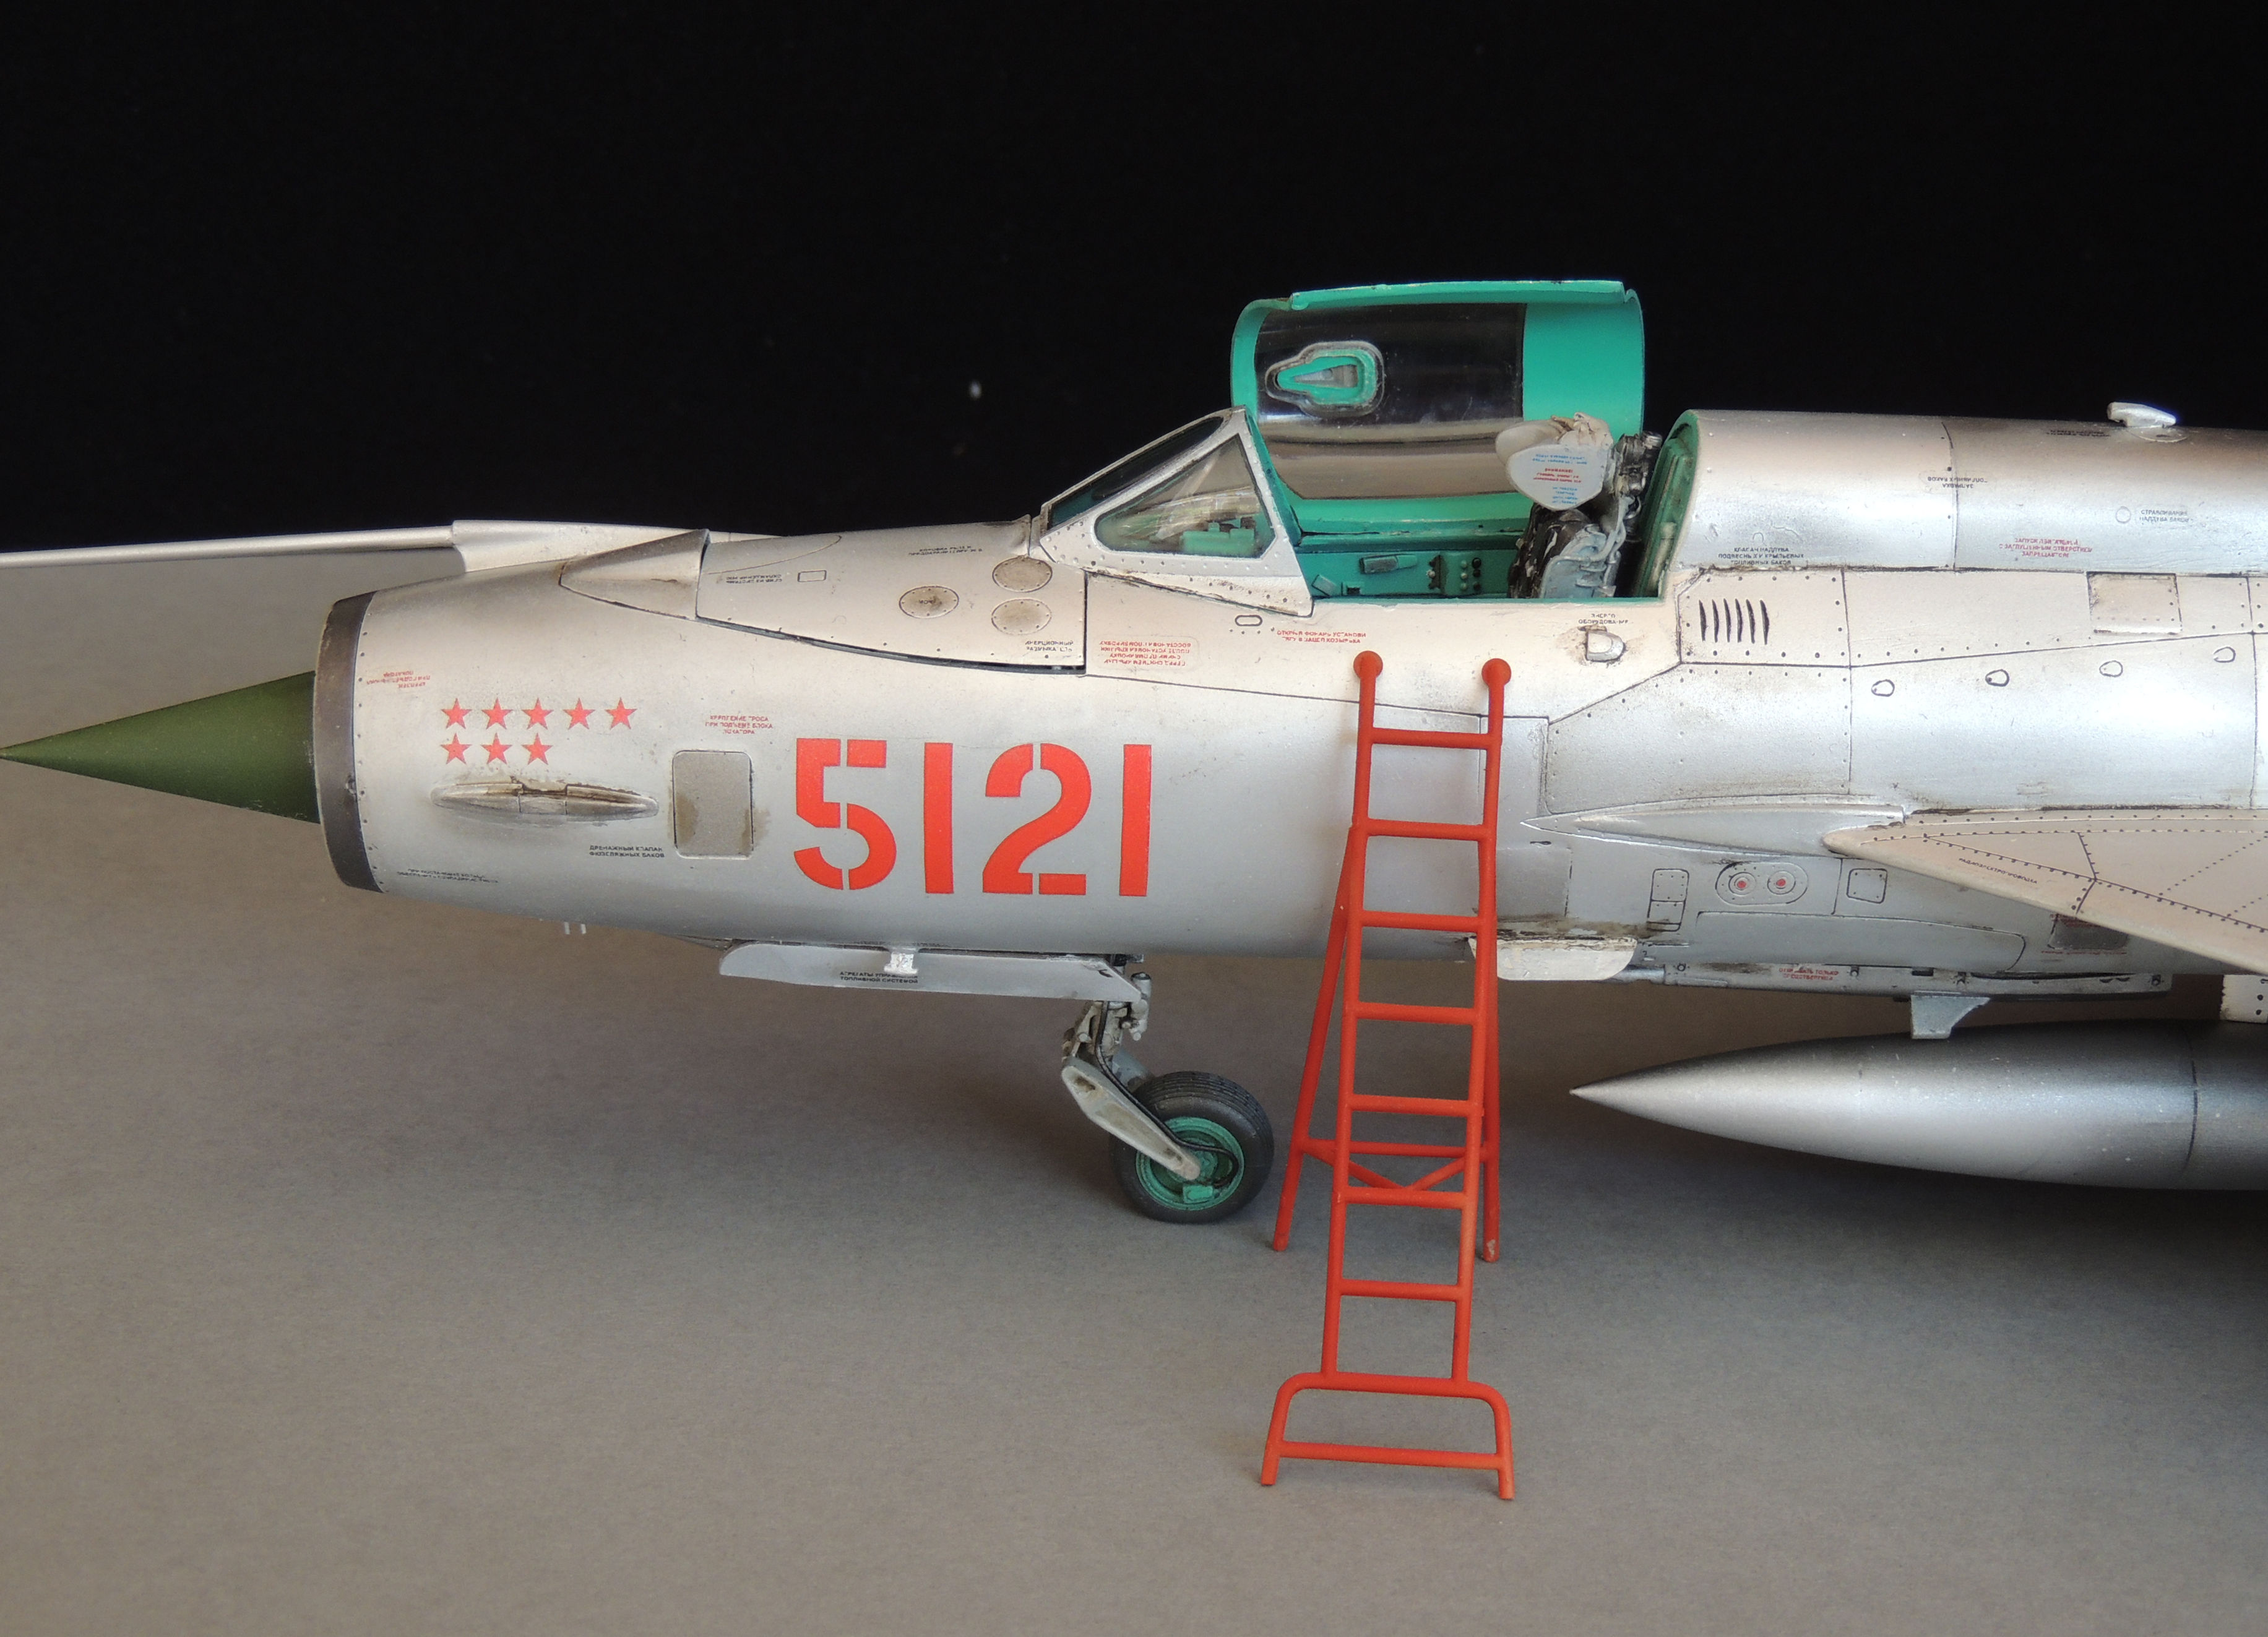
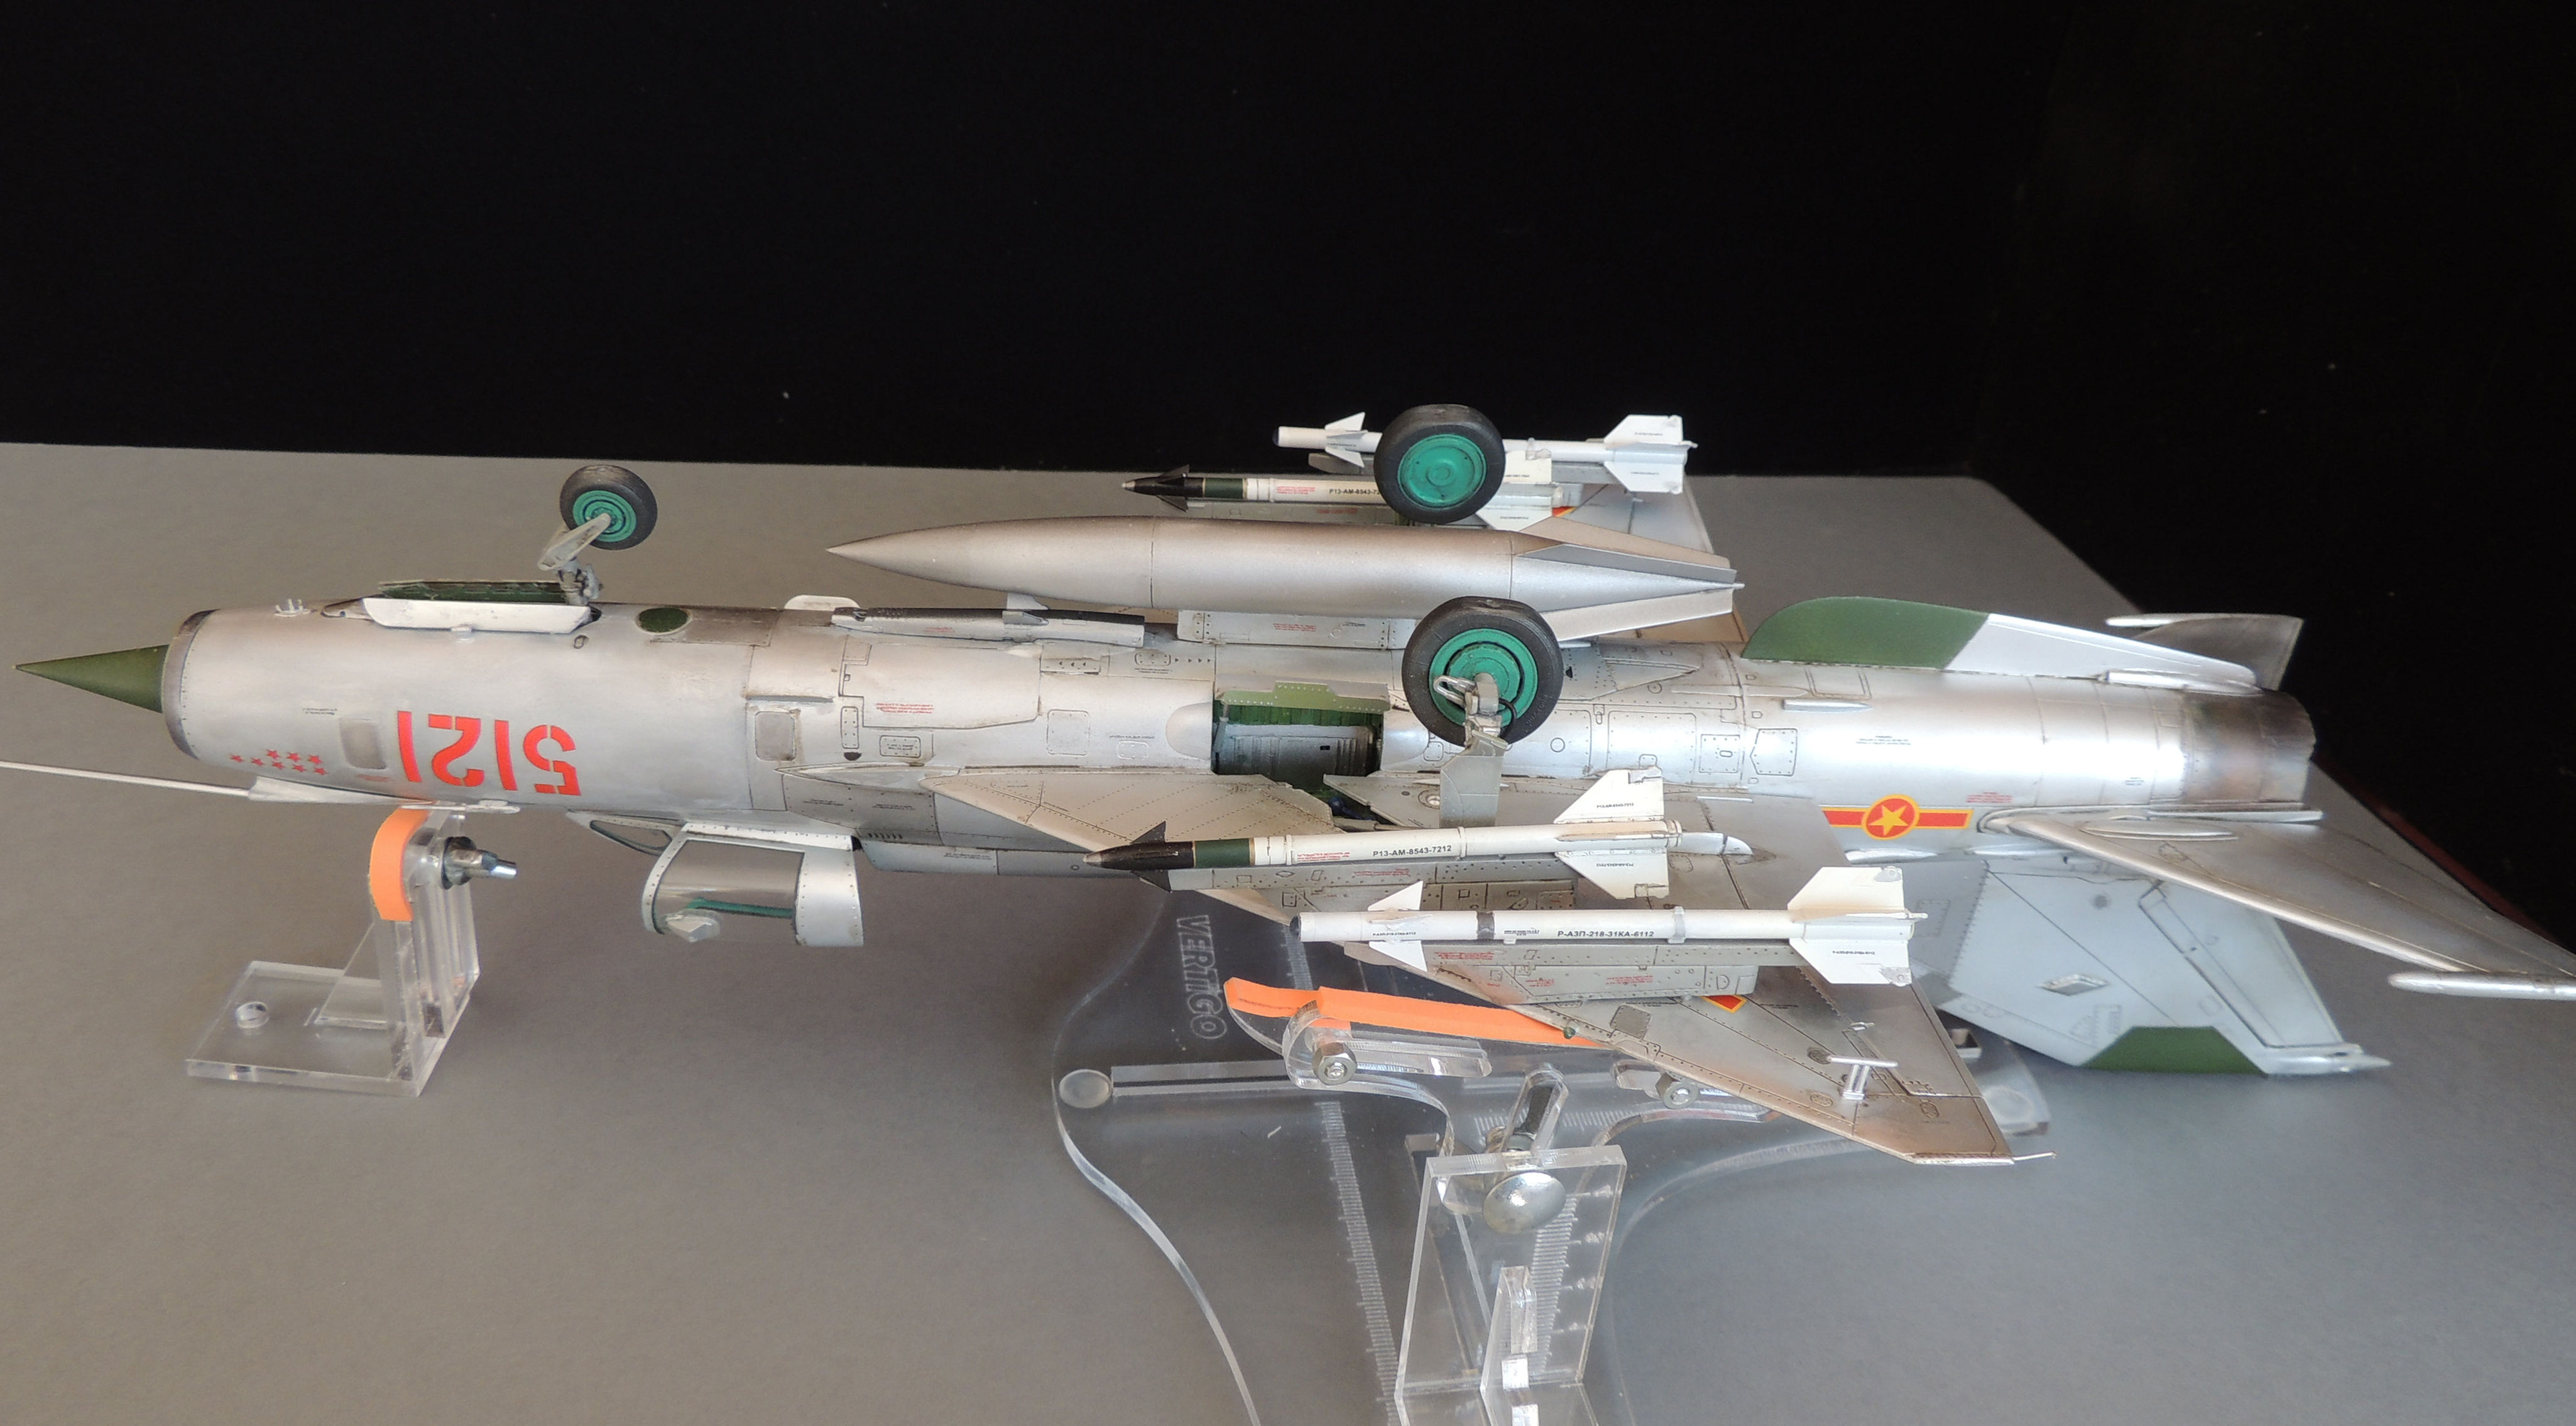
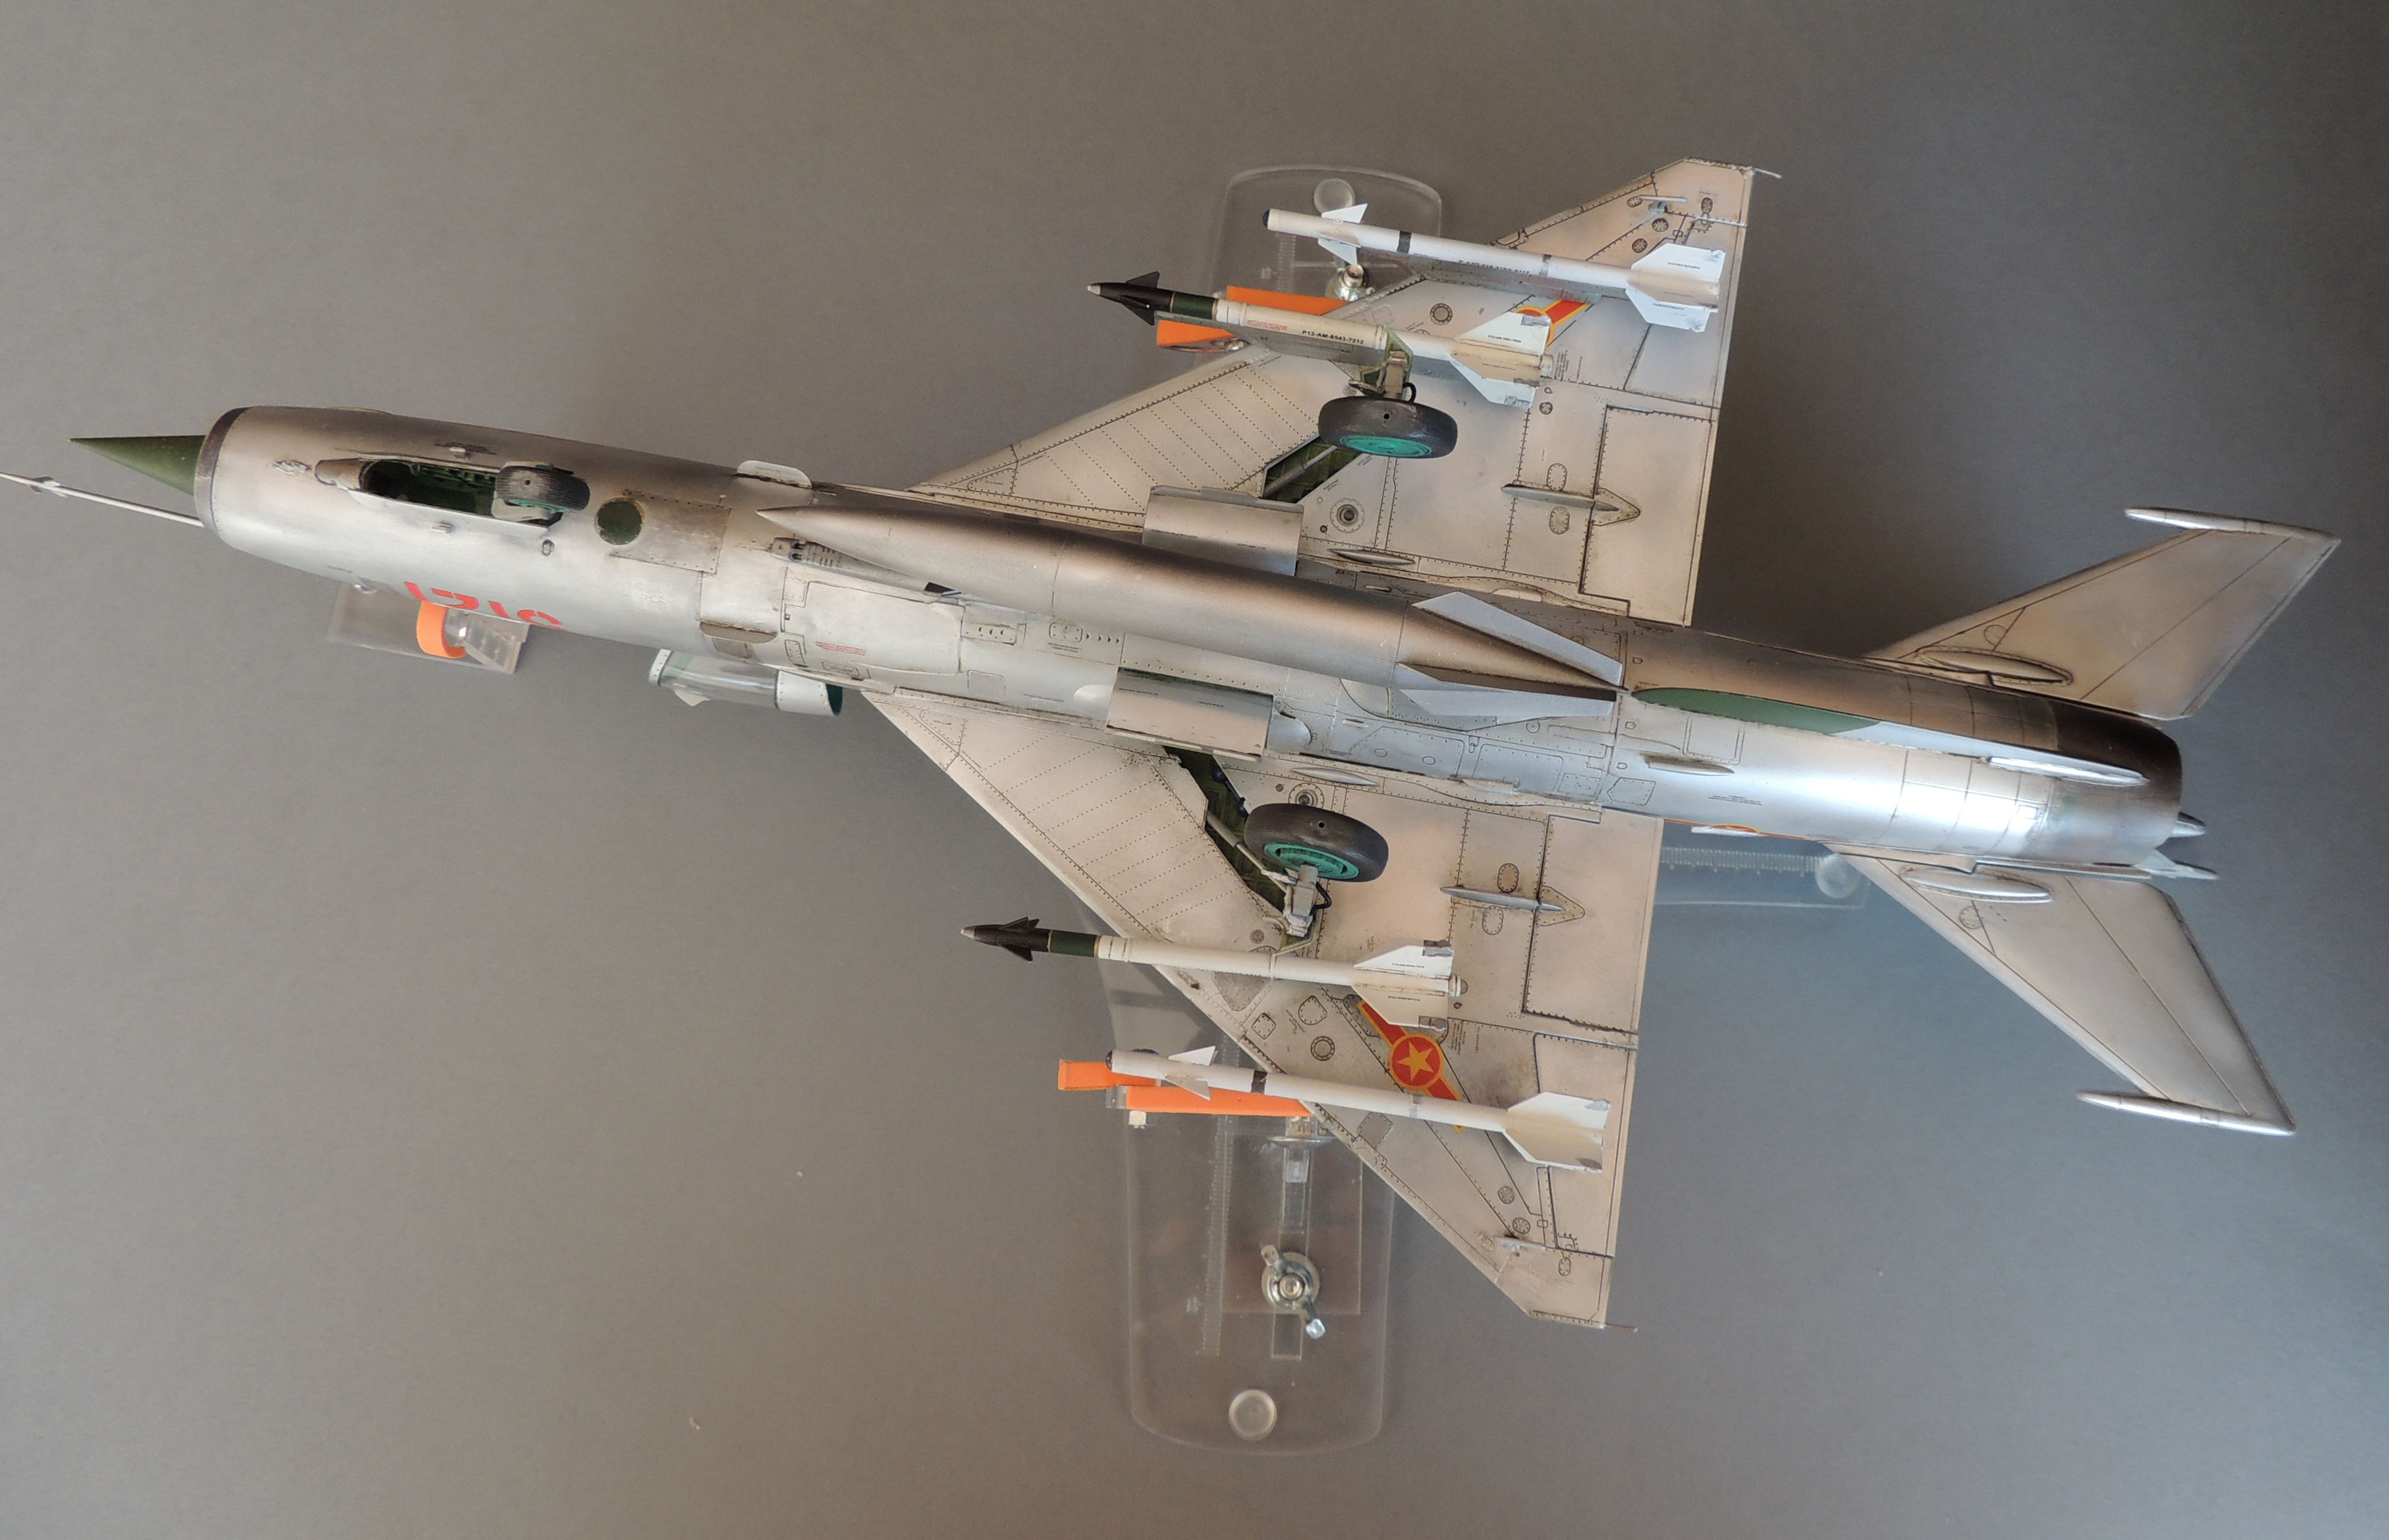
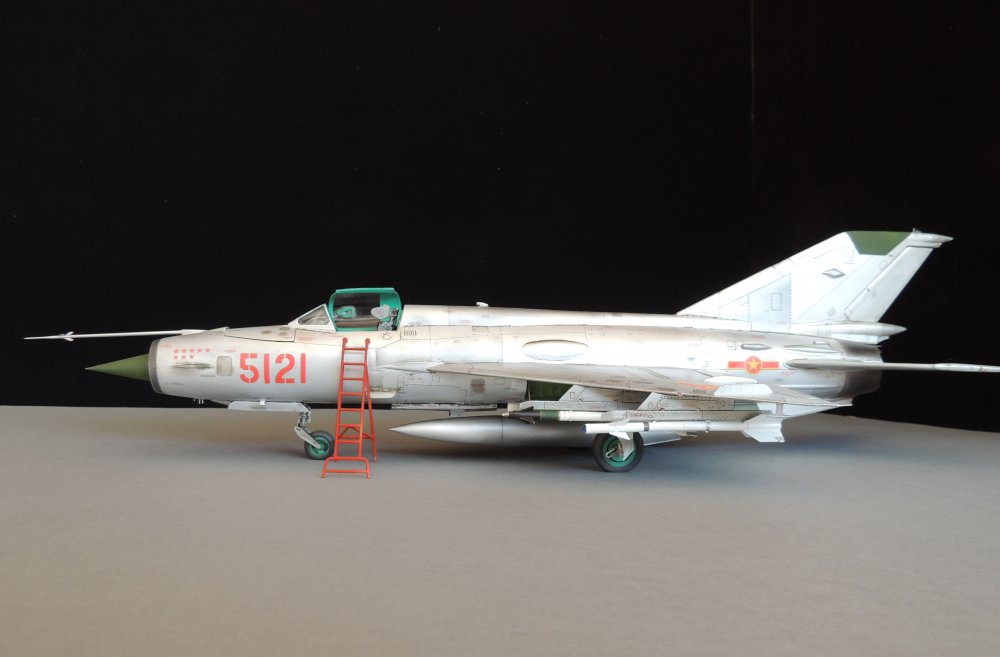
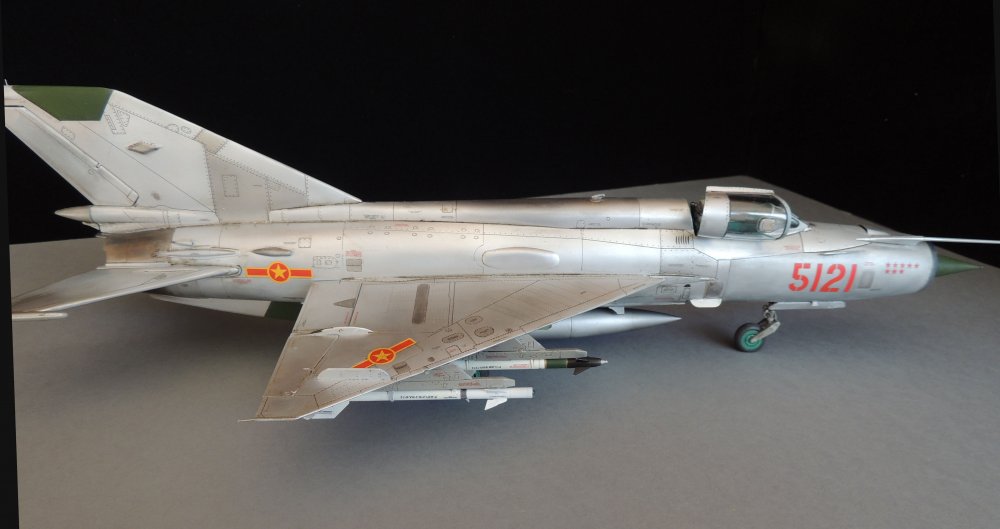
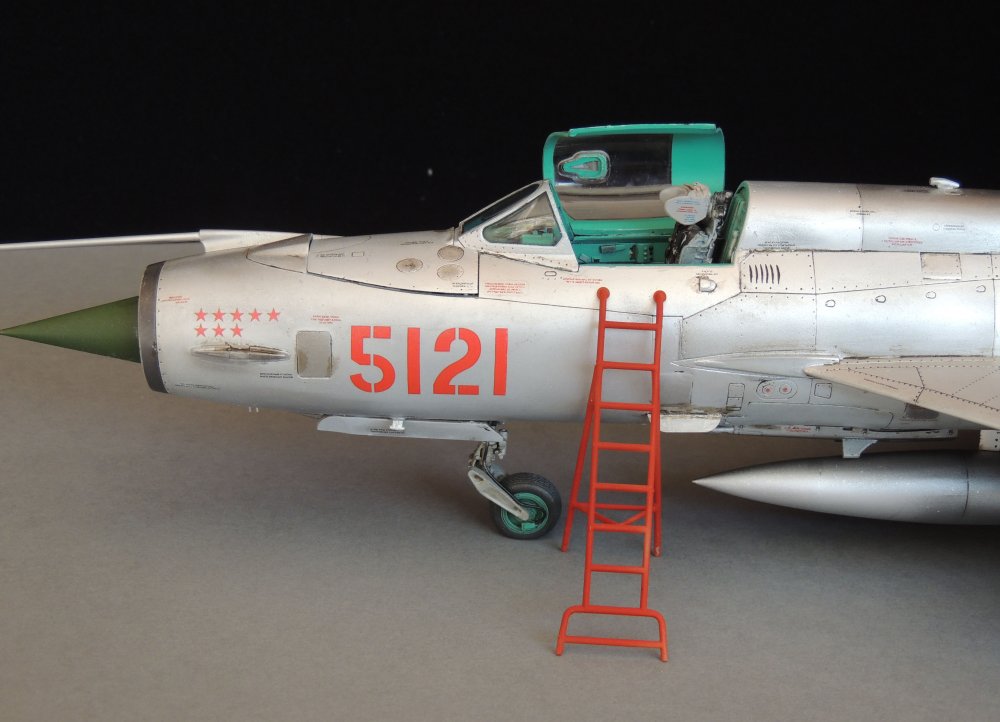
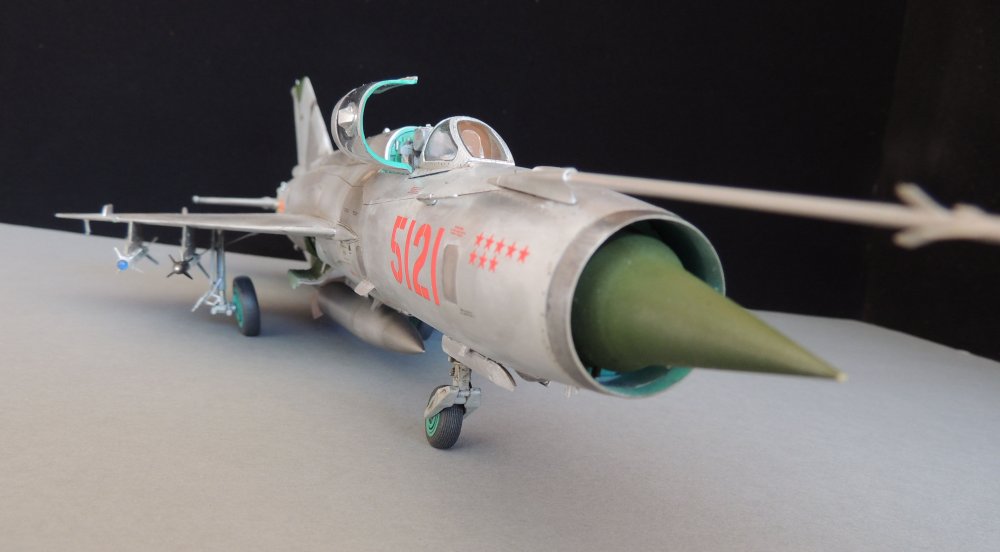
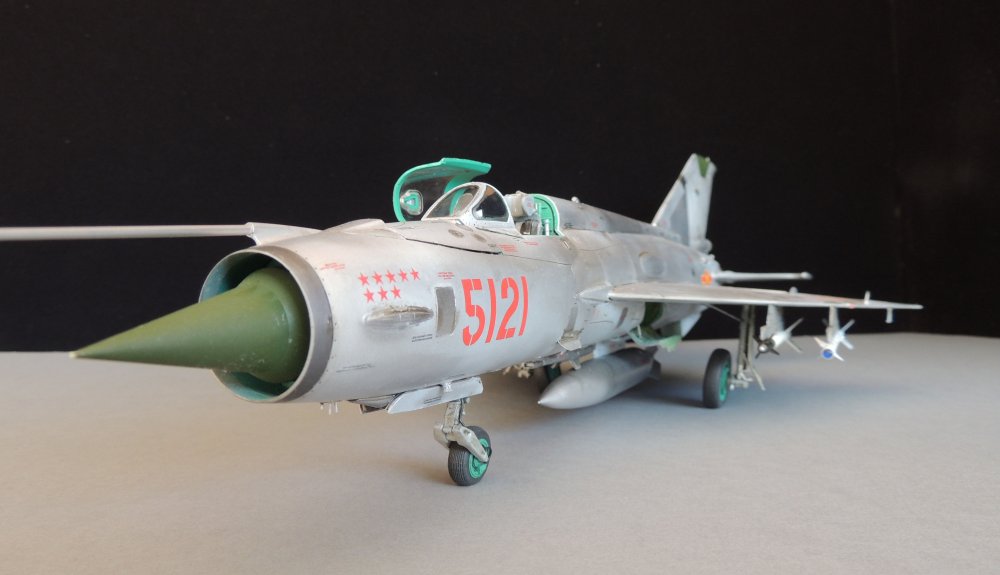
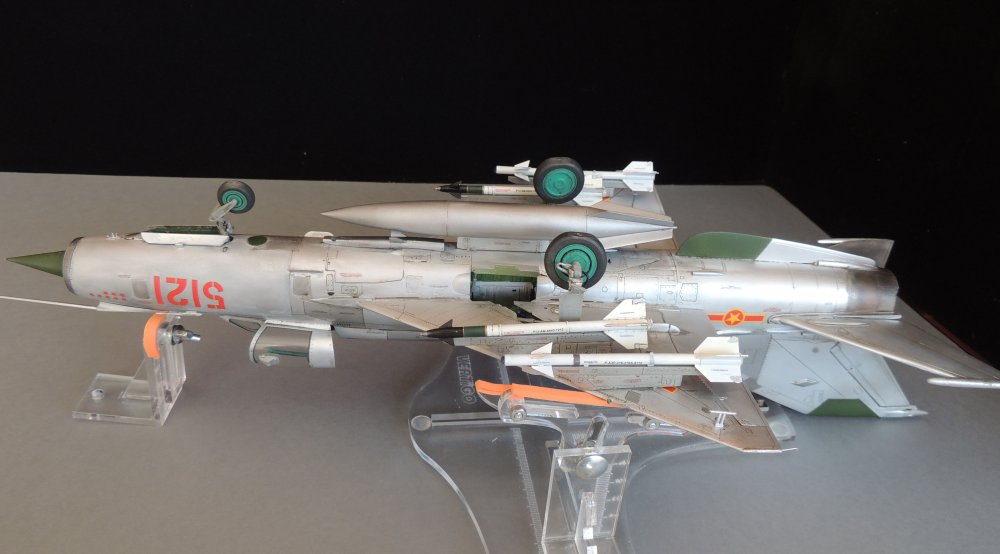
Some time after I built my Phantom model, I thought it was a good idea to build one bird from the other side and I started my MIG-21 project. A little bit of history taken from: “MiG 21 units of the Vietnam War” January 2, 1967, in the skys over Noi Bai, Nord-Vietnam, at least five MiG-21 succumbed to the fire from 8th TFW Phantoms leaded by major Robin Olds. This unexpected loss was a terrible blow for the NVA 921 Fighter Group, including future NVA aces Vu Ngoc Dinh and Nguyen Van Coc who survived ejecting themselves. Speaking of the model itself, in addition to the Trumpeter kit, I used: True Detail Seat, Print Scale decals, Begemot stencils and Eduard Brassin AIM-9B to replicate AA-2-Atoll missiles. These are a few photos of the complete model and some from the w.i.p.


-
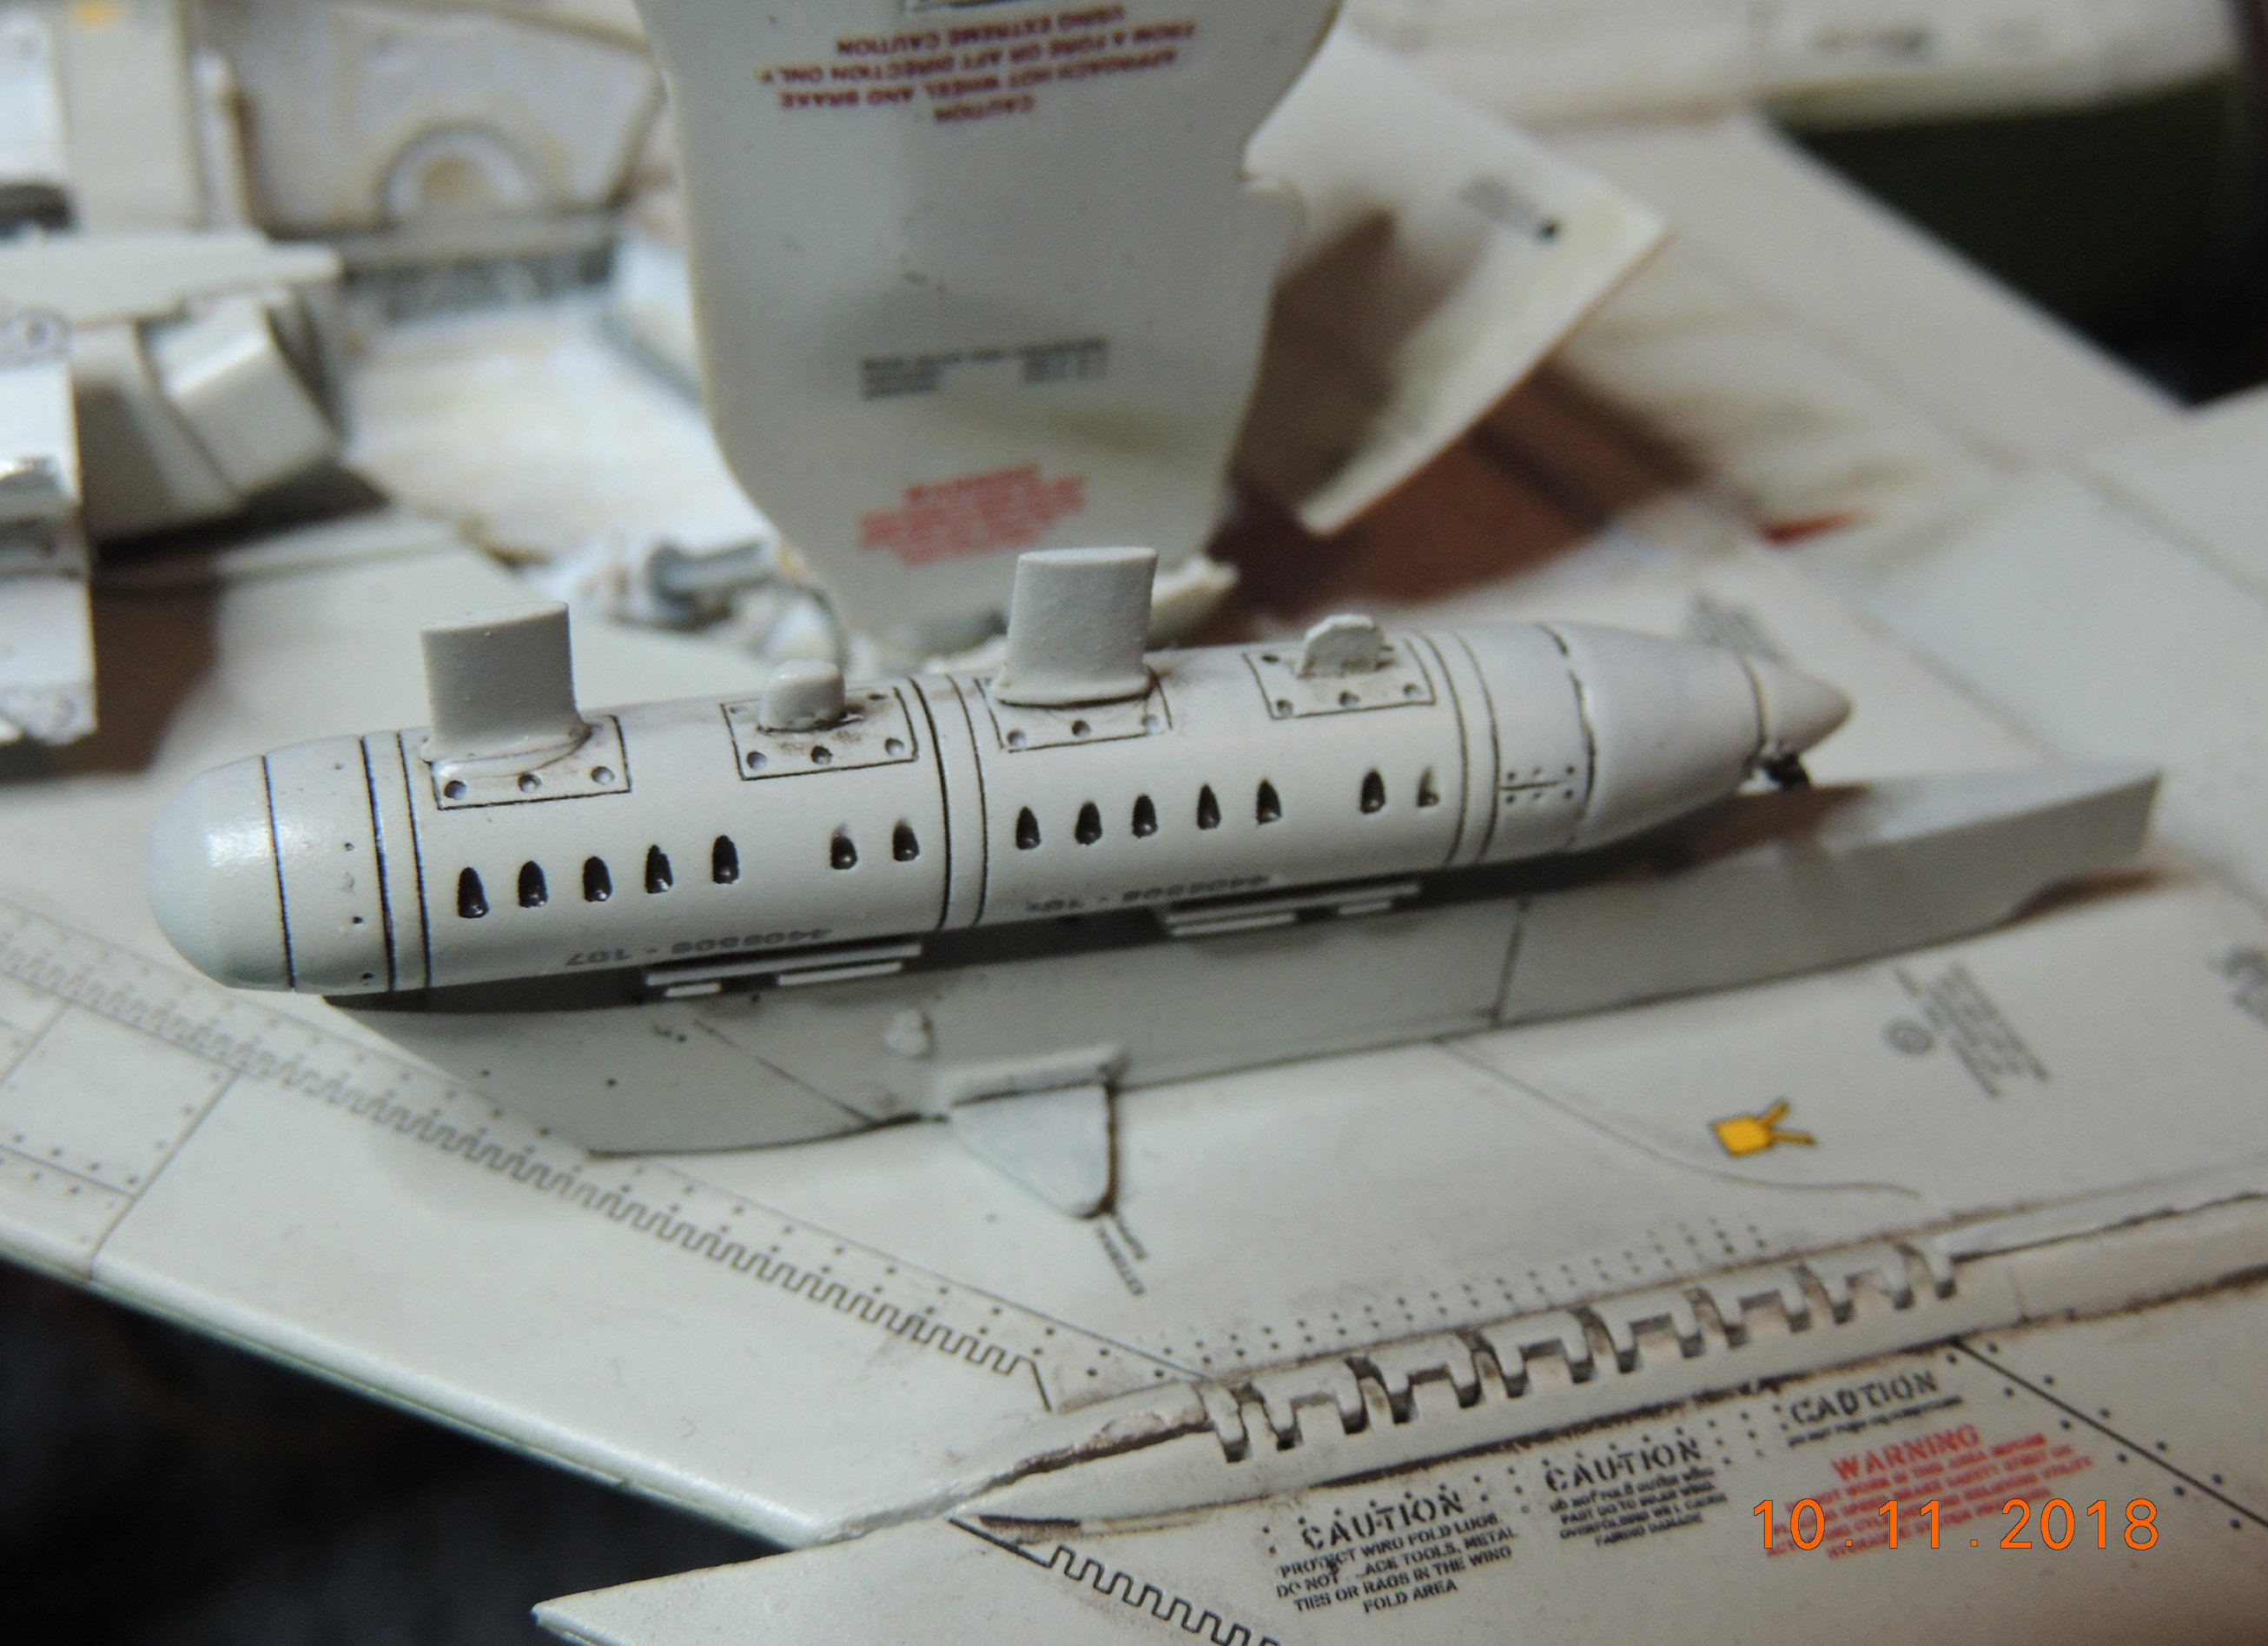
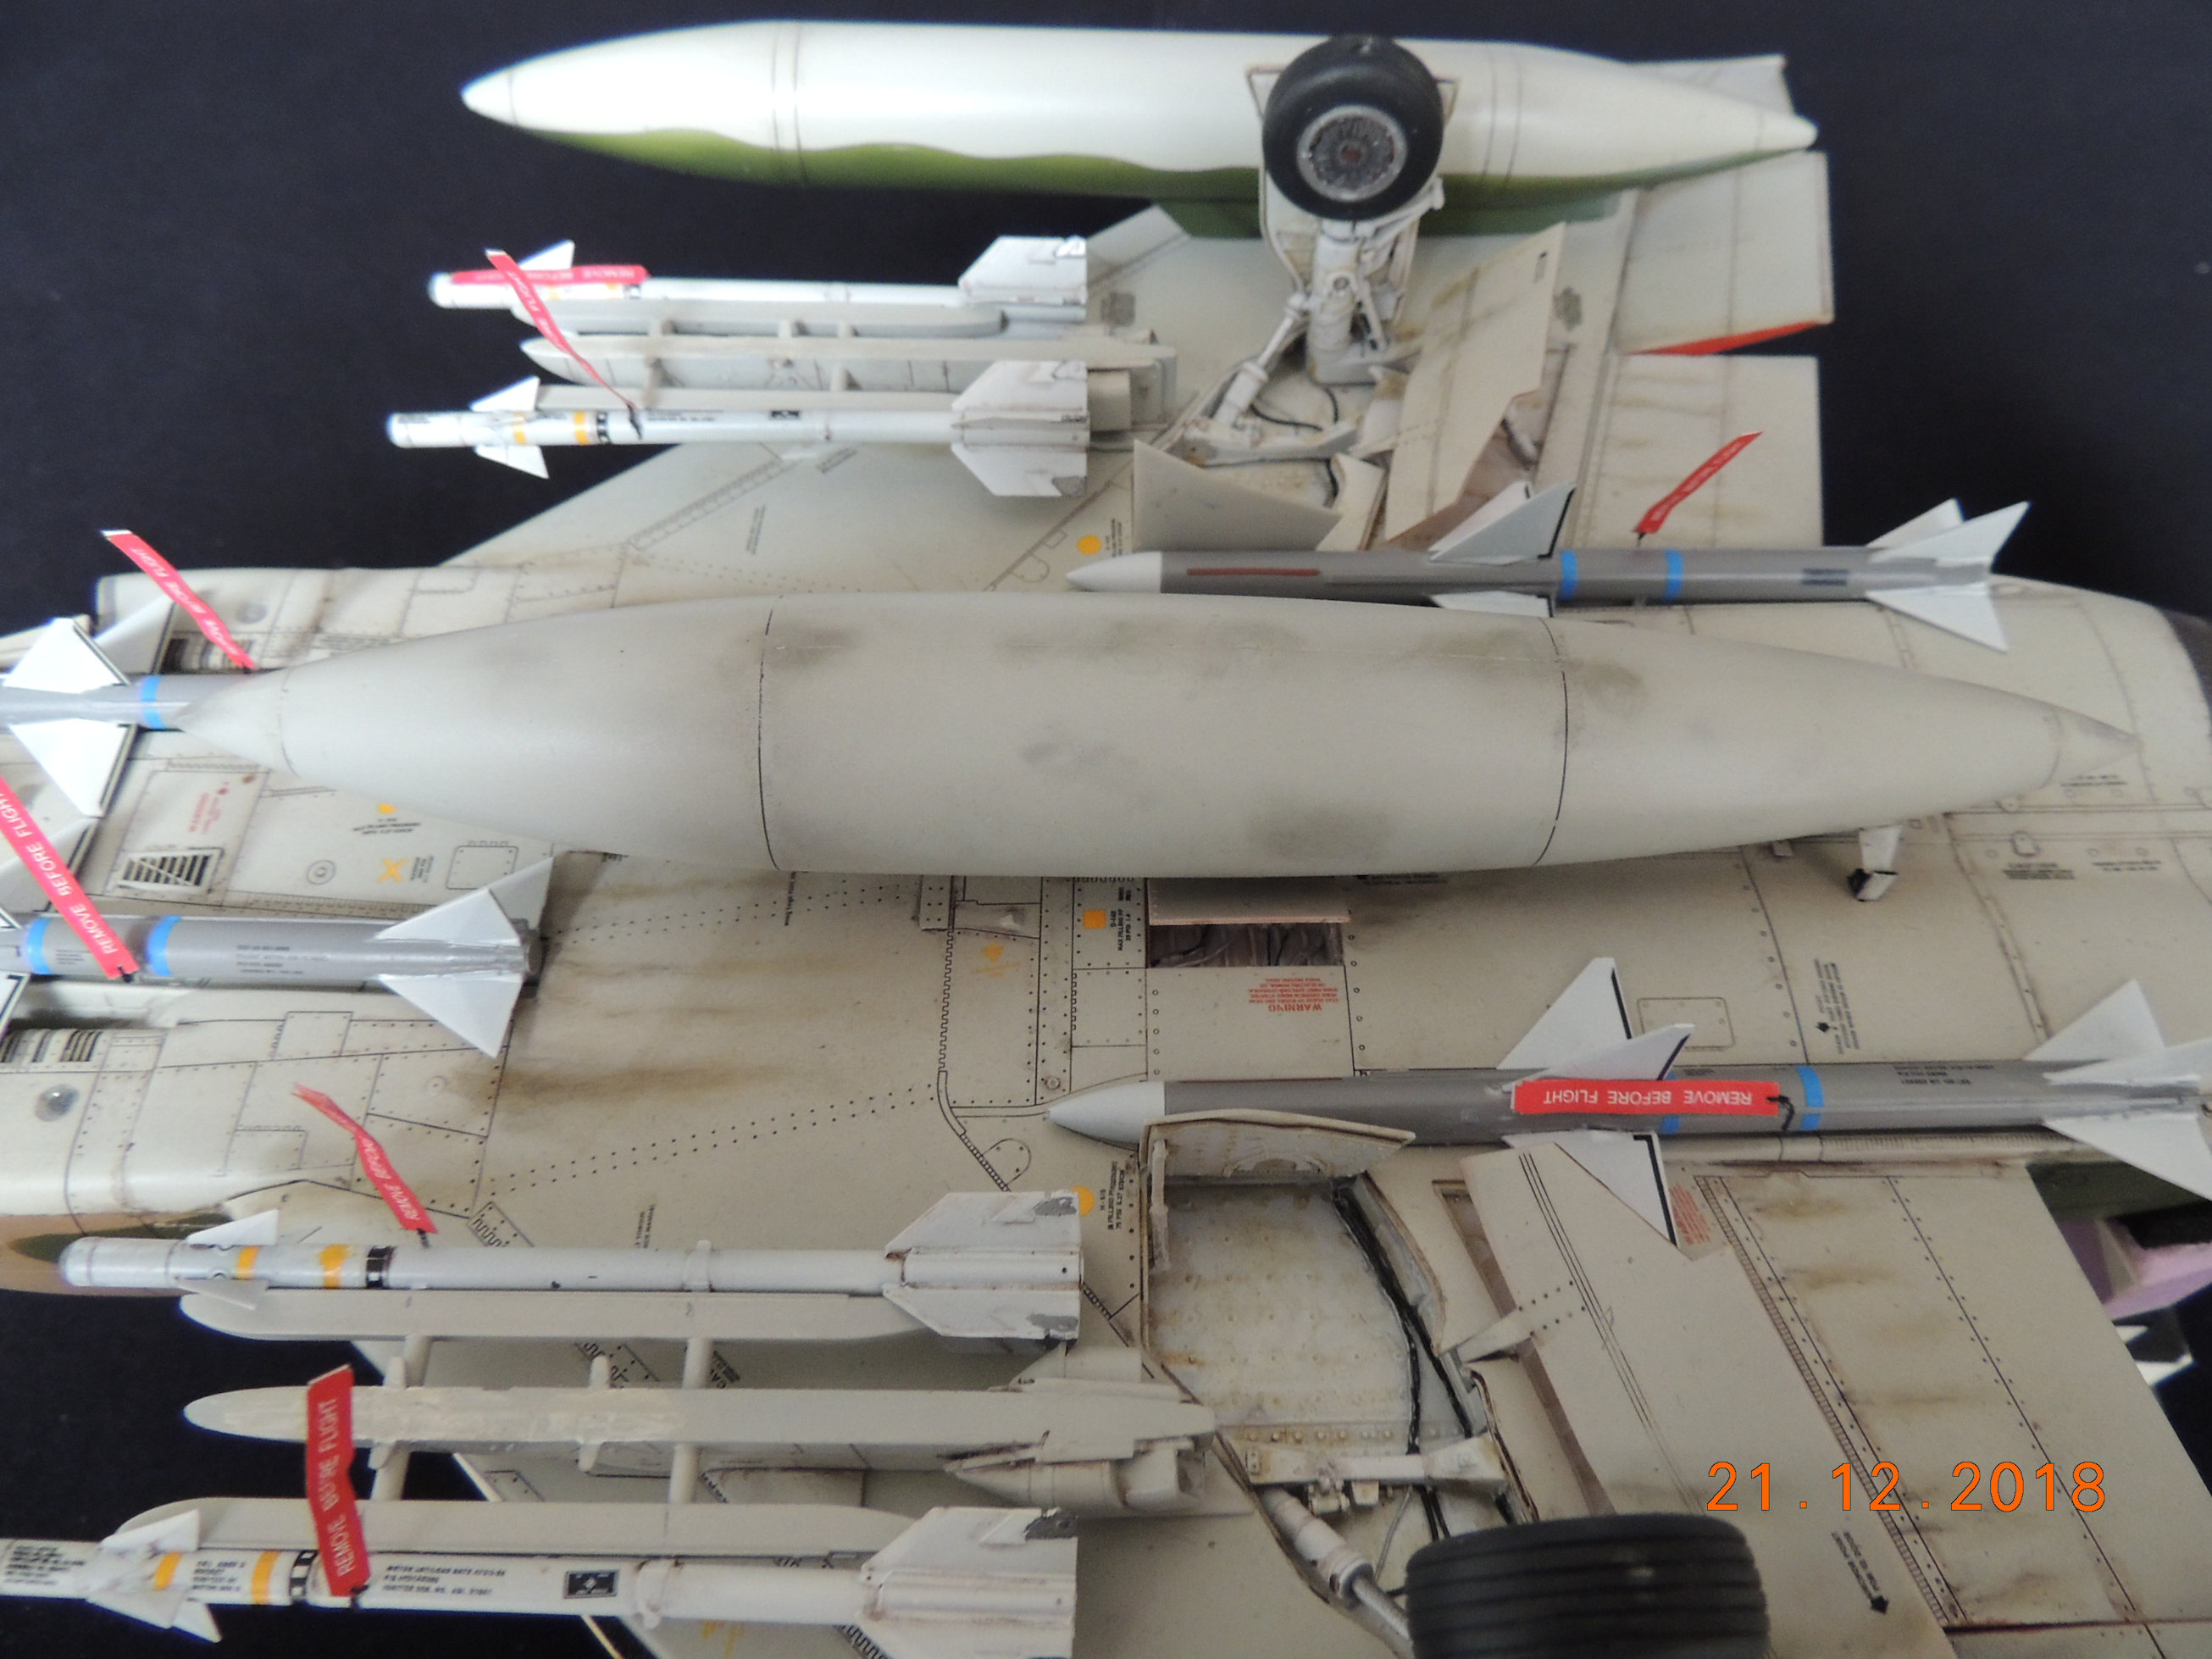
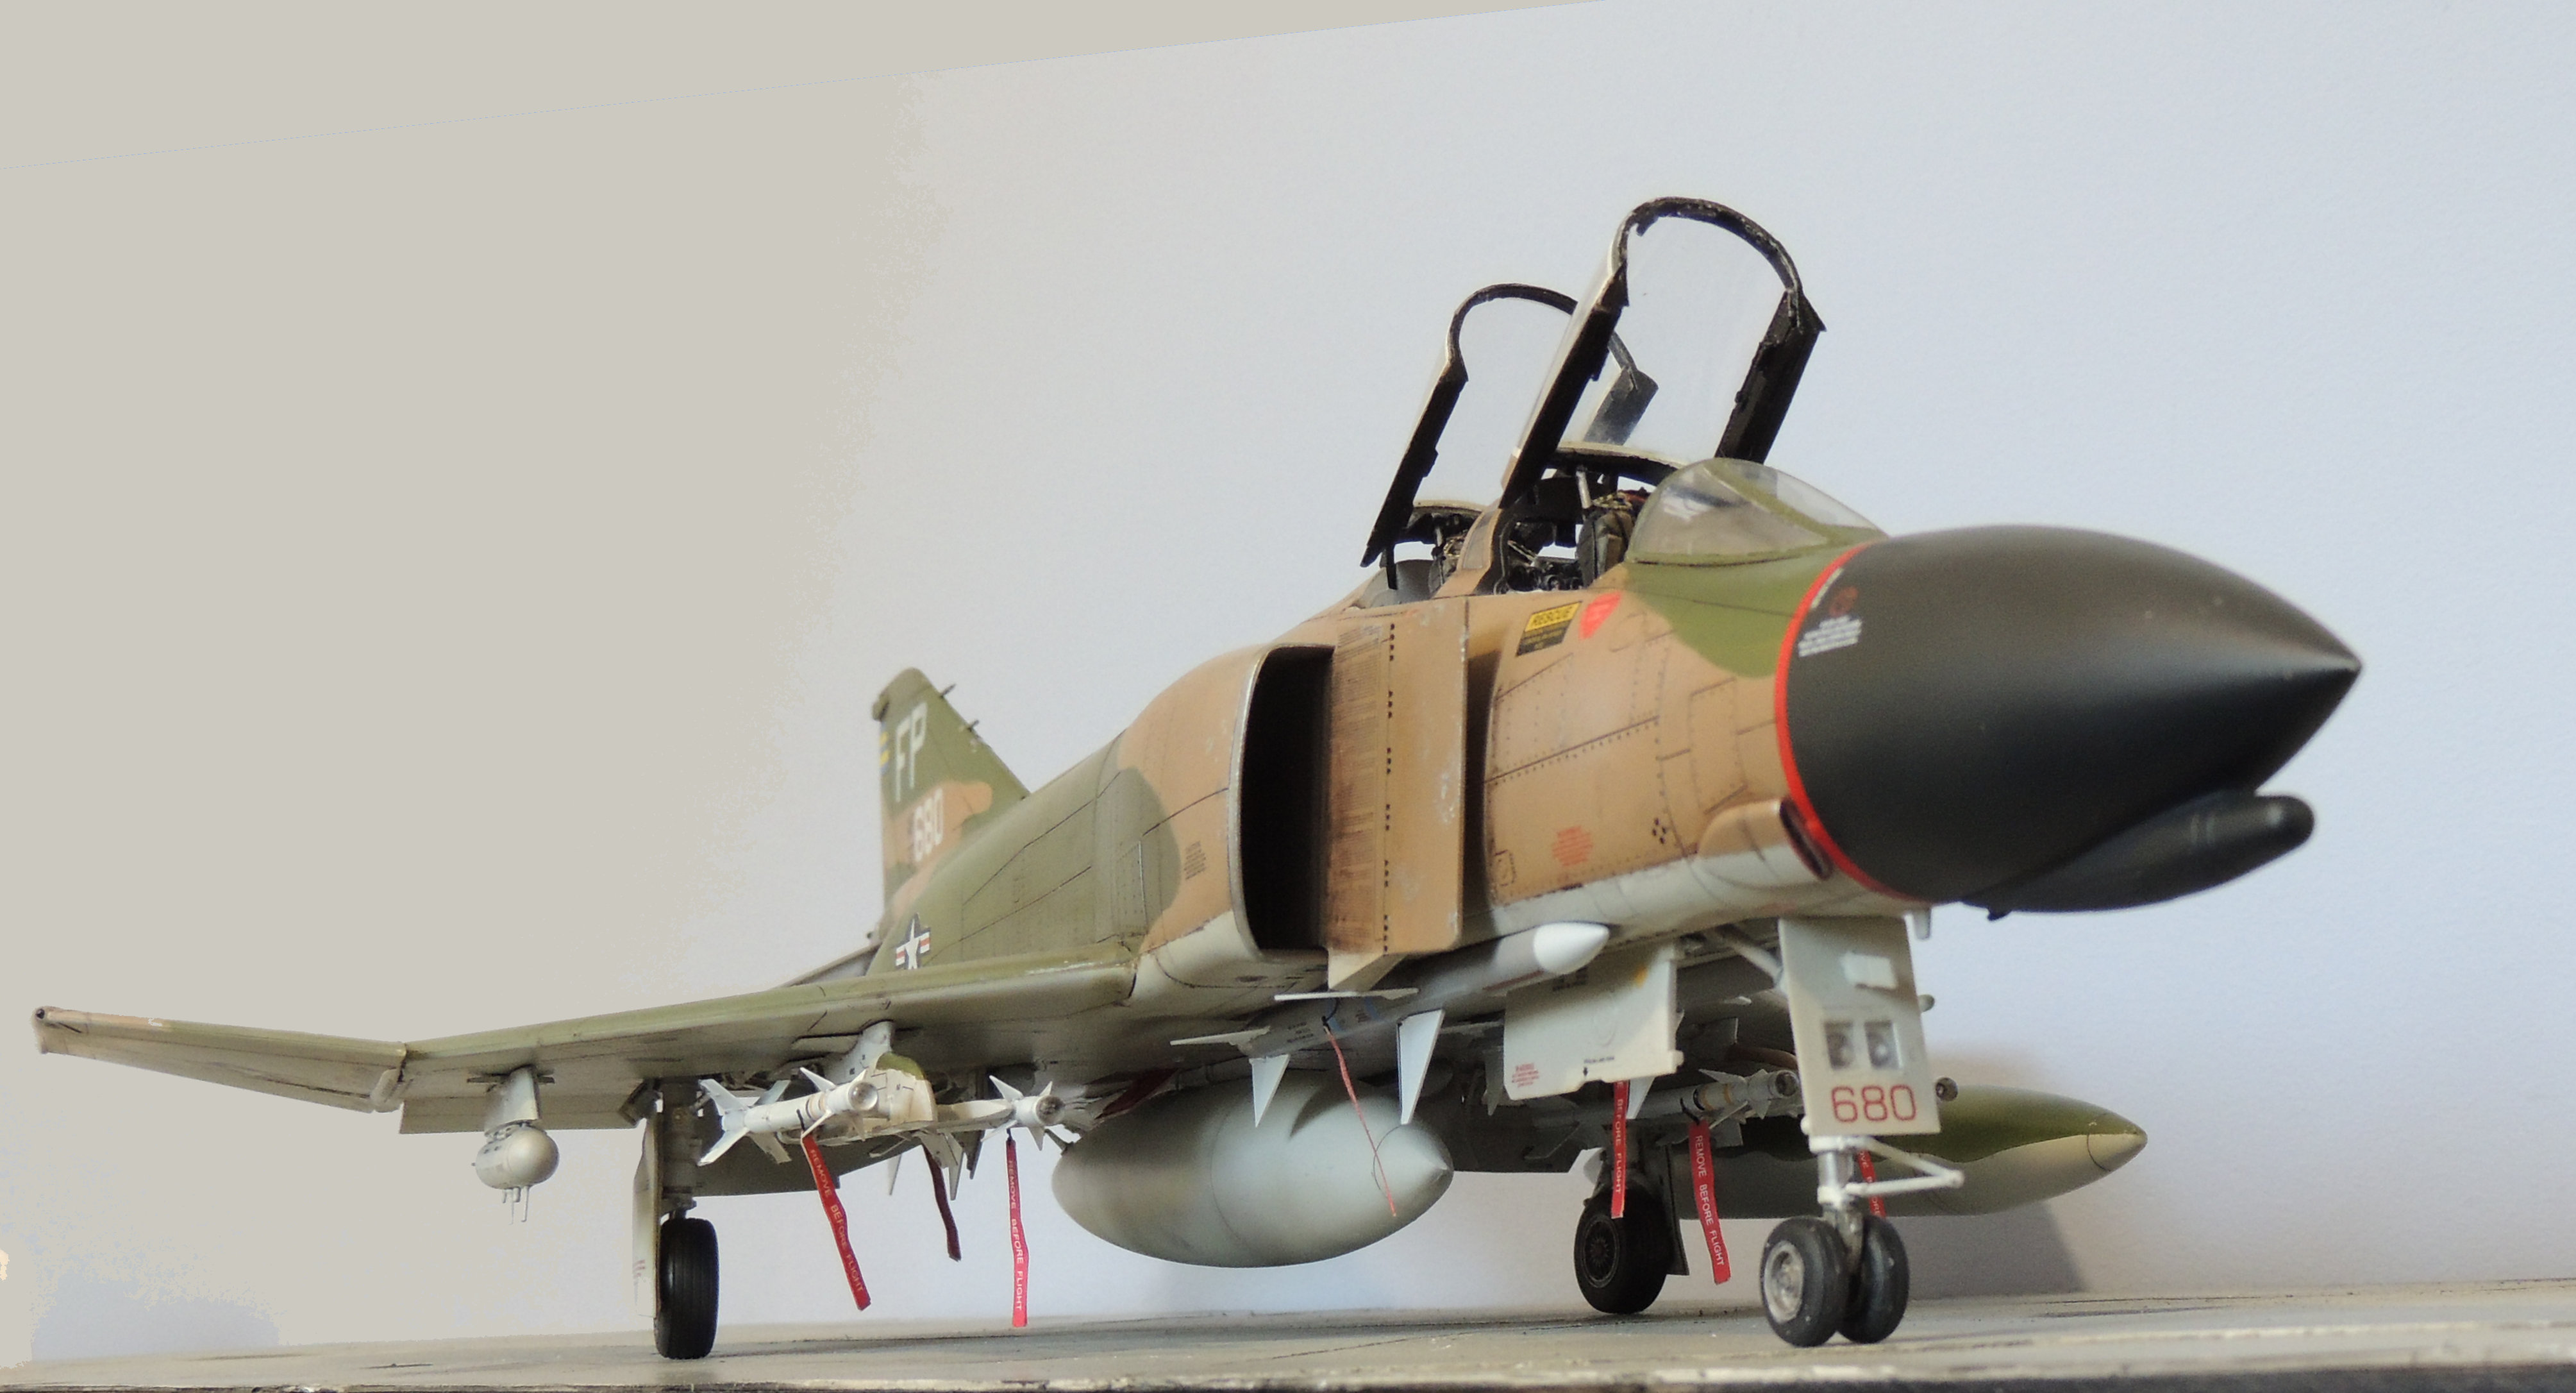
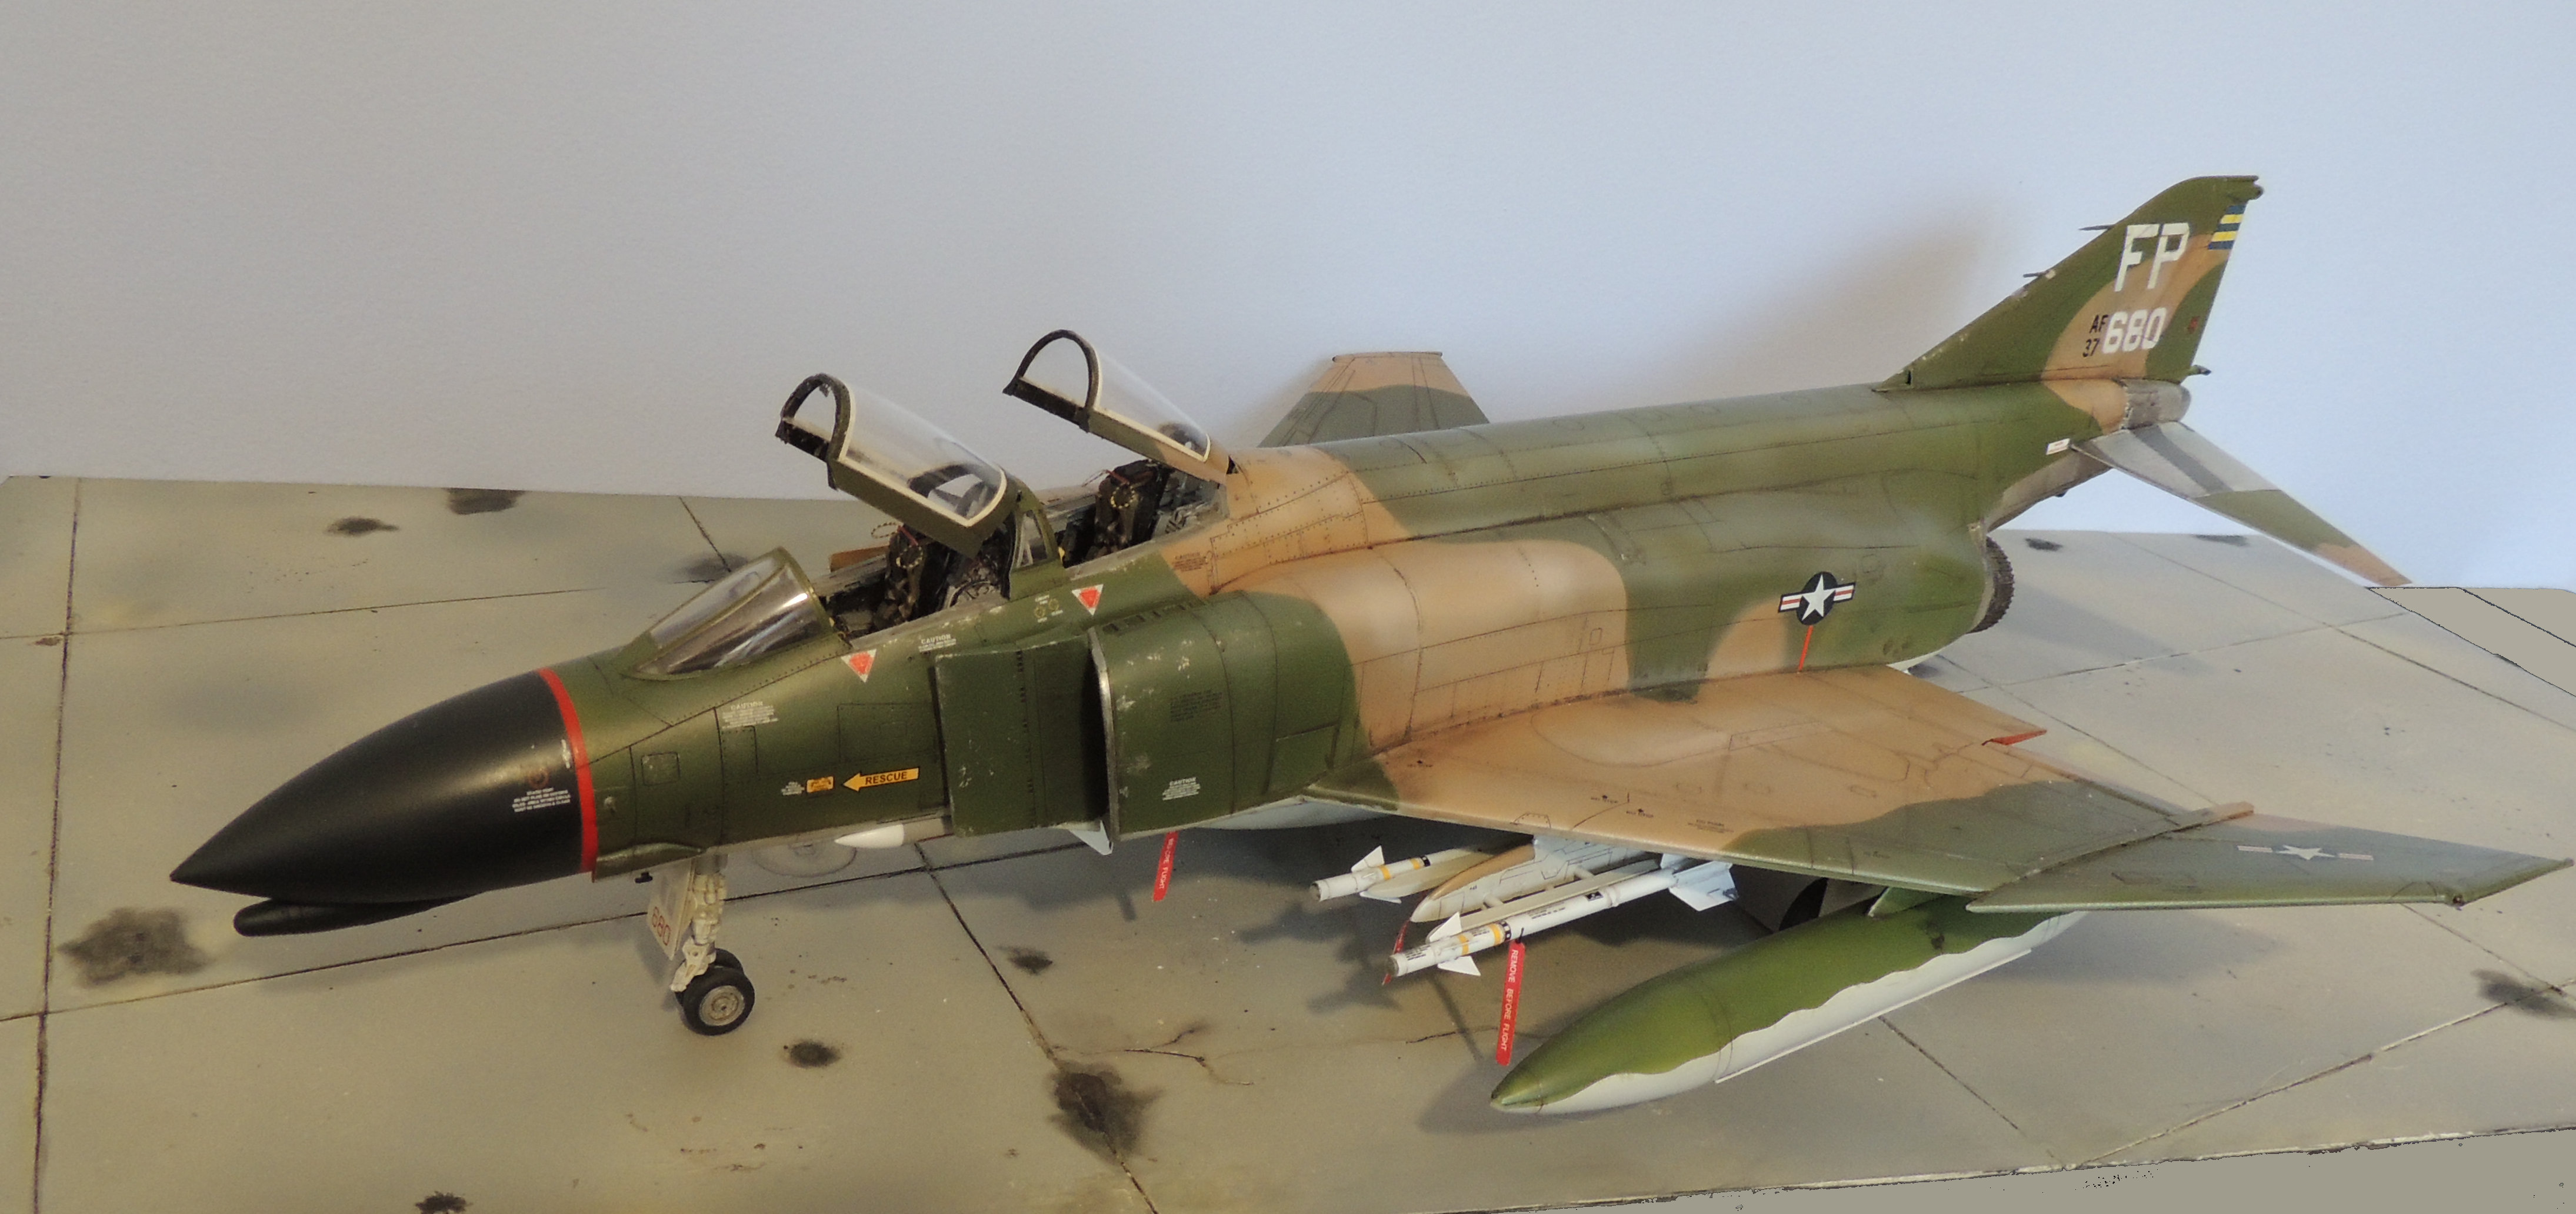
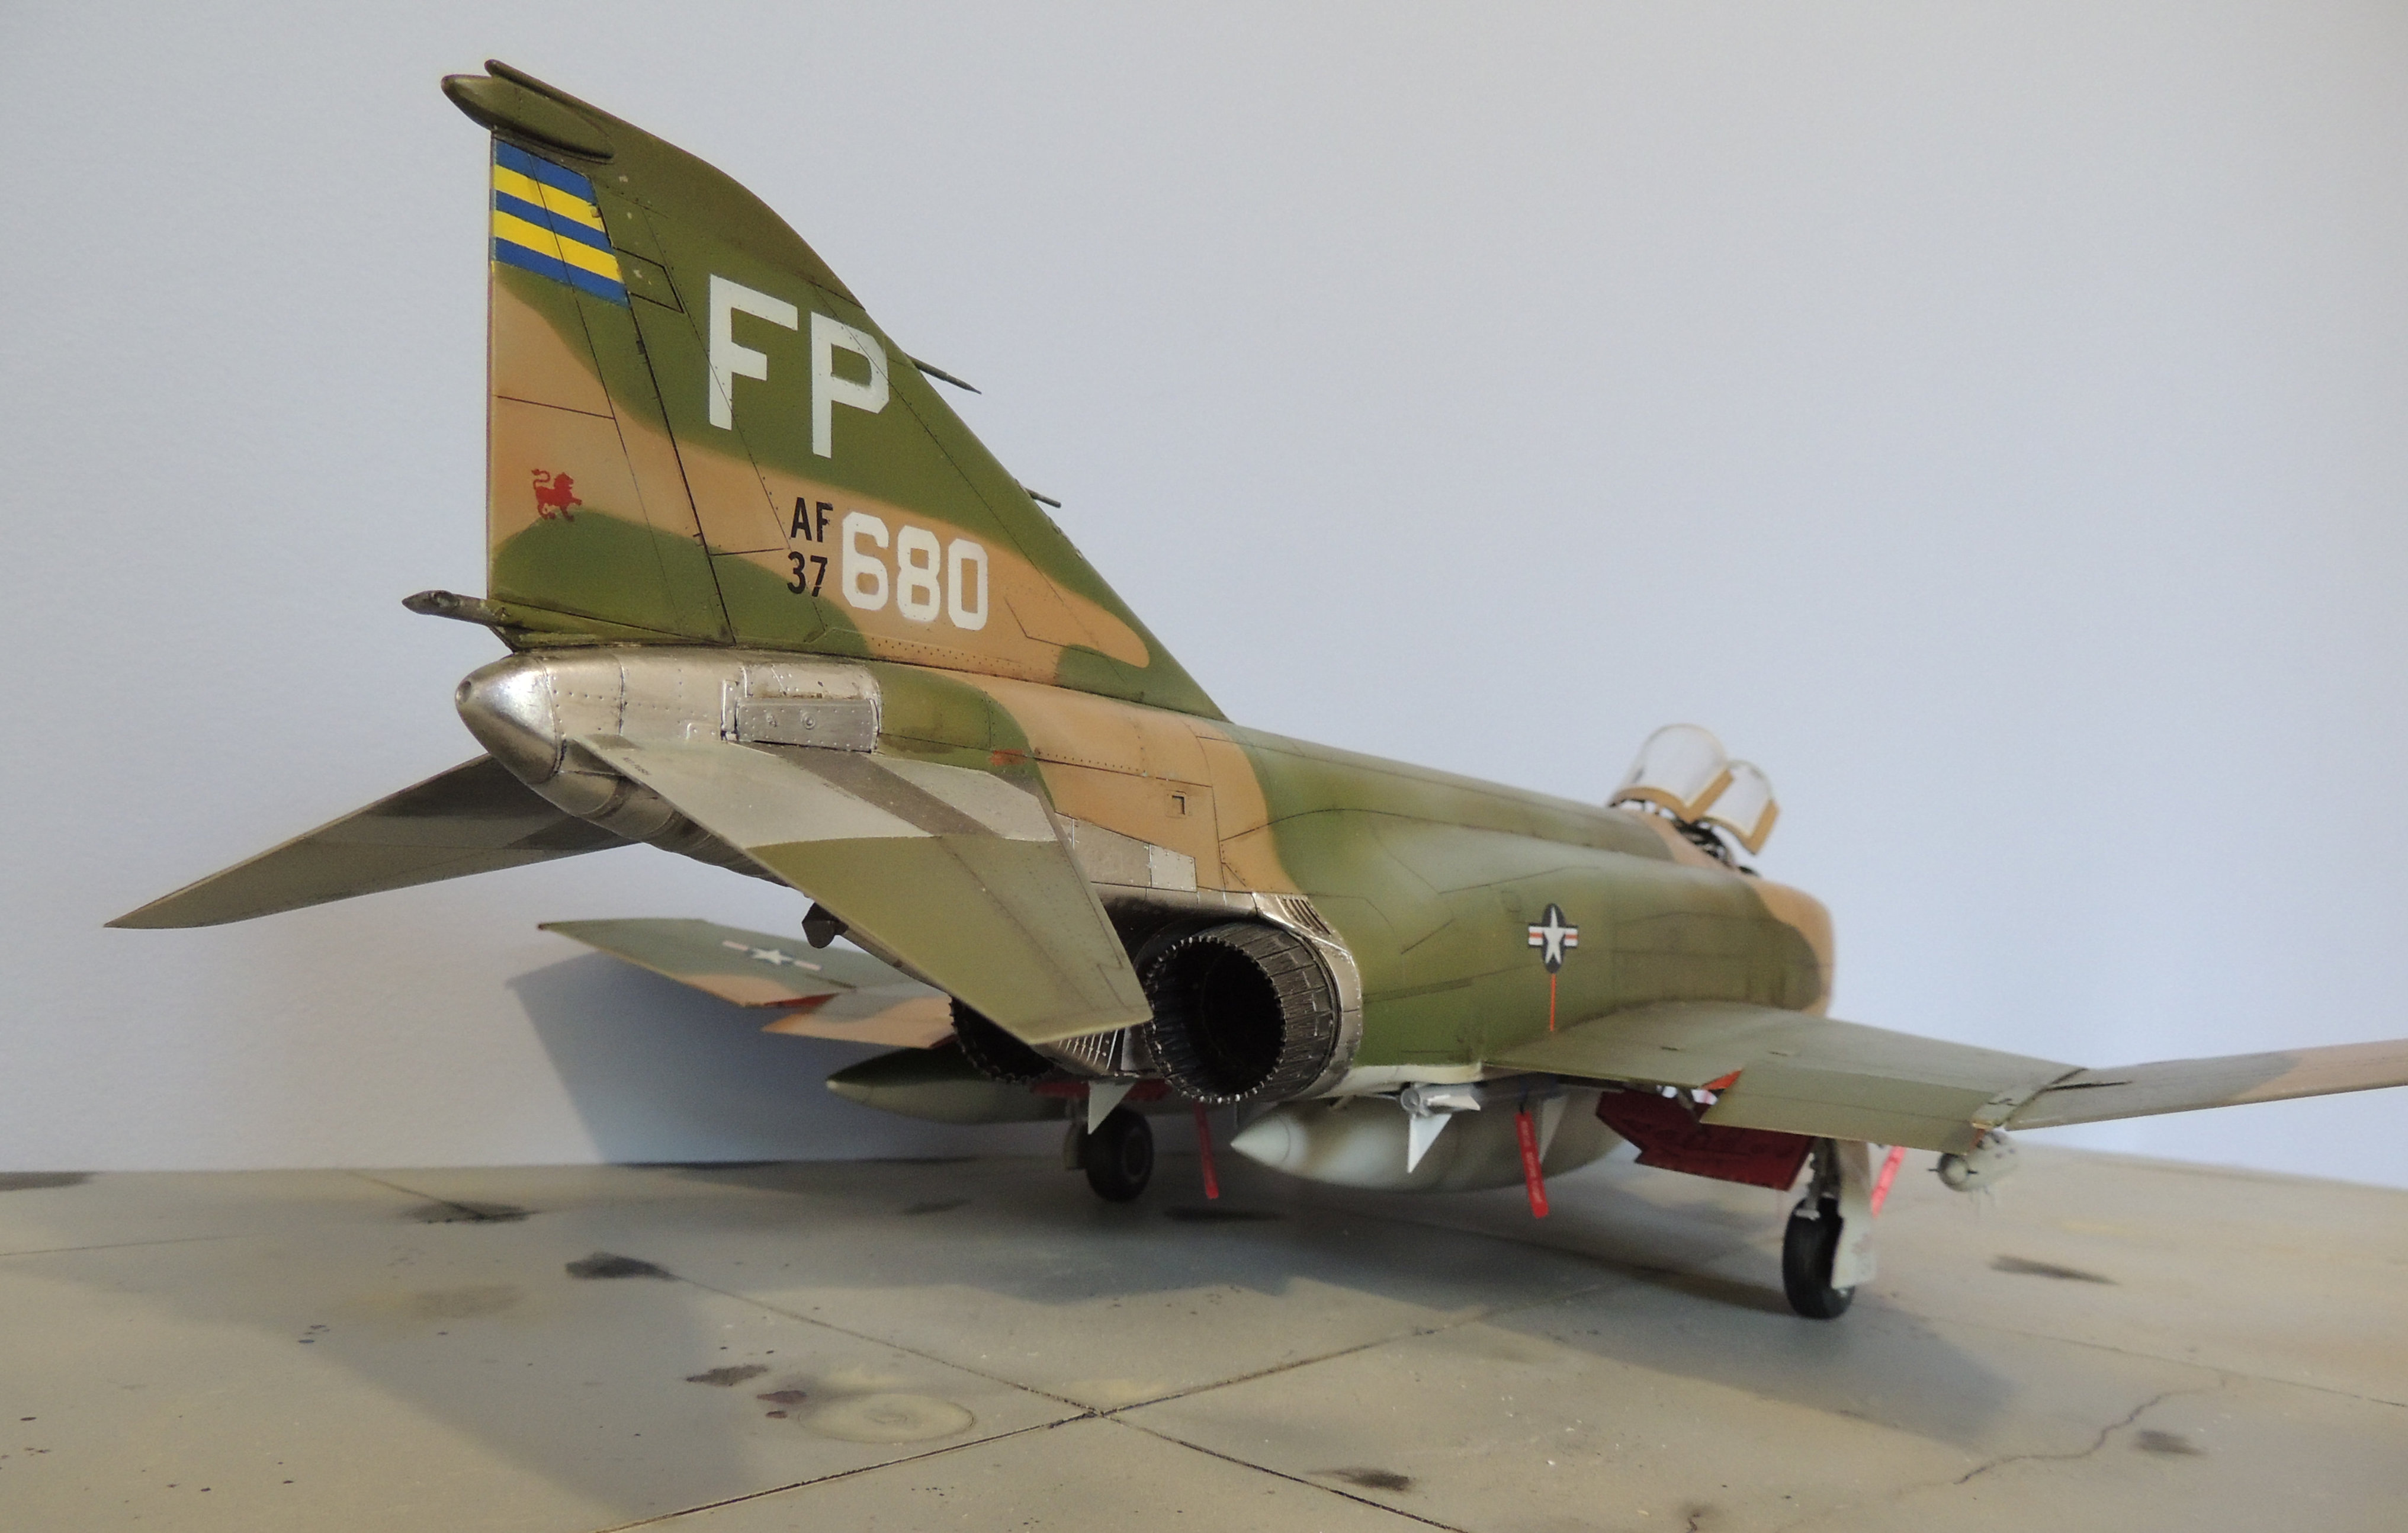
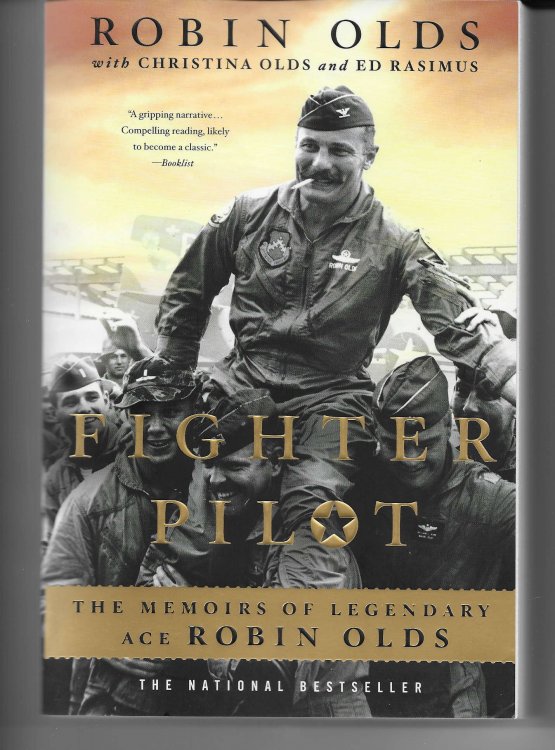
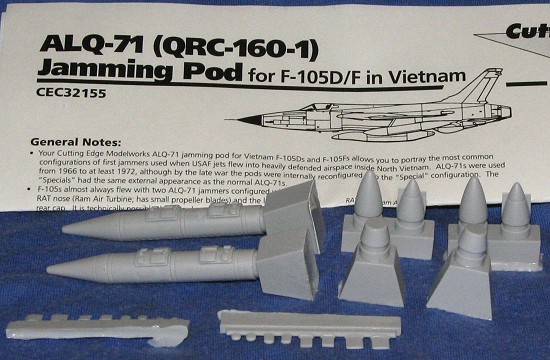
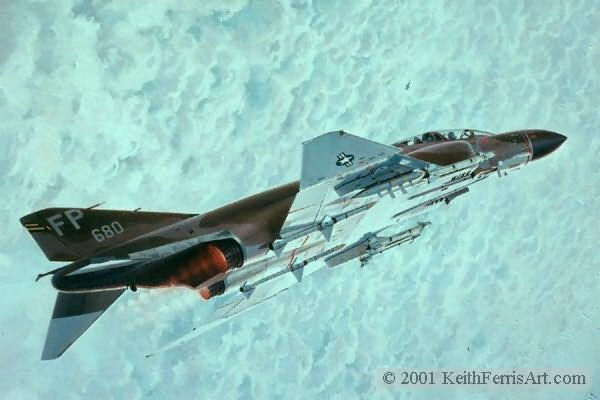
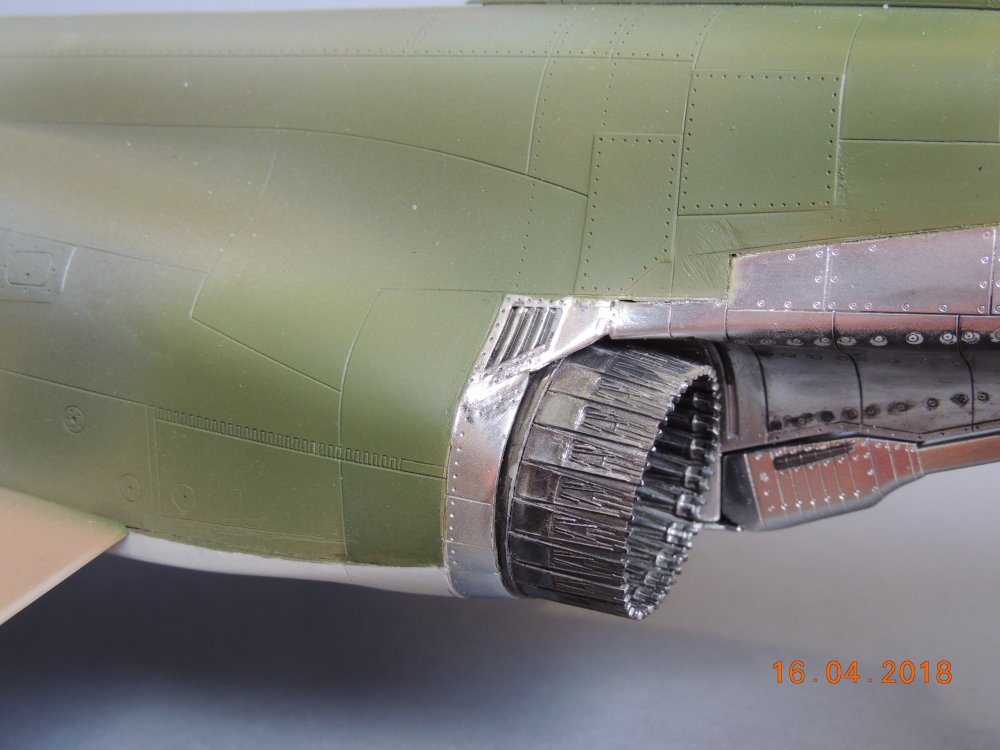
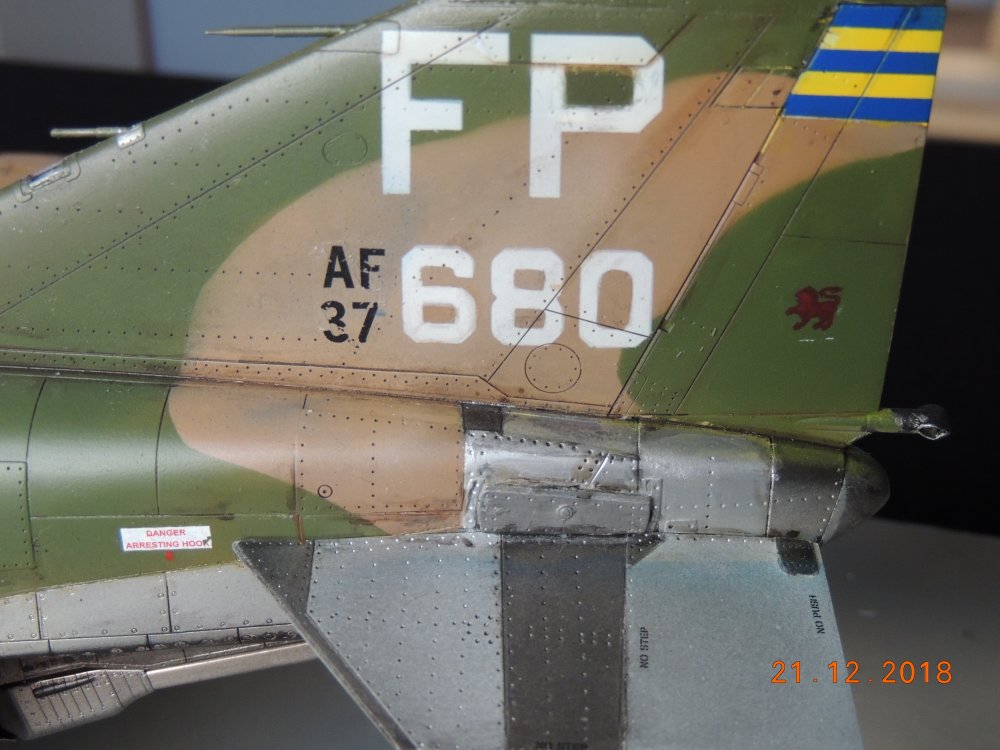
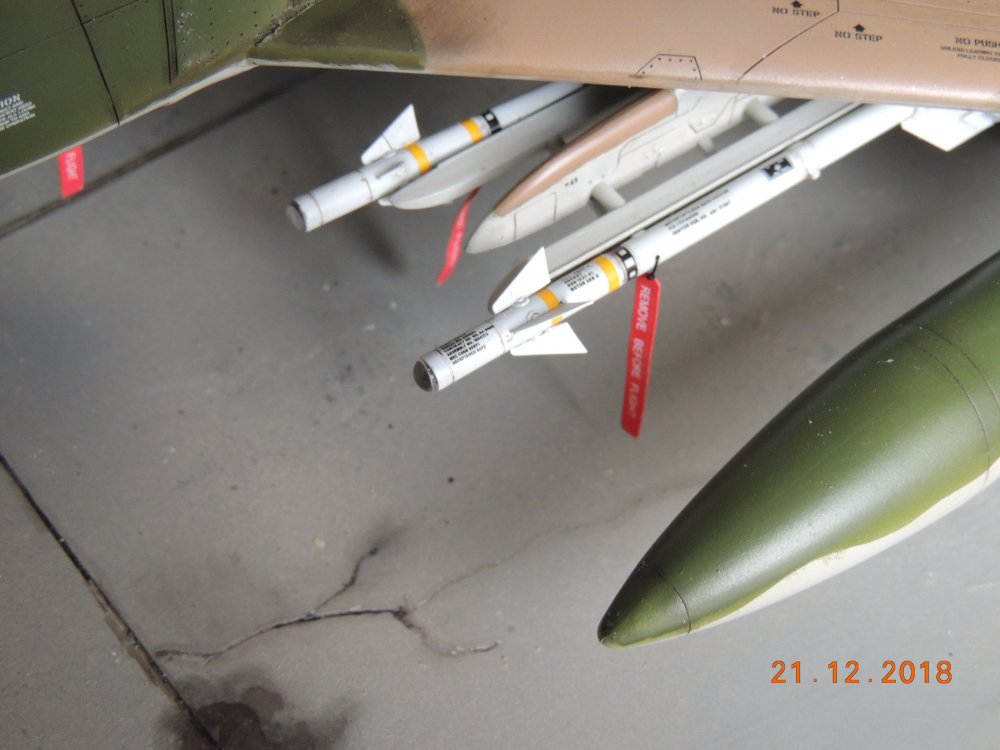
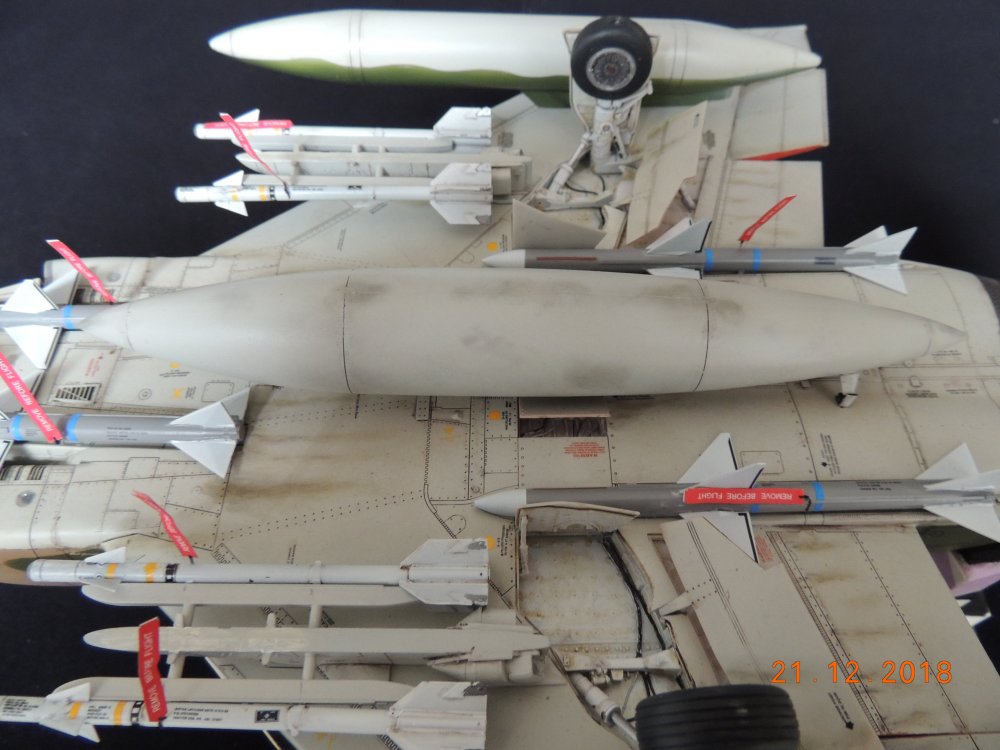
In Summer 2016, when I was on the beach, I was pleased to spend several hours reading a book dedicated to the life of Colonel Robin Olds this was for me an inspiration to make a model with some history behind, a great history in this case. So, some time later, I started building my 1/32 Tamiya kit. Also involved from the beginning were GT Resin cockpit and Eduard Brassin wheels. Just a bit later, looking at the only picture I found, added to the description of Bolo, I had to provide the ALQ-71 Jamming Pod from Cutting Edge. Decals used: PrintScale and Warbird plus some home made like the Singha Lion emblem and tail codes Here following are some pictures of the complete model. I hope you will like it. Alberto

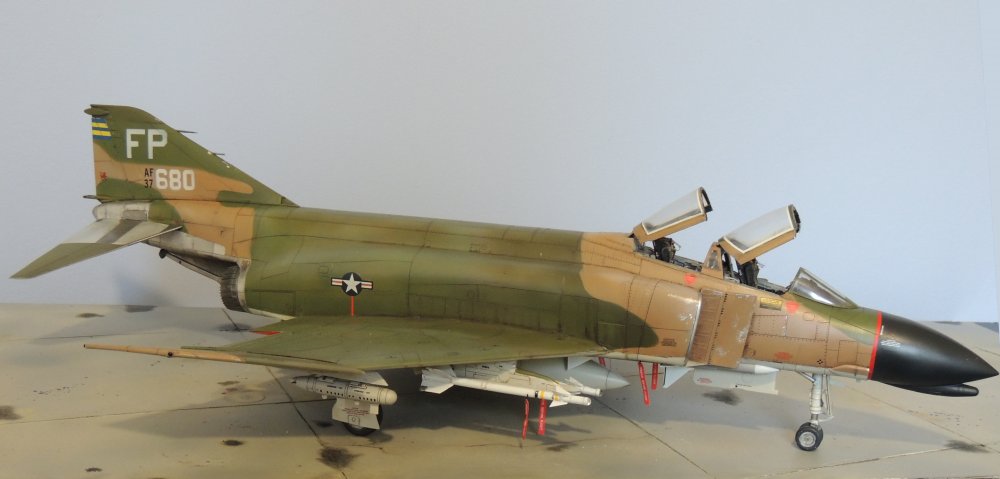

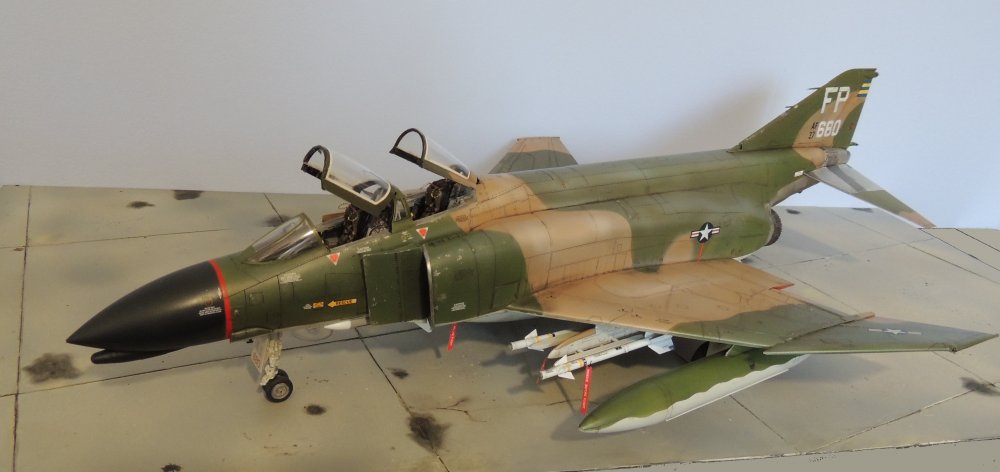
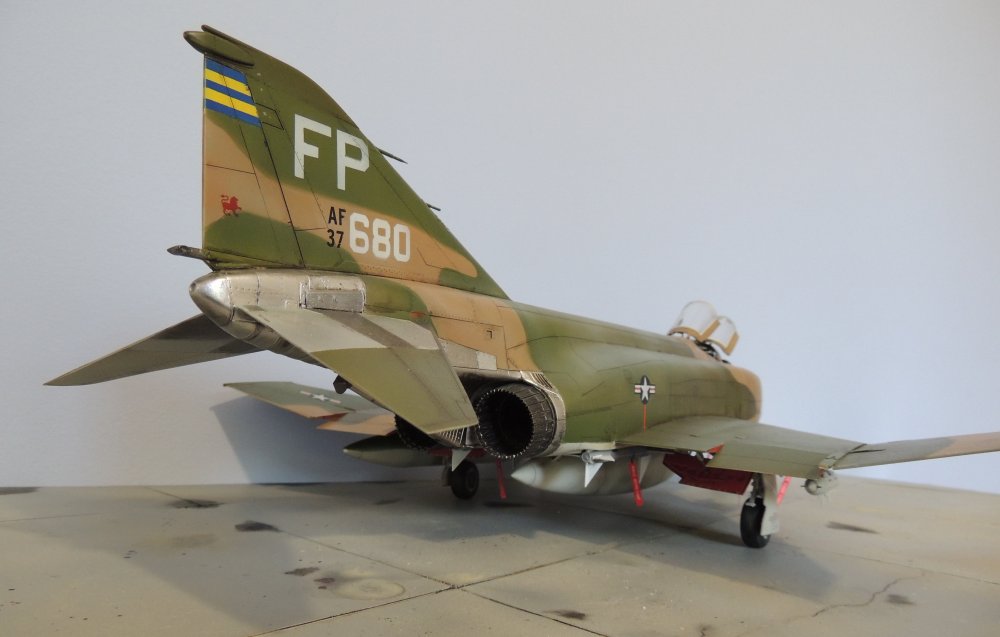

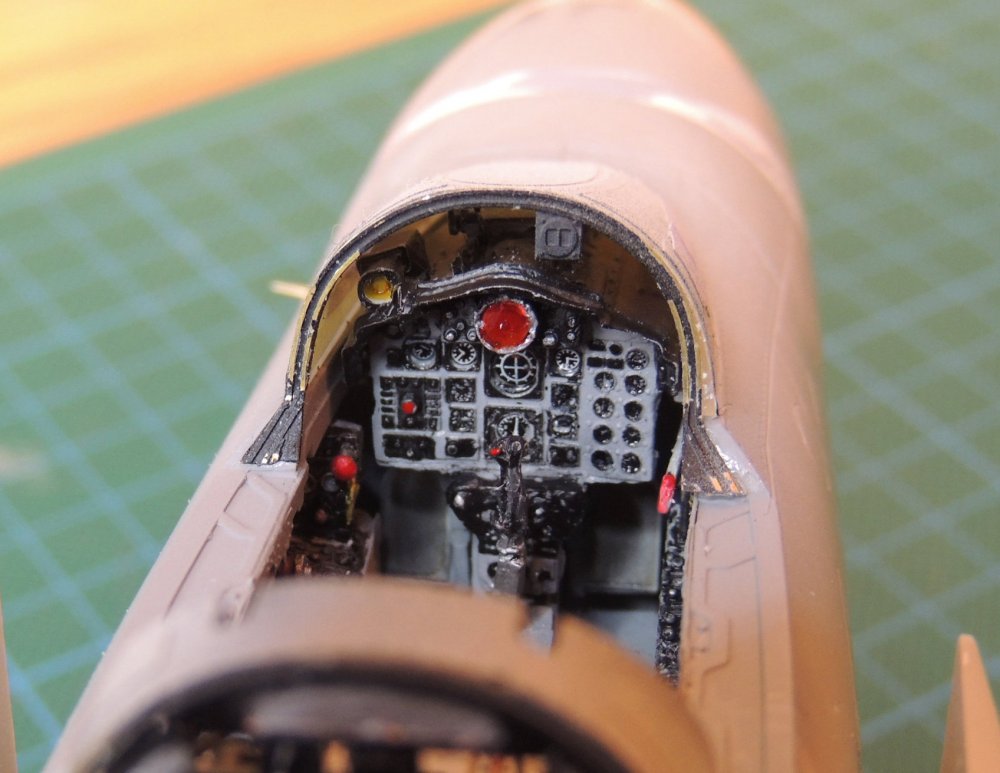
-
Phantom F-4C from 1:32 Tamiya kit
alberto49 replied to alberto49's topic in LSM 1/35 and Larger Work In Progress
Hi, the Hurricane is an MkIIc from Fly Models with decals from Xtradecal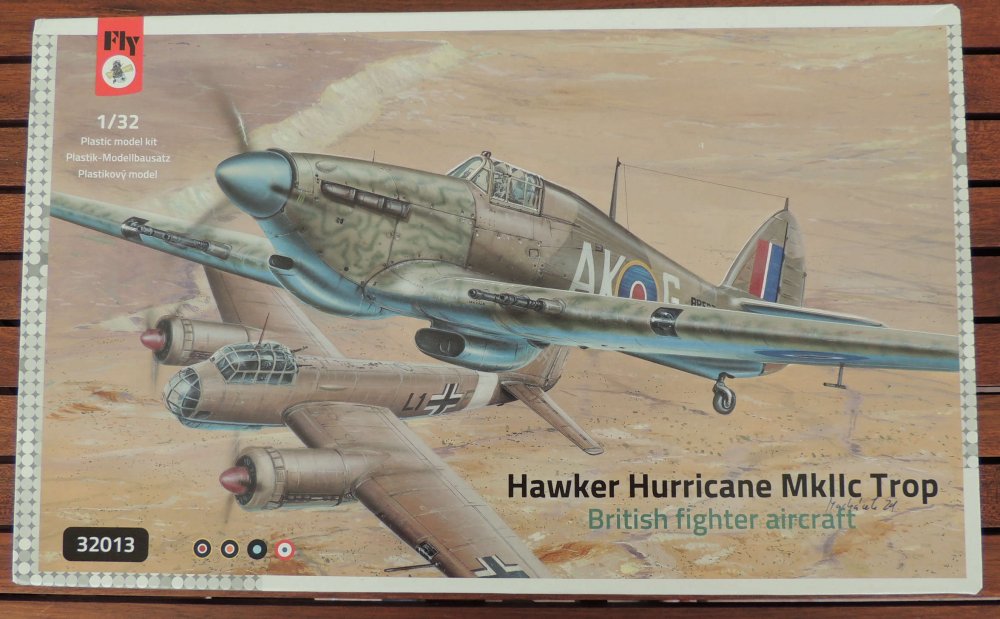
.jpg.759b568ec1cb20be0d5a802f521132d4.jpg)