
FME erk
-
Posts
498 -
Joined
-
Last visited
Content Type
Profiles
Forums
Events
Gallery
Posts posted by FME erk
-
-
I certainly appreciate the efforts you have gone to there Kai. All the item certainly add to the scene.
Historically the vehicle should be Brown or a green base, RAF Blue came post-war.
I like the ladder as well and the only 'true' example I saw was that of a former ground crew member who had acquired one and it was painted aircraft interior green.
Can I ask what you used for the exhaust staining ? ? my example was heavily stained and your painting looks spot-on.
rgds
Ian
-
 2
2
-
-
Kai
Most of it is first-hand accounts but the quotation is from the official Air Ministry document 'Air 14'
My, (awaiting publication), new book contains many many first-hand accounts mixed in with the official records from the Operational Record Books, better known as the ORB's . . .
Ian
-
3
-
-
23 hours ago, Fidd88 said:
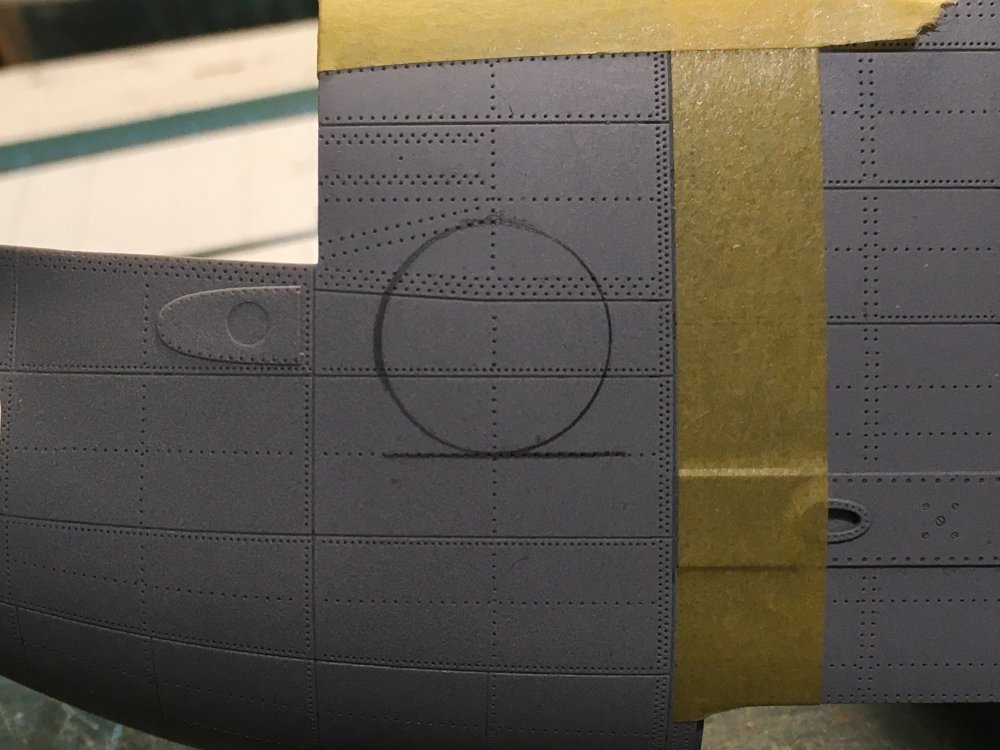
Yes. It would have reacted to Mustard, turning from a yellowy zinc-chromate colour to pink in it's presence. It may also have been reactive to phosgene. As the German stance on using chemical weapons was unknown at the outbreak of war, but they'd been enthusiastic exponents of chemical warfare, in the Great War, the RAF was fully ready retaliate with mustard, were the Germans to use it first, and It was likely as much to indicate contamination from our own gas ordnance as enemy chemical attacks. Bombers carried circular indicators, around 9-12 inches in diameter, usually (but not exclusively) on the upper tailplanes, starboard side. Fighter aircraft has square indicators, usually on the port wing arranged so that the diagonal of the square was aligned with the chord line of the wing, again on the upper surface. By mid '41 these had largely disappeared from RAF aircraft. Similar patches can be found on RAF vehicles of the period.
Such preparedness on the part of the allies was evidenced by the disaster at Bari in December 1943 when it is thought several ships carrying mustard were sunk in flames at the harbour.
142 Squadron was trained to deliver Gas. They had a facility at RAF Grimsby and they stored the canisters in a Robin hangar over the far side of the airfield. Air14/2738 states: " 5th May 1942 a hangarette be erected at Grimsby for the purpose of storing SCI's (Service Chemical Installation) the name given to bombs containing gas ".
It goes on to say . . . "The covering is Uralite, which would shatter in a blast but the building would not collapse".
Strangely I have never seen a photo of a squadron Wellington with a gas circle but after they transferred out in November 1942 the Lancasters didnt have the gas patch on their nose until October 1943 at the earliest that I am aware .
-
3
-
-
Kai
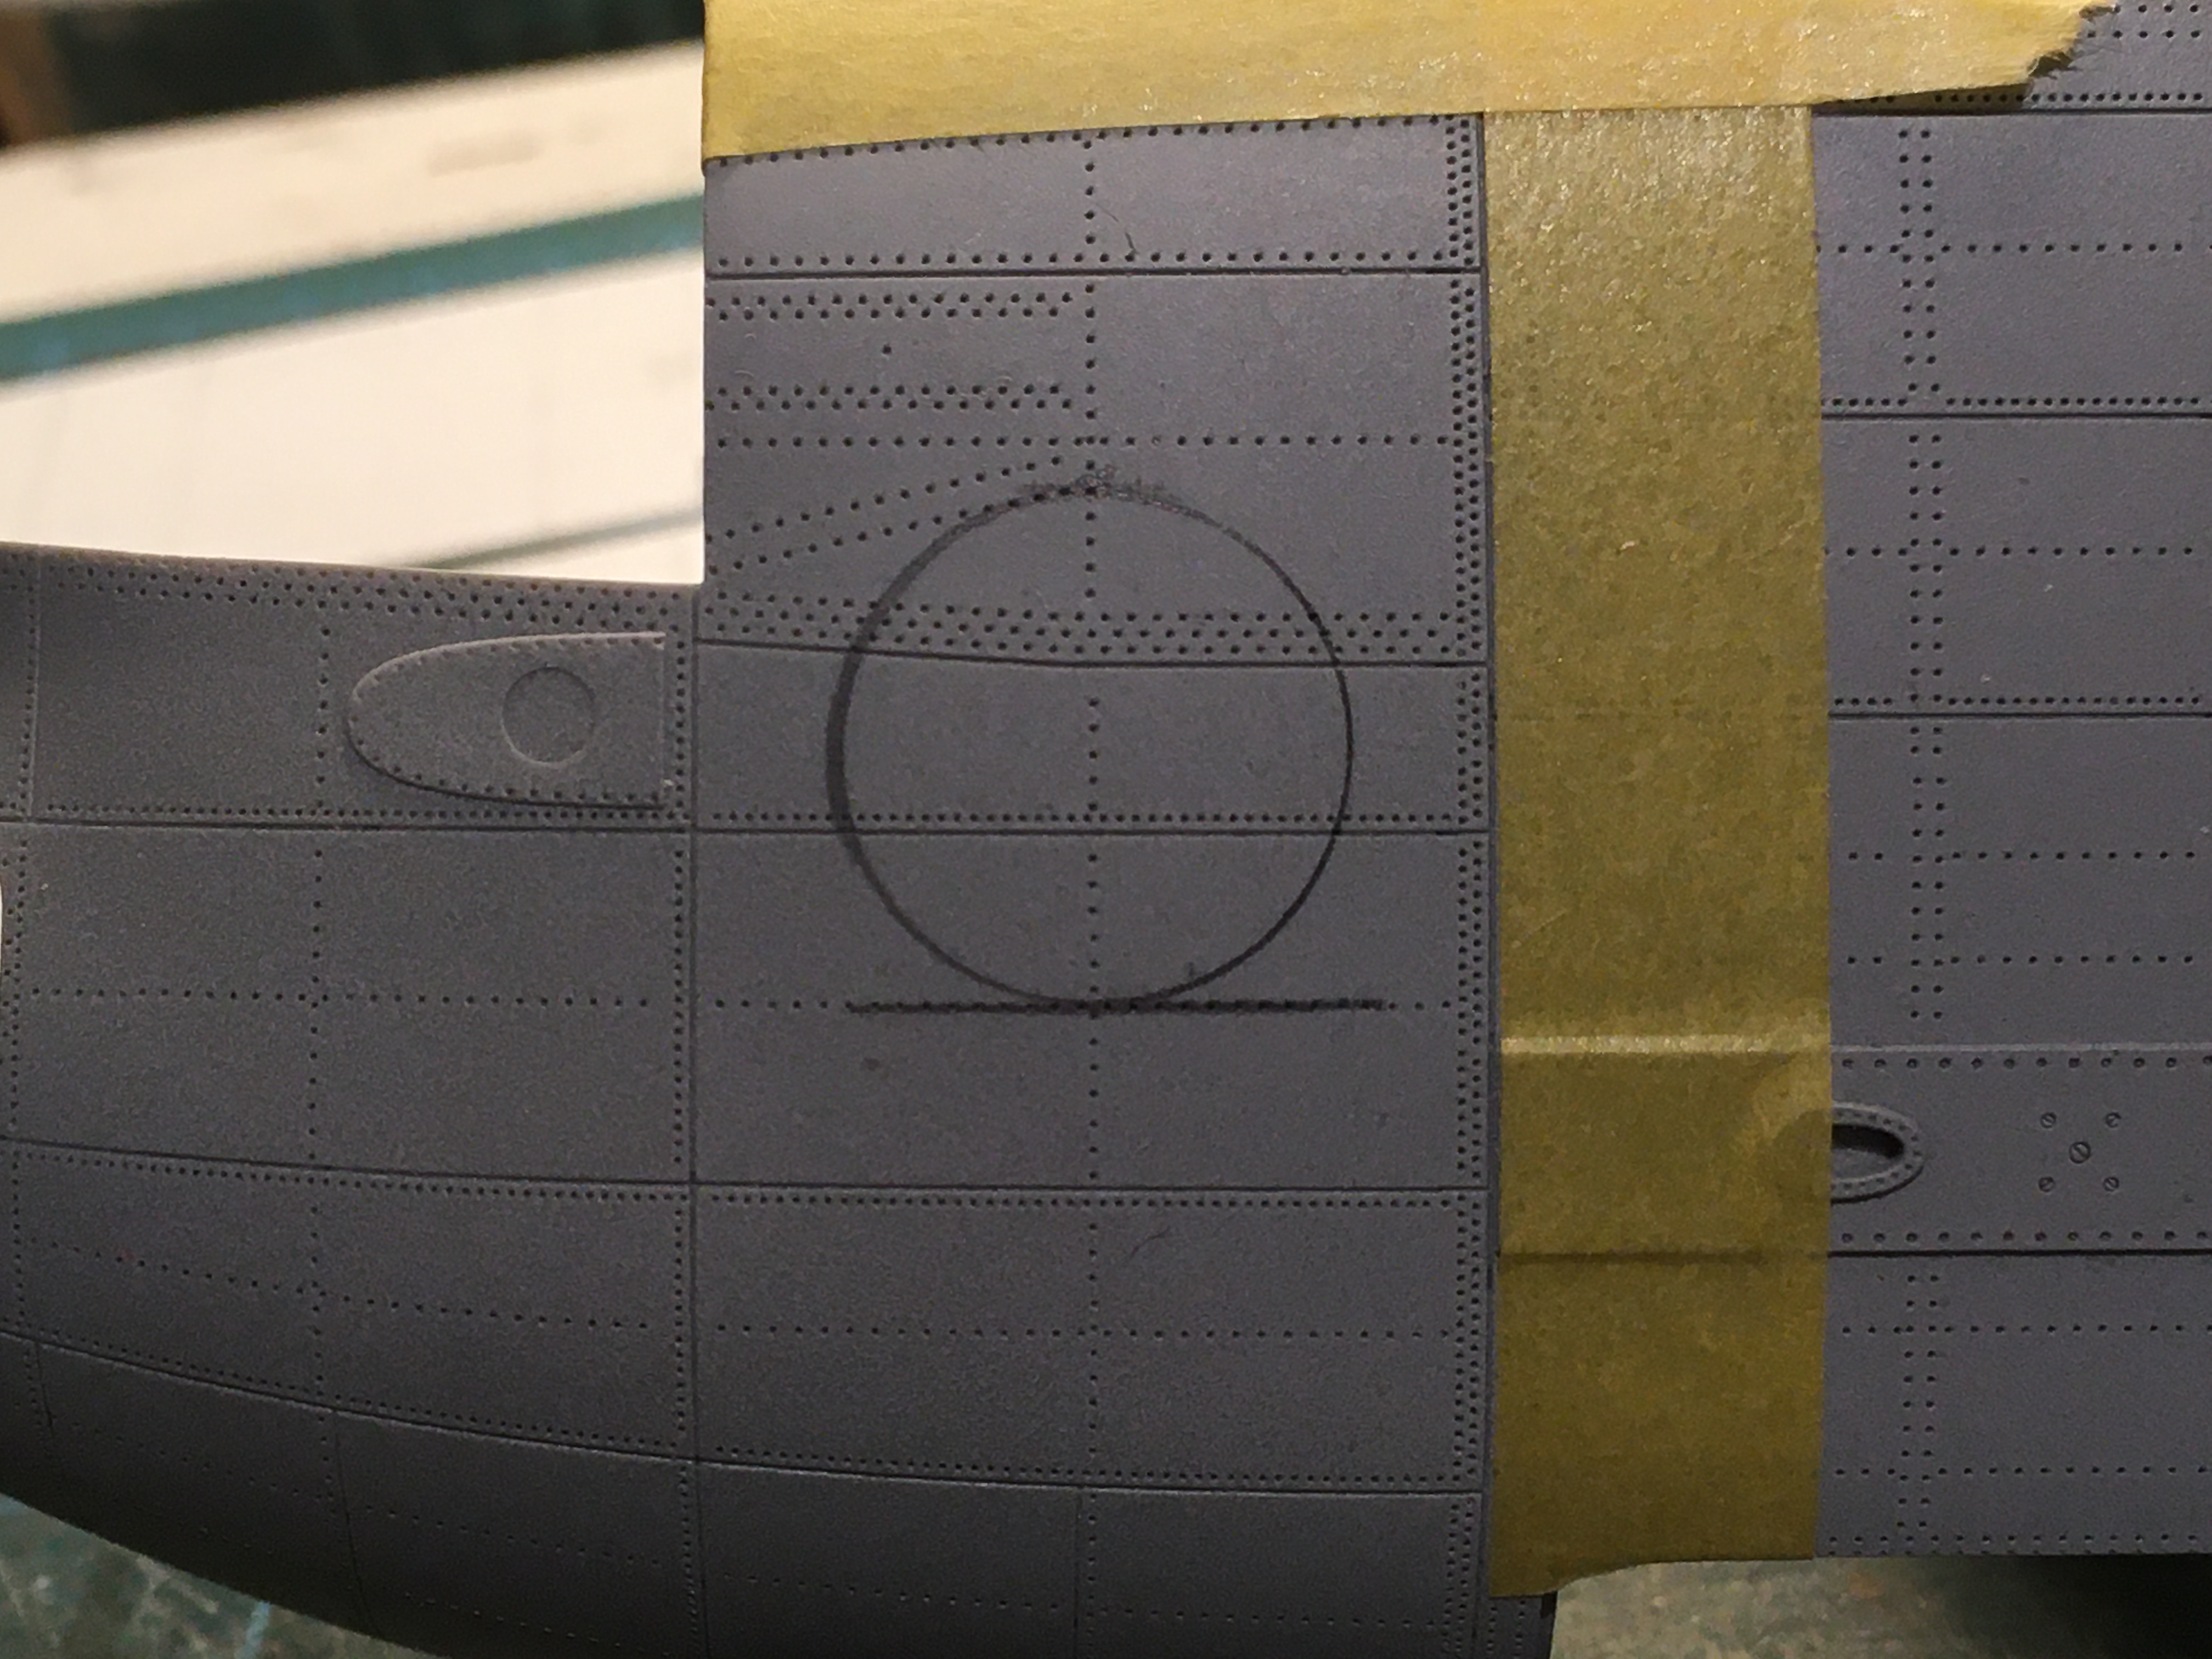
If you trawl the first page you will see the actual aircraft I am going to model and you can see the gas patch circle on her nose. The yellow circle on the head rest of the pilots seat, also seen on the armour head rest of the Mosquito navigator, is to indicate that its armour and could affect the aircrafts compass and not for the same purpose as the yellow circle on the nose . . .
Thanks for the compliment , always appreciated
Ian
-
5
-
-
Thank you Hubert, It will be a worlds first I believe . . .
")
Ian
-
1
-
-
Sorry Phil

The Gas detection circle was to detect gas in the air or even when the aircraft was at dispersal . . . .
-
2
-
-
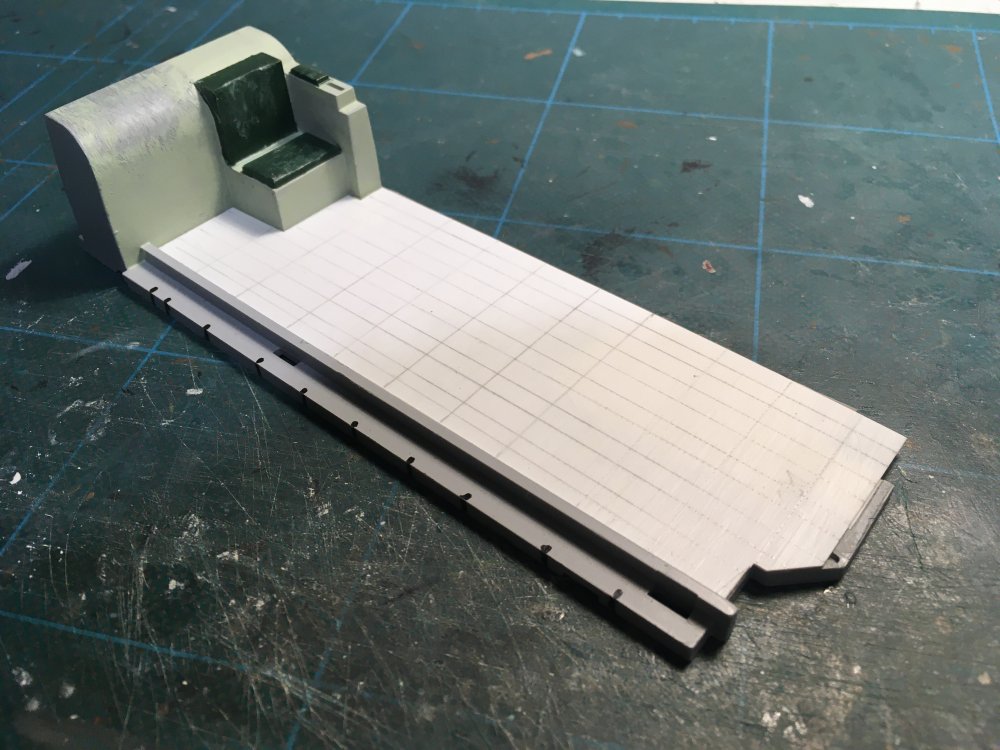
While waiting for Mr. Surfacer to dry through I cracked on with a few other small jobs . . .
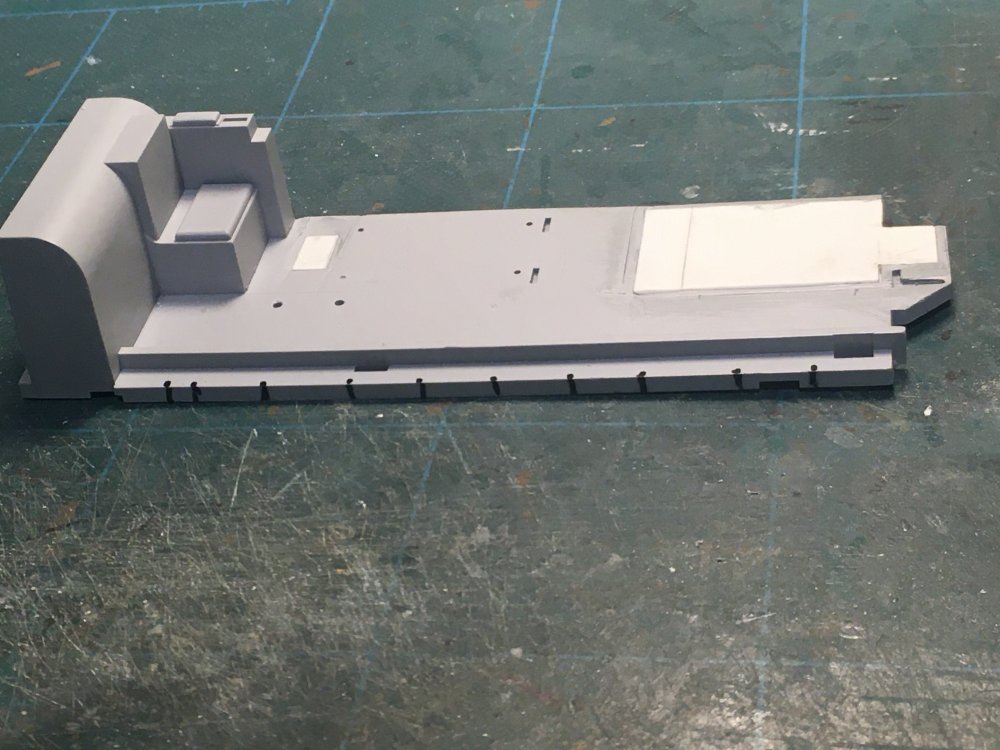
Decided to put down a riveted floor . . .
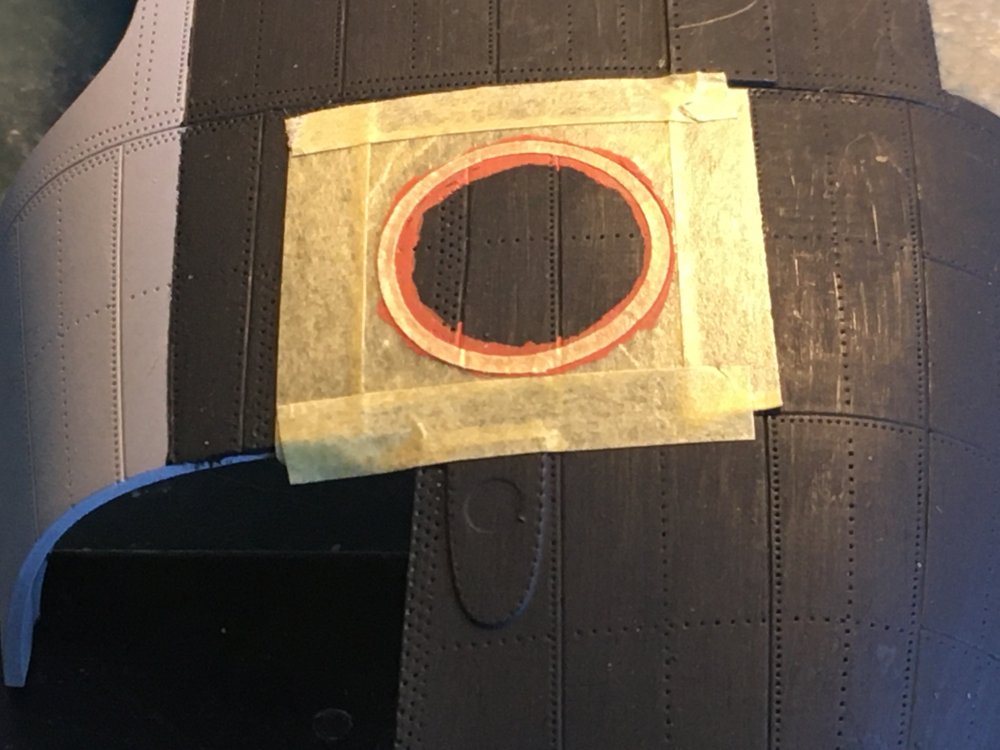
ND644 carried a No.1 Group gas circle on her nose so . . .
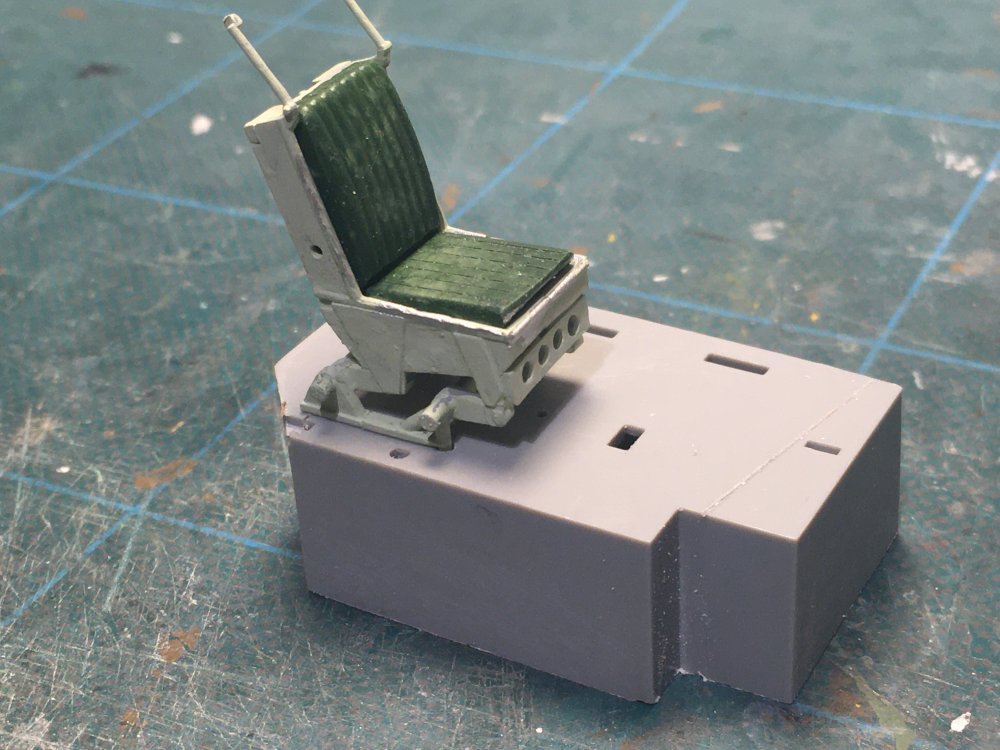
and finally I modified the pilots seat . . .
its time to go out so more next week
Ian
-
4
-
-
Really pleased for you . . .
I trust there is a full article inside giving the details of the build . . .

-
2
-
 1
1
-
-
So after a couple o nights work we have this . . .
Window blanks fitted and covered with Mr. Surfacer
More to come . . .
Ian
.JPG.3f66d0c18a0dba0073c372ab9c4f6170.JPG)
.JPG.c6b5ed28288031040583db57de342a2a.JPG)
-
5
-
-
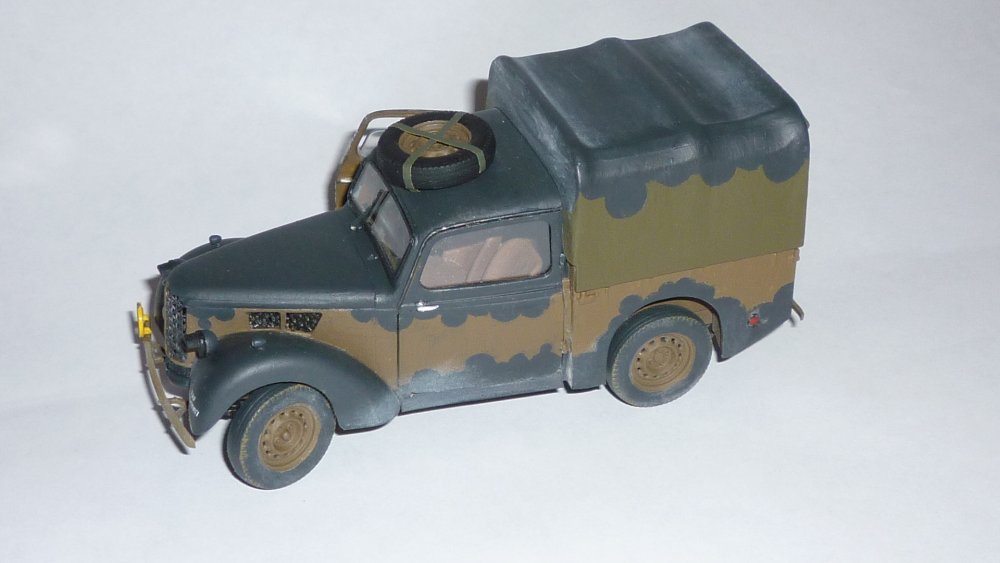
Well it served on American airfields here in England but not with the RAF (not that that will stop people ) but I think its a nice inclusion for a scene . . .
https://www.airfix.com/uk-en/shop/new-for-2021/austin-k2-y-ambulance.html
I may be tempted to get one if only to convert to a 30cwt lorry
 dont tell anybody
Ian
-
2
-
-
Thats dedication for you . . . . when a man wants to put on 400 decals, 400 ?
Black gloss can be a killer but you got it licked . . .
Turned out really well
great effort Kai
Ian
-
1
-
-
Phil
I believe the repair depot you mentioned was at Bracebridge Heath, still a couple of the big Belfast truss hangars there in use by a Lincoln haulage company.
The windows were taken out on the production line around November 1943 . . .
Ian
-
5
-
-
So, last night I started a major part of the spec for my particular aircraft.
All the fuselage windows barring the W/op's needs to be eliminated. I dare say most modellers would put in the kit windows provided and smooth over with some filler ?
I prefer to put in pieces of plasti-card and to that end I started to square off the windows to make it that bit easier to put pieces in.
2nd photo shows some measurements . . .
That will keep be busy for a couple of nights . . ZZZ zz
Ian
.JPG.83326b3bba0eb65f257d811bab09f52d.JPG)
.JPG.c95bbe5e7c37961f8e32f76b98f8c030.JPG)
-
4
-
-
Good evening Chaps
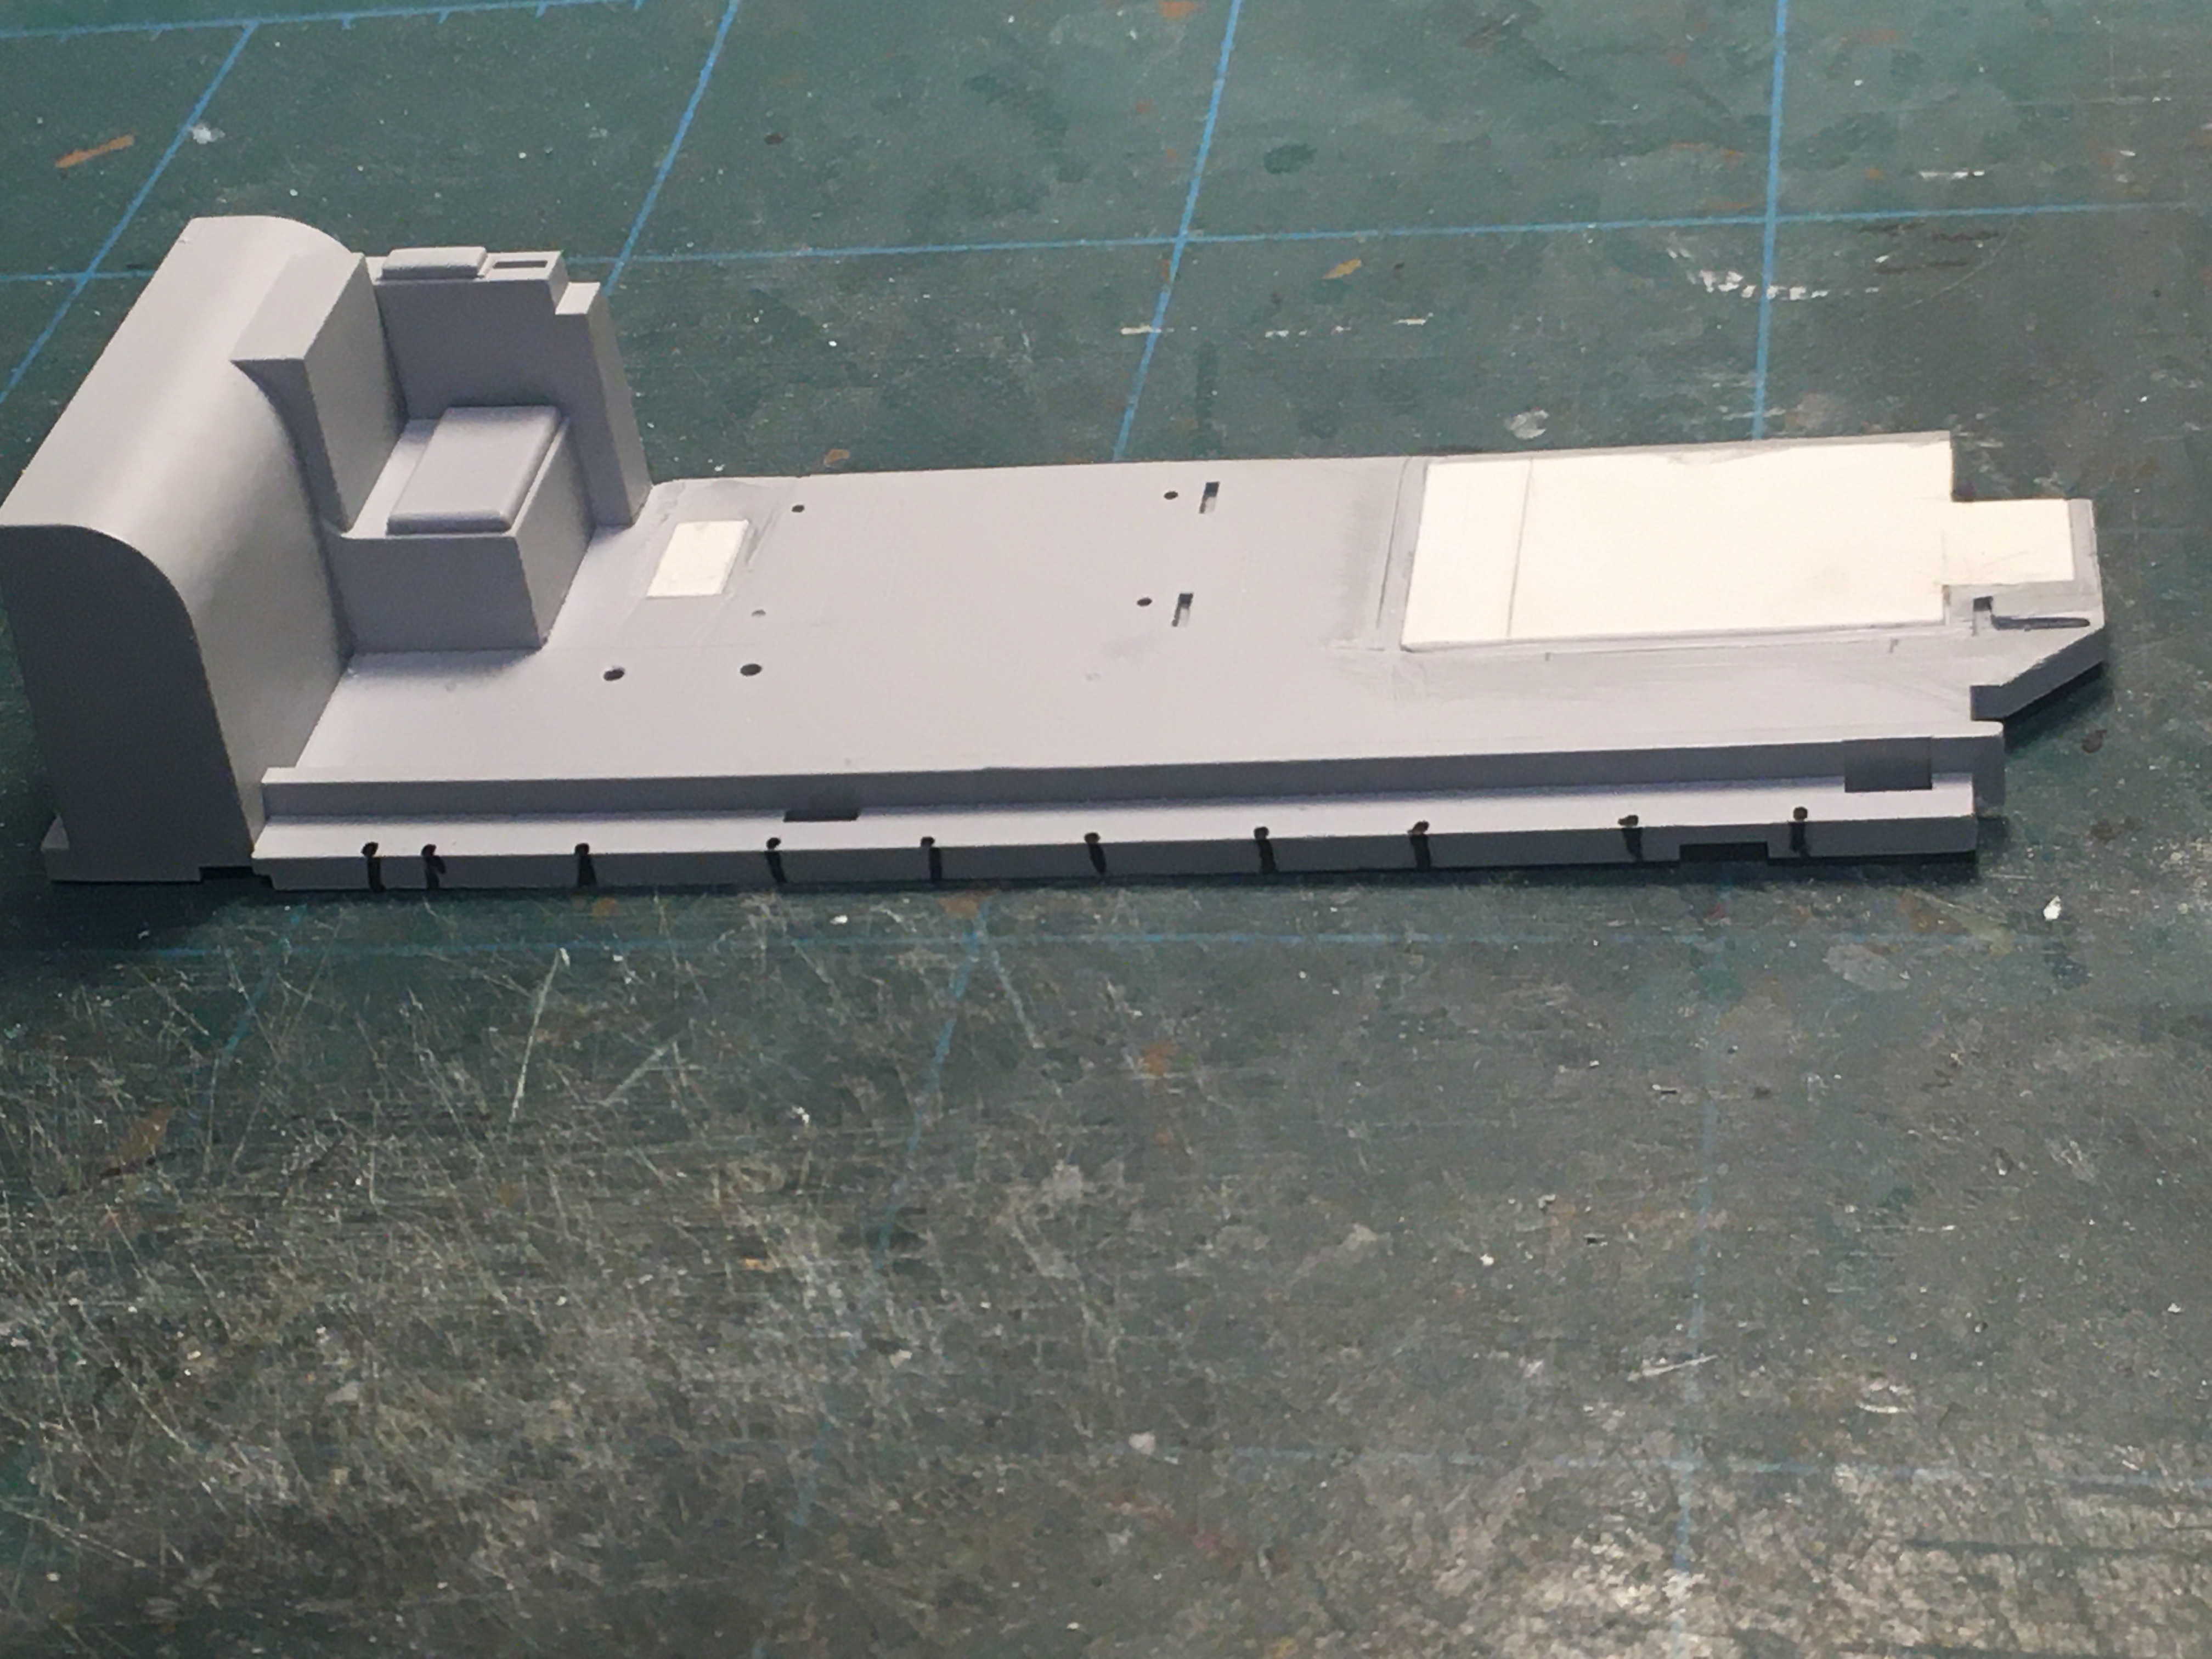
Another modification that is required is the lowering of the pilots platform.
Apart from his seat being to high compared to the window of the cockpit, its also the wrong size so that too will require some modifications.
The pilots platform was cut off flat to the cockpit floor and the hole filled with plasti-card. I also cut off the battery pack near to the W/op's seat as I intend to put down a riveted floor, just to make it look better . . .
bye for now

Ian
-
5
-
-
Unbelievable work so far Ron . . . .
 and all from scratch
-
2
-
-
. . . and thats why we do it Kai
I want to spend the time making the alterations cos for me, it will be the ultimate Lancaster kit.
I too have spent £'s on after market stuff and if you include the cost of the vehicles to display with the aircraft when it finished . . .
Some of the alterations probably are not required cos most members of the public that view it wouldn't appreciate the alterations.
I not saying they wouldn't appreciate the size and look of the aircraft cos it is an eye catcher but Us modellers know that some kit dont 'fall together' and only we truly appreciate the workings that go into turning a pigs ear into a silk purse . . .
Ian
-
5
-
-
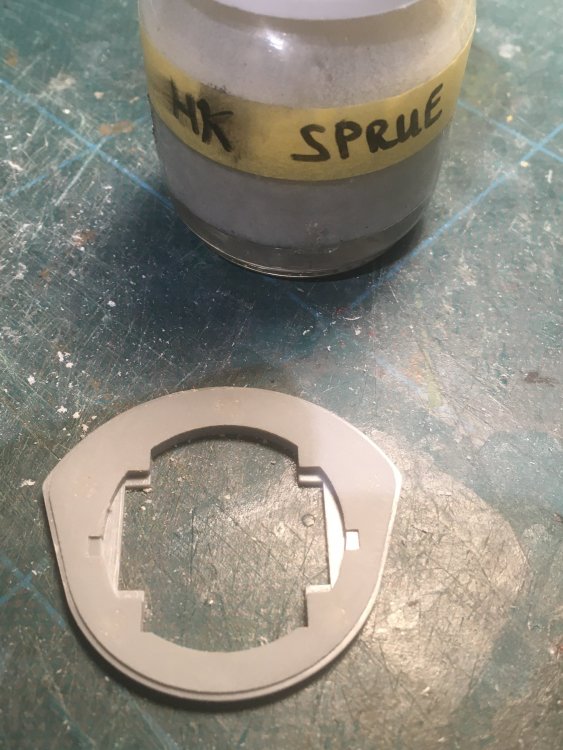
There are so many small jobs that are required to be done in order to obtain the very best out of the kit.
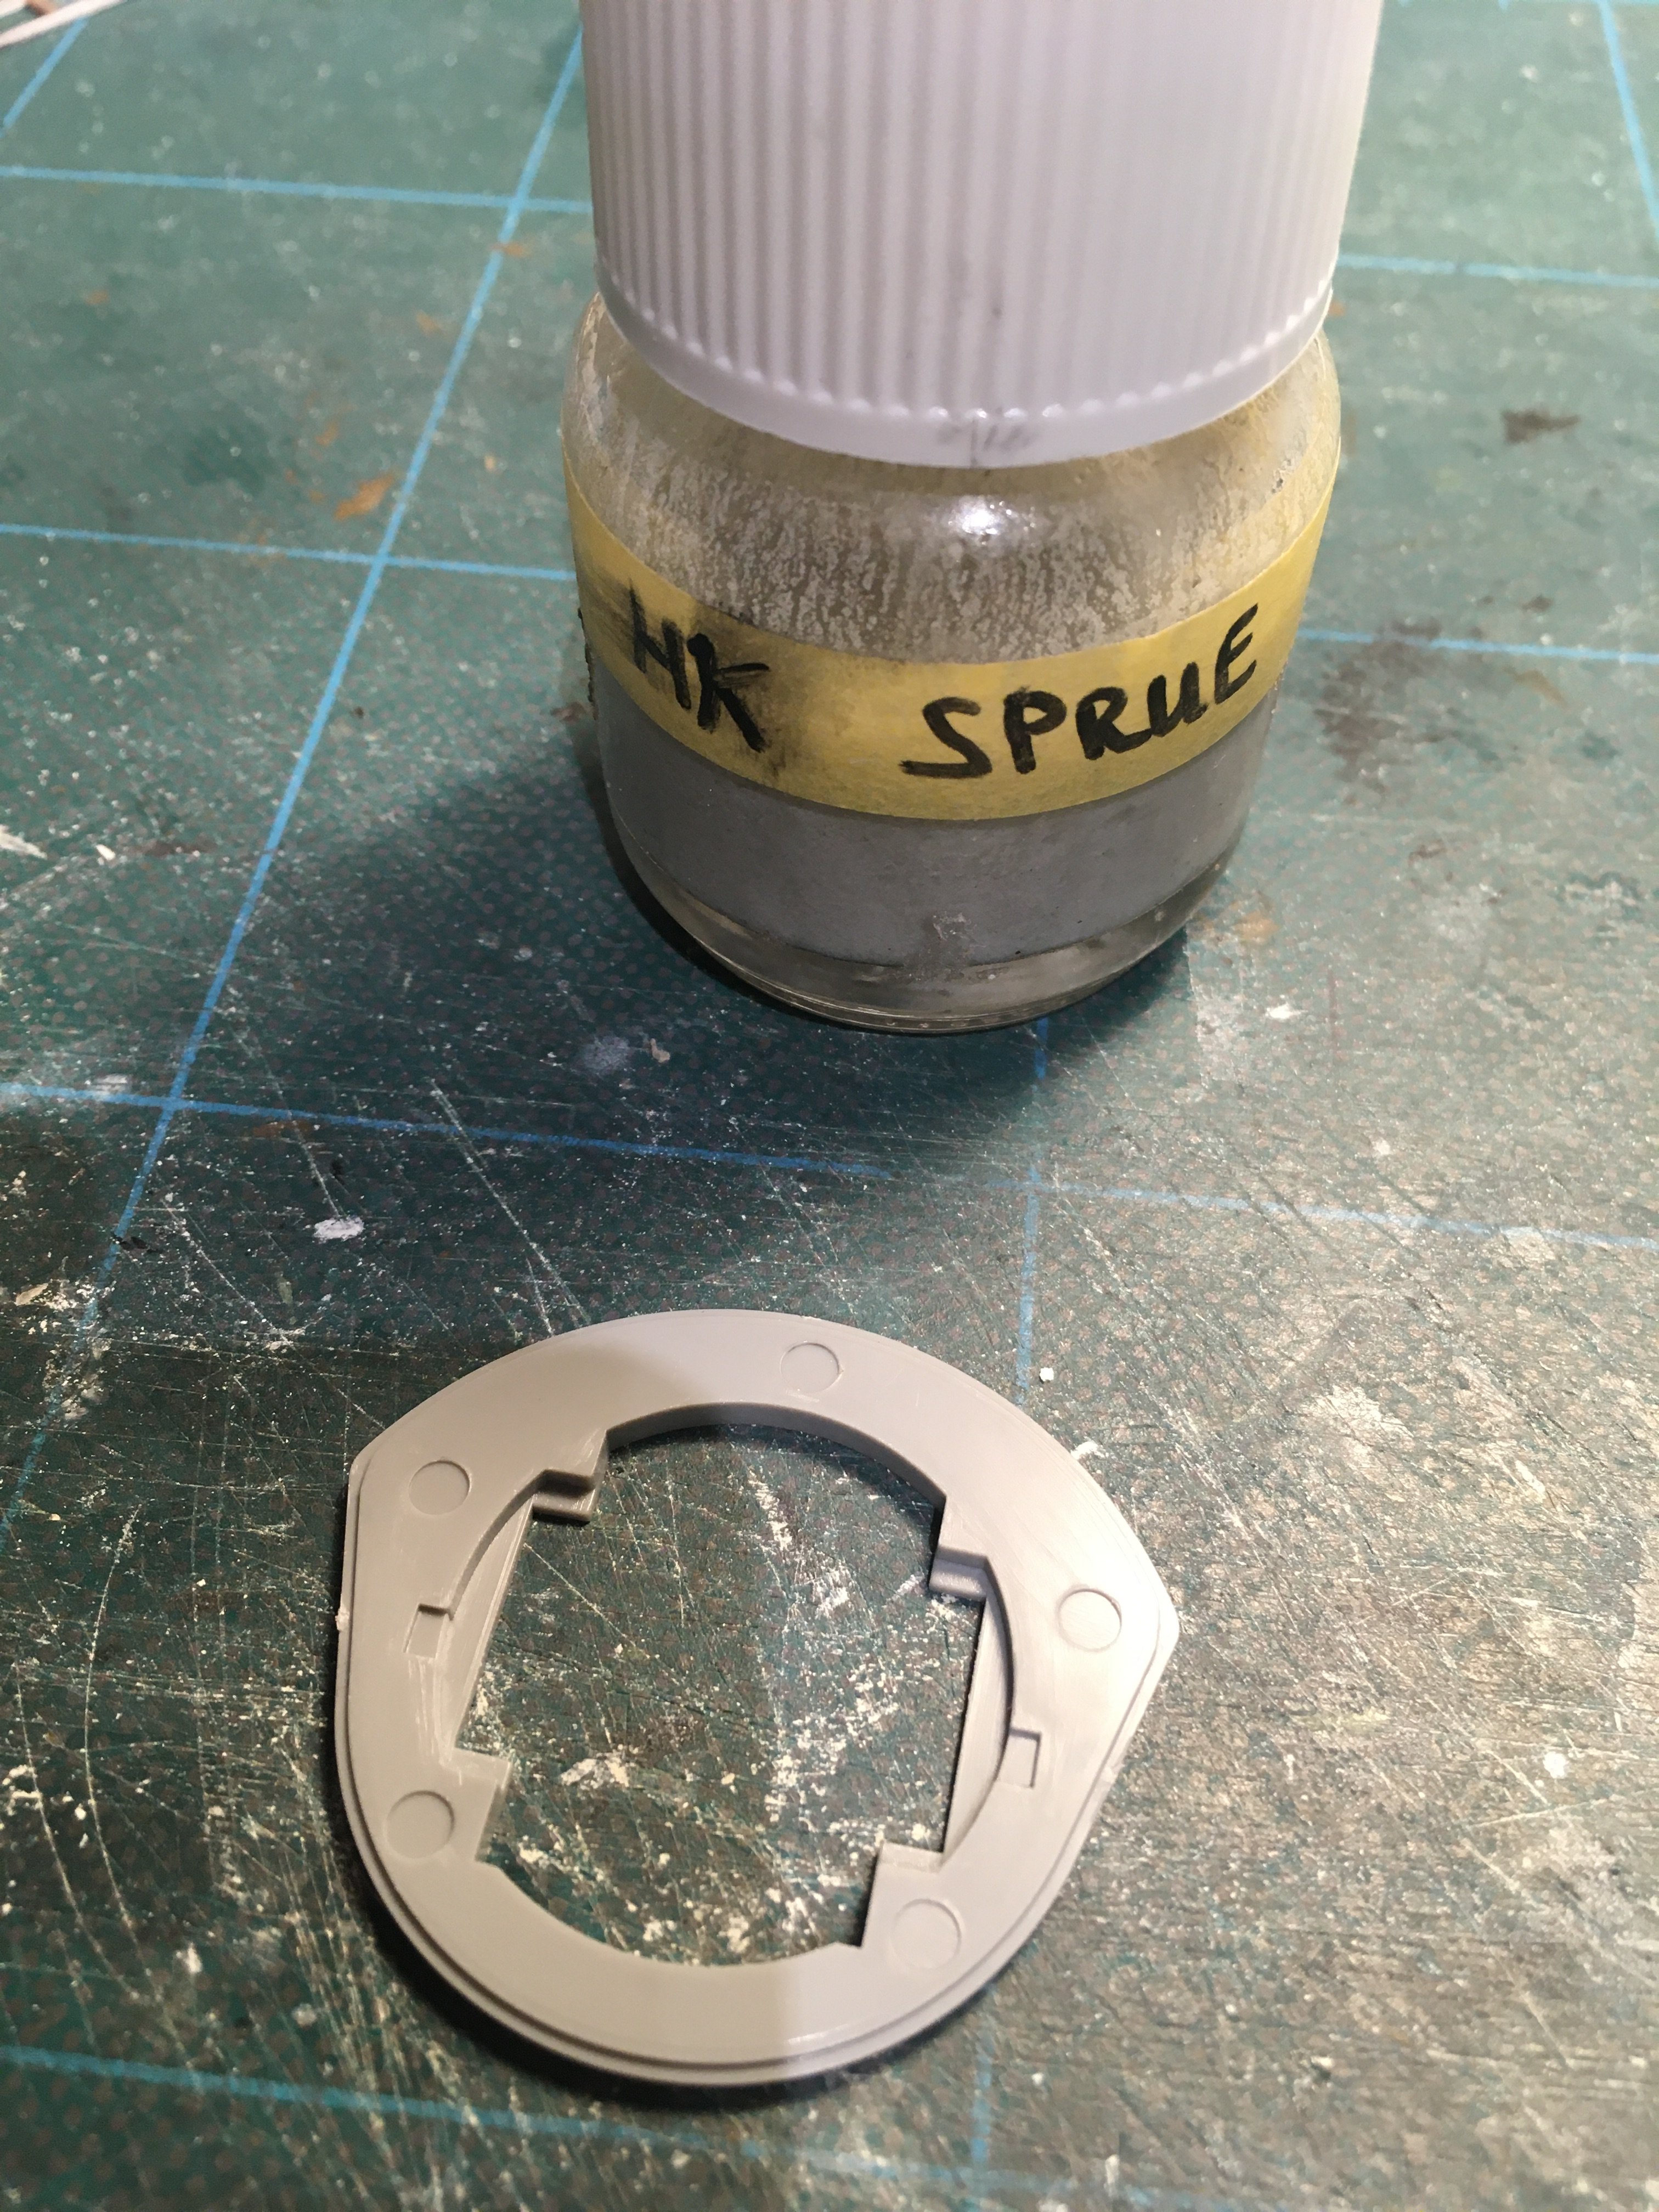
The front turret is quite prominent and one can see into it so to that end, the five Sink marks needed to be filled. I made up a pot of Sprue glue made up of the HK tags removed from the fuselage . . .
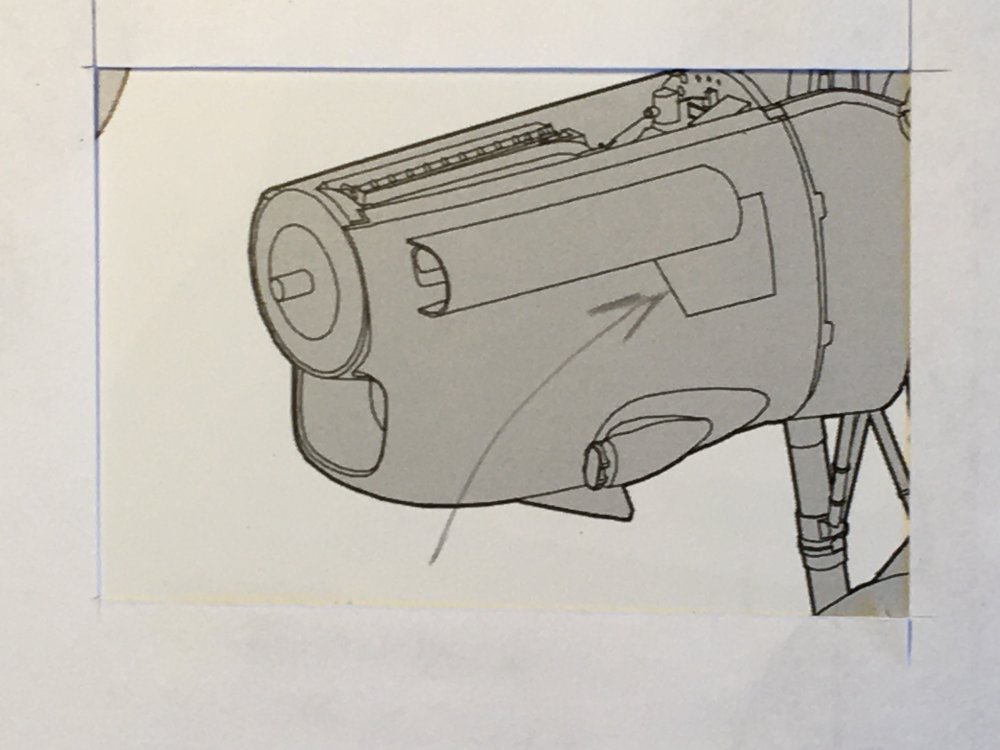
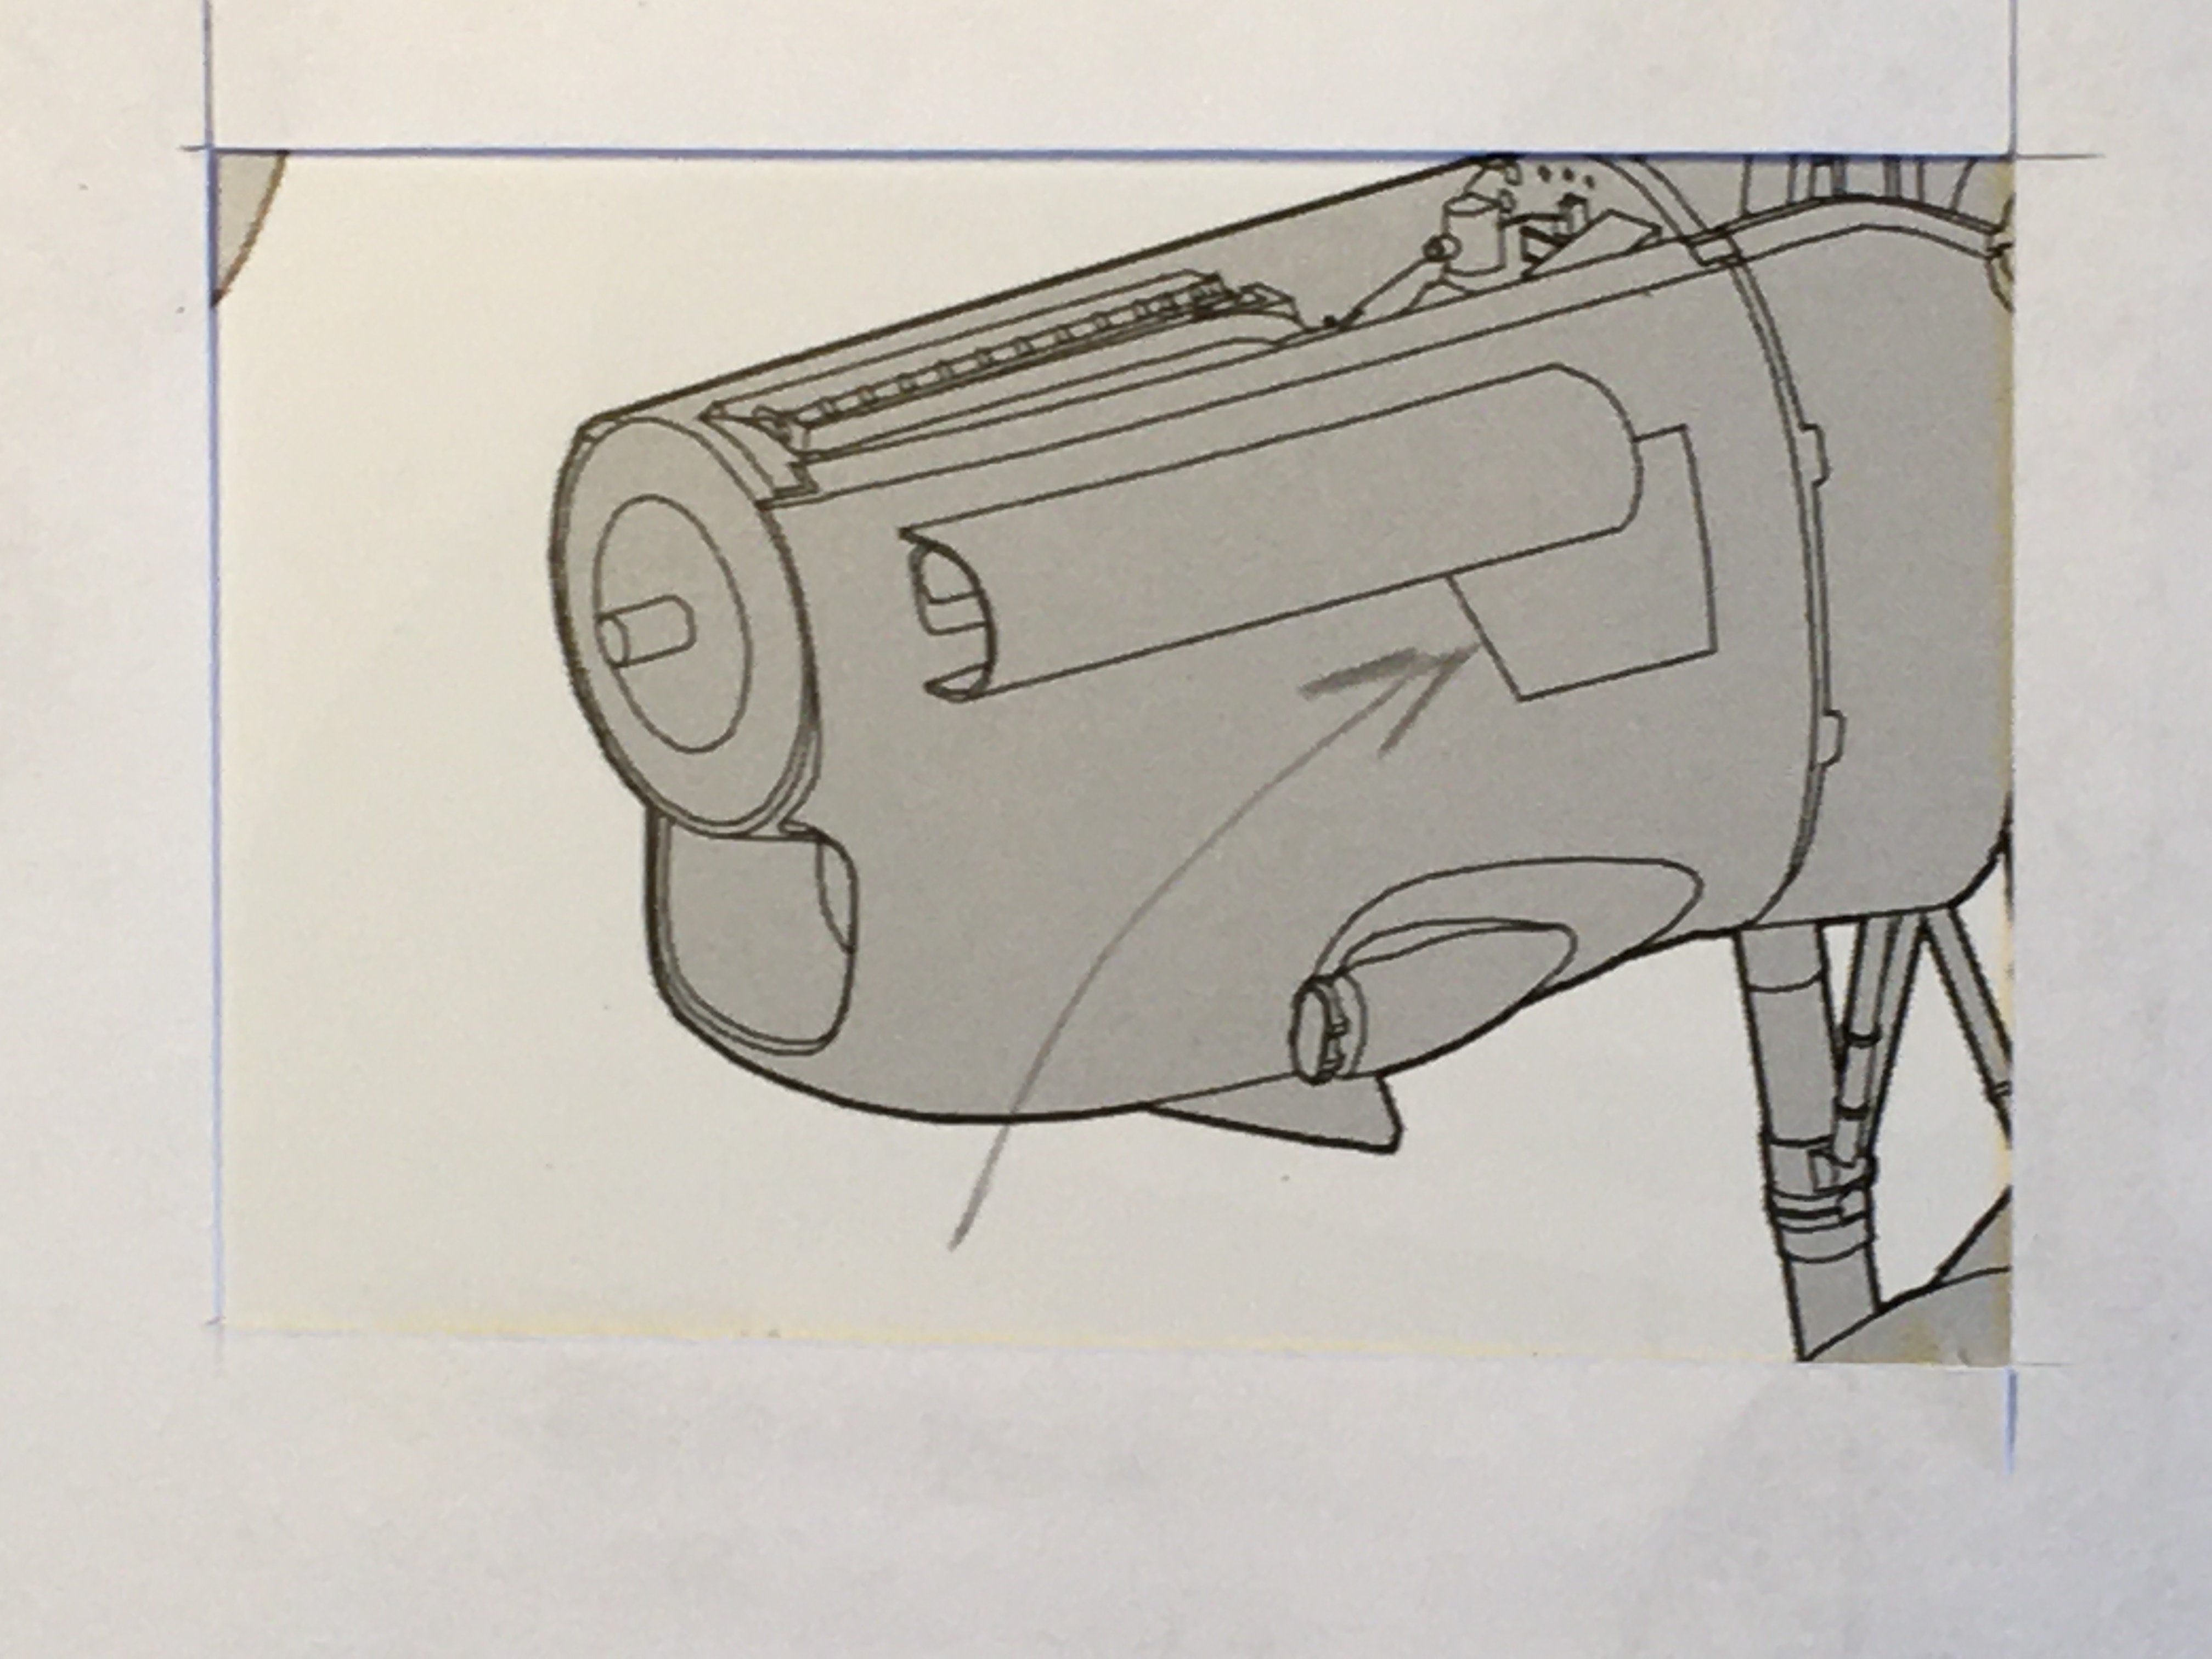
Another error that I have discovered are the side engine cowlings have a square panel on them. I haven't seen this on any wartime aircraft photos and it isnt clear on postwar aircraft either so I'm not sure where they have come from. Again Sprue glue has been put to use . . .

I'll keep looking in the box for some more of the smaller jobs to add to the list

-
3
-
-
Just a note to say that I have removed the ejector pin marks off the bomb and the undercarriage doors, all 38 of them

Also removed the Flare chute exit molding on the starboard side just behind the bomb bay
Going to give it a few more days before I start rubbing down Mr. Surfacer off the wings . . .
Ian
-
3
-
-
I'll watch out for that. I must admit the front of the cockpit canopy does look a bit 'pointy' . . .
-
4
-
-
3 hours ago, BlrwestSiR said:
Ian, any chance the pin marks in the bay doors will be covered by an inner door or bits from the PE set?
Thankfully I'll only have to deal with it on one of my Lancs as the second will be a Dam Buster
Carl
Carl
there are no inner doors and I dont want to run to the expense of a massive PE set that covers the whole of the bomb bay and doors . . .
thanks for asking
Ian
-
3
-
1
-
-
Kia
I did see that when you posted it, I couldnt tell from the above photo if I had seen it.
I think its a splendid build and there is much to be admired . . .
Quick question: What did you use to glue the cockpit blister onto the canopy ??
Ian
-
4
-
-
Kia
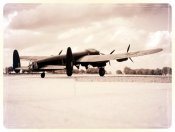
that actual photo is what I have as reference . . .
Perhaps I mis-read what you said, as we were talking about early aircraft having the trailing outlet on the starboard side and i thought you were thinking
"In the ED-Series at least the 464-Provisionings also had that feature."
Anyhow, I'm glad we cleared that up . . .
Ian
PS Would like to see a photo of your Lancaster build . . ..
-
4
-
-
Kia
I dont think they did so I would be interested in seeing the photo that shows that in position . . .
Gibson aircraft certainly had the trailing aerial on the Port side
You are right though about finding as many pics as possible of the aircraft you want to model . . .
Ian
-
4
-
-
Kai
I do believe it was only on those aircraft with the serial no. starting with the letter 'R' and 'W'.
You are right when you say its on the DV range but to which aircraft it changed will probably be never known . . .
Ian
-
2
-


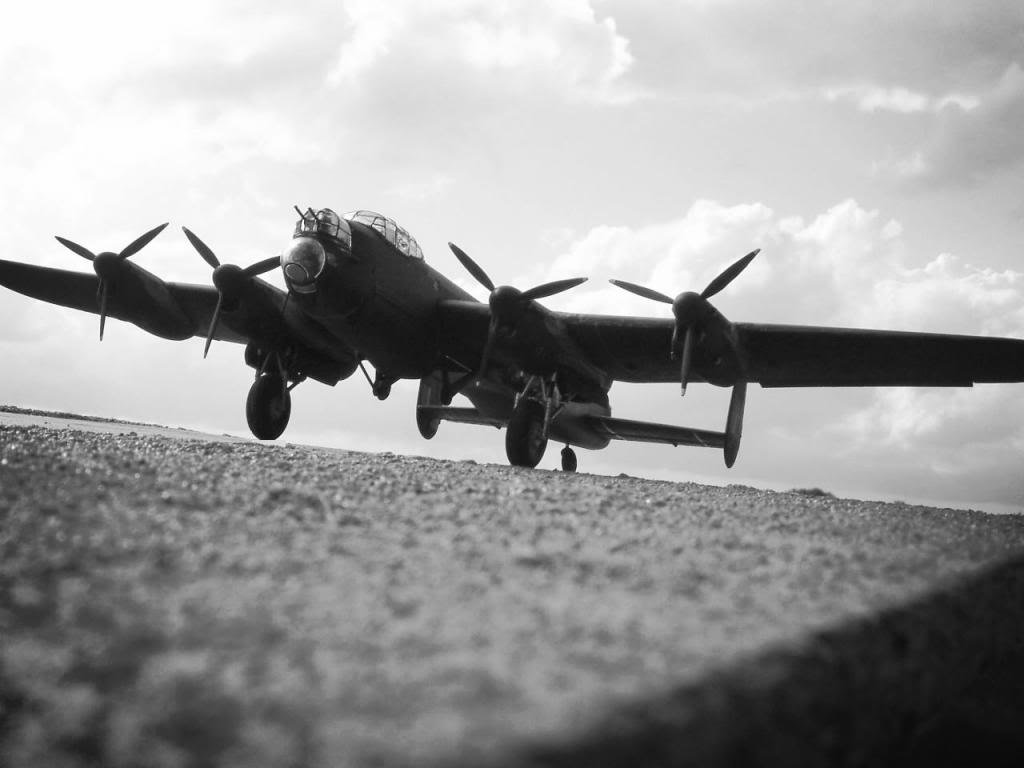
Lancaster ND644 in 32nd scale
in LSM 1/35 and Larger Work In Progress
Posted
I looked at the engines and their construction.
I only anticipate building One to show it off and considered it for display in the diorama setting . . .
The engine assembly is quite straight forward but as I said I only want one complete engine but there is a short cut that is not illustrated in the Instruction booklet.
First photo is the almost final assembly where you add the individual exhaust onto/into the engine block . . .
As mentioned, there is a short cut if you dont want to build ALL the engines and I cannot understand why the instructions dont even offer the alternative ? the sprue required is lettered 'Z' . . .
The two long box items at the bottom have three tabs that slot into the back off the engine cowling so you can then just add the individual exhausts . . .
Shown are my sets painted up, you only need to paint inside the box . . .
Another reason for assembling these 'false' exhaust outlet is because, in my opinion, the exhaust shrouds, are way to large and to that end, once the exhausts are fitted I will be able to see just how far they extrude from the engine cowling. Only then will I be able to cut the shroud(s) down to size.
Have a look at a number of those already built, they stick out to far then look at an actual aircraft, the difference IS noticeable.
Thanks for looking in
Ian