
RalphSarc
-
Posts
2,143 -
Joined
-
Last visited
Recent Profile Visitors


-
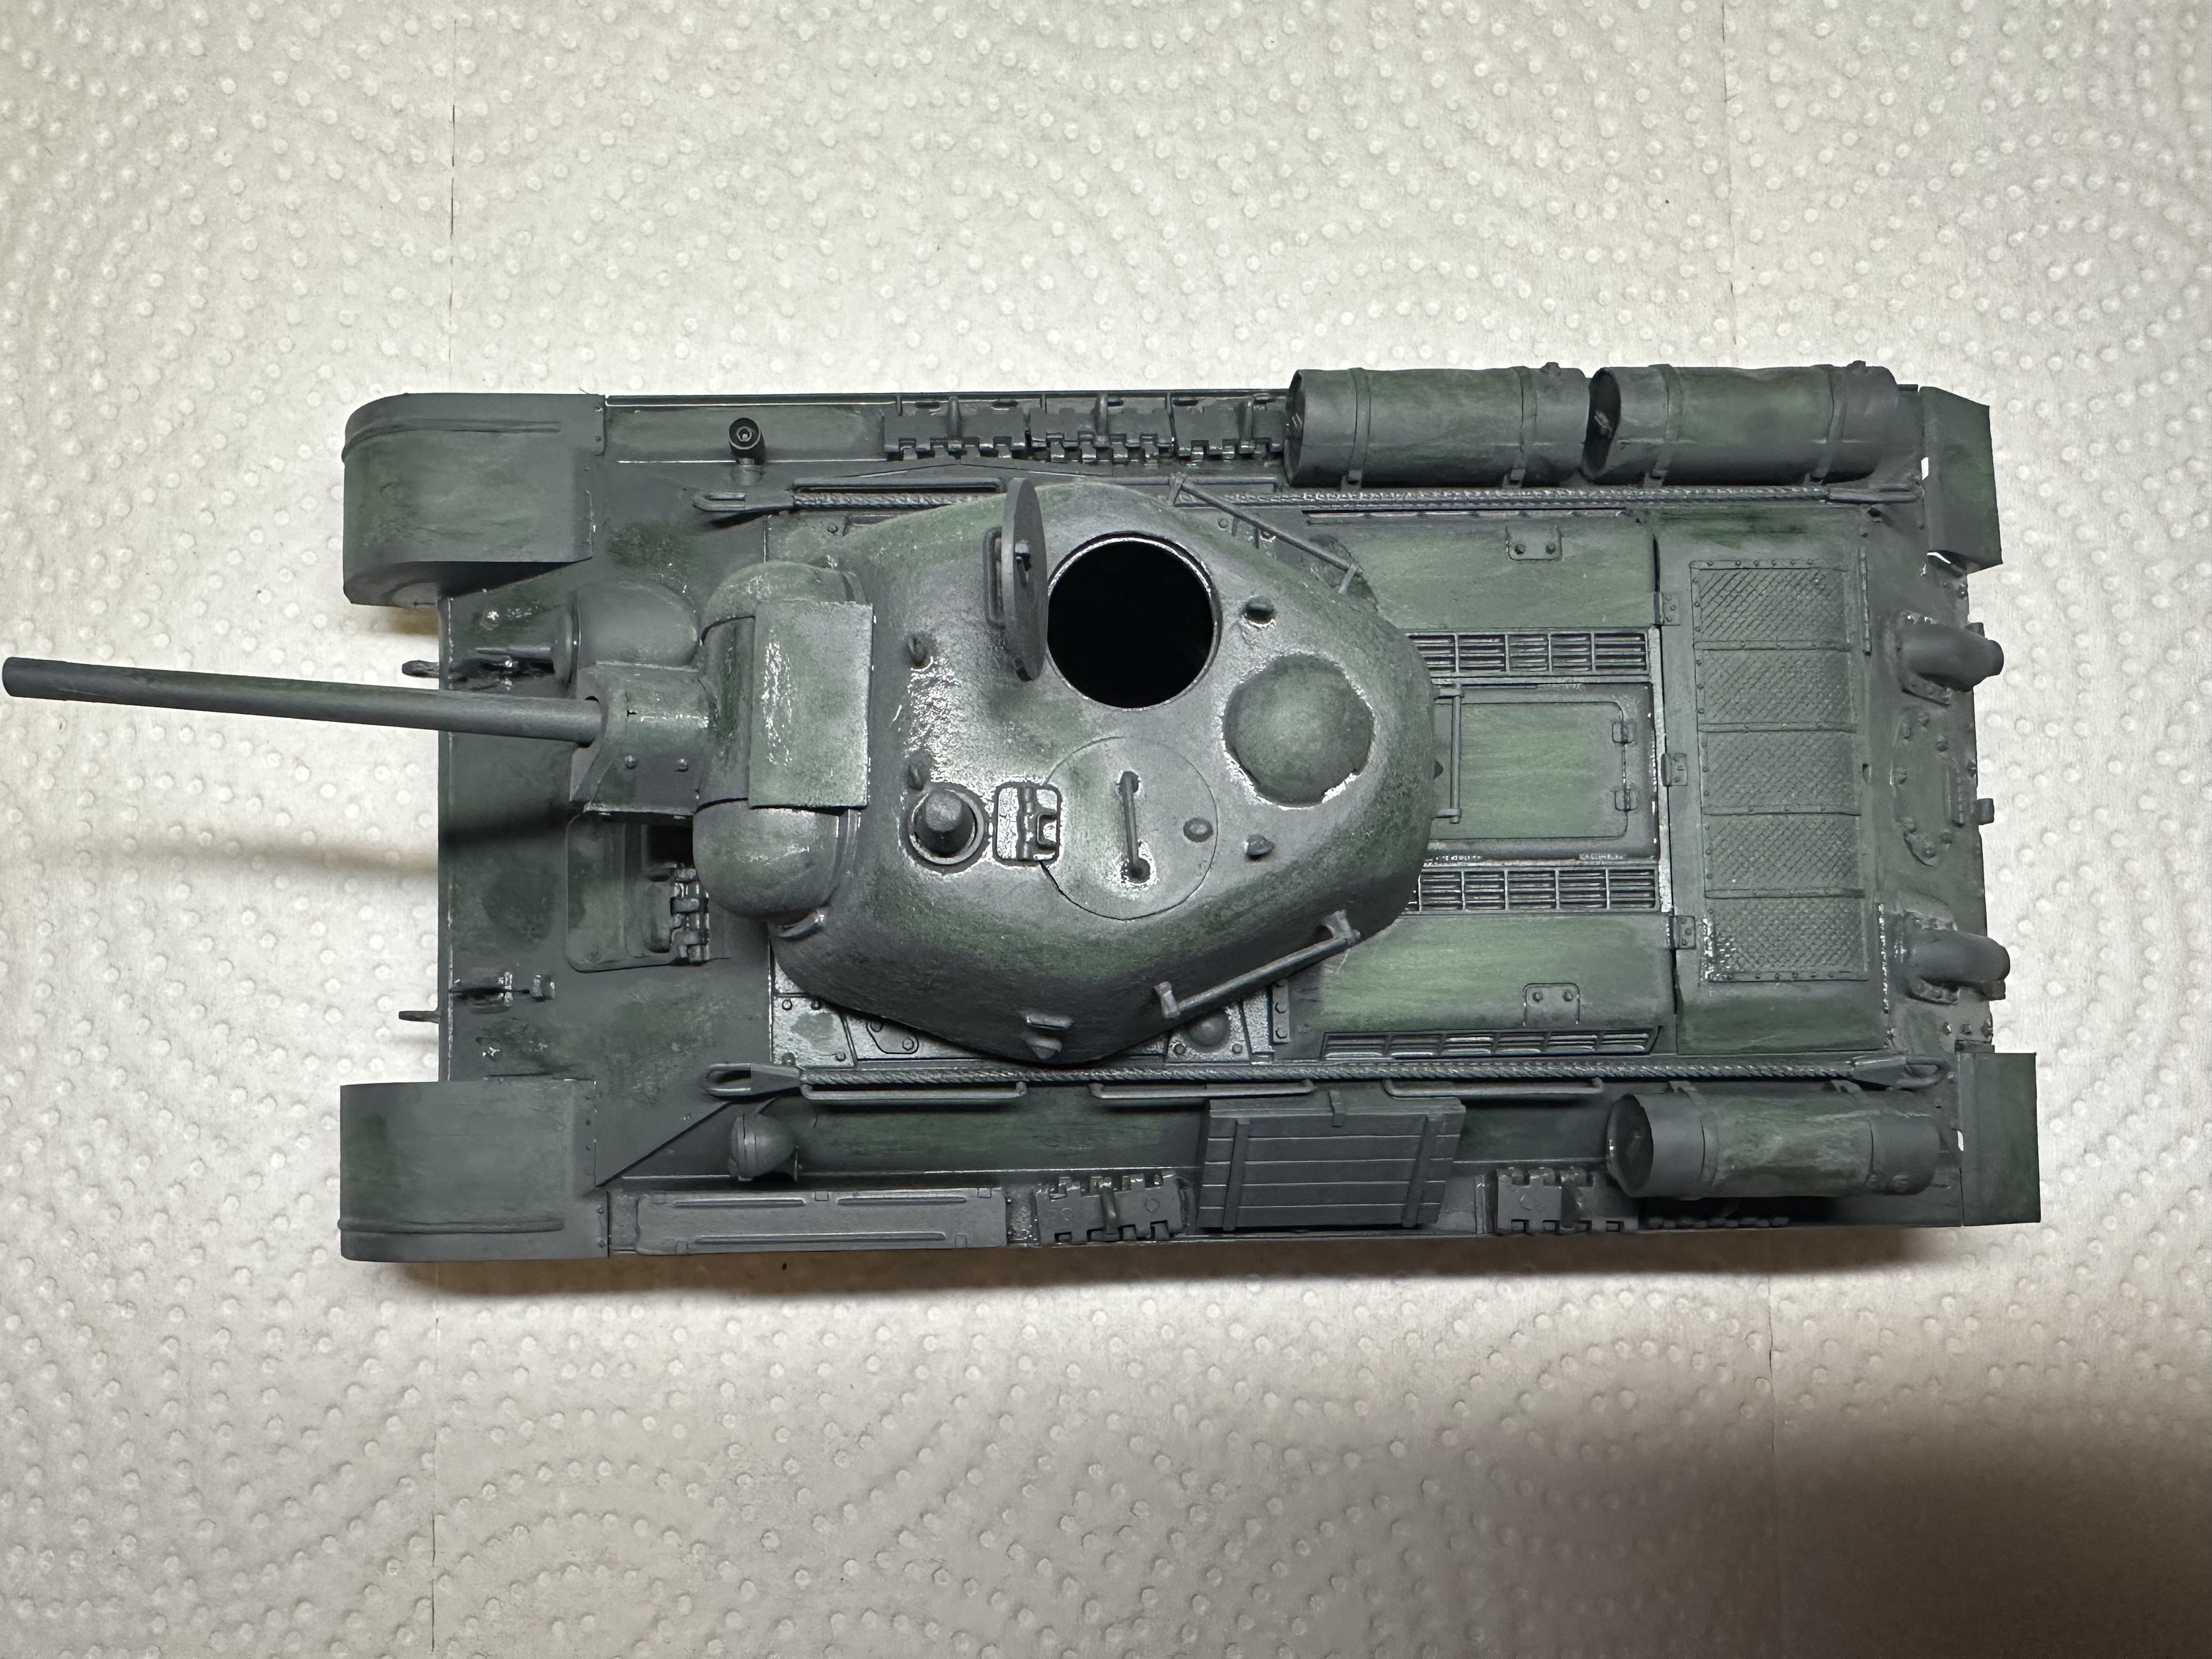
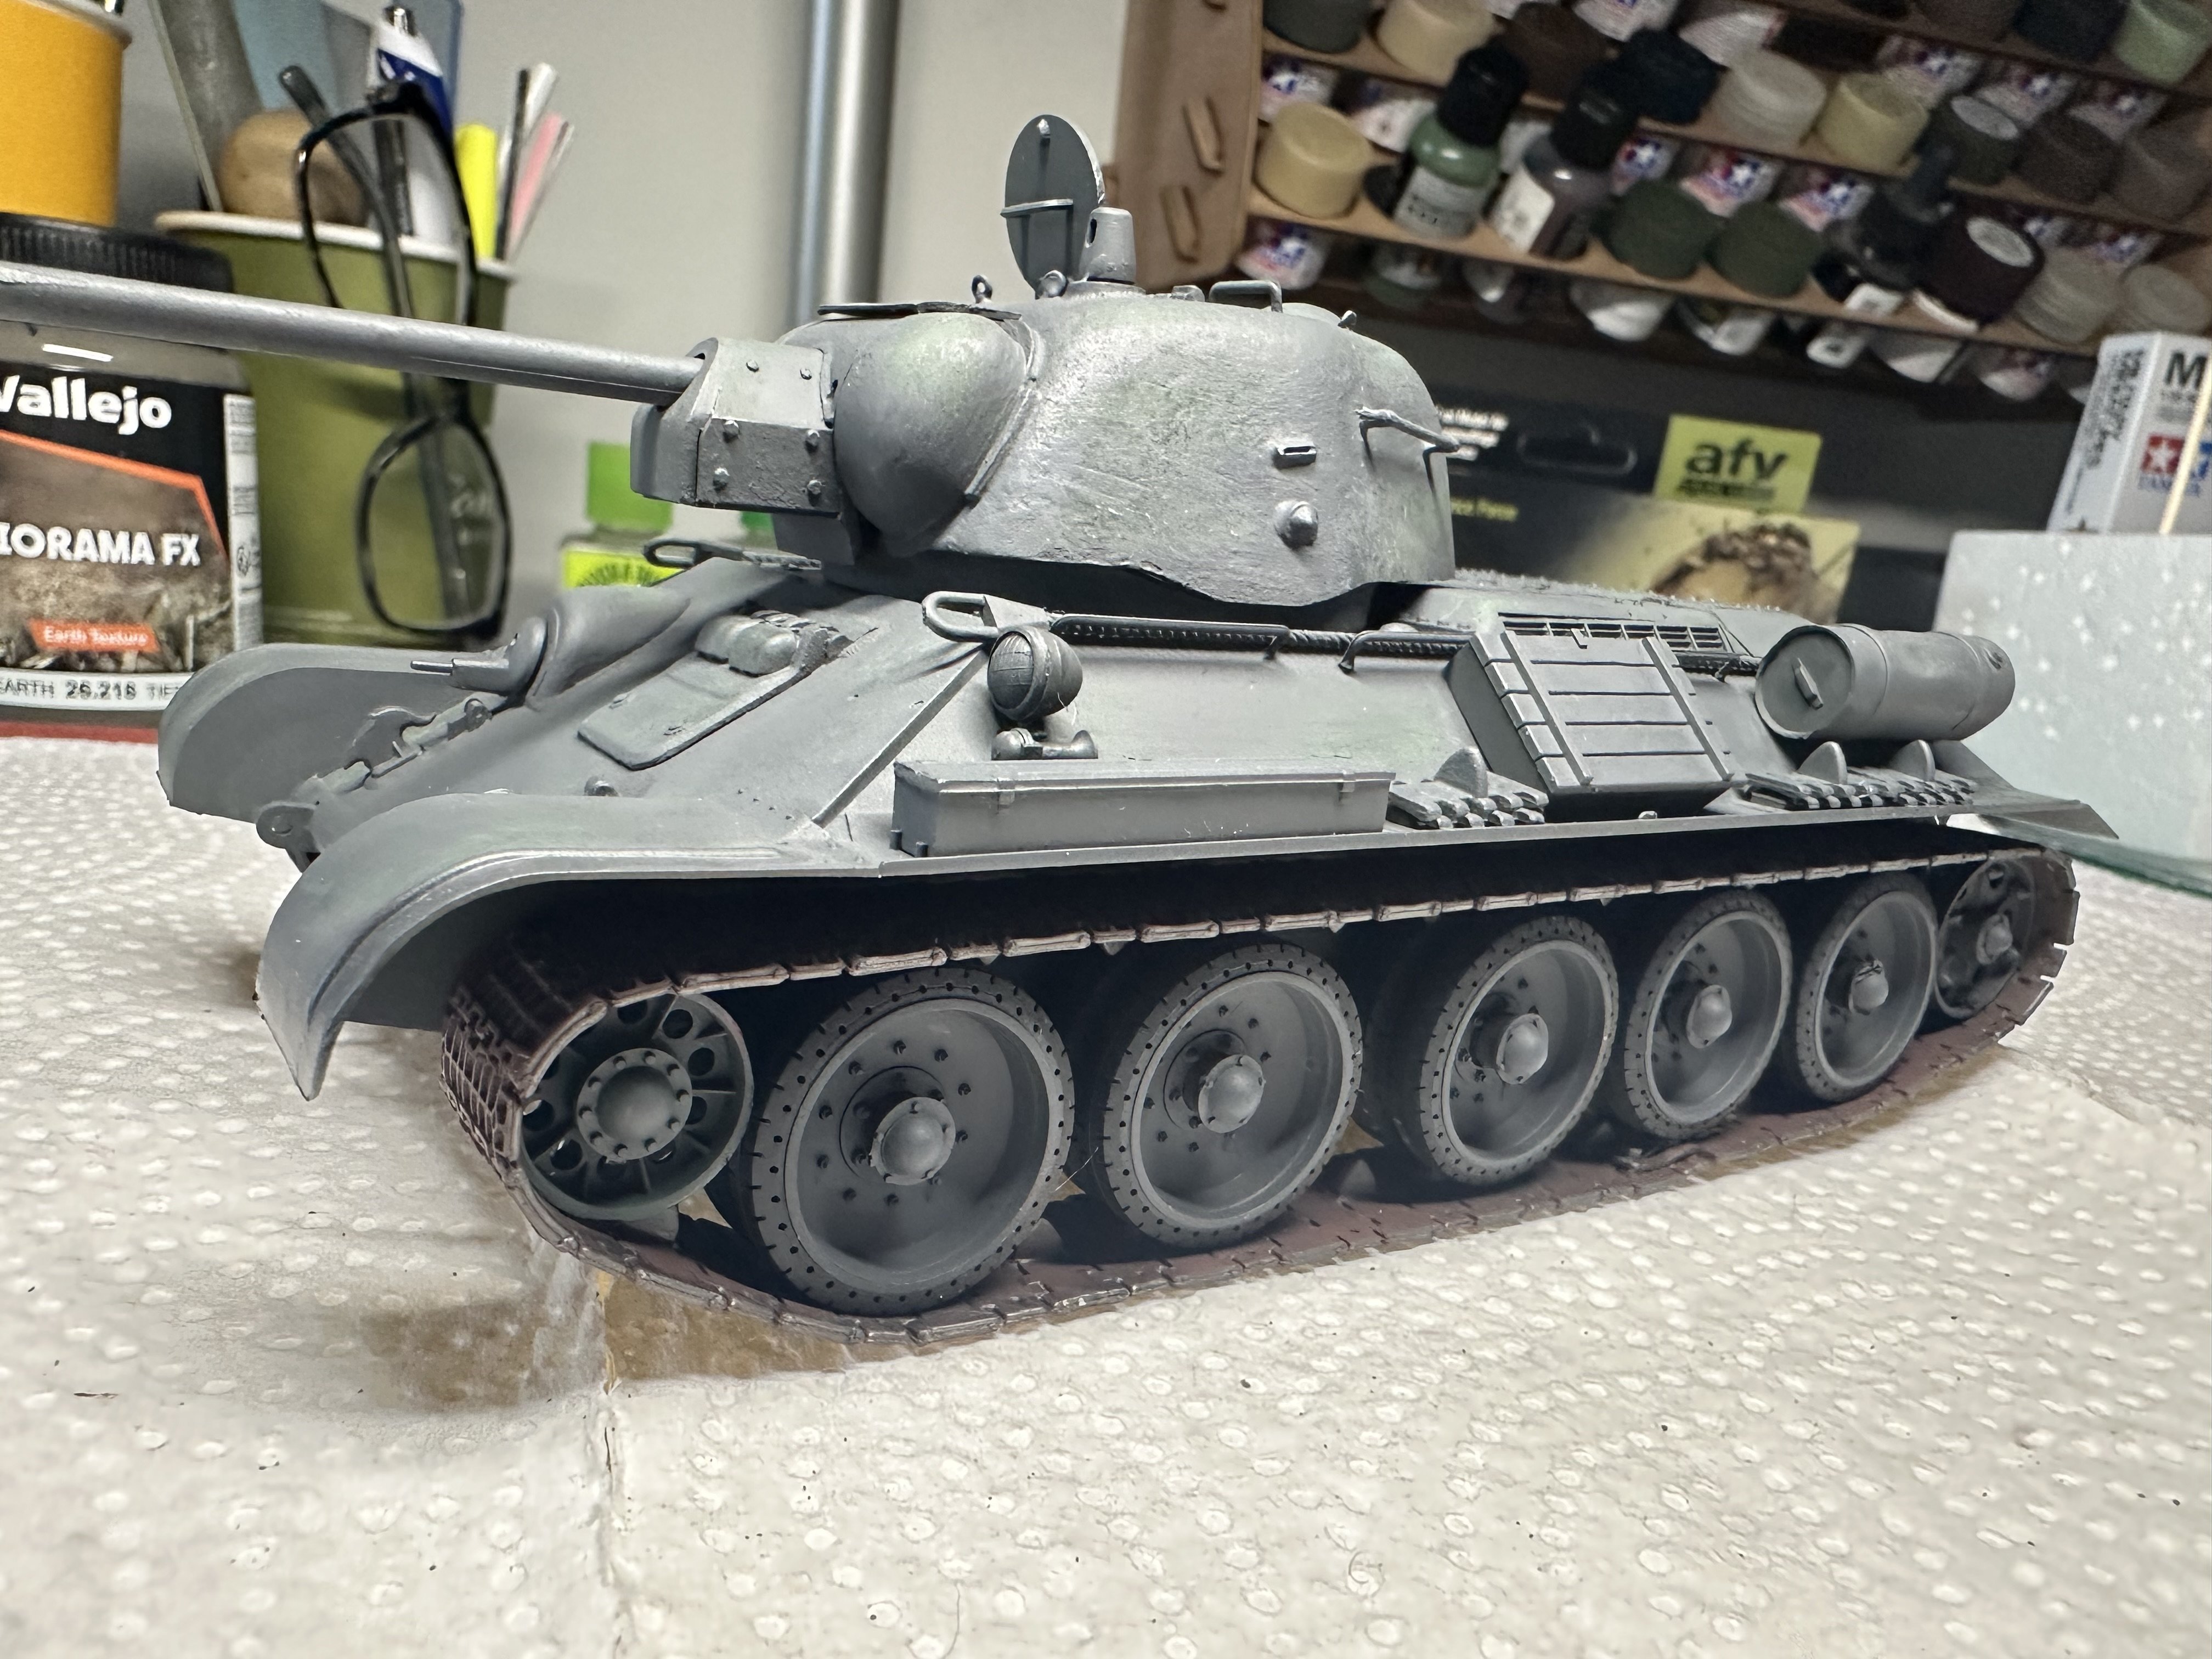
Here’s my completed “Russian Front Group Build” Tamiya 1/35 Captured Russian T34/76. After reading the responses to my chipping question I decided to take warm water and a toothbrush to the whitewash giving the winter camouflage a more warn look as if surviving on the battlefield more than a day!!! FYI: Captured Soviet tanks in WWII were commonly repurposed by German forces, who applied large Balkenkreuz markings to avoid friendly fire, often using them due to shortages. Models like the T-26, T-28, T-34, and KV-2 were captured and sometimes modified.


-
- 4
-

-

Tamiya 1/35 Jagdpanther (Late Version)
RalphSarc replied to RalphSarc's topic in LSM 1/35 and Larger Work In Progress
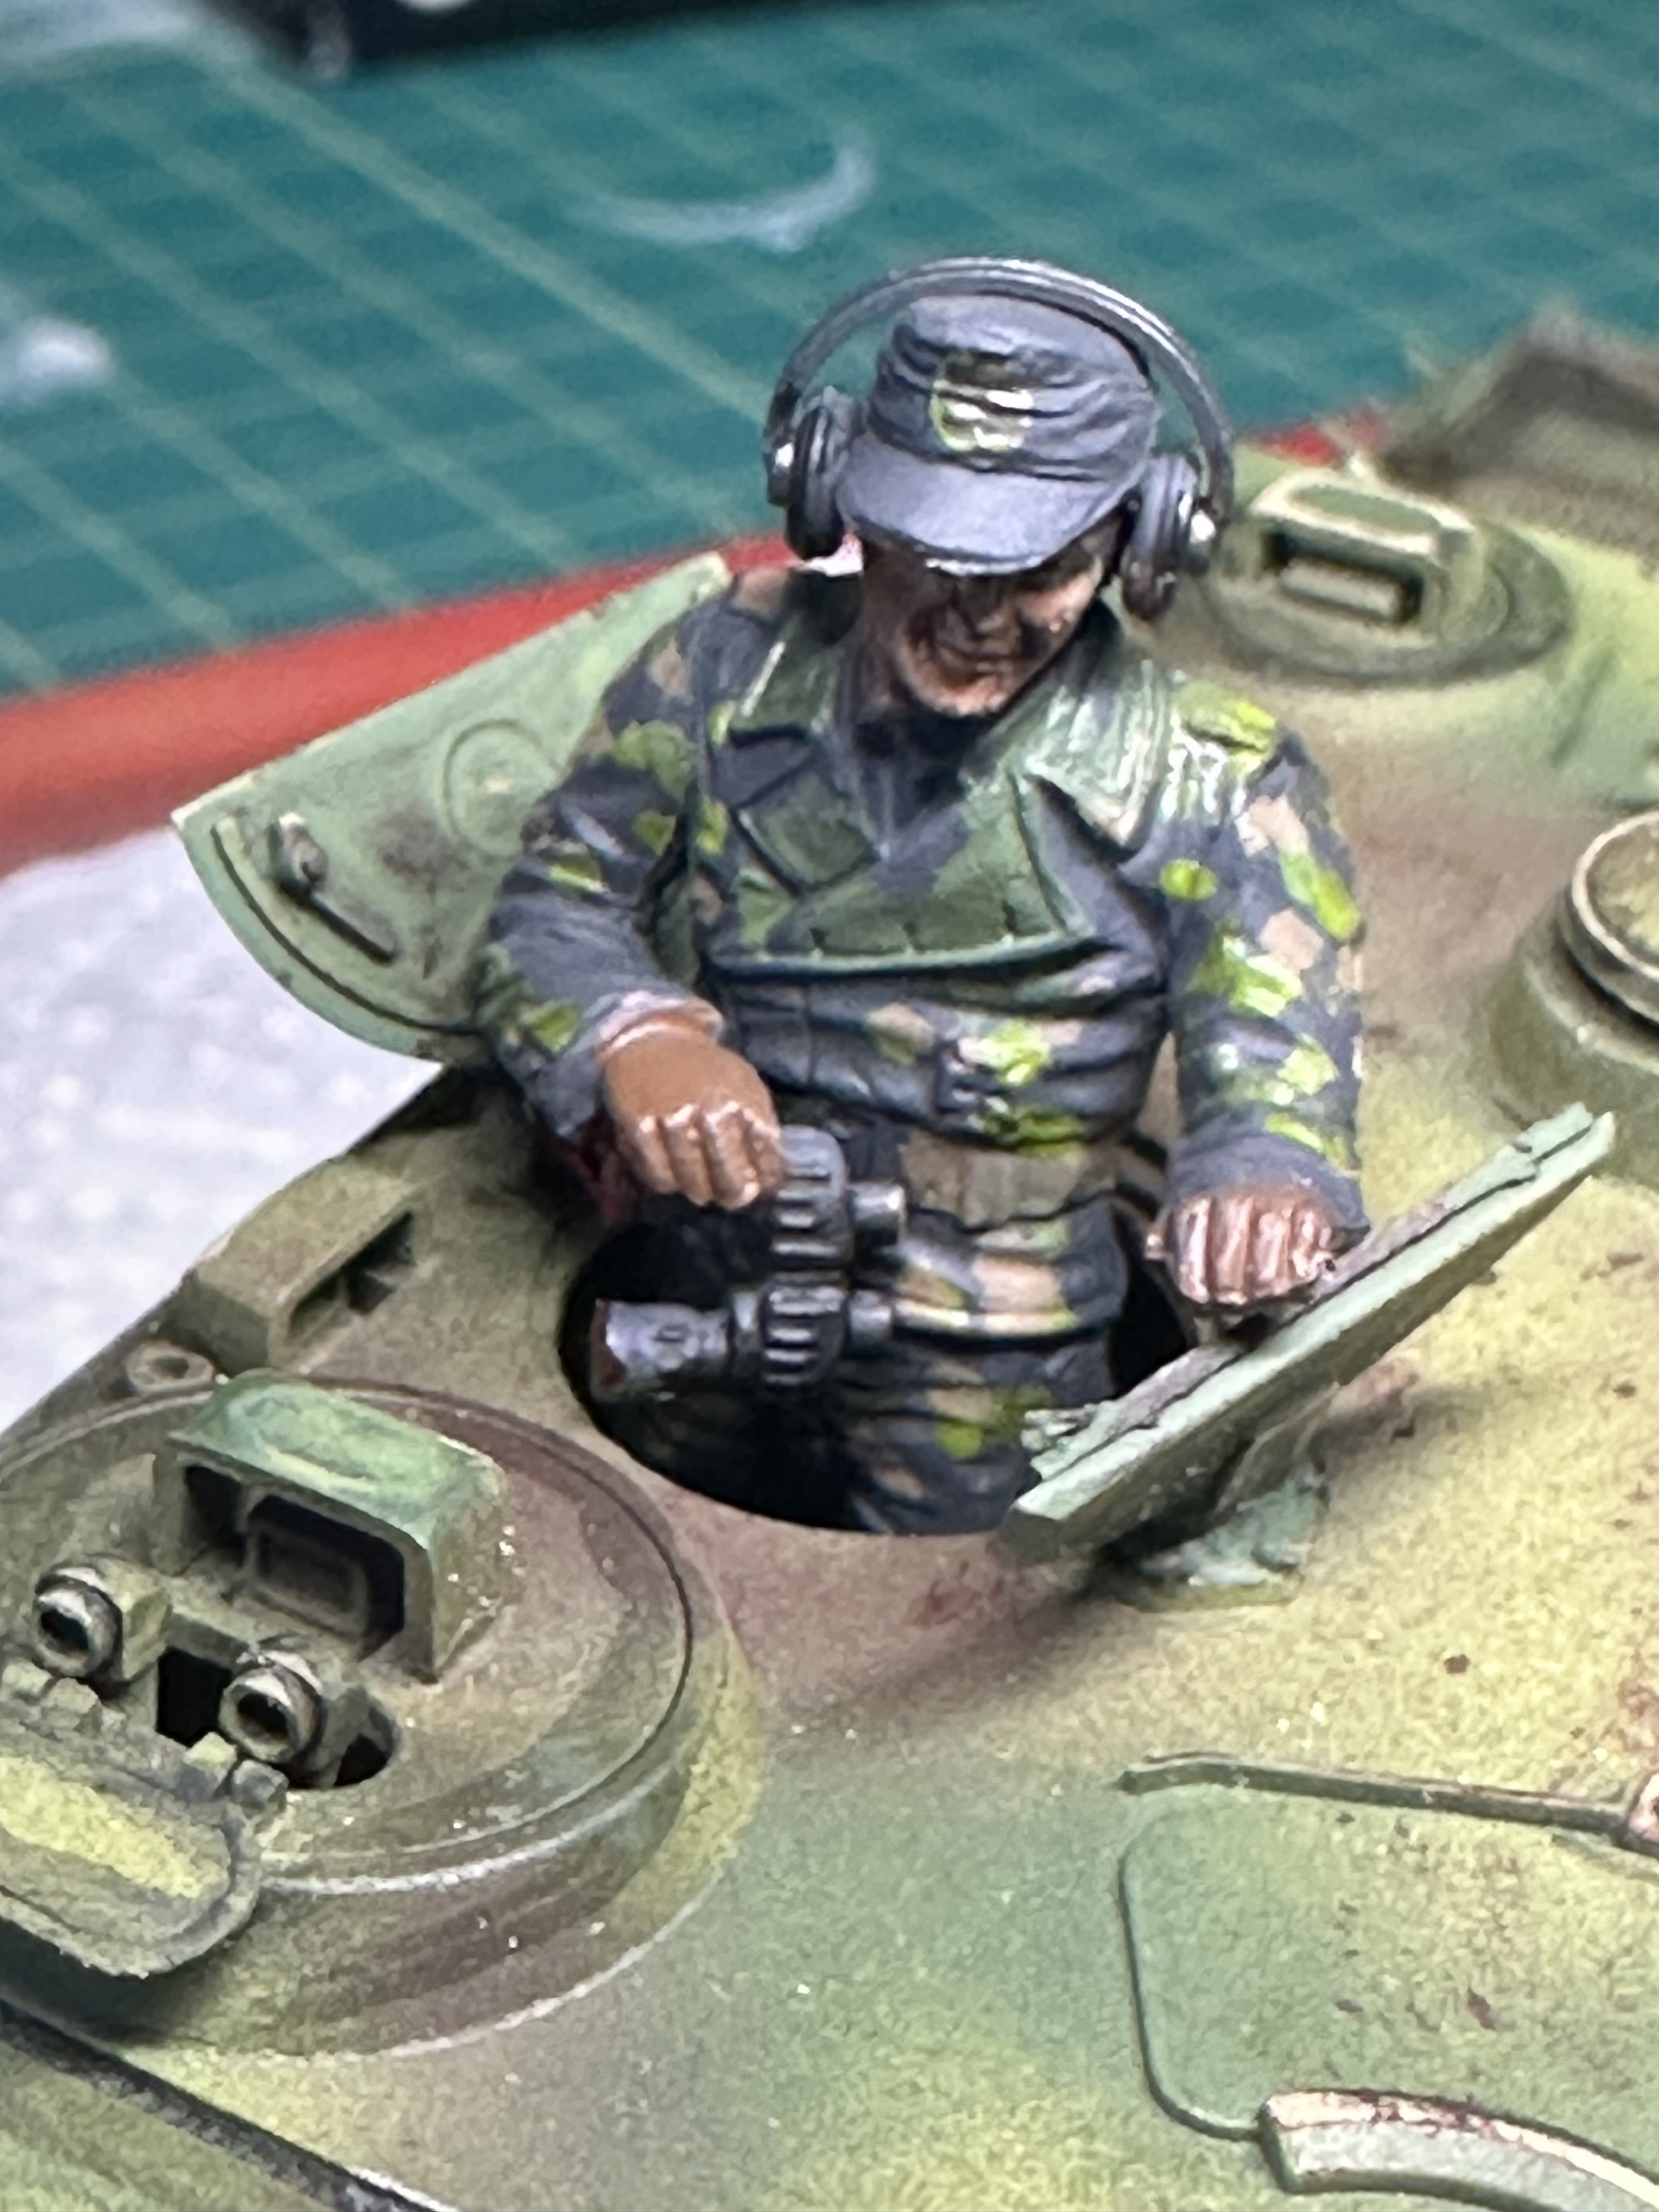
I agree! I can imagine what it would be like to be a crew member in a firefight! The noise, smoke and the main gun firing must have been earth shattering!! -
What is on your bench right now ? Share a picture :)
RalphSarc replied to Martinnfb's topic in Modelling Discussion
Also working on my Tamiya 1/35 T-34/76 captured winter camouflage build!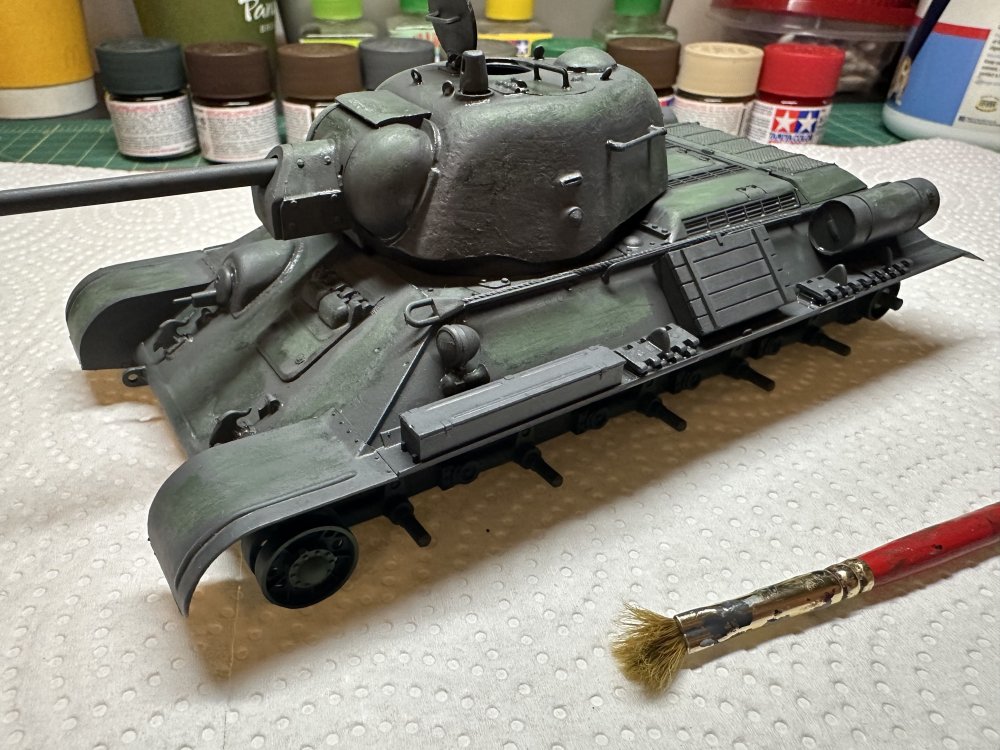


-
What is on your bench right now ? Share a picture :)
RalphSarc replied to Martinnfb's topic in Modelling Discussion
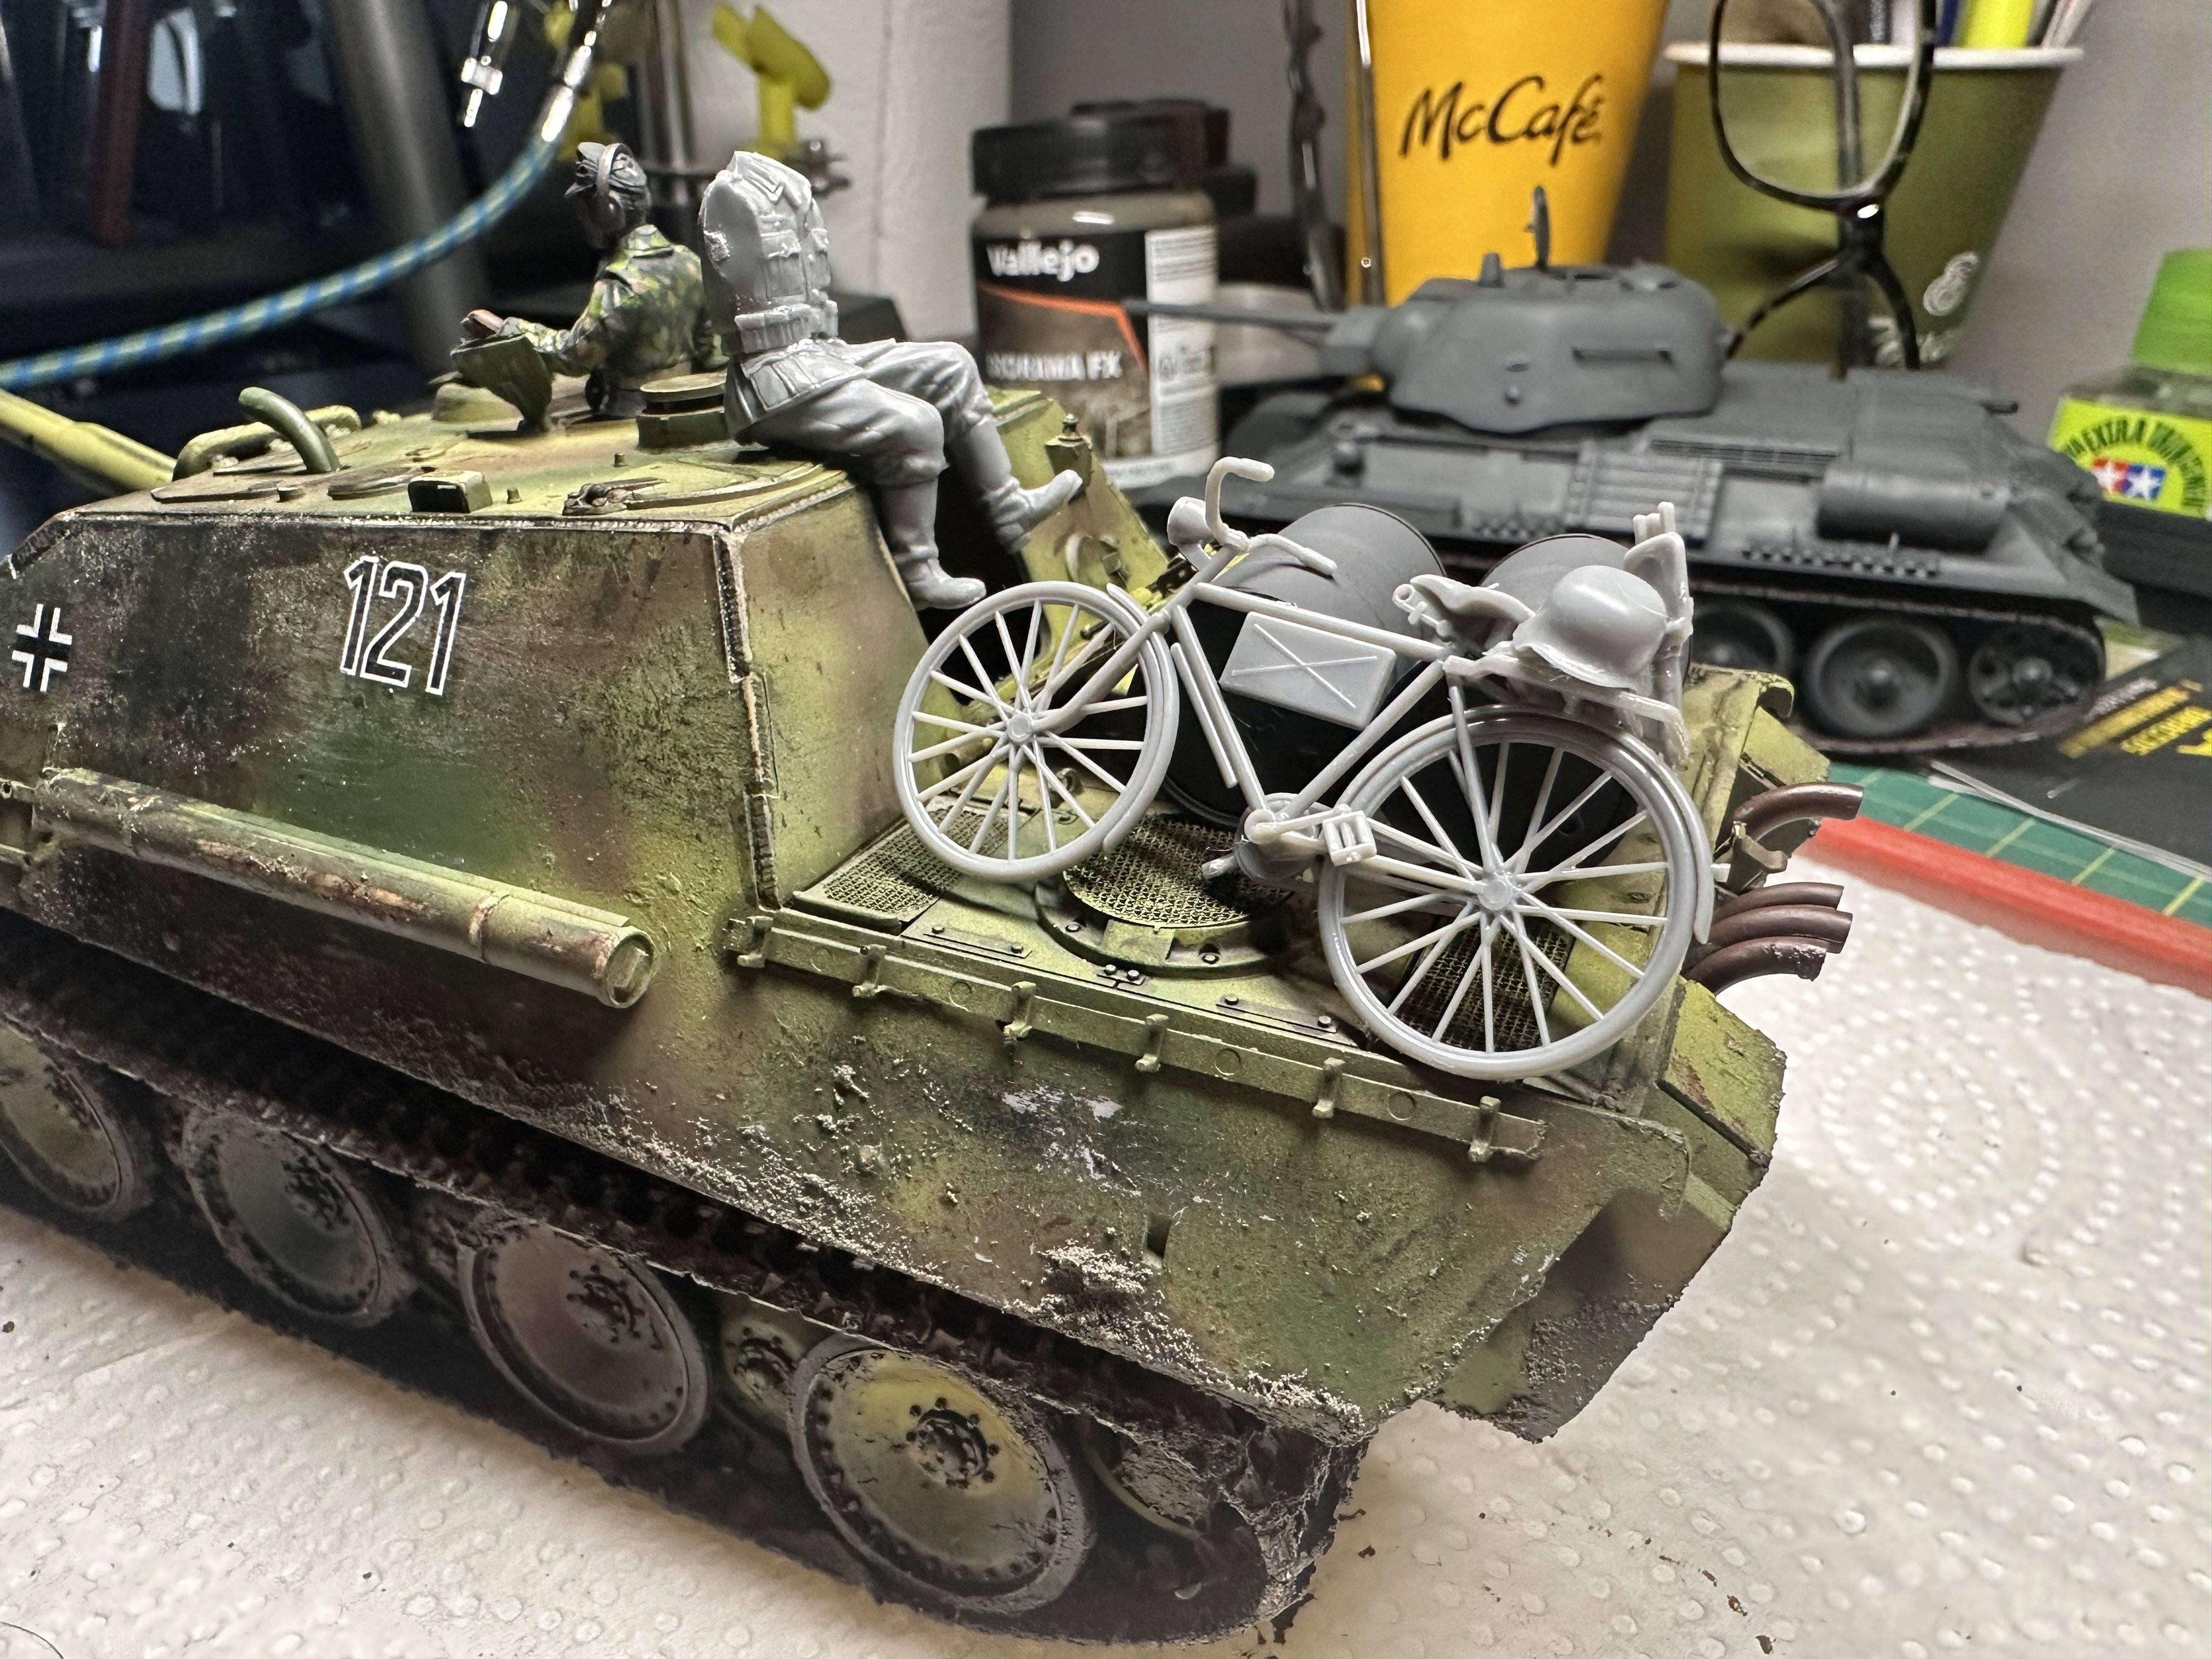
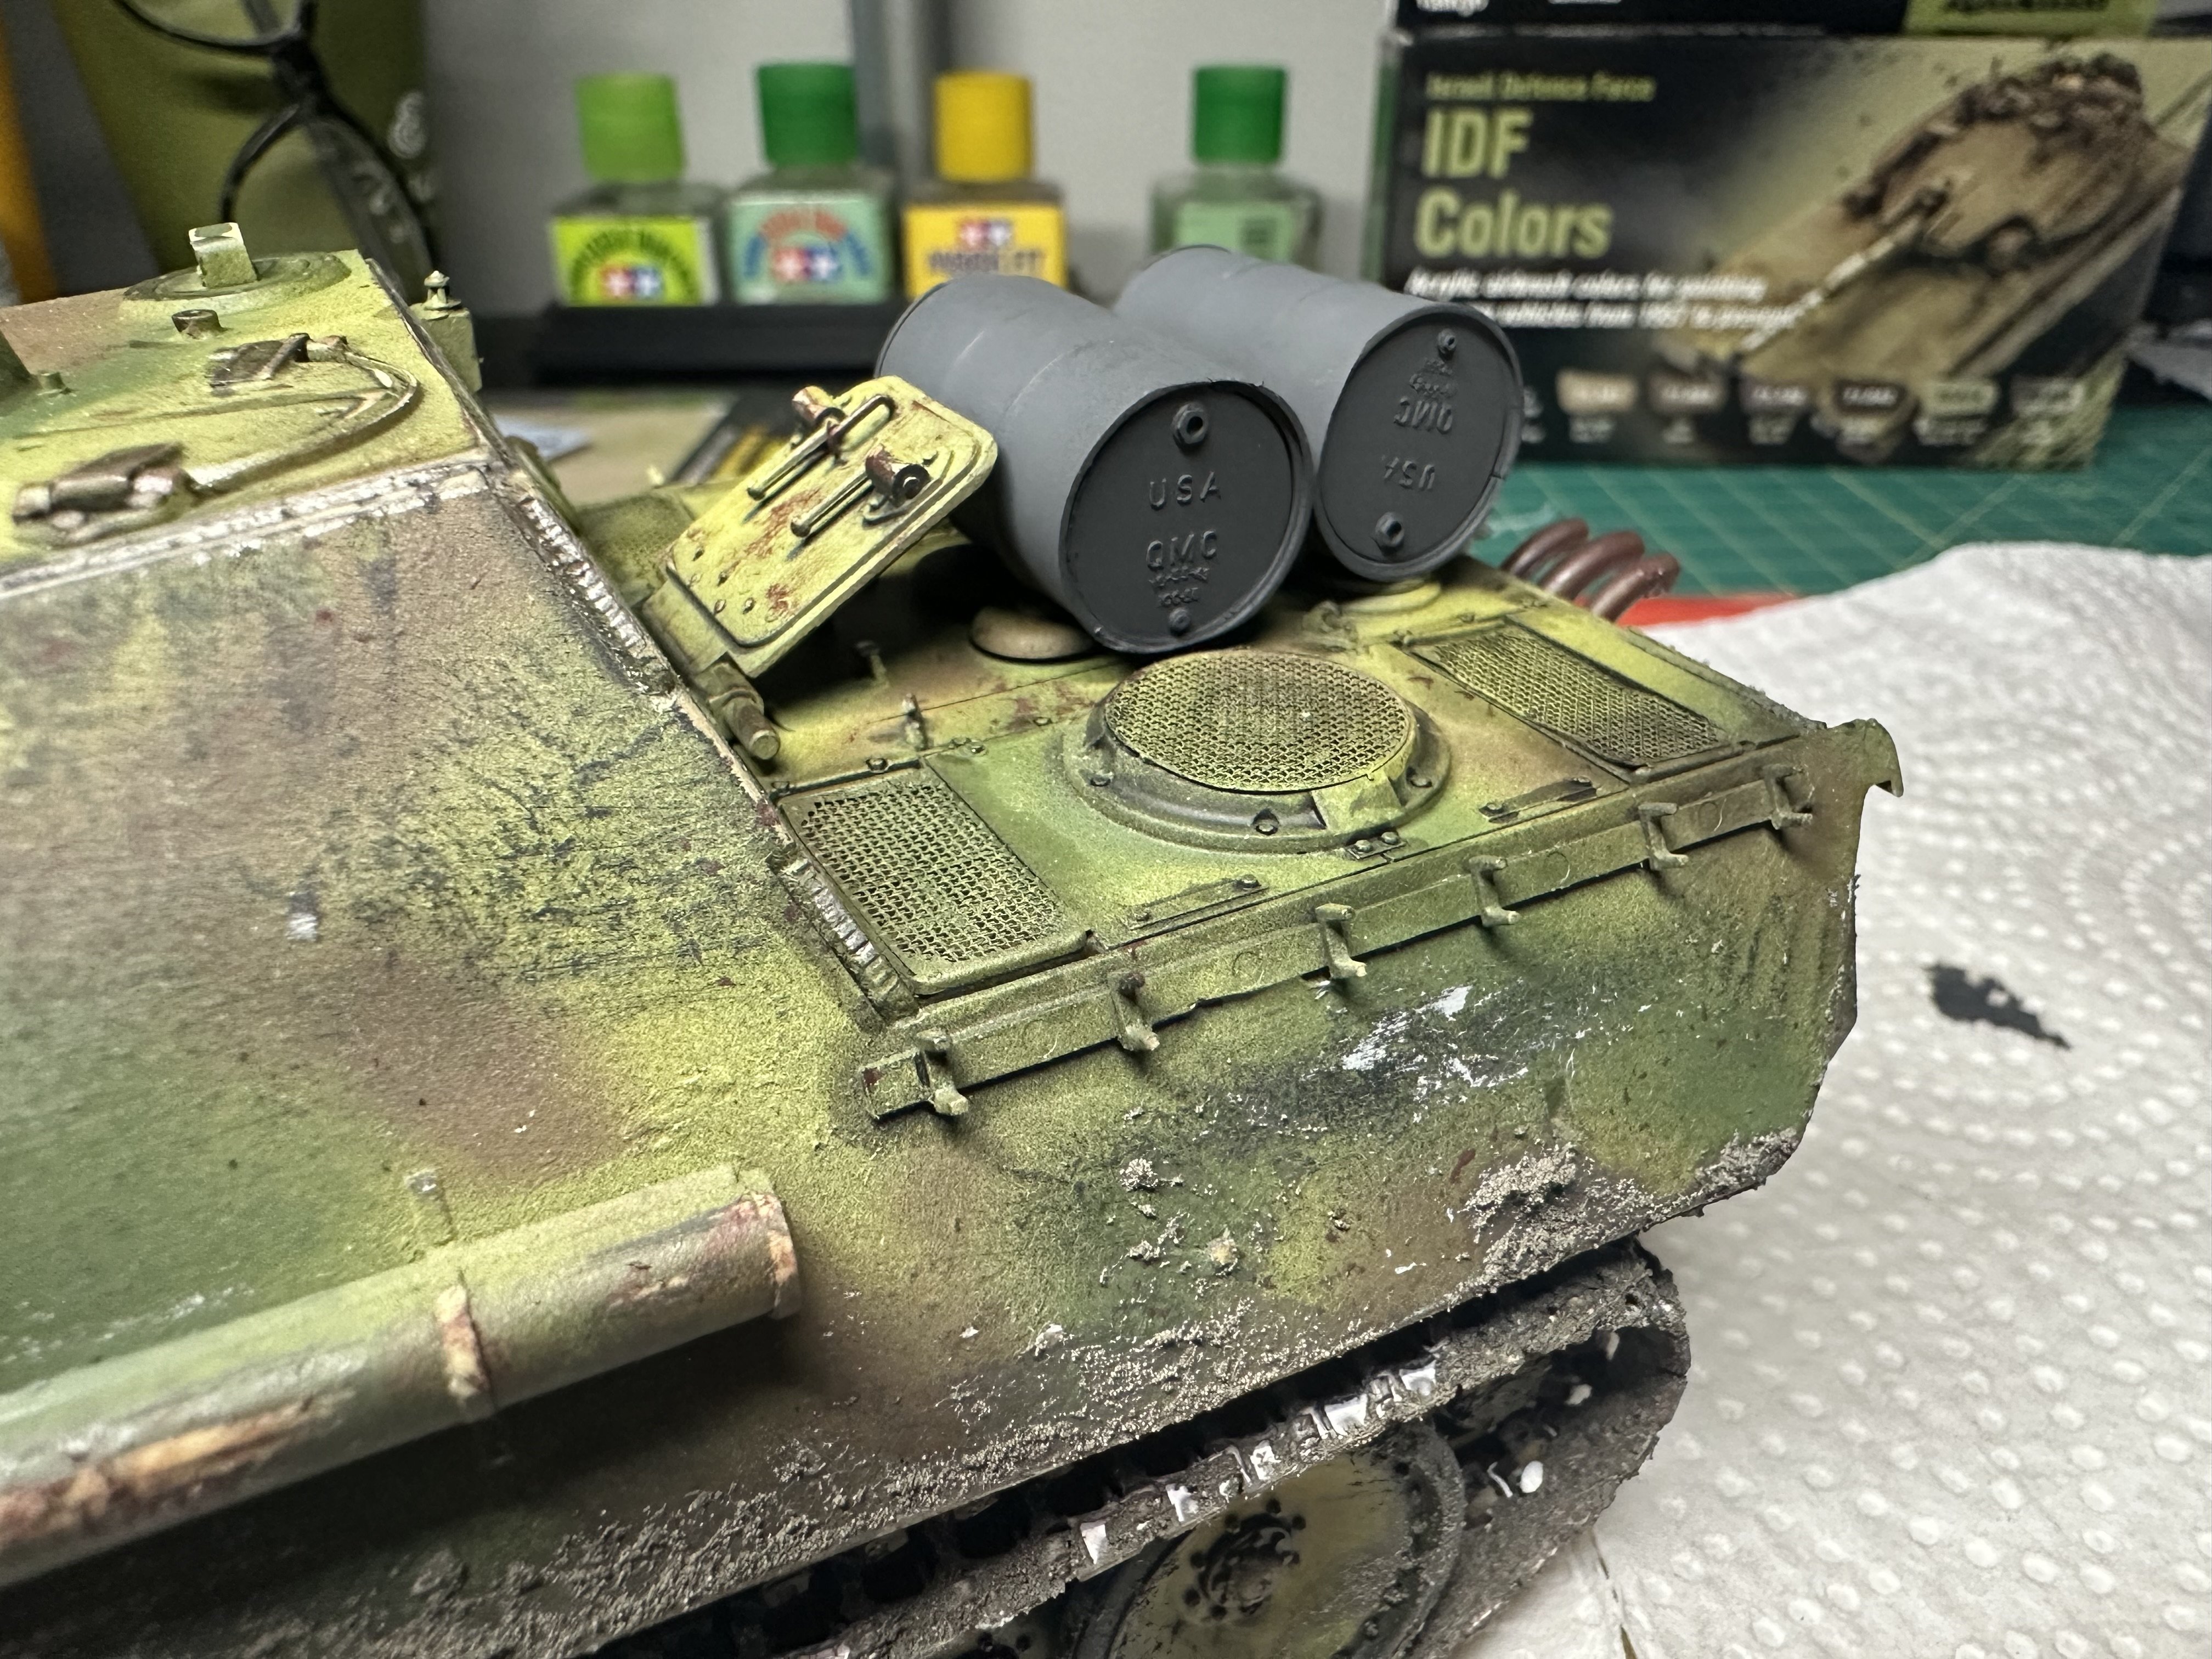
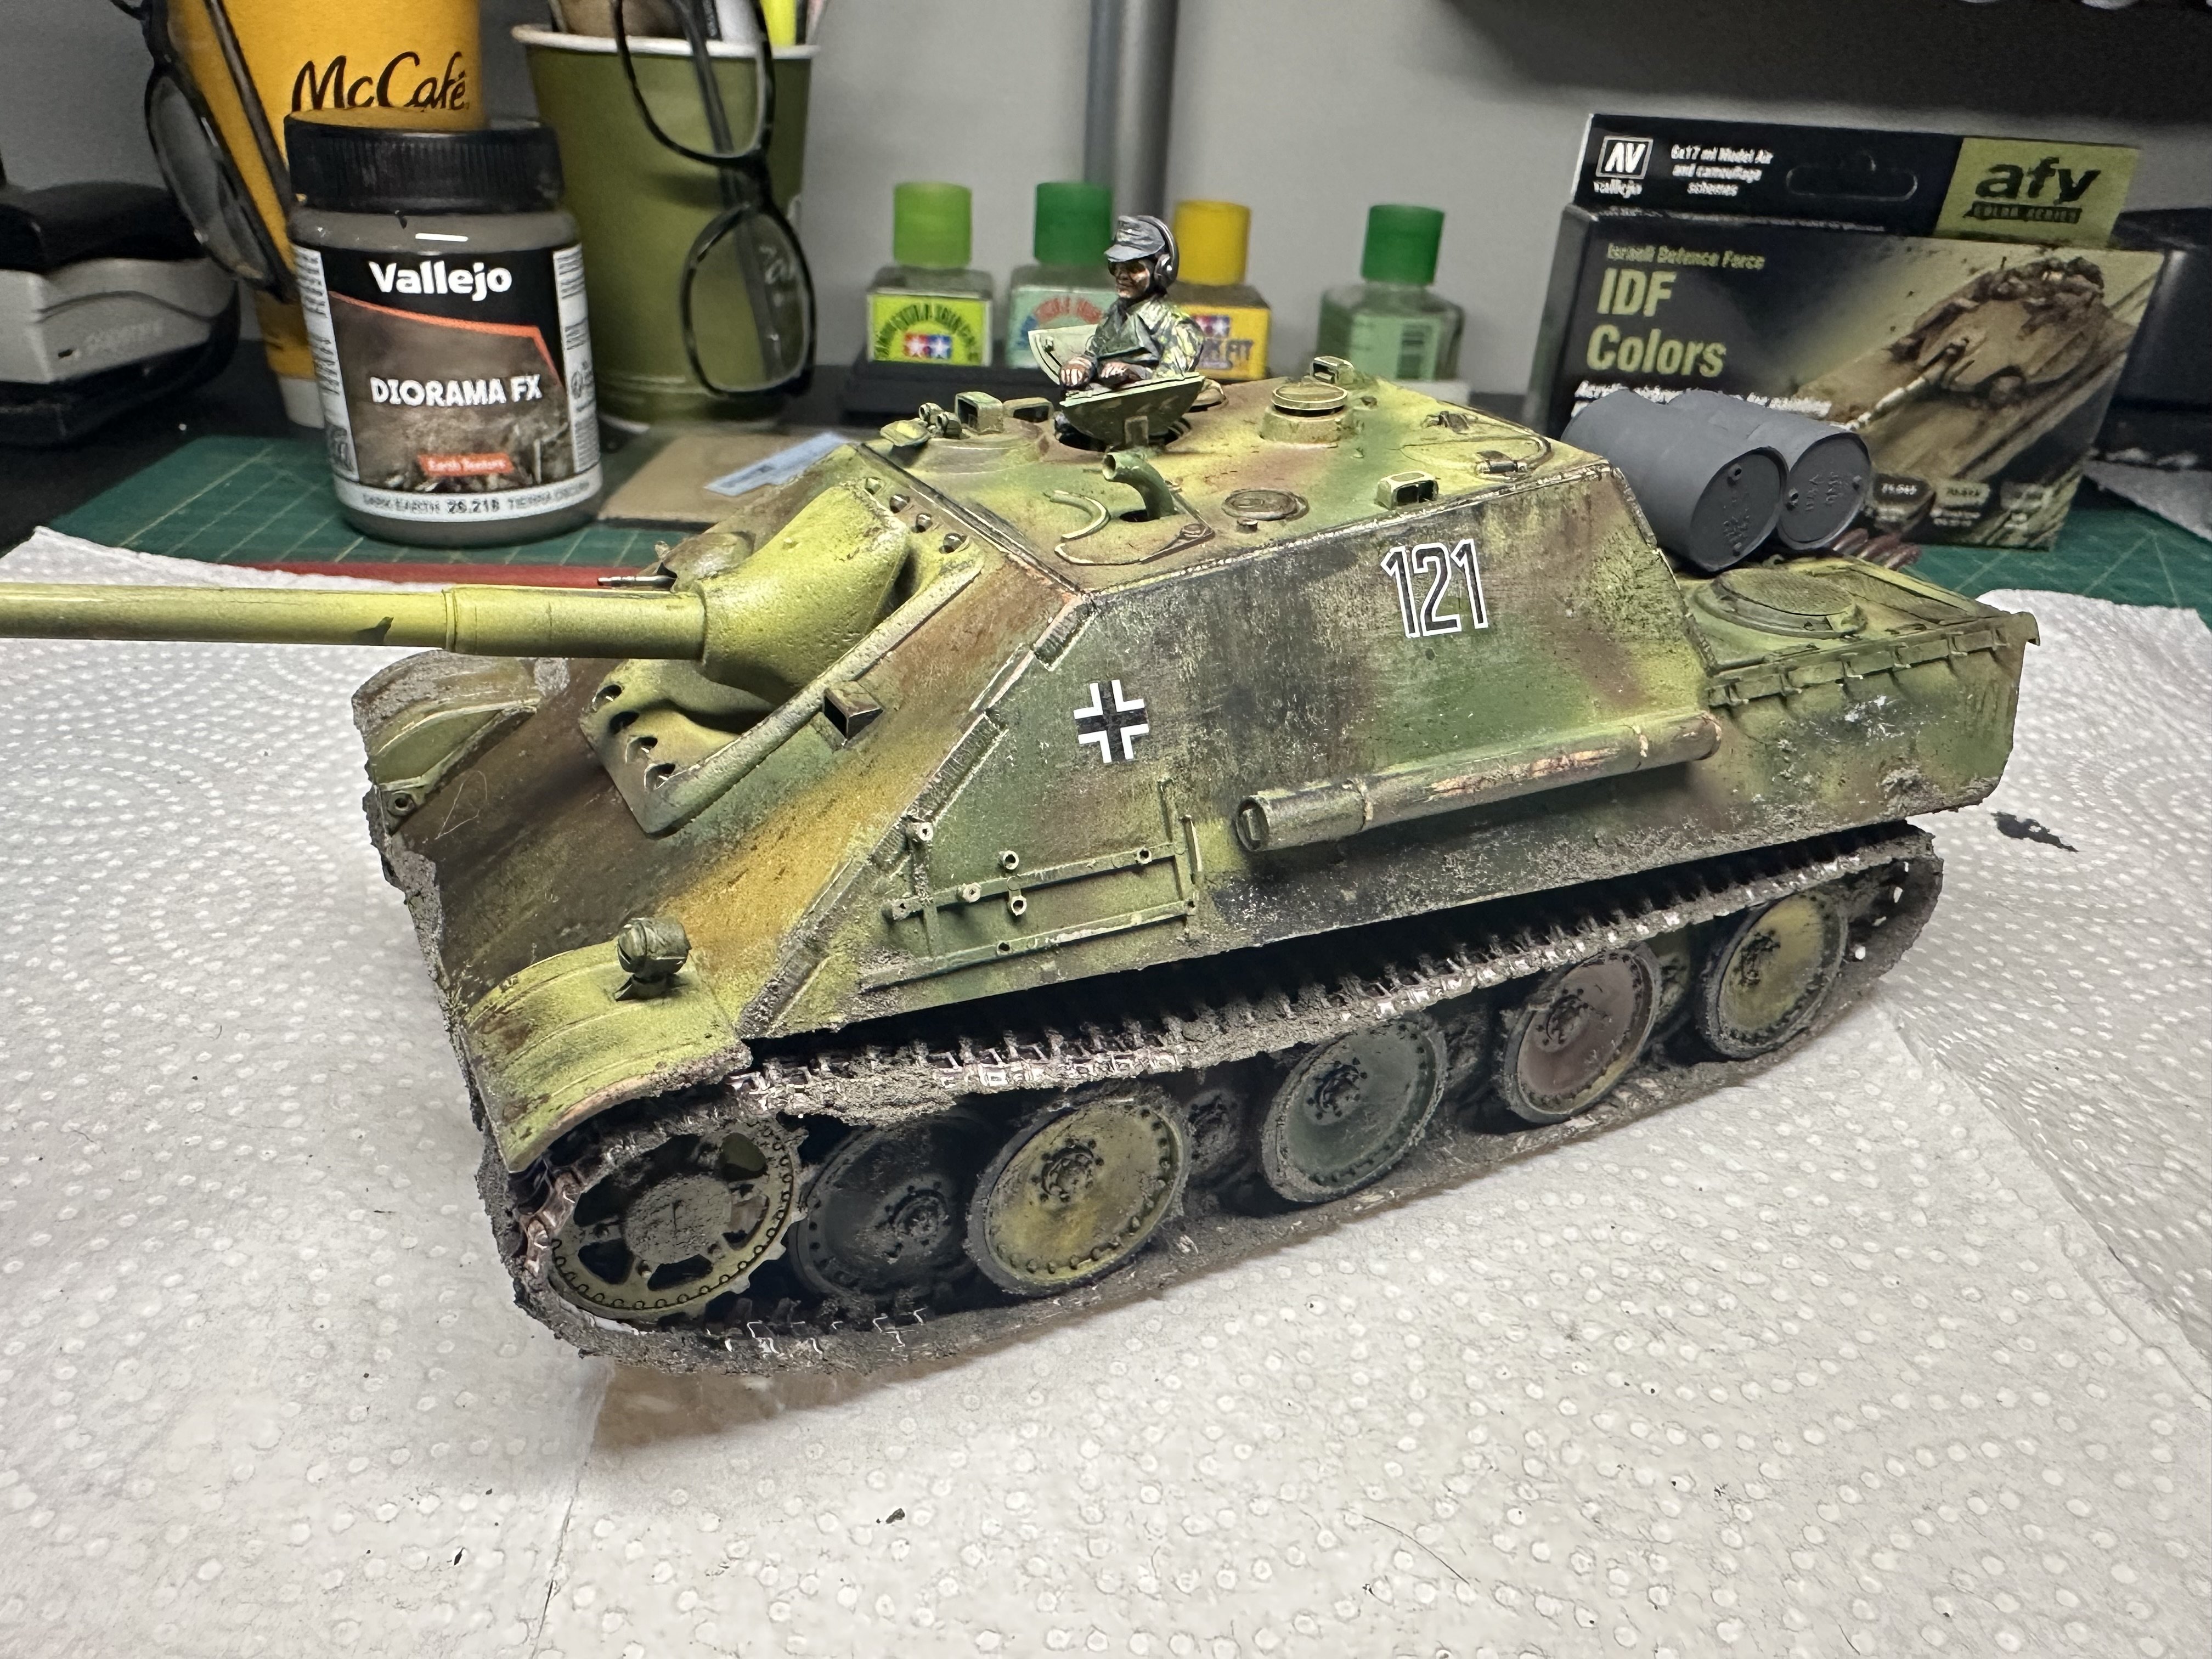
Tamiya 1/35 Jagdpanther detailing and weathering plus adding figures and stowage!!


-
Tamiya 1/35 King Tiger Ambush Diorama.
Images added to a gallery album owned by RalphSarc in Gallery of COMPLETED Armour models
Tamiya 1/35 King Tiger Ambush Diorama. -
-
Tamiya 1/35 Jagdpanther (Late Version)
RalphSarc replied to RalphSarc's topic in LSM 1/35 and Larger Work In Progress
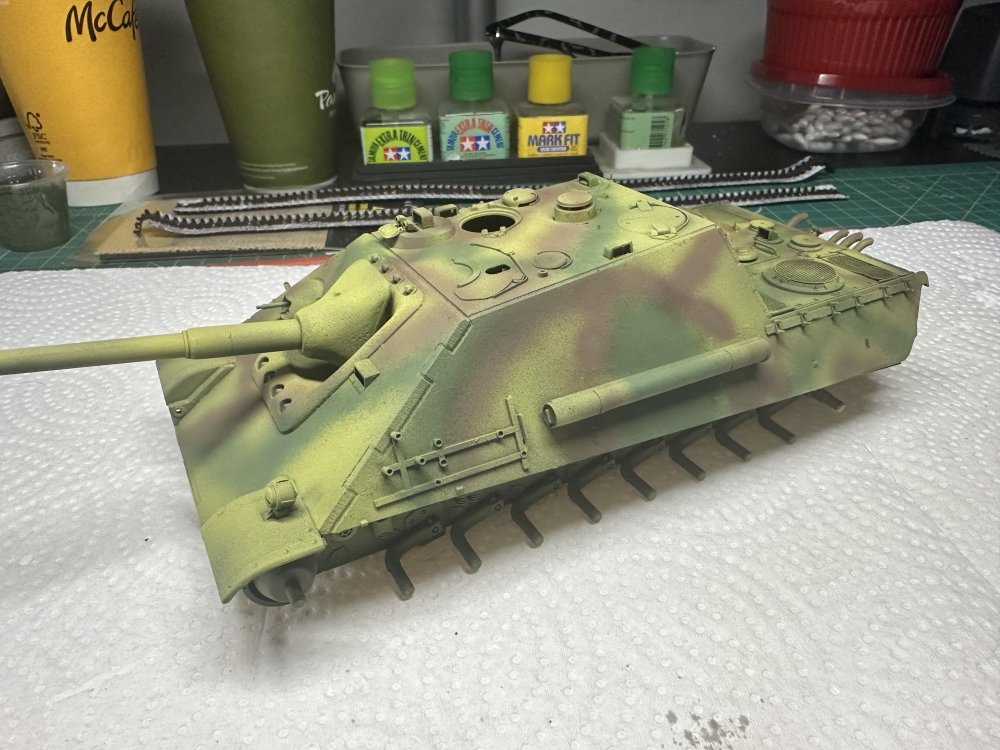
First time using Mission Models paints and I’m super impressed. I used MMP-012 (Rotbraun RAL 8017) and MMP-018 (Resedagrun RAL 6011 and Tamiya XF-4 (Yellow Green) to freehand the camouflage pattern on the Jagdpanther this morning. I used a 50/50 mix of paint to thinner at about 15psi.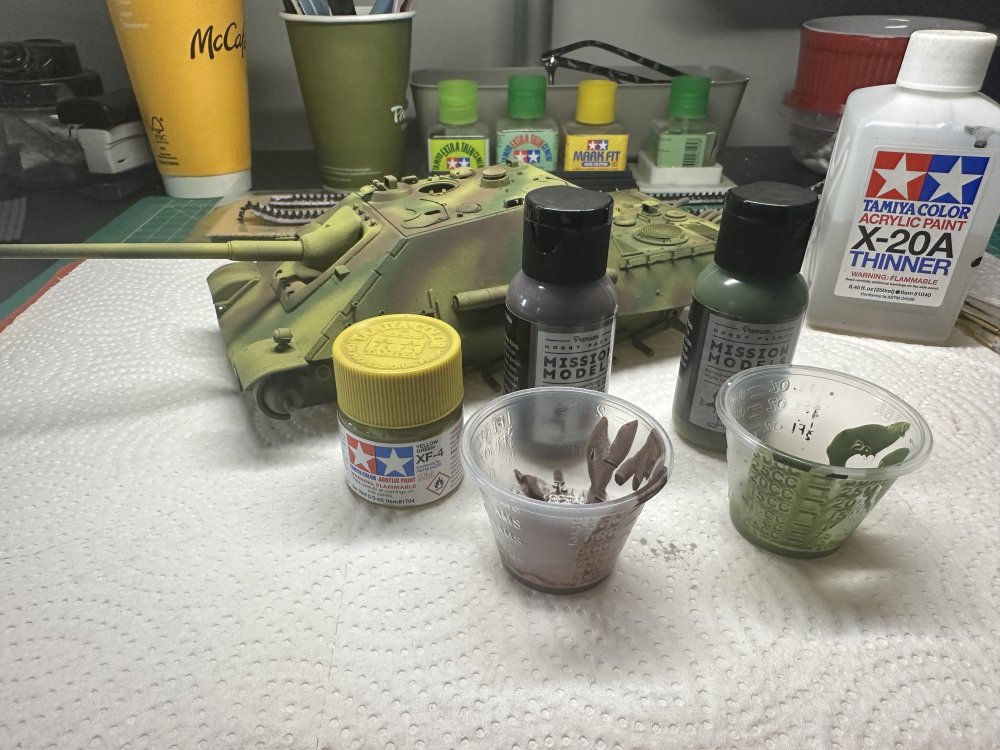
-
Tamiya 1/35 Jagdpanther (Late Version)
RalphSarc replied to RalphSarc's topic in LSM 1/35 and Larger Work In Progress
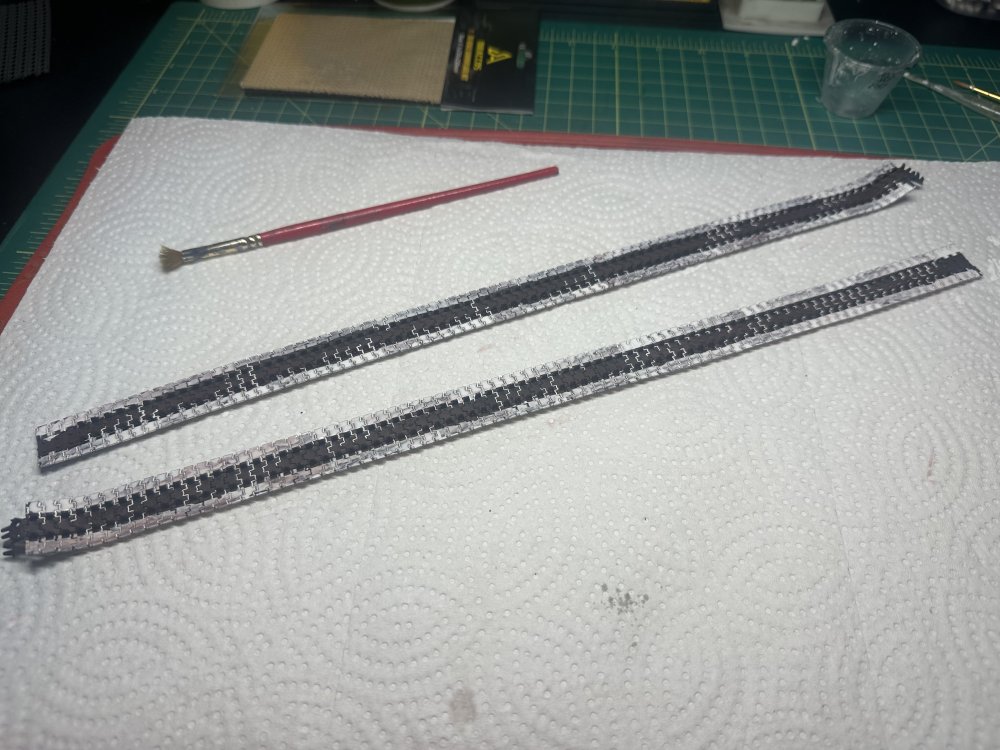
Snowy track edge weathering!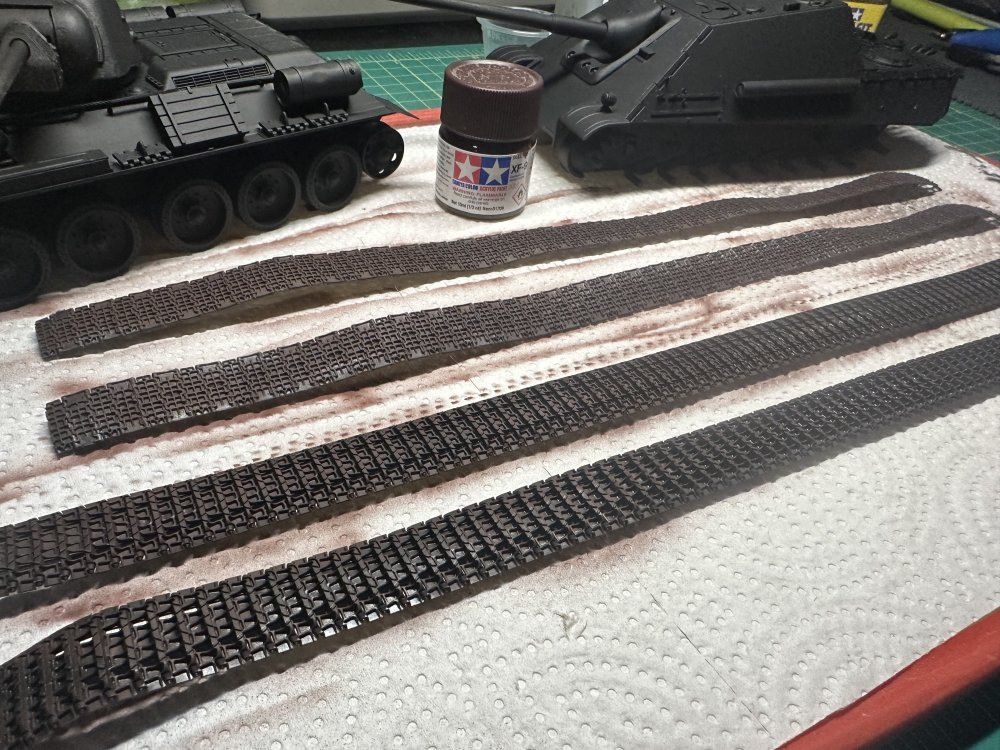

-
Tamiya 1/35 Jagdpanther (Late Version)
RalphSarc replied to RalphSarc's topic in LSM 1/35 and Larger Work In Progress
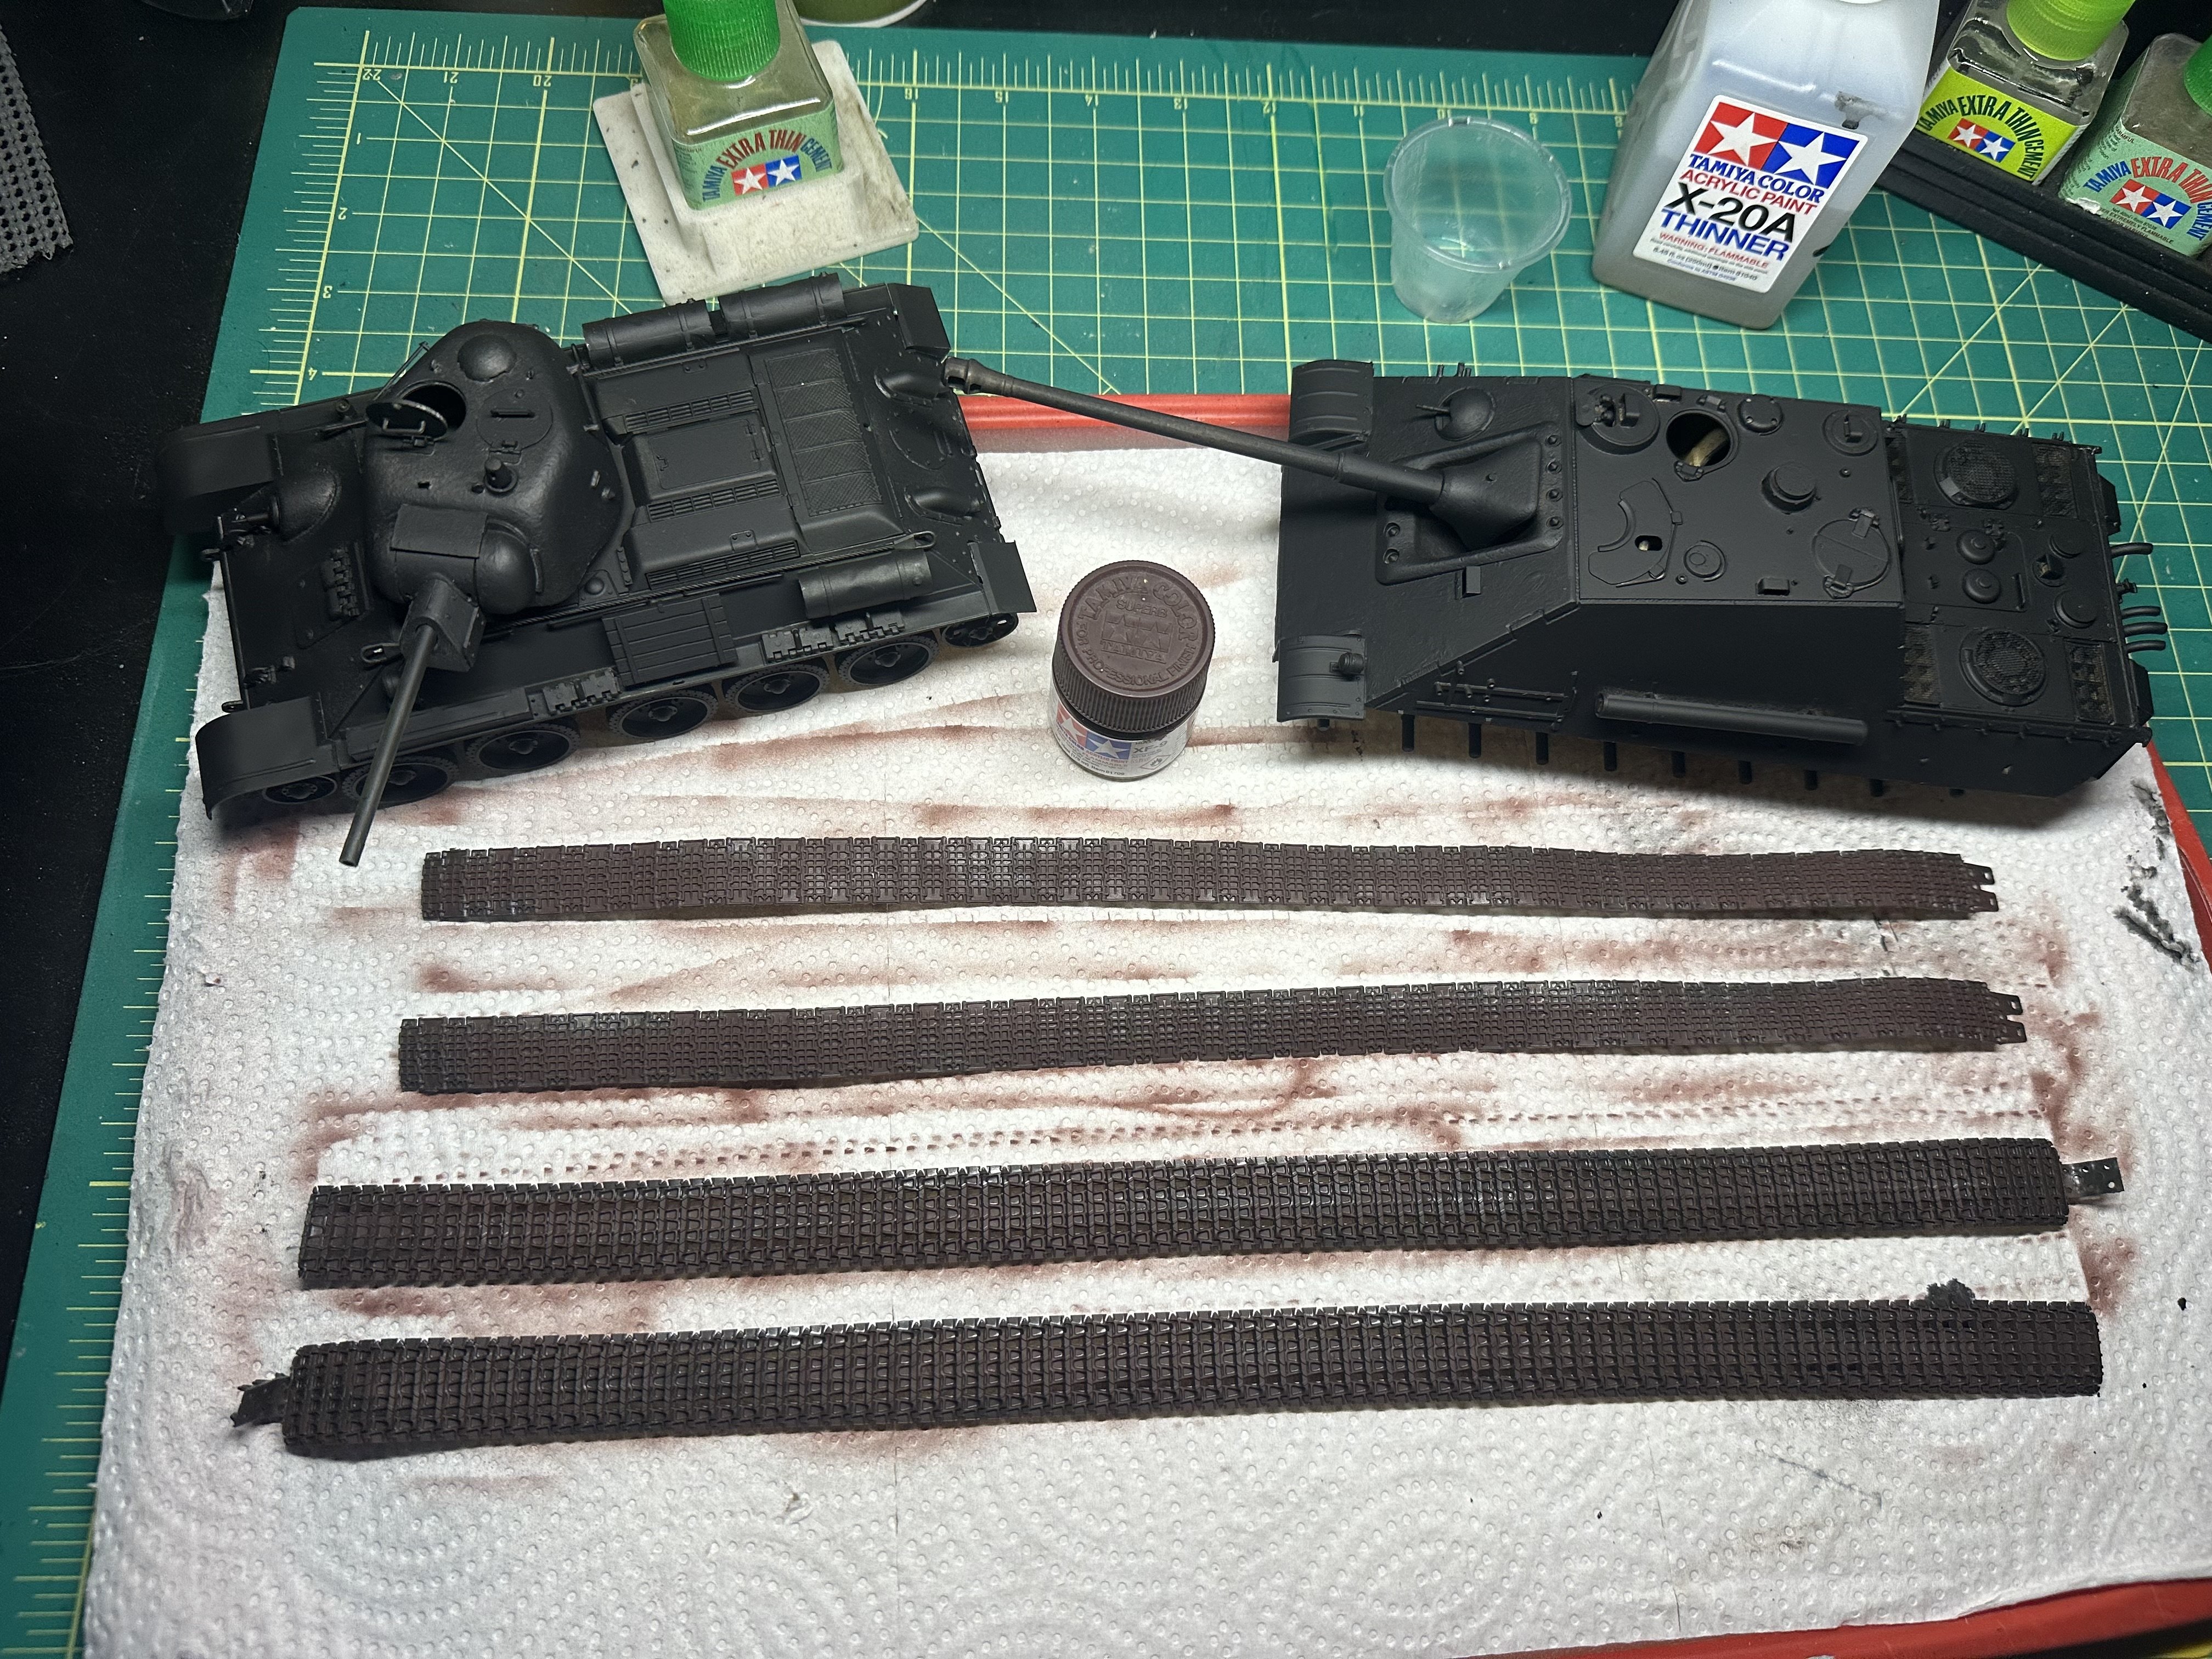
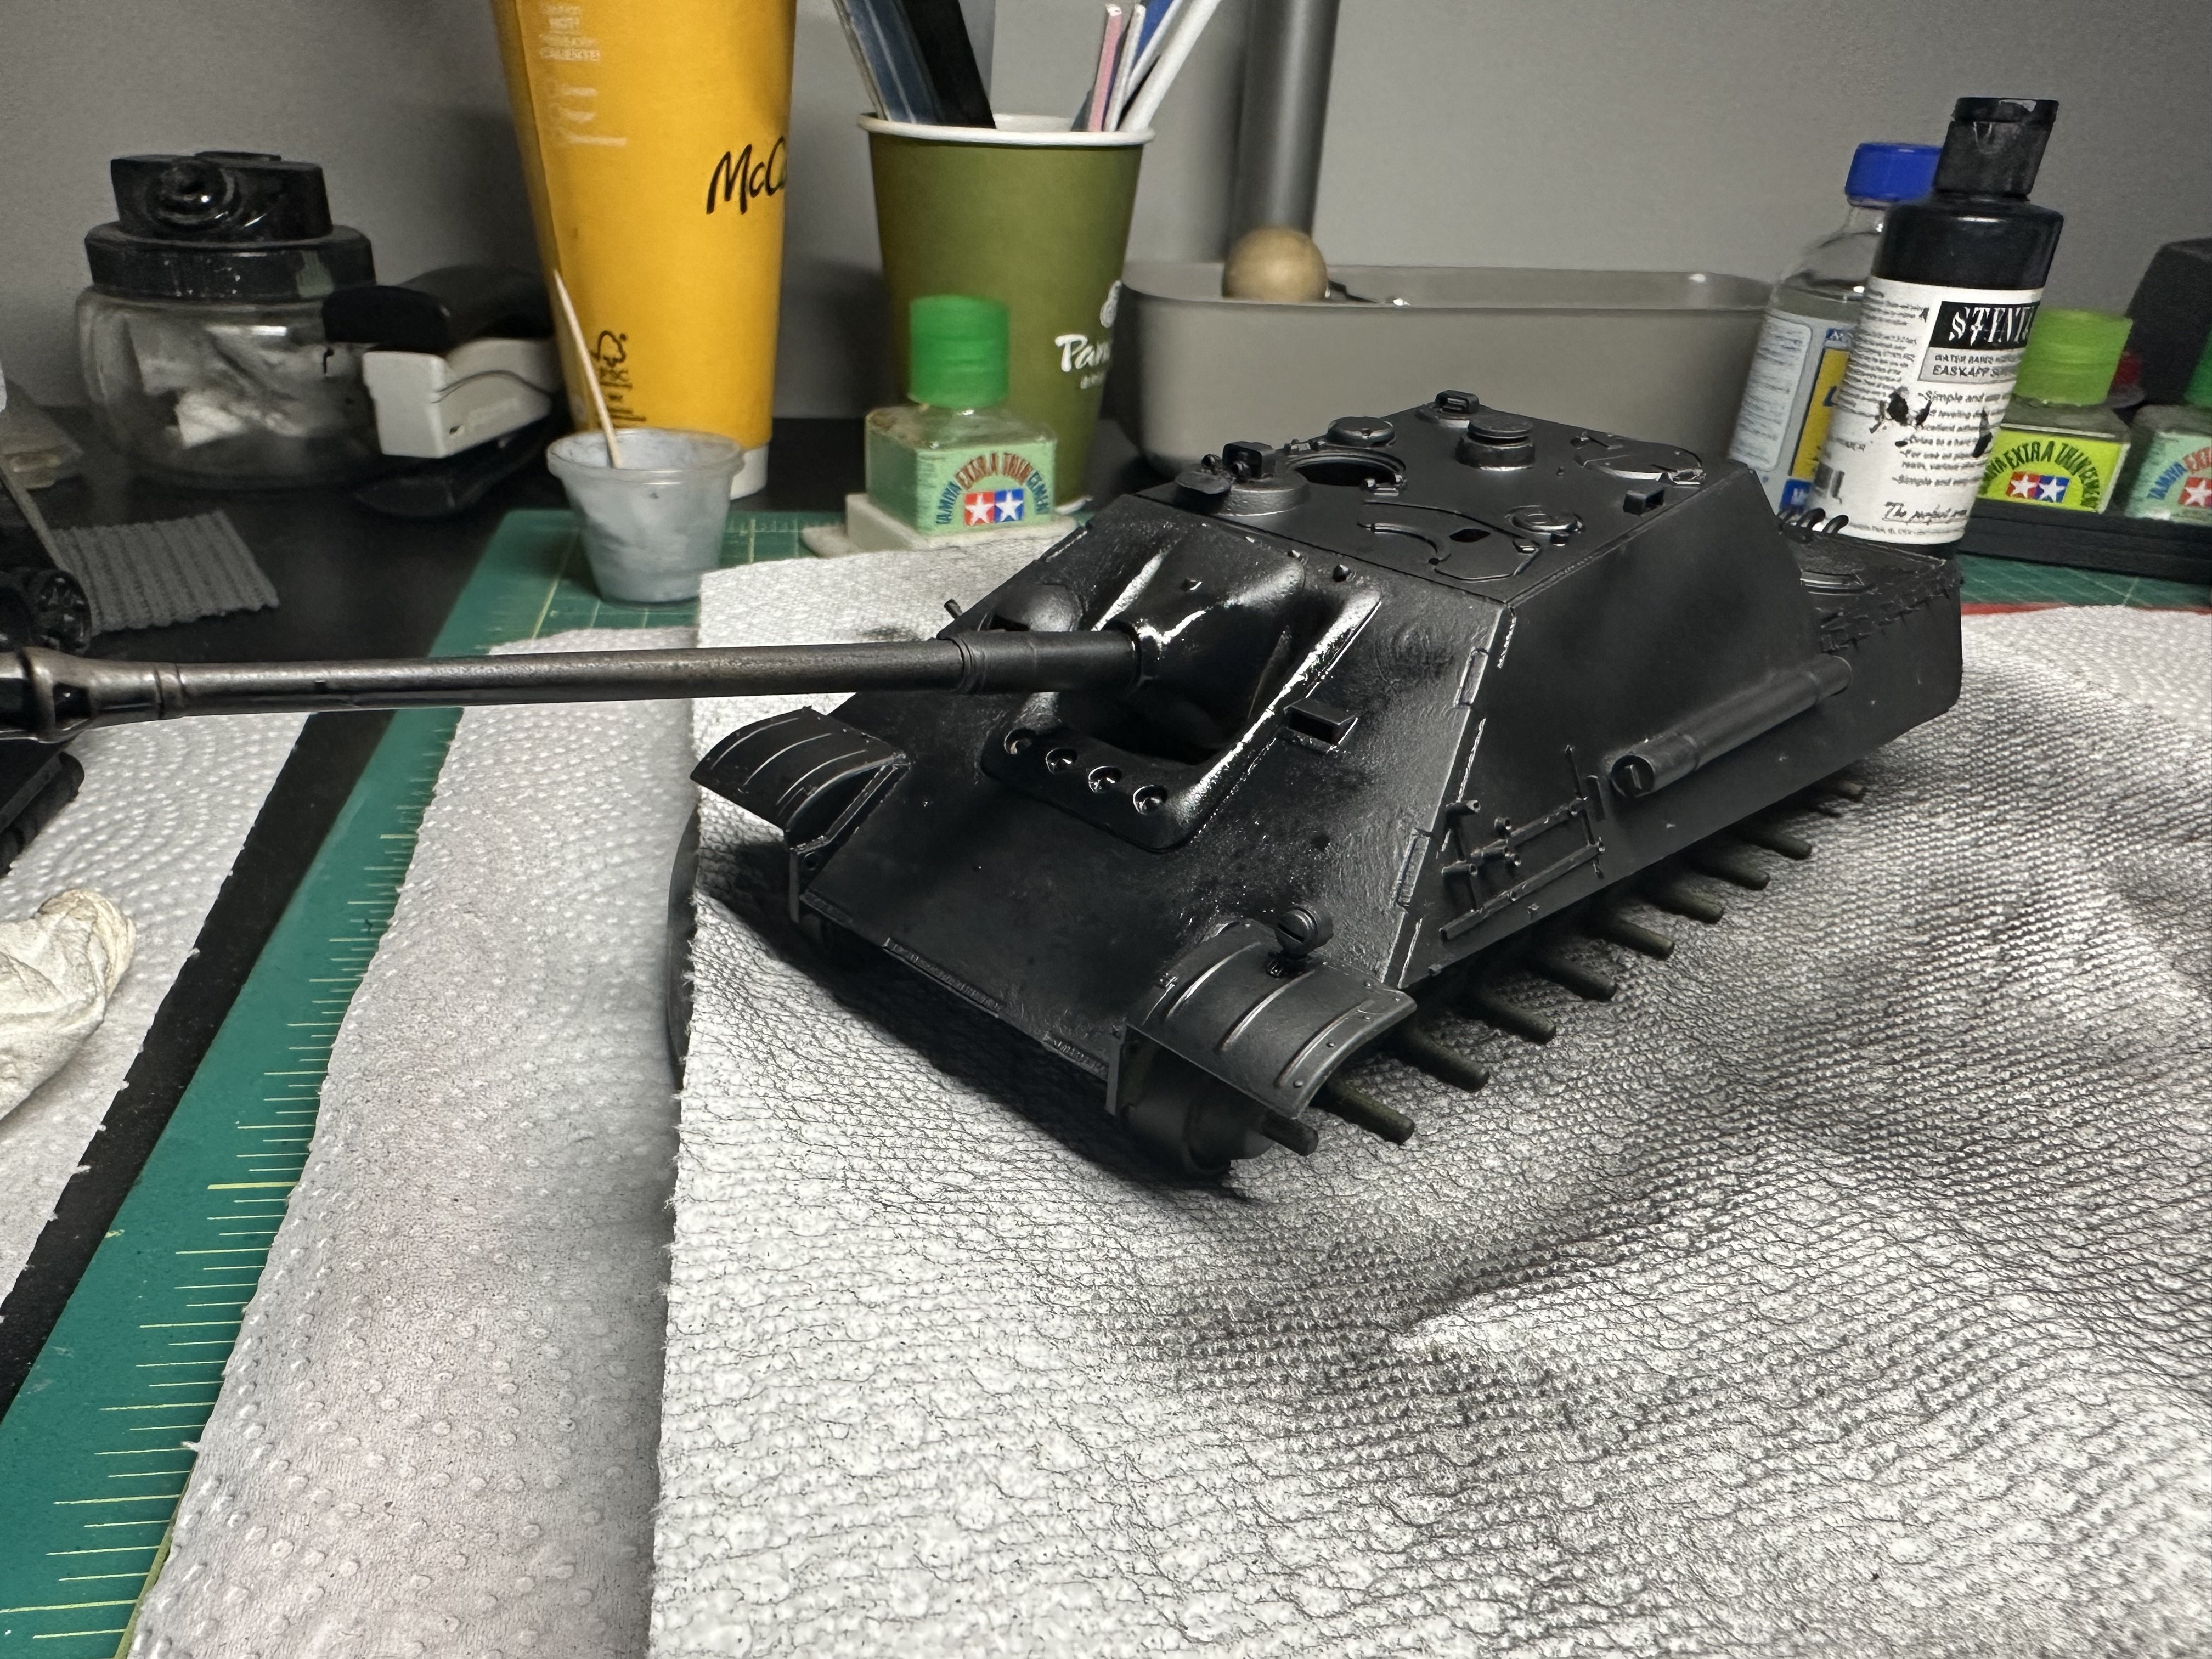
As I said the Paint shop manager decided to catch up on a few priming projects and kindly took care of priming both the T-34/76 and the Jagdpanther this morning. Plans are to let the primer cure overnight and start spraying to color coat tomorrow.

-
Tamiya 1/35 Jagdpanther (Late Version)
RalphSarc replied to RalphSarc's topic in LSM 1/35 and Larger Work In Progress
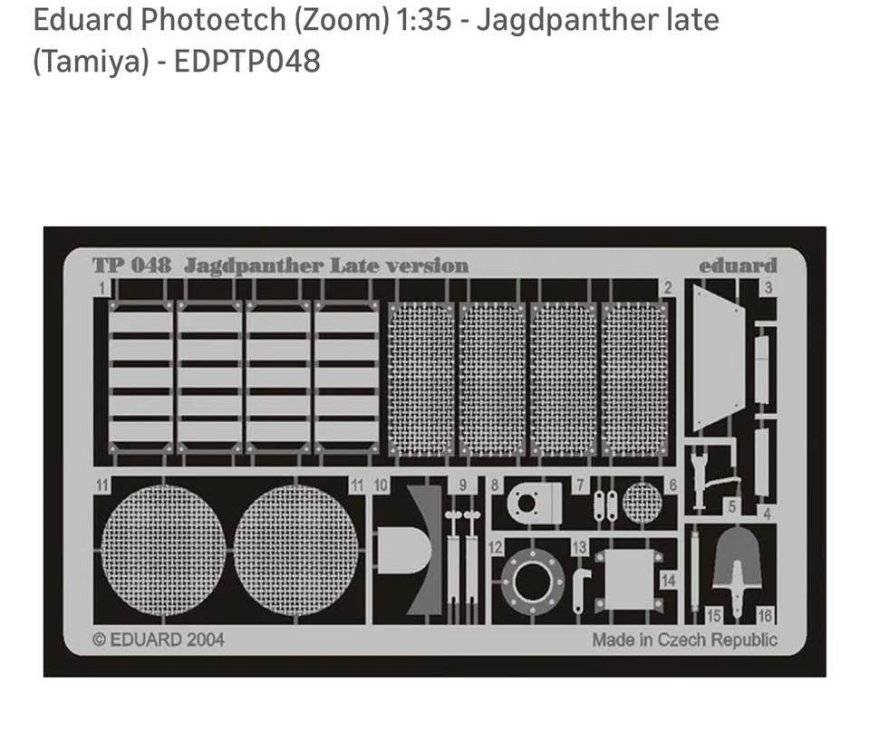
PE engine grenade screen superglued in place.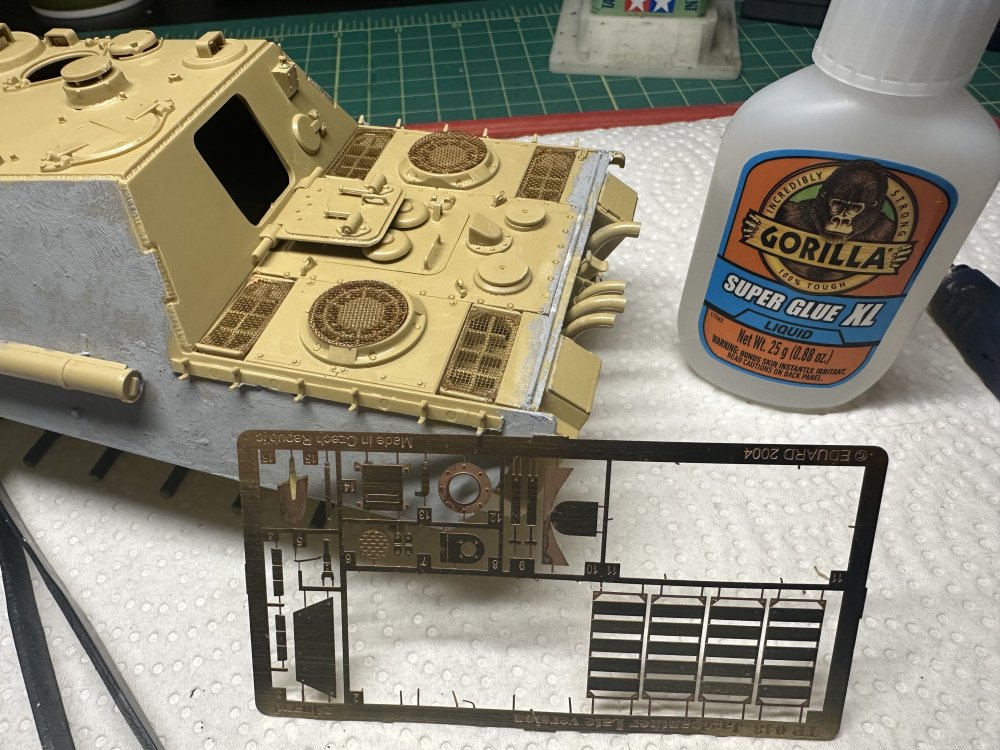
-
RalphSarc changed their profile photo
-
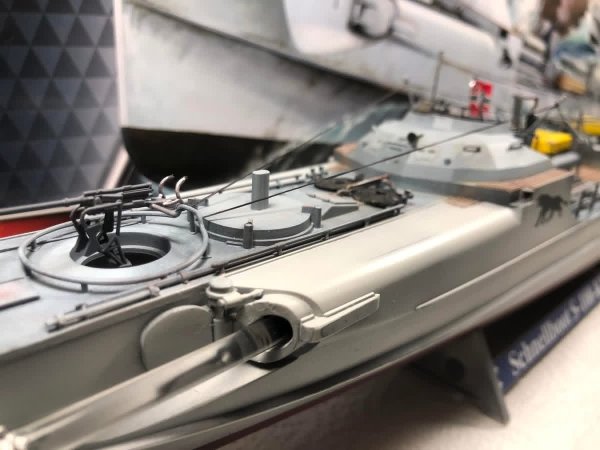
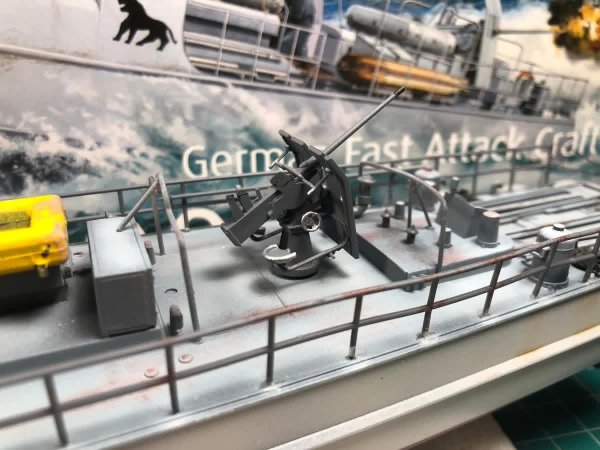
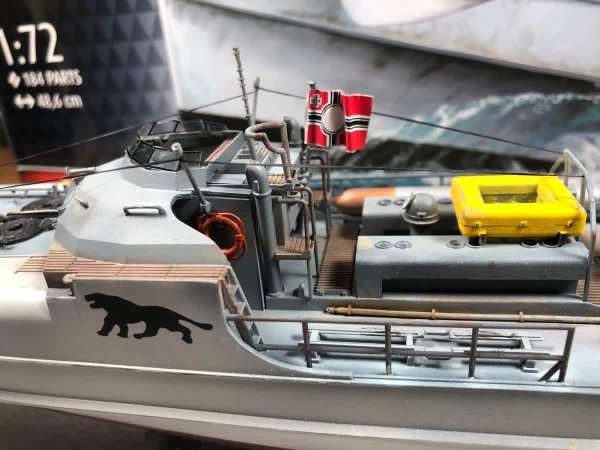
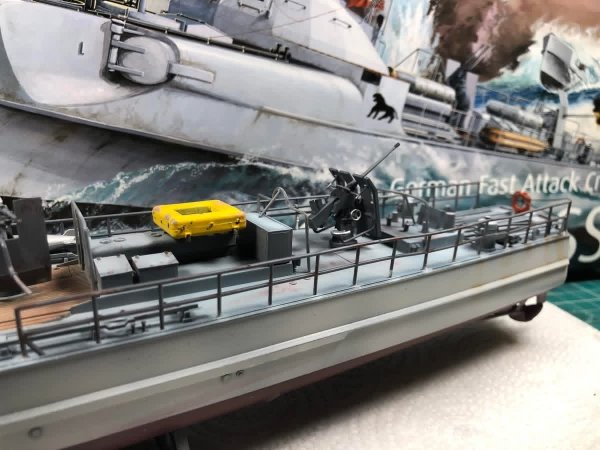
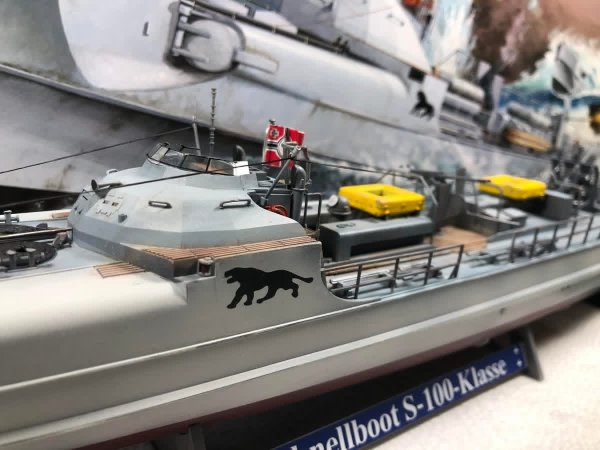
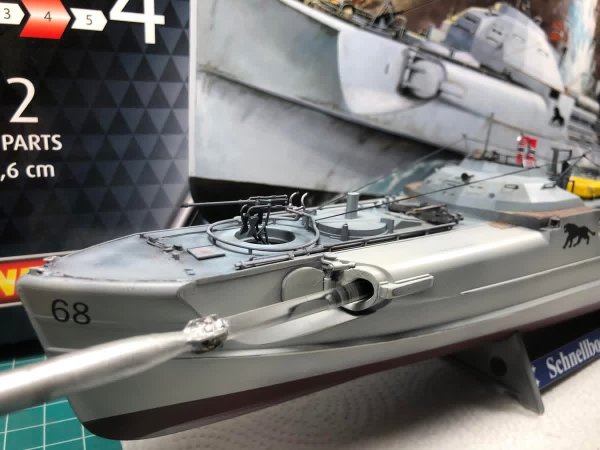
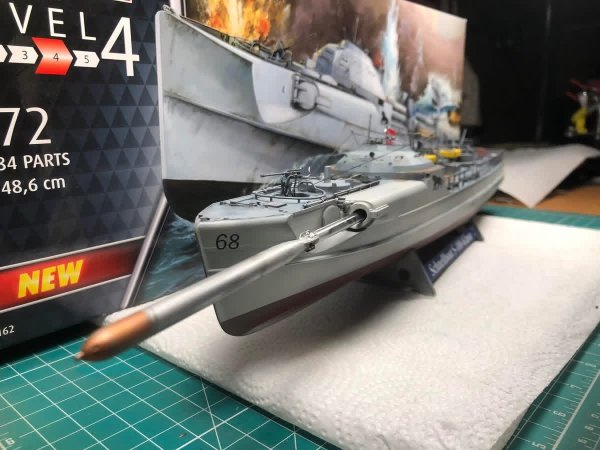
Revell 1/72 S-100 German Torpedo Boat
Images added to a gallery album owned by RalphSarc in Non-Aircraft/Armour COMPLETED models
Revell 1/72 S-100 German Fast Attack Boat kit. This was a really fun build. I particularly enjoyed the challenges of opening both torpedo tubes and had fun simulating a port side torpedo launch to add interest to the display. I considered weather it more however I felt a German Attack Boat Captain and crew would keep their boat looking top of the line all the time. If you're looking for a fun kit with even more opportunities than I added to it I'd highly recommend the S-100. -
-
Tamiya 1/35 Jagdpanther (Late Version)
RalphSarc replied to RalphSarc's topic in LSM 1/35 and Larger Work In Progress
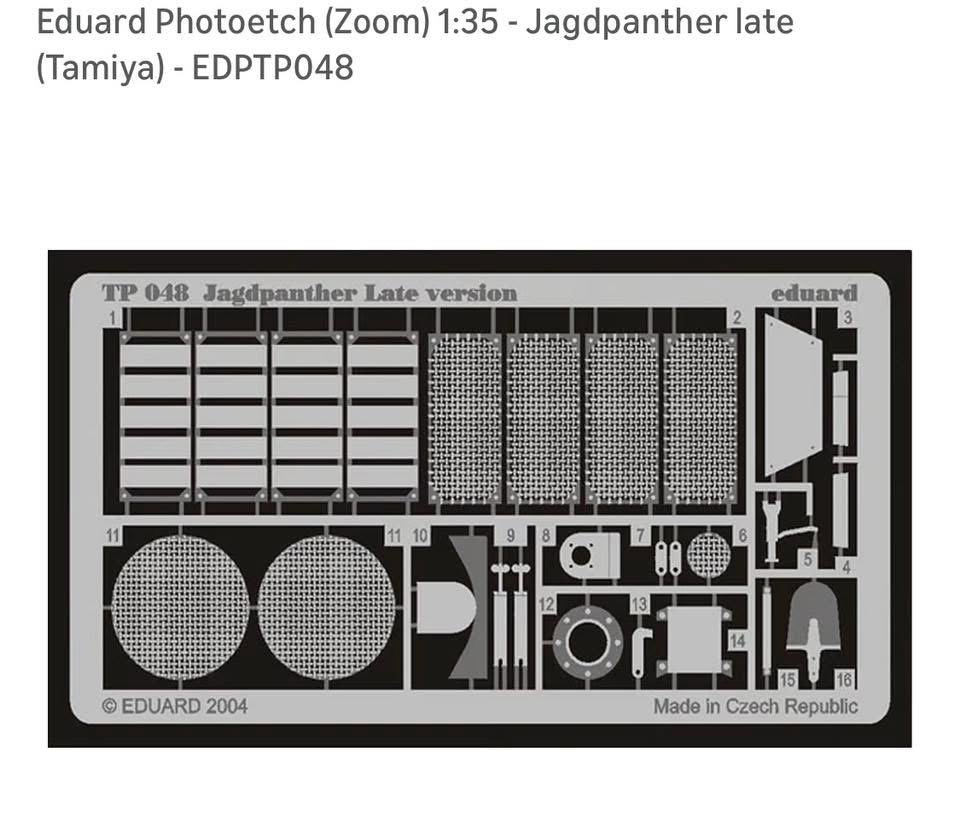
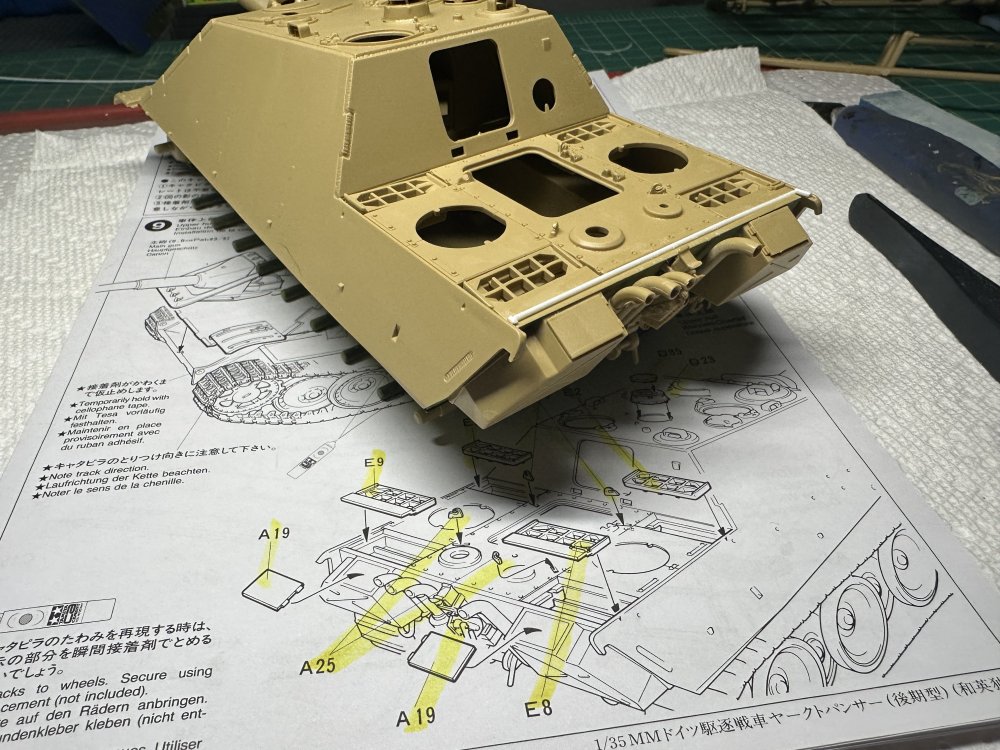
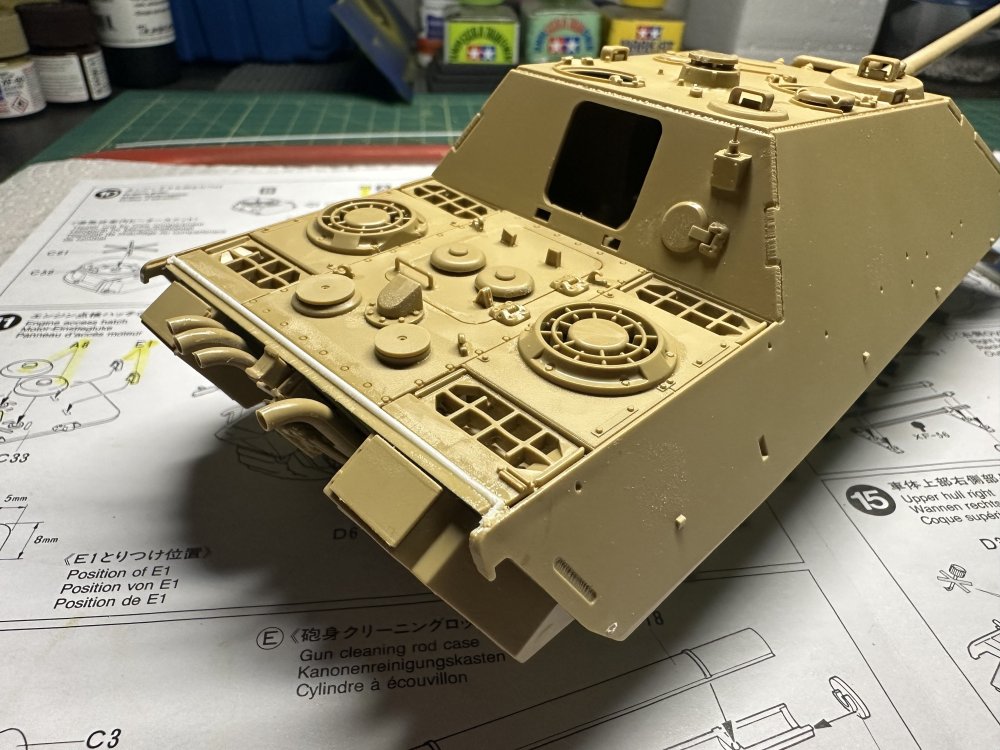
Finished up step 9 installing the four engine grates. Unfortunately I had to install a styrene rod gap filler across the rear engine deck to obviously fill a gap. I’ll make it into a weld line for painting. Steps 10/11 were next installing the remainder of the rear engine deck, vents, handles, engine cover, antenna mount etc. May slow down on the Jagdpanther build until my Eduard Photoetch 1:35 Jagdpanther late set arrives.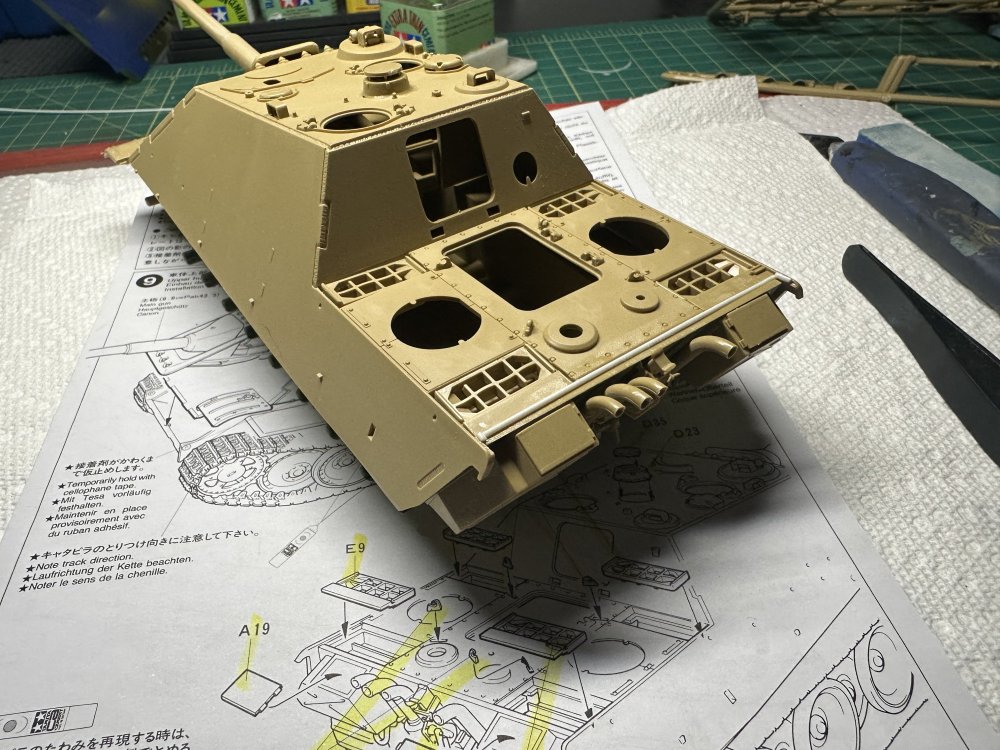
-
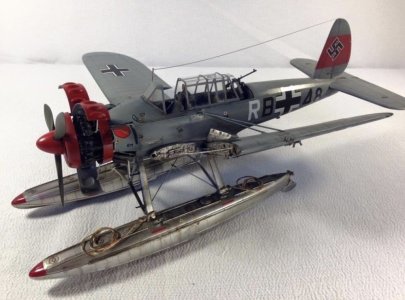
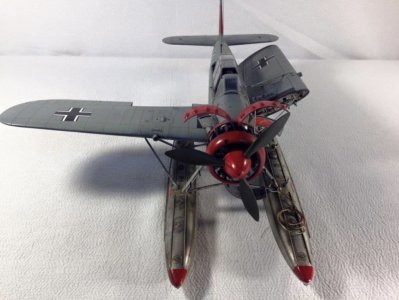
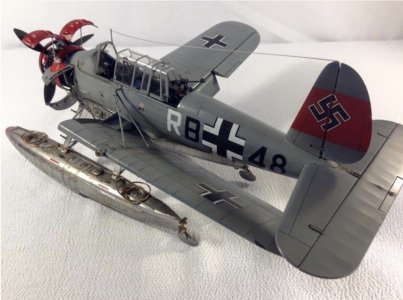
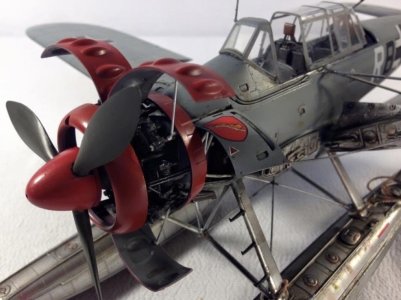
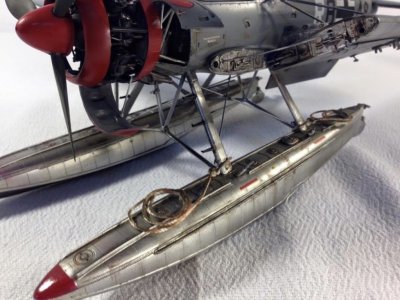
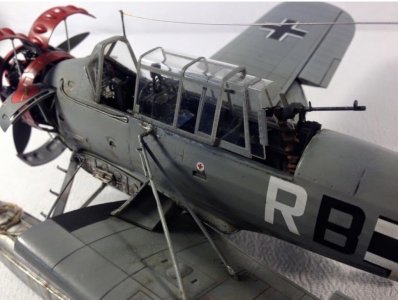
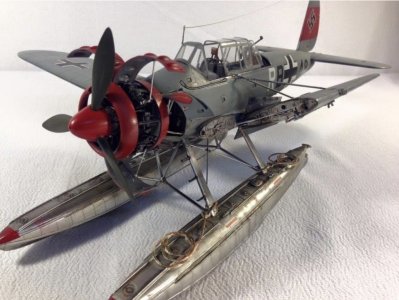
Revell 1/32 Arado Ar196A-3
Images added to a gallery album owned by RalphSarc in Gallery of COMPLETED Aircraft models
Remember this?? -
-
Tamiya 1/35 Jagdpanther (Late Version)
RalphSarc replied to RalphSarc's topic in LSM 1/35 and Larger Work In Progress
The upper and lower hull halves dried overnight. Time to build up the upper hull section, engine covers, cooling fans, periscope covers etc!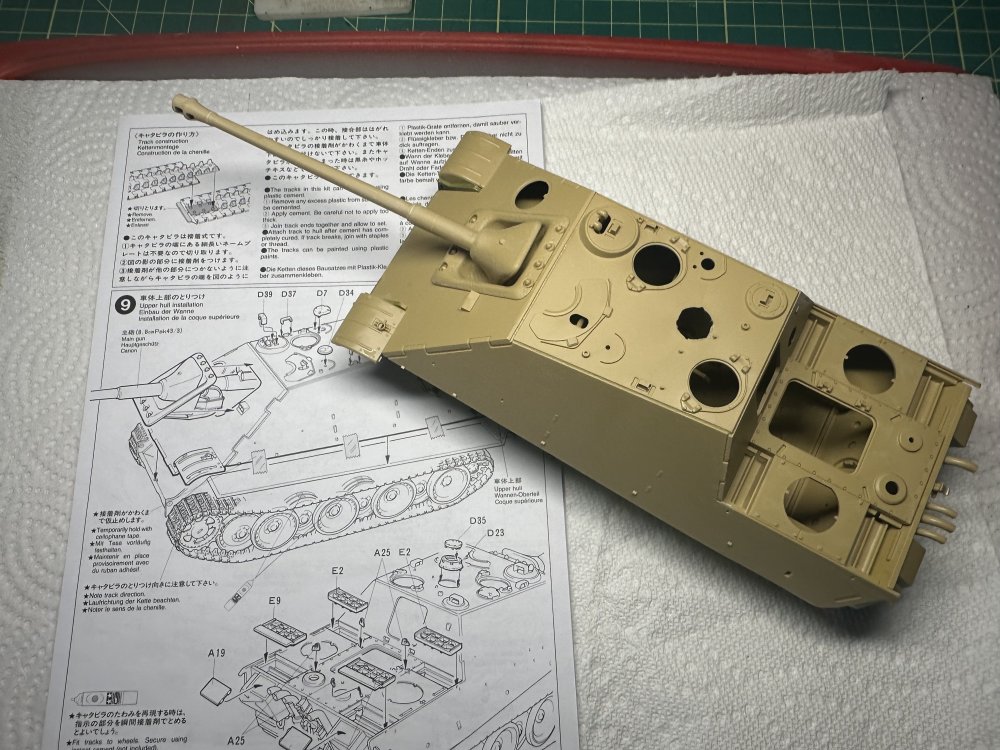
-
Tamiya 1/35 Jagdpanther (Late Version)
RalphSarc replied to RalphSarc's topic in LSM 1/35 and Larger Work In Progress
Step 9 starts out joining the upper and lower hulls together. For this my super clamps came in handy to hold and let dry the two halves over night!!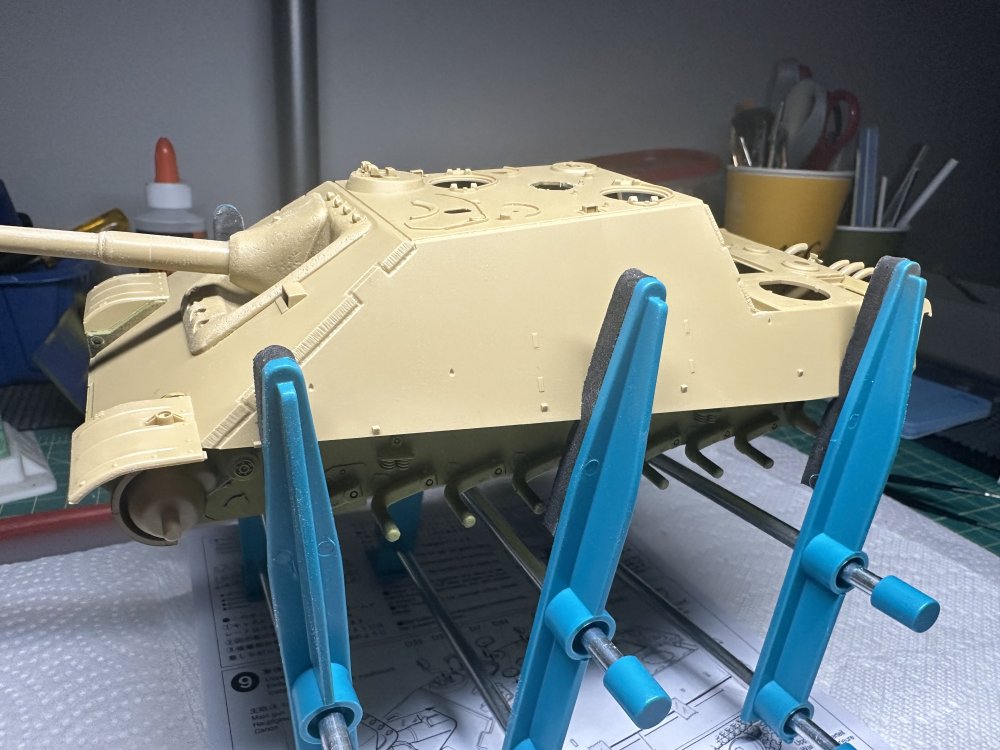
-
Tamiya 1/35 Jagdpanther (Late Version)
RalphSarc replied to RalphSarc's topic in LSM 1/35 and Larger Work In Progress
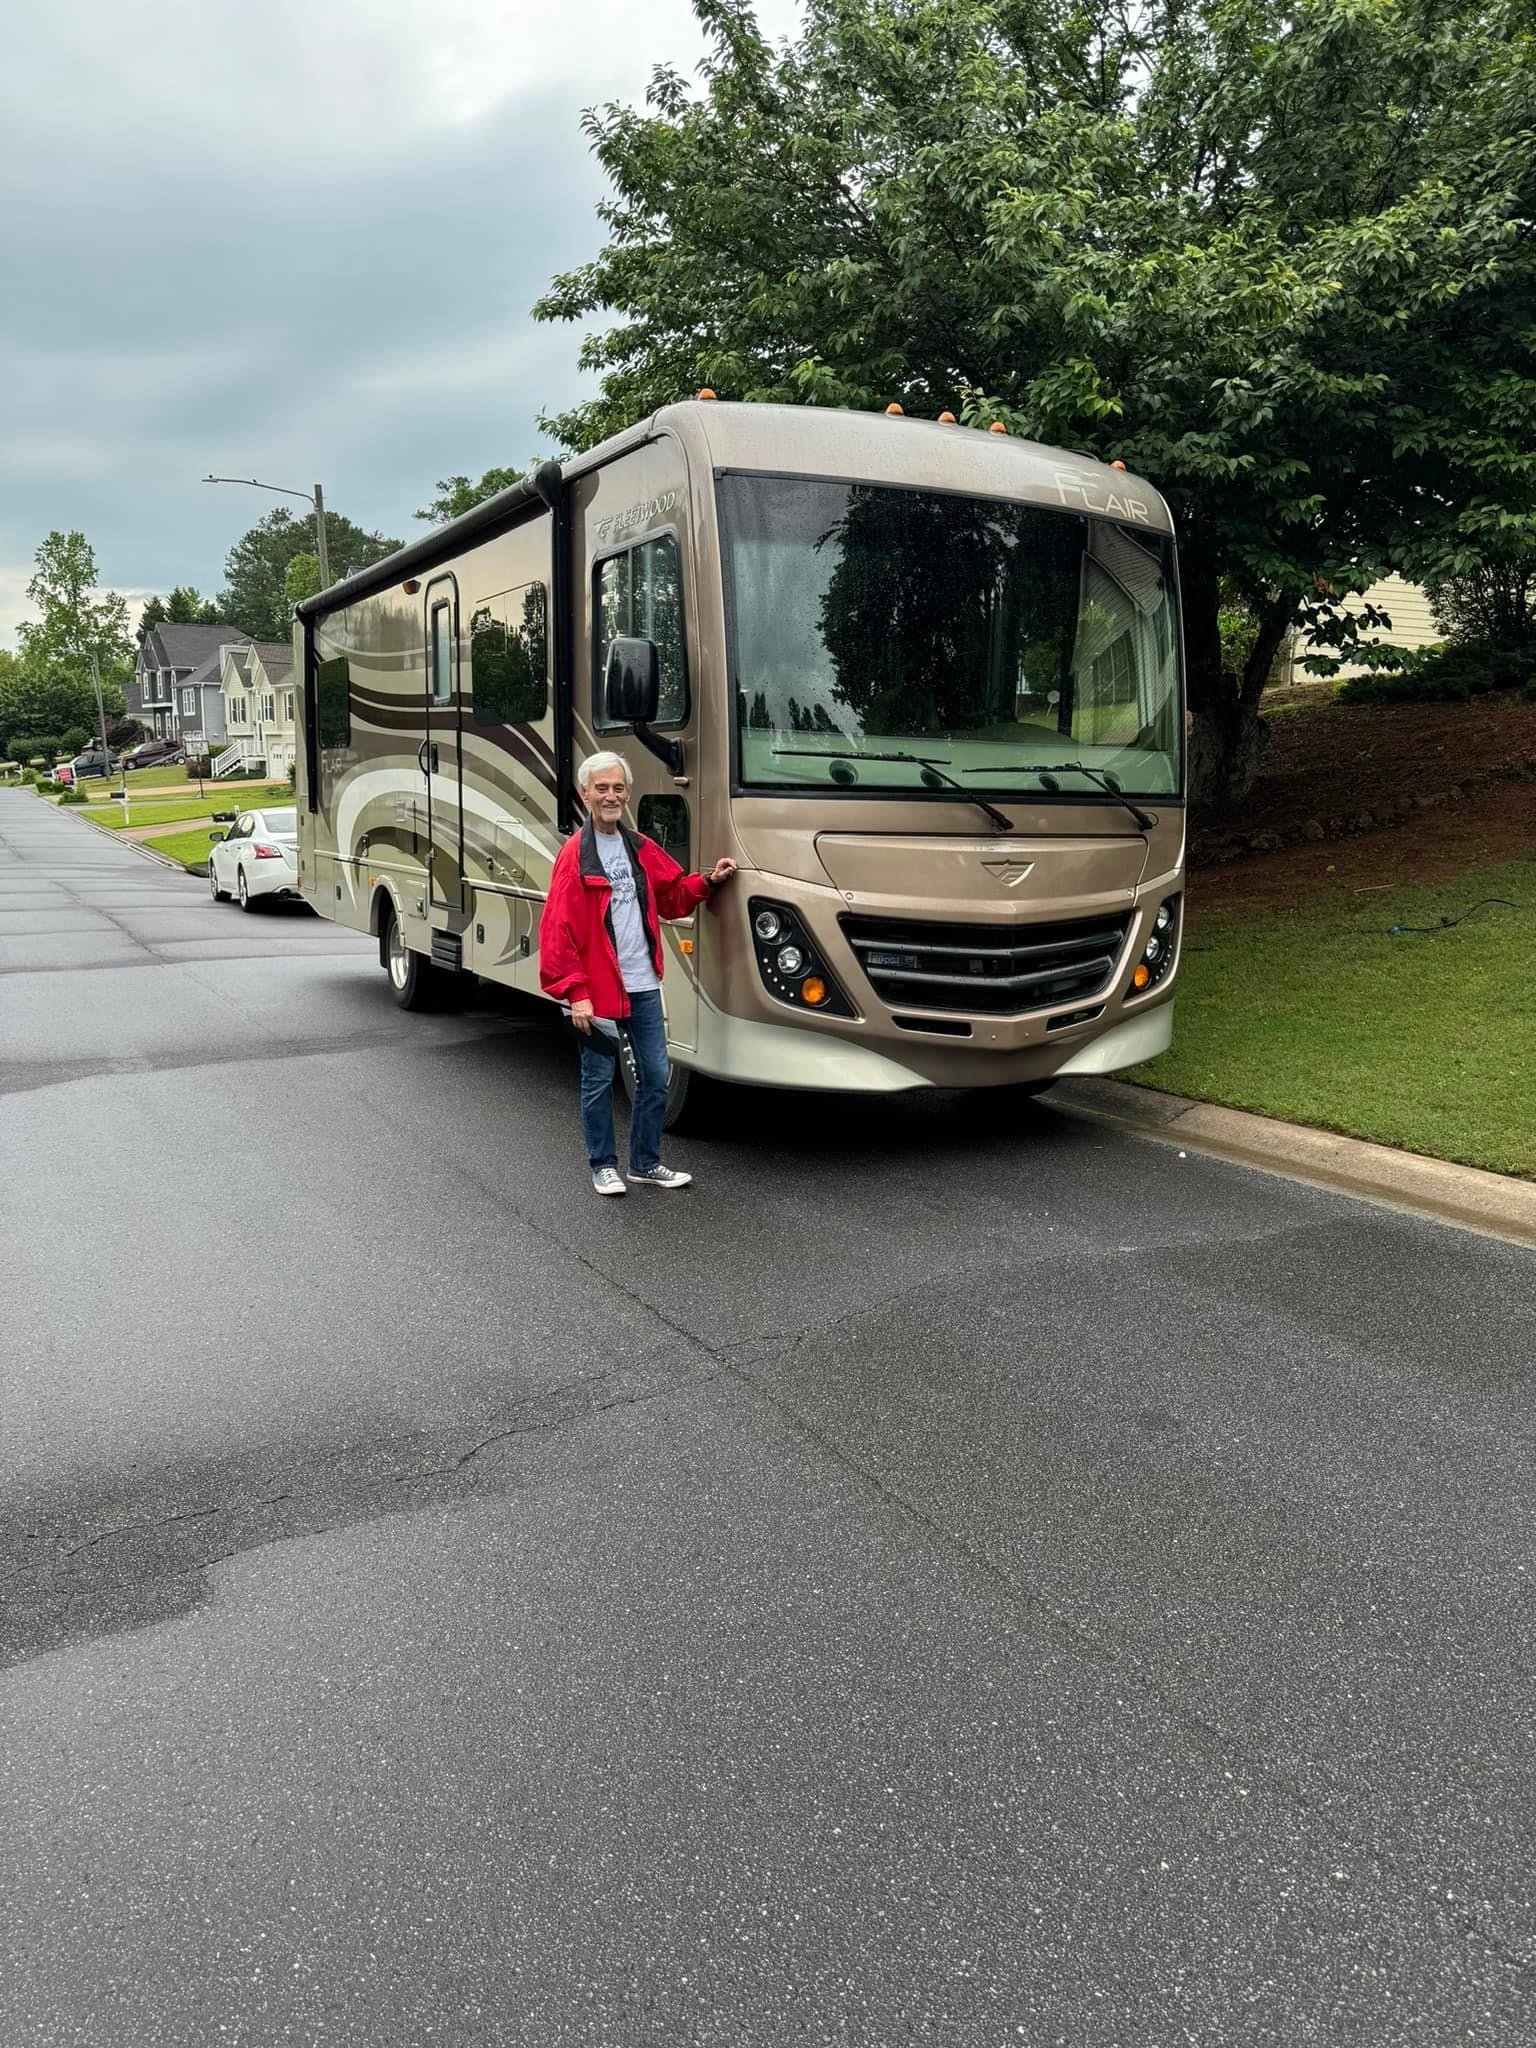
I was purchasing my first home in Woodstock Ga. Lived there 30 years!! How time flies!!