


One-Oh-Four
-
Posts
1,757 -
Joined
-
Last visited
Content Type
Profiles
Forums
Events
Gallery
Posts posted by One-Oh-Four
-
-
Ah, a legacy GSX-R 750!!!! Delicious!!
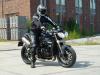
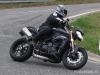
I currently ride a Triumph SpeedTriple 1050 and a BMW R1200GS Adventure (both originally registered in the UK and bought 2nd-hand by me , BTW!) but I have a history in GSX-R's. Had a 1991 GSX-R 1100, 2000 GSX-R 750, 2005 GSX-R 1000K5 and currently I have a non-running 1997 GSX-R 750SRAD too....
And after putting on some aftermarket goodies:
-
 4
4
-
-
Great work, Jim!
-
Great going, guys!!
-
Nice build!!
-
1
-
-
Thanks for your very nice review, Jase! I acquired a kit on Flanders' Modelling Festival in Antwerp last saturday!
The Jag was a huge leap forward from the F-35B. Fussy in some areas but well-fitting. In my opinion it's one major weakness was the poor decision to use unpainted photo etch for the side consoles and IP. Very hard to pull detail out of that, but I know there's aftermarket options to play with now.
The MiG-25 fixed the PE cockpit fetish and has some of the best surface detail I've seen outside, say, Tamiya's Corsair.
The F-35A was a big improvement over the -B.
The OV-10 is...well you can see it above. The builds I've been following elsewhere gush at the detail and the great fit.
The AH-1Z is easily, hands down, the best Cobra you can buy in any scale.
The forthcoming Sabre Dog looks staggeringly good.
With each release, they seem to improve and refine a bit more. And they're definitely going interesting places, subject-wise.
My biggest gripe at the moment is the cold-shoulder they get from Eduard. A new Tamiya kit gets a mask set within a month or two. Kitty Hawk kits languish for up to a year.
I think that Tamiya has a better market penetration, making it more worthwile for Eduard to invest in a set. They will onlly have that much manufacturing capacity so will be forced to make choices too... And since they're in it to make money... There's a reason that the newest kits get the AM treatment and not the old re-issues that really need it...
Nice review! It it inDEED a wonderful little kit and it builds up WONDERFULLY. The fit is on par with Tamiya IMHO.
A couple words of warning however:
- Be careful with the windscreen. It takes a bit of pressure to get all that glazing to mate up and some spider cracking can occur if you abuse it. (ask me how I know!)
- Decals - They settle down nice and conform well, as the carrier has been minimized by KH, but they are NOT...........I repeat NOT user friendly! They will curl up on you in a heartbeat if your not careful, and they are prone to tearing.
I HIGHLY recommend using a small piece of thin Tamiya tape on your model exactly where you want your decal to go before placing them, as even with the glossiest of glosses, you have just a scant few seconds to manuver them before they stick down.
- VMO 4 wrap around camo scheme color:
Do NOT use the Model Master Euro Gray FS36801 that the instruction manual calls out for. I did myself as it was a review build for Kitty Hawk models, but it is in fact way, WAY too light for the real scheme, which is MUCH darker...............boardering on a black.
I would hightly recommend using a color like "weathered black" which is MUCH closer to the 1:1 scheme.
- Gear - BE CAREFUL! They are quite springy OOB, and tend to splay the wheels a bit of you desplay the model on glass. Forthcoming AM gear will be MOST welcome.
Thanks for your tips!!
Scale Aircraft Conversions have just released metal undercarriage for this.
Oh and Eduard have announced an Interior, Exterior, Seat belts and masks too.I do wonder why interior doesn't actually include seat belts too (aren't they on the inside after all, they always were and are whenever I strap into an aircraft) but thats an old argument against Eduard...
They seem to have turned this around pretty quickly, I wonder if they are reading us

J.
Maybe not everyone wants to use their seat belts. I regularly read about that. Or maybe it's a method to make the total price of the updates less obvious at first sight... Probably some kind of marketing reason.
-
Cracking WIP! Very good result too!!
-
1
-
-
Looking good, my friend!
Carry on!
-
Well.... Yes, it's a lot of money... I'll be ordering an "early version", anyhow. It's a seriously large and wonderfully detailed model of a guaranteed high quality. So I'll just let Mr. Jackson pocket the profits and hope those profits may be used some day by him in making a movie trilogy of Bernard Cornwell's version of the Arthur Saga. "The Winter King", "Enemy of God" and "Excalibur". If those three novels will get the same treatment as Tolkien's work has, it will be an awesome spectacle of how the Celtic Britons fought each other and the invading Saxons at the end of the 5th Century...

-
1
-
-
Top Notch, ya ole Greek!!

-
Happy 15th birthday, Jimmy!

-
Seeing as Tamiya's A6M2 is the Type 21 it would not qualify. The Type 12 first saw combat in September 1940. The primary difference between the 2 is that the 21 had folding wingtips to clear the elevators on Japanese aircraft carriers. Info taken from Robert C. Mikeshs' book, "Zero Fighter".
Unless you convert it to the model 12...
-
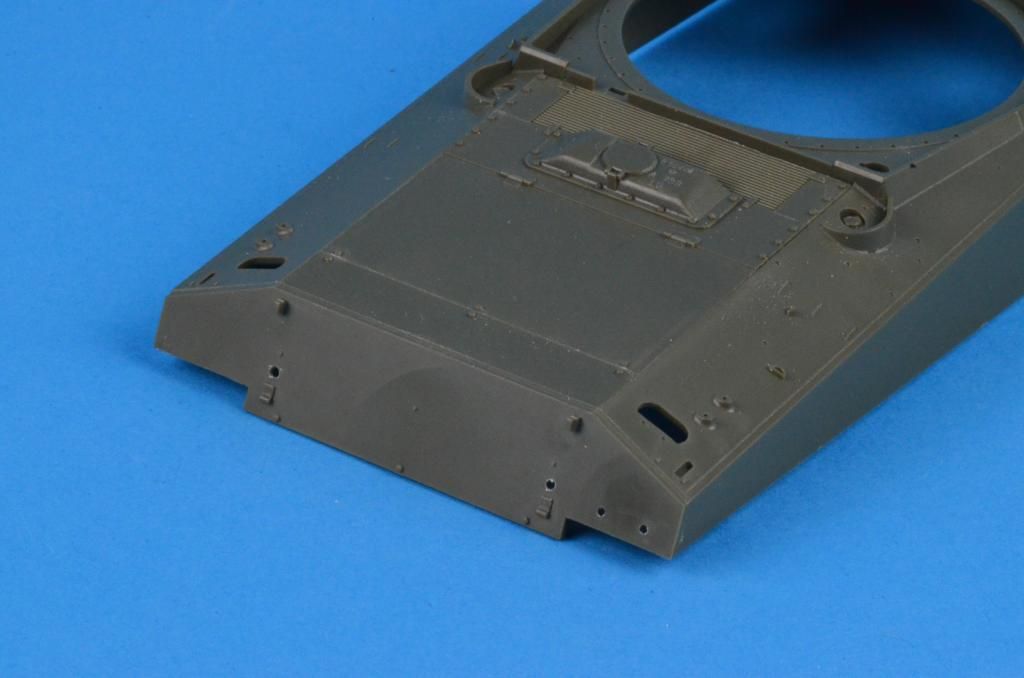
A small update:
Earlier I showed a photo of the transmission housing with it's seams. After looking at the photo myself I could hardly make anything out, so I put the 105mm Macro-lens on the camera:
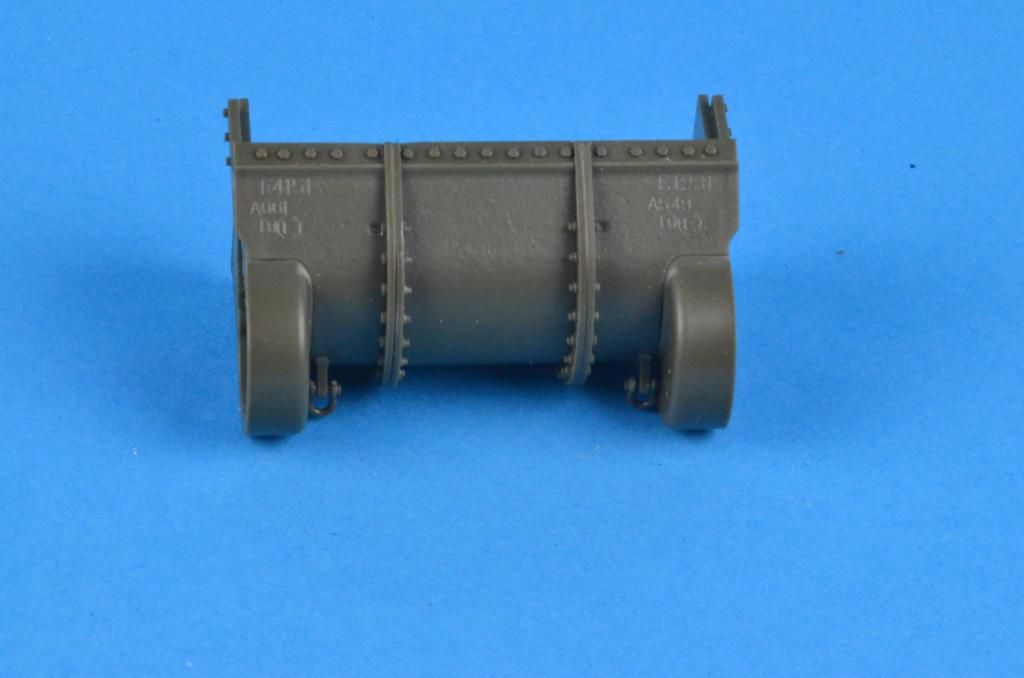
I think that makes it more visible. Mind you, you shouldn't remove the seams completely, a hint should stay visible as this photo from "Sherman Minutiae" shows:

The " ears" were welded to the outer parts.
Okay, I've been doing some things to the "arse-end" of the model. Step 6 shows you to drill some holes in the backplate.
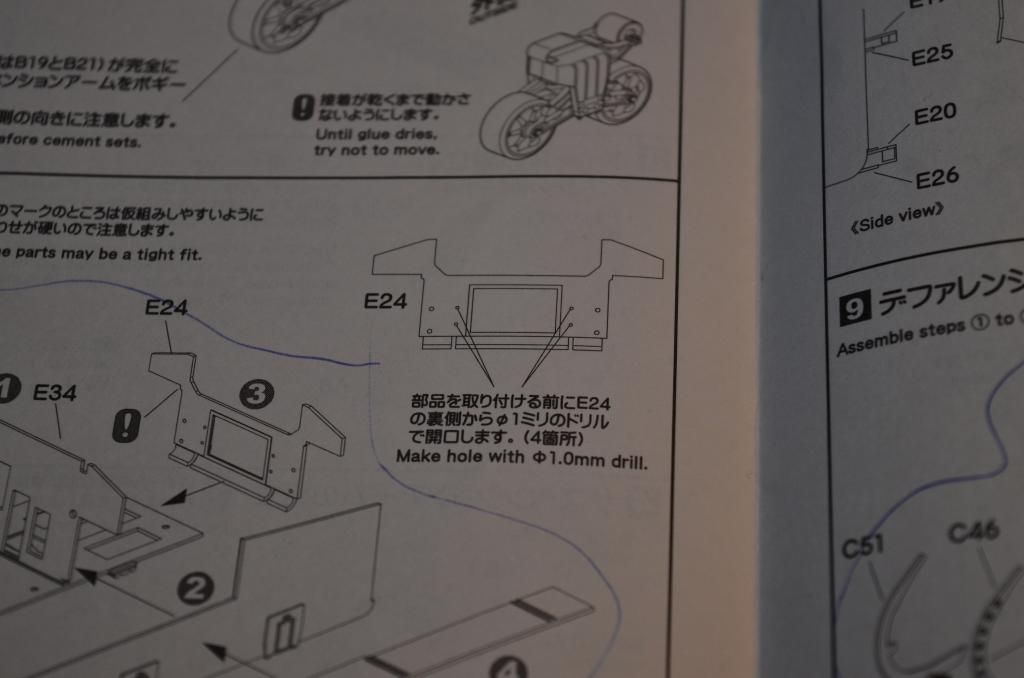
If you look to step 8, you'll see that that is for the British version tow-pintle. Although I don't have very many Sherman photos, I didn't find them in that time frame and location to be on the vehicles, so I decided to skip the pintle.
The same goes for the holes to be drilled in the engine door in Step 7:
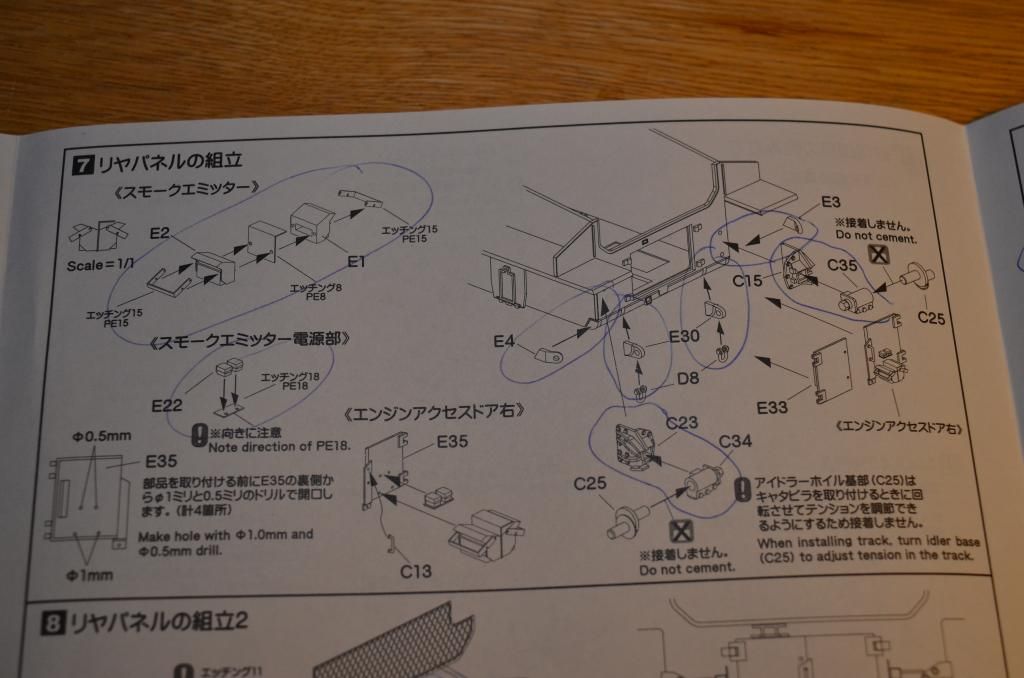
Parts E1 and E2 are British pattern smoke generators. I didn't see these too, although the Sherman that gets "FFI" written on it in France higher up this page, carries them. I don't know what blocks E22 on PE18 are, but since I didn't spot these either, they stayed off!
Although this seems to be a Sherman I Hybrid (you can see it has the radial engine because the tank has the air filter housings on either side of the engine doors)

But have a look at the Irish Guards Shermans passing the KO'd Shermans in the first post, you won't see these items on them either.
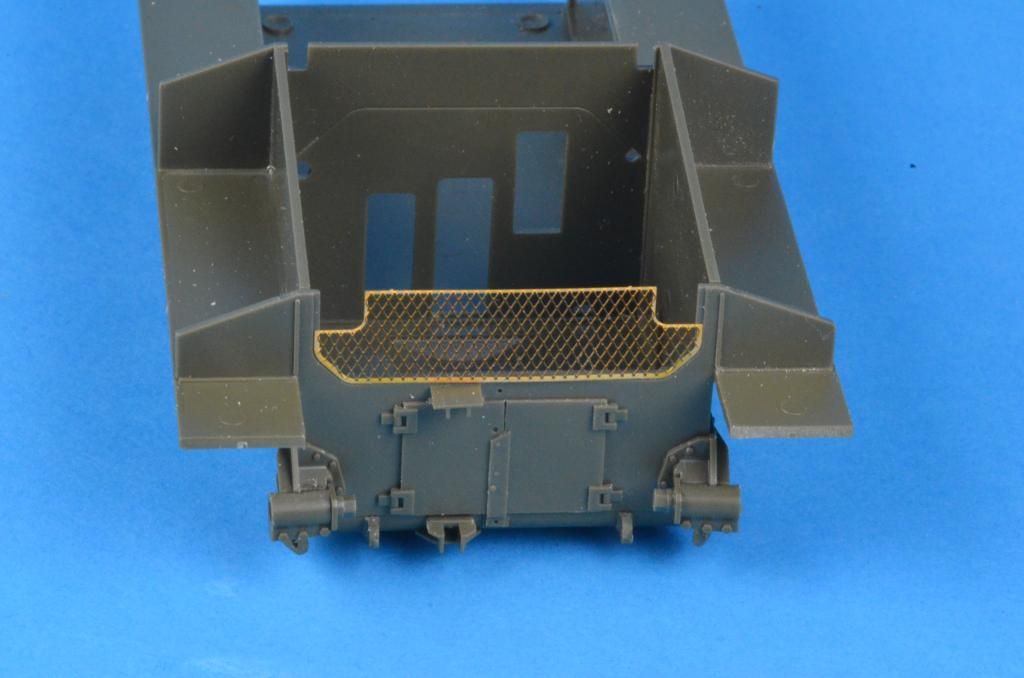
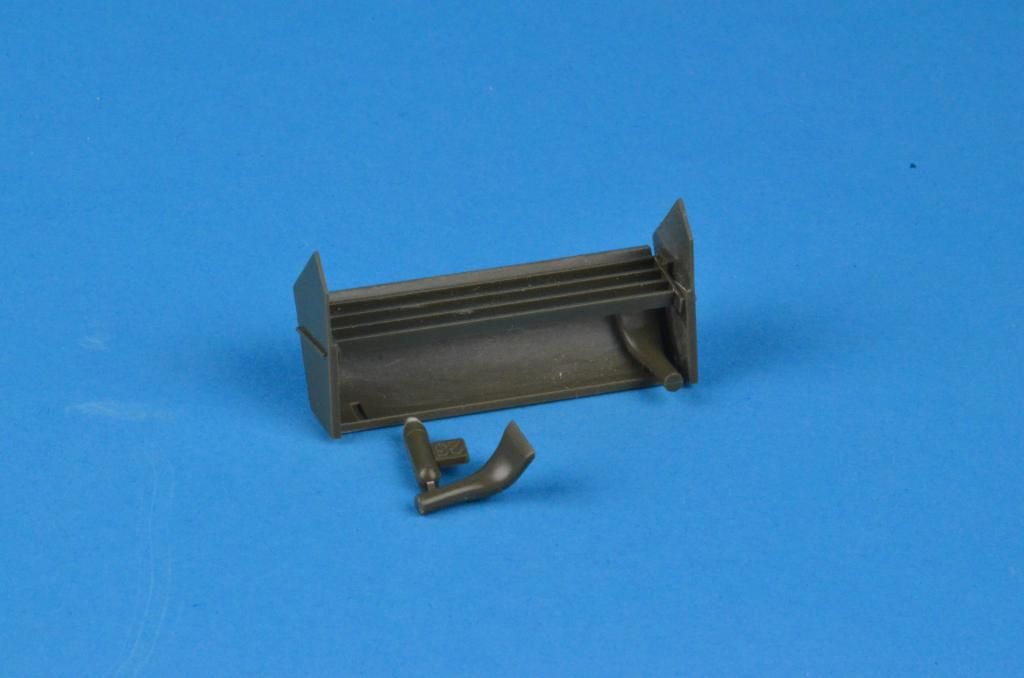
The mesh was protected by armoured "slats" behind which the exhausts lived. Because I want to paint them separately, I haven't fitted the exhaust stubs yet. Only one poses on the right place to give you an idea!
As you can see the cut-outs in the mesh are for the exhaust stubs. This is the view when looking up from the engine doors (sans stubs):
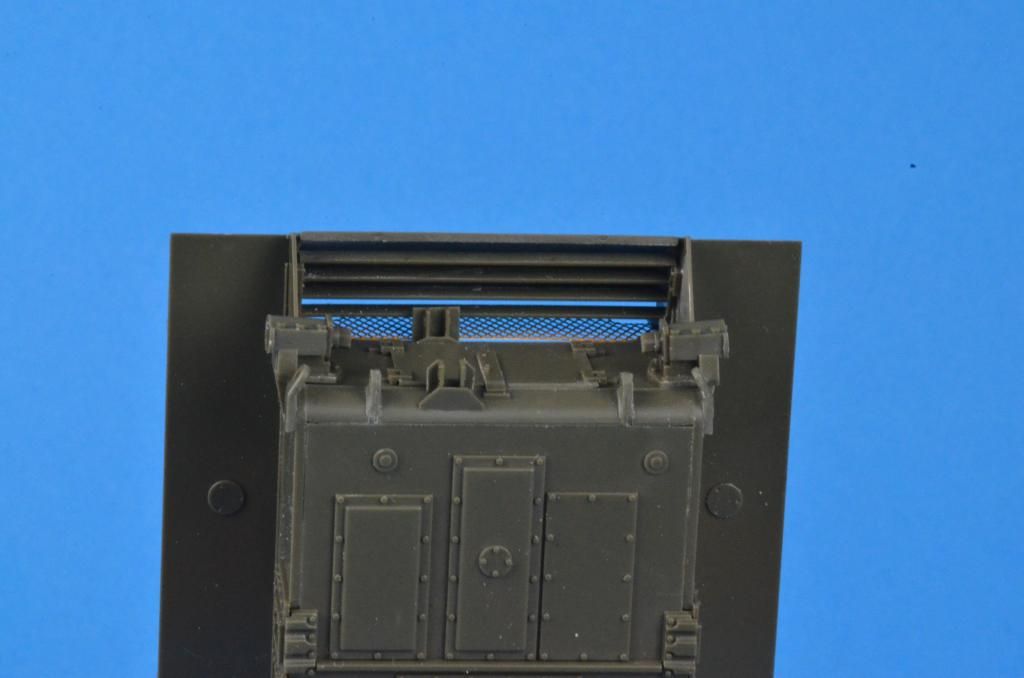
The last thing was to fit the engine plates on the rear deck to get that characteristic Sherman Multibank rear deck. The instructions showed to drill two holes in the aft slim plate for the sledge-hammer. I didn't do that, since I plan on putting some stowage there. The rear plate did get some holes for the characteristic British stowage bin.
-
Love following this. I have all 3 of Zaloga's recent books on the armored warfare in NW Europe and the Sherman in NW Europe. great reference and build ideas.
I plan on getting those too, although the liberation of Holland was more of a British/Canadian/Polish party...
-
1
-
-
Got anymore info on this pic Erik?
I would be temped to get a Sherman V to do that!
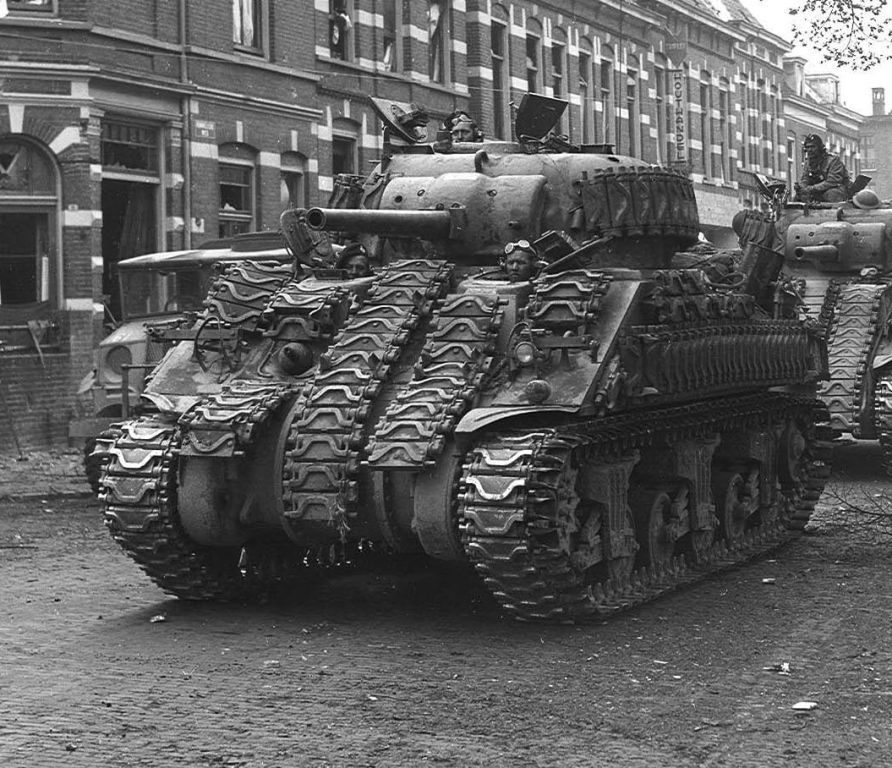
A wider view is this:

Dave, I have asked around, these are vehicles of the Canadian Governor Generals Horse Guards Regiment.
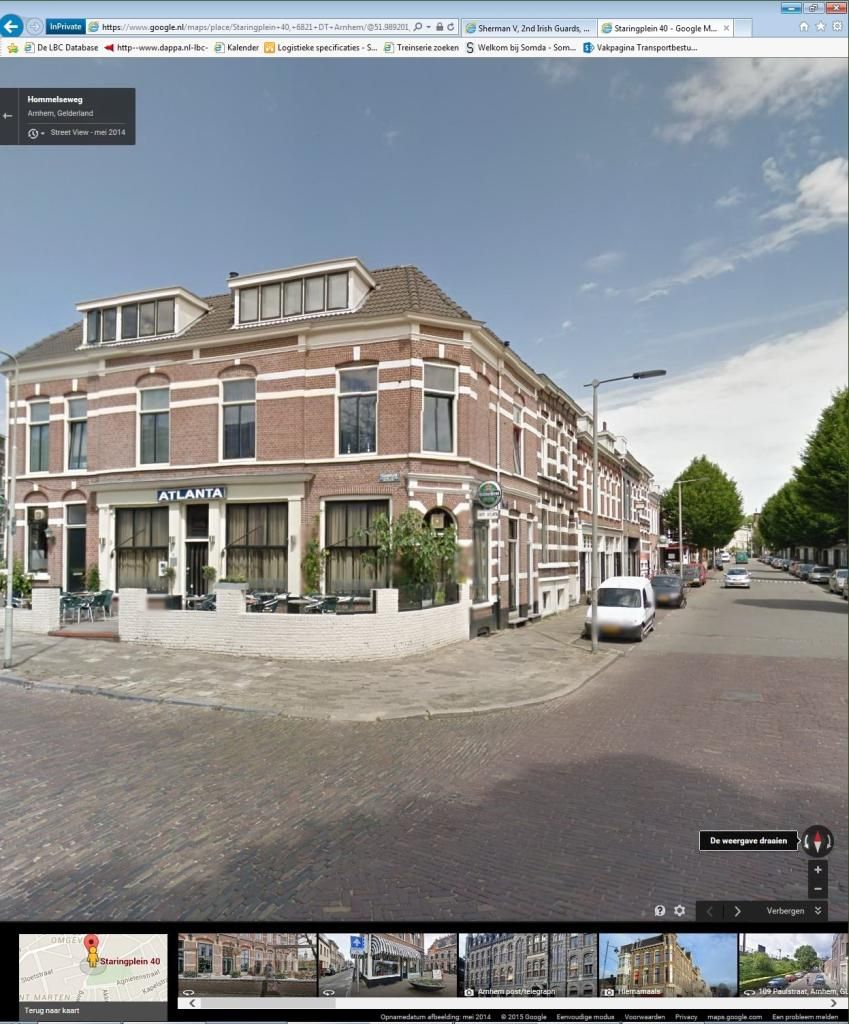
The photo is taken in Arnhem, on the "Hommelseweg", corner "Staringplein" (Hommelse Road, corner of Staring Square). The building on the left is Café Atlanta.
Some fooling around with Google Streetview; this is how it looked, May 2014:
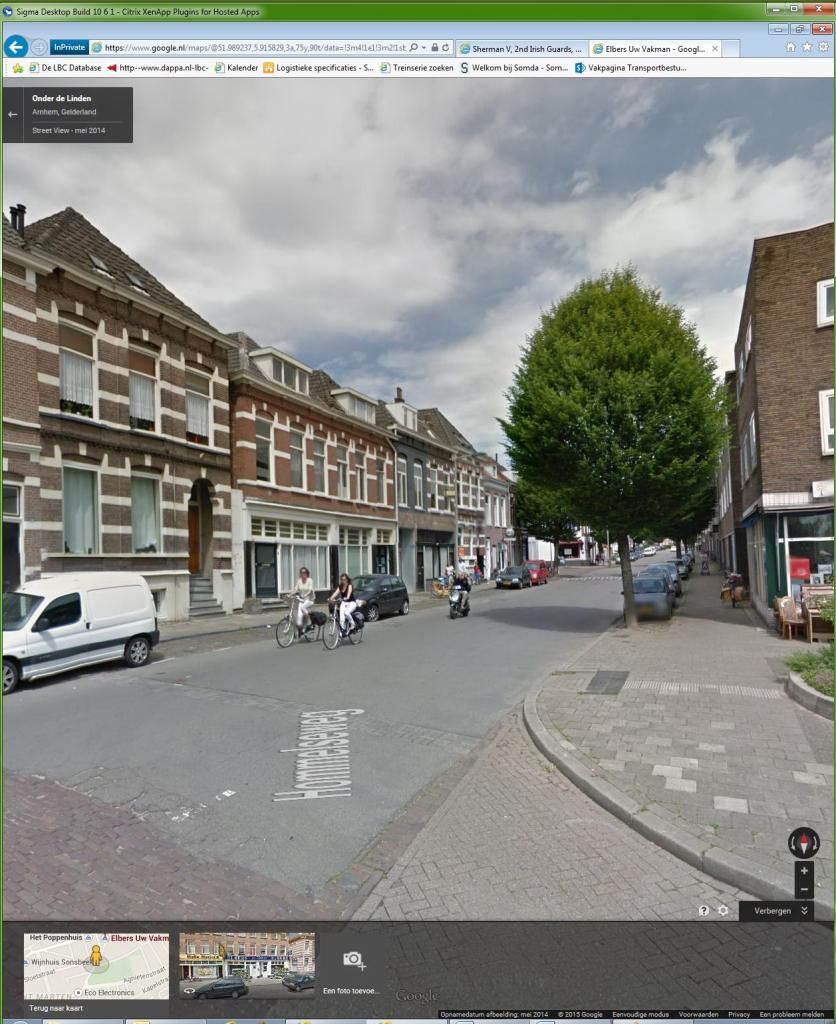
And where this place is located in Arnhem and the bridges:
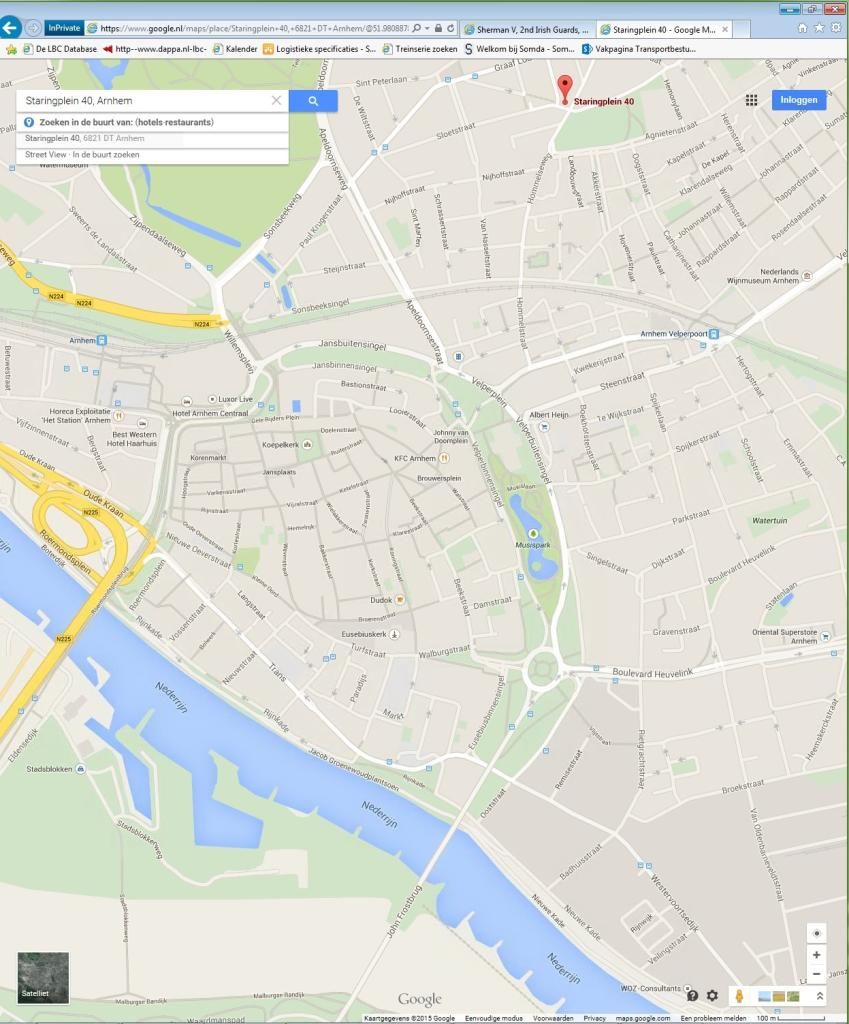
The picture was made in April 1945 during Operation Anger:
https://en.wikipedia.org/wiki/Liberation_of_Arnhem
-
1
-
-
Looking real good, Remco!
-
Hmmmmm, I DO have Tristar's Pz.Kpfw. IVD and their Sd.Kfz. 222 in the stash....

-
I'm not aware of a laser-cut version of them yet, but cutting them out is really not all that difficult.
Nope, according to Edgar Brooks those seatbelt were used post-war. During the war the used the old type Sutton seatbelts
http://hgwmodels.cz/en/seatbelts/166-spitfire-early-seatbelts-132-132013.html
-
-
Congrats, buddy!
-
-
No, not really, Mark. The Barracuda resin enhancements are a good refinement for the cockpit. If you don't like the rubber-like types you can use their wheels too.
Don't use Rolls-Royce logos on the cylinder heads as the Mk. XVI used the Packard Merlin... You could also use the Master barrels for the "e"-wing, that'll make the guns look super, although usually the cannon and MG-muzzles would be taped when the guns were loaded.
-
2
-
-
Got anymore info on this pic Erik?
I would be temped to get a Sherman V to do that!
Dave, I'm sorry to say that I don't know which unit this was from or even what town it is.... Around February-April 1945 it was fairly standard for Sherman V's to have this much of track armour. You also see it fairly often on Sherman Vc's (Fireflies). During these last months it were mostly Canadian units fighting in the northeastern Netherlands, the provinces of Overijssel, Drenthe, Groningen, Friesland. This URL might be a nice starting point, browse this website; interesting stuff: www.canadiansoldiers.com
Bloody hell Erik, it's like the Discovery Channel but in print.
Excellent research and generosity for sharing it too; I'm definitely following !
Thanks Grant, to be honest, about 95% percent was just using Google!
-
Looking "swell", Paulie!
-
No Stickers.
But if there were, they would probably not have been in 1/32

There you're wrong. Whenever they include decals, the do it in 1/72, 1/48 and 1/32. Of course there is a downside to it; you (almost always) have to source your own national insignia.
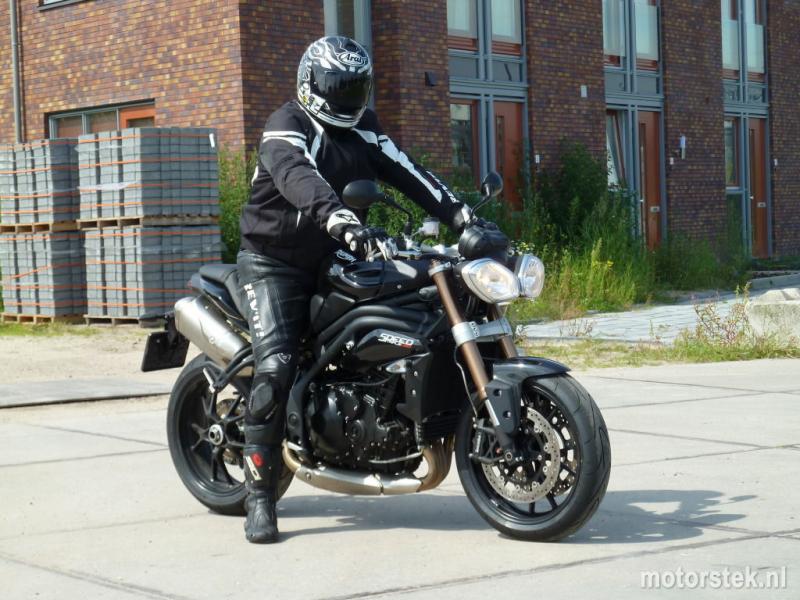

My other hobby........
in General Discussion
Posted
Oh! Almost forgot....
I'm also into (aviation) photography... A couple of friends and I went to Spangdahlem AB, Germany last Friday to see if we could take some pics of the Davis-Monthan A-10's that are TDY there, at the moment.
We succeeded in that, plus two Canadian CF-188 Hornets and some resident F-16CM/DM's!