


Anthony in NZ
-
Posts
217 -
Joined
-
Last visited
Content Type
Profiles
Forums
Events
Gallery
Posts posted by Anthony in NZ
-
-
Peter hang in there buddy. You are doing an awesome job and will (like others have said) will have a lovely looking model in the end. What I see so far is stunning, I know you will turn this into another masterpiece!
-
 4
4
-
-
I agree with @Peterpools just lovely!
All of your persistence and attention to detail and surface finish will definitely pay off in the end.
It's true, all the work is in the prep. Keep it up, love this
Cheers Anthony
-
3
-
-
Awesome work there, truly one of the most detailed explanations of assembly of the Hasegawa kit. Shame about the canvas covers as I have those too....hmmm
Great inspiration
Cheers Anthony
-
3
-
-
Beautiful meticulous work Nick! I love your attention to details and getting them right, well done and am feeling inspired to get back to my one!
-
6
-
-
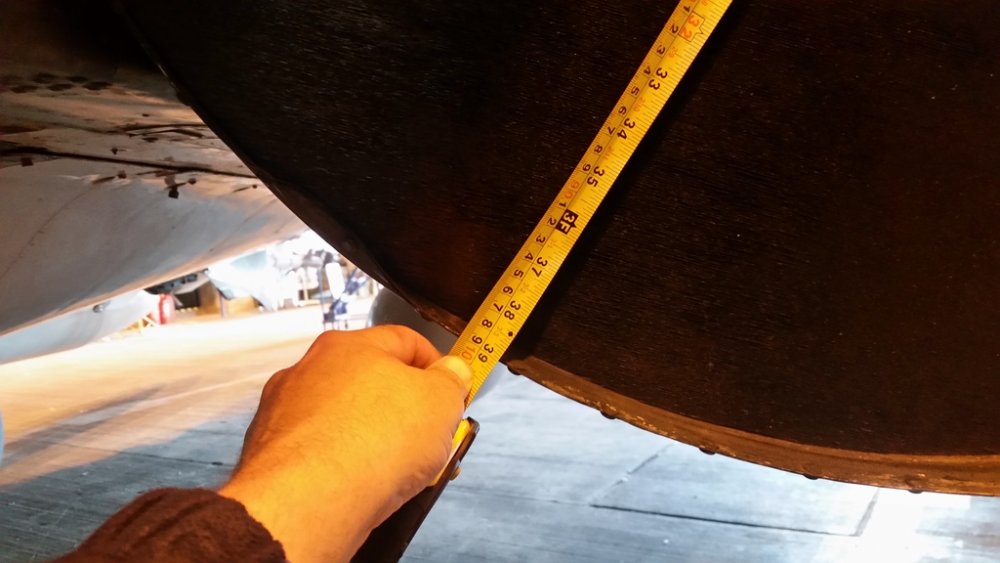
21 hours ago, Maybach_Man said:
Saying that.. i would love to see the photo you have of the can and tape measure... the 'offset dia' shown in the notes ( this is the section that joins the main engine to the afterburner is approx 44" that would make the end of the can nearest the engine larger than the 39" outlet as can be seen when looking at the cans... im trying to get accurate dims....
Here you go
Photo is Derek Bradshaw's
-
3
-
-
18 hours ago, Wingco57 said:
Thanks chaps,
I am waiting for the new canopy set. When it arrives I will perform the last push to finish this satisfying (and sometimes demanding) project. Hopefully before Anthony finished his

Hahaha....shouldnt be too difficult mate!
I have seen snails overtake me on my builds! I have some canopies coming too, so pleased he Ali did them!
-
2
-
 1
1
-
-
Awwww Peter it is so nice to see you back at the bench and active again, you were missed my friend!
A stunning start to your Sufa...but then we have come to expect that from you, bravo my friend!
-
4
-
 1
1
-
-
16 hours ago, harv said:
Only staged, nothing glued yet. I switched the grey Sprue instead of the green because its softer and easier to sand. Olso found some thinner card for the base plates. What is your opinions?......harv
Brilliant! That looks much better. Keep up the great work Harv, love what you are doing here!
-
3
-
 1
1
-
-
On 1/28/2021 at 6:54 AM, harv said:
Getting close. What do you think ?......harv
Looks great Harv
Although I dont know much about F-16's, they are one of my favorite jets. I had to do a google to see how what you made compares with photos and I think you have actually done a really really great job capturing the shape and size. Only one thing after looking at photos I might suggest, is thinning the mounting plate down a little. Not a criticism at all, just a genuine response to your question.
Otherwise bravo buddy....great job! I will enjoy following along....and try to resist buying a kit, I got my own Phantom to finish first!
Cheers Anthony
-
2
-
1
-
-
Brilliant, love the Sharkmouth!
Excellent modelling skills as well of course
-
2
-
1
-
-
Wow they came out really nice...something I dread
-
4
-
-
Really coming to life now Cees...Amazing how decals bring a whole new dimension to the model.
Beautiful!
-
6
-
-
Nice Cees.......really nice
-
4
-
-
Yep, brilliant work there Cees..... there is nothing not to love with this build! I will be sad to see it finish as I get a lot from each update. I am sure you will be pleased though
Great work buddy!
-
4
-
-
Well from where I am sitting it looks pretty darn awesome....errrrr I mean, no it doesn't. Give in and send it to me...
Seriously though mate, we dont see your struggles, only the results of your struggles. She really looks the part now with the tailplanes and decals on. You are nailing it buddy. Dont give in just yet, wait until the clearcoat is on and it's on your shelf...then give in!
Or send it to me...either way is a good outcome
-
5
-
-
My word that looks good! I am sure the decals will settle down. I have not generally had too much issue with them in the past.
I am rapidly falling in love with the camouflaged Toom right now!
Cheers Anthony
-
1
-
-
Love the scheme you chose, that's going to look mighty impressive in that scheme. Makes me think my grey one might be a bit dull.
You will have earned a shake n bake kit build after this my friend, wonderful indeed and I have learned a lot from your build for mine. Thank you
-
2
-
-
Any post you make is interesting enough mate.
Looking soo good from the pics you are posting. I totally love this build! You have been a great help to me through mine, I just wish I was not as slow as I am.
Keep up the great work, the end is in sight now!
-
2
-
-
33 minutes ago, Wingco57 said:
Indeed they are two different types, but as a propguy they all looked the same to me

LOL me too!
-
1
-
-
Aaah now that looks MUCH better...phew!
-
1
-
-
Oh right....I trying to see what you didnt see coming and couldnt figure it out.
I would trim the missiles down or put the blue ballast ones in the front wells only. From what I understand they were only ever fitted if no missiles were carried on the belly at all. I could have gotten that wrong of course as I havent got to this point in mine yet. But trim them down would be the best option at this point.
I never saw that coming either!
-
2
-
-
11 hours ago, JeroenPeters said:
Lovely. I hate spraying white almost as much as i hate yellow but this looks good!
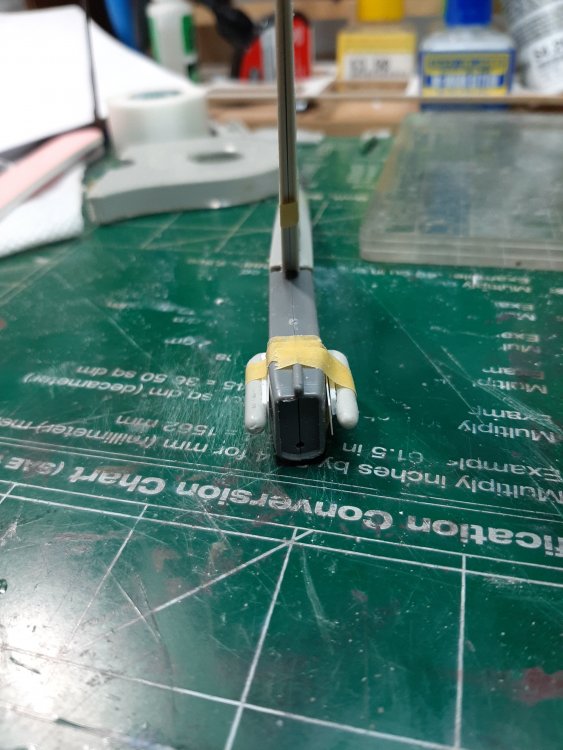
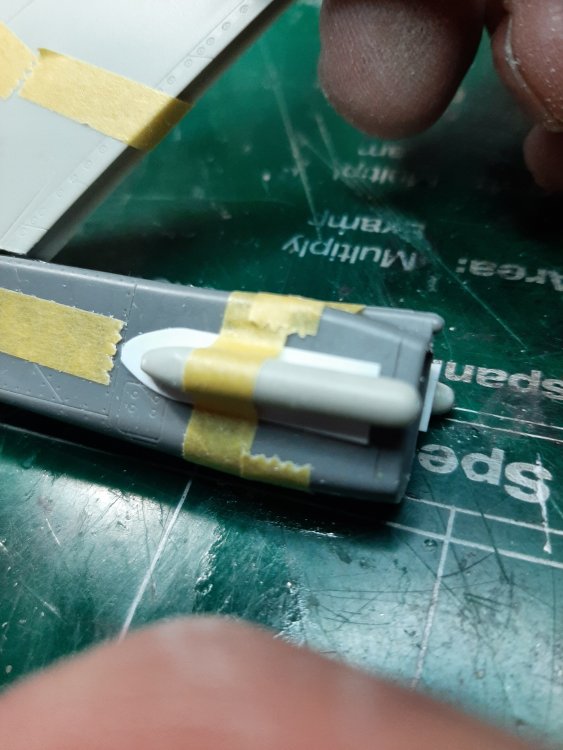
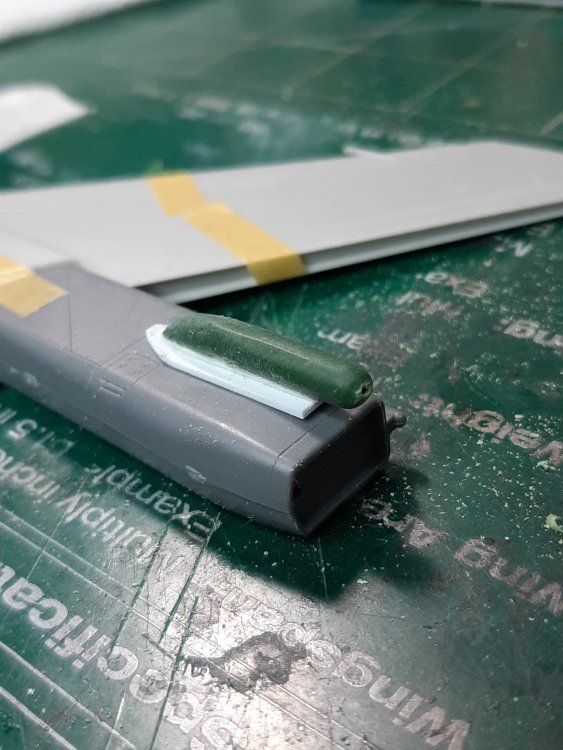
Yes me too, yes it really does look good! I must catch up about upscaling the Spey cans you did as they are too small for the Tamiya back end, but work for the Revell one. Thanks for doing them by the way!
Cheers Anthony
-
1
-
-
Aaaah but this is where all those details really add to your finished model.
Yours is looking amazing...I only hope I can finish mine and not get too bogged down. I really look forward to each update.
Are they Skyflash missiles for the belly? Where did you get them? Or are they converted sparrows (not that I can tell the differences
Cheers Anthony
-
1
-
-
Just beautiful John! Always love a well built Mossie and you nailed it!
-
4
-


KH P-39 Airacobra
in LSM 1/35 and Larger Work In Progress
Posted
Now that's what we're talkin about!
Well done Peter