

PAnderson
-
Posts
285 -
Joined
-
Last visited
Content Type
Profiles
Forums
Events
Gallery
Posts posted by PAnderson
-
-
Sweet, welcome to the party. I like that scheme, by the way.
Paul
-
 1
1
-
-
Now you tell me. Those look wonderful. Alas, I shall not be needing them.
-
Thanks gentlemen, this was a very enjoyable build. A couple of mistakes toward the end, mostly from handling. These kits are very delicate once assembled. I should have waited till the very end to add the tailplane and rudder and rigging since these got damaged from handling near the end. DO NOT necessarily follow the instructions on these kits, page by page I mean. I like what Doogs said about WW1 kits being a different animal when it comes to assembly and painting. I actually painted both halves of the fuse before putting together since masking everything for painting after assembly would have been a real pain in the arse. A whole different learning curve with these kits.
Paul
-
Well done Paul a fantastic bit of modelling your decal work is excellent and the seat shot great!
I have started the wing decals on my Alb. hope to get them as good as yours.
Use a hair dryer, not decal solution. Dave J recommended it. Works like a charm.
Paul
-
Could be considered armor though, LOL. Not going to build it here. Just showing it.
-
Thanks Grant, much appreciated.
-
What I just got.

-
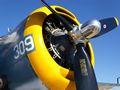
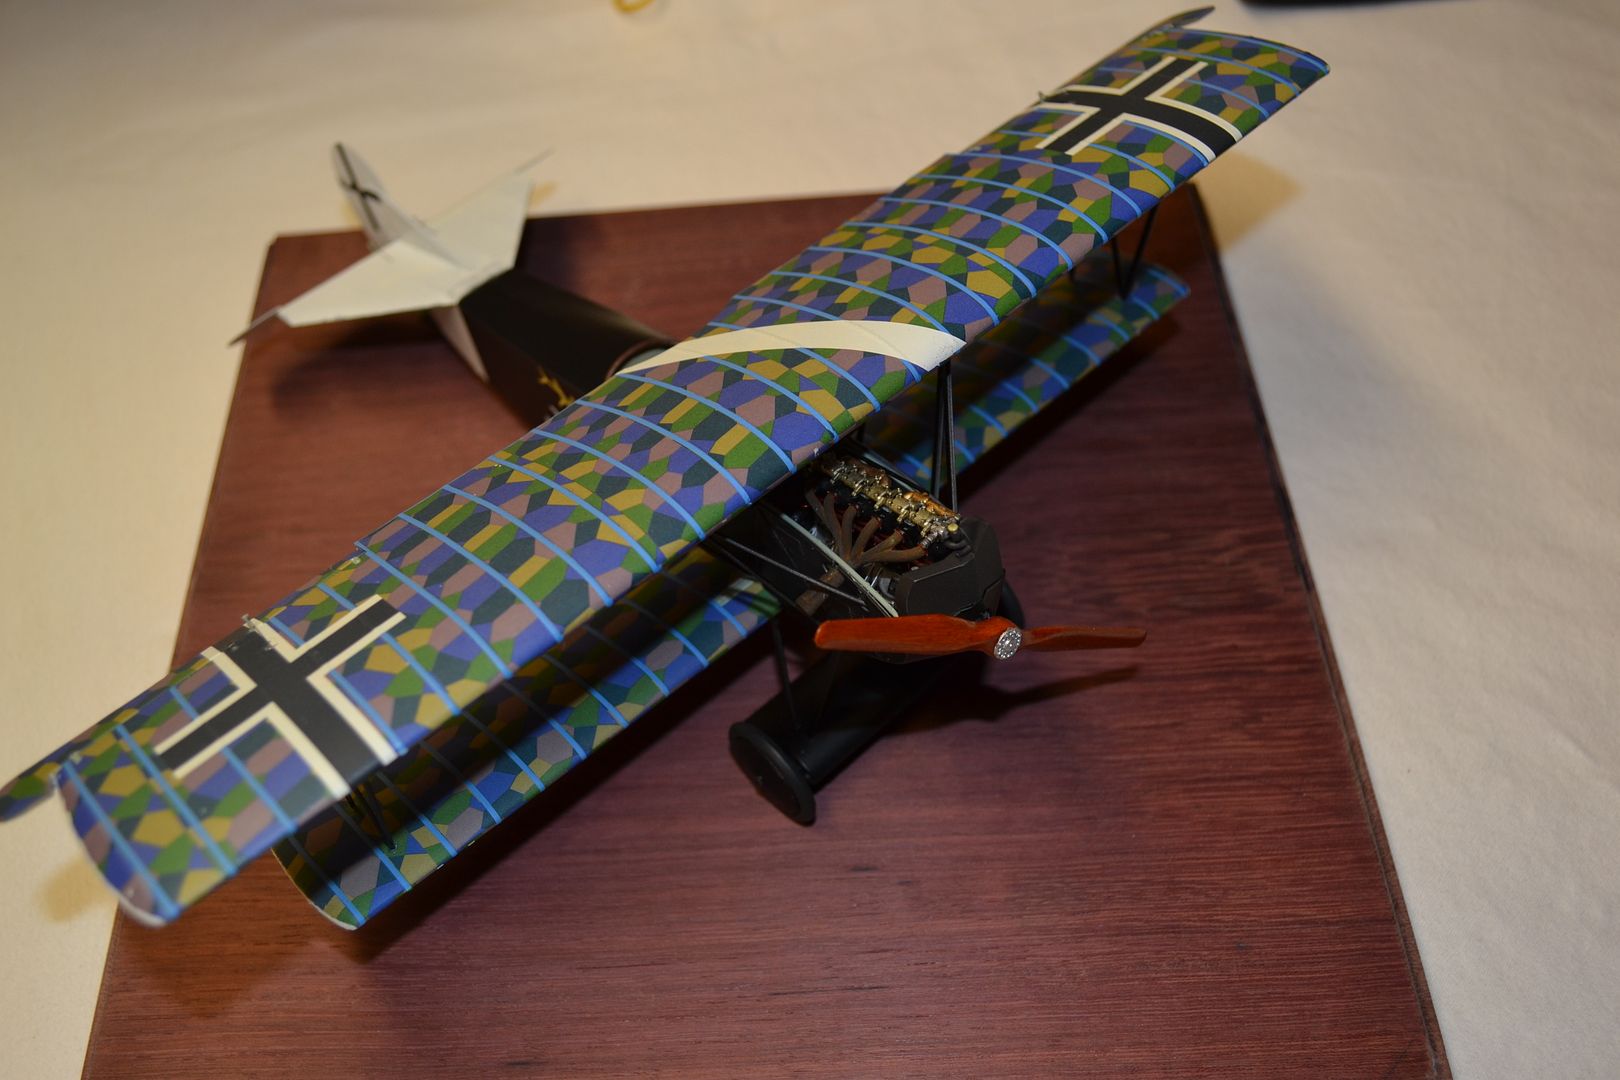
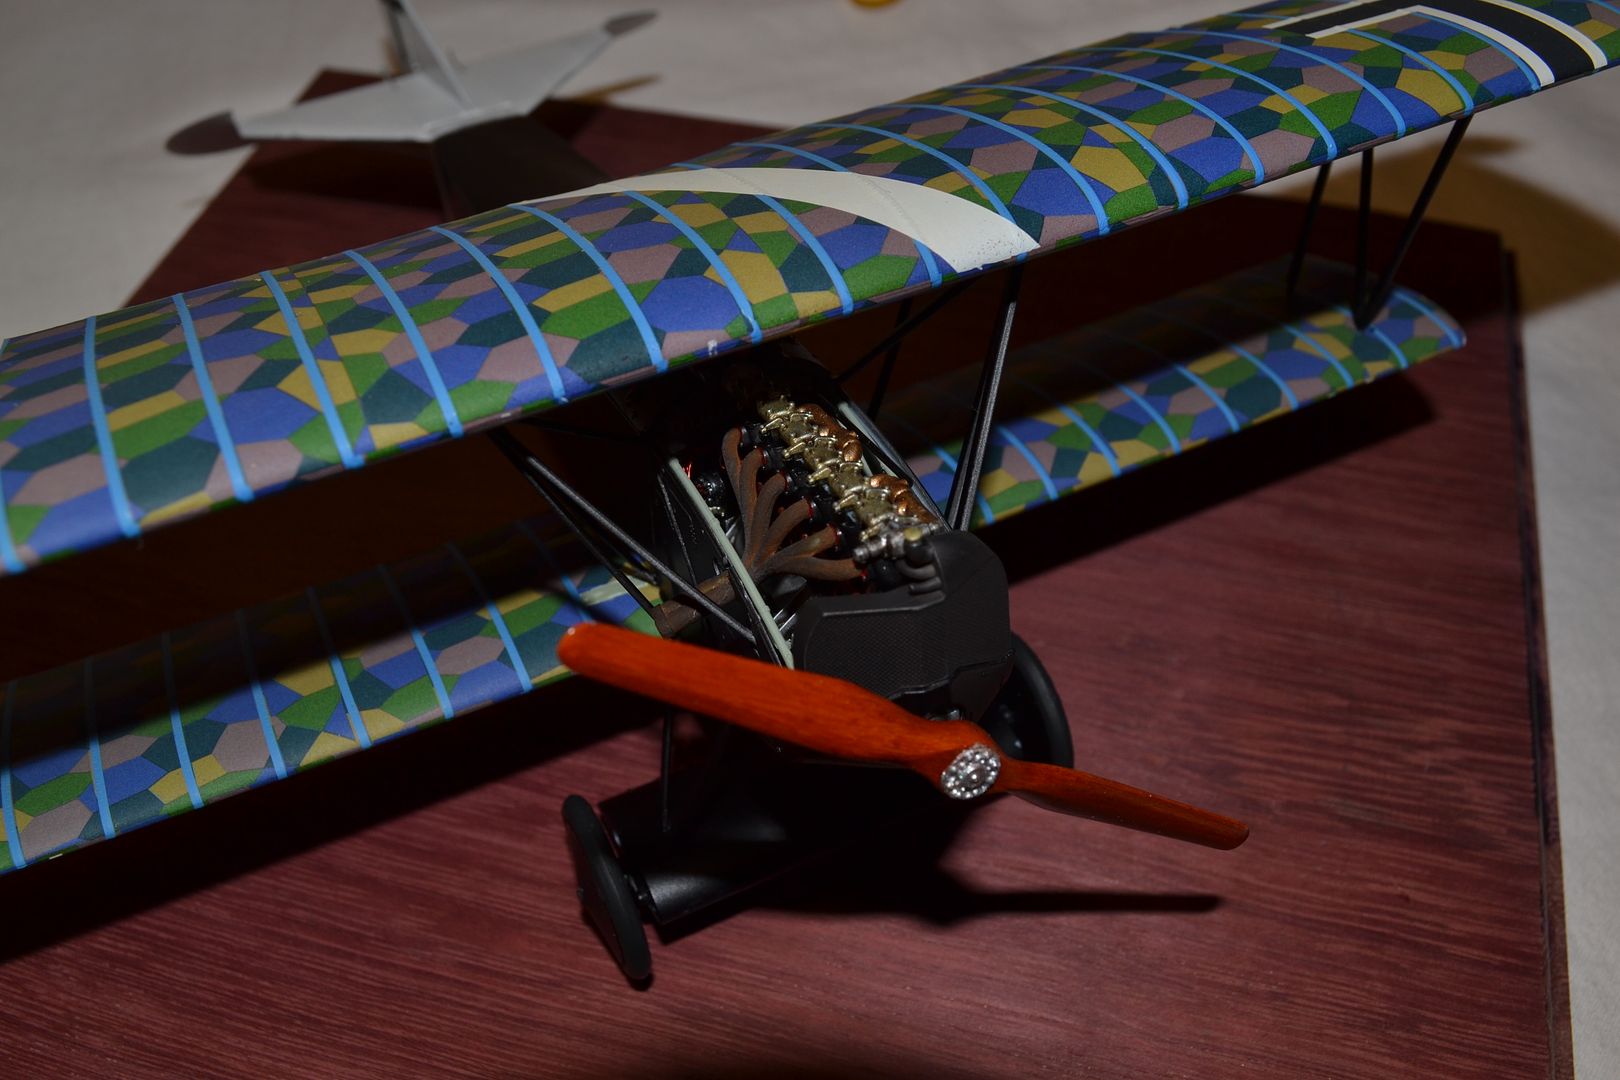
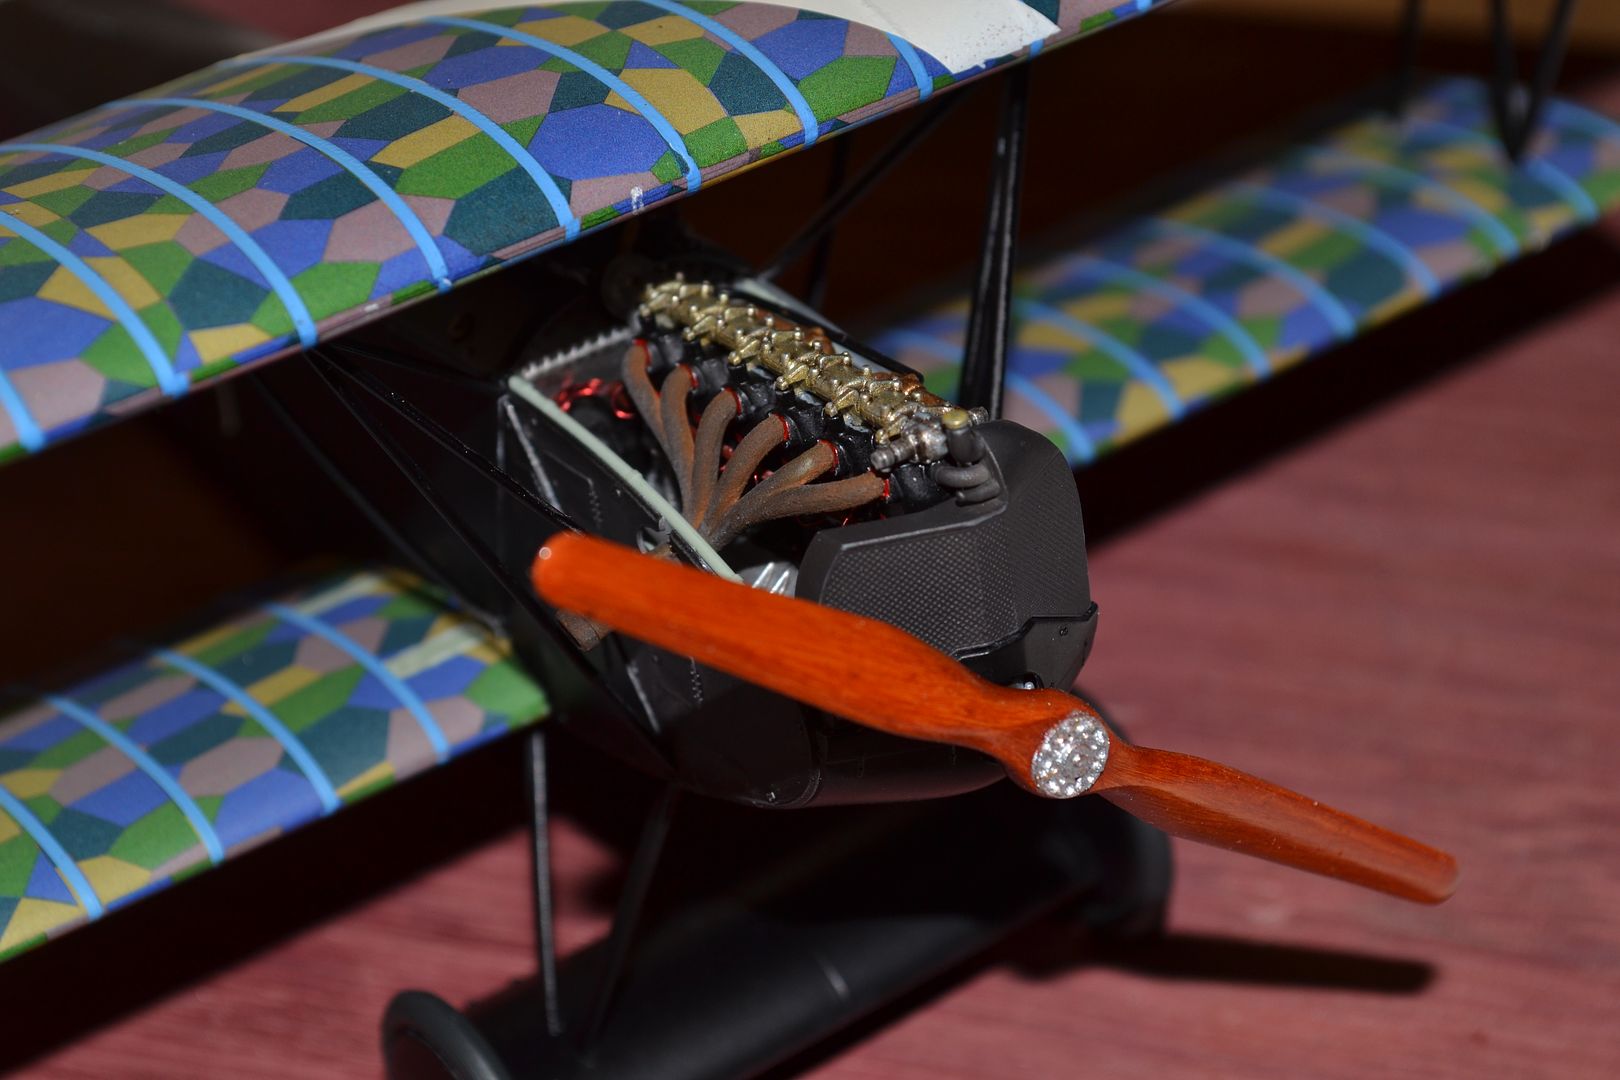
My Fokker is finished. The ONLY thing I see wrong with these kits is that they are so delicate. Things like the rudder, tailplane and undercarriage have such fine attachment points. Probably because WNW did such a fine job with detail and accuracy. But it has a slight detrimental effect when it comes to handling and maybe longevity. But why am I bitching? I shouldn't be.
Here she is,thanks to no rigging to speak of. I hope you like her.
I don't know how this picture got rotated.
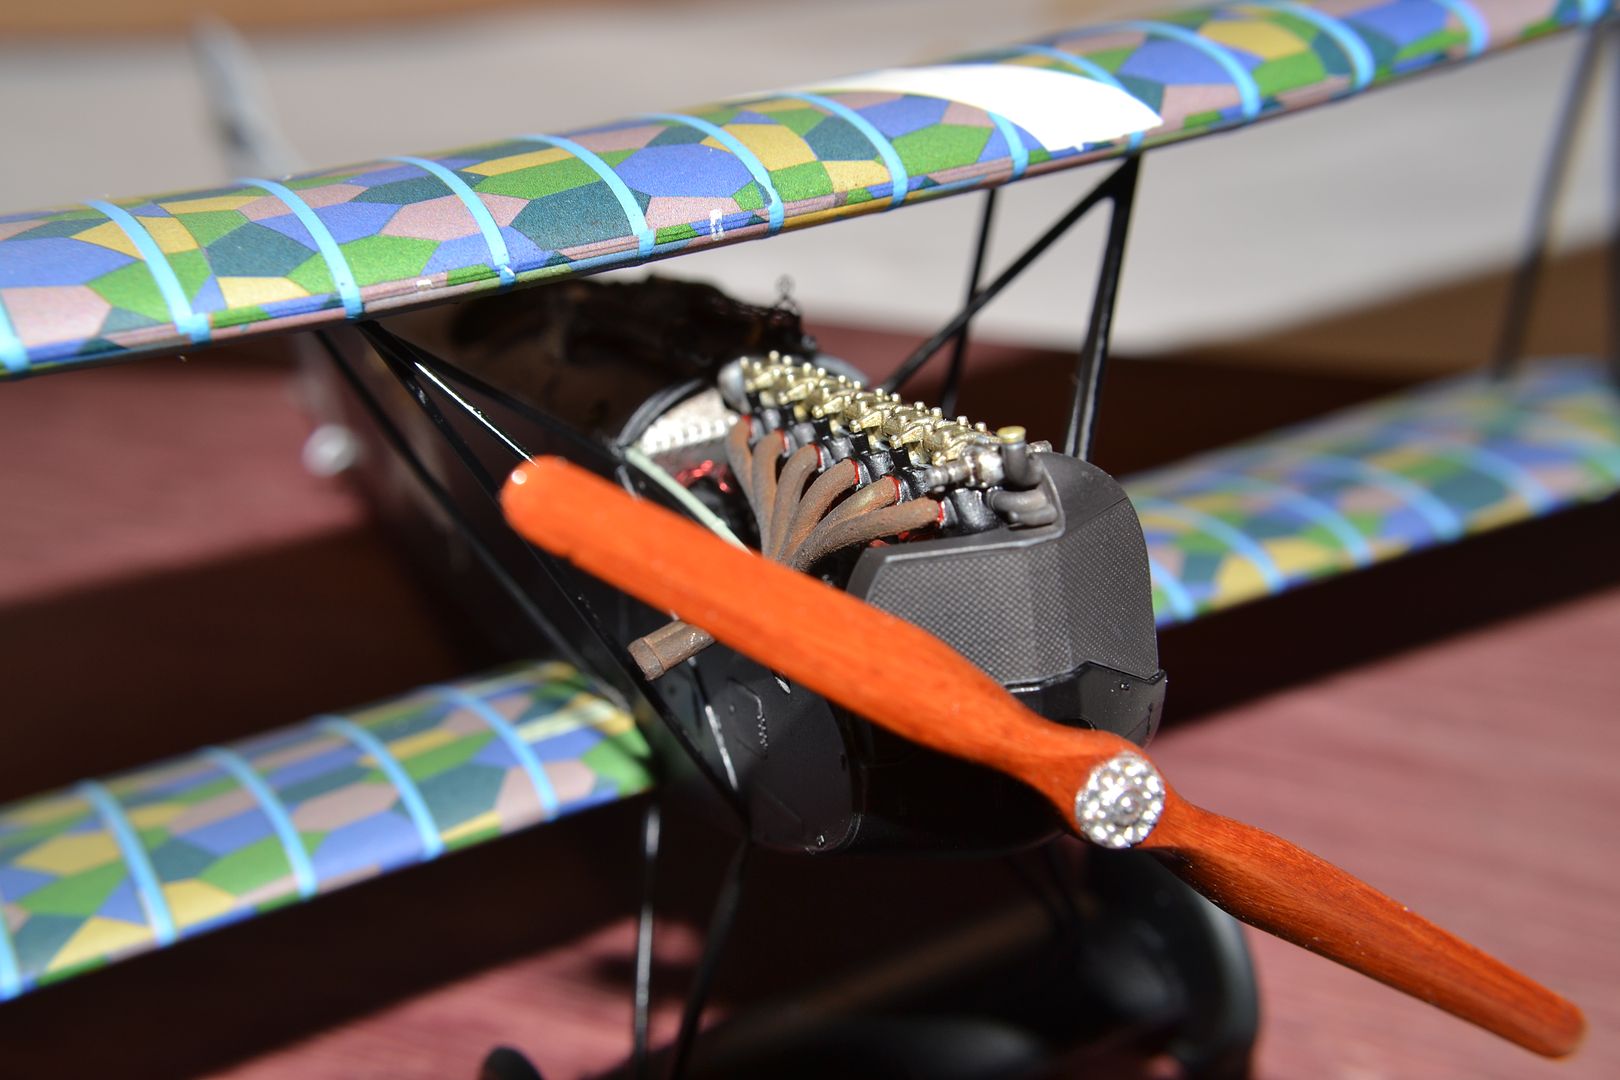
Oops, I missed a spot. That must be fixed.
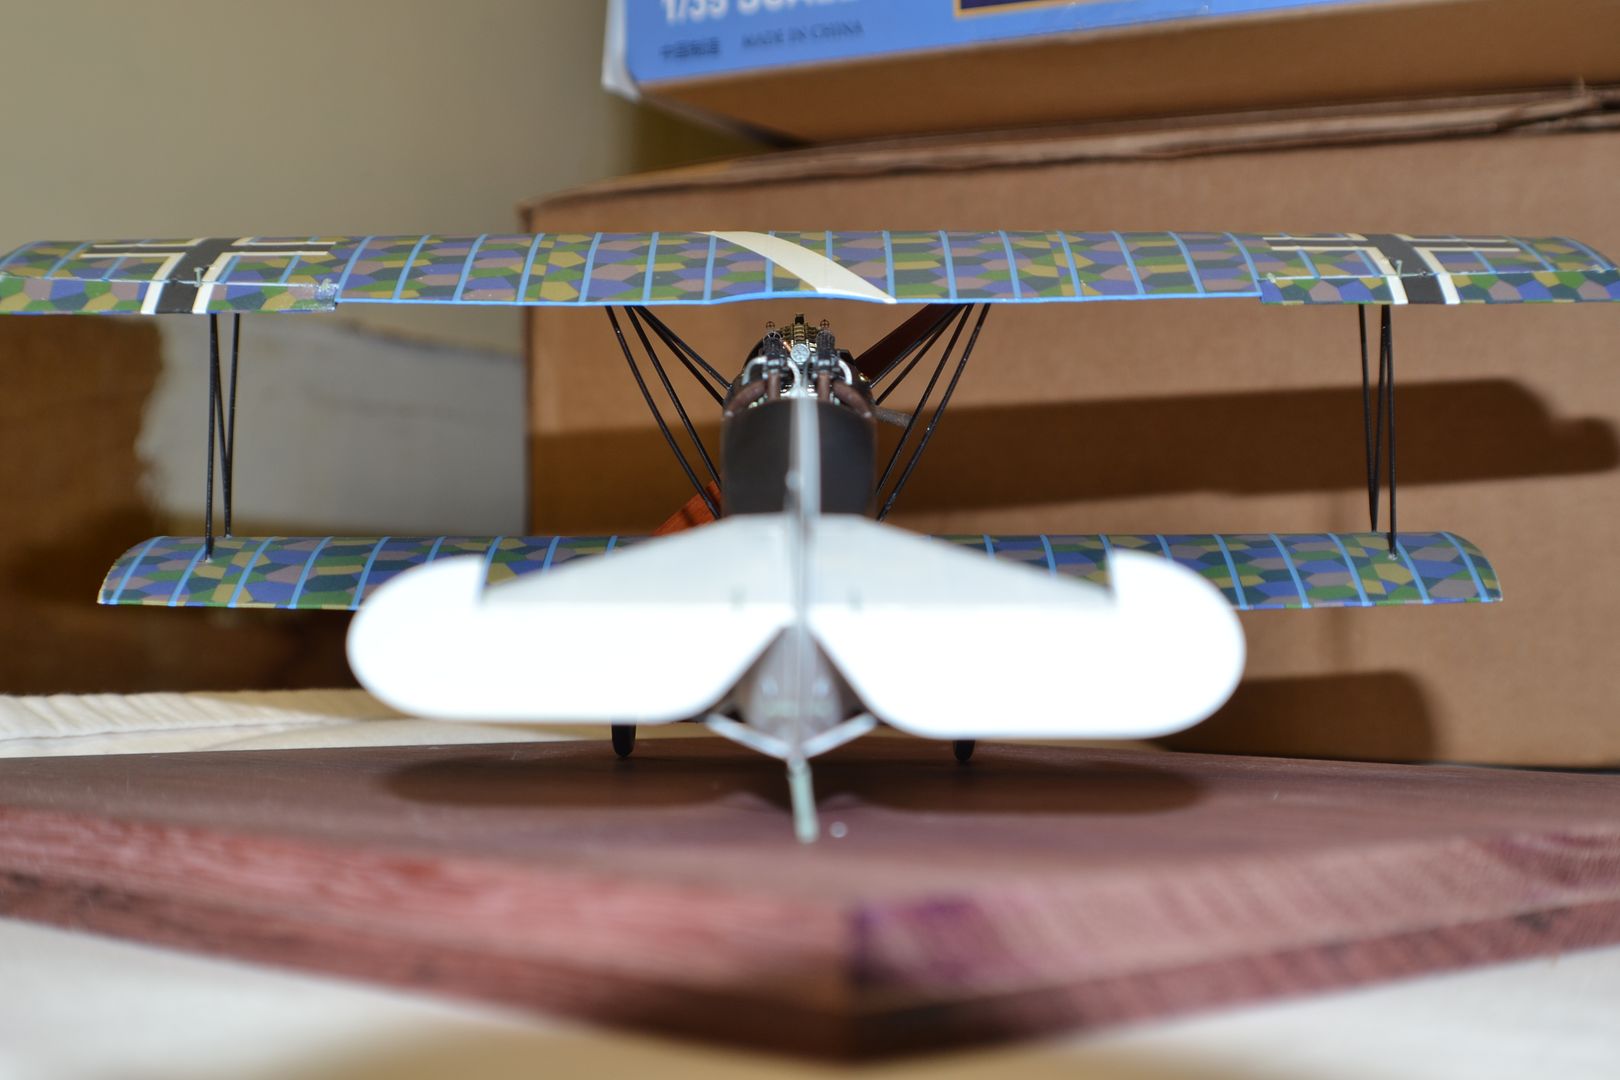
Thanks for viewing. Any critiques and advice is greatly appreciated and welcome.
Paul
-
6
-
-
Are you flippin' crazy? That, my friend, is pretty amazing. I was thinking of another adjective but we are trying the family oriented thing here. Nice work.
Paul
-
Thanks everyone. This has been a fun build so far.
Wow Paul this is beautiful work the wood and canvas are great, very inspirational.
Quite the contrary, it is all of the forum that inspires me.
Paul
-
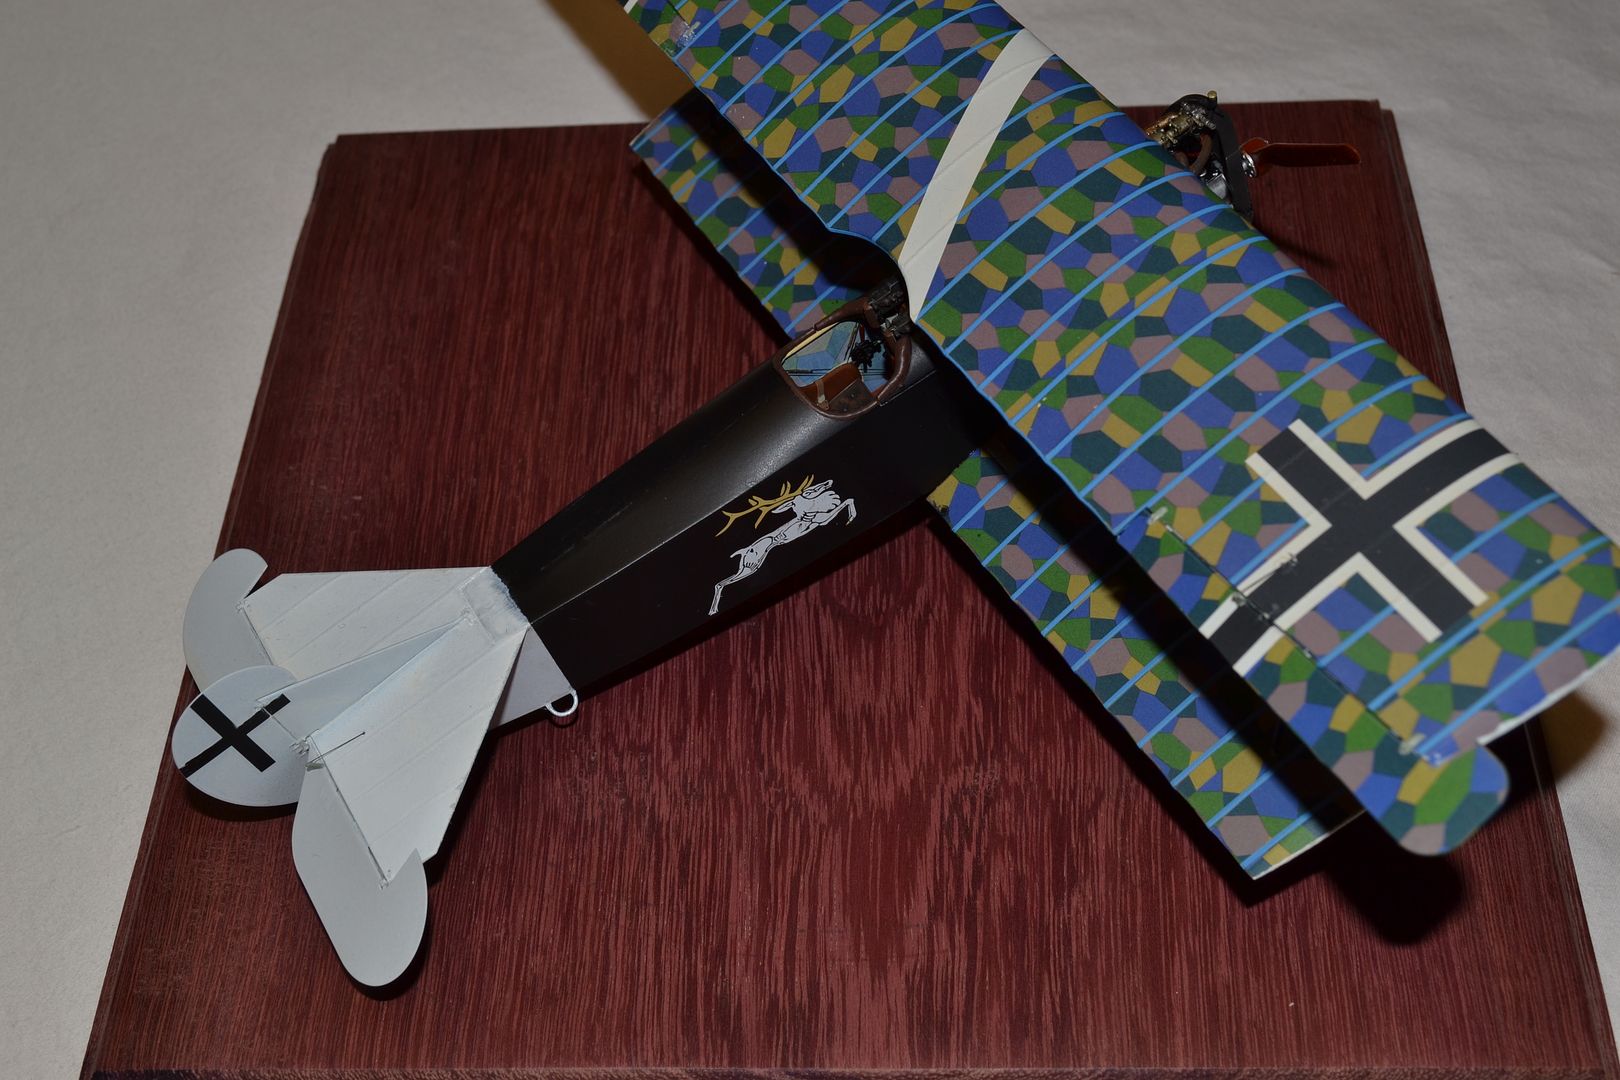
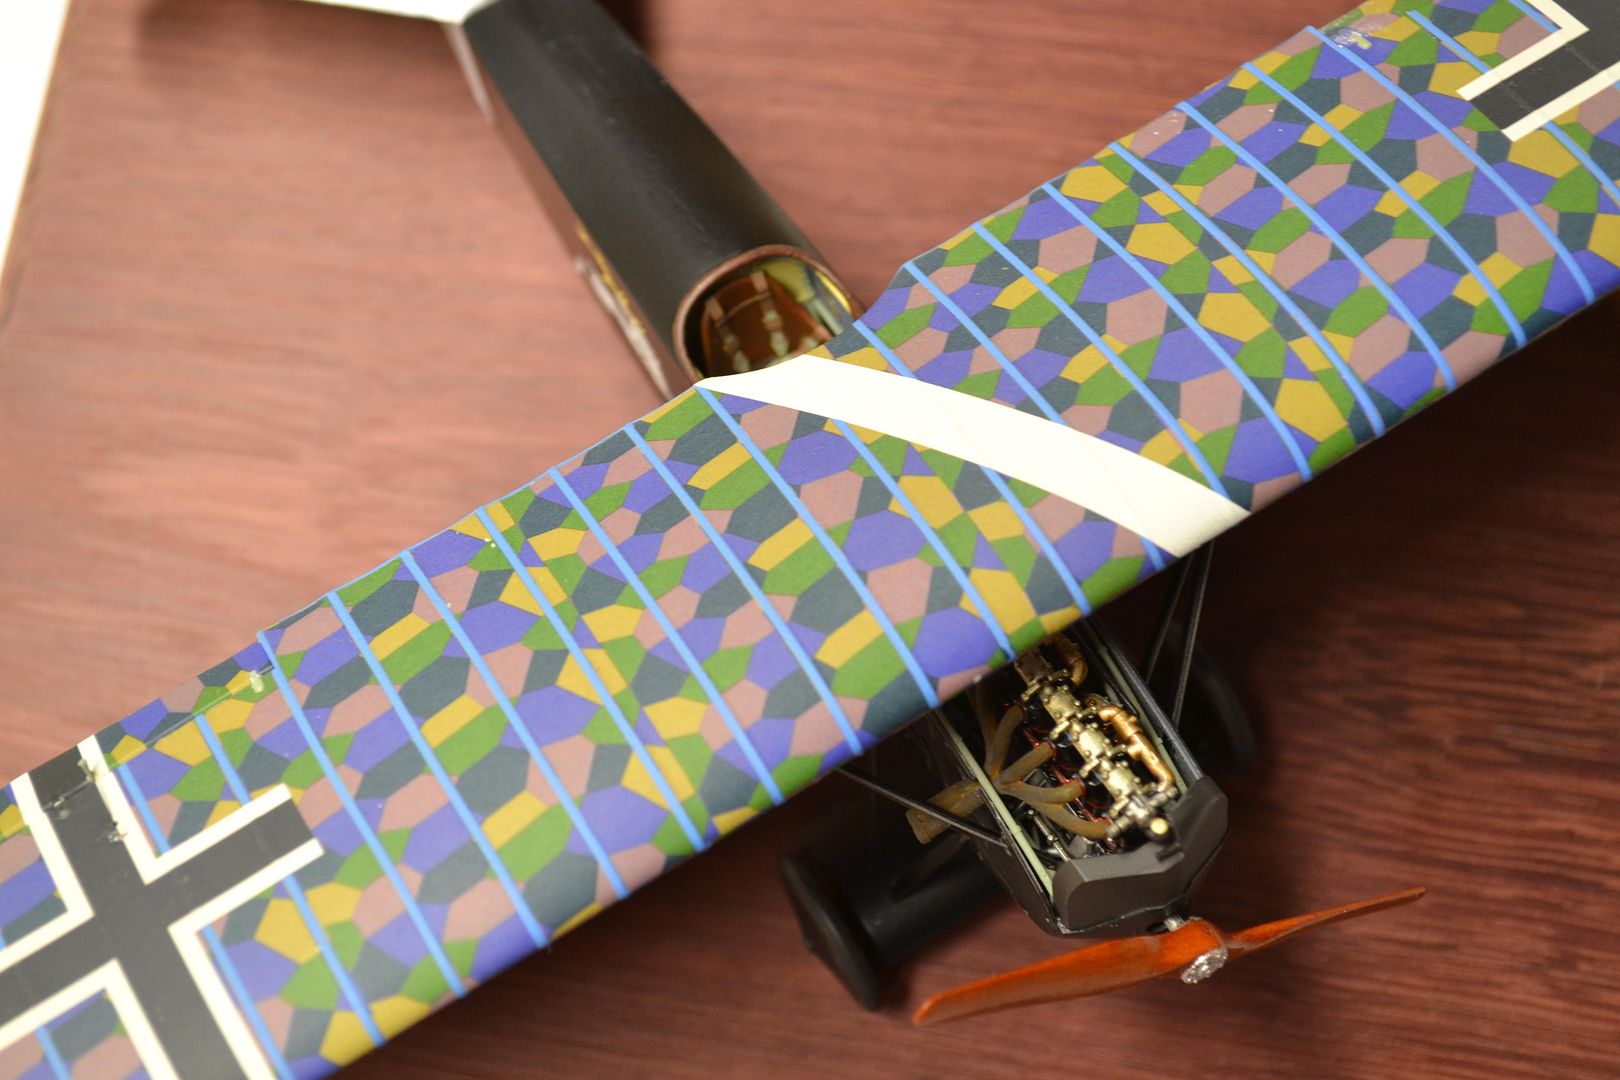
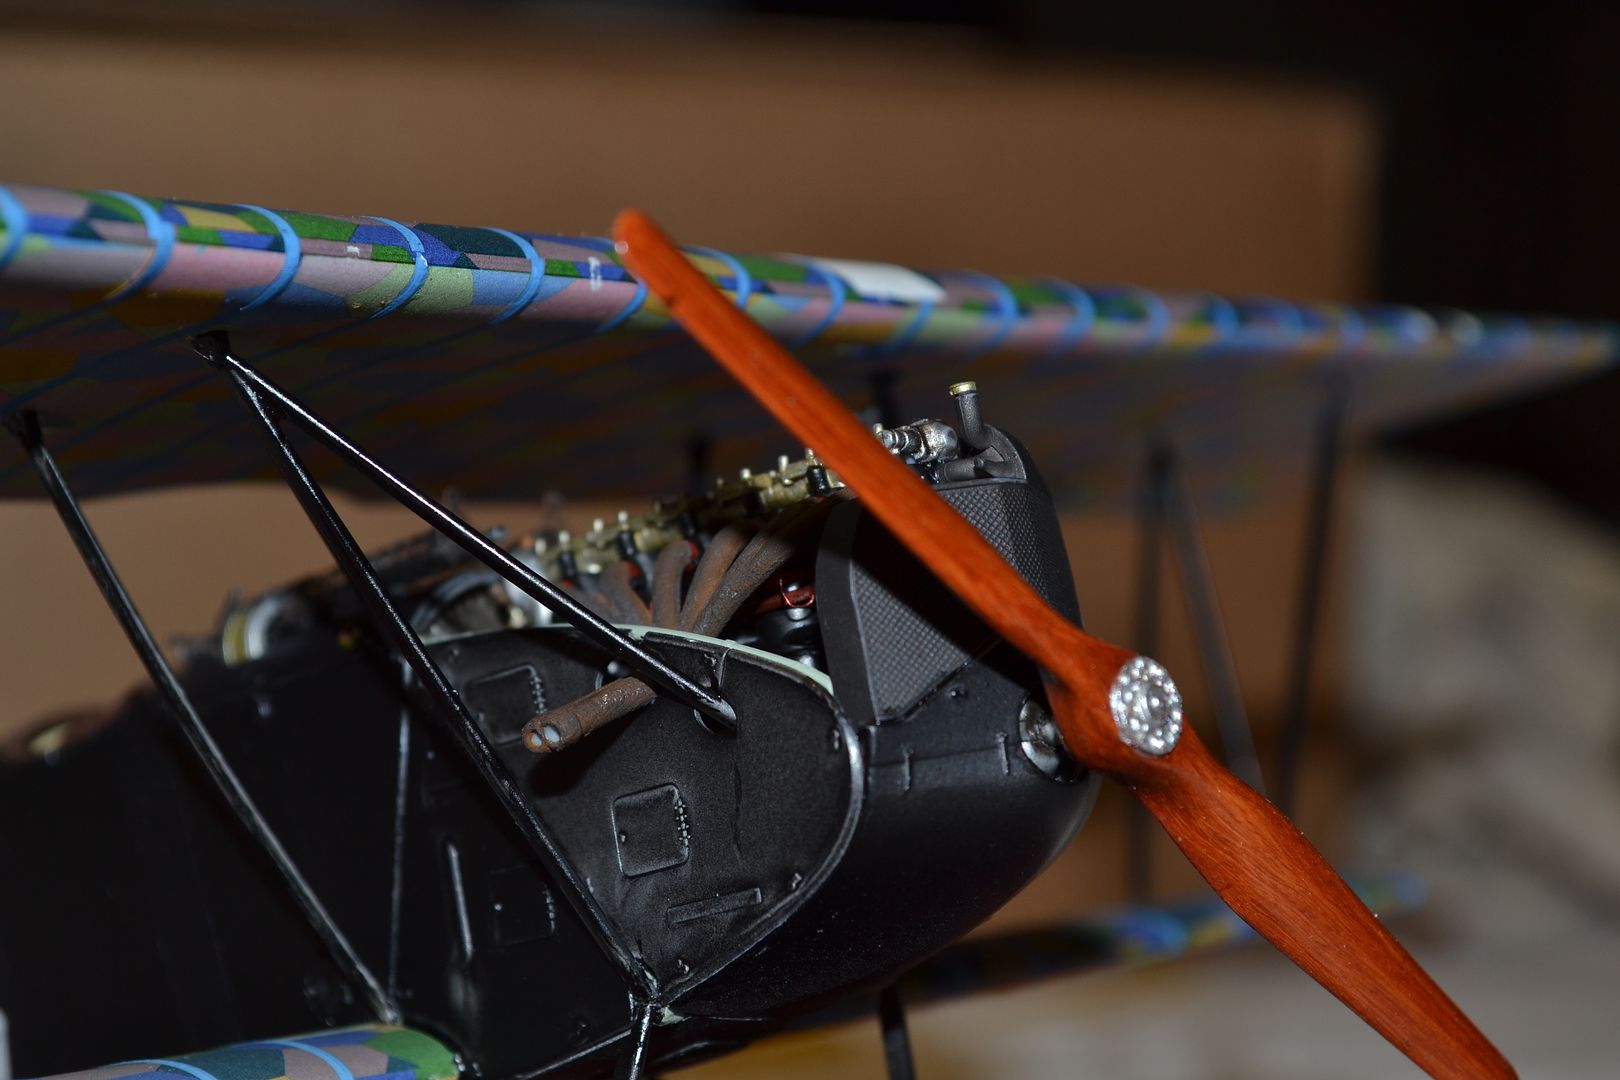
Hello everybody! Well, work progresses on my Fokker DVII and here are the current results. I still can't get over how awesome these kits are. These WNW kits are the best on the market and that is saying something after comparing them to the old standby market leaders like Tamiya and now, it seems, ZM and HK.
So, here she is, as completed so far.
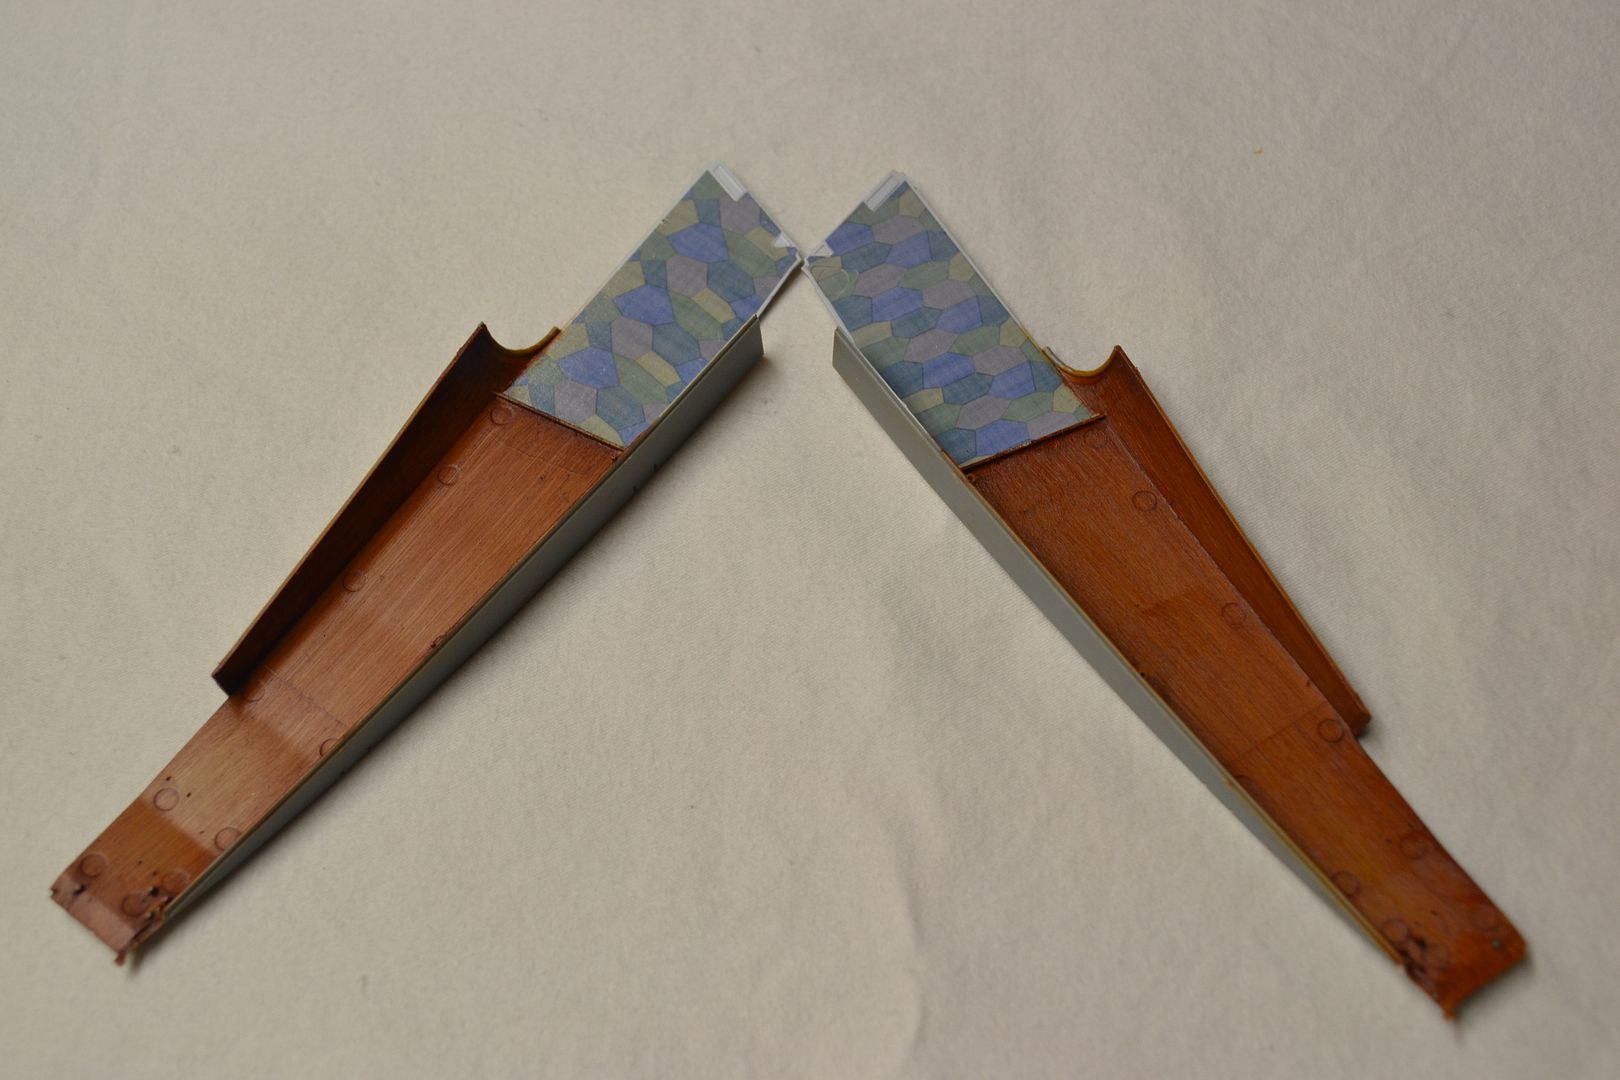
This is the fuse, finished on the inside.
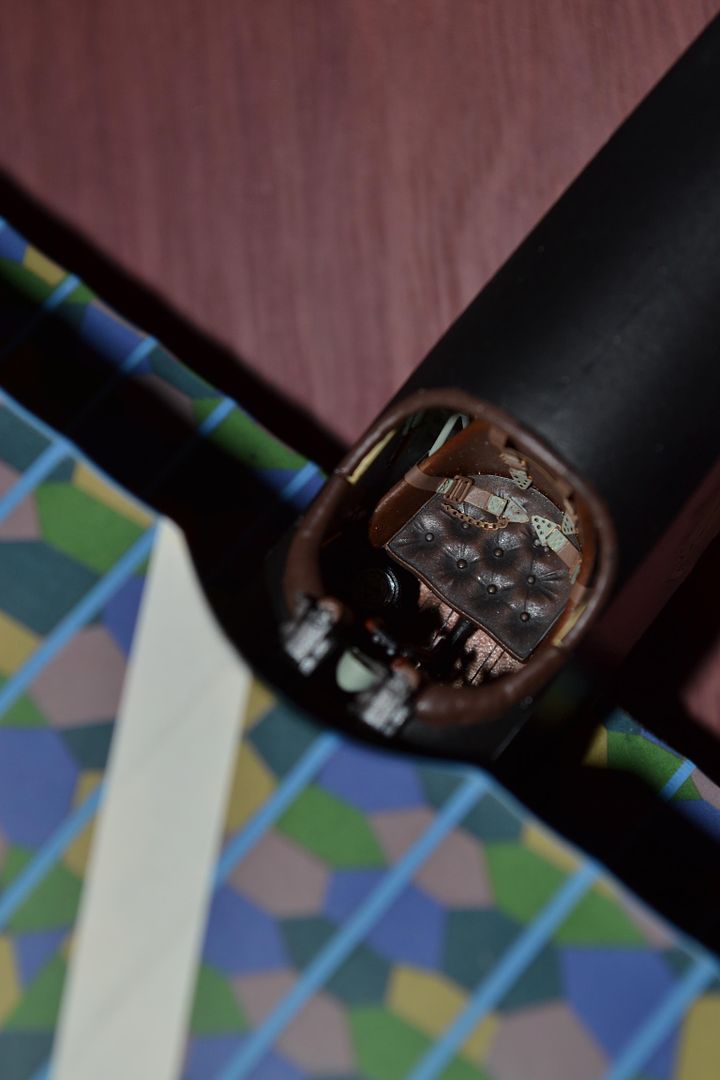
The cockpit, finish rigged an ready to close off.
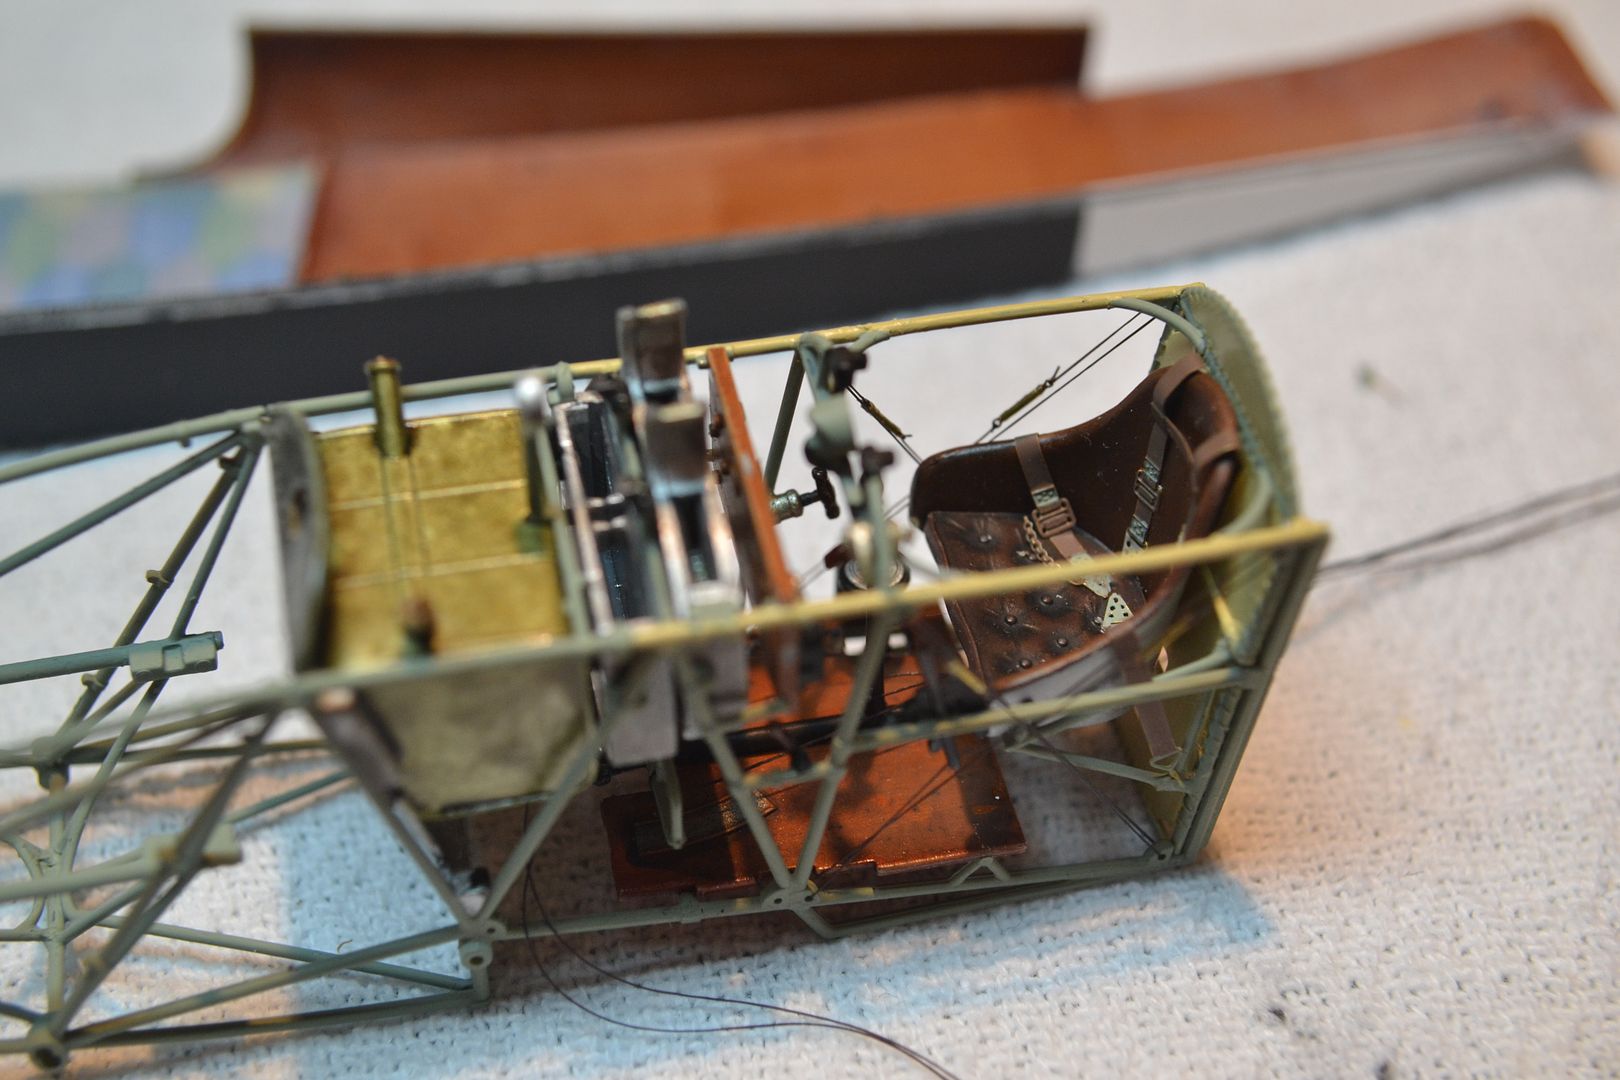
Another closeup of the CP.
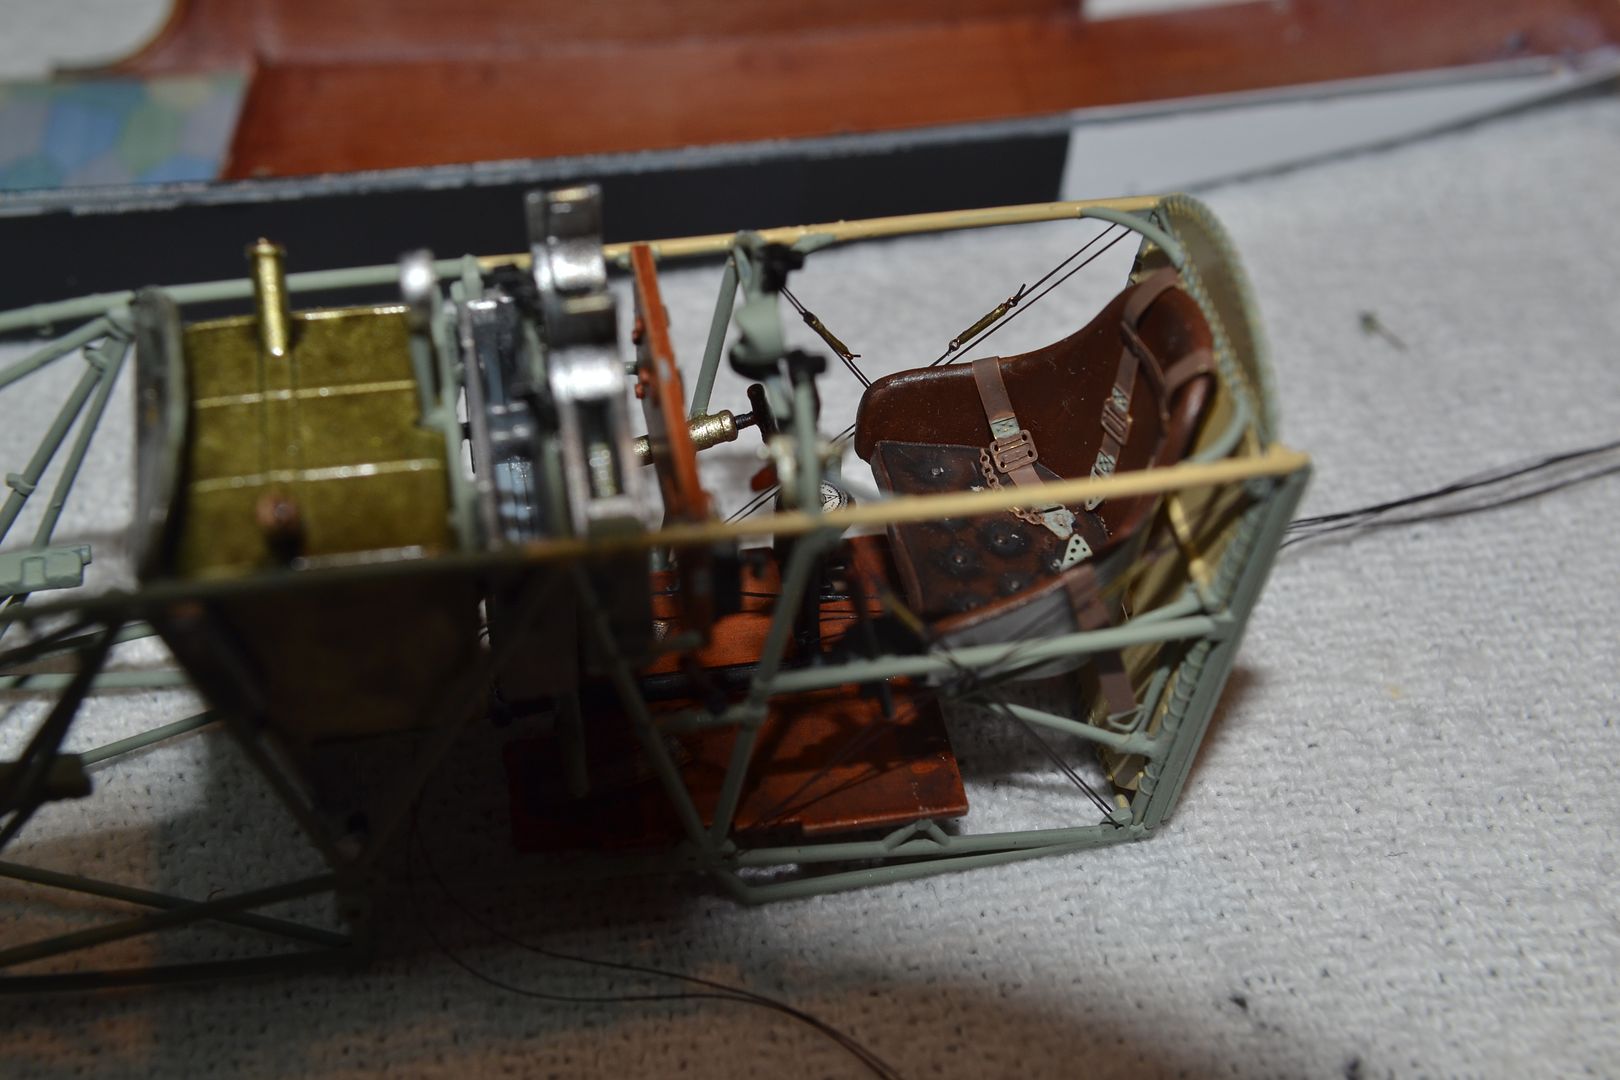
The fuse, ready to be closed up around the cockpit.

And finally, the fuse, painted and decalled, along with the wings, painted and decalled. The advice about toning down the lozenge decals worked like a charm. I used Tamiya Deck Tan thinned with 90% alcahol. I hope I didn't over do it. You can't see it go on until it is already dried.

That's it for now. Next, the lower wing goes on, the engine goes in. I hope to God i didn't make a mistake by putting the tailplane and rudder on now. It is very delicate, with a lot handling yet to do. Live and learn I guess. Most of the other parts are painted and ready to go on except for the guns. This has been a fun build and i can't wait for the year long group build coming up.
I hope you all like it. I thank everyone here that watches, gives advice and silently encourages me to go on. These are fast becoming really fun builds.
Paul
-
1
-
-
Awesome build. Looks like some great detail in those ZM kits.
Paul
-
What an awesome build Darren. You should be proud. what museum is it going to? Seriously, this one needs needs exposure. What a fine job.
Paul
-
1
-
-
Squadron has Tamiya's 1/48 Mosquito and service vehicle for $35. I am tempted. What do people think of this kit?
Paul
-
1
-
-
Dave, I don't think you can cut and paste pics on LSM. I think you have to use a third party hosting site like Photobucket or Picassa. It's a security thing I think the admins will tell you. I am interested in seeing you RE8 though.
Paul
-
Right, that solves it - Degelow's plane had pale rib tapes.
A Glow-In-The-Dark Fokker...? That's very interesting. Never heard of this before.
George
It was in one of the side notes in the instruction book. Aren't these books awesome?
-
Hi Paul, I'm not sure about this. Looked in my manual ( of my Fok-fok DVII ) but I can't find any reference as to adding extra rib tapes to the wing decals. Perhaps in the Alb or OAW Fokkers this is different, I don't know. Maybe DaveJ can shed some light on this...?
George
Ahhhh, that was it. I am doing an Alb. Black Fokkers, Carl Degelow's bird. It also calls for decals on the wing tips that simulate a unit marking. I guess back then some aircraft had Uridium laced wing tip paint that made the wing tips glow in the dark for night flight recognition. I actually bought a small bottle of glow in the dark acrylic paint. I am going to do her up right, LOL.
Thanks for this.
Paul
-
Had some (well, a lot, actually) experience covering R/C aircraft with heat-shrink foils, so the hair-dryer and slitting method came naturally as soon that I learned from WnW that this was the way to go. Never tried the separate rib-tapes however, the DVII lozenge decal shown had the tapes printed on integrally. Very good to hear that the fears were unfounded.
George
George, I am doing this same kit. Yet my instruction still call for adding rib tape detail to the wings. I will have to look at the instructions again. I thought the large decals had rib tape integral to the decal but I am just adding the rib tape decals anyway. I wonder if this is correct. Maybe some aircraft have different rib tape?
Paul
-
Welcome to the forum,
Unfortunately the link needs you to log in on that forum. Could you post the pics on here please?
Would love to see the RE8
Cheers
Cees
+2
Welcome to the forum. I have this kit and have been eying it passionately lately. What a gangly looking aircraft.
Paul
-
Thanks George. I agree with George. These decals are beautiful and went on very well with the hair dryer method. I was shocked, really. For large area decals, this is the way to go. When it came time for the rib tapes, I used decal solution though. I tried the hair dryer for about 2 seconds when the small decals started to peel up and fly away, LOL. I didn't lose any though.I didn't think of slitting the end edges and had a little problem with wrinkles, not bad though. There is a decal that goes on the very end of each upper wing. I will rub the wrinkles down and apply these decals. Overall I am extremely happy with the way these decals went on. As usual, my fears were unfounded. I am glad I asked the question though. Questions unasked go unanswered.
Paul
-
1
-
-
OOOOH! Matt broke down and bought a Widow. Let us know how it looks Matt, please. An in box review is in order,
Paul
-
One thin I noticed too is that the WNW Fokker DVII calls for a rib tape on the trailing edge of the upper wing also.
paul
-
1
-
-
Thanks Dave, your a kind soul. Do you always tease your friends like this?
Paul
-
WHEN YOU SAY "STIFF" BRUSH, DO YOU MEAN TOOTHBRUSH TYPE STIFF?
No, not really that stiff. Although I might try that, LOL. Just one stiff enough to leave light streaks in the oil paint to let the base color show through. Practice, it takes a really long time for oils to even start to dry. that gives you plenty of time to work it until you see what satisfies your eye. Also, if you let your dab of oil paint sit on a paper towel for 5 minutes, it soaks up some of the oil and your drying time is less.
Paul
Soo.... What did you just get???
in Modelling Discussion
Posted