

DocRob
-
Posts
5,918 -
Joined
-
Last visited
Content Type
Profiles
Forums
Events
Gallery
Posts posted by DocRob
-
-
That interior is high up on the "WOW-Meter". Rarely did plastic so much look like Wood. I like the appearance of the different Panels, whichmakes it even more realistic.
The Dashboard is a stunner.On my build I will remove the fuel lines and use copper wire as a Substitute ,because I never liked the way brushed copper Color Looks like. Especially brass and copper seem to have larger pigments in the Colors and will not look right to scale. Maybe I will give the True Metal Wax from AK Interactive a try, if I'm to lazy to rebuild the fuel lines.
Cheers Rob
-
Nice woodwork Danny, very convincing. I thought about the HGW-Wood-Decals on mine, but as I see your work, I am not that sure anymore.
Cheers Rob
-
That one I will follow, learned something in the first step, the jig is a great idea. I will Keep that in mind till I start mine.
Cheers Rob
-
 1
1
-
-
Hola crazypoet,
to follow your build is slightly different than following some of the other WIP's. Your Project is epic and the way of documentation is as well. So for me it always takes a Little time to read and respond, because I will savour the progress in a time of Focus and not in between other thougts.
I love the subject of your Project, because of the scale which allows to Show everything in Detail. In my opinion your Picket Boat is historically and technically of great interest, representing a huge Change in Military development, and deploys the usage of different materials and new ways to work with them. The Picket Boat seems to be a mirror of a fast developping technical Environment under a magnifying glass. Your build reflects all those aspects, because you were attending even the smalest Detail with afterthought and the usage of more or less "original" materials make this build Special for me.
So go on with the good stuff and find a way to rivet the sawblade. I guess if there were trade marks on the rivet heads you will find a way to pepresent them
") .
.
Cheers Rob
-
1
-
-
Nice Progress on that flying camera bag, the inside is looking great. Is there an instument (compass?) an the steering column?
Cheers Rob
-
By the way, did you see the update for your Baroda on the Wingnut Wings hints and tips page?
http://www.wingnutwings.com/ww/productdetail?productid=3044&cat=6
On the Archive Photos side, there are some really interesting shots. There is one picture (top row, number seven) of the Baroda cockpit and you can guess, that there are fuel lines.
http://www.wingnutwings.com/ww/productdetail?productid=3044&cat=1
-
1
-
-
Hi Danny, maybe there is a mistake. I'm not an expert, so I only try to detect through visual evidence
") .
.
In the instructions is mentioned that version B,C,D (your Baroda) should get the fuel lines chopped of. When I study the photos of the rebuild Zanzibar No. 1 on page 8 of the instructions you can clearly see the fuel lines on the lower right photo. That is Version C where the fuel lines should have been removed as well. On page 7 there is a photo of the same plane showing the pilot seat with what seems to be the pilot's locker.
To me it makes sense that the pilot is able to operate the fuel flow directly in front of him, no matter where the tank is.In the Windsock production "The FE2B Flies Again" there is the same picture as in the instructions (Page 7, first row, middle) and the corresponding text says: "Every item down to the last nut is a true representation of the original".
So as a verdict I think at least the Zanzibar No. 1 is fitted with fuel lines, where the manual is saying "scratch that stuff away". I have no information about your Baroda and am happy with my choice of the "C6", because I was wondering about the fuel lines like you as I scanned the manual.
Cheers Rob
-
1
-
-
That's what I call steady fast progress, I whish I could go so fast. Nice Job on the Camo.
Cheers Rob
-
Hi Danny, I got these two fellows from Wings Cockpit Figures. You can't get more drama into a WW1 cockpit. They are sculpted very well without bubbles or other distortions in the resin.
Cheers Rob

-
2
-
-
Hi Danny,
great choice. I love that unique plane and bought one for myself and a lot of AM including Figures, Gaspatch MG's, Aviatic Doped Linen Decals for the wings and all the HGW stuff. My version will be the first design, the C6 one. If I had the time I would start right now together with you because it is a kit I really look forward to build, but this will be a big project and beside other builds I will start a Pfalz or Fokker DVII first, because they are much easier to rig.
Can't wait to see your FE.2b develop.Cheers Rob
-
Thanx Gentlemen,
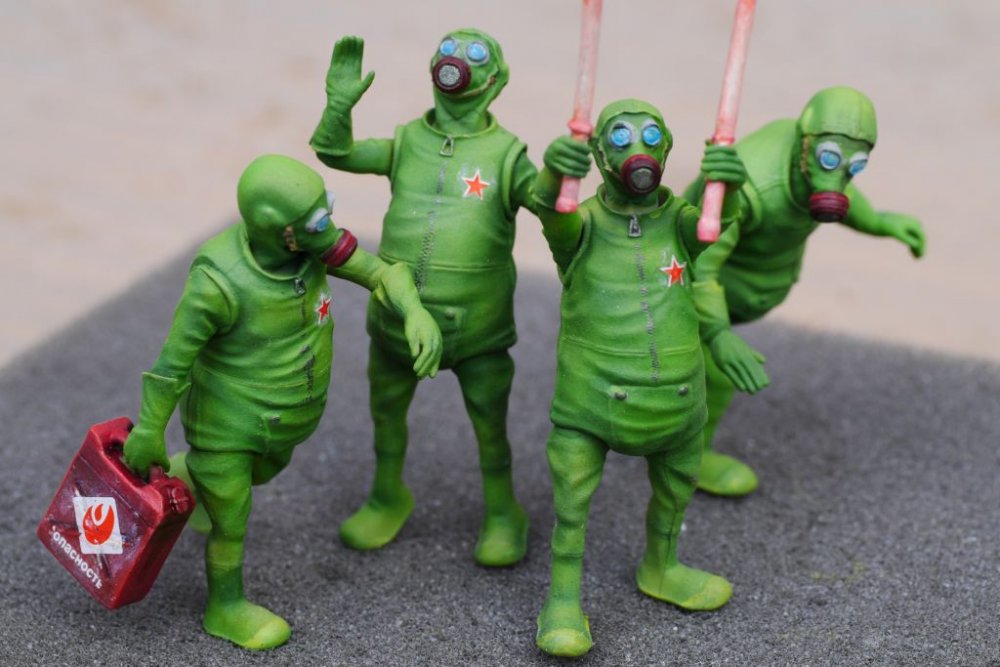
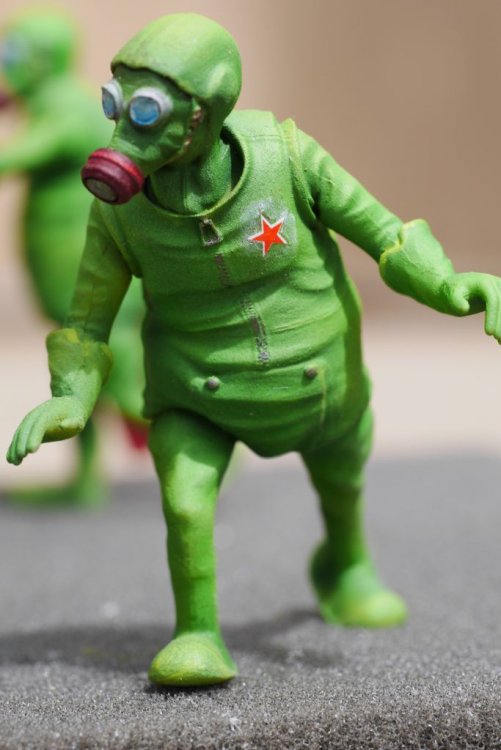
@crazypoet, I'm still not sure if the suits protect the Smurfs from the hazardous environment or if the suits protect the environment from the Smurf's Fallout
 .
.
It was fun to paint the guys and its no faces this time, which makes it a little easier.Cheers Rob
-
1
-
-
Hi Danny, just saw ,that you got Micro Mask. If you don't know the stuff, try it before applying on the real thing. I used Micro Mask for my Corsair cylinder heads and it was nearly impossible to remove the stuff after painting. I used it because the Humbrol masking stuff is so thick and Micro Mask promised to be easier to apply, because it is more liquid.
Cheers Rob
-
Nice couple of an interesting in between plane (open cockpit, fixed landing gear, single wing). Despite the bare metal finish they look really colorful because of the red parts an black cowls.
Cheers Rob
-
Wow, this build is impressive and a nice job on the conversion. The mottled paintjob is on the money and the "little things" like flame dampers and antennas look perfectly executed.
Cheers Rob
-
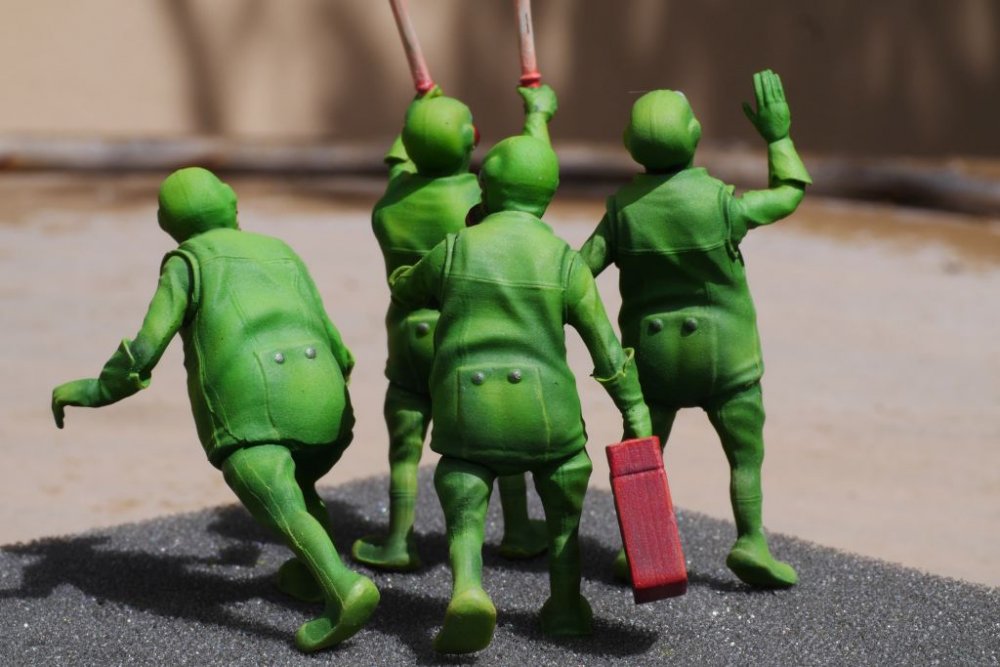
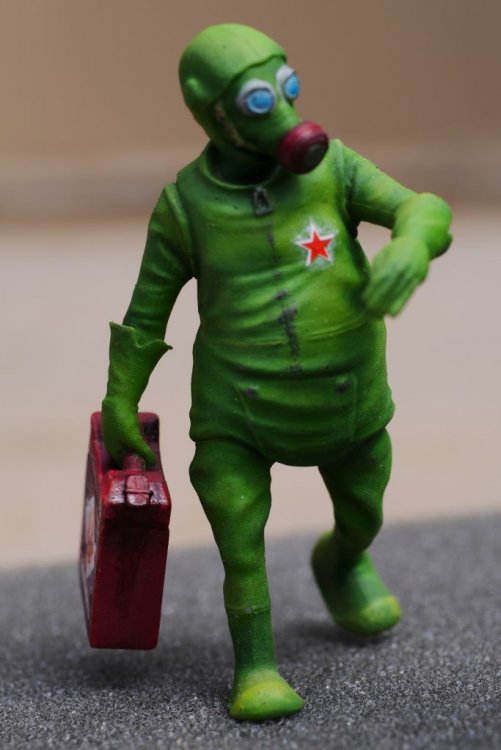
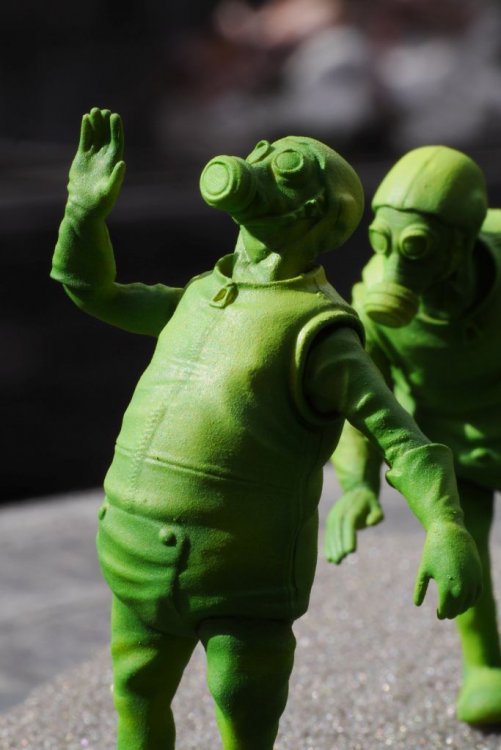
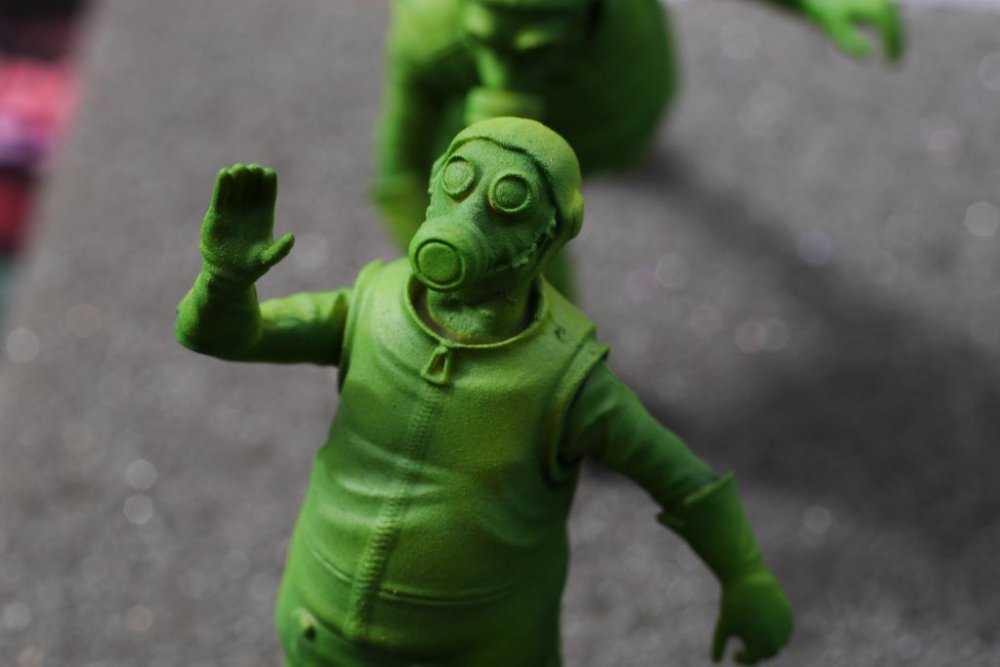
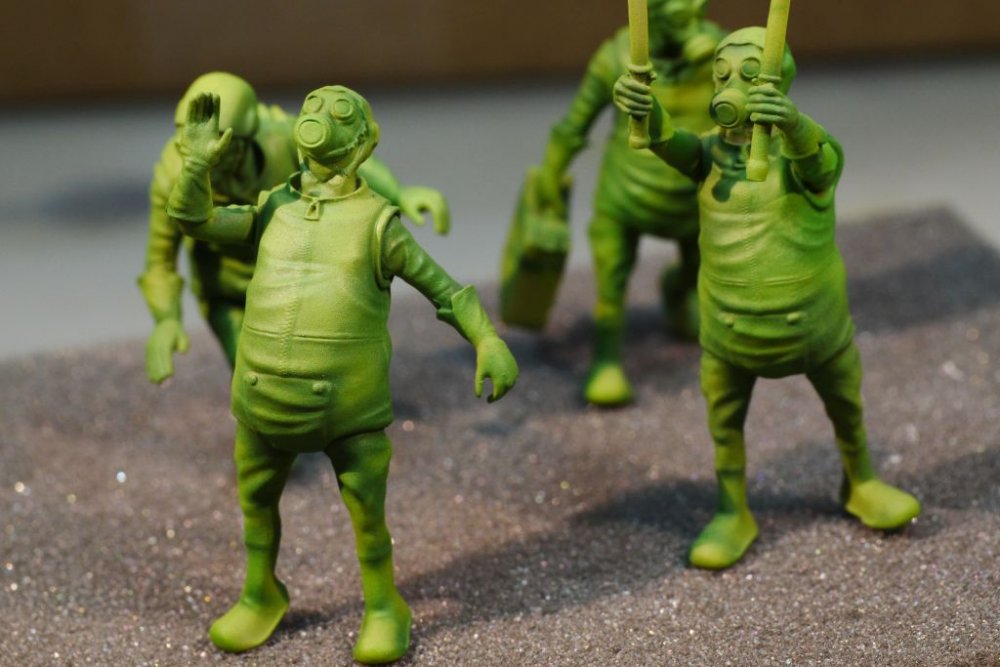
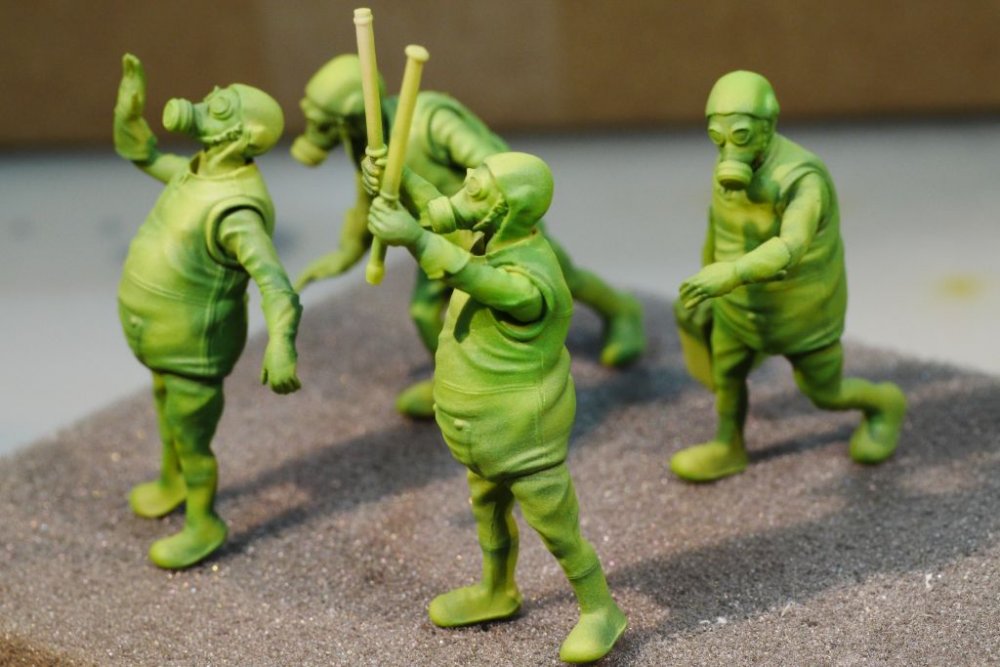
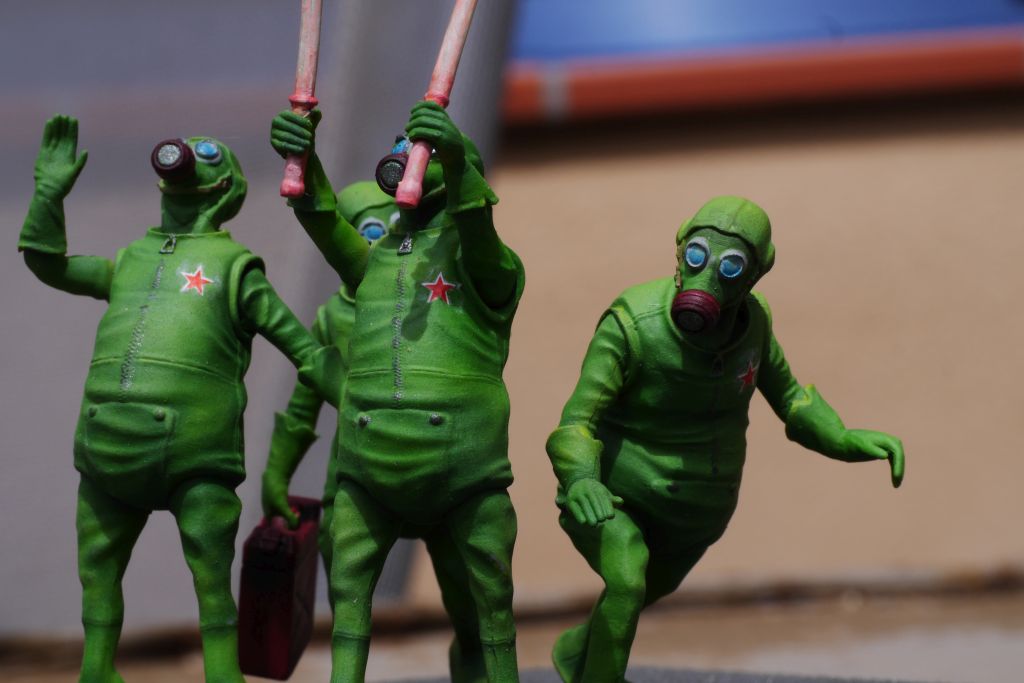
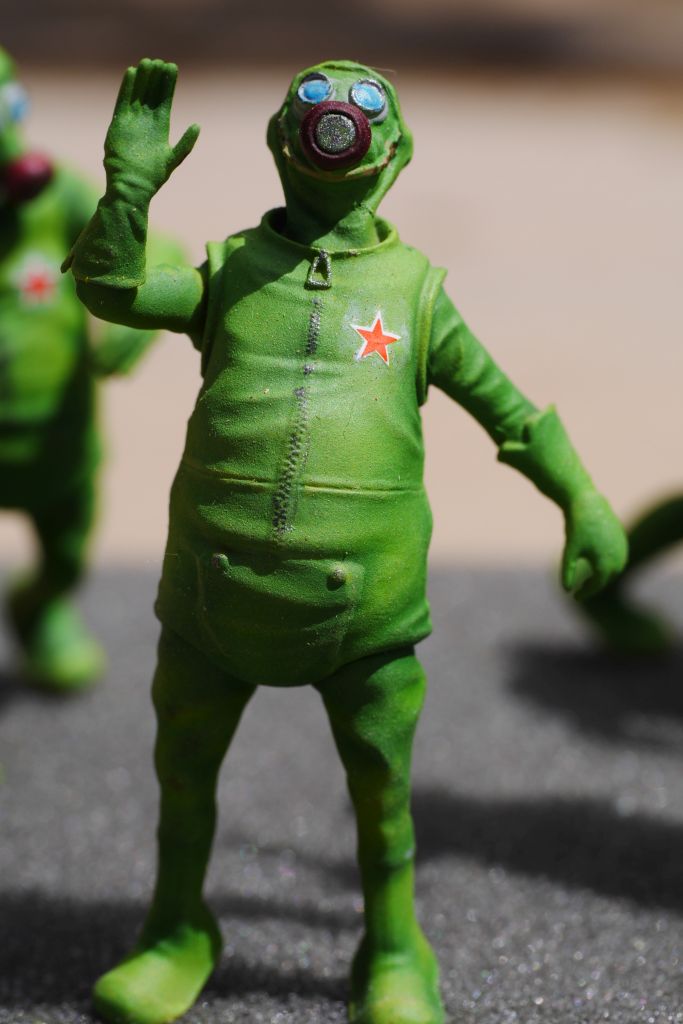
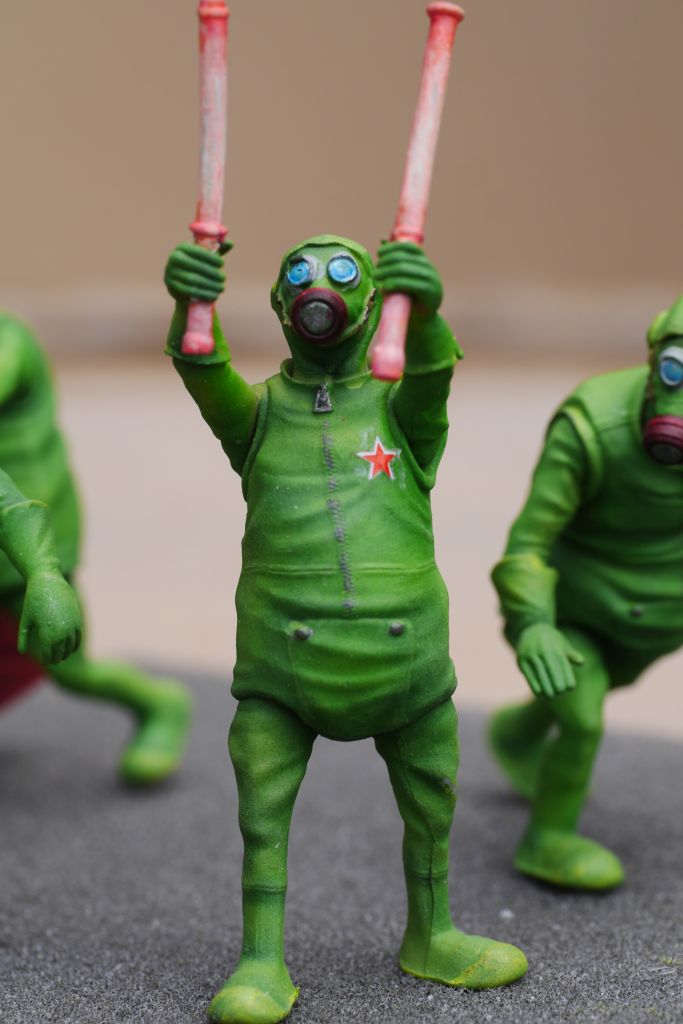
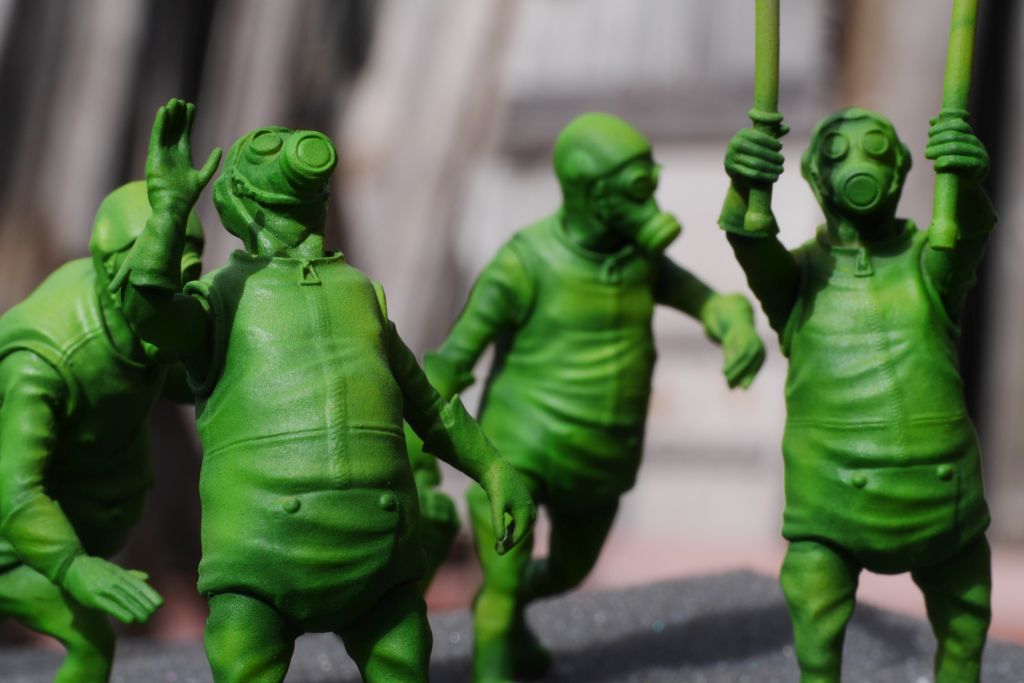
Some more progress on the ground crew. The painting is more or less finished. Some cleanups has to be made (especially around the Red Star decals. Tamiya flat base proofed to be a bad choice for blending in, even heavily thinned) and some light weathering when they will be set in the Dio
Here are the boys. I hope you like them.
Cheers Rob


-
2
-
-
Muy bien, and as you said, without a sharkmouth, the bird is much harder to recognize, as it seems to be a signature mark on the P-40's
 .
.
Have fun with your future projects, it's always good to keep the Mojo flowing after a draught and it seems you had a little Kickstarter gem.Cheers Rob
-
It has been a while since the last update of Red Star 47, but finally some progress is made. I primed the figures and all the extra parts which will be mounted to the main thing after painting. I used Alclad Grey Primer, which I like when mixing materials like resin and PE.
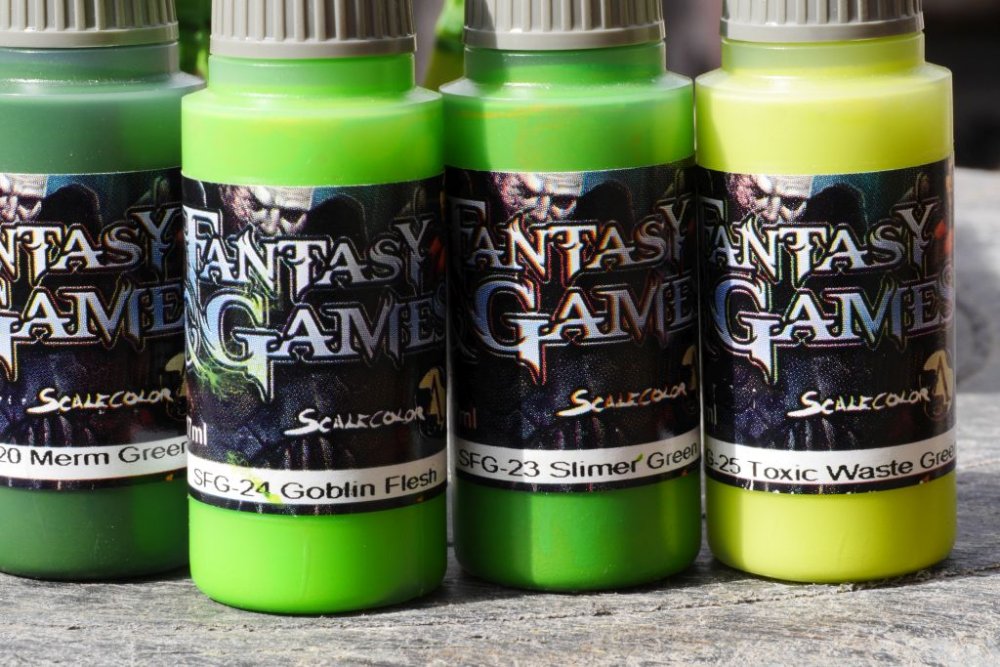
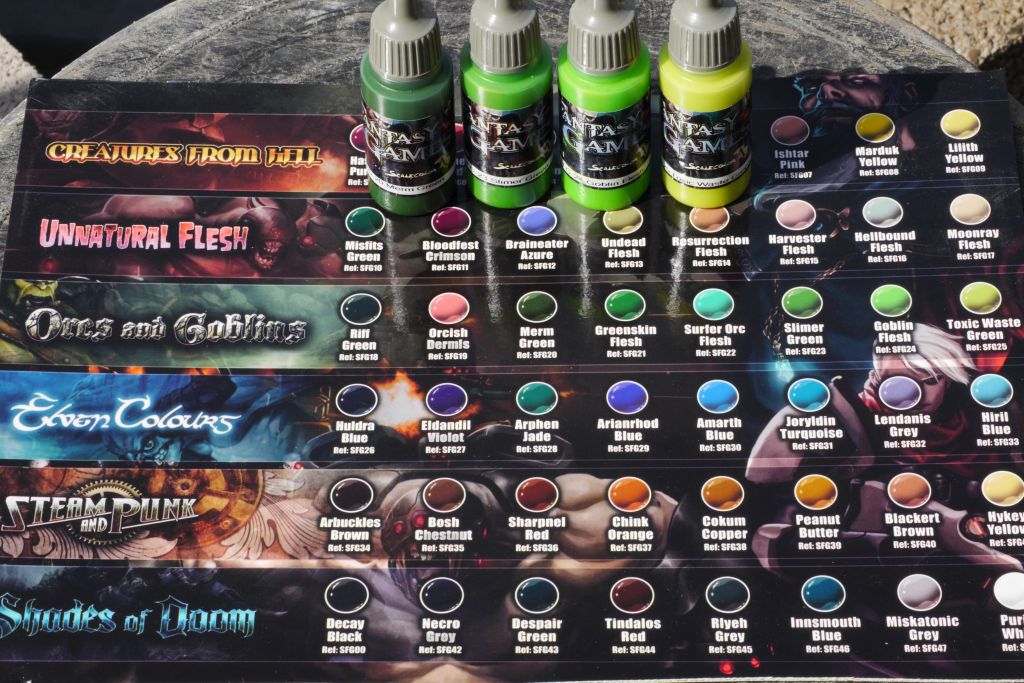
The figures where my first attempt in airbrushing those guys. I used colors of the Scalecolor range of Scale 75 (Fantasy & Game) , who I could hug because of the great names for their colors. There is 'Slimer Green' and 'Toxic Waste Green' among others. Felt perfect to give my Russian Toxic Smurfs the right color.
In the beginning I had some issues with clotting color on the needle, but after using some drops of Valejo Flow Improver and Tamiya Thinner it worked all well.
Strange, the Flow Improver never worked for me before, sometimes it pays to keep things for experimenting rather then throwing them away.
After drying the old school brush work will begin and the guys will come to life, whatever that means.
Say Hi, Iwan


-
1
-
-
Hi Danny, I don't think the Resin alone is qualifying you for the Resin-GB
. What are your plans with the stuff?
Cheers Rob
-
You can't stay out of the water with your projects
, you just switched from wood and metal to resin and plastic.
I can't wait to see this one develop, albeit it looks like a lot of work ahead to me. Good luck with that.Cheers Rob
-
1
-
-
Hi Ozzy, it was a pleasure to follow your Owl-build. The result speaks for itself you achieved a great UHU, which is an altogether fascinating airframe.
The paintjob, specially the mottling looks just right, a thing I'm a little afraid of painting mine. It is a big plane, a big project and it is good to see the thing finished in such a nice way.I guess when I'm building mine you should be prepared to answer a lot of questions
Cheers Rob
-
2
-
-
What is left to say, whooooooo, that Jug looks just great and it is not a Dottie Mae for a change
.
I like the shading and the way you perfectly blended the decals in, always a not to easy task when they are that big and colorful. Nice job on the weathering and the not too bright red, which looks right for the scale.
Cheers Rob
-
In the end you did not complete the construction and the bird is in really bad shape
.
Honestly, you hit a homerun with that build, perfectly executed and finished in a very unusual way. That is a real eye catcher you can be proud of.
Cheers Rob
-
3
-
-
Strike! This seals it. The aged canopy fits so much better to the, lets call it "not so perfect obtained" bird. The perfect rendition of aged glass / Plexiglas.
Cheers Rob
-
Nicely done. You did a great job on the camouflage and the not to worn appearance. For a modern tank the AMX looks not very streamlined like a Leopard or M1. It looks like a base construction with a lot of stuff bolted and welded on. To me that makes the AMX very interesting and it is not the first time i think about purchasing one.
Cheers Rob
-
1
-


WNW Fe.2b "Early" WIP
in LSM 1/35 and Larger Work In Progress
Posted
Thank you Danny. I will Keep your very convincing technique in mind and will do a Little shootout between the oils and the HGW-Decals when I start my build.
Cheers Rob