JohnB
-
Posts
7,222 -
Joined
-
Last visited
Content Type
Profiles
Forums
Events
Gallery
Everything posted by JohnB
-
The more I look at this photo it looks like the pilot has some sort of problem. Obviously it was taken when the 354th FG was just starting ops as the a/c noses haven't been painted white yet. I'm just wondering, was there something "wrong"? Was he sick? Did he crap his pants? LOL What's your take on this guys?

-
Agree 100% Jeff. Great bunch of guys (for the most part).
-
Wow Hubert! Thank you. PM on the way.
-
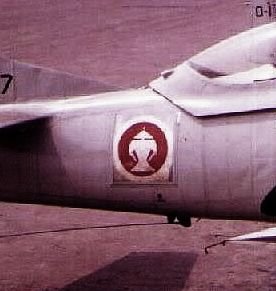
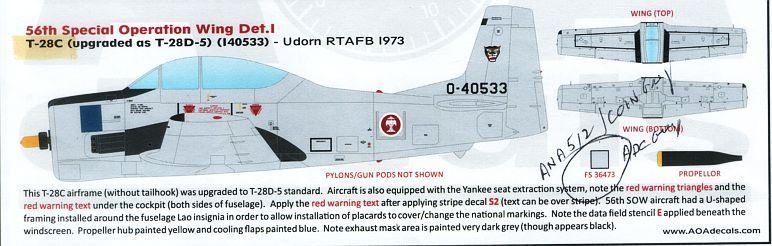
Some of the T-28's flown by the Ravens had a metal frame around the Lao national insignia. This enabled a metal cover to be inserted to hide the Lao insignia when they flew in to other countries so it wasn't seen that the a/c was being flown by other than Lao pilots. Pretty neat I think.

-
Thanks Peter. At one point I figured this one would stay on the SOD indefinitely. 🤪
-
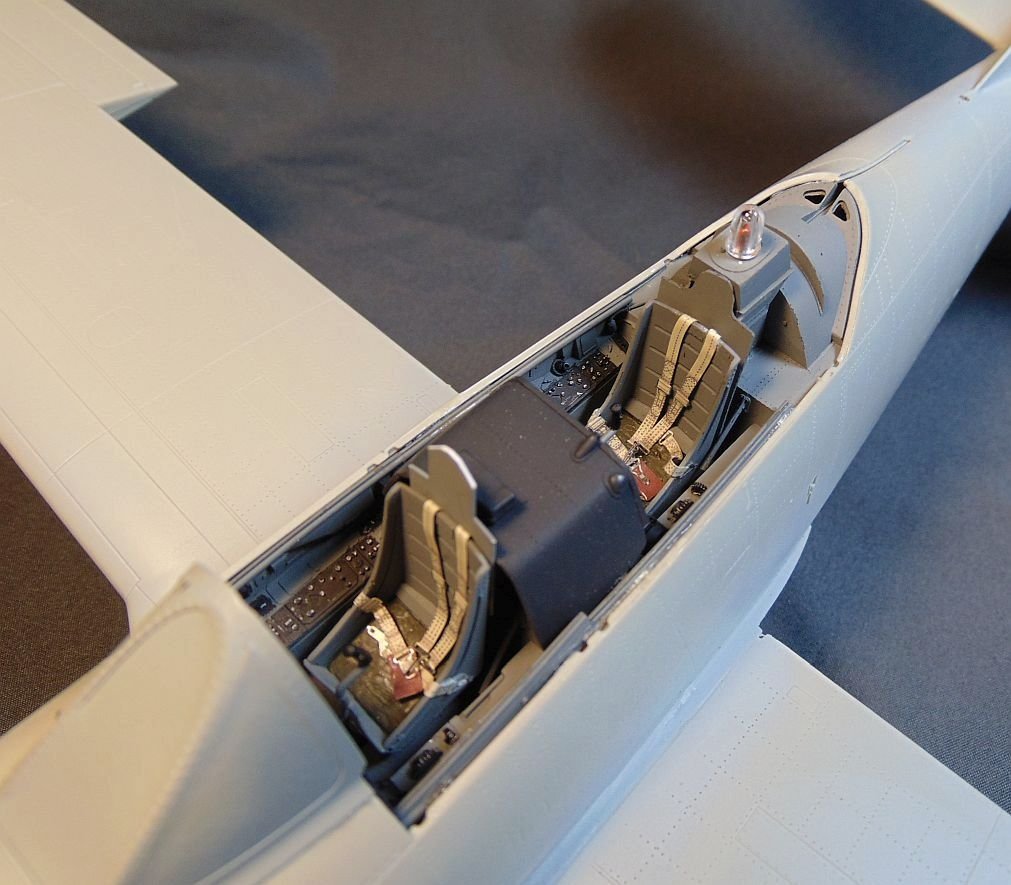
Thank you Chris. The belts are the PE ones from the kit. Very flexible for PE belts.
-

Tamiya F4U-1 Birdcage Corsair 1:32
JohnB replied to shadowmare's topic in LSM 1/32 and Larger Aircraft Ready for Inspection
Outstanding for sure! Well done. -
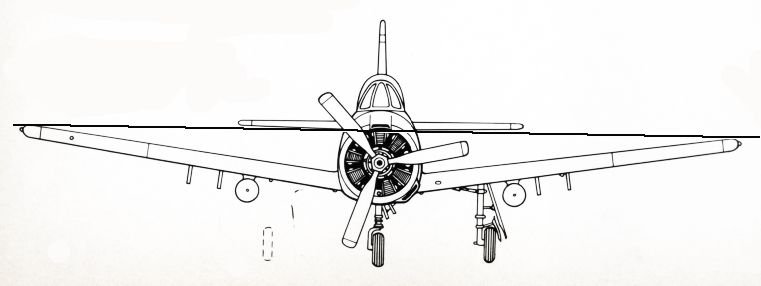
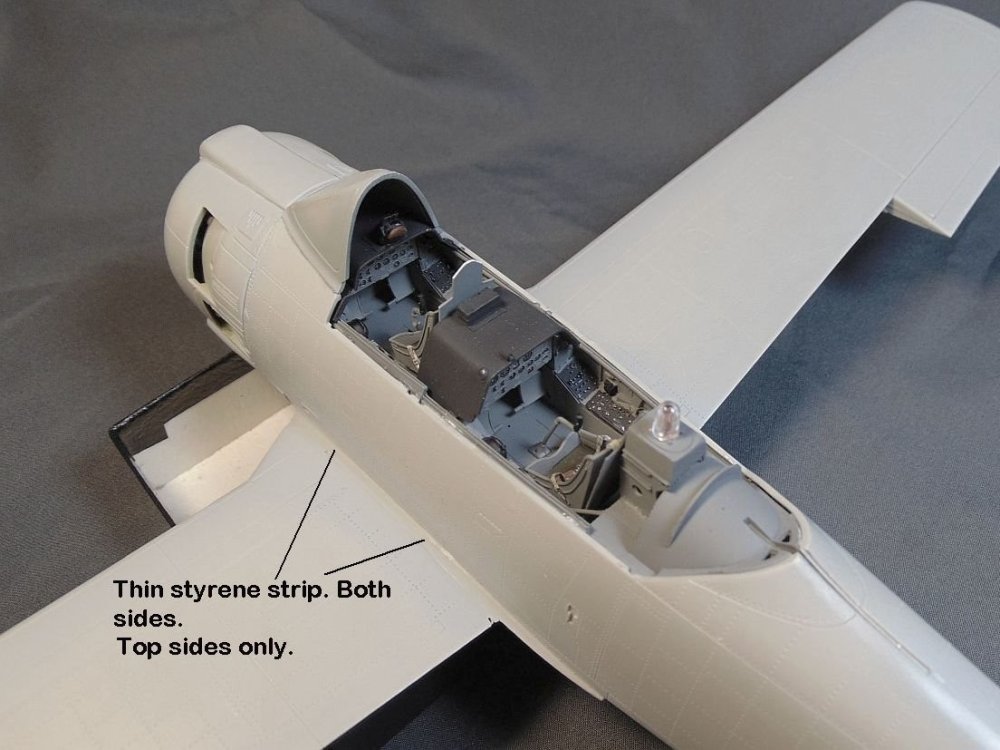
Made some good progress today. Got the wings attached and cockpit finished. The wing/fuselage relationship right OOB is slightly off with a bit too much dihedral. I added a couple of strips of sheet styrene to the wing join area to try to correct this. Only to the top side of the wings. (Something I didn't do on my previous builds. Wish I had!). At any rate I think this small adjustment helps in the overall "look". Check the drawing here for what I think is "correct". (It's still a lot of dihedral though!) LOL


-
Very much appreciated Hubert!
-
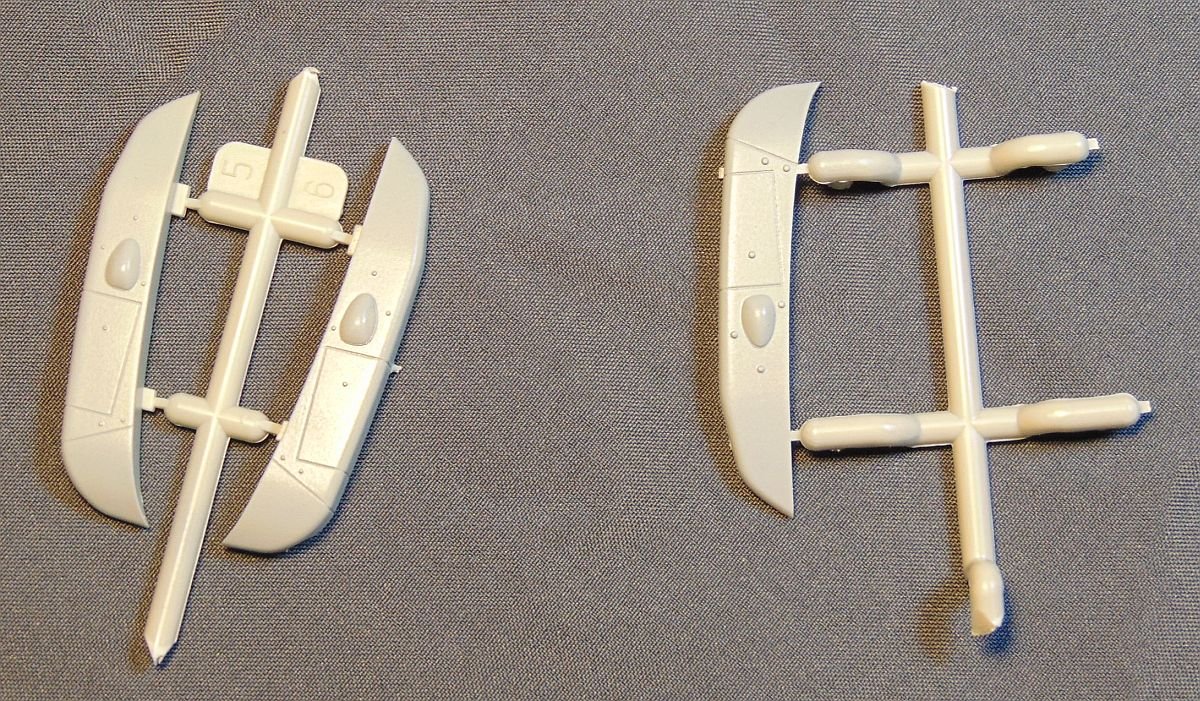
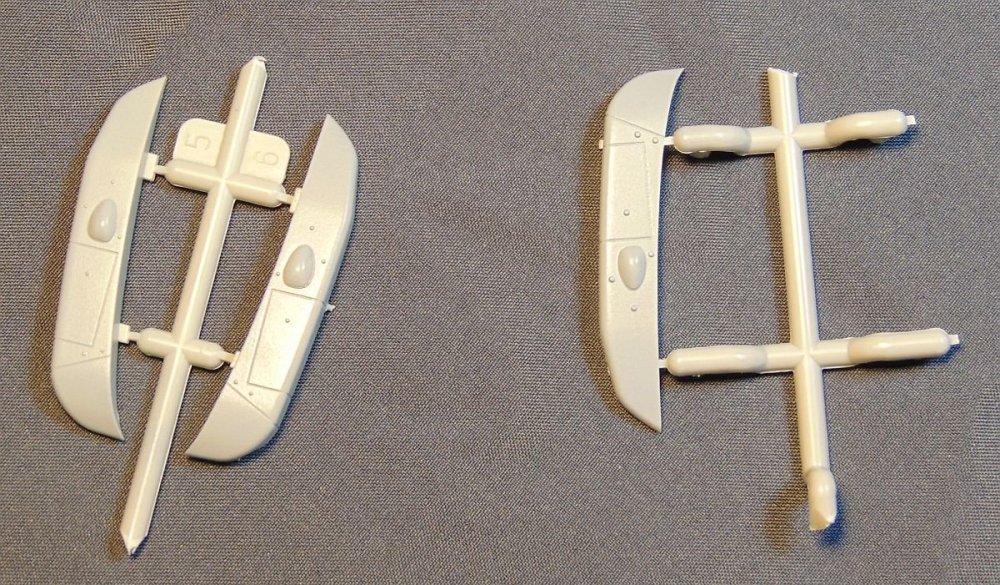
Thanks Hubert. It's the "C" kit #KH32015 but I'm using parts from the B/D kit #KH32014 to make it a "D". If you have these gun pods that's exactly what I need. Thanks again!
-
I hoped SOMEONE might have it but no luck so far. 🙄
-
-
MiniArt P-47D Thunderbolt: COMPLETED 2/13/24
JohnB replied to Peterpools's topic in LSM 1/48 Work in Progress
🤞 -
MiniArt P-47D Thunderbolt: COMPLETED 2/13/24
JohnB replied to Peterpools's topic in LSM 1/48 Work in Progress
Looks like a good start Peter. It'll be a beauty for sure. -
Somehow I managed to lose part of one of the gun pieces. If someone here has this parts tree and can let it go I sure could use it. Otherwise I'm SOL on that style gun pack. Please PM me if you can help. Thanks!!!!! 😉
-
Just to refresh everyone's memory, this is the subject I'm building.
-
A lot higher actually! LOL I cussed it up one side and down the other. 🤪
-
LOL Peter. Had a bit of a cuss factor but I finally got it to work.
-
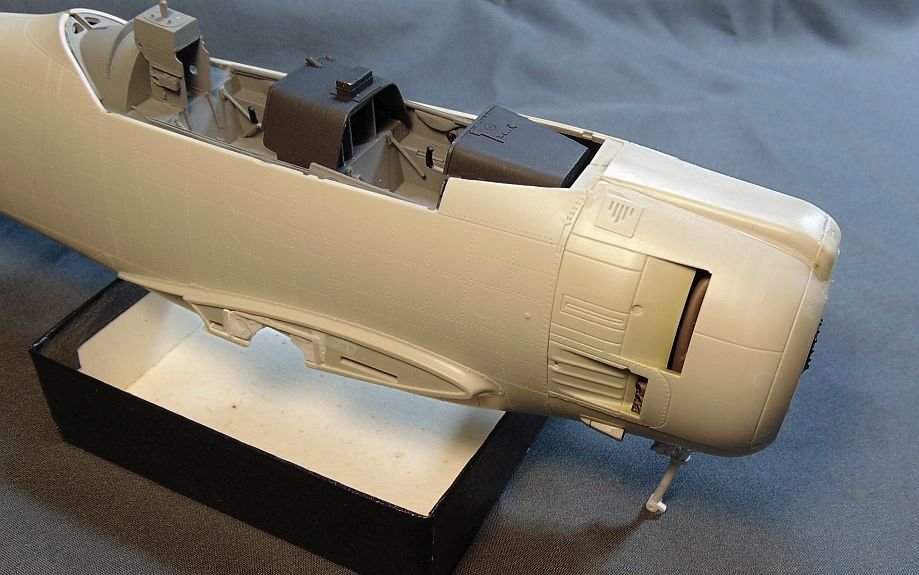
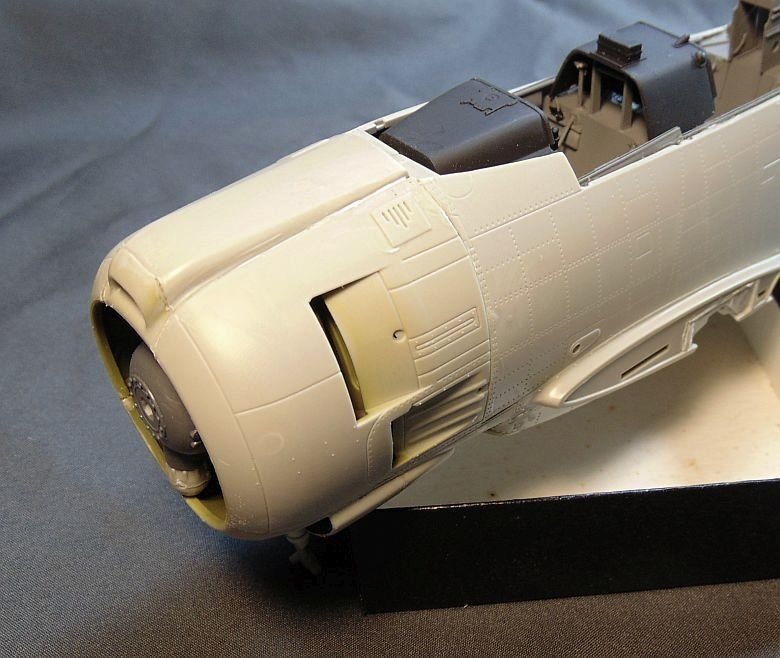
Finally got the cowlings together. As I've said before, thank goodness for CA and CA kicker! I had to remove a couple of parts that interfered with the fit. Not a big deal since they wouldn't be easily visible anyway.

- 44 replies
-
- 14
-

-

-
Hasegawa F6F-3 completed
JohnB replied to JohnB's topic in LSM 1/32 and Larger Aircraft Ready for Inspection
Thanks Kevin. Doesn't happen very often but when it does it's a bummer. The only thing to do is go on to something else and let it rest. 🙄 -
Hasegawa F6F-3 completed
JohnB replied to JohnB's topic in LSM 1/32 and Larger Aircraft Ready for Inspection
Remember guys that if you click on the 1st photo they all have much better resolution. You can then view them as a slide show. -
Hasegawa F6F-3 completed
JohnB replied to JohnB's topic in LSM 1/32 and Larger Aircraft Ready for Inspection
Thanks Dennis. I'm glad you like it. It's starting to look better to me the more I look at it! Sure could be worse! -
Hasegawa F6F-3 completed
JohnB replied to JohnB's topic in LSM 1/32 and Larger Aircraft Ready for Inspection
Not all that bad for one that was 1st issued back in the 70's or so. Fits okay but it needs some after market items like a replacement cockpit with better details. I also replaced the kit wheels with some for a Corsair. The windscreen for the -3 version is too "rounded" and doesn't look right. I used the windscreen for the -5 and added the needed ribs to represent a -3. Bottom line is it's better than the Trumpeter kit. I hope this answers your question Rod. -
Hasegawa F6F-3 completed
JohnB replied to JohnB's topic in LSM 1/32 and Larger Aircraft Ready for Inspection
Thank you Rod, I appreciate it. Glad you like it. -
Hasegawa F6F-3 completed
JohnB replied to JohnB's topic in LSM 1/32 and Larger Aircraft Ready for Inspection
Just one of those things Peter. Thanks!