The Great LSM Twins Group Build ends July 3, 2024
×


jjetmec
-
Posts
5 -
Joined
-
Last visited
Content Type
Profiles
Forums
Events
Gallery
Everything posted by jjetmec
-
This is a fantastic looking NZ SBD. Really really nice job! Could not do better myself. I am being asked to build this SBD in 1/32. I will be using the Trumpeter kit also. What if anything is not included in the kit? I saw the response regarding the FLAPS. Nice flaps OOB. ANything that I should know about this kit before I jump in. Do you know if all the Trumpeter SBDs are of the same quality, same mold, or were there improvements made with newer releases?
-
Lublin R-XIIID 1/32 Lukgraph
jjetmec replied to artro219's topic in LSM 1/32 and Larger Aircraft Ready for Inspection
thanx for reply but a little confused about the comment "you can take the blinds"? Sorry to ask again. -
Lublin R-XIIID 1/32 Lukgraph
jjetmec replied to artro219's topic in LSM 1/32 and Larger Aircraft Ready for Inspection
Really love the great job you did on this very unique model. I am also very interested in your experience with this new company and it's all resin aircraft. The final product looks like it is worth the extra effort and the somewhat steep price. Can you share with some details of the build good/bad? I am on the fence about buying one very soon. Looking at the Pre-War US Navy Bi-planes. -
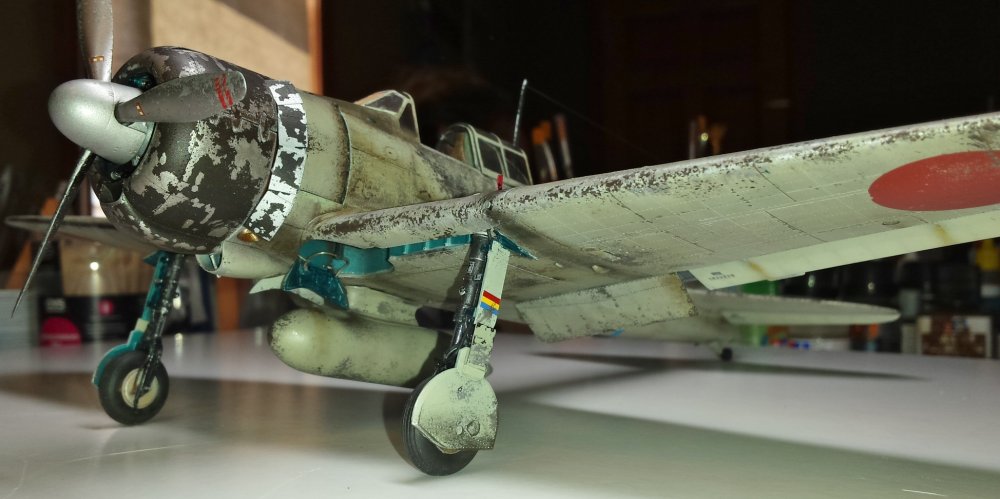
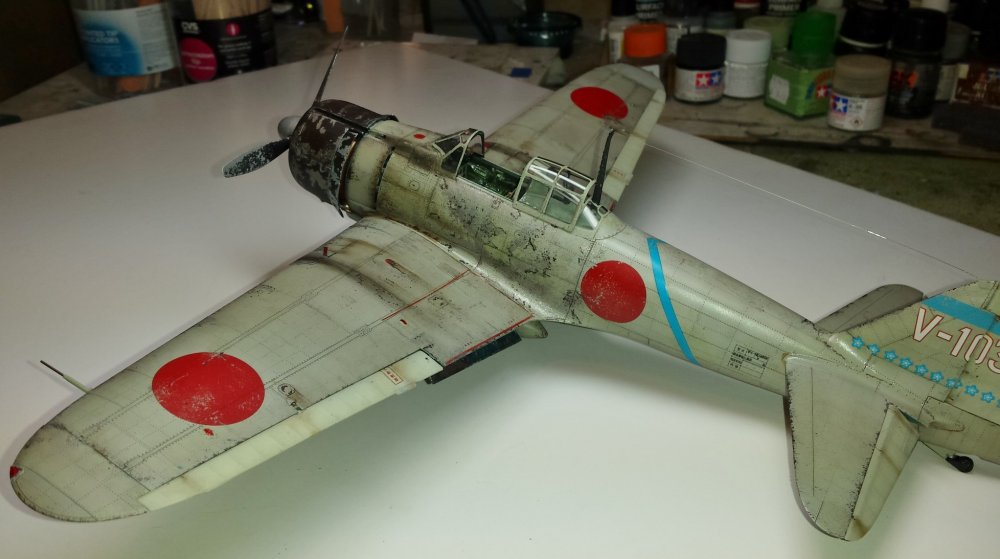
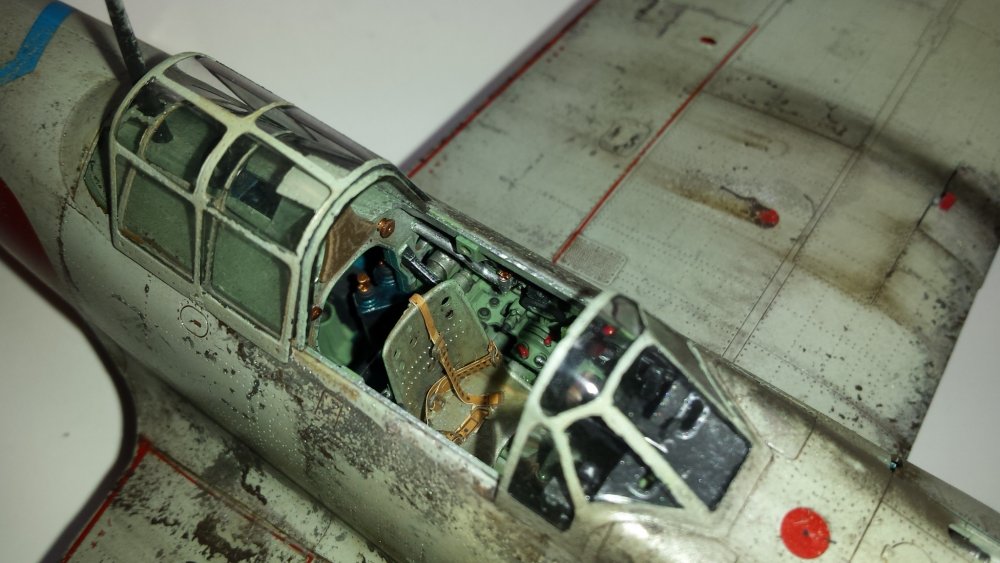
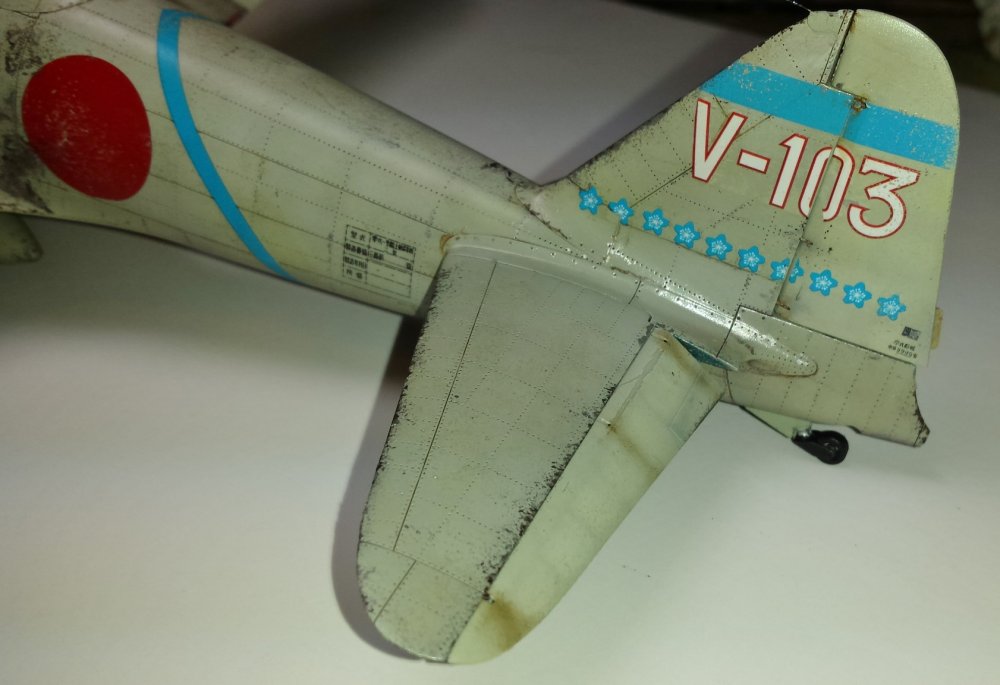
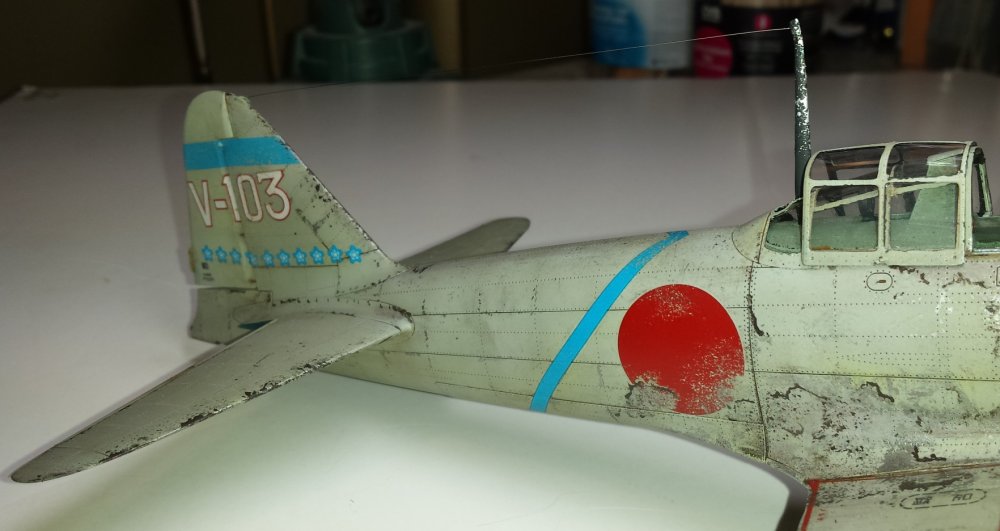
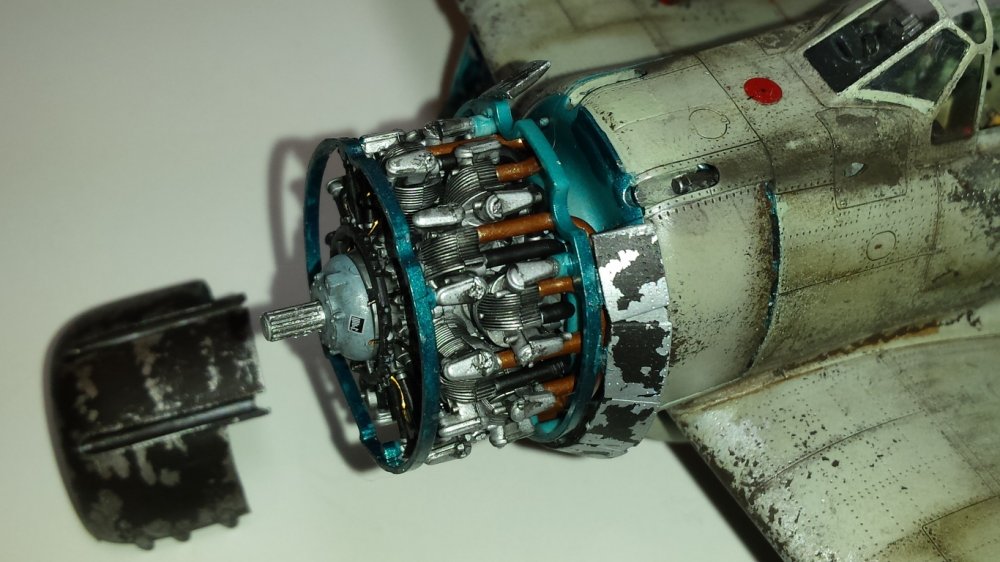
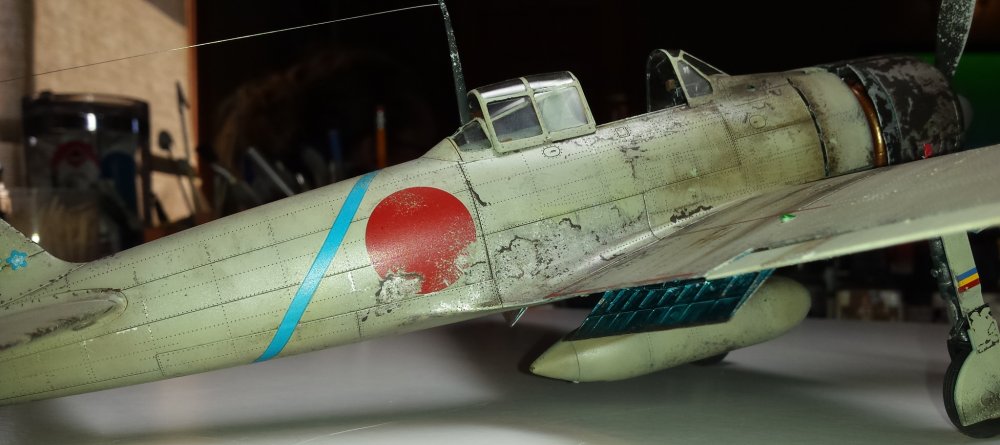
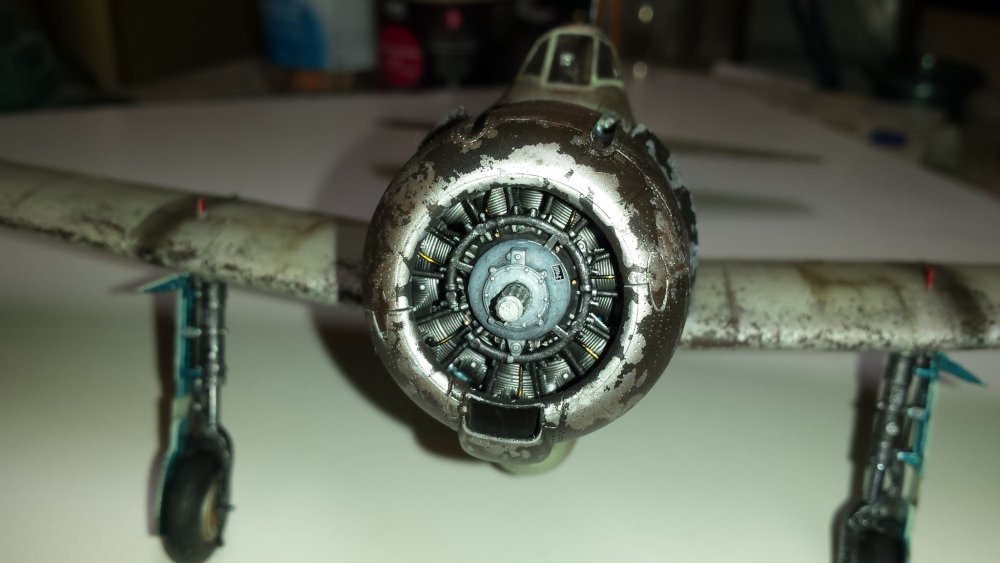
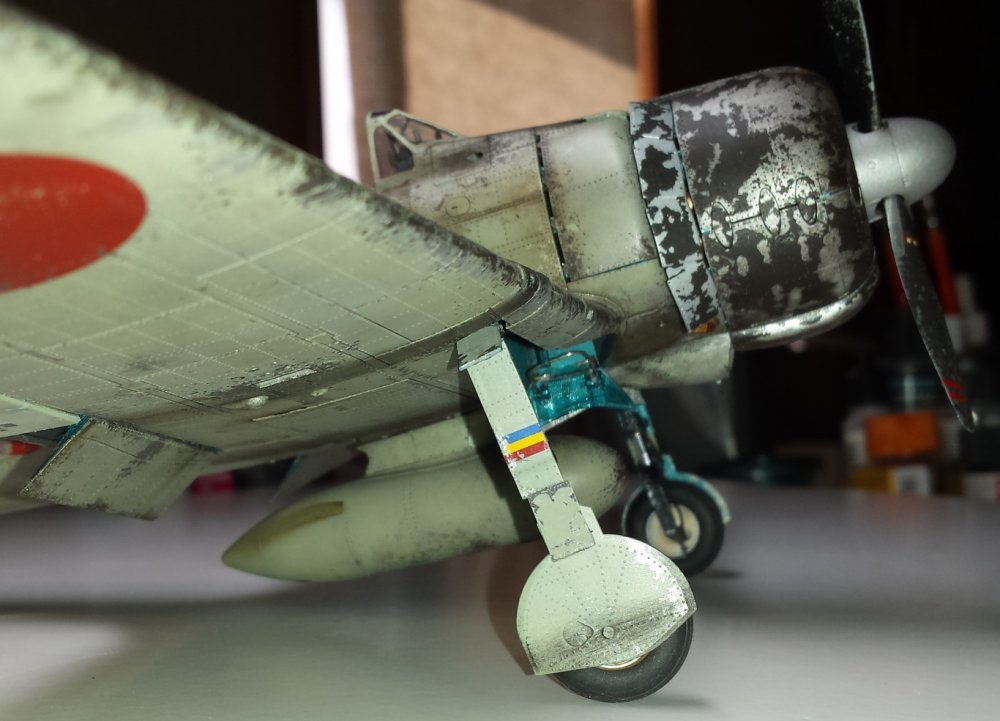
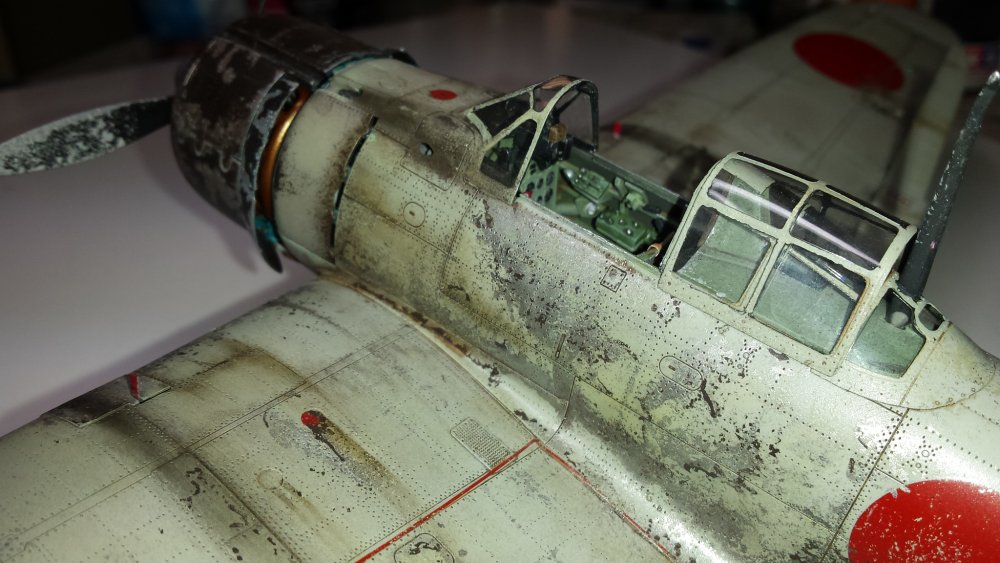
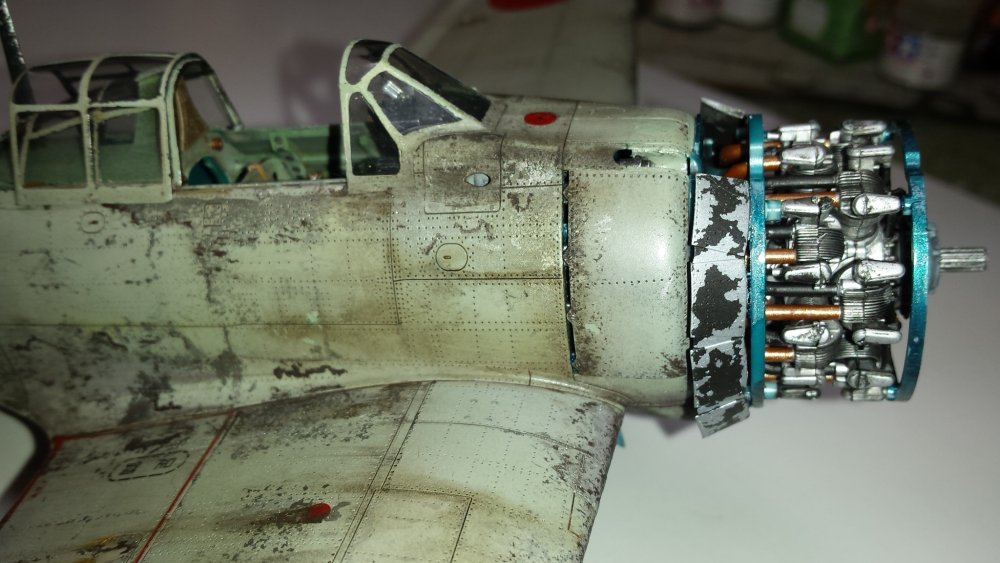
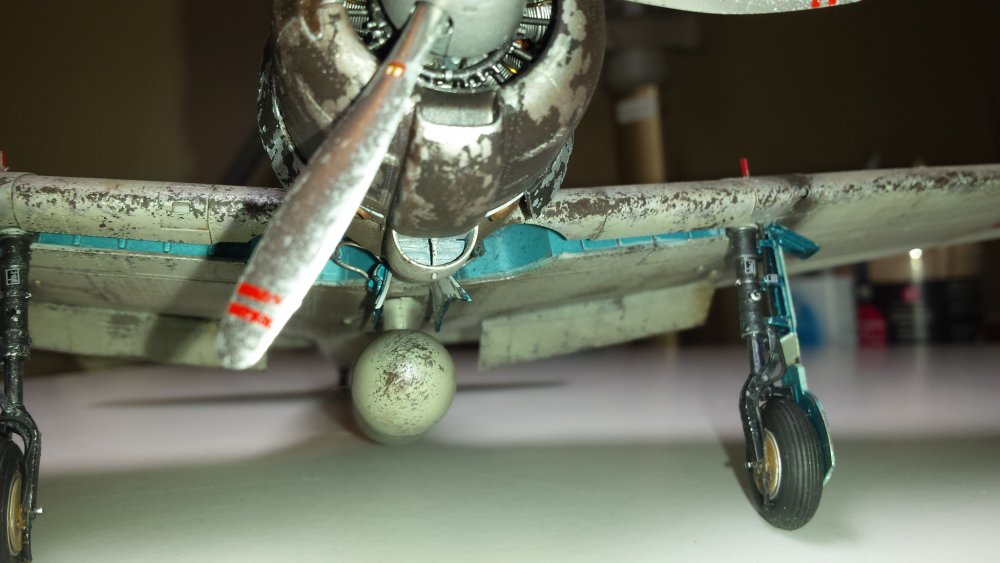
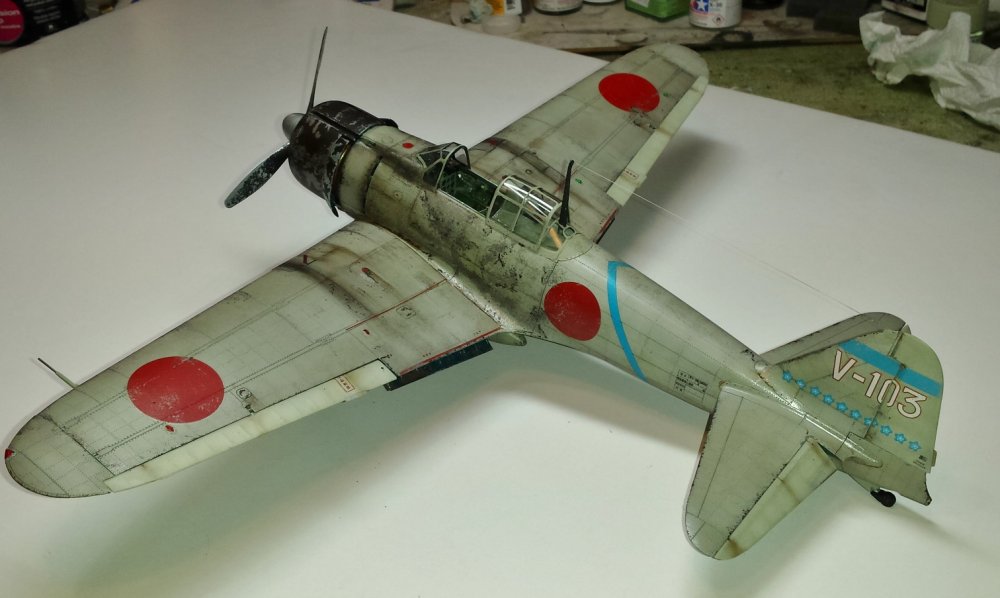
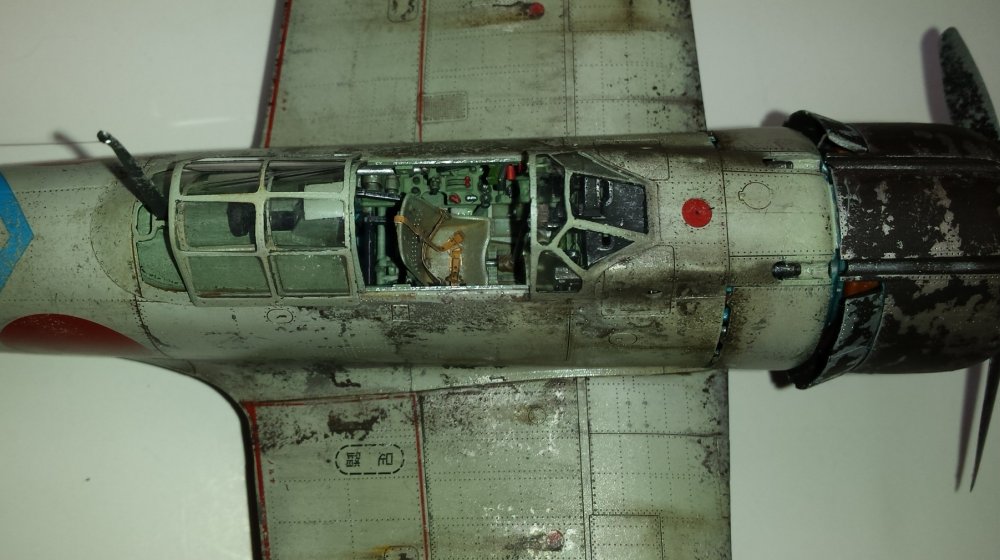
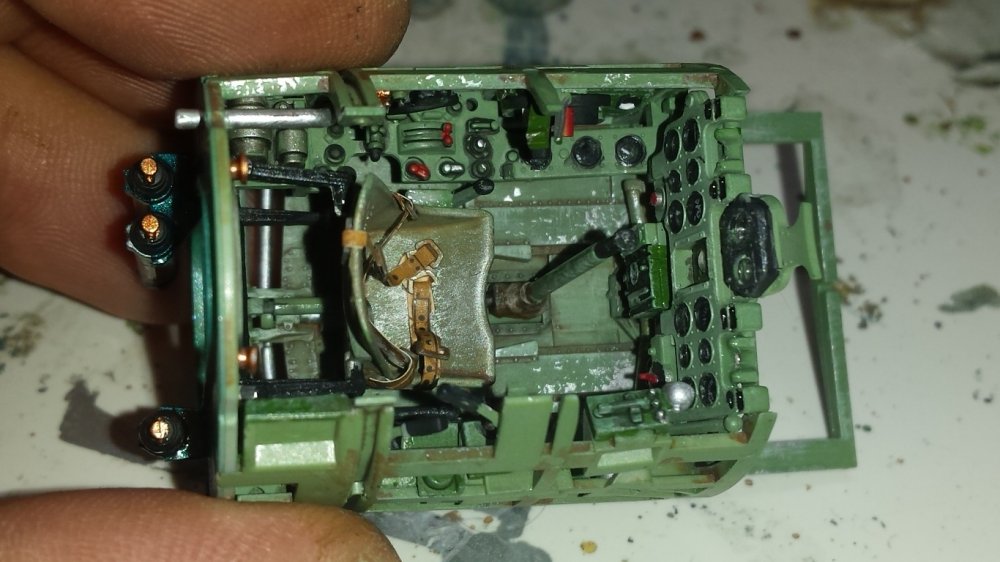
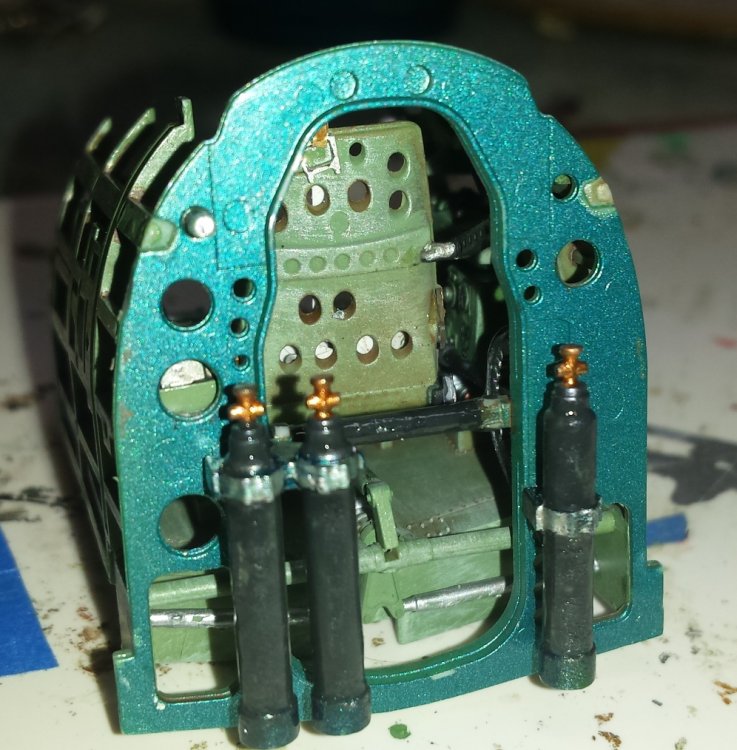
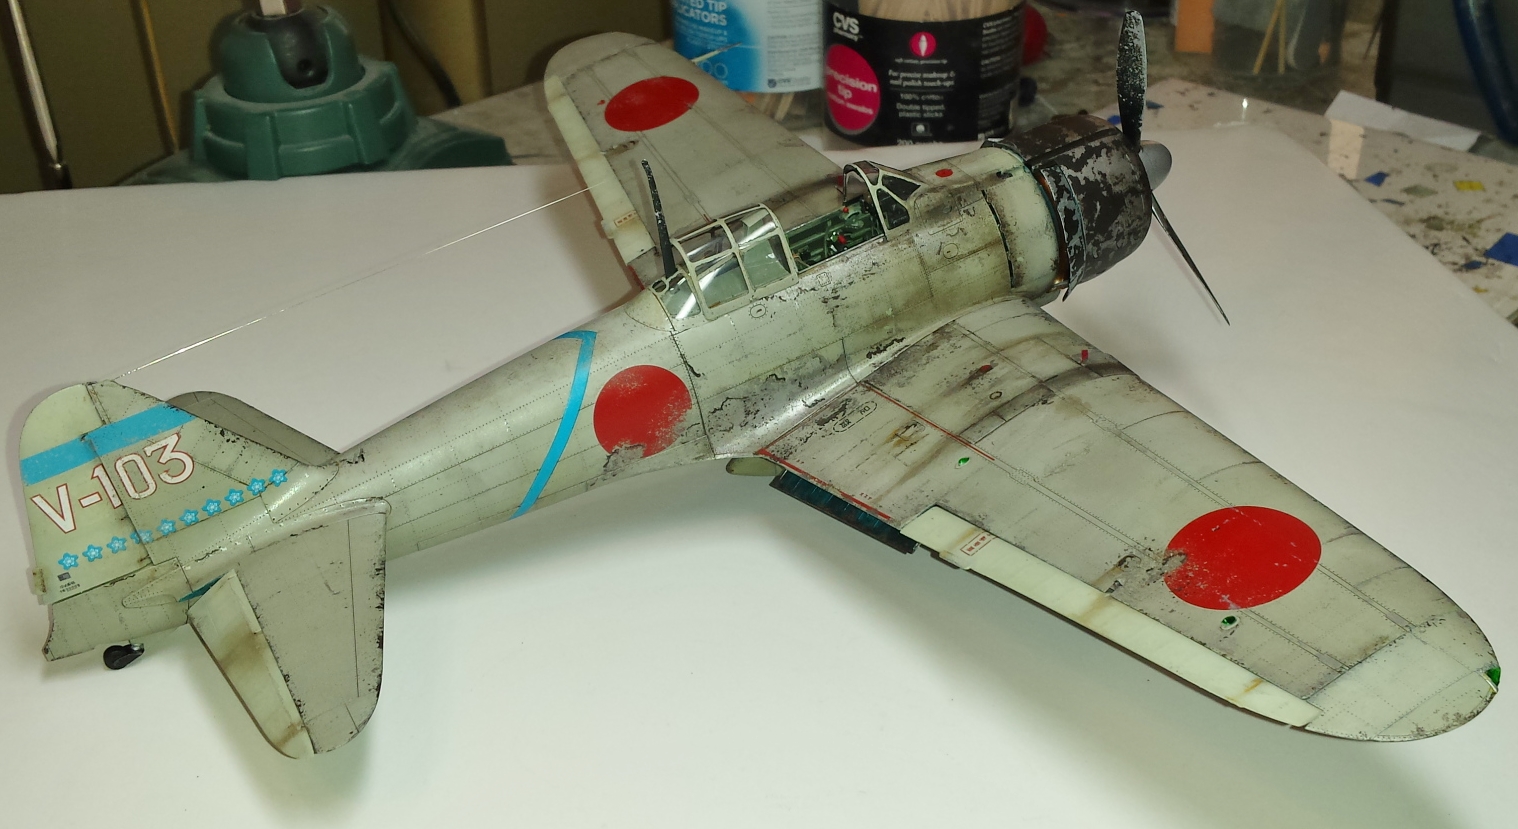
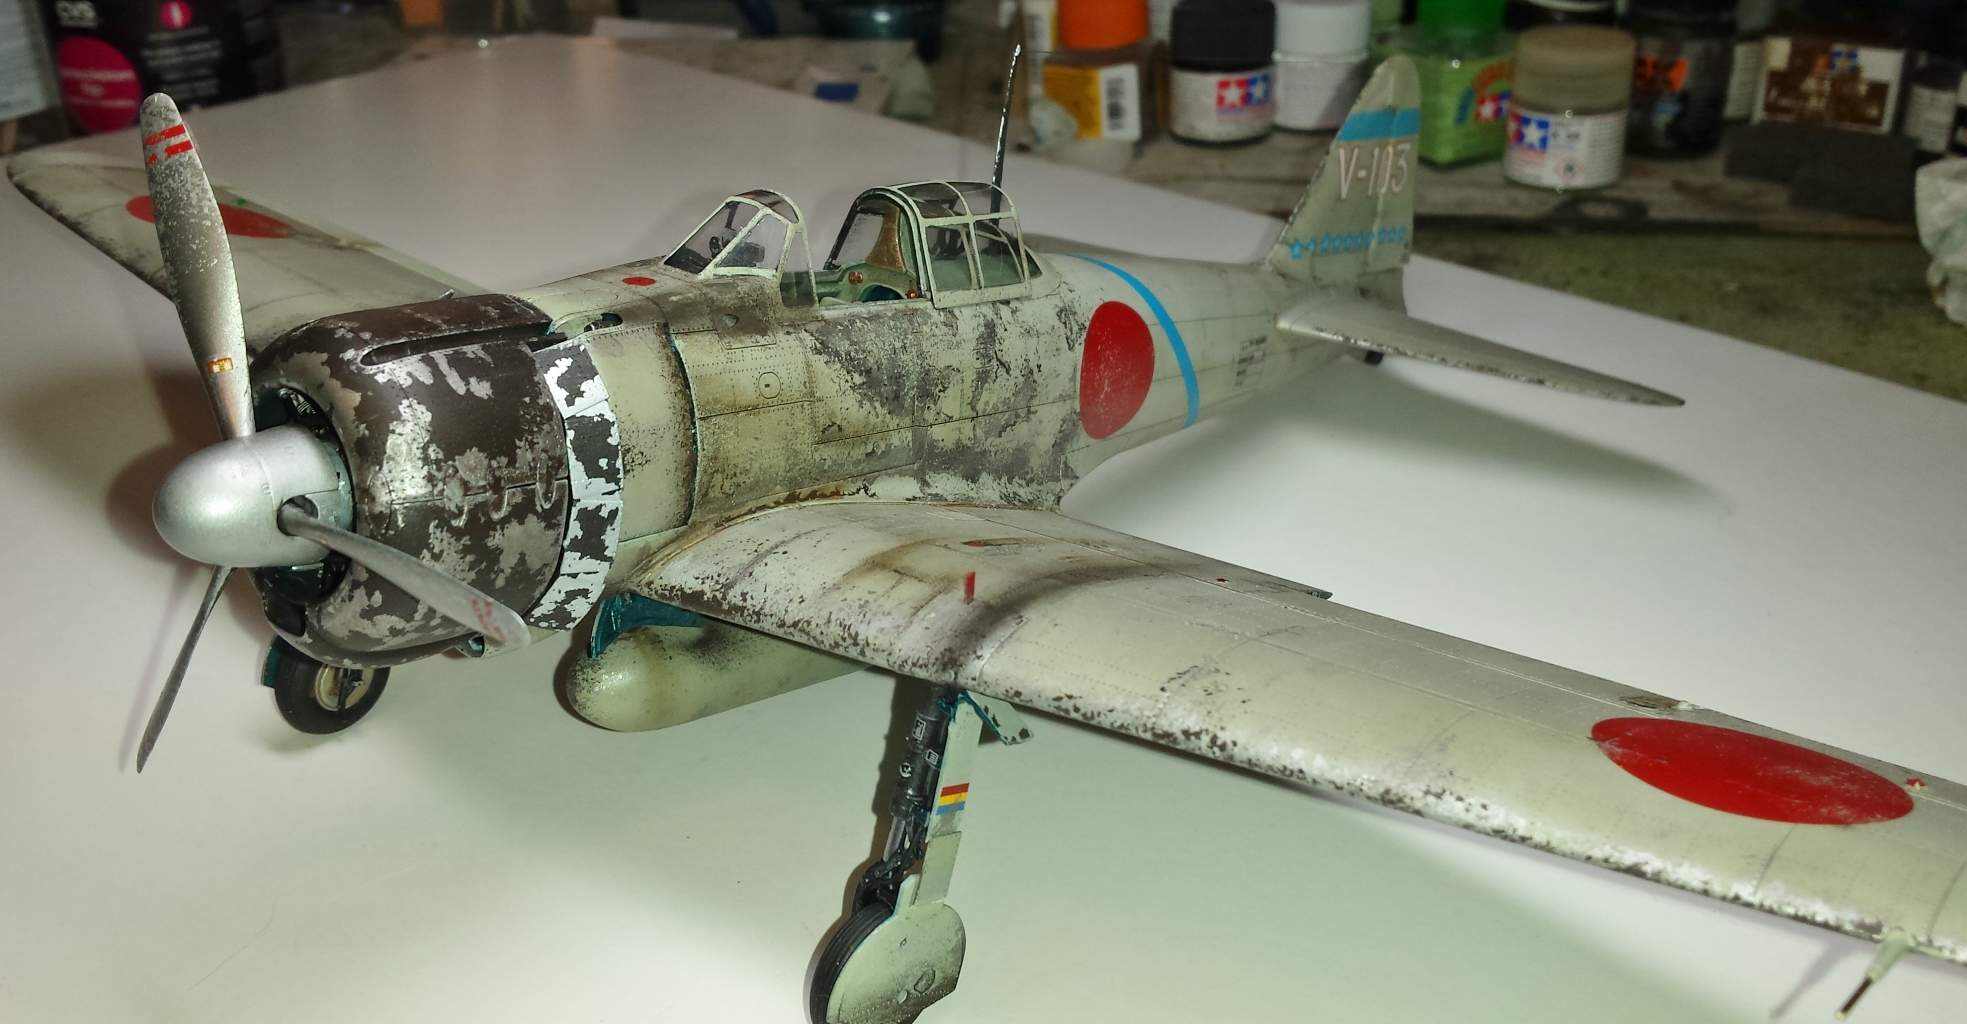
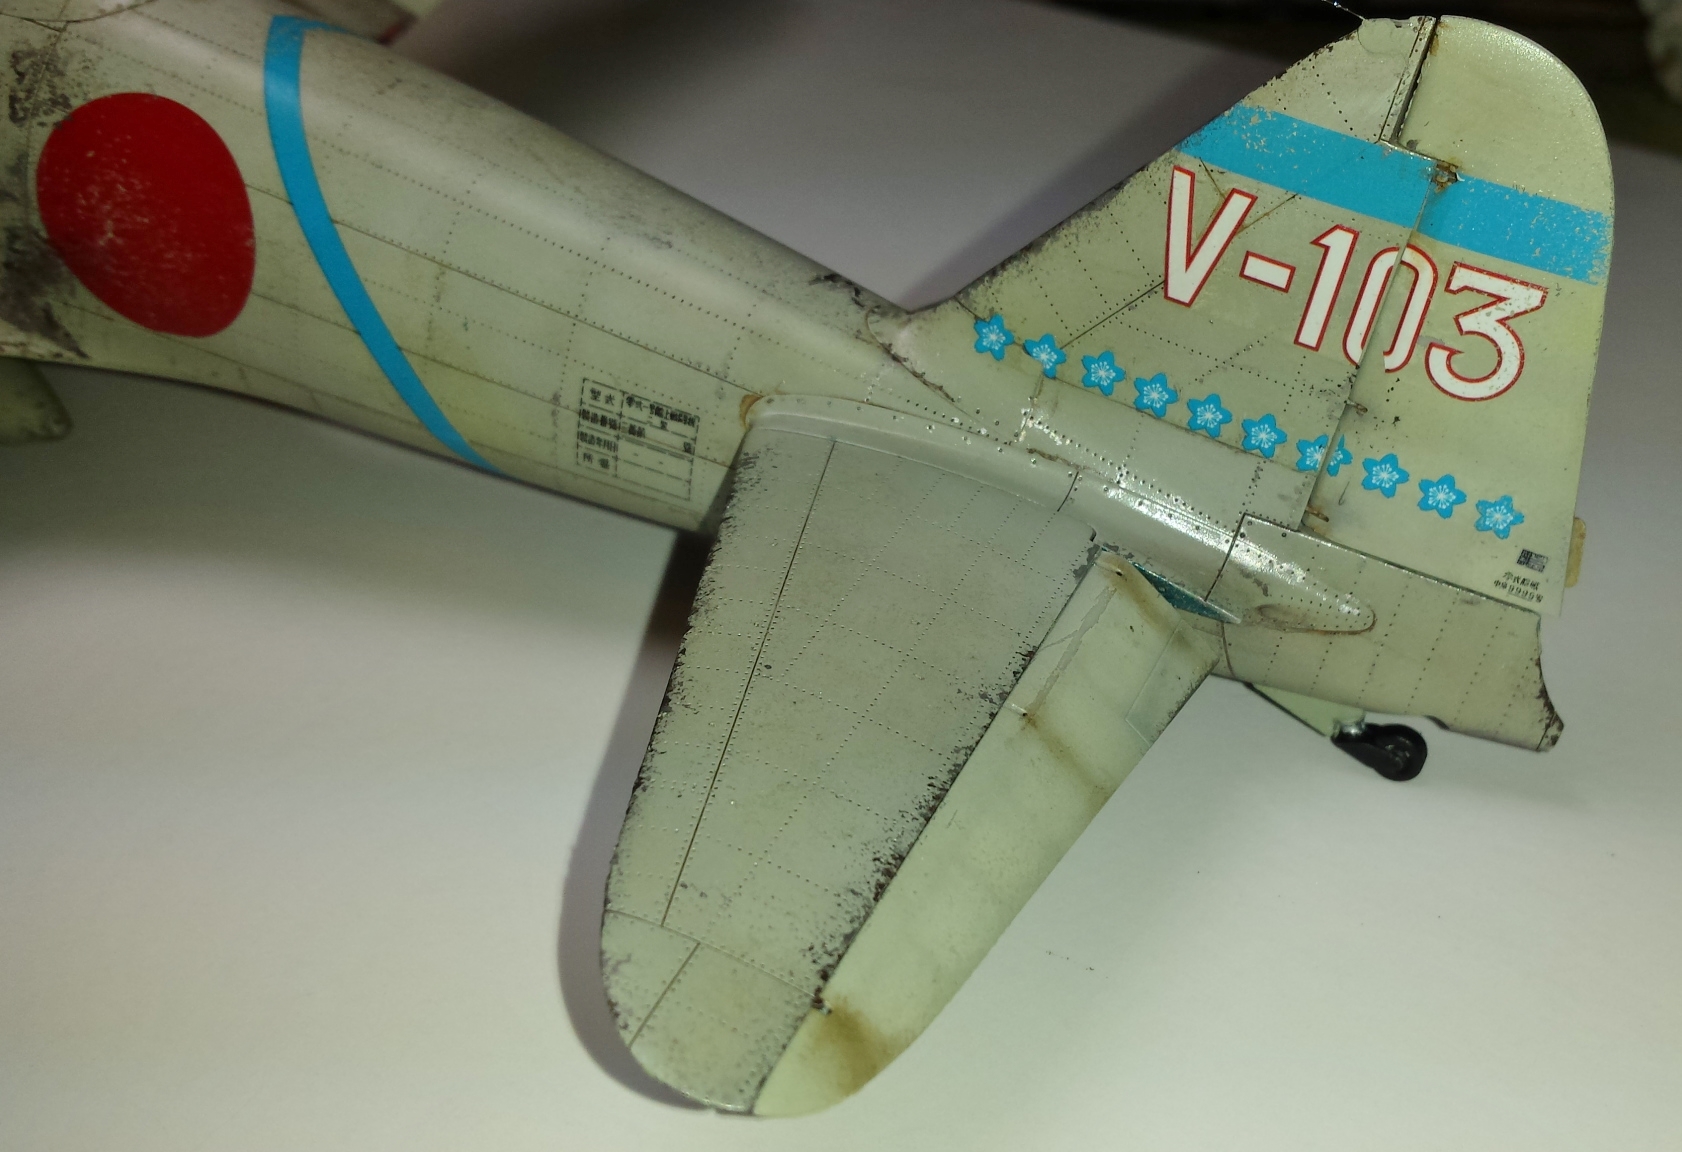
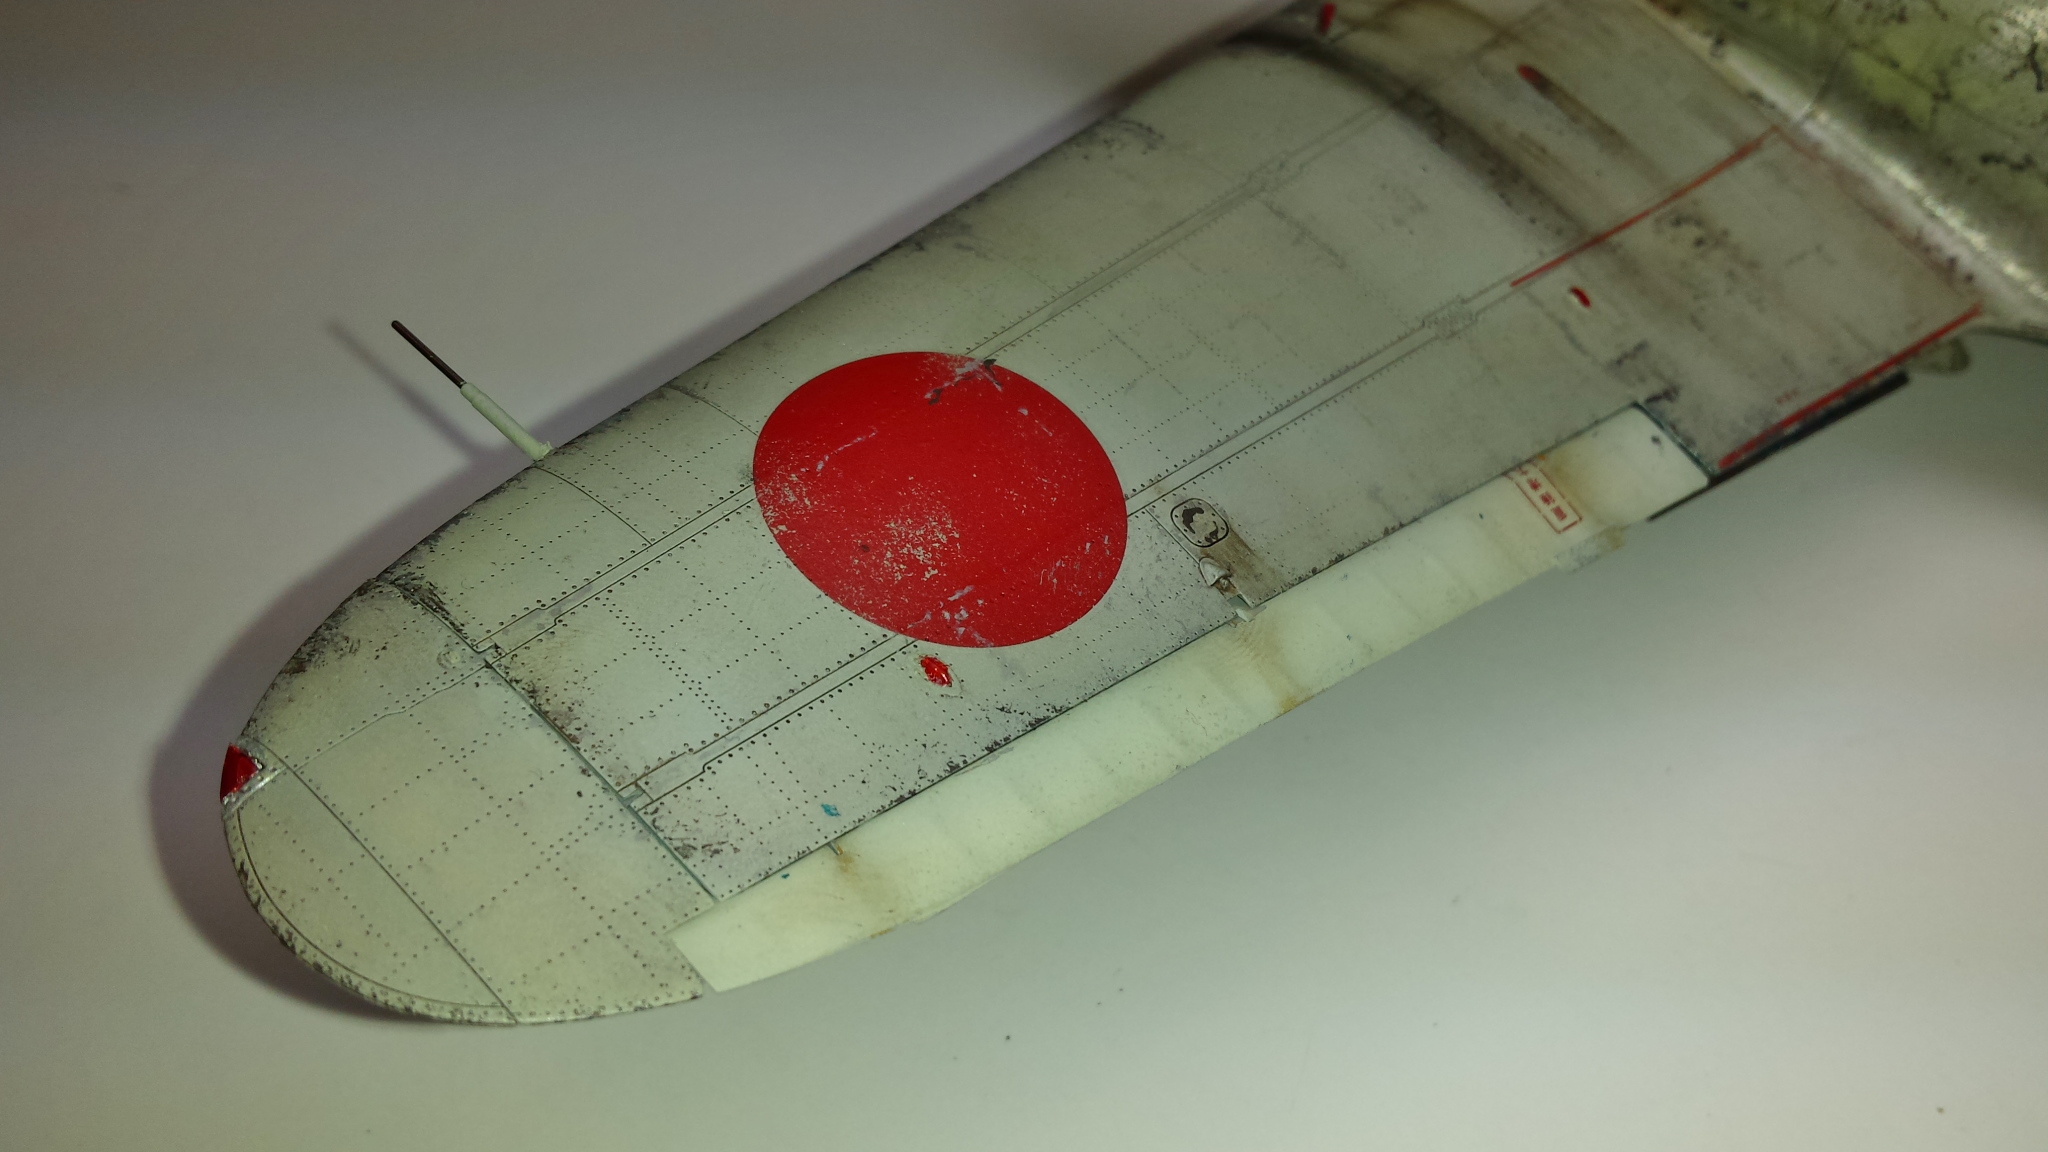
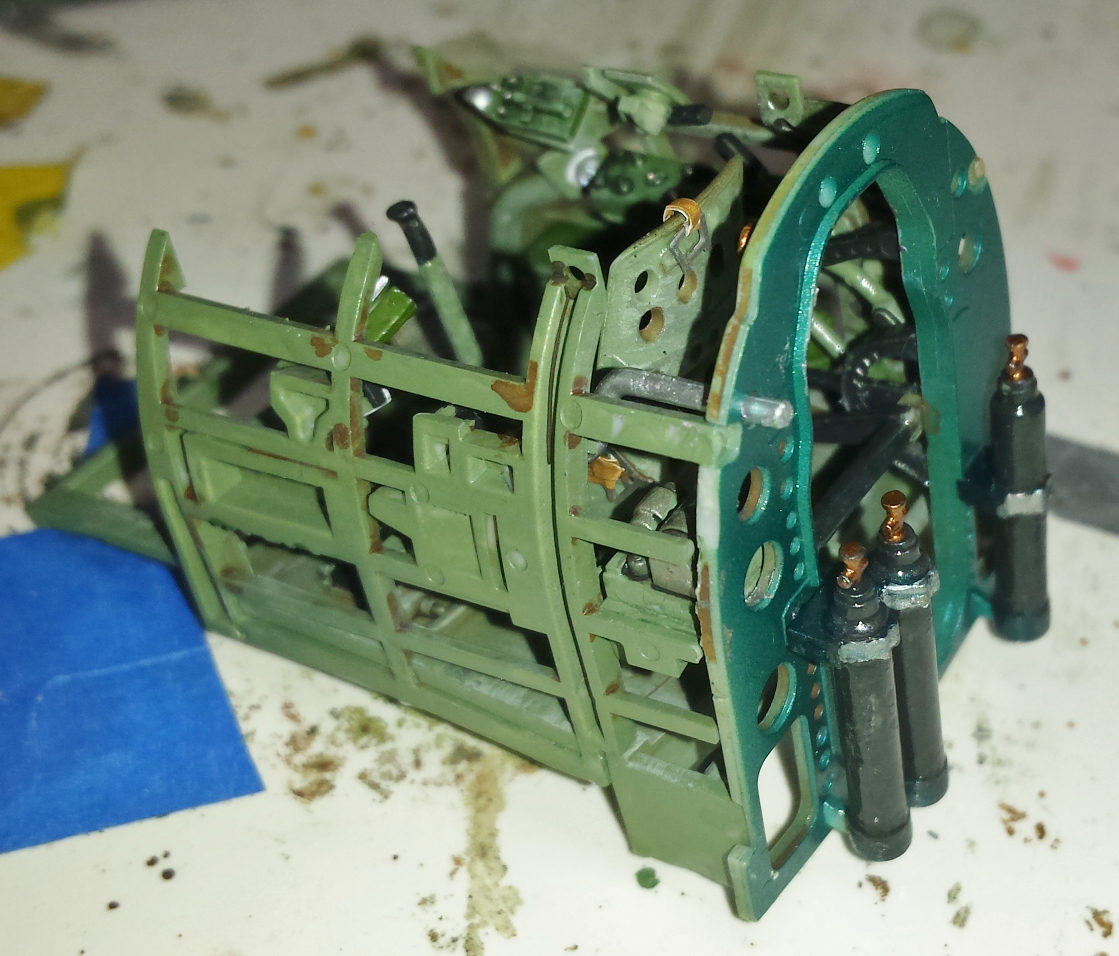
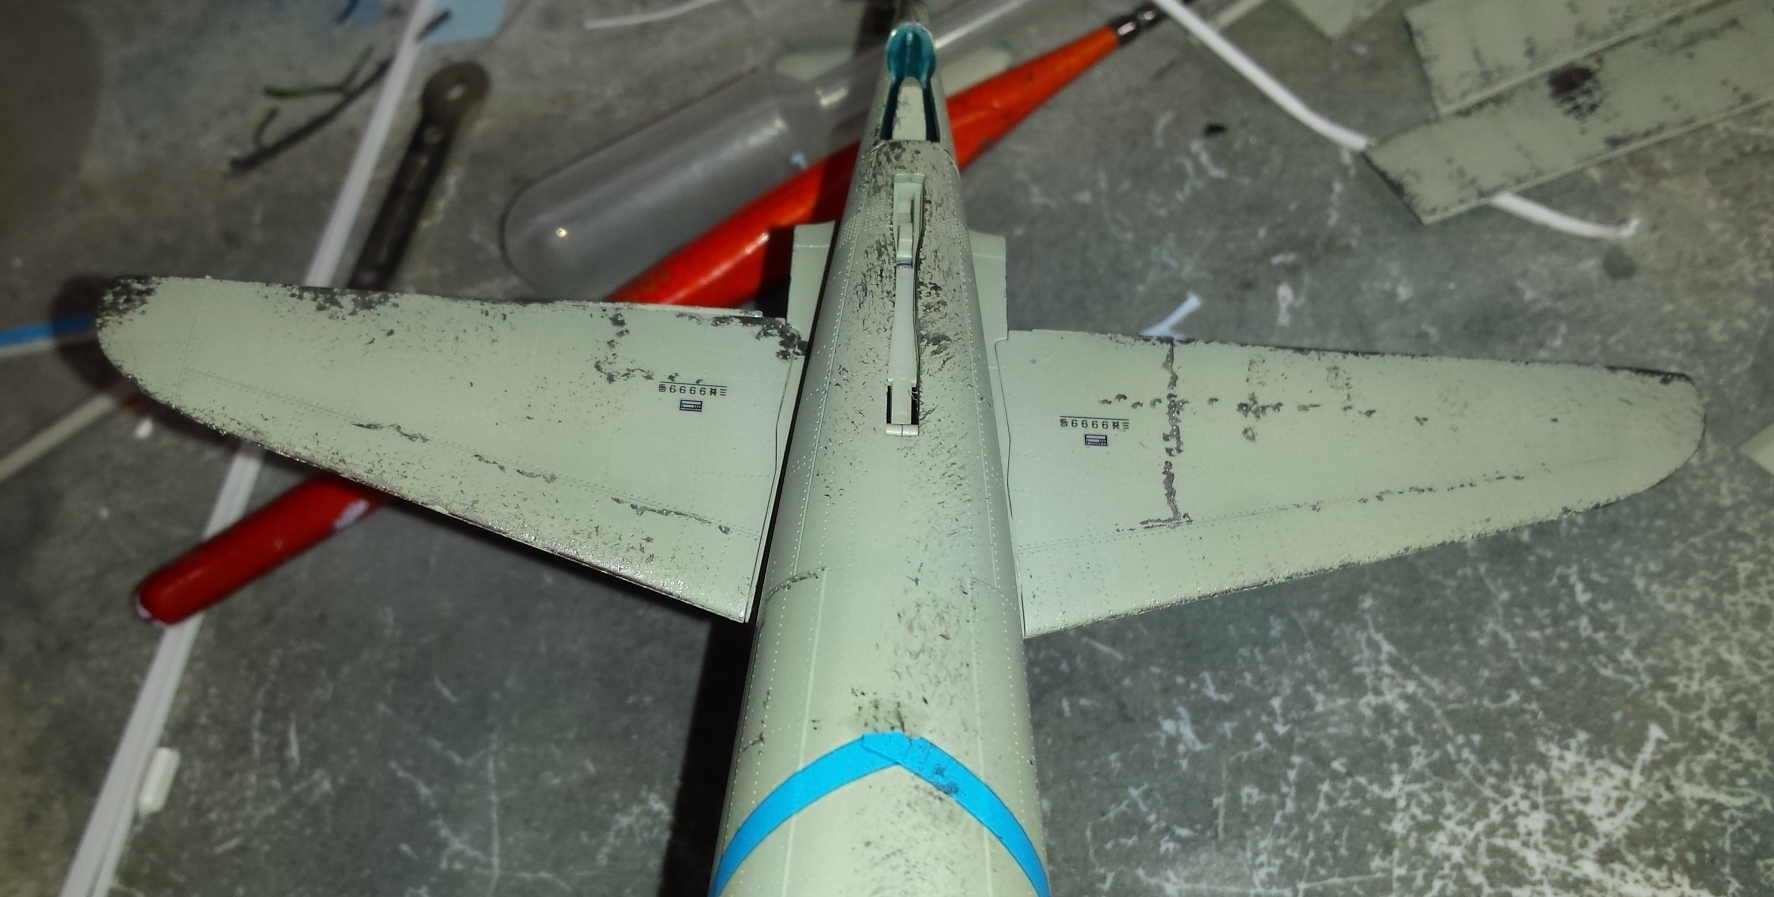
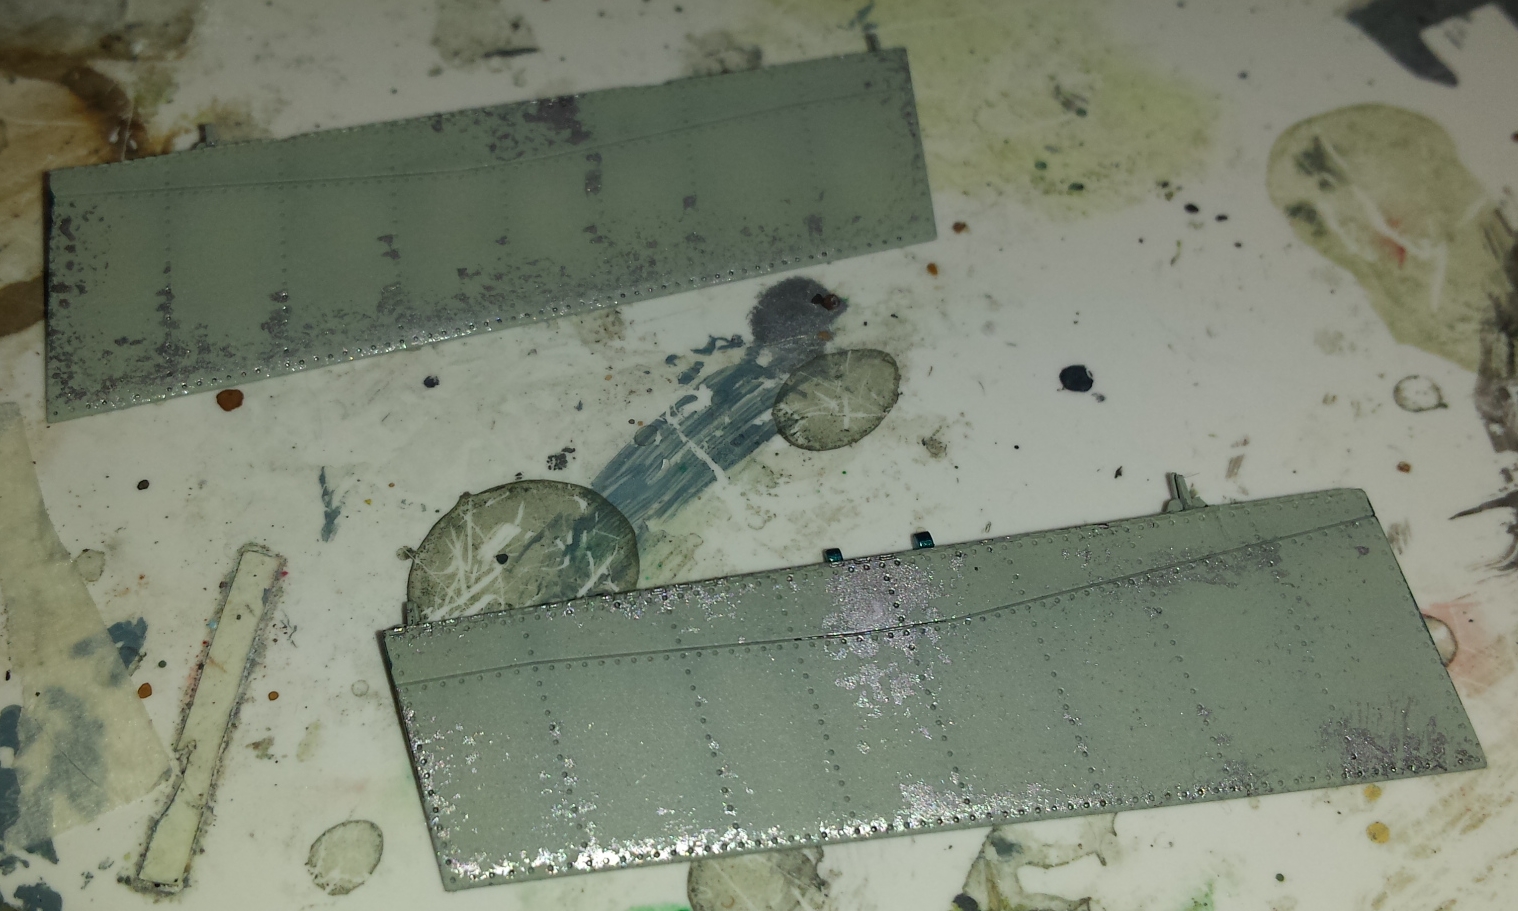
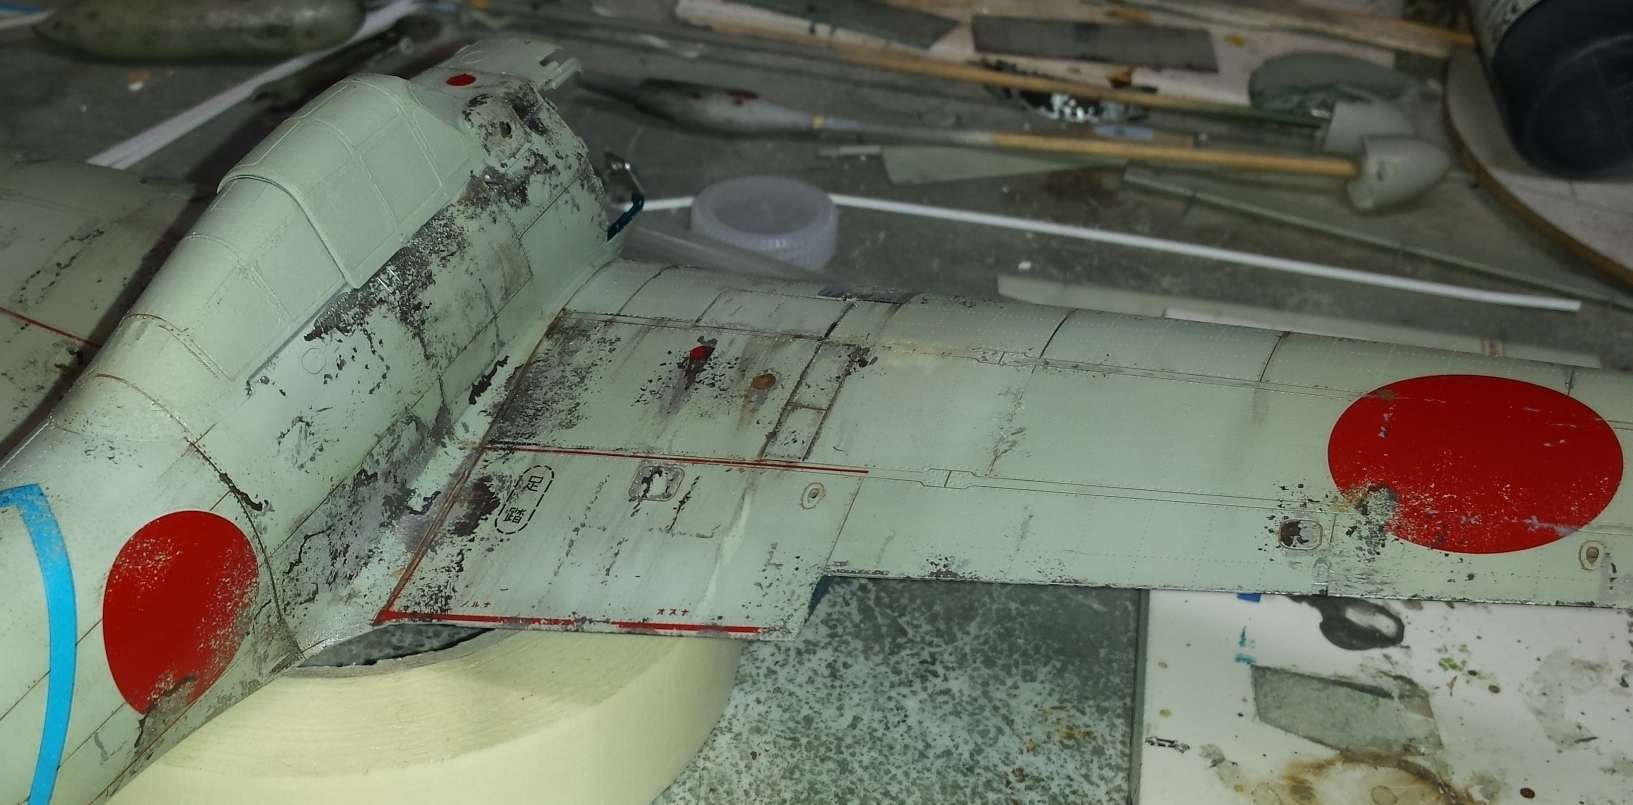
1/32 Tamiya A6M2 Zero: Project Complete
jjetmec replied to jjetmec's topic in WNW and WW1 Ready for Inspection'
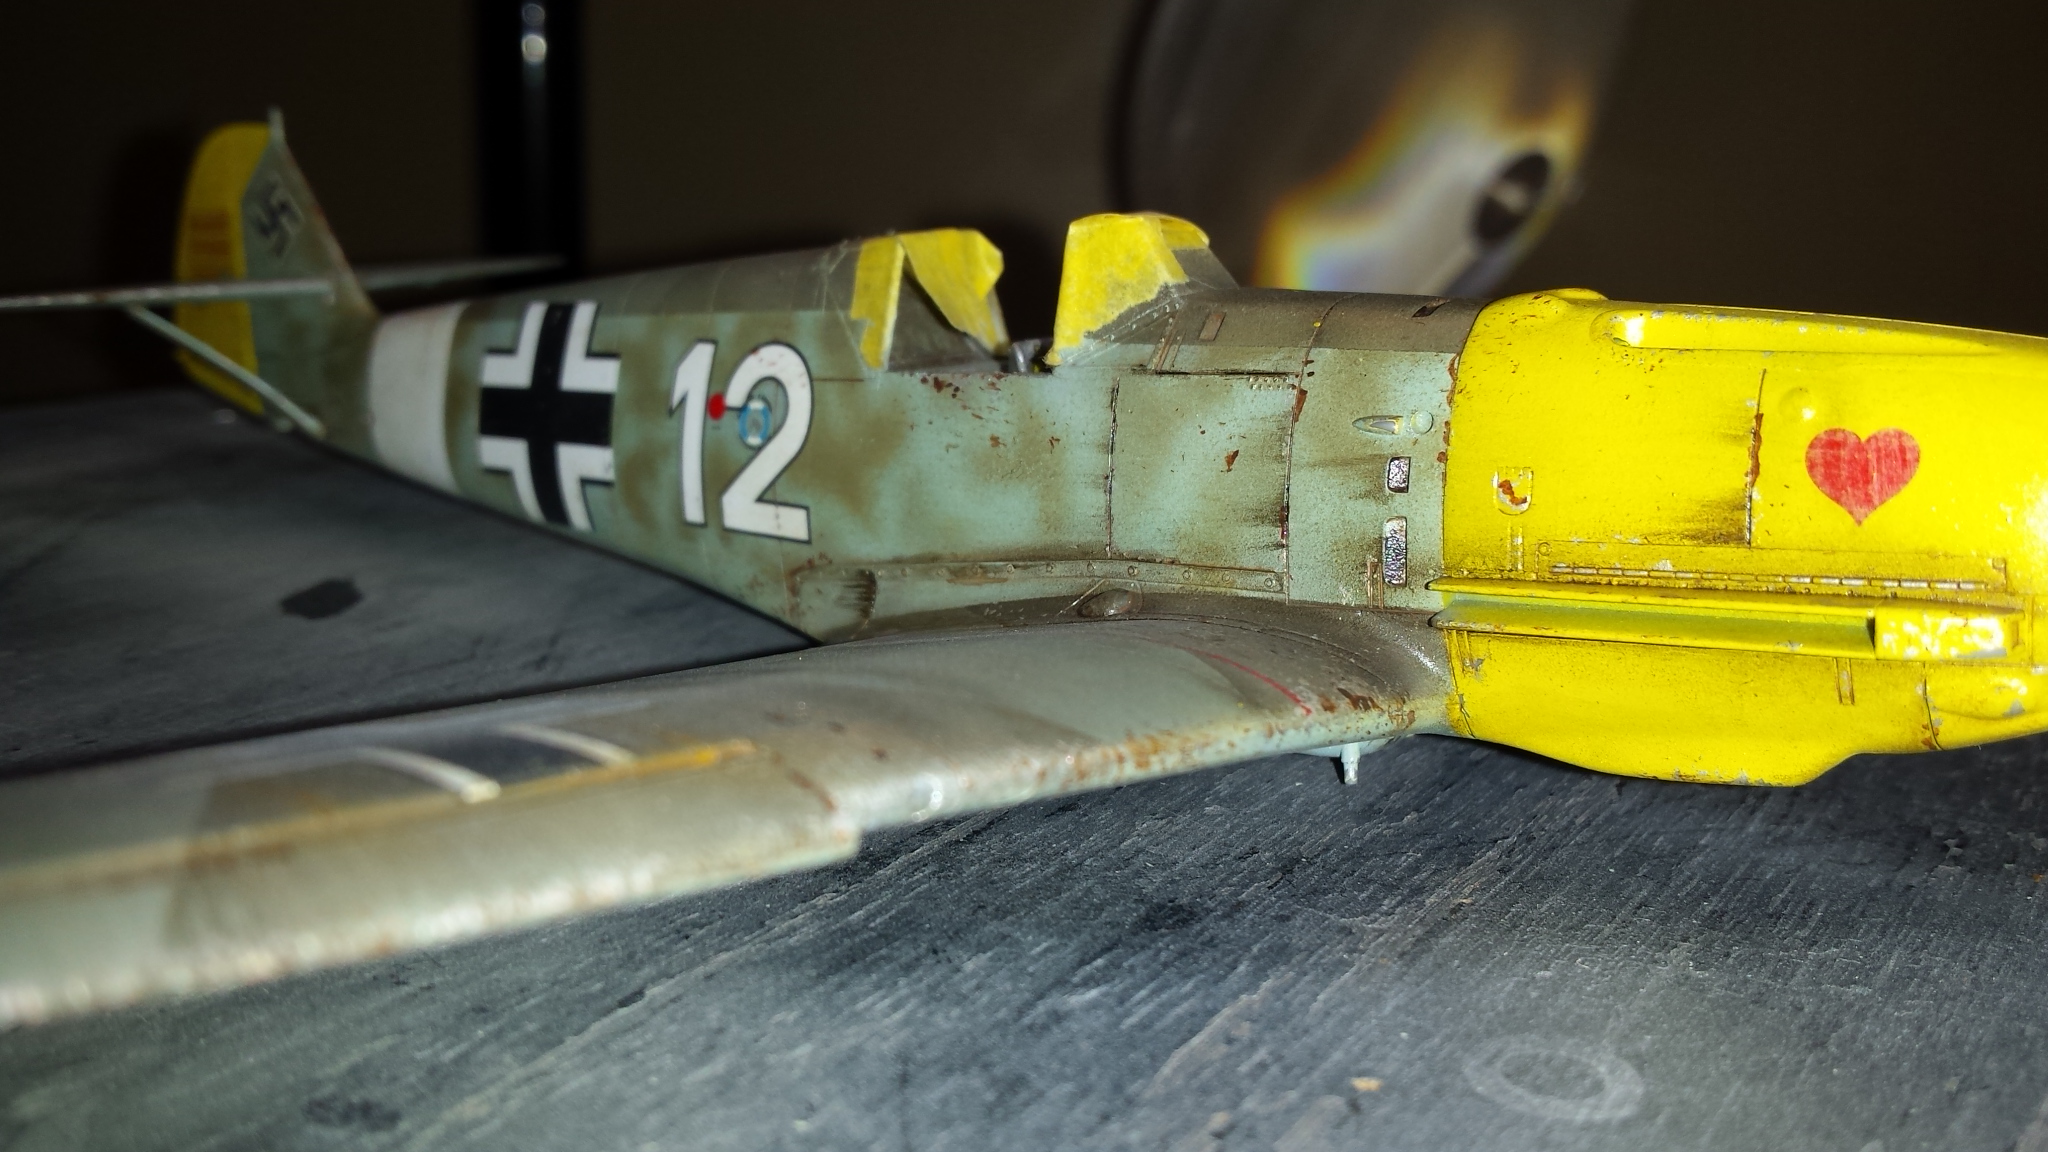
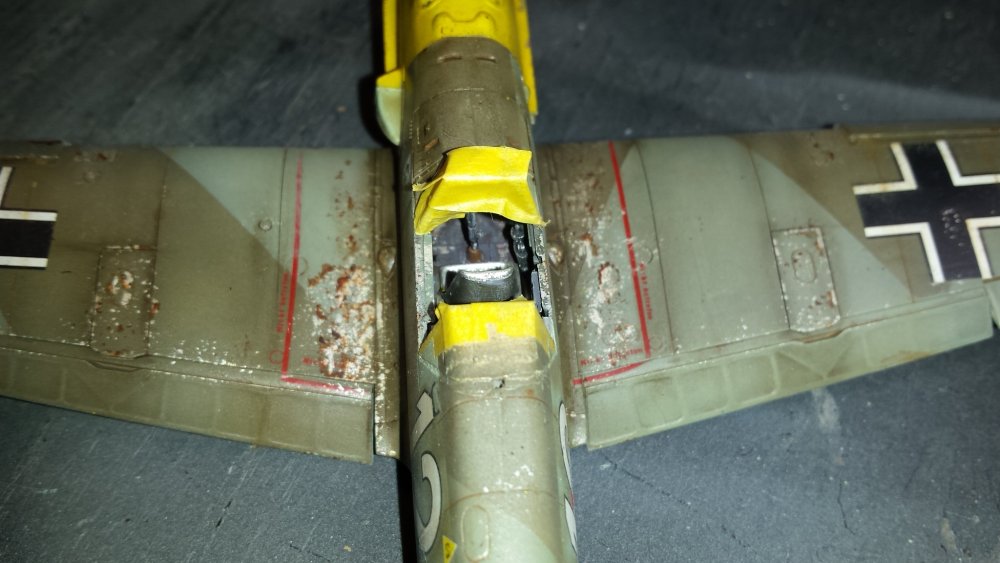
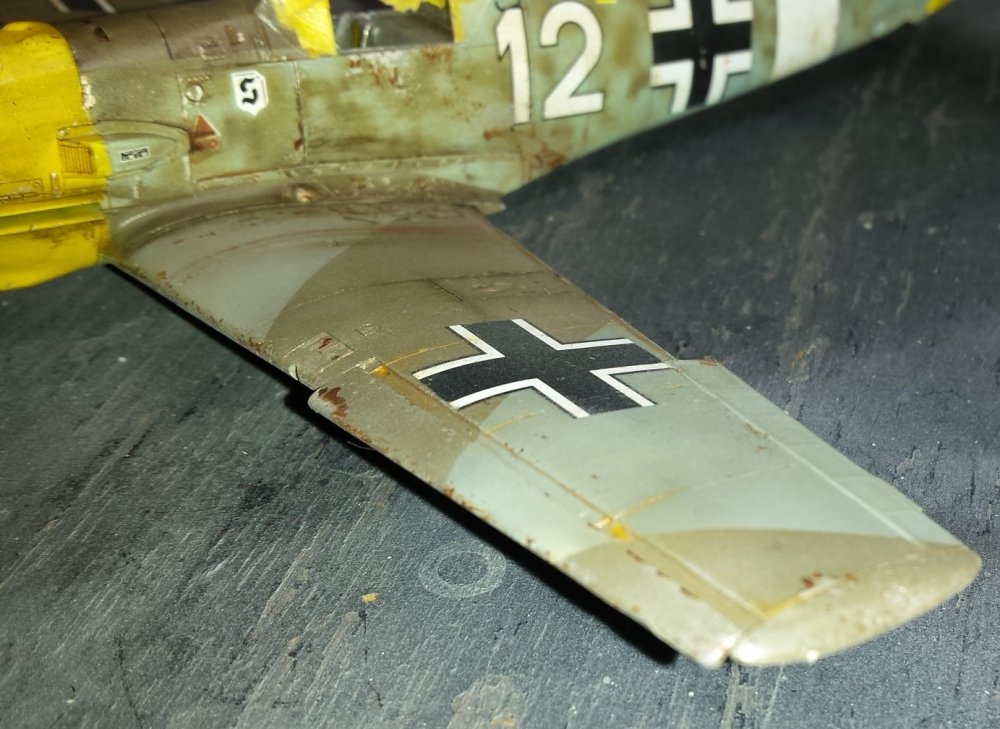
Next Project is a smaller scale. 1/48 Tamiya Bf-109 as just a fun, not to serious, in between build. Actually just finishing that now. Took about 4-days total. Then I am working with the customer of Zero on what he wants next. It will be something specific but different such as an FAA aircraft from Far-East either a 1/32 Trumpeter FAA F6F-5, Trumpeter NZ SBD, or something from an allied force in that area of operation. I included a few pics of my BF-109 WIP. Not a large scale so hope not to upset anyone.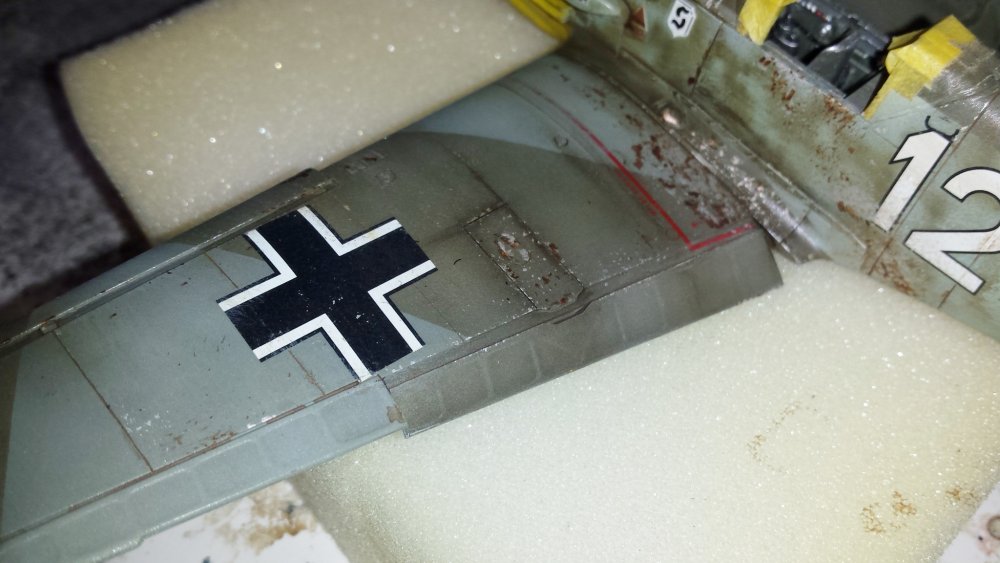

-
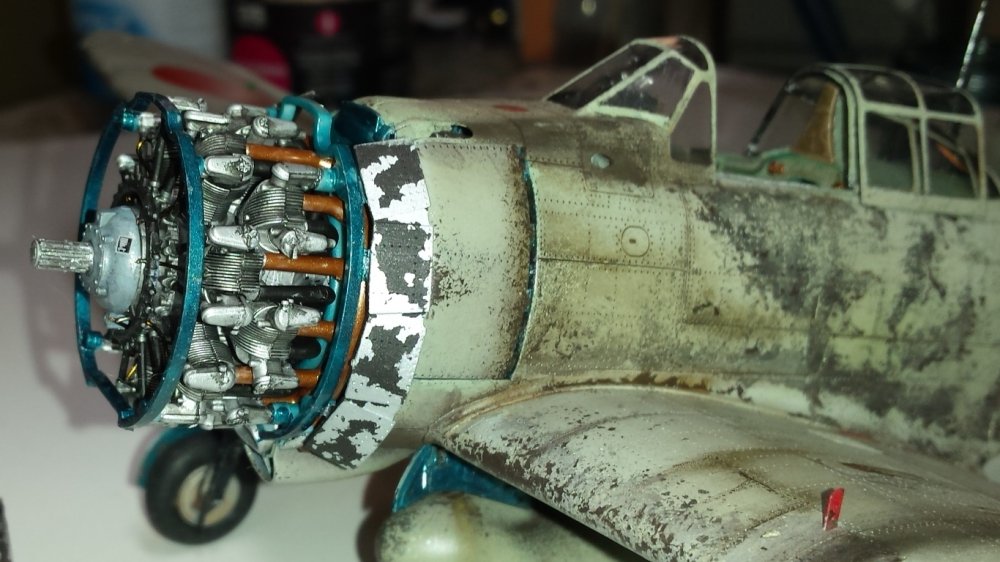
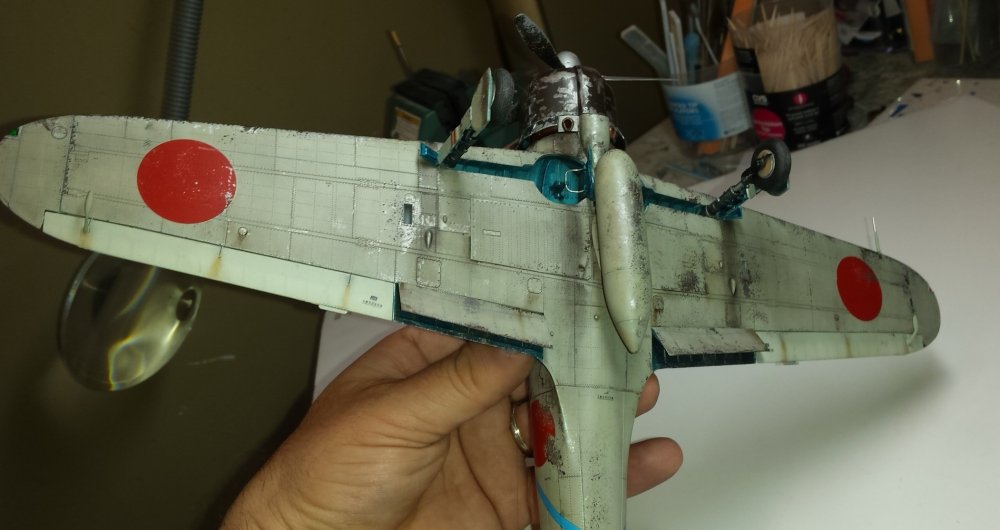
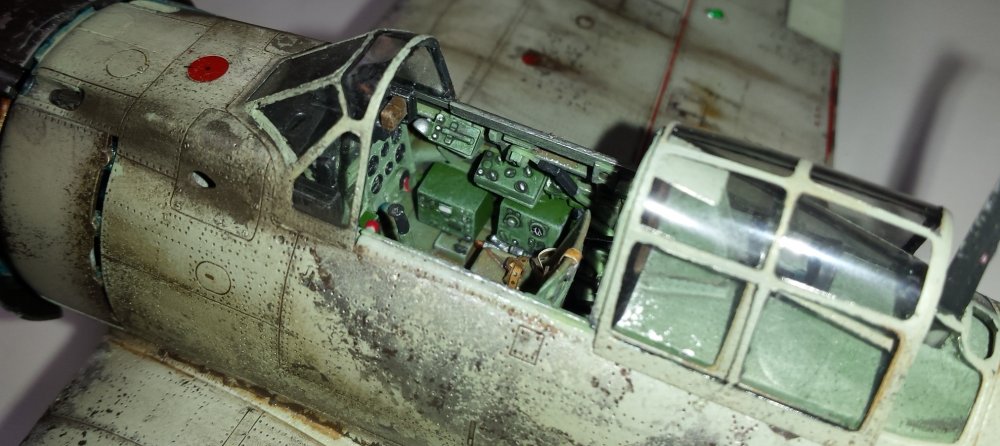
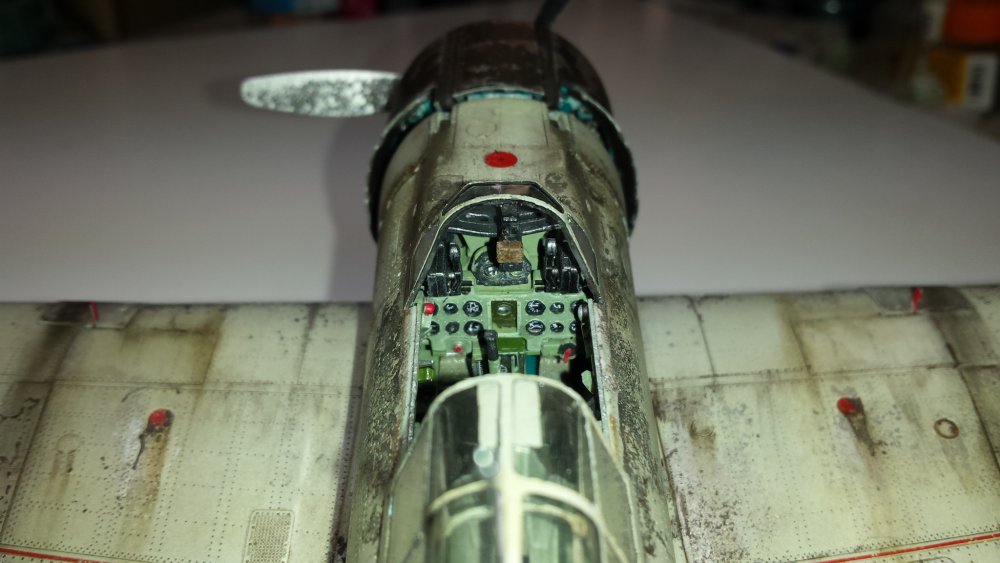
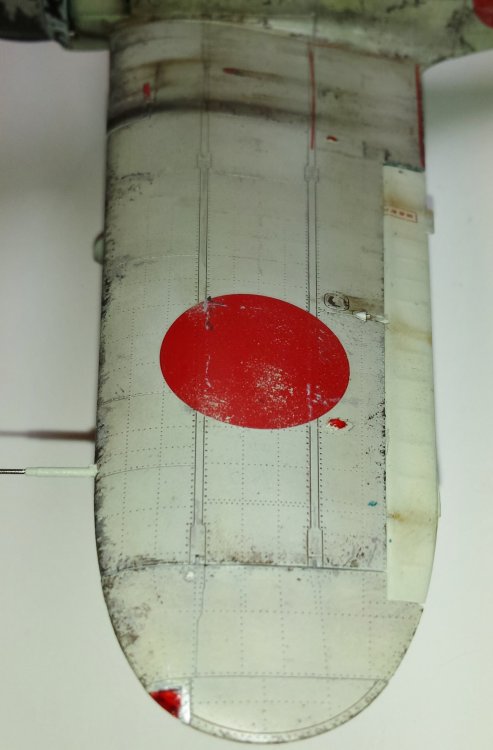
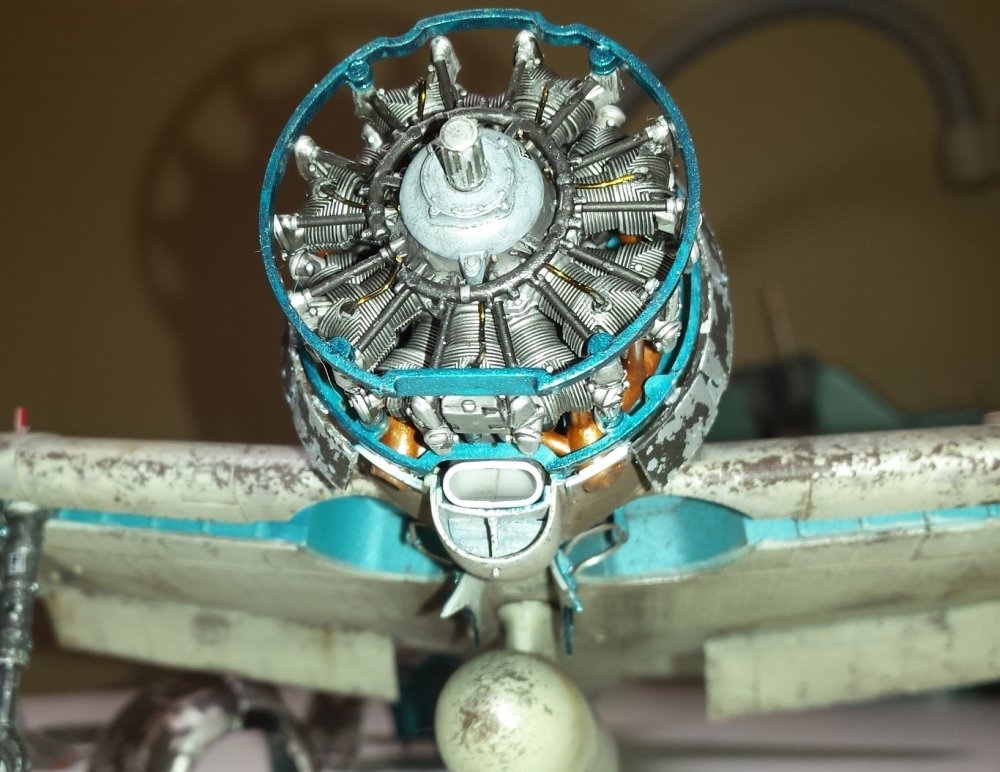
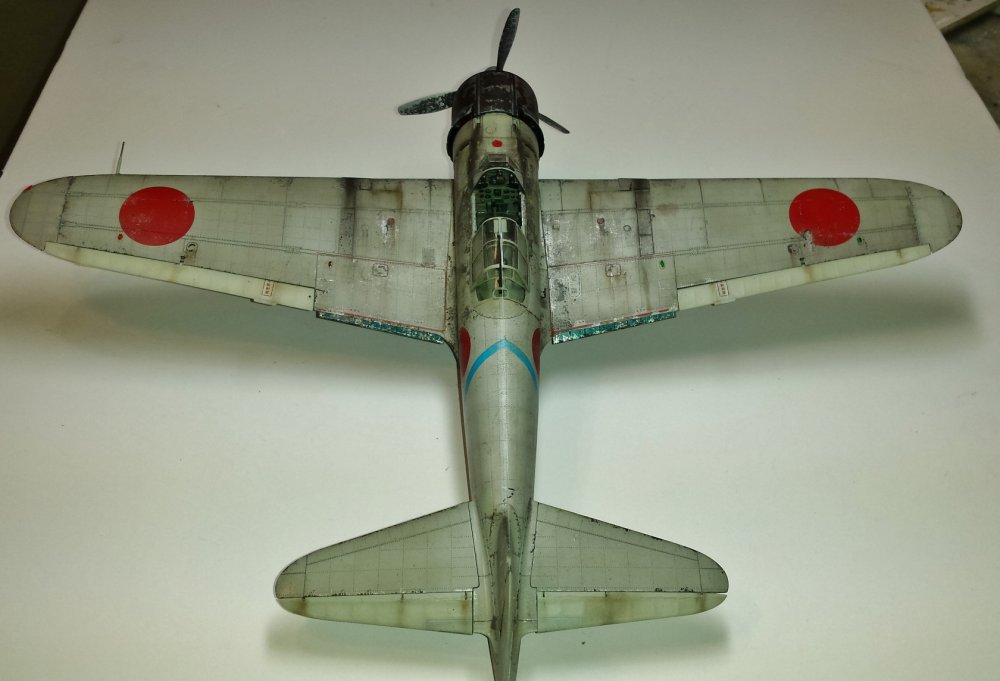
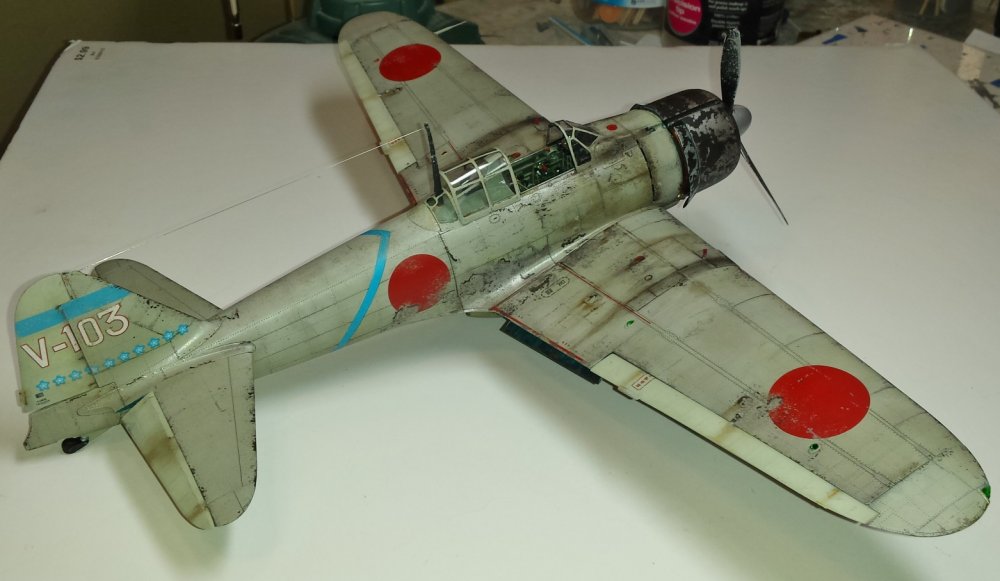
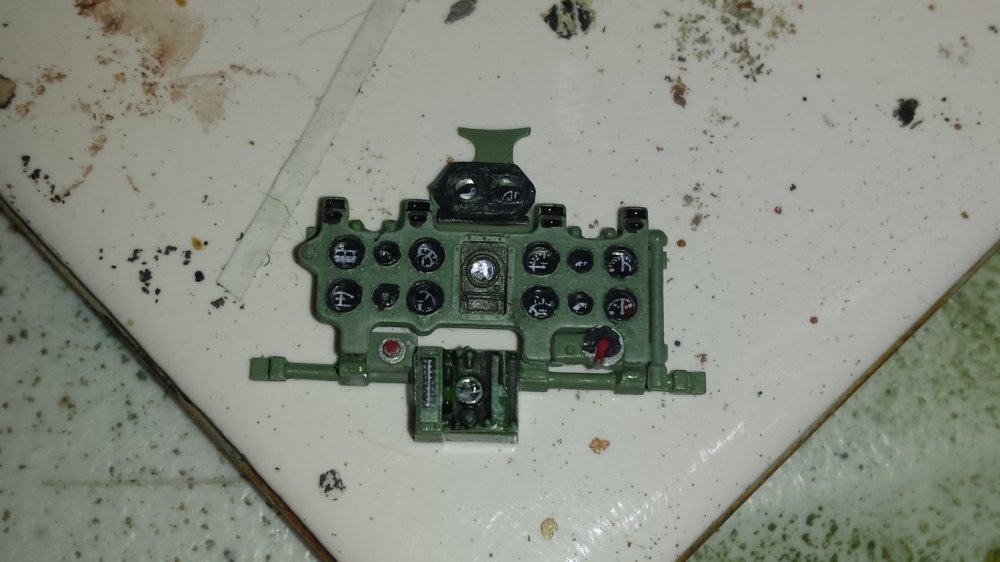
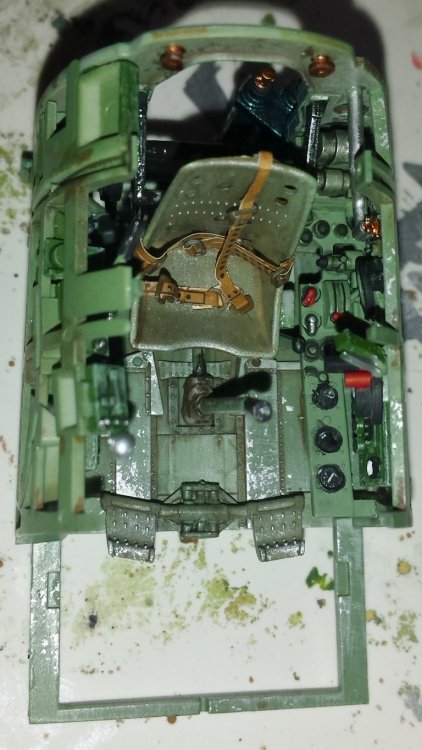
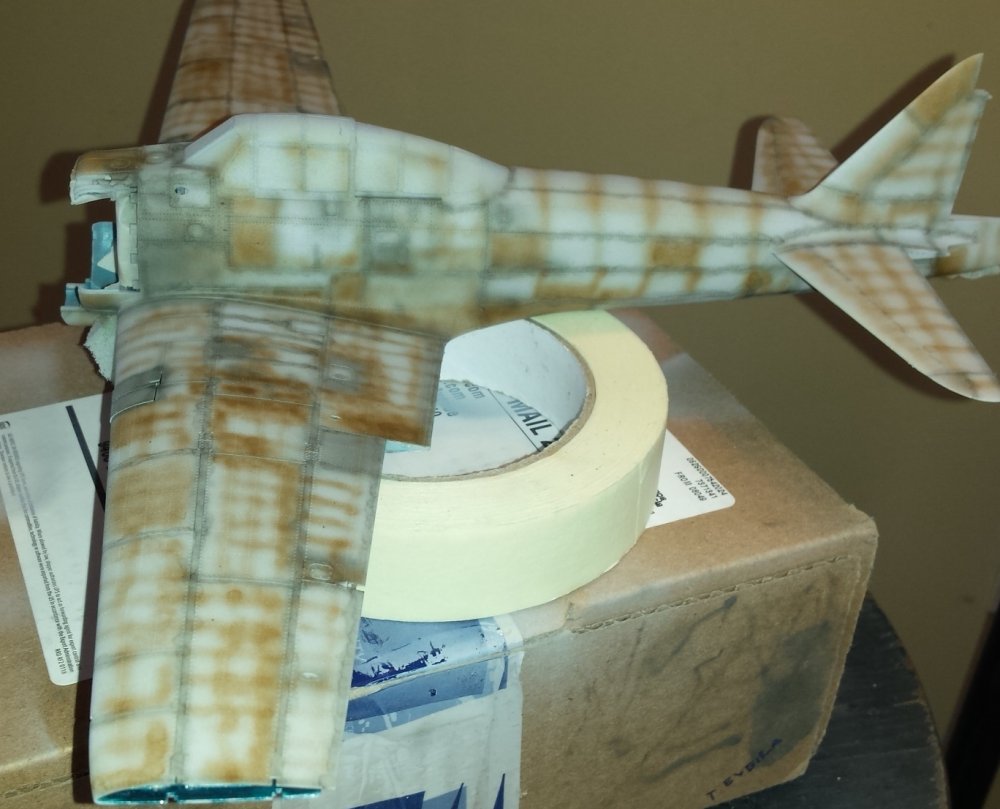
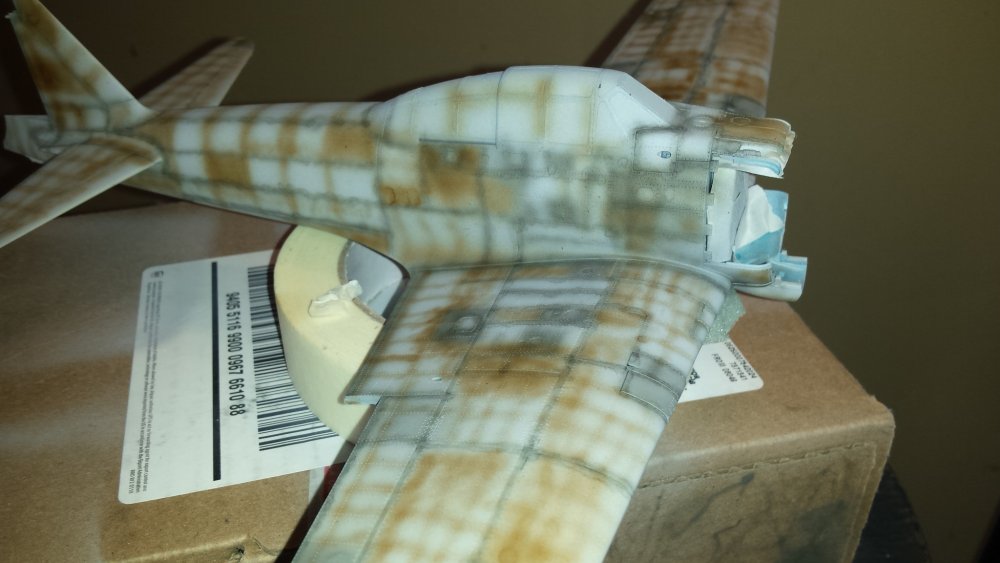
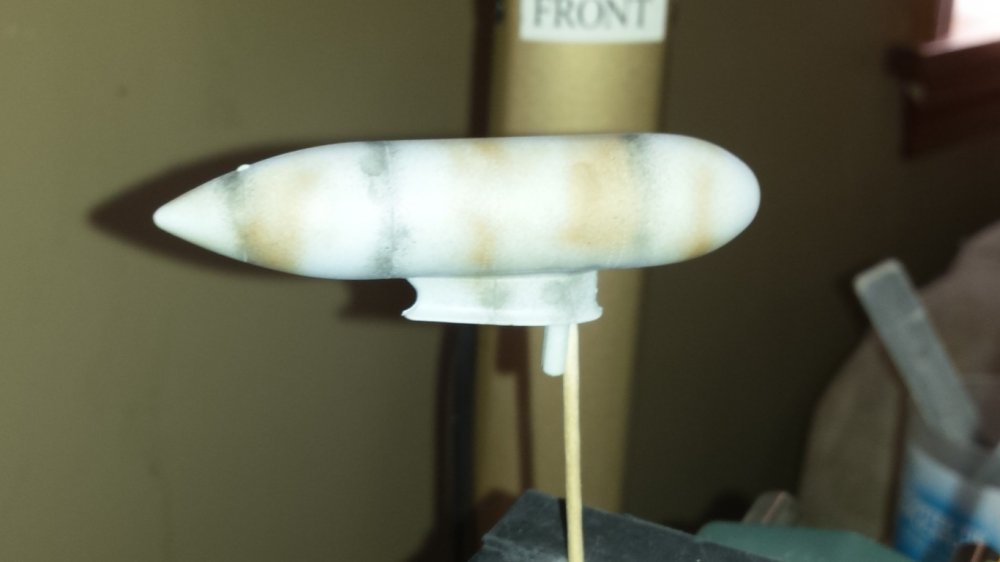
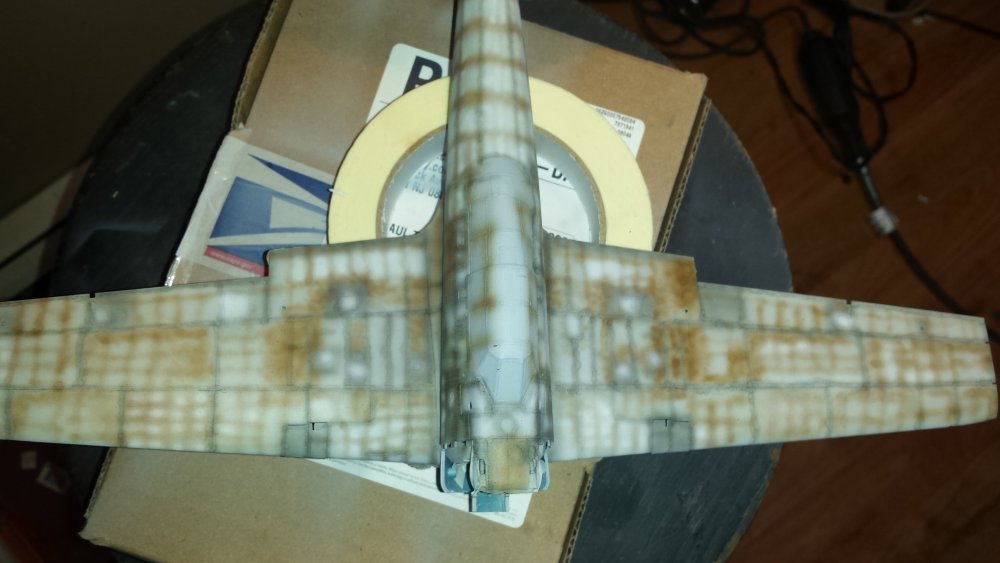
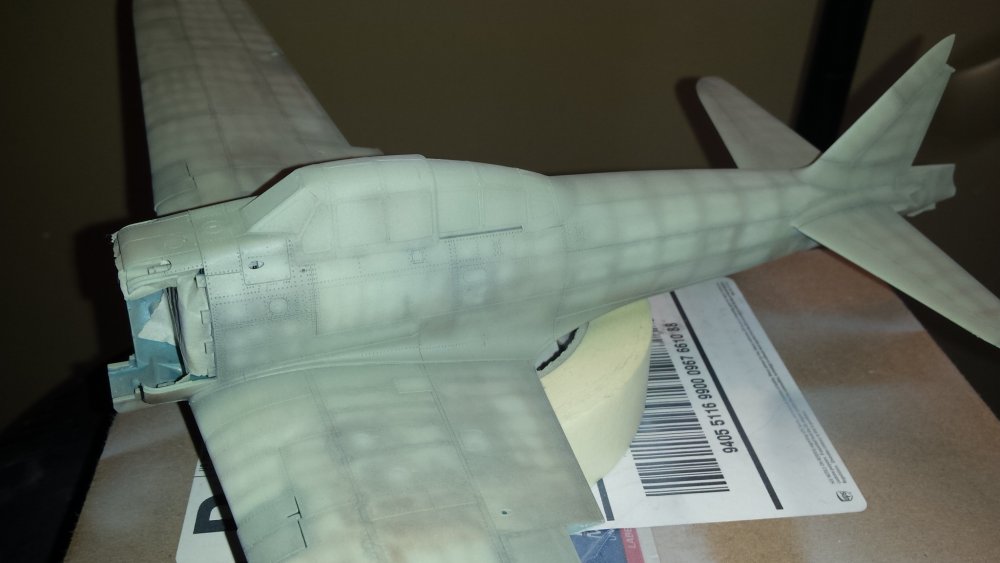
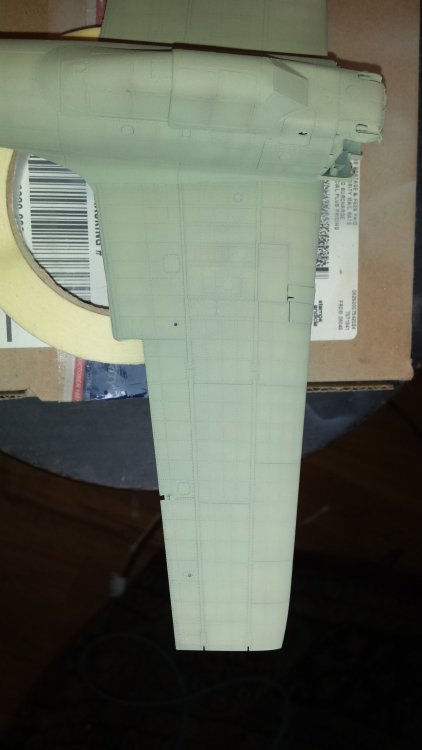
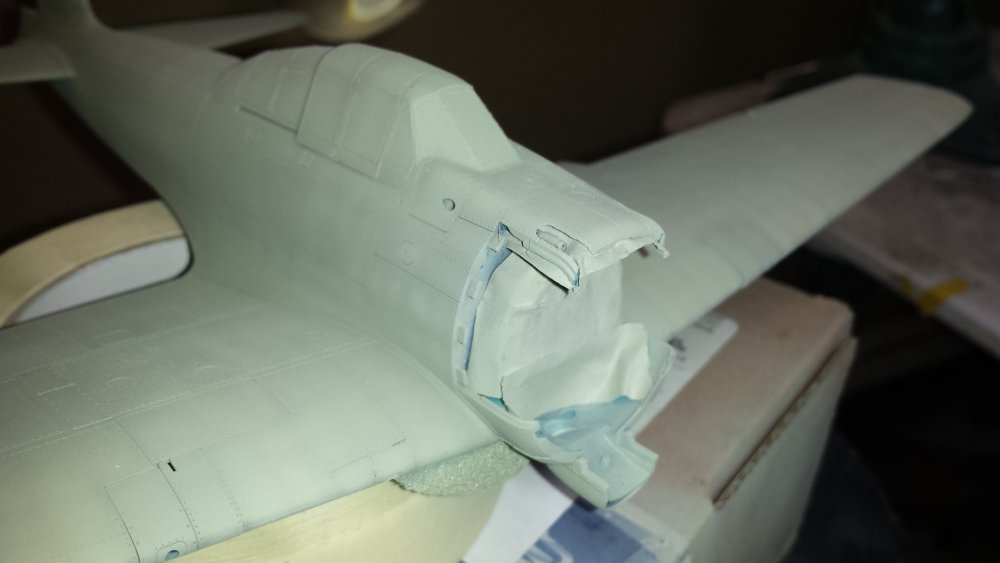
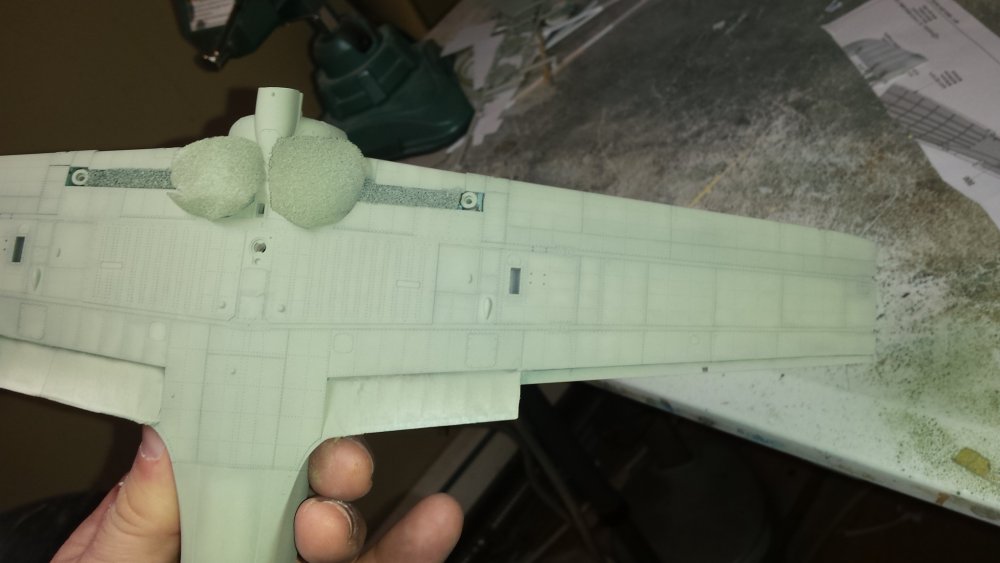
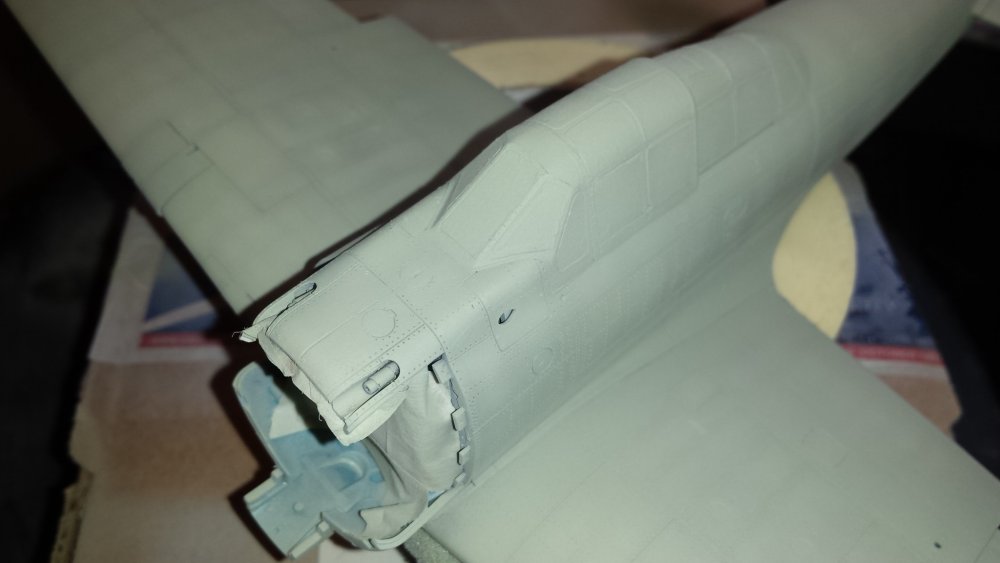
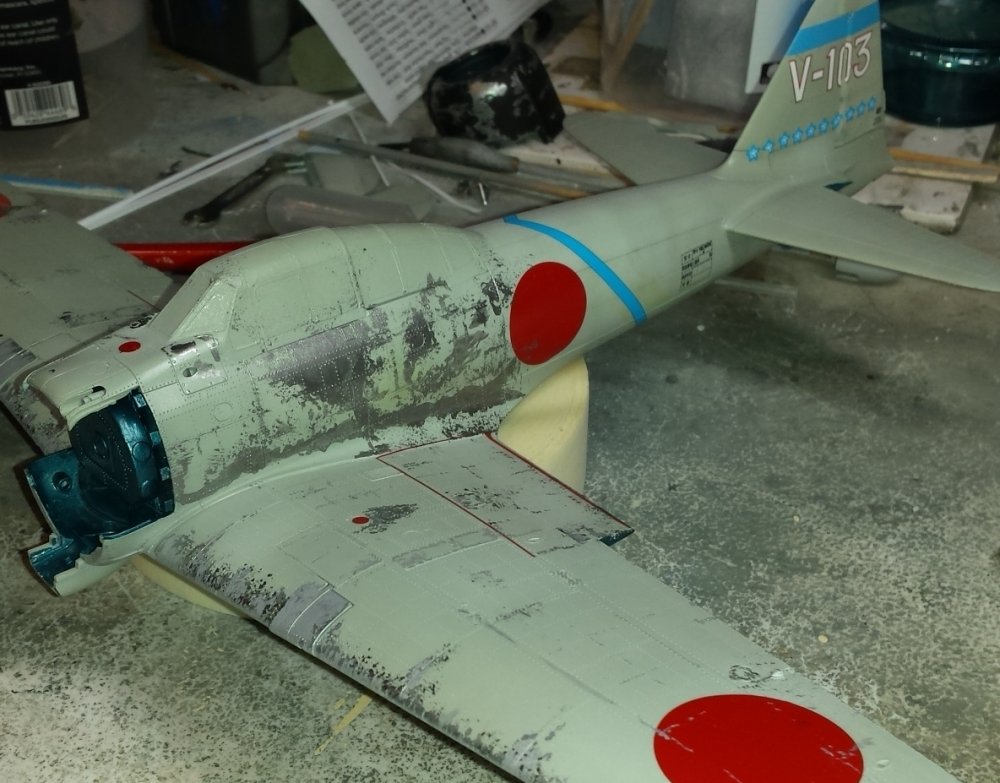
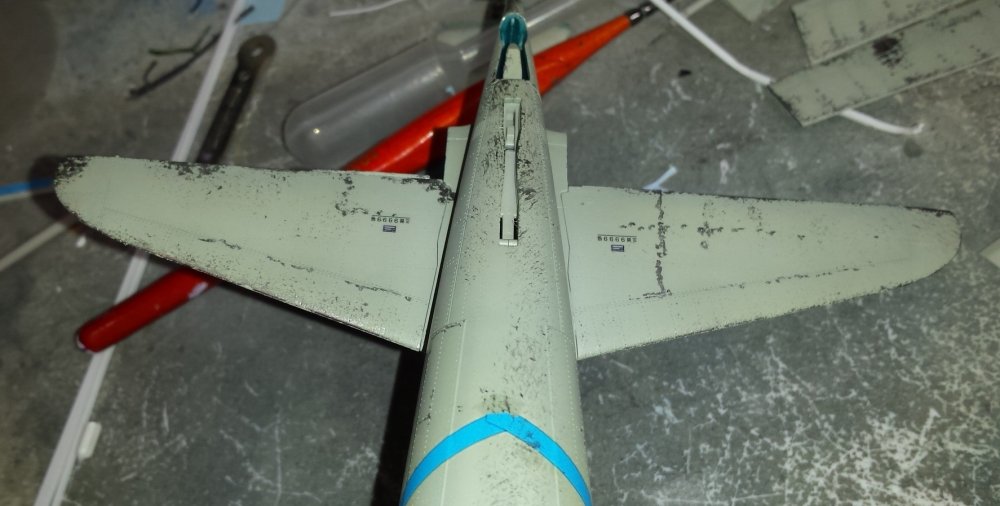
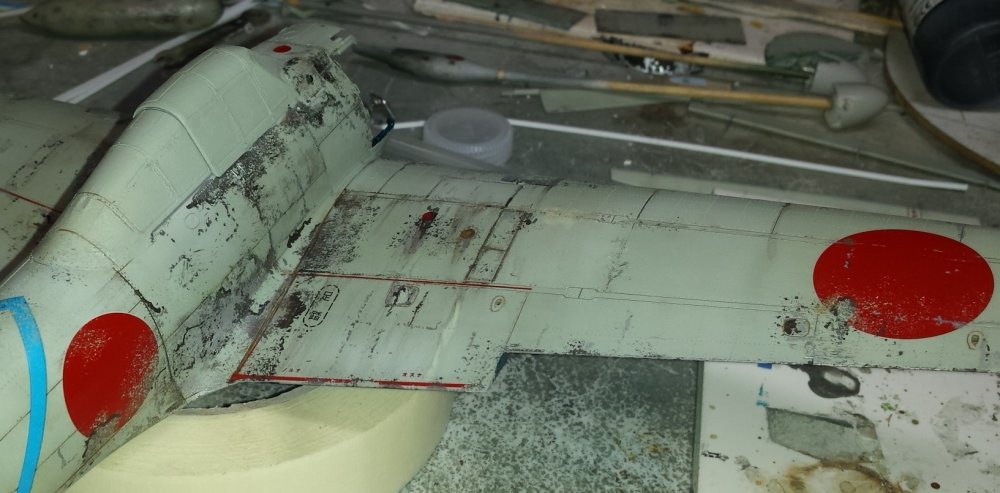
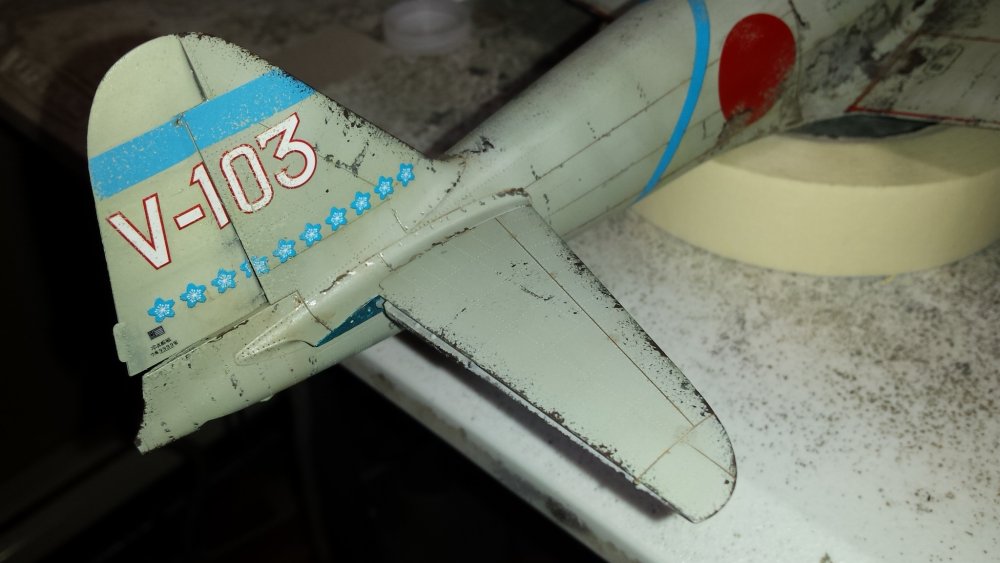
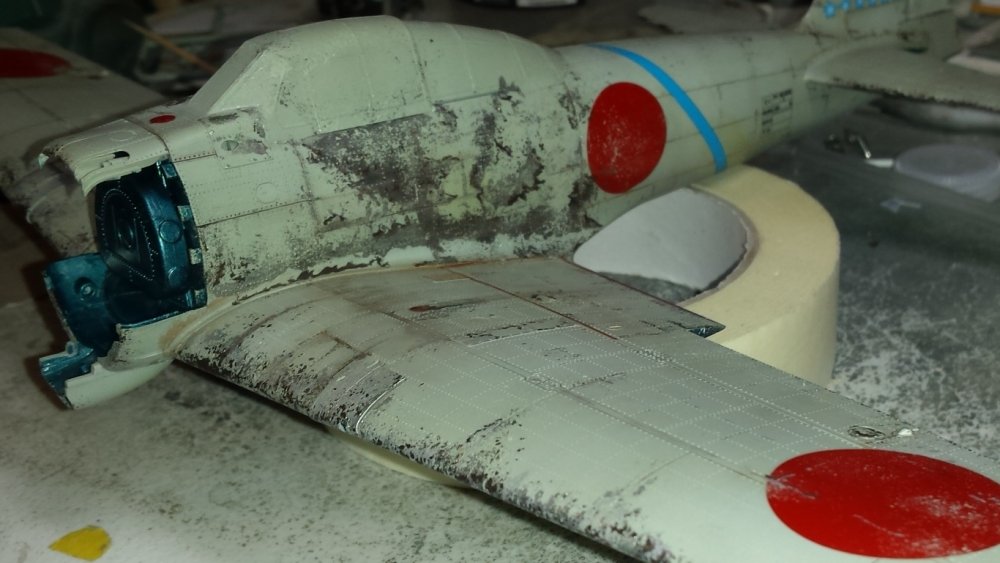
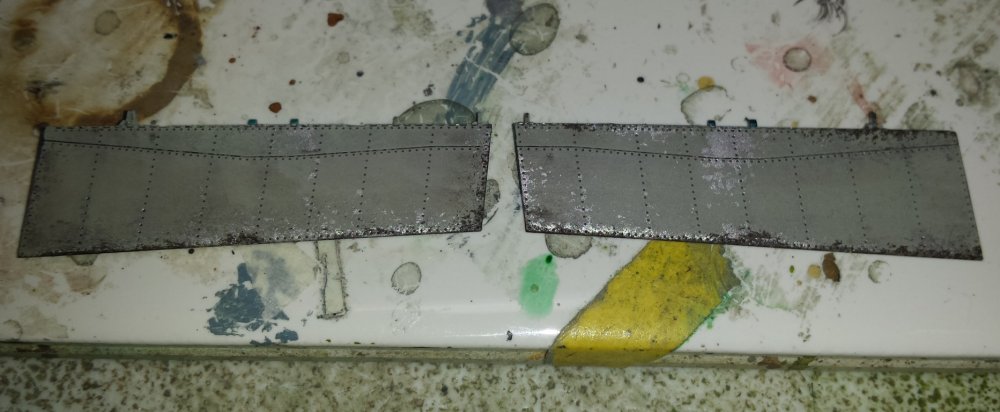
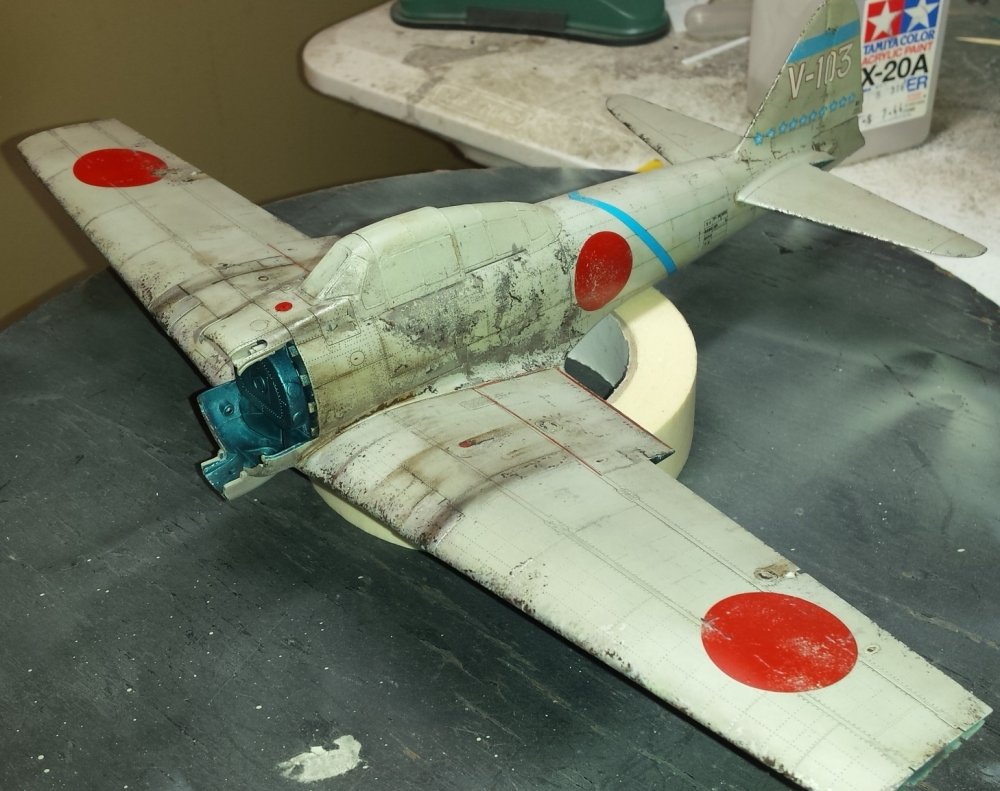
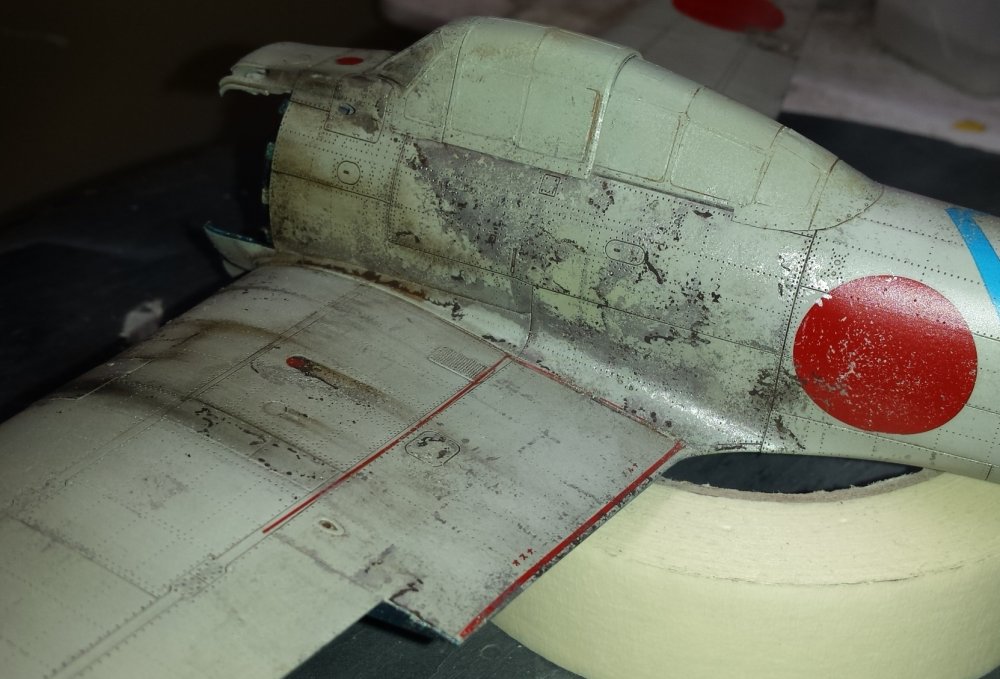
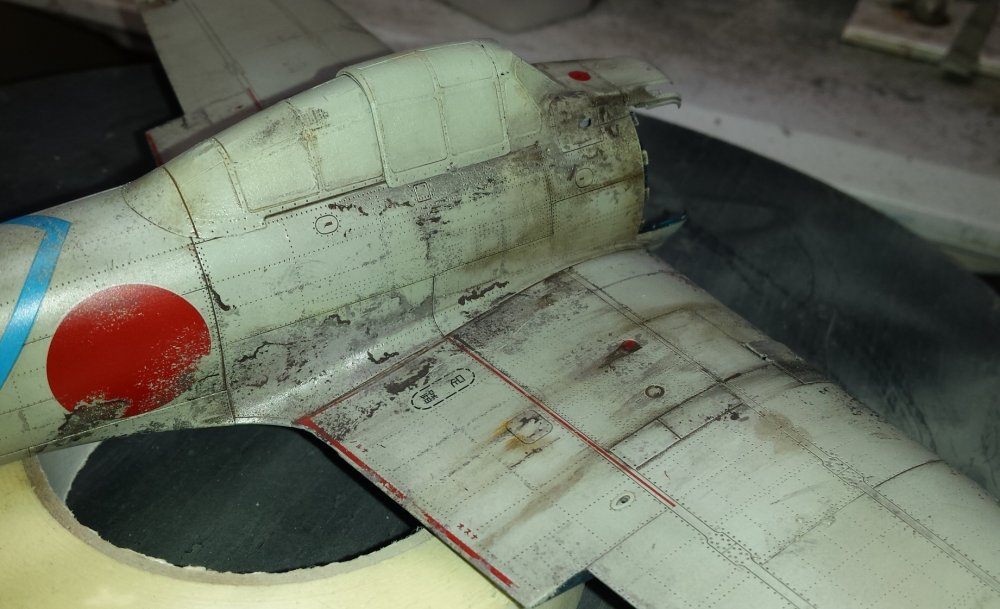
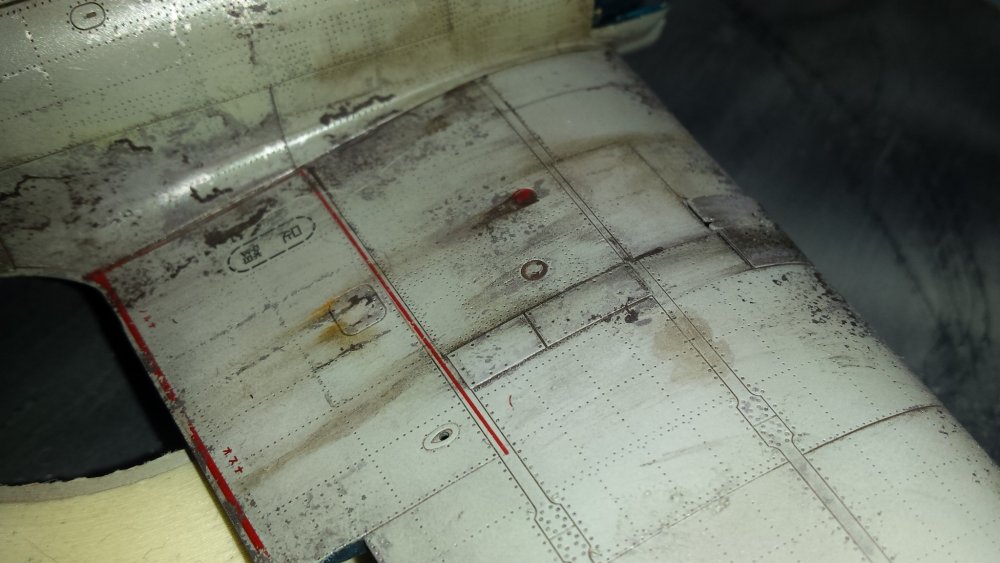
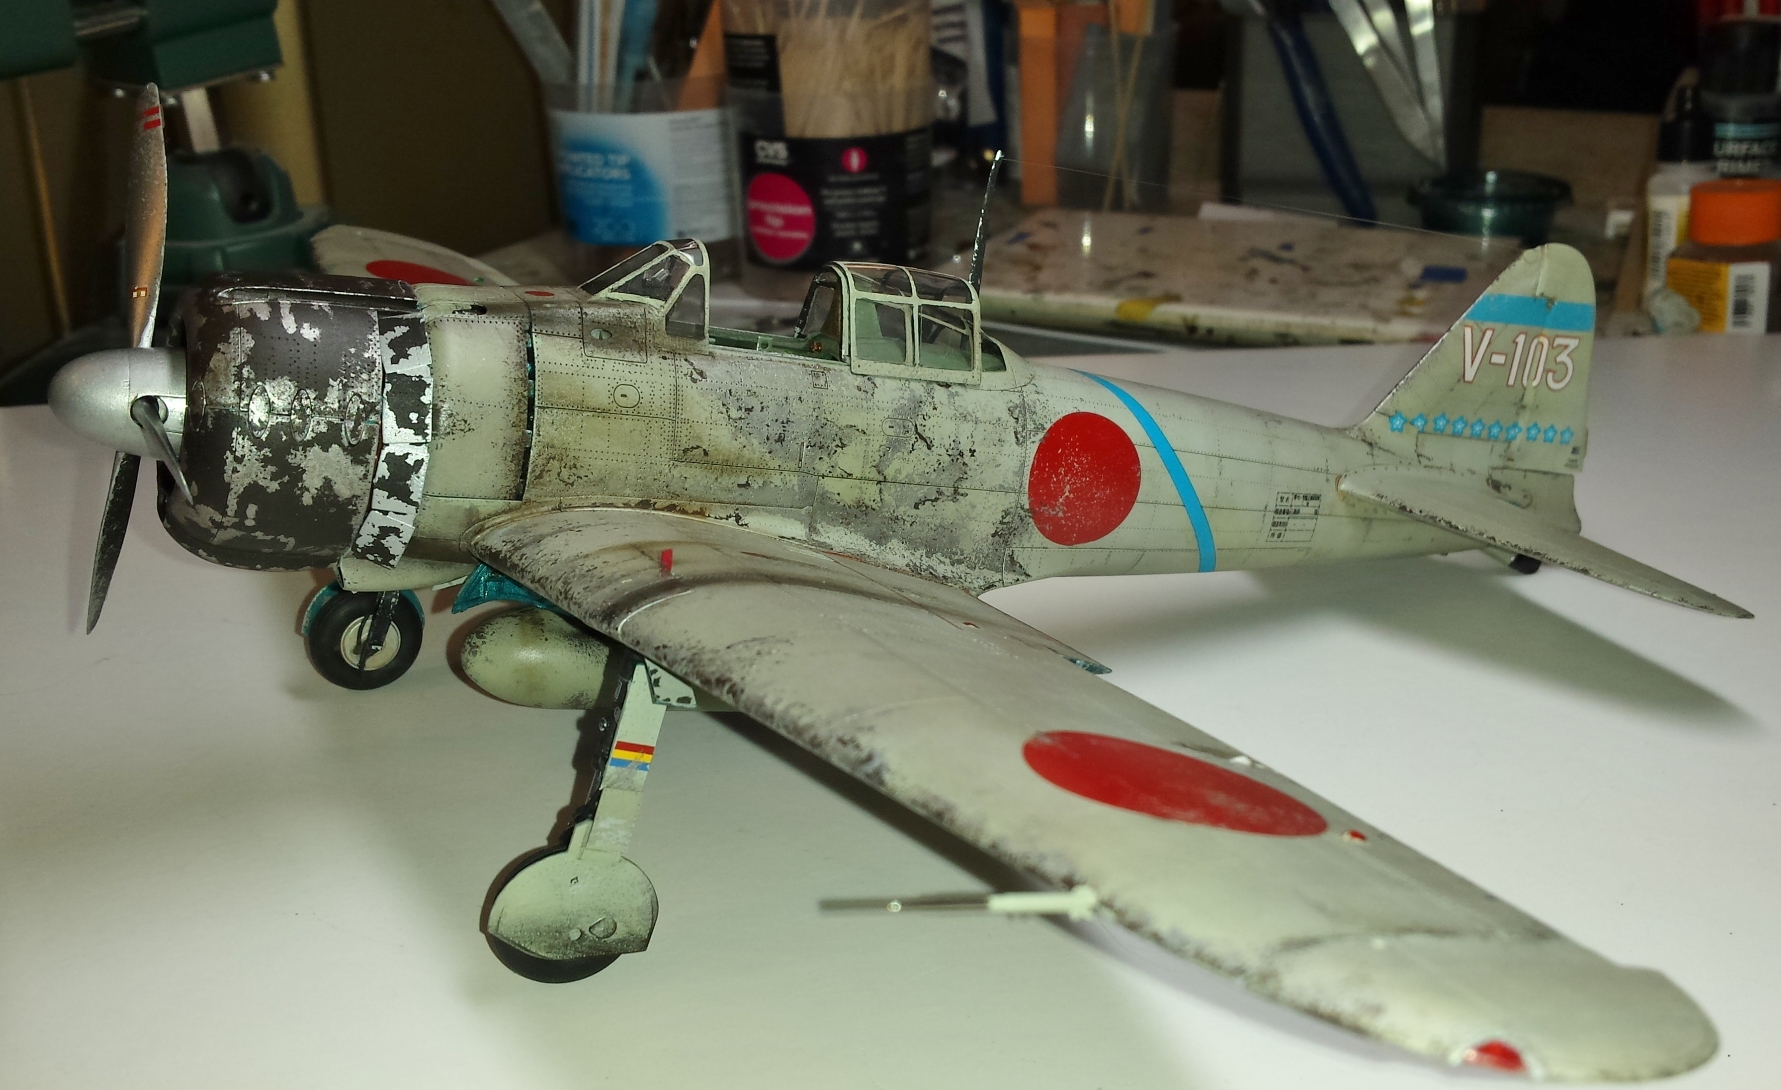
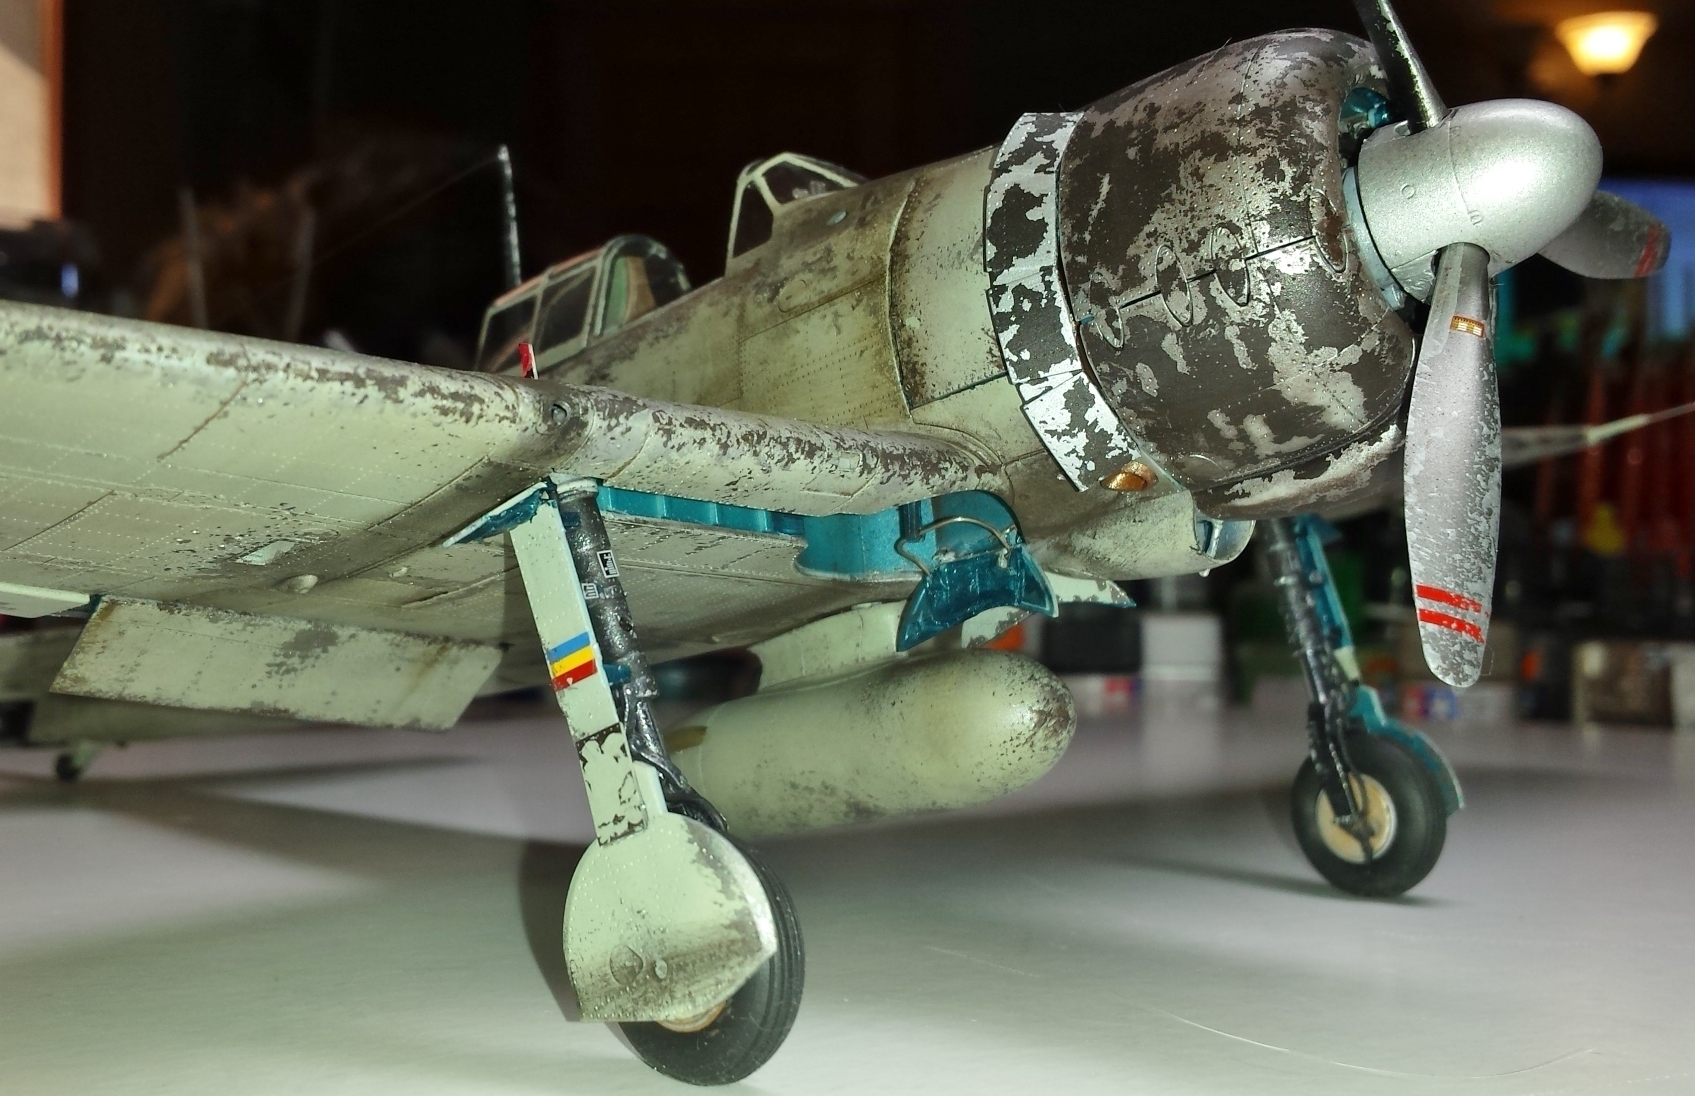
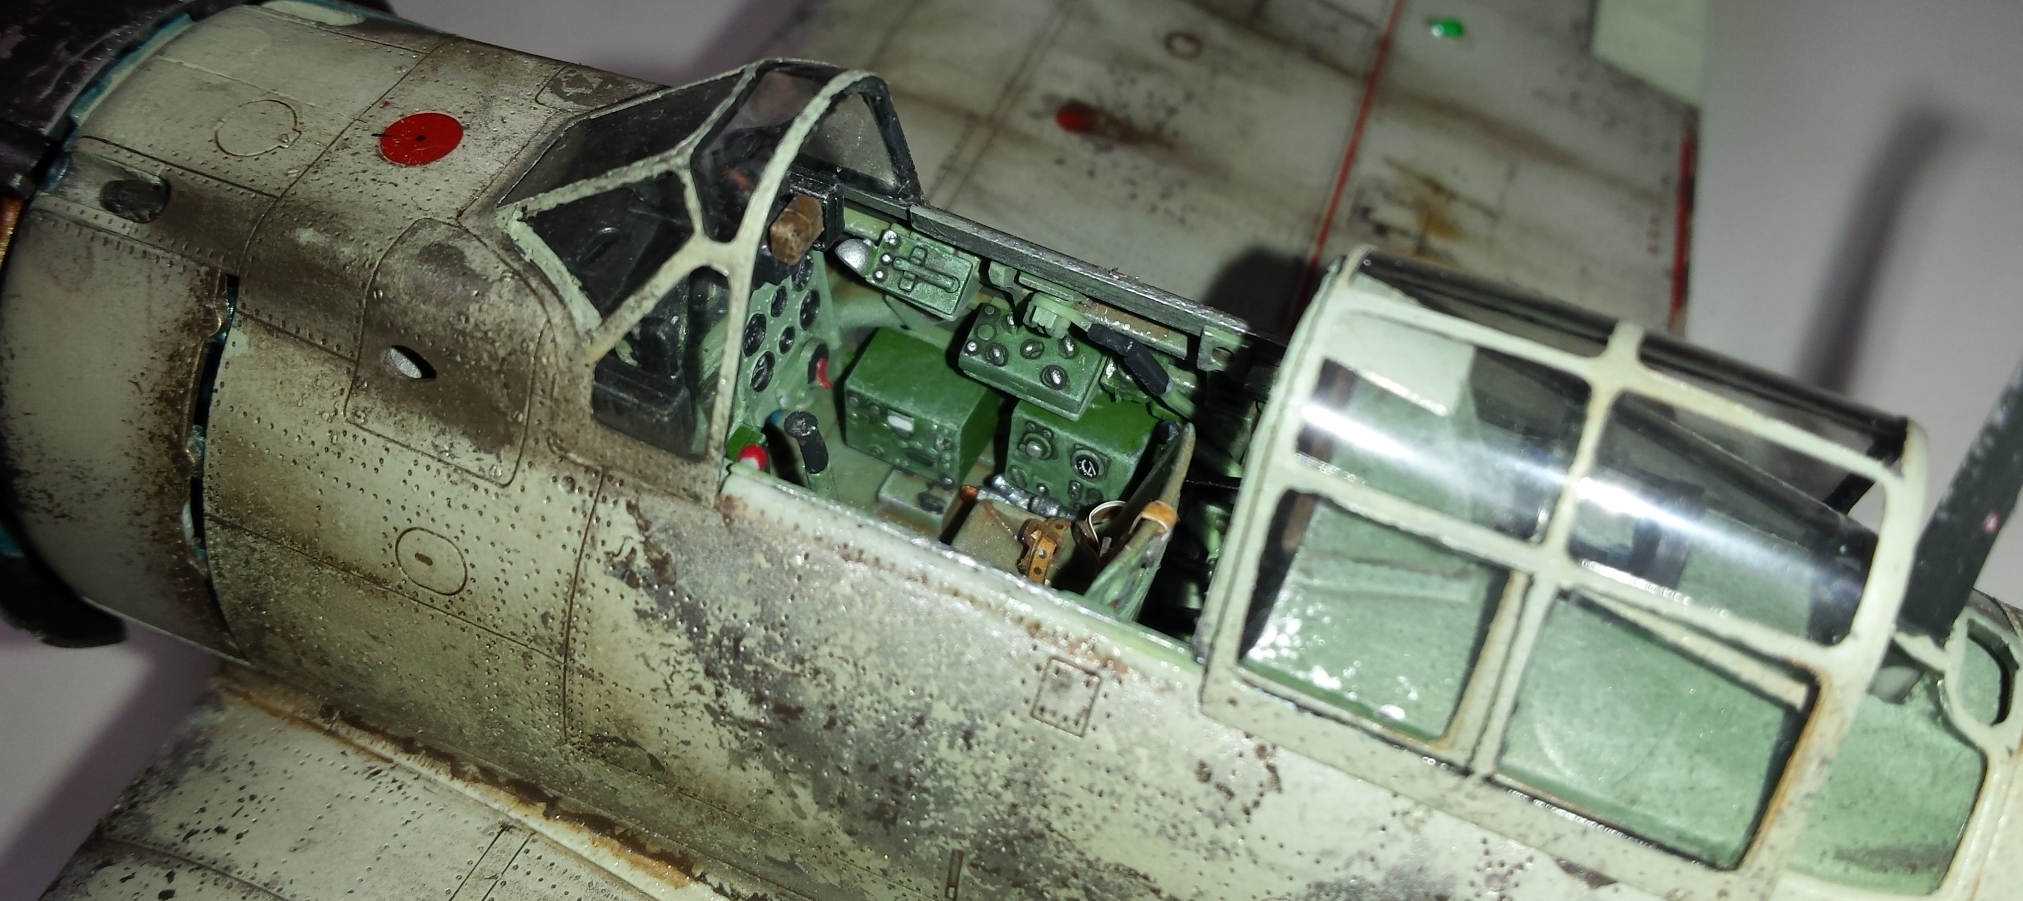
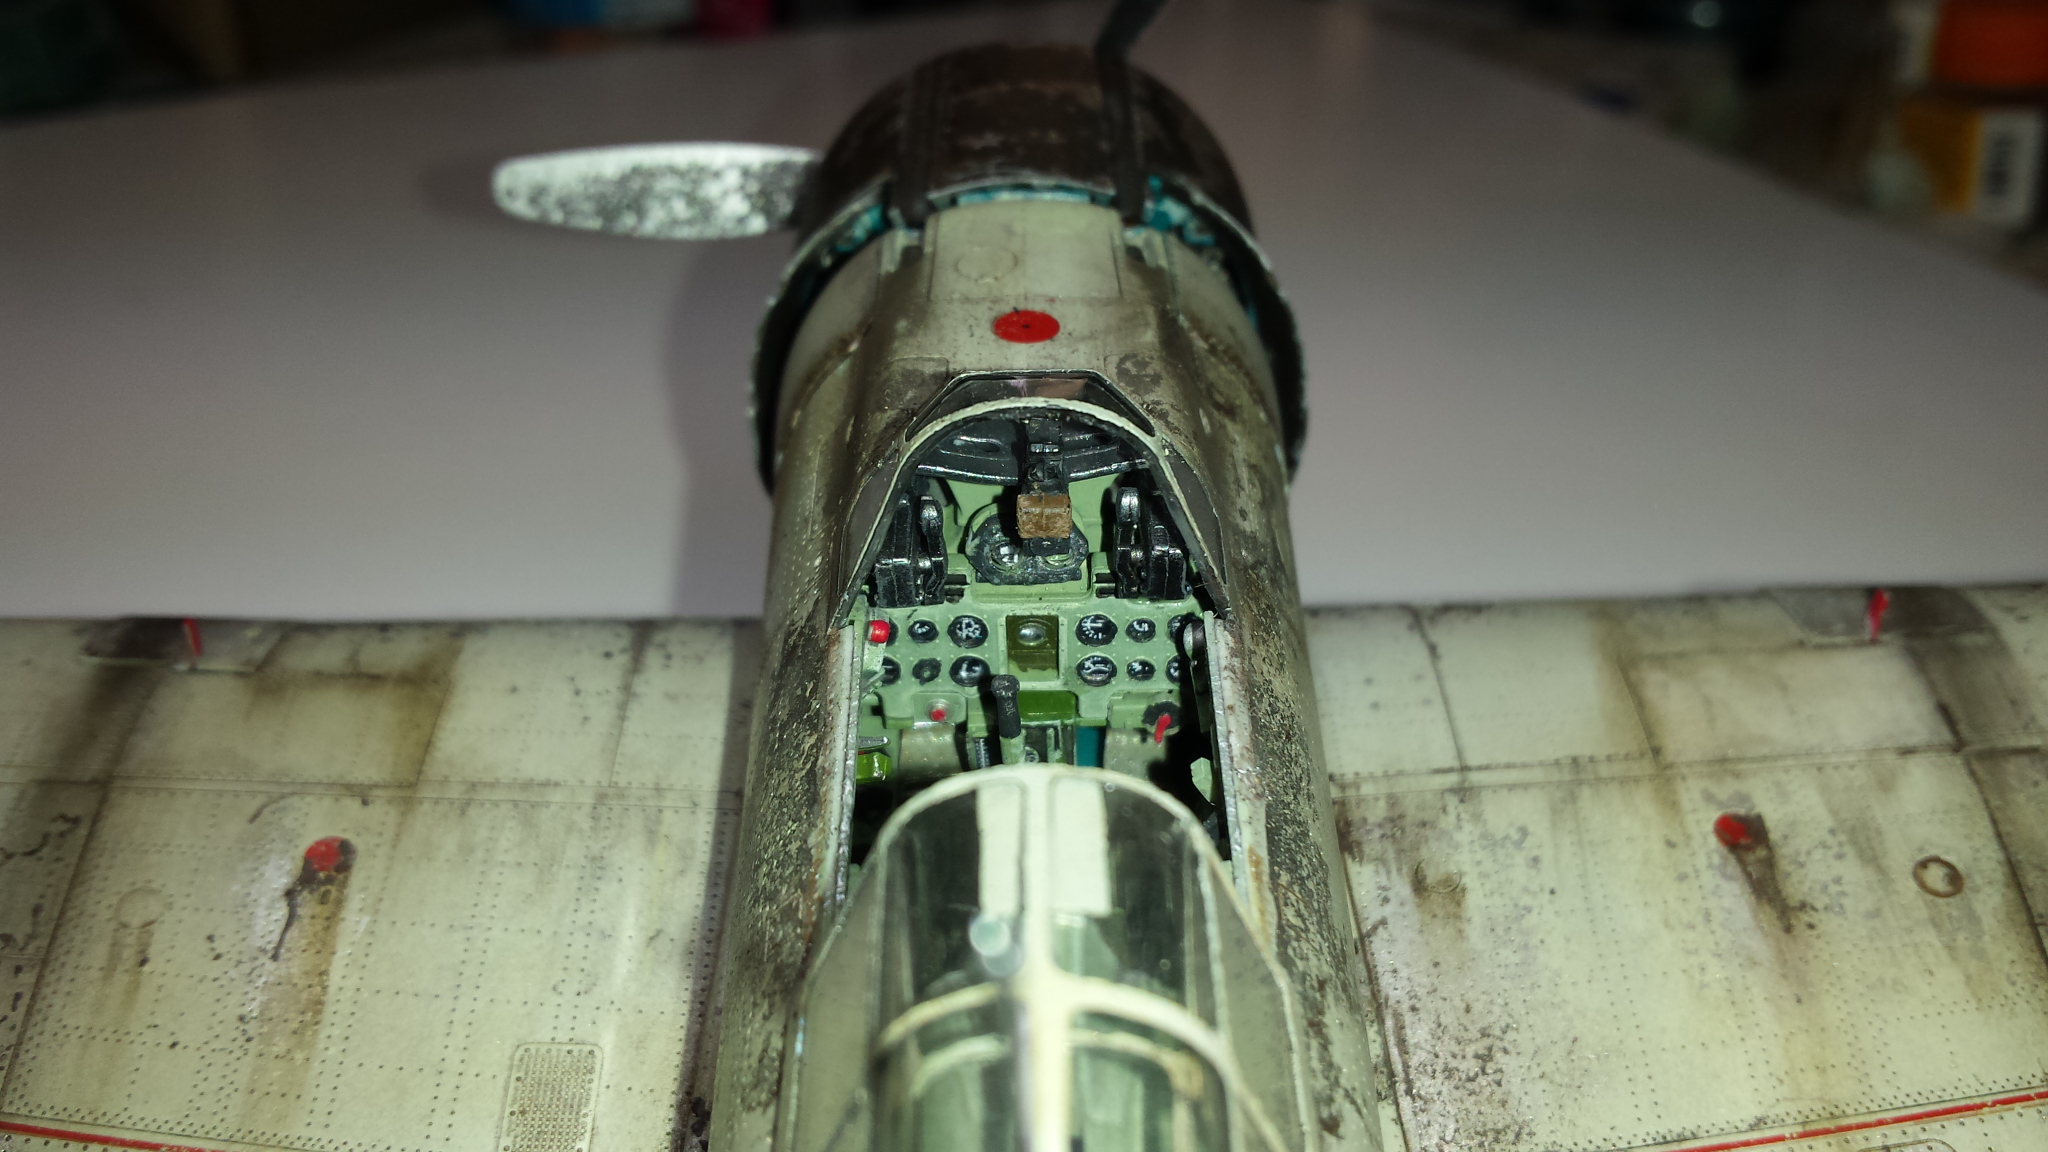
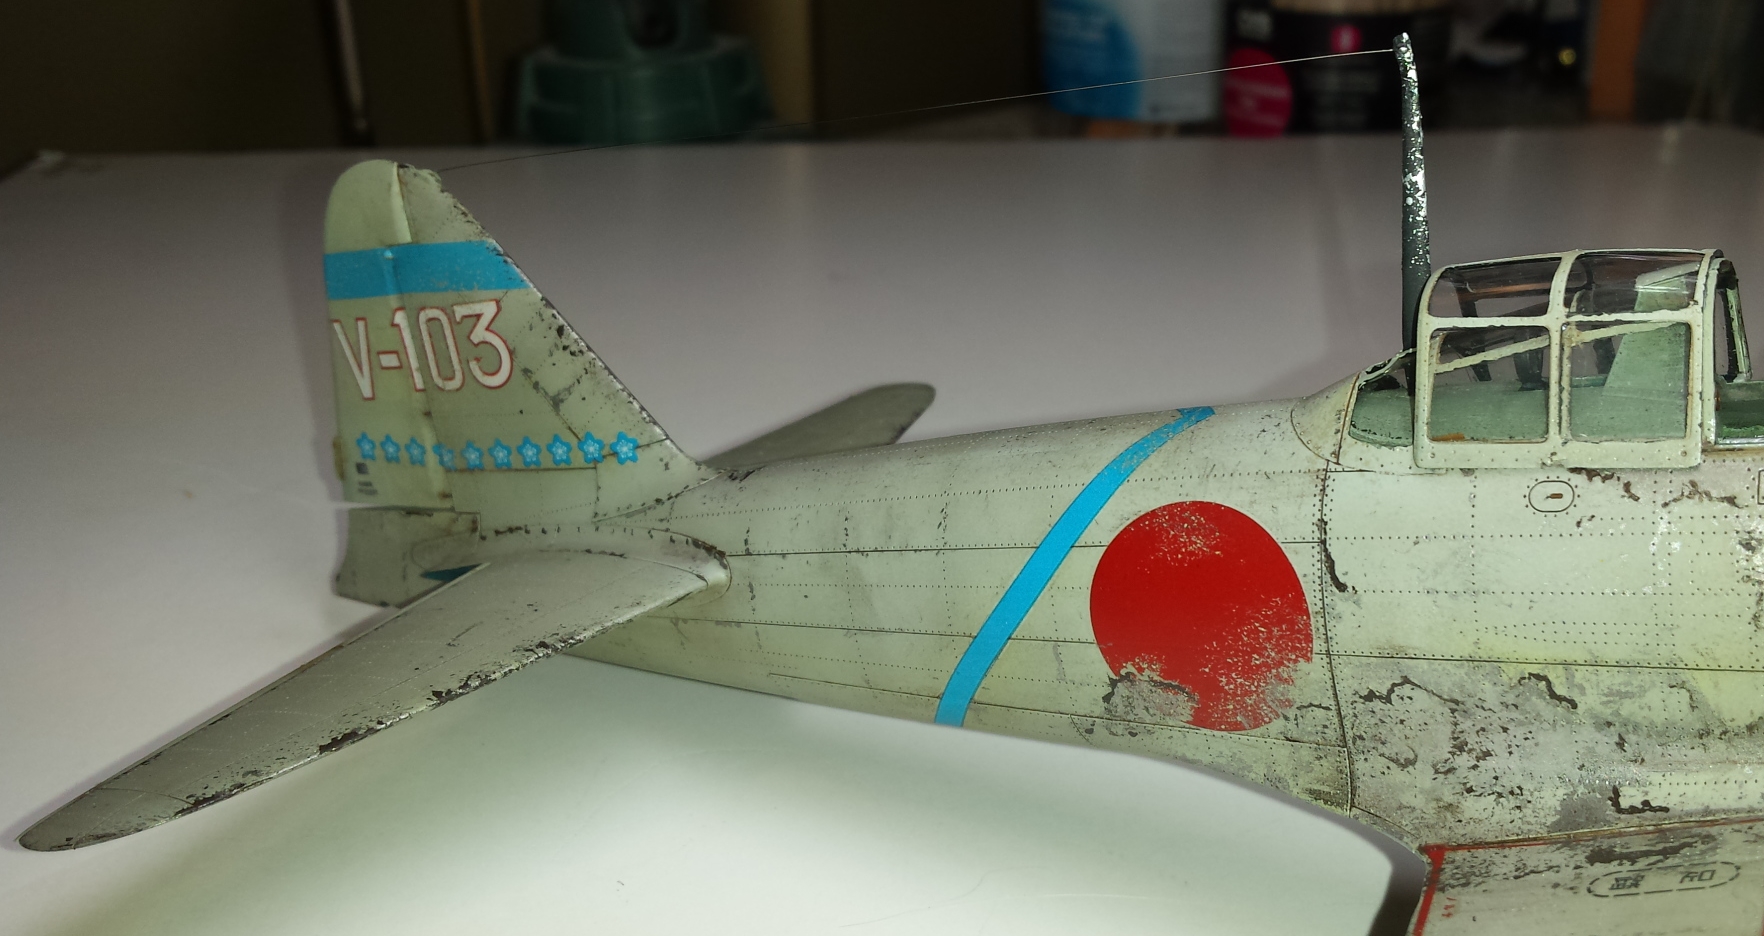
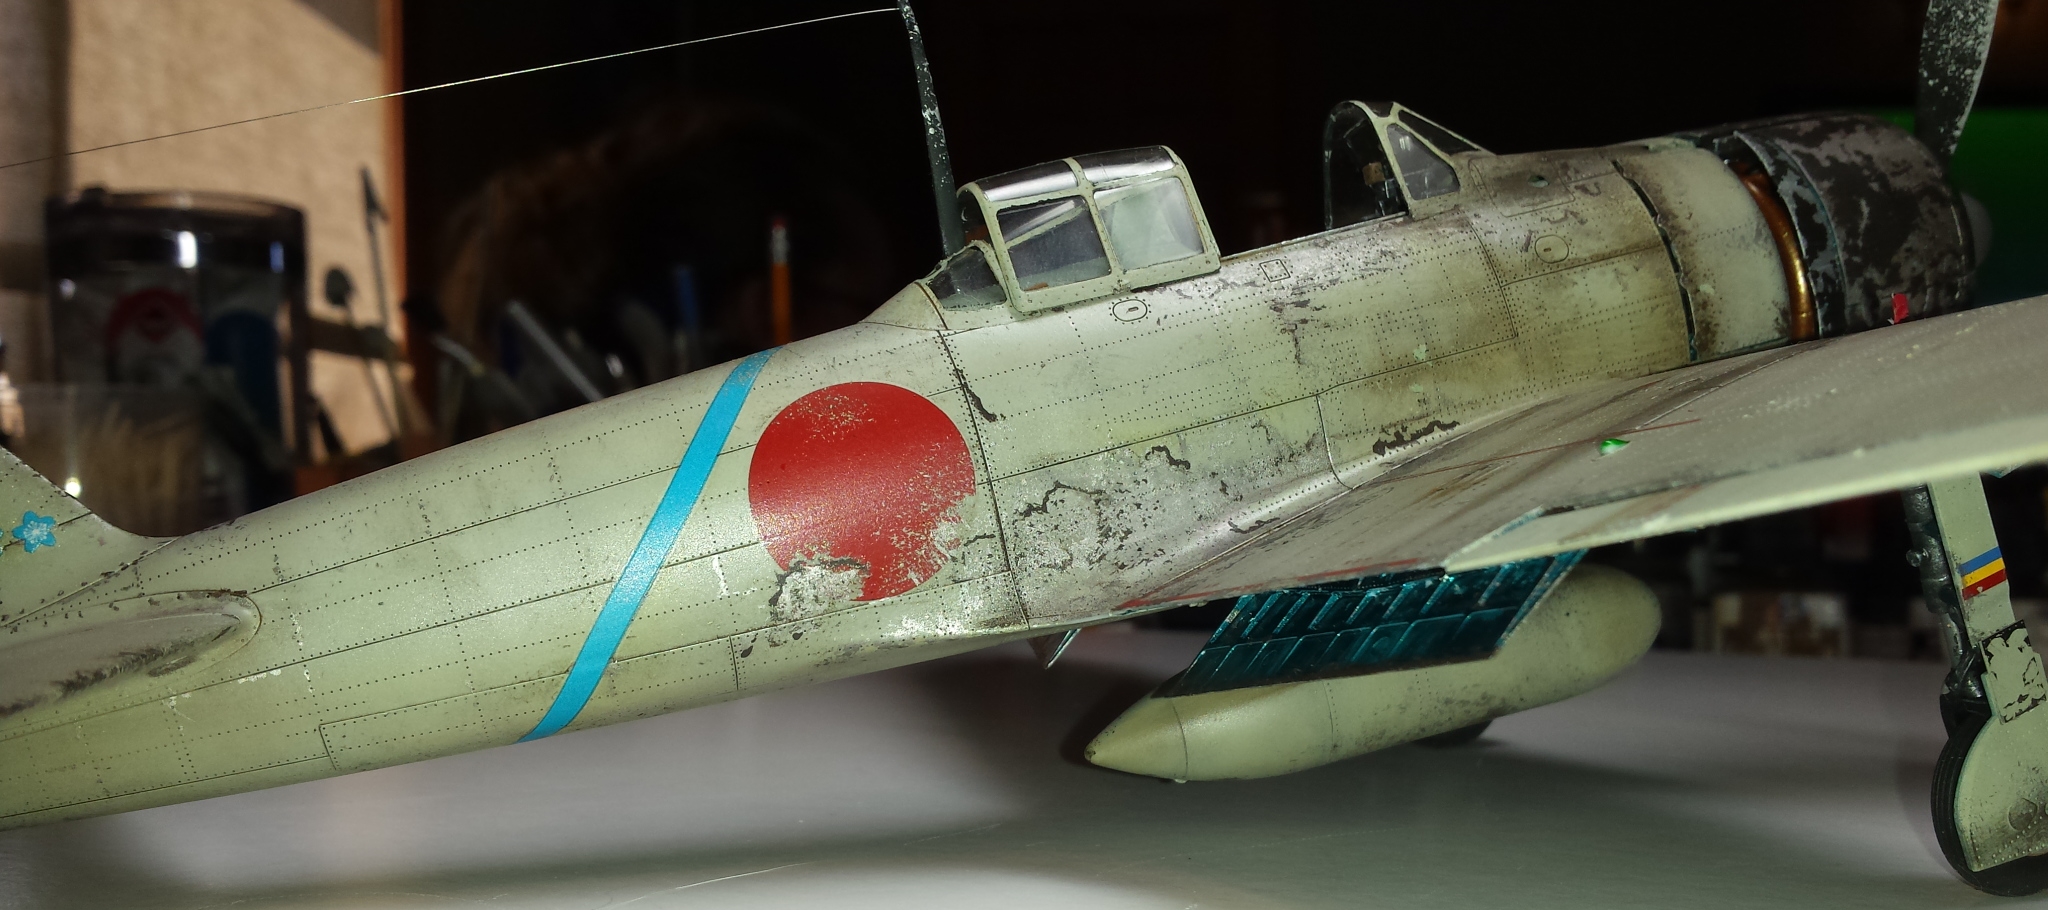
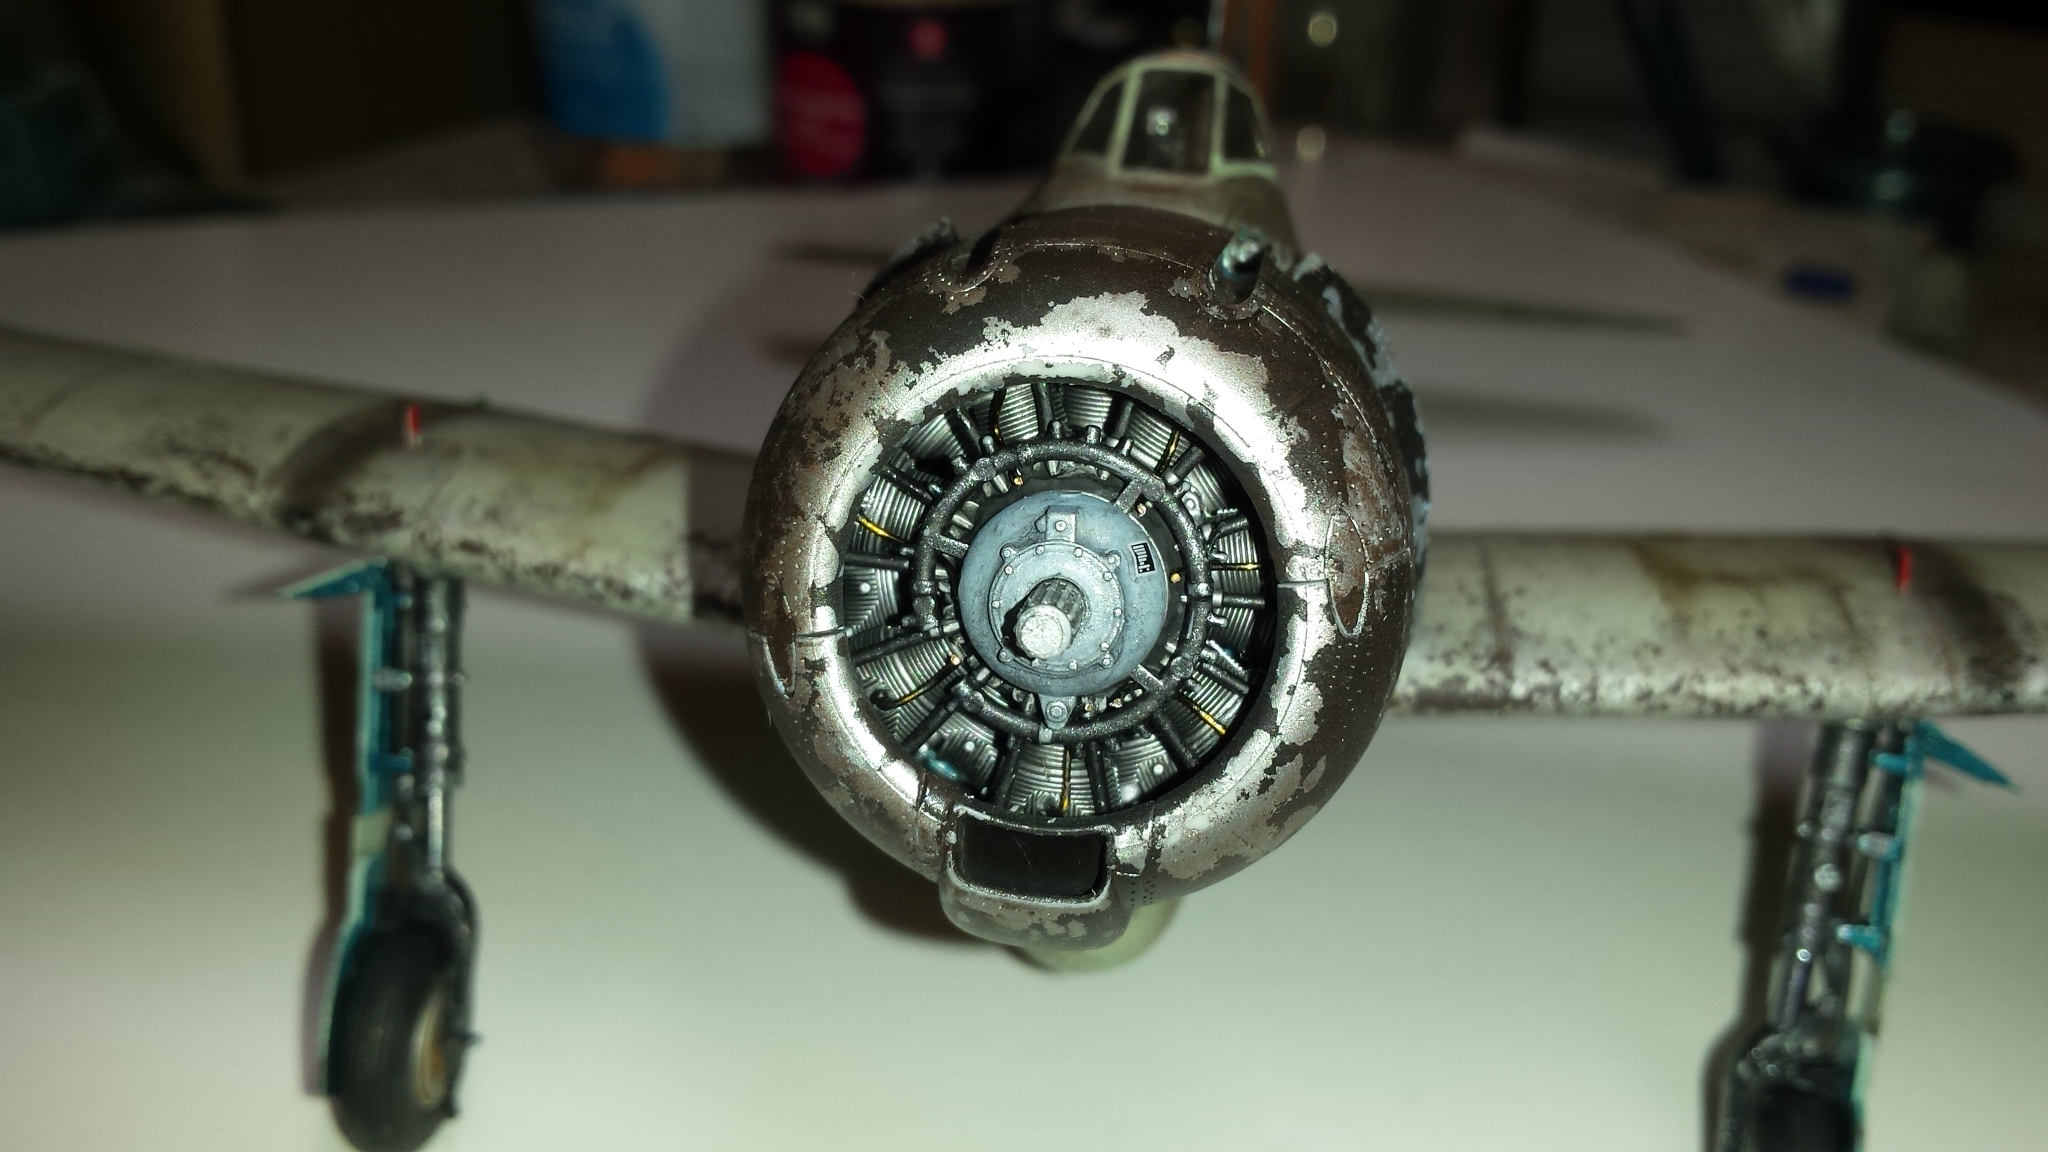
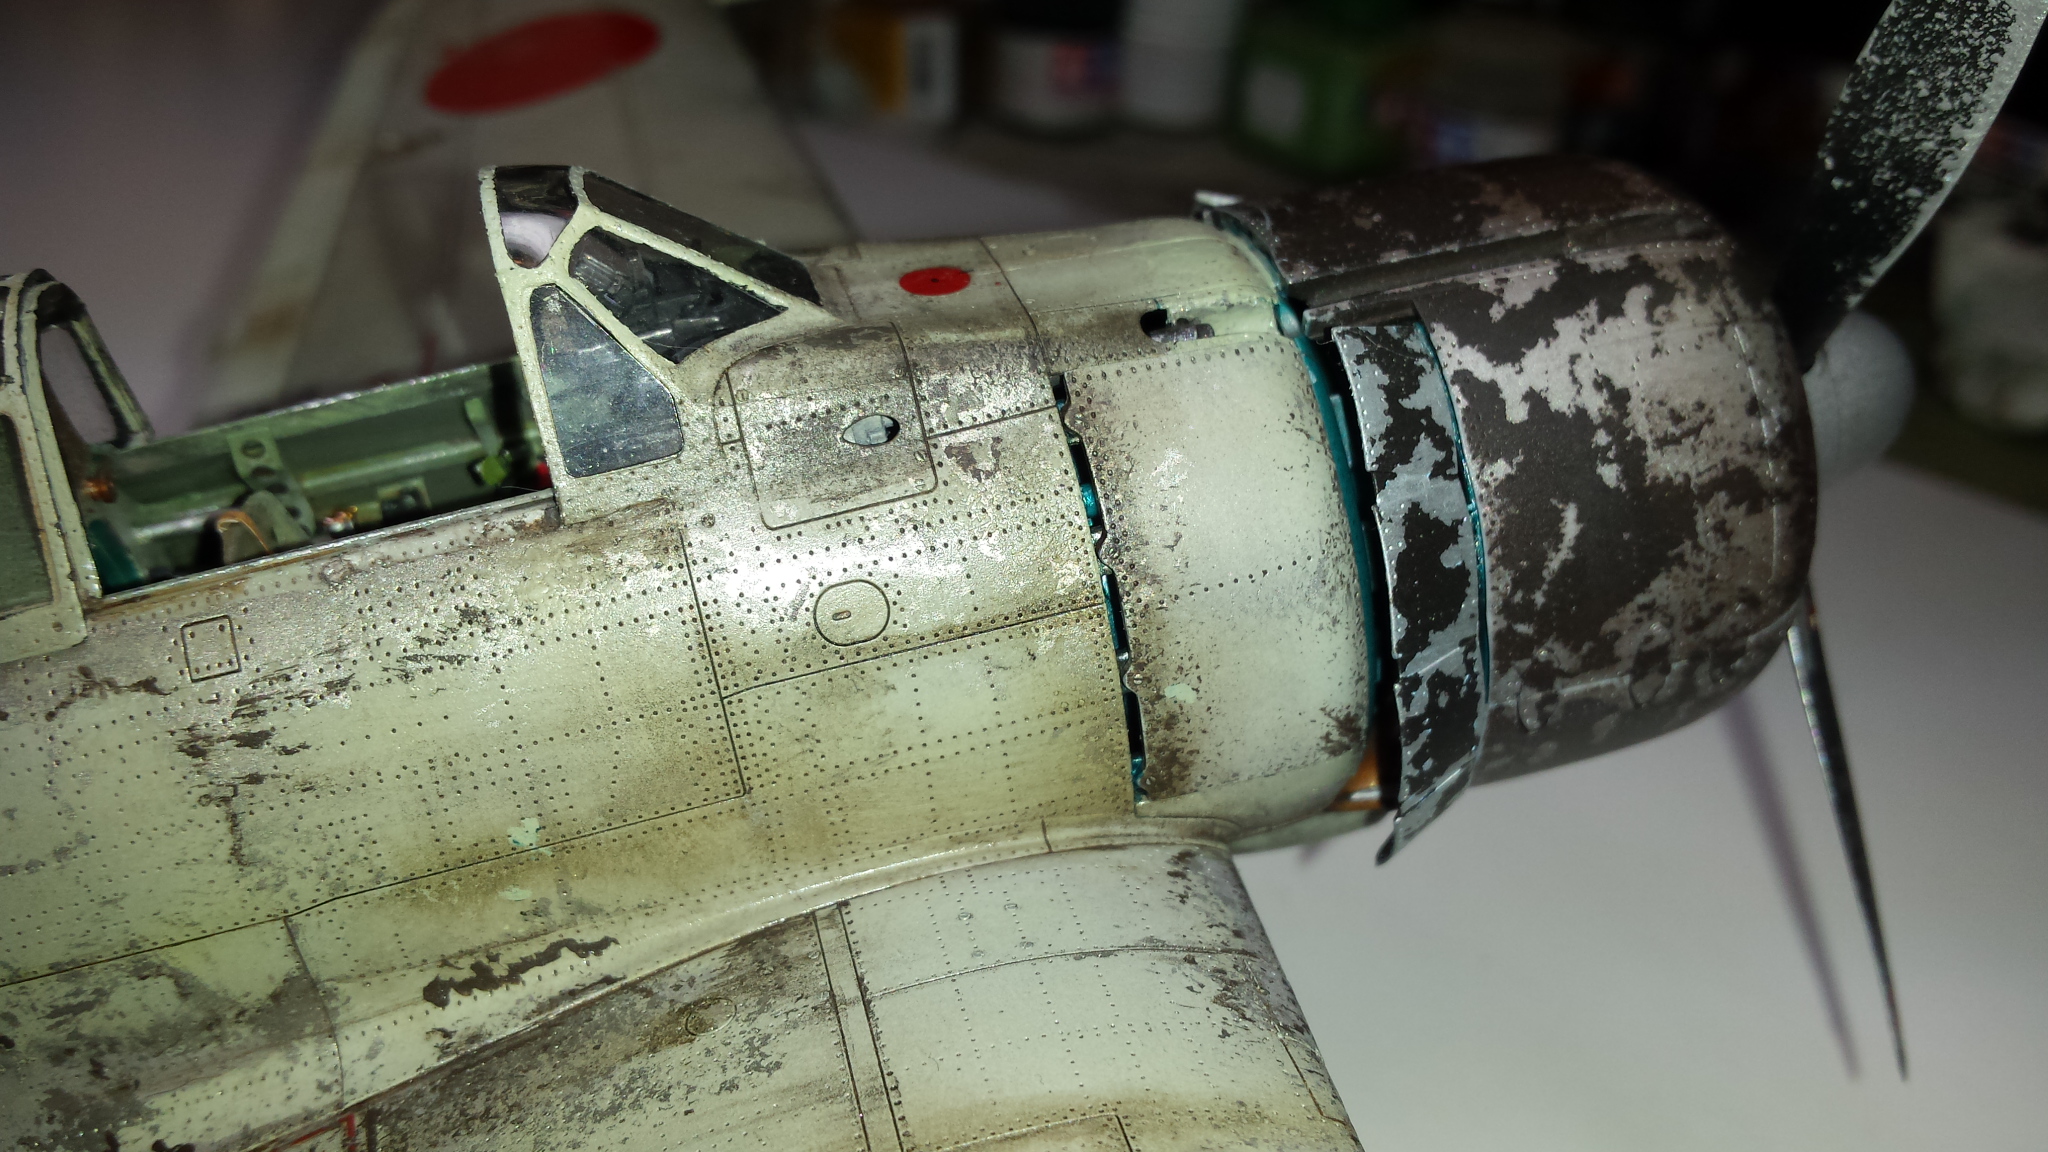
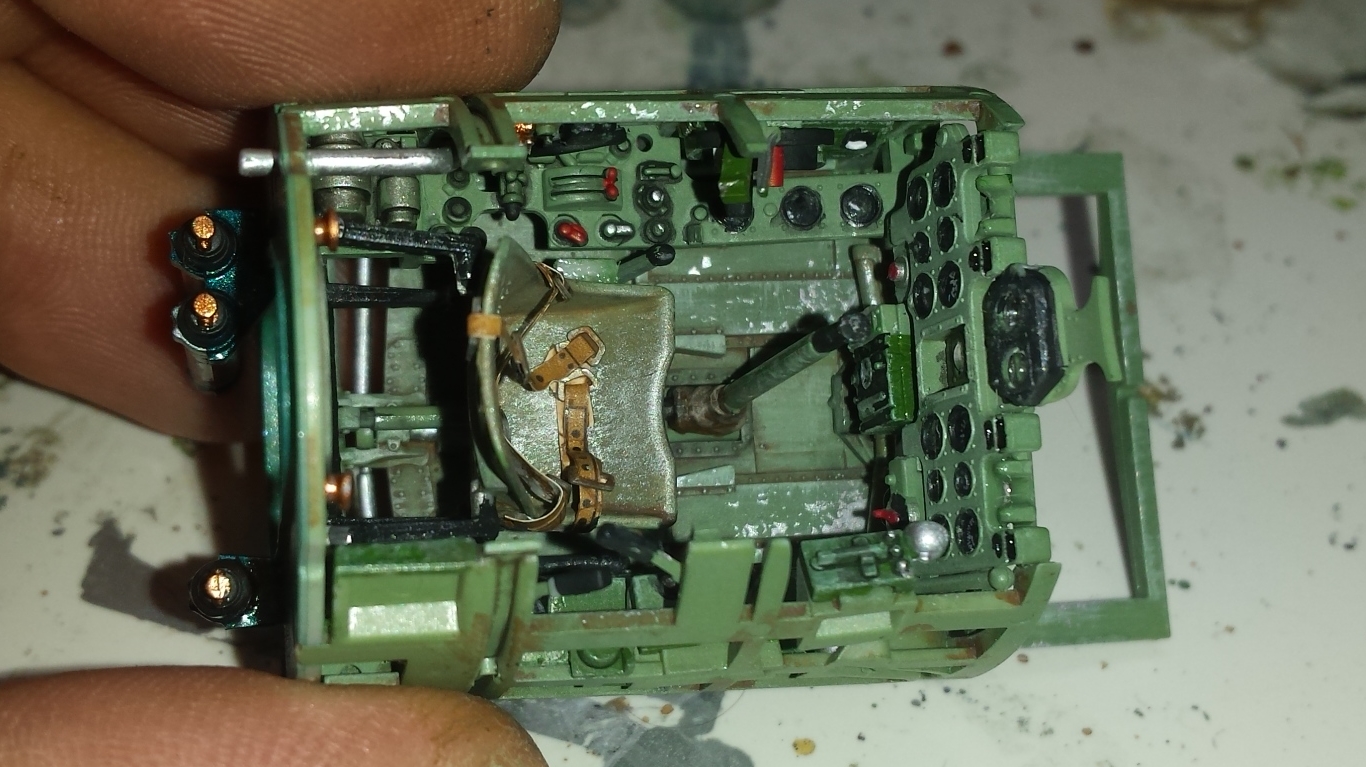
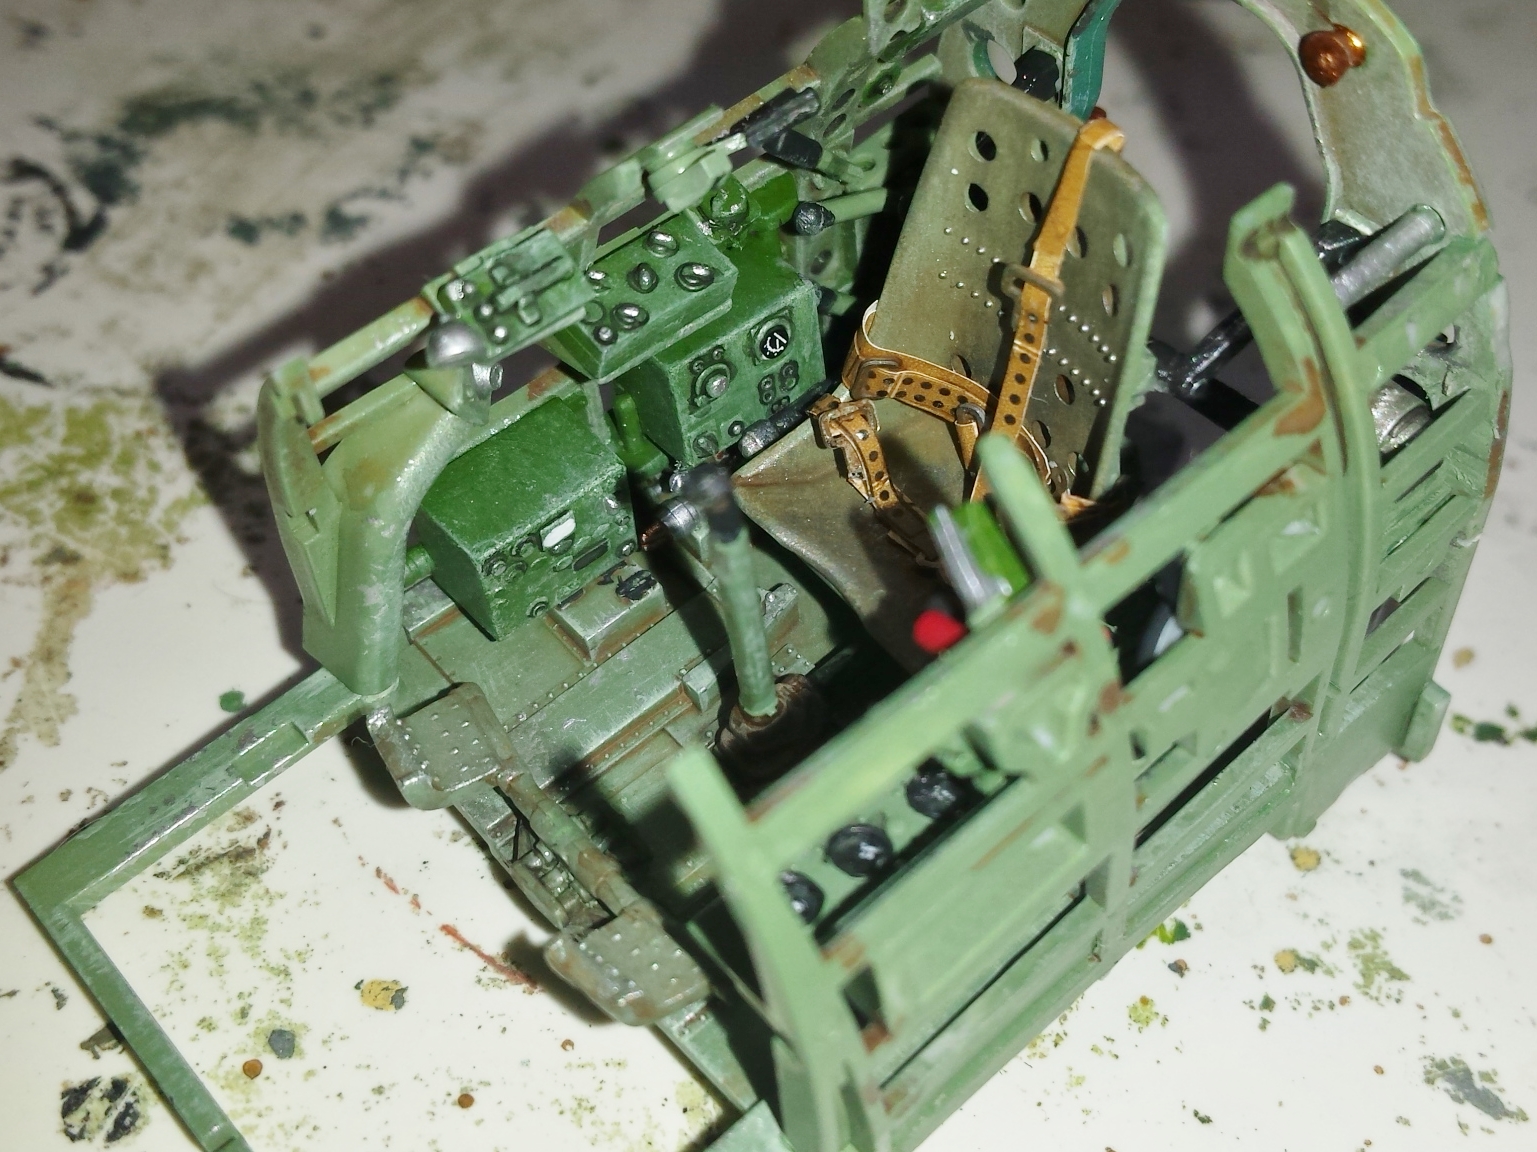
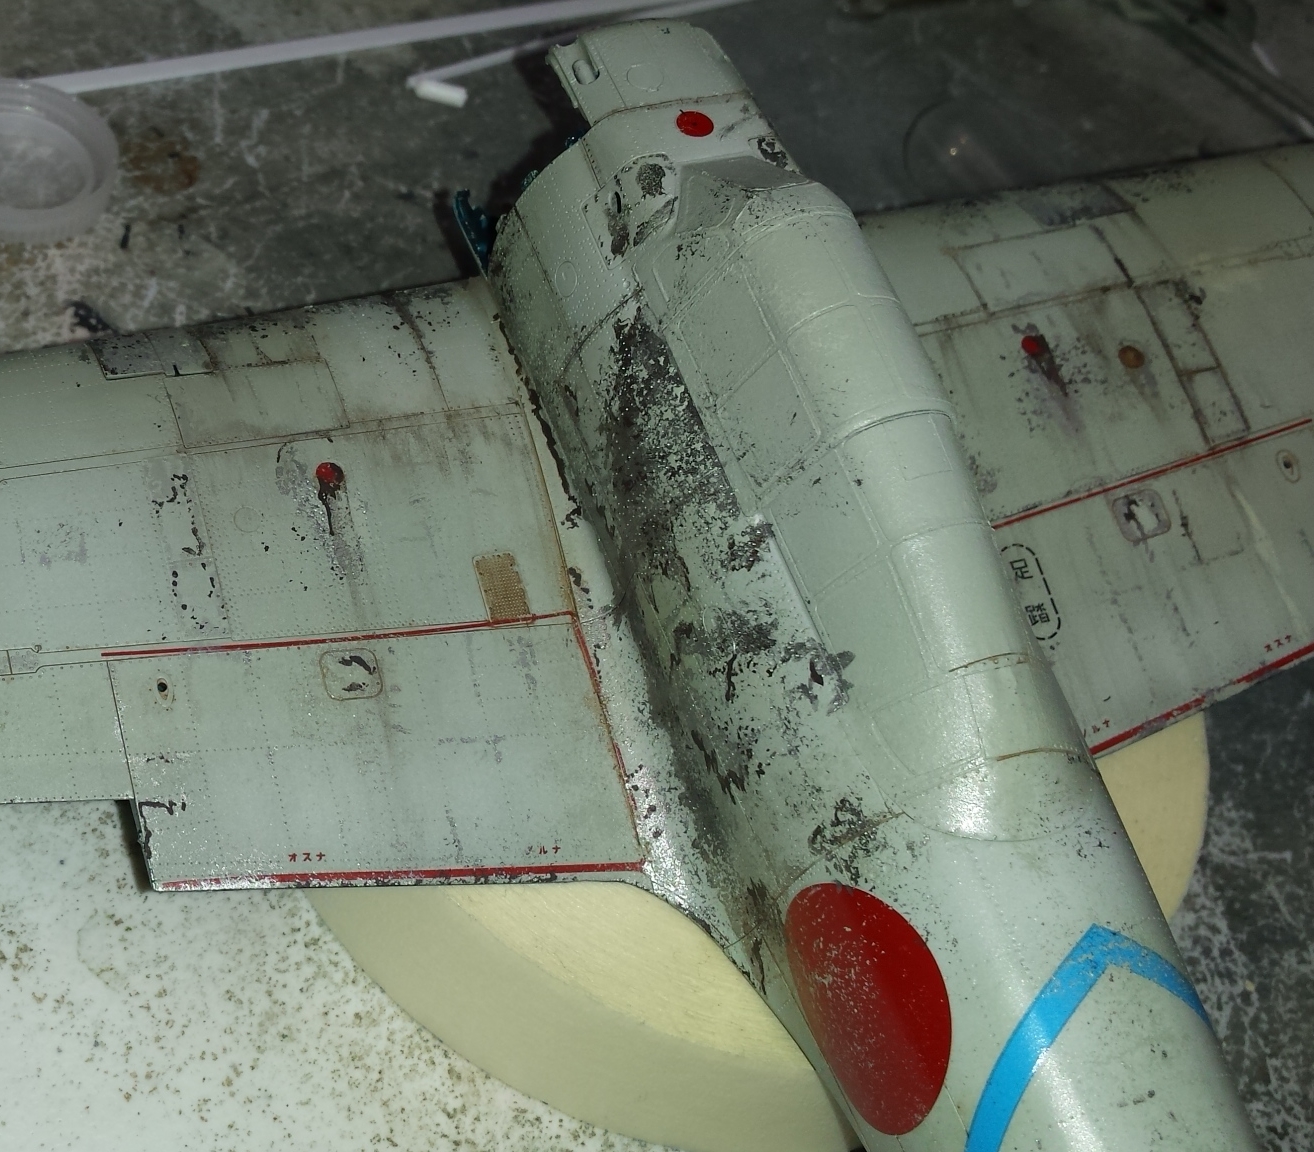
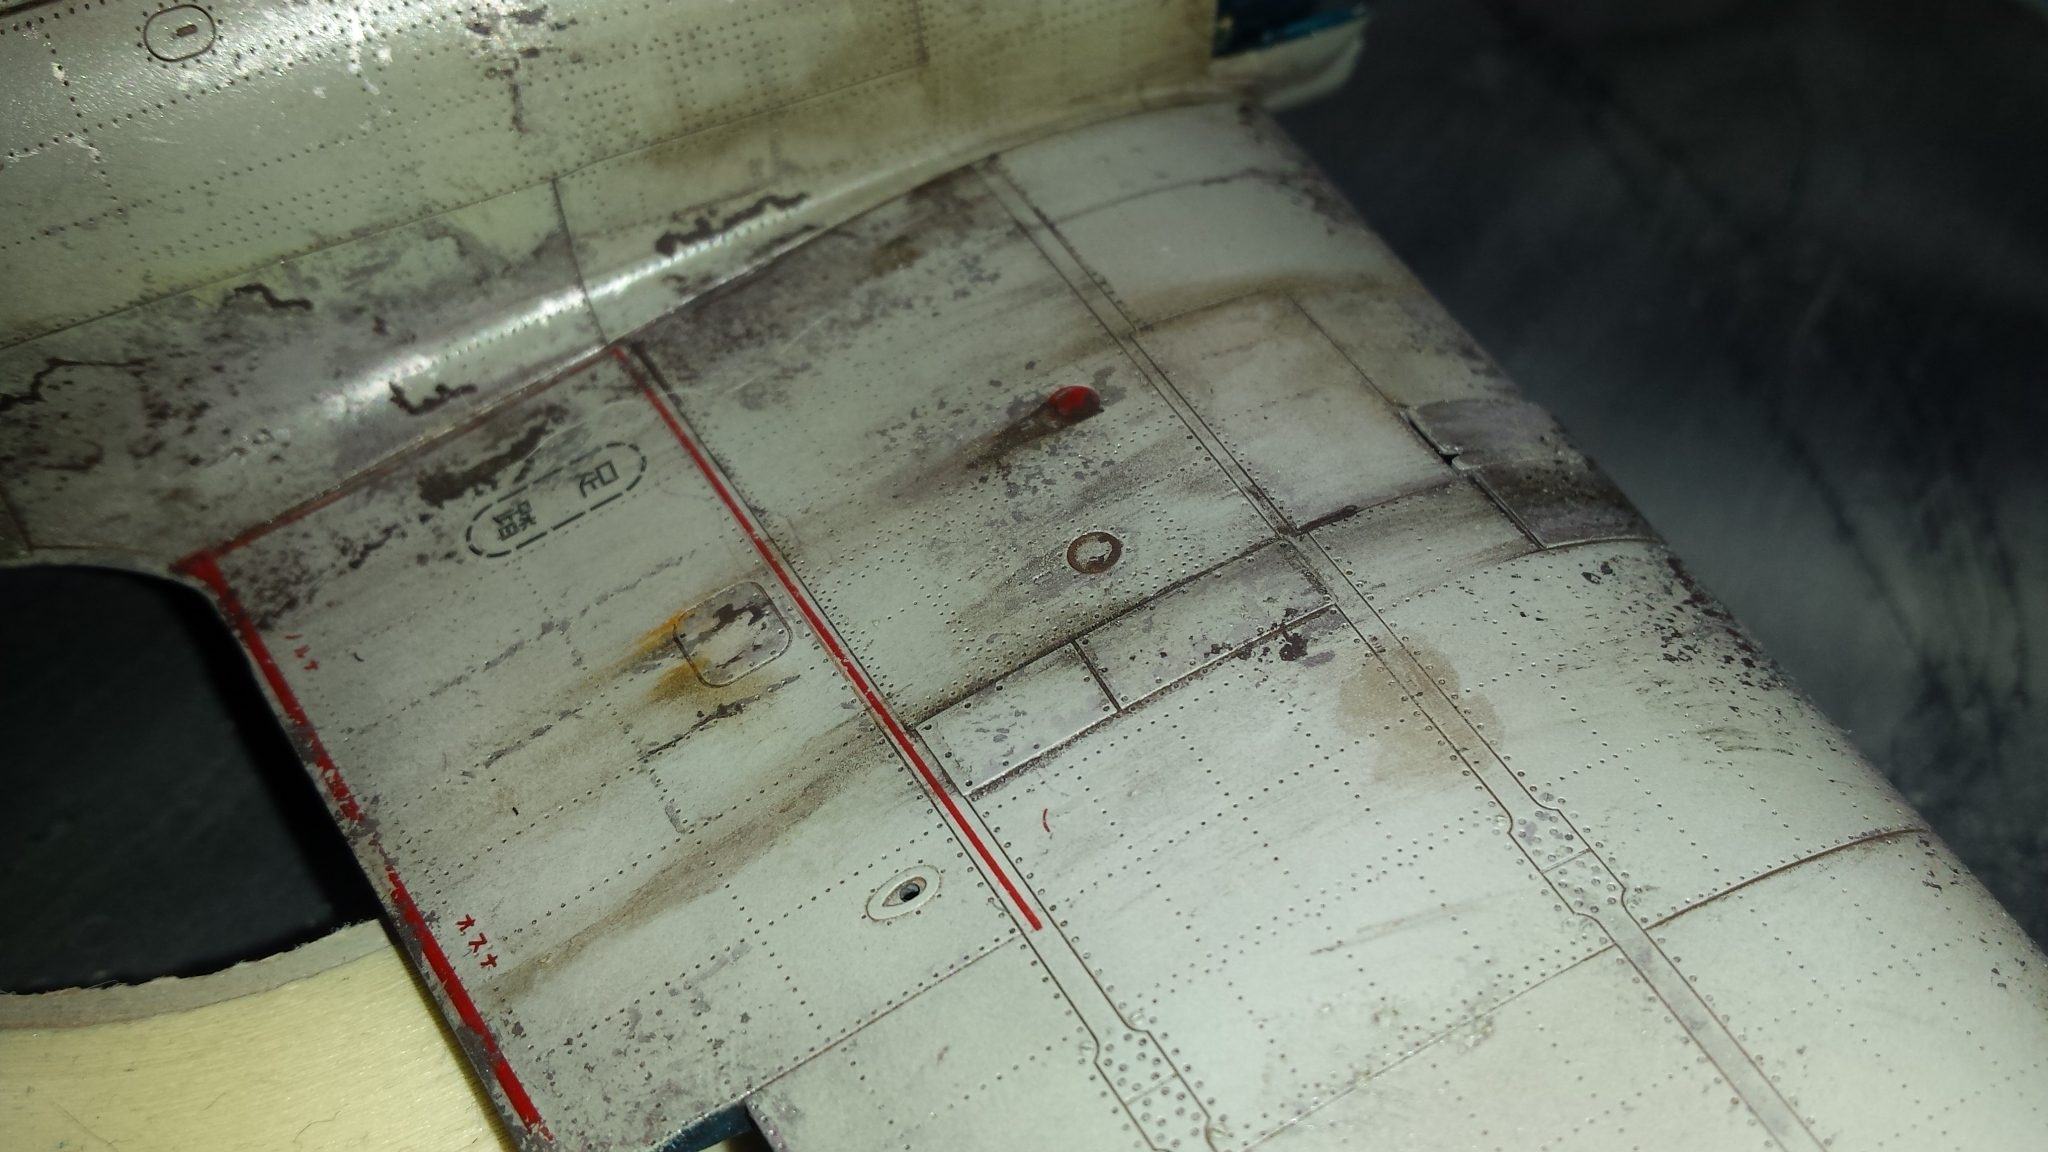
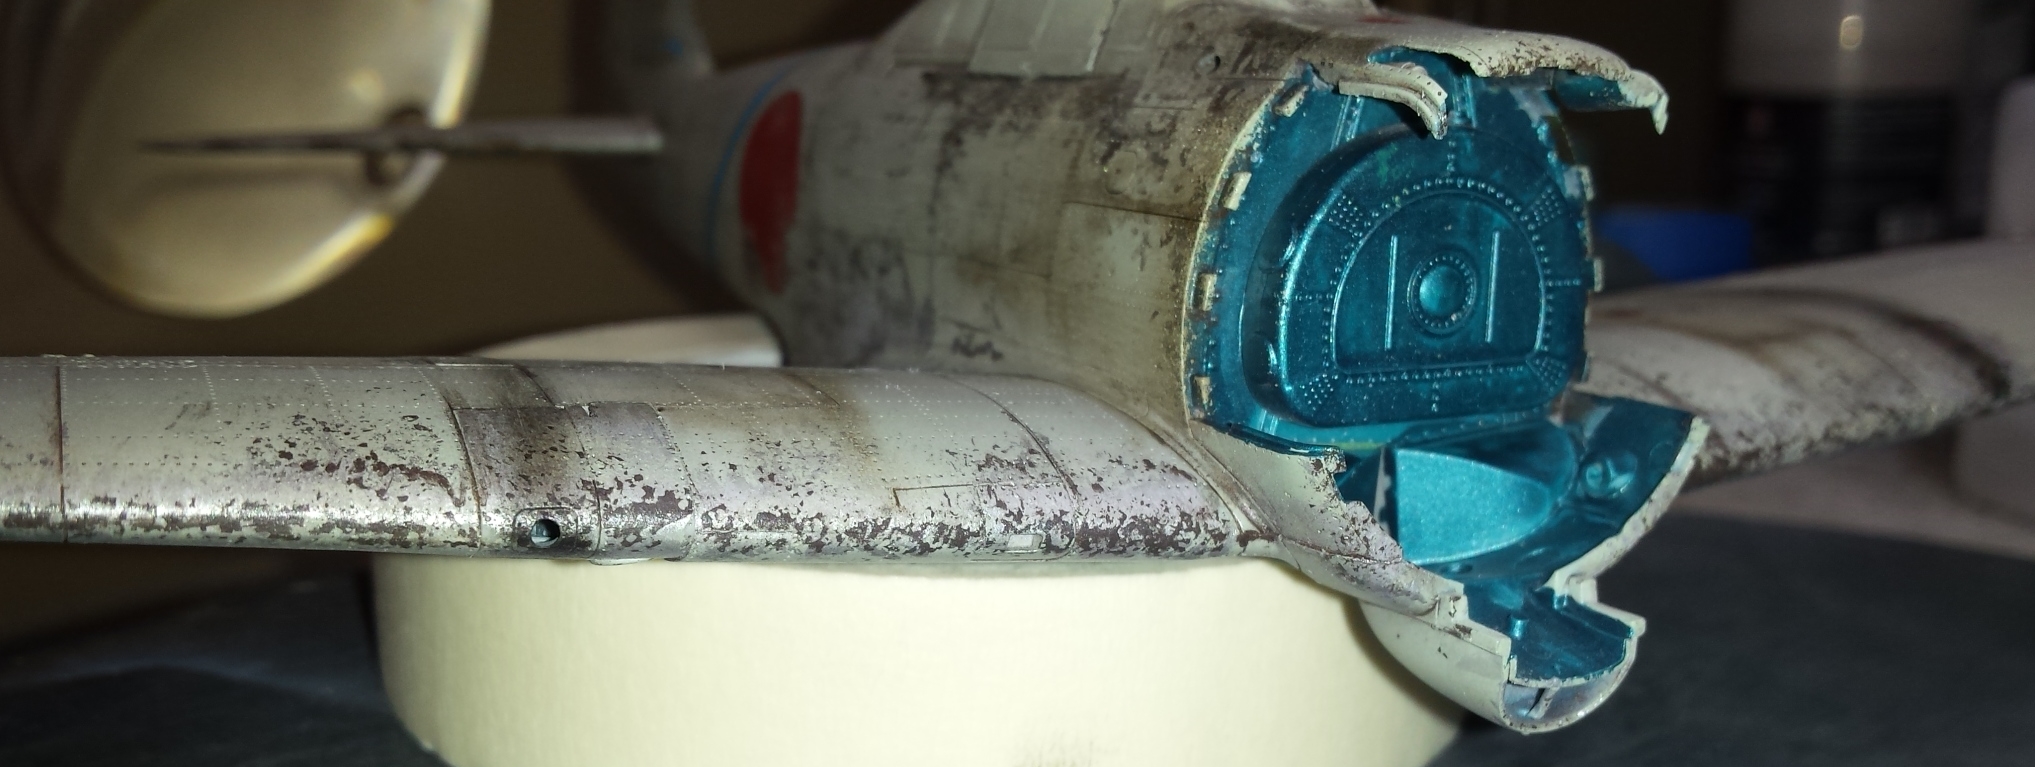
This is my 1st post with LSM. This project was a commissioned build for a customer in CA, USA. I had built a 1/32 Trumpeter AVG P-40, and a 1/32 Tamiya F4U-1A. So he needed to have the nemesis to these 2 birds so hence came the Zero project. It was built OOB except for the add-on decal sheet by BERNA decals. I have included many of the build photos in this post so you can get an idea of the progression in this build with several of the techniques used. He enjoys WW2 aircraft that are heavily worn and beat up so this build was not exception to that desire. We had a difficult time finding a picture of a Zero in this color scheme (Early IJN Grey/Green) that showed the wear of the green versions, mostly b/c black and white photos do not show the wear as well, and many of these early Zeros were destroyed before they got to this point, or just repainted. We did find a few and I stayed close to the appearance and patterns of wear illustrated in the photographs. Note: The reddish/brown marks are not rust. It is the reddish/brown primer showing through prior to the raw aluminium appearing. Regarding the decals. I was not completely satisfied with the BERNA decals for several reasons. 1. The tail decals required precision cutting to span across the break between the rudder and vertical stab. These decals did not have those cuts and it added a high level of frustration and required patience to try and get this right. I messed up a few times with the cuts. To my surprise the Tamiya decal sheet had the exact same blue stripe for the tail matching the color perfectly with the cuts already made. So I used the Tamiya decal for this purpose. 2. The BERNA decals just would not settle into the fine surface detail anywhere on this kit. I think they were a bit on the thick side. I used multiple solutions to include setting solution and solvents. I tried using a hair dryer on these stubborn decals but they still did not settle well. Also they did not adhere well in general some of them falling off after they dried. After this experience with the BERNA decals I decided to use the Tamiya decals for the remainder of the kit except on the tail, which I had no choice but to use the BERNA set. Regarding the kit in general: 1. Well its a 1/32 Tamiya so I did expect perfection and for the most part I got what I expected. The surface detail is out of this wold and makes this whole kit. You will be able to really notice this high level of detail in the included pictures especially after the various washes were applied to highlight this detail. 2. The kit fit perfectly for 85% of the build. In this area I expected 100% perfection but Tamiya blew it in a few areas. Most of these imperfections were a result of trying to incorporate complicated moving parts using PE as a hinge mechanism. The hinges were steel and strong but to side for many of the applications on the control surfaces and the hinge support for the folded wing options. This made sandwiching these PE parts between part halves very difficult. I ended up omitting this on the elevator surfaces so I did not get any movement. The other surfaces retained their ability to move. The flaps move but just hang down due to gravity. Keep in mind this kit did not require any filler and very little sanding. The tolerance level on this kit, like all the newer 1/32 Tamiya kits are very tight. You must be perfect with assembly or the tight tolerances will bite you in the following steps. Follow the directions perfectly. 3. The retracting landing gear is a gimmick and not worth the effort, and even if you put in the effort it may not work, and/or shortly break when playing with it. The landing gear doors assemblies are the most frustrating part in this build and just do not work well and really hinder the overall build experience. If you have built other 1/32 Tamiya aircraft which followed this kit you will notice that they eliminated most of these sort of features, and the overall assembly experience with those latter kits are much better. I do give Tamiya credit for trying, but they just did not get it right. It is very over-engineered IMHO. 4. Overall, despite a few glitches, it is still a Tamiya kit and well worth the asking price, especially if you get a good deal. I paid under $70 for this kit but needed to wait 2-weeks for delivery from the Asian market. It is a very good value at this price especially considering you do not need any after-market parts to have a highly detailed museum quality model. Highlights are: as already mentioned, the fine, highly detailed surface features; the detailed engine and fit of these parts; the removable engine cowling and its overall fit; the separate control surfaces with/without movement; the highly detailed and complete cockpit detail; crystal clear and perfectly fitting canopy and windscreen; excellent documentation, picture guides, and detailed exact assembly instructions (must follow this closely). I hope you enjoy the summary provided above and the included pictures. Please feel free to comment and express your ideas regarding this build.