
Martinnfb
-
Posts
11,382 -
Joined
-
Last visited
Content Type
Profiles
Forums
Events
Gallery
Everything posted by Martinnfb
-
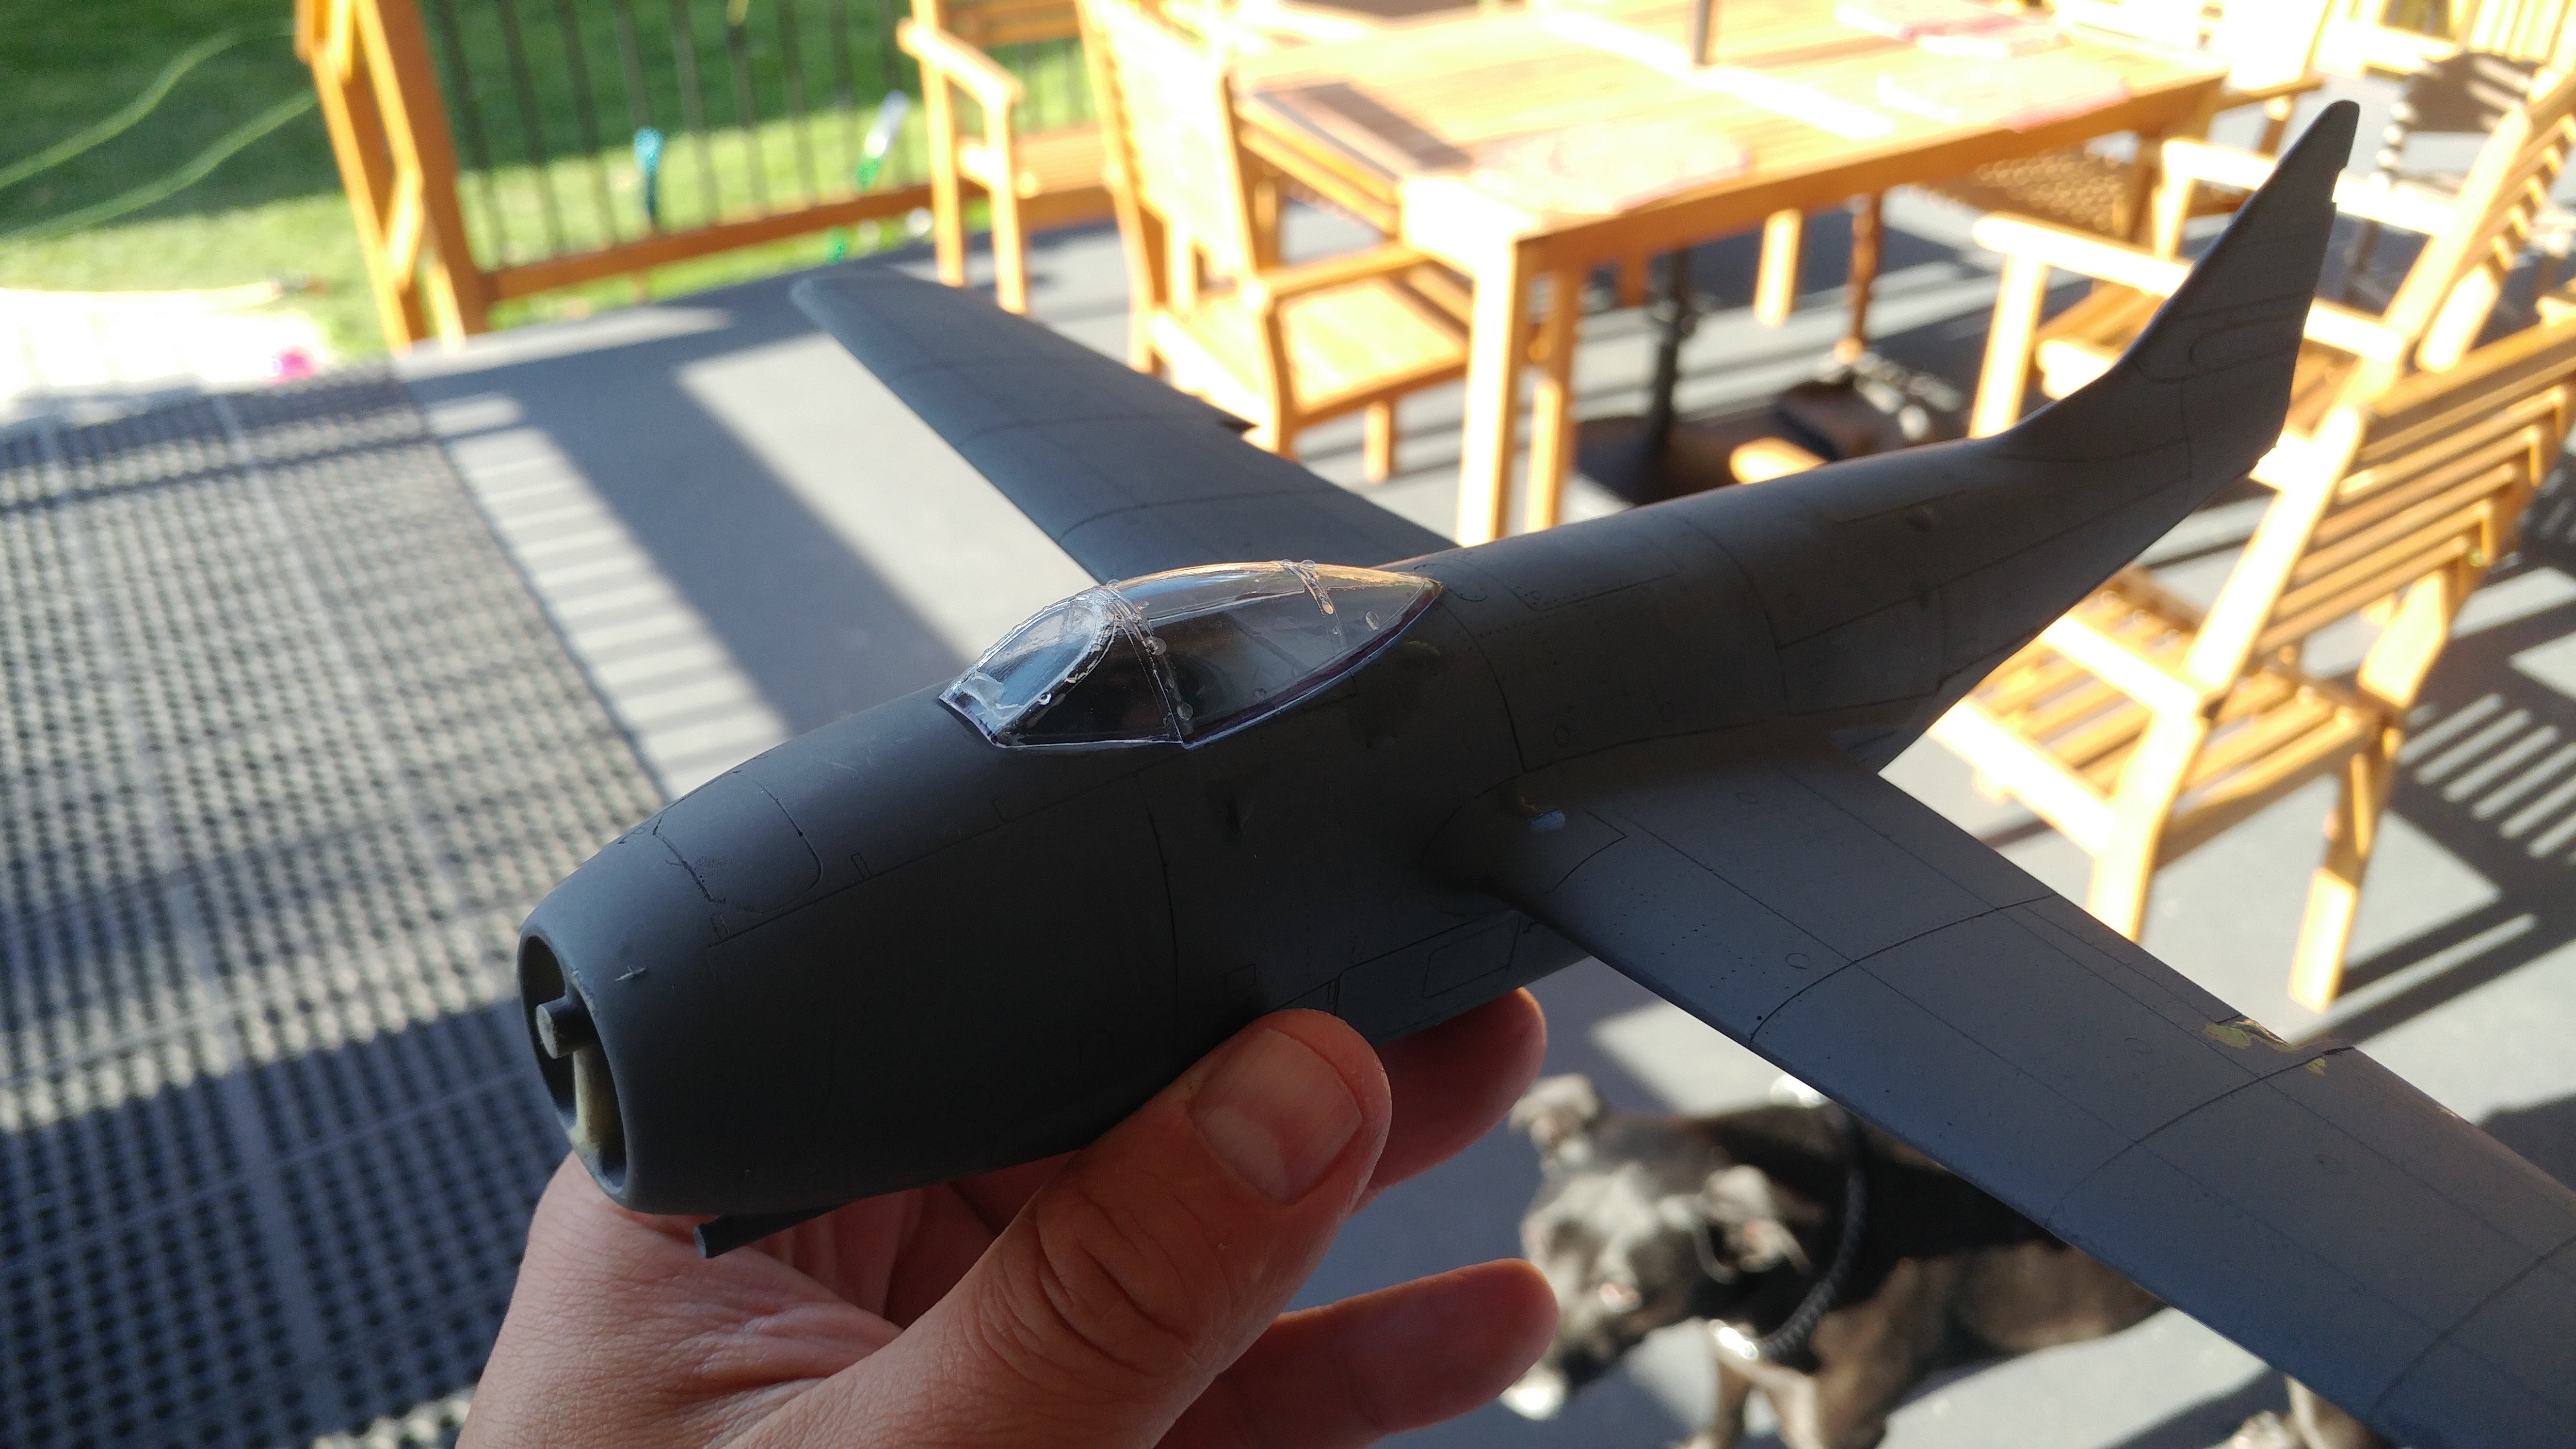
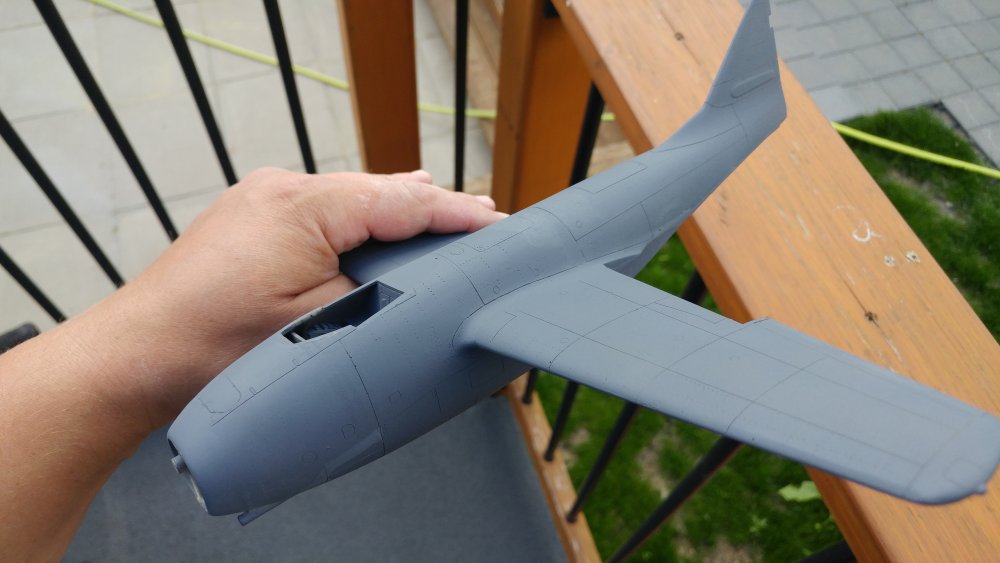
As of now.


-
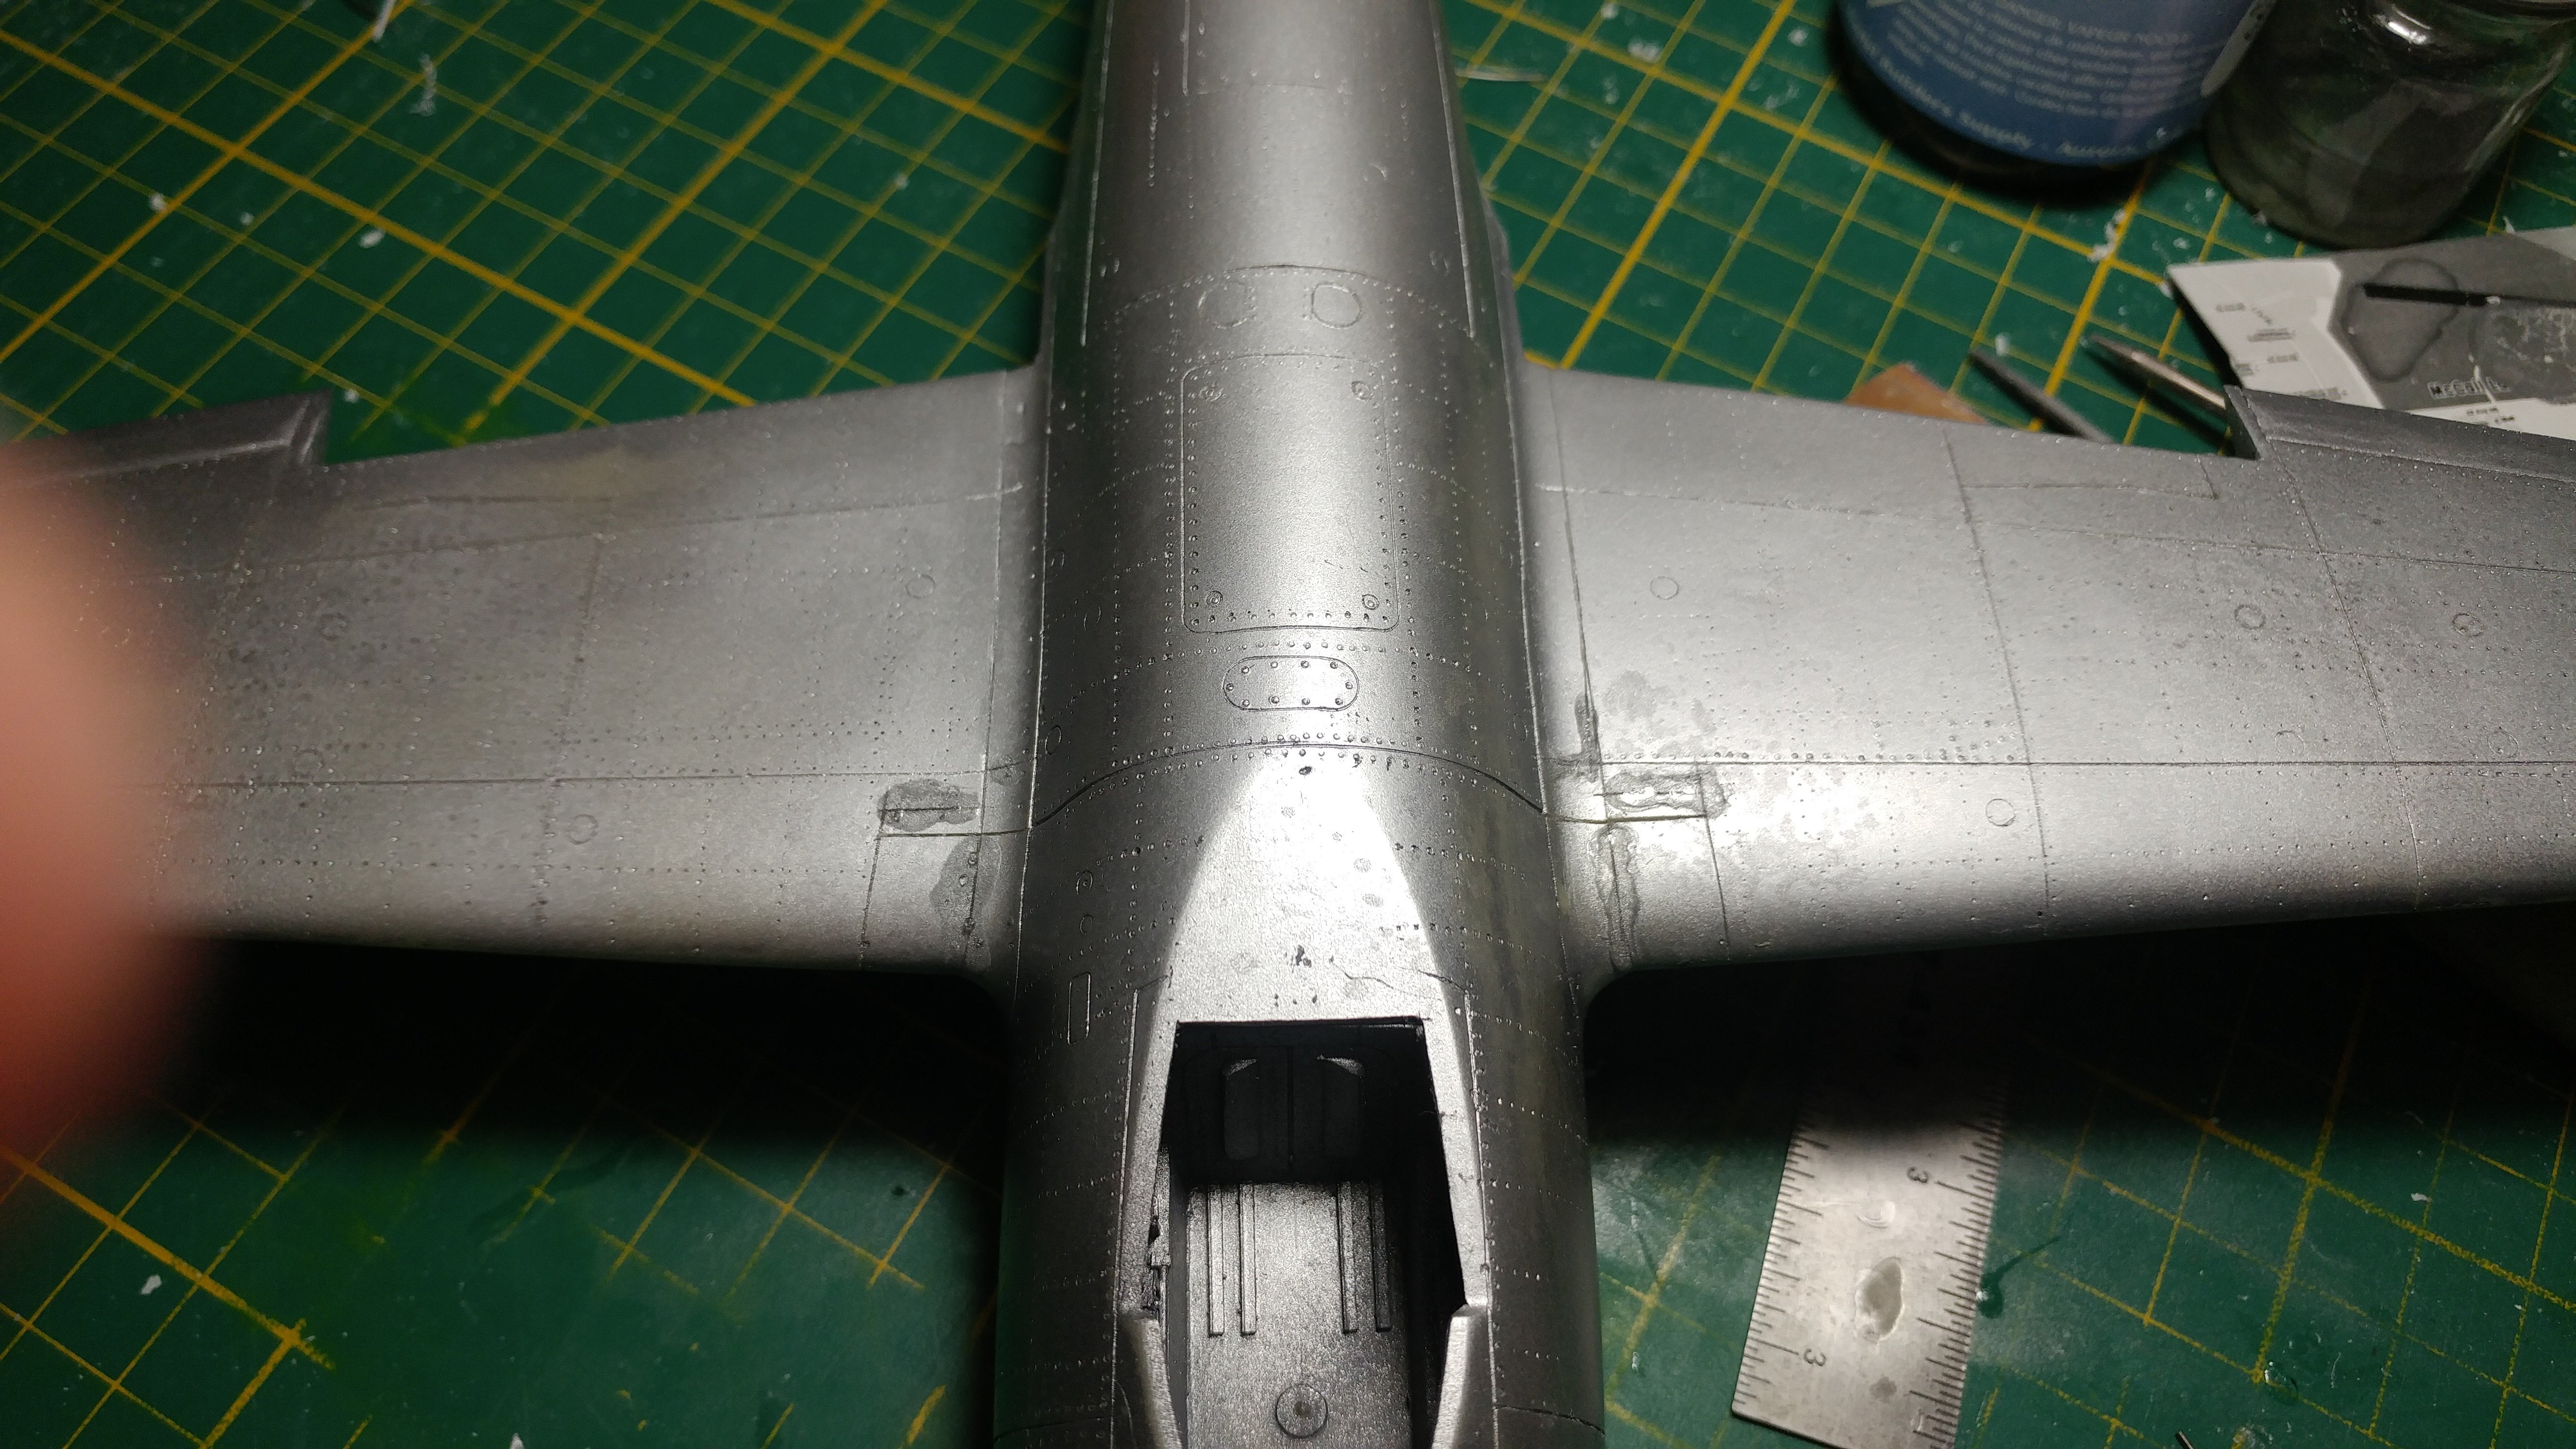
Lower wing needs also some TLC, but the basic pattern is on. Just so you guys understand , this was done in July, today I am playing with the tail transitions . Edit: the cutouts for the gear channels didn't match and were altered with the help of Tamiya resin

-
I will send Airfixer (Eric) on you, in order to improve your attitude and encourage your moral with fresh dose of positive reinforcement of putty and superglued fingertips .
-
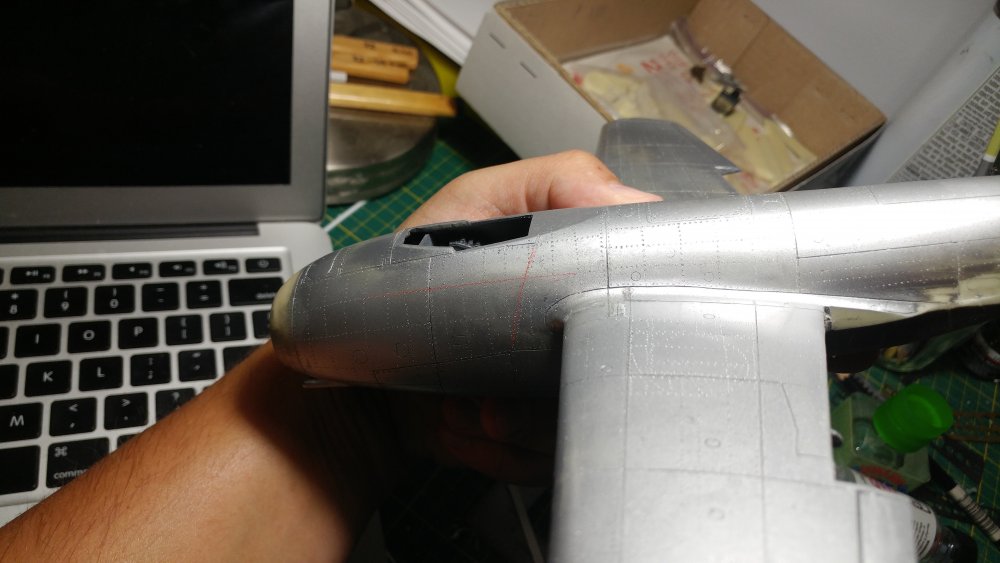
right top side, there is some adjustment work going on in the wing tip area, otherwise I am moving on.

-
lerx ? finished. You can see tons of imperfections, I am truly hoping that a righteous amount of putty and sanding and re-scribing will make me feel better.
-
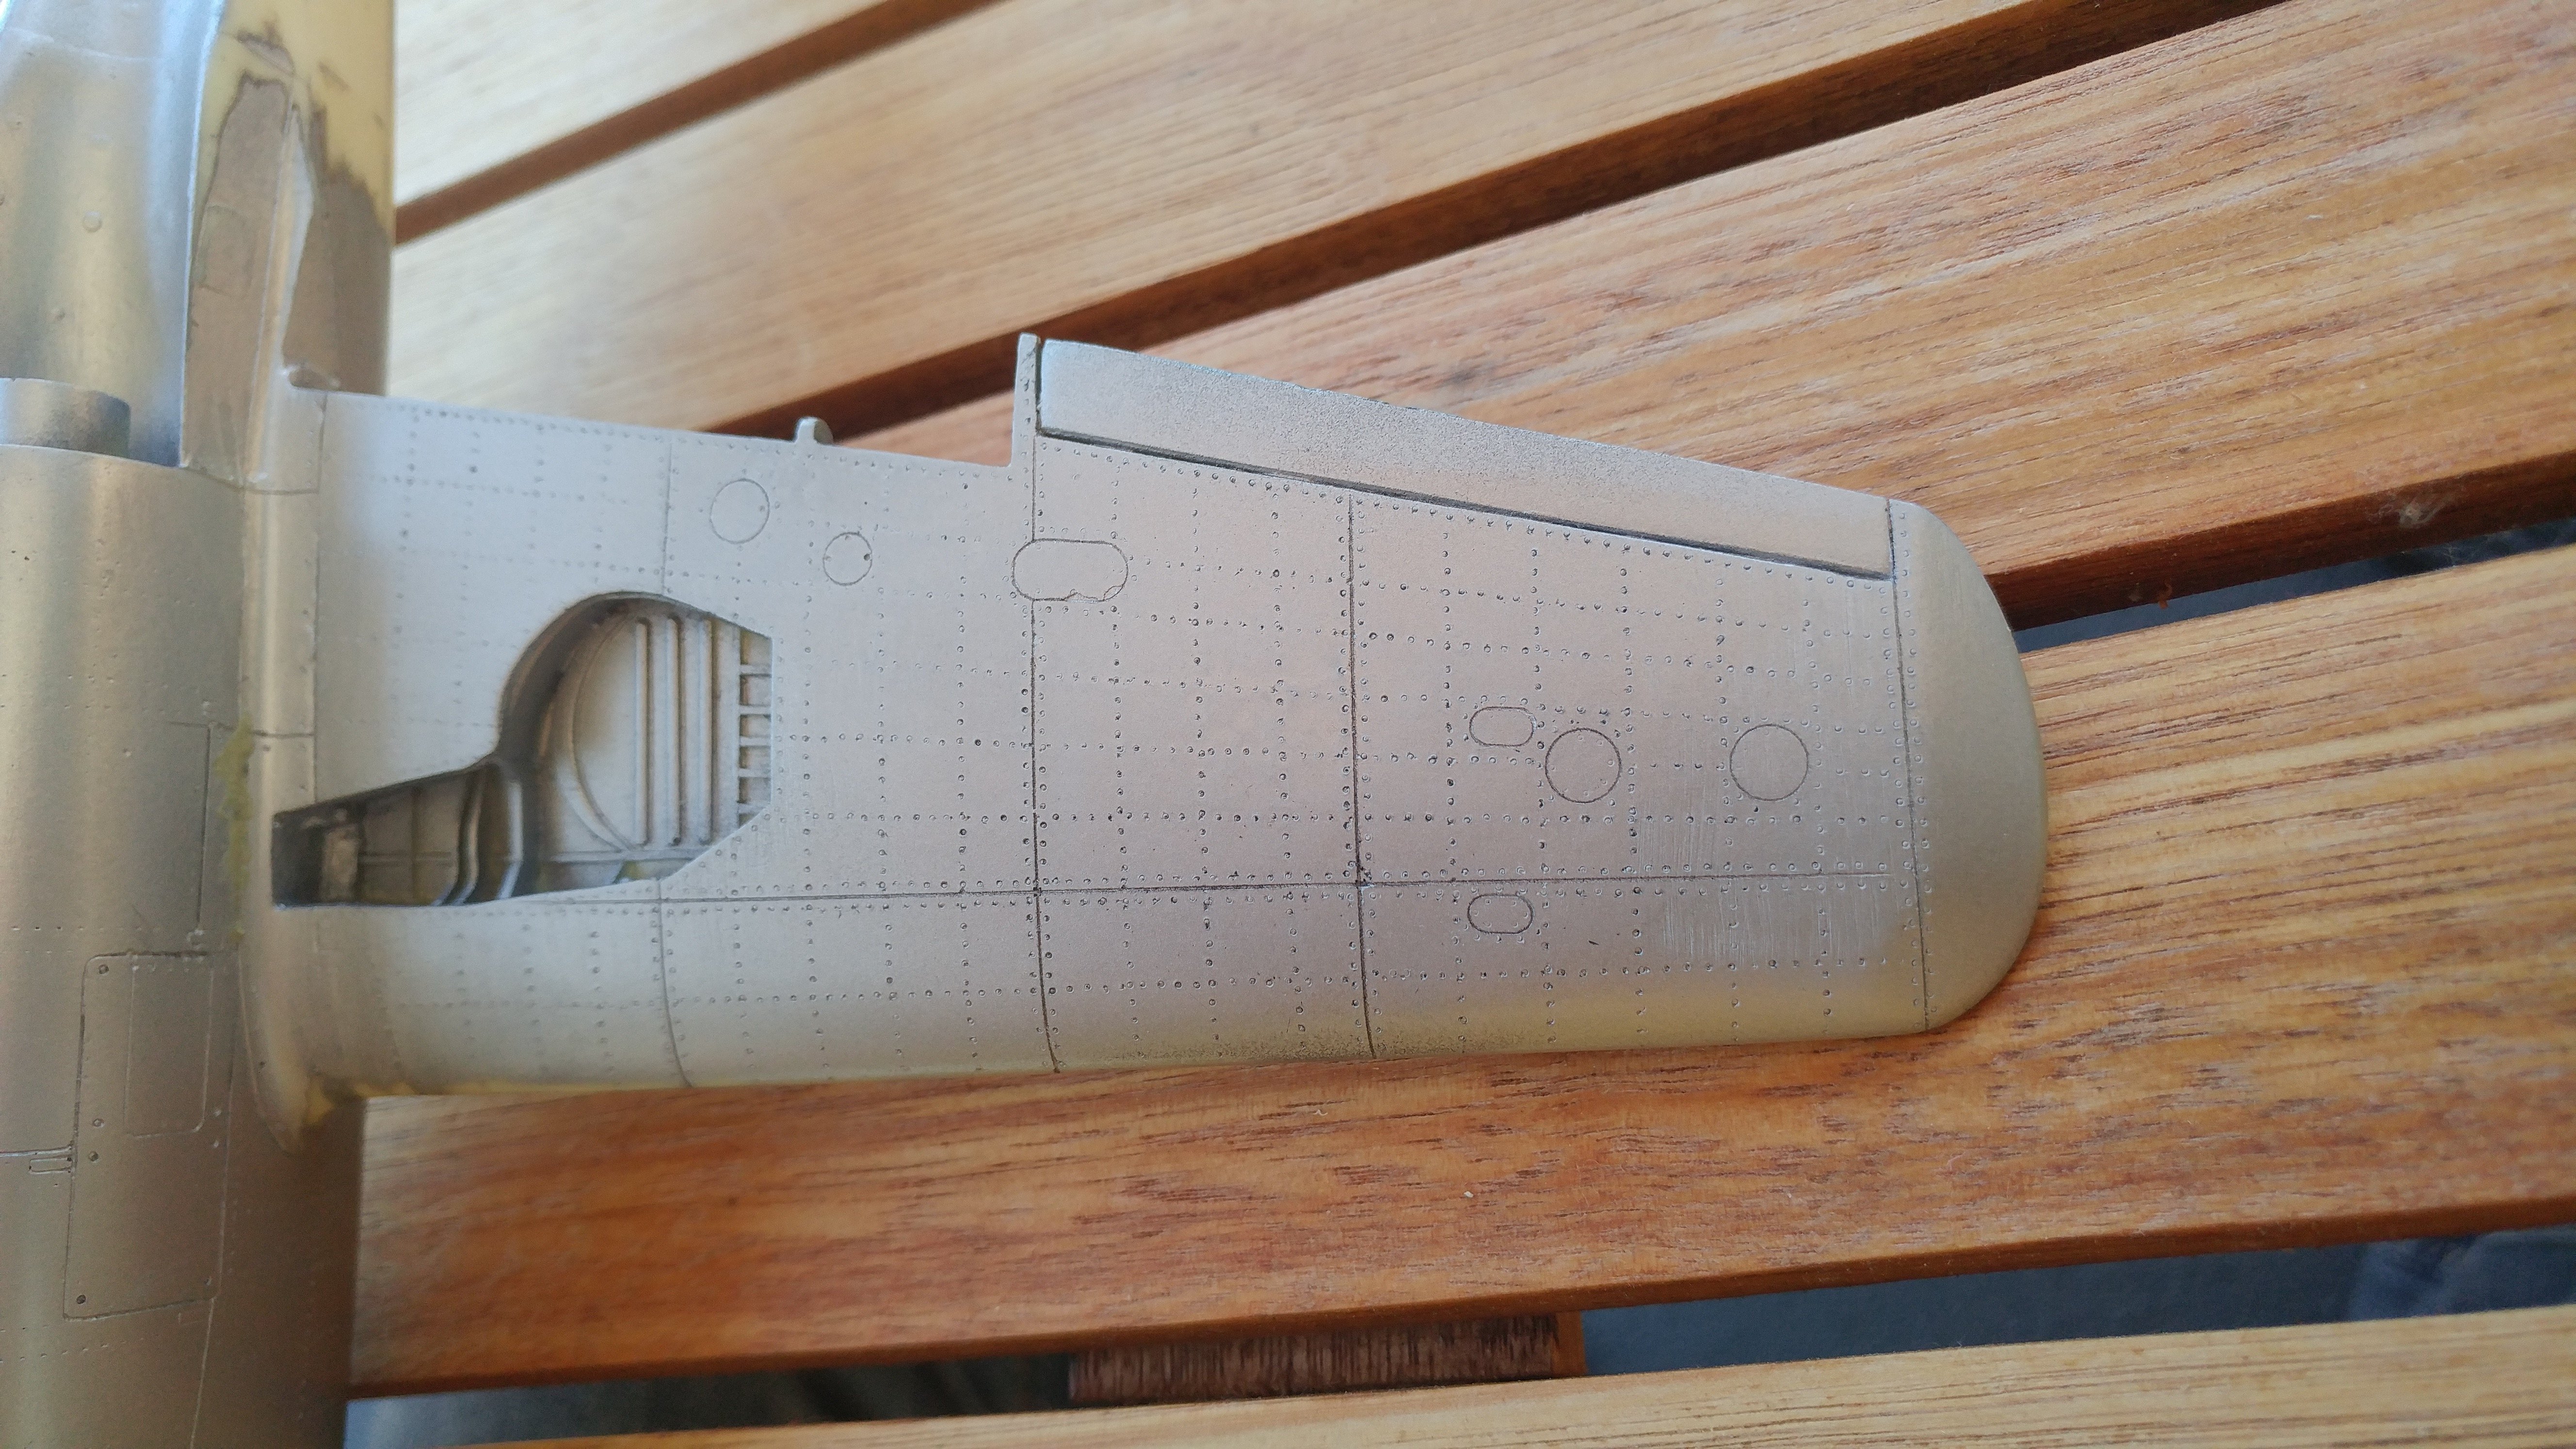
Right back at you Brother, just wait once you open your F-5 (evil laugh) floppy foot steps wings basic rivet pattern done

-
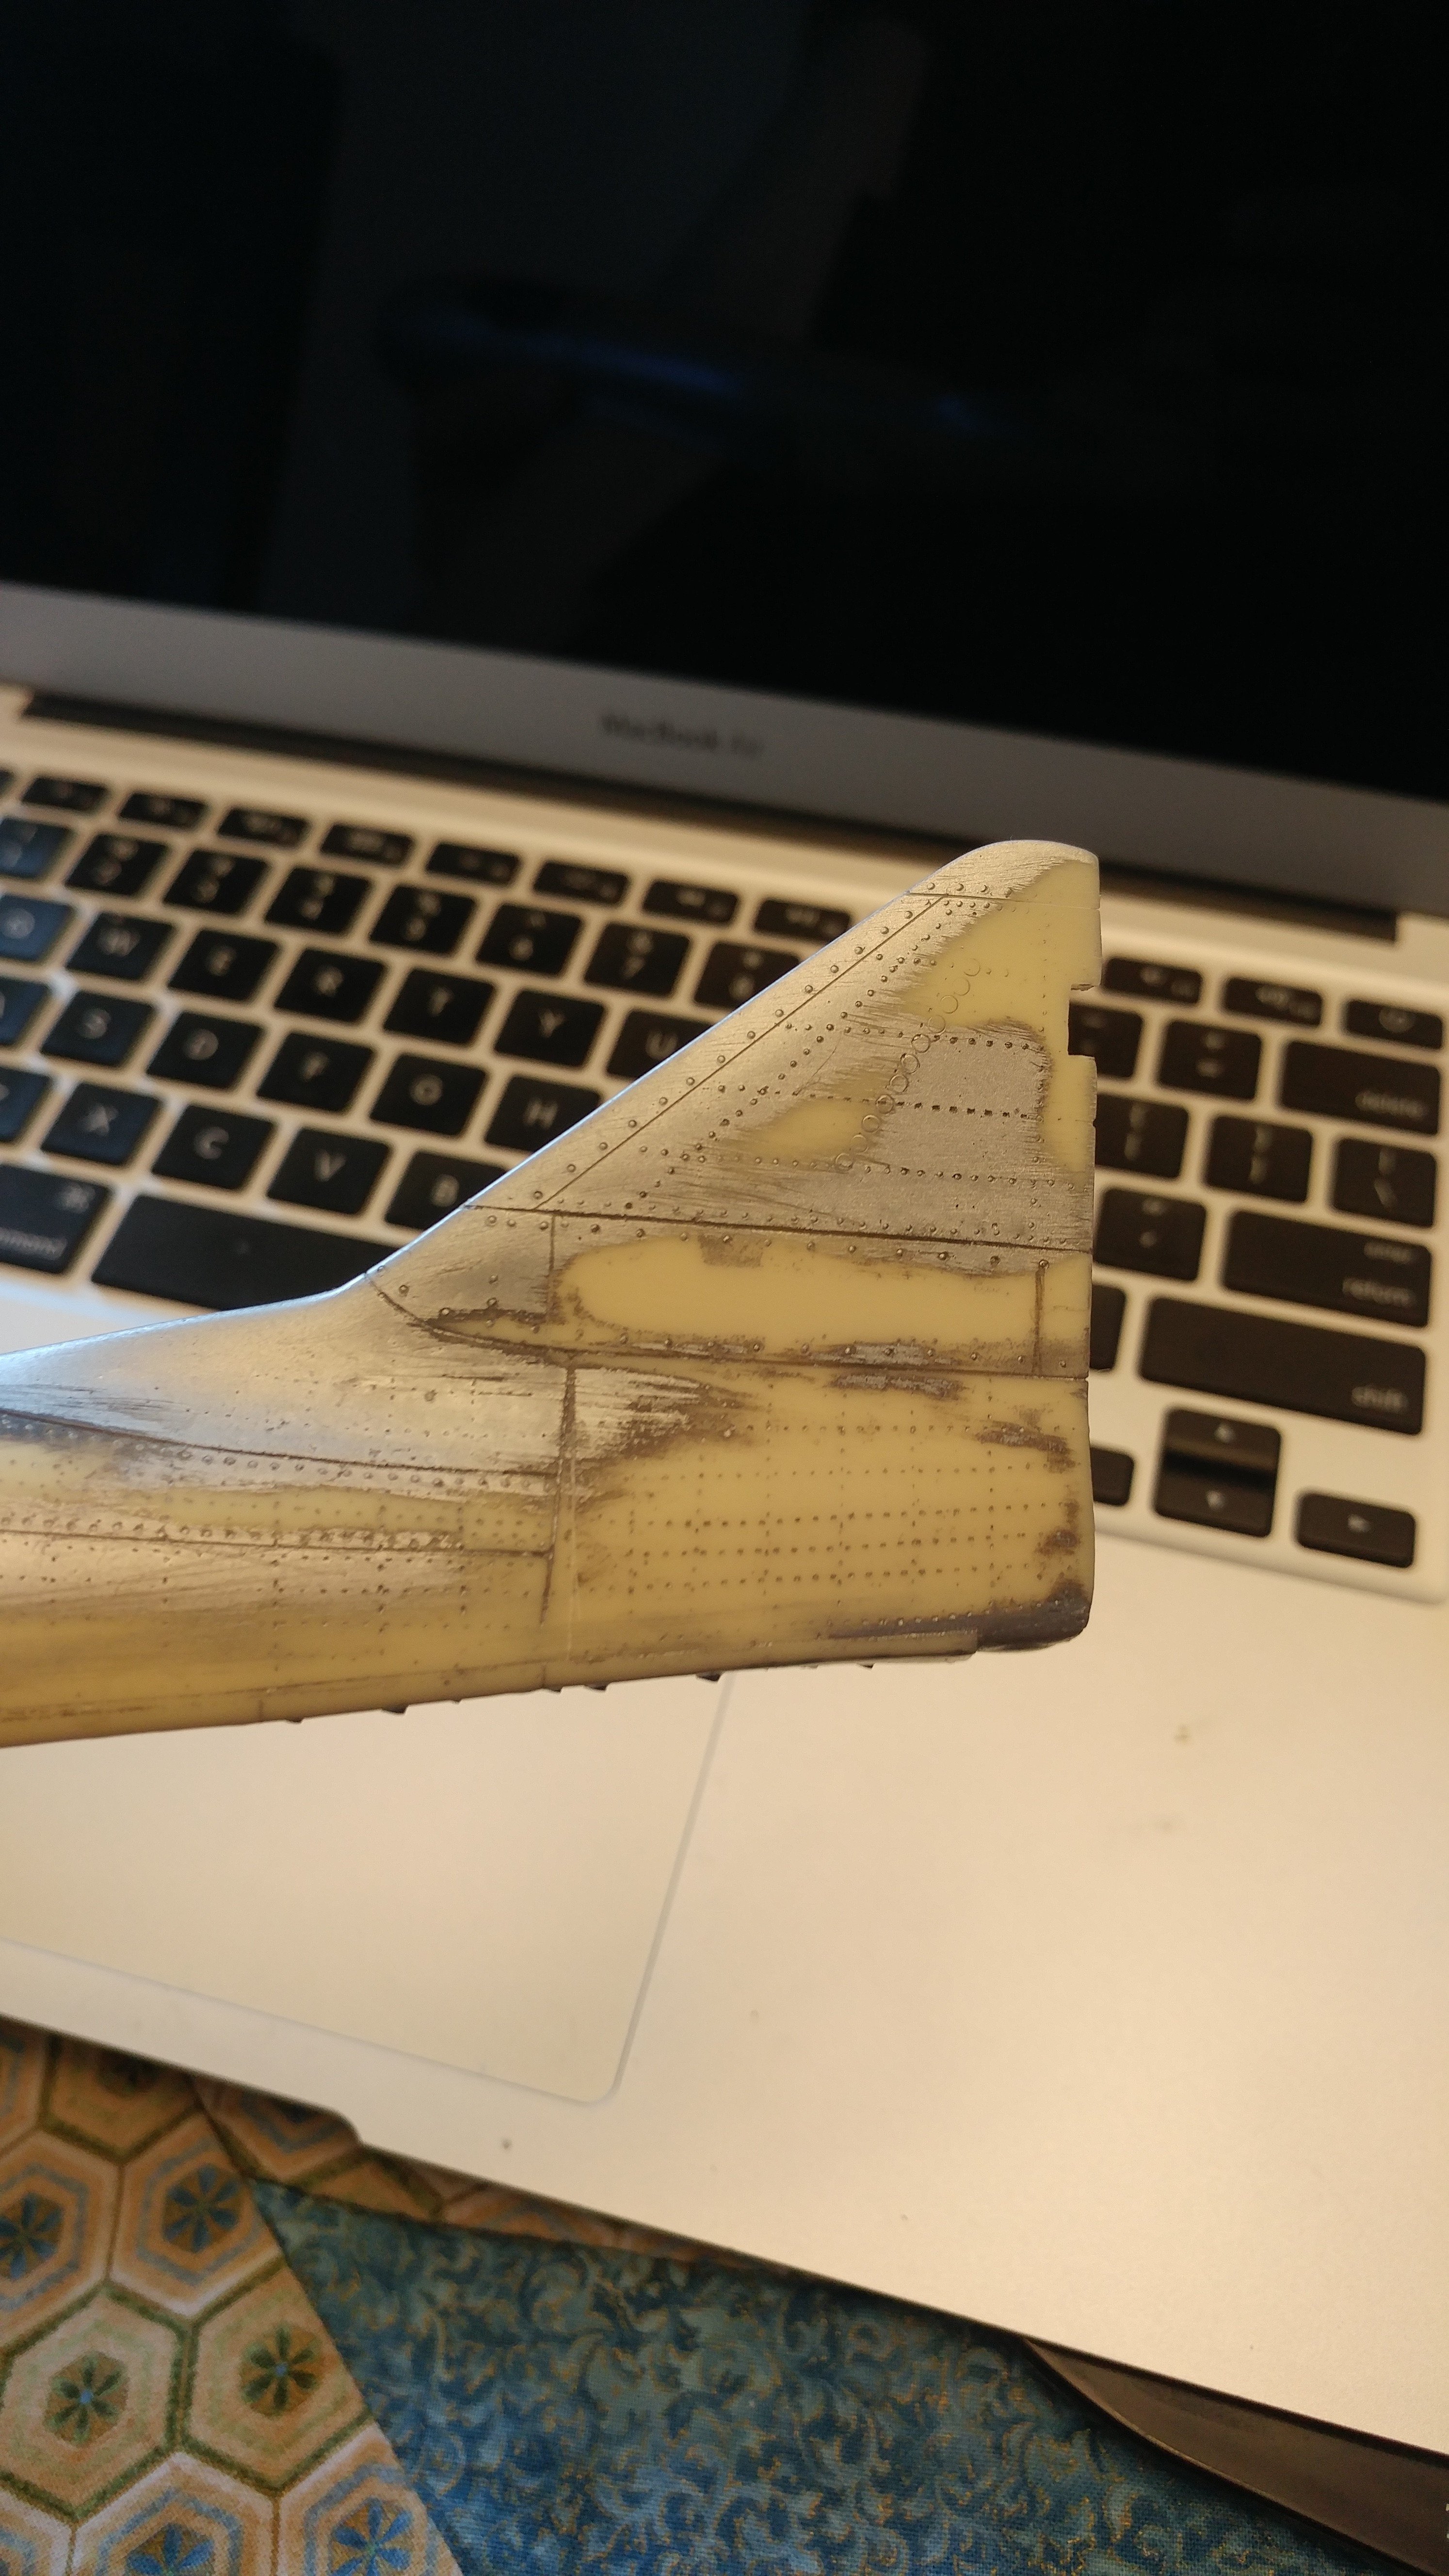
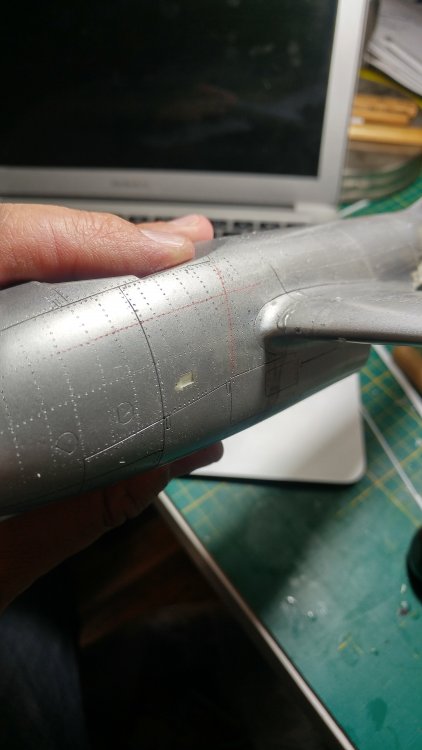
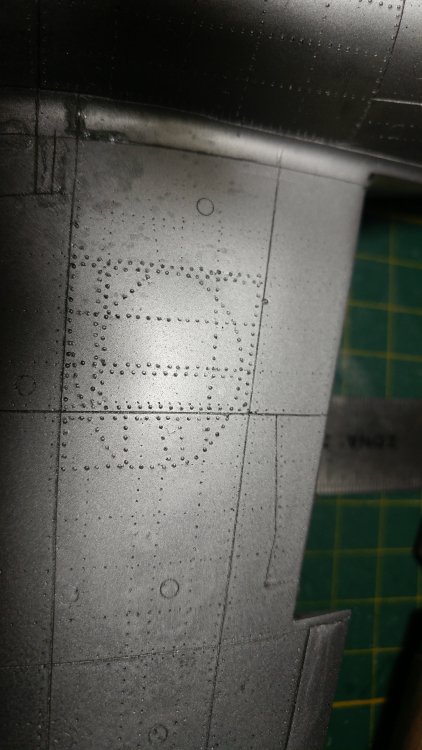
Thank You Peter, as I said the basic assembly went super fast due the very nature of the super glue and 5 minutes epoxy drying time. The time consuming part is the riveting, I am bleeding patience on air bubbles like a mad man. The real challenge will be detailing of the cockpit and gear bays , relatively visible bits that have to be scratch build. Some riveting pics . The only part left is the top tail section of the fuselage, then lots of repairs . here is the banana tail here a weak spot, the shape and scribing of this top cover drives me nuts, I might fill it and describe it, not just yet... this is going to be very cool, you can see the difference between the new circular rivets and the old , semi-filled squarish ones


-
-
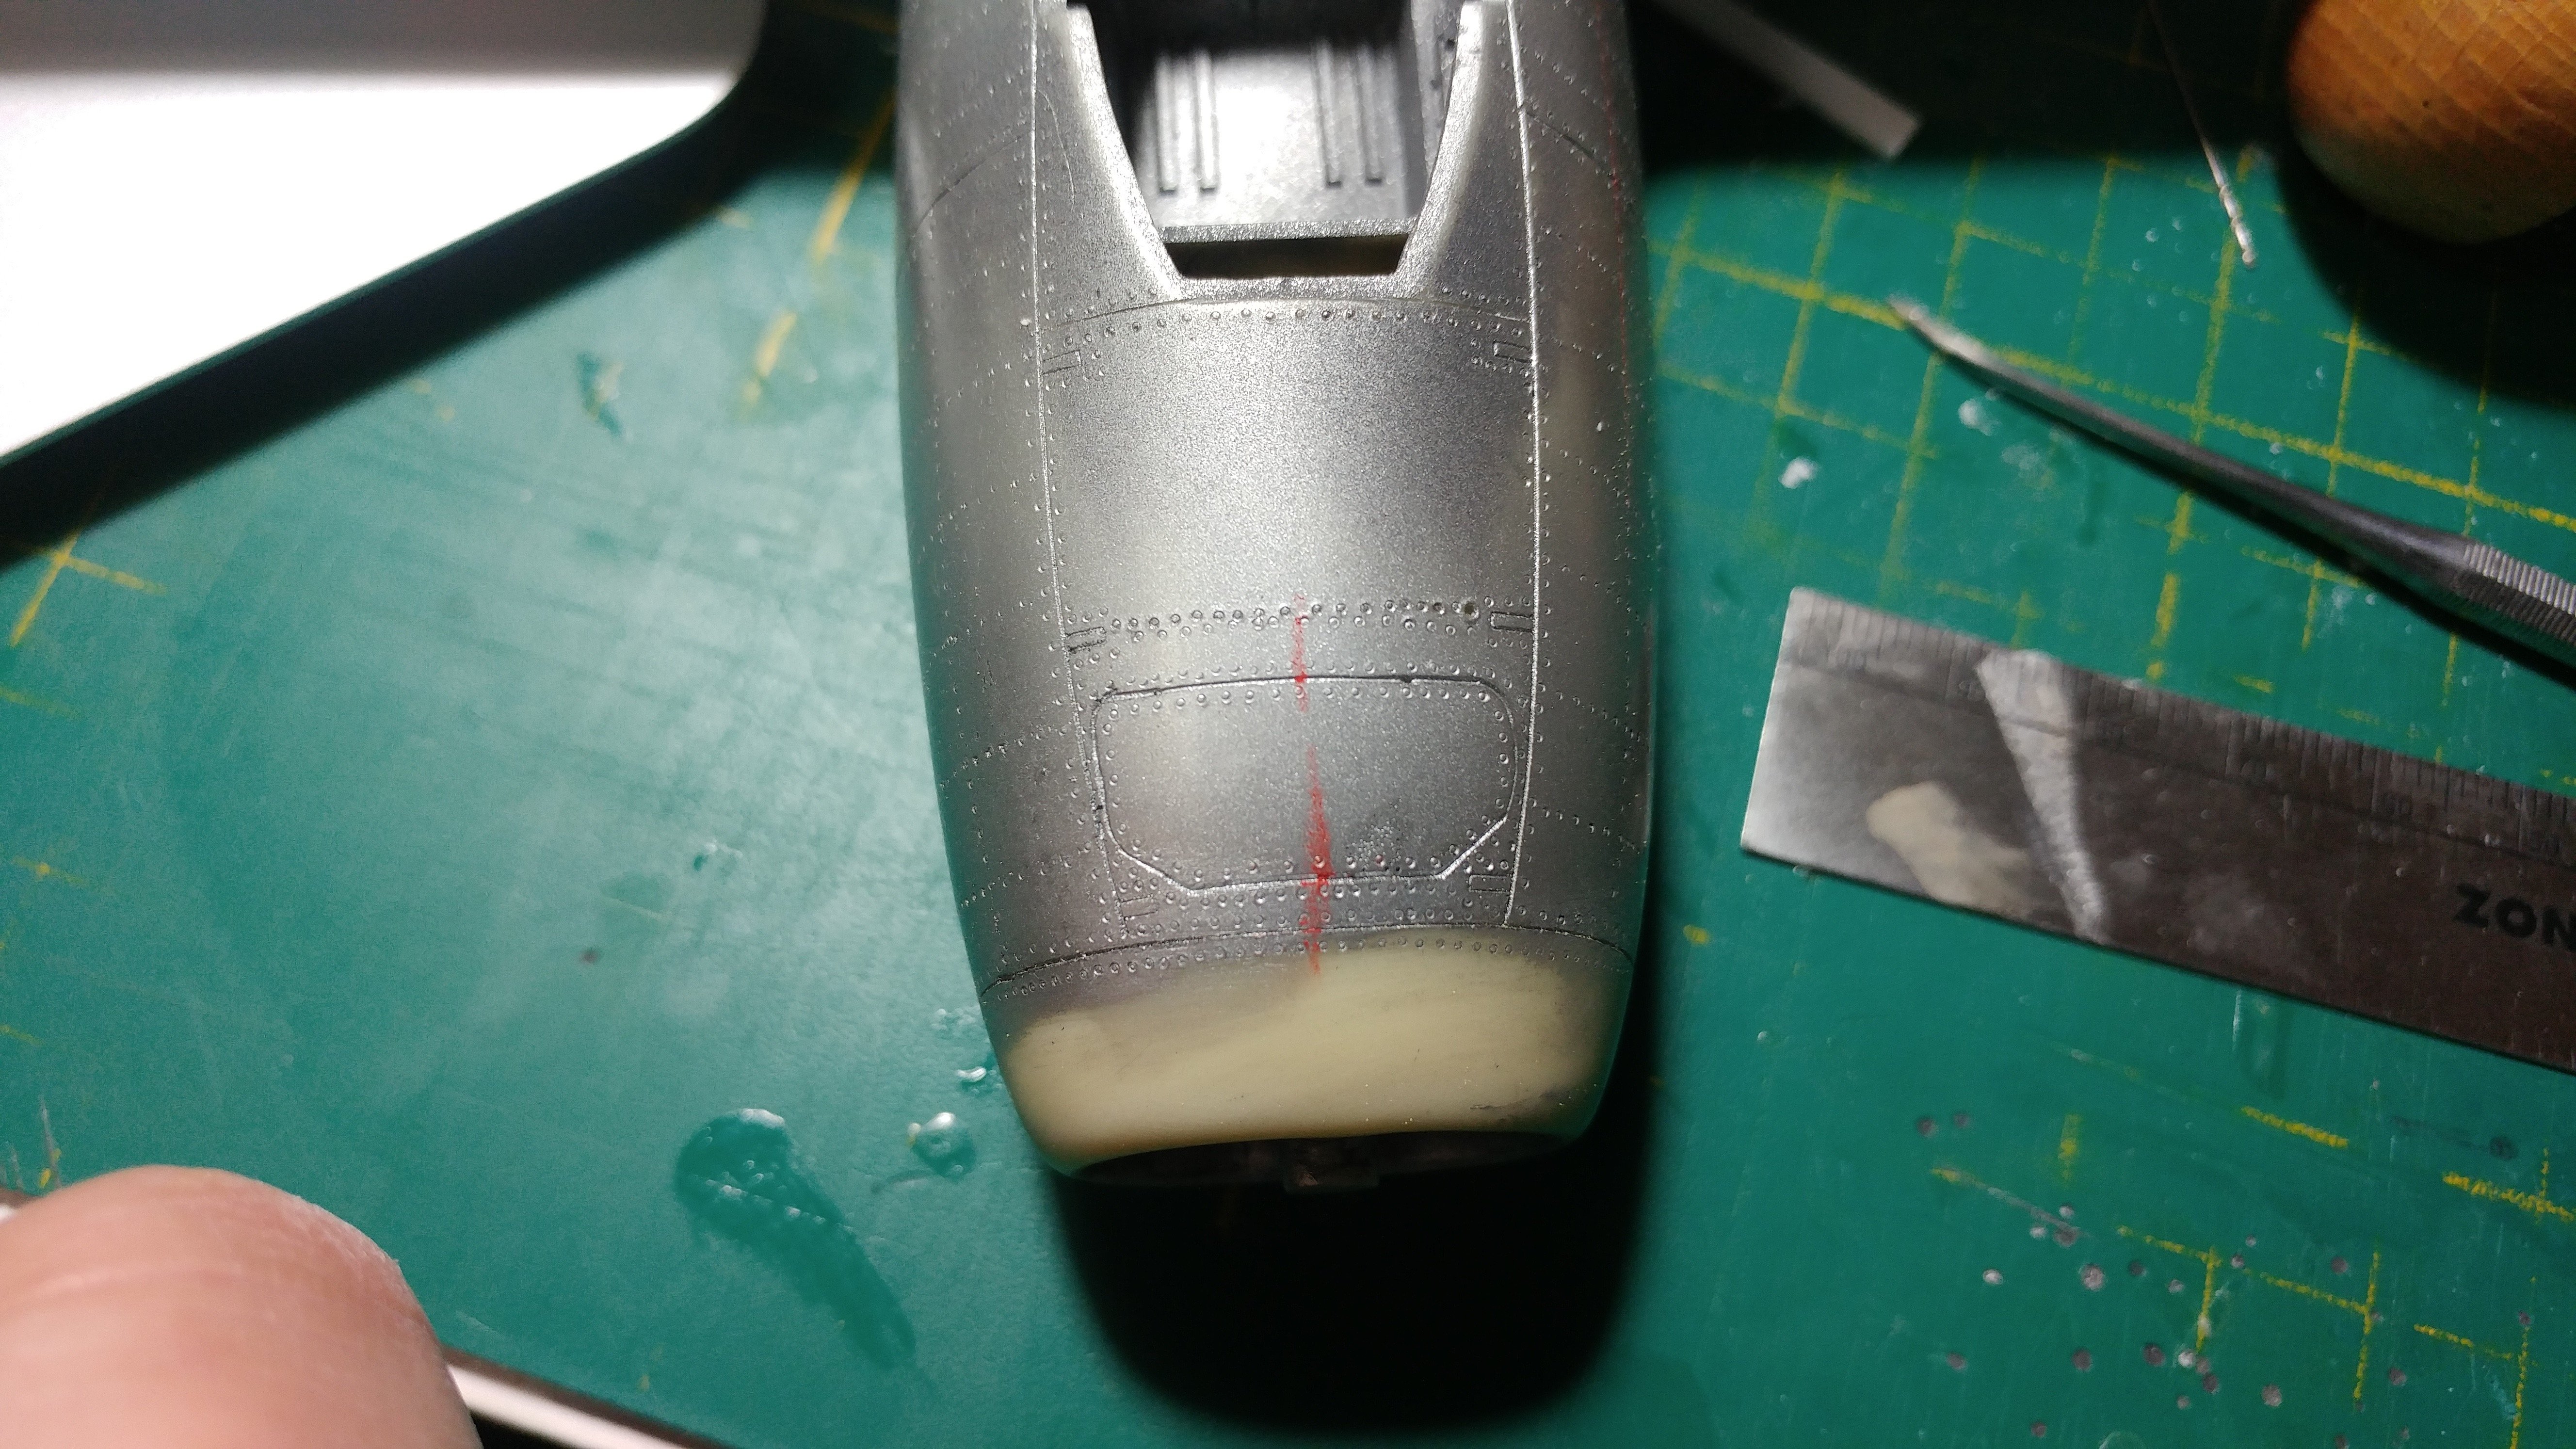
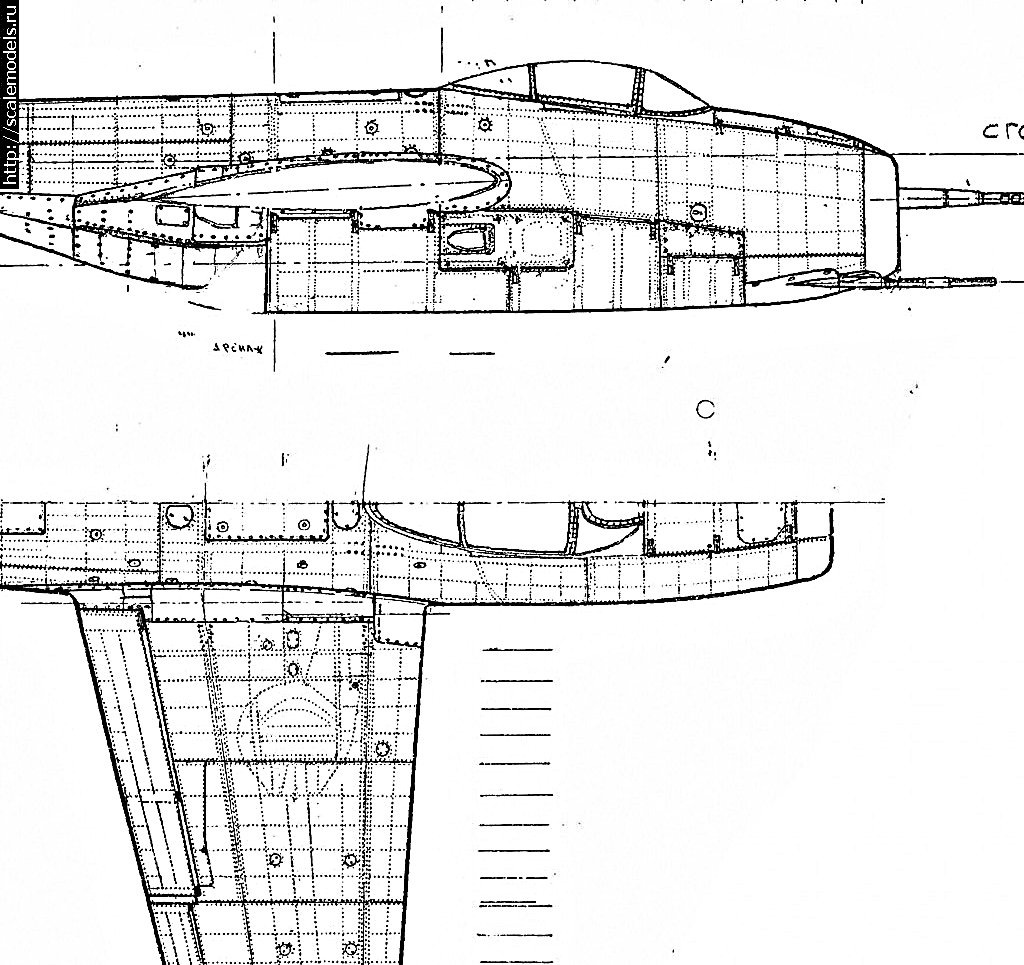
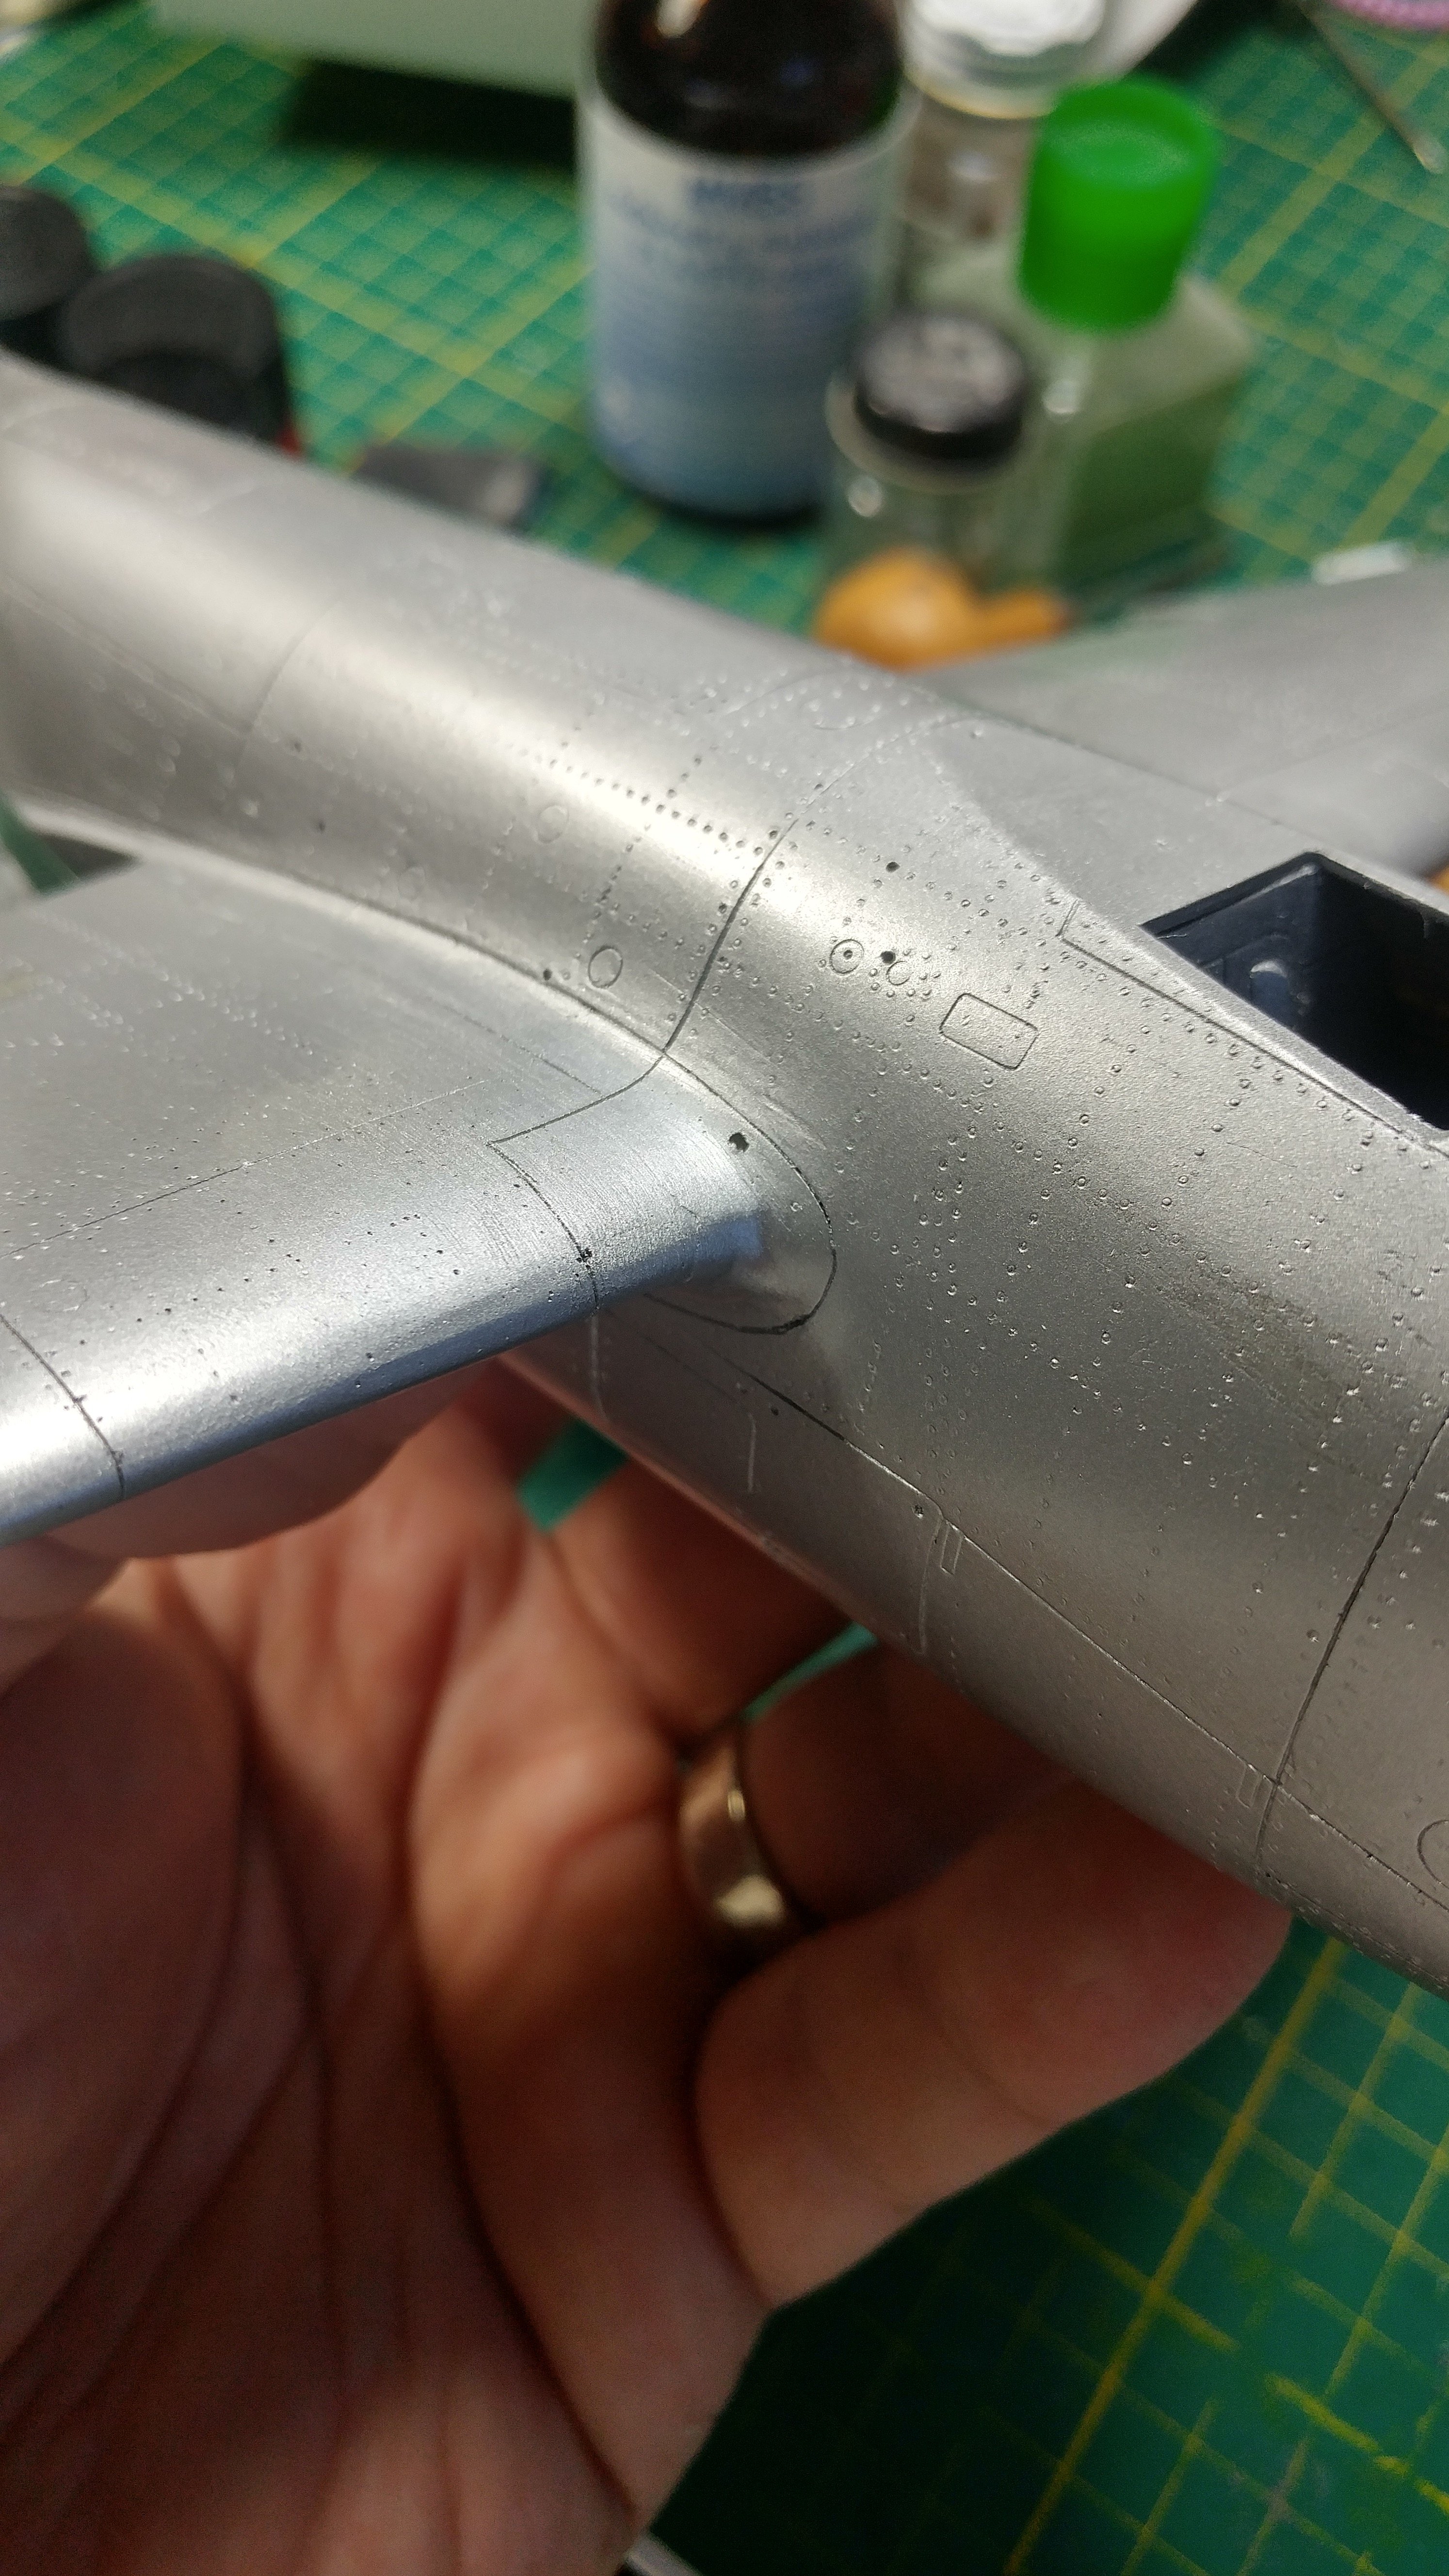
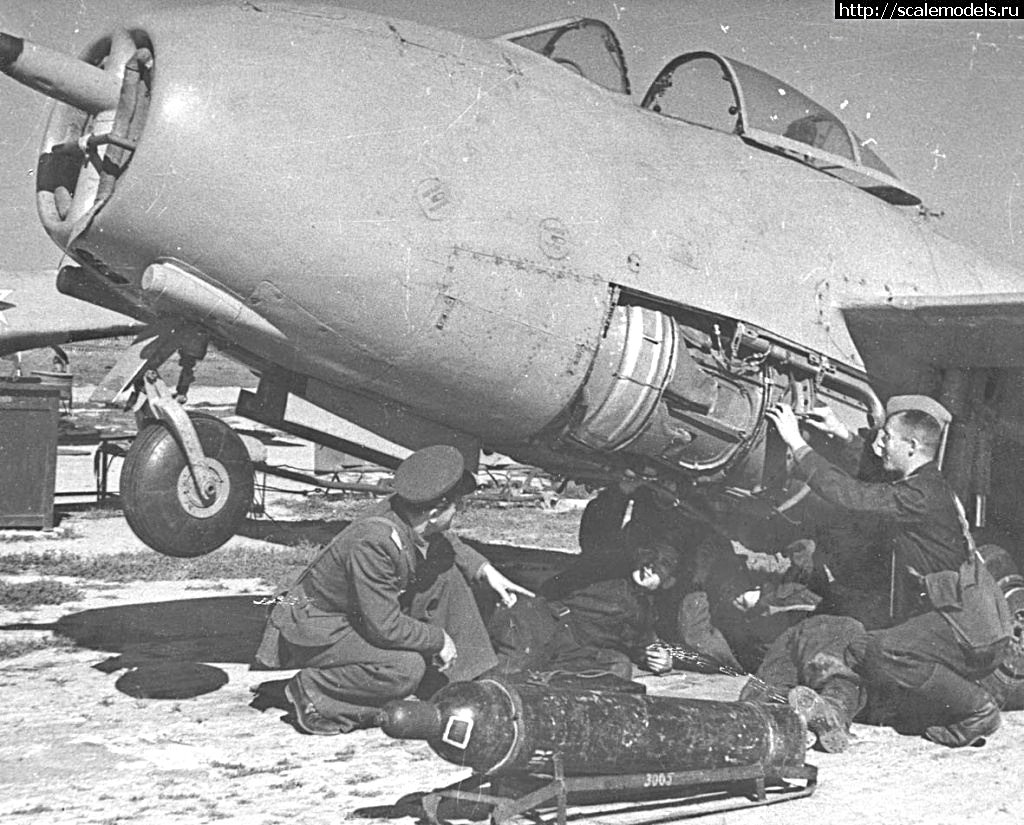
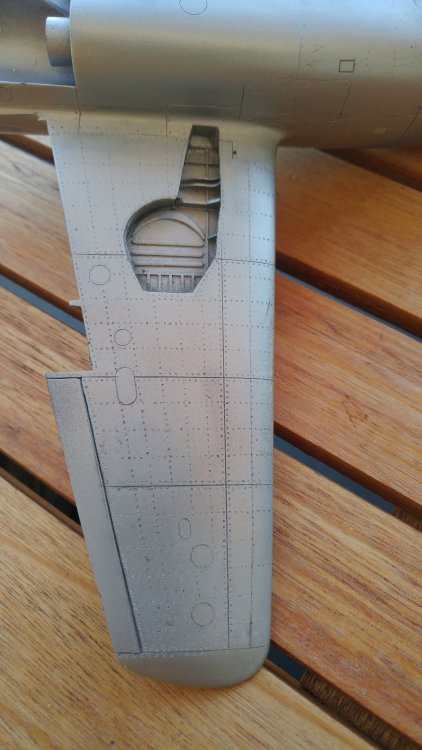
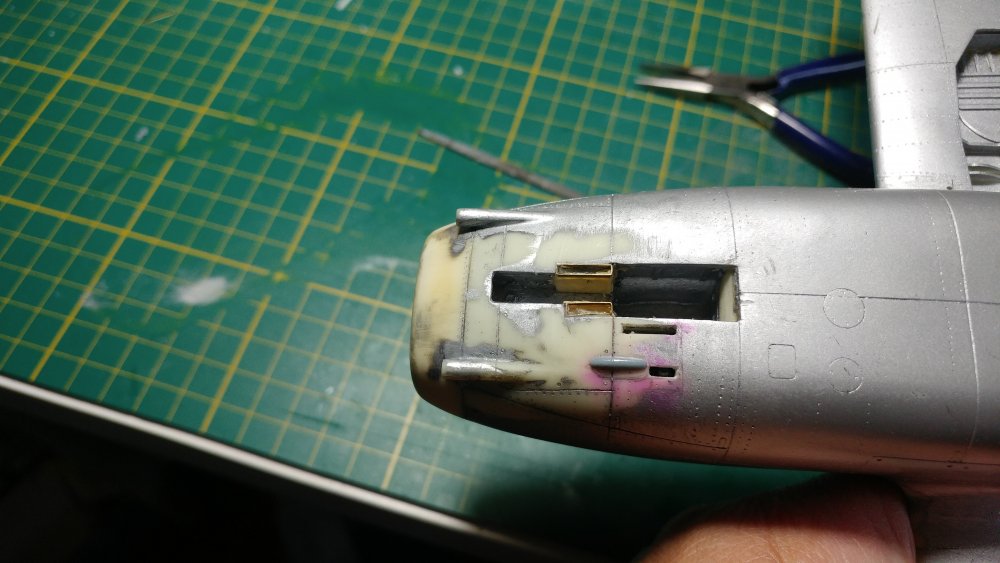
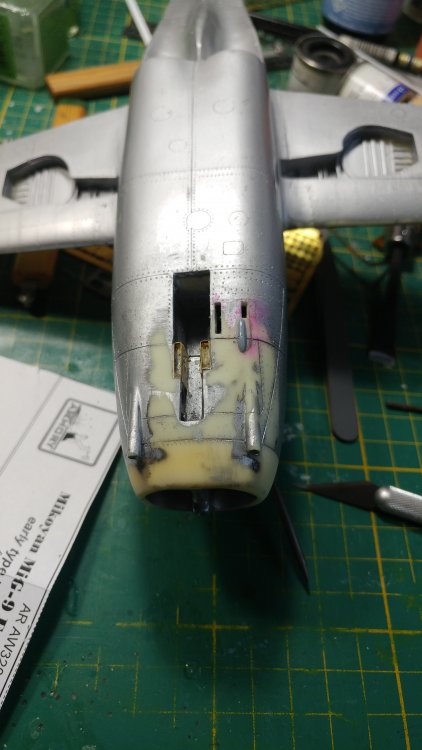
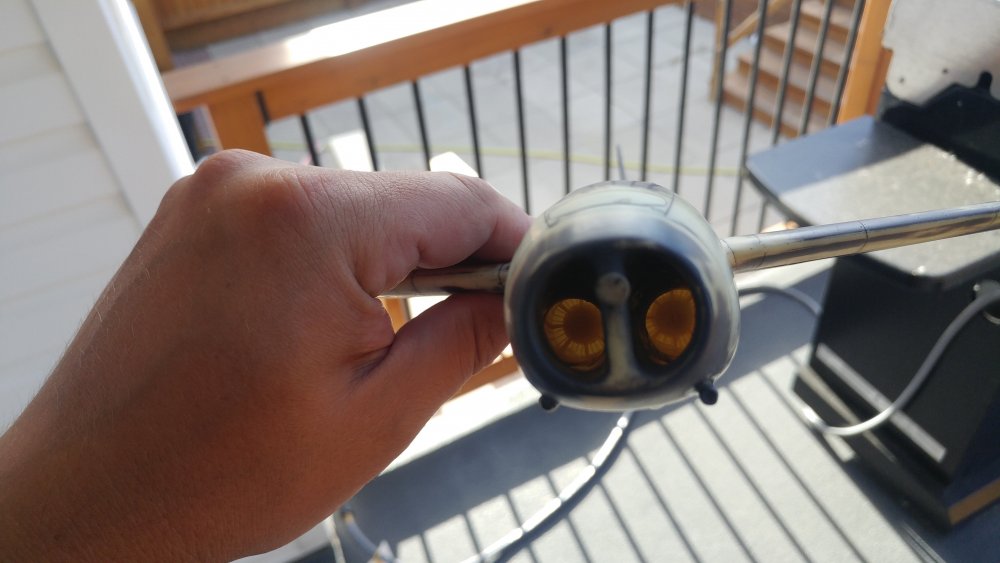
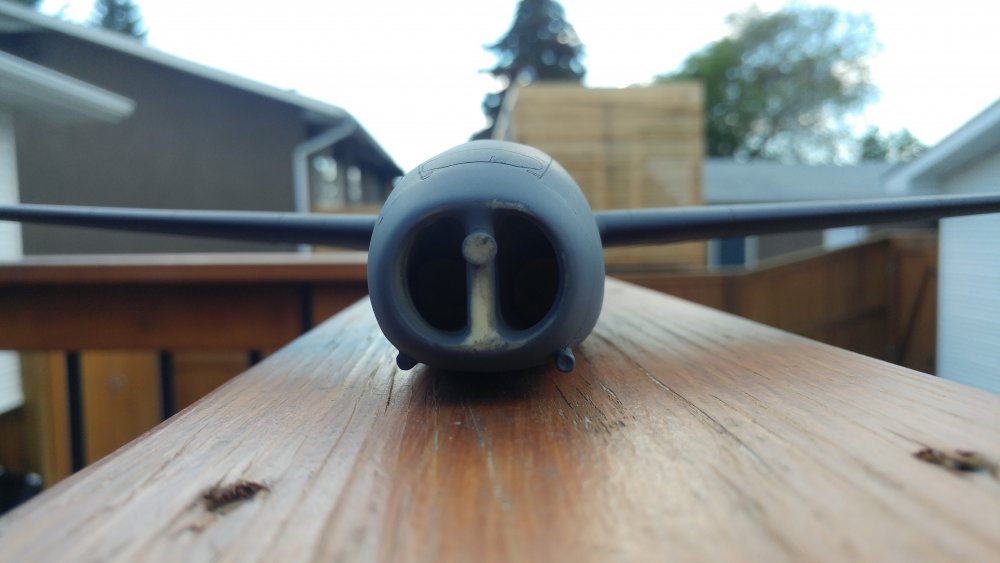
The area around the front undercarriage is quite complex, due the asymmetrical placement of the cartridge ejection ports. This detail is completely omitted on the model, so it had to be recreated, more cutting sanding to follow. Naturally the doors have different shape as well.
-
Thank You Mike, I have some treat for you too....well, in the near future

-
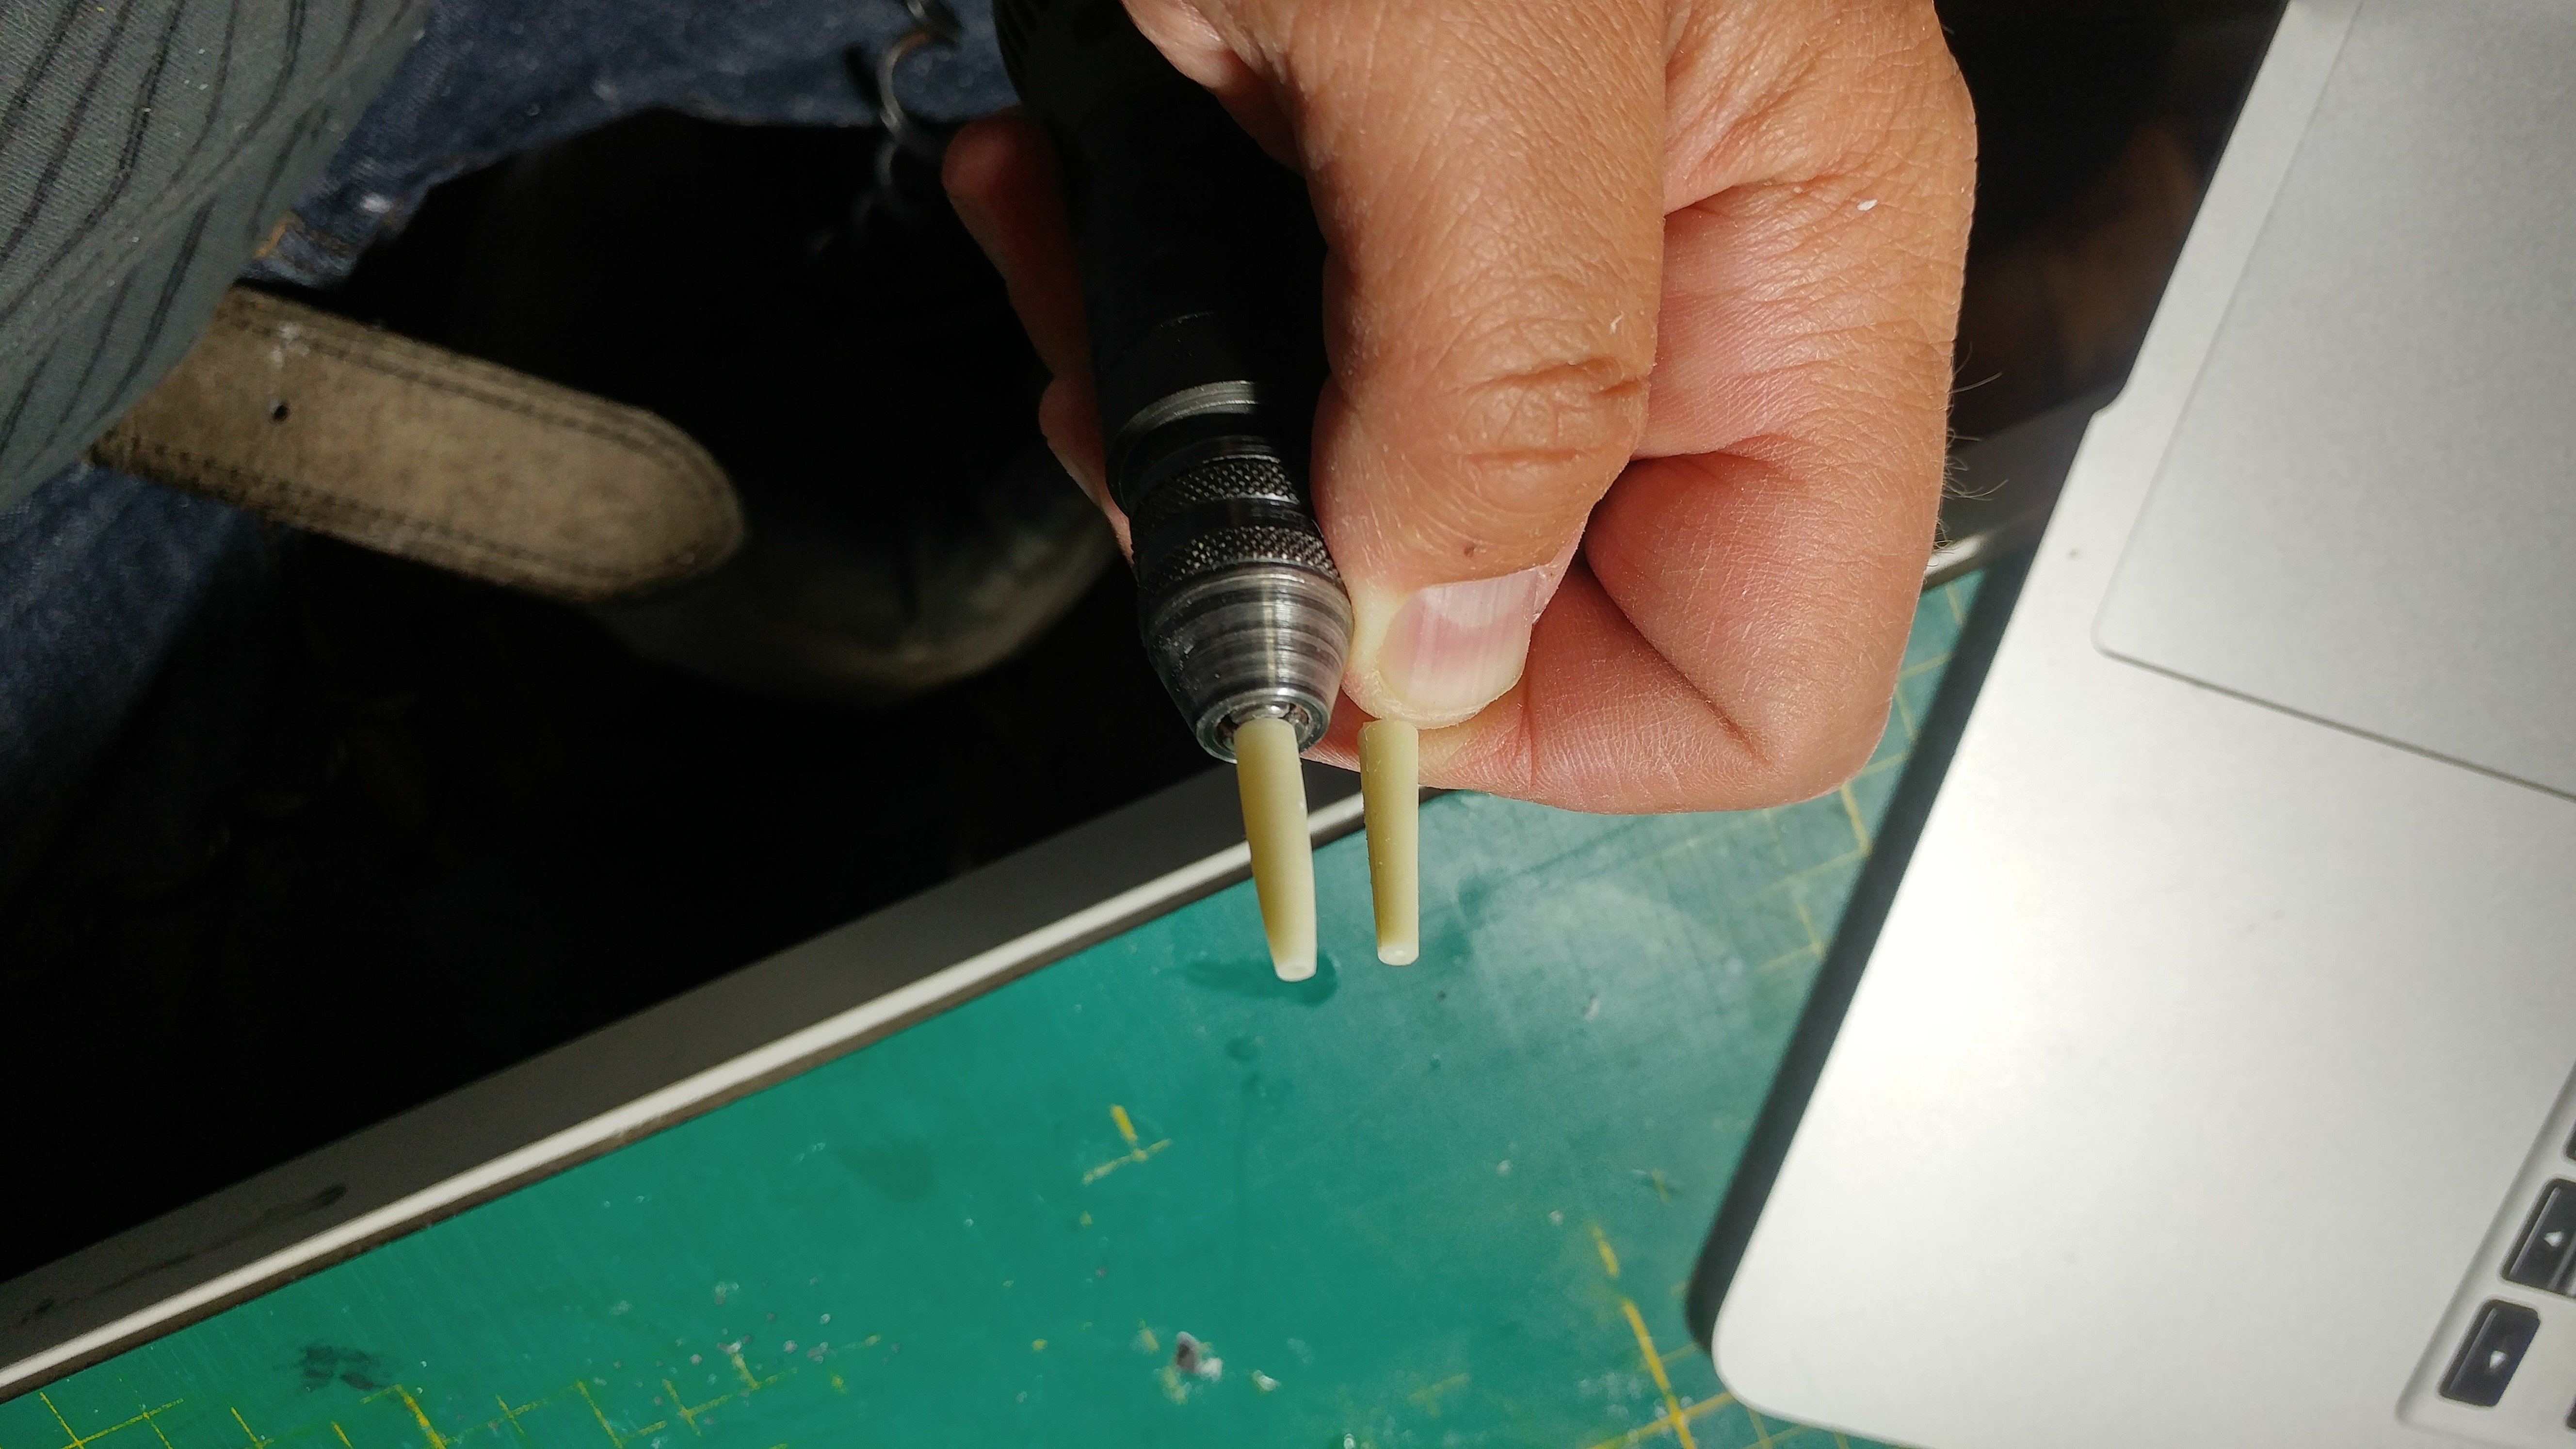
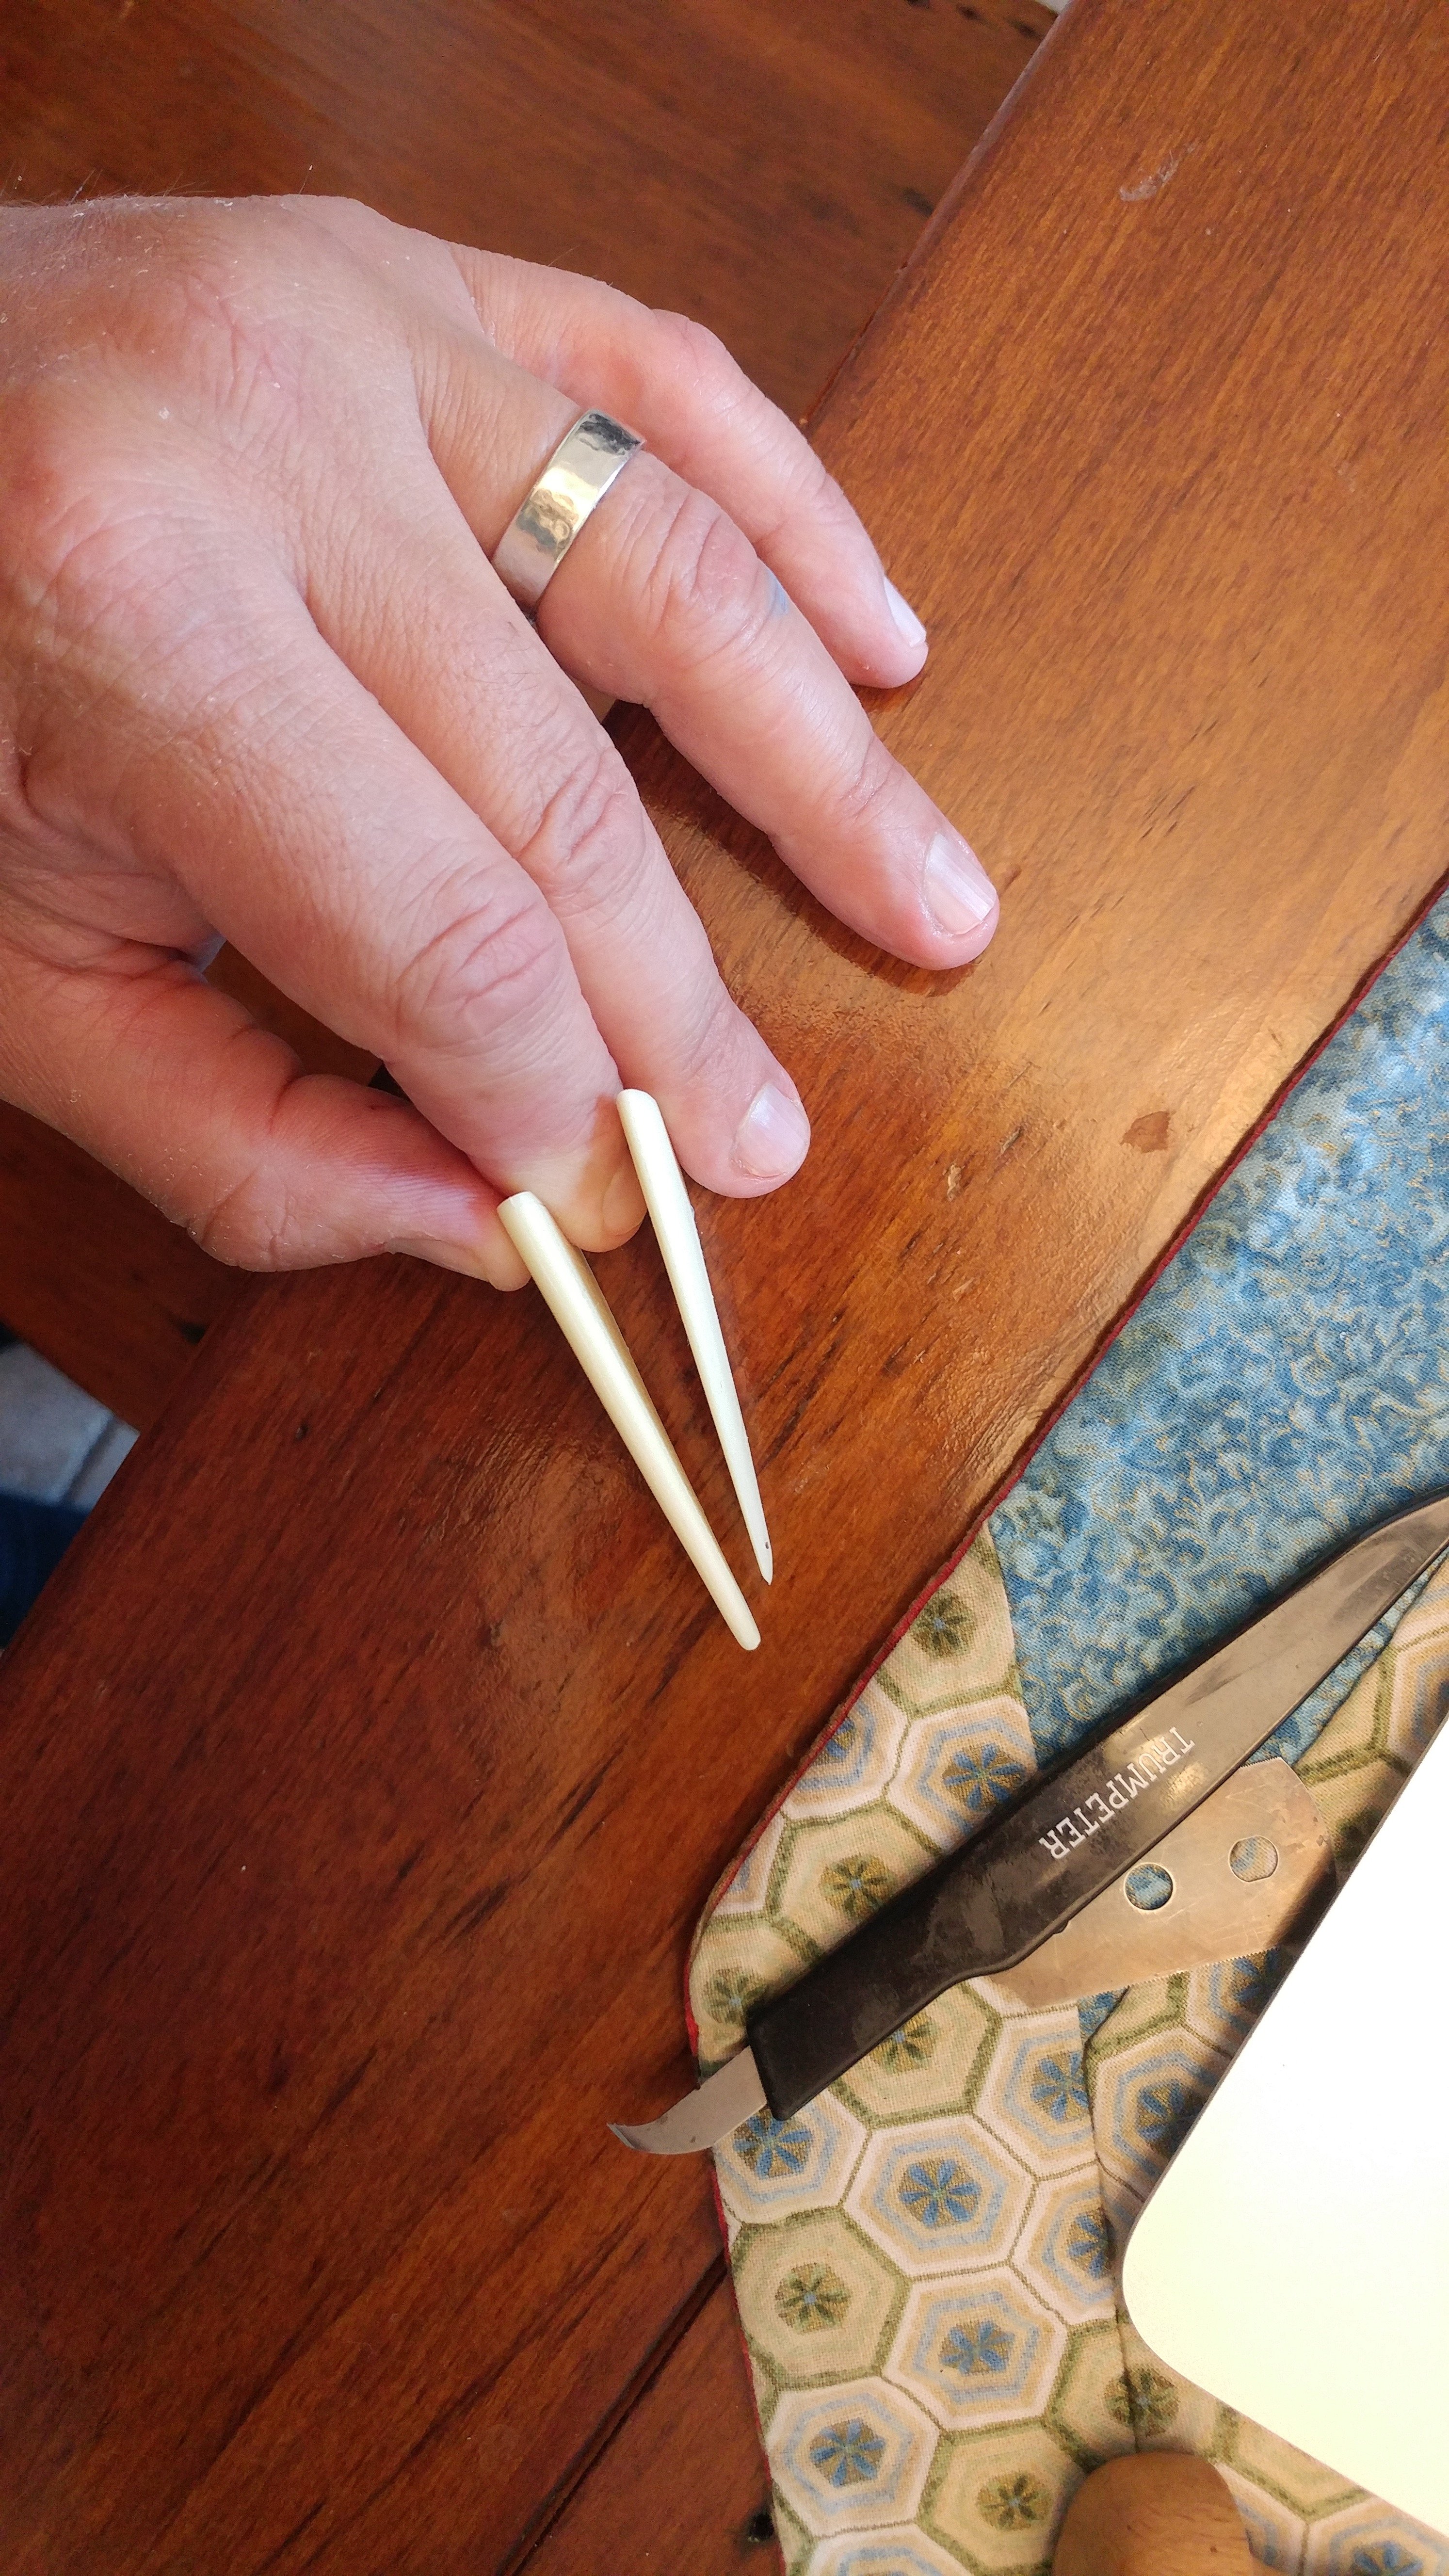
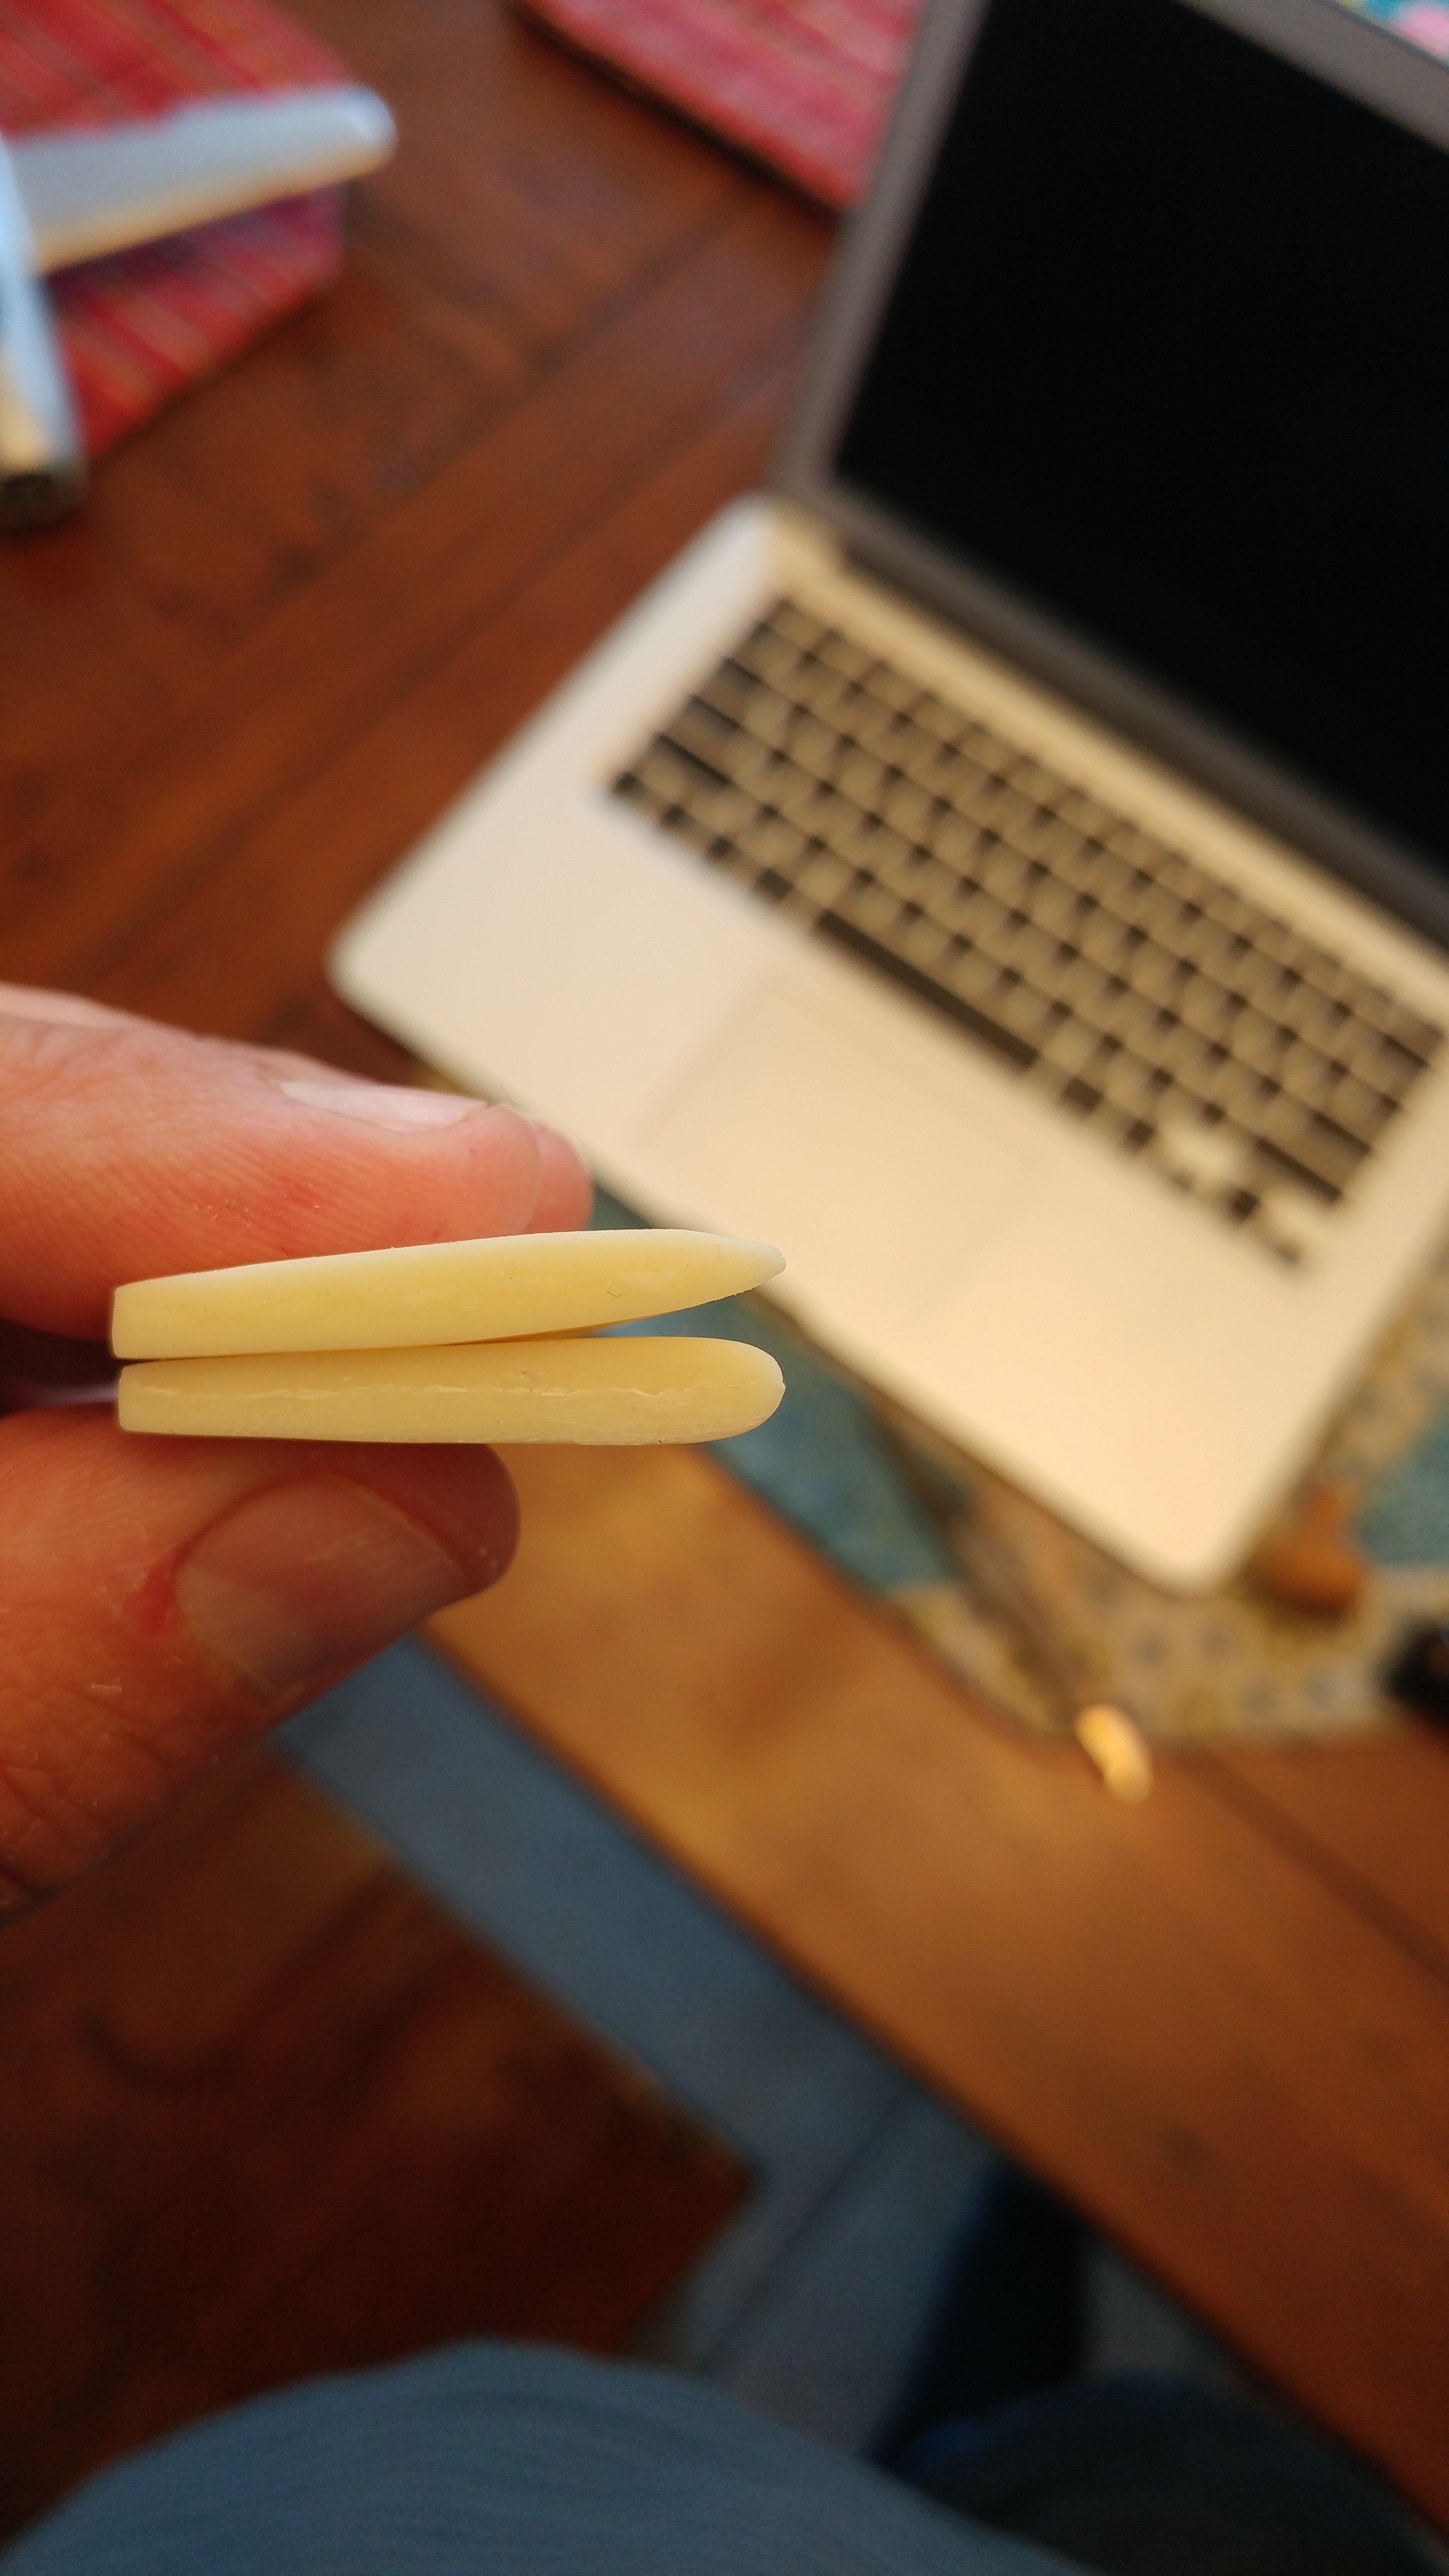
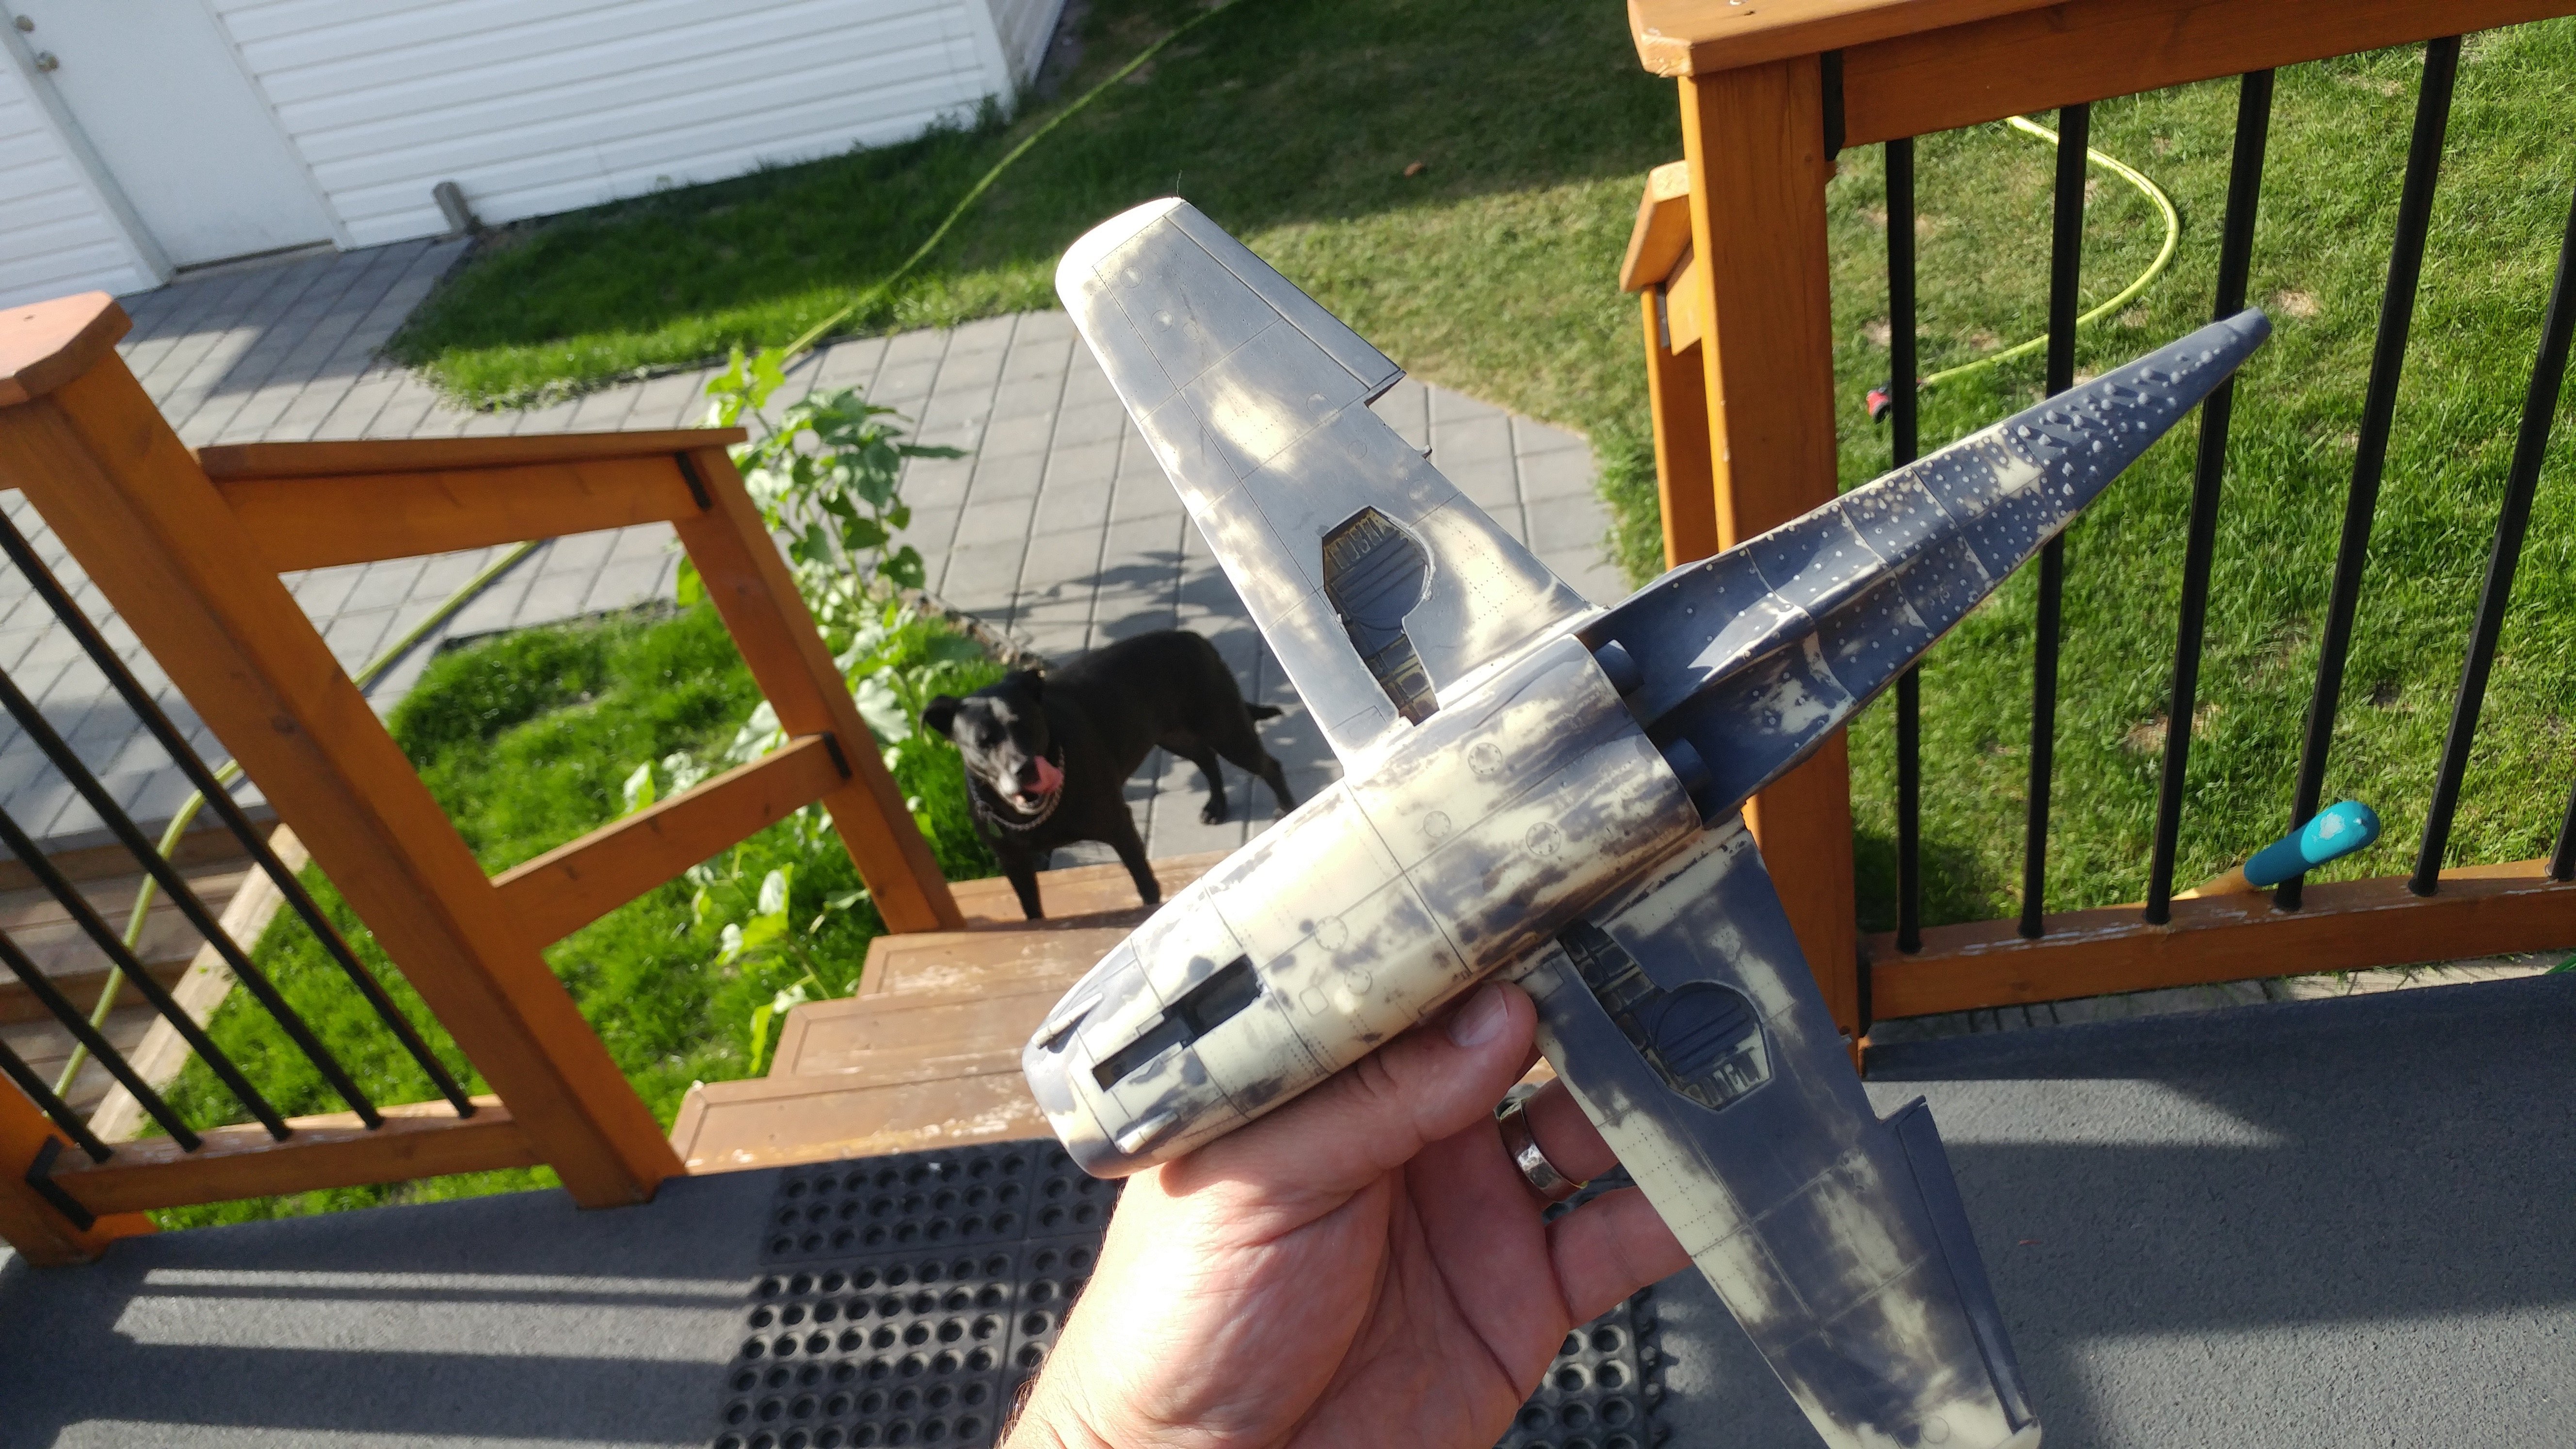
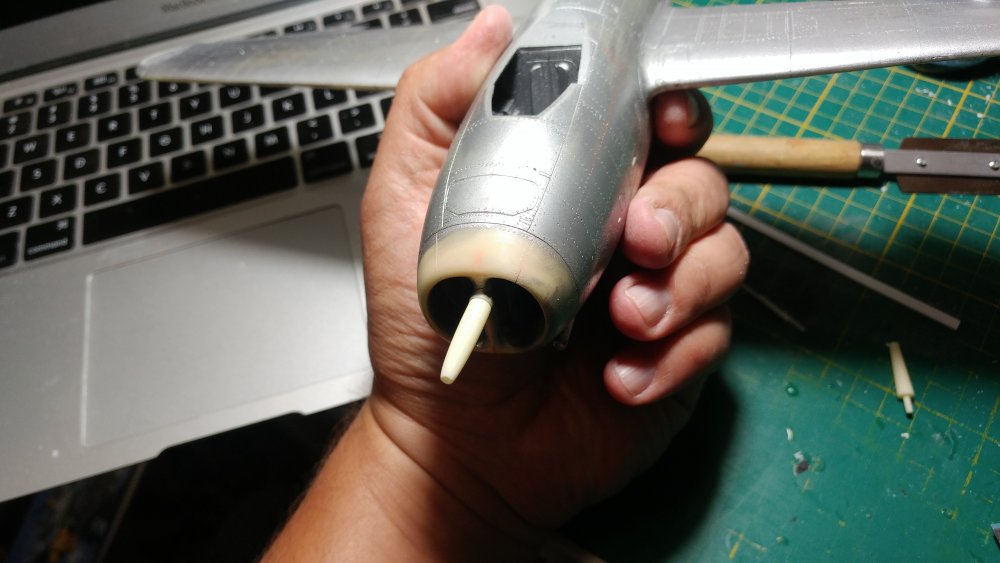
Some work on the main gun assembly :), the rest of the show will be provided by Master Barrels Mig-17 N-37 Nudelman 37mm gun tip. You might also wonder , what am I going to do with those two 23mm tentacles, well I have a cunning plan,,,, TBC


-
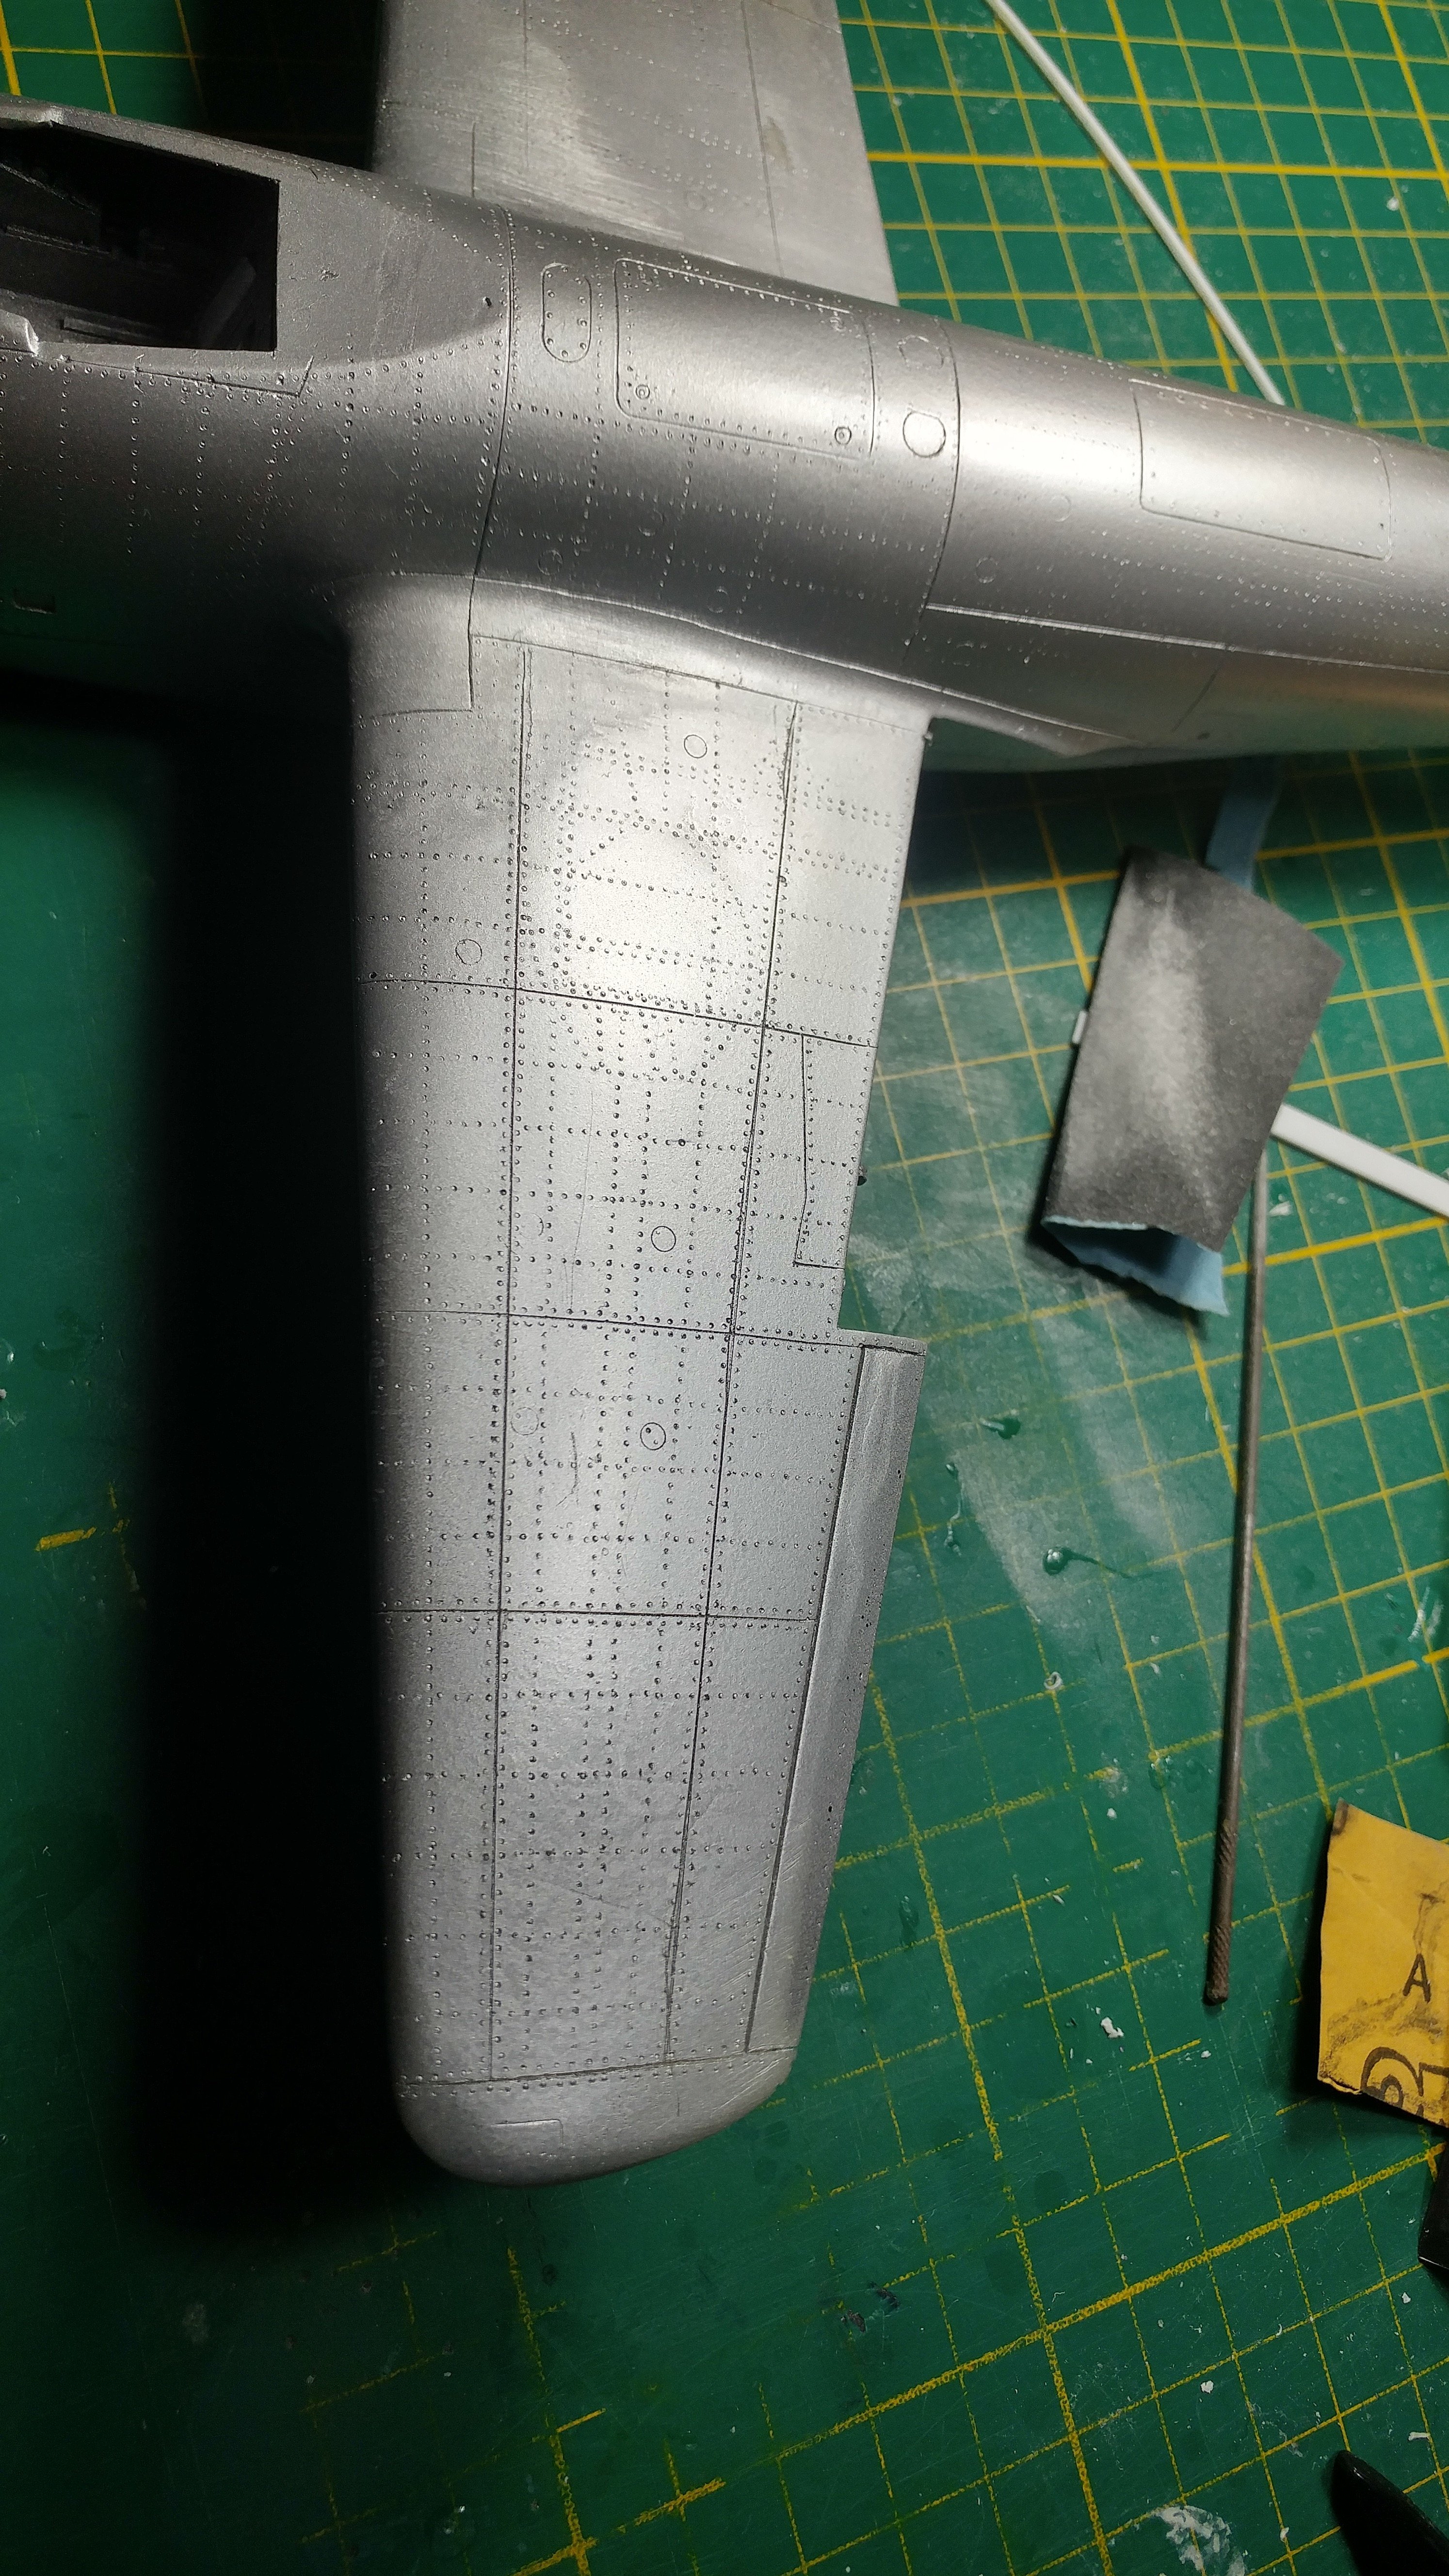
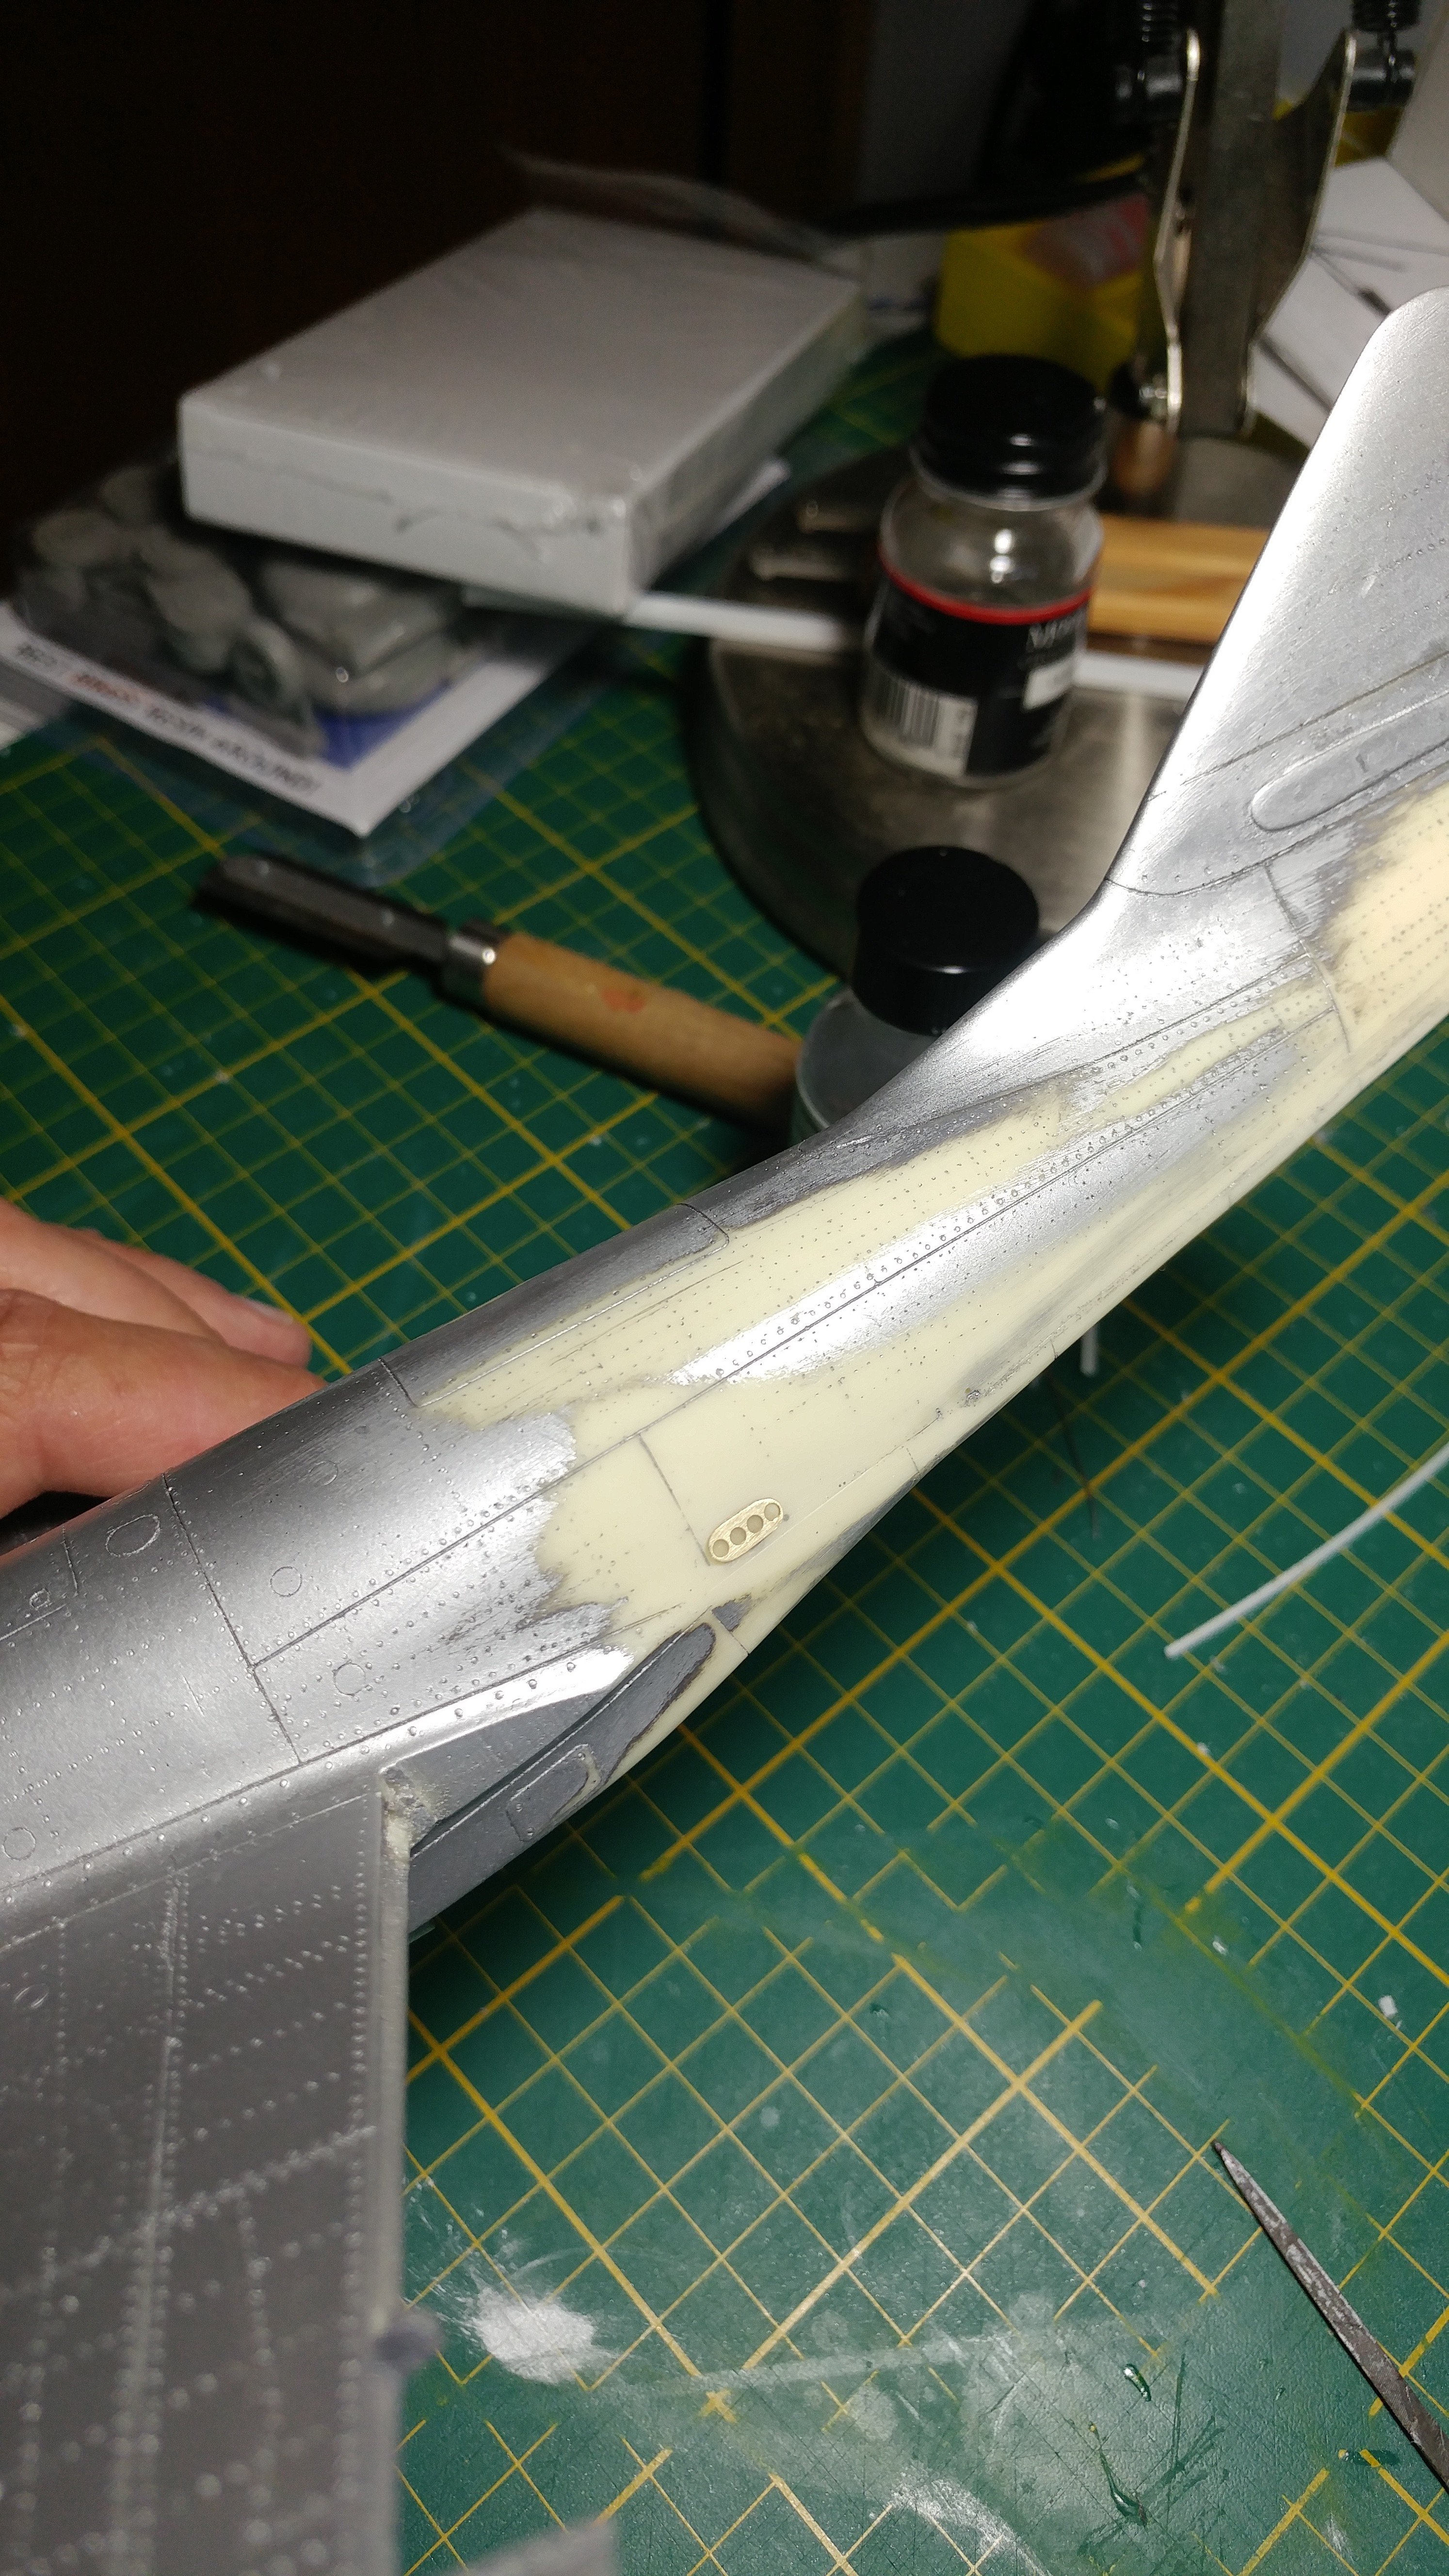
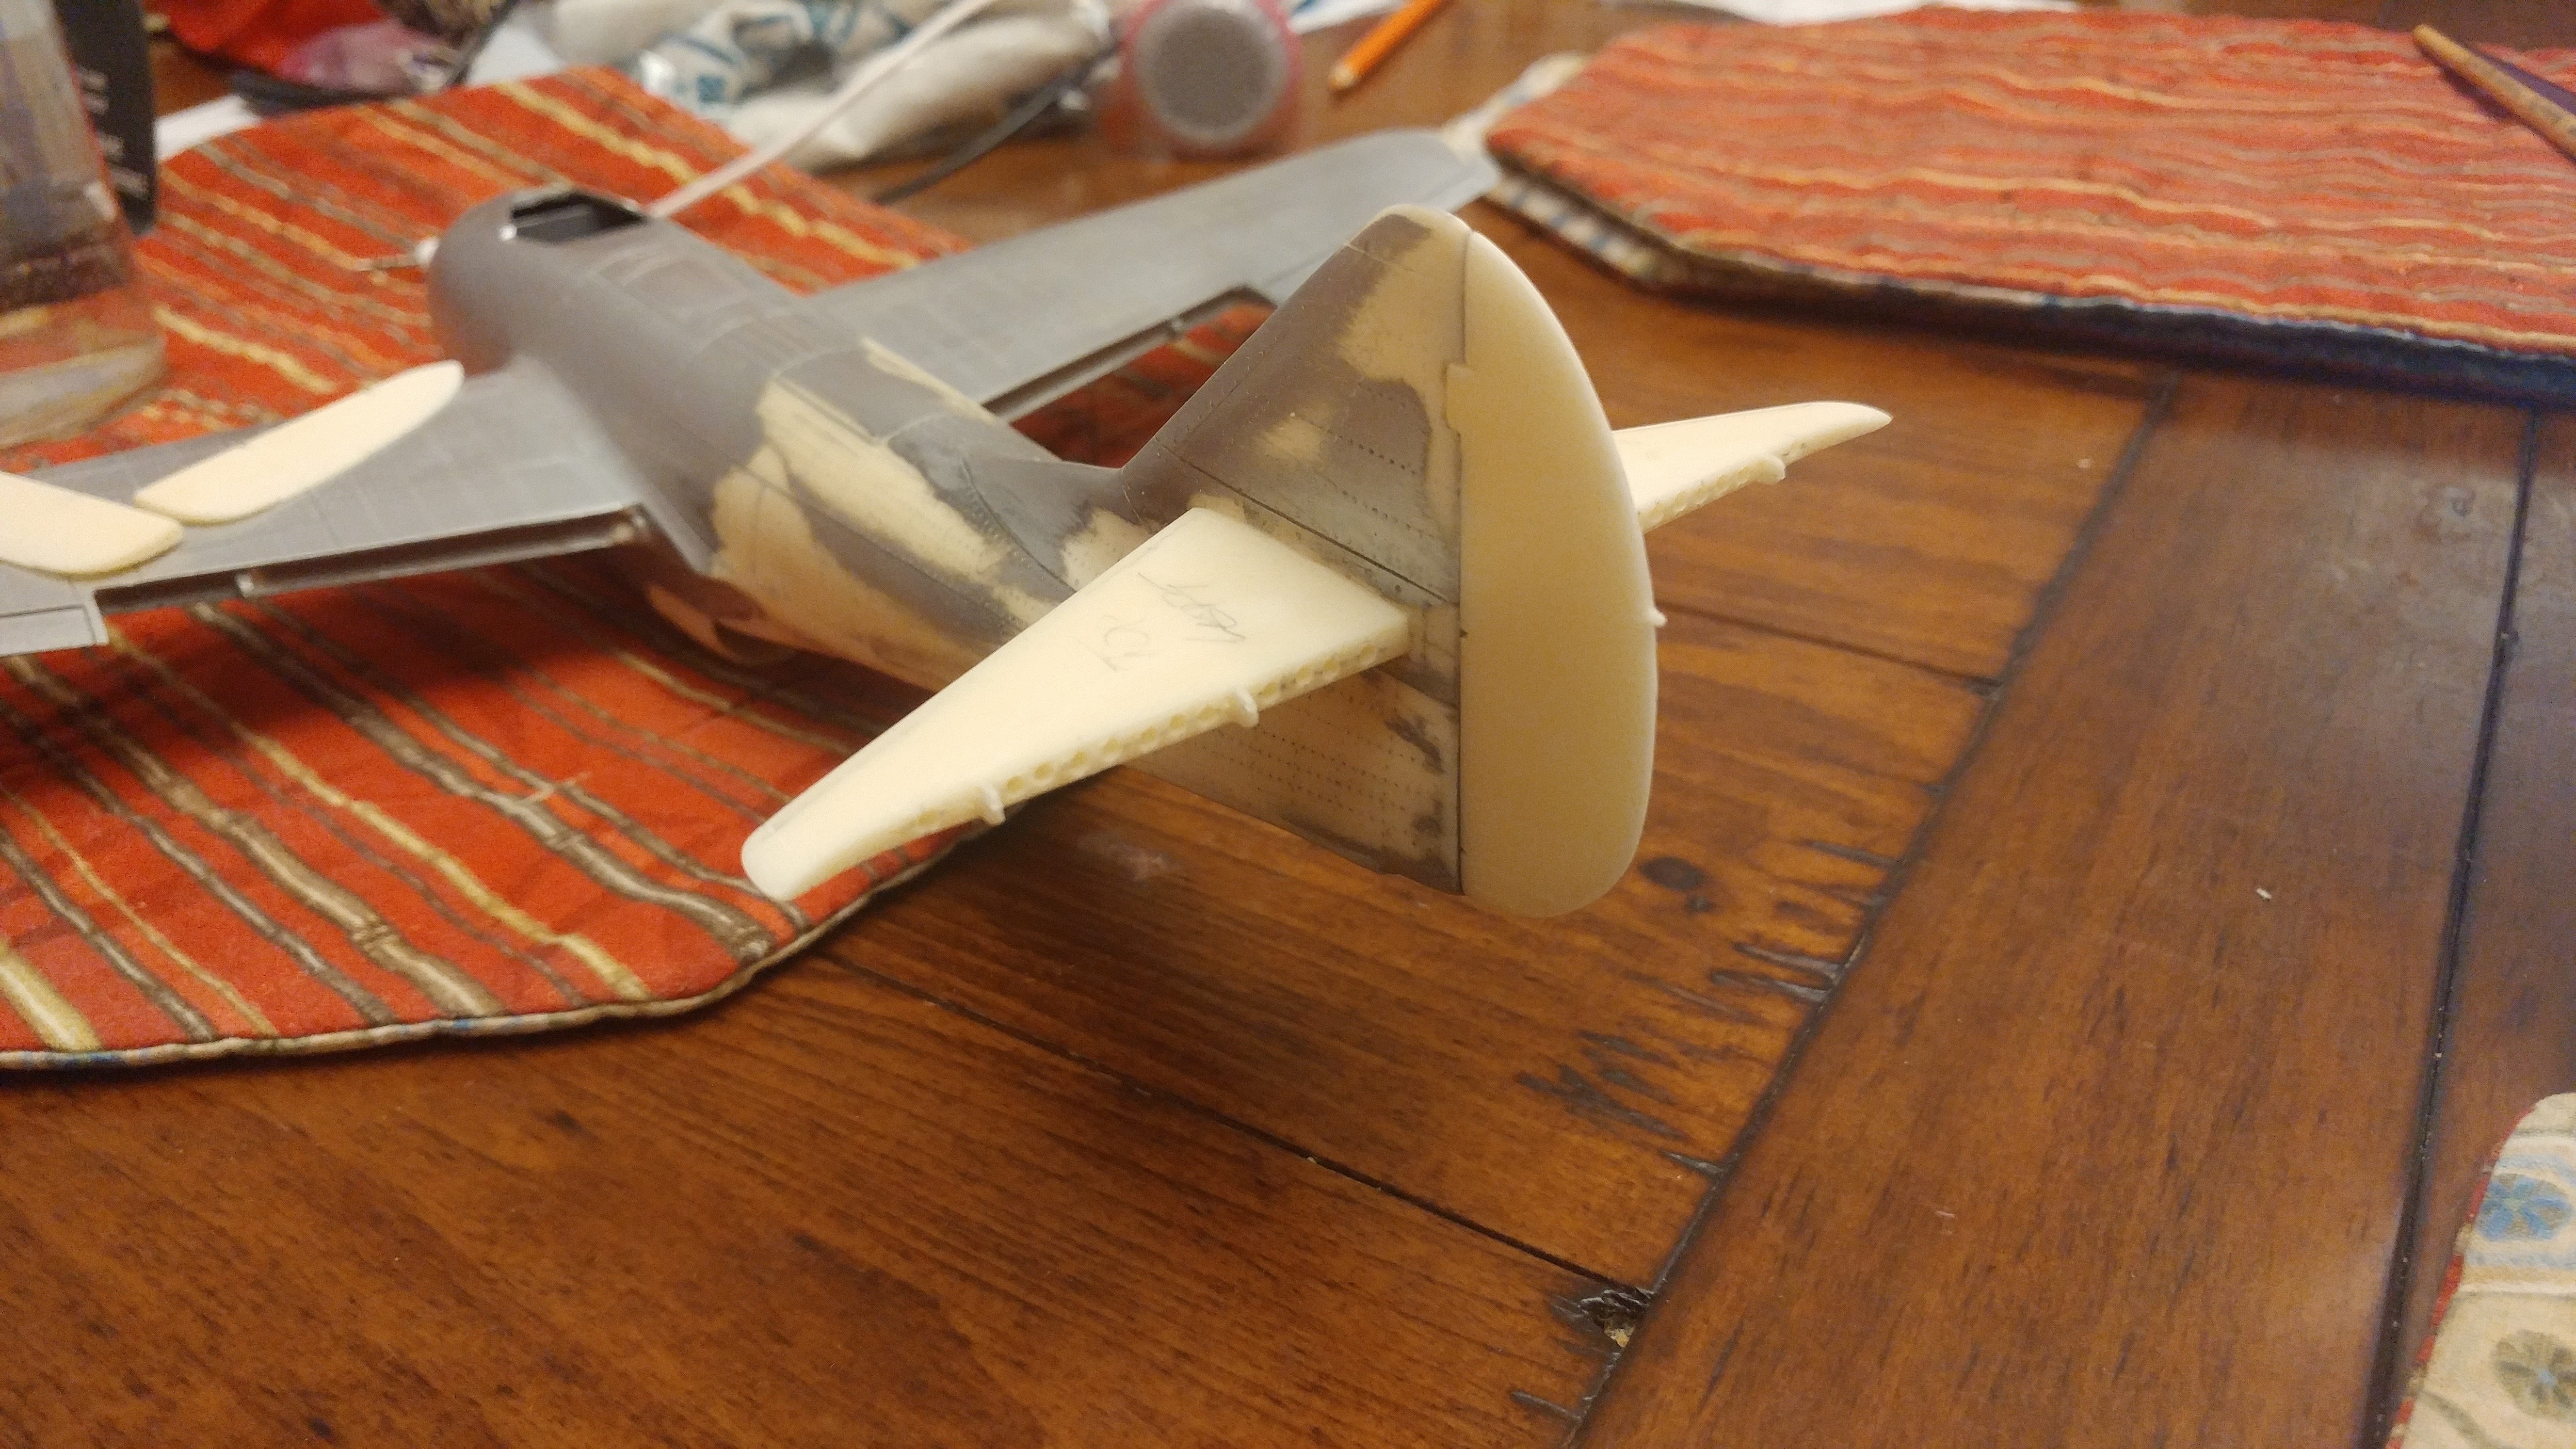
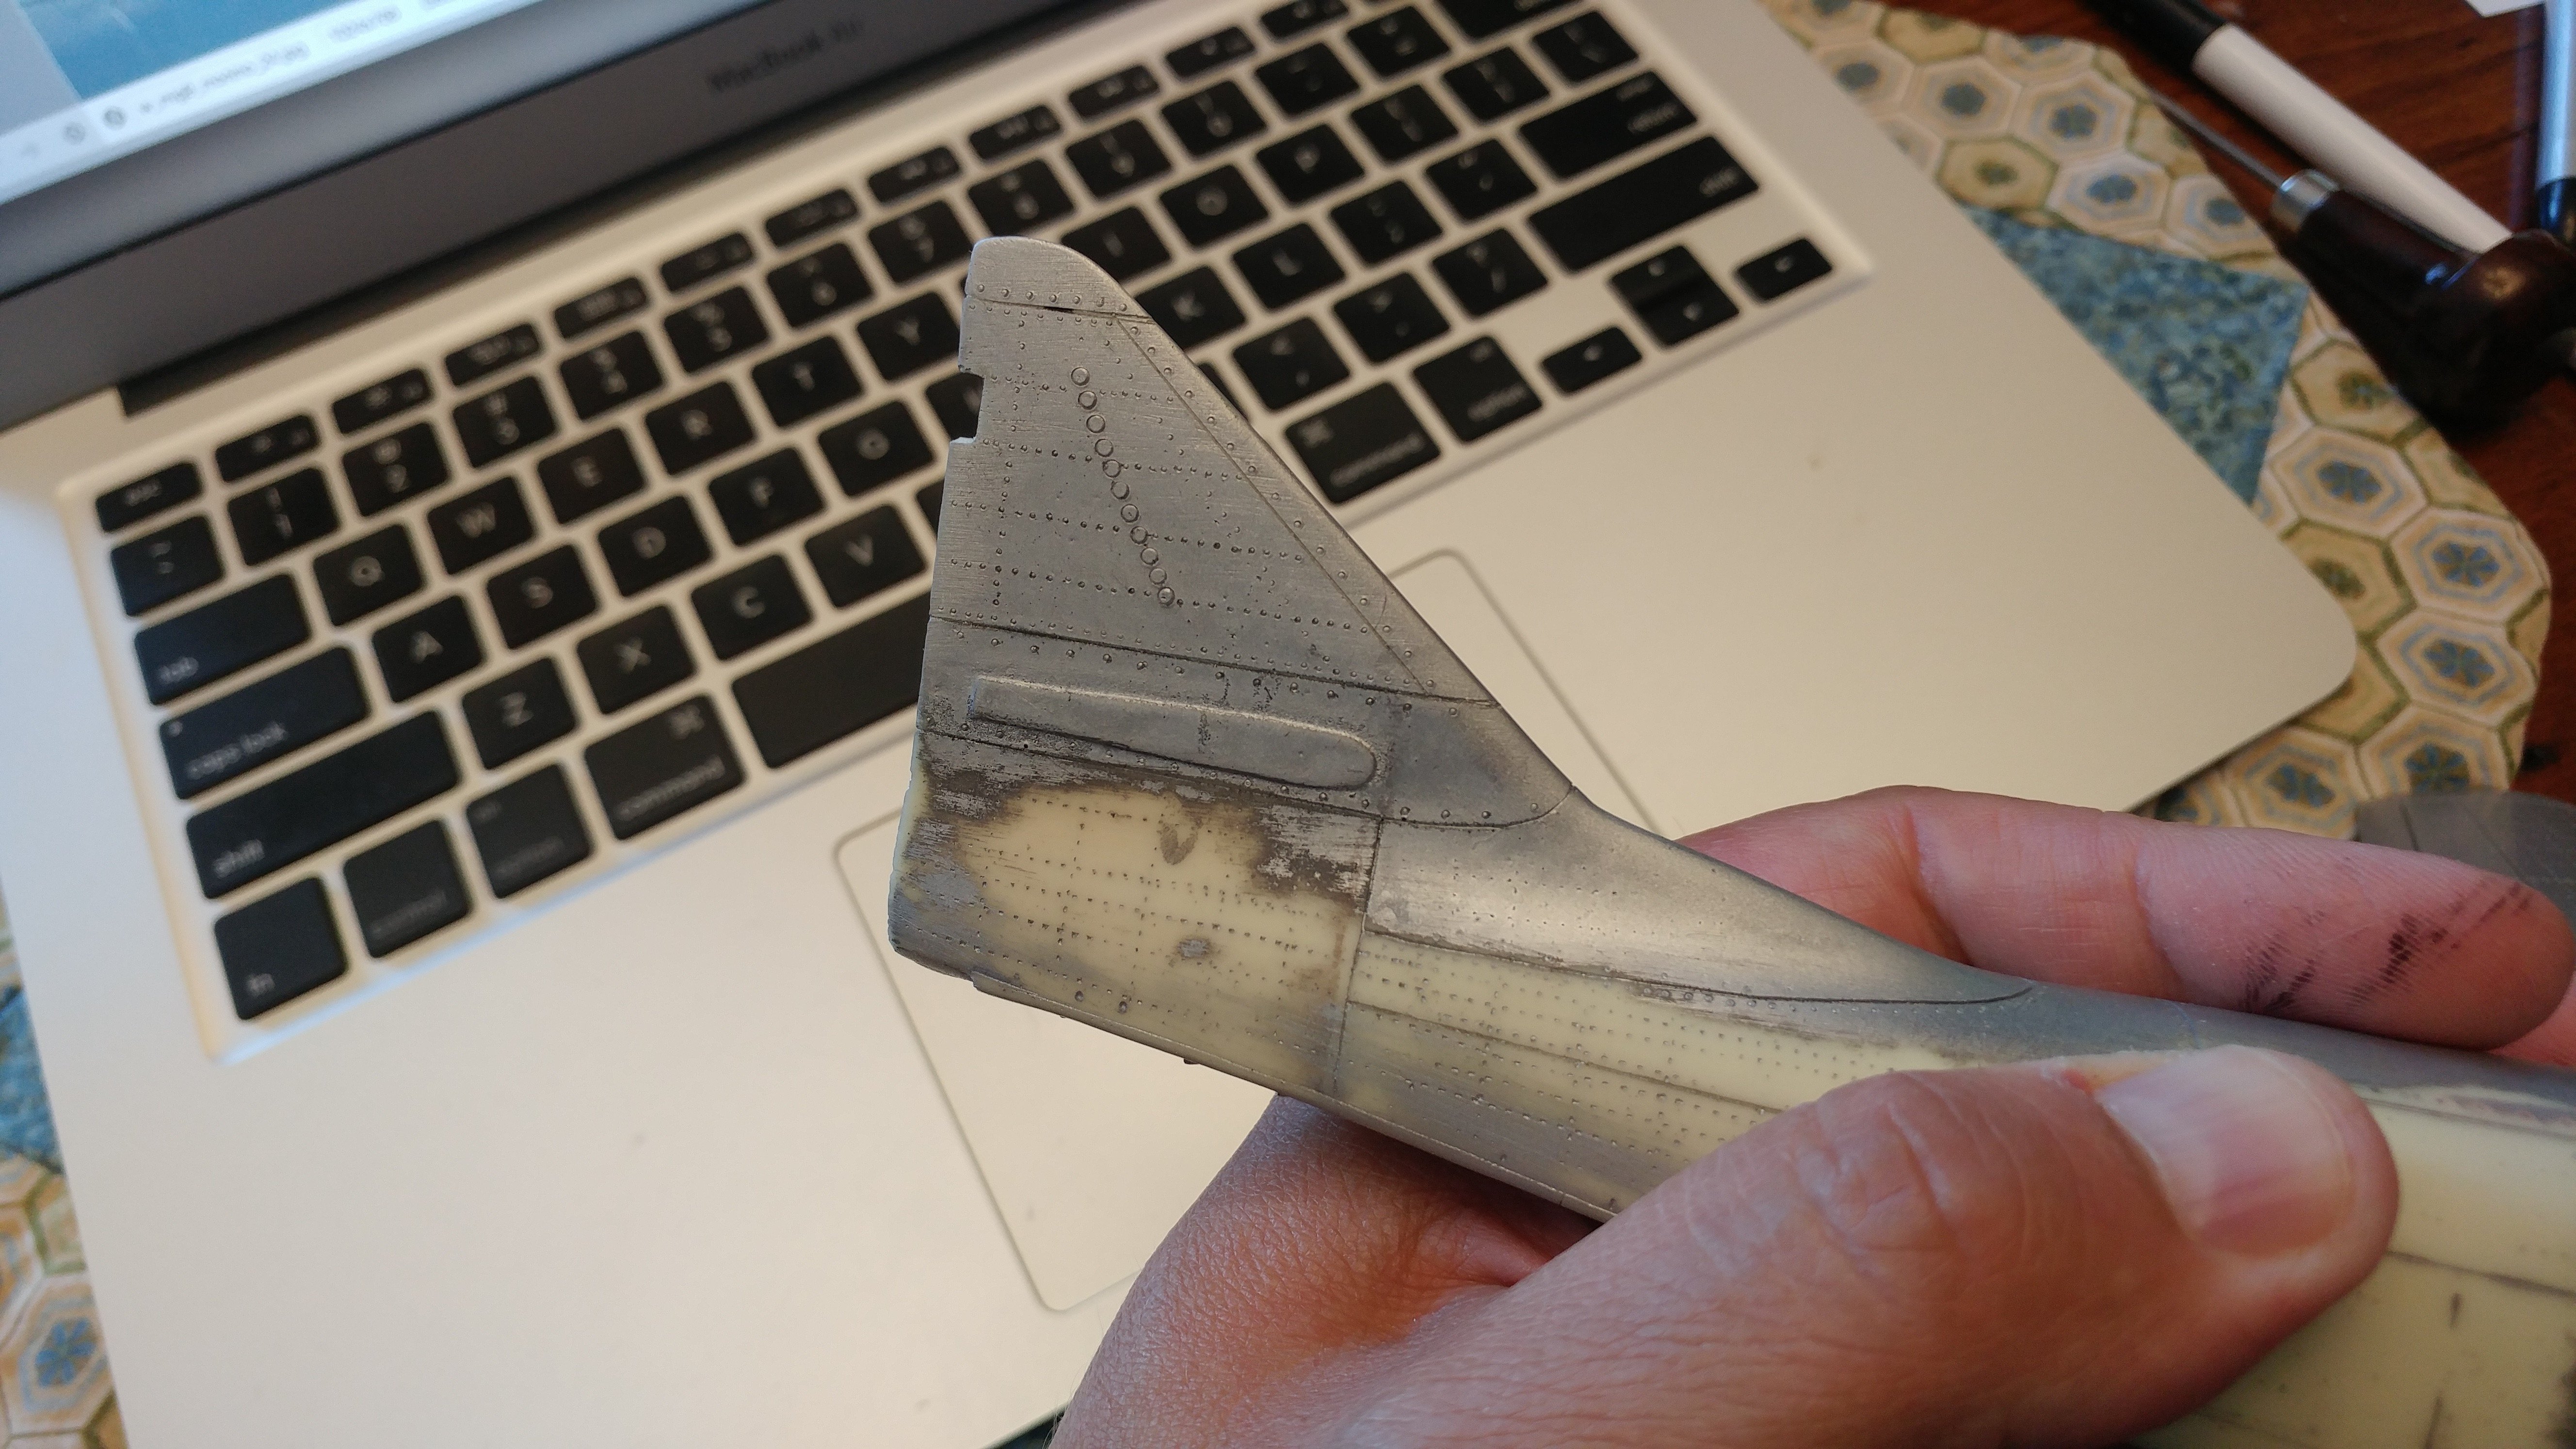
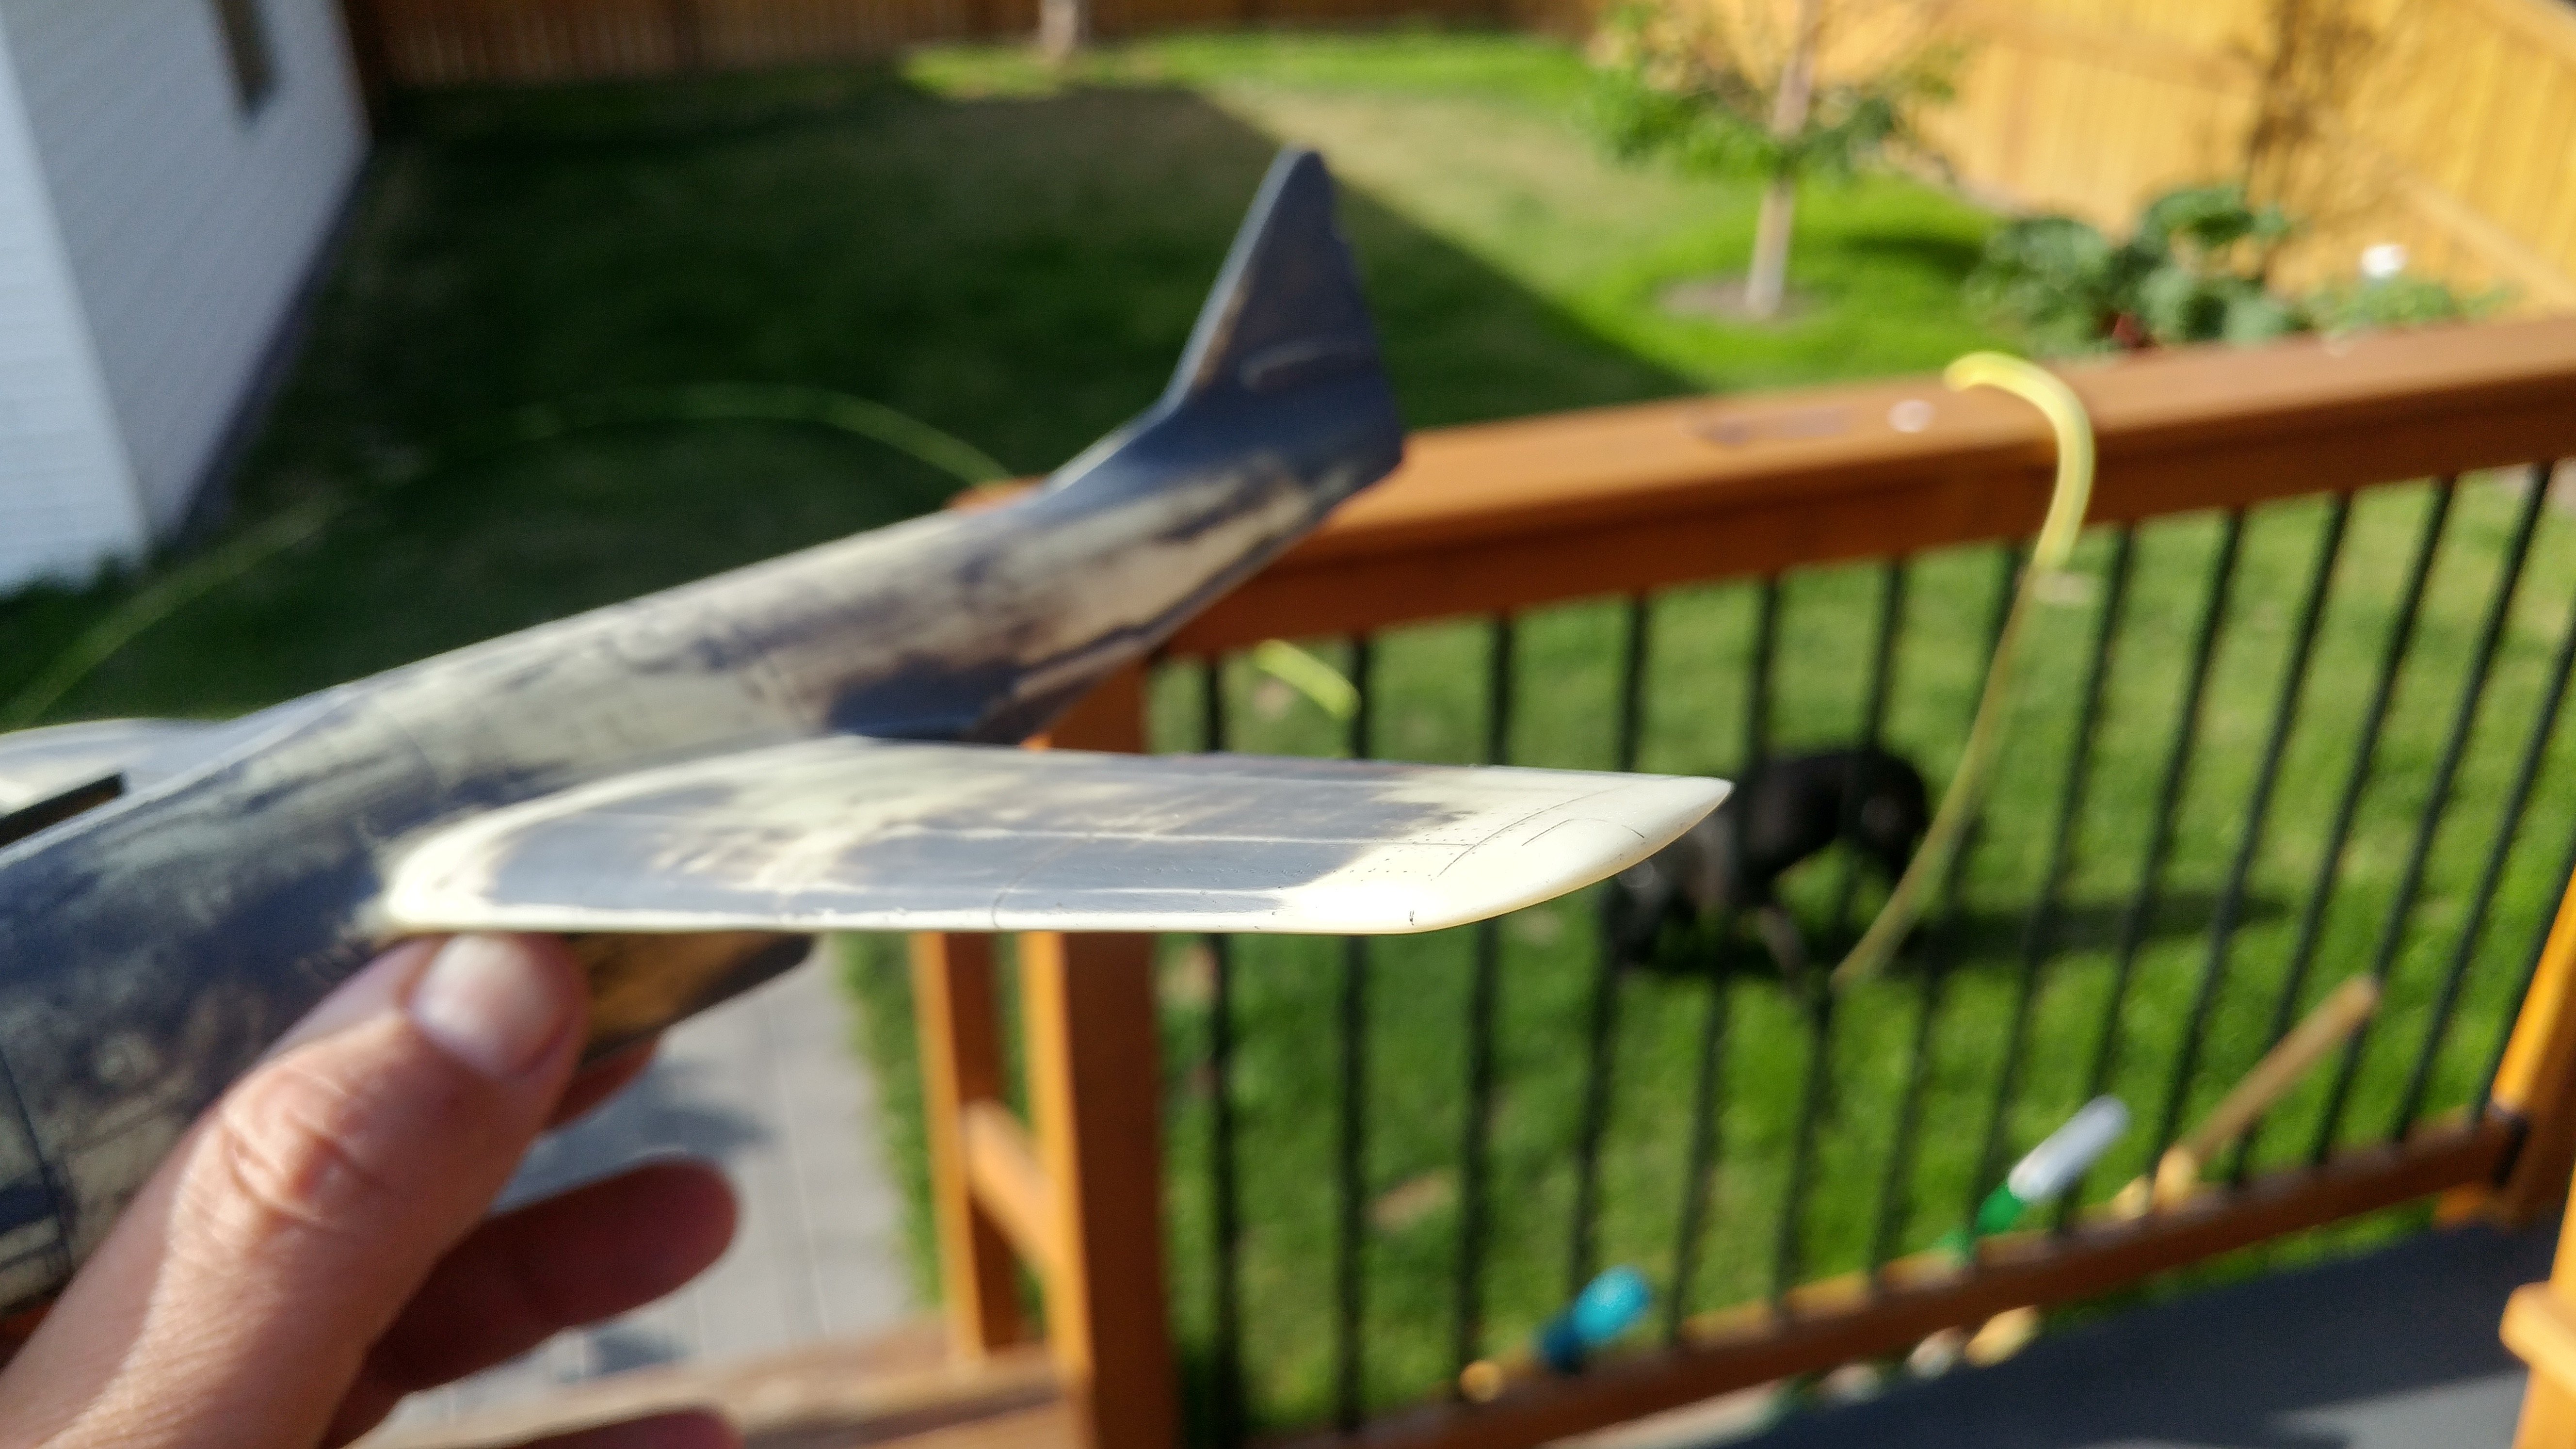
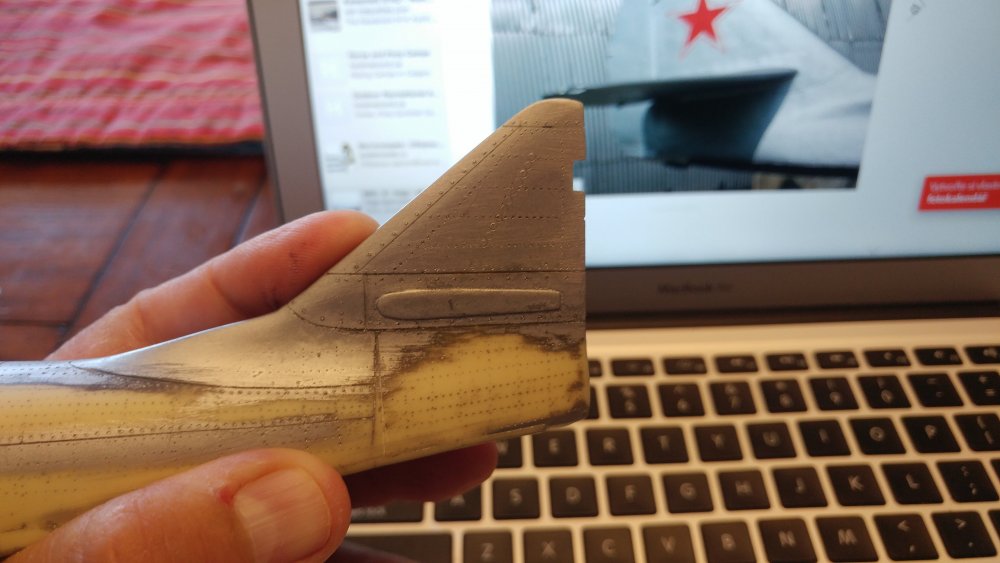
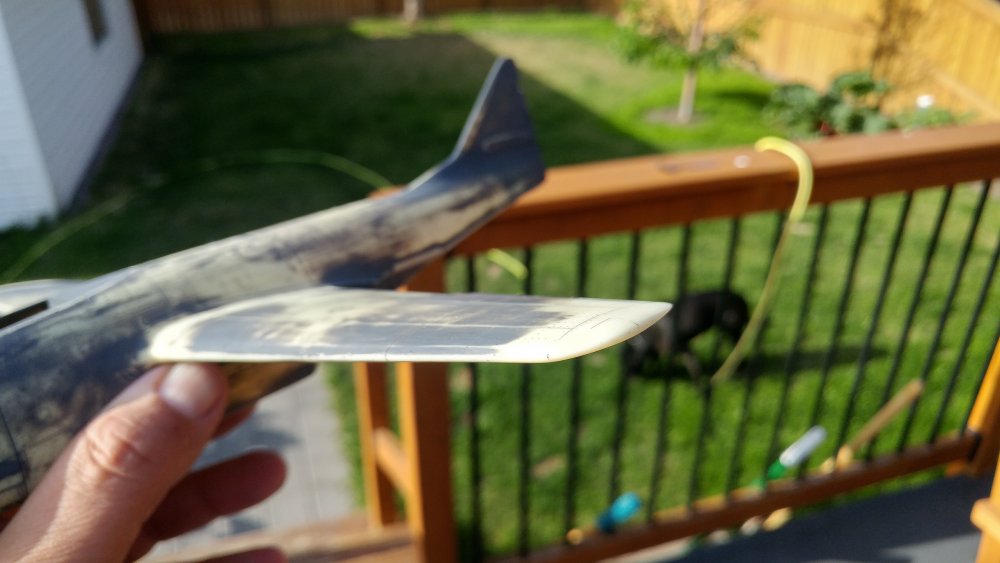
After I was satisfied with the thickness of the Vertical and horizontal stabilizers I drilled number of lightening holes to the back side of them, and described the detail. Note the circular fabric patches covering the aeration point, another reminisce of german engineering


-
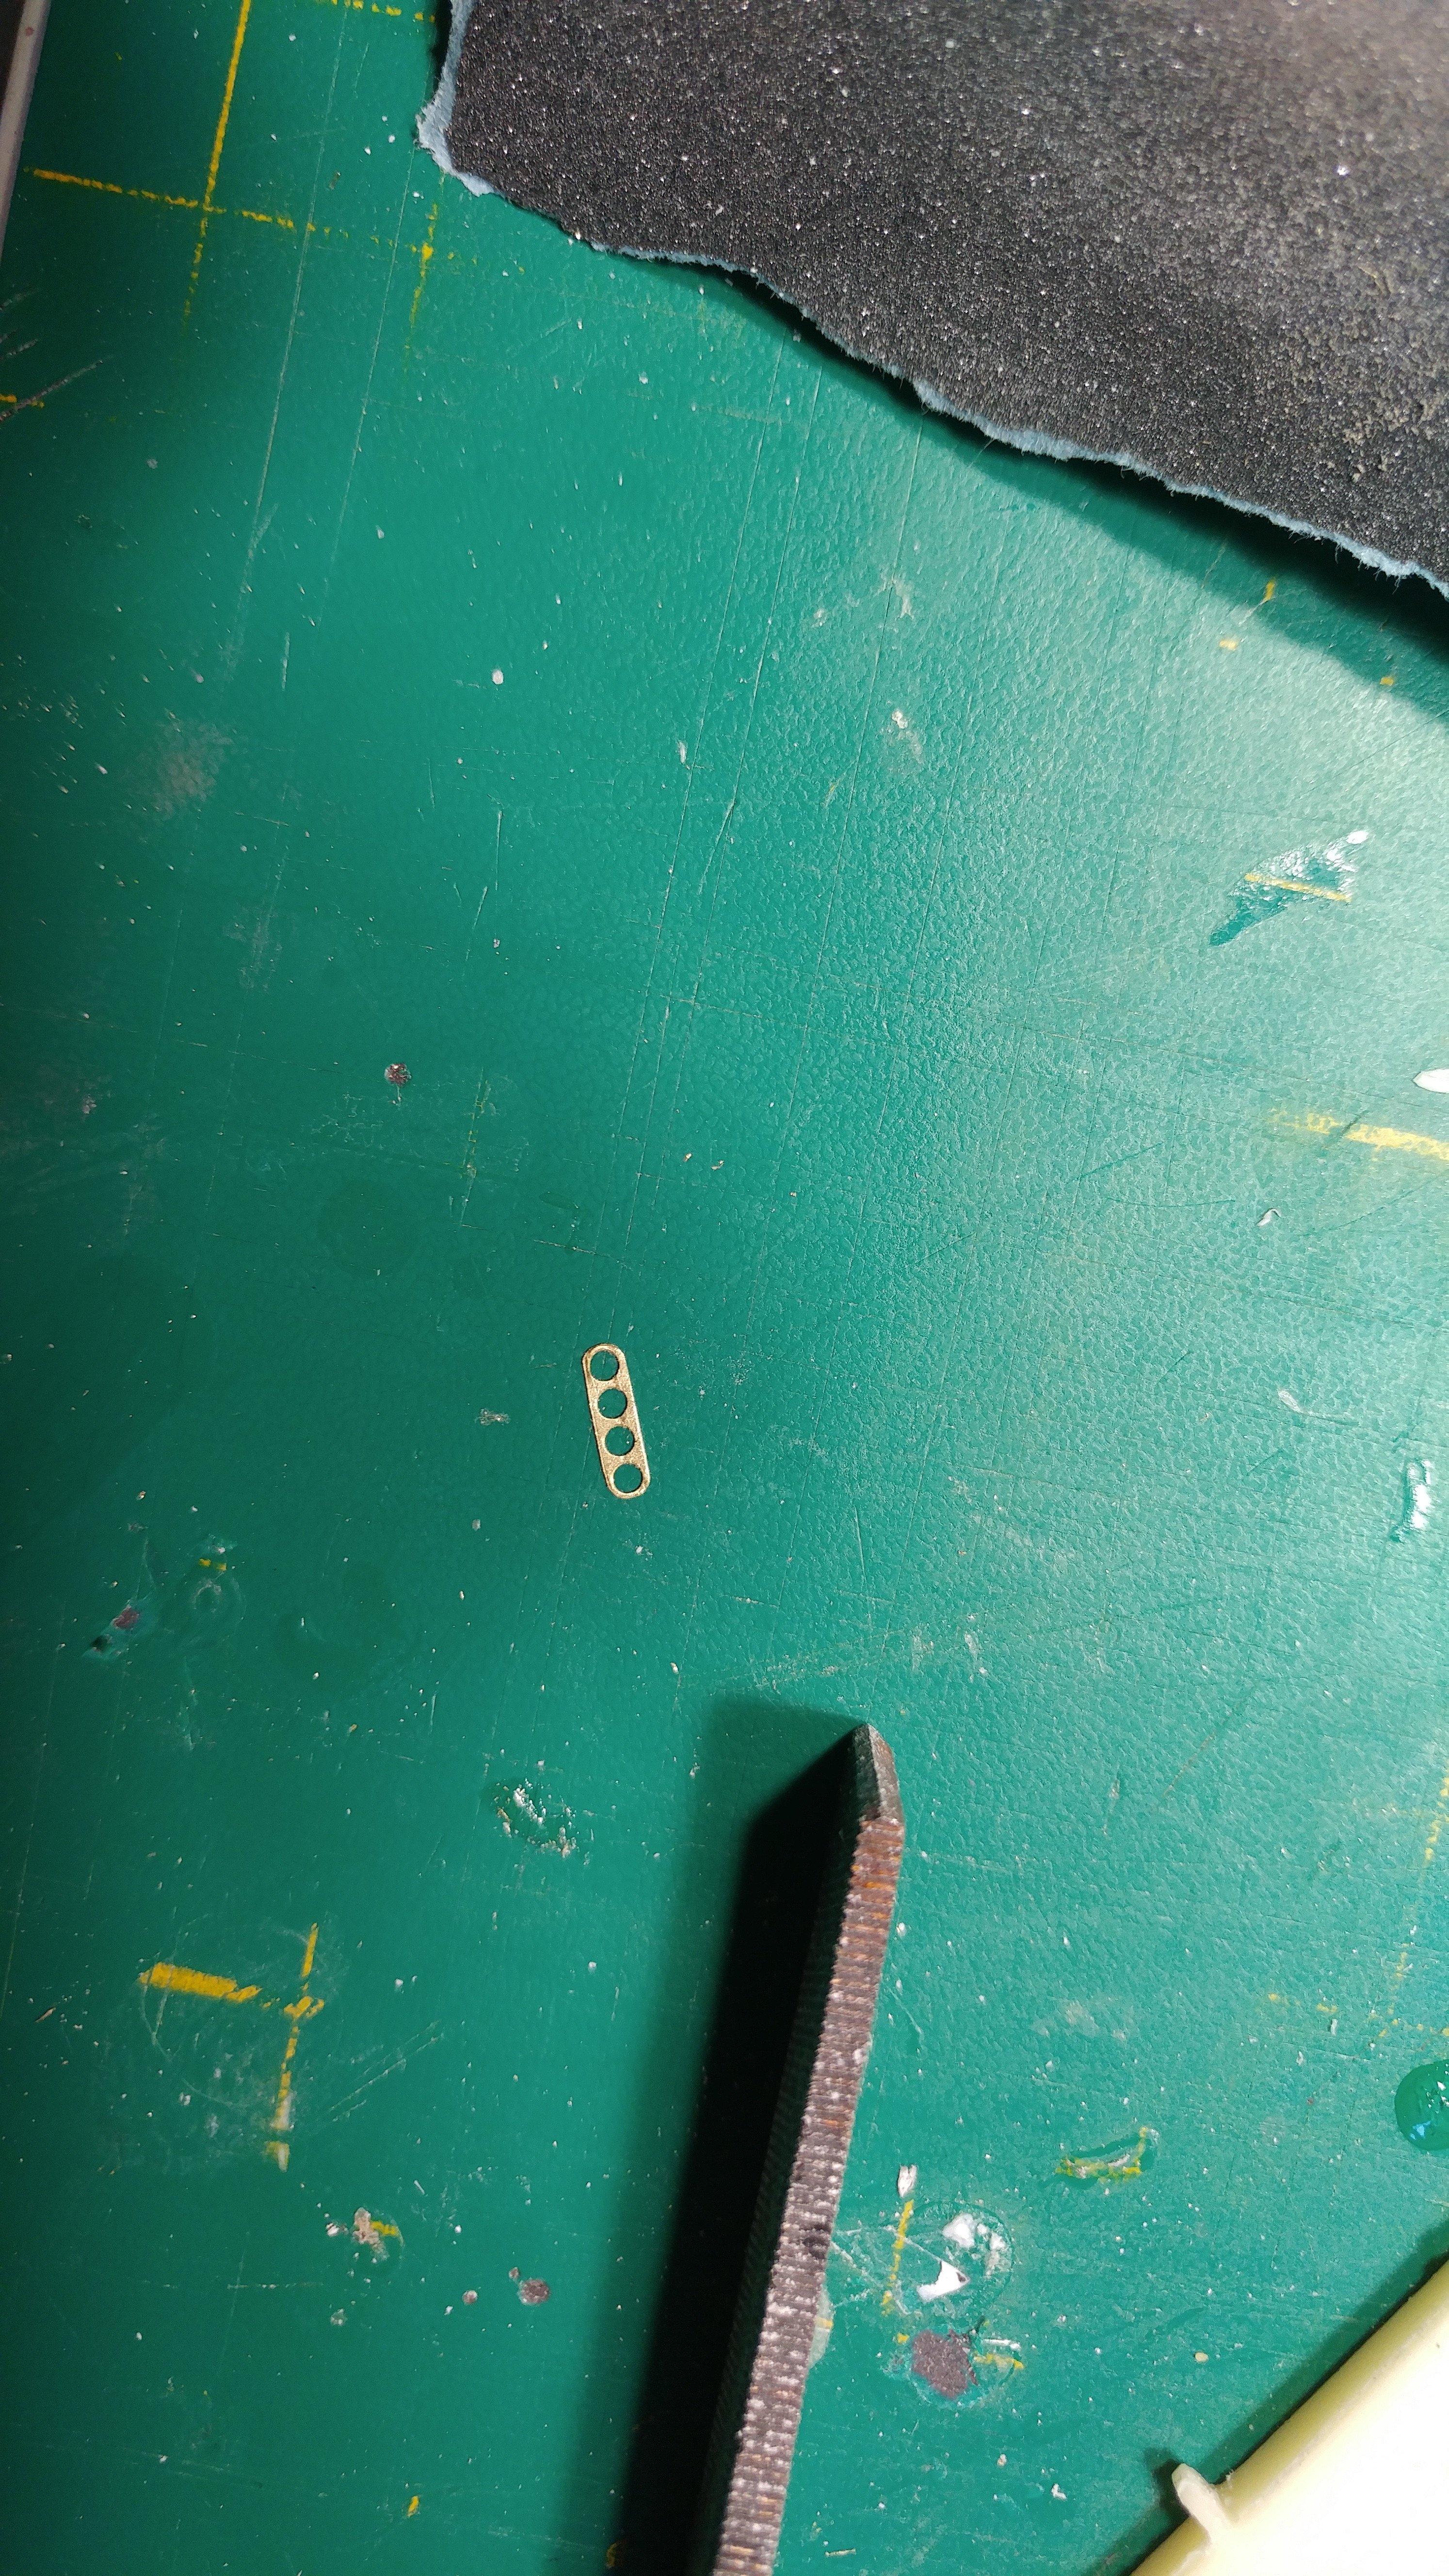
Flare dispenser was of german origin , so I made one out of some spare brass, well it took several attempts to achieve semi-decent look on the picture below , you can see the opening with the dispenser casing removed, think me-262 or LW-46

-
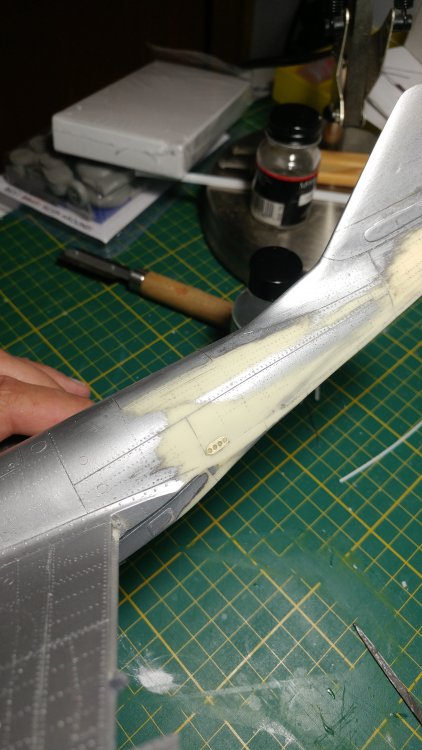
there were some thickness issues with the horizontal stabilizers, trailing edge, etc. Not a biggie. Also the anchor point was slightly off set and had to be sanded down. New transition will be recreated with putty.


-
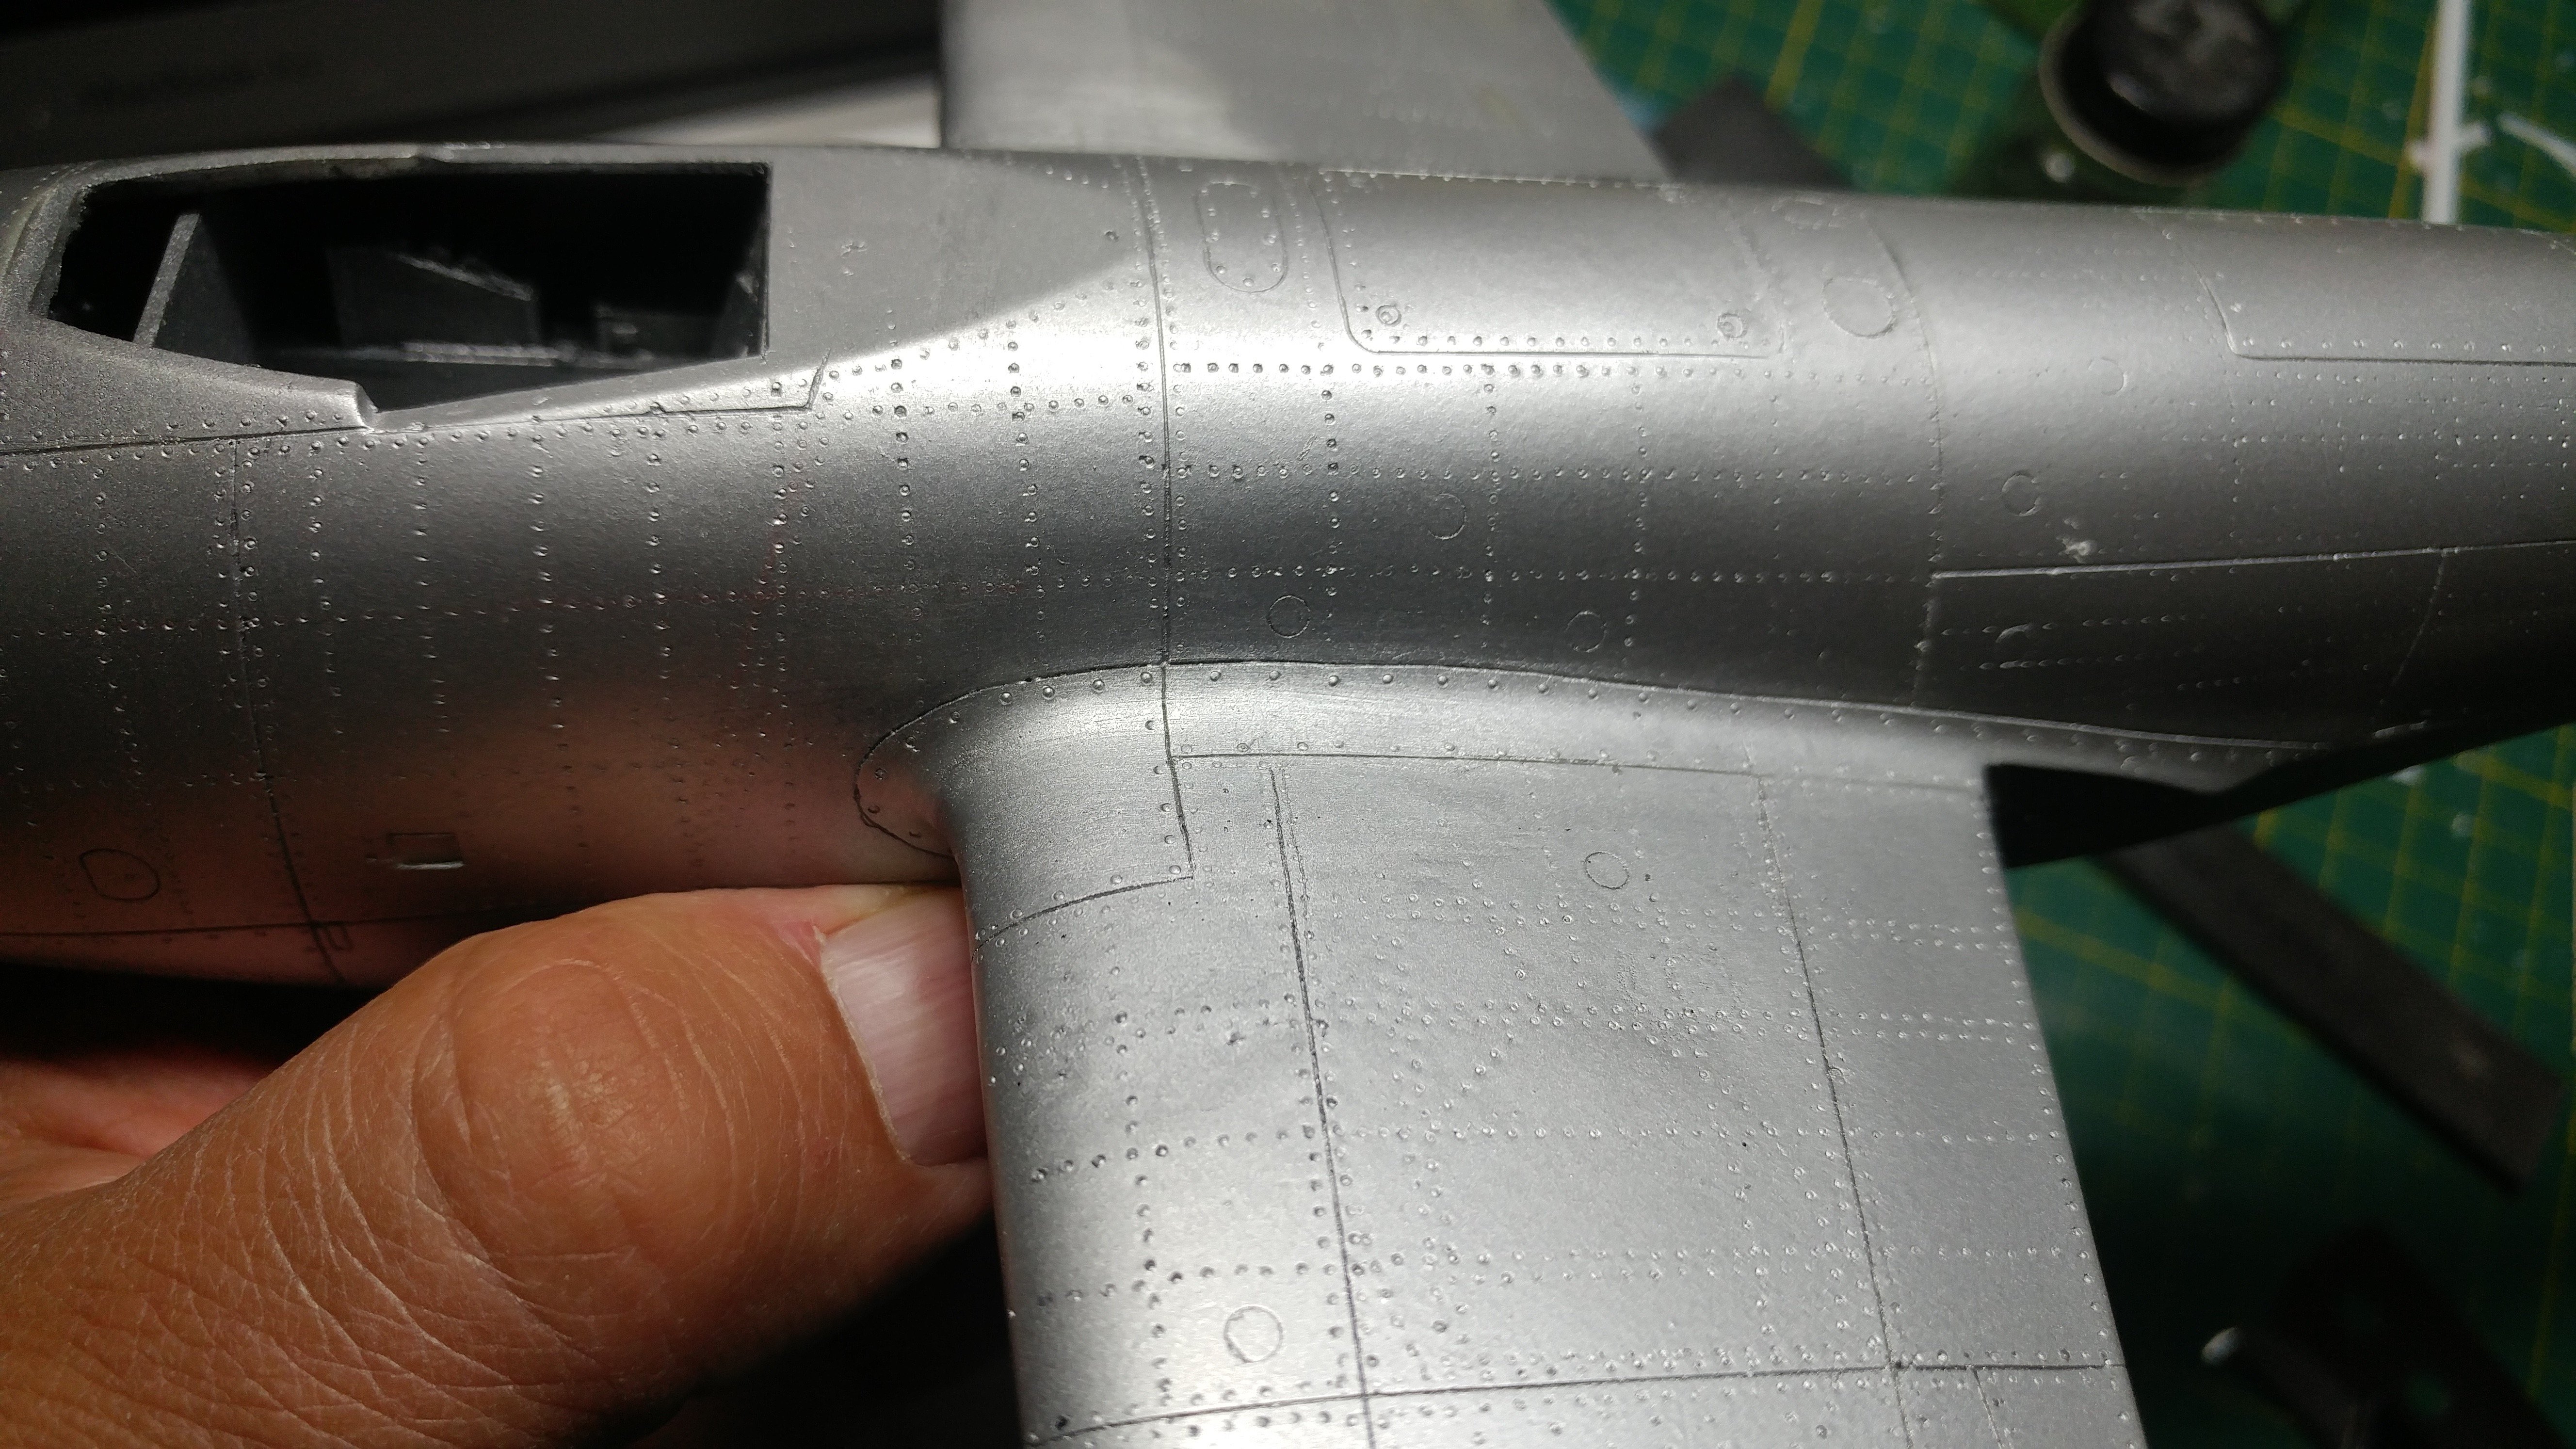
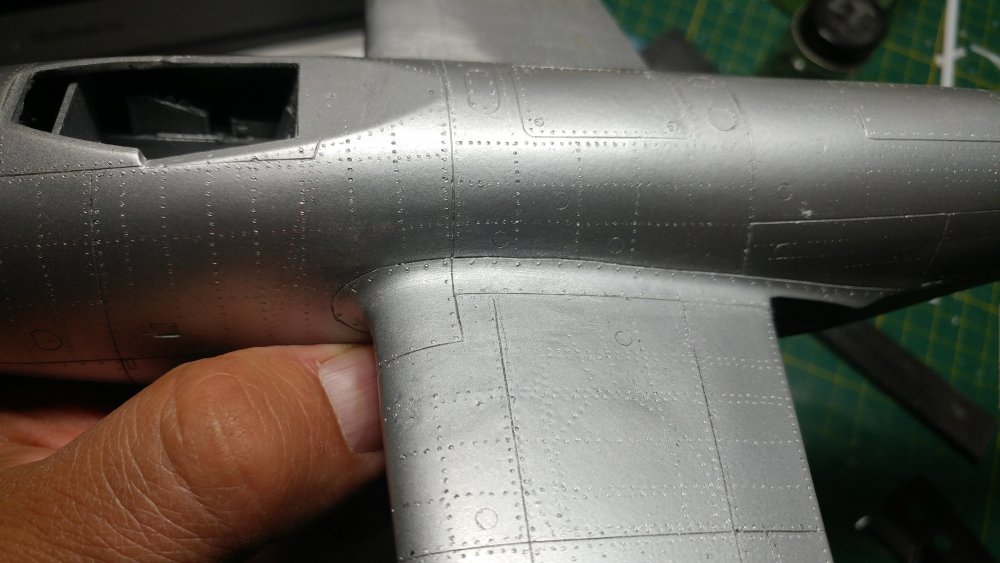
Moving forward, another part to address were wing roots, missing gun camera at the left side and one piece flange that overlaps the leading edge. Naturally as I was punching away, I was able to find few pesky bubbles, hiding sneakily under the surface


-
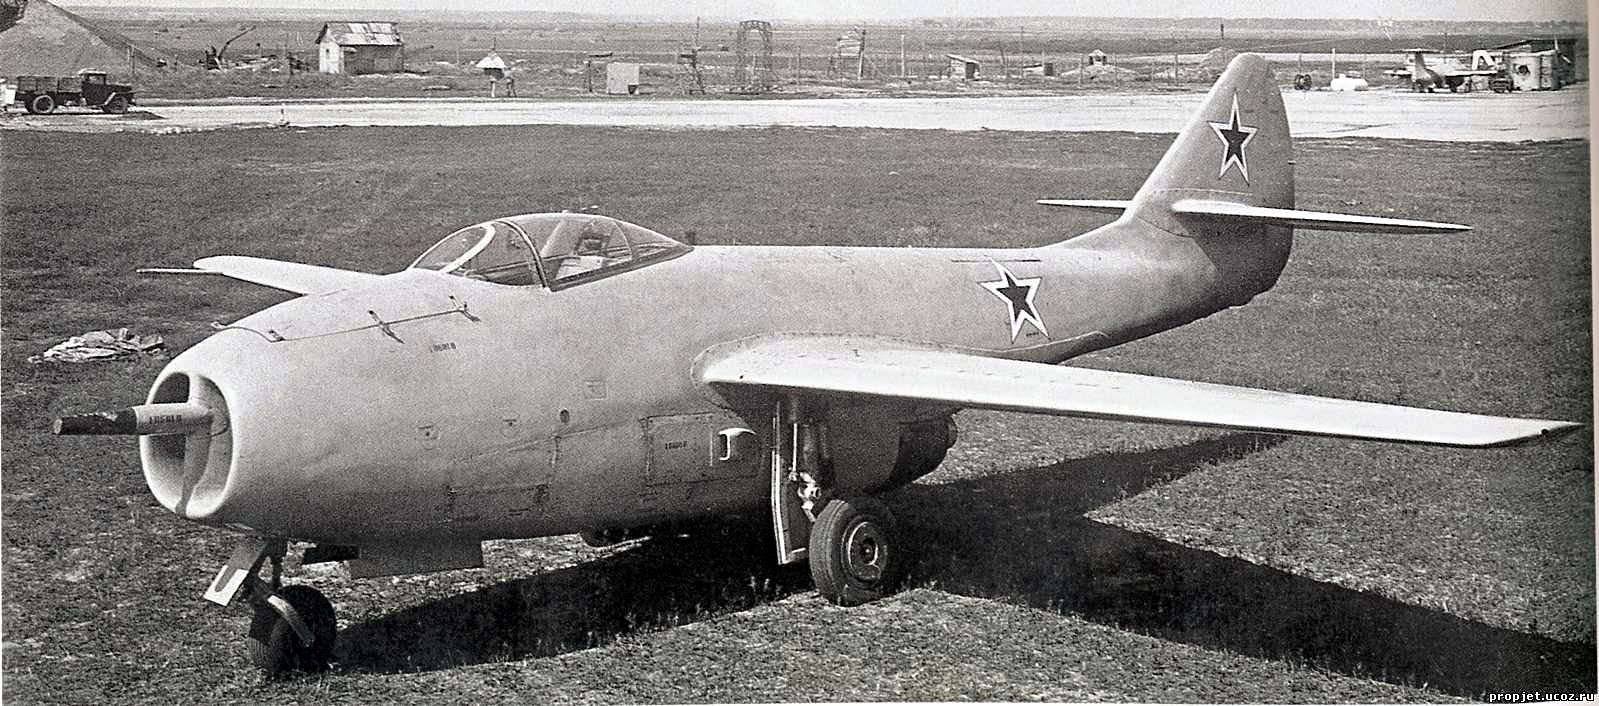
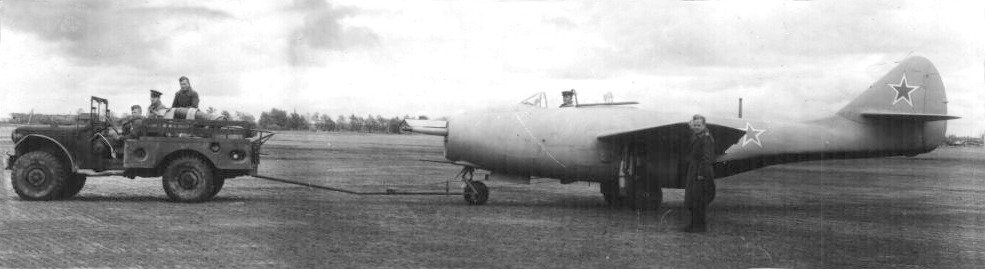
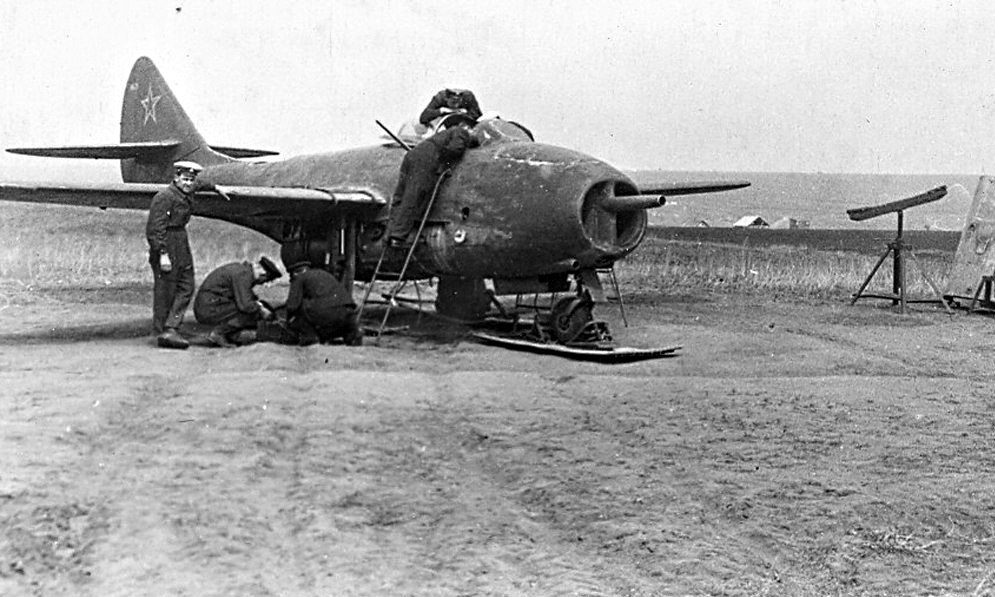
Here is also a rare picture of the Chinese example, again in neutral grey.
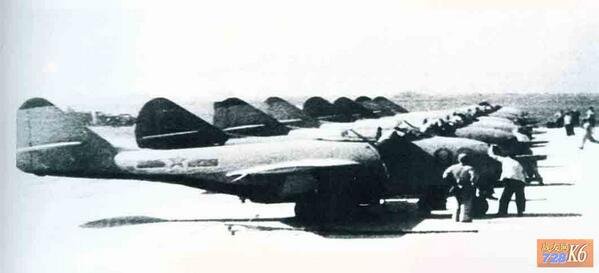
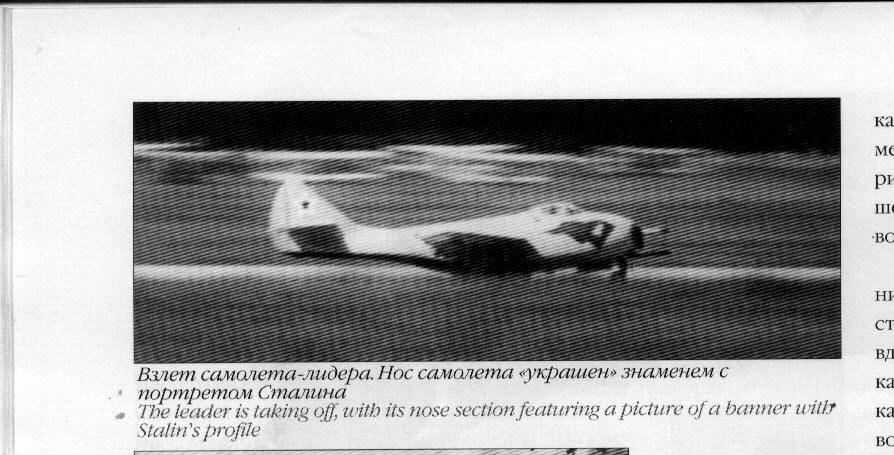
-
The last picture shows technological demonstrator/tool for mechanics to practise on, therefore the dark, most likely green camouflage was applied.
-
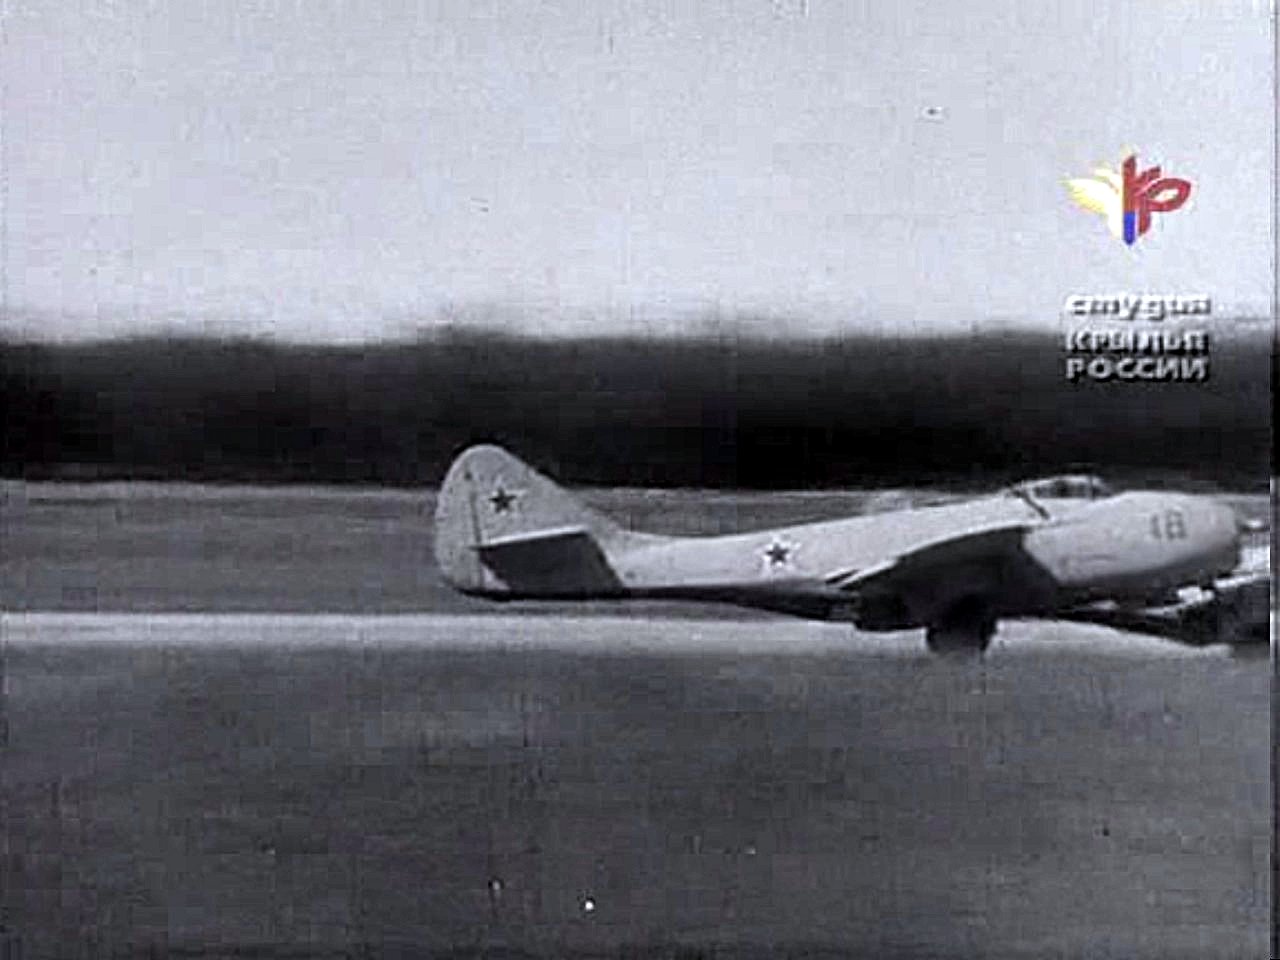
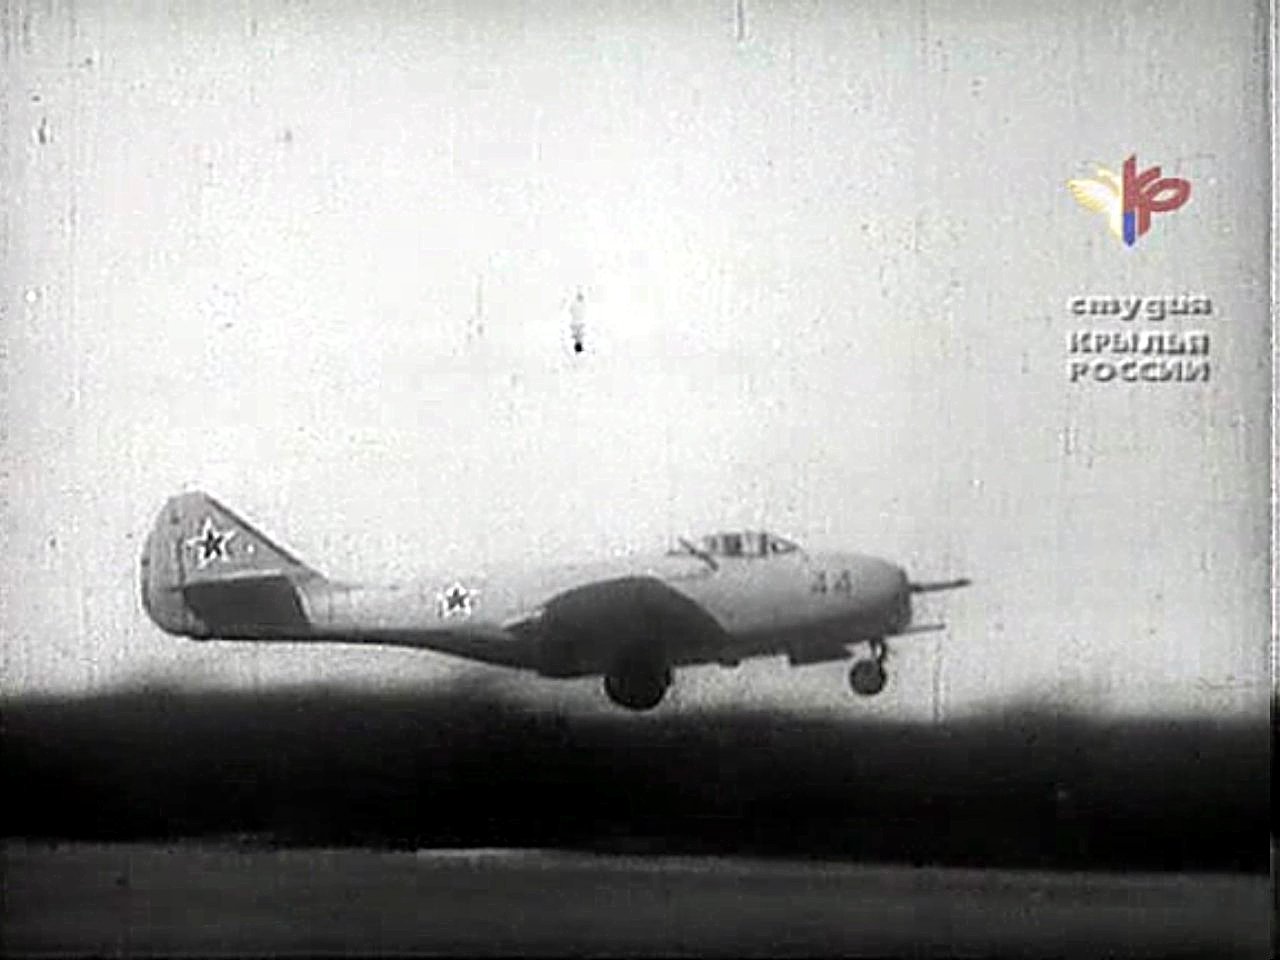
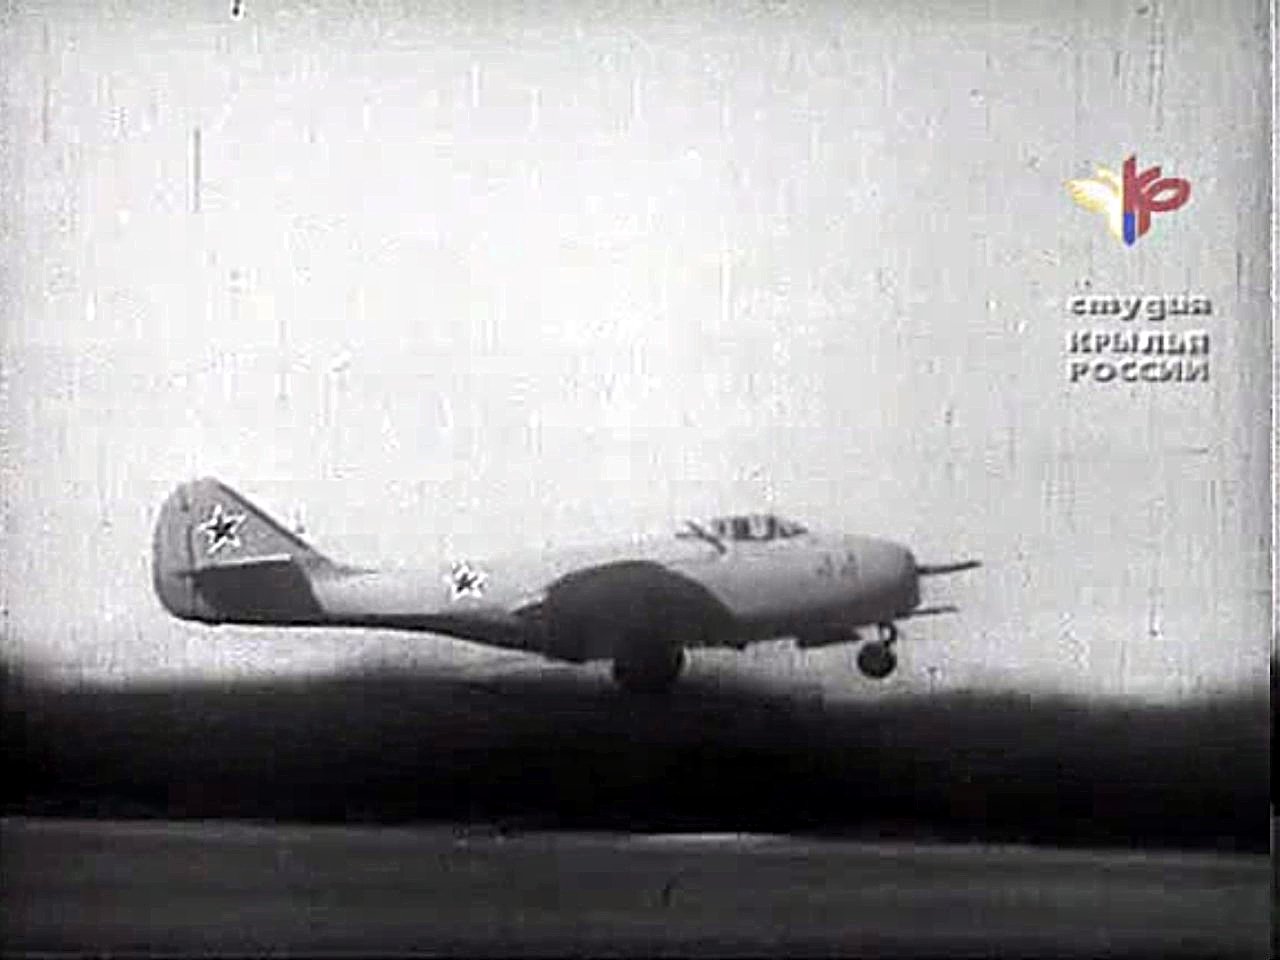
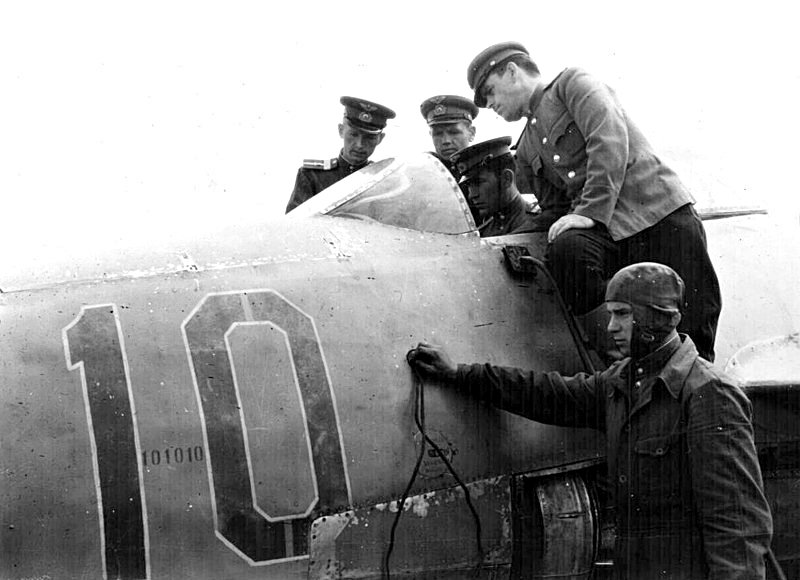
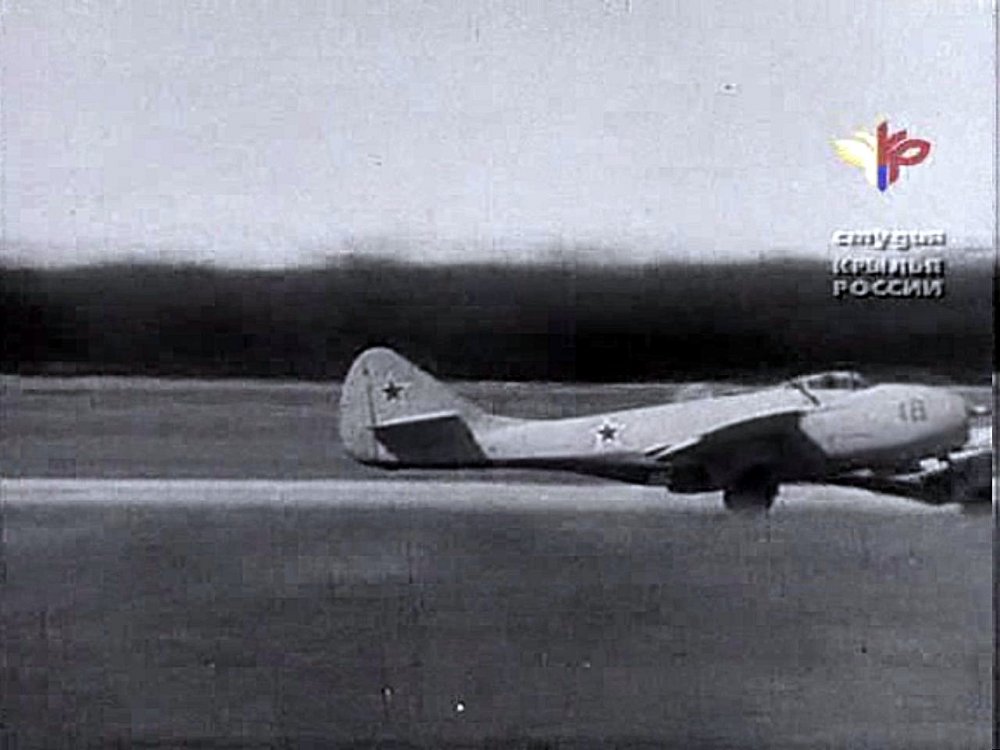
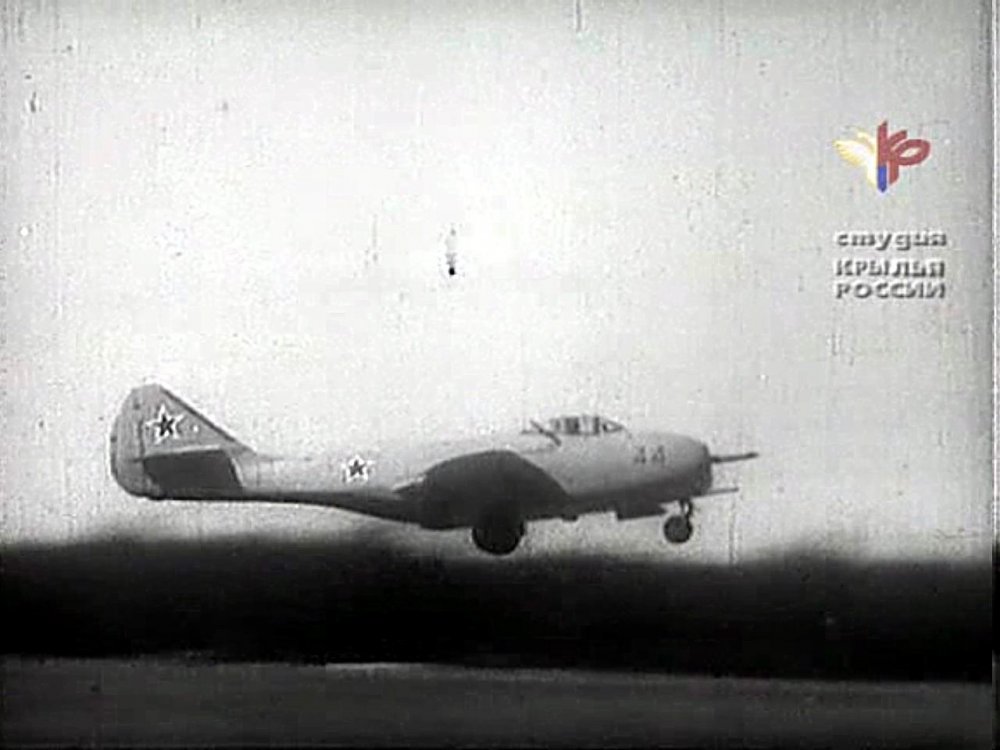
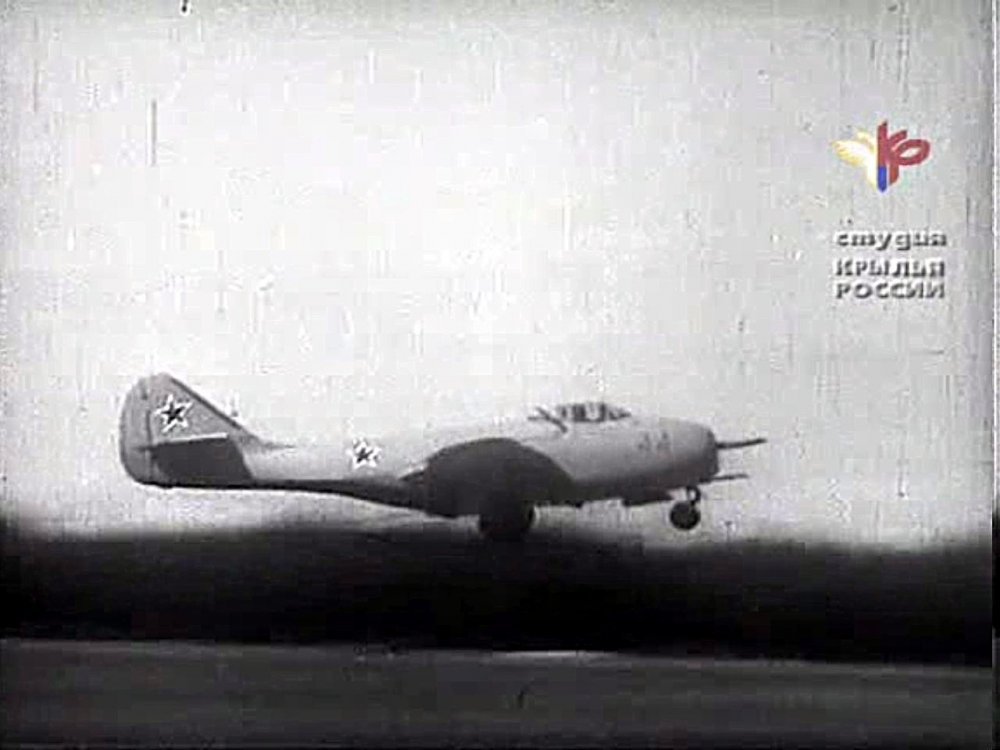
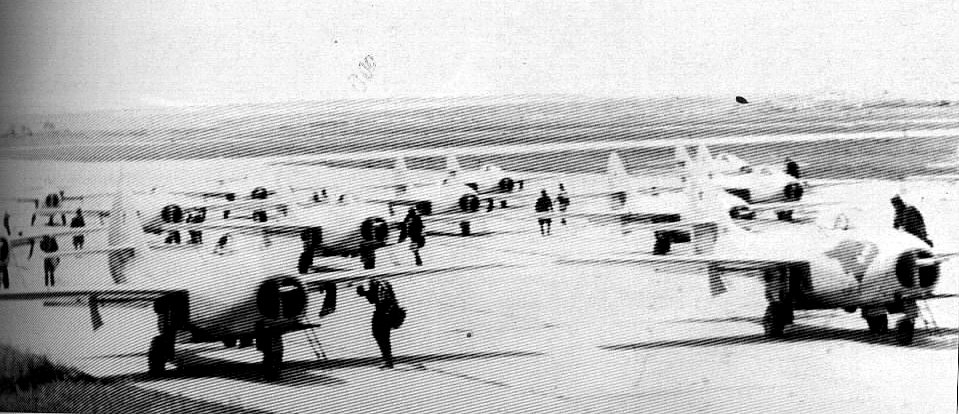
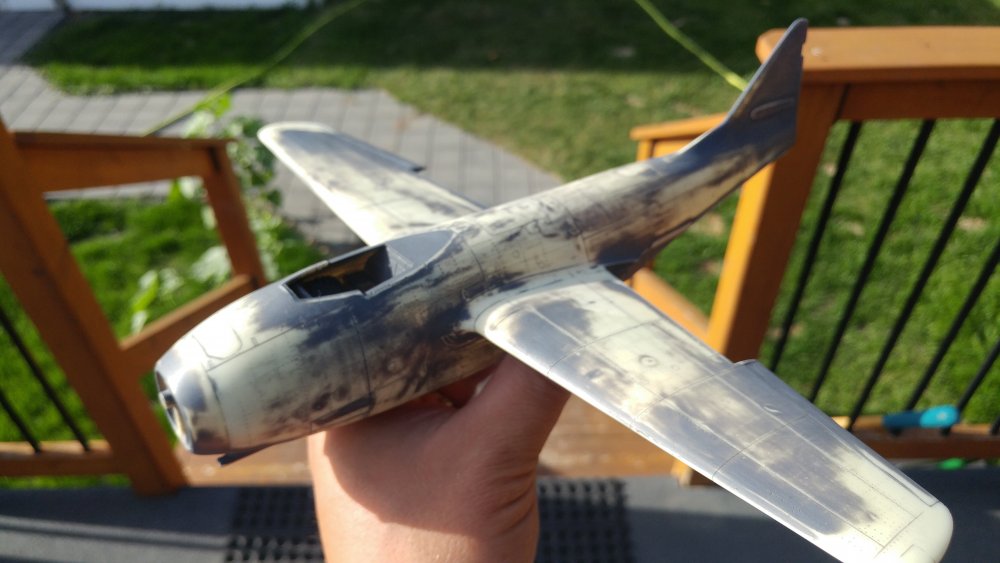
Thank You for stopping by guys. Jeroen, the only finish applied on Mig-9 within the VVS is overall grey. A common misconception of NMF is myth based on the example in Monino museum. Here are some examples.

-
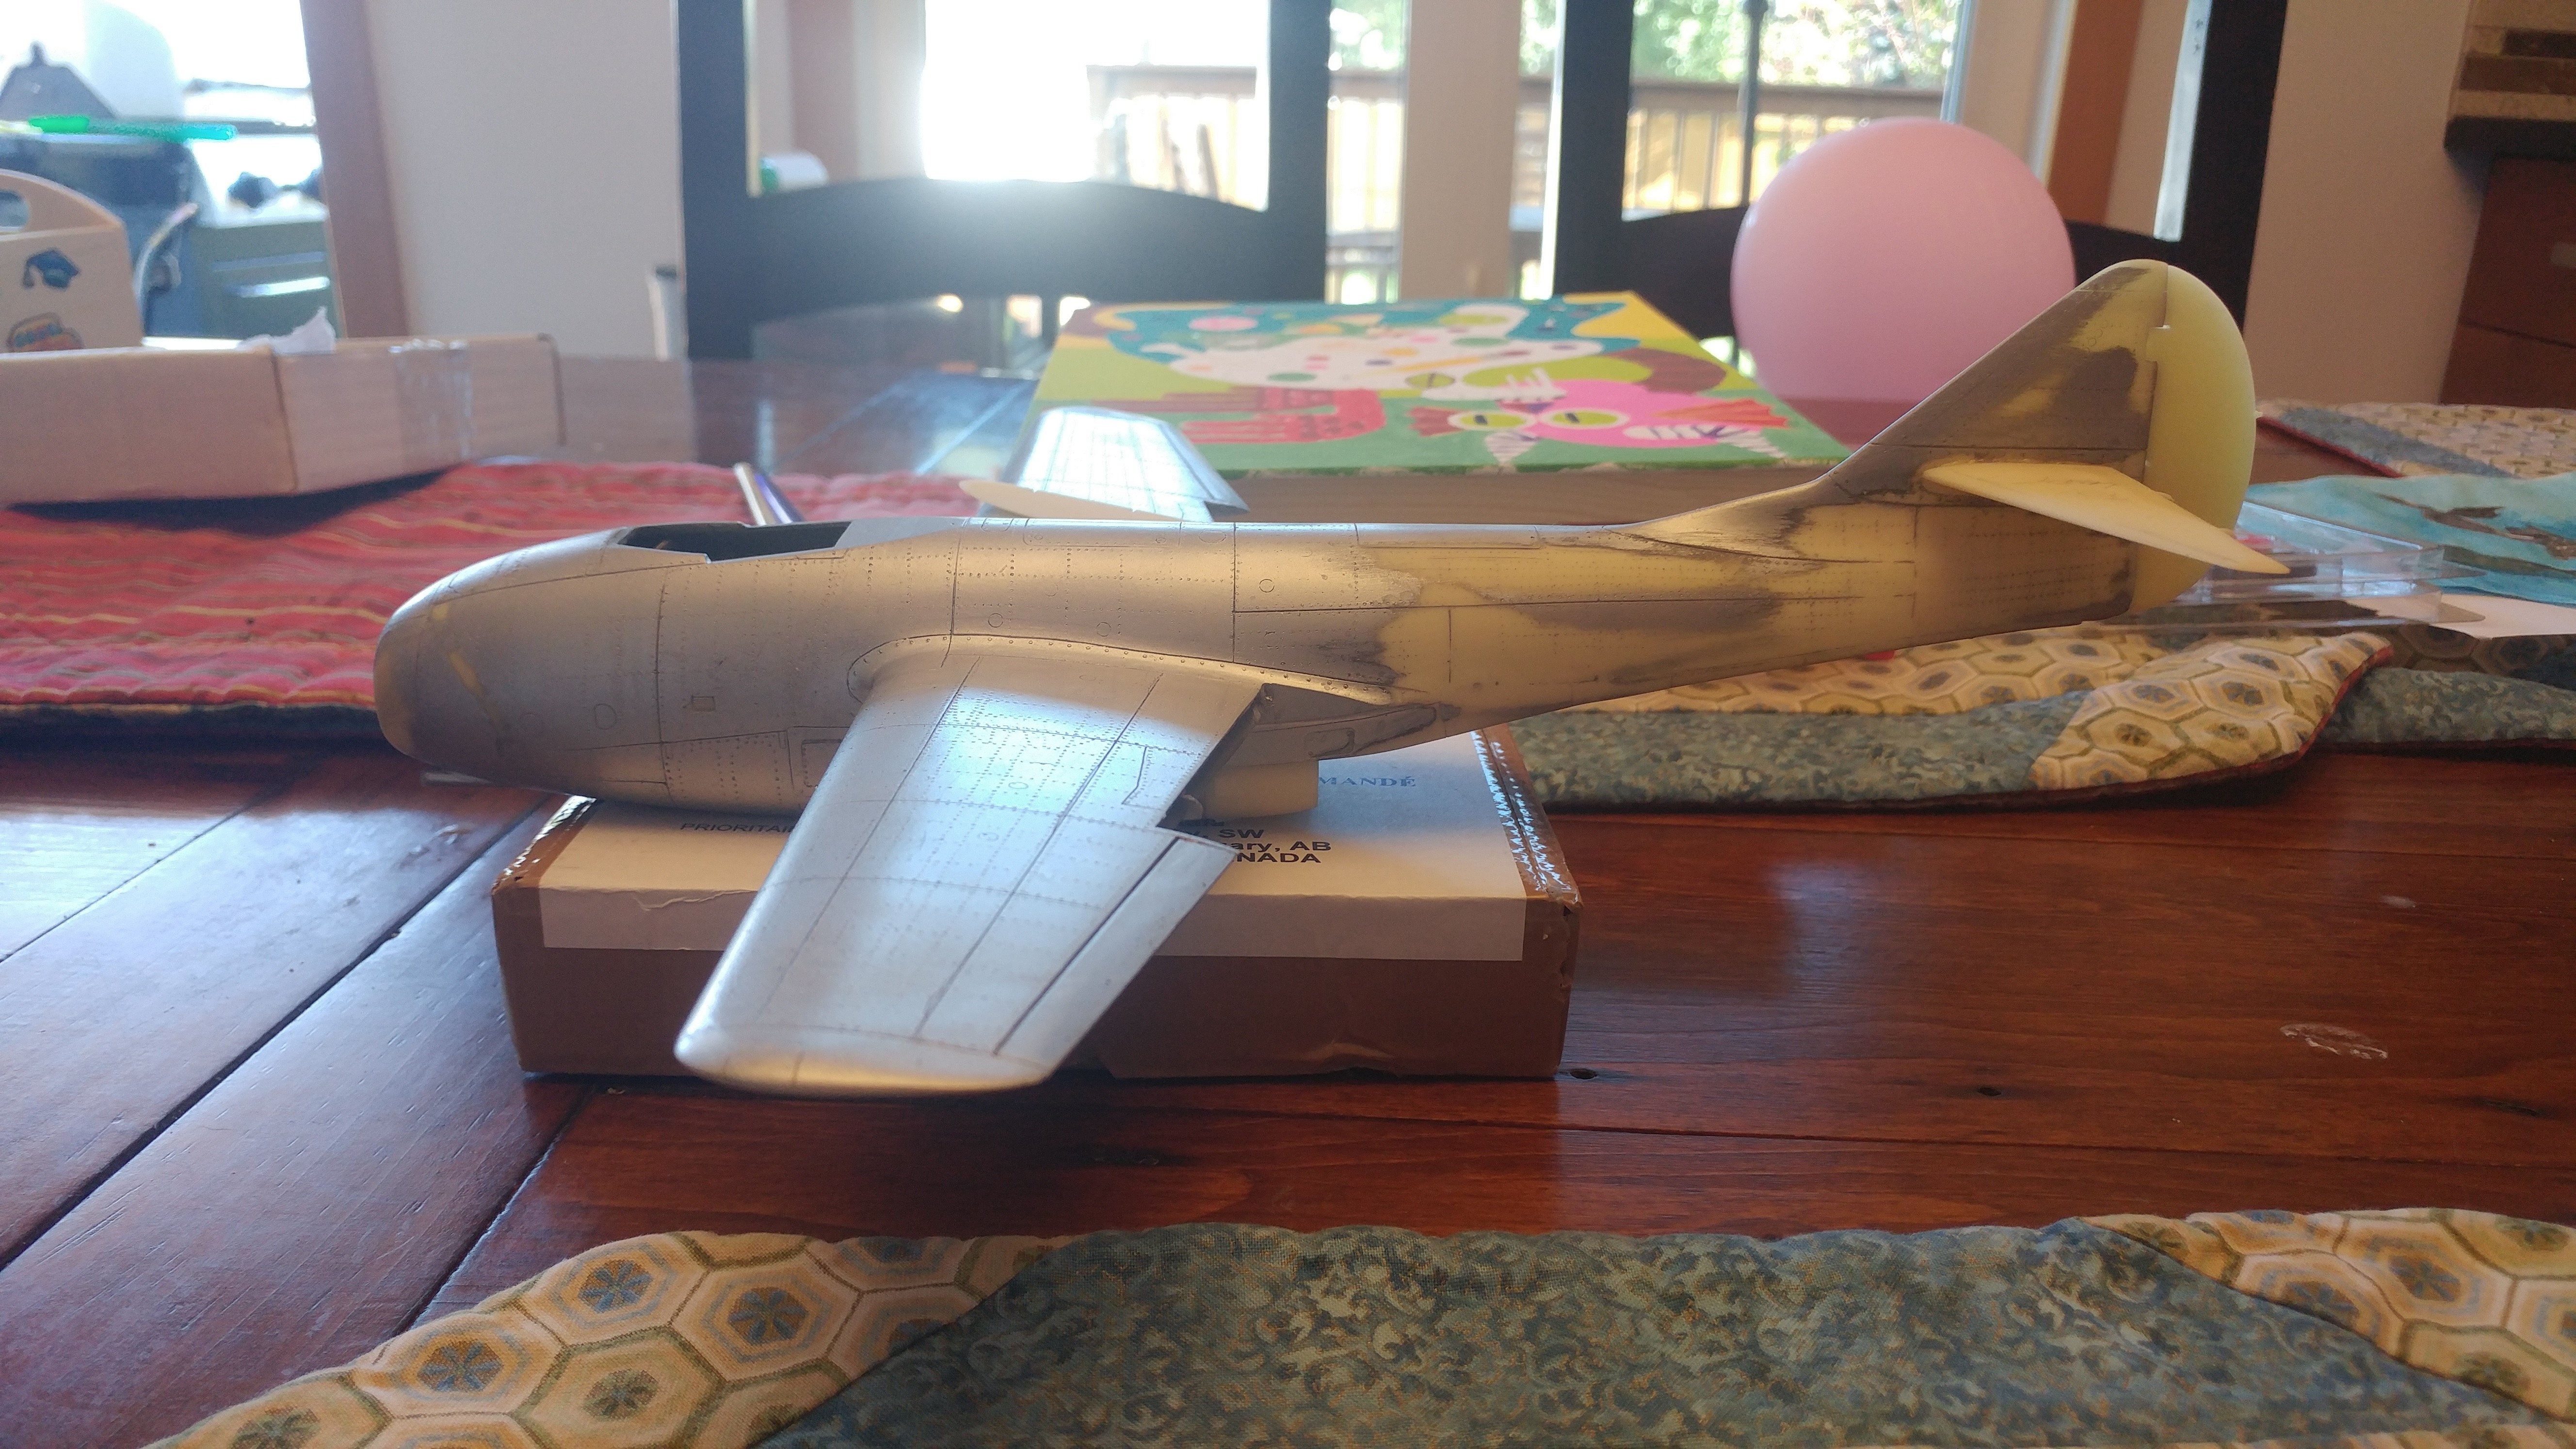
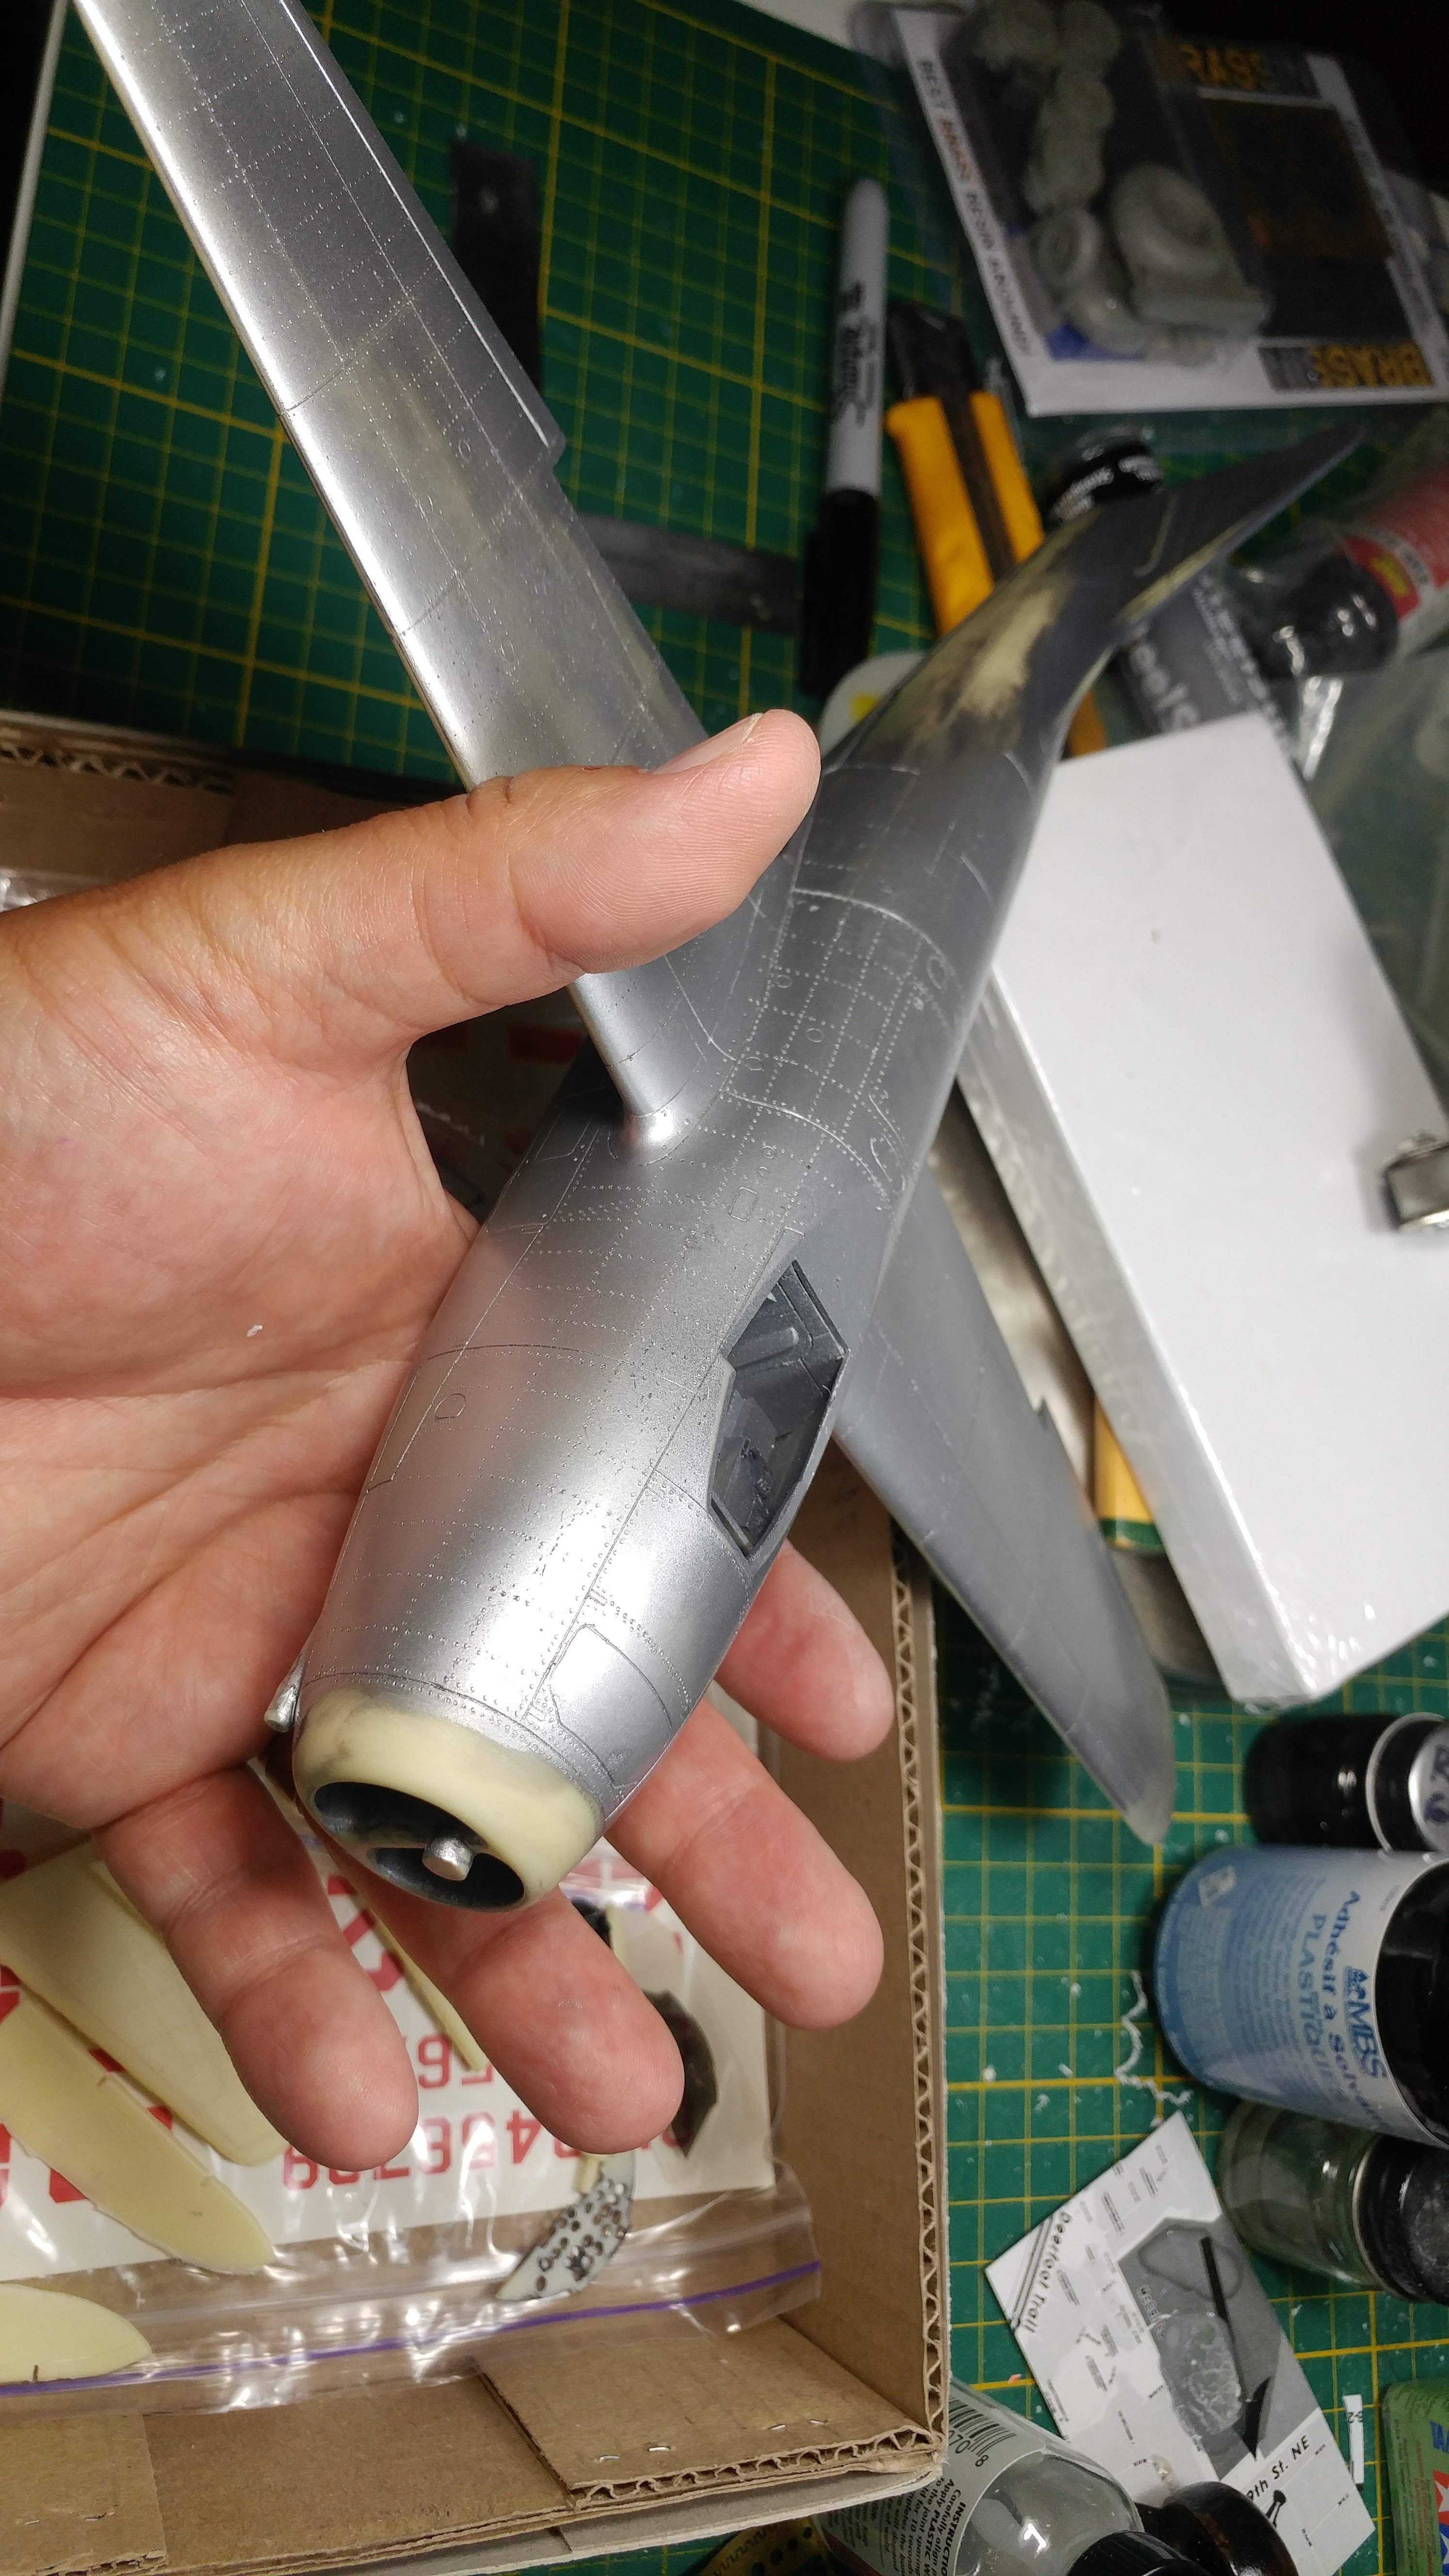
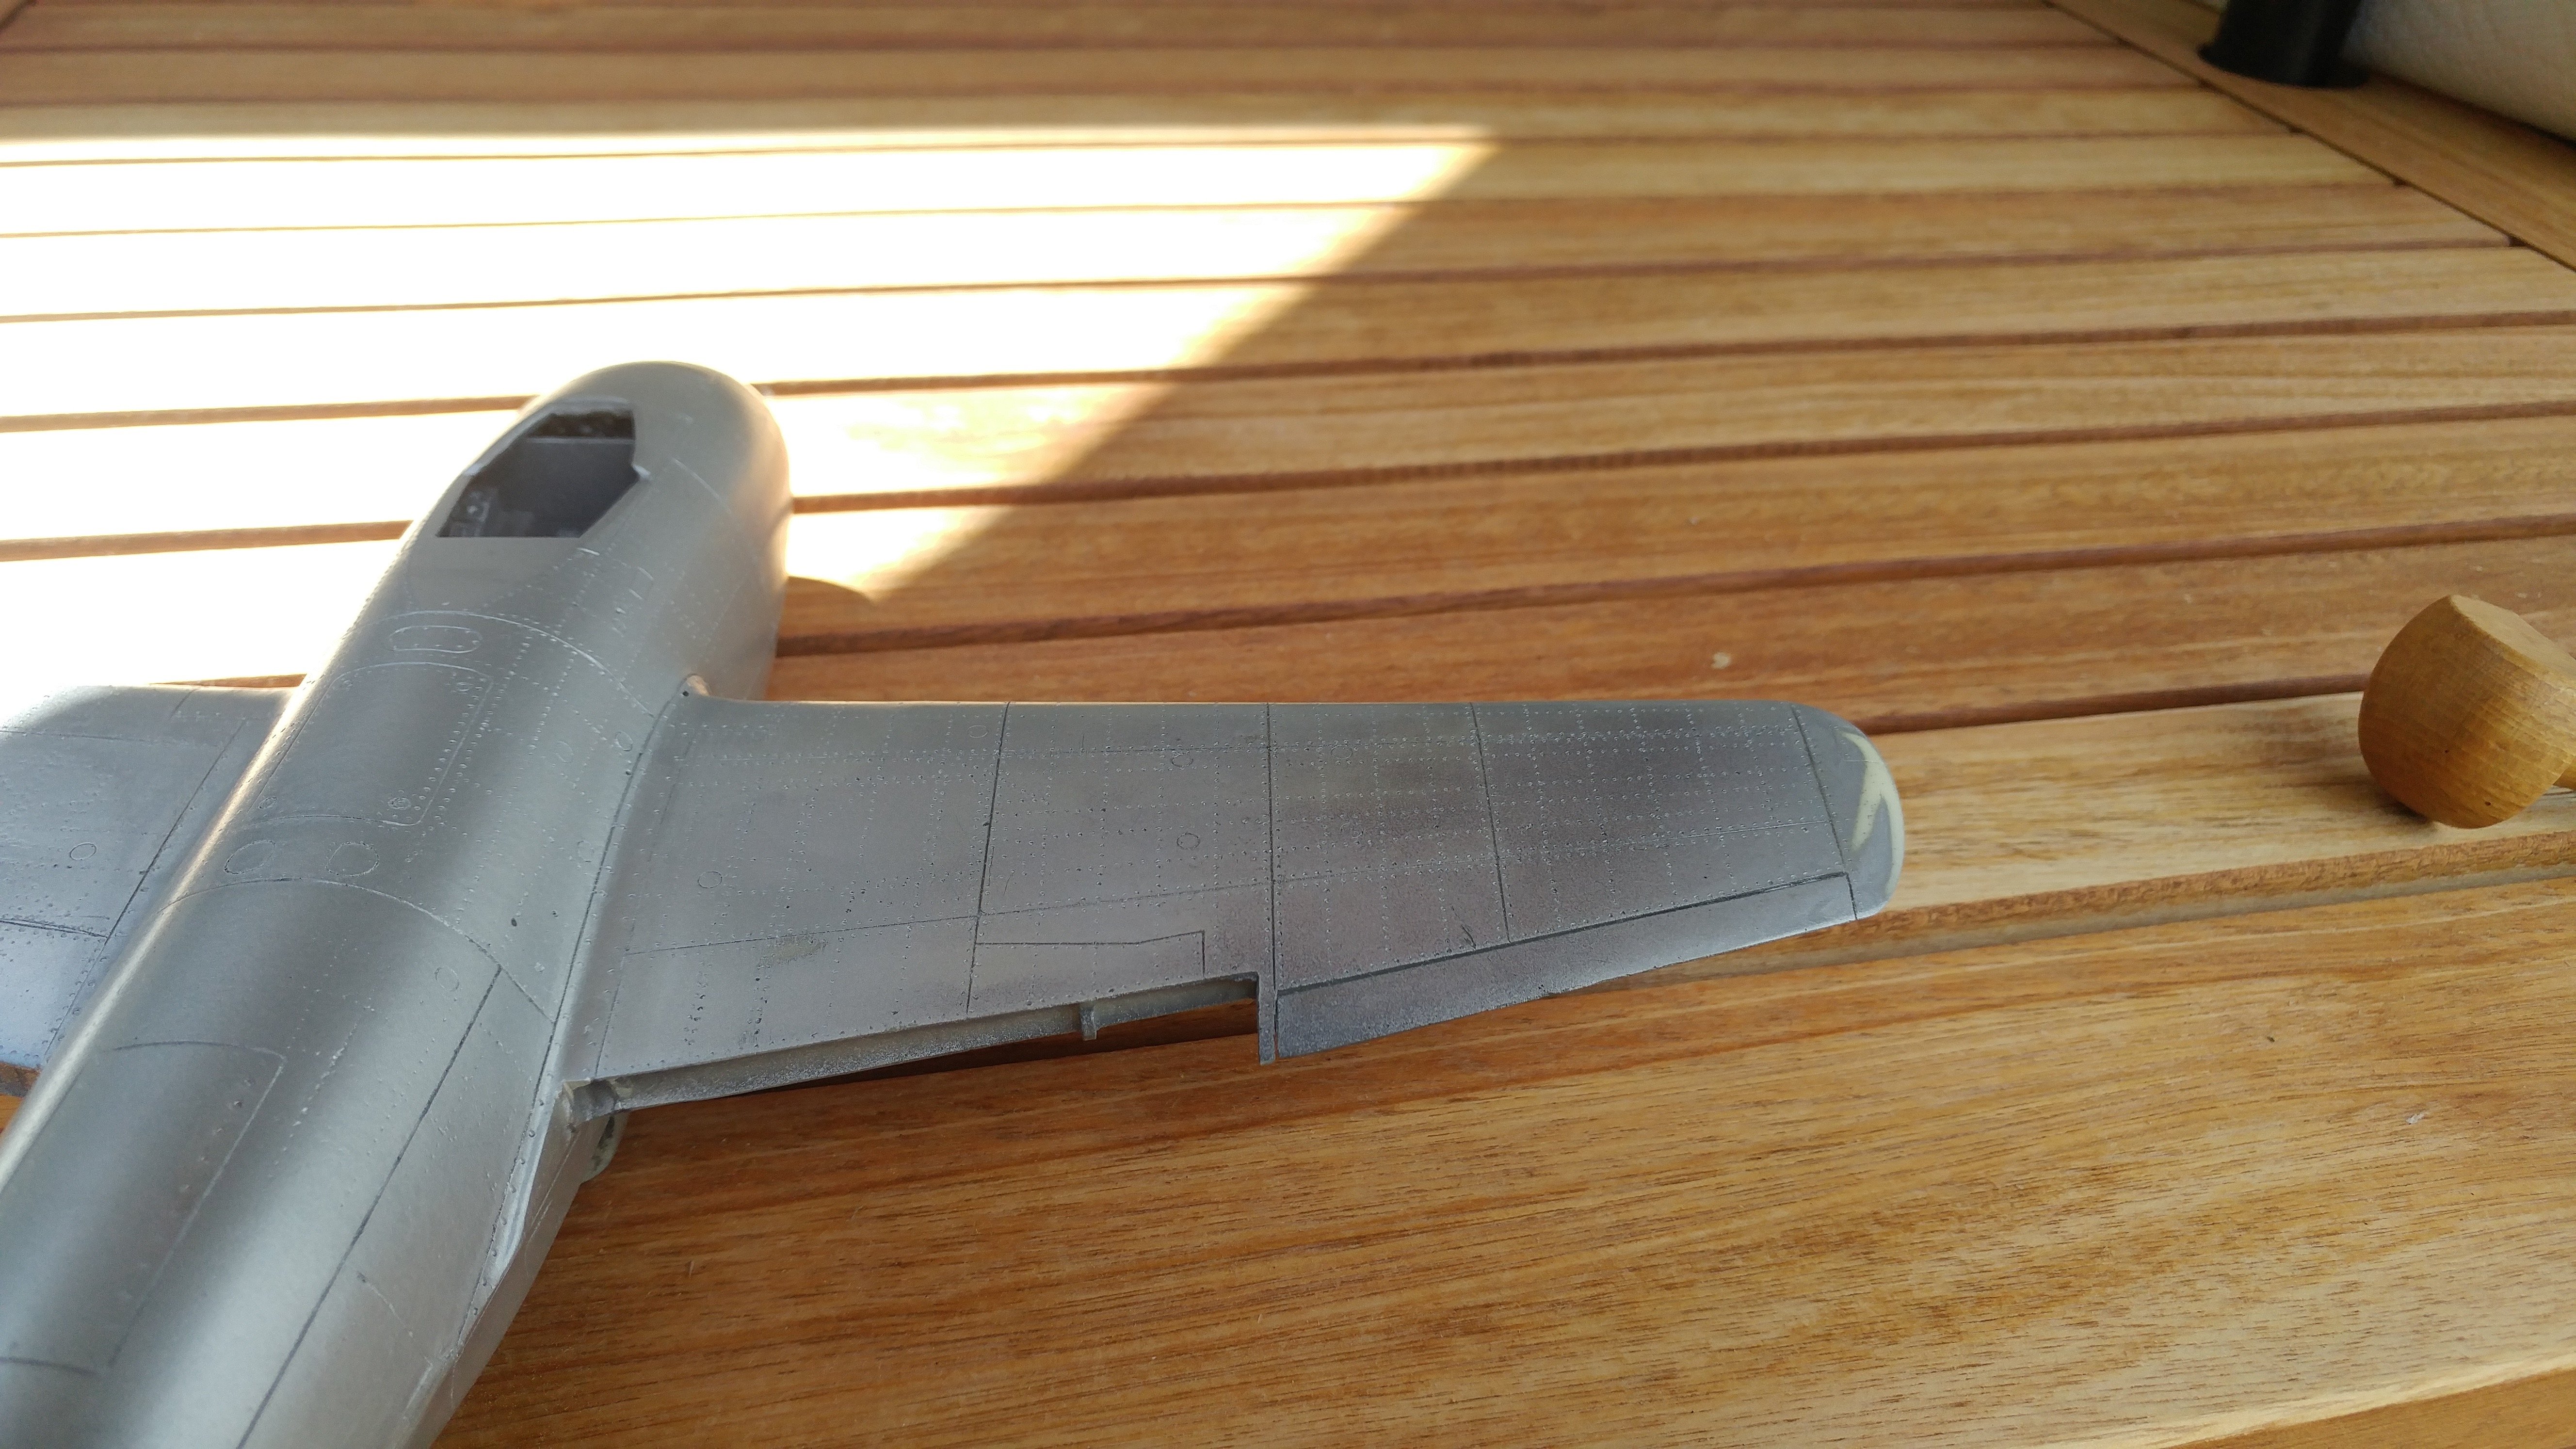
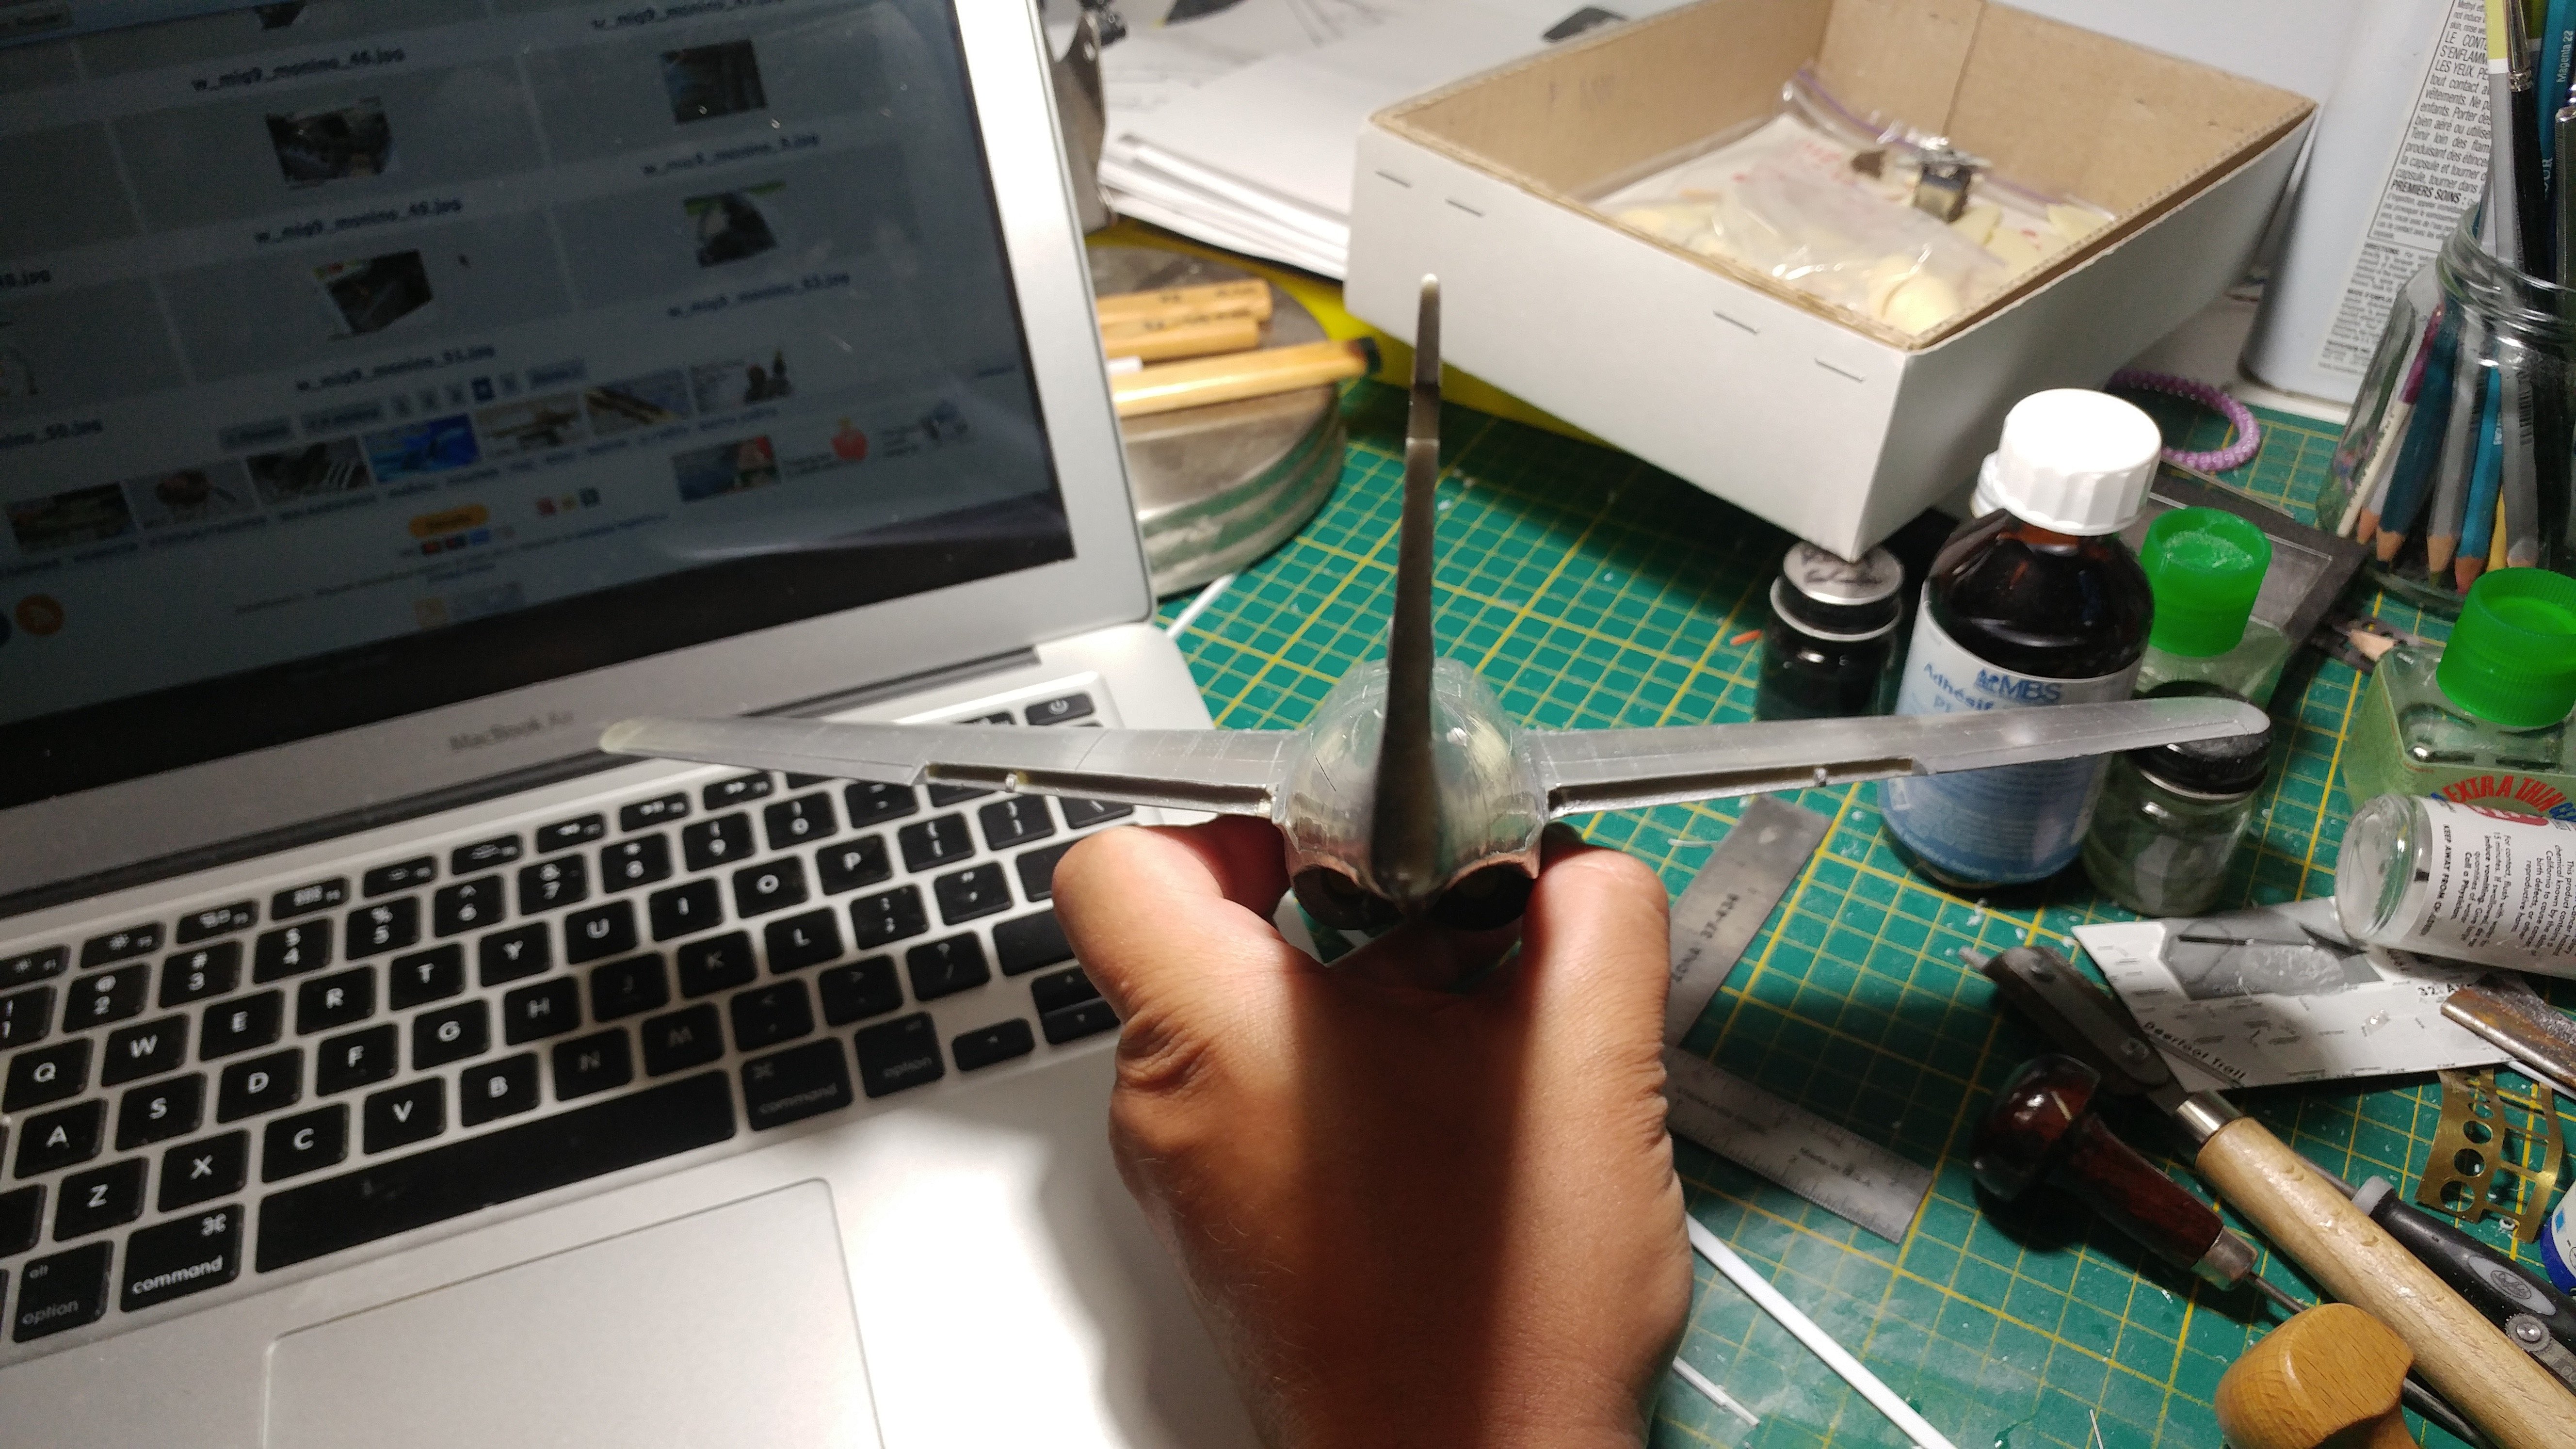
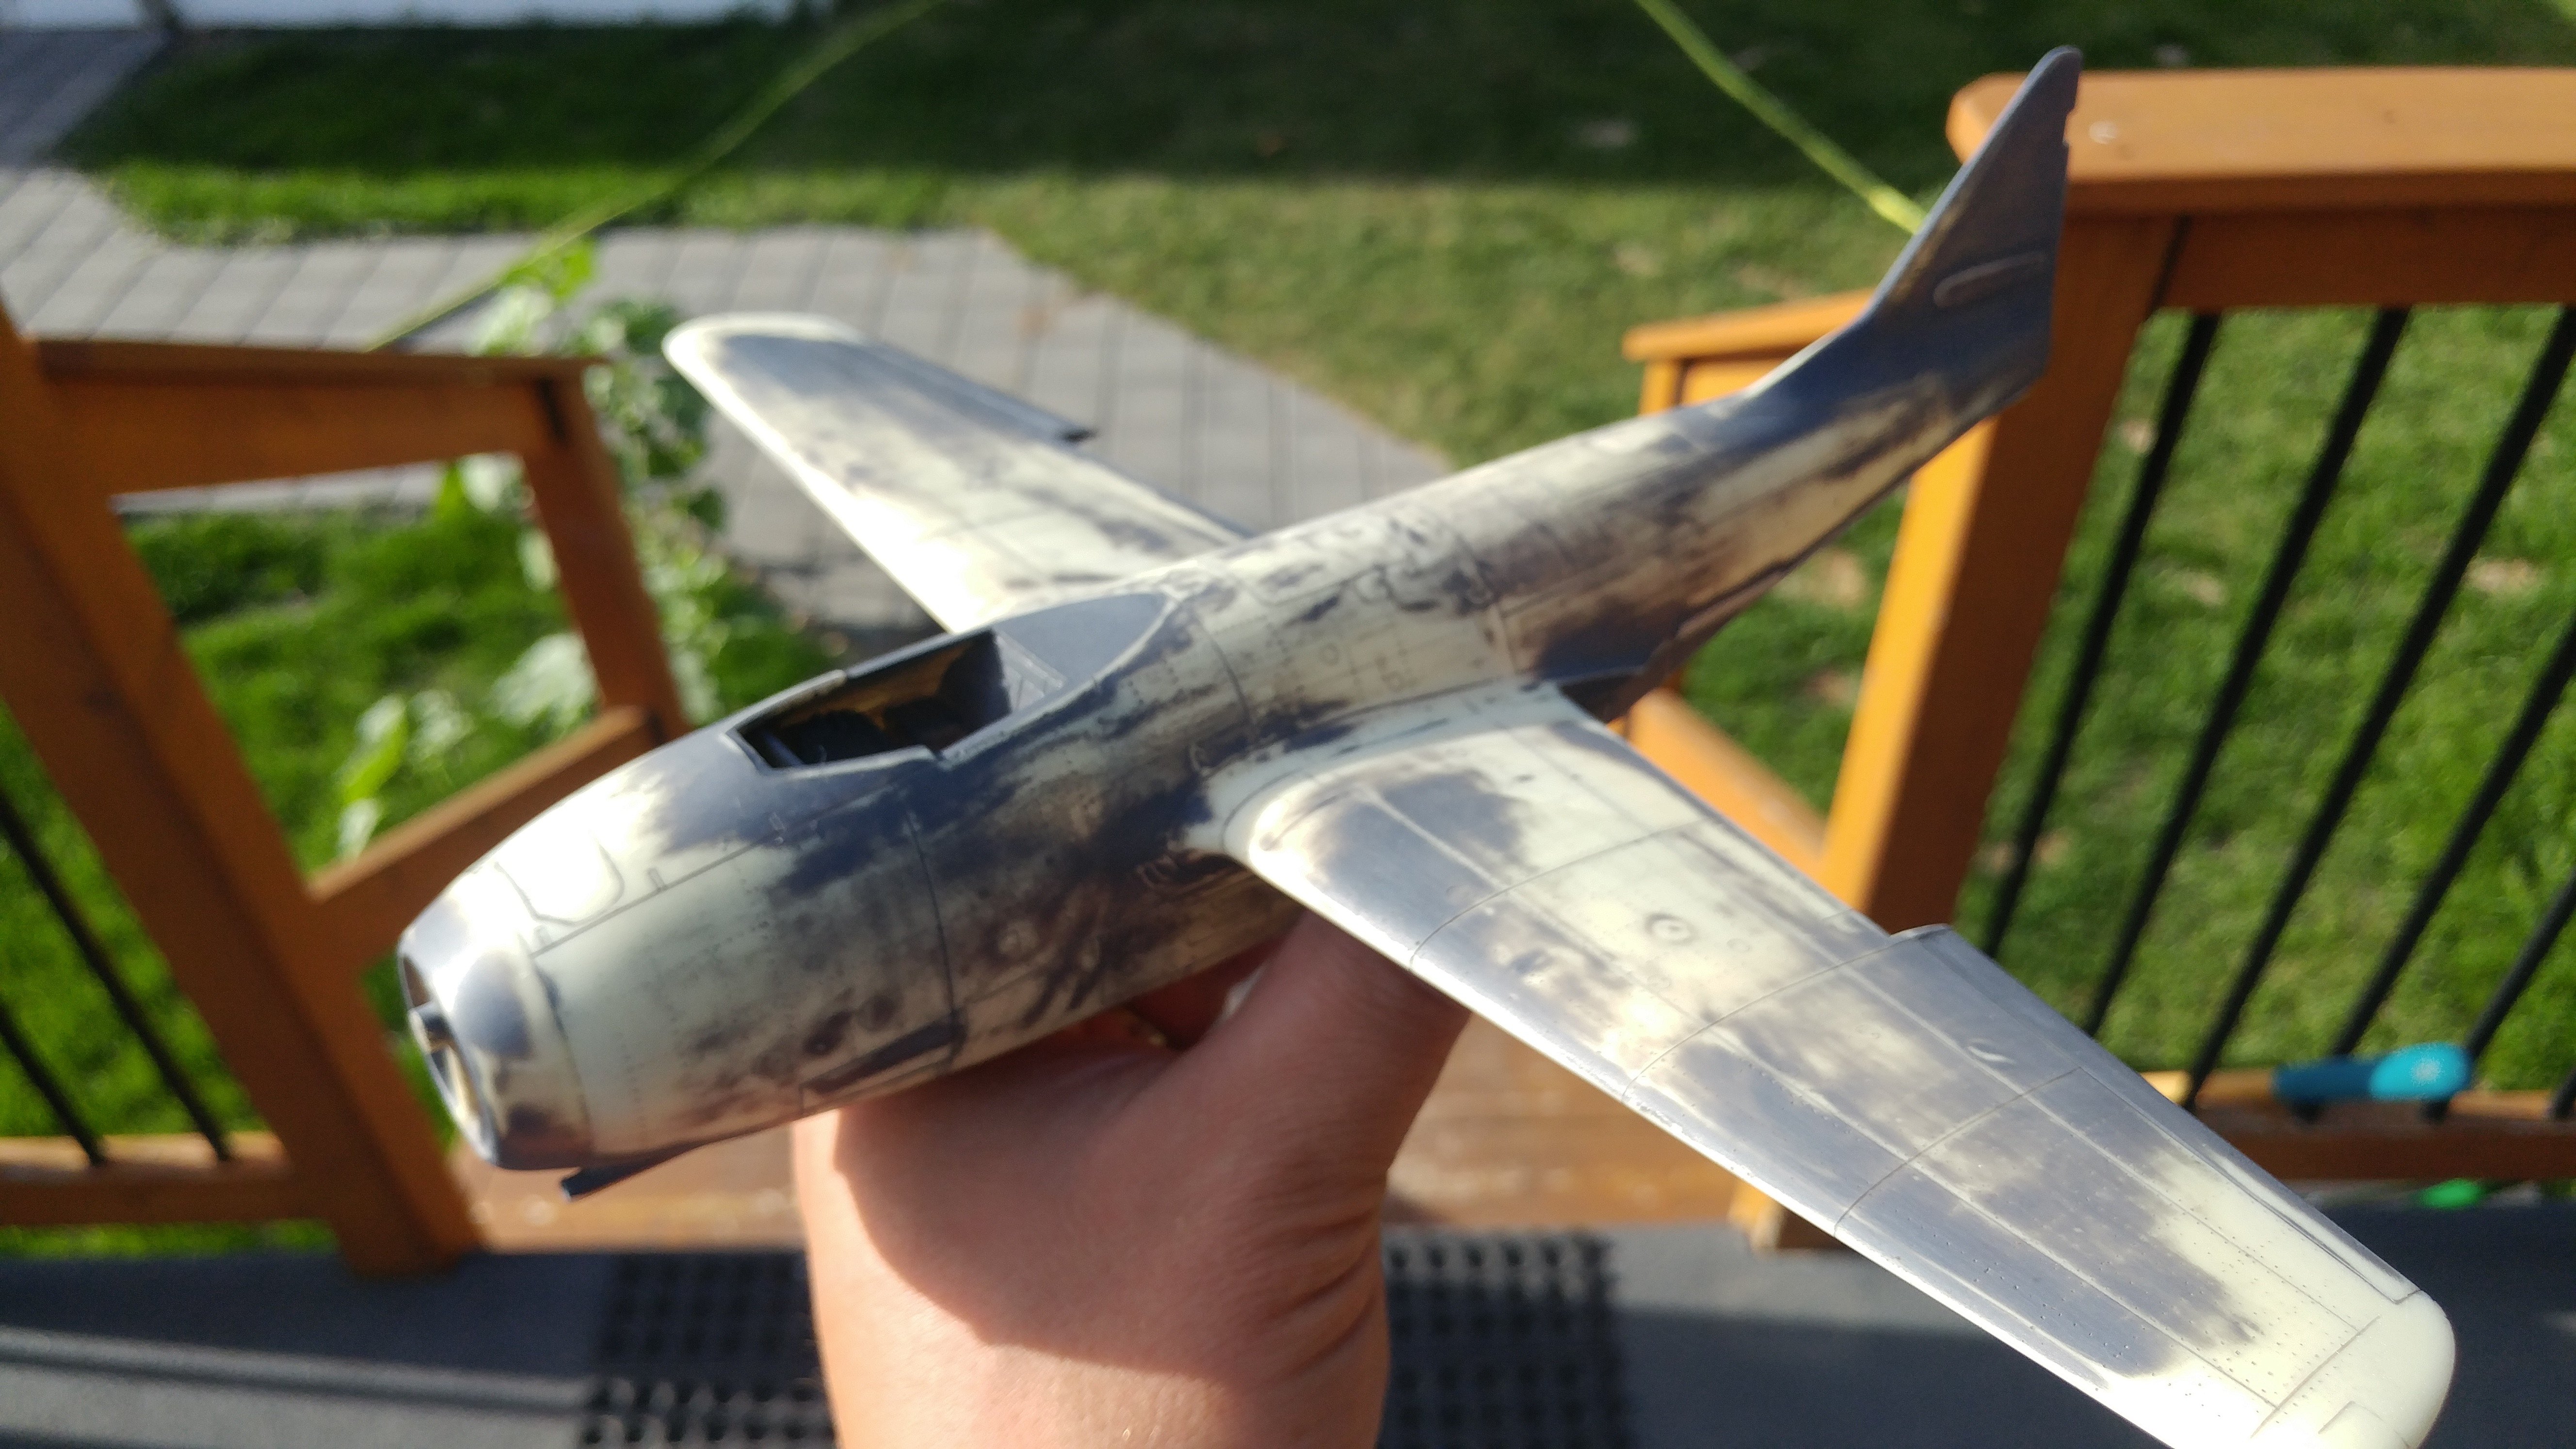
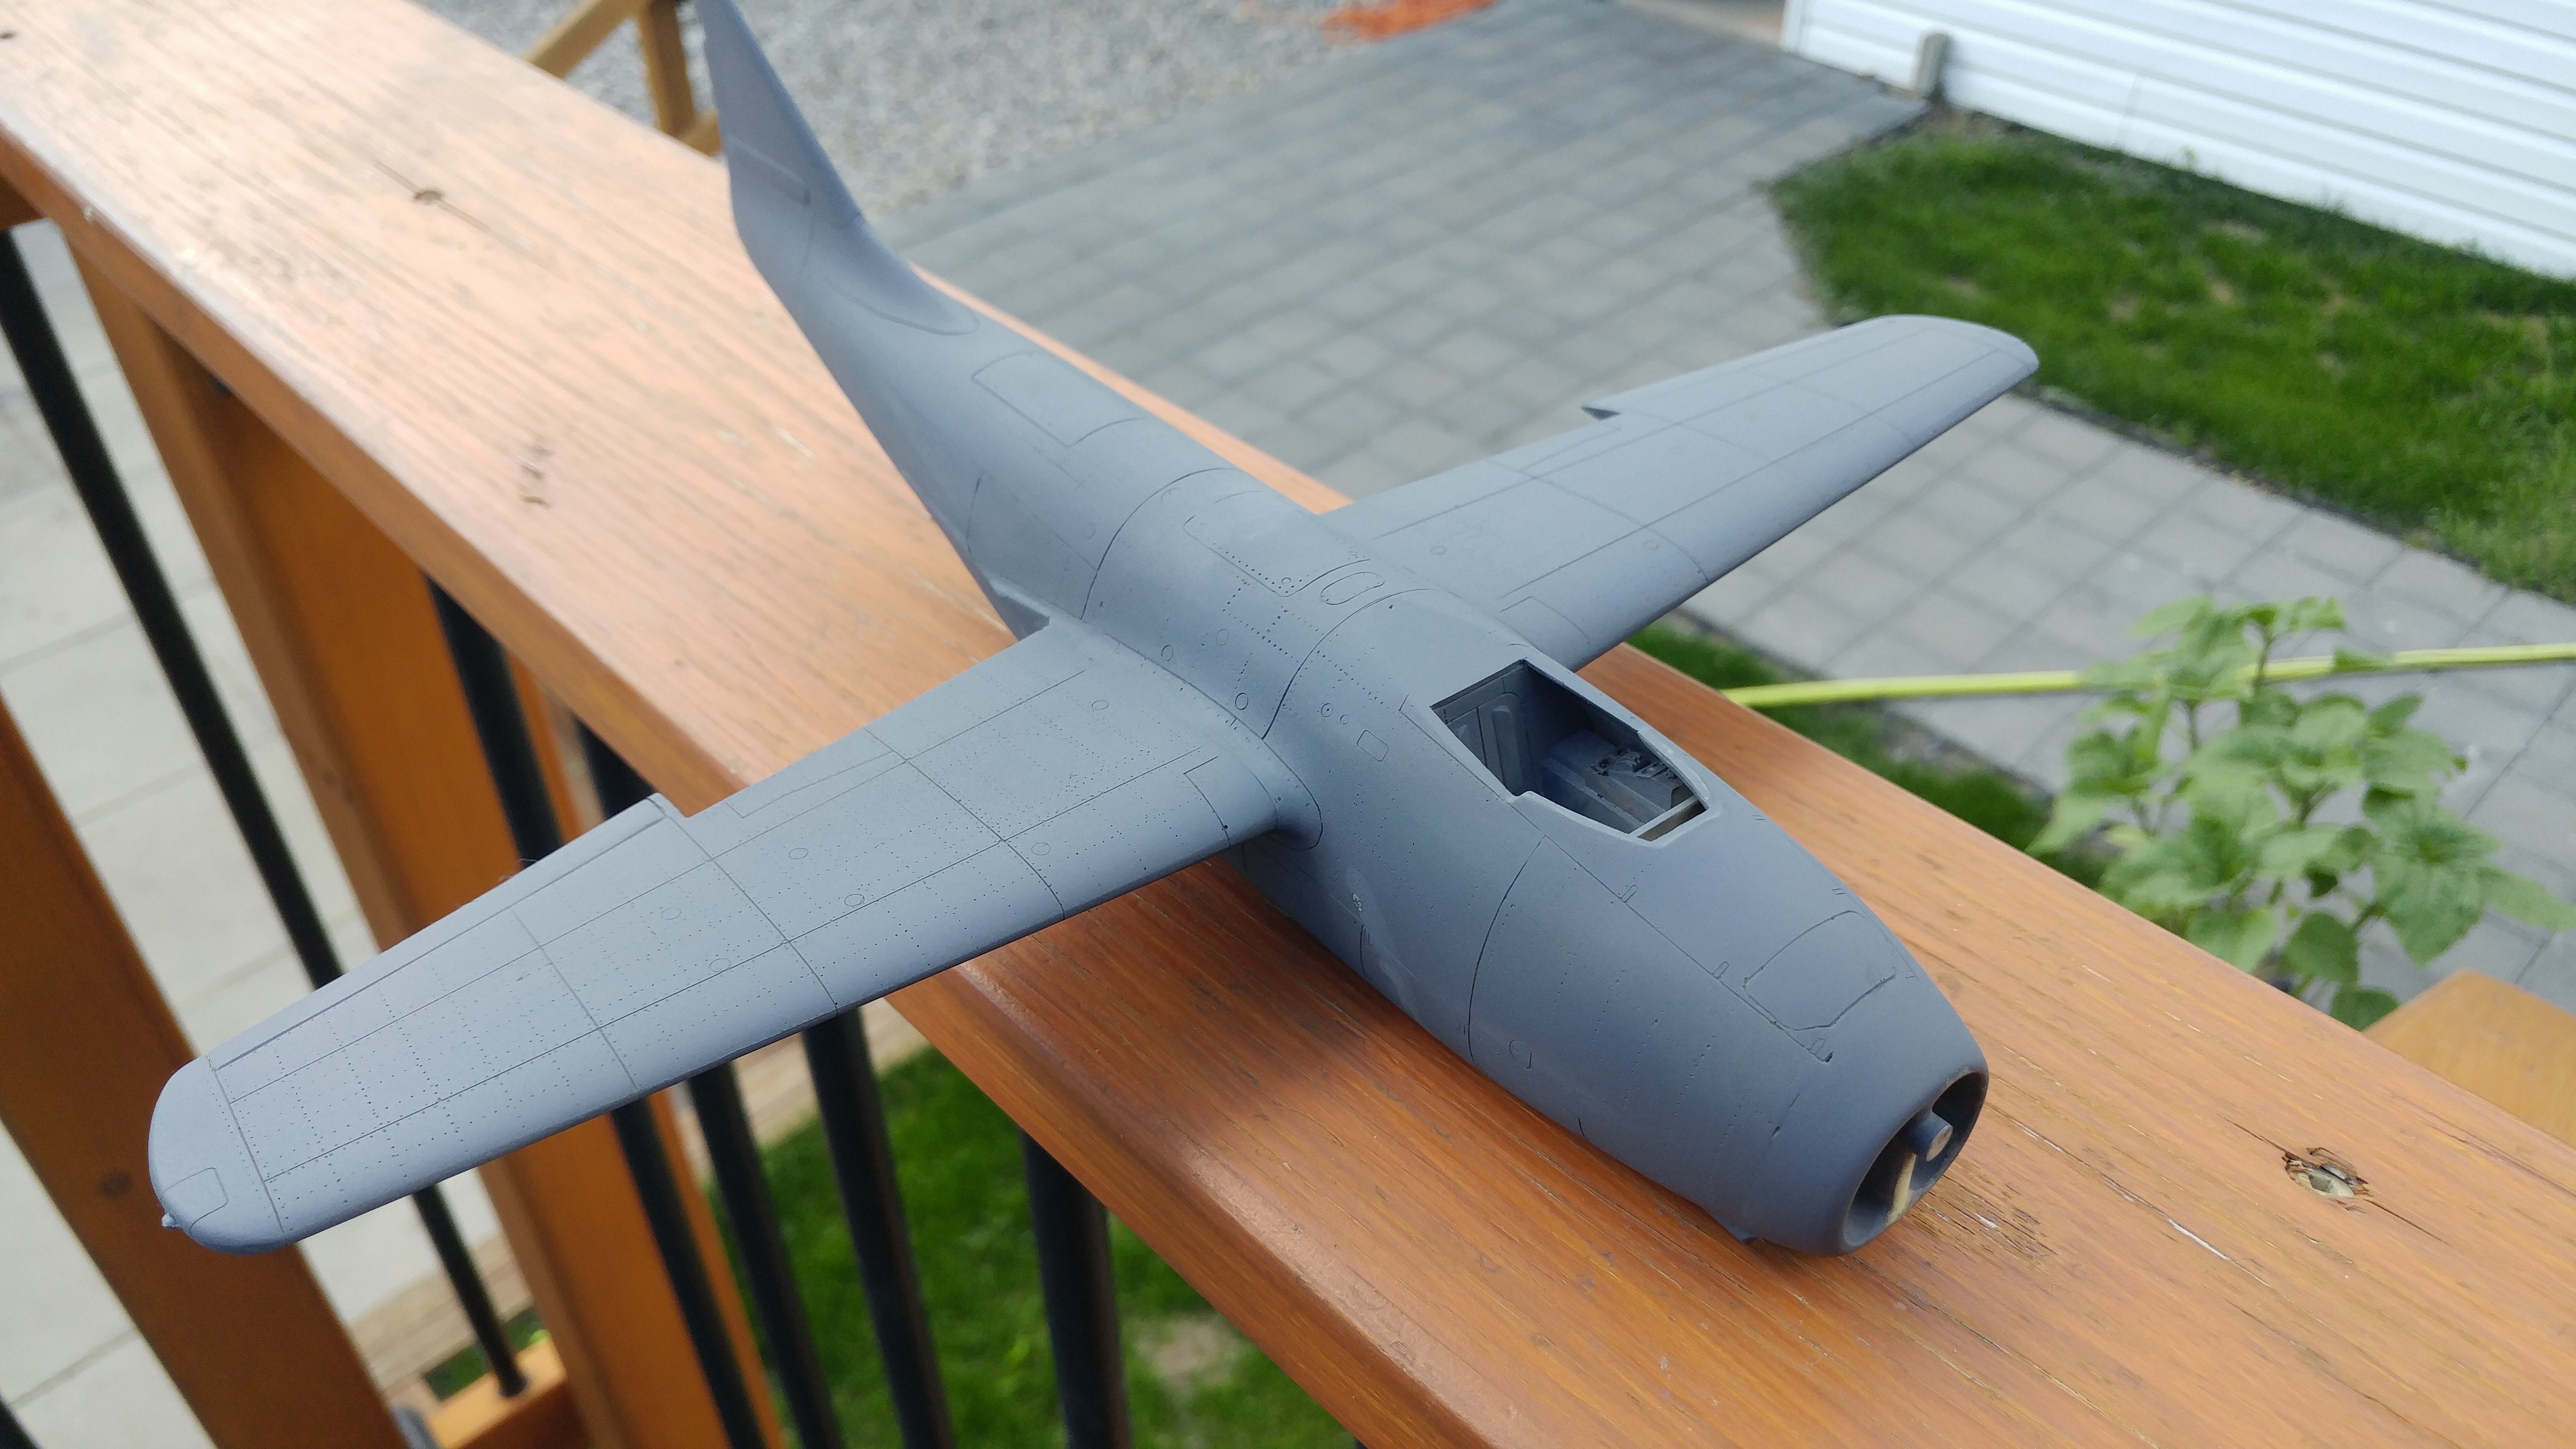
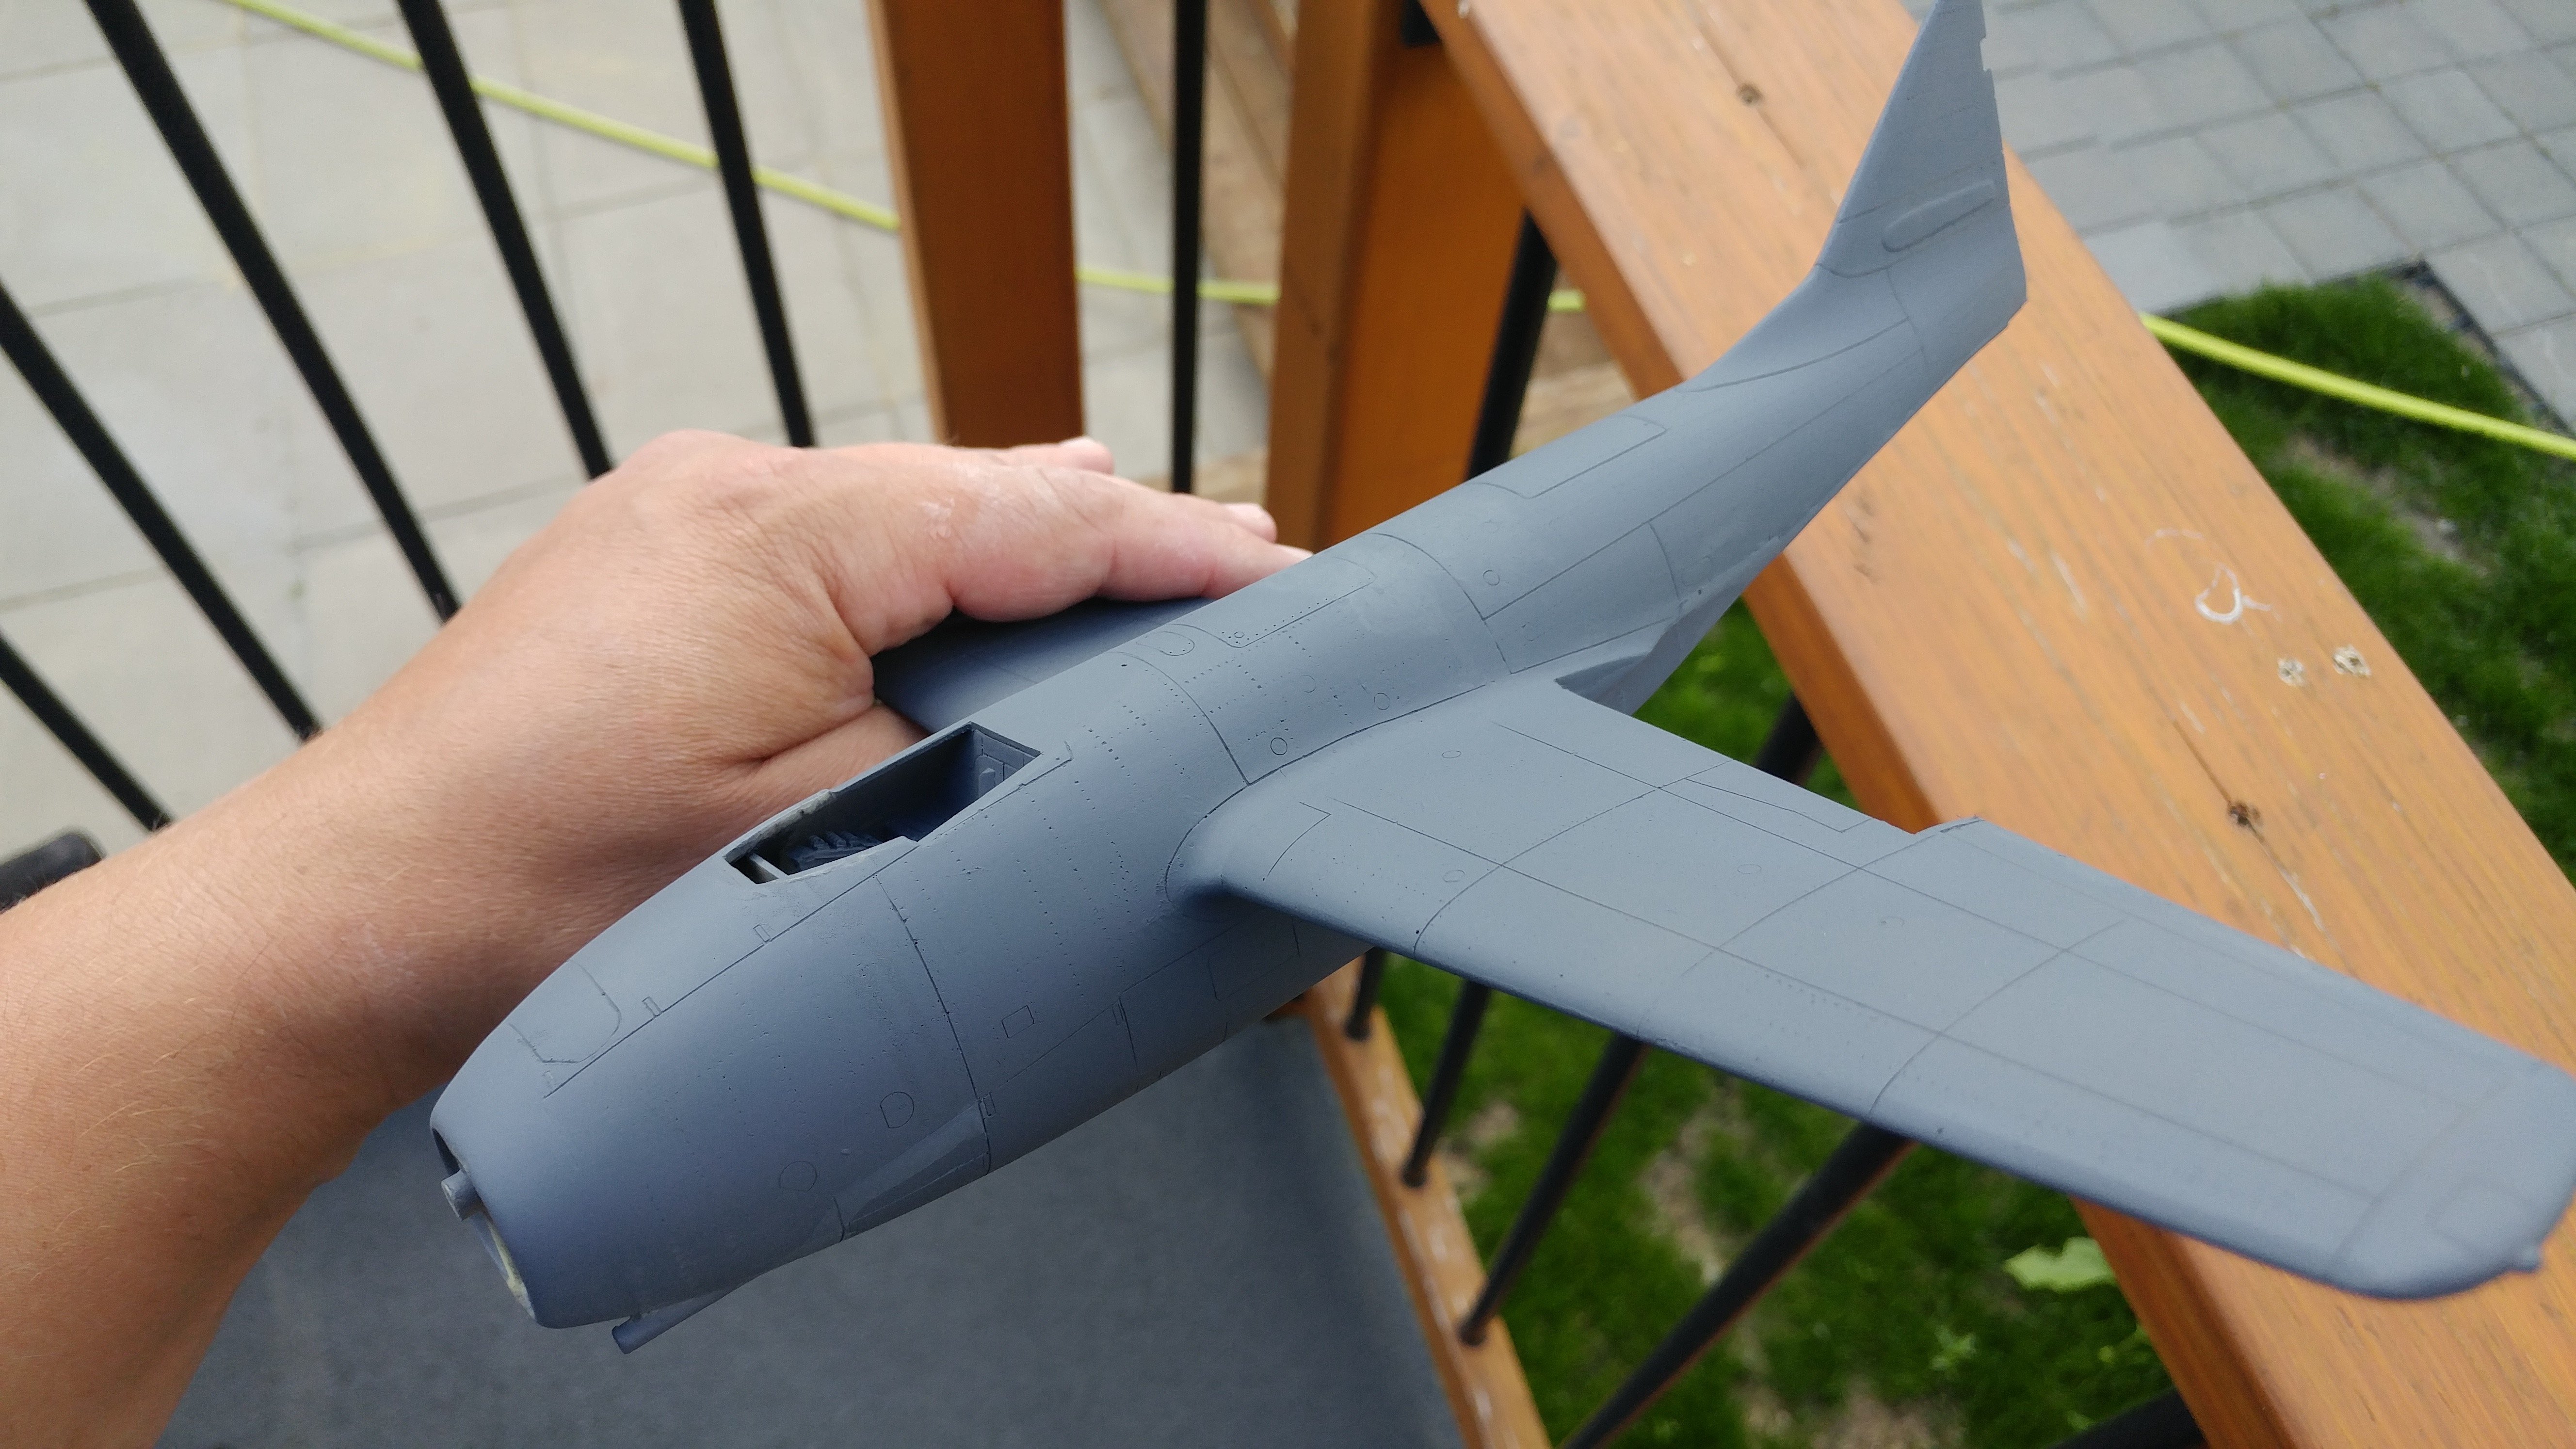
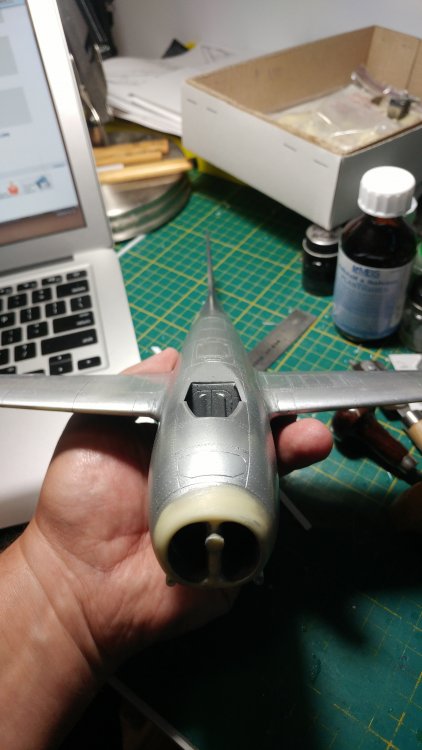
Another place to altered are the wing tips, originally way too rounded. I sanded down the lower part to recreate this look.


-
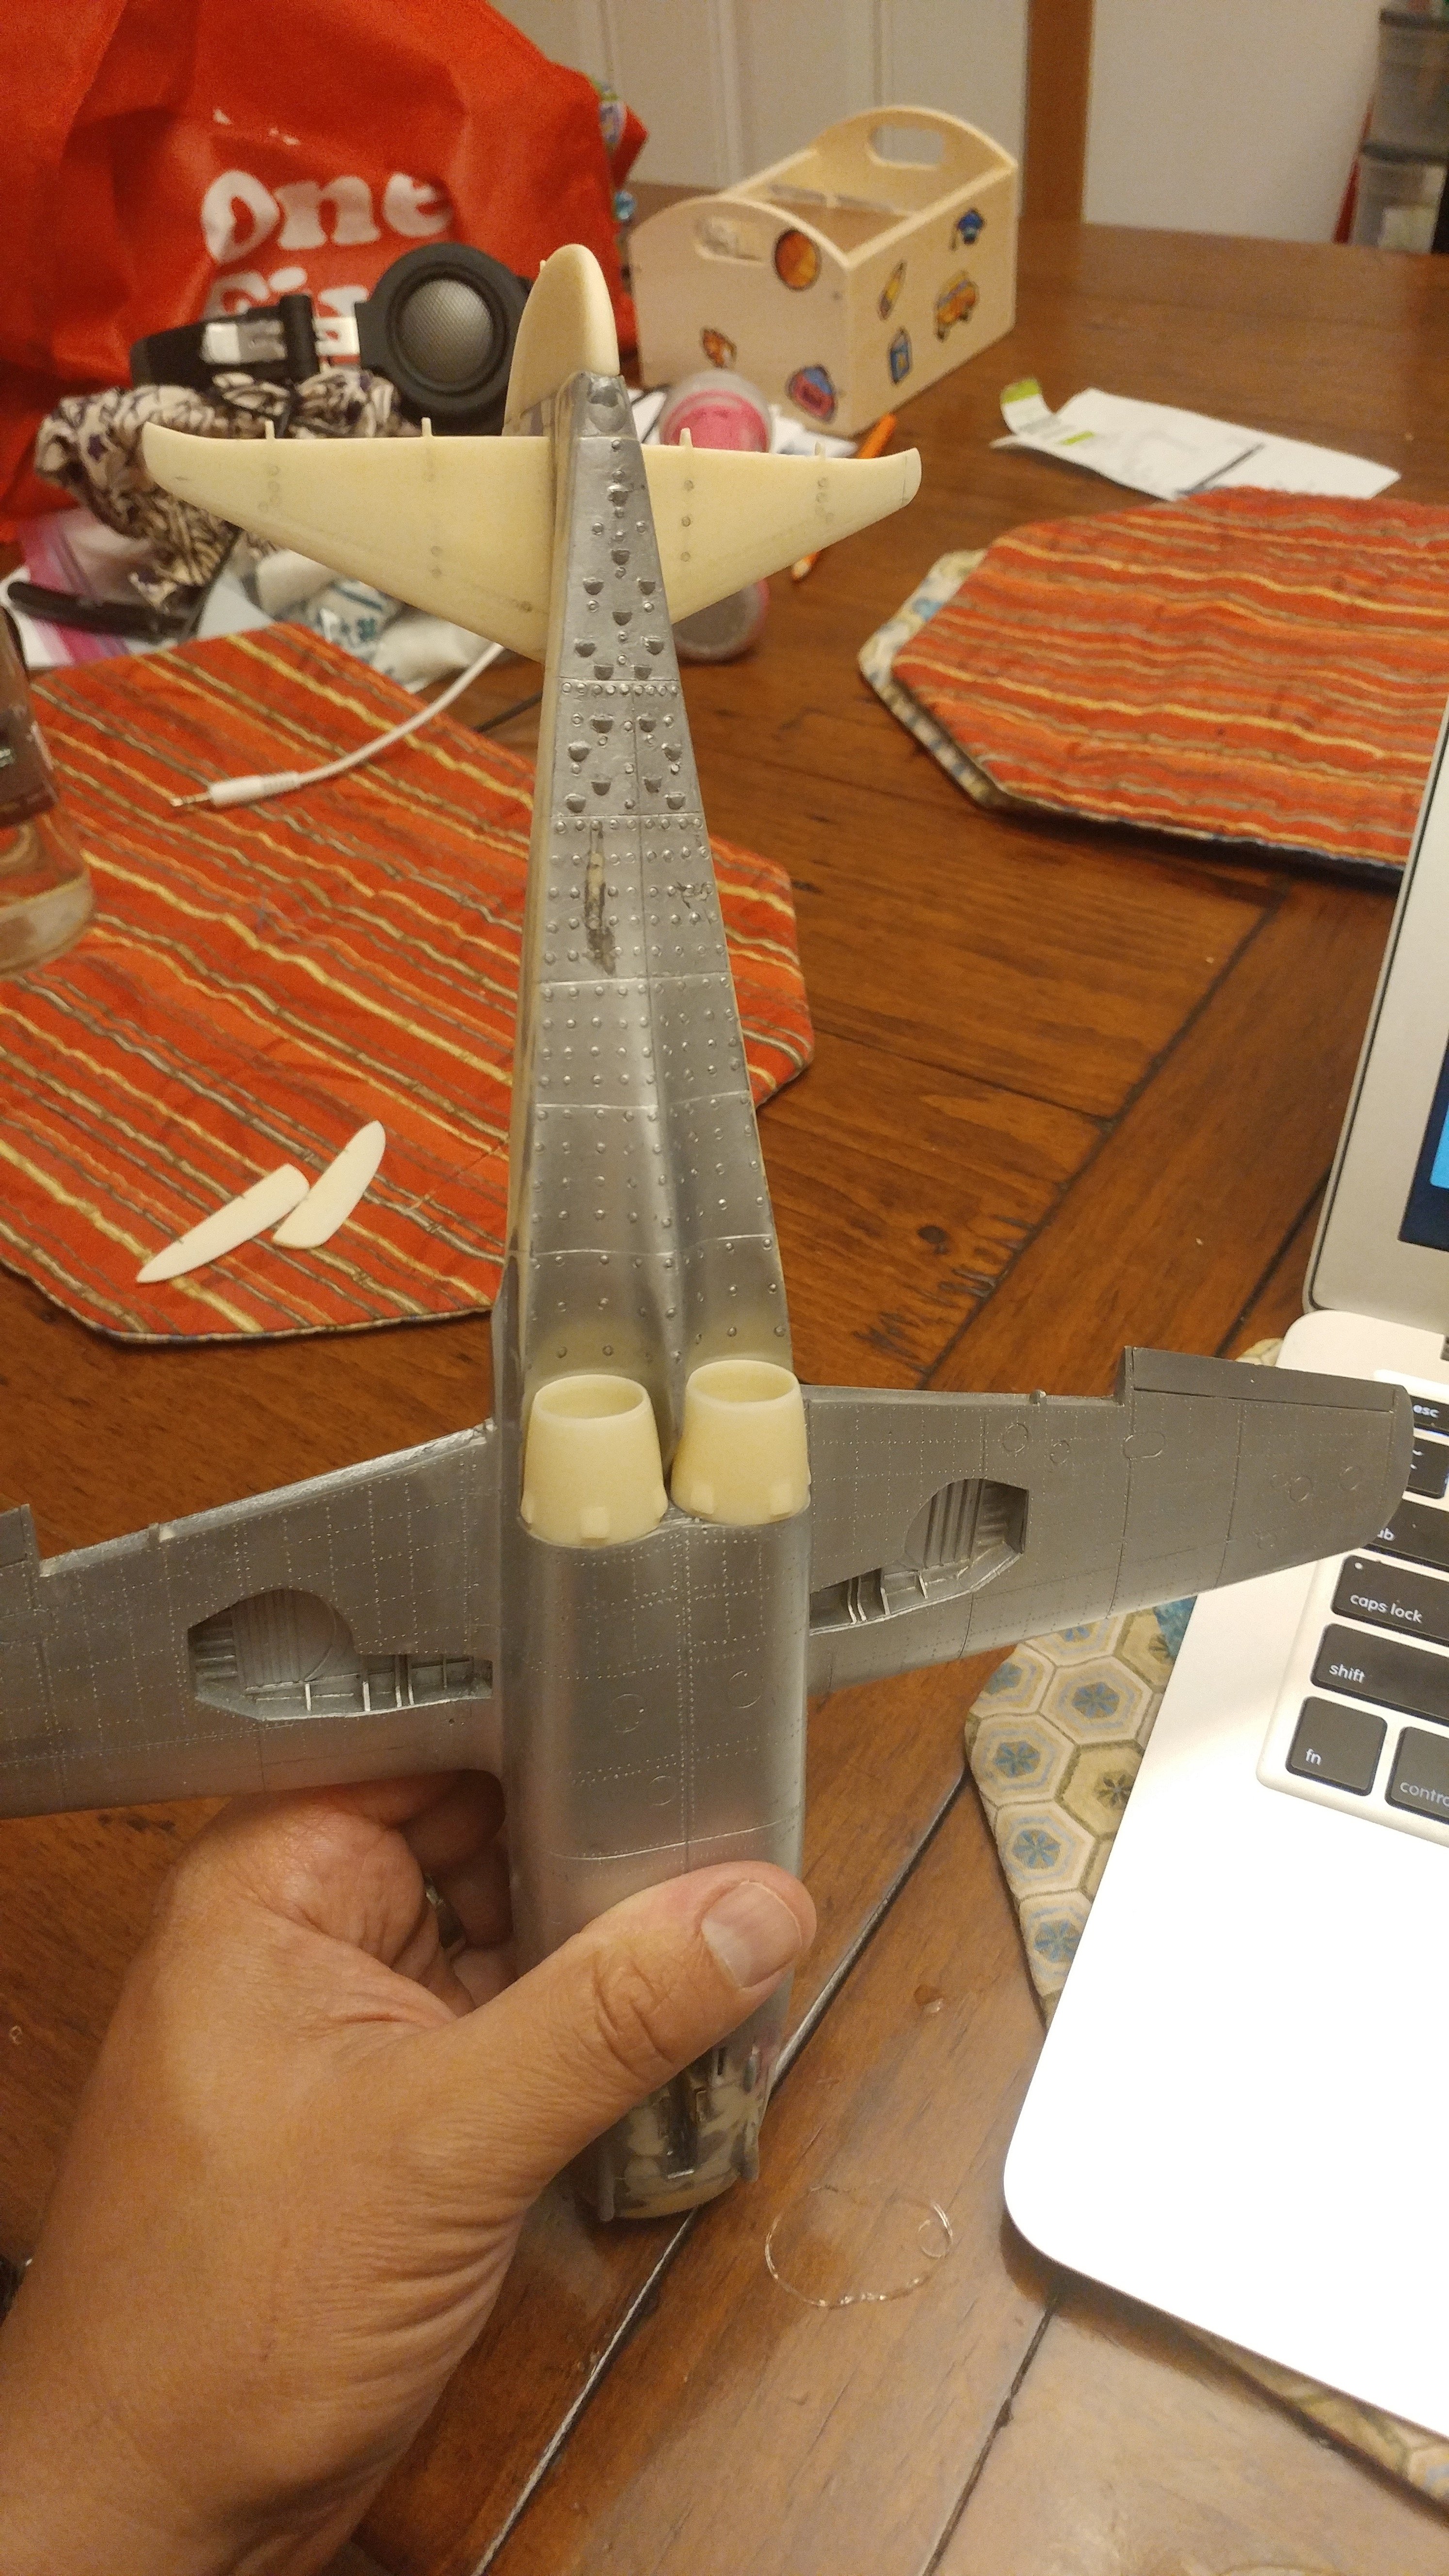
Dry fit was excellent, so I moved to the basic assembly. That went very smoothly . The only hick-ups that I should point at wat slightly bent tail section, inconsistent panel lines and rivets , that were rather square, then circle. So I decided to drown everything in automotive primer and re-punch the whole beast.


-
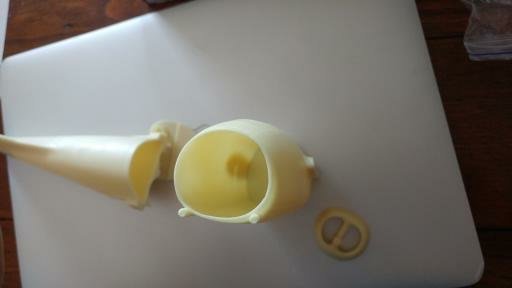
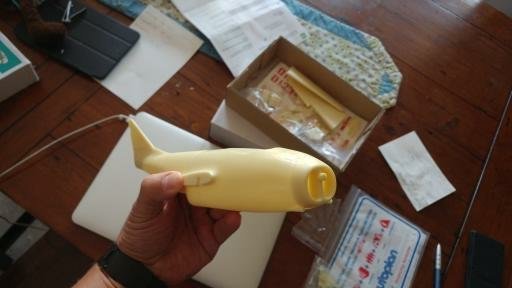
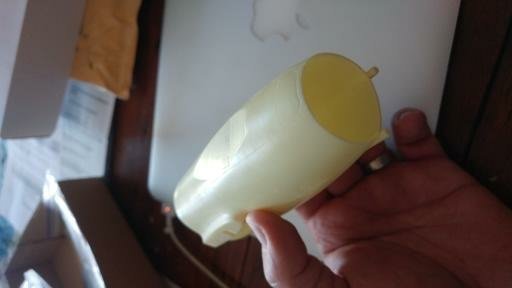
Ladies and Genteman. Few days before my birthday a postman delivered parcel from Ukraine. Surprisingly it was this kit that I did not order, for a split of a second I had the urge to call Andrei and let him know that he made mistake. But , what a minute , where did he get the address to my highly classified location? Of course those two cheeky monkeys ! Ernie and John were gang up on me in order to poison me with the help of resin dust...... Thank You ! I will not start with a picture of the box-art because it doesn't represent any progress and I have been working on this project for a month now, well more like 10 hours, whenever I have a minute to spare and empty kitchen counter to sand on. This was in the box
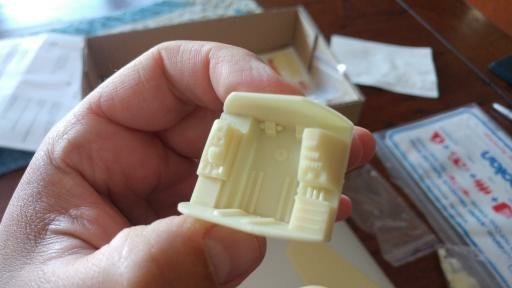
-

-
We are here to help you Ernie