PeteF
-
Posts
233 -
Joined
-
Last visited
1 Follower

Recent Profile Visitors
3,355 profile views


-
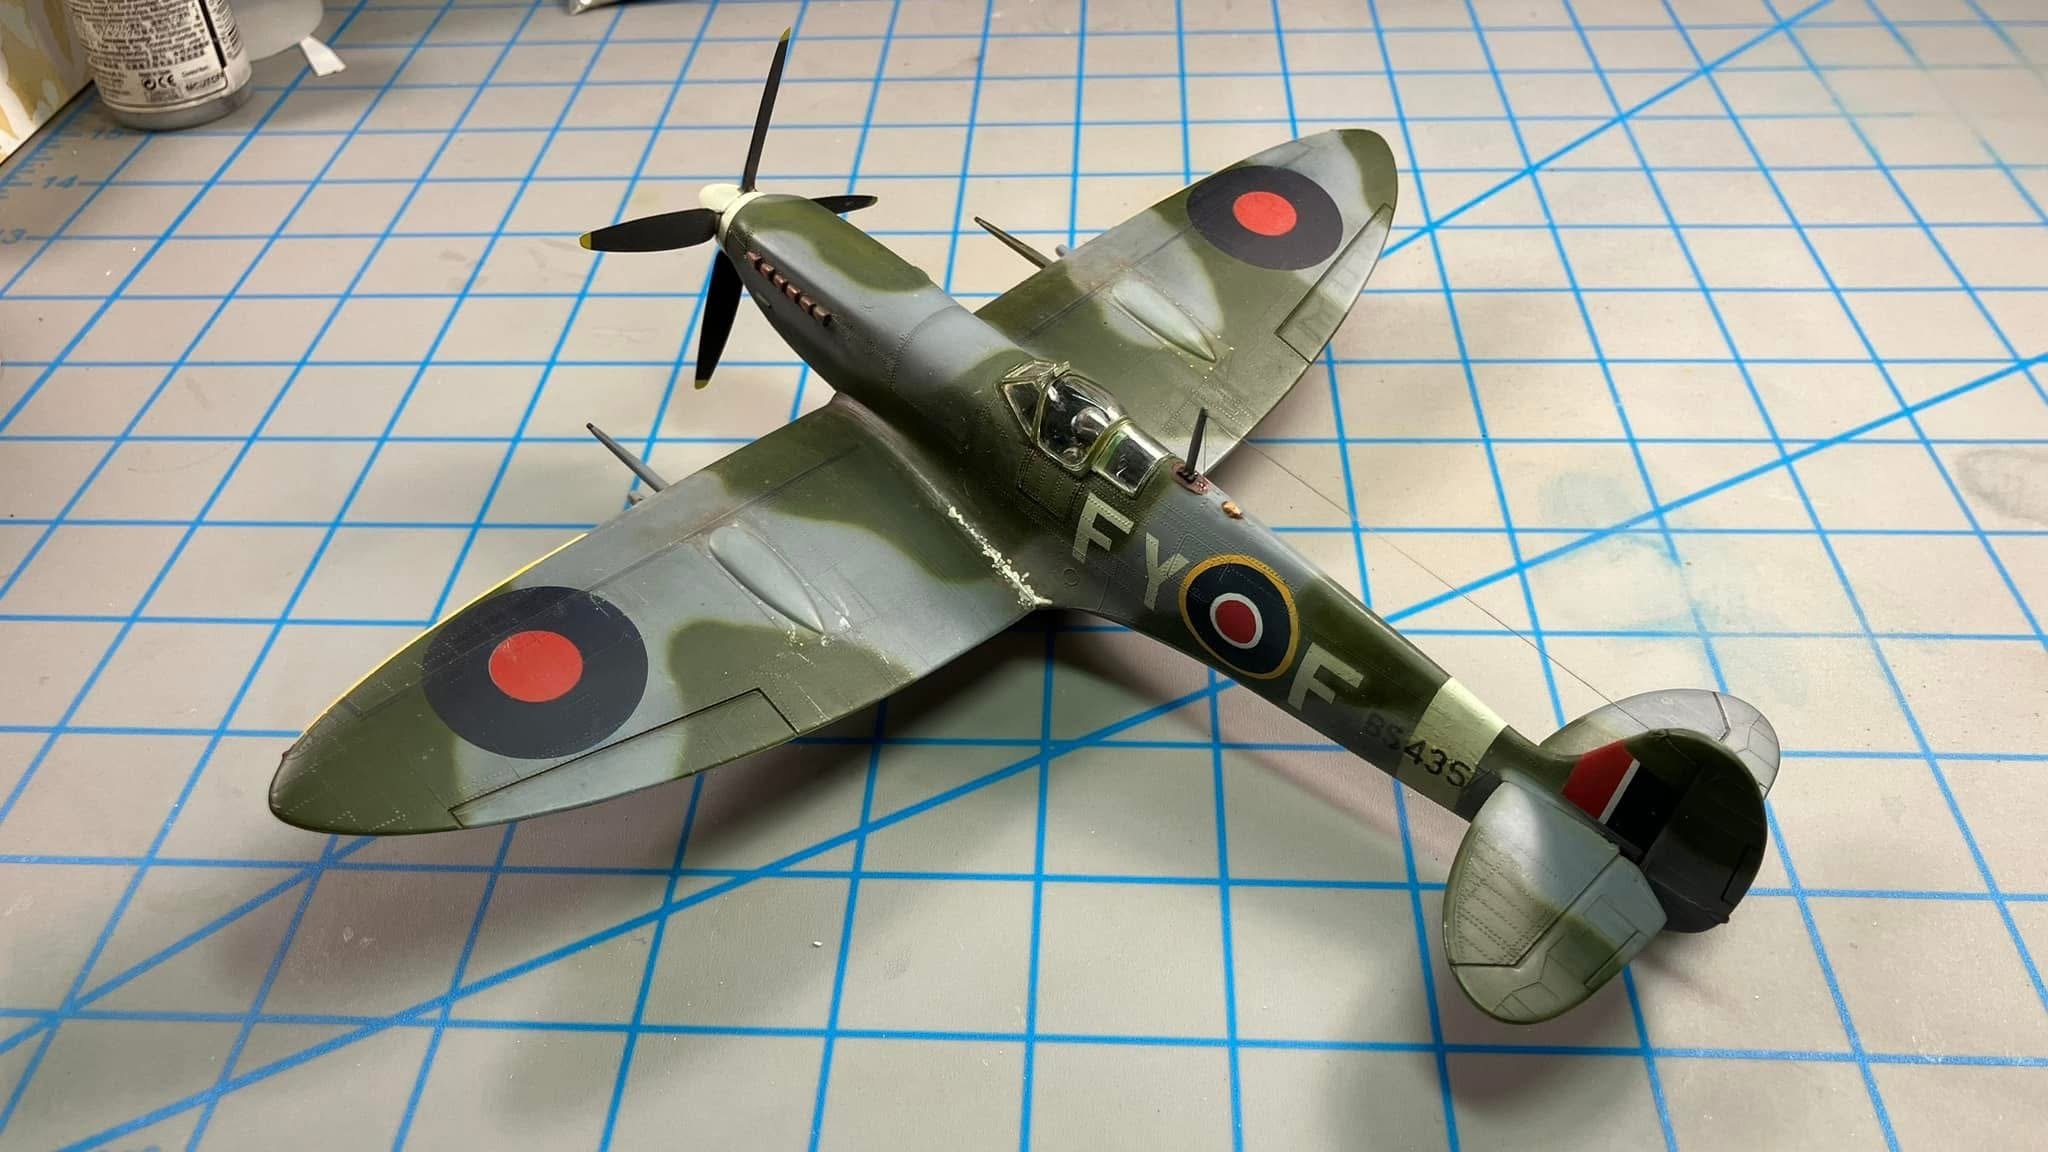
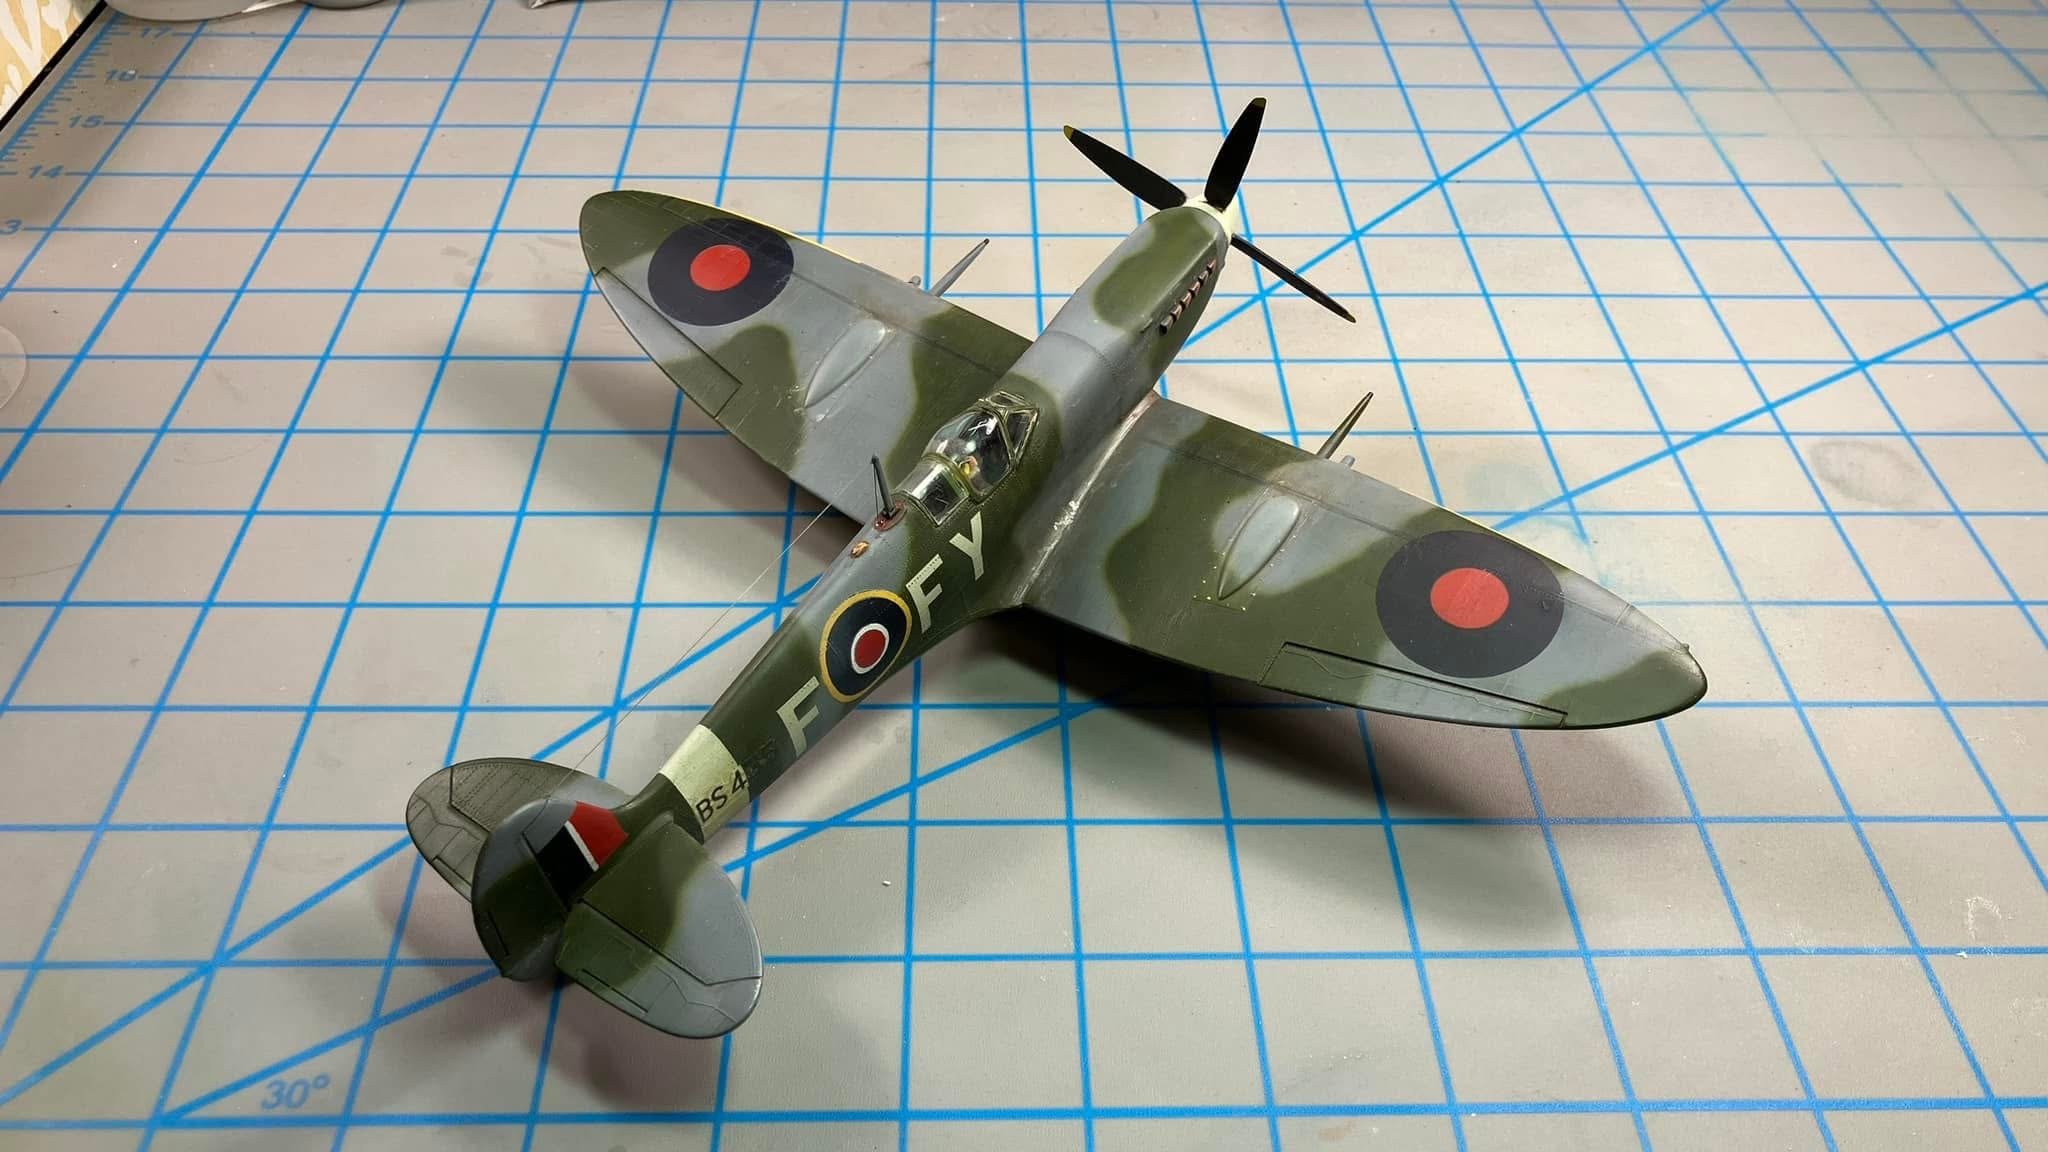
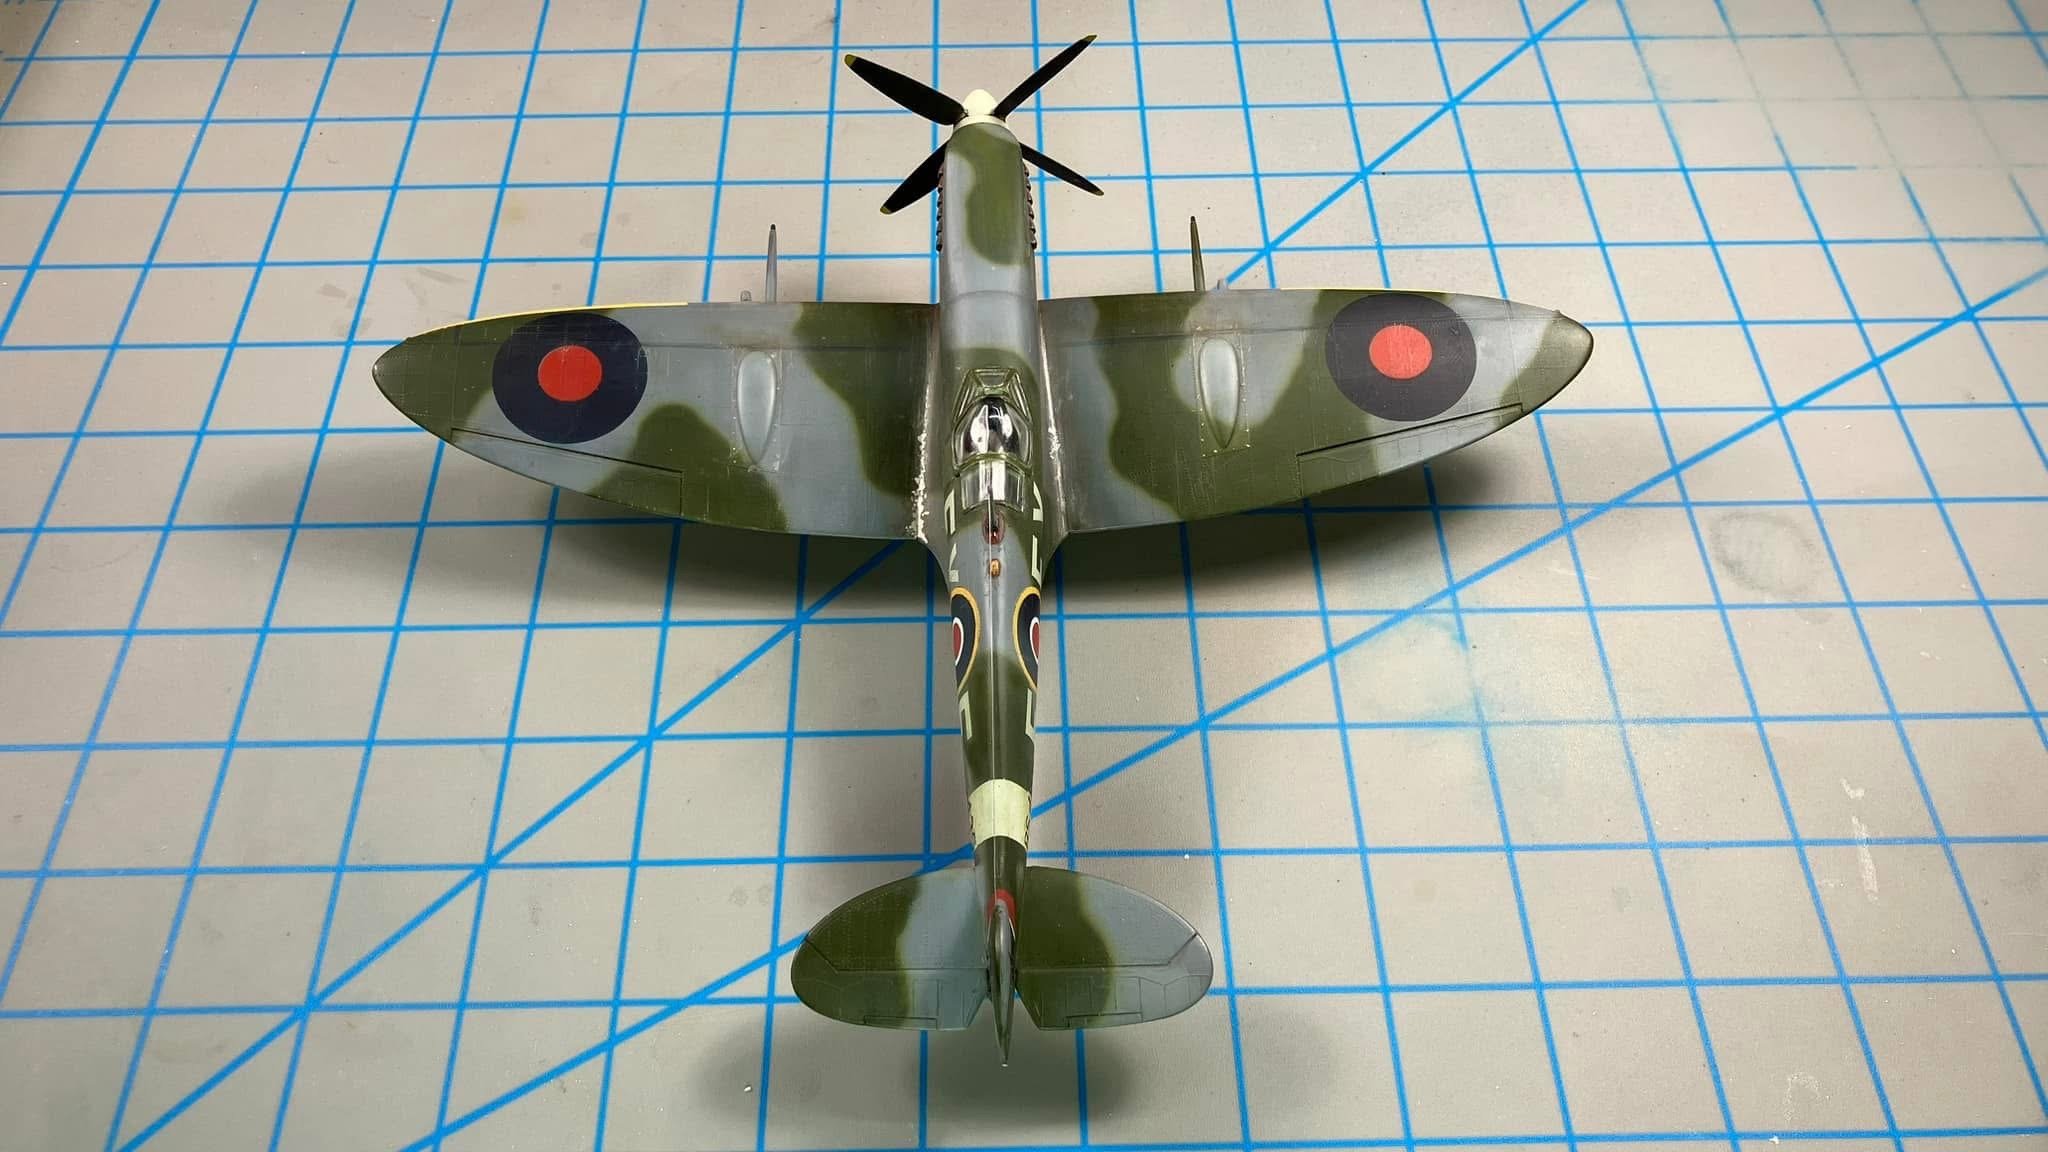
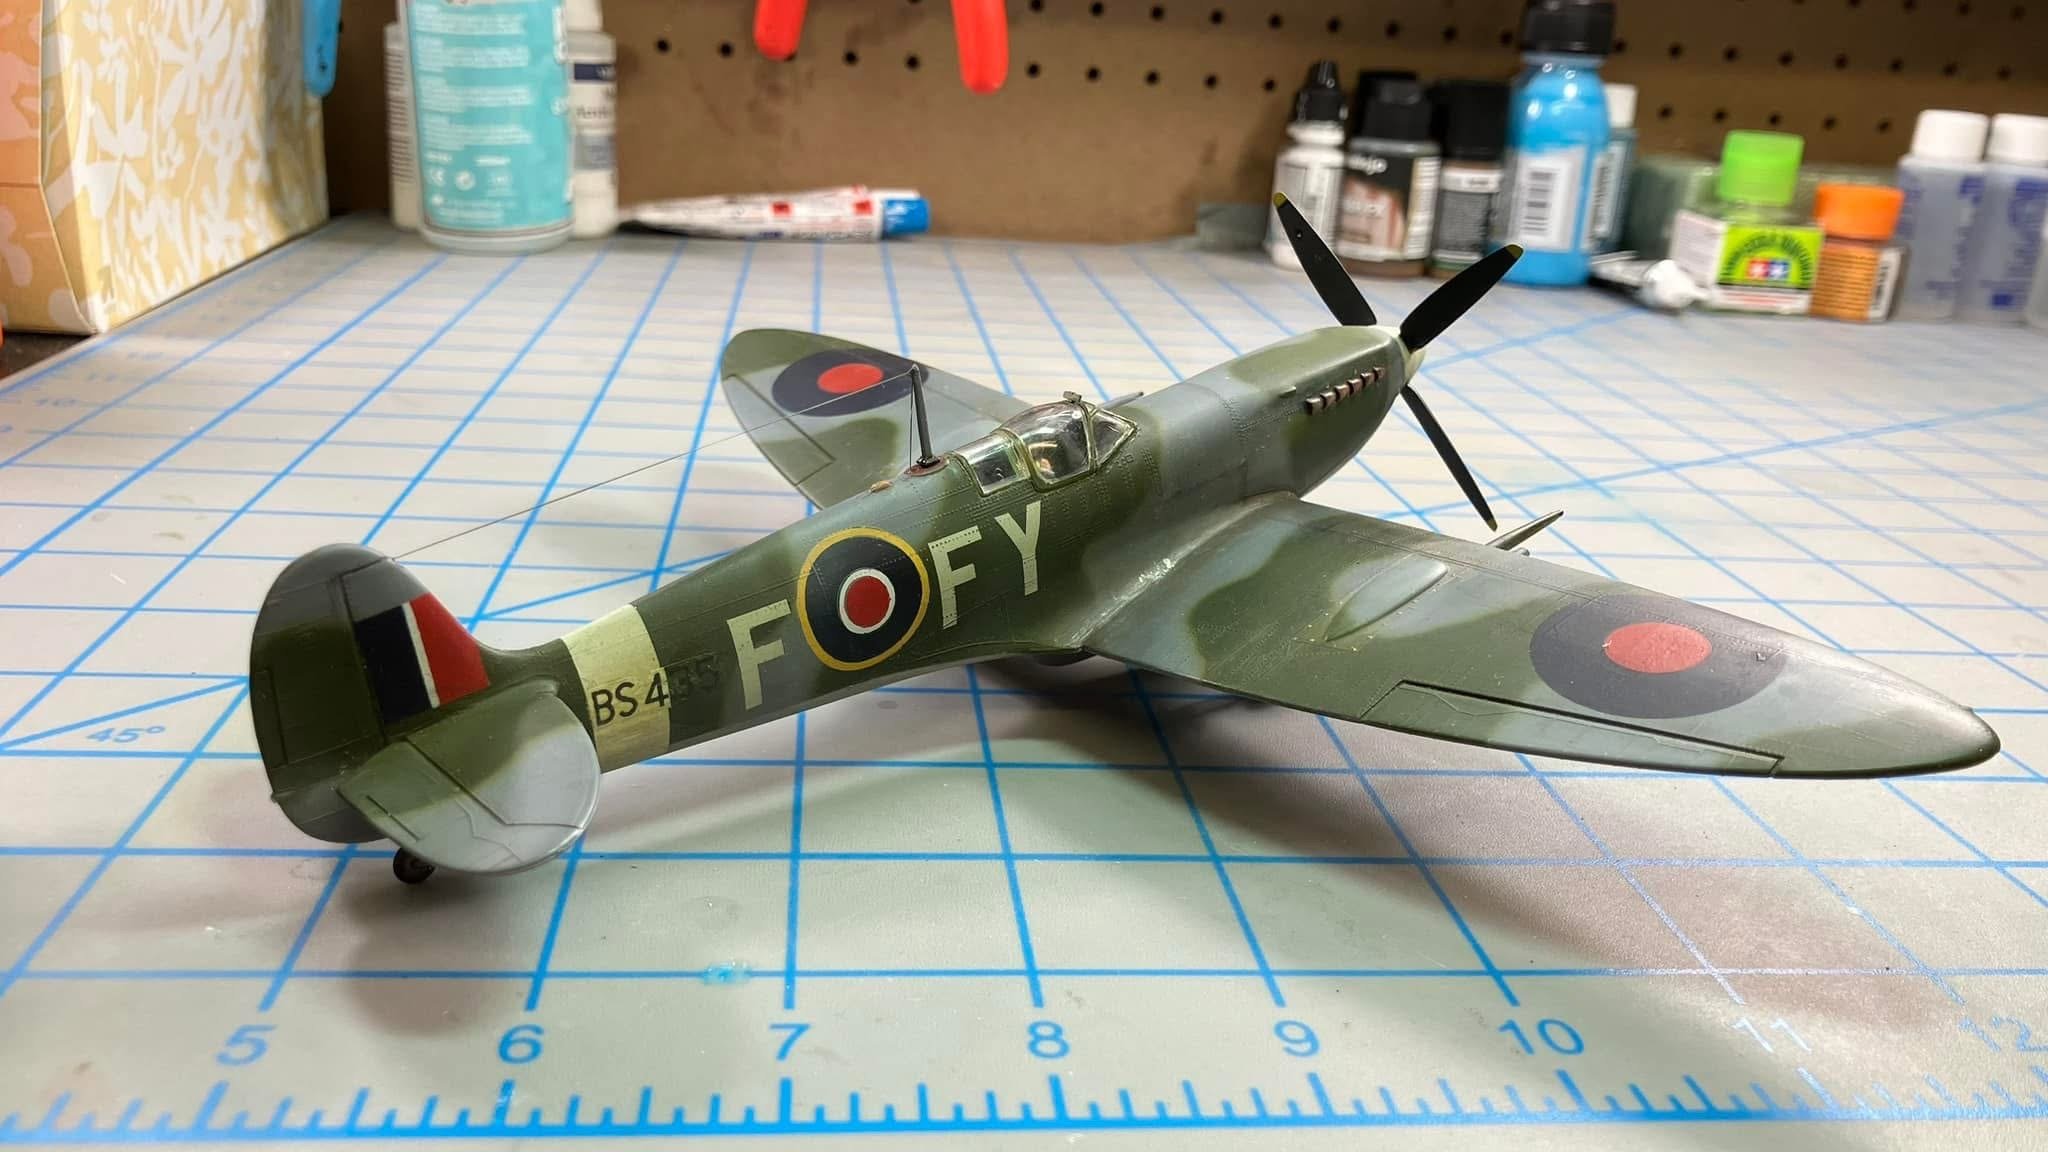
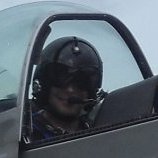
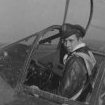
 This became a labor of love. I knew immediately when I bought the kit that I wanted to do a vignette loosely based on the famous Brian Lane photo and the photo of QV-K. I immensely enjoyed the Kōtare model. I lost one part and damaged another and Kōtare kindly shipped me replacements. I tried some aftermarket parts but, honestly, I didn't get much value out of some of them (and in some cases didn't use them) because the Kōtare kit was superior. Parts I used: - Eduard PE cockpit parts (mostly not used, I used a couple of small bits but the model would have been little different if I hadn't used any of them) - HGW seatbelts (immense frustration and difficulty but did use them. They get an F- for instructions) - Kit Masks painting masks for everything except the stencils - excellent - Matters of Scale Early RAF Accumulator Cart (excellent) - Barracuda 3D printed control stick (not really a value add to the kit other than the being cranked to the left so I could deflect the ailerons) - Brengun models RAF chocks and ladder (used the chocks with modification) – I cut the tip of my finger off trying to scratch build these originally. - Art Scale Kits canopy masks - they worked great. I "primed" the model with Tamiya silver laquer and painted everything with (mostly Vallejo) acrylics. Brian was painted entirely with acrylics.I had never really painted a figure seriously before (in my youth I'd done some 1/12 Tamiya pit crew figures but they weren't very good). I bought a base off the internet and got a static grass applicator and made the terrain out of model grass and dirt. That was a first time for me. Brian and the accumulator cart have small brass rods (through Brian's feet and through the accumulator's wheels) so I can remove them. The cable from the accumulator trolly is just inserted into the connector (which is glued to the plane) so I can remove the plane from the base. The famous Brian Lane photo was taken in September 1940. I'm a bit late finishing but spiritually it was done 85 years later. I did plenty of research and came to some of my own conclusions to lead to some of my choices: 1. Yellow spinner – Yes, on balance of all the evidence I believe it was yellow 2. No doped fabric over the guns on this aircraft (see photo at end) 3. The upper cowling was off a different plane and had the "B" camo pattern 4. Black aluminum seat and black seat-back armor plate. 5. No mid wing to root black walk lines '


-
Didn't realize, this might be construed as advertising.
-
Though my interest is primarily aircraft, I did have a Daimler Ferret for a while (sold it back as it was unusably unreliable) and did a model of it. Weathering armor is a lot of fun.
-
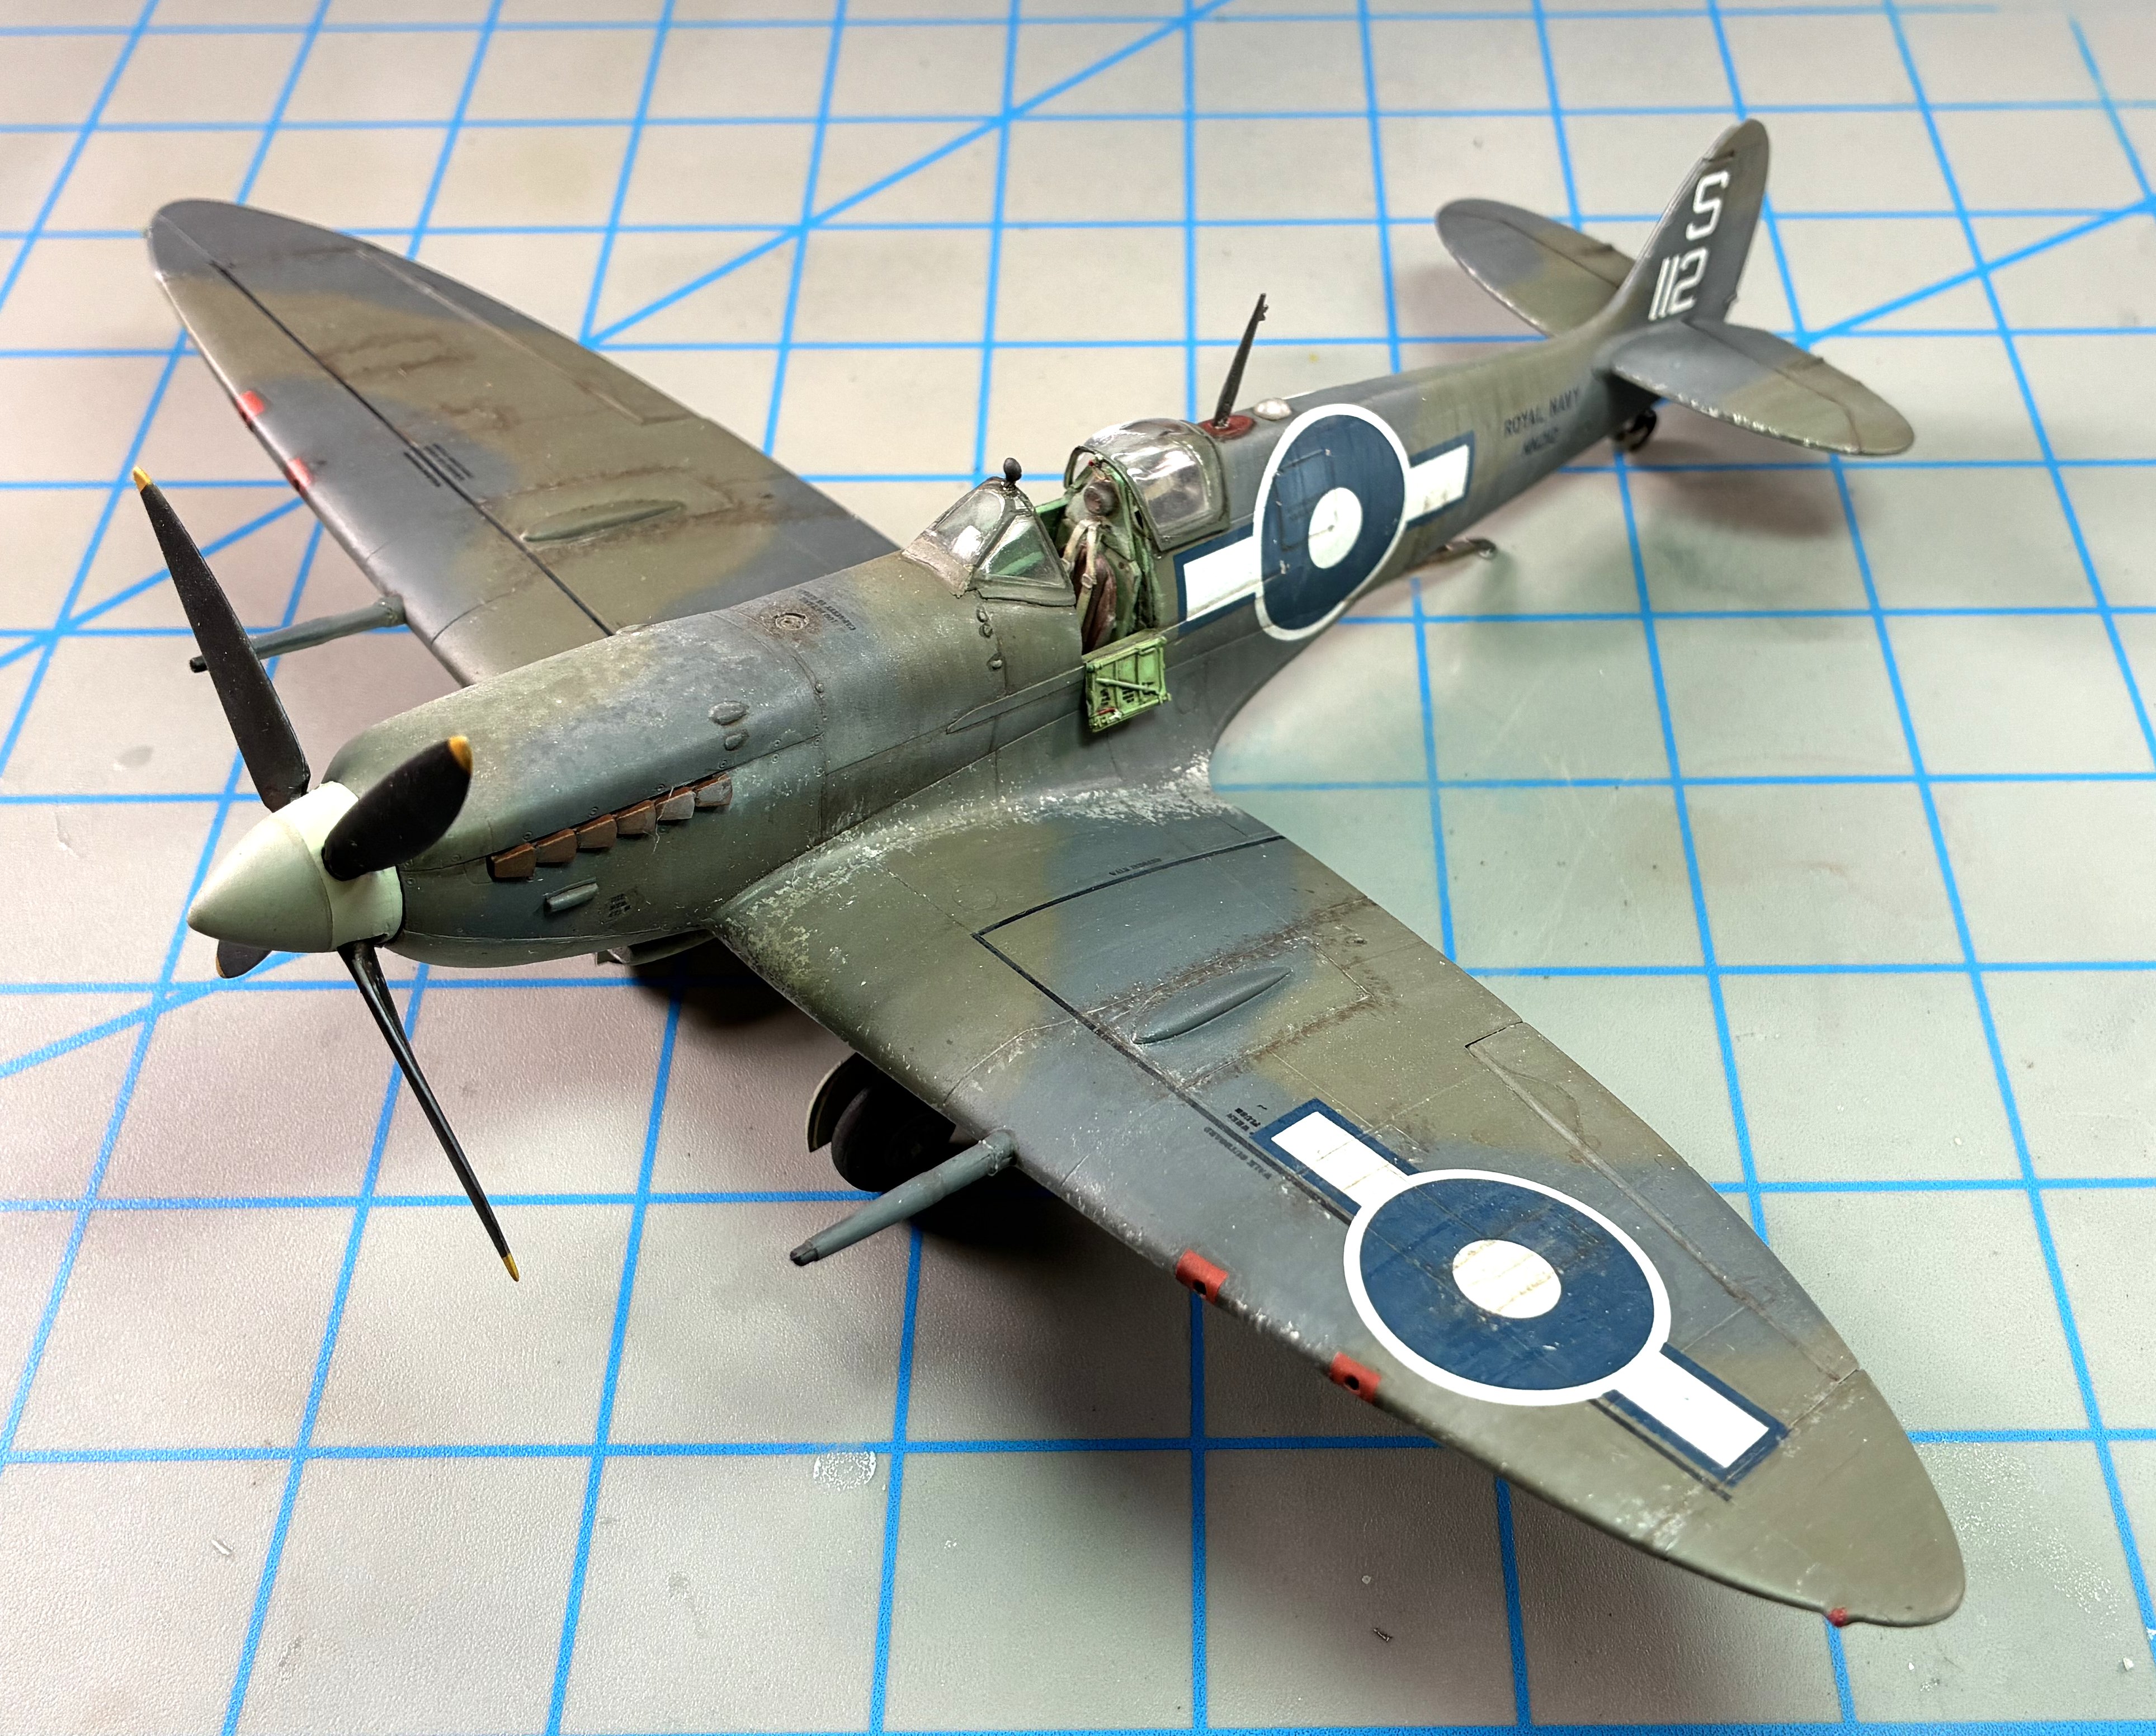
Interesting subject, I suggested to Kotare that they do a version of the Mk.III Seafire. Interesting back story too. . Build Vlogs here:

-
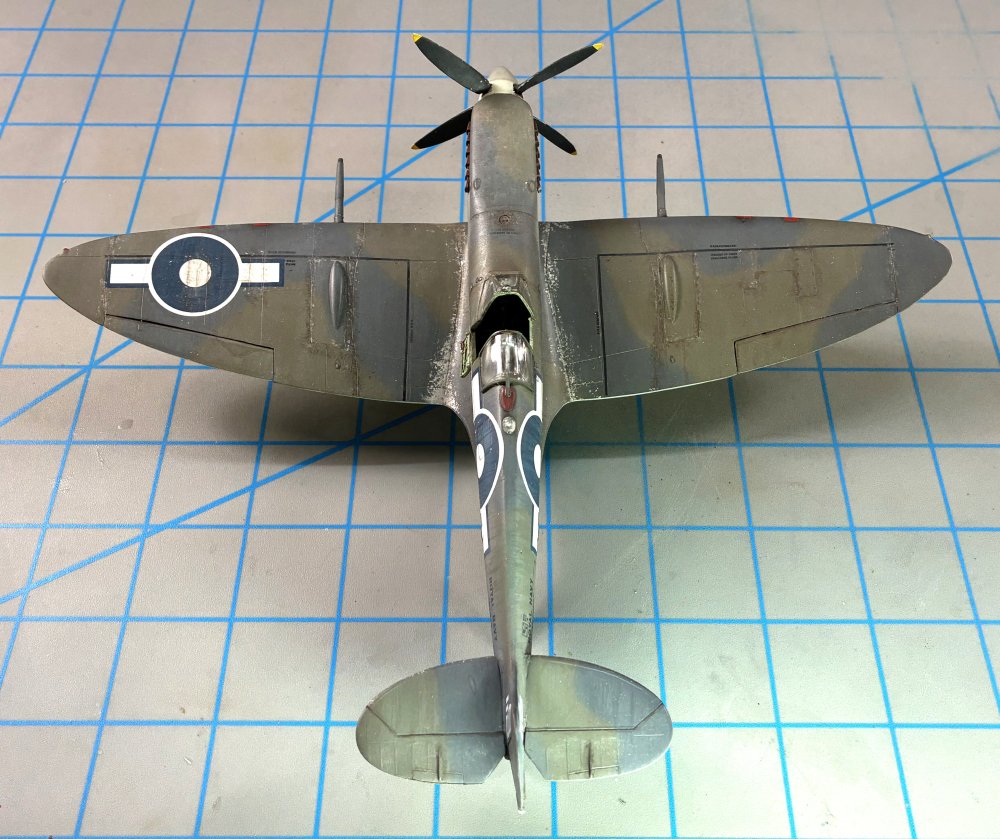
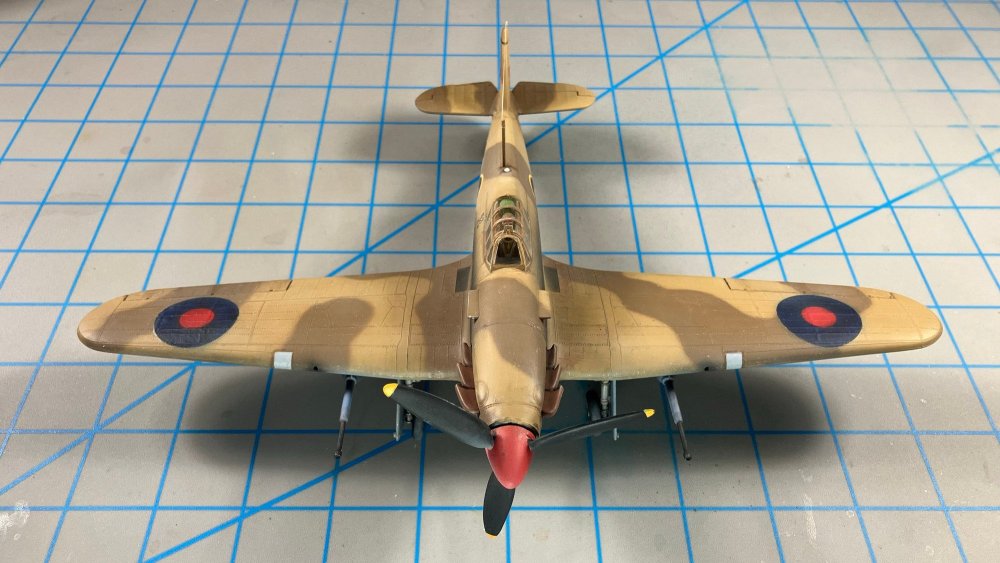
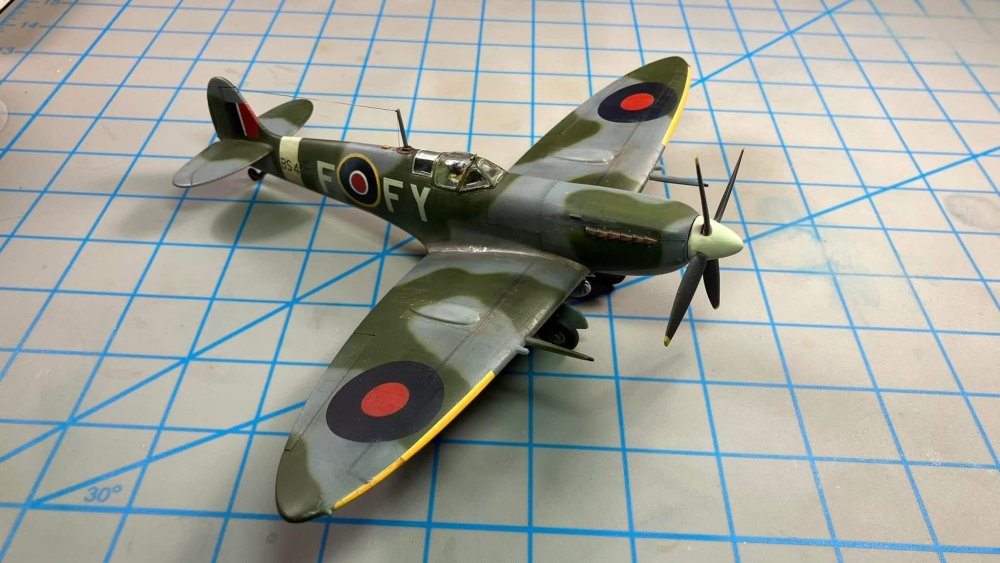
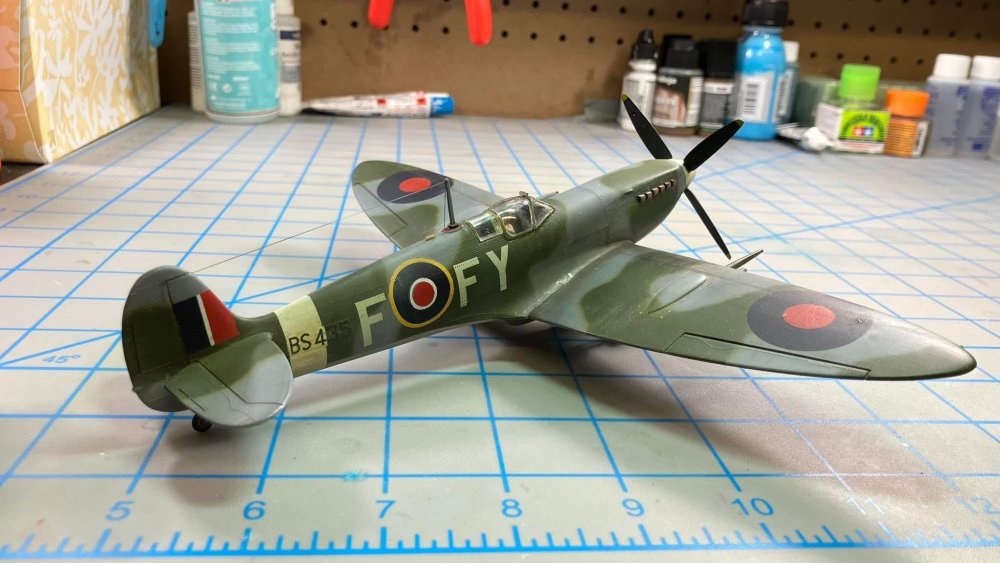
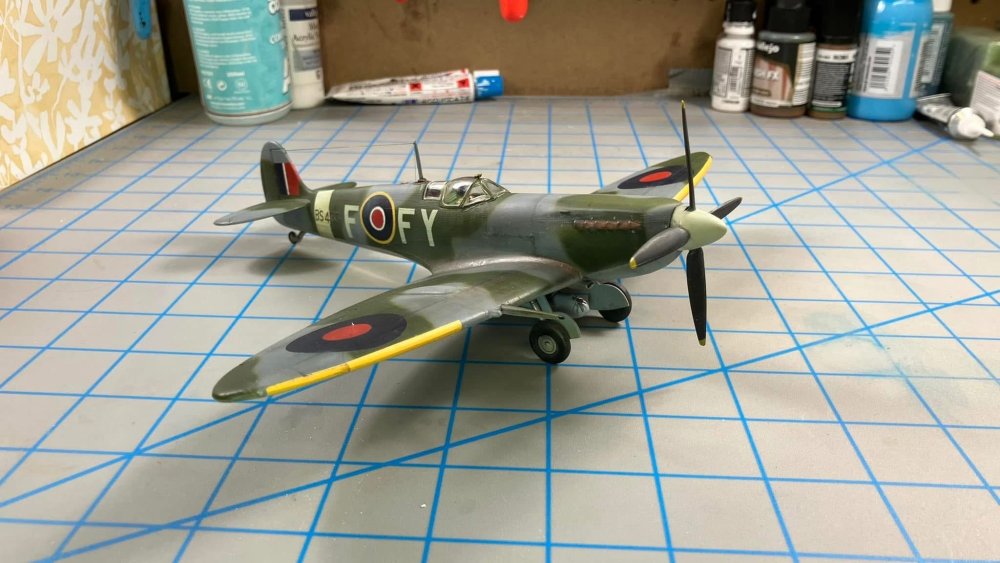
It was clear that Monogram had improved their kits 2 years after the Spitfire release in the early 1960’s. Still a fun model and good overall quality that made these so fun to build as a kid. I used the wing roundels but painted the rest of the markings. The retractable landing gear worked well too.


-
- 4
-

-
Original 1977 boxing of Monogram Spitfire Mk IX.
PeteF replied to PeteF's topic in LSM 1/48 Aircraft Ready for Inspection
I have a Kotare one waiting in the wings. Looking forward to that one, -
The decals disintegrated so I had to paint the markings. Not without its challenges but very nostalgic. This is still a decent model and the hobby wouldn’t be where it is today without them.


-
Building a trio of these kits. What I found was interesting and nostalgic. The Monogram White-Box 1/48 Scale Models — Building the Spitfire (part 1 of 2 part build) https://youtu.be/SxyhKvPJL4c
-
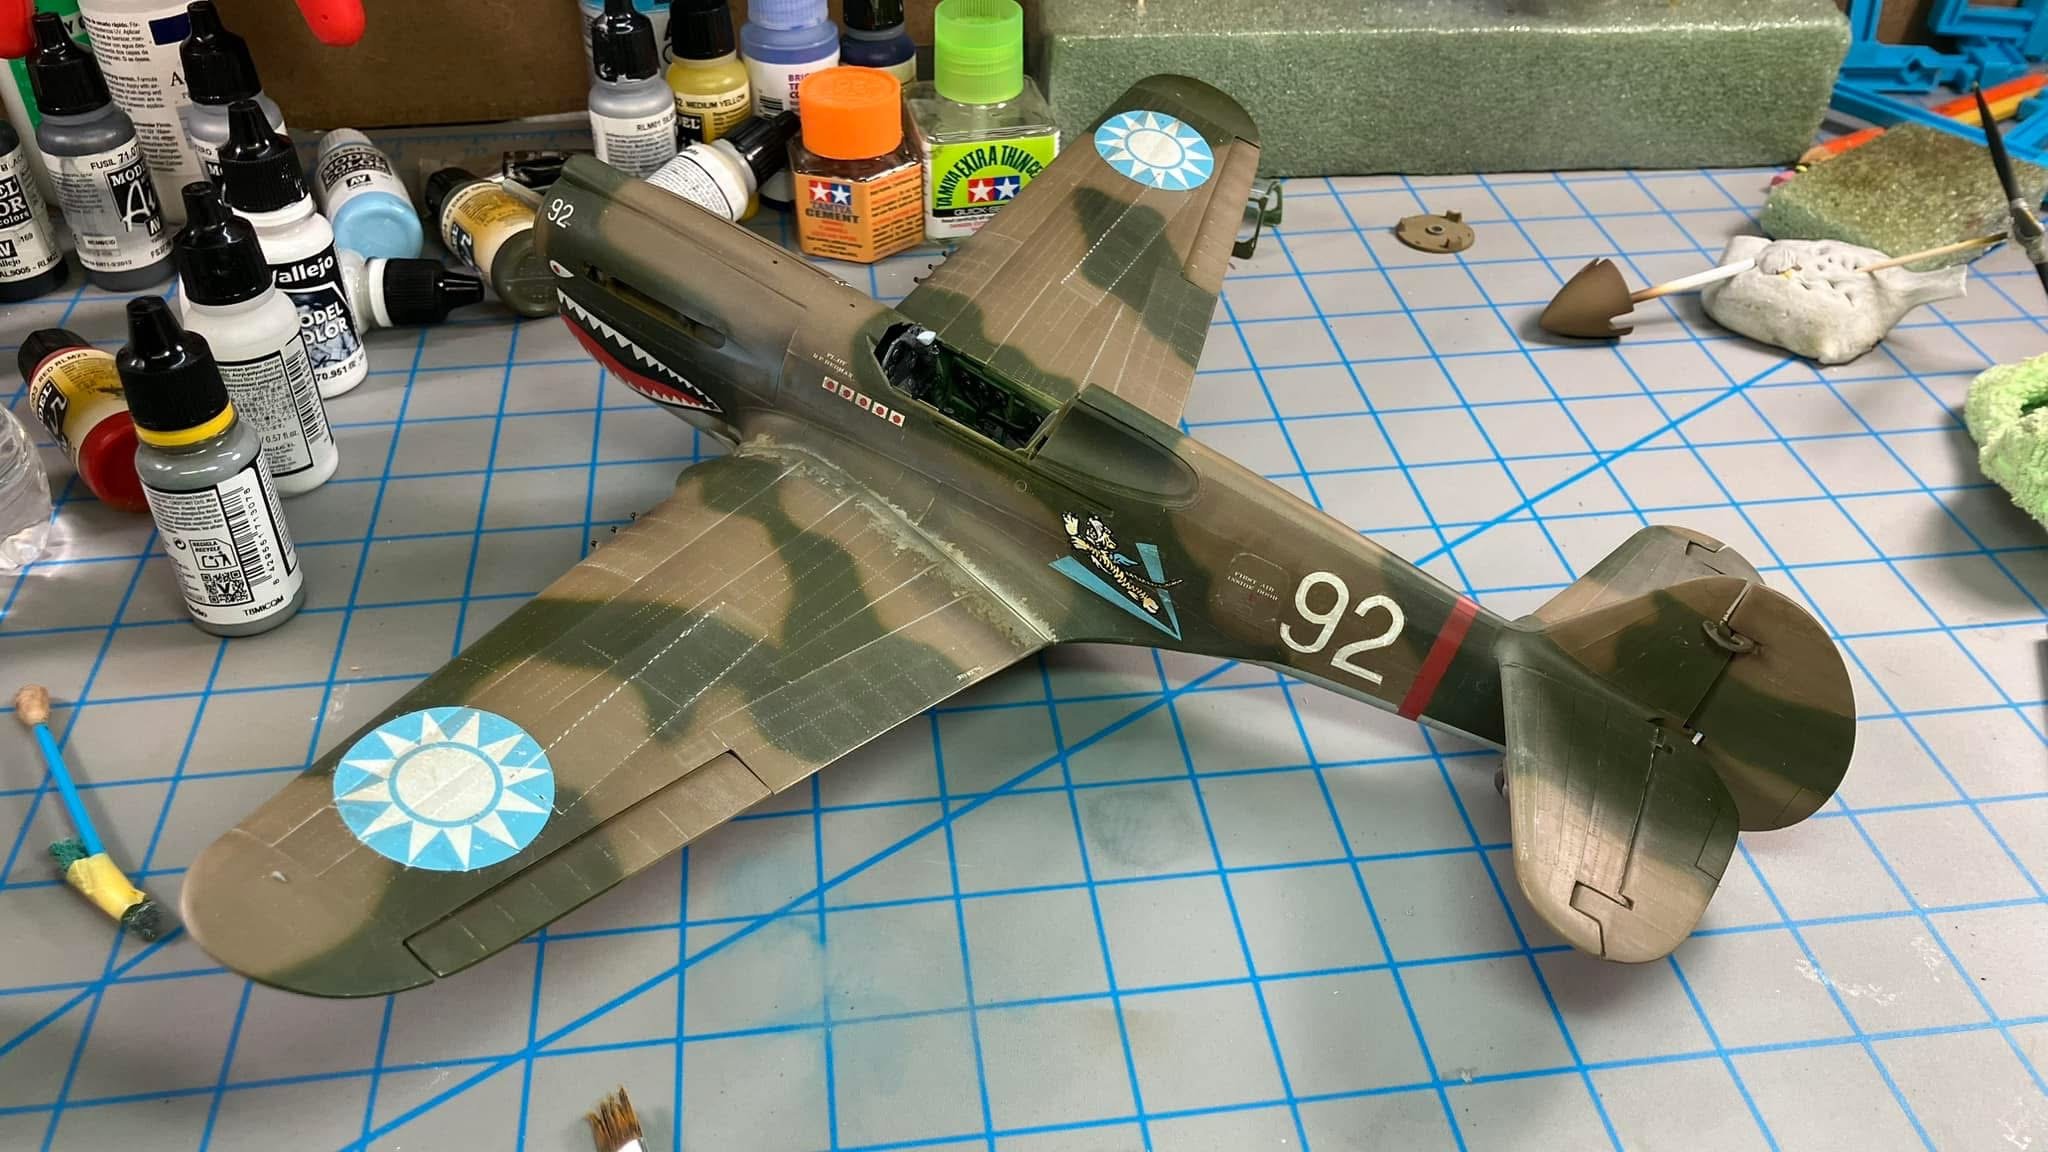
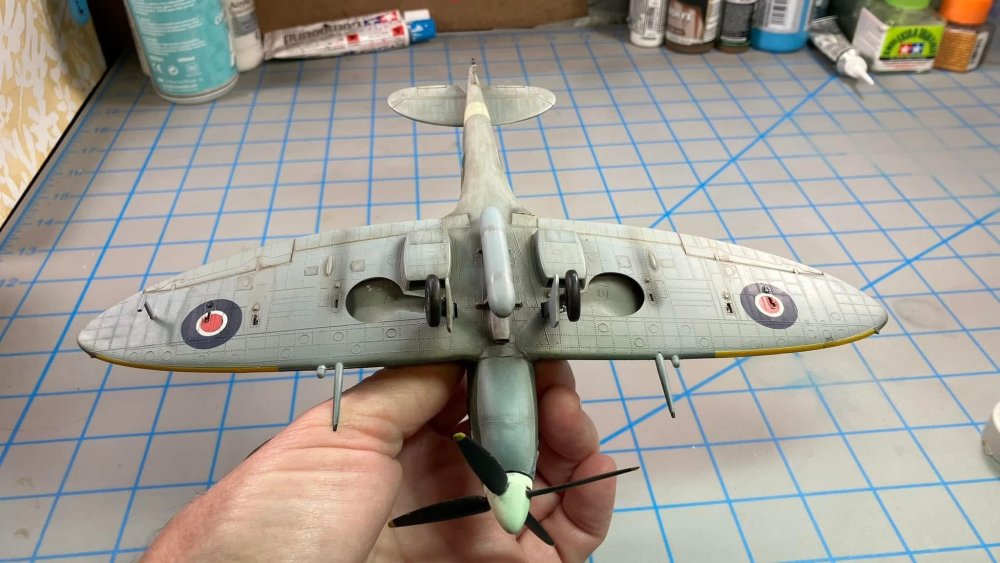
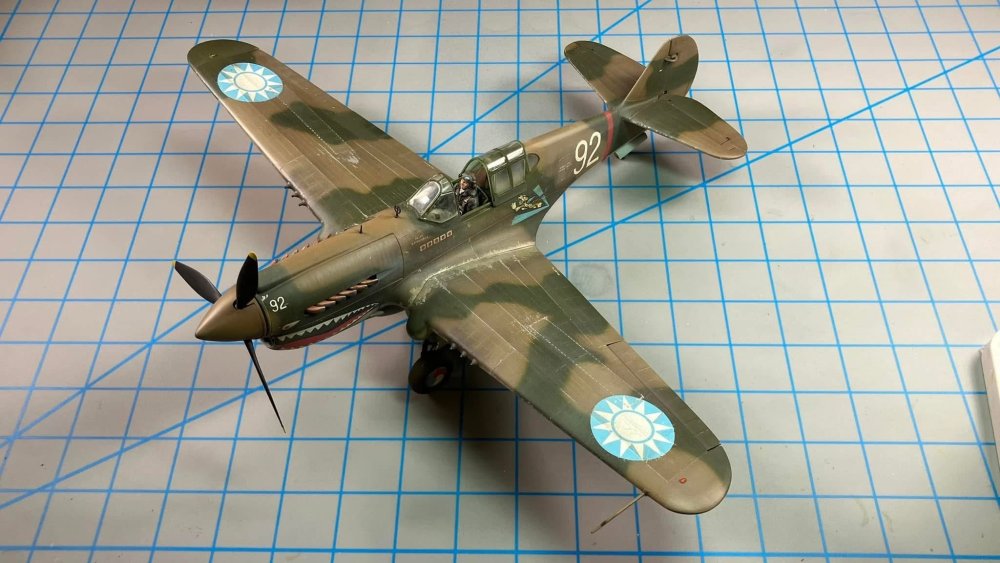
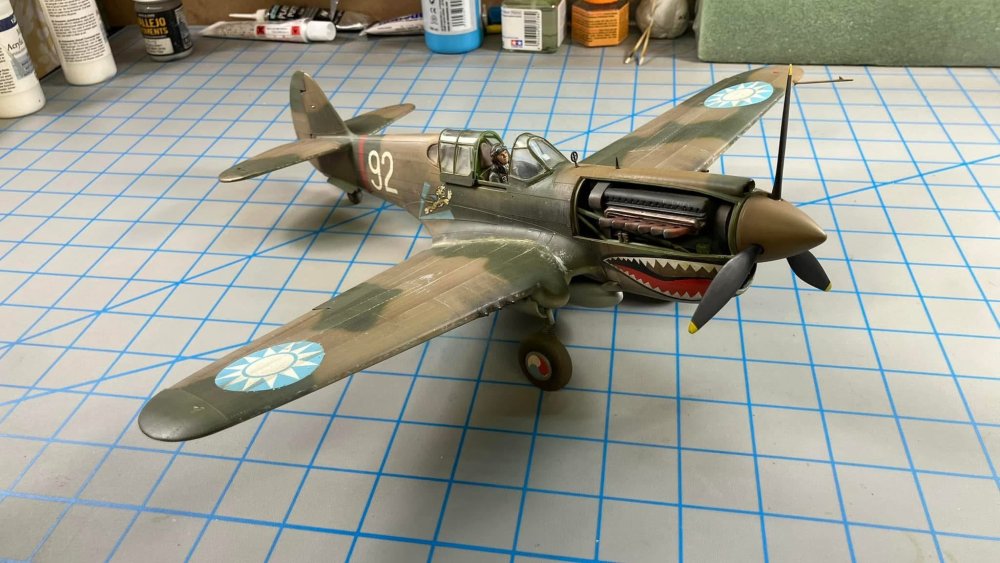
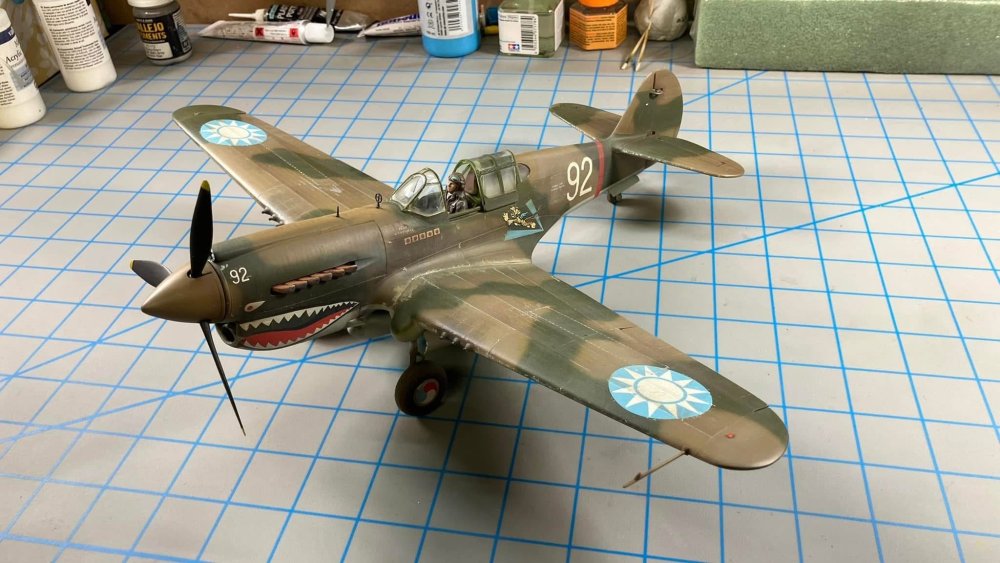
I did a Youtube series on this but it was a fun and nostalgic build and I had a lot of responses from people of similar age to whom these Revell 1/32 models meant so much.


-
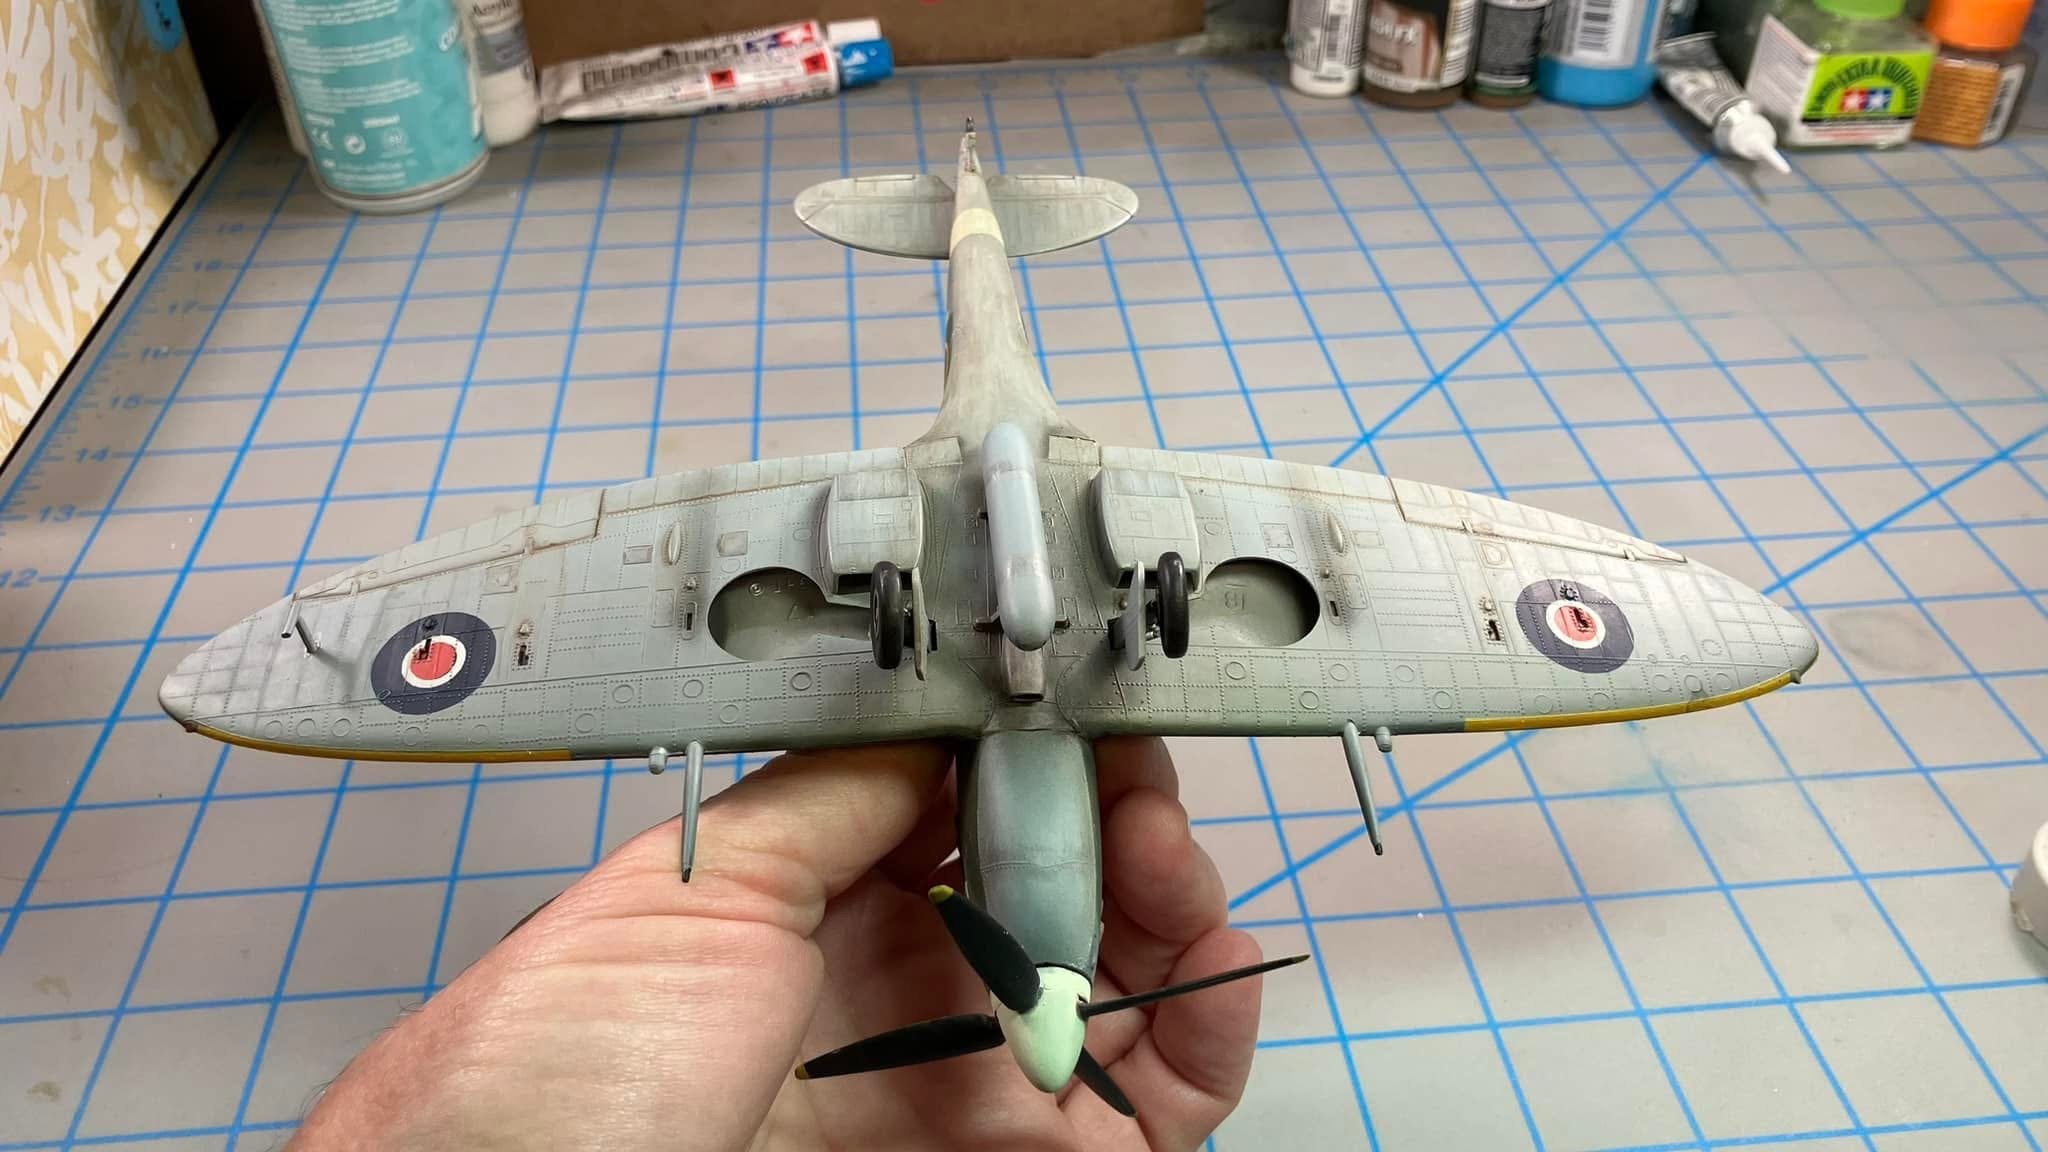
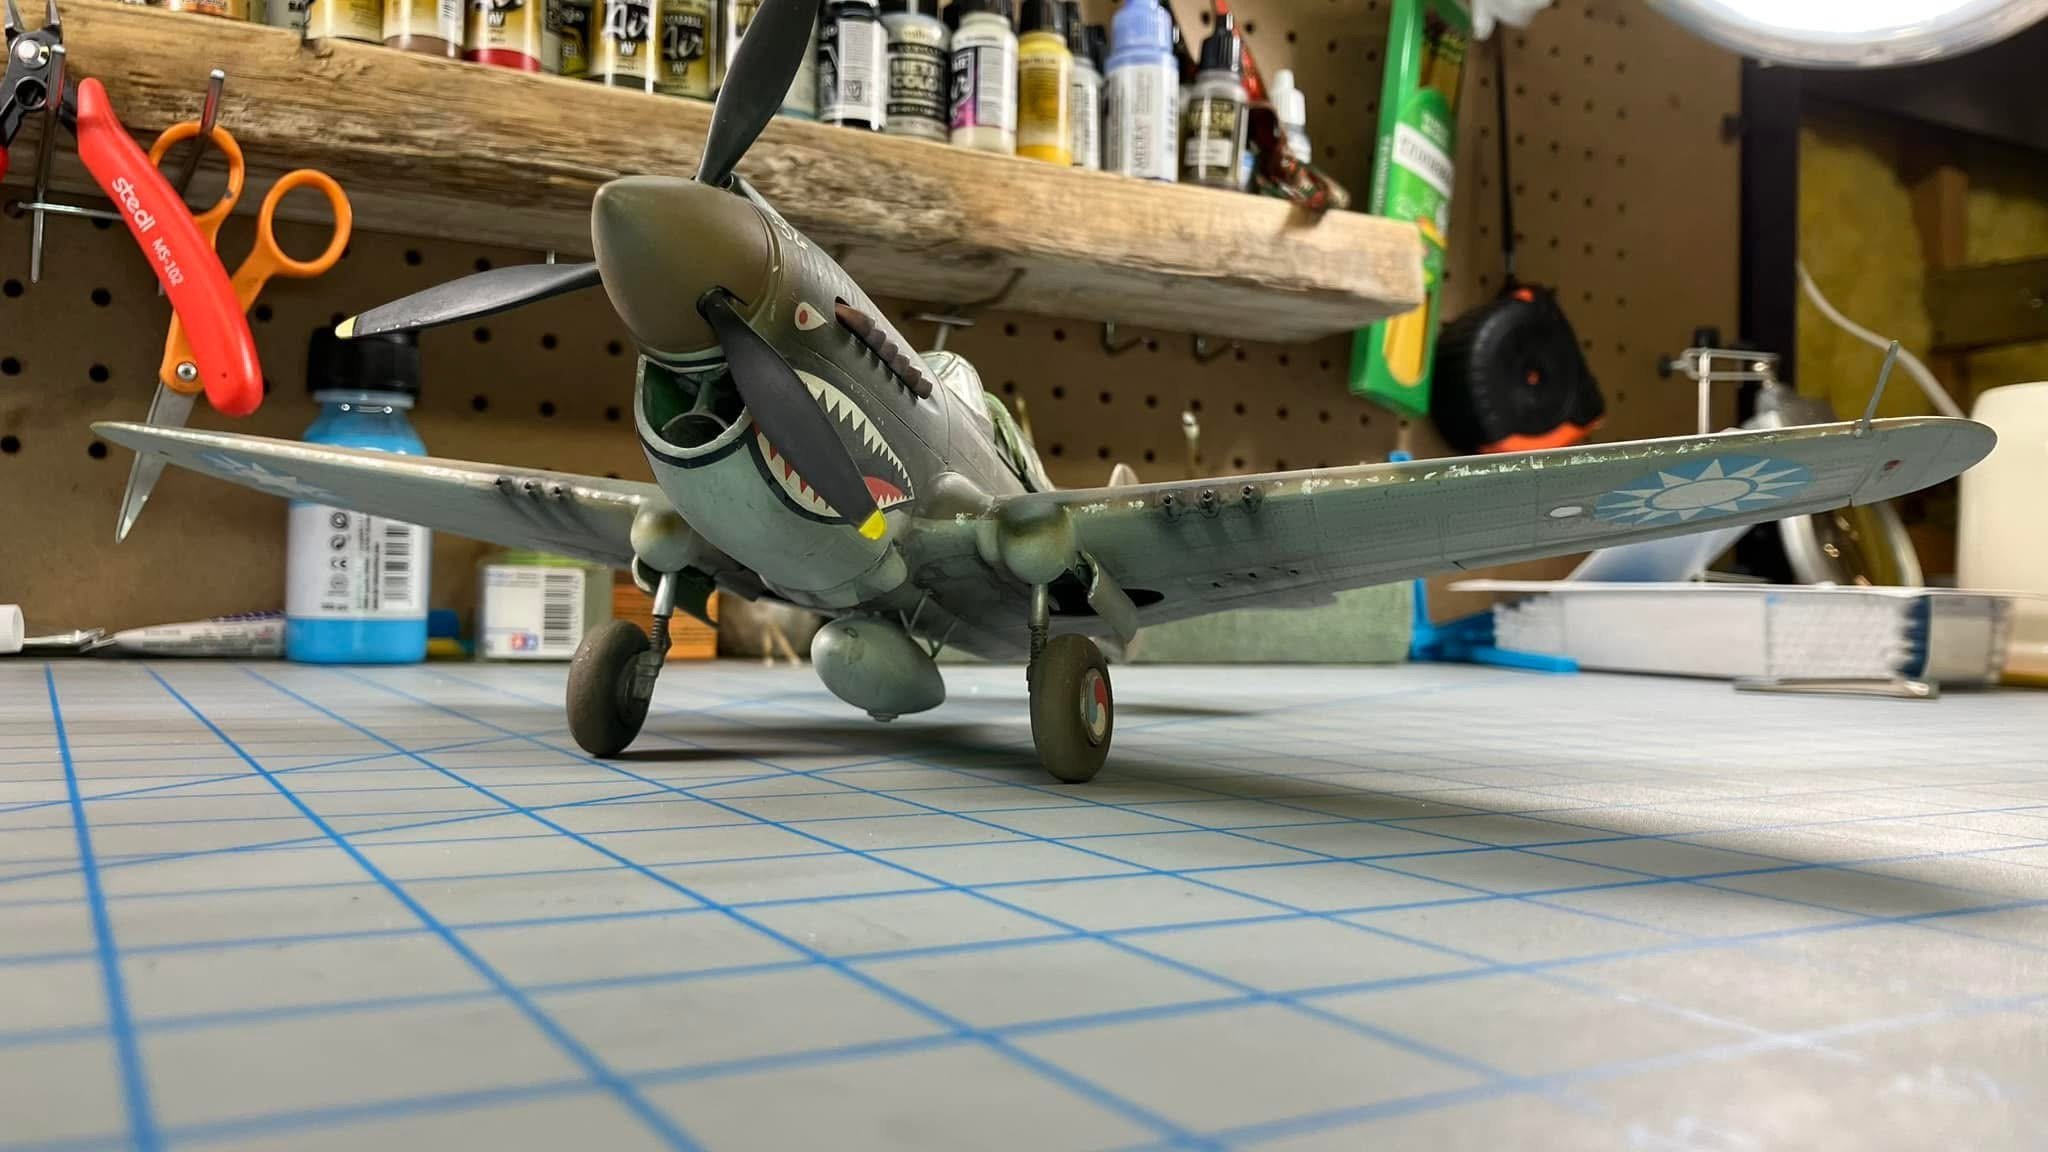
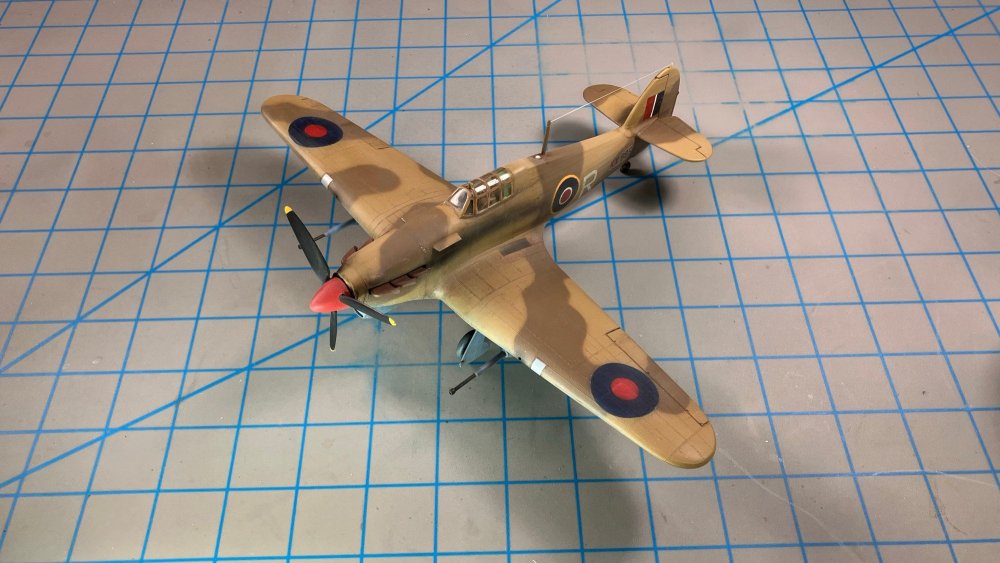
1977 Revell P-40E Build video log
PeteF replied to PeteF's topic in LSM 1/35 and Larger Work In Progress
Managed to get the last video finished. -
1977 Revell P-40E Build video log
PeteF replied to PeteF's topic in LSM 1/35 and Larger Work In Progress
Sincerely appreciate the offer but I had already ordered some. Video is late, I’m recovering from food poisoning -
1977 Revell P-40E Build video log
PeteF replied to PeteF's topic in LSM 1/35 and Larger Work In Progress
Finished it today (finally). Should have the video out EOD Monday.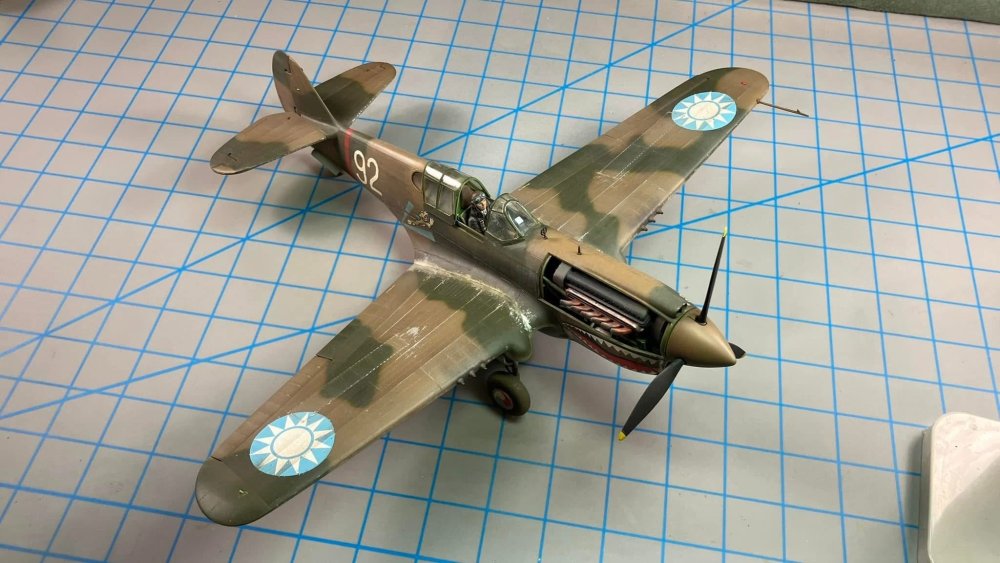
-
1977 Revell P-40E Build video log
PeteF replied to PeteF's topic in LSM 1/35 and Larger Work In Progress
Oh and someone referred me to this product. I’m going to try it with the trio of 1/48 Monogram white box kits I’m going to do next. https://www.microscale.com/Merchant2/merchant.mvc?Screen=PROD&Product_Code=MI-12&Category_Code=FINPROD&Product_Count=6 -
1977 Revell P-40E Build video log
PeteF replied to PeteF's topic in LSM 1/35 and Larger Work In Progress
I did put a gloss coat but only where I was going to put the decals. I’m not sure that sanding with 600 grit and finer wouldn’t have achieved the same thing, Still waiting on the replacement windshield but having fun with weathering for part 5. I’m using sandpaper more than anything else.
-
1977 Revell P-40E Build video log
PeteF replied to PeteF's topic in LSM 1/35 and Larger Work In Progress
When I tested the wheel hub ones, they were superb! Lulled me into a false sense of security. But I think the damage was done on these because the paper curled so much.