PeteF
-
Posts
233 -
Joined
-
Last visited
Content Type
Profiles
Forums
Events
Gallery
Everything posted by PeteF
-

1/24 Airfix Scale Mosquito build
PeteF replied to PeteF's topic in LSM 1/35 and Larger Work In Progress
Thanks for the kind words. Actually I'm finding that I'm struggling with the same issue I used to have with modeling which is the basic assembly. I'm using too much glue, having trouble filling and leveling the seams and breaking parts that don't naturally end up where they should be. I find that the intermediate years have taught me a lot about painting and detailing and have given me a much greater subject matter understanding (which makes it easier to interpret photos and diagrams into actual parts) but I still can't seem to do basic things like cut a piece of styrene pipe straight or make a little "box" that is symmetrical. There seems to be a finite "resolution" to how fiddly of things I can accurately make. I'd be hopeless in 1/48 scale LOL. -
1/24 Airfix Scale Mosquito build
PeteF replied to PeteF's topic in LSM 1/35 and Larger Work In Progress
All plumbed. Two airplane parts!
-
1/24 Airfix Scale Mosquito build
PeteF replied to PeteF's topic in LSM 1/35 and Larger Work In Progress
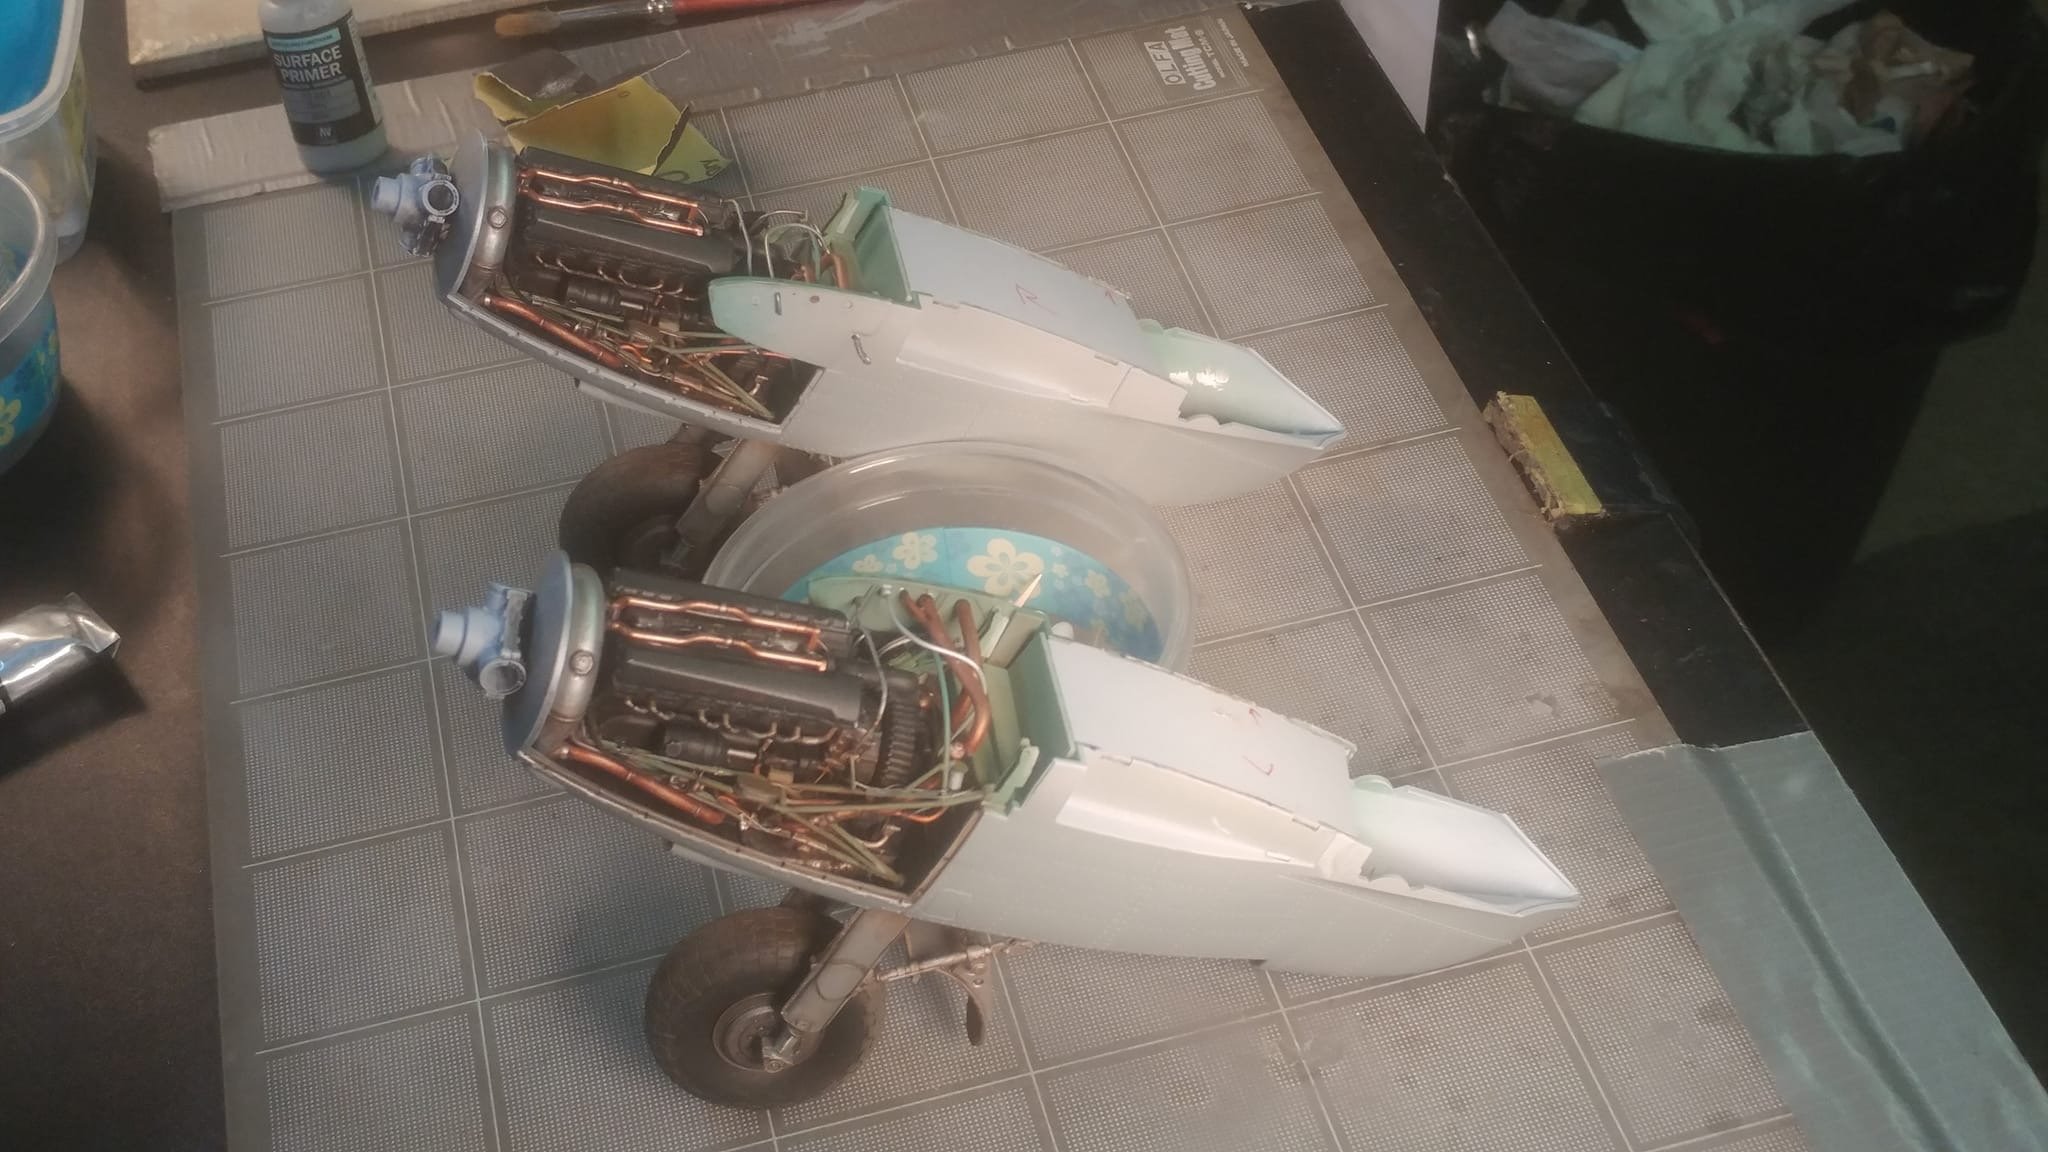
Finally some bits that are starting to resemble an aircraft.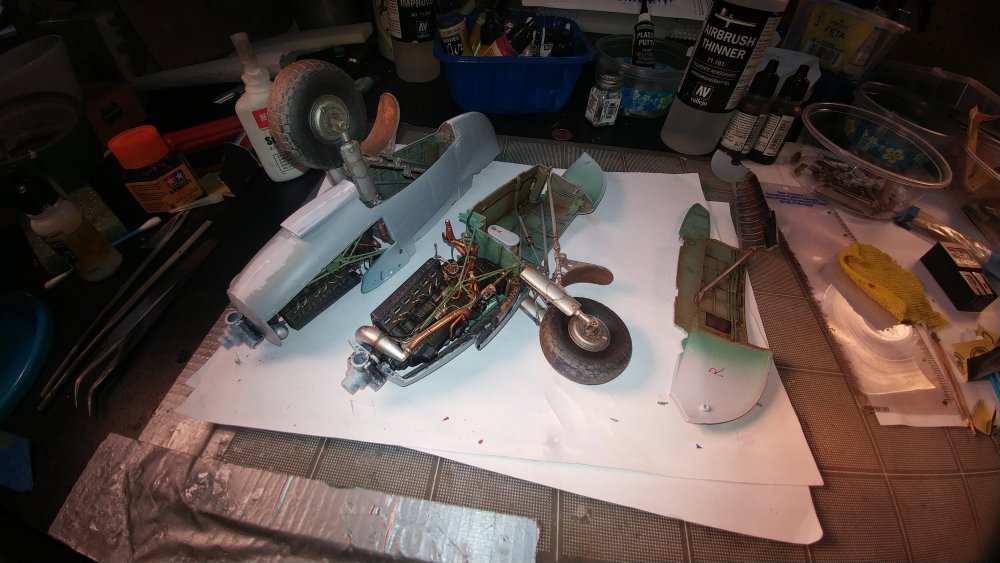
-
1/24 Airfix Scale Mosquito build
PeteF replied to PeteF's topic in LSM 1/35 and Larger Work In Progress
Test fit with and without the shroud.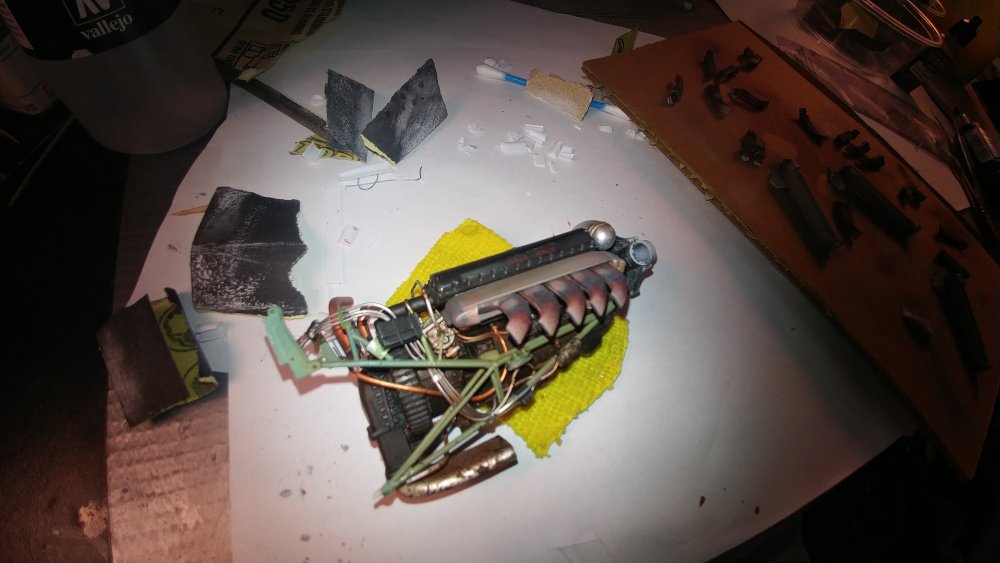
-
1/24 Airfix Scale Mosquito build
PeteF replied to PeteF's topic in LSM 1/35 and Larger Work In Progress
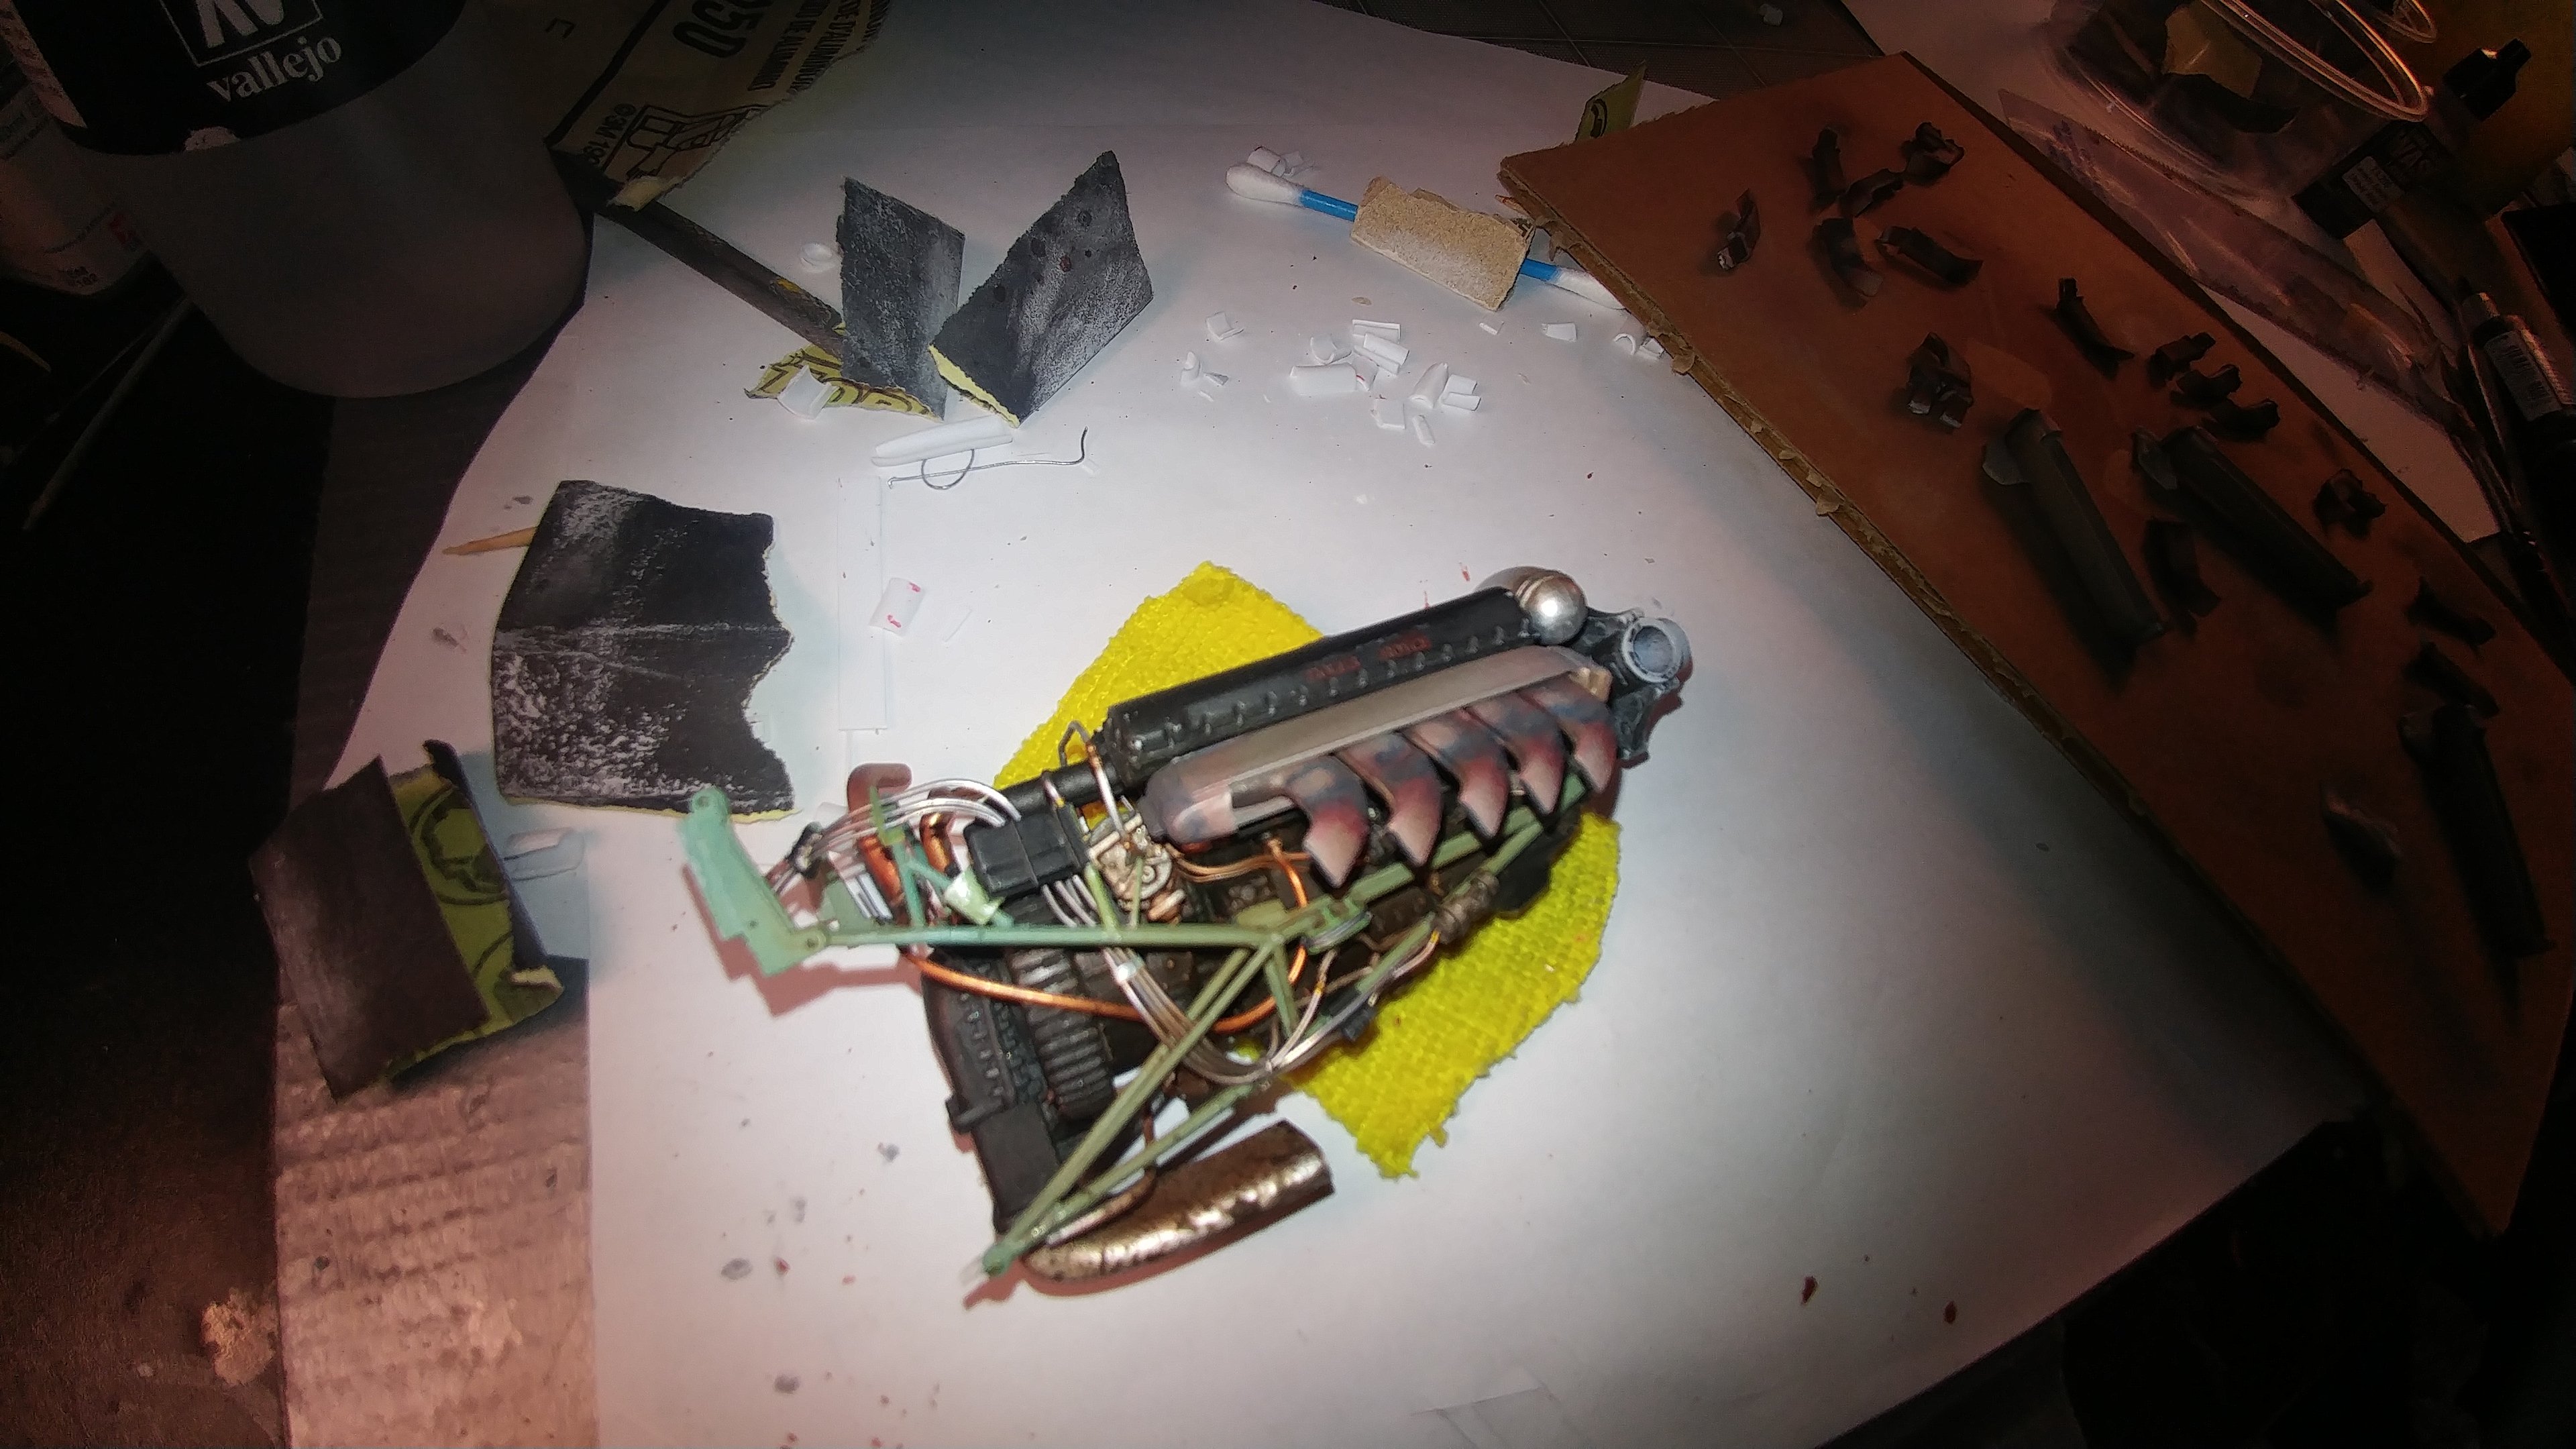
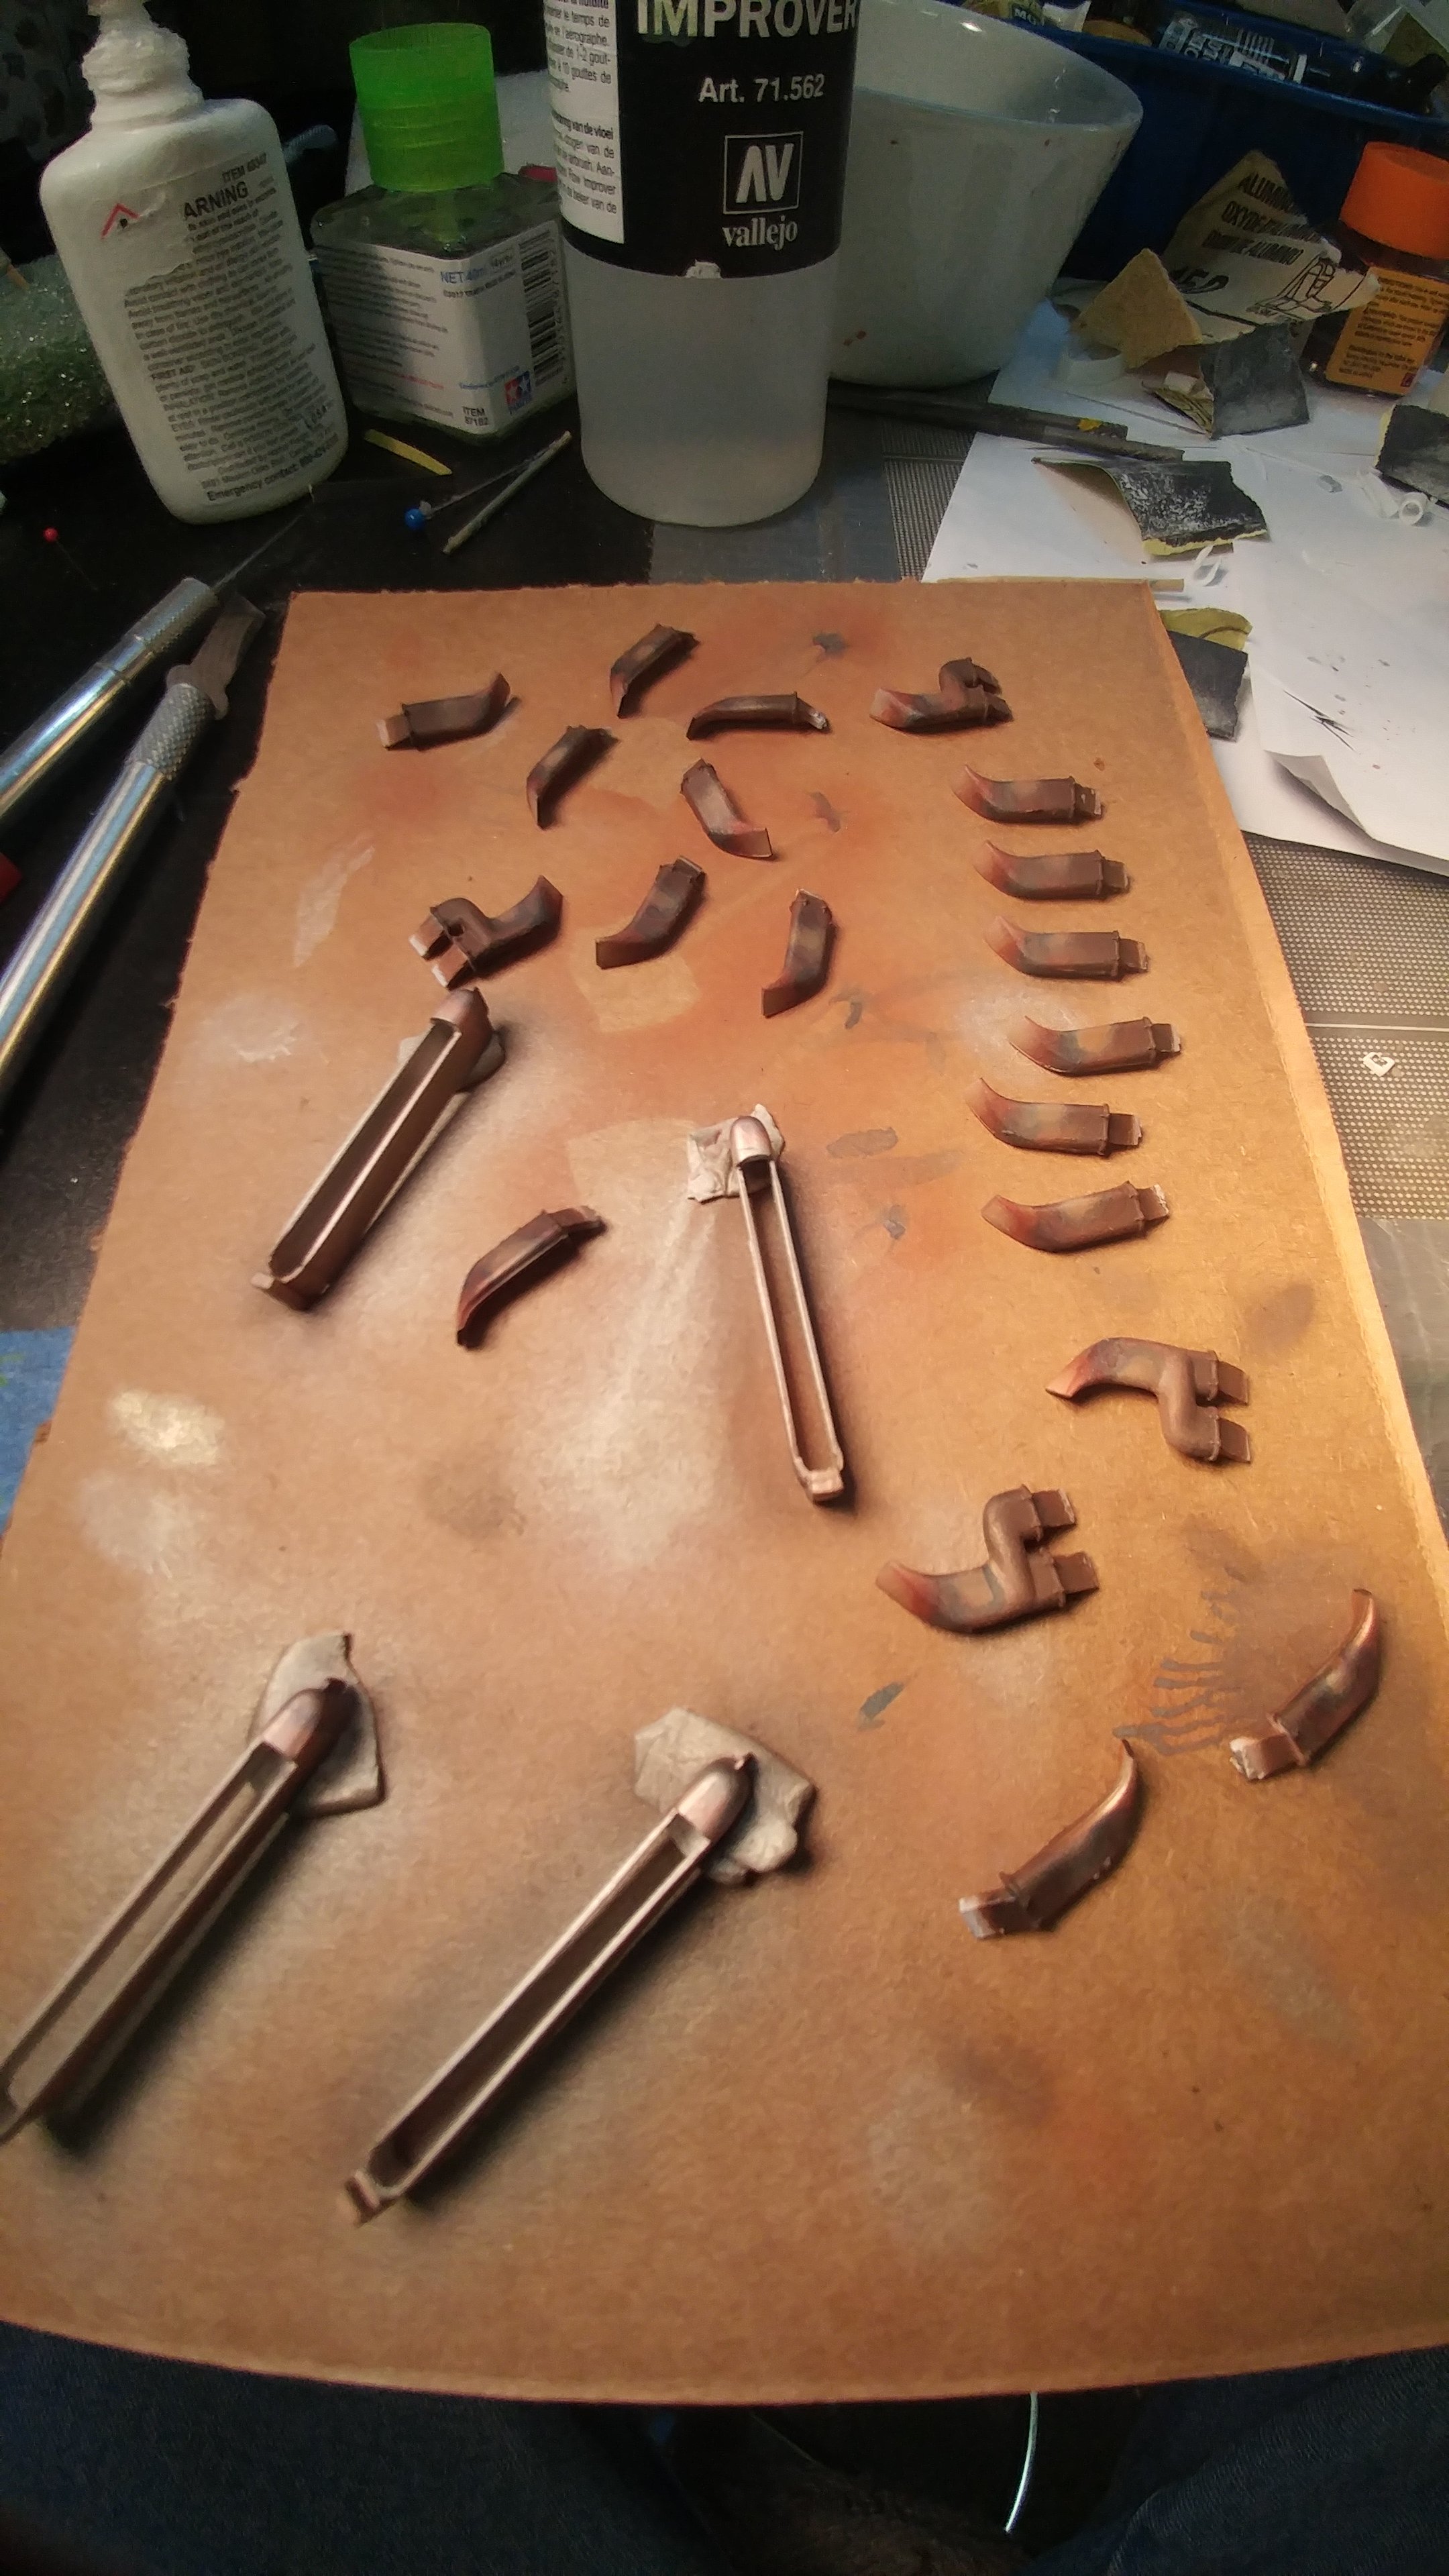
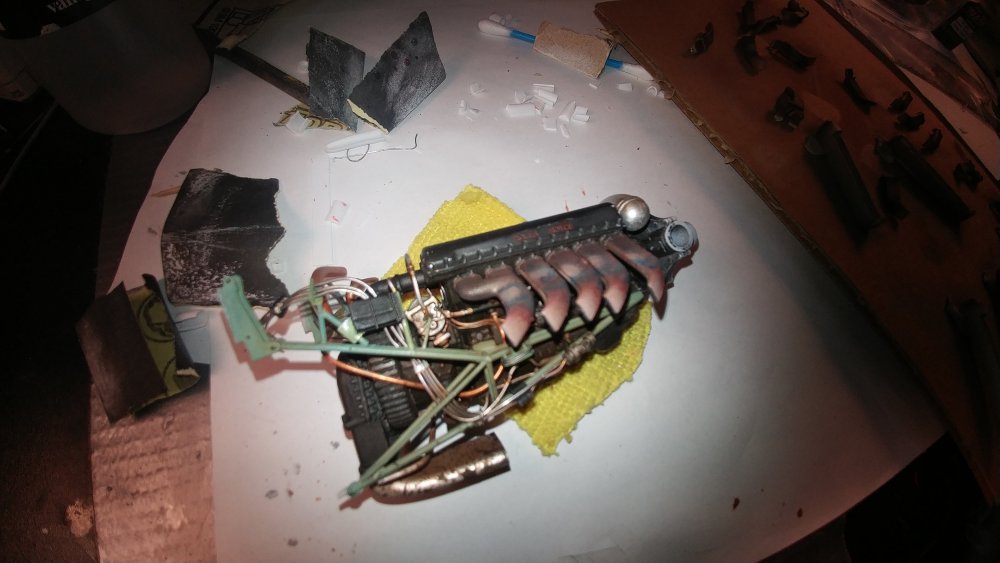
Had to scratch build the exhaust shrouds. Thinking about this plane, the exhaust stacks were well shrouded so wouldn't have rusted as much as, say, a Spitfire so I went for heat colors.
-
1/24 Airfix Scale Mosquito build
PeteF replied to PeteF's topic in LSM 1/35 and Larger Work In Progress
So much of the detail in this plane is on the bottom that I’m going to display it on a mirror. -
1/24 Airfix Scale Mosquito build
PeteF replied to PeteF's topic in LSM 1/35 and Larger Work In Progress
Couple more shots. Muddy fenders, extended stencil decals from Barracuda and double the trouble.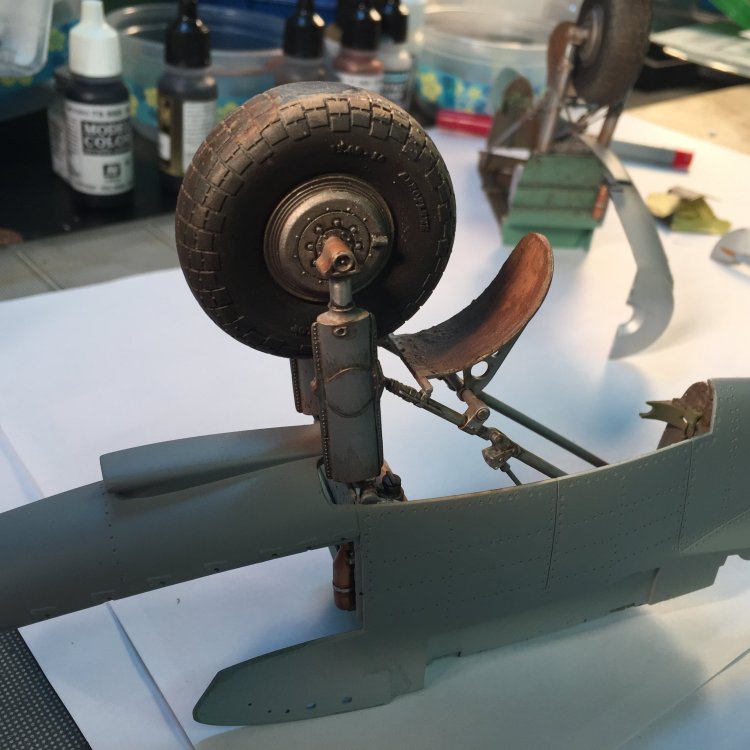


-
1/24 Airfix Scale Mosquito build
PeteF replied to PeteF's topic in LSM 1/35 and Larger Work In Progress
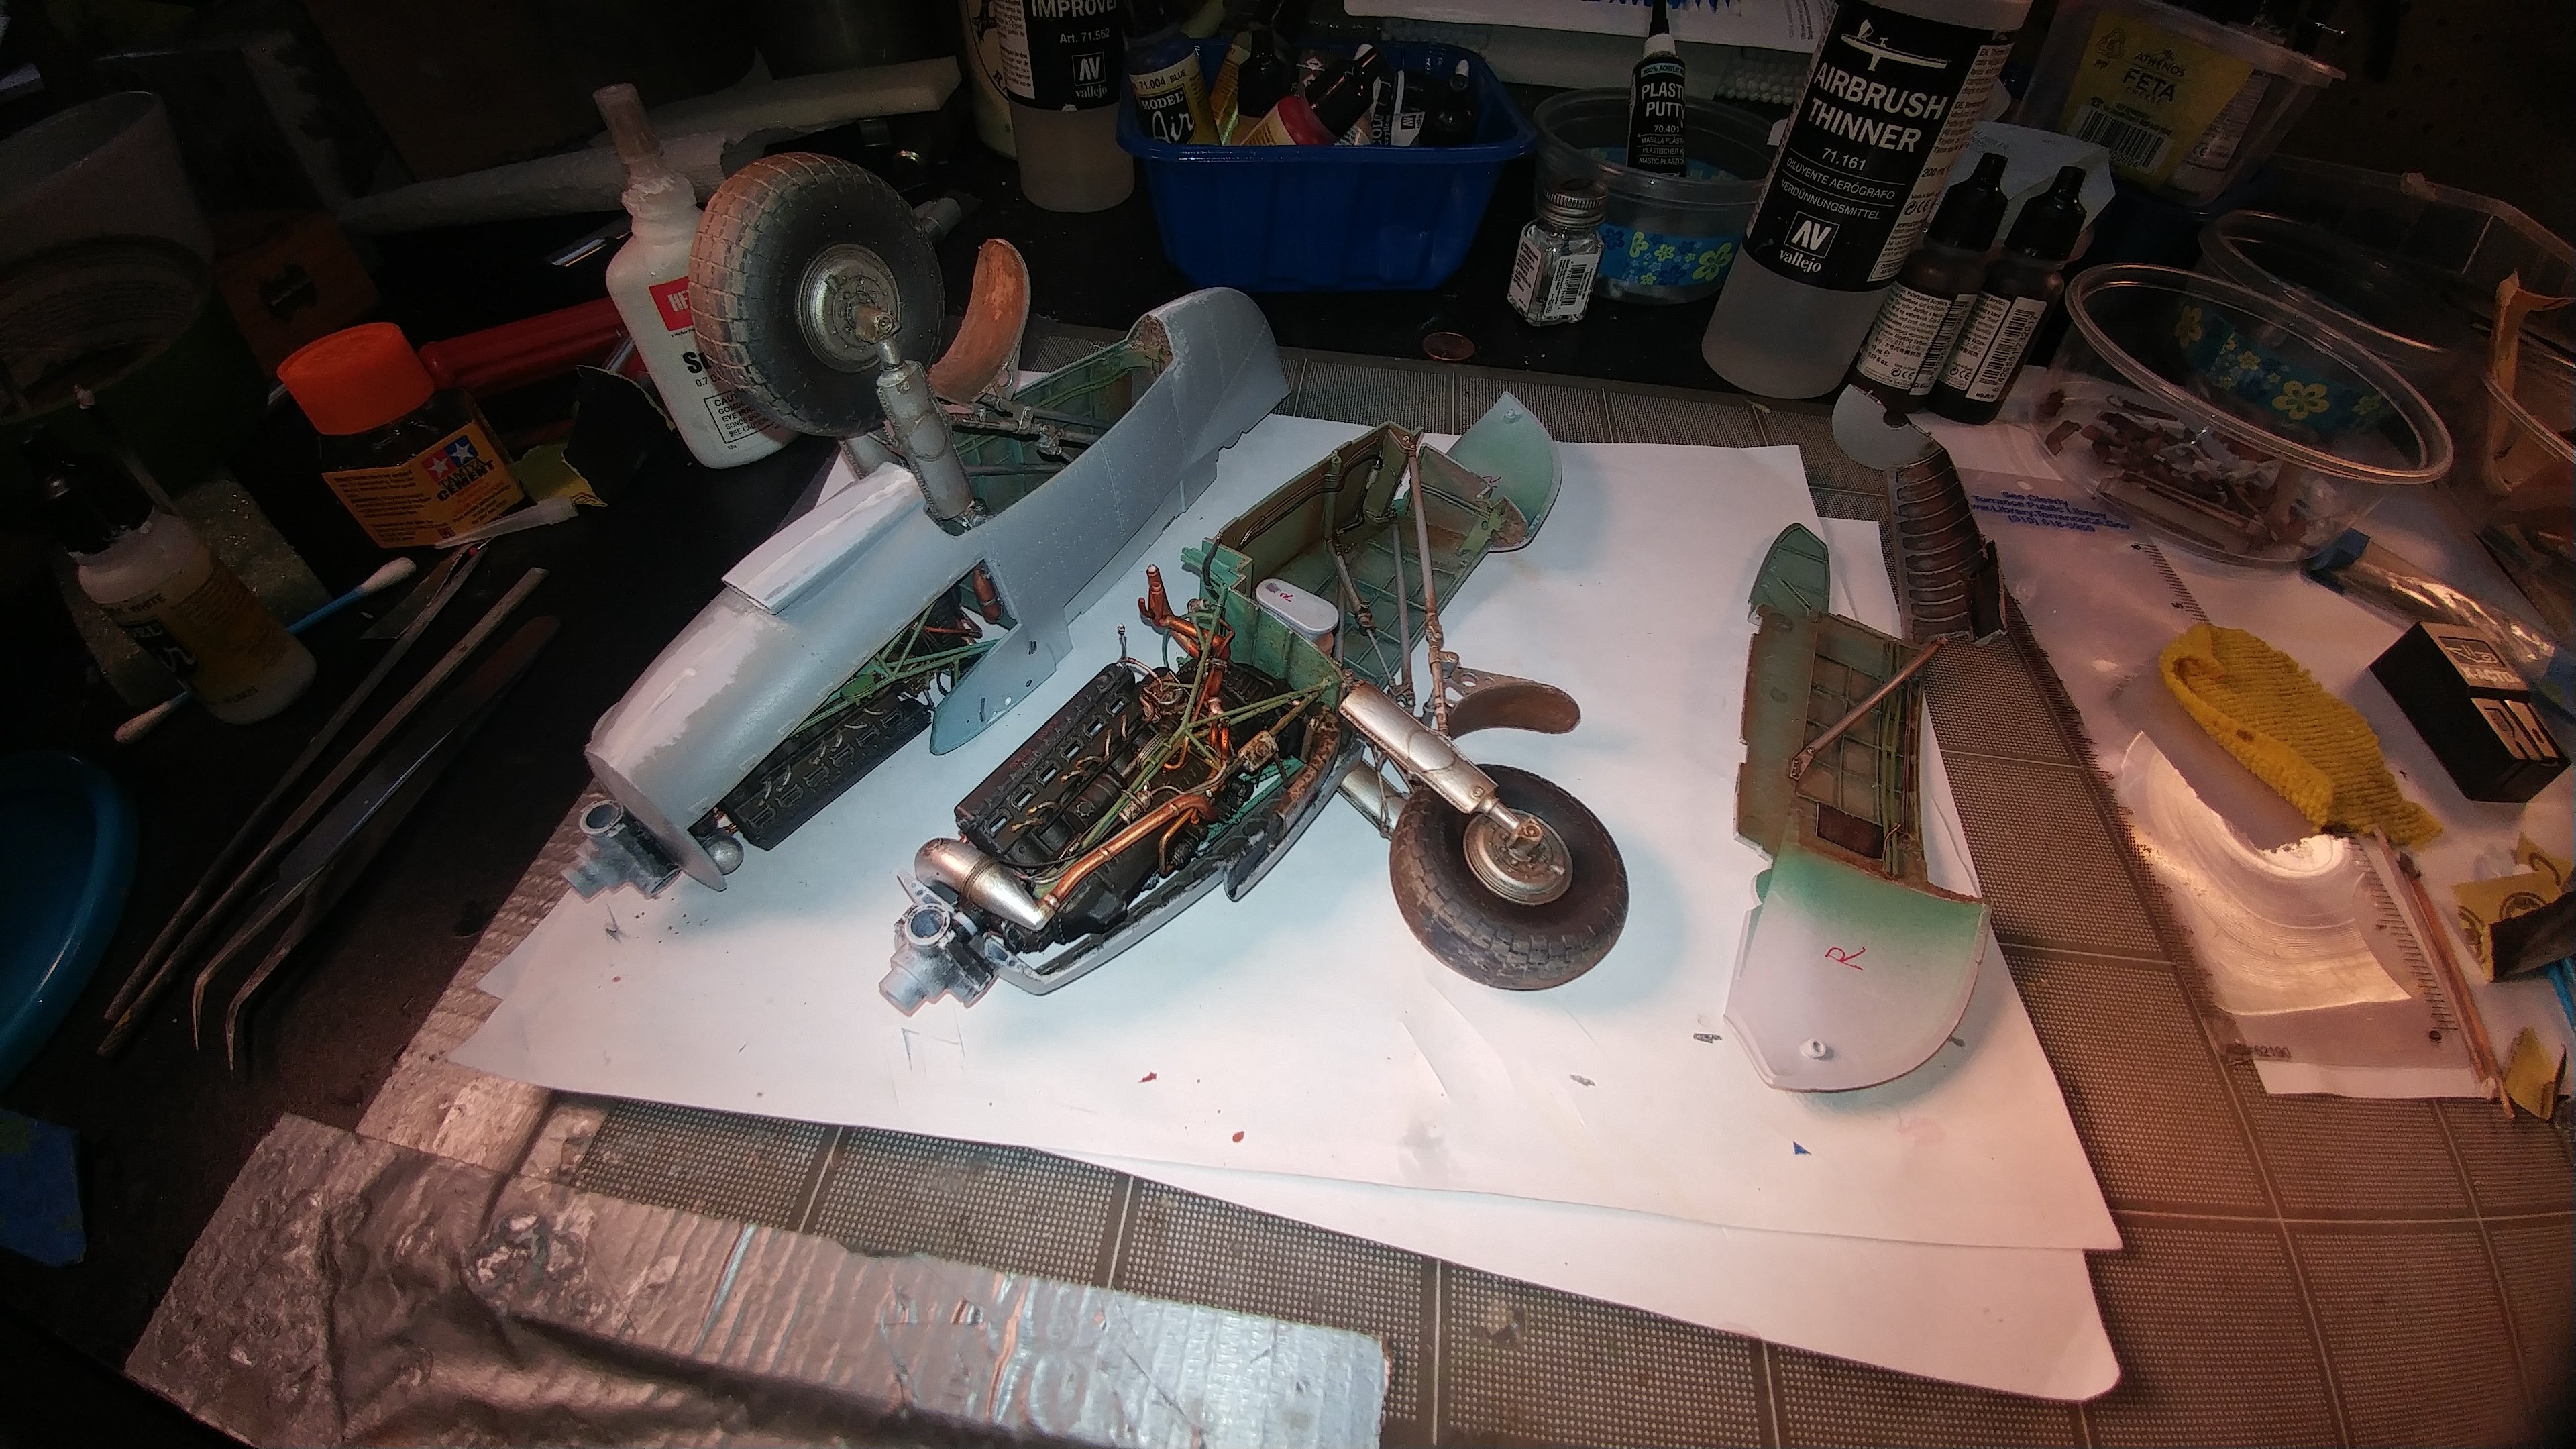
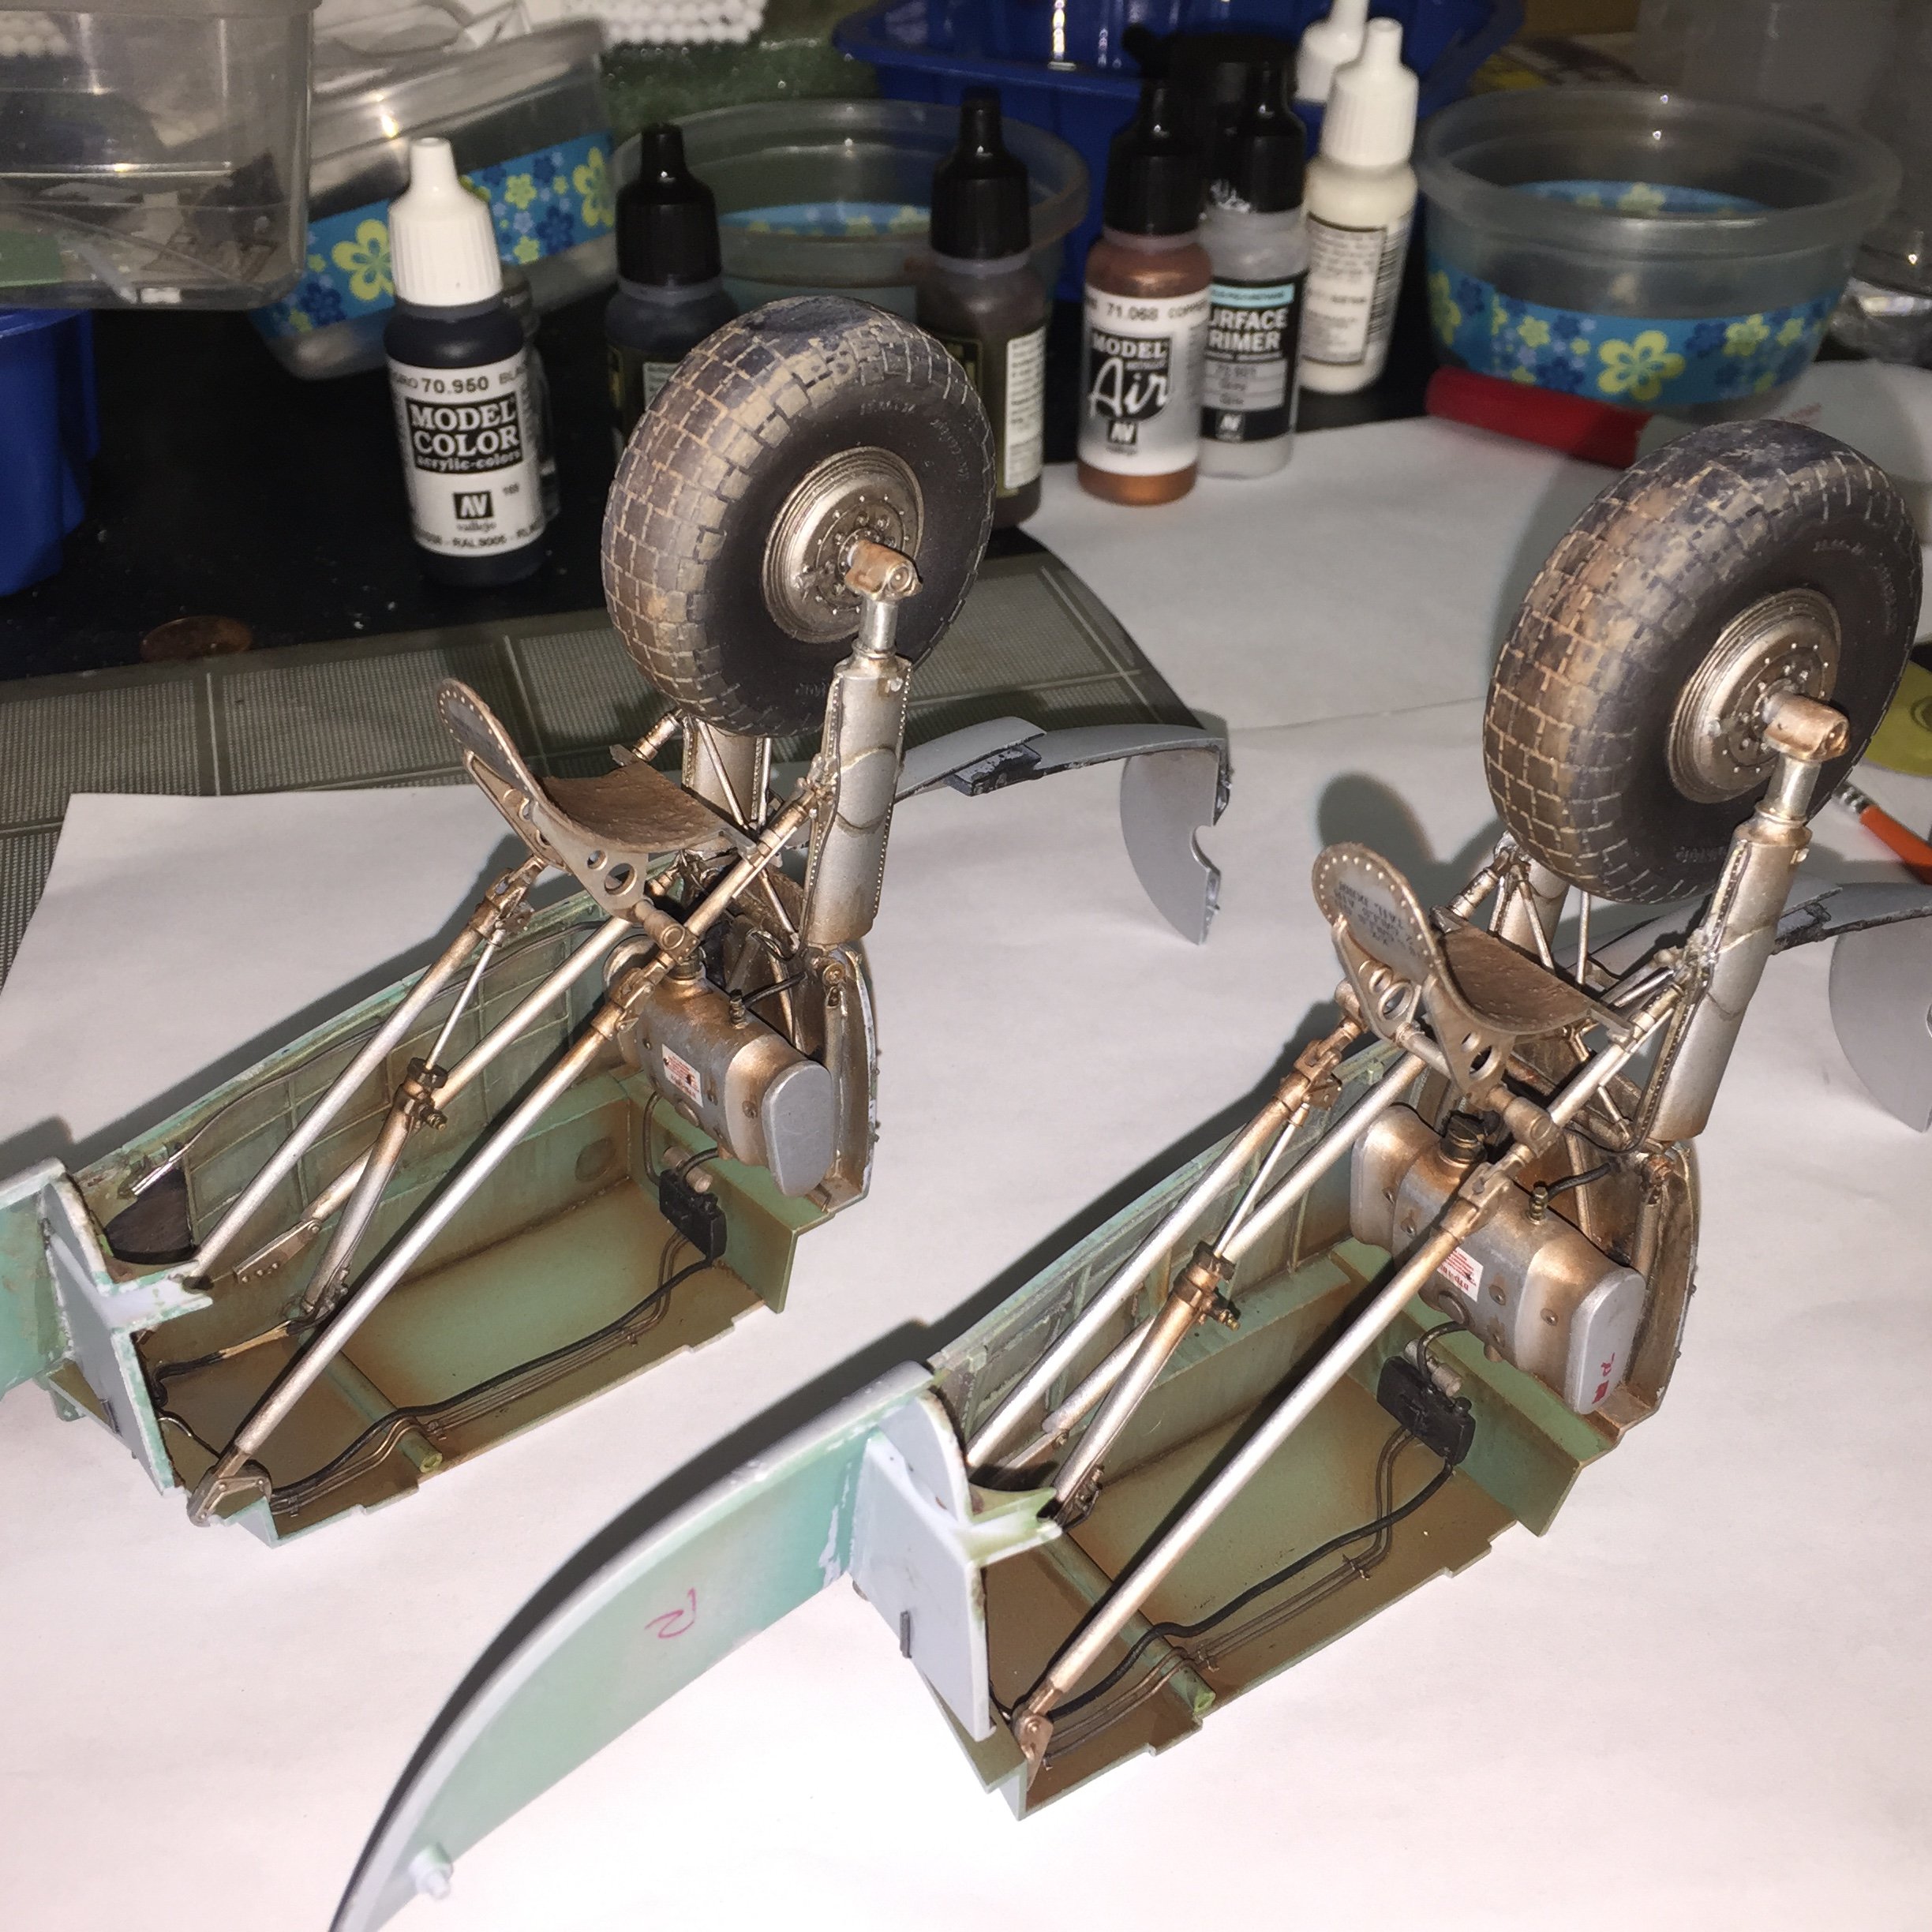
Finished the landing gear (other than adding the brake tube to the wheels and the gear door guards). Fiddly...even knowing it was fiddly it was a 2 day grind to get it all right. Had issues with the resin wheels/tires with paint lifting even though I'd primered them so had to fix that with a brush and had to sleeve the axles to fit the wheels...lots of scratch built detail that was missing from the wheel wells. Broke parts that had to be fixed in-situ...yeah this would never have lasted as all-plastic gear. Pretty satisfying to have it done though. Have to finish one of the engines then can put the nacelles together.
-
1/24 Airfix Scale Mosquito build
PeteF replied to PeteF's topic in LSM 1/35 and Larger Work In Progress
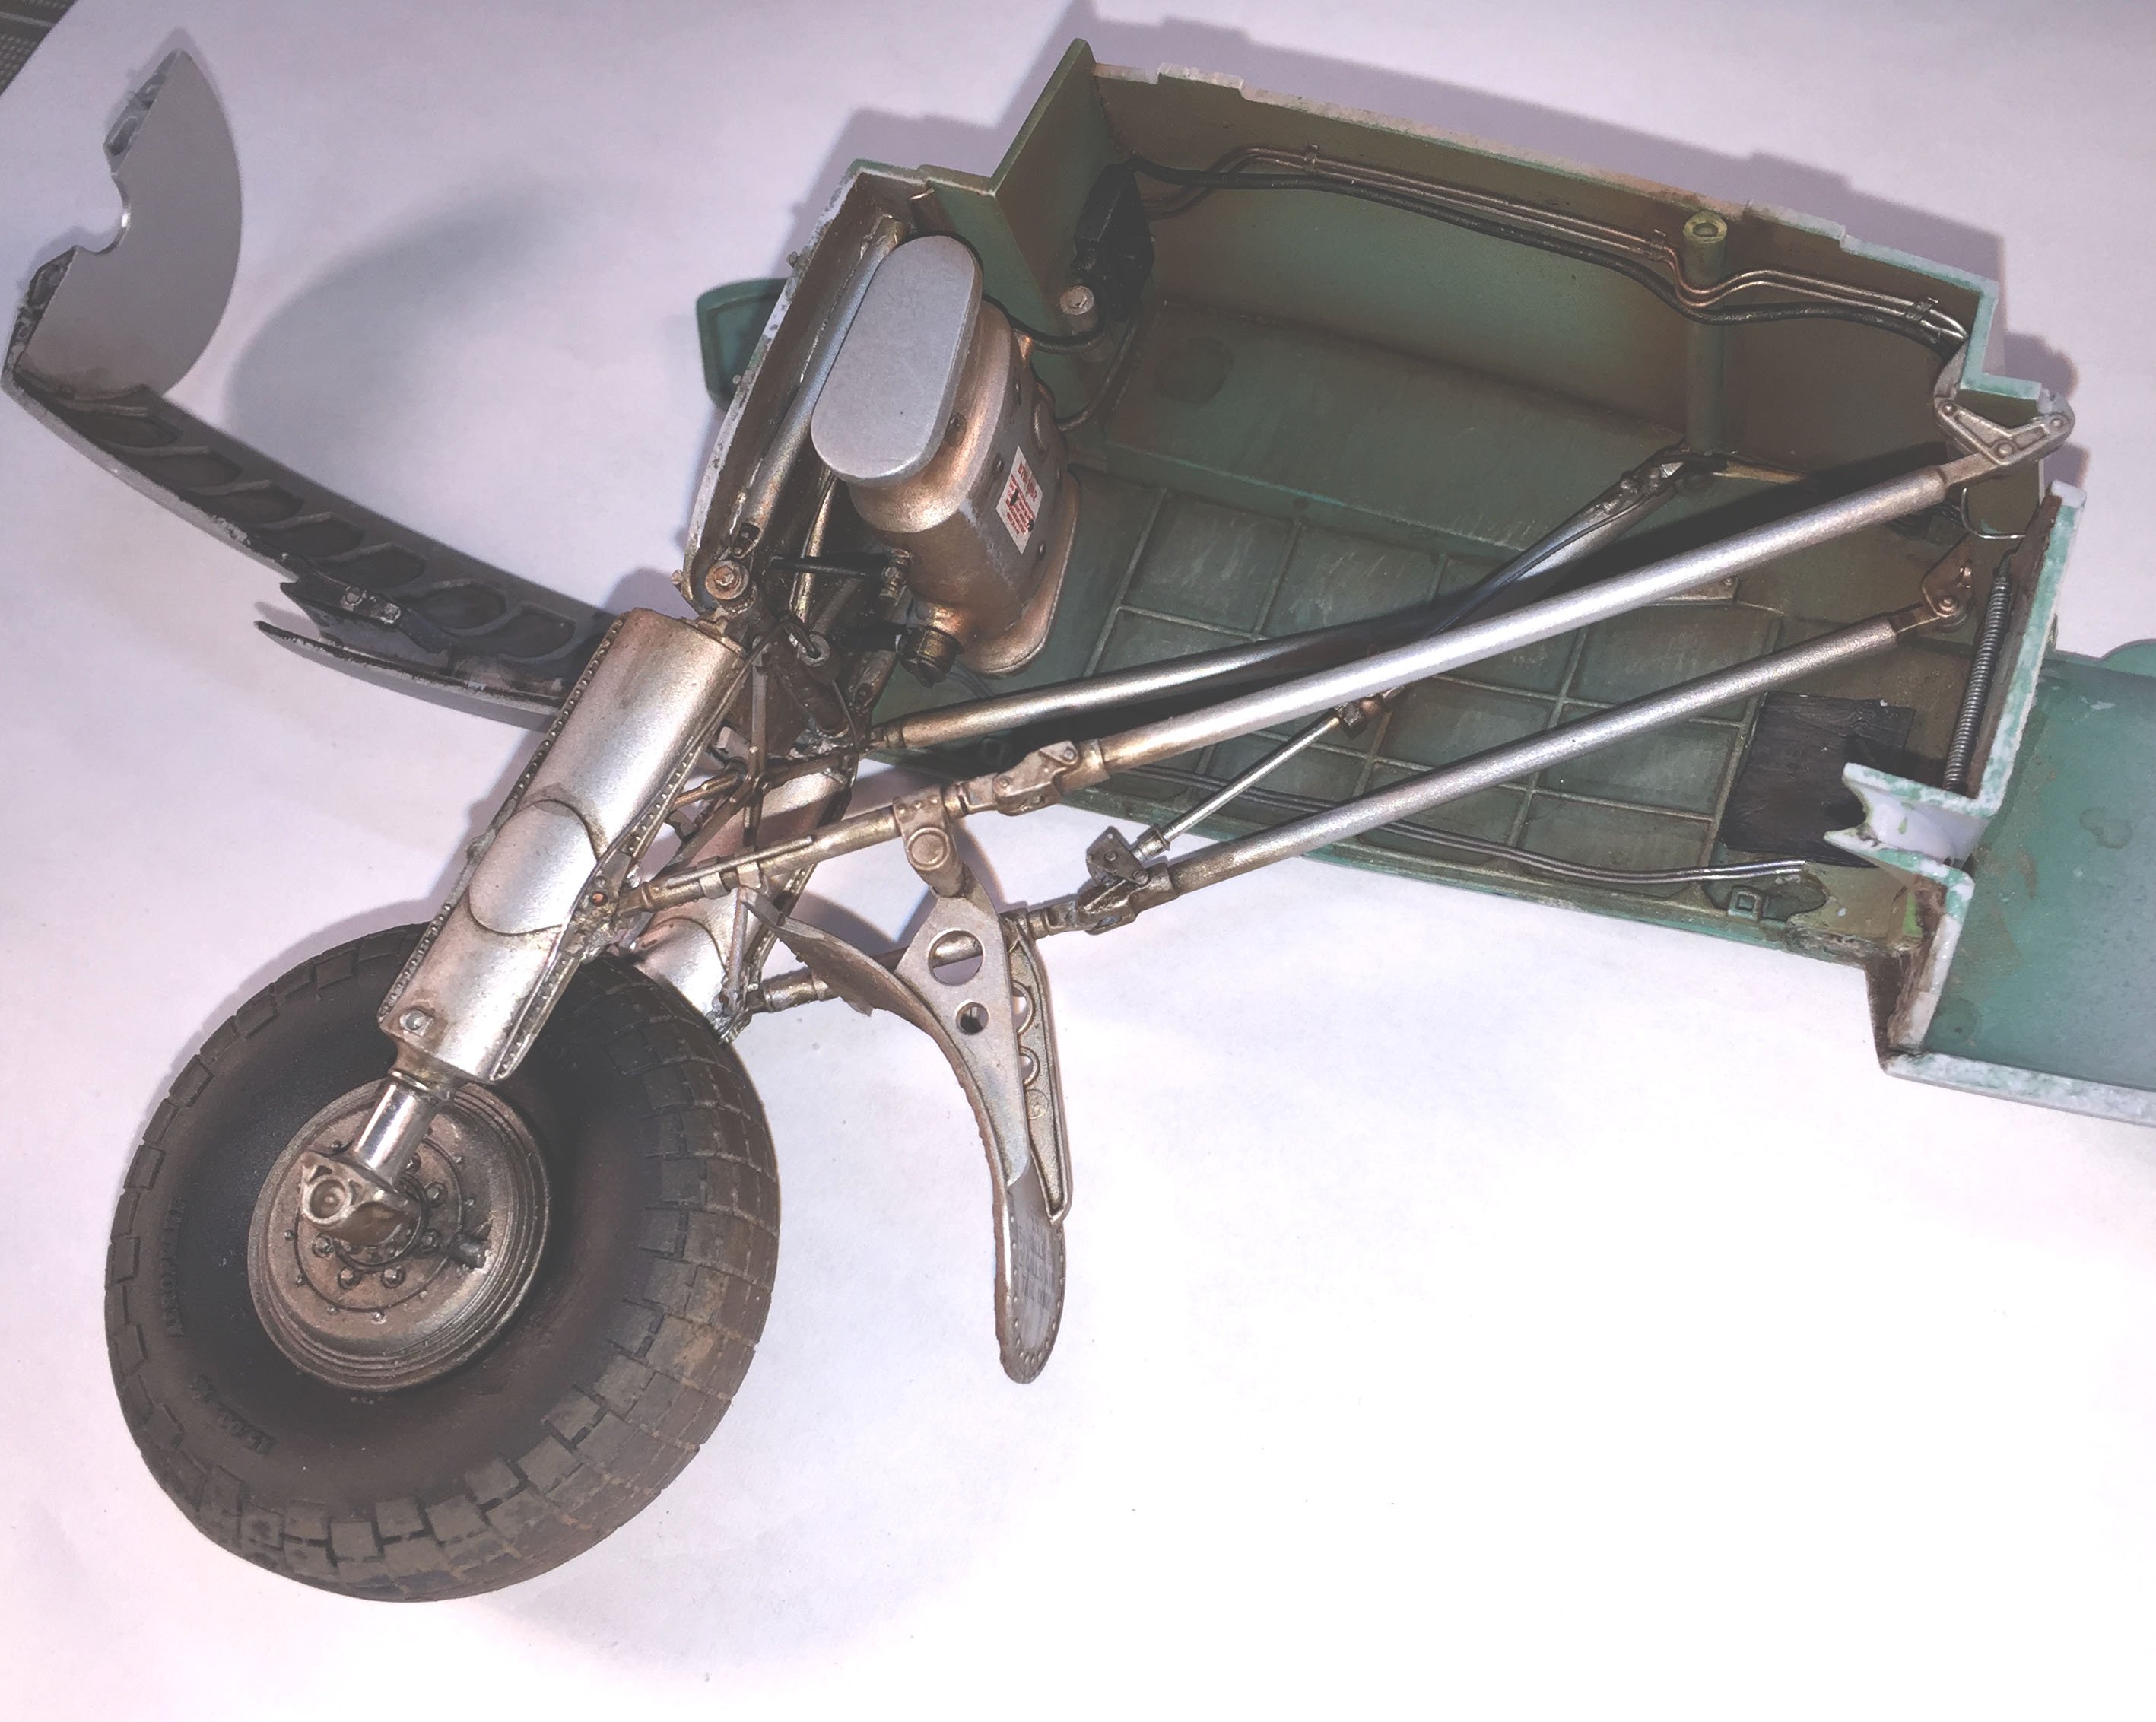
Test fitting the most fiddly landing gear ever. There are still 4 additional parts!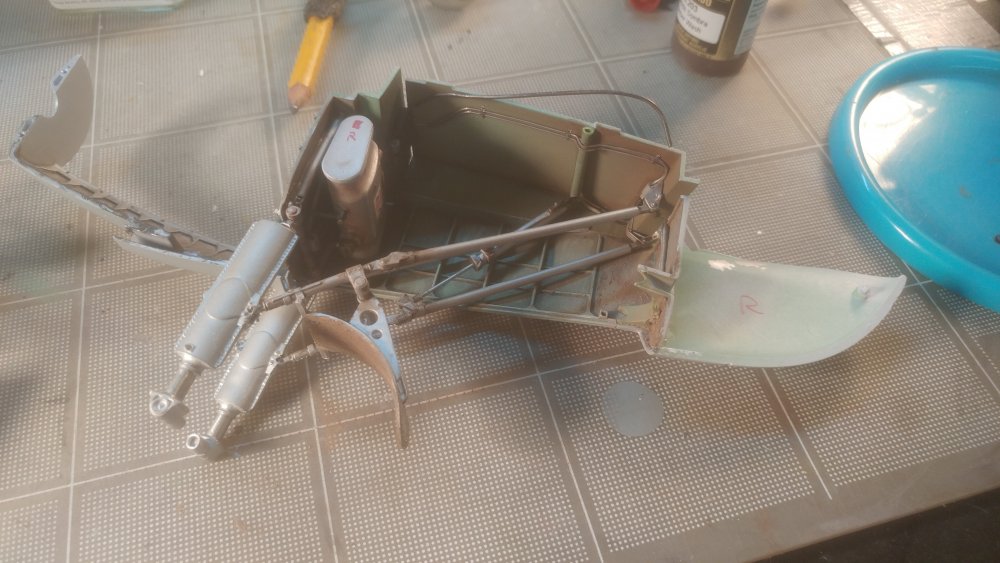
-
1/24 Airfix Scale Mosquito build
PeteF replied to PeteF's topic in LSM 1/35 and Larger Work In Progress
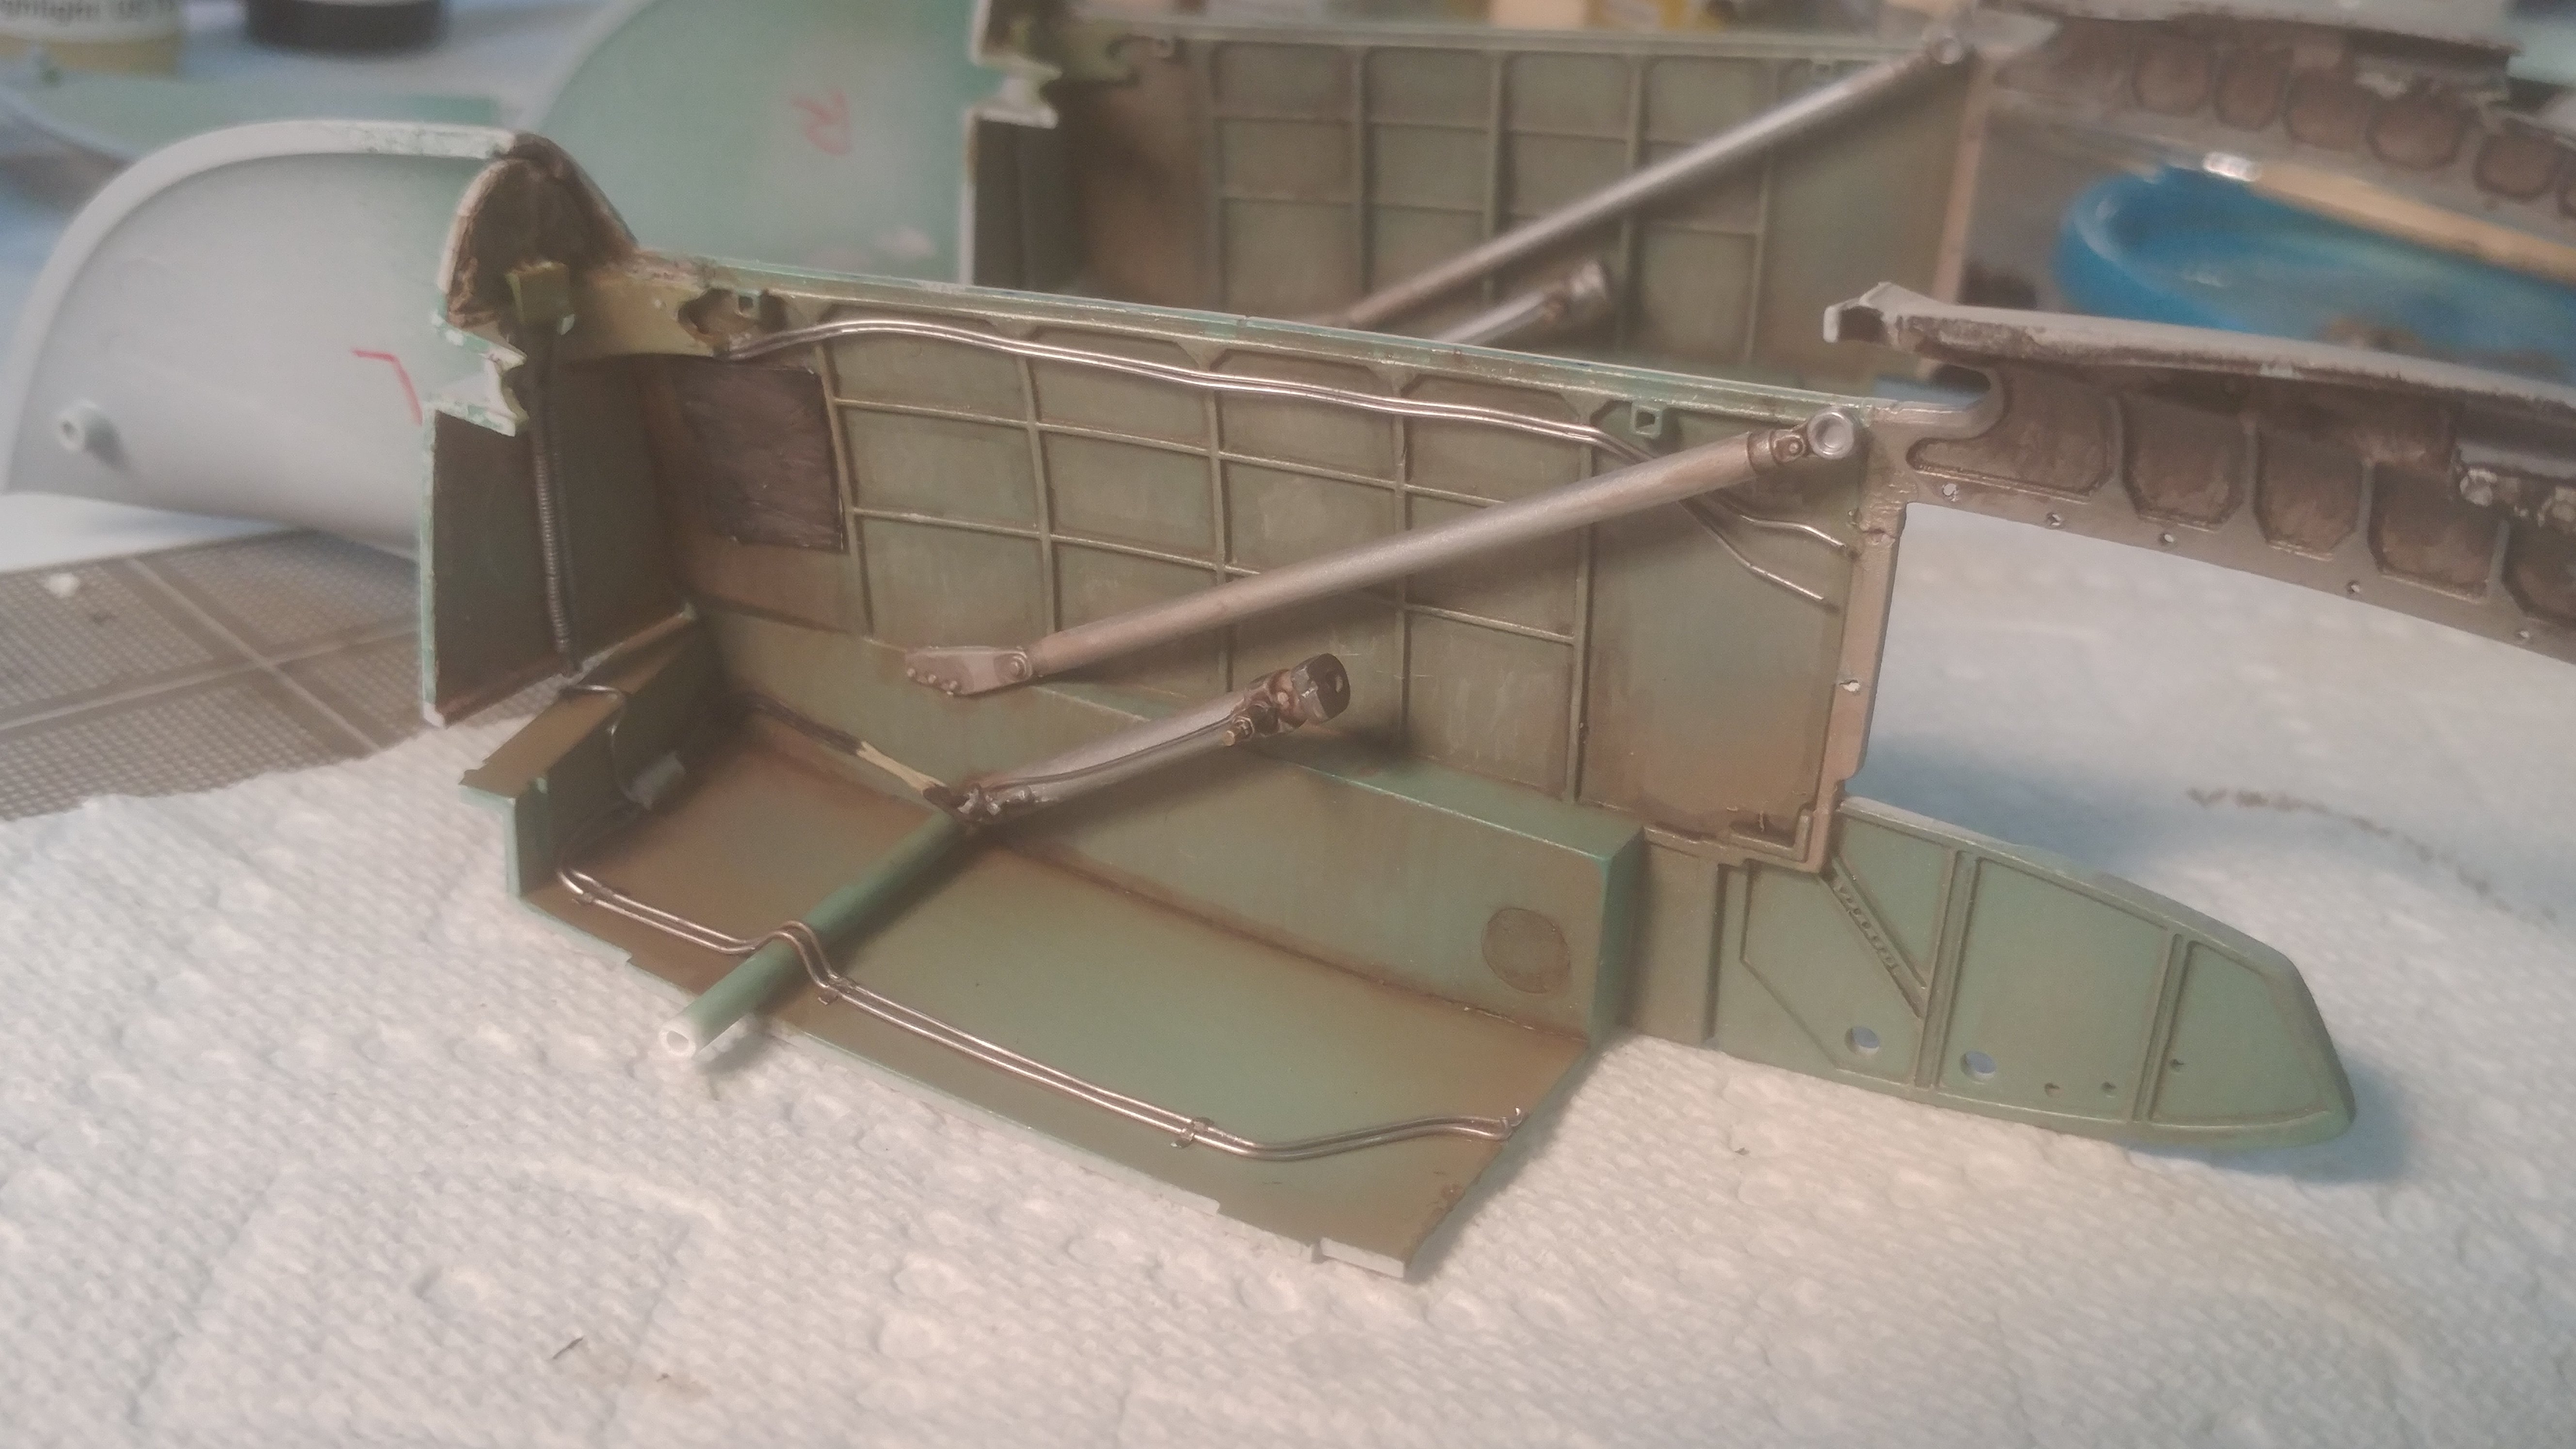
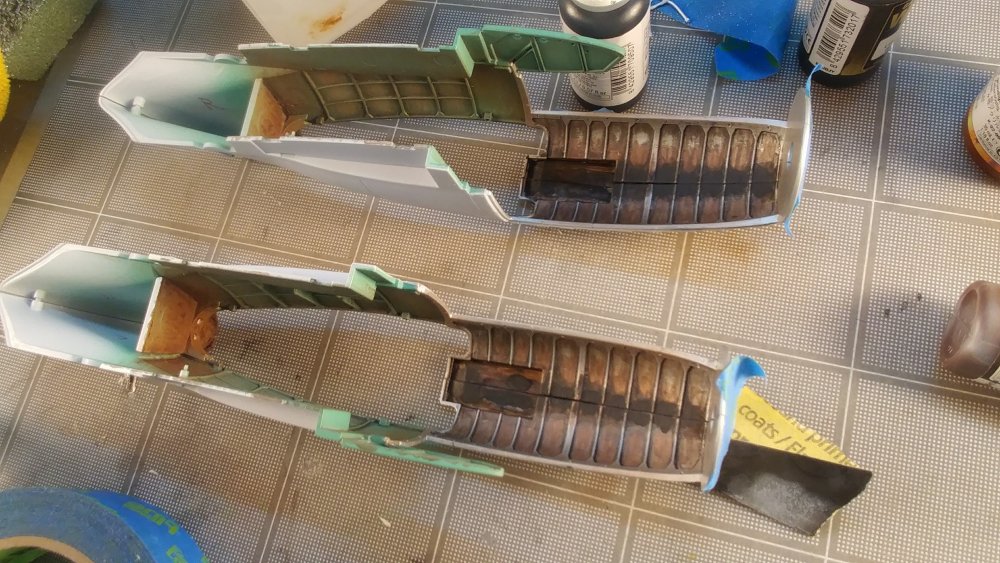
Scratch building parts has its challenges. The Mossy has more of the same part in each nacelle than "mirrored" parts. I keep screwing up left and right. Made progress with the wheel wells. Note the retract piston is on the same side of each nacelle.
-
You’re a better man than I am. I’m already getting sick of building two of all the fiddly bits on a twin rngine plane!
-
1/24 Airfix Scale Mosquito build
PeteF replied to PeteF's topic in LSM 1/35 and Larger Work In Progress
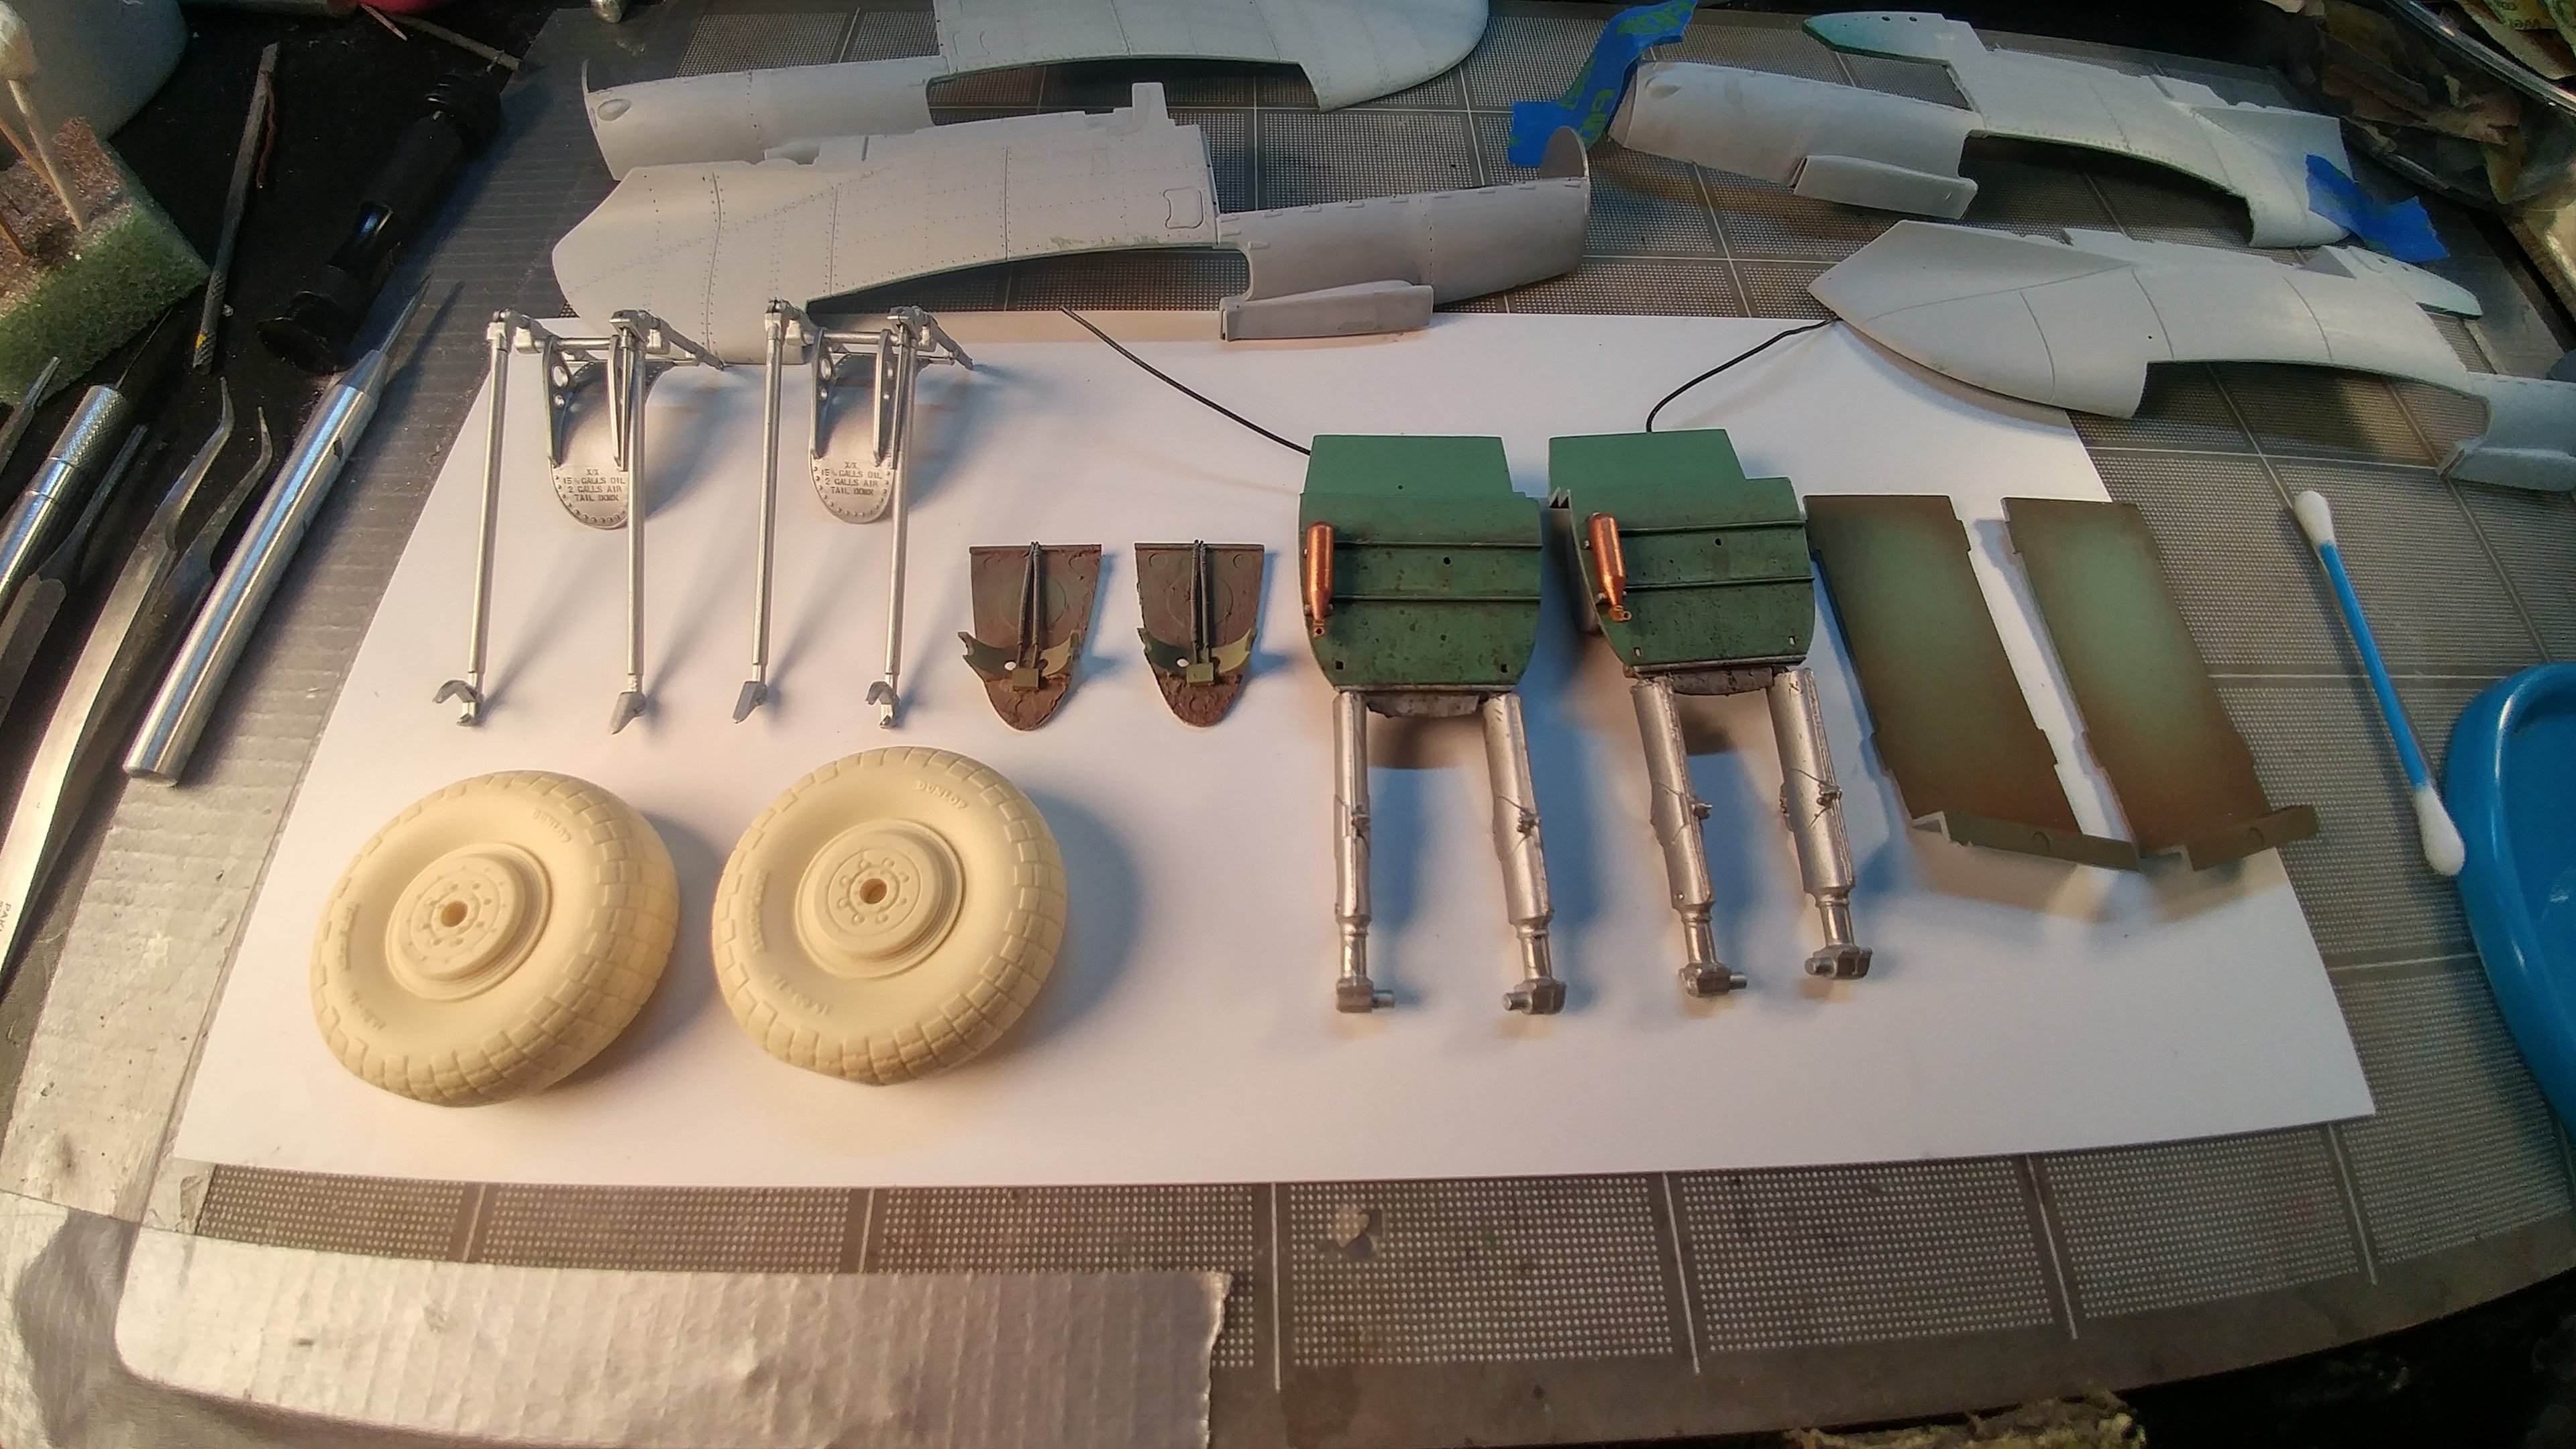
Got some resin tires and more stencil decals from Barracuda today. Also made the rear gear door springs by winding .010 lead wire around .02 lead wire.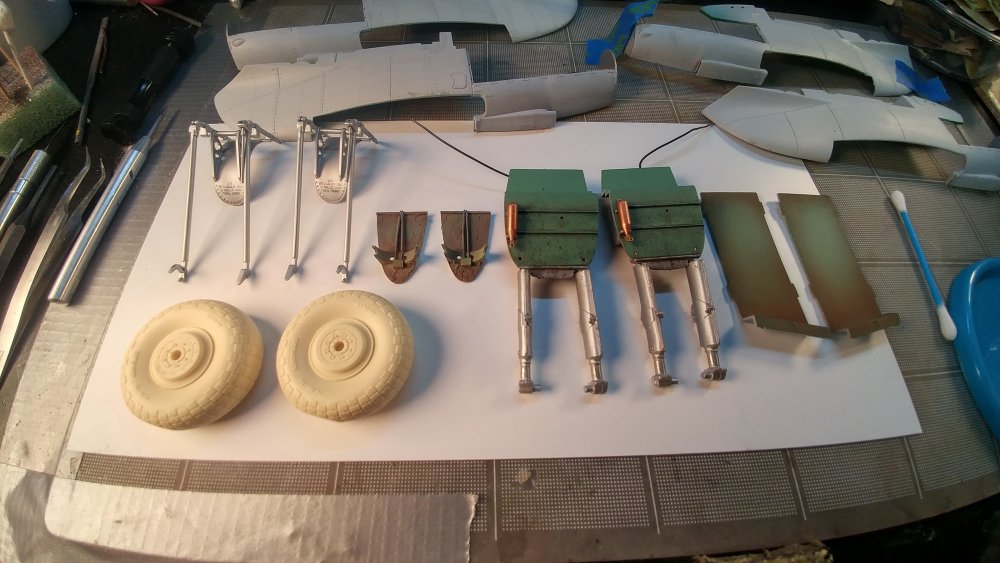
-
1/24 Airfix Scale Mosquito build
PeteF replied to PeteF's topic in LSM 1/35 and Larger Work In Progress
I've spent a lot of time looking at the Tamiya kit for reference...and the aftermarket engine kits. That is a really beautiful model. I'm finding the Airfix one is a good blank canvas...it has decent detail in some areas and NO detail in others...which is fine as long as you want to wrestle with scratch-building all the detail. The Tamiya kit has all the detail so looks like an enjoyable model build without having to do all the extra work. -
1/24 Airfix Scale Mosquito build
PeteF replied to PeteF's topic in LSM 1/35 and Larger Work In Progress
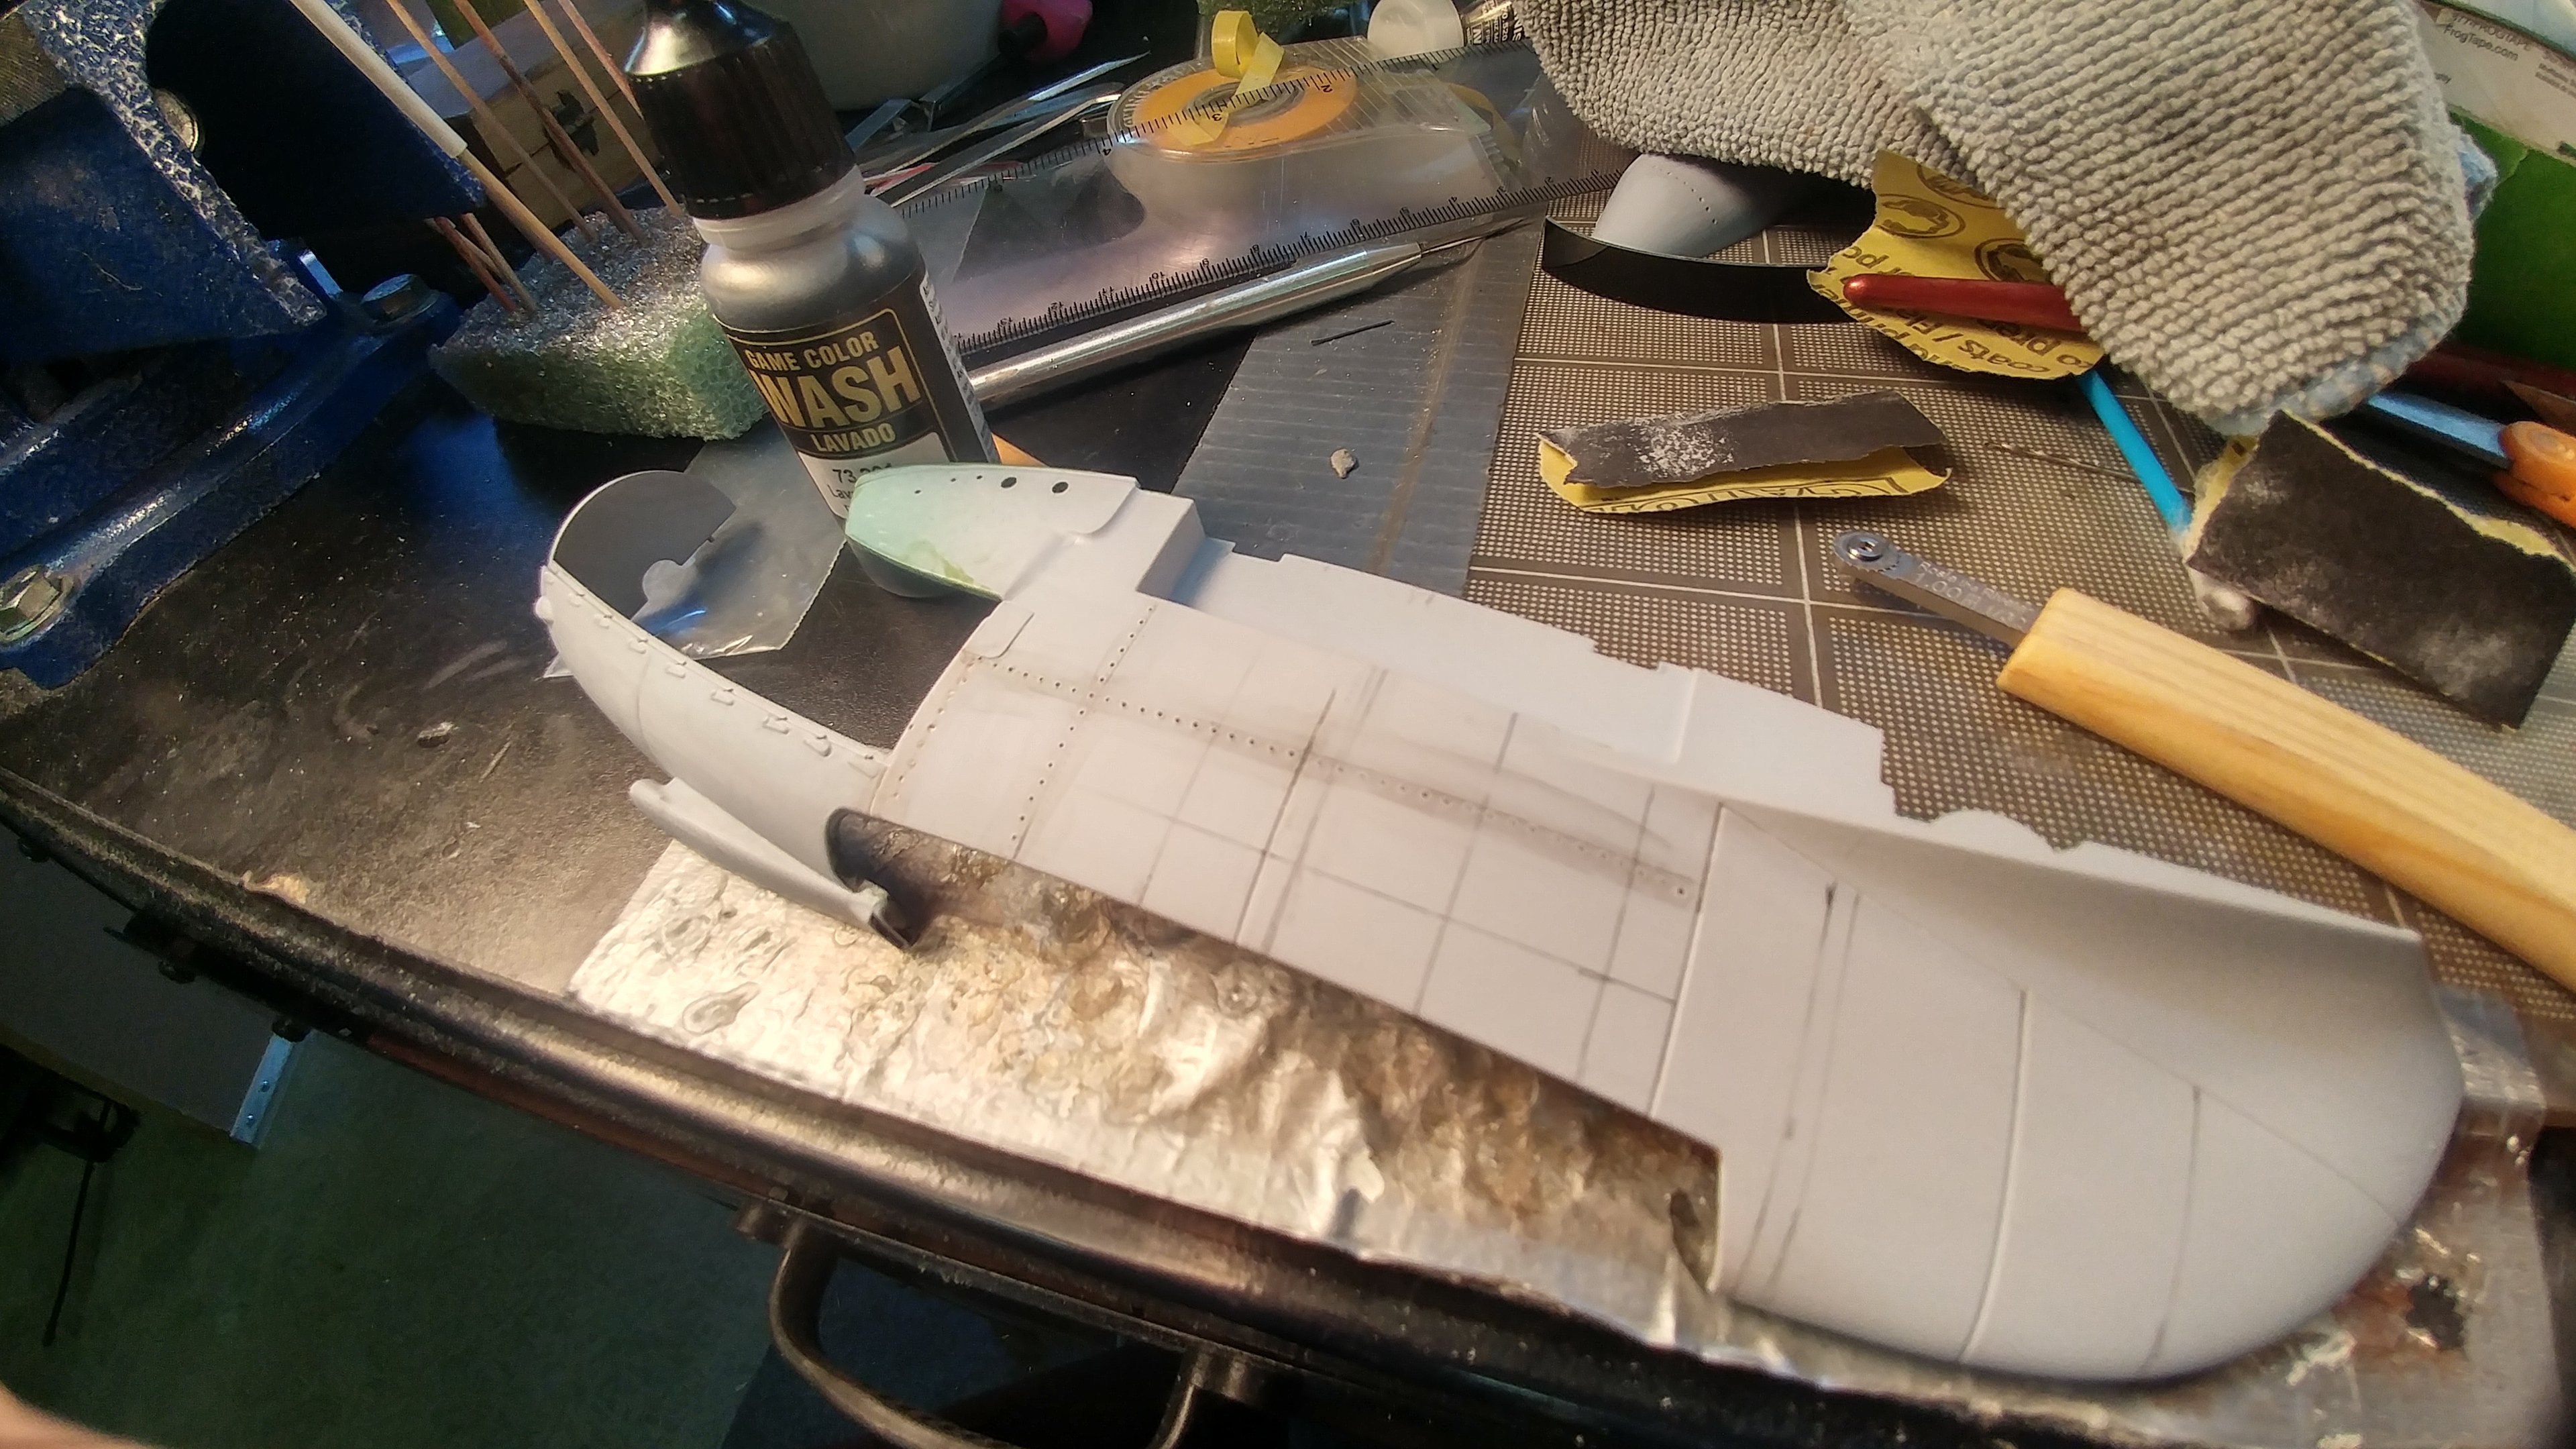
I only have patience to rivet one side of one nacelle today so I went back and finished scratch building the detail on the right side of the engines.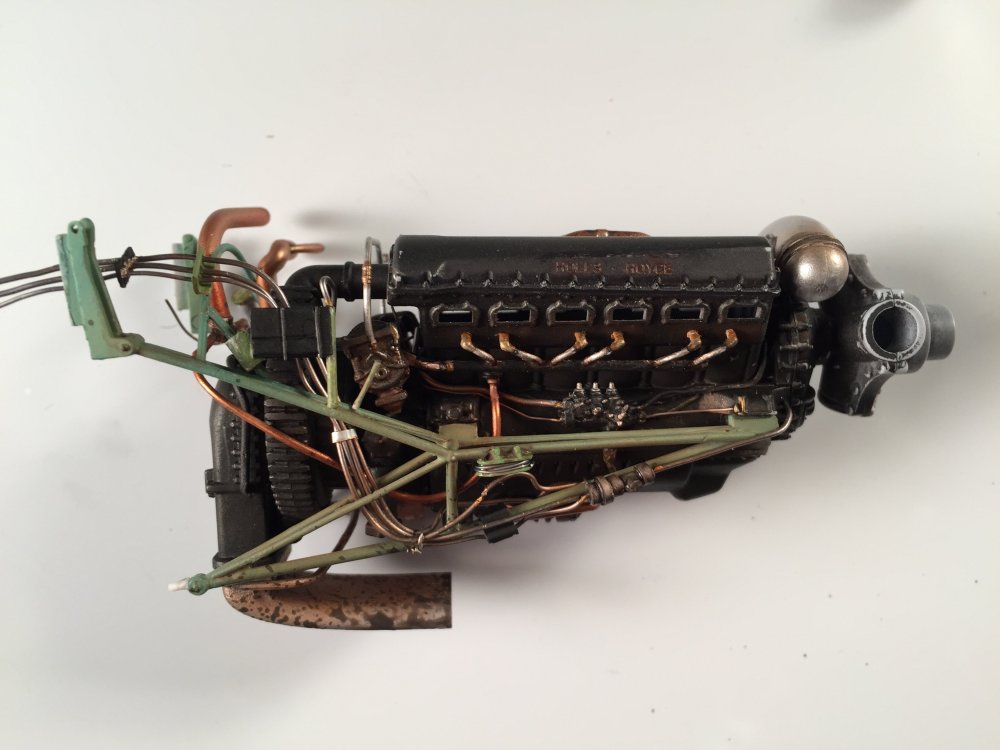
-
1/24 Airfix Scale Mosquito build
PeteF replied to PeteF's topic in LSM 1/35 and Larger Work In Progress
I tried...the largest one they make is 1mm and it was about half the size I needed and barely made a dent in the plastic. From a couple of days of searching the internet, the rivet tools/decals etc end at 1/32 scale. -
1/24 Airfix Scale Mosquito build
PeteF replied to PeteF's topic in LSM 1/35 and Larger Work In Progress
Thanks Jeff, that is helpful I found another photo which might also be of your Mossie. All references are helpful as there’s a shortage of detailed 3-views with rivets.
-
1/24 Airfix Scale Mosquito build
PeteF replied to PeteF's topic in LSM 1/35 and Larger Work In Progress
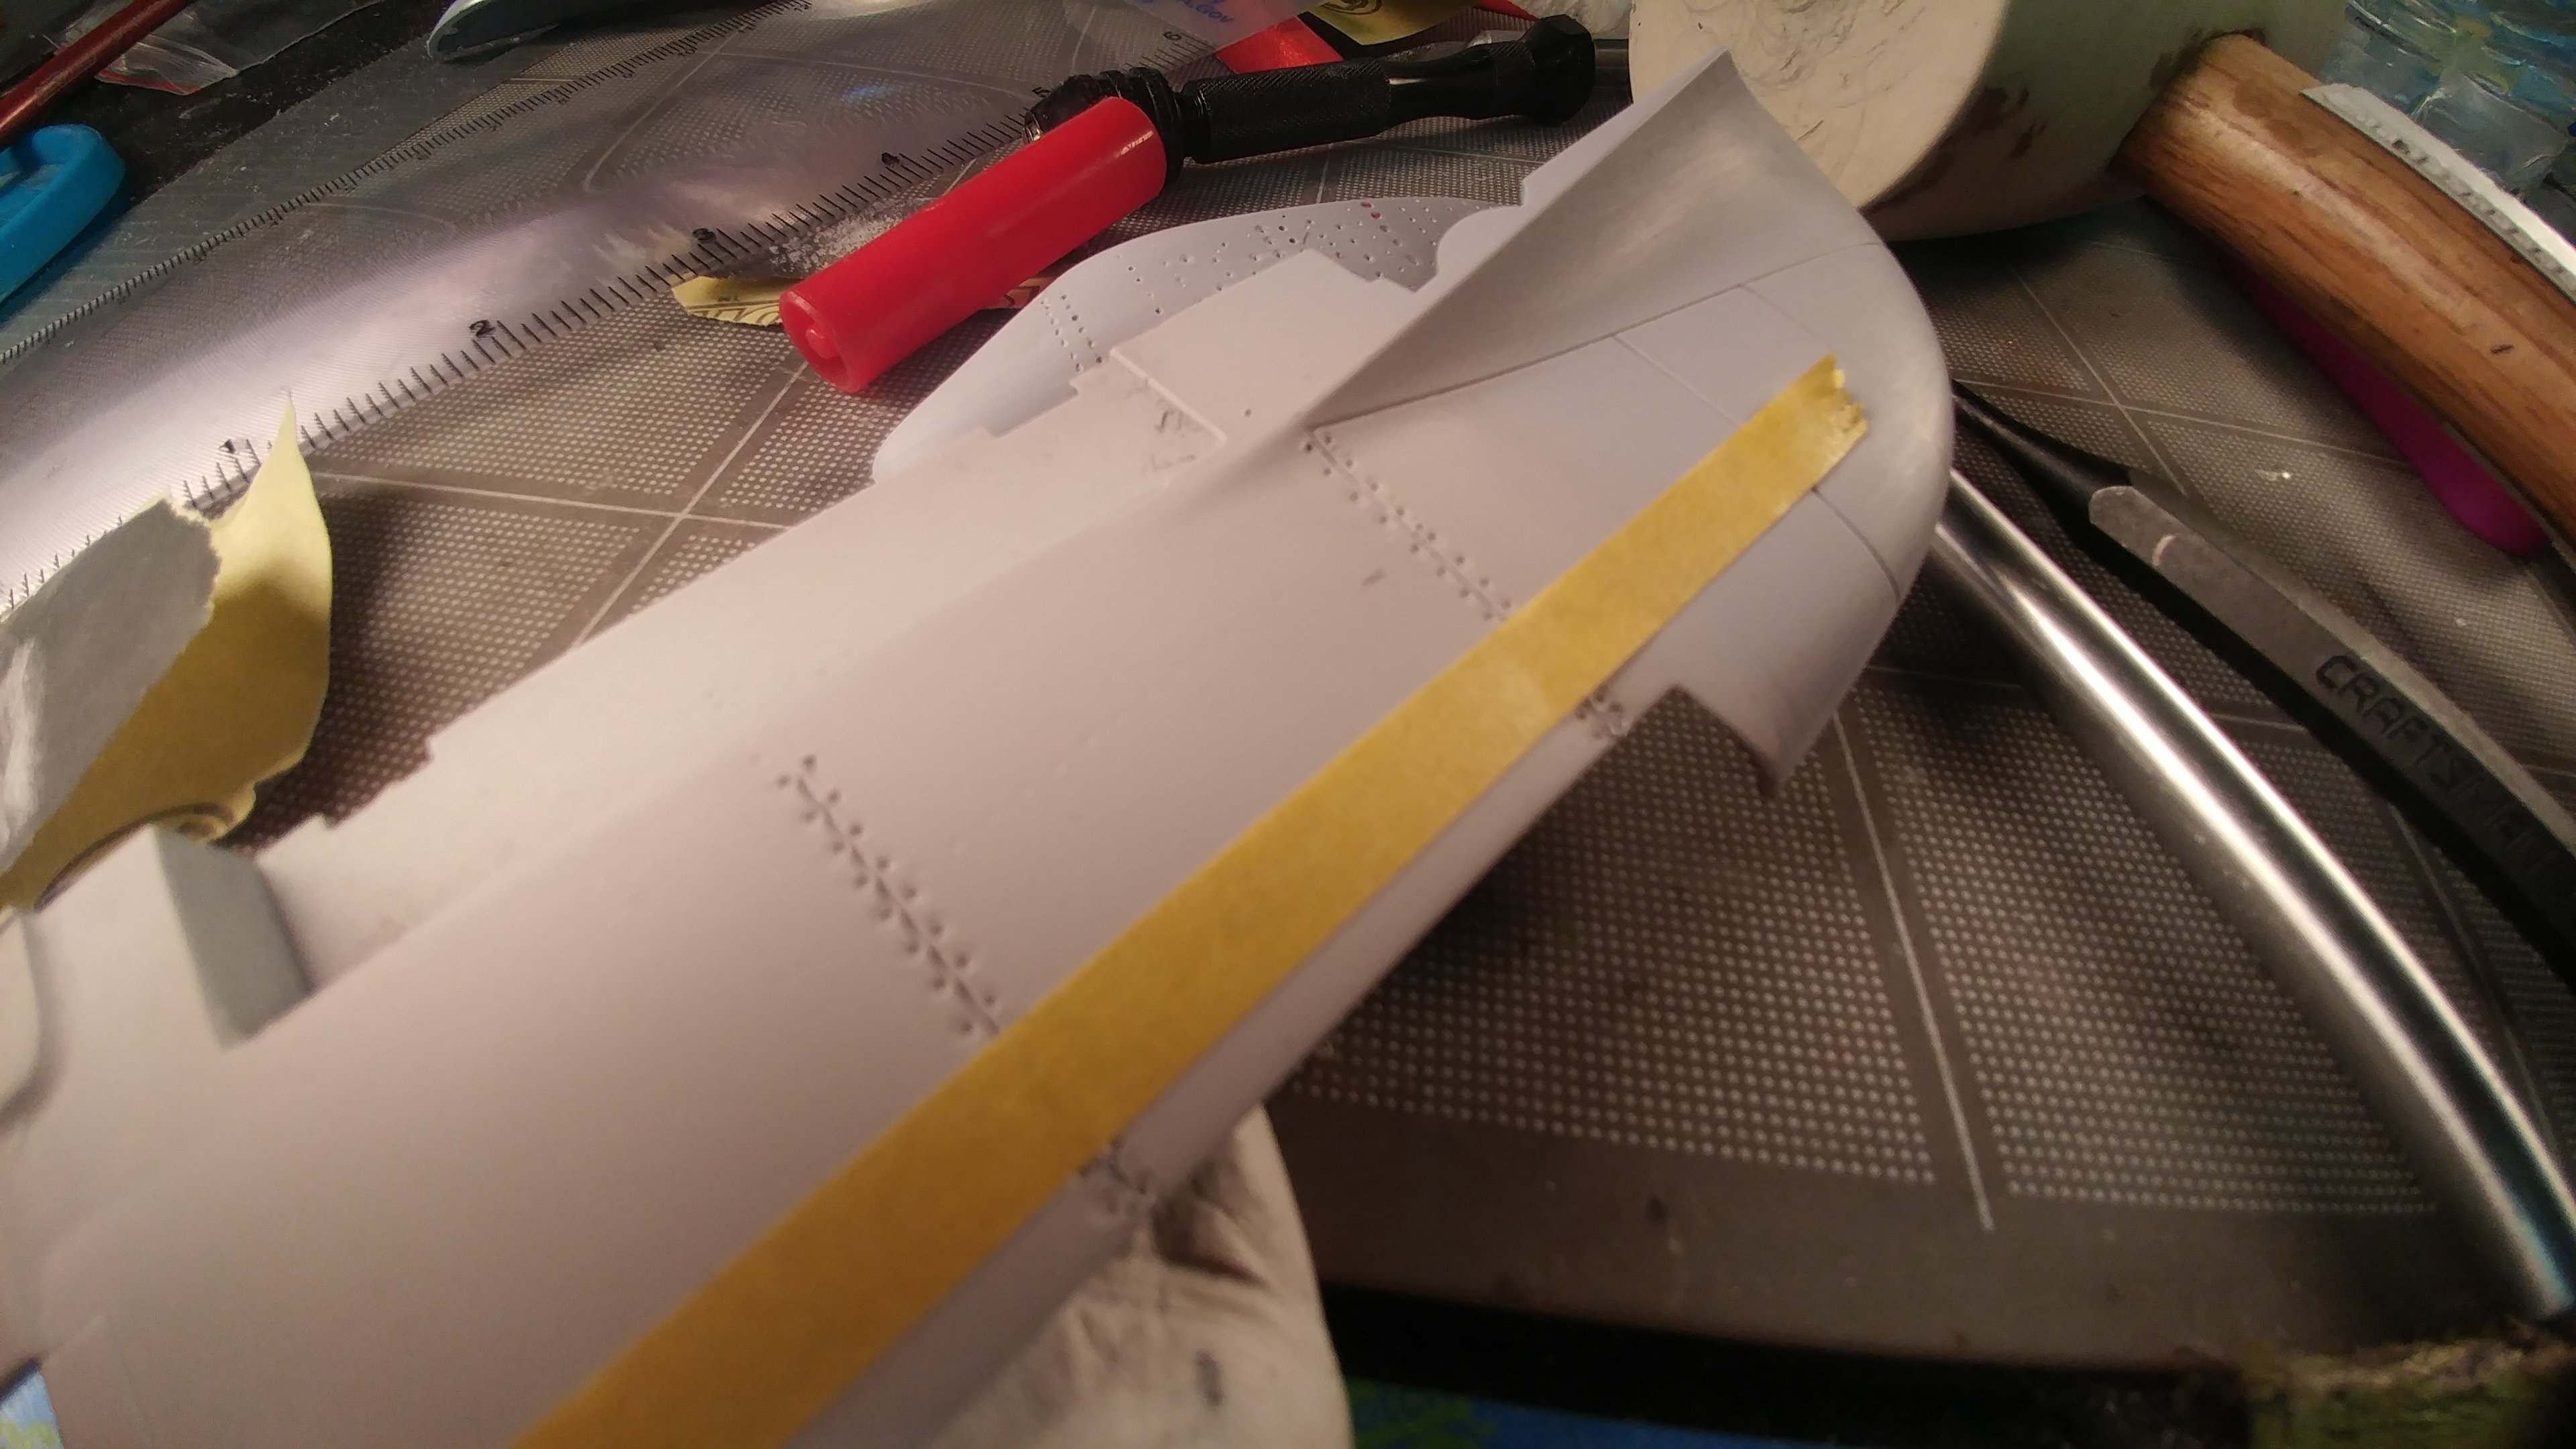
Took maybe an hour to do this side.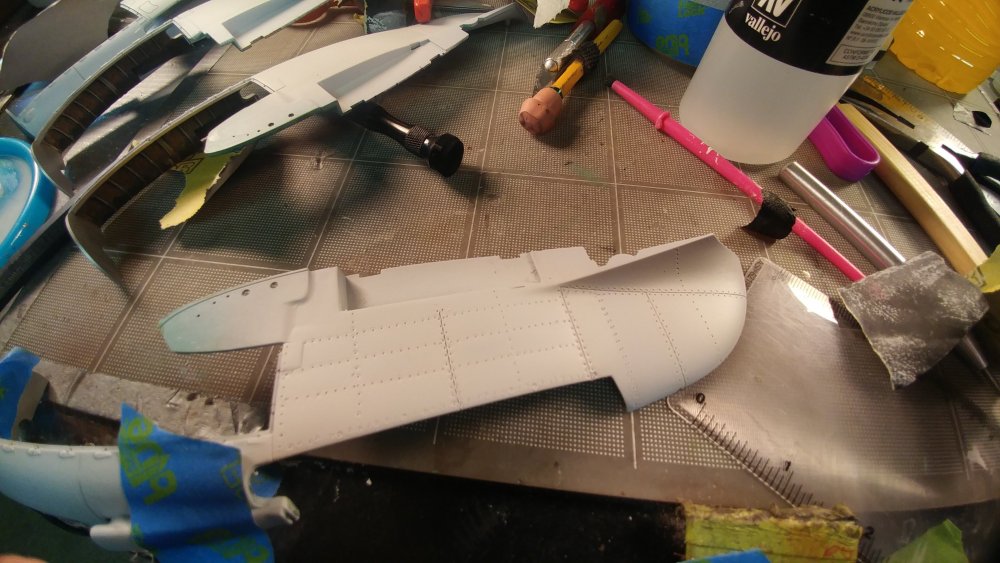
-
1/24 Airfix Scale Mosquito build
PeteF replied to PeteF's topic in LSM 1/35 and Larger Work In Progress
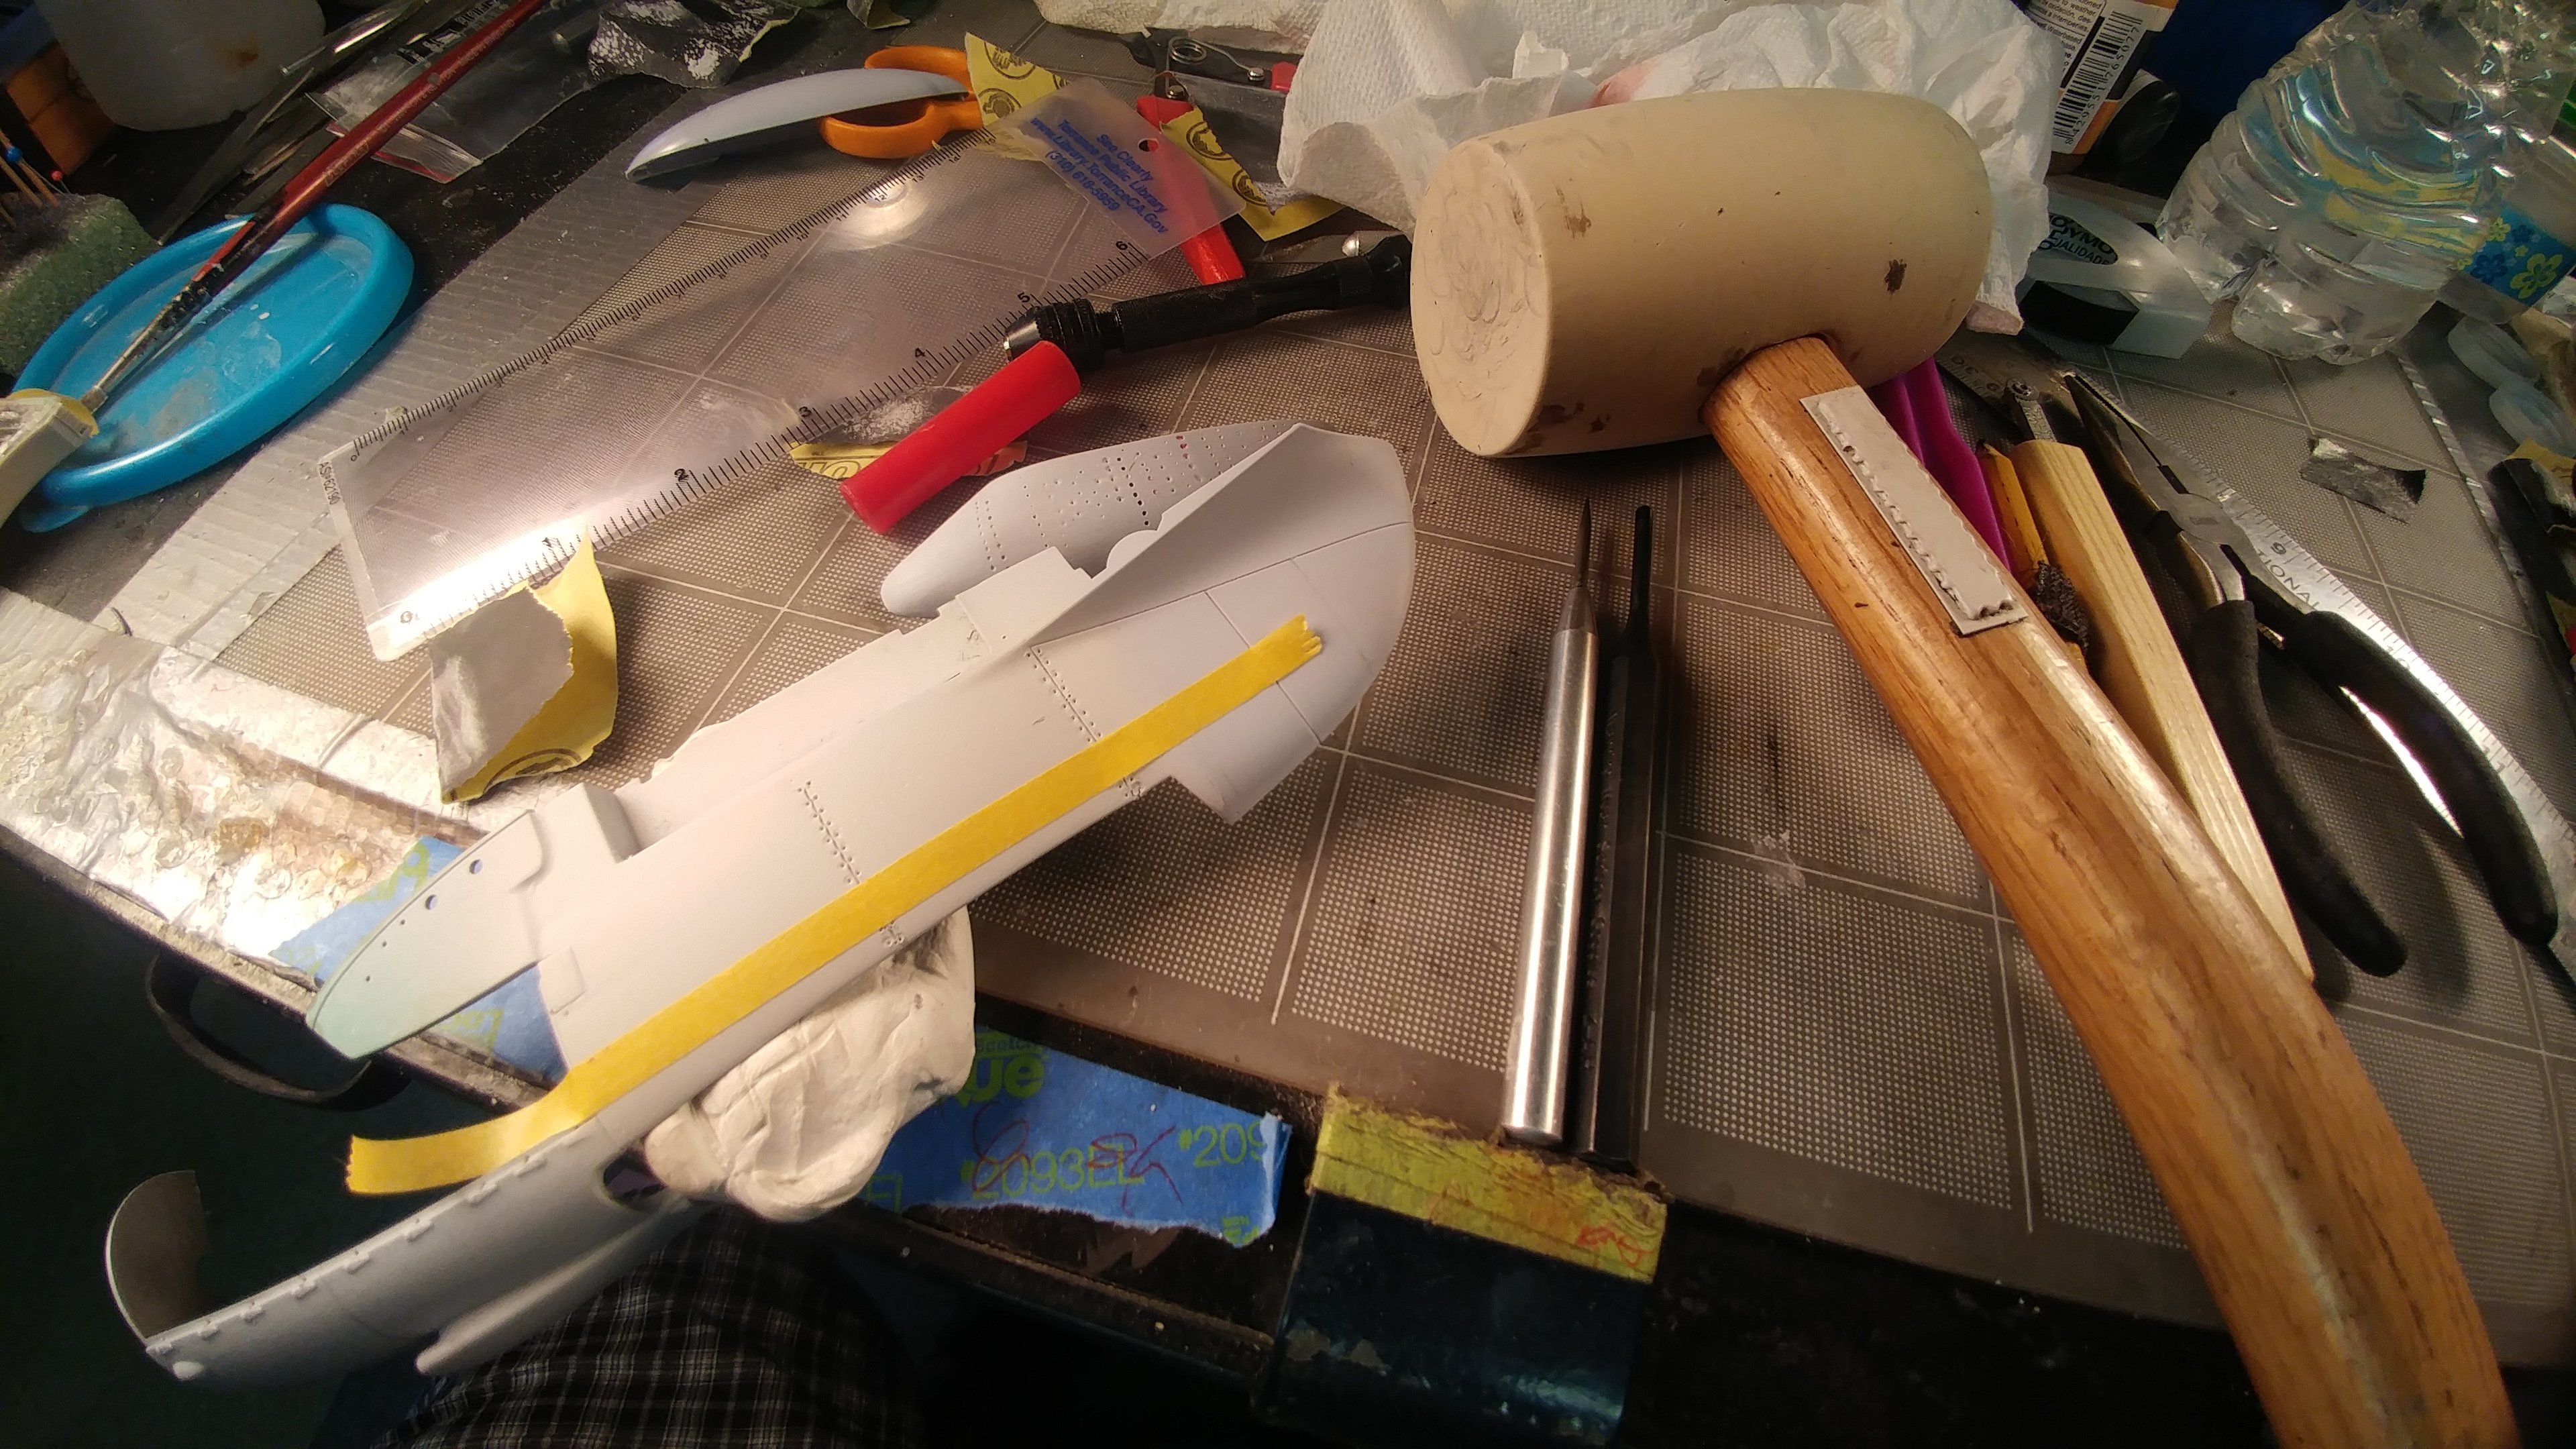
One of the keys was using a clump of stickem to support the compound curved plastic. This goes pretty fast actually...marked the rivet spacing on the tape. A side benefit is the line of punched rivets creates an easy stressed skin look! Pretty happy with this.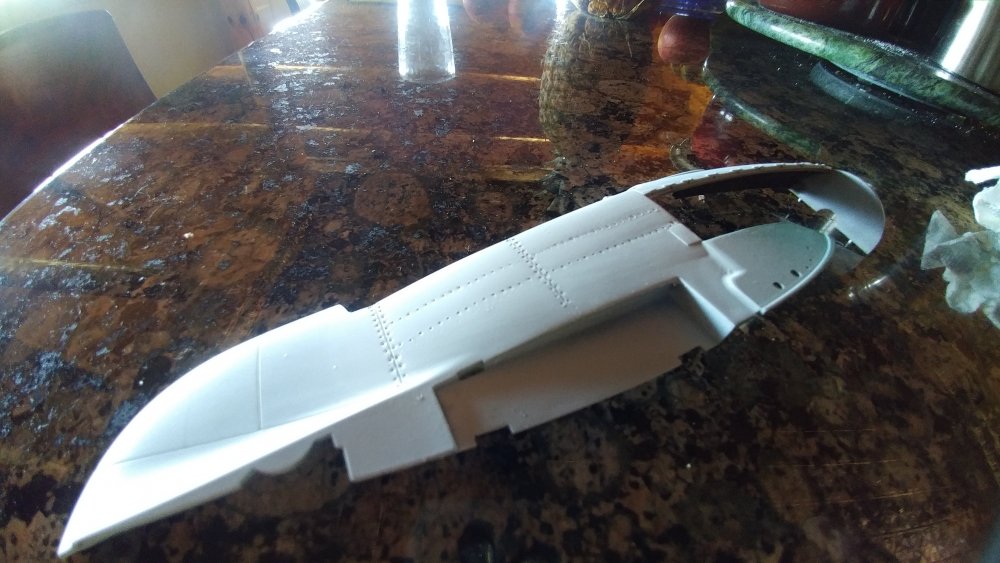
-
1/24 Airfix Scale Mosquito build
PeteF replied to PeteF's topic in LSM 1/35 and Larger Work In Progress
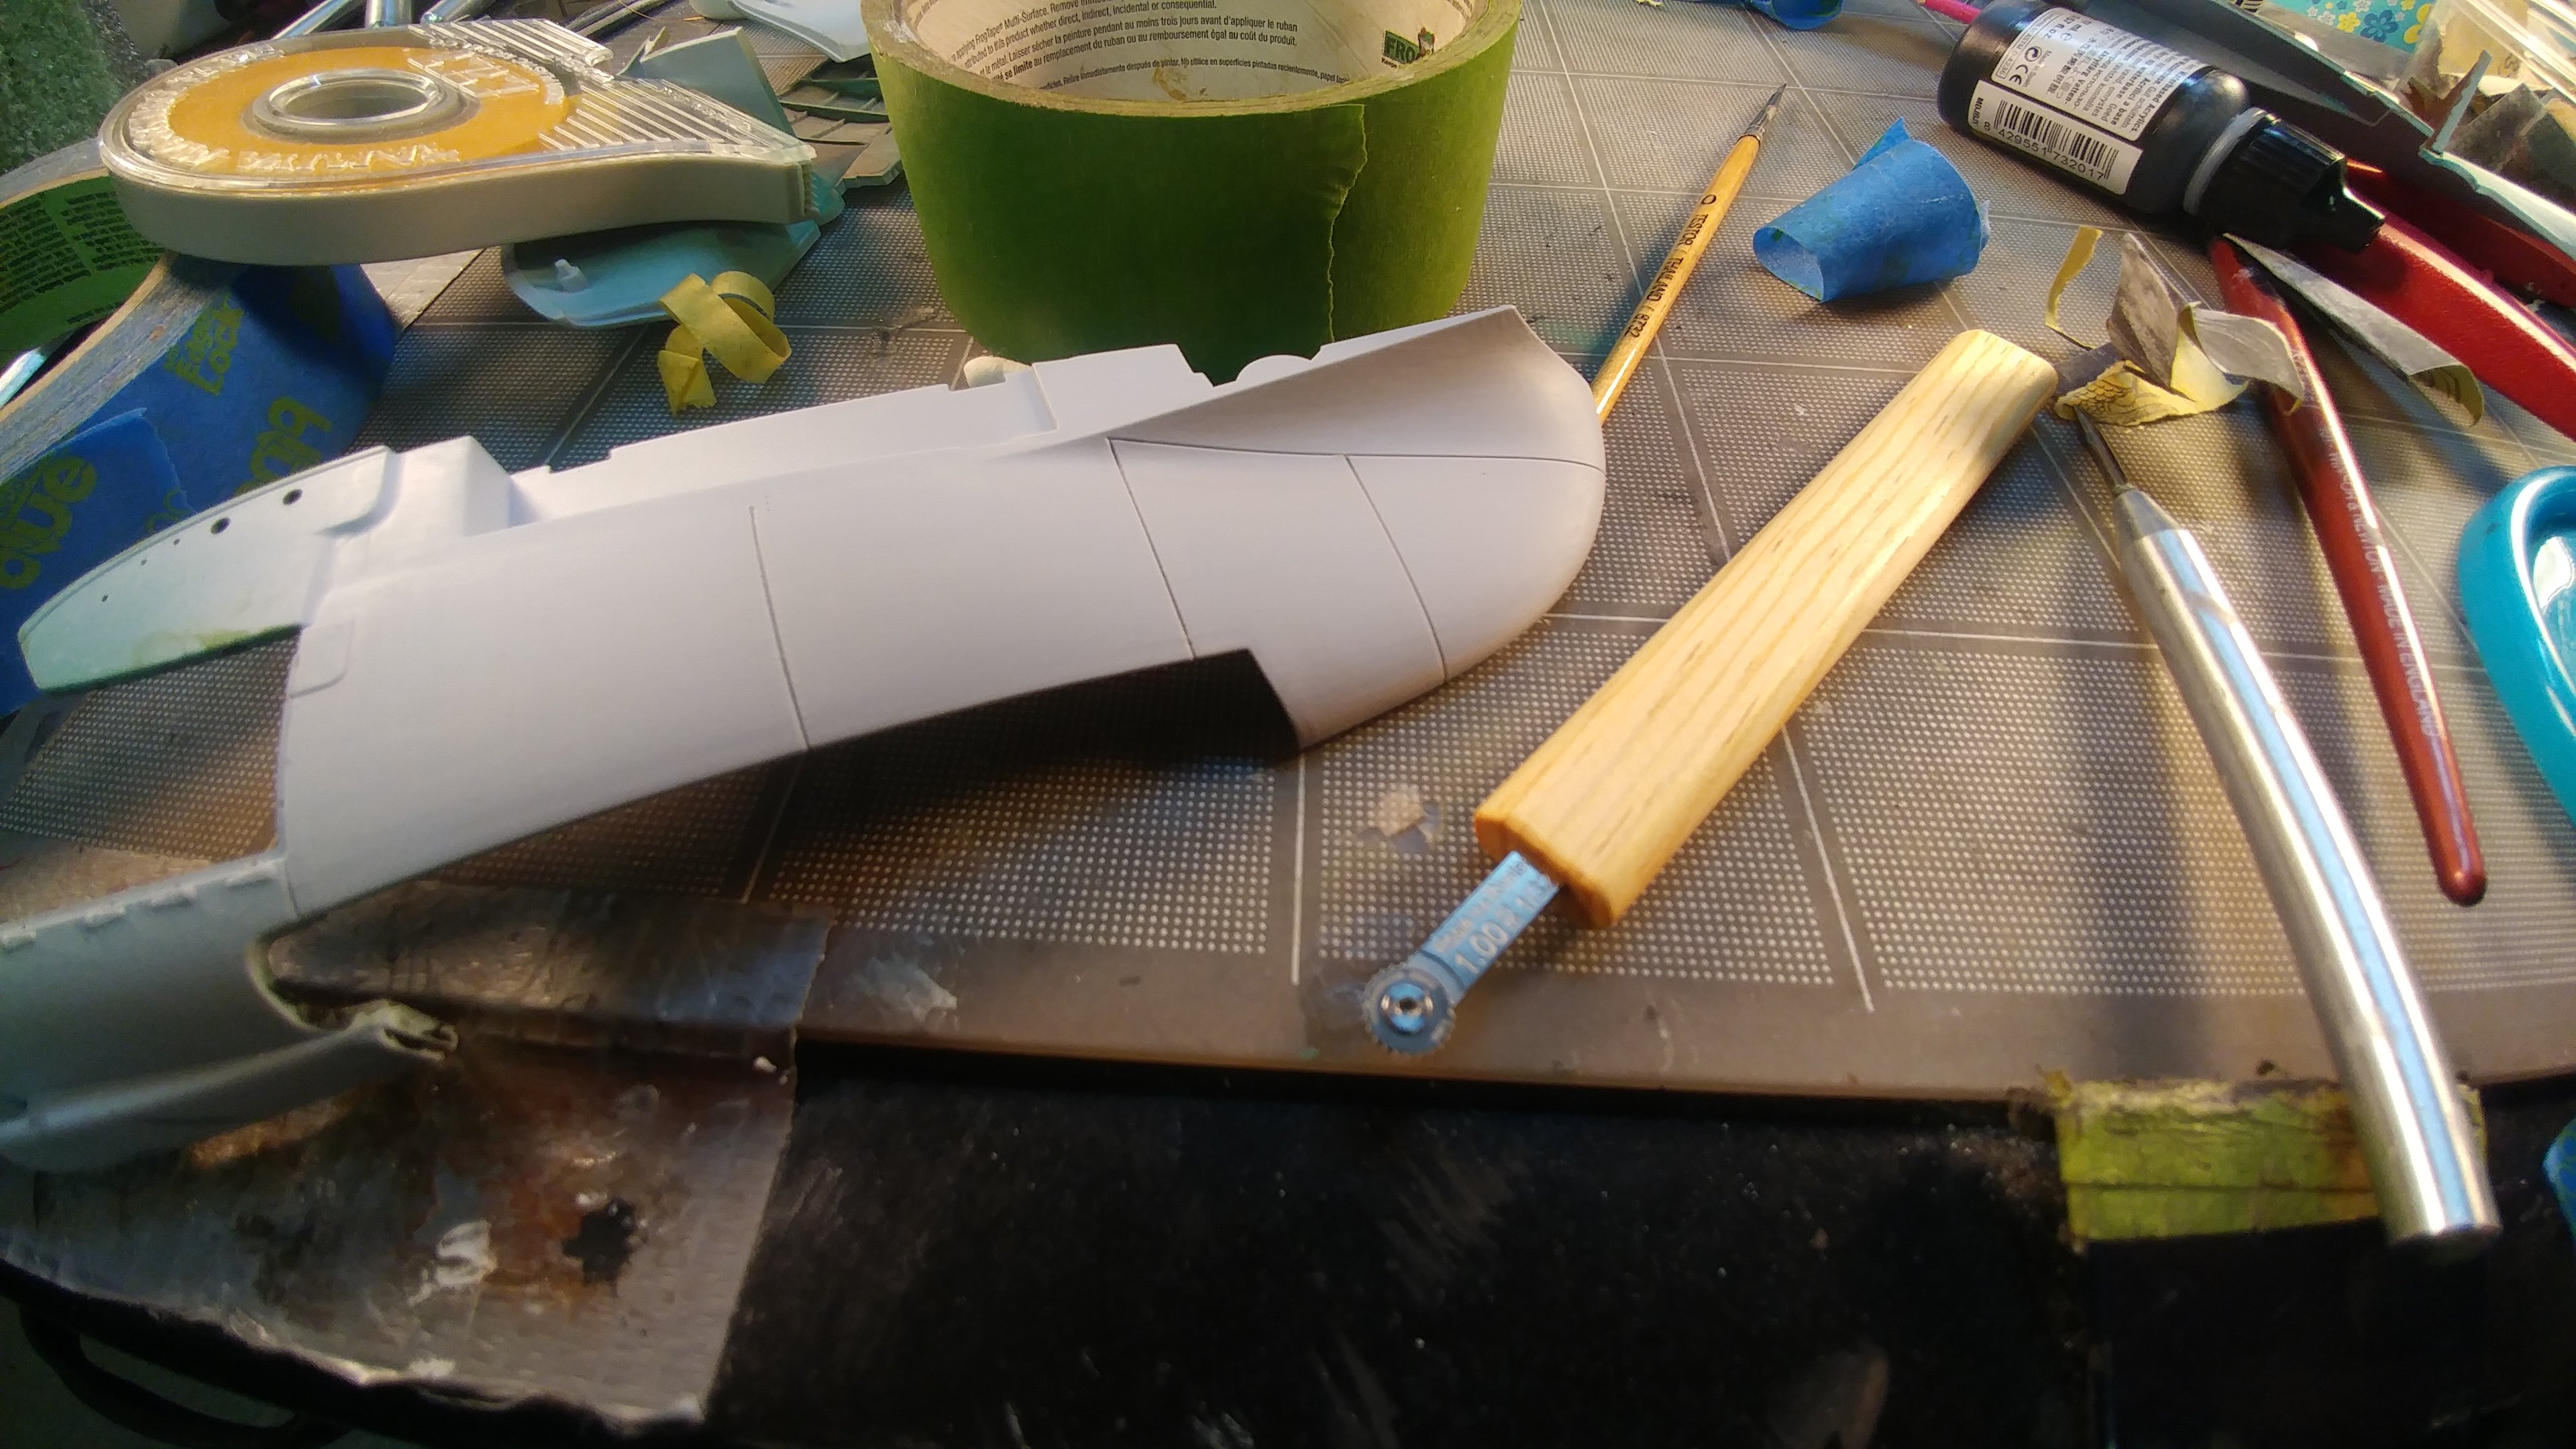
Day 2 of trying to figure out the rivets. Might be on to something. Using a sharp punch to make a small hole then a 1/8 punch with a malet to dent around it.

-
1/24 Airfix Scale Mosquito build
PeteF replied to PeteF's topic in LSM 1/35 and Larger Work In Progress
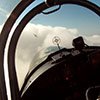
Spent all day trying to create a workable rivet solution...then saw this picture of a Tamiya Mosquito and gave up. Without a useable way to do rows of rivets at the same time there’s no way in my skill set :(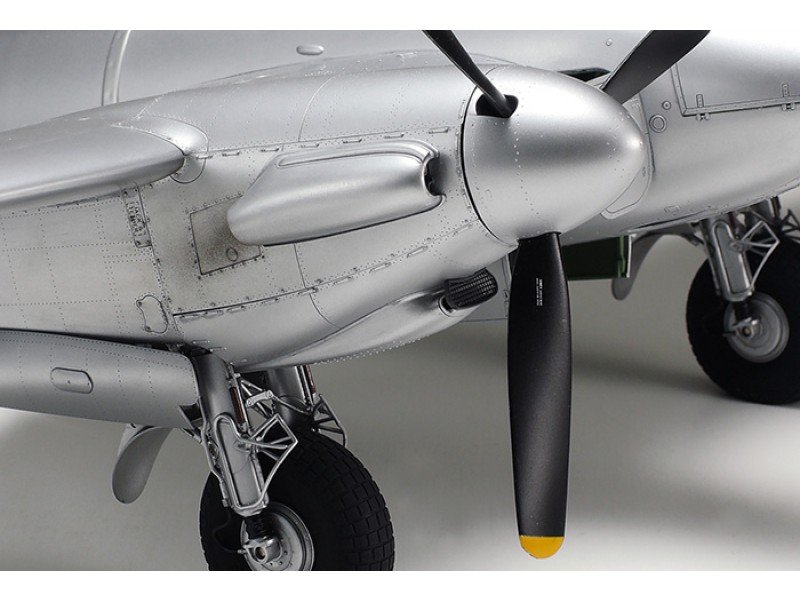
-
1/24 Airfix Scale Mosquito build
PeteF replied to PeteF's topic in LSM 1/35 and Larger Work In Progress
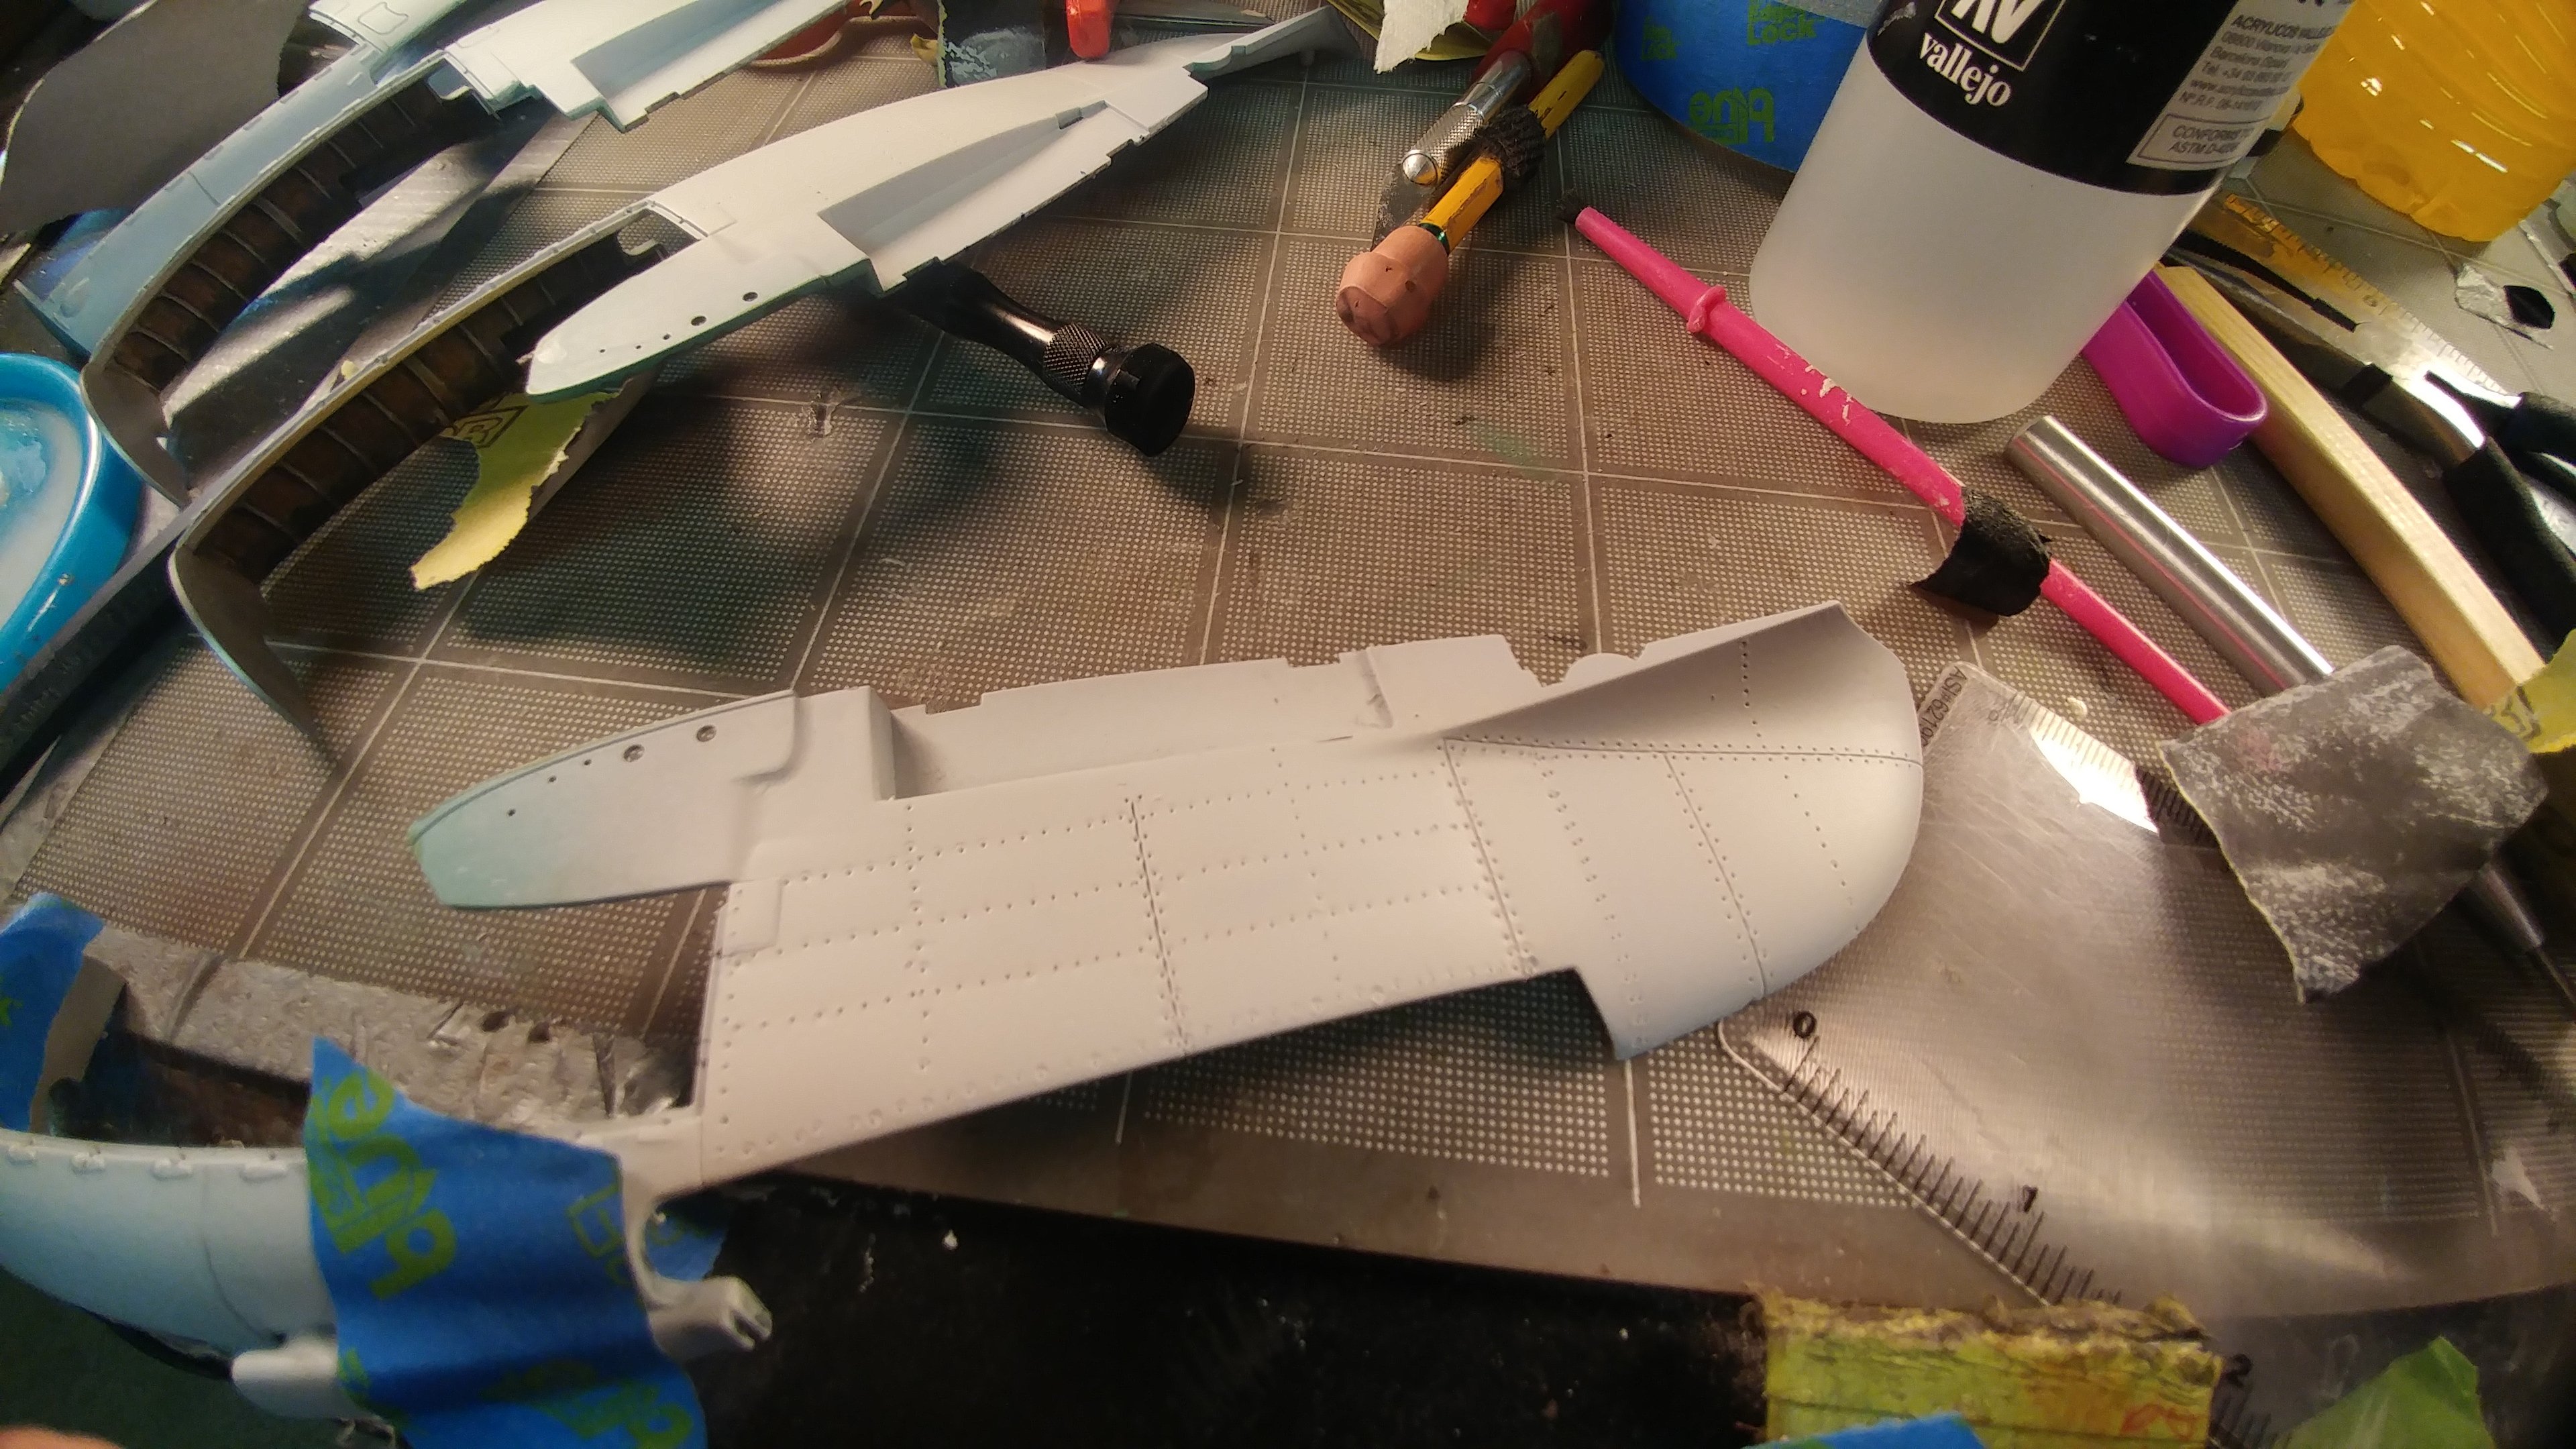
Well this is going to be a long haul. Airfix had NO rivet detail whatsoever on the nacelles (which are all-metal) and they have fabric control surfaces which were only used on early Mosquitoes. I searched and searched but nobody seems to have a 1/24 rivet solution. What I ended up with was using the "Rosie the Riveter" to mark a line of tiny dots then using a hand punch to punch out every second dot bigger. The scale is about right but it's laborious and the rivets aren't consistent sizes. Harumph. Once they're all in, I'll sand the panel and smooth them out but it's a ridiculous omission on such a large scale plane. I know on the 1/24 Typhoon kit that came much later than the Mossie, it's a rivet fest but this one not so much.
-
1/24 Airfix Scale Mosquito build
PeteF replied to PeteF's topic in LSM 1/35 and Larger Work In Progress
That's disappointing. I got the largest "Rosie the Riveter" tool (1mm) and it barely makes a mark in this plastic. Far too subtle to be useful.
-
1/24 Airfix Scale Mosquito build
PeteF replied to PeteF's topic in LSM 1/35 and Larger Work In Progress
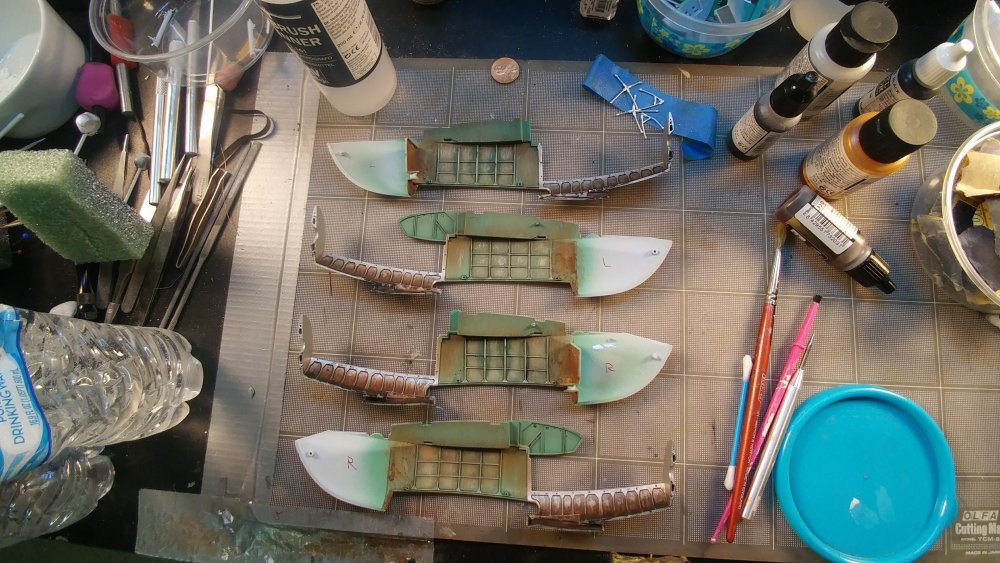
Having fun painting and muddying the nacelles.
-
1/24 Airfix Scale Mosquito build
PeteF replied to PeteF's topic in LSM 1/35 and Larger Work In Progress
I can definitely see how a monostrut and smaller scale version of this metal would be delicate (and particularly prone to bending) because the metal is so soft. Not sure that in many applications it would be a better bet than the plastic though the connection points are stronger. The two main struts on this mossie are solid though. They have a lot of beef to them so are pretty strong in this application but I’m not sure what benefit they’d have for, say, a Spitfire with spindly gear. -
1/24 Airfix Scale Mosquito build
PeteF replied to PeteF's topic in LSM 1/35 and Larger Work In Progress
Also drilled the strut pivots so I can use brass wire through the rod end instead of just glue.