PeteF
-
Posts
233 -
Joined
-
Last visited
Content Type
Profiles
Forums
Events
Gallery
Everything posted by PeteF
-

1/24 Airfix Scale Mosquito build
PeteF replied to PeteF's topic in LSM 1/35 and Larger Work In Progress
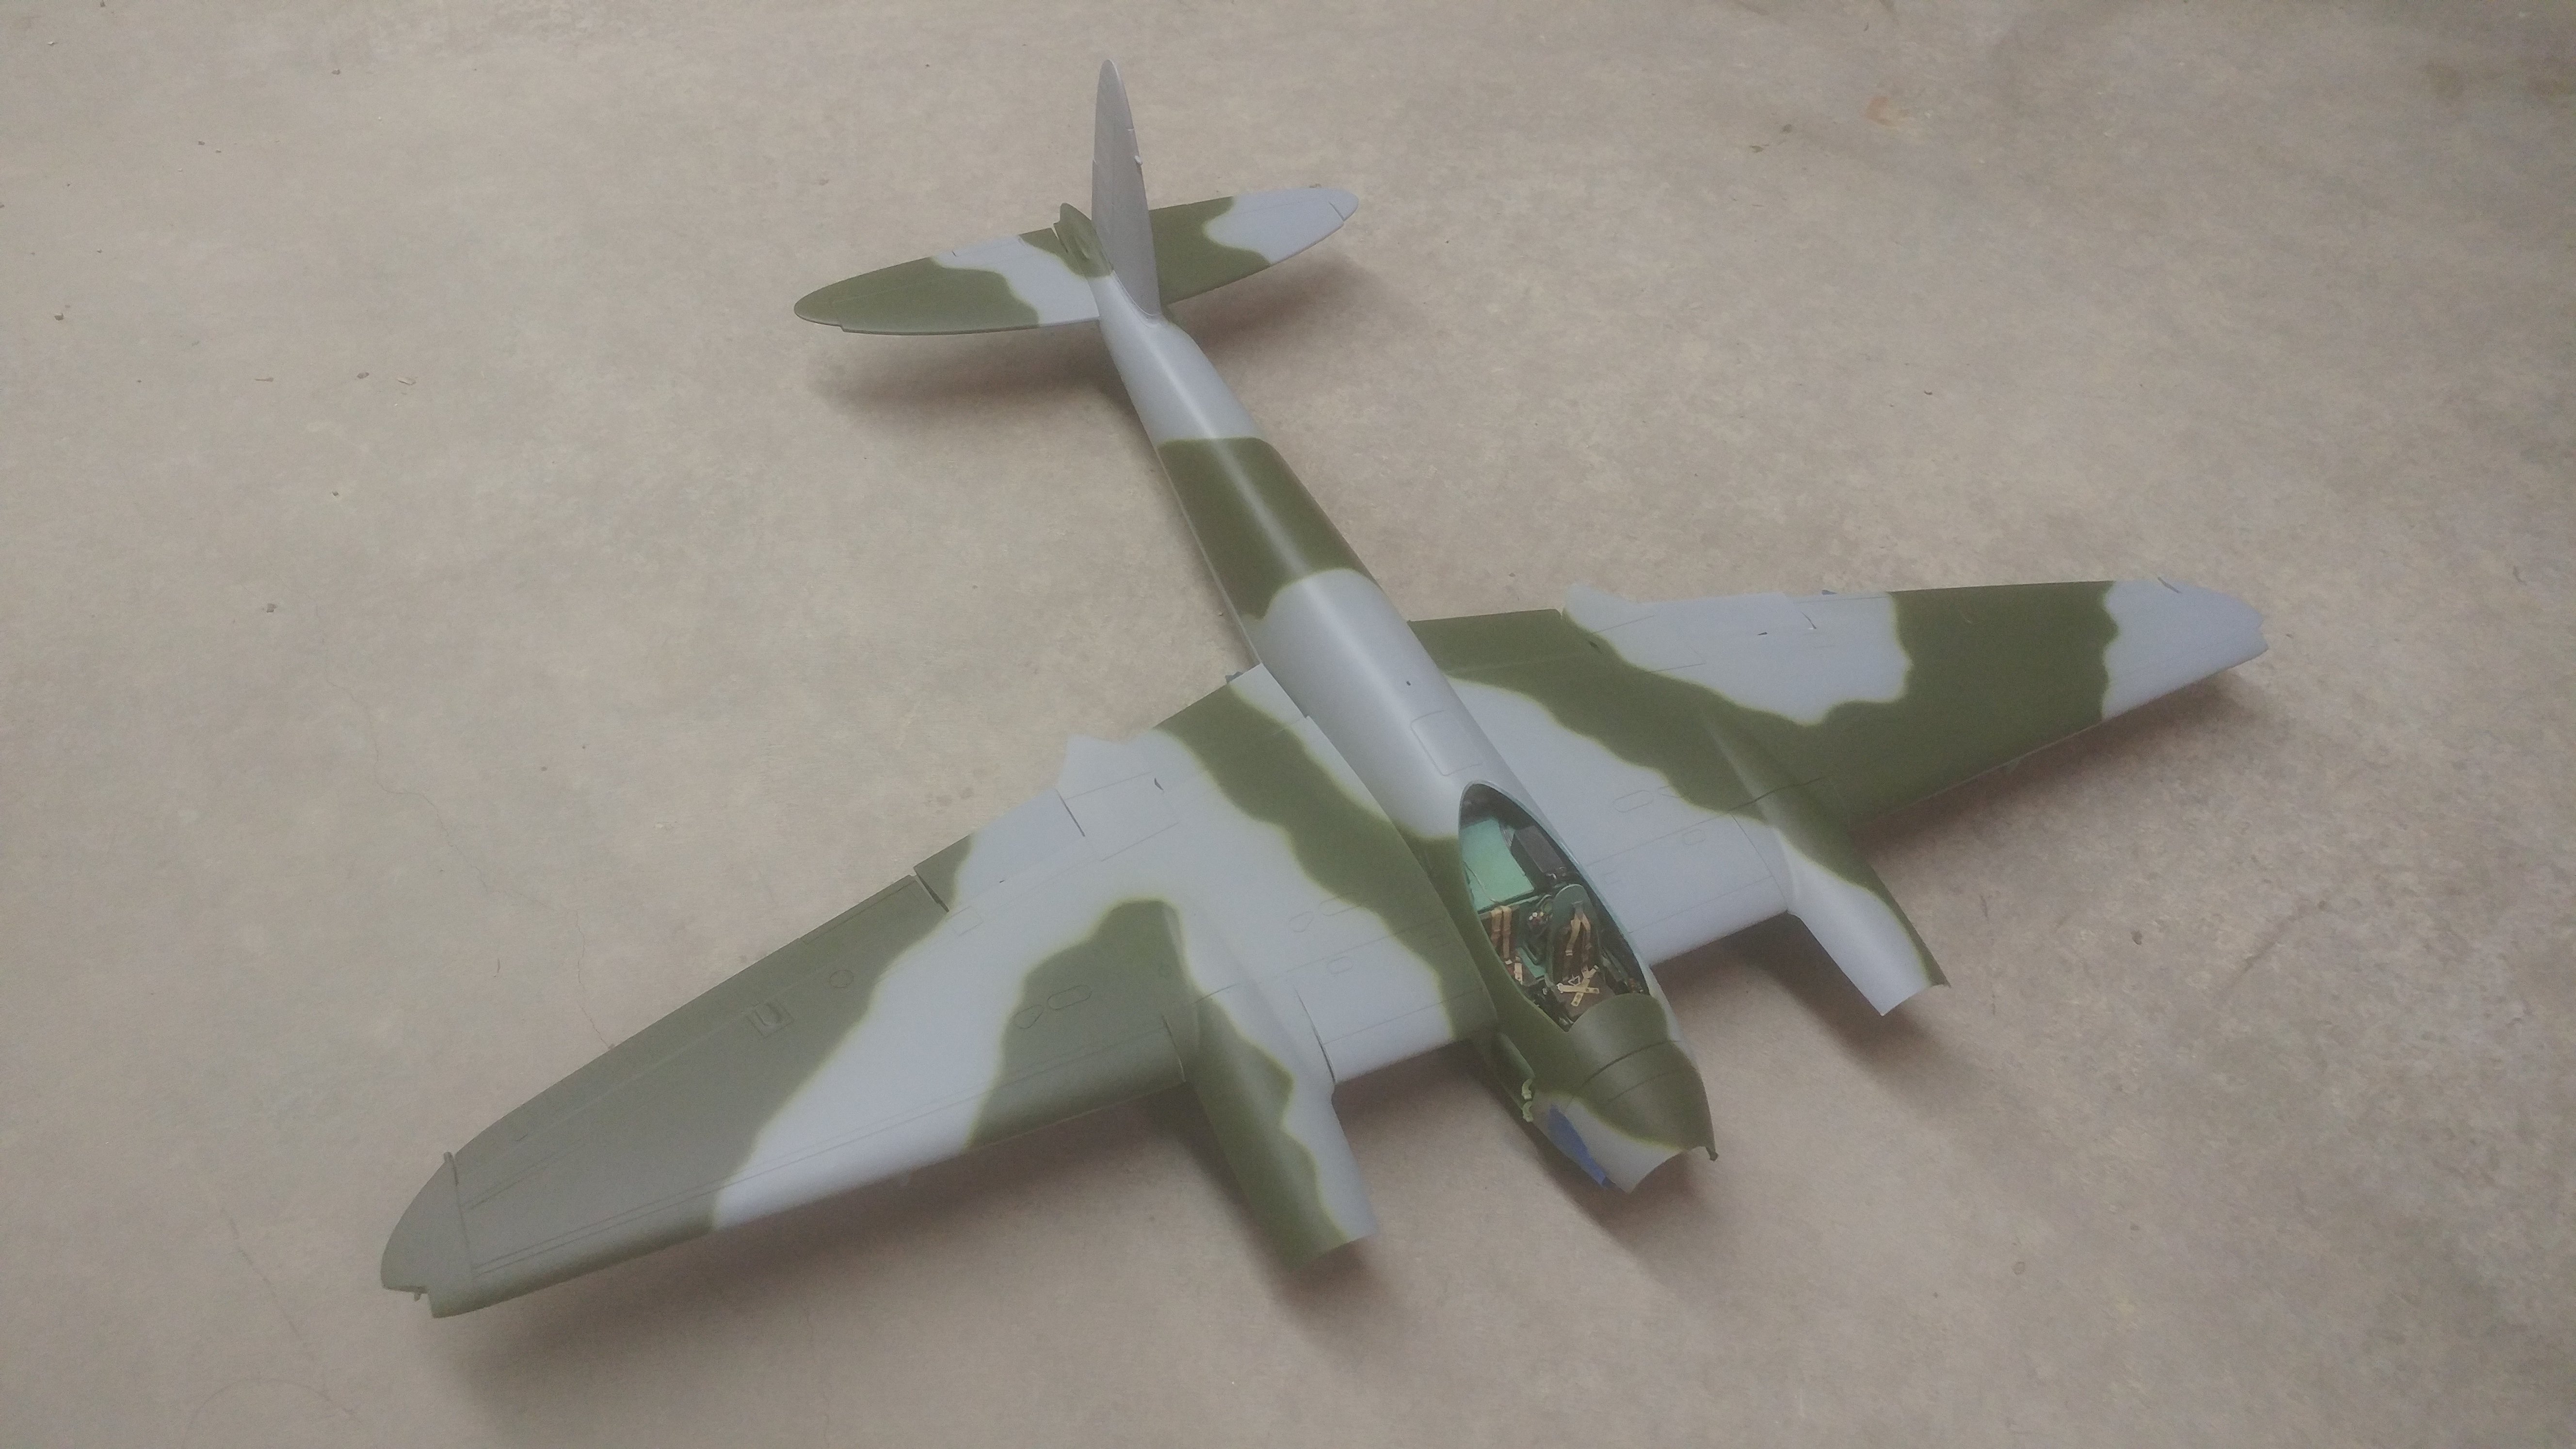
This is interesting. A couple of clear coats slightly darkened the colors but changed how my camera phone exposes the green. It looks the same as before to the eye. Made a fix to the pattern on the port nacelle and that's done!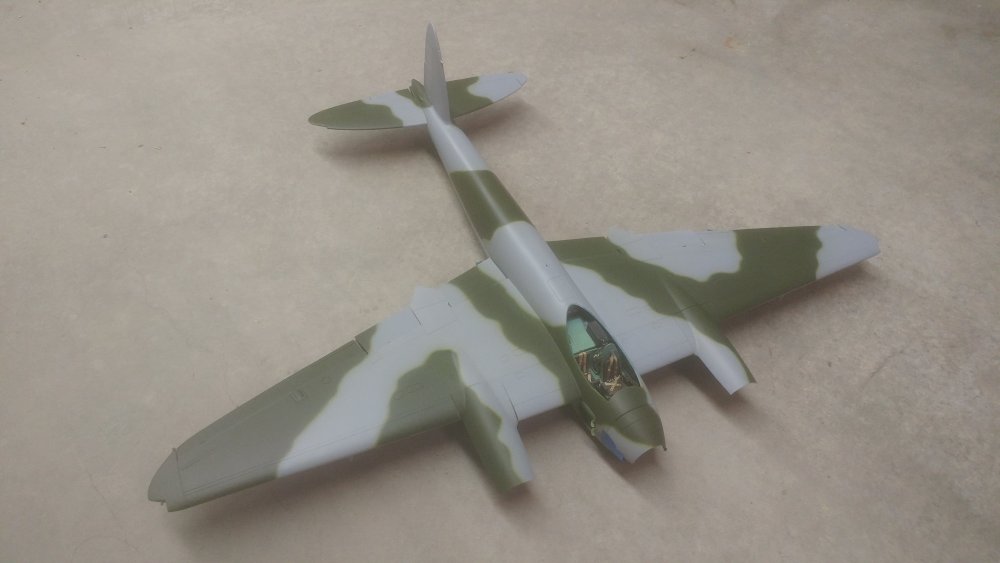
-
1/24 Airfix Scale Mosquito build
PeteF replied to PeteF's topic in LSM 1/35 and Larger Work In Progress
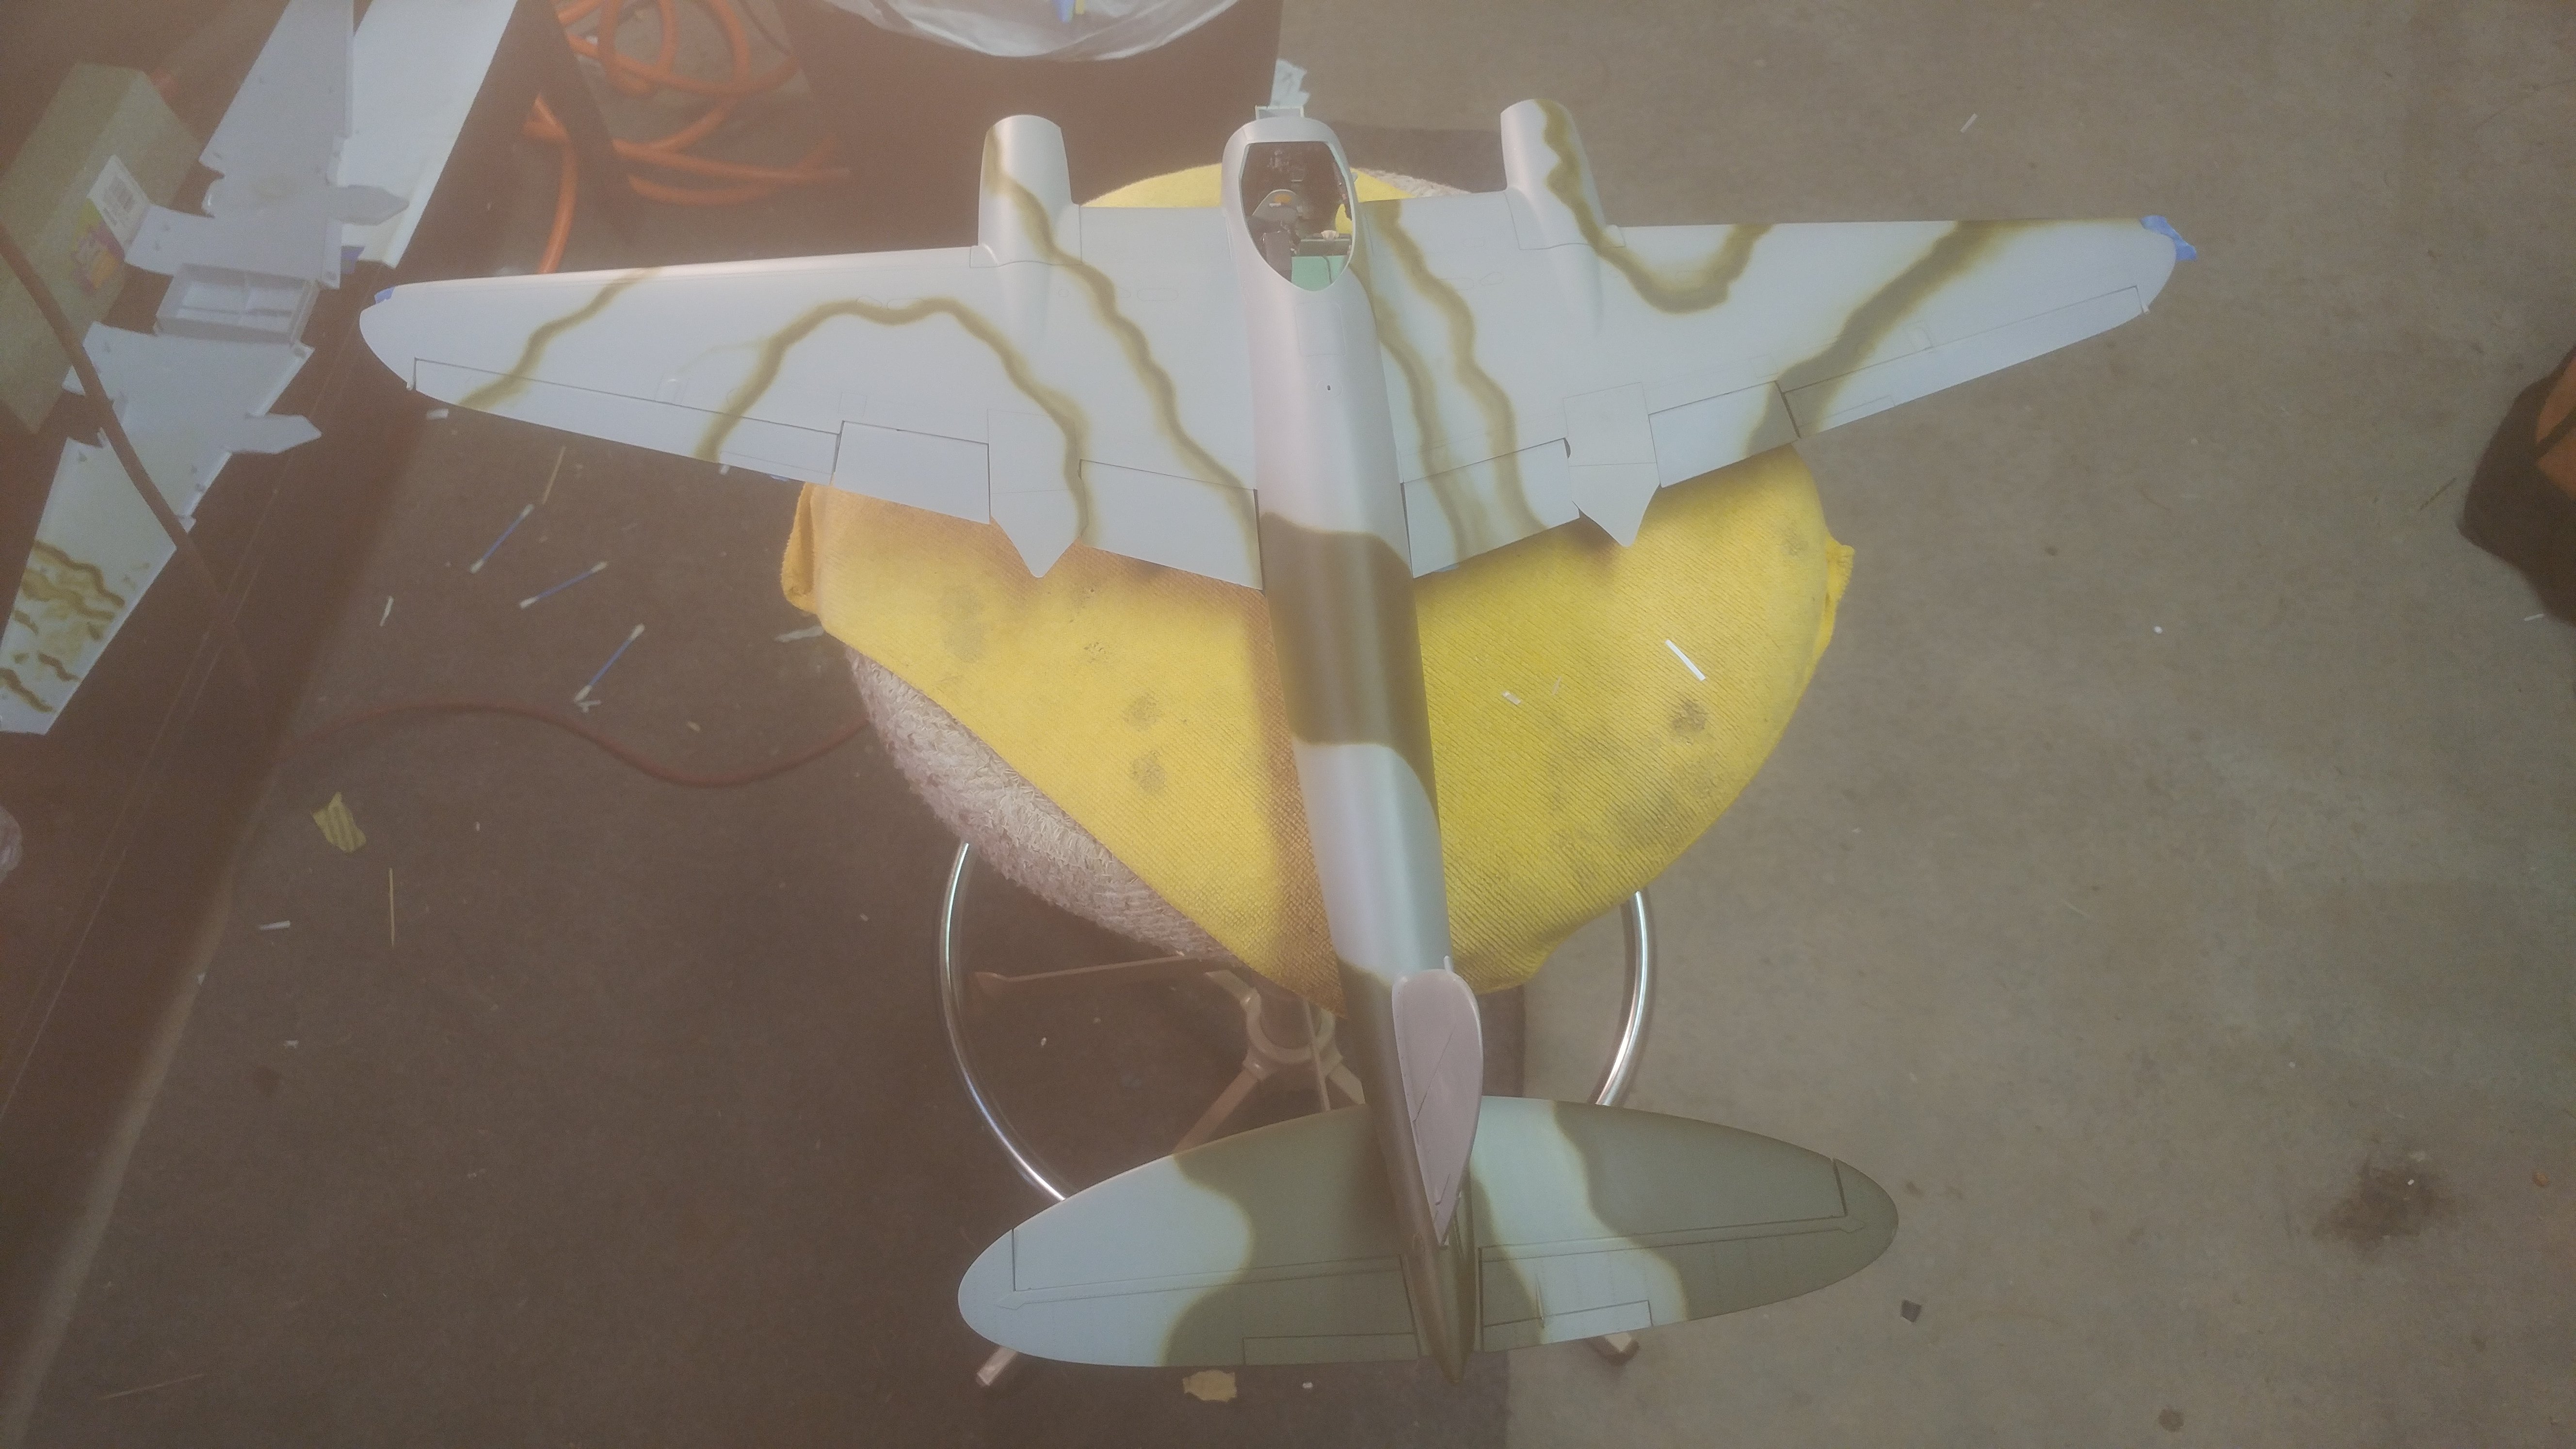
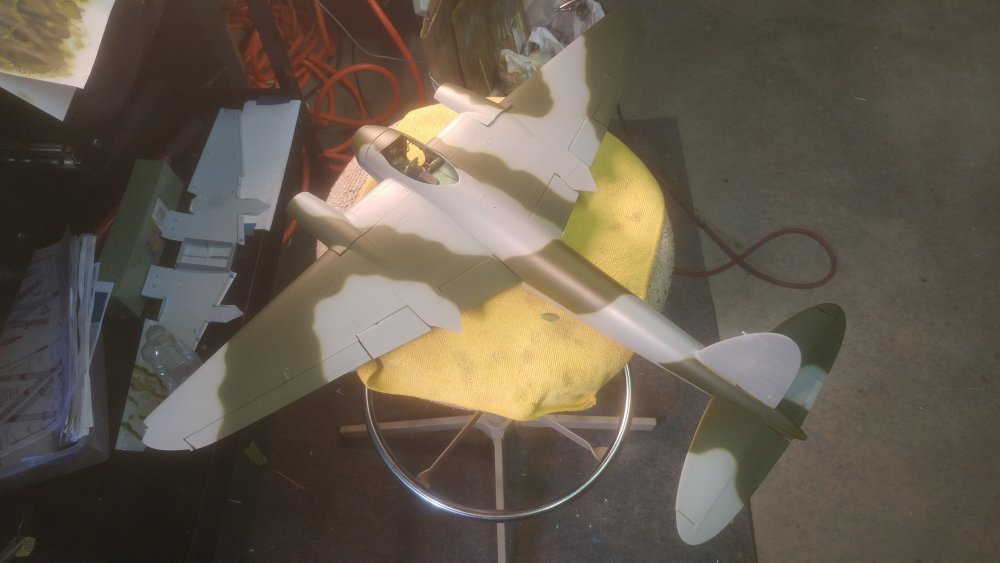
Lots of fiddly pencil lines of green (and 5 hours) later.
-
1/24 Airfix Scale Mosquito build
PeteF replied to PeteF's topic in LSM 1/35 and Larger Work In Progress
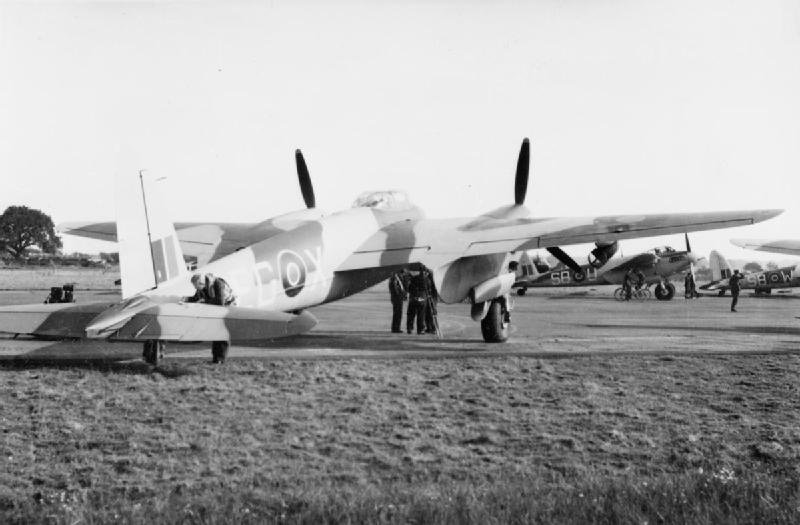
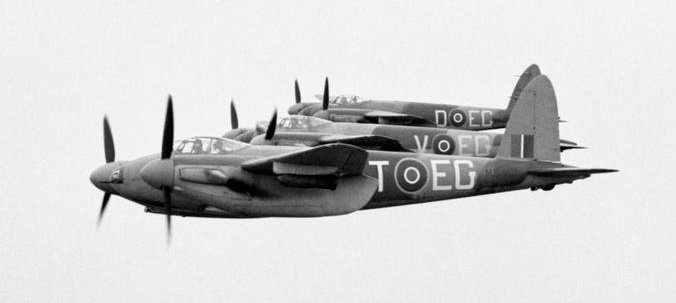
One of the points of confusion is photos. In many cases the painters used an extremely thin spray pattern so from 20 feet away, the line looks hard edged. The New New Zealand built Mosquitos are a great example of that, Closeup there’s a soft edge, far away it’s hard to make out. Closeup though, on all my reference photos, there is definitely a spray pattern. I have seen closeup photos of individual Typhons and Spitfires that appeared to have been masked but it’s pretty rare and for sure with this “night fighter” standard mossy scheme, they are not only soft edge but knda messy to boot. Also, it’s clear that each factory where each plane was finished had a different way of painting them so there are more variables. Spitfires will drive you nuts because they changed schemes like 6 times from 1940-41...and then there’s the field or MTU repair variable. I know some factories had heavy “masks” that they laid over the wings to show where to paint. But even that was only usd sometimes in some factories. -
1/24 Airfix Scale Mosquito build
PeteF replied to PeteF's topic in LSM 1/35 and Larger Work In Progress
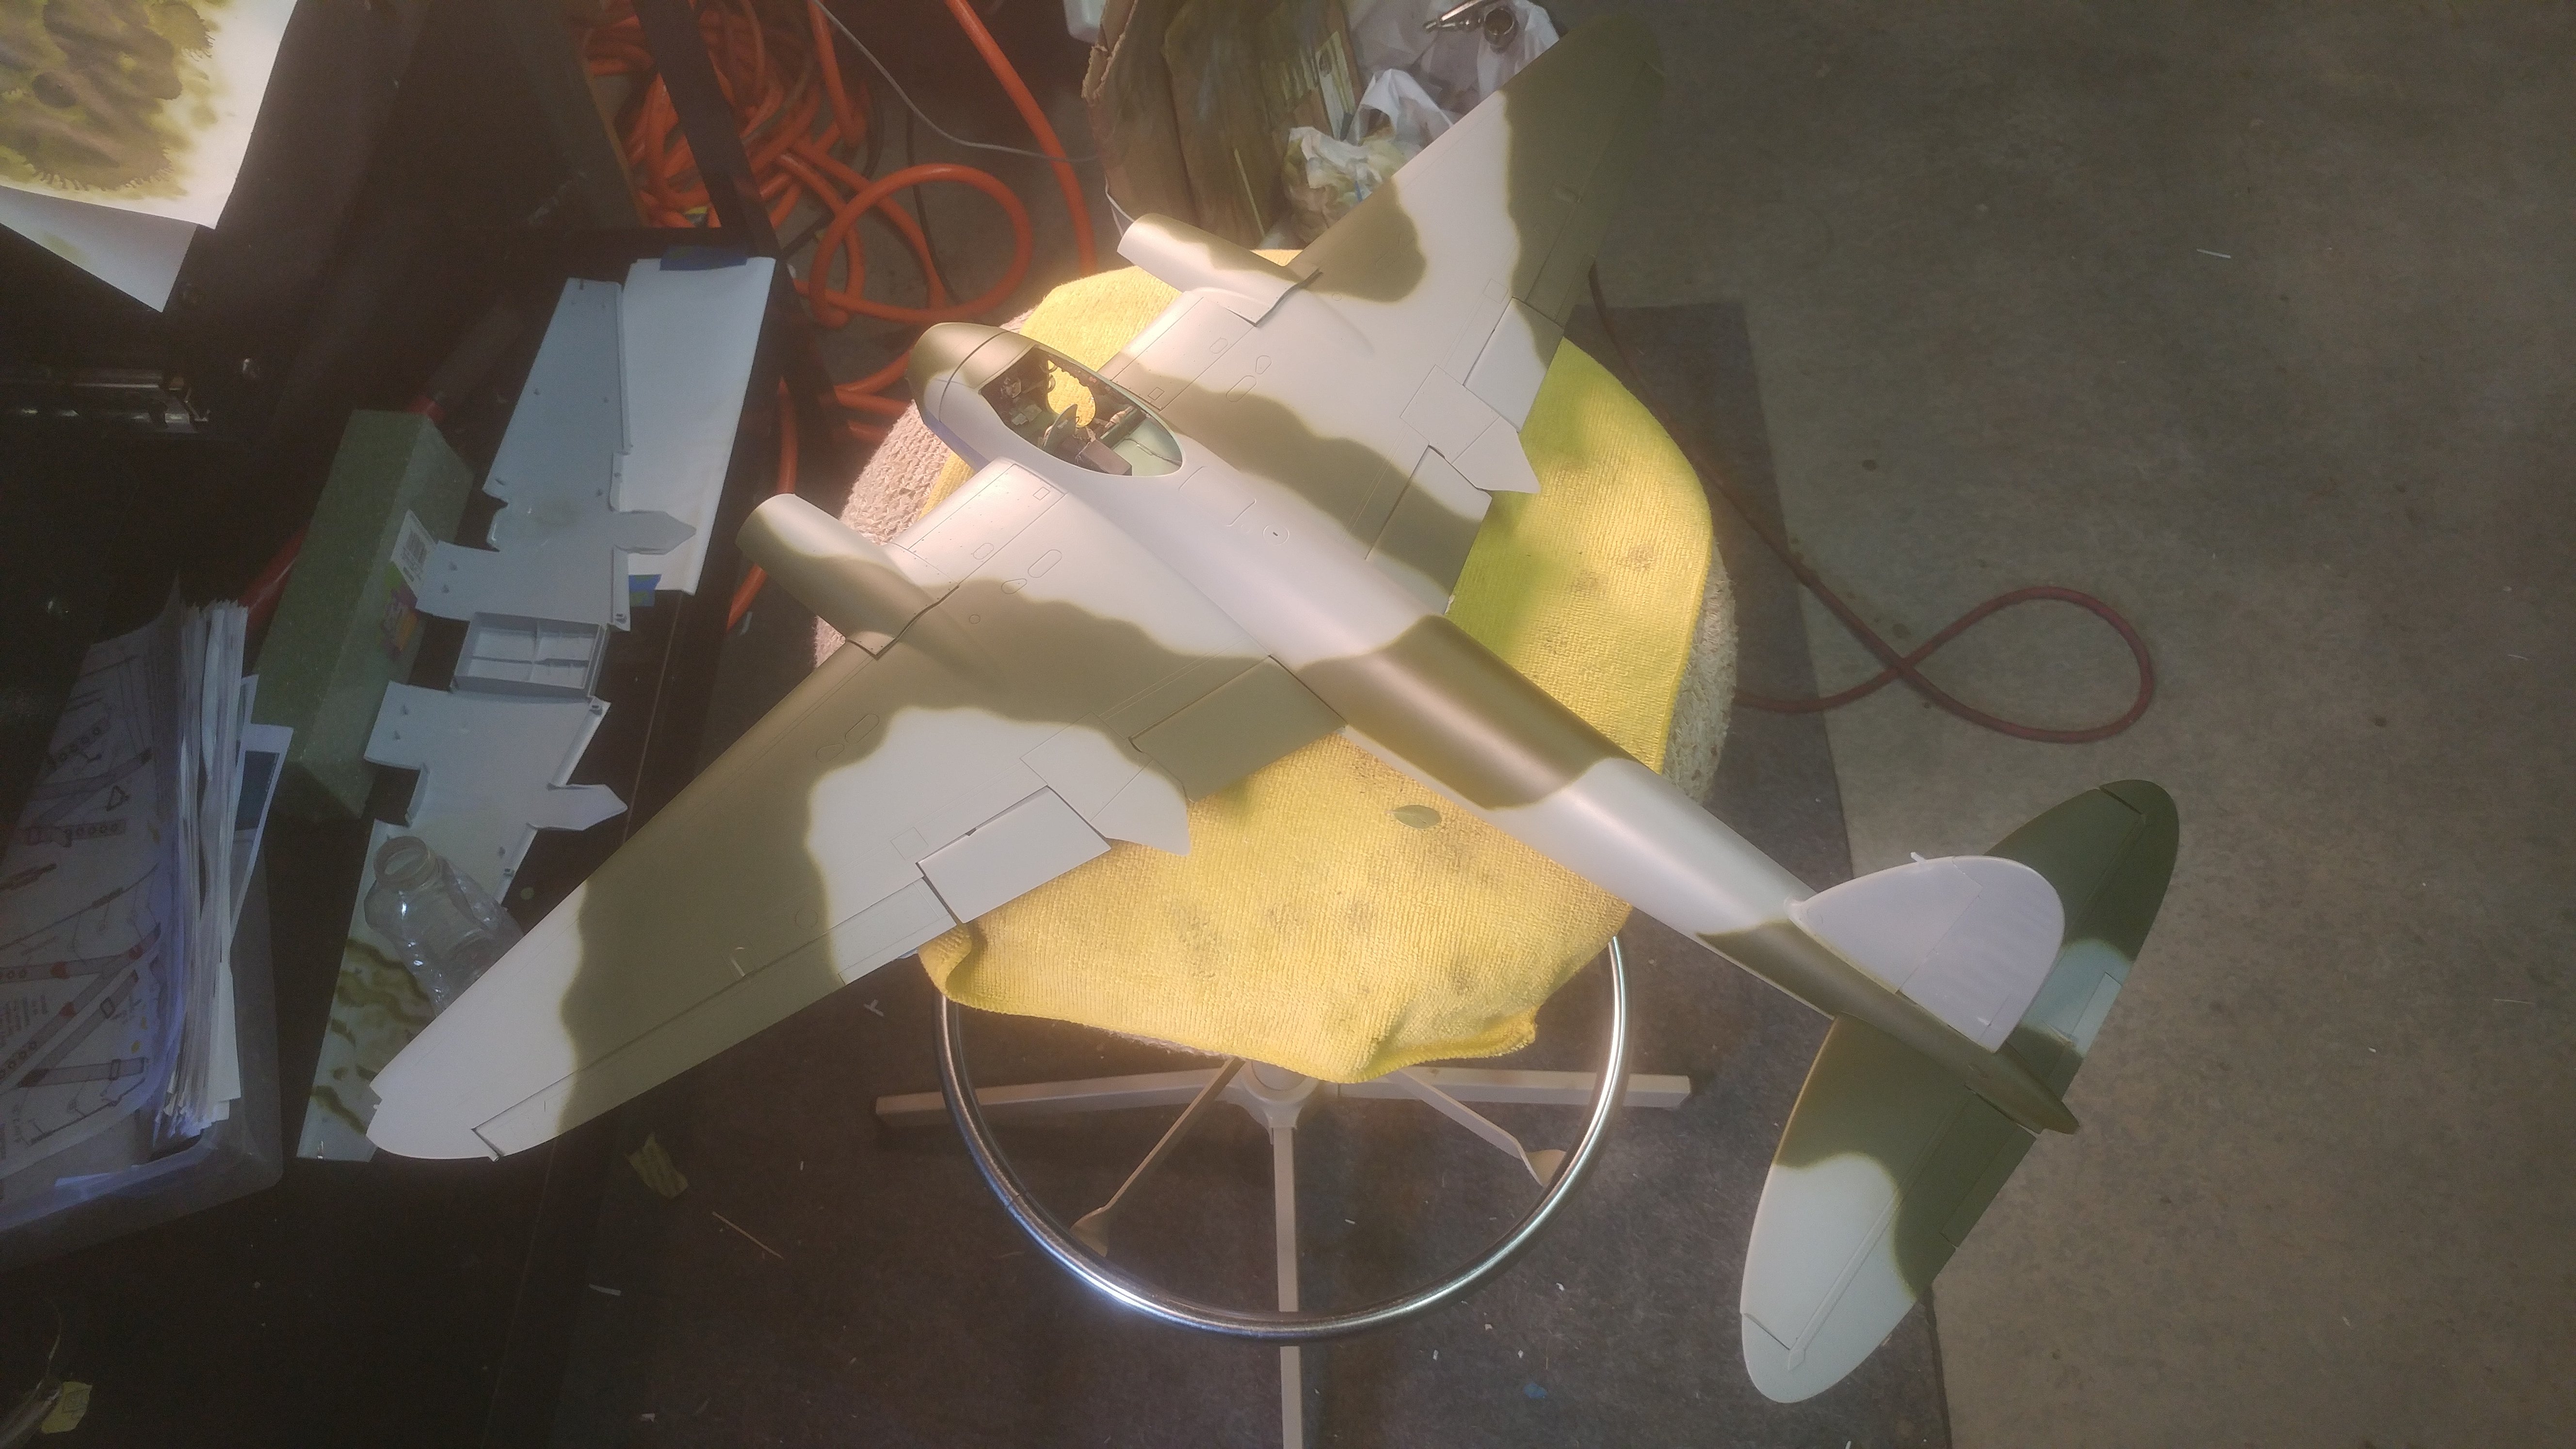
Goodness...the Vallejo air dark green is so thin, it took 20 coats to get this green this opaque. To get a fine edge took some extreme thinning and lots of time so this minimal bit of camo took over 3 hours! I've painted entire planes in a fraction of that. I used half the paint I mixed on test spraying and cleaning sprays...crazy. Super smooth finish though but it’s going to take a full day to camo the wing. And no, this scheme most certanly was not masked and painted with hard edges on any operational Mosquitos of this era. I n fact, other than a general gudeline, the standard pattern was applied with significant variances...especially in how far down the sides of the plane it went.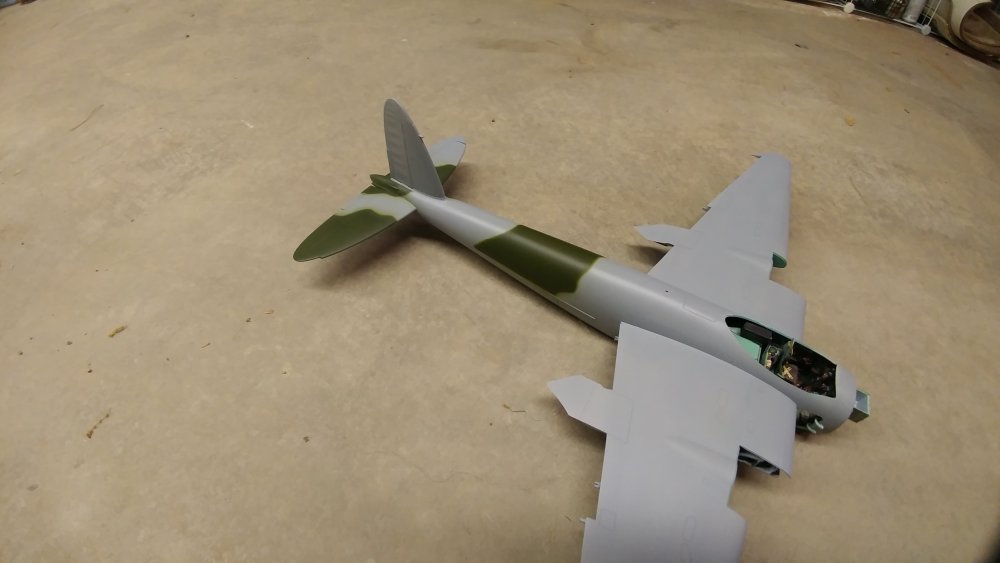
-
1/24 Airfix Scale Mosquito build
PeteF replied to PeteF's topic in LSM 1/35 and Larger Work In Progress
Awesome thanks so much! Relatively straightforward ribbing. -
1/24 Airfix Scale Mosquito build
PeteF replied to PeteF's topic in LSM 1/35 and Larger Work In Progress
Thanks Doc. I’m going to really work on the mixture for the dark green camo because it should have a spray pattern on the tighter end of what the H1 can do. I have used photos of the Tamiya kit and some of the aftermarket parts for it as some of my references. That kit looks pretty darn accurate and detailed to me. There doesn’t seem to be much of a need to scratch build all the bits this kit lacks. I’m into the hundreds of hours on this thing (I estimate it’s over 300 hours of build time to date) and now that it’s buttoned up, not much of the cockpit detail is visible (even without the canopy and framing on). -
1/24 Airfix Scale Mosquito build
PeteF replied to PeteF's topic in LSM 1/35 and Larger Work In Progress
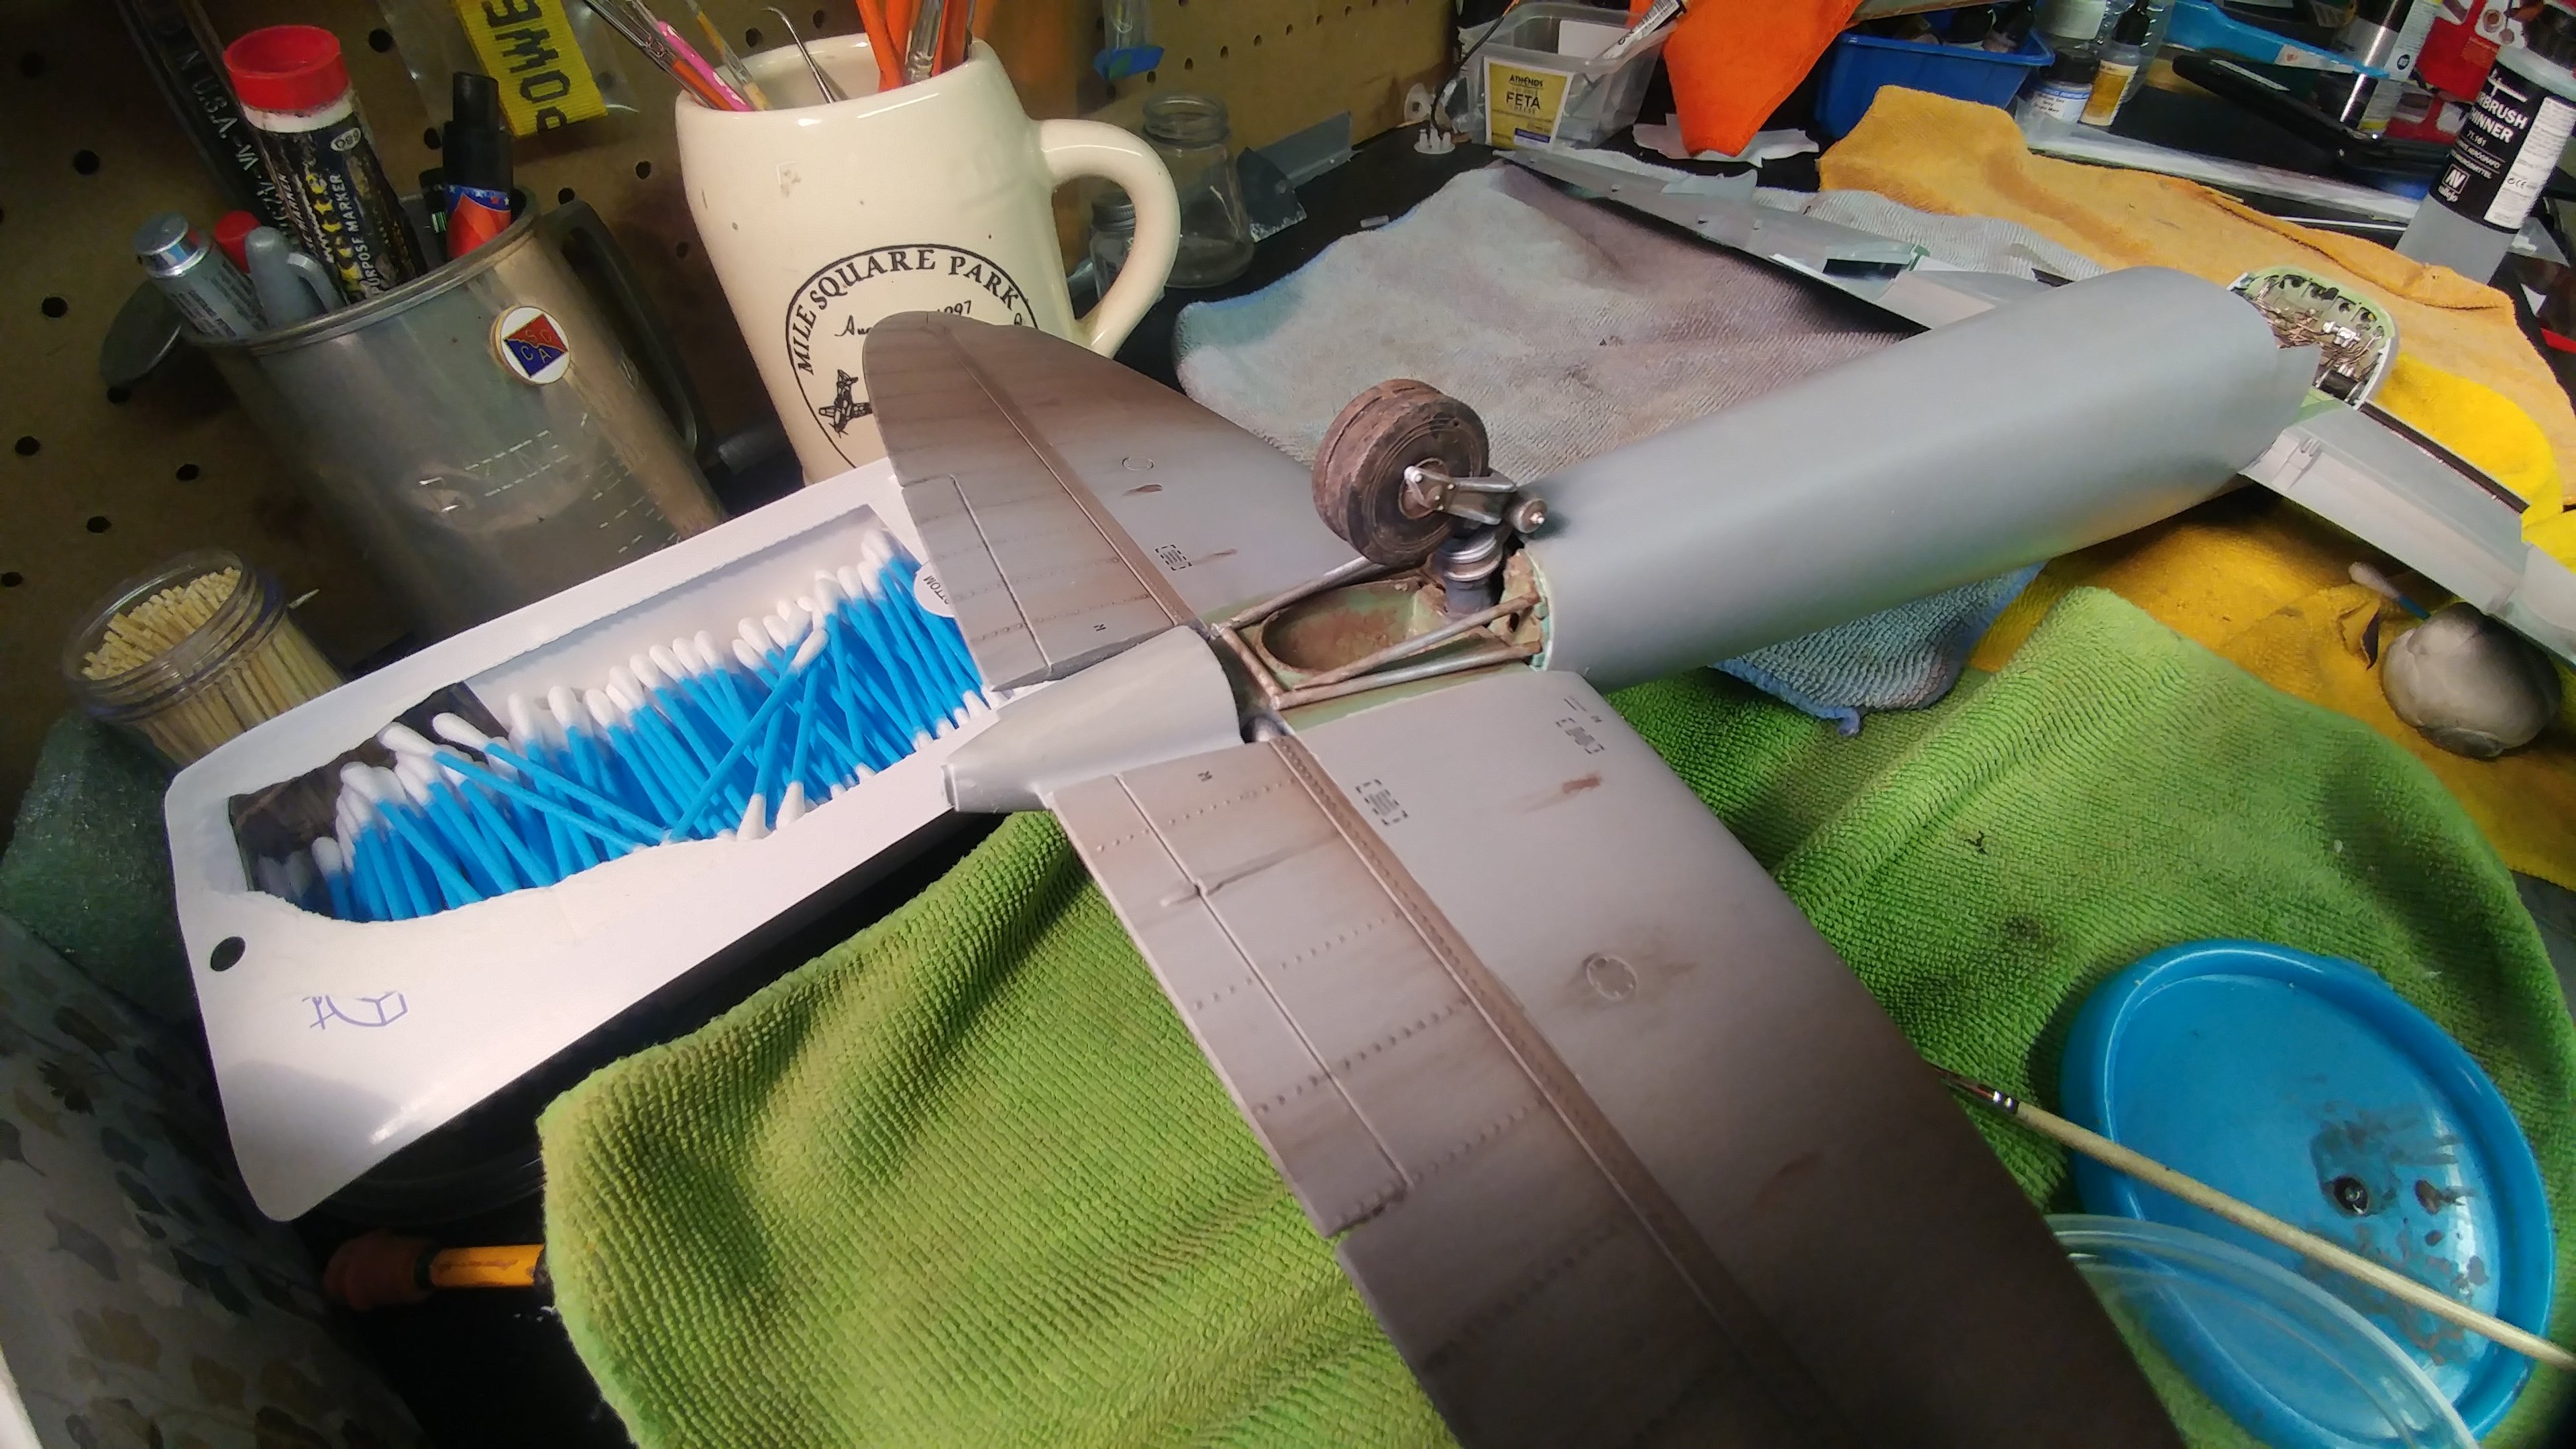
Lots of fiddly detail bodywork. Had the metal landing gear (for the tail wheel) and absolutely couldn't get it to glue together. Finally used too much kicker and CA and ruined it. Remounted the metal strut but the rest is the plastic gear. Meanwhile, scratch built the metal frame here that's under the fairing.
-
1/24 Airfix Scale Mosquito build
PeteF replied to PeteF's topic in LSM 1/35 and Larger Work In Progress
So here's a story that sums up model building...I am very close to out of the medium sea gray paint that the entire Mossie is painted in. I pre-painted all the assemblies then am re-painting the areas that I worked on so as to avoid hangar rash and to have a good position to paint each large assembly...so far so good. I have an old Paasche H1 that I finally replaced the needle and air cap (need the best possible spray to do the camo green) so it's been spraying the Vallejo paint better but generally I have had good results and a smooth finish but have had the spotty issue of the nozzle clogging or the paint being too thin. So I'm sitting there yesterday, carefully trying to conserve my last paint...squeezing the bottle to fill the cup on the airbrush and there was some clog or something and it suddenly came out and I sprayed about 1/3 of the remaining paint onto my pant leg (thank goodness for water-based paint!). In the rush to clean my pants I set the airbrush down and spilled out half of what was left in the cup...I had added some thinner and flow improver but was interrupted by the spill. Finally got my pants sorted and went back and shrugged and added some thinner and flow enhancer and a bit of the precious paint. Mixed it up and it sprayed like unicorn tears. Absolutely perfect opacity, spray pattern, consistency...it was just perfect...better than I have ever had it spray. Uh but I have no idea how I'd mixed it to do that...d'oh! It must be said though, I've had absolutely no problems with lumpy, rough or bumpy paint on the exterior.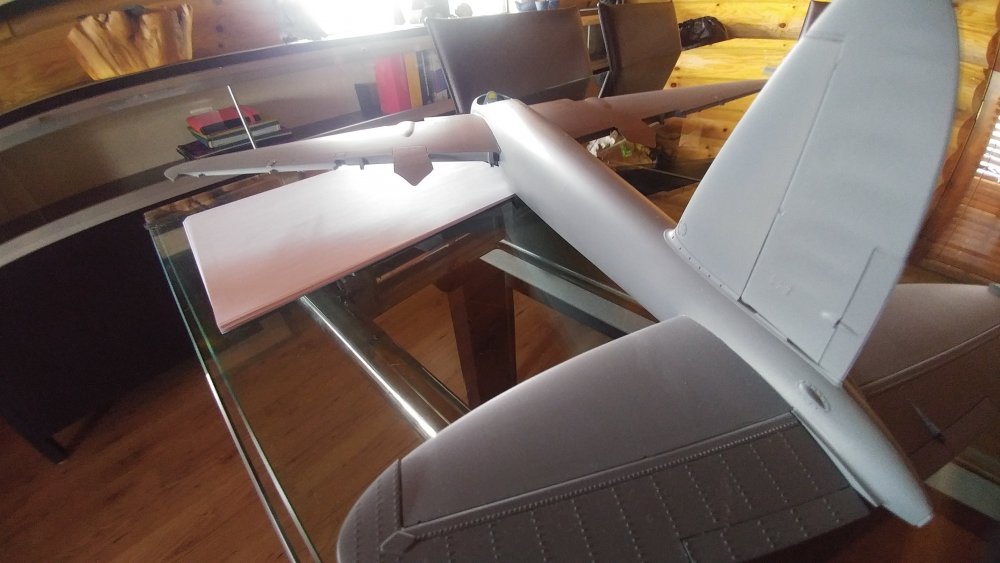
-
1/24 Airfix Scale Mosquito build
PeteF replied to PeteF's topic in LSM 1/35 and Larger Work In Progress
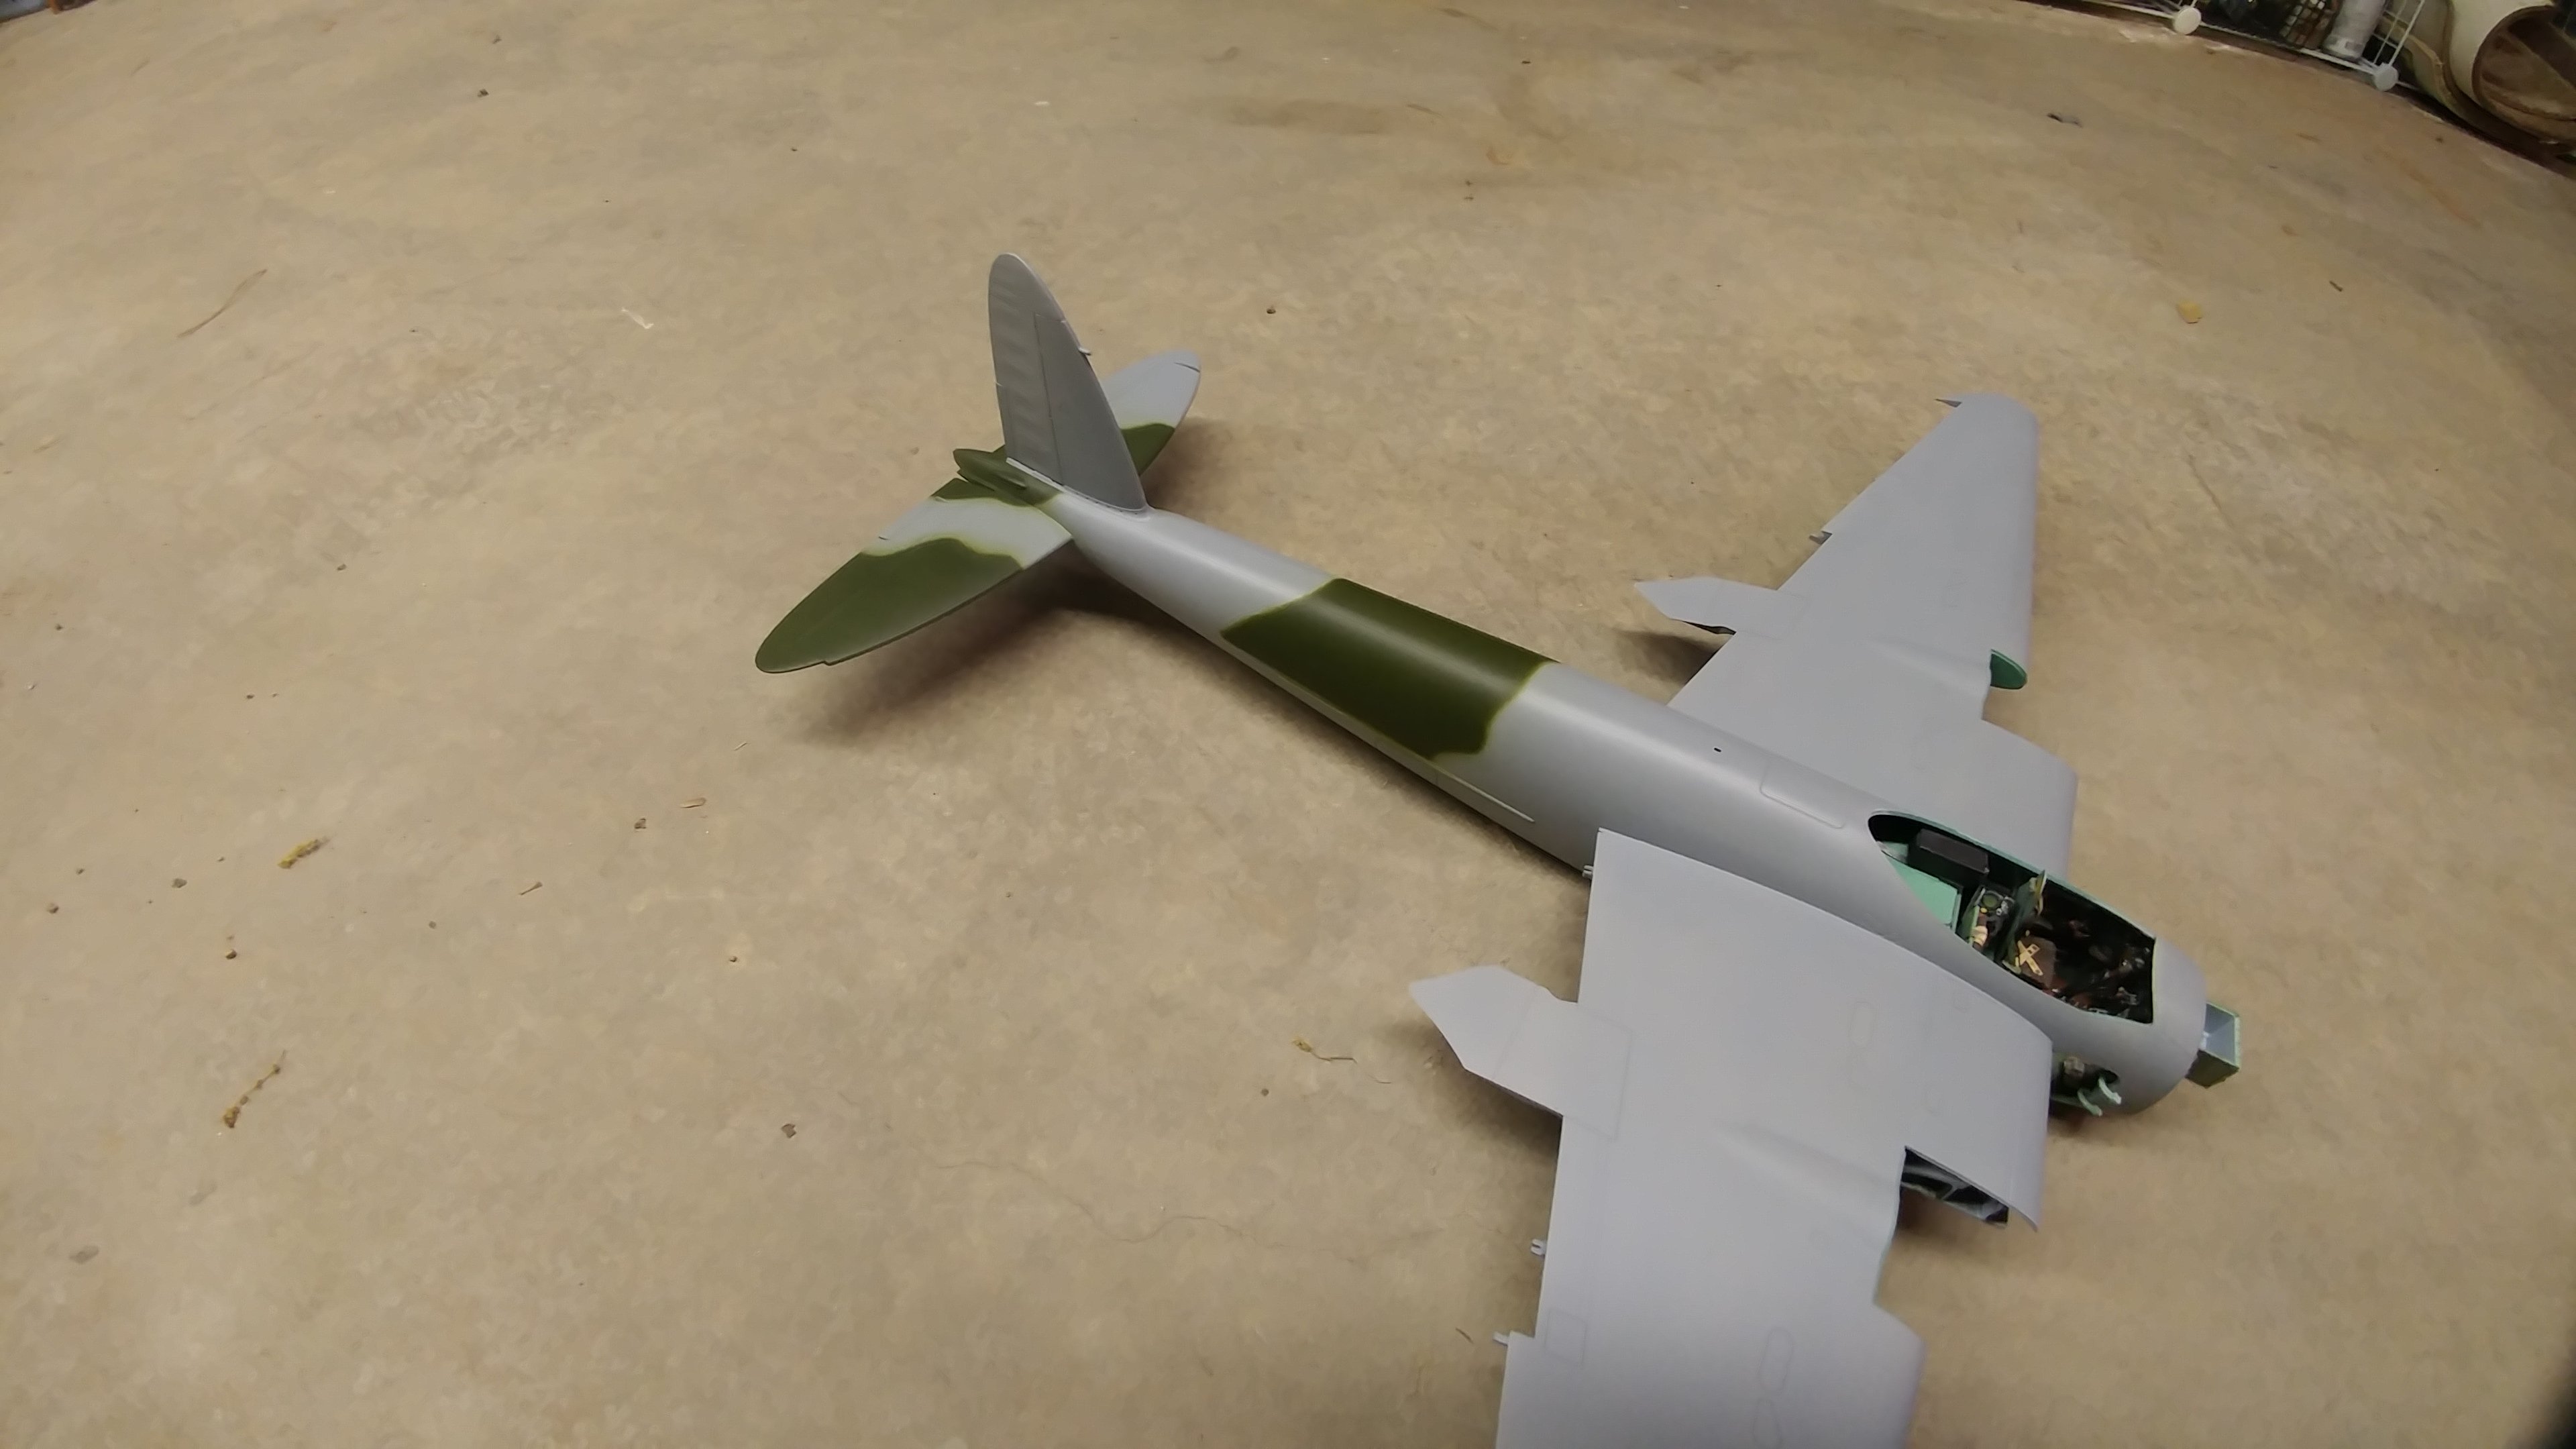
Took an hour and a half to fit the fuselage together with the cockpit. Another hour to mount the tail and stab. It's all pre painted in the base medium sea grey.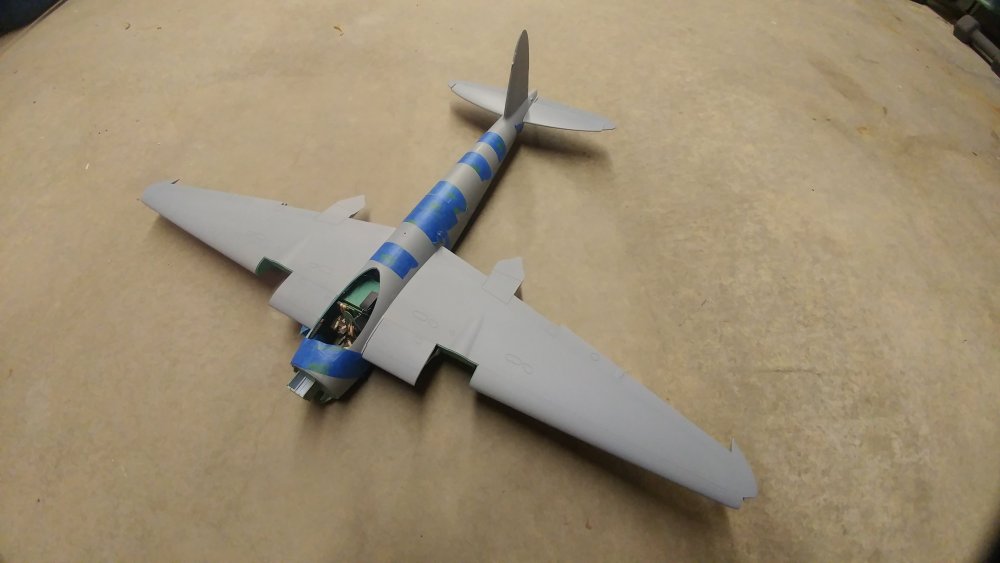
-
1/24 Airfix Scale Mosquito build
PeteF replied to PeteF's topic in LSM 1/35 and Larger Work In Progress
Hey Jeff, do you have any pictures of the inside of the side and upper engine cowlings? another part of this kit with no detail whatsoever. -
1/24 Airfix Scale Mosquito build
PeteF replied to PeteF's topic in LSM 1/35 and Larger Work In Progress
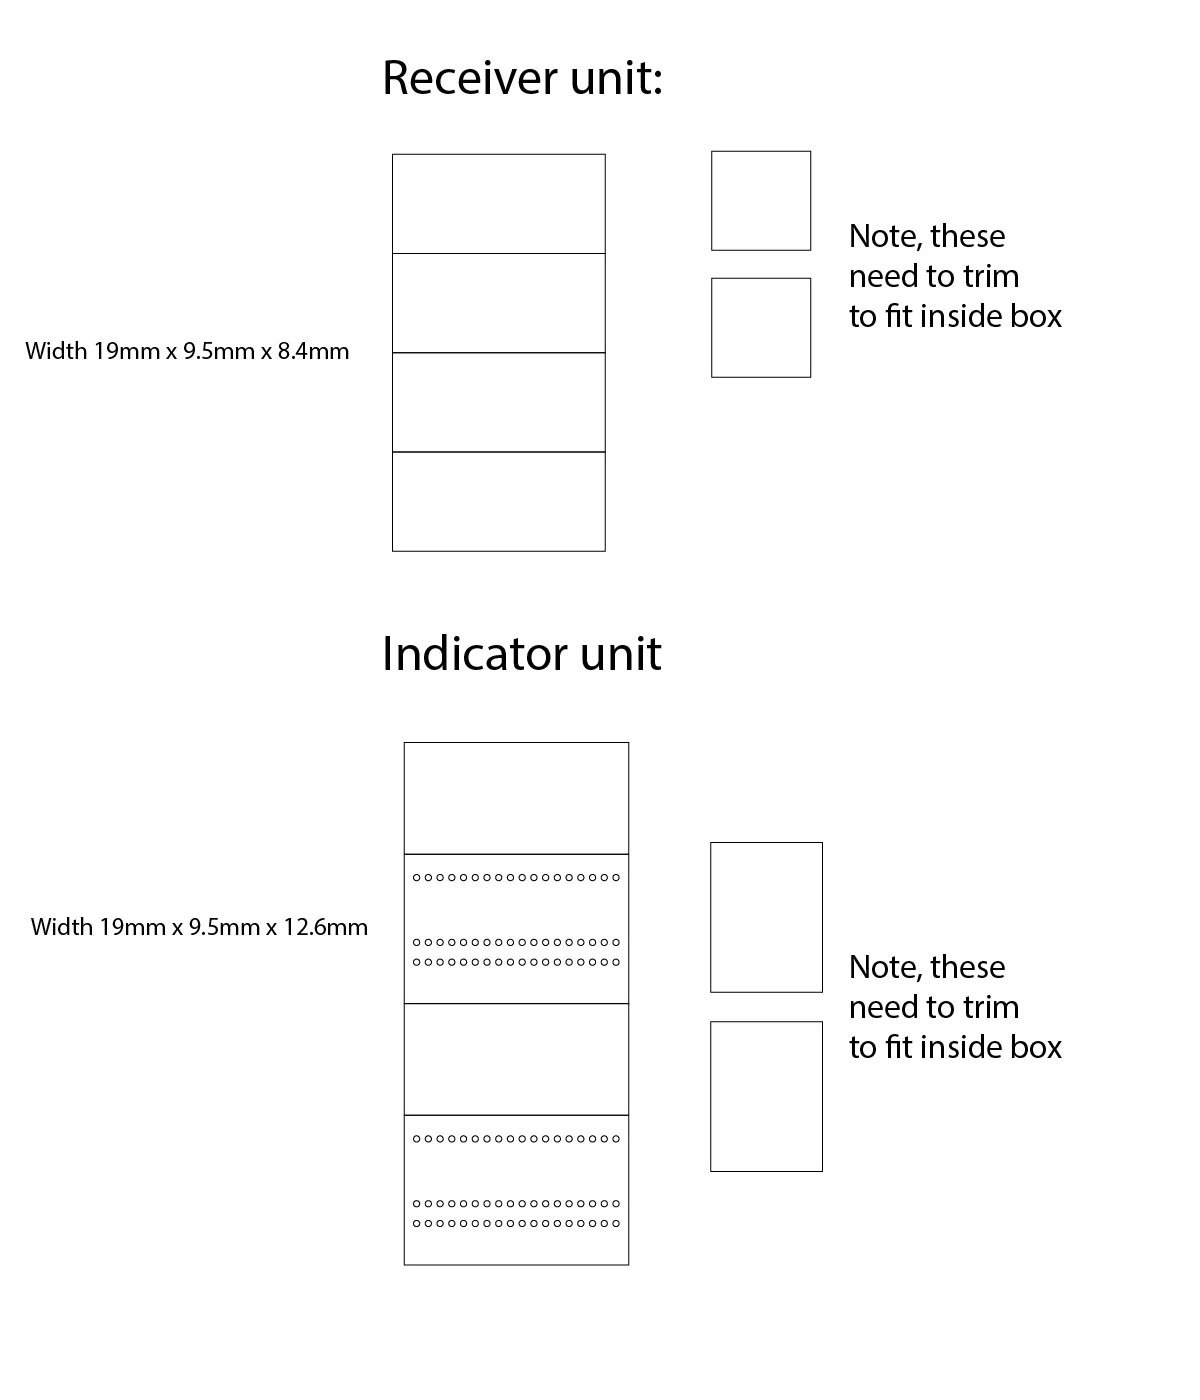
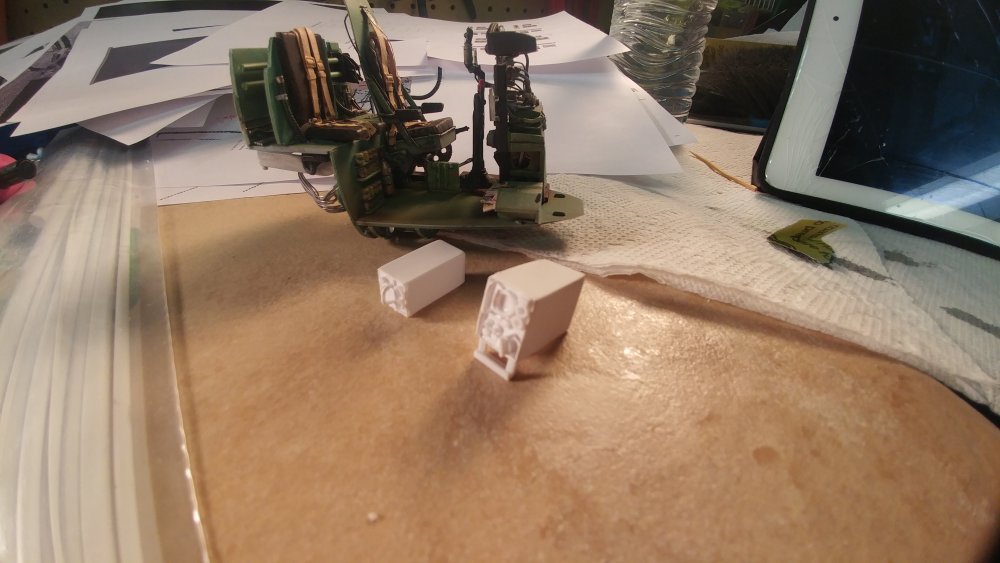
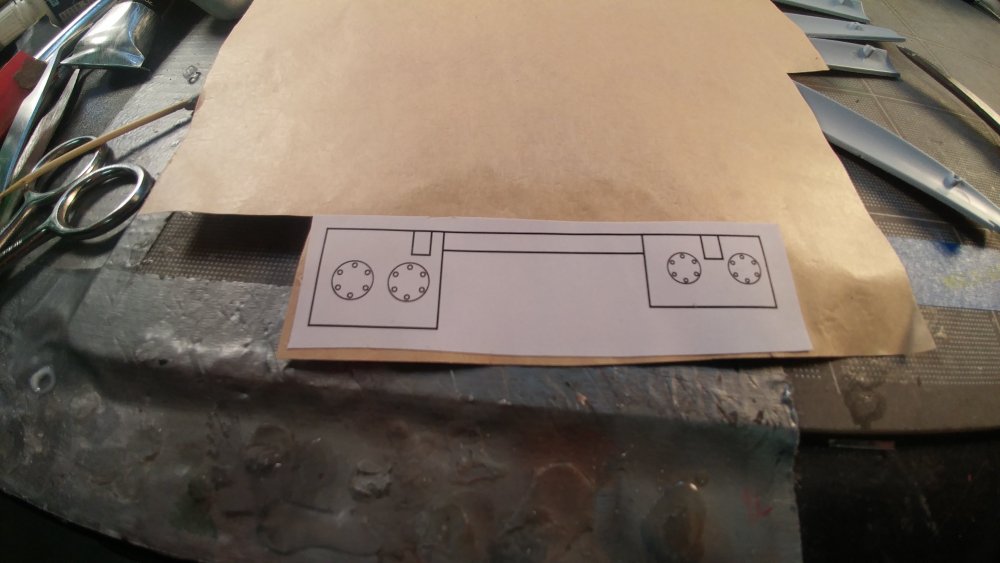
If anyone needs it, here are the boxes in 1/24 scale for the Gee radios. This JPEG SHOULD be actual size but the dimensions are also on there.
-
1/24 Airfix Scale Mosquito build
PeteF replied to PeteF's topic in LSM 1/35 and Larger Work In Progress
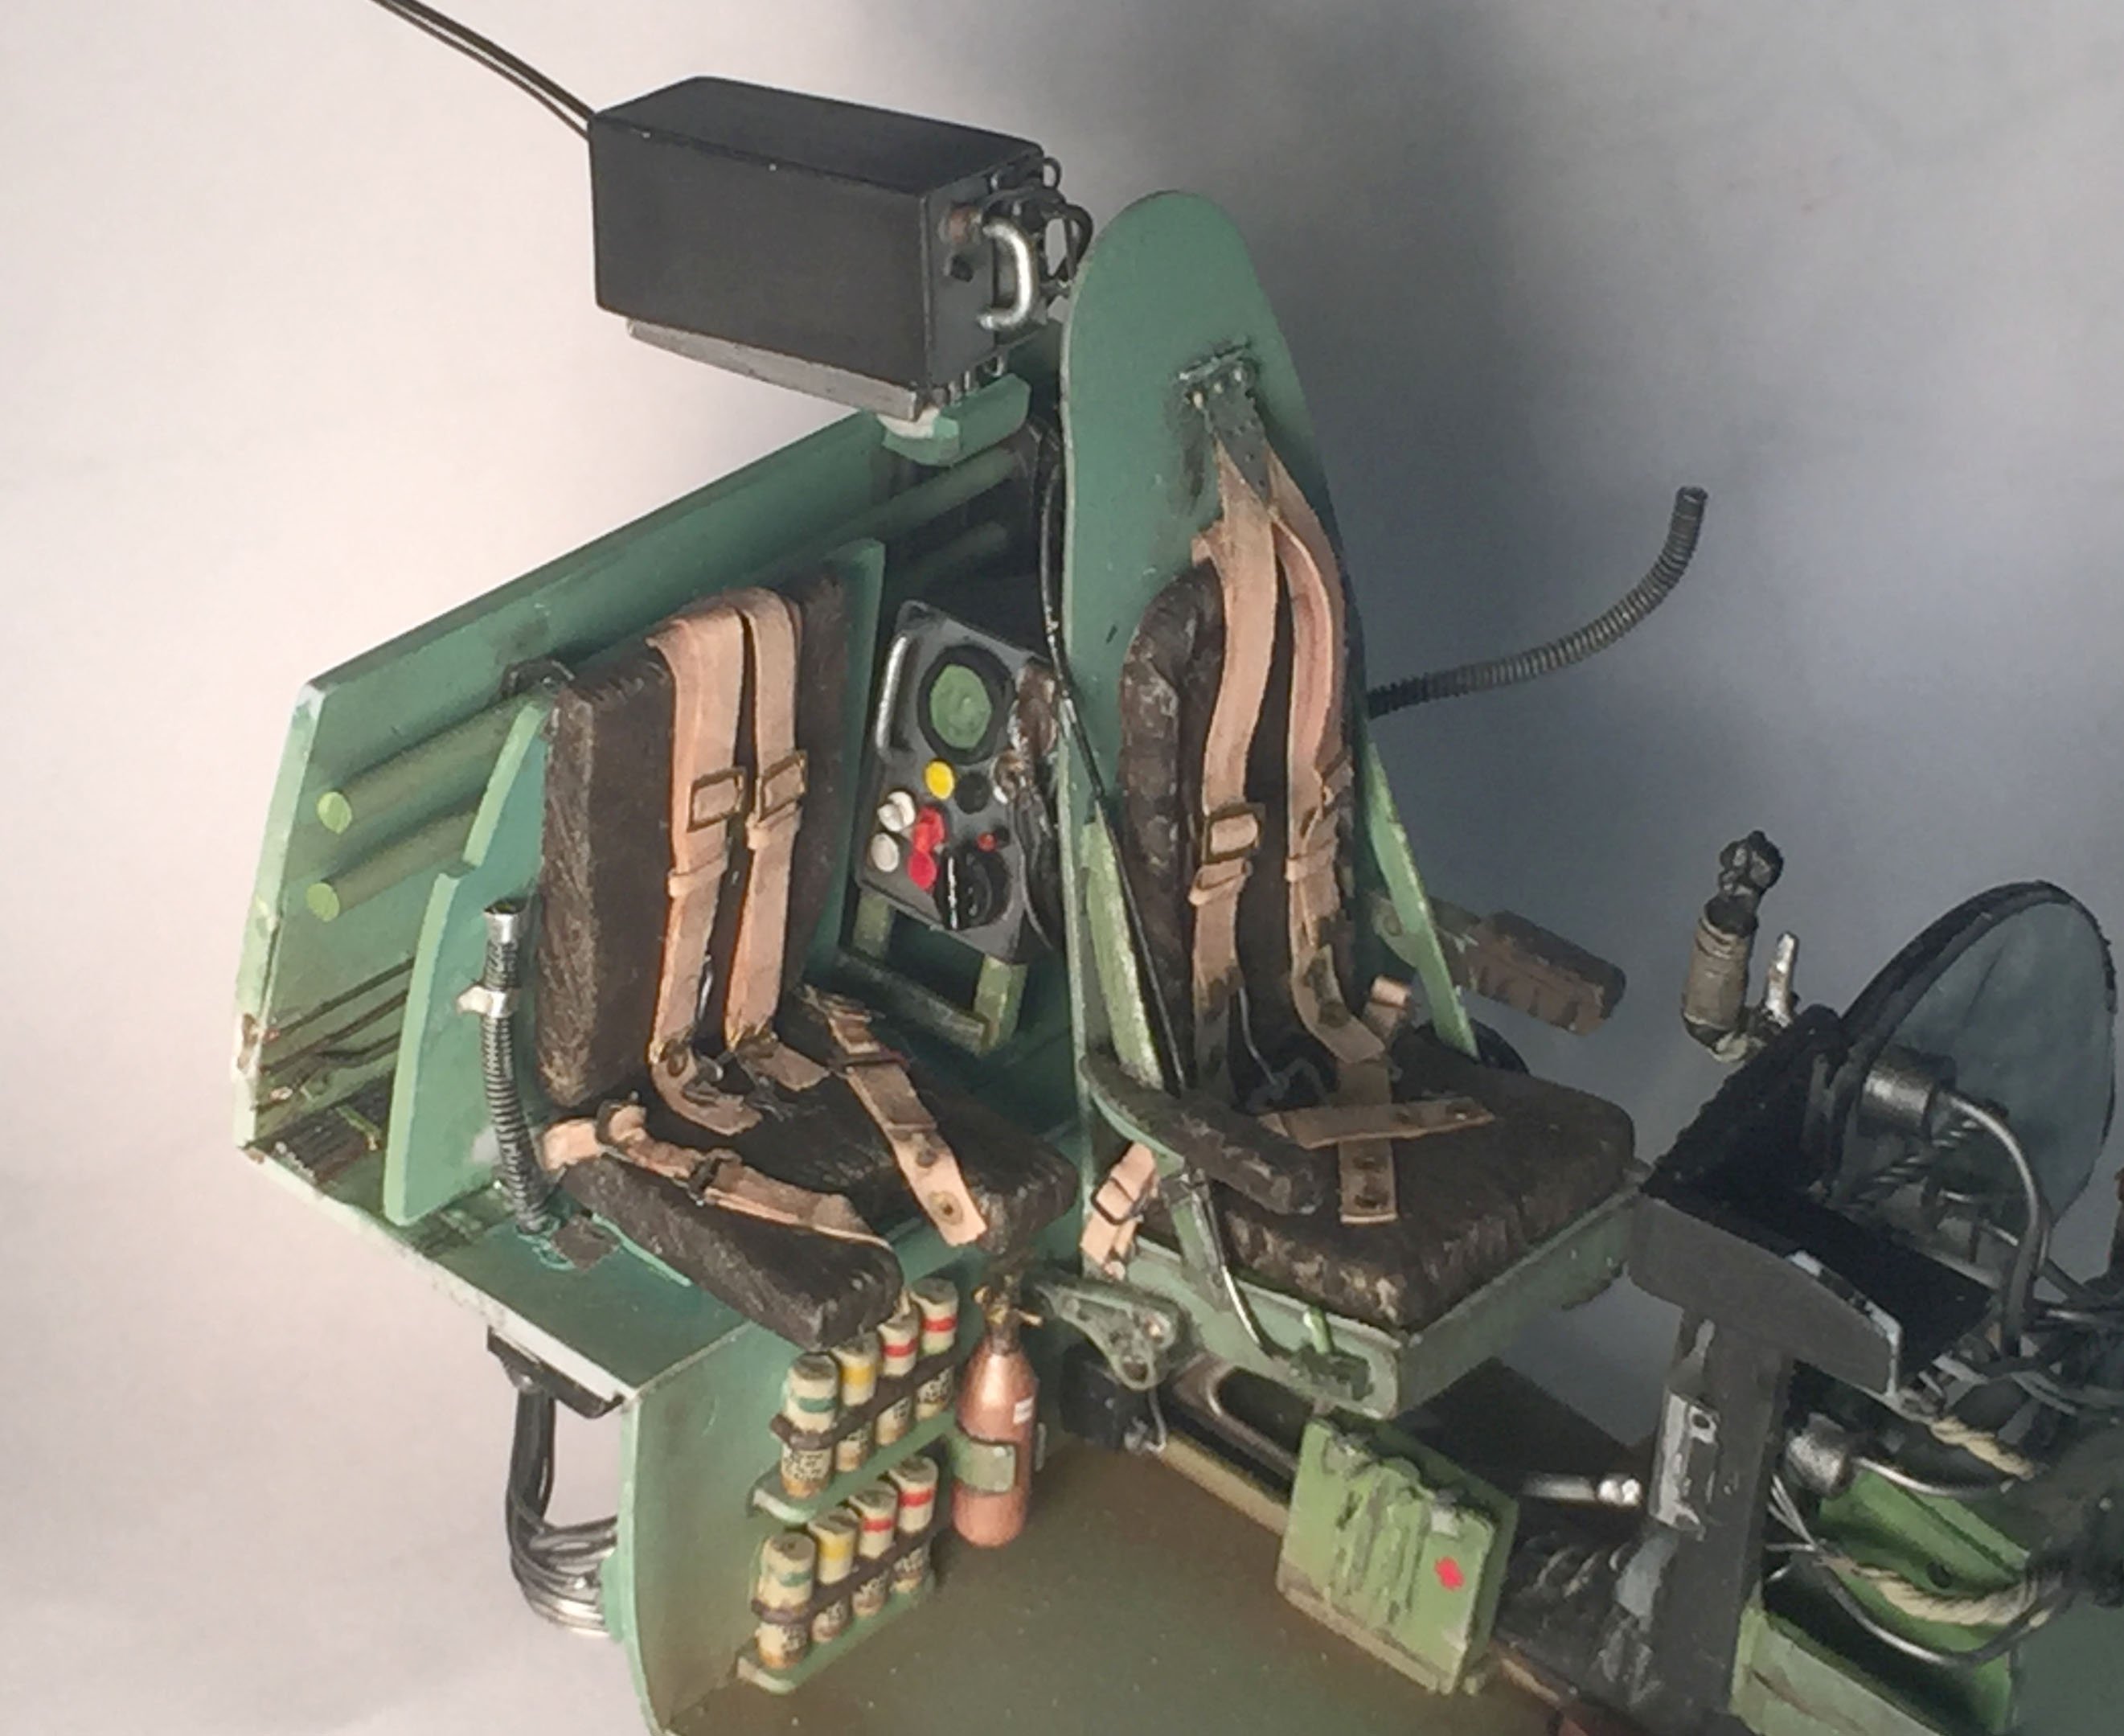
Installed!
-
1/24 Airfix Scale Mosquito build
PeteF replied to PeteF's topic in LSM 1/35 and Larger Work In Progress
Painted.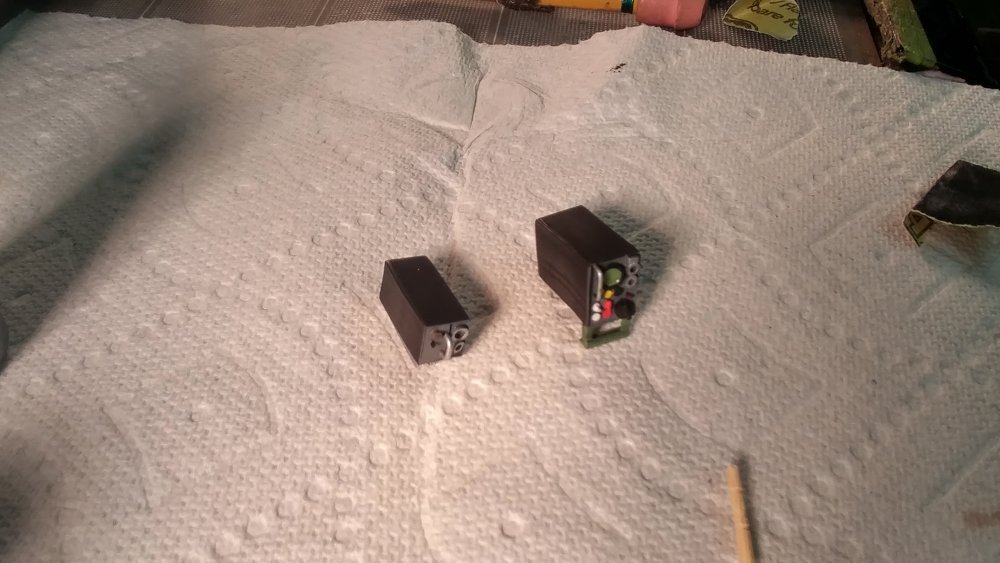
-
1/24 Airfix Scale Mosquito build
PeteF replied to PeteF's topic in LSM 1/35 and Larger Work In Progress
Meanwhile, the radios were totally wrong. This plane would have had Gee with the big receiver and transmitter buried in the fuselage. Plenty of references out there.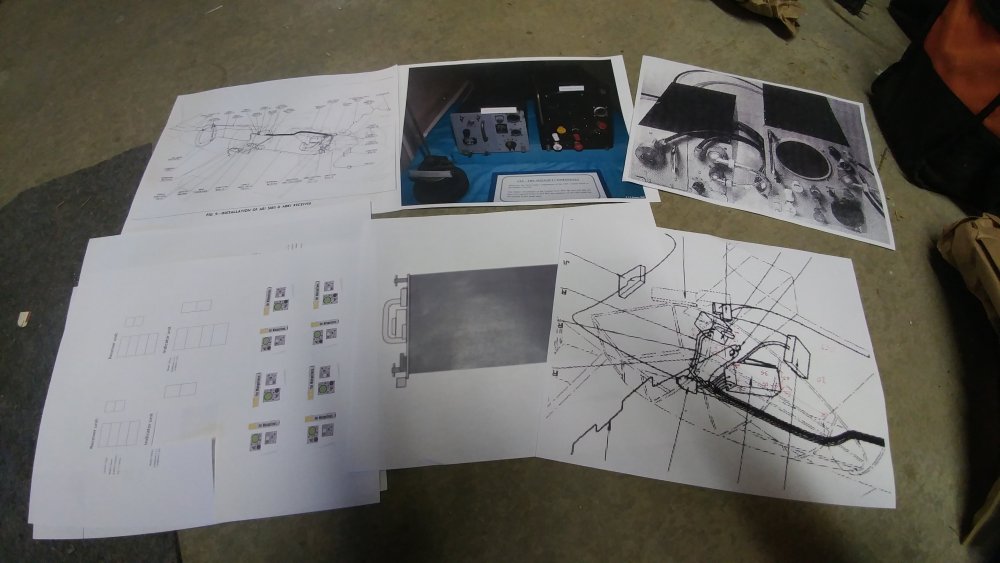
-
1/24 Airfix Scale Mosquito build
PeteF replied to PeteF's topic in LSM 1/35 and Larger Work In Progress
Thanks a ton! I suspected that was how it was as Airfix sort of indicates it. It covers some cool detailing but makes much more sense that way! -
1/24 Airfix Scale Mosquito build
PeteF replied to PeteF's topic in LSM 1/35 and Larger Work In Progress
That's okay...maybe you know this. Is the cannon cover one piece (these two parts put together) or is the inner piece attached to the plane and the outer piece removable?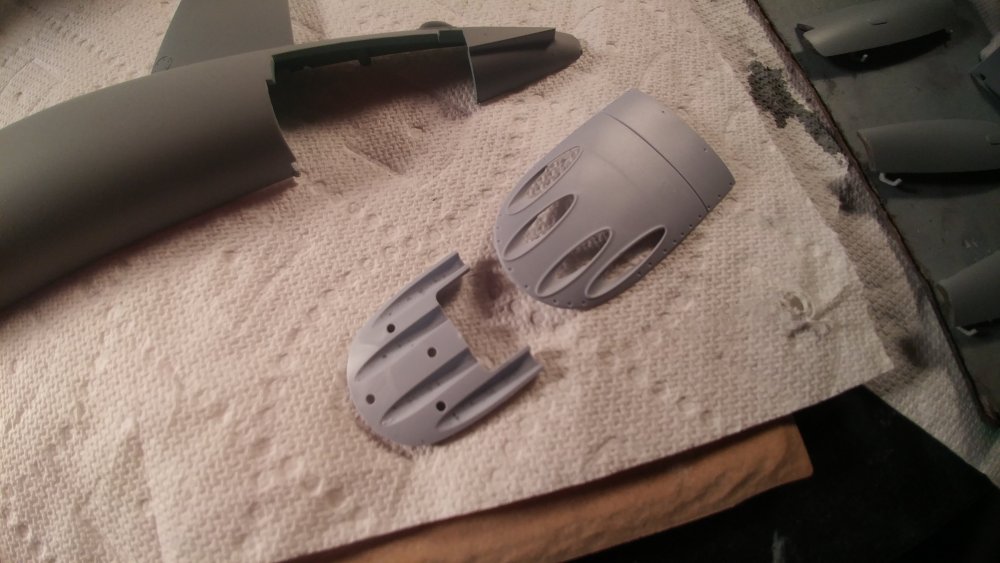
-
1/24 Airfix Scale Mosquito build
PeteF replied to PeteF's topic in LSM 1/35 and Larger Work In Progress
Thanks! Yeah that does help. That panel is actually on the kit (fortunately). -
1/24 Airfix Scale Mosquito build
PeteF replied to PeteF's topic in LSM 1/35 and Larger Work In Progress
Finally did the navigator's seat belts...grrr what a frustrating thing to make.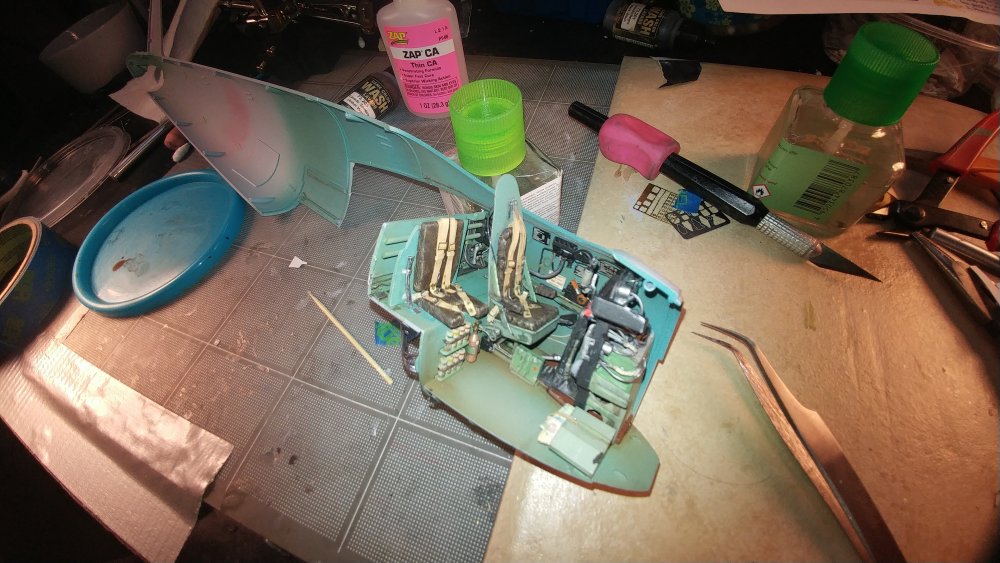
-
1/24 Airfix Scale Mosquito build
PeteF replied to PeteF's topic in LSM 1/35 and Larger Work In Progress
There is an end in sight.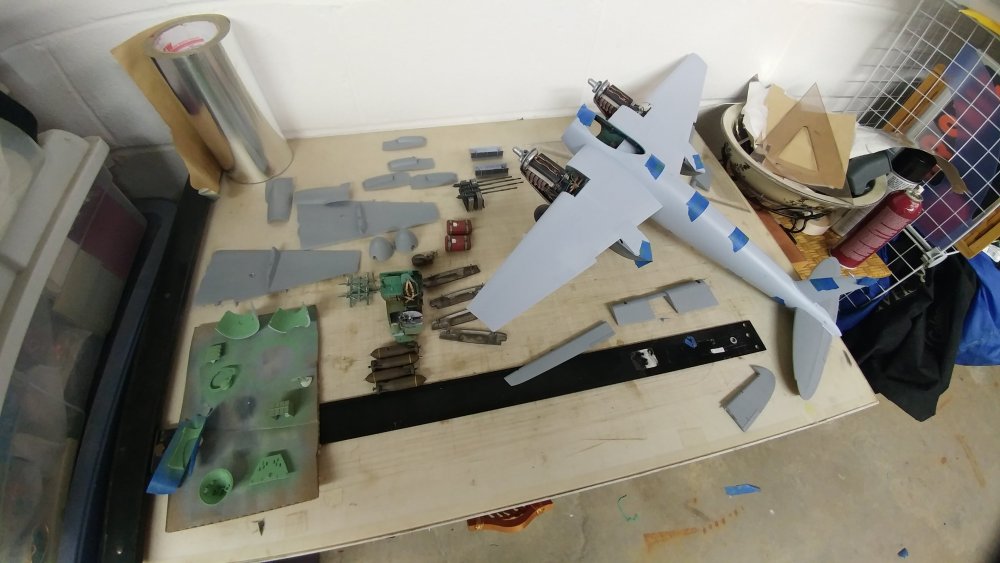
-
1/24 Airfix Scale Mosquito build
PeteF replied to PeteF's topic in LSM 1/35 and Larger Work In Progress
I could believe that. As an example, the elevators have raised rivet detail, the rudder has fabric detail and the only detail whatsoever on the ailerons were the trim tabs. There are definitely parts that just seem unfinished. -
1/24 Airfix Scale Mosquito build
PeteF replied to PeteF's topic in LSM 1/35 and Larger Work In Progress
It’s weird how this kit has some really good detial on some parts and none whatsoever on others. It really is sort of a blank canvas kit. -
1/24 Airfix Scale Mosquito build
PeteF replied to PeteF's topic in LSM 1/35 and Larger Work In Progress
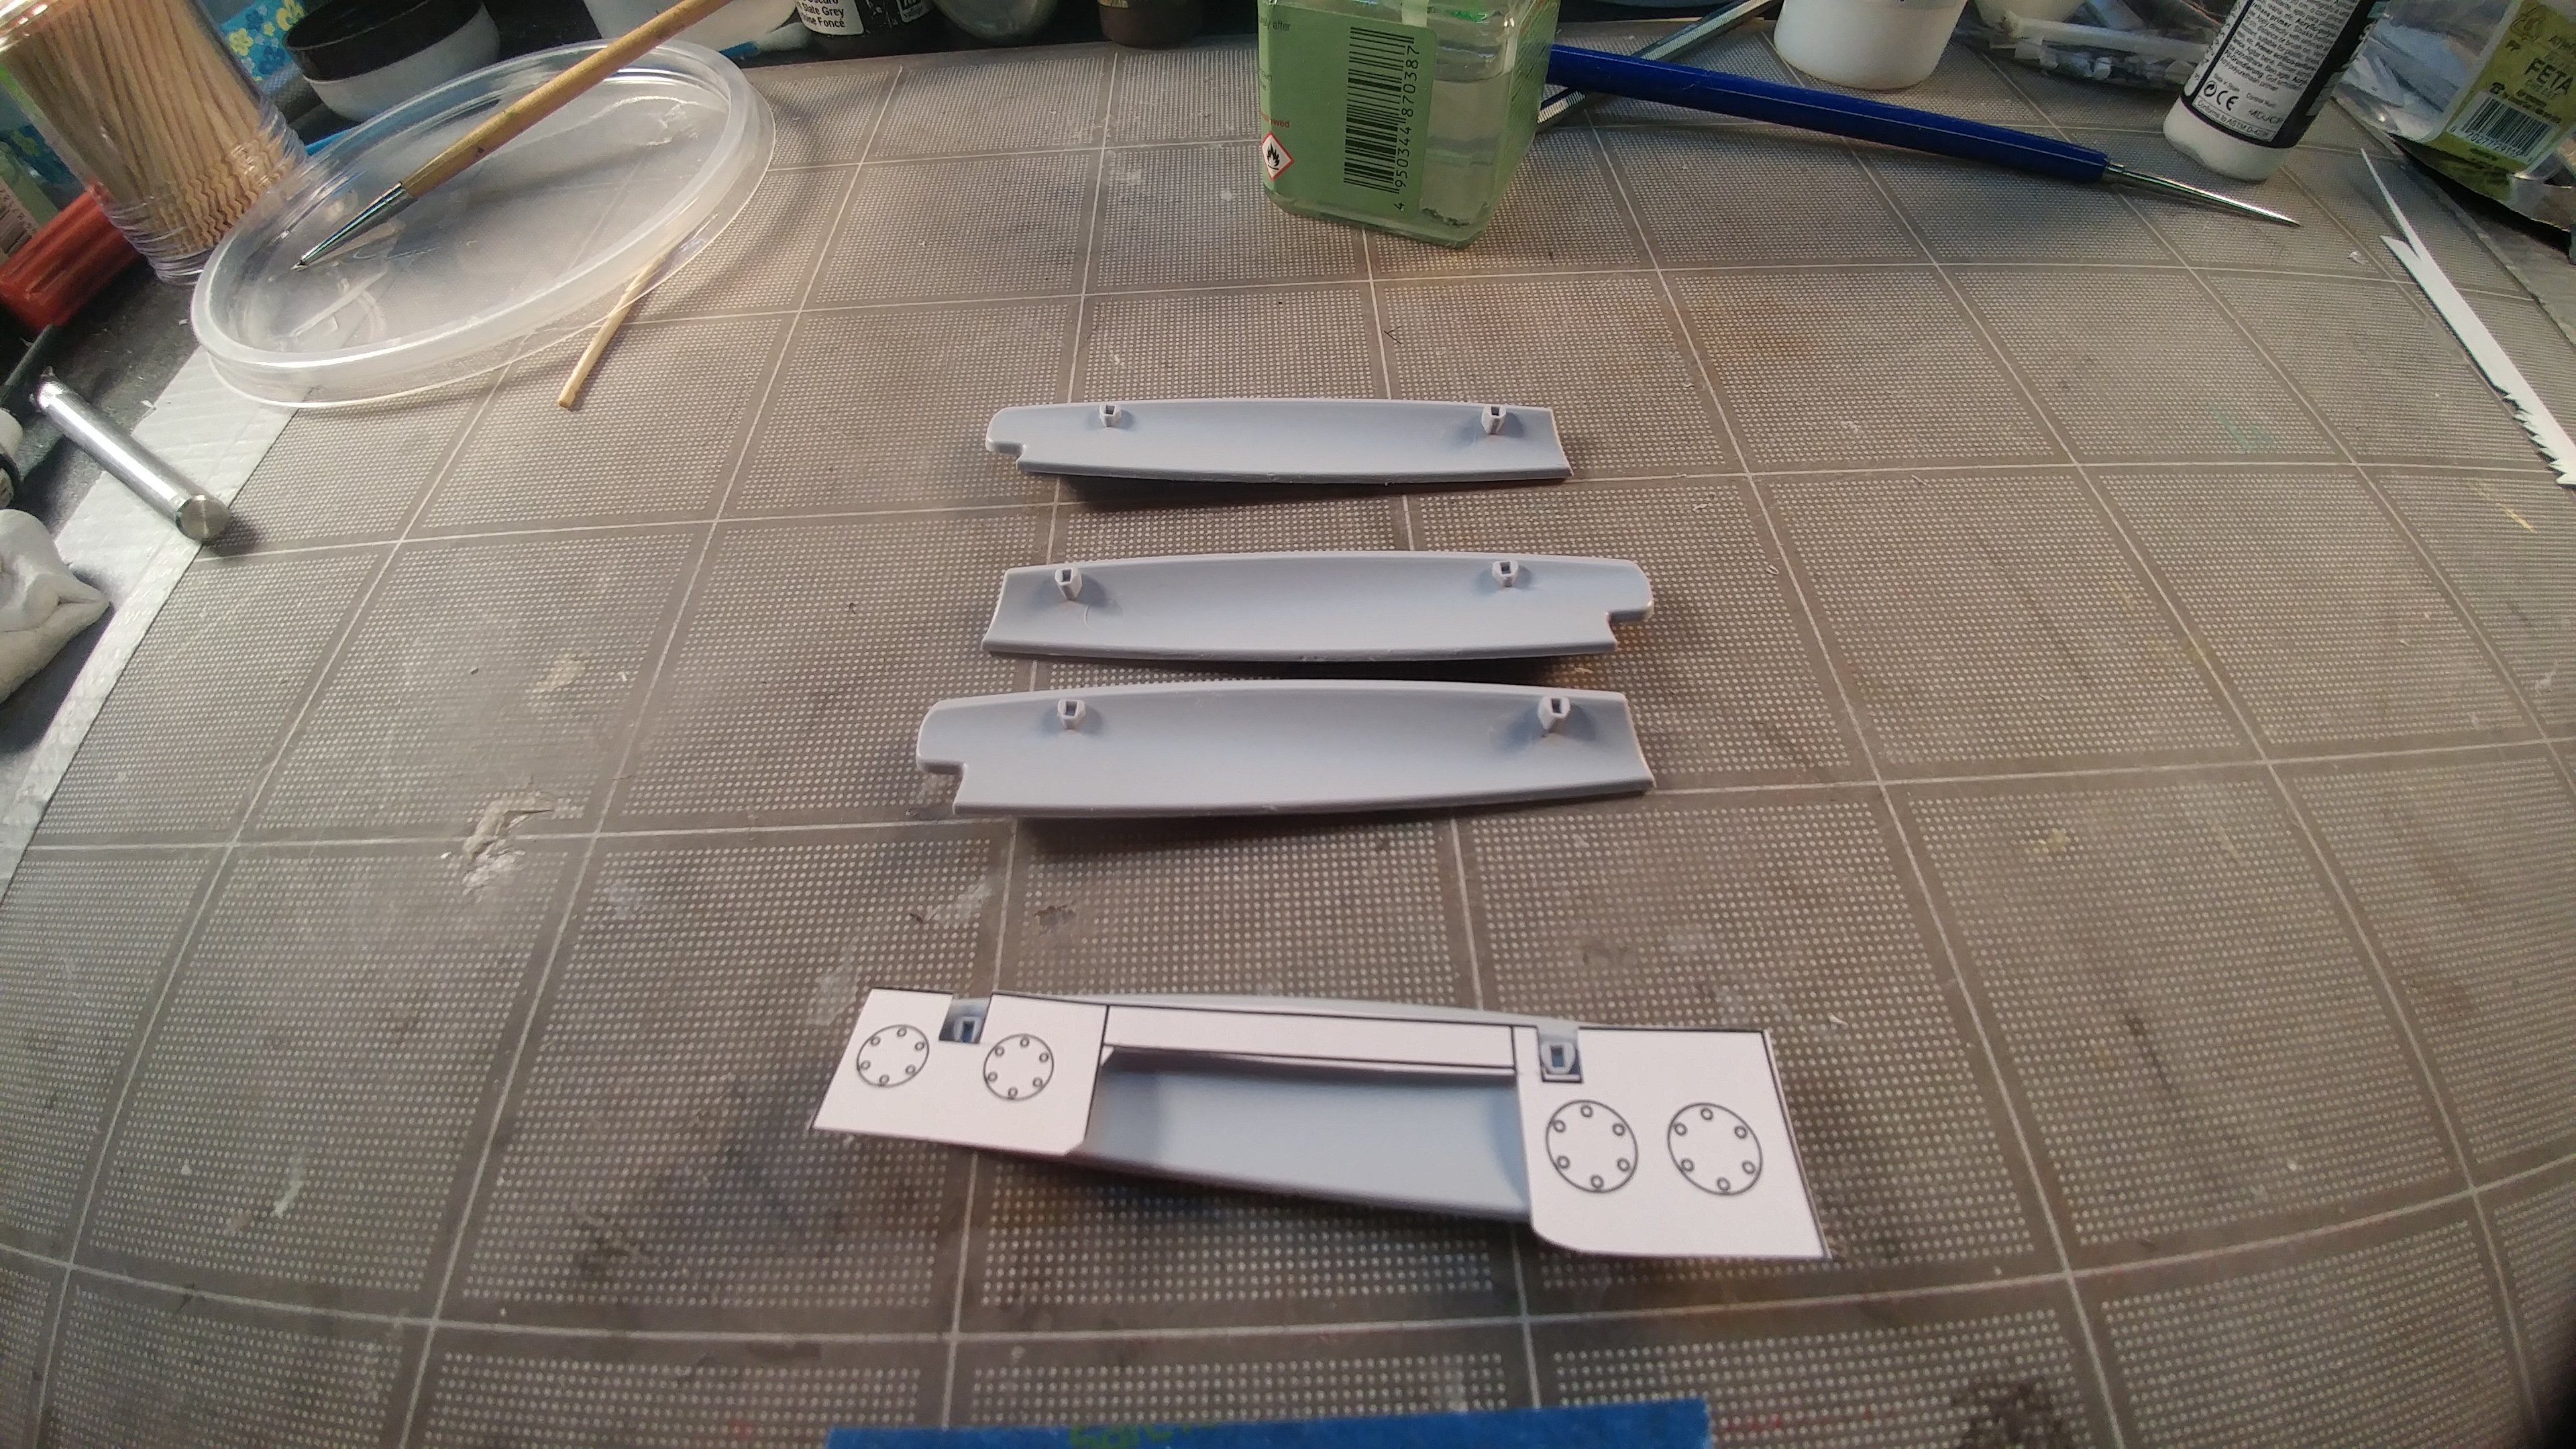
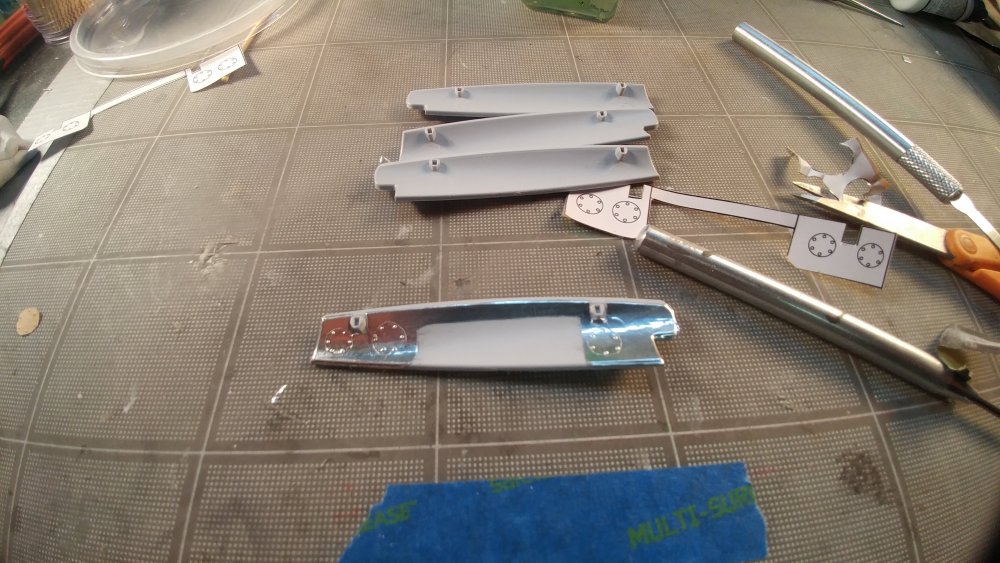
Inner gear door added detail. Aluminum tape is rough and not good for a clean build but I knew these would be filthy and I don't know how well they'll show anyway.


-
1/24 Airfix Scale Mosquito build
PeteF replied to PeteF's topic in LSM 1/35 and Larger Work In Progress
Yay Airfix! New wing arrived safe and sound.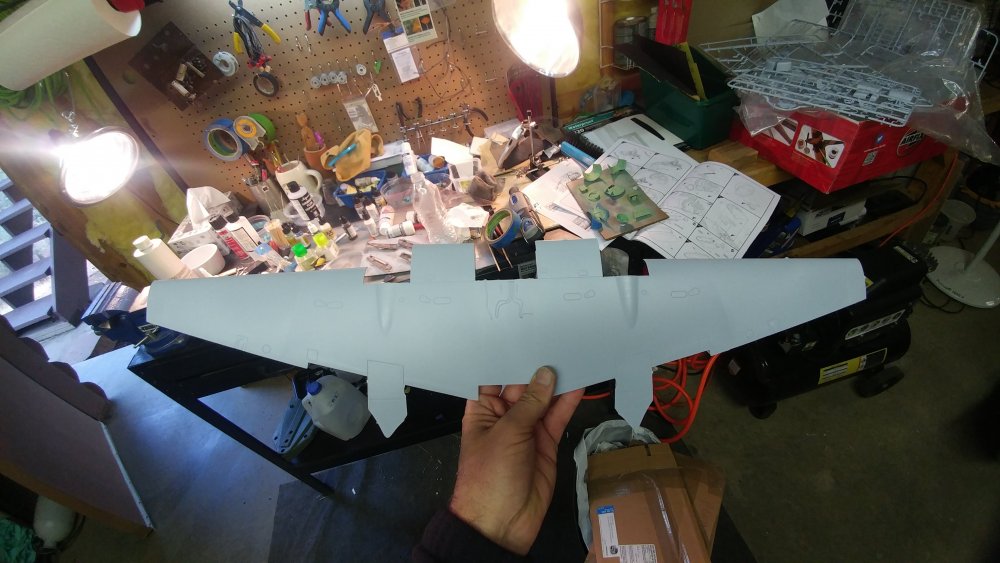
-
1/24 Airfix Scale Mosquito build
PeteF replied to PeteF's topic in LSM 1/35 and Larger Work In Progress
So the model will be displayed bombed up but panels off so I added scratch built hooks (no detonators) and weathered them.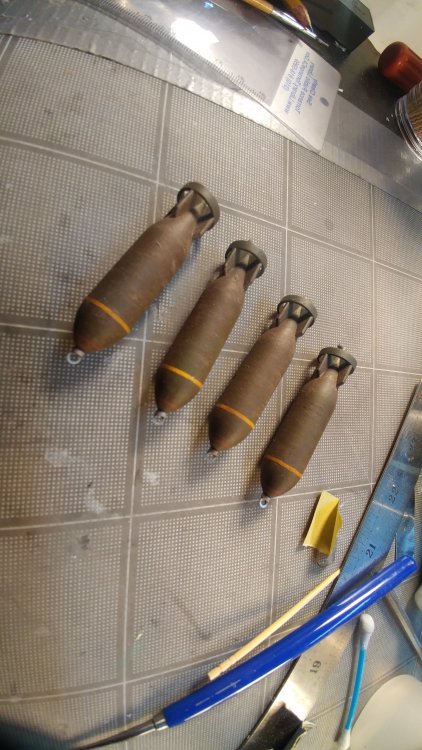
-
1/24 Airfix Scale Mosquito build
PeteF replied to PeteF's topic in LSM 1/35 and Larger Work In Progress
Found a Squadron riveter that does nice small rivets like this.