


Landlubber Mike
-
Posts
856 -
Joined
-
Last visited
Content Type
Profiles
Forums
Events
Gallery
Posts posted by Landlubber Mike
-
-
Thanks Rockie! Always nice to get that first coat of paint down.
-
 3
3
-
-
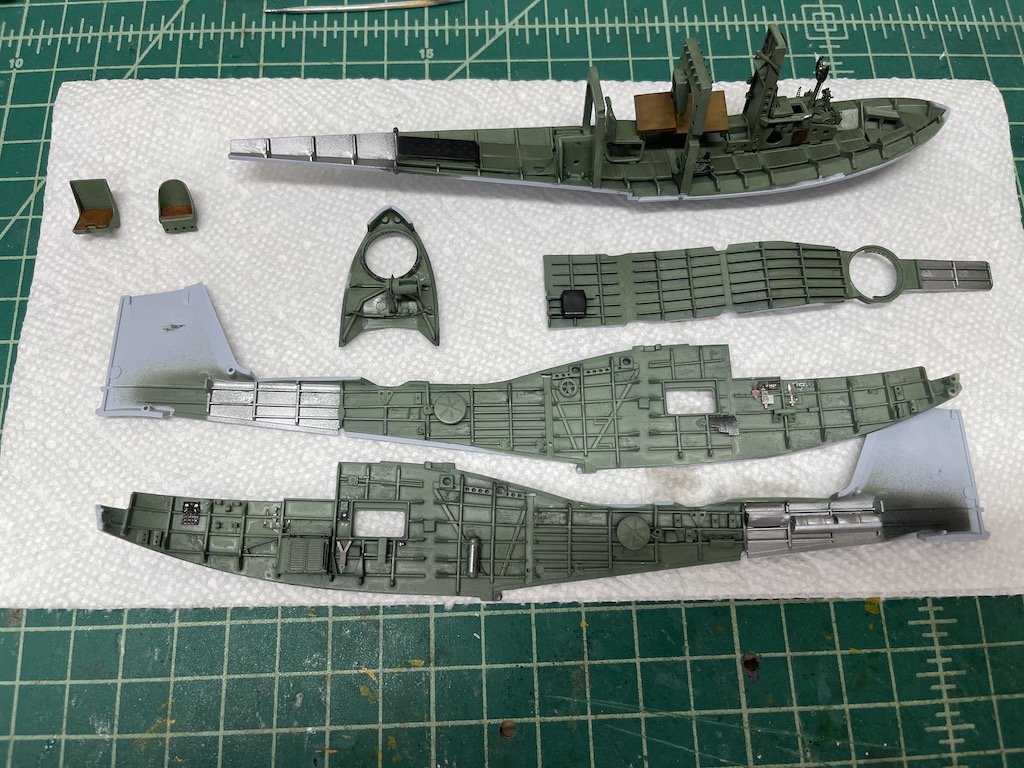
Here's where I am today. Managed to get painted the interior of the fuselage halves and remaining interior items to install.
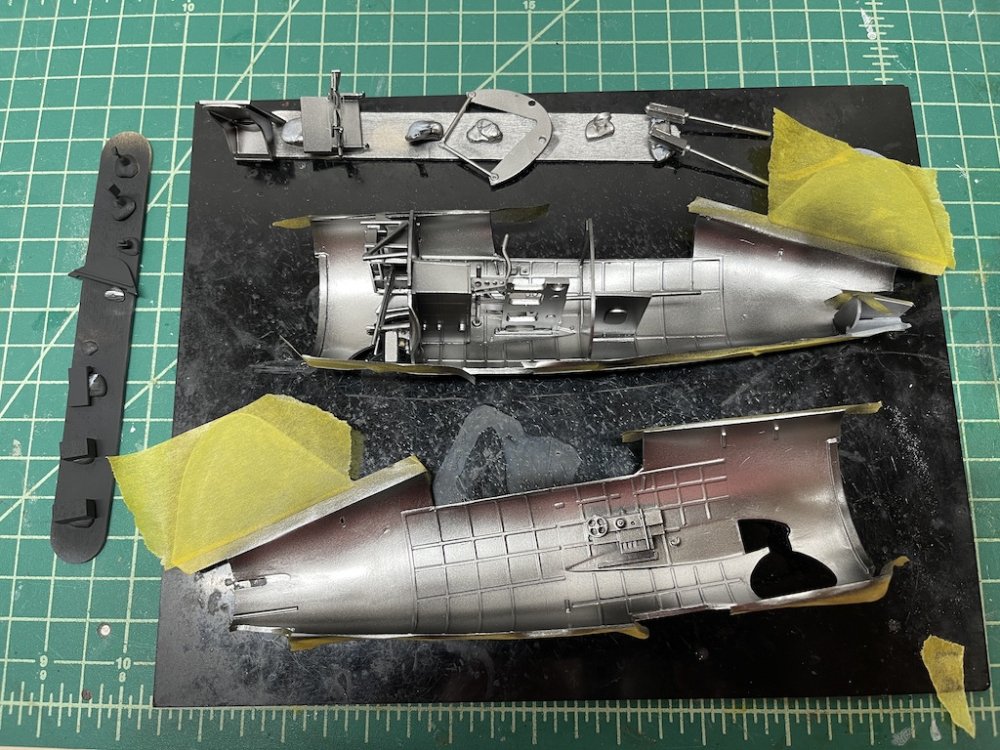
I'm pretty happy with how things are looking. I went ahead and used Vallejo's Metal Color Duraluminum. It sprays very well. After using mostly Mr. Color paints on my 1/48 Buffalo, it's been nice to go back to acrylics for ease of preparing the airbrush and cleaning. I'll still use Mr. Surfacer for the exterior primer and either Mr. Color or Tamiya for some of the harder to paint colors like the yellow on the cowl and wing tips, but I might go back to using acrylic elsewhere.
Thanks for looking in!
-
11
-
-
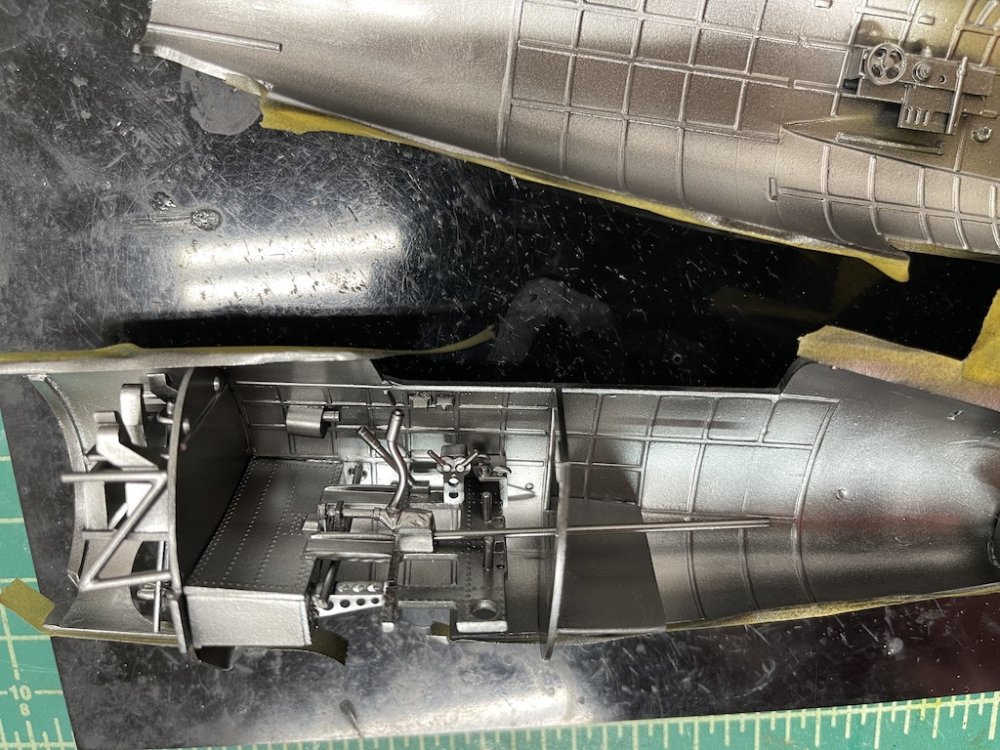
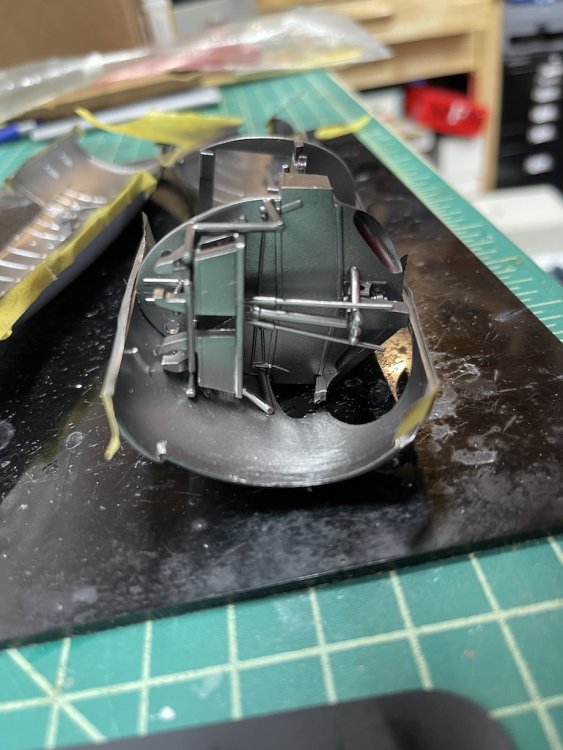
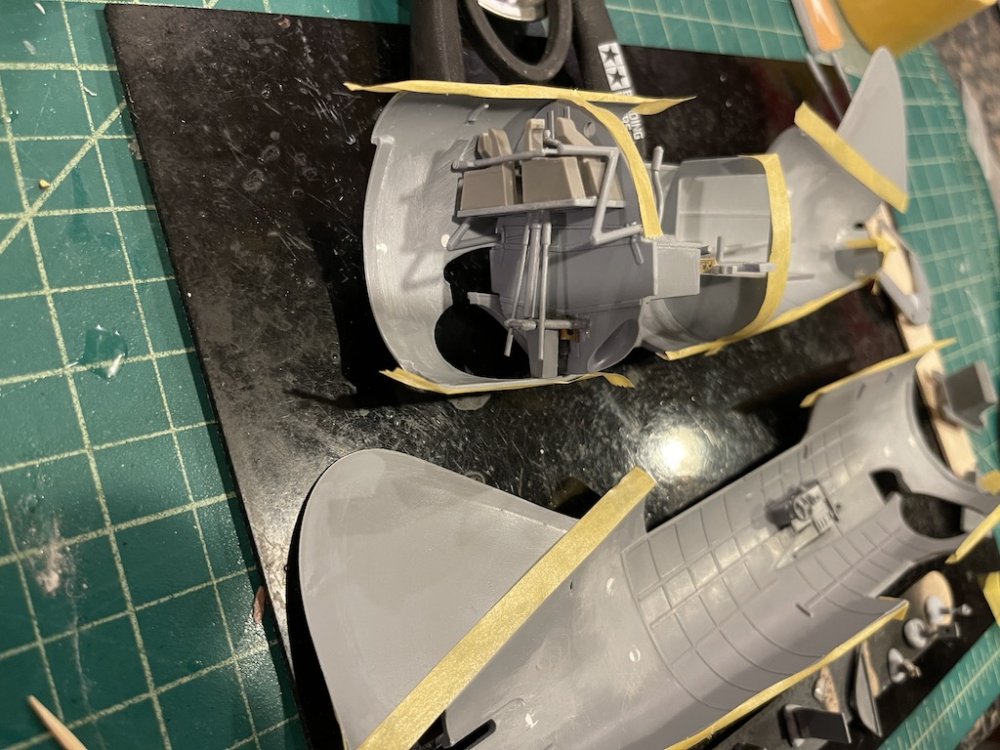
With the fit issues on getting the fuselage closed up, I thought it would be better to add as much of the interior as possible to one of the fuselage halves, rather than trying to install what are three or four separate assemblies into the fuselage halves and then trying to get it closed up. Taking this approach allows me to position the sub-assemblies on one half of the fuselage, and while the glue is drying, test the fit and get the final location by dry fitting the other fuselage half over it. Takes quite a bit of time, but I think it will be less painful in the long run.
Instructions are ok I suppose - generally there are no locating marks, pins, etc., so you have to sorta guess where the instruction arrows point you. Thankfully there are other builds out there on the web to doublecheck yourself.
-
9
-
 1
1
-
-
While waiting on parts to dry on my Walrus for the group build or otherwise just needing a break from it, I started the Buffalo 239 Finnish version from Special Hobby in 1/32. Yay, my first LSM for this board! Anyway, since I just finished their 1/48 Buffalo kit, I figured I might as well tackle this one given I know what to look out for.
Unlike the 1/48 kit I just finished, this one I will be building mostly out of the box with considerably less aftermarket.
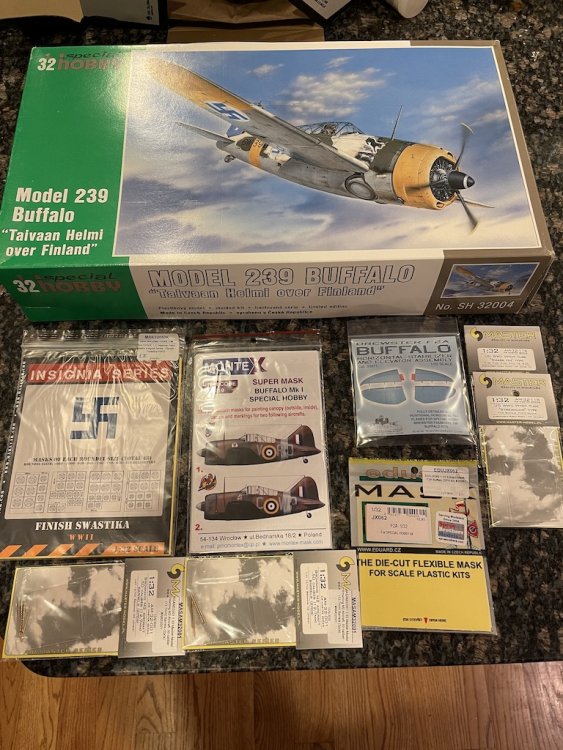
The kit is like the 1/48 kit (and probably most SH kits) in that in addition to the plastic, you get resin and PE details in the box. It's been interesting comparing this to the Airfix Walrus that I'm working on. The Airfix kit has great fit but a lot of flash and injector marks and other cleanup that you need to do. This Special Hobby kit needs much less cleanup, but the fit is not the greatest. I can tell already that I'll have a big gap closing up the fuselage forward of the cockpit 🤬 But, so far this has been an enjoyable build over the last week or so.
-
10
-
-
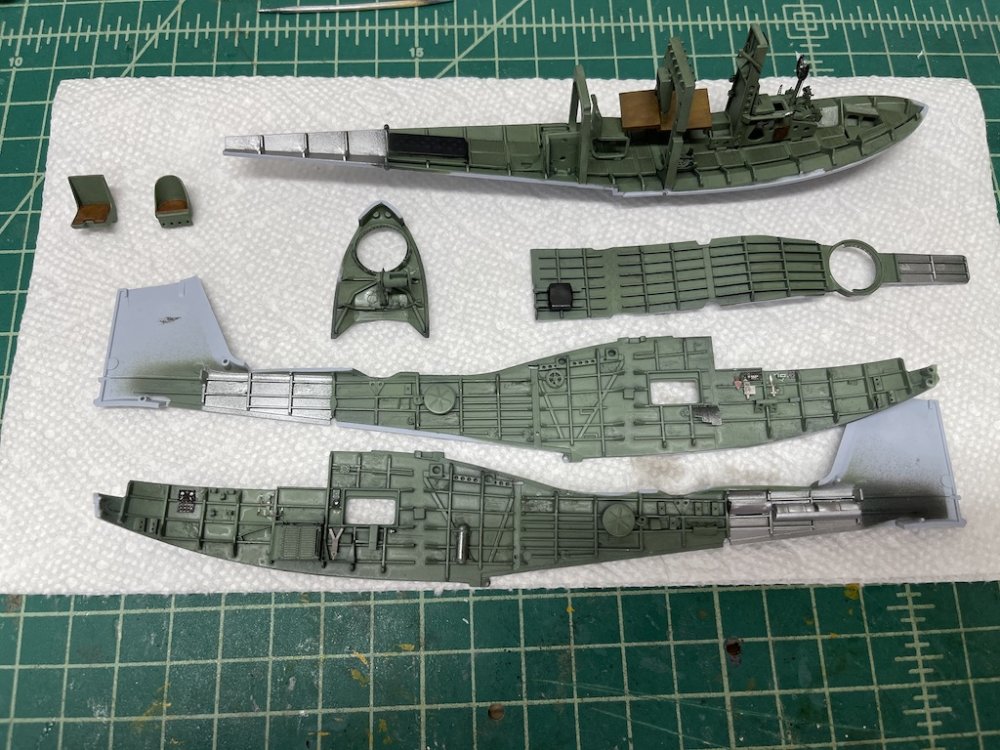
Making some progress on the Walrus. Managed to get the interior base coat paints down along with the color PE parts, and started a little bit of the weathering. Should be able to button it up in the next couple of days.
-
9
-
-
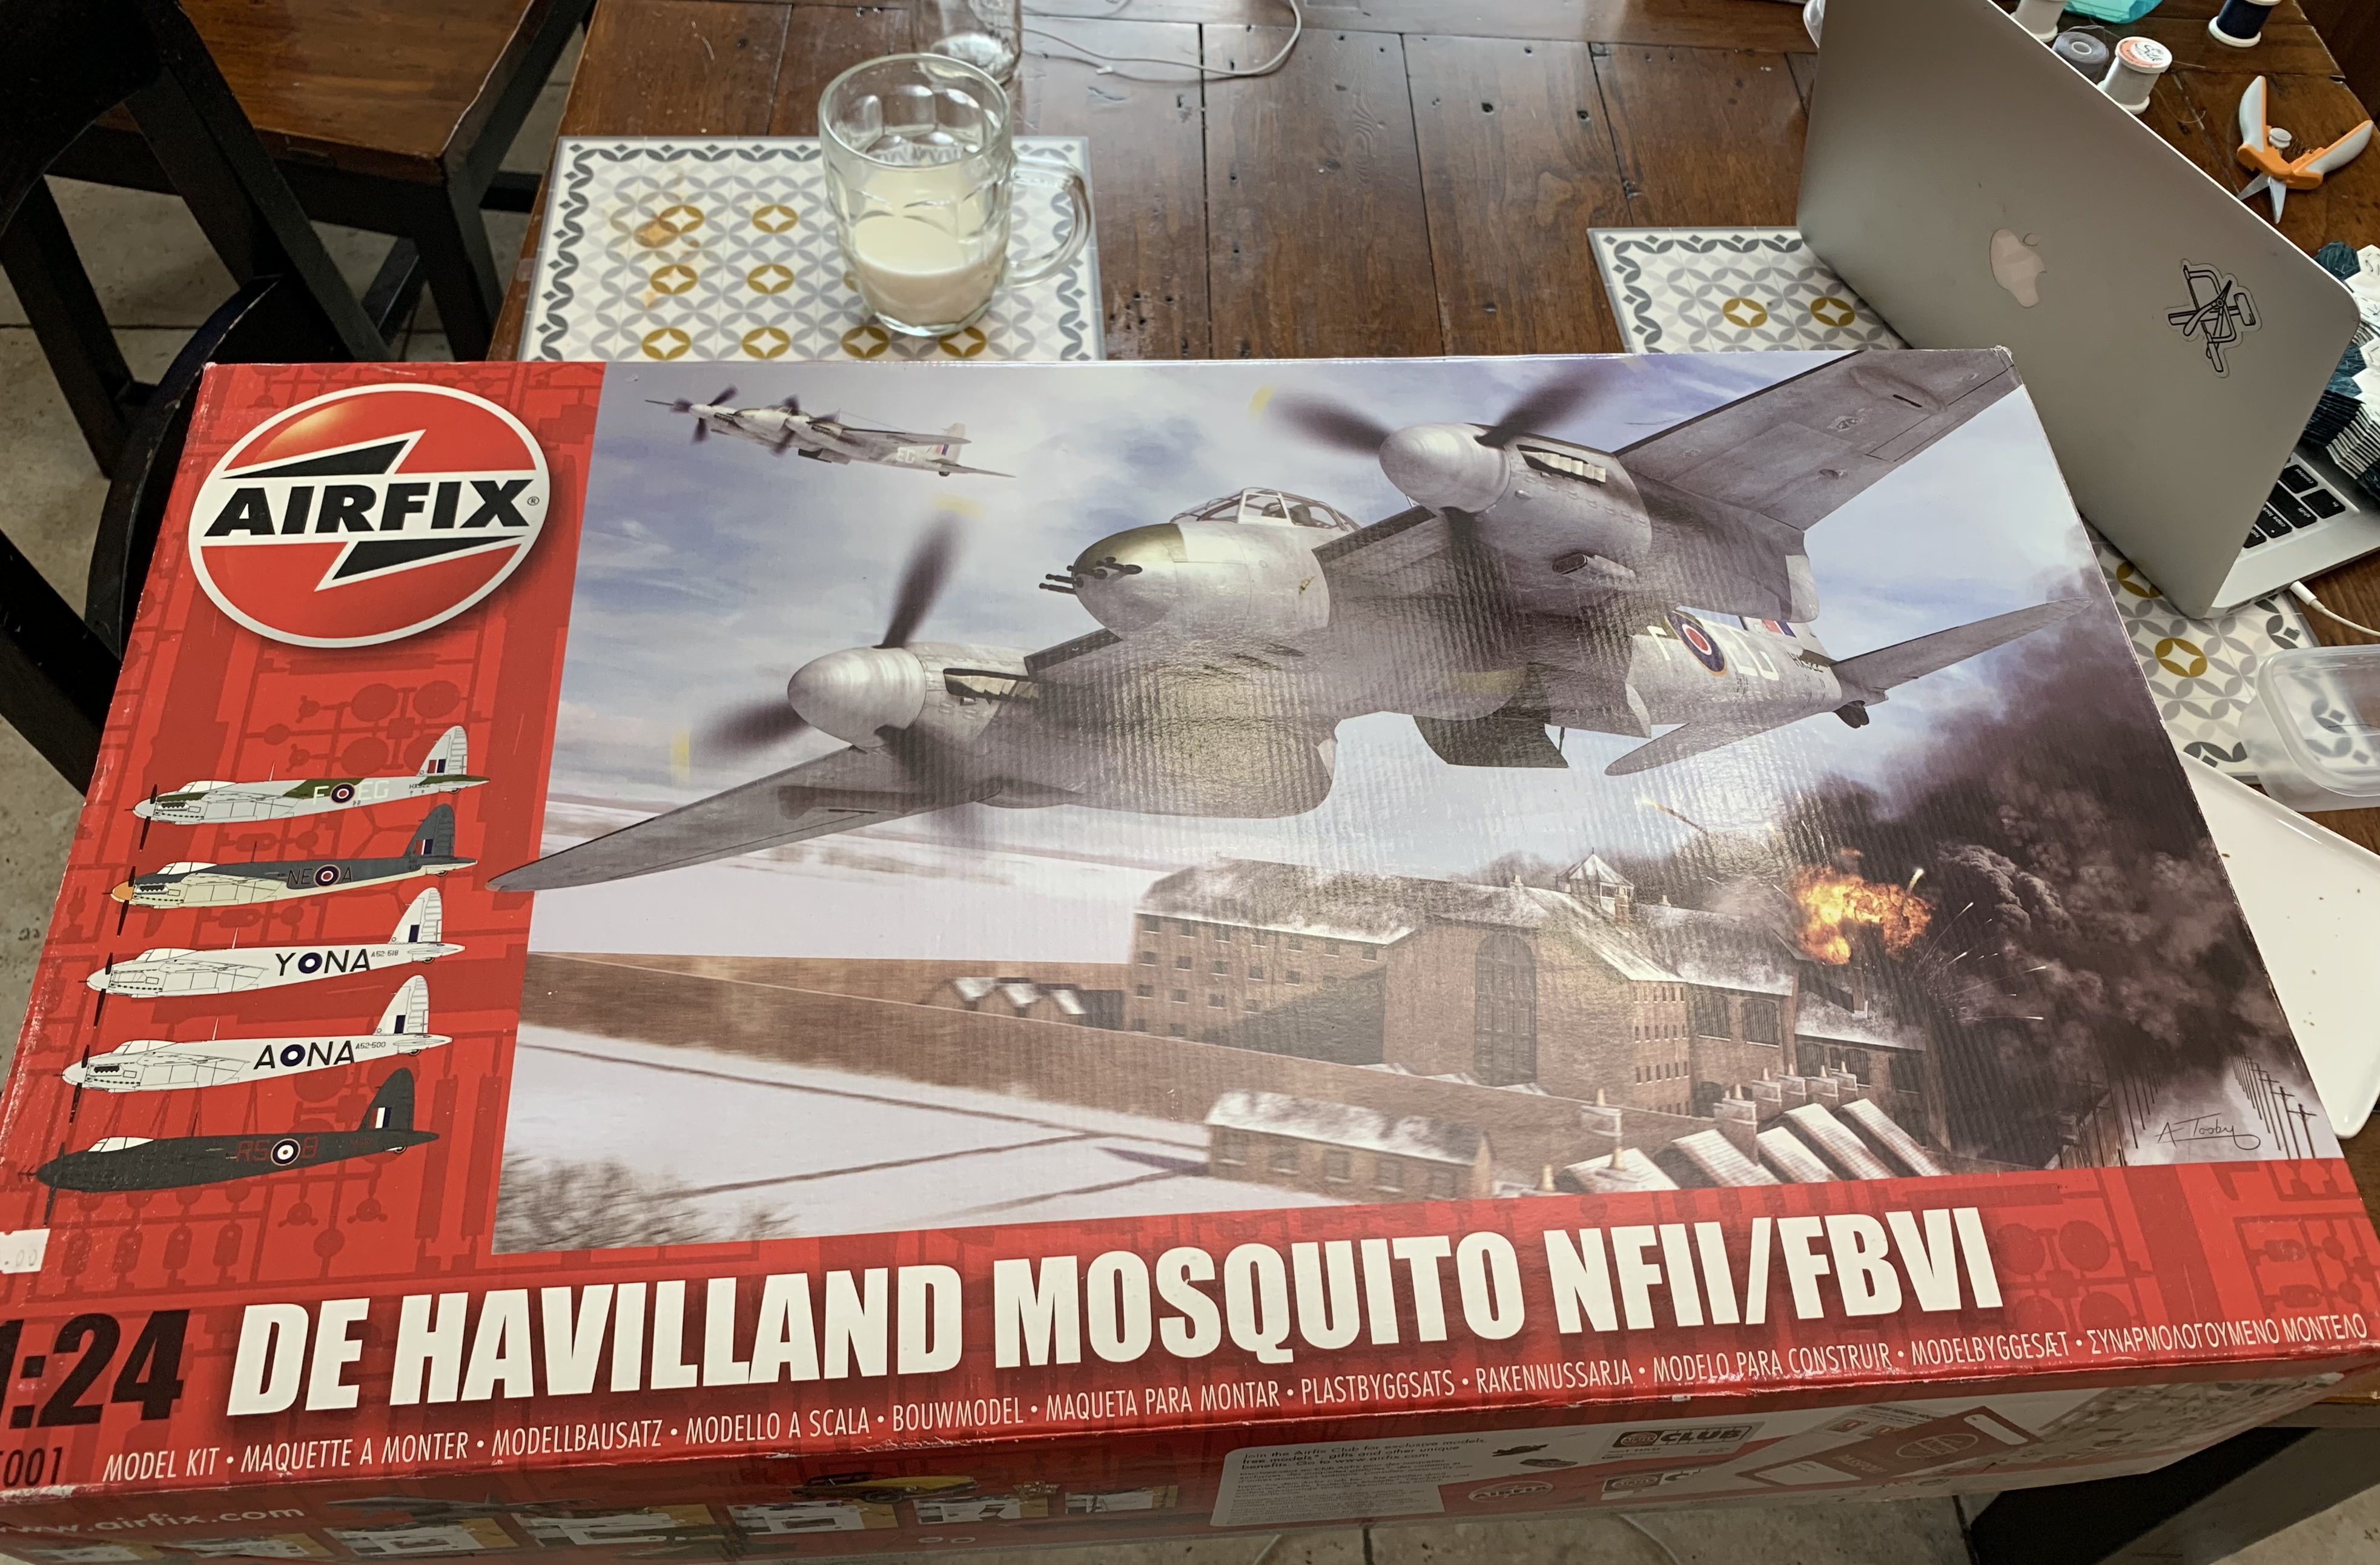
3 hours ago, Martinnfb said:
William was able to source down for me this beauty. Thanking you Bill.
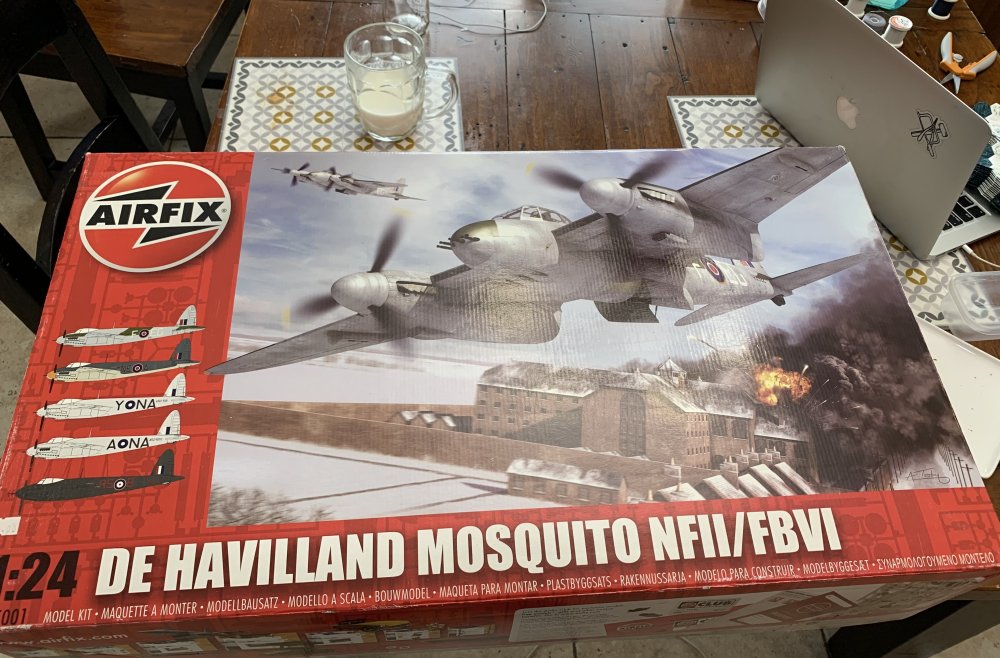
Nice score!! At 1/24, must be a monster!
-
2
-
-
Not sure how I missed this PW - great job!! Love your dioramas - they have a lot of interesting details which let the mind wander thinking about the story being told. Very cool man, thanks for sharing!
-
2
-
-
I definitely wouldn't build a model with this many windows without getting a mask set!
-
2
-
-
I think the guns are Type 99 guns - at least that is what Eduard sells as part of their upgrade package for this kit:
https://www.eduard.com/eduard/h8k2-emily-guns-1-72.html?cur=2&listtype=search&searchparam=h8k2
-
1
-
-
4 hours ago, belugawhaleman said:
I have used Tamiya's lacquer thinner, hardware store, and Leveling thinner and honestly,
they all seem completely different....... So, what is lacquer thinner?. I use Tamiya lacquer
thinner with Testor's dullcote....it seems to work best with that stuff, the hardware stuff
for cleaning up, and leveling thinner for everything else. Great question, what is lacquer
thinner?
Mr Color Levelling Thinner is way too expensive to use it to clean out the airbrush. I use it to thin (not clean) Tamiya and Mr. Color paints - works great! They don't call it bottled unicorn things for nothing!
Did not know that about using Tamiya lacquer thinner with Testor's dullcote - will need to try that. I usually use Mr. Color products for clear coats through the airbrush (or their rattle cans), and Testor's if I need to hand brush a small detail. Never thought I could airbrush Testor's, good to know!
-
2
-
-
Agree with you PW - seems more cost effective if you can get the same unbranded chemicals.
Peter, like you I use Mr. Color Leveling Thinner for thinning Mr. Color and Tamiya paints. For Vallejo, I also use the Vallejo brand thinner for thinning in the airbrush - for airbrush cleaning, I have just been using water and a brush to physically remove any remnants.
-
5
-
-
Are you guys using the Tamiya Airbrush Cleaner as actual cleaner, or are you using it as glue in place of Tamiya's Extra Thin Cement? I just use IPA and lacquer thinner as cleaners - seems much more cost effective.
-
5
-
-
2 hours ago, Martinnfb said:
Embracing the native cultures.
What do you think of the kit? I don't want to get into helicopter models, but if I had to build one, it would definitely be the Apache. Kinda like where I am with modern day aircraft - I don't want to get into them, but did get a Trumpeter A-10 kit.
-
5
-
-
Nice Mark! Those MFH kits look really sweet.
-
2
-
1
-
-
Those guns look really sweet B-C, nice job!
-
1
-
-
Wow, great job Kevin!! Very nice!
-
1
-
1
-
-
Nice area! Love the beer and gas signs. Well done!
-
3
-
-

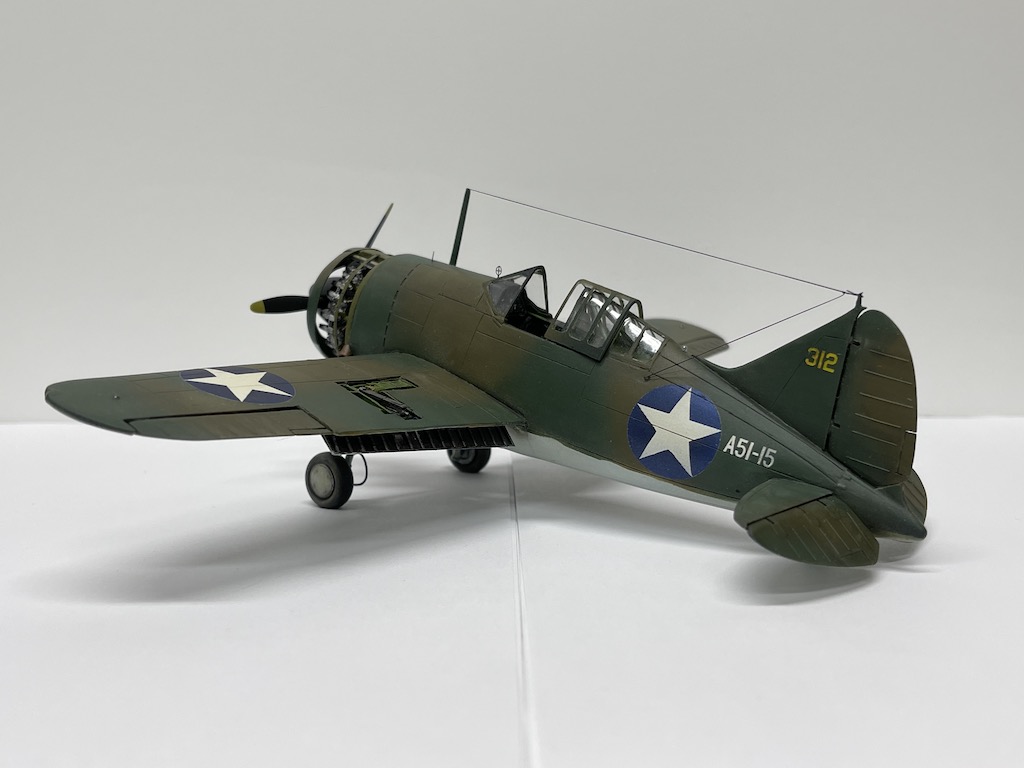
I used Montex masks for the insignia and numbers on my Buffalo build. They worked great and I didn't have any warpage, residue, or other issues. I'm a big fan having used them with similar great results on some F4F builds.
-
4
-
1
-
-
Wow, glad you and Joy are ok. That hail is insane!
-
4
-
-
Looks great Kevin!!
-
Thanks Peter, I think I'm leaning that way. There is a lot of detail in the front turret with the anchor and winch and some other items. Shame to close it all up!
-
3
-
-
Thanks Peter, you've convinced me on the windows! My thought is that from the pictures, just because a Walrus was on the catapult didn't mean it was about to launch. Some of the pictures I've seen don't seem to show a sense of urgency or anything in the scene. Windows are open, pilots are waving, etc.
Now I have to think about the turret openings. All the pictures I've seen have them closed. But, there is a lot of cool detail in there with the gun, anchor, framing, etc. Some other models have put the Walrus on catapults with the turrets opened, so maybe I'll just do that.
-
2
-
-
Thanks B-C!
I saw some Walrus on catapult pics, and it looks like it was not uncommon for various windows in the cockpit and even the ones further back to be open. So I might actually try to model the Walrus with some of the windows open. That will help expose more of the interior, and just make things more interesting.
Not sure if I will model the plane with the turrets open and guns set into position in the turrets. That I haven't seen in pictures, but maybe this model will just show the Walrus with various things open and out, wings folded, on catapult, etc. Would be more visually interested than just a buttoned up Walrus sitting on the catapult.
-
3
-
-
I think even seeing 5% is going to be fairly generous, with the bulkheads and limited windows. Probably can see a little with the greenhouse type main canopy I guess, and then you can see a bit into the rear seats through the window.
Eduard puts out a lot of cool PE interior sets, but if the plane is buttoned up, you never can see the pieces. I did end up recently getting a 1/72 Kawanishi H2K8 Emily kit with a full Eduard upgrade - I think I'm going to try to model it as a cutaway, with one side fully closed up, and the other open so you can see the interior and various personnel activity in the plane. Otherwise, a waste of the PE I think.
Eduard's interior PE does have side window frames that you can add in a closed or open position. If I wasn't modeling the Walrus on the catapult, I'd consider opening one or both windows. I didn't add the frames in the closed position because they didn't quite fit evenly in window recess in the hull. They fit perfectly, but the bottom of the frame stuck out a bit and the upper frame did not, so it would have looked a little odd if I included it.
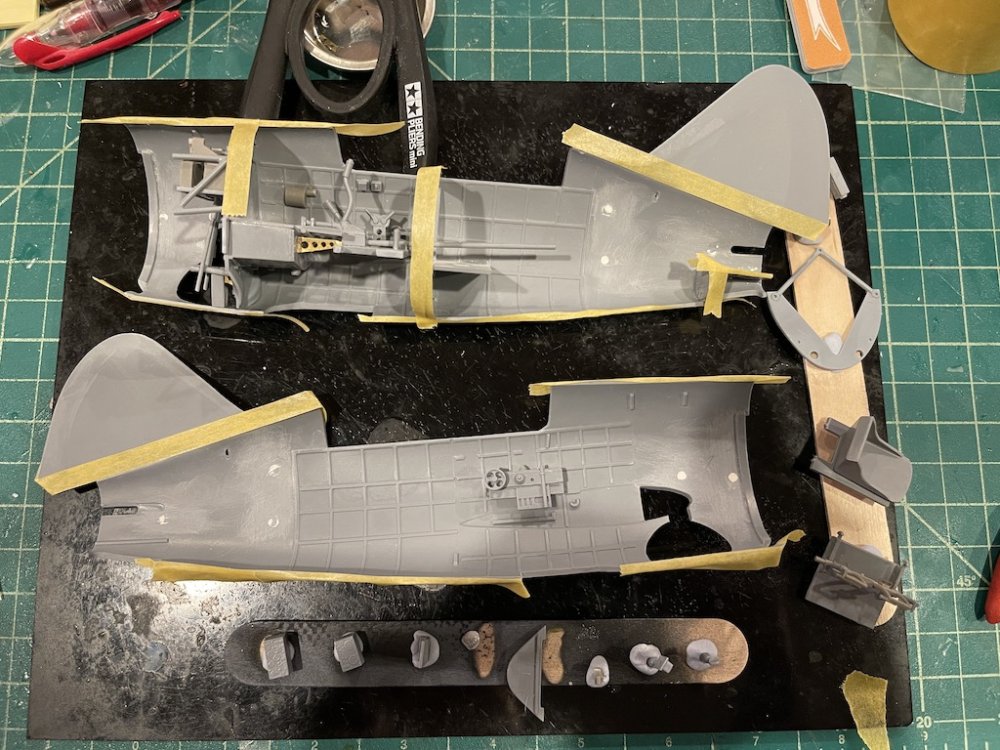
Got these pieces primed and the base coat over the weekend. I'll add the colored PE in the next couple of days, add a touch of some highlighting and shading, and then button her up.
I was going to try out MRP paints on this as a first build, especially since I found a log that posted the paints used, but instead I'm going to go with Vallejo except for Mr. Surfacer primer on the exterior. This model is so small it didn't seem to warrant spending the money on MRP paints when I don't have any near term plans to use similar colors.
-
4
-


Walrus (Airfix 1/48), NeOmega Catapult, and HMS Albatross (Niko 1/700) by Landlubber Mike
in Let’s Get Wet Group Build.
Posted
Thanks! And I know, what a shame. I probably will try to model it with the windows and canopy open, and maybe the nose gunner position open as well, so people can get a slight peek as to what's inside. Would be cool to do a cutaway model of this bird in a bigger scale.