


One-Oh-Four
-
Posts
1,757 -
Joined
-
Last visited
Content Type
Profiles
Forums
Events
Gallery
Posts posted by One-Oh-Four
-
-
This illustrates the problems I have with oil paint woodgrain (and why I was keen to try decals):
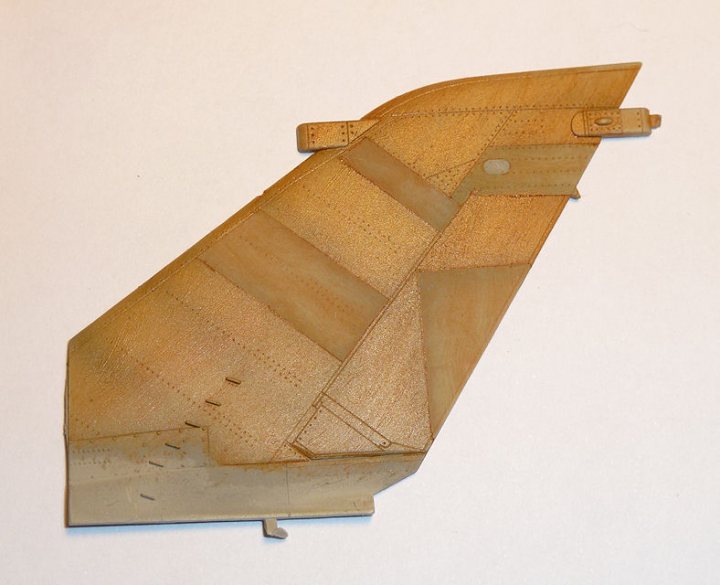
The first panels I did (the lighter ones) were masked off and more oils applied in another direction.
1) It's very difficult to judge the amount of oil paint to remove during the graining process. The second panels are much darker than the first, even though I assumed they'd look similar. As it stands there is too much contrast for my liking.
2) Even though I used Liquin drying medium again, the paint hasn't dried. The first panels went matt within a few minutes, whereas these look like they could take weeks to set, judging by how similar they look to my SE.5a parts did (in terms of sheen). Obviously there can be no masking before the oil is fully cured.
So there you go. I wondered whether to try using enamels instead of oils for the grain, after all its a dissimilar paint to the acrylic basecoat, and has the same thinners, but they dry predictably...so why not? In fact why use oils over enamels in the first place - it's not like oils are widely used in model aircraft modelling to start with?
A long way to go with this one I think.
Alex from UvdR has very kindly been offering me some advice on how to perfect these techniques, so I'm sure with a bit of guidance I'll get a nice result.
At present, I'm working on painting the interior. More updates soon hopefully. Ta.
This would be a great What-If, you know... A triplex Tornado!
 Great progress, BTW!
 -
 1
1
-
-
Apparently someone has made the accusation that I don't actually build my models and that some one who has only been in the hobby for a little over a year can't possibly produce the level of model that I am.
Now I have to say I found it rather amusing and also a compliment but I have a confession to make, I do have some help.......I have a human that unscrews the paints for me before I begin and cuts the really small pieces off the sprue for me.
Great work on that prop! Super!

Hahahahahaha!!!!!!
"What is your hobby?" "I beagle model aircraft for my relaxation!"
-
1
-
-
Perfect. I'd be damn proud of that.
Maybe you should finish mine.
At first glance I read: Maybe you should finish me!

-
3
-
-
Great result, Jeroen! I like the subtle weathering and the wood base!
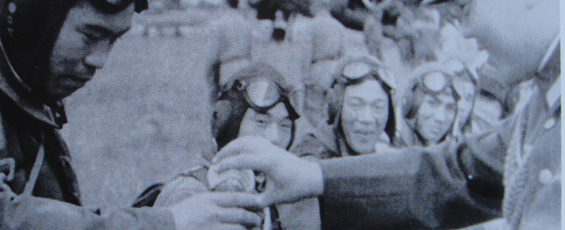
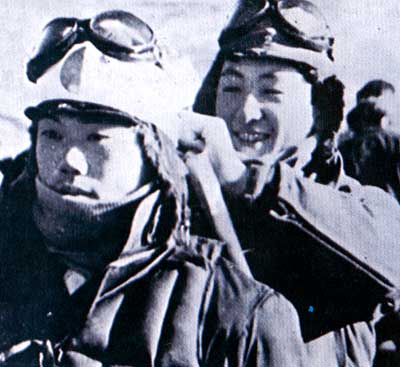
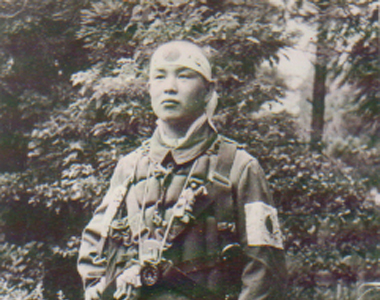
And I won't mention the hachimaki and the saké here....

-
3
-
-
I'm swearing by it.... Brilliant!!! For the proper English speakers: the saying goes along the lines that you think something is so good or the like that you'd take an oath on it. In Dutch: To take an oath = "zweren"
To swear = "vloeken"
-
BTW, you could maybe decant some Games Workshop 'Ardcoat in an empty Tamiya cup or so, pour it in your airbrush and then spray it?
-
Parket Plus or Future is an option. It may need a drop of ammonia to break the surface tension (oppervlaktespanning) so it won't pearl.
I Always liked ModelMaster Metalizer clear coat, although I don't know if that's acrylic or not. Don't know how it goes over the different brands of acrylic.
I had good results with Tamiya or Gunze gloss clear. It does need some retarder or it will dry too fast and give you orange peel finish. I have HEARD (no personal experience) that if you use Tamiya or Gunze gloss clear diluted with Gunze lacqueur thinner it sprays super.
Hope this helps...a bit
-
1
-
-
And the saké:

-
Aaaaaaaand she's done!
More proper pics later.
Great result, Jeroen! But what's that pilot planning to do with that damn katana? He should have a cup of saké in his hand!


Oh, and he should have a hachimaki around his head/helmet!

-
Bought a thingy on impuls, yesterday.... Nazdarovye, tovarich!

-
Like that. I speak "Spanglish" as my second language.
Hasta la vista, Babyyyyyyyyyyy!
-
How are the Barracuda aftermarket parts for the G-6 and G-10? "Mandatory" or not?
Of course they are never mandatory, but if they are a drop fit and markedly better than the kit parts...
-
Nice, nice! Cannot open the Youtube part, here at work, alas!
-
Looks promising, no shrinkage on the parts that you can see? That ruined a couple of aftermarket spinners (from a different mfg) for me.
-
Strange choice, the 1/48 Revell Ju52 was a classic shelfqueen.
Cees
Hmm, that's what the story says.... What if that's just a "monkey-sandwich story" (Dunglish)?
-
Very attractive work, Dodo! Loved the interior finish and the engine! Wondering though; is the model blue-grey or beige coloured? The white balance from your Phone-cam and the Nikon are at odds with each other!
-
You forgot 'D - All of the above'
;)lol ...
Rog


-
Especially Korea would be nice. Quite an underlighted subject!
(Dunglish)-
1
-
-
Last night and for a bit this morning, I continued working on the slats. I managed to put some inserts in the wings where I had cut them from. I also got the seams smoothed out and primed and started thinning the edges (the cut left a pretty thick appearance, which you can see in the slat on the left).
From here, I'll probably leave the rest of the work in this area until the wings are put together. So, next up will be the wheel/gear bays.
John
Nice reshaping of the slat thickness!
Thanks, guys!
I believe Mastercasters makes a set of slats, but I didn't bother to get a set. I figured I could cut these out and revamp them just as easily (and cheaper, too!). A flap set would be a great addition, though.
John
I'm not too fond of the Mastercasters products. I don't think his set would be any better than what you did yourself!
Okay, you know how when you Google for something, like 10, or 100 times and can't find anything? Then, on the 11th (or 101st!) time, it's right in front of you? Well, that's what happened with the little canisters in the gear bay. I decided to have one last look around, this morning, before gluing everything in and putting the wings together. I found what appears to be a photo taken from a period Luftwaffe manual and it would suggest that the canisters are, in fact a metallic color, but on the darker side. It's hard to judge from the type of photos in those manuals (and those who have looked at a lot of period Luftwaffe manuals will know what I mean), but this is the impression that I got. So, I ran with it.
I painted the canisters with Metalizer Magnesium, which I thought to likely be the closest, that I had on hand. I also touched the nozzles with brass.
I can't say with 100% confidence that this is right, but was better than nothing. I was going to post the photo form the manual, as well, but for some reason it only shows up in the search page and I can't go to the link for the photo to save it and the forum on which it was posted also fails to have the pics come up. In any case, I got that finished and glued everything together, including the wing halves. So, here we go.....
After this was done, I did a test fit of the wings to the fuselage. The supplied spars seem to set the dihedral quite well for the wings. However, there will certainly be some filling needed and possibly even a couple of shims on the belly, at the wing roots. Given that the rest has gone together so well, I think it's a small price to pay and since I'm used to this sort of thing on just about every seam, of every kit I normally do, it's no sweat.
I'm hoping to tinker with the engines over the holiday. I won't be exposing either and will just mock them up enough to hold what needs to be held and make everything fit properly. I'll post another update, hopefully within the next couple days.
John
In the Luftwaffe, air lines and bottles were painted blue. So if they're to be anything else than RLM02, I would think them to be blue. Then again, if those parts aren't bottles at all but fuel filters, the colour for fuel was yellow, for lubricants brown and for cooling fluid green.

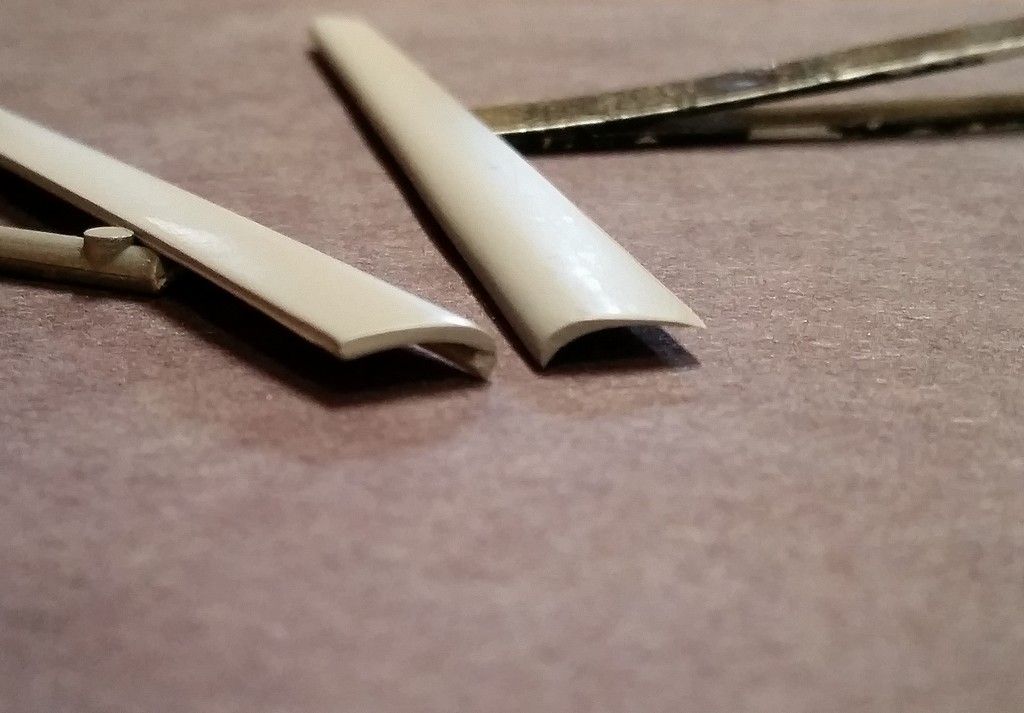
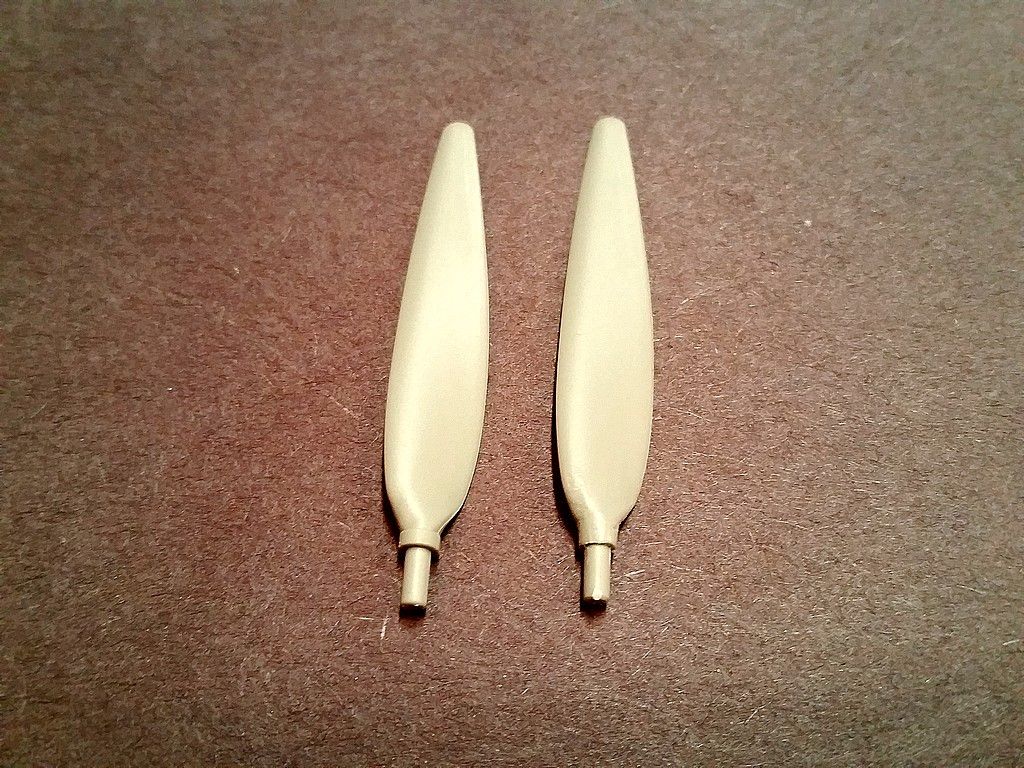
I managed to get a few things done, today. I started with the props. The collars on the prop blades, even though fairly small, aren't supposed to be there. So I decided to remove them, since it looked simple enough. I think it took about 20 minutes to do all six blades, just by starting with a sanding stick, then moving to sand paper, followed up by a 7 stage nail polishing stick. I thought about thinning the blades a little, but decided against it, thinking that there was two propellers, so twice the chance of chipping a blade. In short, I chickened out. However, the kit's blades aren't really thick to begin with.
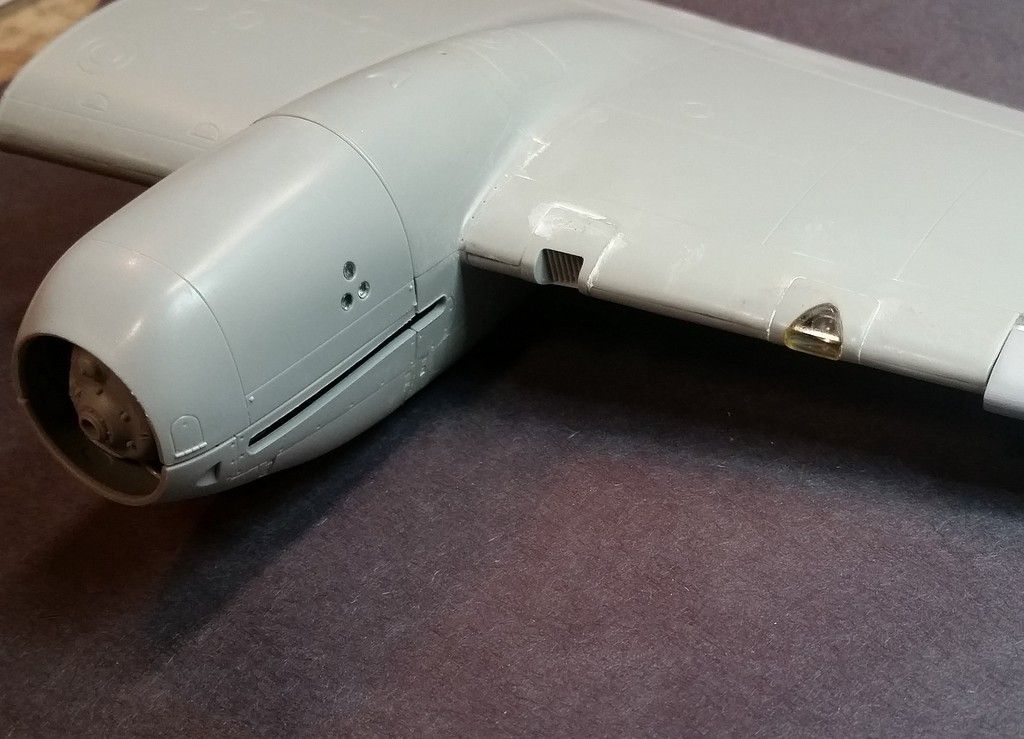
After this, I installed the landing light. The yellow tinted cover was done by mixing a drop of yellow food coloring into a few drops of future, then mixing it up and brushing it on, being sure to dab away the excess run-off.
After that, I finished the seams on the wings, restored some panel lines and rivets, then started working on the port side engine and cowling. I only used the stripped down engine block and the piping behind the oil cooler. Just enough to hold everything in place and the few parts that would be visible (I didn't take pictures of the process on this one, because I wanted to do a test run on the sequence, first. I'll get photos and explain what I did, in more detail, when I do the starboard engine.) . I did have to clean up a little glue on some of the seams and square up a couple of corners, but I was thrilled with how everything went together, overall. In the following photo, the upper cowl is only snapped in place. I haven't glued it, yet. With some slight pressure in the glue phase, it should be a near perfect fit. I haven't done the instruments on the inboard side of the cowl, yet. I still have to figure out exactly how I want to handle that. The kit's clear parts, with some Future, should show off the Eduard PE gauges, as best as is possible. The holes are just so tiny, it's hard to see what's in there to begin with.
The last thing I worked on was the Quickboost exhausts. I wanted to do a test fit, to be sure I could paint them separate and still be able to install them after the plane is painted. . They look absolutely fantastic and are somewhat flexible. However, the connection points between each pipe are very small and extremely fragile. I ended up breaking all but one of them. The worst part, is that CA glue doesn't work very well in repairing them. So, I'll be installing them in chunks, by the looks of things.
For paint, I started with Raw Umber, followed by a dry-brushing of rust, then a dry-brushing of magnesium (for a dark, burned metal look), followed up by a light rub with black pastel. Then I shot them with flat lacquer. I may add a few more highlights (and some much needed touch-ups, from looking at the photo) once they're installed and when I do the exhaust streaks on the wings, but these will do for now.
Thanks for stopping by!
John
Ah, good tip on the propeller-blade collars! Didn't know / notice! As for the yellow of the landing light: chances are that these were clear when the aircraft were in use but yellowed on museum pieces over the years.
As for the engine instruments: As far as I know, these were only present on the insides of the engines. To be able to use the engine cowls on both sides, both sides of the cowls had holes punched out.
-
1
-
-
Oh!
B-25C/D?
B-26 Marauder?
A-26 Invader?
A-20 Boston?
-
1
-
-
How about the Fouga Magister? An infinitely more interesting subject but puhlease no IAF aircraft! Just a proper trainer from the Frenchies or the
Southern DutchBelgians!
-
2
-
-
At this moment in it's box next to the bench. At the moment fondling Do 335B plastic...
-
Doesn't have to taste good, just has to contain alcohol....

-
Looking good, Ralph! How did you mask the spinner?
-
1
-


1:35 Tamiya Sd. Kfz. 251/1 Ausf. D
in LSM 1/35 and Larger Work In Progress
Posted
Wow, that's a seriously attractive model you're building, Ralph. I too love the inner details you added! Good call on those AFV tracks. Silly thing is that I bought the single link tracks from AFV, looking a bit down my nose at the rubber bands.....