CANicoll
-
Posts
1,927 -
Joined
-
Last visited
Content Type
Profiles
Forums
Events
Gallery
Everything posted by CANicoll
-

Hasegawa Ki44 Akeno flight school.
CANicoll replied to Drdave's topic in LSM 1/32 and Larger Aircraft Ready for Inspection
Very cool! Nicely done! -
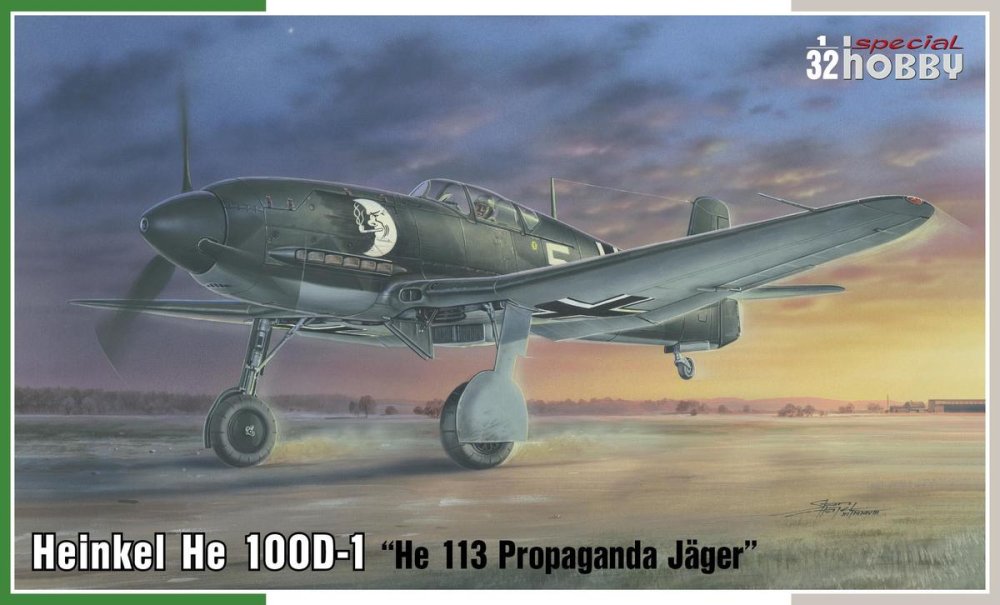
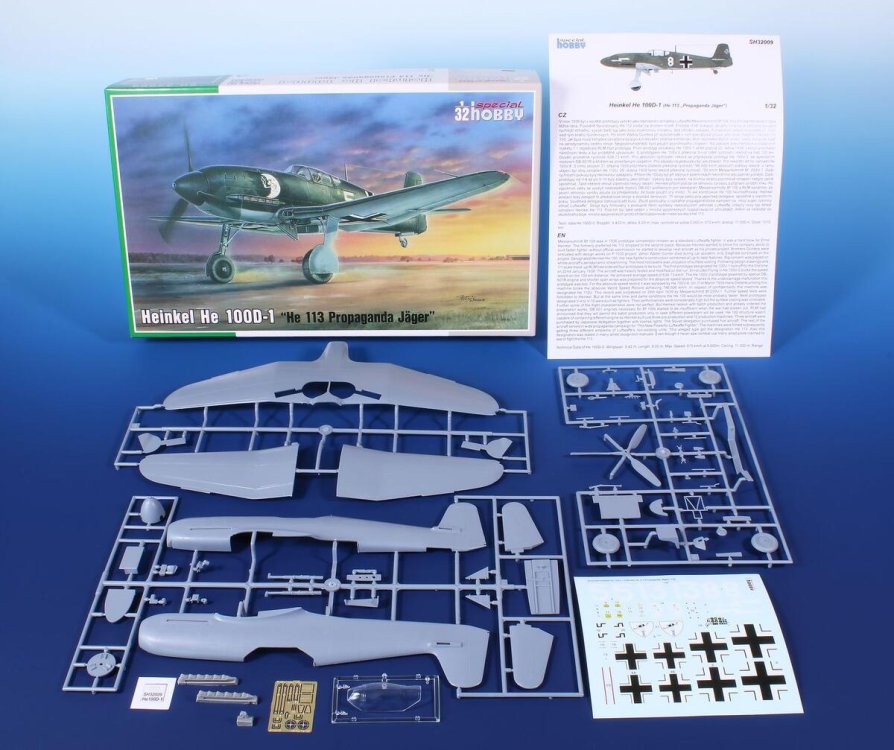
As much as I would love to build a unique subject like the He-100, I just can't see spending nearly $50 (with shipping - the kit is $30 with discount) on such a simple kit. I like detailed cockpits and I just don't see a lot there to work with. Oh well!
-
I see they have the kit on special this week, for 1/2 off or about $35USD. What I see is not a lot of parts so wondering if, even if it is "only" $35, is it worth the price? Thanks, Chjris
-
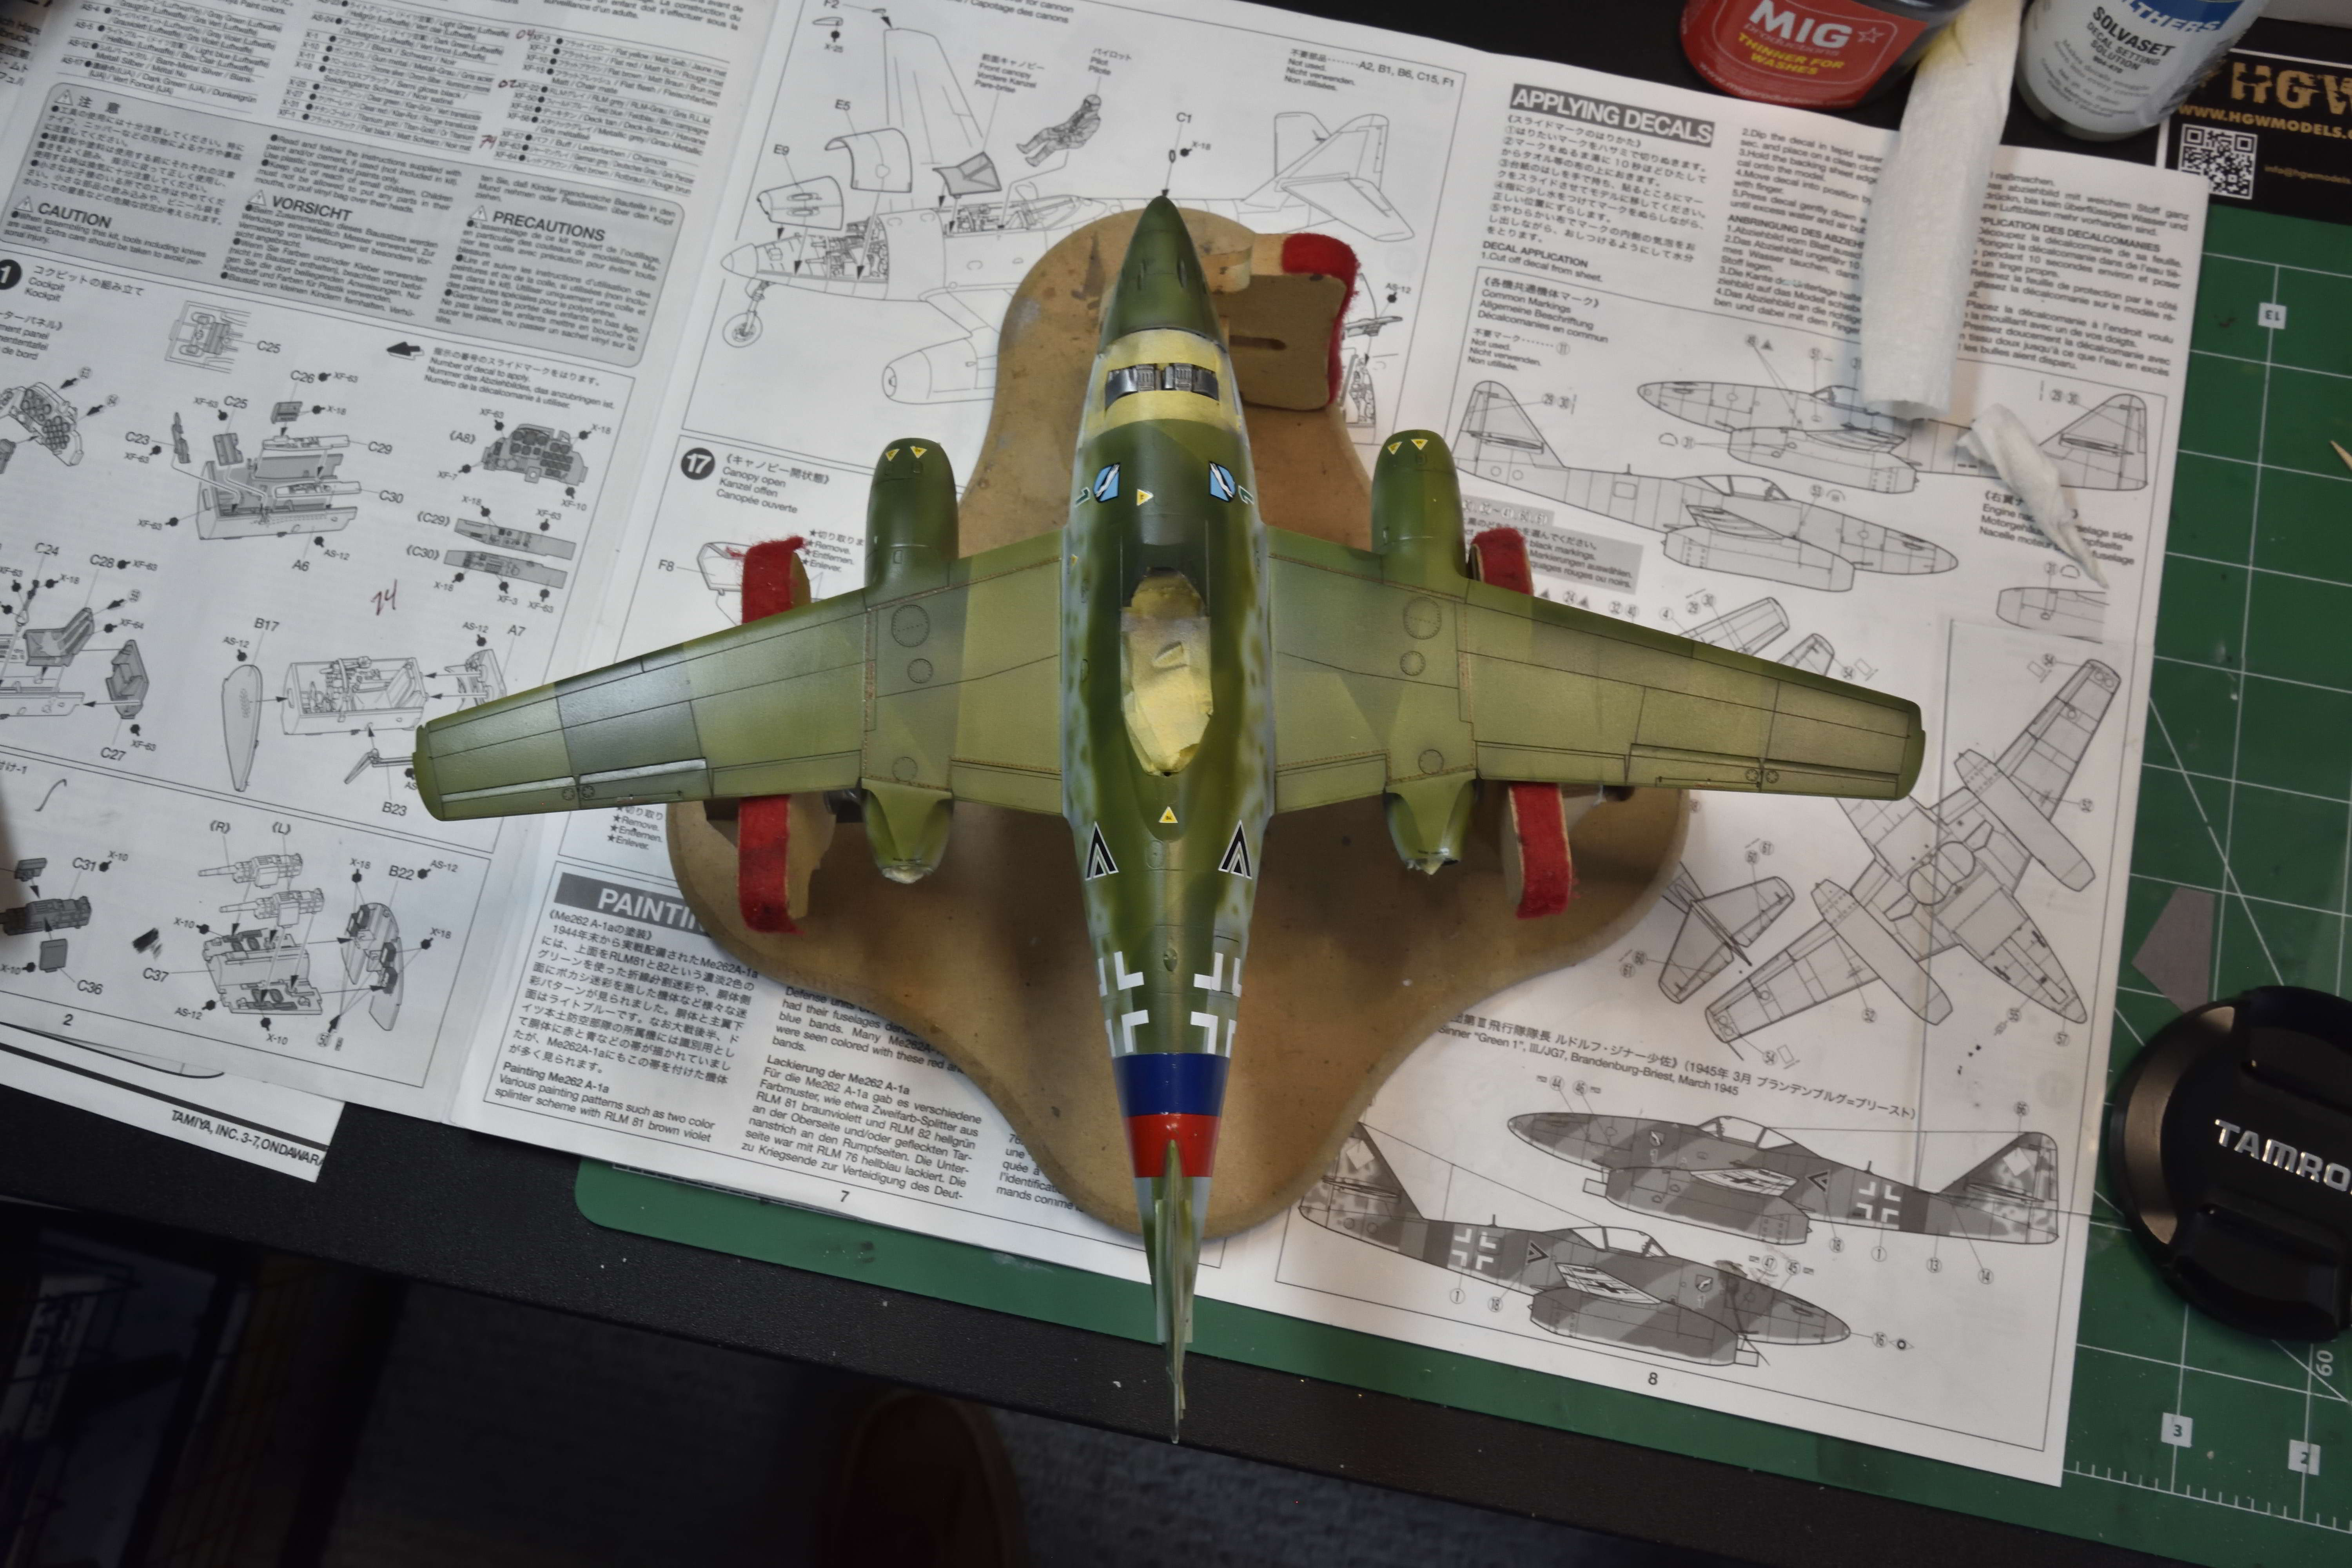
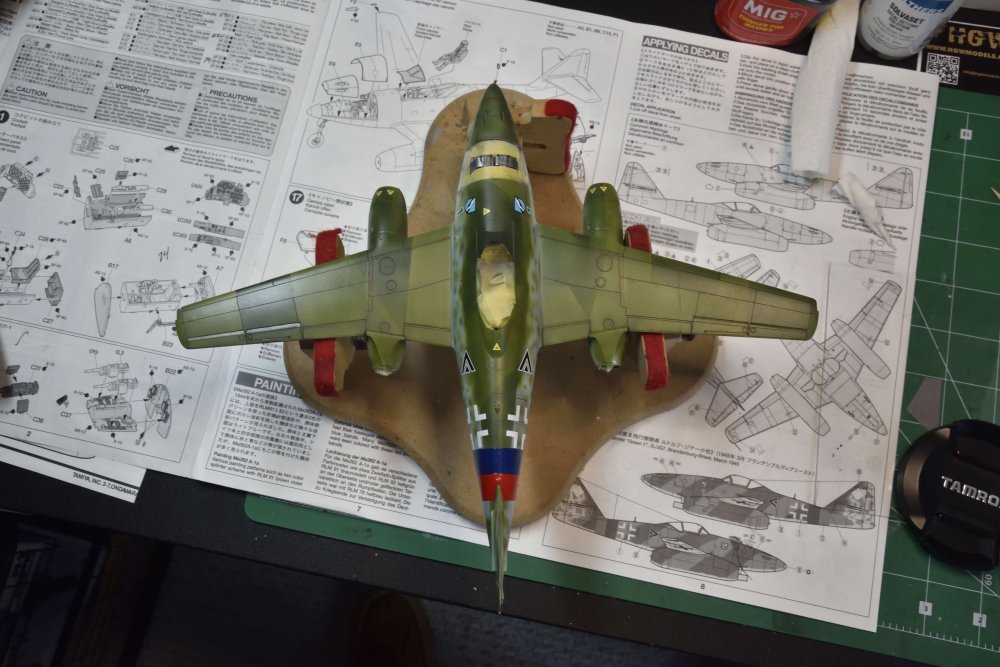
Making some progress on the finishing - decaling and washes. Here is the first pass. Topside decals and stencils mostly completed. I'm not a big stencil guy, but for some reason am tackling the job on this build. I really don't like the Tamiya decals. They seem to silver on me in the strangest of places, even on a glossy coat. And I seem to break more than a few just gently getting them into position. The crosses we bear... Used MIG Dark Wash for the wing panel lines. I don't think I'm going to do the same on the fuselage. I've looked at as many pictures as I could find on the internet and I just don't see panel lines on the fuselage (and honestly, I can't find a lot to show the wings!). There ARE a few specific lines - such as the lateral line on the side of the jet engines - but not many overall. If anyone has other references, please let me know! The Red/Blue fuselage band is the decal - I just did not have the proper colors on hand and this was the quick and easy way to deal with it. Hopefully more to come later!


- 64 replies
-
- 11
-

-

-
Second! Looking great!
-
Wow, really impressive Gary! I was thinking "Awesome" actually. Hmmm. Hubert has a point, but I'm with Rob as well - I think the subtle work you have done is terrific. I just spent more than five minutes just looking at your pictures, back and forth. I think you delivered a master-class in the rivets and HGW needs to feature your work on their website. You might want to take a look at the very front of the exhausts on the left side of the aircraft and maybe the black wing roots need just a bit of weathering to match the terrific job on the rest of the aircraft? Perhaps the first stack needs just a little bit of touch-up, which you probably just have not gotten around to yet. Honestly, that is all I can suggest! You have me wanting to build a 1/32 109 now...
-
I just saw this too. We are our own worst critics, Martin. I know YOU know the flaws, but looks terrific. I'm seeing great weathering, the insignia fading is lovely and I wish I could dirty-up a plane as nicely as you do. People must love it in your LHS!
-
So very sad. Just horrible to watch the video.
-
Can you imagine if HGW comes out with the rivet kit for the A-20? Gary will go crazy!! Not sure how I feel about all those rivet lines. I was never a fan of the A-20, preferring the similar B-26, but this is a nice-looking kit and I love the idea of a camo A-20. Just kills me to do a detailed interior and then close it all up (Monogram's 1/48 B-17G kits....).
-
Looking good. This is before primer? Wow, a very clean build!
-
One of my favorite subjects, too! I did the big Italeri 104 and it too had a number of fit issues. I really like it in camo, tho. LOVE your cockpit - beautifully done!
-
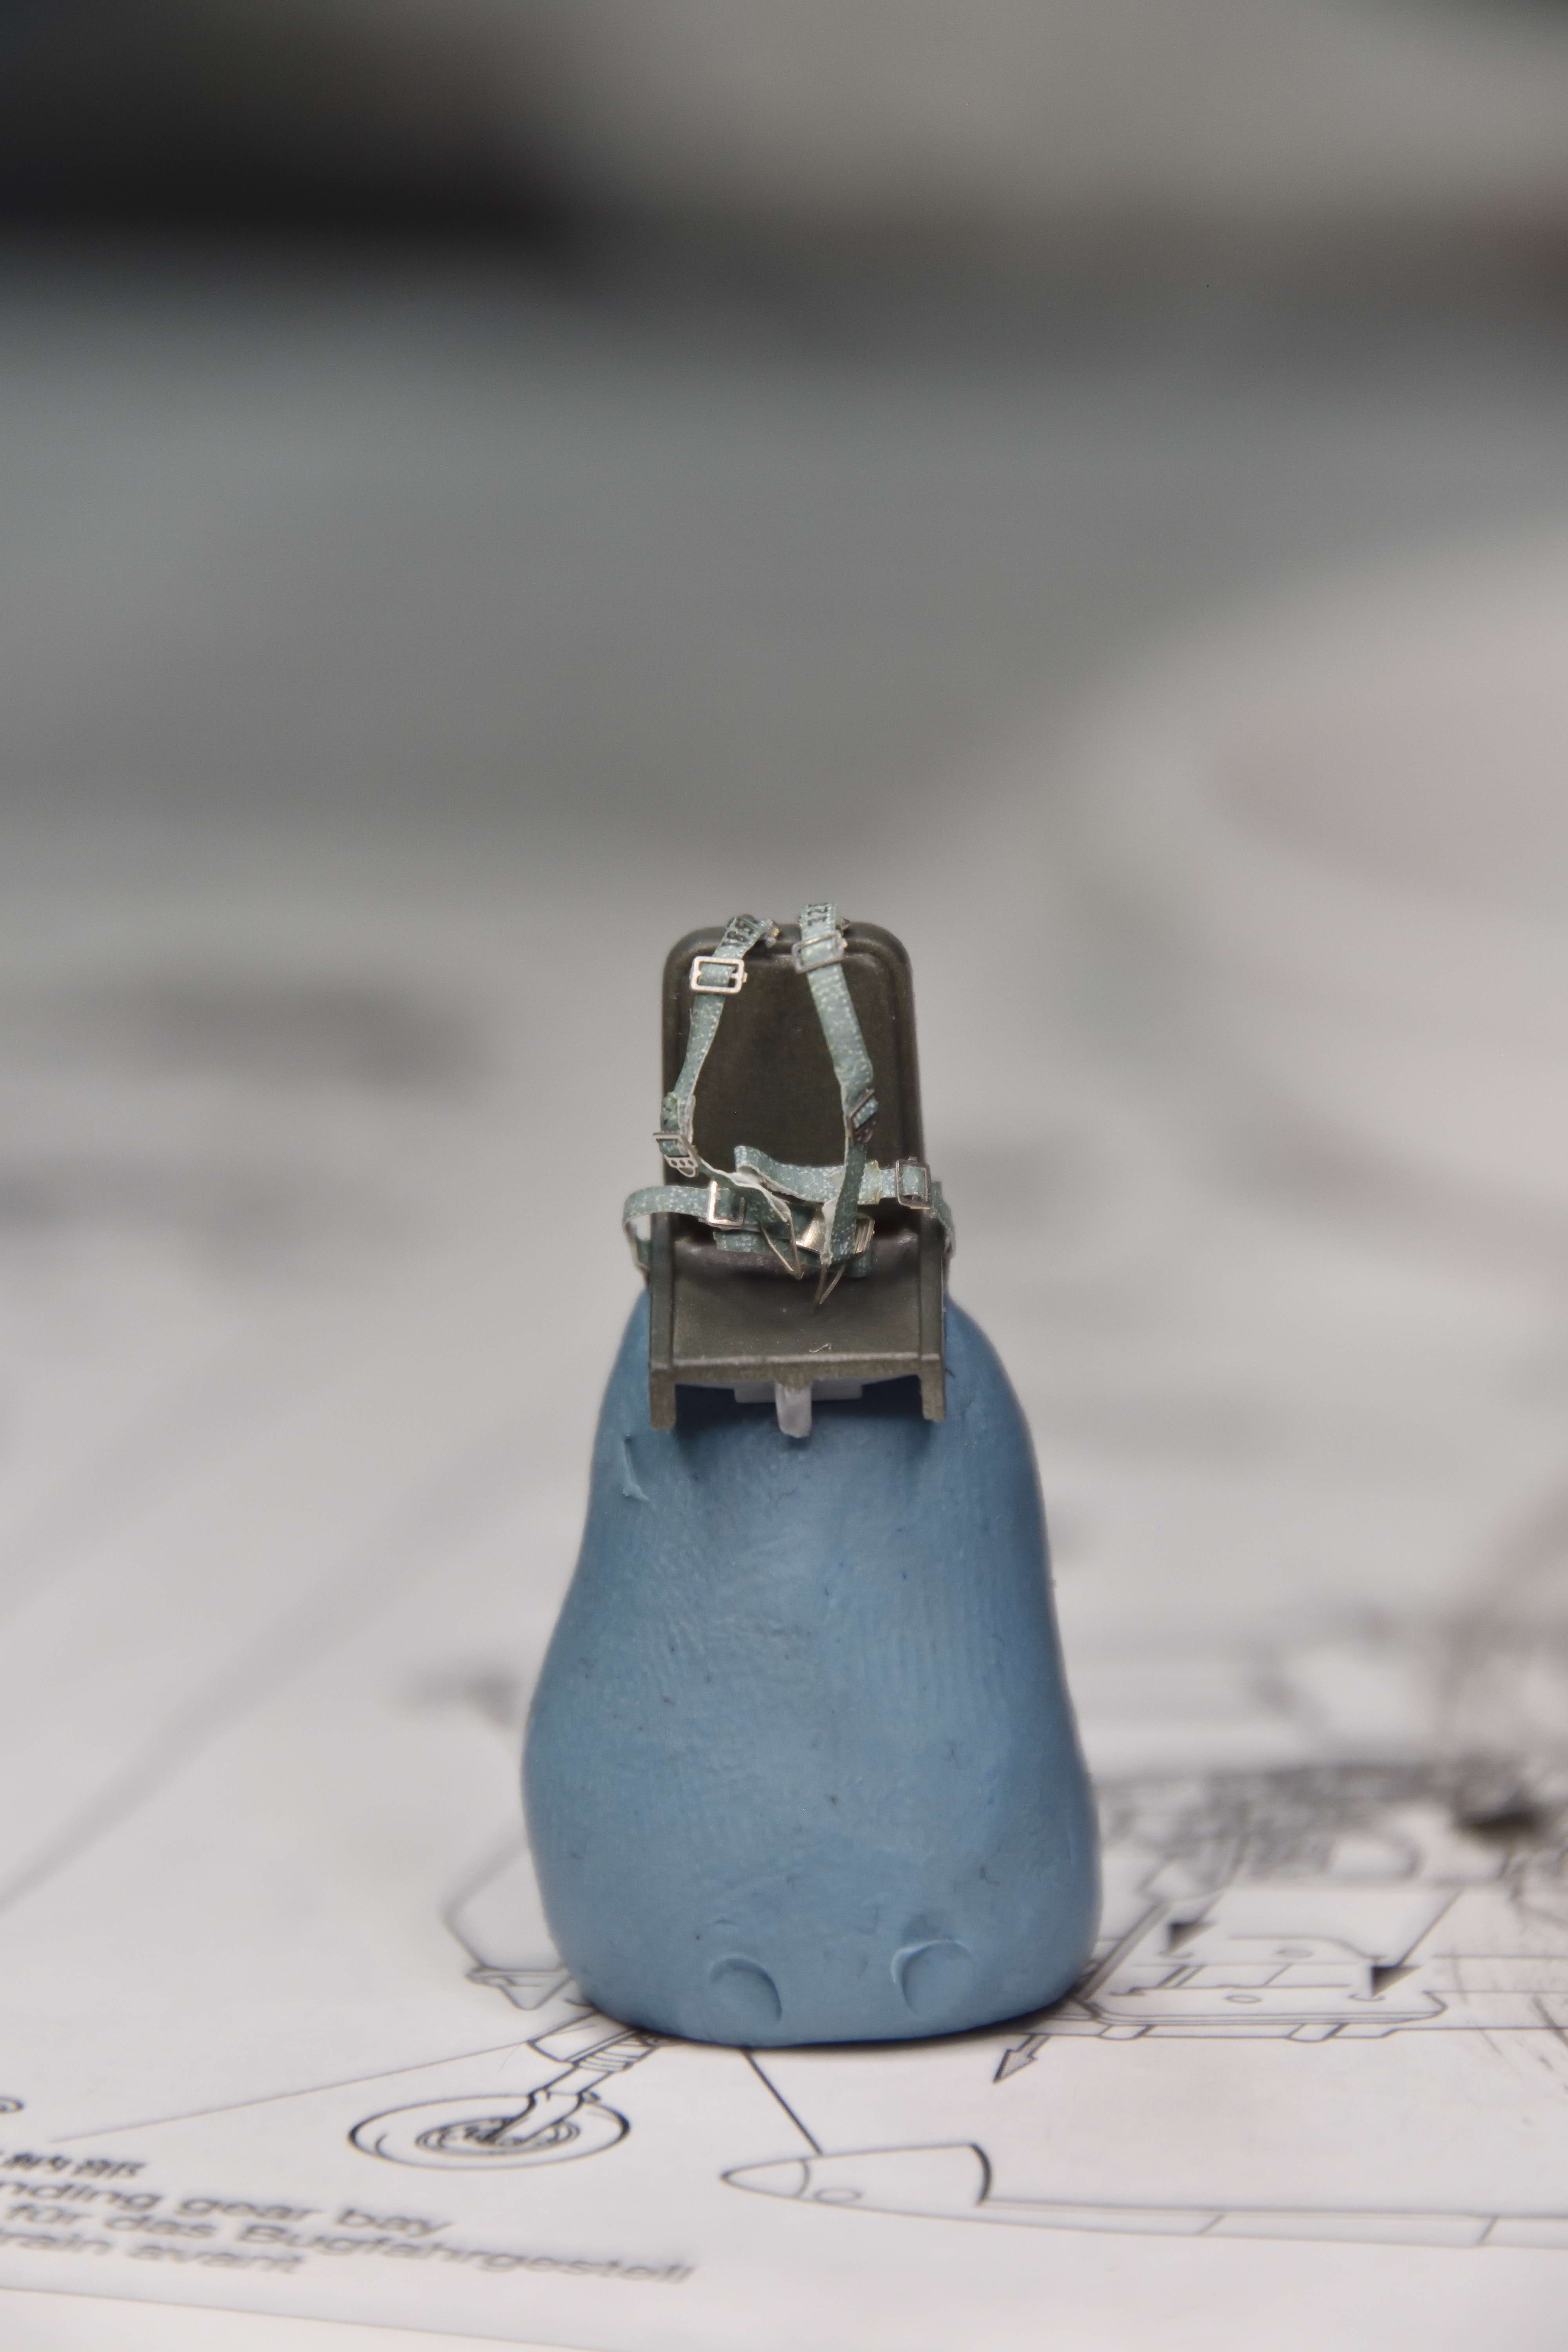
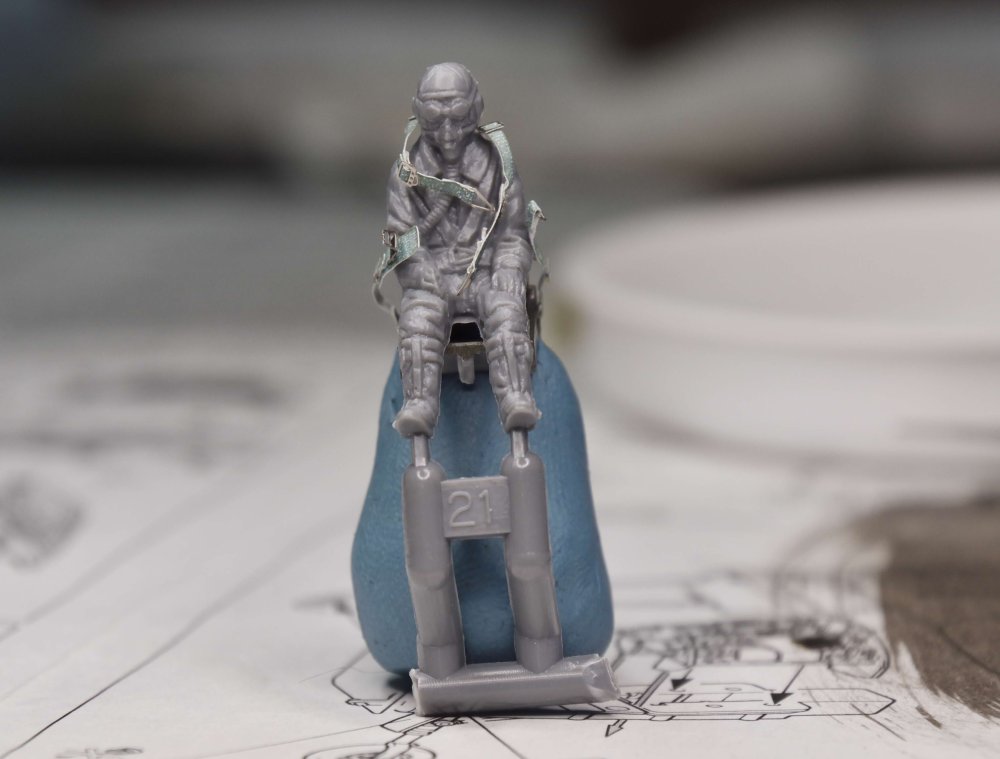
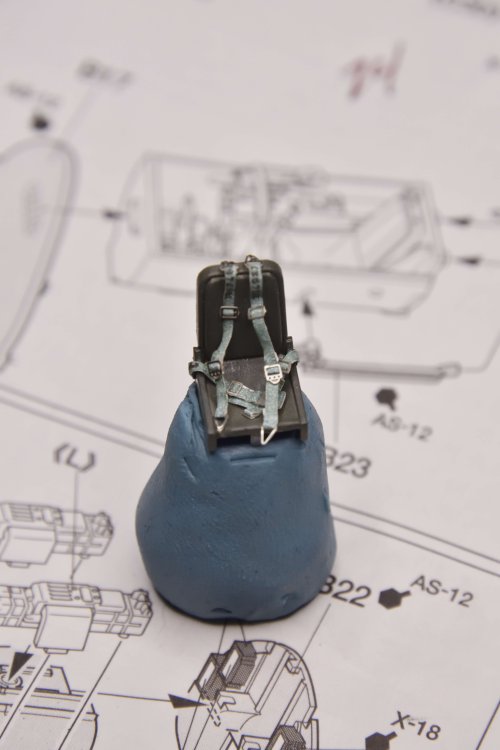
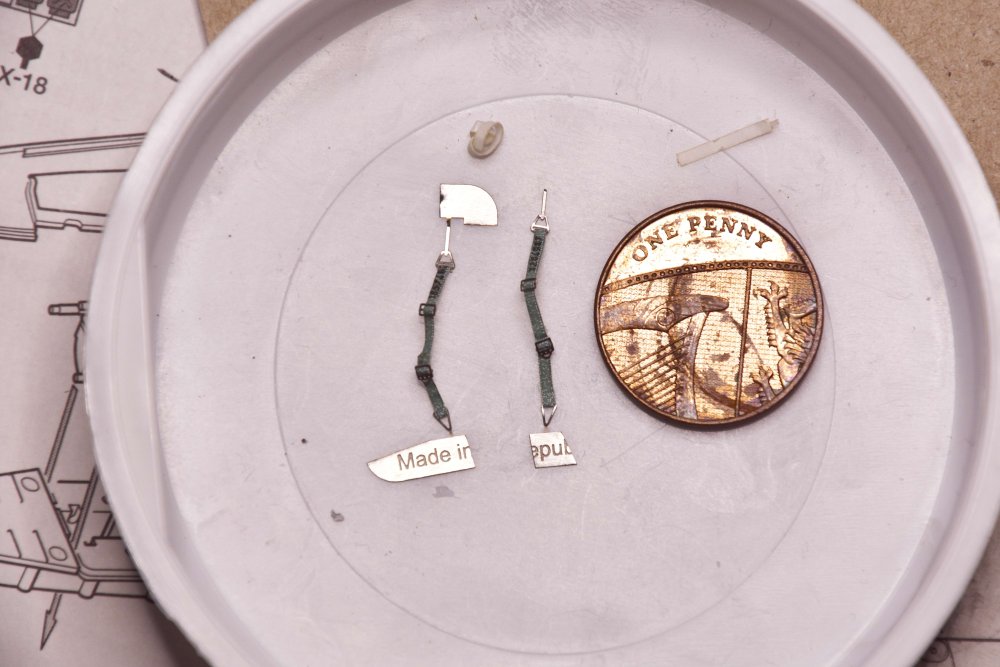
So the saga of the $%!@#!!! seatbelts is over. I love the way they look and 'act', especially compared to decal seatbelts but they really are a chore to put together. Here they are just attached to the seat. They looked way too big to me so I put the pilot on the seat to see if they were reasonably close. What do you think? Hard to see, but in general, they could be a bit shorter than I have them, but I think within the realm of adjustability. It would help if HGW would provide some sort of guide on length. And the final placement. I may still make a few adjustments but this is pretty close to where I think they will end up. I was going to finish masking the canopy and get the landing gear together, but this took a while to finish up. Finally!

-
If only it was that easy for me to lose MY extra circumference!
-
I'll second this! 🍺
-
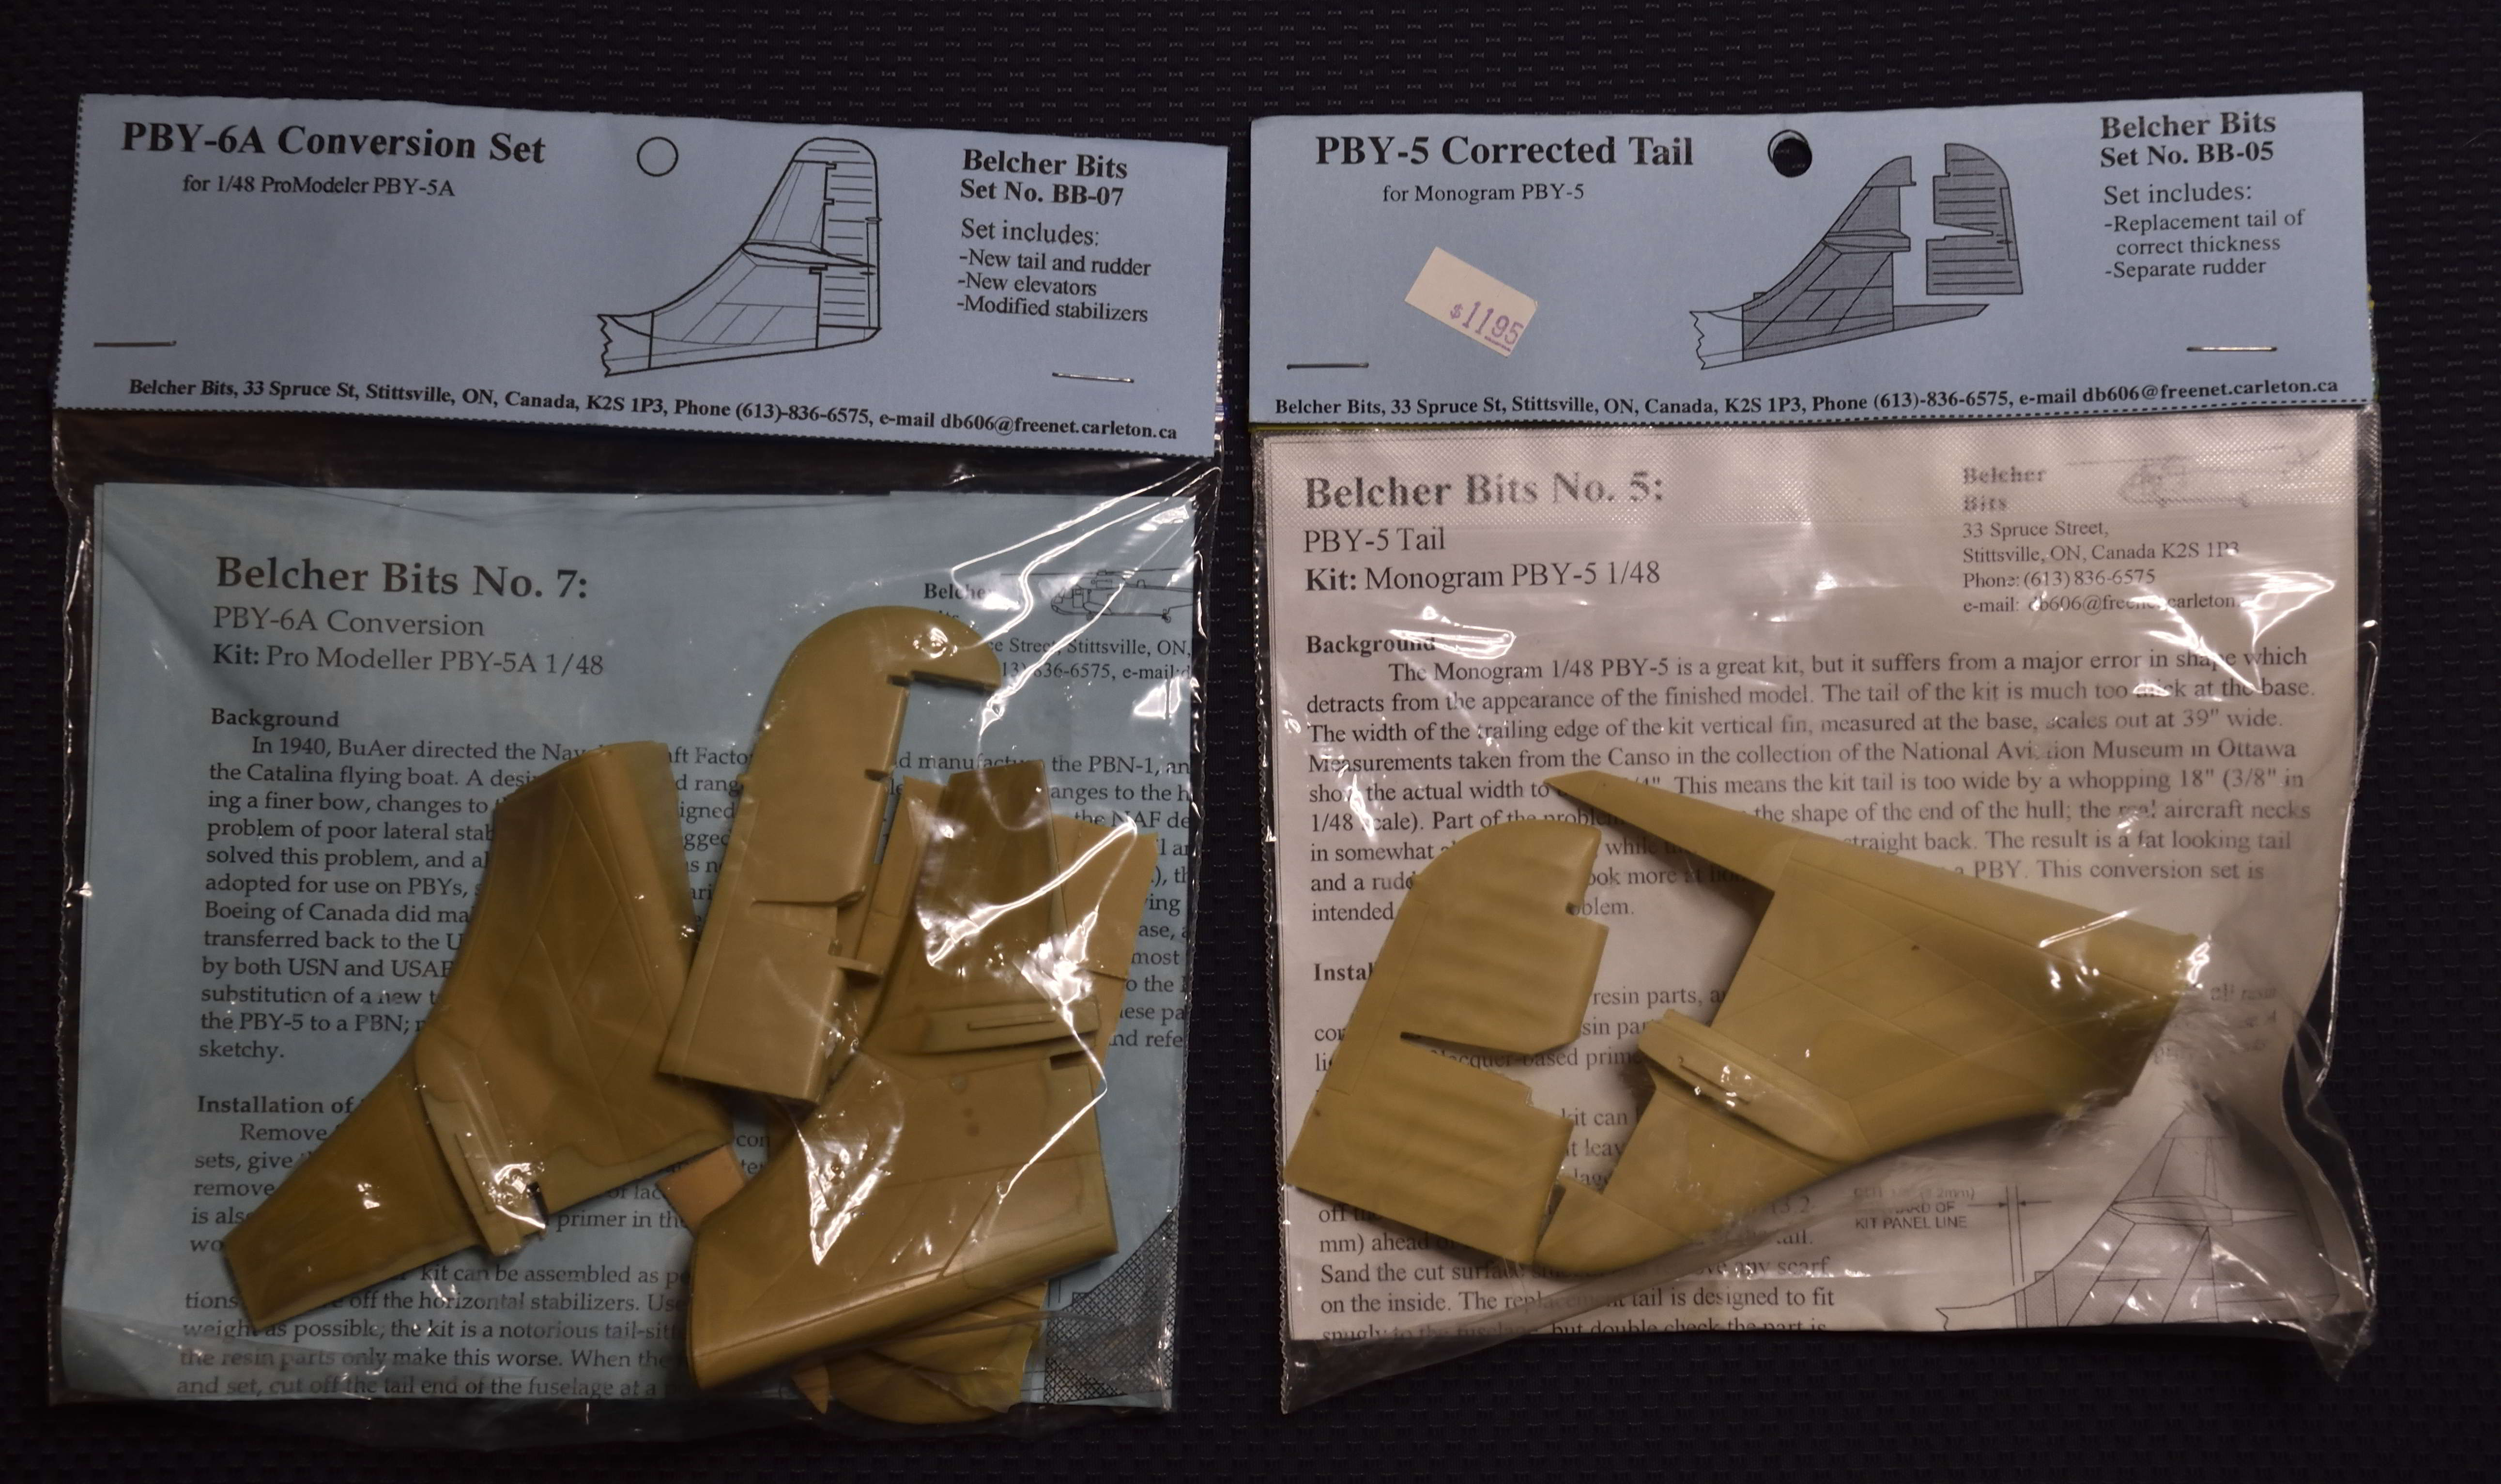
Apparently, and I had no idea of this until I opened the box I bought (literally three or four years ago!) and found the Belcher Bit resin bits. Sounds like the tail and fuselage part leading up to the tail are too fat. Personally, I don't think a little extra girth around the middle is necessarily a bad thing (I represent that remark!), but this would be my first major resin conversion in a long time, so I'm leaning towards doing it. Have razor saw, will travel...
-
Hmmm, no way to shave down the proud part of the firewall on the left side to help close up the cover? A flat file? It would be ugly, but might allow the cover to close?
- 90 replies
-
- 3
-
-
- zoukei-mura
- 109
- (and 1 more)
-
Thanks, Mike! I used the Grex Tritium, with the pistol grip trigger and about 14psi of pressure. I find it SOOO much easier to modulate the paint - especially with MRP and thinned Vallejo Model Air. I picked up two needles: .2mm and .3mm. I used my Iwata HP-CS for the priming and pre-shading, but the Grex for the rest. The nice thing is the Grex needle ends are marked so it's easy to see which one you have in your brush (if like me you simply don't remember!)
-
I have a few different stands, but I just can't see putting that much weight into the nose and having it stay on its legs. I'm sure that is why later versions of the tail were hollow (in two pieces). Plus, I like the way it looks buttoned up. If I was better at diorama's, I'd put it into the water!
-
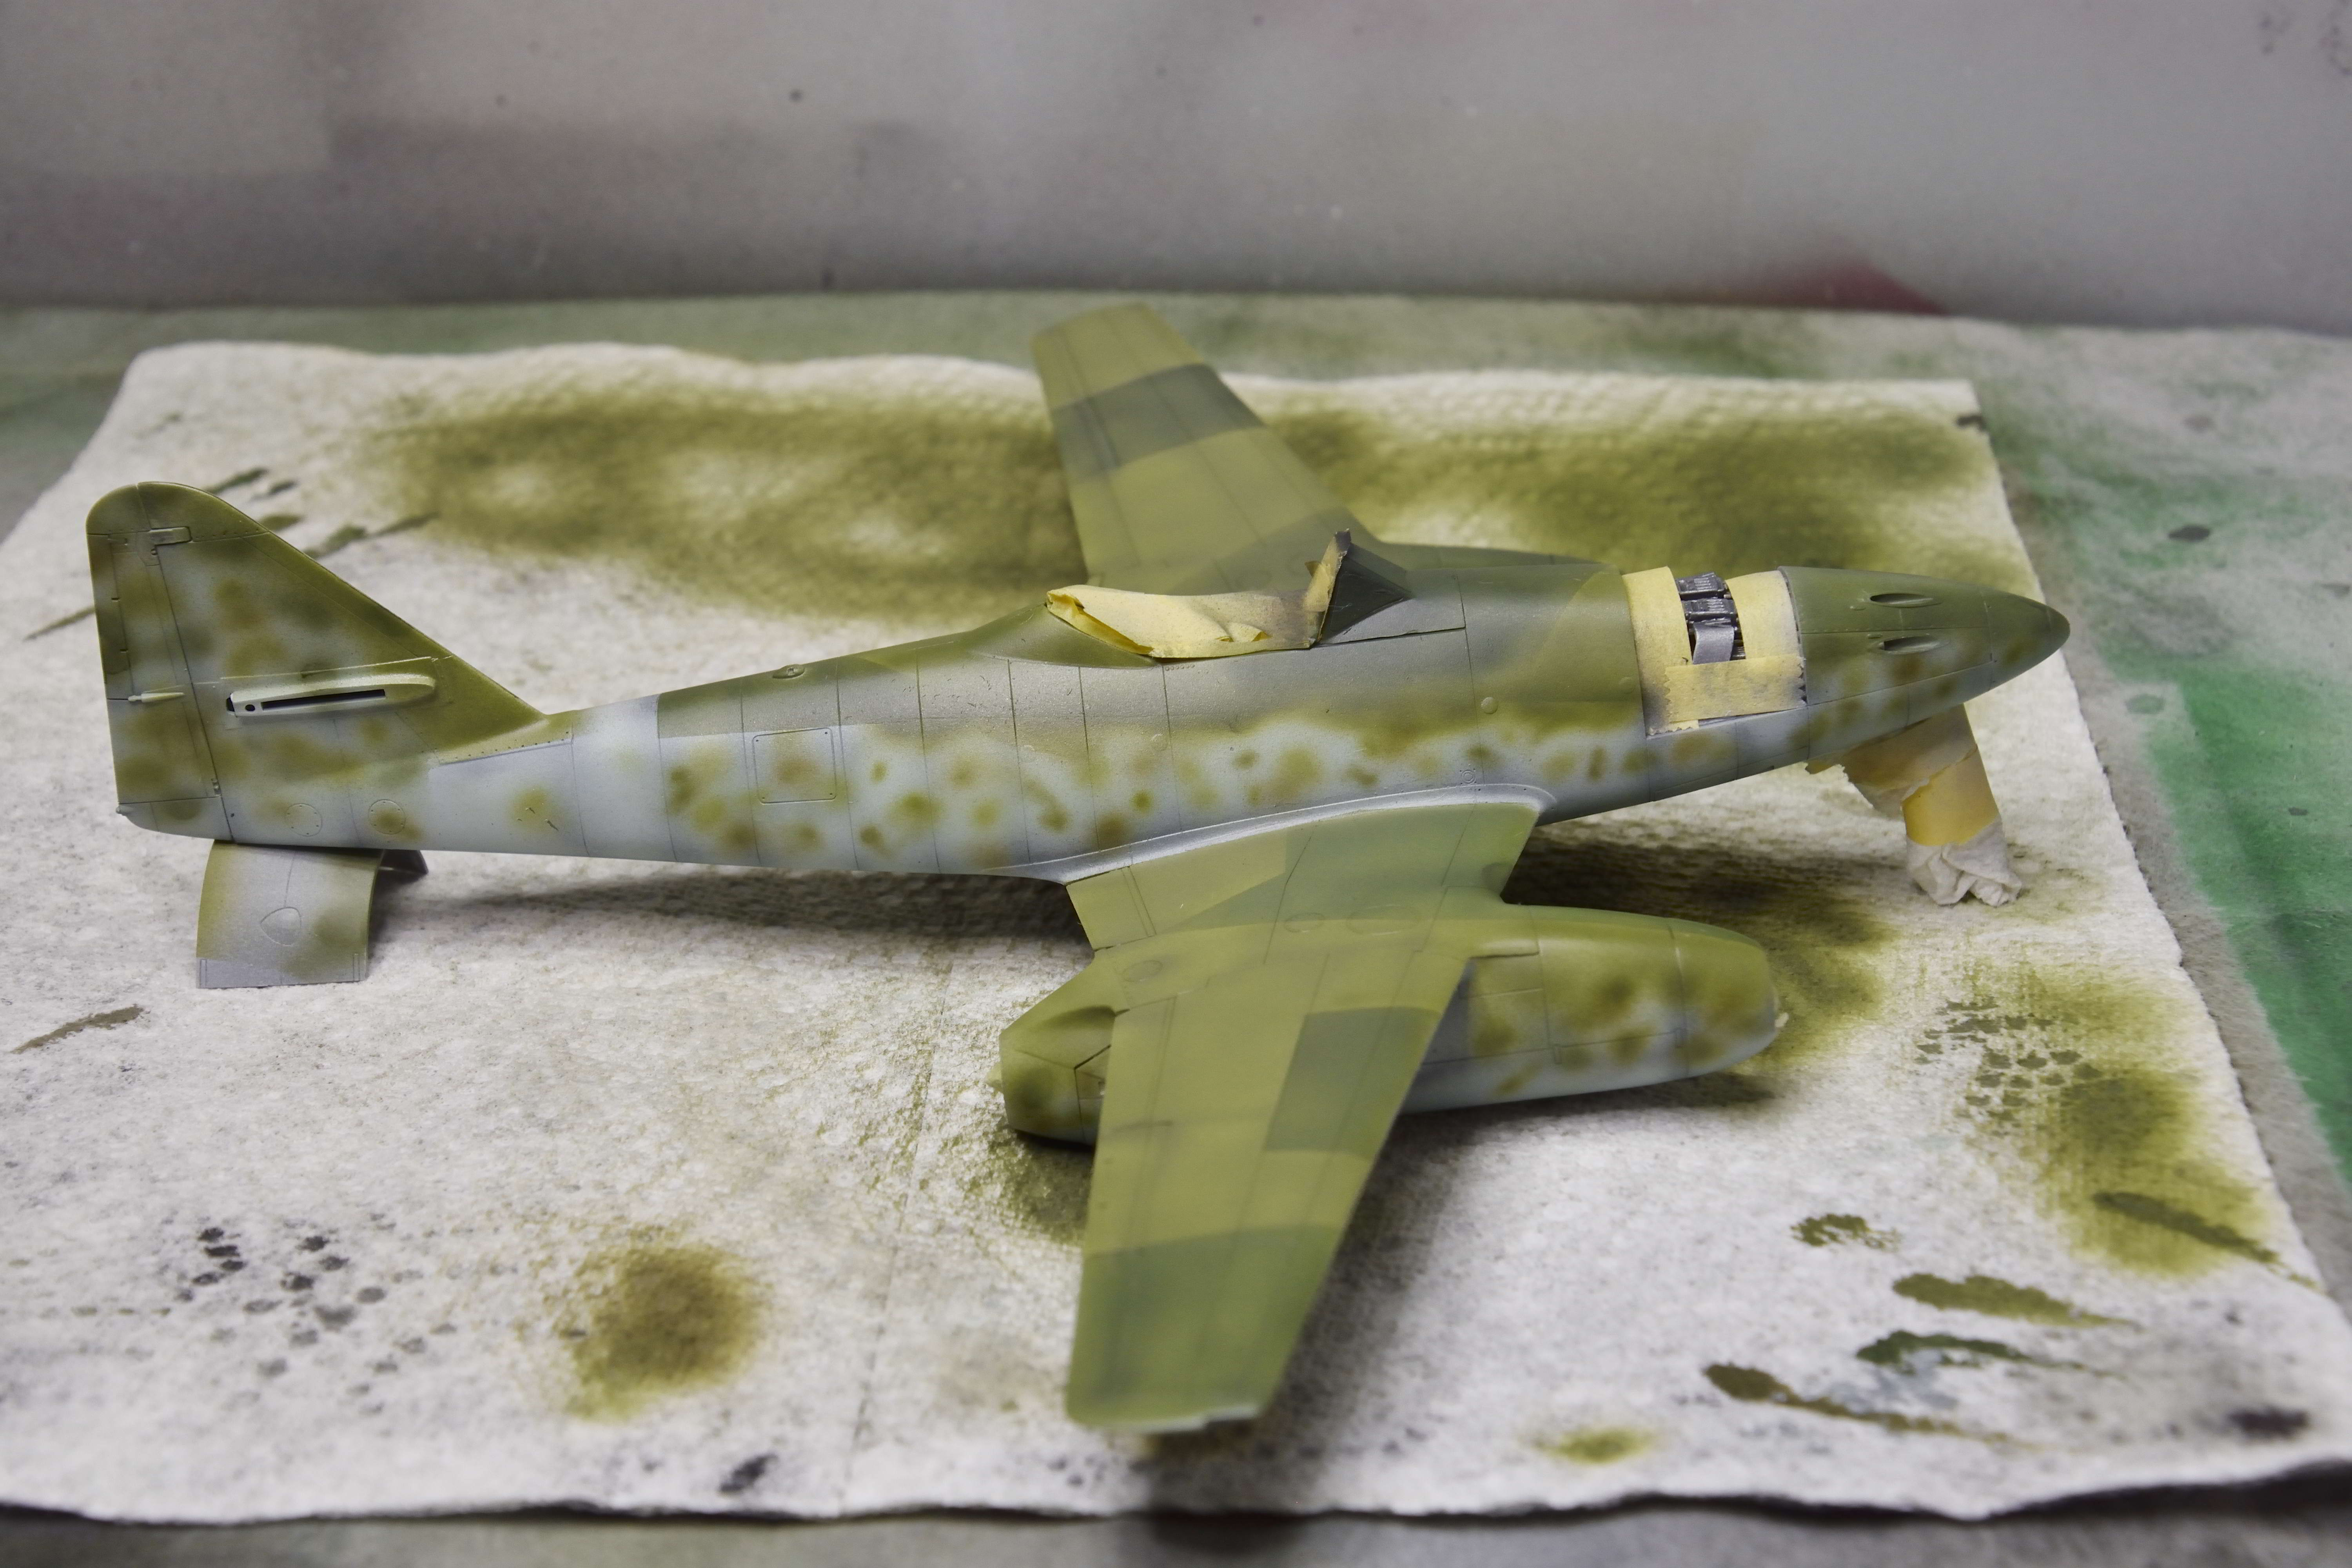
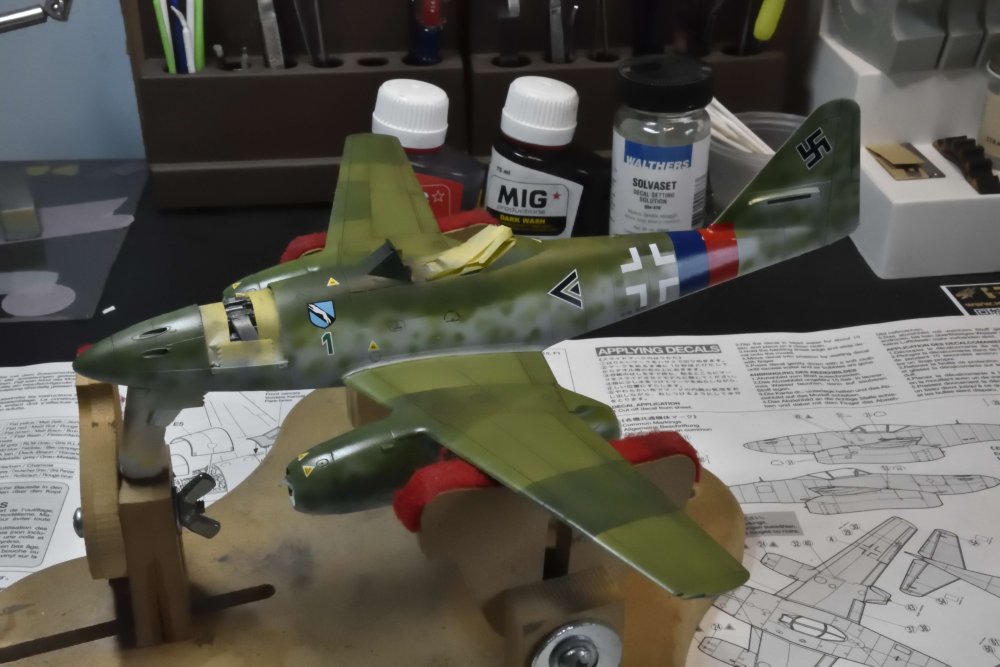
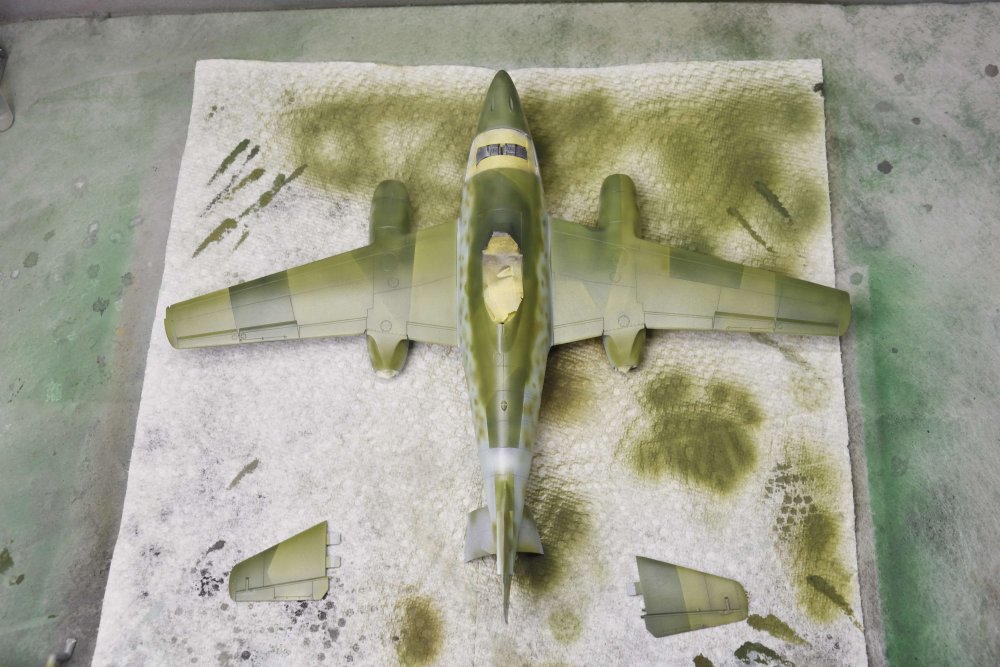
Whew. Keeping the TV off (or at least away from the election coverage) helped enormously with focus on getting some paint sprayed. Put on a gloss coat for some weathering/panel washes and might start some of the decals. There is a bi-color band that goes in front of tail, hence the lack of color there. The German scheme is interesting - a mix of hard-line camo on the wings and top of the fuselage, and free-form mottling on the fuselage sides. Hard to distinguish but there are three colors to the spots on the fuselage - with a 'Dark Green' which turned out to be more of a brown added in. I think I over did the spots, in general. Zero progress on the lap belts so far... And the Benedictine is still intact...


-
Mike, I think you have one of the very early Belcher sets compared to mine - very cool! Your resin looks exactly like mine. Thanks for the offer of the PE but I'm going to try and keep this relatively simple - just work on the cockpit... The engine is tempting but they'd be mismatched but thanks. I'm going to build this in-flight so no undercarriage. I'm hoping to pull some pilots out of the extra's I have but I may change my mind once I get into the build. I have a set of the old Moskit exhausts, but I think they are for a 1/72 Spit or Mustang. I used them ages ago on a number of builds, esp the P-39s. Can't beat the look of them! See ya, neighbor! Chris
-
"Have Machine Gun, will travel"...
-
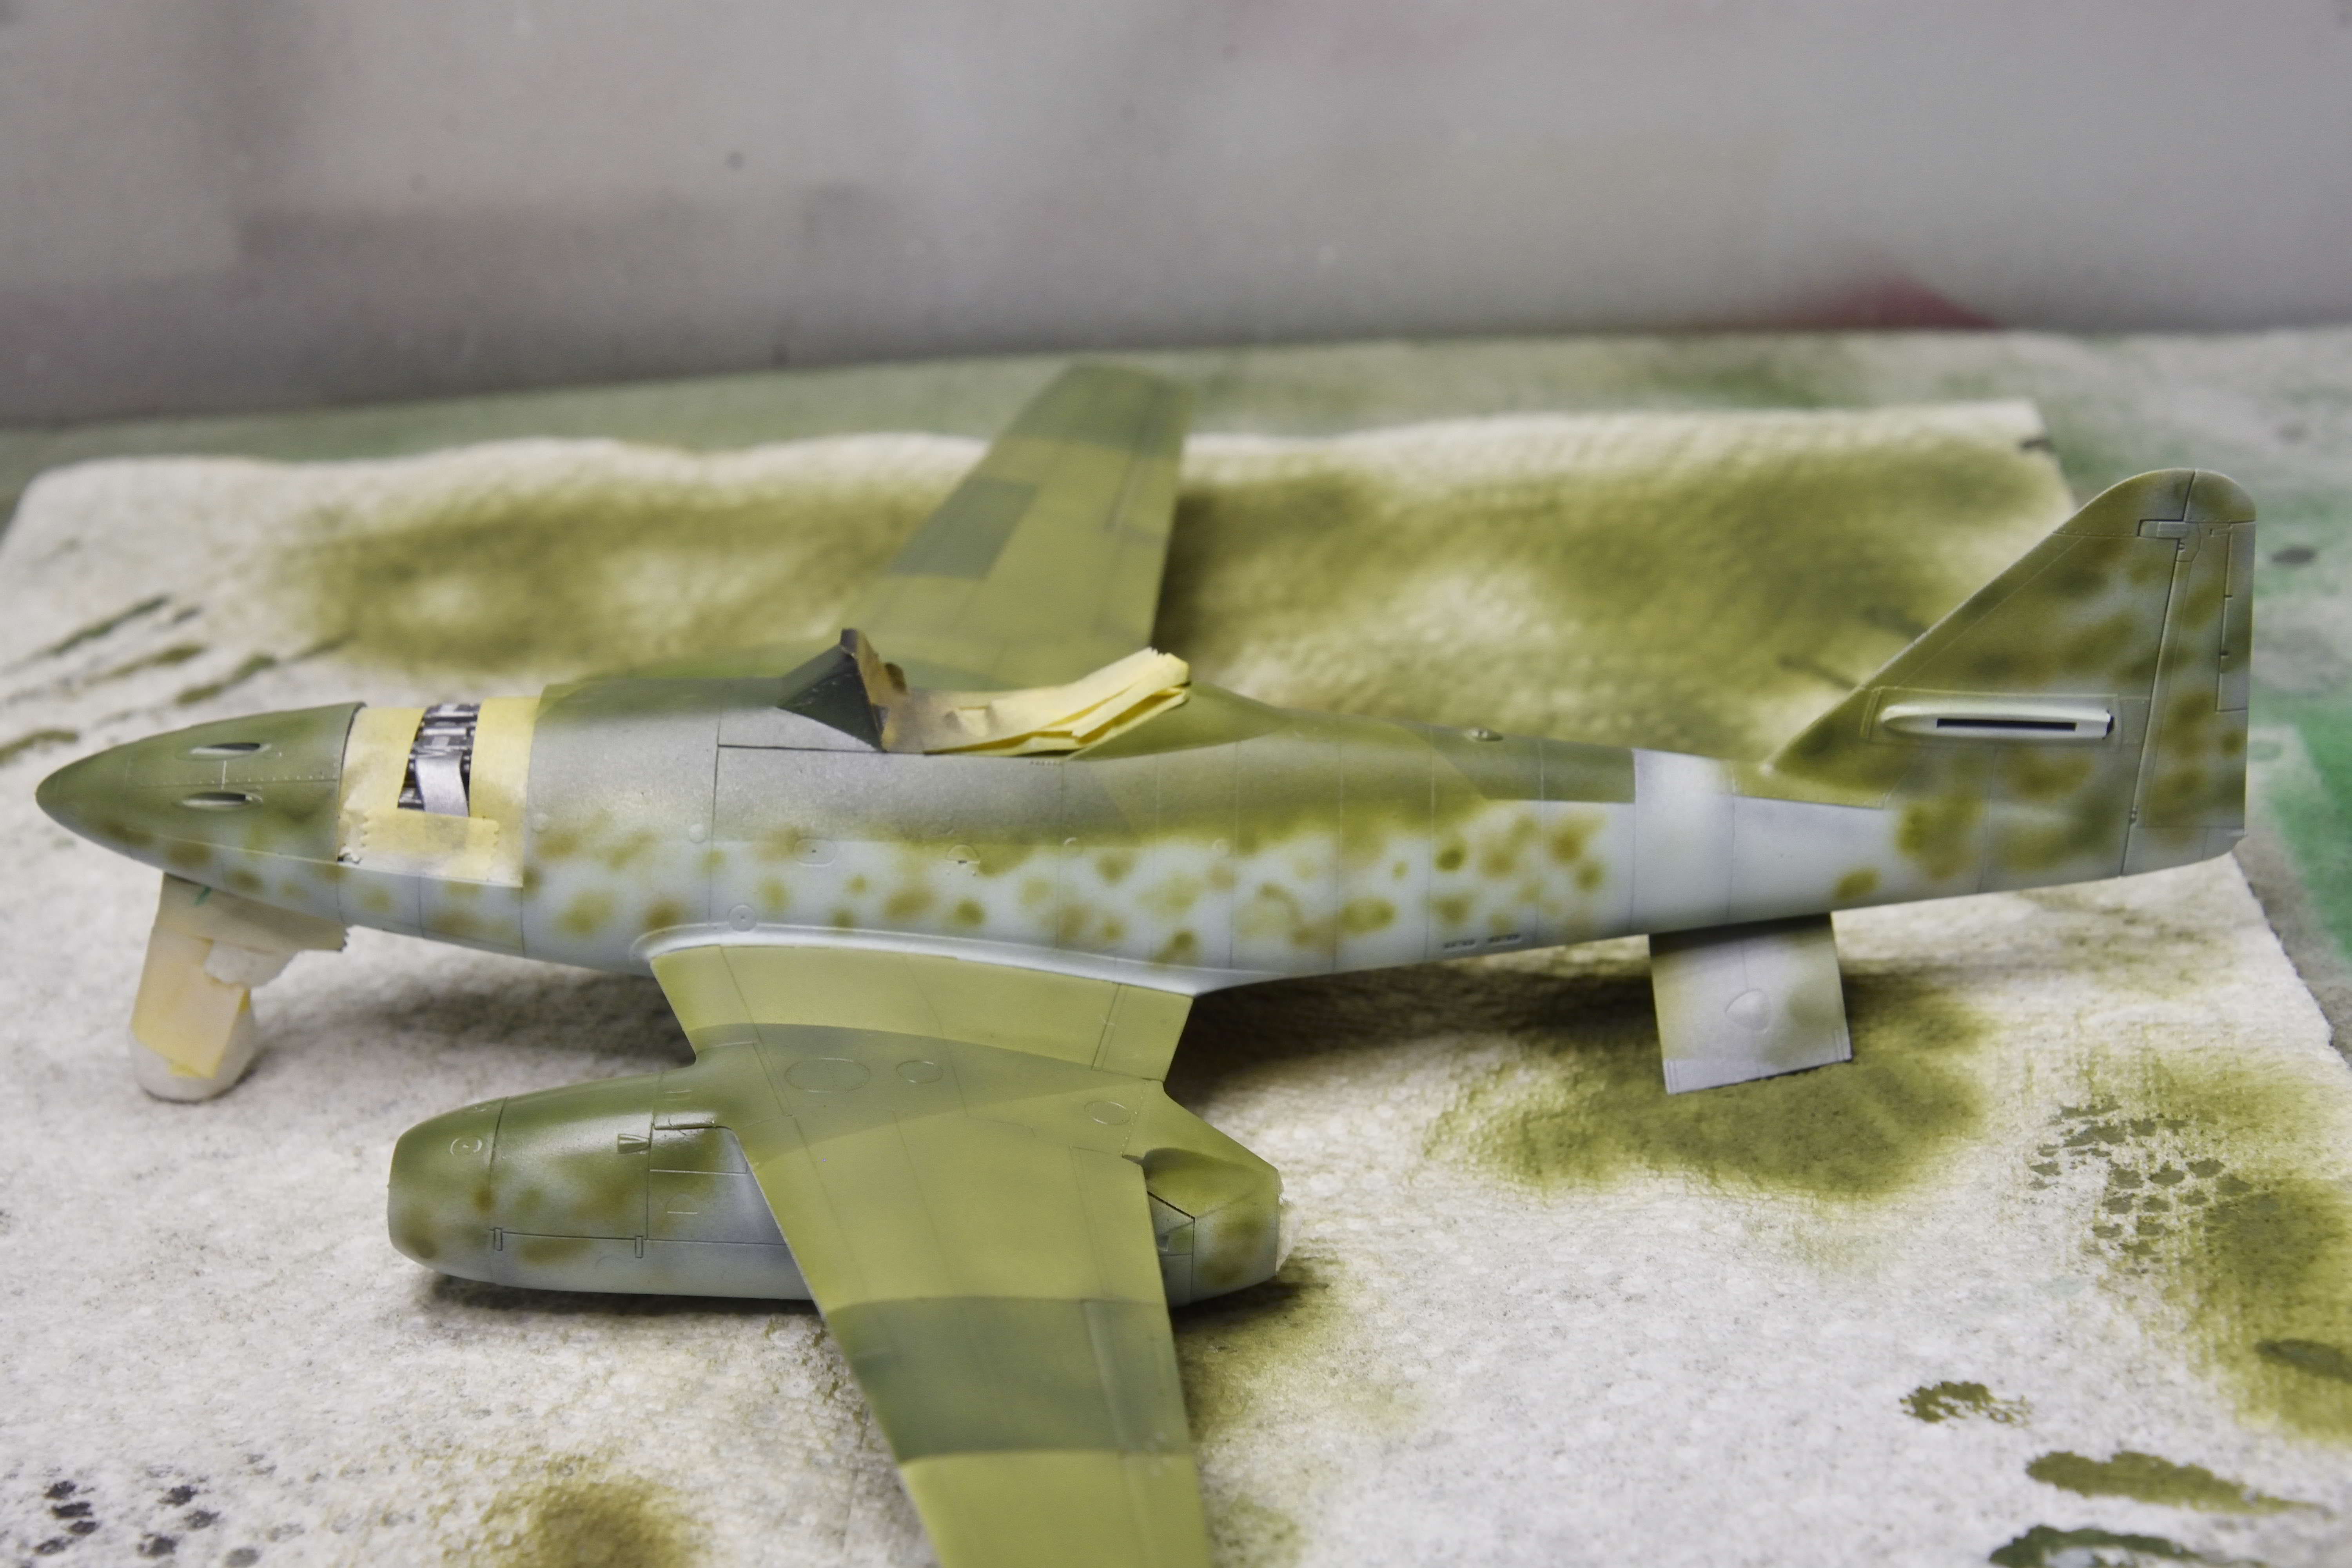
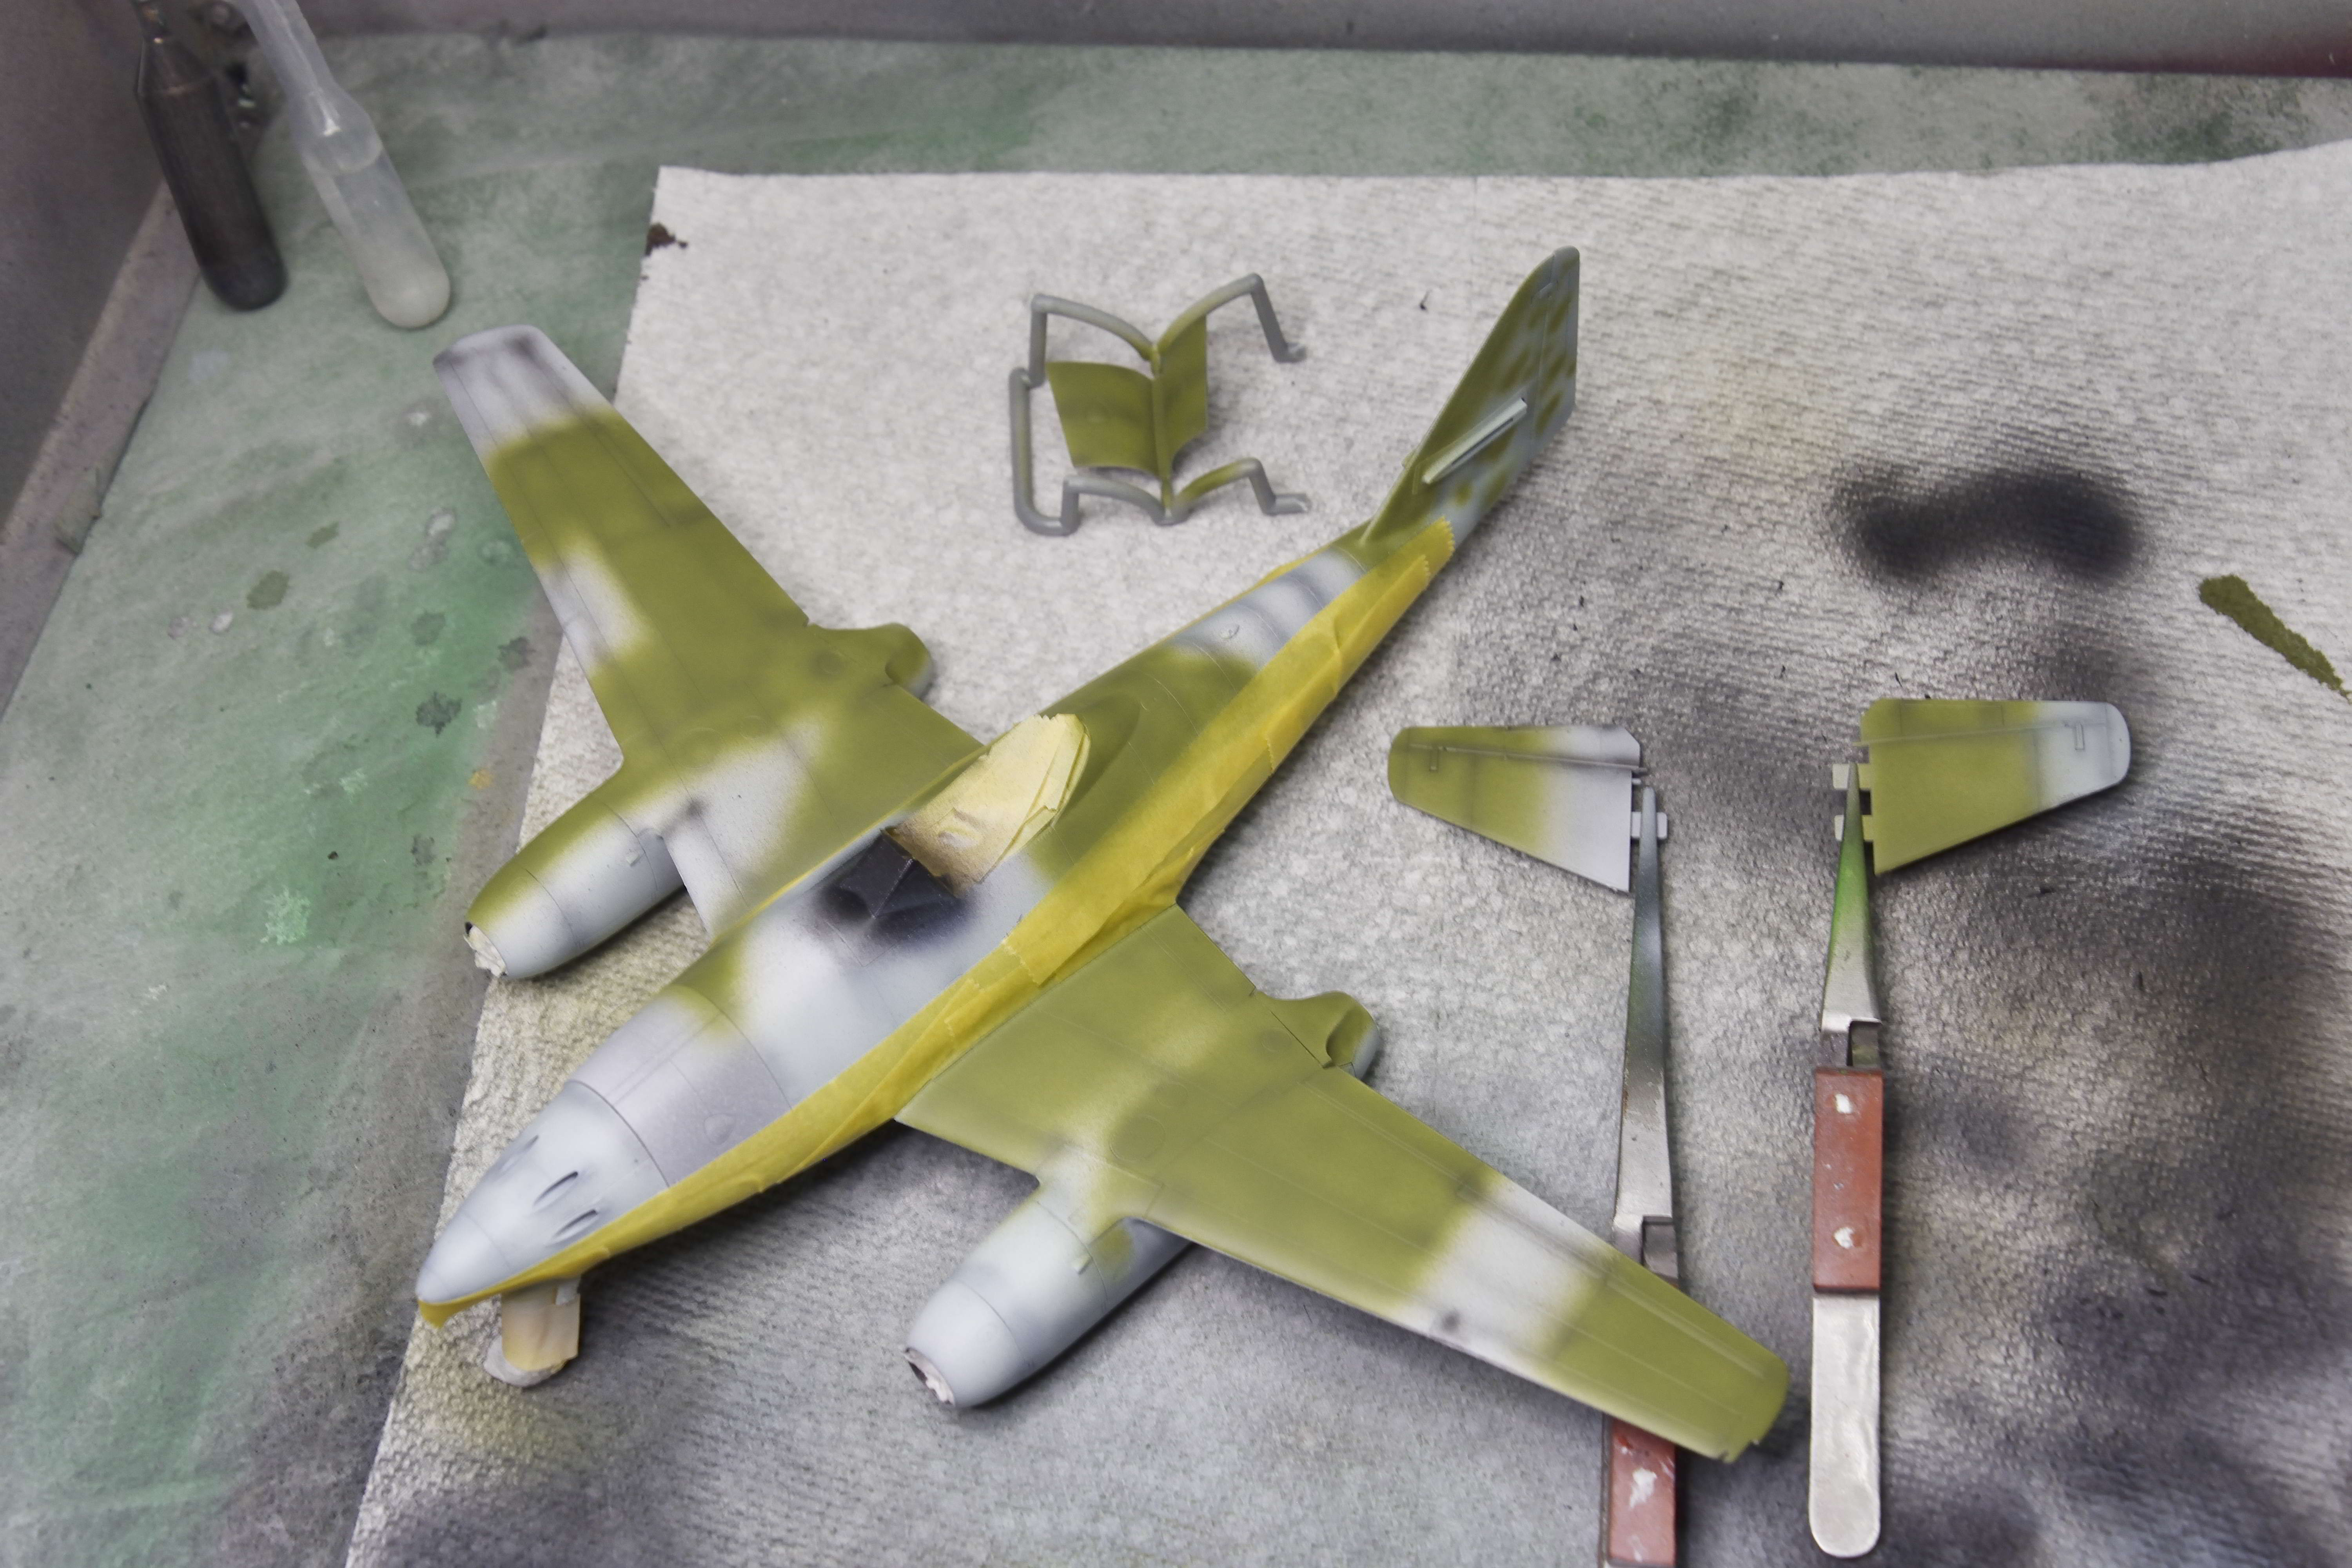
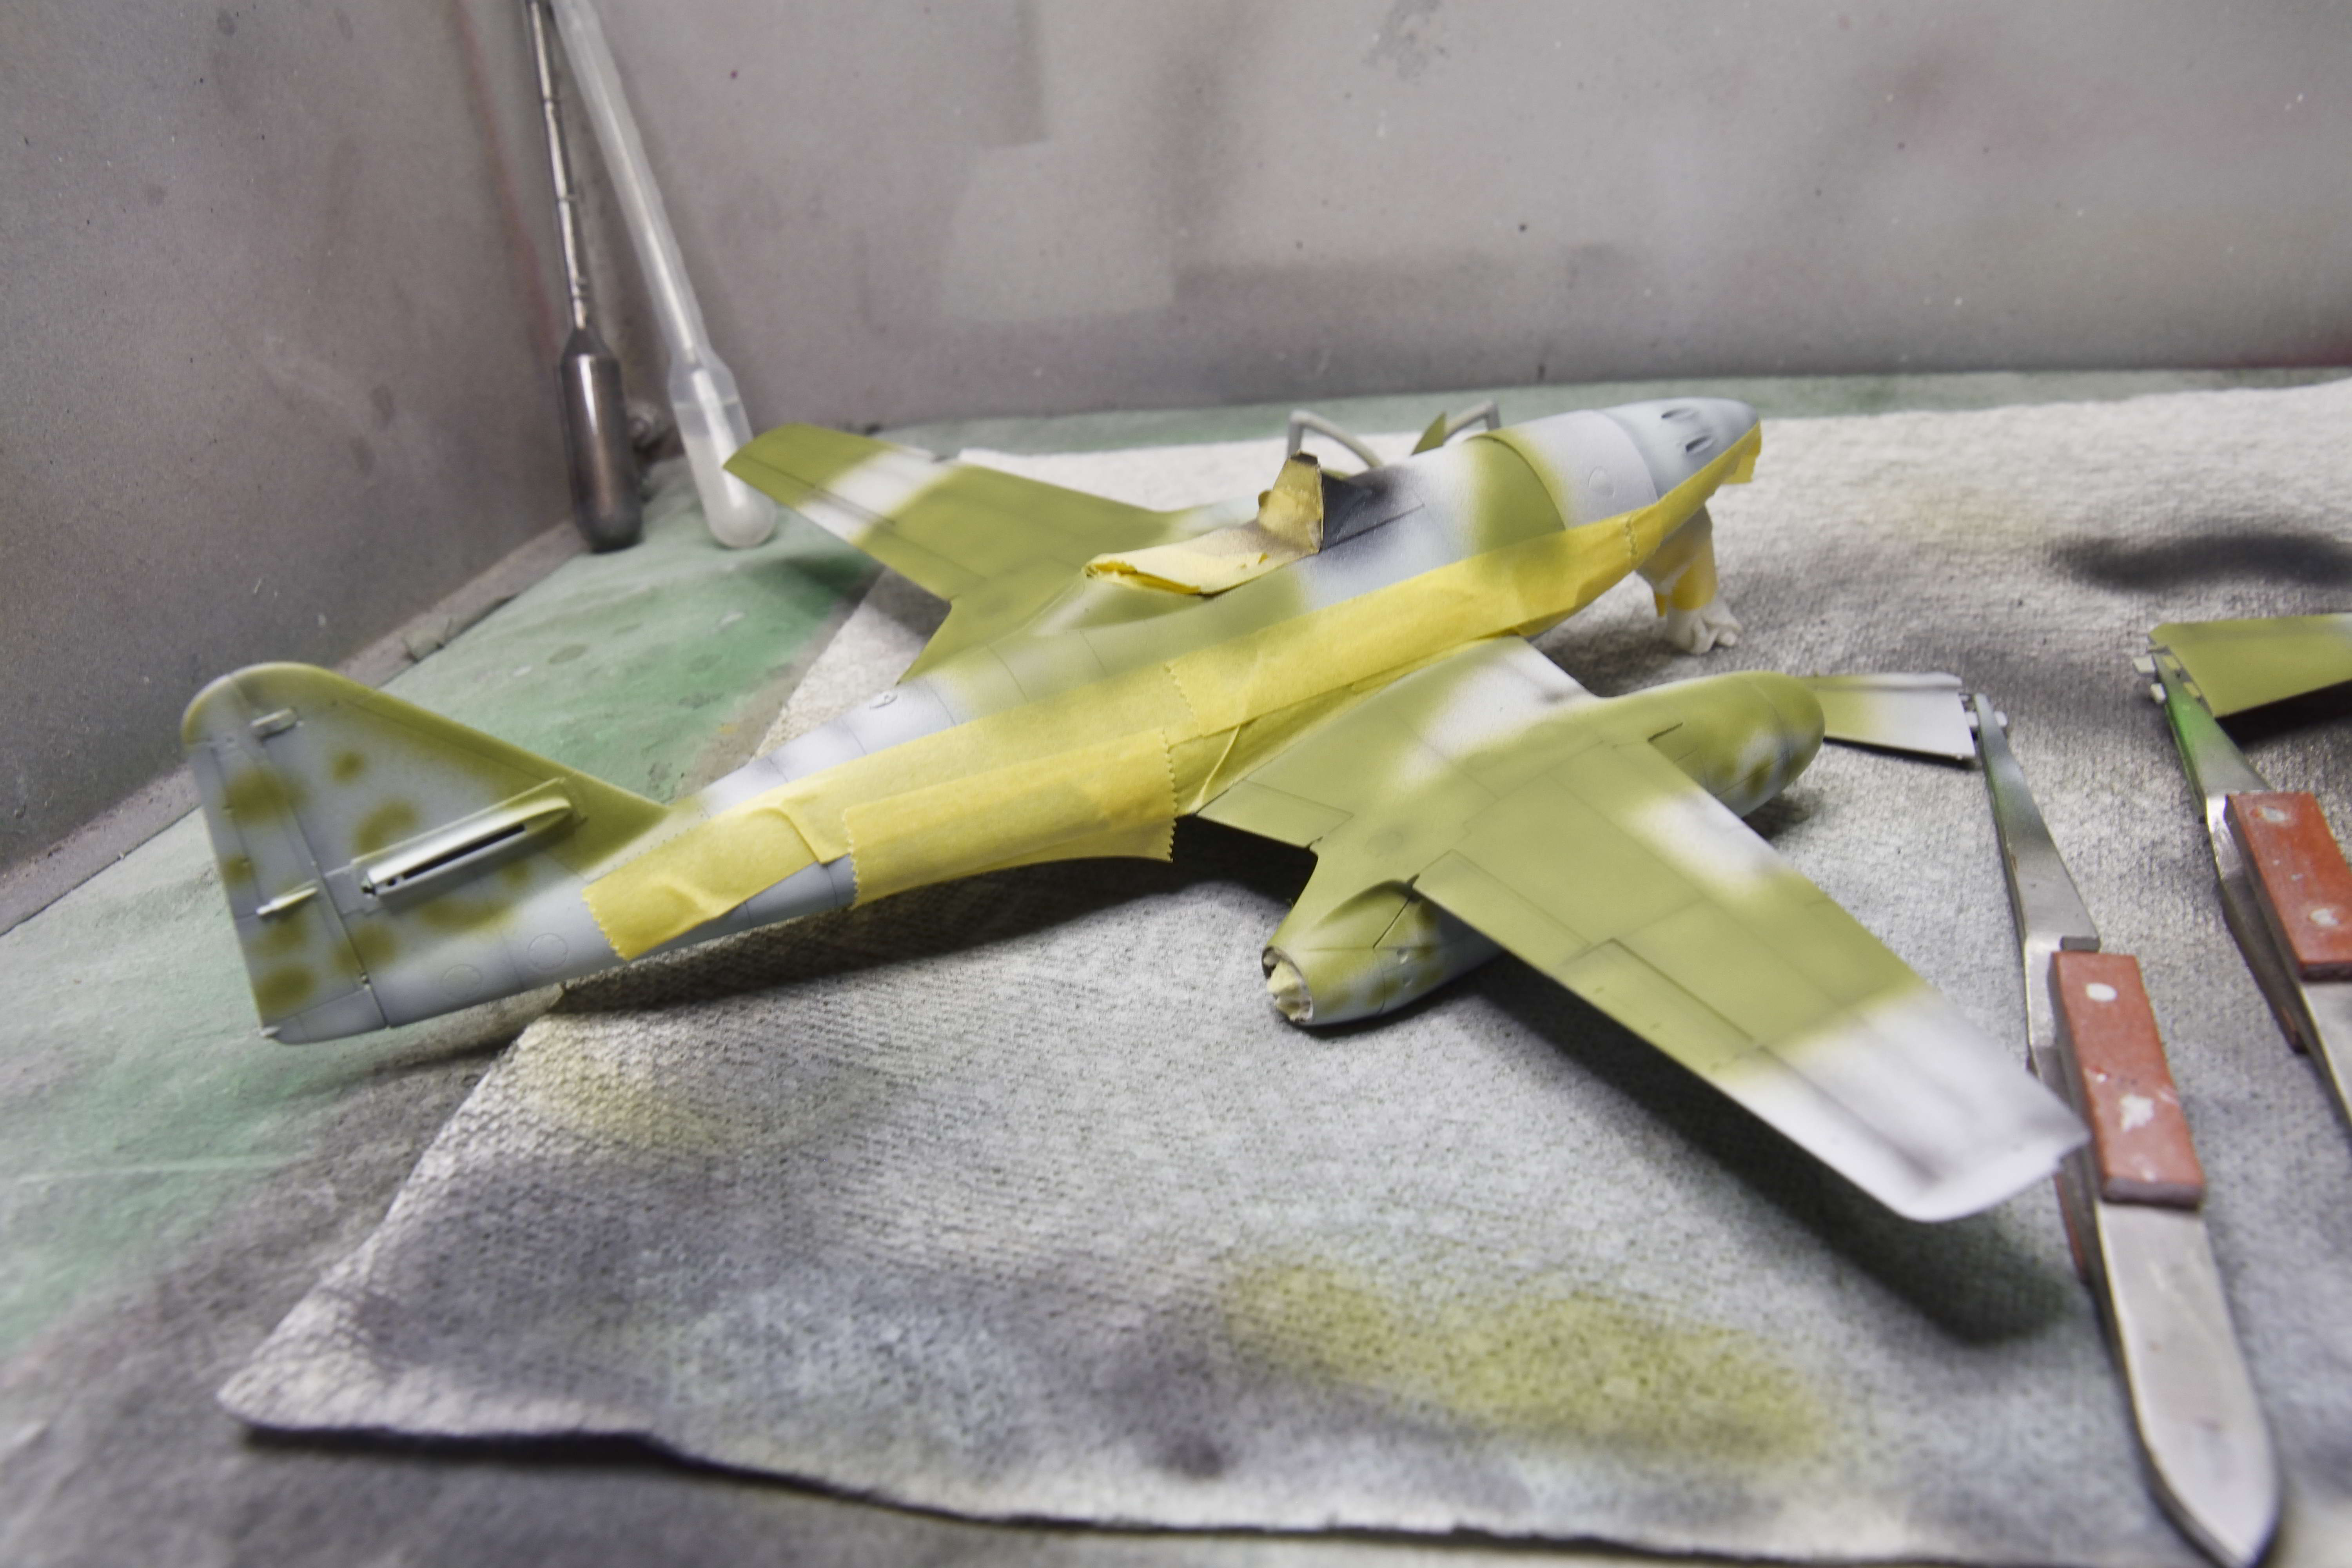
SOMEwhere I have pictures of the masking but who knows where they went off to. So here is the first coat of the 'light' green. I added a few drops of Insignia White (a bit of a faded white) to lessen the color a bit. Tomorrow is the masking for the dark green. Used the Grex with the Vallejo paints as it seems to give me a bit more control. I'm getting to like the Grex more and more. Also spent a bit more time with those blasted seatbelts... They do look pretty good (I opted for the green rather than the usual beige color) to my eye, but not likely to be easily seen once in the cockpit... Oh well, the things we do huh? The buckles are not black, must be the lighting. Lap belts will be started tomorrow along with the next bit of camo painting.


-
Slow going, and I'm not a fan of doing these in 1/48 scale!
-
Gary, It only really works when you have a really nice fit of the elevators (in this case) to the fuselage. For these elevators I use tube cement on the tabs that go inside the tail. Then I'll flow some Tamiya Extra Thin from the underside which seems to help blend the two pieces together. It only works if the fit is pretty tight, like on many of the Tamiya kits. Saves some masking tape!
-
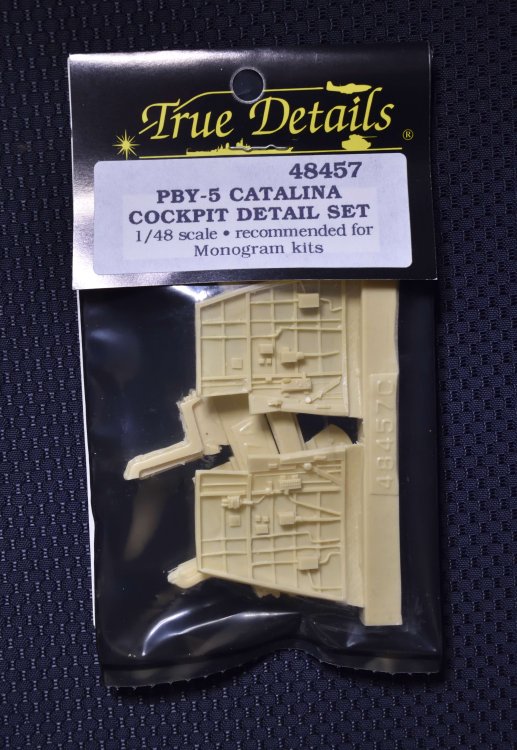
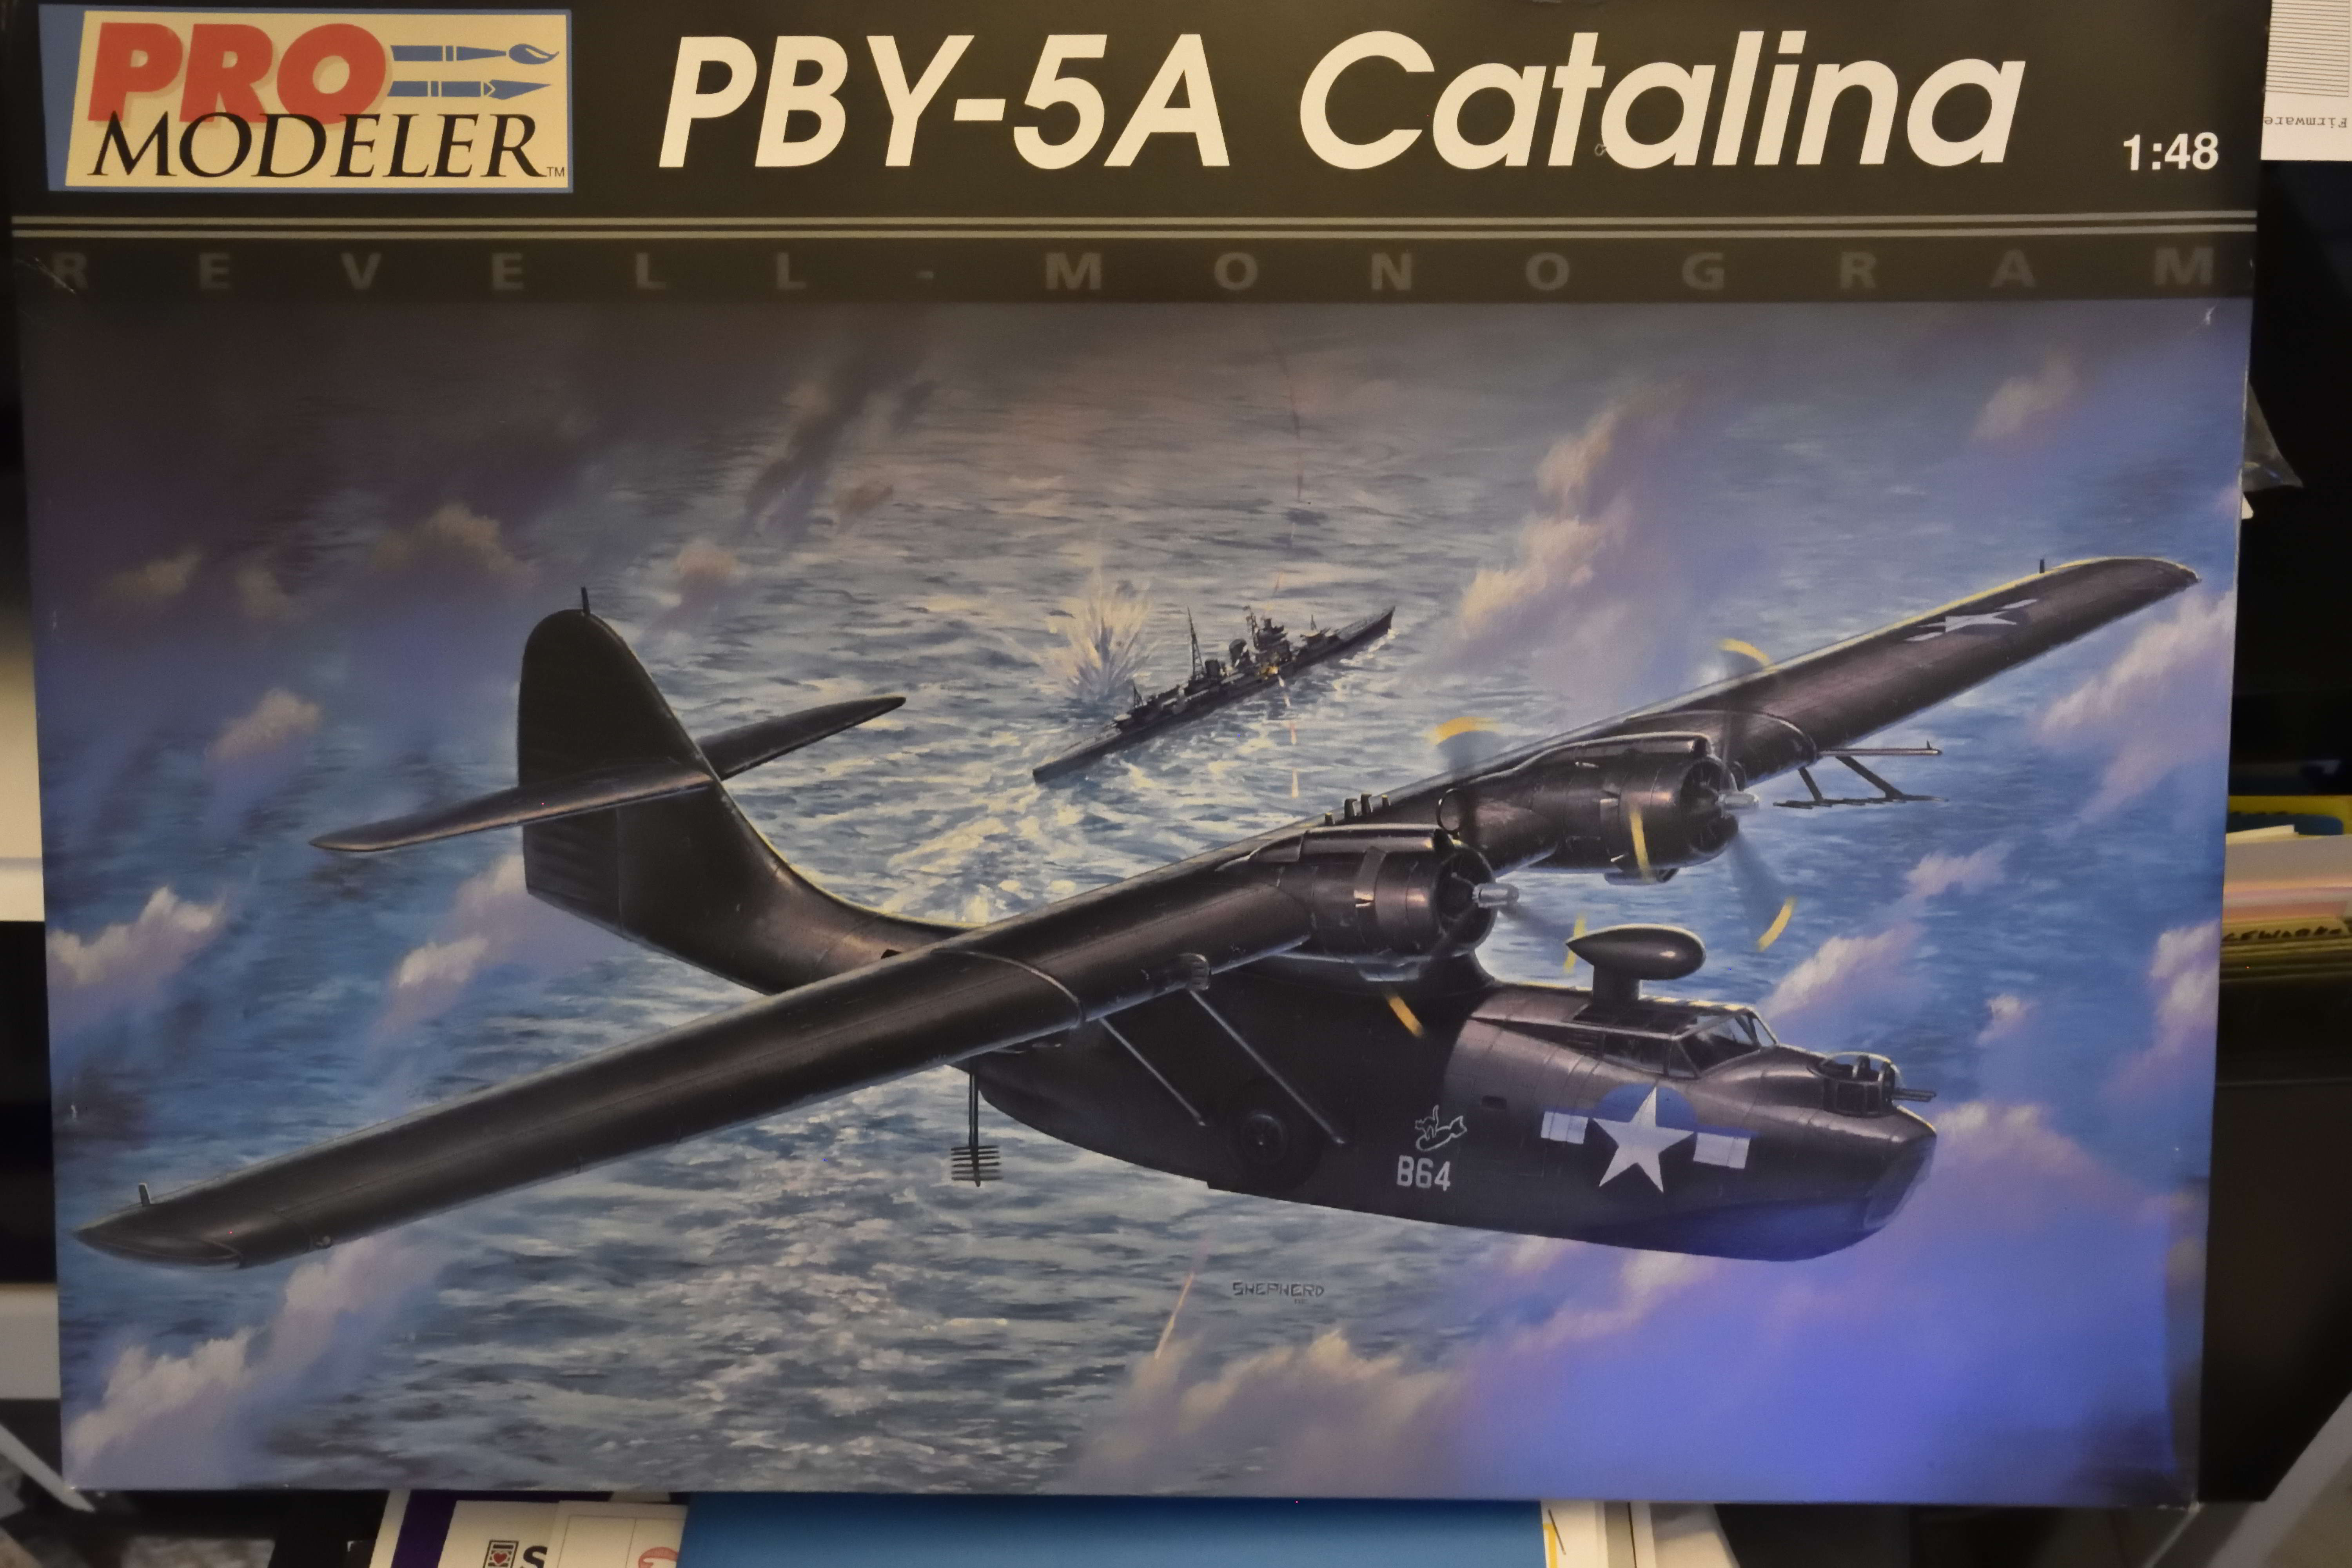
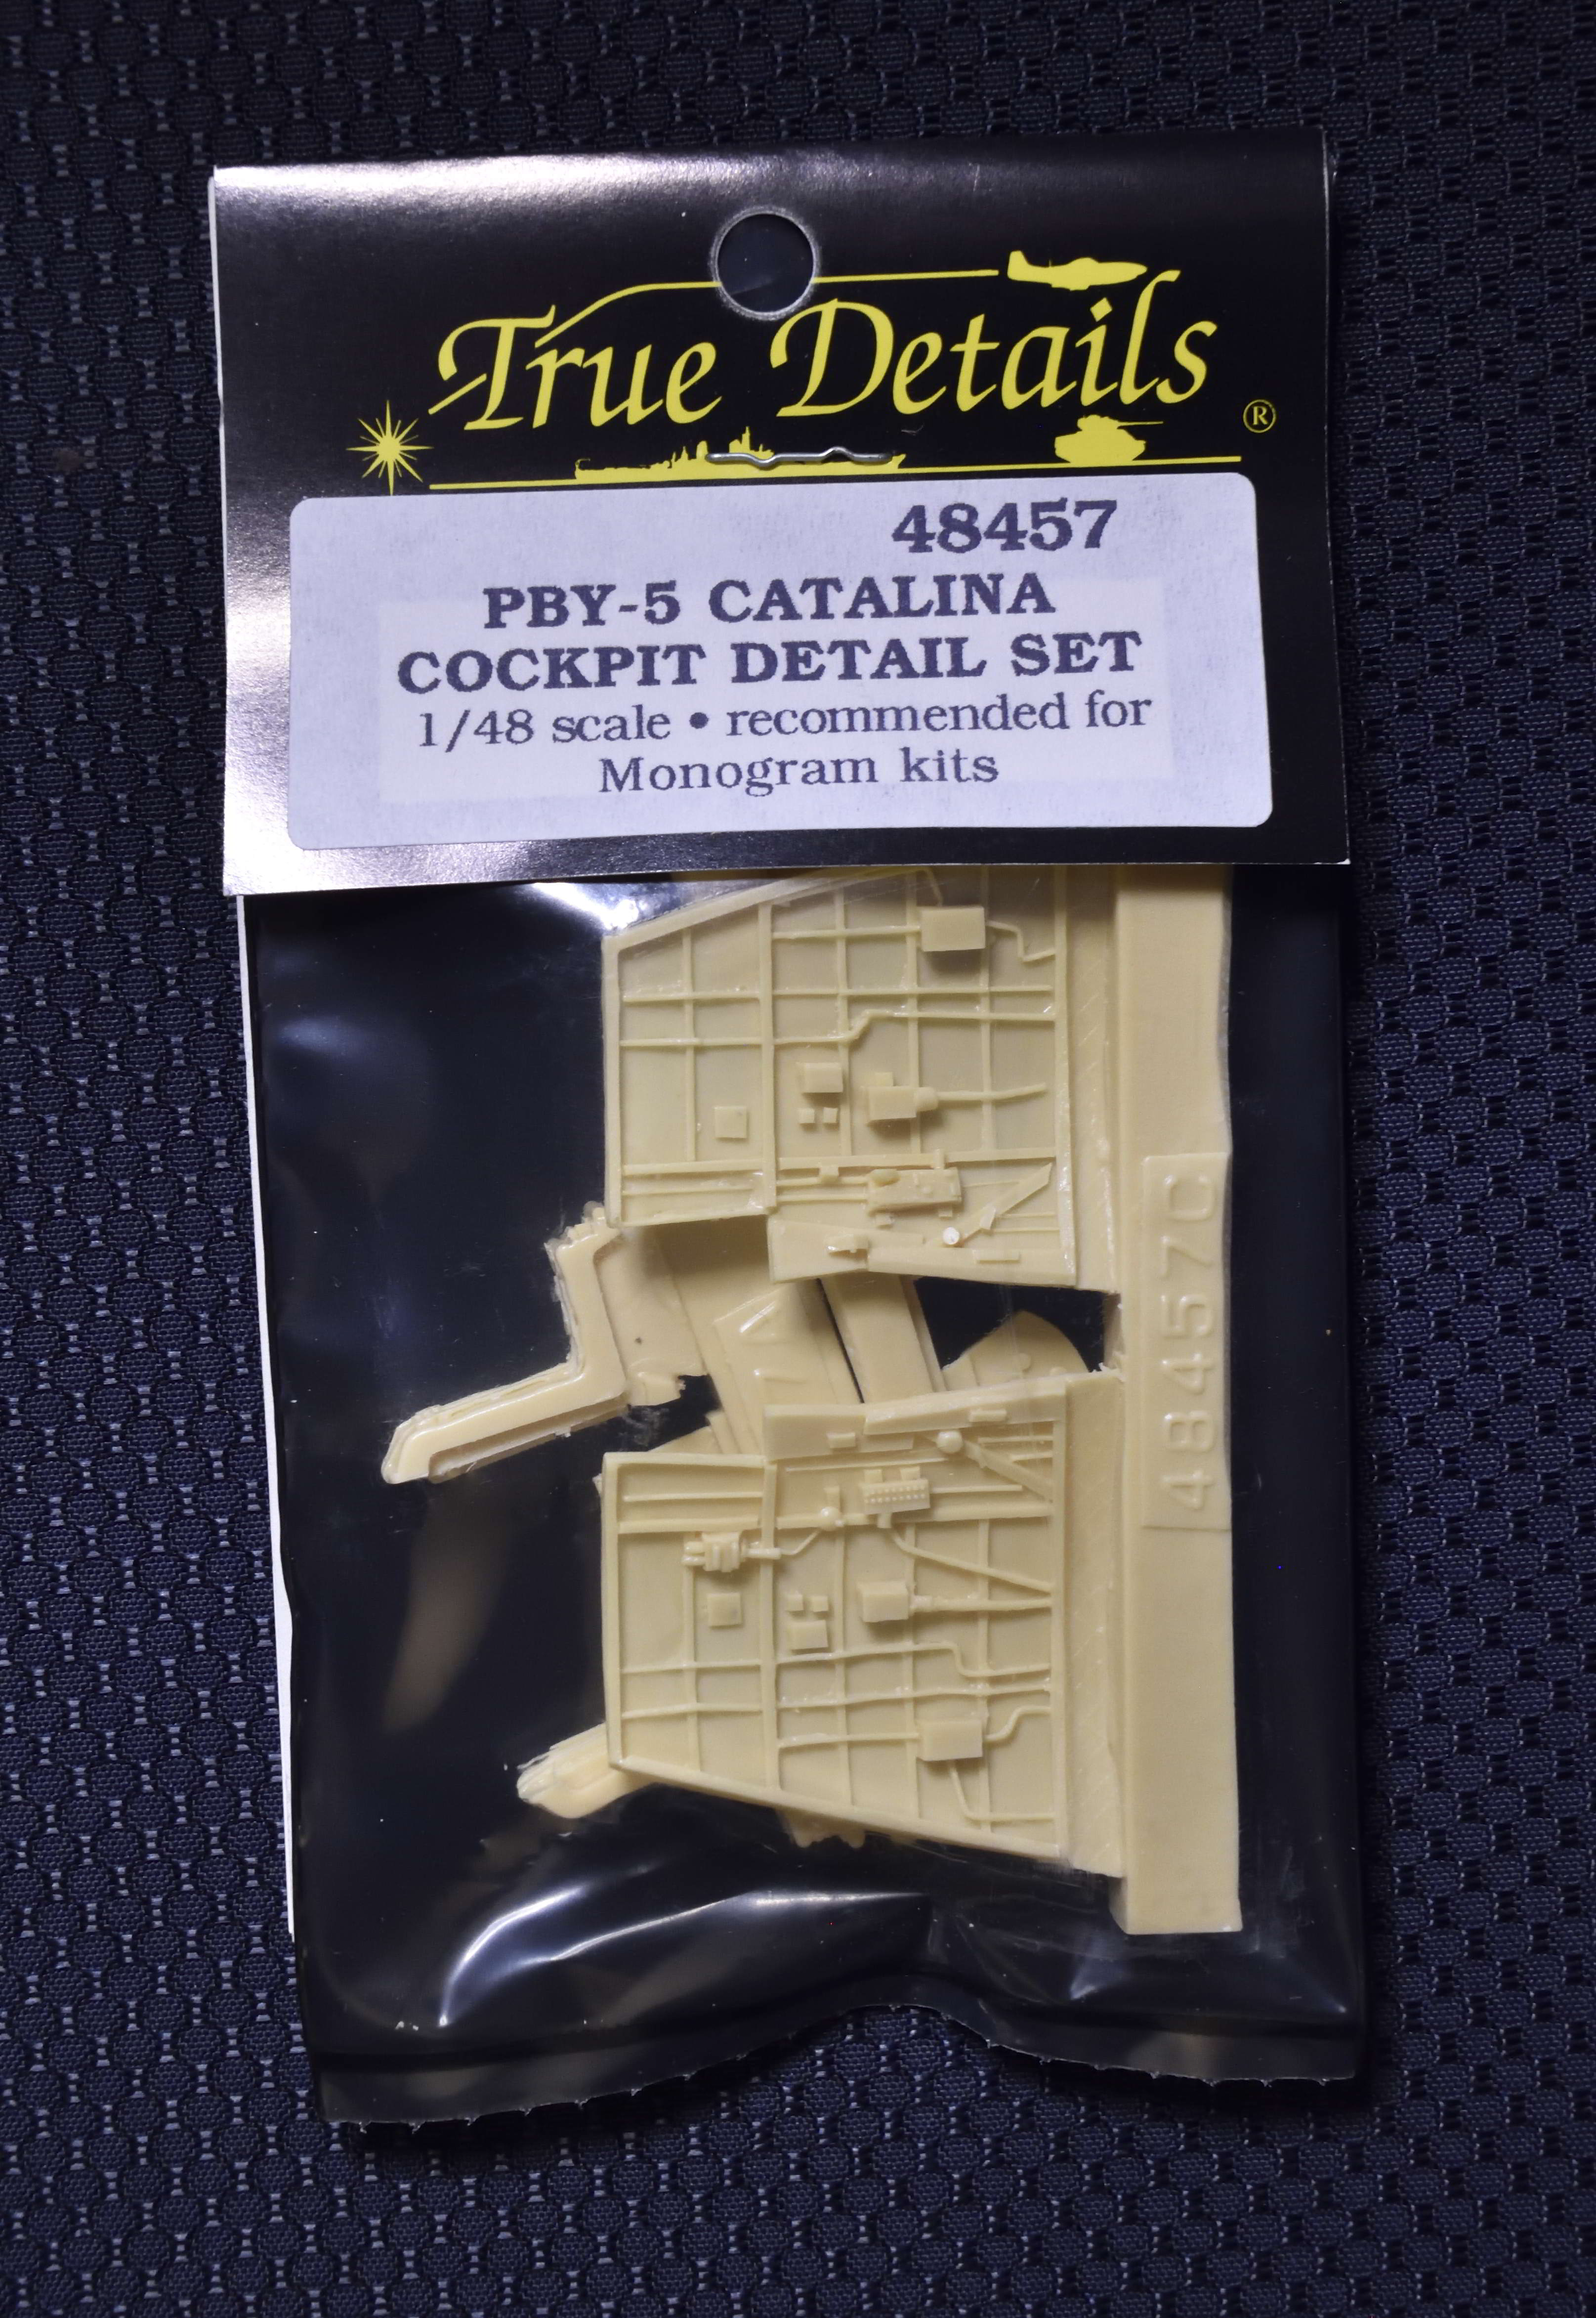
Does this qualify for the upcoming Group Build? She builds pretty big... I picked this up a while ago, and upon opening the box remembered a few goodies were added in: This one I will see about doing as I seem to remember the kit cockpit is not very detailed. Not sure if I will do the surgery needed to add in a resin tail but may give the PBY-5 Corrected Tail a shot. I don't know enough about the aircraft to know if the kit tail is correct or not. I build one before and it LOOKS like a Catalina to me! Anyone interested in the PBY-6A conversion set? I have never heard of Belcher Bits before this, to be honest. Does this qualify for the GB? Thanks, Chris