Abramsguy21
-
Posts
20 -
Joined
-
Last visited
Recent Profile Visitors

-
Zoukei Mura's He219
Abramsguy21 replied to Abramsguy21's topic in LSM 1/32 and Larger Aircraft Ready for Inspection
Thanks guys! Kent, I just mottled. No reverse on this one! -
Absolutely gorgeous! Looks like it weighs a ton!! I have to try a bare metal finish sometime...
-
Hey there! So I've been wanting to post a WIP here, but for some reason iOS and iPhone won't let me post pics to the website. Well, my good friend Paul, is going to help out and post the finished project pics from his computer. THANKS Pauli!!! I won't dive into a build review or the pros and cons of the detail. But I will say I had a blast building this thing! And it, surprisingly, was a quick build. I did add some of the AM stuff offered up by ZM but made by other companies like Master-model and Eduard. I started this back at the end of June and topped it off at the end of August, beginning of September. This was also the second time I've attempted a mottled pattern free hand. I used a combination of Tamyia paints and MM Acrylics to give her some color, oil washes to bring out the panel lines and some pigments to dust it up. I also used some of the Tamiya weathering pastels/pigments to give it a little wear. Scratches and chips were done with artist pencils and acrylic paints. If you have tips or techniques to help weather it along, please feel free to add. Otherwise, enjoy! I sure the hell did!
-
AFV M1130 Stryker CV/TACP
Abramsguy21 replied to Alterecho's topic in LSM 1/35 and Larger Work In Progress
I used Model Master enamel US Army/Marines Sand color. -
Oh man!!!! Can the new kits please stop coming?!??! I have no where to put them!!!!!
-
We want pics, We want pics, We want pics, We want pics!!!!!
-
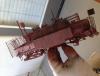
M1070 hauling a M1127
Abramsguy21 replied to Abramsguy21's topic in LSM 1/35 and Larger Work In Progress
I used quite a few bits of AM stuff. ET Models PE interior and exterior and I used their resin wheel set as well. I used Real Model Engine and Crew Protection Kit for the cab. I also built up Trumpeter's M1127 with Eduard PE exterior, Slat Armor set and blast panels. Other bits and pieces such as crew equipment, came from the spares box. All in all, I won't be doing that kit again. I left it over at my buddy's place for a couple of months because I couldn't stand looking at it! LOL -
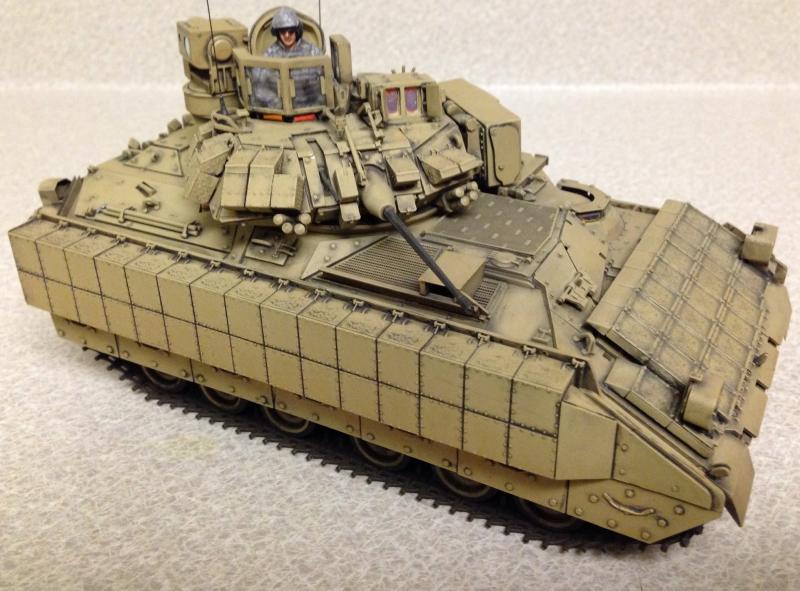
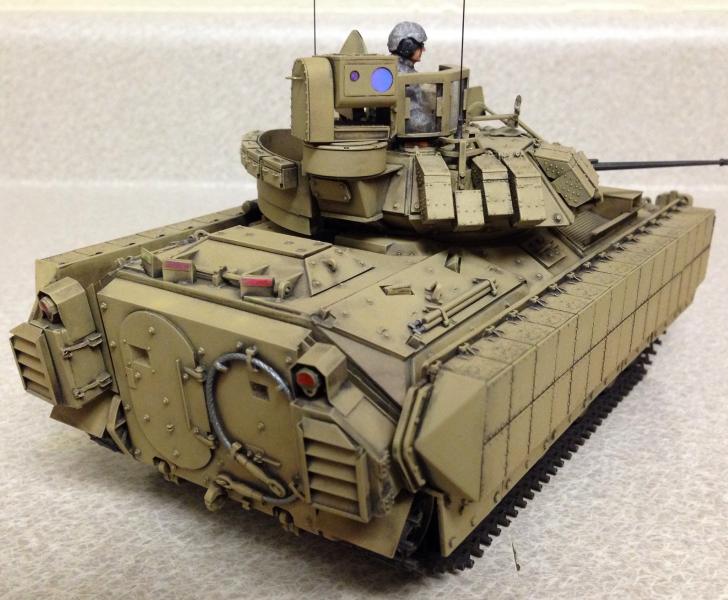
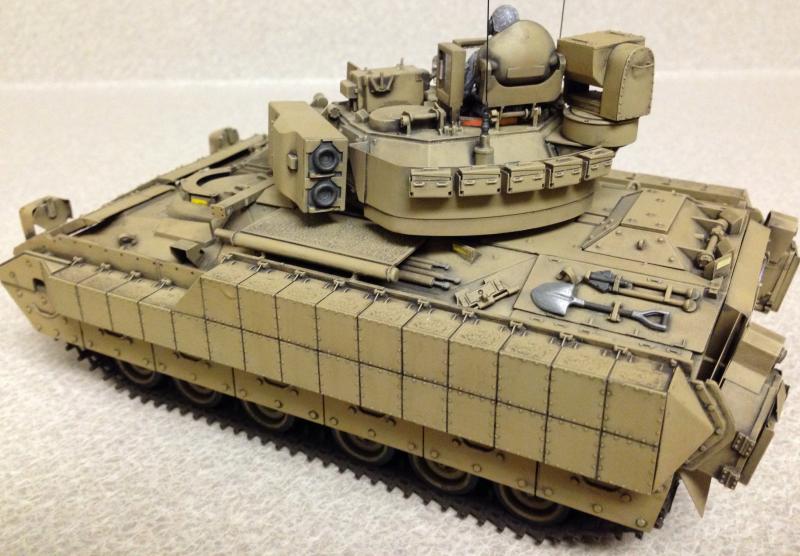
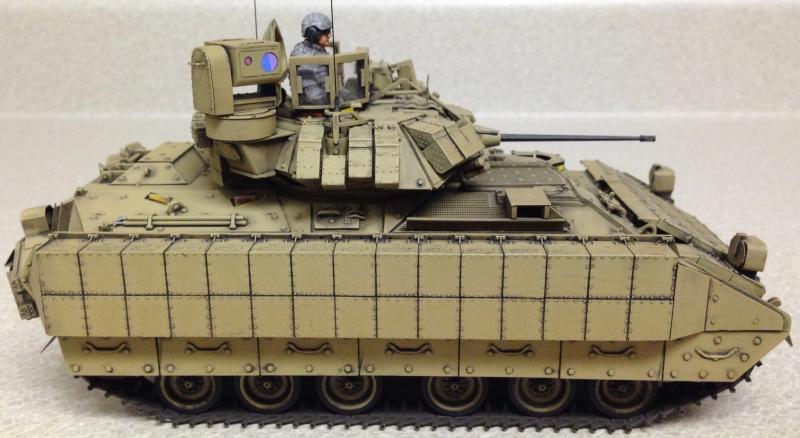
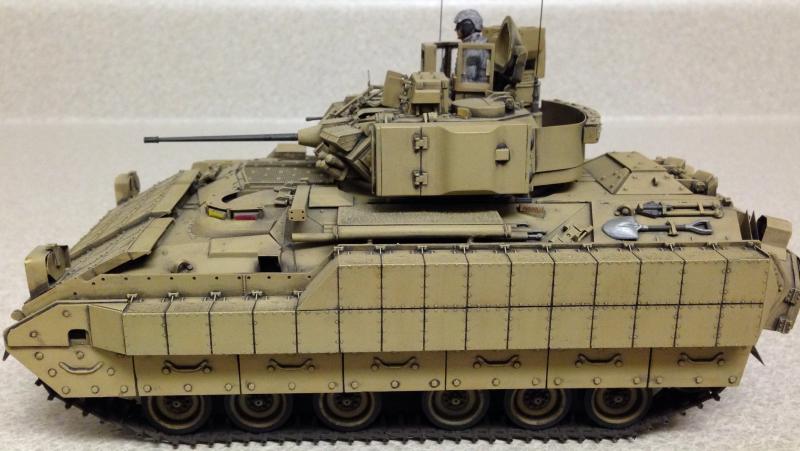
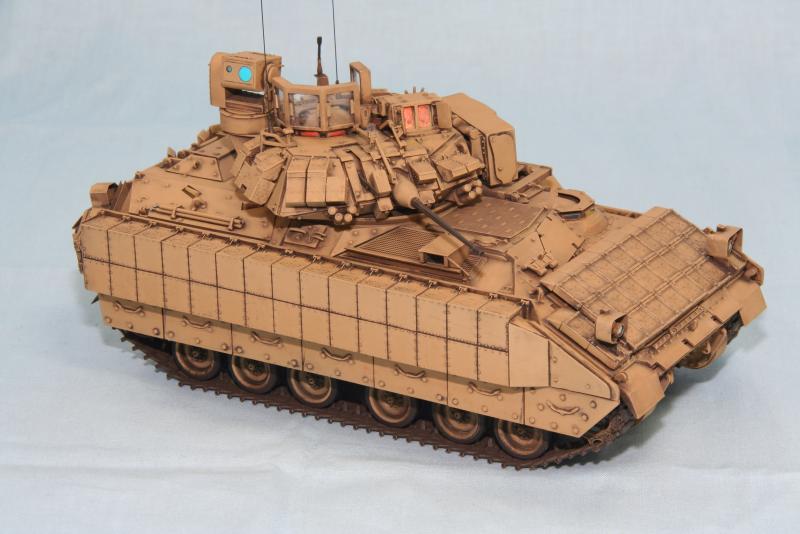
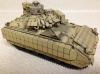
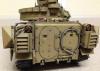
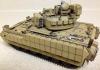
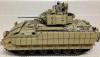
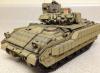
I've got another one for your eyeing pleasure! This is the M2A3 with added conversion M2A3 set from Legend Productions, M2A2 update set from Legend Productions, Barrel Depot 25mm chain gun metal barrel, AFV club M2 individual track links and pads and scratch built the commander's protective clear shield. I do plan on adding a couple of DUKE jammers to the back end to give it more of an updated look. Enjoy.


-
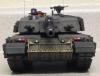
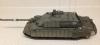
Leopard 2A6M Early Version
Abramsguy21 replied to Abramsguy21's topic in LSM 1/35 and Larger Work In Progress
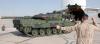
Oh by the way, I was using this vehicle as how I was going to apply my camo scheme. Interesting because when they painted this vehicle the didn't apply the brown and black to the upper parts of the hull sides and rear back, unlike their German counterparts where the whole vehicle has the camo pattern all over the vehicle. It might explain why the green looks "hot".
-
Leopard 2A6M Early Version
Abramsguy21 replied to Abramsguy21's topic in LSM 1/35 and Larger Work In Progress
Thanks guys! Believe or not, this slat set was the easiest set I've put together! The hardest part was the mounting points and support brackets. And to get the dusty look I used Flory models sand wash over a very glossy coat, wiped most of it down and gave a flat coat and then one more over spray of sand wash to blend it all together. That was after the normal weathering job I give my tracked vehicles. I was going for the "we just in-country" look. -
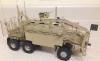
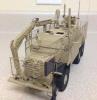
Buffalo MPCV with Bar Armor and CROWS II
Abramsguy21 replied to Abramsguy21's topic in LSM 1/35 and Larger Work In Progress
Yes sir it sure is! -
Buffalo MPCV with Bar Armor and CROWS II
Abramsguy21 replied to Abramsguy21's topic in LSM 1/35 and Larger Work In Progress
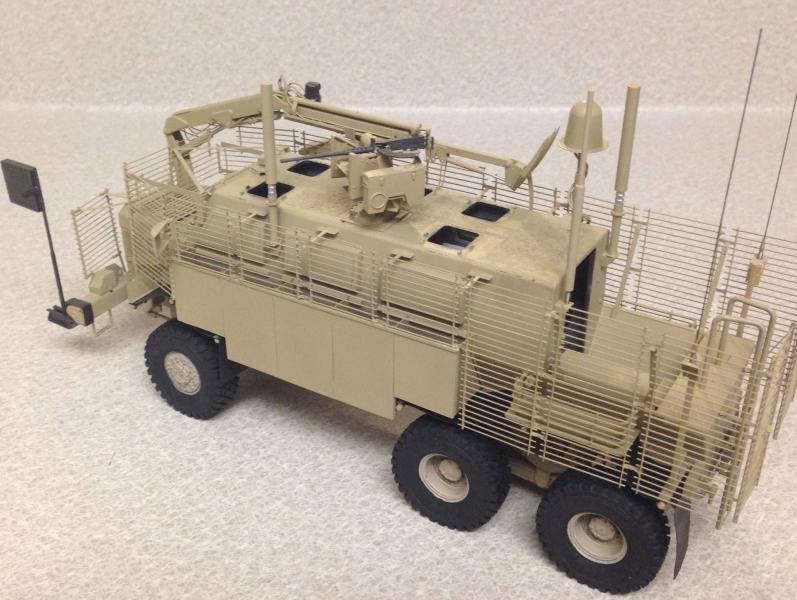
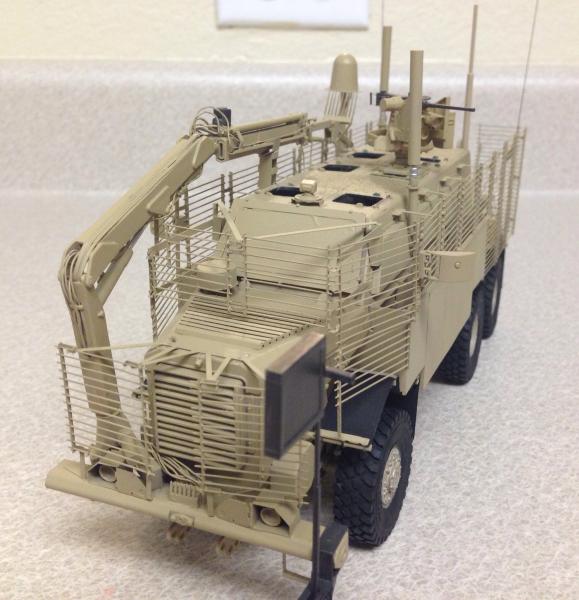
Got some main painting and detail painting done today as well as adding the wheels and checking to make sure all six sit flat on the ground. I'll be doing a bit more detail painting done tomorrow and start an oil wash as well. Antannae wires still need to be added along with some stowage. Other wise, should be done in the next couple of weeks!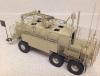
-
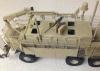
Buffalo MPCV with Bar Armor and CROWS II
Abramsguy21 replied to Abramsguy21's topic in LSM 1/35 and Larger Work In Progress
Got some paint work done on the Buffalo the other day. I made an attempt to try the "hairspray" technique. It didn't quite pan out like I wanted it to. Oh well! No worries, it has a good base coat of a rust color that I can play with. I'll post more of the final color and some detail painting in the next couple days.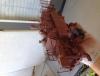
-
AFV M1130 Stryker CV/TACP
Abramsguy21 replied to Alterecho's topic in LSM 1/35 and Larger Work In Progress
Hey there! Just saw that you were trying to make the periscopes look realistic. Try AFV Club's anti-reflection stickers. Sprue Brothers should have them. Actually, here's the link. Click it and it should take you directly to the item. Looks great when you get them on! Anyways here you go: http://store.spruebrothers.com/product_p/afvac35011.htm Not trying to hijack your thread but here's a pic of how they turn out! All the lenses on my Bradley got the AFV Club sticker treatment. Hope that helps!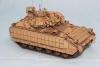
-
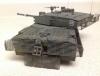
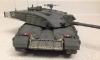
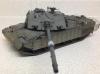
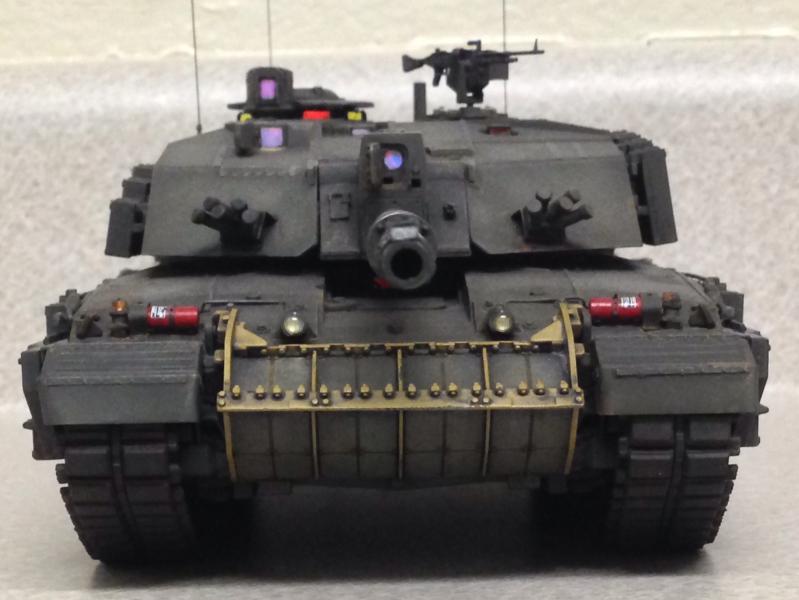
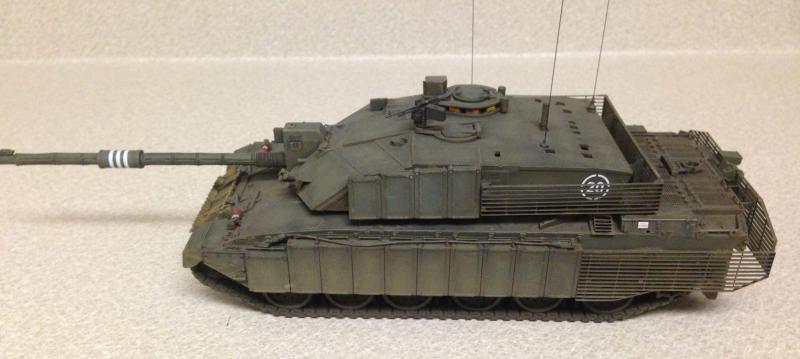
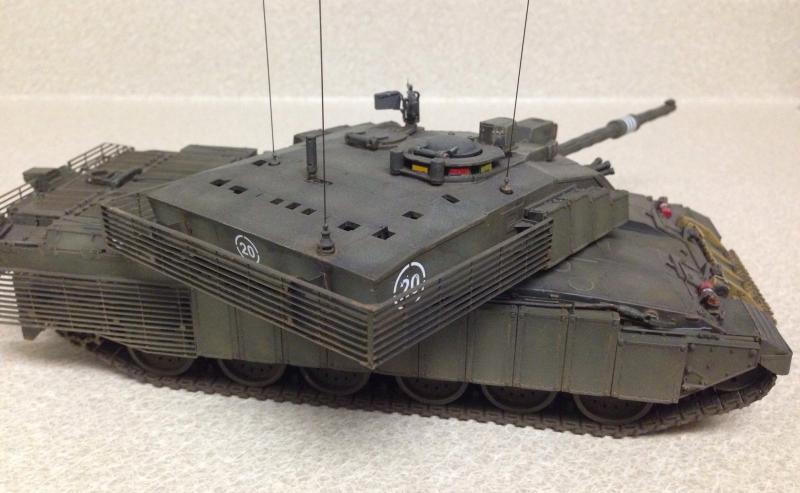
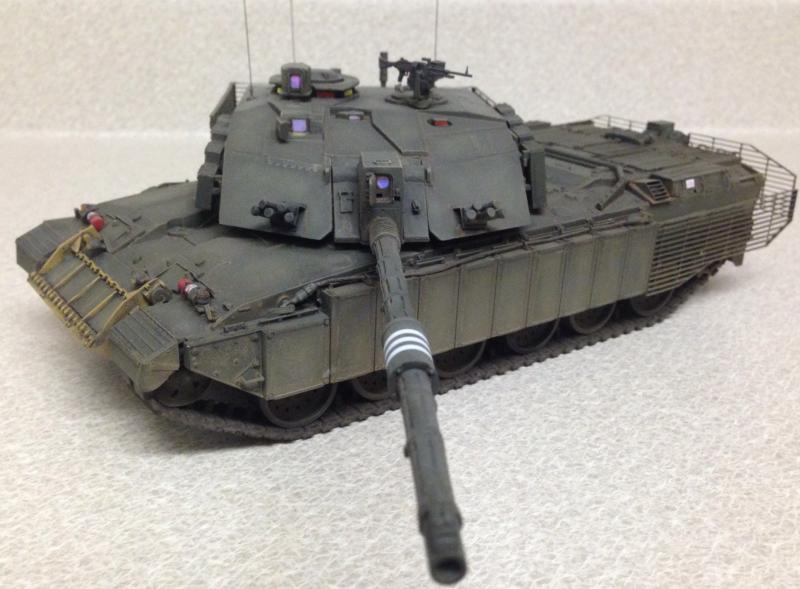
Last one for tonite. Trumpeter's Challenger 2 with Eduard photo etch exterior and slat armor. I also used the Lionmarc resin and metal barrel.