Jeff
-
Posts
3,706 -
Joined
-
Last visited
Content Type
Profiles
Forums
Events
Gallery
Everything posted by Jeff
-
Thanks , Phil, those are EXCELLENT !!! Jeff
-
How did I not keep up with this build …. Gob smacked with your incredible hidden talents ! What a fabulous job you are doing with this kit, a challenge for most, but you seem to be waltzing through this like its an old school snap kit ! What you are doing here makes my truck stuff look like a four year old is assembling. Absolutely fabulous work Rob and really enjoyable to watch. I will keep up with this. Outstanding ! Jeff
-
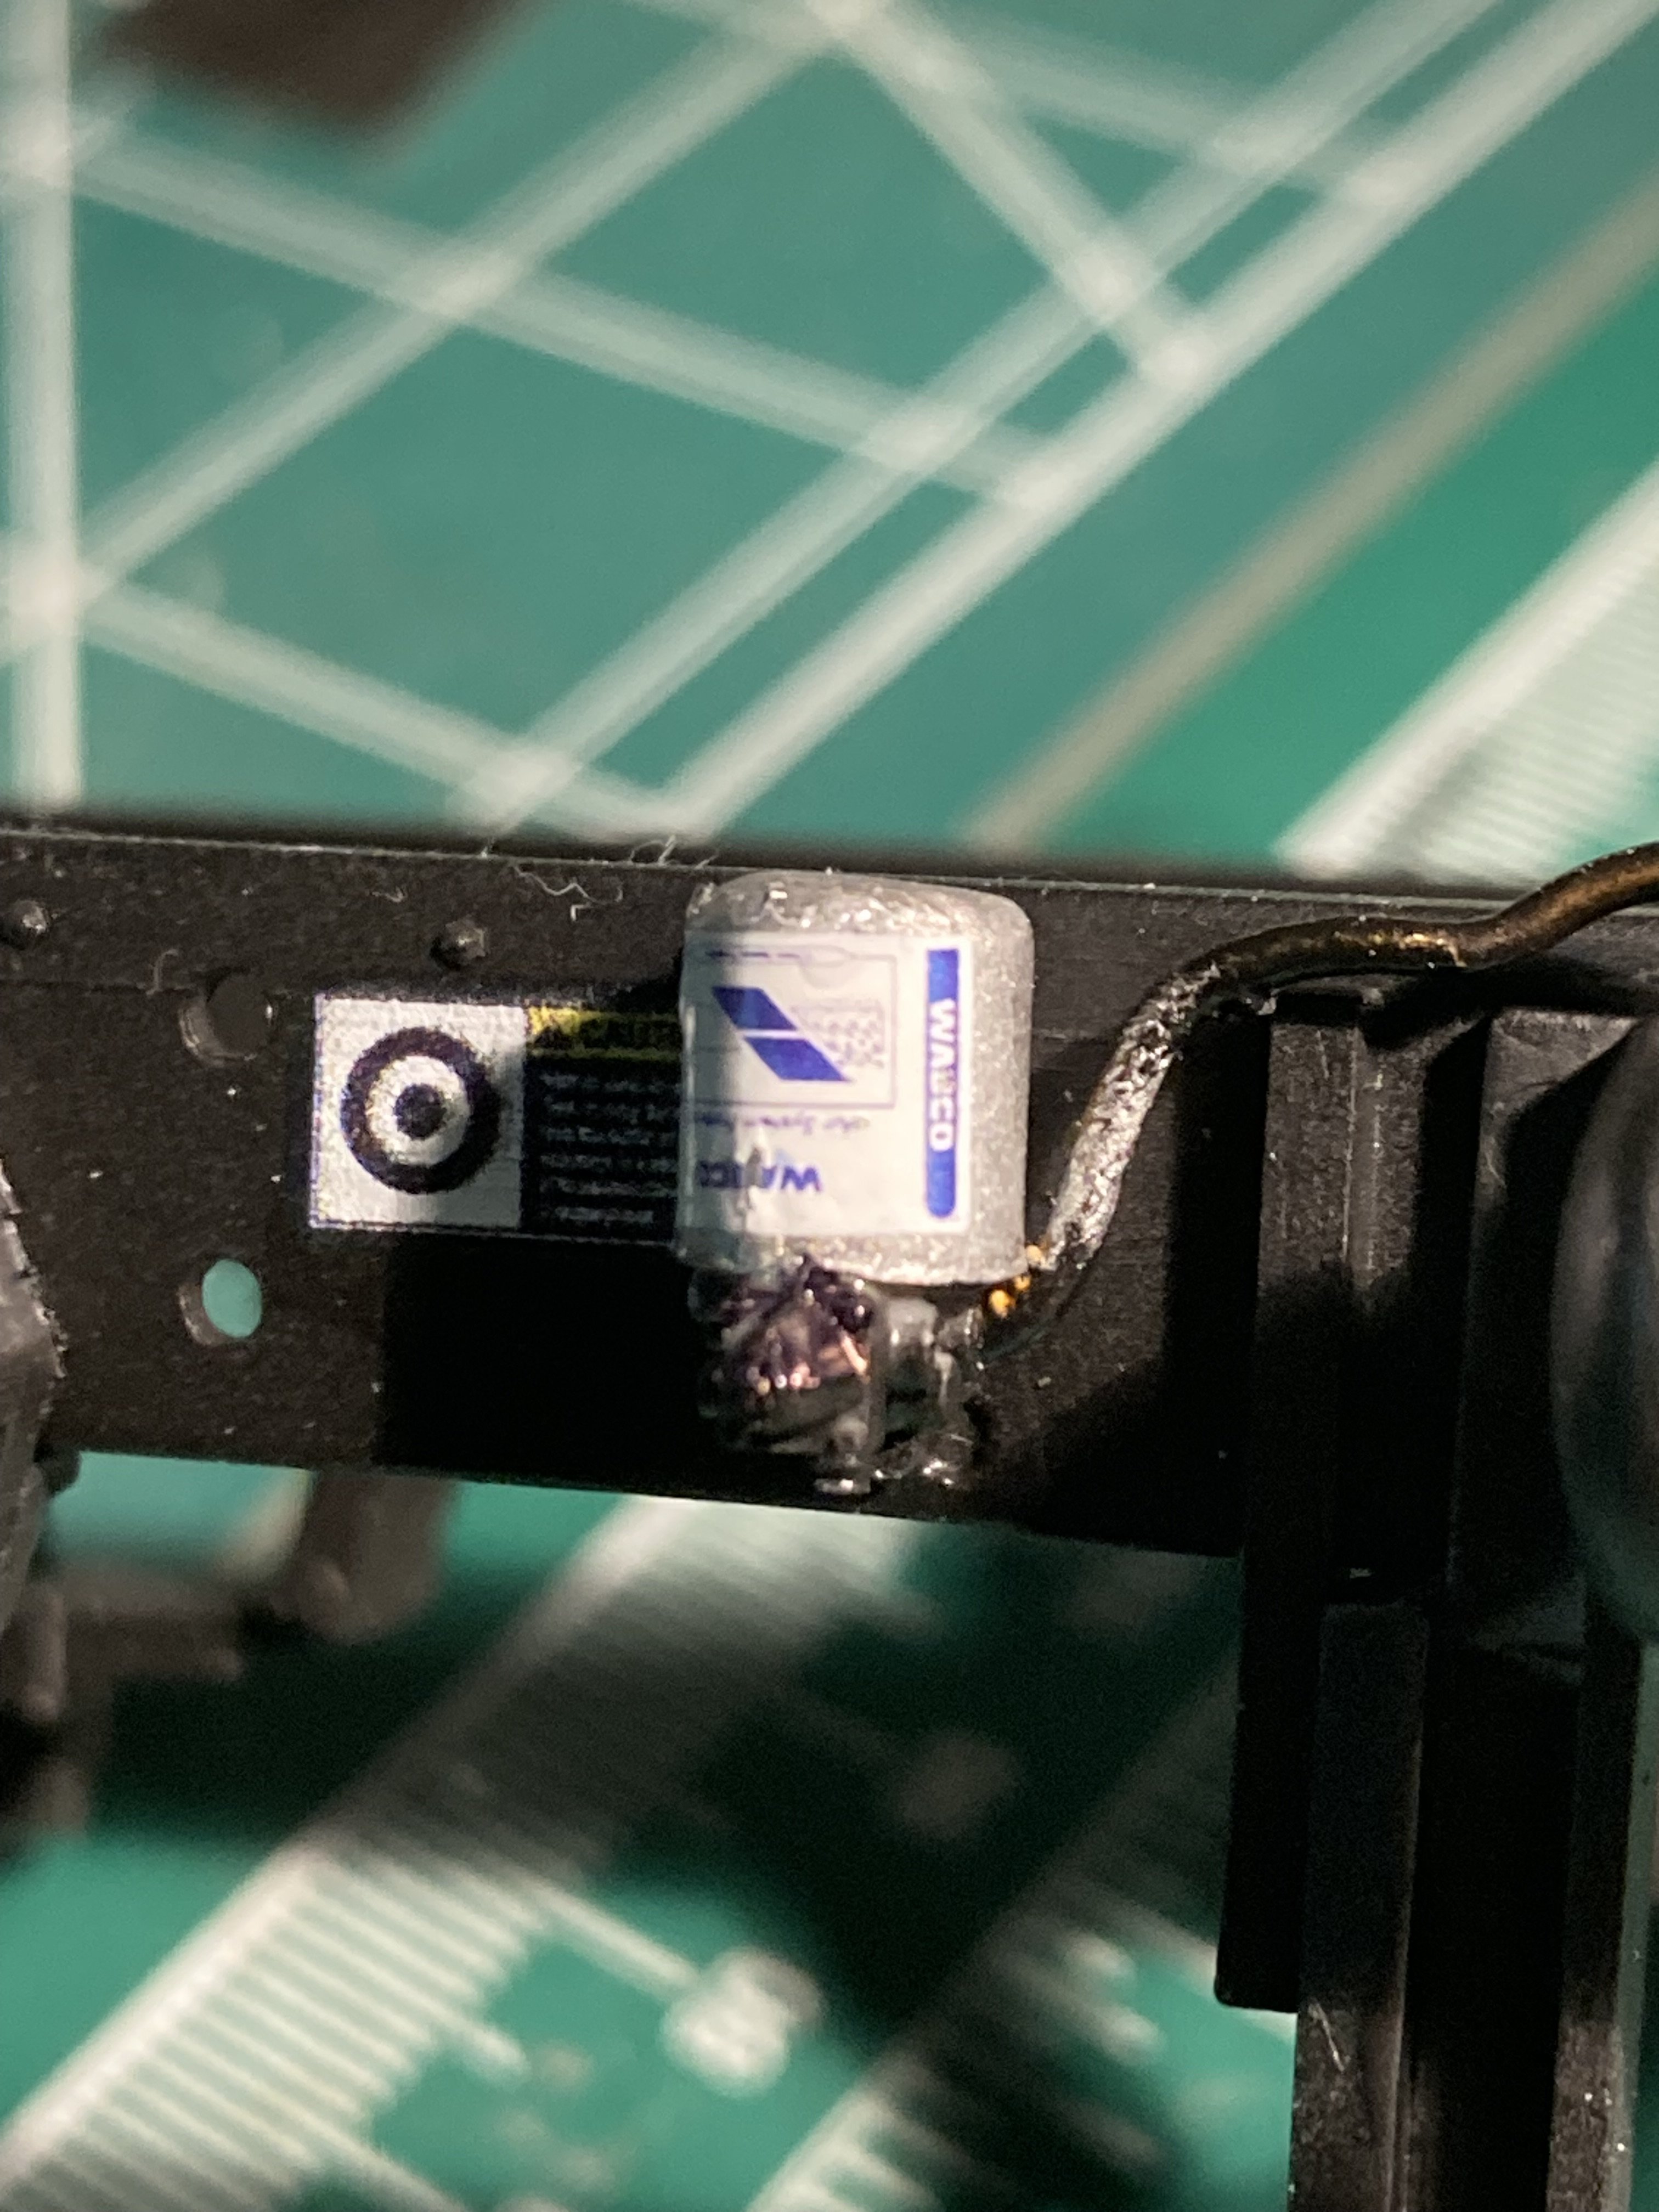
Frame decals a d the Wabco Air Drier decals too

- 57 replies
-
- 7
-

-
- peterbilt
- highway tractor
- (and 1 more)
-
Making sure everyone sits comfortably on the road
- 57 replies
-
- 5
-
-
- peterbilt
- highway tractor
- (and 1 more)
-
You will note that I have not installed the air bags yet. I have got into the habit , good or bad to set the rear ends make sure that all 4 drivers touch the ground, do my plumbing and then install the bags. Usually an easy process but today those little ba*#+rds are fighting me. But I will WIN
- 57 replies
-
- 2
-
-
- peterbilt
- highway tractor
- (and 1 more)
-
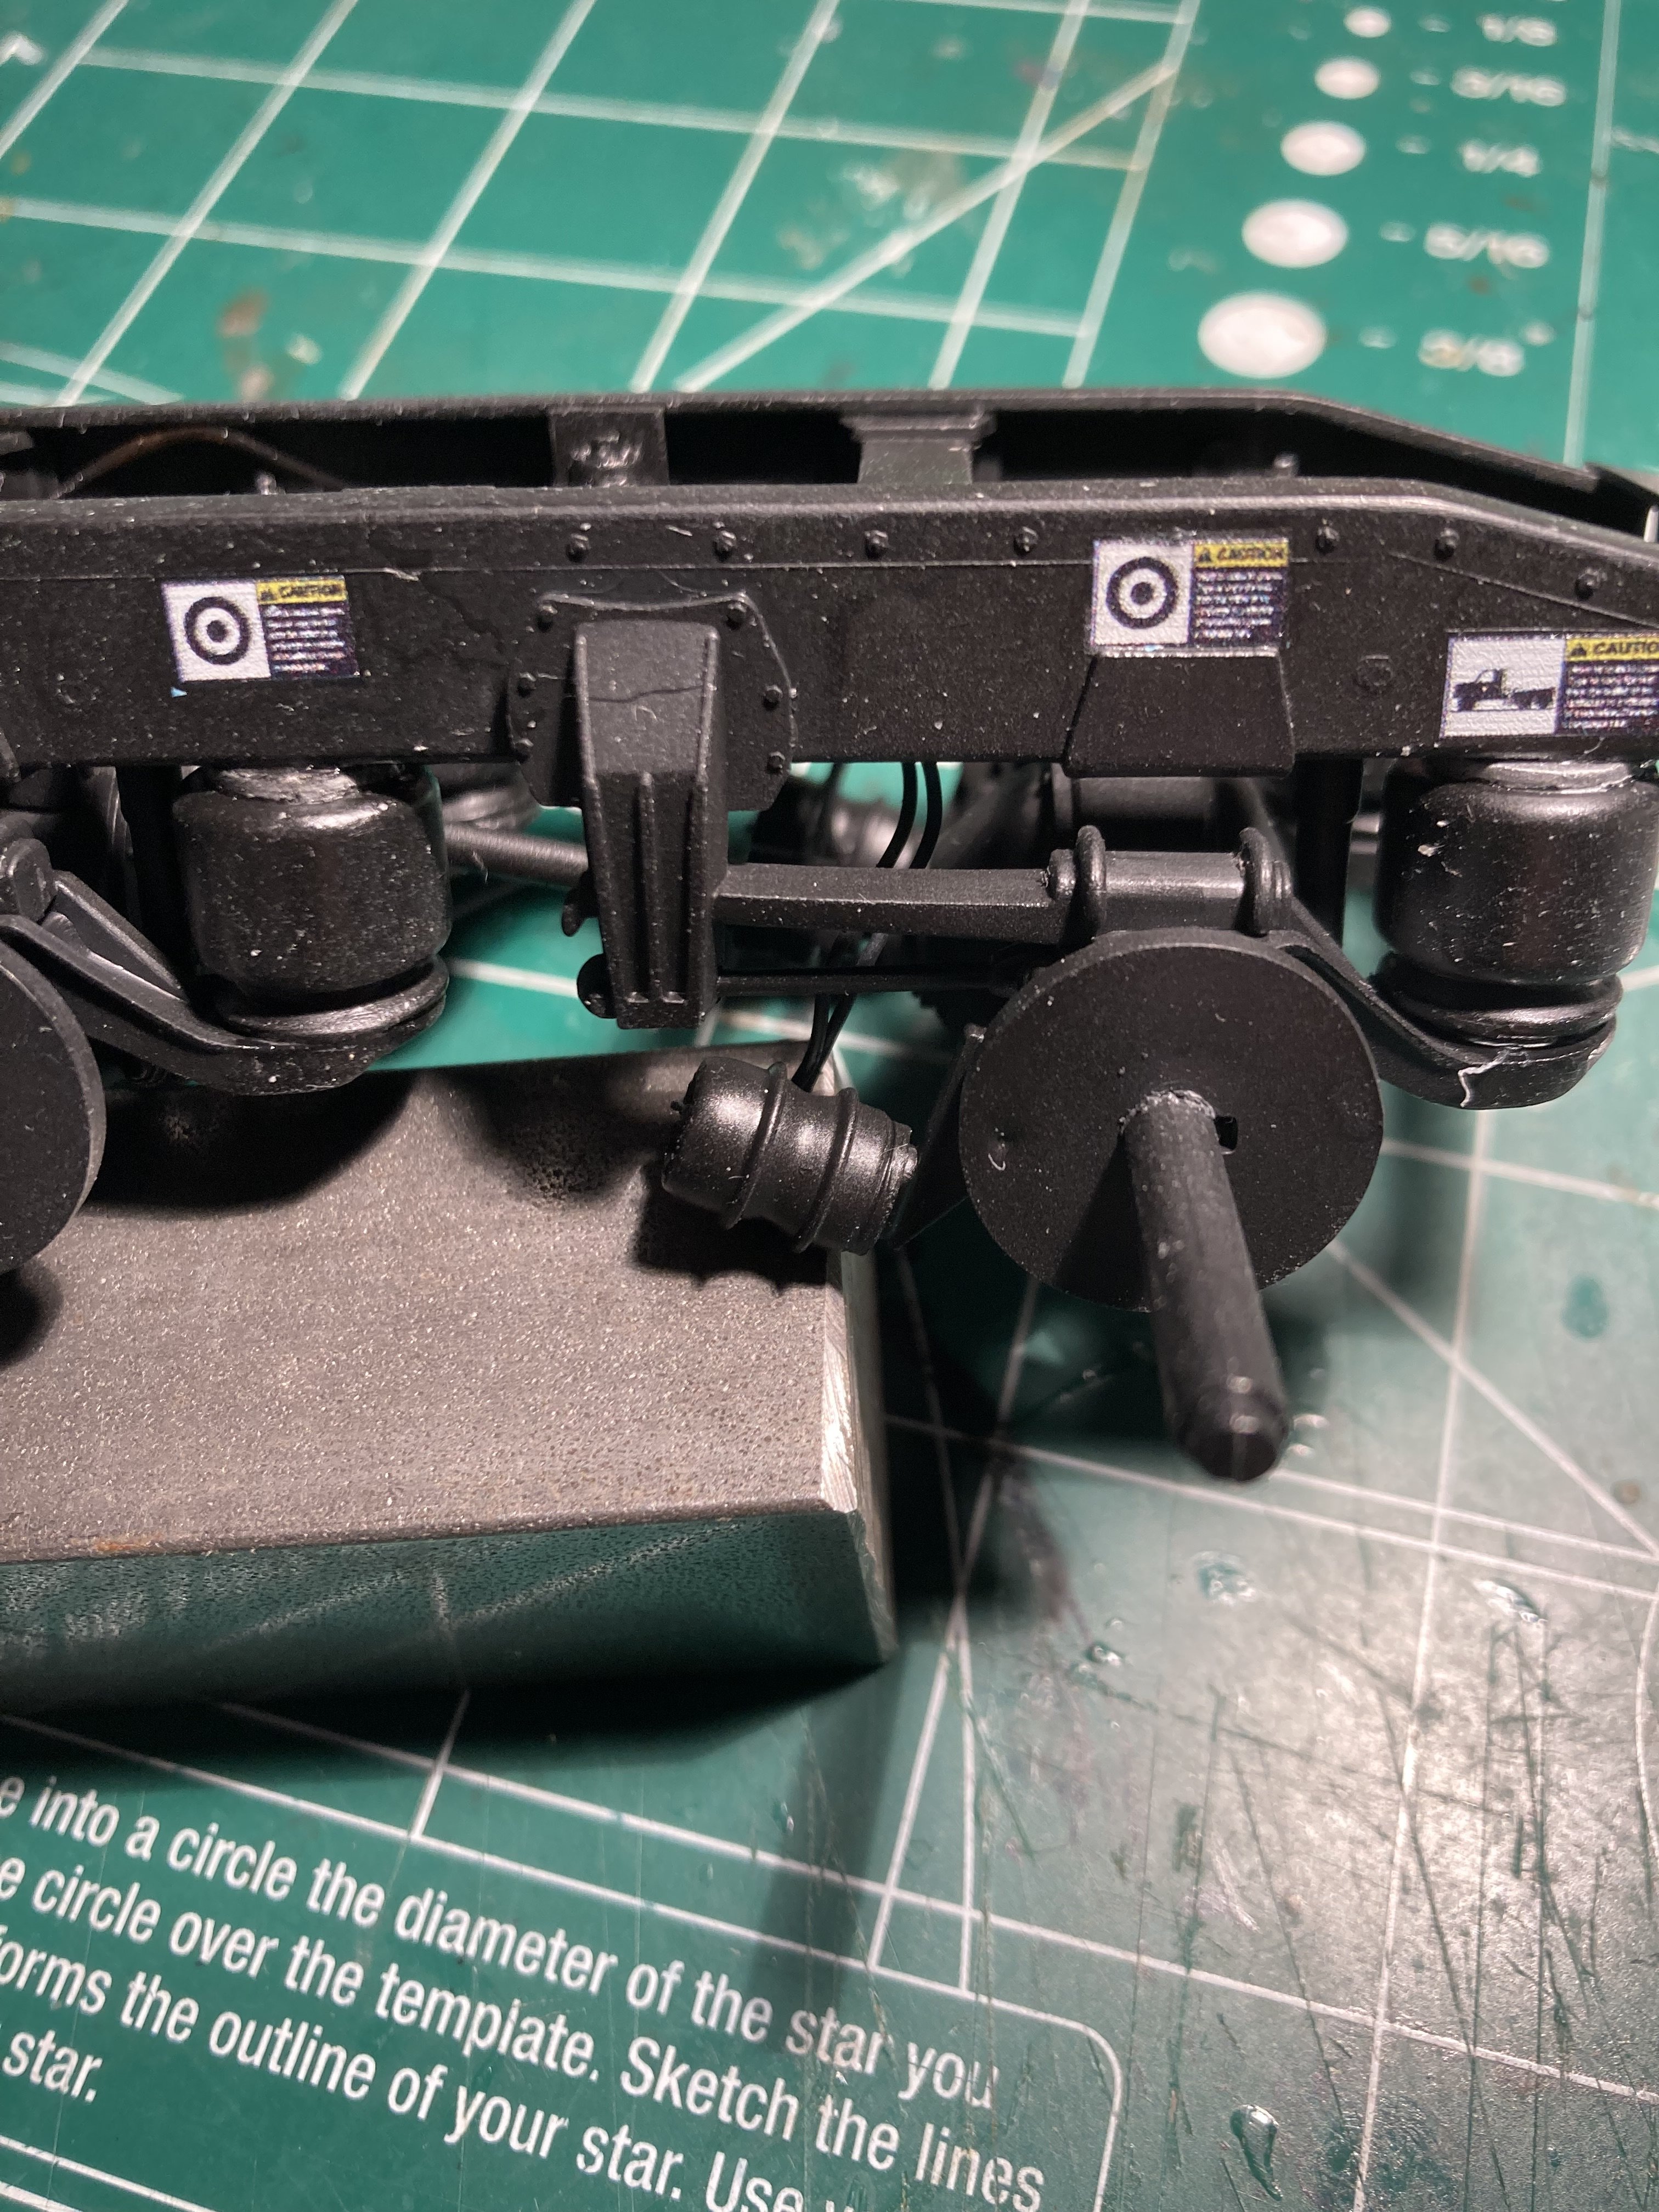
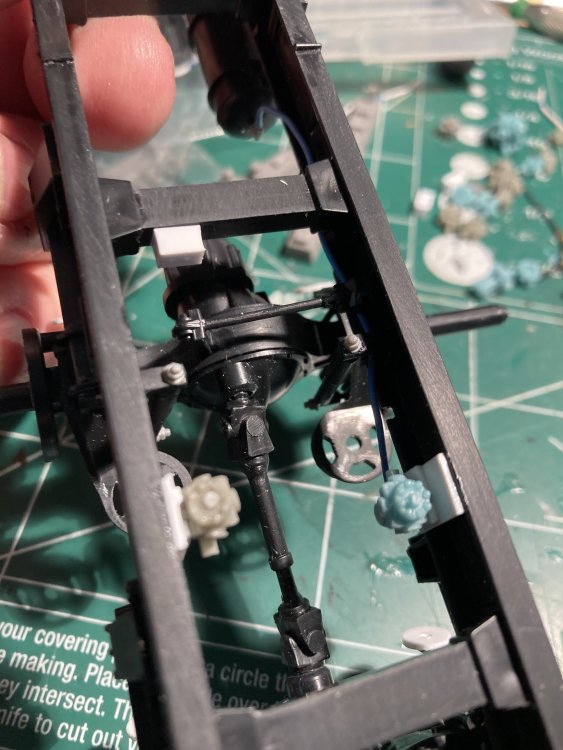
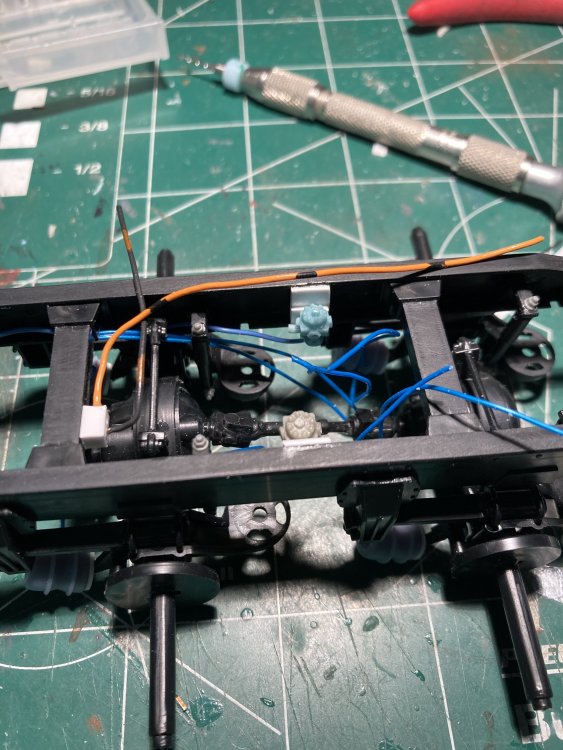
So now, with the frame done and rear ends installed it is time to consider air lines. The plan is to go from the engine compressor to the Wabco Air drier, then to the ‘wet’ tank then the ‘dry’ tank, then on to the various valves and splitters to the brake chambers. Then a splash of paint. Had to make a couple brackets for some of the valves

- 57 replies
-
- 4
-
-
- peterbilt
- highway tractor
- (and 1 more)
-
I'm lookin forward to MORE , Phil....
-
Your painting and detail work is EXQUISITE !!!!! !!!!!
-
I’m not so sure about that, I have seen your visions and Master Scratch building techniques, well outweigh anything I do. And not only that, I build at a snail’s pace. And I will post more IF you do too. 🤭🤣🤣🤣🤣🤣Your stuff is very cool and your scratch builds are even cooler.
- 57 replies
-
- 2
-
-

-
- peterbilt
- highway tractor
- (and 1 more)
-
I’m glad there may be an itch for you to try a truck, I love that. You are right, once again I need to step out of my comfort zone and try the Alclad and or AK and that may add a more realistic finish…… I think I will put that on my list. I am going to have the chance to go to a real brick and mortar hobby shop in the next week or so and will look for the paints then. And Yes Spot model has the BEST packaging ever and great communications too. Thanks for that recommendation, Rob.
- 57 replies
-
- 2
-
-
- peterbilt
- highway tractor
- (and 1 more)
-
Thats gonna be COOL. I like where this is going ….
-
But it’s not just so so. Are we our own worst critics?
-
oh HA that will be cool.... thanks Martin...
-
Thanks , Hubert, I just hope not to make a pig’s ear out of it. As with the last one, I have a vision, it’s just a matter of getting there. Fingers crossed
- 57 replies
-
- 2
-
-
- peterbilt
- highway tractor
- (and 1 more)
-
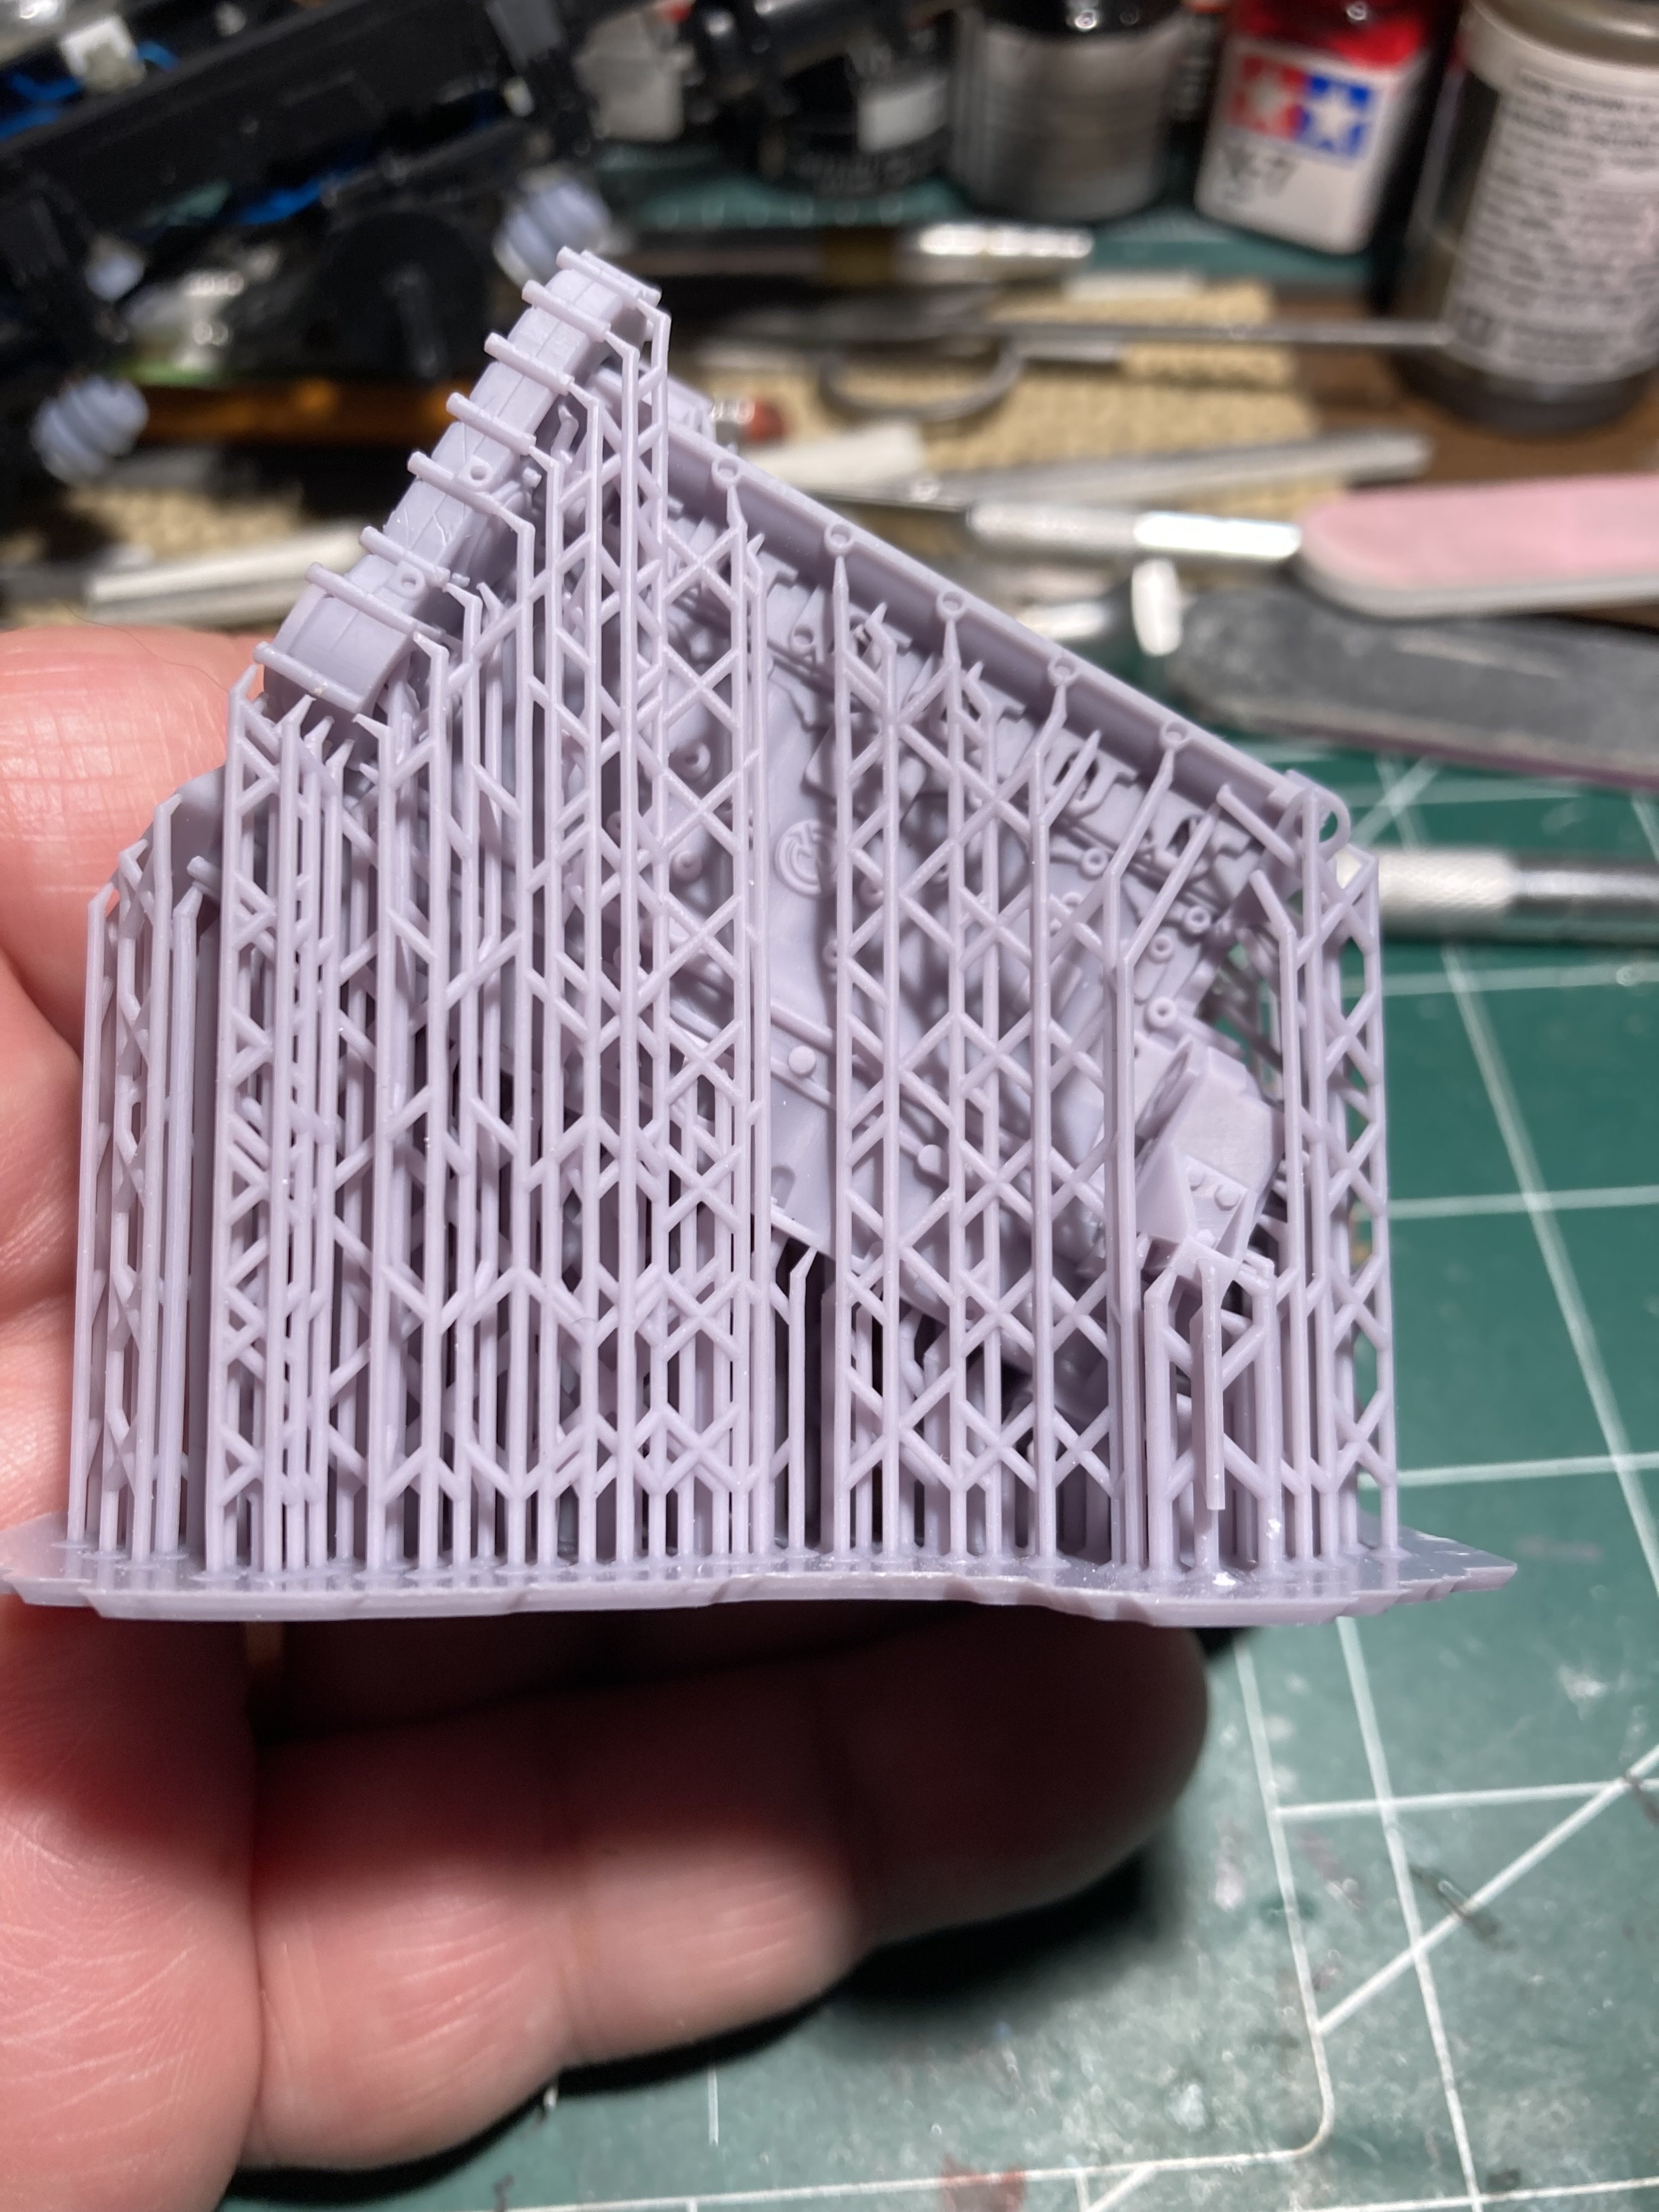
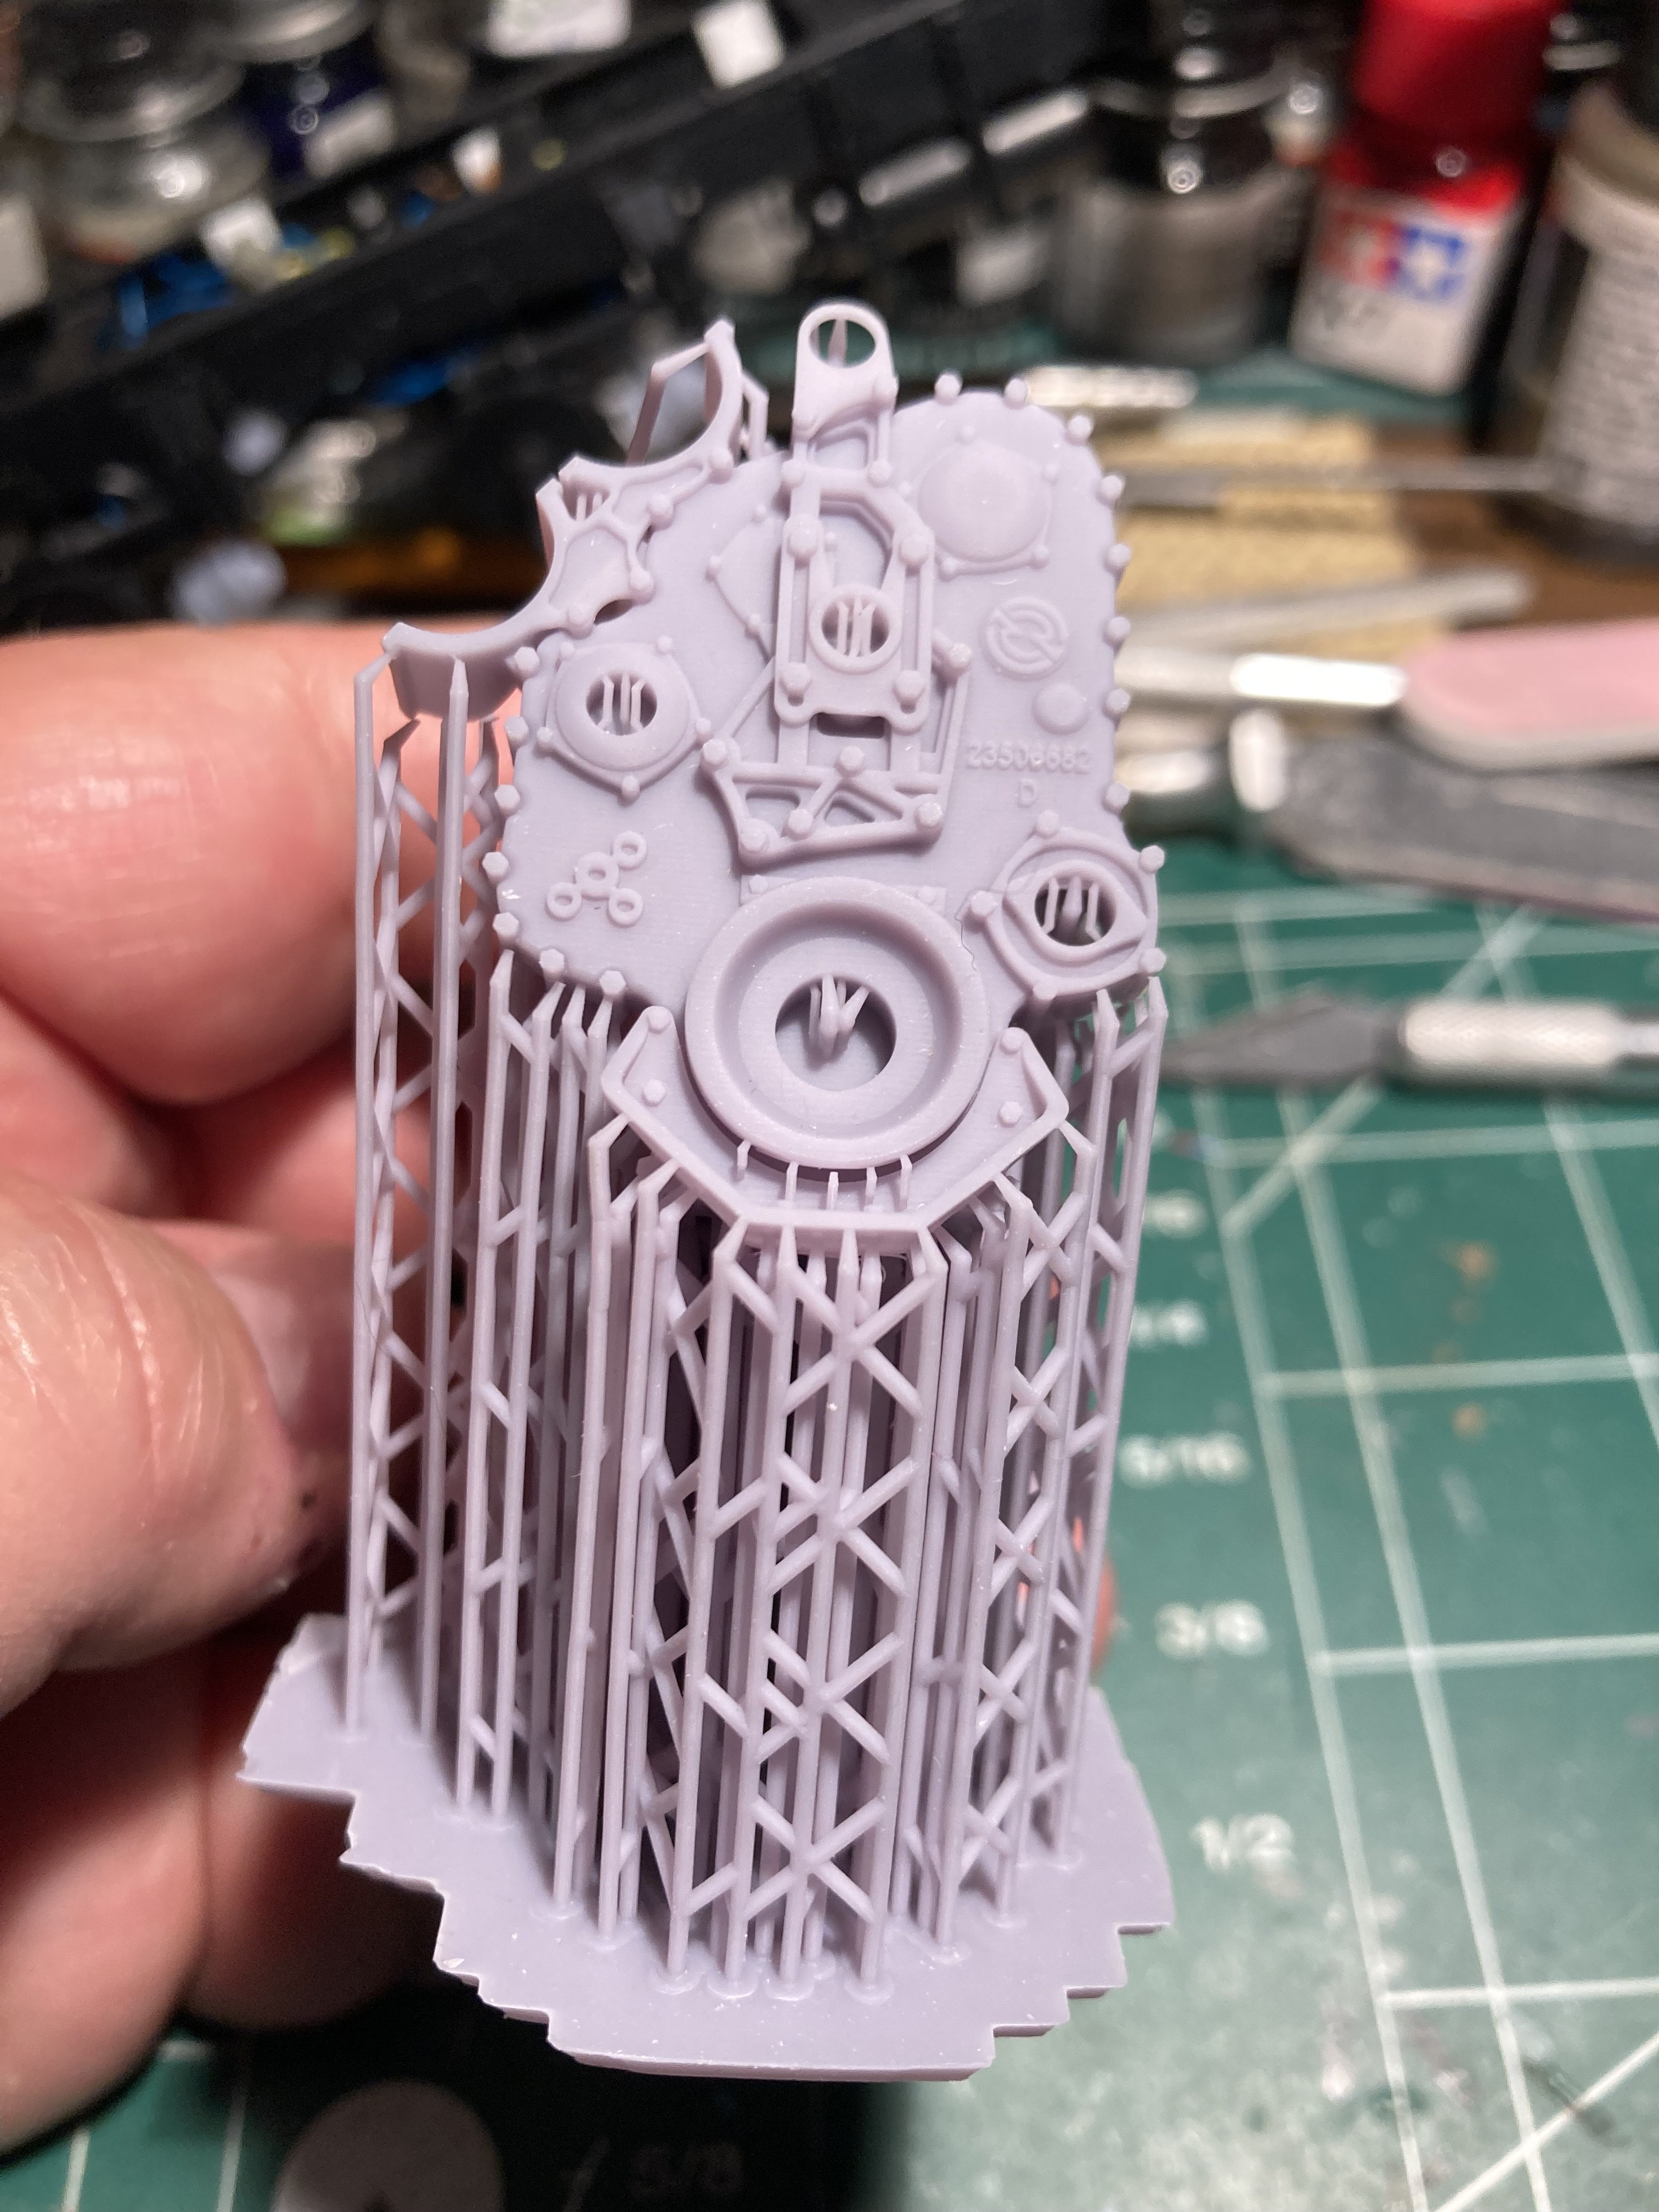
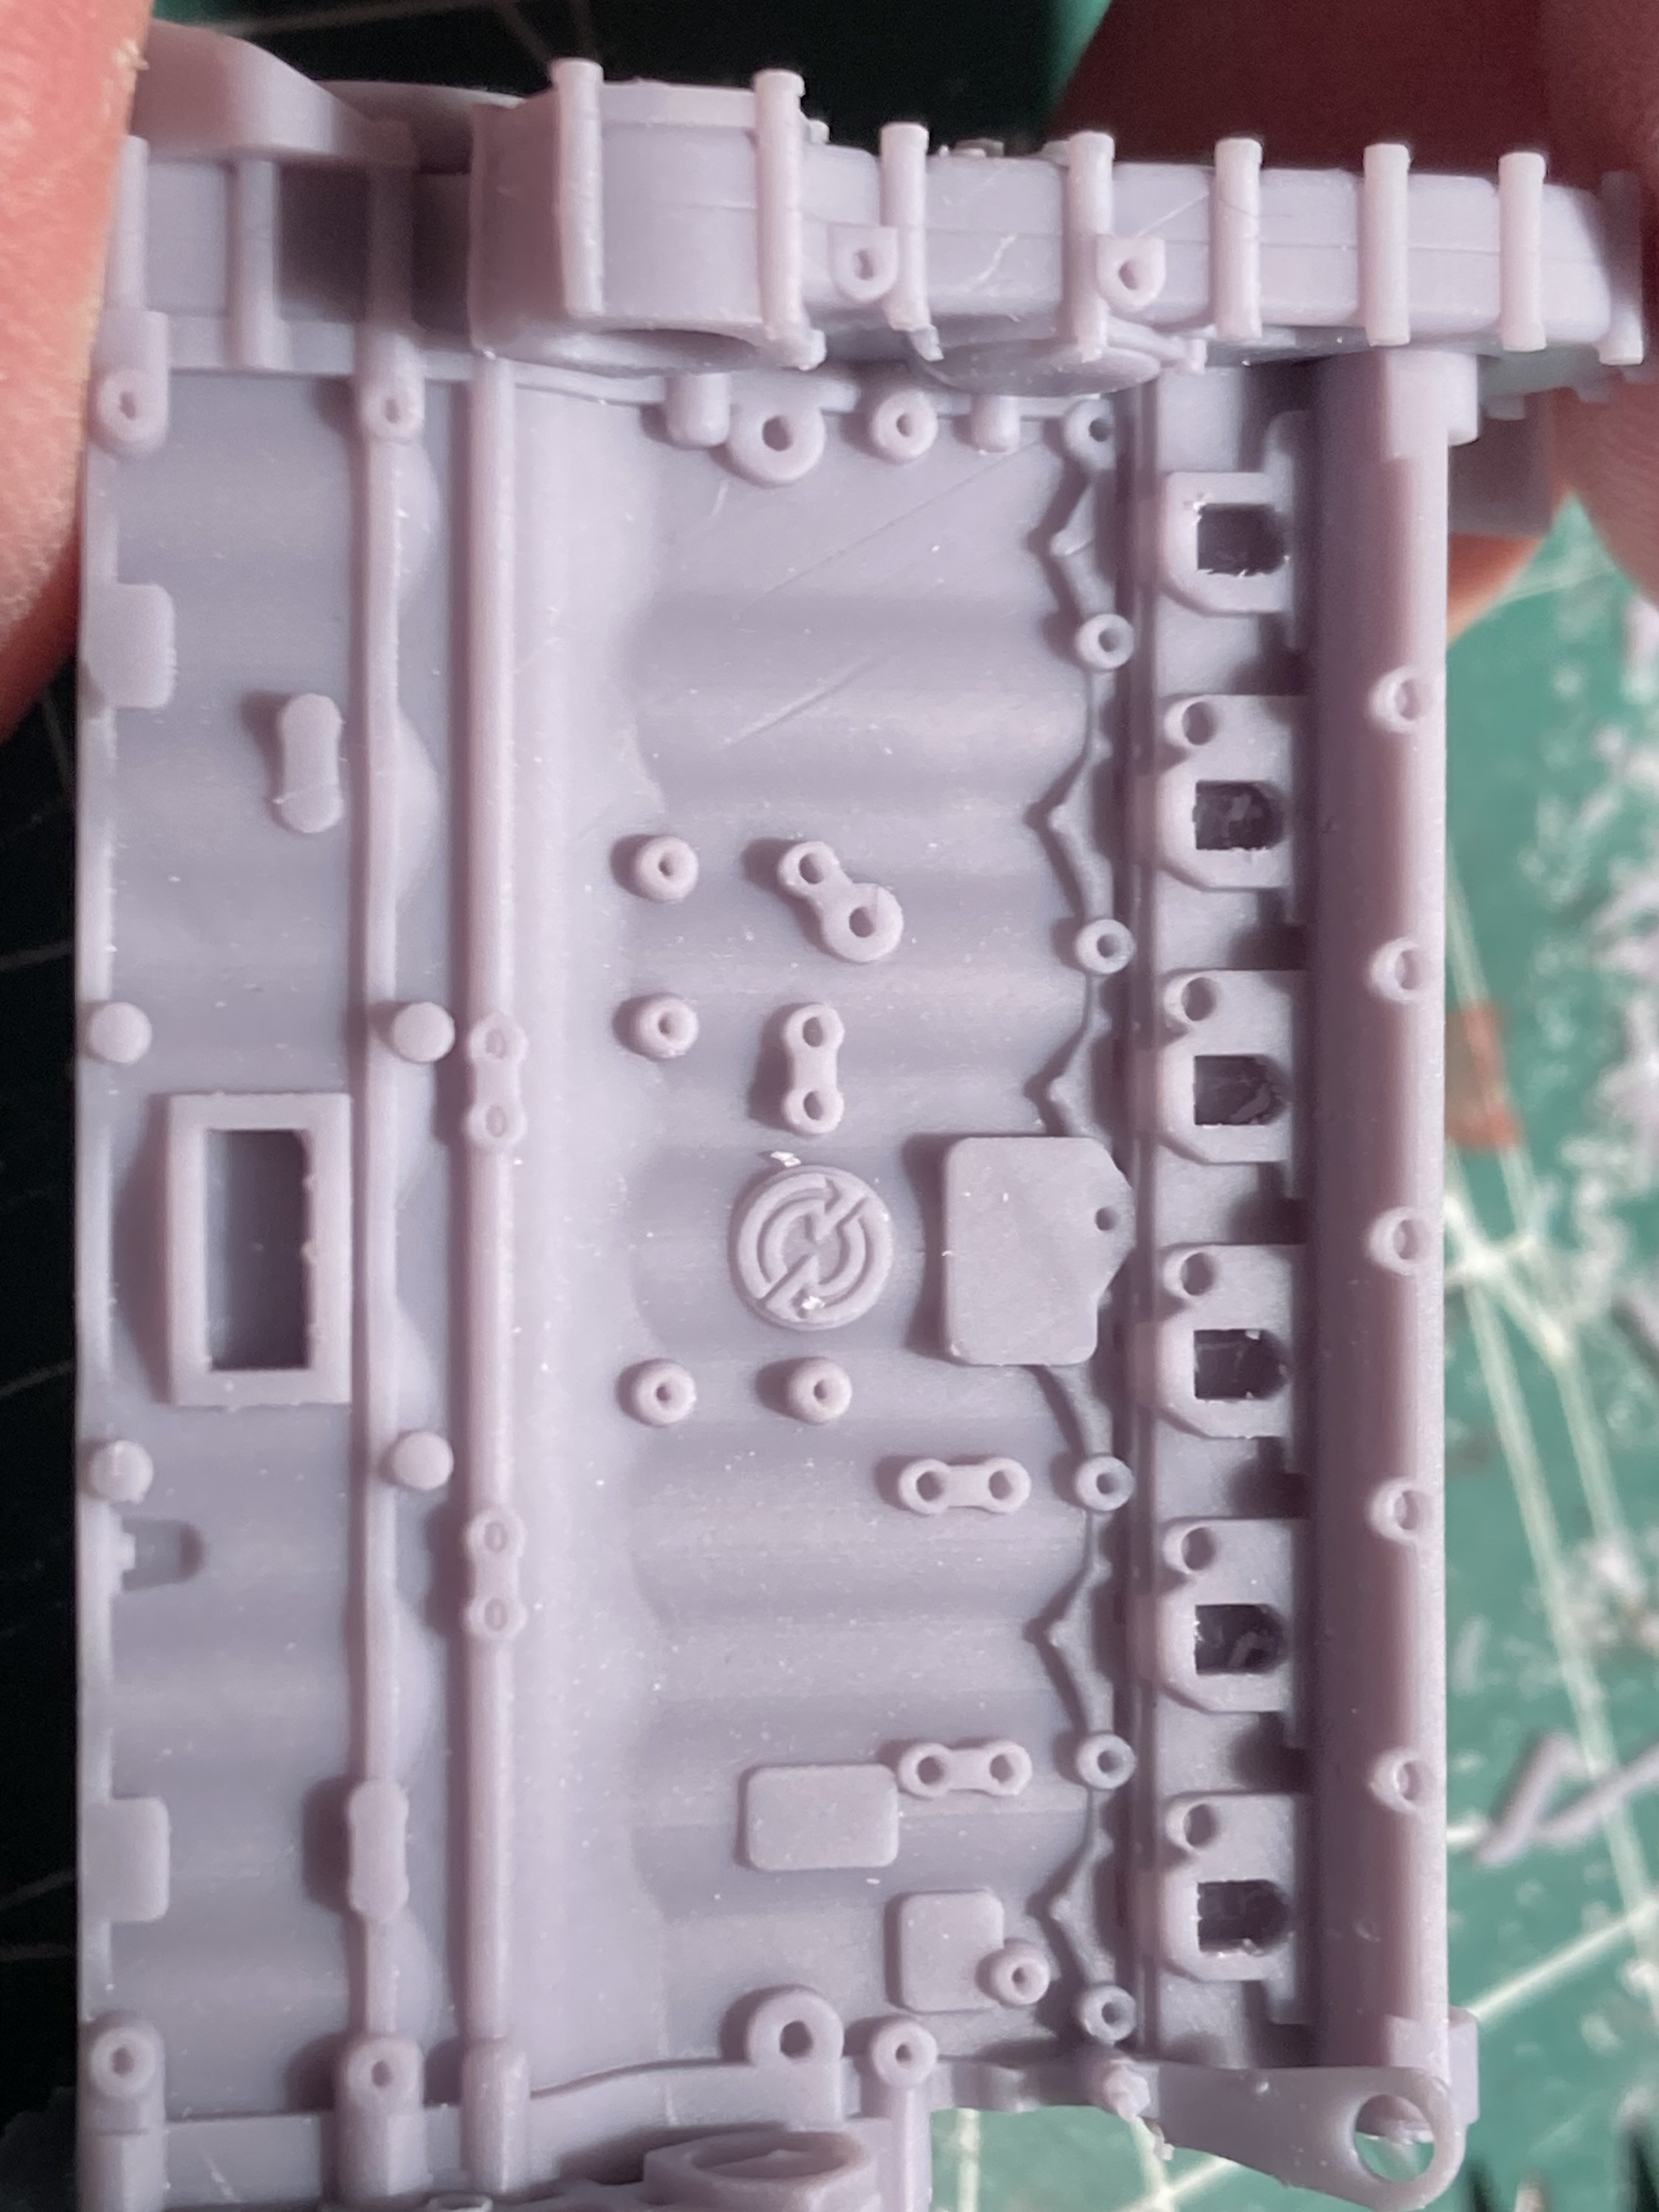
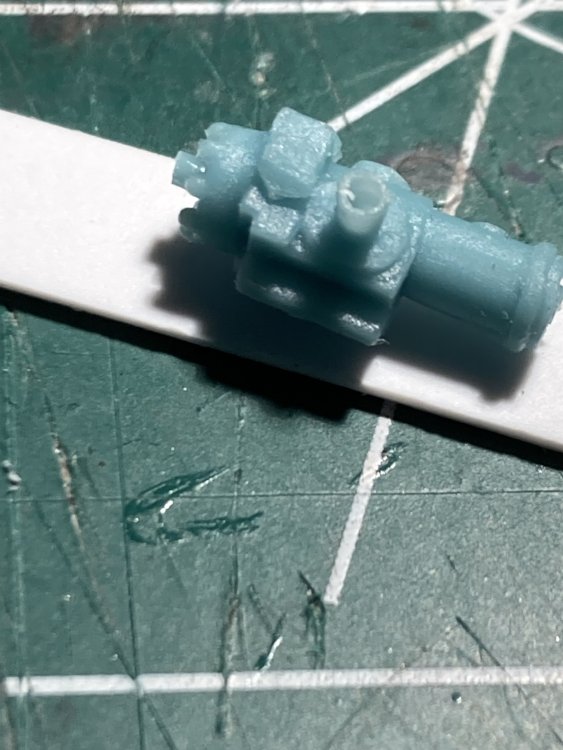
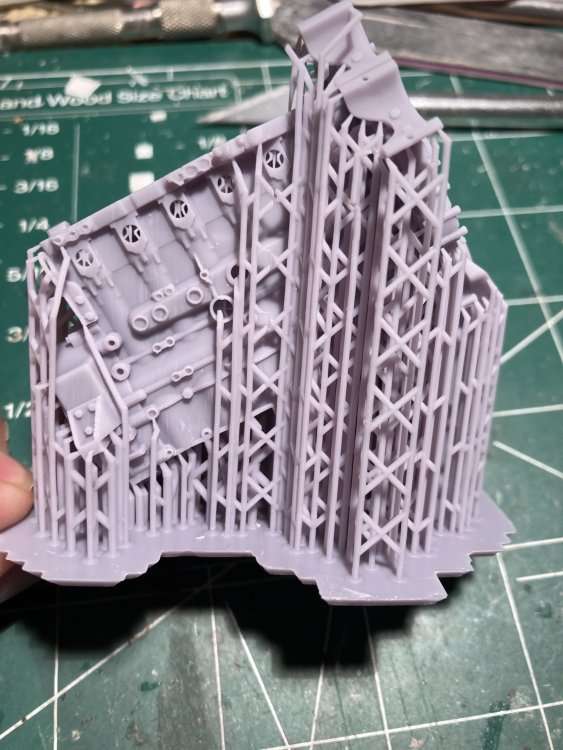
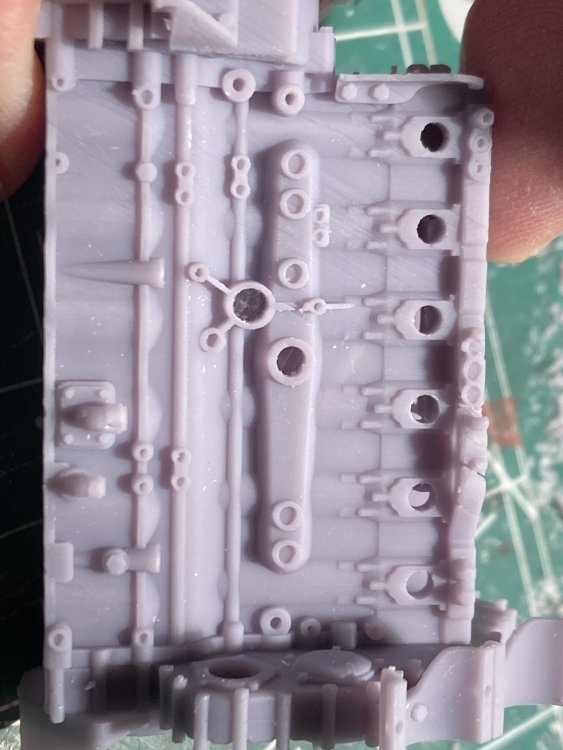
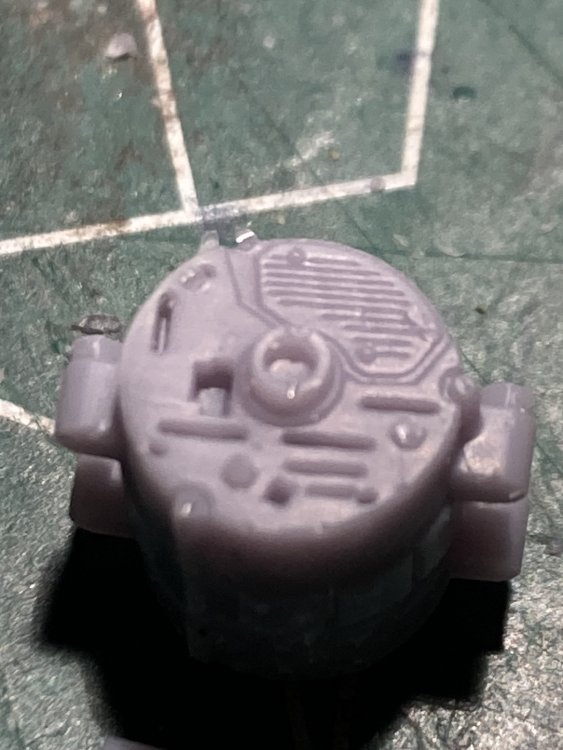
Ok. Lets talk about engines. Well not much to say really , the kit comes with a fairly decent Detroit 60 series which was made from 1987 to 2011 put out 300-365 and later models of this engine could crank out 575 horses and a whopping 1,850 fr lbs of torque. Torque is where the money is ! So on a post a while ago Rob (Doc Rob) informed me that he knew of a new yet to be released 3d printed 1/24 scale Detroit 60 Series engine as a direct replacement for this kit engine…… so with Ob’s info in hand I did a little investigating and found it on a pre order from Spot Model which is is Spain. So, I asked Rob a couple questions about Spot Model and he said they were good to deal with. Good enough for me . I took the plunge and ordered one. HOLEE COW !!!!!!! The detail on this is off the clock ! A LOT of careful snipping and a little touch up here and there but is it ever worth it . Now all I have to do is paint it ( yes , Ronnie old pal, blue not red 🤣🤣🤣) assemble it and and as much extra detail that I can manage. It will be a little diamond under the hood.


- 57 replies
-
- 7
-
-
- peterbilt
- highway tractor
- (and 1 more)
-
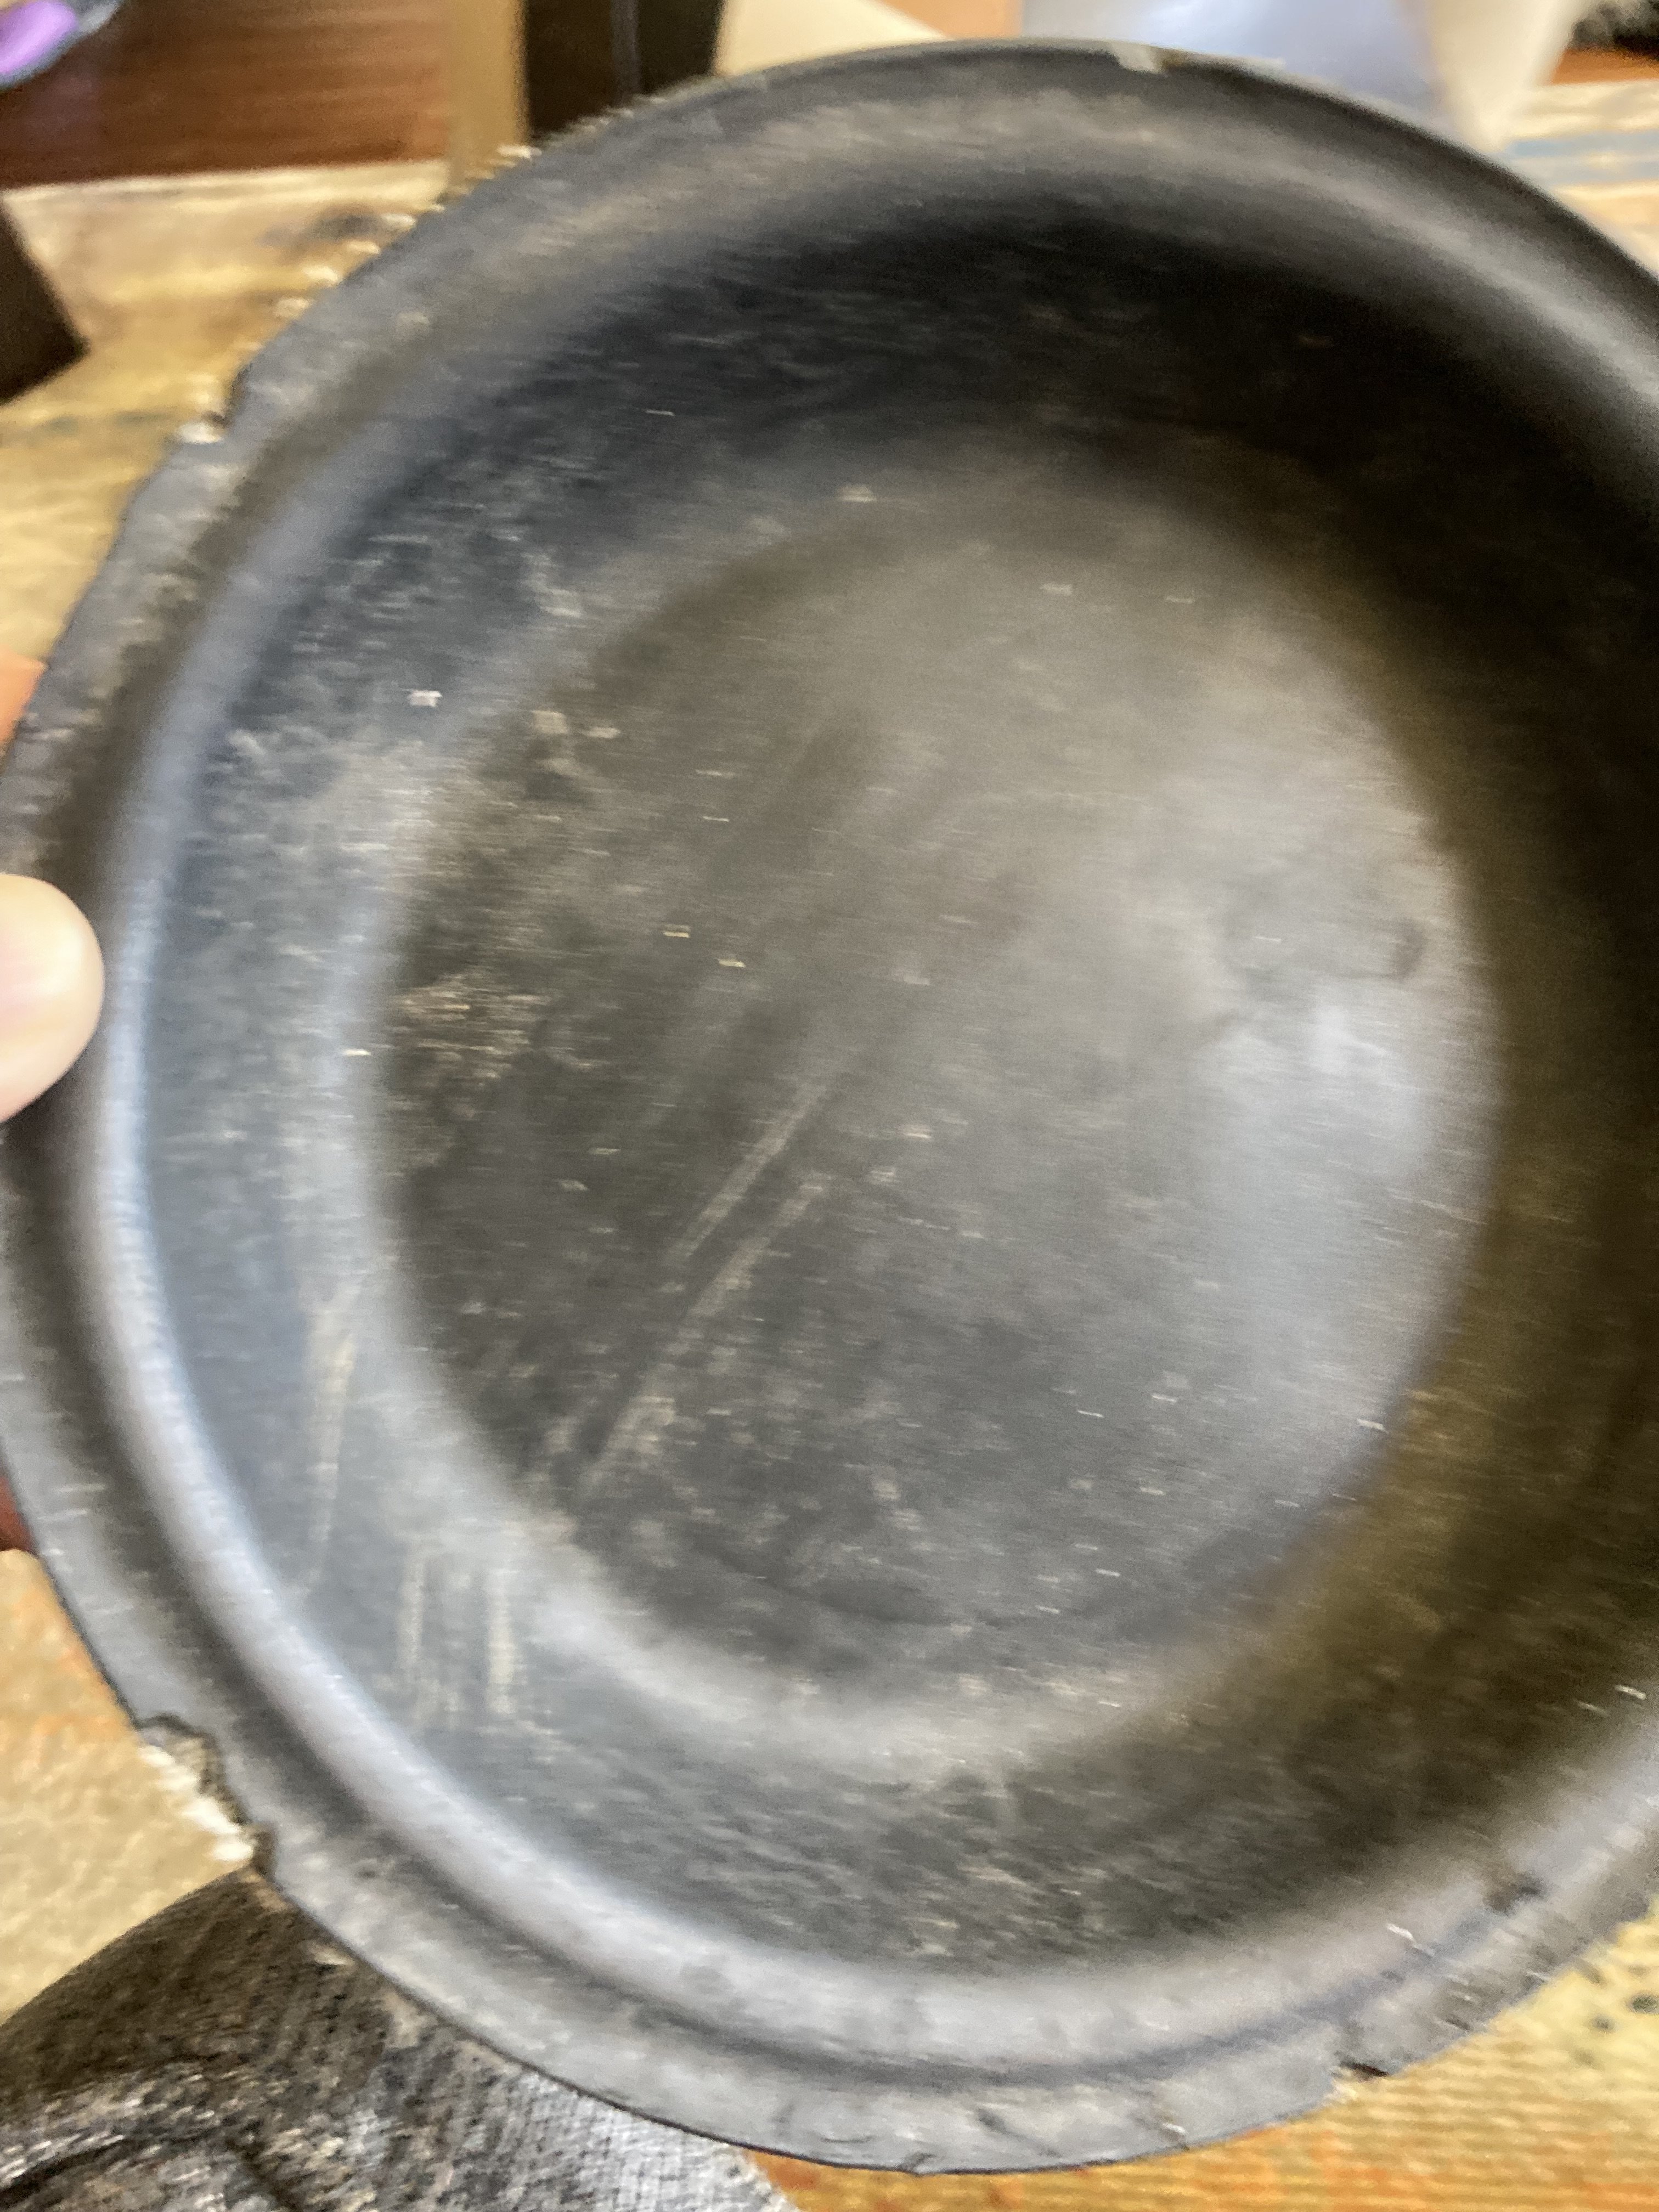
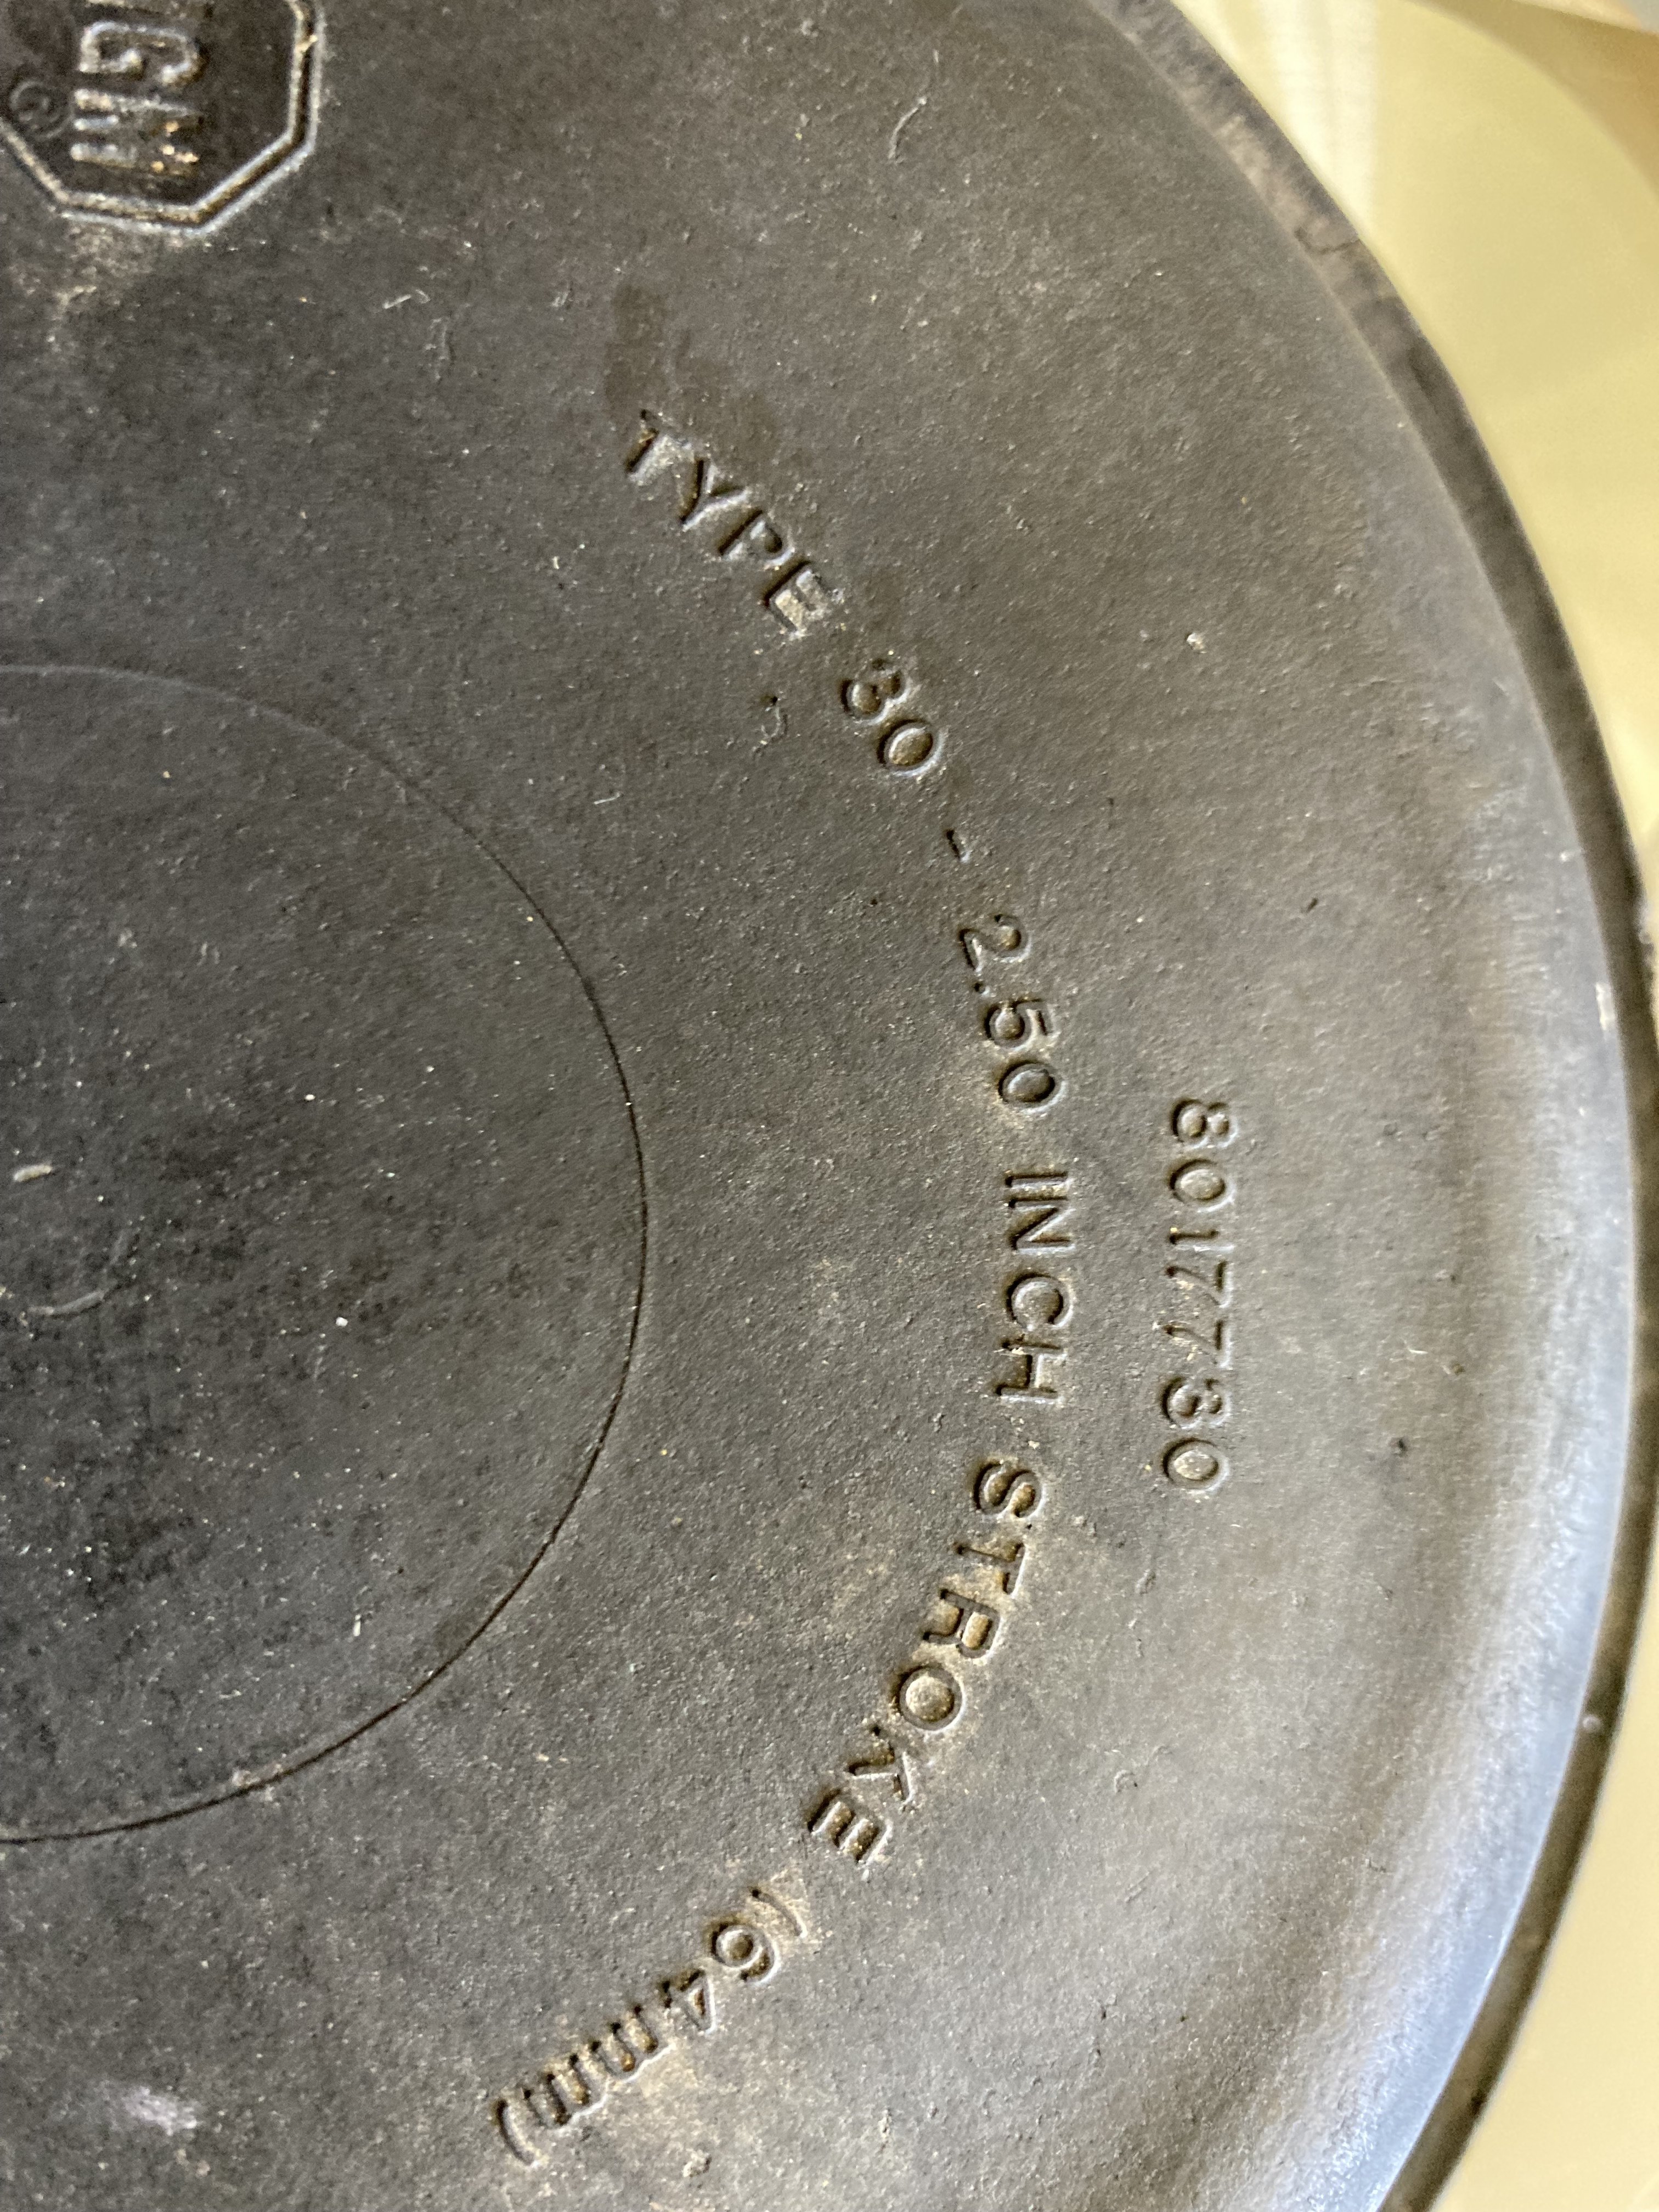
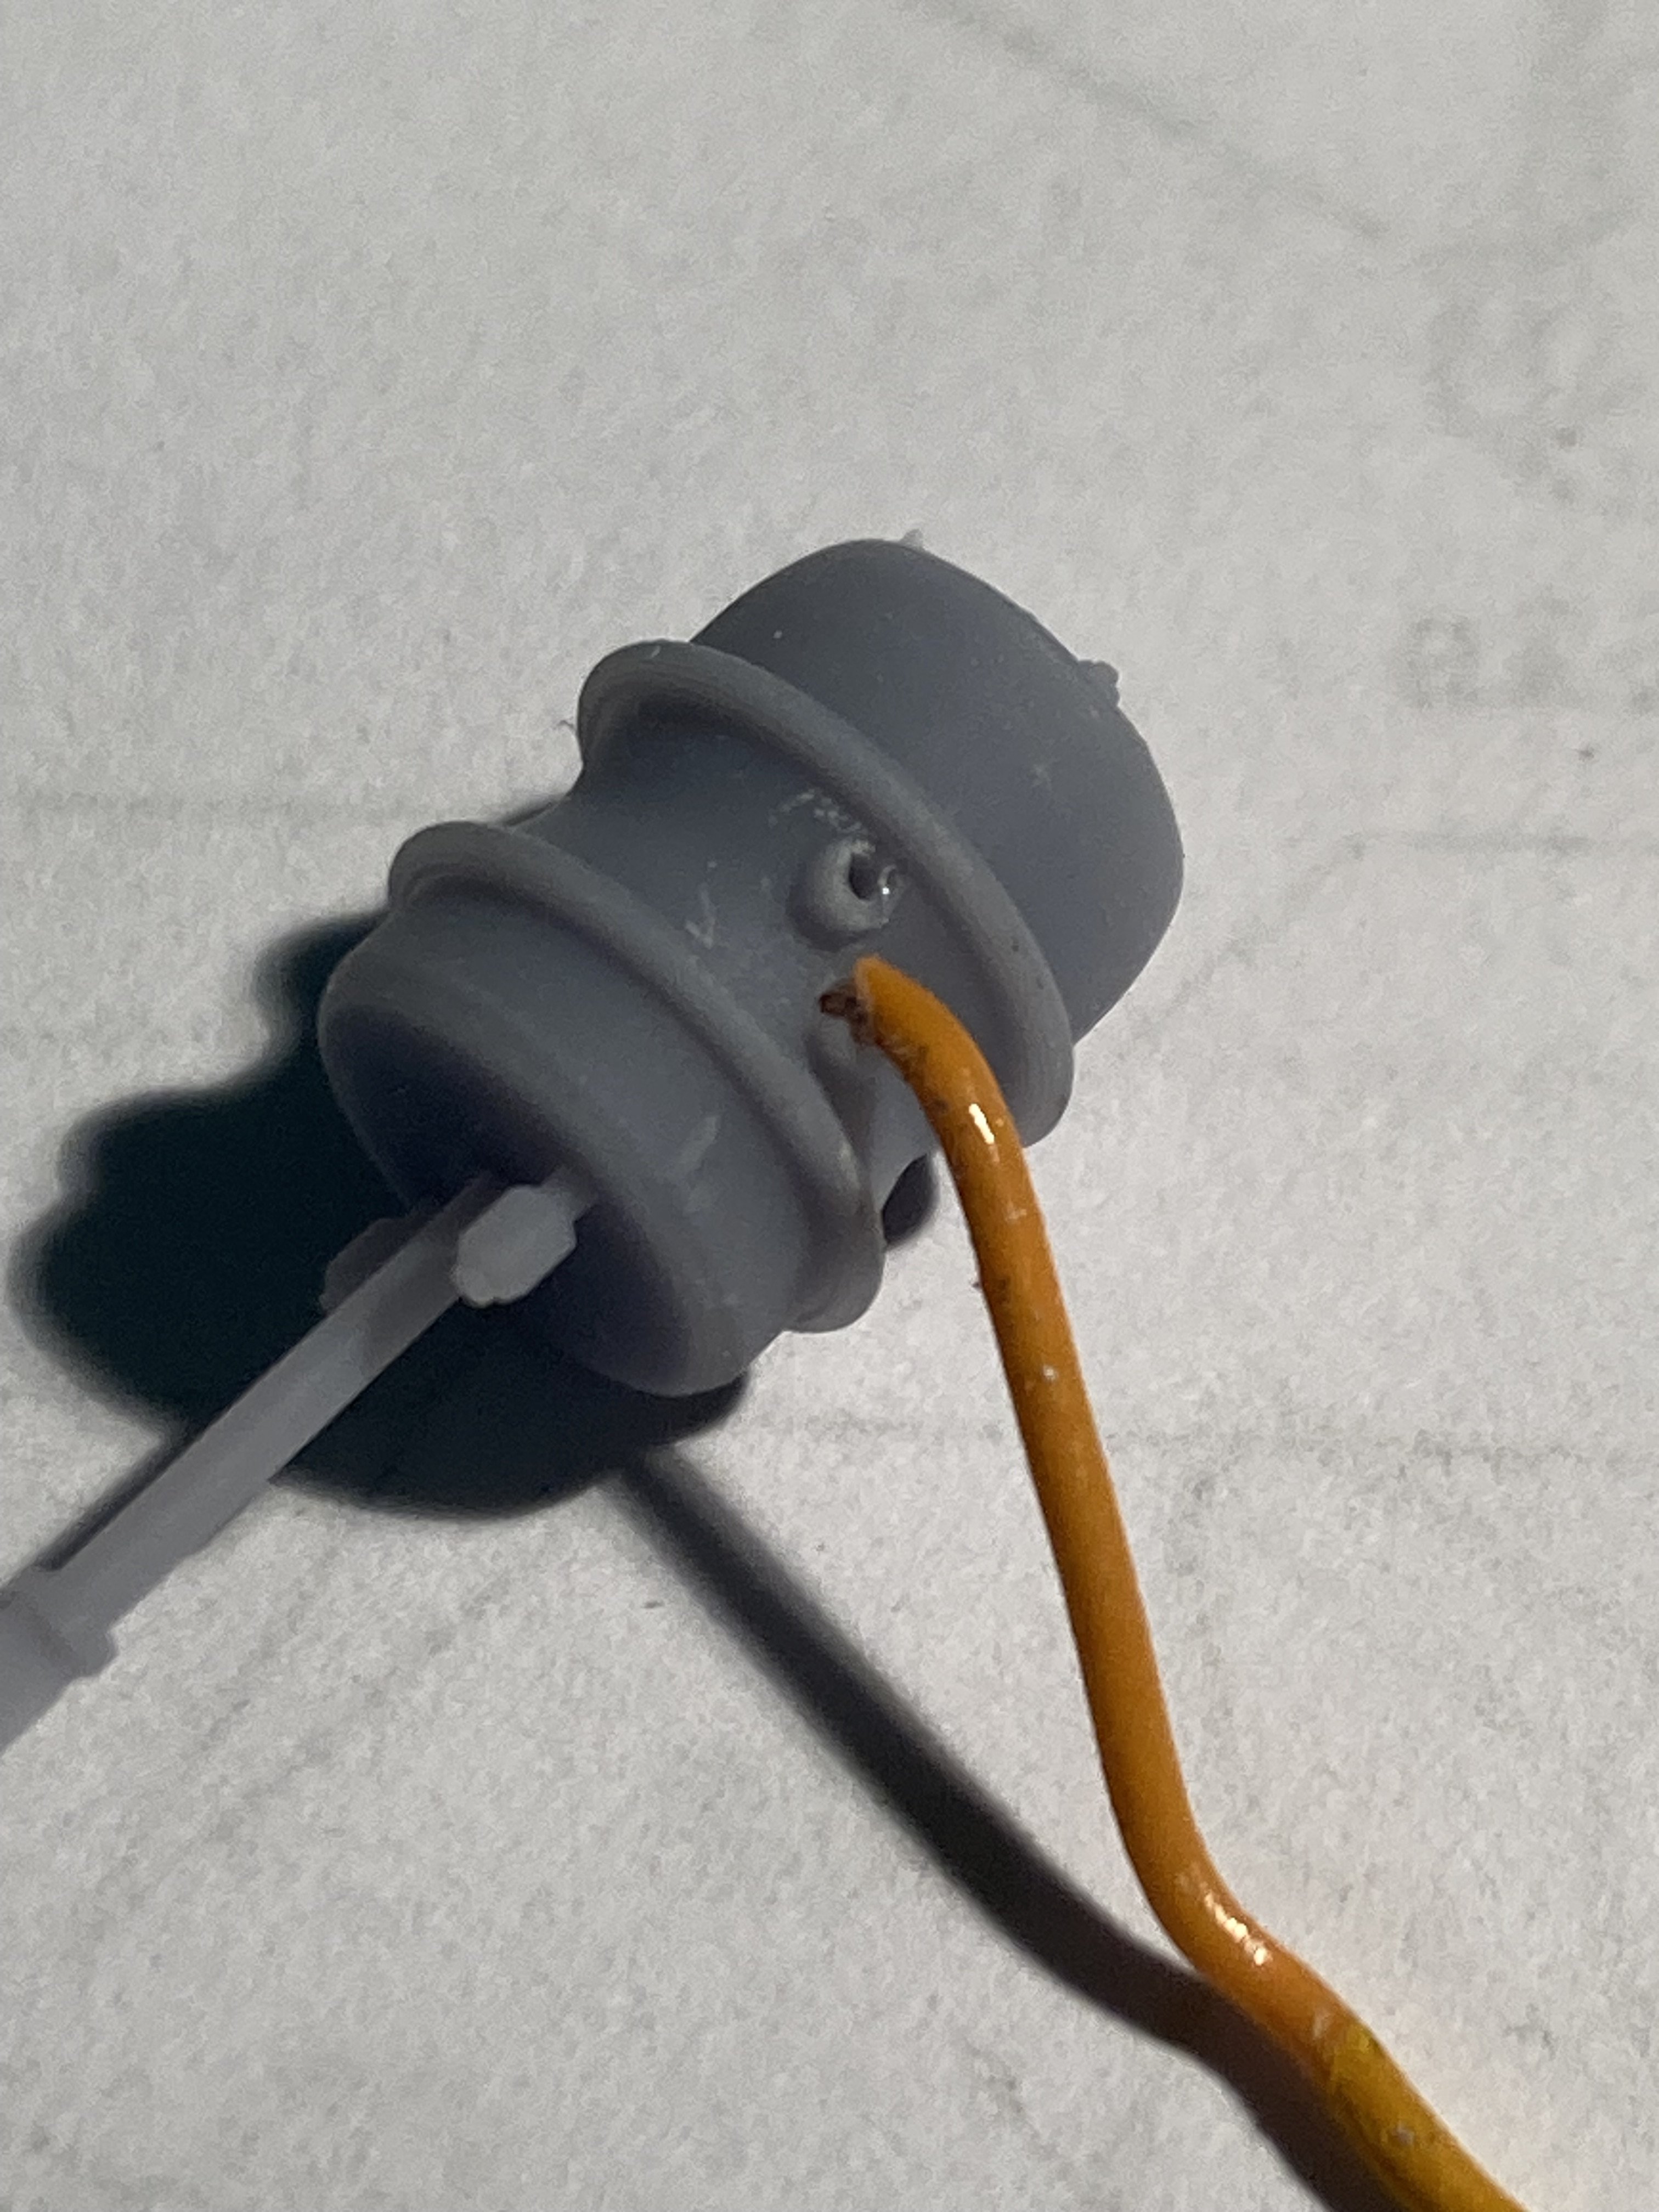
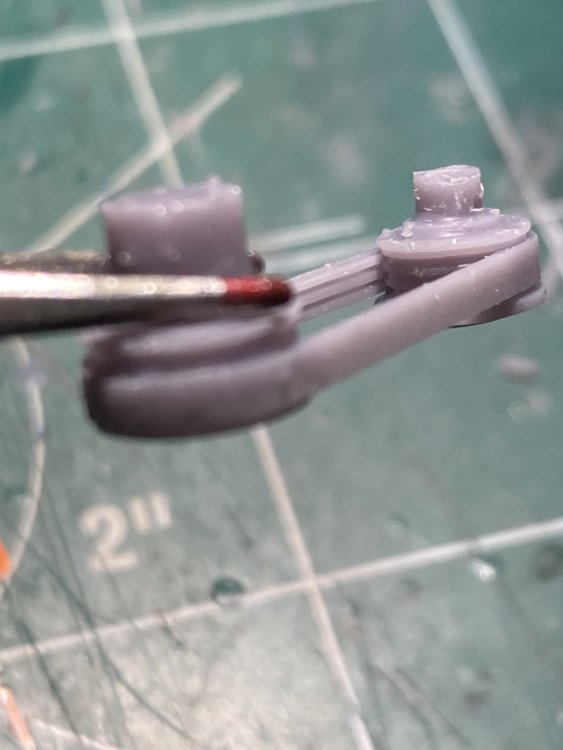
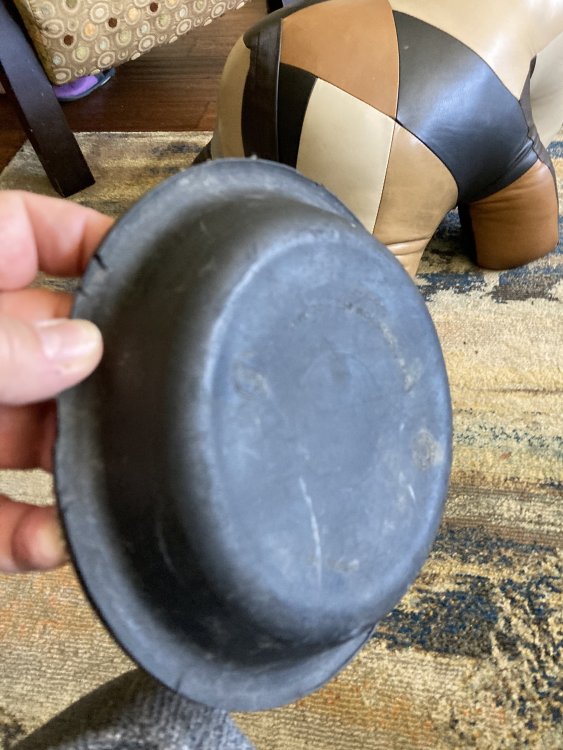
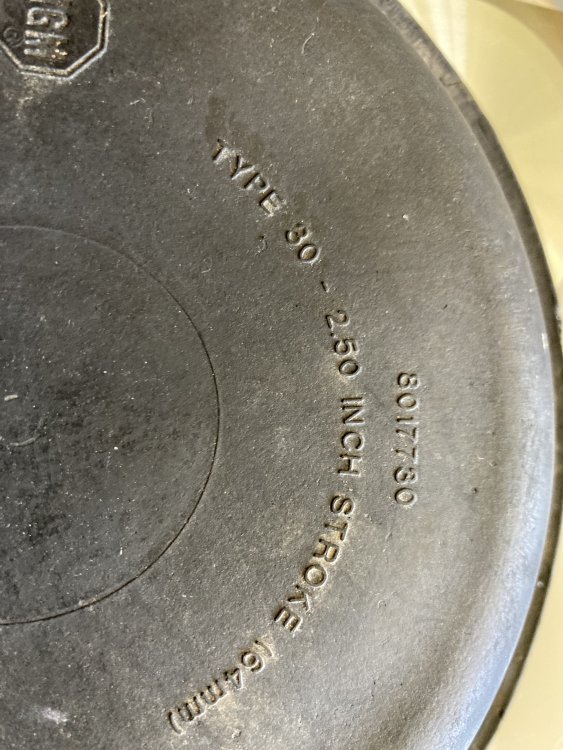
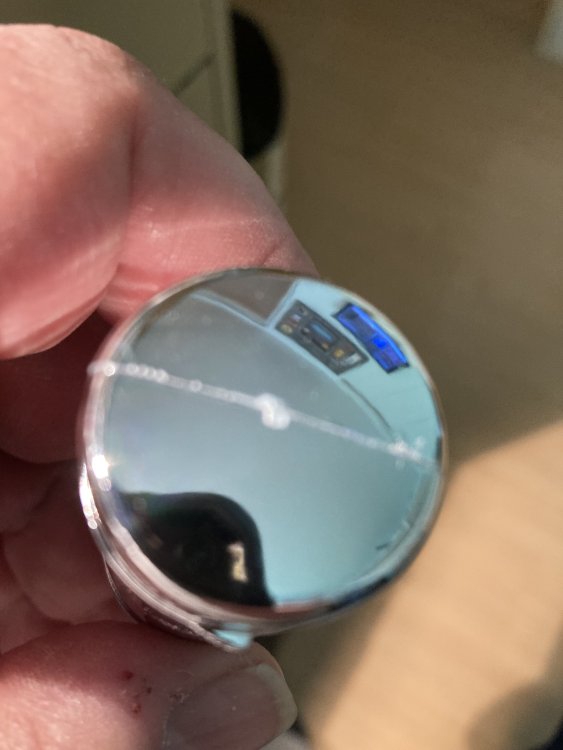
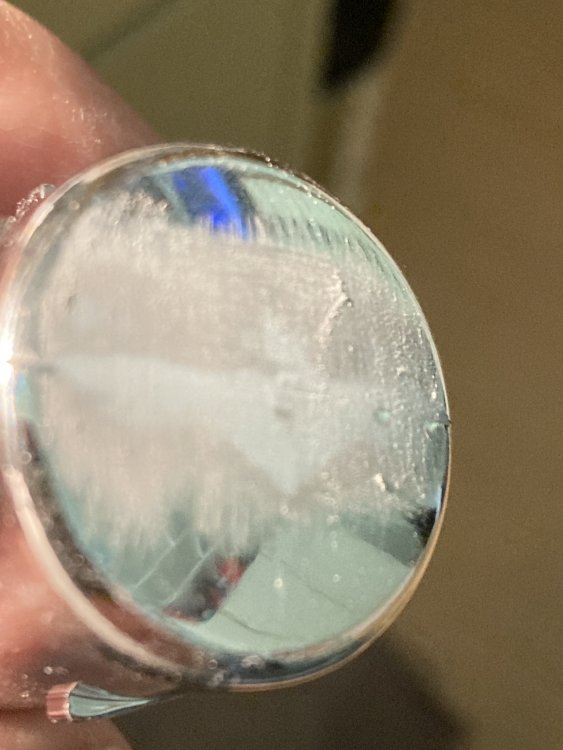
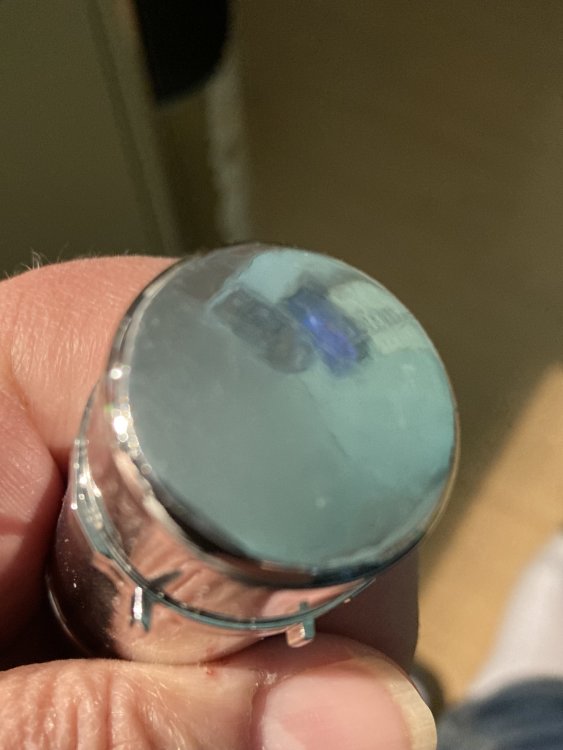
Ok. Here is a tid bit I will toss in for anyone who doesn’t get the spring brake thing. As you know last week Cathy and I went to Ontario (CFB North Bay) to attend our daughter in law’s promotion ceremony. Of course we stayed with them and they have a couple dogs….( I am going somewhere here. Bear with me ) and I went out side to see one of them playing with a ‘frisby’… this ‘frisby’ turned out to be none other than a Type 30 spring brake diaphragm. This is inside the spring brake chamber that traps the air so the spring brakes ( park brakes) can be applied or released. The basic concept is air over spring. The air pushes against this rubber diaphragm which compresses the spring to release the spring brakes. And to apply the brakes for parking when the parking valve on the dash is pulled , releases the air and the spring unloads, pushing on the push rod which turns a shaft that is connected inside the brake drum to an ‘S’ cam where there are rollers on the brake shoes and internal springs which apply the brakes. And to release the ‘park brake’ the driver pushes yellow button on the dash , which applies air to the diaphragm in the spring brake chamber which in turn pushes against the main spring and reverses the former process to release the park brake

- 57 replies
-
- 5
-
-
- peterbilt
- highway tractor
- (and 1 more)
-
Thanks buddy !
- 57 replies
-
- 2
-
-
- peterbilt
- highway tractor
- (and 1 more)
-
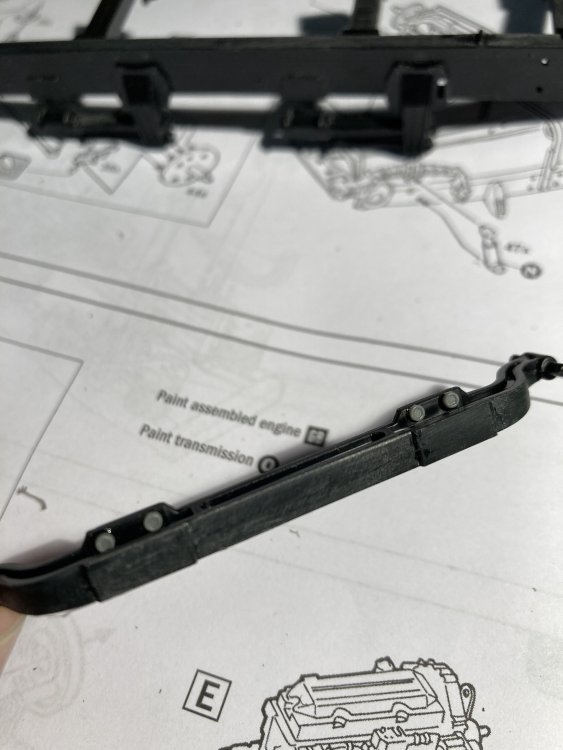
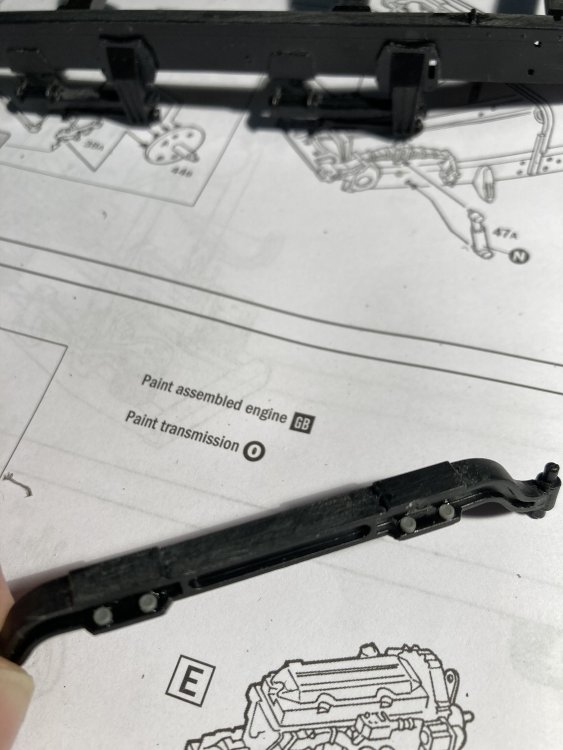
I mentioned some bolt detail so I added a few to the shock absorbers
- 57 replies
-
- 6
-
-
- peterbilt
- highway tractor
- (and 1 more)
-
Now the fuel tanks. Big fuel tanks that are chrome. I could strip the chrome and paint them aluminum, but I think my real truck would have some shiny stuff on it. So. Assemble them and the big ugly seam , I sand the seam and make it smooth altho of course the chrome is heavily damaged and I am not an Alclad guy yet ( go figure) so I took my template and cut some chrome automotive tape, put it on and polished it. It is not perfectly chromed, but in reality it wouldn’t be either as it is very exposed to any and all road grime and thrashing from tje front tires, but it looks ok to me as the seam is hardly detectable to the eye in real life here, it’s passable.
- 57 replies
-
- 5
-
-
- peterbilt
- highway tractor
- (and 1 more)
-
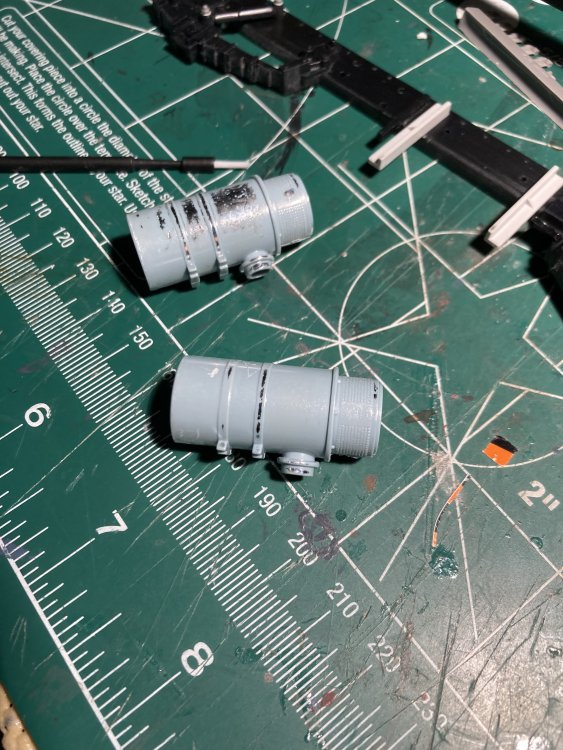
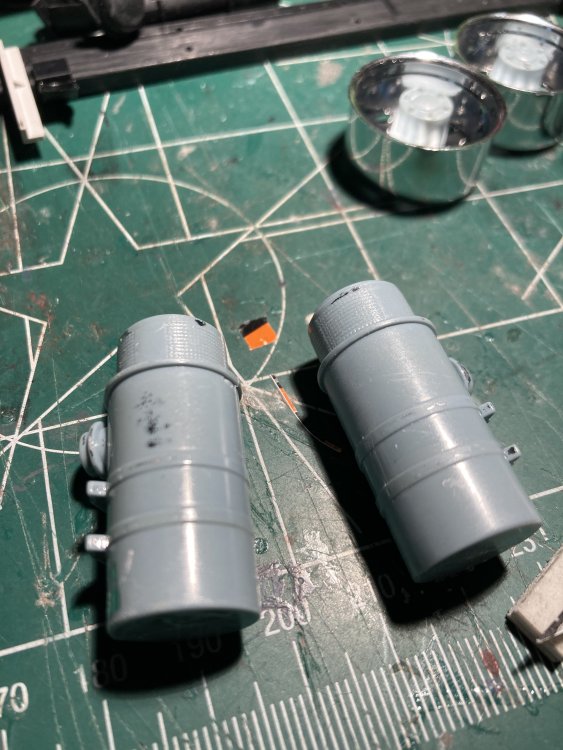
So … gonna try something a bit different. The huge Pete air cleaners are very bright chrome . Hhhmmmm. There are lots of chromed ones out there. So I decided to de- chrome them and will paint them cab colors with chrome holding straps. This also gave me an opportunity to sand and smooth the seams. So they will be painted cab color, chrome tape for hold straps and CTM photo etch intake screens
- 57 replies
-
- 6
-
-
- peterbilt
- highway tractor
- (and 1 more)
-
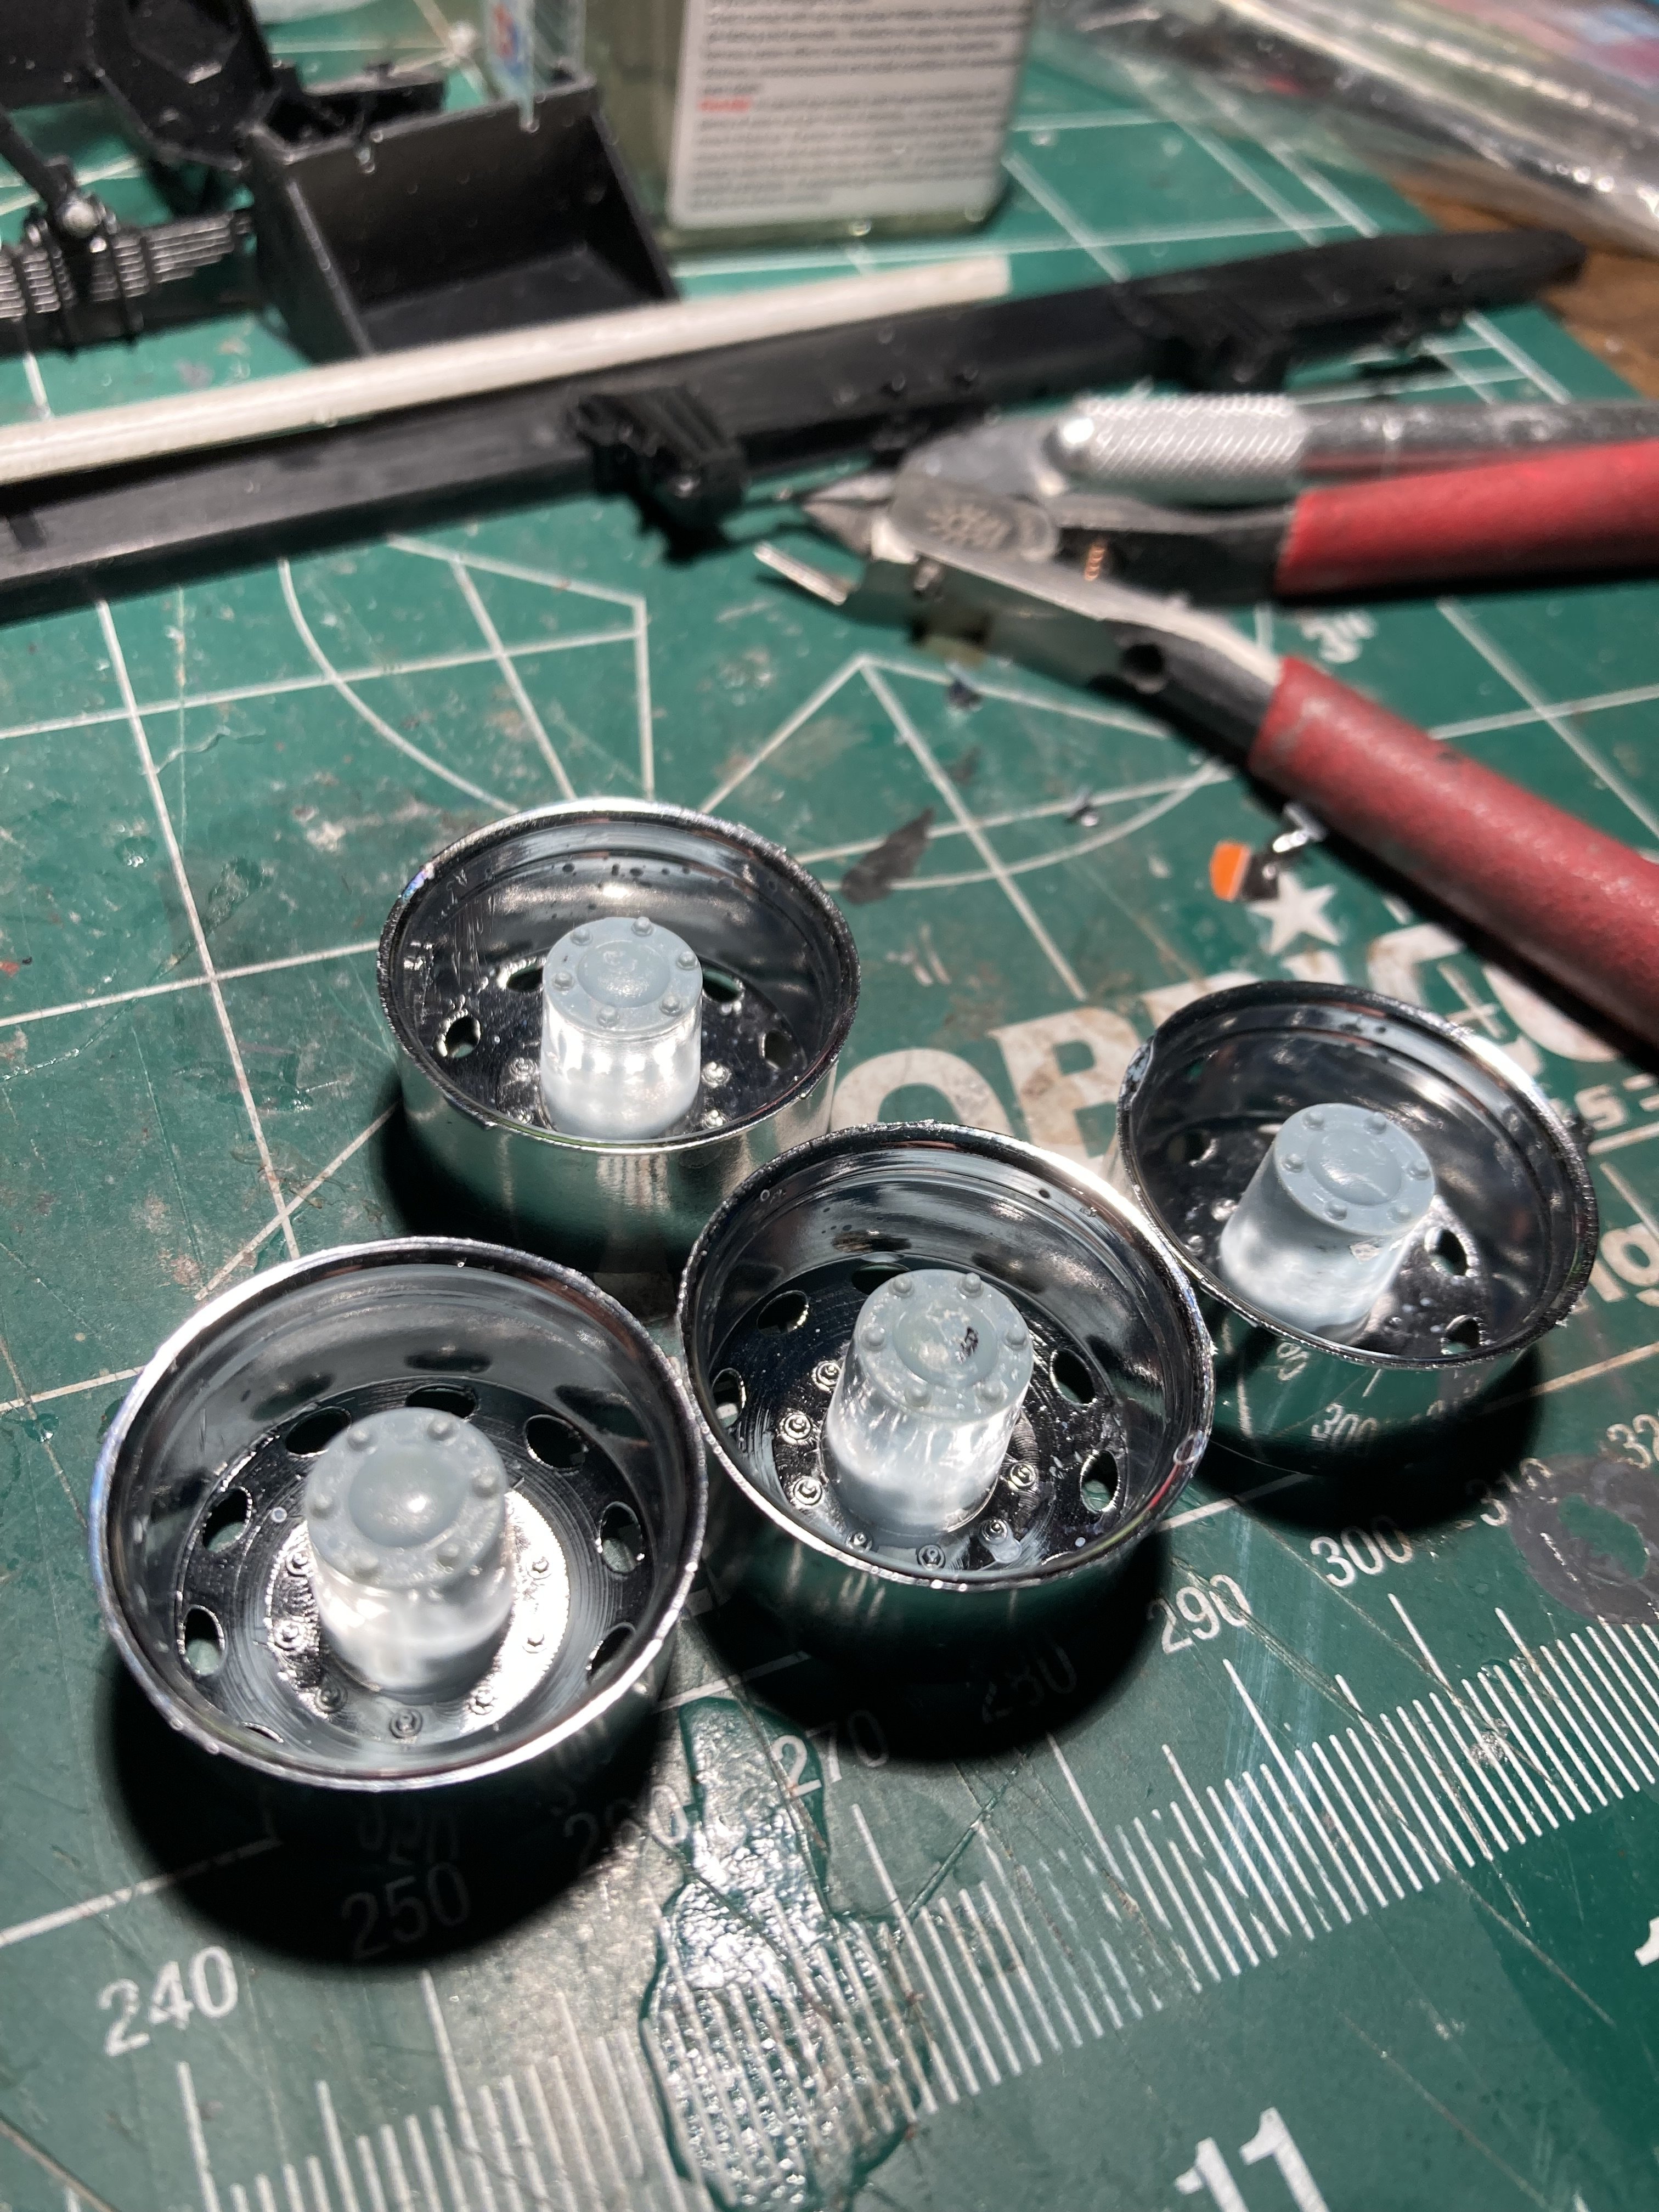
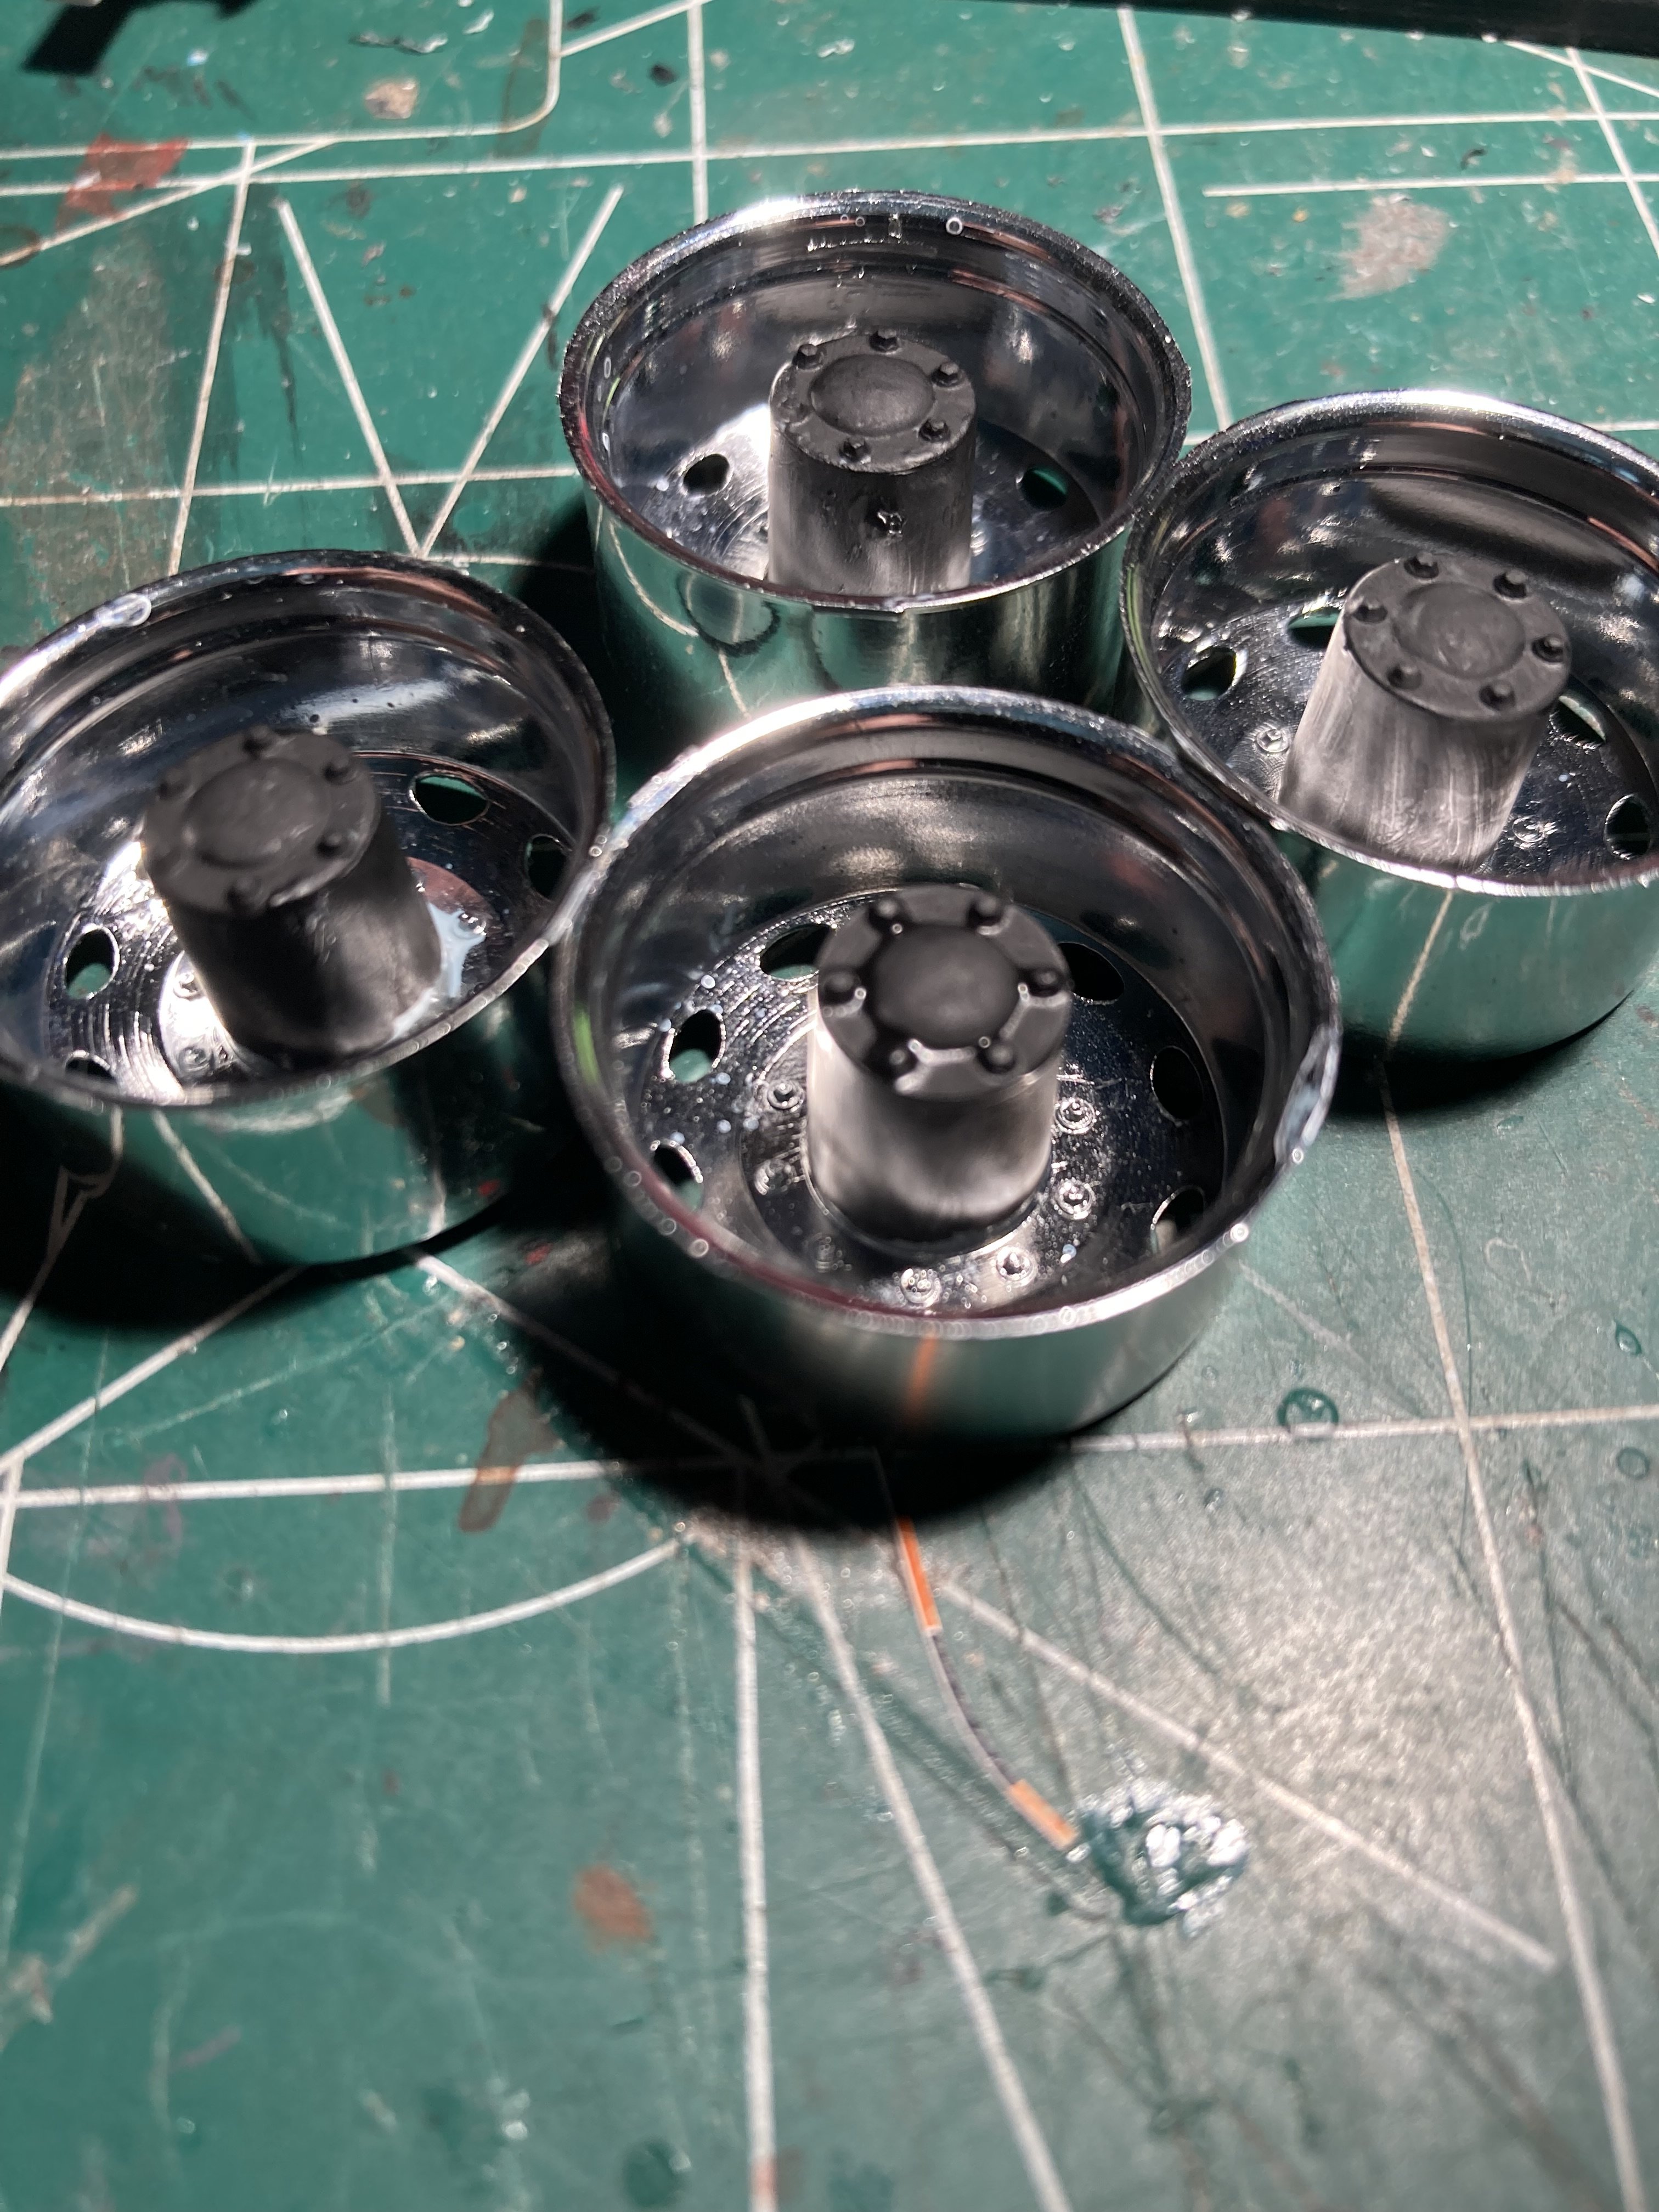
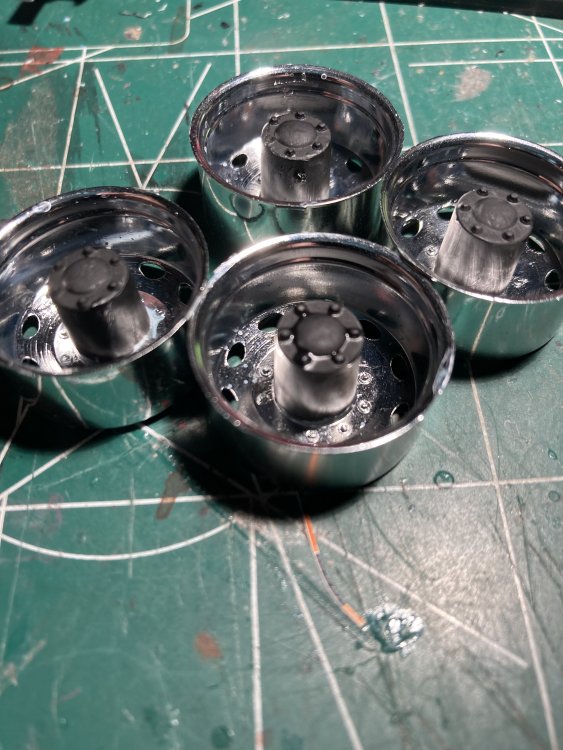
Now its on to cleaning the wheels up a bit. The chrome on these kits is ver good albeit a bit bright and in places that I never seen chromed such as the rear drive hubs. So that has to go and be painted flat black , looks better to me.

- 57 replies
-
- 7
-
-
- peterbilt
- highway tractor
- (and 1 more)
-
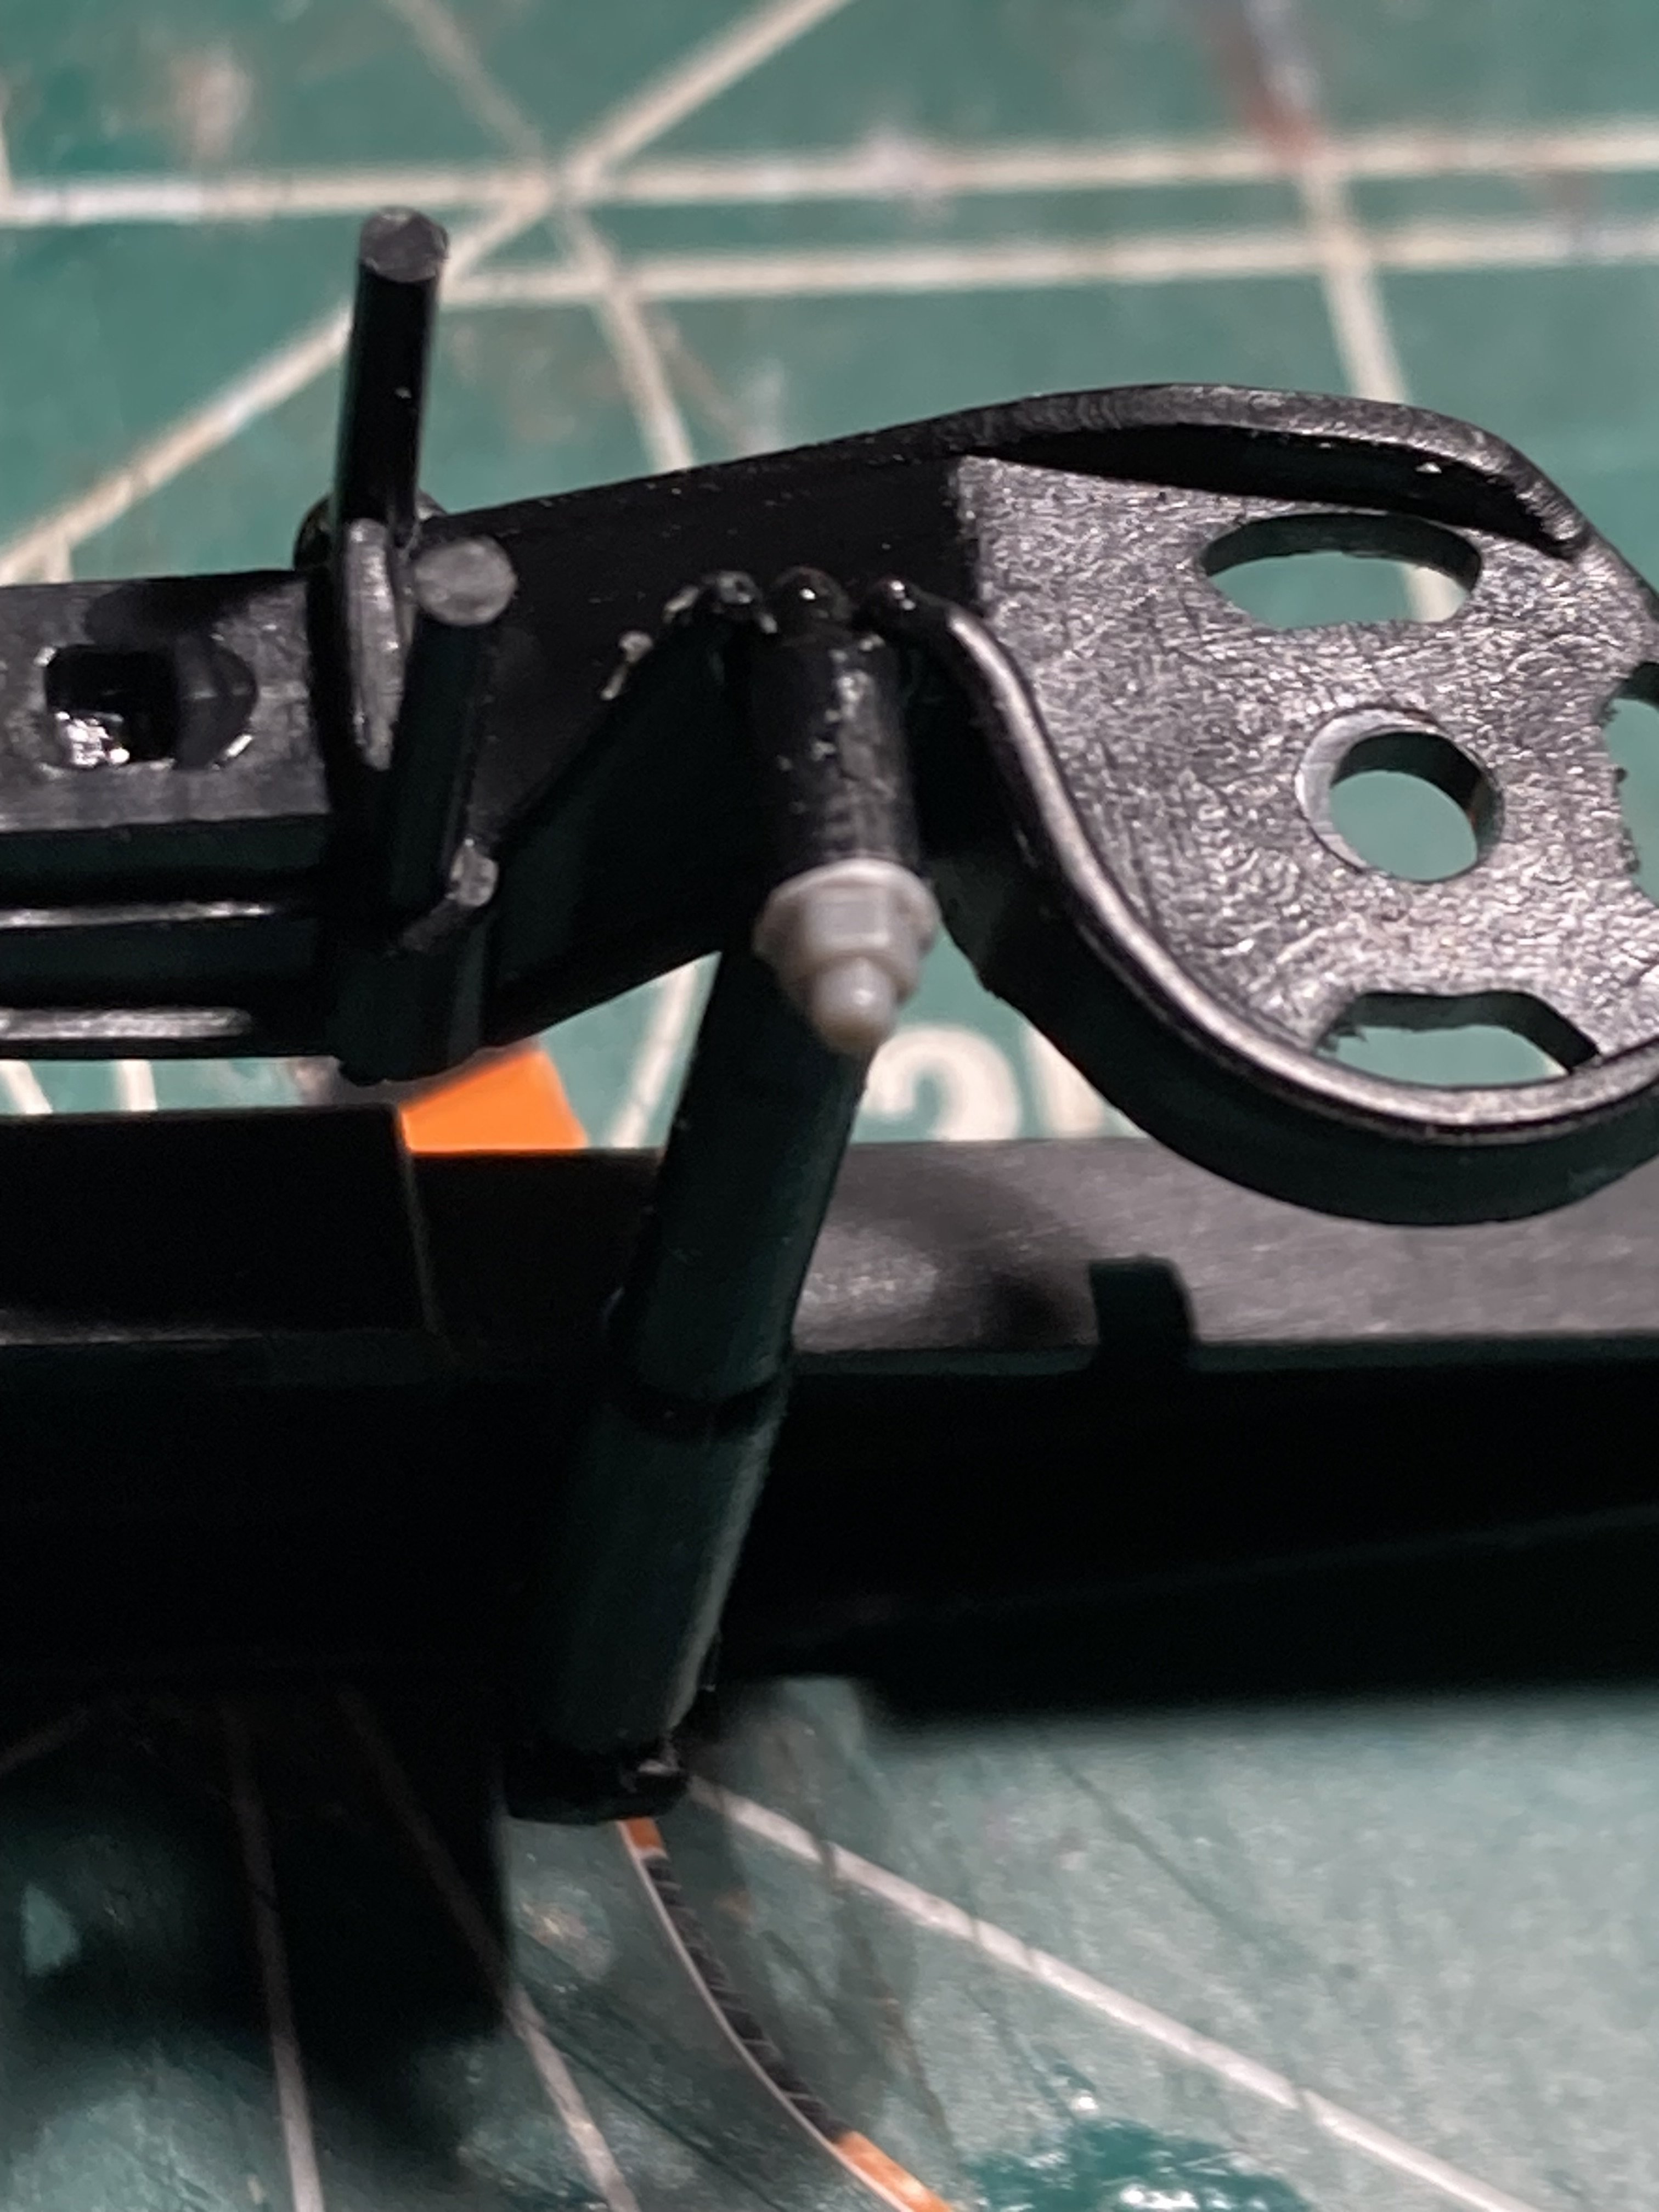
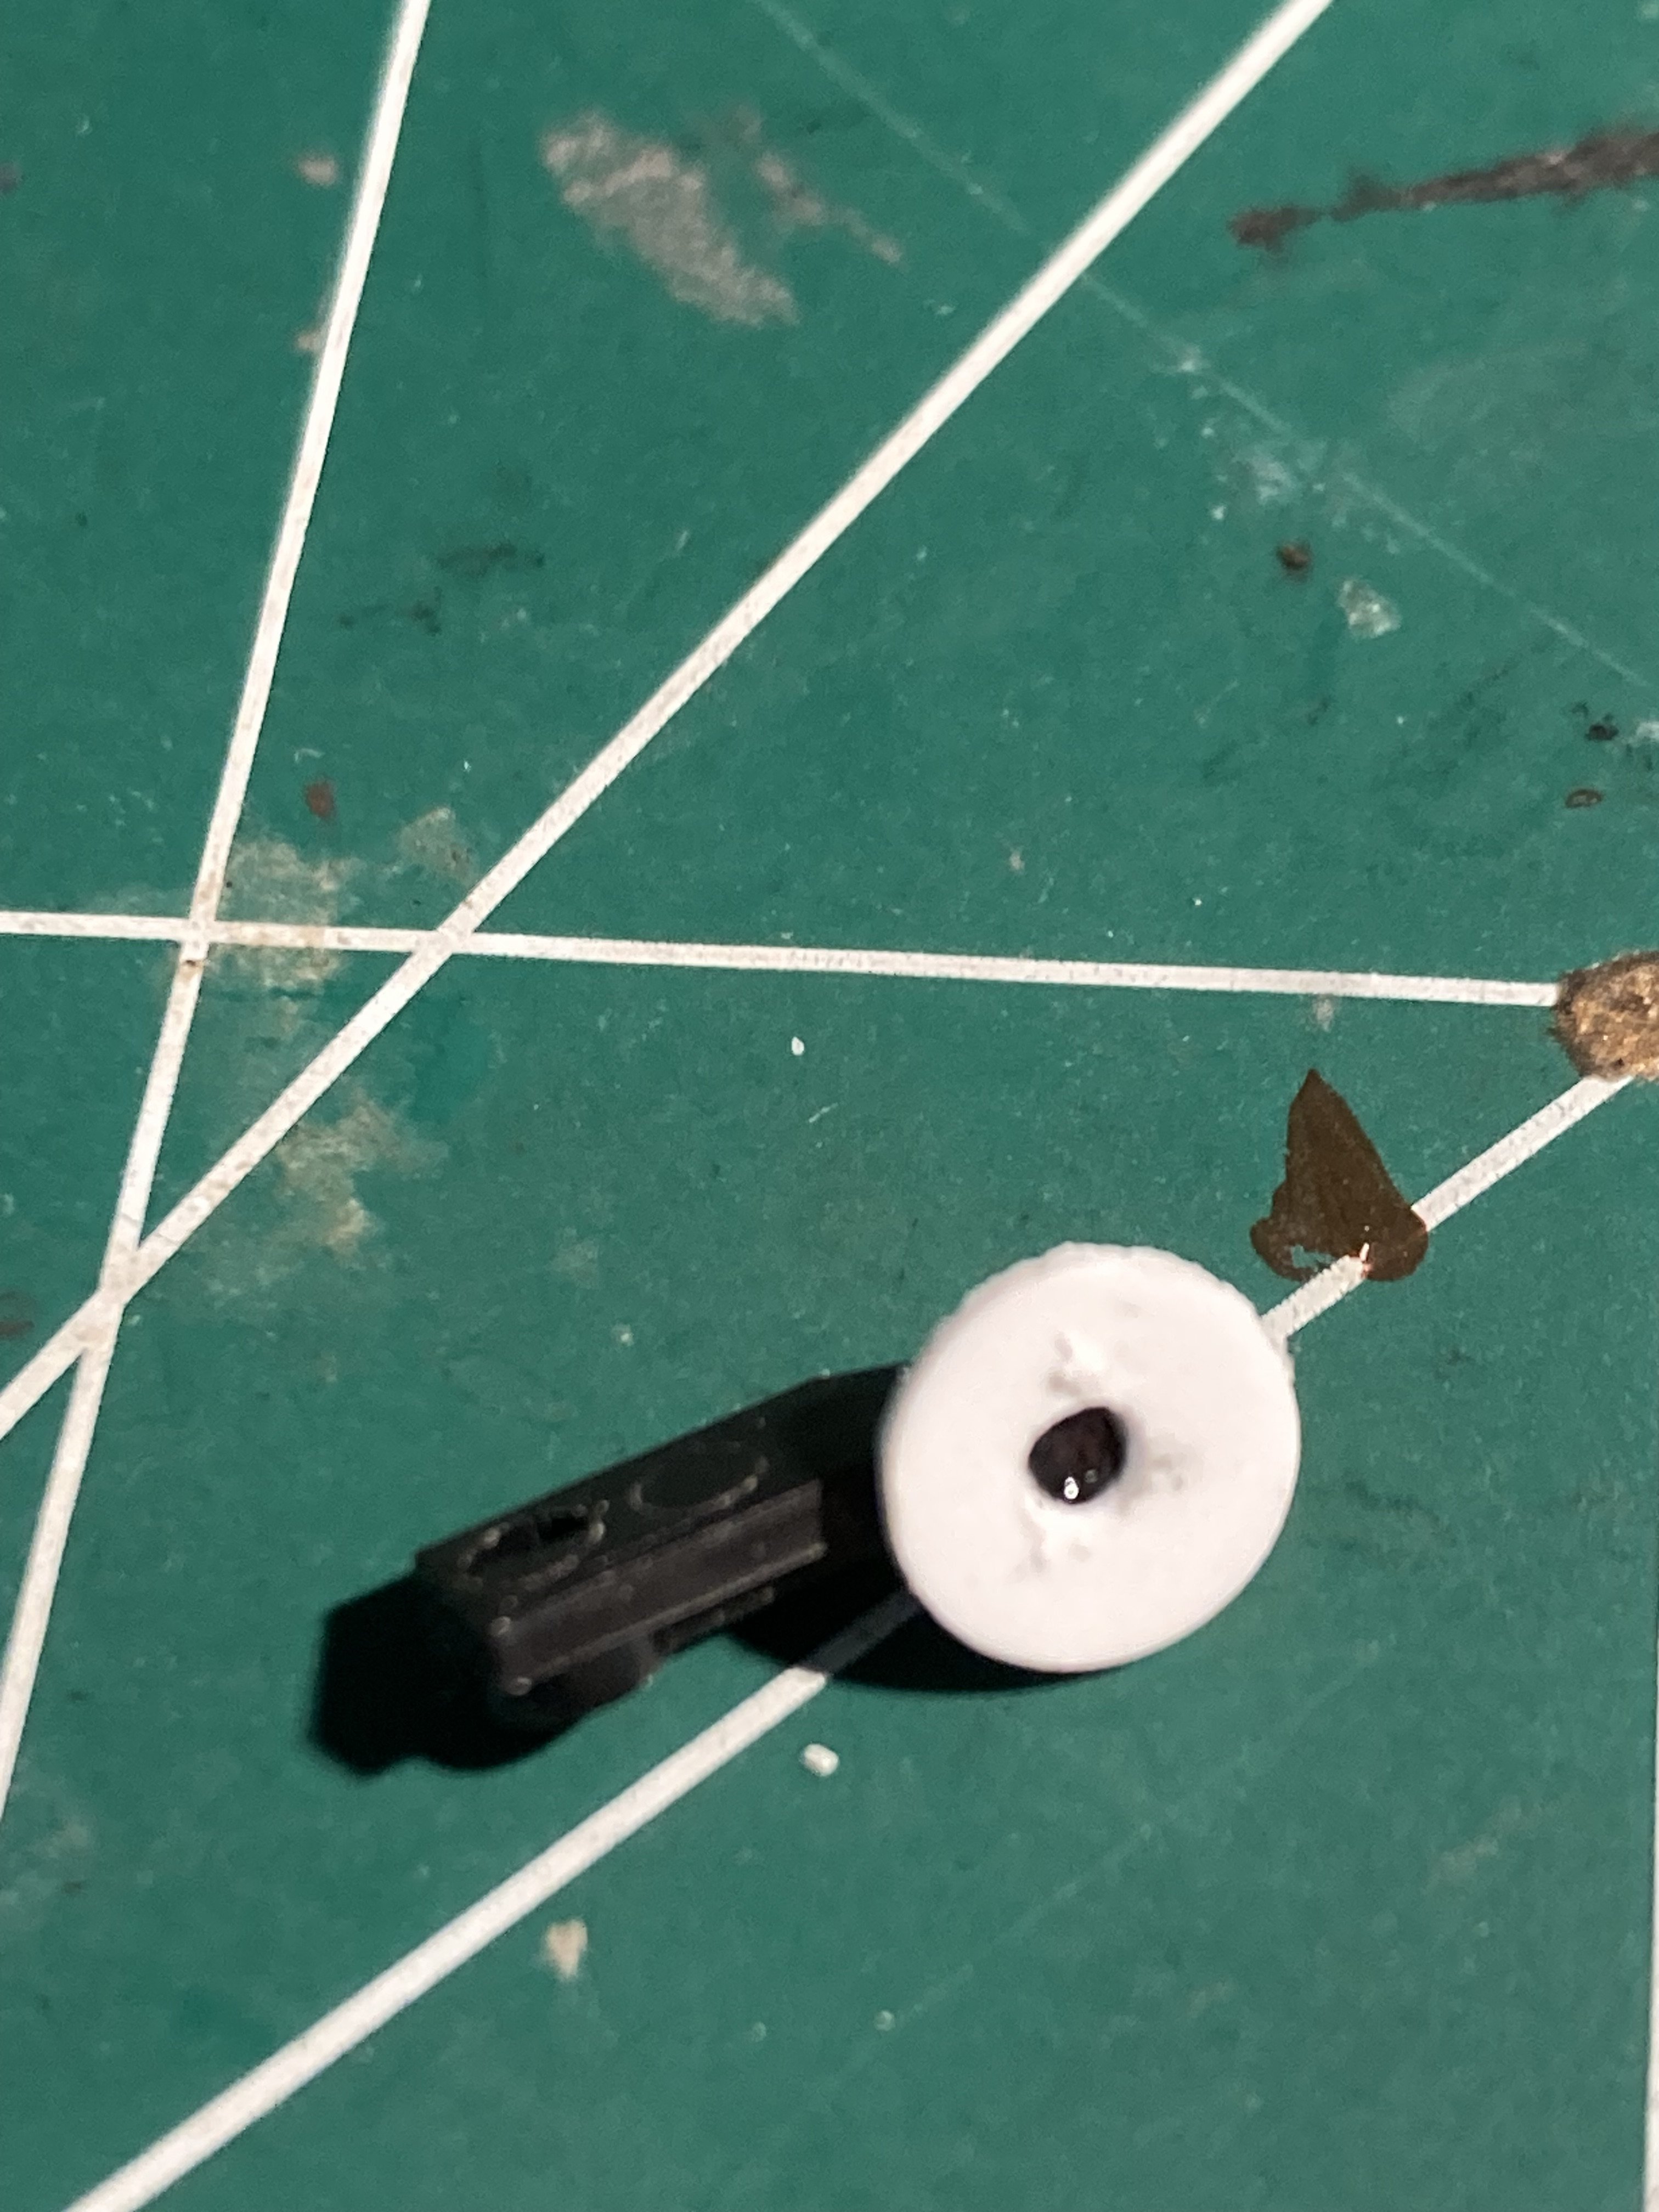
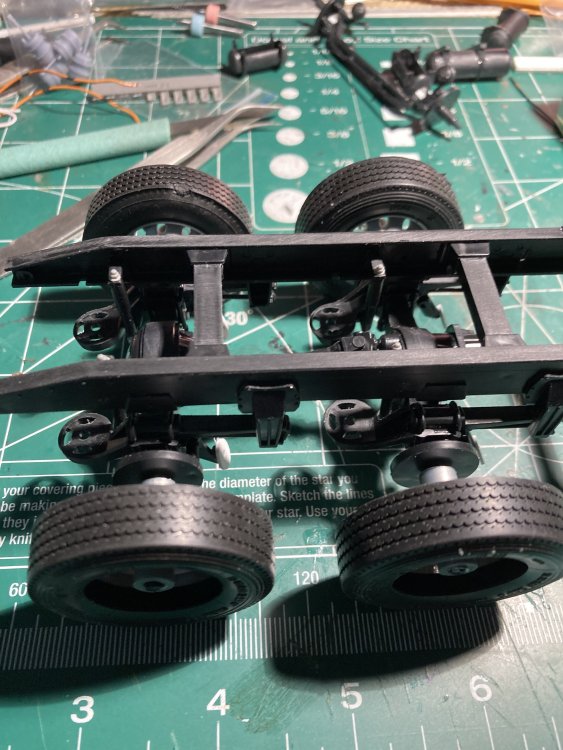
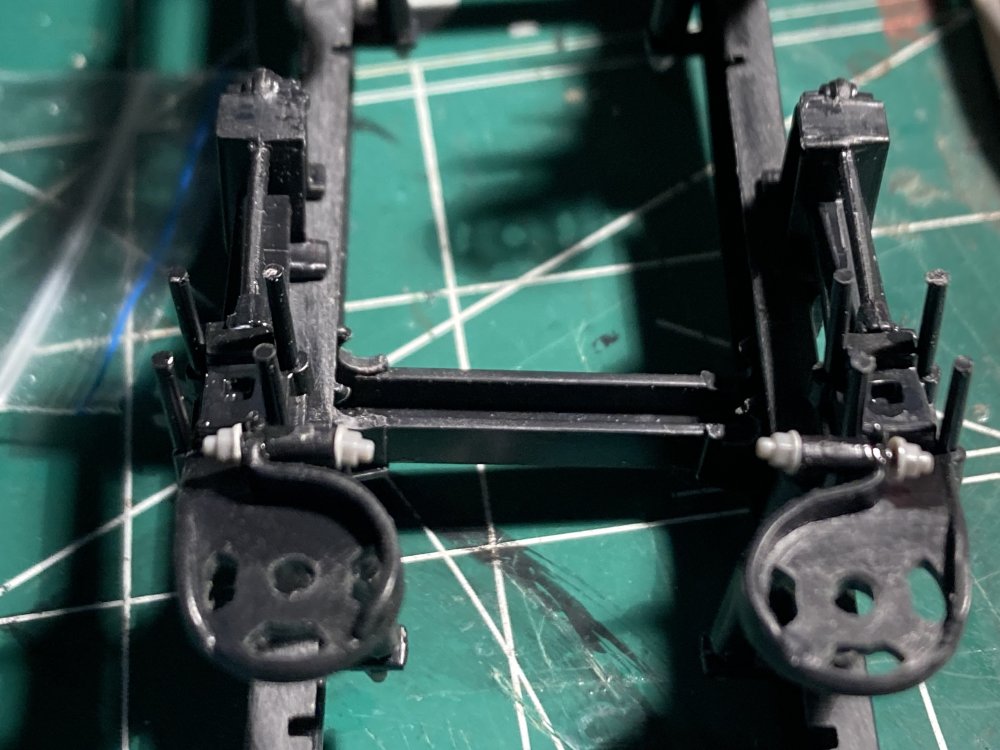
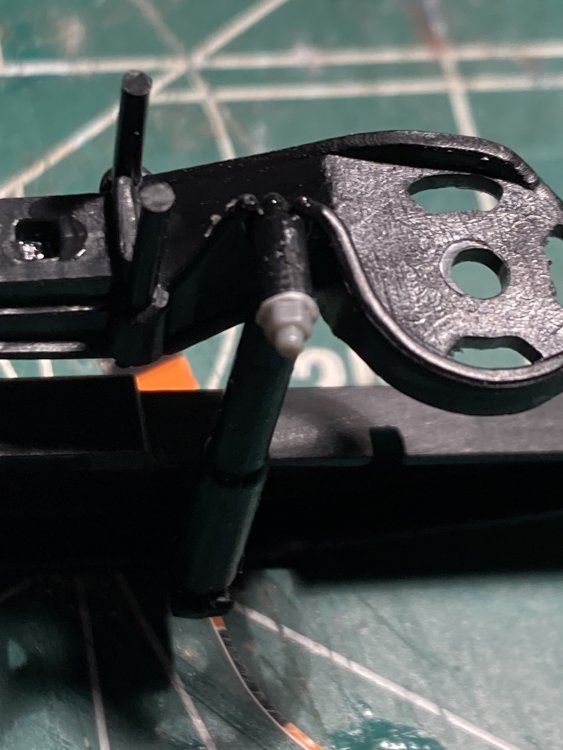
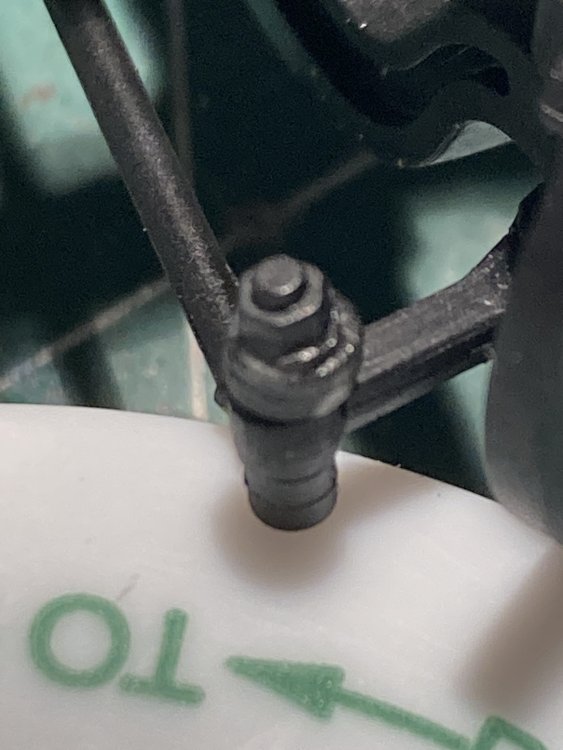
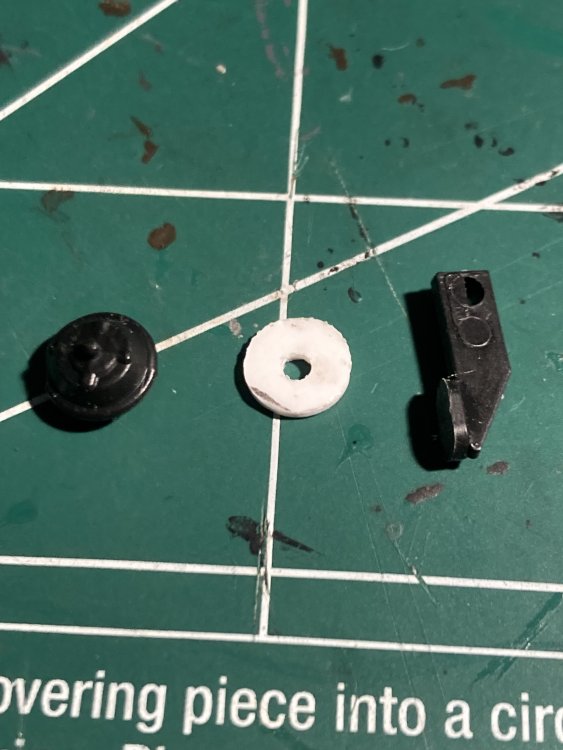
Ok. Now to the F/A. The ‘instructions’ say the front wheels can be made to ‘steer’ (pose) but the suggested way is to ‘heat swage’ the little tiny pins, not an operation I have been very successful at so out came my trusty Waldron punch set and I made some washers to go over the pin and a cap to secure it. Then I added a bolt and a splash of paint. Looks not too shabby.

- 57 replies
-
- 4
-
-
- peterbilt
- highway tractor
- (and 1 more)
-
A vehicle that's a tank, but it's not a tank?
Jeff replied to CrankyCrafstman's topic in LSM 1/35 and Larger Work In Progress
Well, never say never. I might know a guy who possibly cud do it. We will chat. -
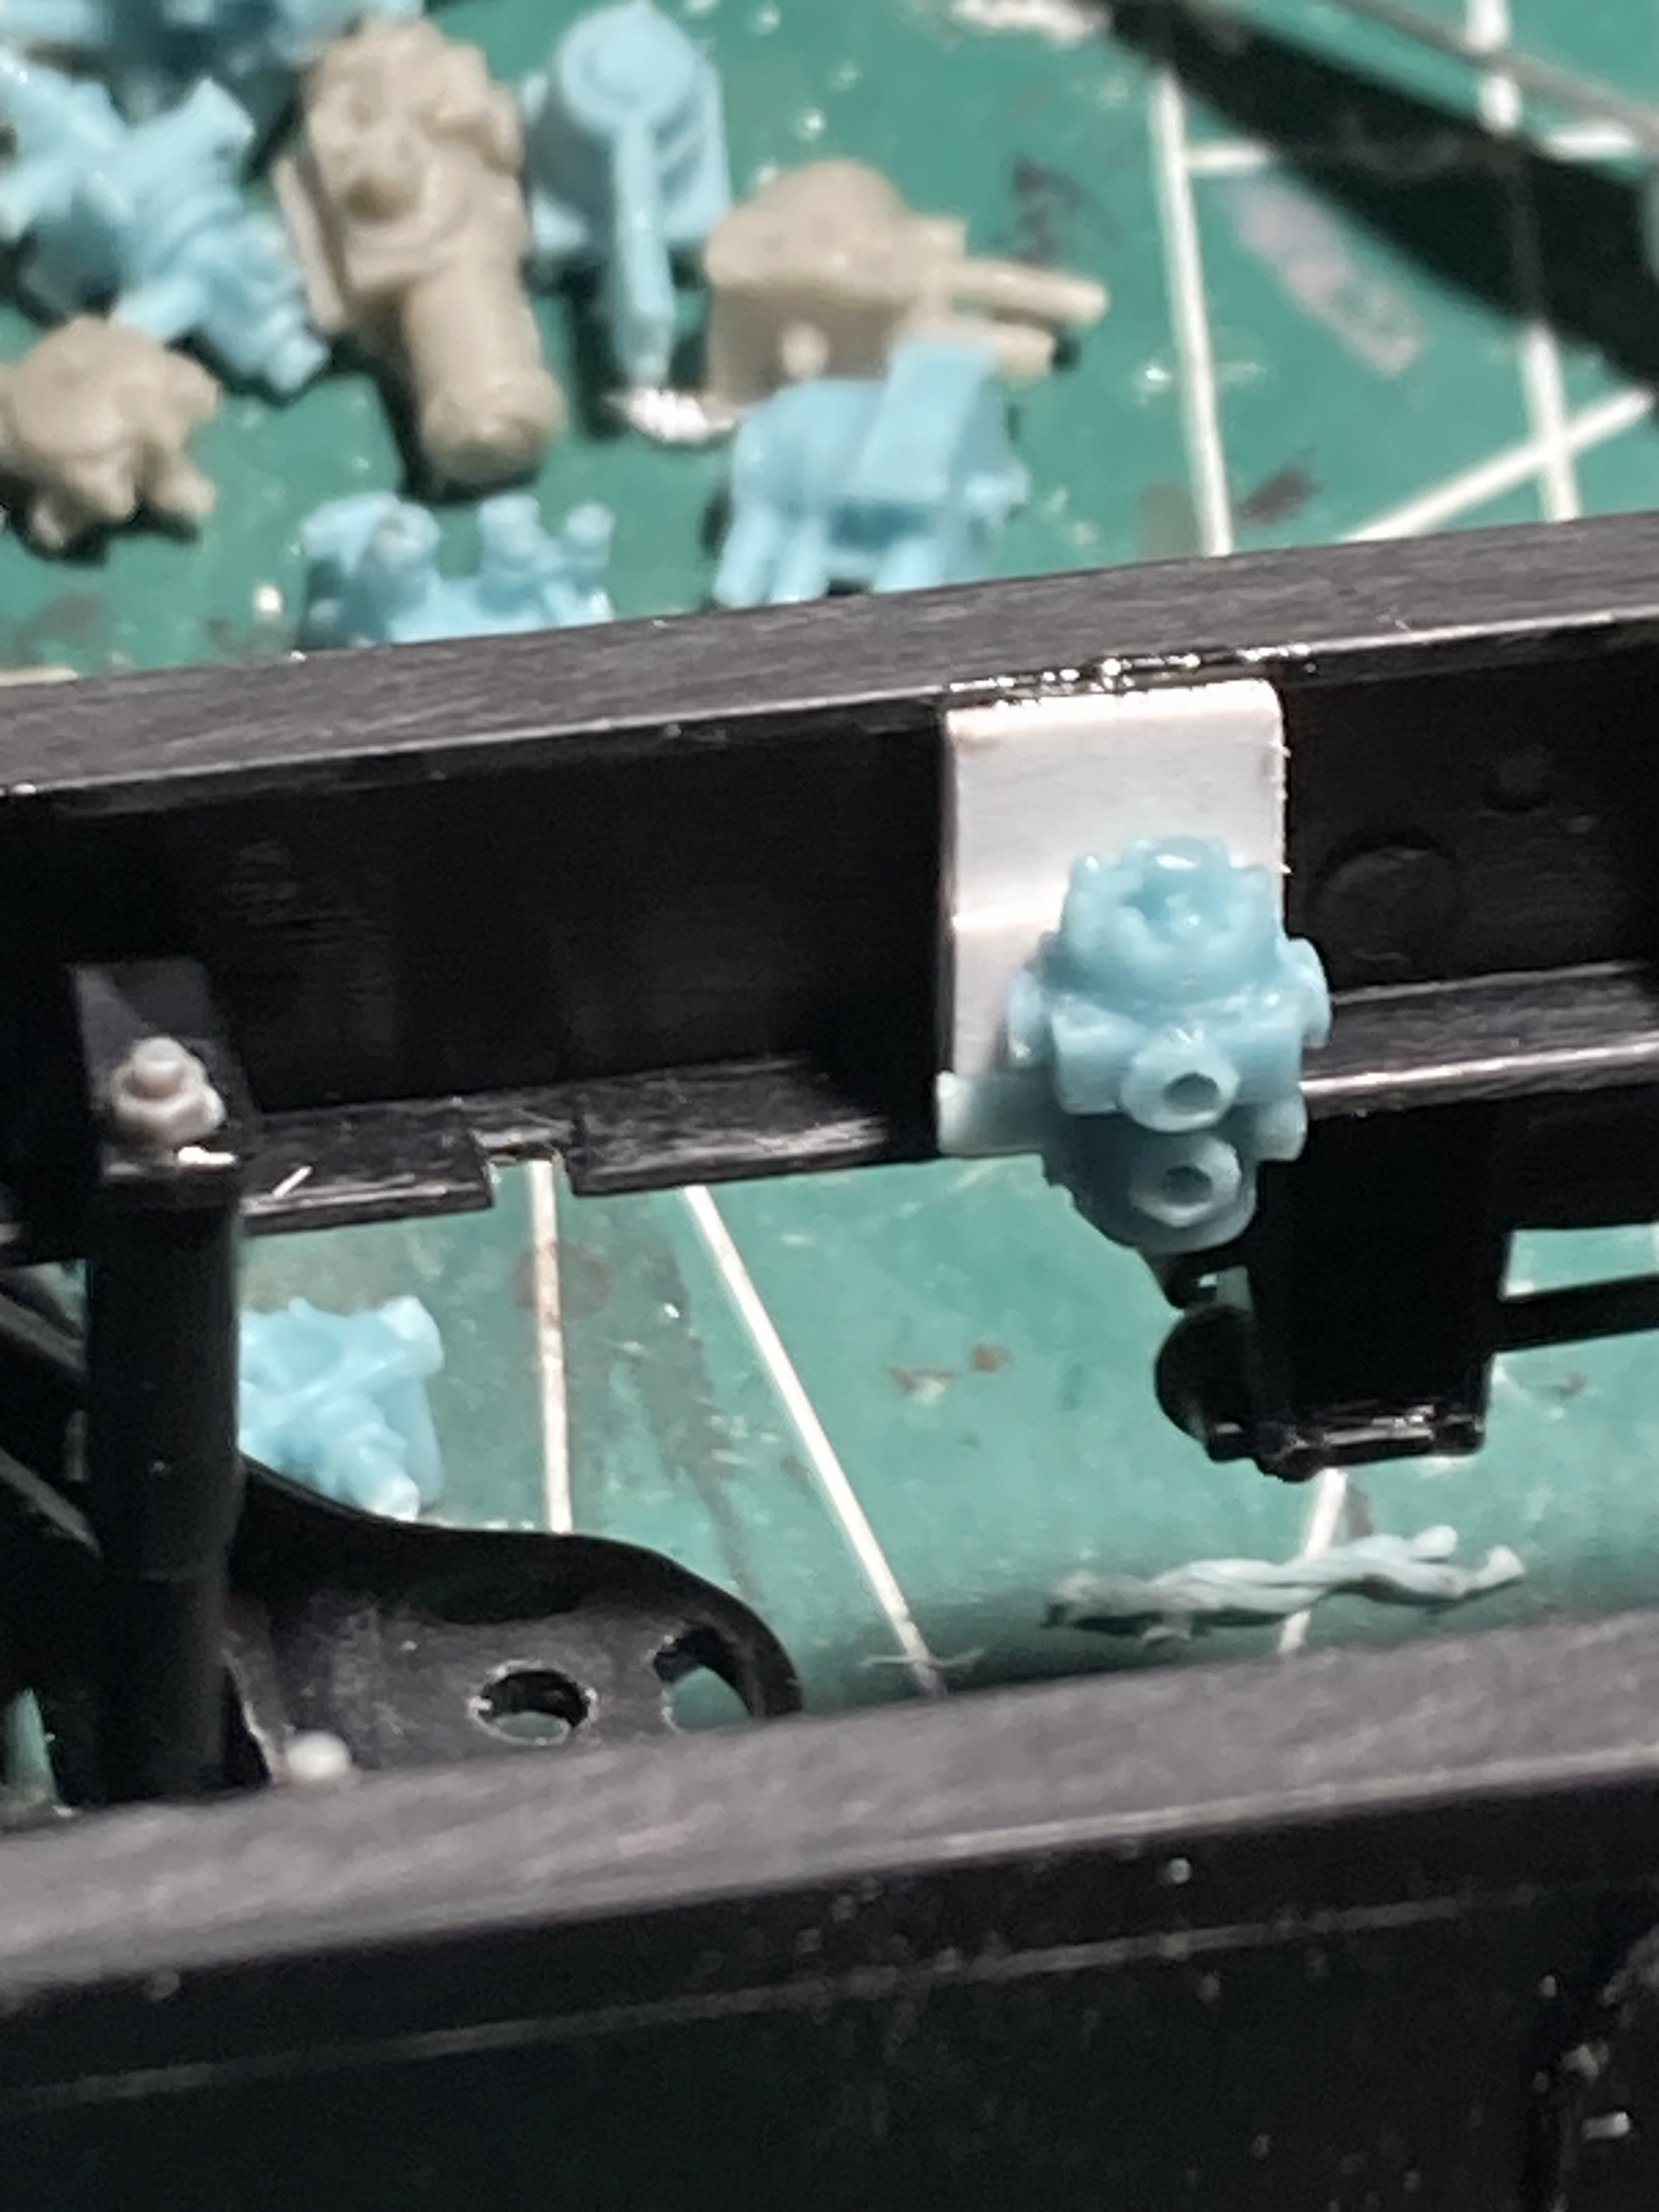
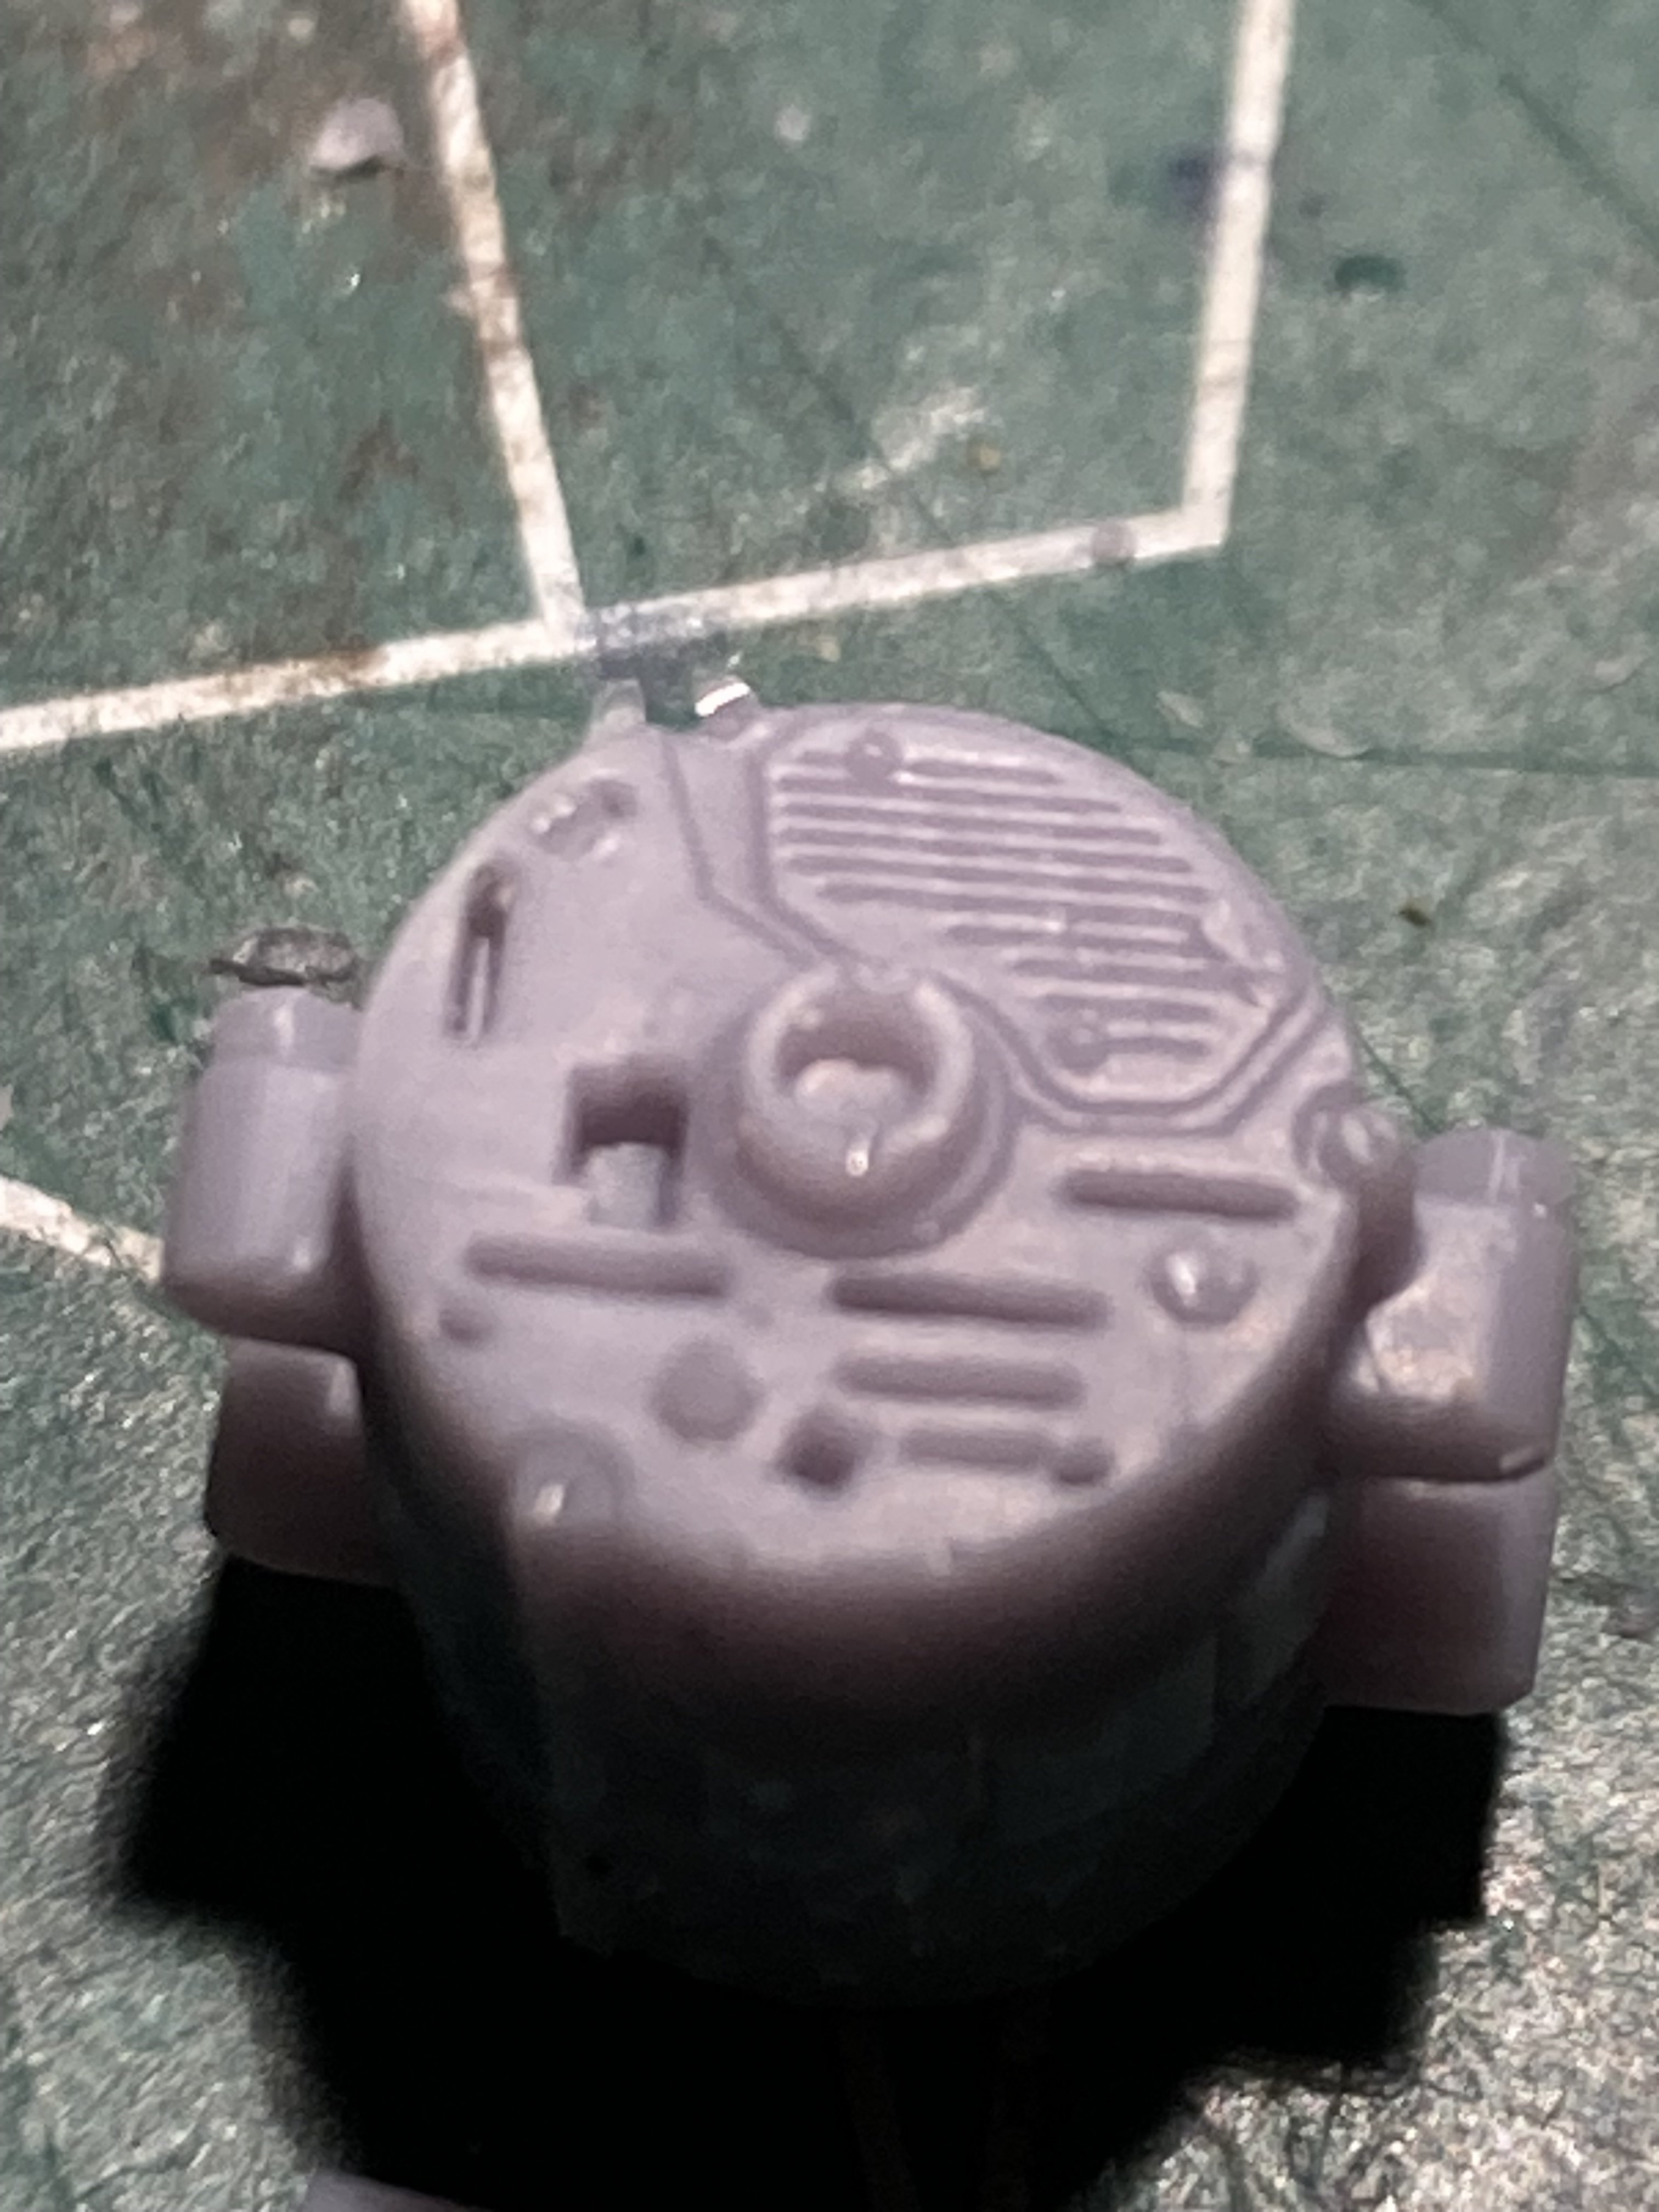
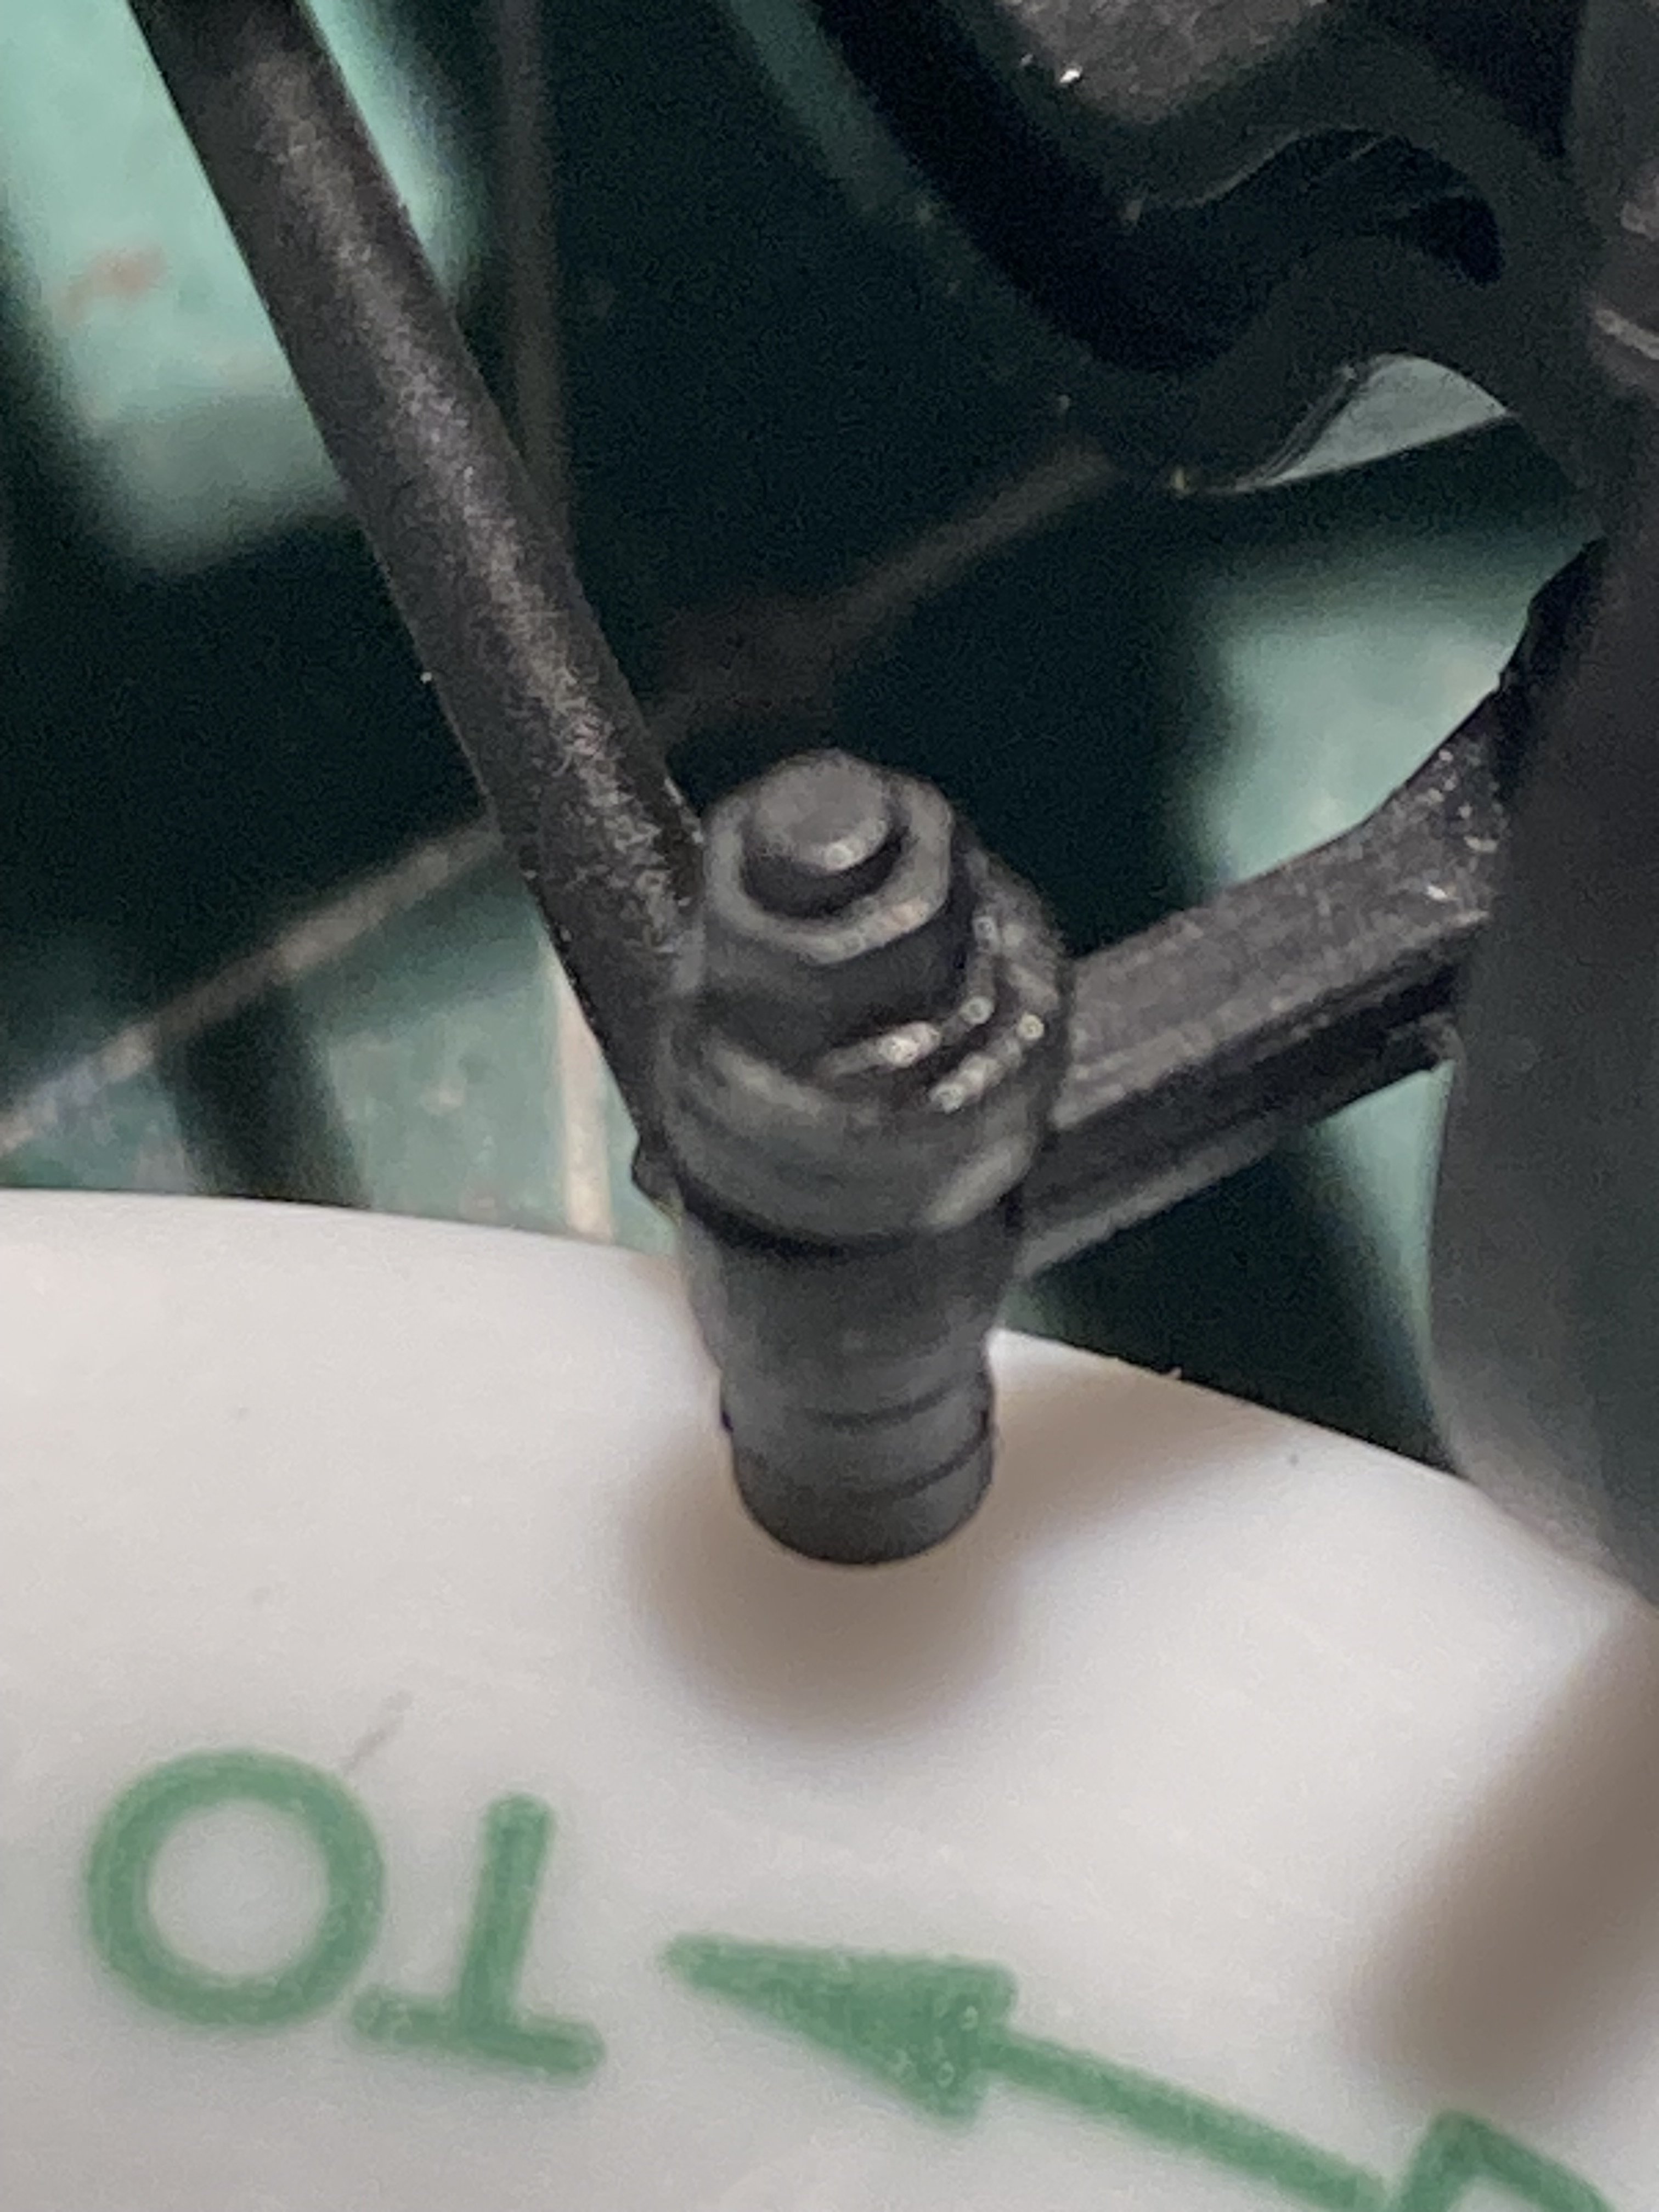
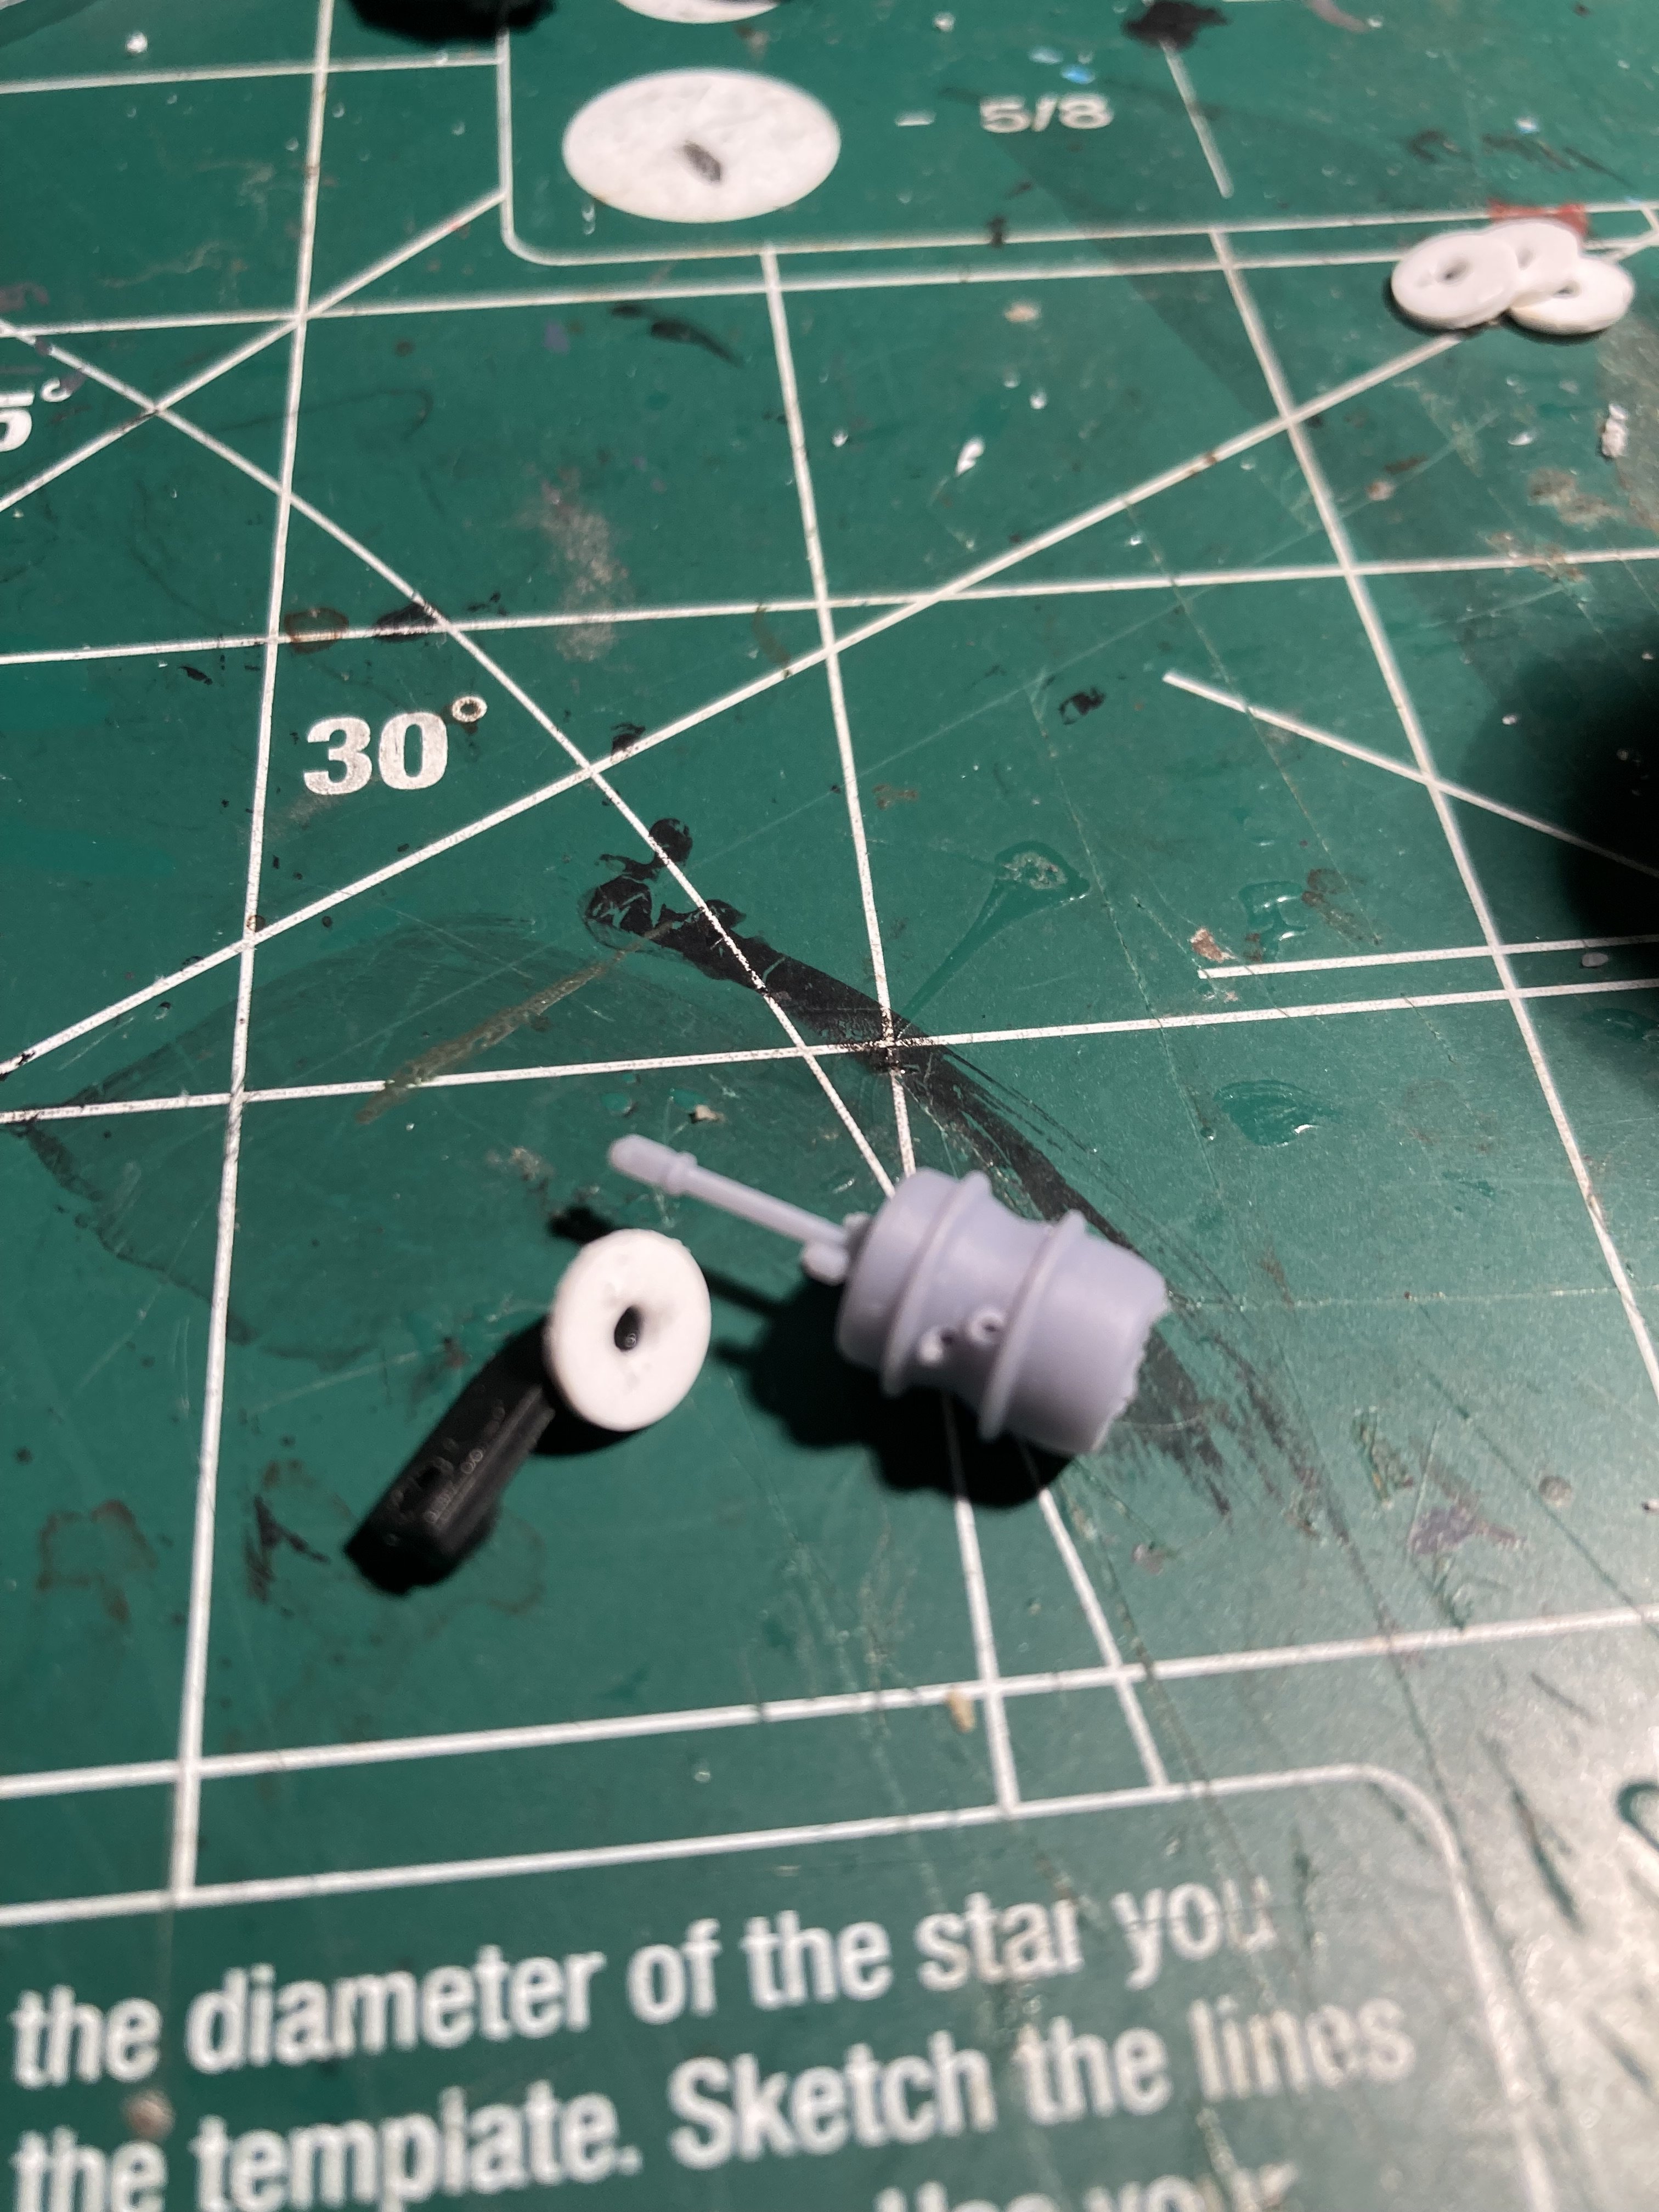
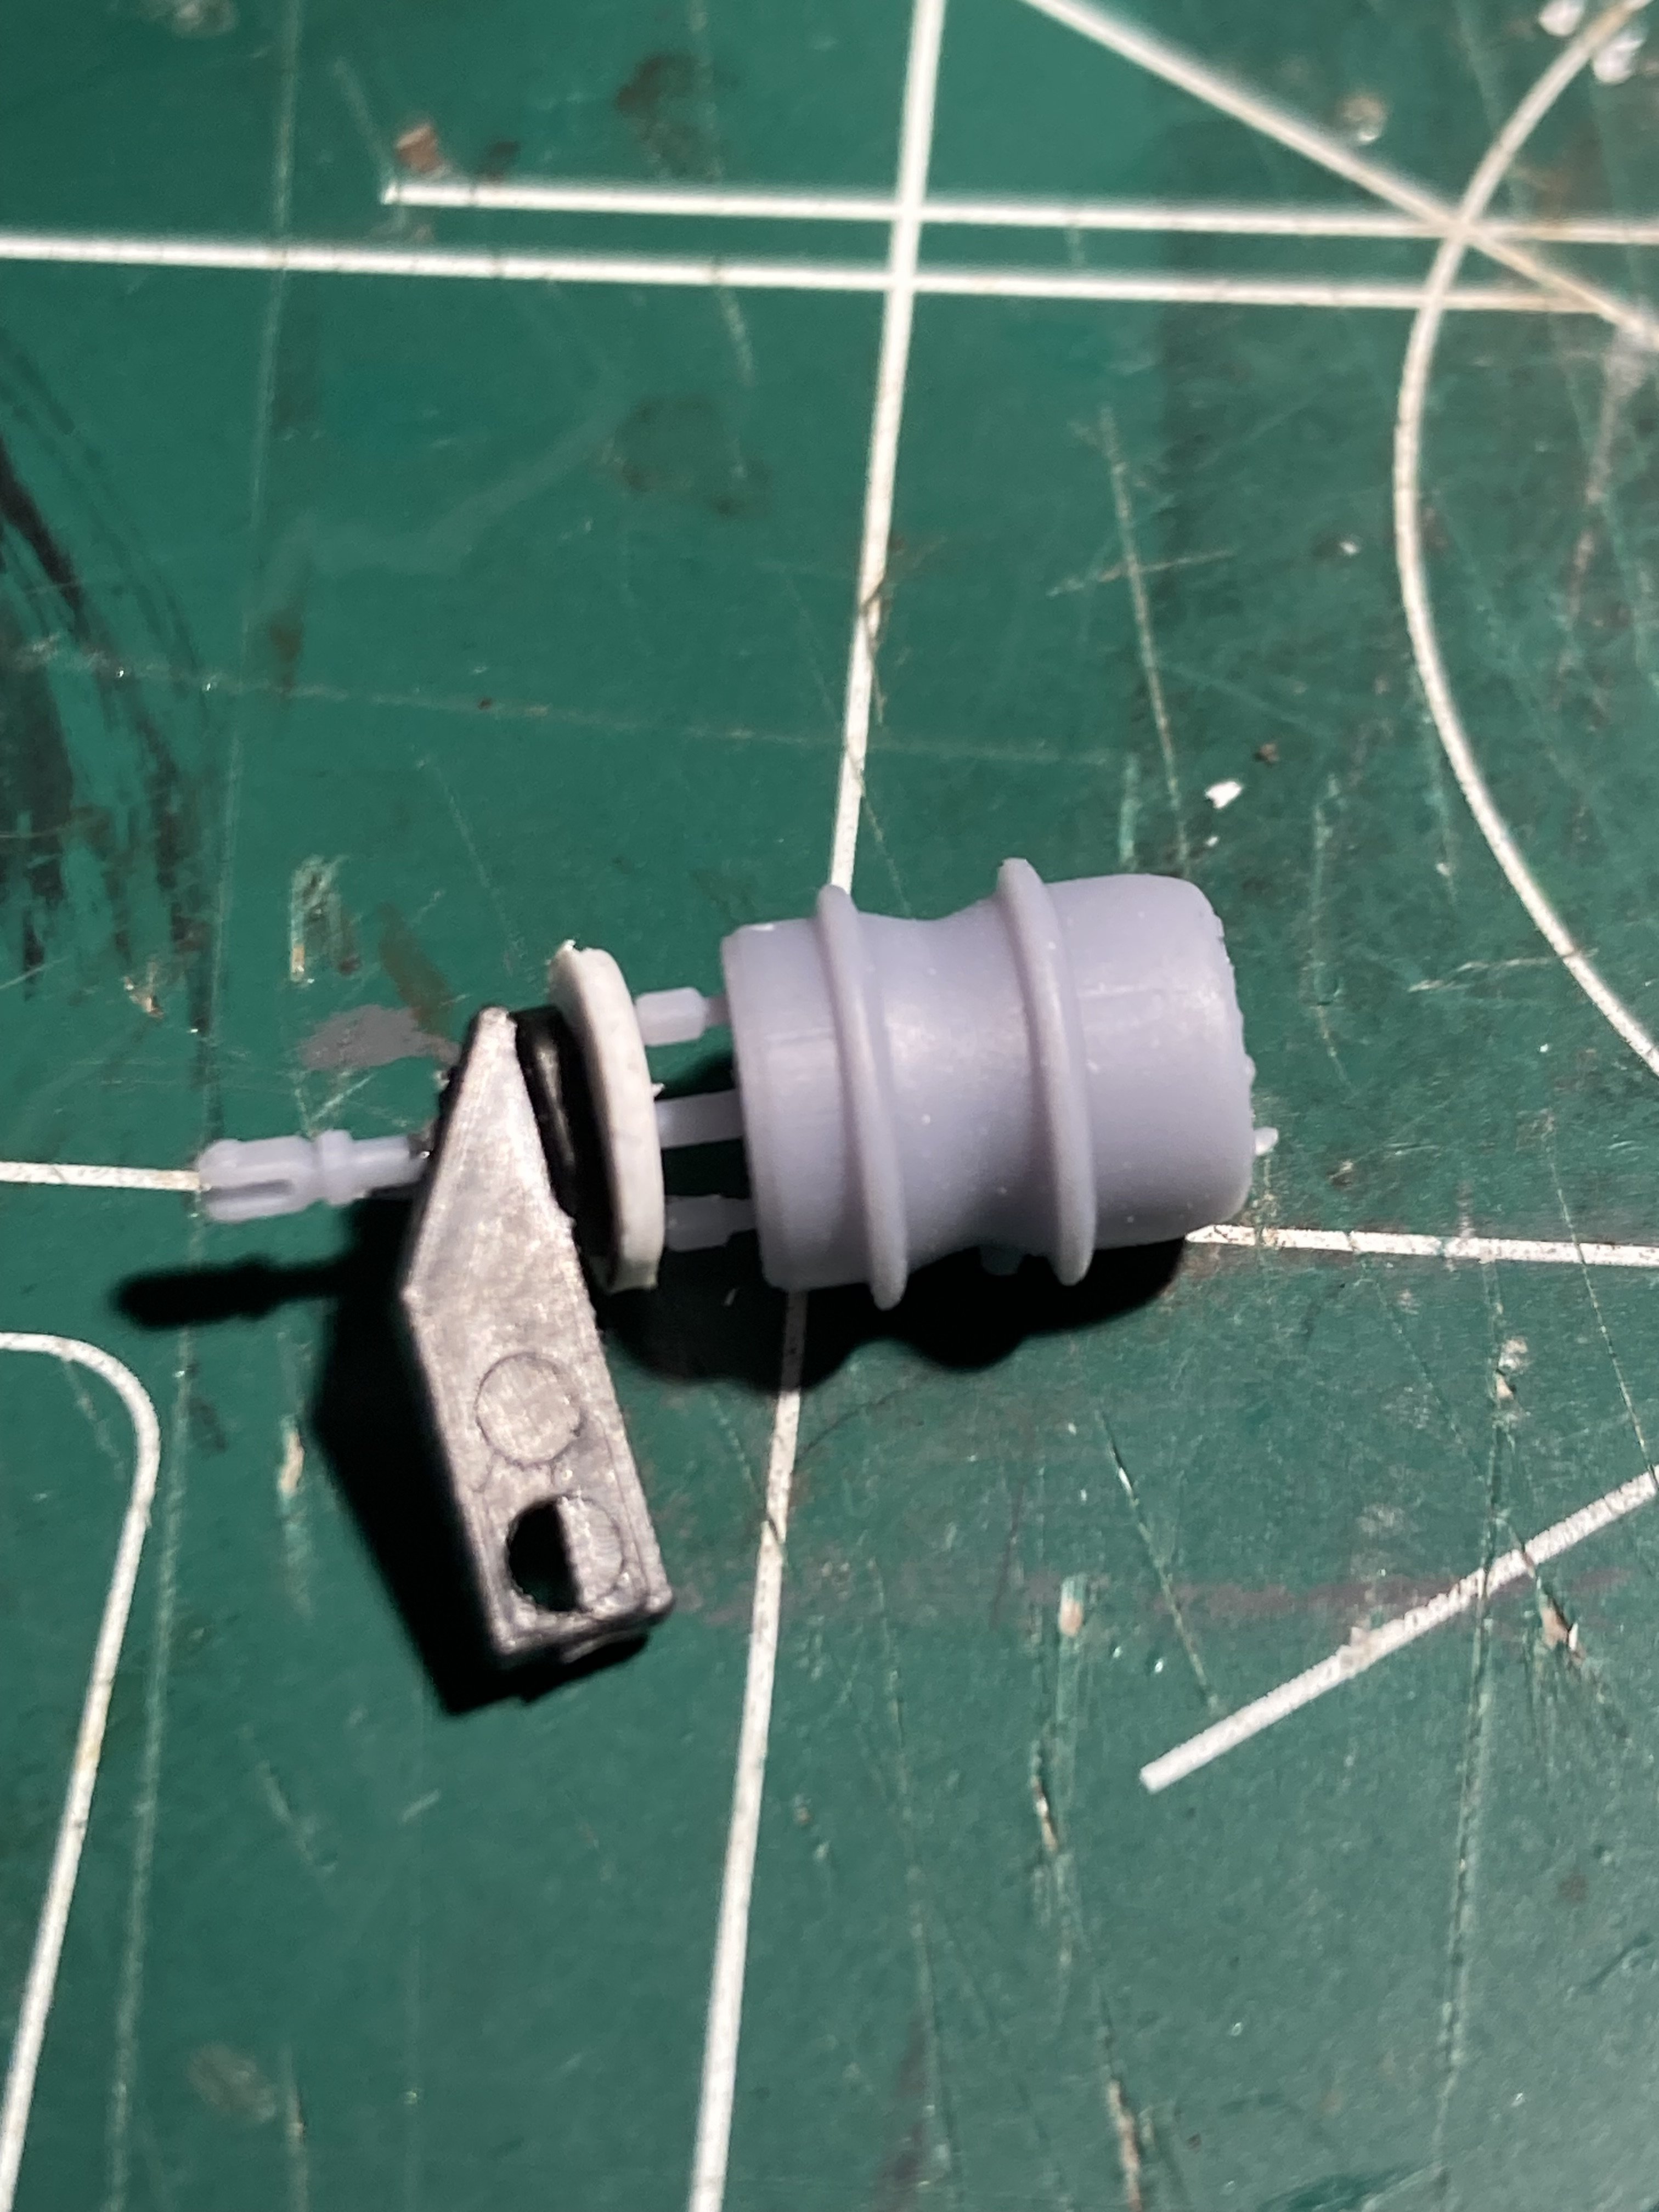
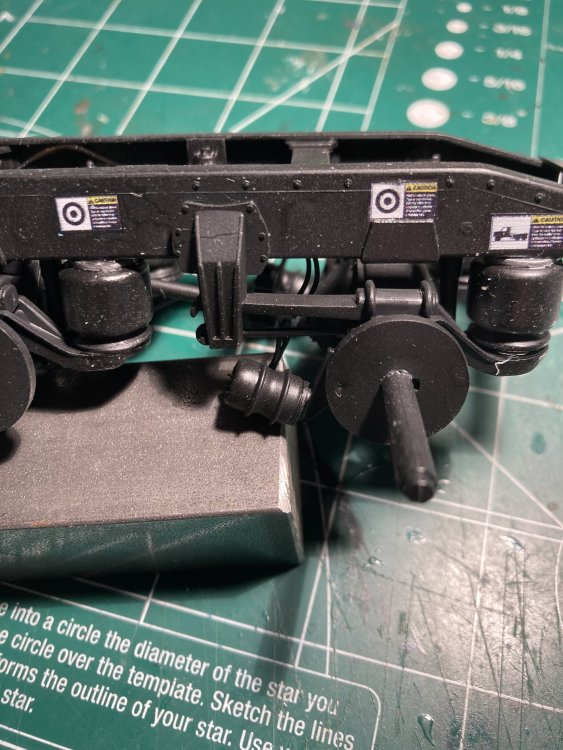
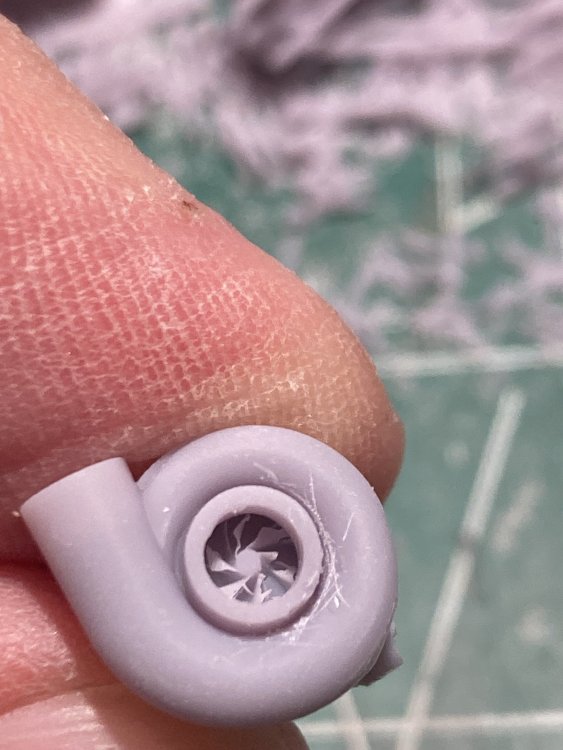
Brake chambers ….the kit one is that black blob and the replacement Type 30’s are the others. Some mods needed to facilitate the changes and further mods were required a little bit further on . I think the 3d ones are very realistic


- 57 replies
-
- 7
-
-
- peterbilt
- highway tractor
- (and 1 more)
-
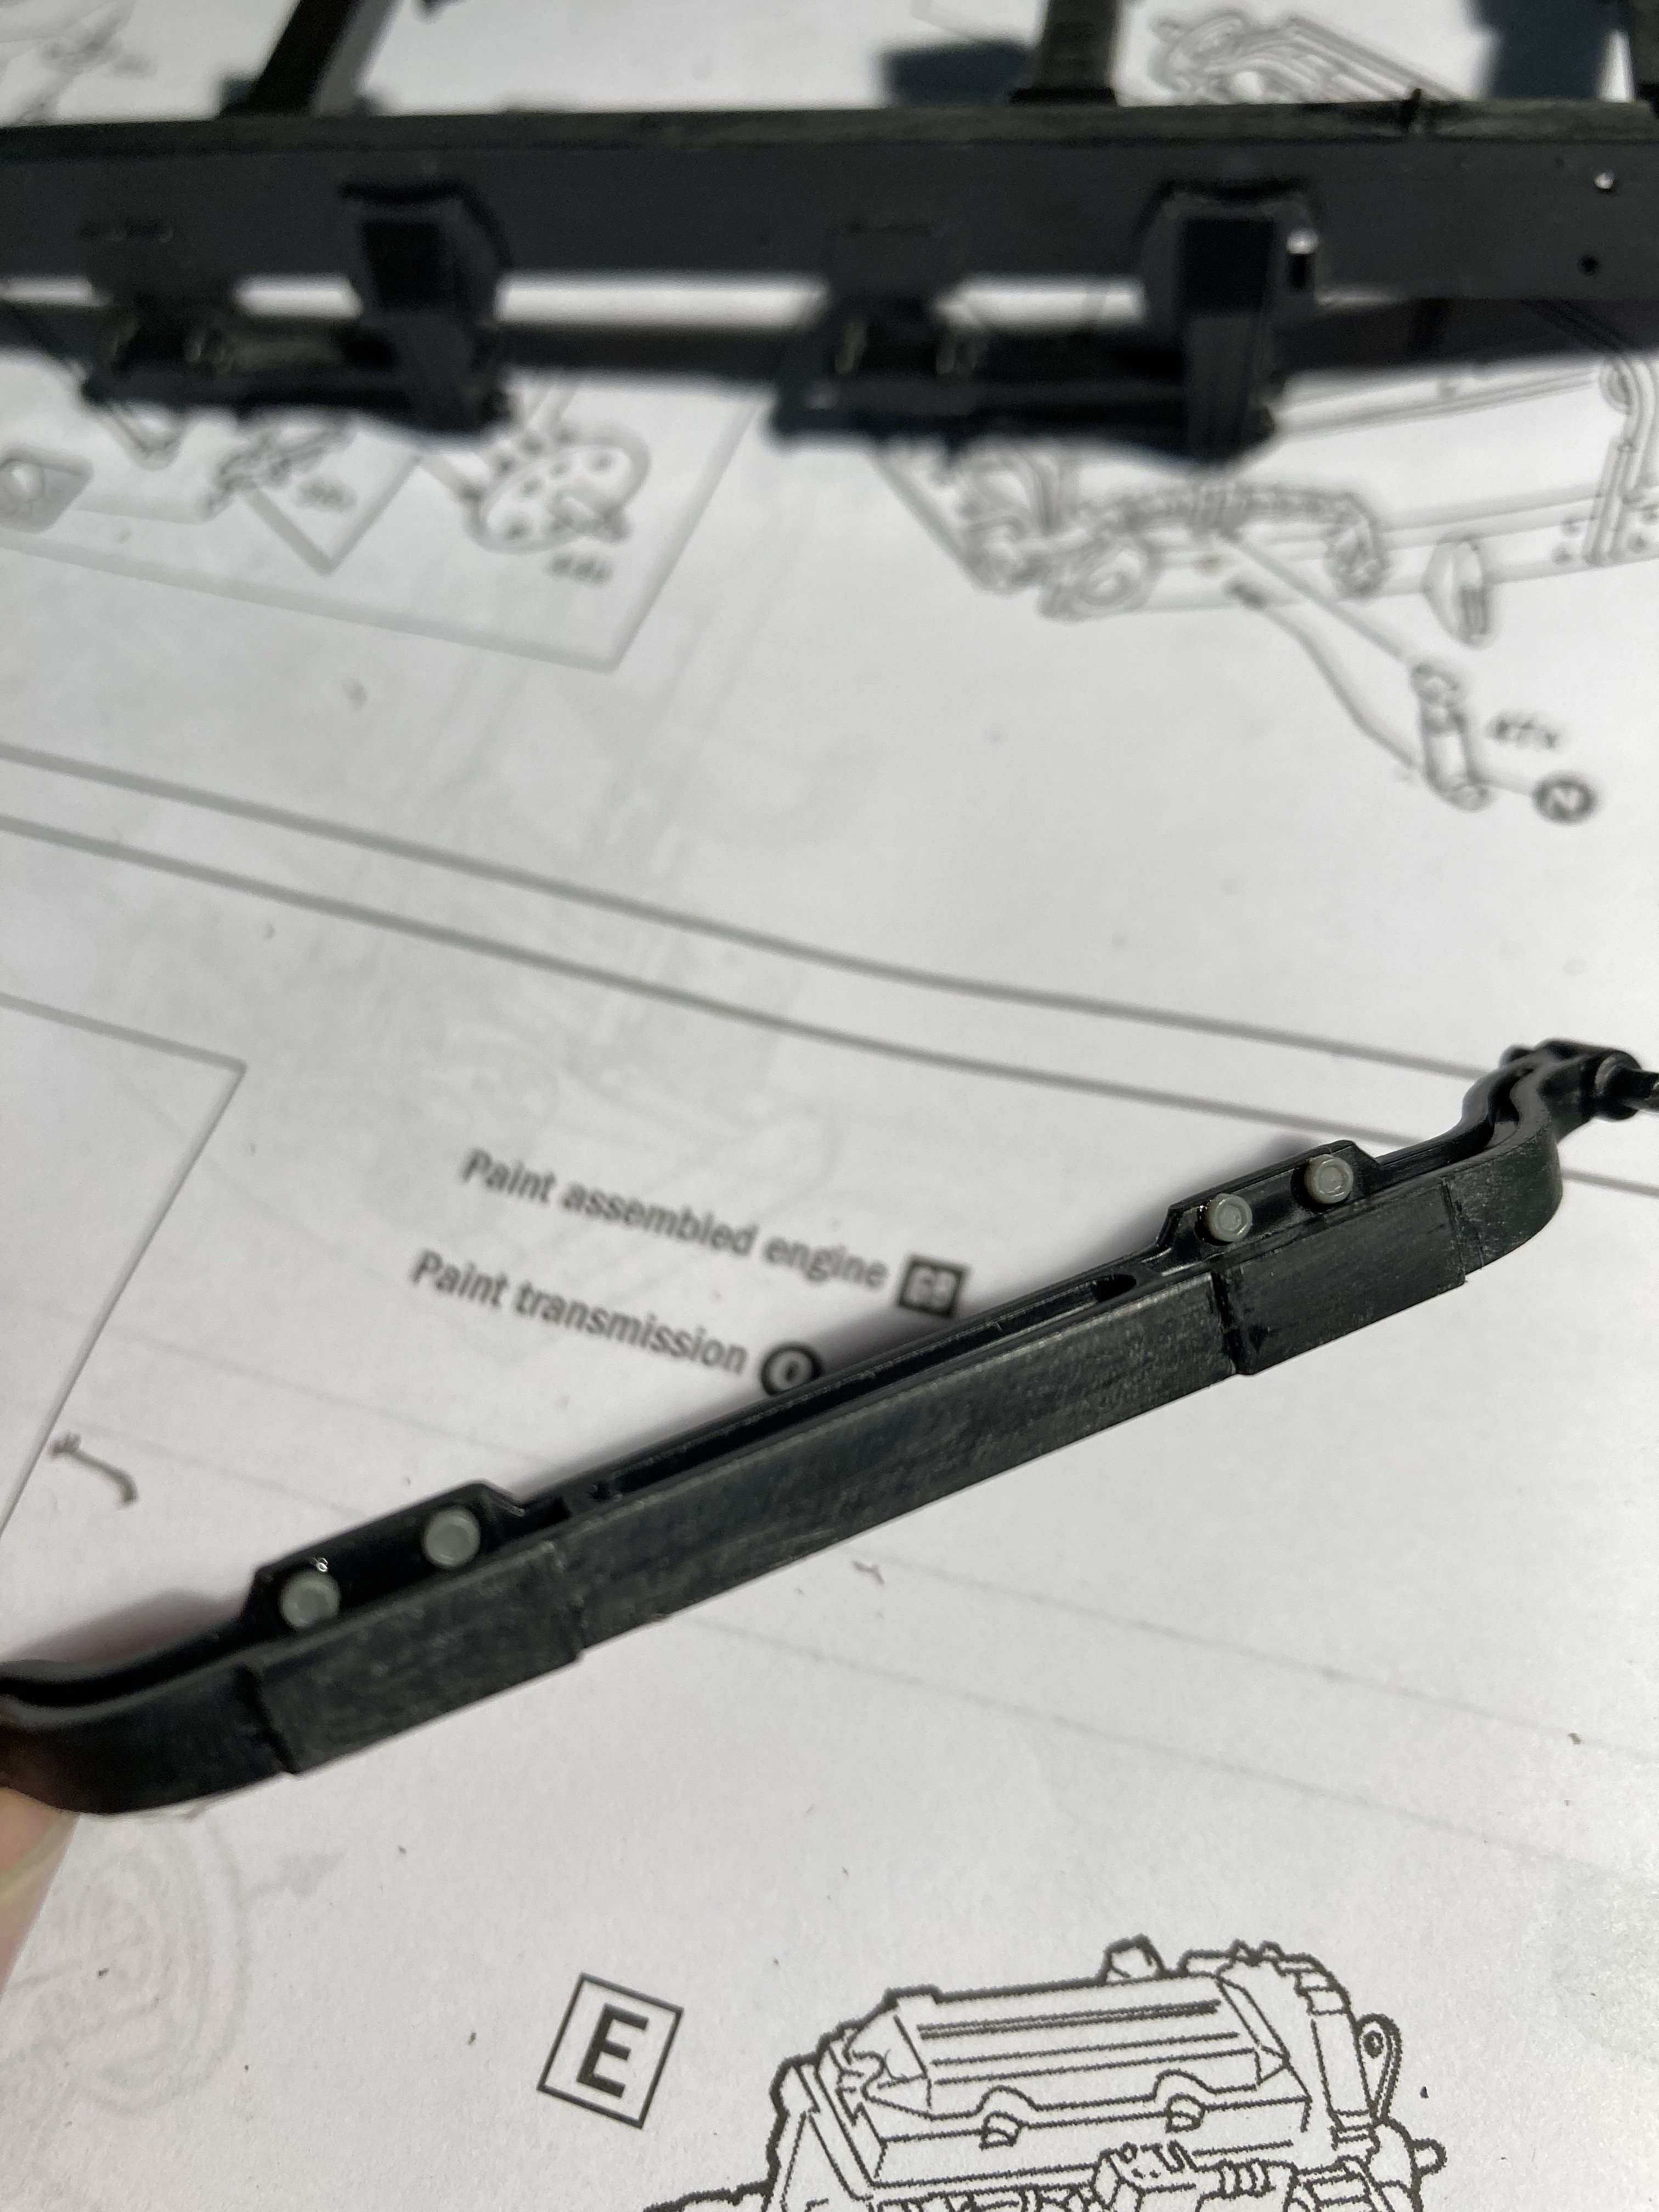
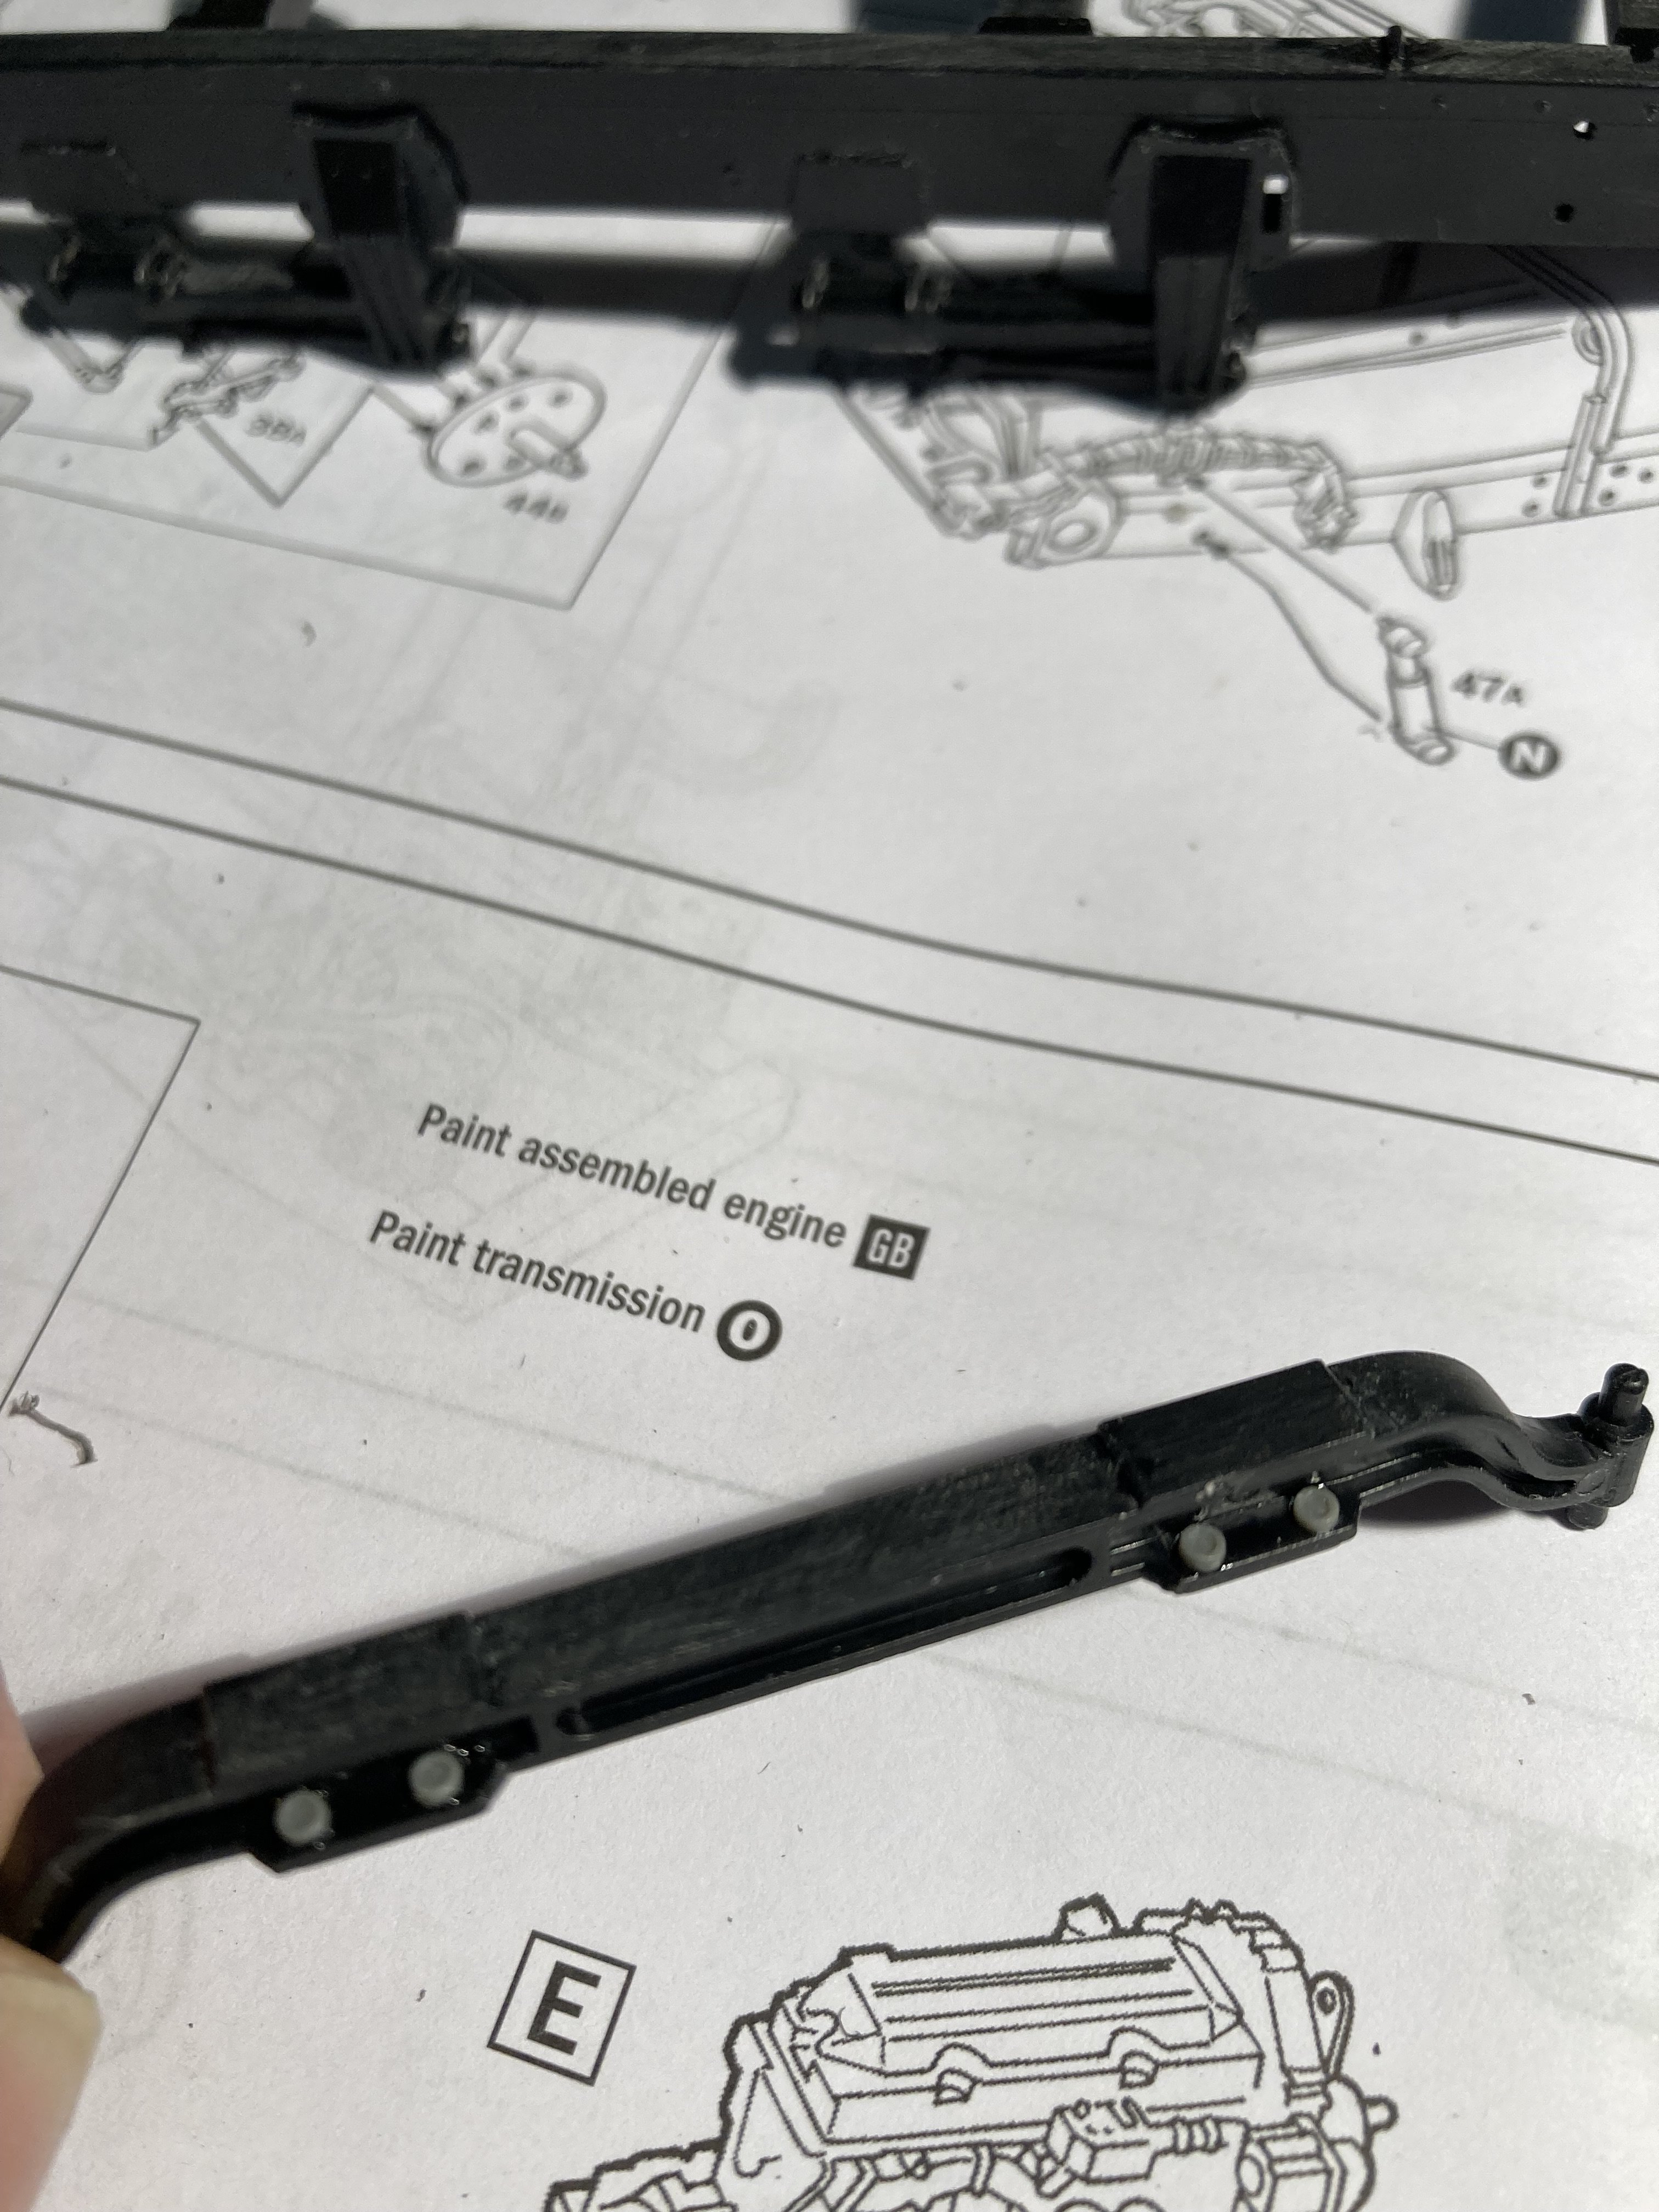
I thought I wud add a few bolts to the f/a for the spring carriers , copied from one of Ron’s builds ( no Royalties paid 😎) just a tiny bit of added detail
- 57 replies
-
- 5
-
-
- peterbilt
- highway tractor
- (and 1 more)