
Rodolfo Torres Vazquez
-
Posts
138 -
Joined
-
Last visited
Content Type
Profiles
Forums
Events
Gallery
Everything posted by Rodolfo Torres Vazquez
-
 Thanks for your kind comments Phil.! Regards! Rodolfo
 -
Thanks for your kind comments Peter! Regards! Rodolfo
-
Thanks for your kind comments Peter! Regards! Rodolfo
-
Nice Diorama GazzaS, the effect on the wheels looks very good! Regards! Rodolfo
-
1:18 M41 Walker Bulldog
Rodolfo Torres Vazquez replied to DRUMS01's topic in LSM Armour Finished Work
Nice diorama, the figure looks very good too! Regards! Rodolfo -
Thanks for your comments harv! Regards! Rodolfo
-
Thanks for your kind comments Gus; Regards! Rodolfo
-
Thanks for your comment GazzaS! Regards! Rodolfo
-
Thanks for your comment Martin! Regards! Rodolfo
-
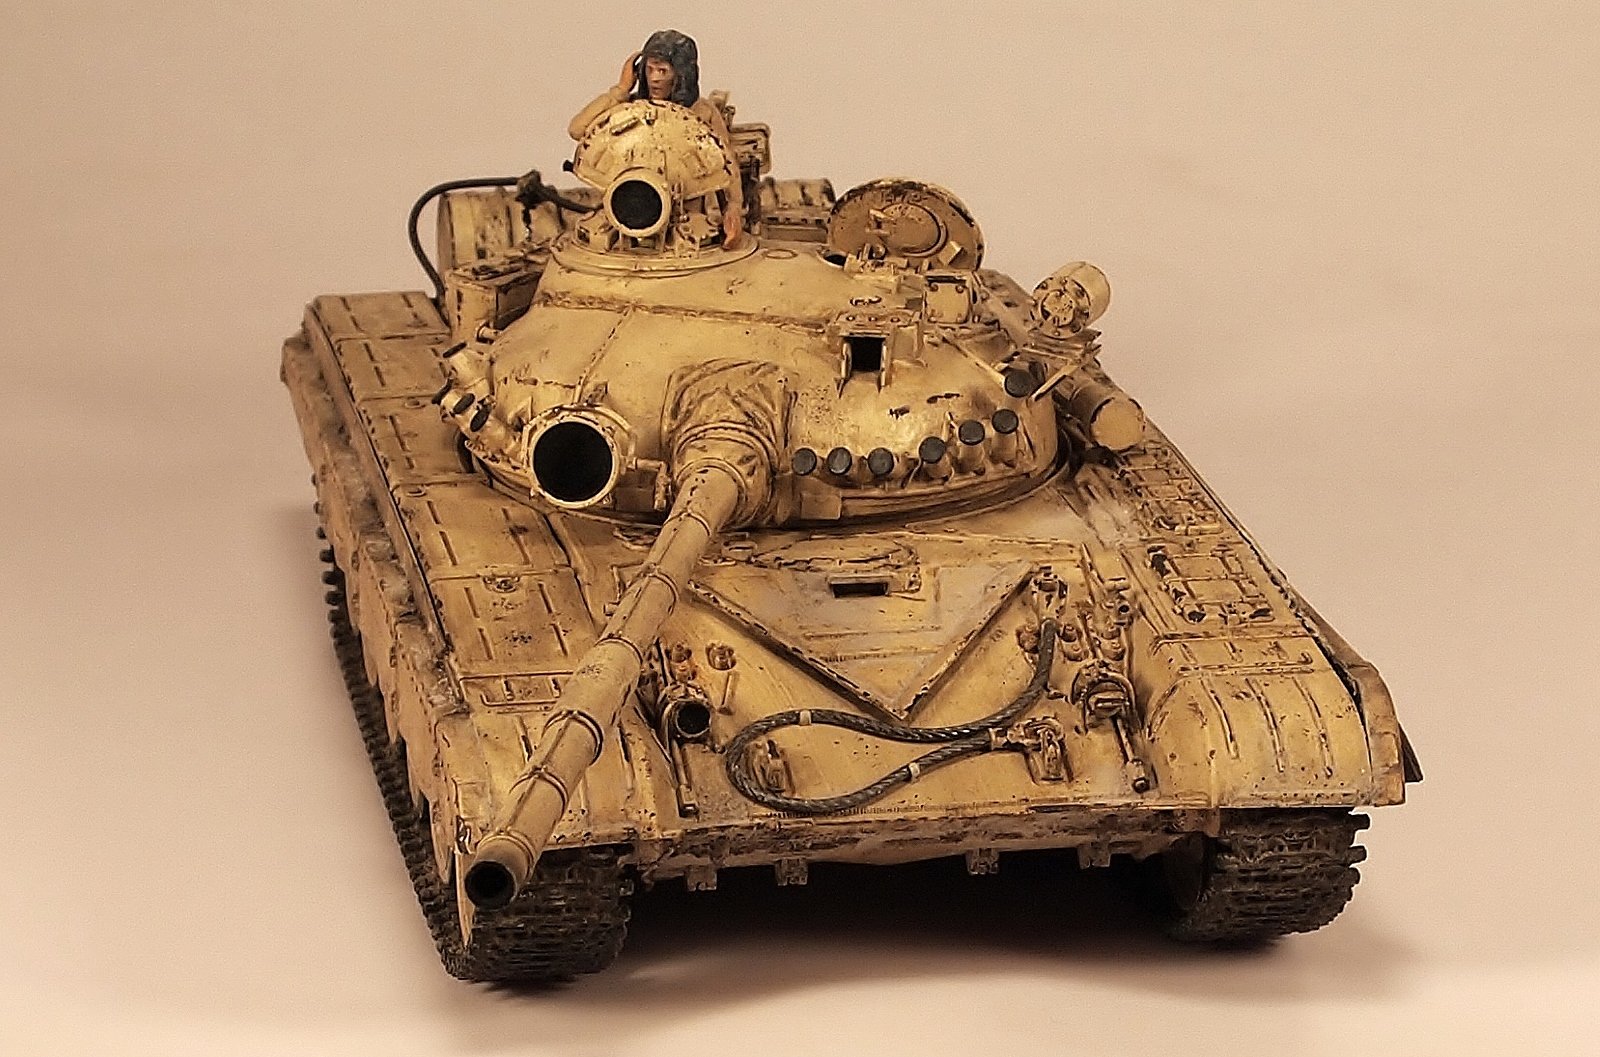
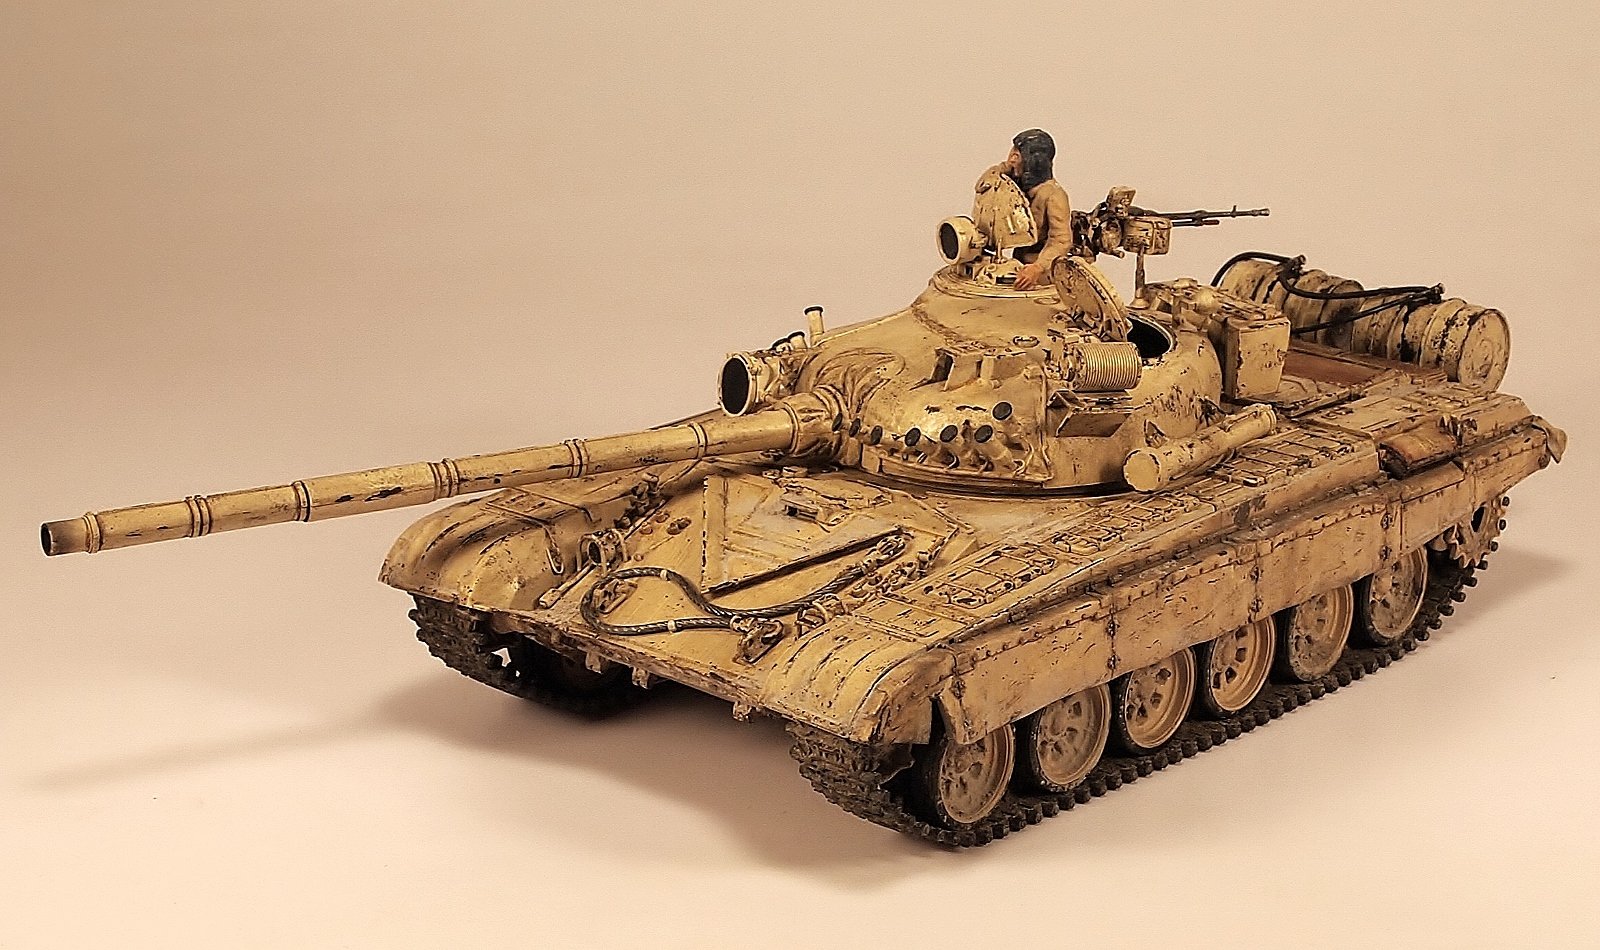
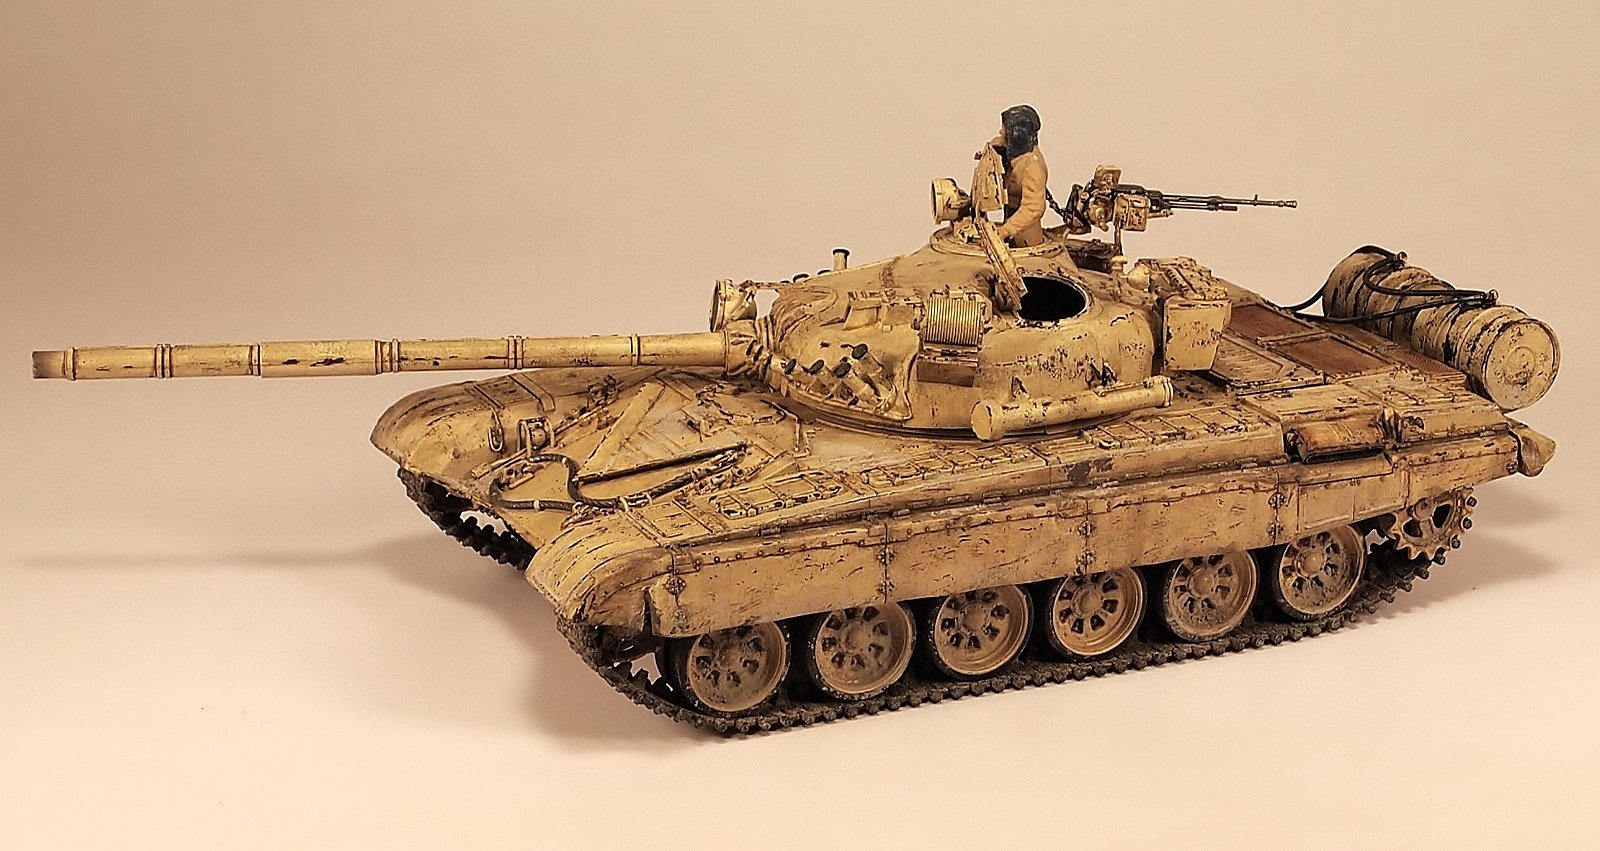
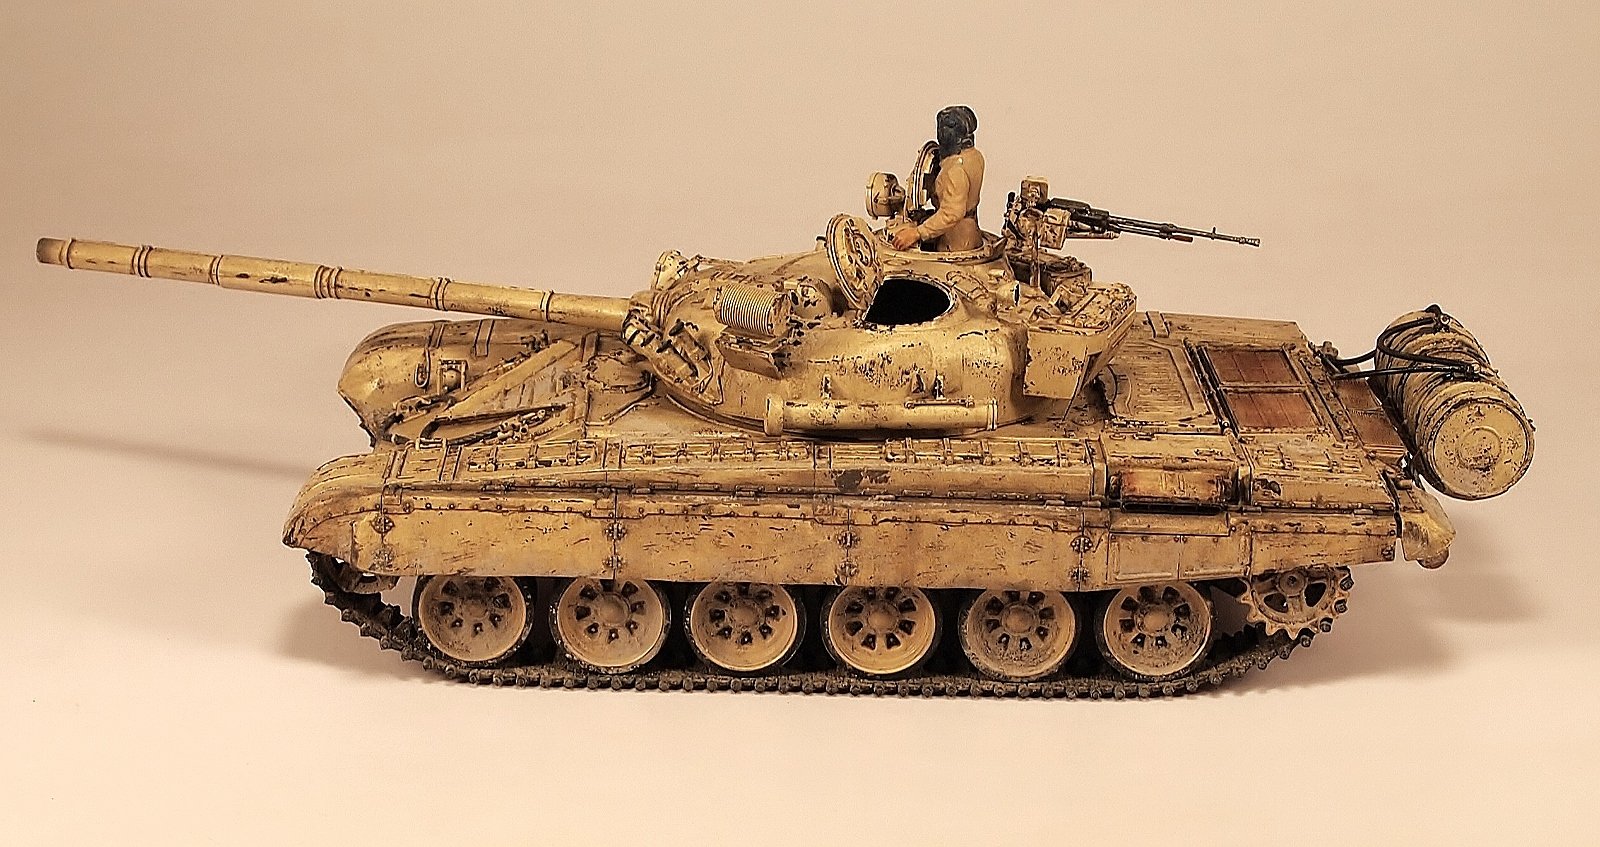
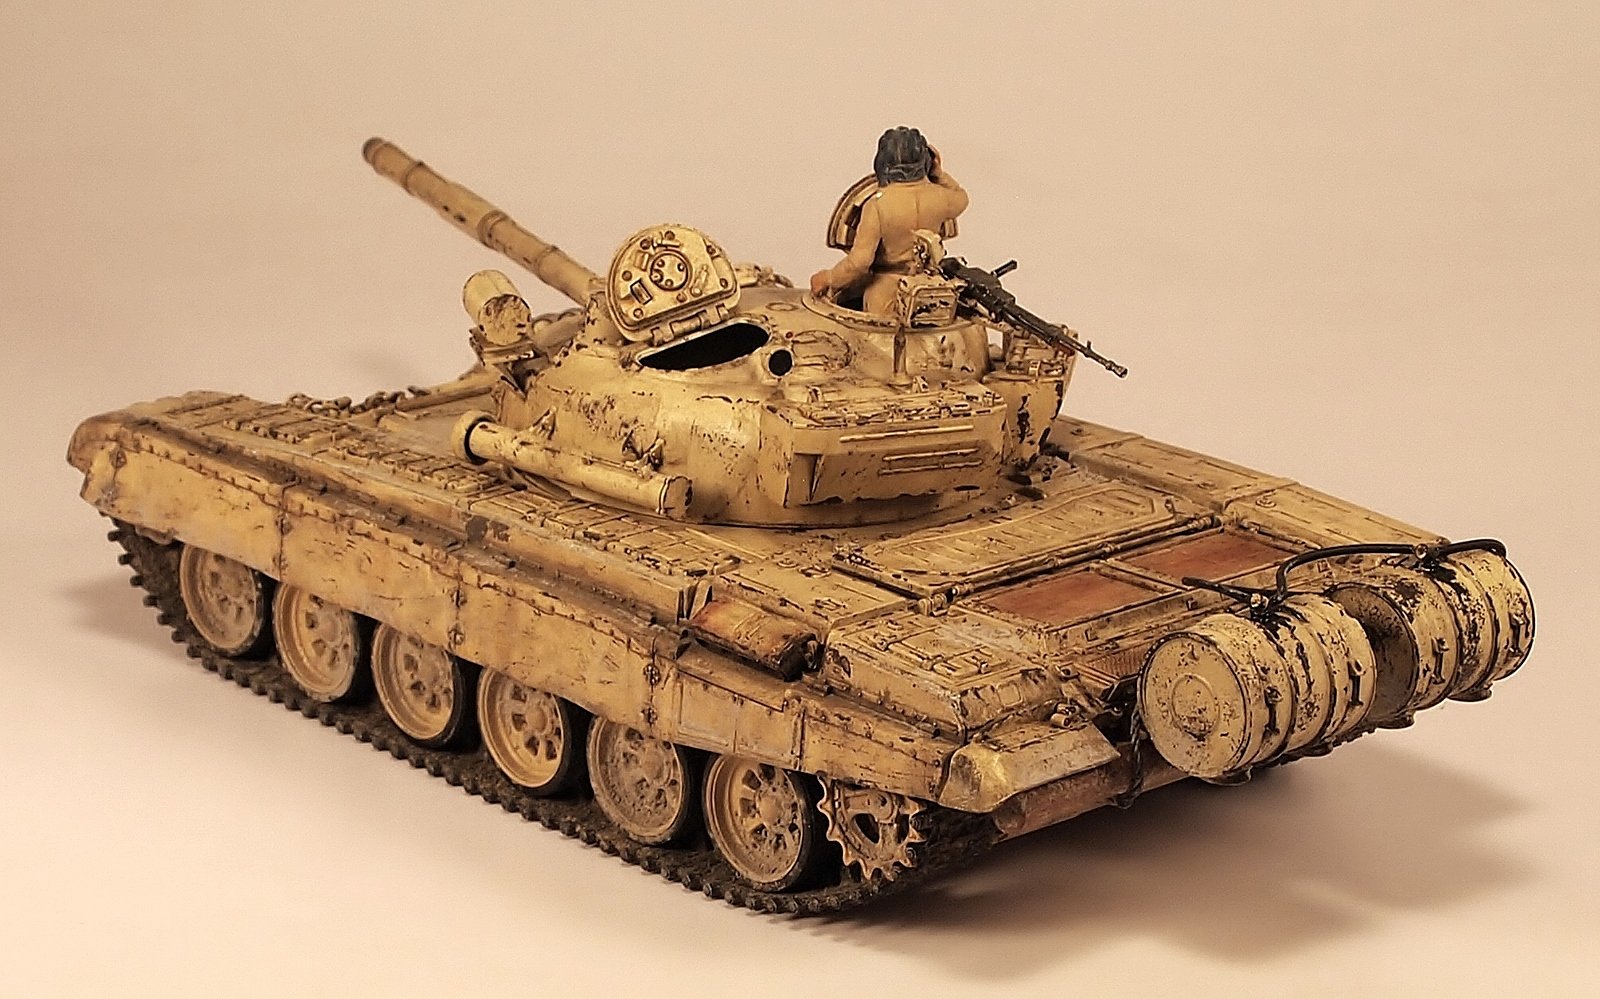
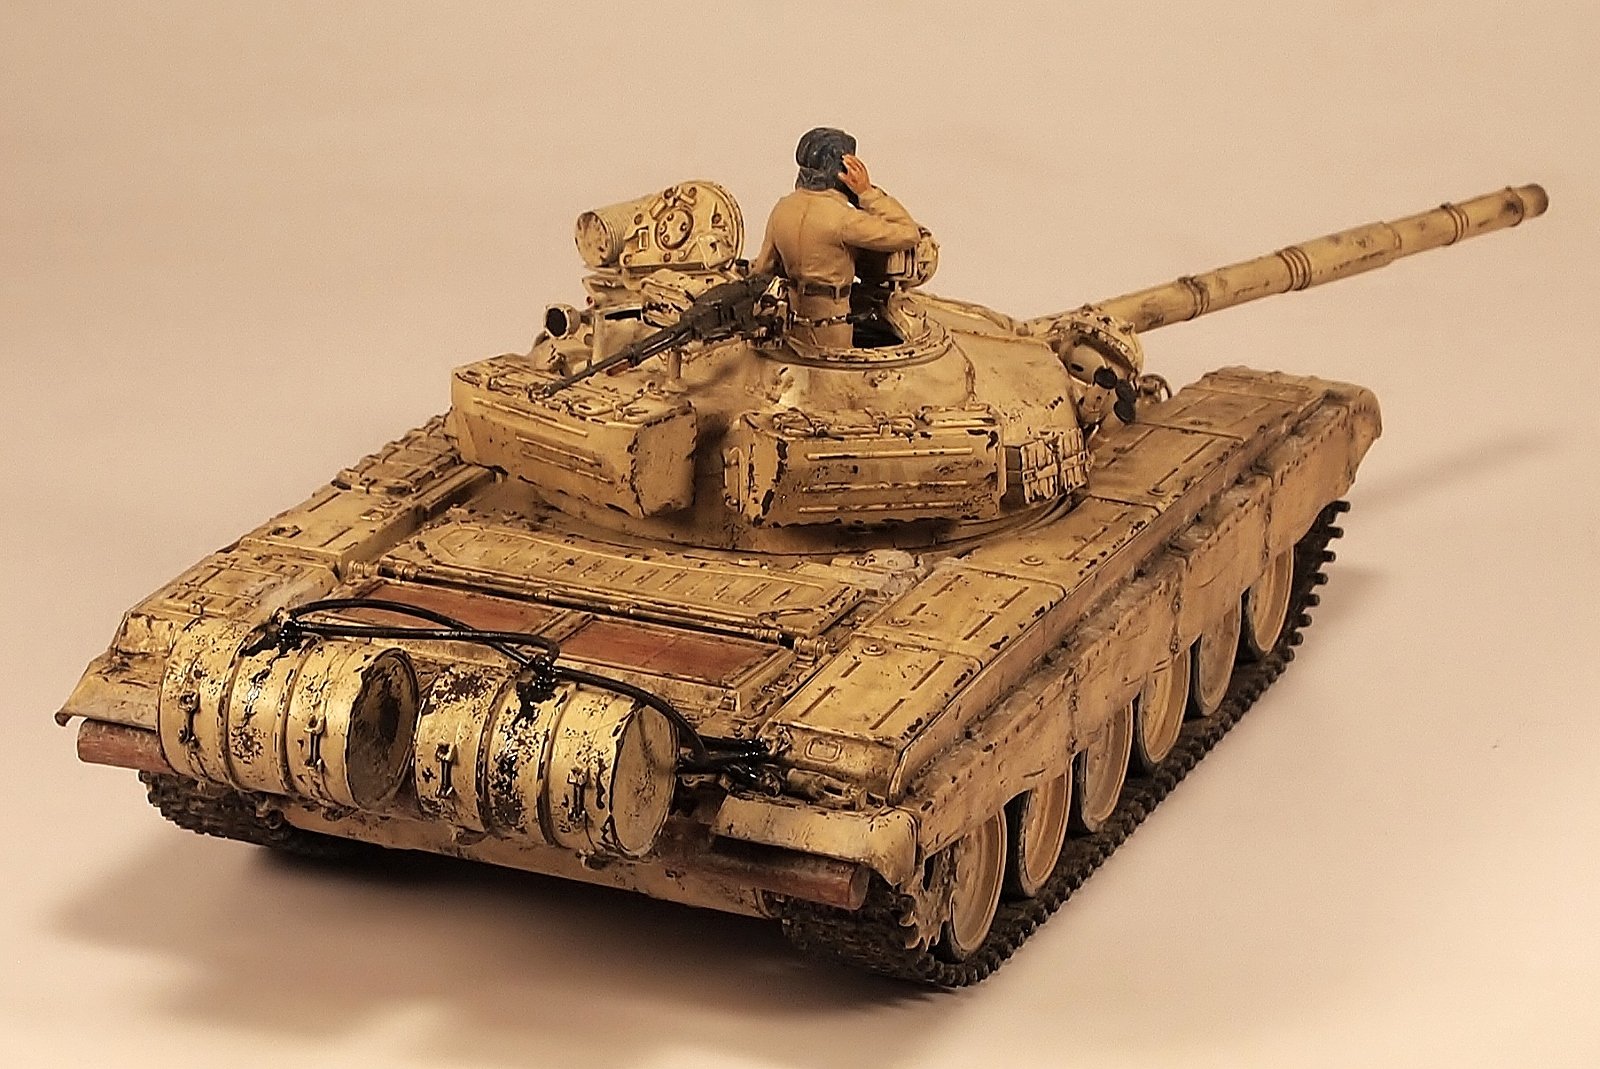
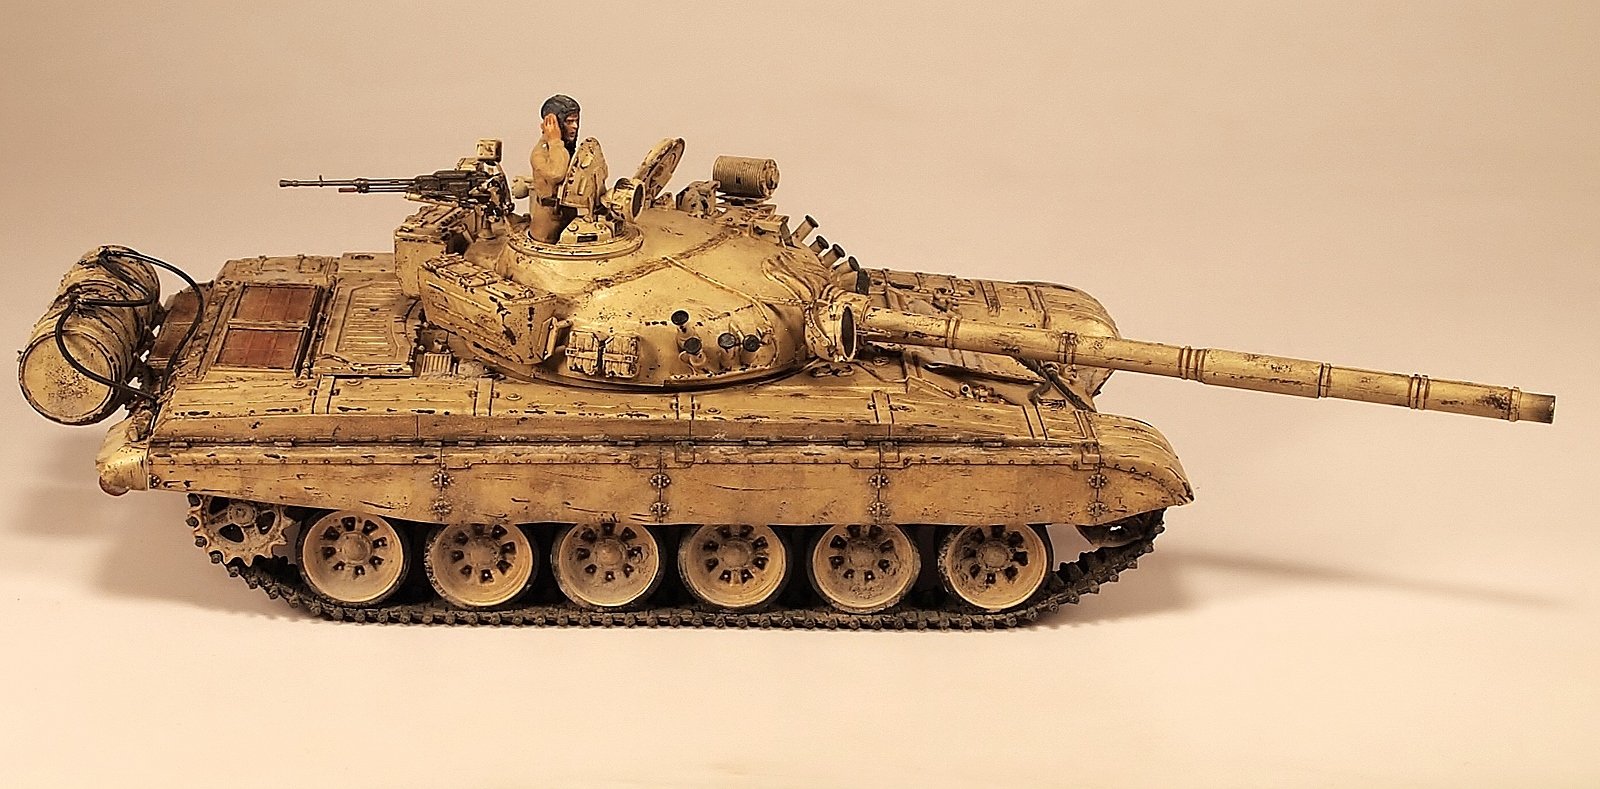
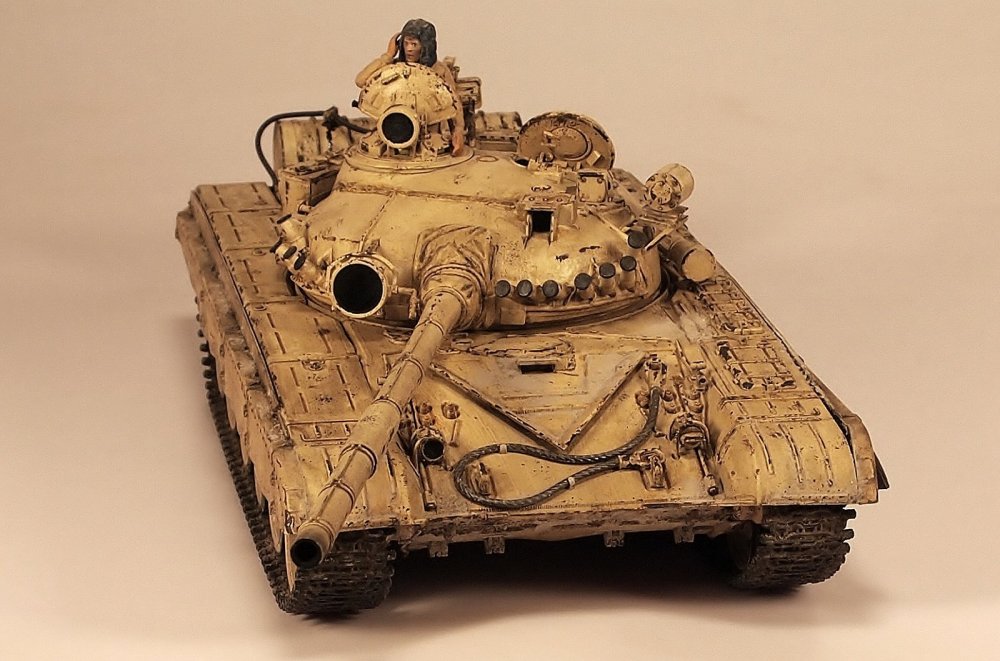
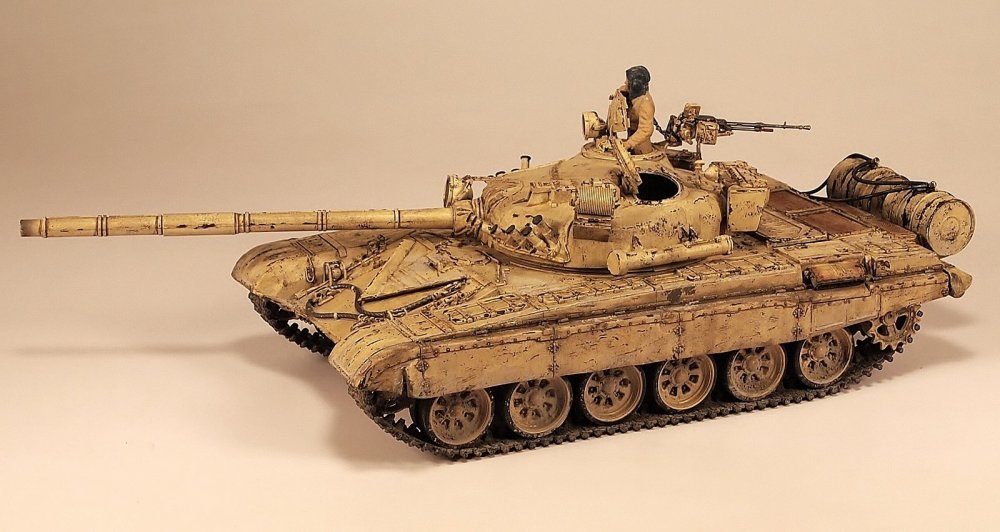
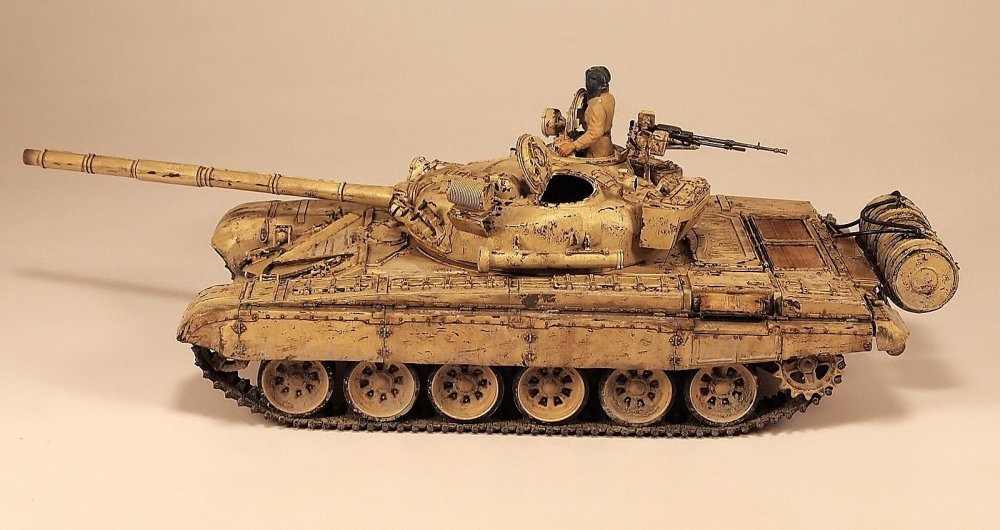
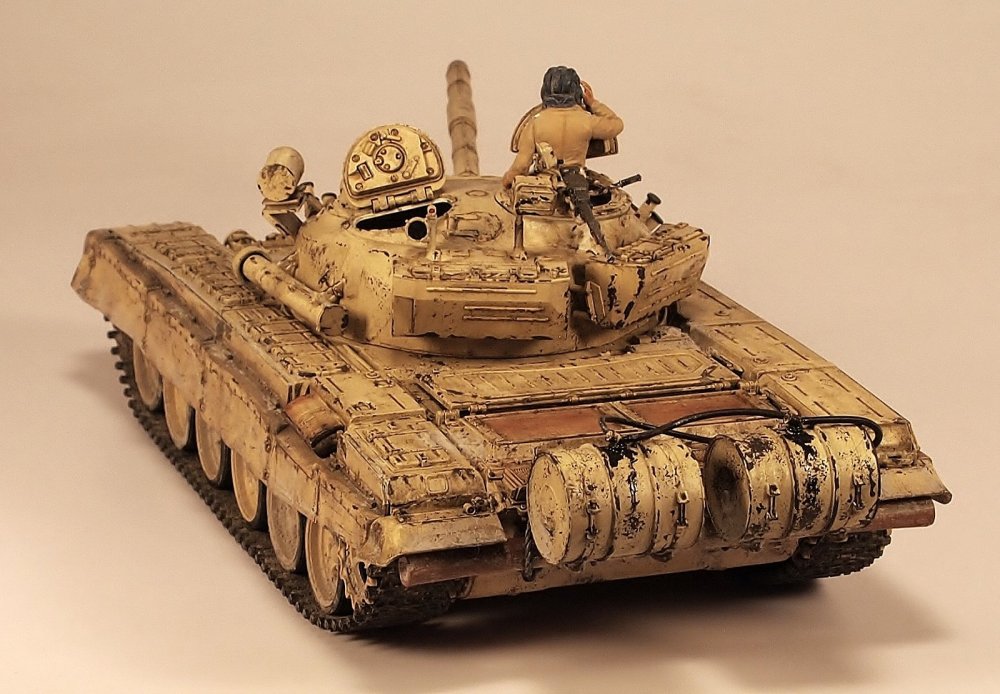
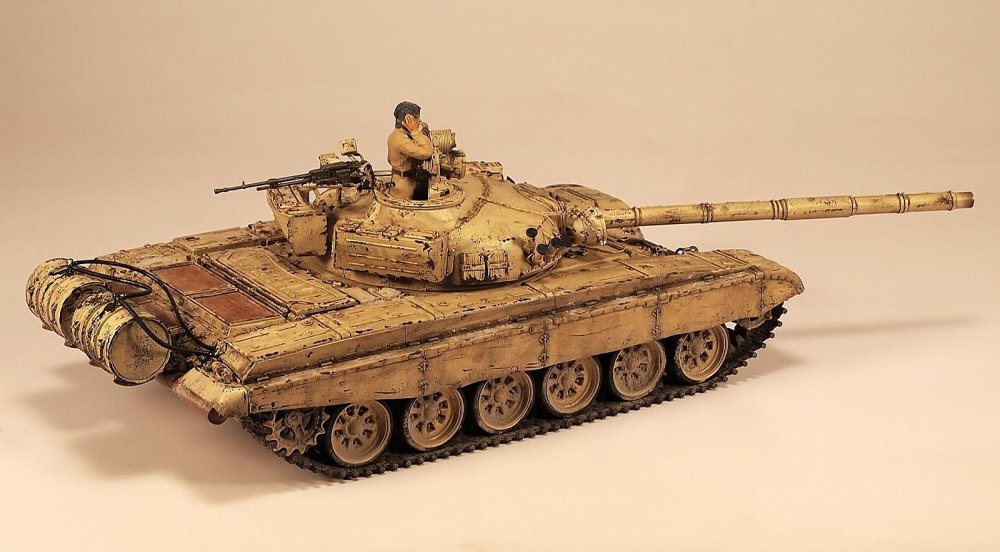
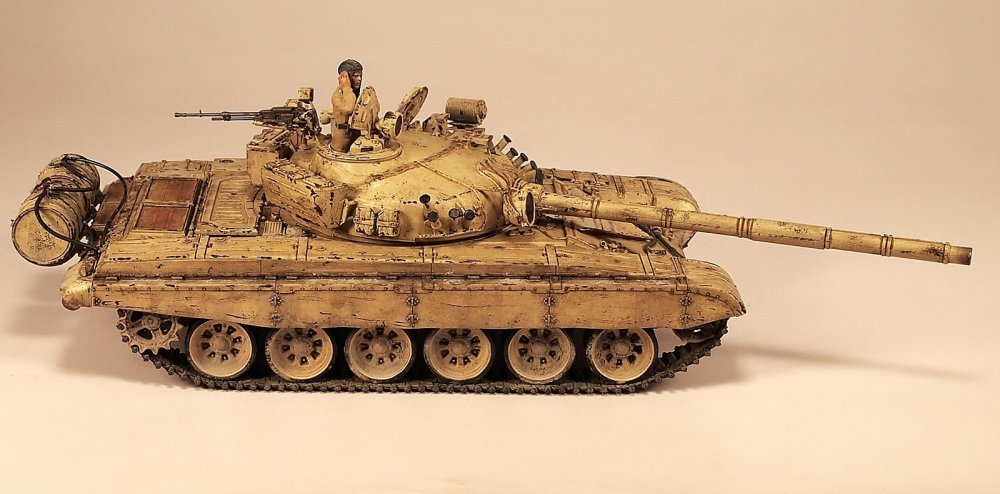
Hello friends! Here one of my last works. The T-72M1, known in Iraq as the Lion of Babylon or Asad Babil (Arabic: اسد بابل) is a version of the Soviet T-72 tank, produced at the Bumar Labedy S.A. factory. Tamiya 1/35 - This Kit contains Commander figure, Commander hatches can be open or closed, photo cut for radiator grille, detailed 12.7mm machine gun, and plastic tubing for fuel tank. I hope you like it!


- 12 replies
-
- 11
-

-

-
Thanks for your kind comment friend! Regards! Rodolfo
-
Thanks for your kind comments friend! Regards! Rodolfo
-
Thanks for your kind comments friends! Regards! Rodolfo
-
Thanks for your kind comments friends!. Regards! Rodolfo
-
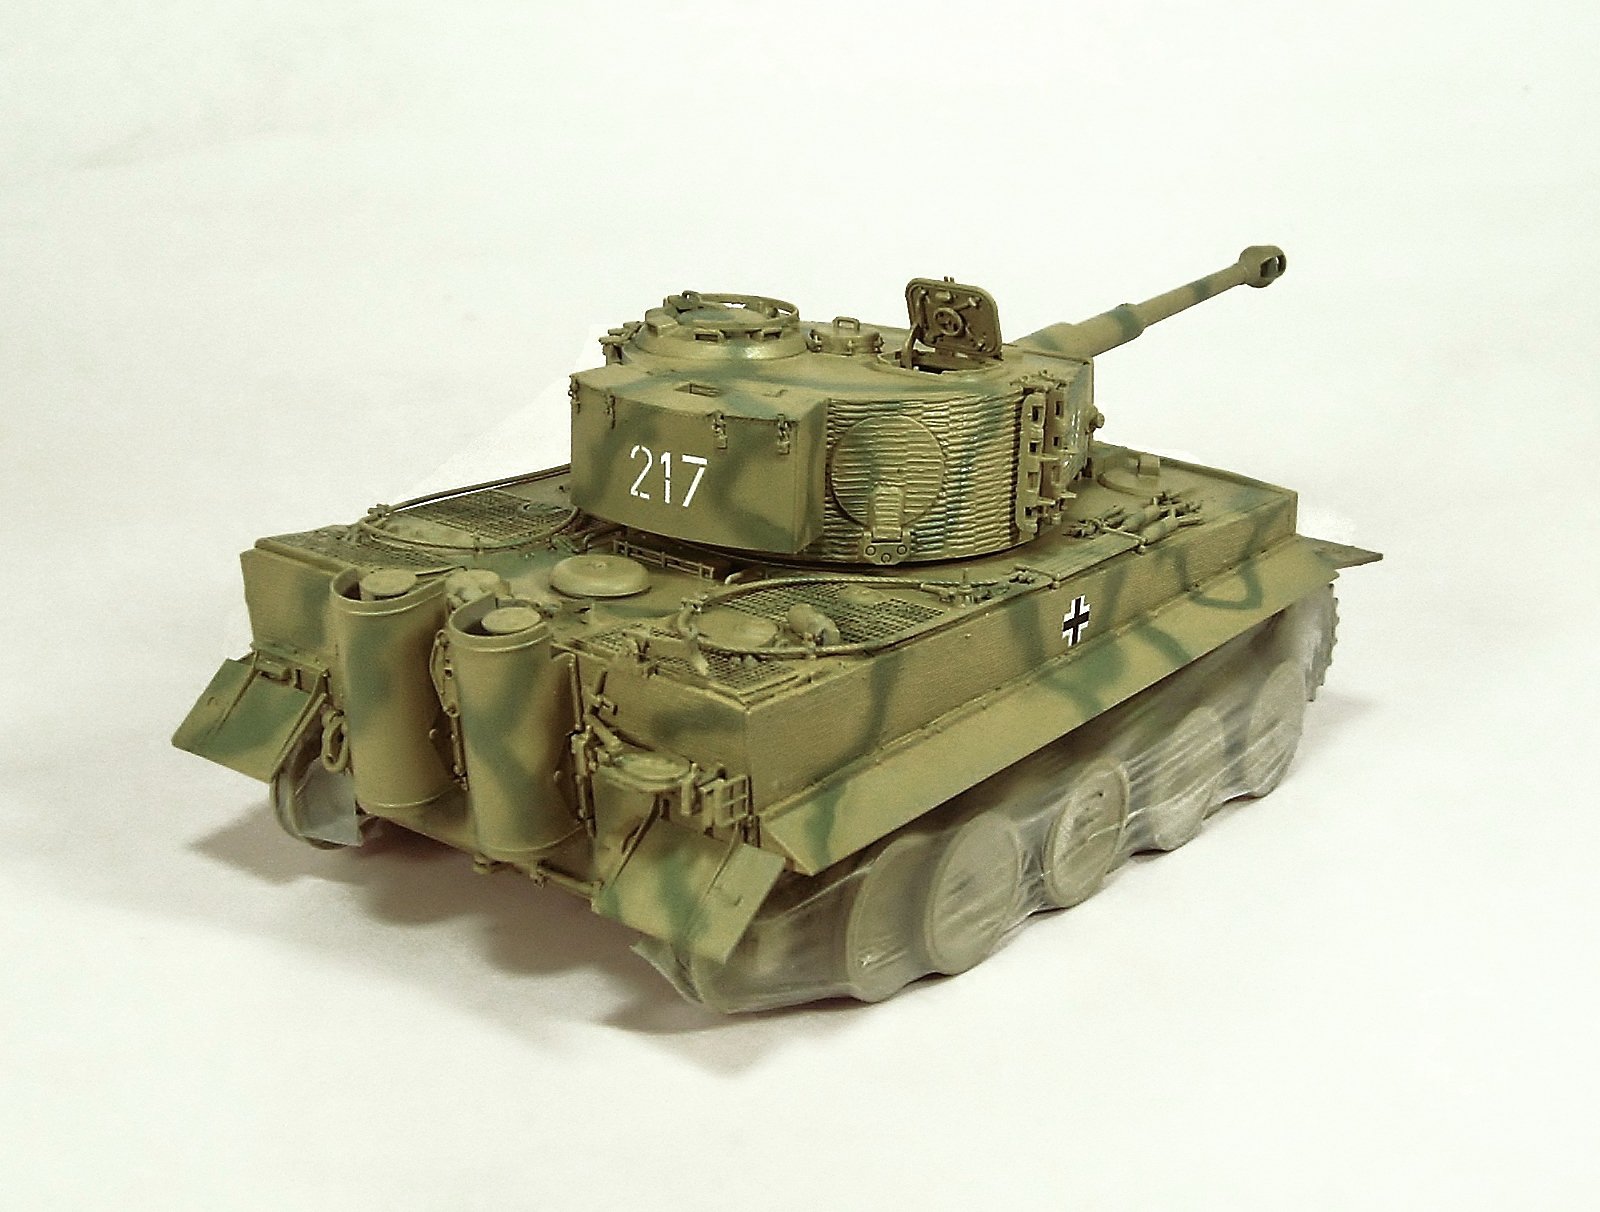
Hello friends! Work finished, please go to: Tiger I, Otto Carius, Malinovka Thanks for see my WIP Regards! Rodolfo
-
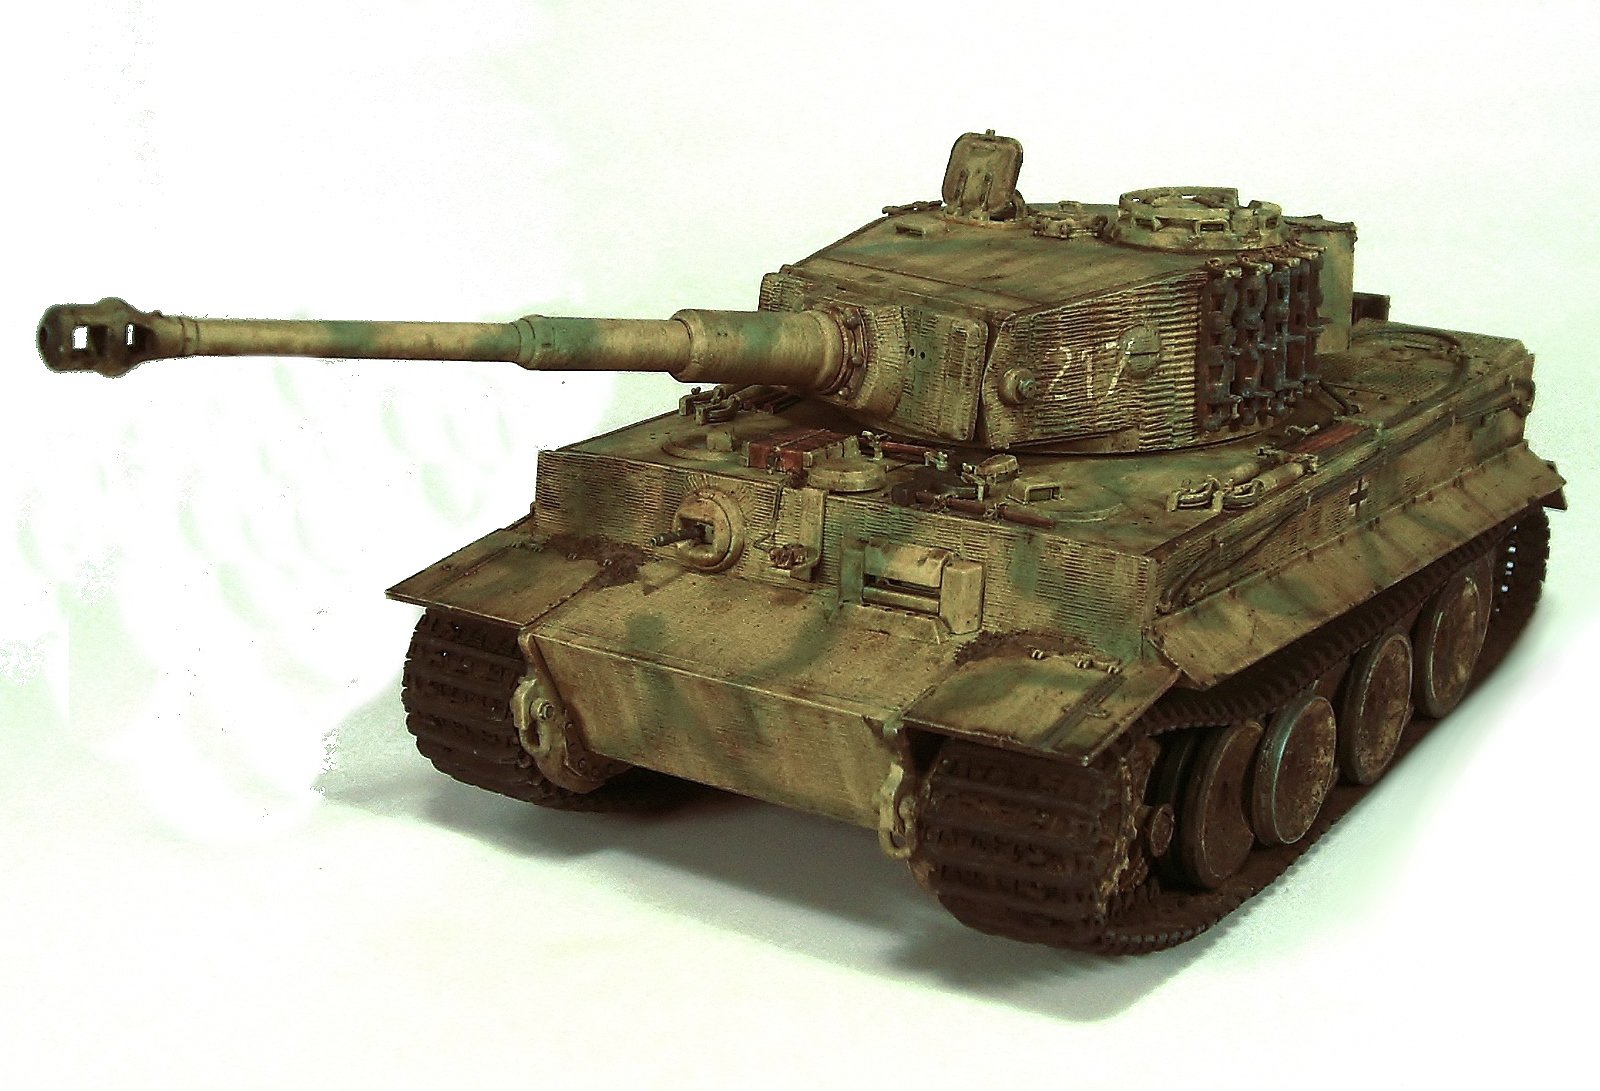
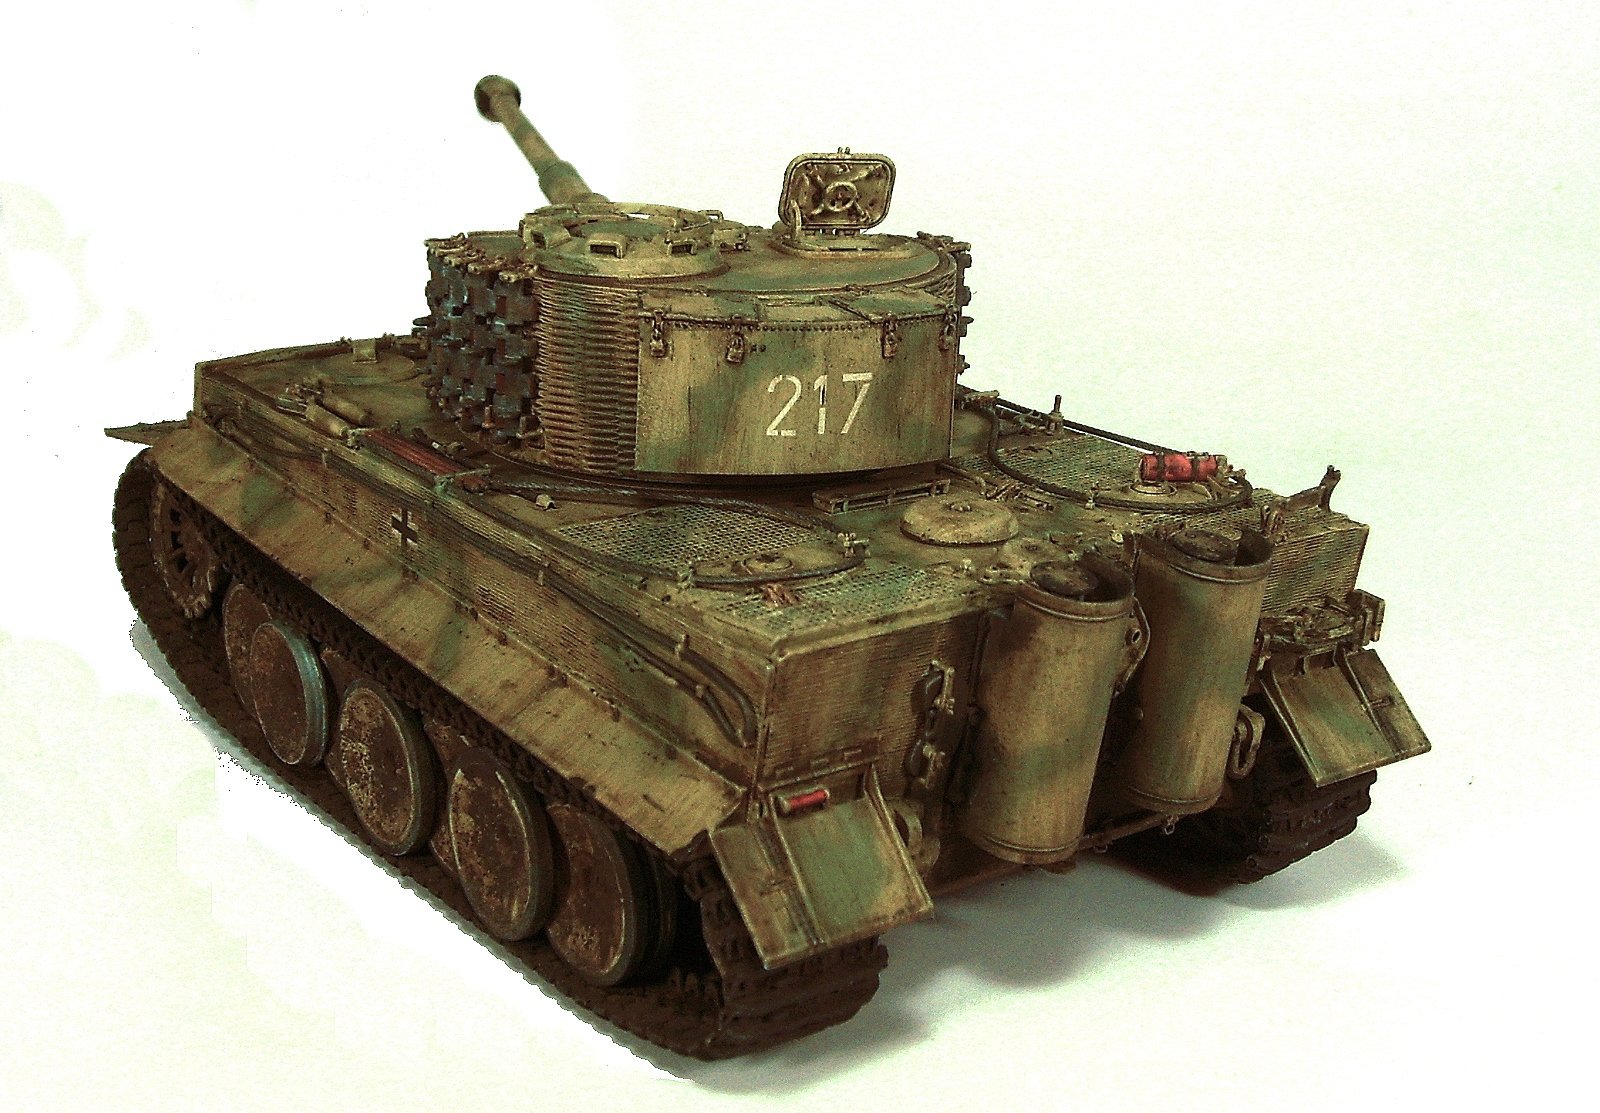
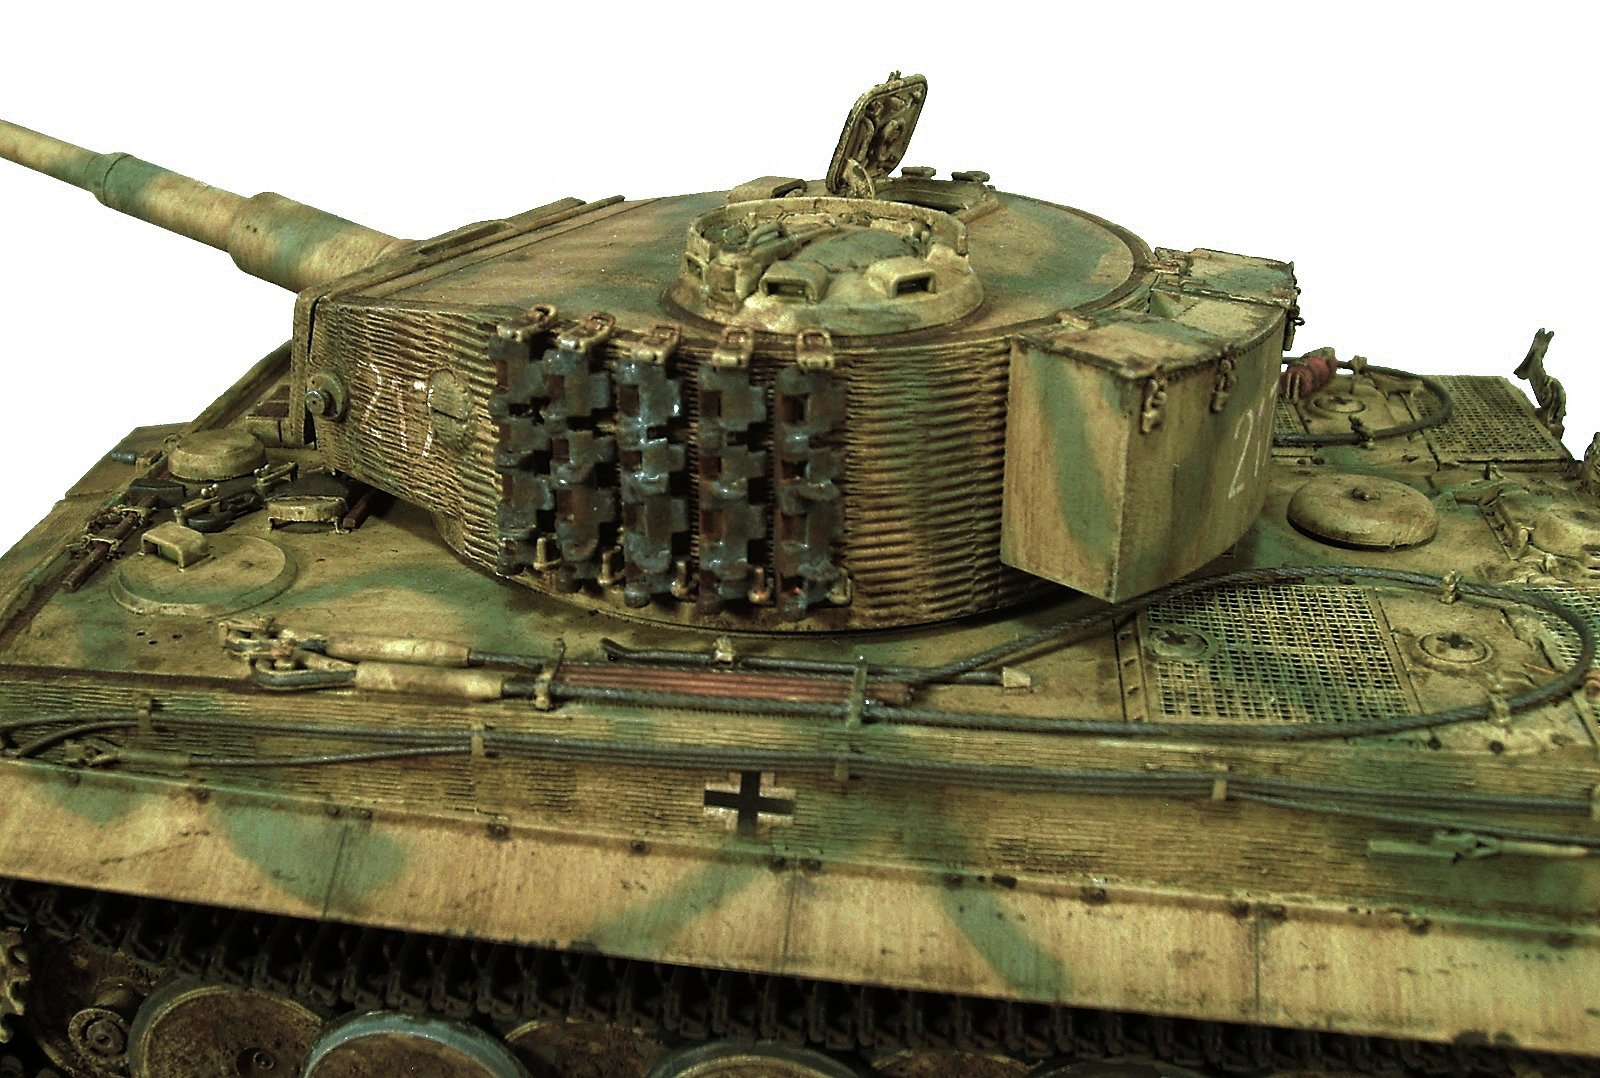
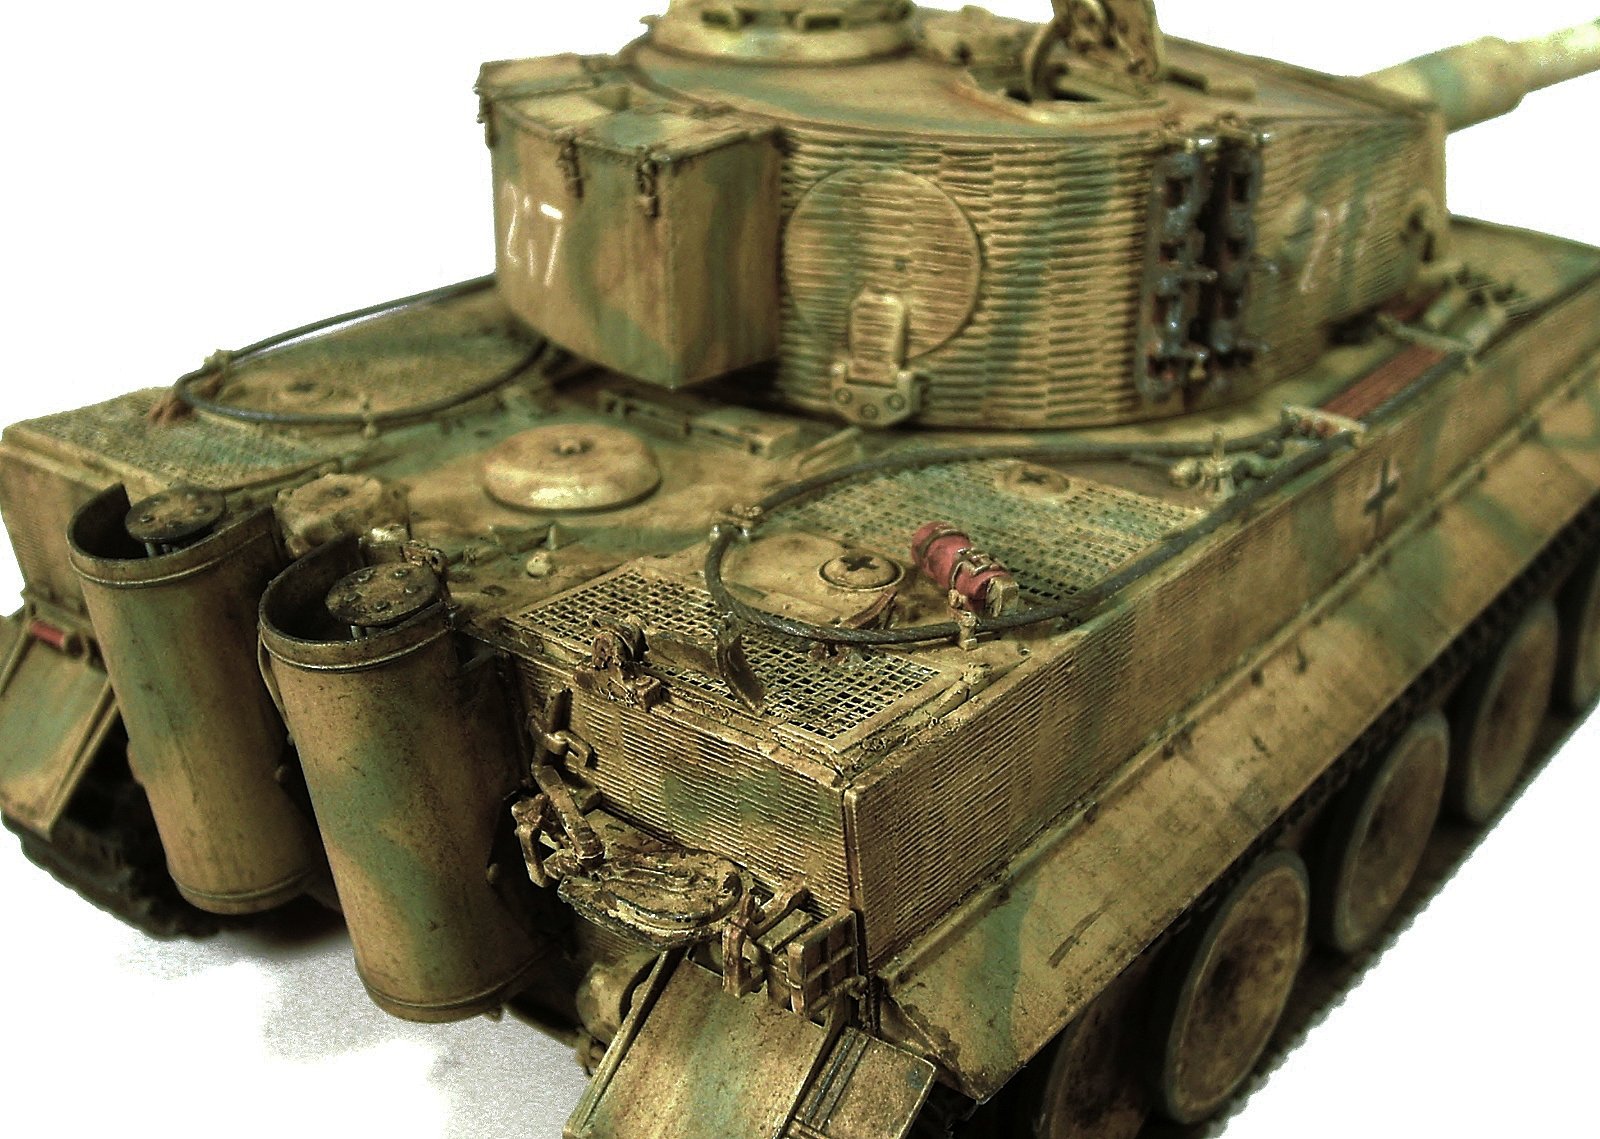
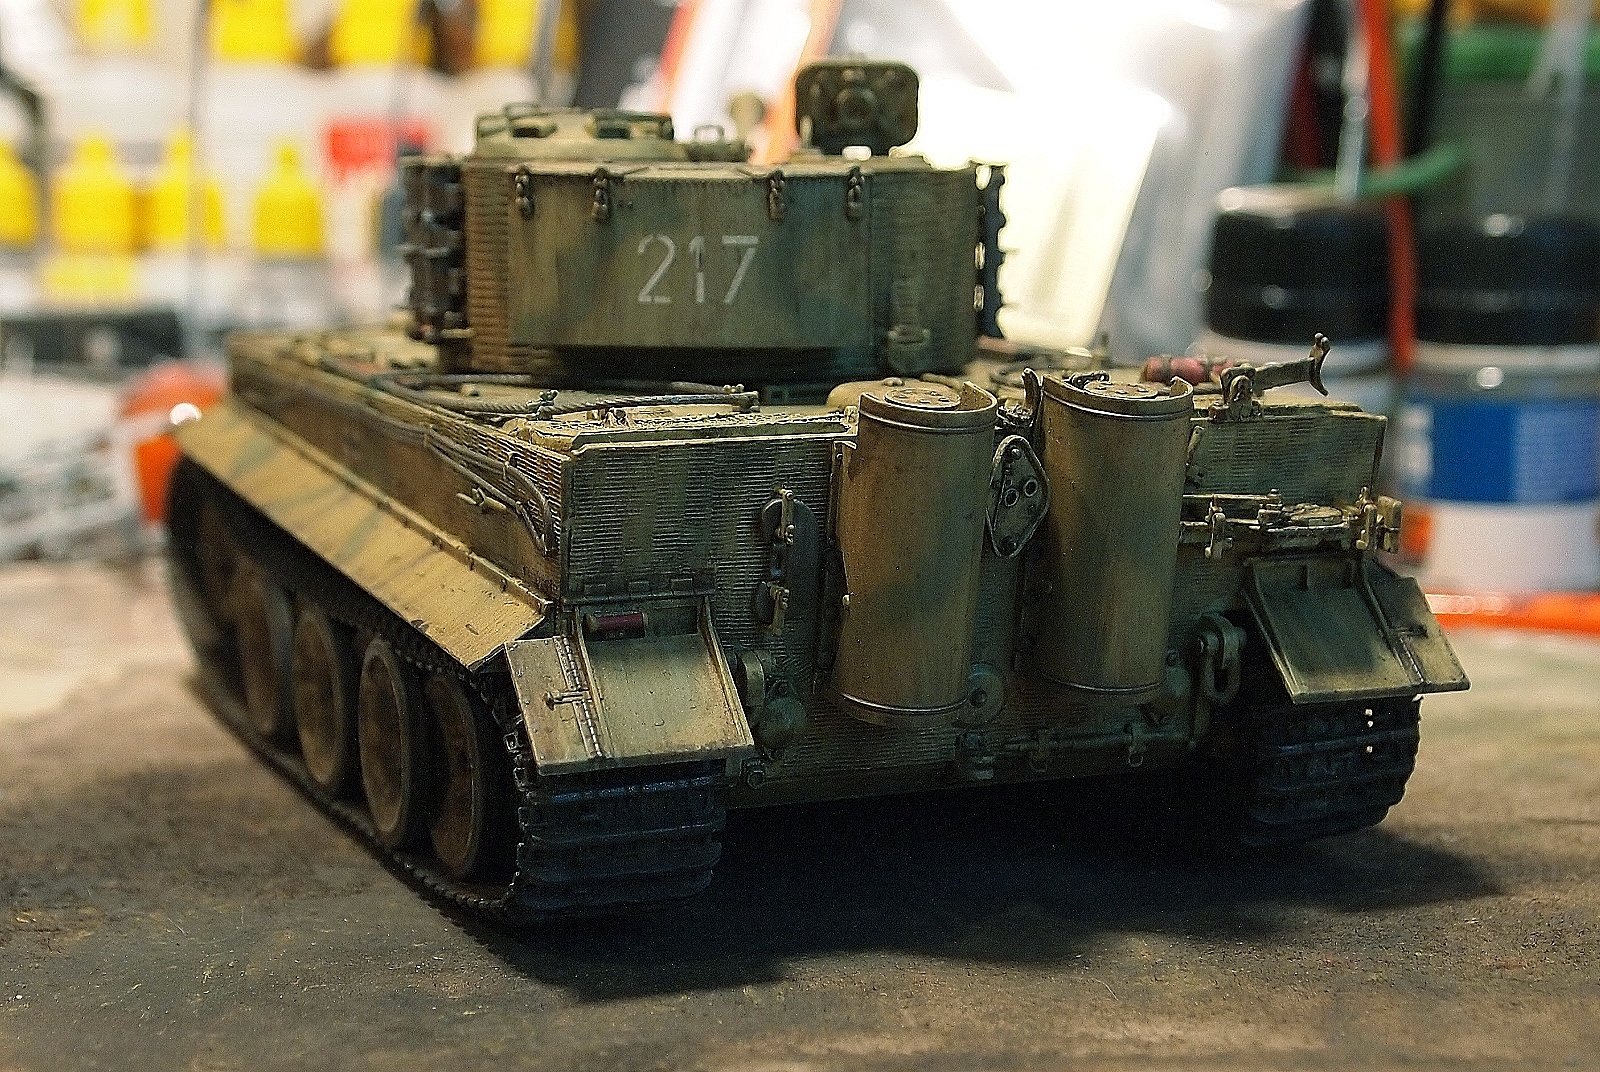
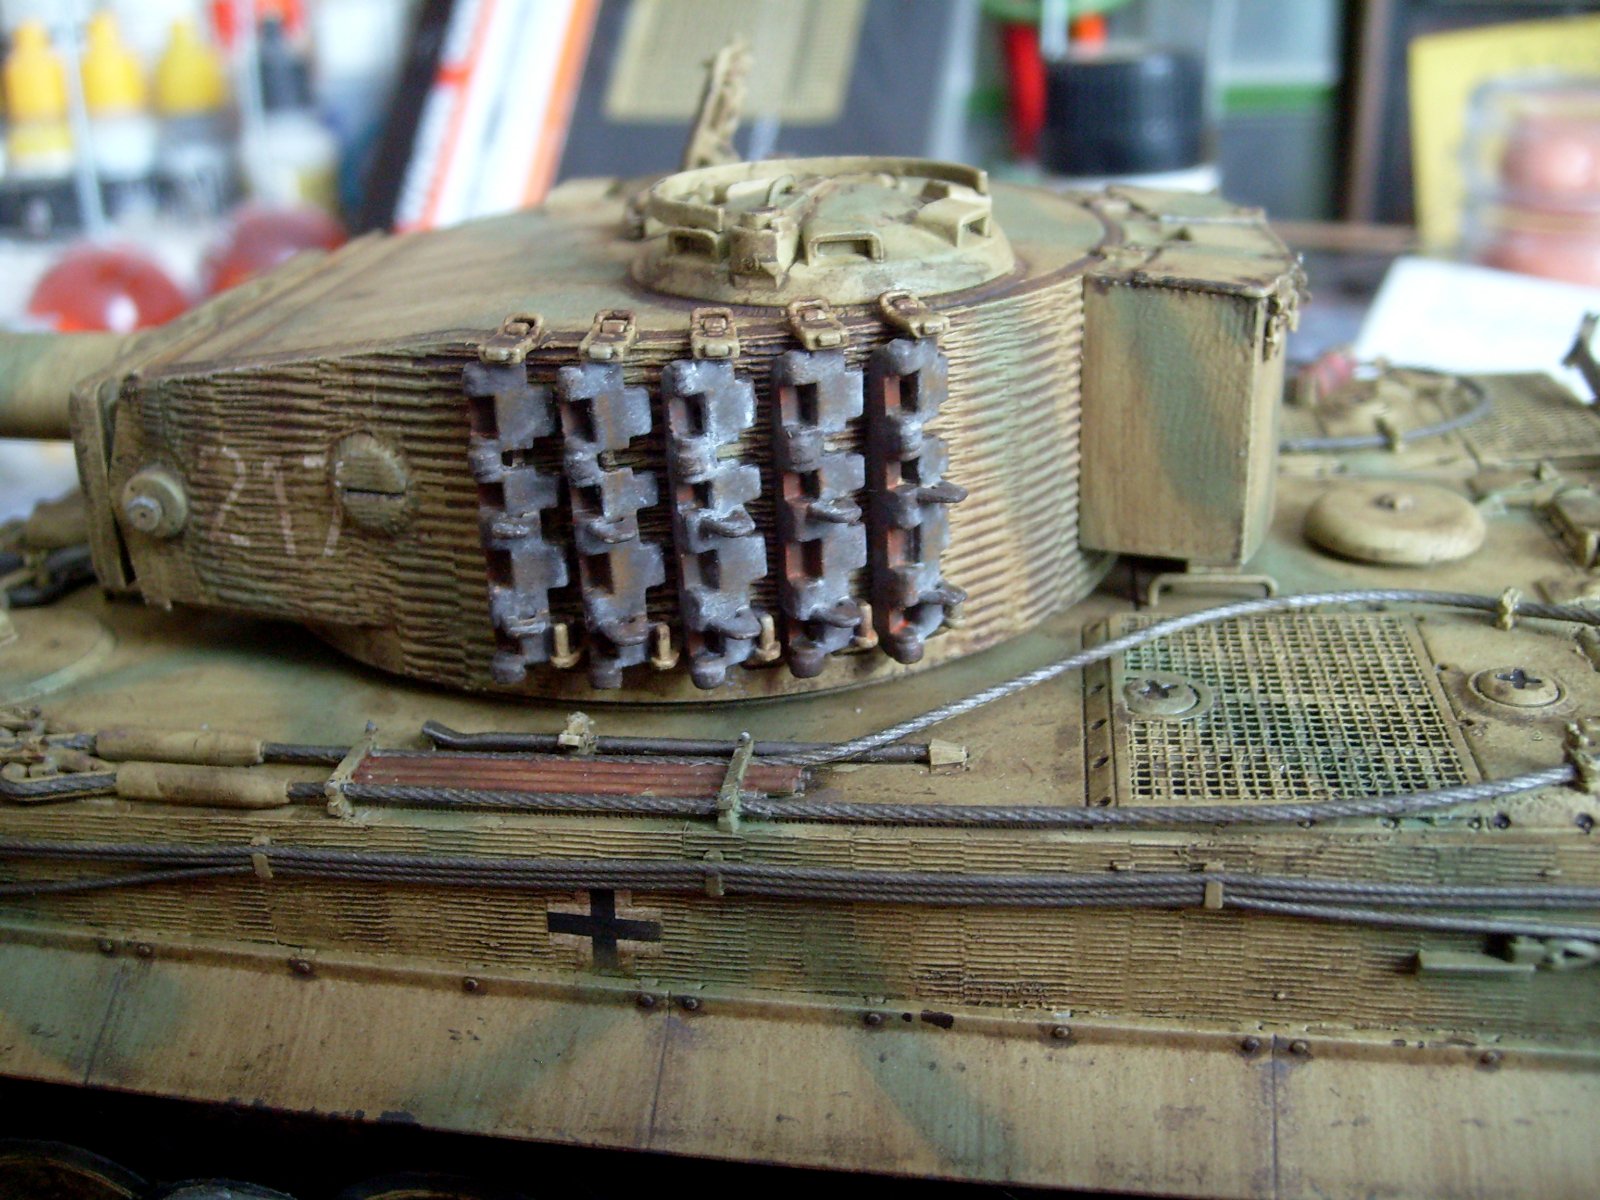
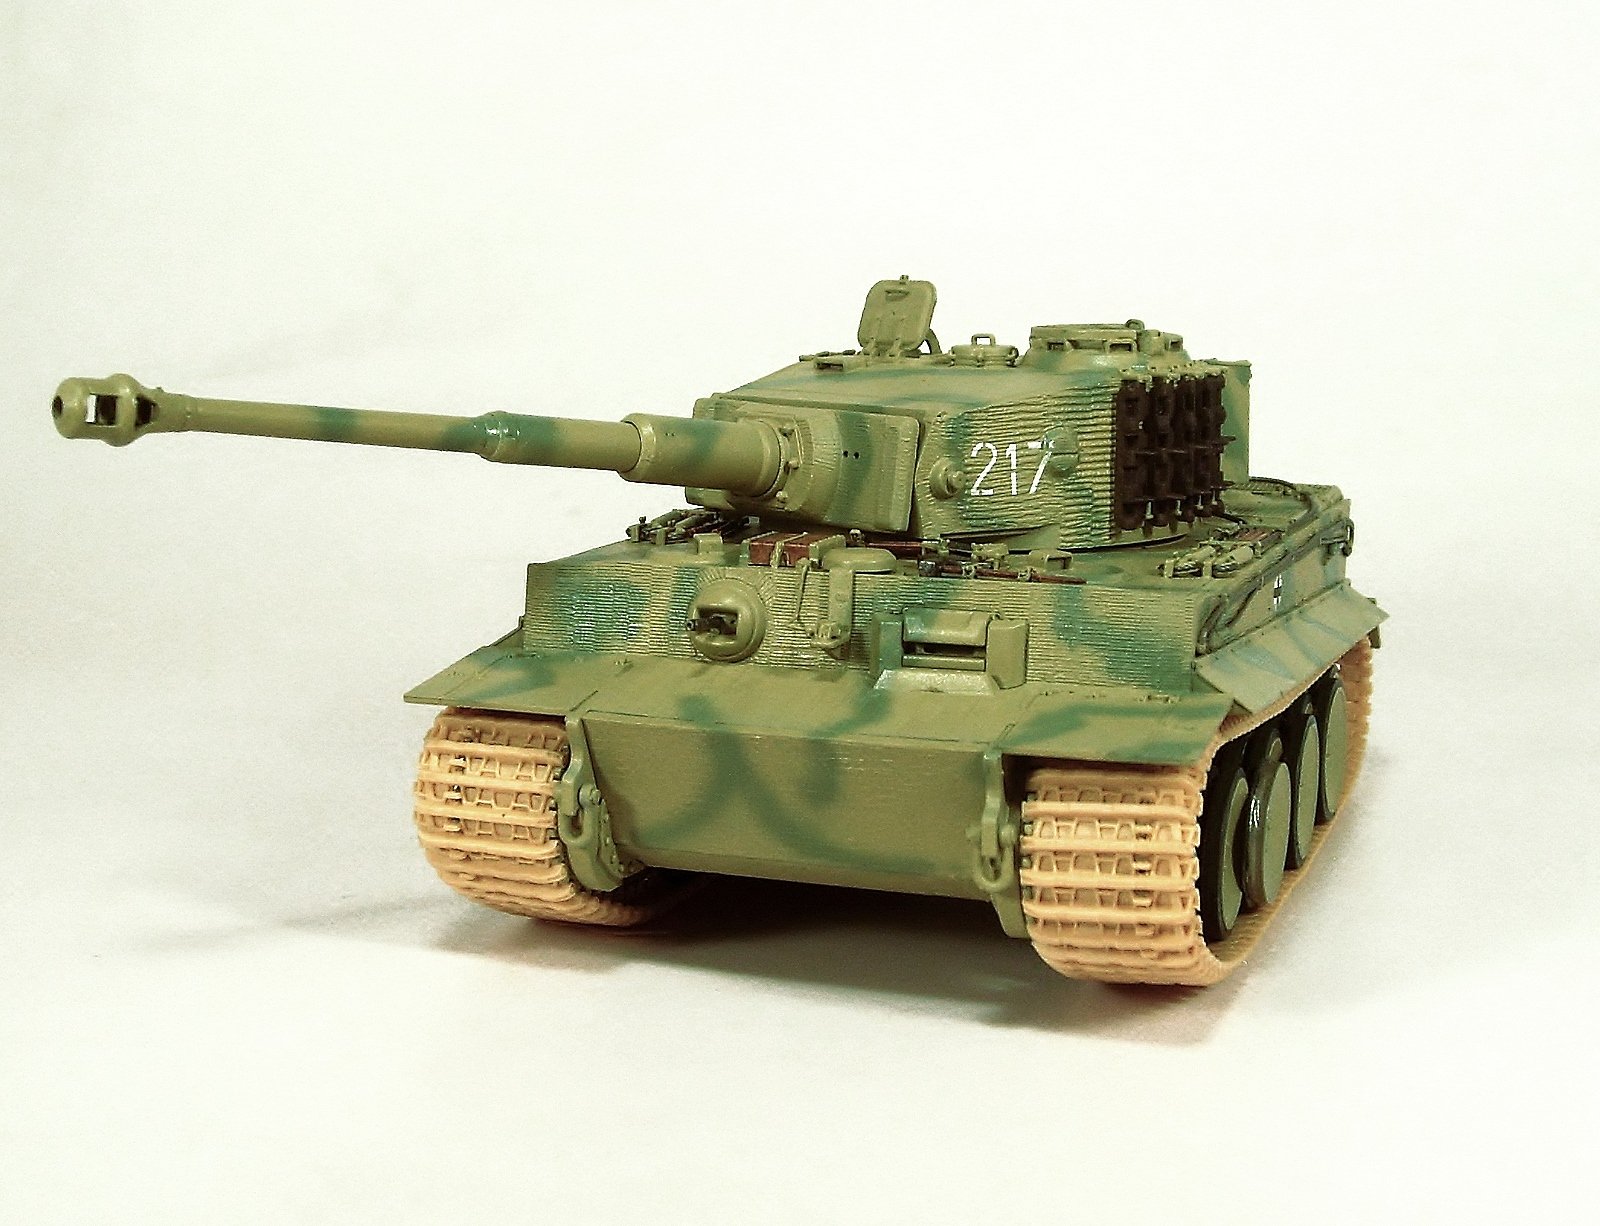
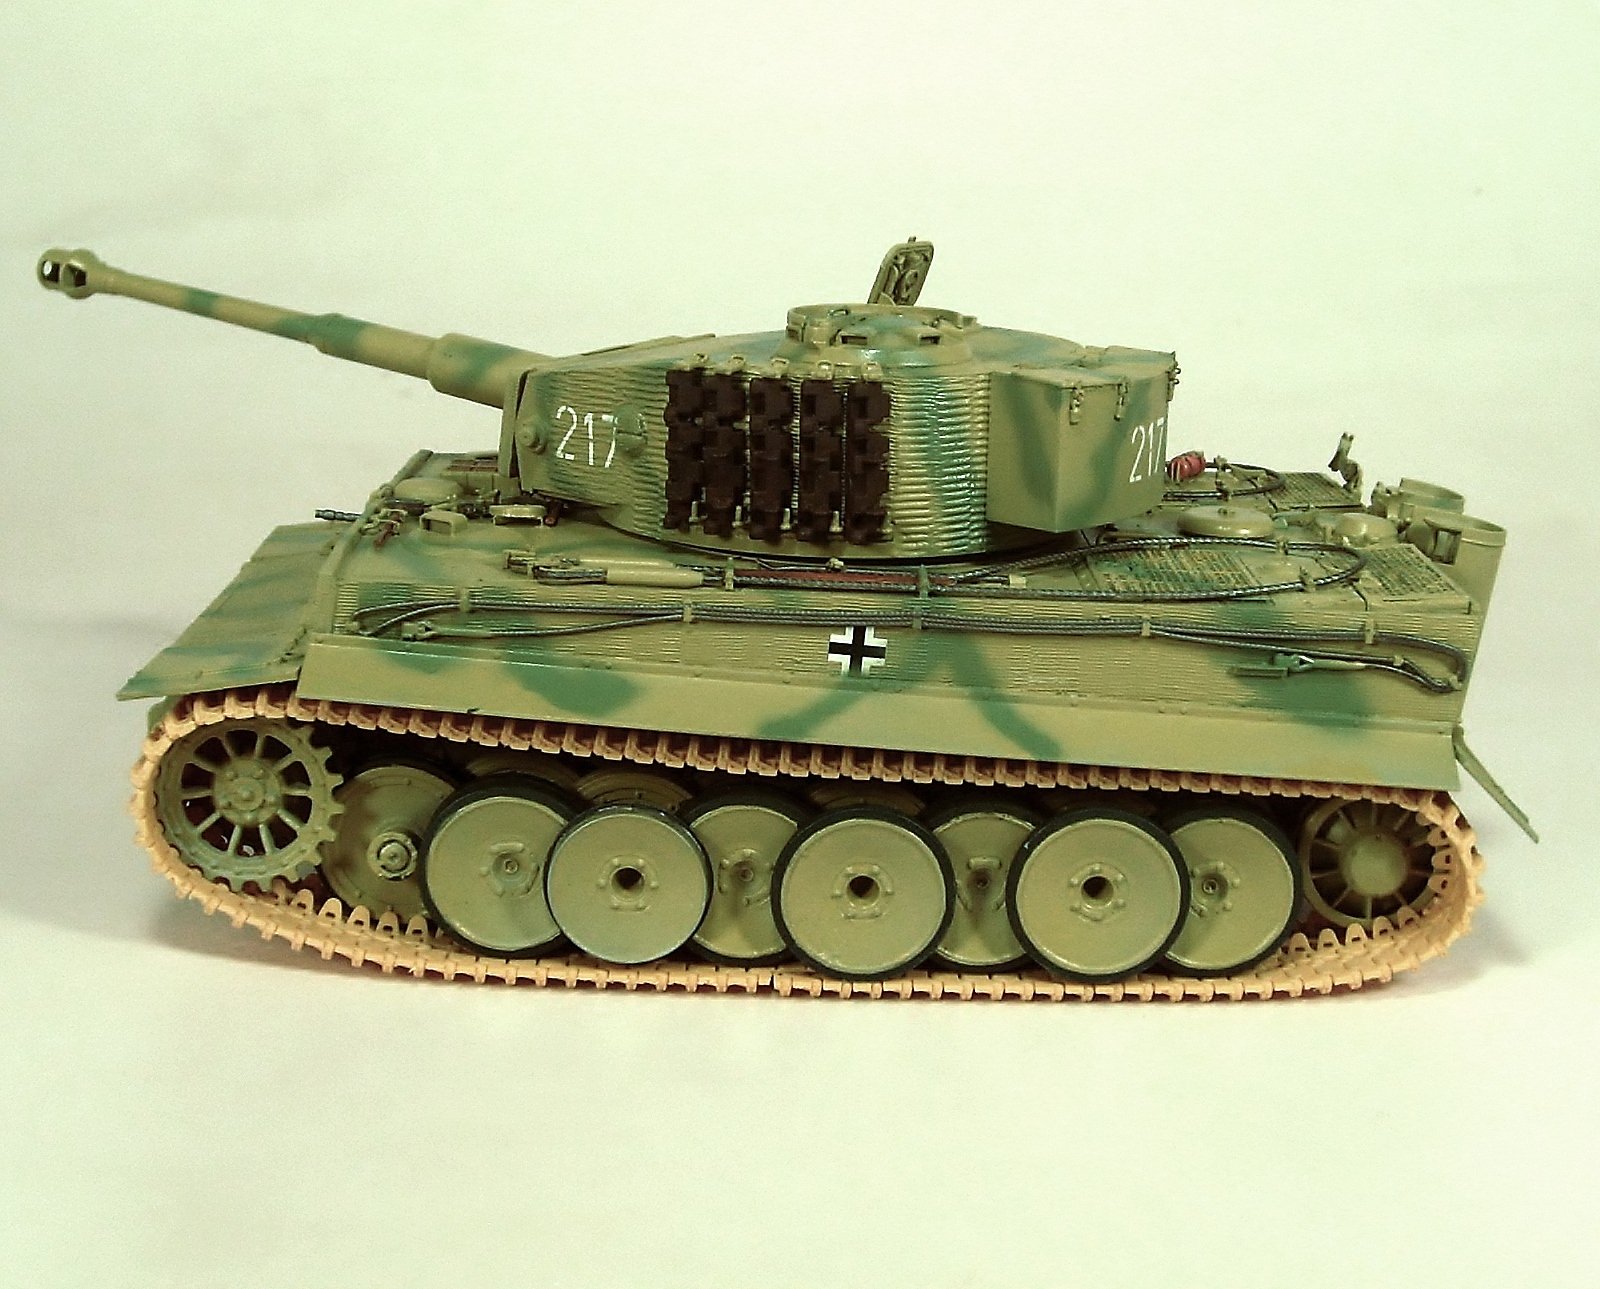
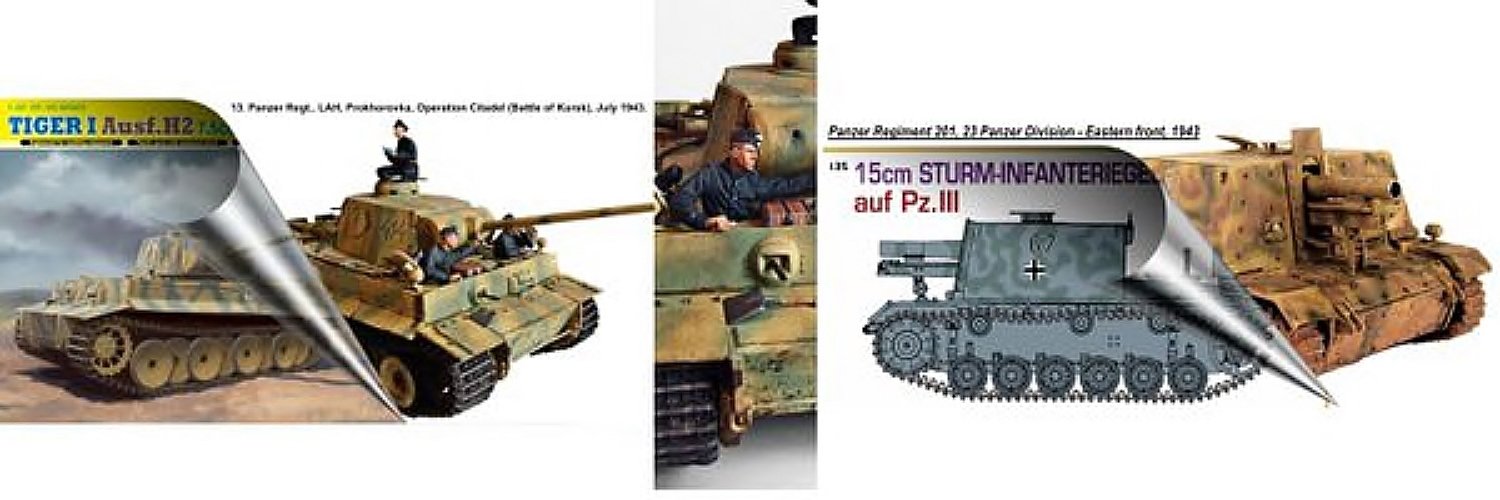
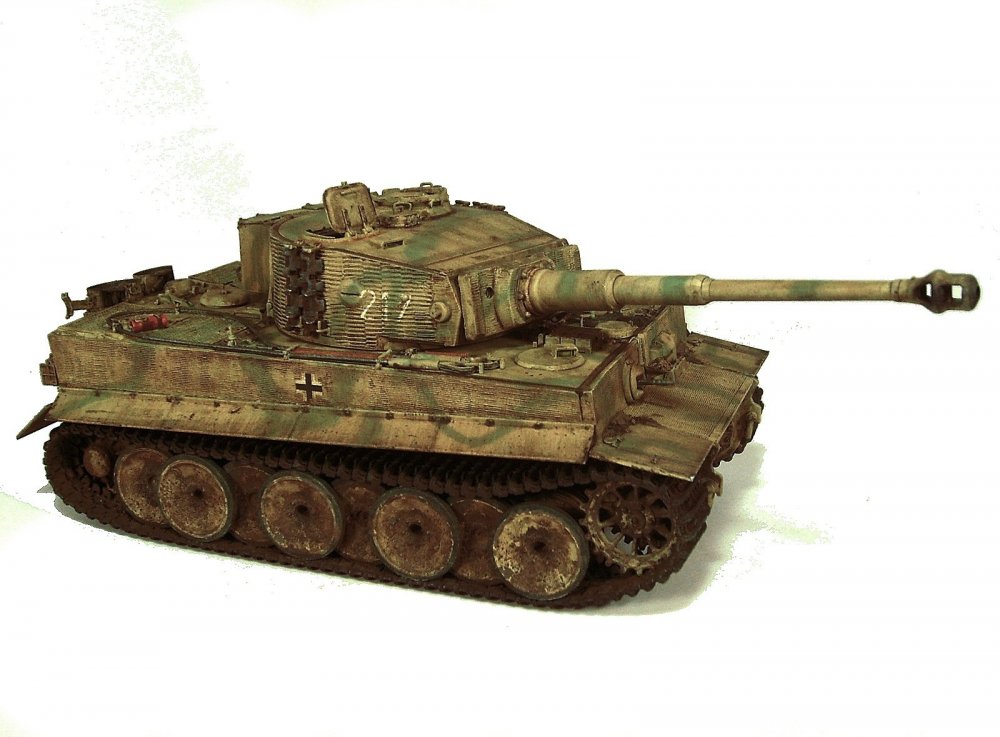
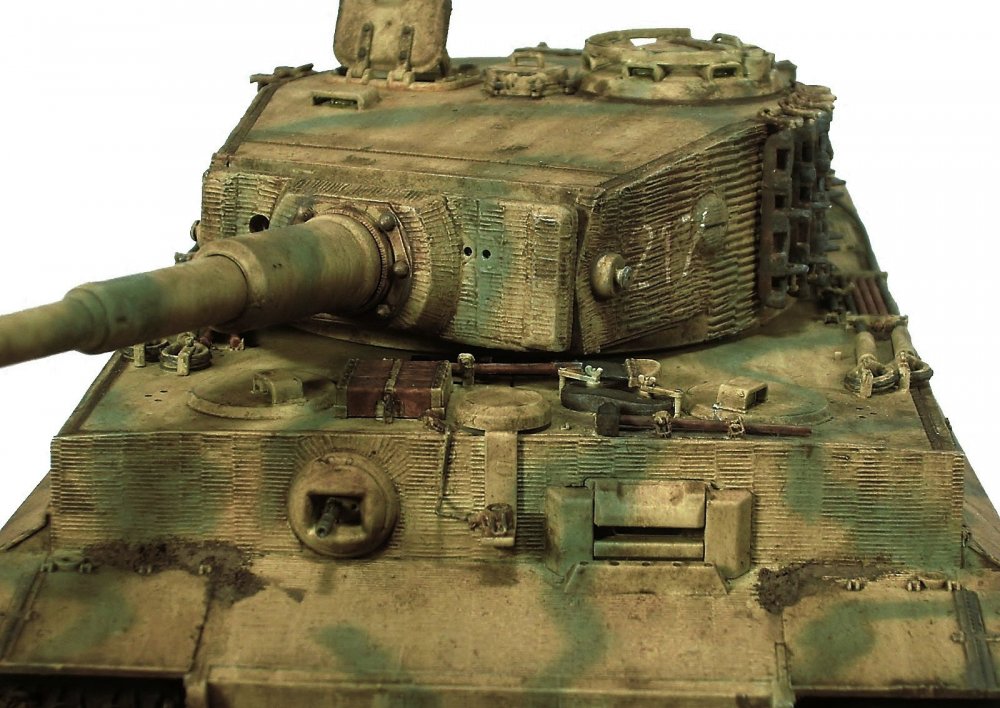
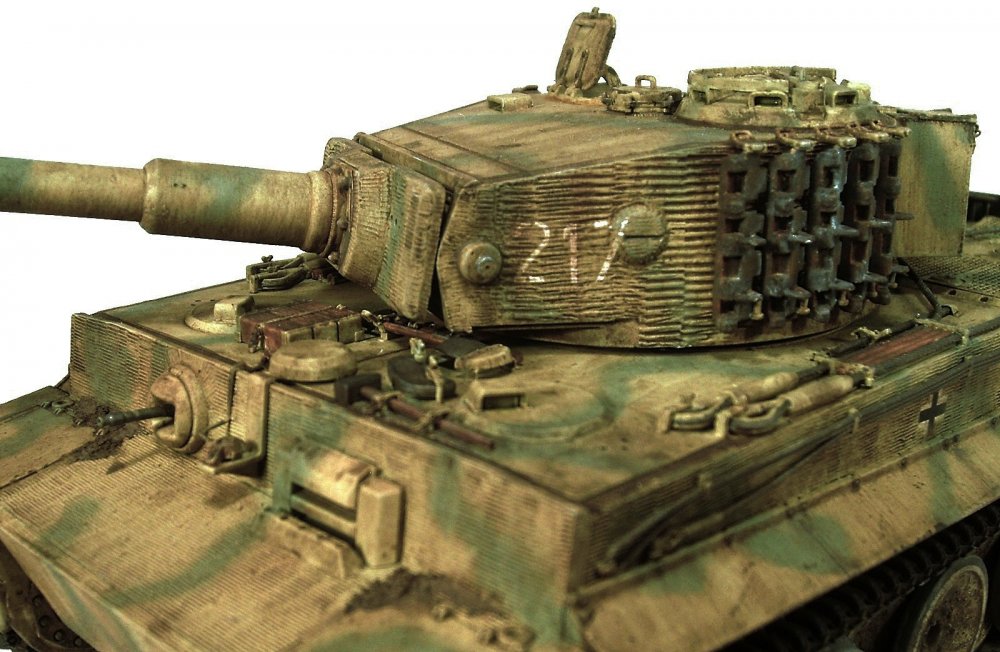
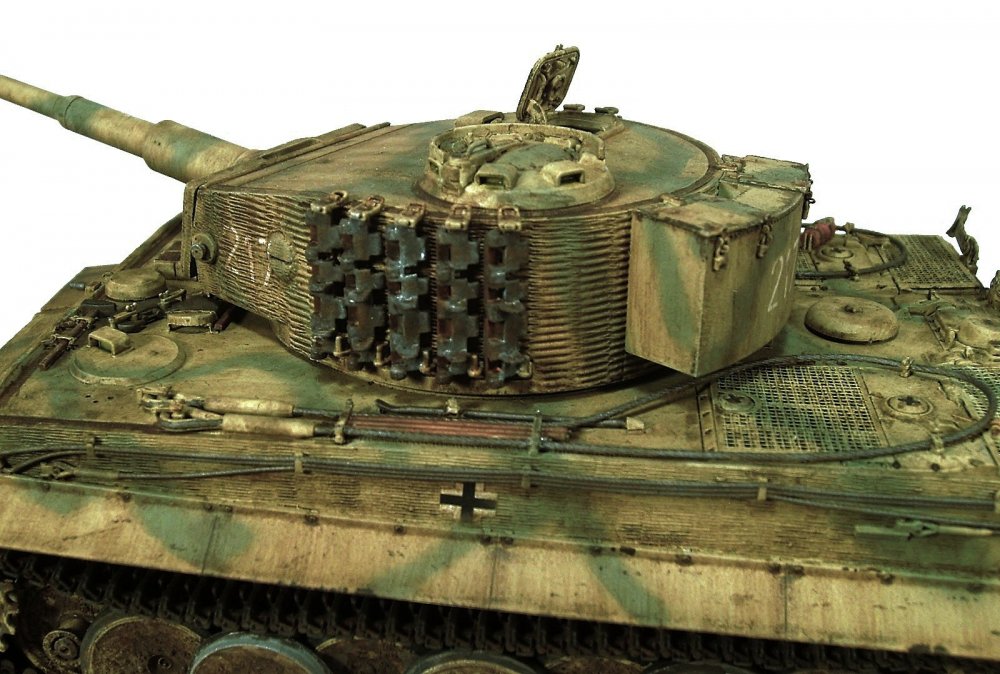
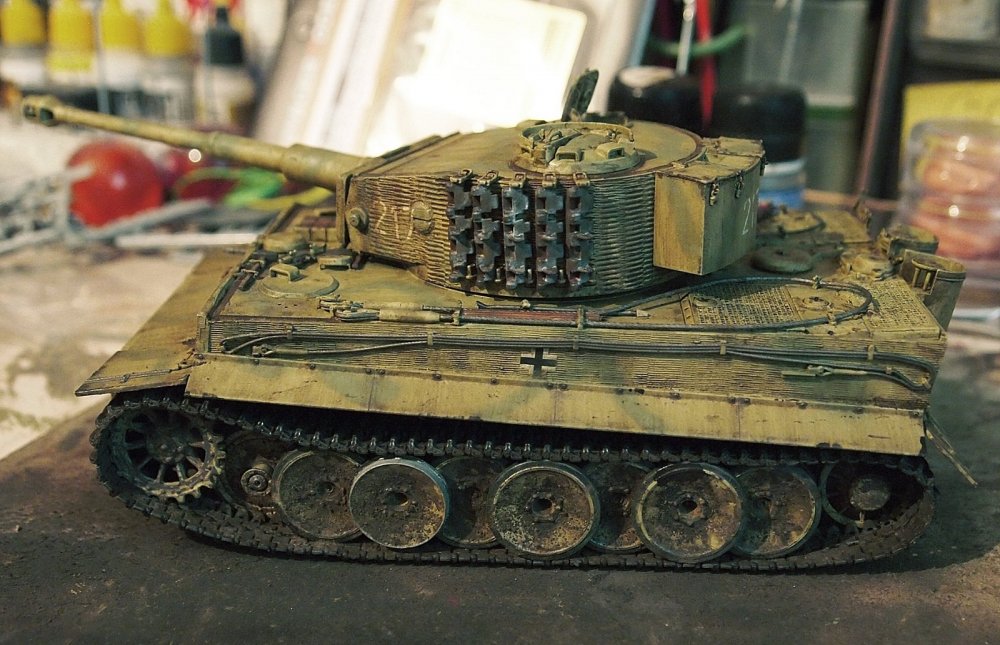
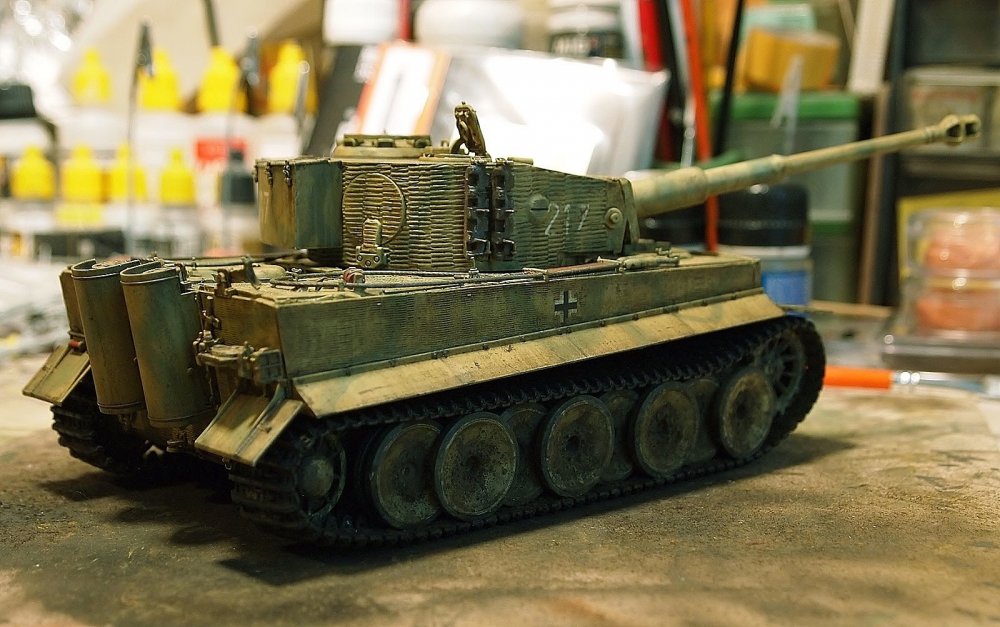
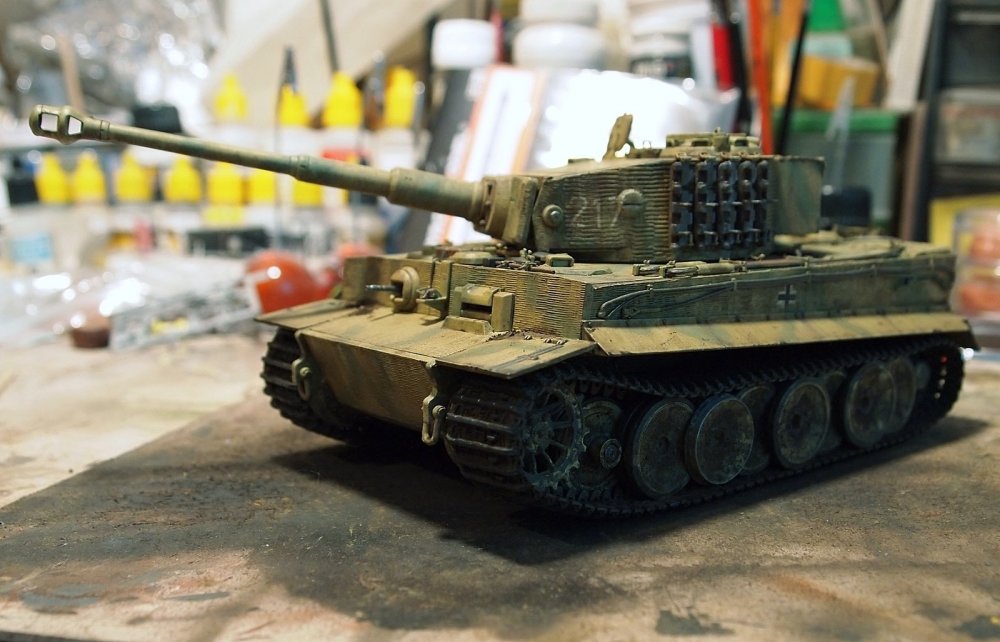
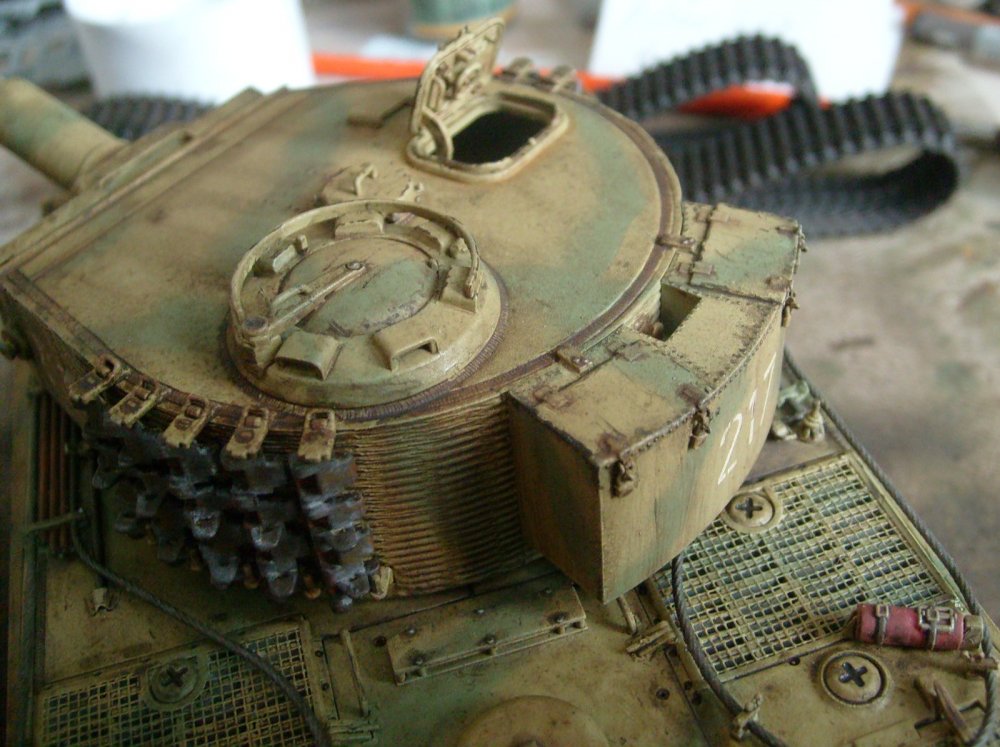
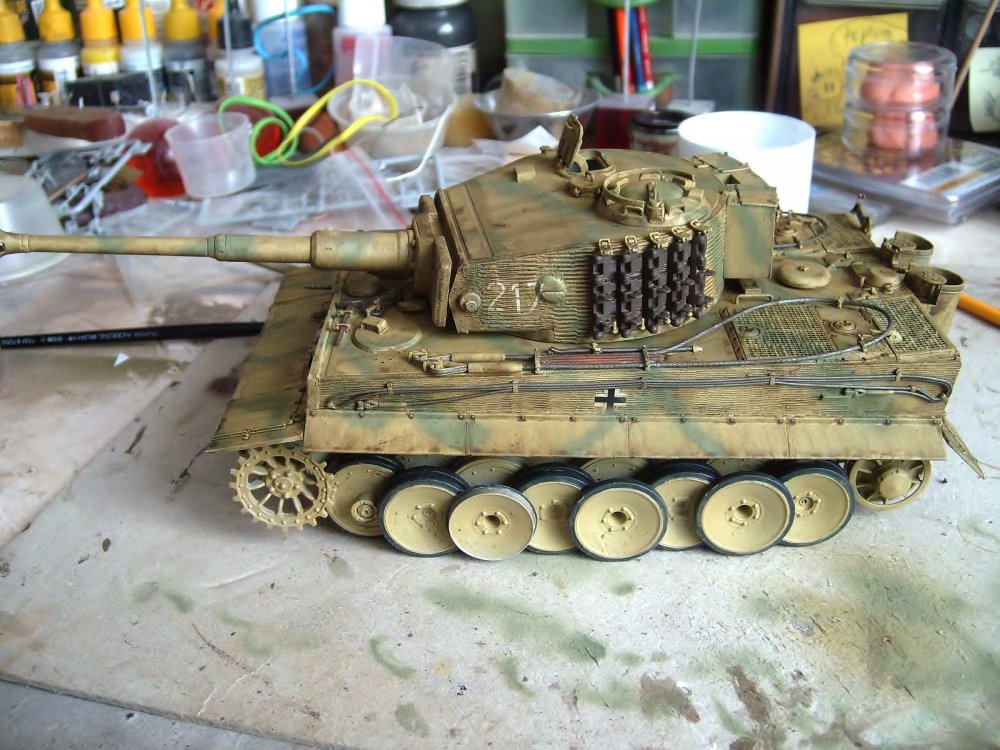
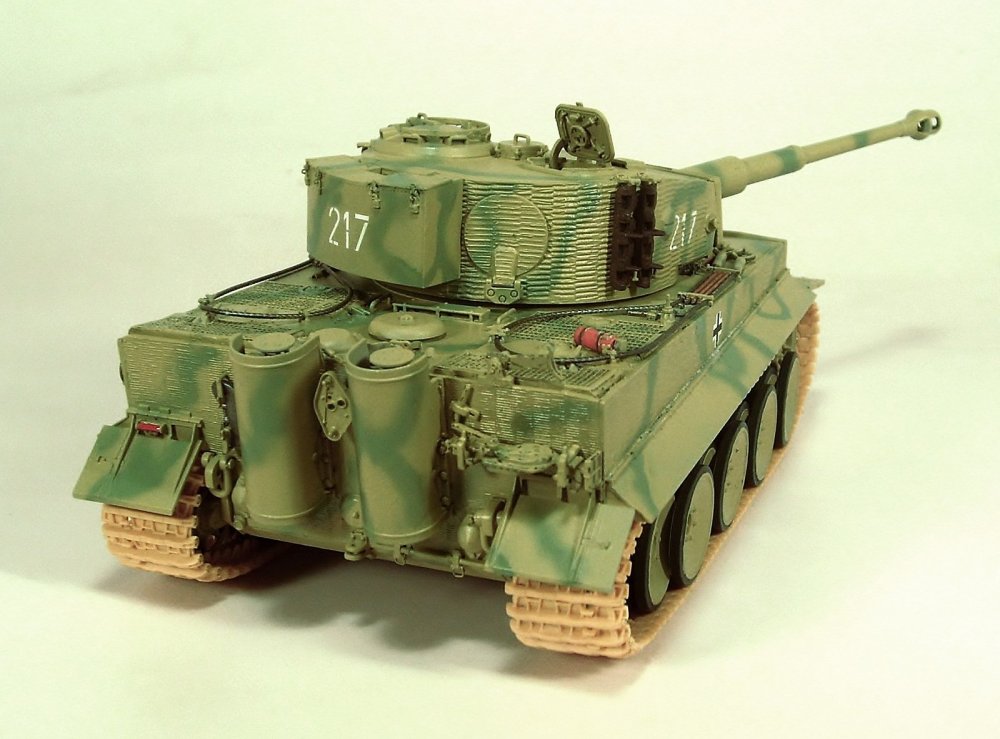
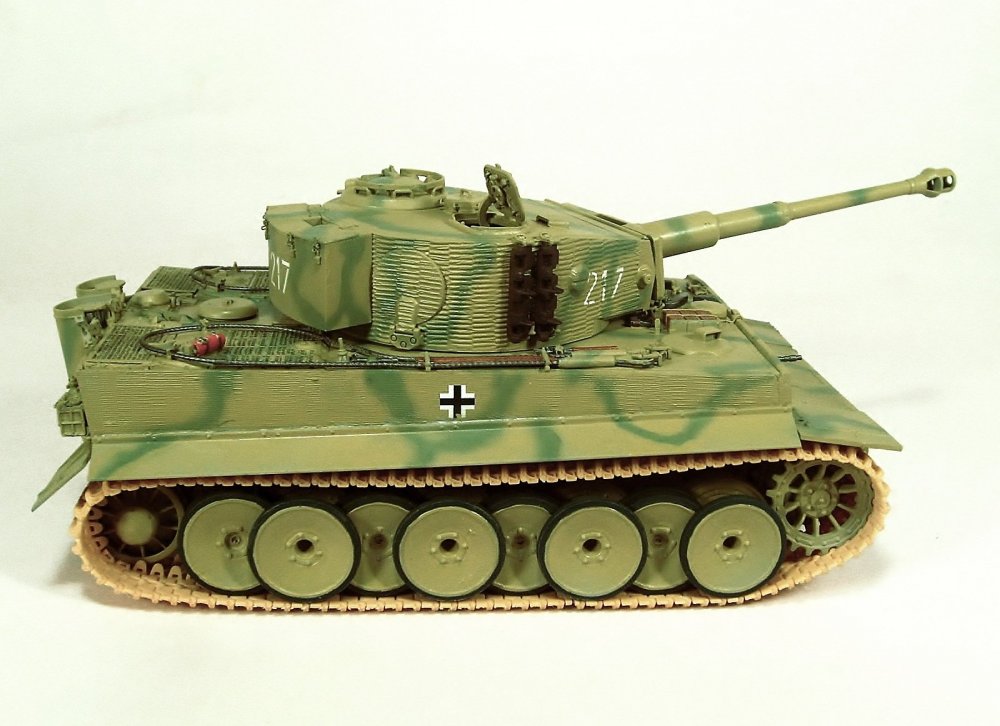
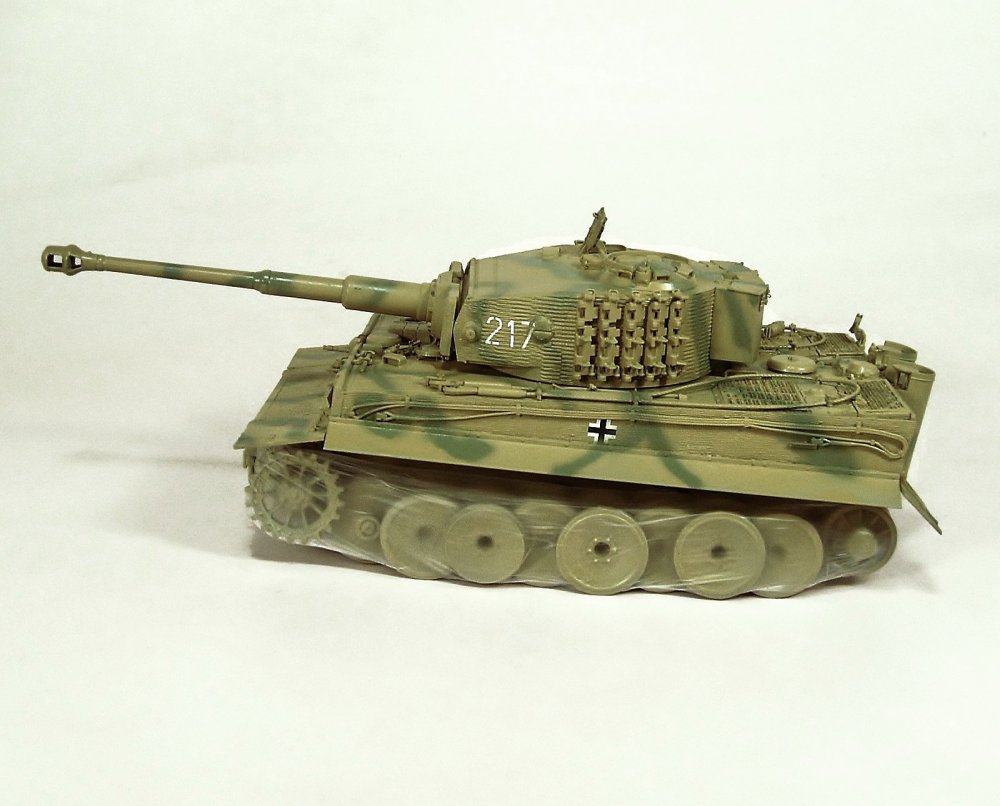
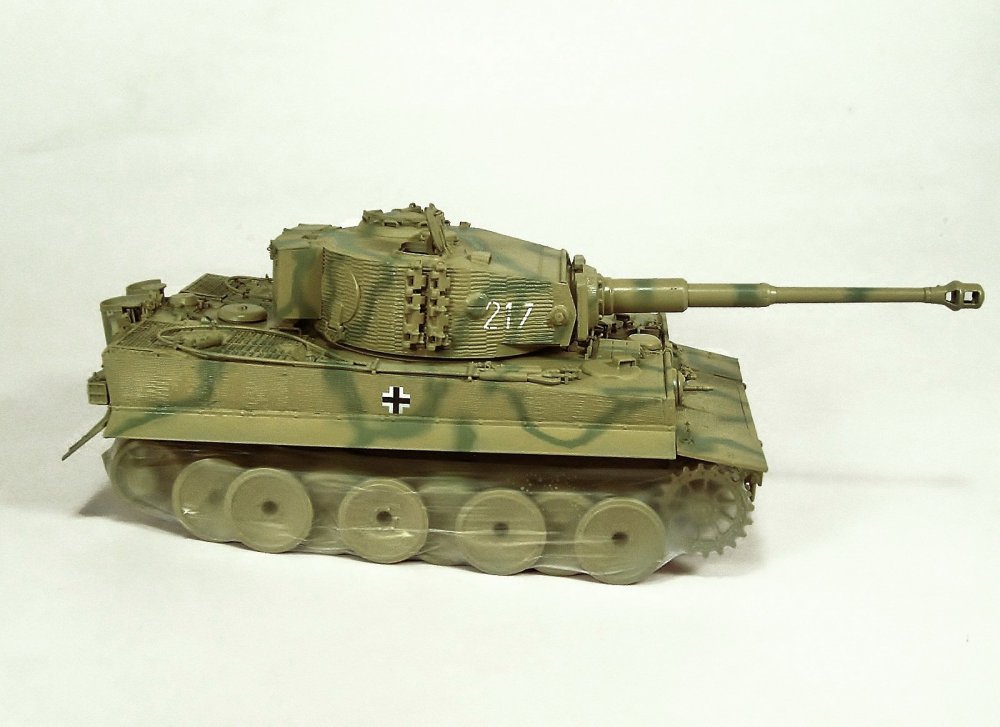
Hello friends! Here is my last work: Tiger I, tank No. 2017 from Otto Carius / Battle of Malinovka (Malinova), 1944 Kit: Otto Carius/, Tiger I Mid Production - Cyberhobby / Dragon Zimmerit number No.74, 1/35 * I used A-MIG paints and pigments + enamel odourless thinner * Tamiya paints with Lacquer thinner * Humbrol paints with Humbrol enamel thinner * Local pigments * A.MIG Lucky Varnish satin and matt I not had any problem with my mixes. Work in progress here: Tiger I - Otto Carius, Malinovka

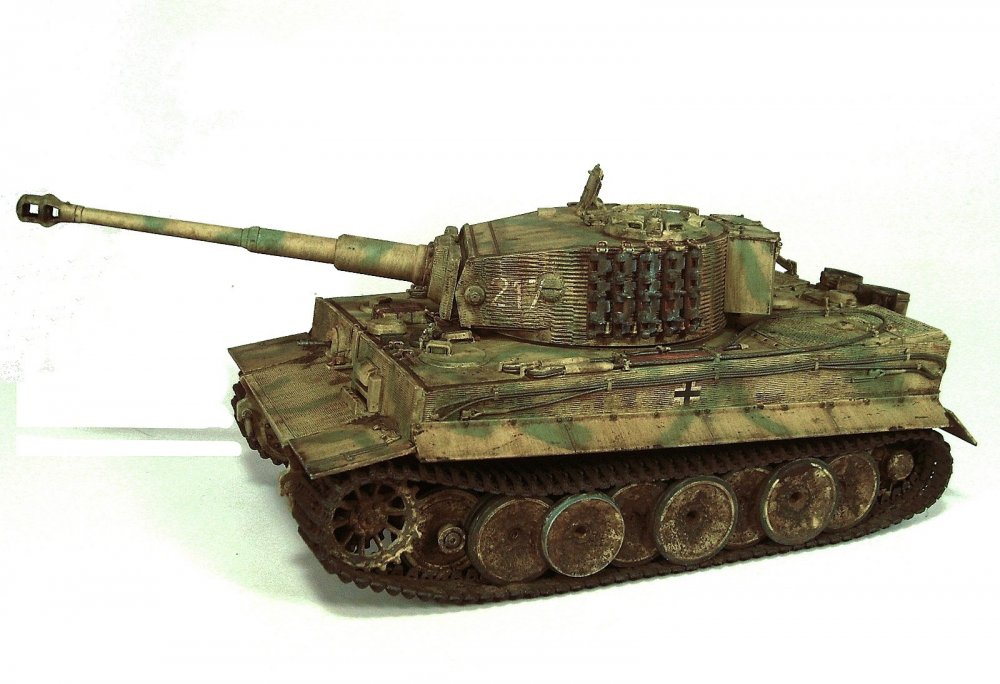


- 7 replies
-
- 10
-
-
Thanks harv! I am finishing some small details, after of this I will apply A.MIG-Lucky Matt Varnish and paint the preriscopes and ready!.

-
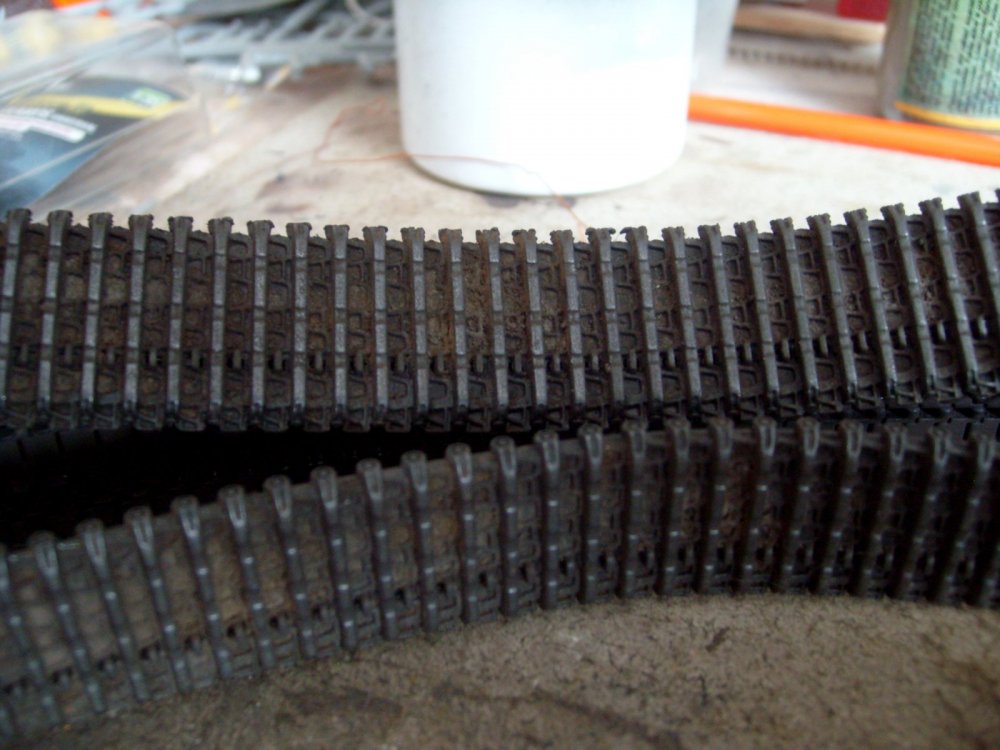
More details: Spare tracks retouched with Oilbrush brown, red tile and white. Tracks with european hearth pigments and sprayed with pigment fix (local product) and retouched with graphite; finally some small scratches, now is ready for mounting and to give final details.


-
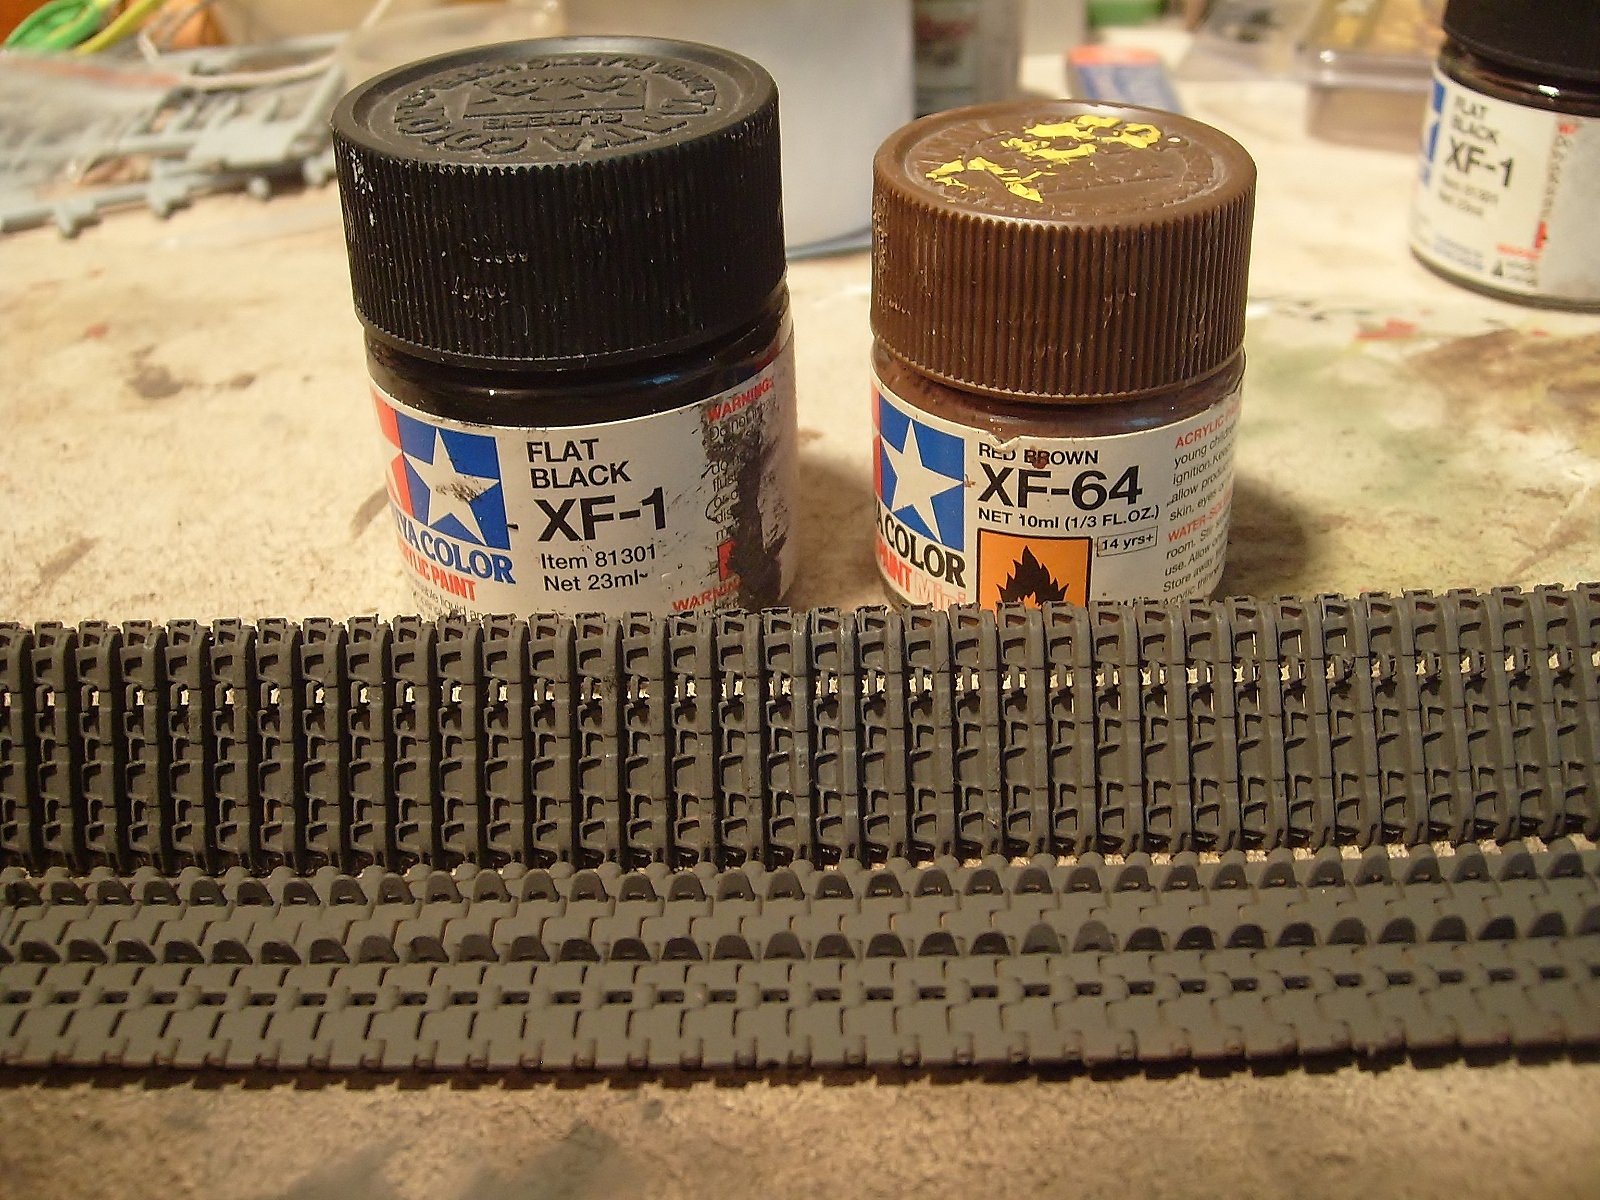
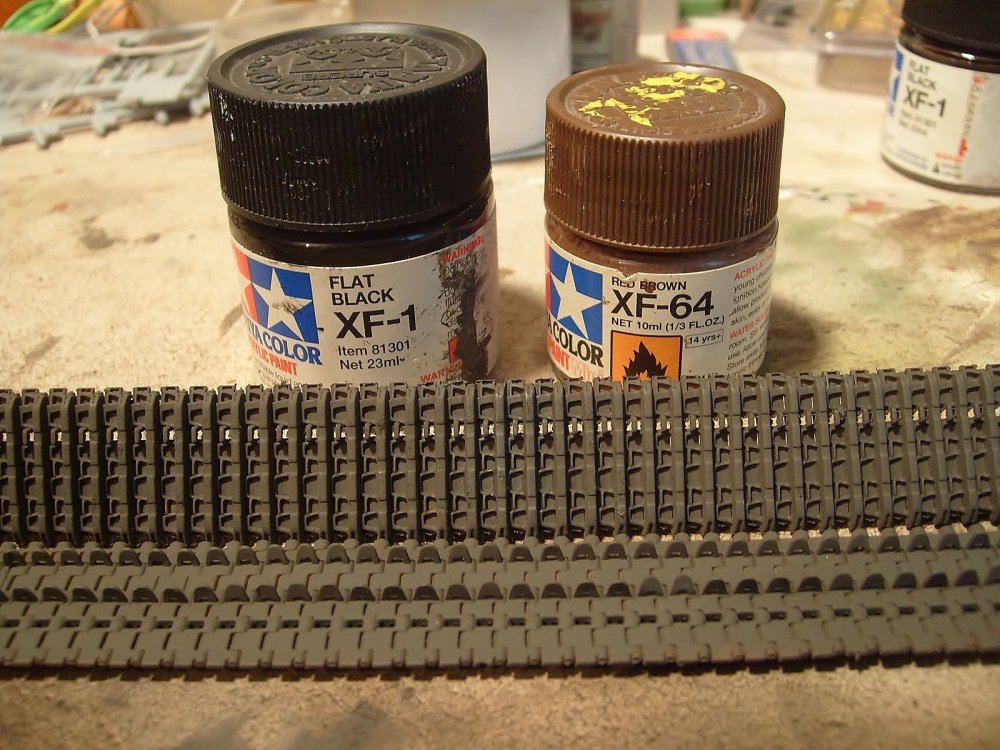
Thanks for your kind comments friends! Working the tracks: with a mixture of Tamiya XF-1 Flat-black 40% and XF-64 Red-brown 60% and adding Lacquer Thinner (yellow cap) to give it greater fluidity, it gave me the grayish black-steel tone I was looking for , the next step is to apply A.MIG Lucky Satin Varnish to protect it from washes.
-
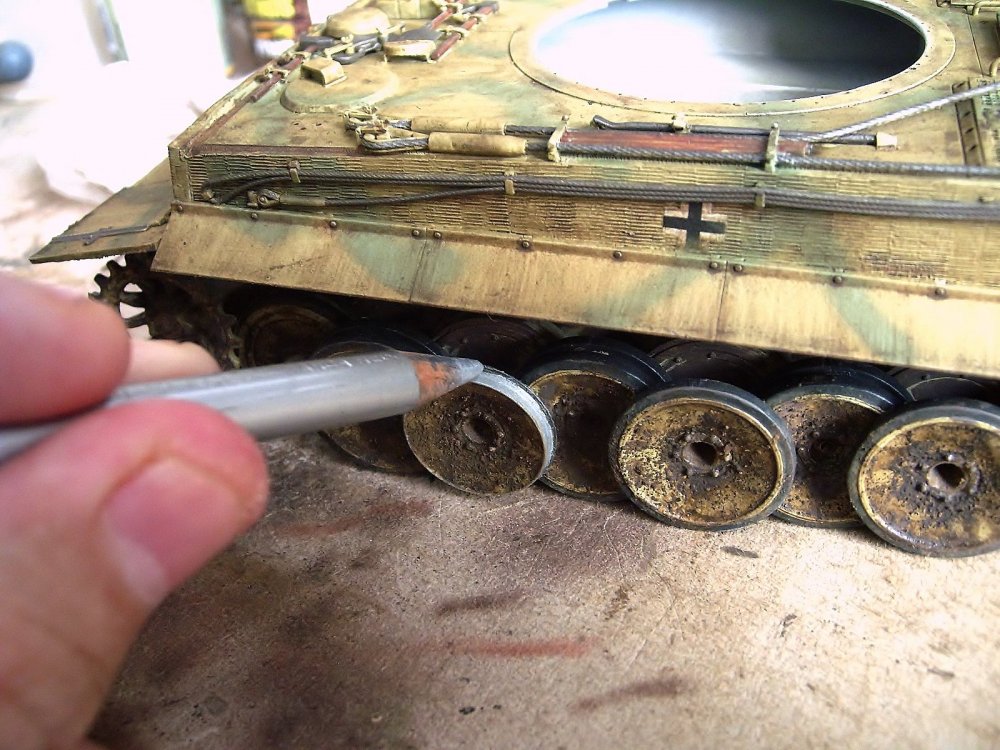
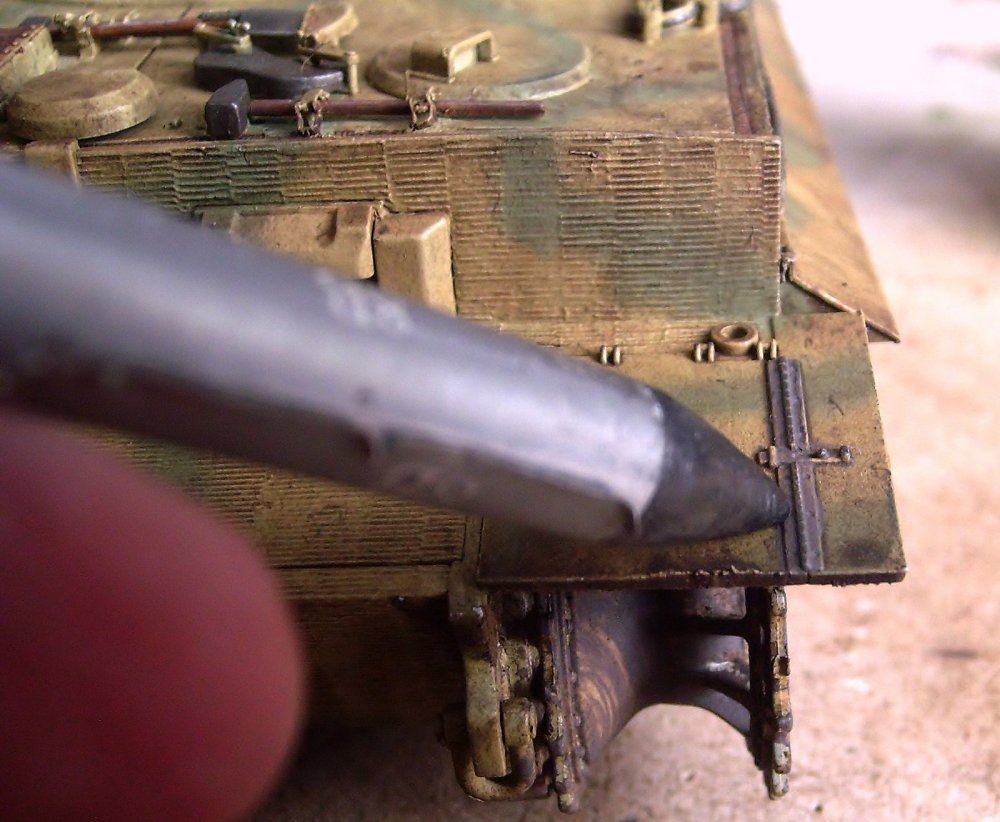
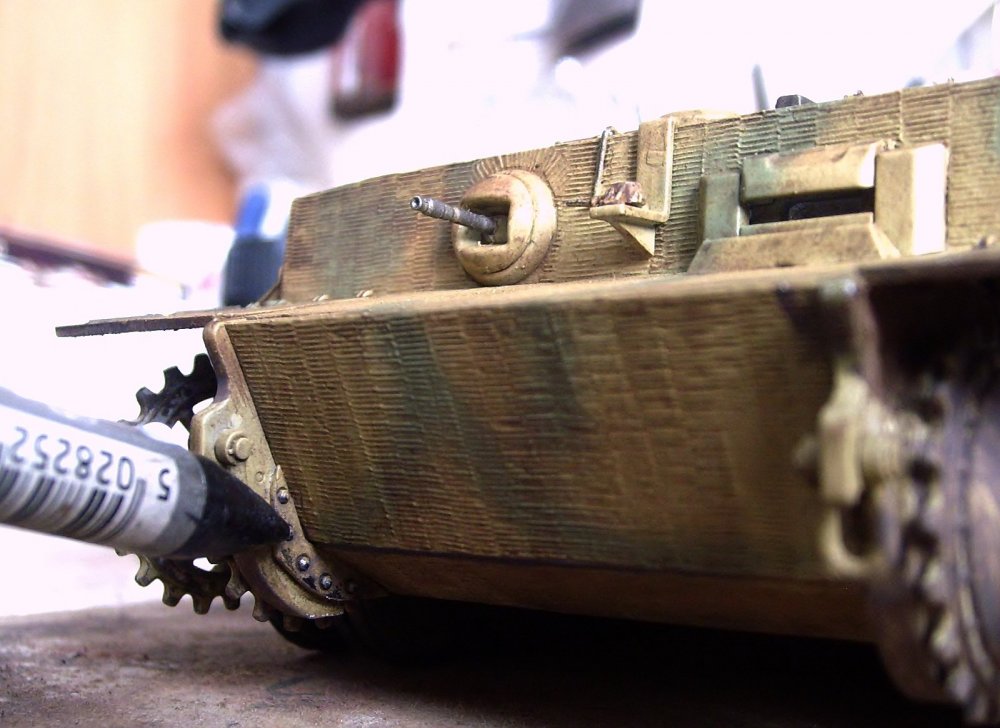
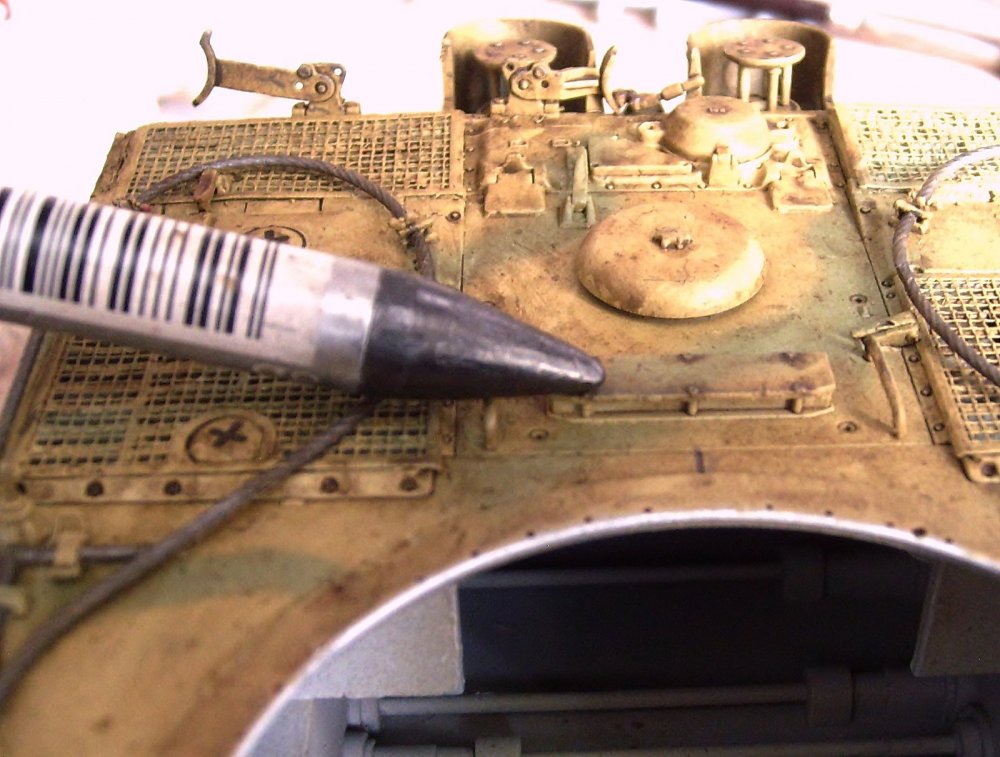
Thanks harv! Detailing using silver and graphite pencil-pigment in several areas, for wheel washing use the A.MIG Earth Europe set adding A.MIG- Dark Earth pigment.
-
Washed with A.MIG-1000 "brown-wash", I need to fine a bit. The wheels will be treated separately like the tracks. The color change is evident.

-
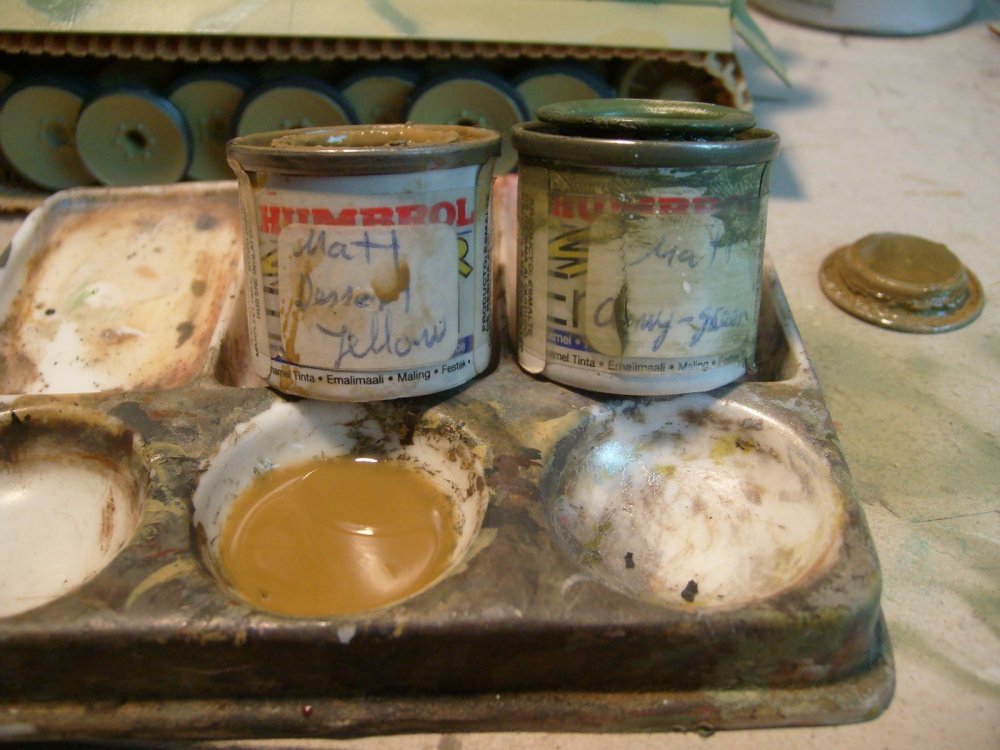
Thanks harv! Applying filters to the Old school using Humbrol # 93 matt dessert yelllow and # 102 matt army green for each color giving more depth.

-
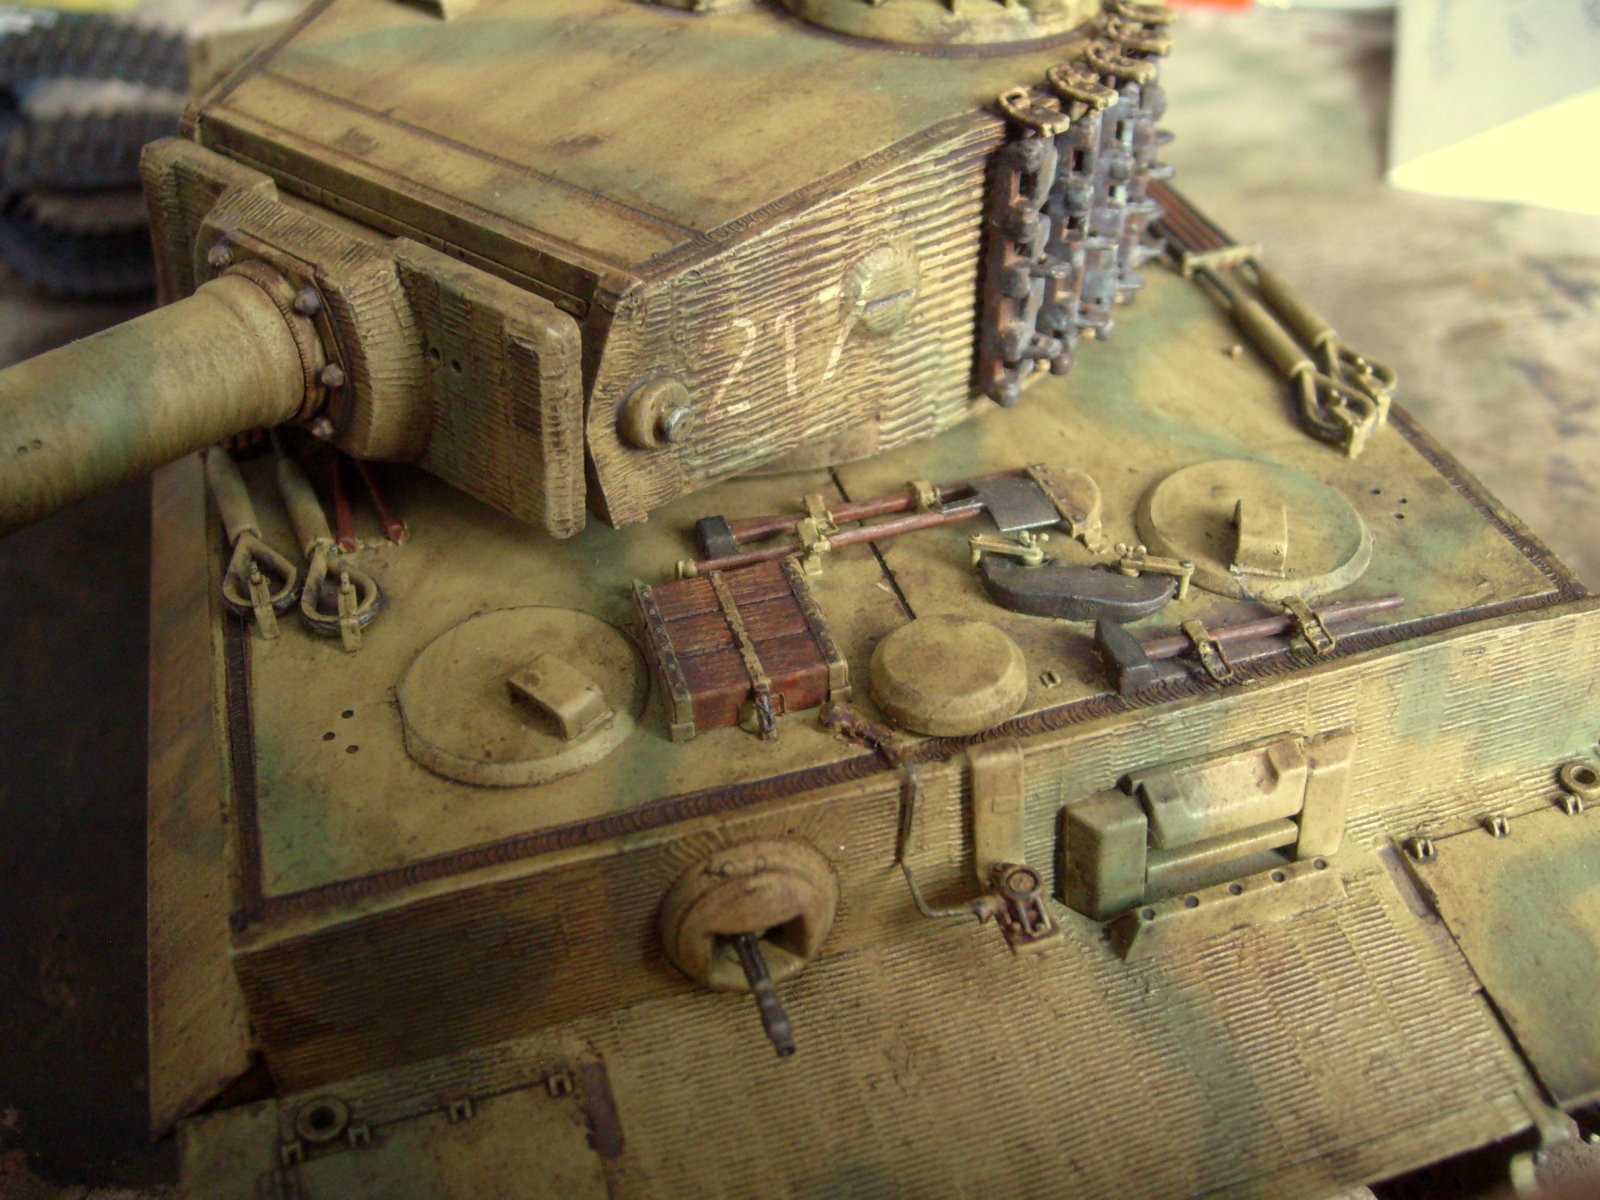
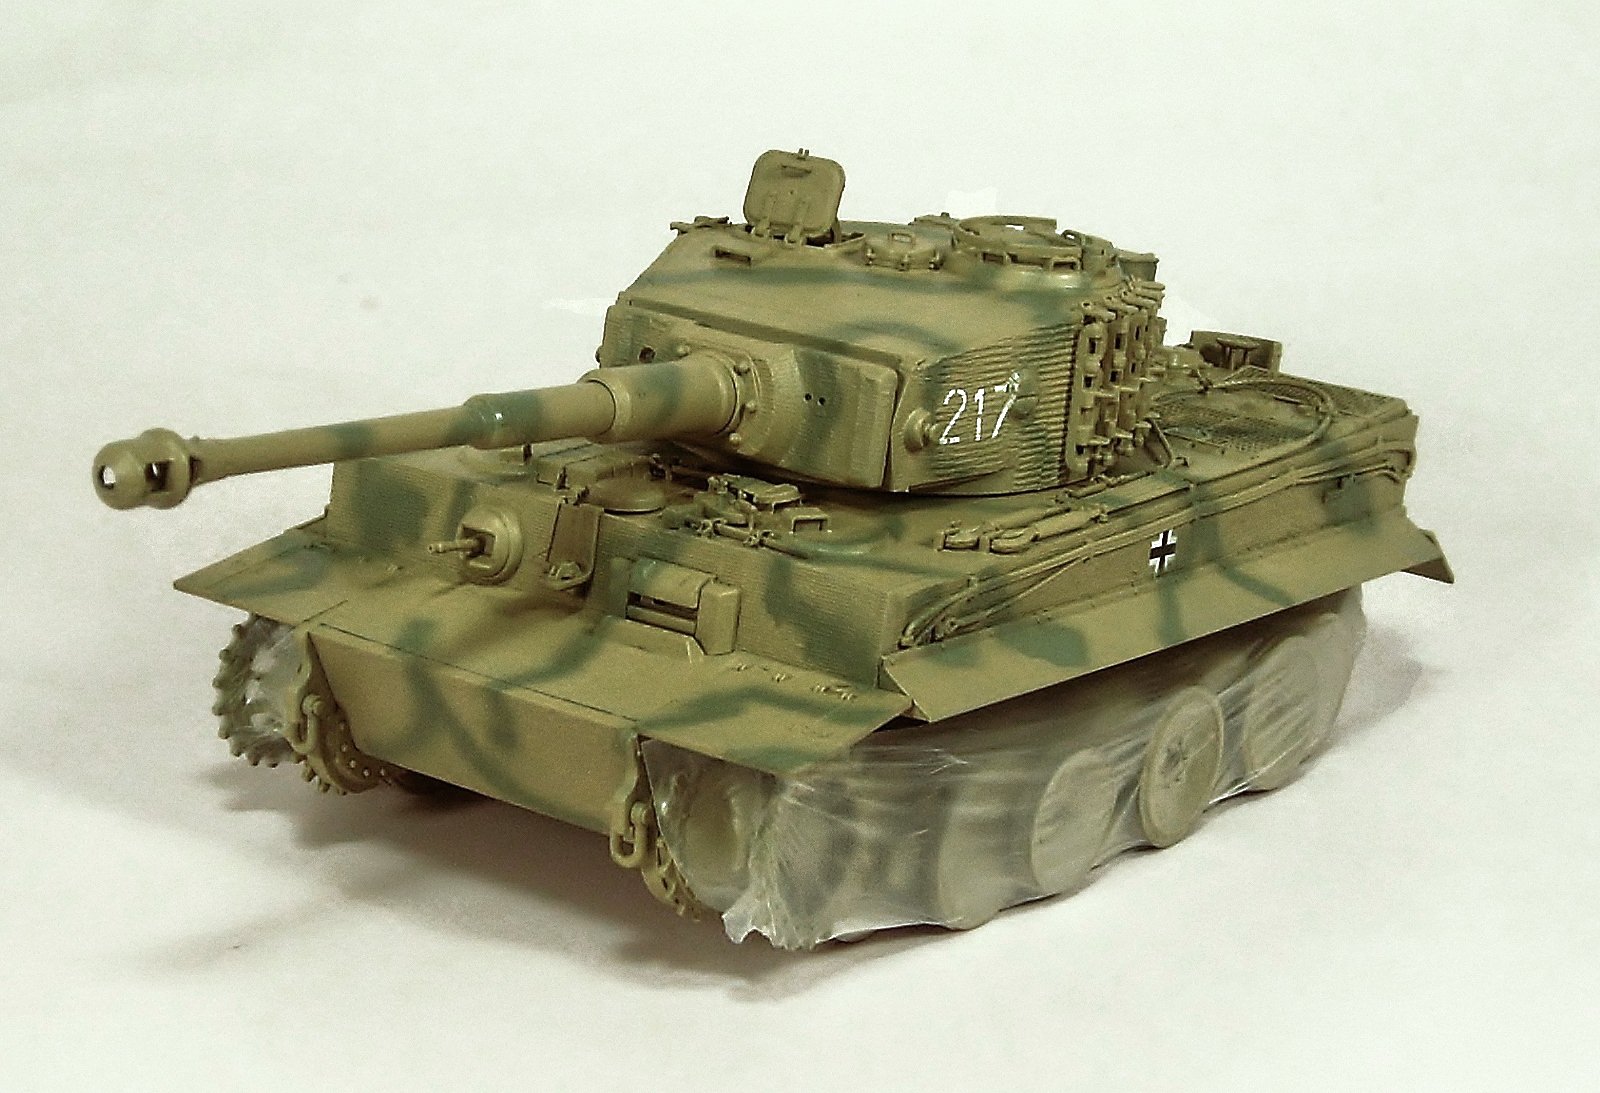
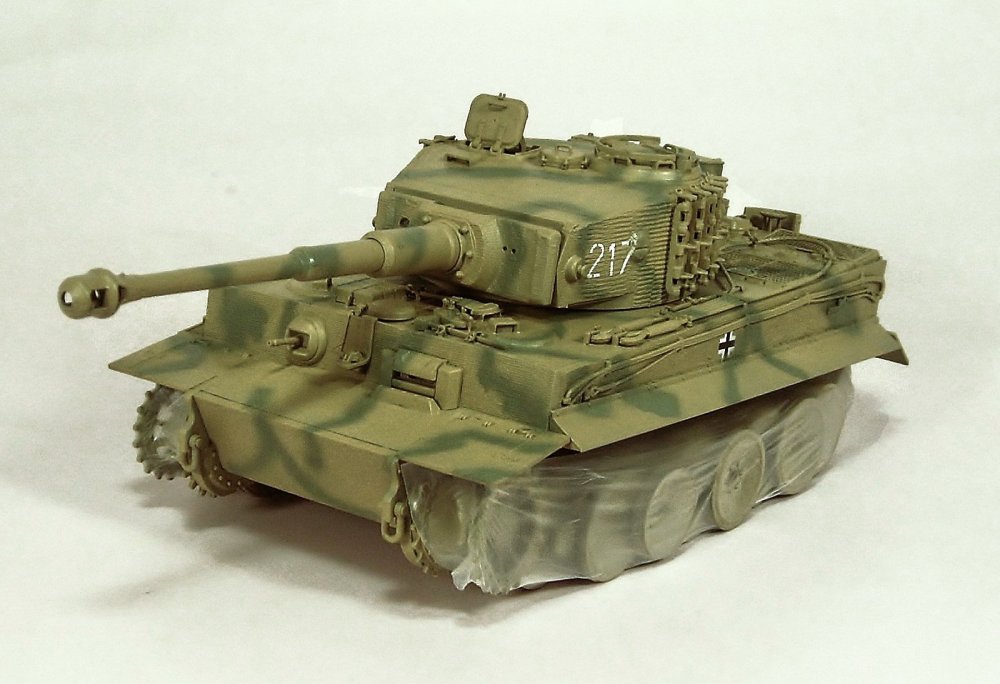
Thanks for your kind comments harv, Invisible camouflage to fool the enemy, hee, hee Ready for the weathering! The tools and tow cables were painted with A.MIG Tool Colors set, extinguisher with Vallejo # 70945 Dark-red and the spare tracks with A.MIG-035 Dark-tracks. The tracks are not glued yet.


-
Thanks for your kind comment friend! Regards! Rodolfo
-
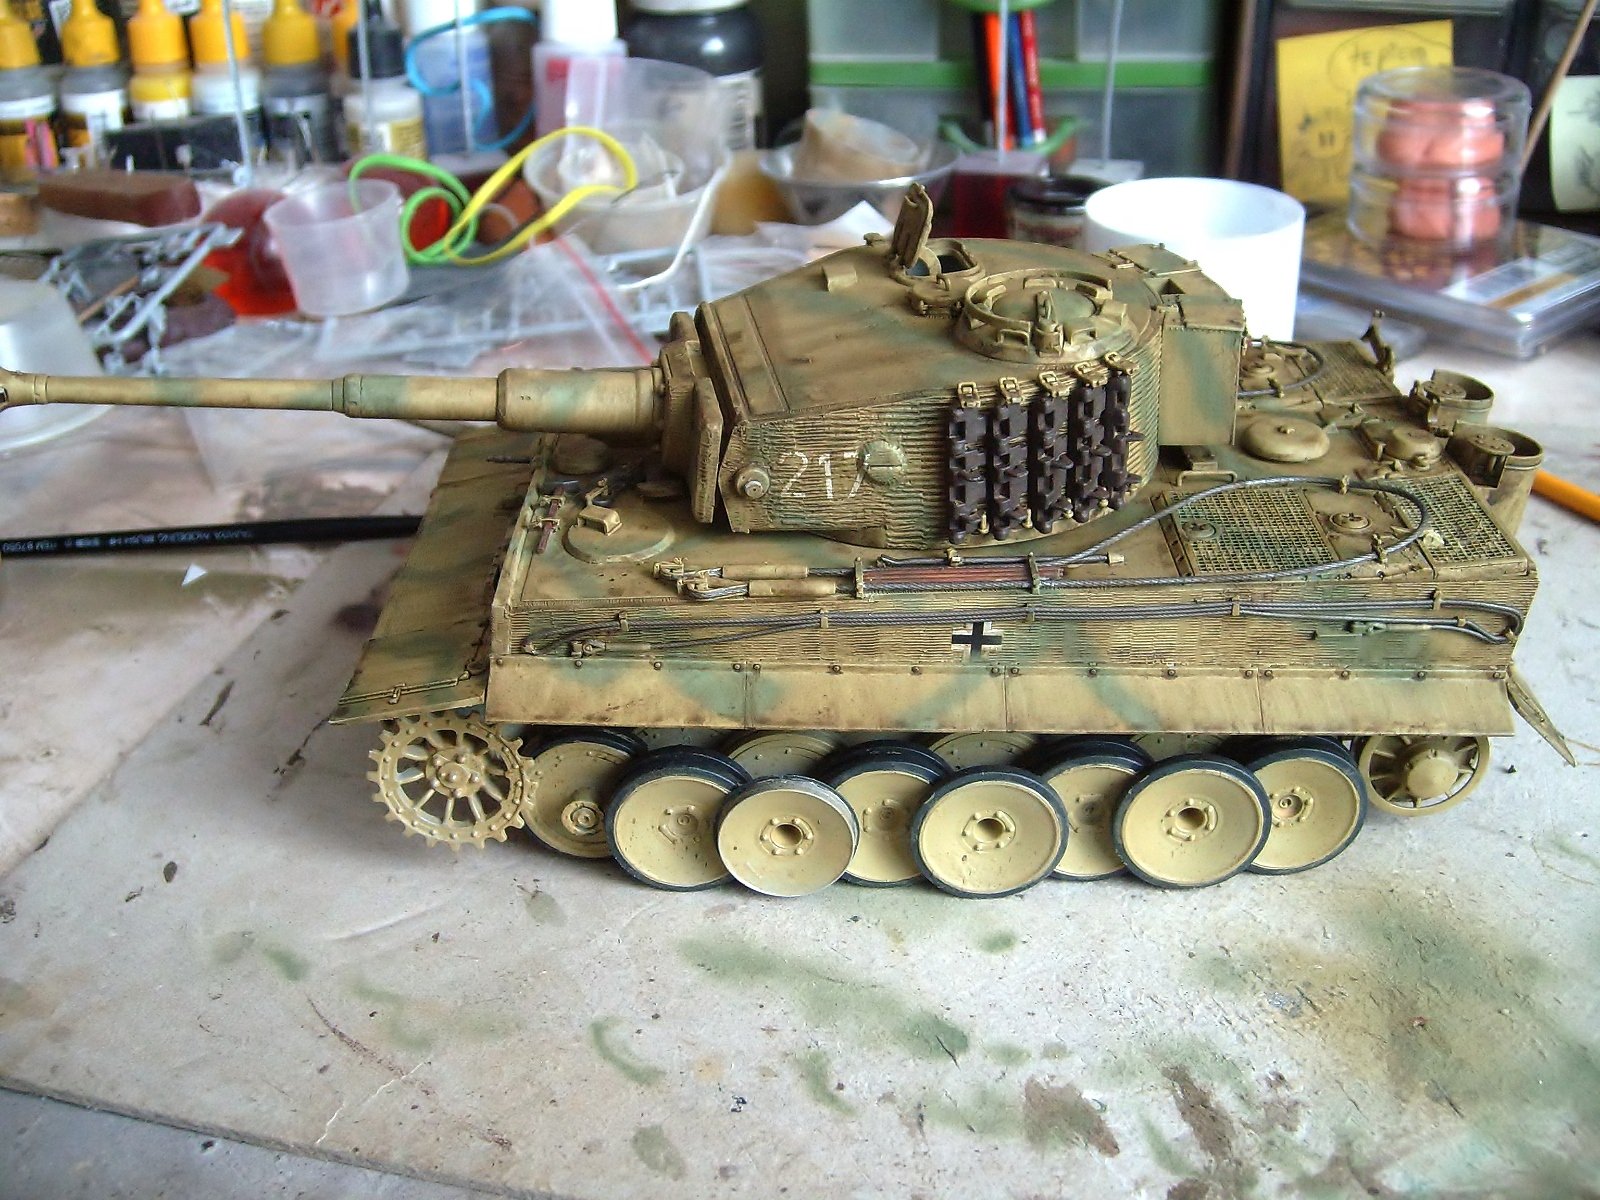
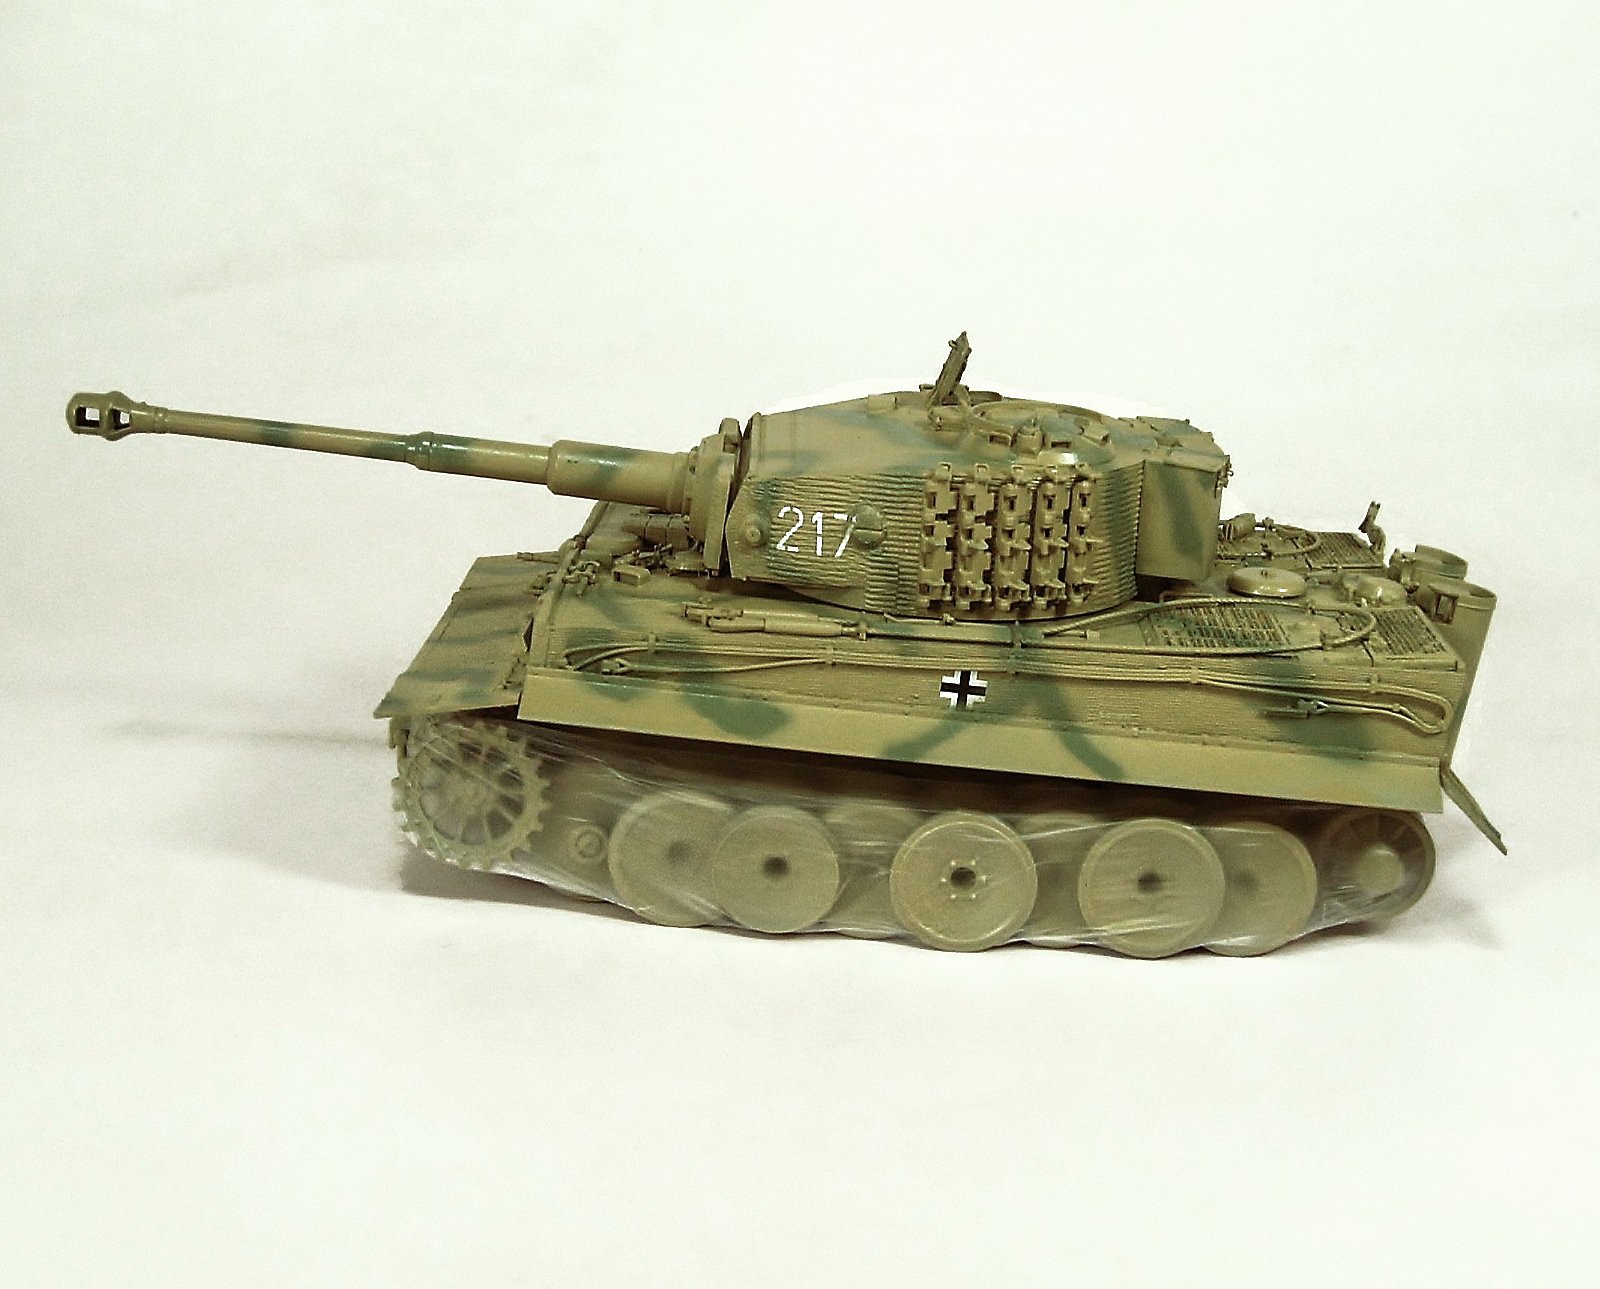
Camouflage applied using A.MIG-009 Reseda-green slightly diluted with A.MIG-2000 Thinner. Next step; detail wheels, tools, etc.

- 47 replies
-
- 10
-