
Rodolfo Torres Vazquez
-
Posts
138 -
Joined
-
Last visited
Content Type
Profiles
Forums
Events
Gallery
Everything posted by Rodolfo Torres Vazquez
-
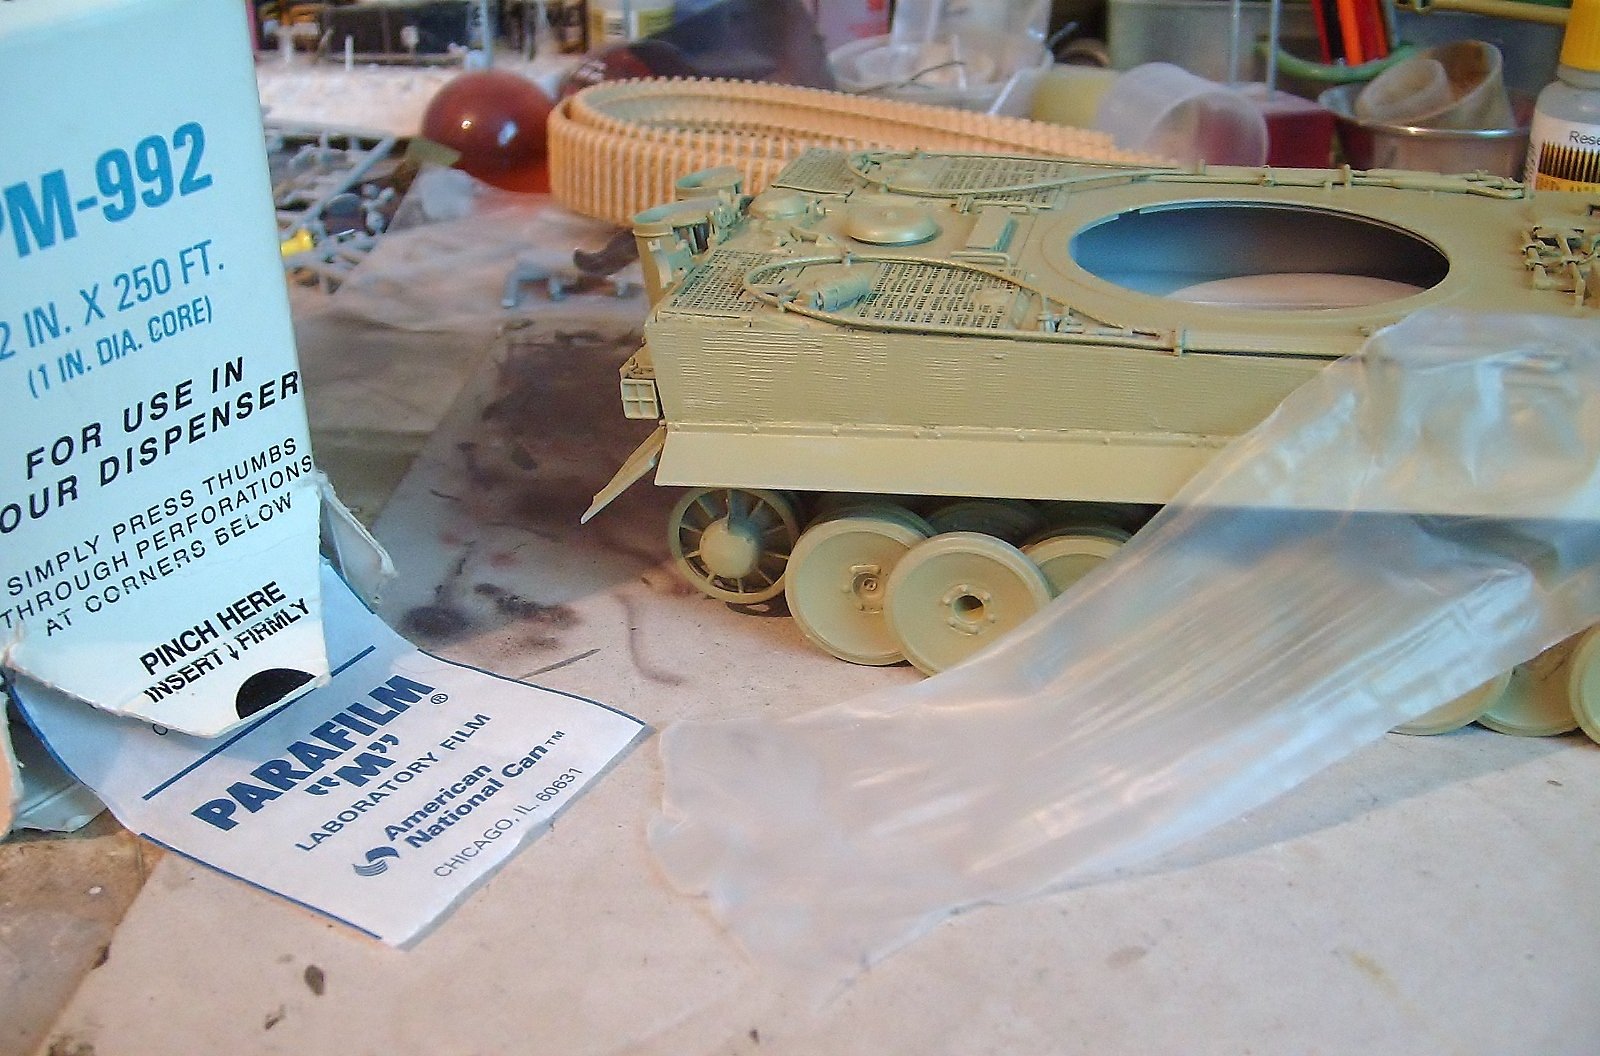
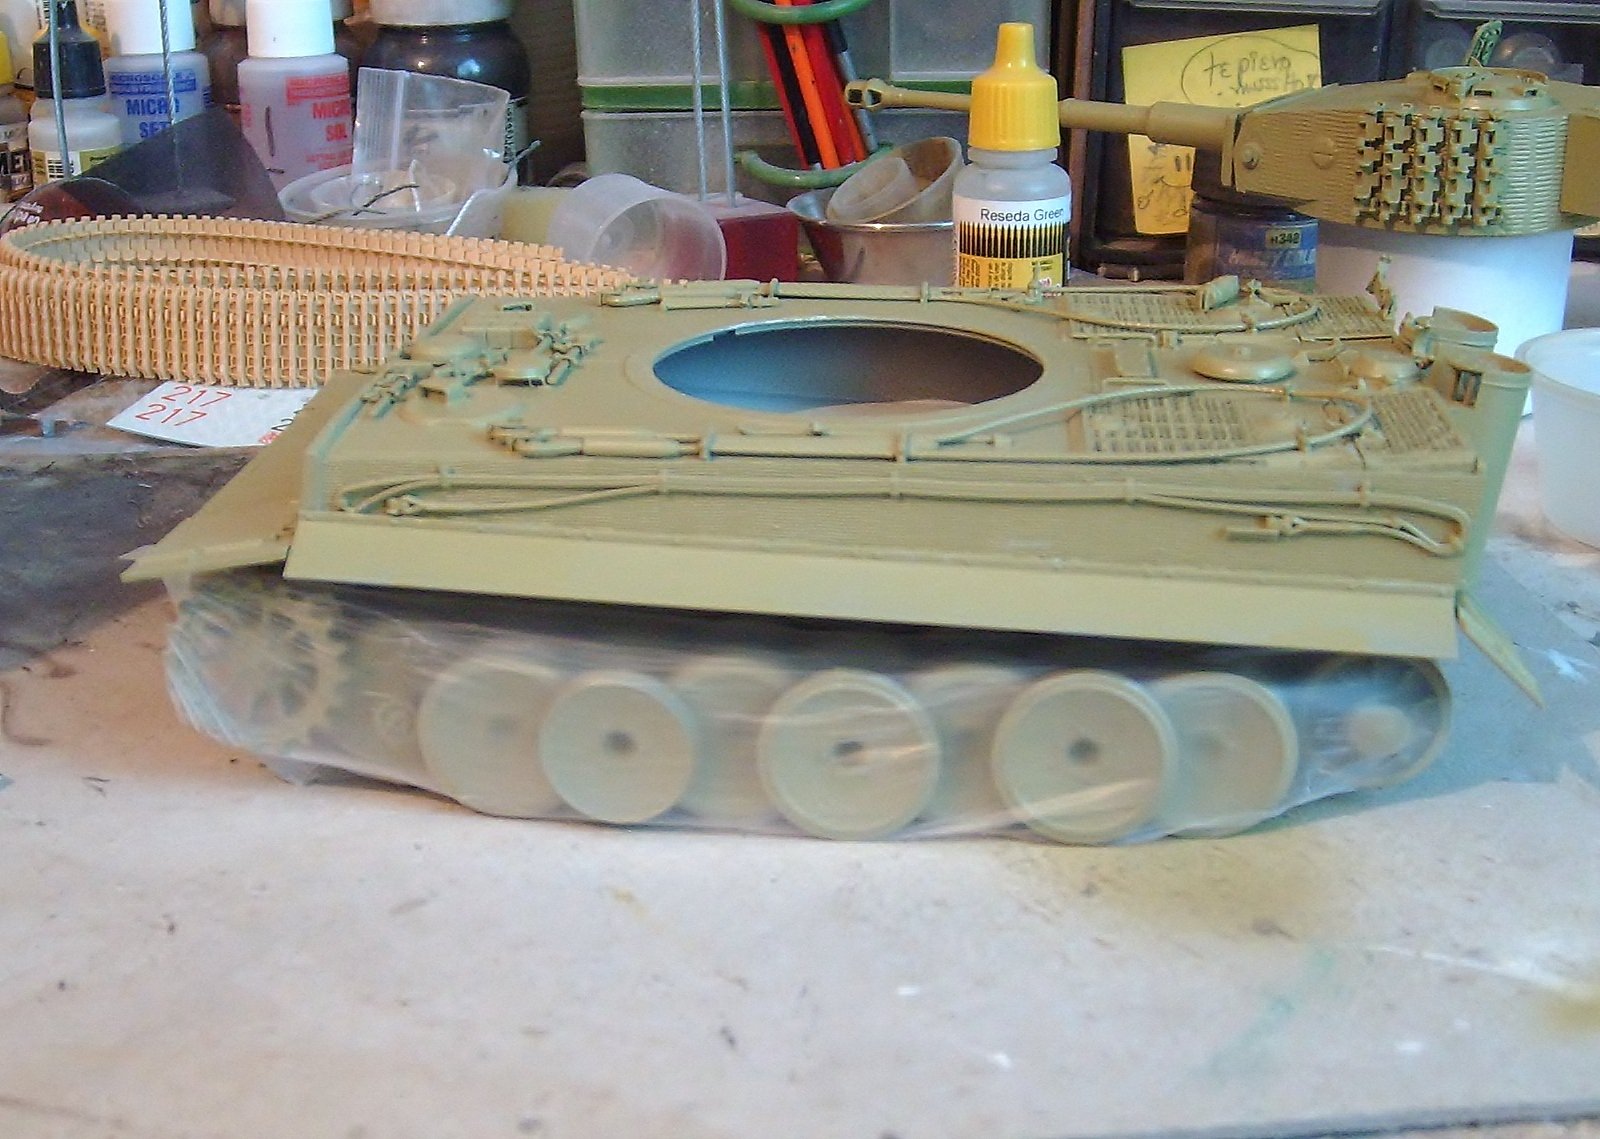
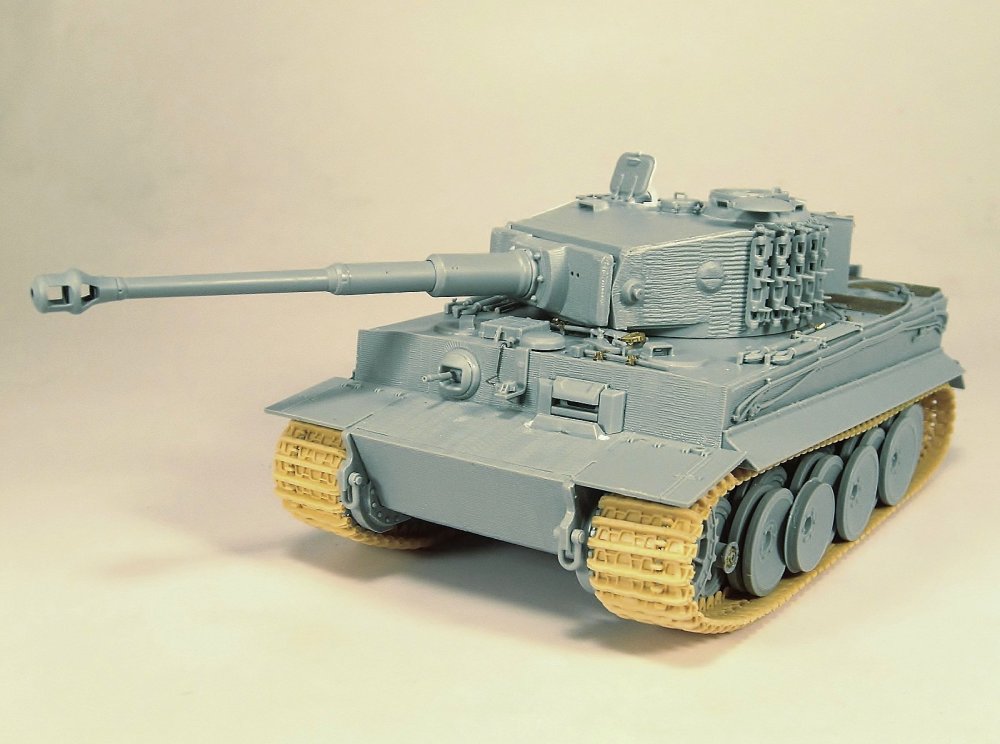
 Thanks harv!!! Masking the wheels with Parafilm to start painting the camouflage. Parafilm can be stretched and molded to any surface without the need for glue.

-
Finished the application of the first color A-MIG-7028 Dunkelgelb thinned with A.MIG-2000 Thinner for better flow. (The skirts were painted apart).


- 47 replies
-
- 10
-

-
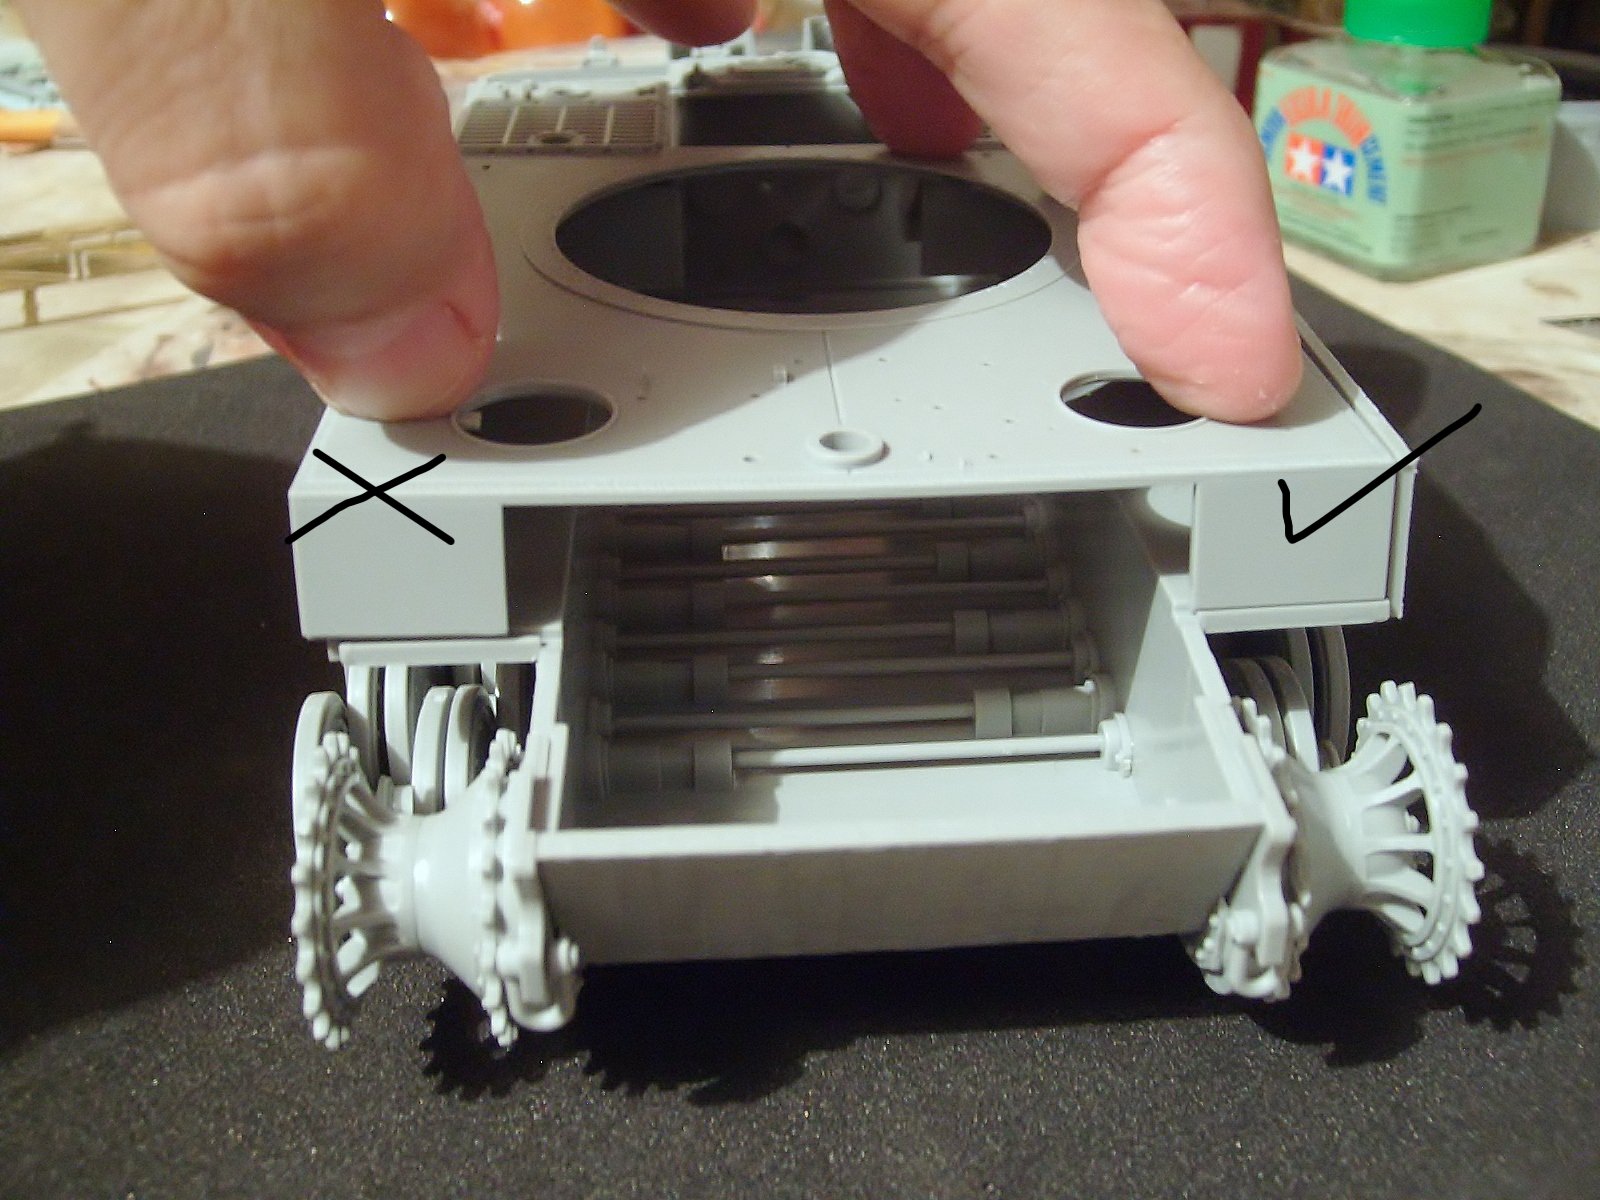
Nothing happens, it happens that the grid is not glued since it can be opened, so it looks irregular.
-
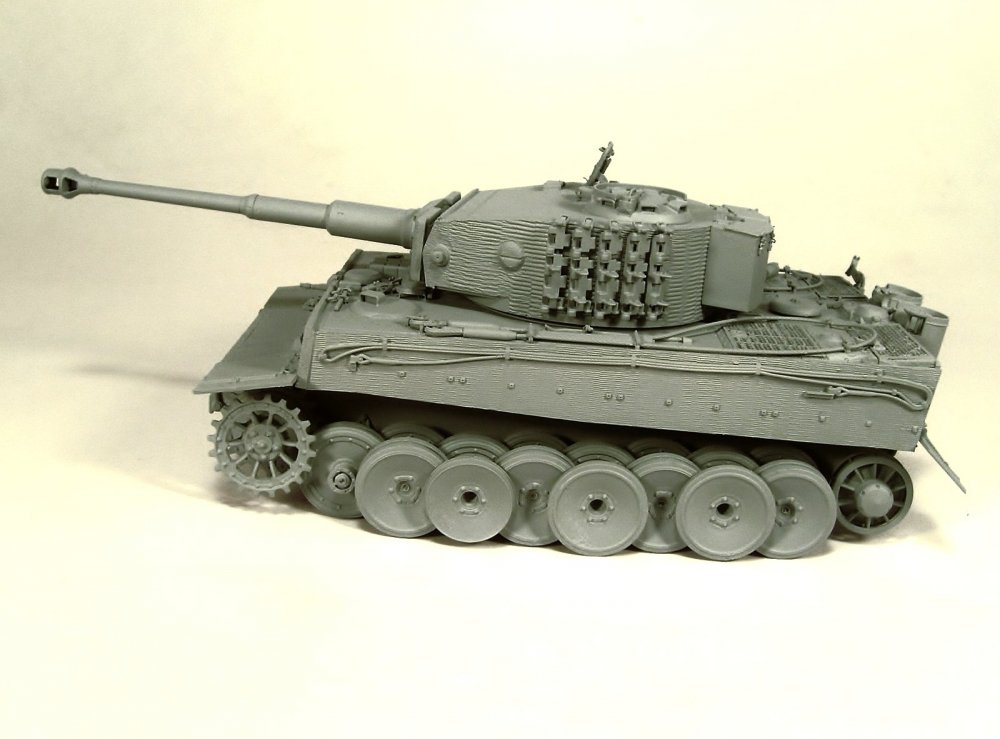
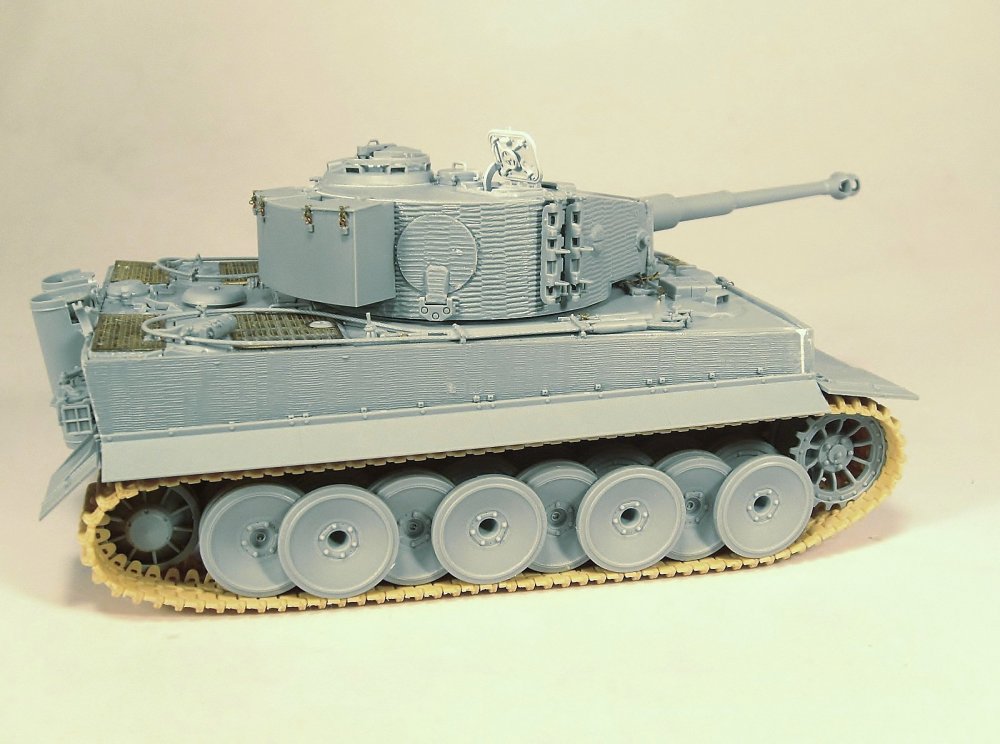
Finished the application Tamiya Gray Primer.


-
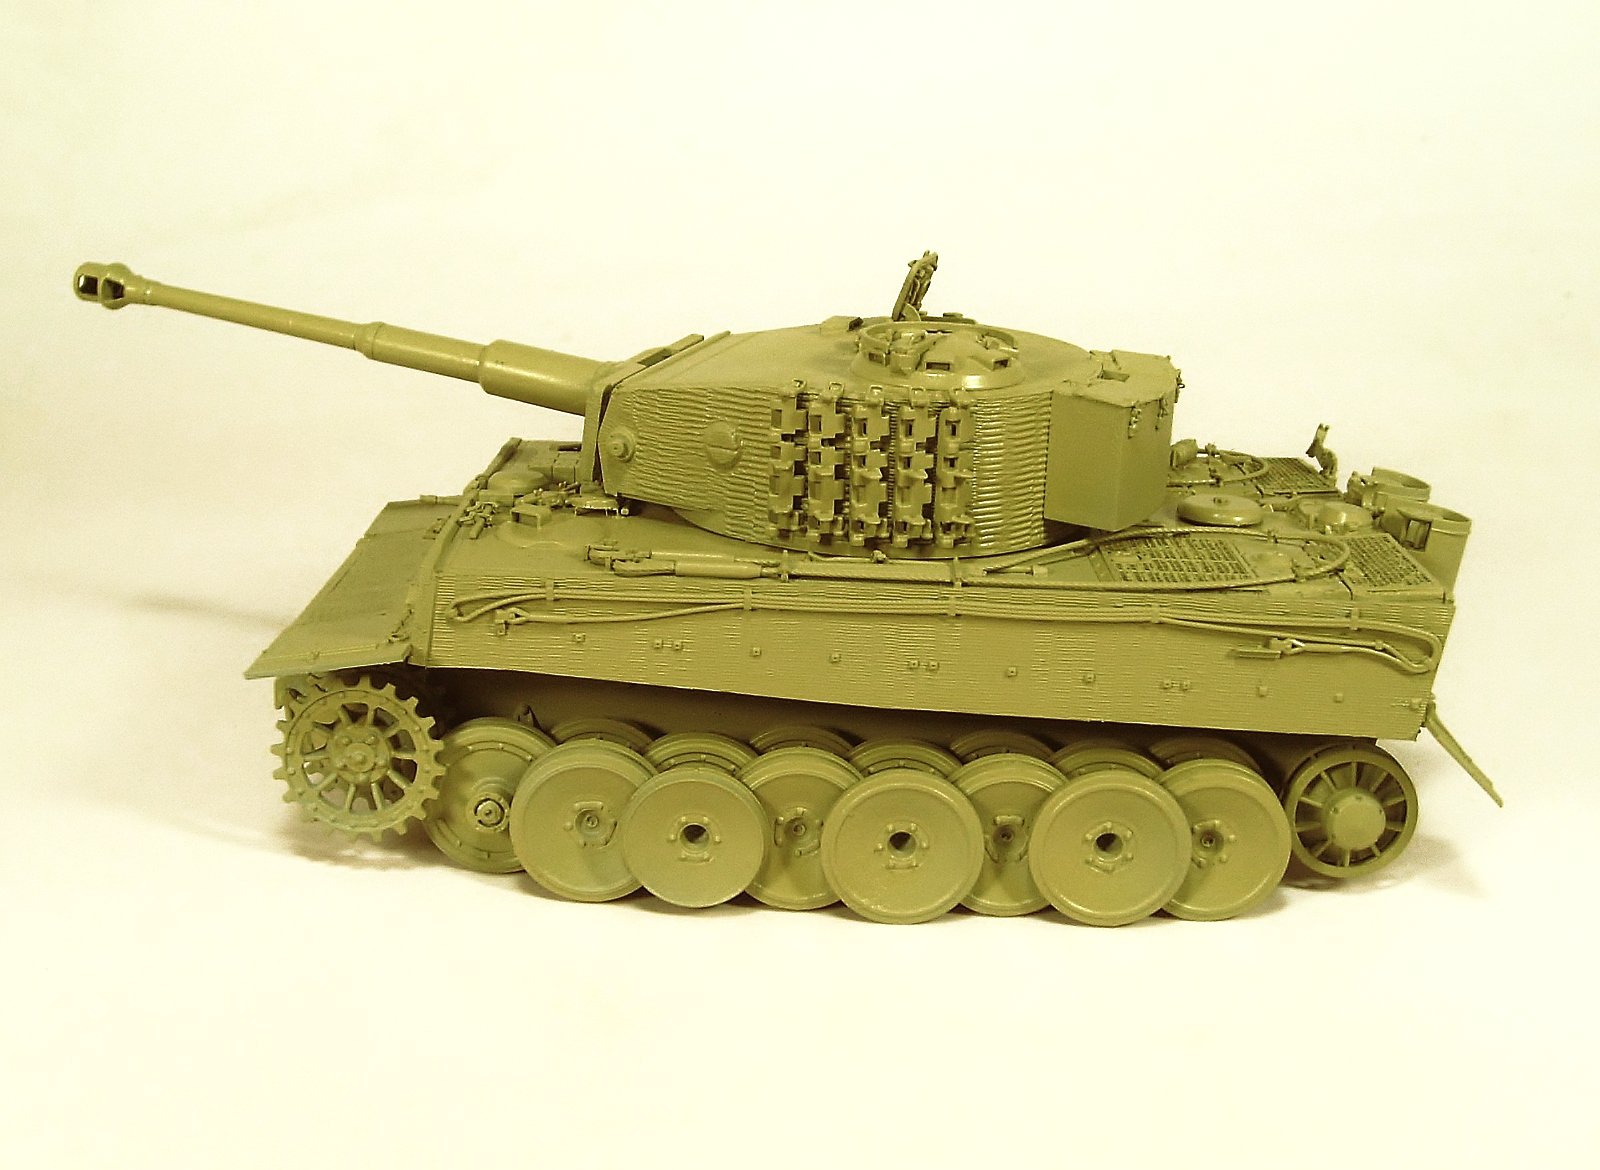
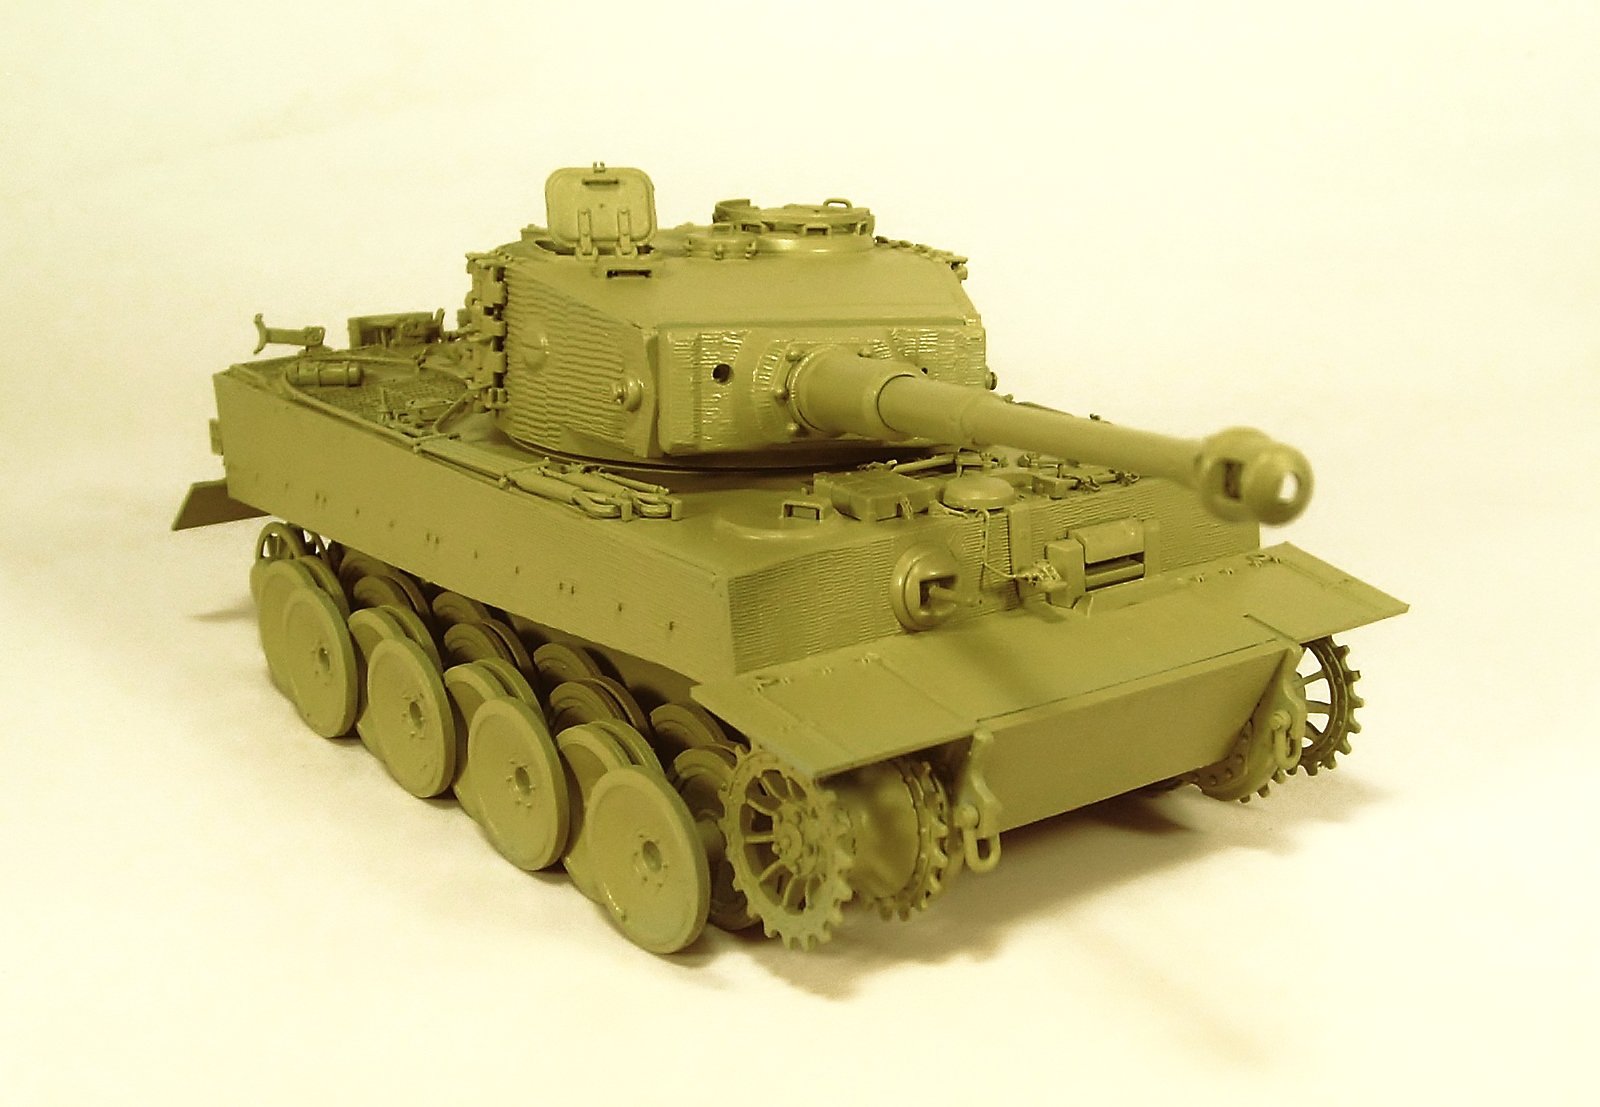
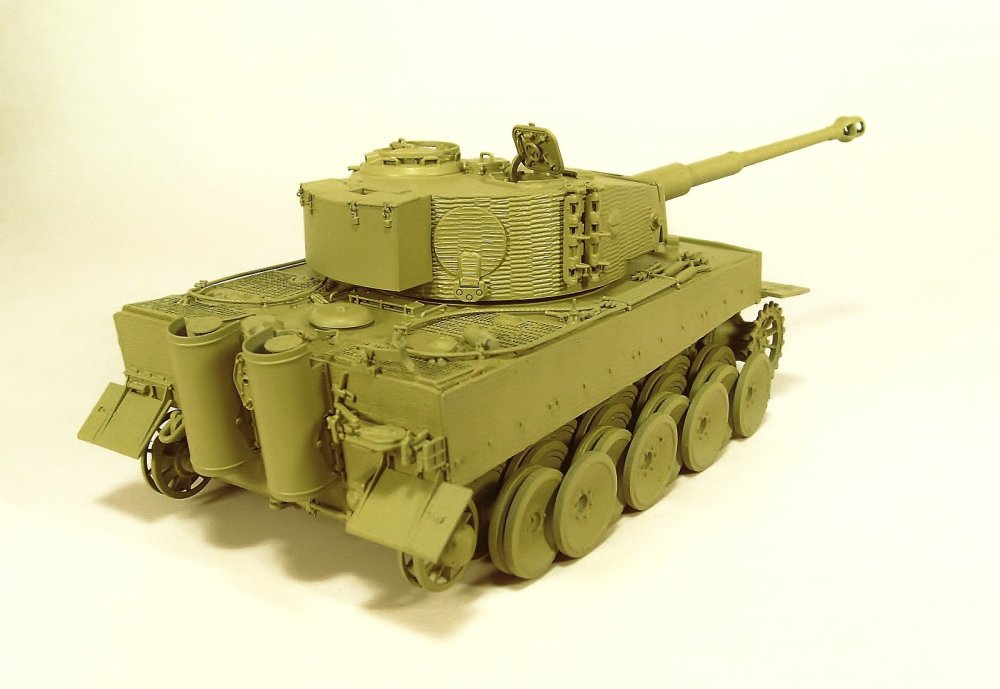
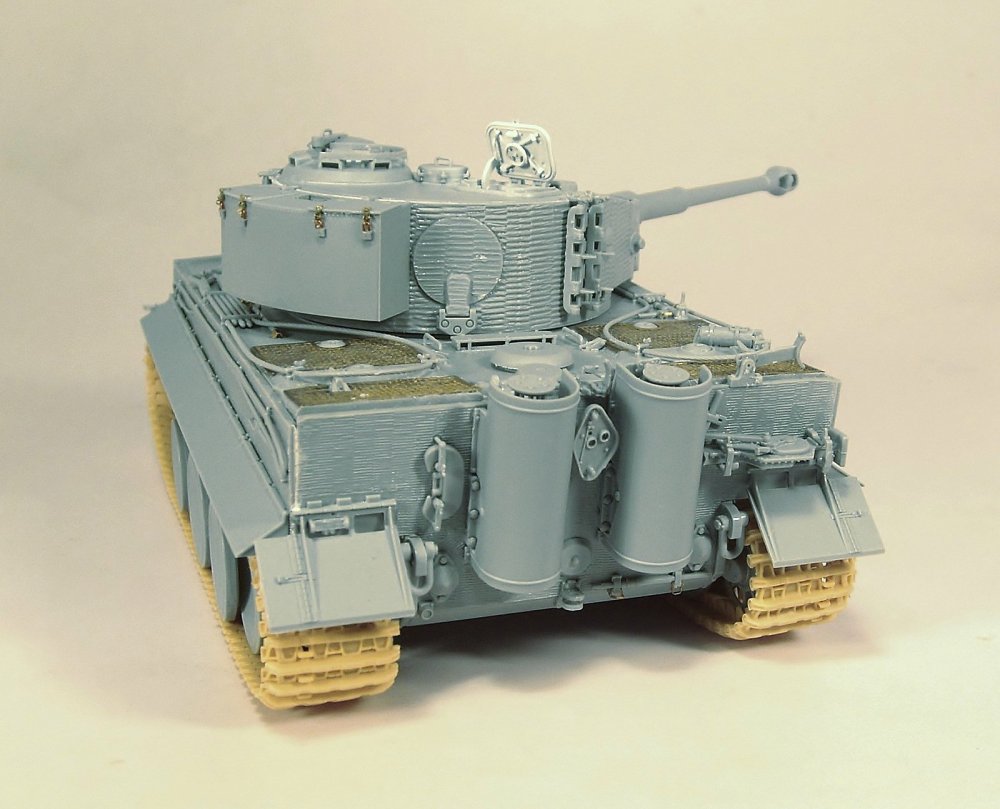
Tiger I, Otto Carius - Finished the assembly !, the skirts and tracks are not glued, they are "over-put" for demonstration, follow the painting !!!.

-
Finished the small interior detail using Vallejo paints except the periscopes that I used MIG paint.
-
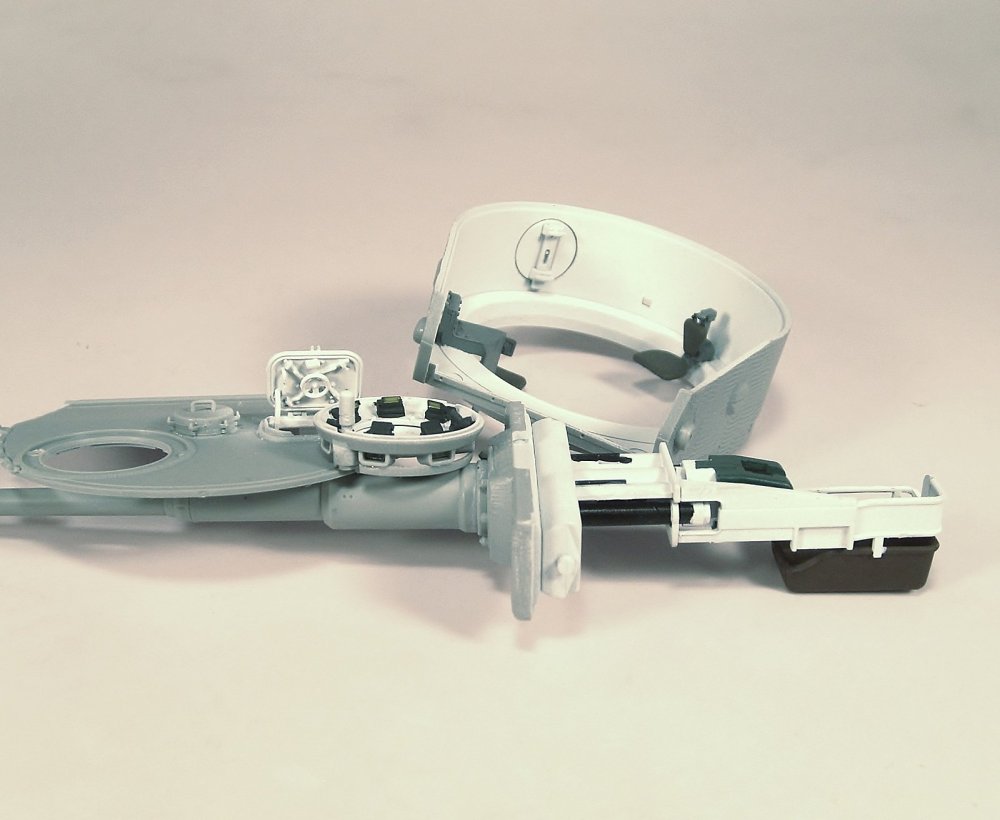
The turret is almost ready inside, I applied MIG Primer White and then a mixture of Tamiya with white and lacquer for fluidity in the airbrush. I just need to detail something about the cannon and periscopes.

-
Thanks for your kind comments friends!. The tiger is practically finished, first I have to airbrush the inside of the turret as well as the barrel and seats.

-
Thanks GazzaS!. Photo-etched in tools work has finished, a bit tedious, I think I'll start buying the latest "new generation" ready-made ones, hee, hee.

-
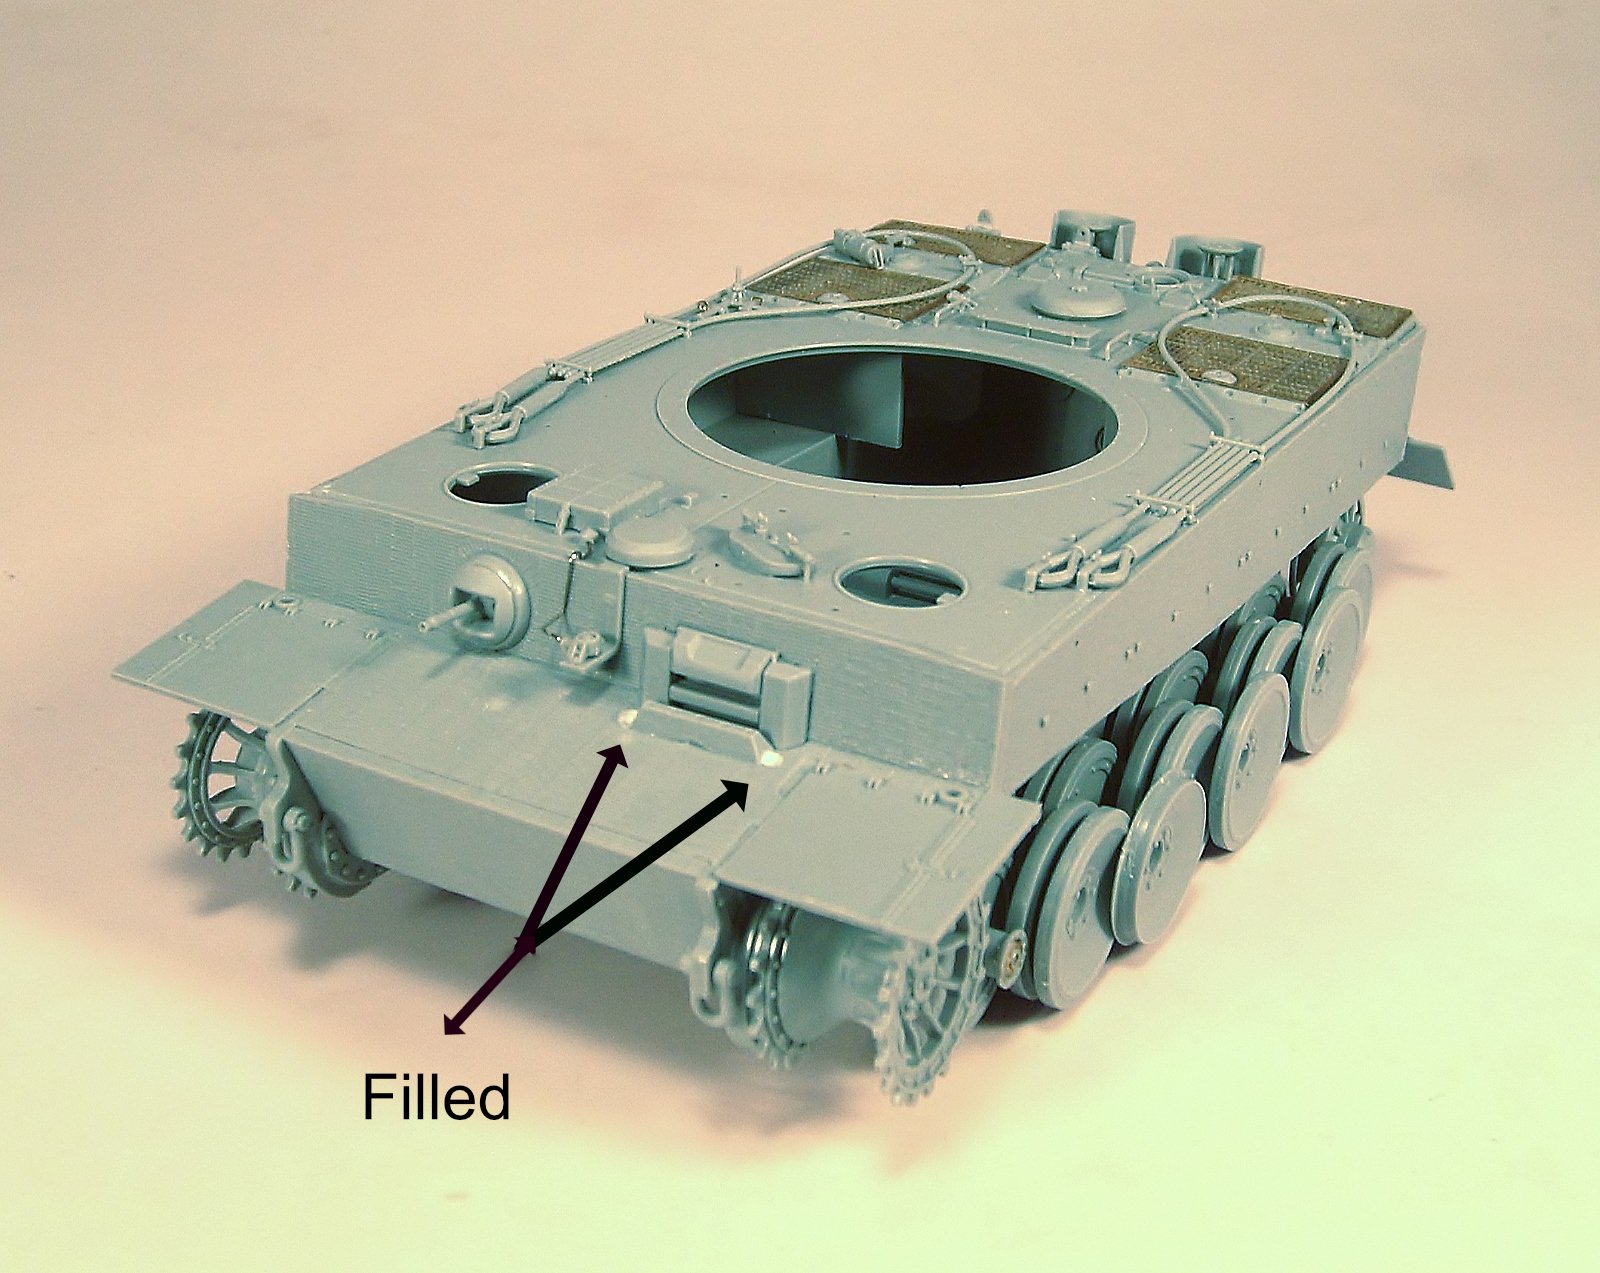
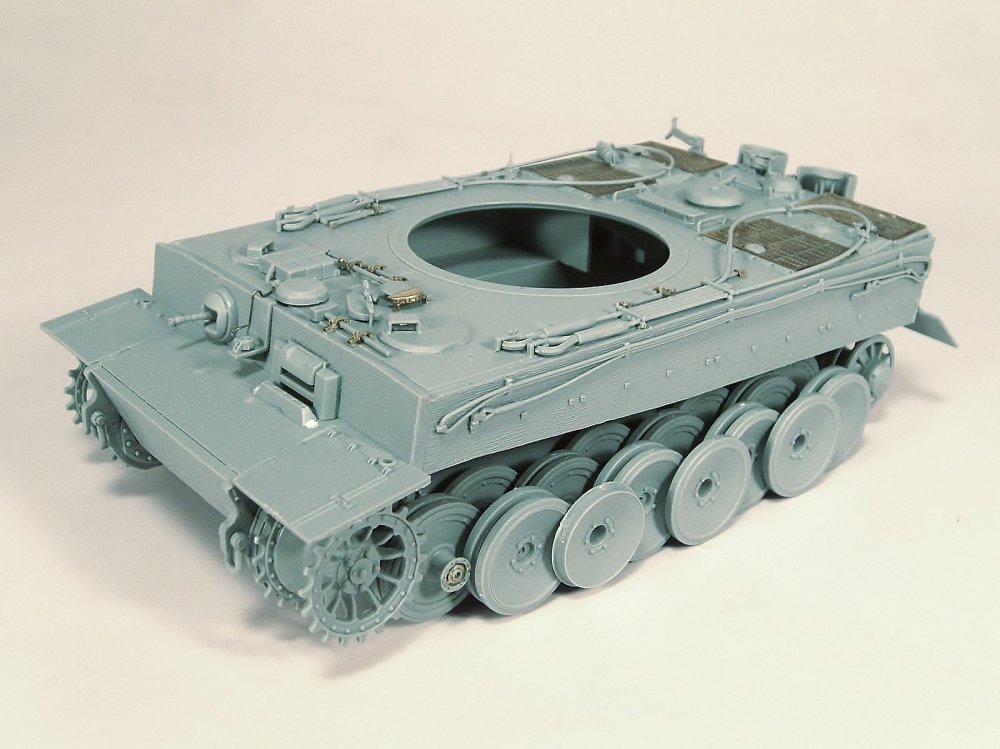
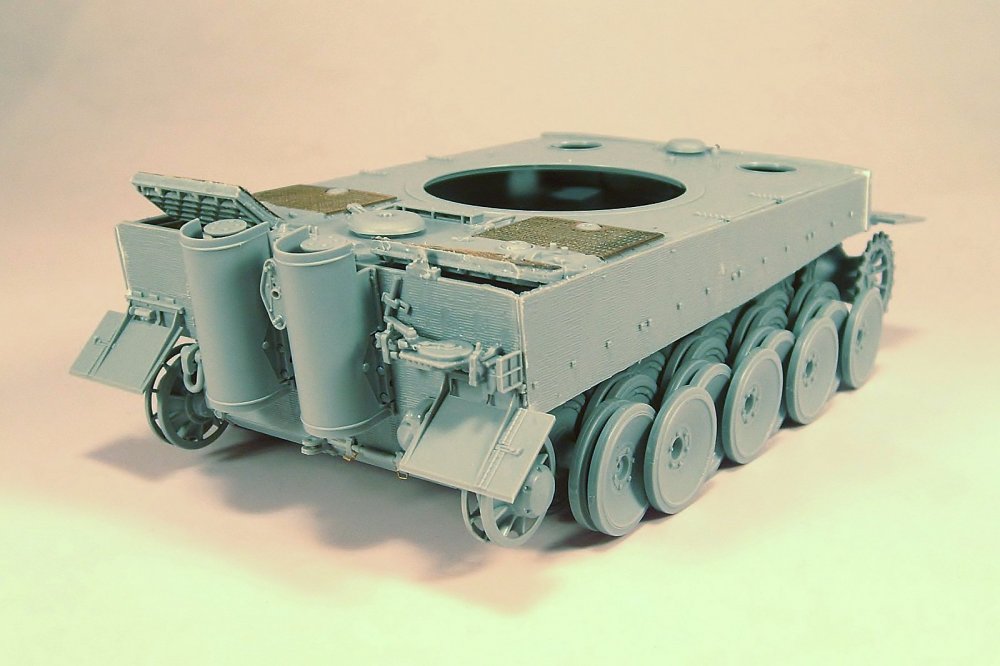
Hello friend I have started the assembly of tools and tow cables. The holes of the conductor's protective block were very large so I proceeded to fill them with Vallejo putty.

-
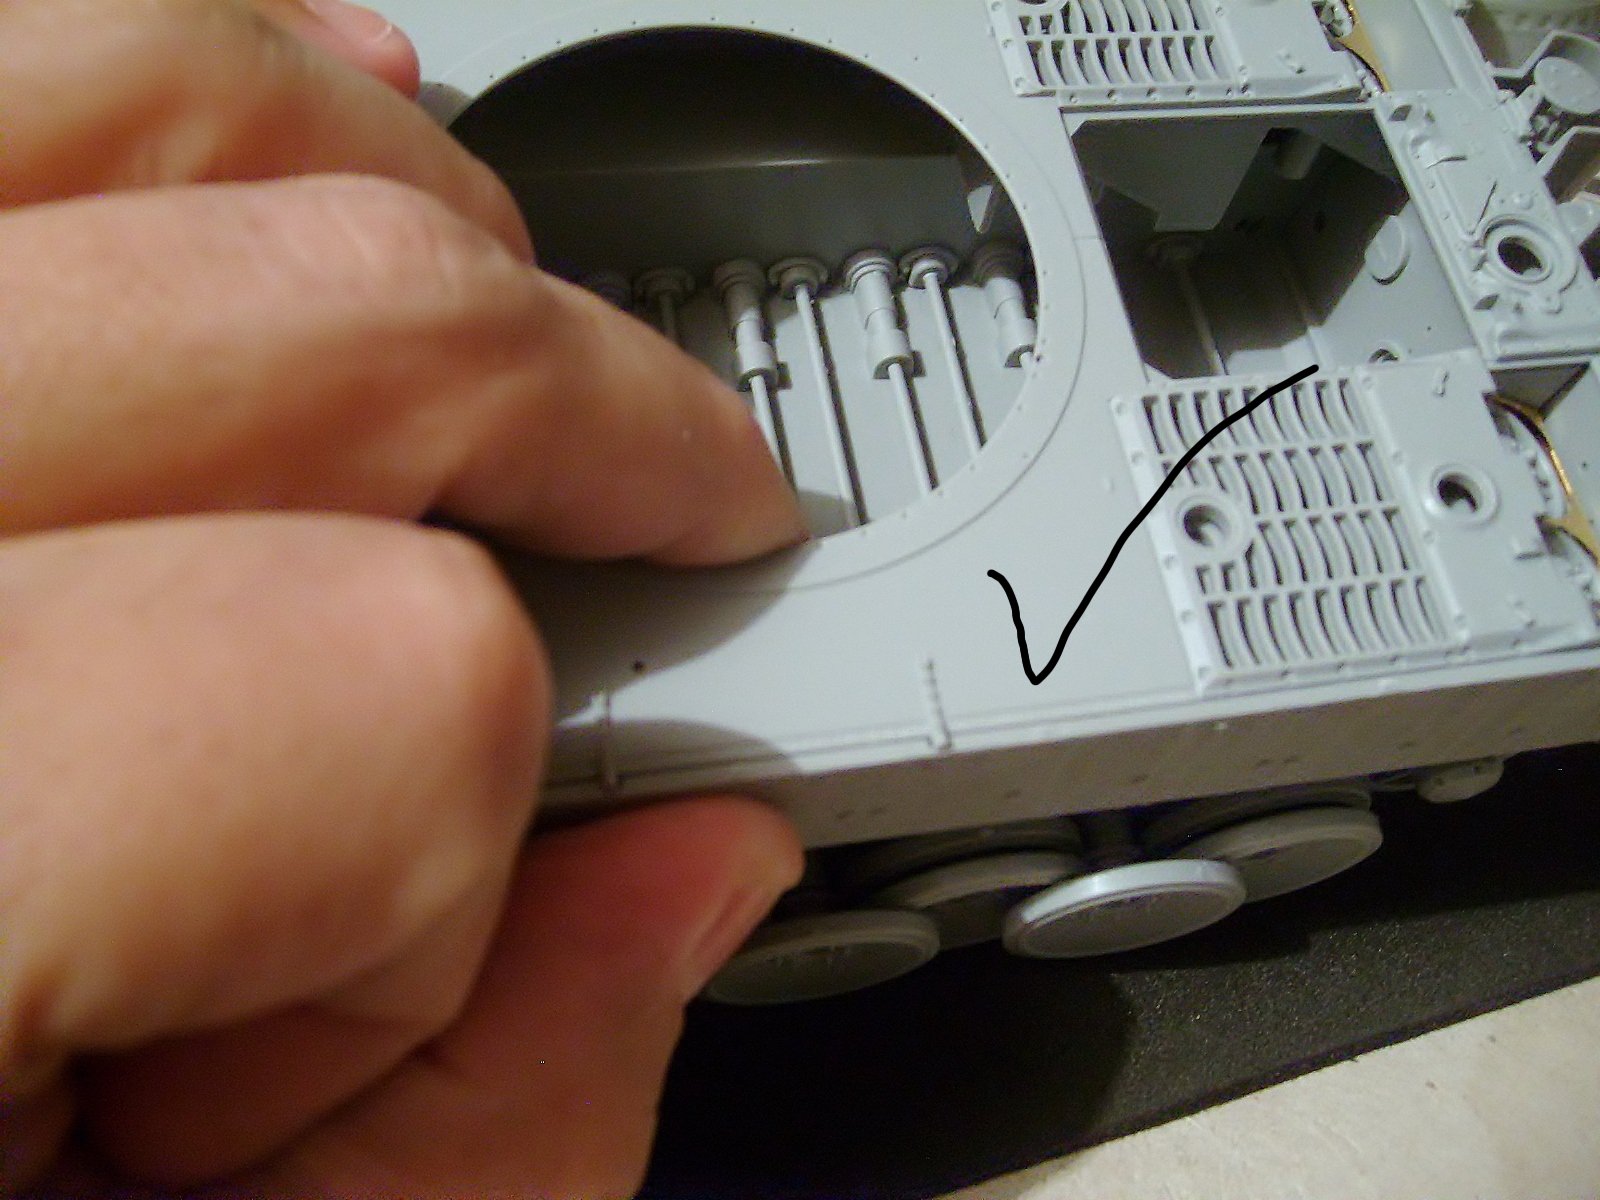
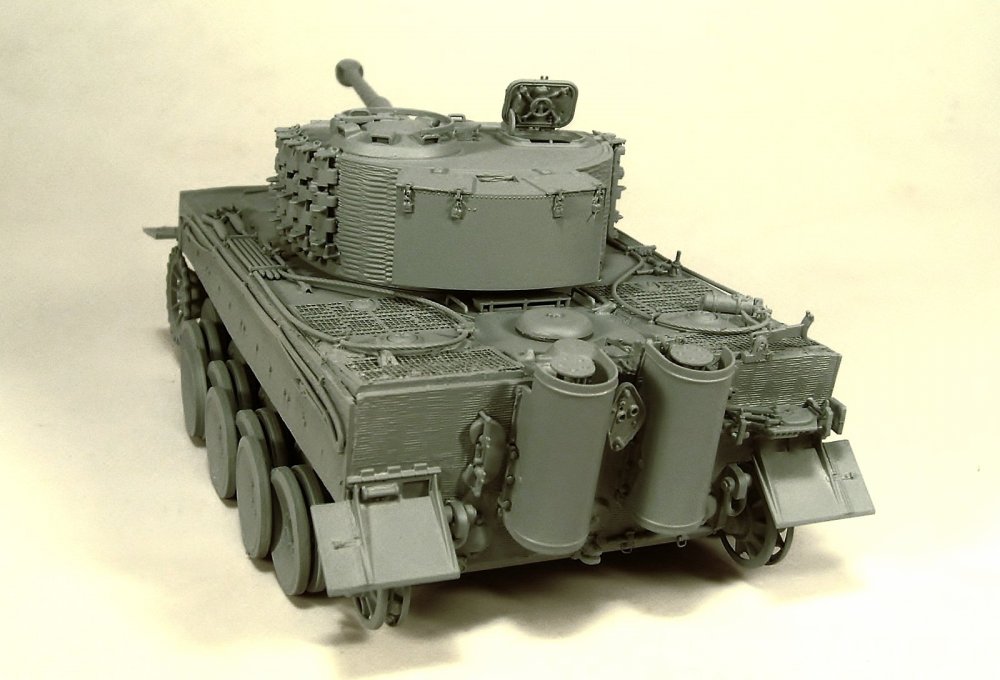
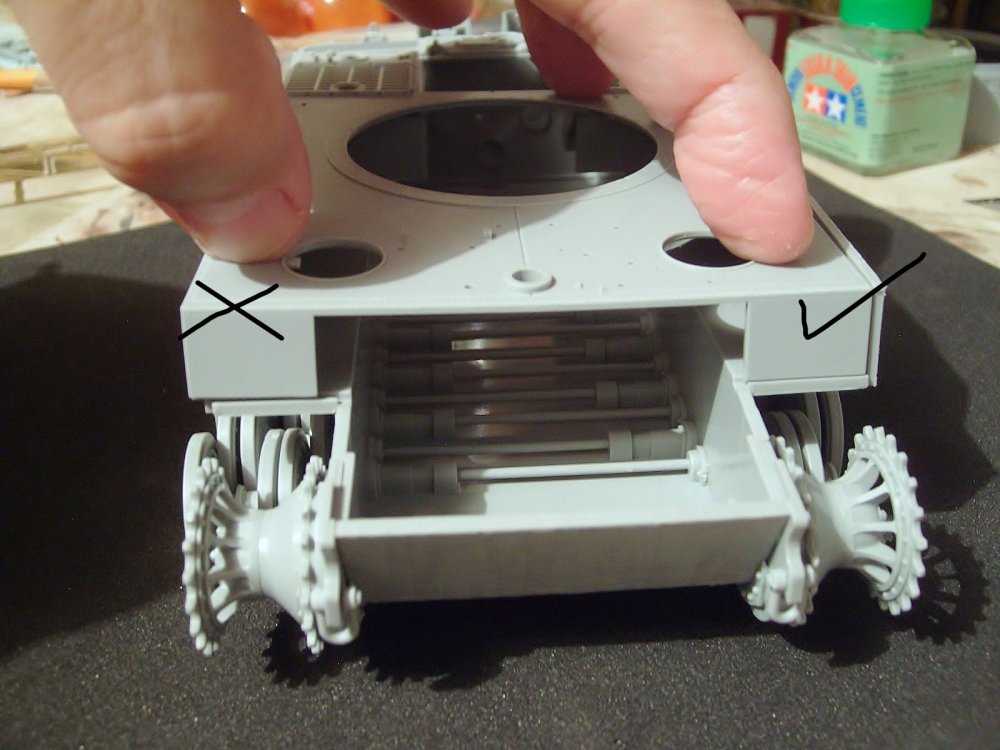
Hello friend!. Yes, it is rare, it is probably a defect of the aging production plate. The plate and the chassis are already adjusted. I have finished the rear and the front without problems, I think I will seal the hatches of the grilles because up there will be an hook and it will avoid them from opening.
-
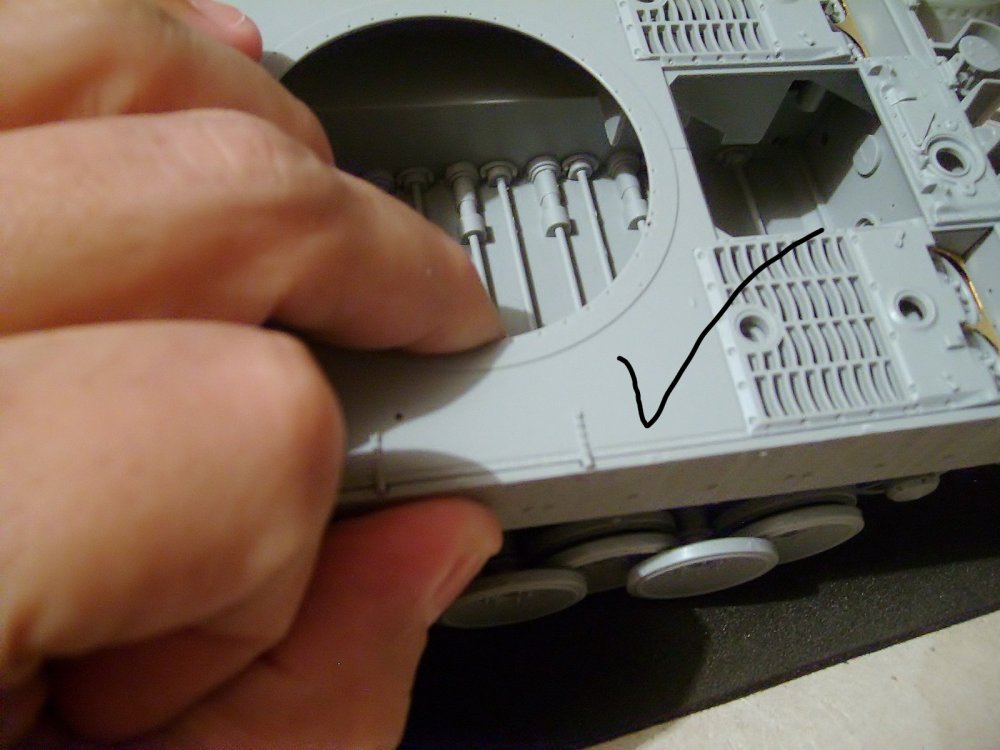
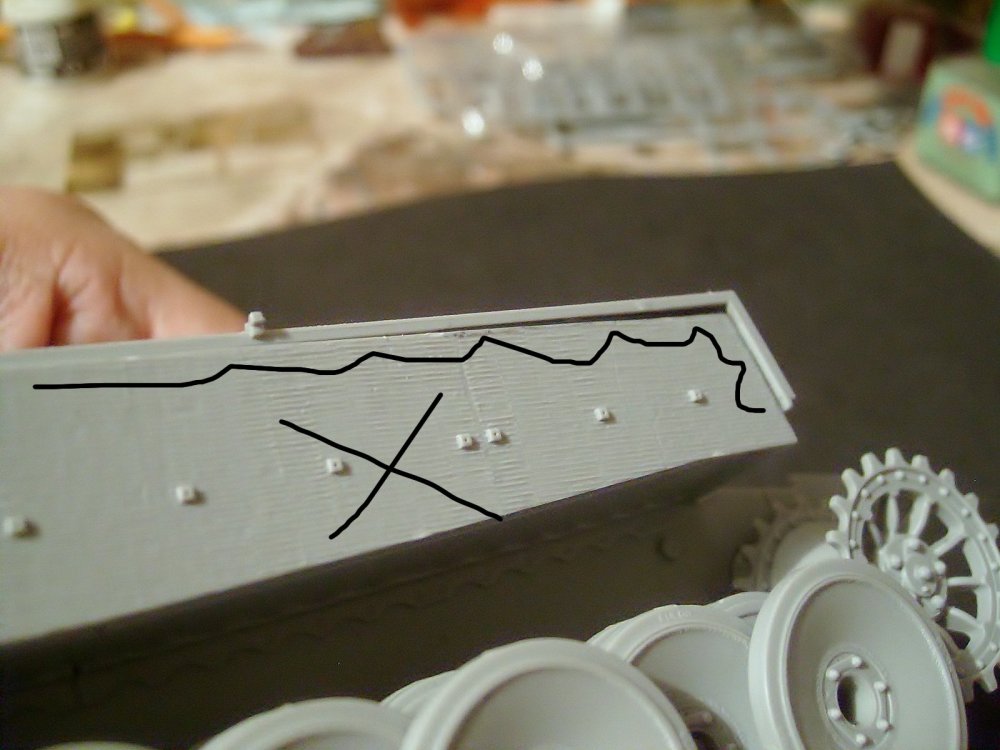
Thanks for your comments friends!. I didn't like the first DS tracks from me, they were too weak and sometimes they broken with Humbrol washes but now they are different, at least in the last kts I have built The main board is a bit uneven so the front of the right side has to be lightly sanded to be able to adjust it to the chassis.
-
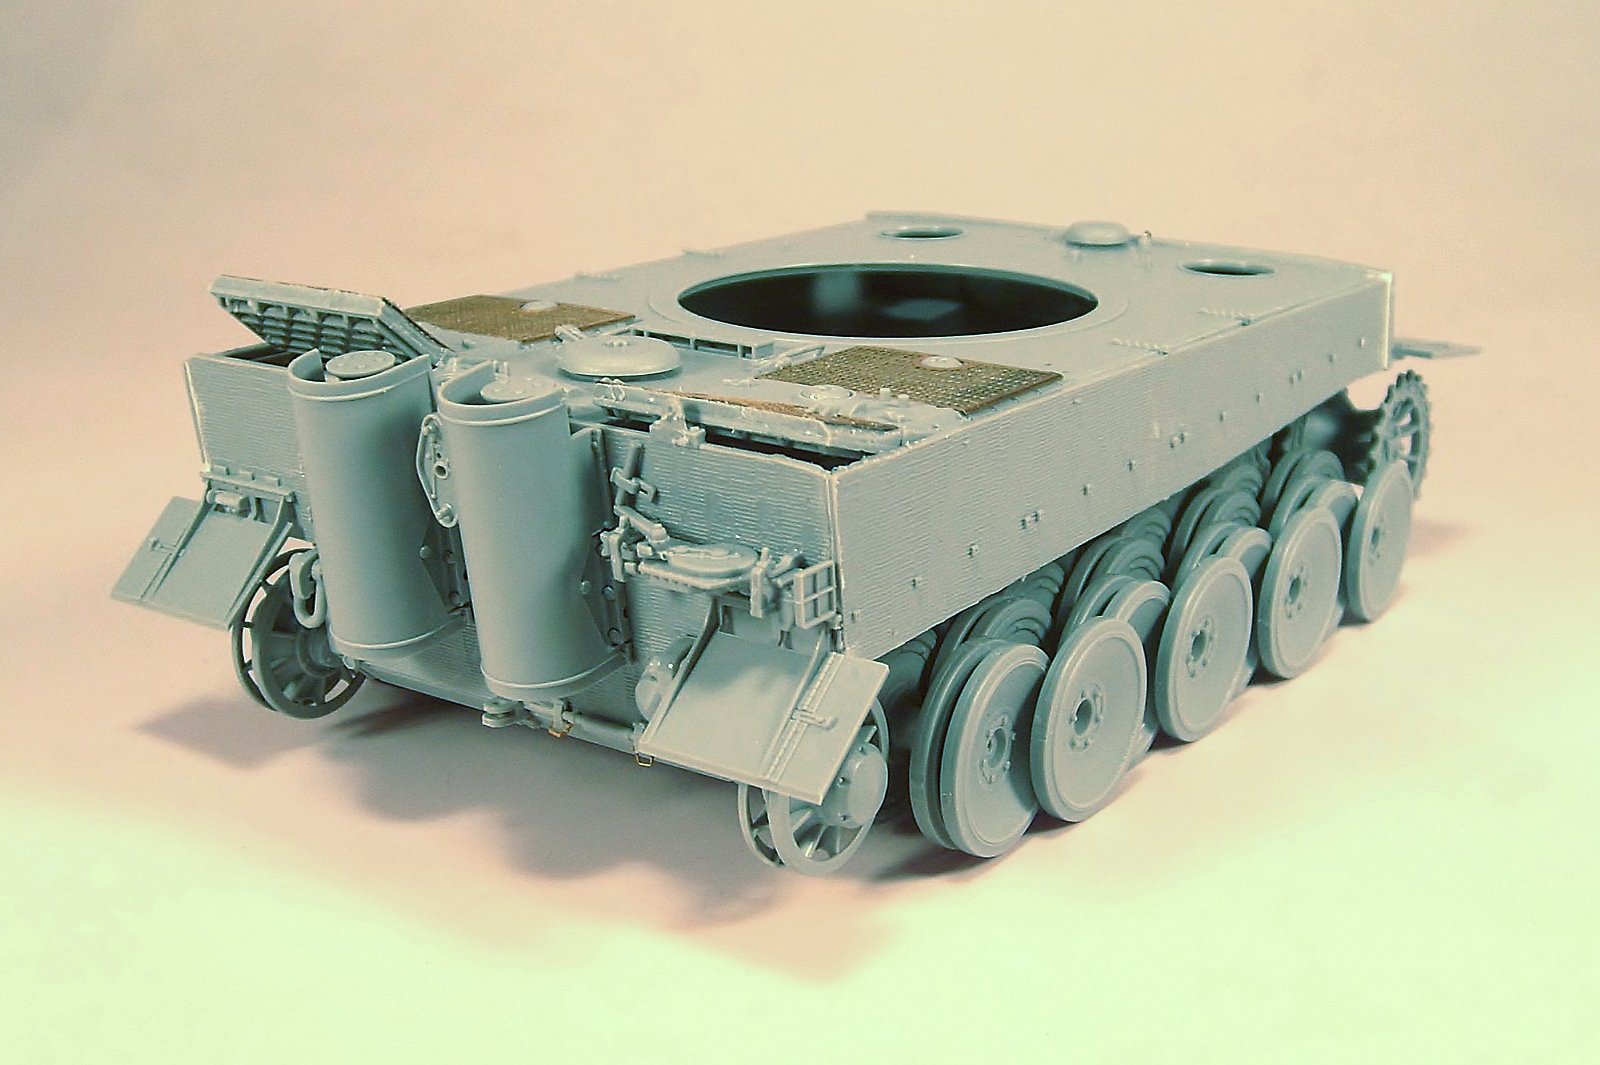
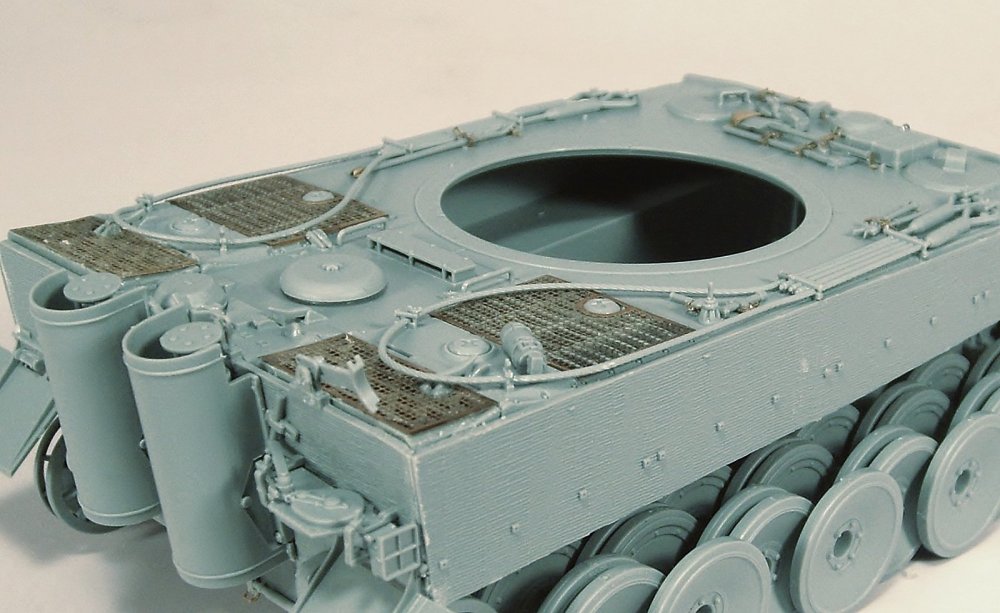
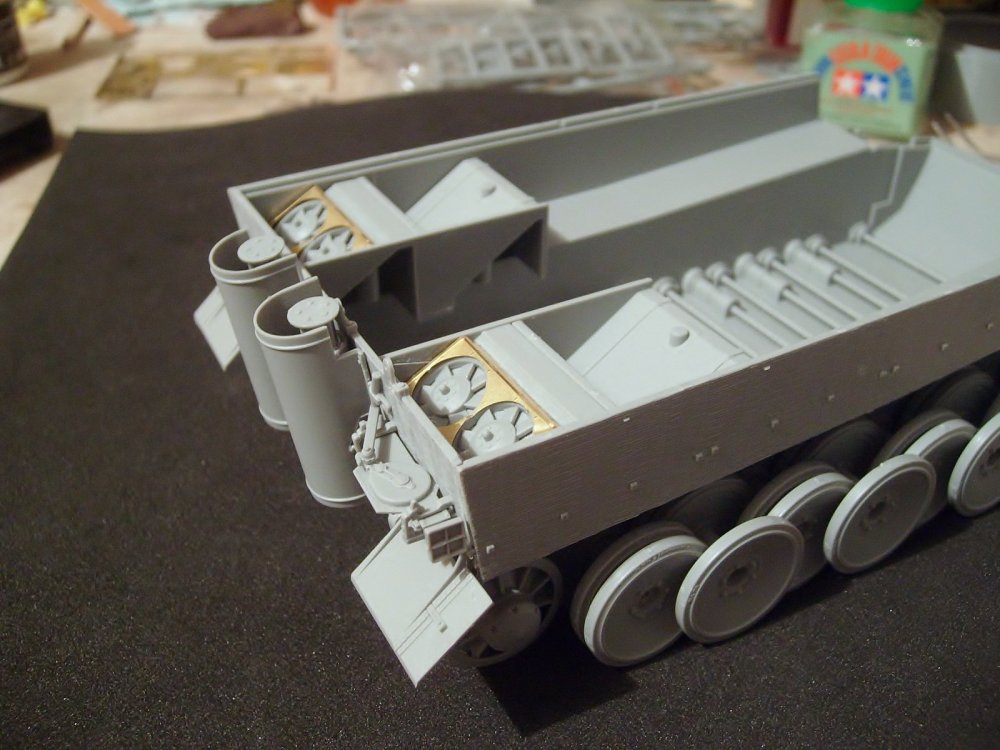
Hello friends! Ready the photo-cut in the cooling system although it is not very necessary if it is not going to be shown.
-
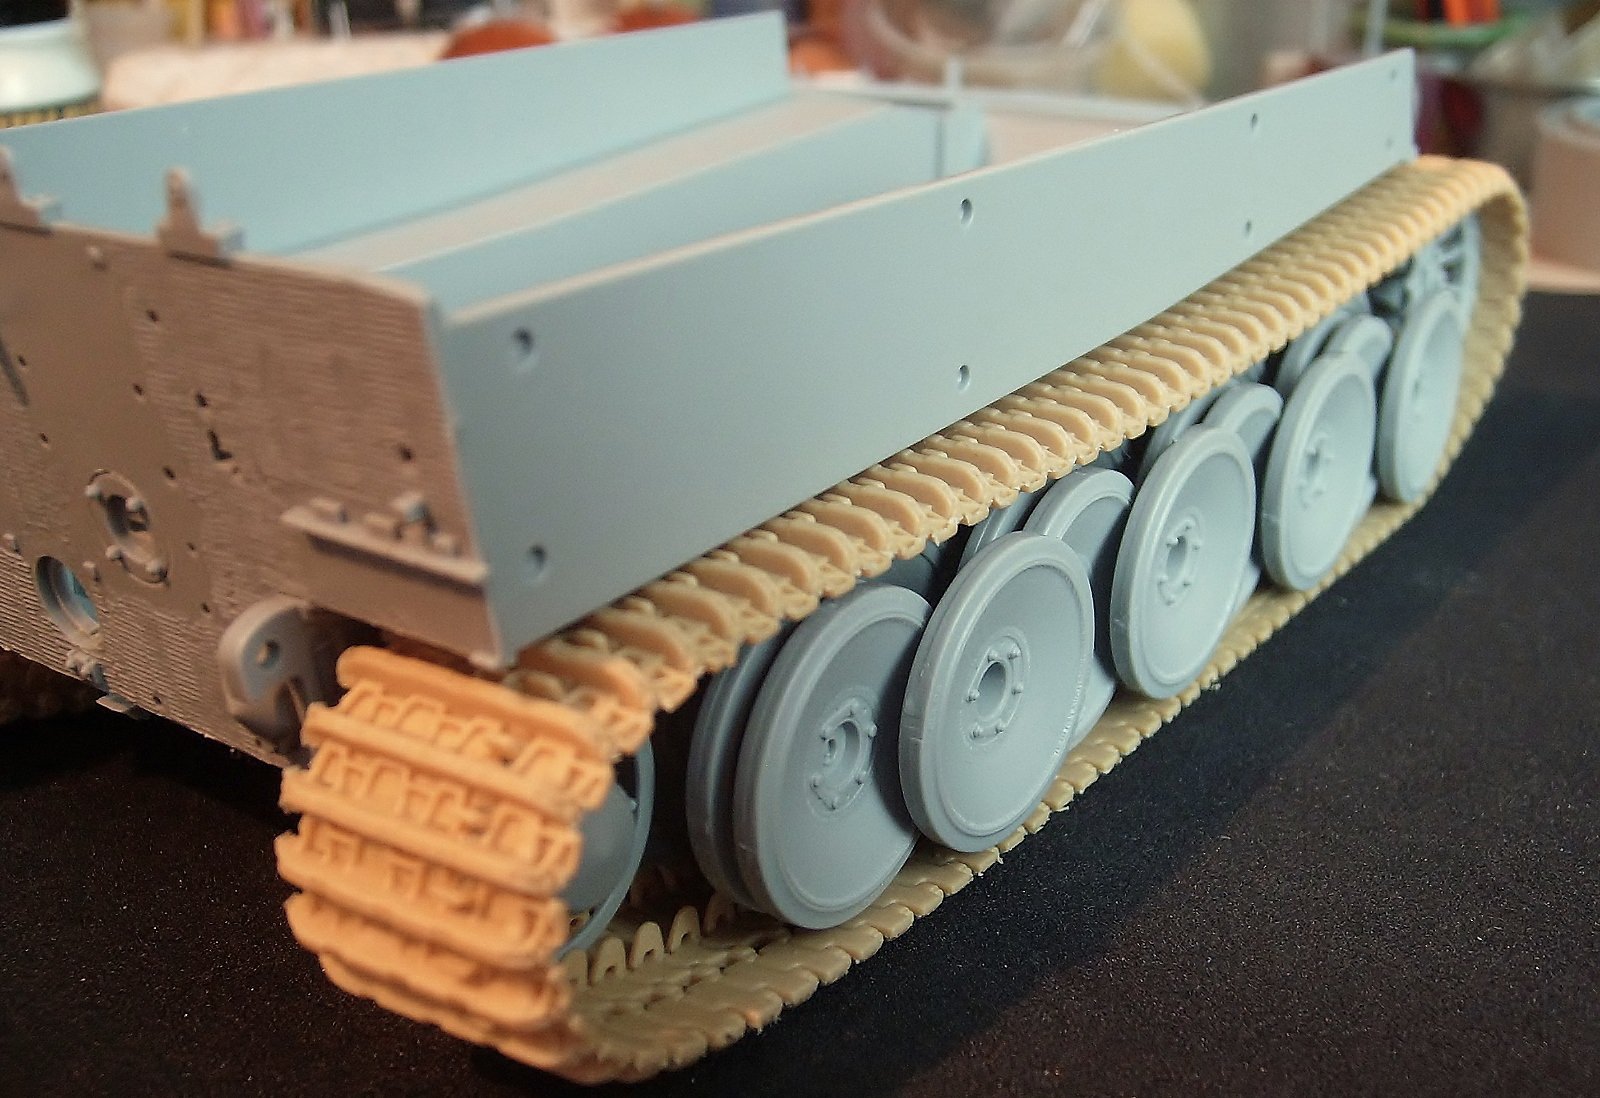
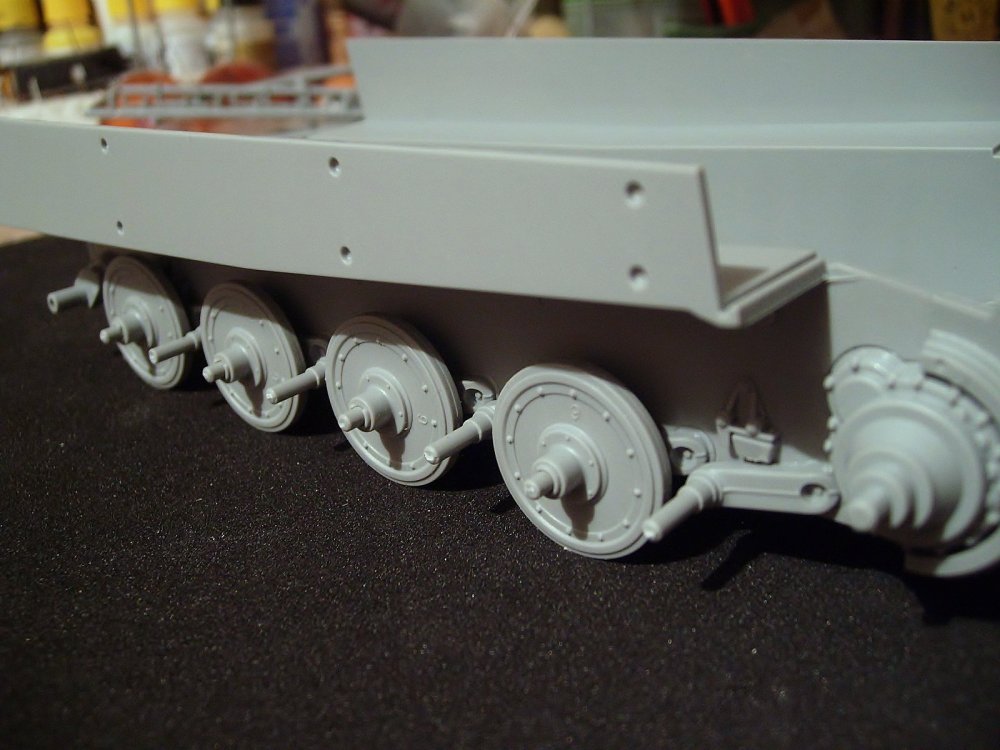
Thanks GazzaS, Yes, I did the same in other works with the zimmerit but I prefer that they are already integrated as in this kit. Assembly of the wheels including 1 damaged "by combat" and another without mounting of the first one in the row. The tracks I had to stretch them a bit because they were somewhat short, it is an advantage of the DS.


-
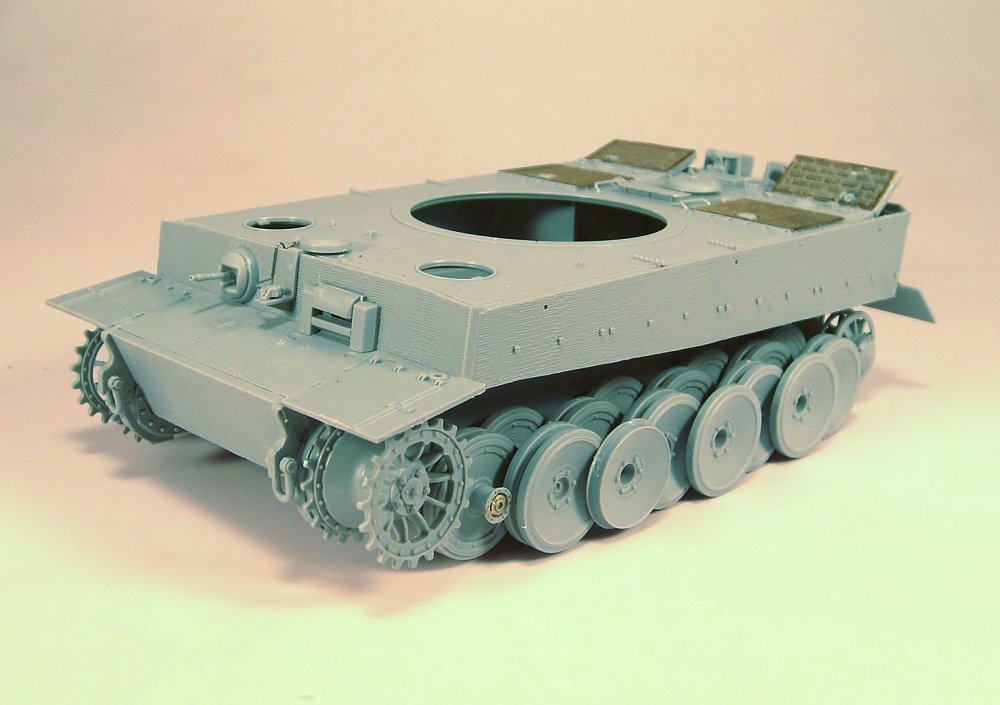
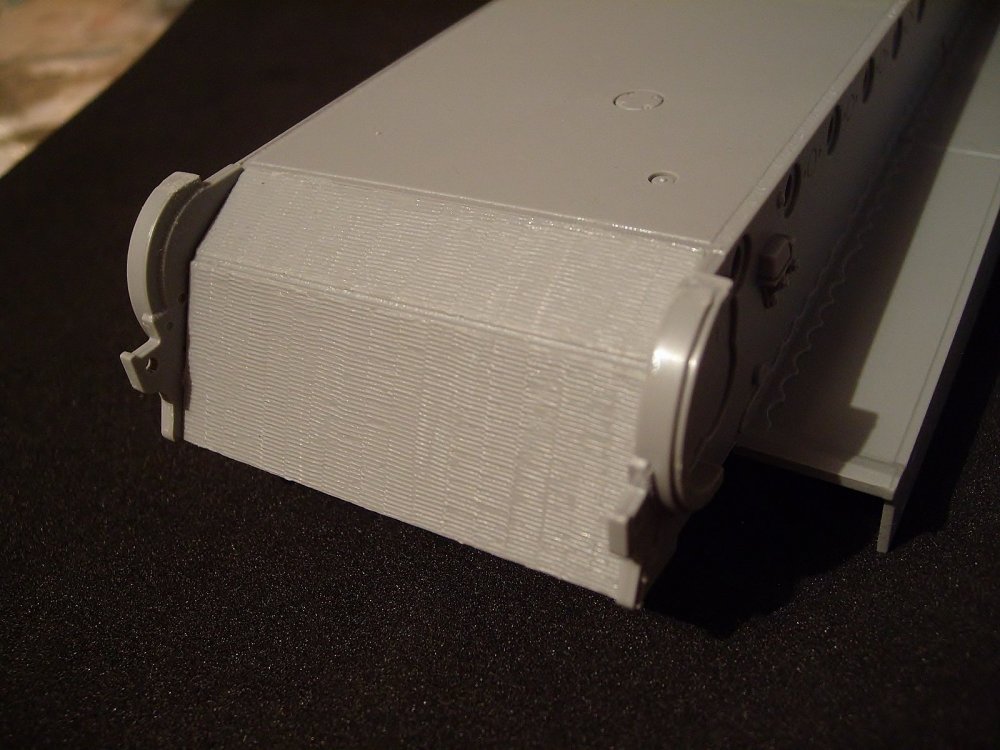
Hello friend!. I regularly glue and paint them with a lot of patience and a good pulse, other times I paint them before gluing them to the tank, after painting them I add the tracks. Here is an easy assembly without complications, the back plate with the Zimmerit well accomplished.
-
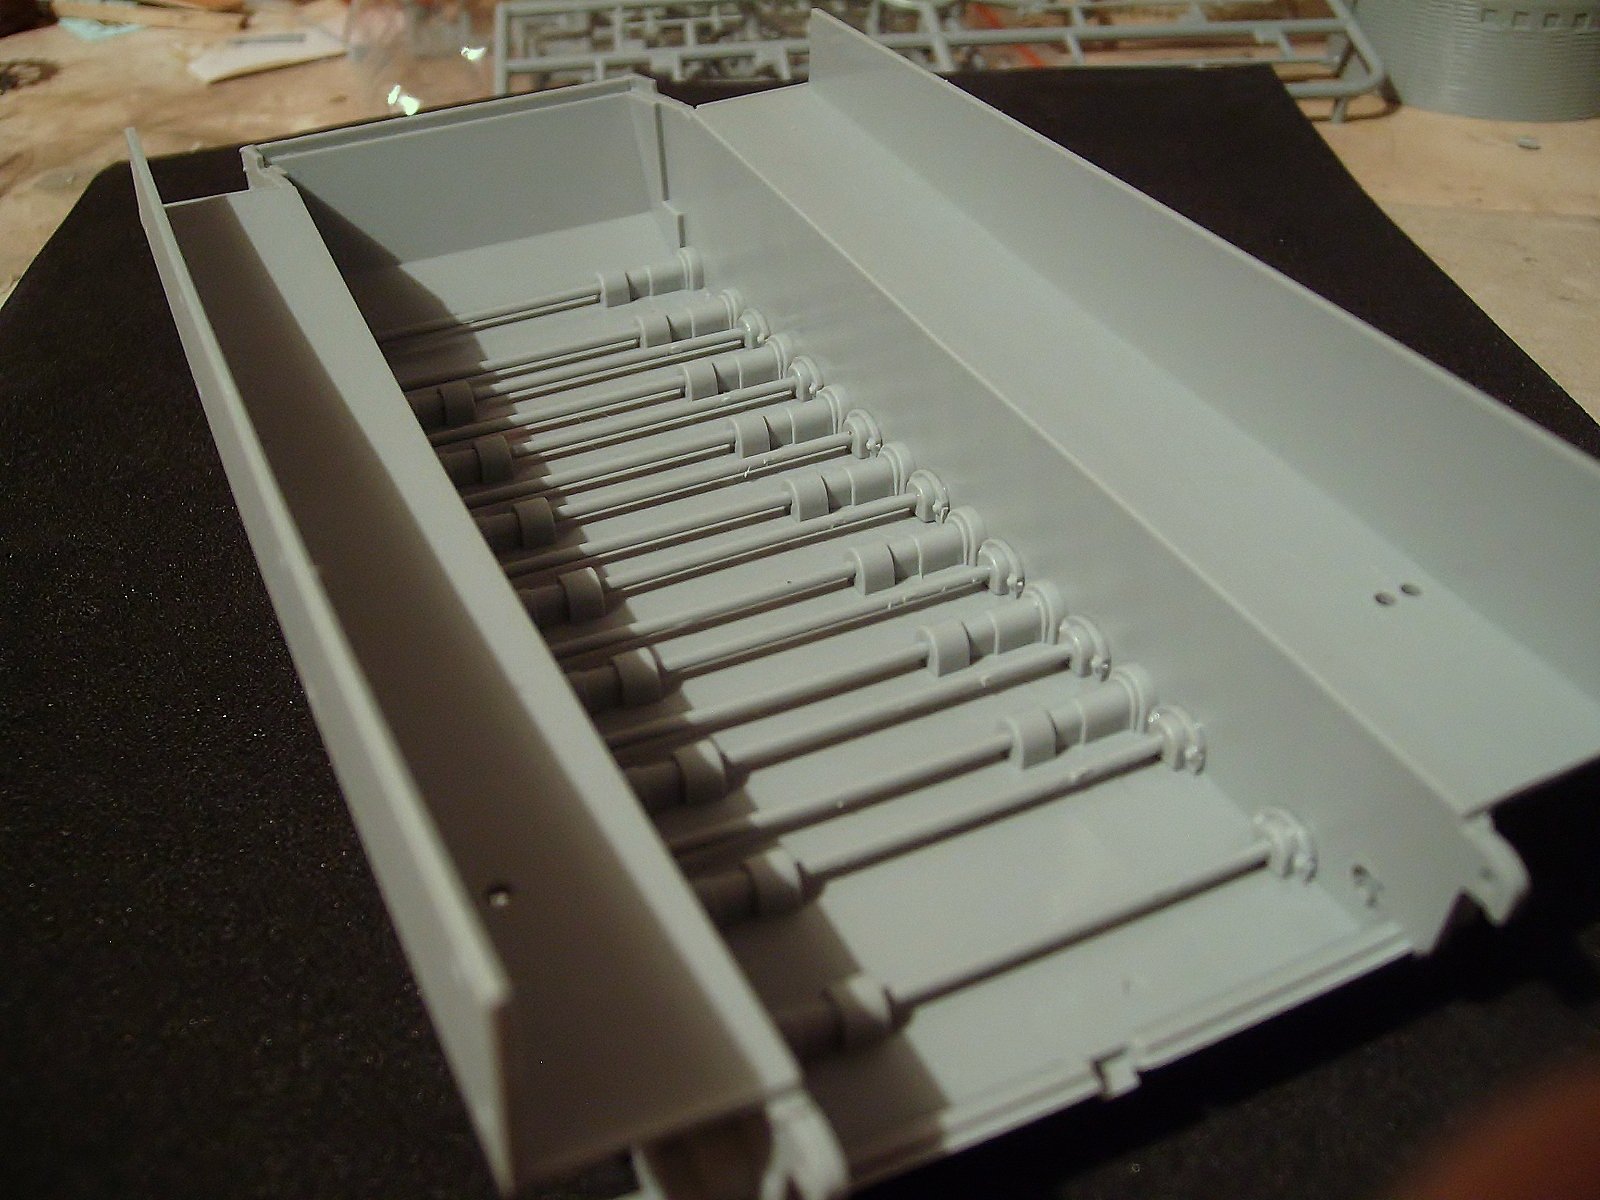
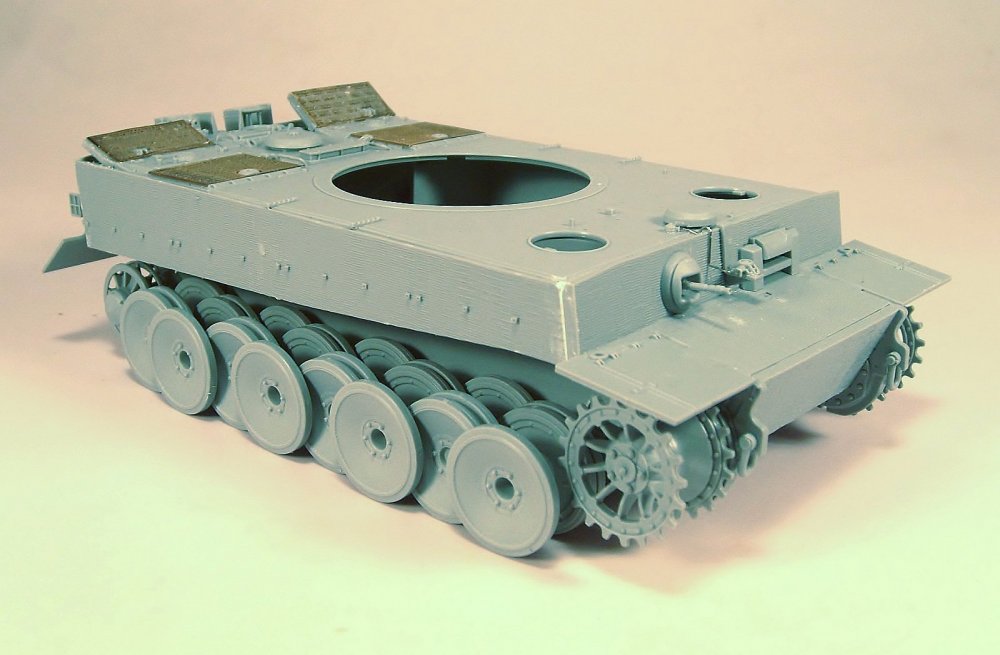
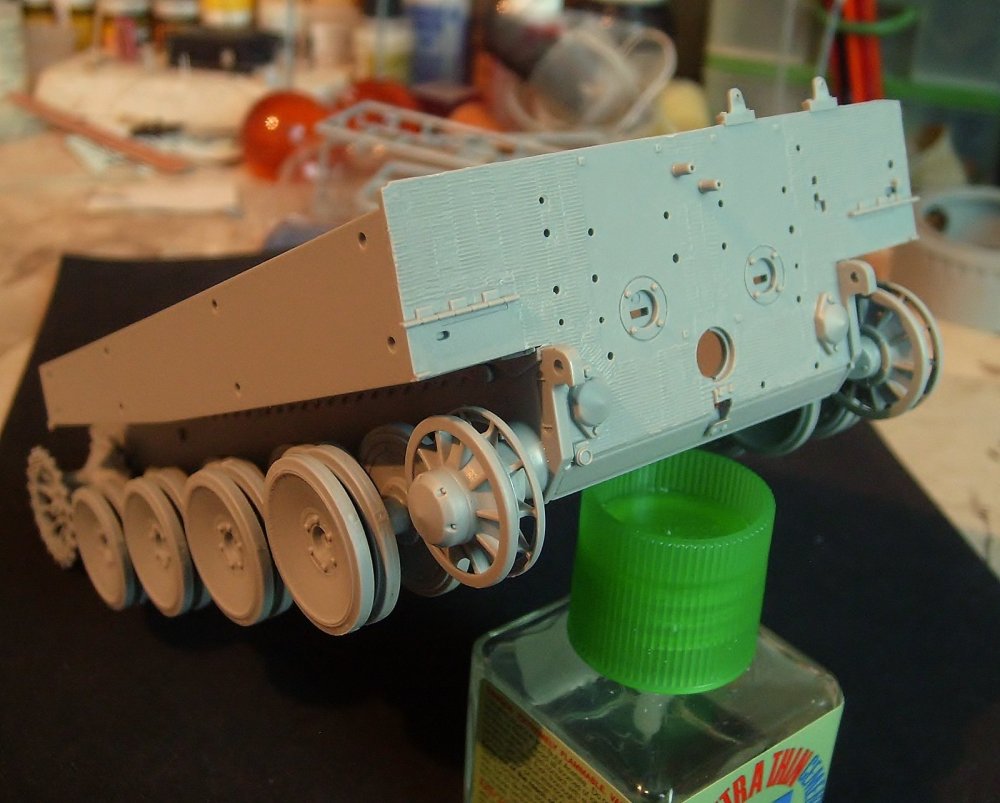
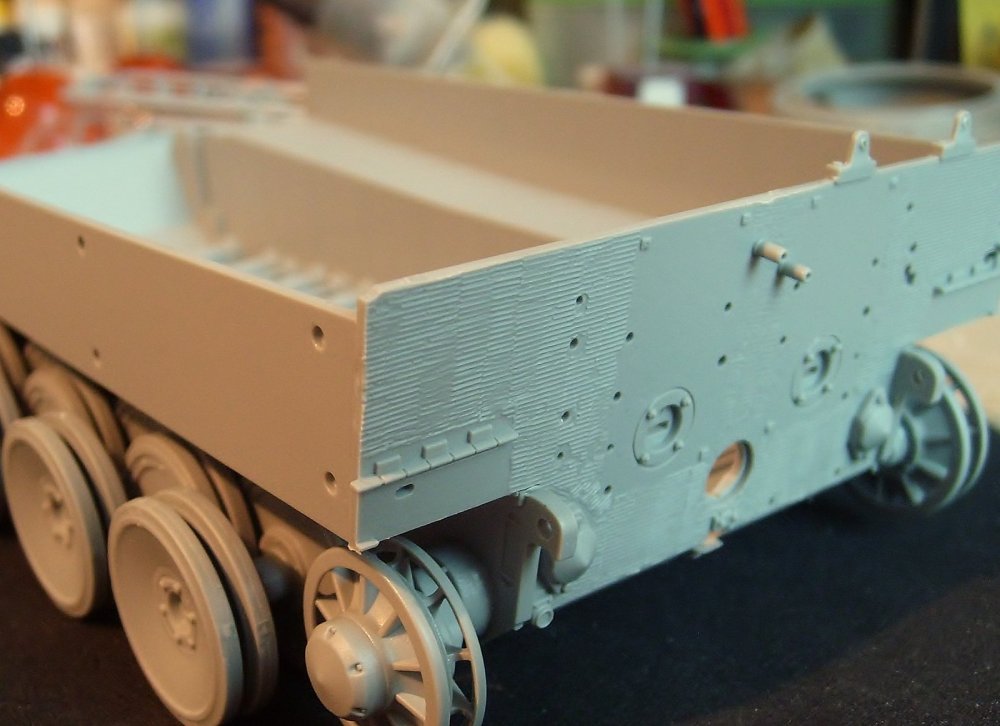
Thanks for your kind comments friends!. My version will be Malinovka. To assemble the torsion bars you have to be more careful with the alignment of the suspensions because the bars are weak and although they fix properly, they do not have enough force to prevent them from moving, before gluing the wheels you must make sure of this. These are great for those who want to mount the wheels on a diorama and fix it on irregular terrain.

-
Hello! The detail of the Zimmerit is better than I thought, the irregular surface is more convincing than when they were very uniform. Regards! Rodolfo
-
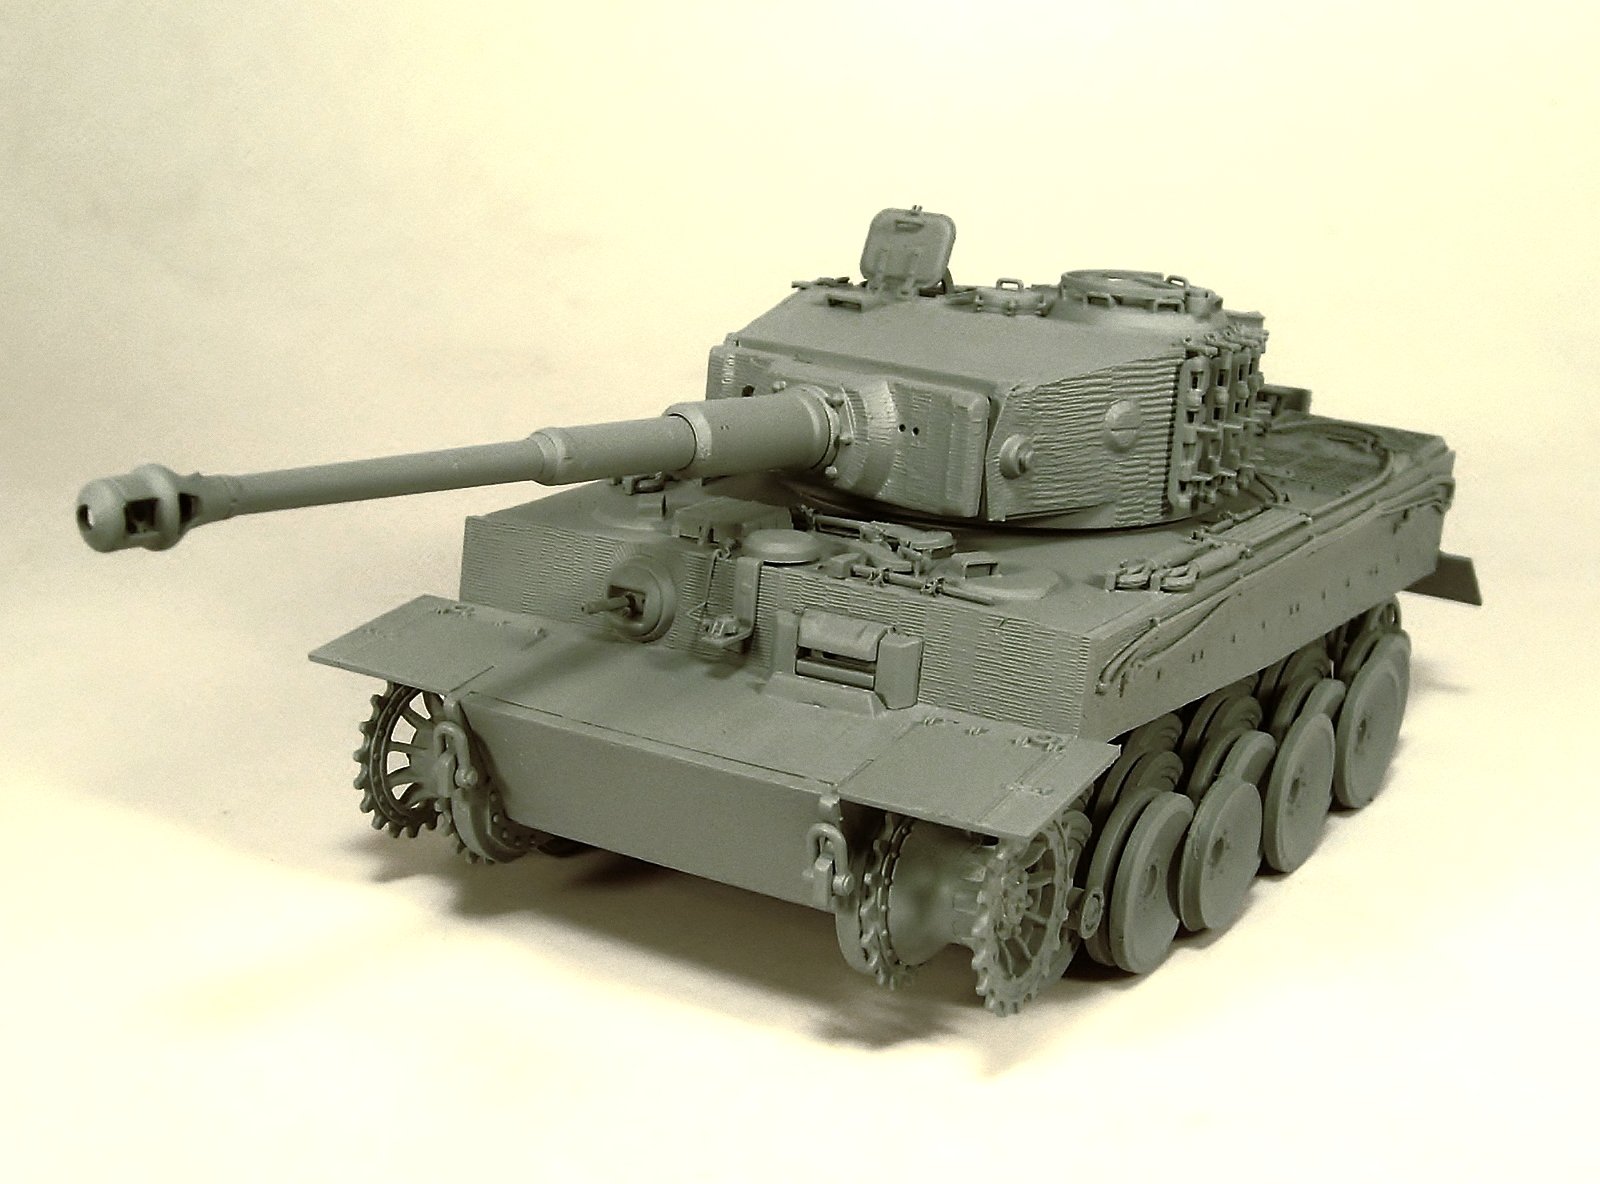
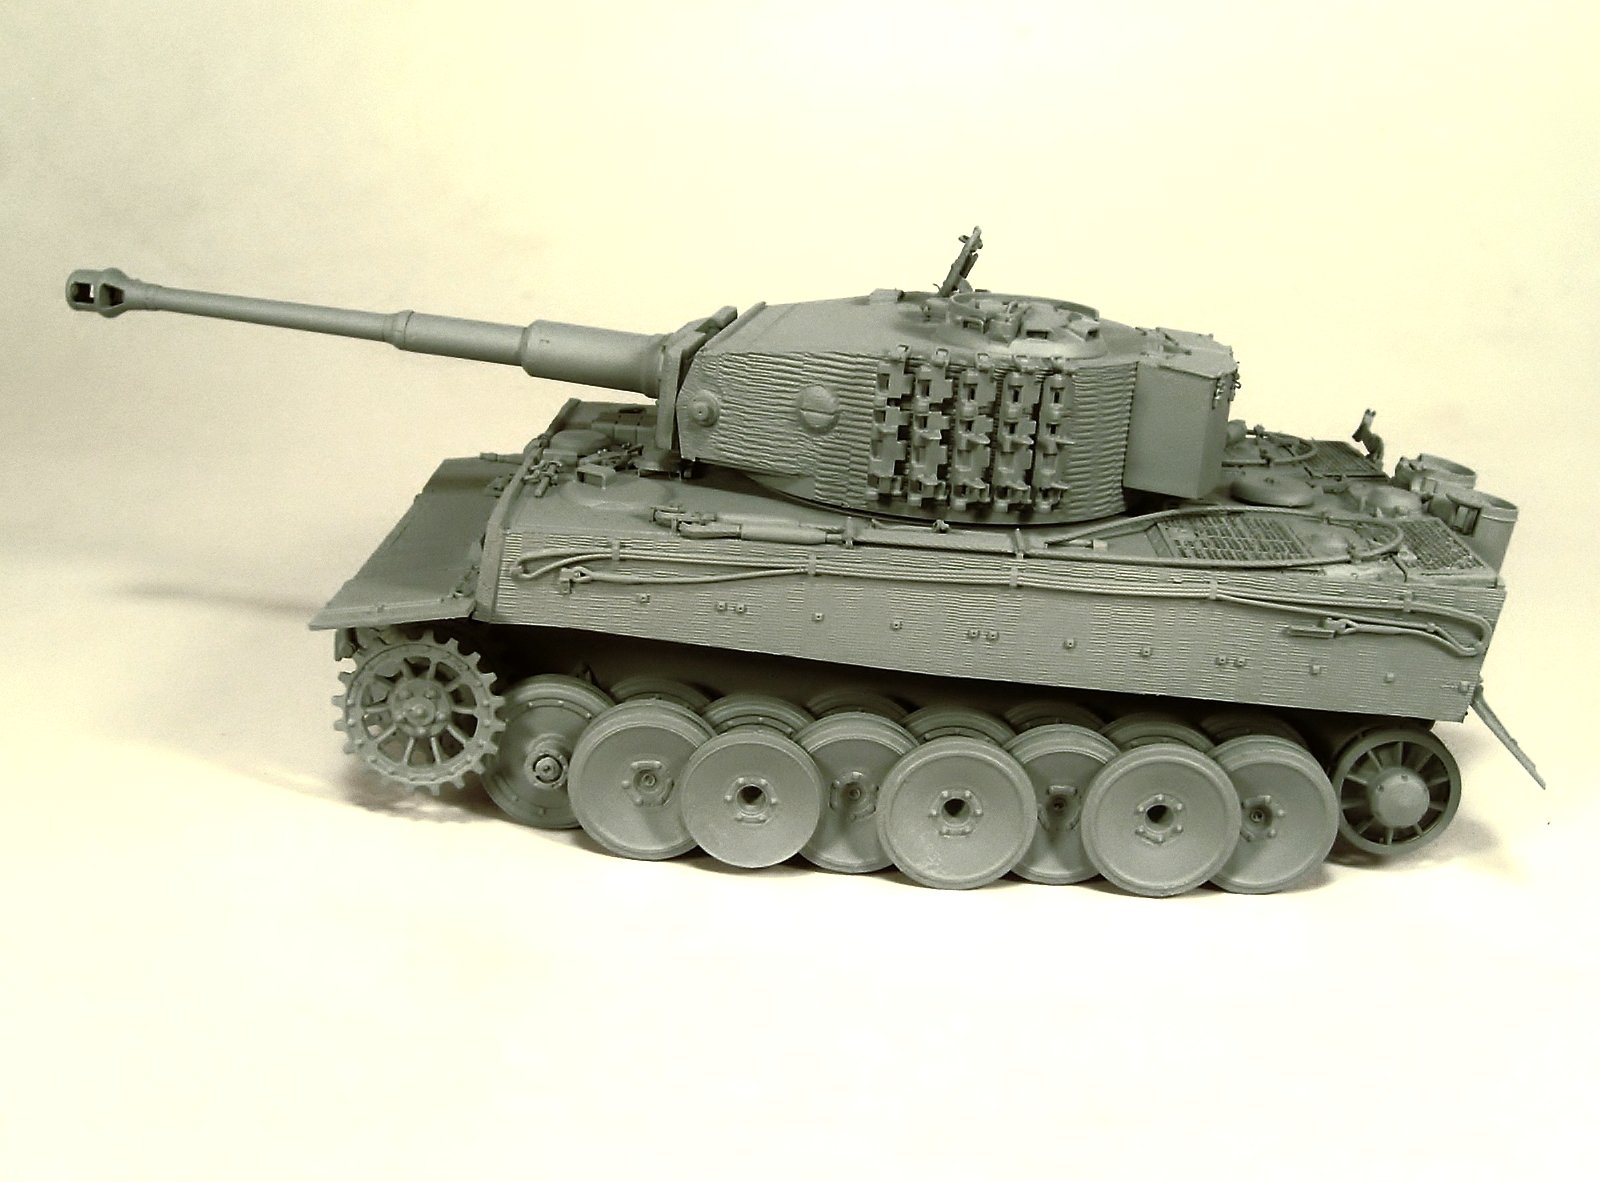
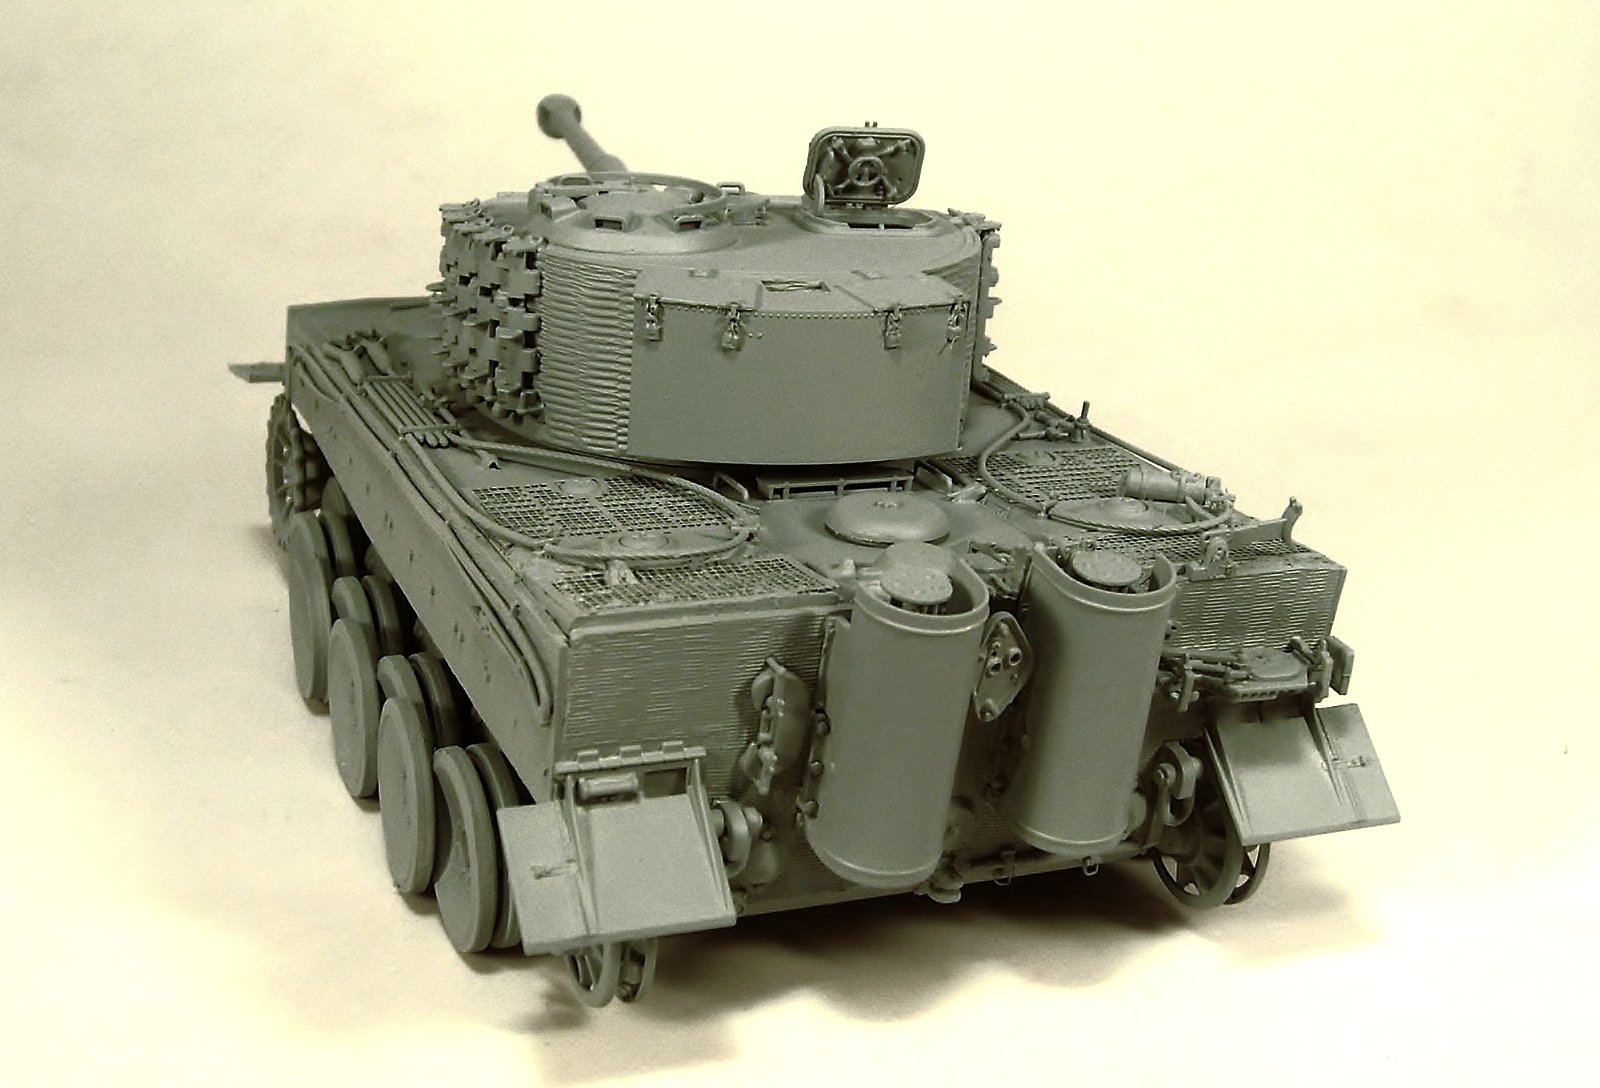
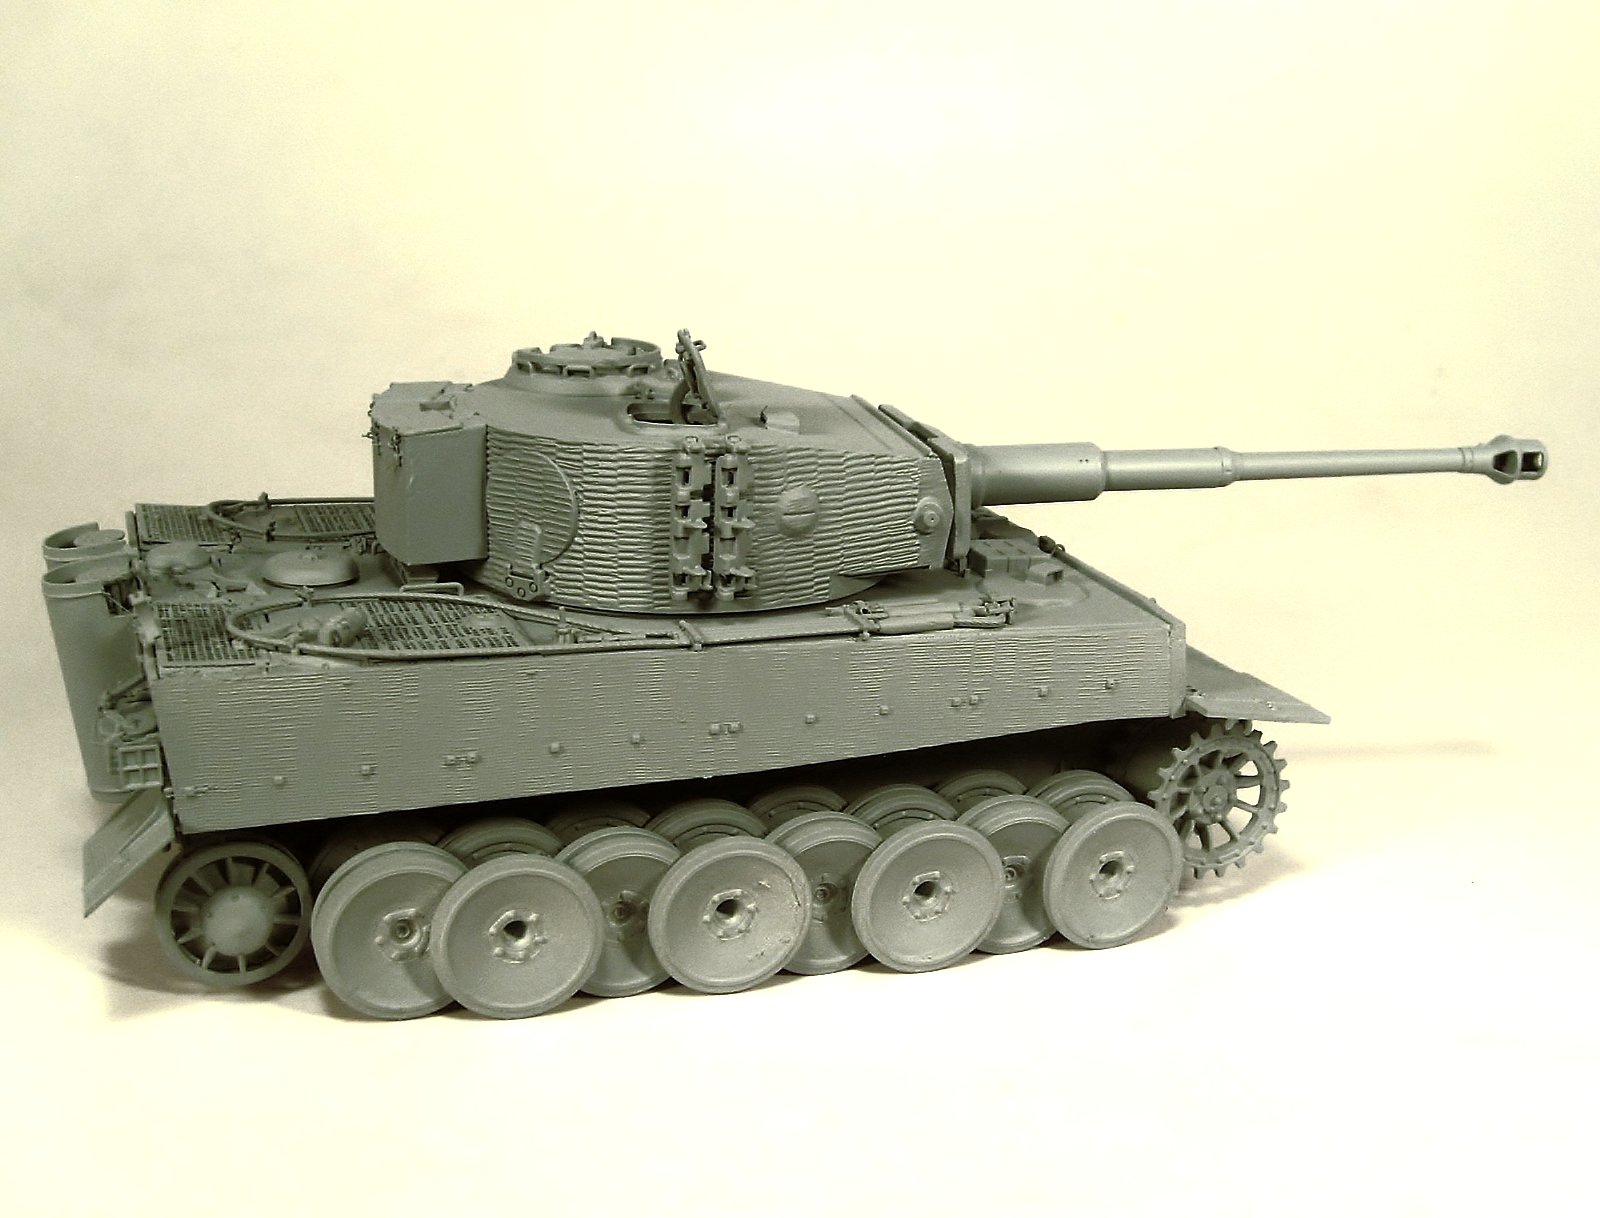
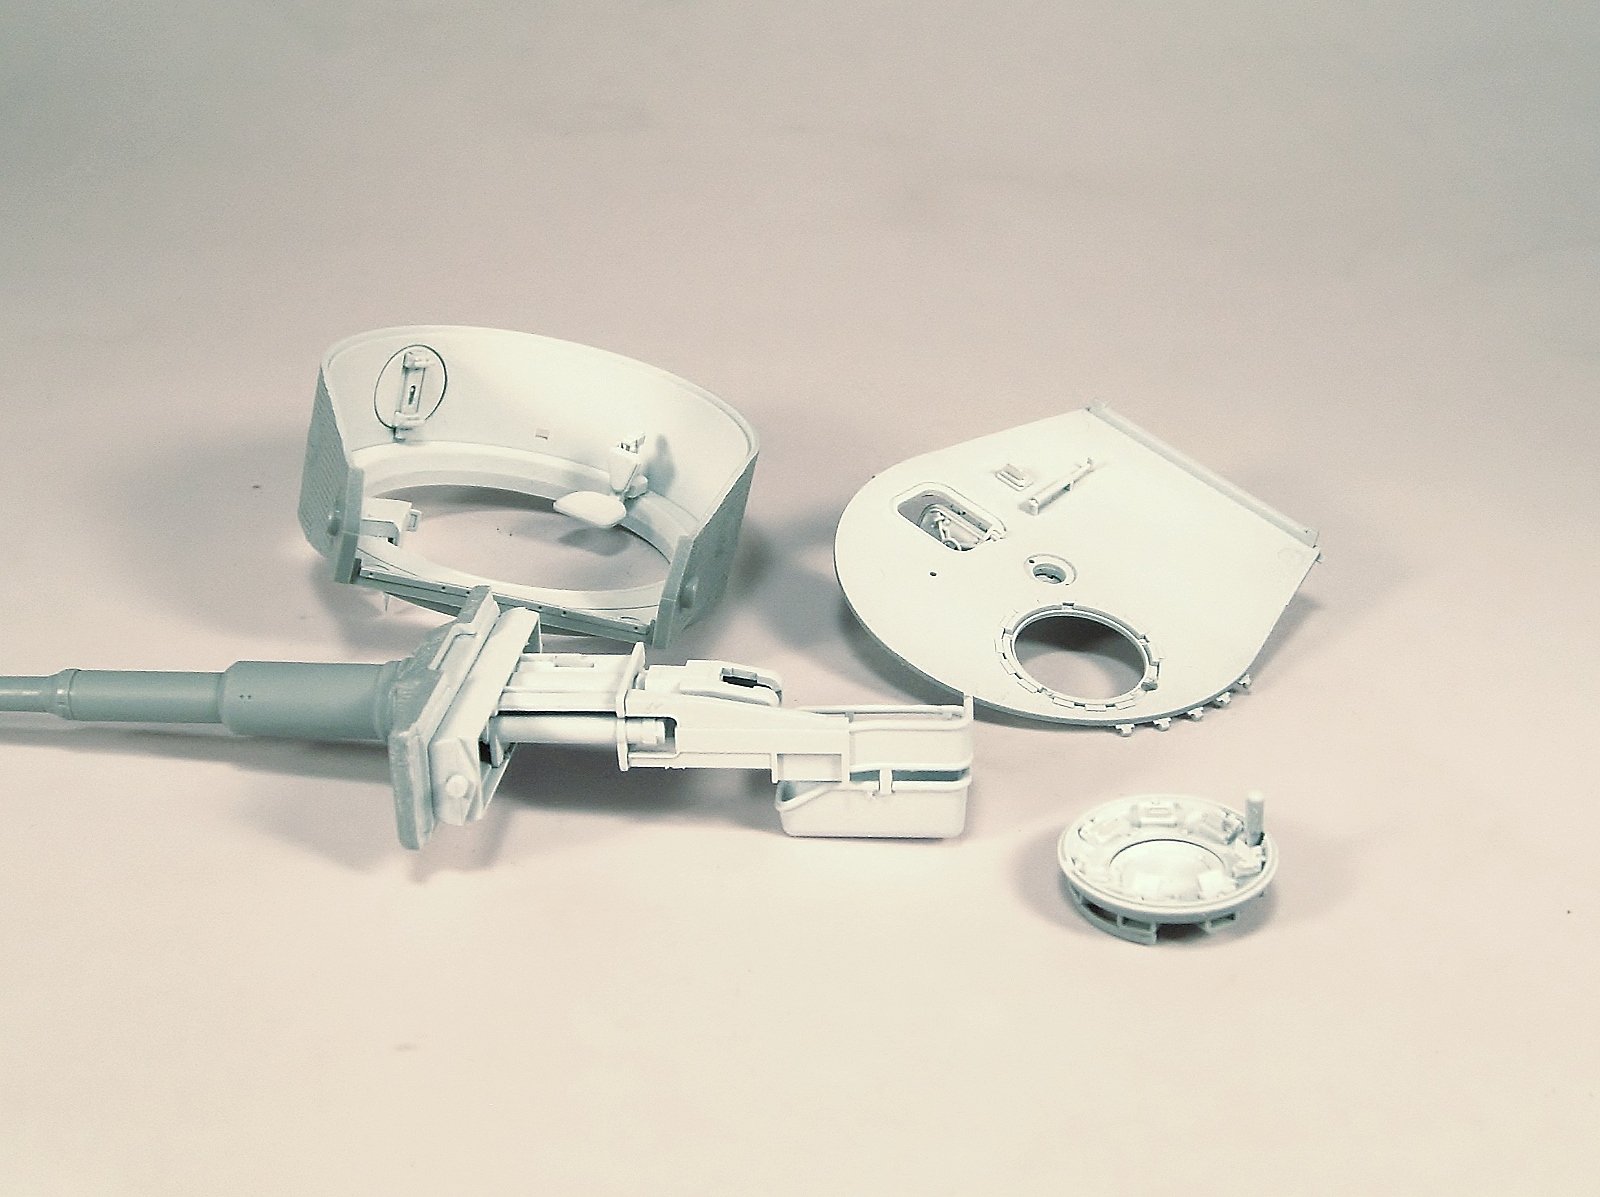
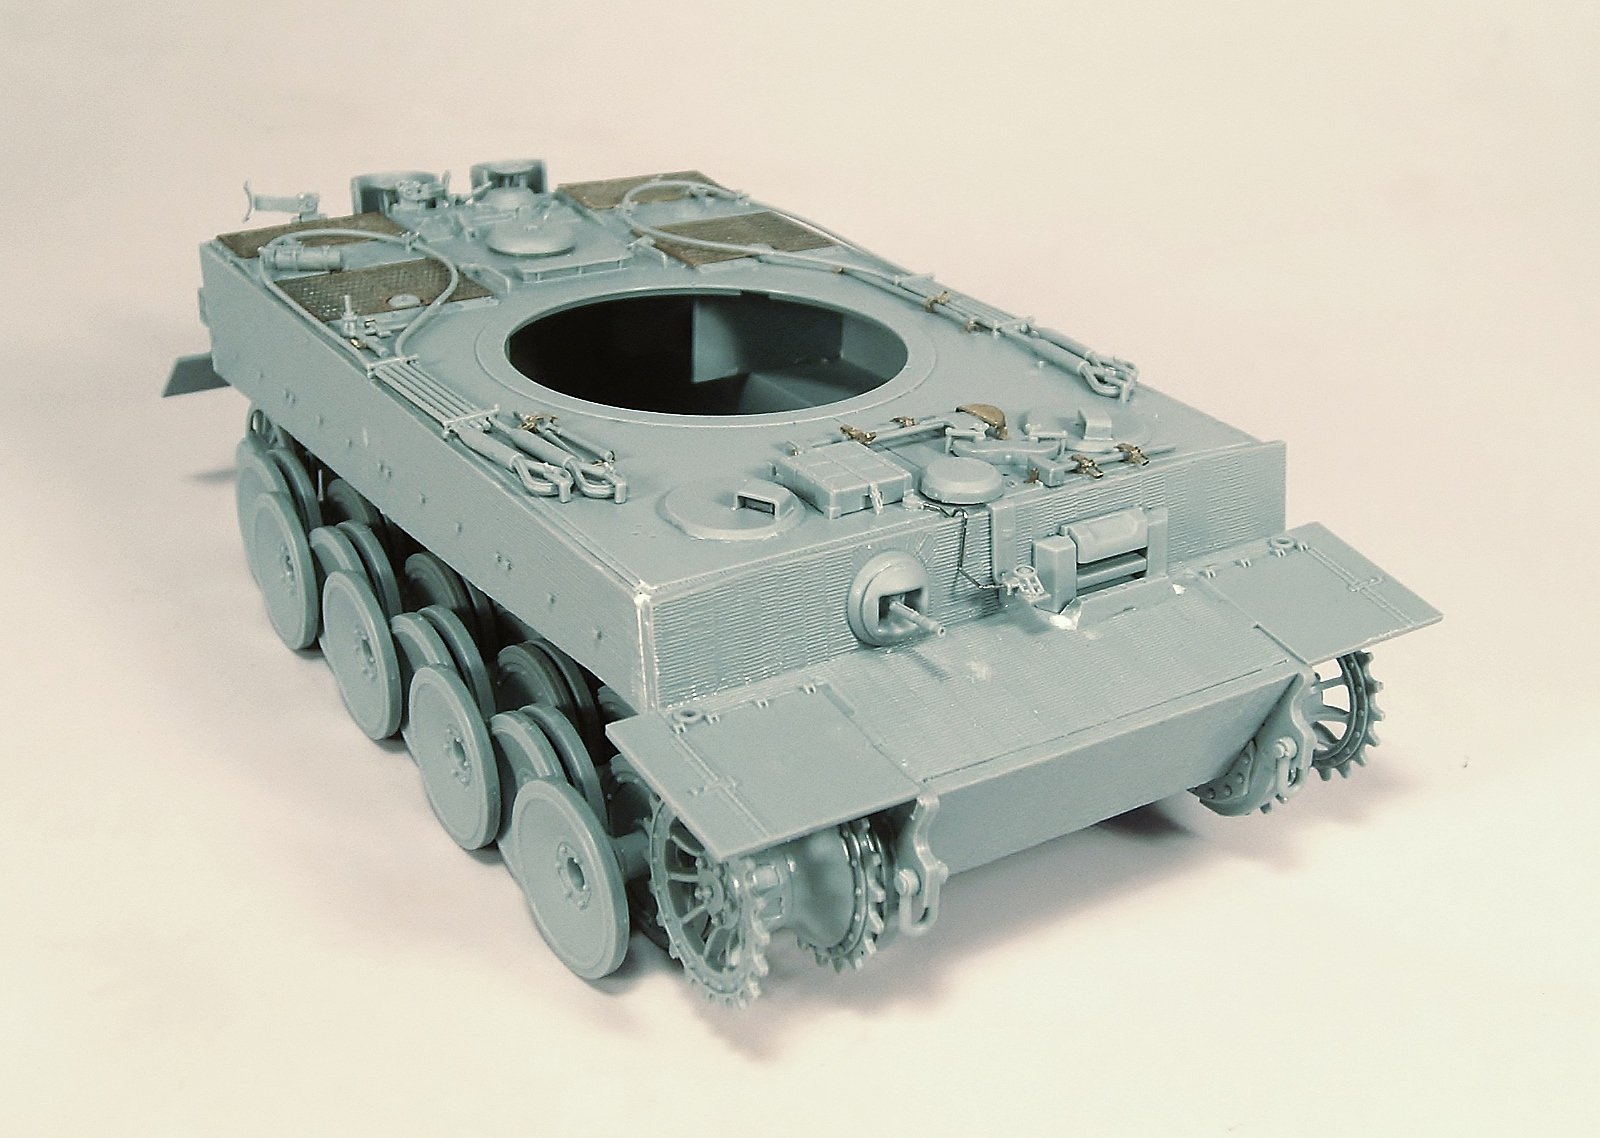
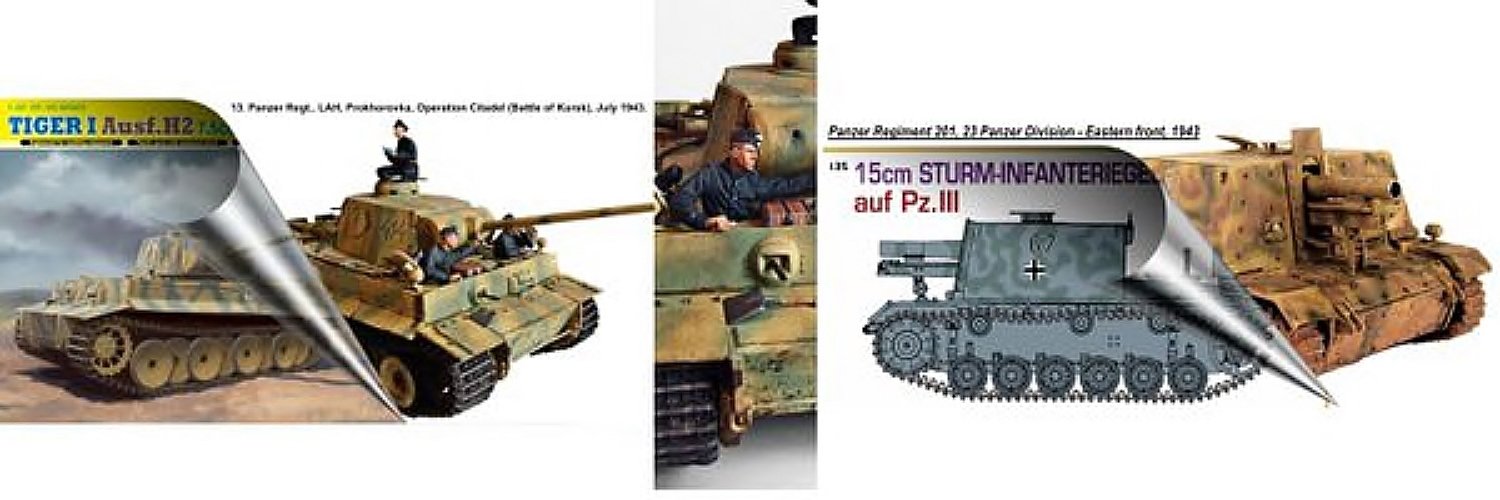
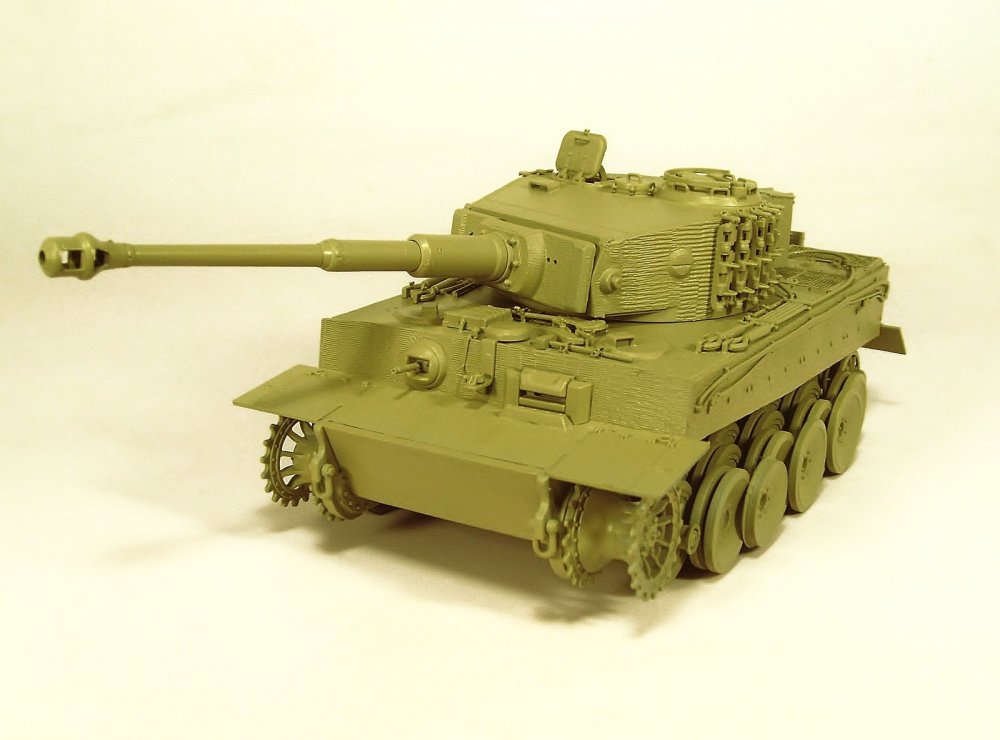
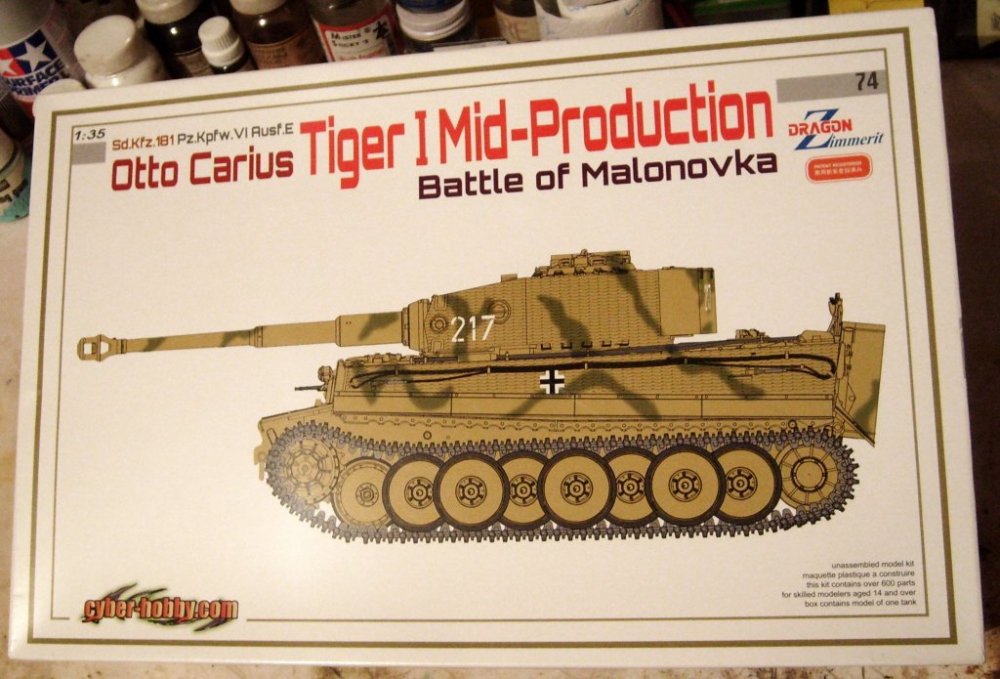
Hi Kaireckstadt! The kit it have two versions, Battle of Malinovka and Battle of Narva. About the kit: It presents the Otto Carius tank used in this battle with integrated Zimmerit. The surfaces present the coating with the characteristic pattern in these tanks. The kit has the necessary parts to make precisely the tank '217' and for this, two types of mantelete are included, the original of this version and the one that presented the production tank; dome and continuous 'early' type vinyl chains; additional wheels to represent "replaced" in the field. The tools are included molded with or without supports, the barrel can be moved backwards simulating the trigger recoil Two types of muzzle brake are included for the barrel, the driver's viewfinder is movable, The MG comes perfectly detailed. It contains new domes (includes two types, with and without draining) to every detail characteristic of this version, as well as its welded ring on its structure; the arm of the commander's hatch, the inner ring of the dome and the transparent periscopes are molded independently. The escape hatch is operable and reflects its internal detail. The hatch of the loader, which can be armed open or closed and contains all its internal mechanism detail as well as the hatches of the radio operator and the driver. Two types of hubs for the wheels and two types of idler wheels are included. The jack is manufactured in several pieces and can be placed extended / retracted, the tips of the drag cables are molded in one piece and include two types of cables, the tool box for the back of the turret can be assembled open /closed. The driver's vision port can be opened / closed. The kit contains internal components such as fuel tank, radiators and fans which are independently molded. The suspension has fully operable torsion bars. It has a sheet of decals for two sets of tank 217 in Malinovka and Narva. It consists of 600 parts. Limited edition. Regards! Rodolfo
-
Hello friends! This will be my new project: Cyberhobby 1/35, Otto Carius, Tiger I Mid-Production, version, Battle of Malinovka. Regards! Rodolfo
-
Thanks for your kind comments friends! Regards! Rodolfo
-
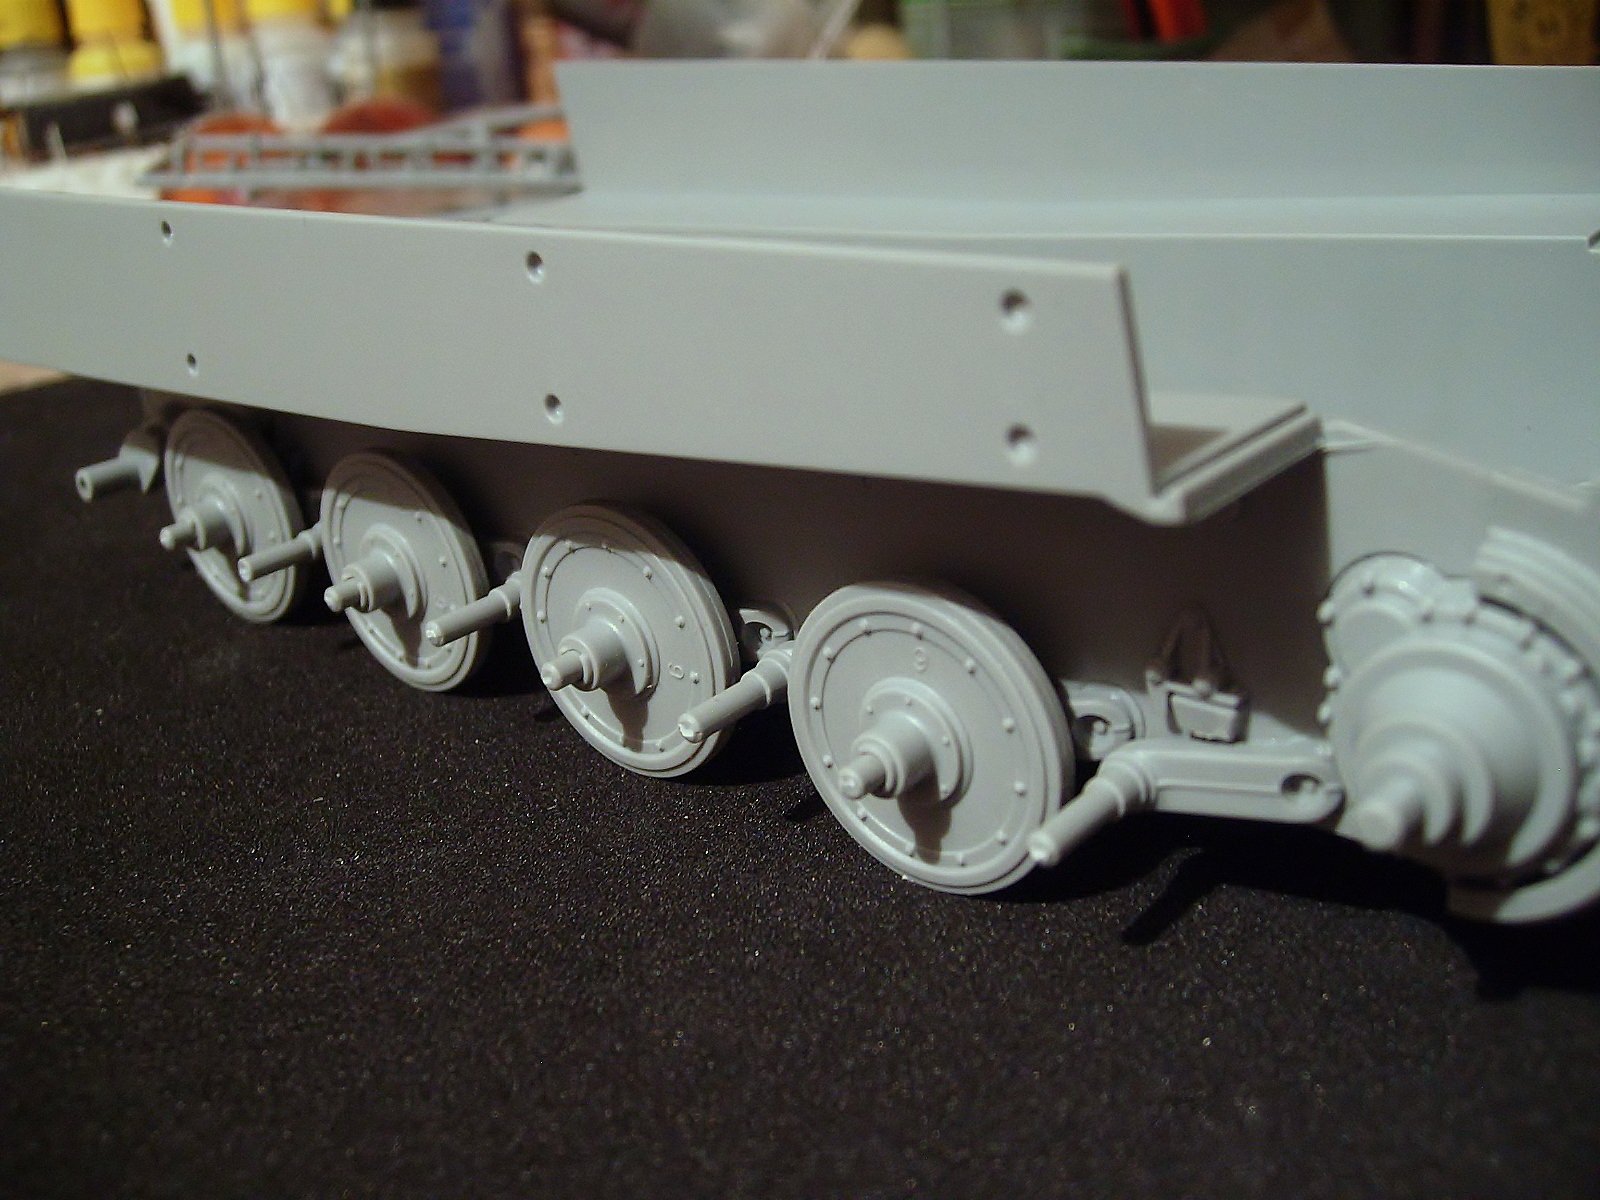
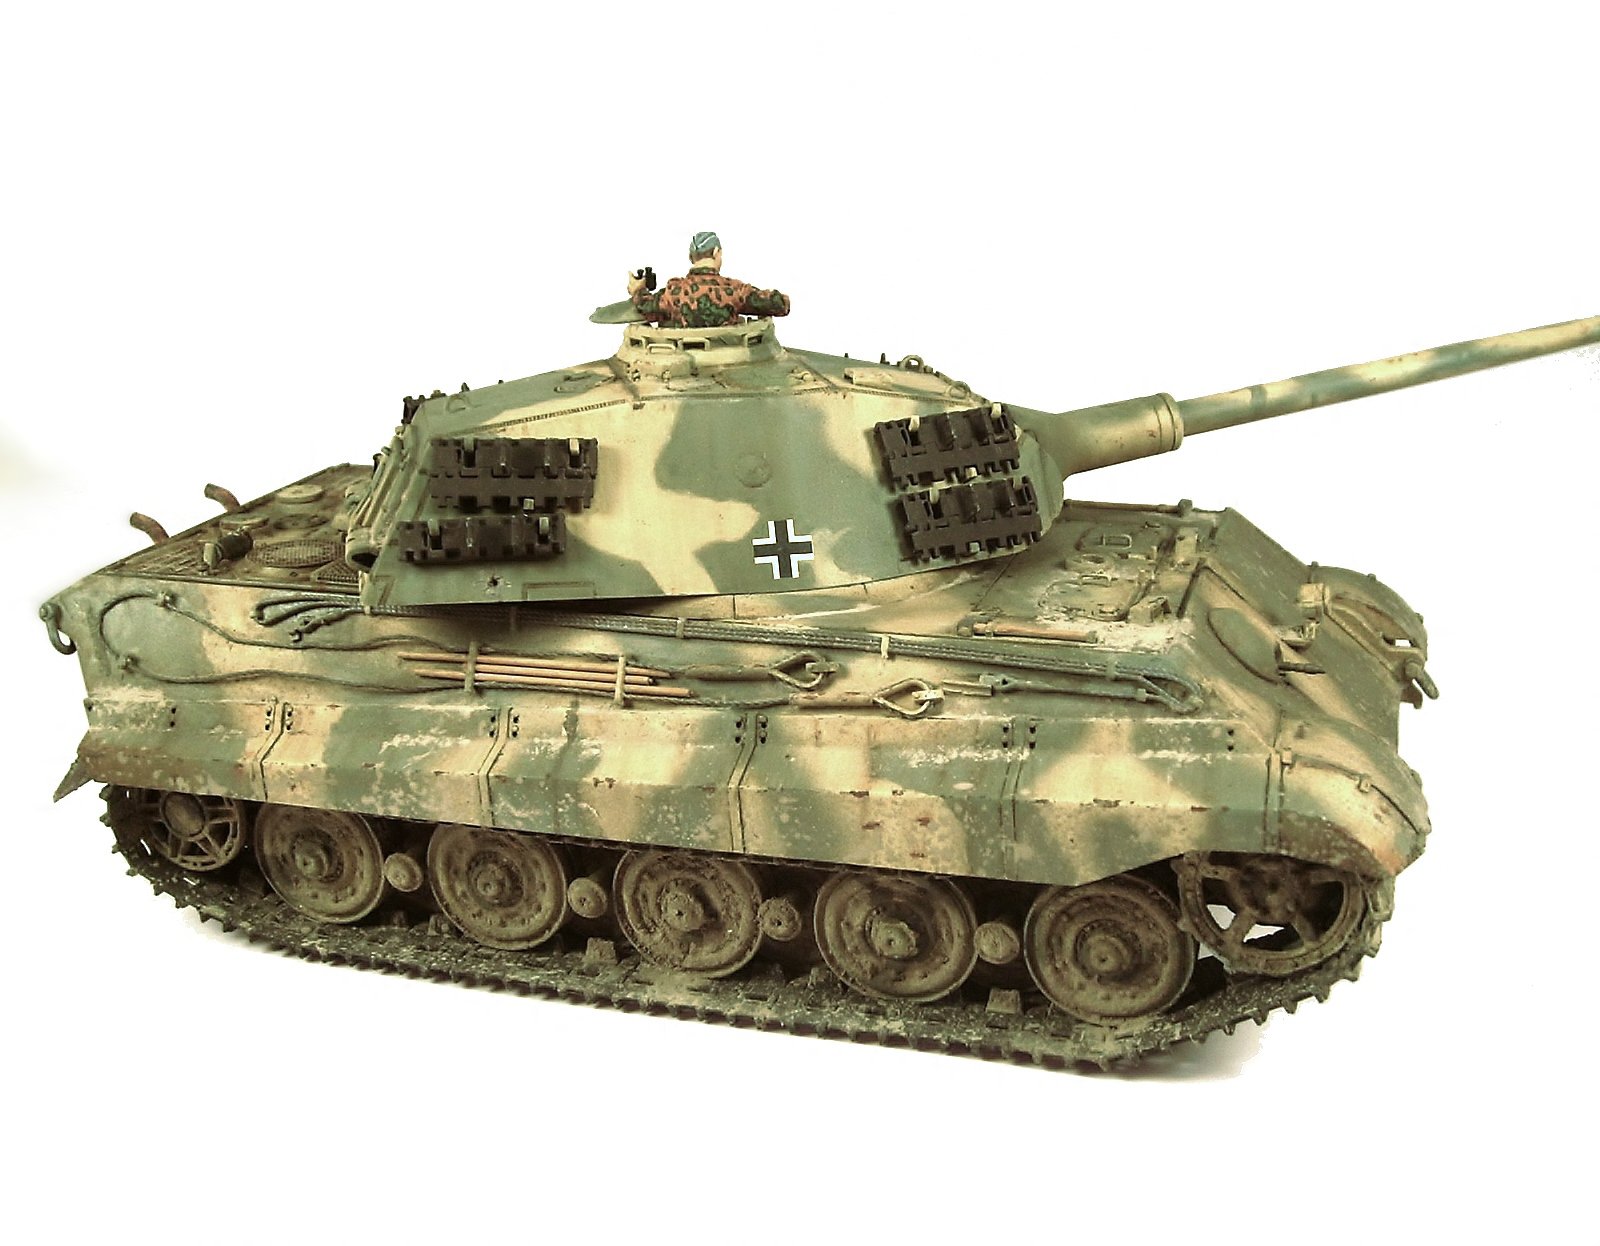
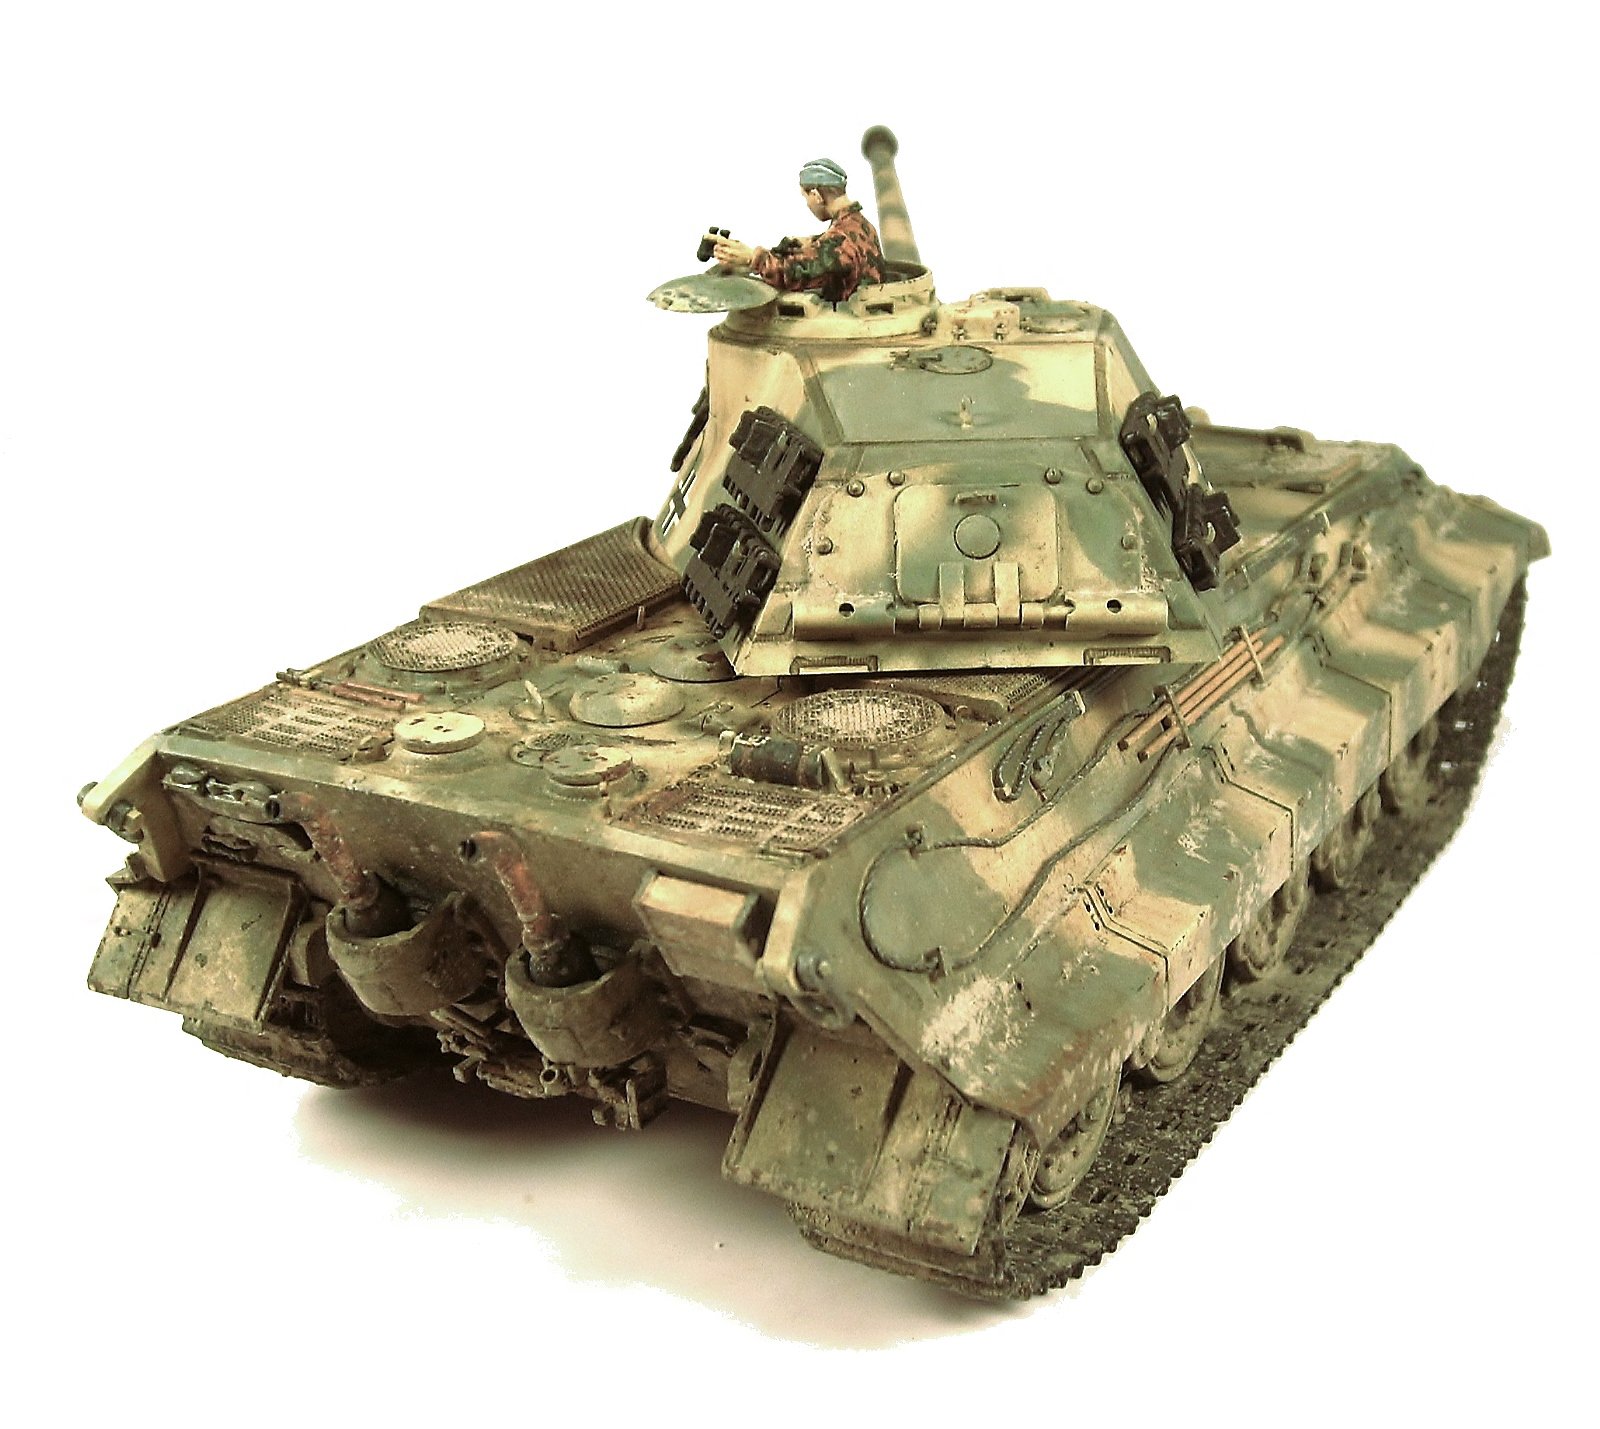
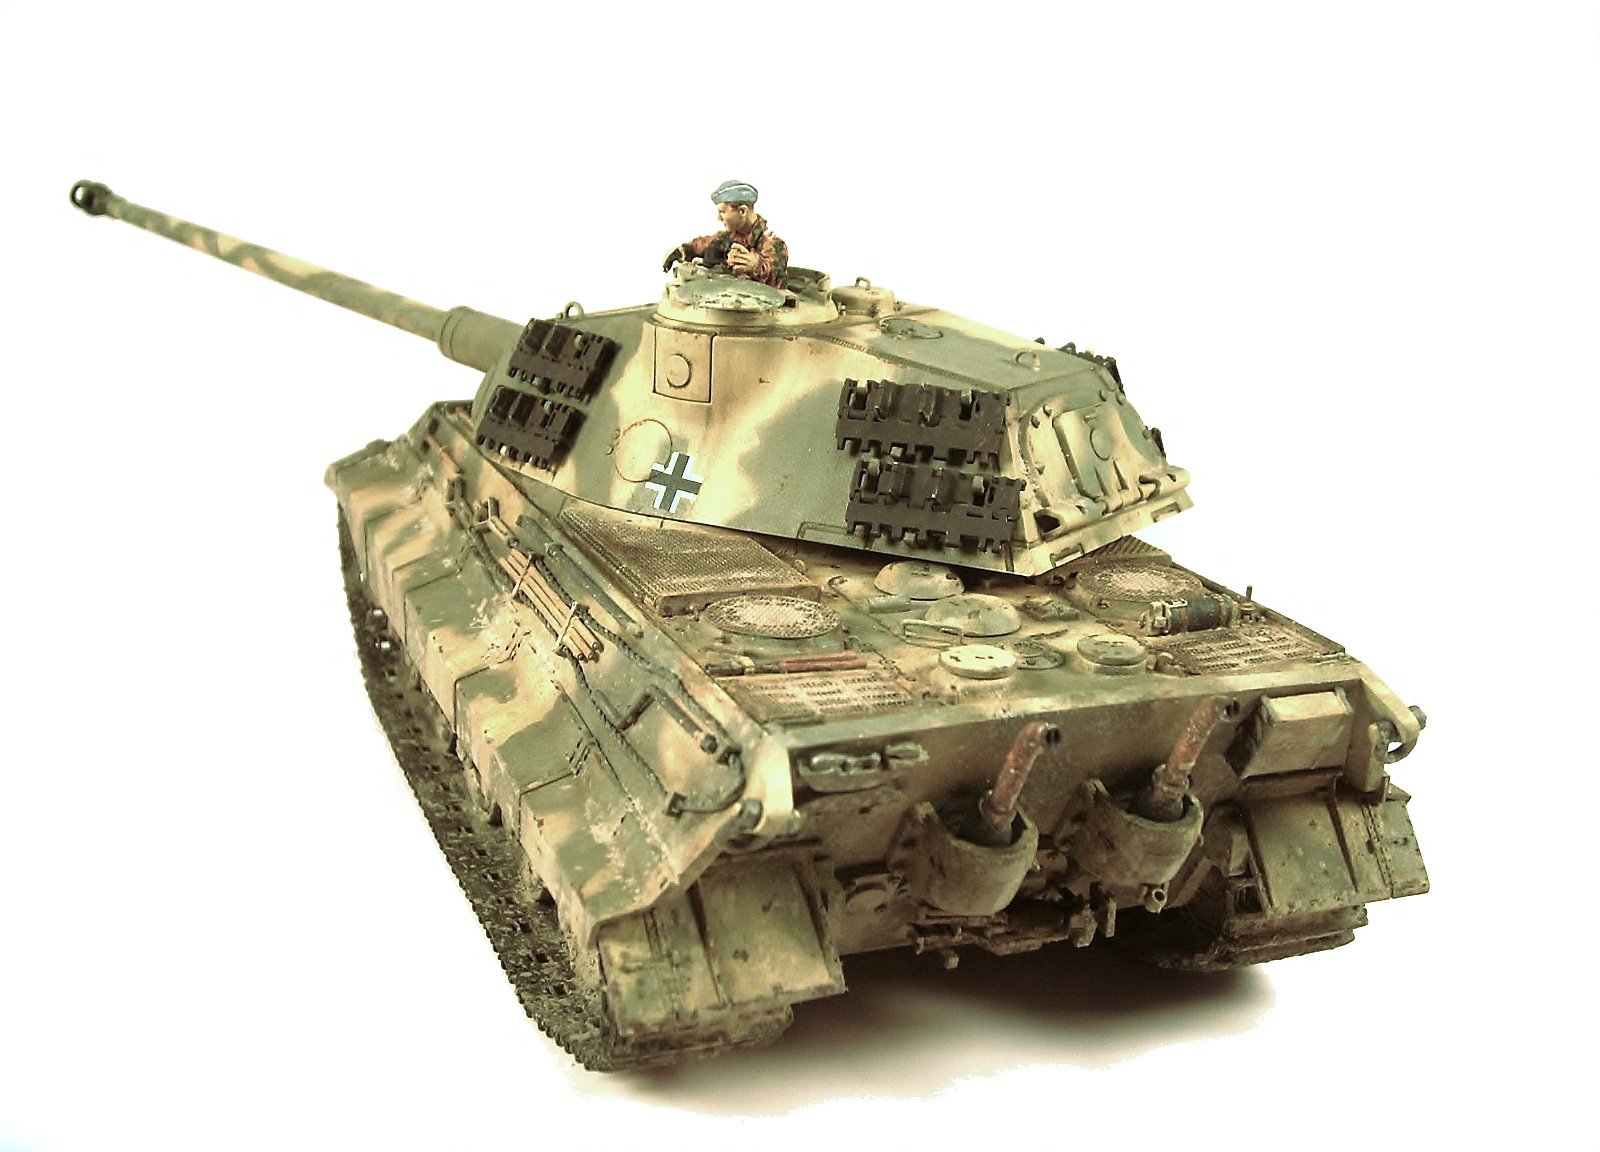
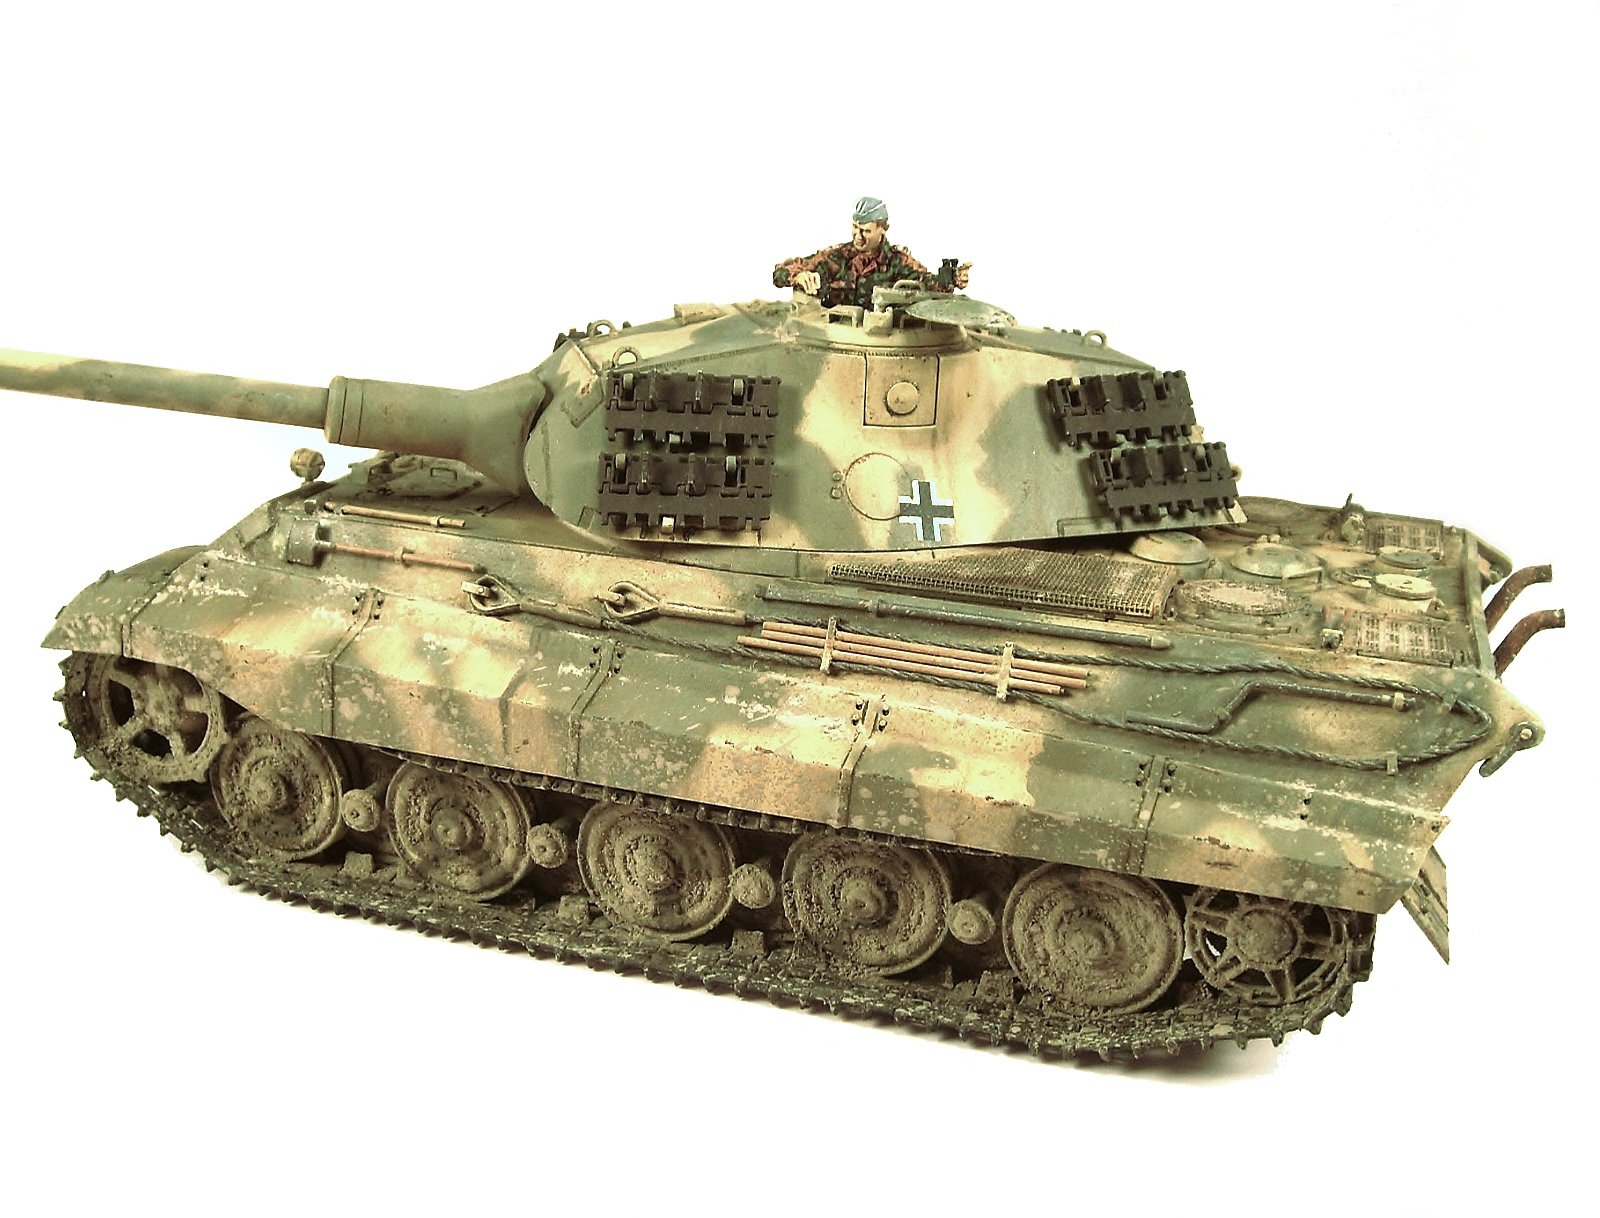
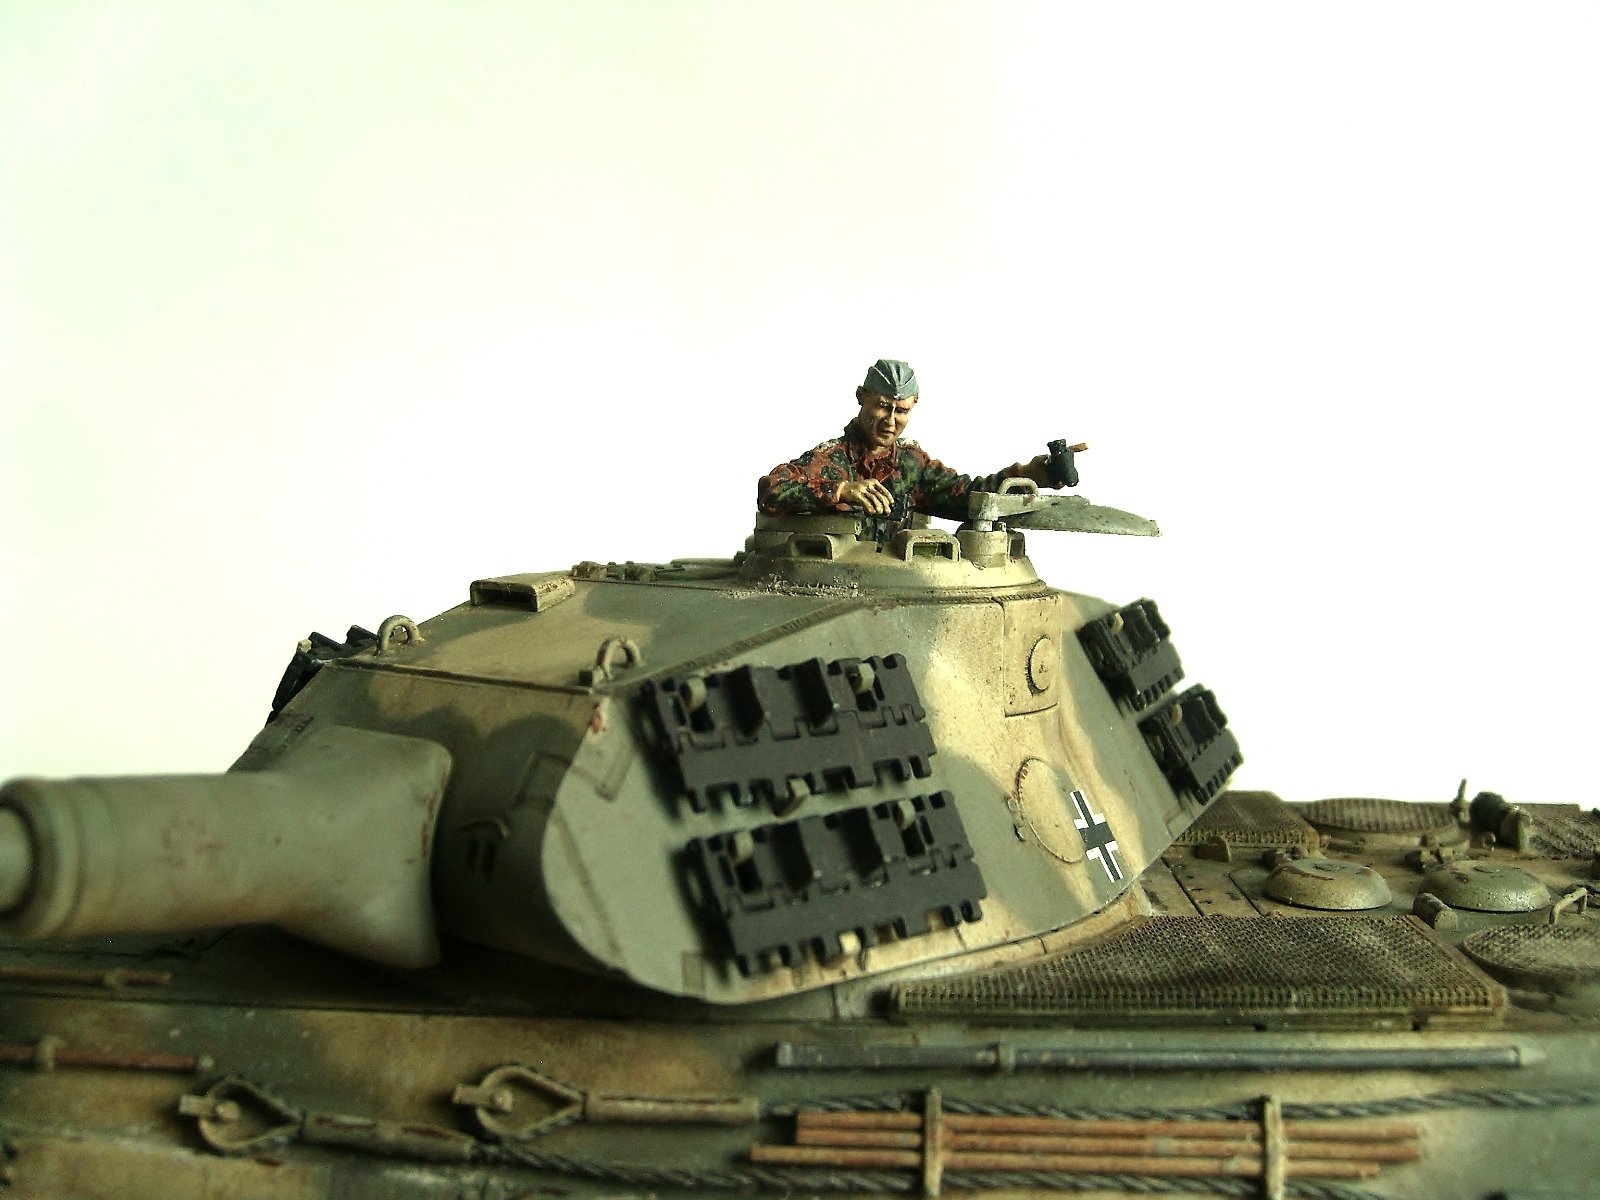
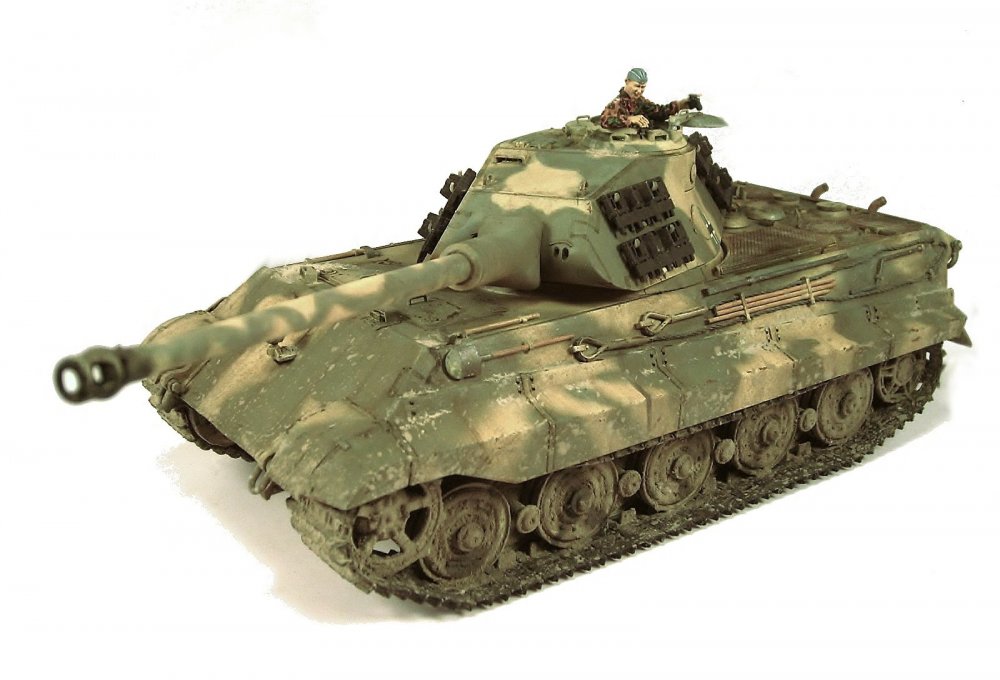
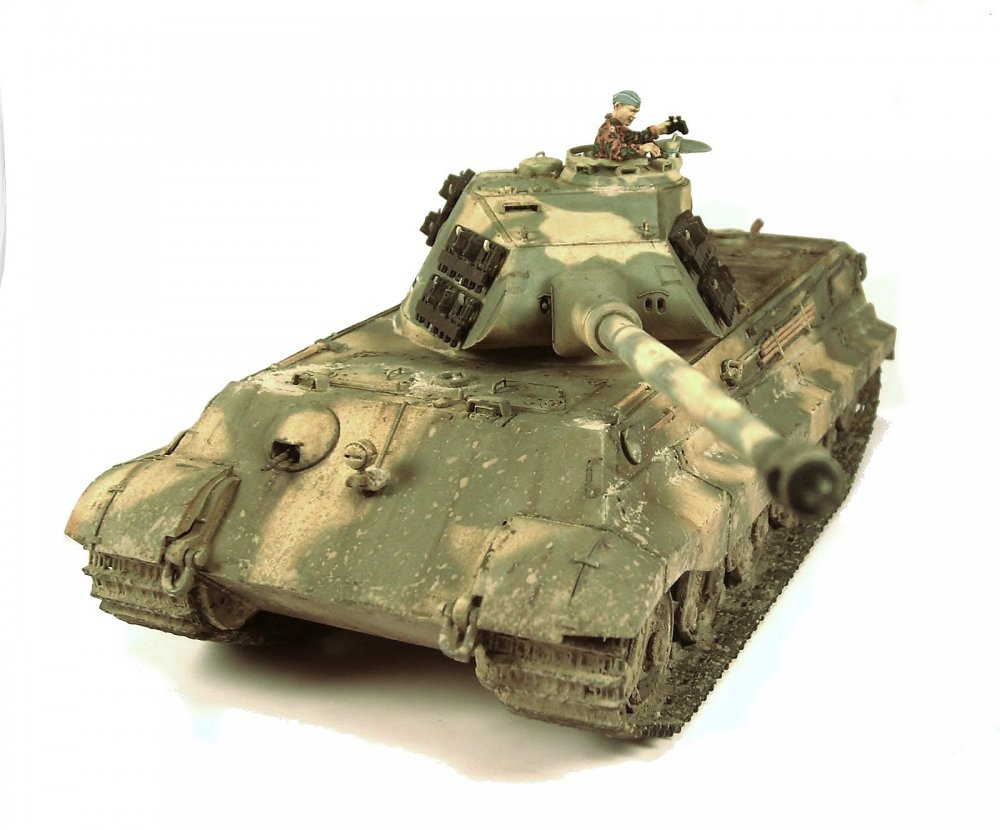
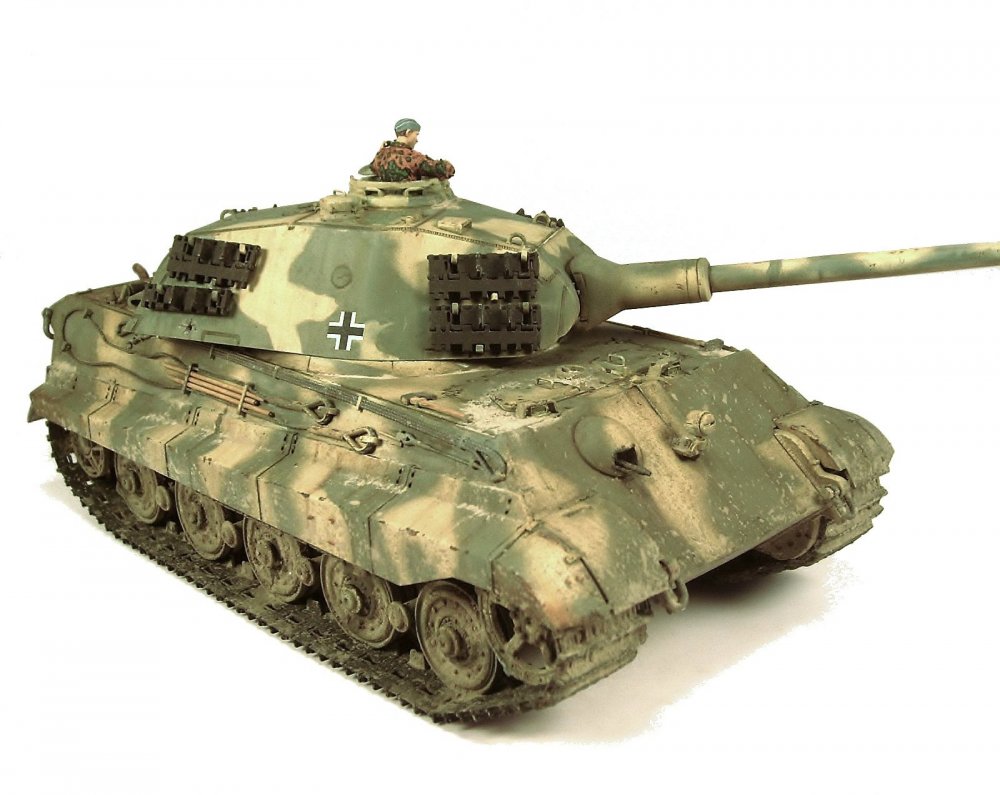
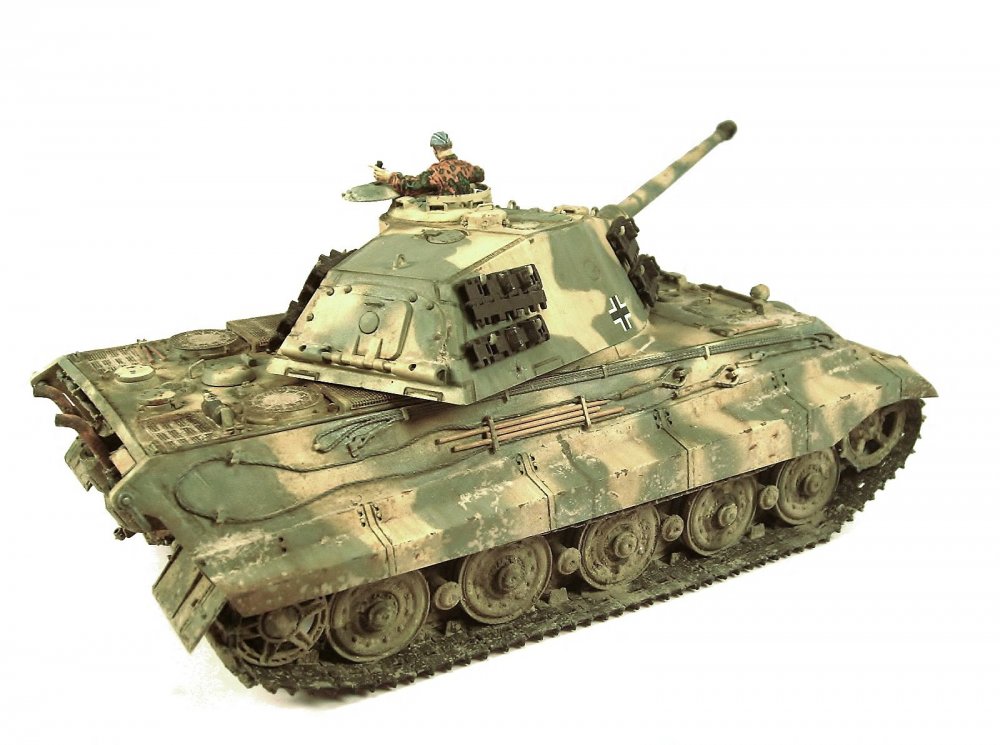
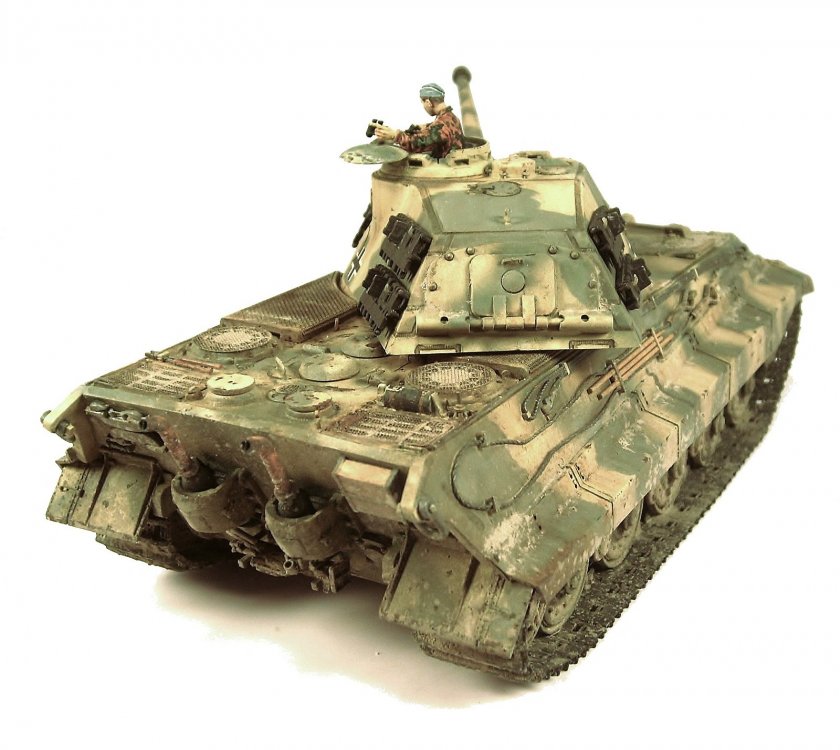
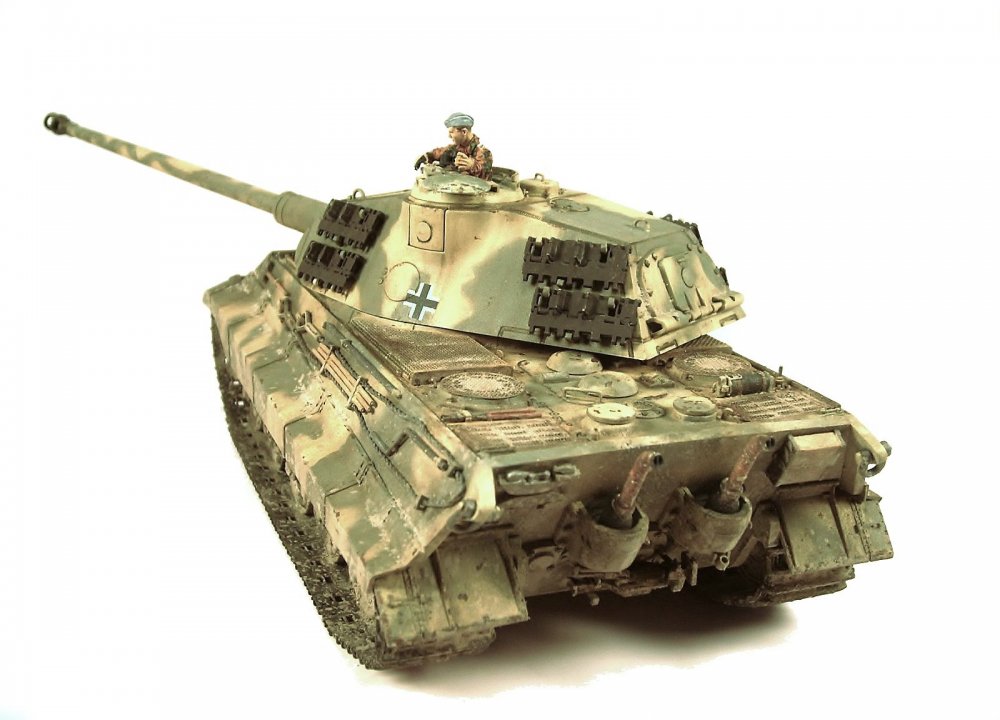
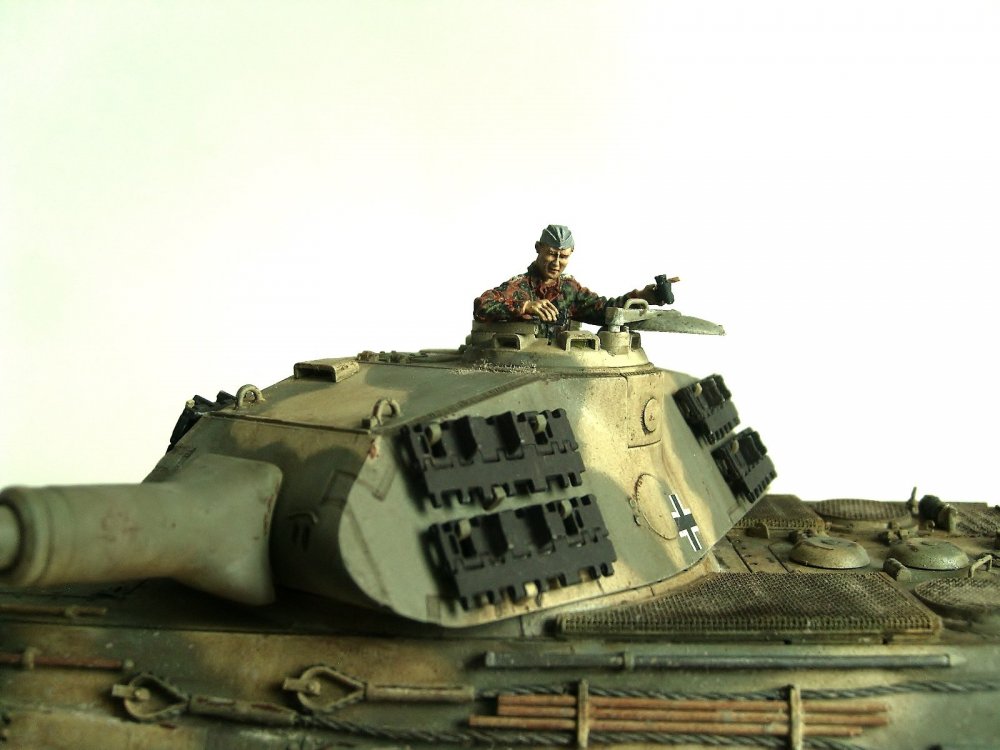
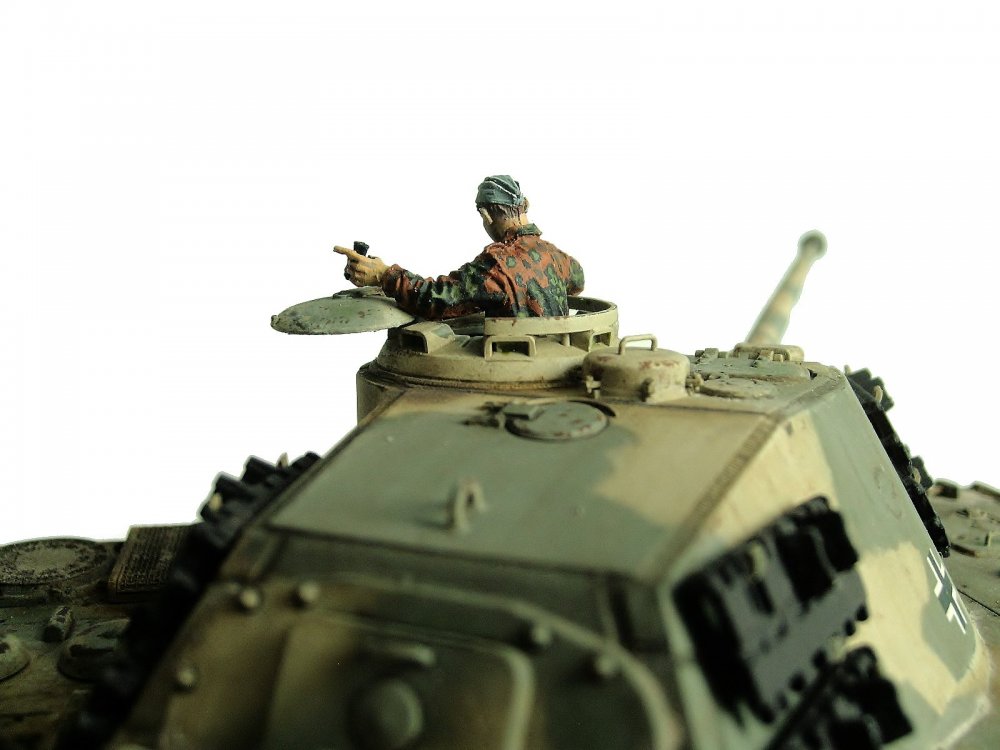
Hello friends! One of my las works. This kit features new, commander's dome hatches, new portholes that can be opened or closed, the rear hatch can be open or closed, new muzzle, new tool set, metal tow cables, improved MG machine gun, hooks Metal 'U', New Exhaust Covers, Upgraded Wheels, Now With 'Snap' Magic Track Chains Photo Cut Parts For Tools, Turret Plates, Preformed Engine Grilles, Inner Hatch And Replacement Chains Over the turret. Aluminum turned barrel and decals are included to make the versions: 3./s.Pz.Abt. 503 in Hungary, 1945 (Winter); s / Pz.Kp. (Fkl) 316, France 1944 (Panzerbraun); s.Pz.Abt. 506, Arnhem 1944 (green over Panzerbraun); Unidentified Eastern Front 1944 (tricolor); and s.Pz.Abt. 503, Normandy 1944 (tricolor). SPECIAL NOTE: Rescuing the Kingtiger Porsche 1/35, hee,hee: Some days ago I saw a Kigtiger Porsche in poor condition, he started the hull very bad, finally I gave an offer to the ex-owner and now is mine; the kit was began with hull bad worked and it not have tracks, sprocket wheels and more pieces, Sep/14/20, I started the re-construction of it. (I bought the tracks for separate and the kit coming withouth PE, the ex-owner lost them) Painted using: Vallejo and AMMO/MIG Weathering and splashes using: AMMO/MIG Oilbrushes - AMMO/MIG


- 11 replies
-
- 10
-
-

-
RFM Panzer IV Ausf H (Early)
Rodolfo Torres Vazquez replied to Bomber_County's topic in LSM 1/35 and Larger Work In Progress
I finished it, thanks! -
Tamiya Sturmgeschutze IIIG with Ostketten
Rodolfo Torres Vazquez replied to GazzaS's topic in LSM Armour Finished Work
Excellent work Gazz!!. Stugs with Osketten tracks specially for me are very nice! Regards! Rodolfo -
RFM Panzer IV Ausf H (Early)
Rodolfo Torres Vazquez replied to Bomber_County's topic in LSM 1/35 and Larger Work In Progress
Excellent WIP Phil! Regards! Rodolfo -
Thanks for your kind comments! Regards! Rodolfo