
Rodolfo Torres Vazquez
-
Posts
138 -
Joined
-
Last visited
Content Type
Profiles
Forums
Events
Gallery
Everything posted by Rodolfo Torres Vazquez
-
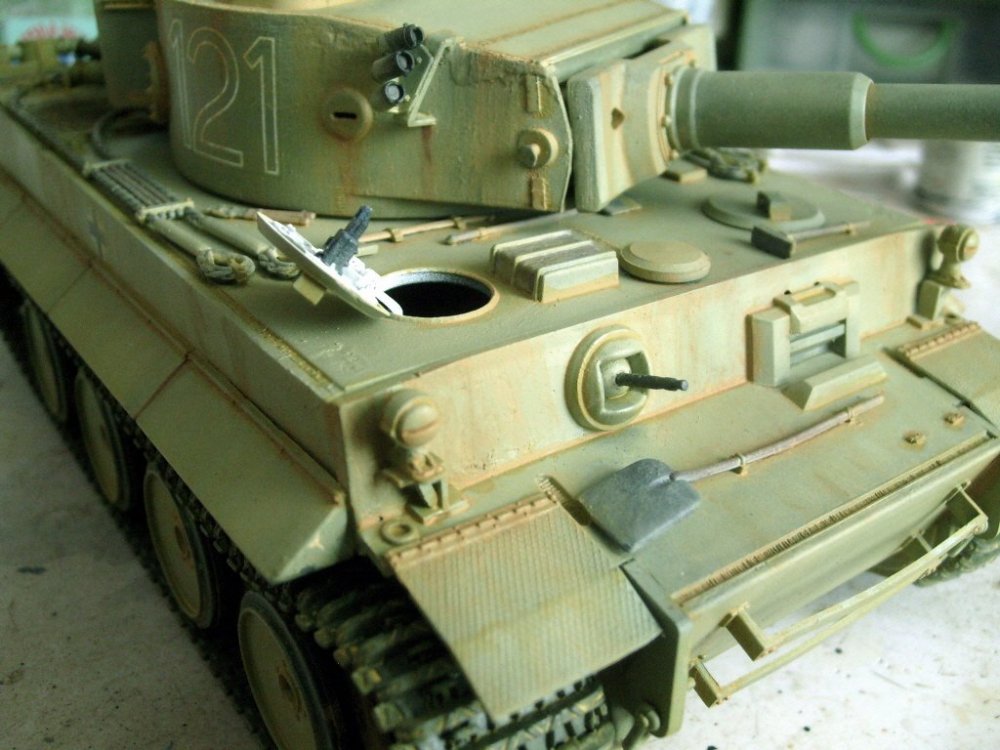
 More updates! Tools are ready!. Paints used Vallejo and Humbrl: cleaning rods, V-Model Color- #984, flat-brown, V-MC#70912,tan-yellow and H- #56, metallic. Cutting pliers, V-Model Color #70818 red-leather mixed with V-MC#981 orange- brown (50-50), and the rest with V-MC#984, flat-brown and H-#56 metallic. Mud on the tracks using: Vallejo, acrylic-resin (paste), brown-earth Retouching the tracks with Humbrol #27002, Metalcote polished Aluminium. Regards! Rodolfo
 -
Thanks for the observation, I am changing them Regards! Rodolo
-
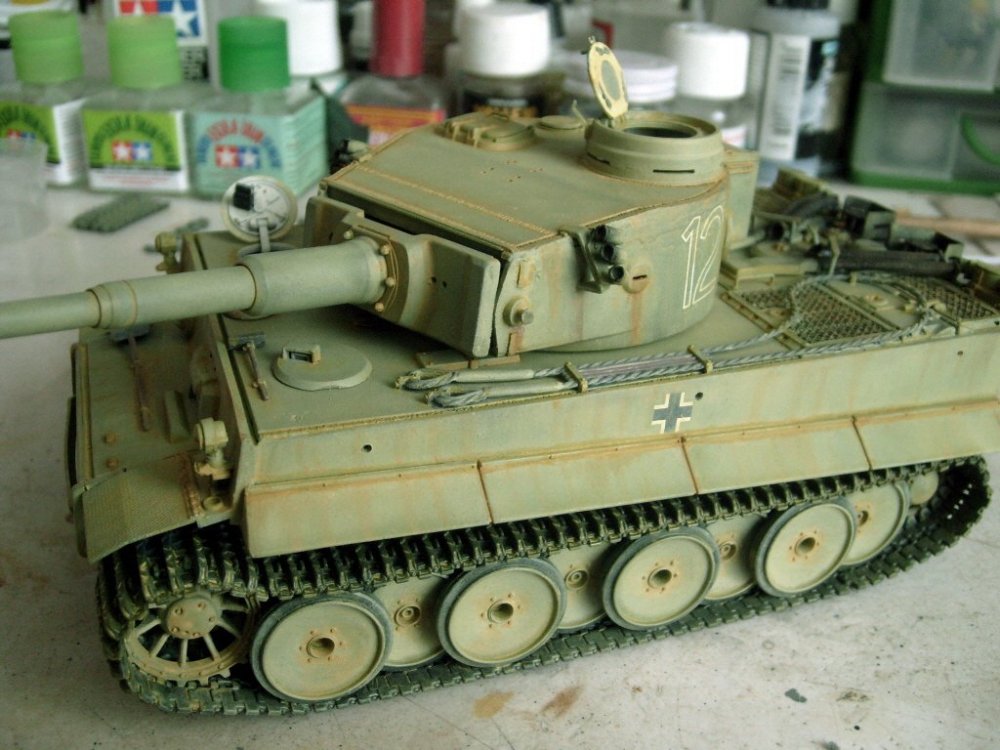
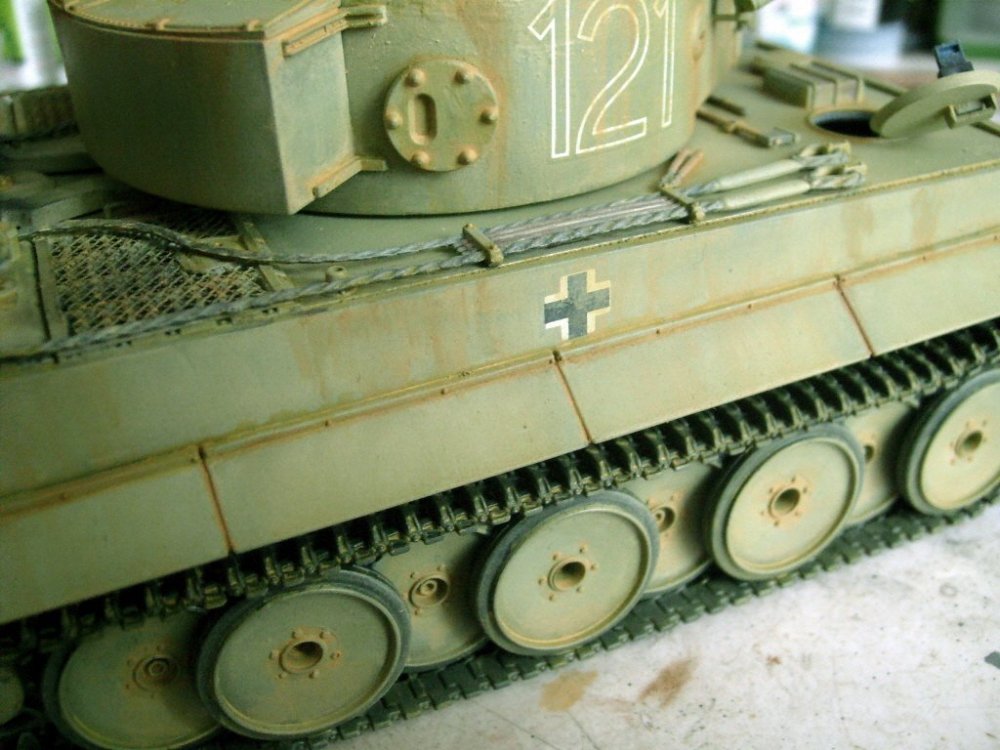
More updates! Camouflage and decals are ready!. For the camo I used: Vallejo / Model Air #71012, dark-green. Regards! Rodolfo
-
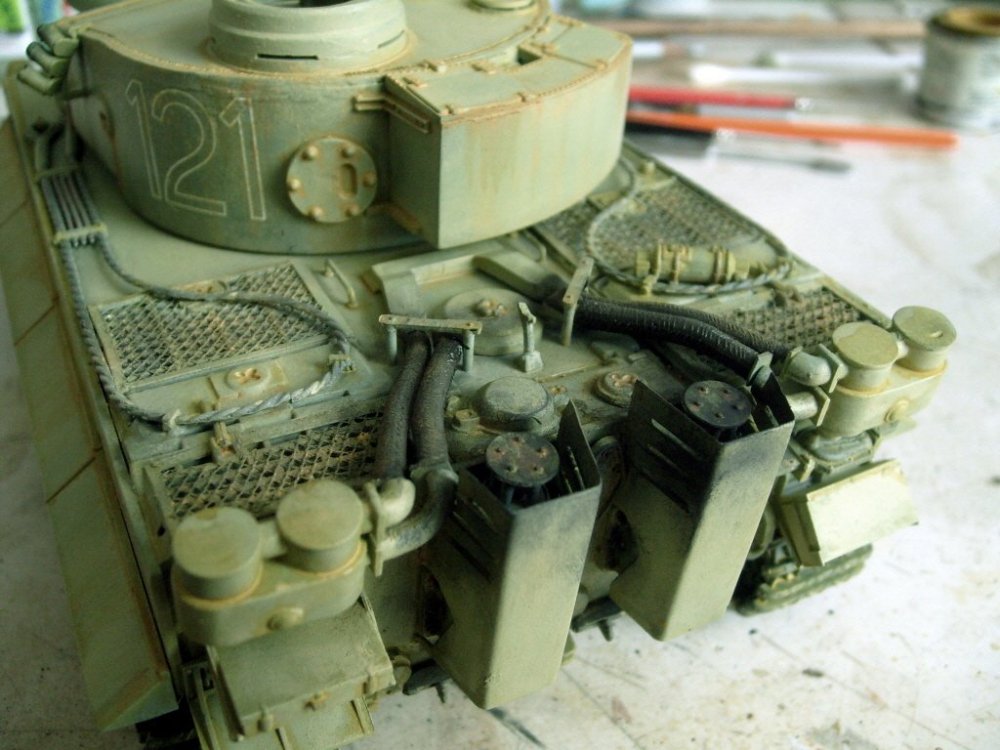
More updates: Before to airbrush the tracks and wheels I used Parafilm for cover the sides. Paint used: Vallejo #71056, black-grey. Now, airbrushed the rest of the armor with no protection on the tracks and wheel, the effect will be natural when I start the weathering, (only a small retouch in the wheels and track sides). Paint used: Vallejo #71028, sand-yellow; and the interior of hatches were painted with: AMMO MIG Interior Color, #A.MIG017, cremeweiss. Next step: Camo. Add the decals. Paint the tools and treat the tracks continuing the weathering assambling the side plates. Regards! Rodolfo
-
hello frieds! Thanks for your comments!. Really is easy, the arms of assemble it coming with great definition in order to glue to the hull. I need space for paint the tracks, with the plates added is not possible in a 90% (above) because the space is reduce. I can also comfortably paint the tools on the back, do it with the assembled plates is possible, but a bit uncomfortable. Regards! Rodolfo
-
I applied the Tamiya Fine Surface Primer, now I will wait some hours before to start the painting! Regards! Rodolfo
-
Thanks for the tips about the PE and tracks, In the past I worked with Friulmodel and are an excellent tracks too. Regarding the Easy Metal Tracks, maybe I will try in future! More updates! Finished the build work!. (the sides are not glued yet, first I will treat the tracks). Next step: I will apply a coat of Primer before to paint. Regards! Rodolfo
-
Thanks for your kind comments friends!. Yes, this is a good shortcut for treating the tracks. More updates! The Photoetched are very rigid (hard), but can be worked without probems. Tracks ready!, In the pic 4 I saw a desaligned track, but after of take the photo was arrenged. Regards! Rodolfo
-
Treating the tracks: 1) - cut the horizontal bars in order to give more space for the following step. 2) - Using a medium round (or round) tool file and filing along the tracks. Ready 1 sheet of 76 tracks in less than 3 minutes!, after of this photo only I retouched 3 tracks, really useful and quick!! Regards! Rodolfo
-
Thanks for your kind comments friends!. I would like to know also what the designers thought for add many pins Mounted the Air-intake Covers, the plate of vent oppening (compartment roof), driver vision port and headlights. Making holes to the Periscope gun sight and ready!. Regards! Rodolfo
-
Thanks Jeff, but no problem, I have patience , it's still tedious, before it was boring for me, but now I see it entertaining. Removing 10 bolts + i plate with bolts and to drill 2 holes in order to add the plate of vent oppening (compartment roof). Regards! Rodolfo
-
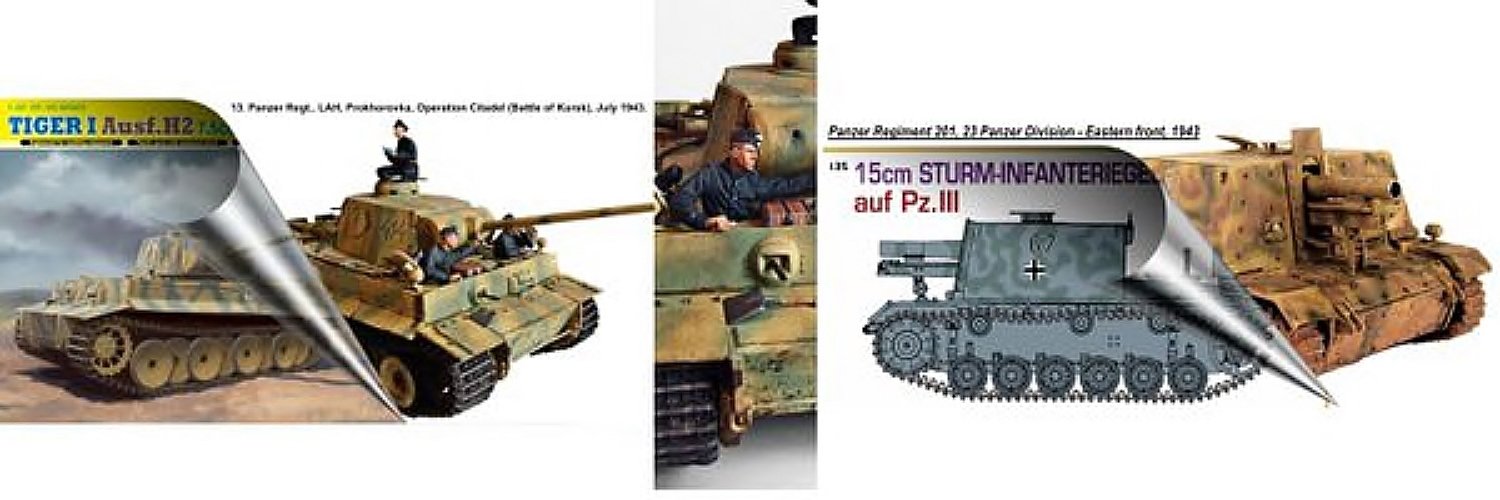
Hello friends! Past May 25/2019 I started my new Project: Dragon Stug III Ausf F, Sdk. Fz. 142/1. I will started to cleaning the drive wheels and idler wheels The instructions indicate that it is necessary to remove the simulated hatch line and fill a hole (in both sides). Ready, I filled the hole using Putty de Vallejo If you ir a beginner, you must be careful with the assembly of suspension arms because in the instruction sheet is inverted. Some pieces have an imperfections, but they were resolved using Putty of Vallejo. I added holes to the exhaust pipe with silencer. The rear part did not fit correctly, in order to arrange this, I used styrene into the chassis and filled with Putty of Vallejo on the out part The plate of air intake grid it came too big, for adjust into the rear it was necessary to cut the sides. The work with the chassis is ready. The plastic is a bit brittle, at the moment of sandering you must nedd more careful of the normal. Next step: The tracks, here you can see that it came with 2 marks of pin in each link. After of this tedious work I will return with more updates. I will use the old technic of the cutter, but finally I decided to continue the work with the hull and wait almost to final with the tracks. Regards! Rodolfo
-
Thanks for your kind comments Phil! Regards! Rodolfo
-
Thanks for your kind comments friends! Regards! Rodolfo
-
Tiger I Ausf. E/H, Tunisia
Rodolfo Torres Vazquez replied to Rodolfo Torres Vazquez's topic in LSM Armour Finished Work
Thanks for your kind comments friends!, yes, build an armor is funny, i recomment to do it. Regards! Rodolfo -
Dragon Tiger 1 w/zimmerit next up!
Rodolfo Torres Vazquez replied to JohnB's topic in LSM 1/35 and Larger Work In Progress
Great!, from the Otto Carius Panzer-group, nice choice! Regards! Rodolfo -
Tiger I Ausf. E/H, Tunisia
Rodolfo Torres Vazquez replied to Rodolfo Torres Vazquez's topic in LSM Armour Finished Work
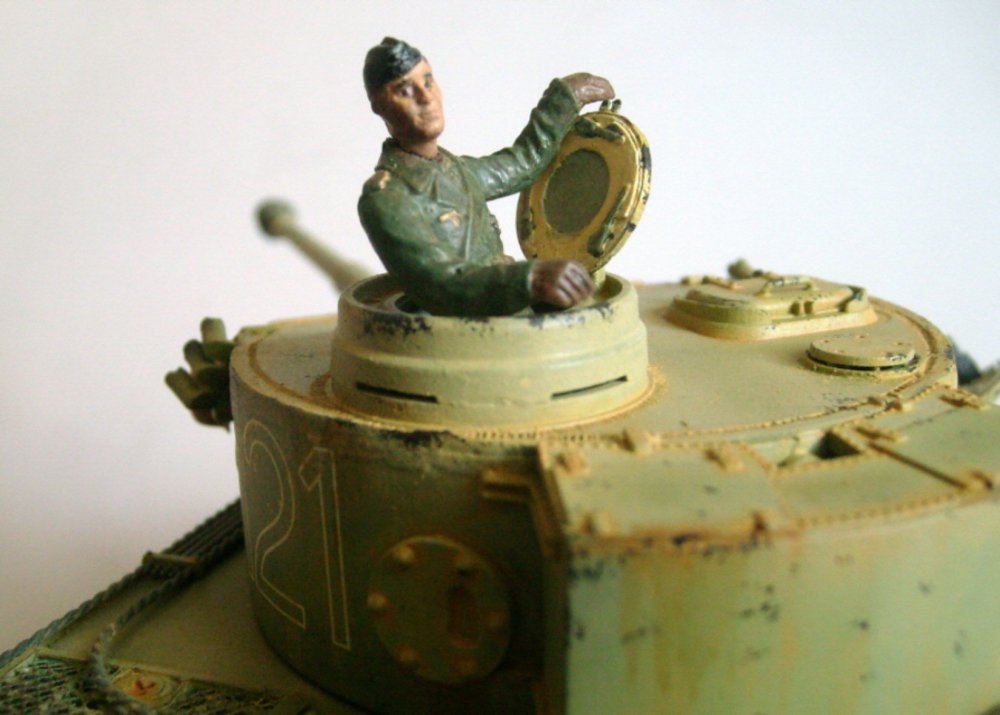
Added a Panzer Commander. Tamiya figure, 1/35. I am trying to enter seriously in the world of the figures . Obviously I am learning in this subject . I used only Vallejo paintings. Thanks for see!. Regards! Rodolfo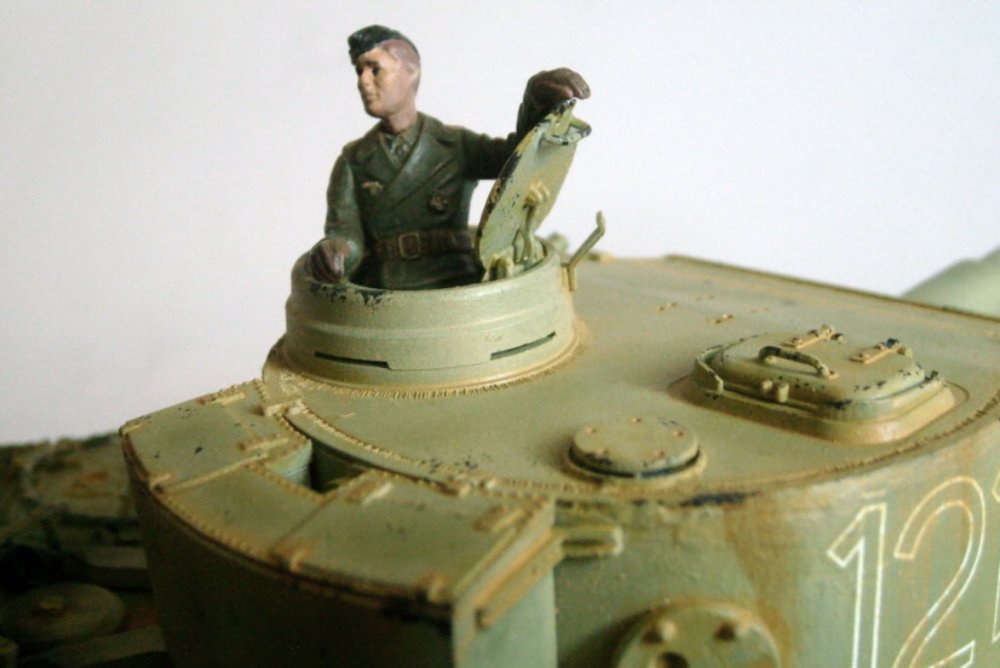

-
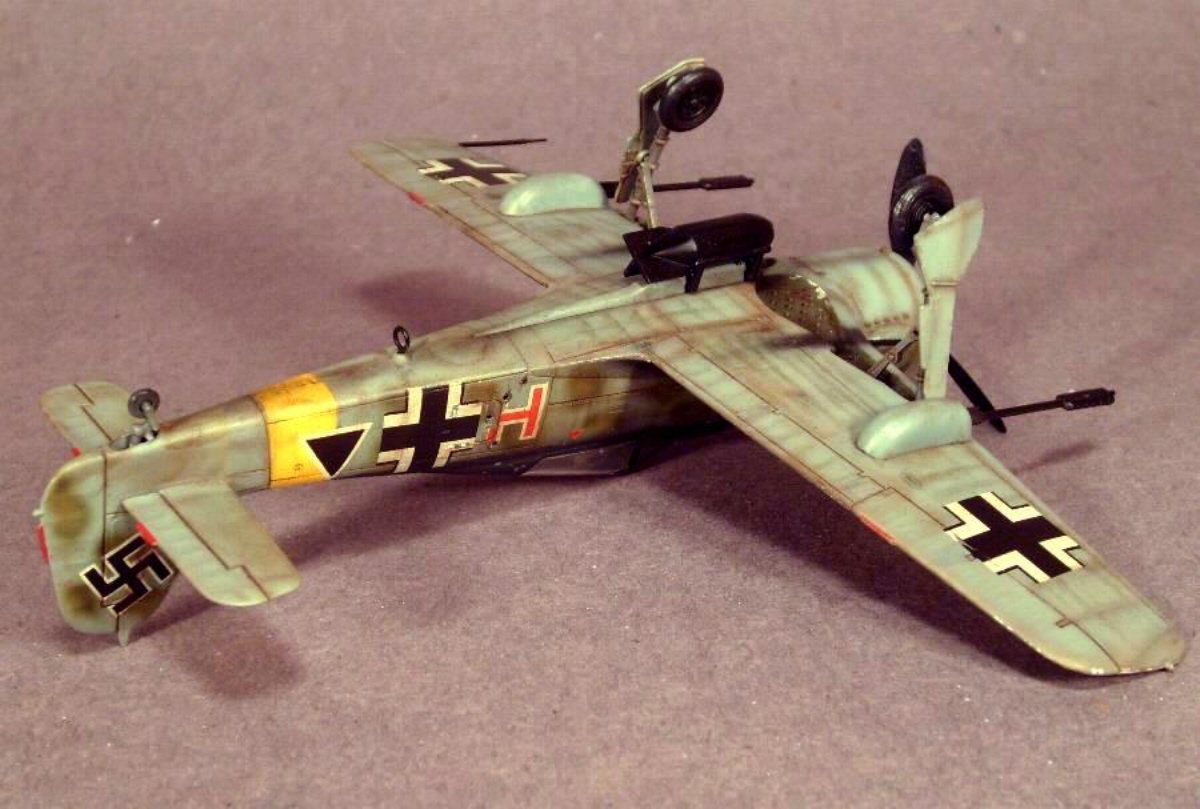
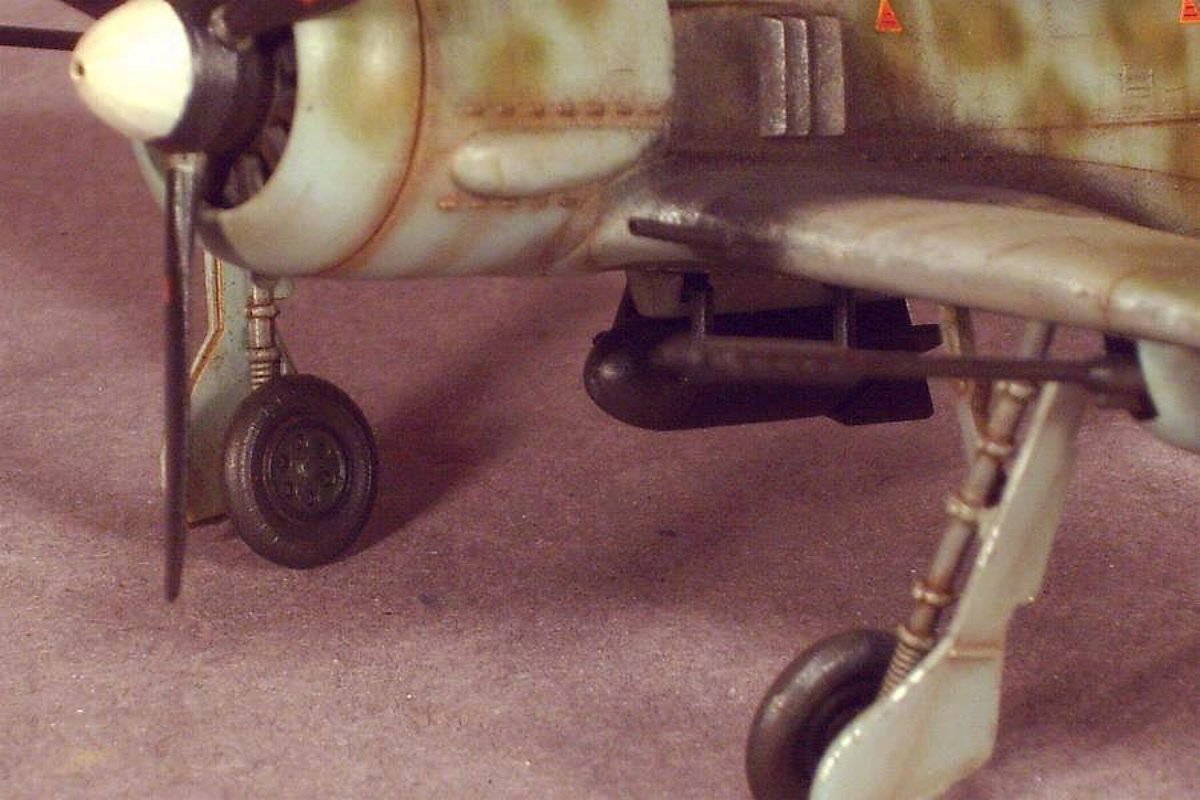
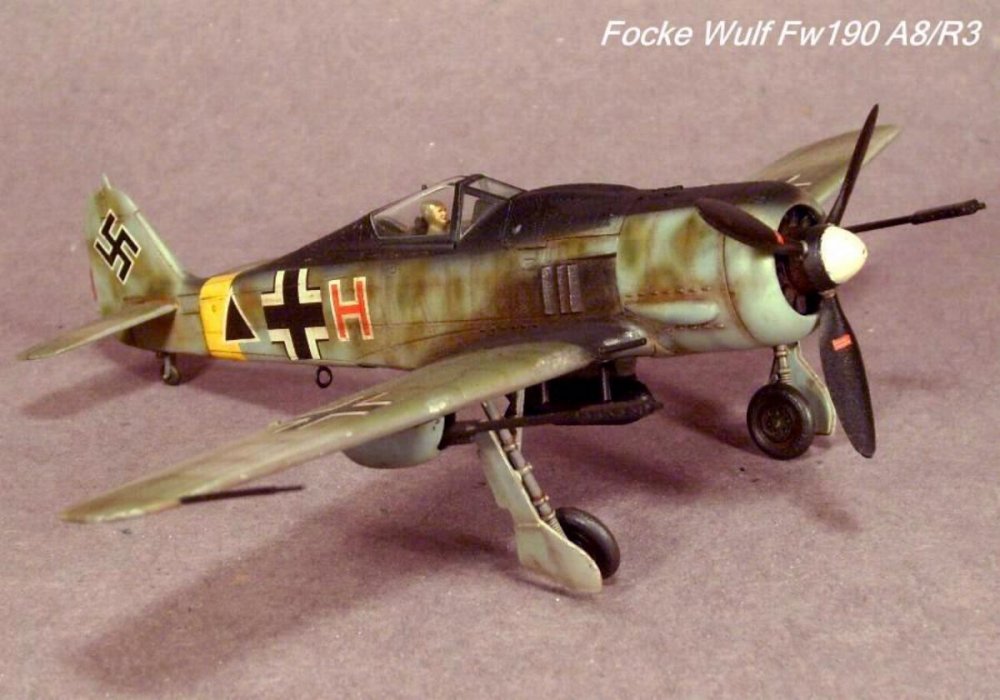
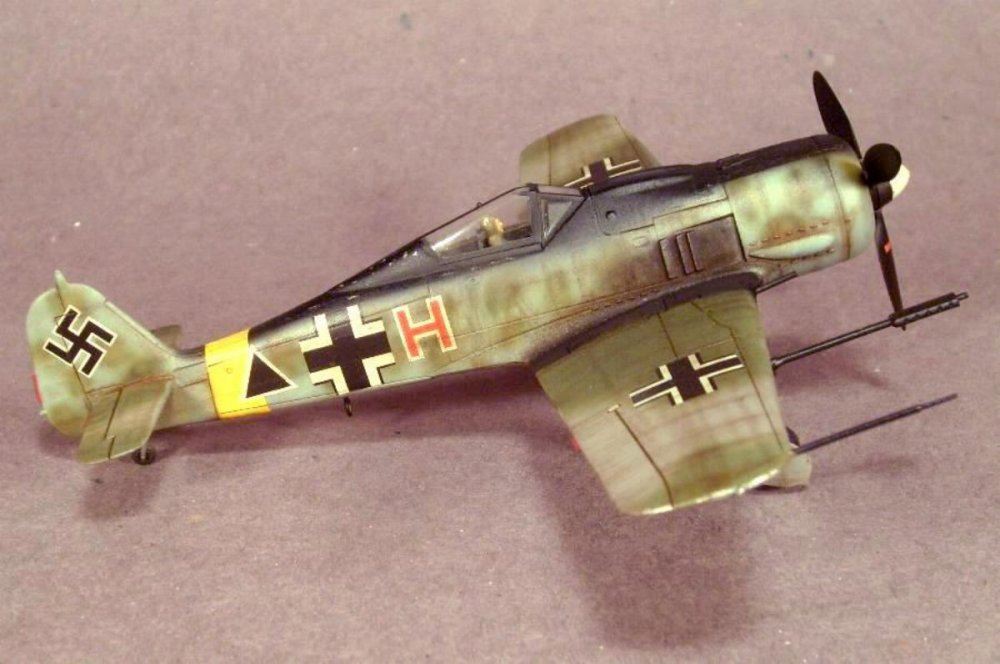
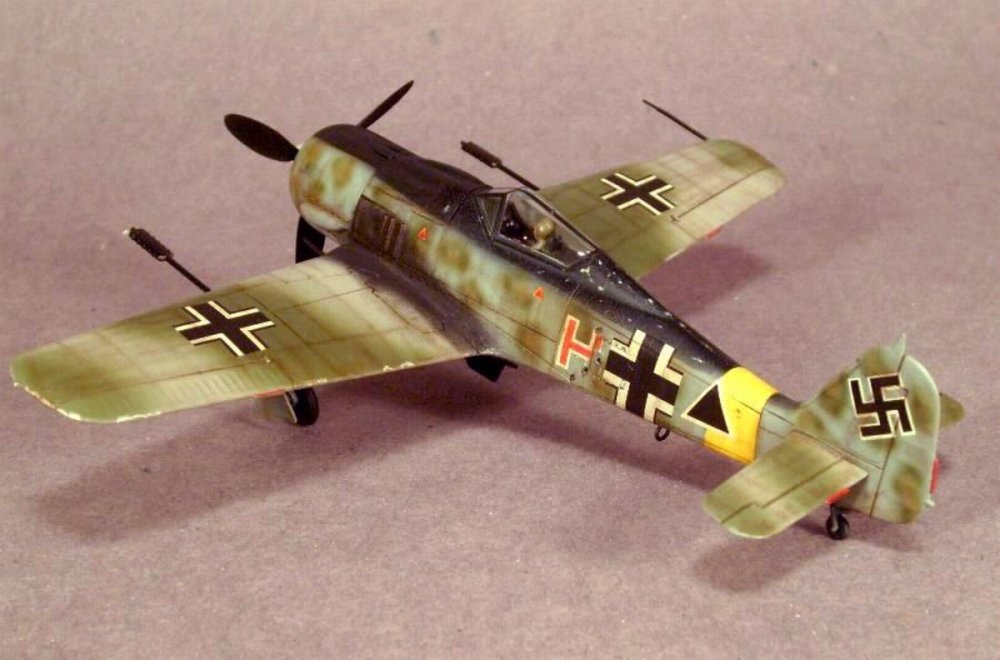
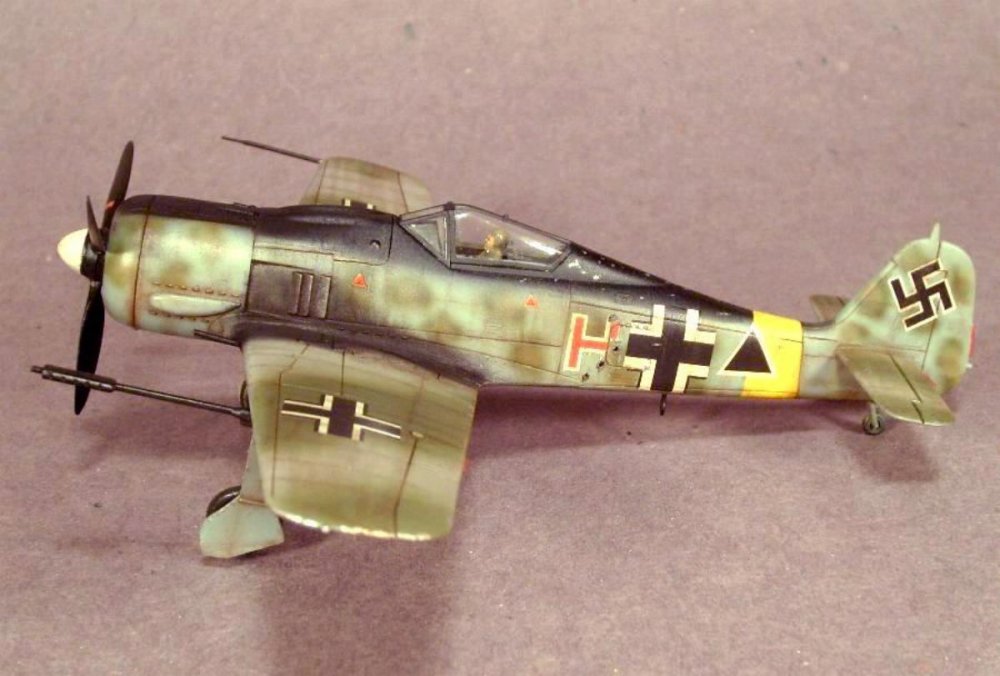
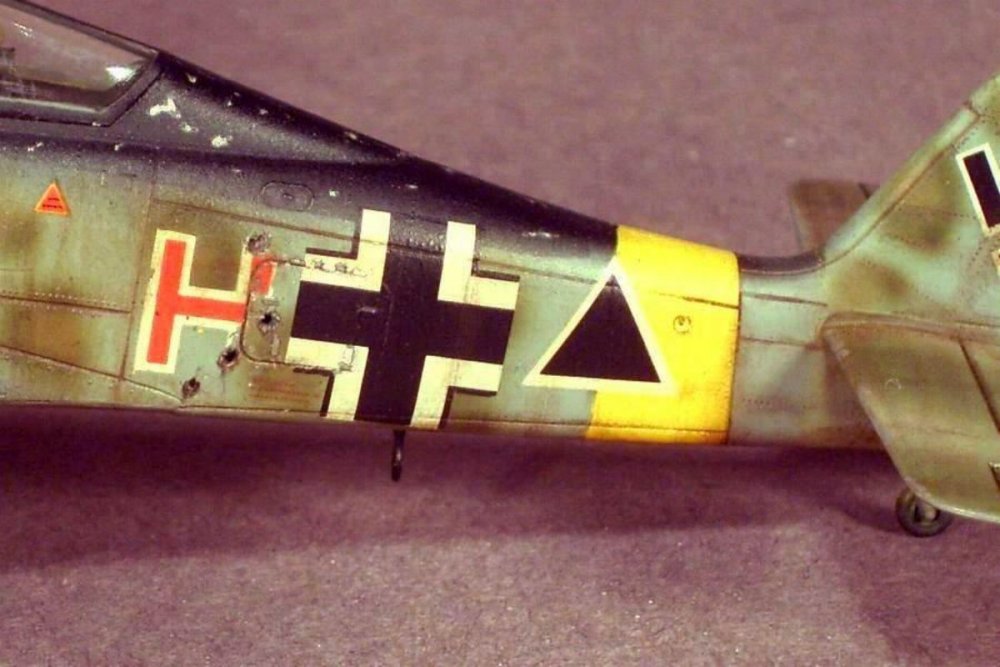
hello friends! This was my only aircraft I made 10 years ago. I am sharing with you this work which I hope you like. Regards! Rodolfo


-
Tamiya P-51D done
Rodolfo Torres Vazquez replied to JohnB's topic in LSM 1/32 and Larger Aircraft Ready for Inspection
Excellent work my friend! Regards! Rodolfo -
KH P-39Q started
Rodolfo Torres Vazquez replied to JohnB's topic in LSM 1/35 and Larger Work In Progress
Yes, the P39 is a nice bird, interested in following your project! Regards! Rodolfo -
Tiger I Ausf. E/H, Tunisia
Rodolfo Torres Vazquez replied to Rodolfo Torres Vazquez's topic in LSM Armour Finished Work
Thanks for your kind comments friend!. I am working in the Commander figure (The figures are not my specialty but I'm trying ) Regards! Rodolfo -
Tiger I Ausf. E/H, Tunisia
Rodolfo Torres Vazquez replied to Rodolfo Torres Vazquez's topic in LSM Armour Finished Work
Thanks for your kind comments friends! Regards! Rodolfo -
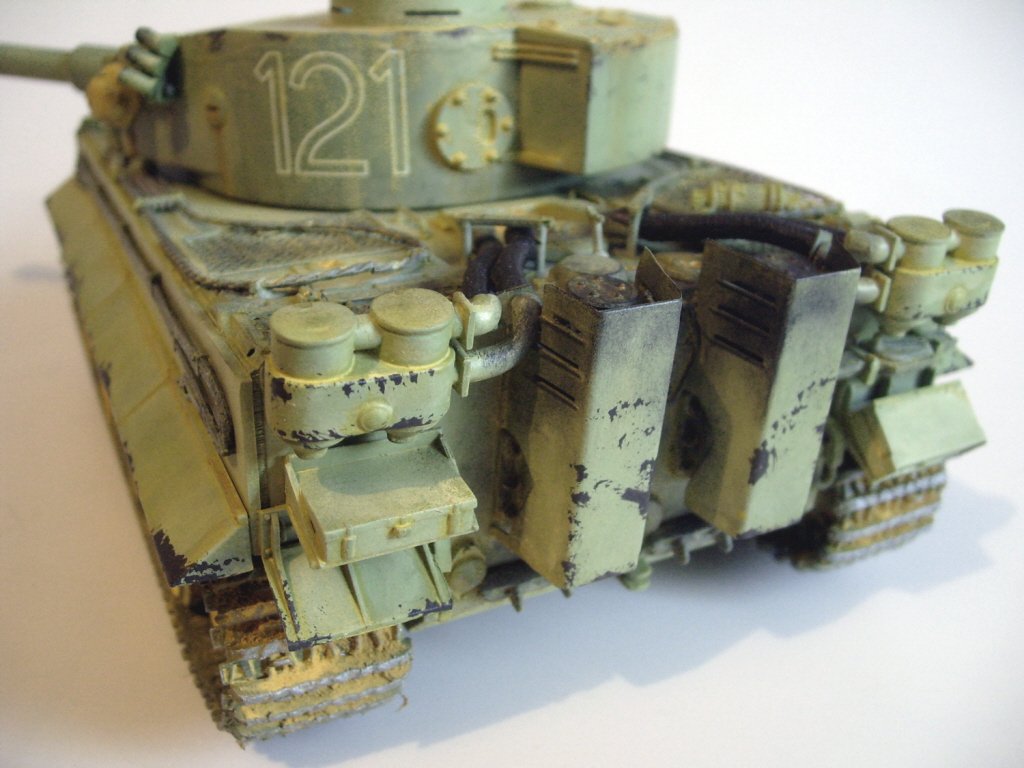
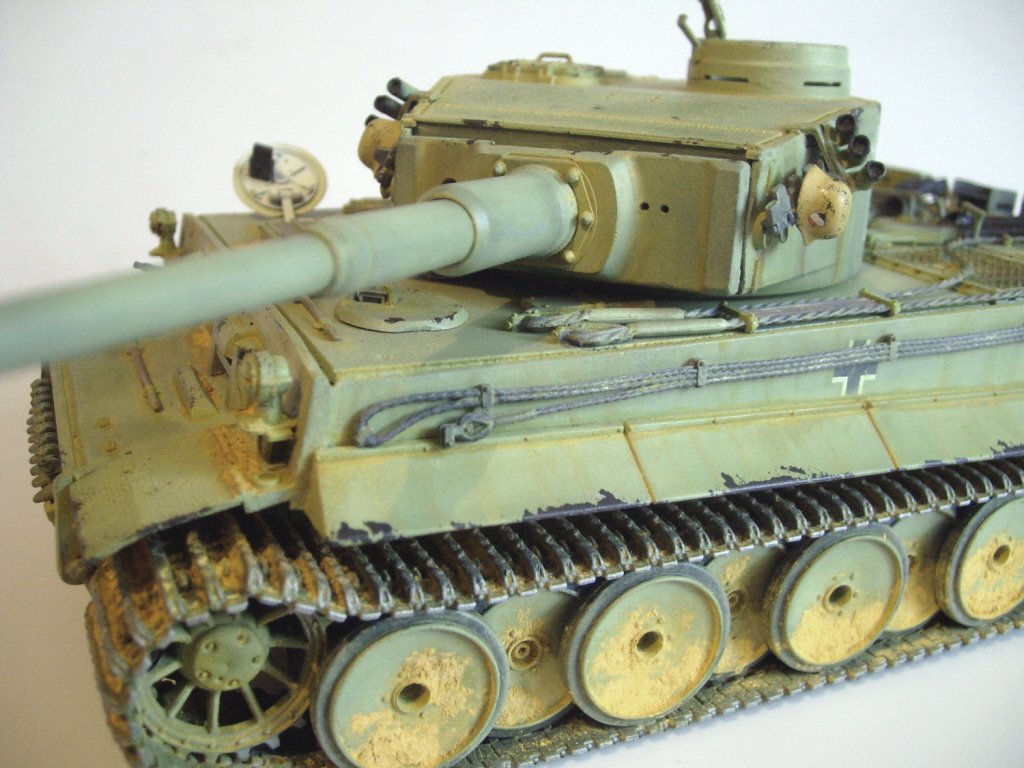
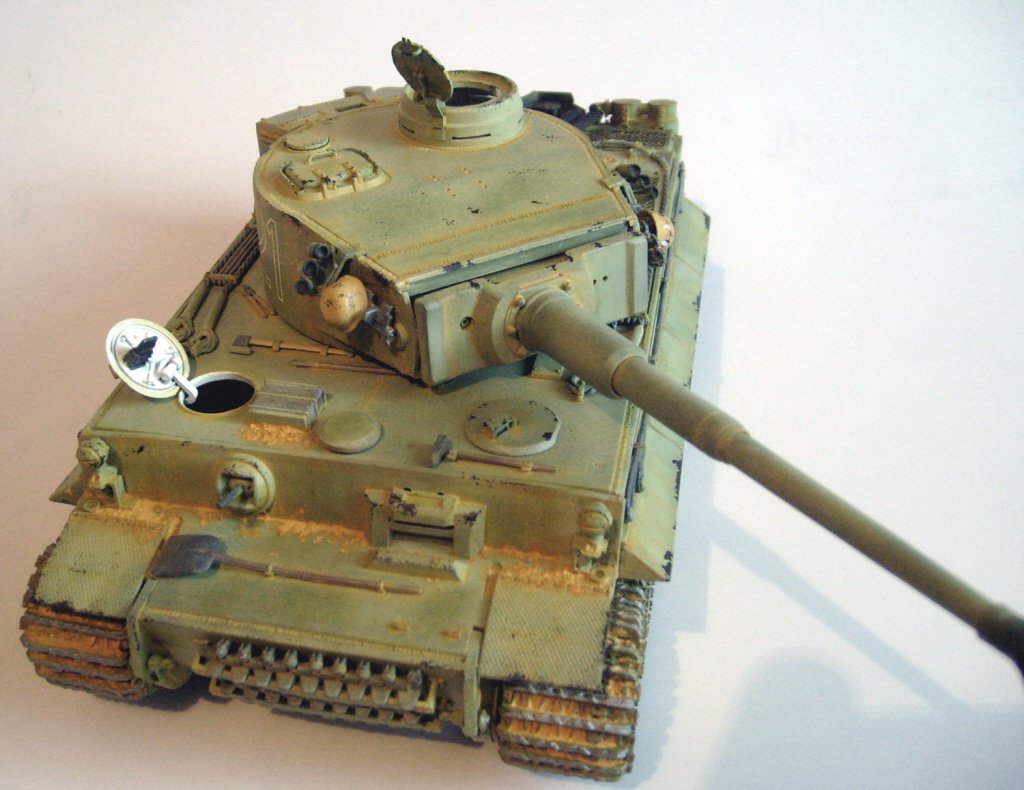
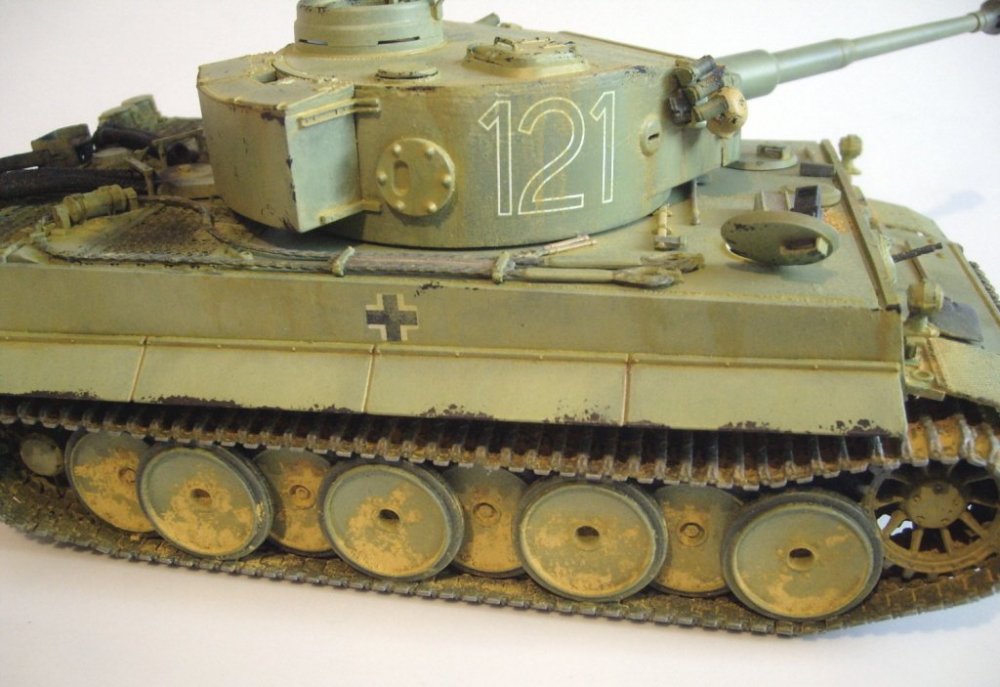
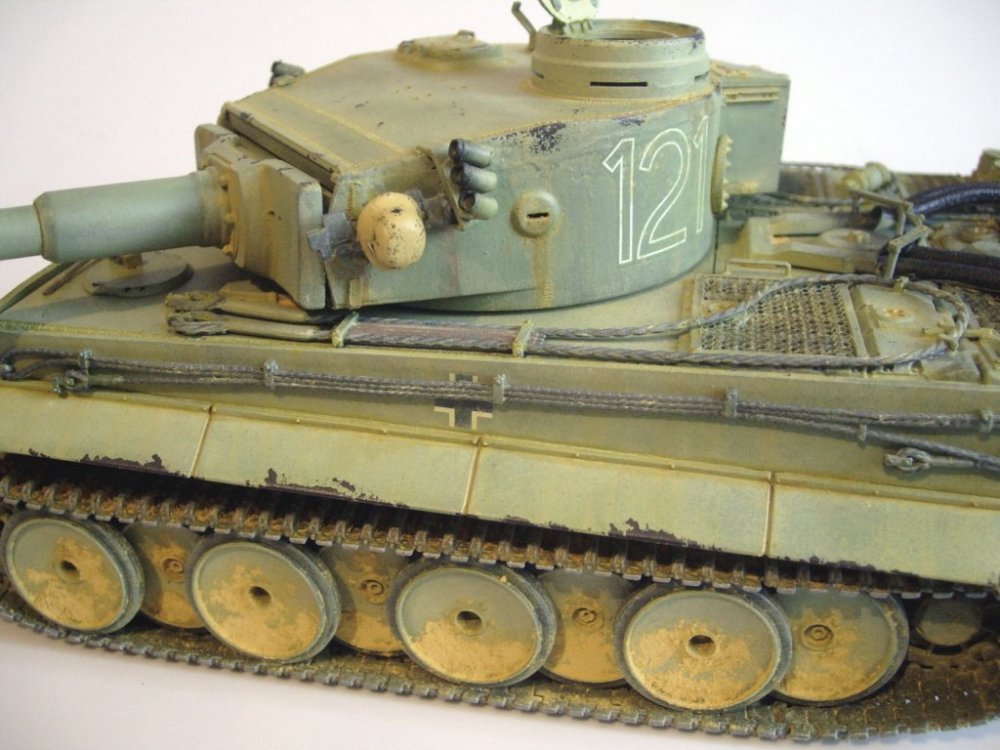
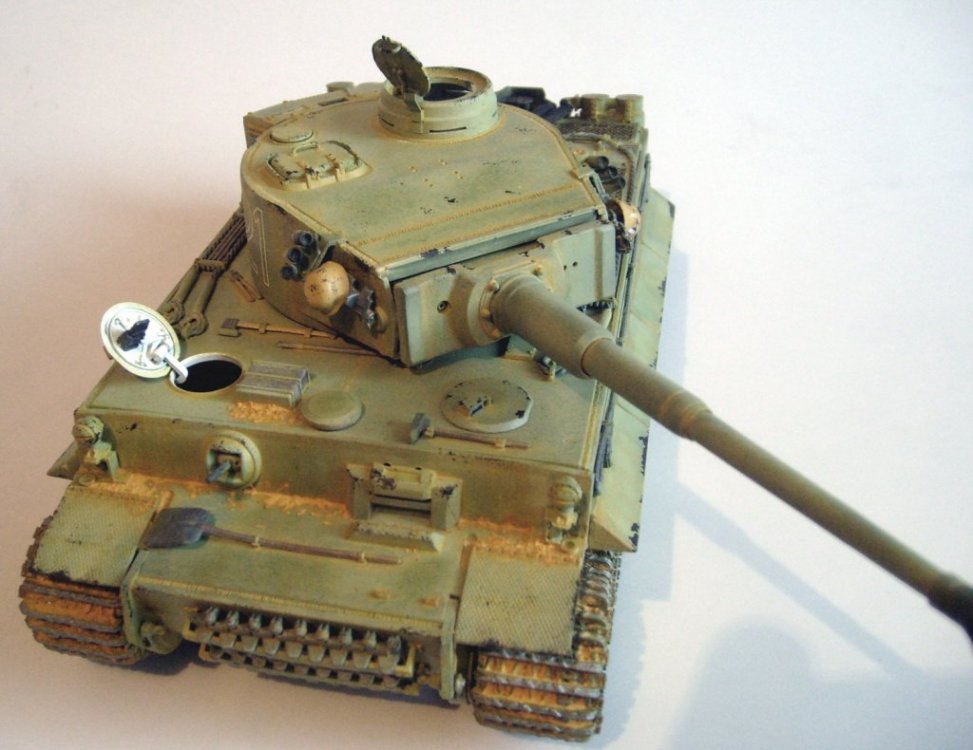
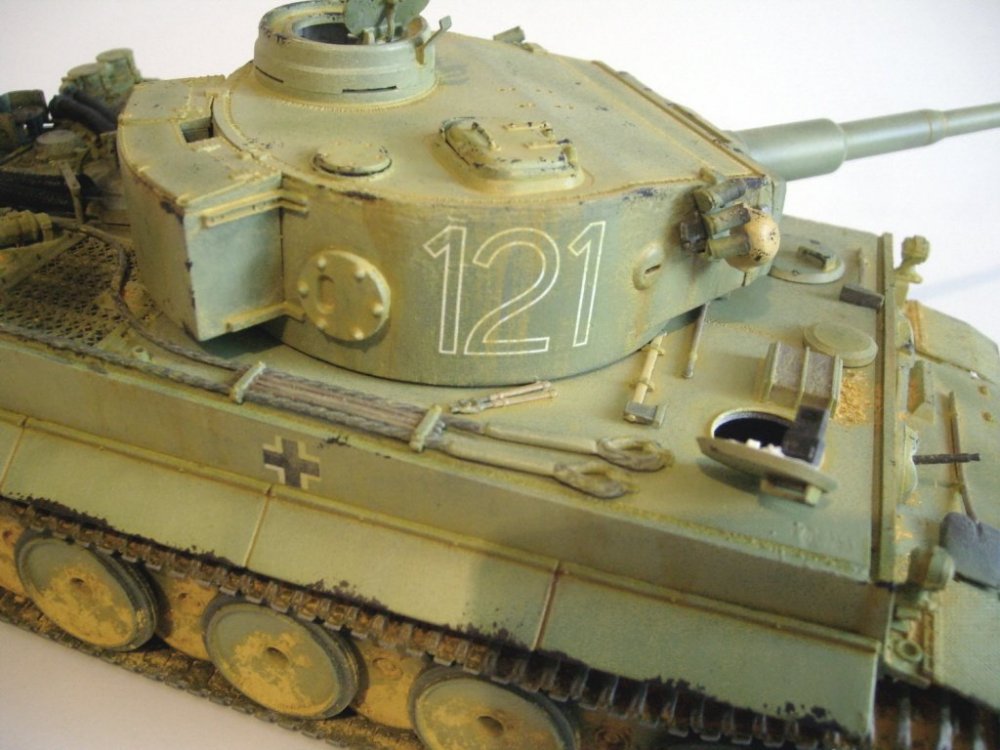
Hello friends!. Finally I finished my Tiger Number 121, from the 1 - Schwer Panzer - Abteilung 501, Tunisia. ( know that this tank it not carried the front support for track, but I comited a mistake and I decided to leave it, sorry!). Work in prgogress here: Tiger Ausf. I E/H Regards! Rodolfo


-
Thanks for your kind comments Gaz. I finished the Tiger, now is is in Finished Work here! Regards! Rodolfo
-
Thanks friends!!!. More pics!. I applied another weathering with Vallejo Pigments. (I have not finished fine tuning the details yet). Regards! Rodolfo