
Kriss
-
Posts
354 -
Joined
-
Last visited
Content Type
Profiles
Forums
Events
Gallery
Everything posted by Kriss
-
"Kobuz" prepared for painting is already there. I know the photo is a bit blurry but I think you can see everything. It's just the way it is with me that I take a photo and don't always check how it came out and I keep building the model.
-
Thanks, but this will not be the only chessboard. This is the beginning I have plans to do more Polish models and not only in 72.
-
Fuselage glued together and sheet metal from Yahu models taped.
-
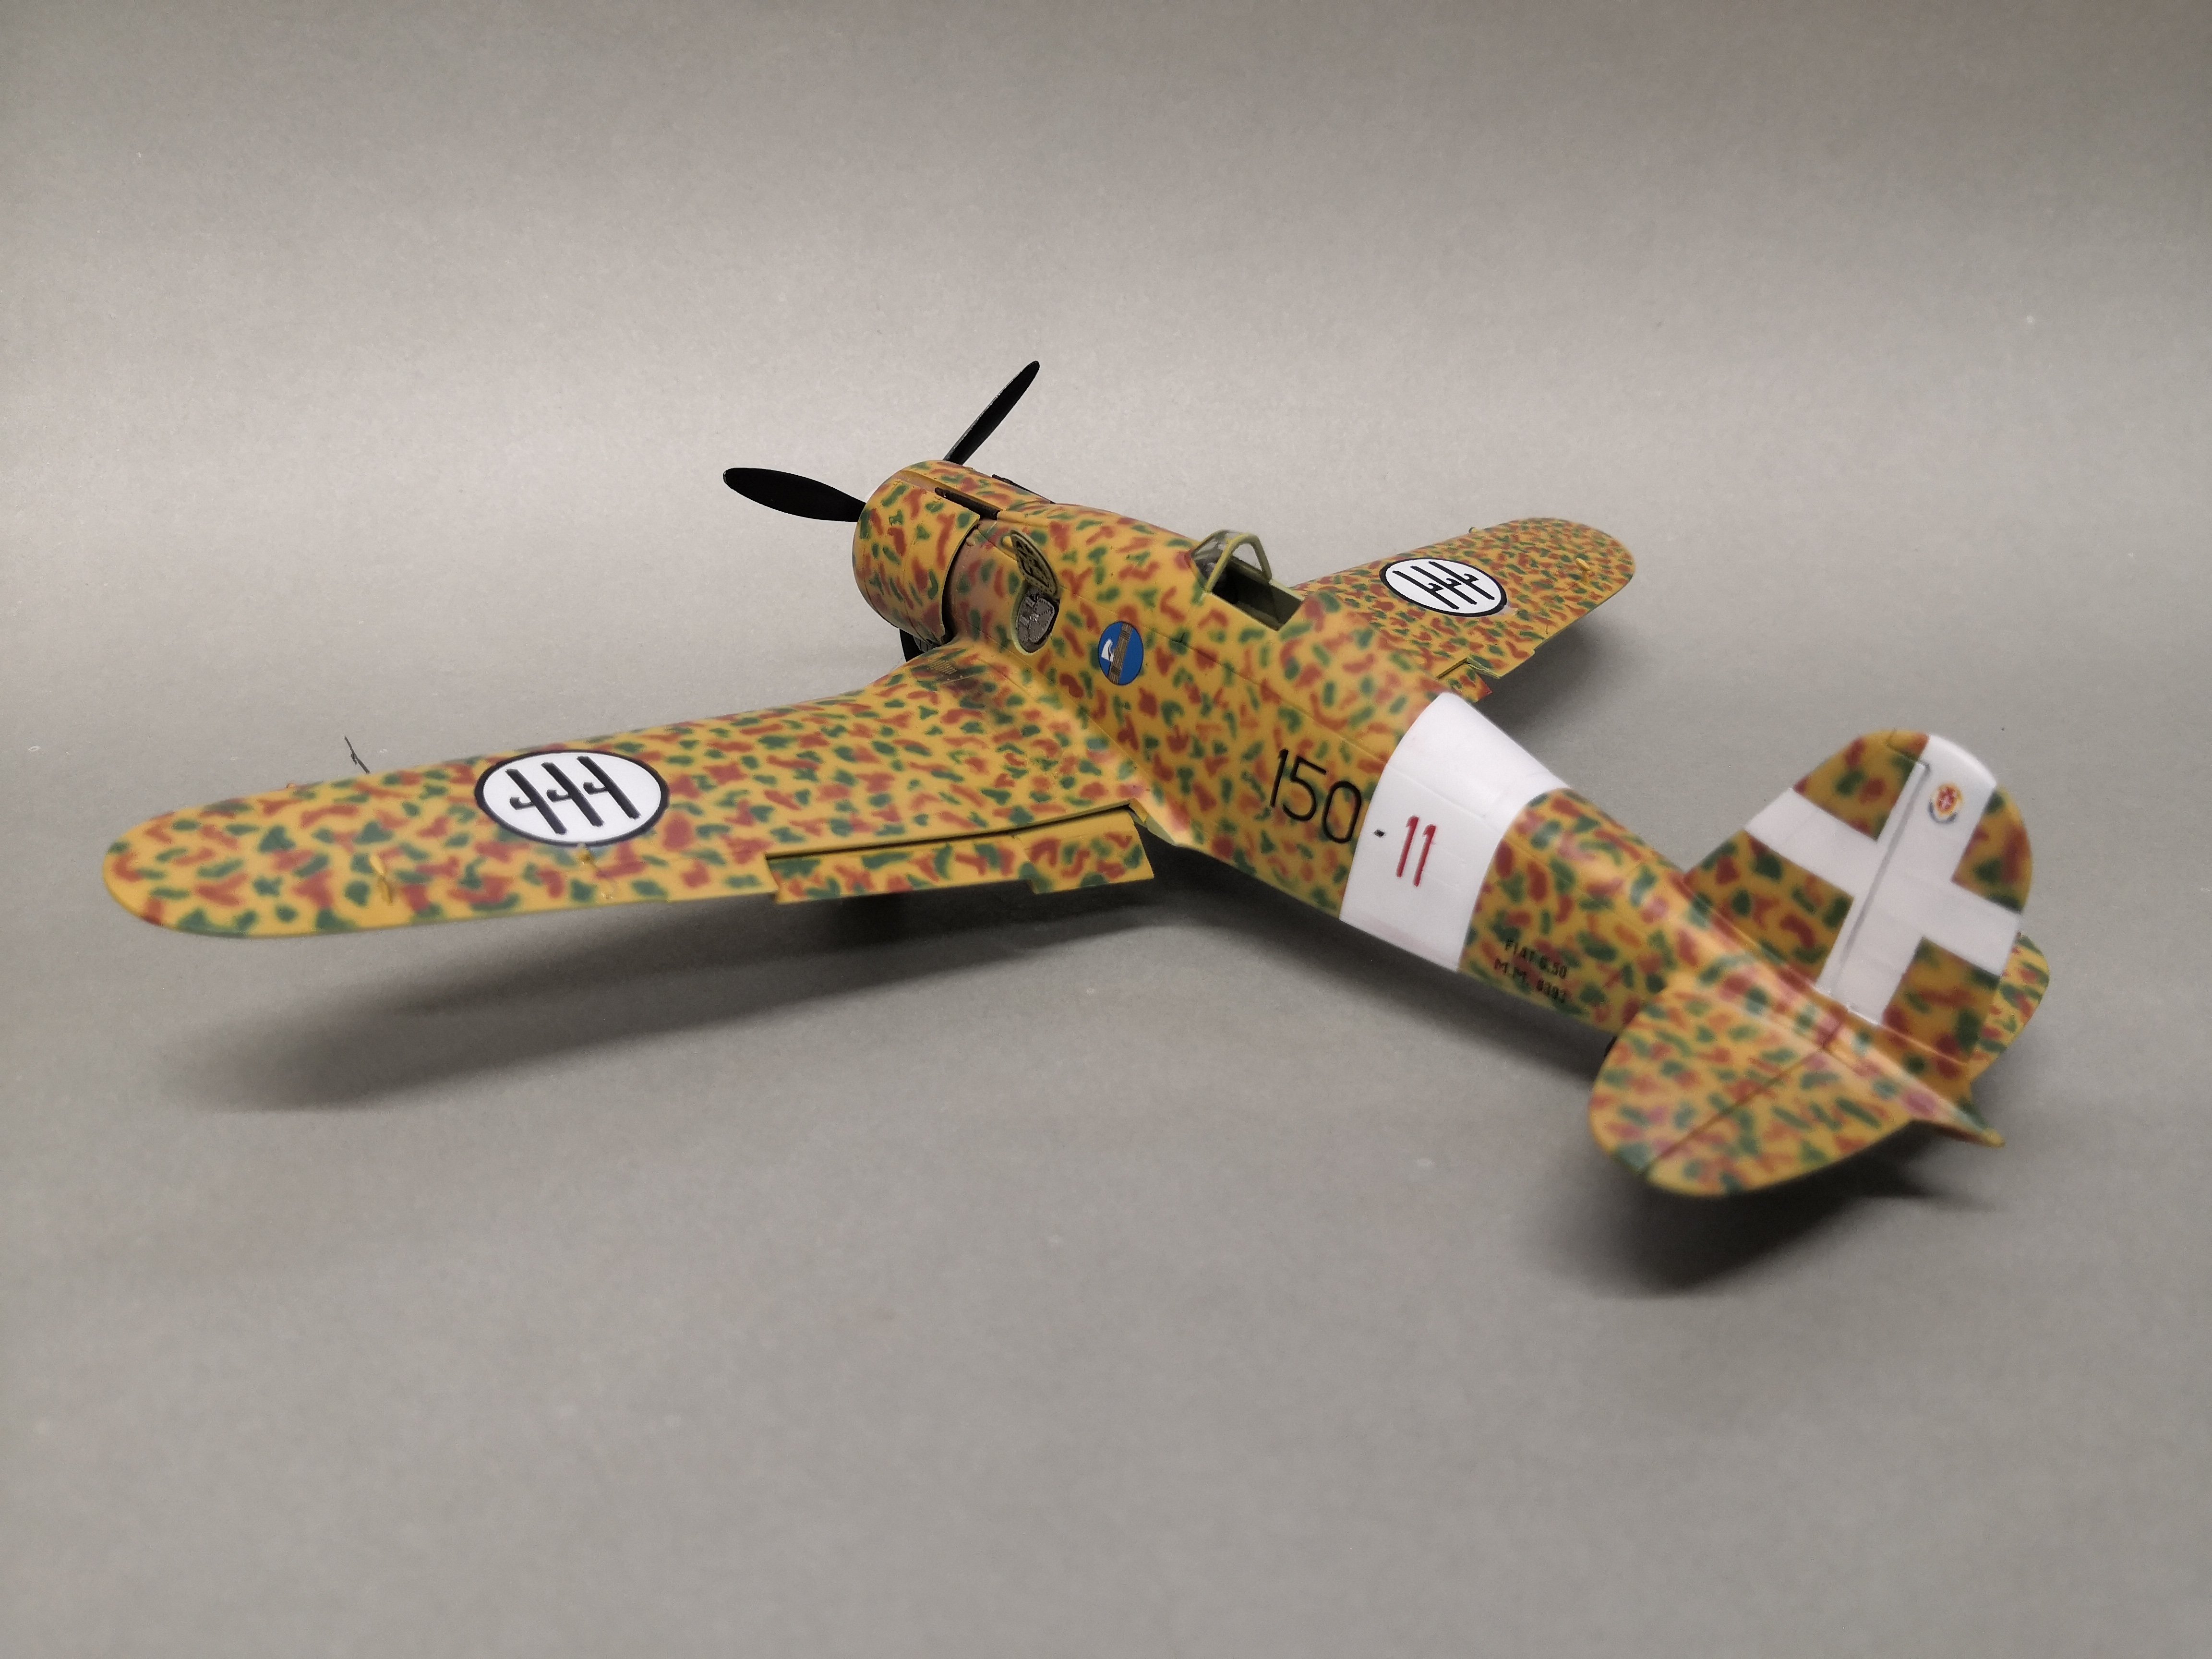
While doing some cleaning, I came across another model started years ago. There are still quite a few of them in my closet and the studio is also swamped with them and it's high time to finish them too. That's just for the record. Coming back to the model, I have a model of the Polish fighter plane PZL P.11g "Kobuz" in 1:72 from the IBG Models offer (cat. no. 72523). This is the last version of the P.11 and was built in one copy. The outbreak of war prevented further work on it. There are no photos or plans of what it looked like, so a model will be built based on what IBG Models offers in its kit. This will be such a hypothetical (what-if) version. The kit comes with a choice of two engine covers as well as two undercarriage options, wheels alone or in covers like the PZL P.24. There are two types of propellers on the frames too, two-blade and three-blade. In the manual, IBG included three paint schemes, two of which are the typical gray/haki/blue and the third is camouflage, and these are the ones I chose. On the PZL P.11g "Kobuz" Lt. pilot Henryk Szczęsny scored two air victories on September 14 and 15, 1939. Returning to the model I had the interior ready, but the fuselage not yet closed. Of the extras, I used products from Yahu Models, which I thank for providing them. And they are these kits: YMA7212 Instrument panel YSM7227 Accessoriess
-
Thank you very much
-
This is the last entry from the construction of the model. Macchi C.202 "Folgore" in 1:48 completed in Commander 153o Gruppo camouflage.
-
Decals overlaid so the end is near.
-
The camouflage is finished, although I am not satisfied with the result myself until the end. On the next Italian I will try another technique for painting the smoke clouds. So now it's time to put it on the chassis and apply the decals.
-
It took a while but the painting is finished. I know the smoke clouds came out a bit too big but I think I have a way to paint them. The next time I paint it like this I will test it. For now I need to see if I need to do any touch-ups etc.
-
And now the best fun that can be, which is painting the smoke clouds. After painting them with masks, I'm back to painting them free-hand.
-
There was a fight against the pettiness and this is the result.
-
The red stripe is already painted and masked. The underside is also already in colour. Before I start painting the top in camouflage I will have some fun with the rest of the parts.
-
Masking continues.
-
I use a 4000 gradation foundation, for me it's perfect.
-
Primer laid as well as the white belt too.
-
What can I write other than playing with LEGO bricks to catch geometry.
-
Italian aircraft have always appealed to me, especially their camouflages. I'm also quietly working on a G.50 in 32, but you'll have to be patient before I post a report on its construction on the forums.
-
Slowly moving forward, we are already seeing some results.
-
The interior of the cabin is now complete, if it goes well it may be possible to put the fuselage together today.
-
I decided to improve my mood after painting smoke clouds with masks on MC.205 "Veltro". So I rummaged out of the closet the model MC.202 "Fogore" in 1:48 also from Hasegawa. A model known for years, it will also immediately workshop. From the extras it is only the pilot's belts from EDUARD.
-
Another model completed, so it's time to start another model. After the camouflage painting masks, this is the effect I expected. And I am not satisfied with the result obtained. There was a moment when I even felt like repainting it. And instead of wasting time repainting it, the "Veltro" stays as it is and I will make myself a "Folgore" in camouflage with smoke clouds painted by hand. Coming back to the model, the masks are "some" alternative it is a pity that the manufacturer scaled them down. They are simply too big and, in addition, have to be properly cut out taking into account the wings and stabilisers. But coming back the MC.205 "Veltro" is completed and depicts the machine used by II./JG 77, Luftwaffe, 1943.
-
For now I am cutting out the frames of the skeleton, when something is there I will take a photo.
-
The last ship I built was ORP "Garland" from MM, and that was in 1986. At that time the ship was in a uniform gray paint job and here suddenly appeared the same version and in camouflage. And so something touched me, nostalgia as I saw in the display case of this already aged gray ORP "Garland" from my childhood days, that I decided to build it again and that is in camouflage. What and how it will come out of it we will see at the finish. And now the shipyard is moving.
-
Just cosmetics more and you will be able to see "Veltro" in the gallery.
-
Decals applied and pre-decals on the model are also already there. Slowly to the end, and the next ones are already waiting in the queue.