

dr_gn
-
Posts
145 -
Joined
-
Last visited
Content Type
Profiles
Forums
Events
Gallery
Posts posted by dr_gn
-
-
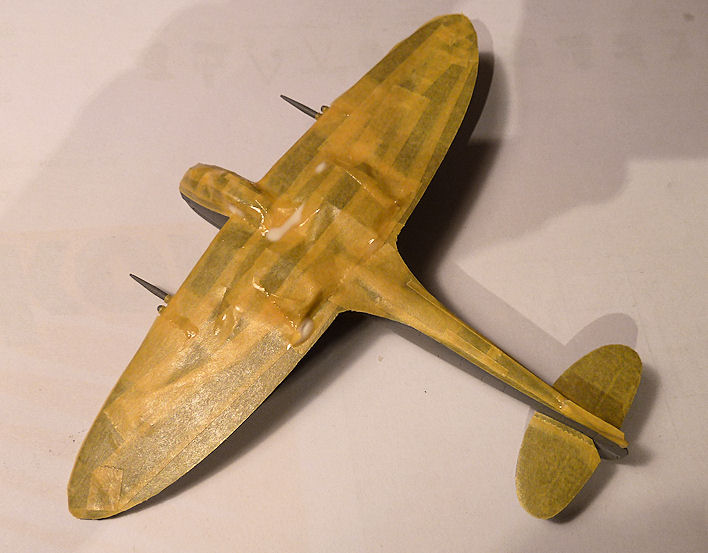
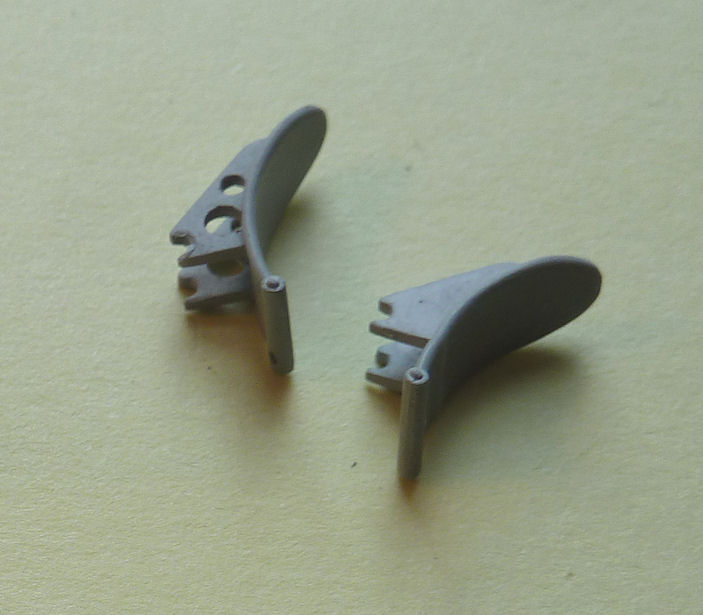
Ruddervator mass balance quadrants added - very tricky:

...but trickier still were the twin pitot tubes just in front of the windscreen (one for each cockpit). Also attached the dorsal antenna and some small intakes around the engine fairings. Next job is painting the undersides. -
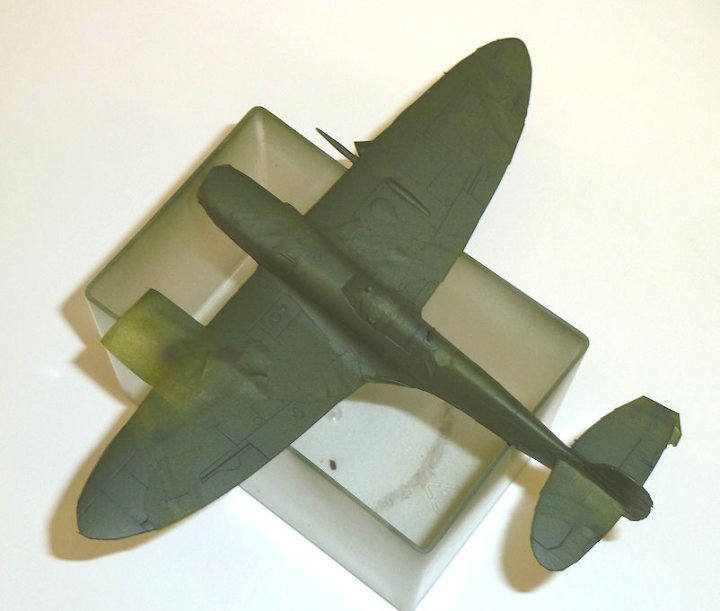
Masking pretty much done. A bit more wavyness needs adding on the stbd. cockpit side, and the port cannon fairings need covering, then it's the green:

-
awesome! This is a great way to share the fun
Sure is.
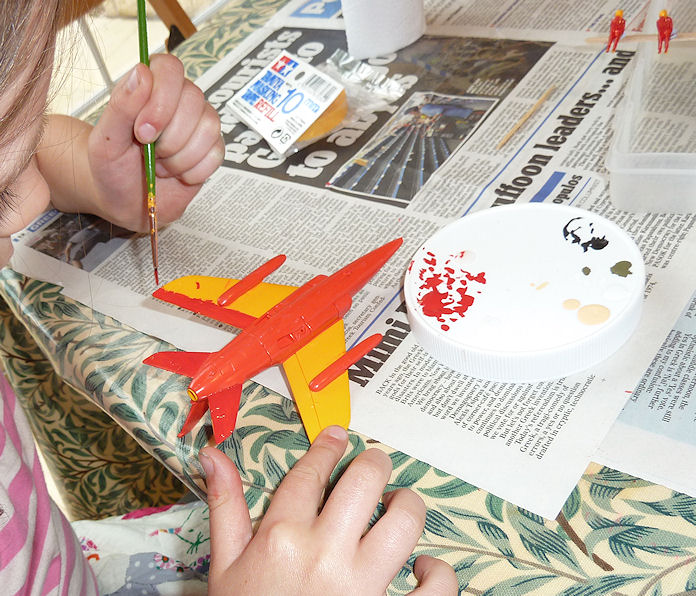
I remember building the Matchbox Gnat with my Dad. Happy days. They seem to love the painting, although tonight only child v2 rev.0 wanted to do a spot of work, so no progresss on the Magister. I assumed that a 5 year old would not have the dexterity to paint faces/helmets/boots to any degree of accuracy, but it seems I was wrong.
-
Finished the canopy masking and fitted the mast and rear view mirror, then followed the usual process for the Ocean Grey upper camo:
The Ocean Grey was Xtracrylix, preshading with Vallejo German Grey. I normally only use retarder meduim for the preshading, but in this case I used it for both colours; I've never used Xtracrylix before, and it did seem more prone to clogging than other paints. -
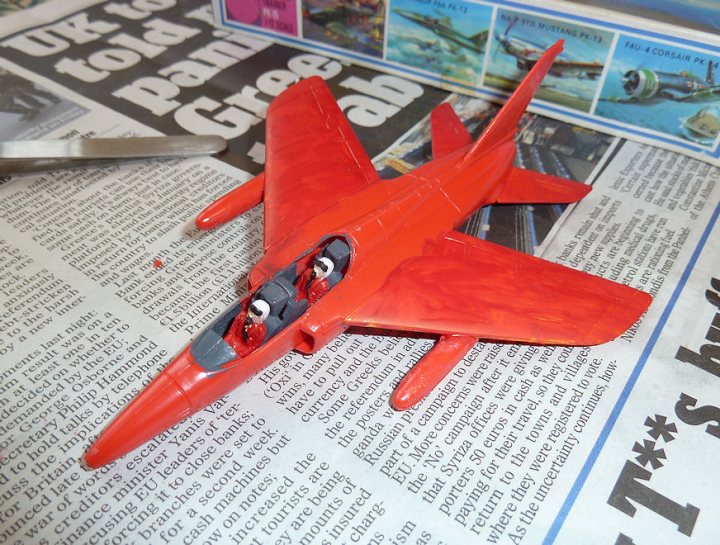
So the pilots are finished (flesh tone faces and hands, and black visors). If I put a blob of each colour on an onld credit card, he quite happily corrects any smudges as he goes. I then gave him some weathering powder to play with, which improved the look of the cockpit. I think the instant results of that simple process went down well. Pilots then secured with PVA:
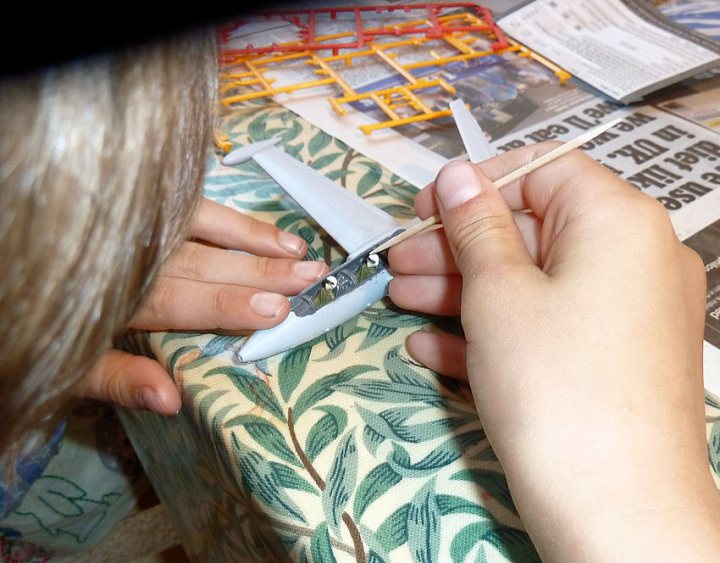
He's now giving assembly advice to his sister, who is making impressive process with the Matchbox Gnat. The truth is she doesn't need any advice, having mastered cutting sprues, sanding and applying glue using a liquid cement dispenser within about an hour...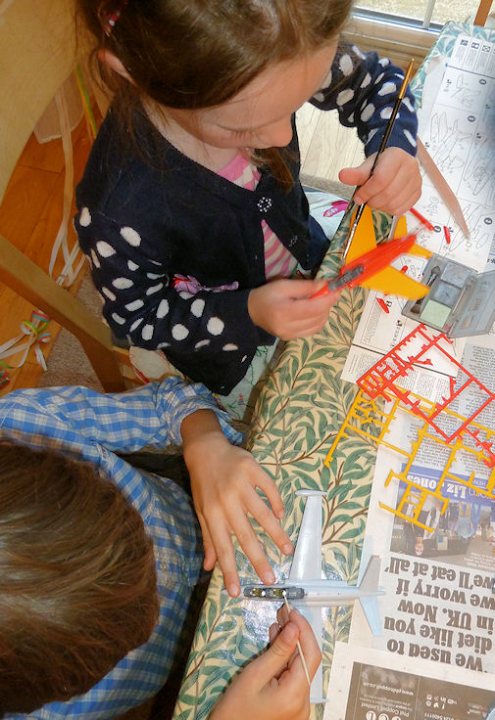
-
Most of the masking is complete now, although the rear canopy lower frames aren't well defined, so I still need to check that I've masked them at the right height. I always use Tamiya tape to completely cover the undersides these days, plus I add masking fluid along any dodgy looking joints to make sure there is no overspray. Might seem excessive, but correcting overspray is worse...
According to Tamiya paint schemes, the cannon fairings should be top camo colour all around, apart from their roots, so that's how I've masked -
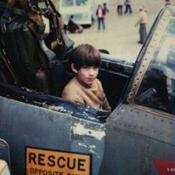
This build thread is on behalf of the boy, who won this kit at Cosford for third place with his Matchbox Skyservant. Airfix donated the prizes for the junior class I think.
It's a pretty good kit, almost unbelievably good considering it's dated 1975; it looks much more modern despite the odd rivet and raised panel line. Plastic is the current Airfix soft grey stuff, decals by Cartograf are superb. As with most current Airfix kits, box design pretty much says "buy me and build me now", although in this case he had a paint by numbers Puffin and a wooden F1 car to finish first: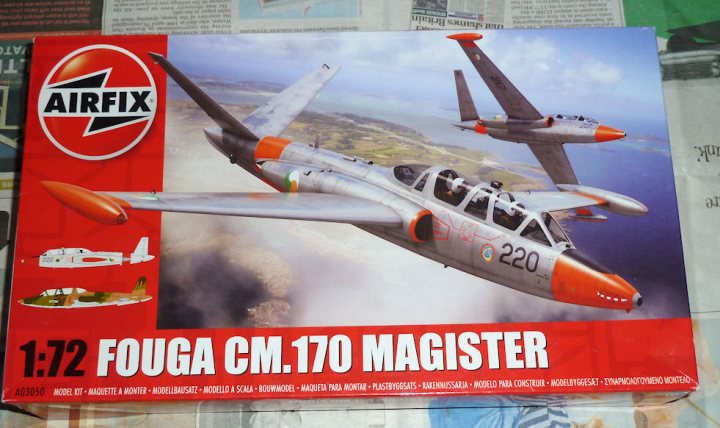
As with the Skyservant, I'm doing any scalpel work if required, the boy is doing the rest, although rather than me doing one part and him copying it, he's doing it all this time. First off, cockpit assembly:
...quickly followed by searching for his first lost microscopic part, ahhhh: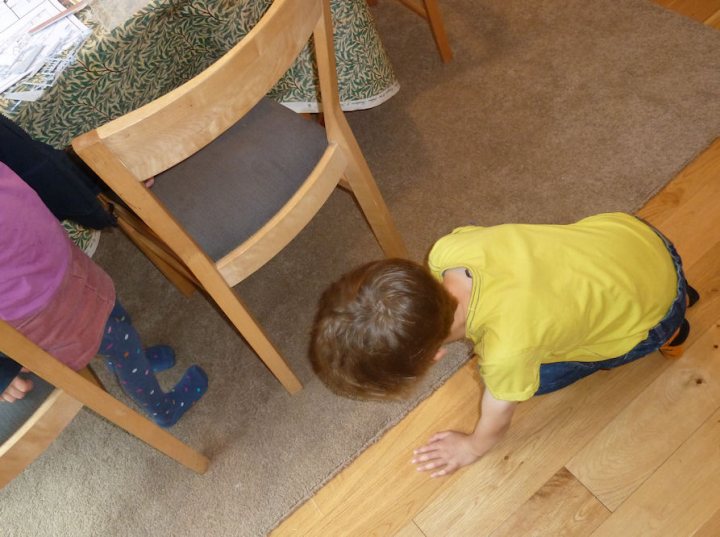
Then a spot of painting: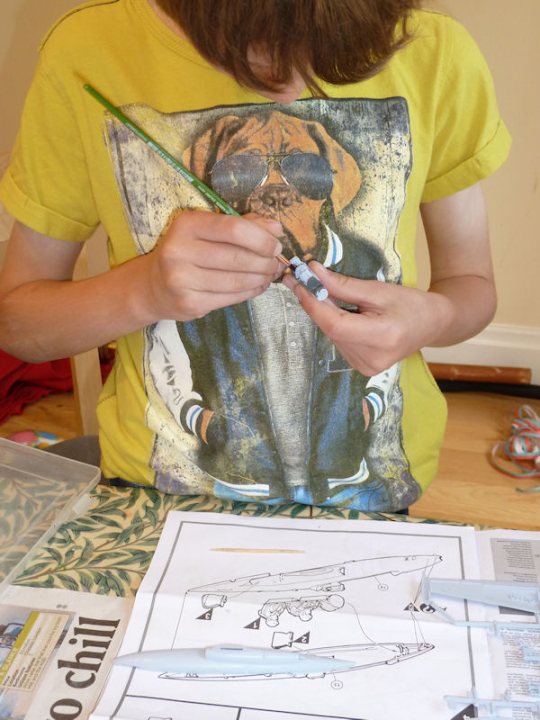
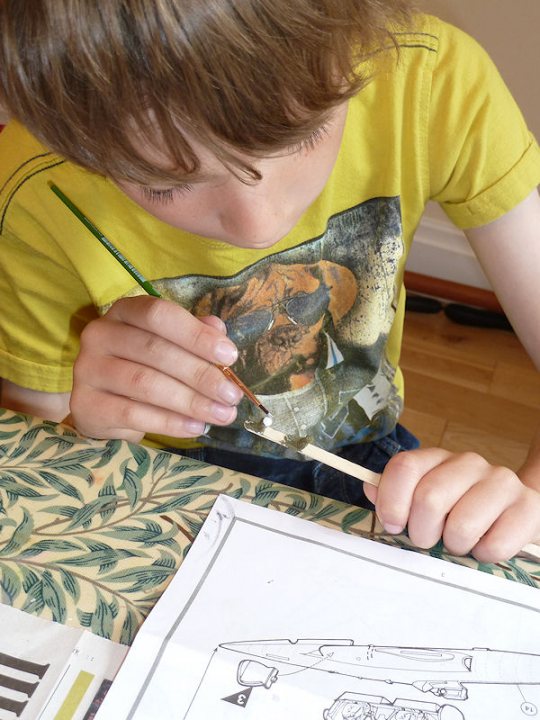
Pilots faces need dotting in and their visors painting, then the fuselage can be glued together permanently: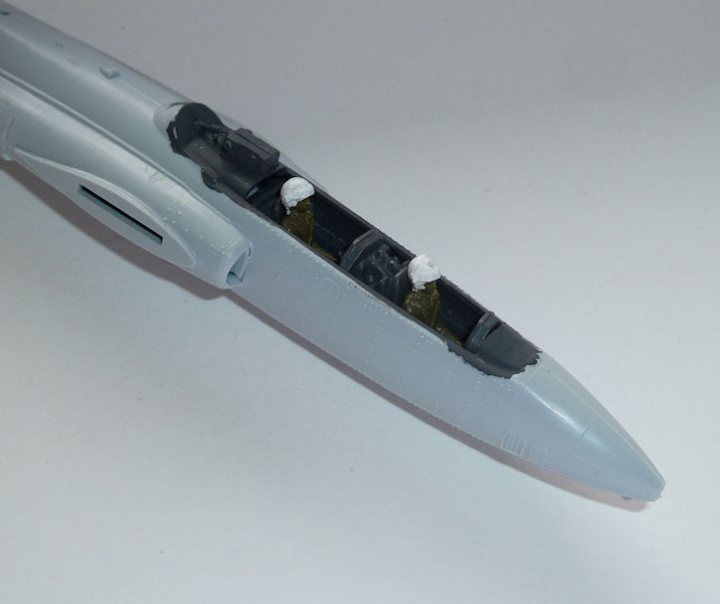
I think this thread will probably consist of a few main updates and some final images rather than much more detail TBH. -
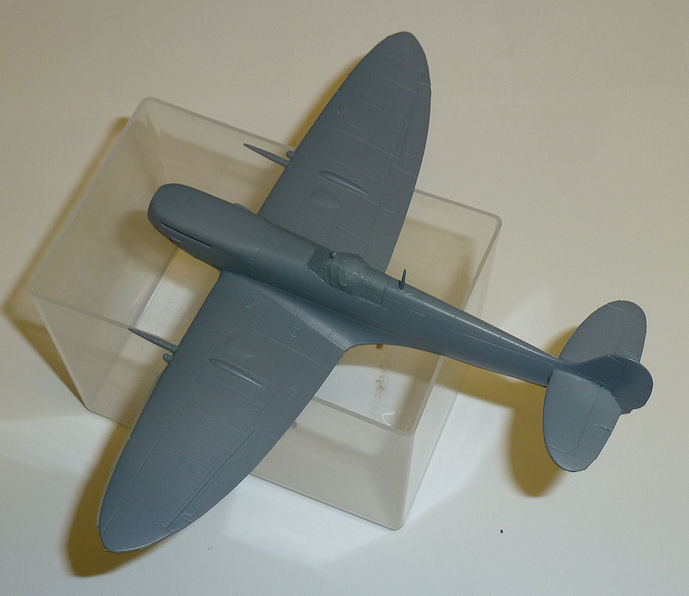
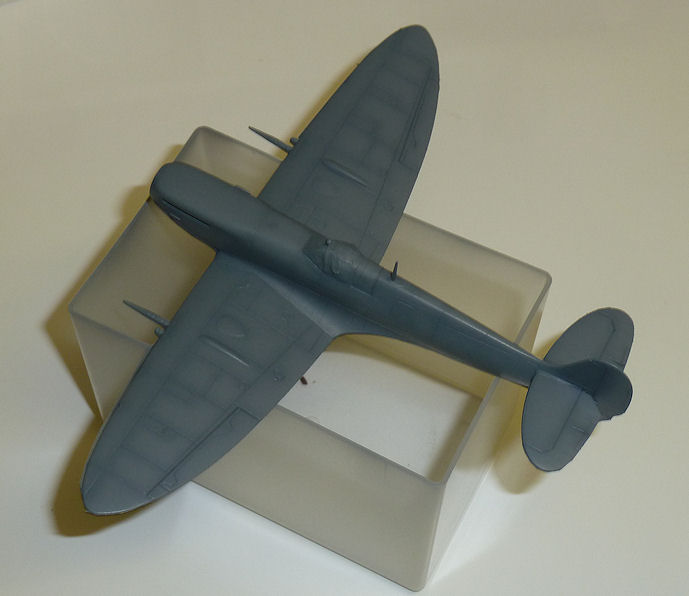
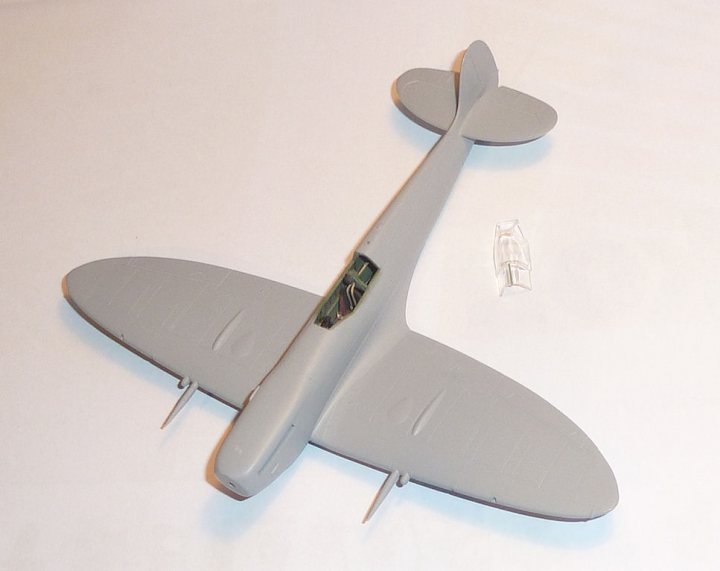
Added a missing panel line under the nose, then sprayed with Vallejo MSG plus a drop of white grey, then preshaded with Vallejo German Grey:
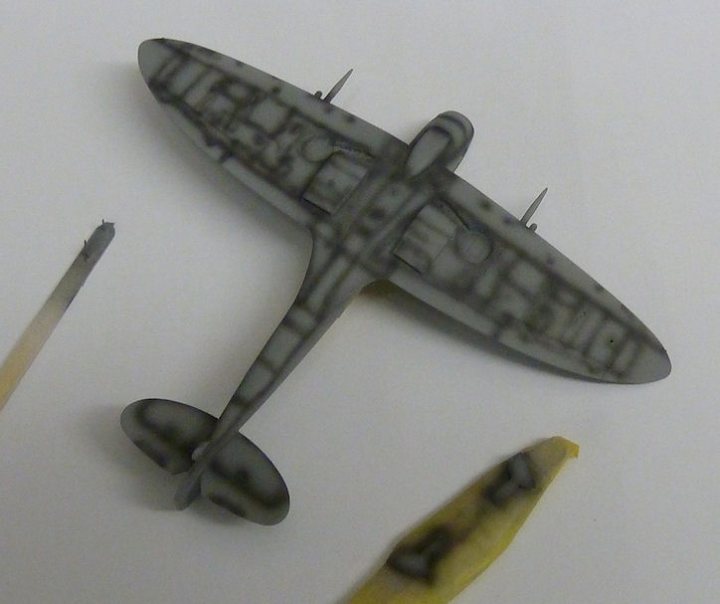
Then oversprayed to leave my favoured (very subtle) preshade: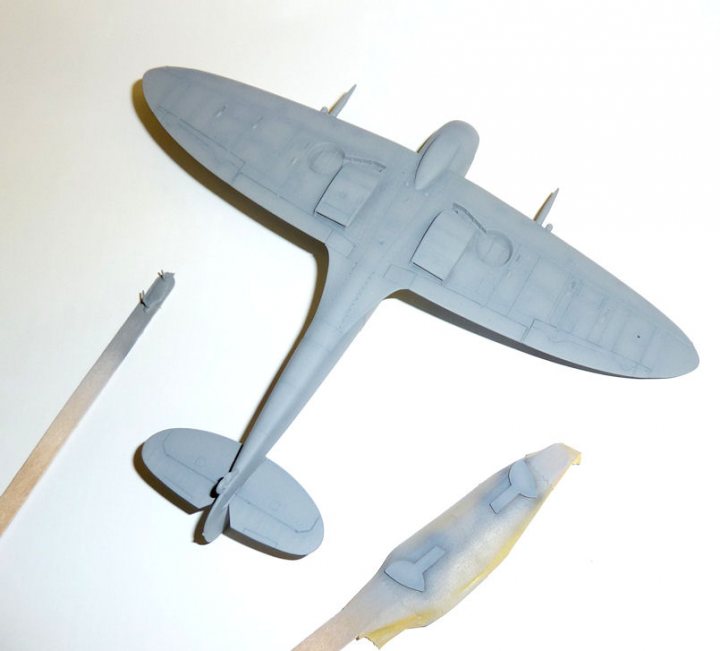
The replacement Techmod decal set arrived today from hannants. I've never used Techmod before, but they look good, and include a comprehensive set of stencils, which is not always the case with aftermarket decals: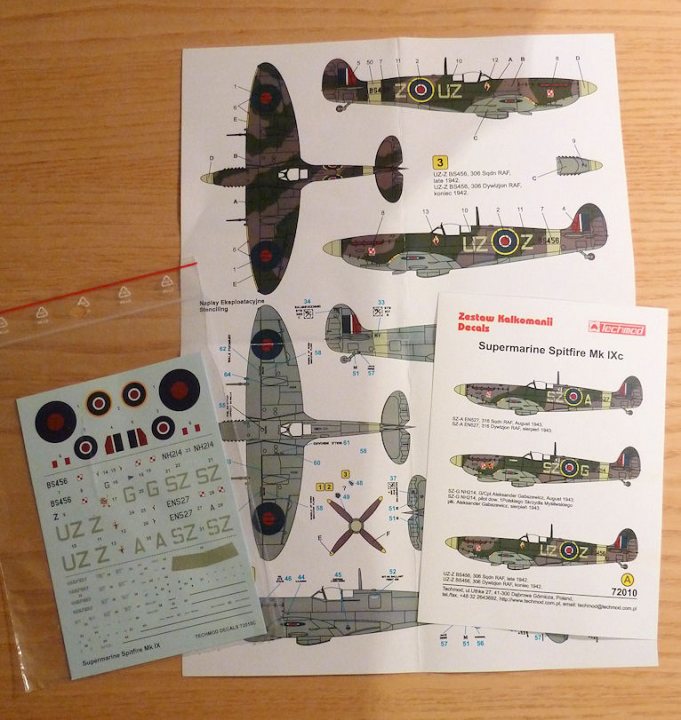
-
Very nice work indeed. Will you be doing D-Day markings - I love those stripes.
Thanks TG,
No, I've got some other decals to use (Techmod I think).
The original Hasegawa original included the stripes, and these would be very difficult to apply well. I'd have painted the stripes and used the existing codes, but for some reason the codes and roundels (and the sky fuselage band for that matter) are printed as one, over the stripes, making them pretty much impossible to separate. A bit of a daft way of doing things becasue it makes it impossible to paint your own stripes.
Ah well.
-
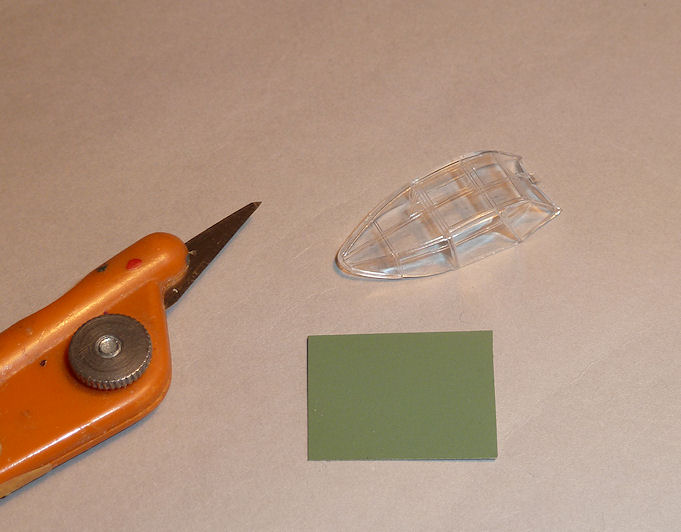
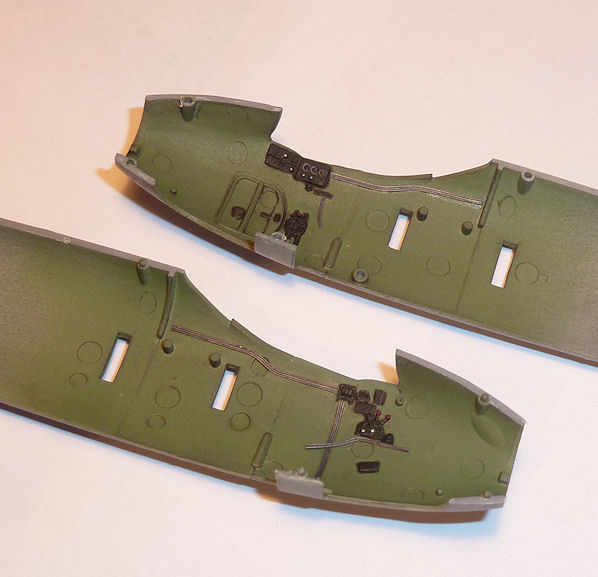
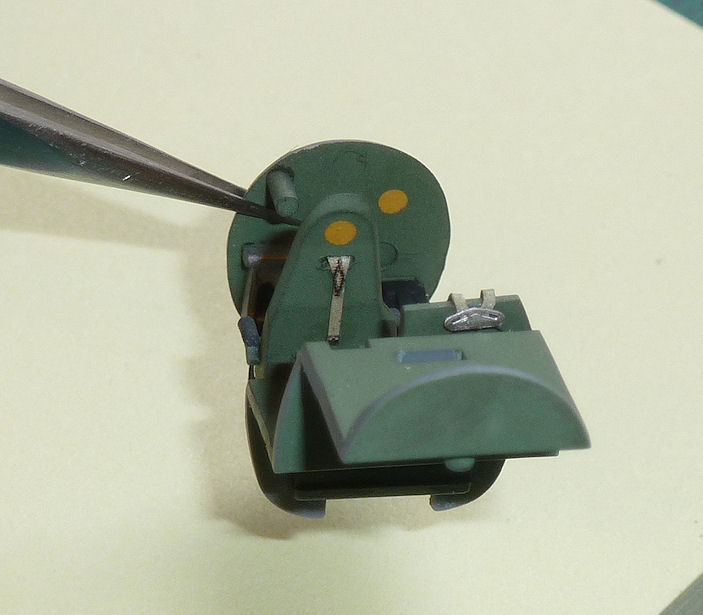
So I've now pretty much completed the sanding/guide coat/filling/rescribing/re-rivetting process. Just a couple of dots on the nose and fuselage need flatting. I repaired the cannon fairing with some brass tube. I also fitted the gunsight and added a small strip of cockpit green painted decal paper internally to the rear canopy, to represent some internal framing:
I've also partially drilled the ventral signalling lamp out to make subsequent painting easier. This will be a dot of Vallejo silver followed by Tamiya clear red, both applied with the end of a cocktail stick: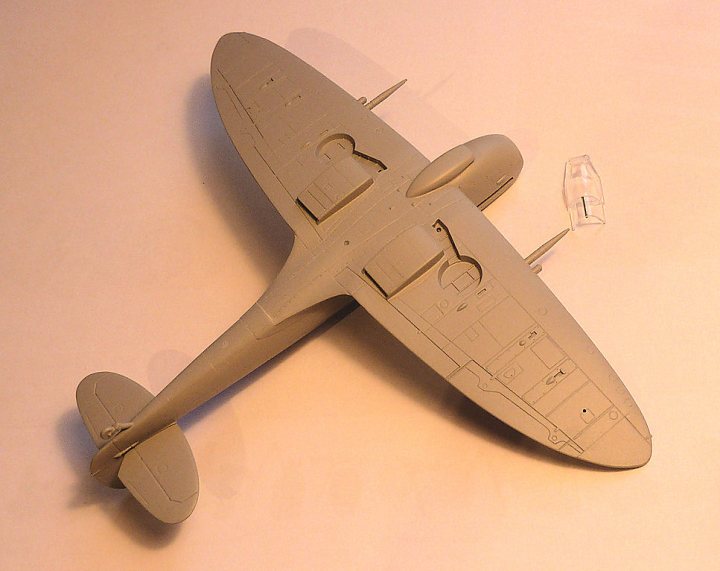
Next job will be to paint the undersides in Medium Sea Grey. -
Super progress!! Love the cockpit and landing gear detail.I just started a vintage 1/32 Revell Mossie. I've opened the crew hatch and bombay doors and will scratch build the bombay interior, I hope, lol!!
Sounds good - always satisfying to update an old kit. There is certainly no shortage of Mosquito kits at the moment!
-
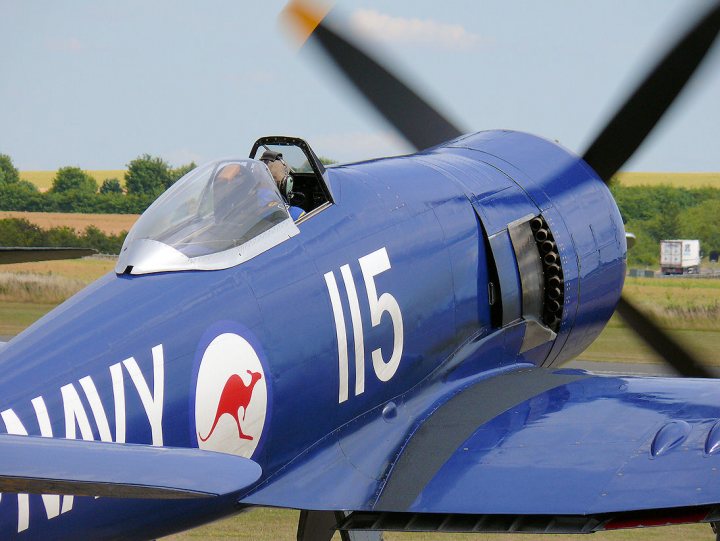
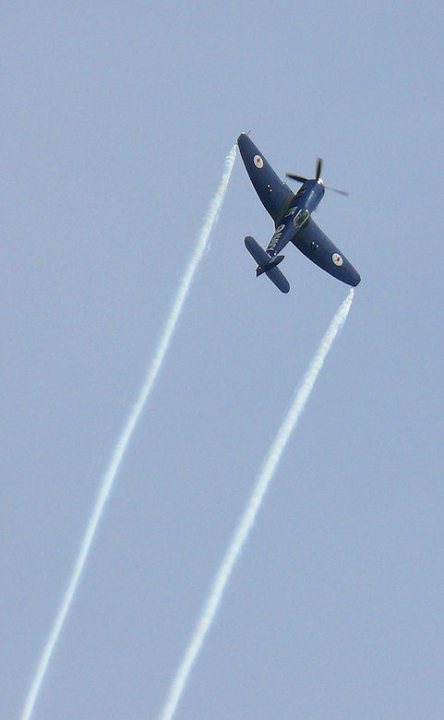
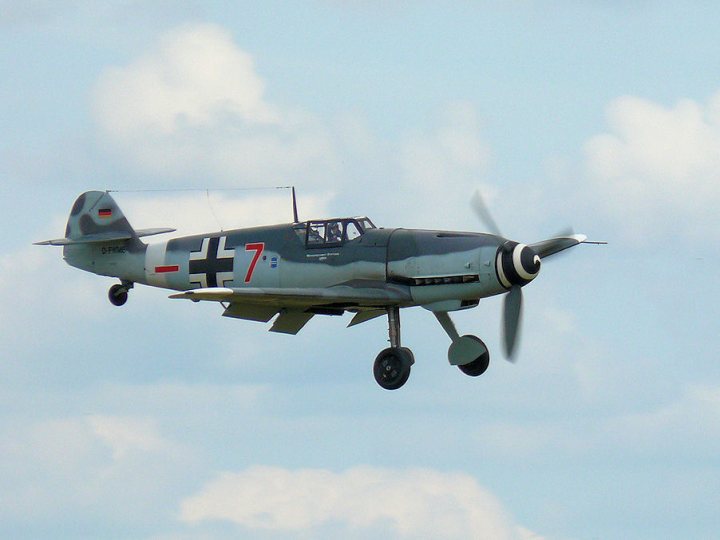
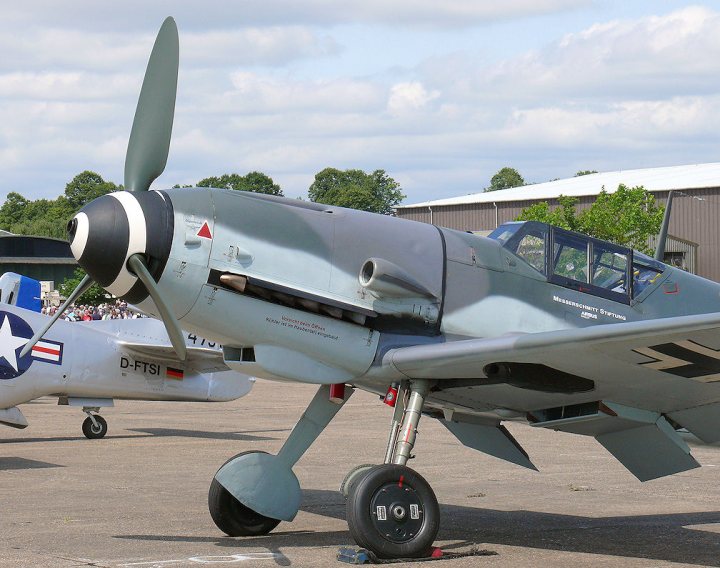
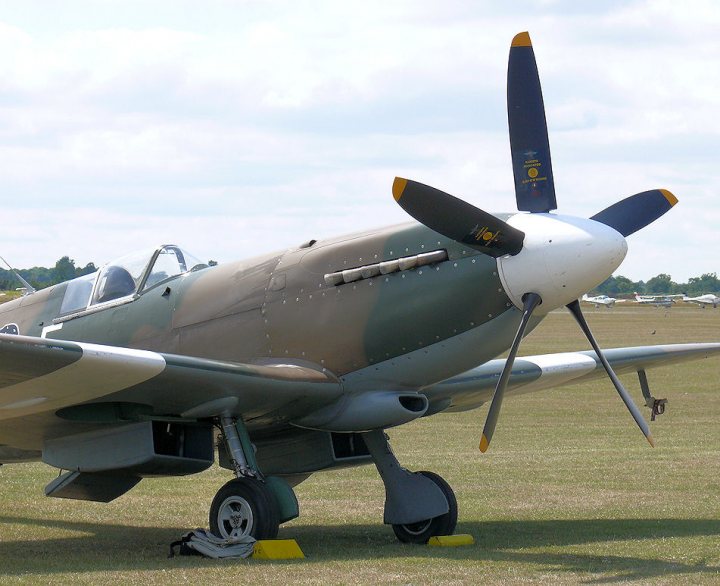
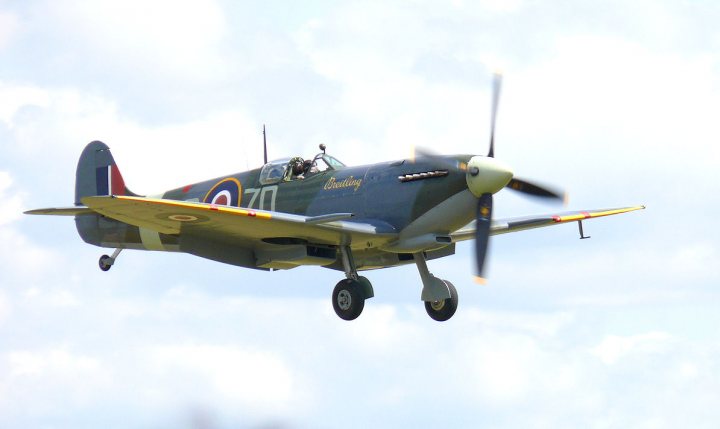
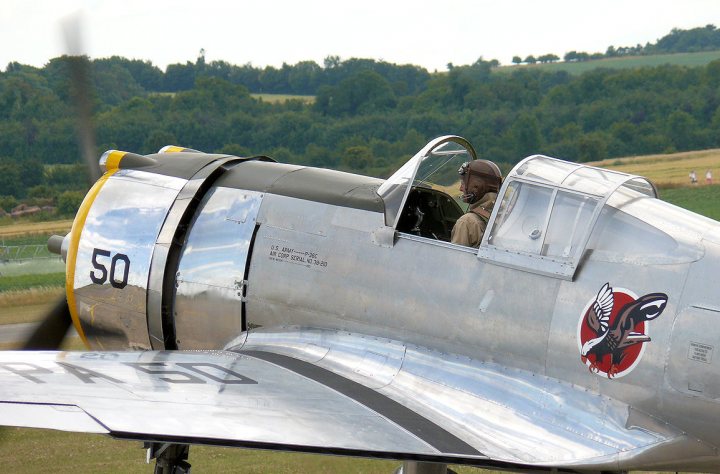
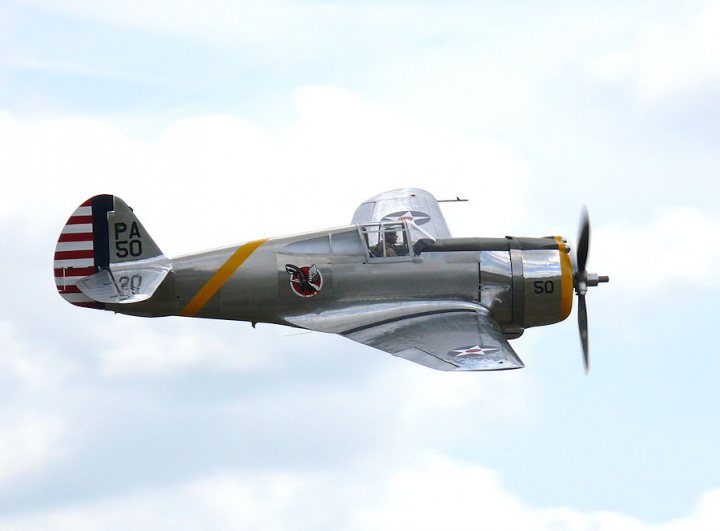
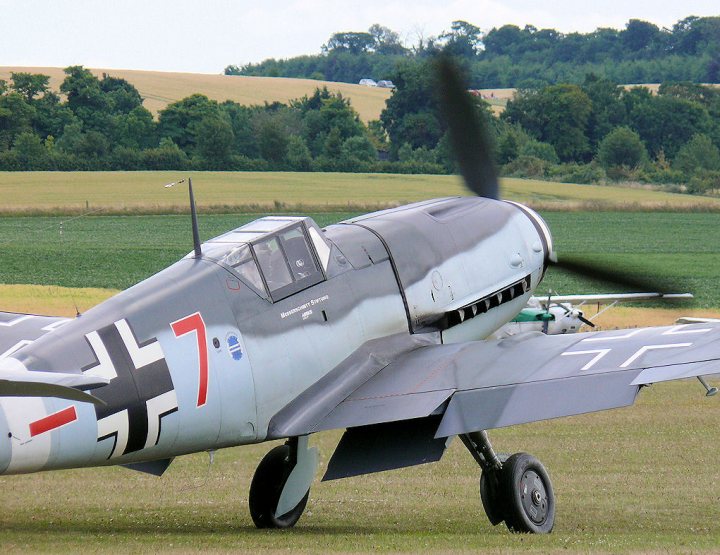
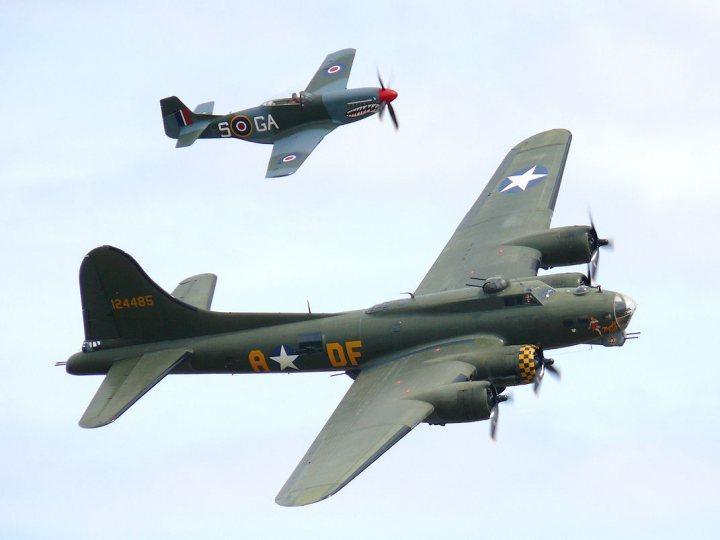
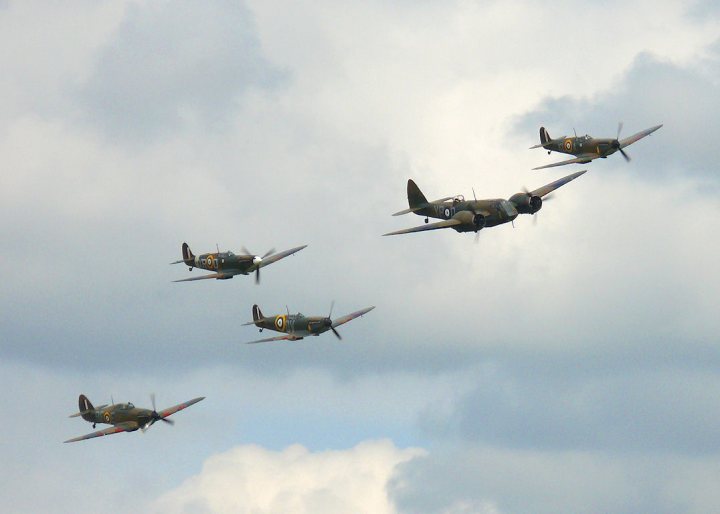
I went on Saturday too, really enjoyed it; the best Flying Legends display for quite a few years, and a huge crowd - I've not seen it as packed in a long time. Here are a few pics - I particularly liked the Bf109 and Sea Fury, and of course the fourteen(?) Spitfires. If you consider the museum too, it's way too much to see in a single day. It's a brilliant place:

-
The Mosquito has some distinctive framing visible inside the canopy, which is difficult to replicate at small scale. The kit has decals, which are OK, apart from being a strange pea green colour. I had some clear decal film, so I sprayed it interior green:
...and cut it into strips which were applied to teh inside surface of the canopy, then the whole thing was dipped in Klear to seal them in: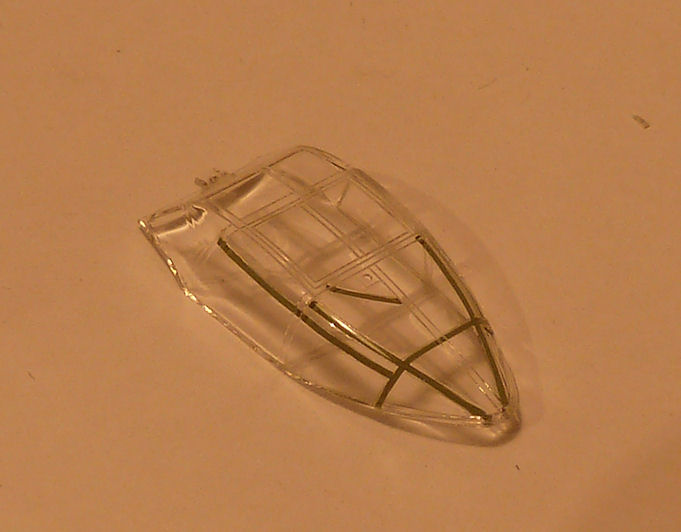
So now its a perfect match for the cockpit, and will hopefully look OK when the outer framing is masked and painted aluminium. -
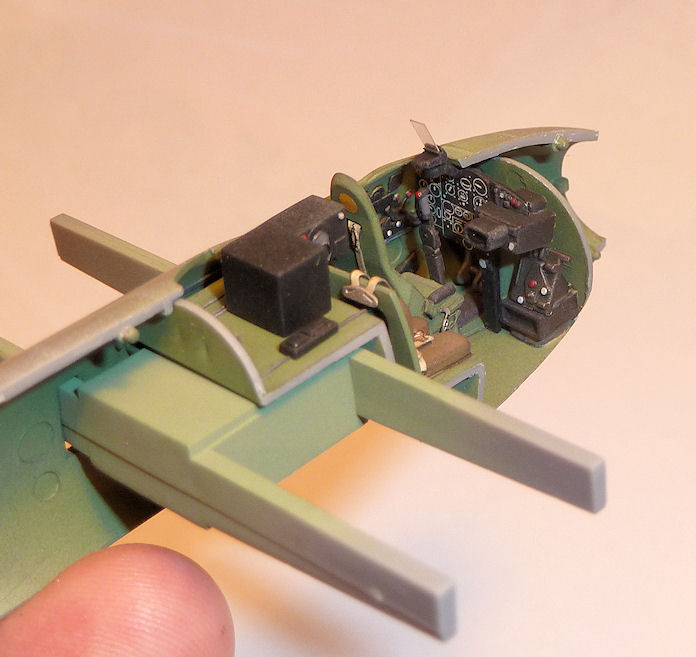
The cockpit still looked a bit sparse, and looking at some reference photos, I thought I'd scratchbuild an additional radio for behind the pilot's seat, a fire extinguisher and what looks like a row of cartridges or flares in front of the navigator's seat:
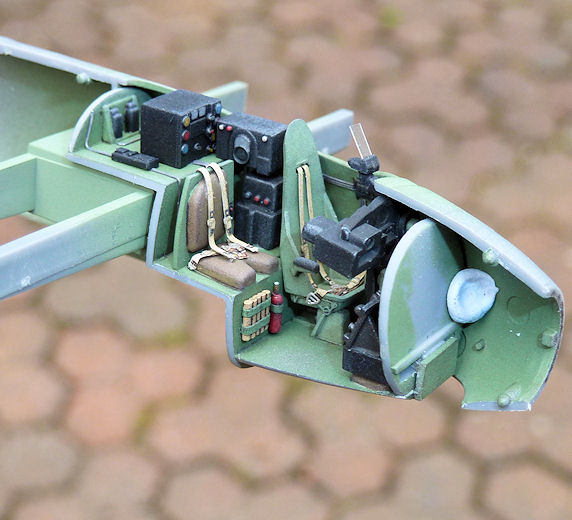
Looks better now when viewed through the canopy.
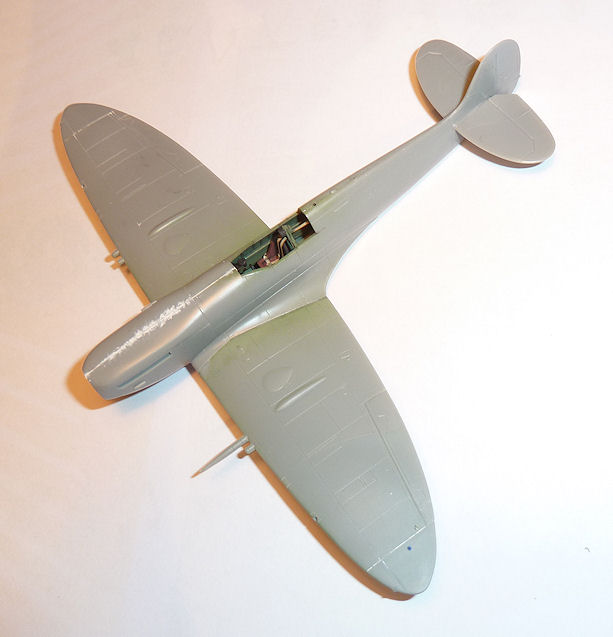
Then assembled the fuselage halves. I temporarily fitted the wings to make sure the spars were aligned while the Araldite set: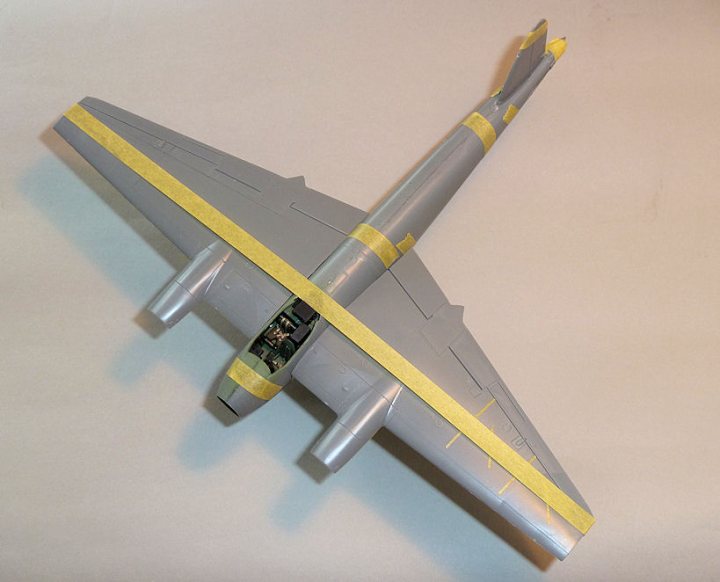
-
 2
2
-
-
Landing gear and oil tanks assembled - although the modified mudguards still need painting, and a few bits of lead wire adding perhaps for brake/oil pipes:
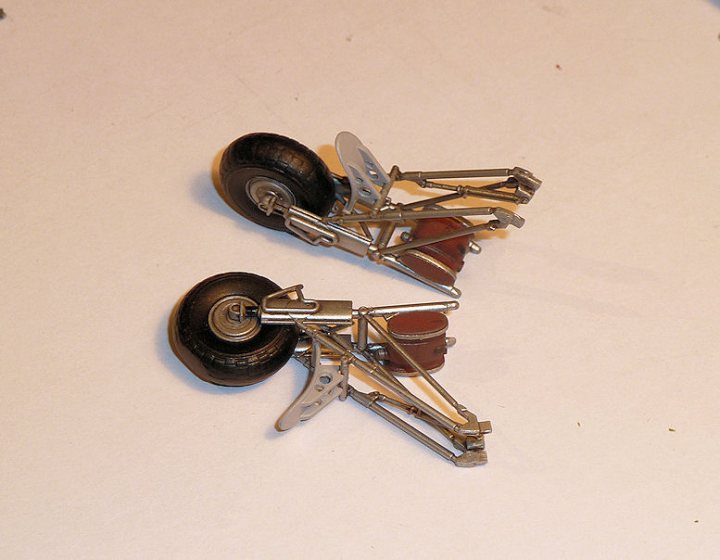
And painted the exhausts for the V-10 engines:
-
Tamiya's Ocean Grey is too blue, but their MSG is dead-on.
Thanks for that - I've got some Tamiya MSG so I could use that for the undersides.
-
Tamiya released all 3 of those colors around the time the 32nd Spitfire came out. Looks good to me. Used it on my Typhoon.
Thanks Paulster. I saw a very nice Spitfire on another forum, and they had used a Tamiya Dark Green combined with Xtracrylix Ocean Grey, so that's what I bought (from my local air museum who happen to stock Xtracrylix. This will be my first experience of that paint make.
-
Beautiful work! I love to wood grain!
Thanks Ralph! Time will tell how this one turns out...still not too confident on using Uschi's decals.
-
1
-
-
Cockpit is pretty much done now, although I might add a few more cables and a black radio box next to the navigator's seat - depends if I can find anything suitable in the spares box:
-
2
-
-
Main structure is finished now - went a bit OTT with the Milliput on the nose, but it'll soon smooth out:
Cockpit just needs a bit of clear acetate cutting for the gunsight which I'll fit immediately before the canopy (which of course will be closed).-
1
-
-
Started to drill out the mudguard brackets in accordance with Eskimo's reference pics:
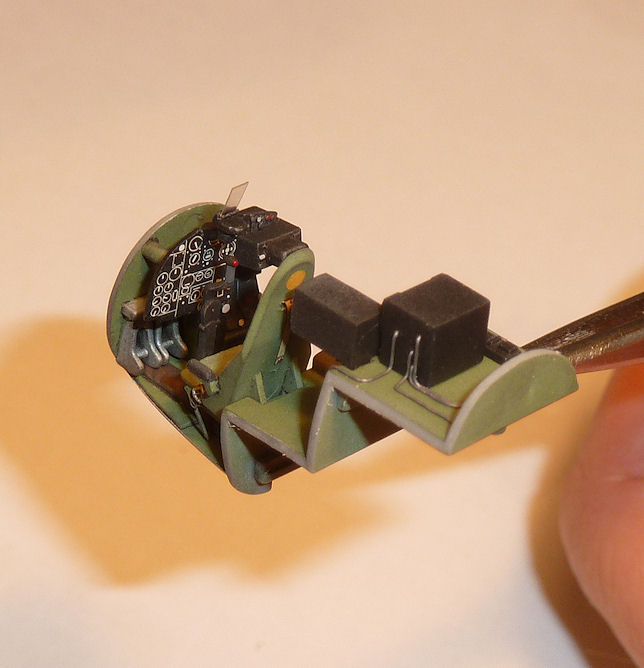
And made a start on the instruments. Good illustration of why aftermarket parts can increase the complexity and duration of a build by several orders of magnitude - the Eduard blind flying instrumet panel didn't have an apaerture for the gunsight to be fitted, and once identified and modified to the extent needed to fit, it looked terrible: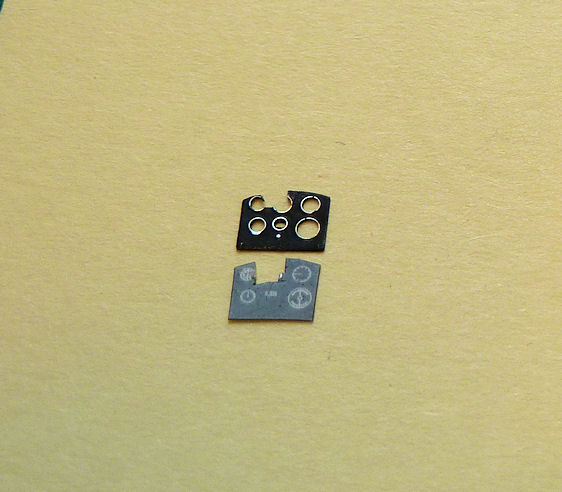
So I've opted to go for the original decal for the main panel, and the Eduard stuff for the peripheral bits. In fact the decal is probably better in this case, since the low-contrast Eduard acetate instruments would be pretty much invisible under the panel cover.
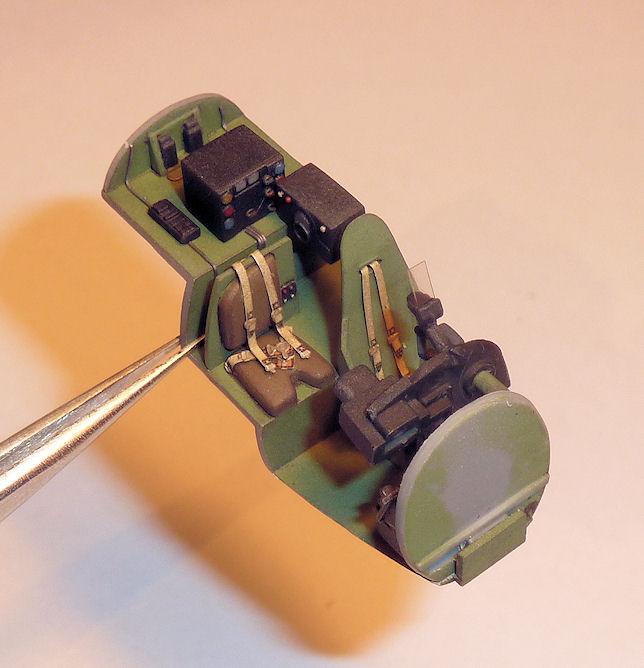
I pressed my home made punch and die set into action again to make some yellow circles for the pilot's seat and bulkhead. There should be one behind the navigator's set too, but it's covered up in this case). I believe the markings are to indicate ferrous or armoured parts within the cockpit, although I think their true function has been lost in the mists of time:
-
Bit of progress:
Cockpit partially complete - I added Eduard pre-painted harnesses, since the kit decals look a bit crap: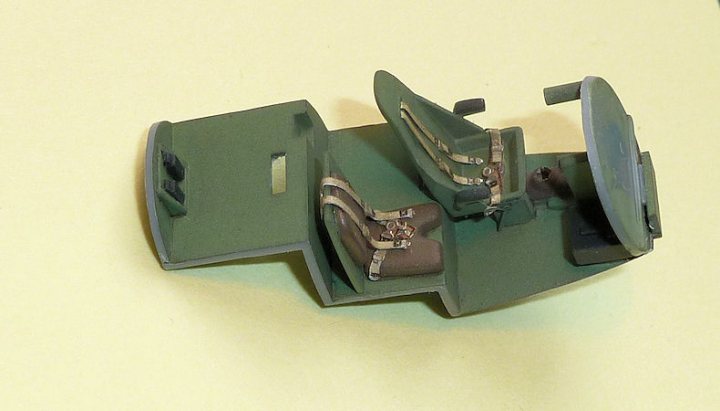
Cockpit sides painted - all the ejector marks will not be seen once complete: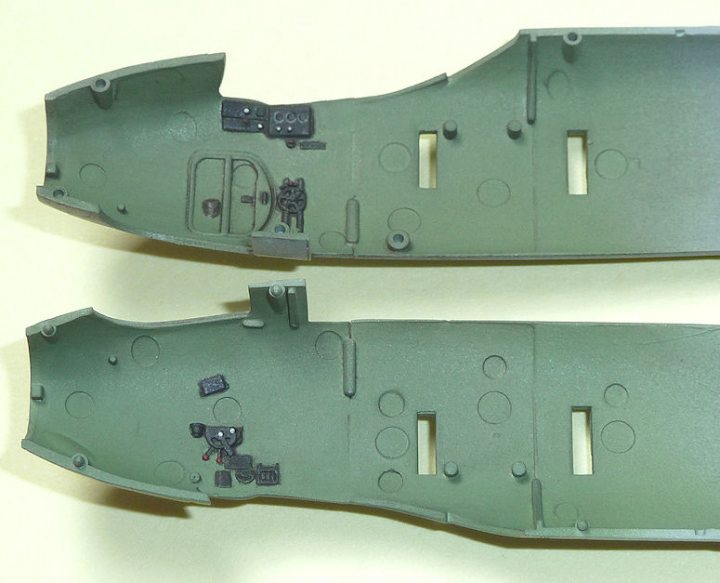
Radio Tx & Rx and electical panels painted: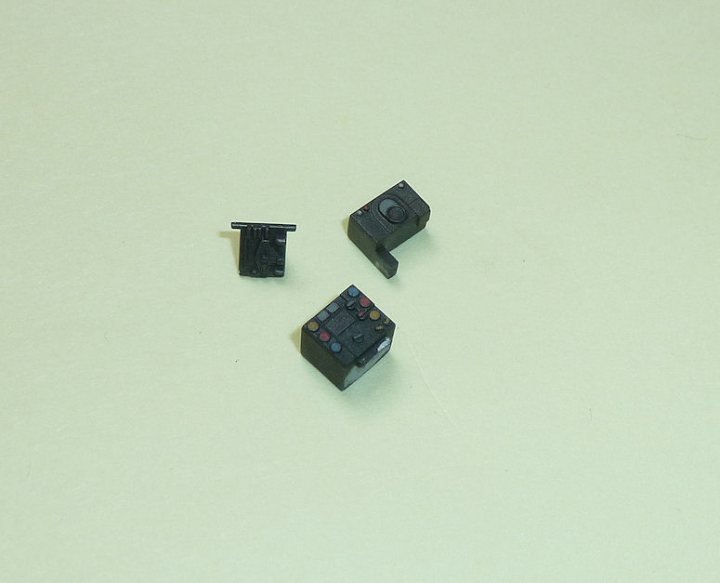
Just need the instrument panel finishing, and a few wires adding and that will do - it's not a super-detal job.
And the wheels (filed some flats on them), which need a coat of matt varnish: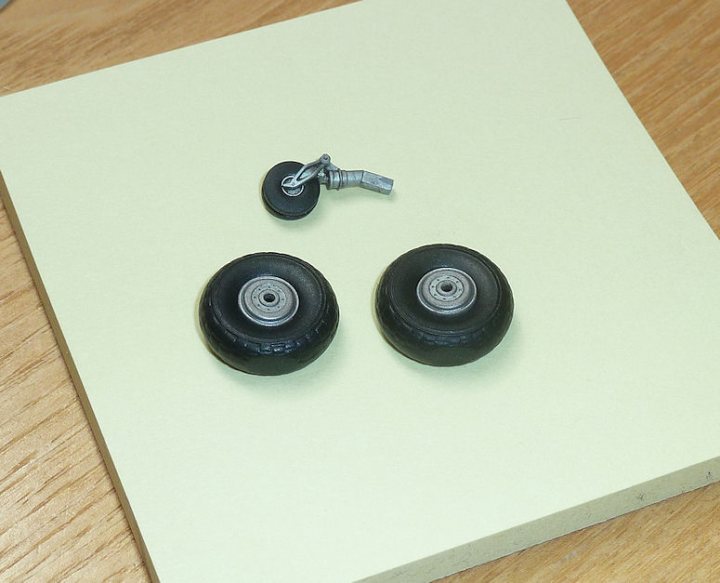
Then get the fuselage assembled... -
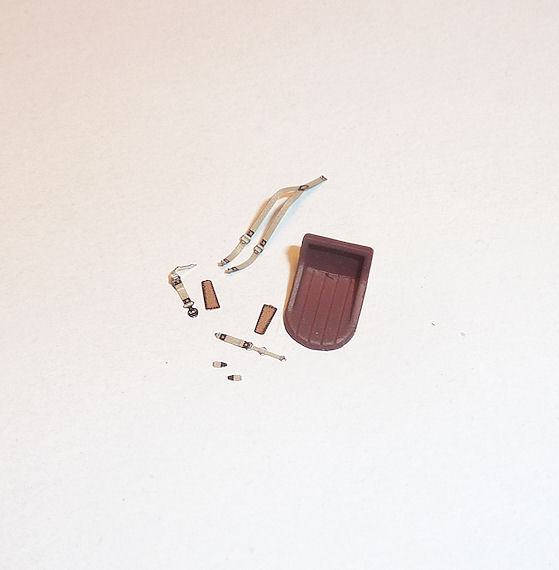
Here are the Eduard pre-painted RAF belts, along with the seat (which subsequently had the rear painted black):
And completed cockpit, with gunsight which will be fitted later: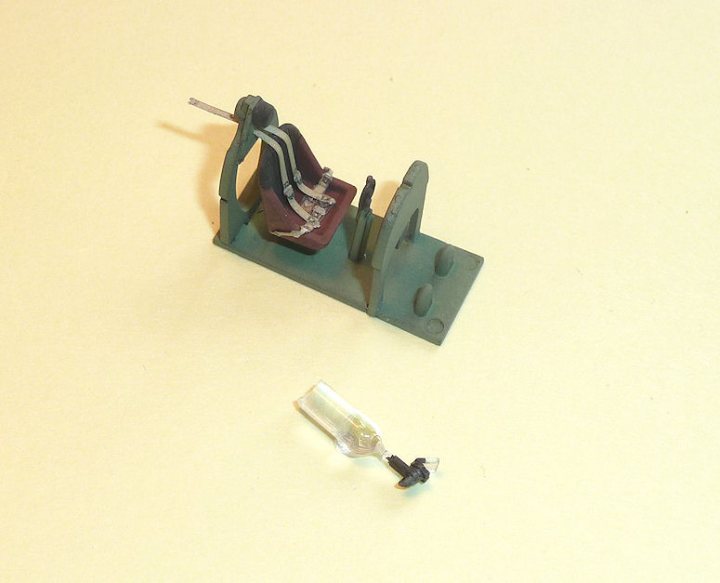
Cockpit sides complete - or at least painted - there's not much to see: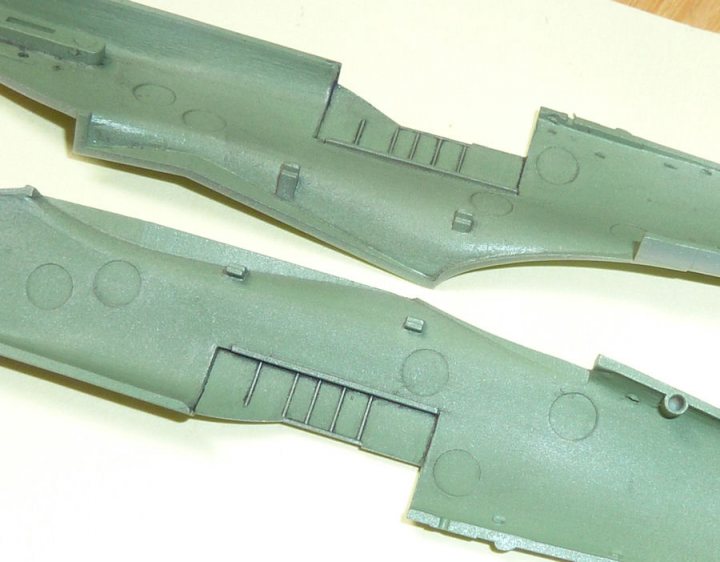
Propeller and spinner assembled: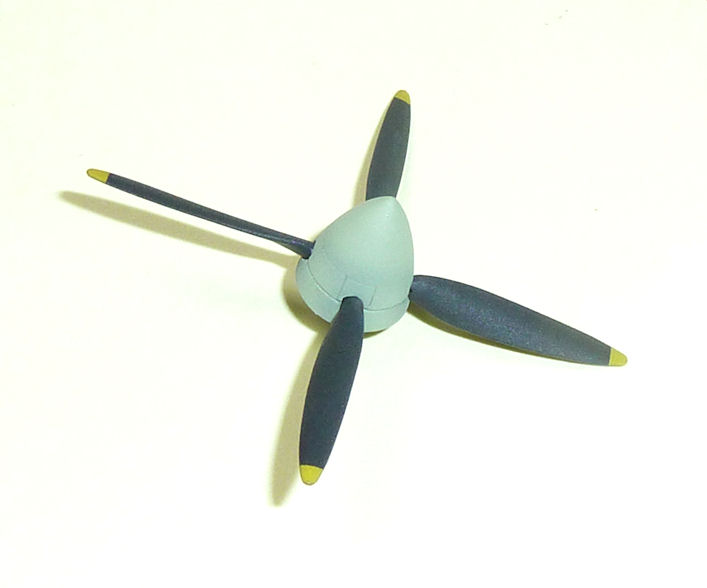
and finally wheels and u/c doors: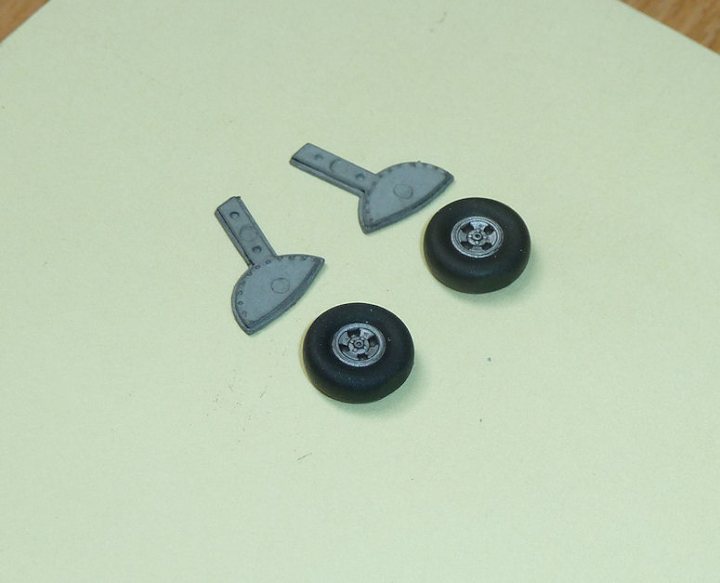
All the ejector pin marks will be covered on assembly. -
Guys,
Not sure if this is the right forum area to ask, but I'm wondering if anyone has a good reference for Vallejo RAF Ocean Grey? There doesn't seem to be an Ocean Grey in their range (at least not that my LHS has in stock), and even if there was, sometimes their descriptions are a bit iffy: Vallejo Medium Sea Grey (for the undersides) seems a bit dark to my eyes, so any advice there would be good too.
So for an RAF Spitfire in Ocean Grey / Green / Medium Sea Grey scheme, what are the best Vallejo paints to go for. At a pinch I could use Tamiya if anyone has any reccomendations for that too.
Thanks!
1:72 Hasegawa Spitfire Mk. IXc
in Non LSM 'WIP
Posted
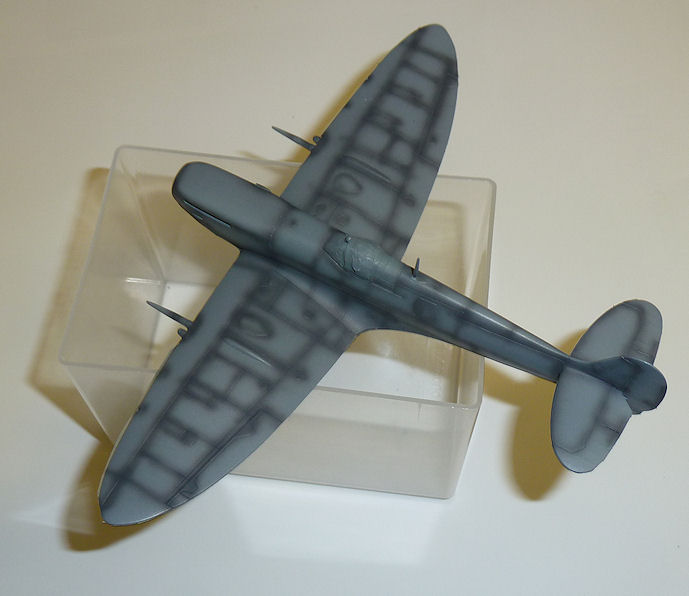
So the green is on, and shaded of course:
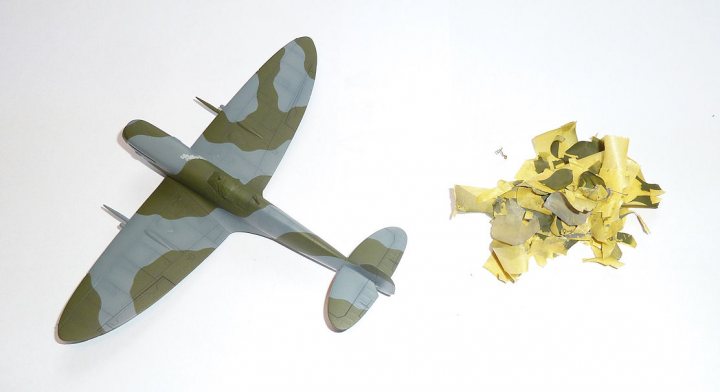
One of the best modelling 'things' is to de-mask a Spitfire...all the contrasting greys and greens pop out after you've seemingly been spraying colour after colour of totally the wrong shade onto layers of masking tape:
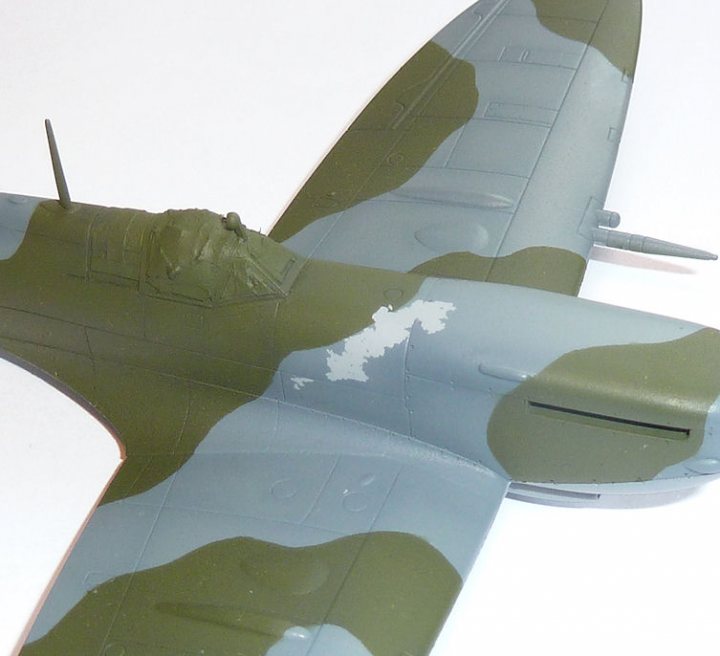
...but it harldy ever goes smoothly (at least for me!). Here, I've obviously got some contamination on the primer coat, and the masking tape has pulled off the top coats:
So the whole process of masking, painting, pre-shading and de-masking has to be done again locally (after first carefully and gently cleaning the affected area with dilute detergent). The repair needs to be seamlessly faded out into the good paint. It's much more tricky to do this, but that's one of the reasons I invested in a good quality airbrush; I don't need to fight against the equipment!