
RalphSarc
-
Posts
2,143 -
Joined
-
Last visited
Content Type
Profiles
Forums
Events
Gallery
Everything posted by RalphSarc
-

1/32 ME-262A-2a/U2
RalphSarc replied to JeroenPeters's topic in LSM 1/35 and Larger Work In Progress
First I have to say I’ve heard you both suffer from massive shrinkage, lol!! I’m enjoying following along since I’ve built this kit using my skill set. I look forward to see what your skill set produces: -
Old mold Revell FW-190F8 next
RalphSarc replied to JohnB's topic in LSM 1/35 and Larger Work In Progress
Nicely done!! -
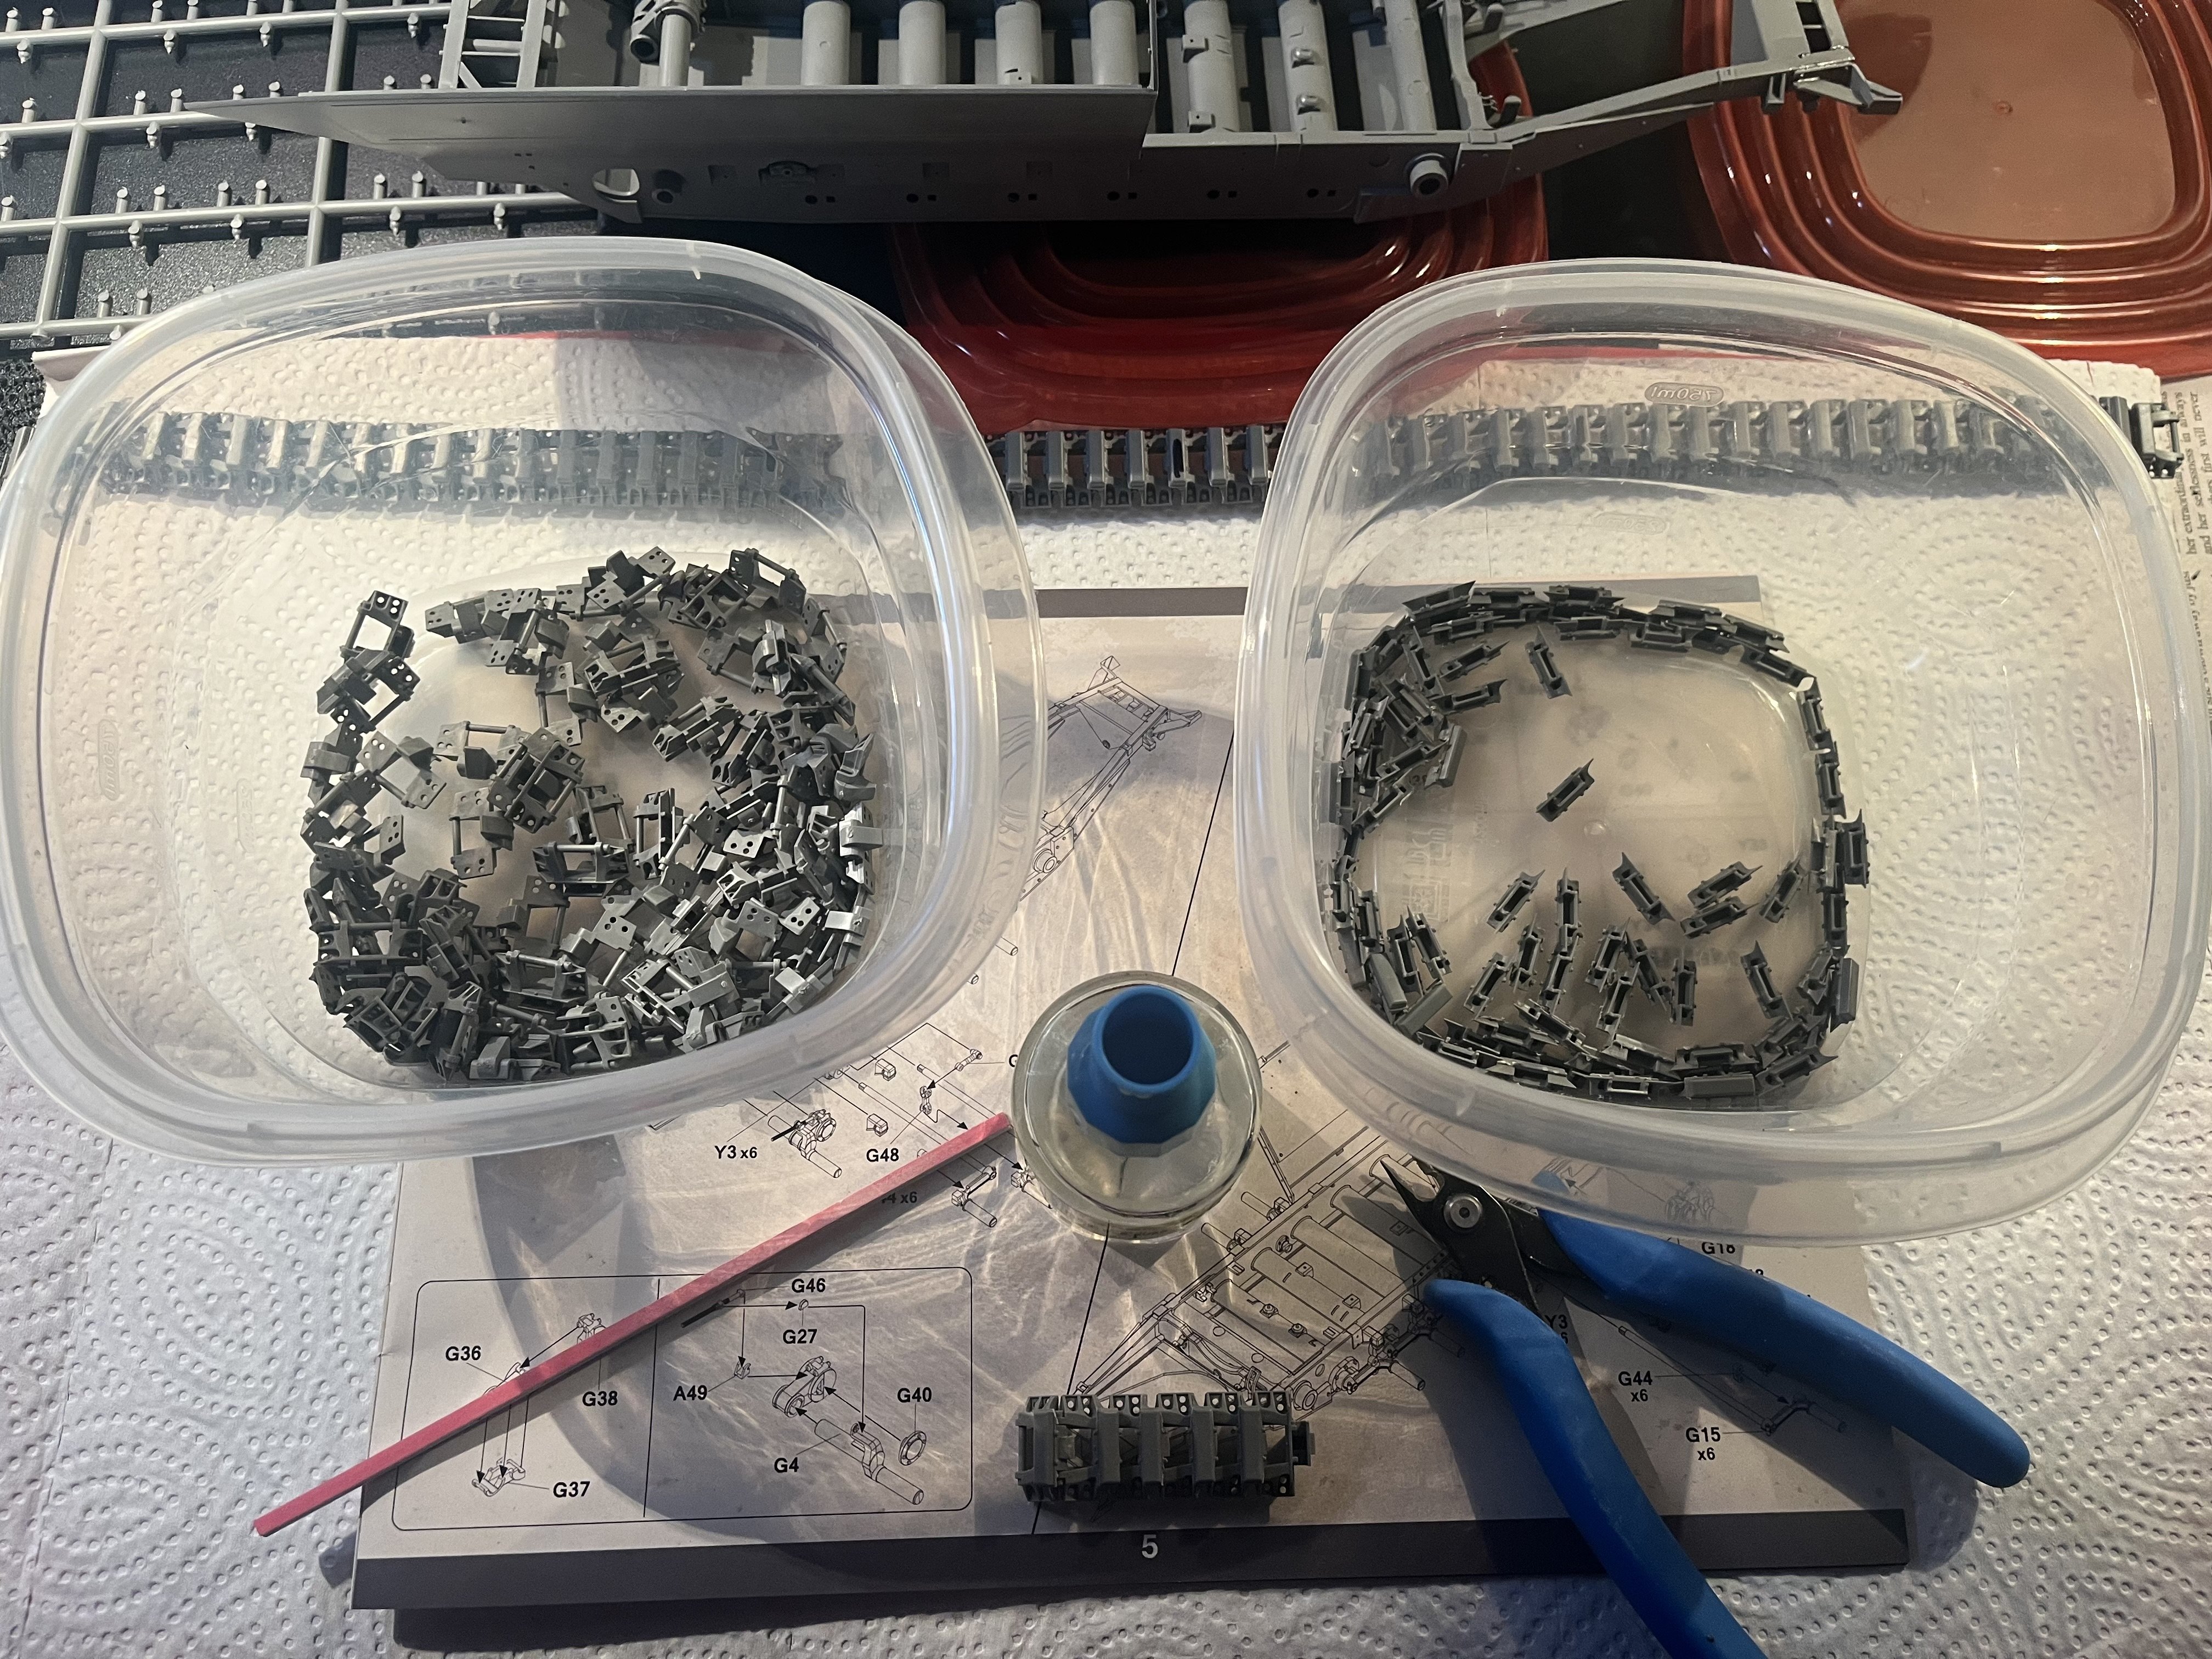
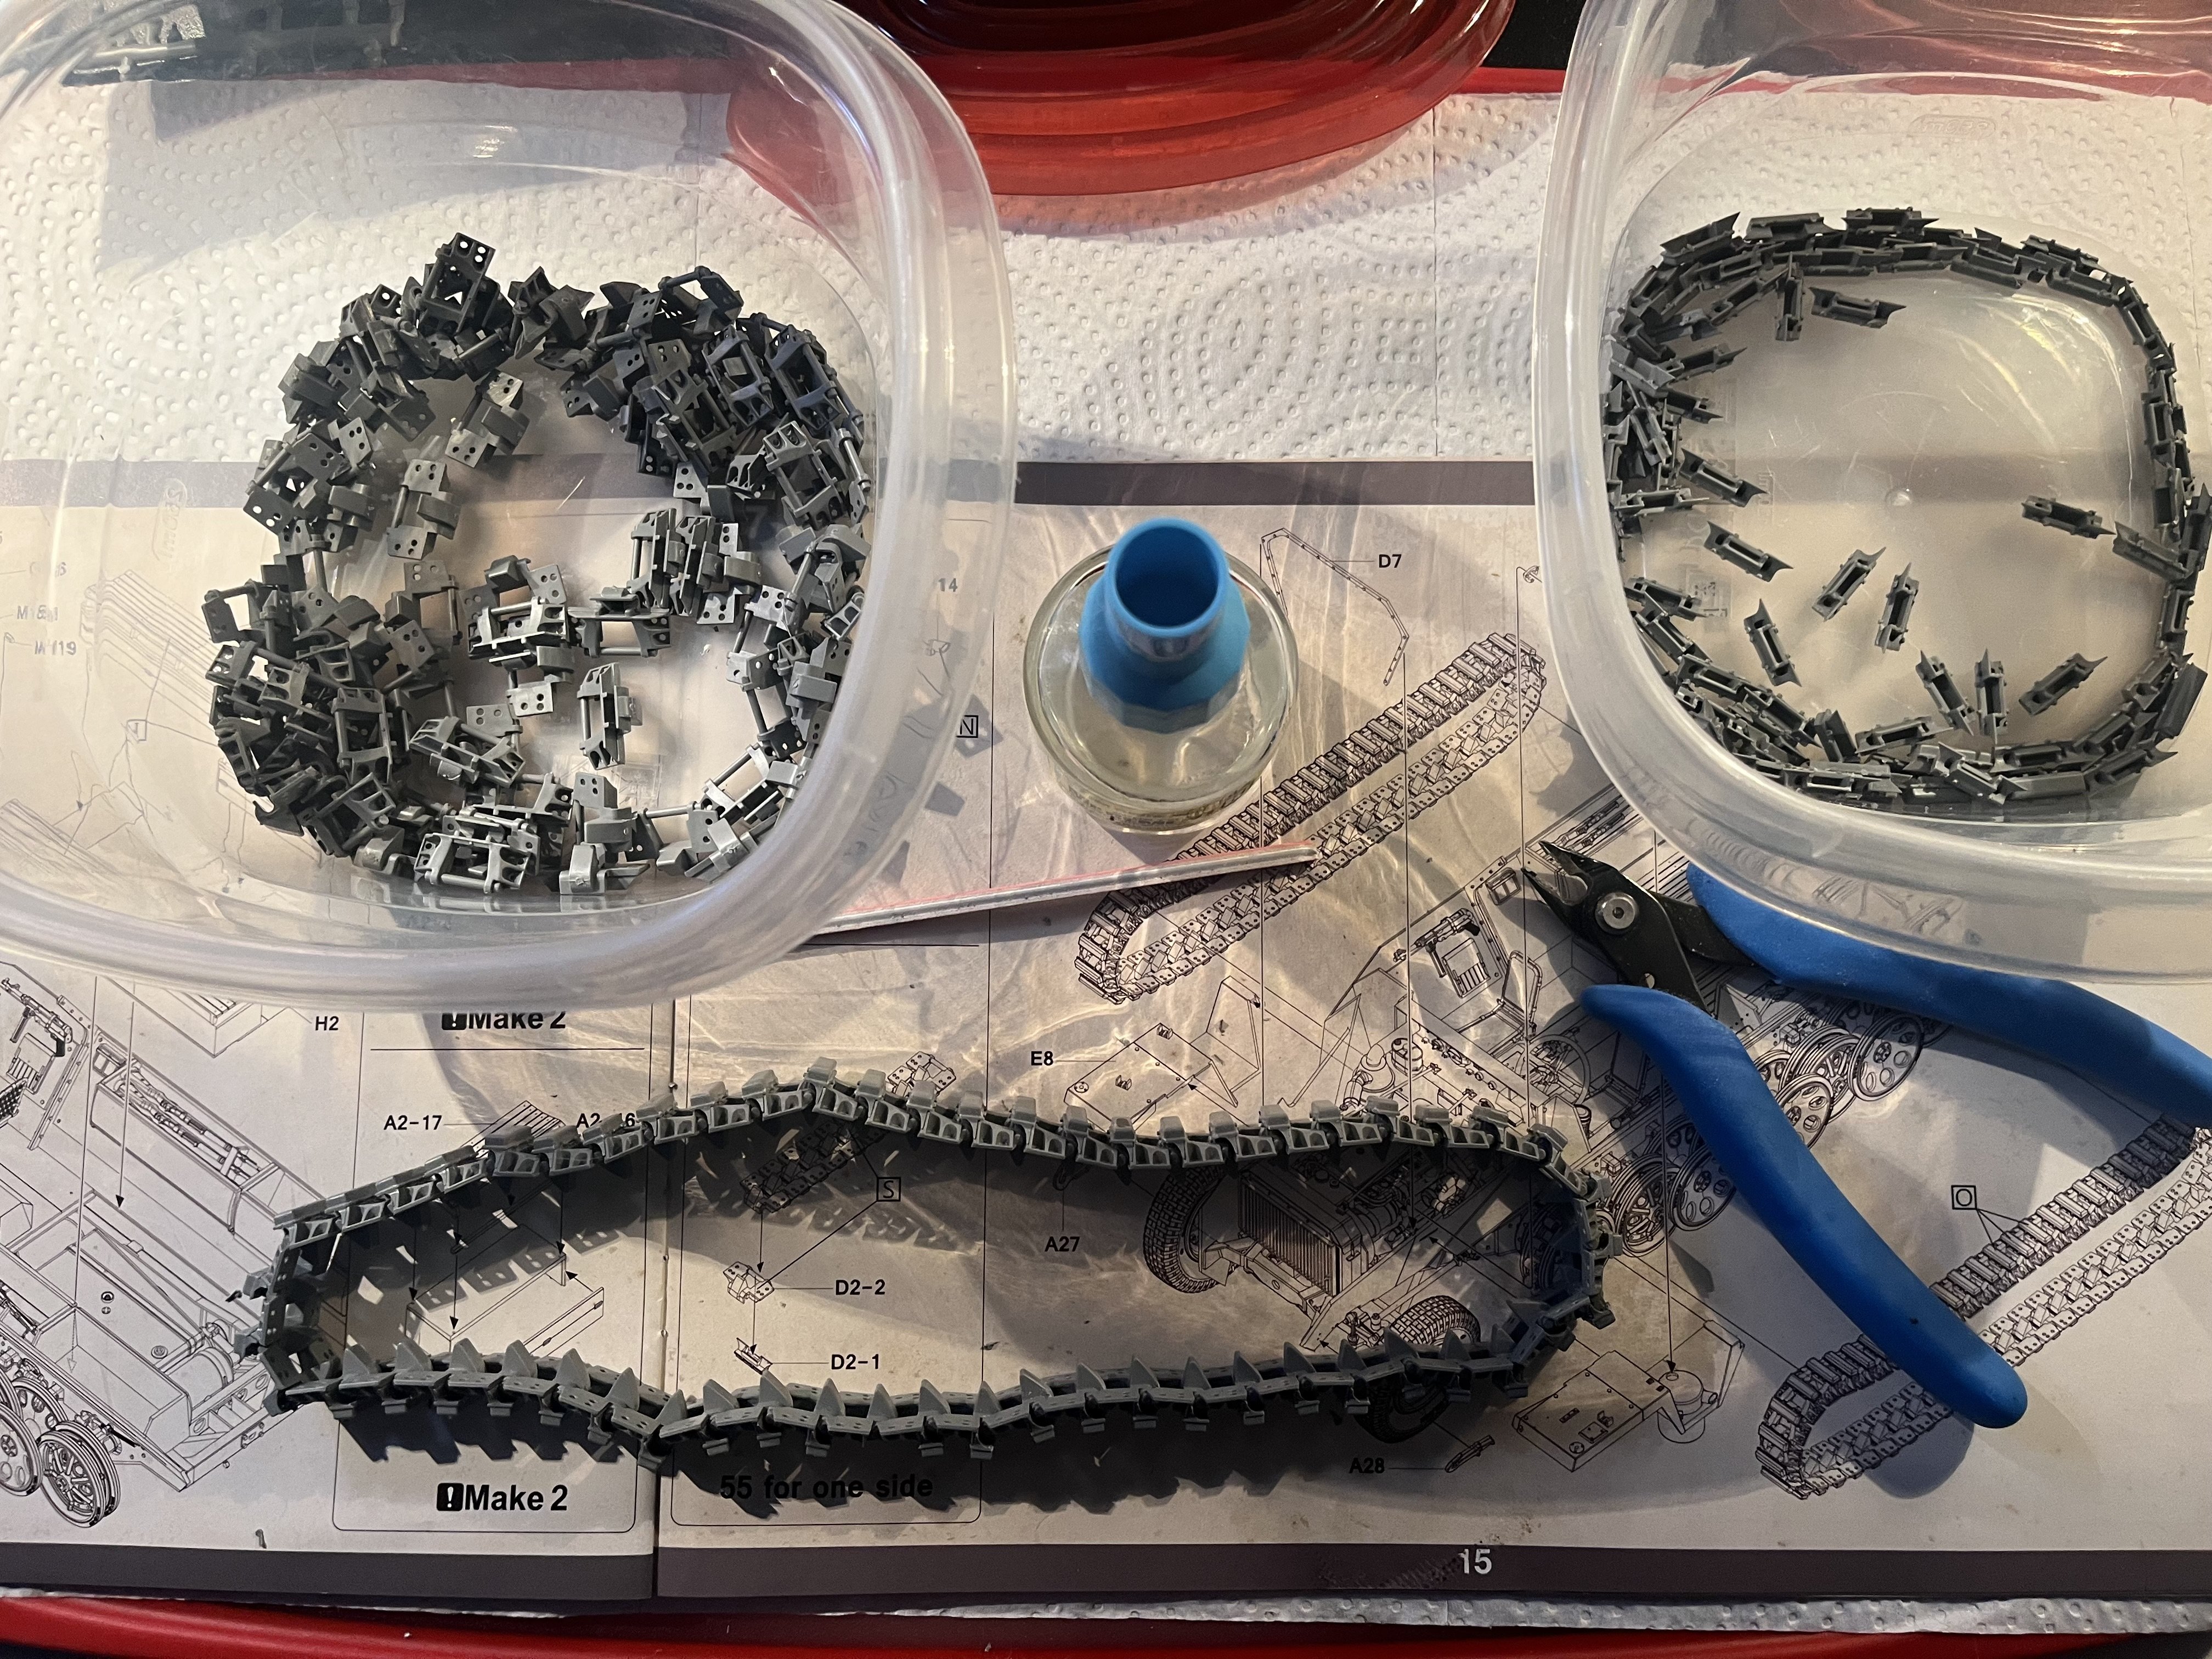
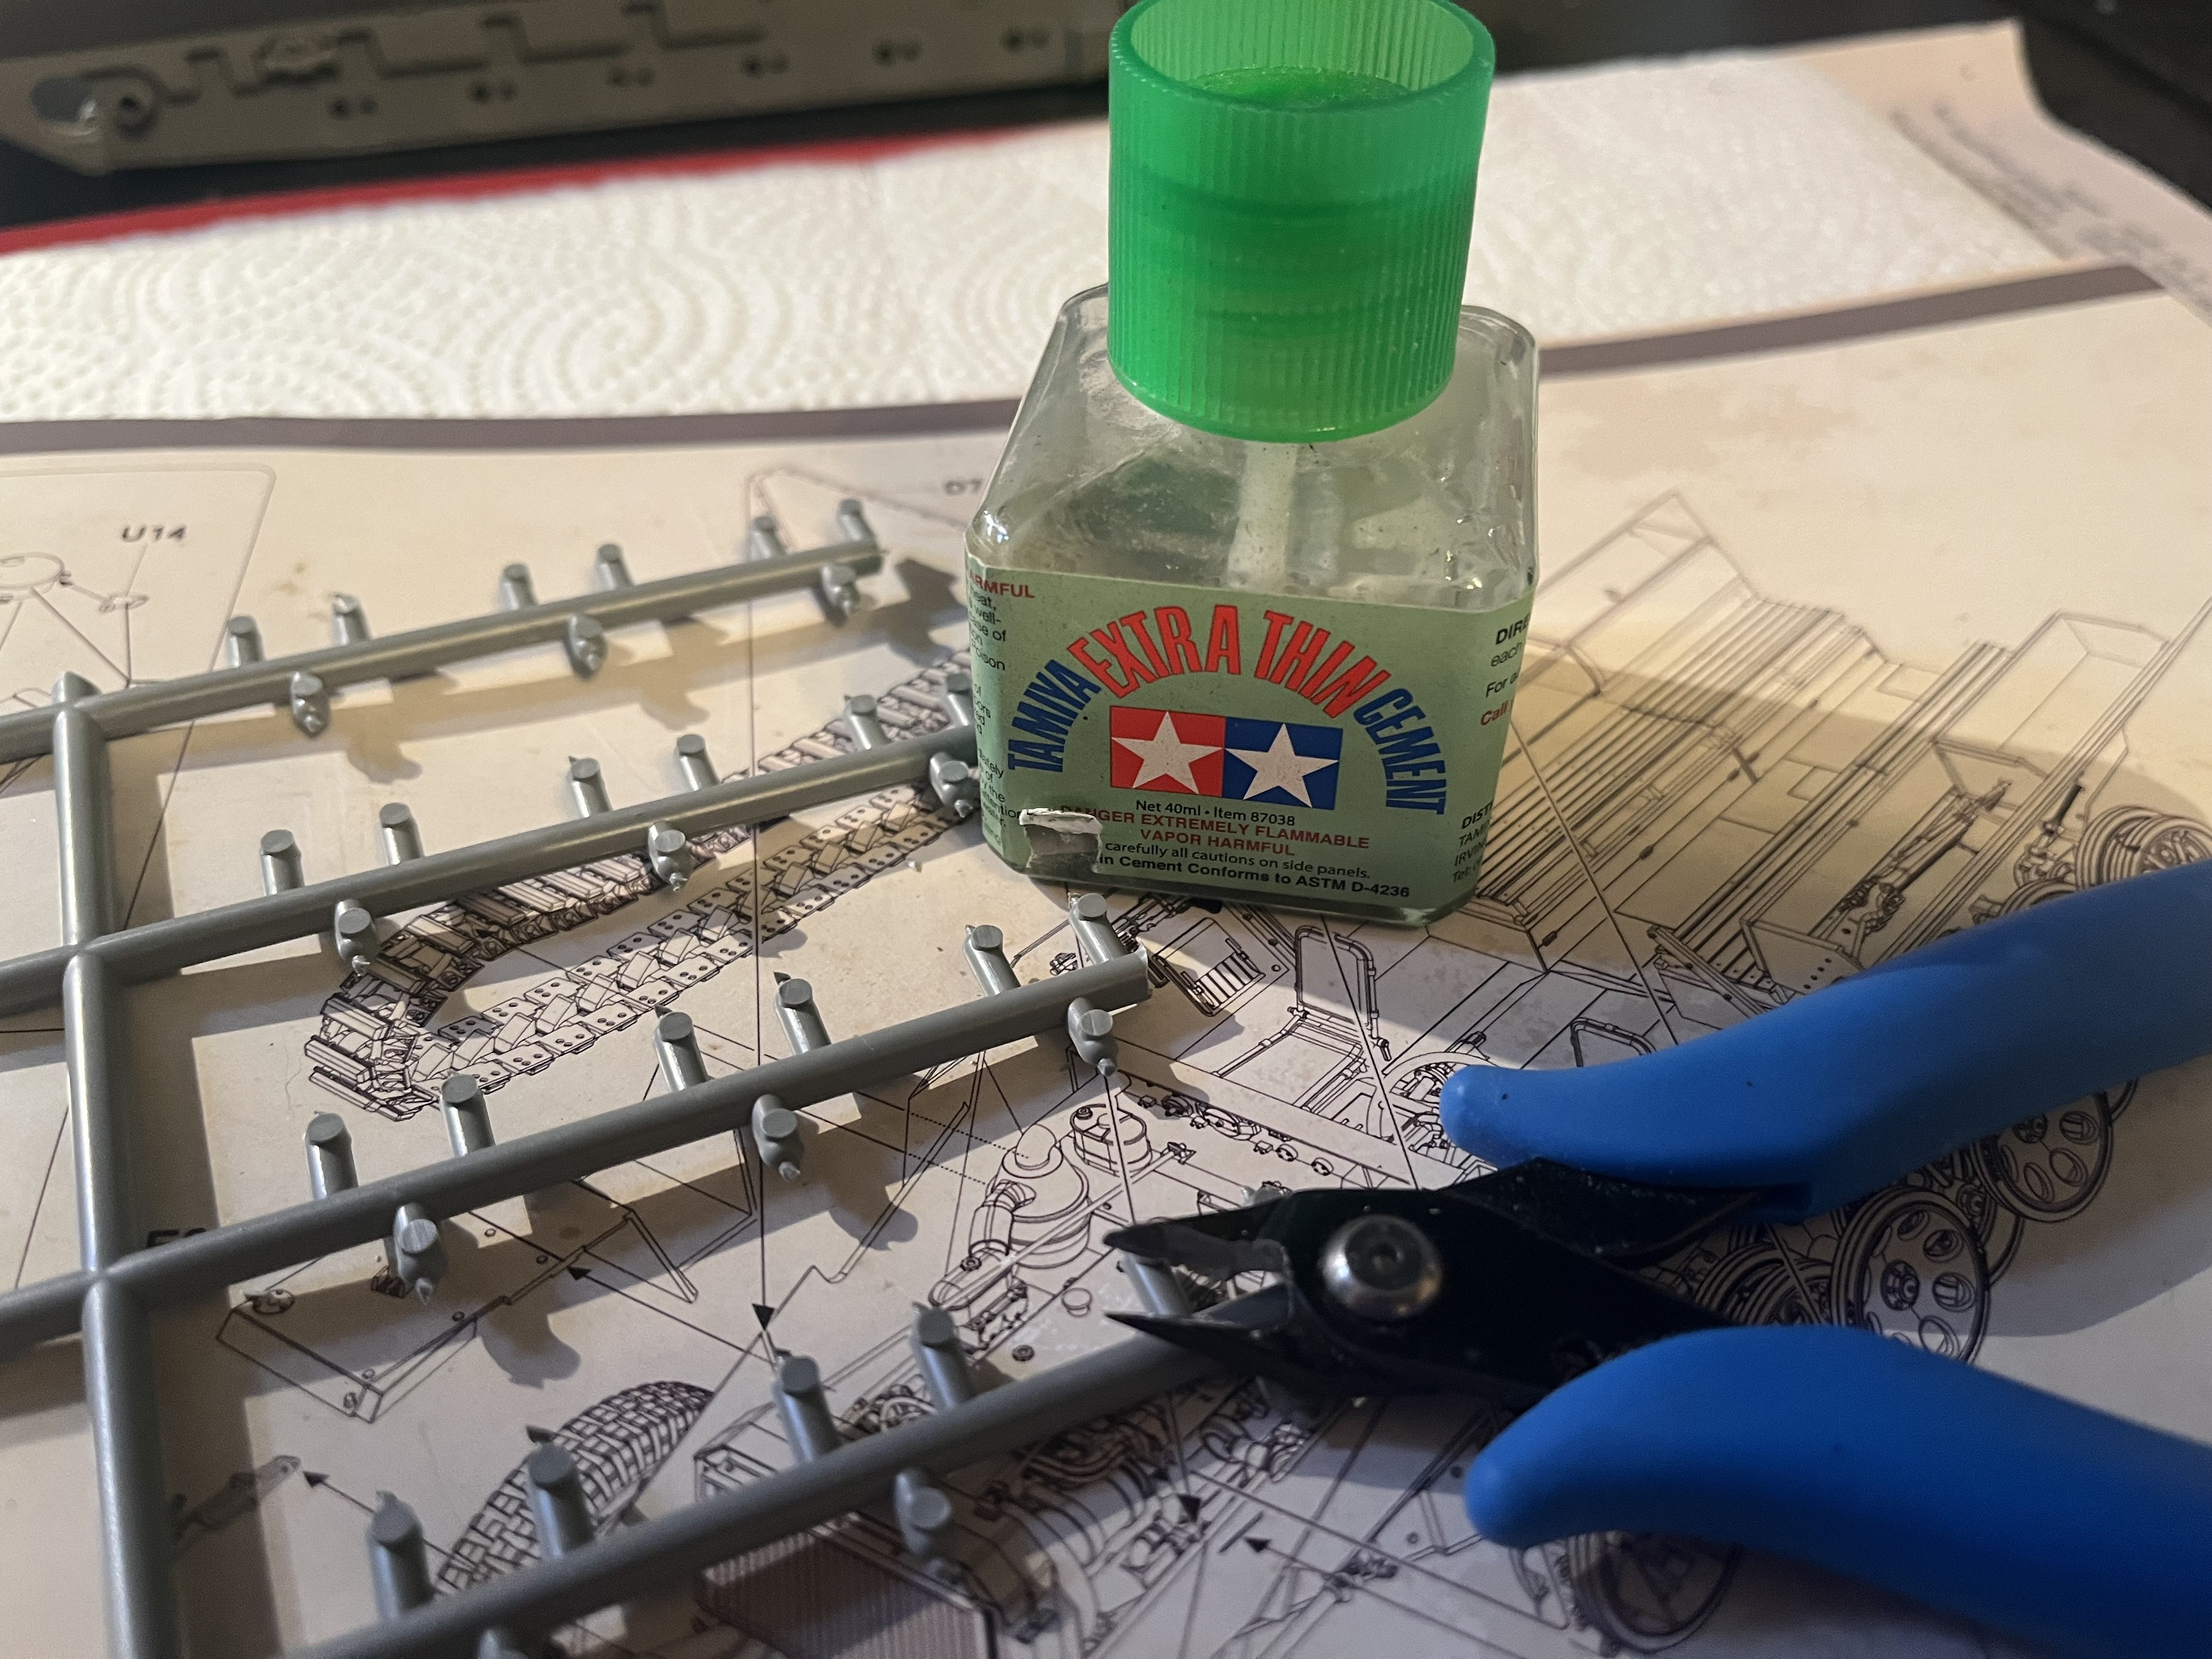
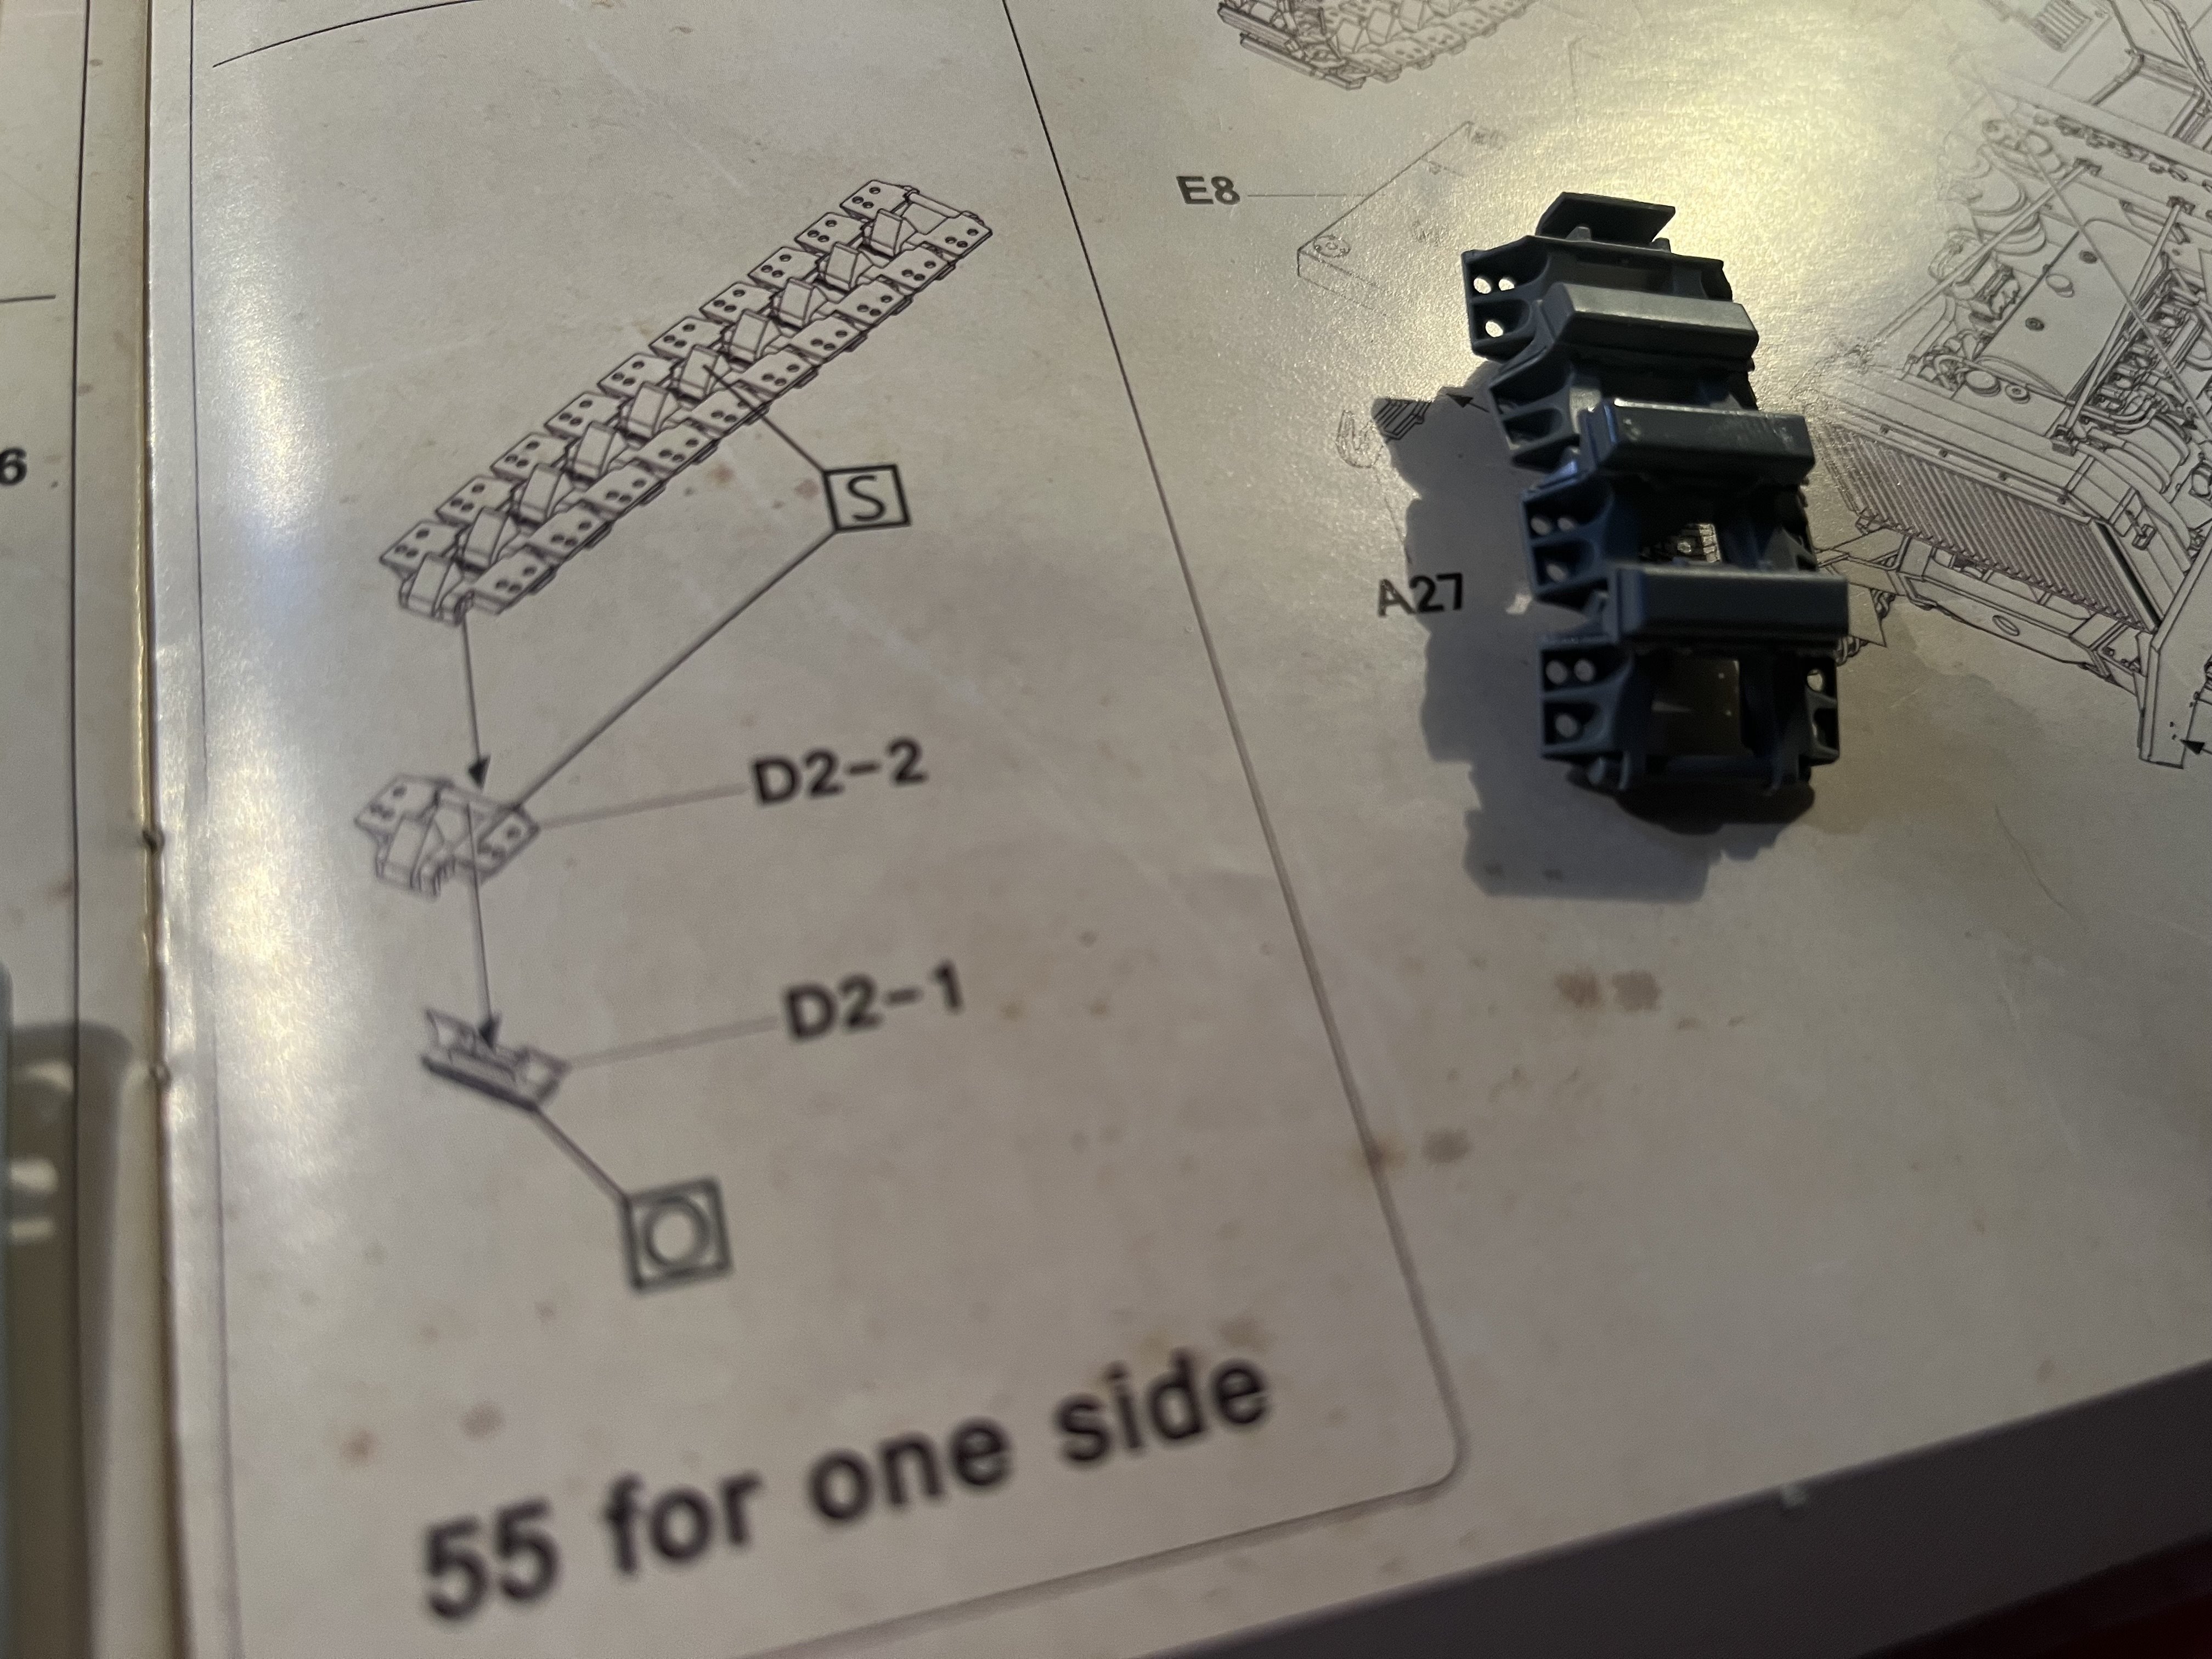
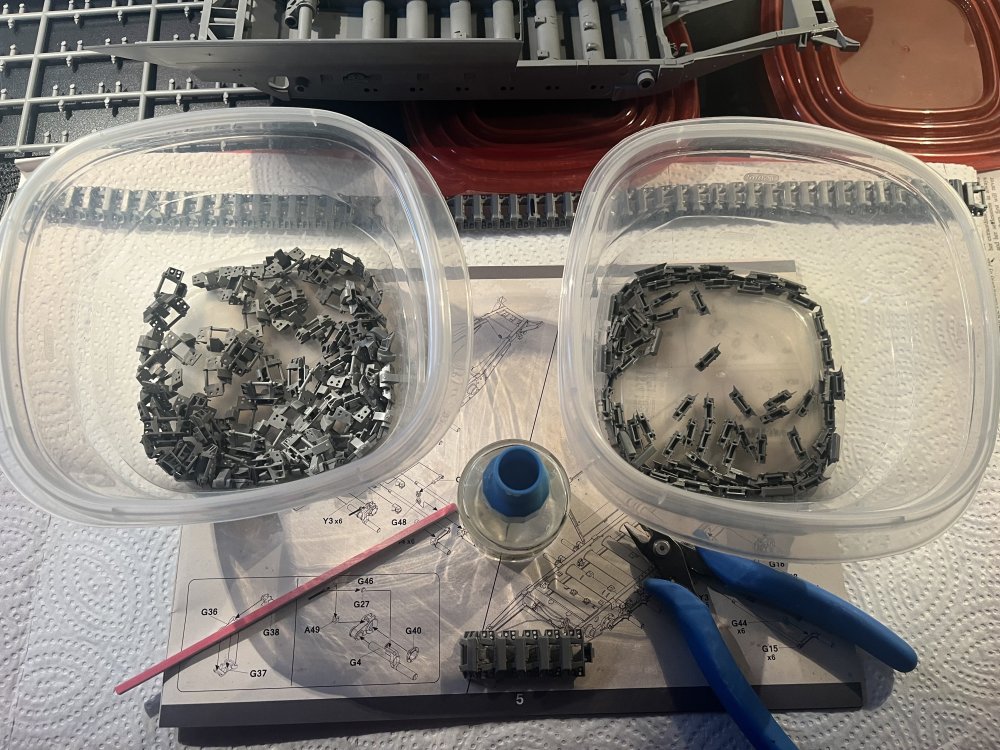
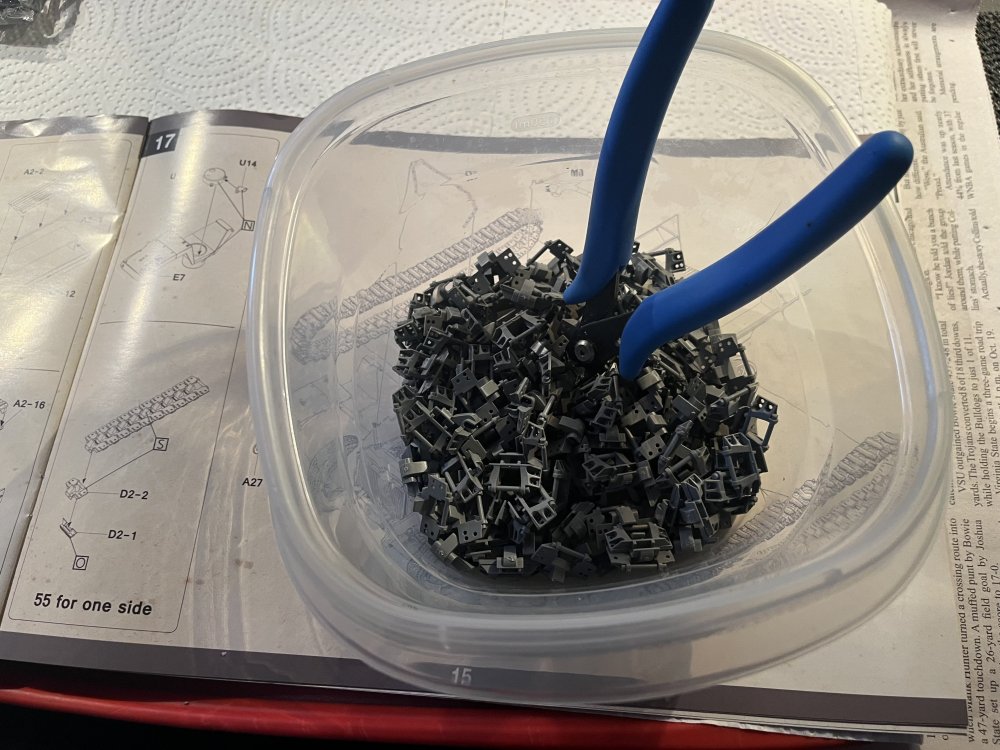
Started the second set of tracks this evening. The secret is definitely to remove the track link and track pads from the spruce first. While very fidgety the process is well worth it. Assemble requires minimal clean up and parts fit really well.
-
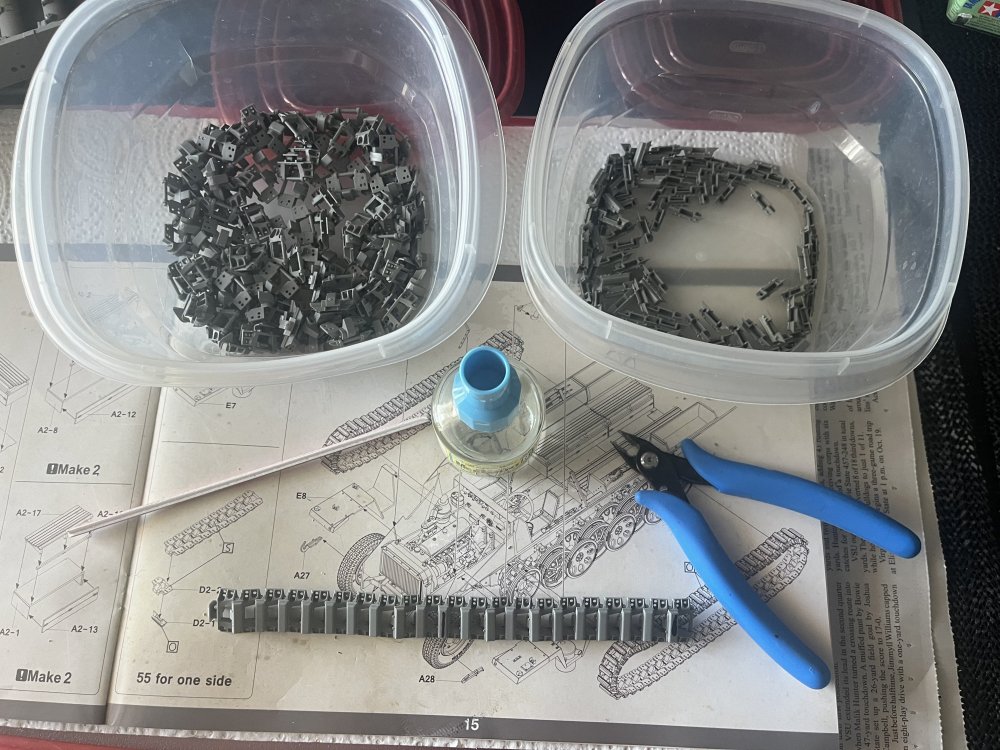
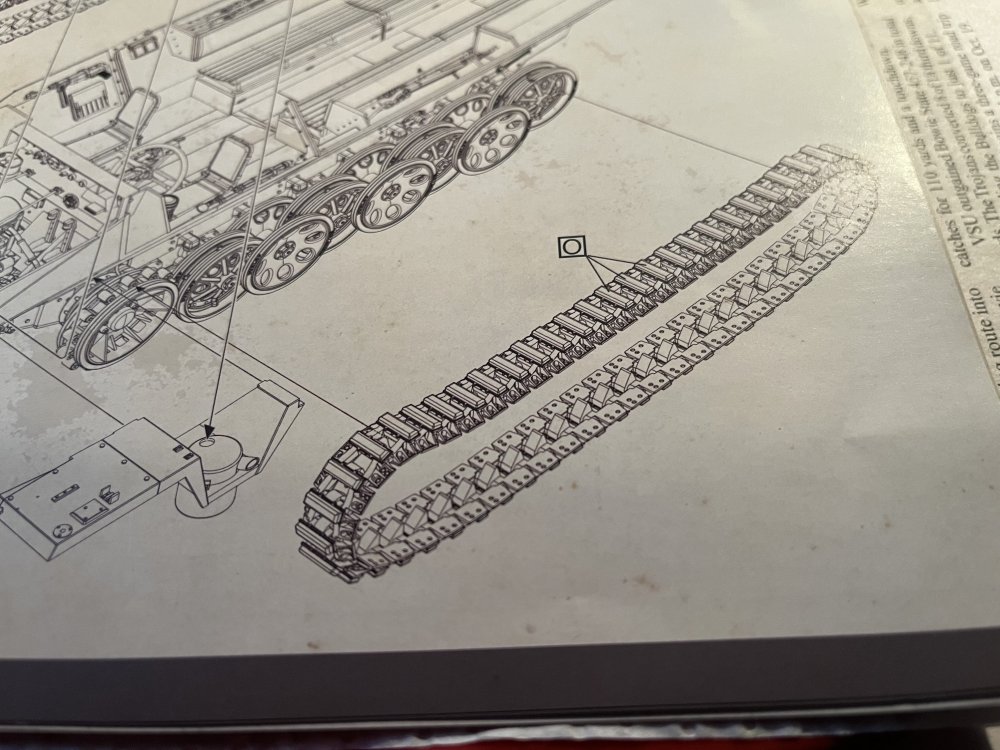
55 track links and 54 track pads later and the first track assembly is finished. The 55th track pad will join the track once mounted of the vehicle.

-
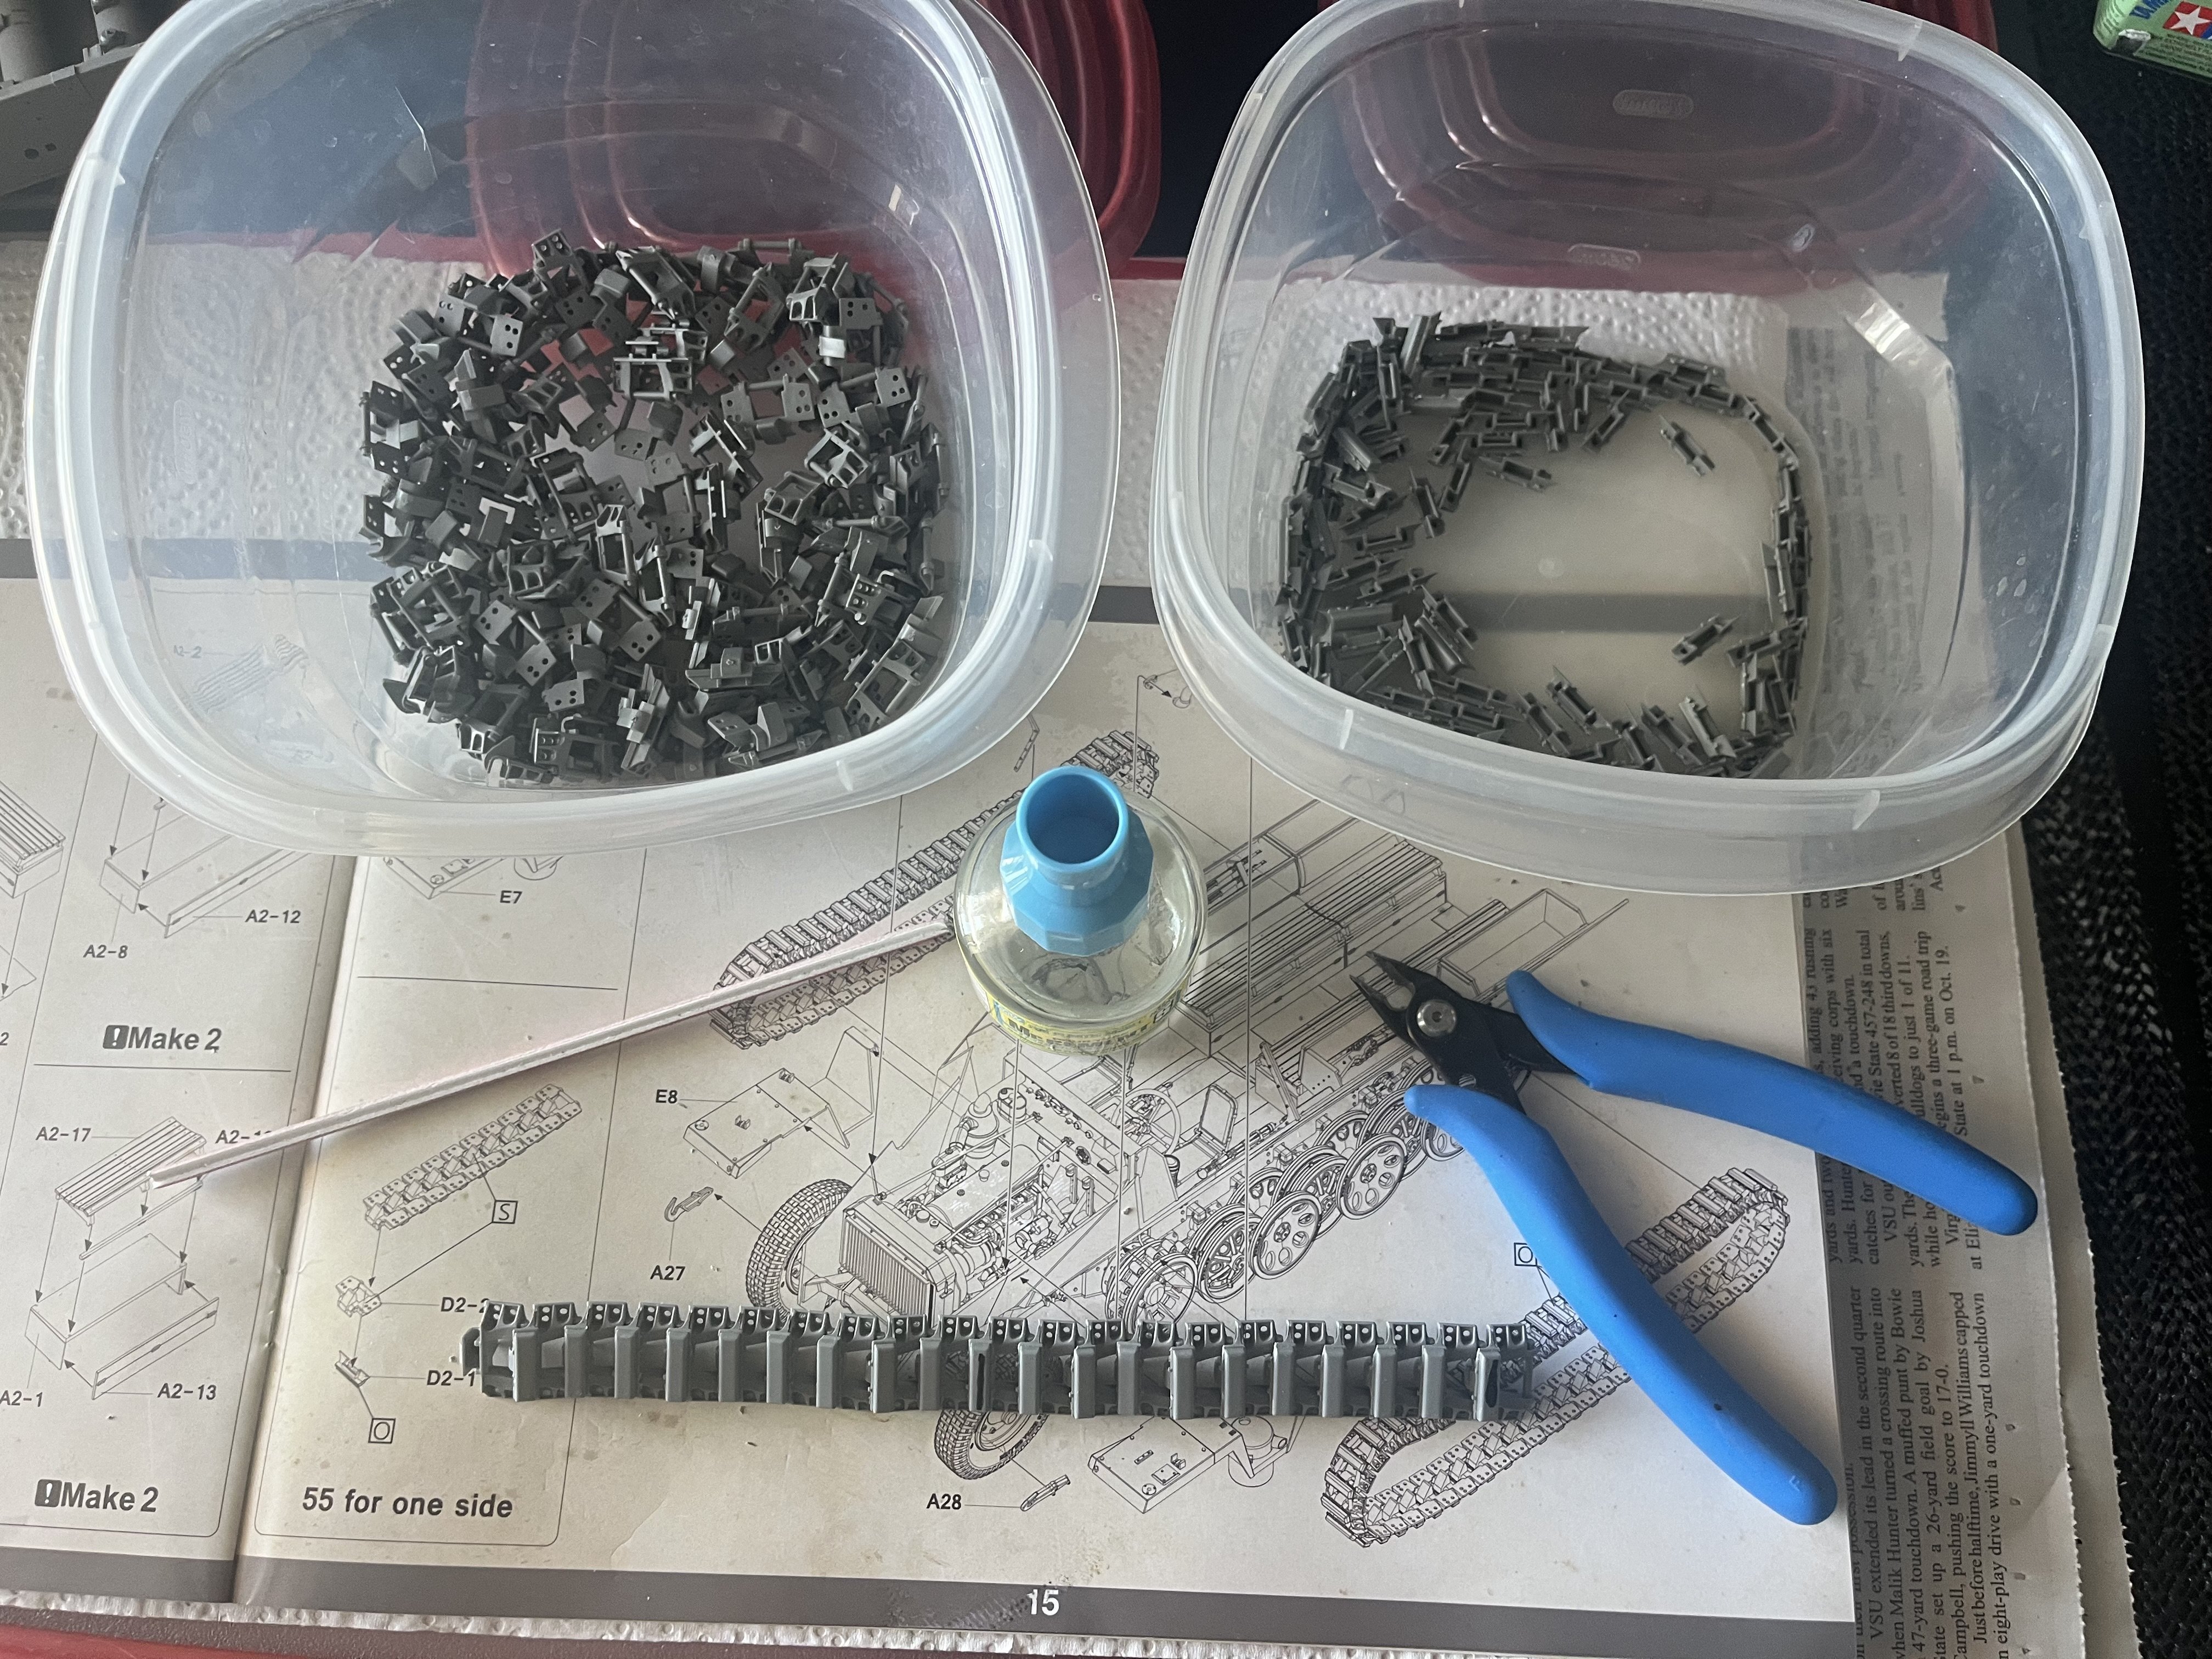
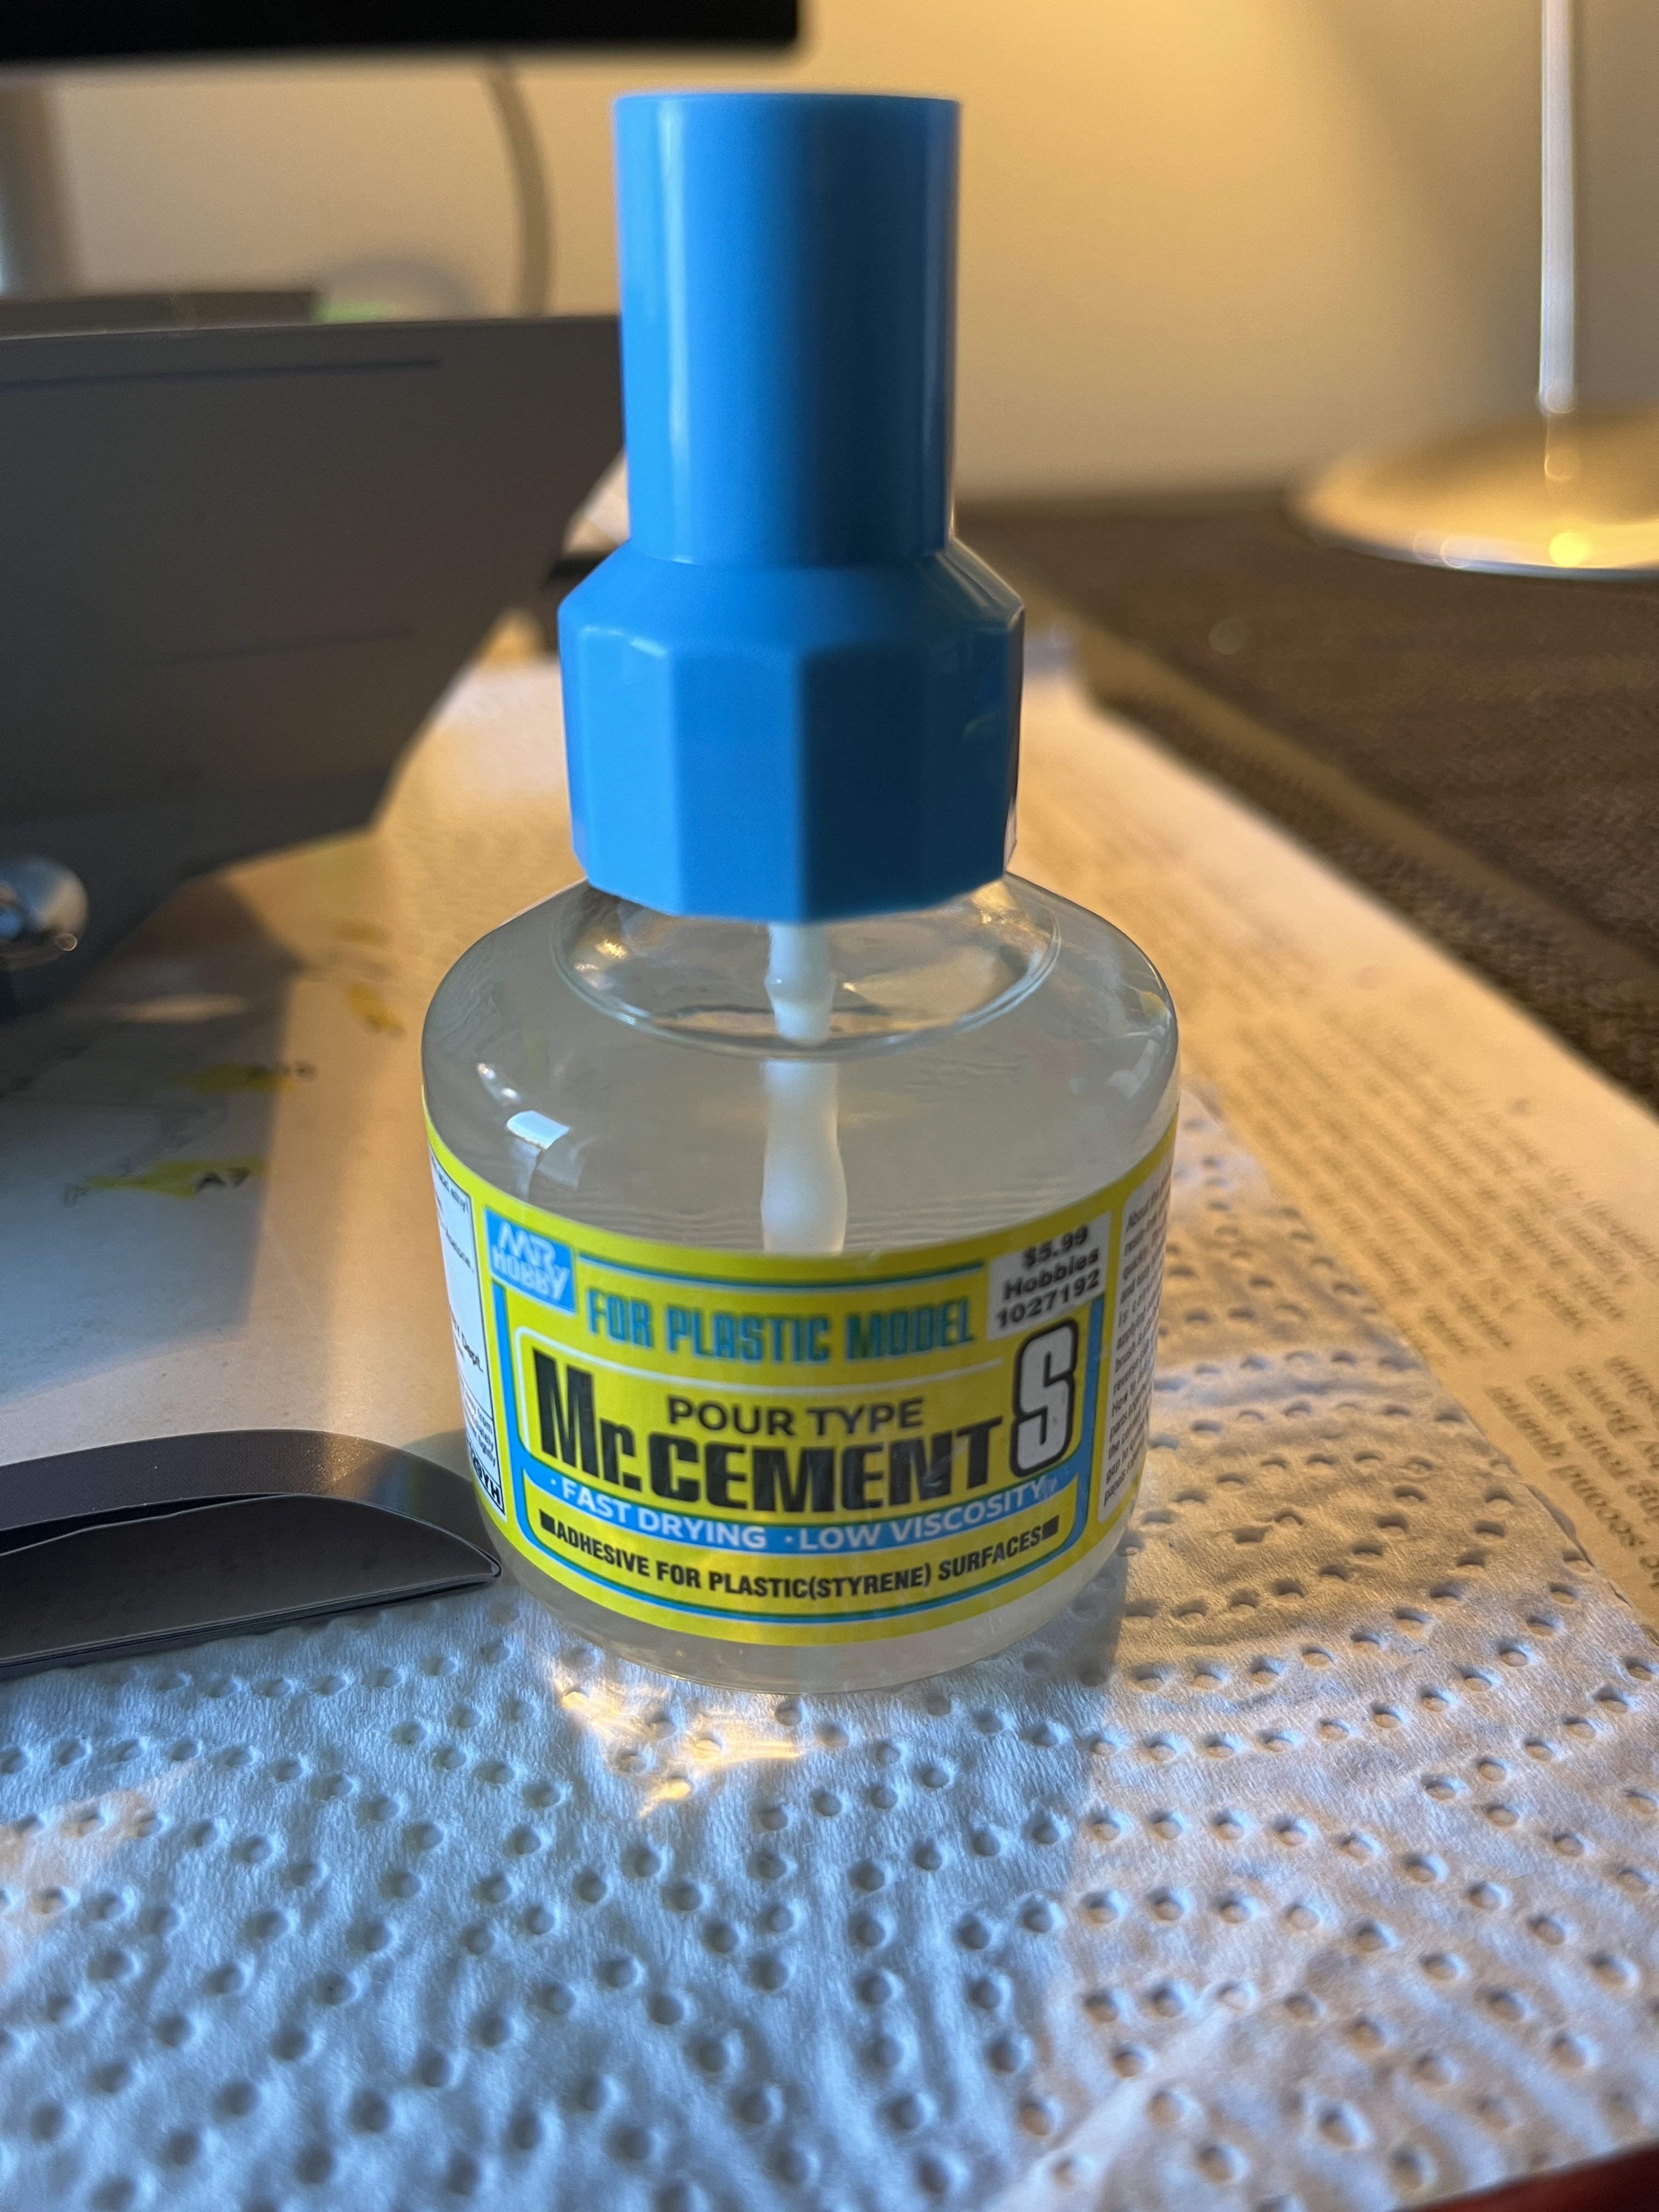
Thanks Carl. So far so good with the Mr Cement. I’m using it to assemble the tracks and it seems to be behaving as Tamiya Extra Thin would. I also a splash of it to make spruce glue with my leftover Extra thin and it had no problem melting the spruce prices.

-
After two days off snipping I’m finally off the the races assembling tracks. After a tiny bit of cleanup up on both the track link and track pad parts assembly is pretty straightforward. A touch of Extra Thin holds them in place while maintaining the flexibility of the track.
-
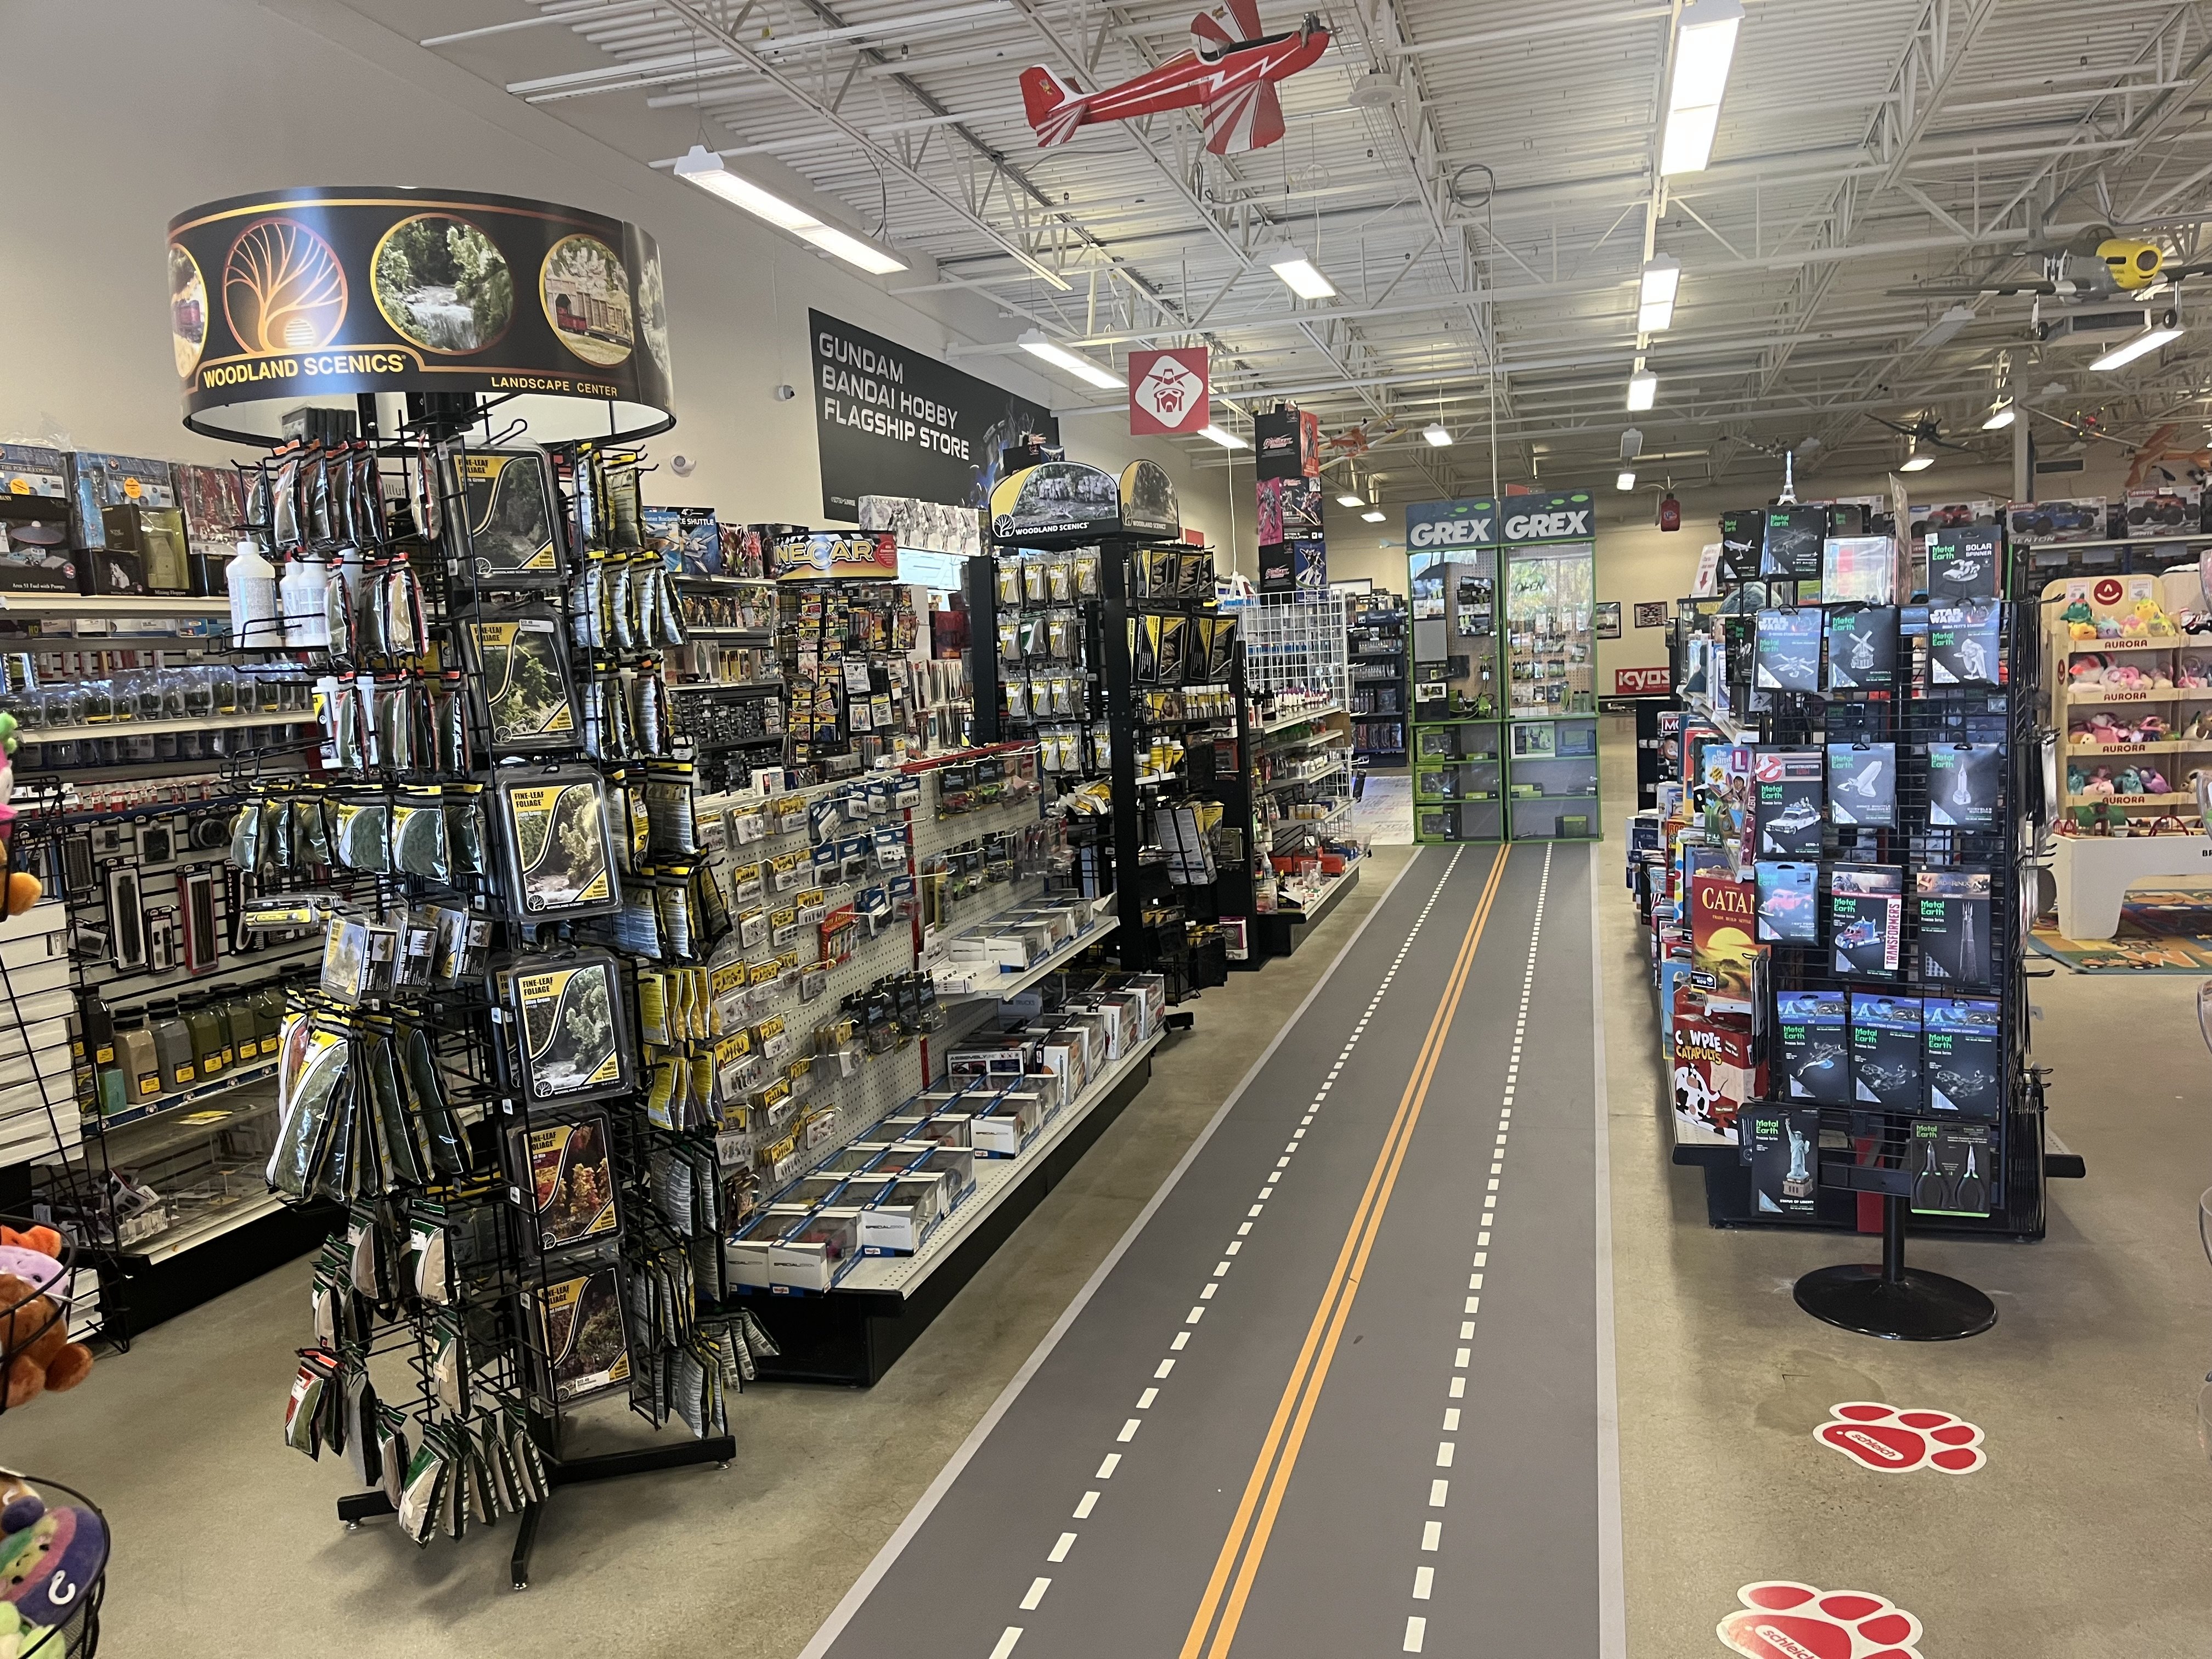
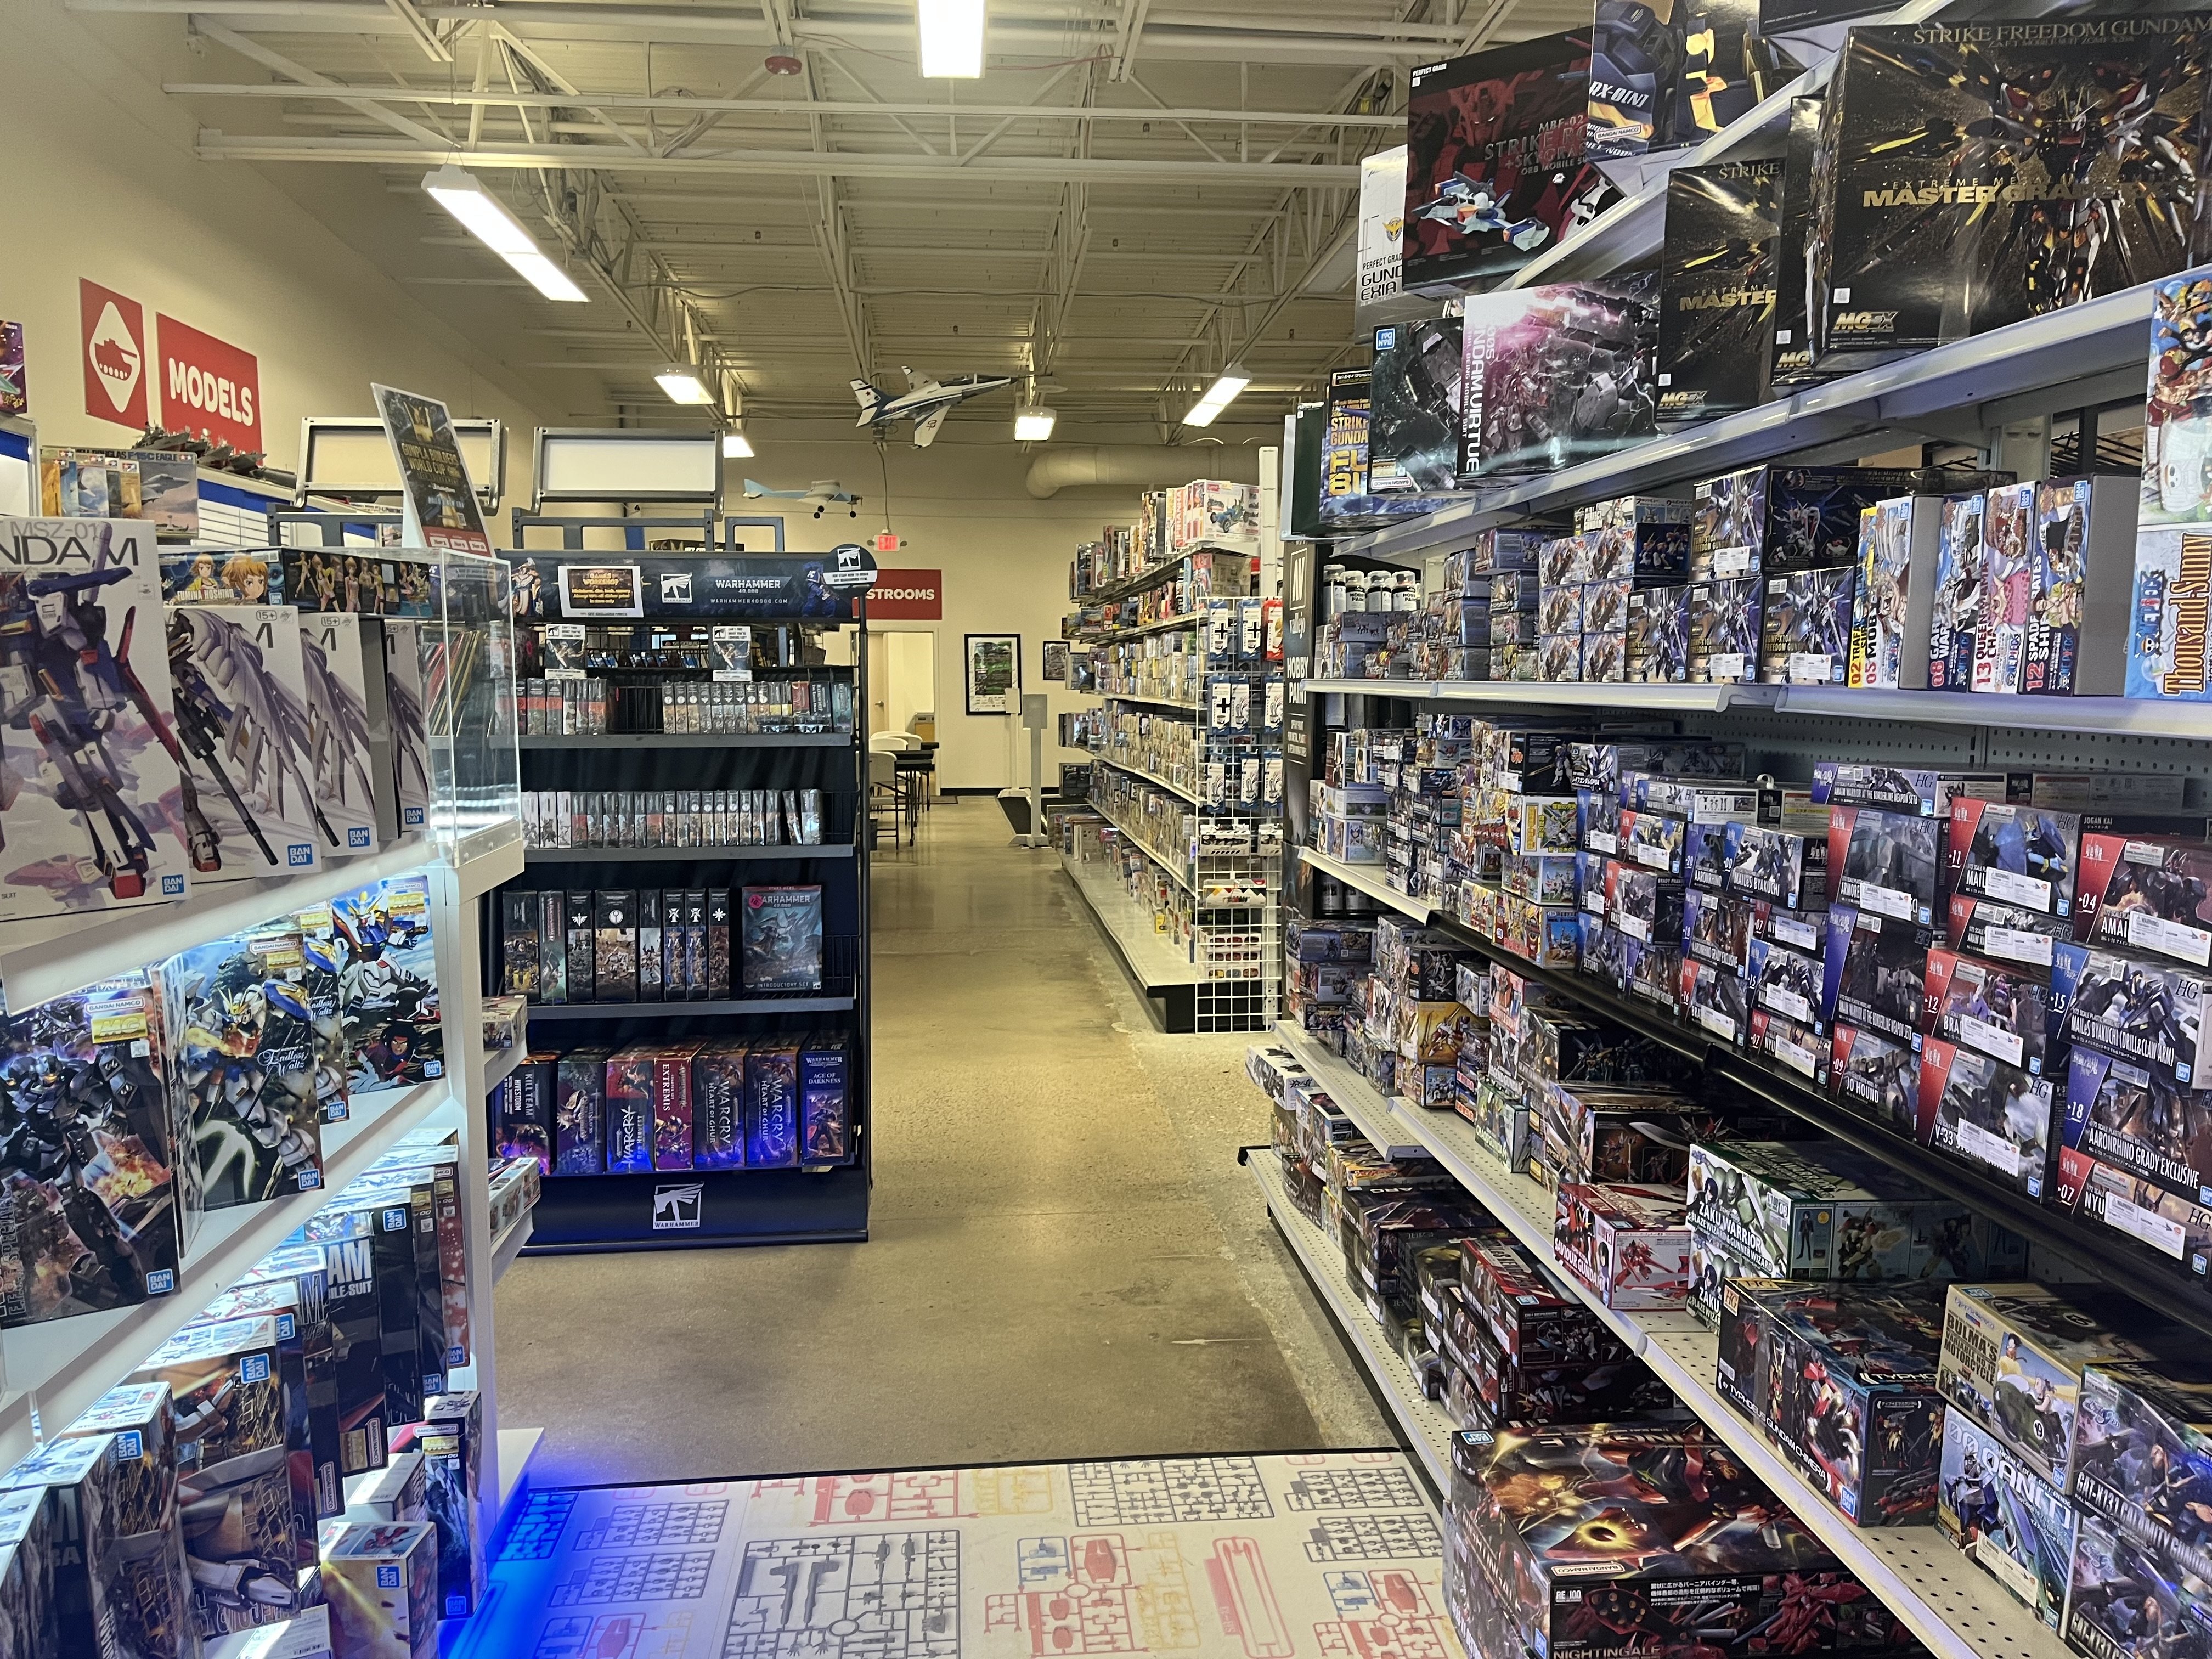
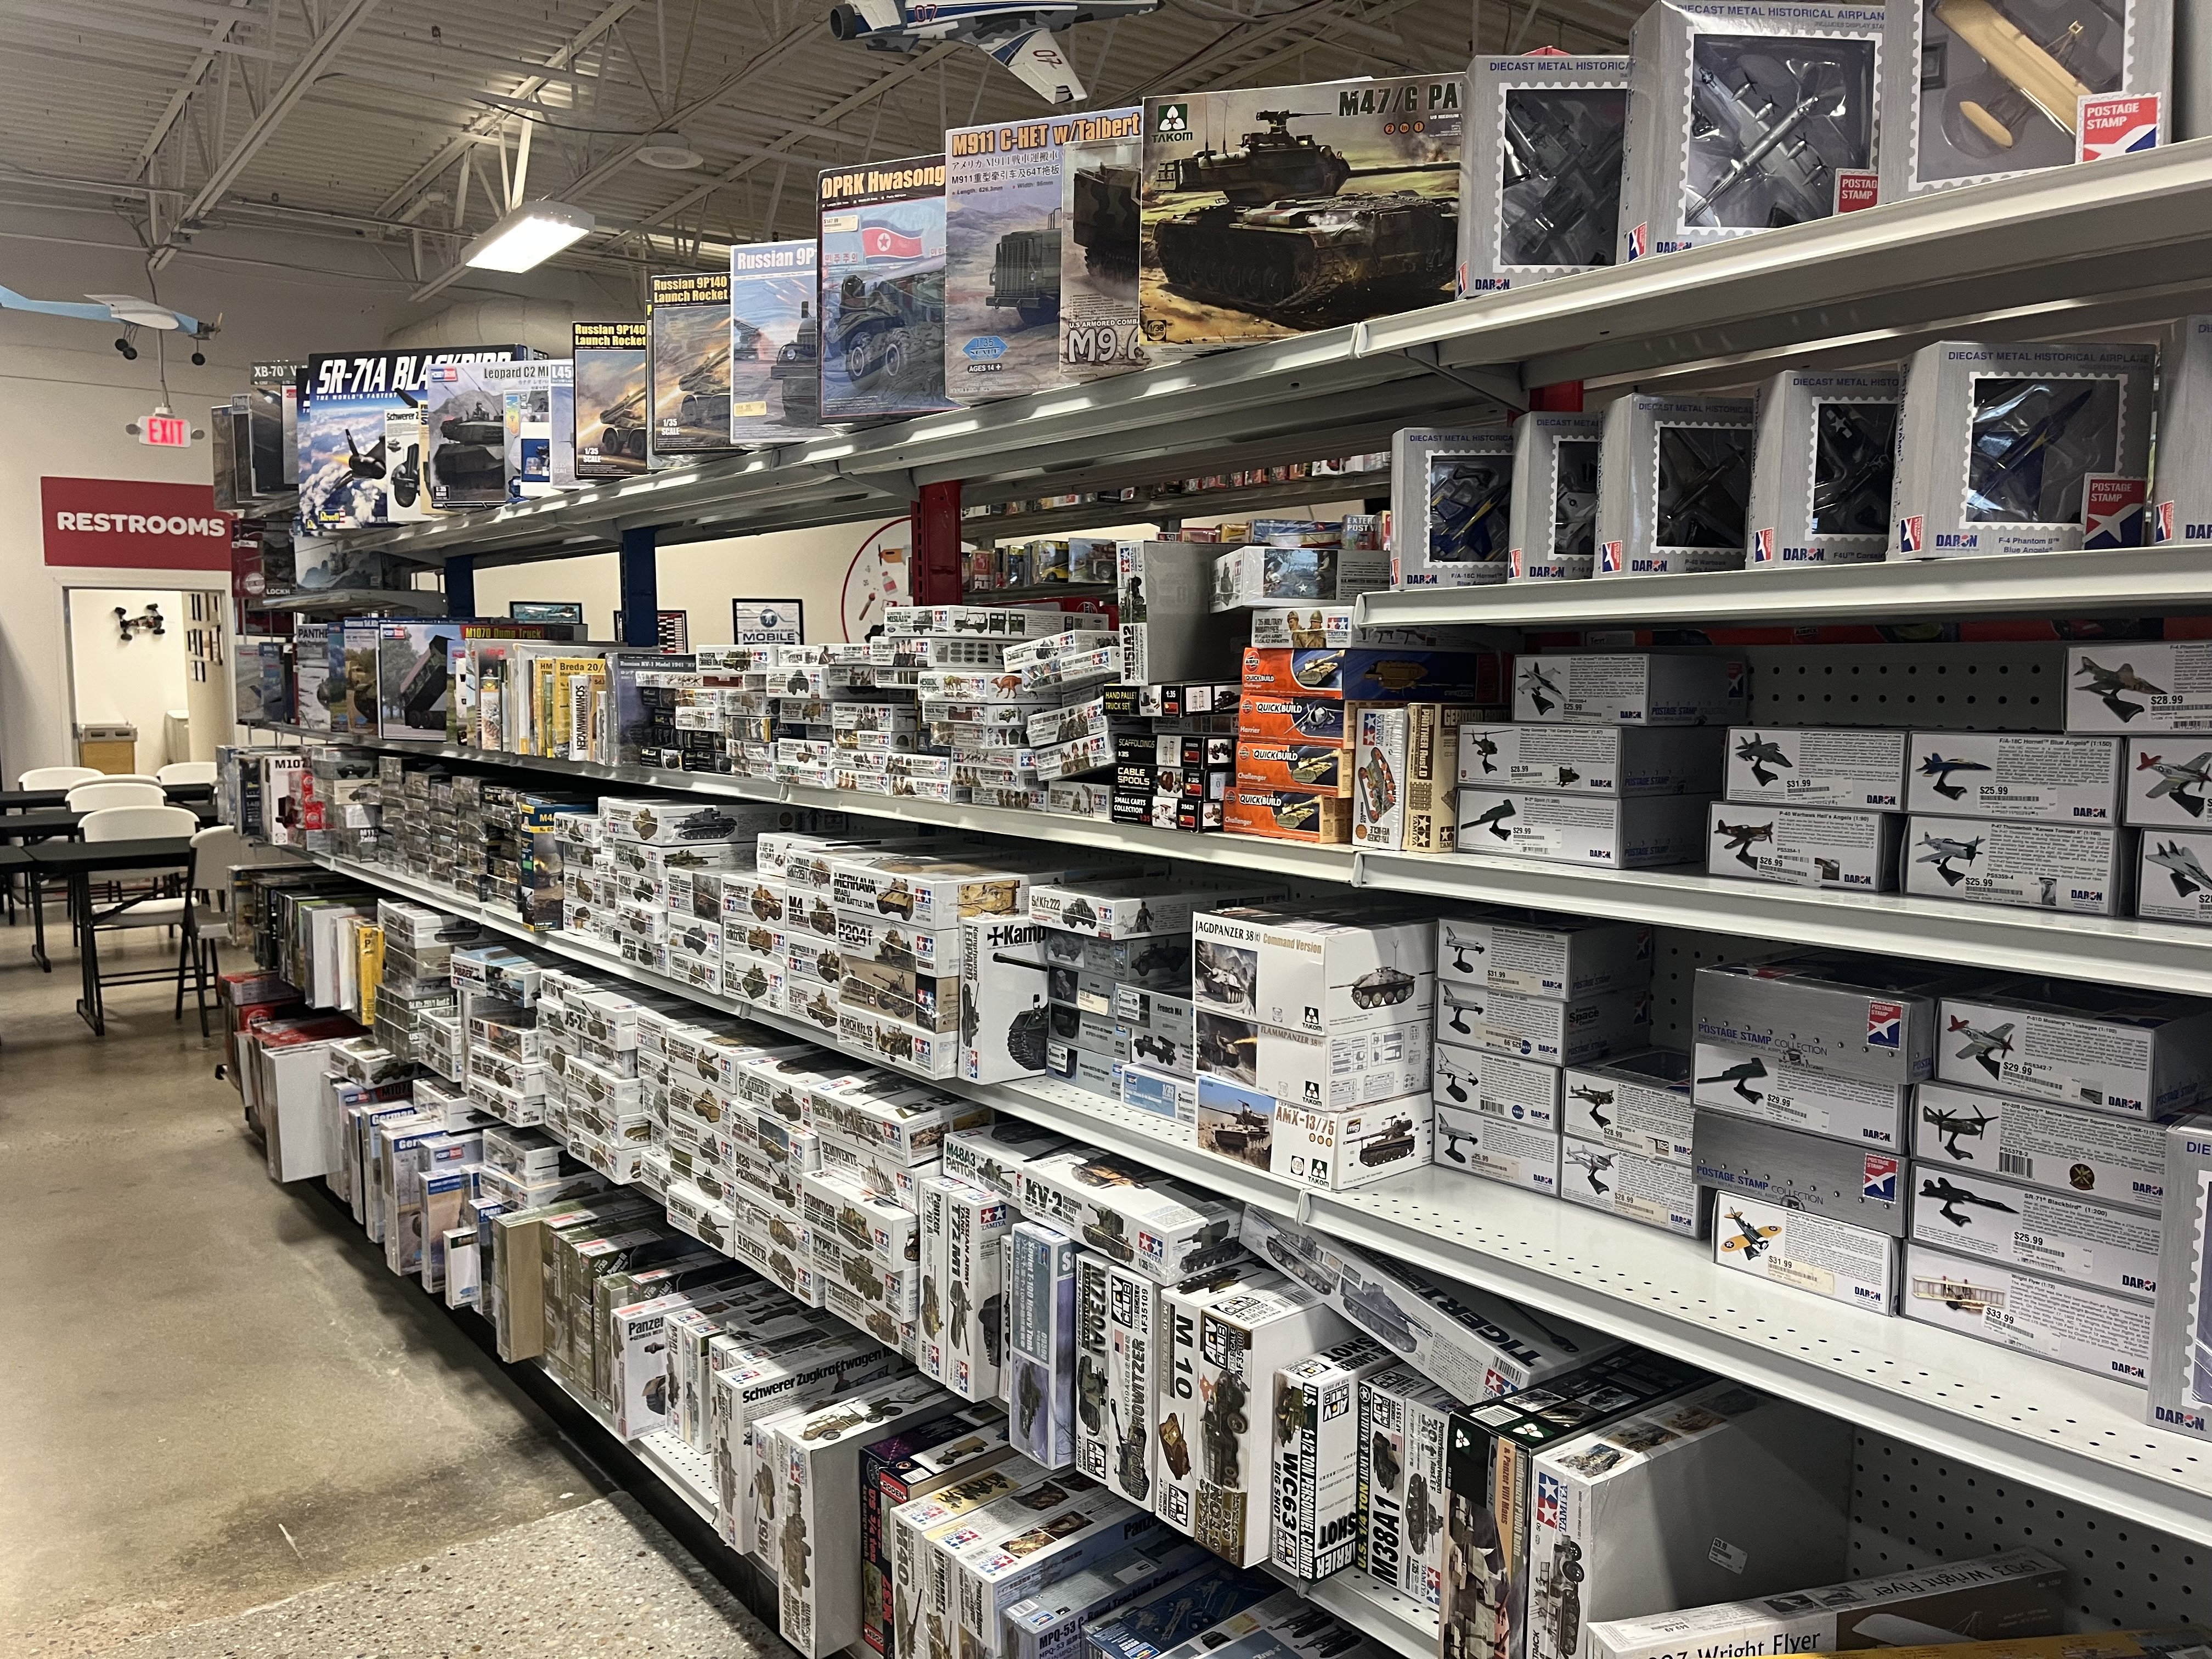
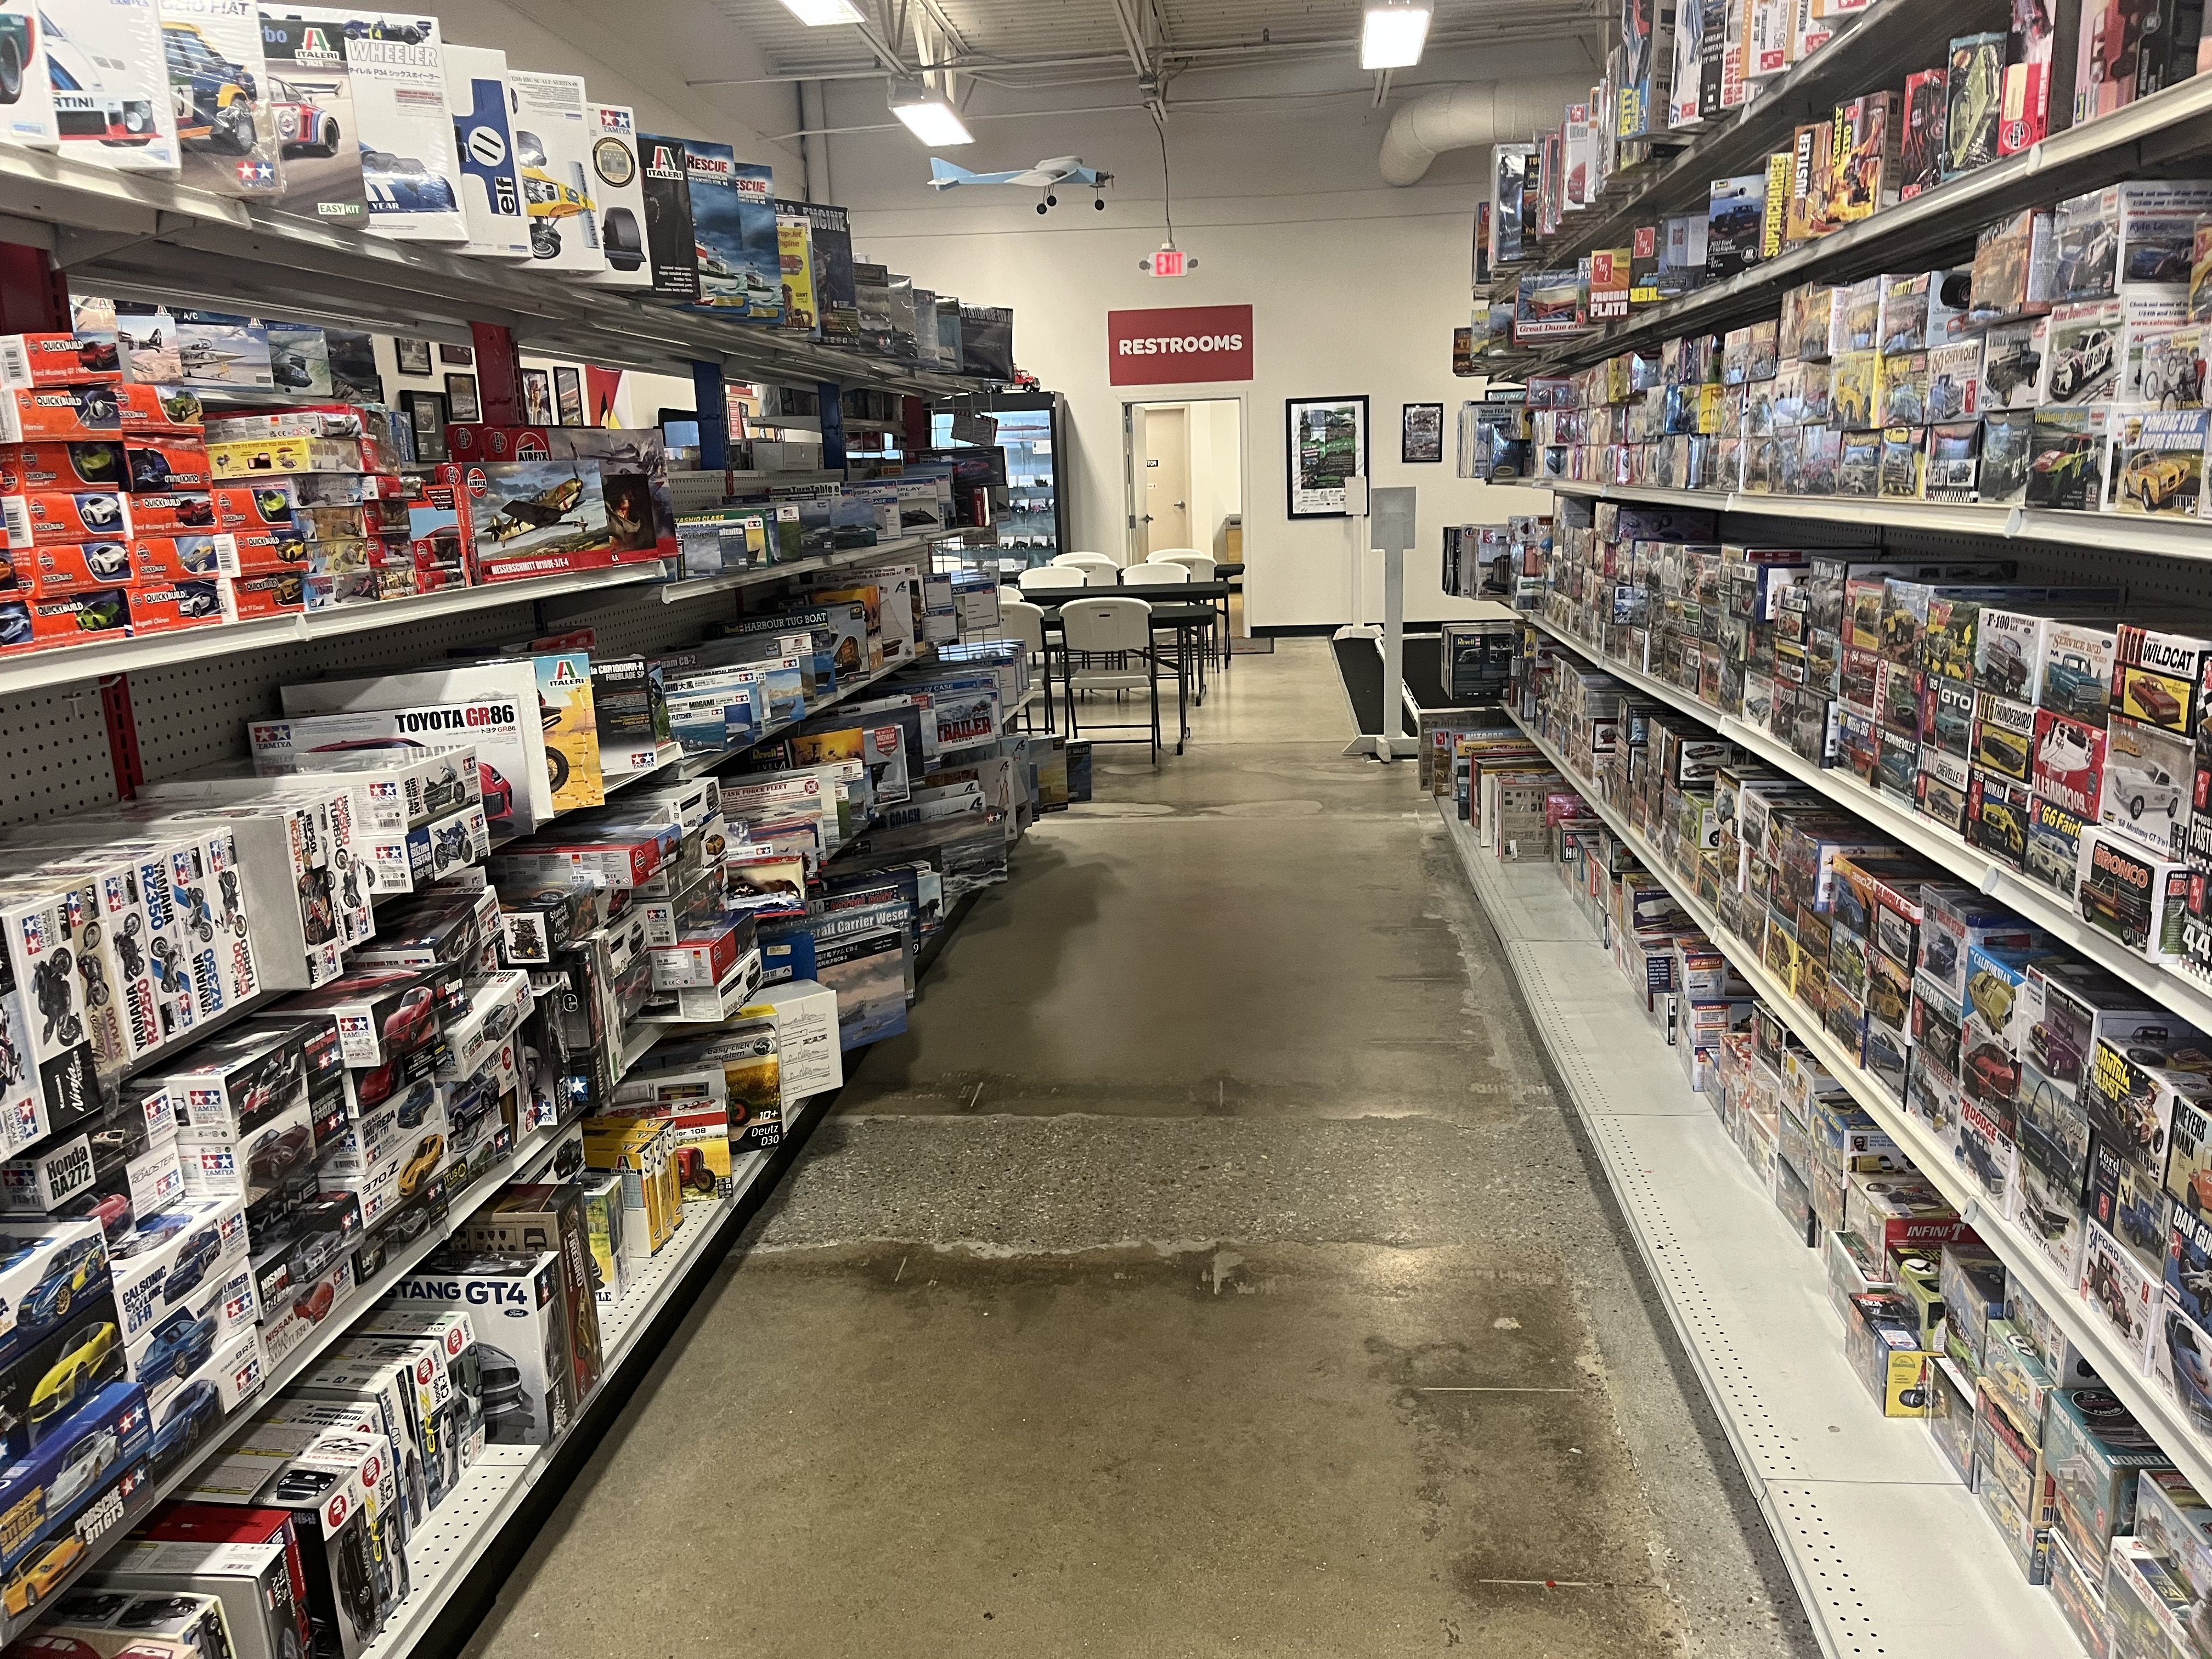
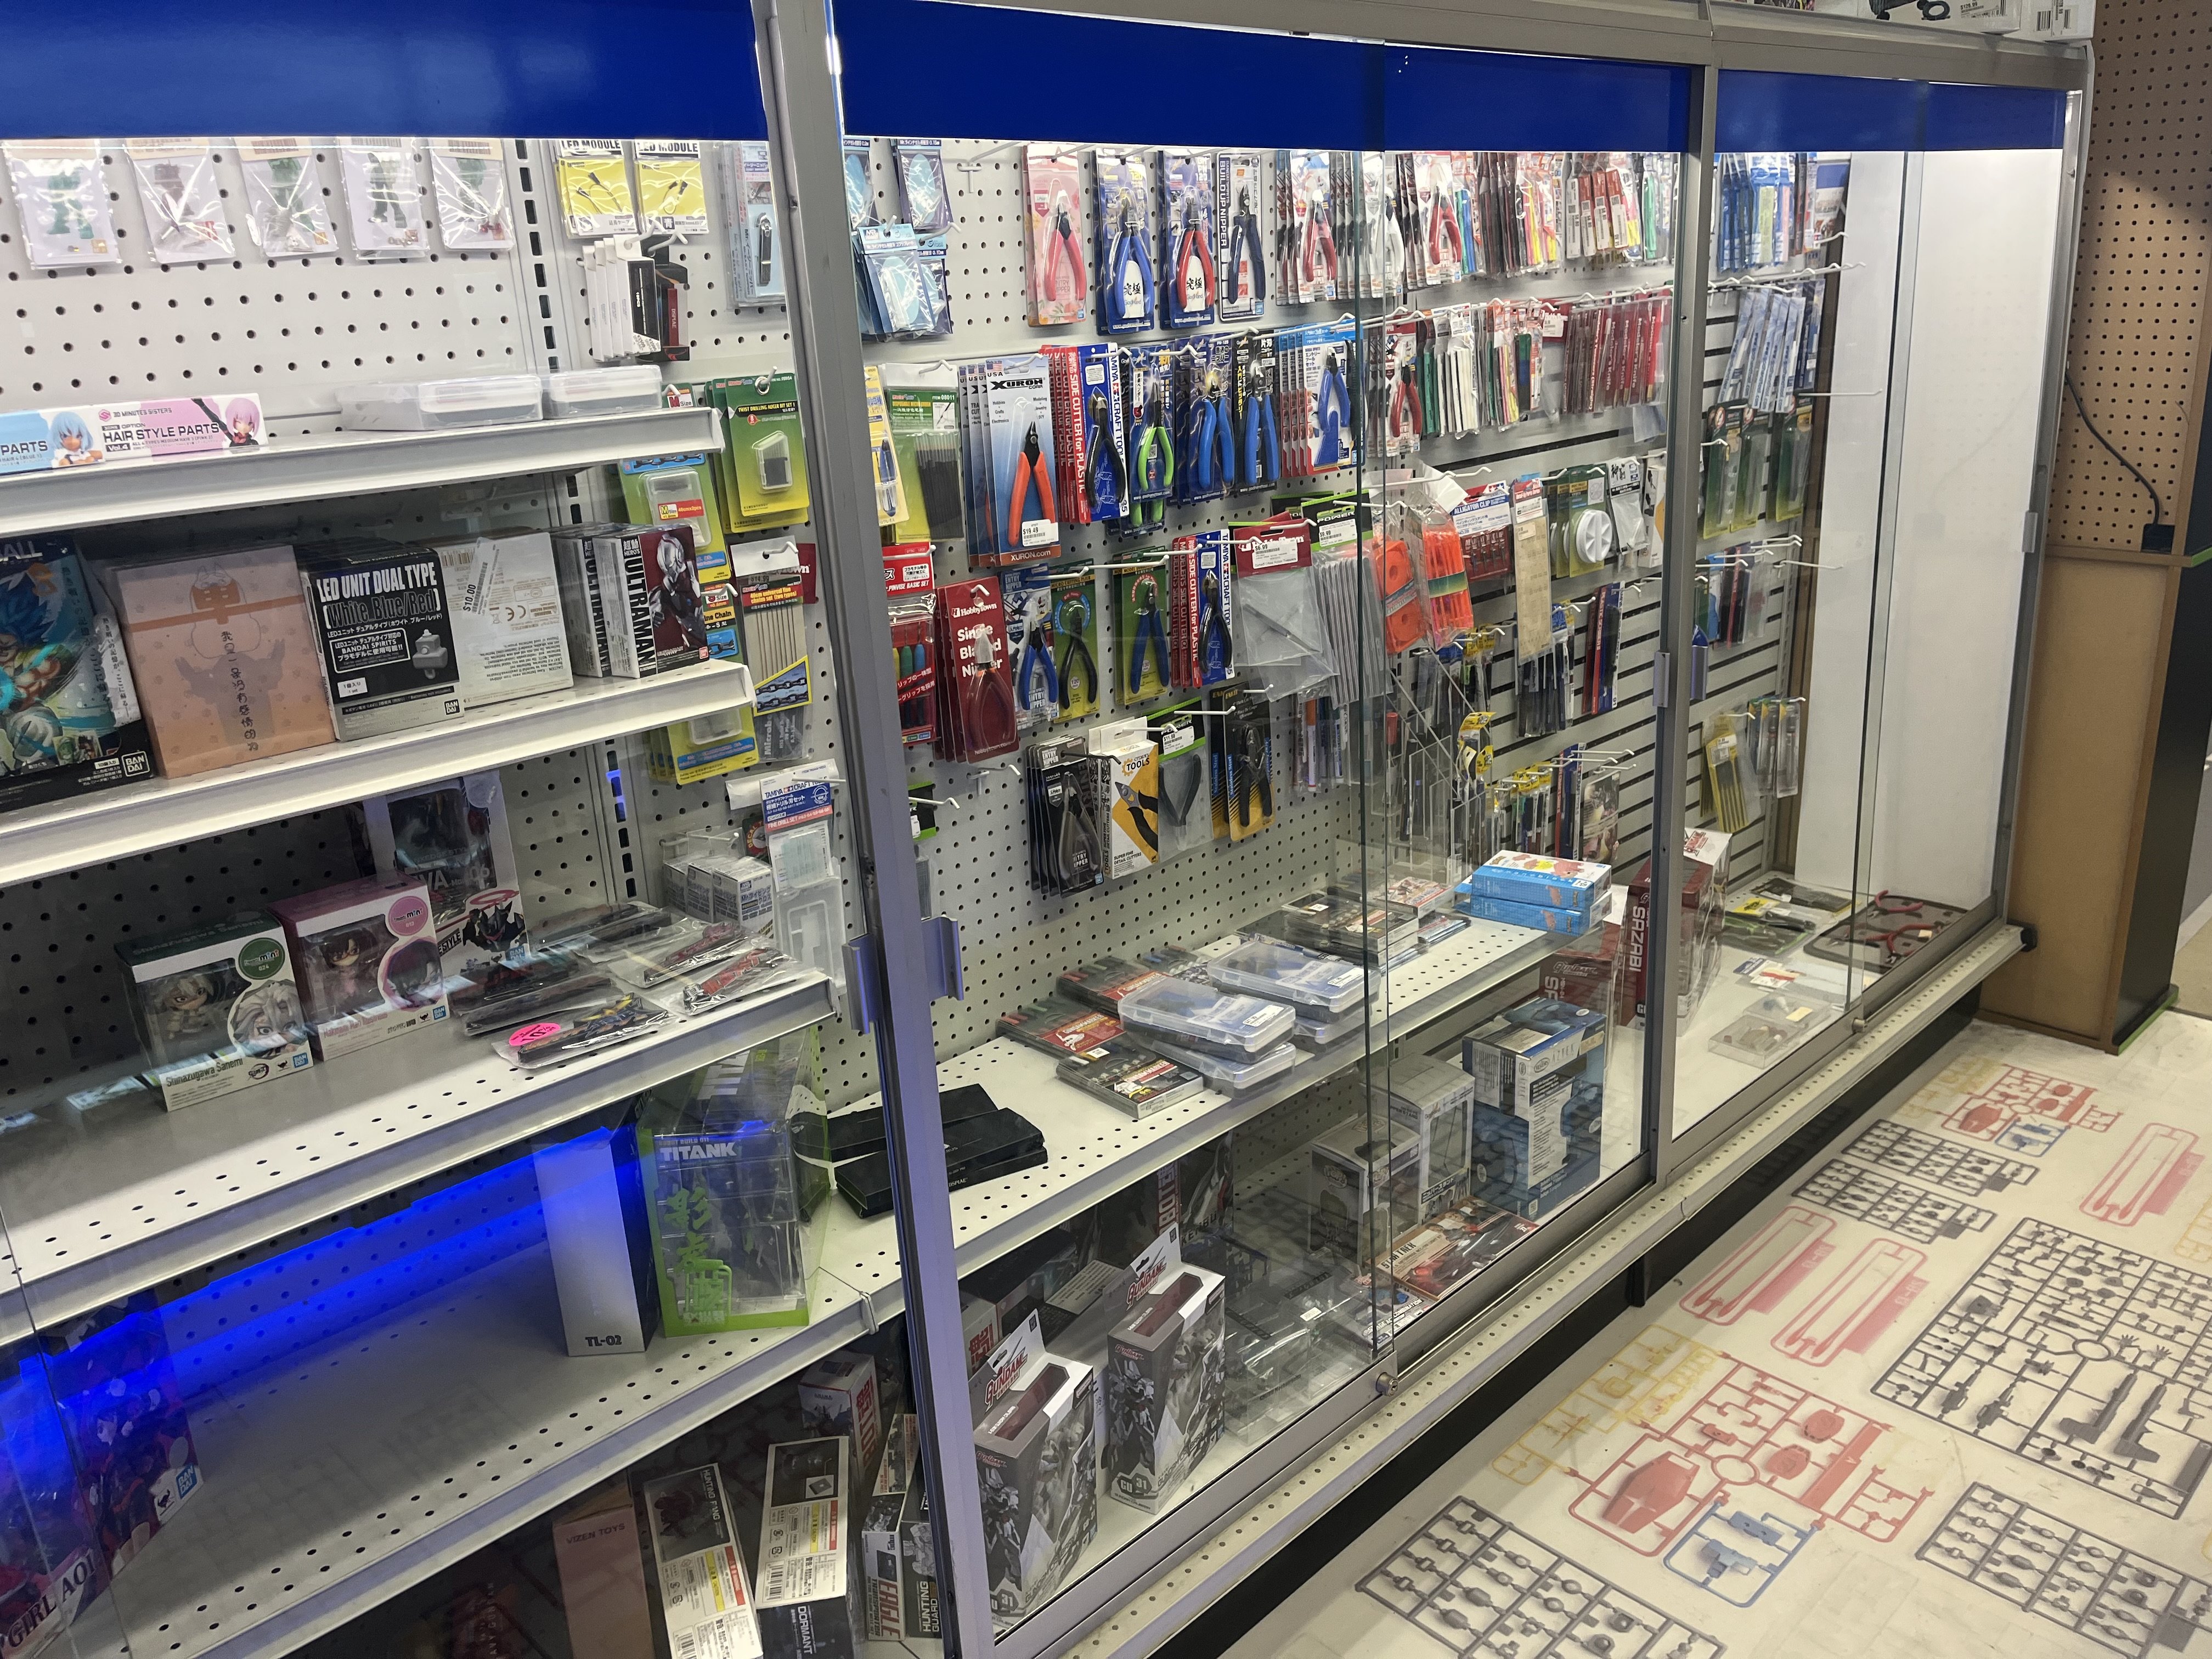
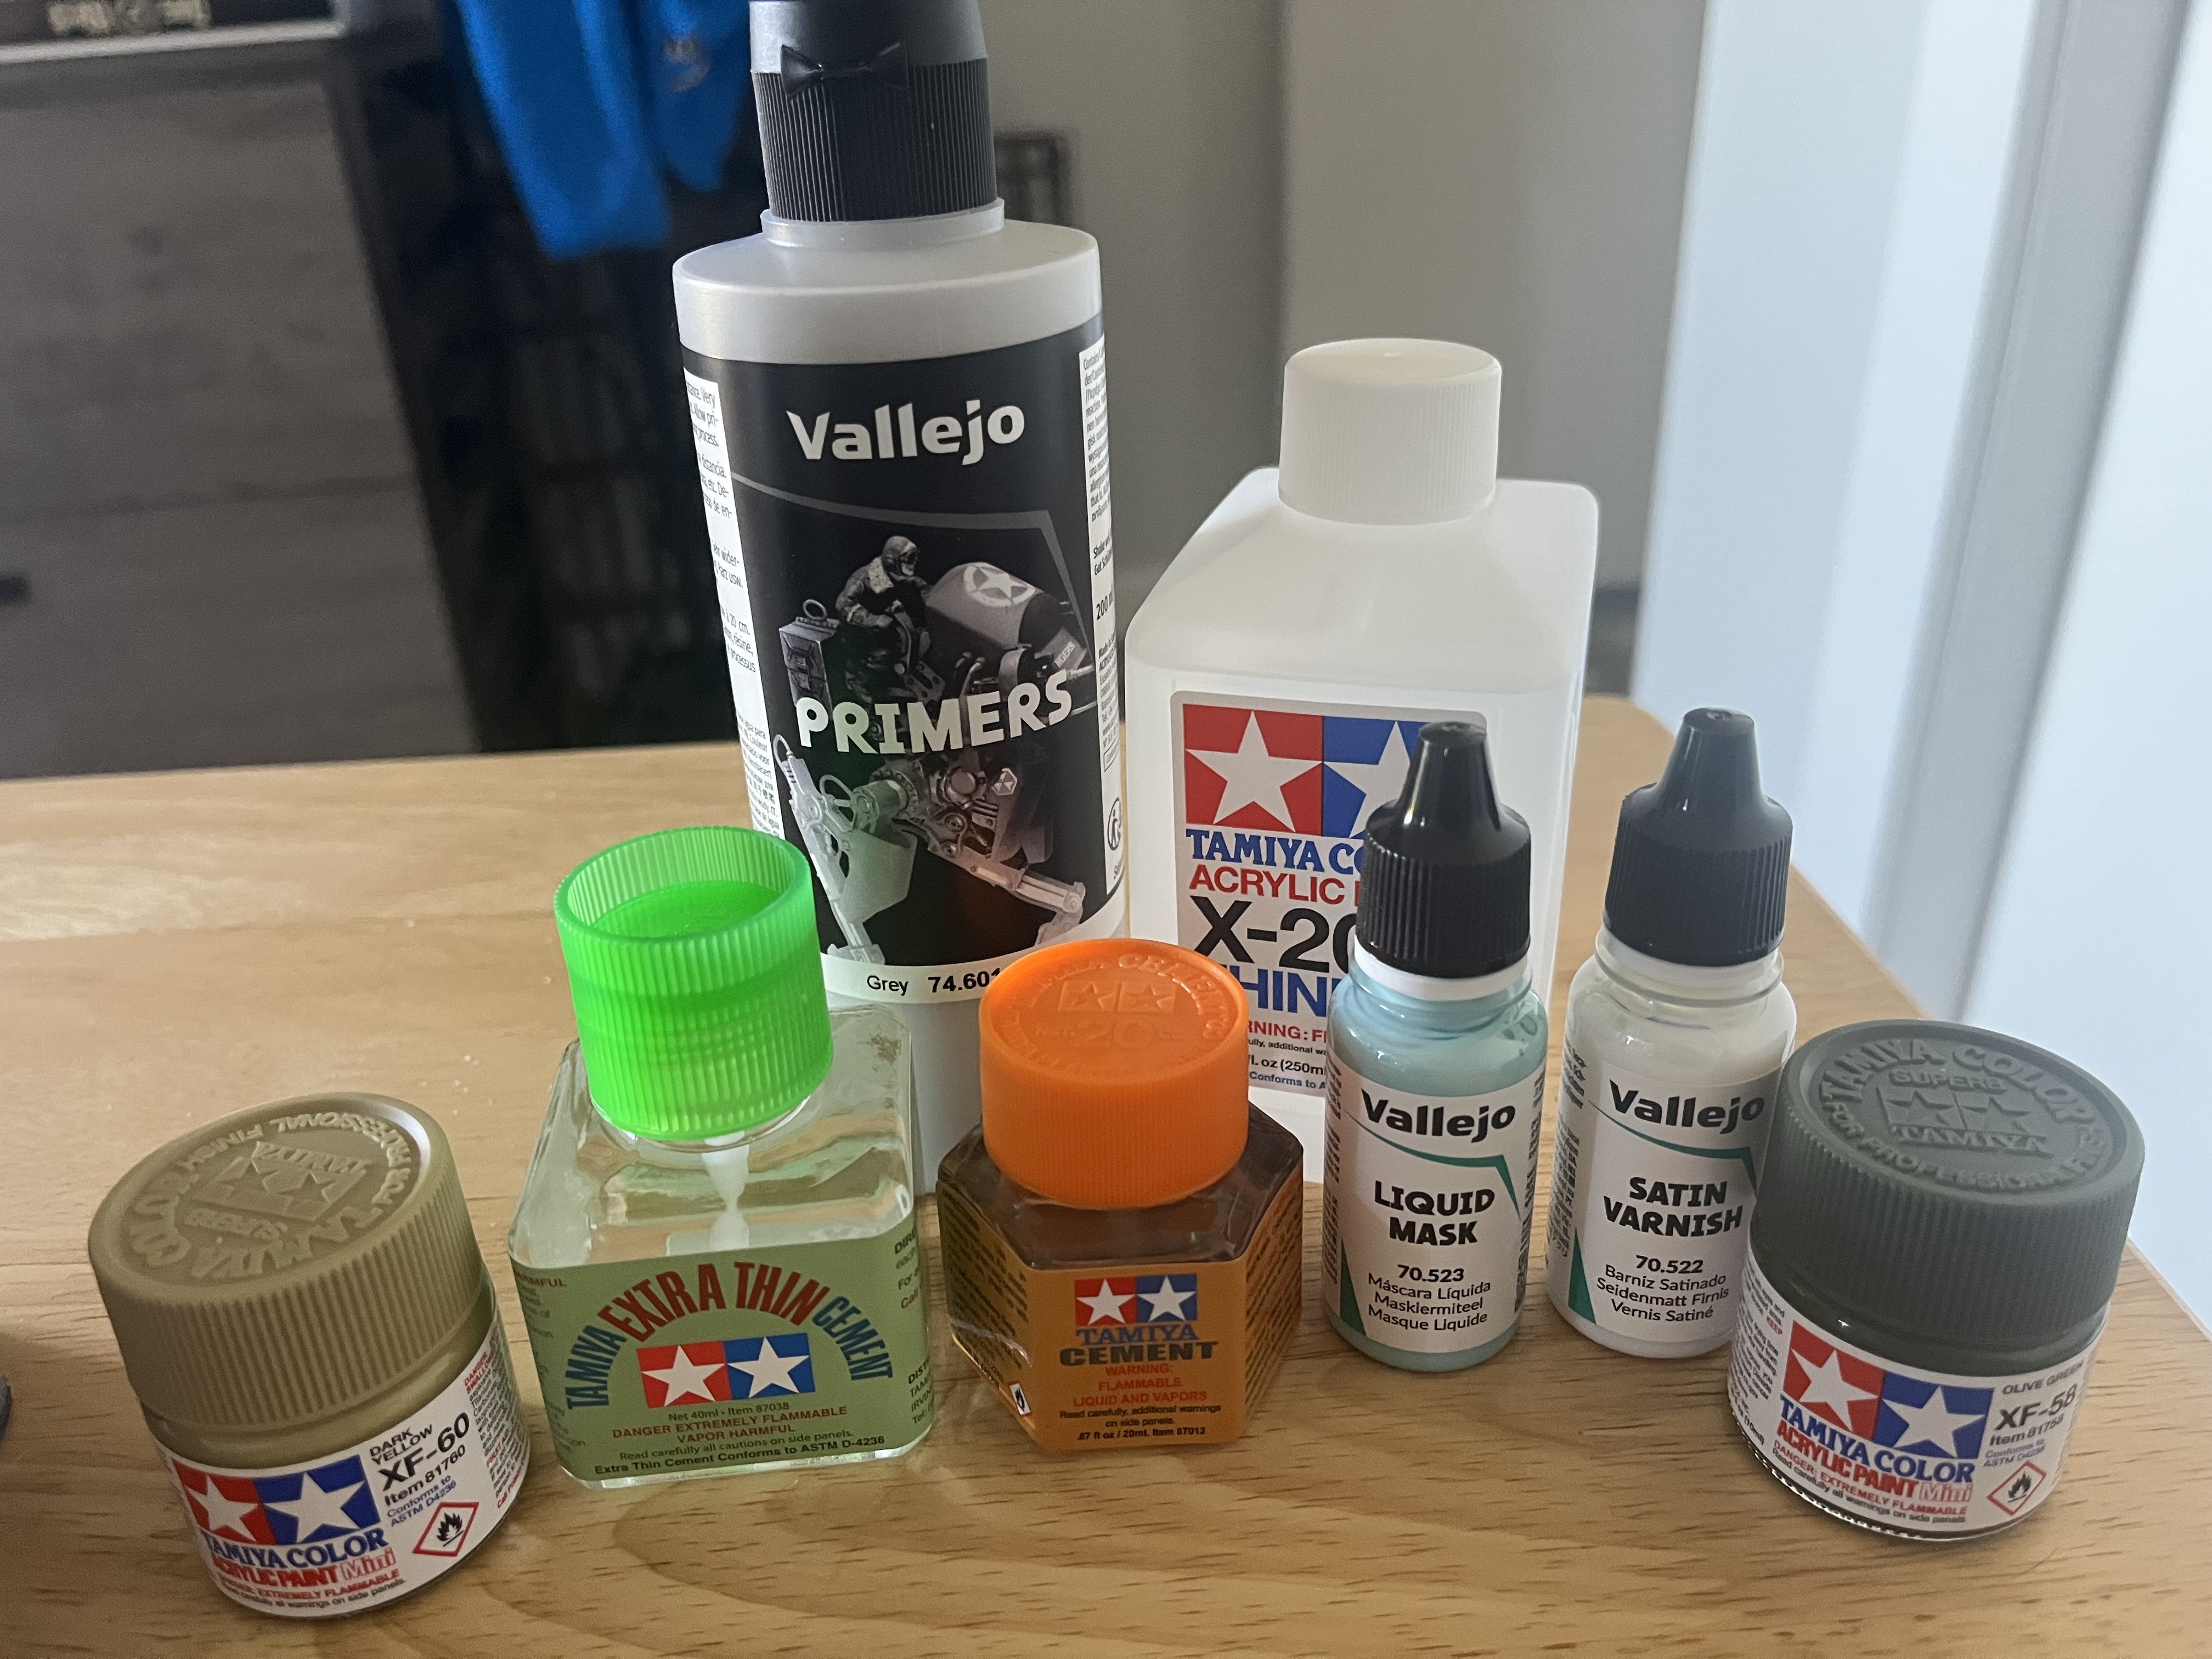
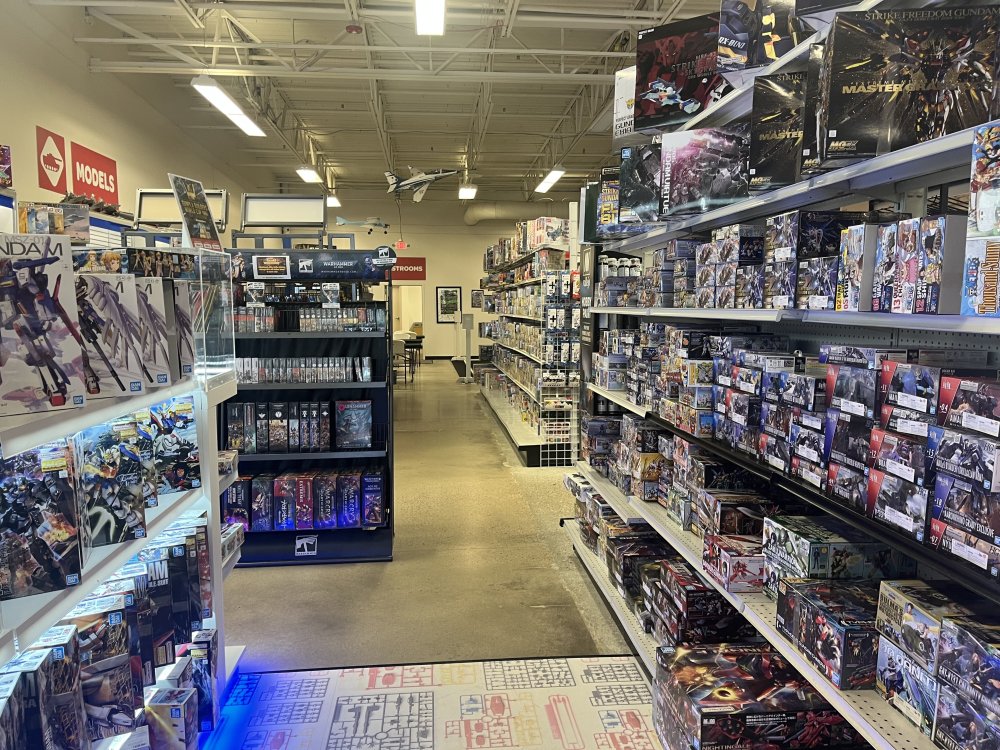
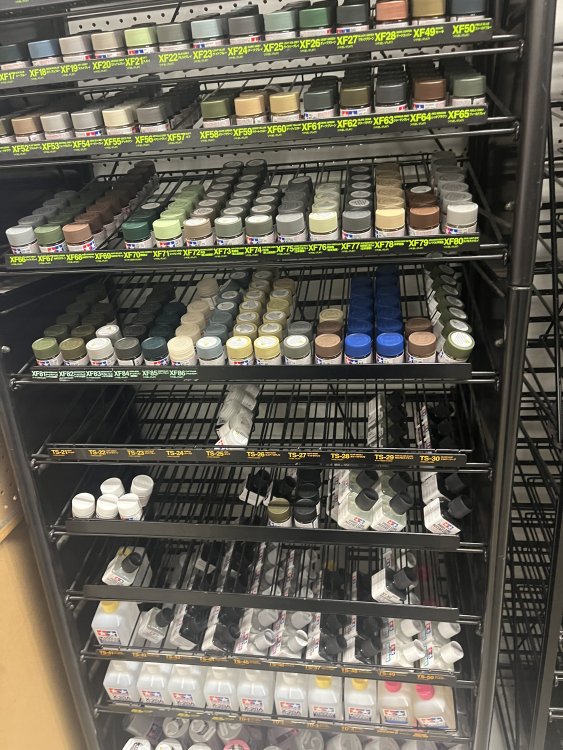
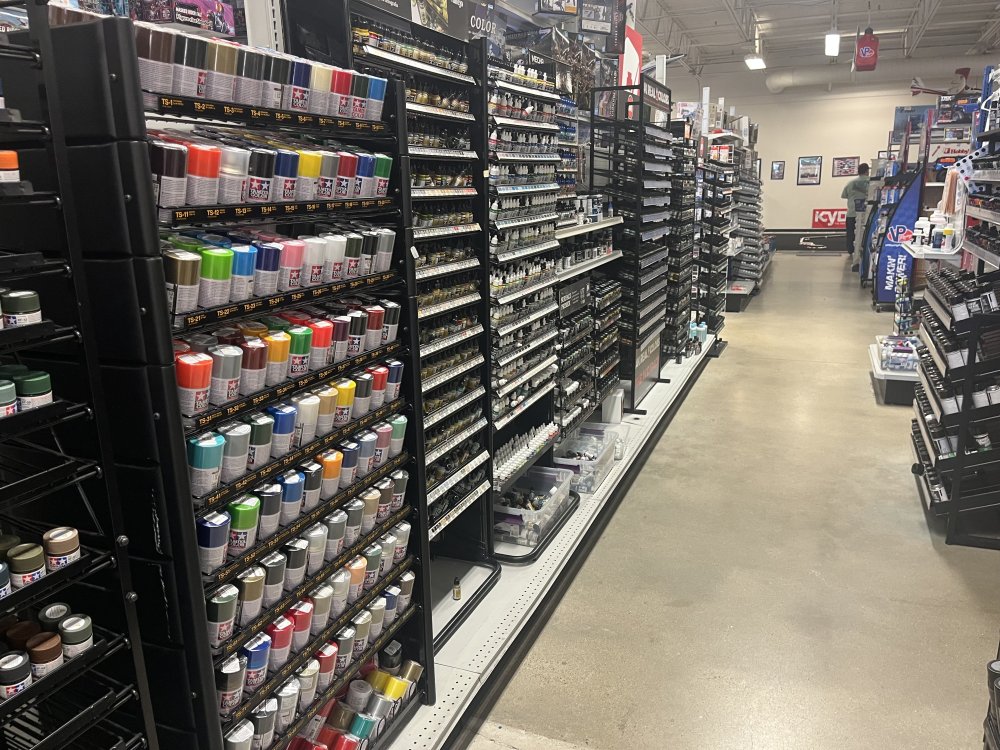
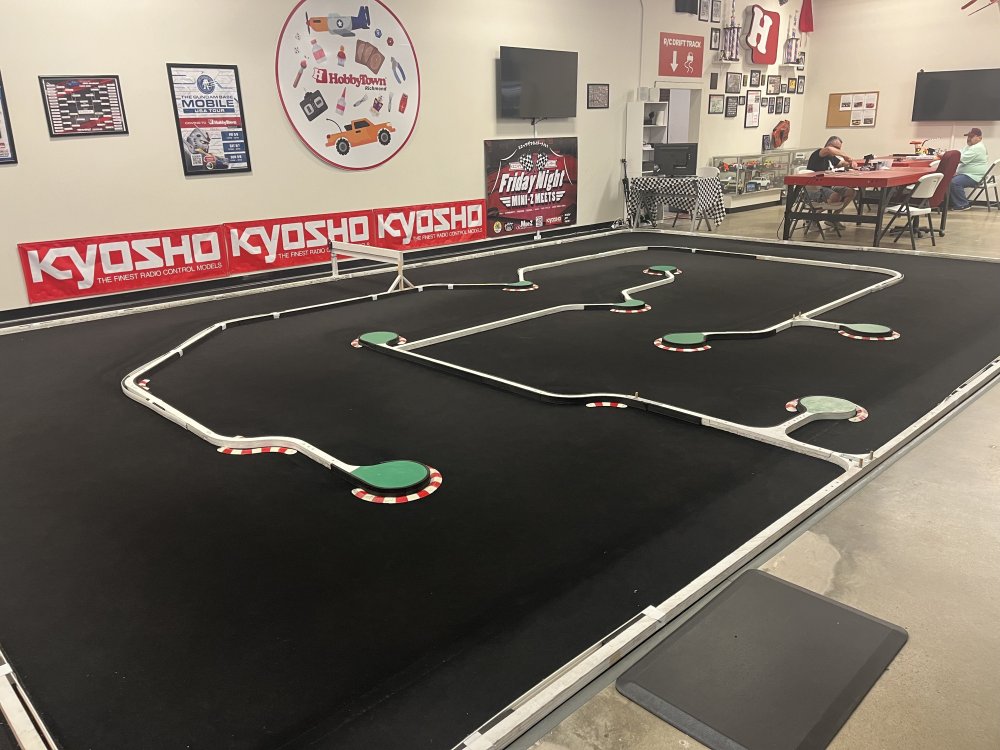
HobbyTown USA haul!!!


-
Making Tamiya Spruce Glue from my left over Tamiya Extra Thin and pieces of spruce!! Should be ready by morning.

-
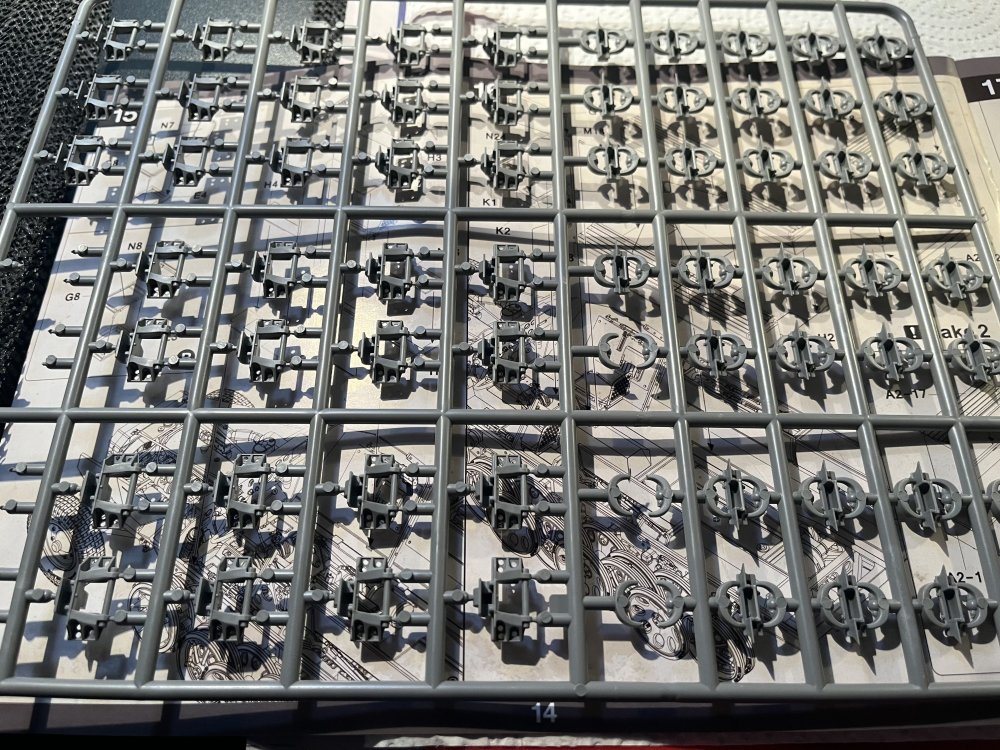
Four spruce, 35 track pads per spruce, 140 snips per spruce equals 560 snips and 140 track pads!!! 140 tracks and pads ready for assembly!
-
I’m not sure that I want to switch from Tamiya.
-
HobbyTown USA haul!!!

-
Thank goodness I don’t have arthritis, lol!!
-
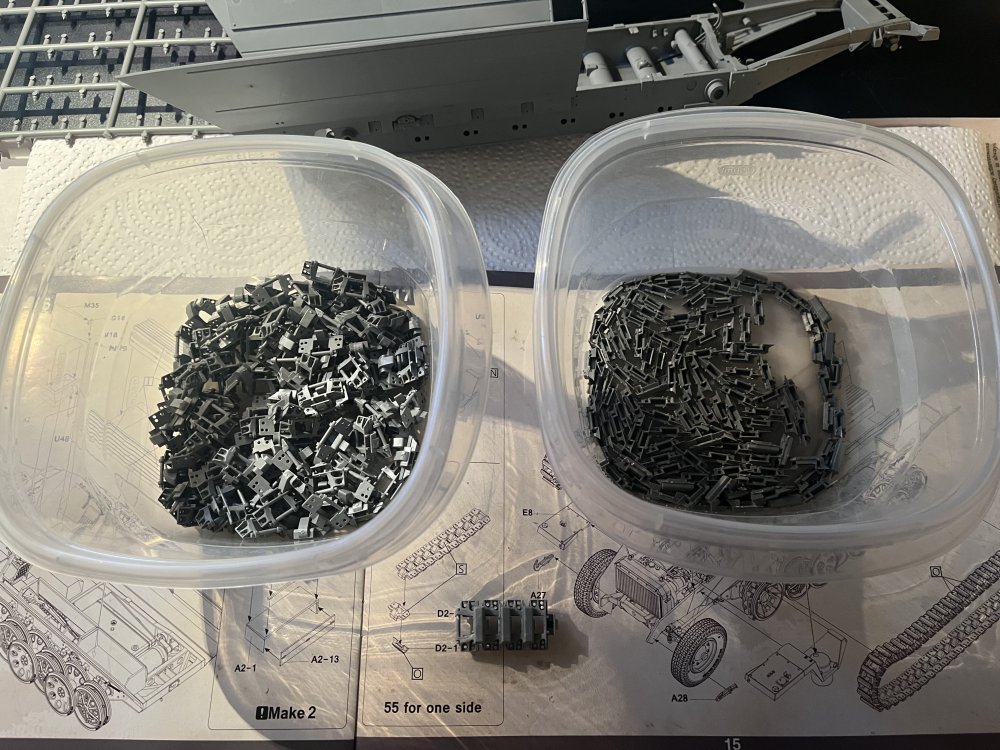
55 individuals track links per side, lol!!! Spent the evening watching TV and cutting 120 track links off their spruce!!!! The result was a bag of track links. Tomorrow I’ll remove 120 track pads from their spruce!!

-
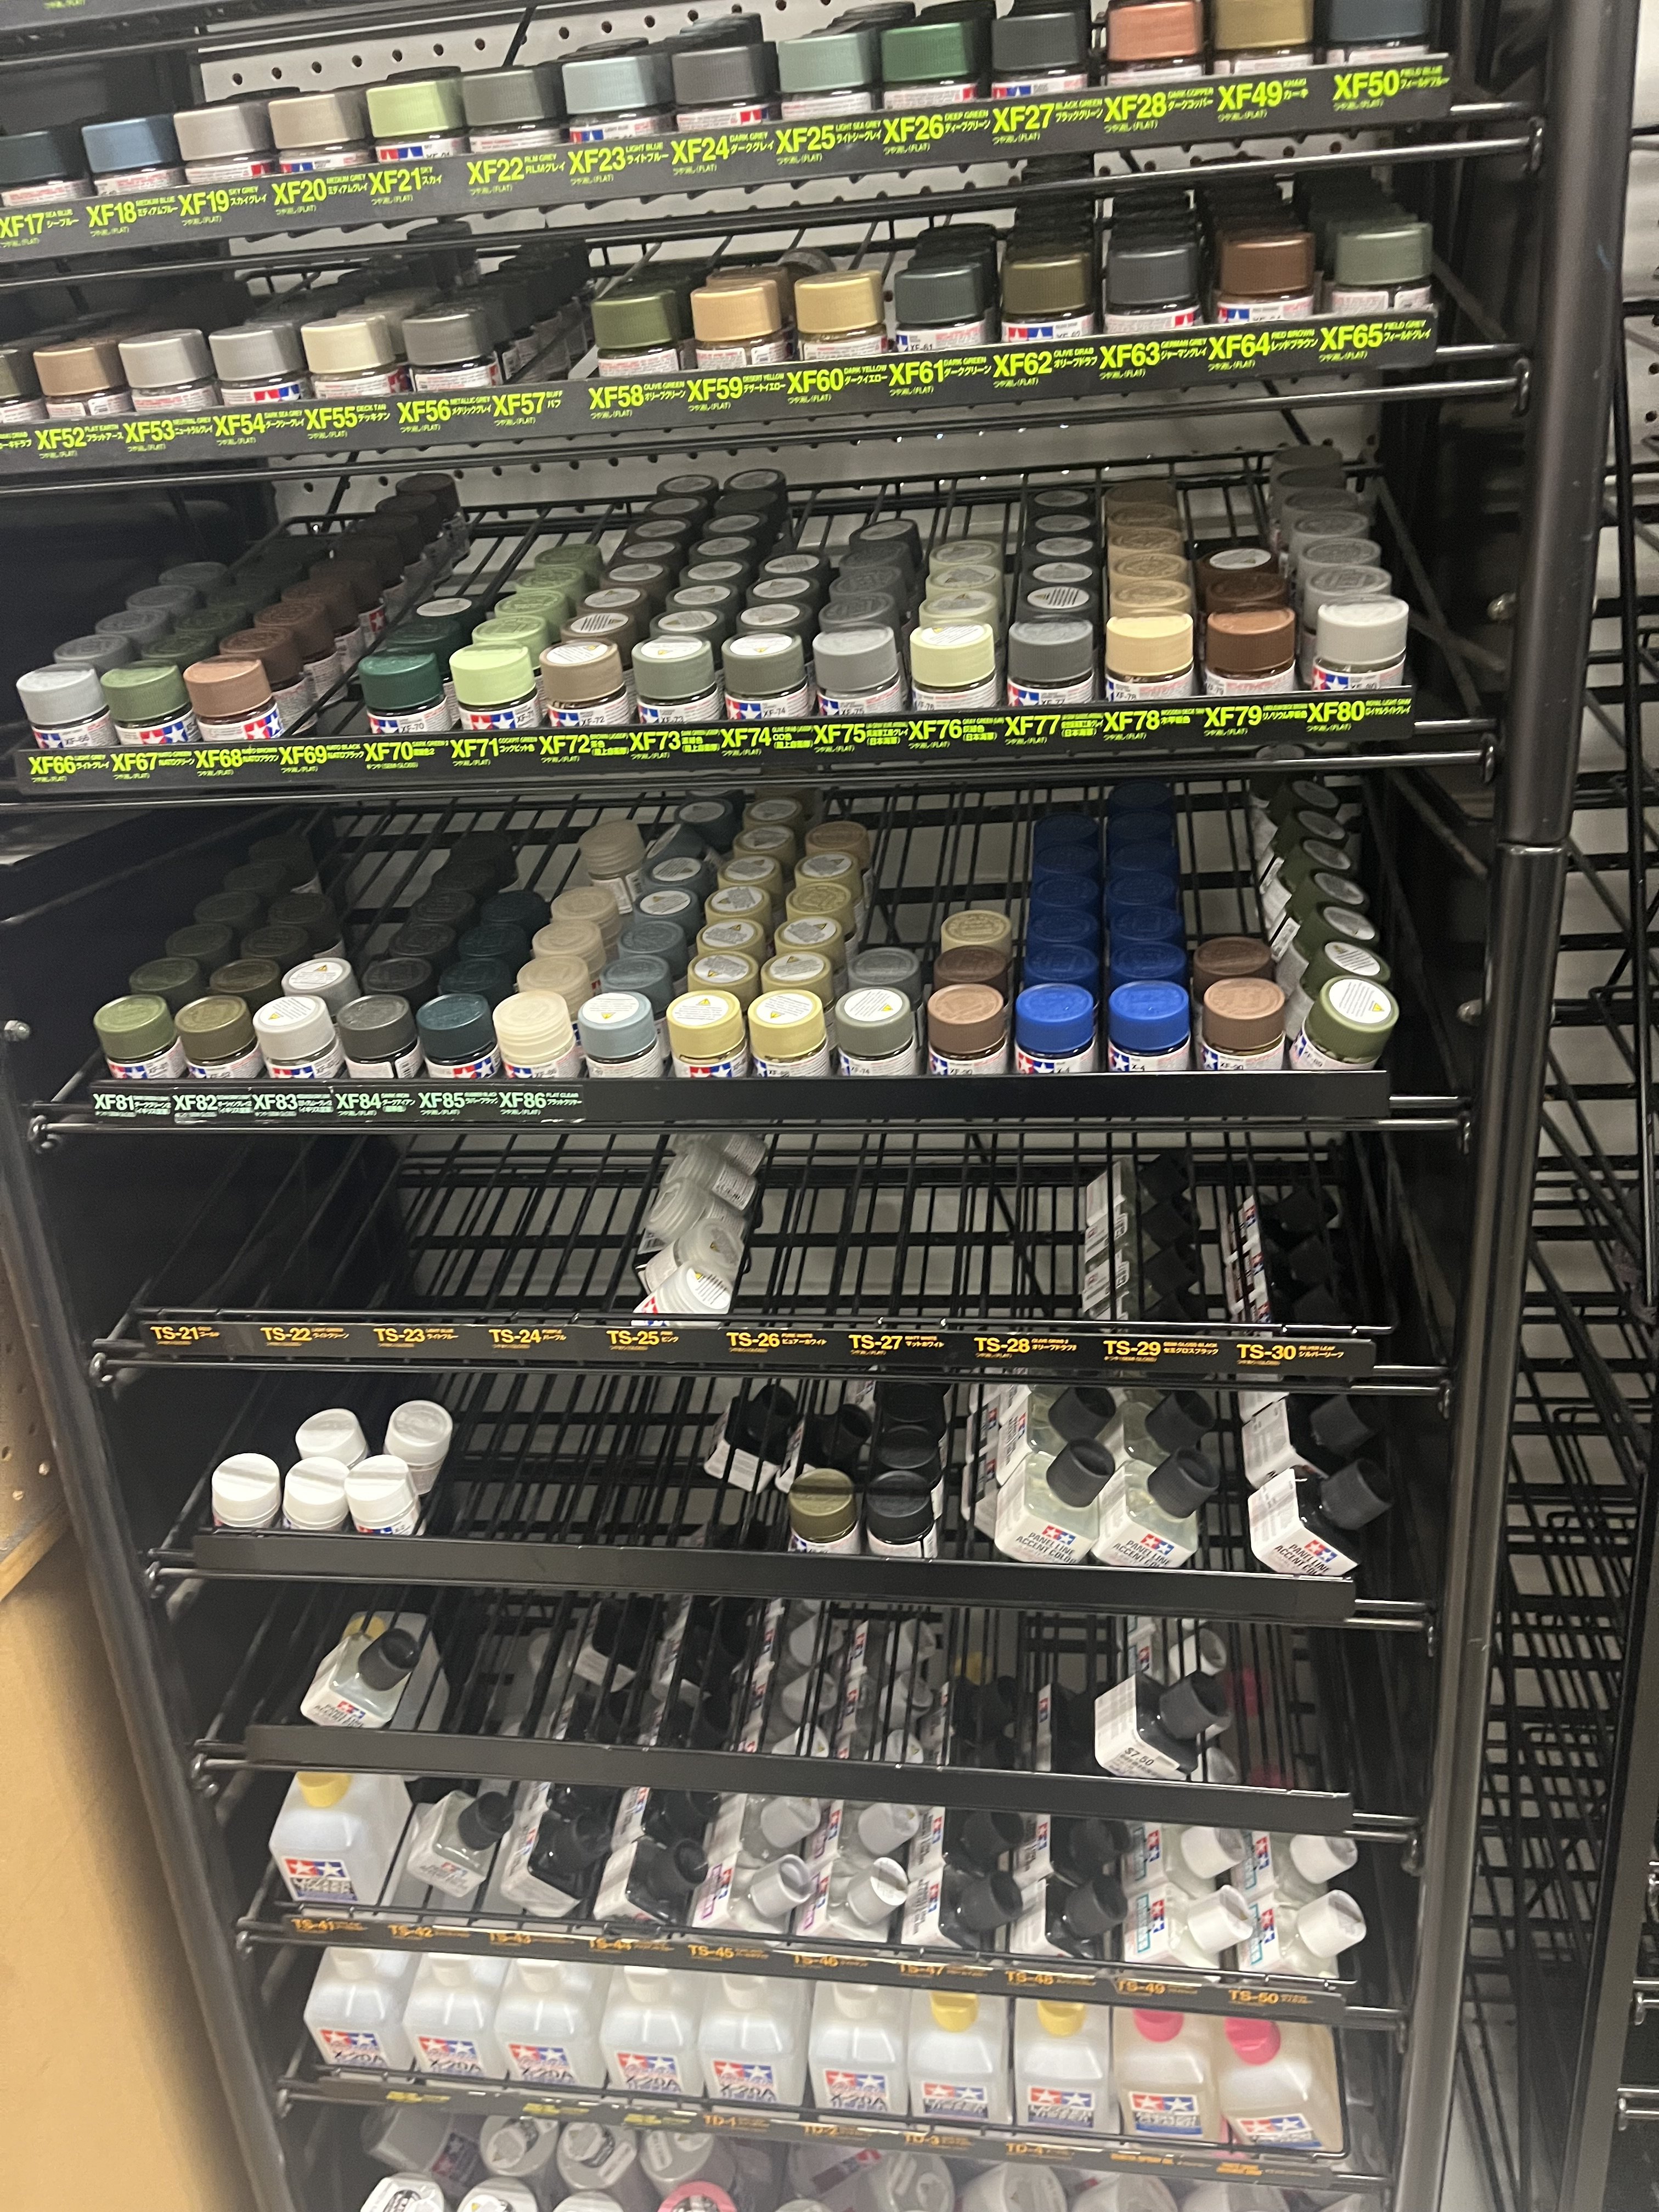
Thanks Carl. I may tried to get over to my local HobbyTown USA tomorrow and buy a few bottles of Tamiya Extra Thin plus I need some X20 thinner.
-
Question? Very happy to realize that there’s a HobbyTown USA location in Richmond!!! However true to fashion instead of driving to HobbyTown I opted to visit a closer HobbyLobby location which was a big mistake!! They carried neither the Tamiya Extra Thin or X20 thinner I thought they’d have. Lesson learned!!! Anyway they did have Mr.Cement which I believe is pretty similar to Tamiya Extra Thin. Any thought on how well in compares would be greatly appreciated. I promise I’ll be a loyal HobbyTown USA shopper from now on, lol!!!

-
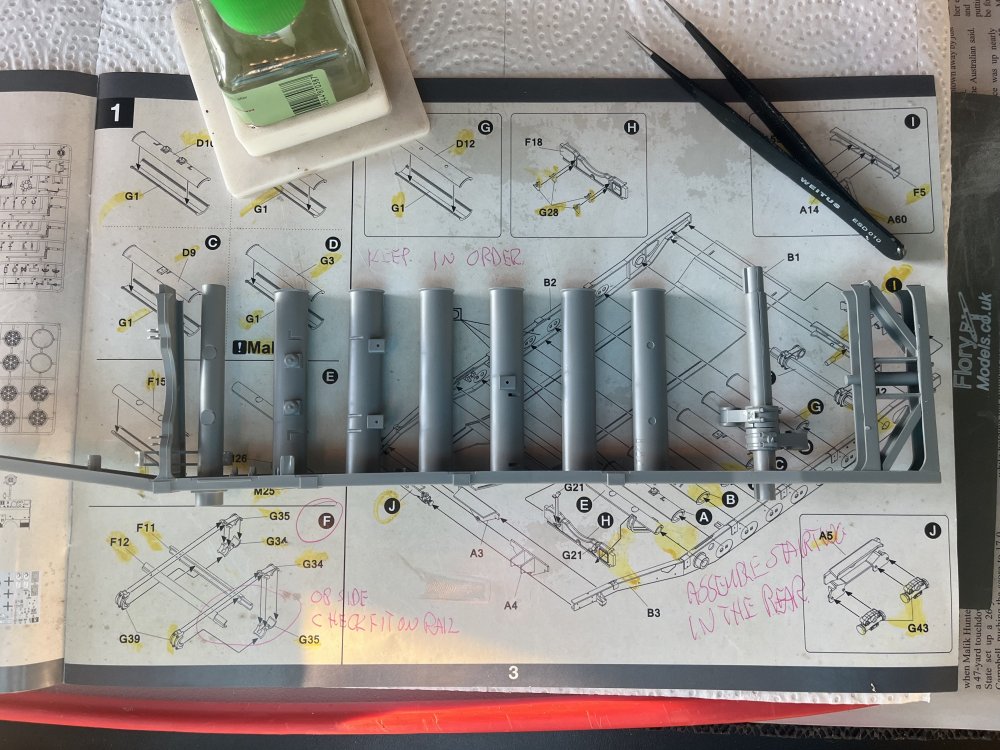
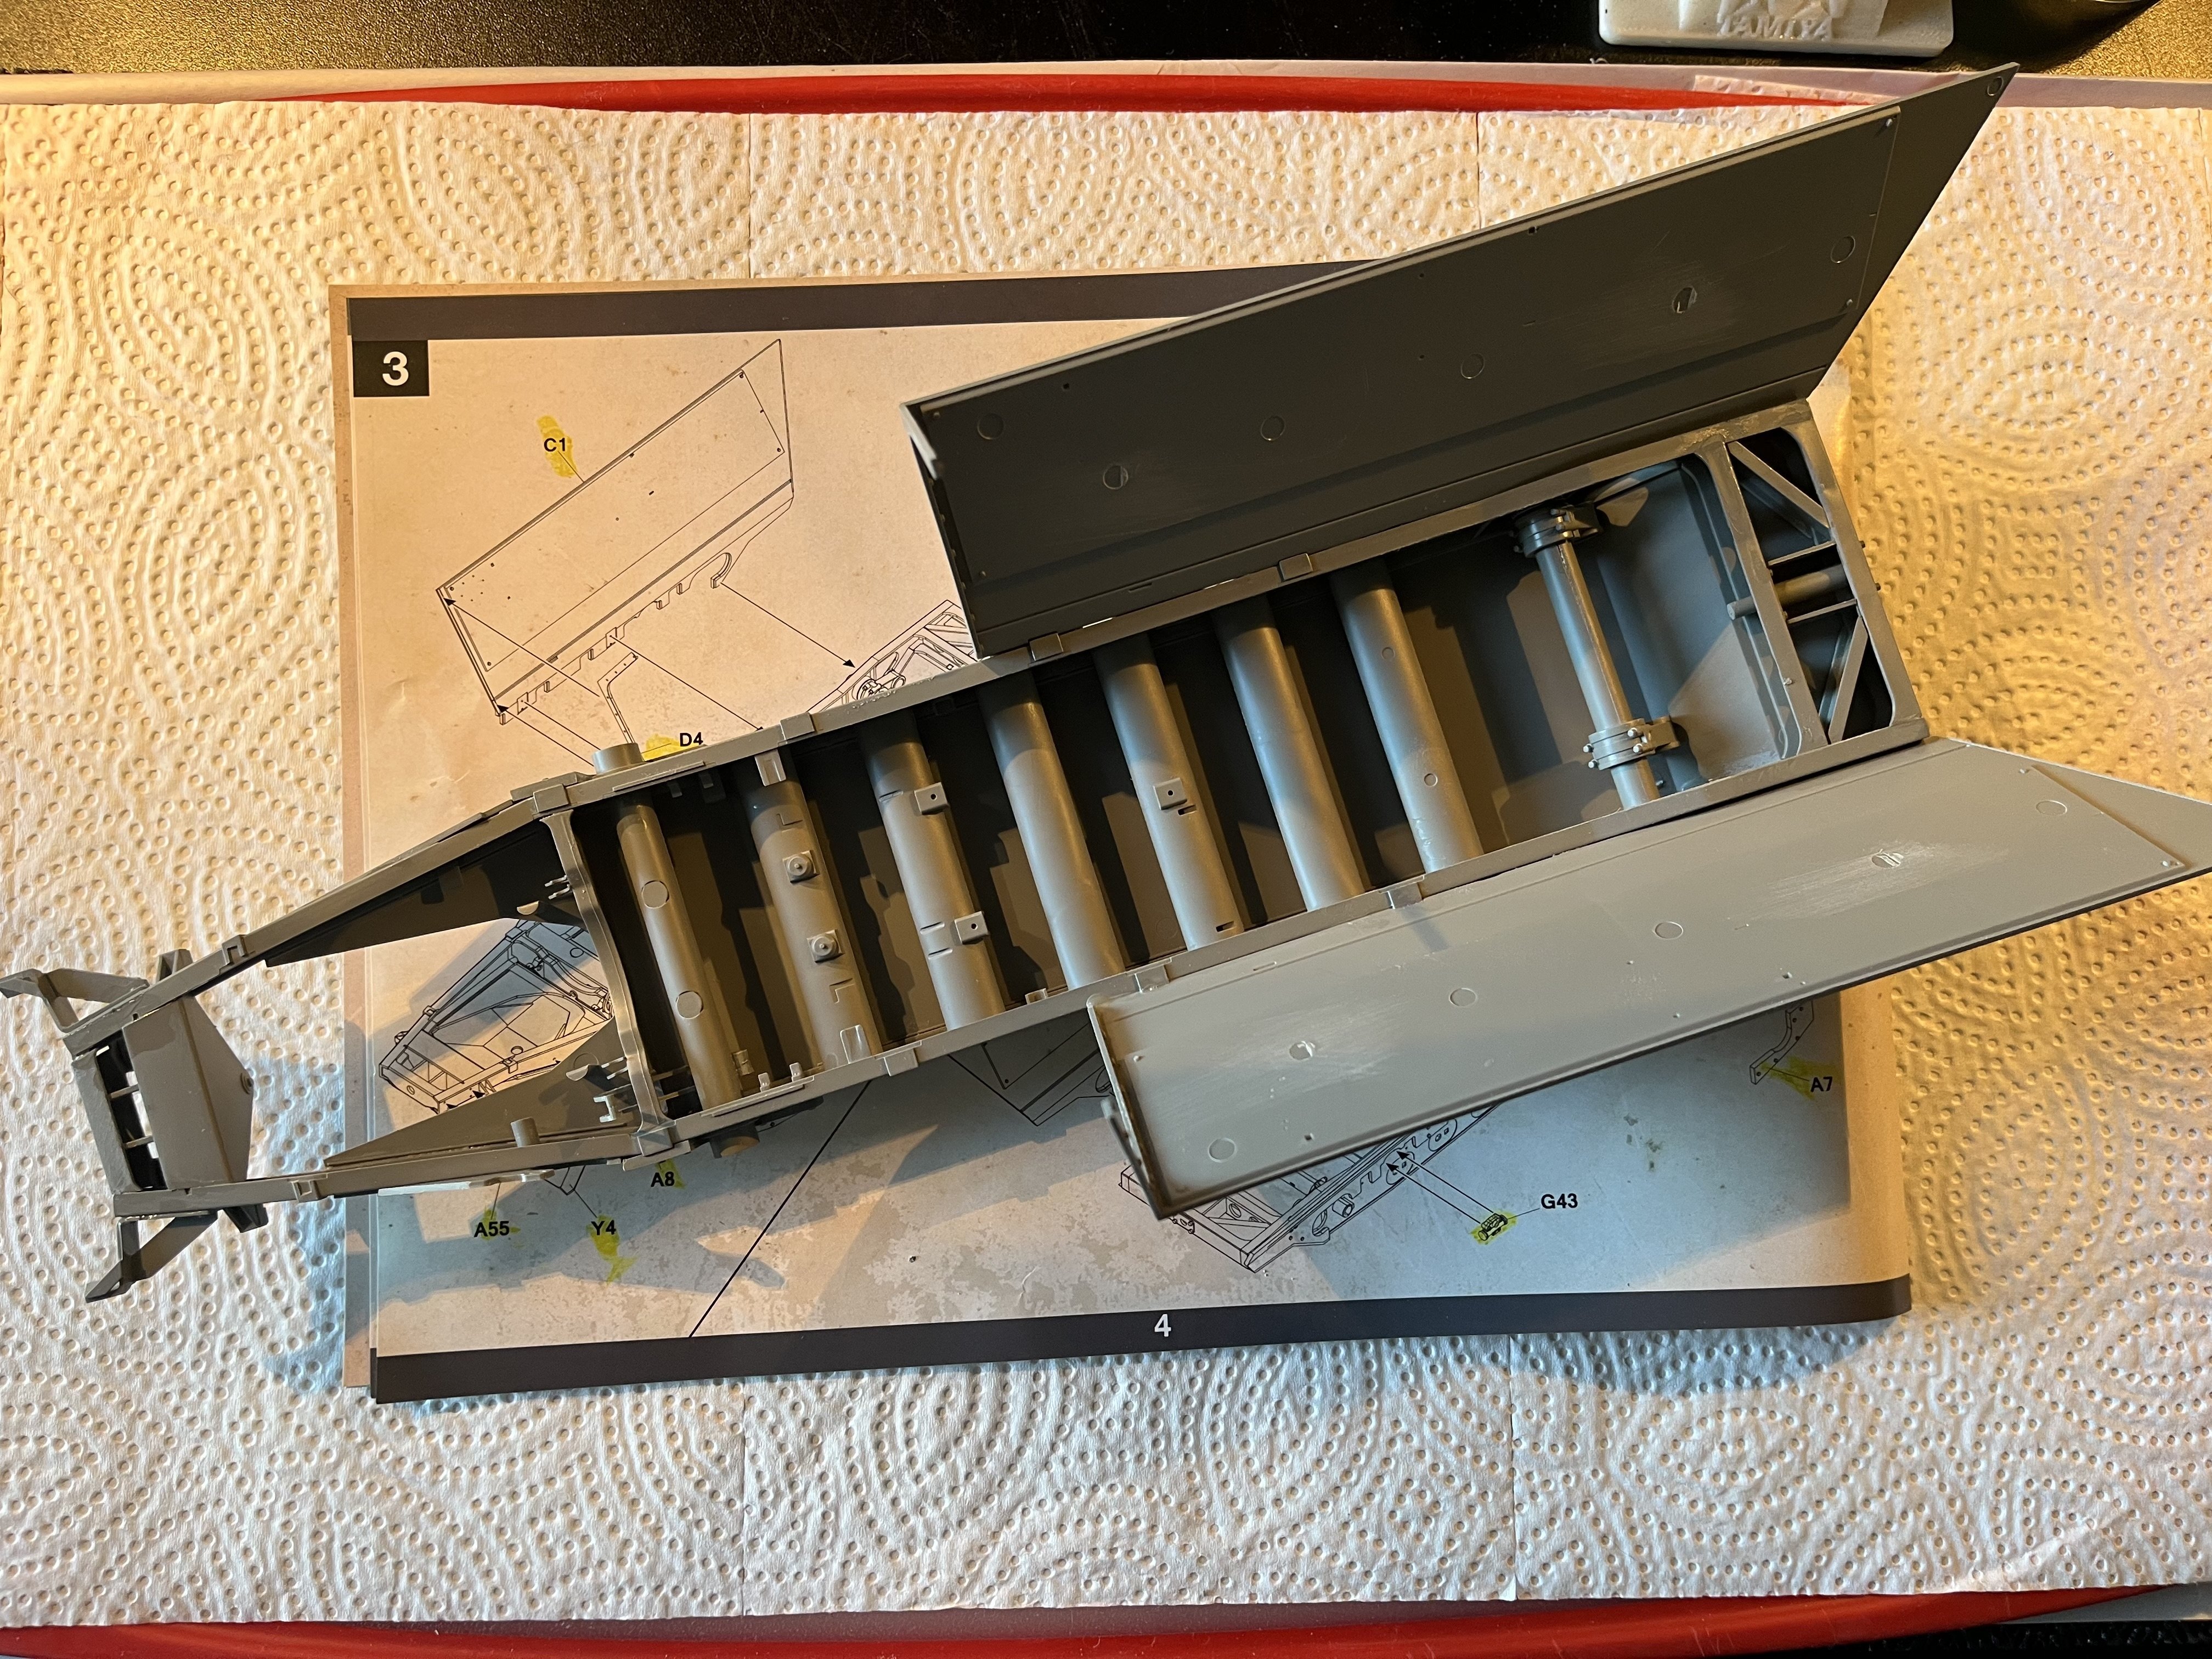
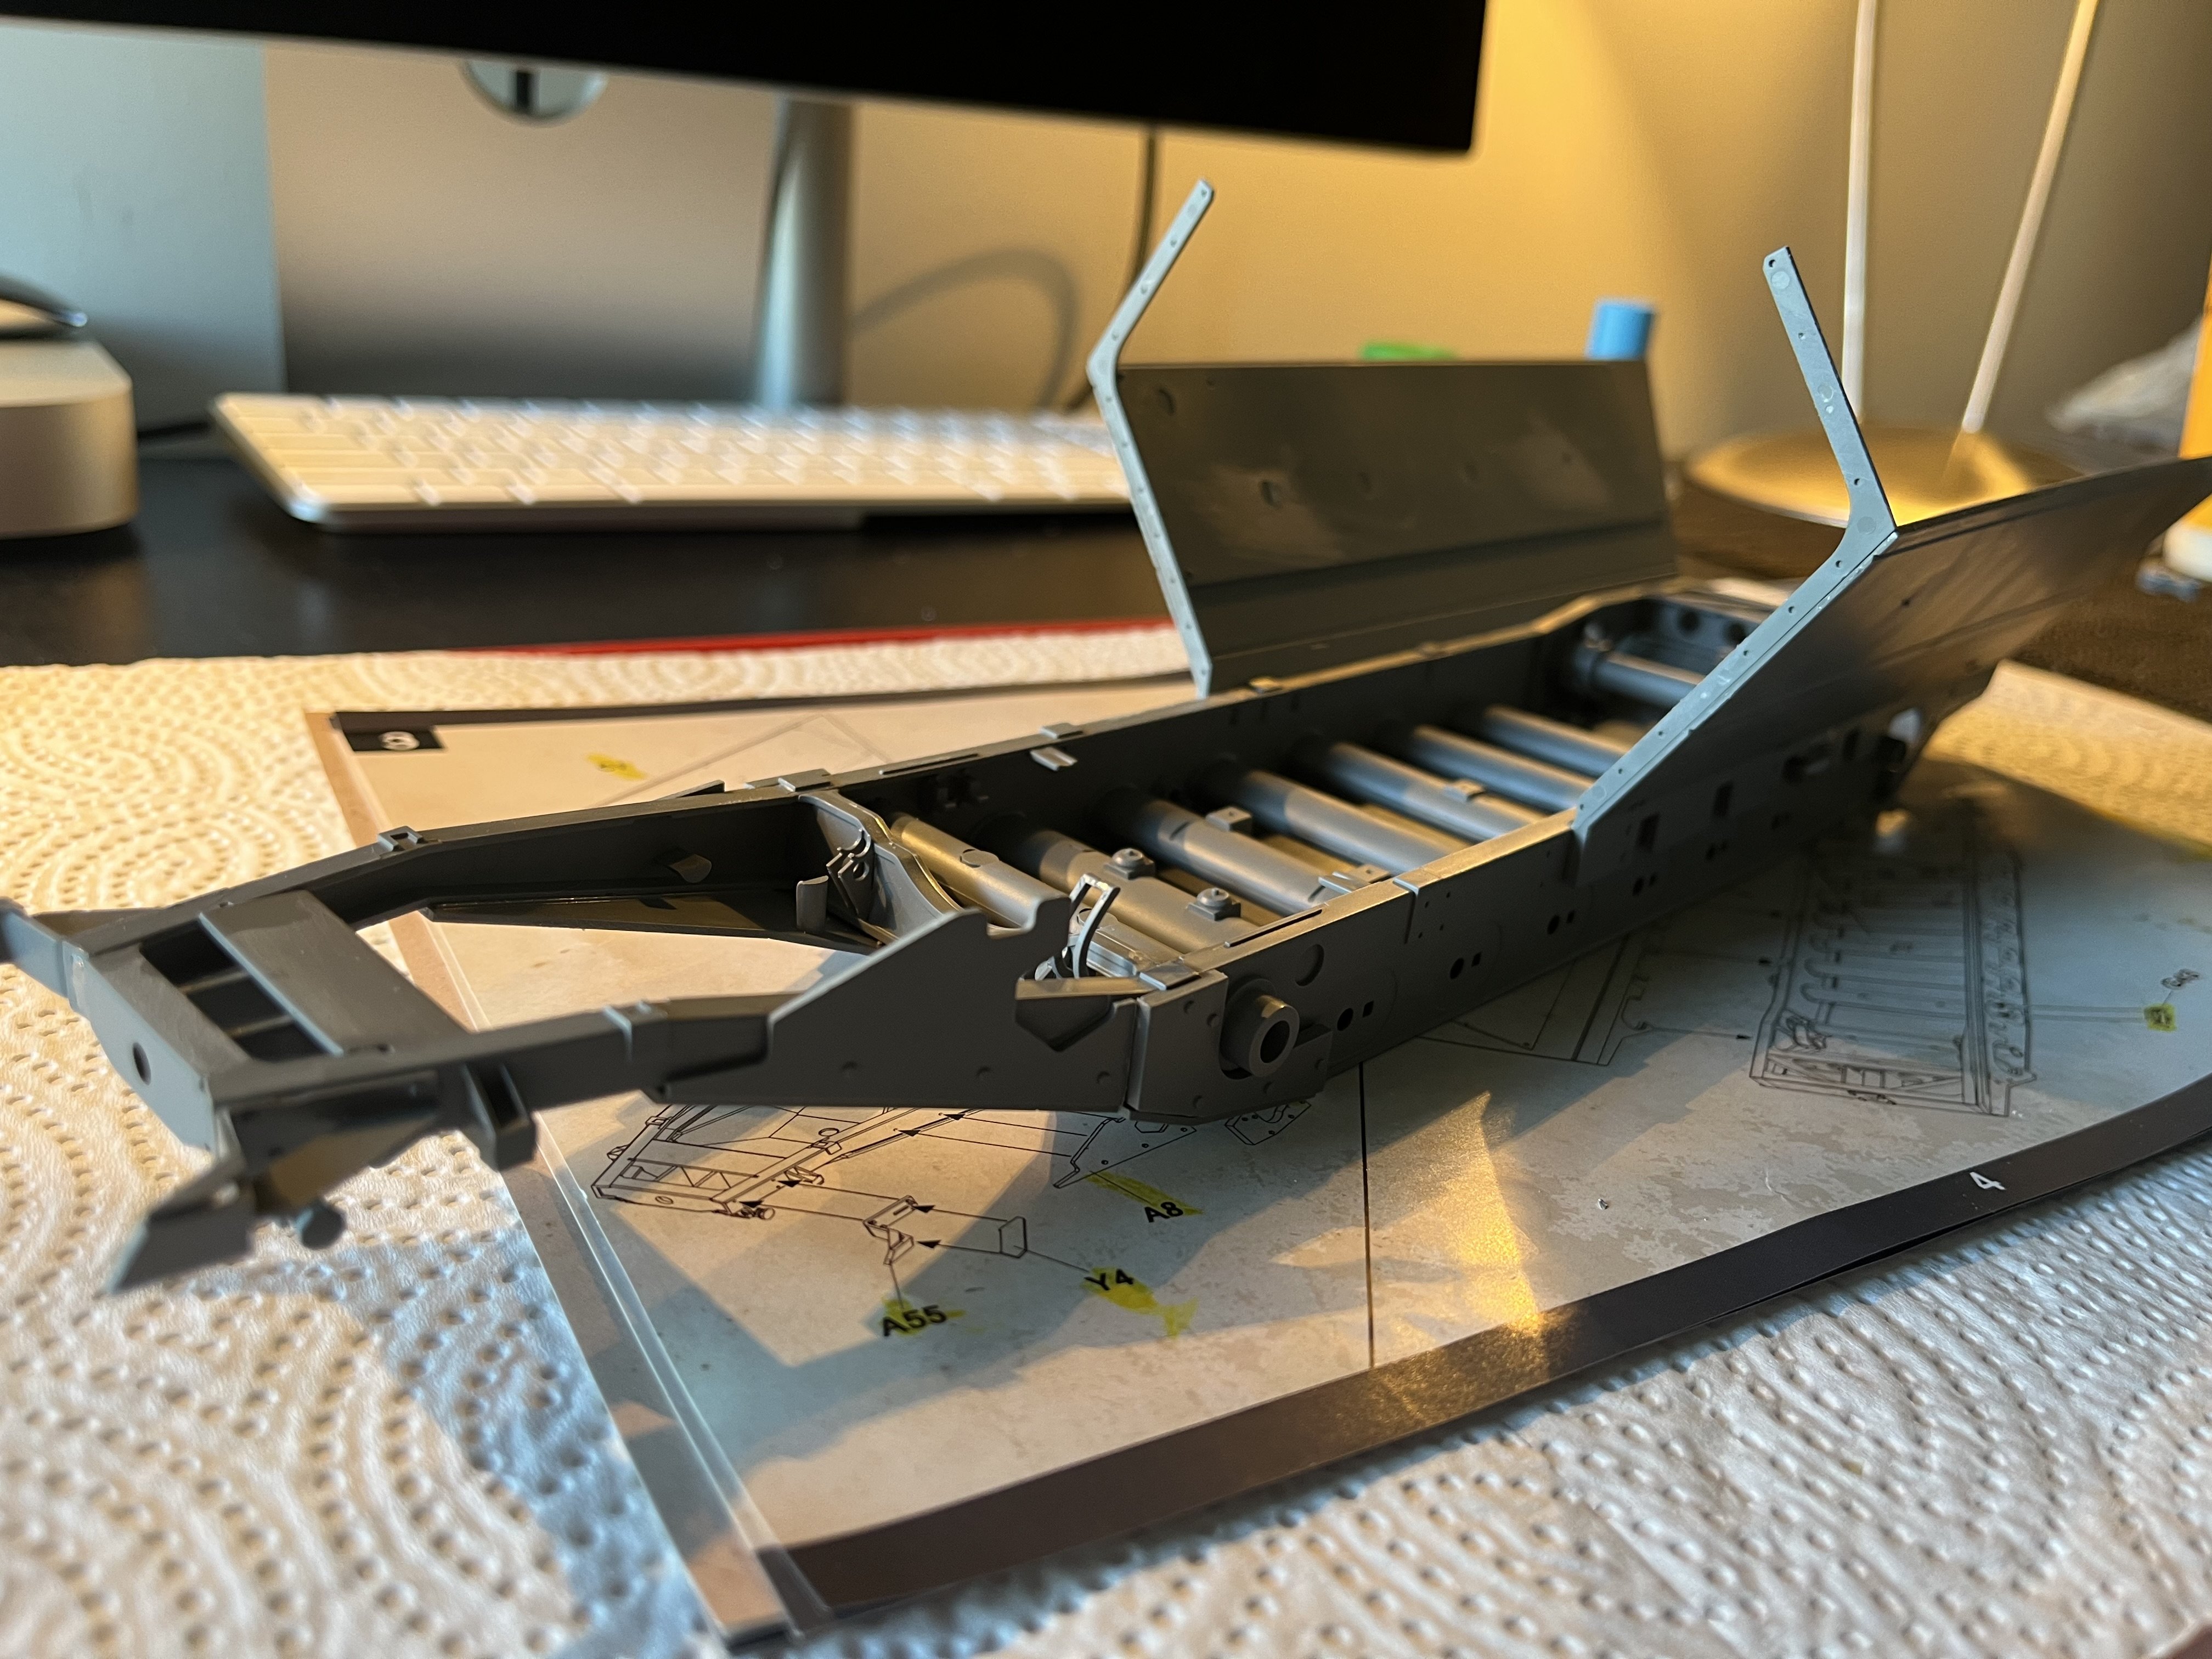
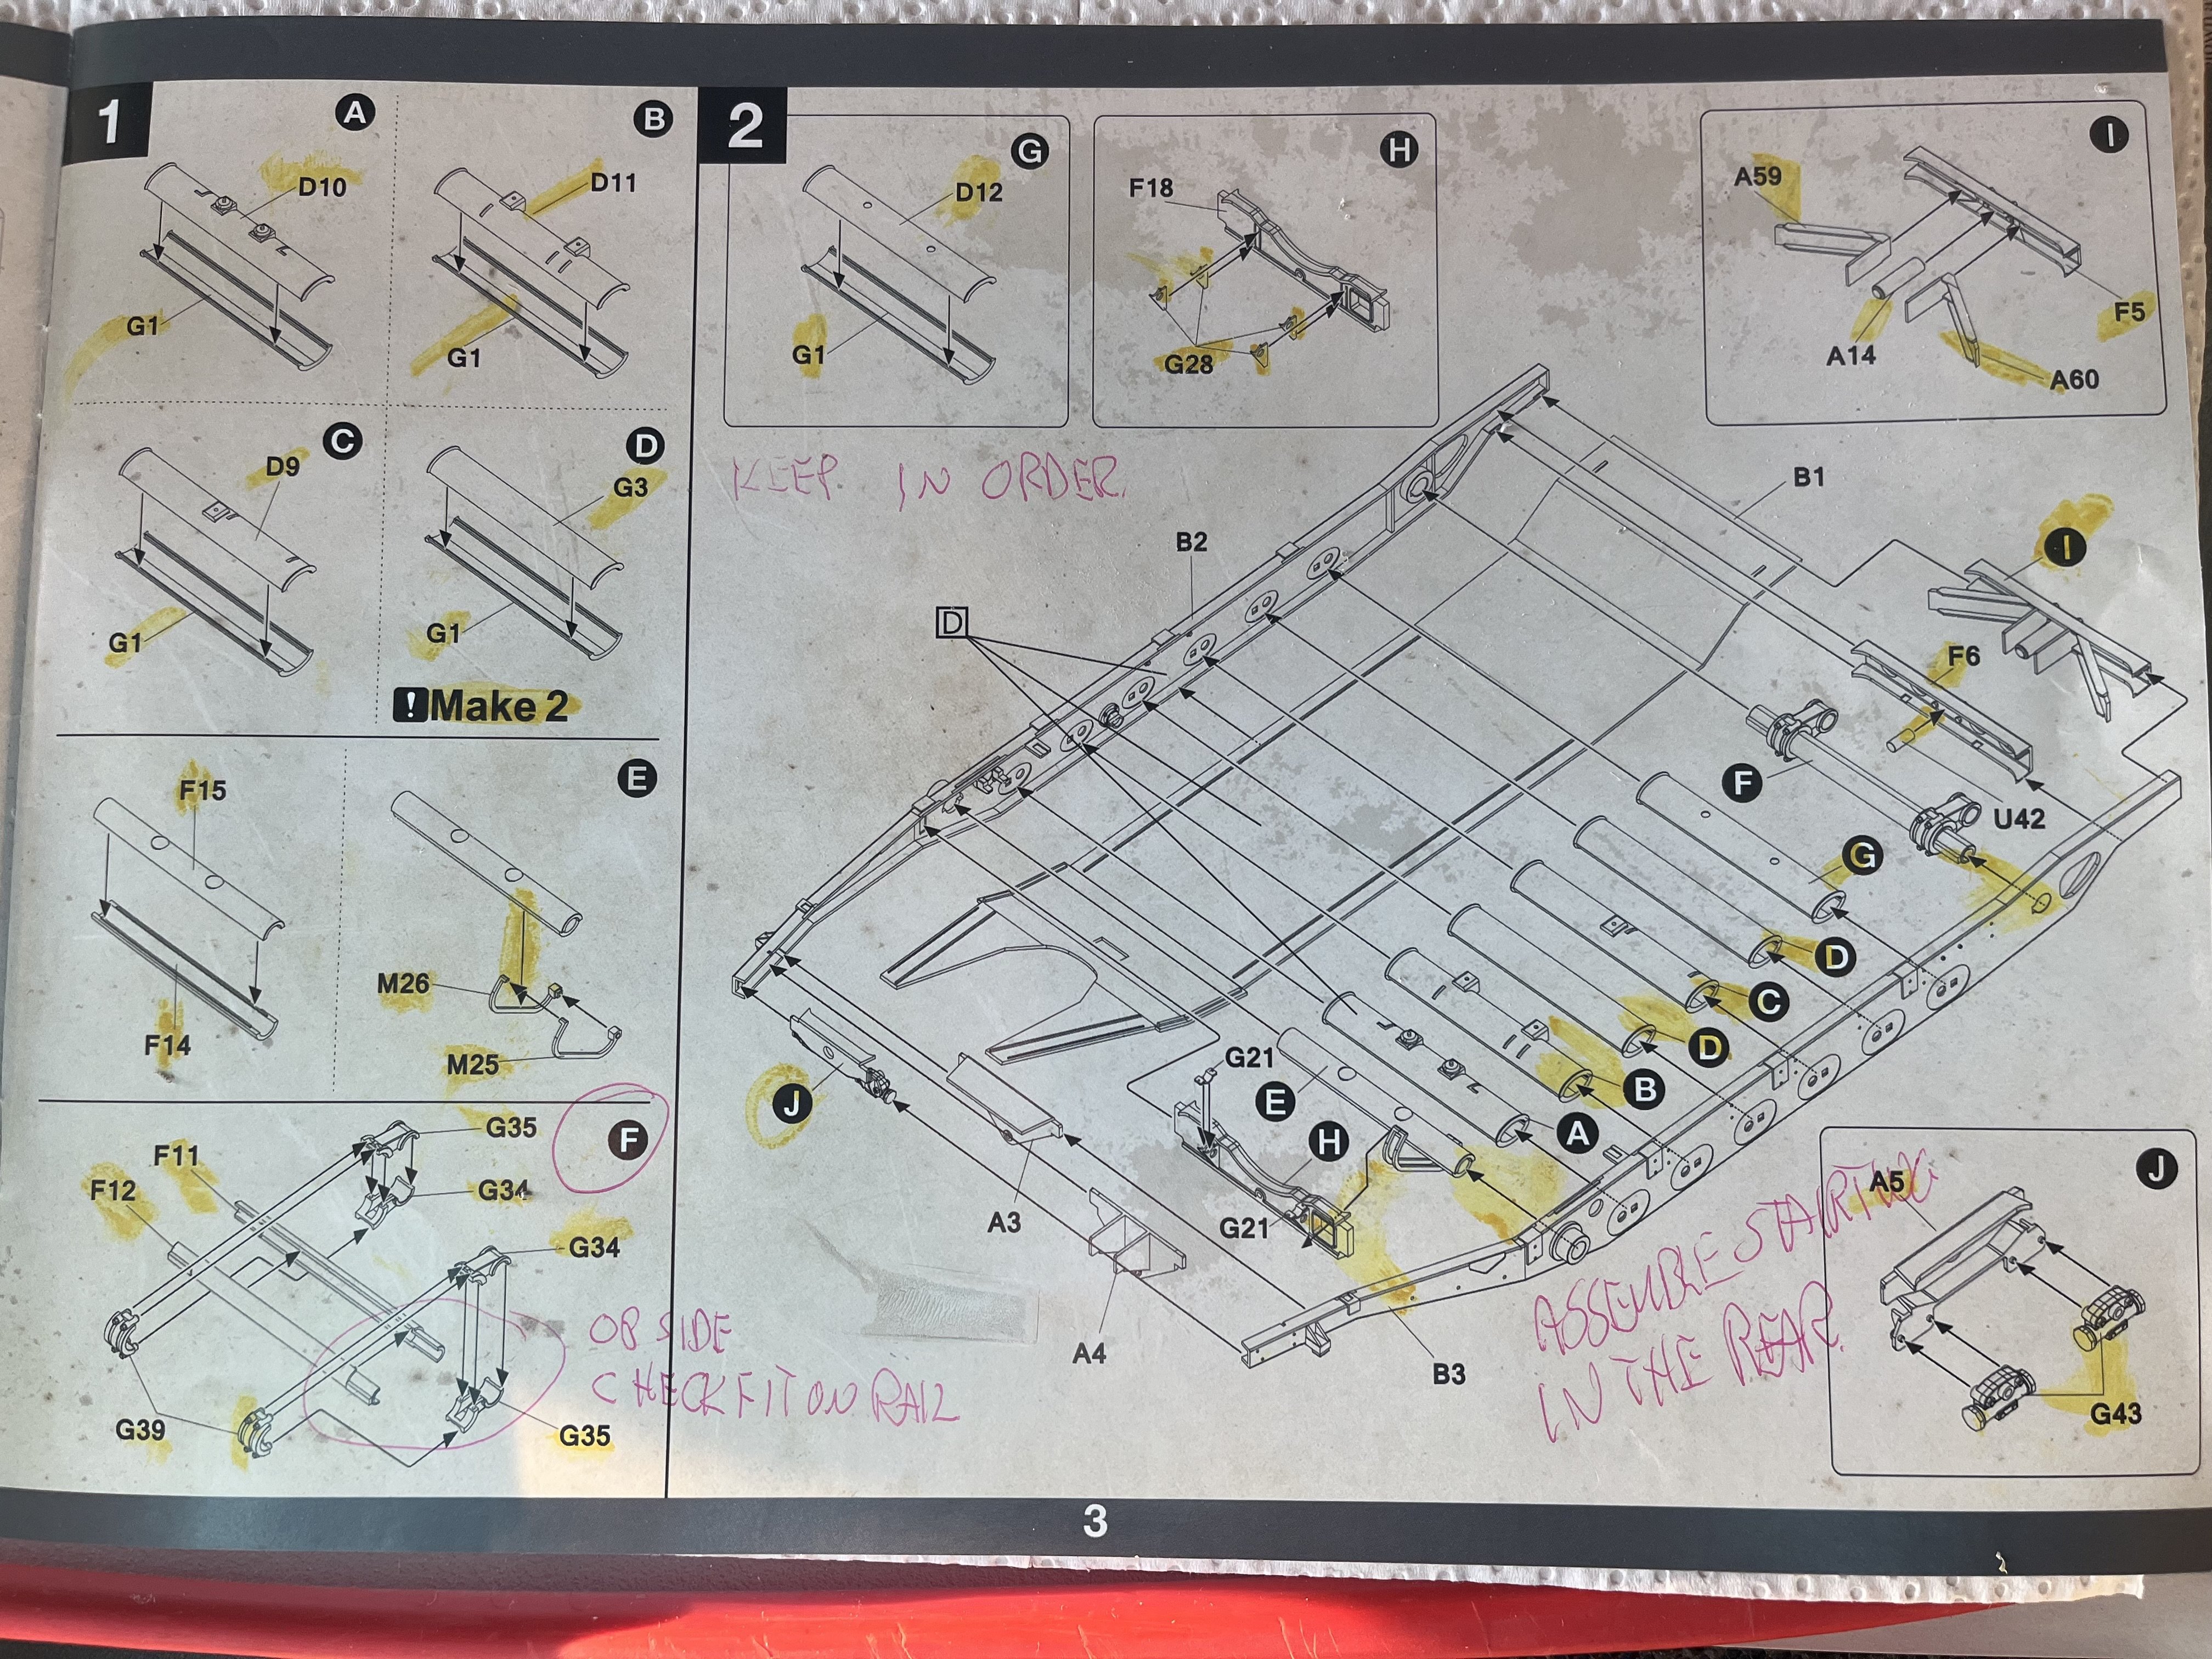
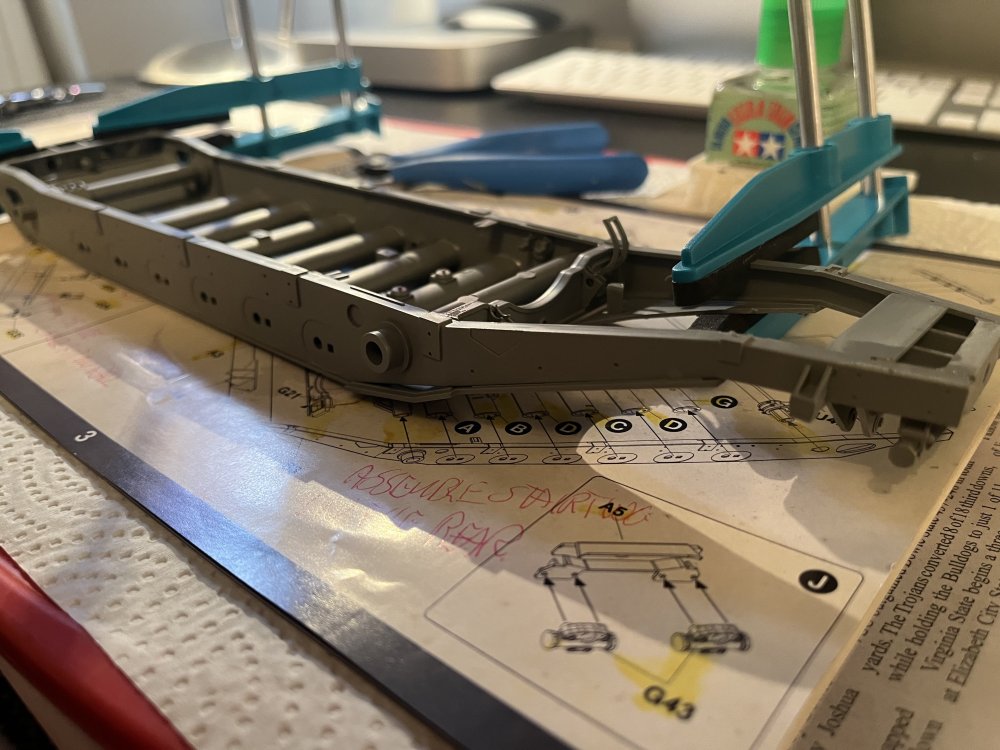
After a short but disappointing trip to one of the local Richmond HobbyLobby locations for a bottle of Tamiya Extra Thin and X20 Thinner, which they don’t carry, I carried on with steps 3/4 installing both left and right bottom outside panels, a few chassis mounted armor plates and support brackets for the radiator.


-
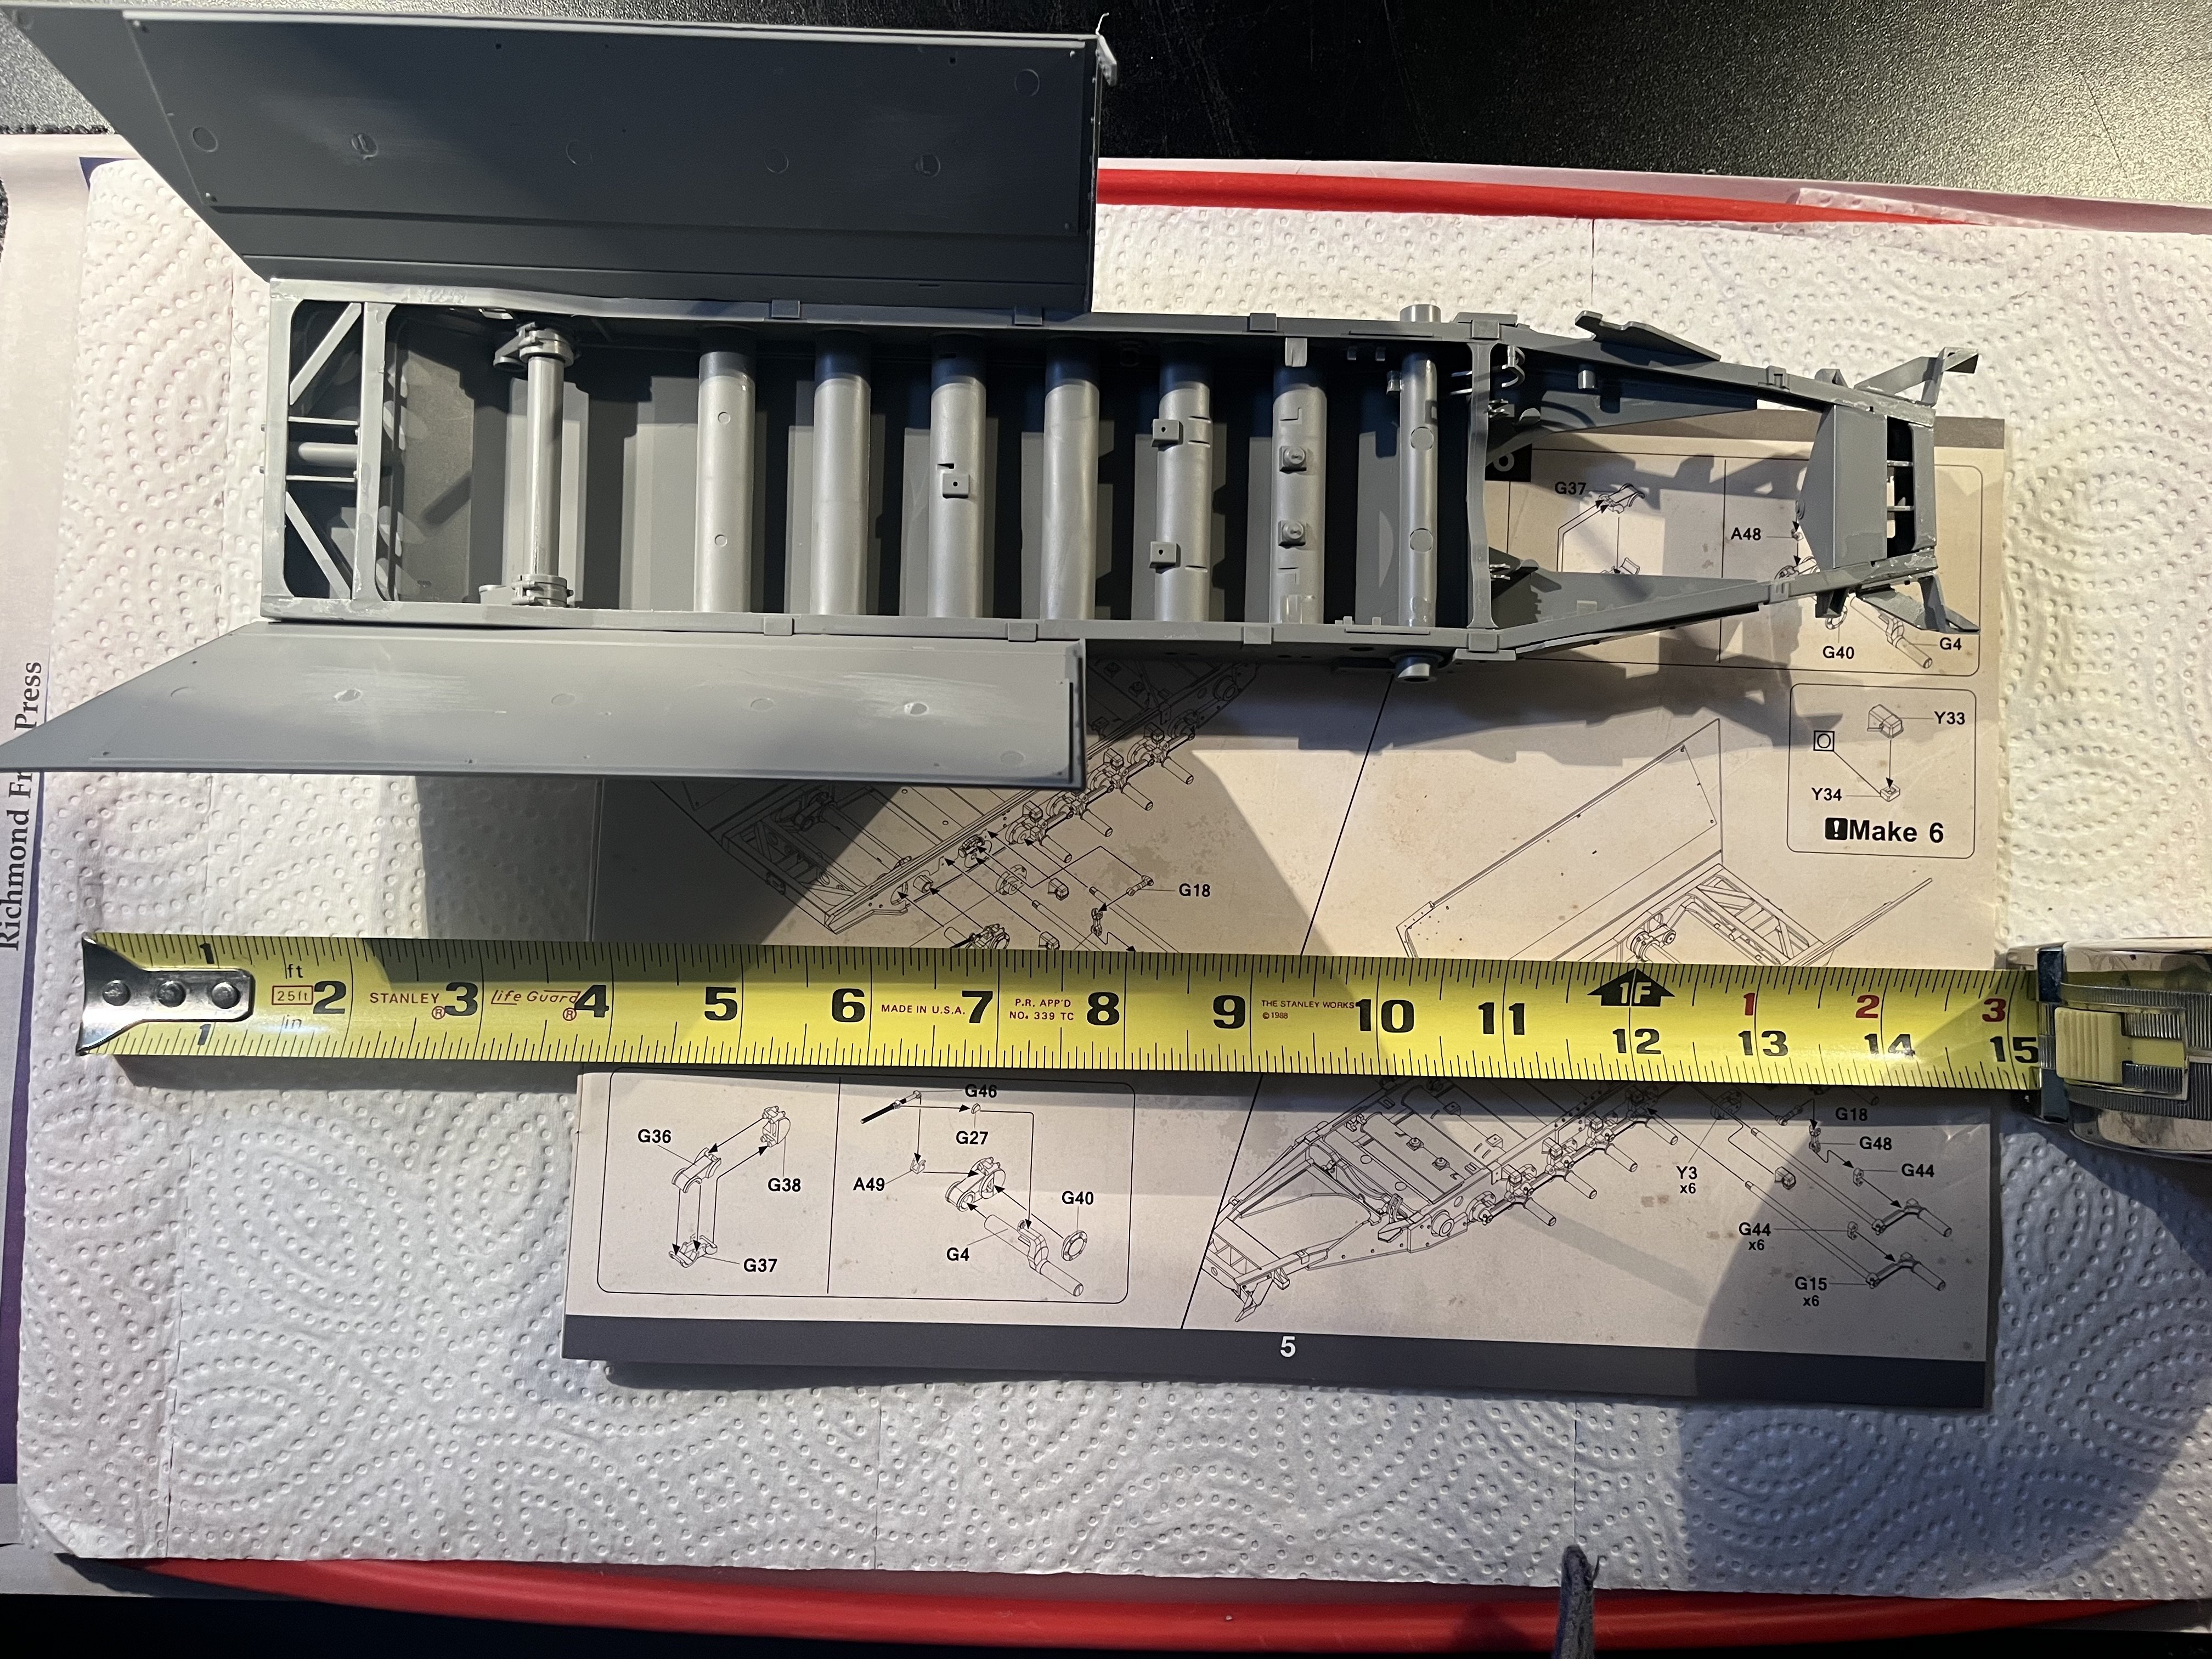
Kevin looks like it’ll be 14/15” when completed!!

-
You know I’m not sure. It’s 1/16 but I’ll measure it tomorrow and report back.
-
So far so good. I’ve been watching Andy’s Hobby Headquarters two part YouTube video build picking up hints and tips along the way which has been very helpful. There have been no fit issues as of yet.
-
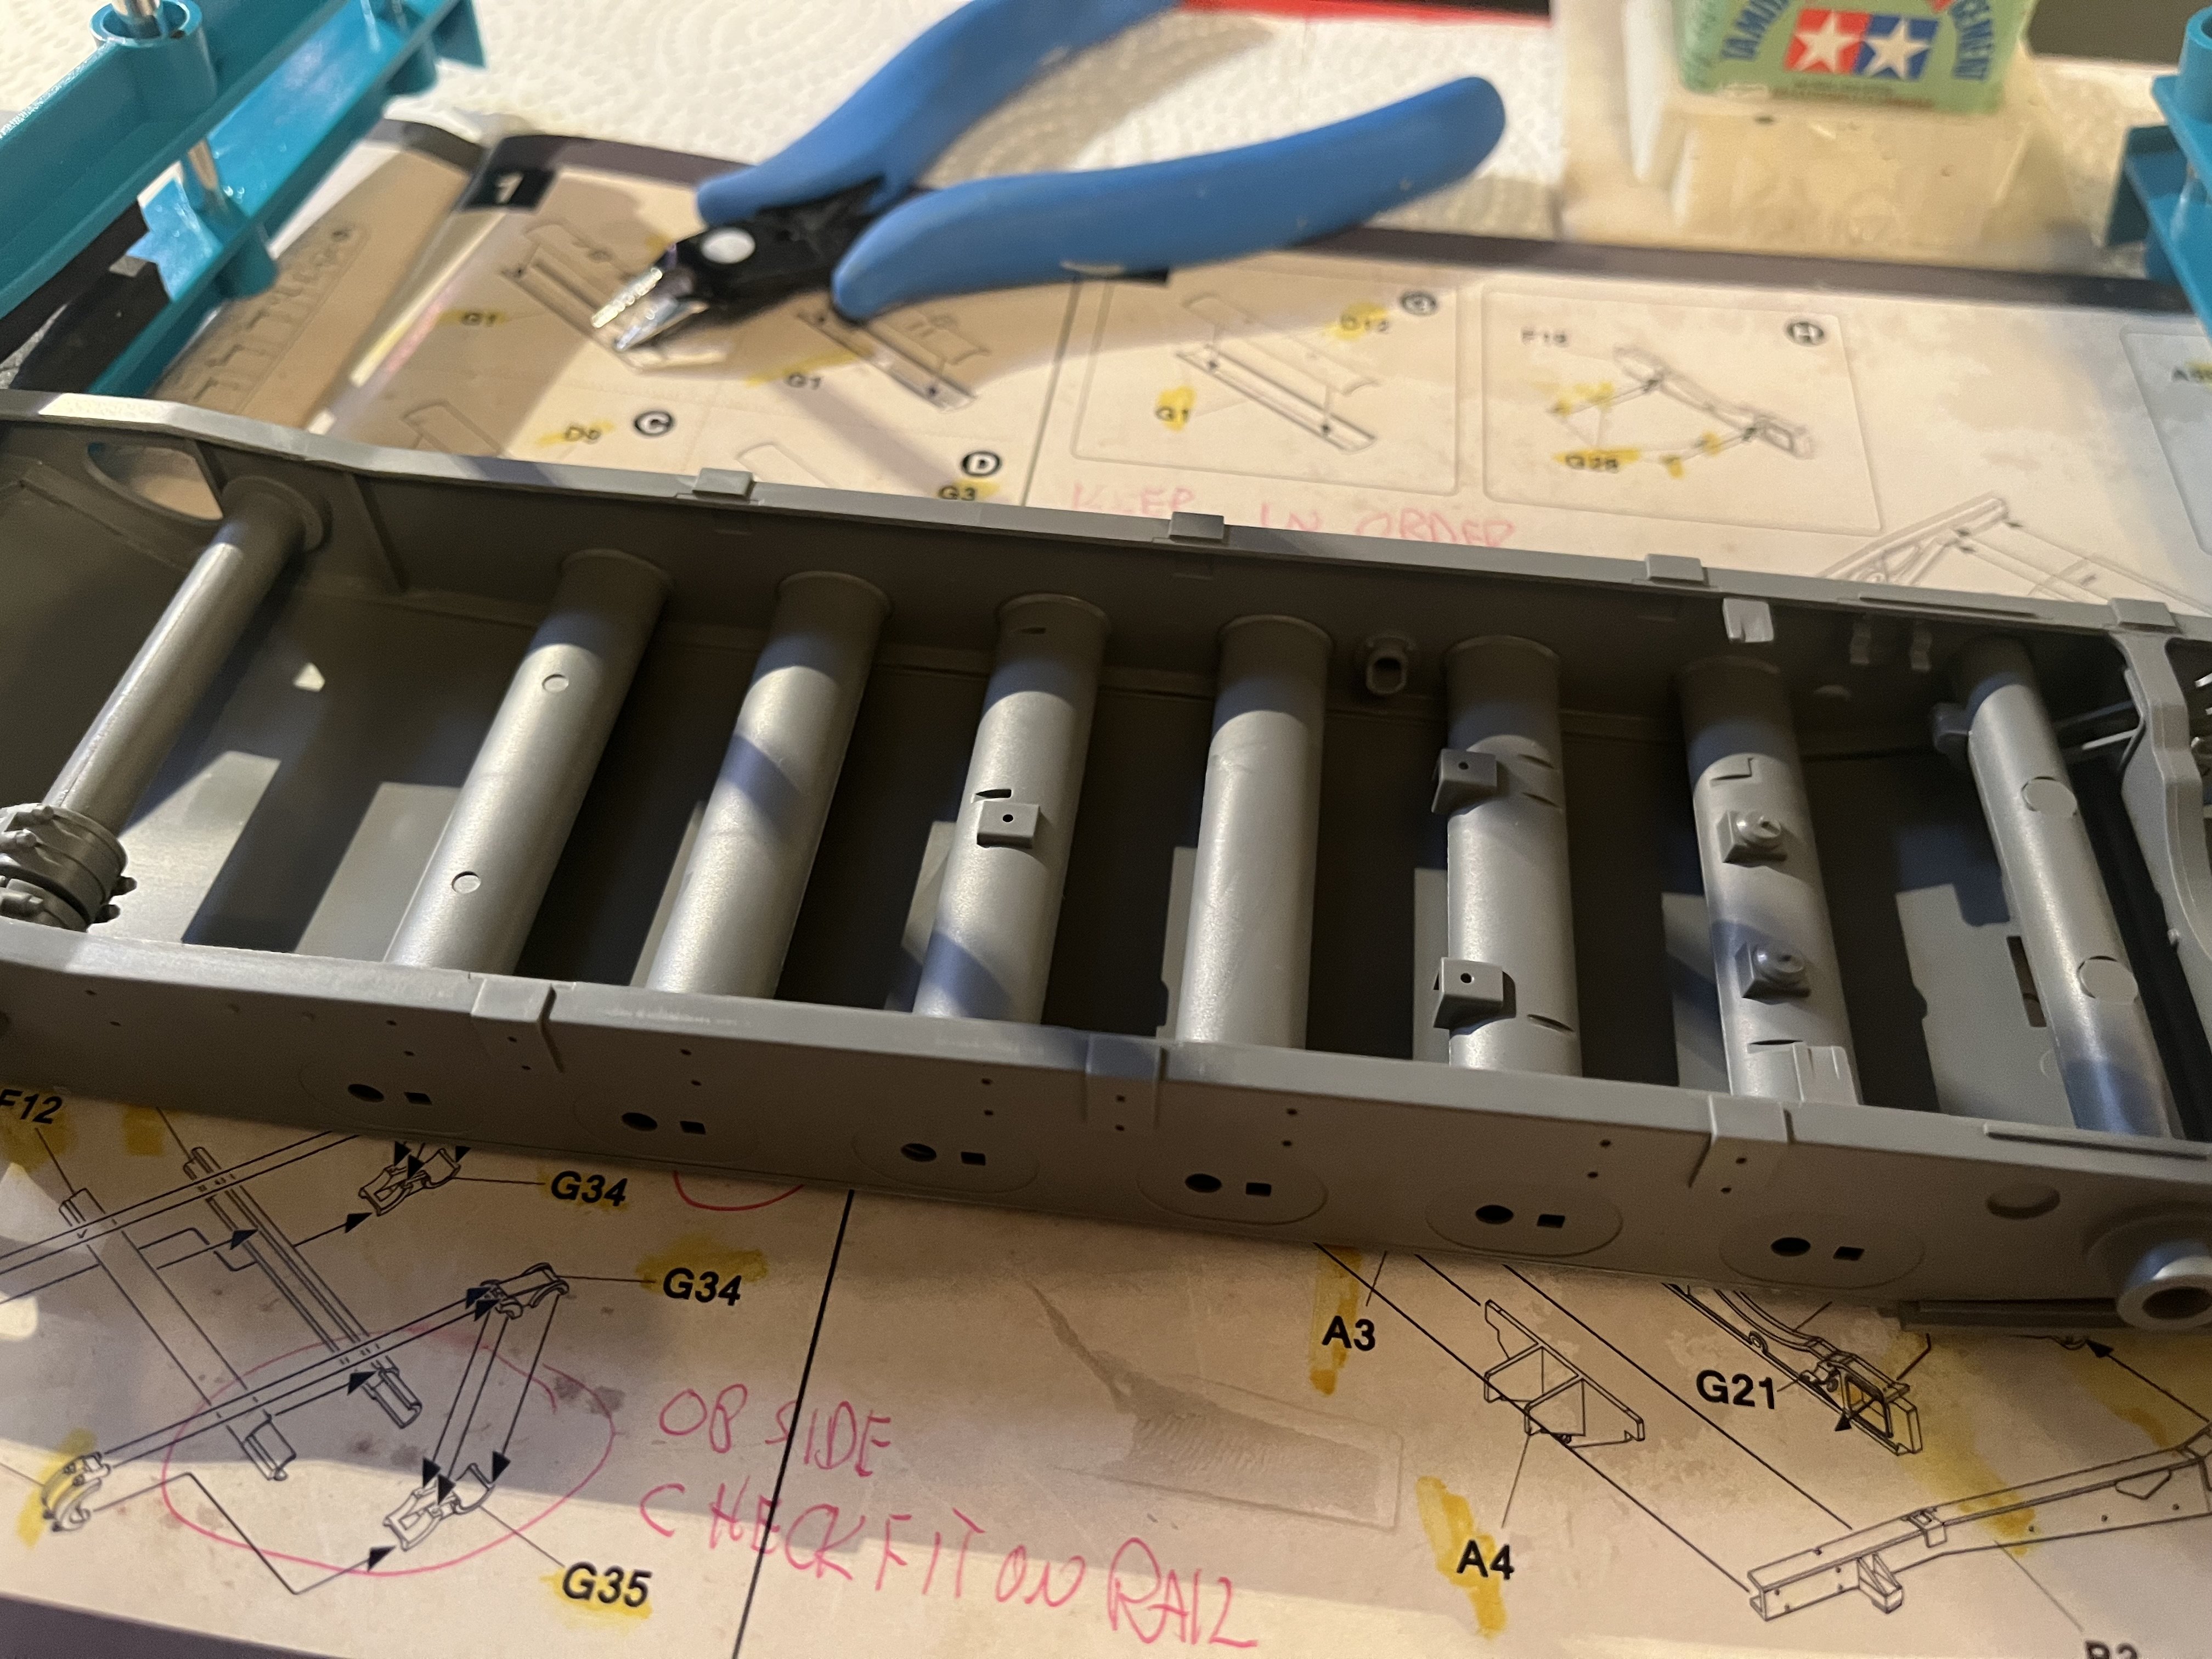
Continued on with the other half of step 2 and joined the other chassis suspension frame rail to the first frame rail and placed the bottom to the chassis.


-
Thanks Kevin I’m very fortunate indeed!
-
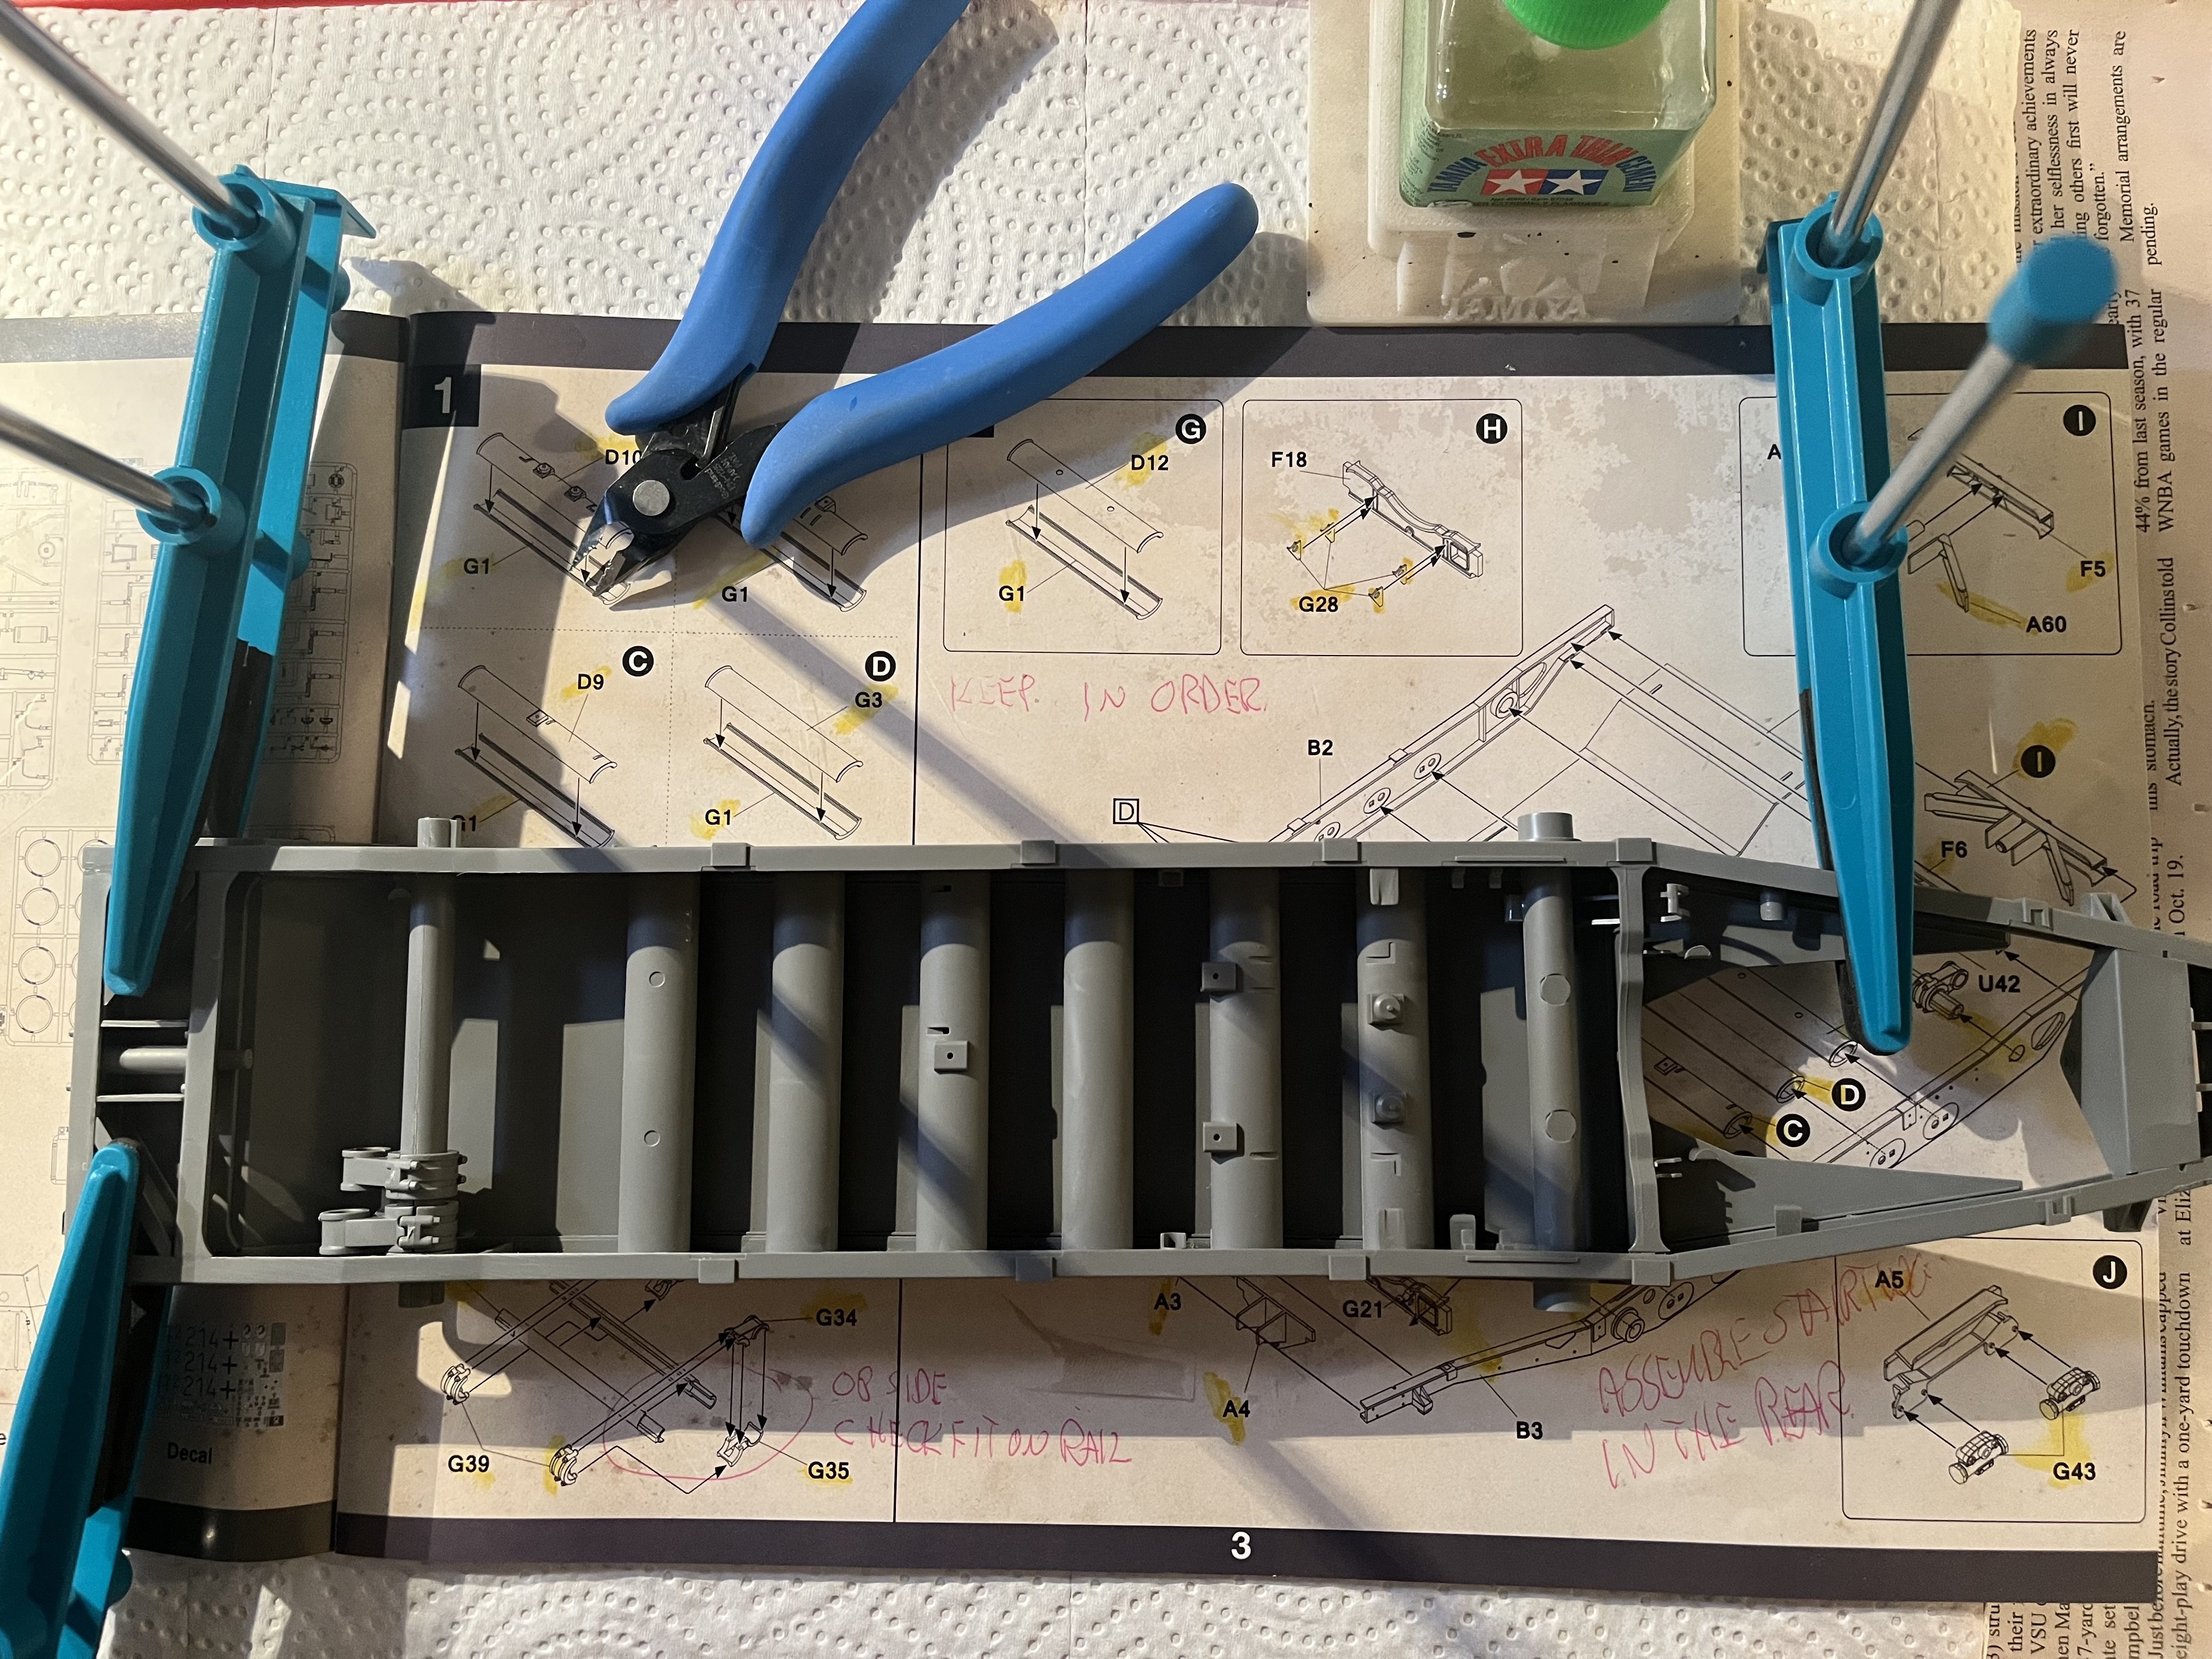
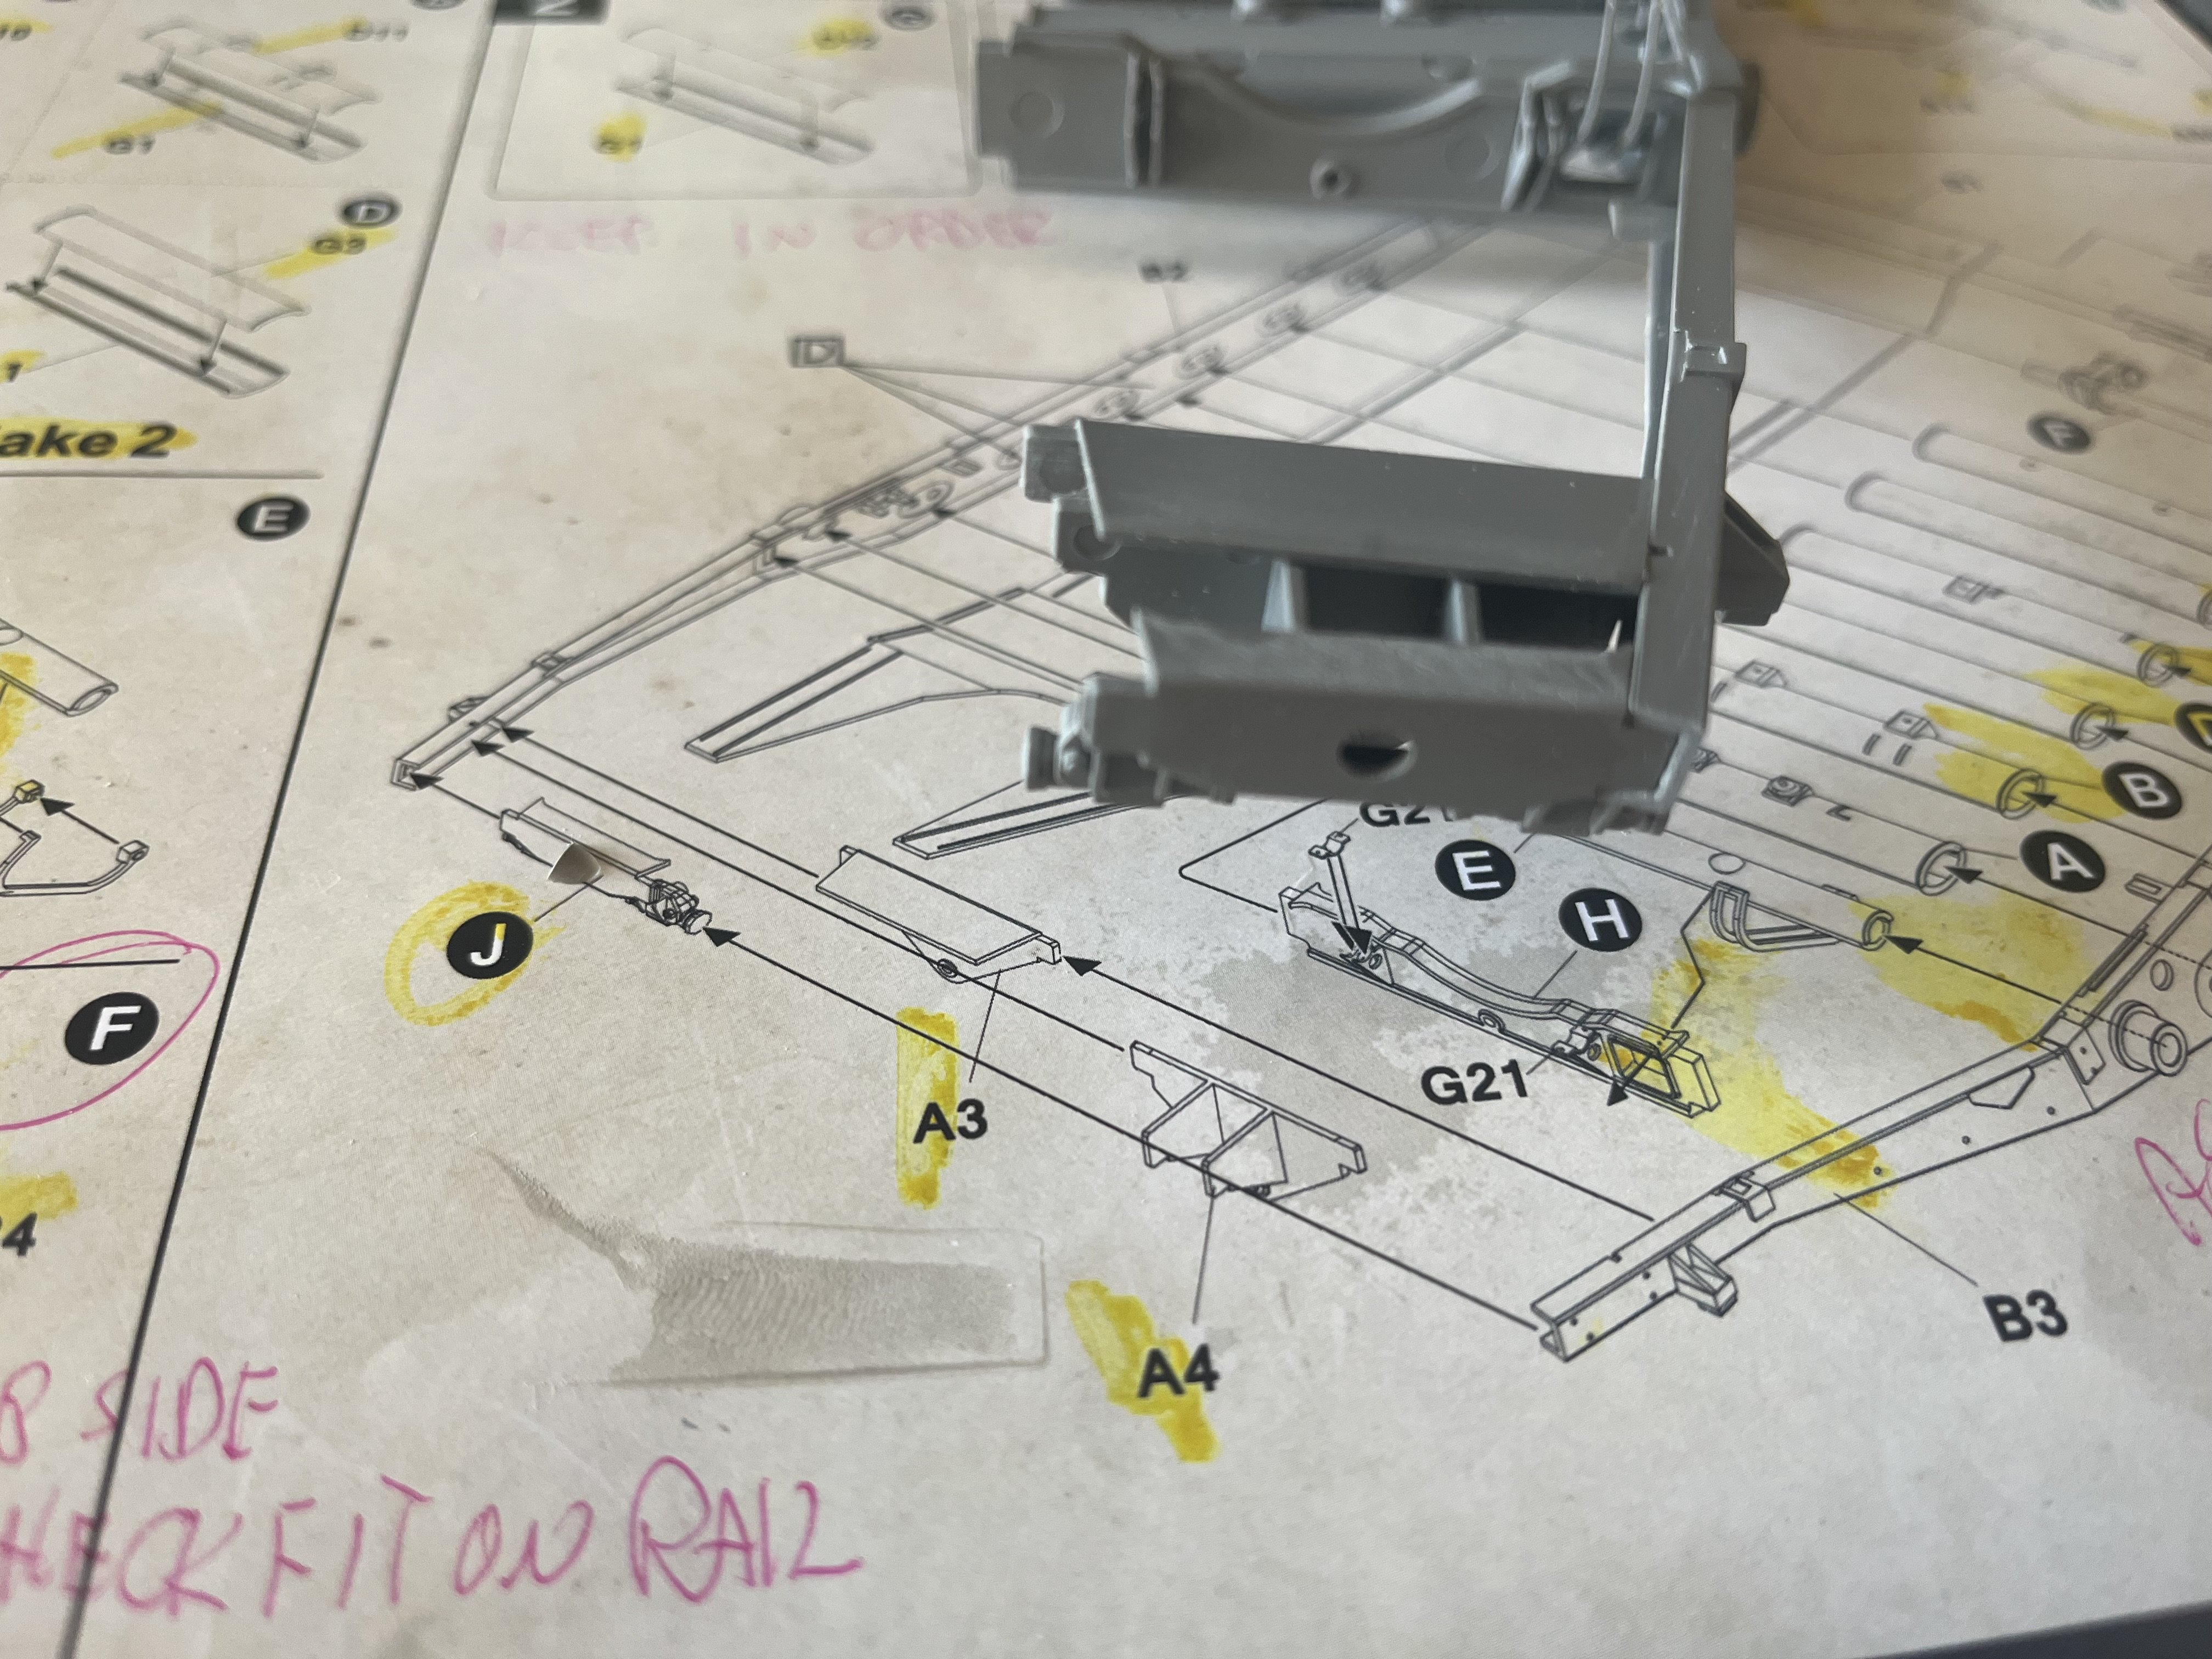
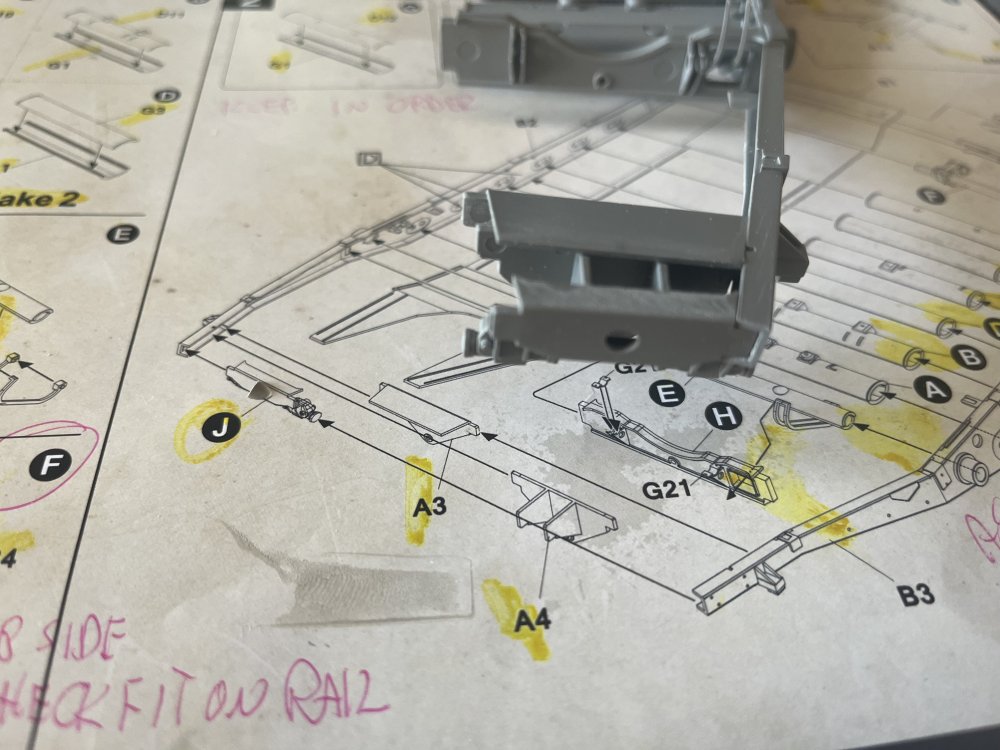
Oh man that was a bit fiddly!!! A3 and A4 not very clearly marked as to its fit!! However after Iturned the instructions up side down I saw the error of my way instantly, lol!!!
-
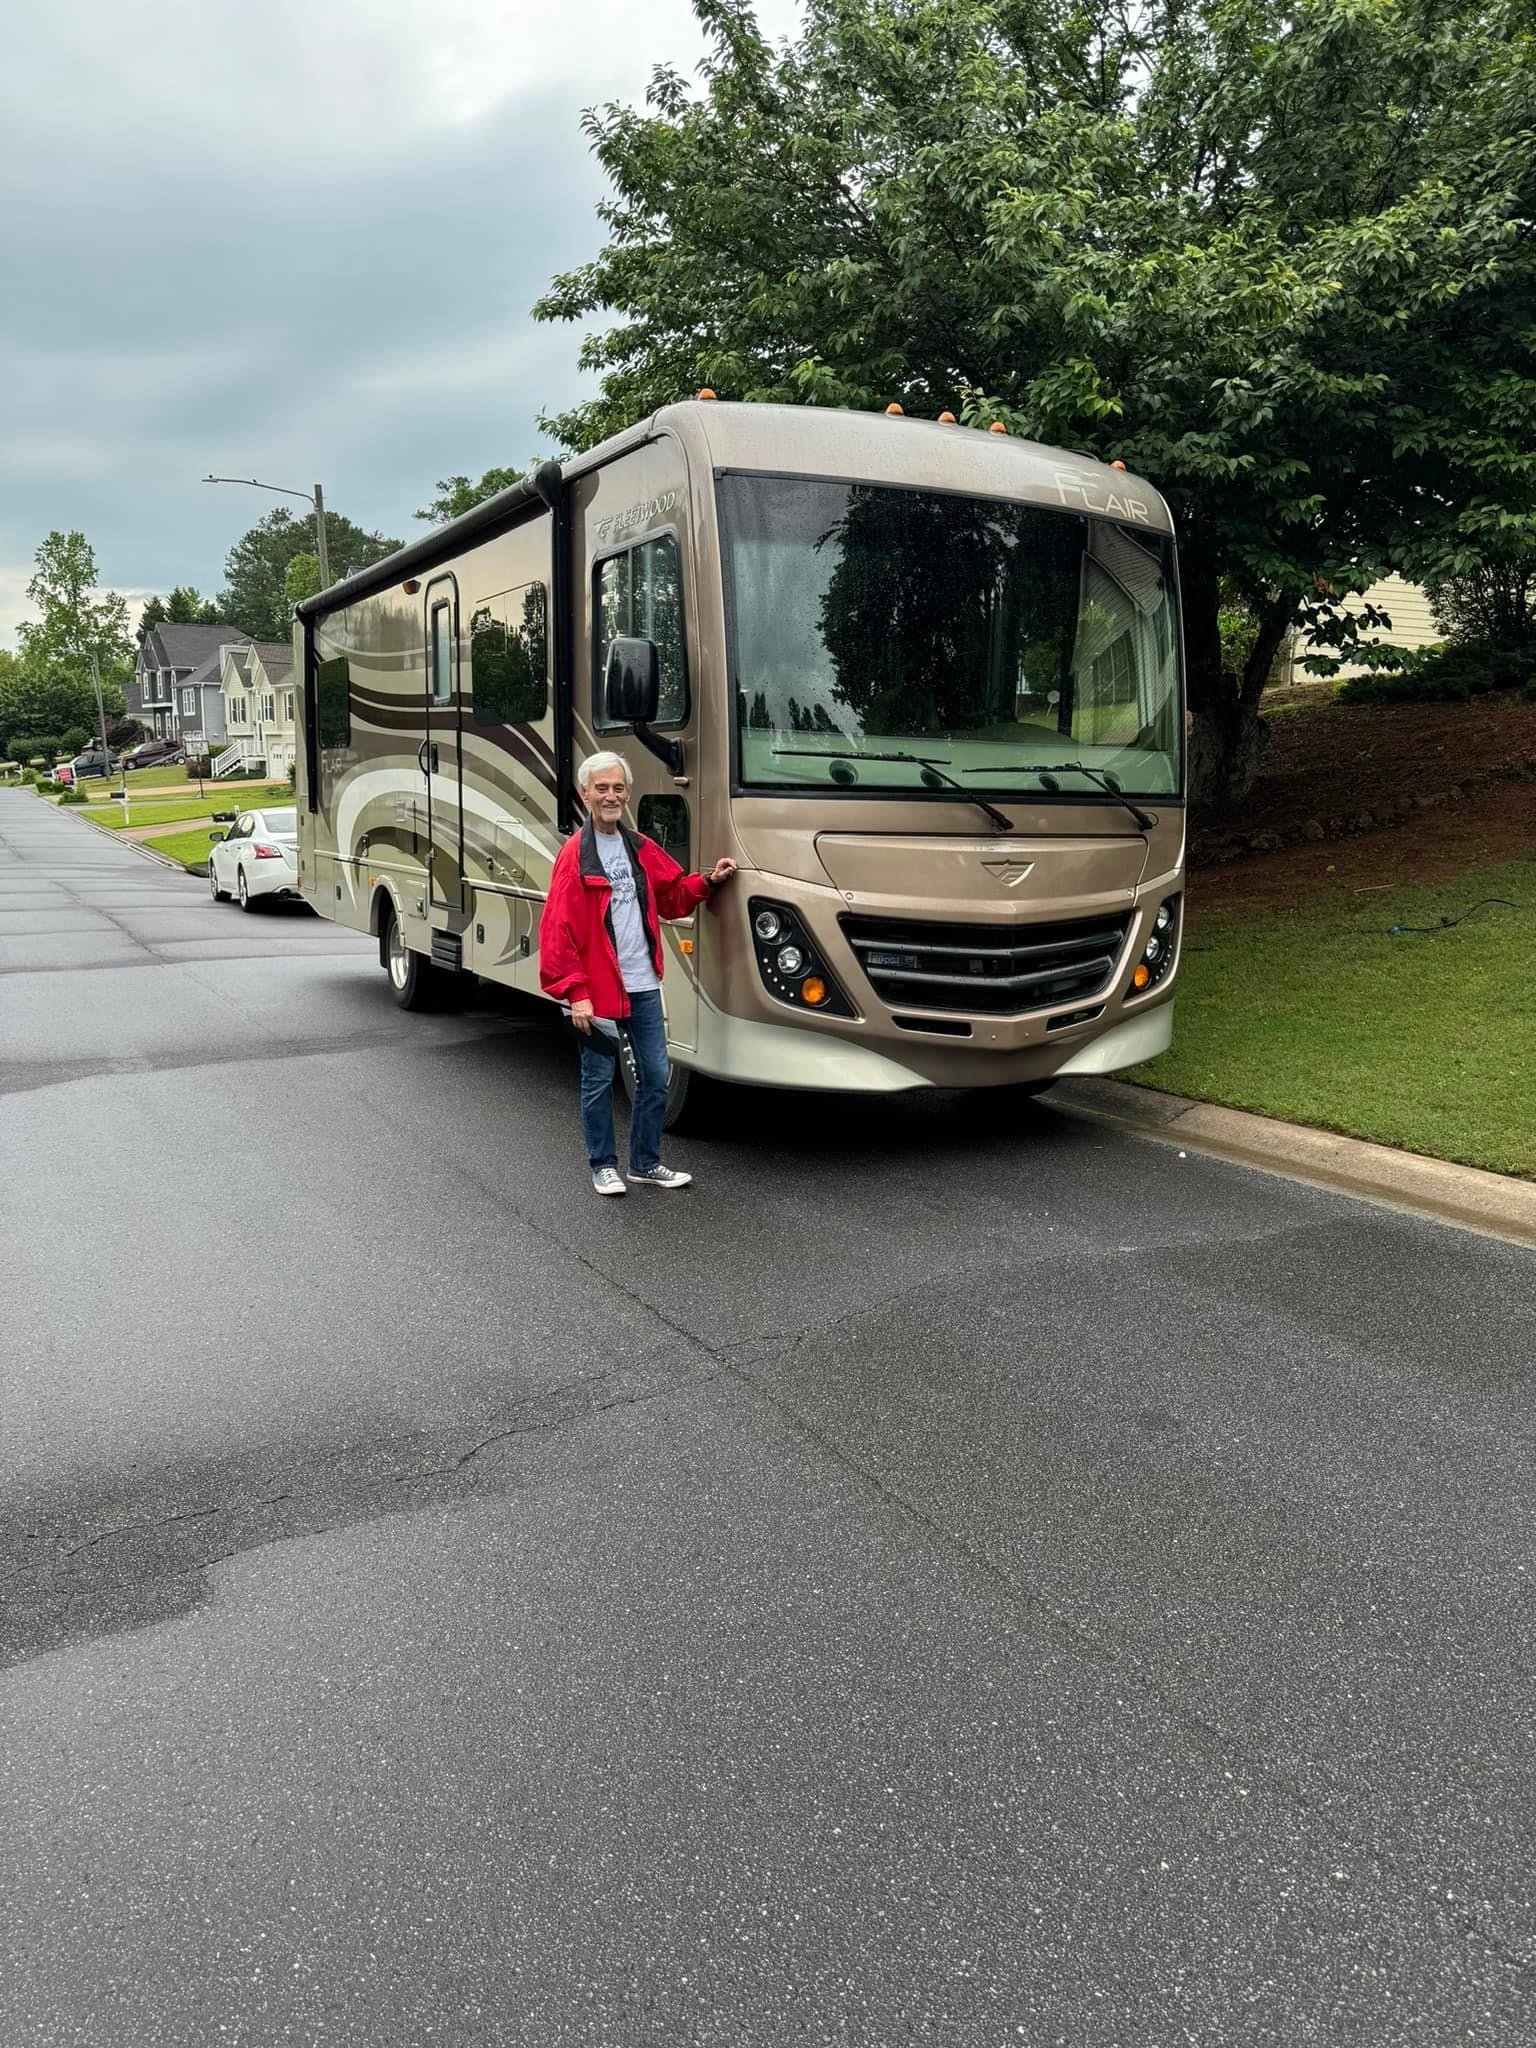
Yeah it’s 30’ long, 13’ tall and 8’ wide driven by a fuel injected Ford Triton V10 with a 5 speed transmission. It would be fine as long as no one was coming the other way, lol!!!
-
Oh thanks!
-
Off to a good start. Completed steps 1 and half of step 2 assembling parts of the suspension and began installing them on the chassis frame rail.