
RalphSarc
-
Posts
2,143 -
Joined
-
Last visited
Content Type
Profiles
Forums
Events
Gallery
Everything posted by RalphSarc
-
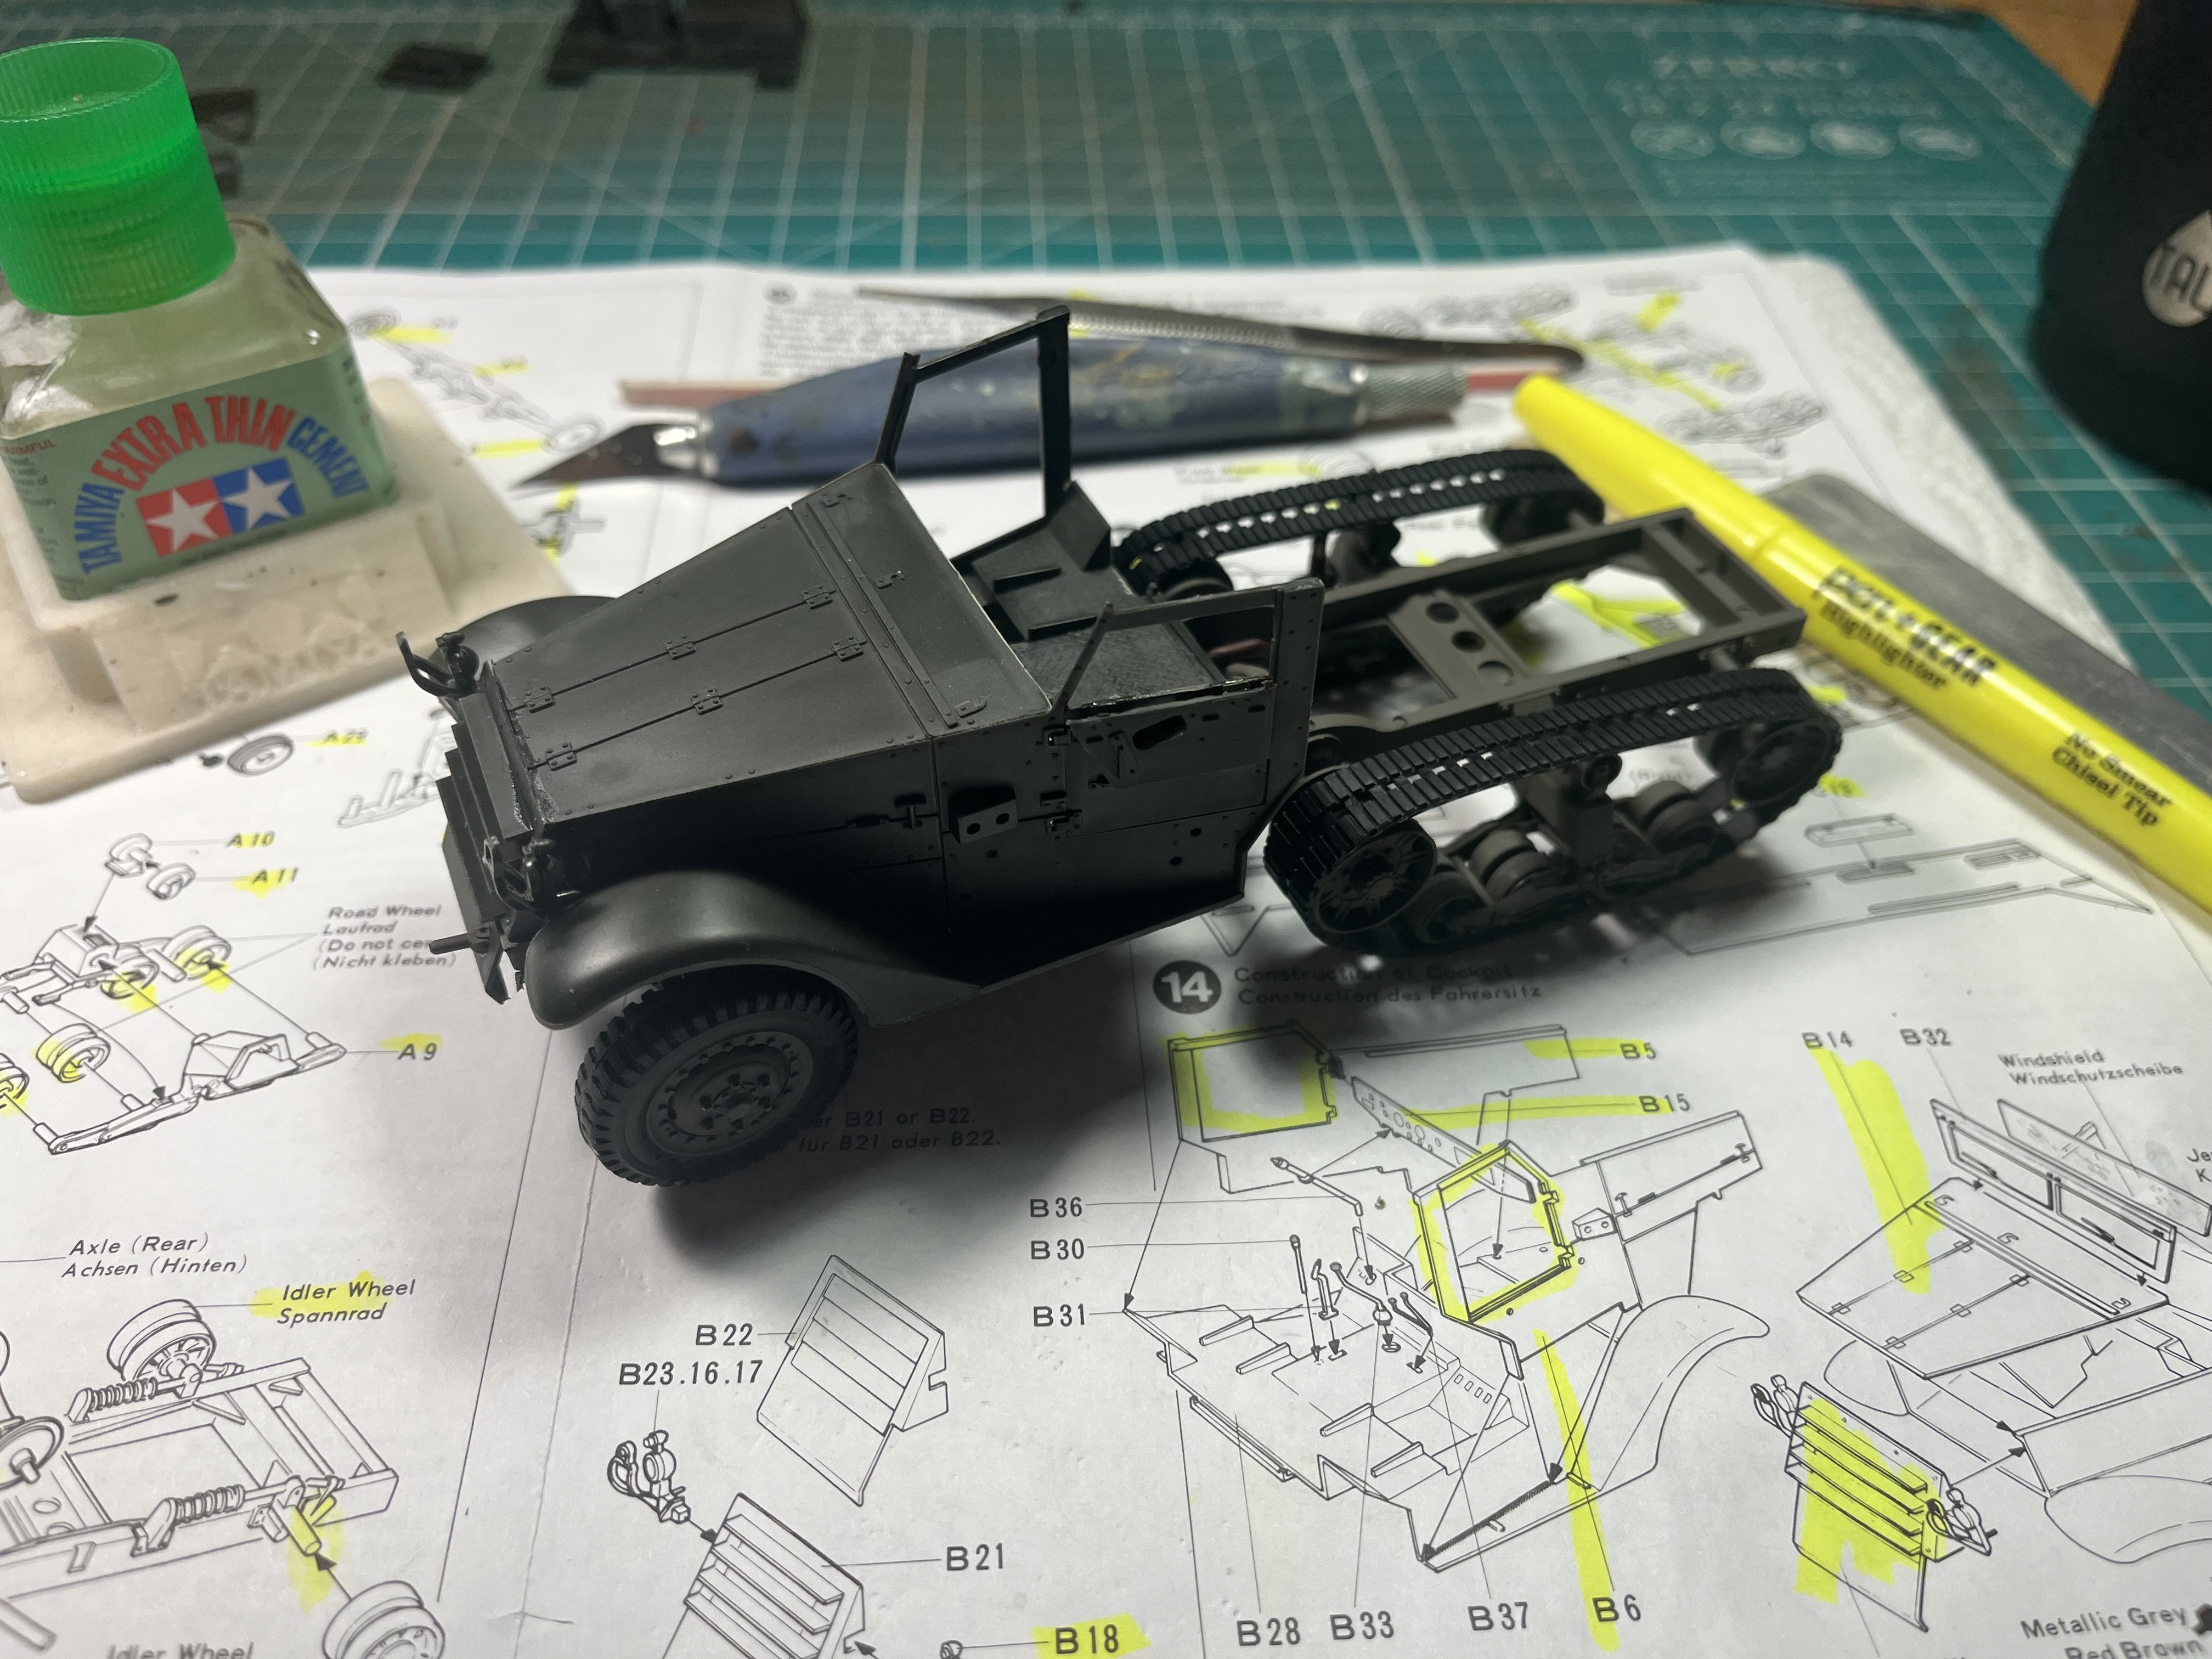
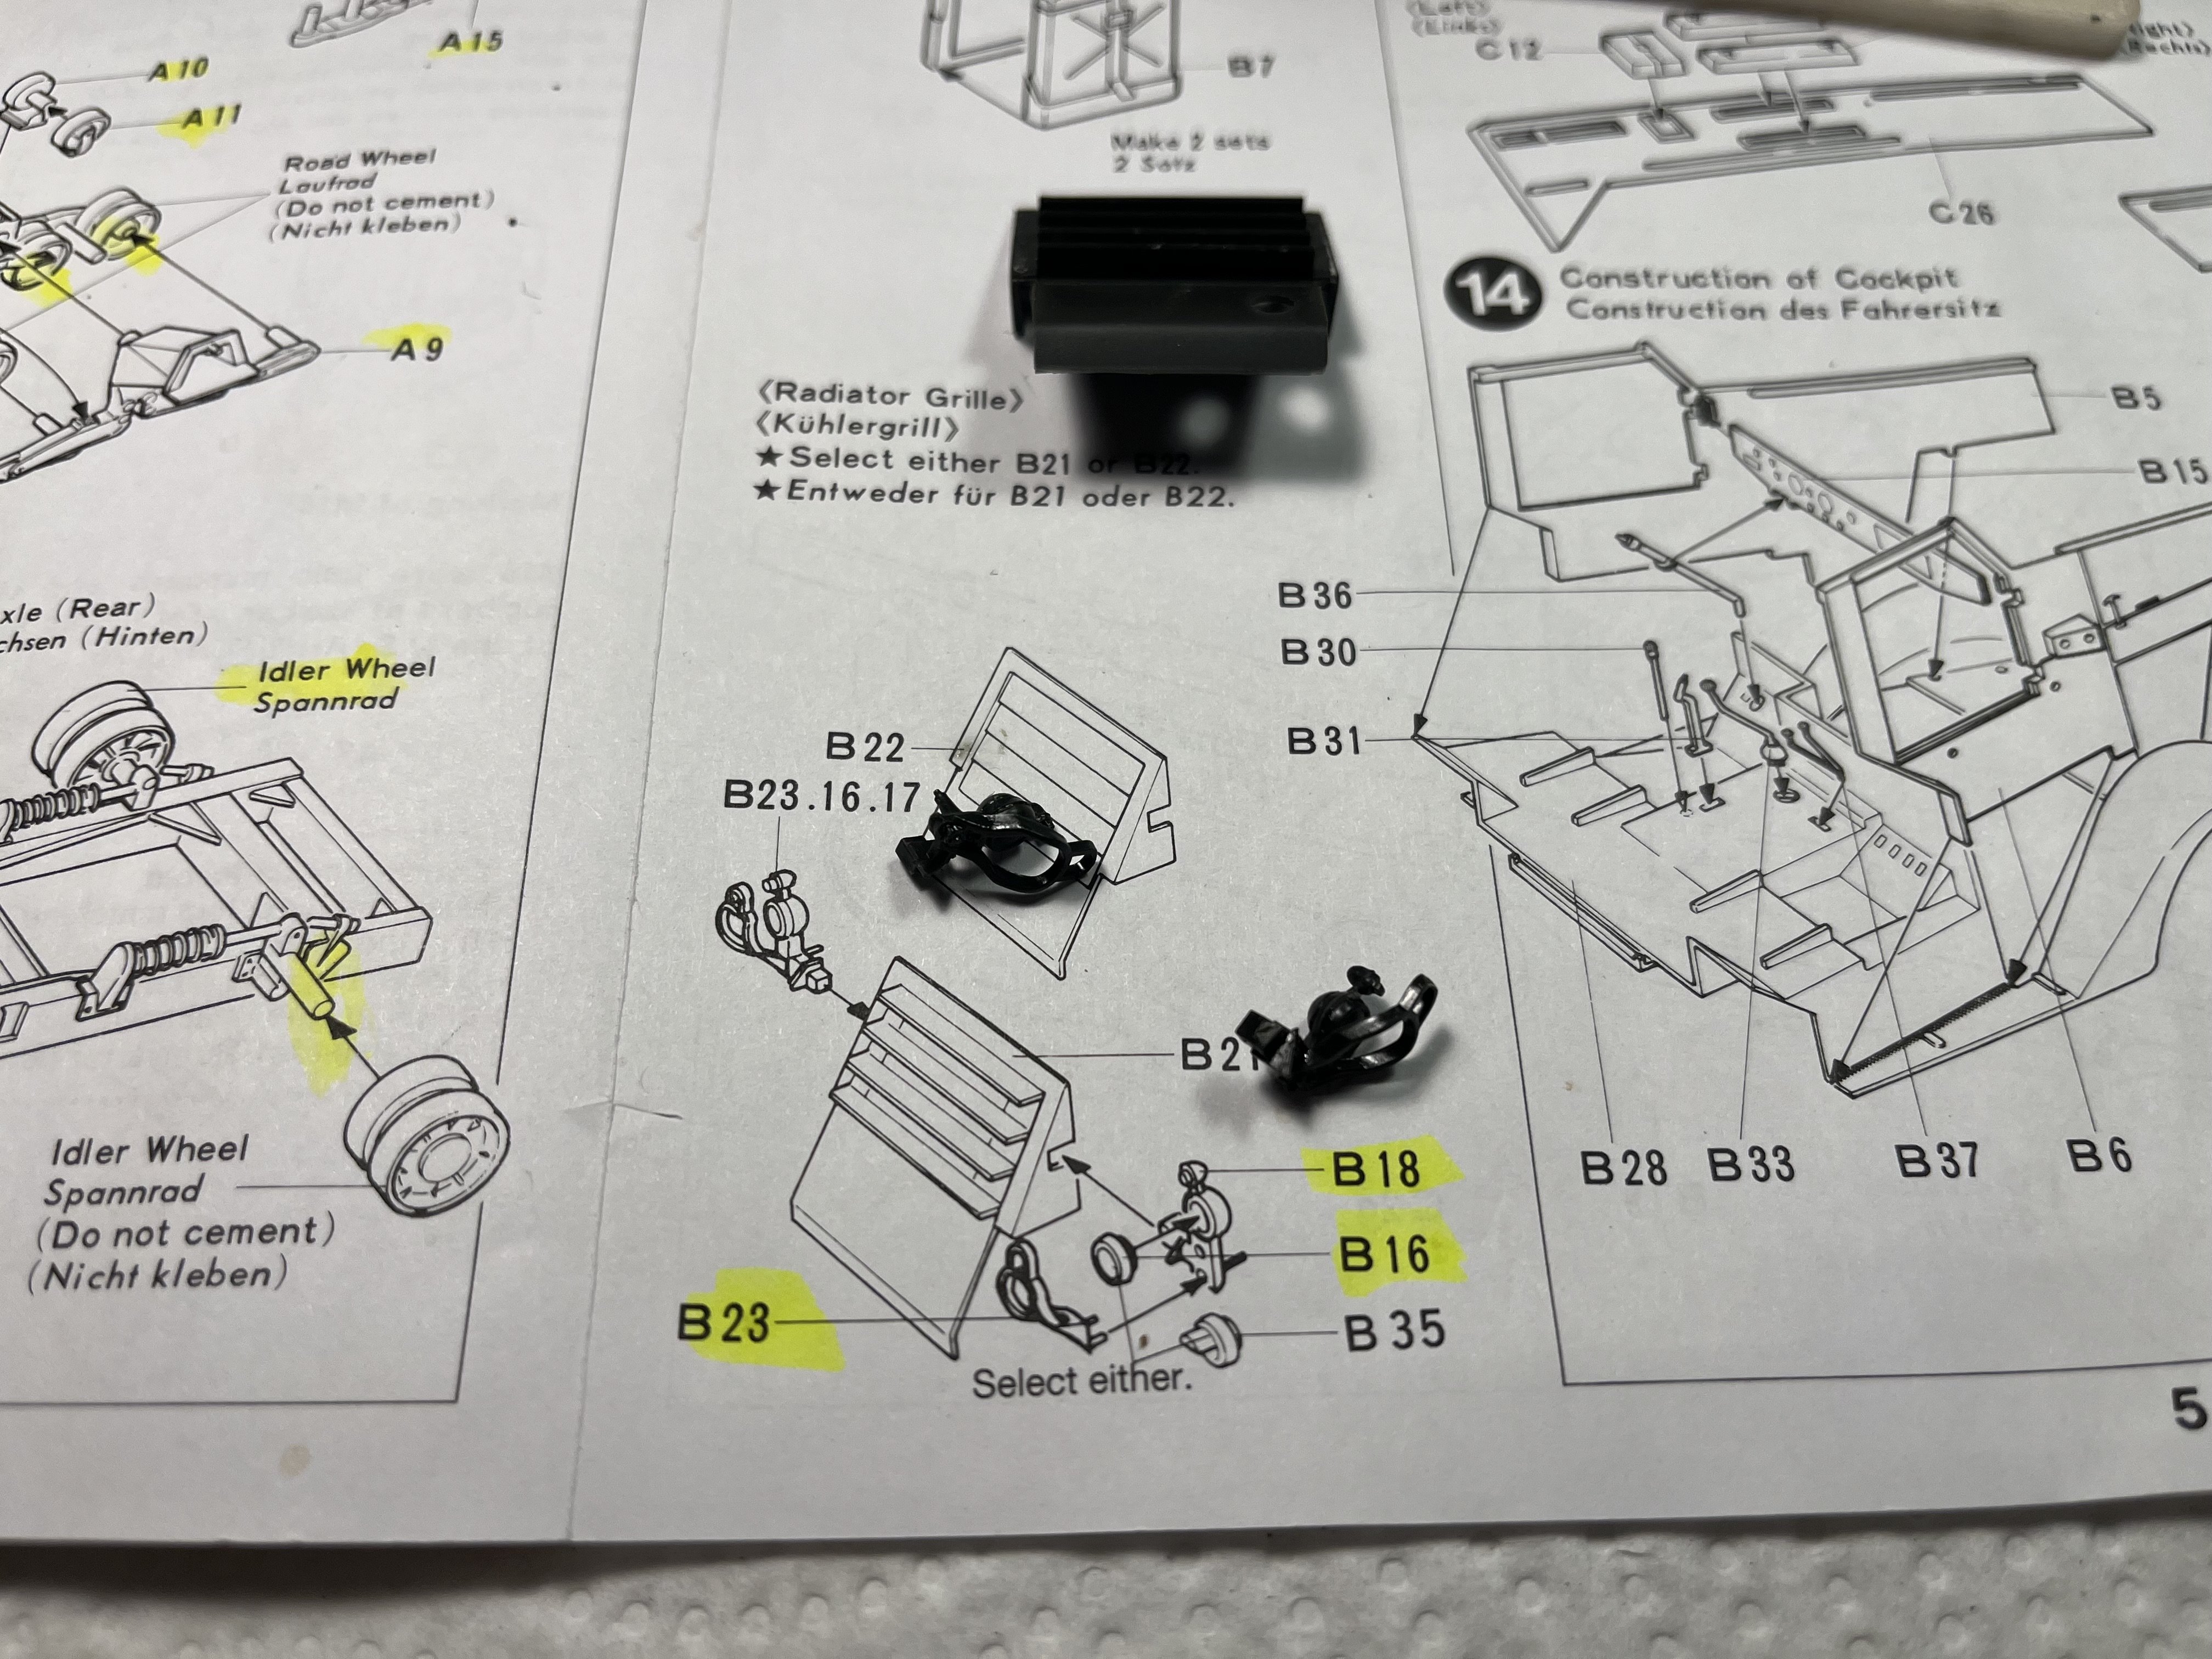
 Completed step 14 building up the front body section of the M16. I’m really impressed with the fit of this old kit. I’ve had no issues what so ever!
-
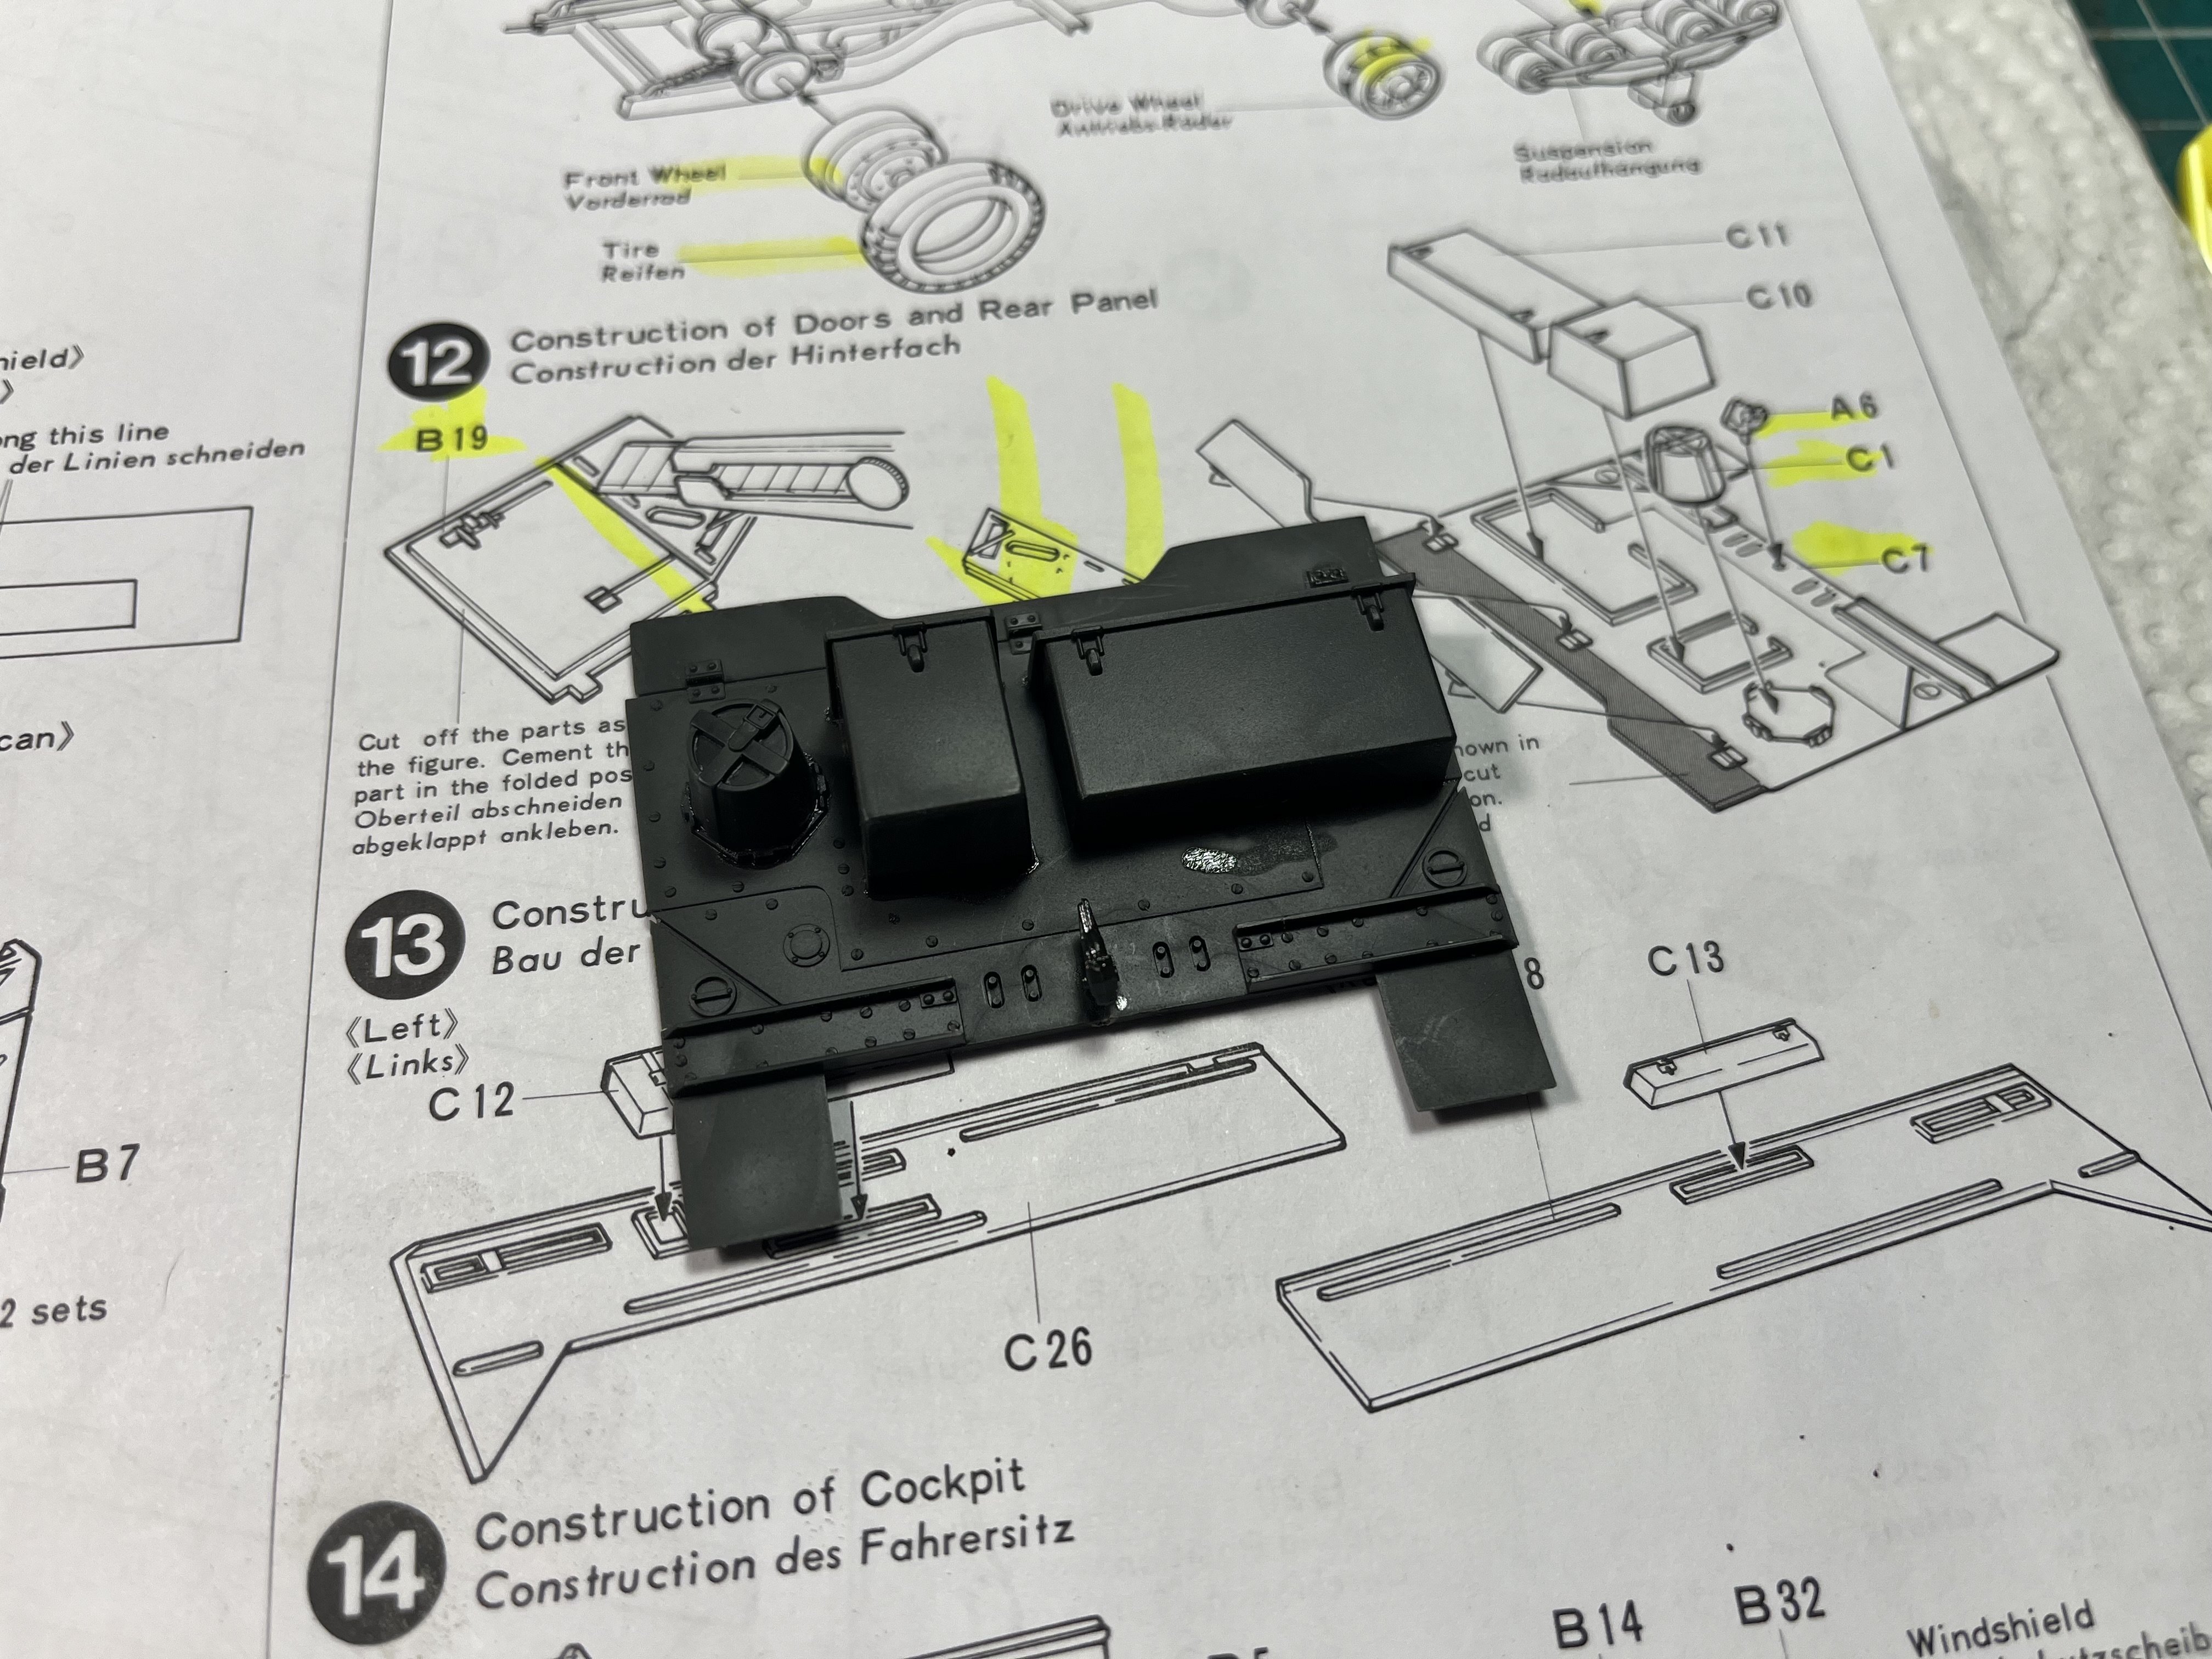
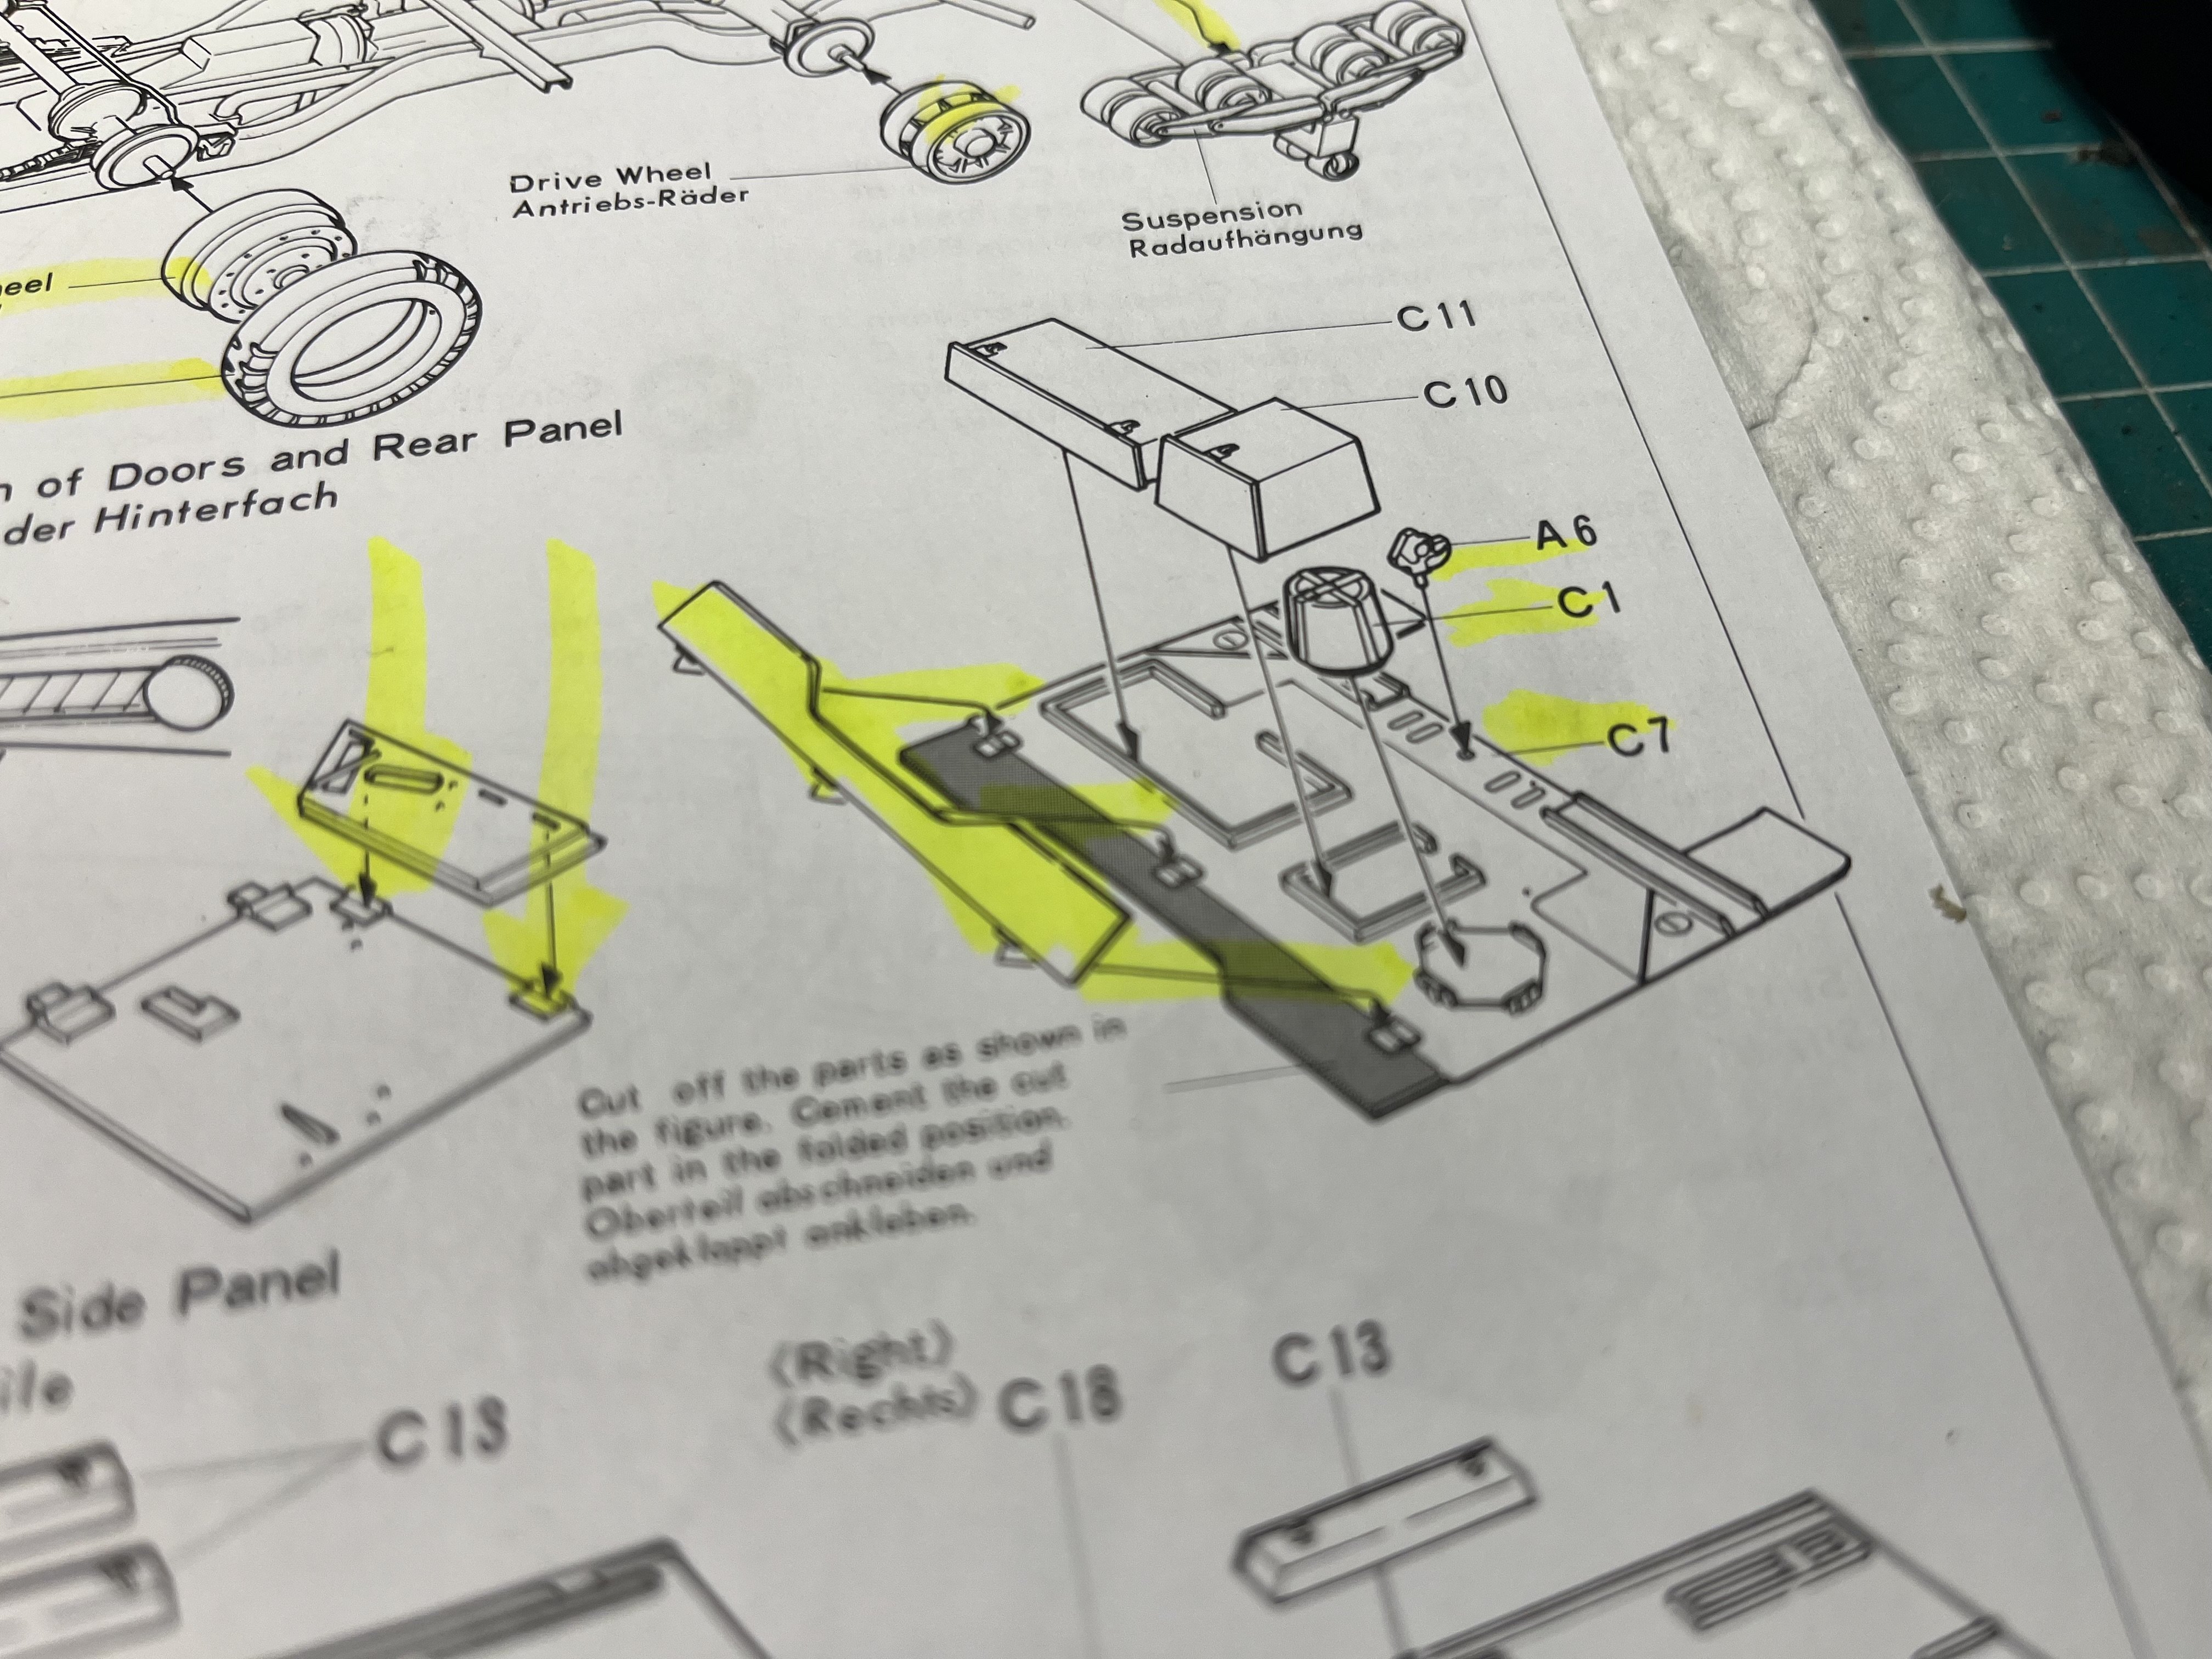
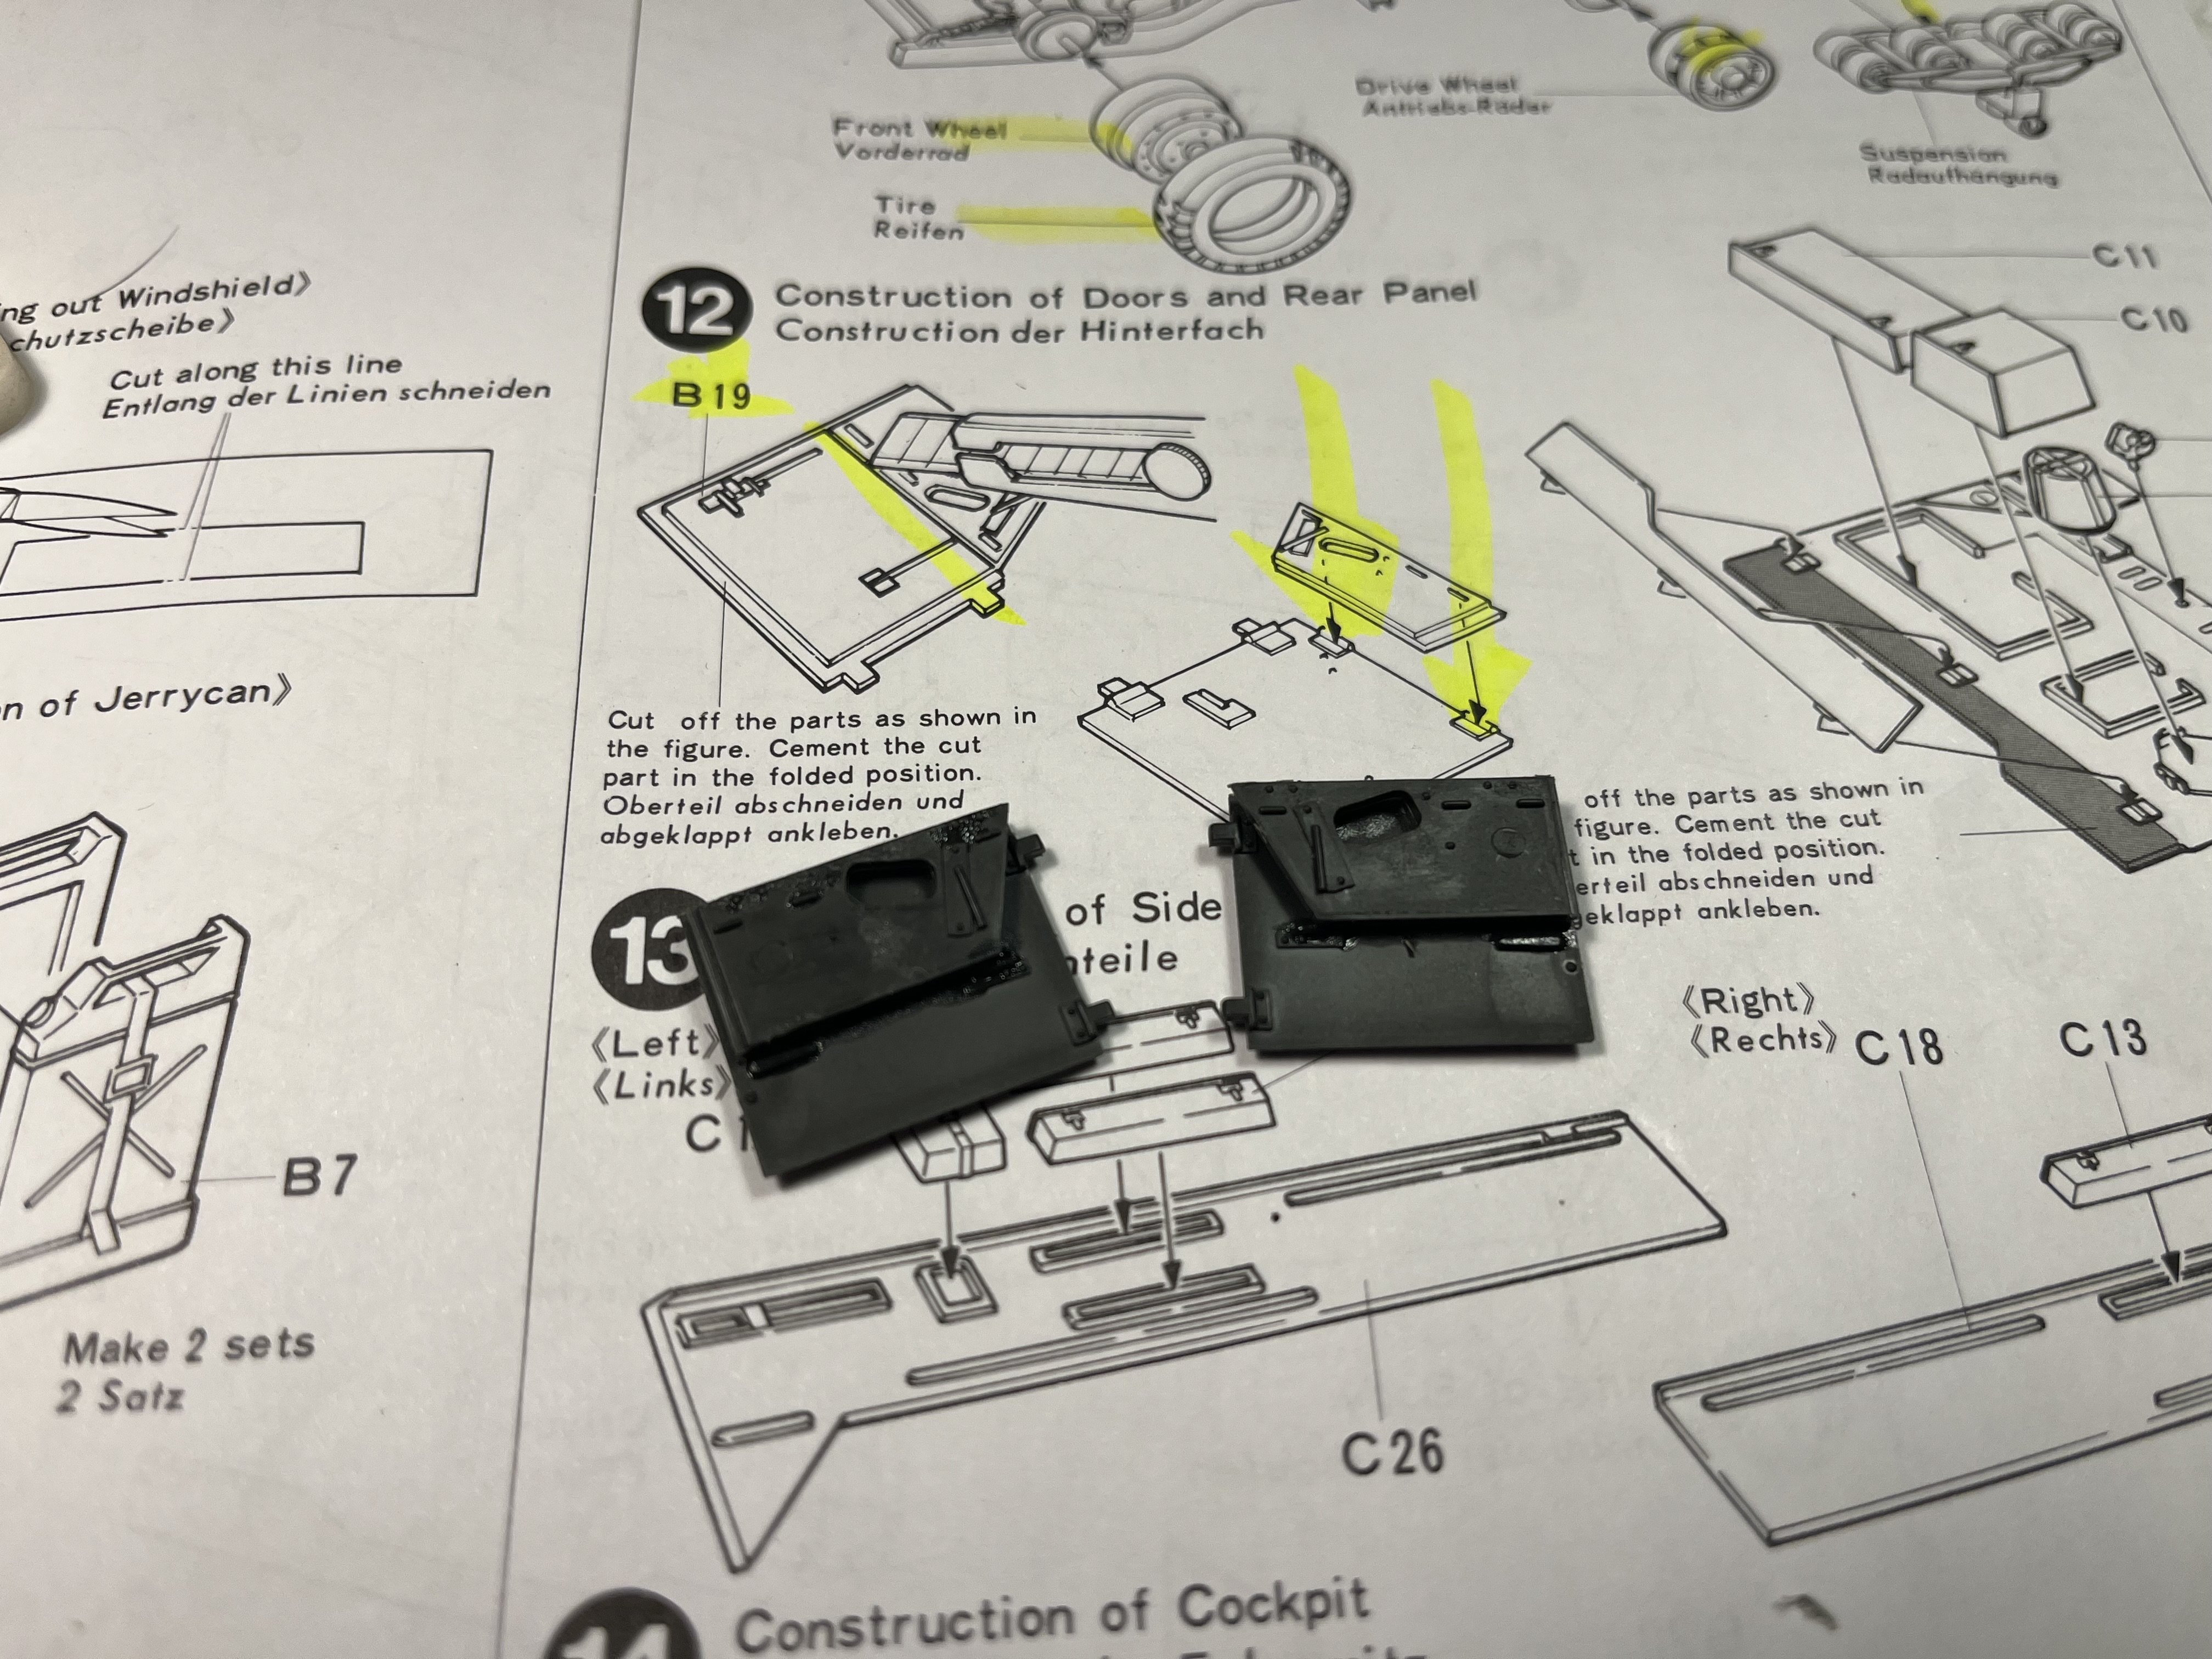
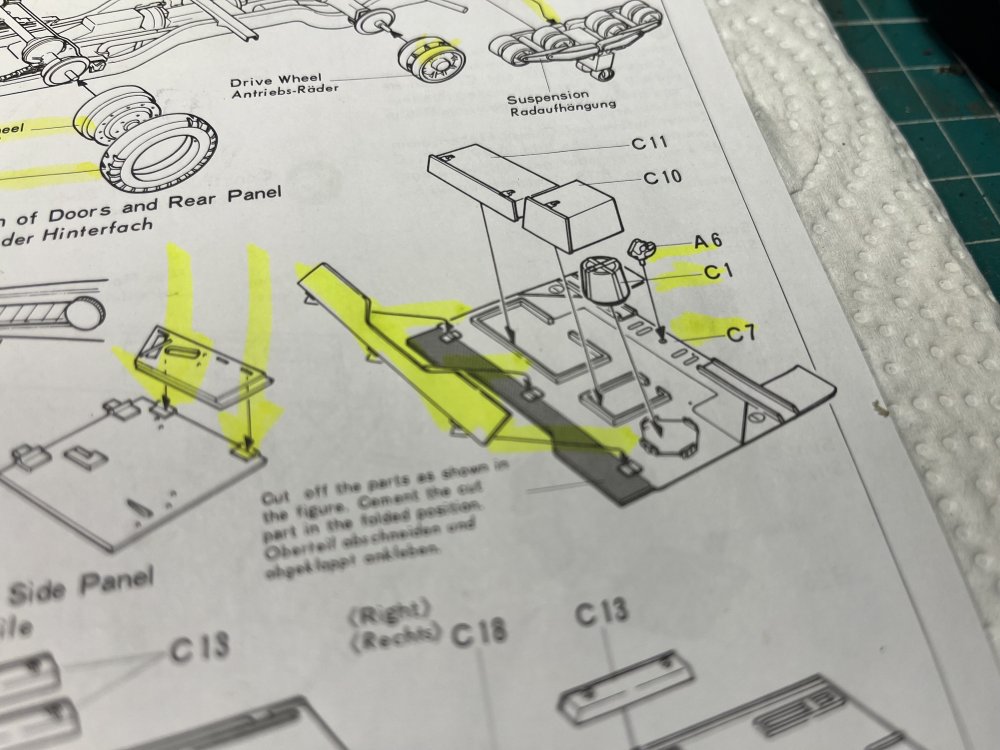
Assemble the rear body bulkhead in step 12. Not sure I’ll fold the panel as shown or not!!
-
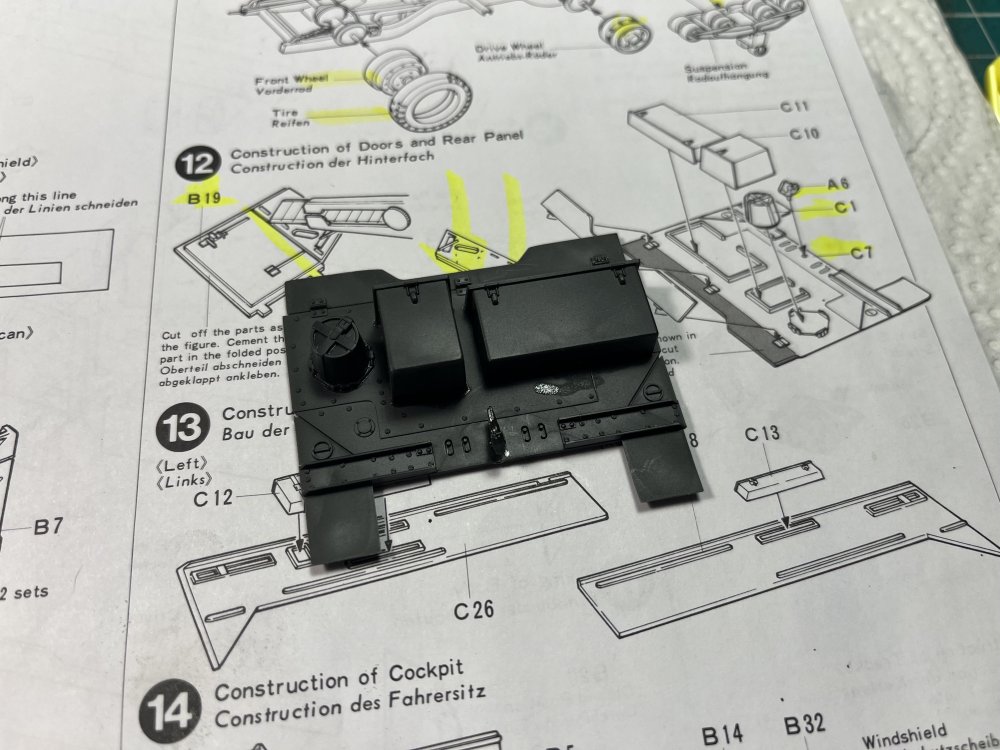
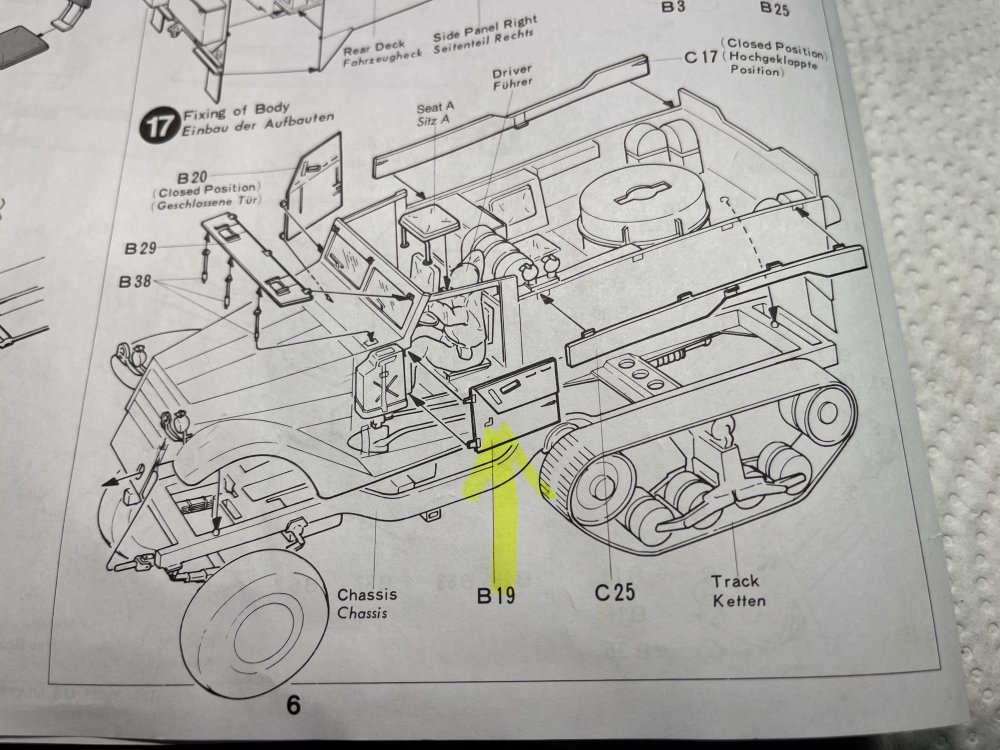
Another fiddly affair!! Cutting, folding and aligning the hinges so the door halves appear to be open!! As seen in step 17.

-
Wow it fits!!!
-
Sometimes I think kit manufacturers build “torture” into there kits just for the fun of it??
-
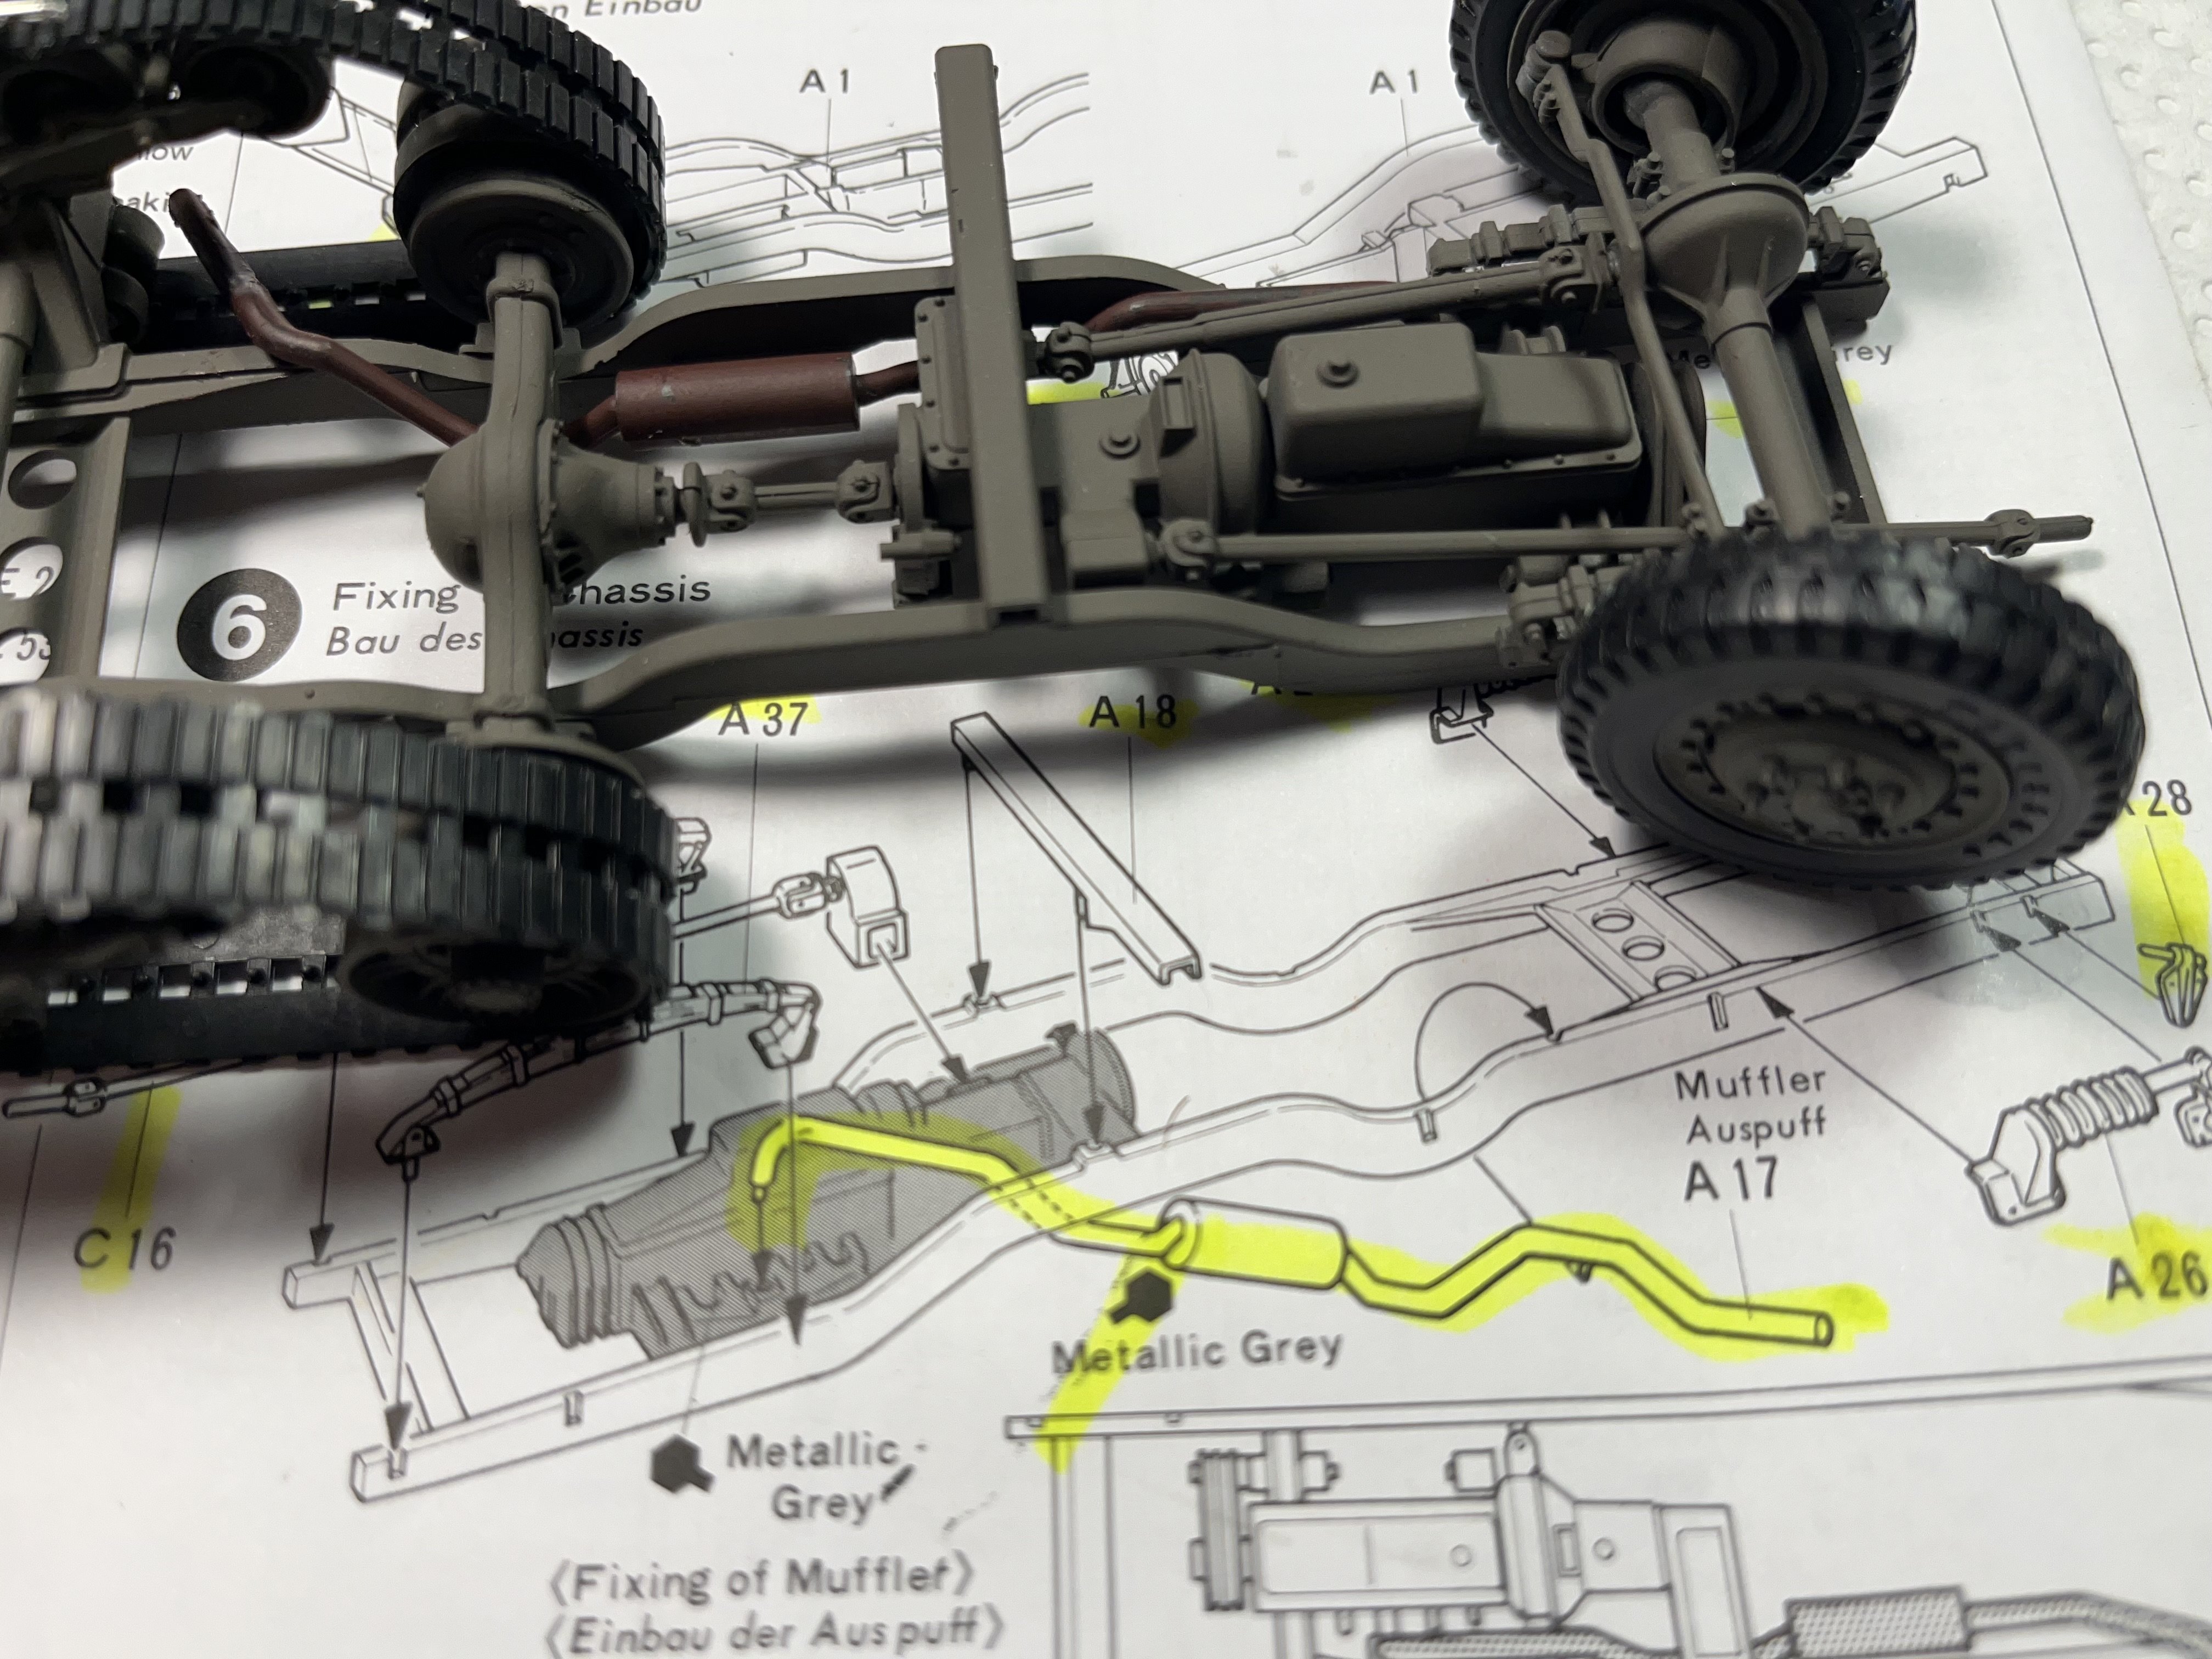
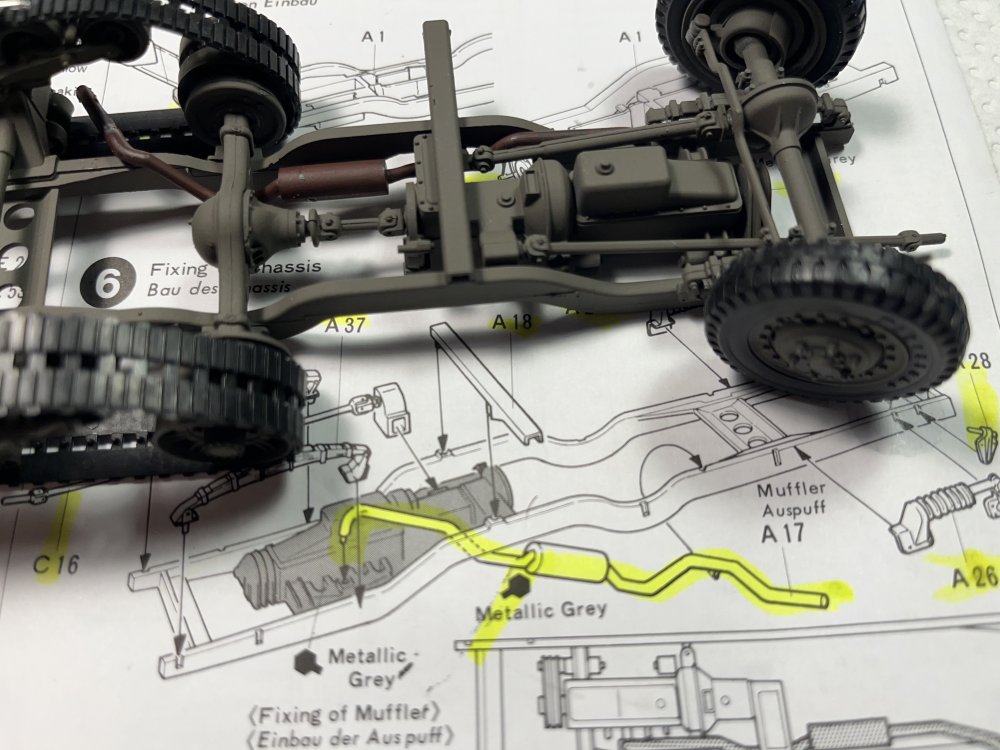
This morning I returned to step 6 and installed the exhaust pipes and muffler on the chassis. A little rust effects and some heat blueing and it’ll look the part!
-
Revell 1/32 Bell X-1
RalphSarc replied to RalphSarc's topic in LSM 1/32 and Larger Aircraft Ready for Inspection
Thanks Kevin. I was pleased with the results. It’s a fun kit. -
Revell 1/48 CF-104G Starfighjter
RalphSarc replied to RalphSarc's topic in LSM 1/48 Work in Progress
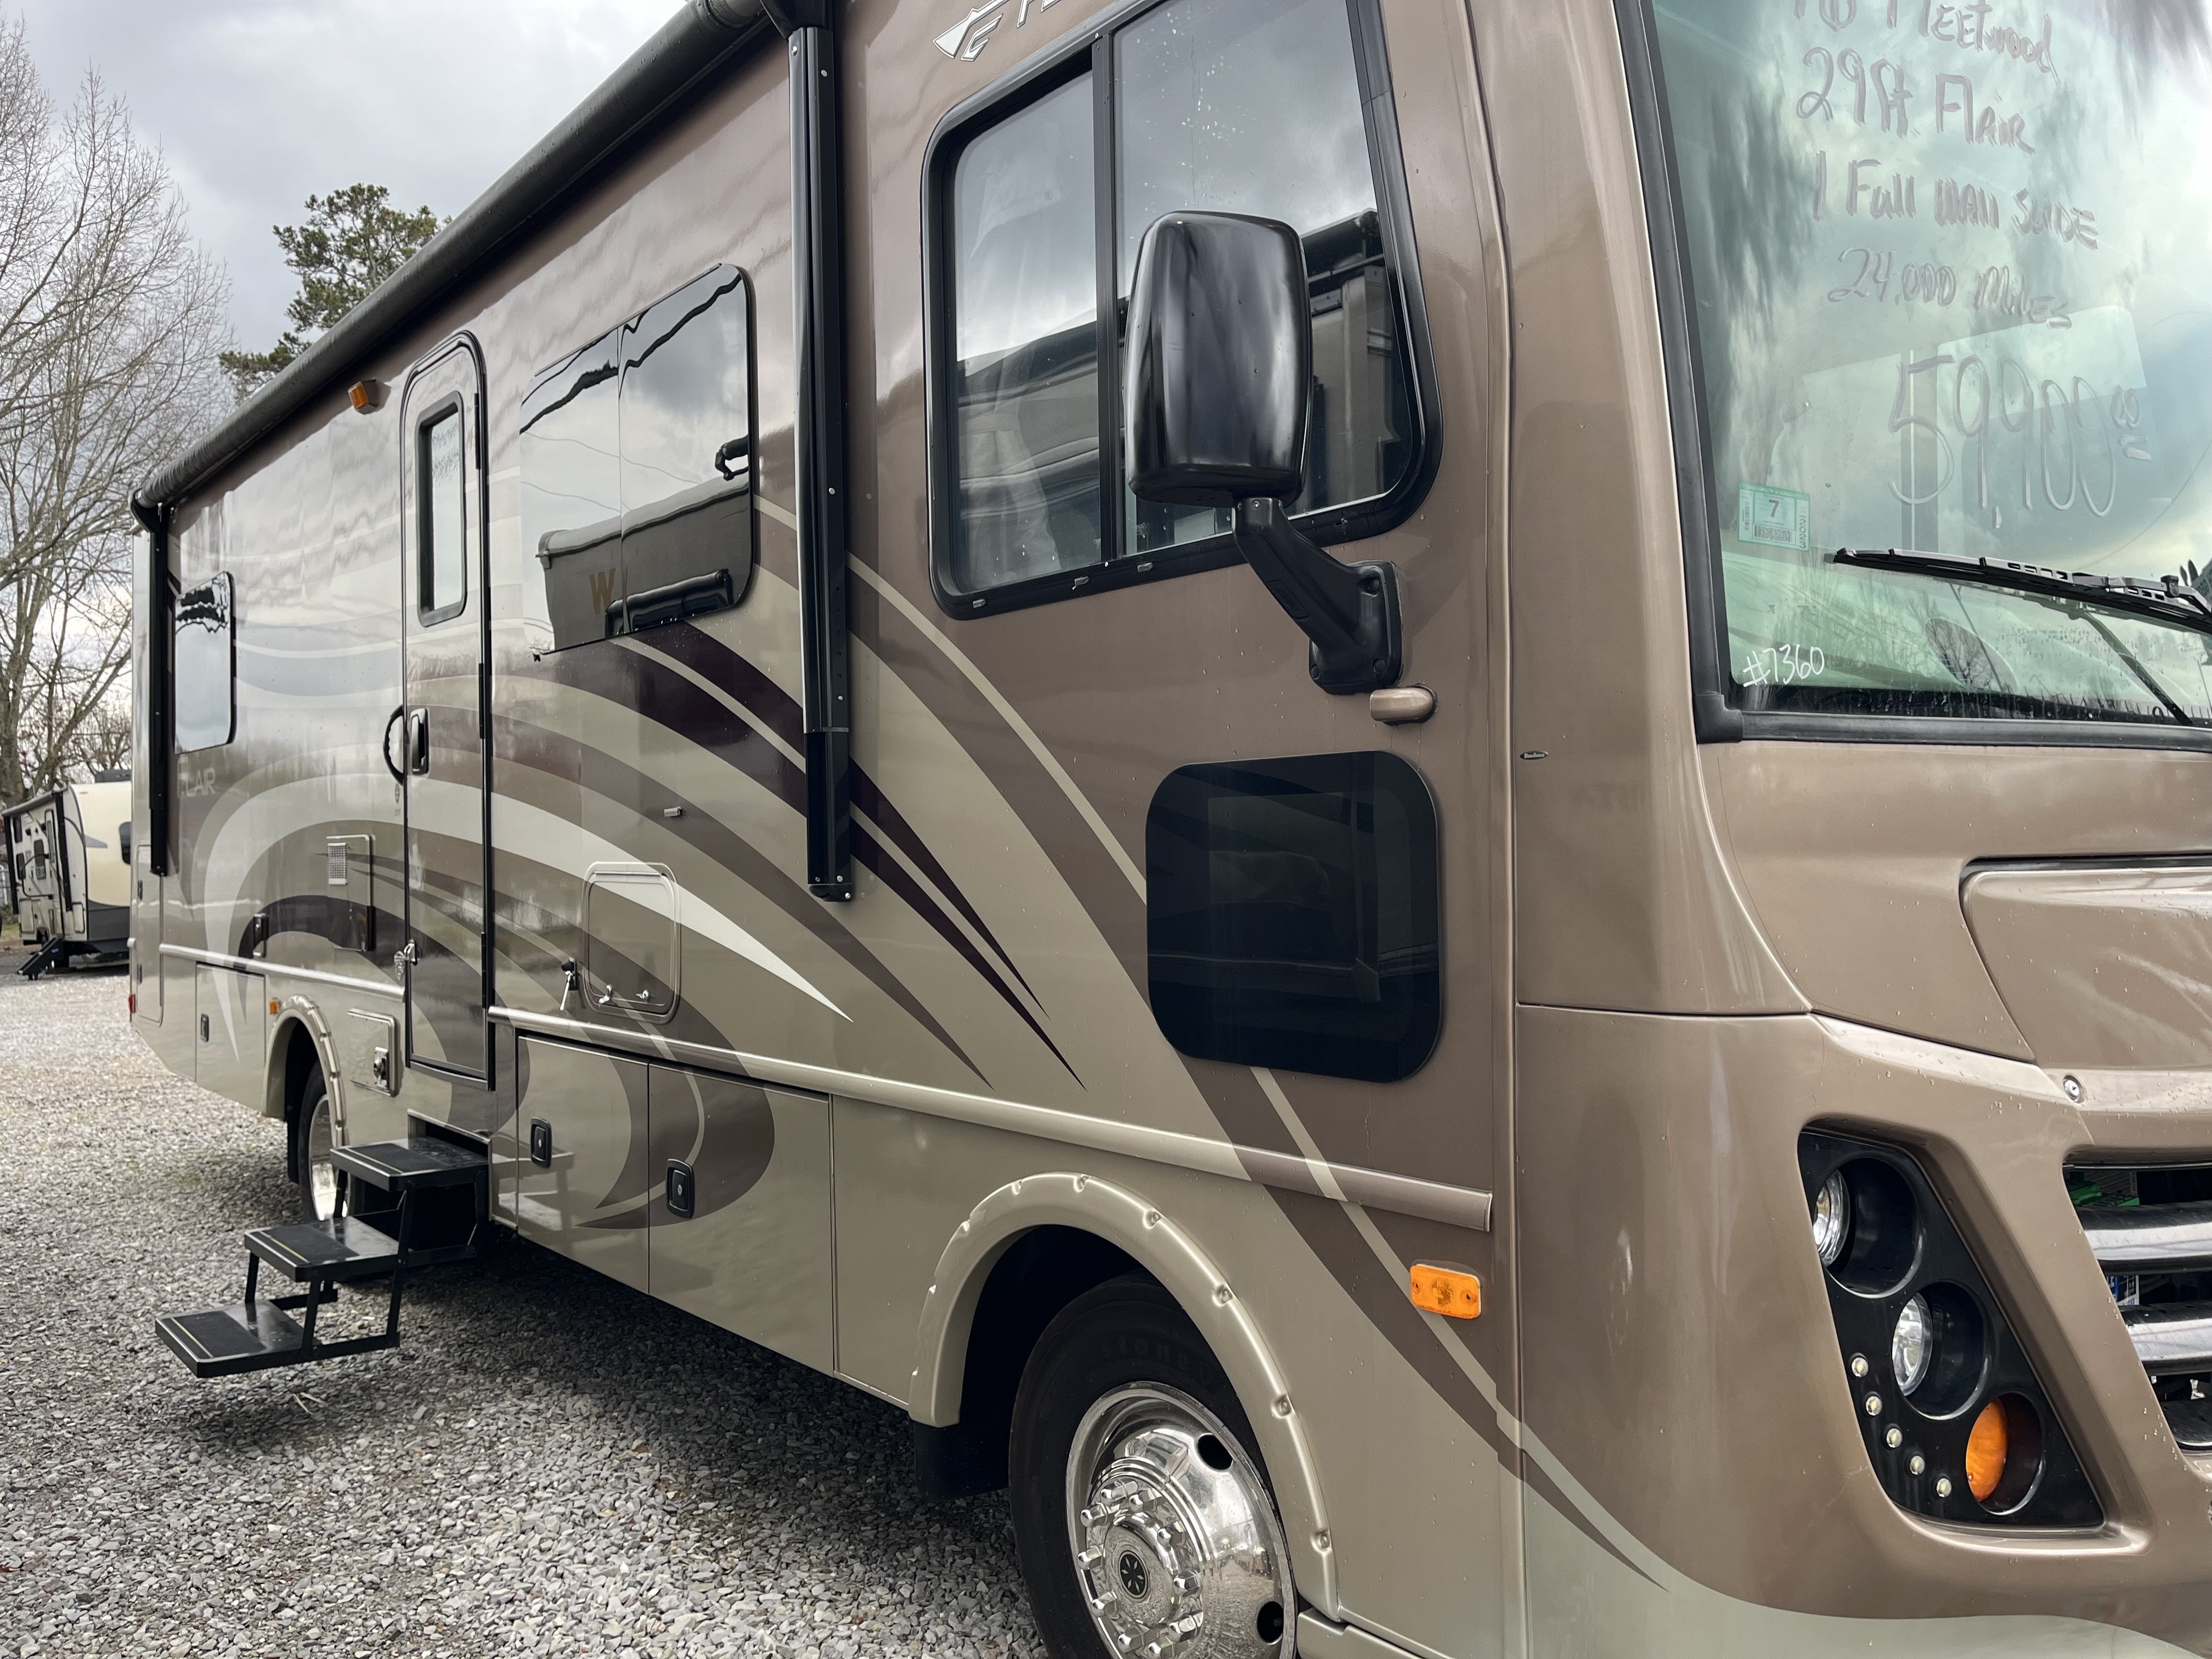
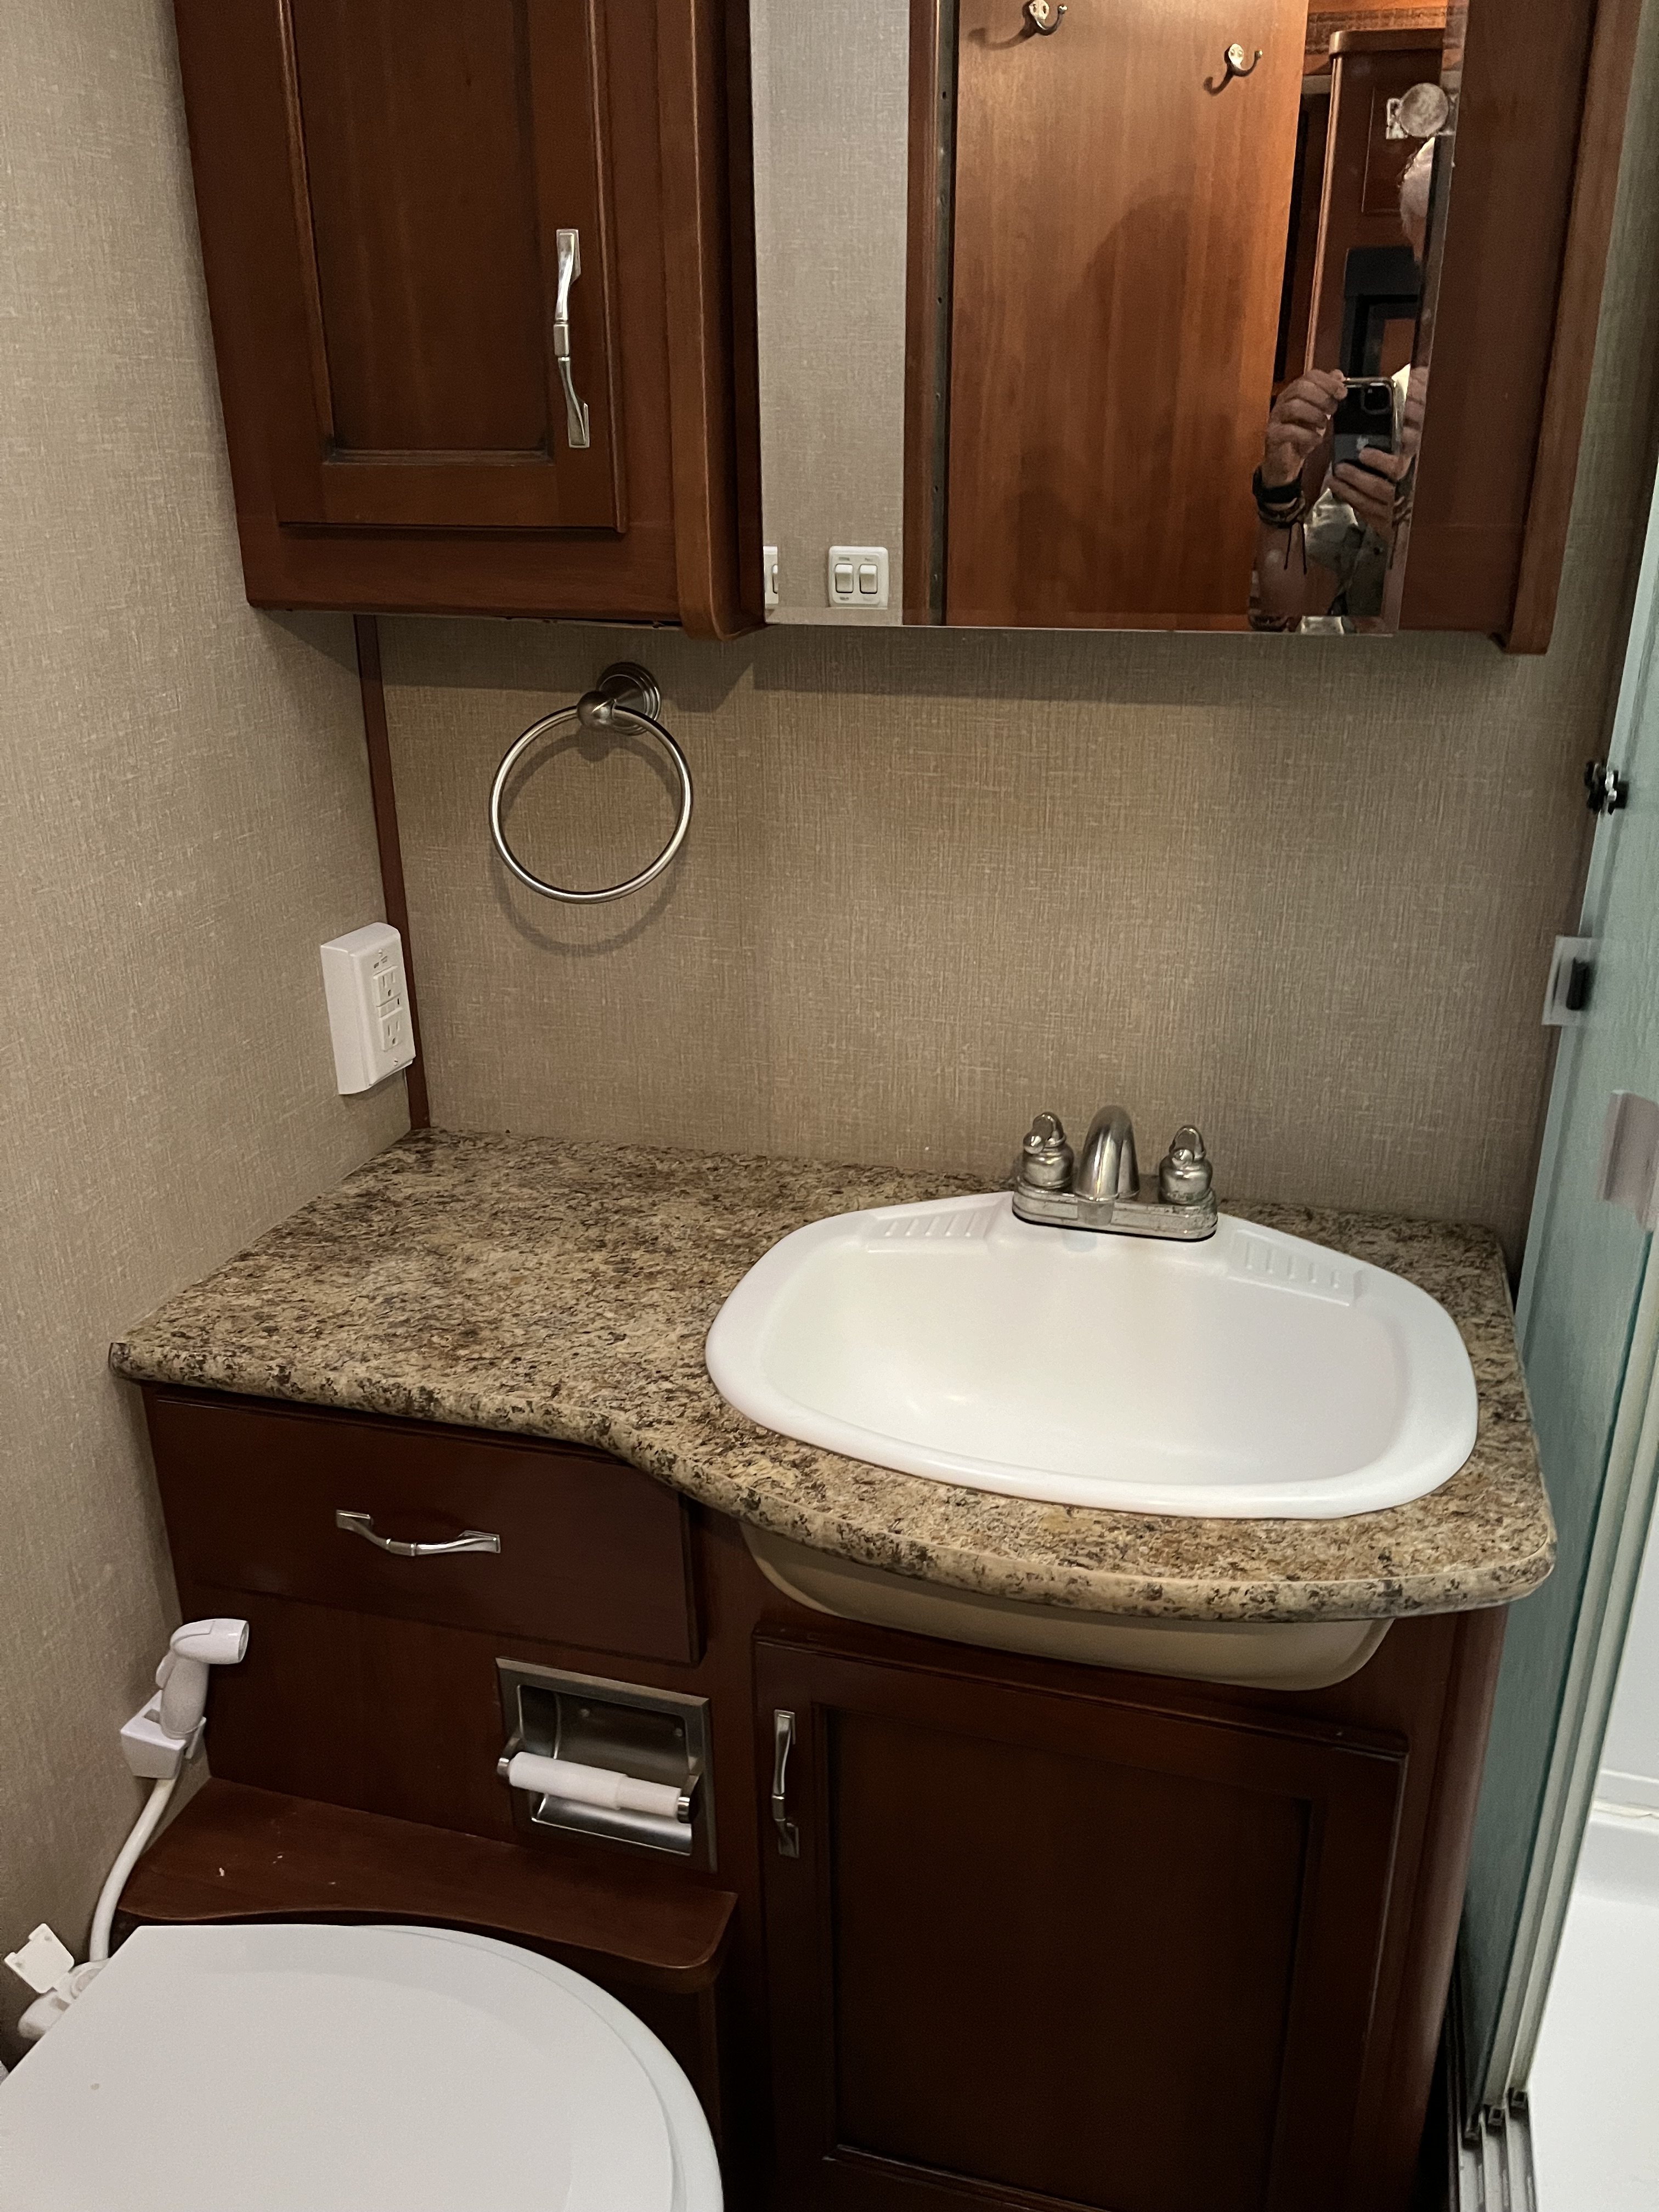
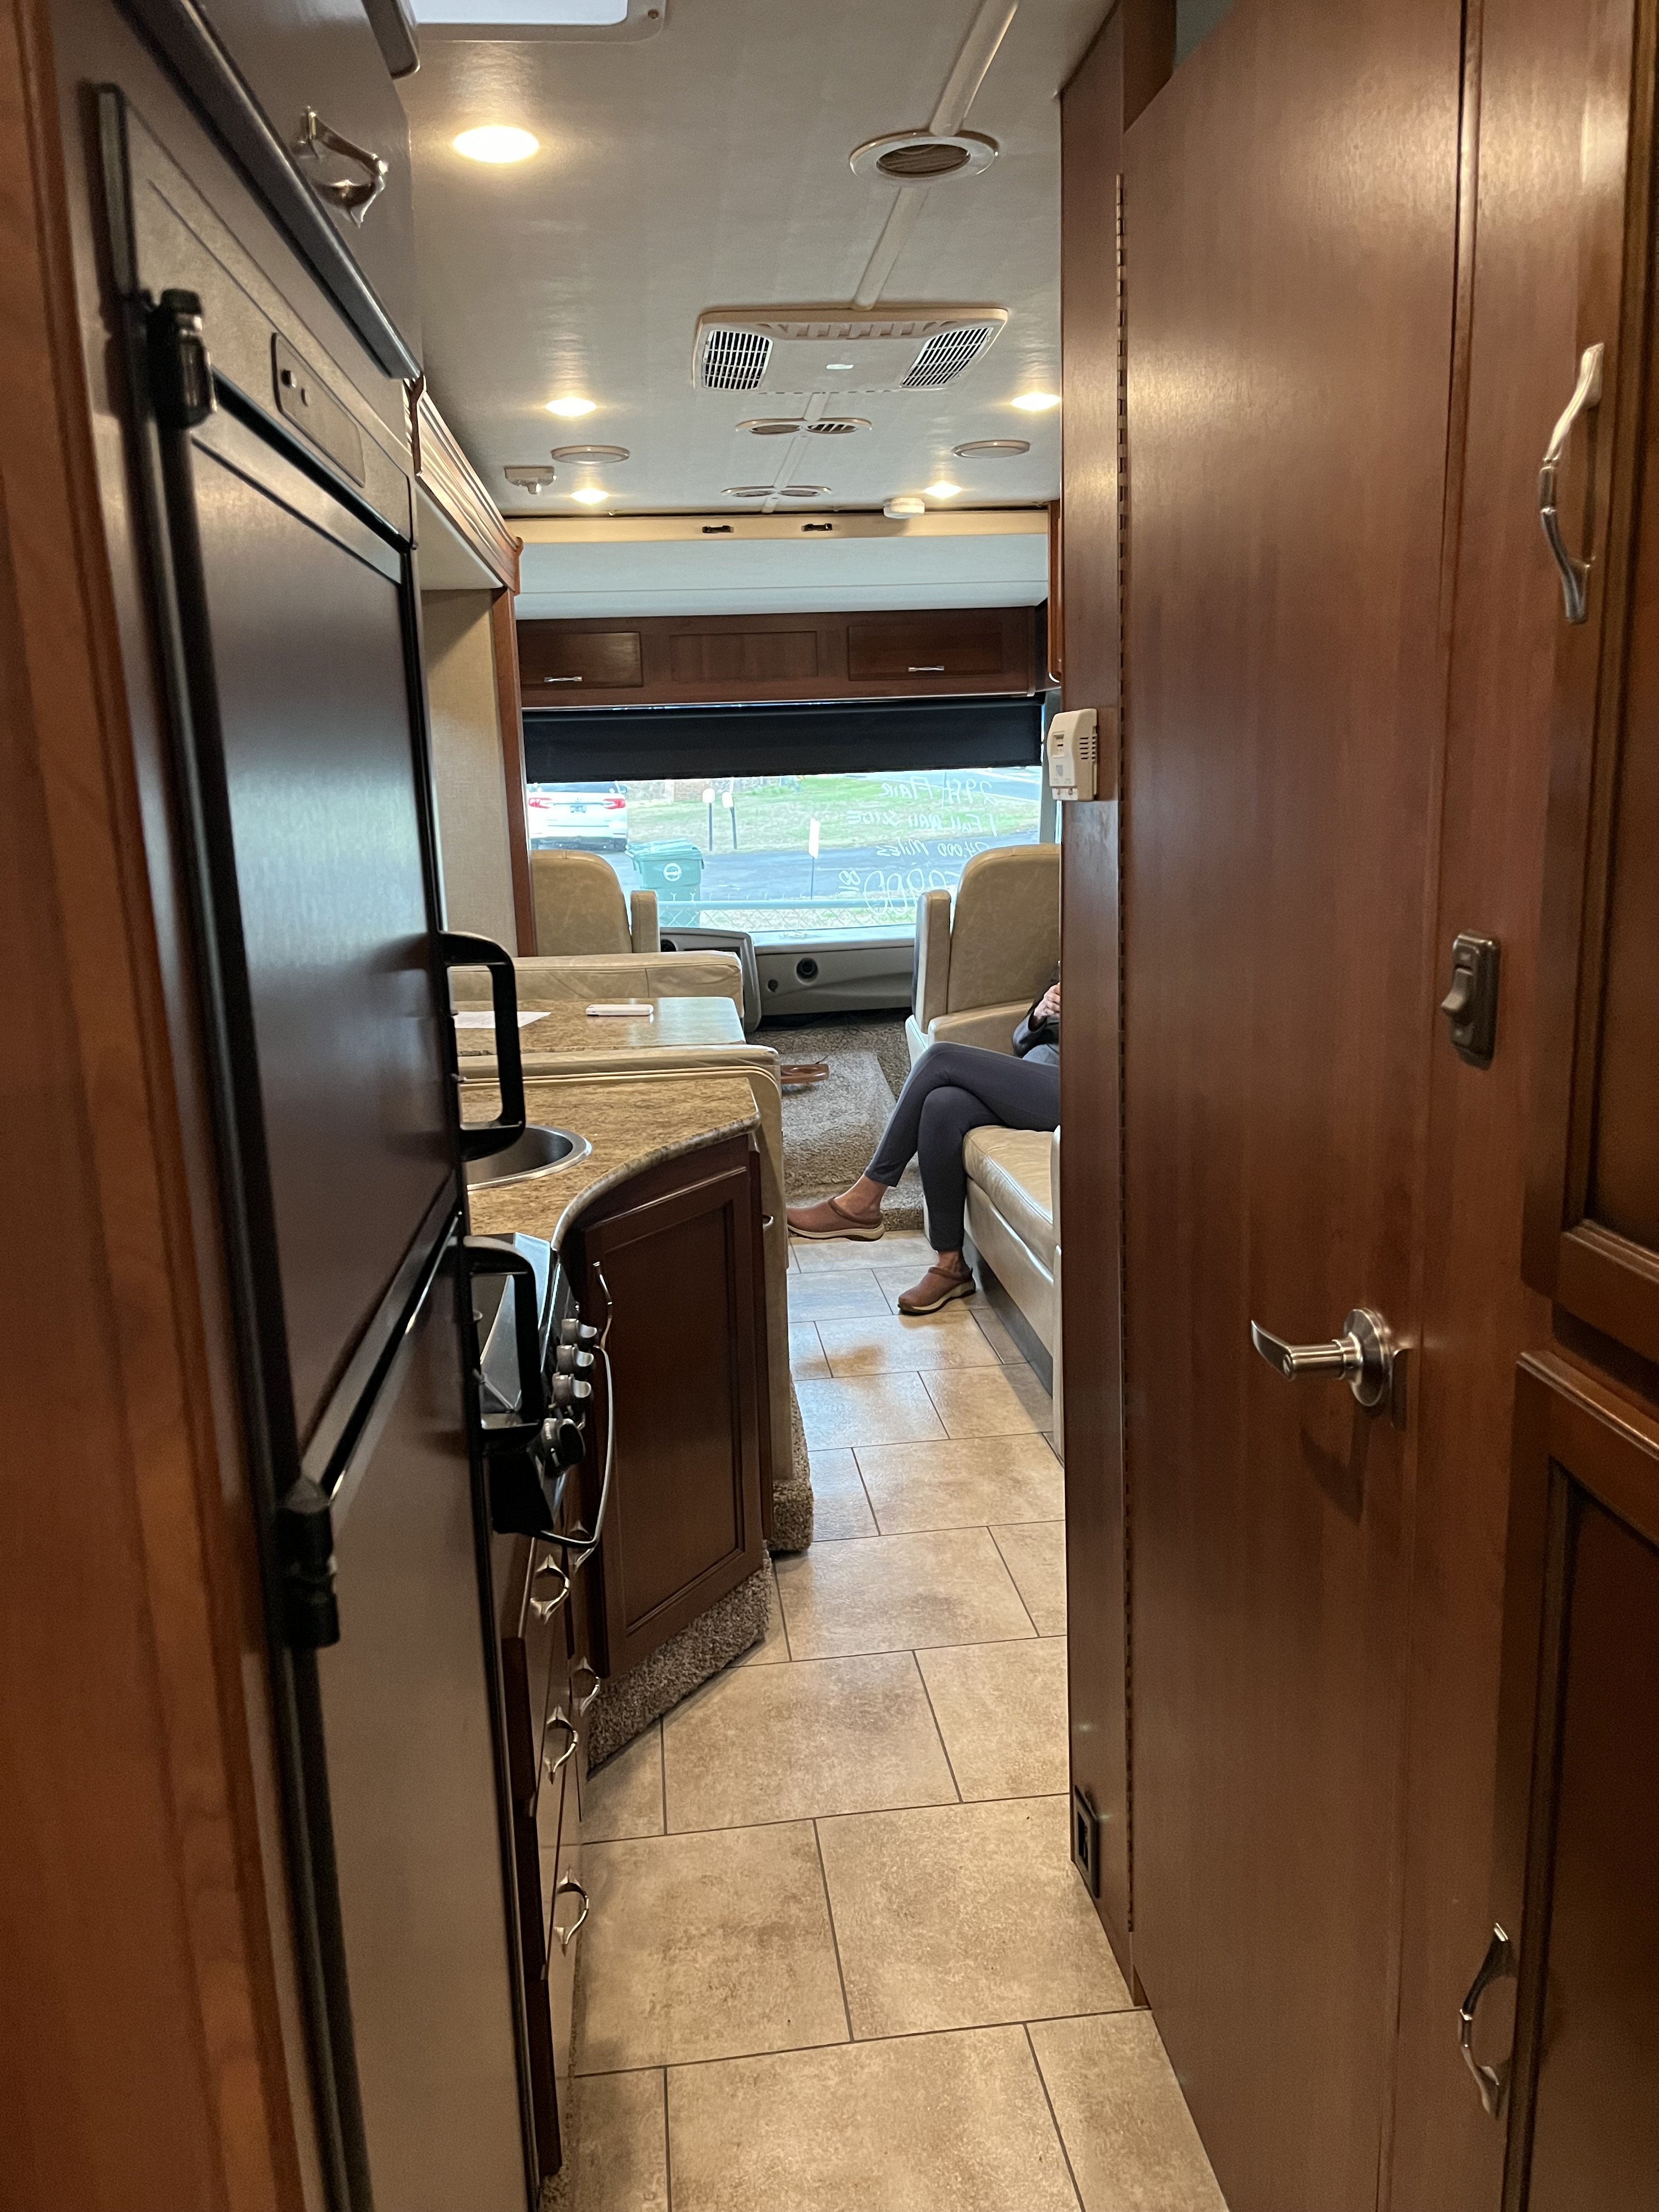
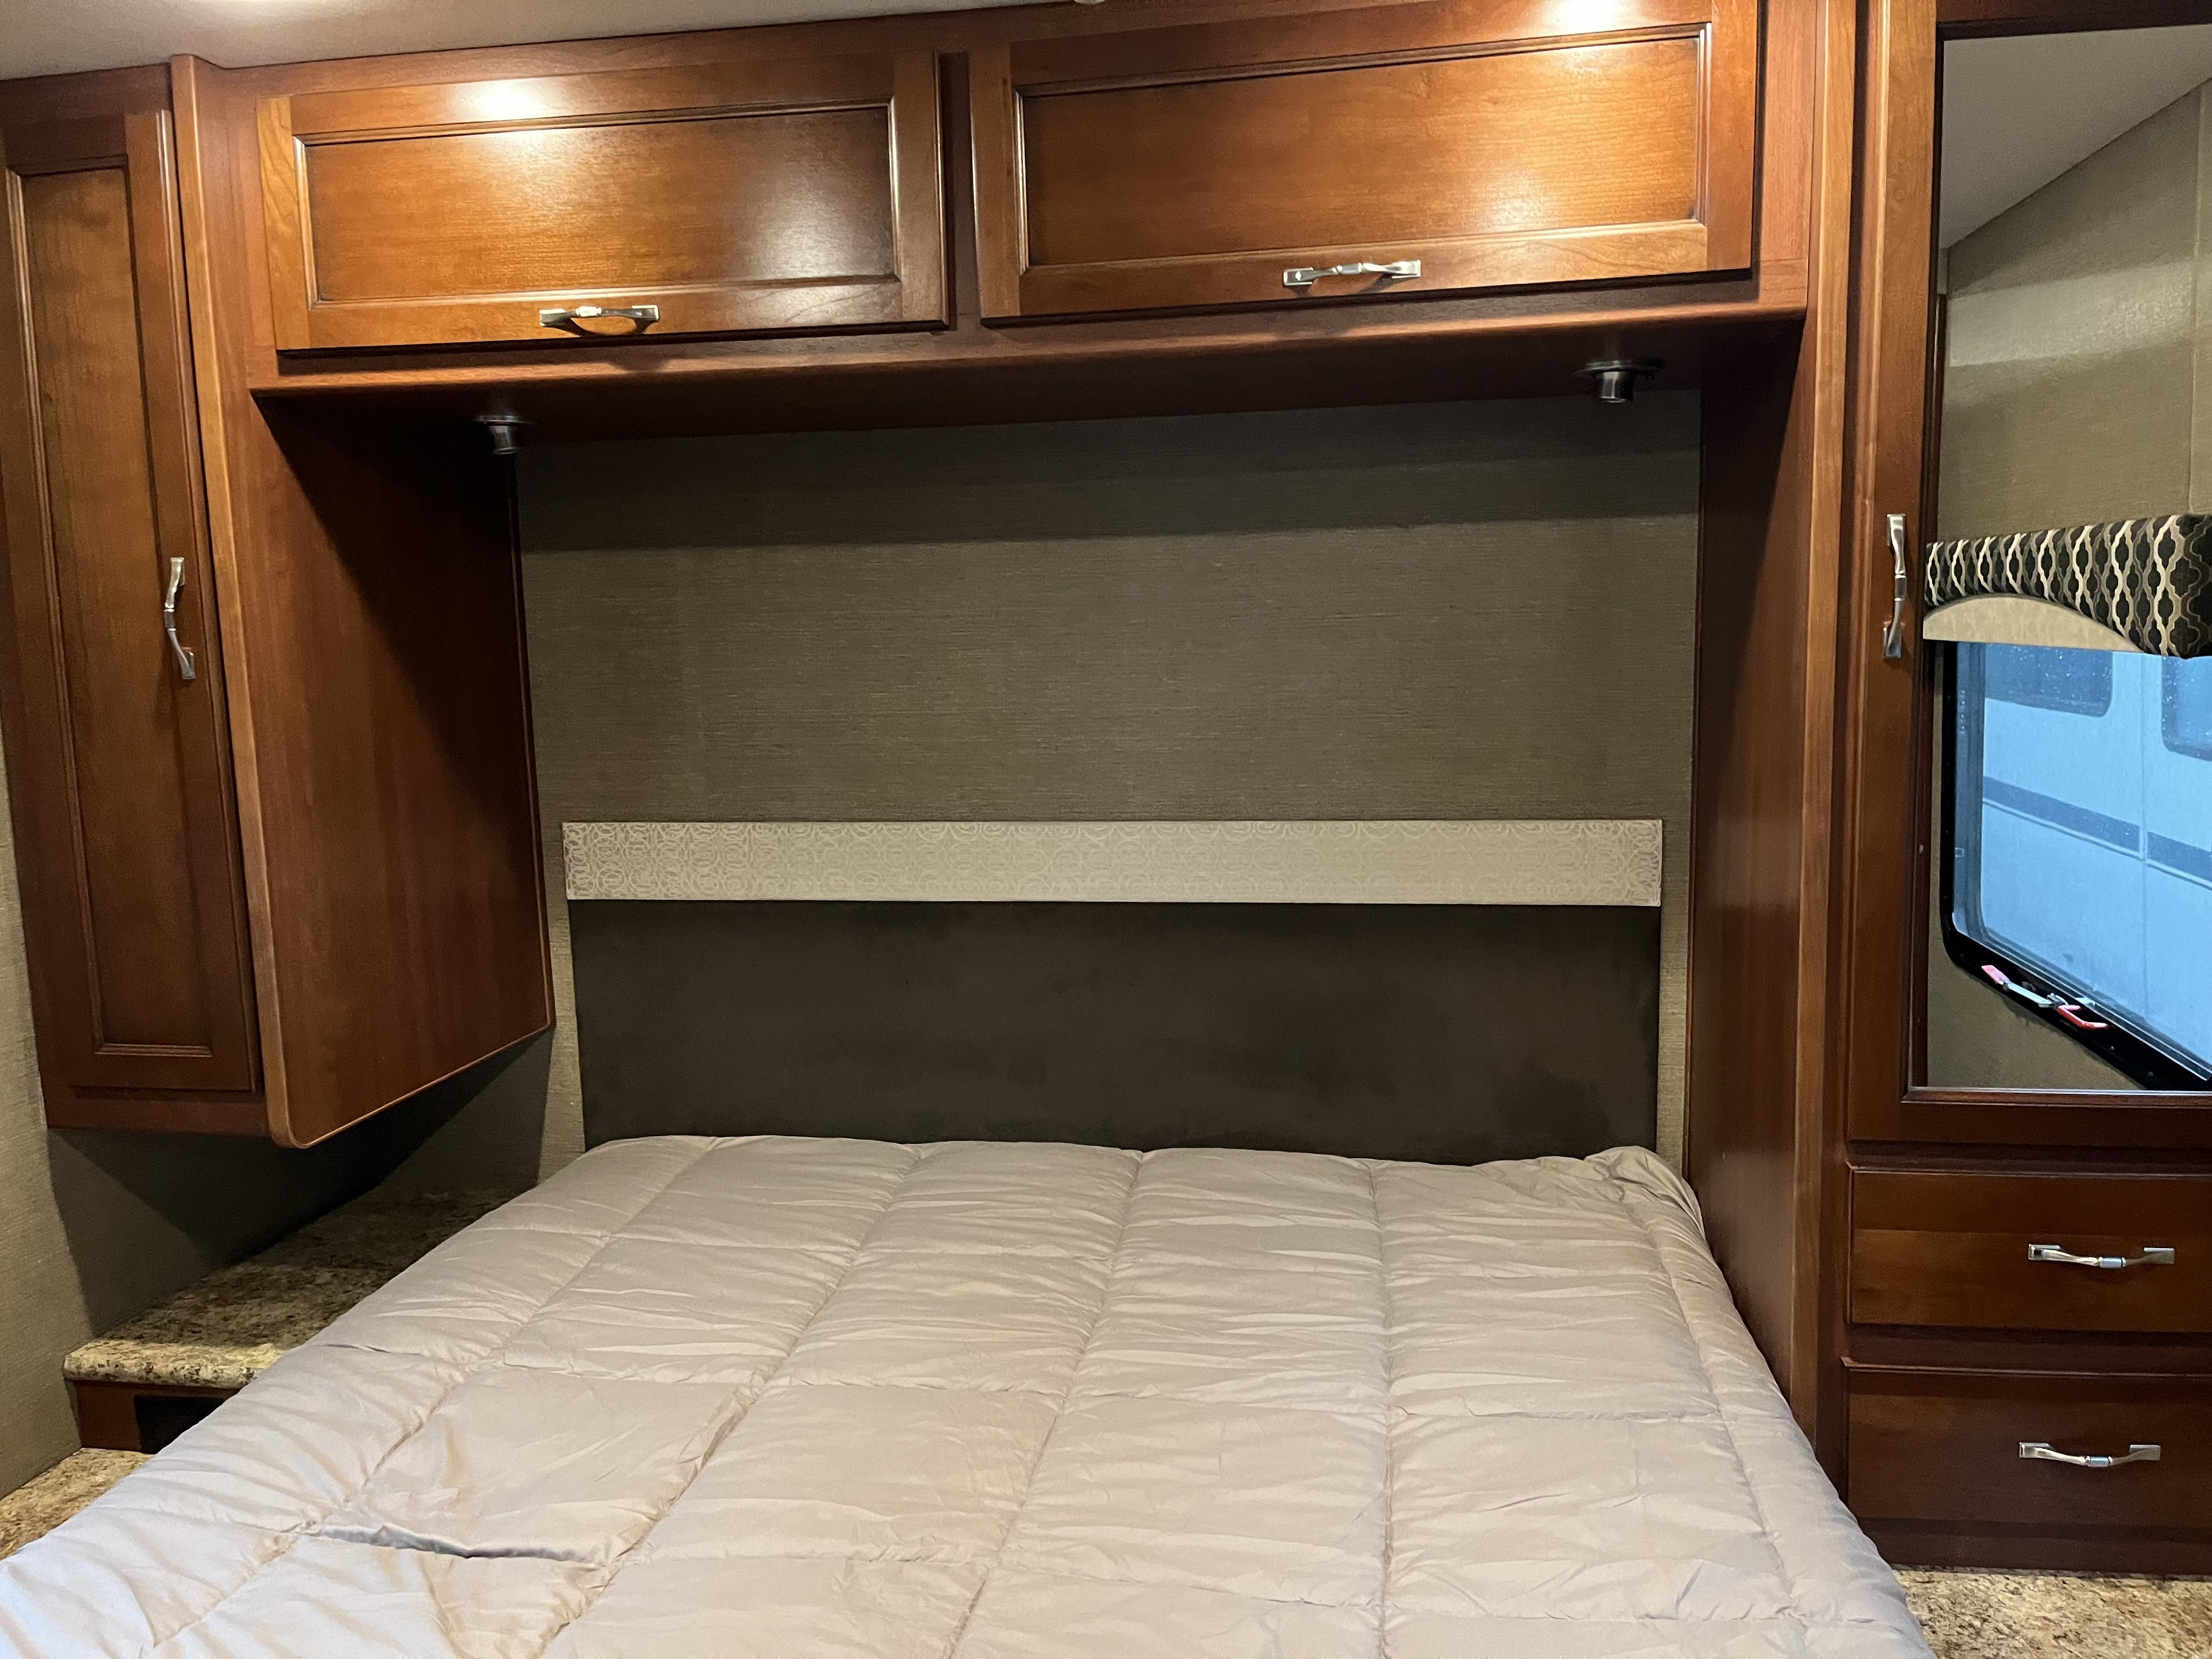
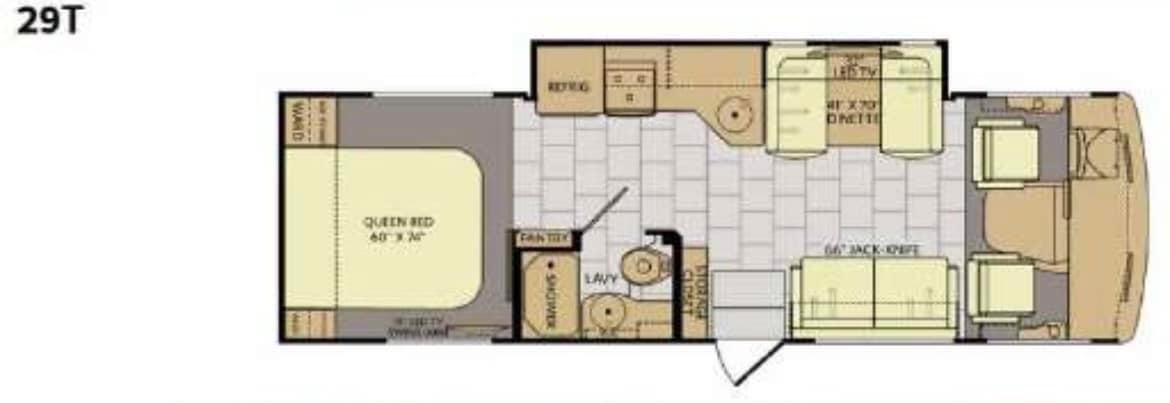
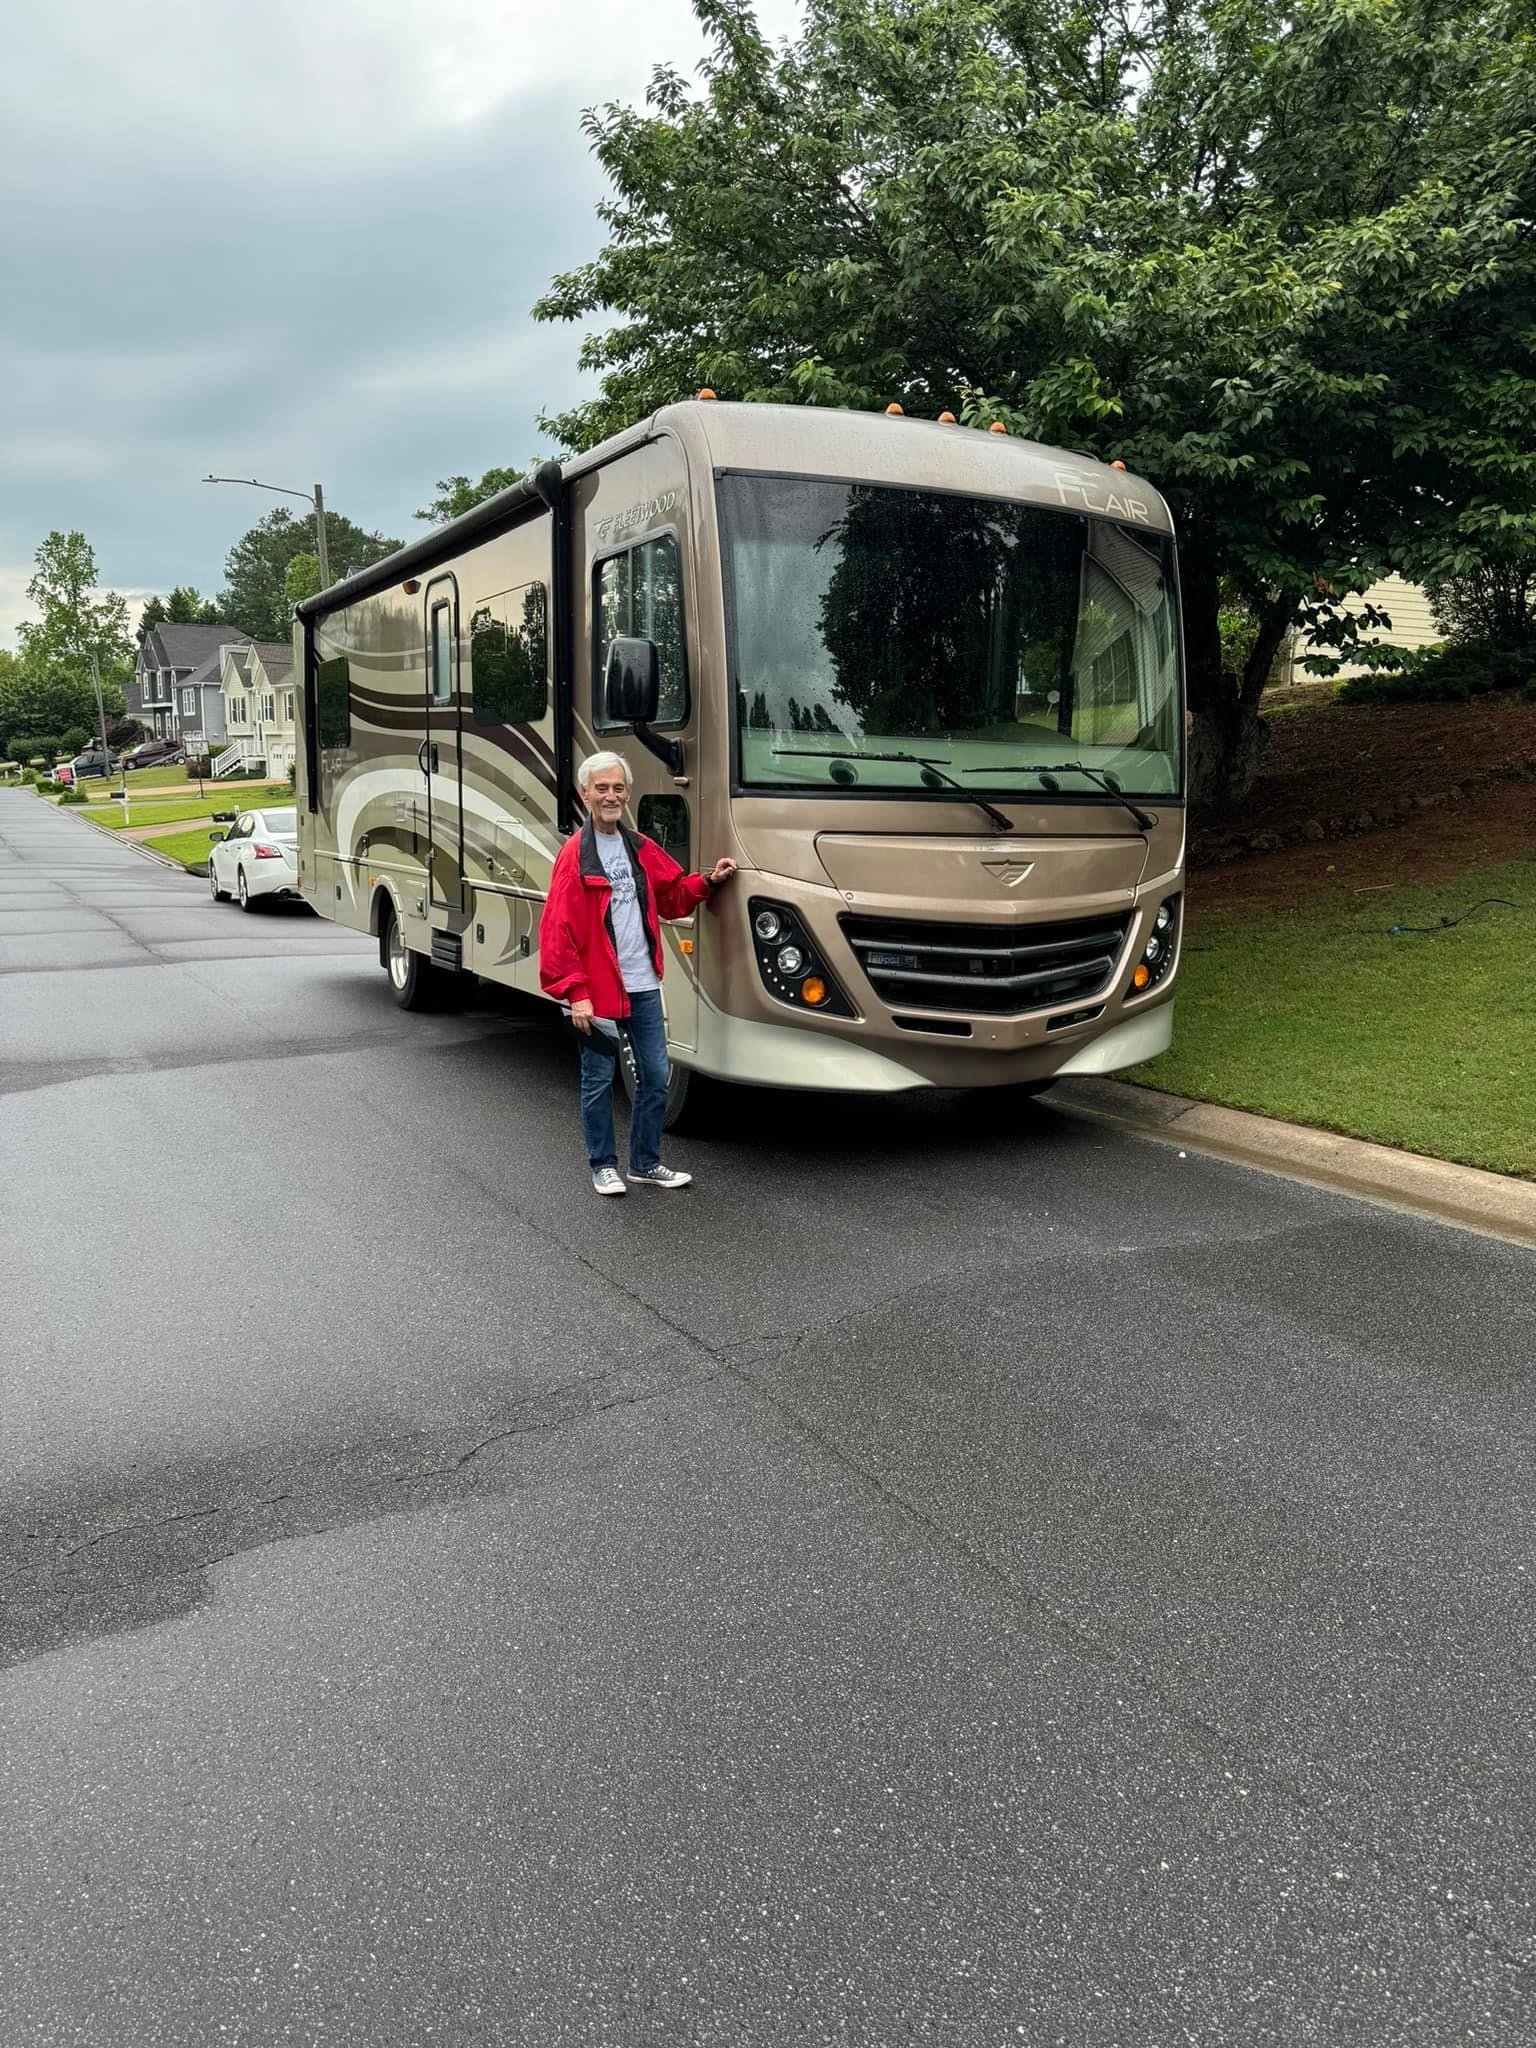
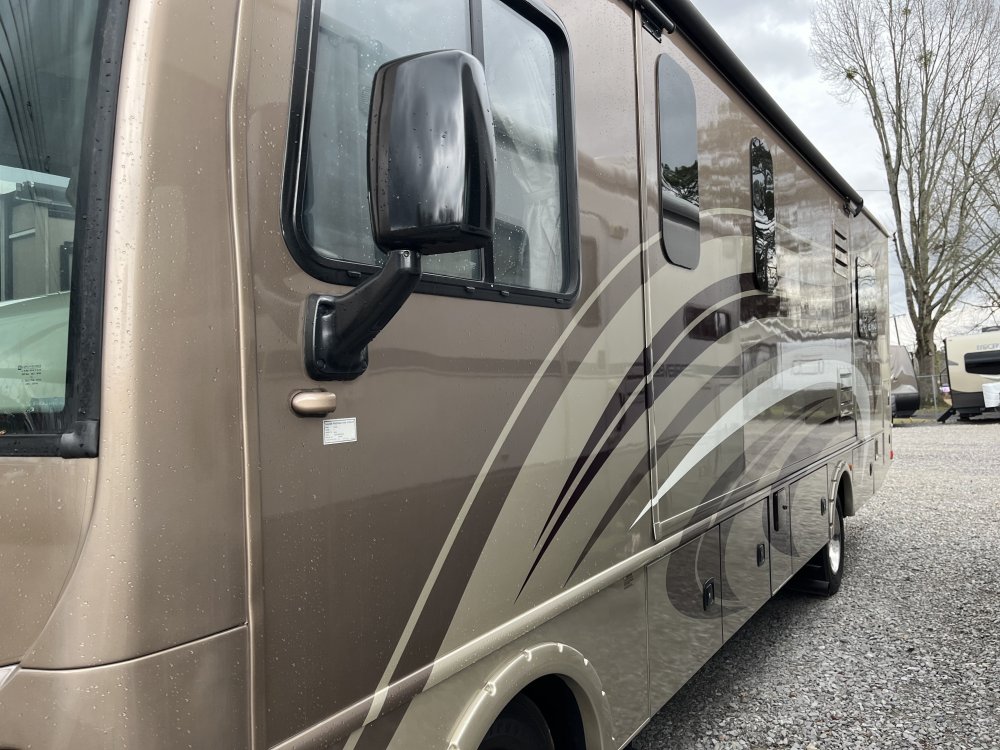
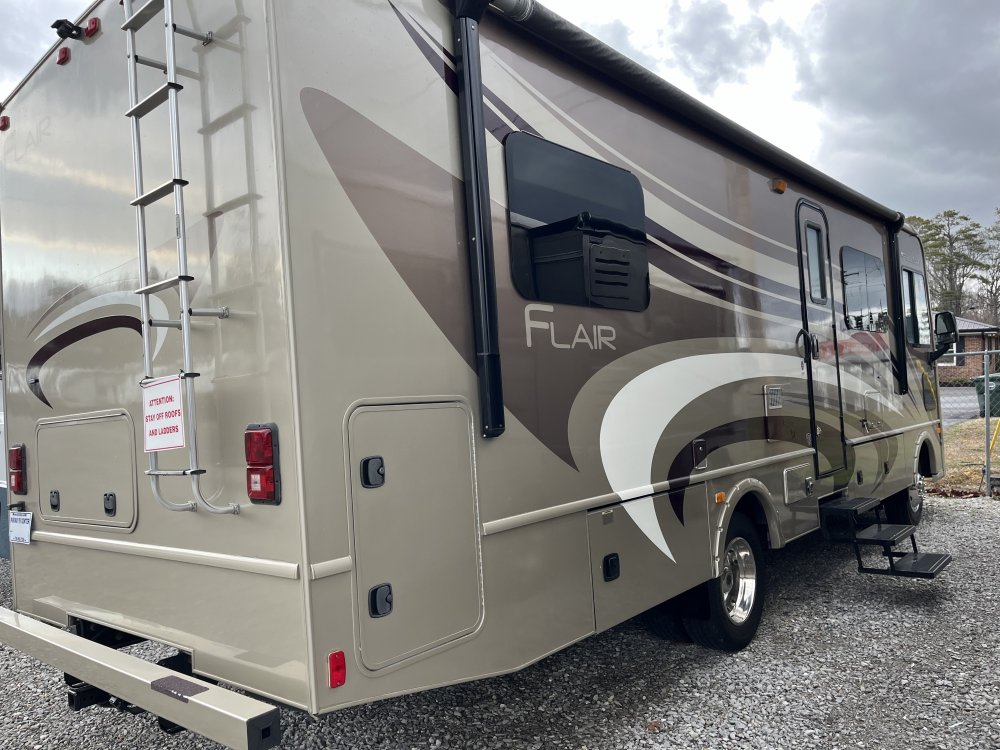
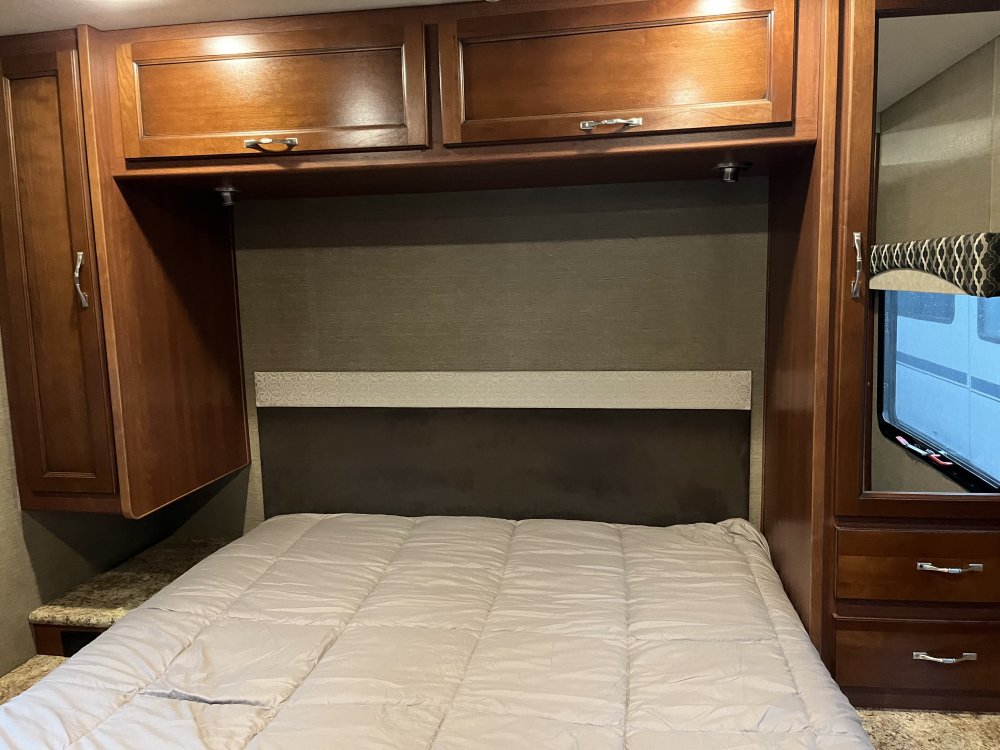
Thanks we’re very pleased to have a Class A. It is like a one bedroom apartment on wheels!! -
Revell 1/48 CF-104G Starfighjter
RalphSarc replied to RalphSarc's topic in LSM 1/48 Work in Progress
I’m a boomer too, lol!!! I started the BAF 10 years ago. -
Revell 1/48 CF-104G Starfighjter
RalphSarc replied to RalphSarc's topic in LSM 1/48 Work in Progress
Good Morning Peter. Sadly no update on the kit however I just purchased a 2016 Fleetwood Flair 29T Motorhome that I’ve been playing with, lol!!


-
Revell 1/48 CF-104G Starfighjter
RalphSarc replied to RalphSarc's topic in LSM 1/48 Work in Progress
Thanks Peter. I enjoy researching the history of each kit I build. The Basement Air Force on FB is having a three month long Century Jet group build if you’d like to join in? -
Thanks it’s getting there. I need to rust up the exhaust system and weather the chassis a bit plus start the body itself.
-
Revell 1/32 Bell X-1
RalphSarc replied to RalphSarc's topic in LSM 1/32 and Larger Aircraft Ready for Inspection
Thanks so much. I actually missed seeing it on the ground for cleaning and refurbishing at the Smithsonian. However saw in once before in it’s slightly worn look. -
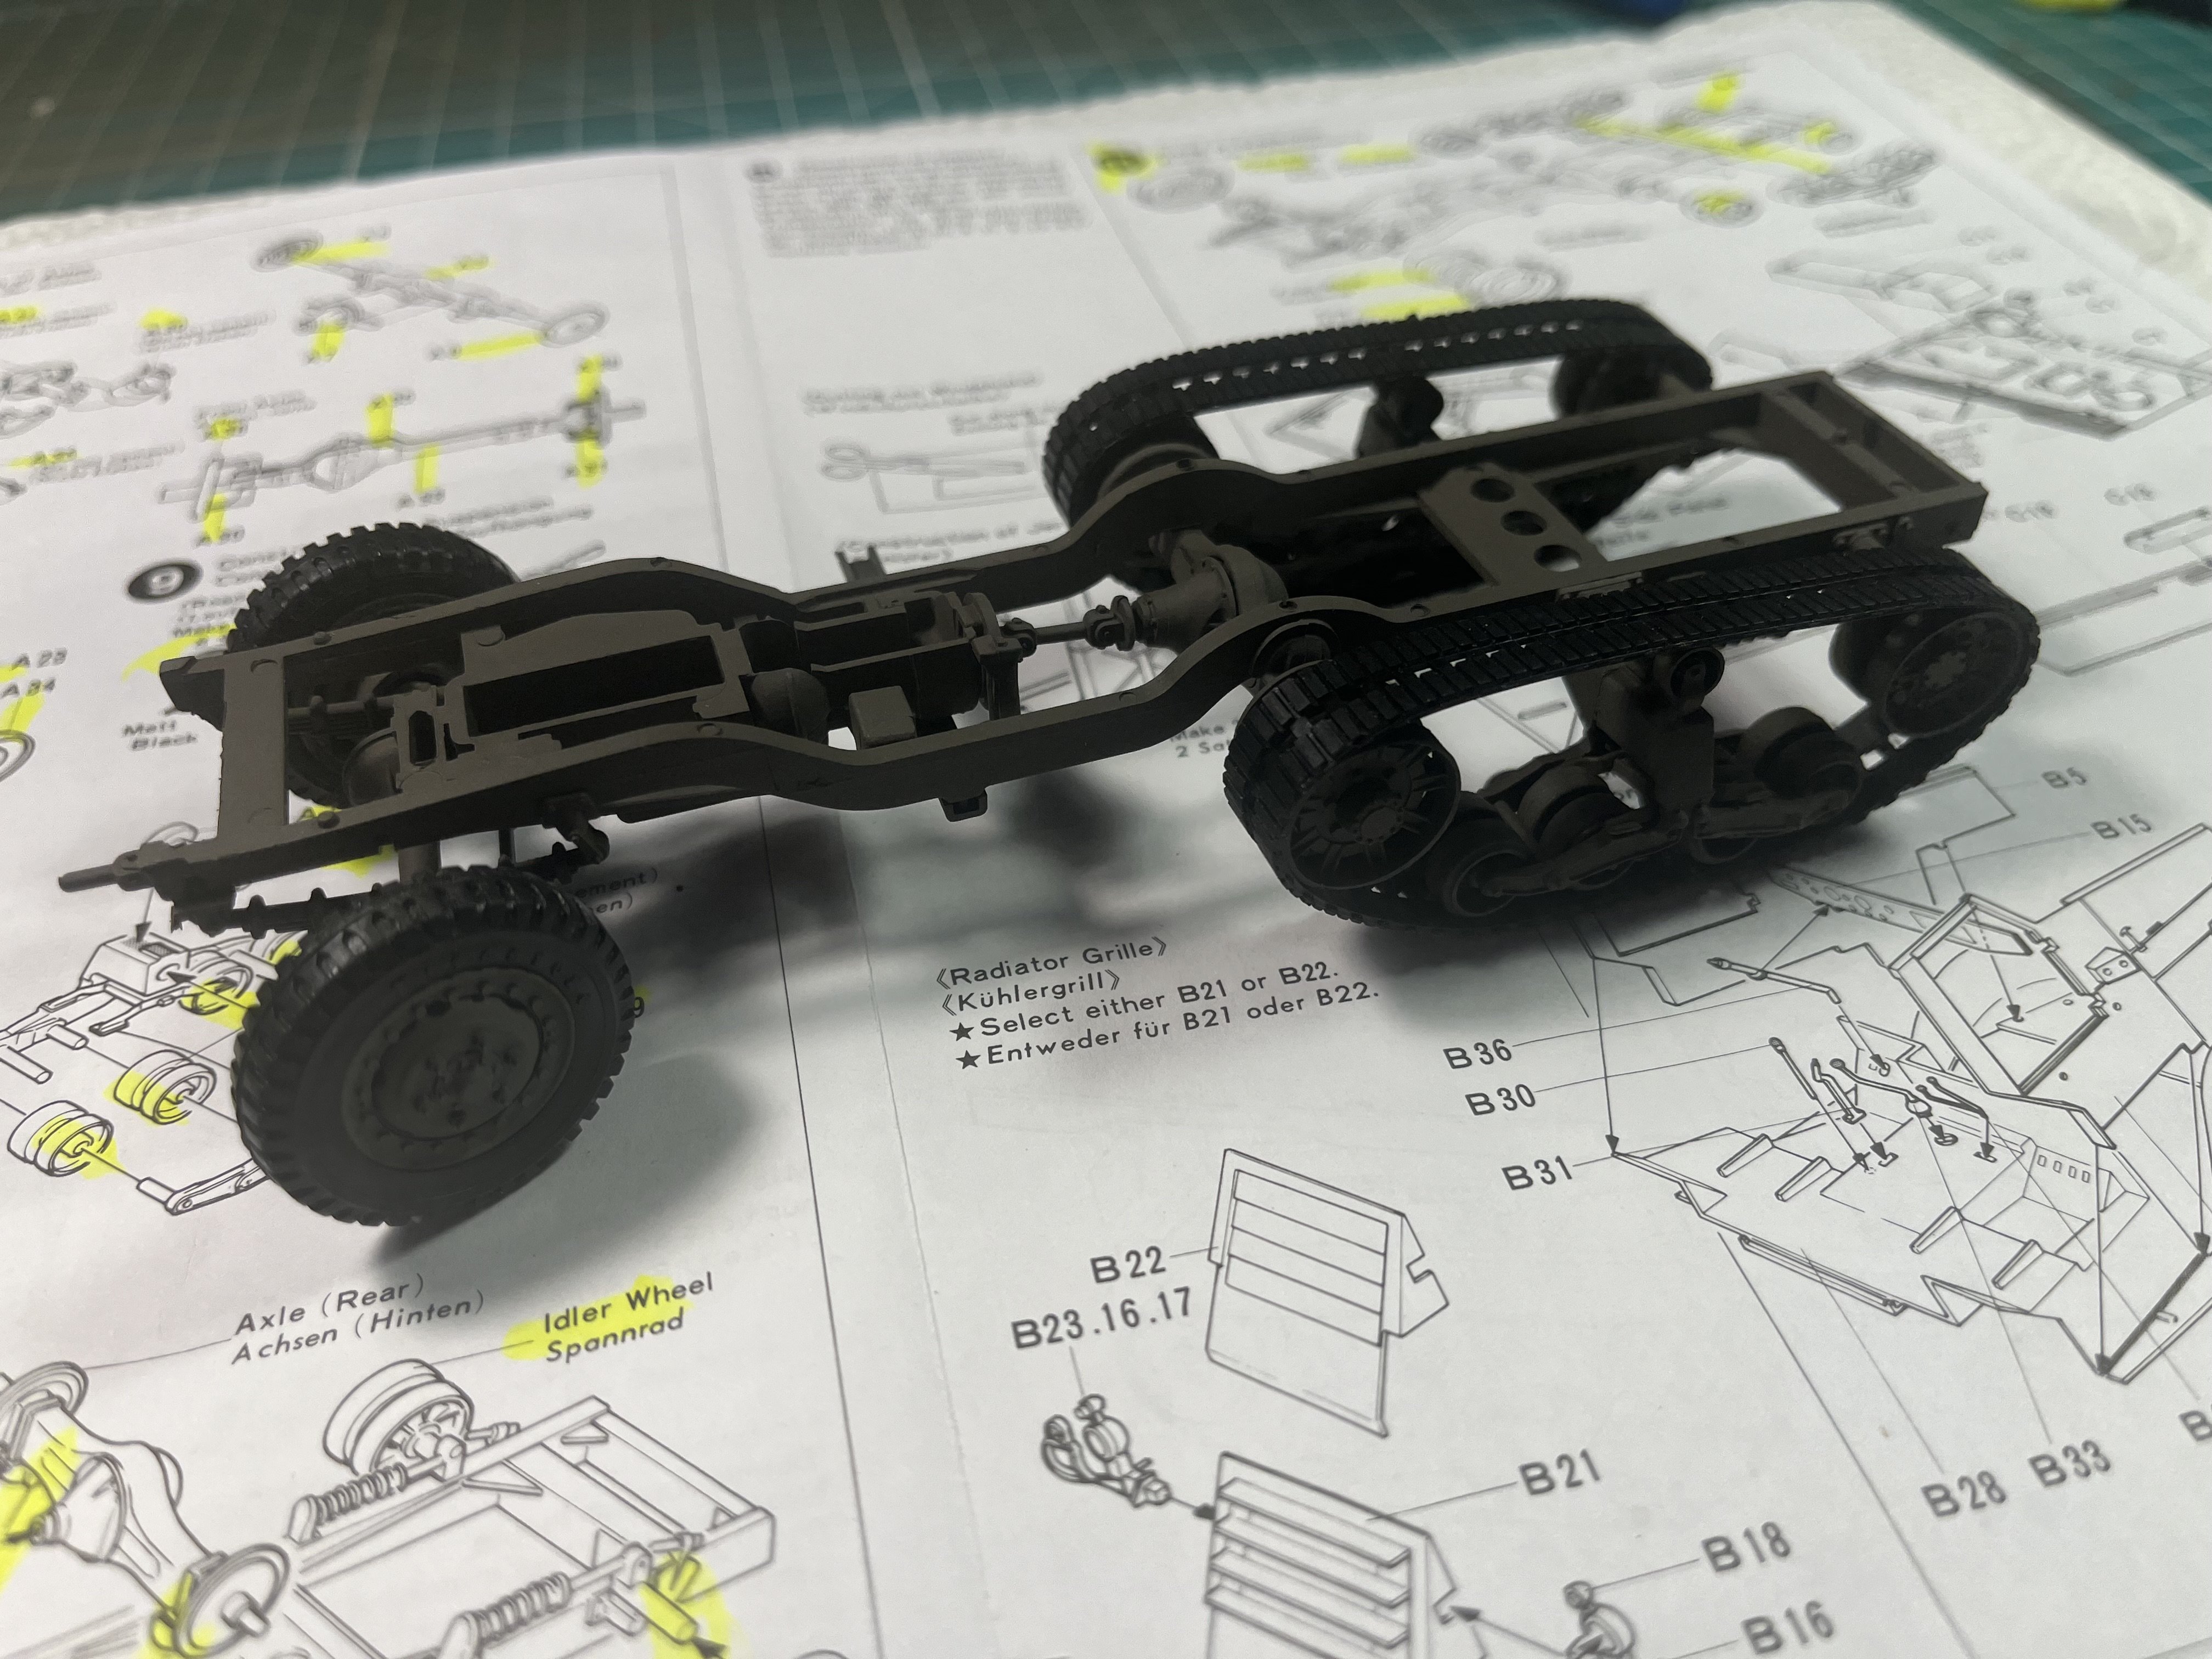
Test fit of front tires and tracks to check alignment. Looking good!!

-
Chassis coat of XF-49 Khaki Drab
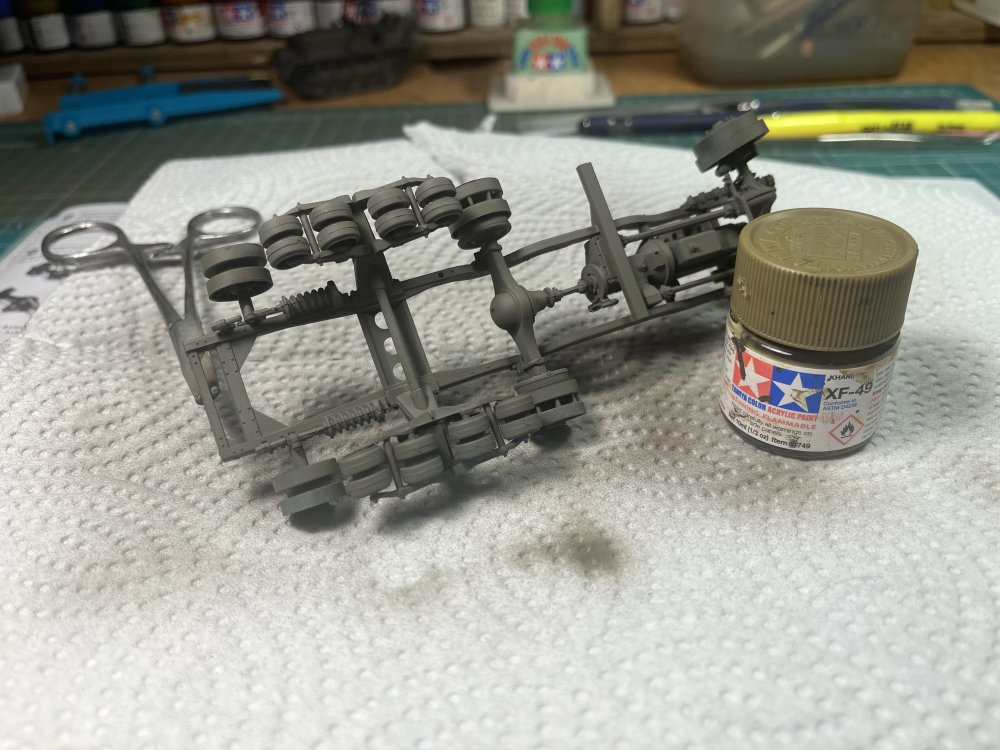
-
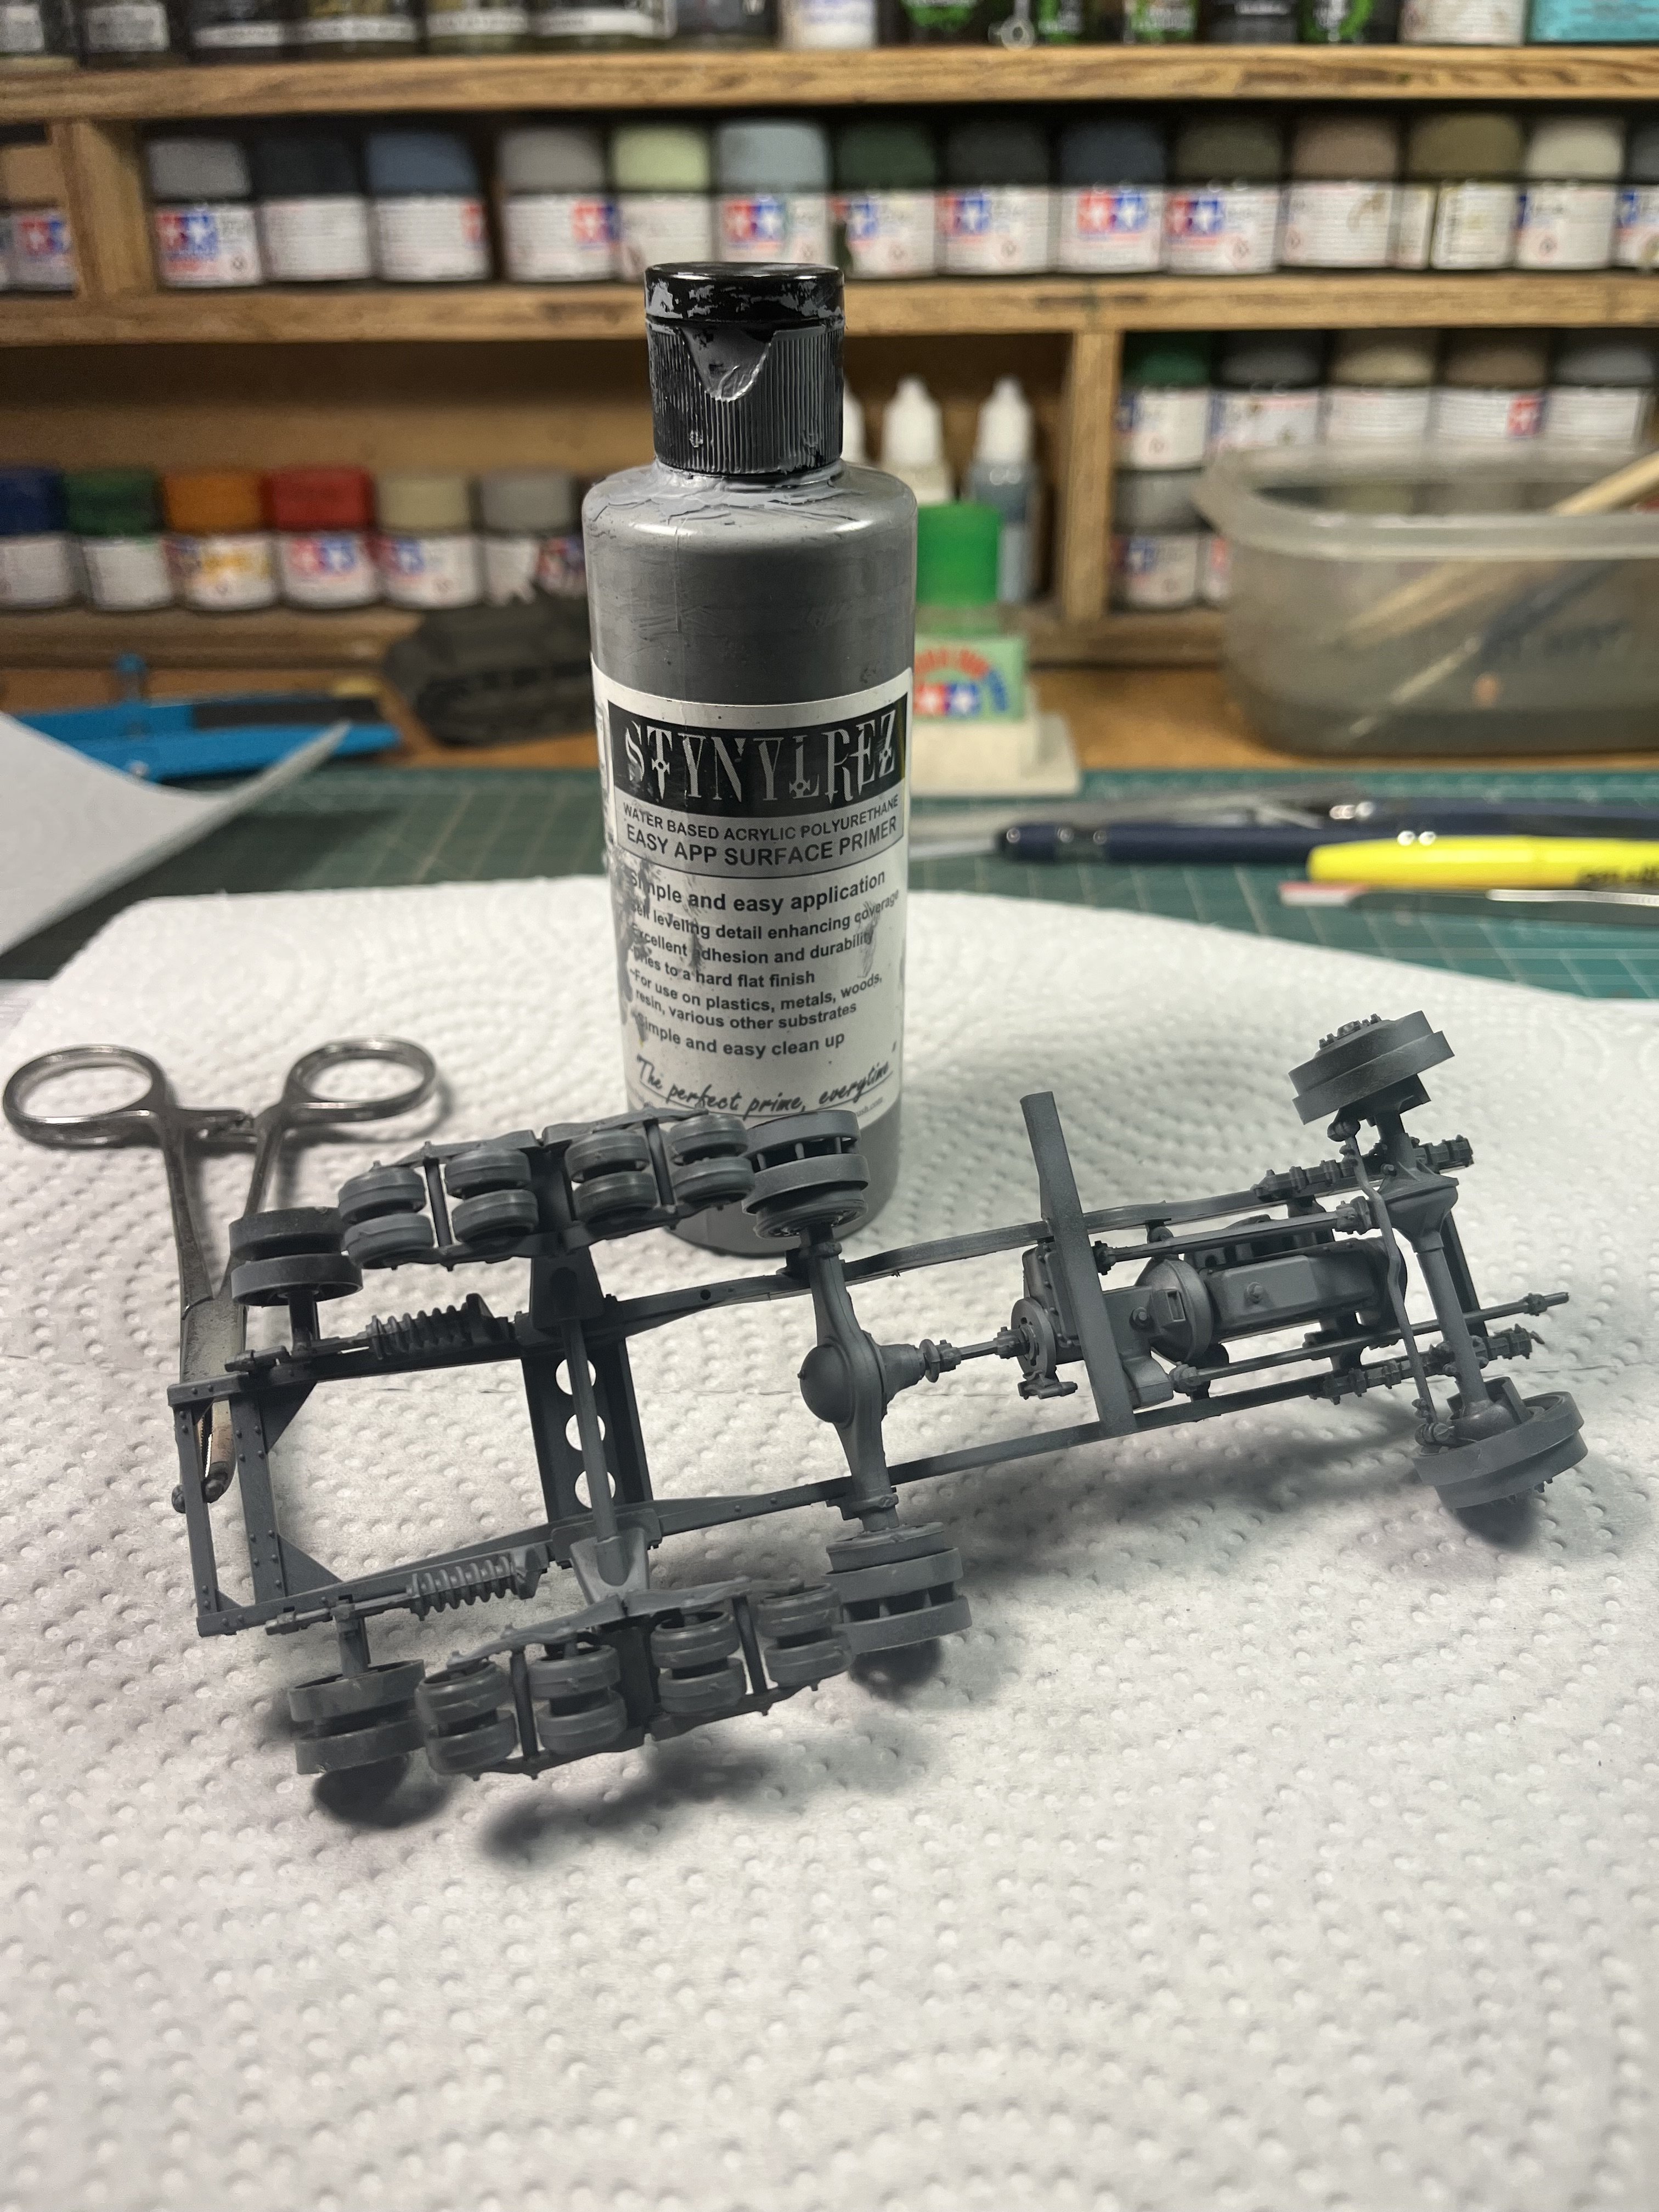
Chassis priming!

-
Coming soon, lol!!!
-
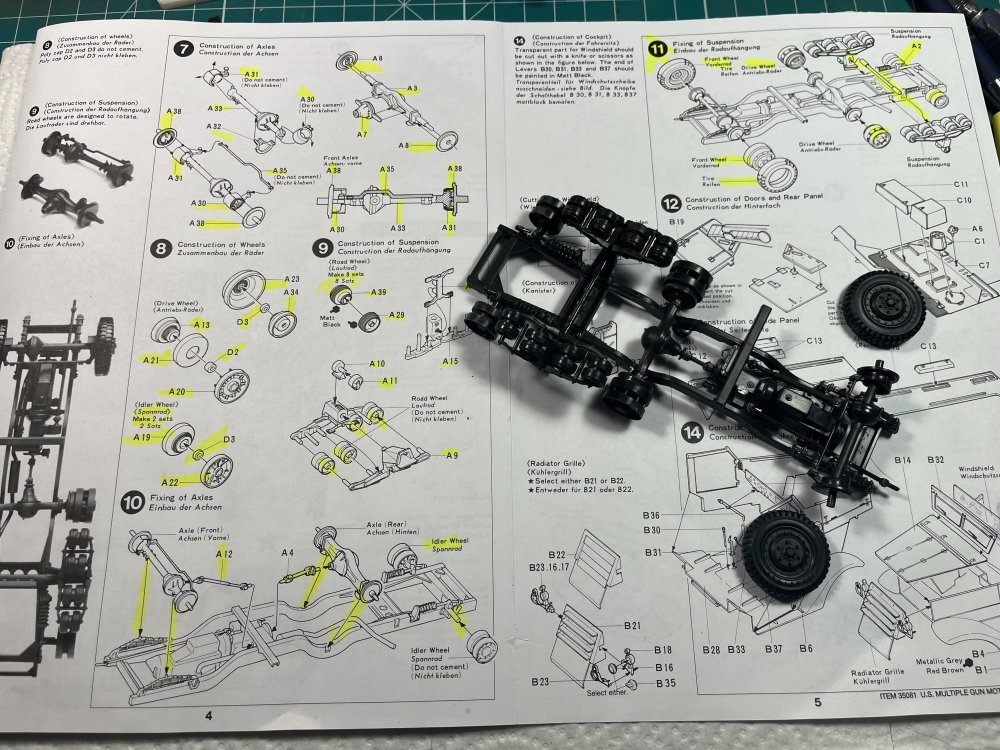
Yes that’s how I keep track of the parts I install so I don’t miss any!! Been doing it for years.
-
Yeah I’m very pleased!!
-
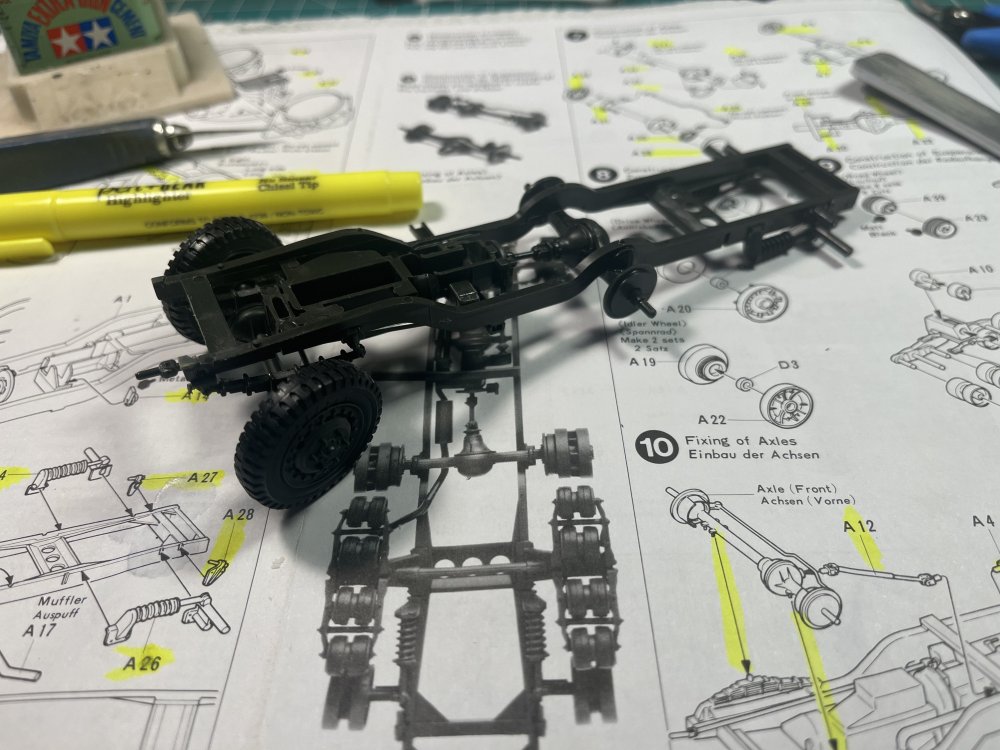
Thanks Peter. I’m extremely pleased with the fit of this aging kit. It’s almost as good as a new tooling!!! If I get a chance I’ll prune and paint the chassis then I can begin weathering it before starting the truck body.
-
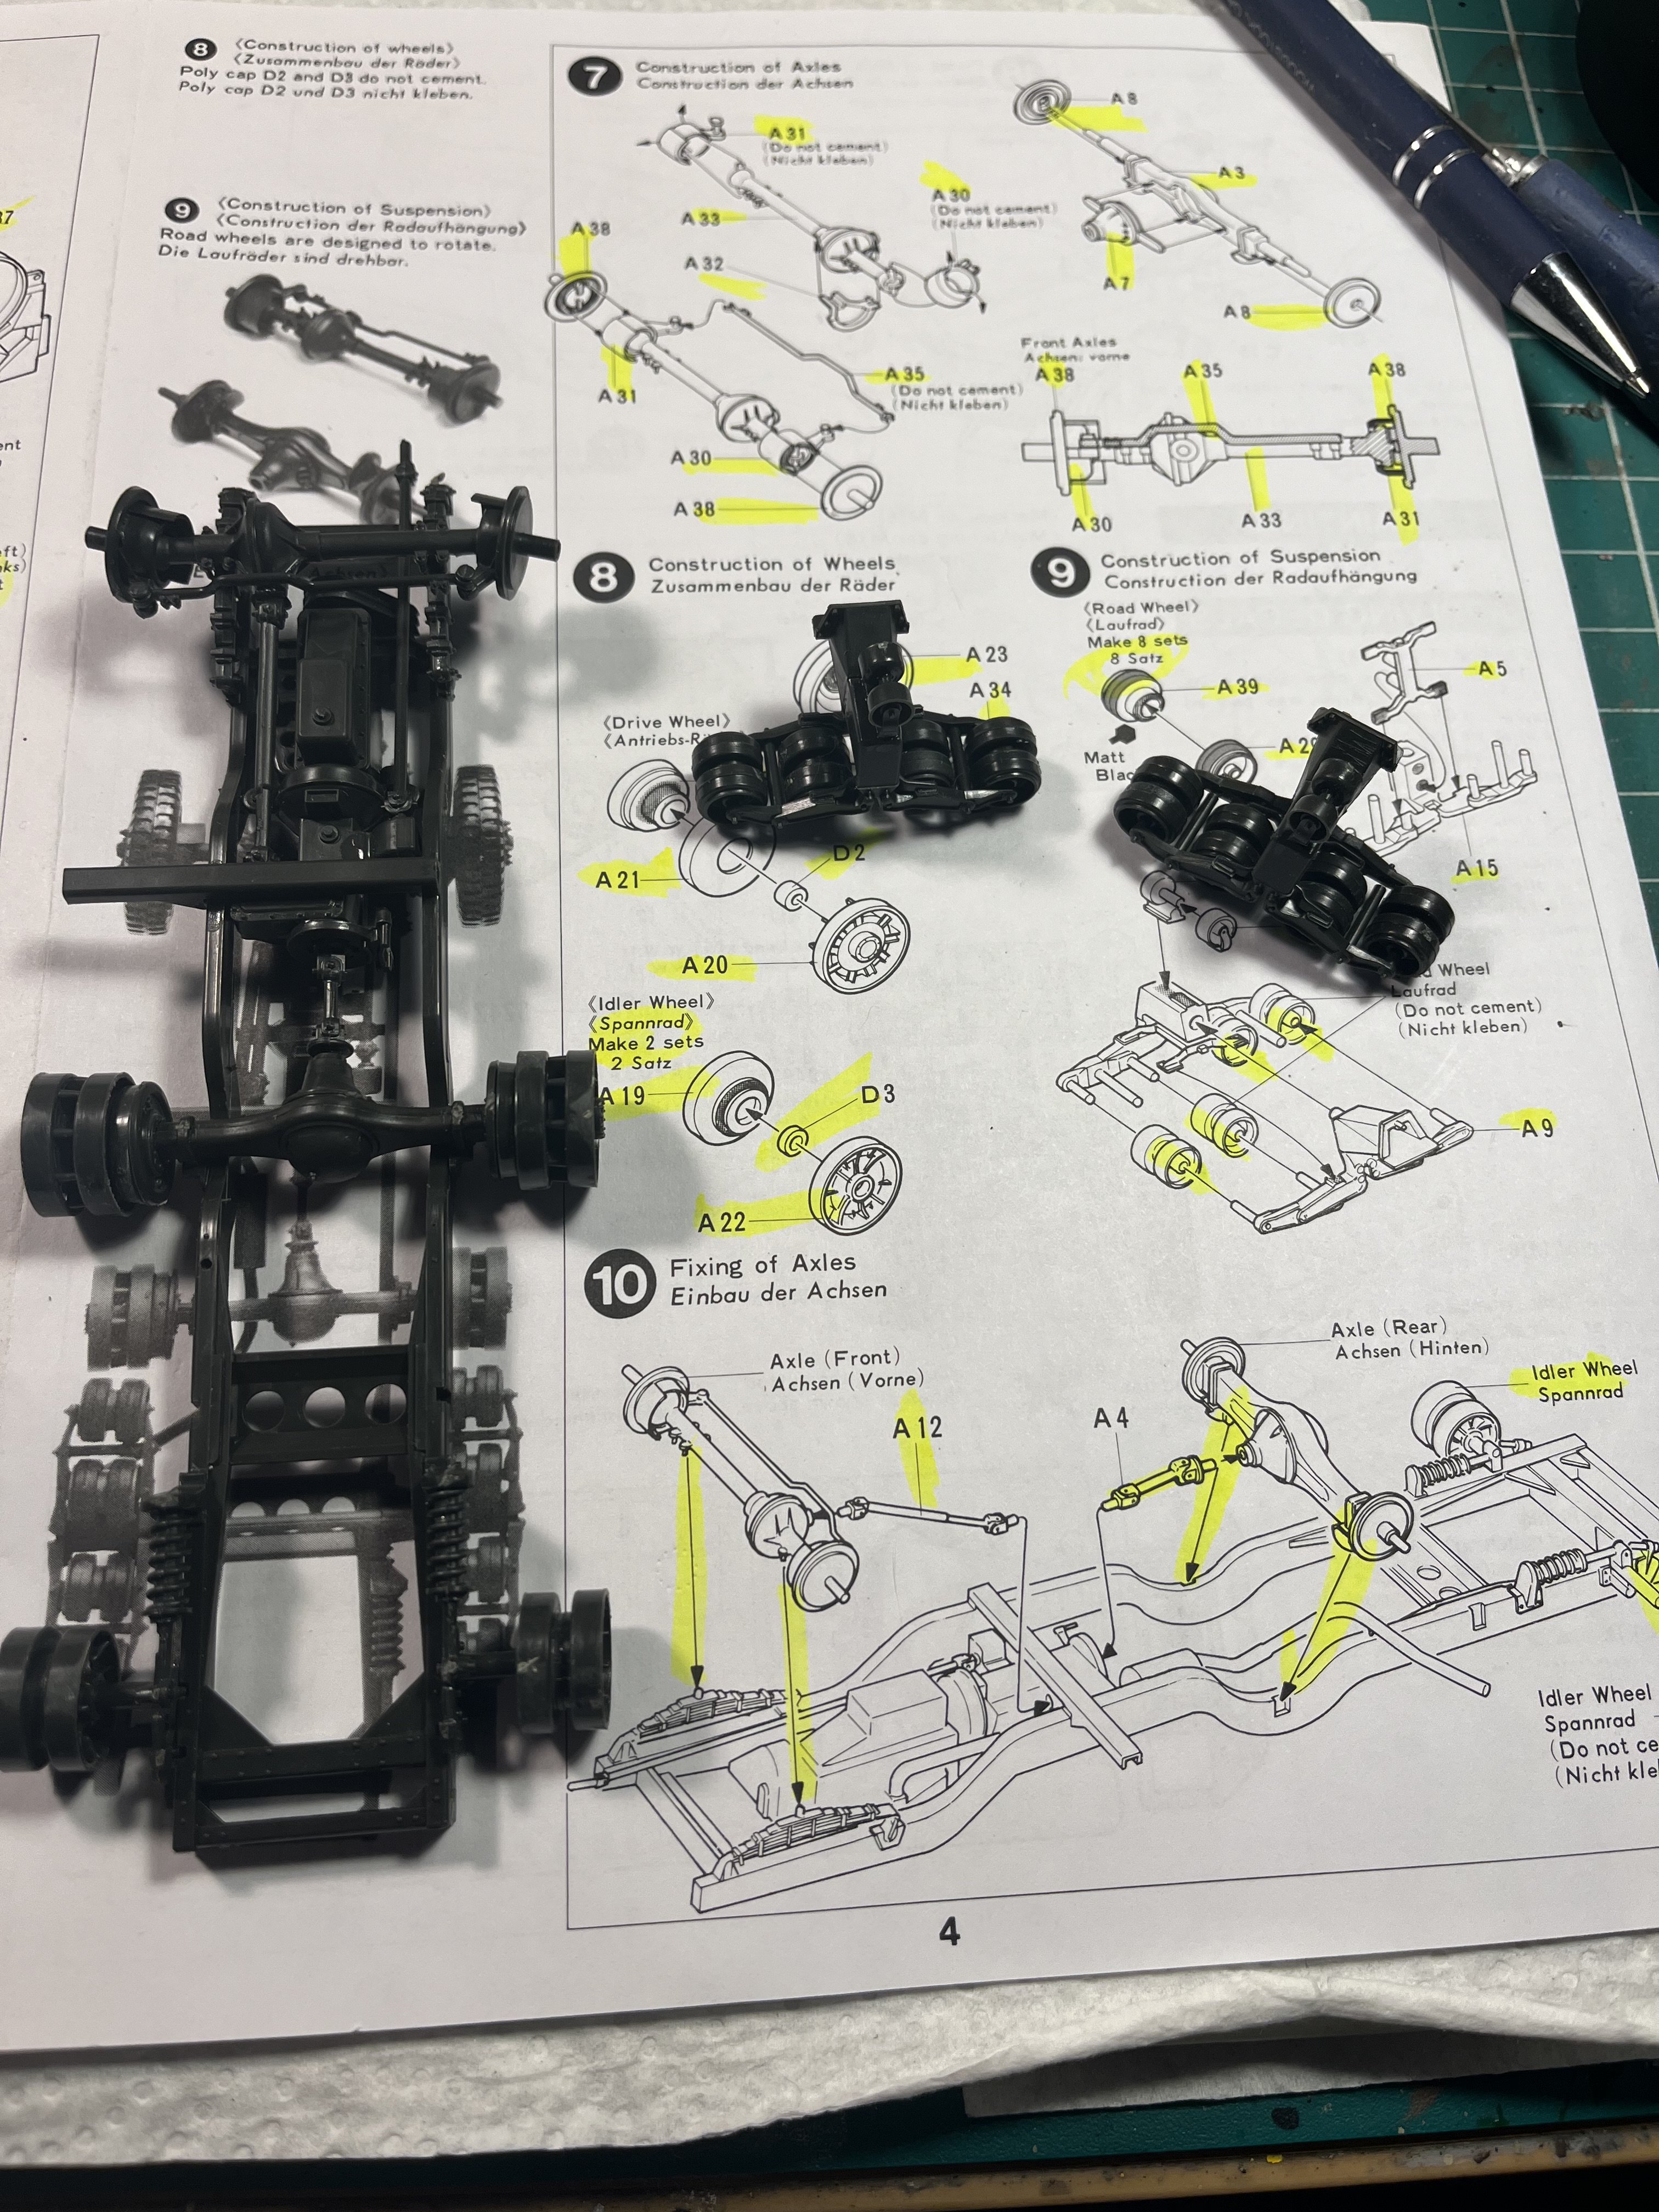
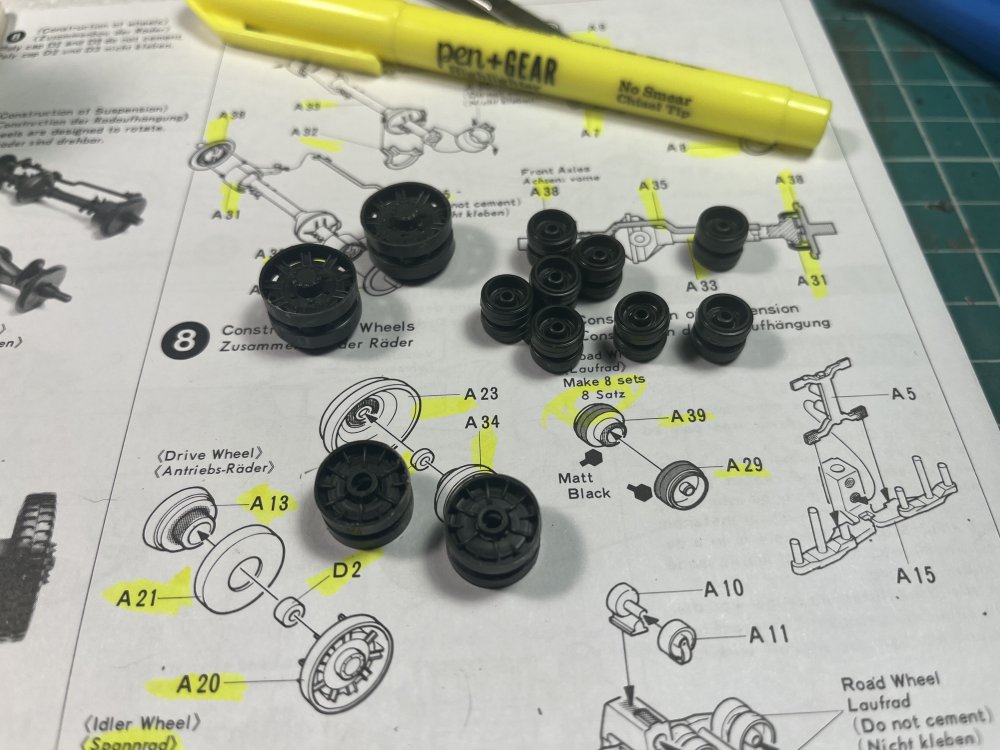
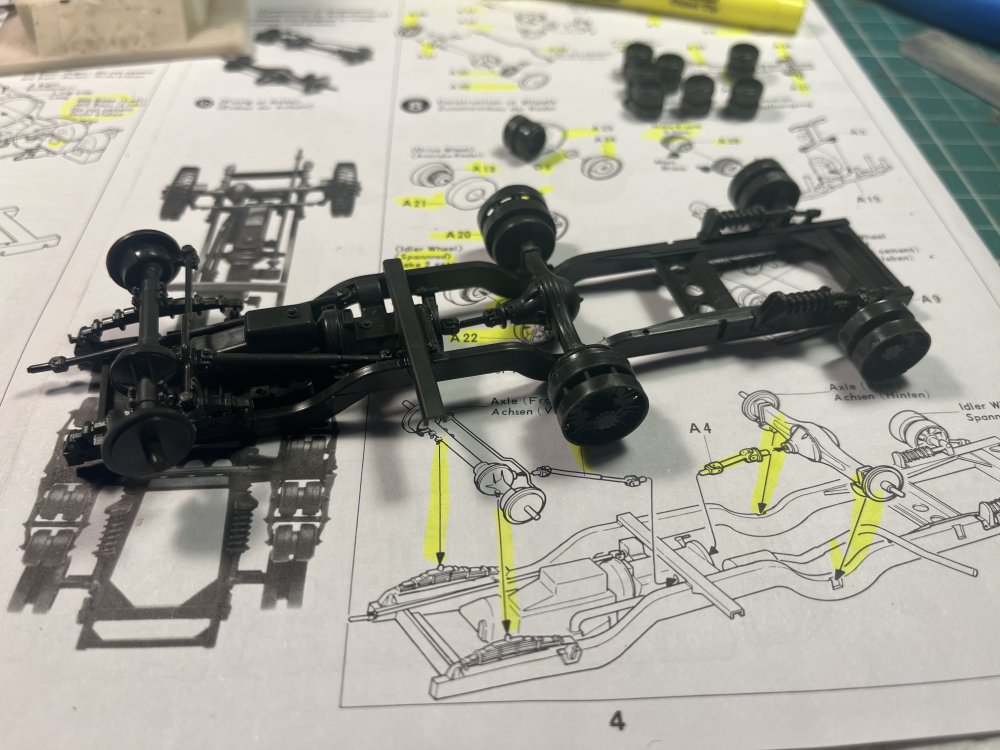
Chassis assembly completed. Lots of fiddly parts but again the fit was perfect making it a joy to assemble.
-
Finished the track boogie assembly along with adding several parts to the chassis.

-
Revell 1/48 CF-104G Starfighjter
RalphSarc replied to RalphSarc's topic in LSM 1/48 Work in Progress
Thanks Jeff. The kit comes with a decal sheet plus I have an additional CAF decal sheet. -
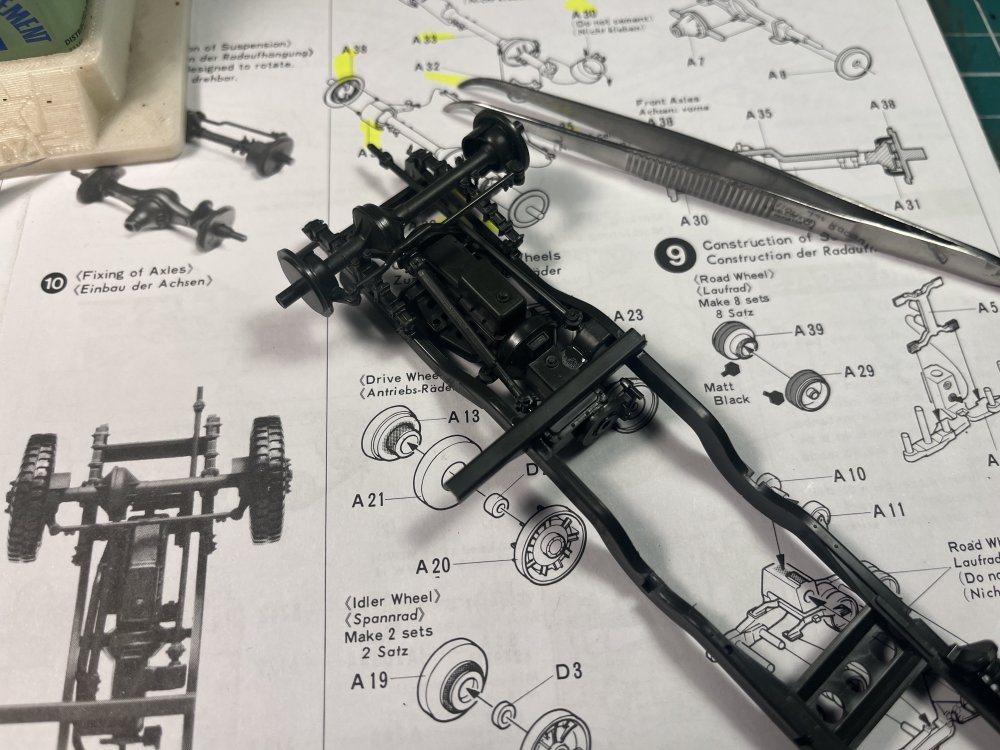
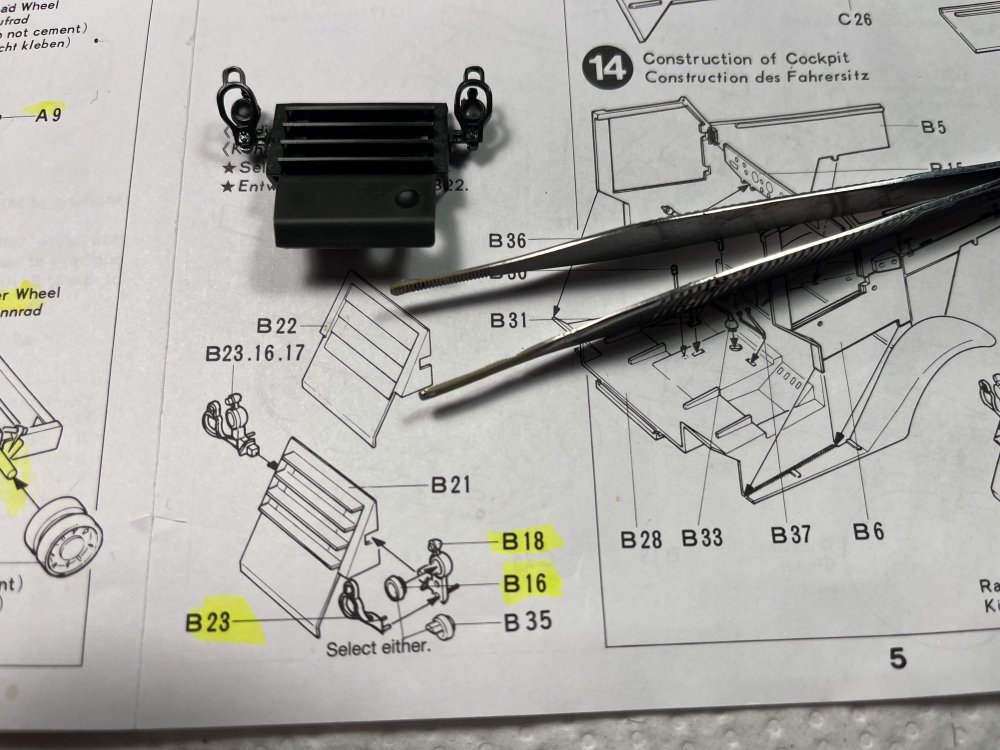
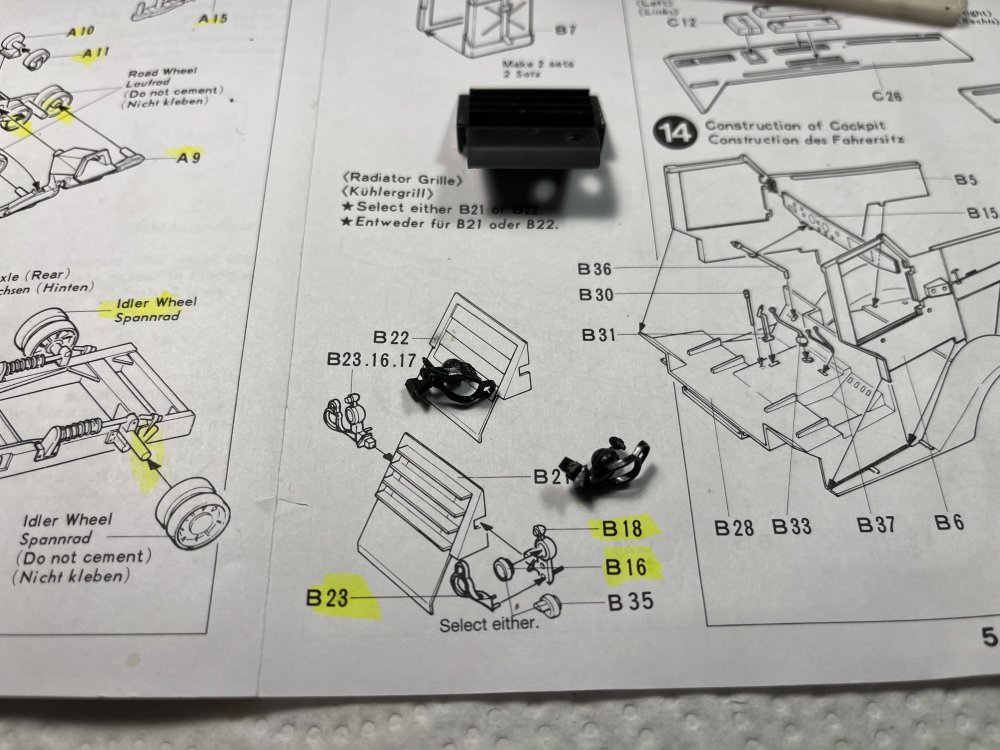
Continuing the chassis build up and of course a few roadwheels. Really amazed at the flt of all the parts. I’ve encountered absolutely no issues so far. Like a said early some parts and a few seams required a bit of cleanup but certainly nothing major.
-
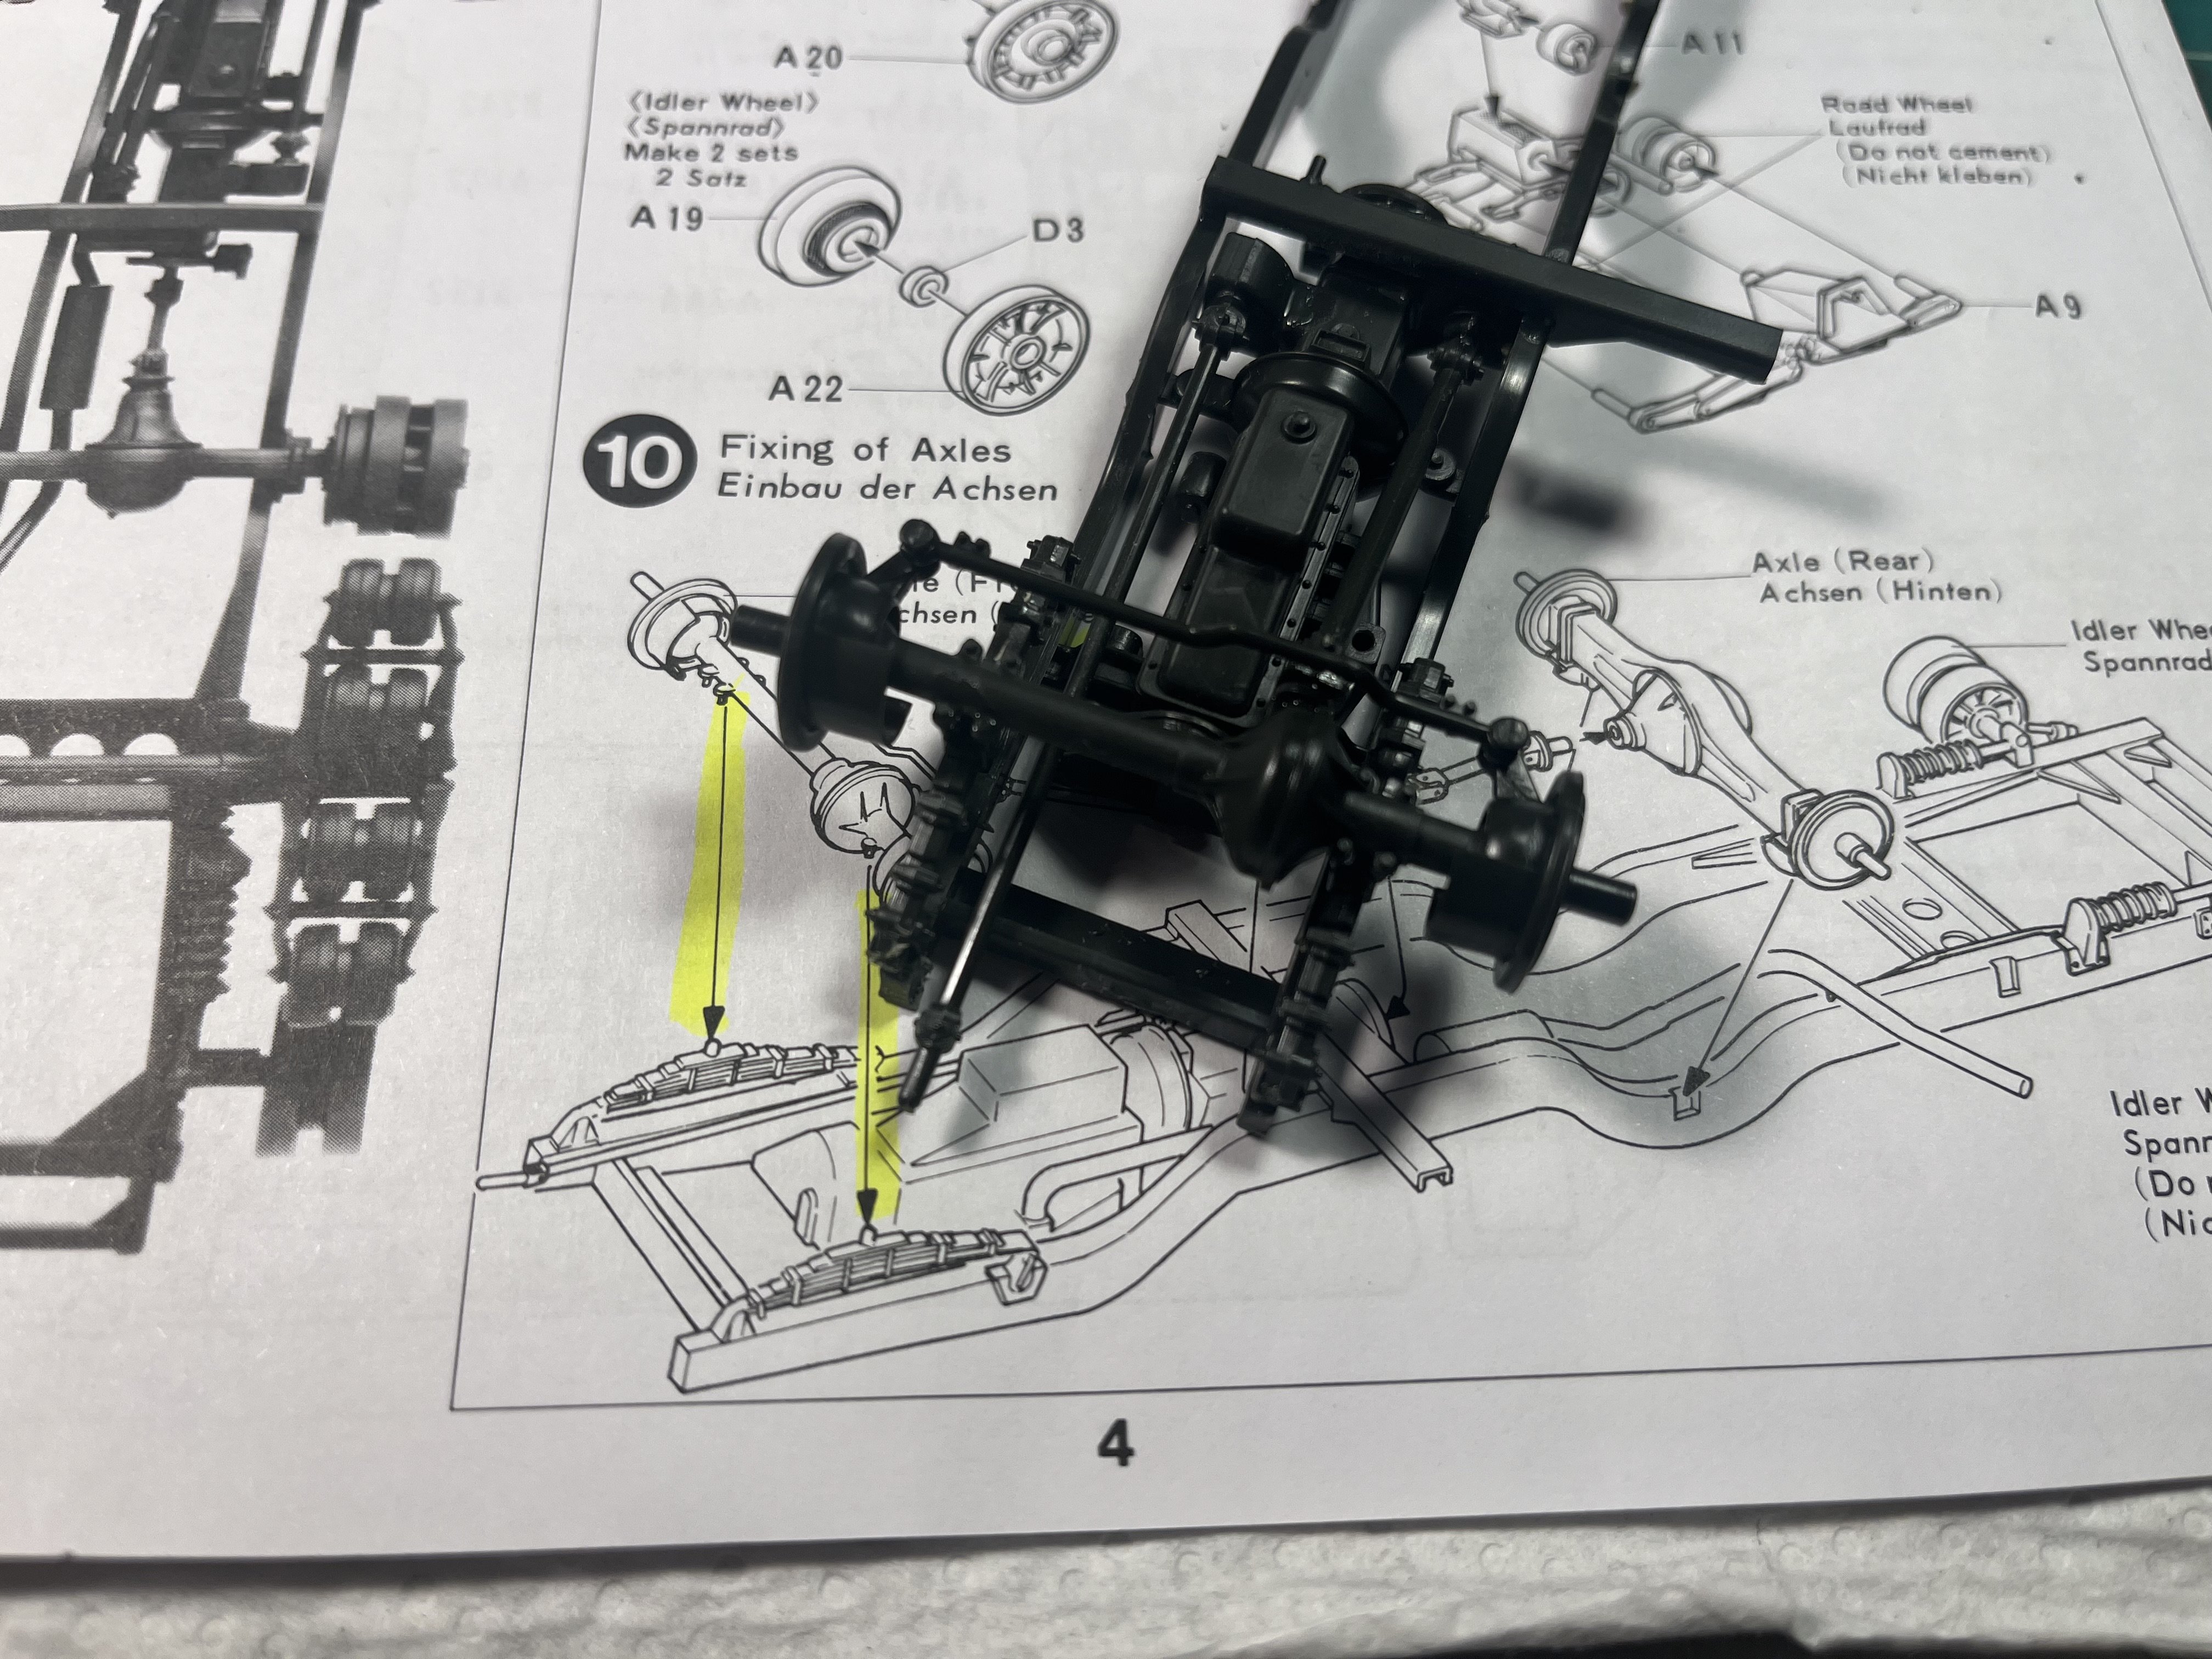
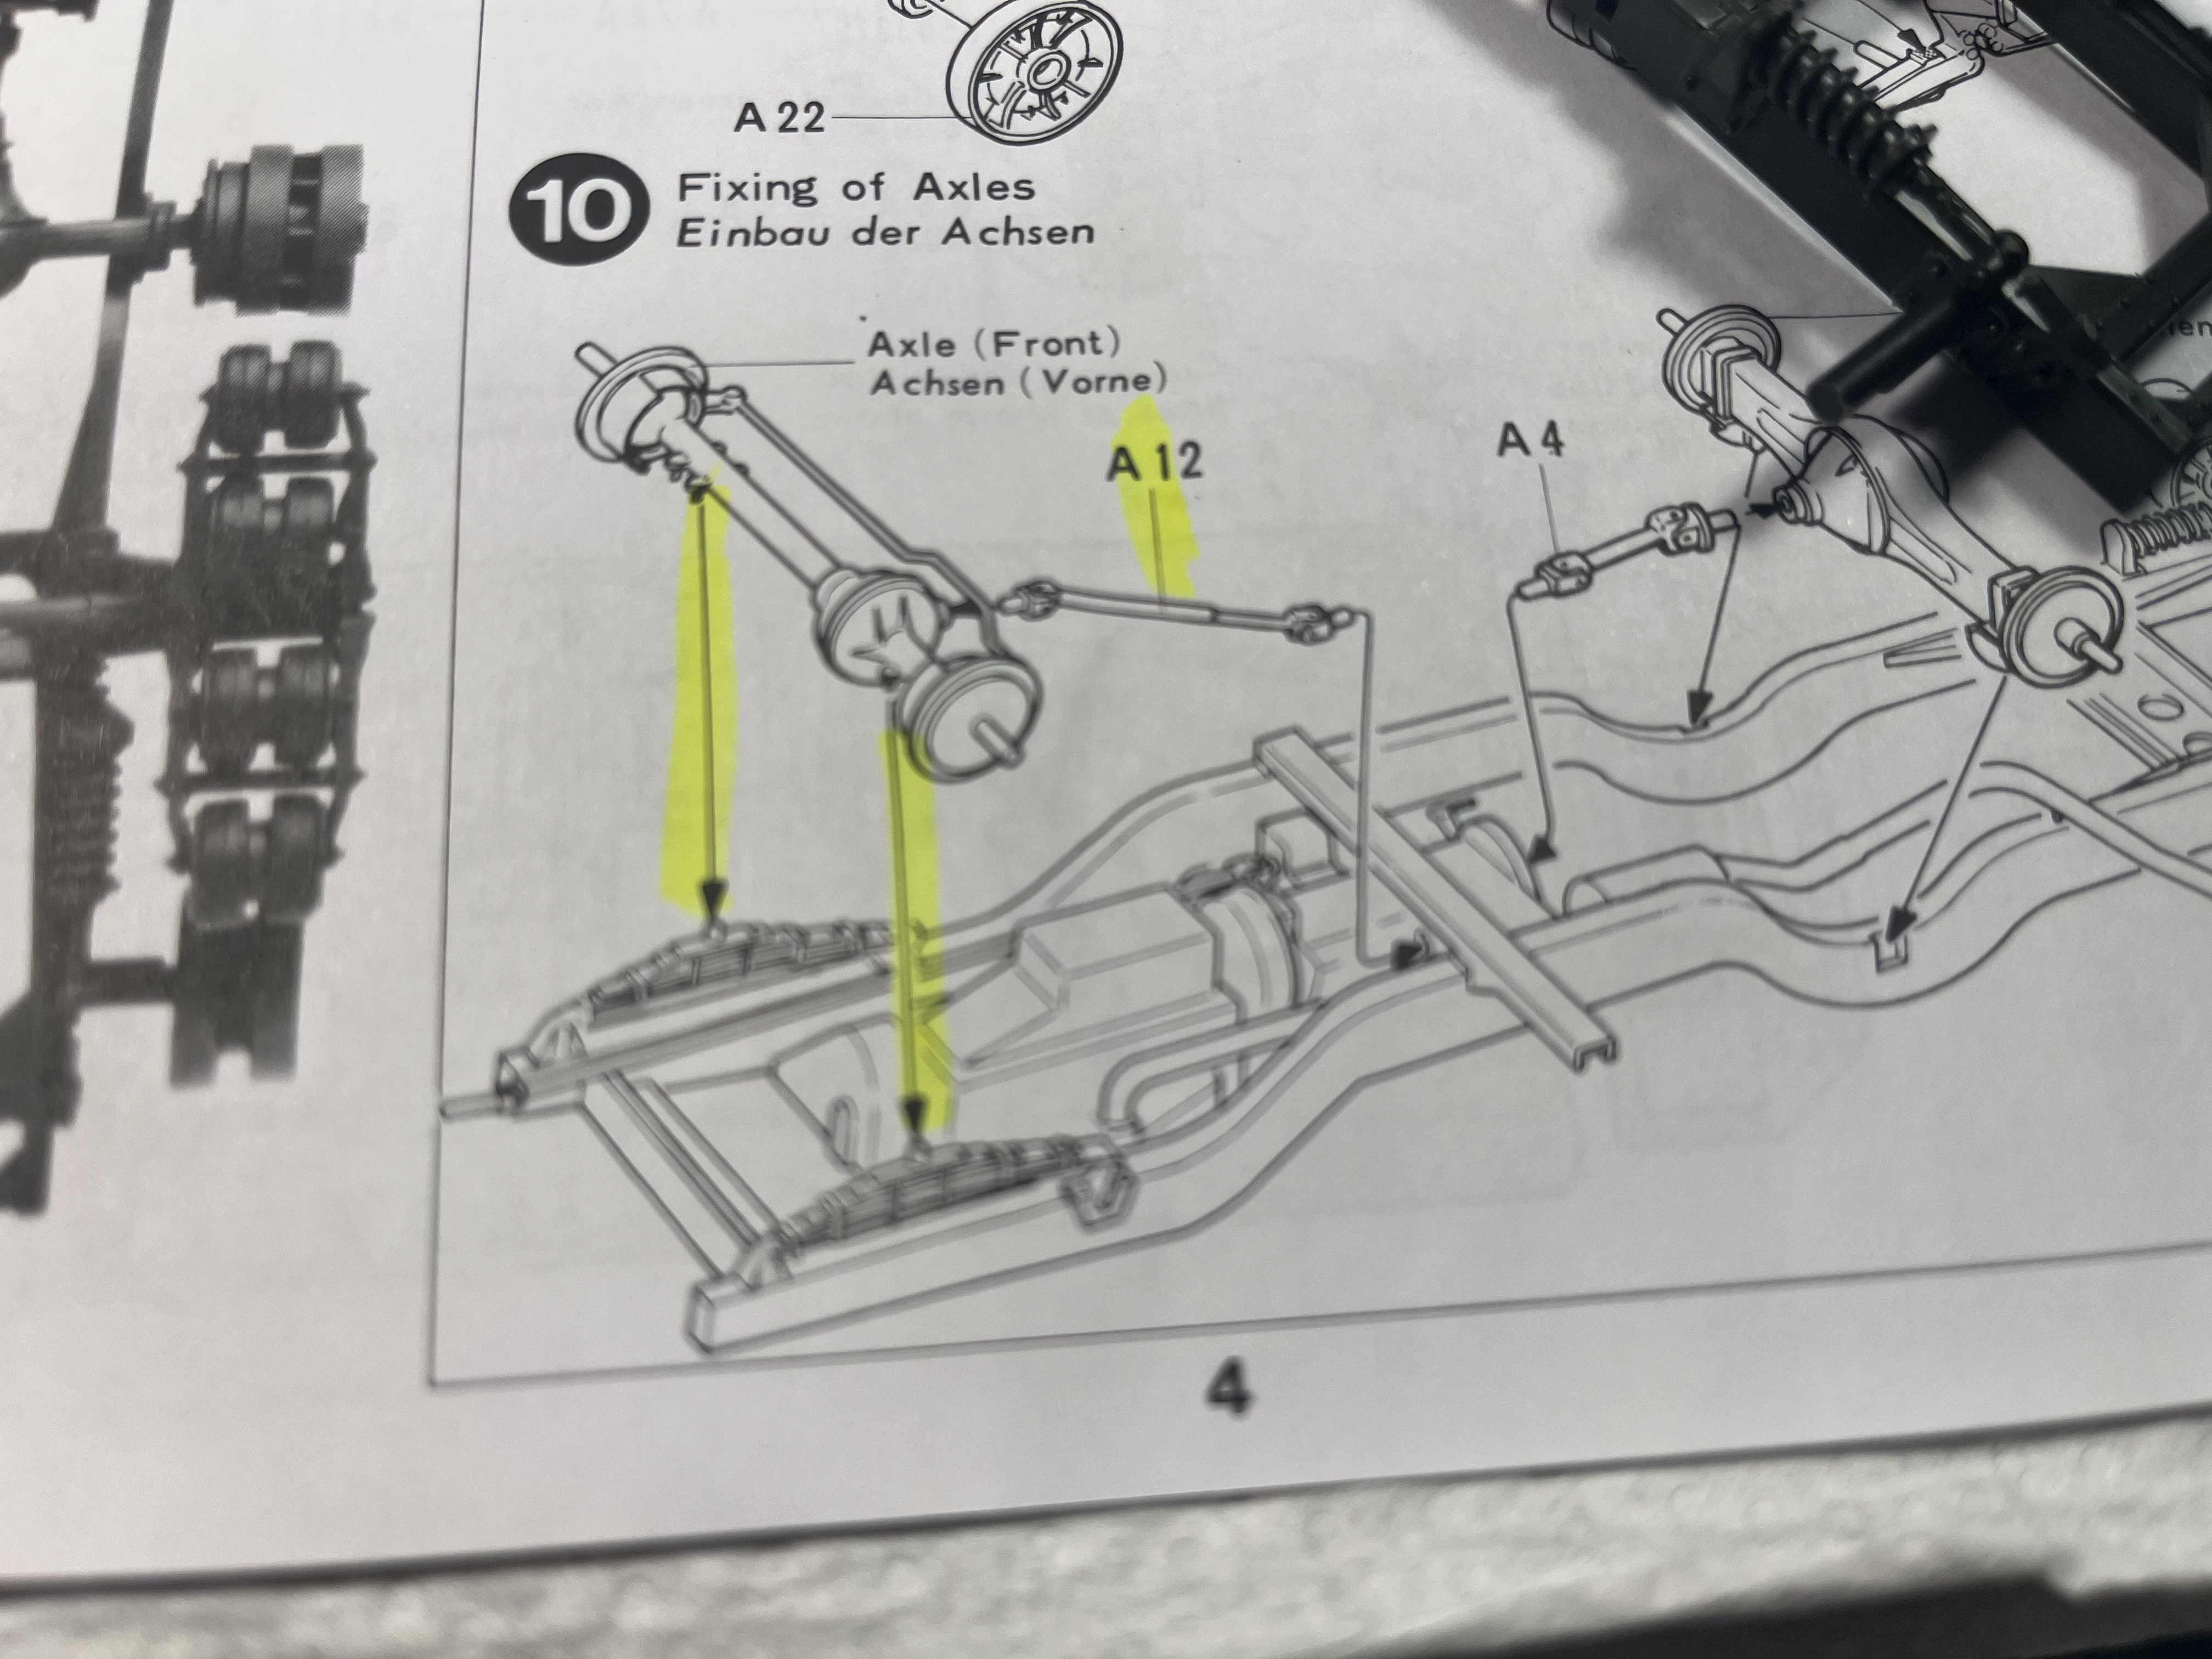
Skipped forward to step 10 and mounted the front axle and steering mechanism to the chassis. Even with the kits age all the parts fit perfectly.