

Trigger
-
Posts
211 -
Joined
-
Last visited
Recent Profile Visitors
2,657 profile views


-
Israeli Mirage III C with Atar9C
Trigger replied to Kaireckstadt's topic in LSM 1/35 and Larger Work In Progress
Wunderbar! Turned out magnificent Kai, all the effort it has taken is now rewarded big time! Nice and smooth paint job, it really looks like the real deal. I can't wait to see this bird all fueled up and ready to take off, Frank -
Hello Peter, i was on a vacation, I will now continue with the build and give you guy's an update soon, so hang in there, Frank
-
Hello Kai, I had a little break (vacation) so I will continue with the build and give you guy's an update, so, hang in there, Frank
-
Israeli Mirage III C with Atar9C
Trigger replied to Kaireckstadt's topic in LSM 1/35 and Larger Work In Progress
Looking good Kai!, I use the same method as you when painting with blue tack and taping off the area that you already painted, it is indeed a lot of work, but it works out in the end, I also see people who do this freehand, but I think this way is better, you don't get any overspray, and when you carefully make consistent rolls with blue tack, the result is what you have right now, a nice transition in the colors just as on the real aircraft. Looking forward to the next update, Frank -
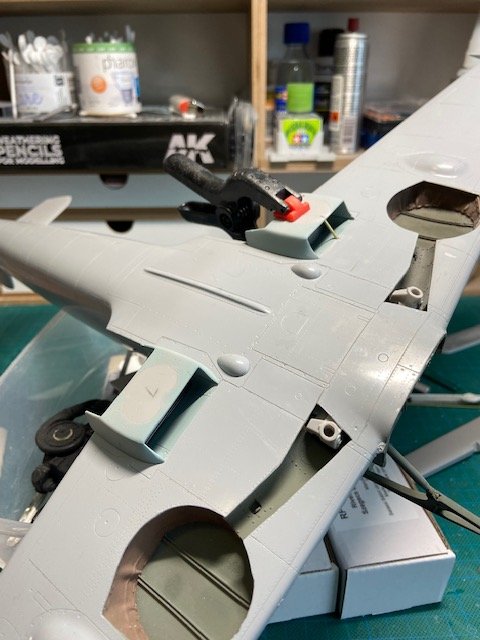
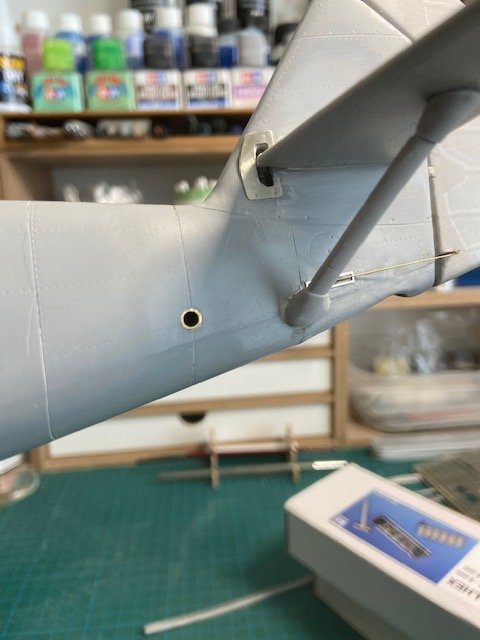
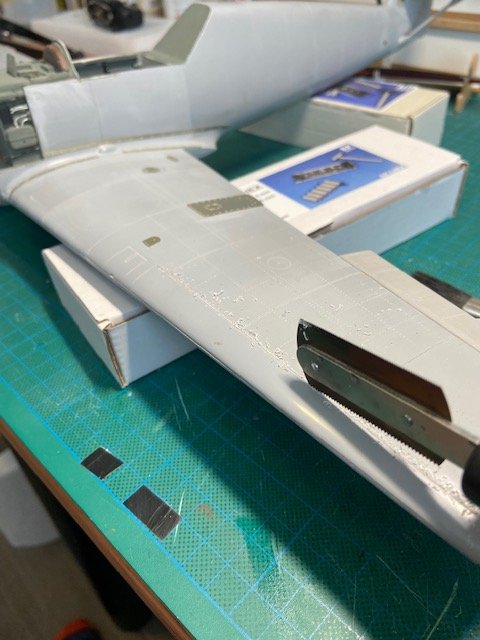
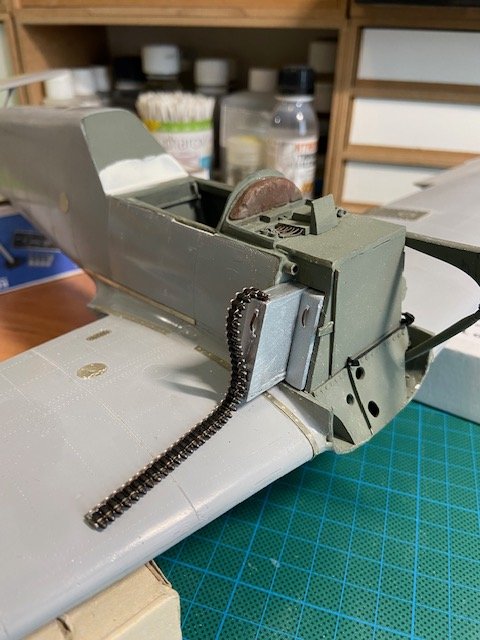
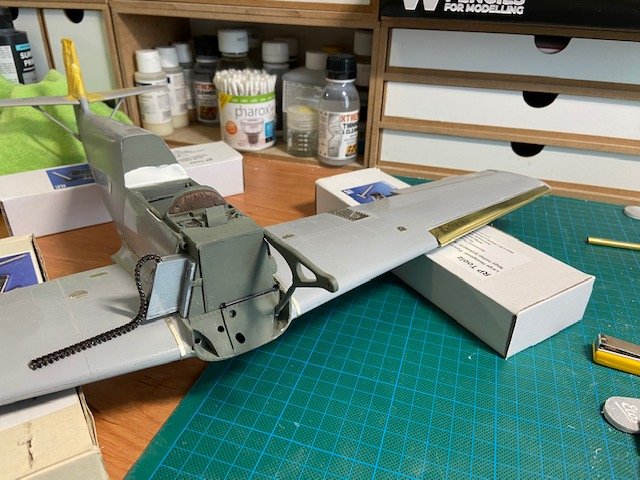
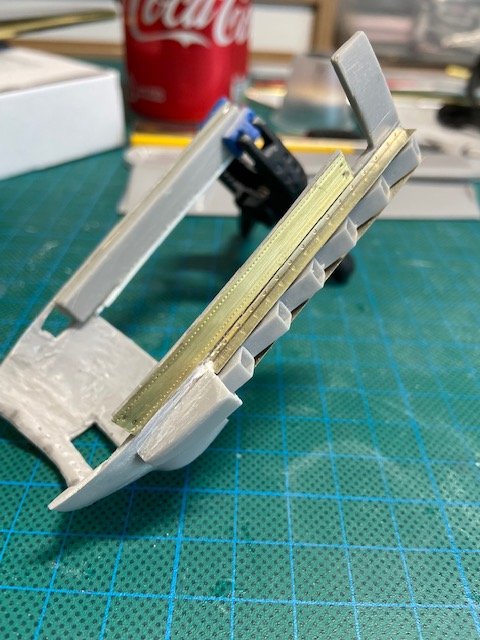
Hello Guys, here's another update on the 109, Started on the underwing coolers, sprayed the coolers in aluminum, and gave them a black wash, Sprayed the underside of the wing where the coolers are situated in light blue and placed the cooler housings, Next thing was to place the ailerons The flaps are only test fitted here glued the pe hinges in place on the ailerons Installed some pe on the tail, and made the hole where the airplane can be lifted, and inserted a copper tube, Some more pe on the wings, Then it was time to cut the other wing for the new slat, the cut out piece was used to accept the new build slat, Had to fill a small gap on the underside of the wing, now to do something else besides butchering the aircraft, I started working on the ammo boxes for the MG's, I intend to make some sort of diorama where the 109 is being serviced and reloaded, so all the panels will be off and the engine visible , so the next pictures show what I intend to do Next picture with the new slat, Also started on the under cowling, cut out the piece where the oil cooler is situated and installed the exhaust cover plates. Not much left to attach on the airframe, it's going to be a combination of the engine struts and a very small bit of copper plating to get the cowling in the right place, but I will get there in the end, so that is it for now, until the next update, Frank


-
Israeli Mirage III C with Atar9C
Trigger replied to Kaireckstadt's topic in LSM 1/35 and Larger Work In Progress
Wow Kai, as Peter said, nice smooth finish on the sand color, and you are right, the exhaust now really stands out with the sand color on, how thin did you make your paint?. I'm curious about the next phase with the green, good work so far, the extra mile you took in preparing the Mirage now pays of, Frank -
Israeli Mirage III C with Atar9C
Trigger replied to Kaireckstadt's topic in LSM 1/35 and Larger Work In Progress
Hello Kai, Looking good, and the panel lines are also still visible, luckily yellow is a very transparant color, so that helps. Masking the weapons pylons for the black color will be a bit of a challenge I guess, looking forward to the next update, Frank -
Gottfreid Weiroster Bf 109G6 R6 Revell 1/32
Trigger replied to GazzaS's topic in LSM 1/35 and Larger Work In Progress
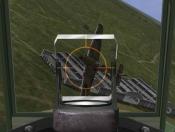
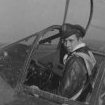
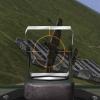
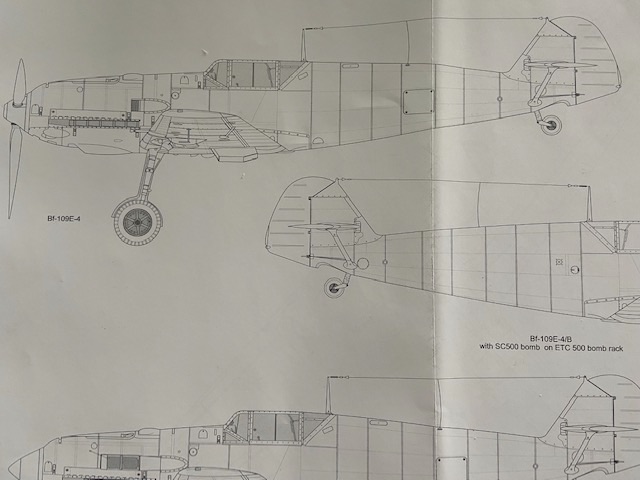
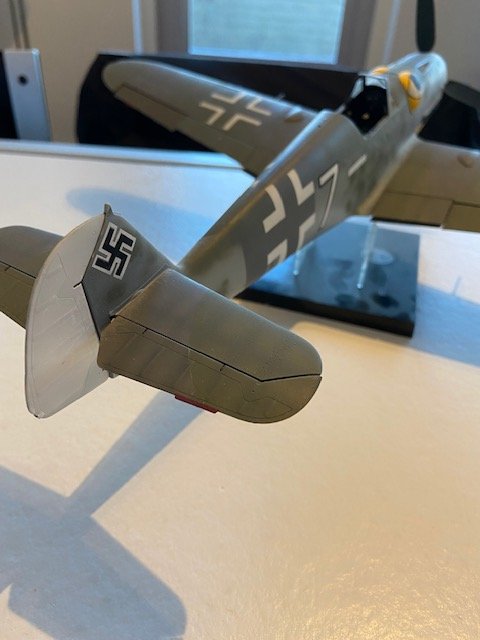
Hi Gazza, it might almost not be so bad as you think, after reading about the subject I immediately checked my own models that I have, and they all have a slight "camel back", so I thought they cannot all be wrong? So I took out the scale drawings that I have from the 109 in 1/32 scale, and placed a ruler over the Spine of the aircraft, and found out that there really is a sort of " camel back" , so here are the photo's, So I think there really should be a bit of a bulge on the spine and the sides, but not to much of course, so I wouldn't crash land the model in the bin yet if I were you, I hope this helps a bit........ Frank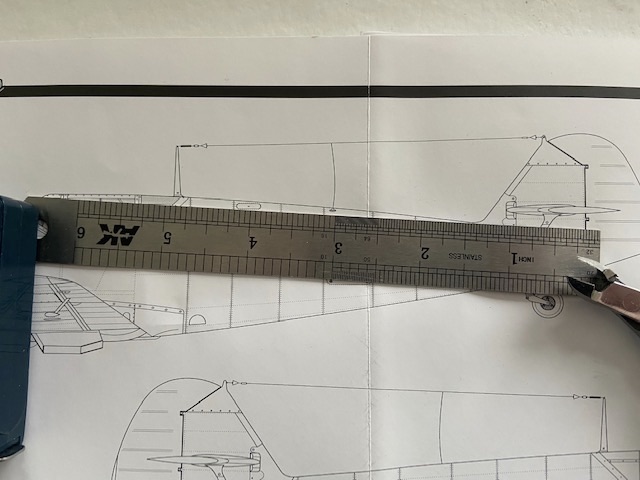

-
Thanks Kai, it's indeed a lot of work, but I couldn't just leave the the slats as they were, still some detailing to do, but I am getting there, next the underwing coolers, when these are done I will move on to the engine again with most of the fuselage work out of the way, Frank
-
Thanks, now the next slat, and then the coolers underneath the wings...... Frank
-
Thanks Harv, more to come so stay tuned..... Frank
-
Thanks Kevin, I'll do my best, I just stopped with the engine because I wanted the bodywork out of the way, I am much to afraid to knock the engine off while handling the model, but when that is all out of the way I will go on with mounting the engine and detailing it, Frank
-
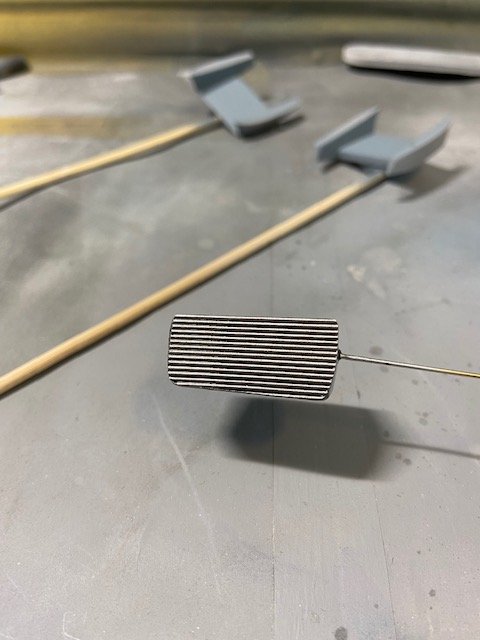
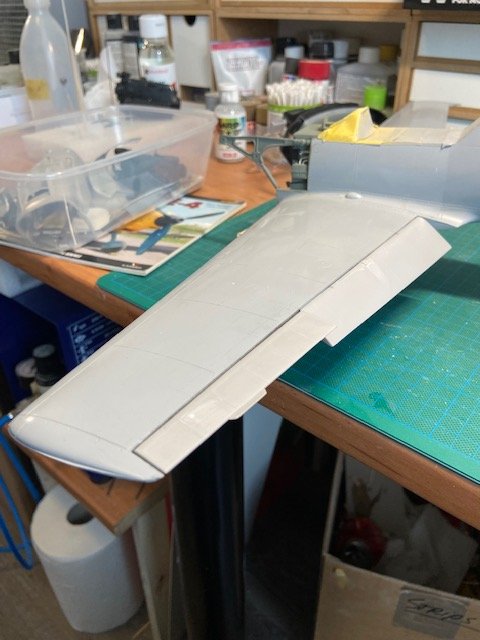
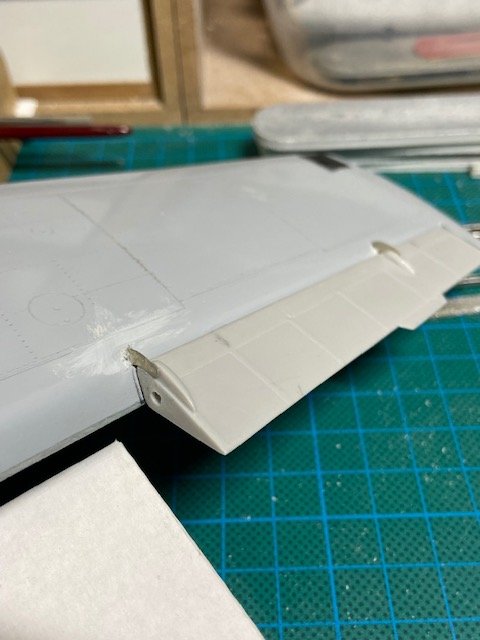
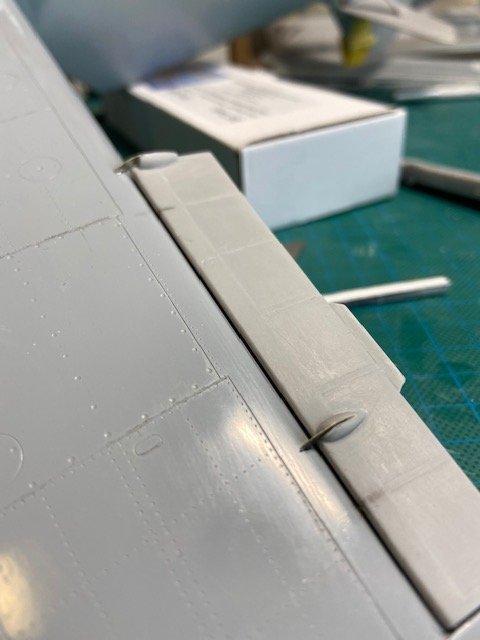
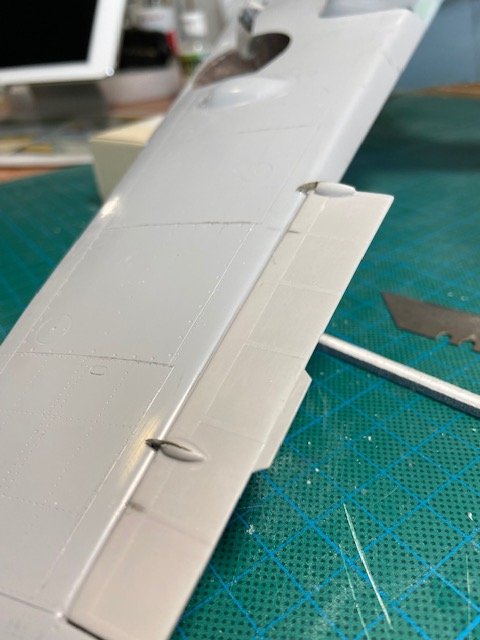
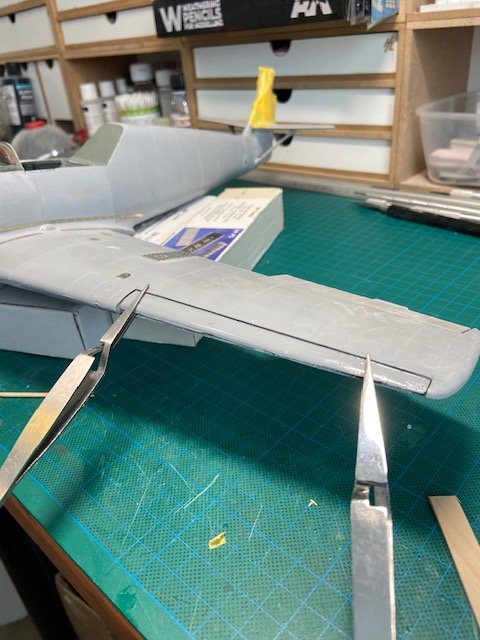
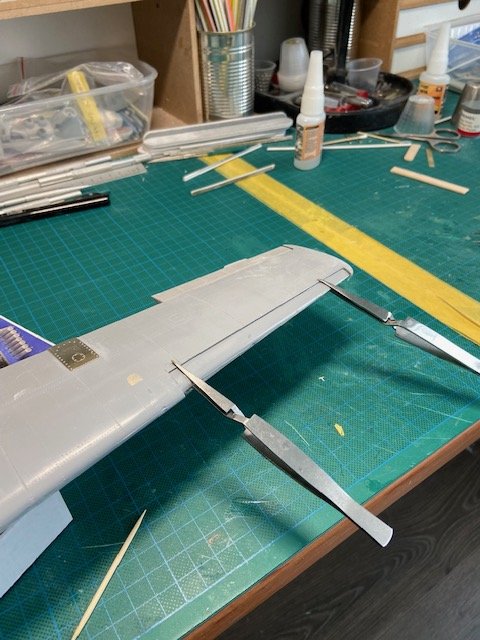
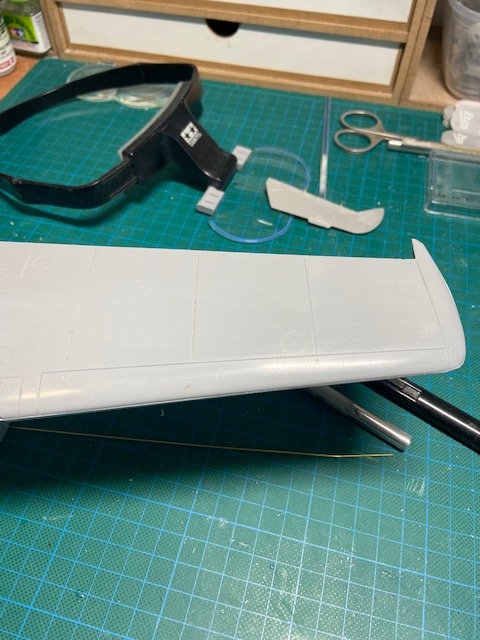
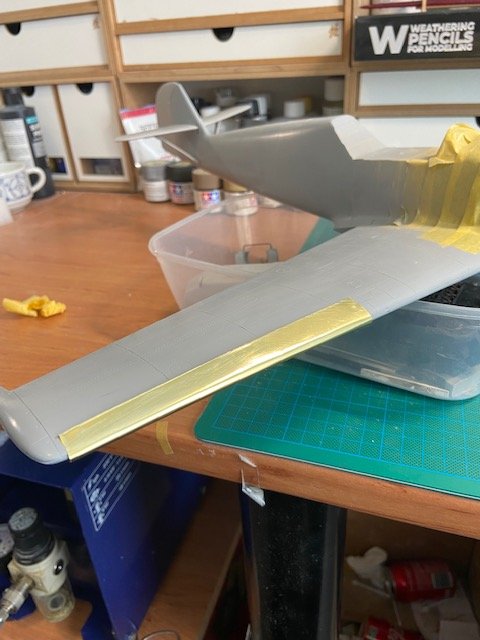
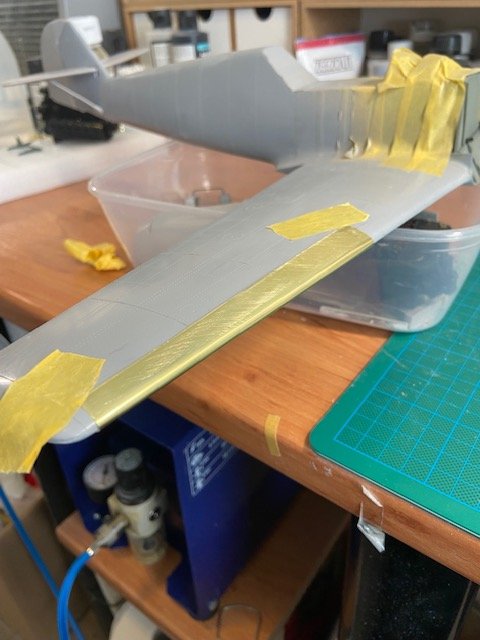
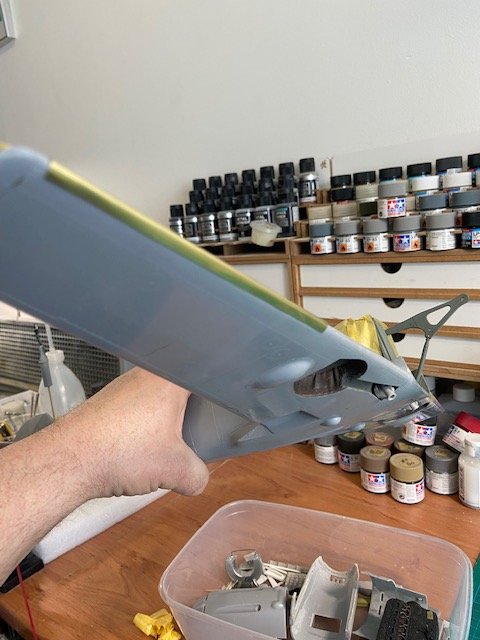
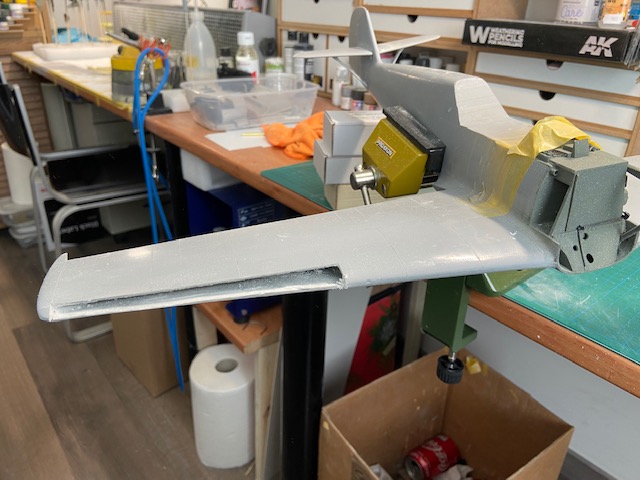
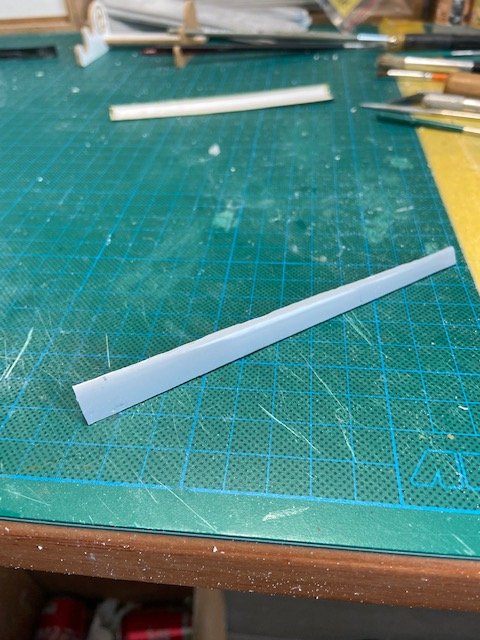
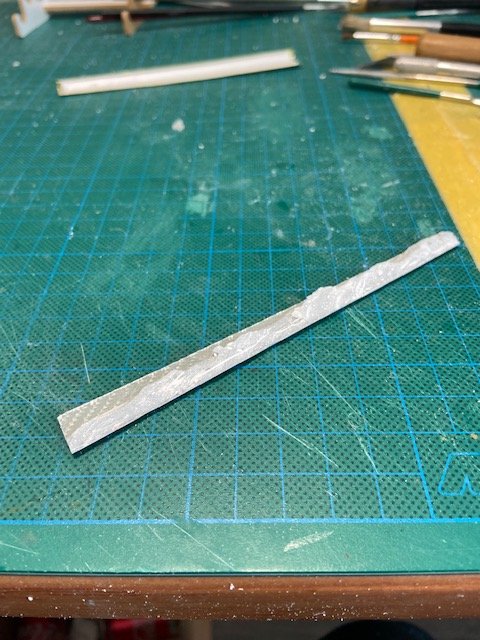
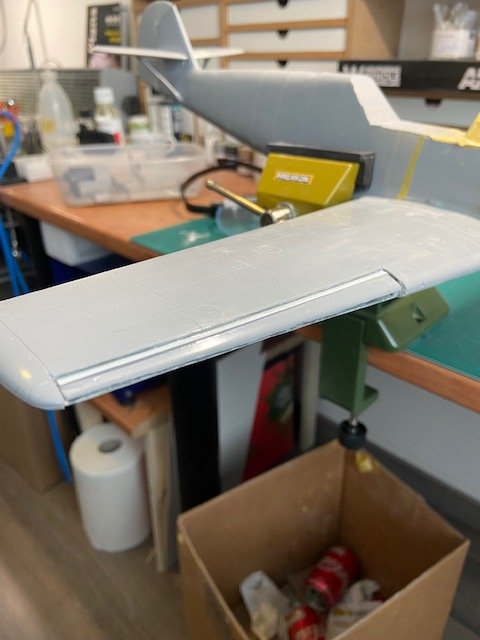
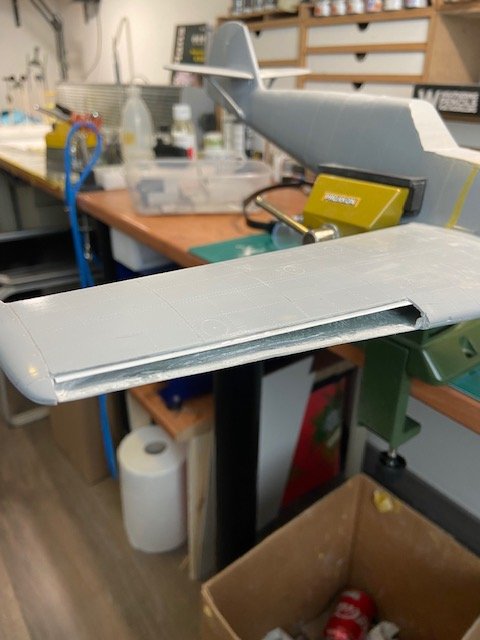
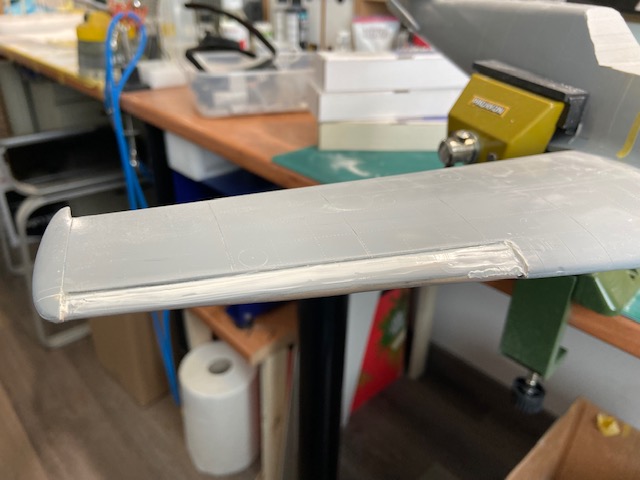
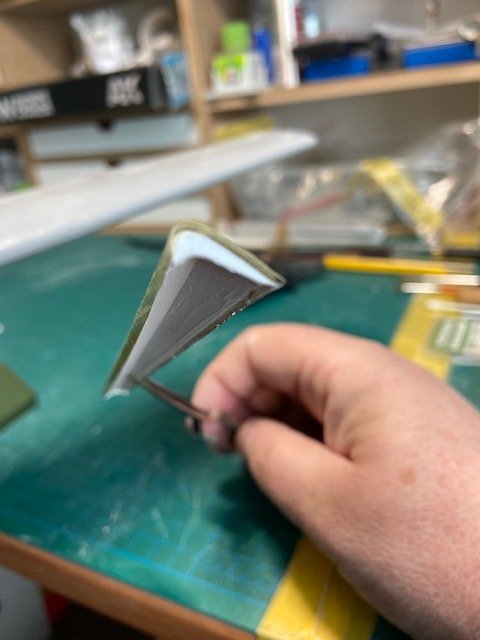
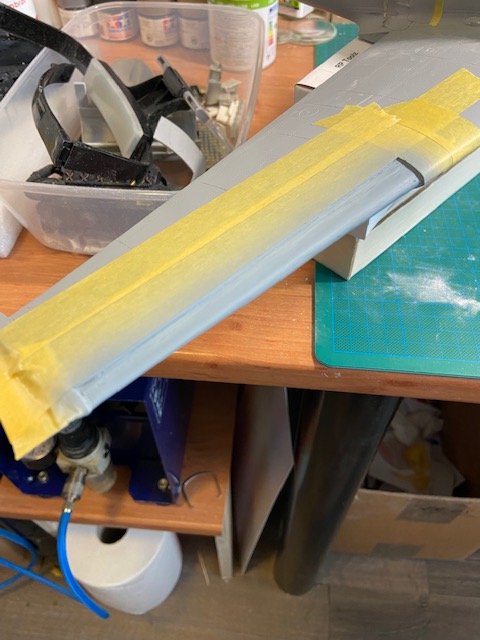
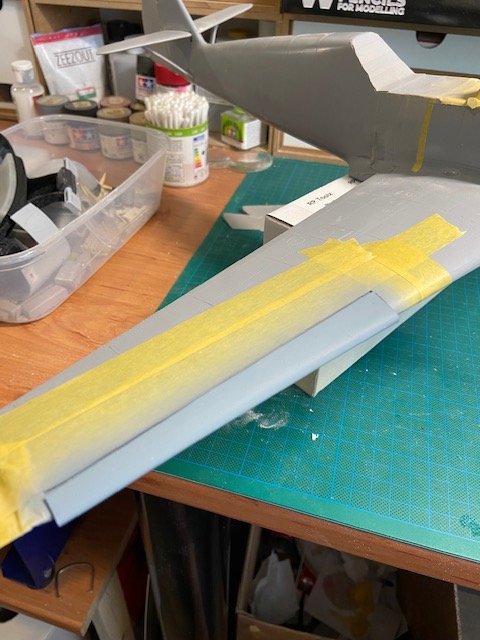
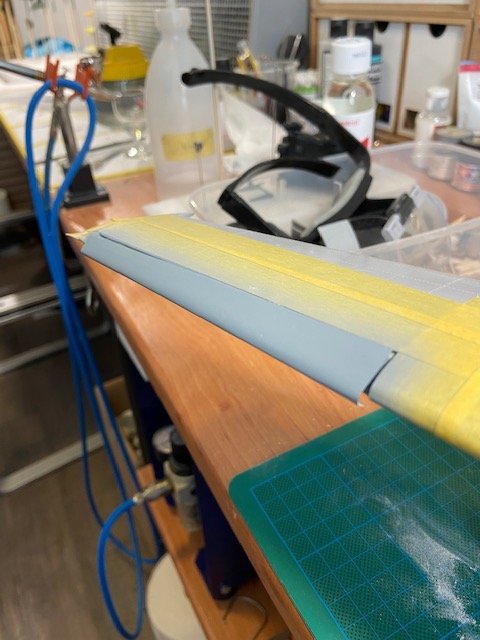
Hello Guy's, here is another update on the 109, I decided that the moulded in slats just wouldn't do it for me, so I decided to cut them out and make them myself, see pictures below, The moulded in slats......, first I took a template in thin copper sheet and moulded it around the existing wing, Moulded and rolled it until the shape was correct, then I cut the wing up...... wasn't so easy, where the wings were joined together there was a huge amount of polyester that I had to cut through.... the cut out piece, I was going to re use that to fill the hole. lots of polyester to remove, trimmed the hole and placed a thin strip of plasticard so the old slat had a attachment point and the old slat in place with a little recess like the original slat, the real slat will be attached to this one, I only had to fill the gap at the underside of the wing to get it closed, the slat copied from the wing reinforced the slat with plasticard and added profiles at the the left and right end of the slat, All the gaps filled now and sanded Still some sanding to do, but test fitted the slat with some blue tack... Fitted in place with blue tack just to get the look, I still will have to align the slat an make the opening in the wings where the slat slides in, but the idea is there, and they look so much better than the moulded in ones, certainly in 1/18 scale I thought this was a "must do" thing, now the left side still to do.............. until the next update, Frank

-
Israeli Mirage III C with Atar9C
Trigger replied to Kaireckstadt's topic in LSM 1/35 and Larger Work In Progress
Hello Kai, it is what you said about blending the colors, they look much better and even now, the shading is very subtle visible. I like it, it's always hard to come to the point not to overdo it, but you have got it right. (I have a few models where I post shaded the panel lines, and if you go at it with the same technique by building up thin layers you get pretty much the same effect. when the color is on the model I mix a somewhat darker tone of that same color and then I spray the panel lines again thin layer after thin layer until you reach the effect you want)For example a ME109 G6, (that I still need to finish). I fell in to the trap of putting to much color on the model, so my pre shading was gone under a layer of paint, so i tried to make the best of things and started post shading the panel lines, and I wasn't unhappy with the result curious about you painting the top side, ( I also visited your Lancaster build in the finished model section, very nice work, and I love the colors you used, looked spot on to me) Couldn't help noticing when you where painting the crew members that you have a pretty Nice collection of action figures in a large scale in your display case, looks great, you certainly painted the crew members very realistic! well, I won't keep you from painting anymore, Frank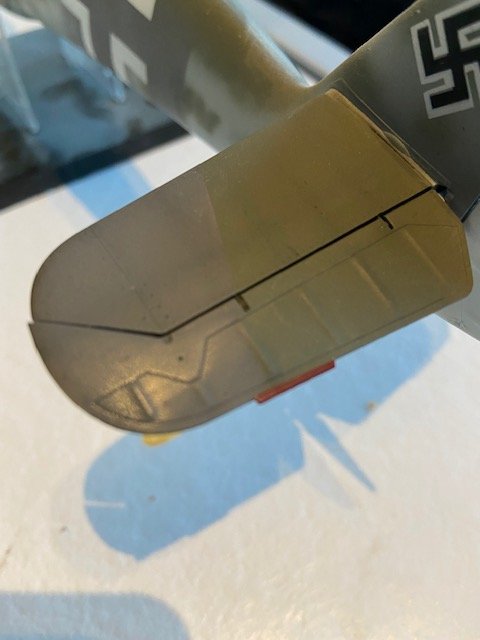
-
Israeli Mirage III C with Atar9C
Trigger replied to Kaireckstadt's topic in LSM 1/35 and Larger Work In Progress
Hi Kai, the Lanc looks spot on, so I guess you will get the Mirage done also, looking better with every pass of the airbrush. I have used Vallejo on some models, (model air range), and they spray nicely, but you have to use the same brand for thinning the paint, a few drops of their retarder, and off you go. When doing that Vallejo comes out pretty good. Ak real is now also one of my favorites , certainly their x-treme metal range, that comes out awesome, I use it on every surface that needs a metallic look. Looking forward to the next paint session, Frank
