Umlaufmotor
-
Posts
303 -
Joined
-
Last visited
Content Type
Profiles
Forums
Events
Gallery
Everything posted by Umlaufmotor
-
What is on your bench right now ? Share a picture :)
Umlaufmotor replied to Martinnfb's topic in Modelling Discussion
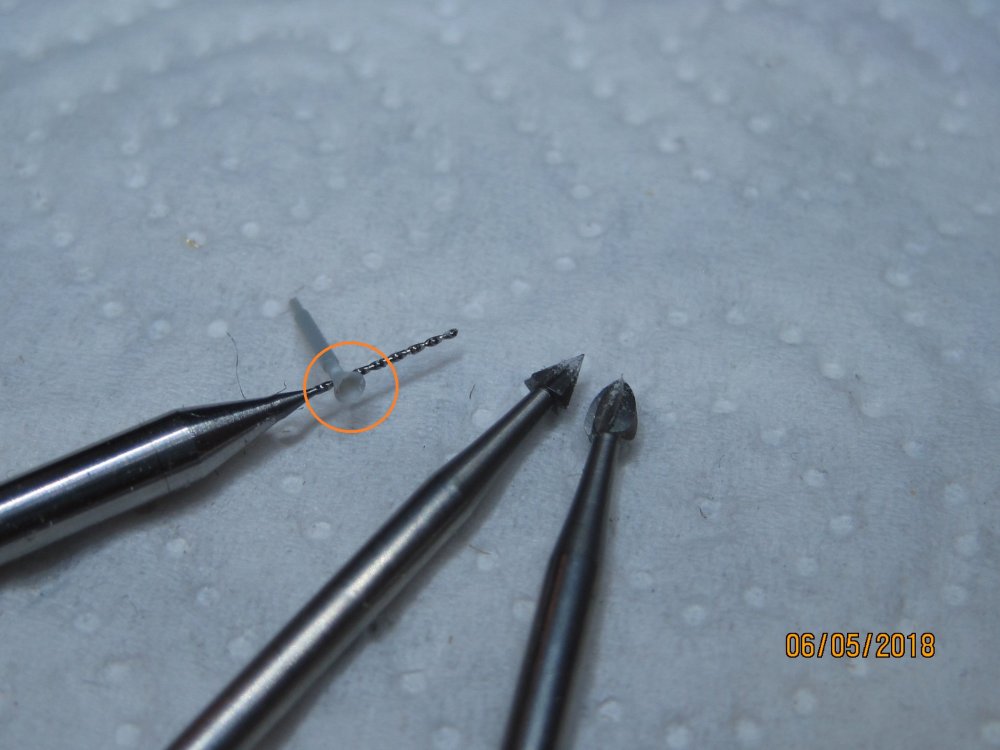
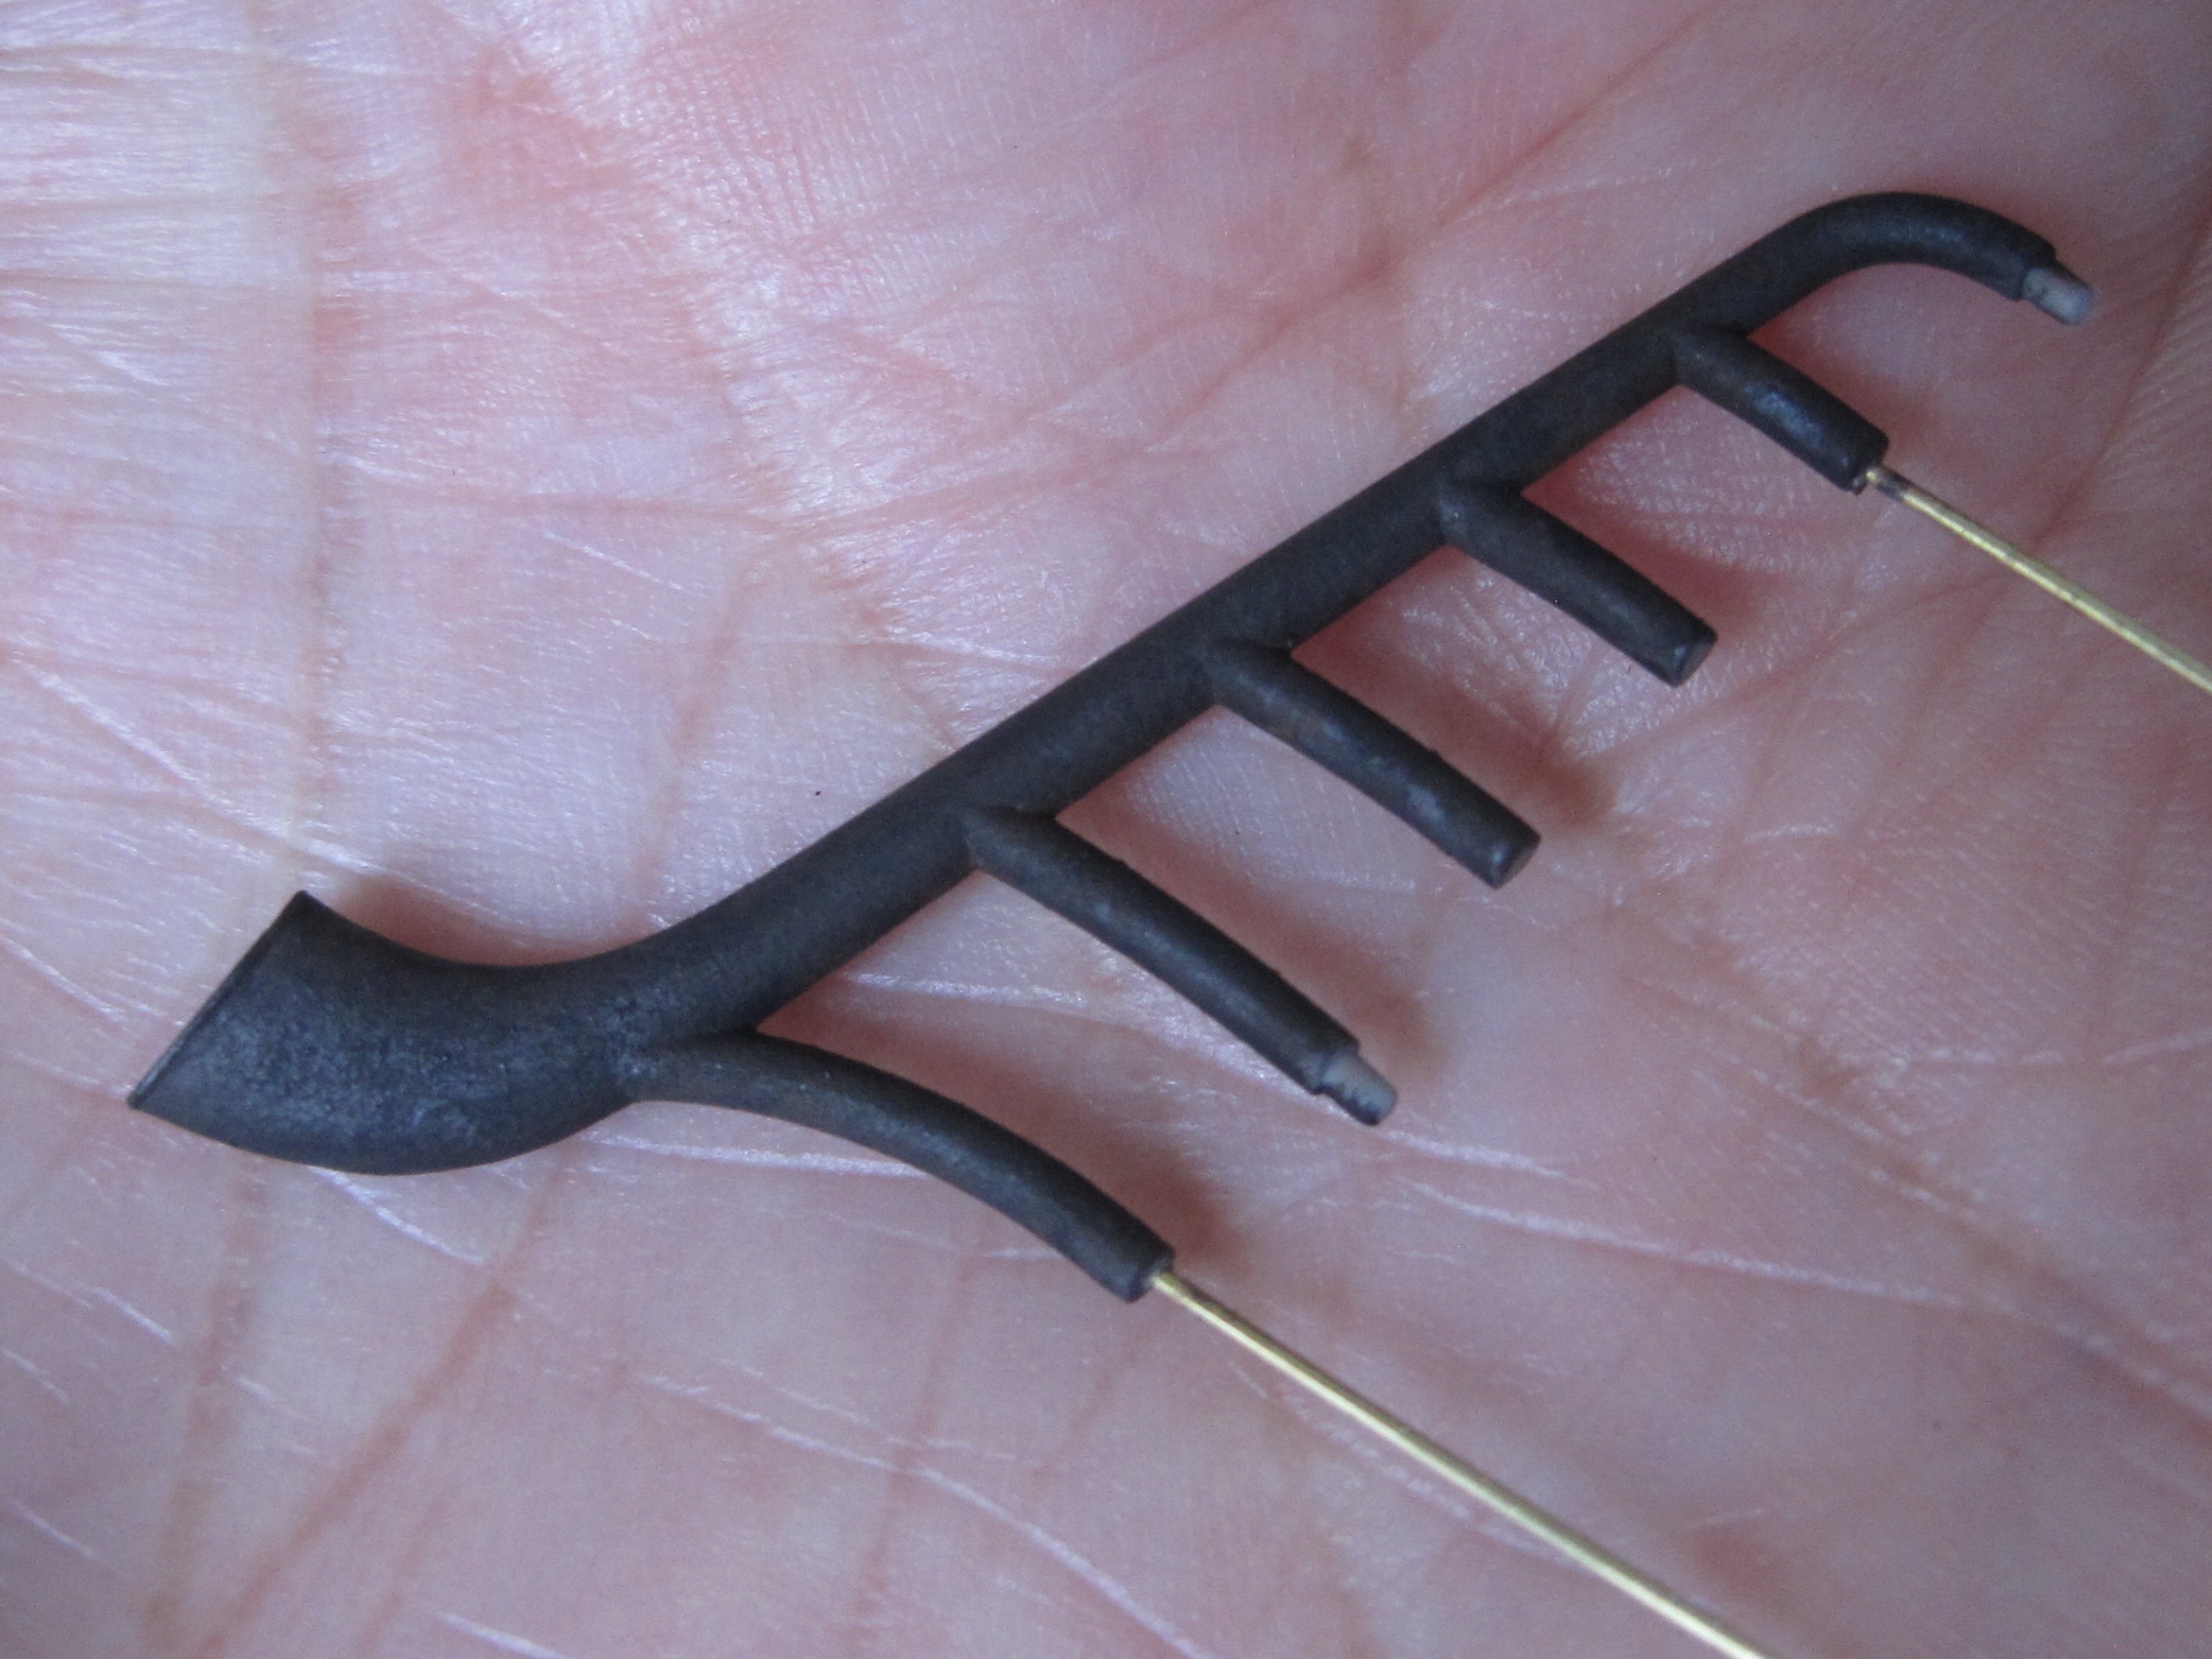
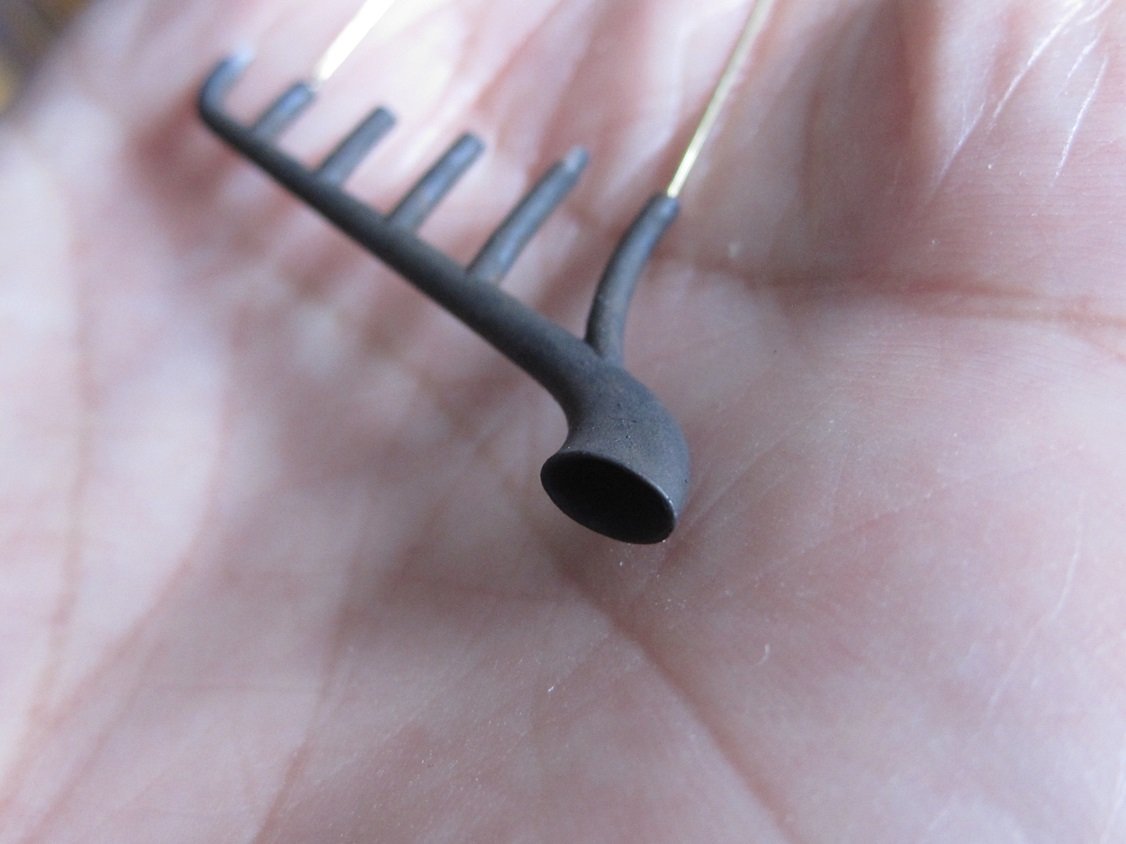
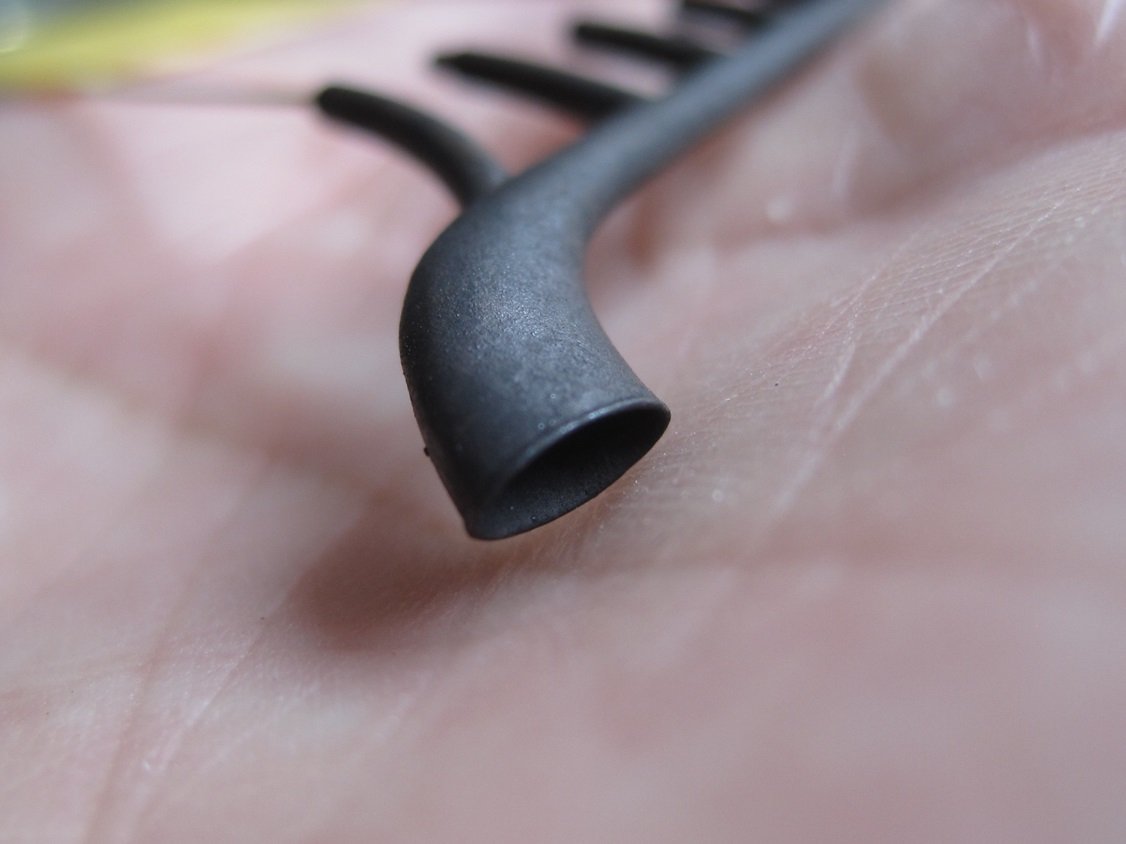
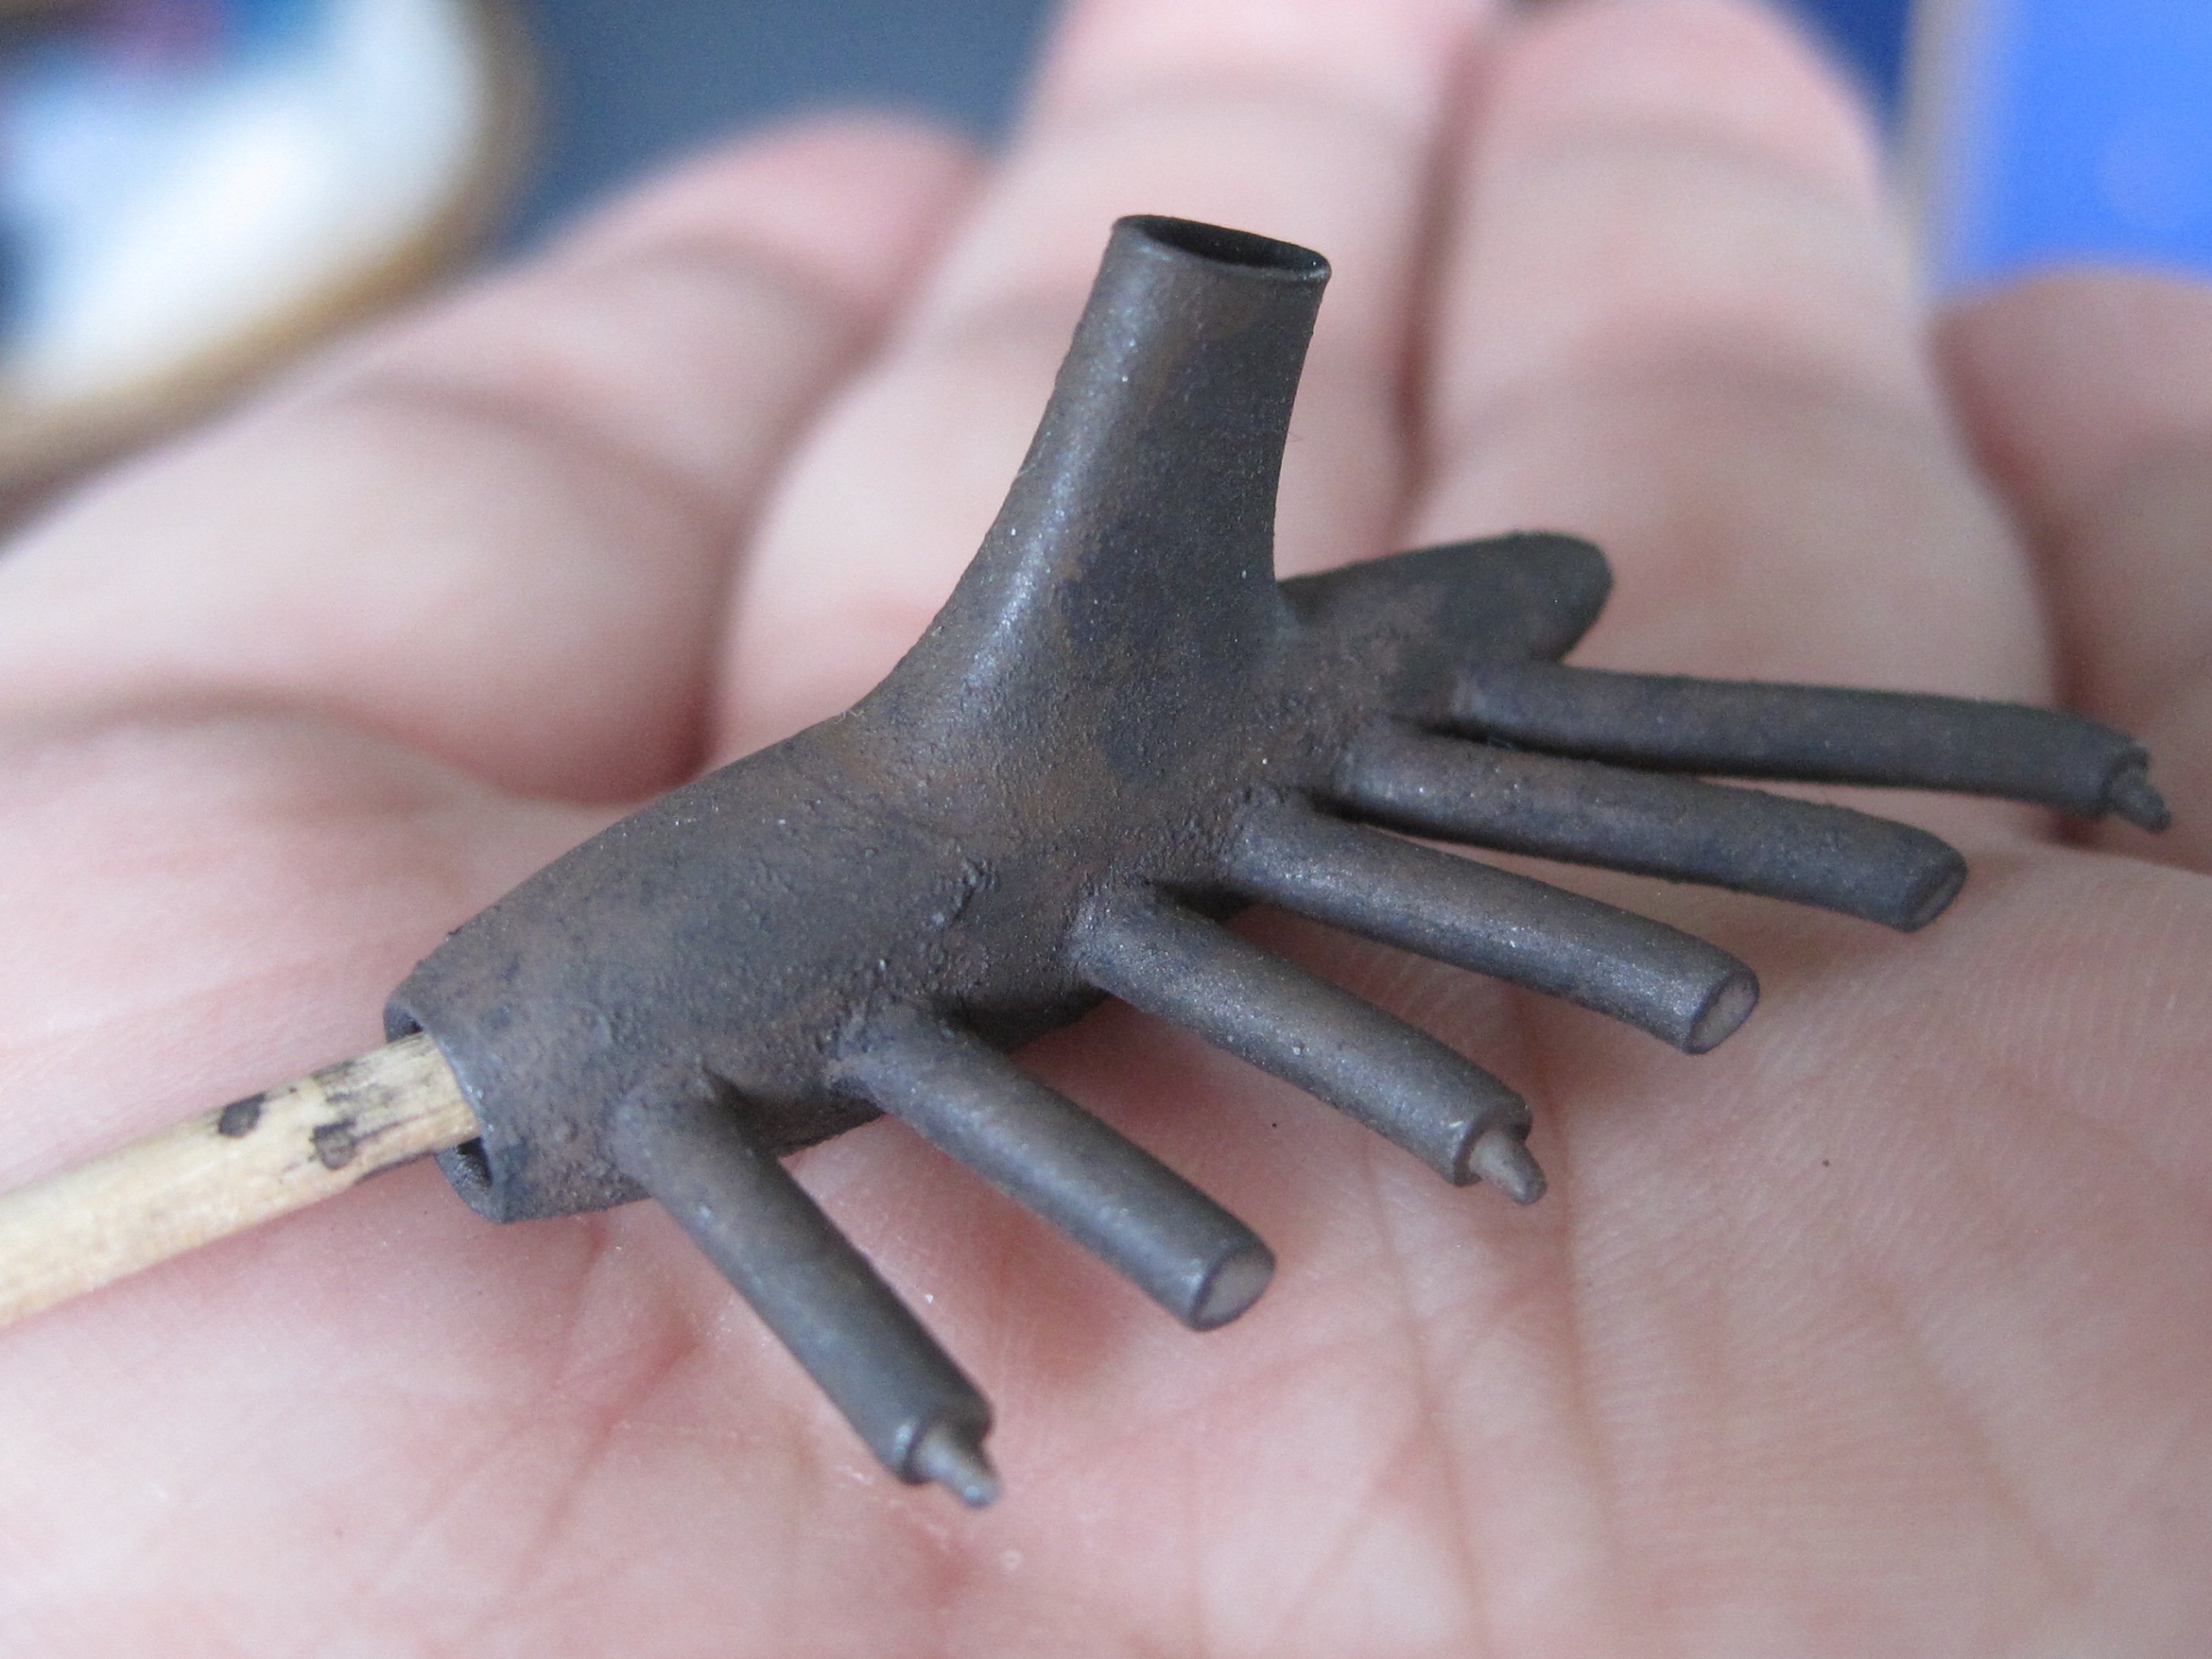
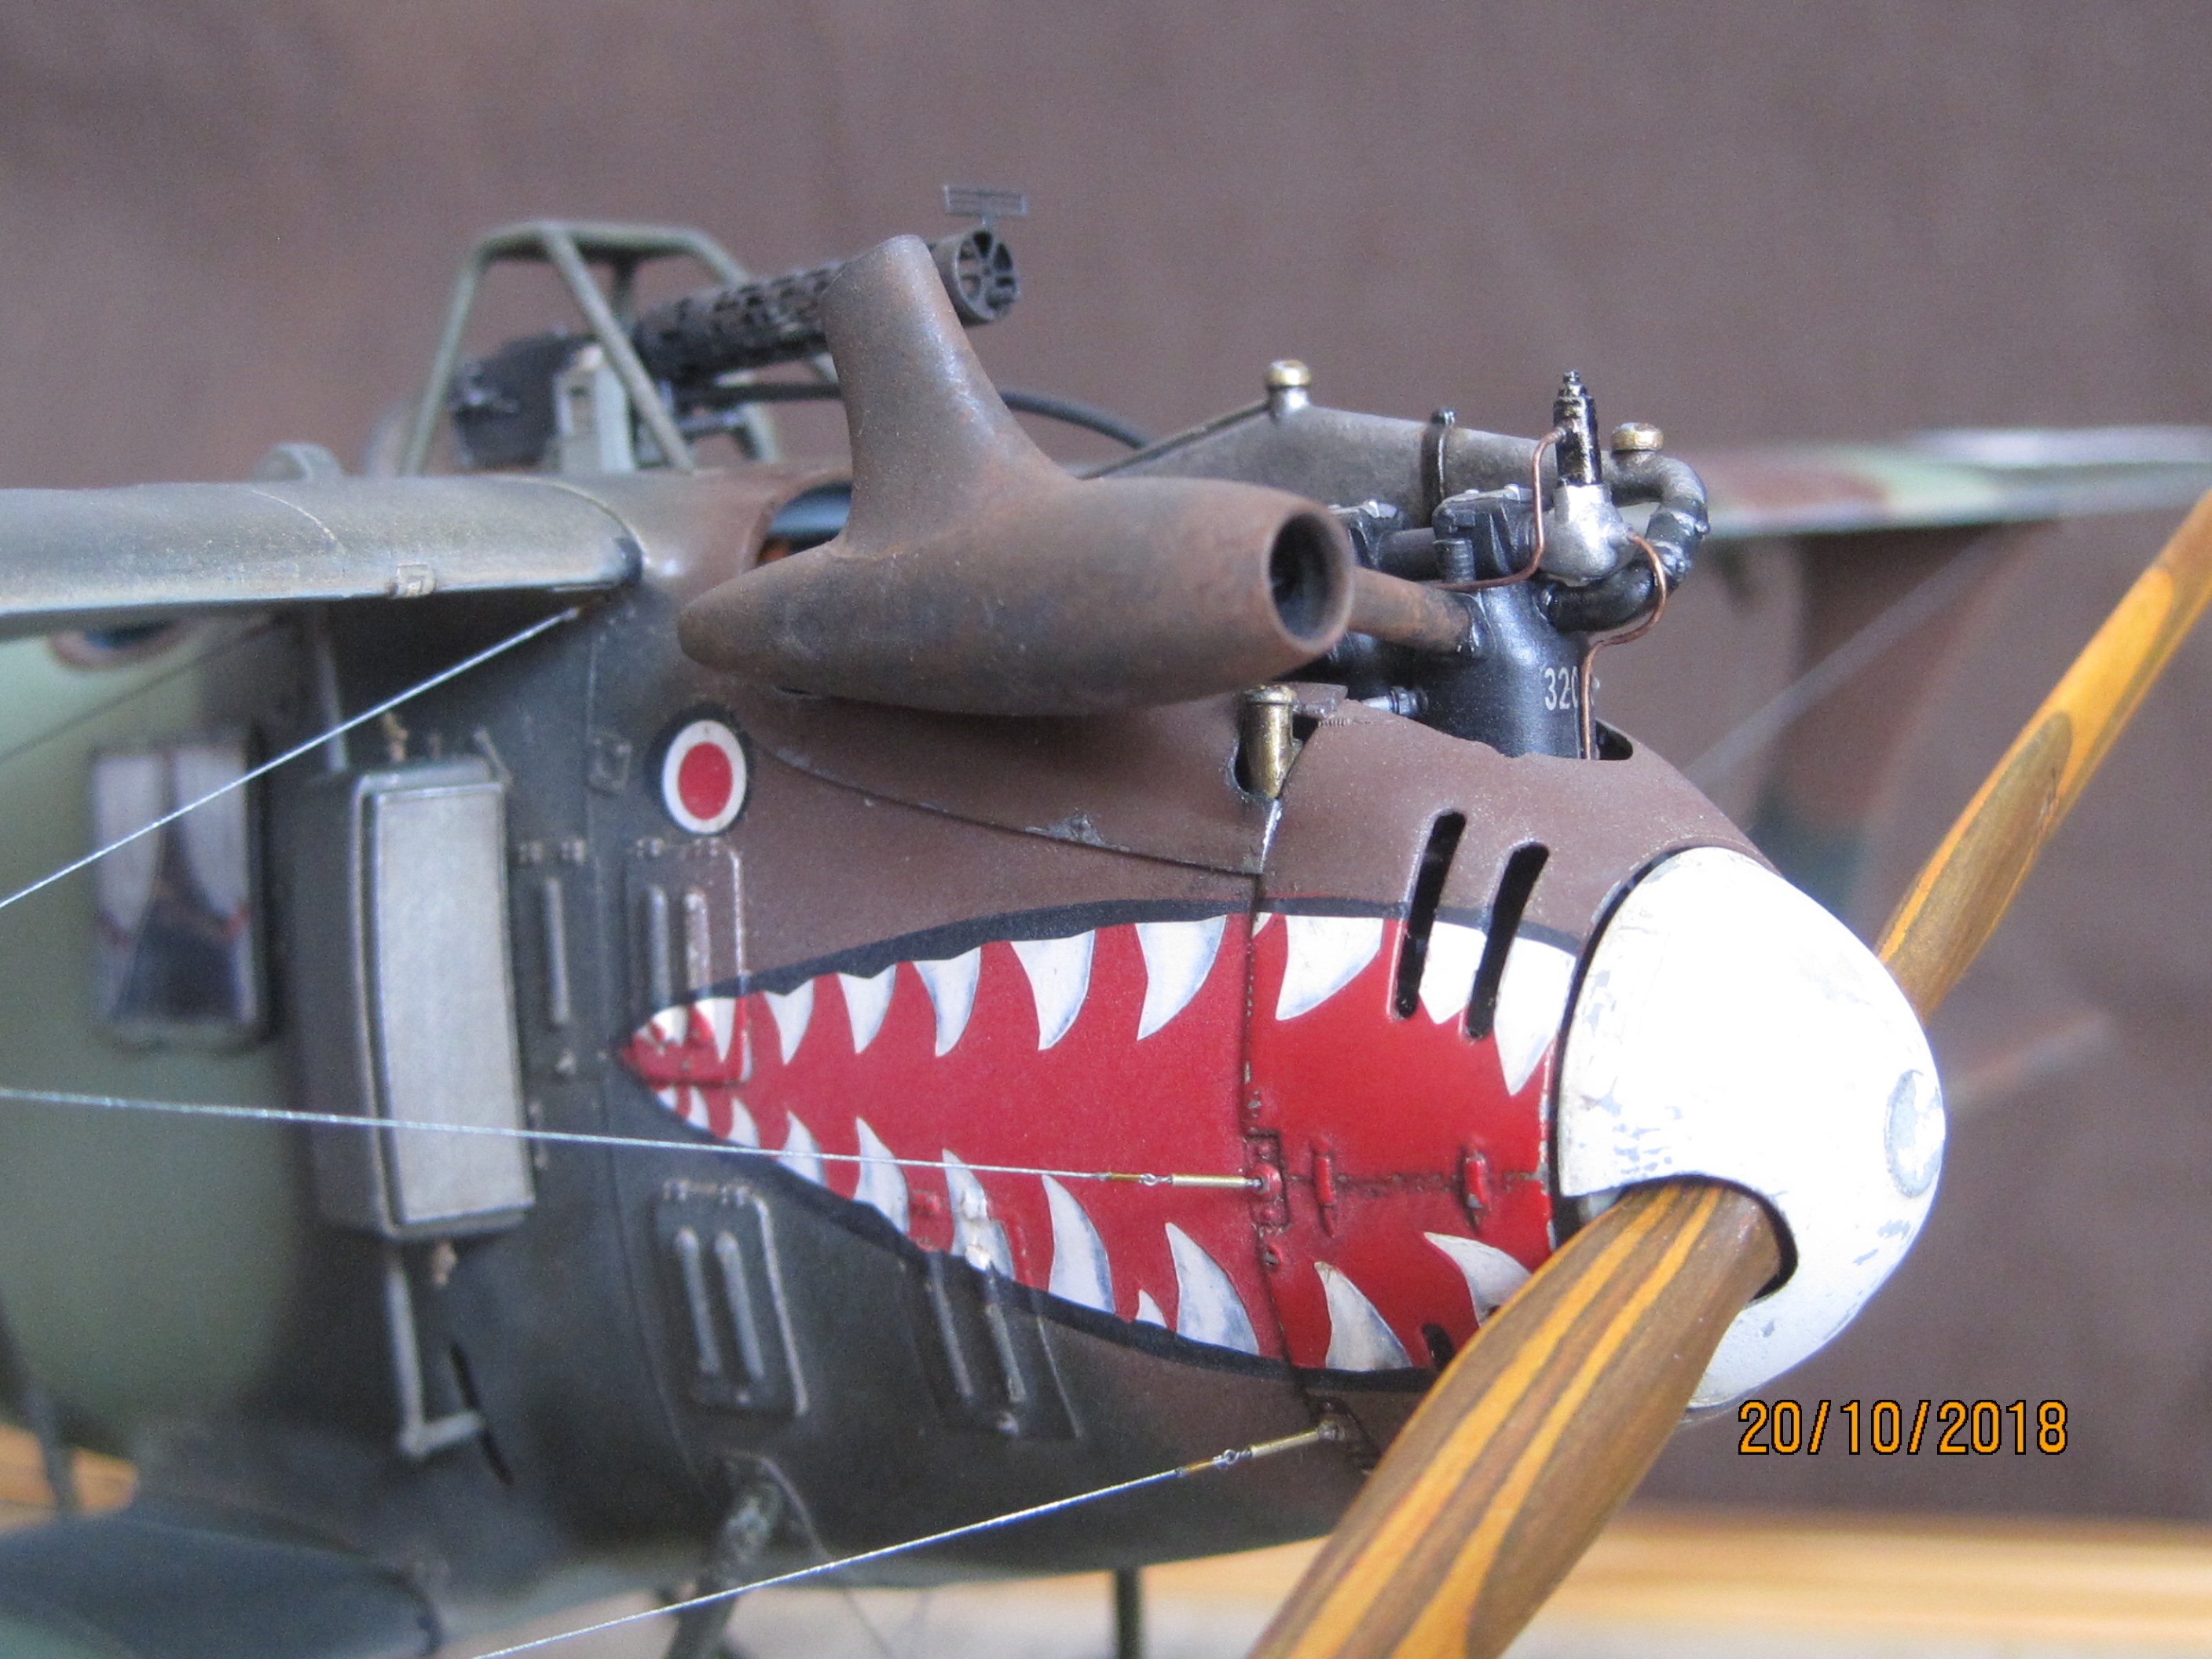
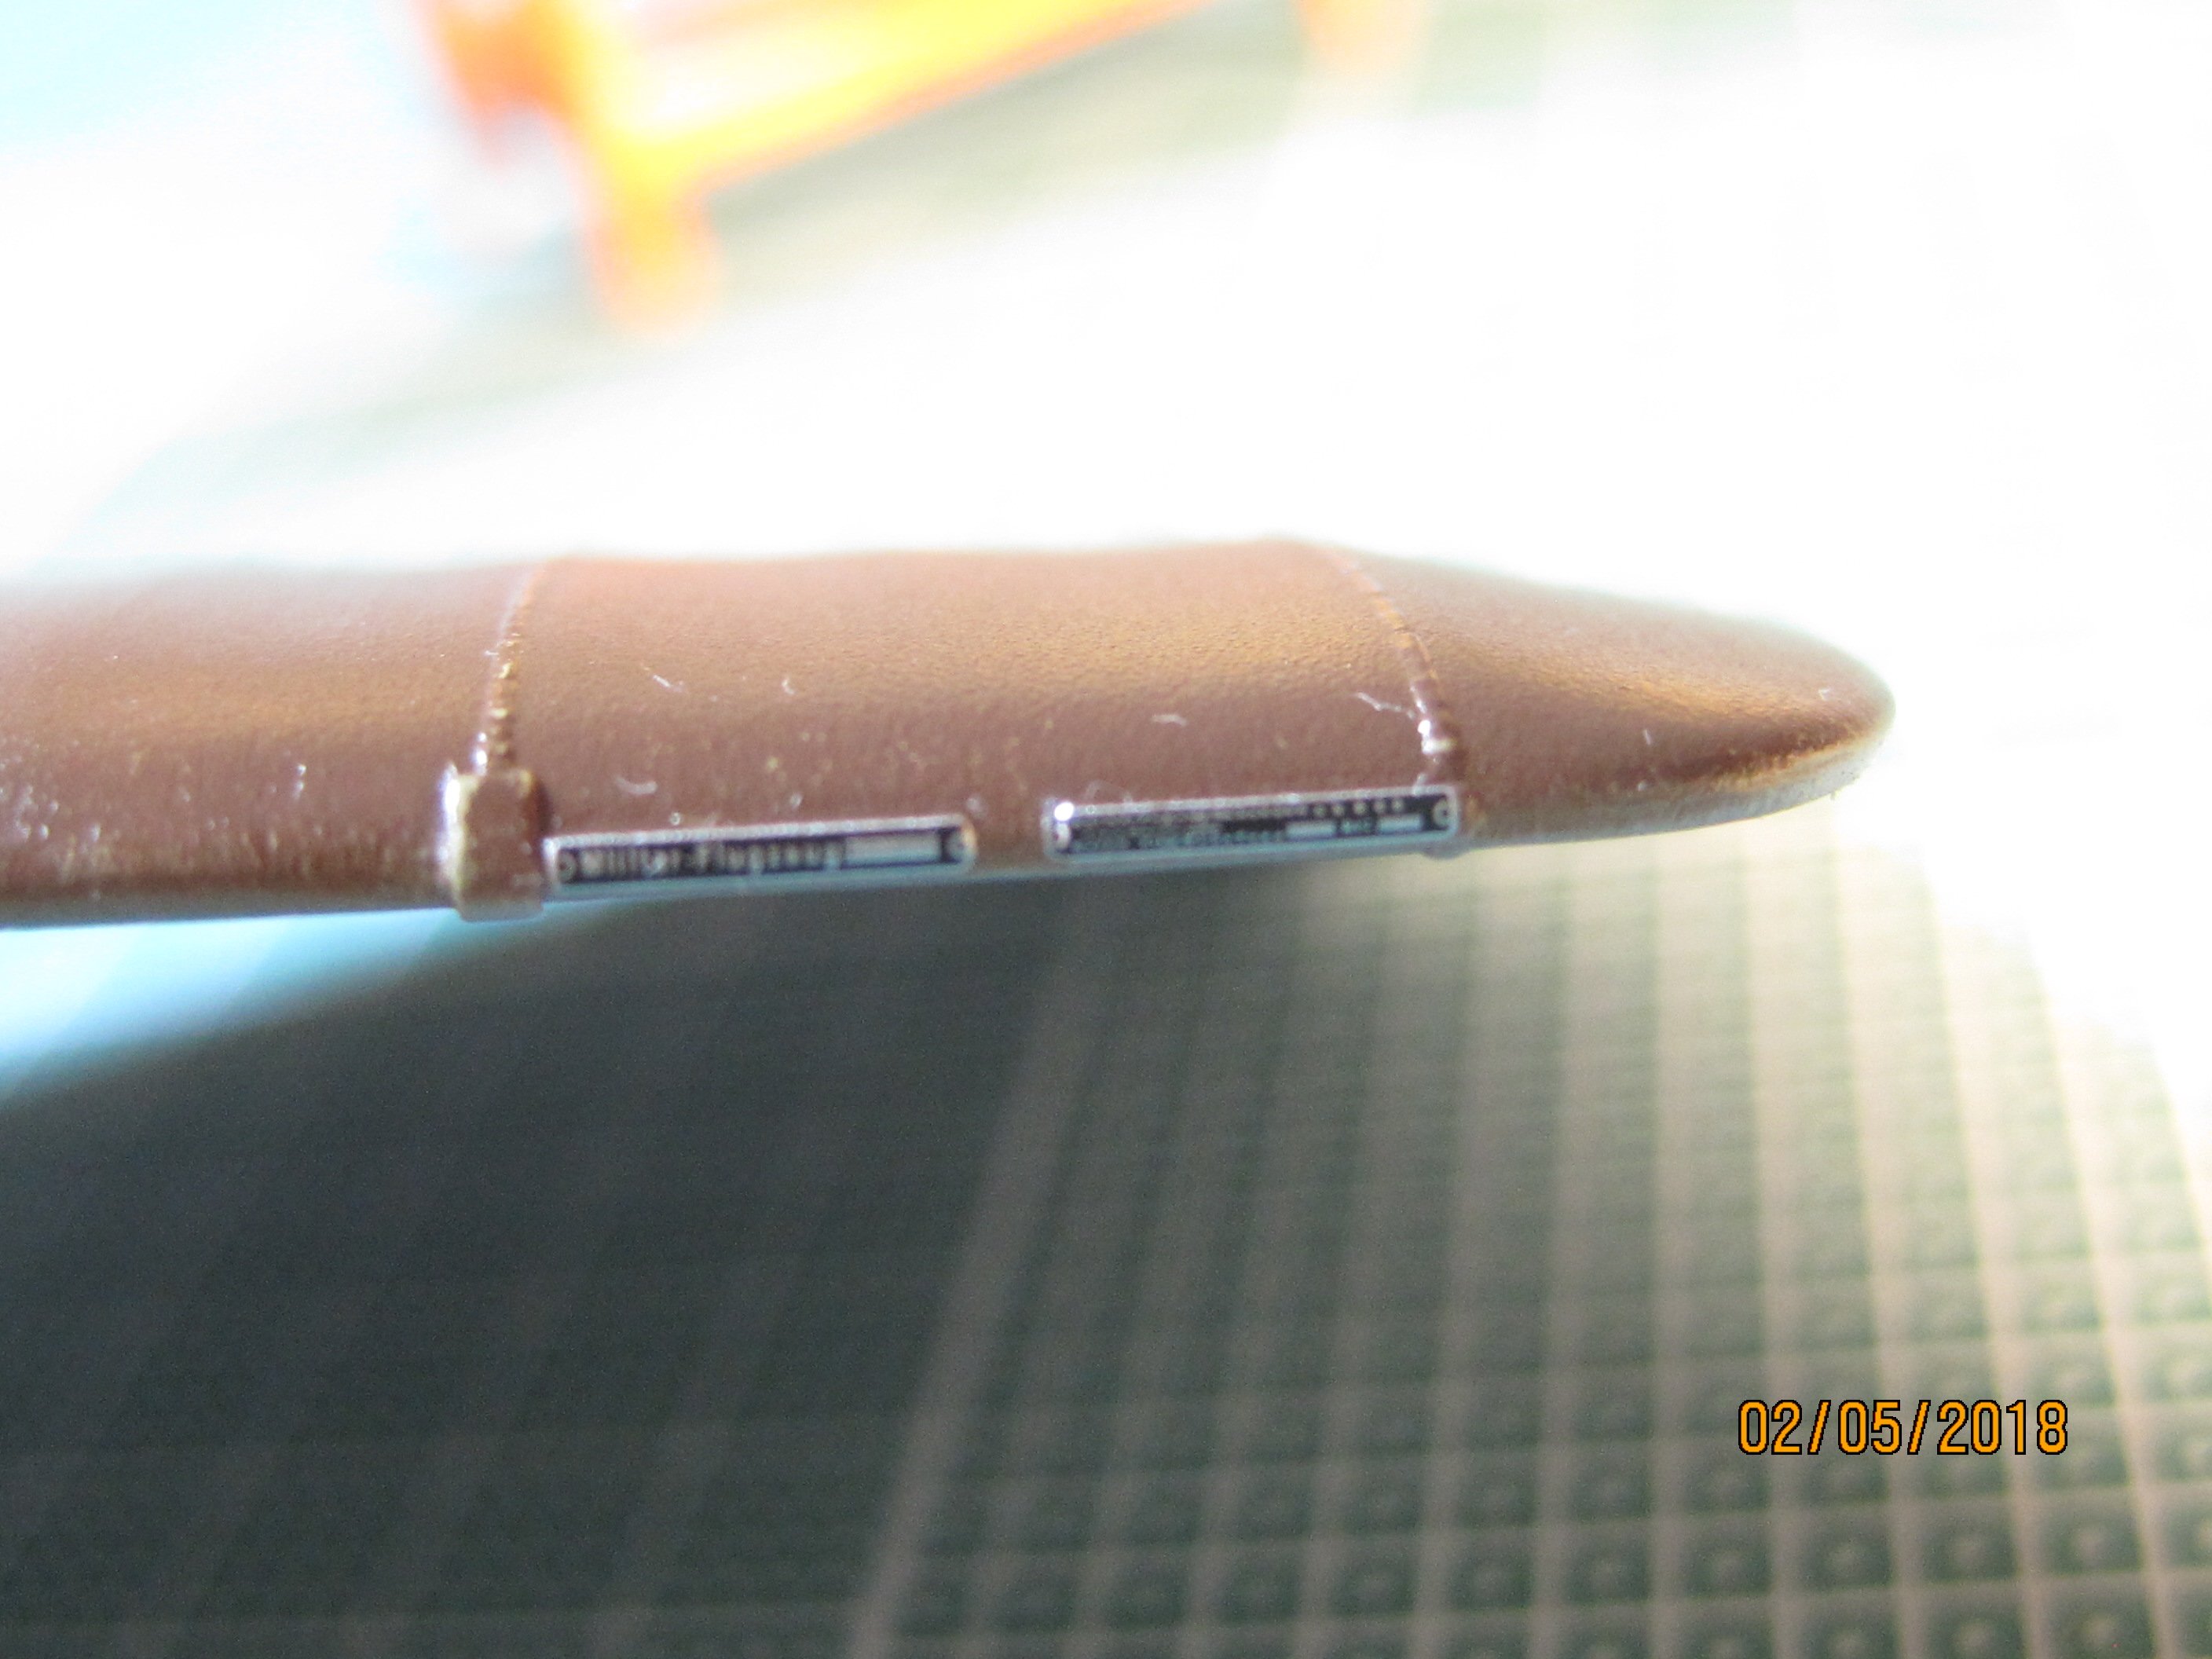
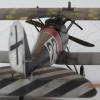
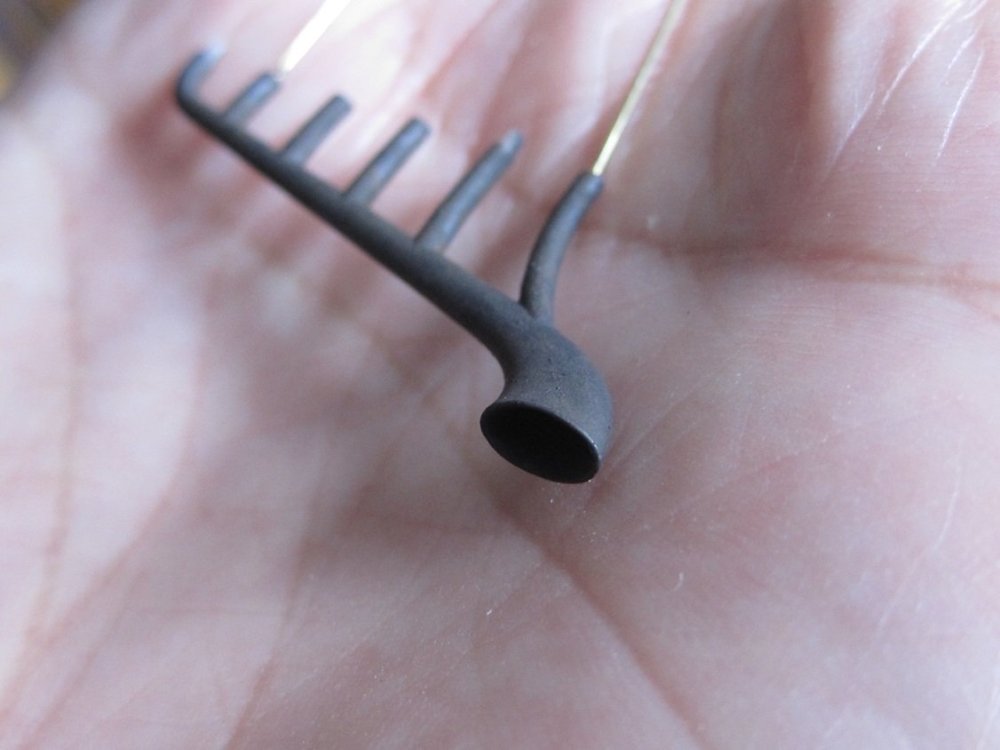
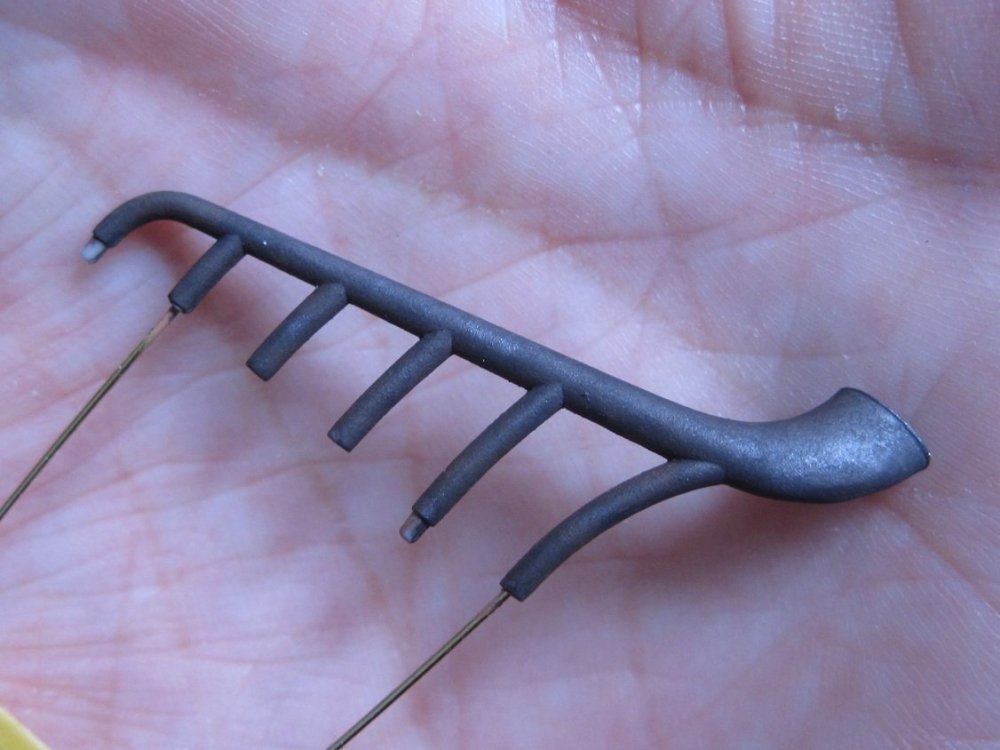
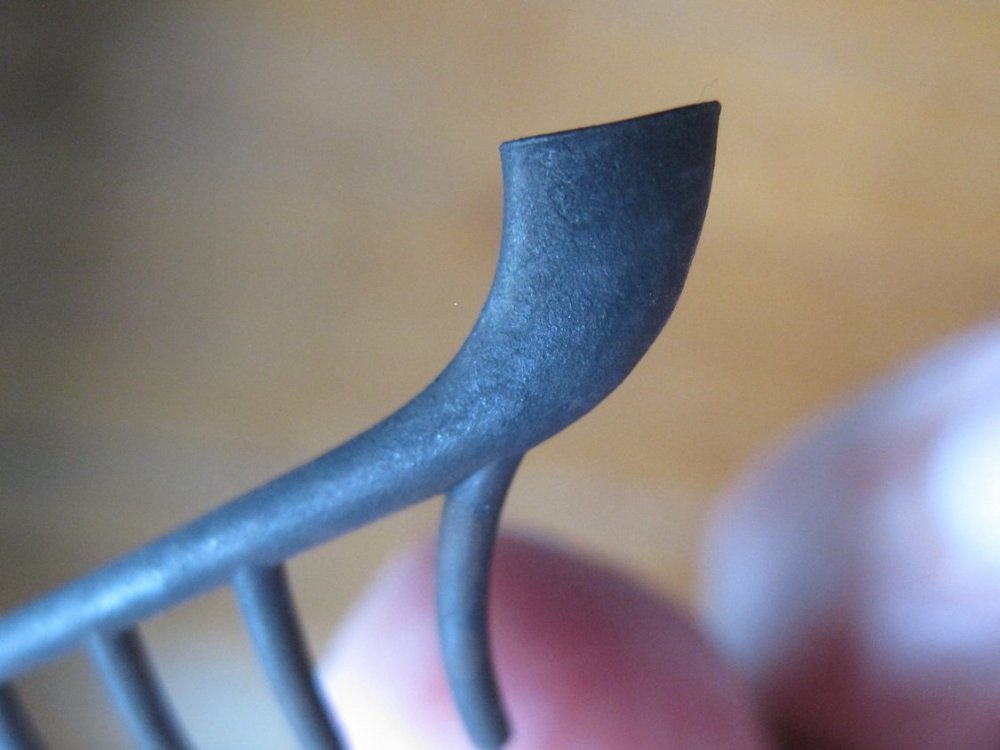
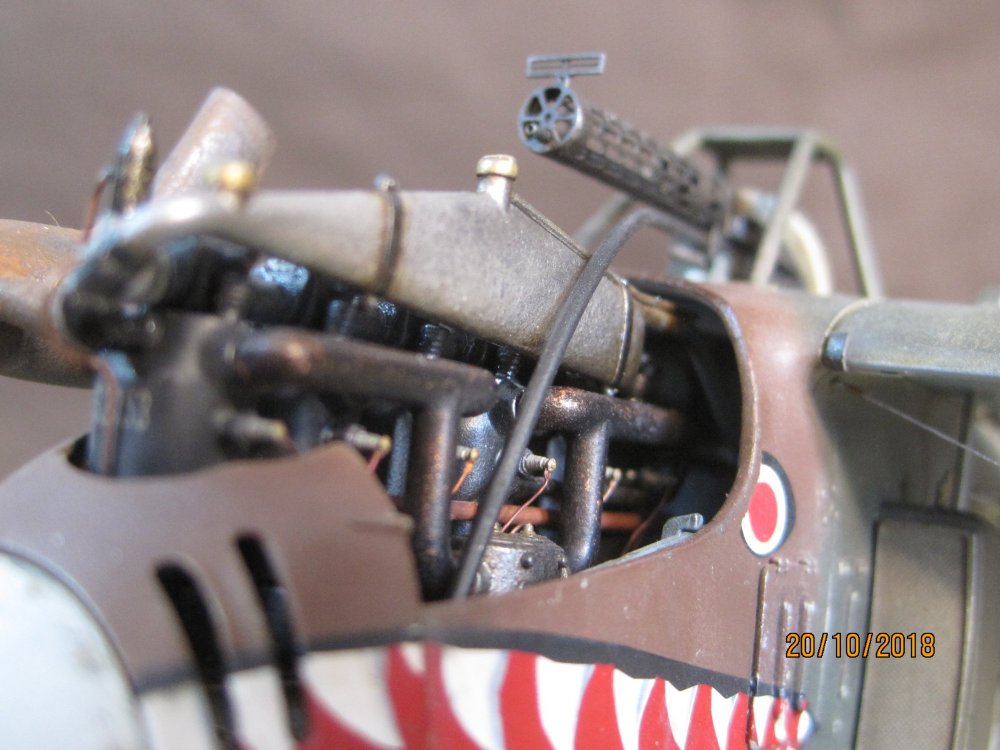
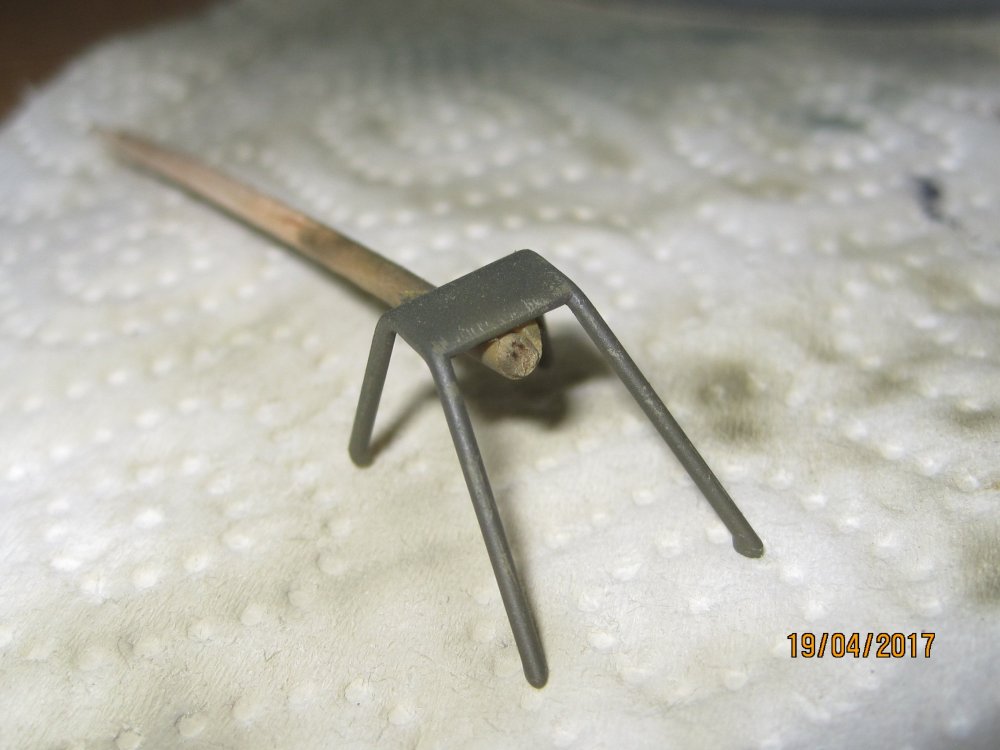
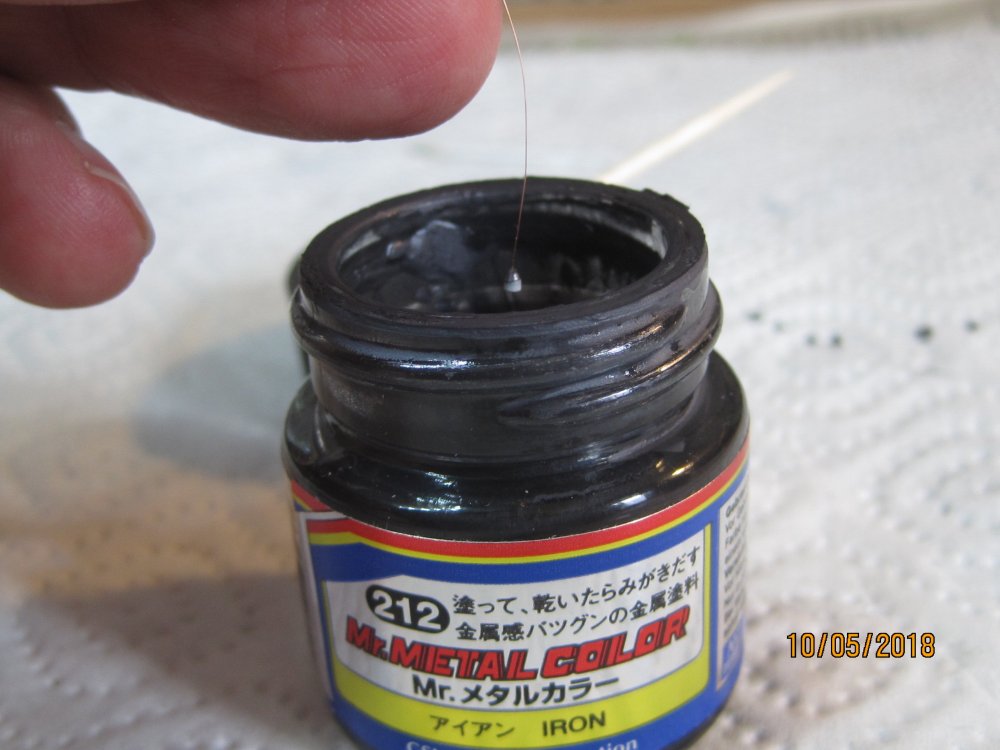
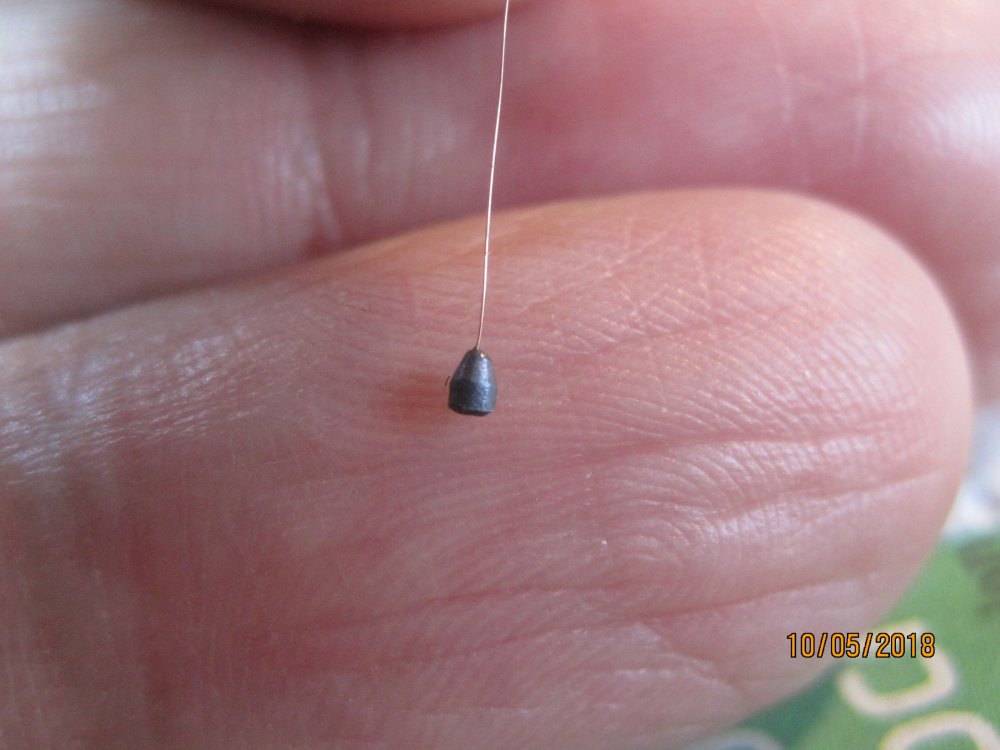
When I'm not working on the Roland, I'm currently busy with an Albatros D.Va. Also wingnut wings. This model is for a fellow model builder. The exhaust has just been finished. The opening at the end of the exhaust was milled free and the missing flare edge was added. Painted with Mr. Metalcolor Iron and Dark Iron, as well as Mr. Hobby Rust Red and various very diluted brown and black watercolors.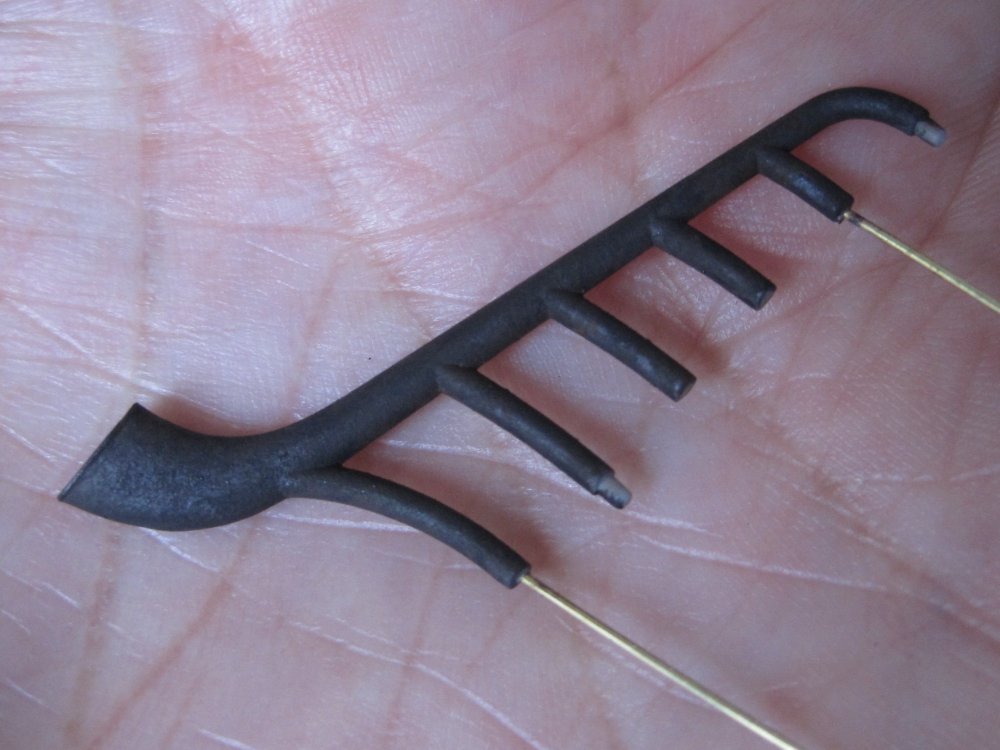

-
What is on your bench right now ? Share a picture :)
Umlaufmotor replied to Martinnfb's topic in Modelling Discussion
I am currently working - with interruptions - on a Wingnut Wings Roland C.II "Late". The last part I recently finished painting was the exhaust. Servus Bertl


-
A very interesting kit from Zoukei-Mura. Nice work here on the engine and cockpit. Also a very interesting discussion regarding "Which 109 do I want to build?" ........ but allways better than pictures is the living object - turn speakers to "loud": Servus Bertl
-
1/32 Morane N - exquisite build by Bertl Skorpil
Umlaufmotor replied to petr@specialhobby's topic in Special Hobby
This model was a lot of work. I think I was busy with it for about 14 months. Of course not permanently but with interruptions. The elevator and rudder are movably connected to the control stick and rudder bar. This means that when the control stick is moved, the elevator moves accordingly. The rudder and rudder bar also move in the same way. Thanks for posting the link, Petr. Greetings Bertl -
Wingnut Wings Roland C.IIa
Umlaufmotor replied to Umlaufmotor's topic in WNW and WW1 Ready for Inspection'
How high did we fly over the front, Herr Oberleutnant? Thanks a lot for watching and your kind comments. Servus Bertl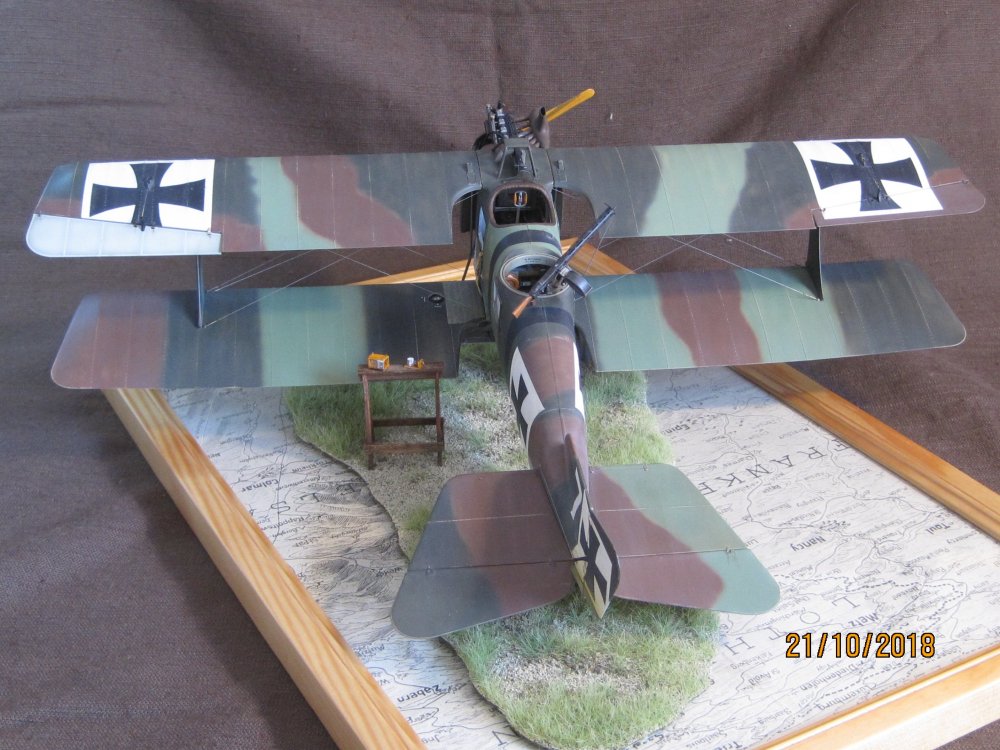

-
Wingnut Wings Roland C.IIa
Umlaufmotor replied to Umlaufmotor's topic in WNW and WW1 Ready for Inspection'
-
Wingnut Wings Roland C.IIa
Umlaufmotor replied to Umlaufmotor's topic in WNW and WW1 Ready for Inspection'


-
Wingnut Wings Roland C.IIa
Umlaufmotor replied to Umlaufmotor's topic in WNW and WW1 Ready for Inspection'


-
Wingnut Wings Roland C.IIa
Umlaufmotor replied to Umlaufmotor's topic in WNW and WW1 Ready for Inspection'

-
Wingnut Wings Roland C.IIa
Umlaufmotor replied to Umlaufmotor's topic in WNW and WW1 Ready for Inspection'
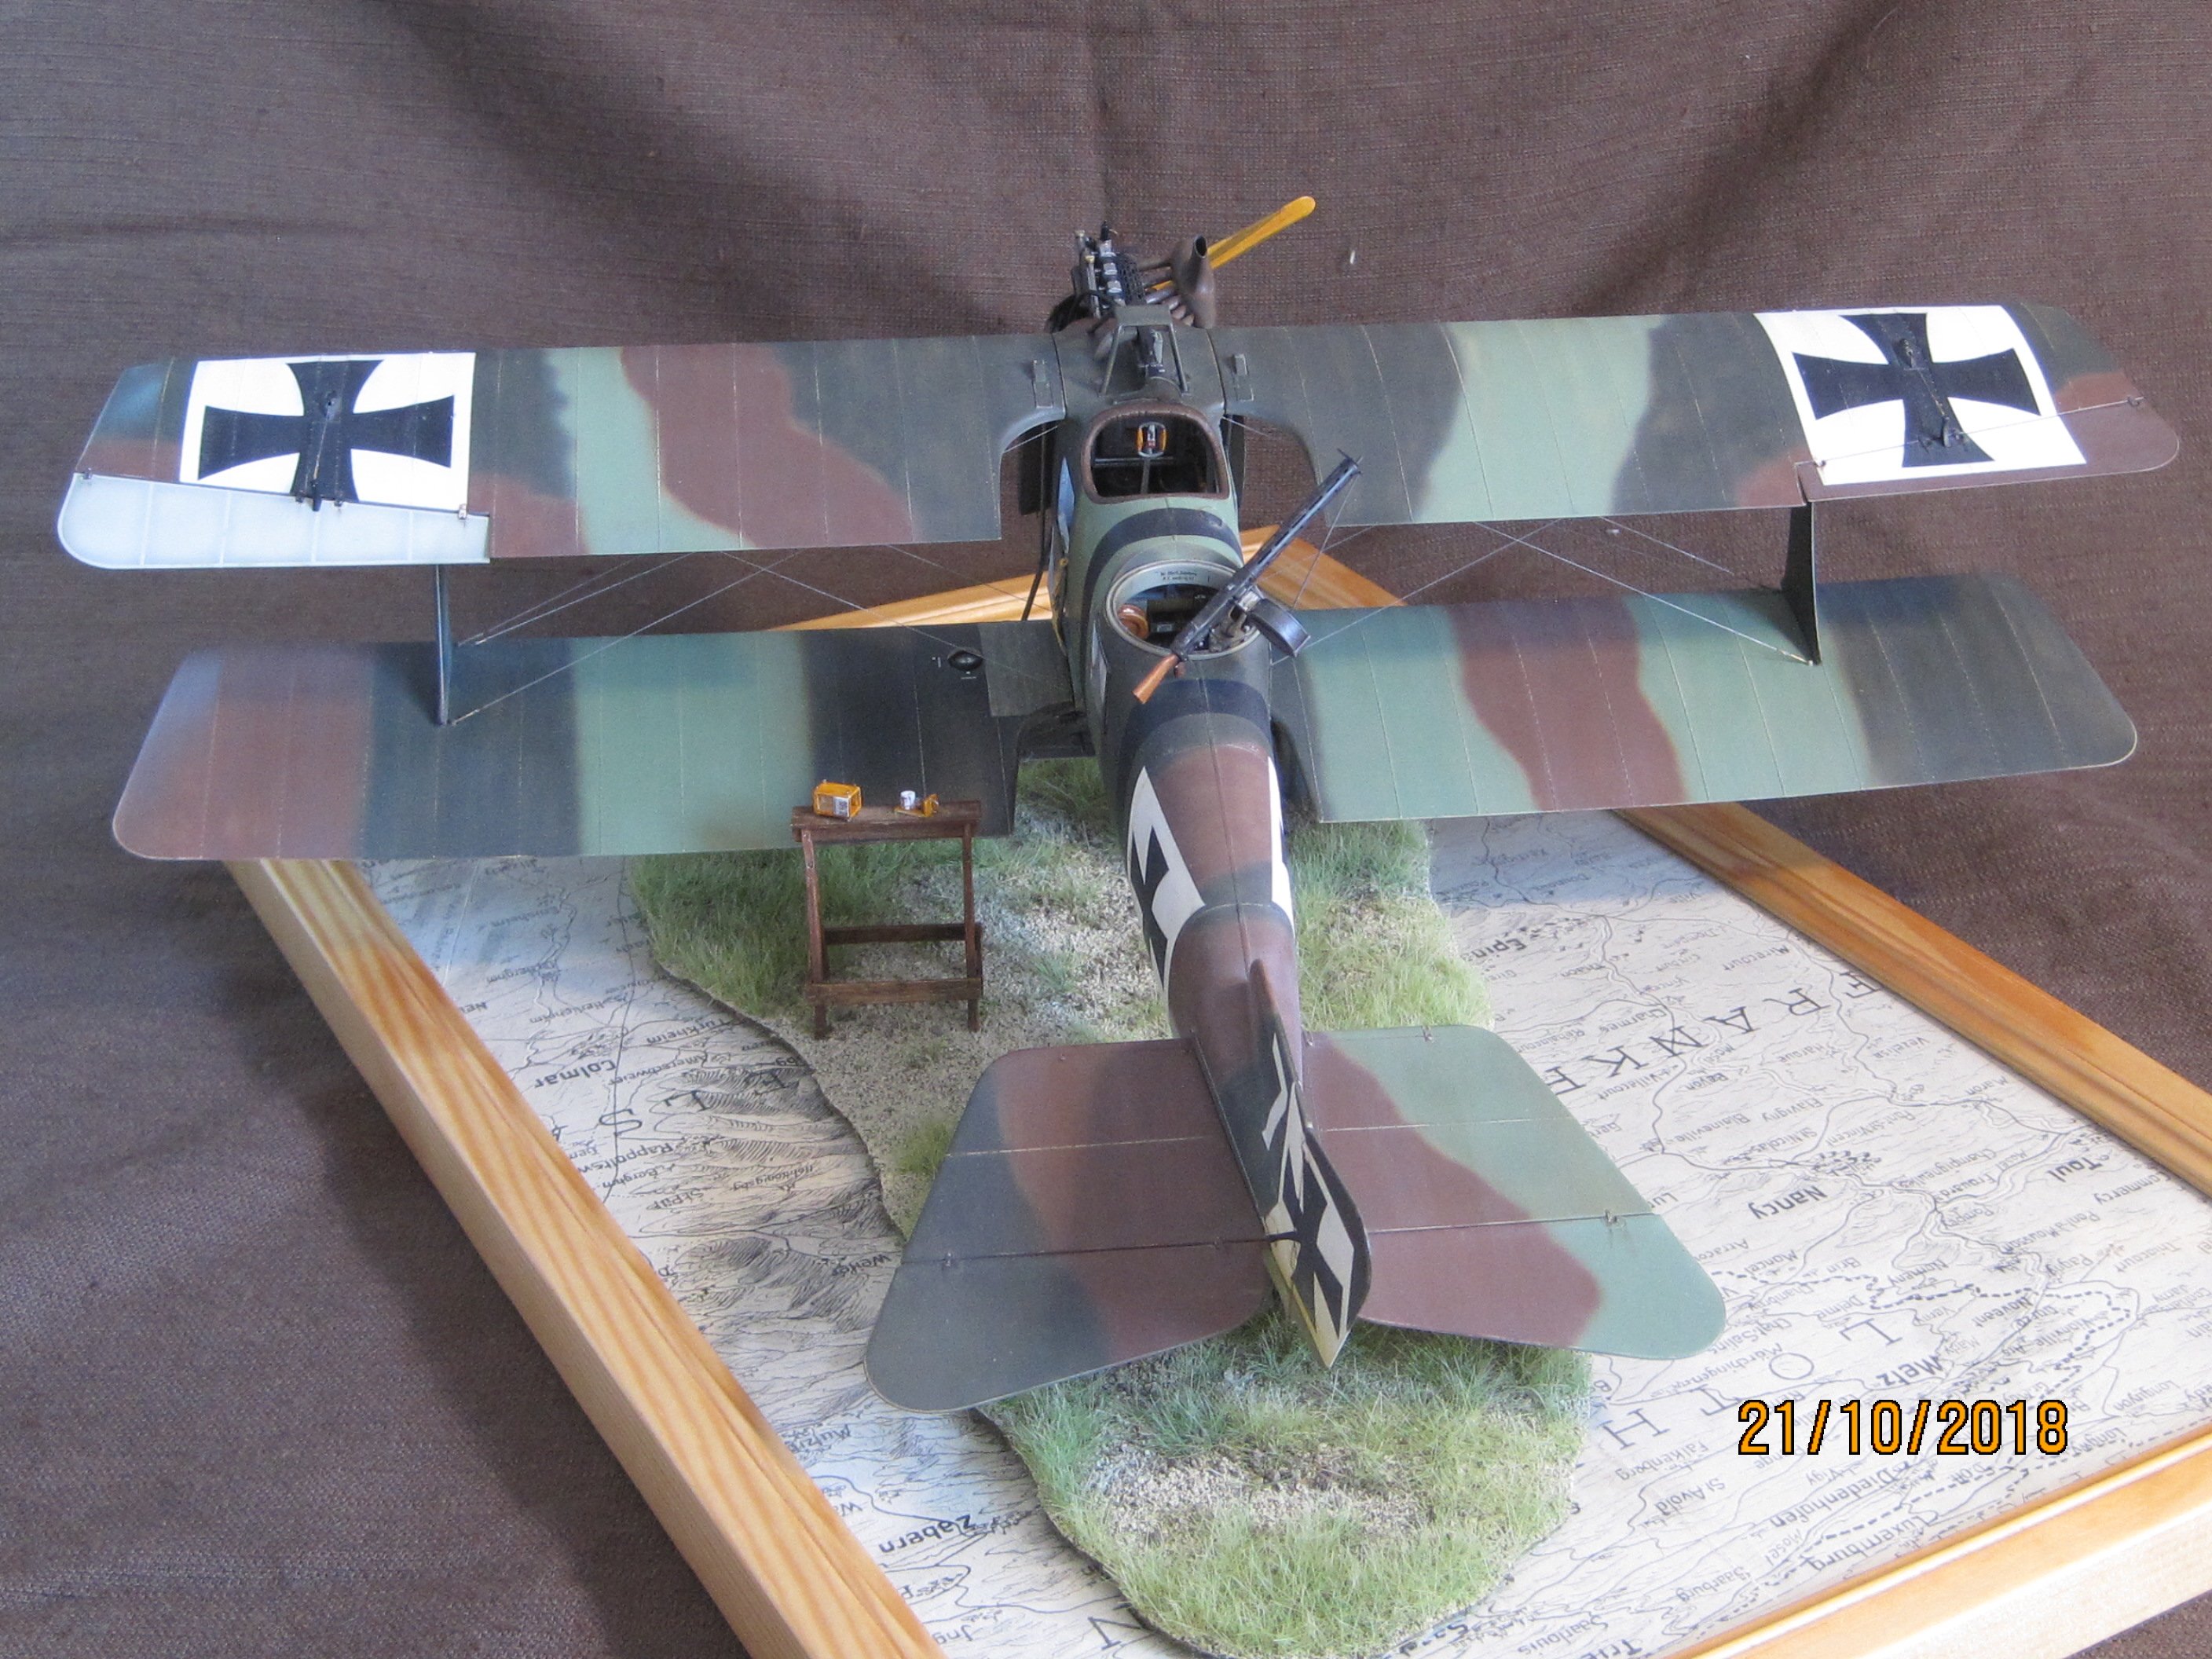
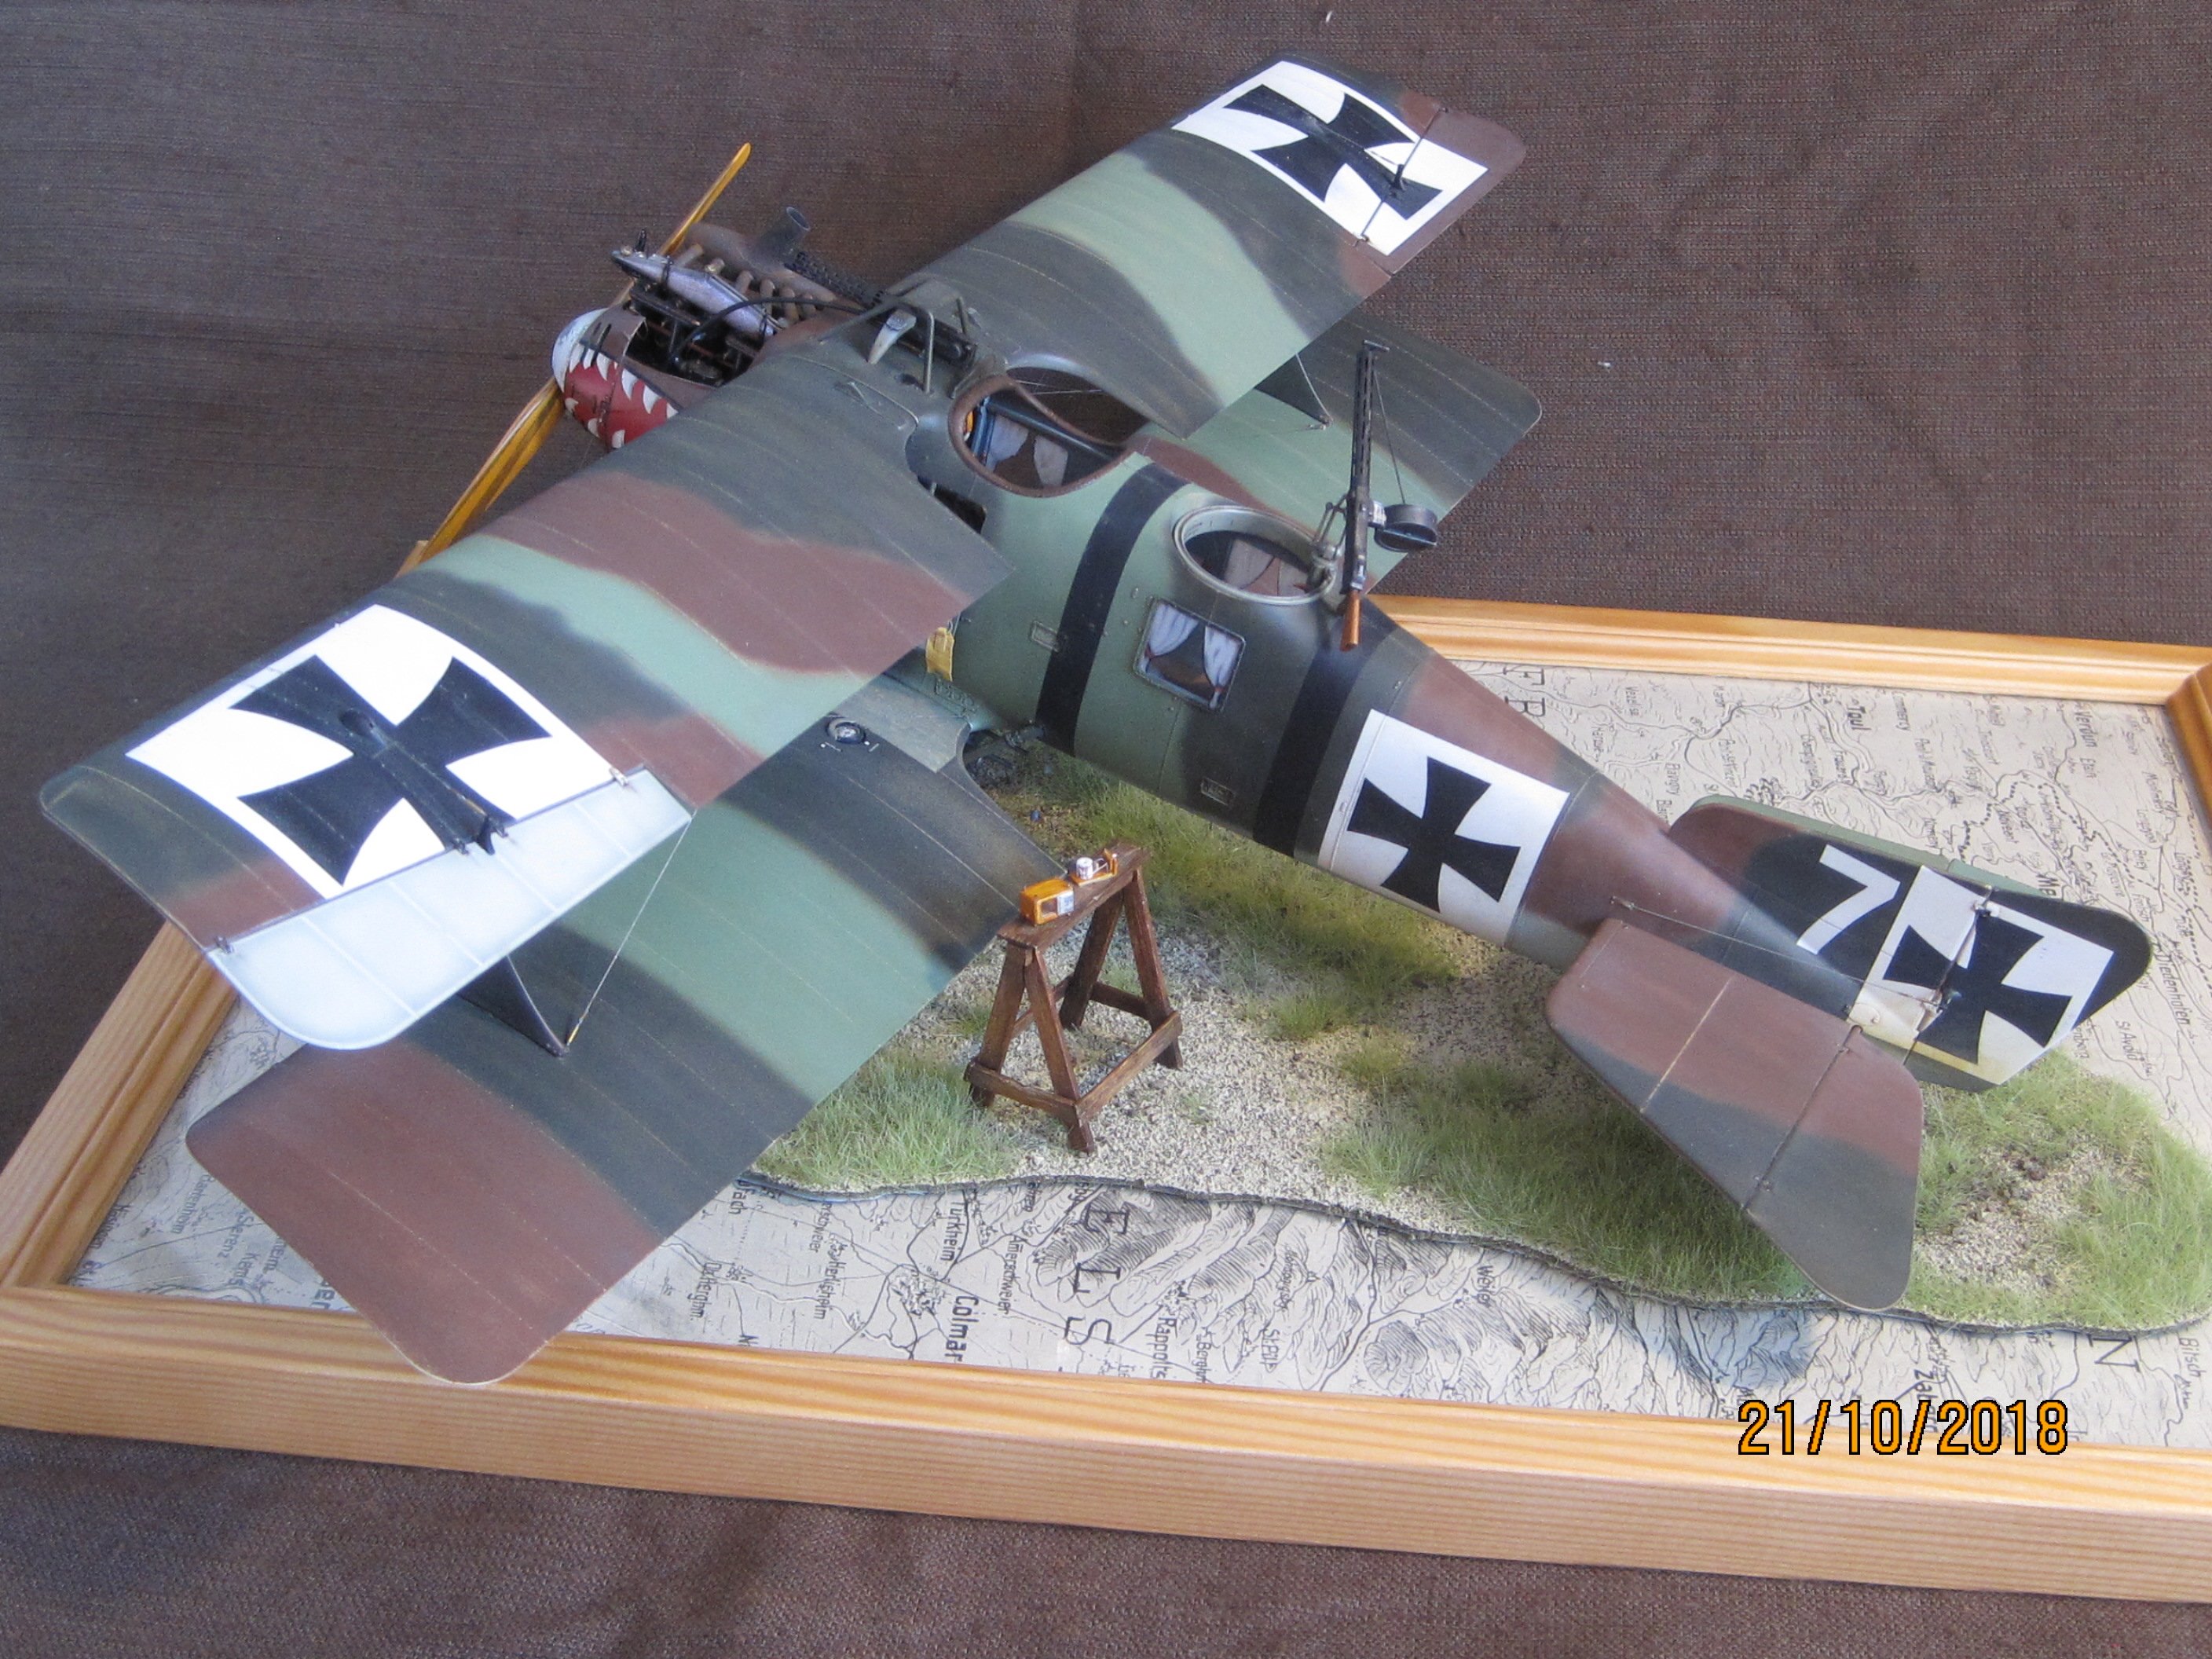
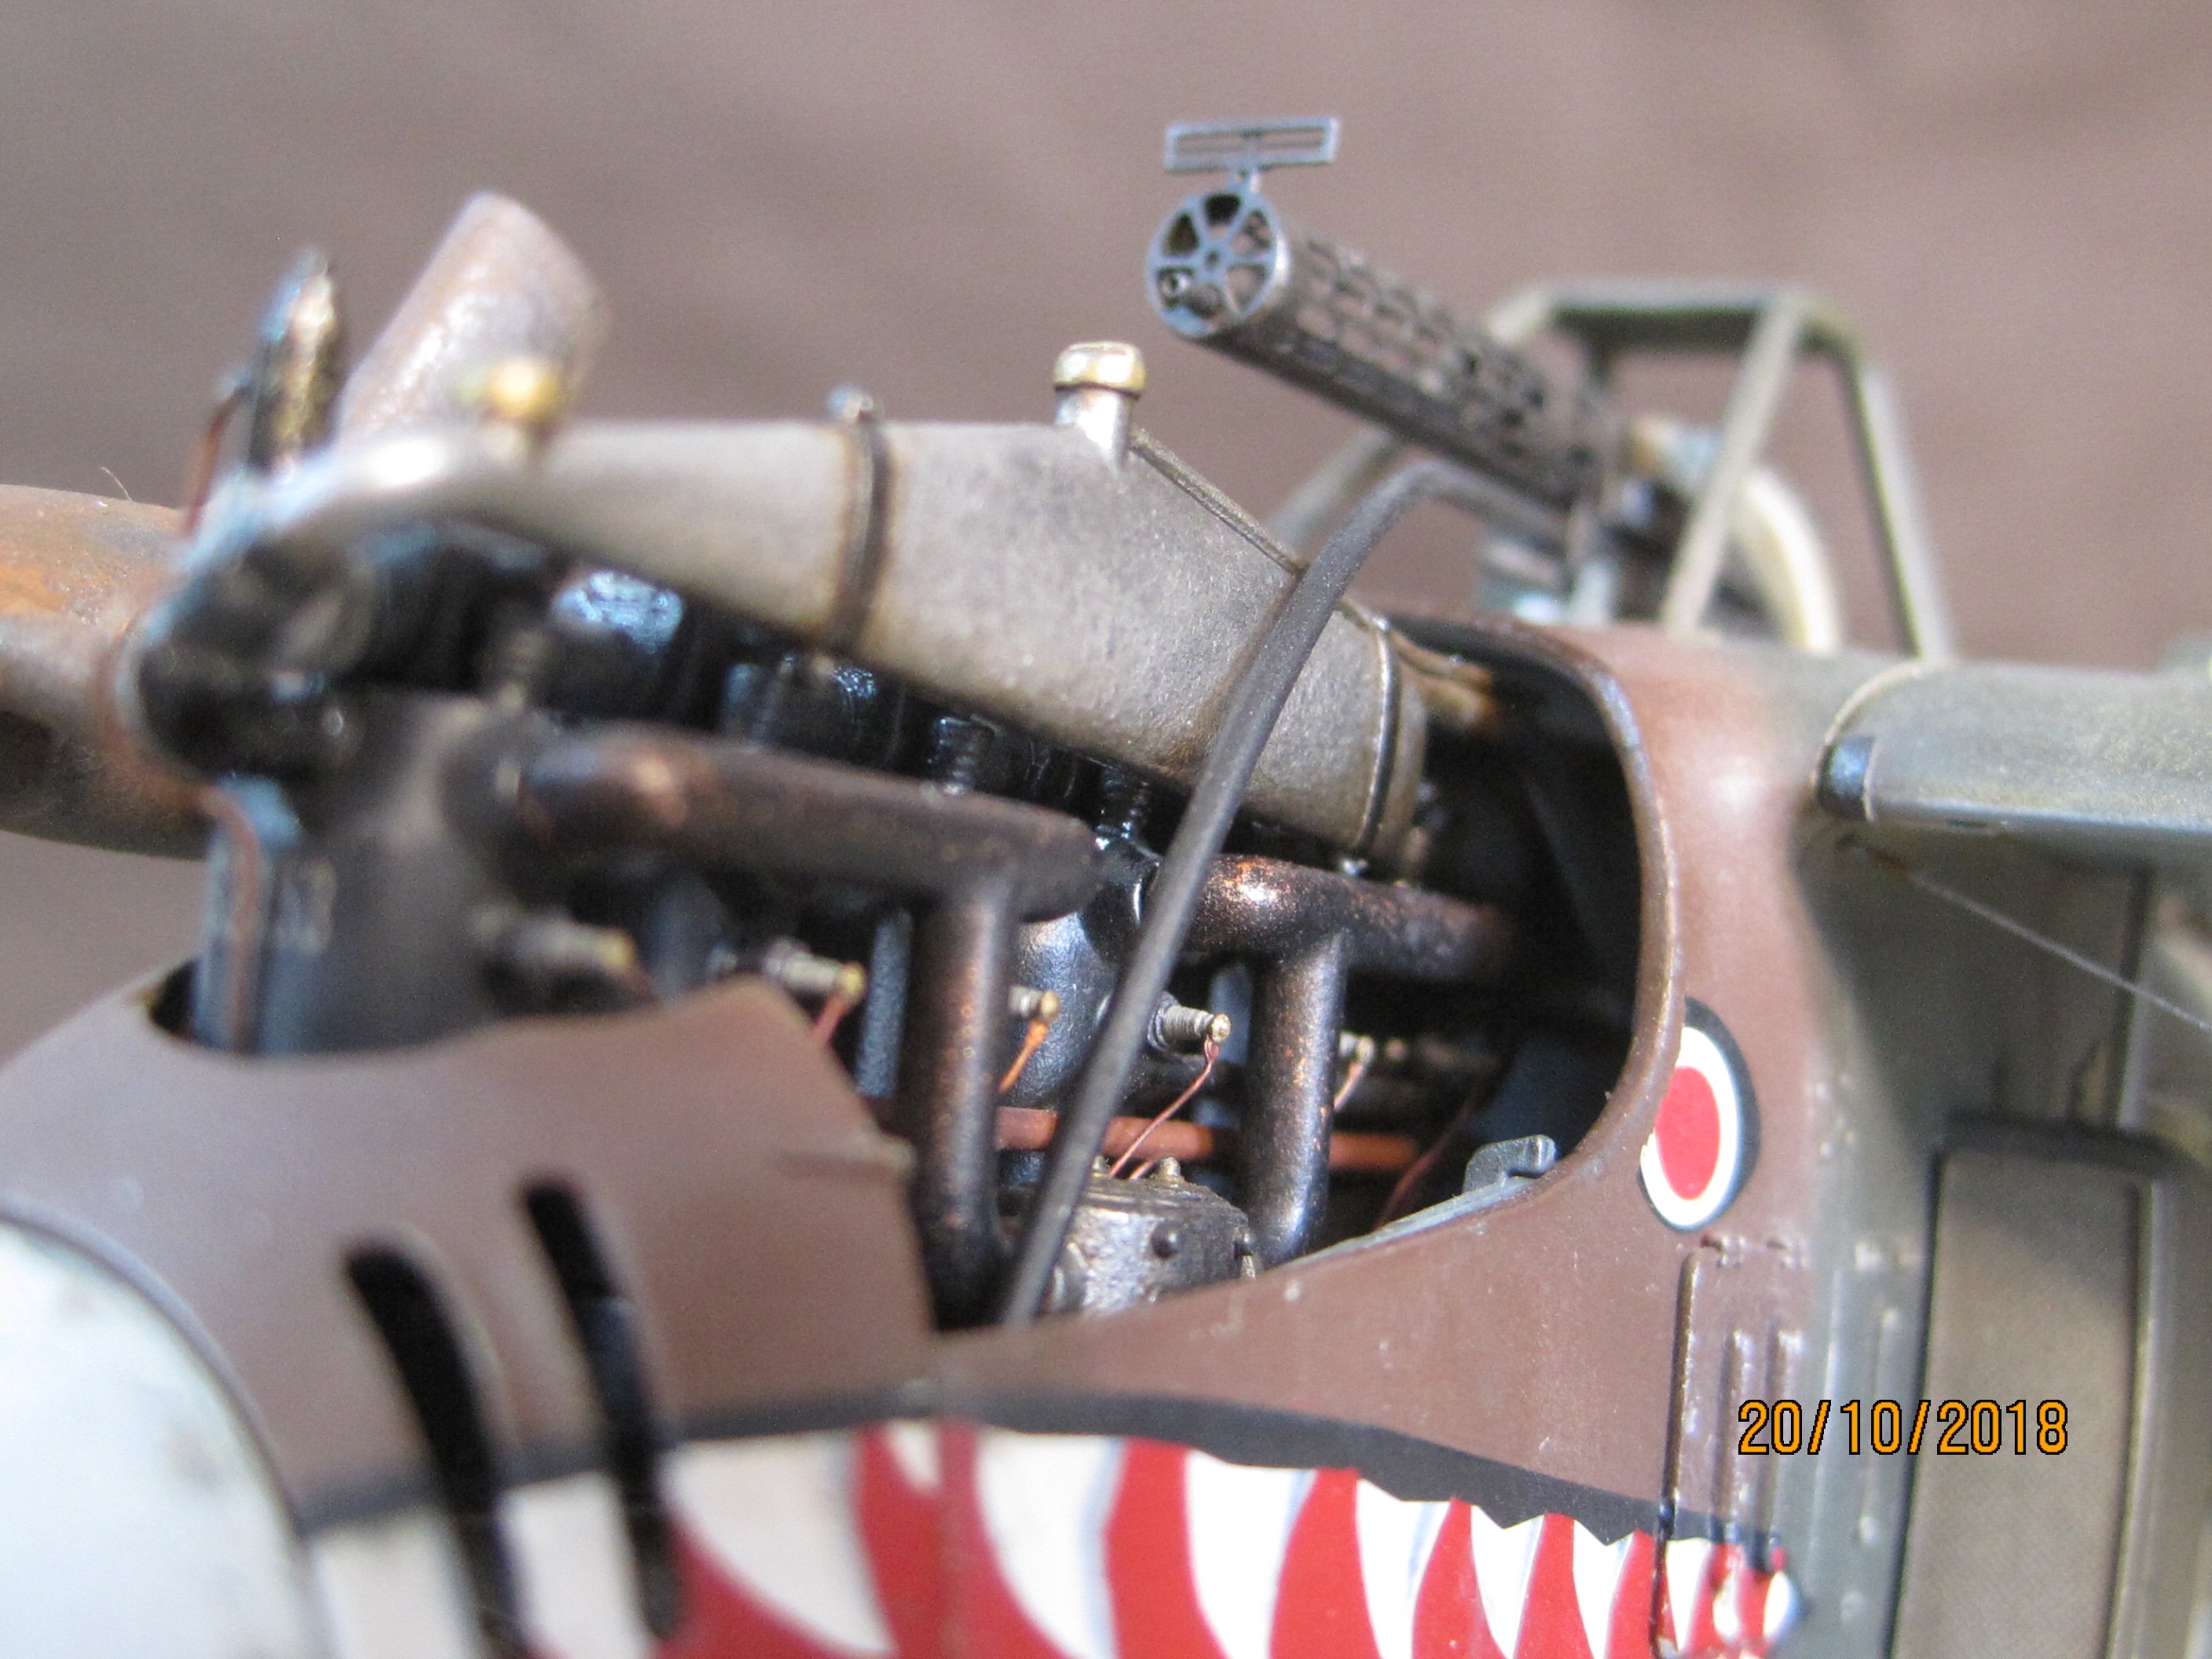
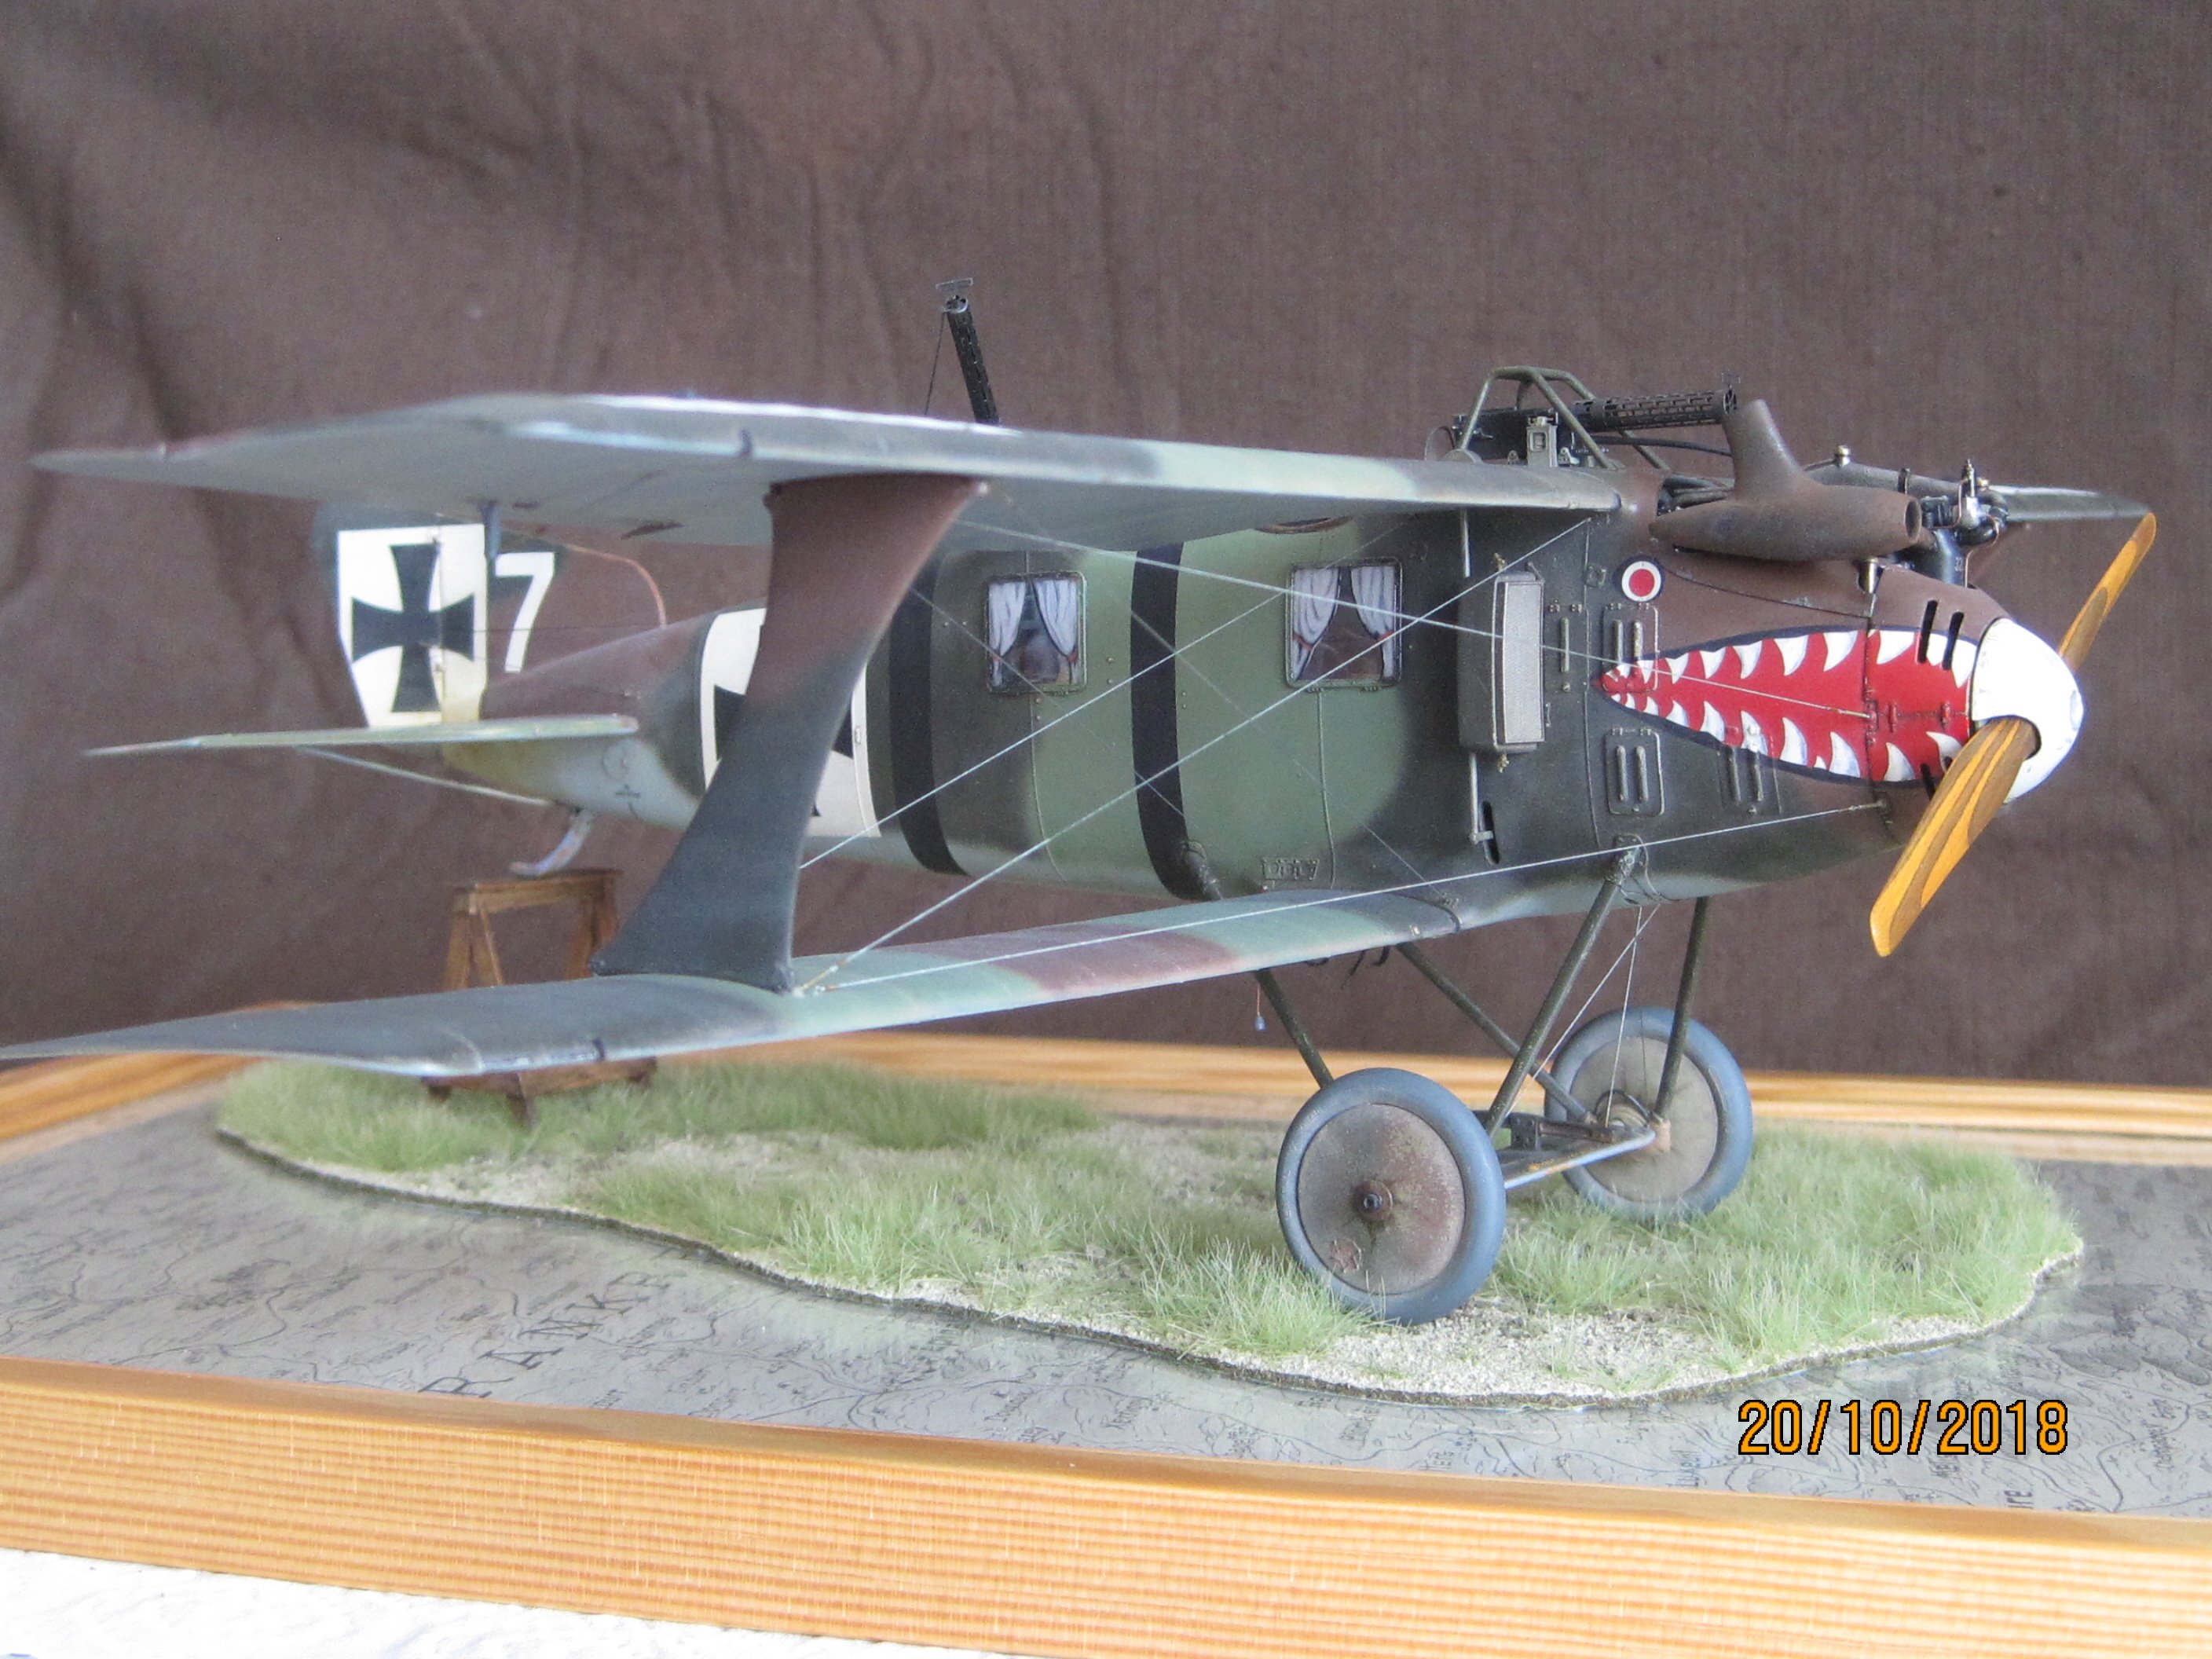
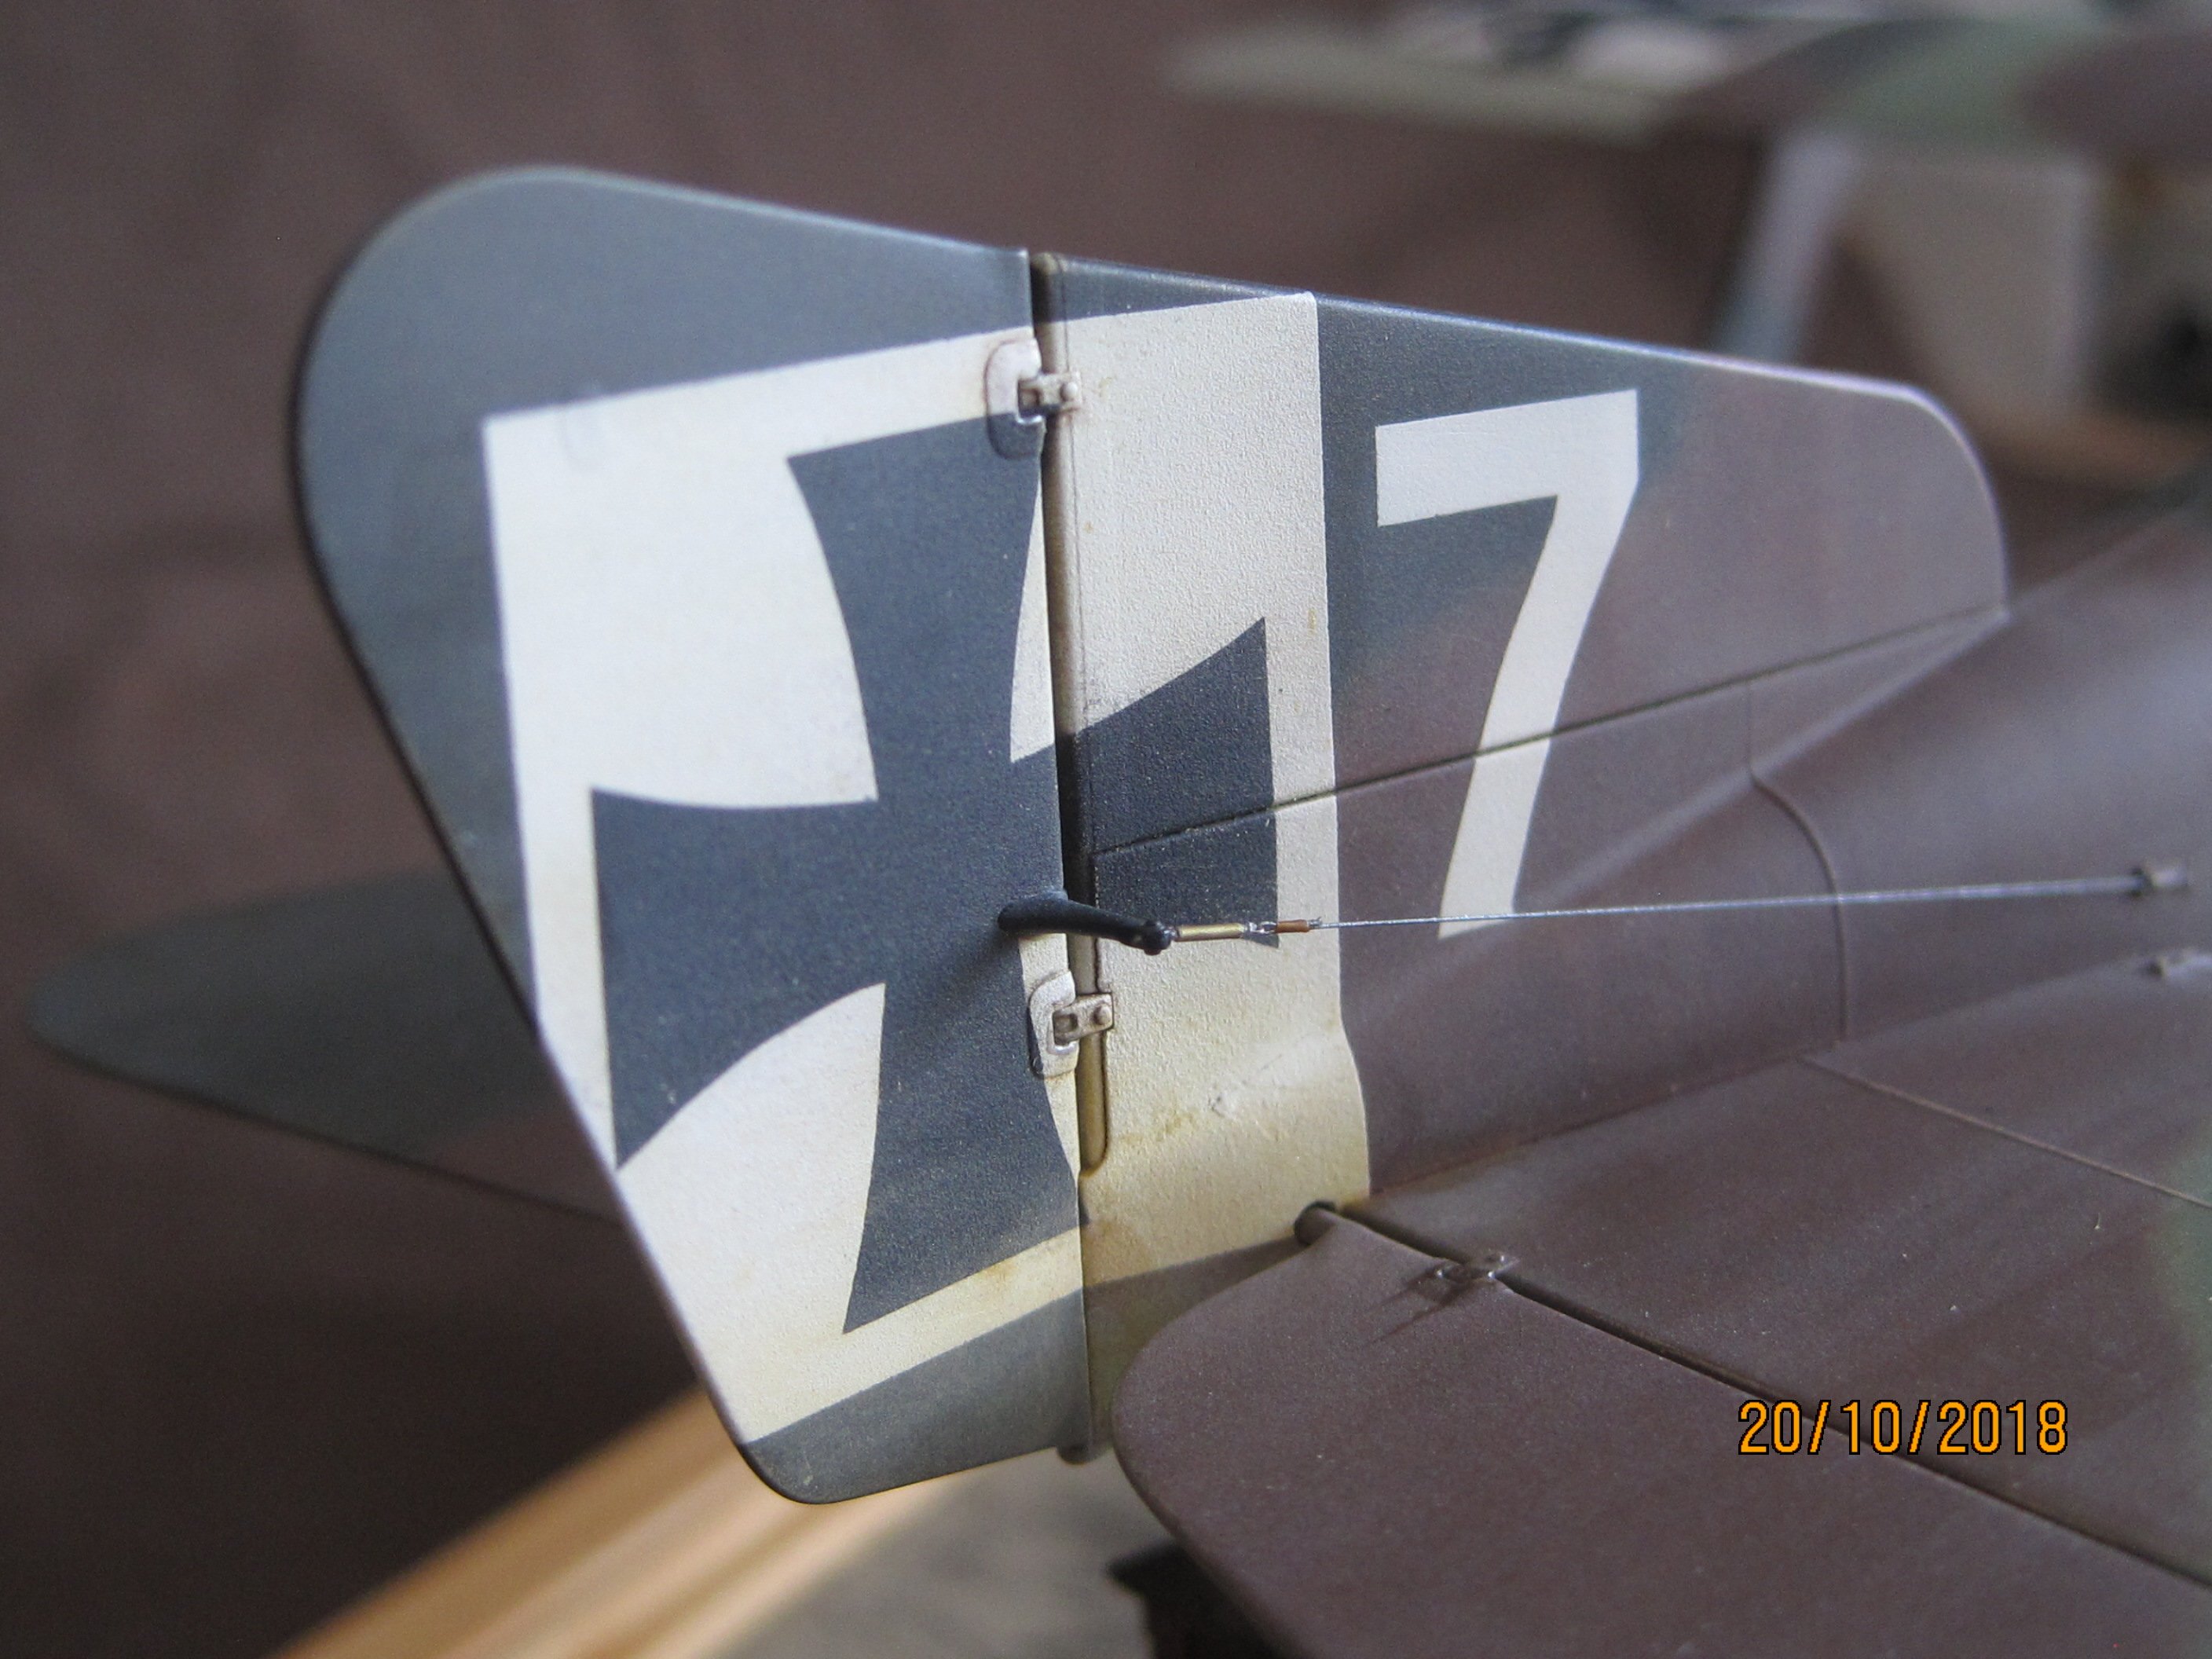
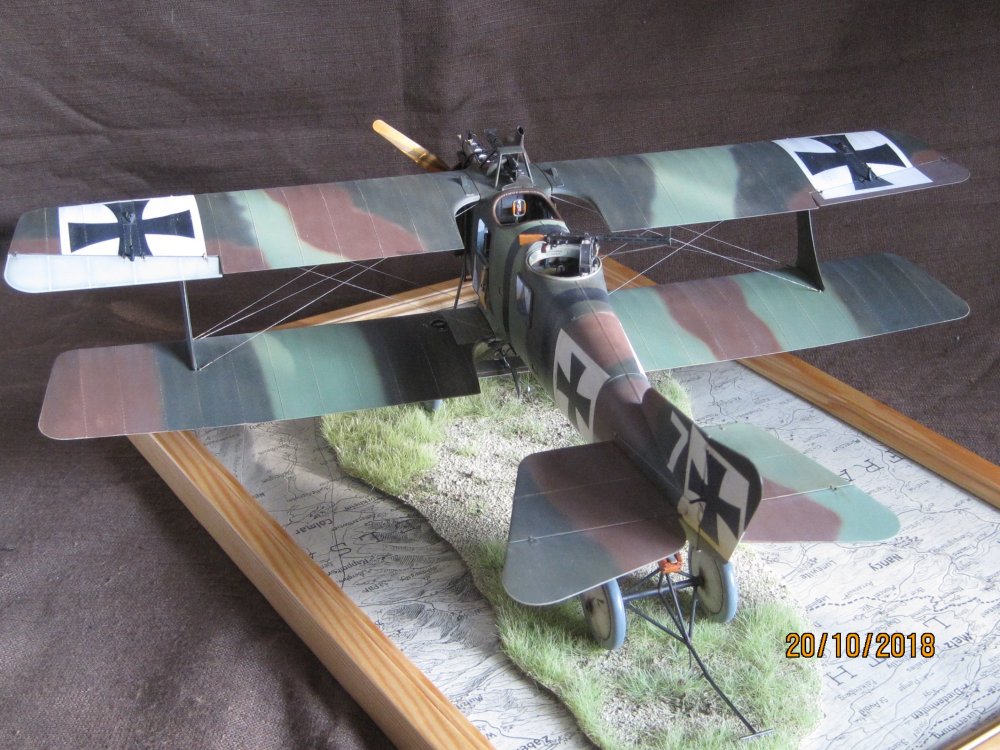
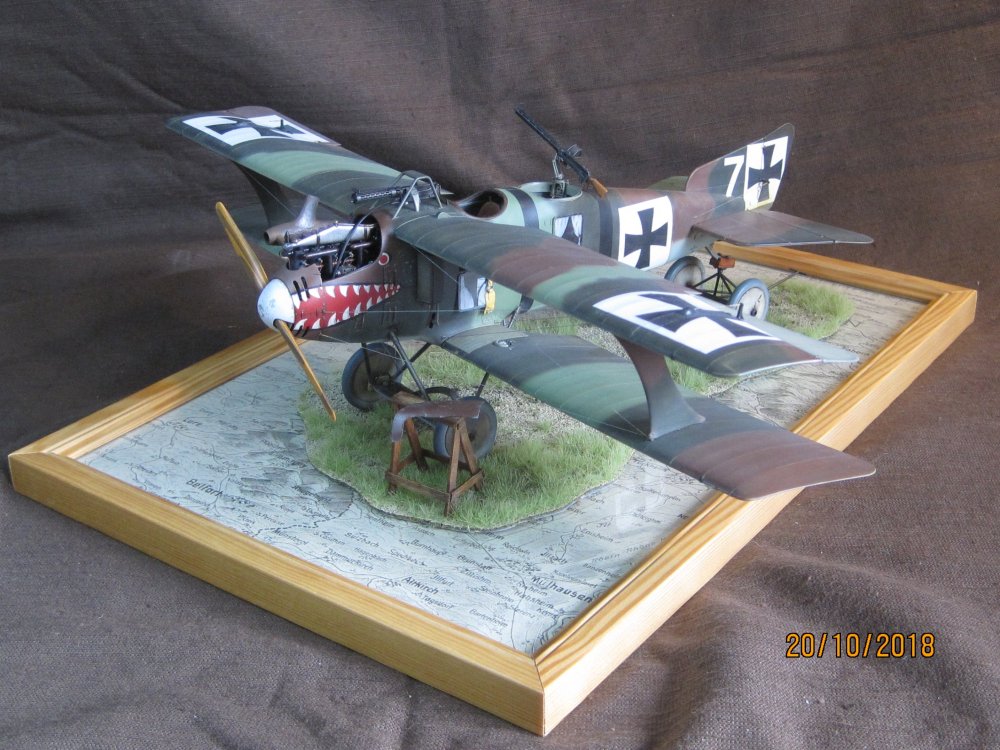
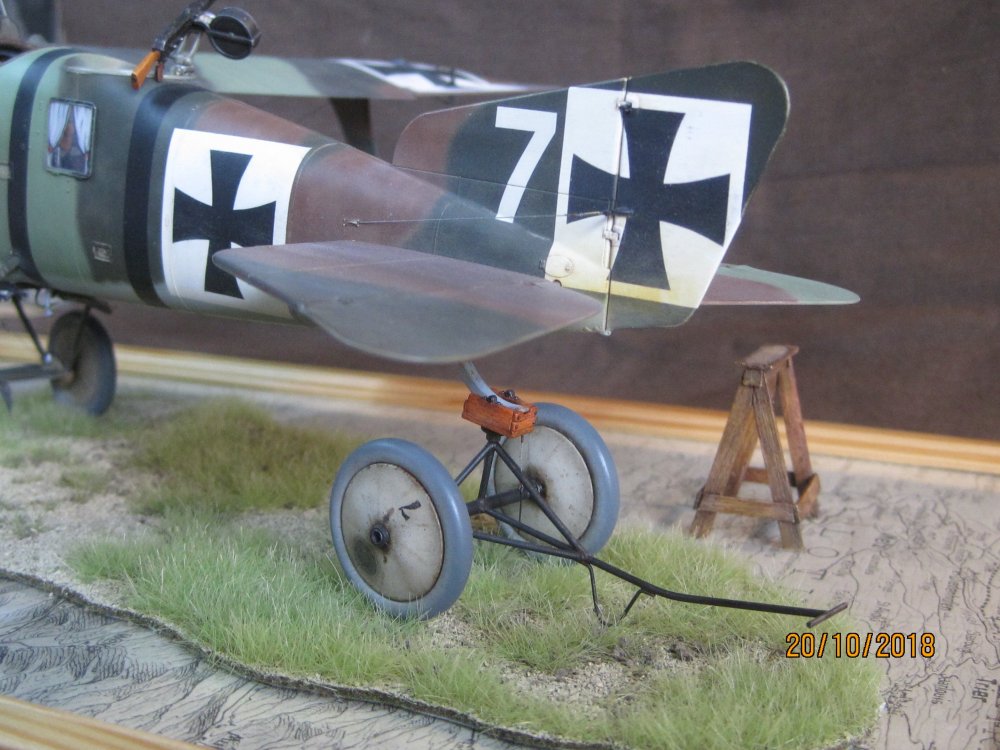
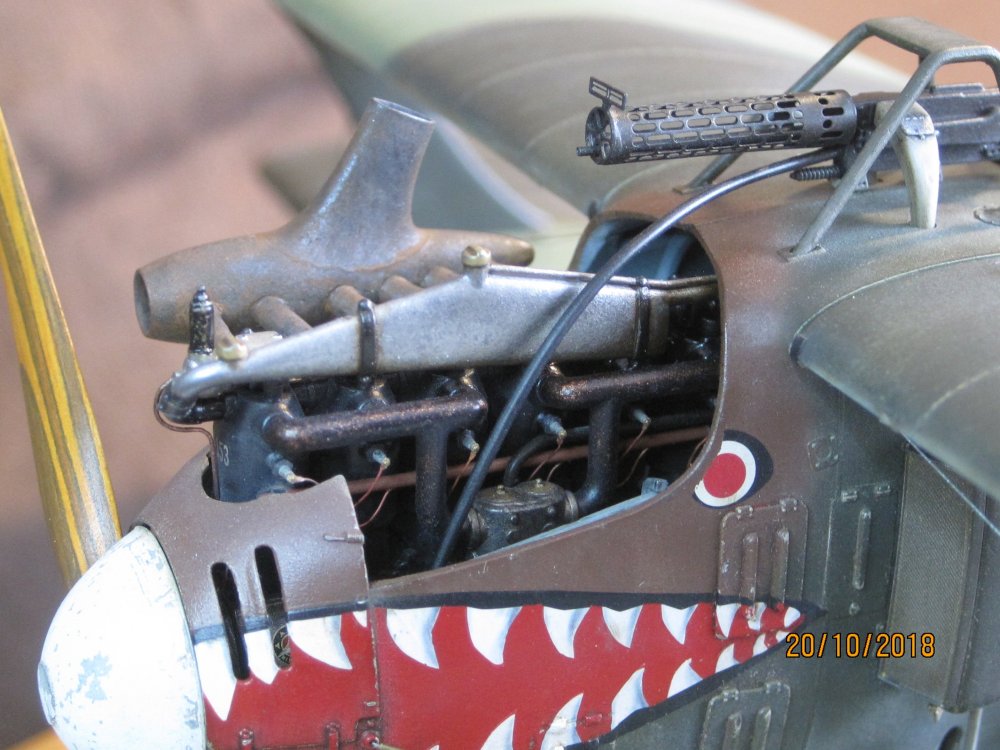
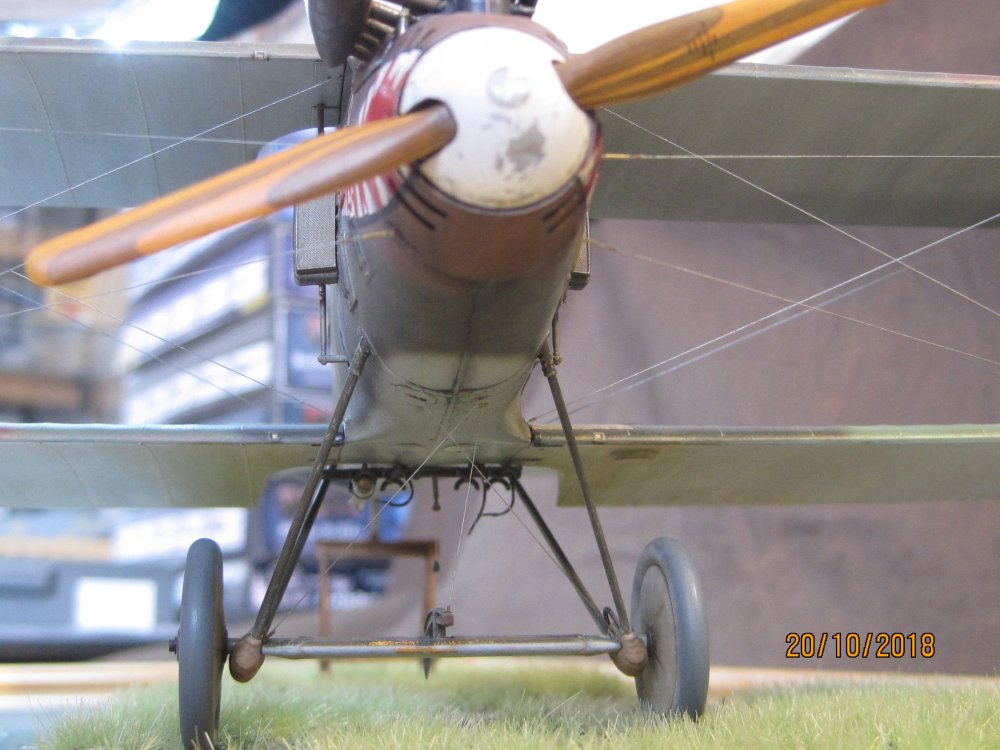
Here now pictures of the finished whale fish. All markings were painted, also the mouth. The teeth are the Wingnut Decals. I cut them carefully with a scalpel out from the rest of the mouth decals. The black thin border around the mouth is partly painted with oil paint.


-
Wingnut Wings Roland C.IIa
Umlaufmotor replied to Umlaufmotor's topic in WNW and WW1 Ready for Inspection'


-
Wingnut Wings Roland C.IIa
Umlaufmotor replied to Umlaufmotor's topic in WNW and WW1 Ready for Inspection'


-
Wingnut Wings Roland C.IIa
Umlaufmotor replied to Umlaufmotor's topic in WNW and WW1 Ready for Inspection'


-
Wingnut Wings Roland C.IIa
Umlaufmotor replied to Umlaufmotor's topic in WNW and WW1 Ready for Inspection'


-
Wingnut Wings Roland C.IIa
Umlaufmotor replied to Umlaufmotor's topic in WNW and WW1 Ready for Inspection'
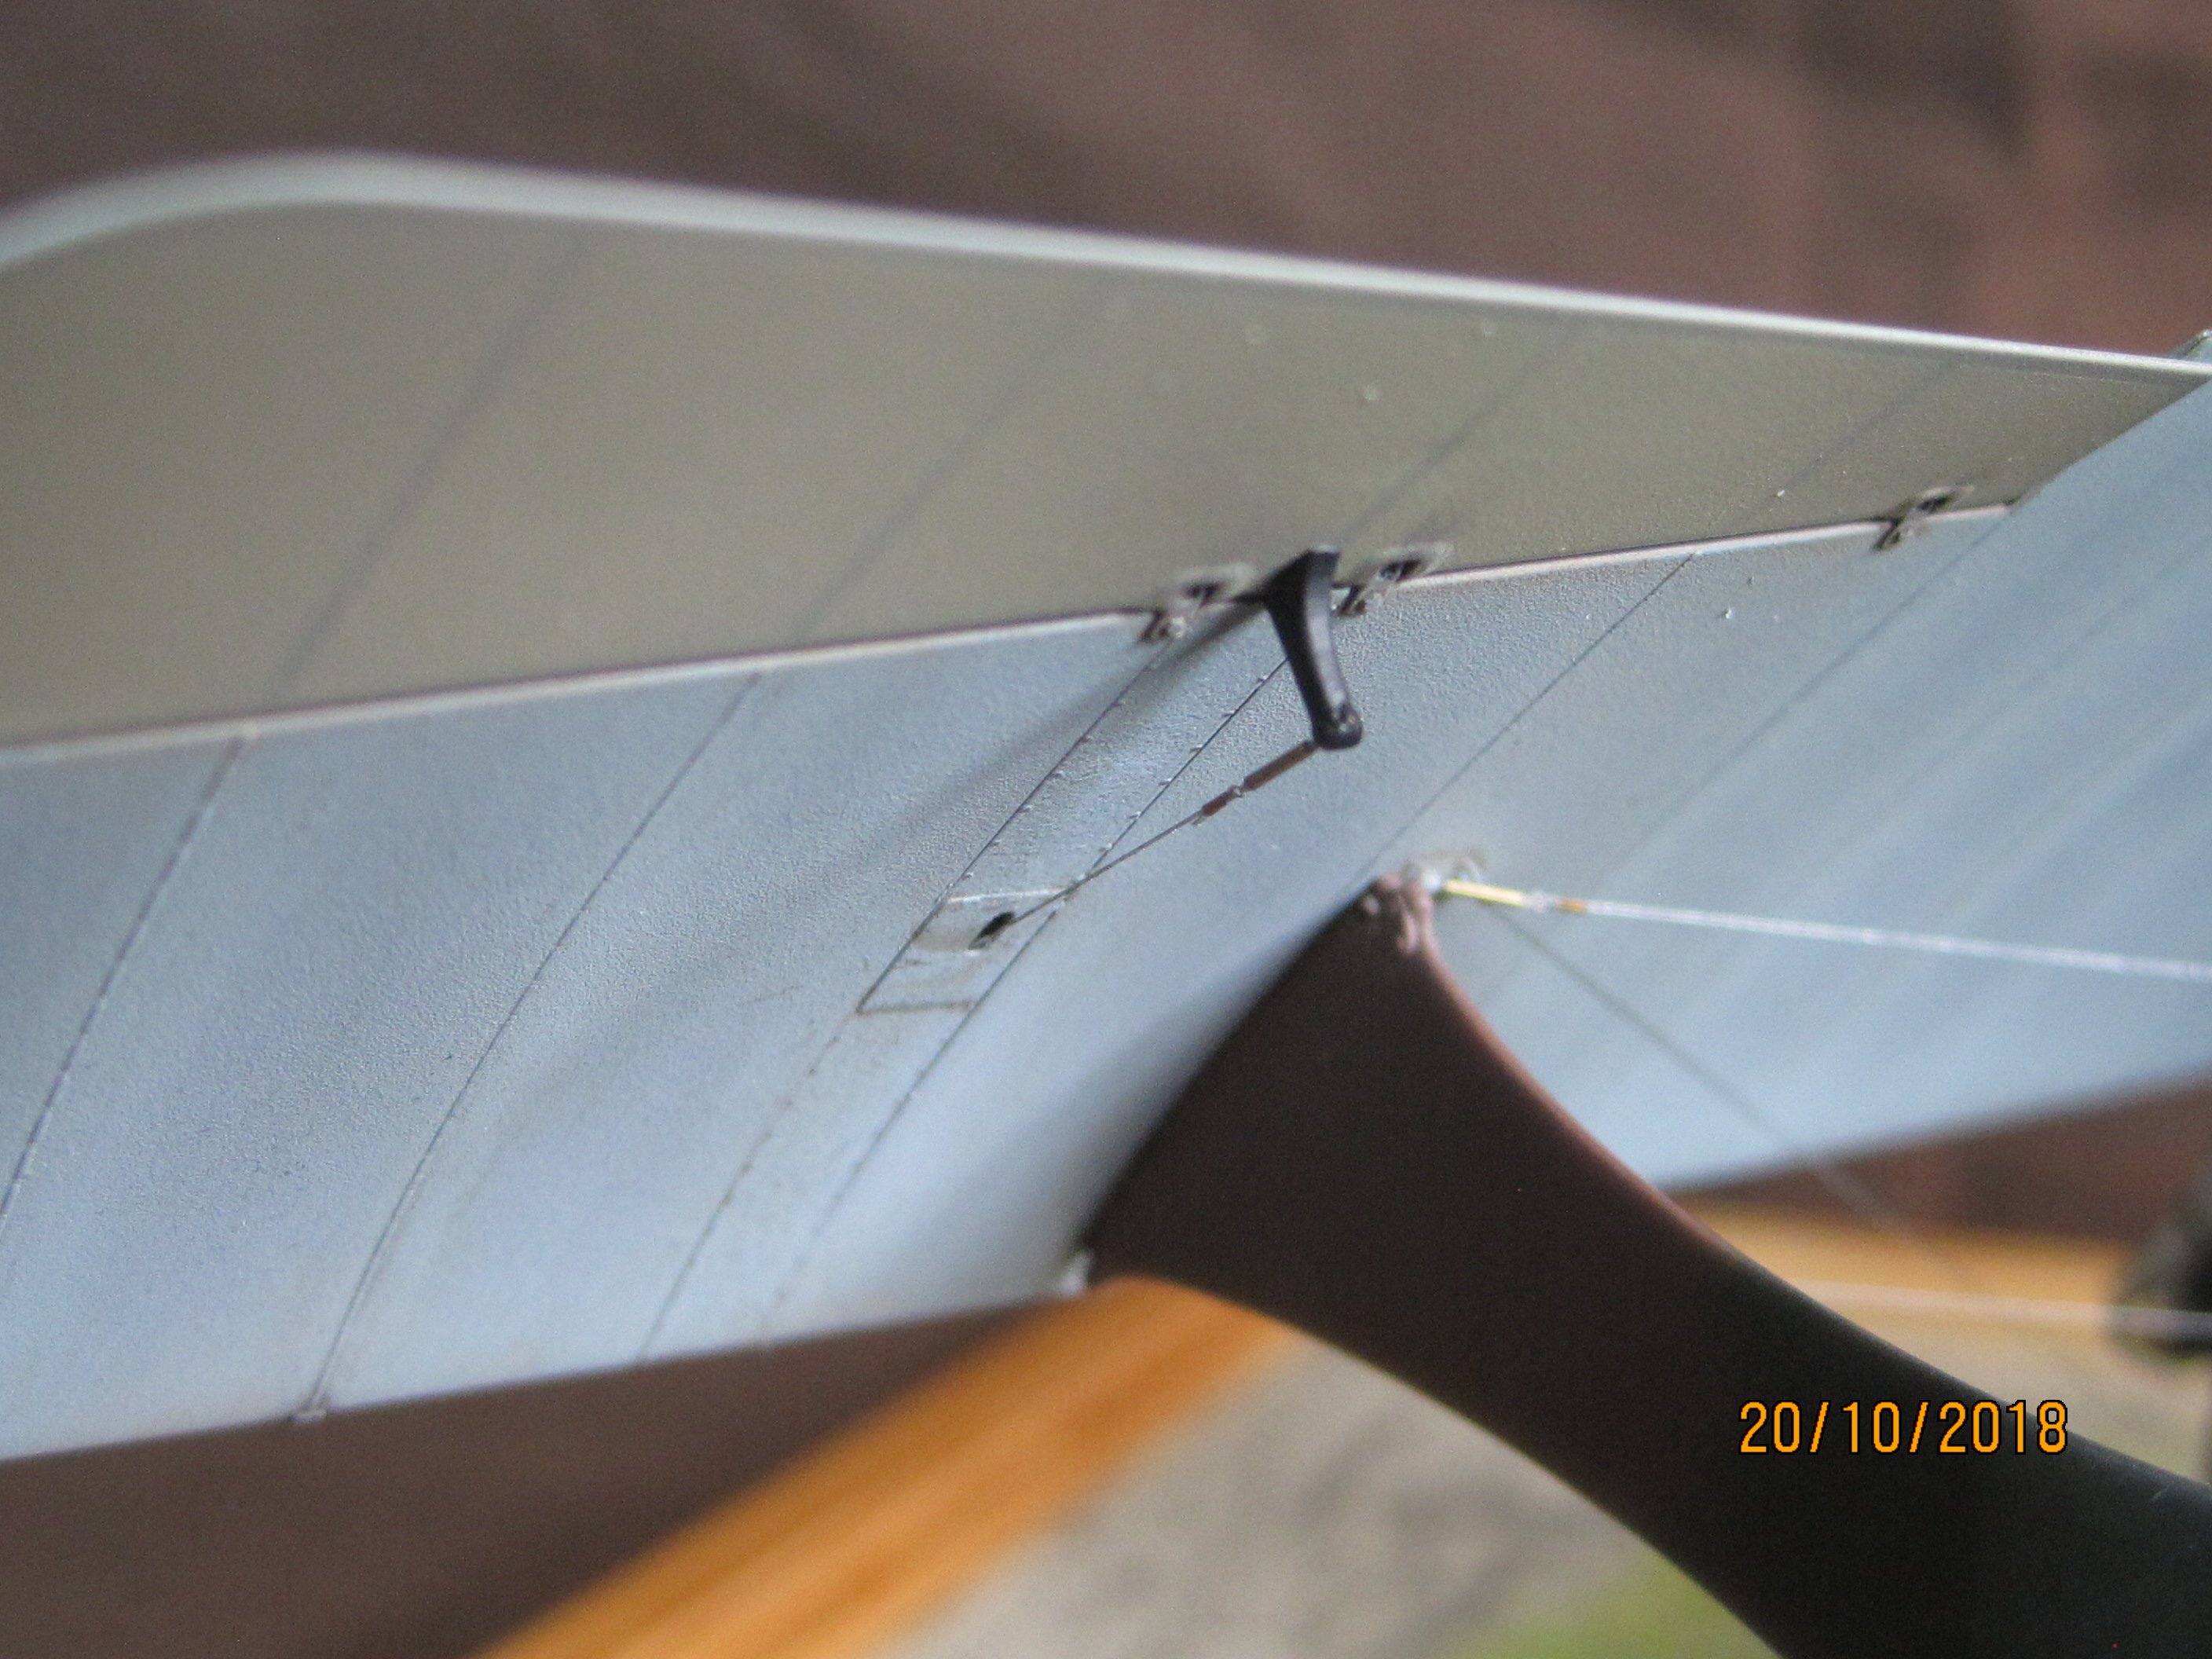
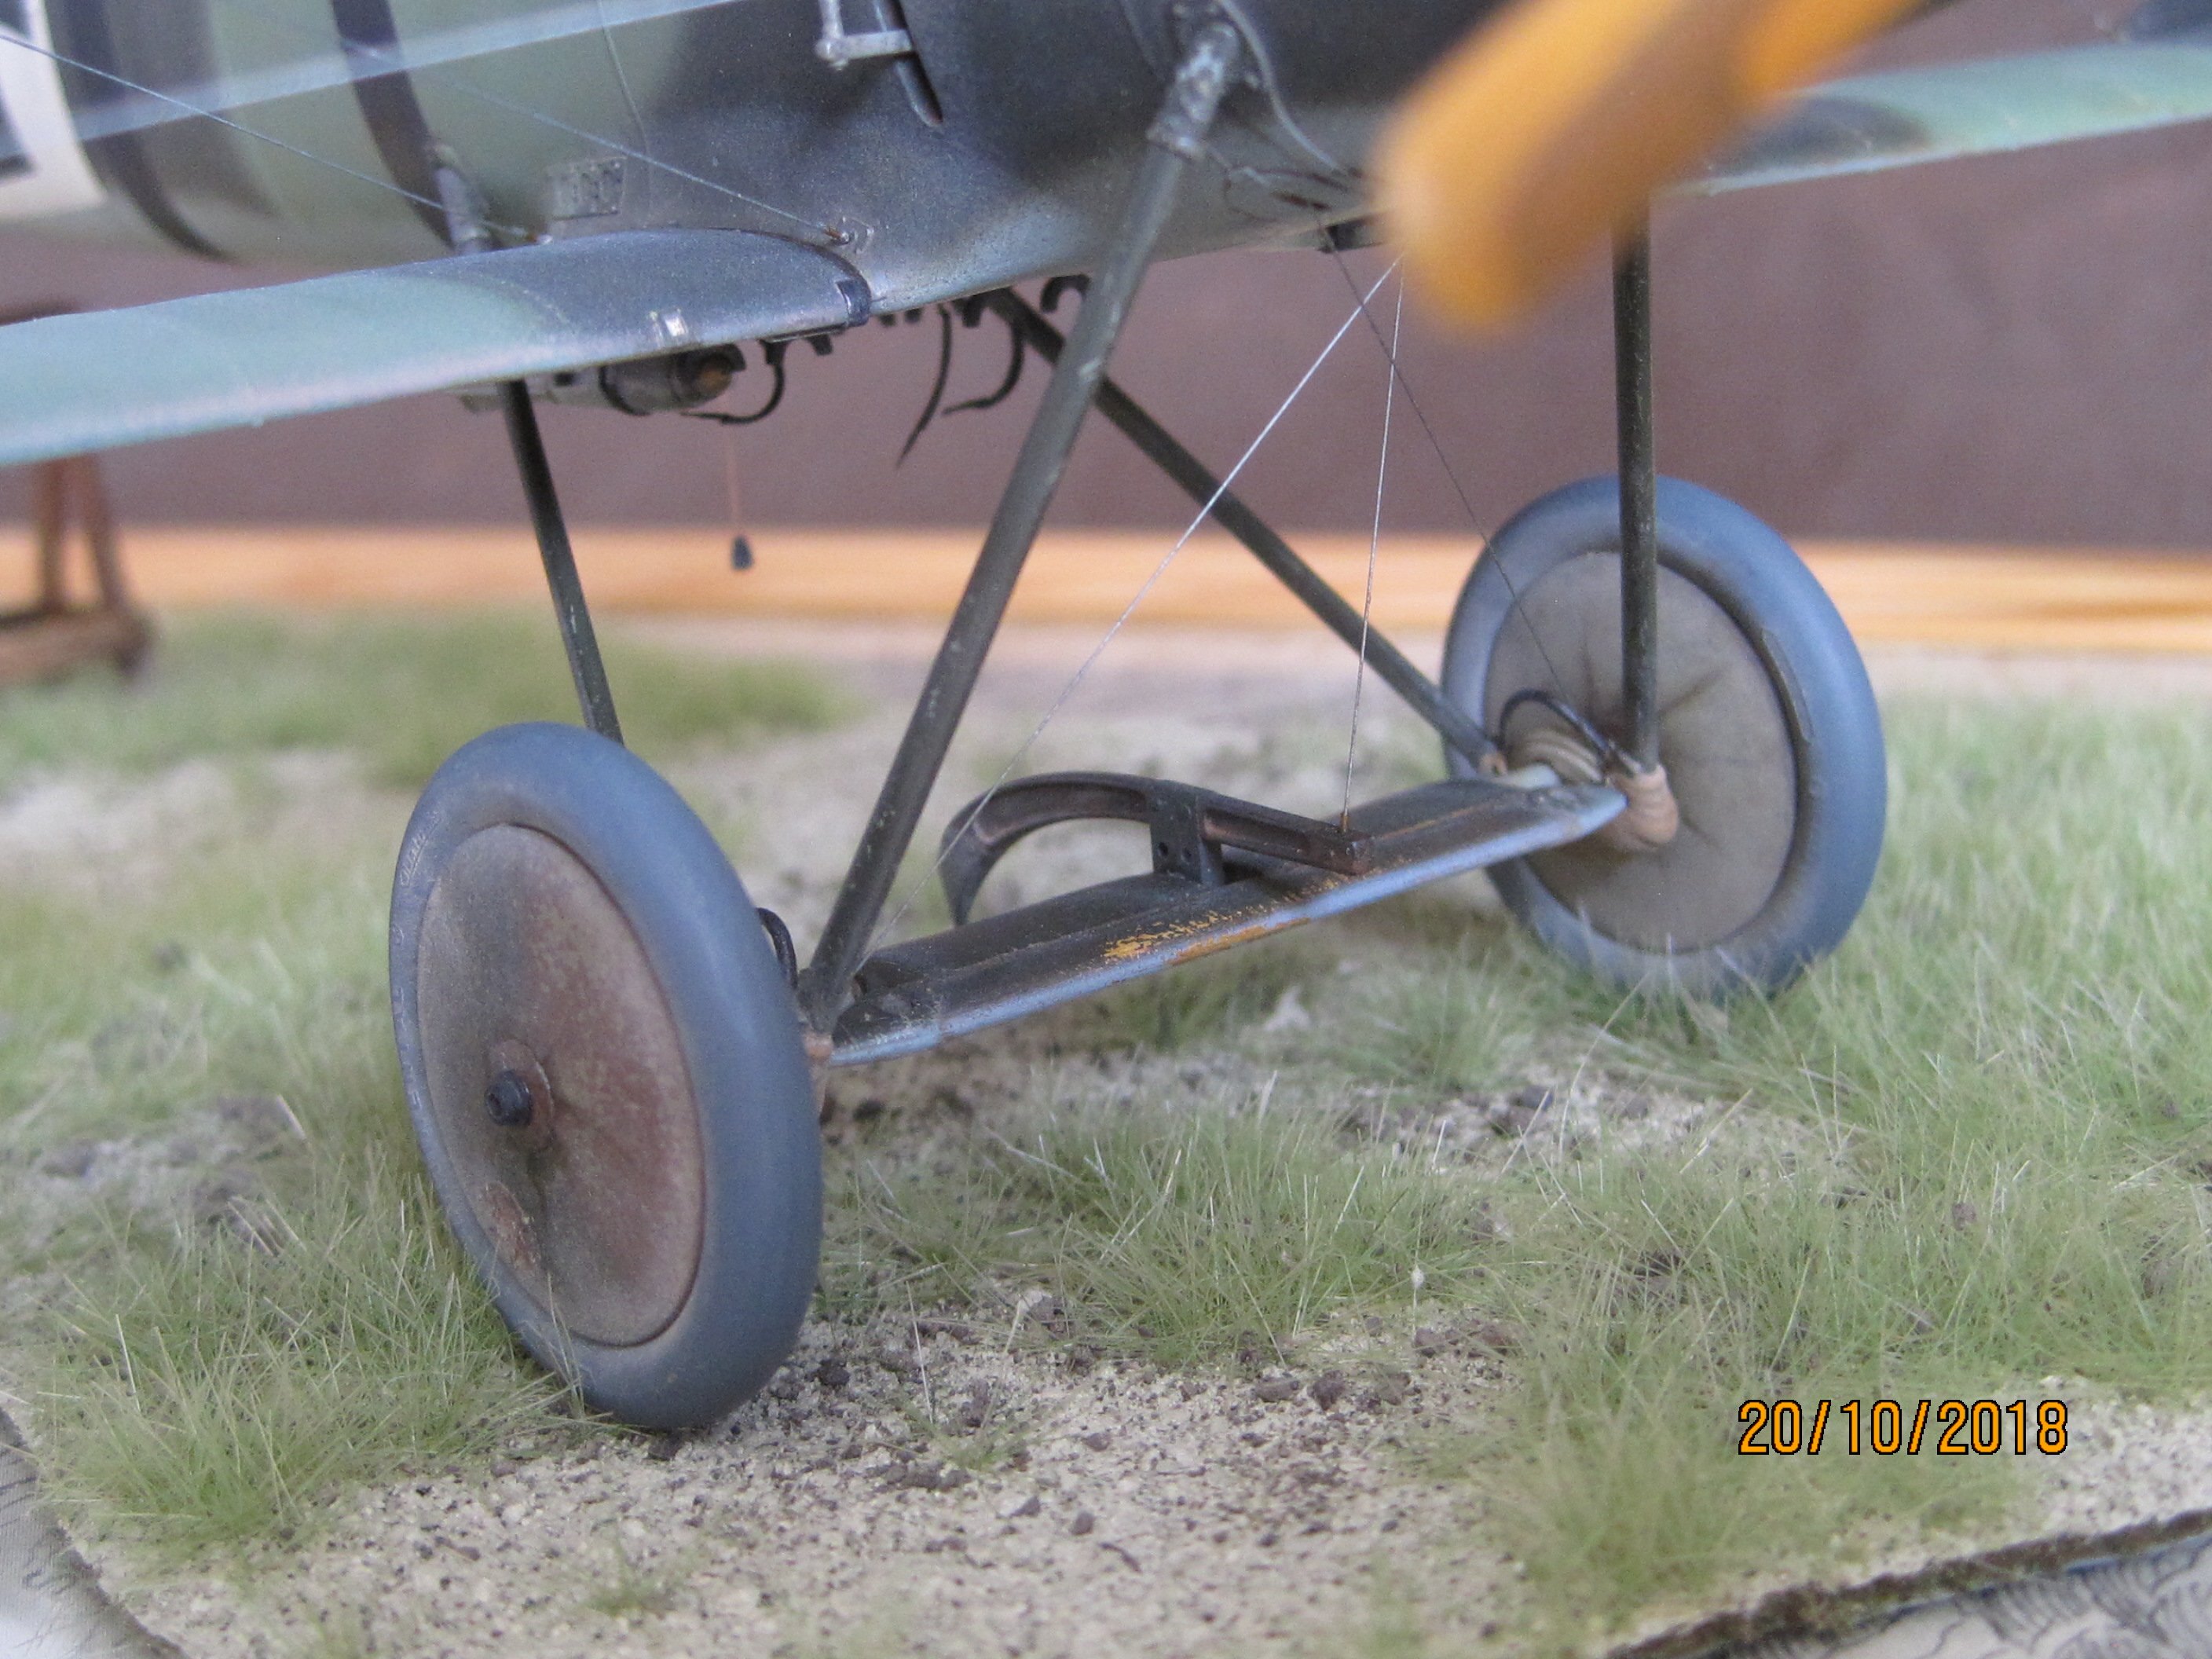
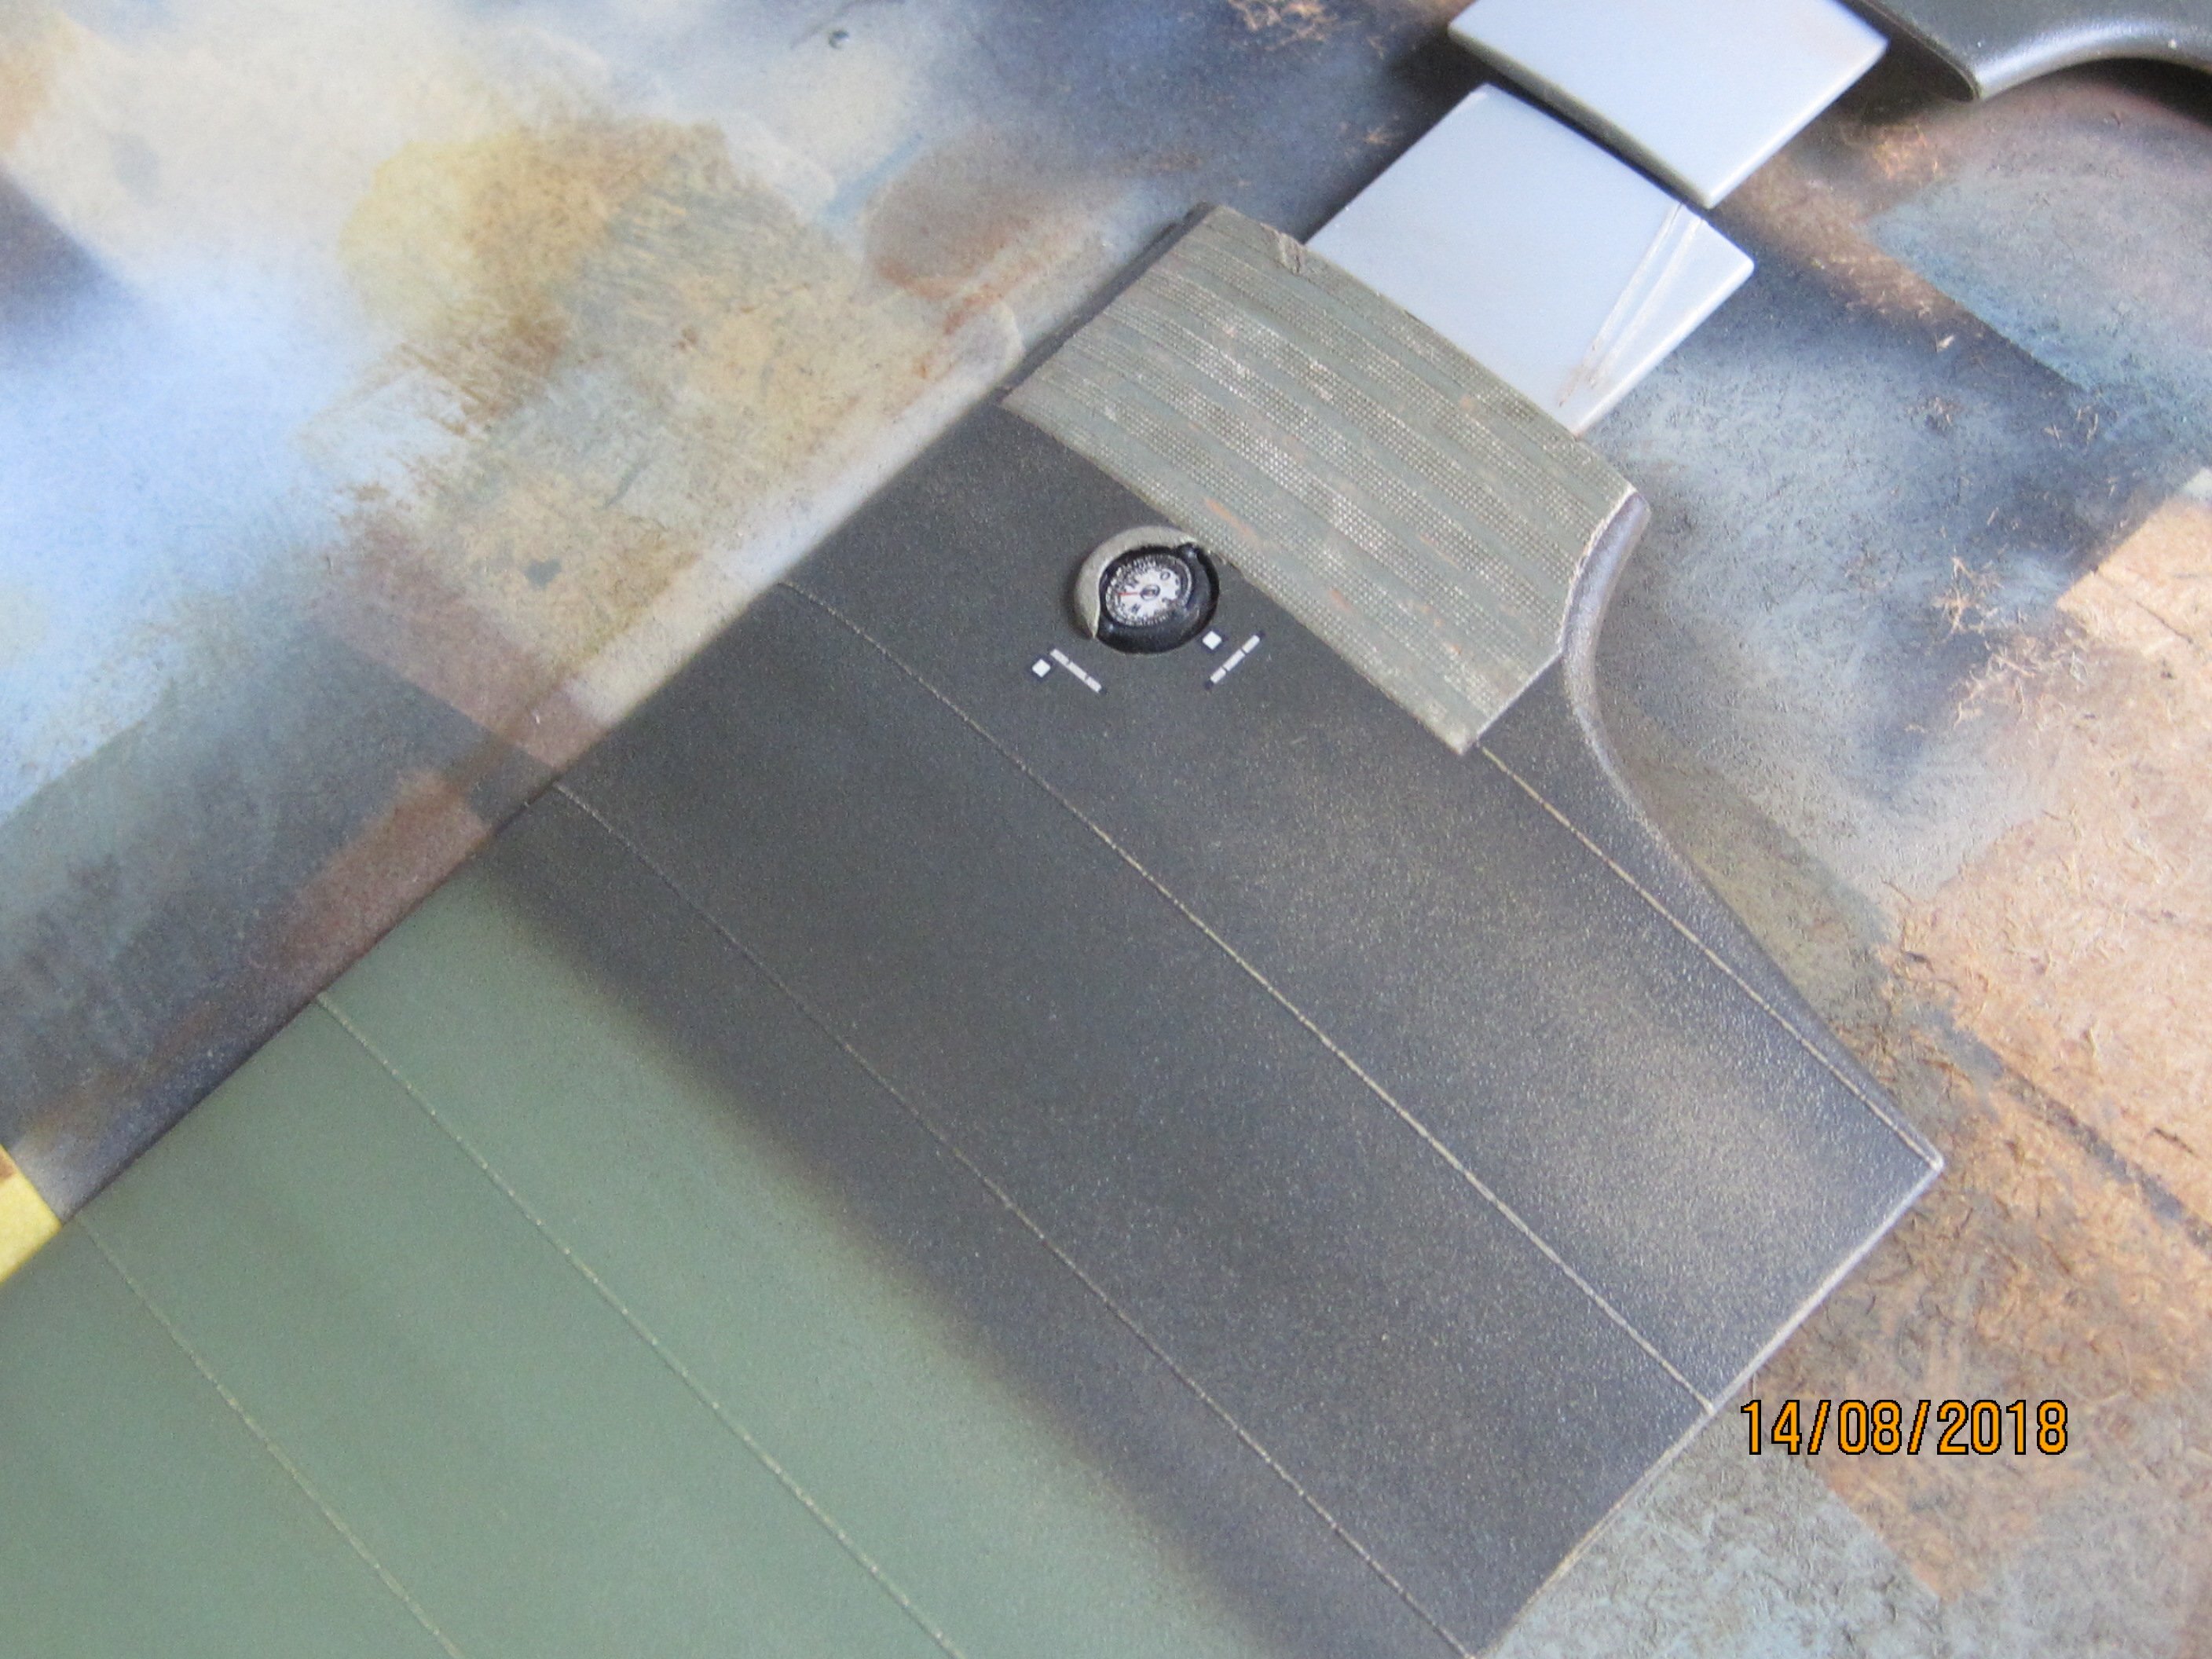
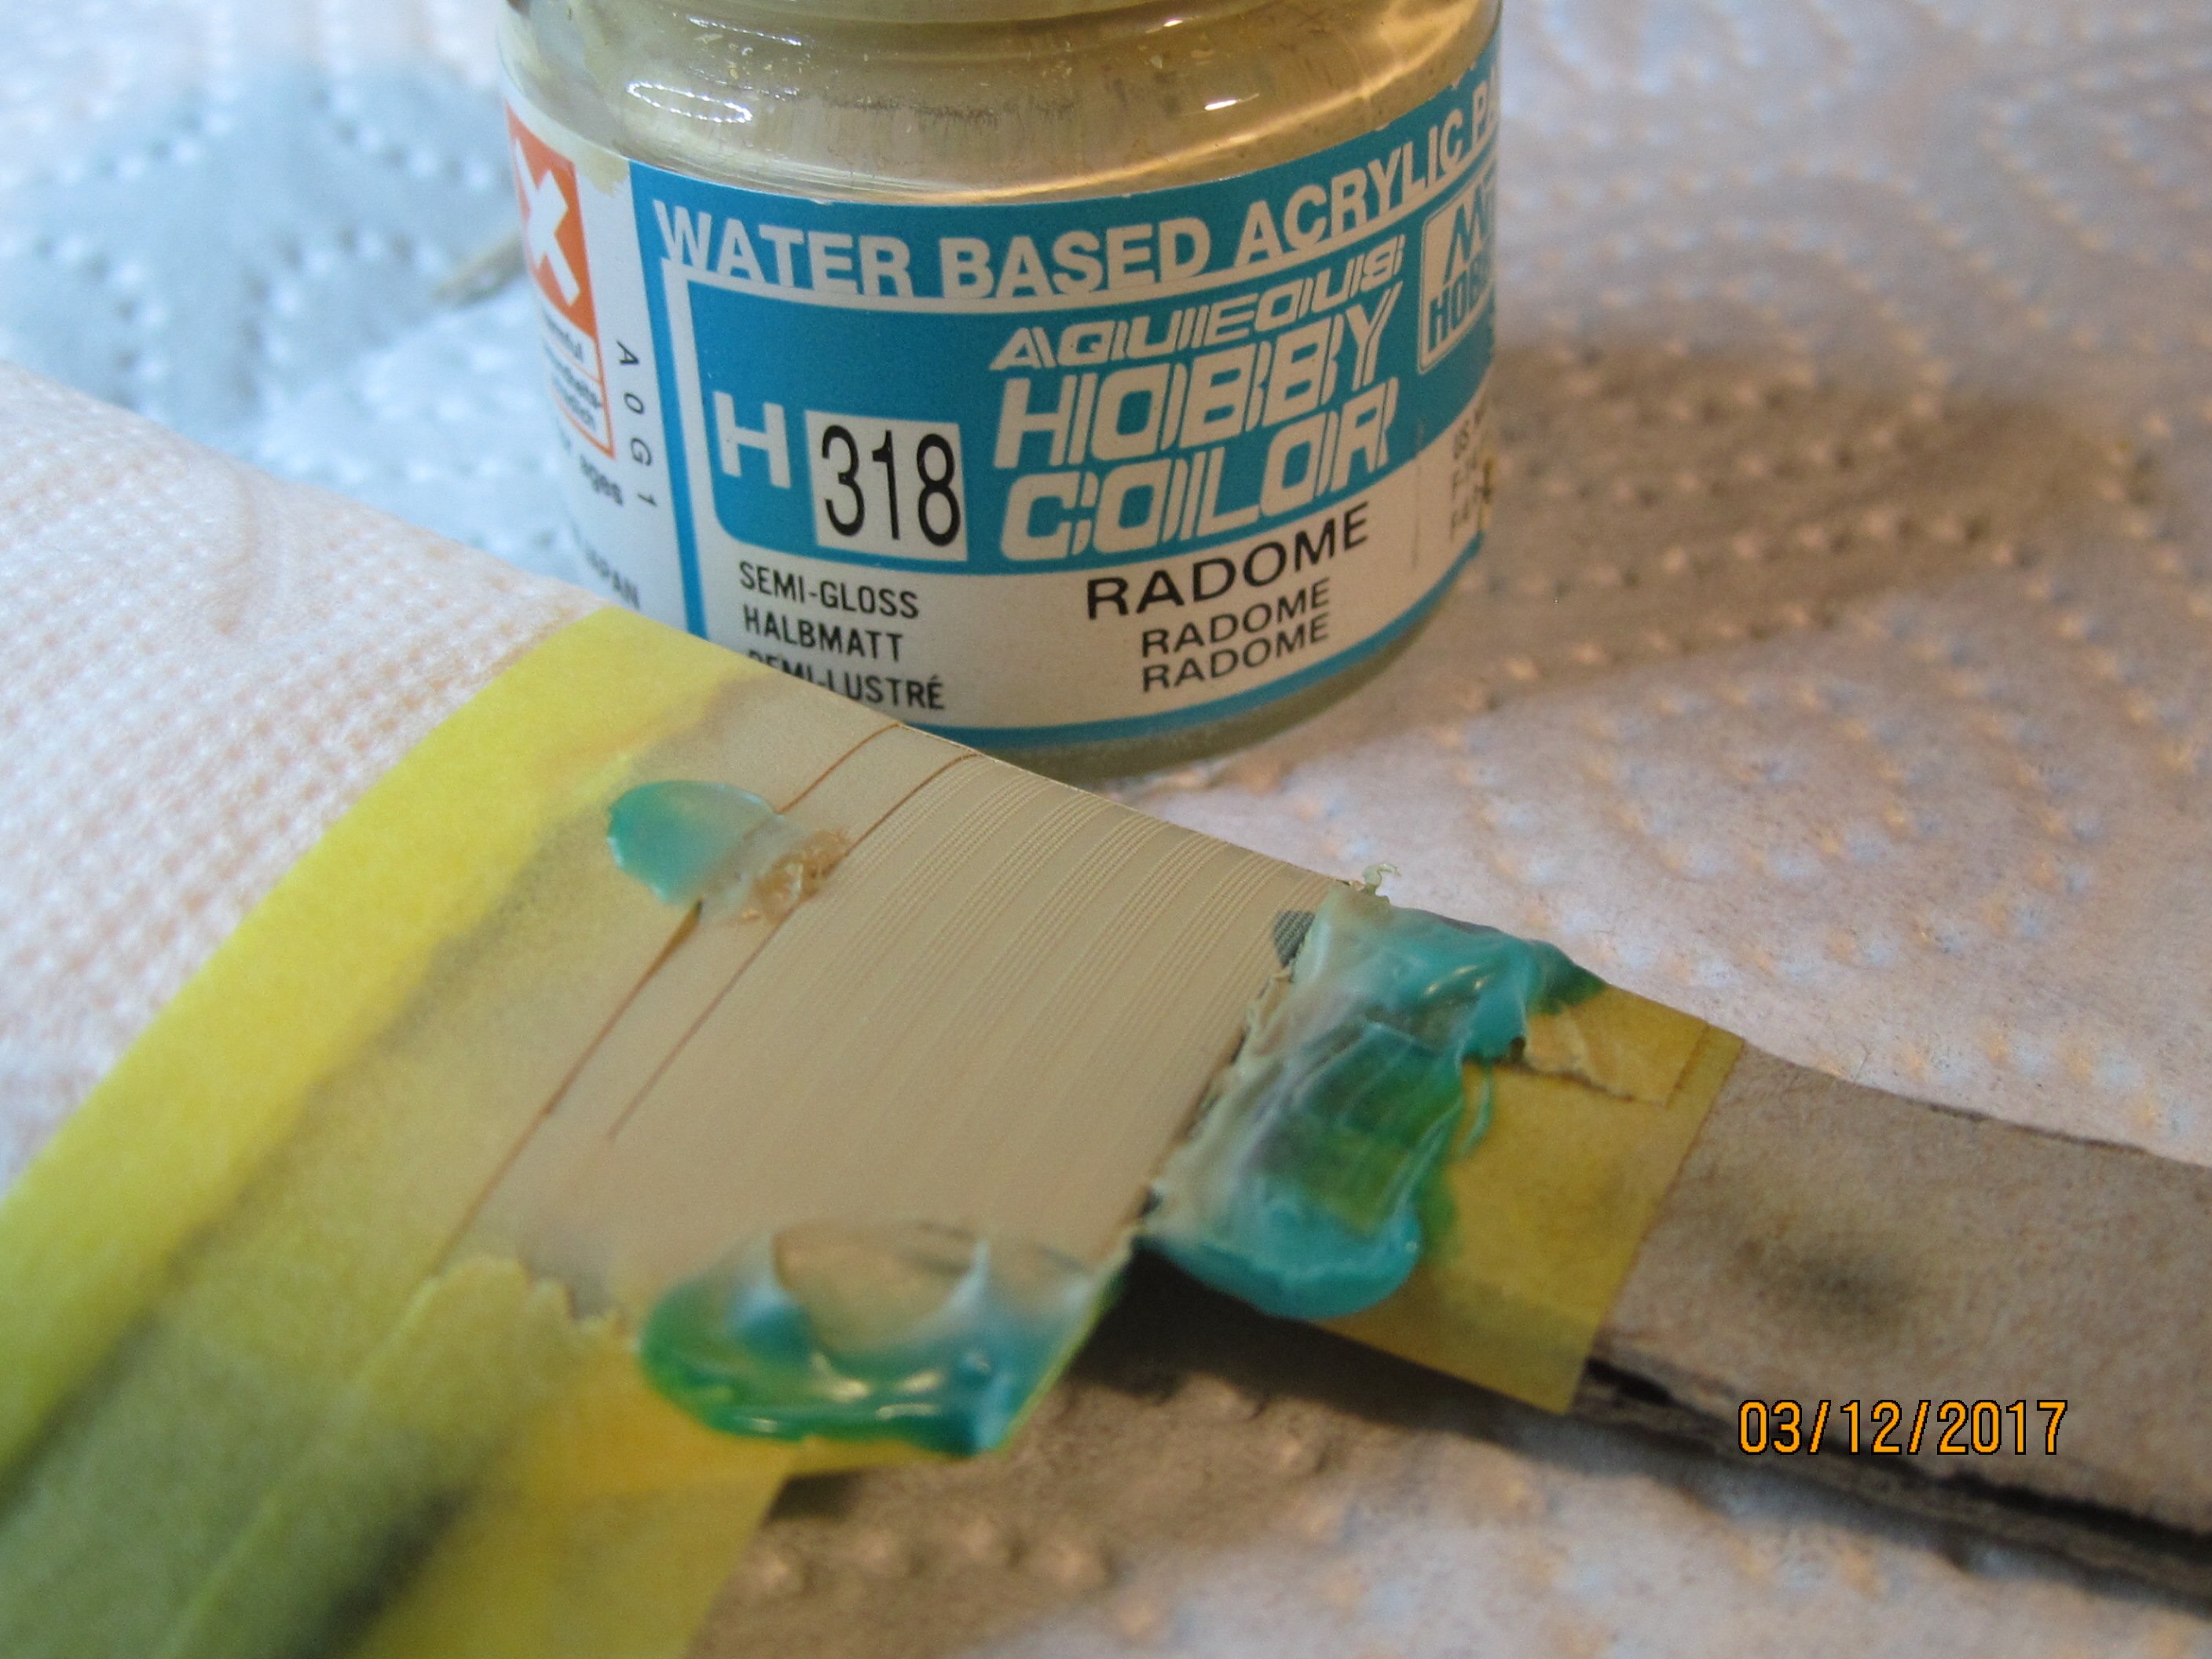
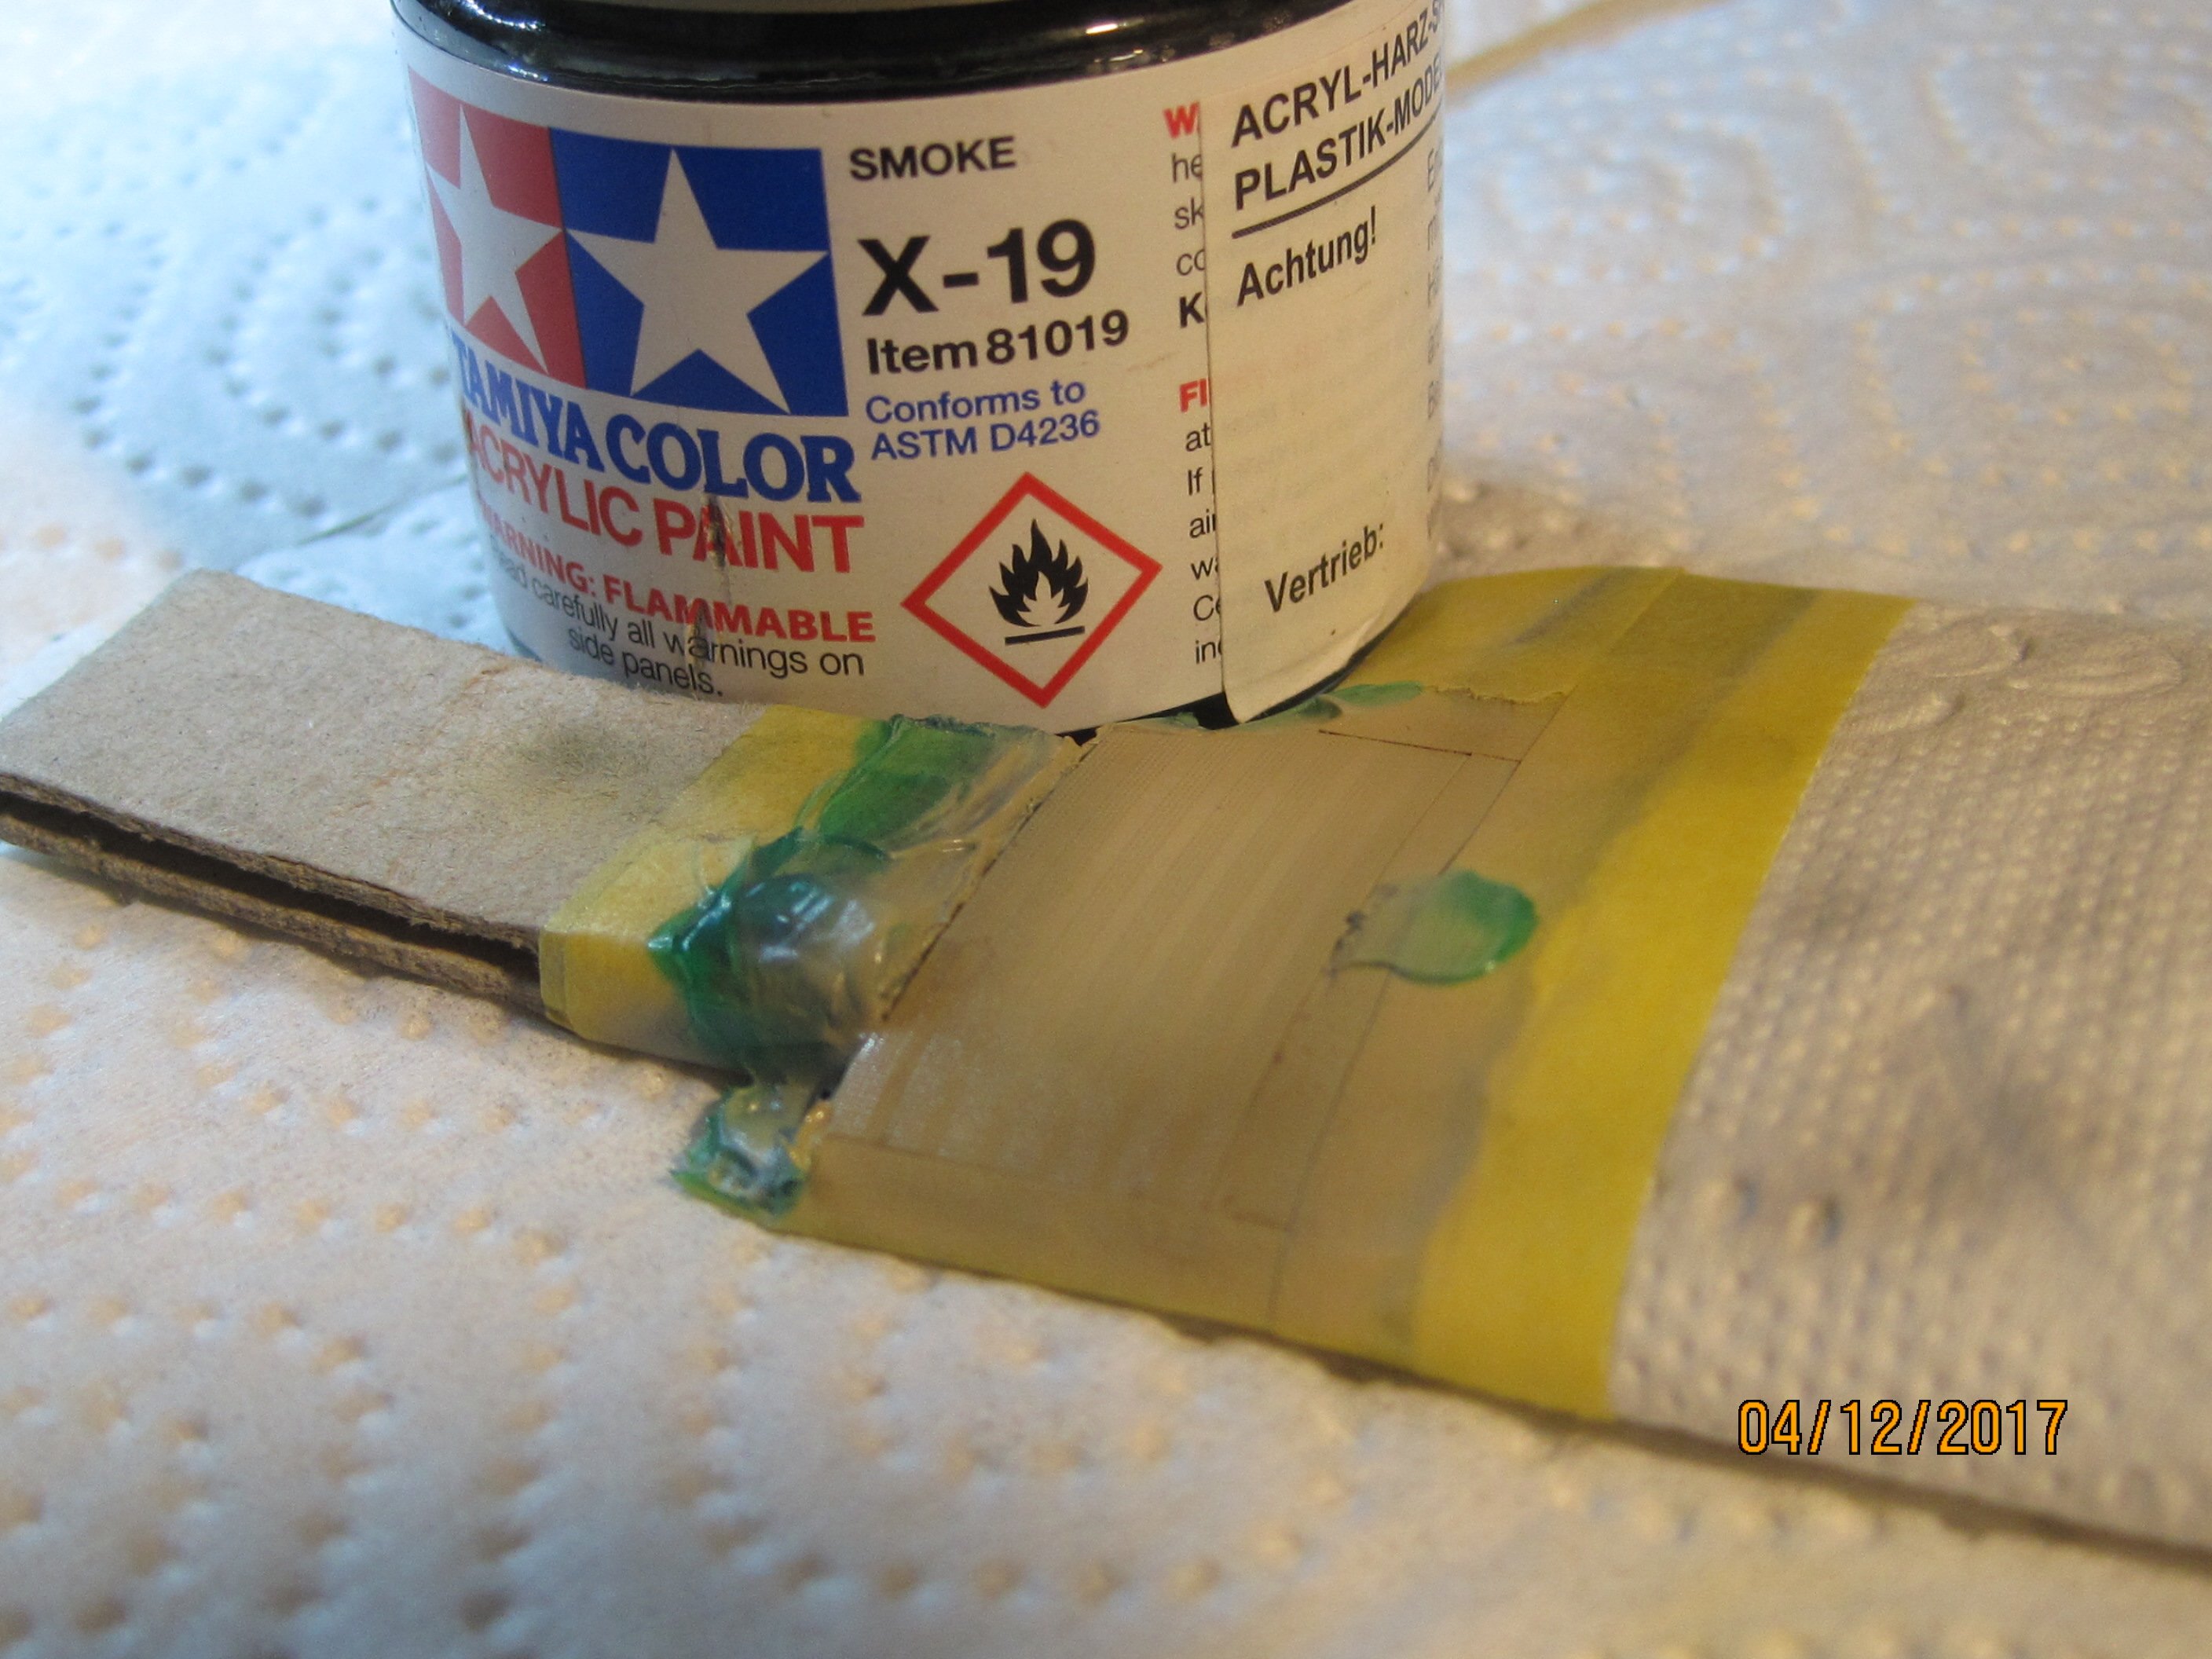
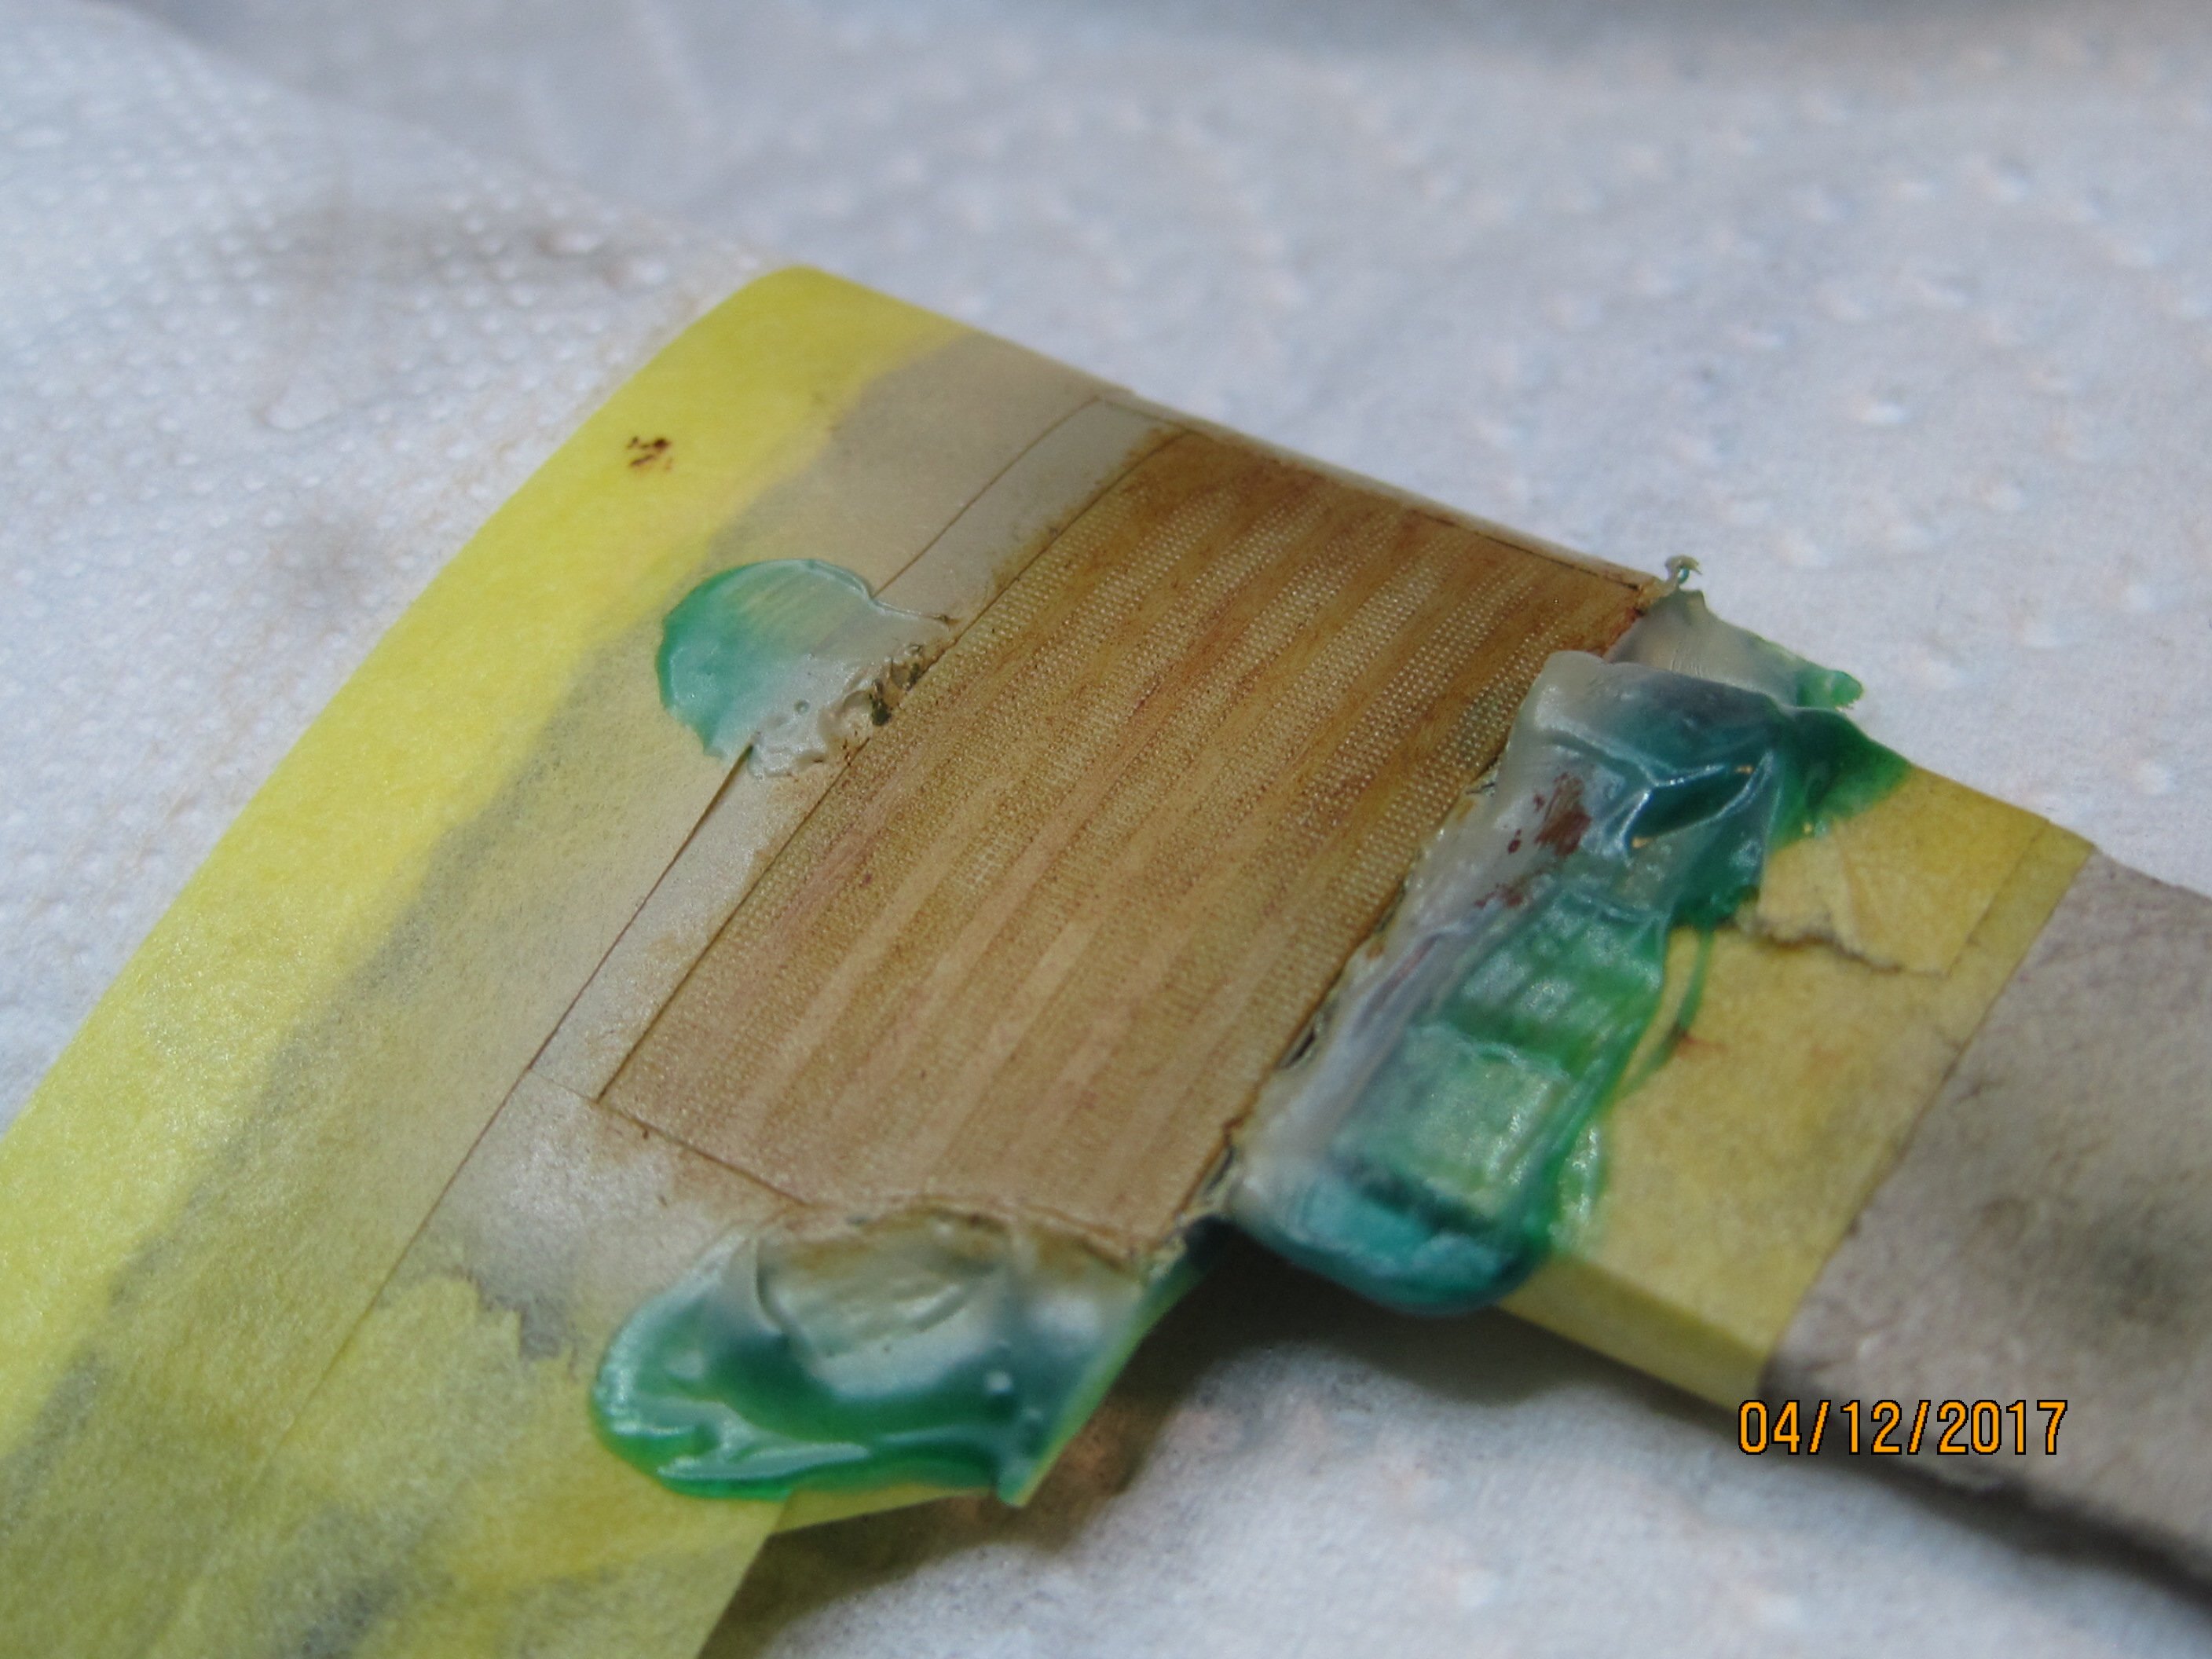
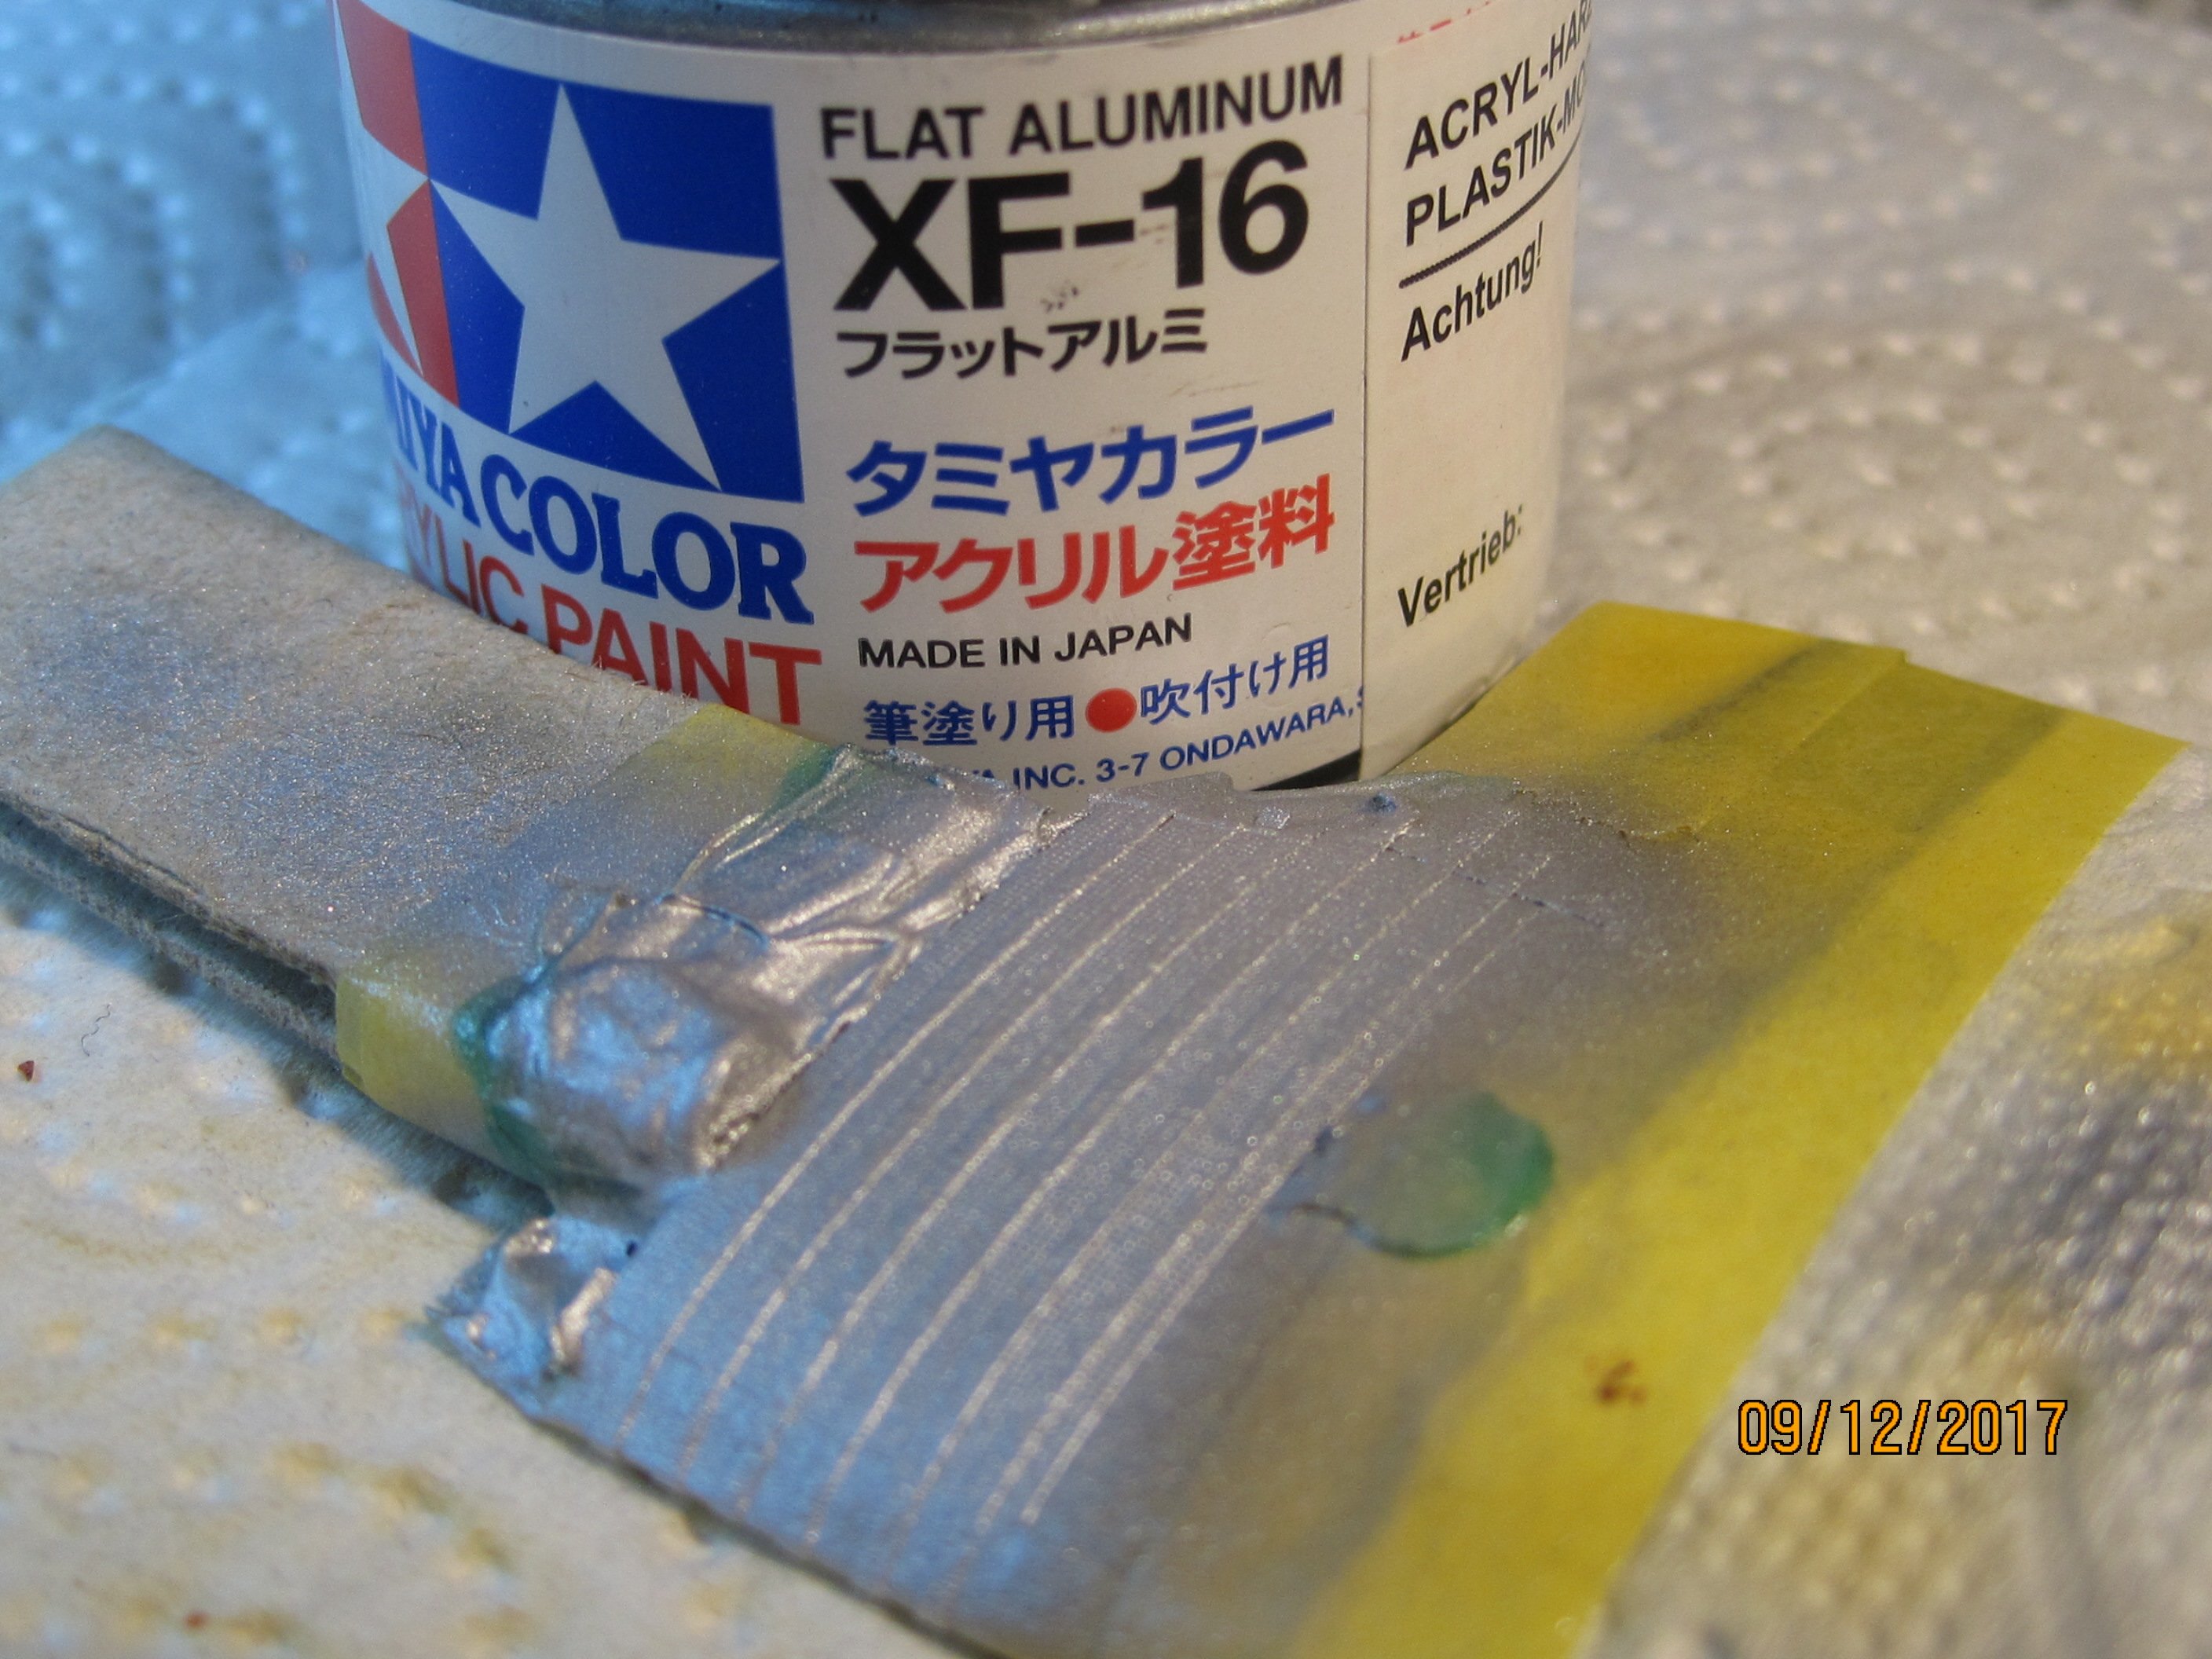
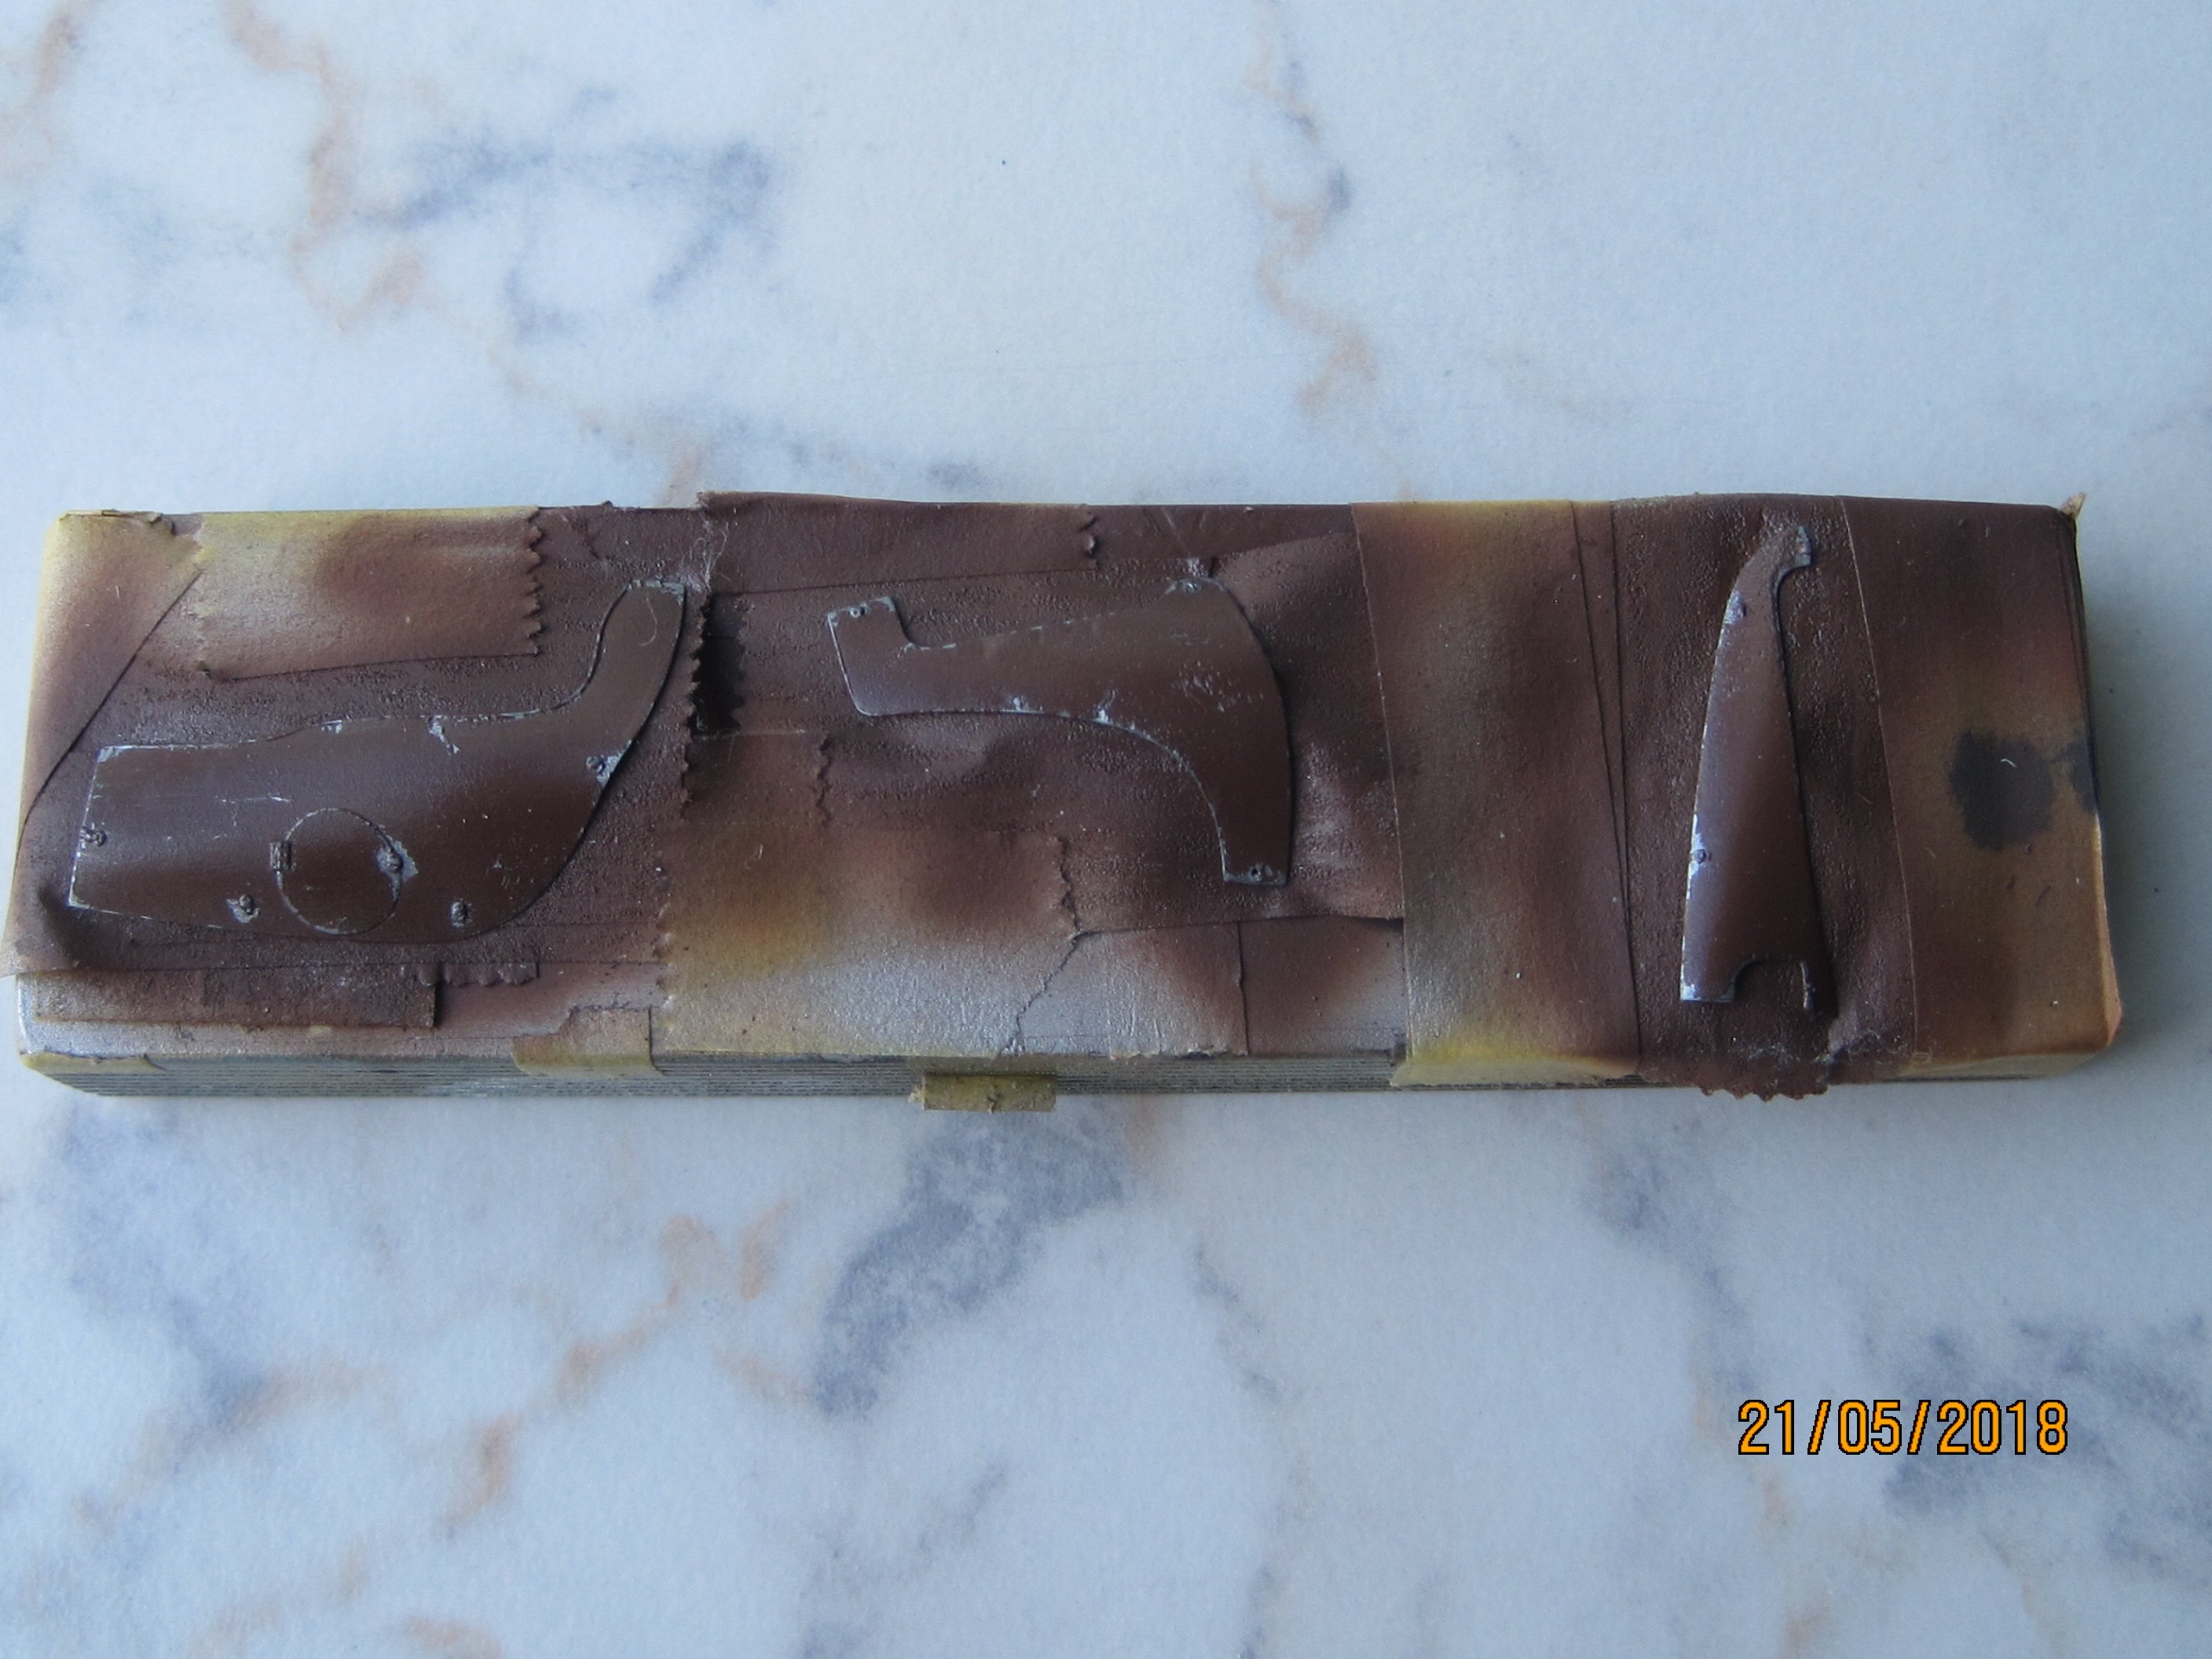
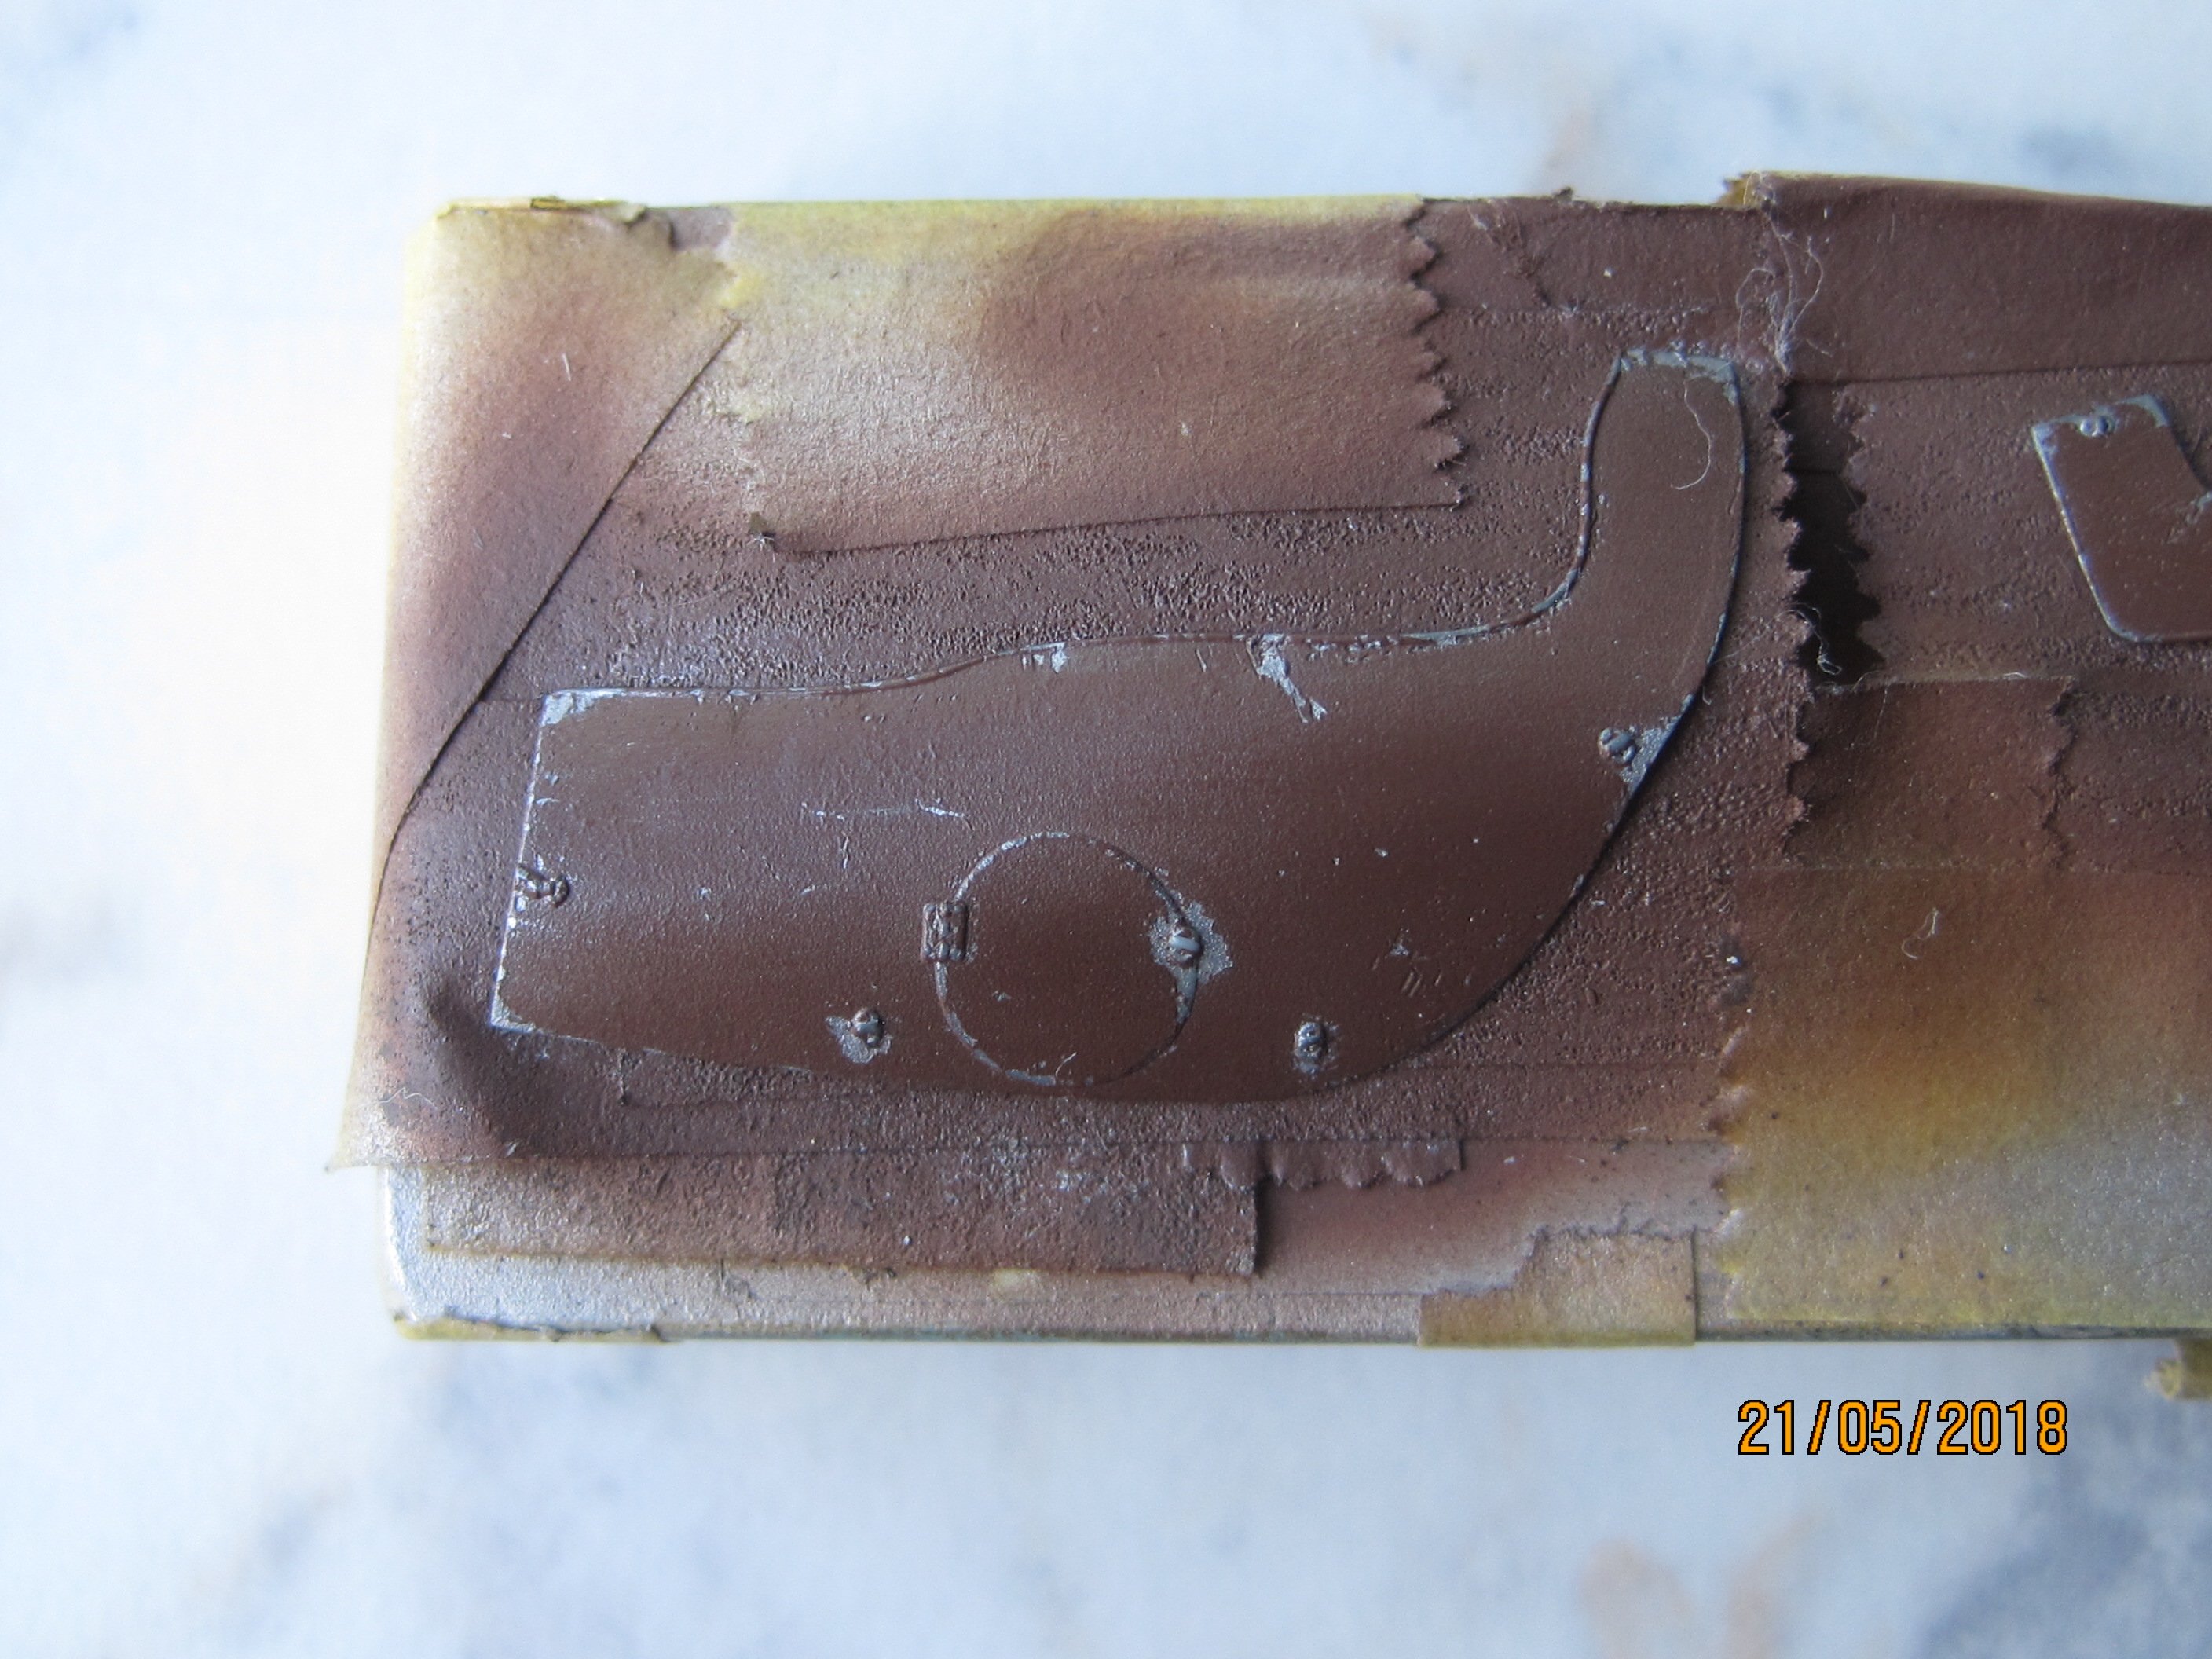
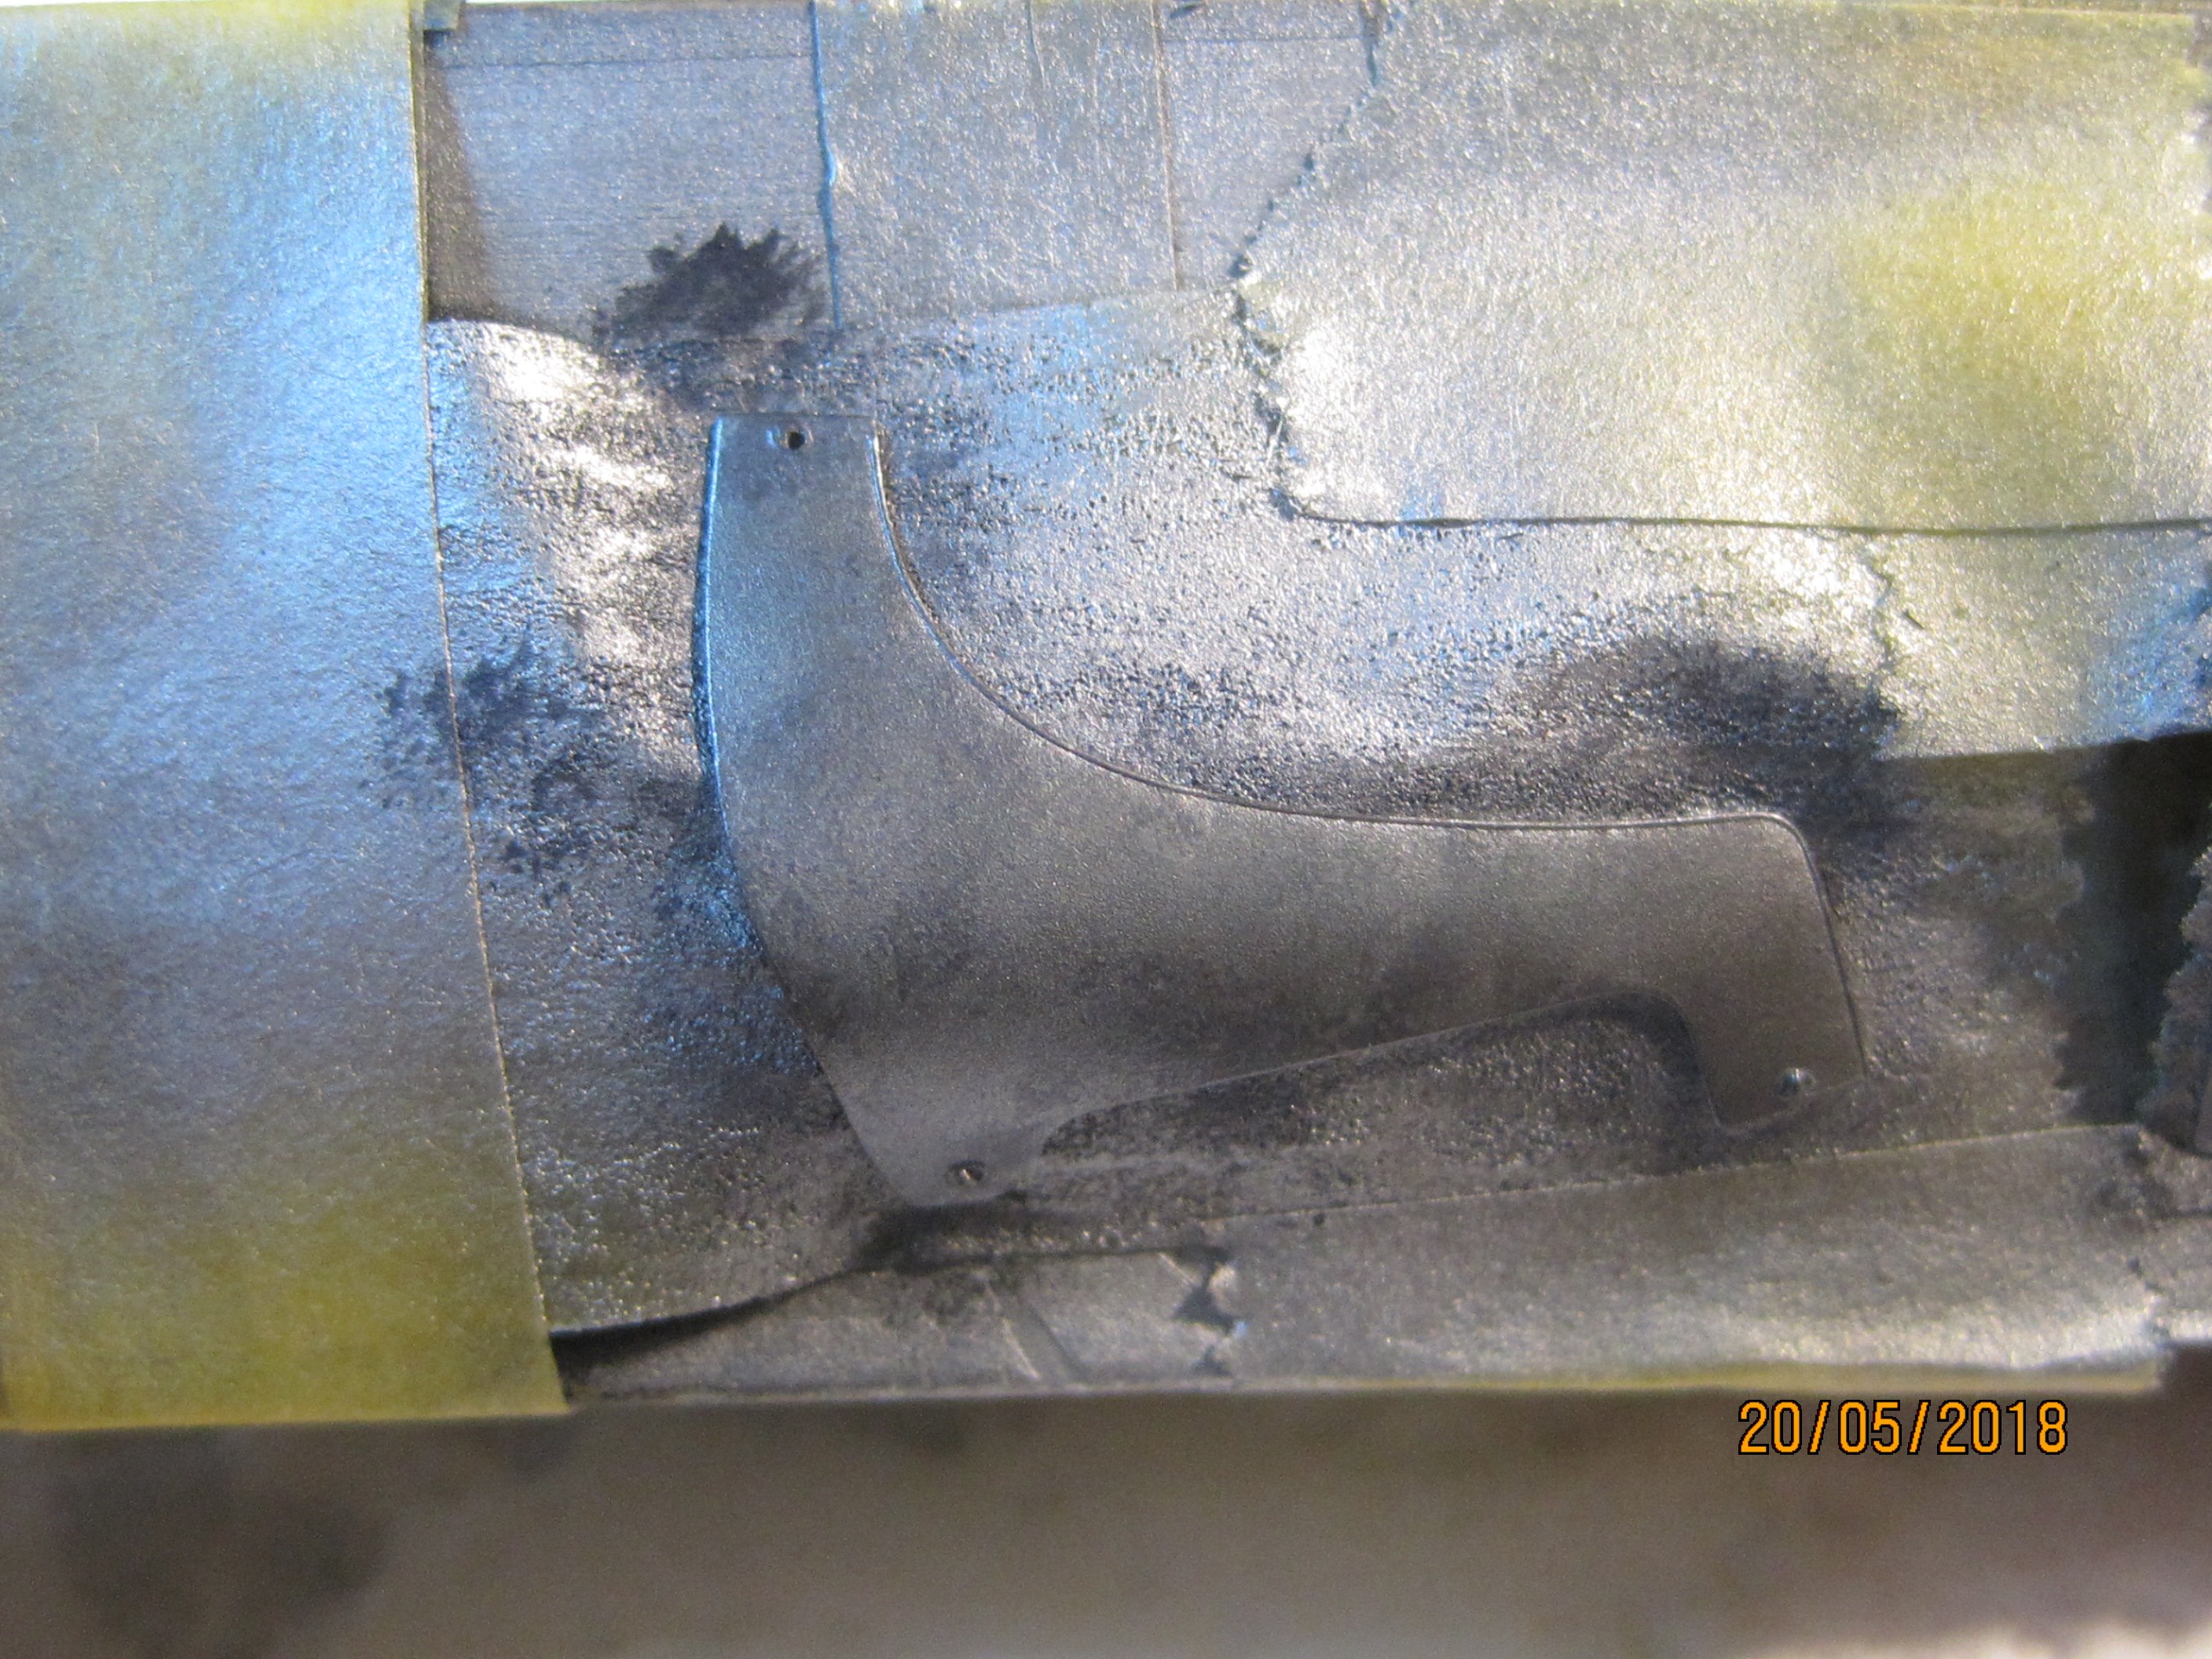
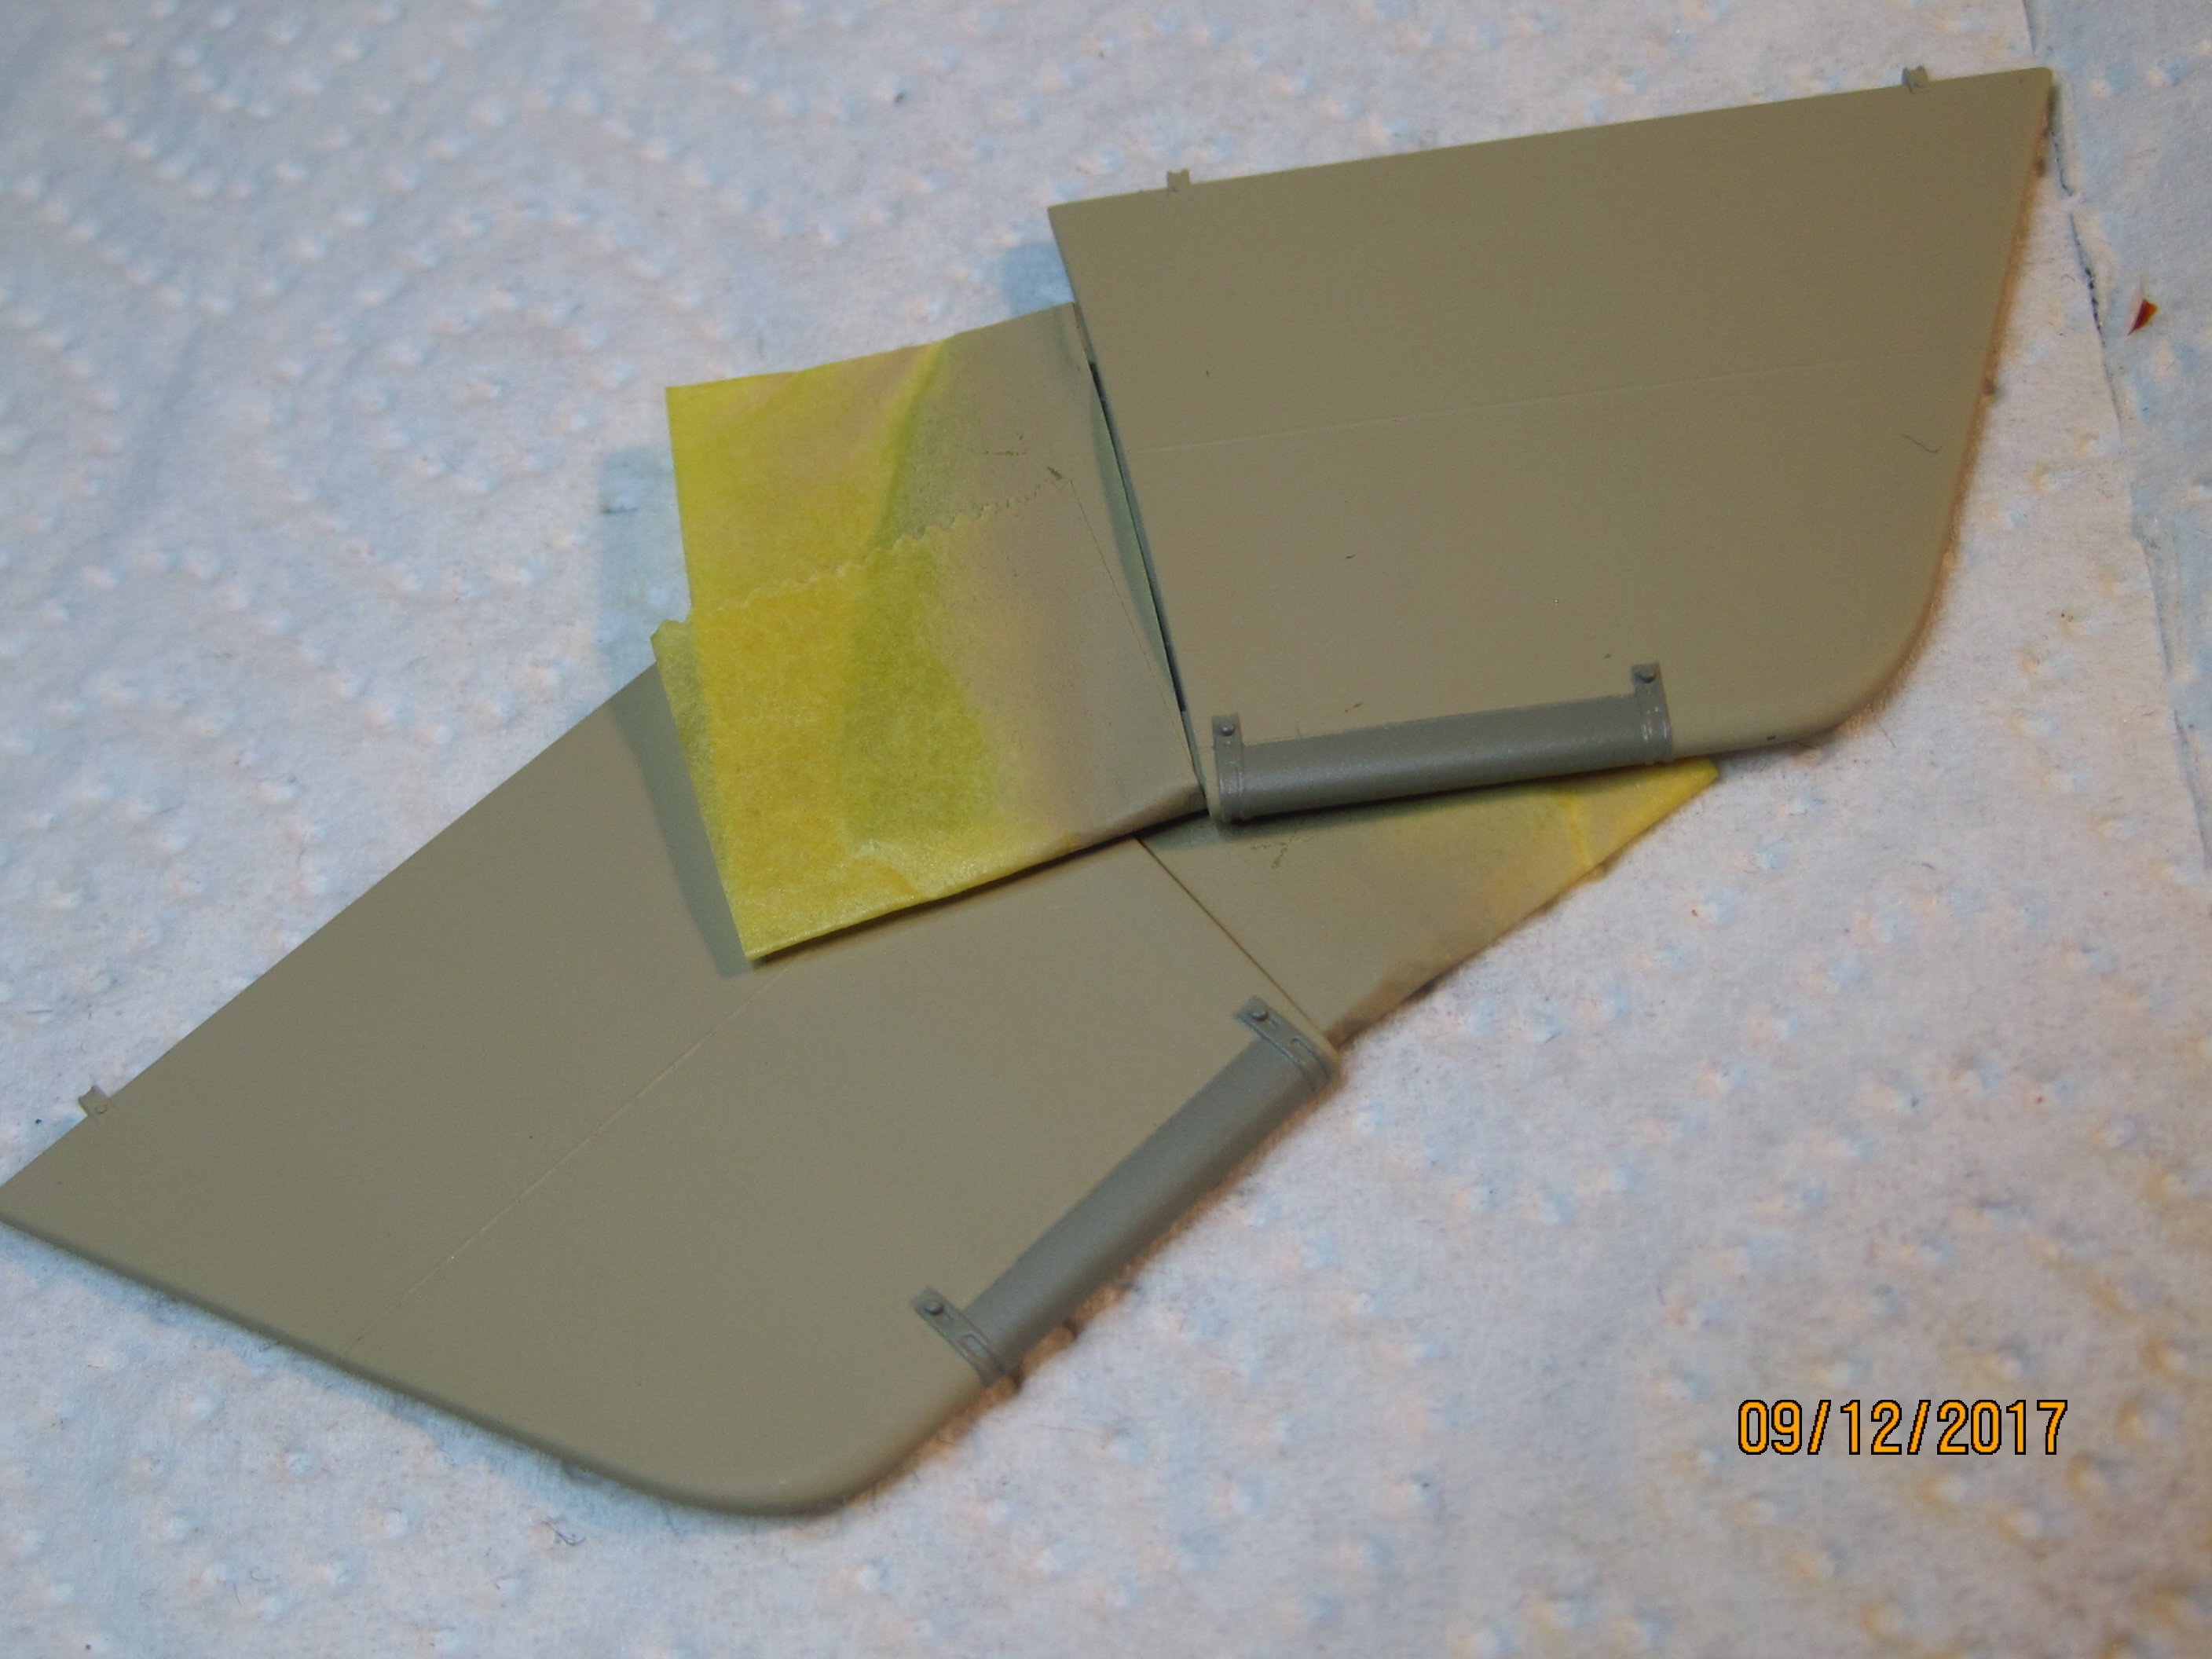
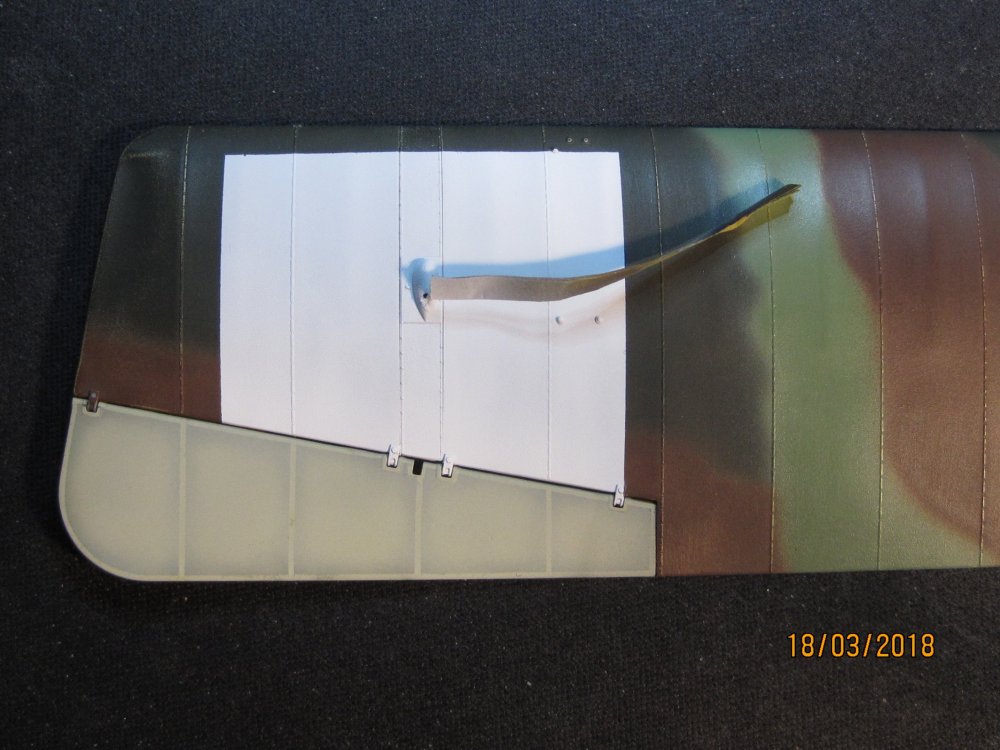
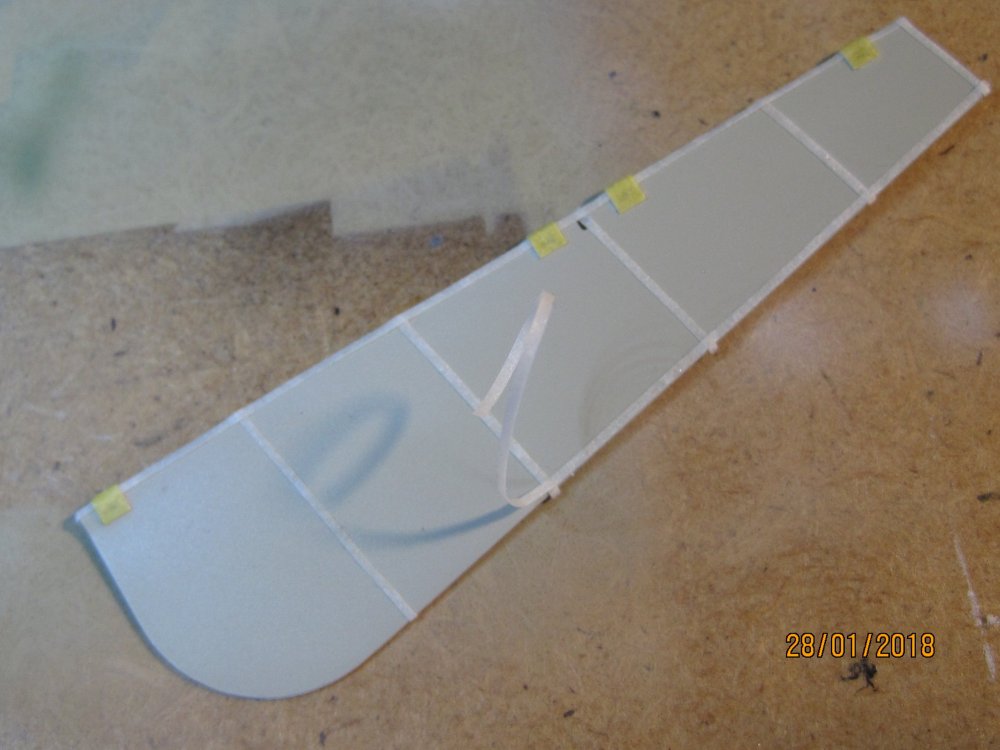
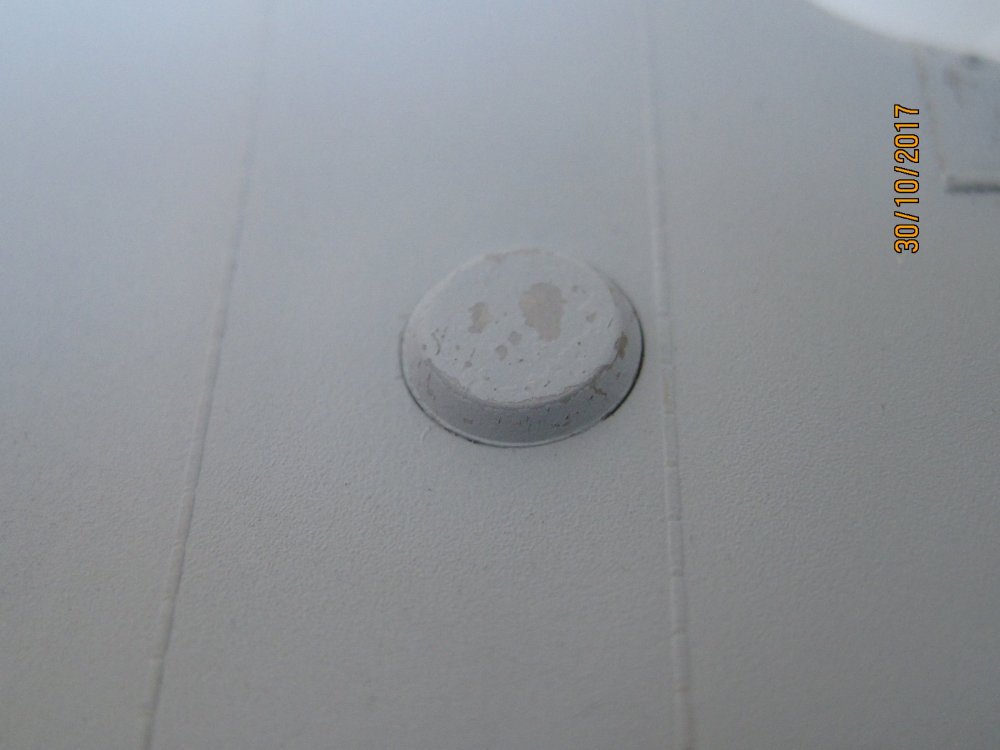
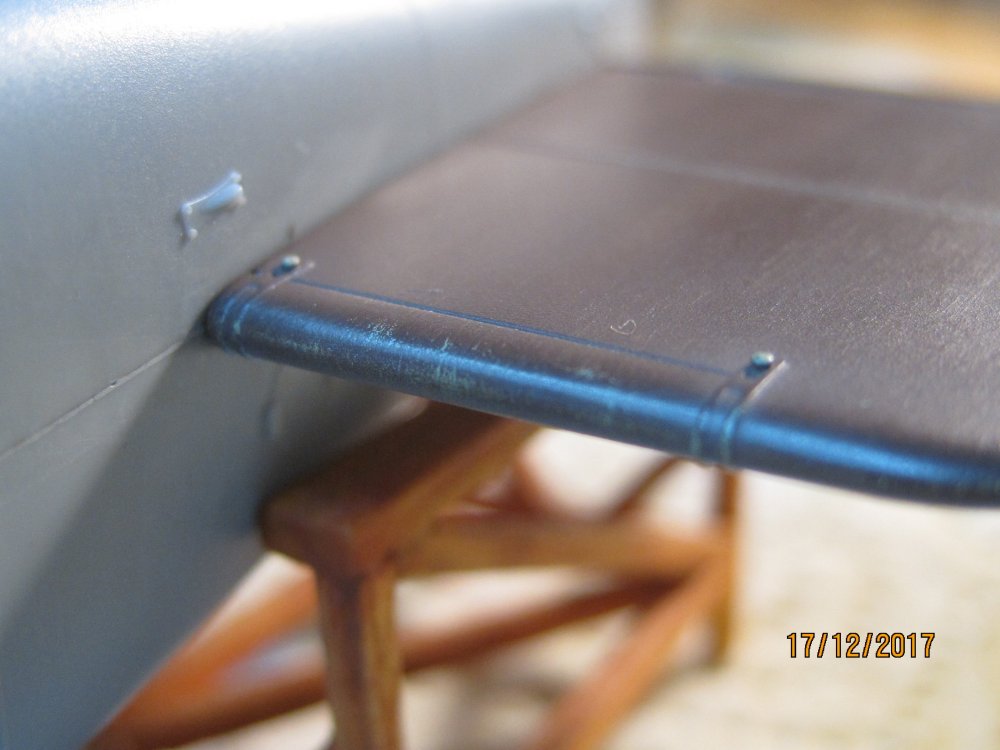
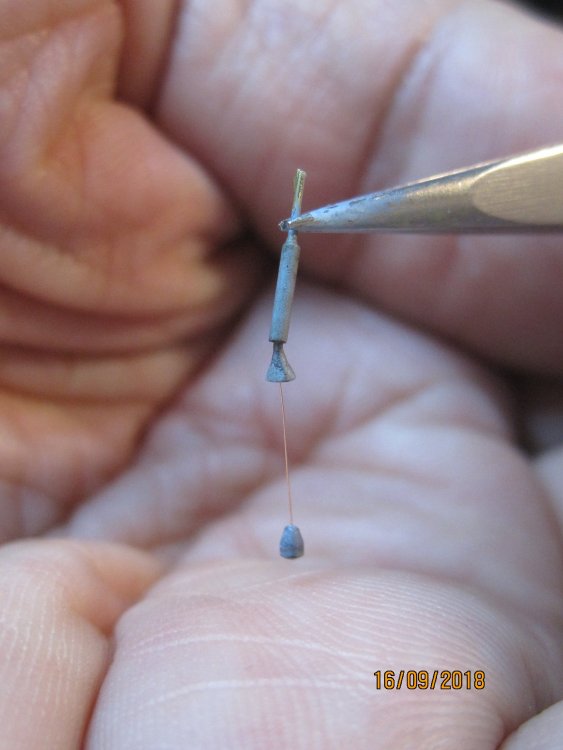
Here the step pad made of plywood, painted with camouflage. for the mechanics on the lower left wing. This pad is of course always very heavily stressed by the mechanics' boot soles - this is how it should look on the model.


-
Wingnut Wings Roland C.IIa
Umlaufmotor replied to Umlaufmotor's topic in WNW and WW1 Ready for Inspection'
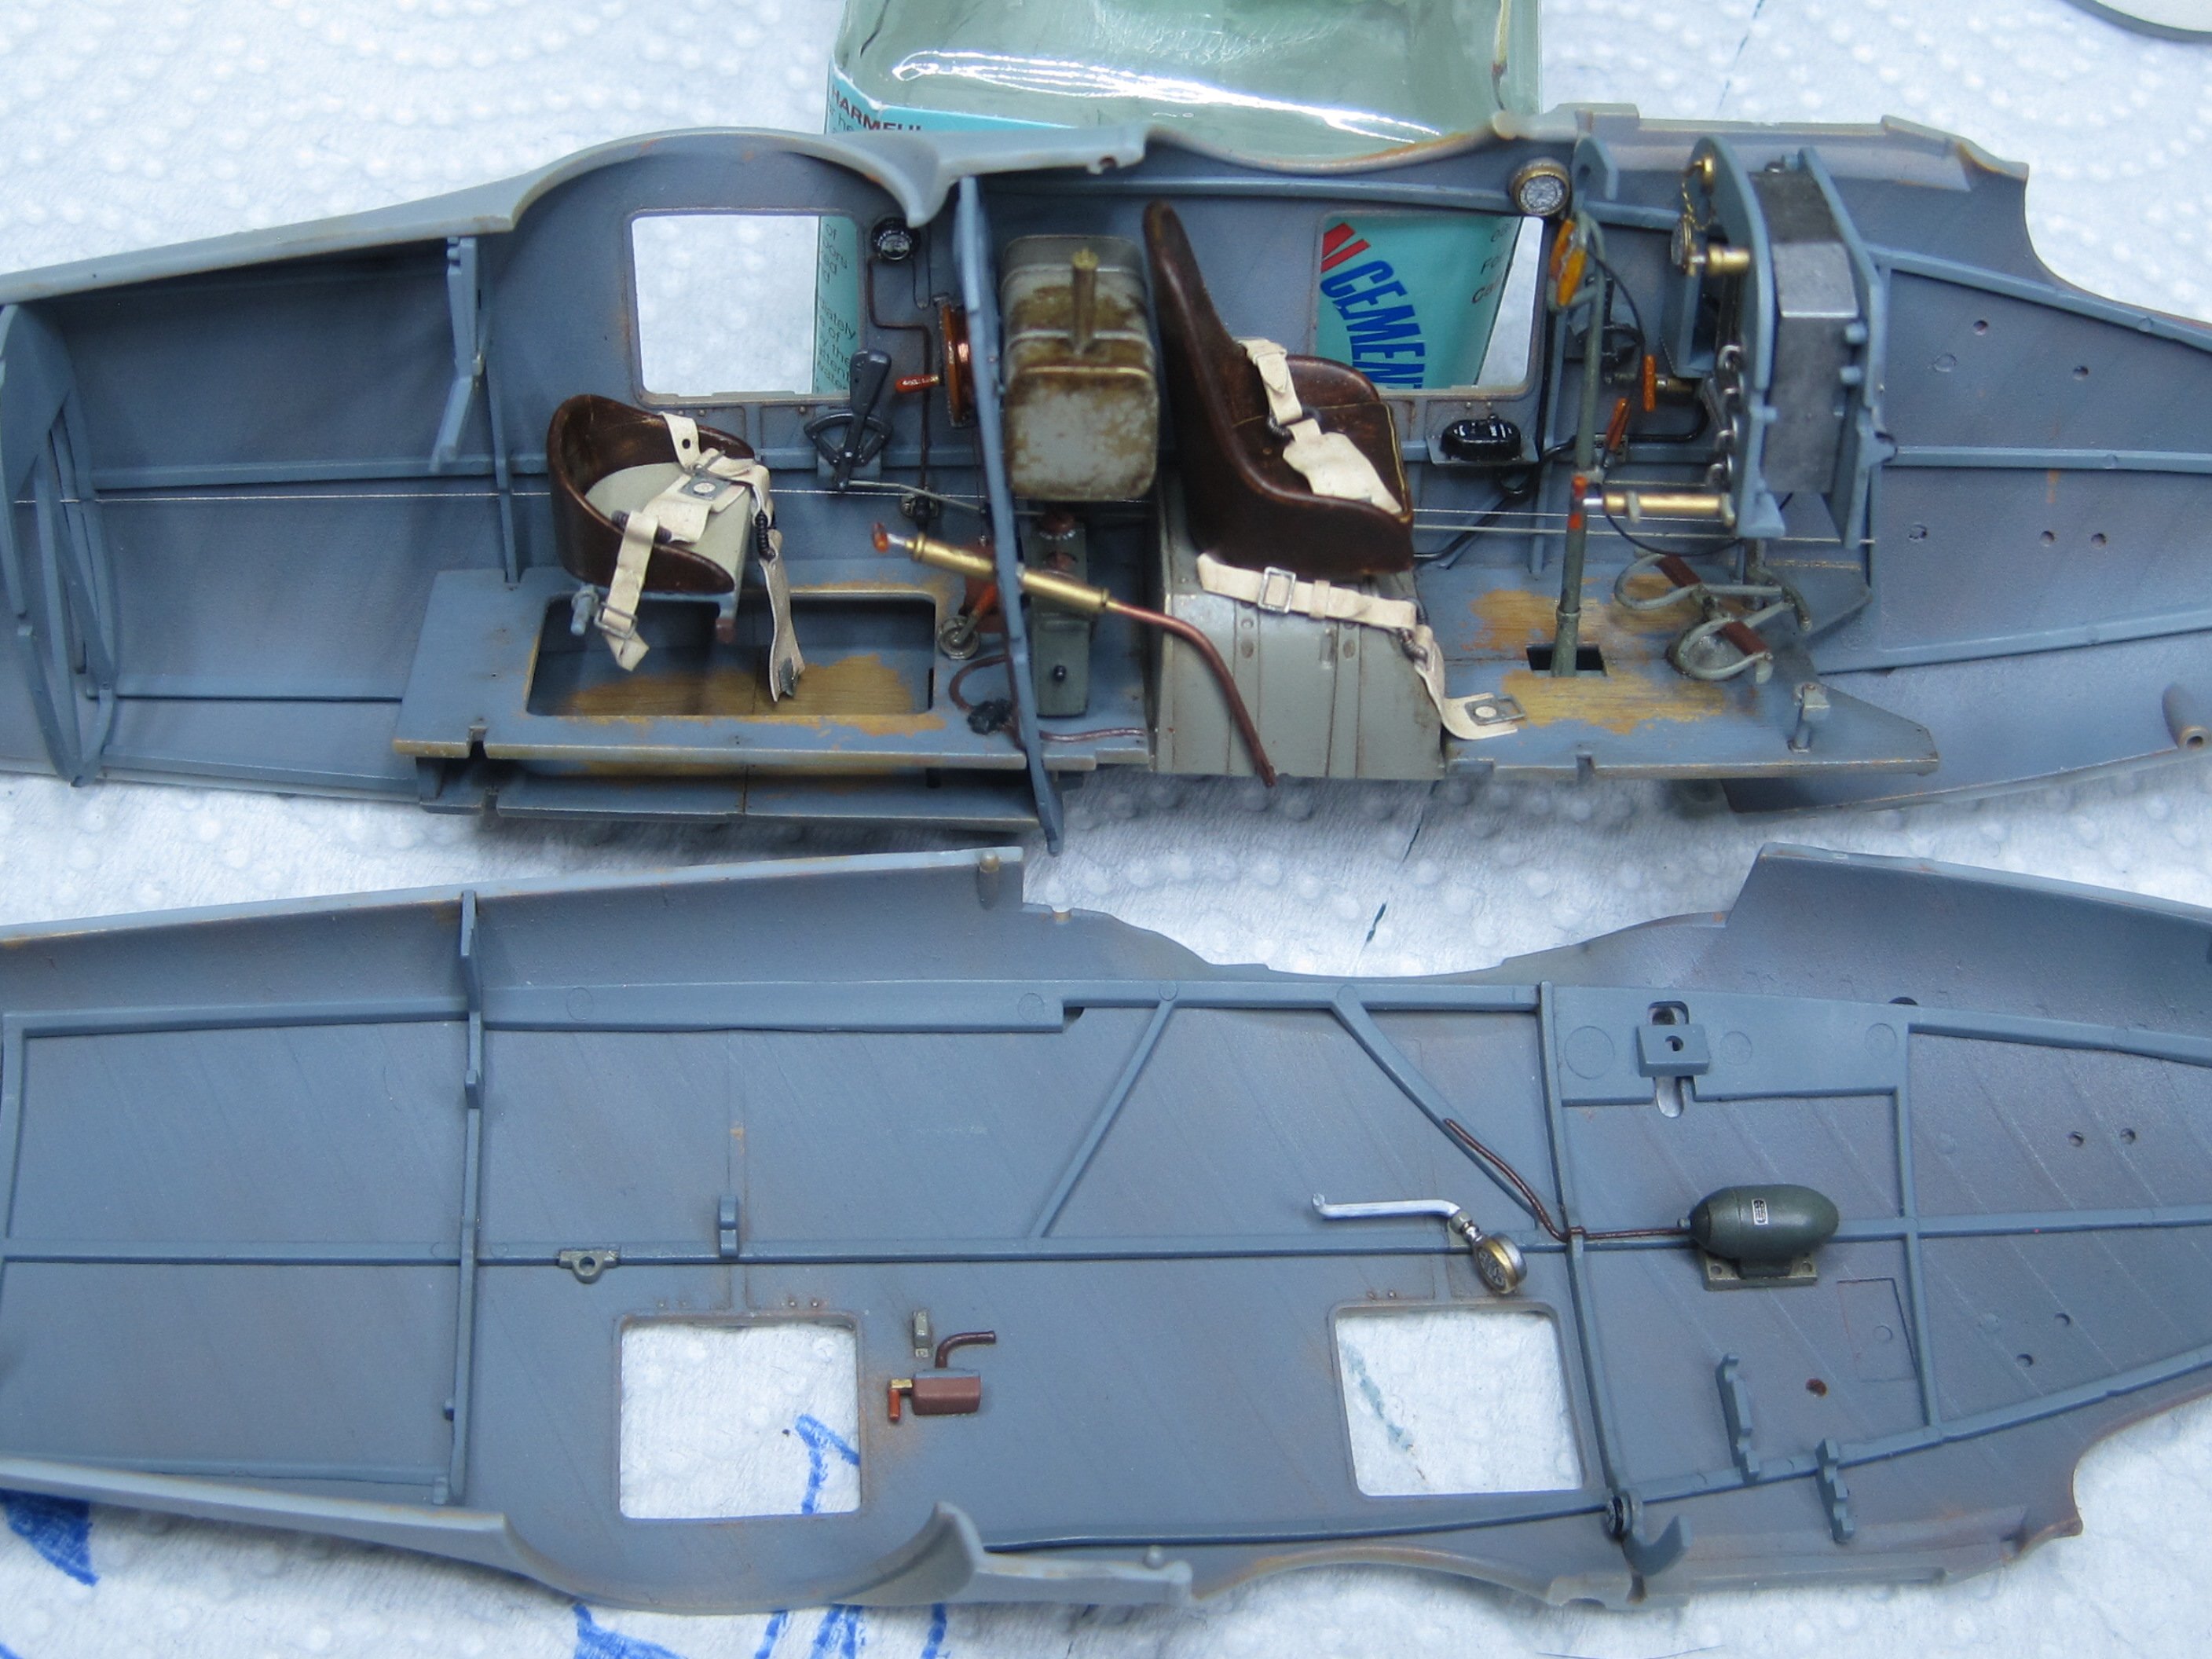
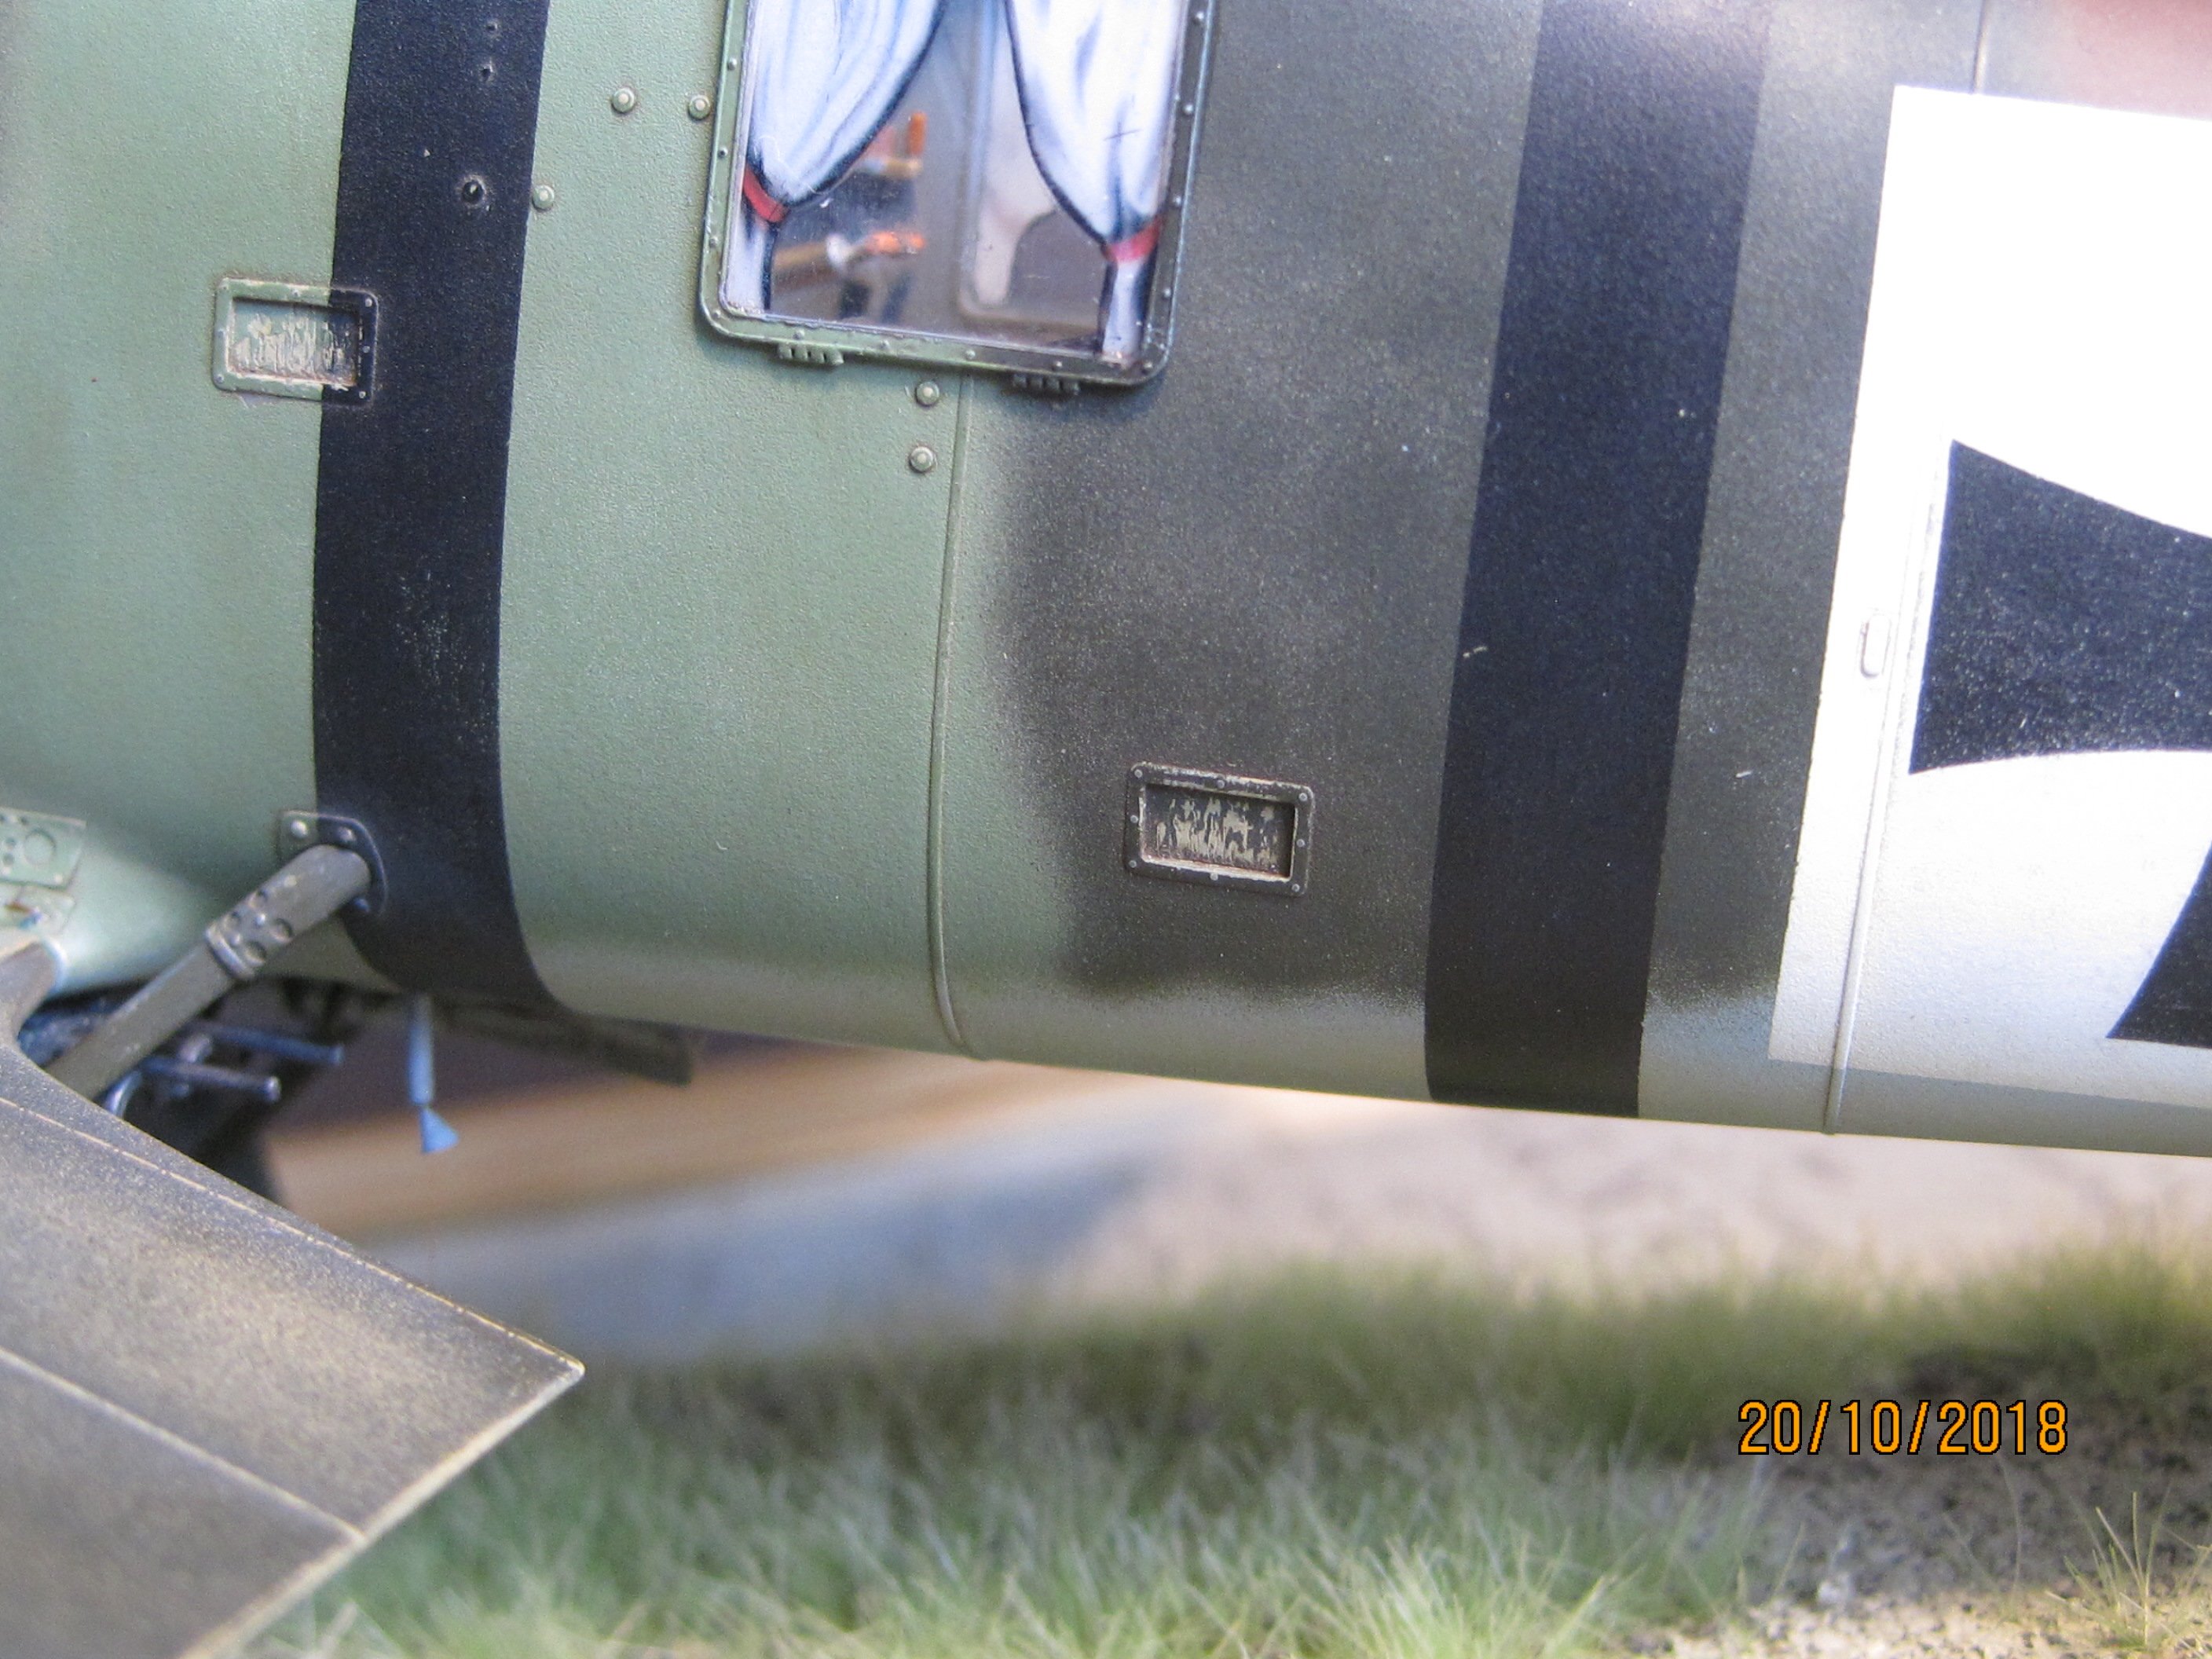
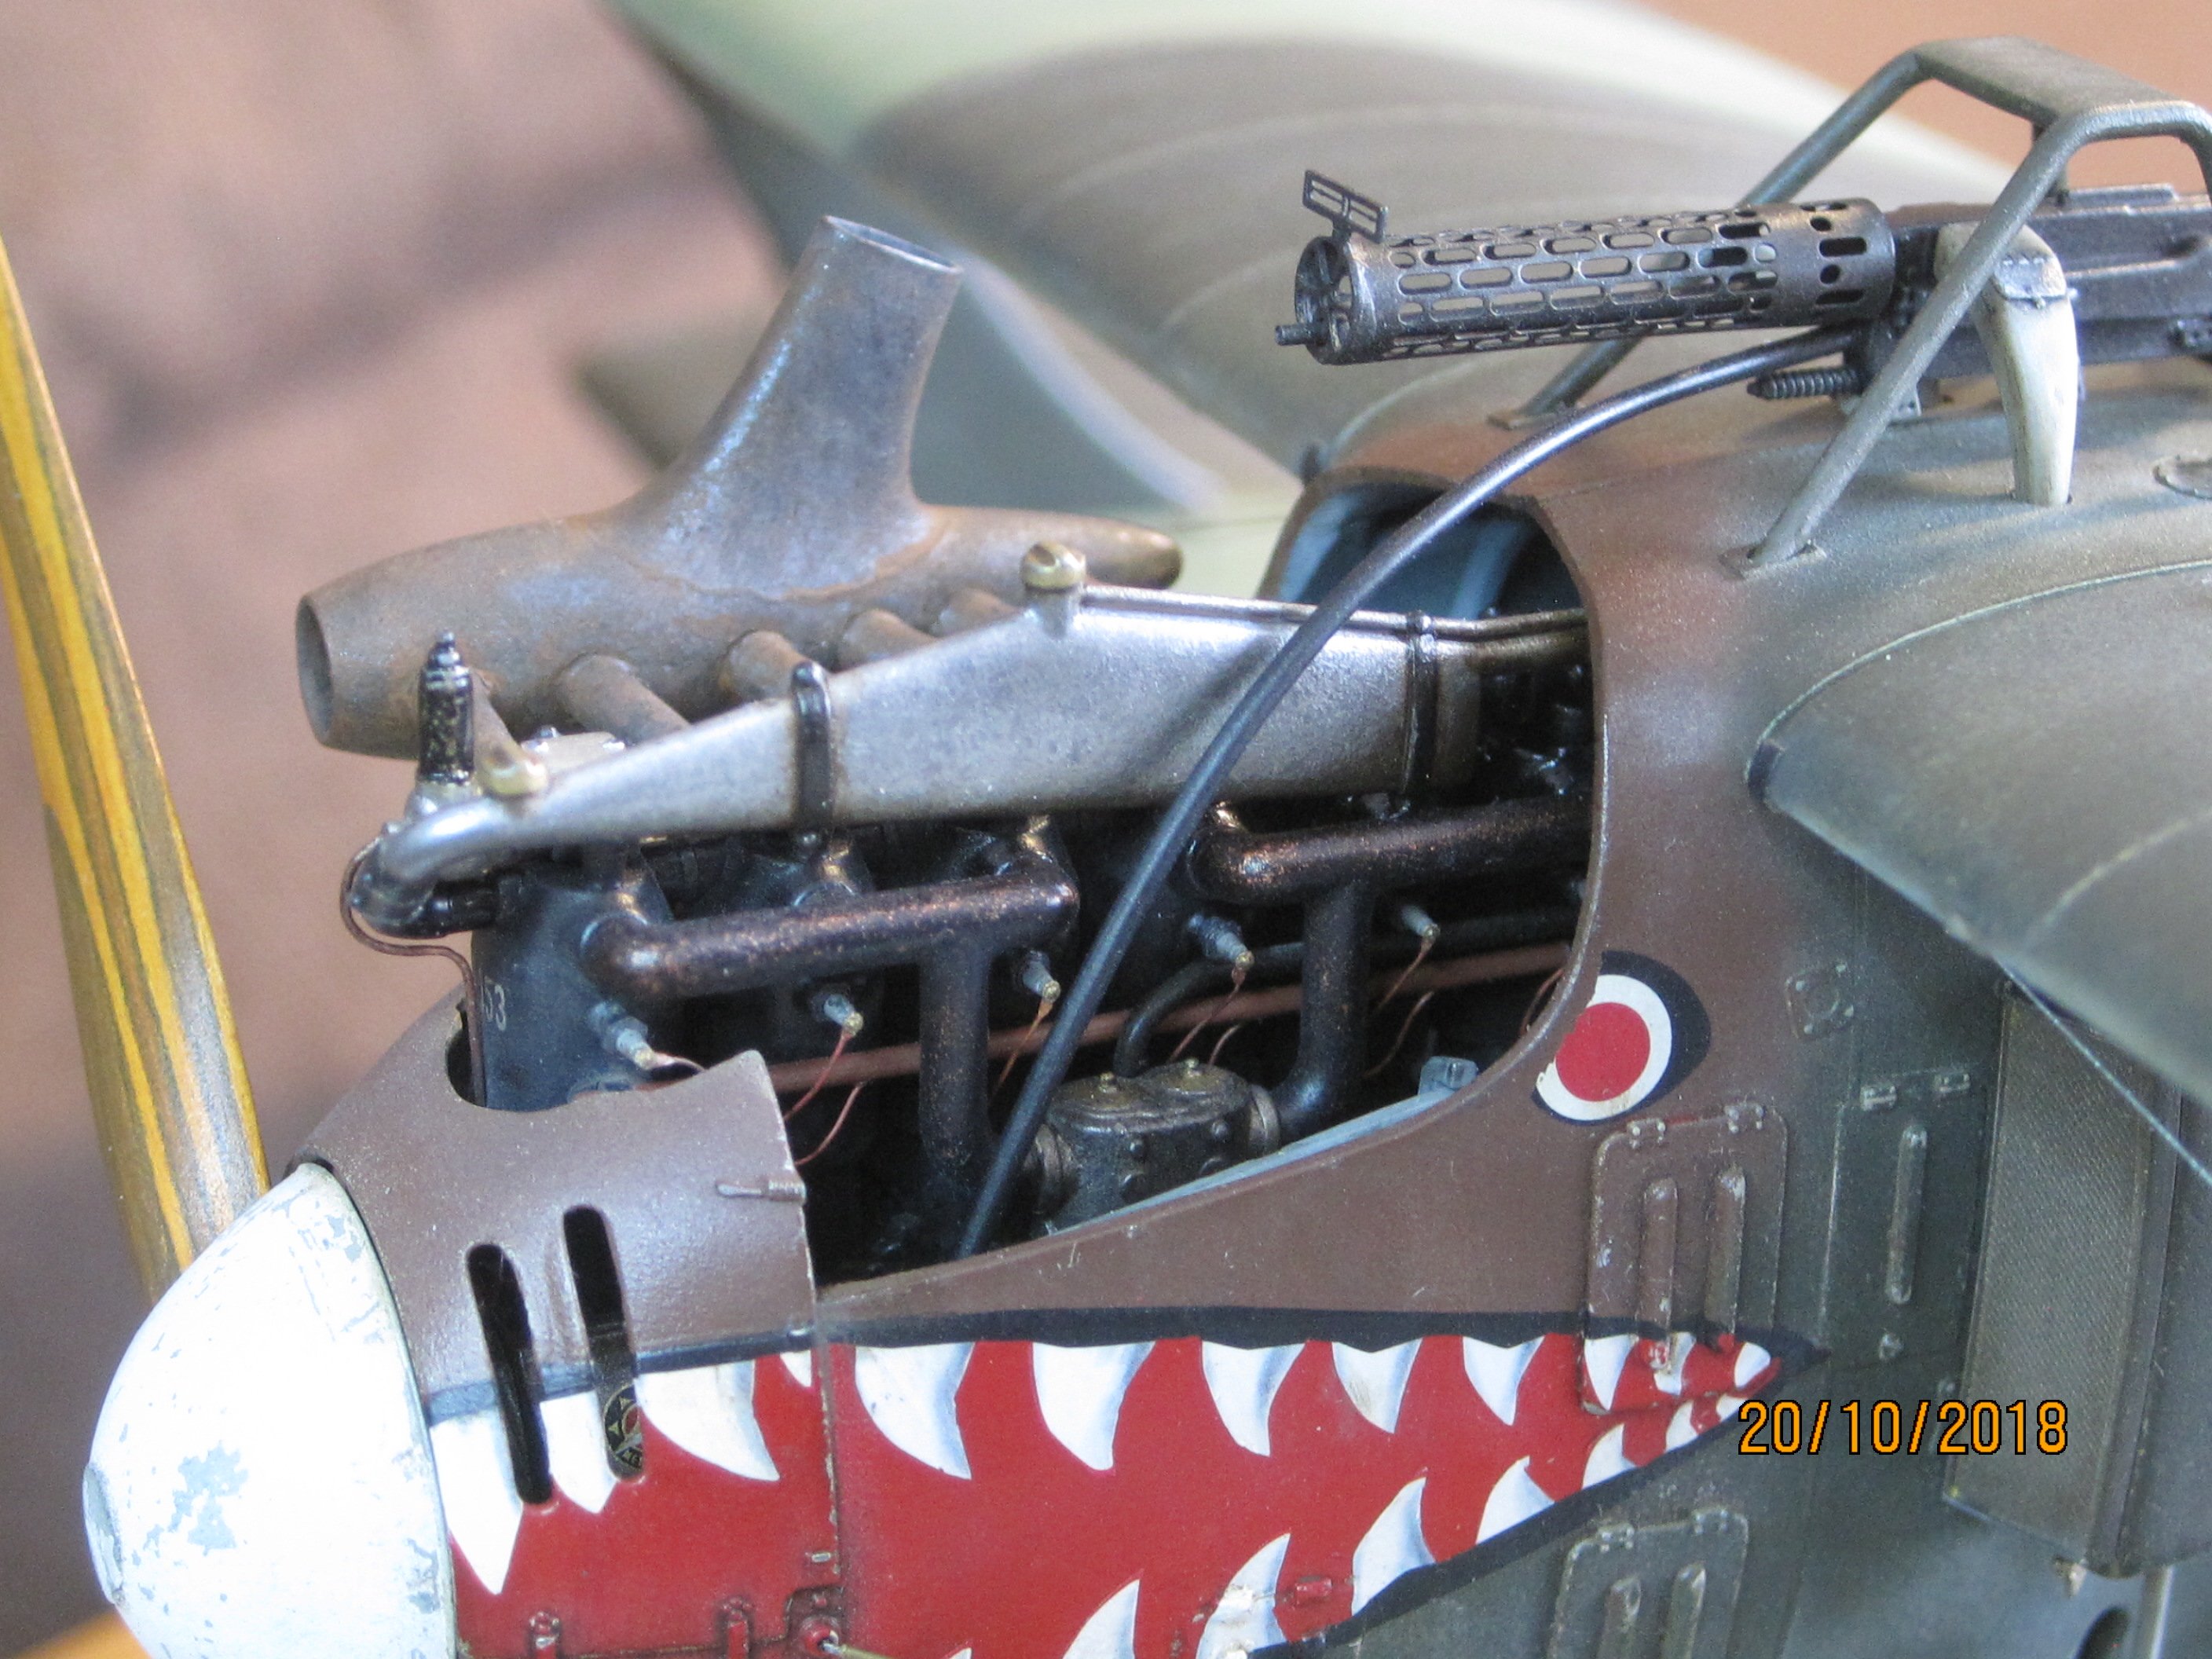
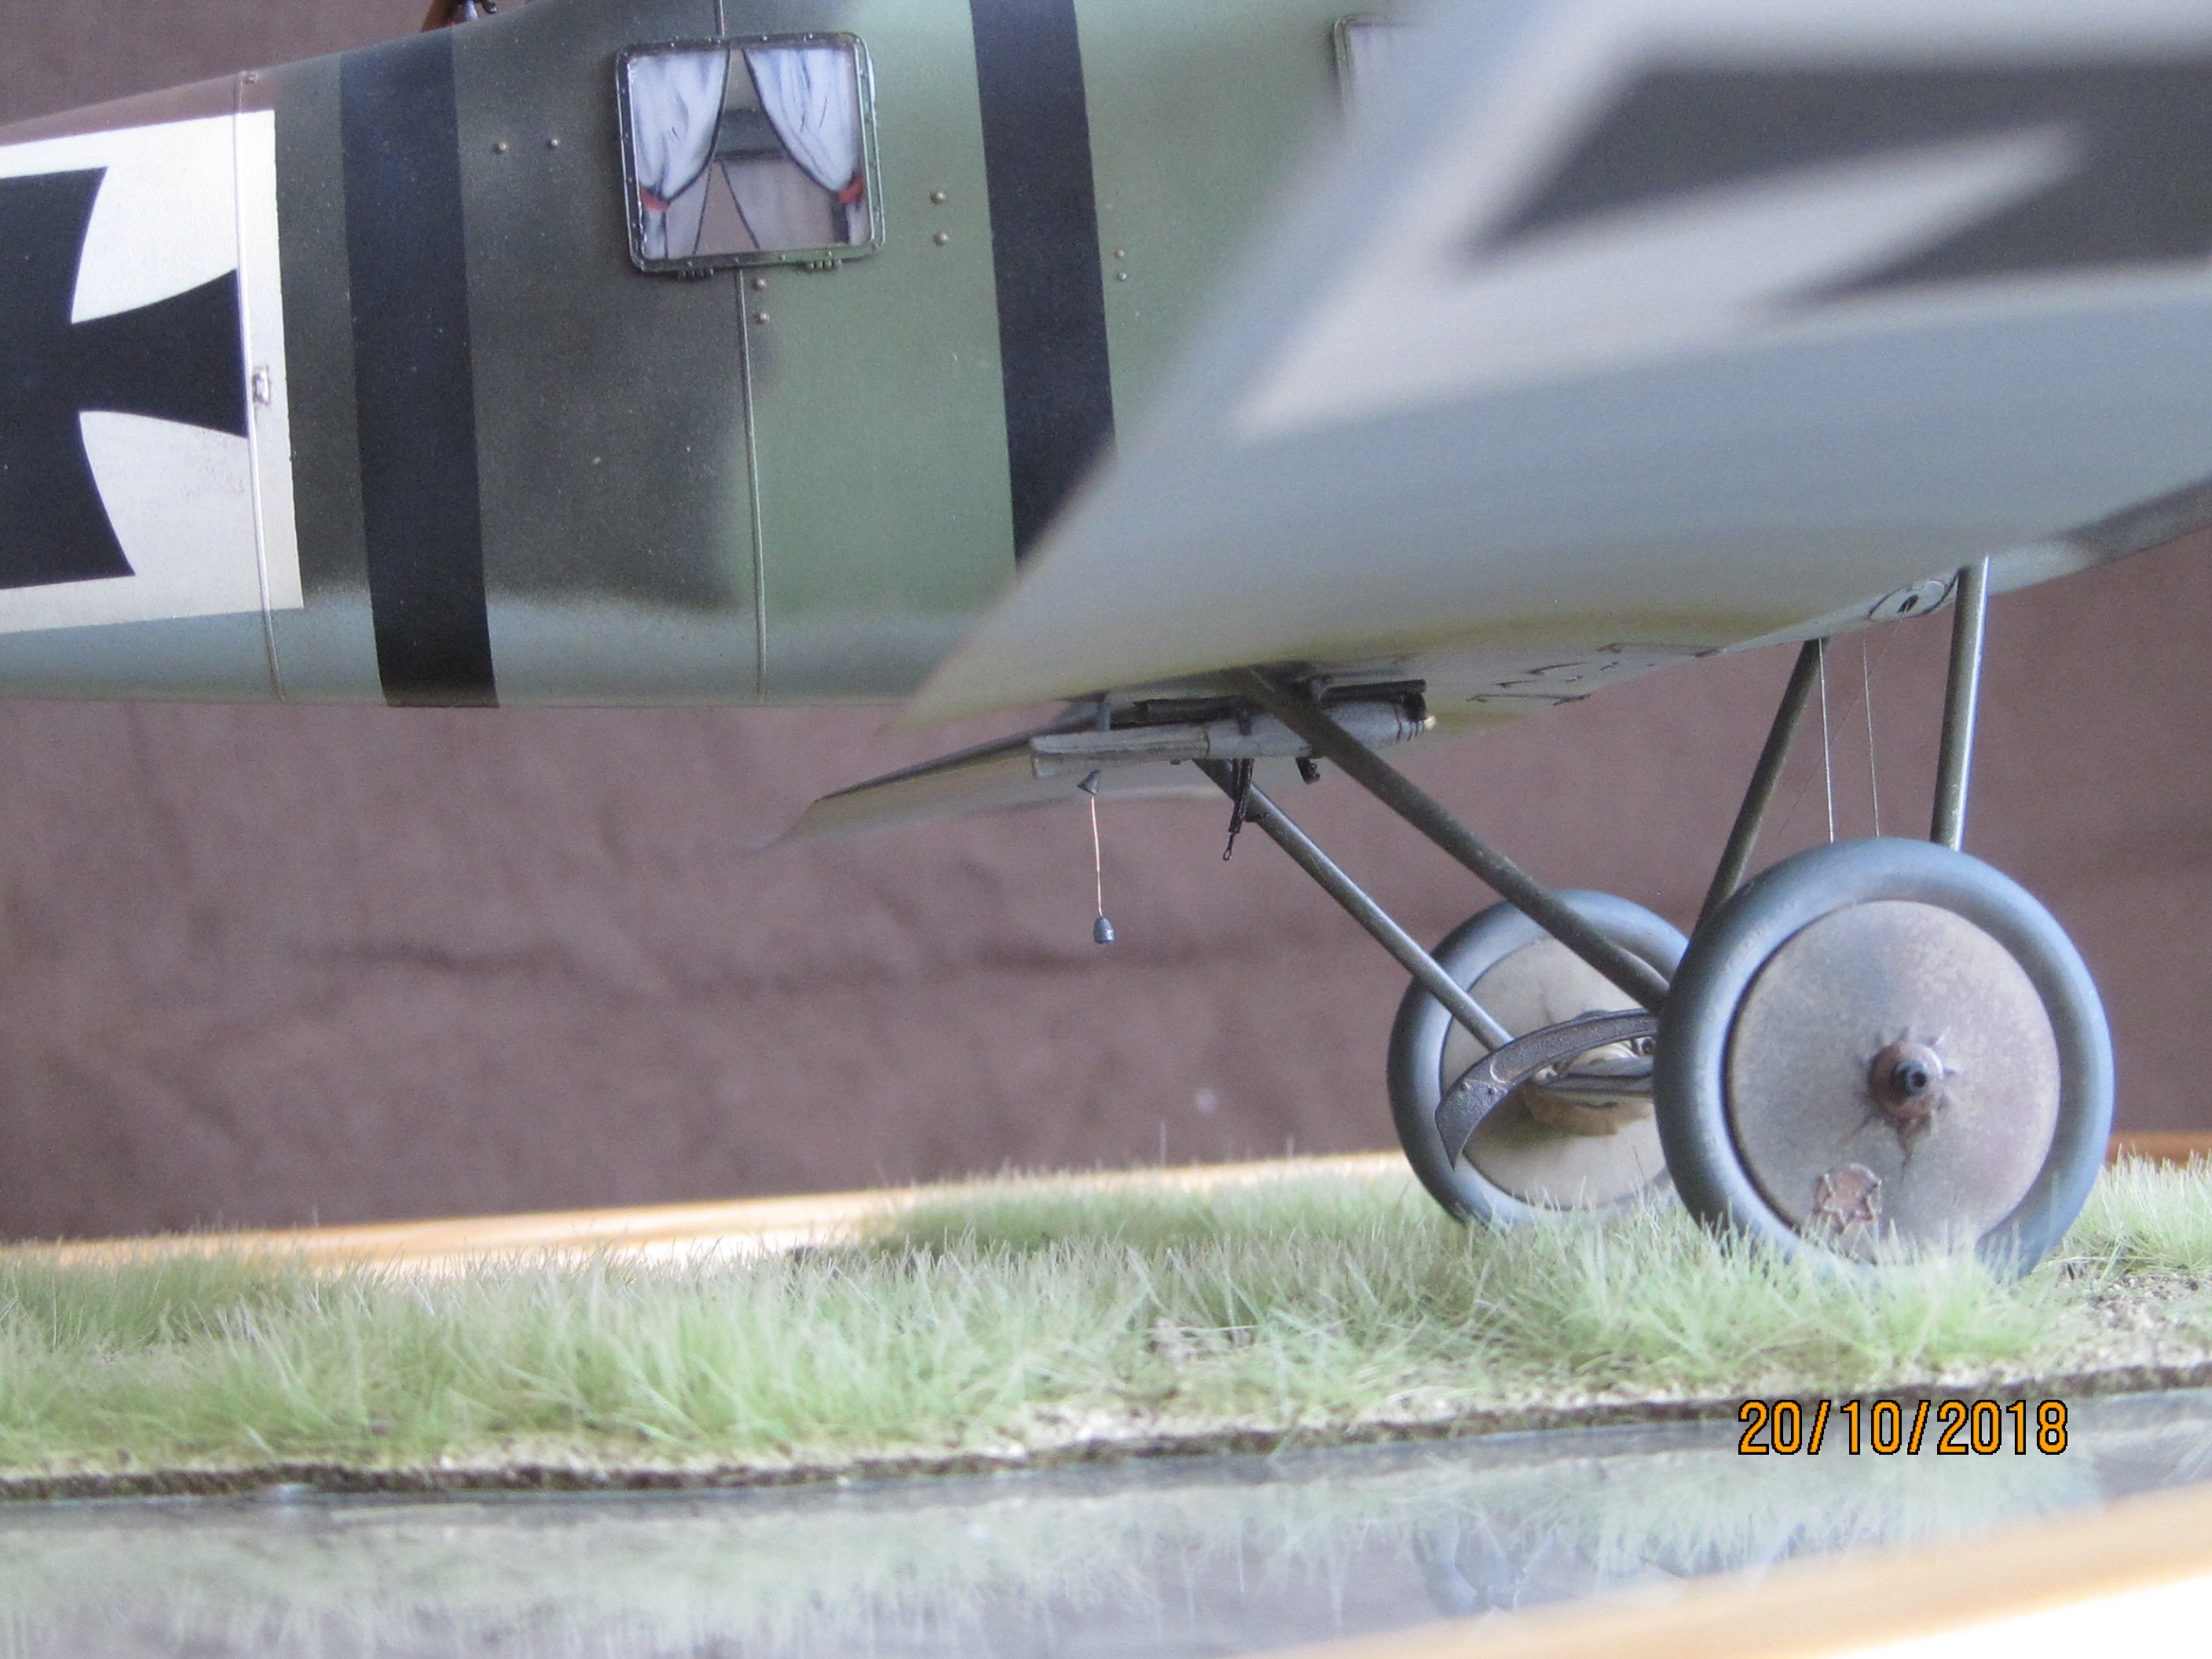
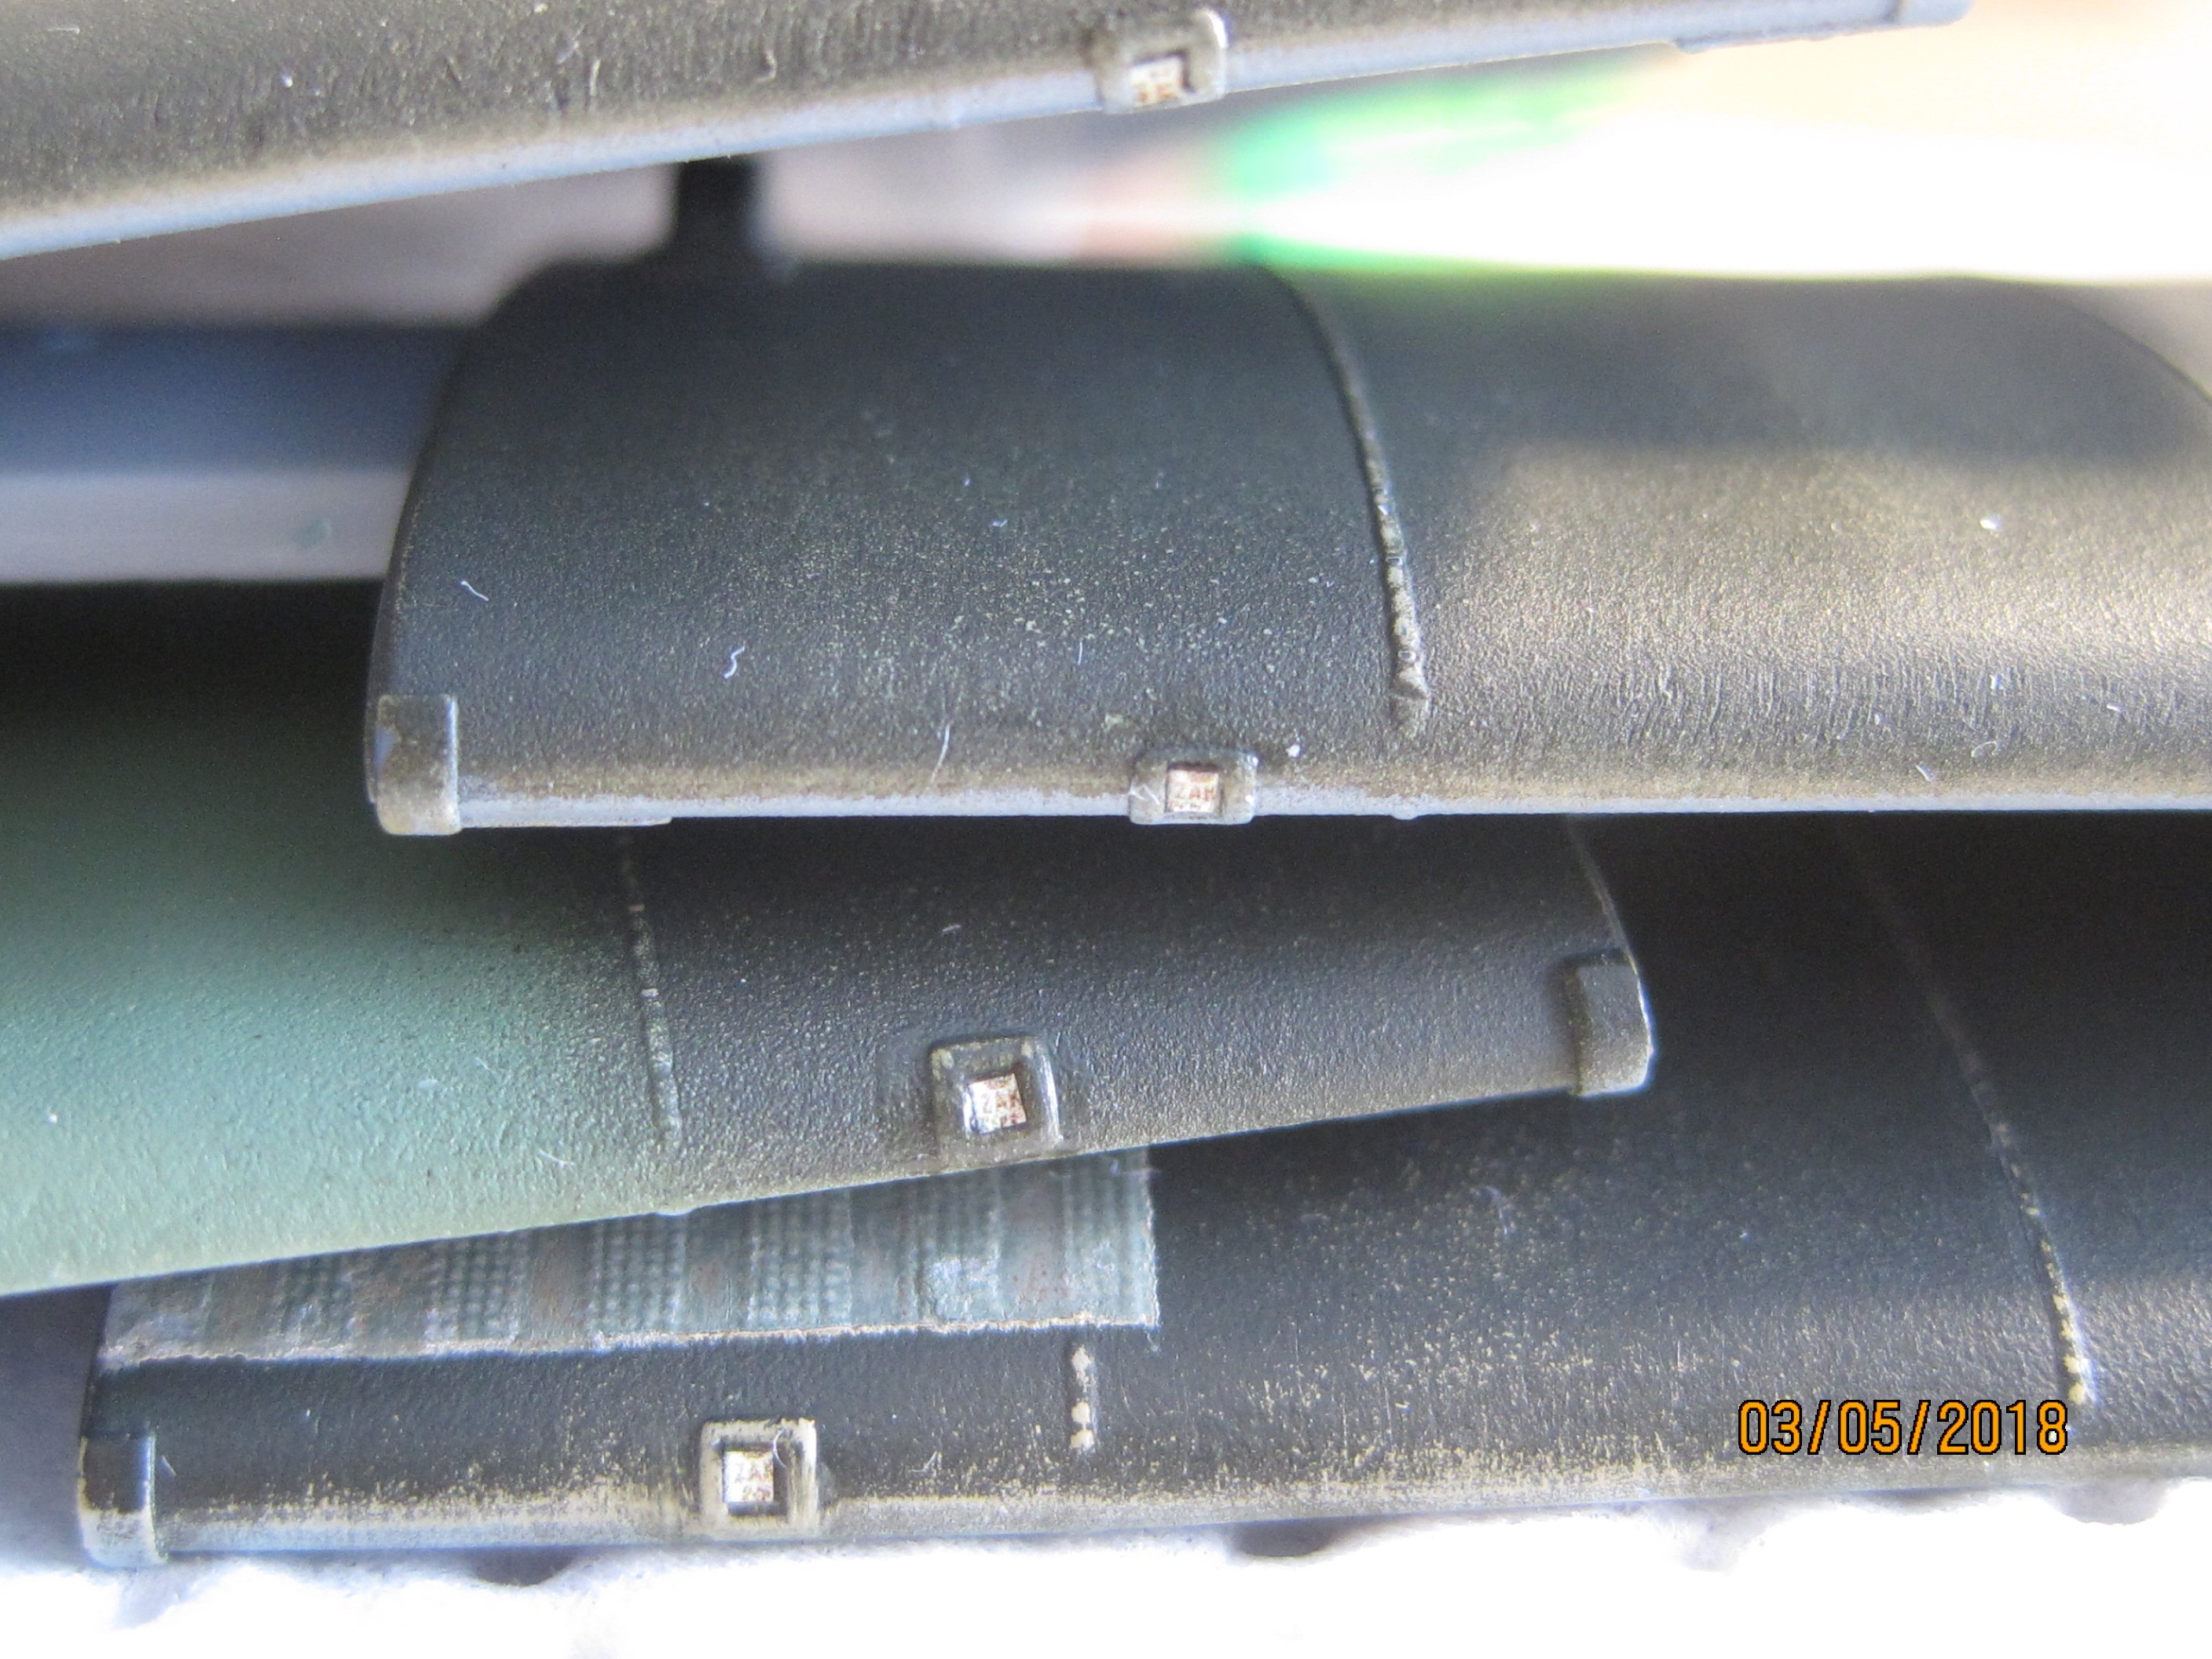
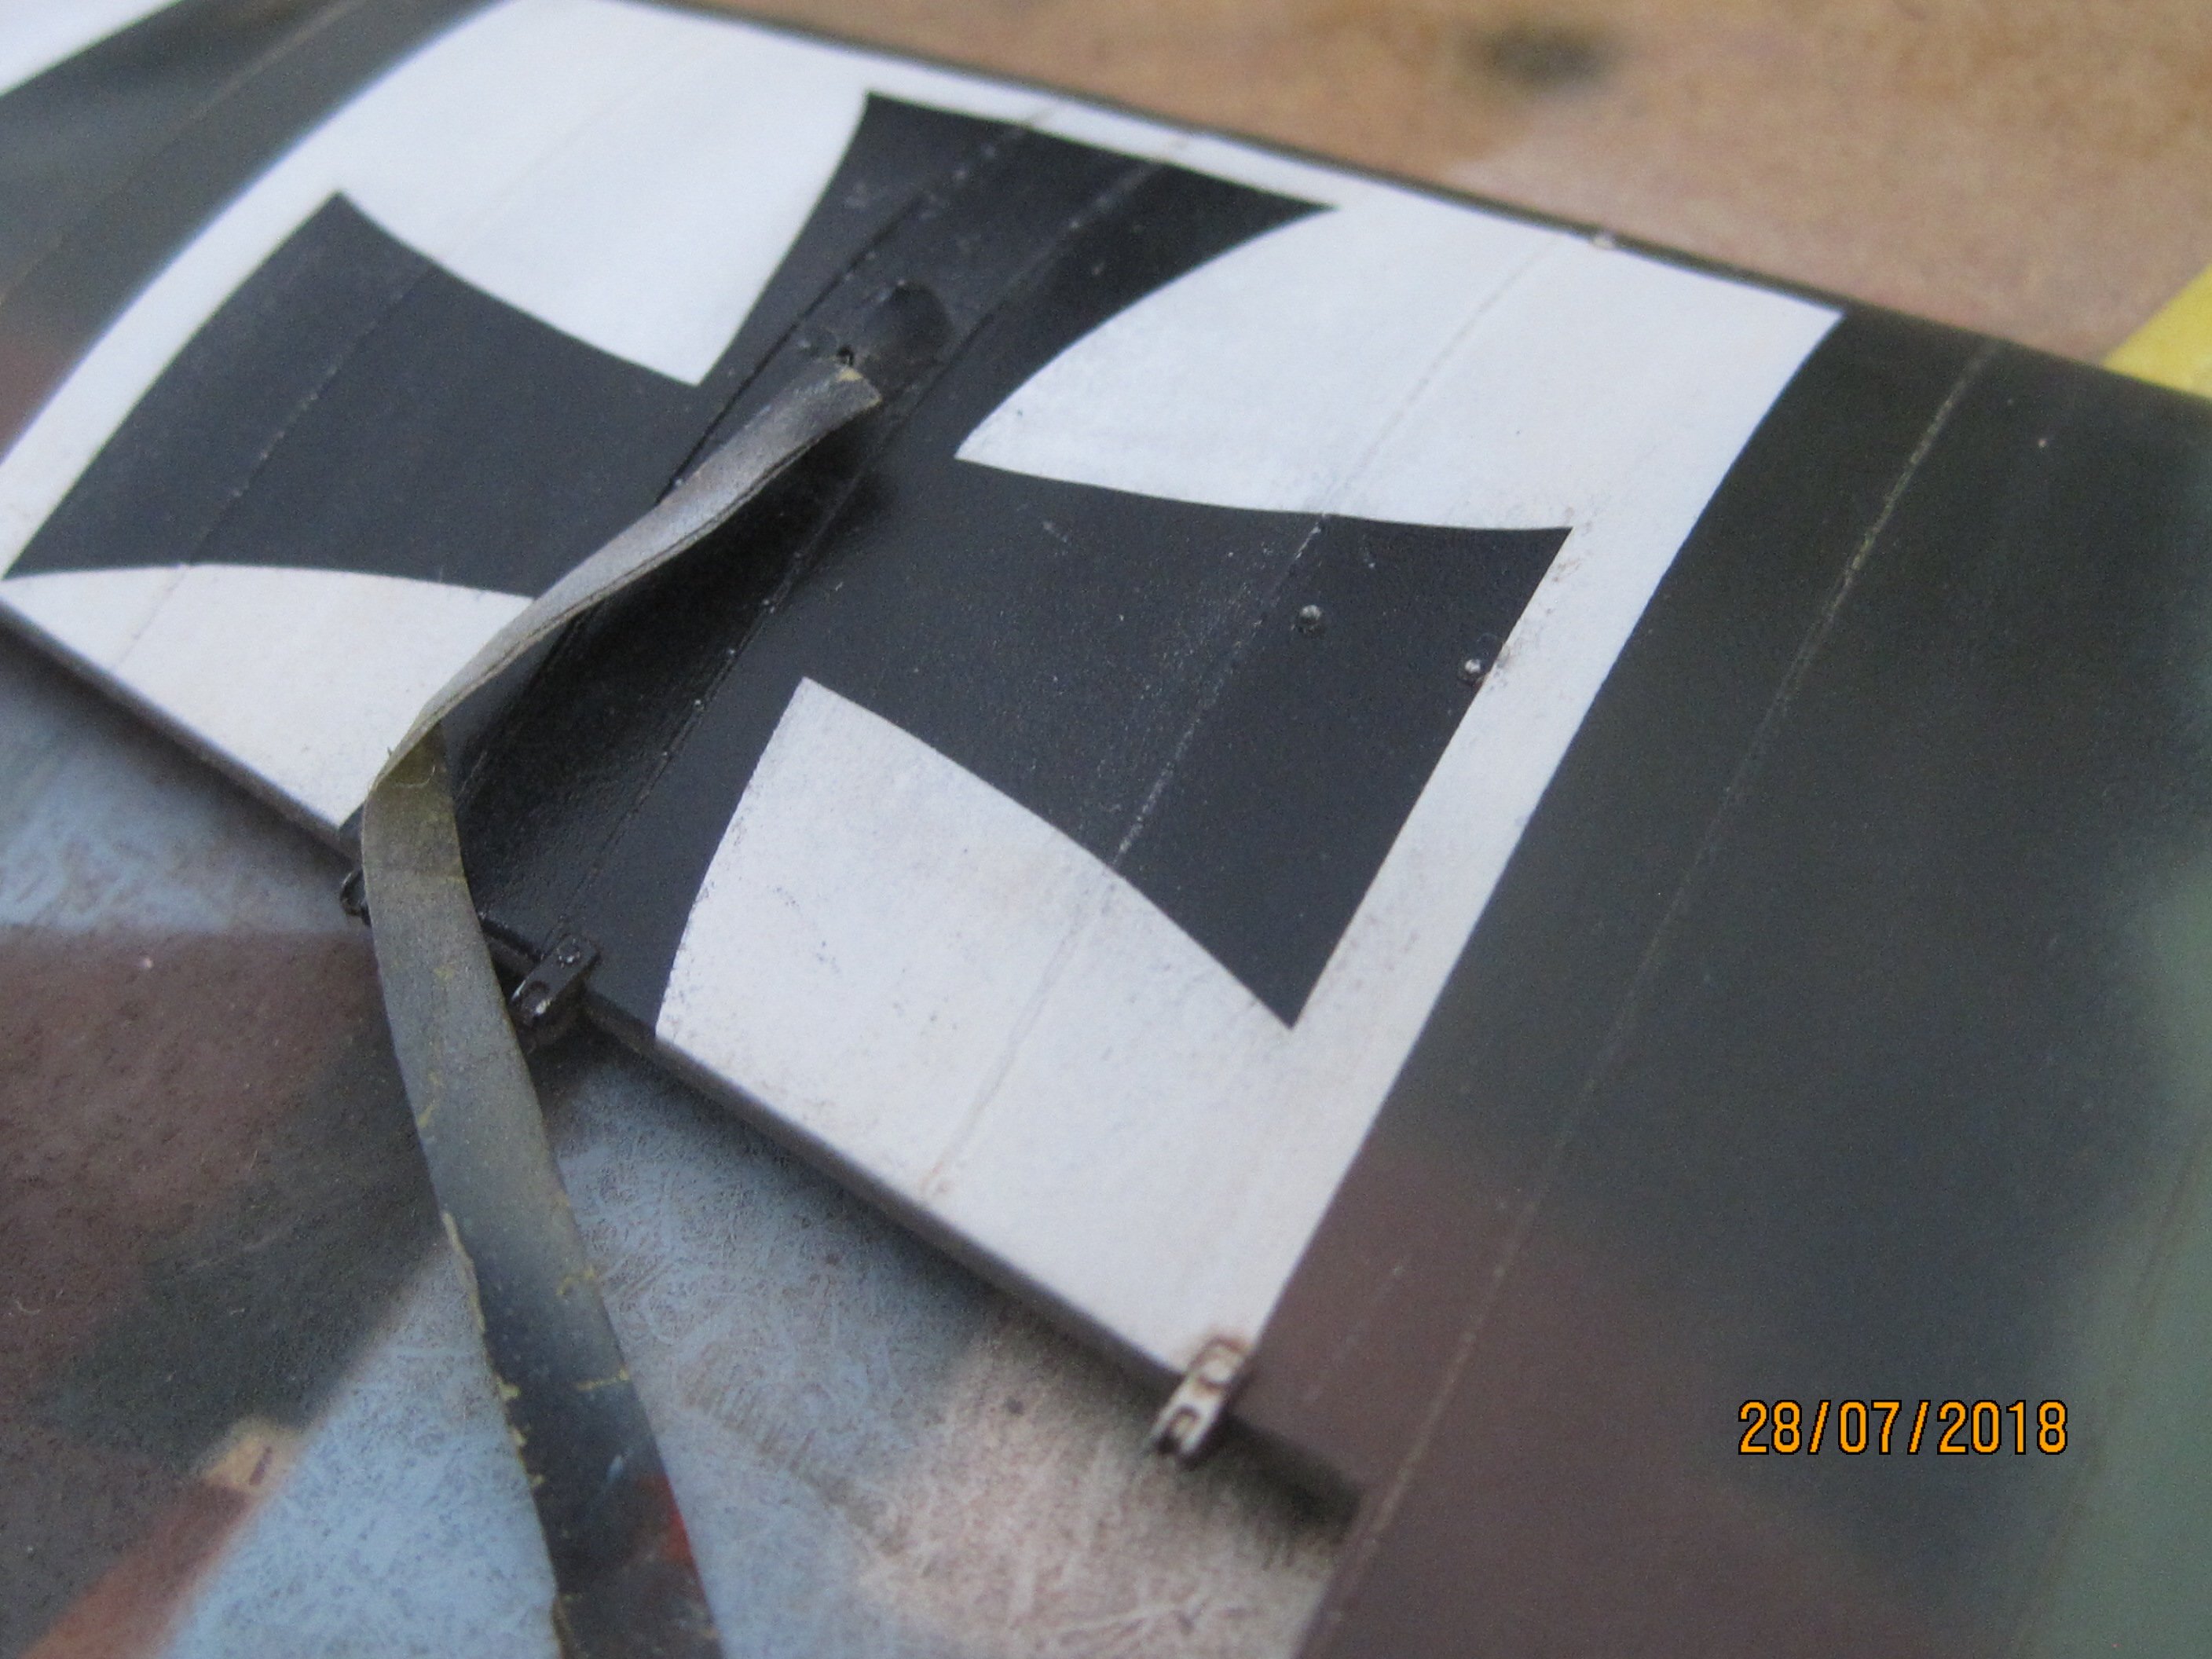
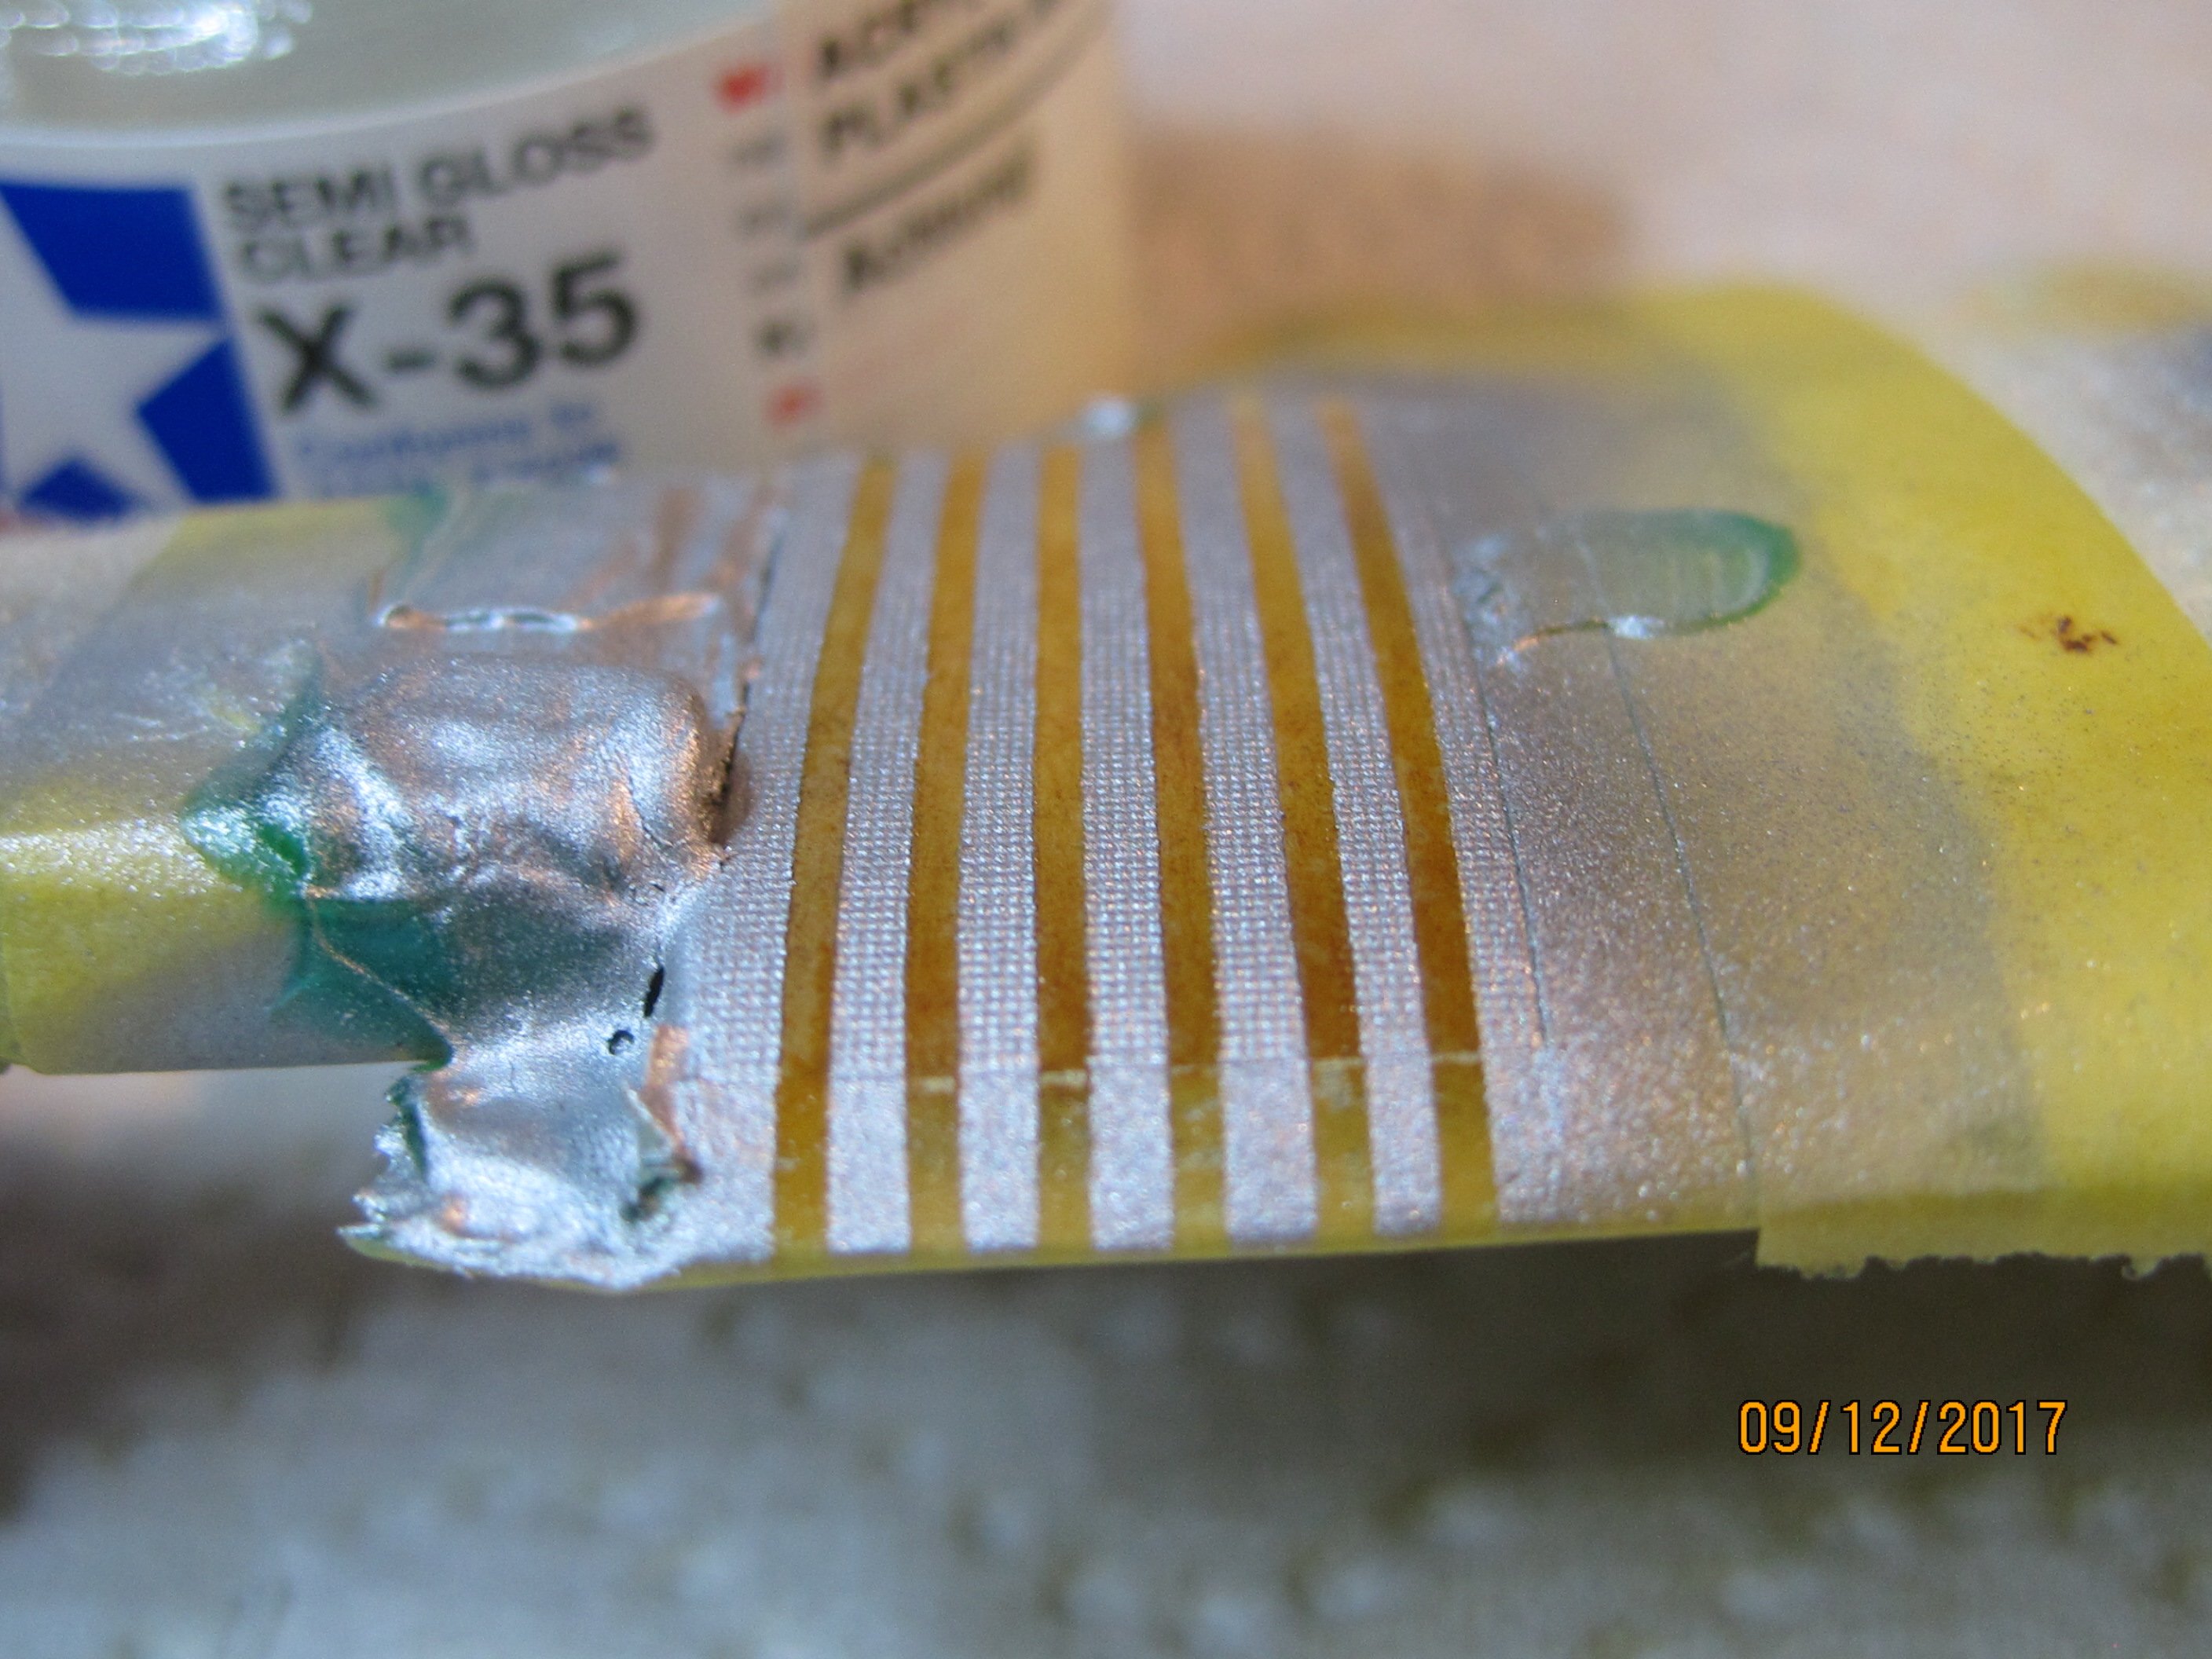
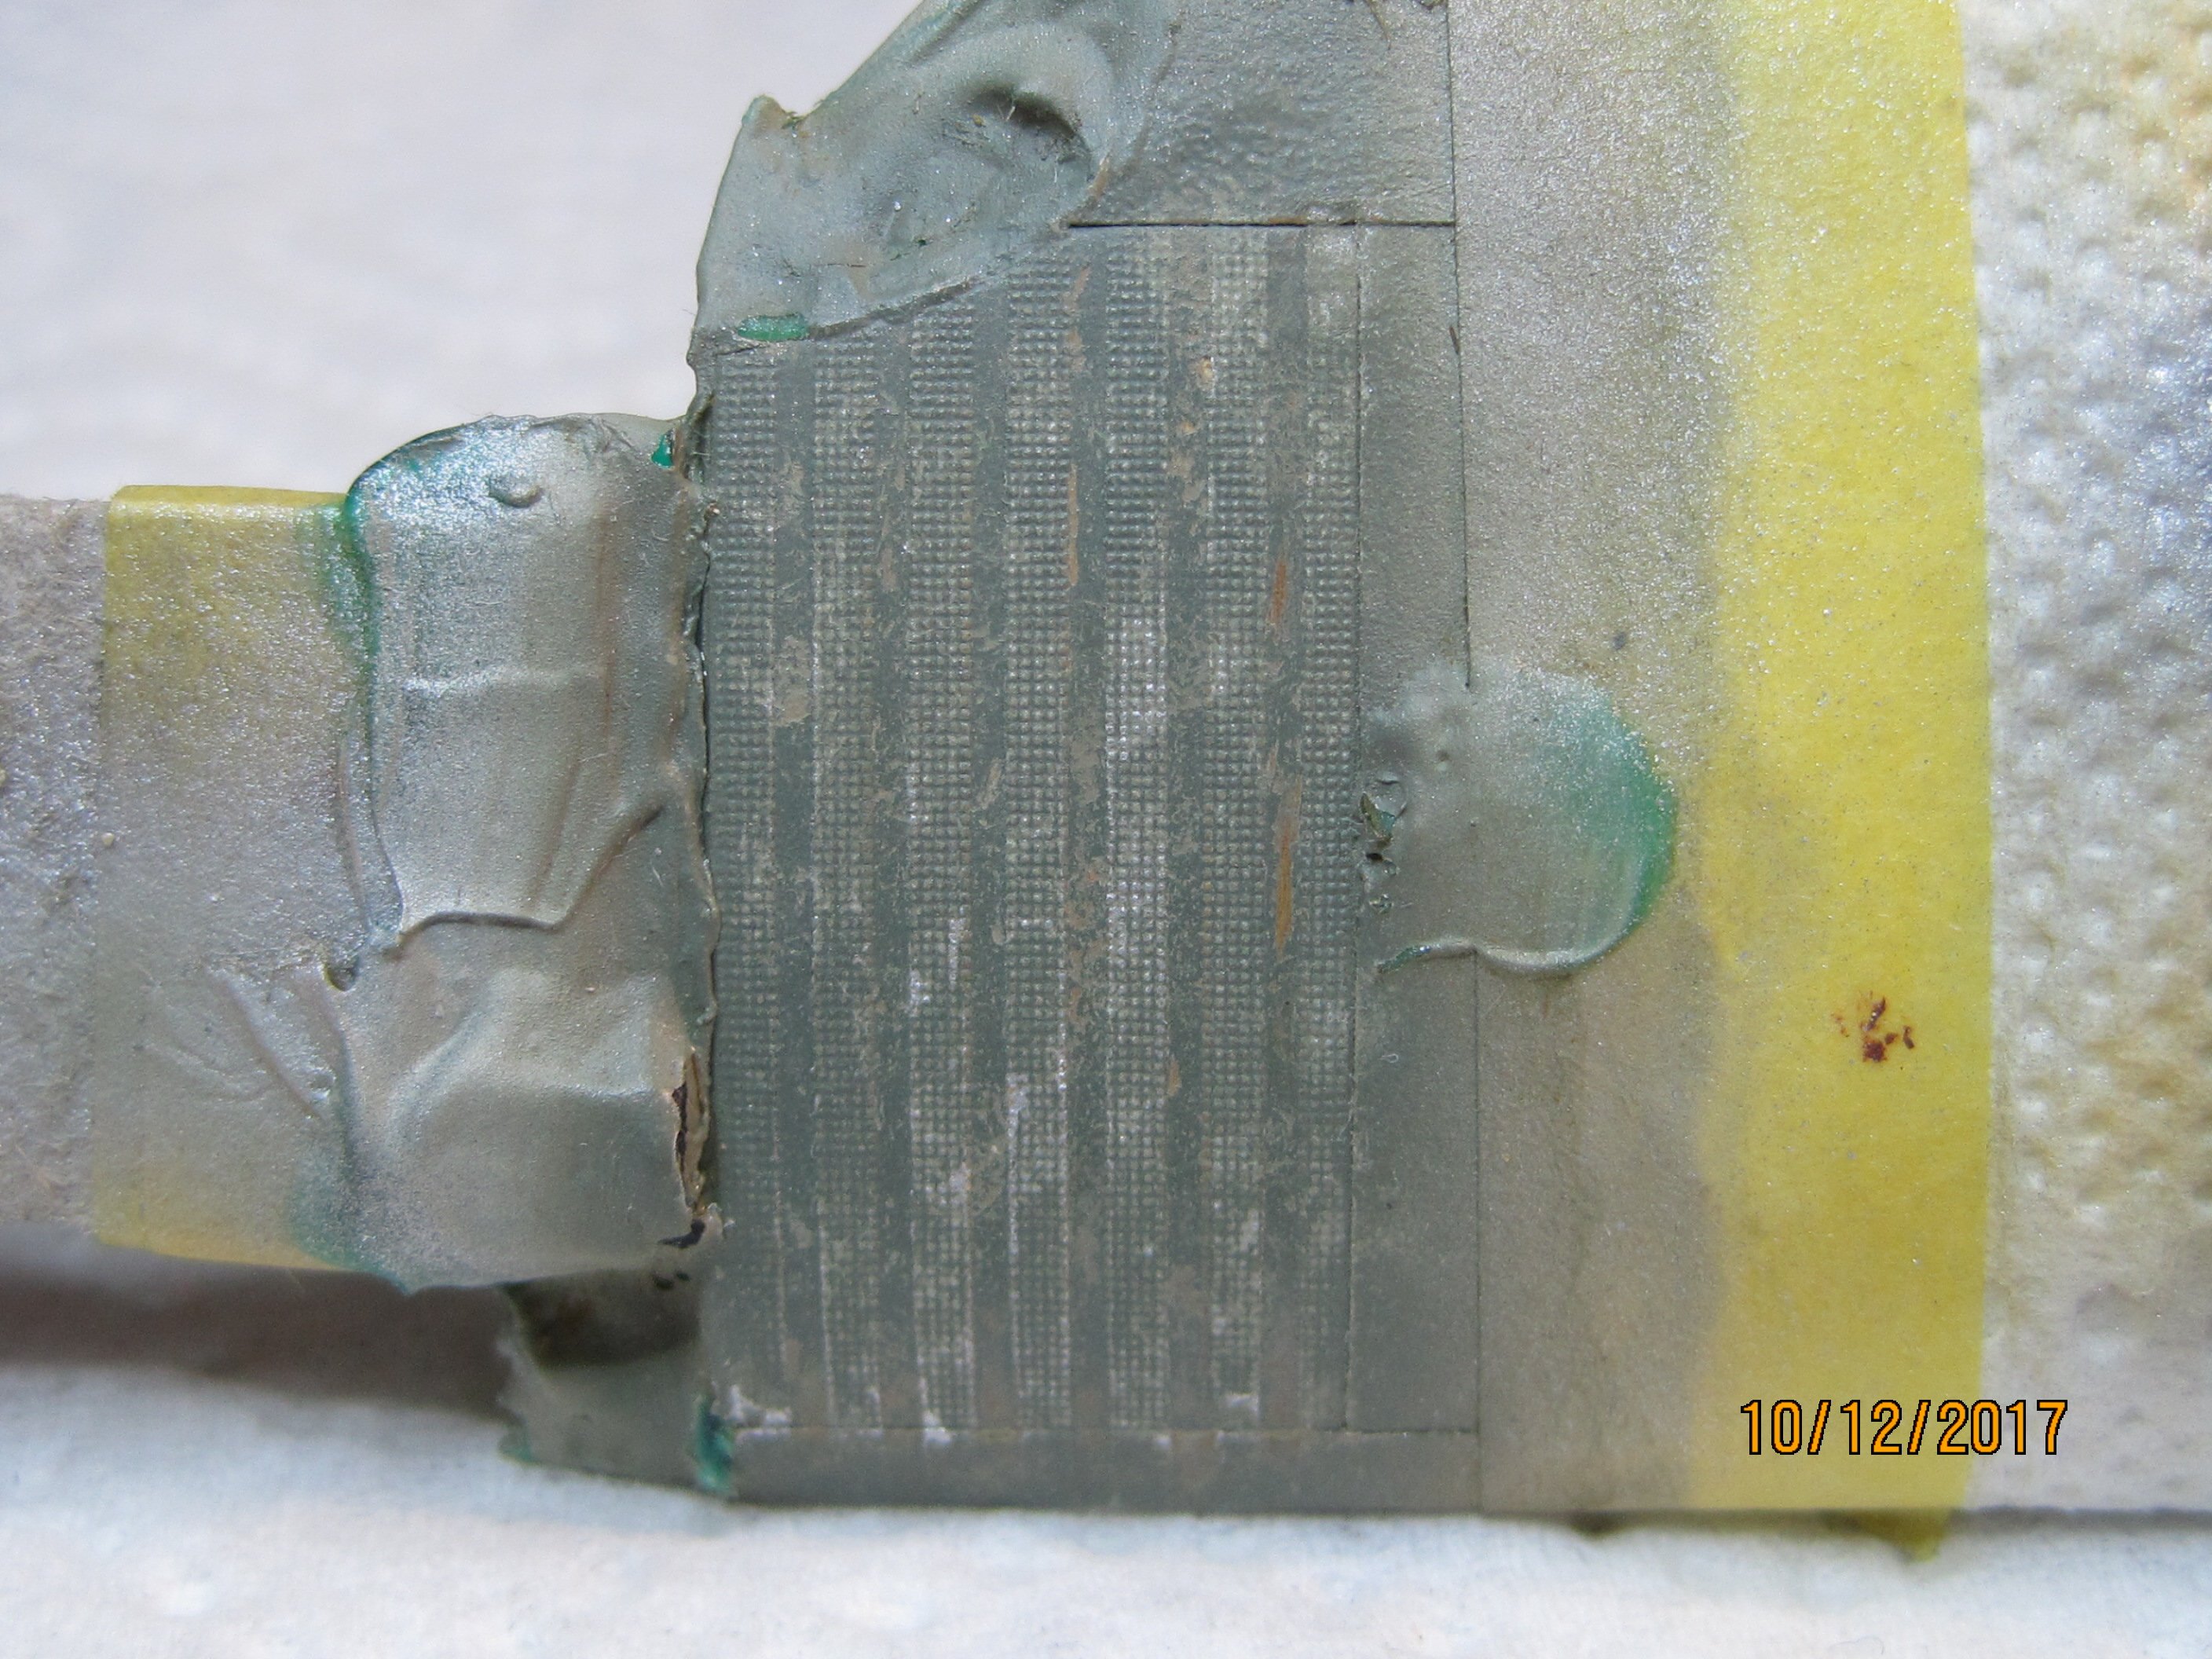
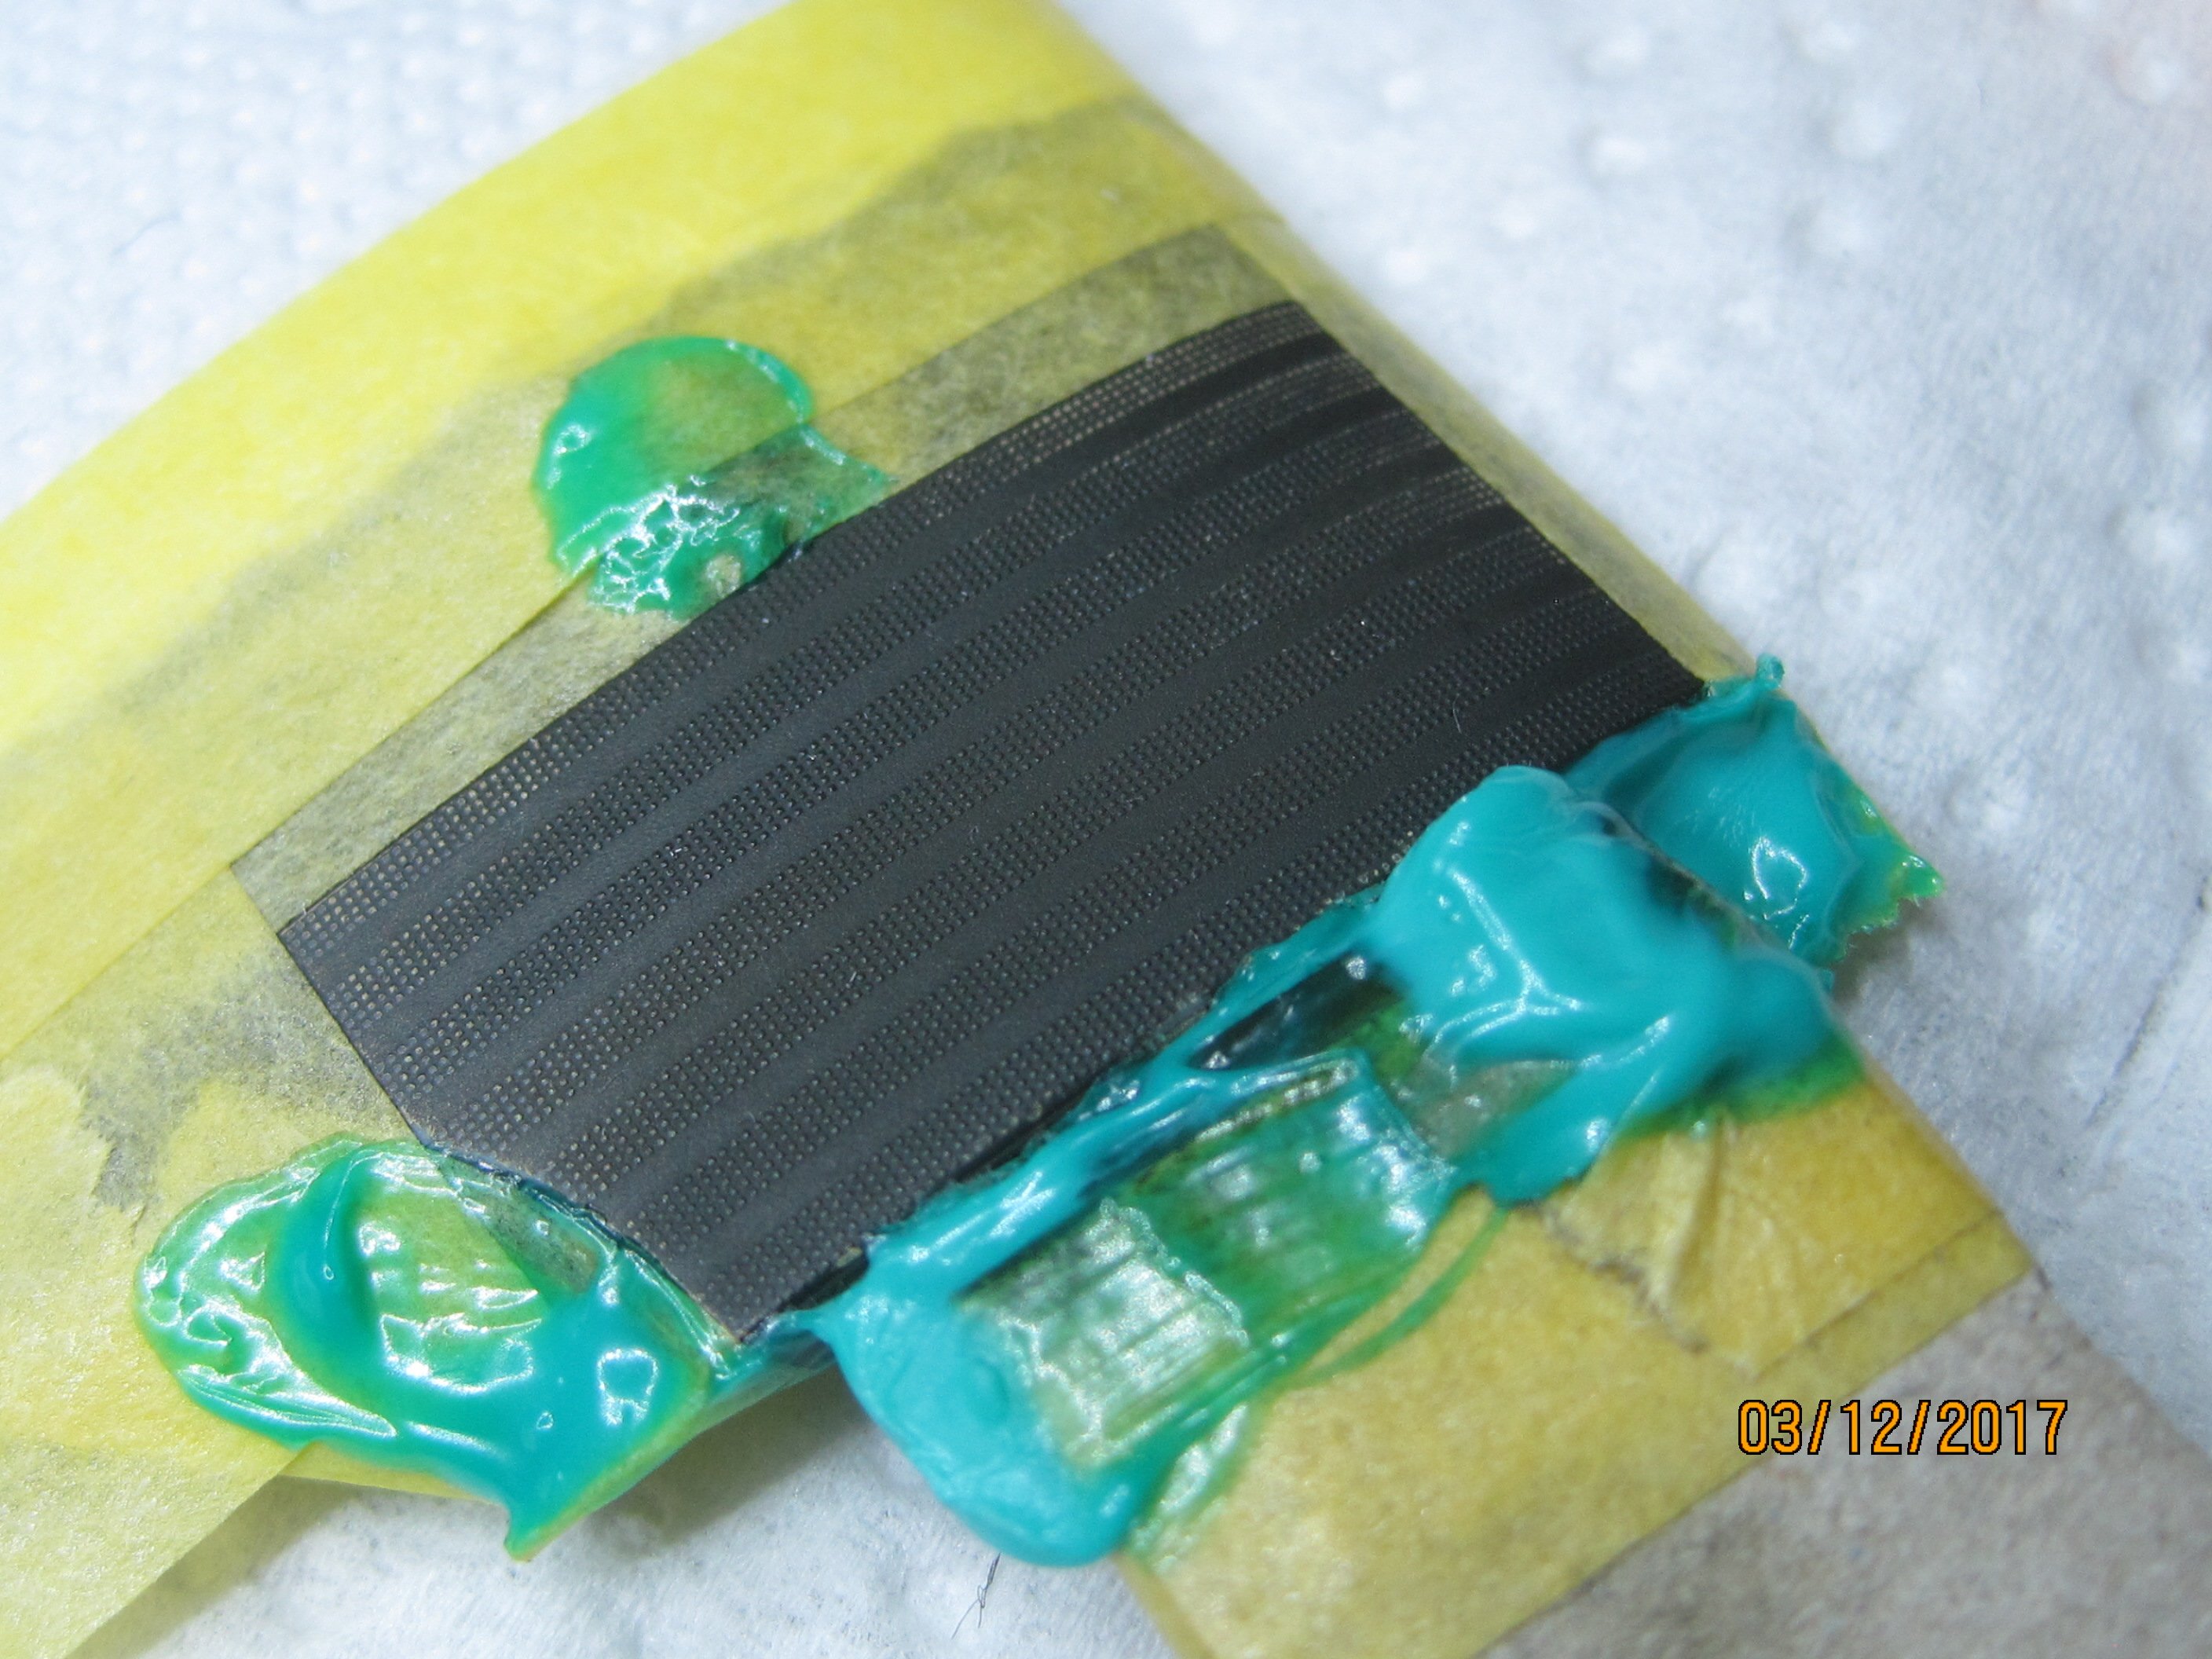
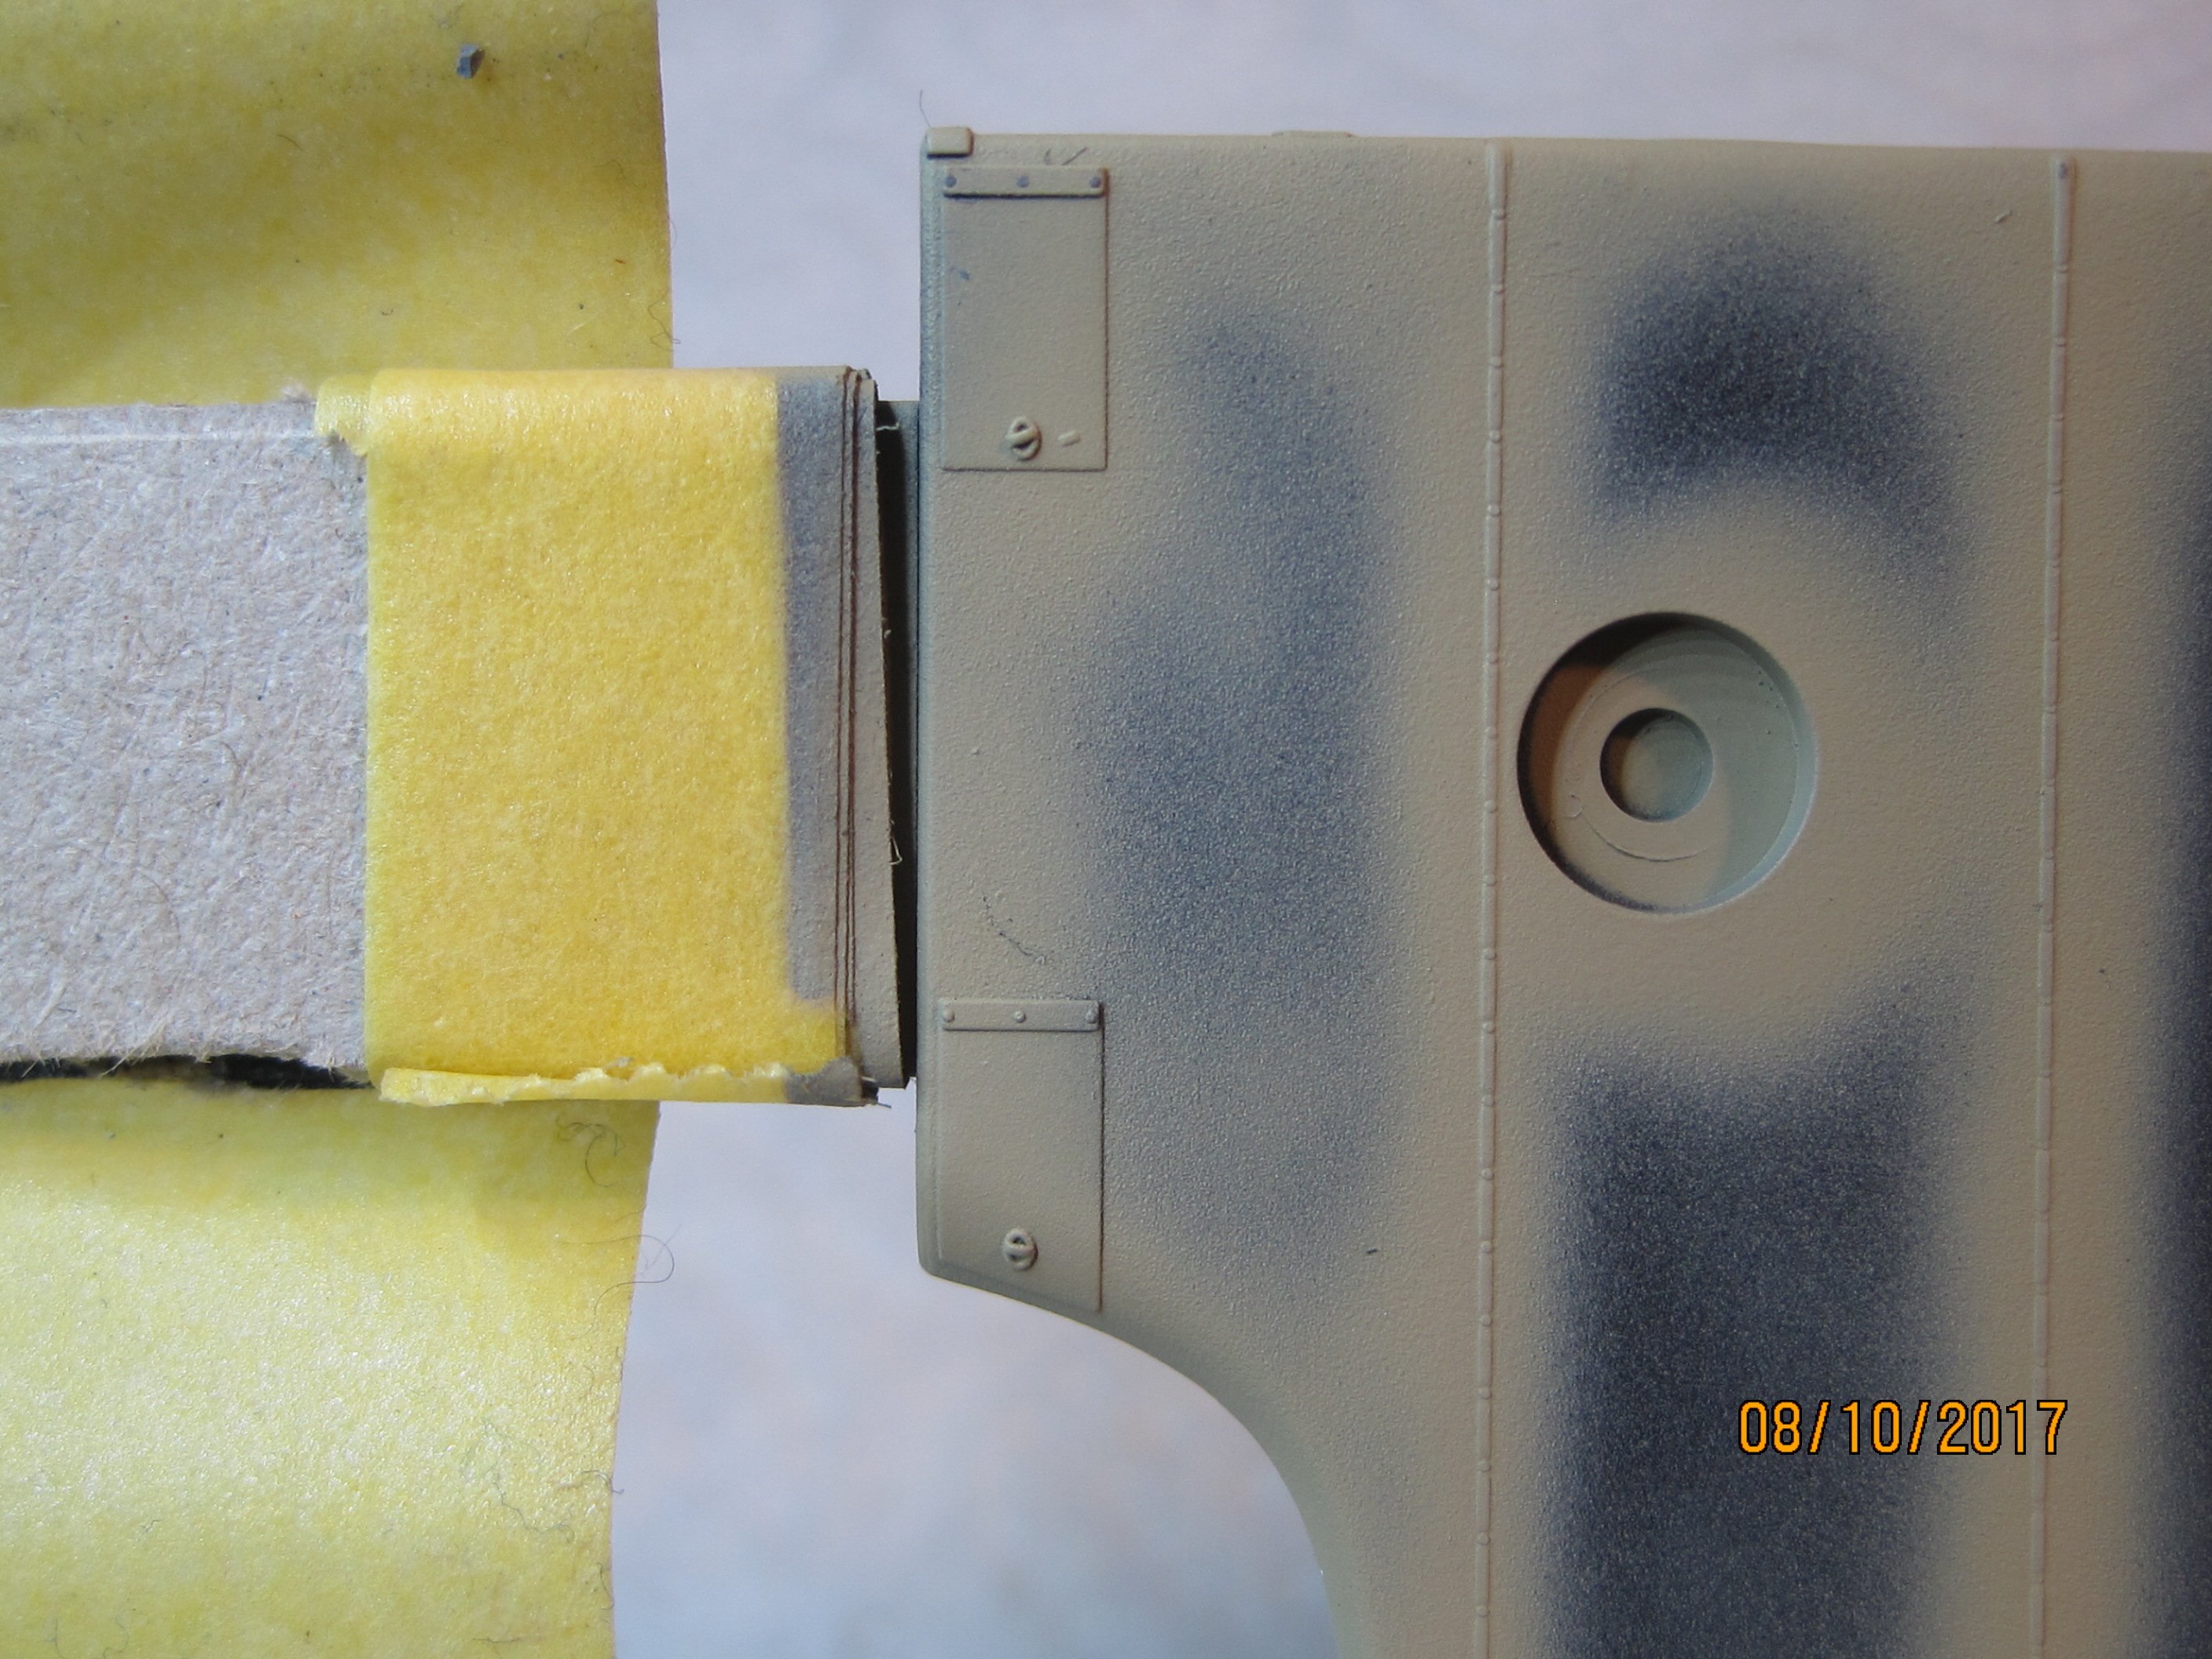
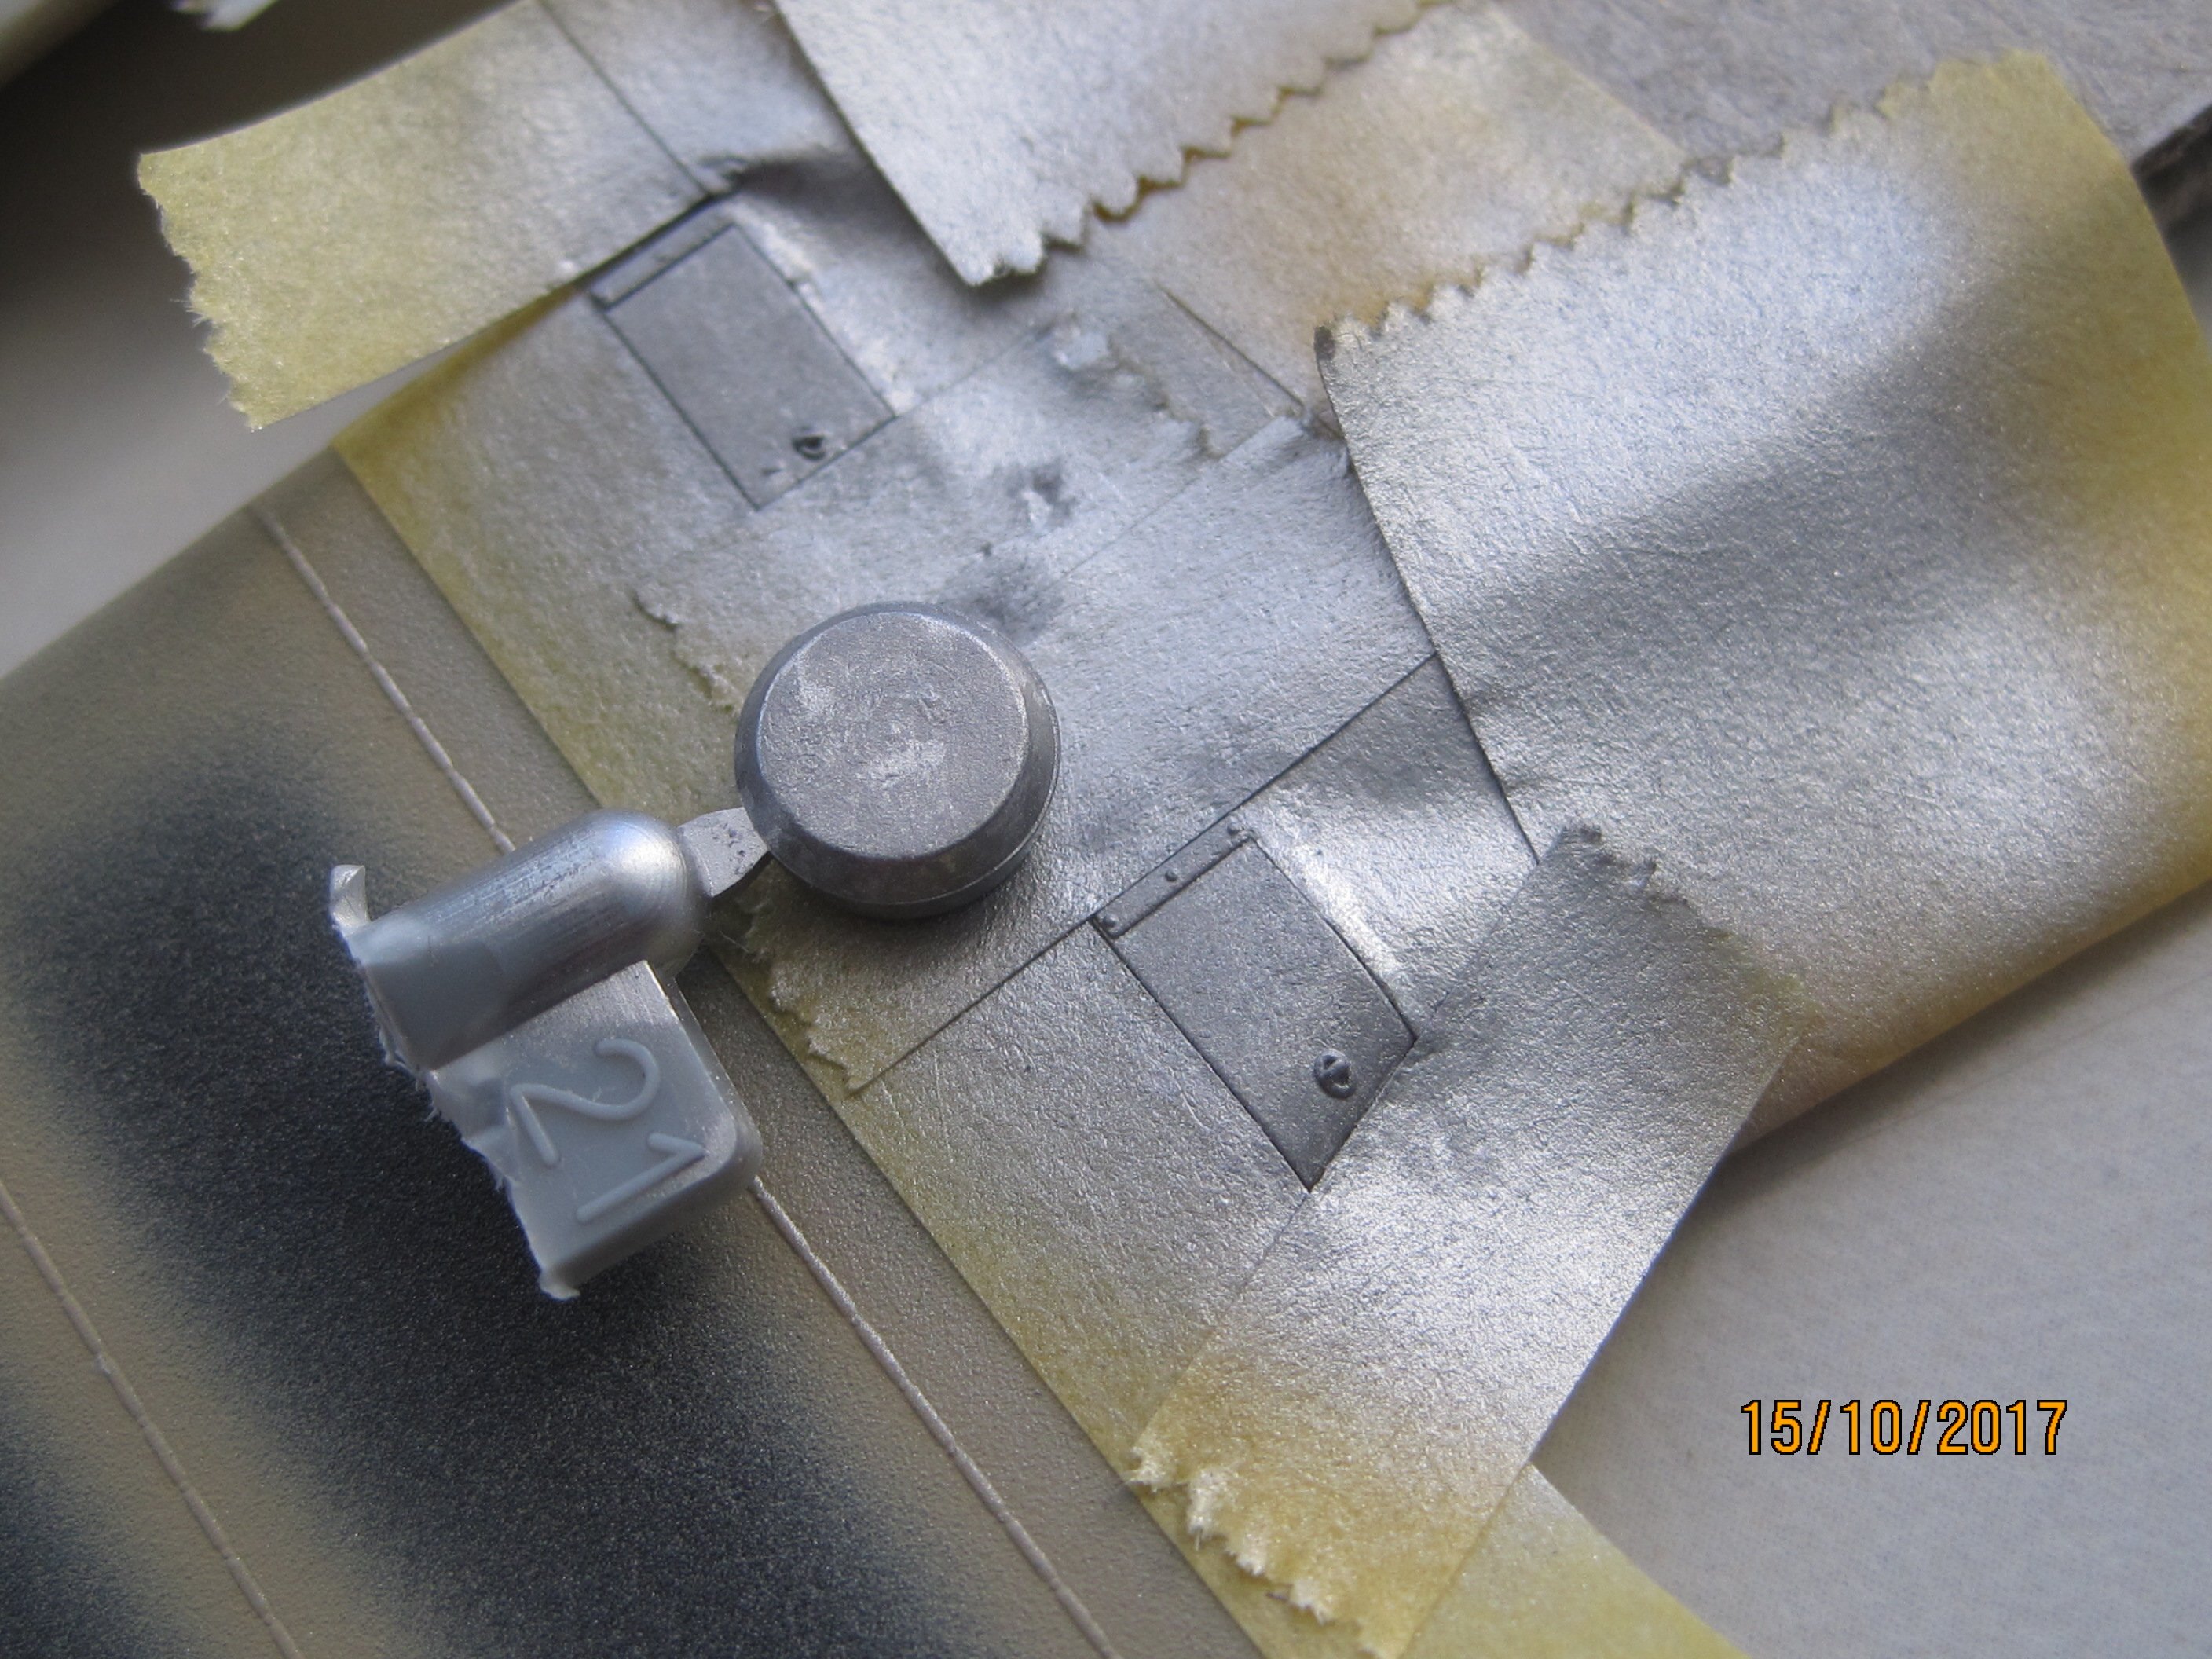
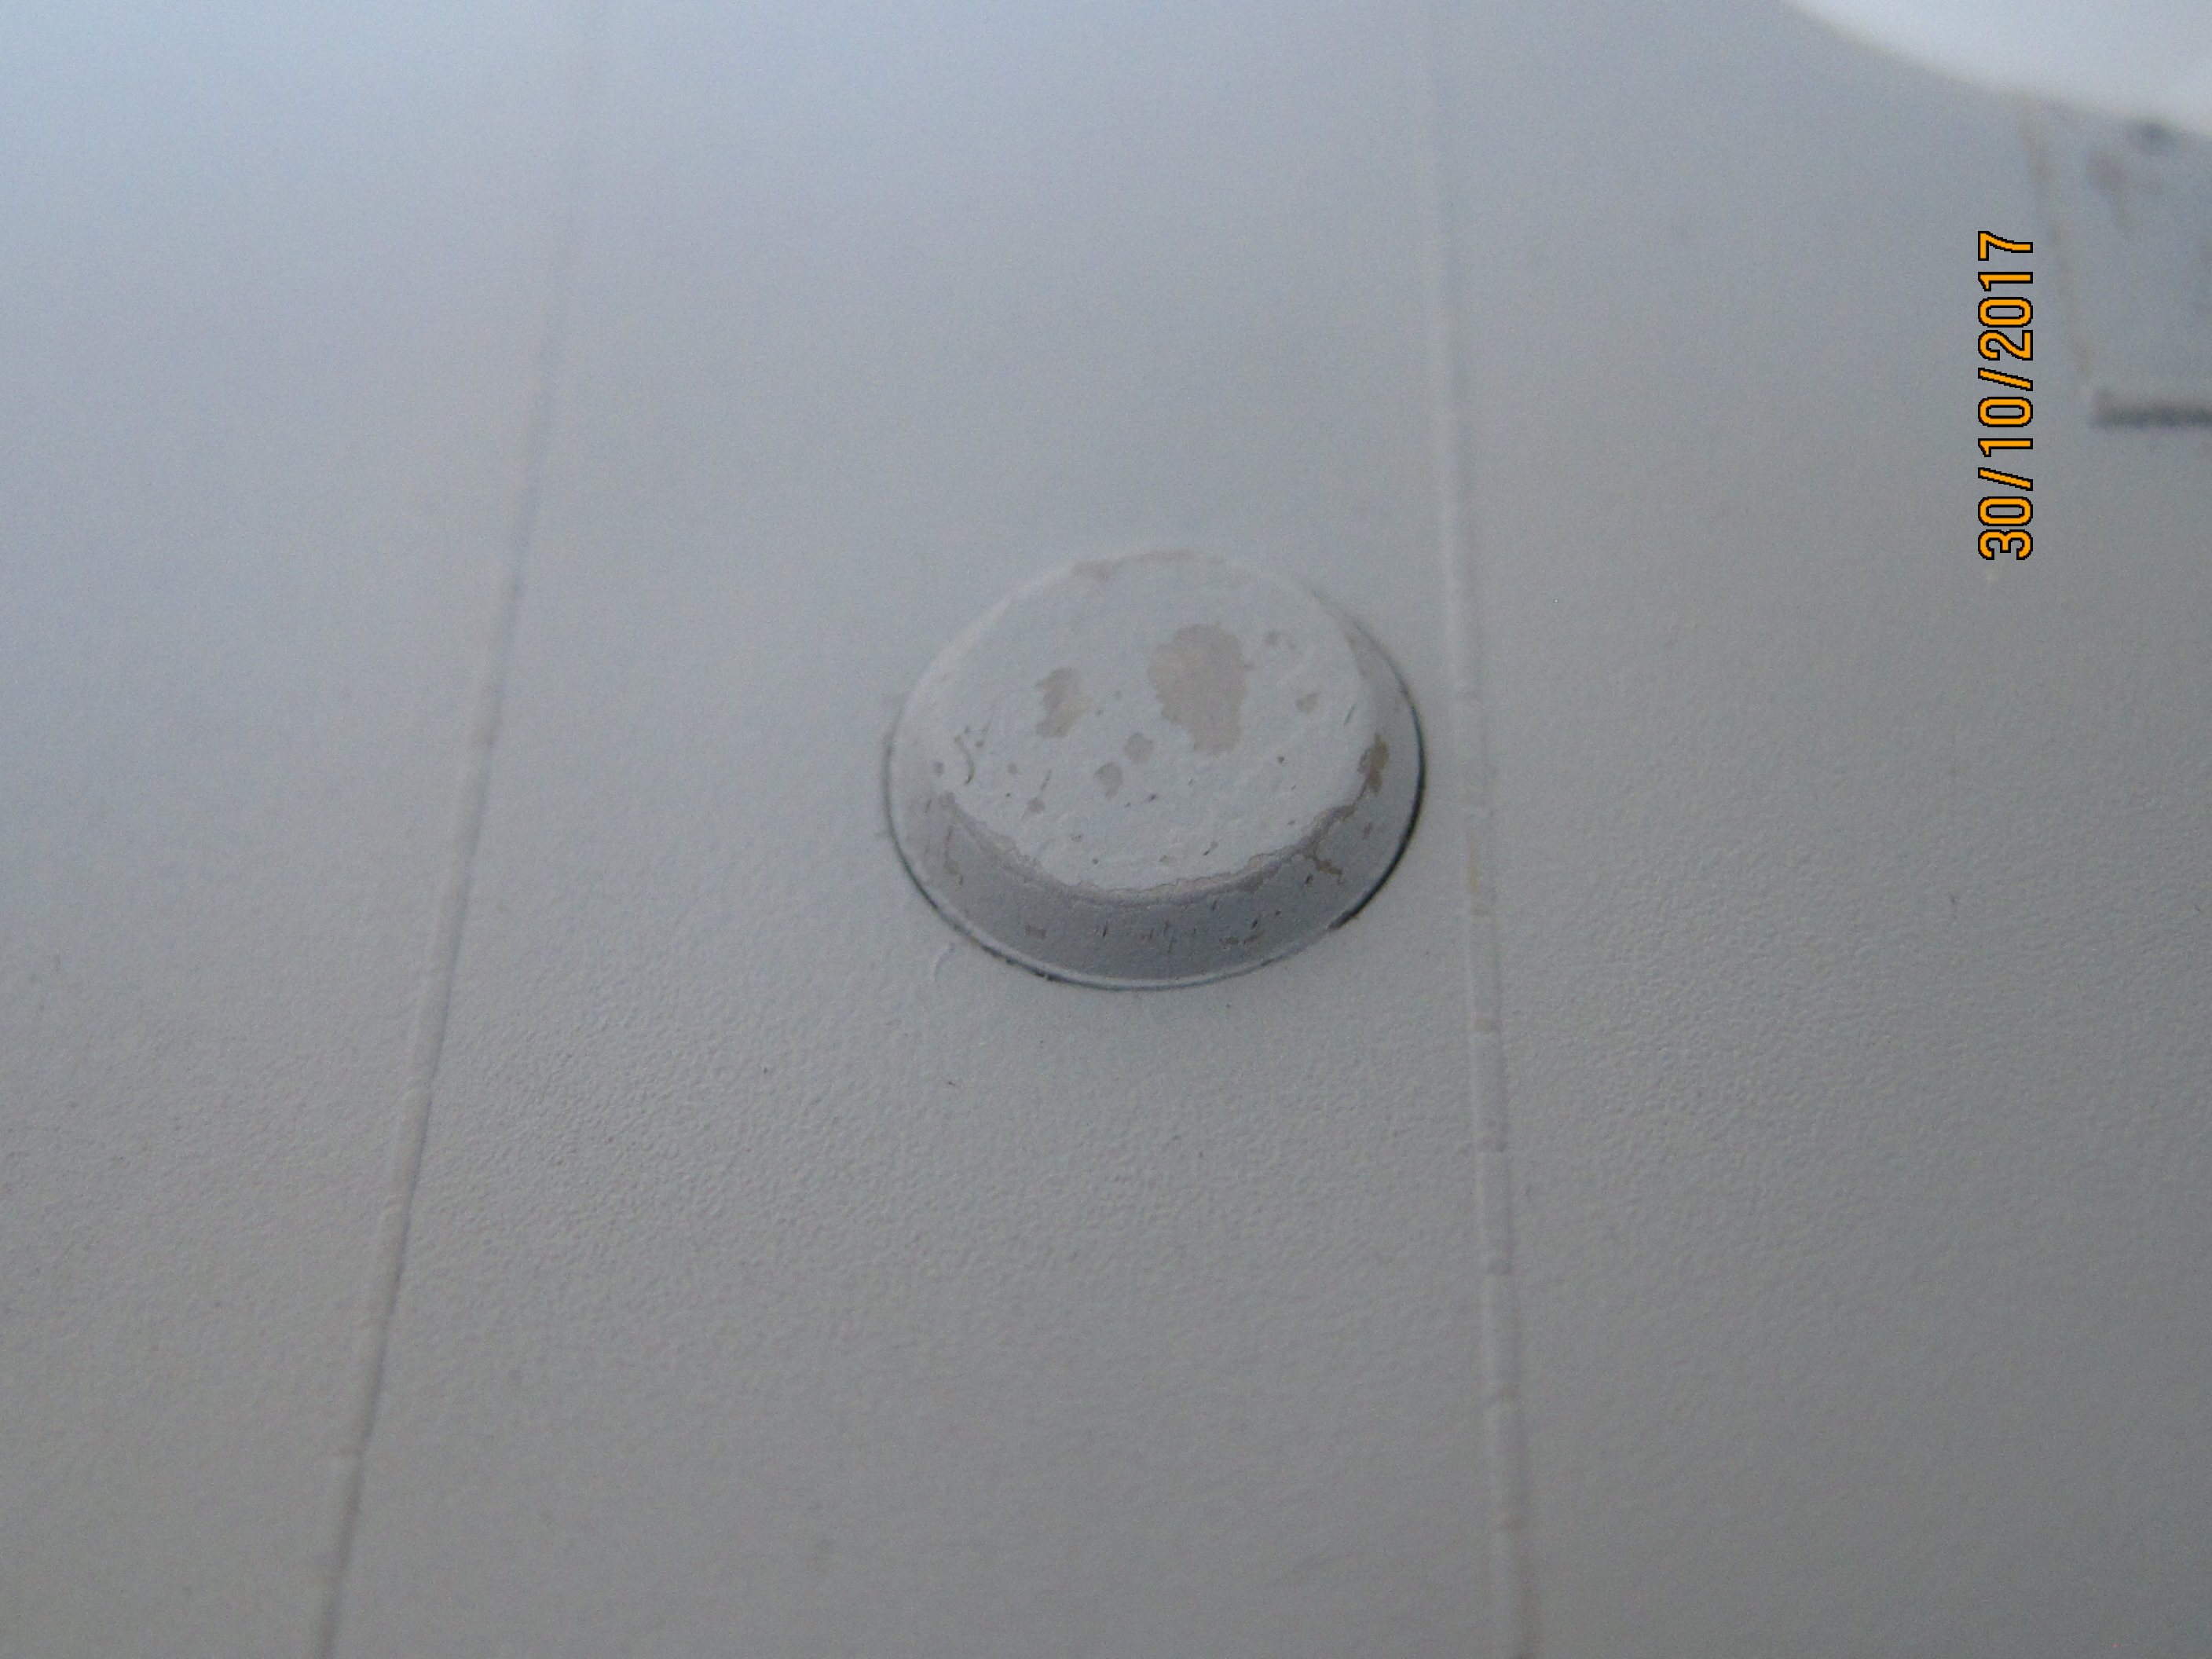
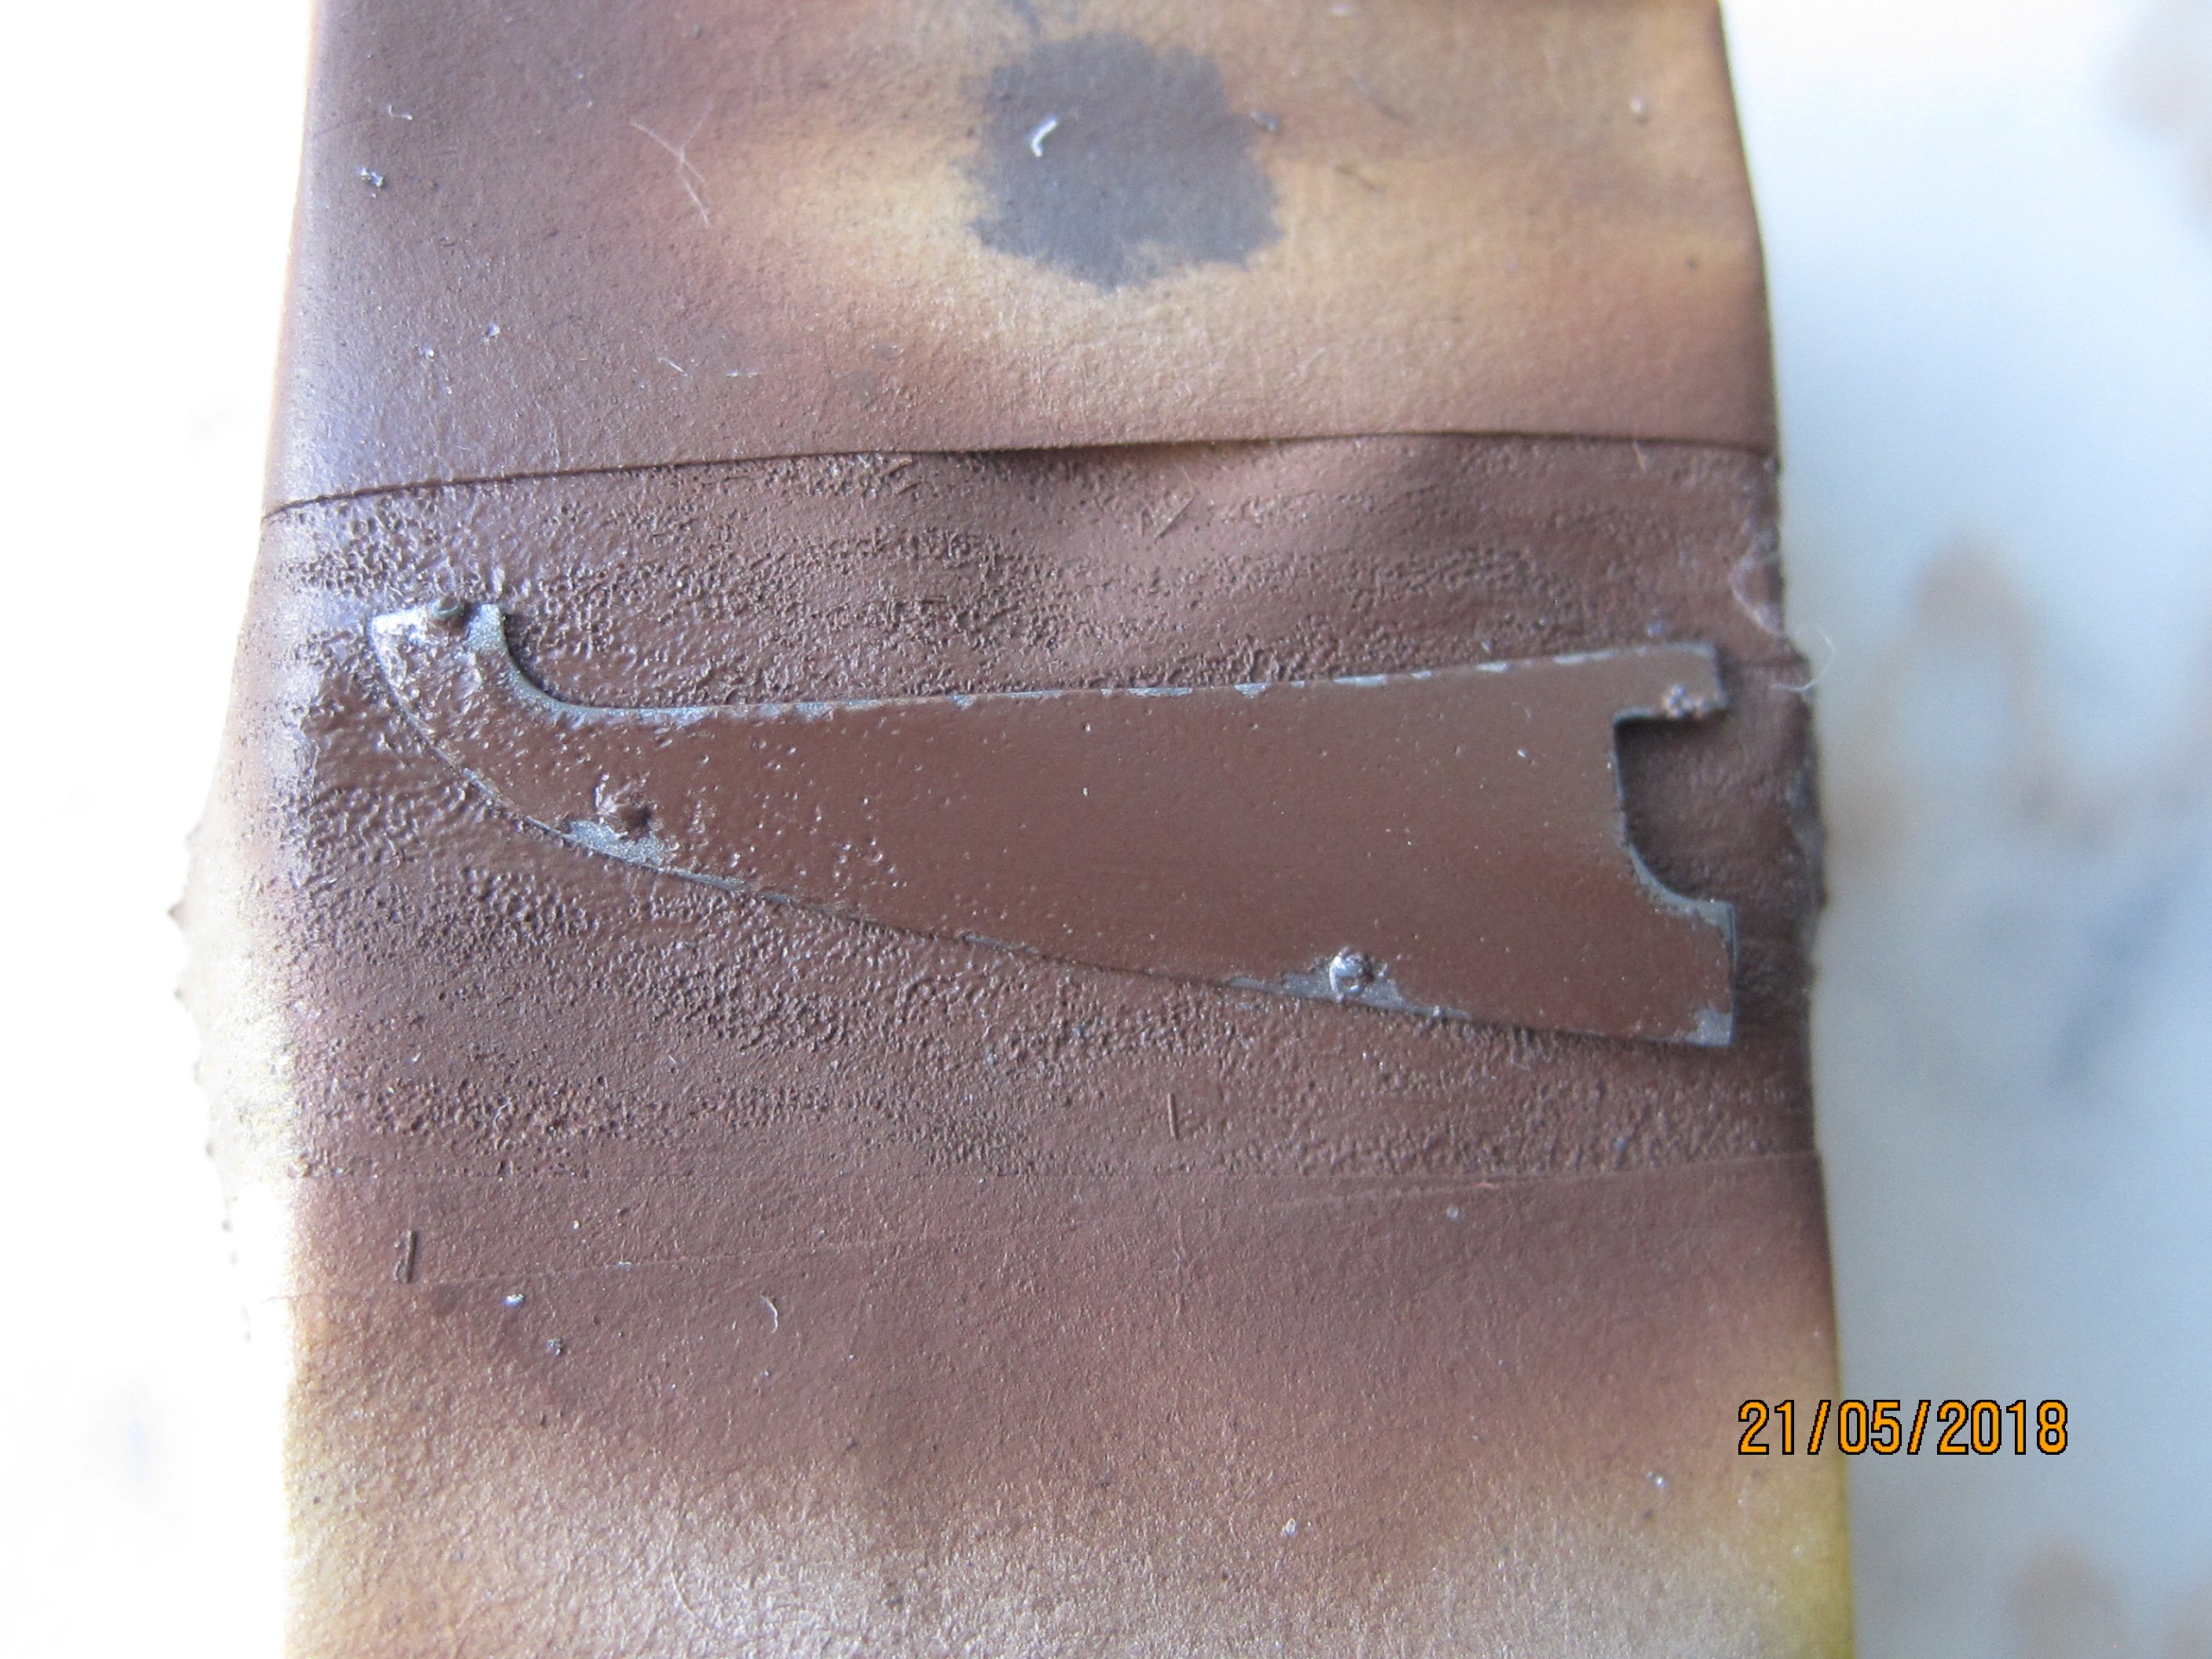
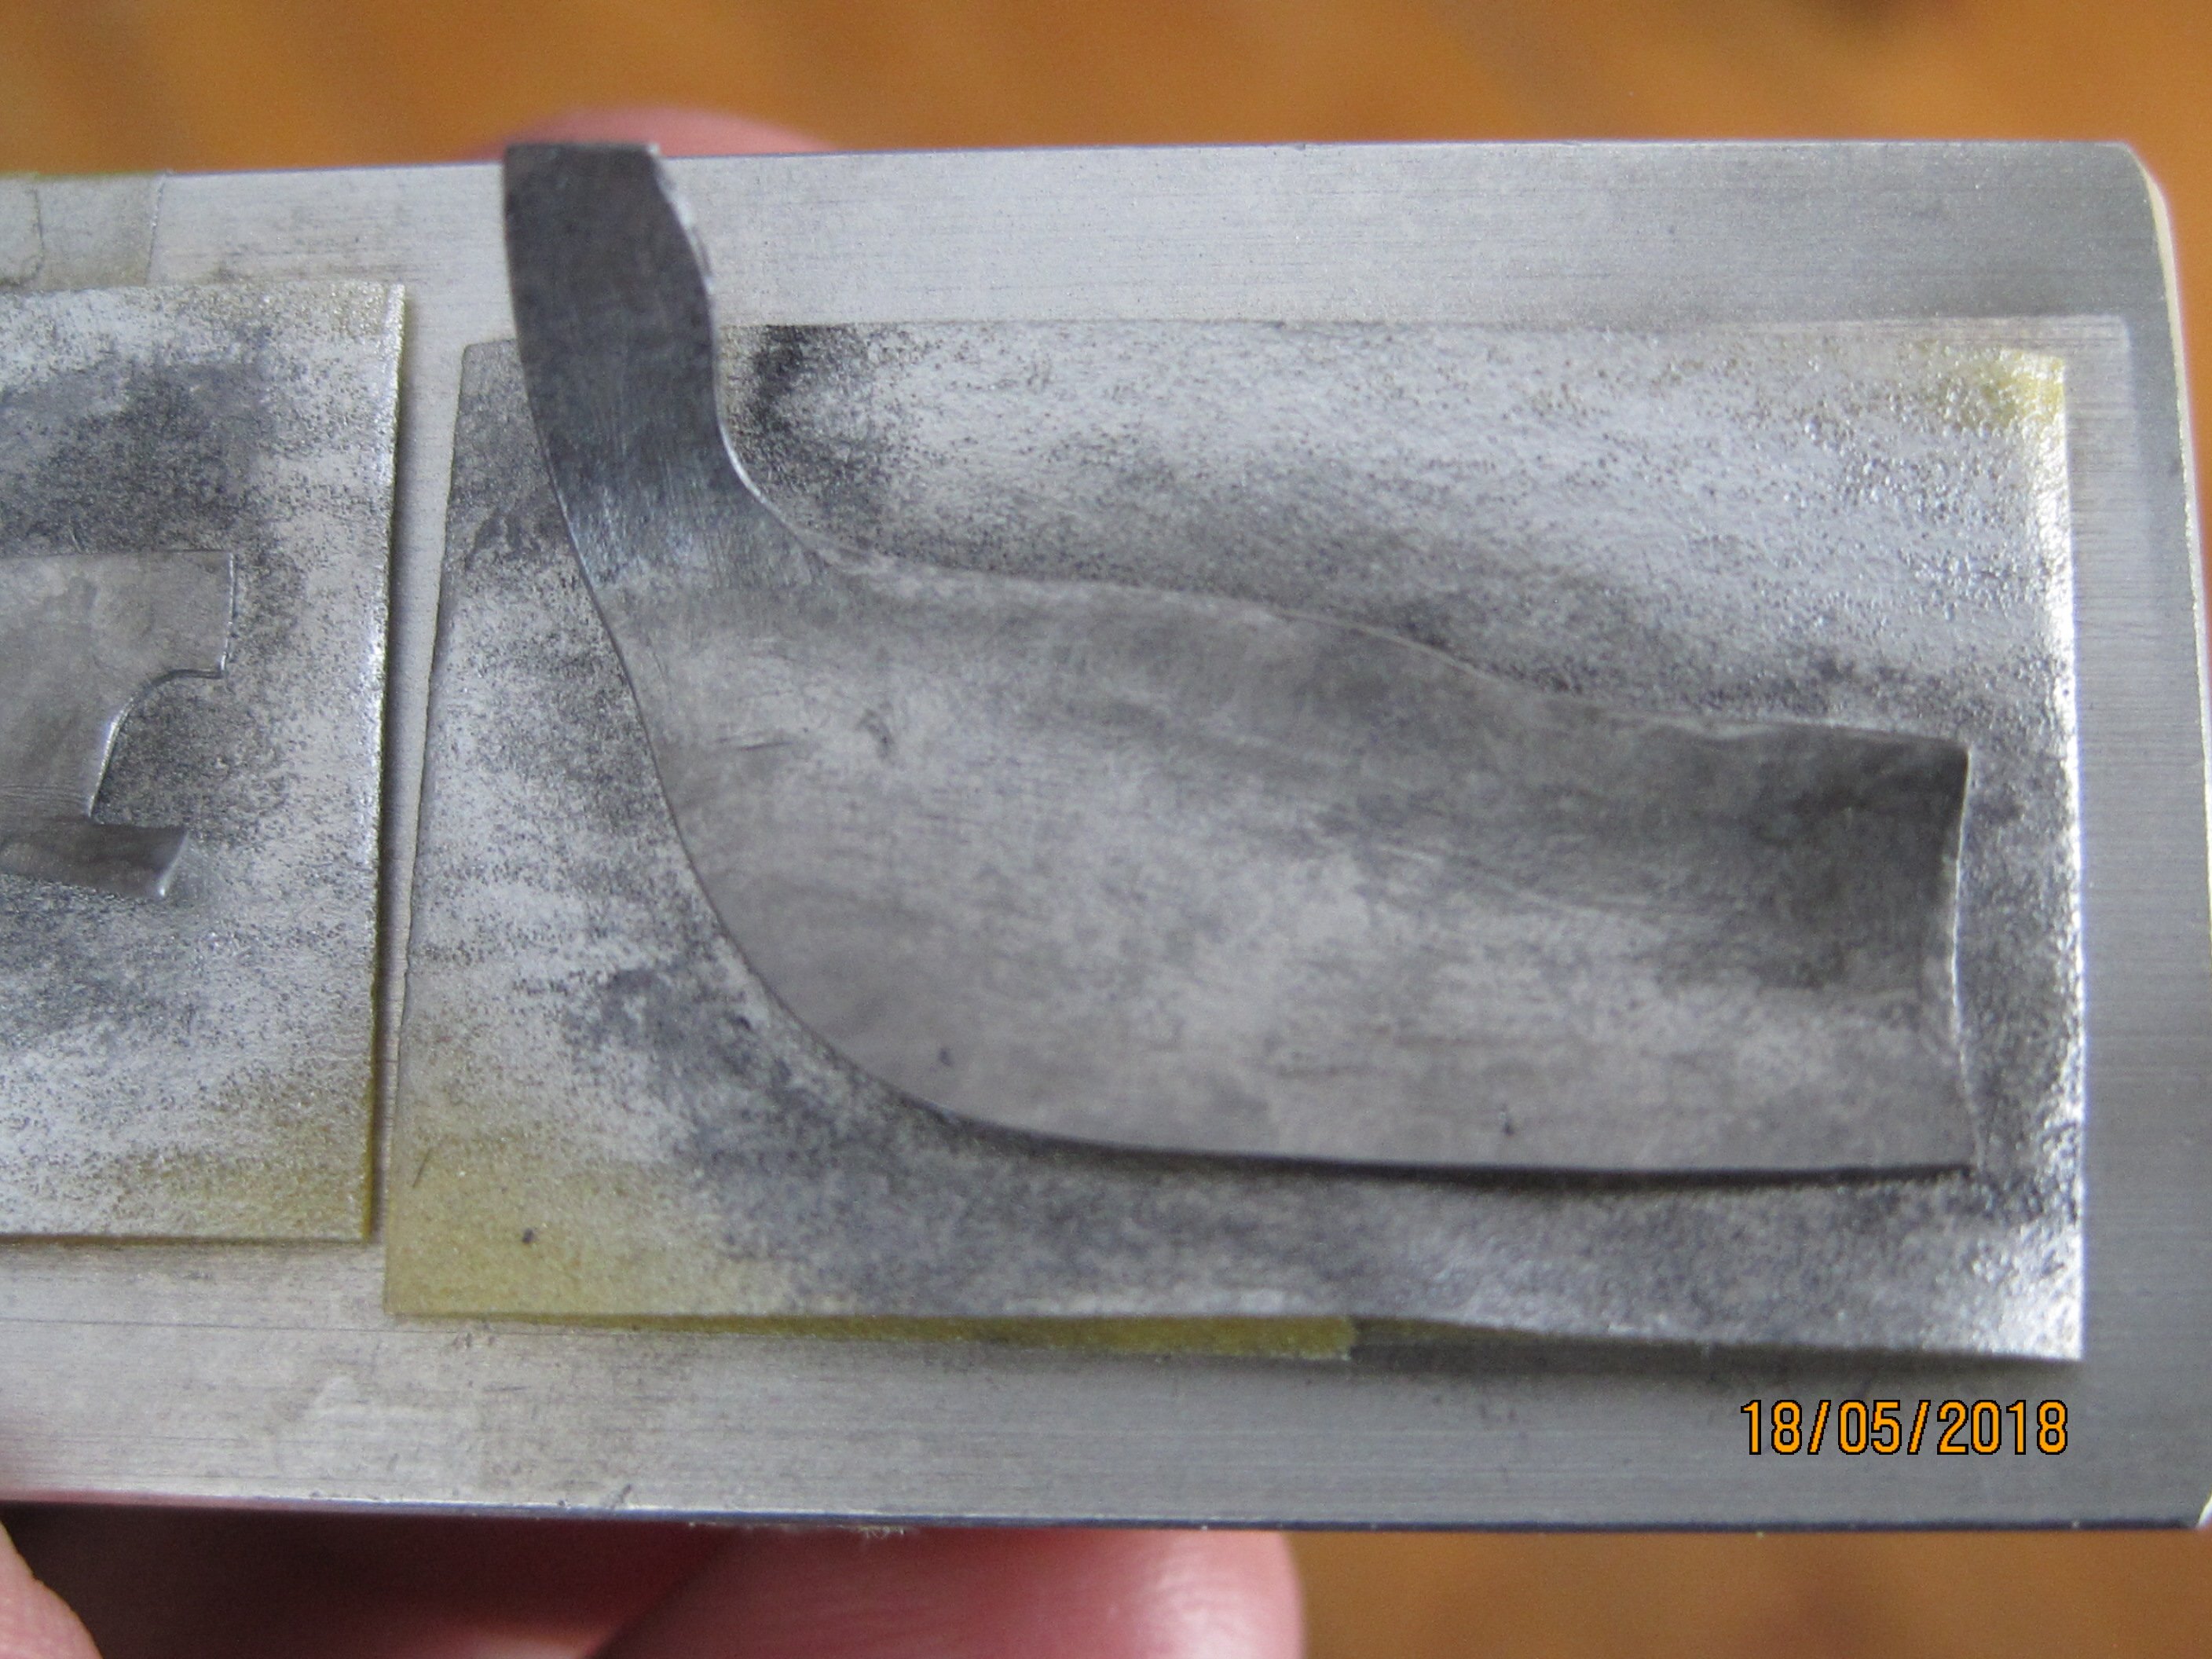
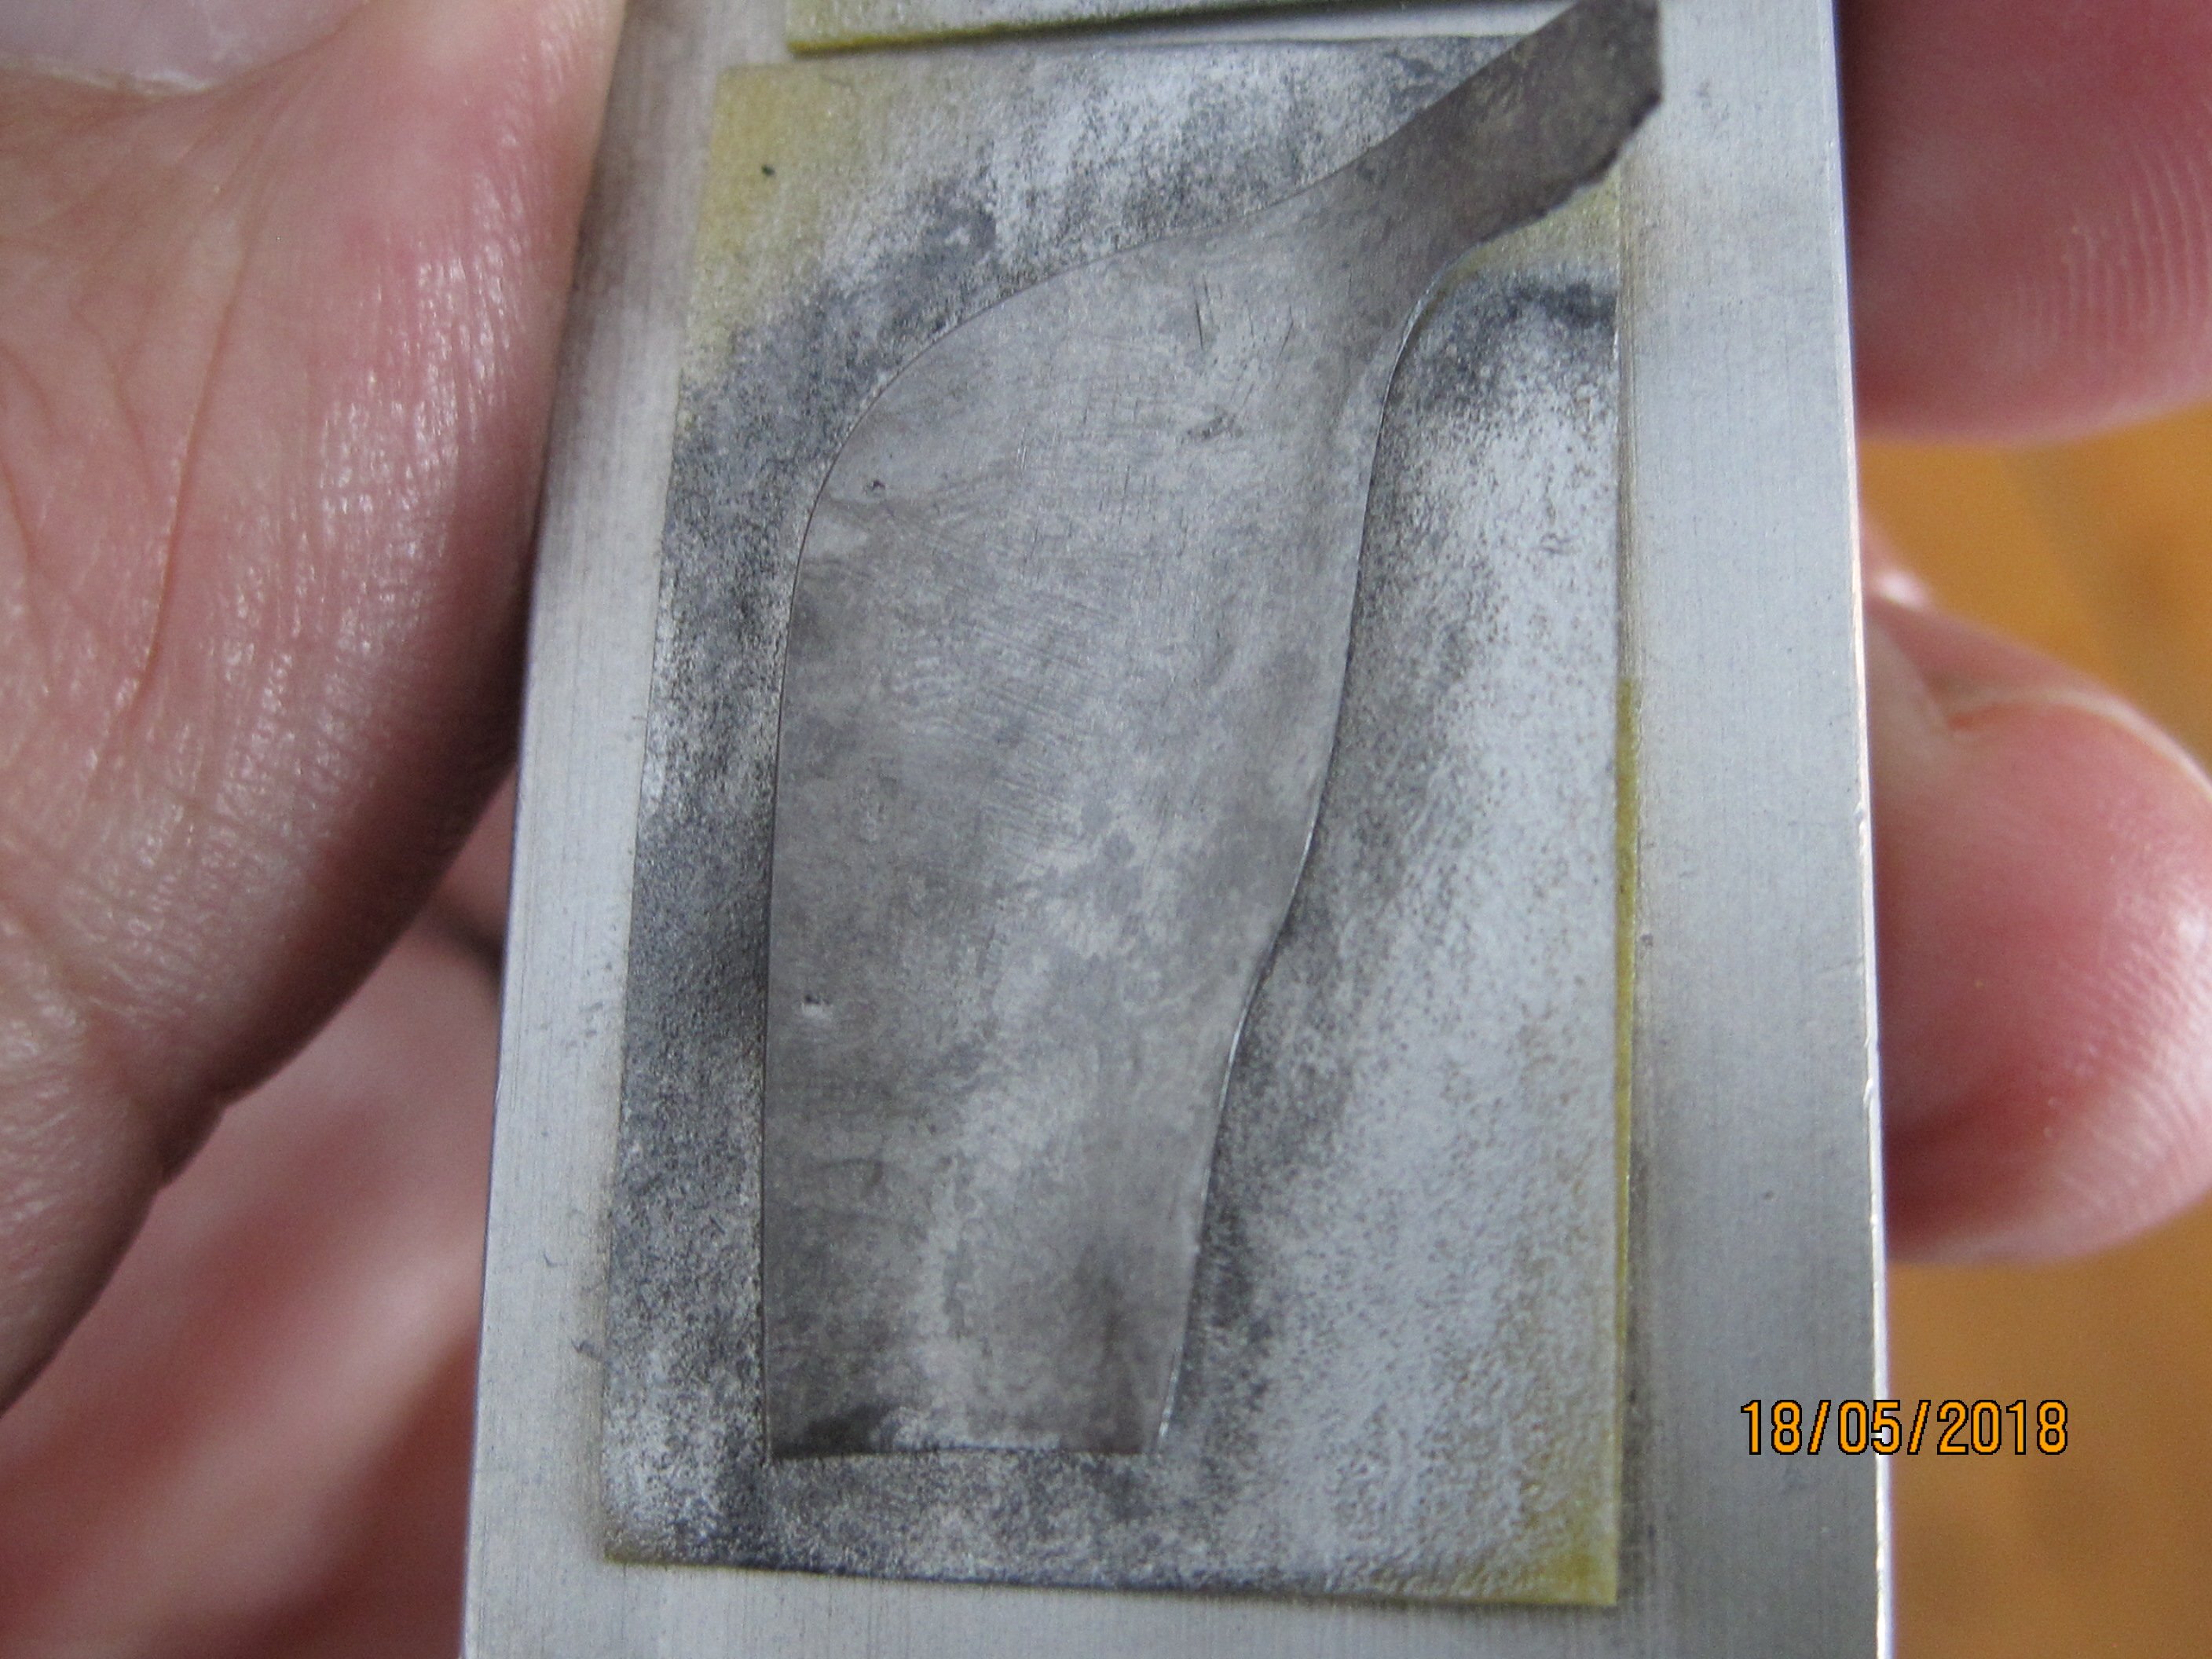
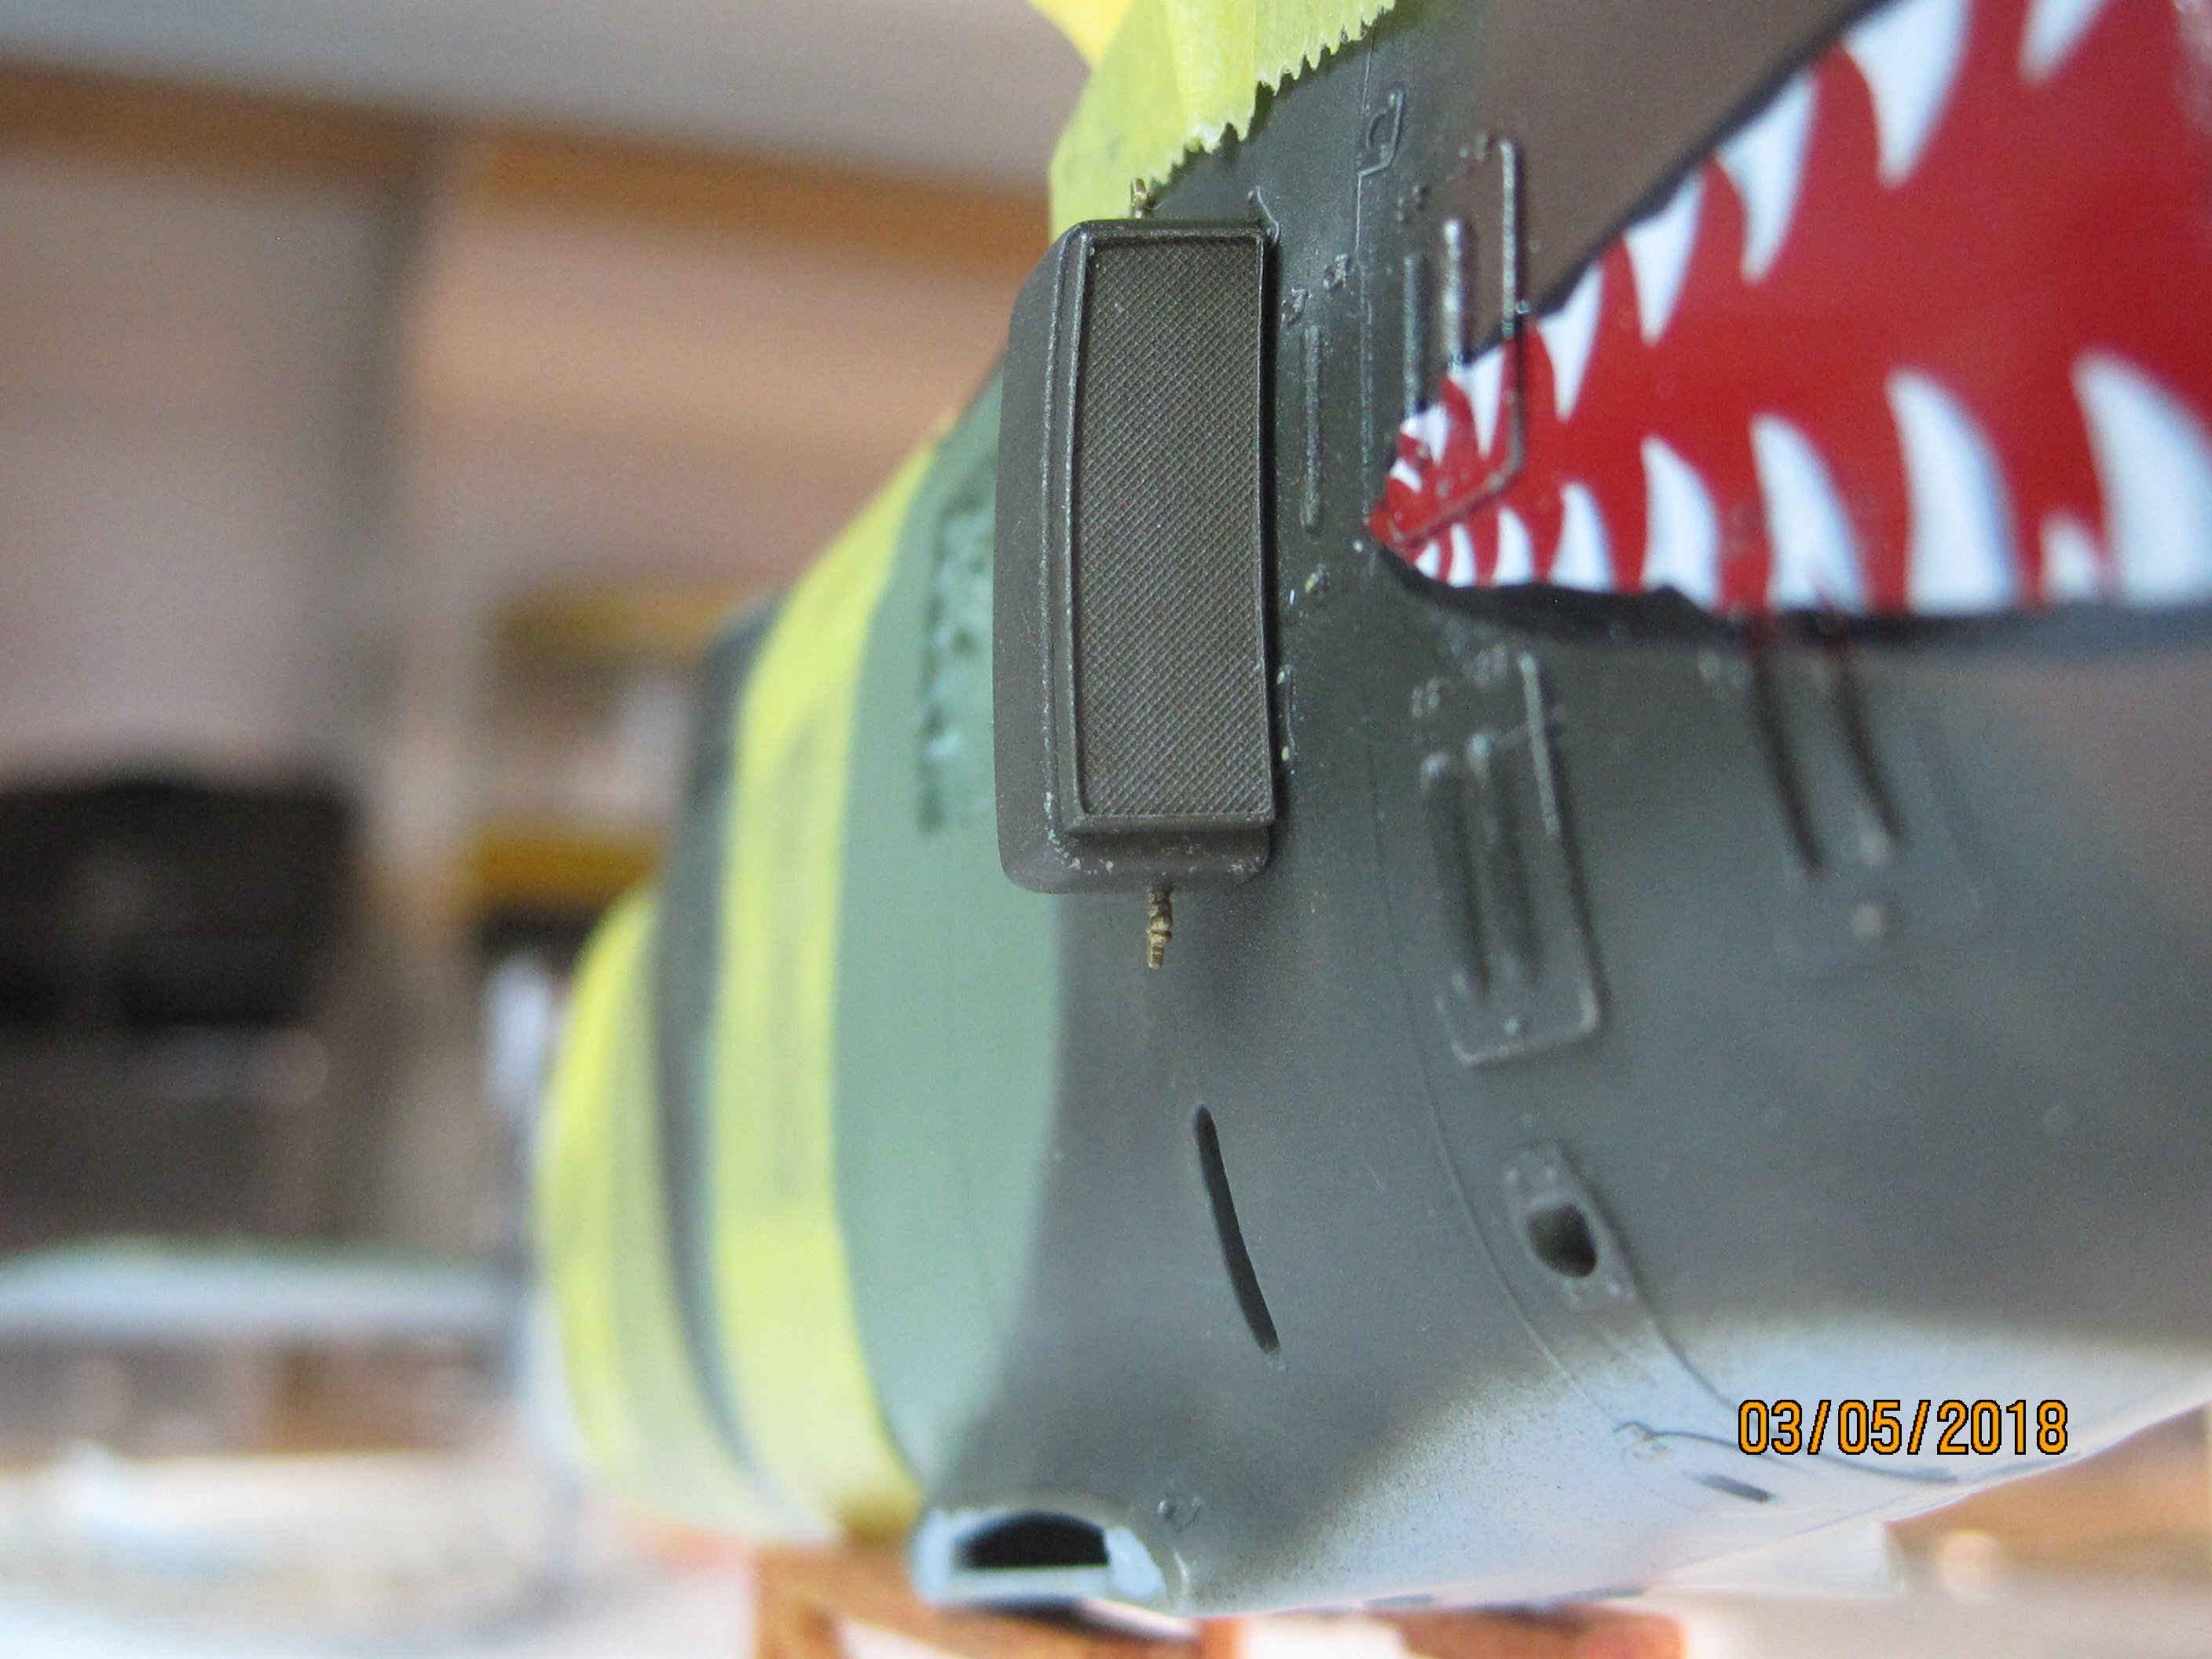
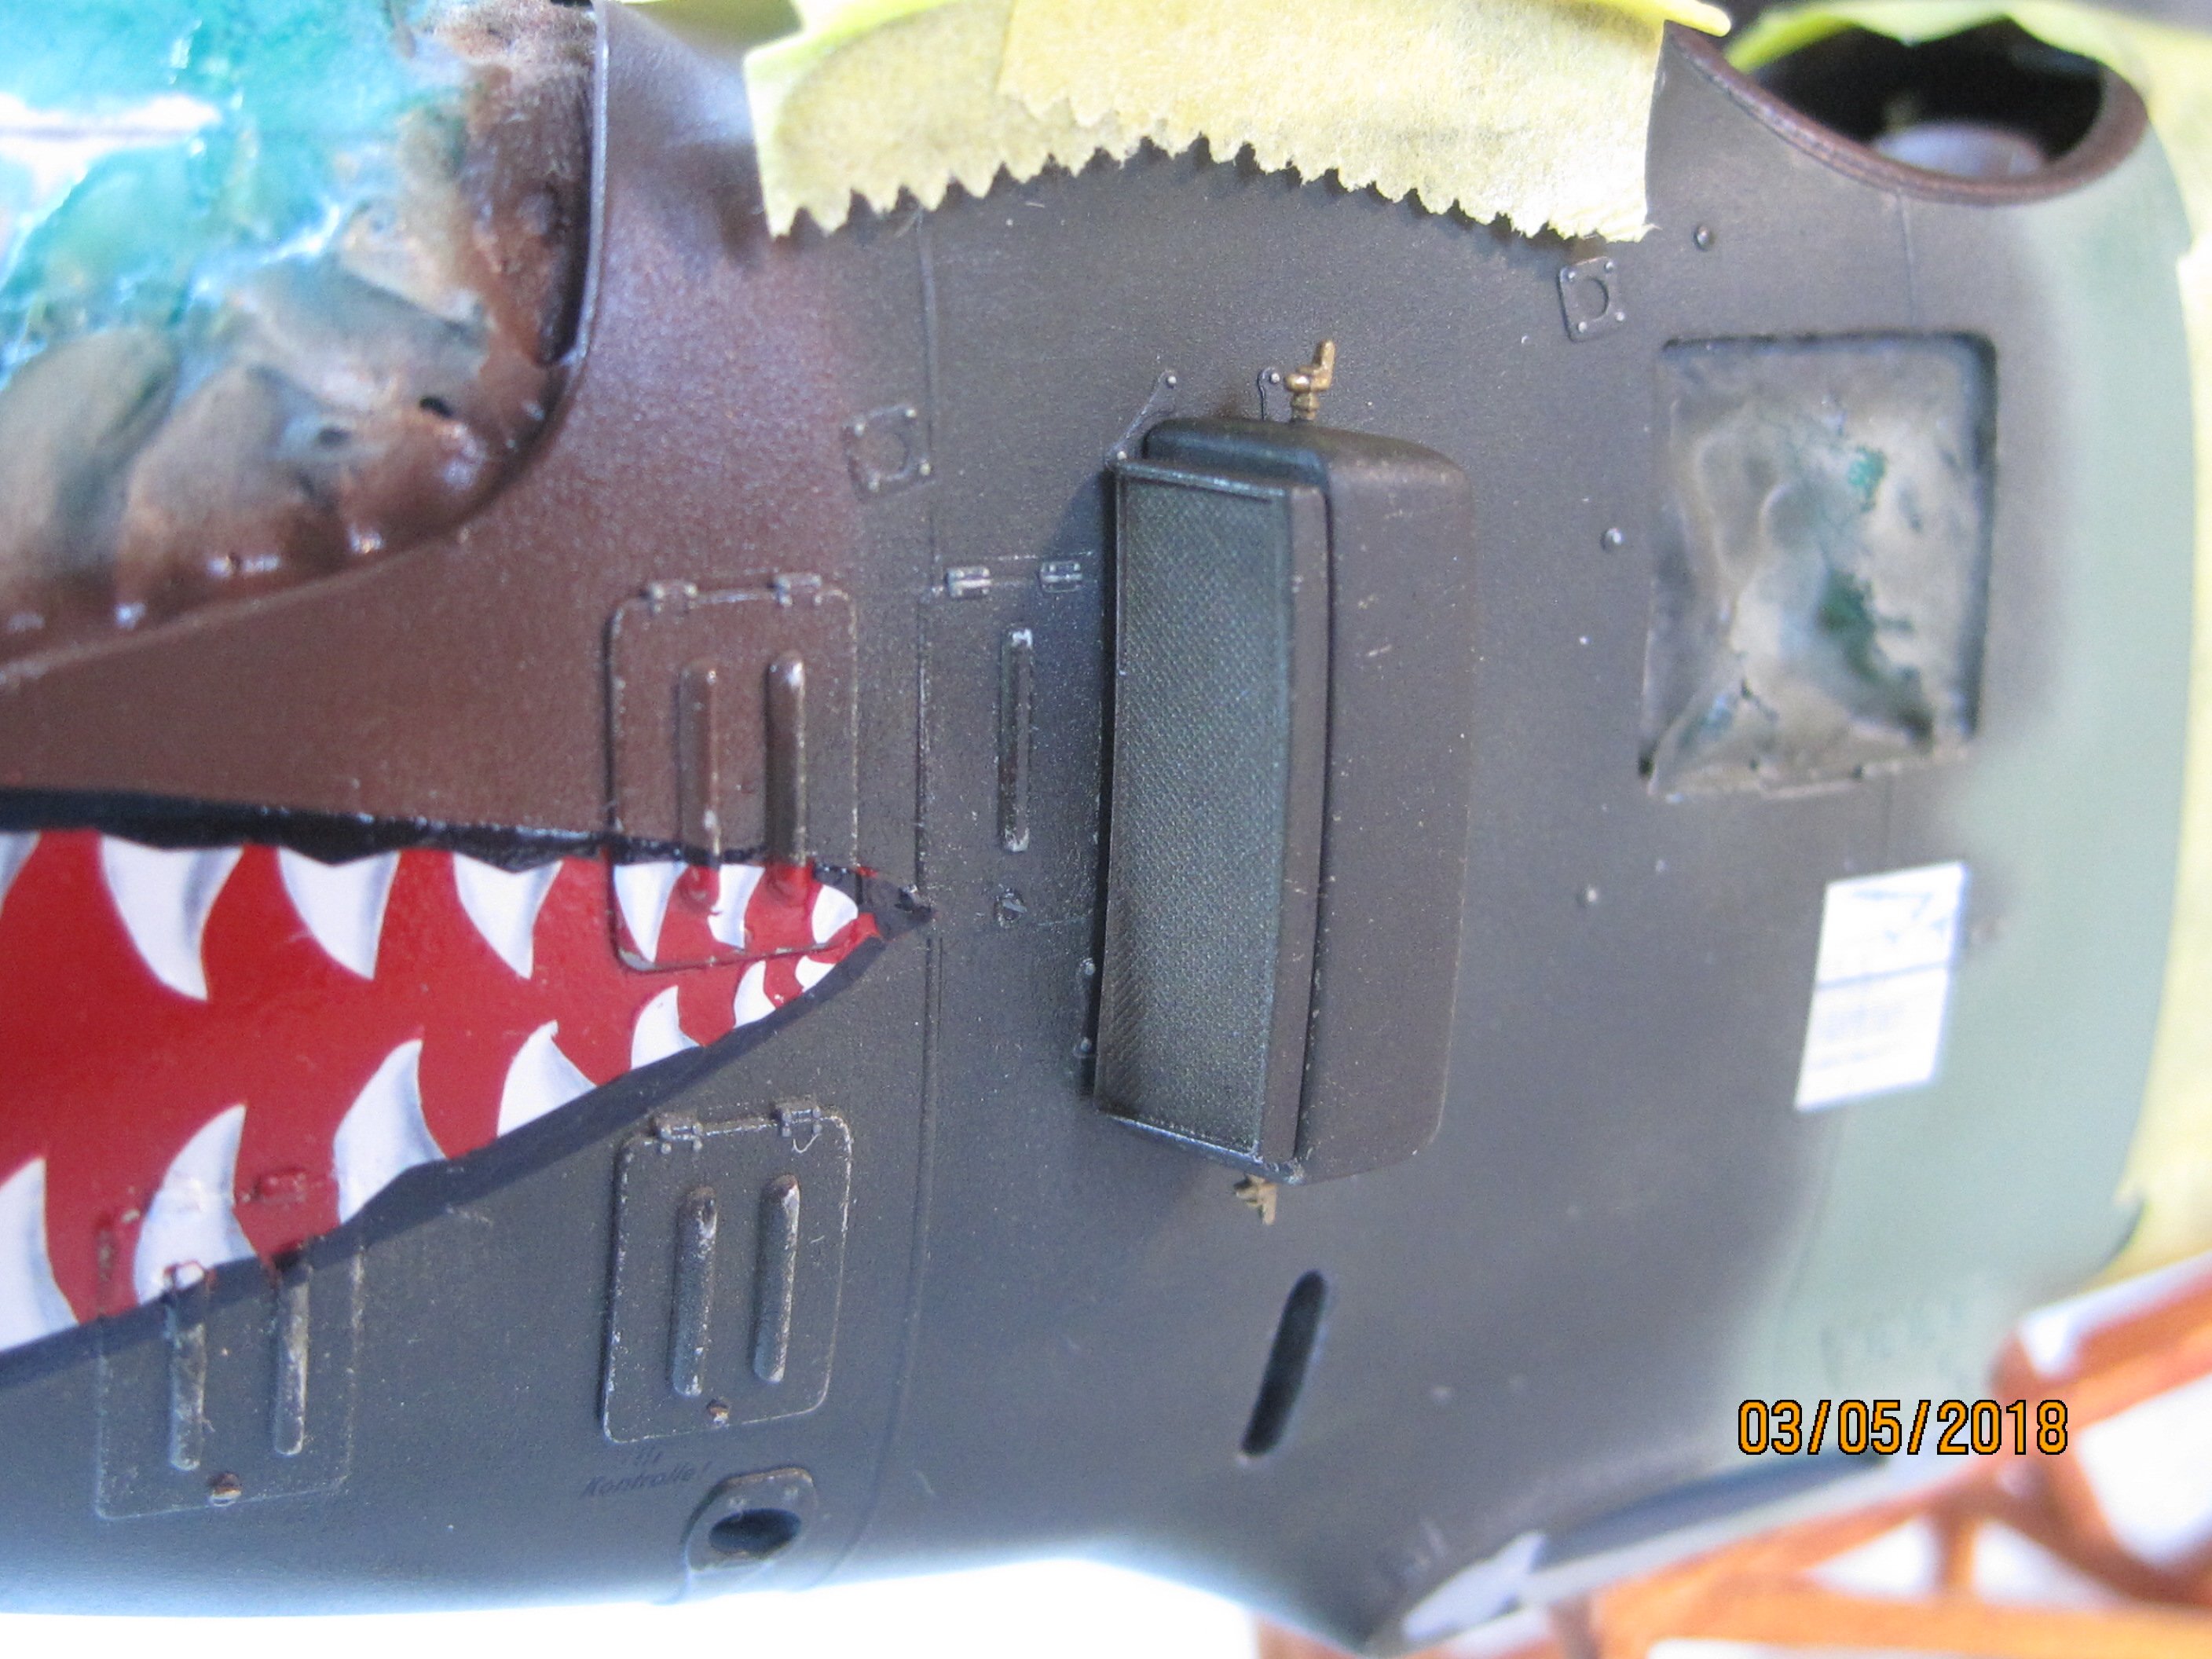
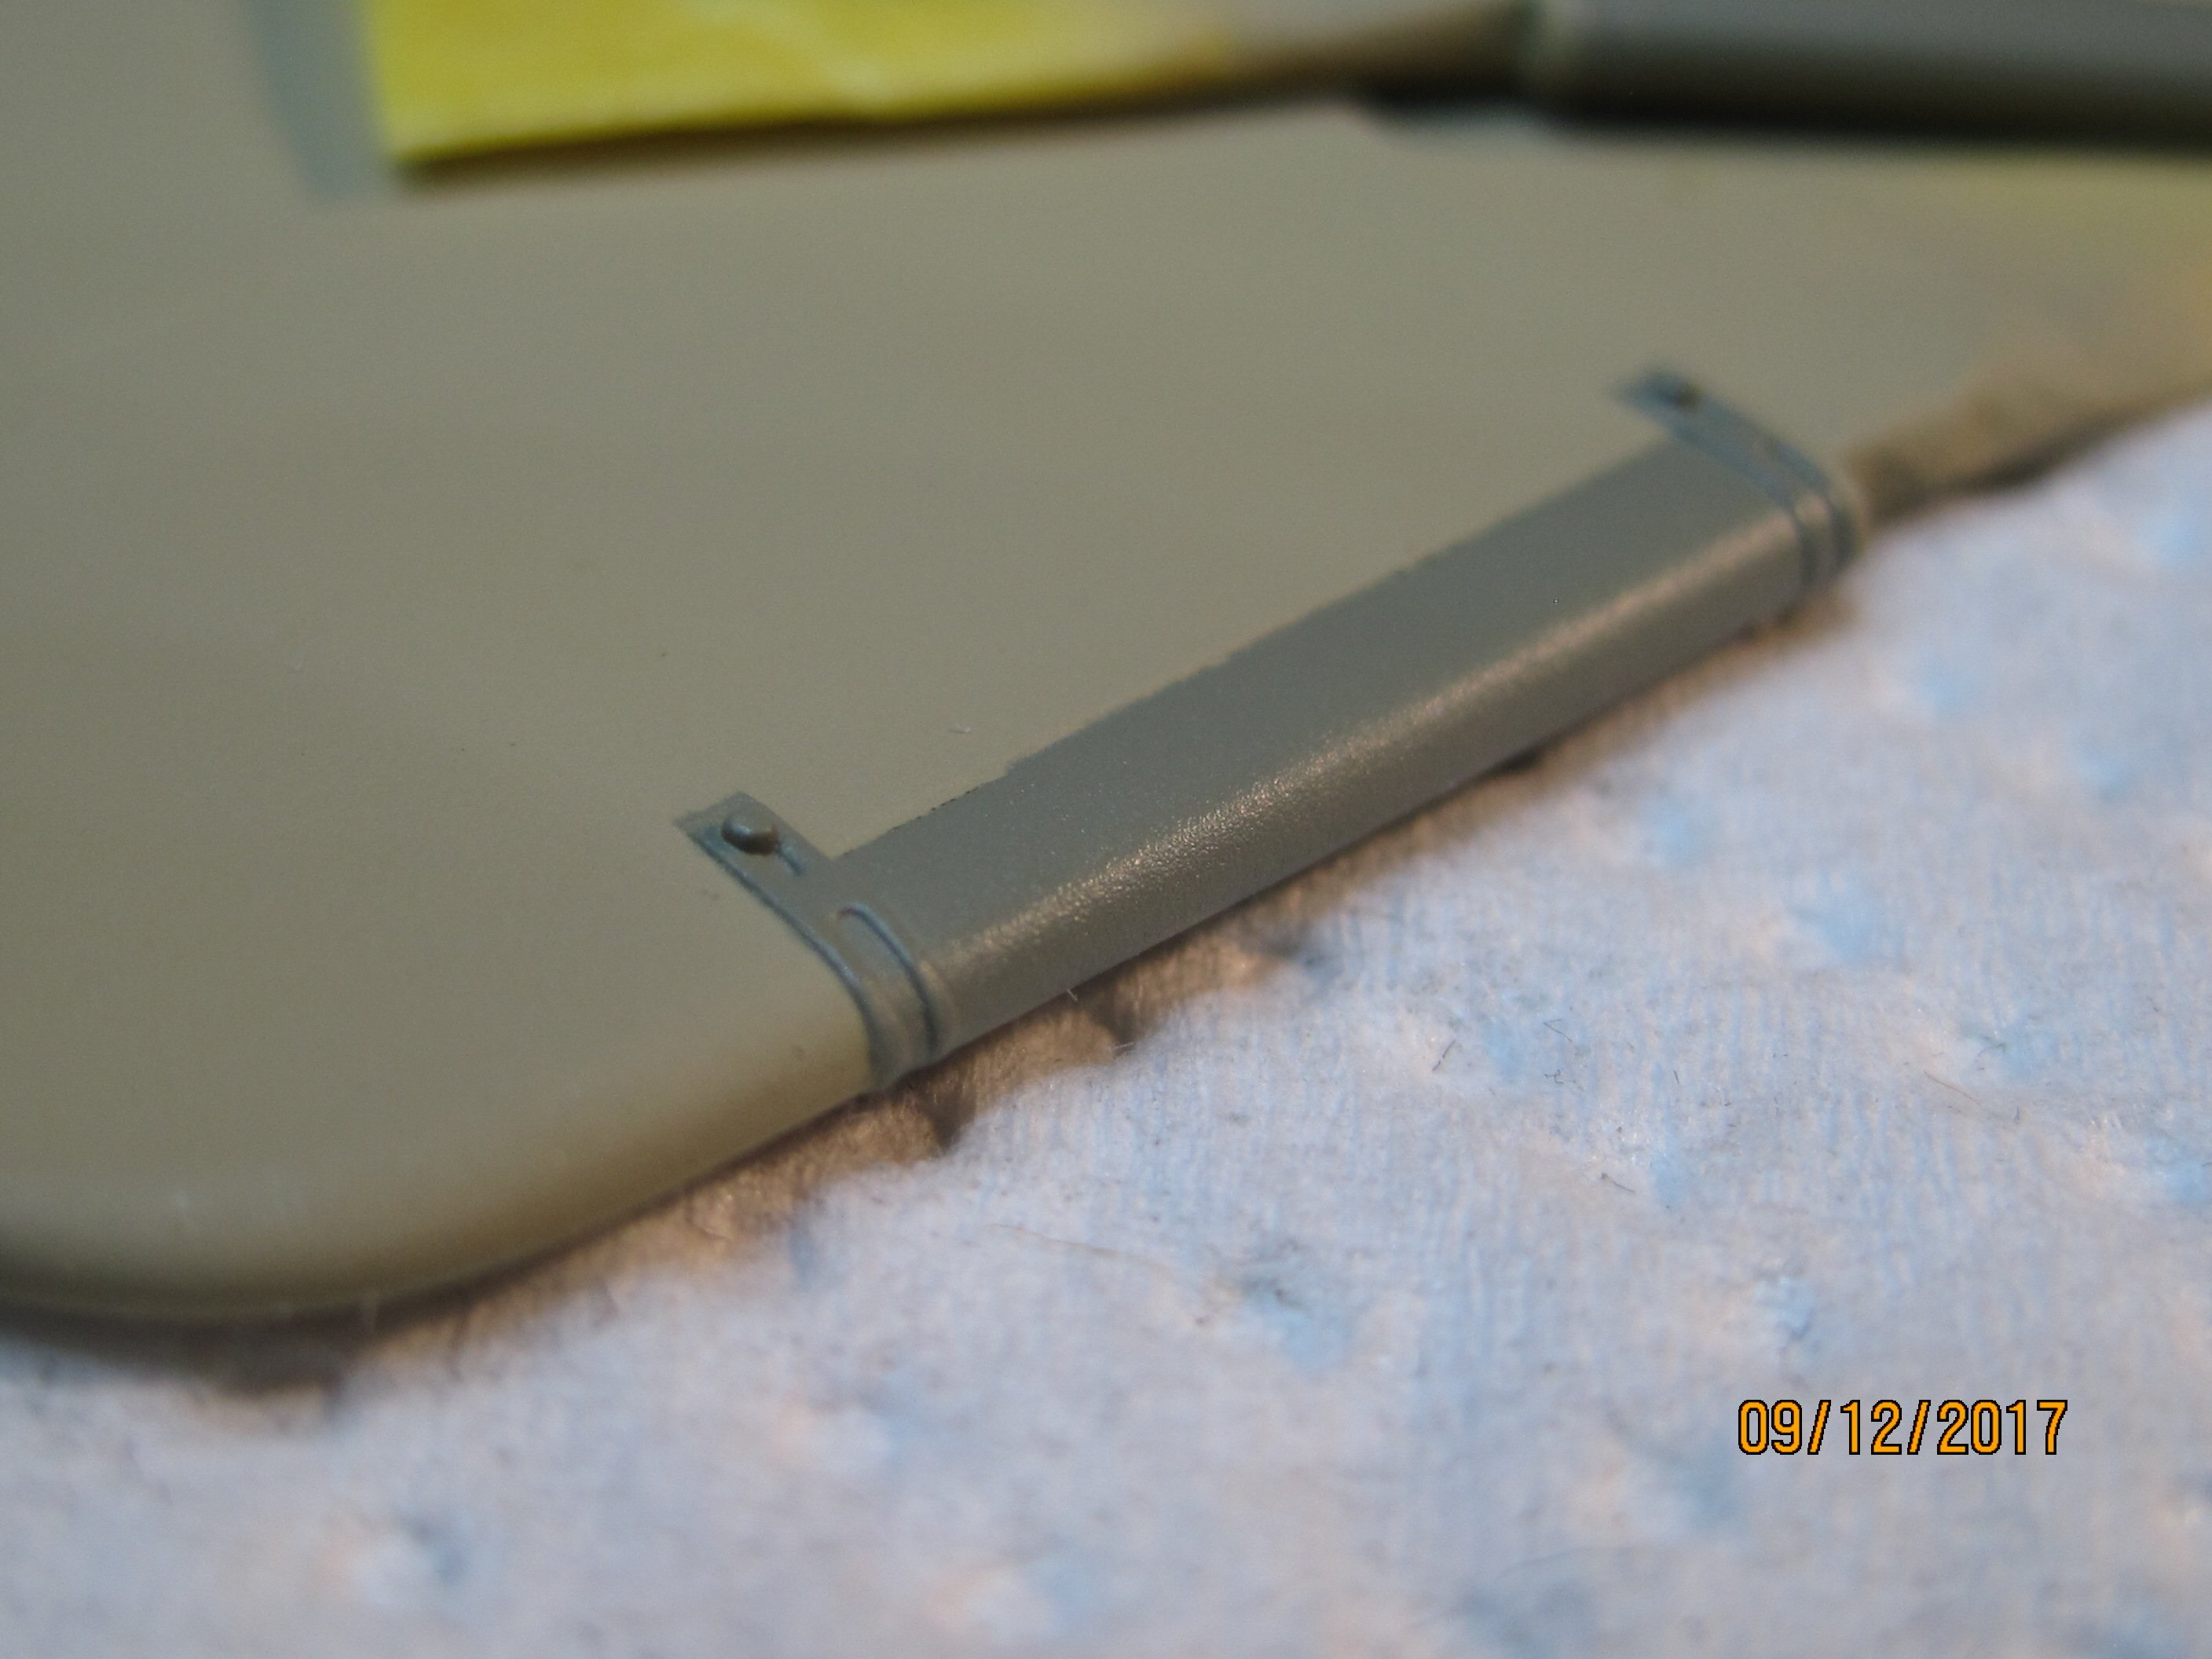
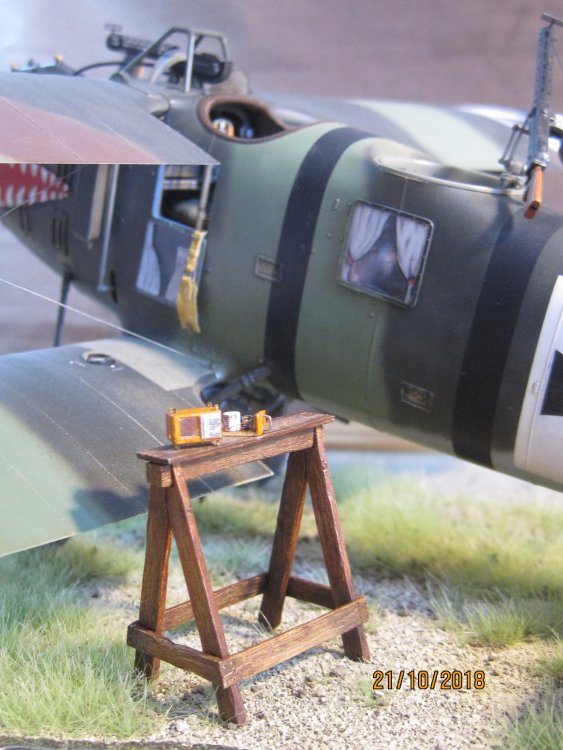
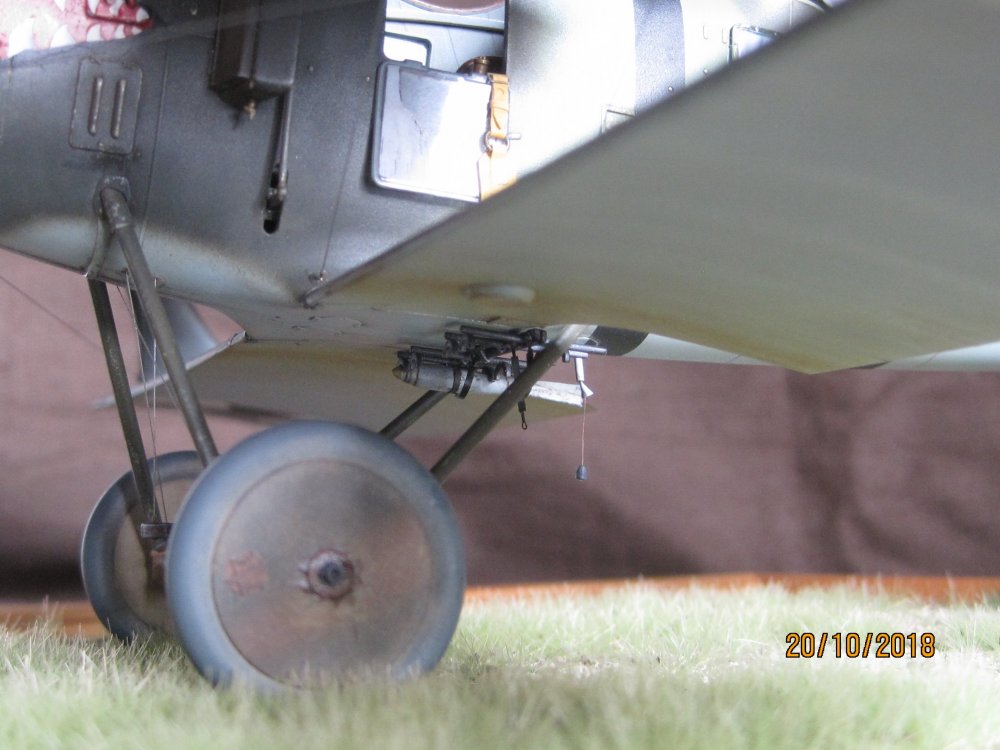
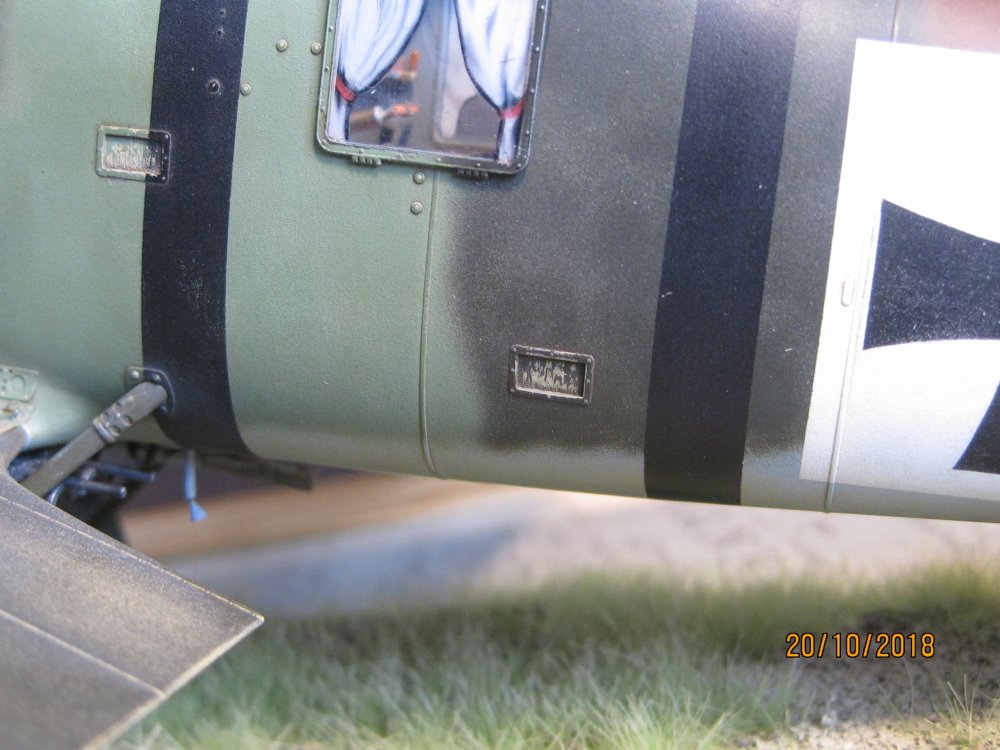
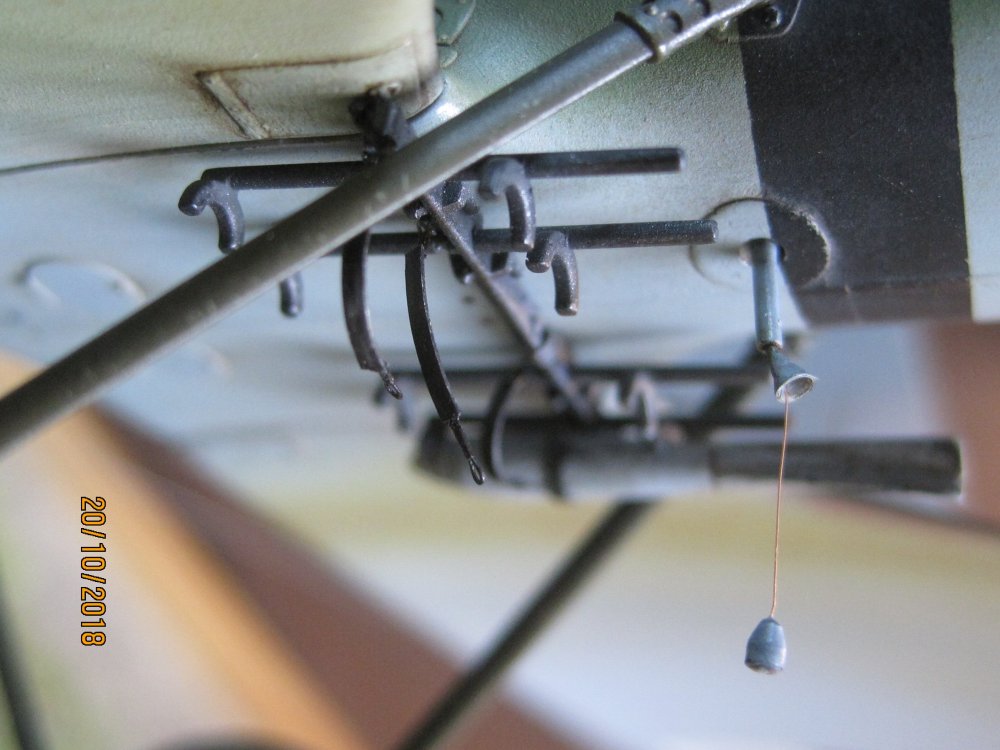
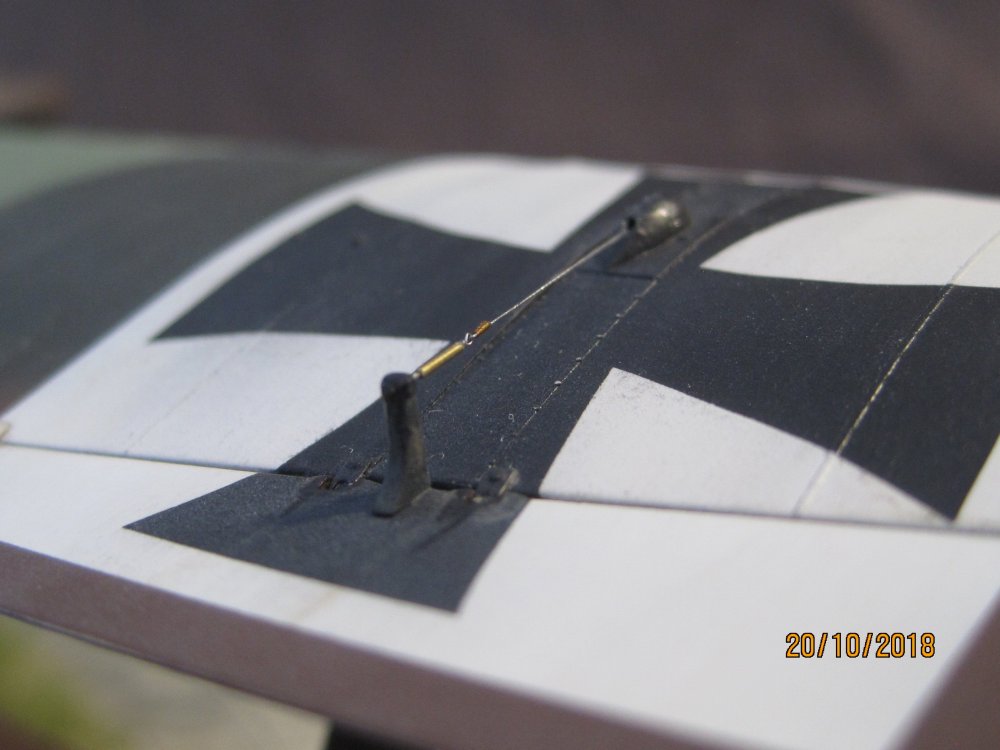
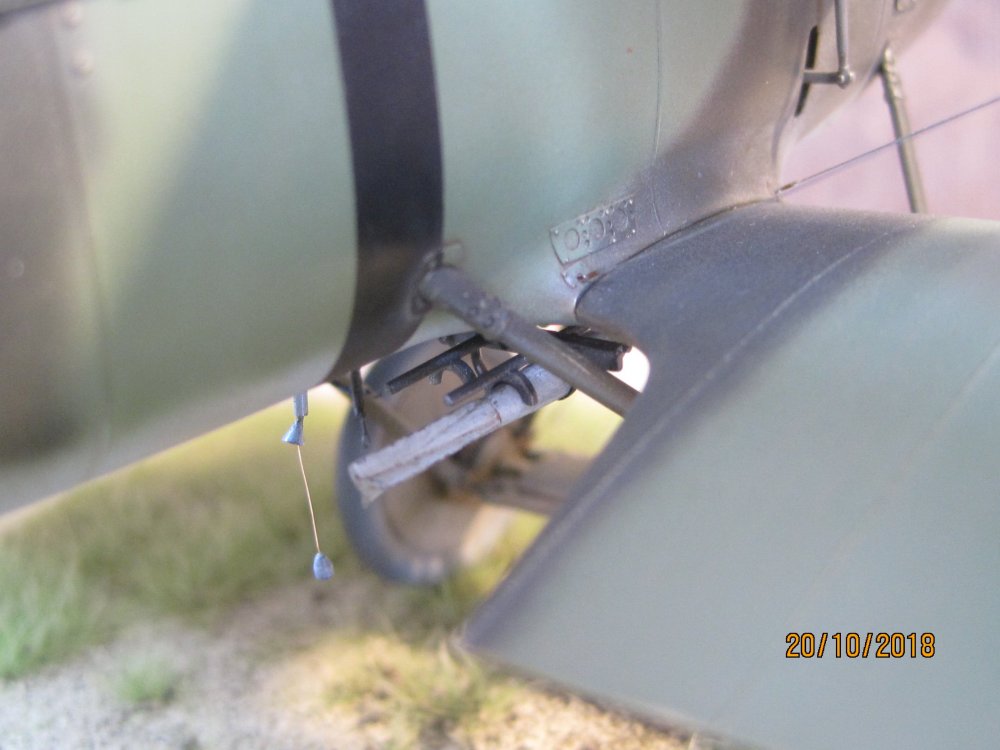
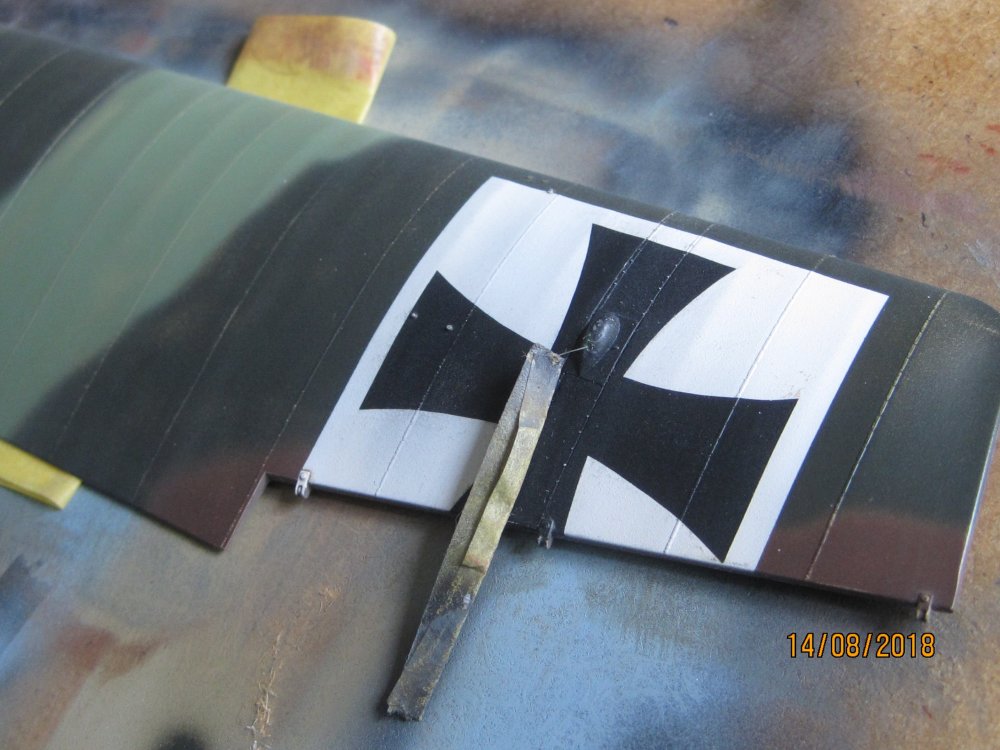
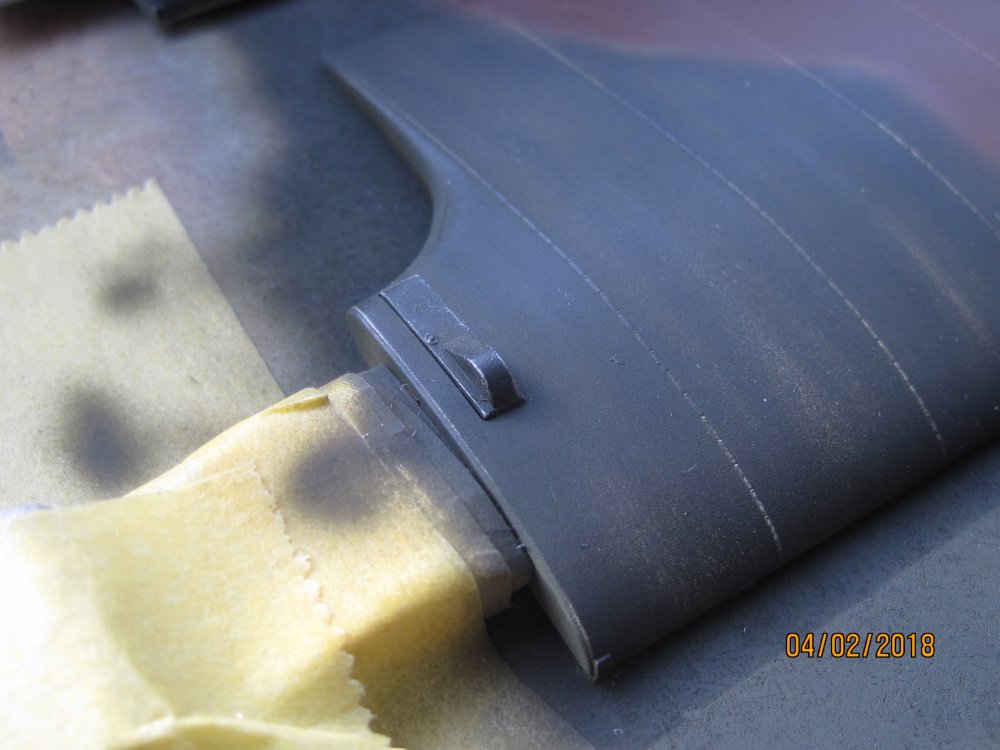
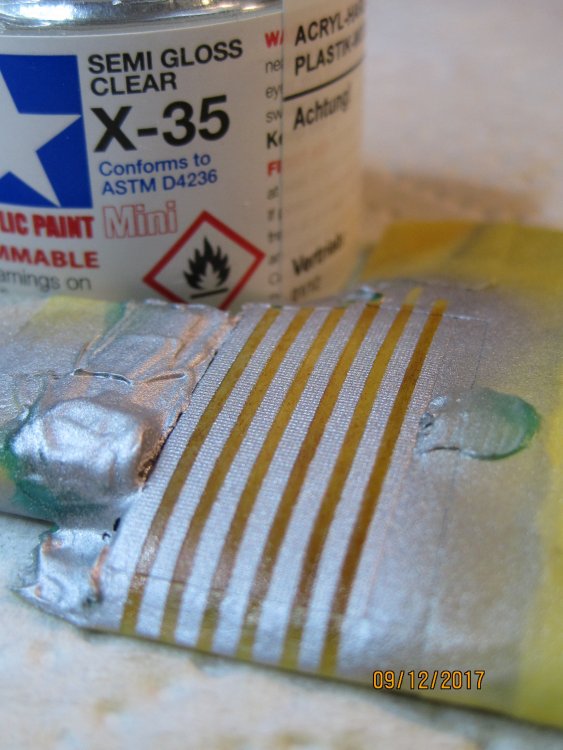
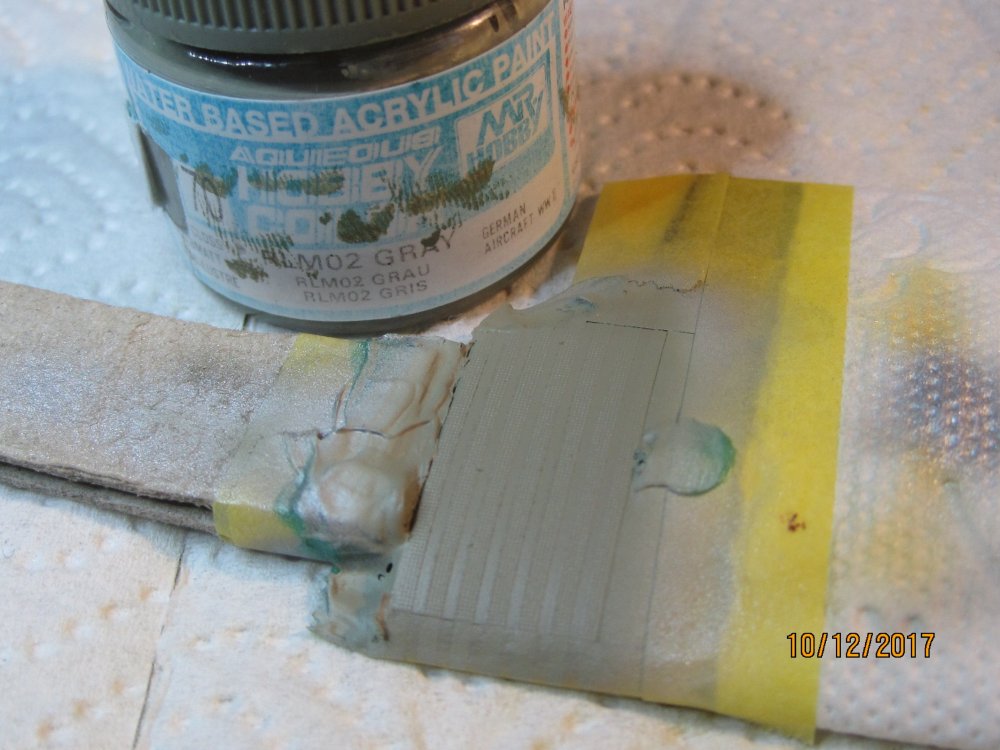
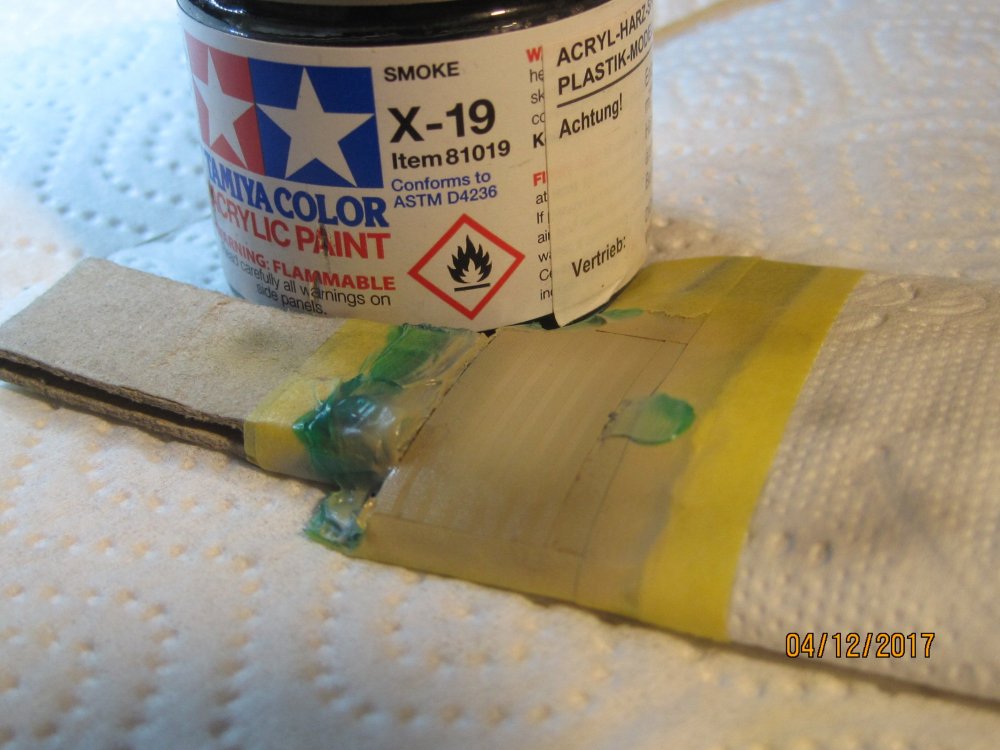
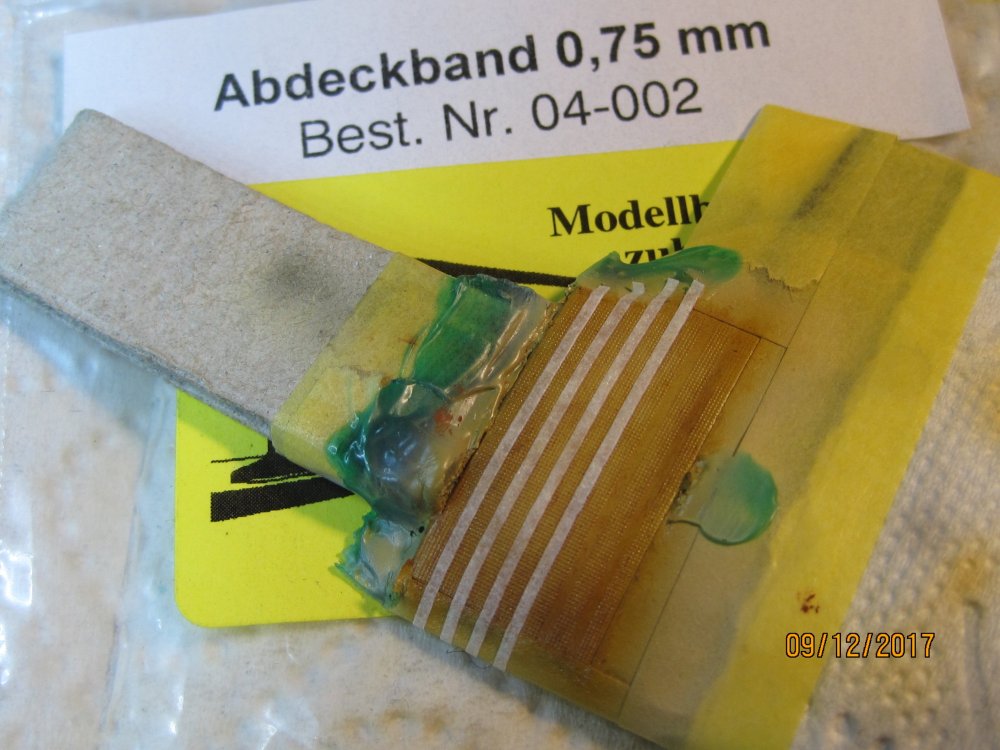
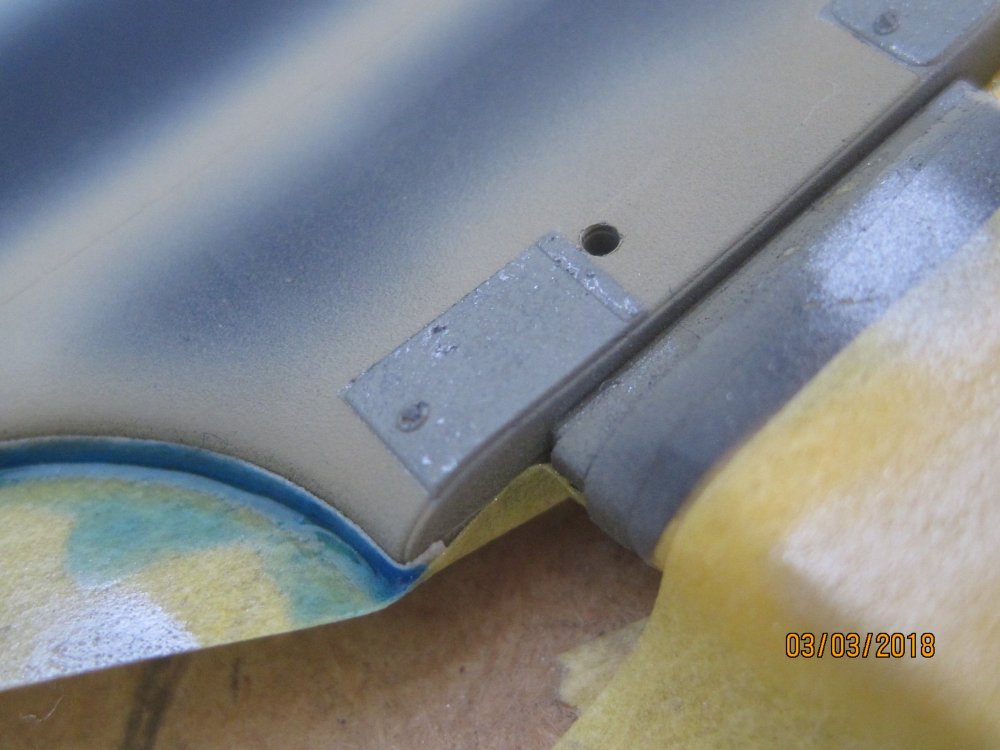
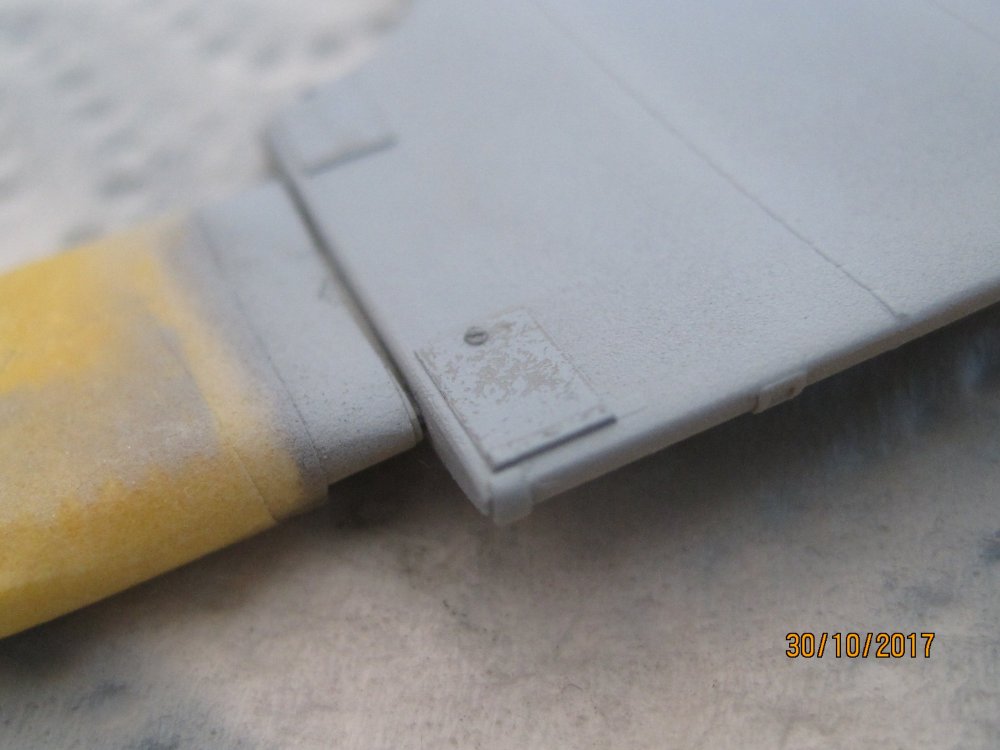
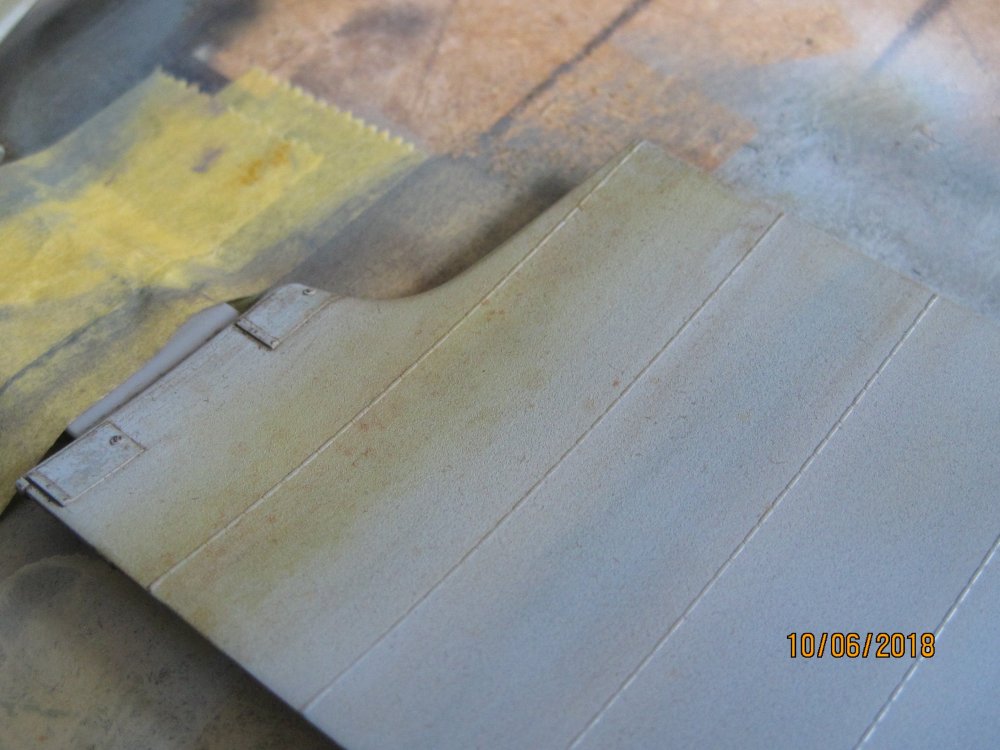
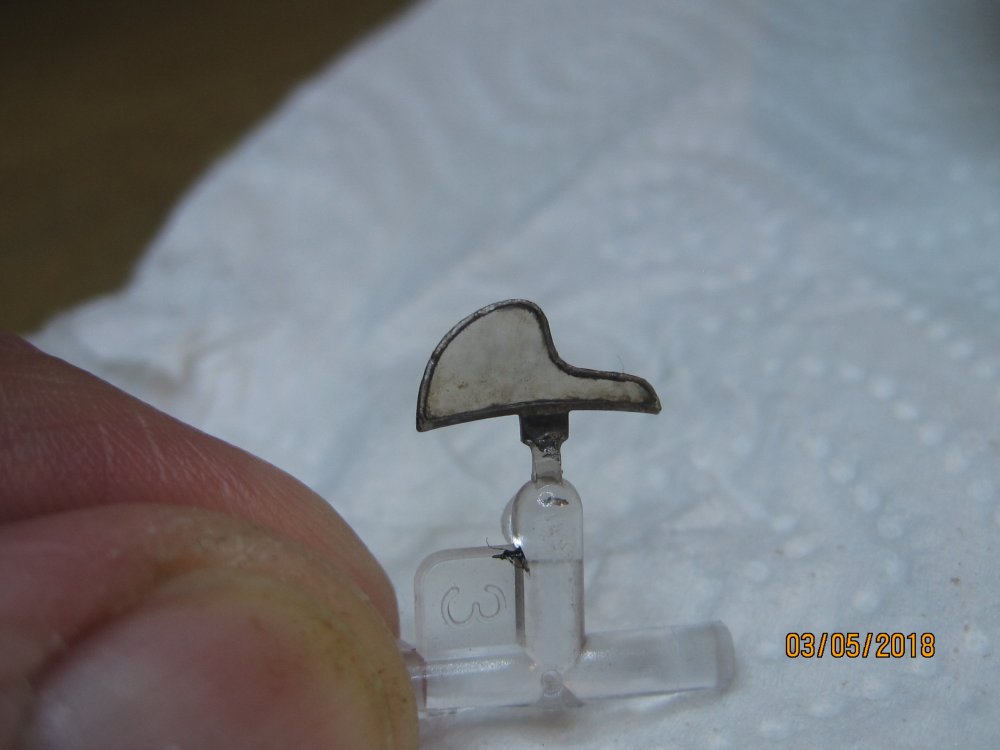
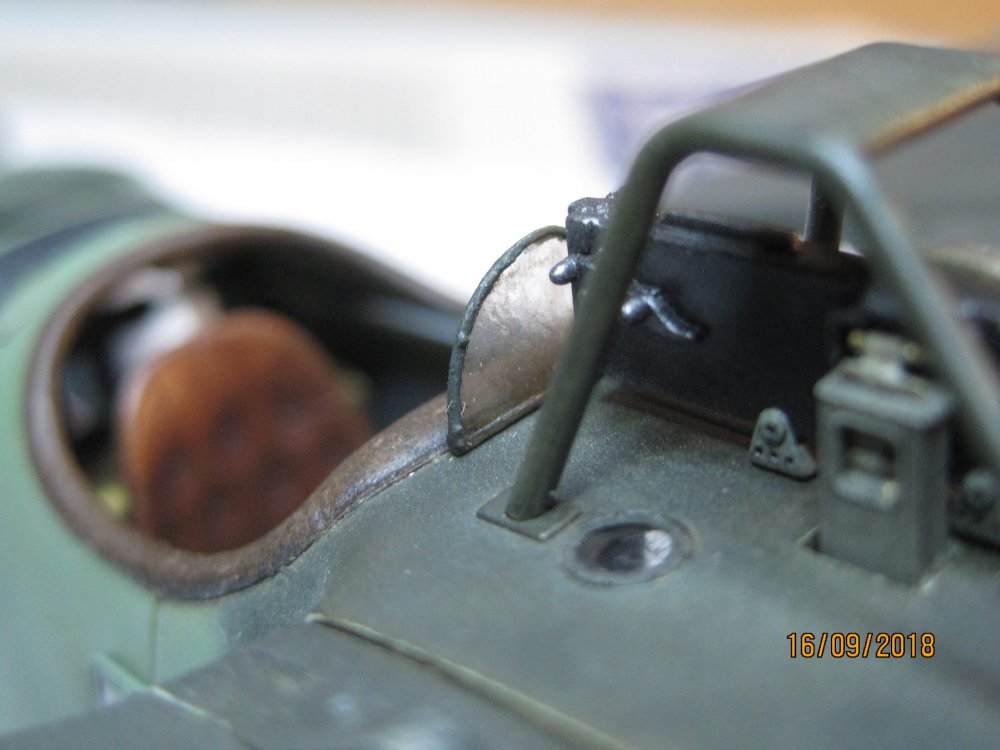
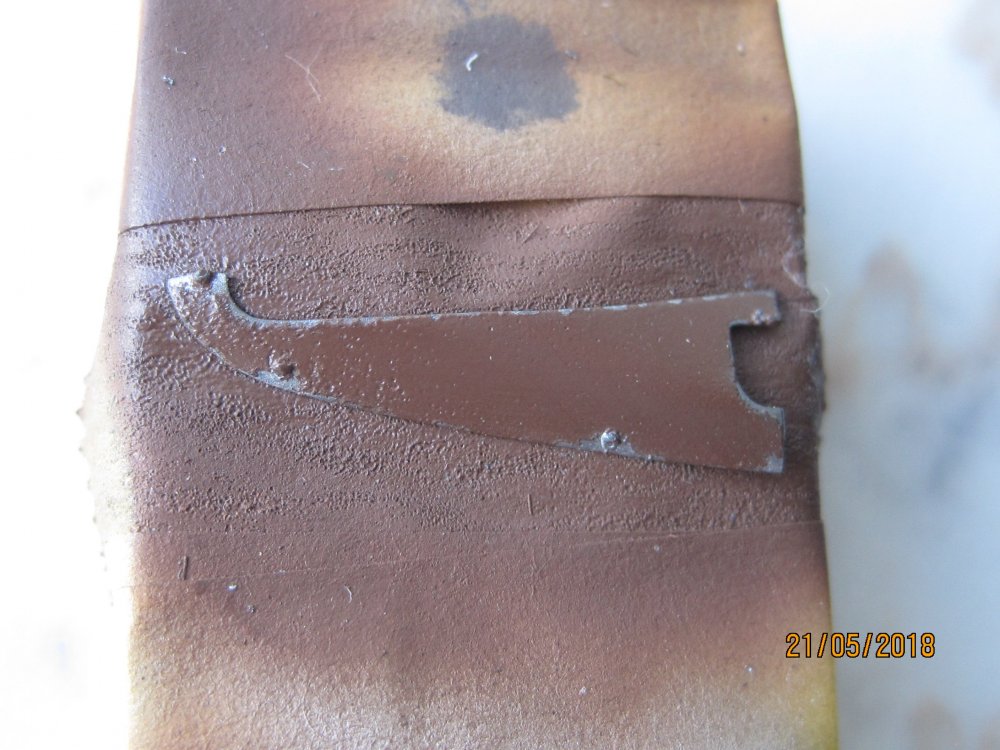
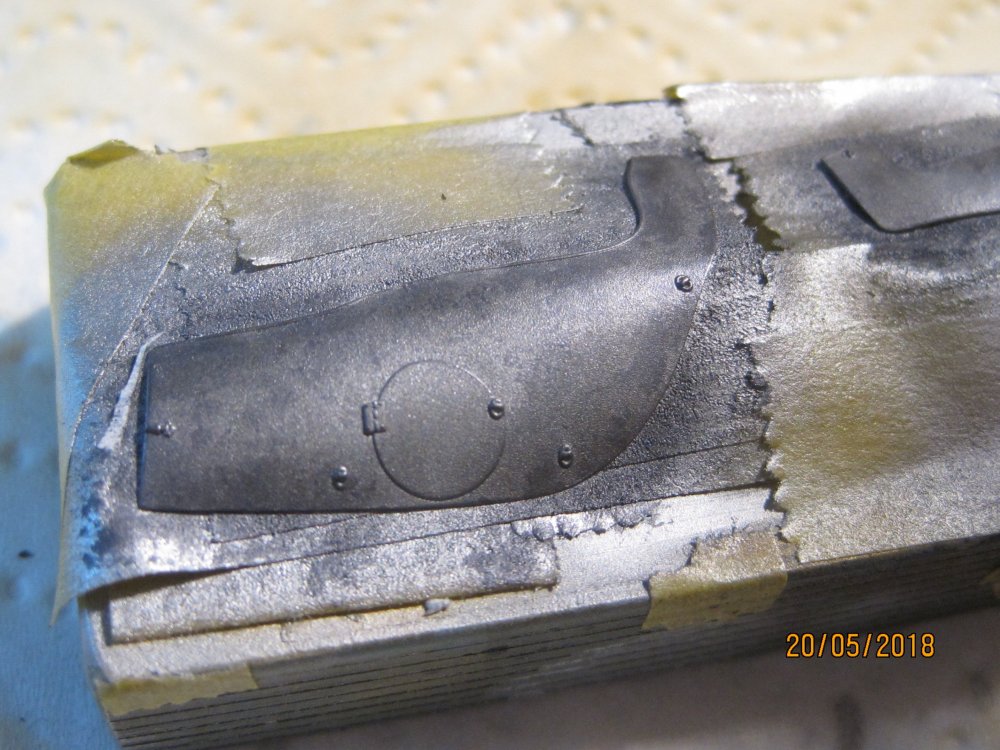
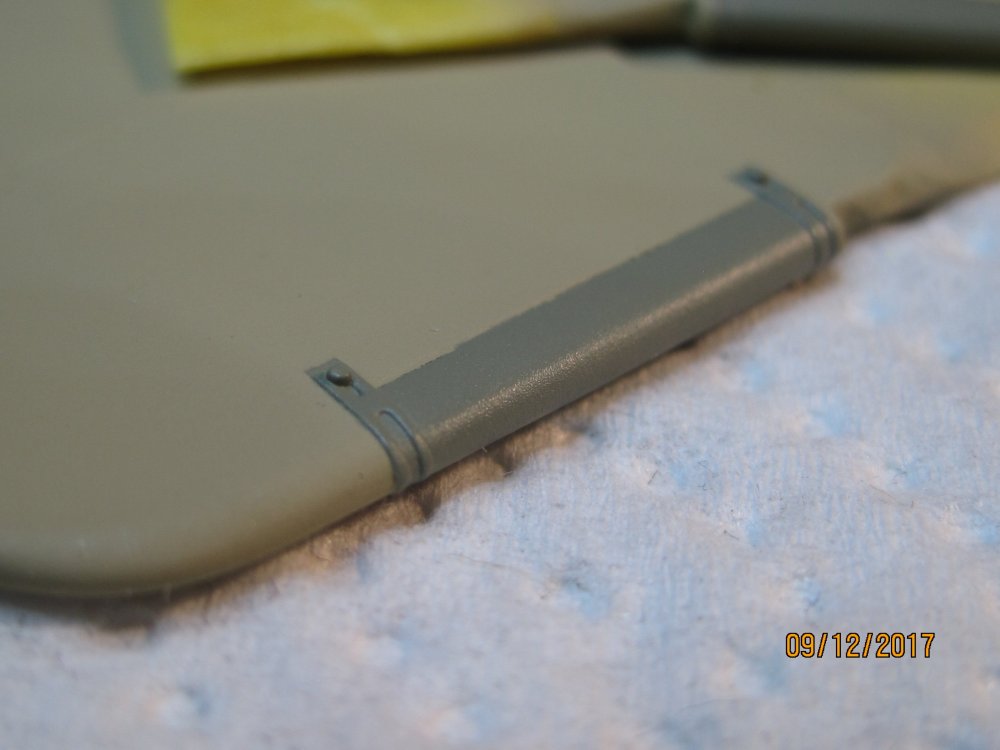
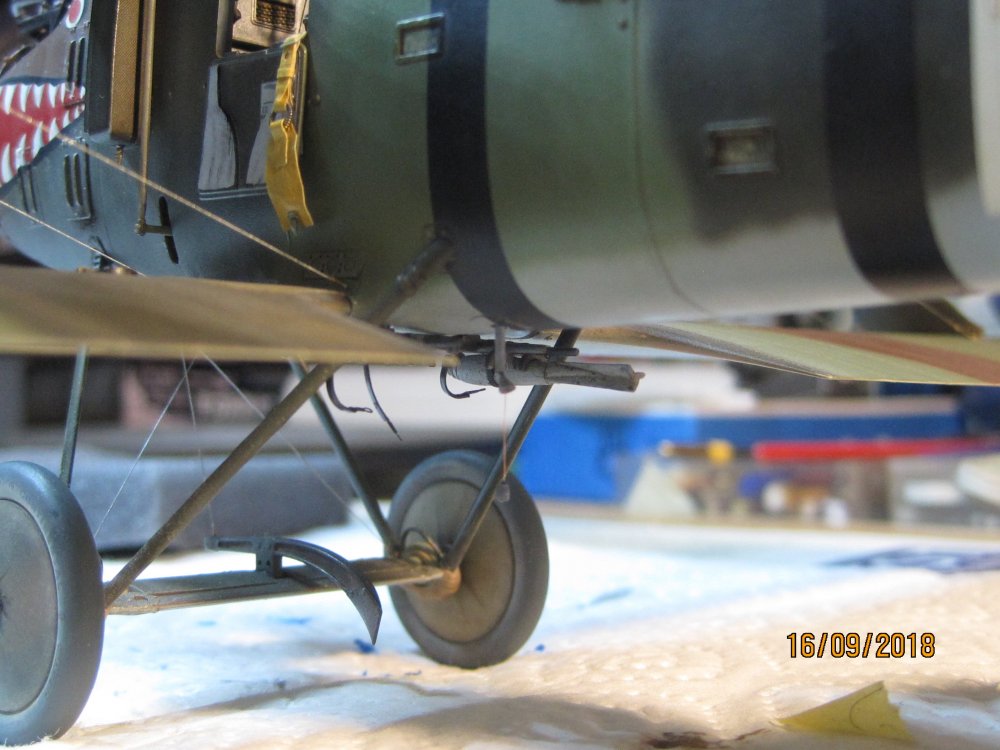
Metal fittings, covers and maintenance flaps were also assembled "just like in real life". First the raw aluminium, then the primer and then the camouflage paint - then again aged, weathered etc.

-
Wingnut Wings Roland C.IIa
Umlaufmotor replied to Umlaufmotor's topic in WNW and WW1 Ready for Inspection'
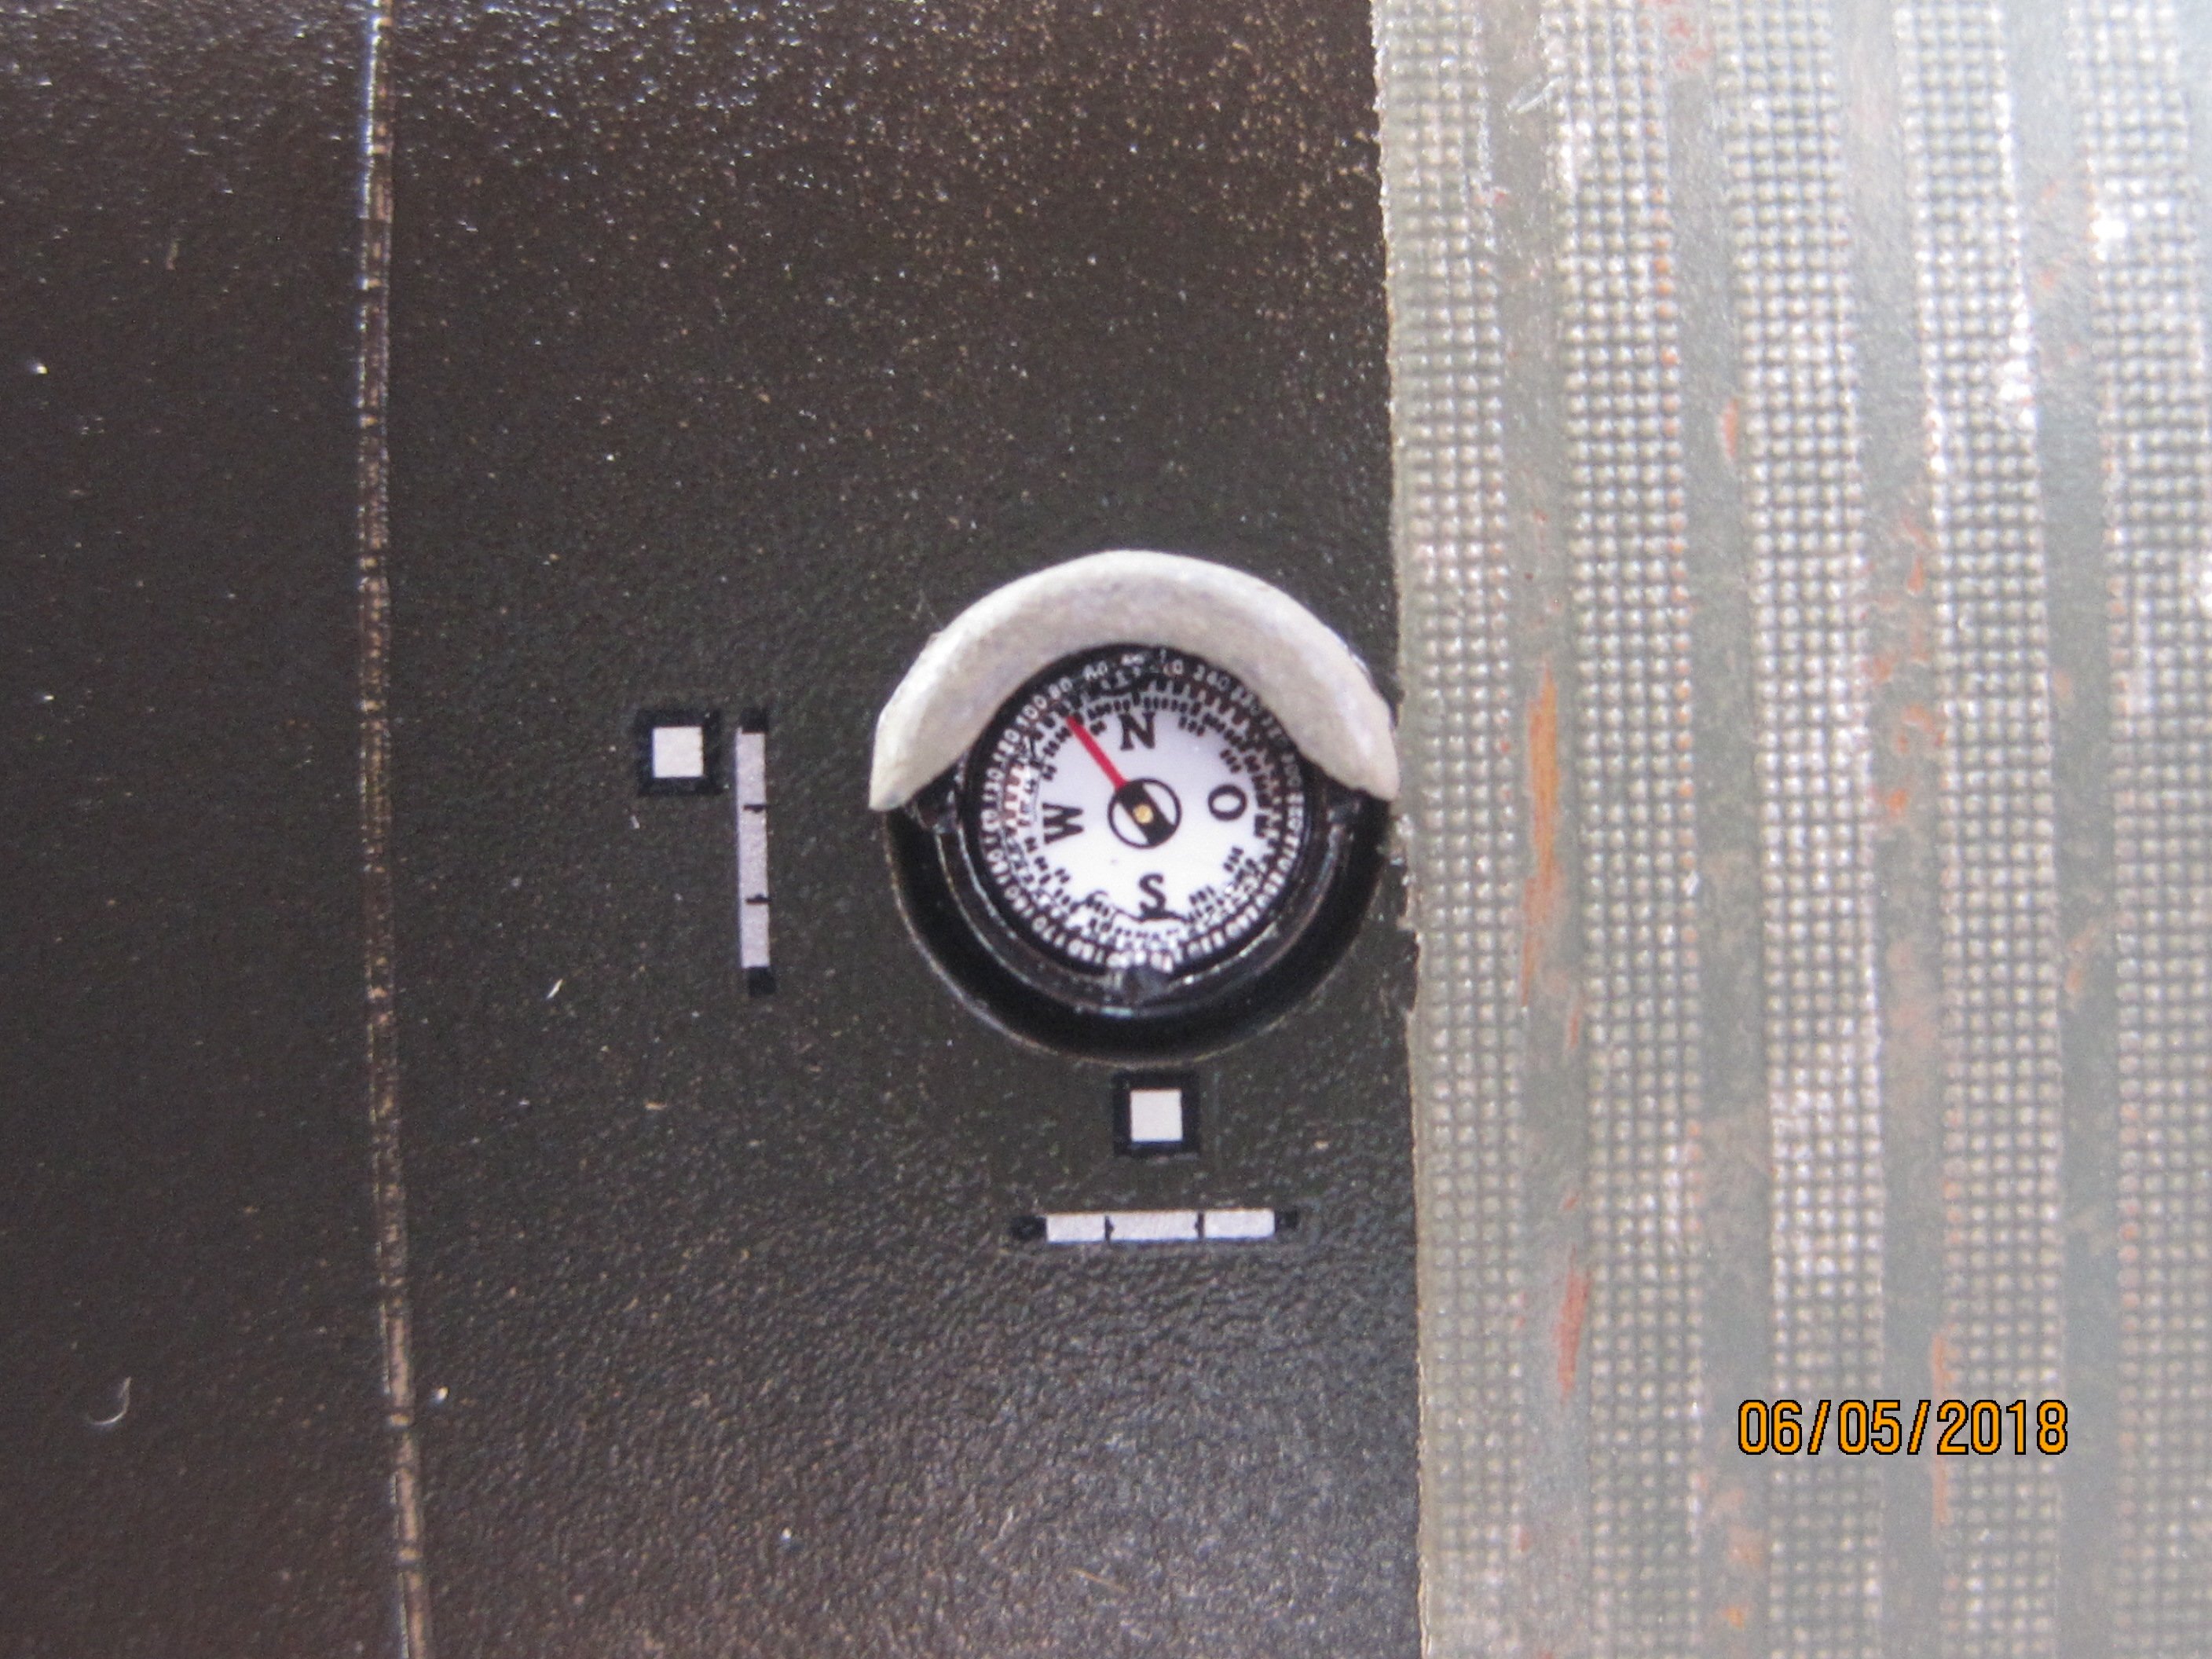
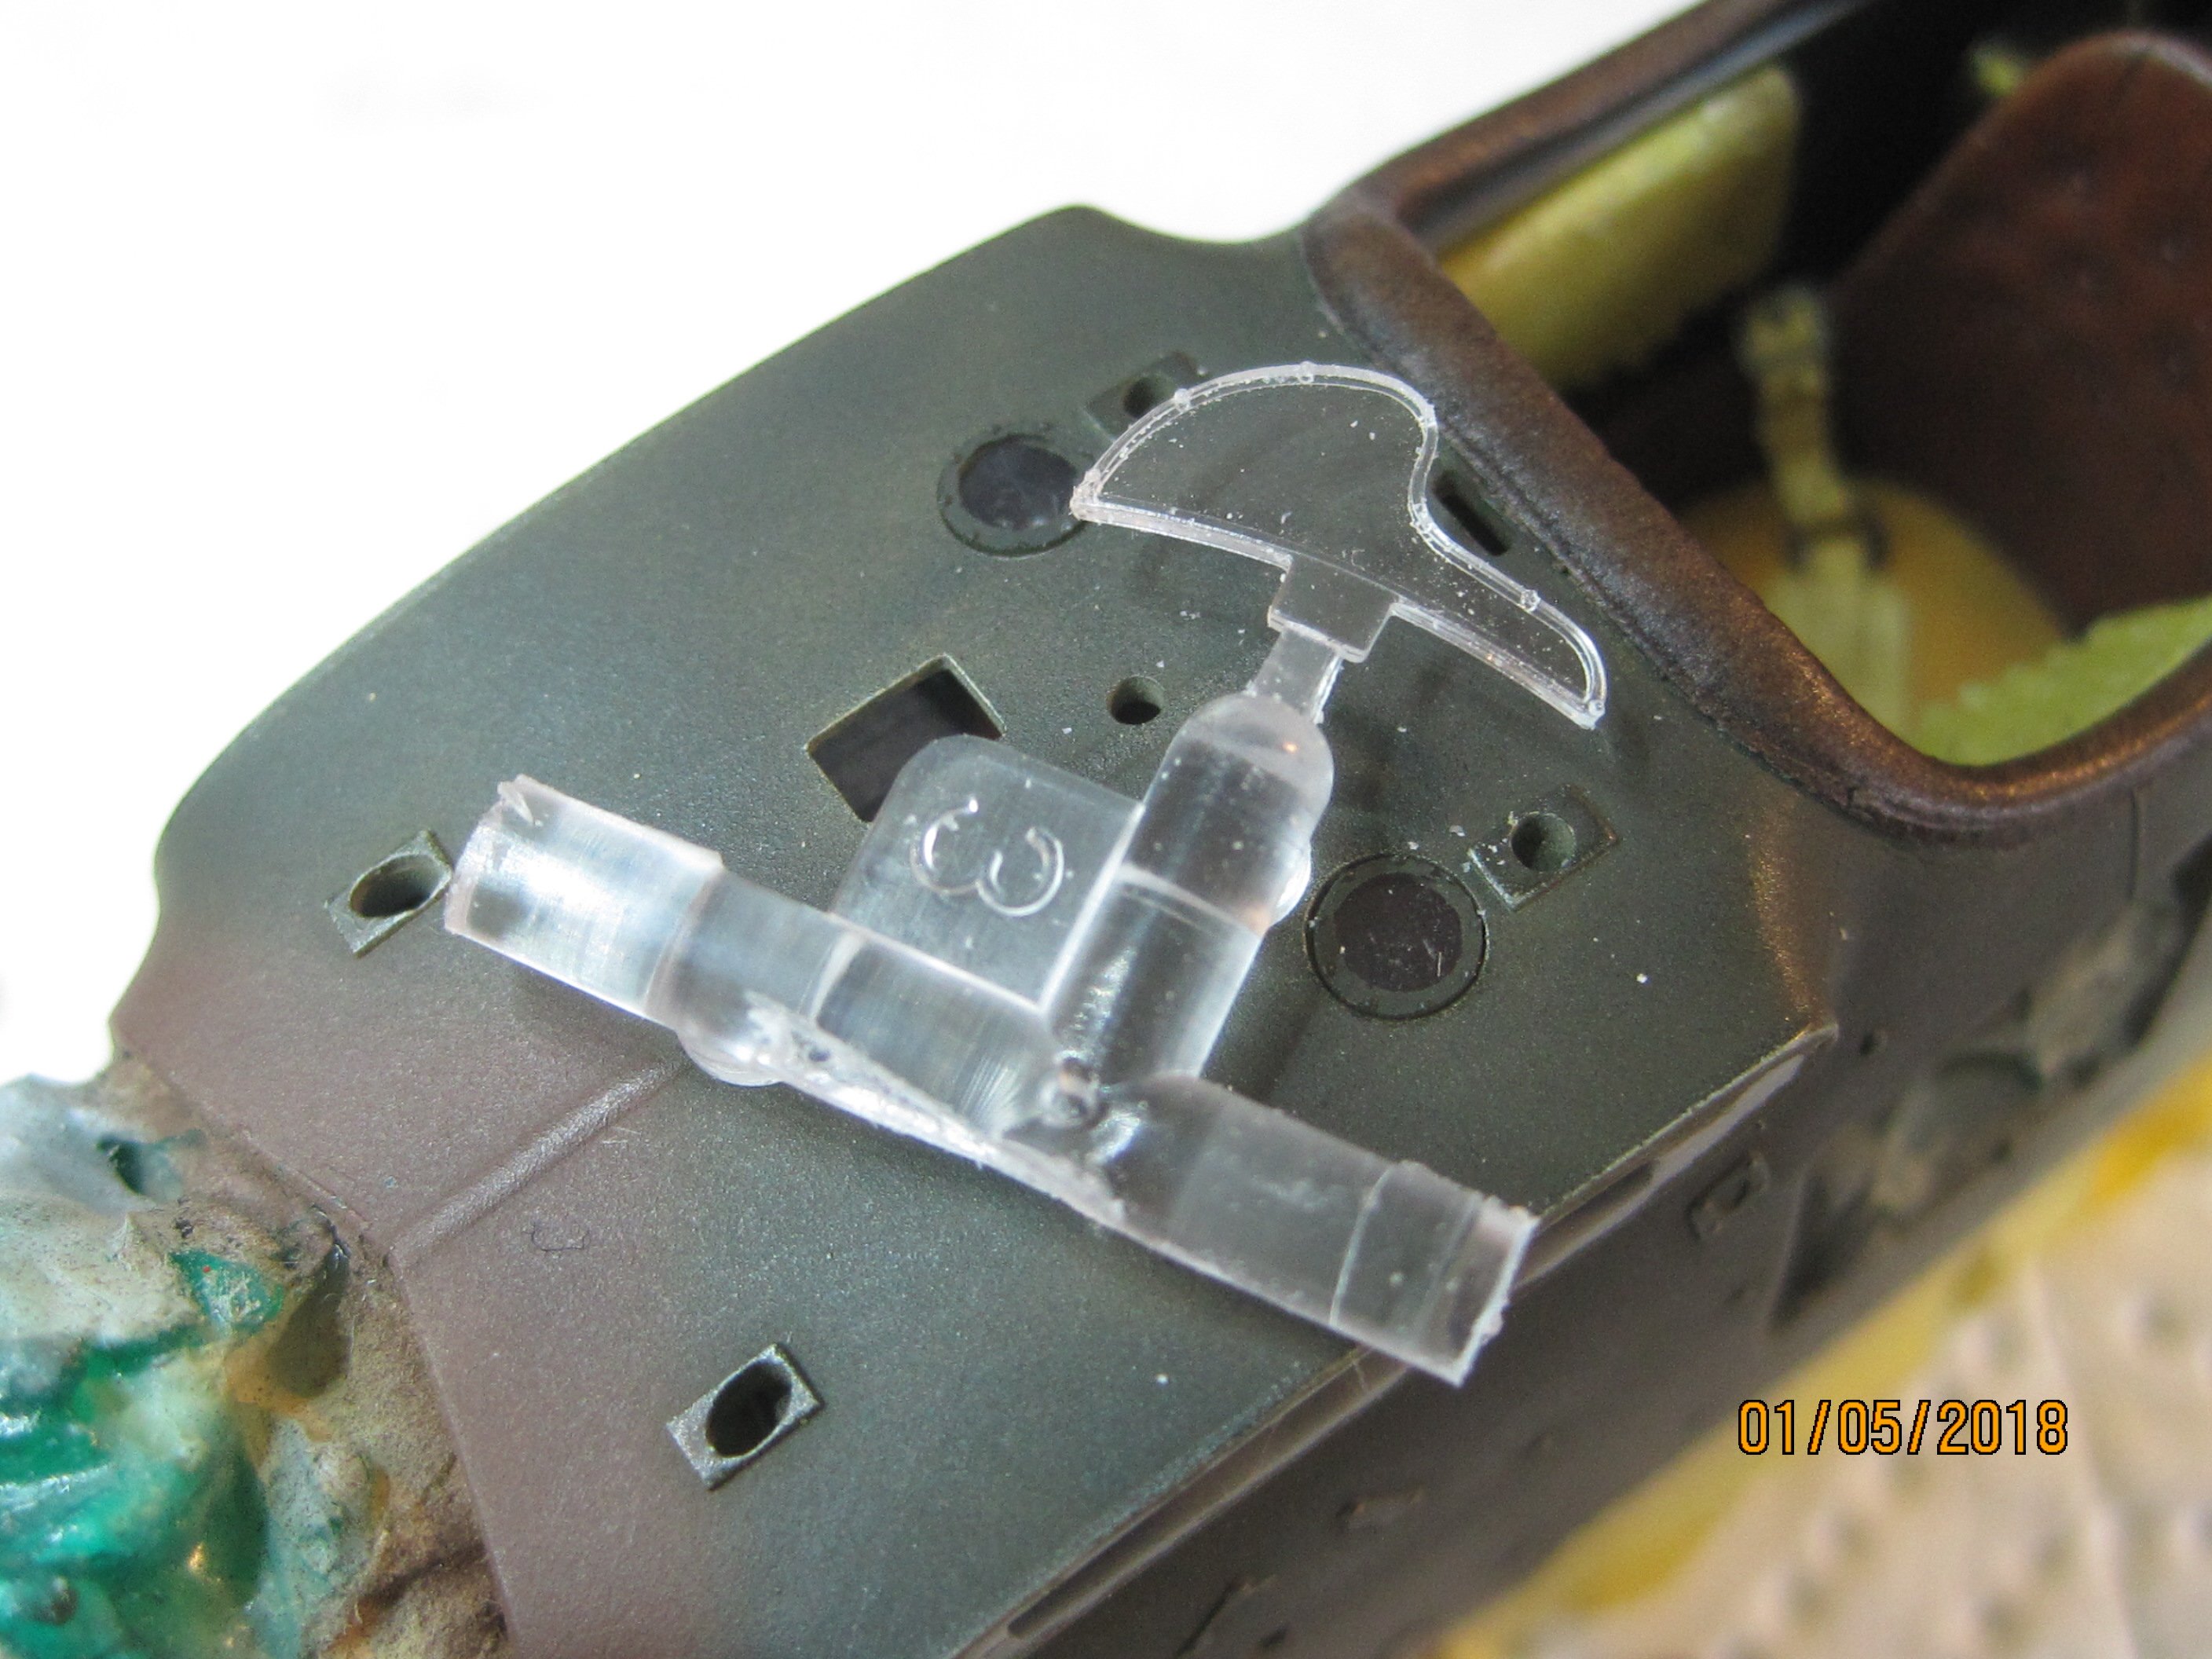
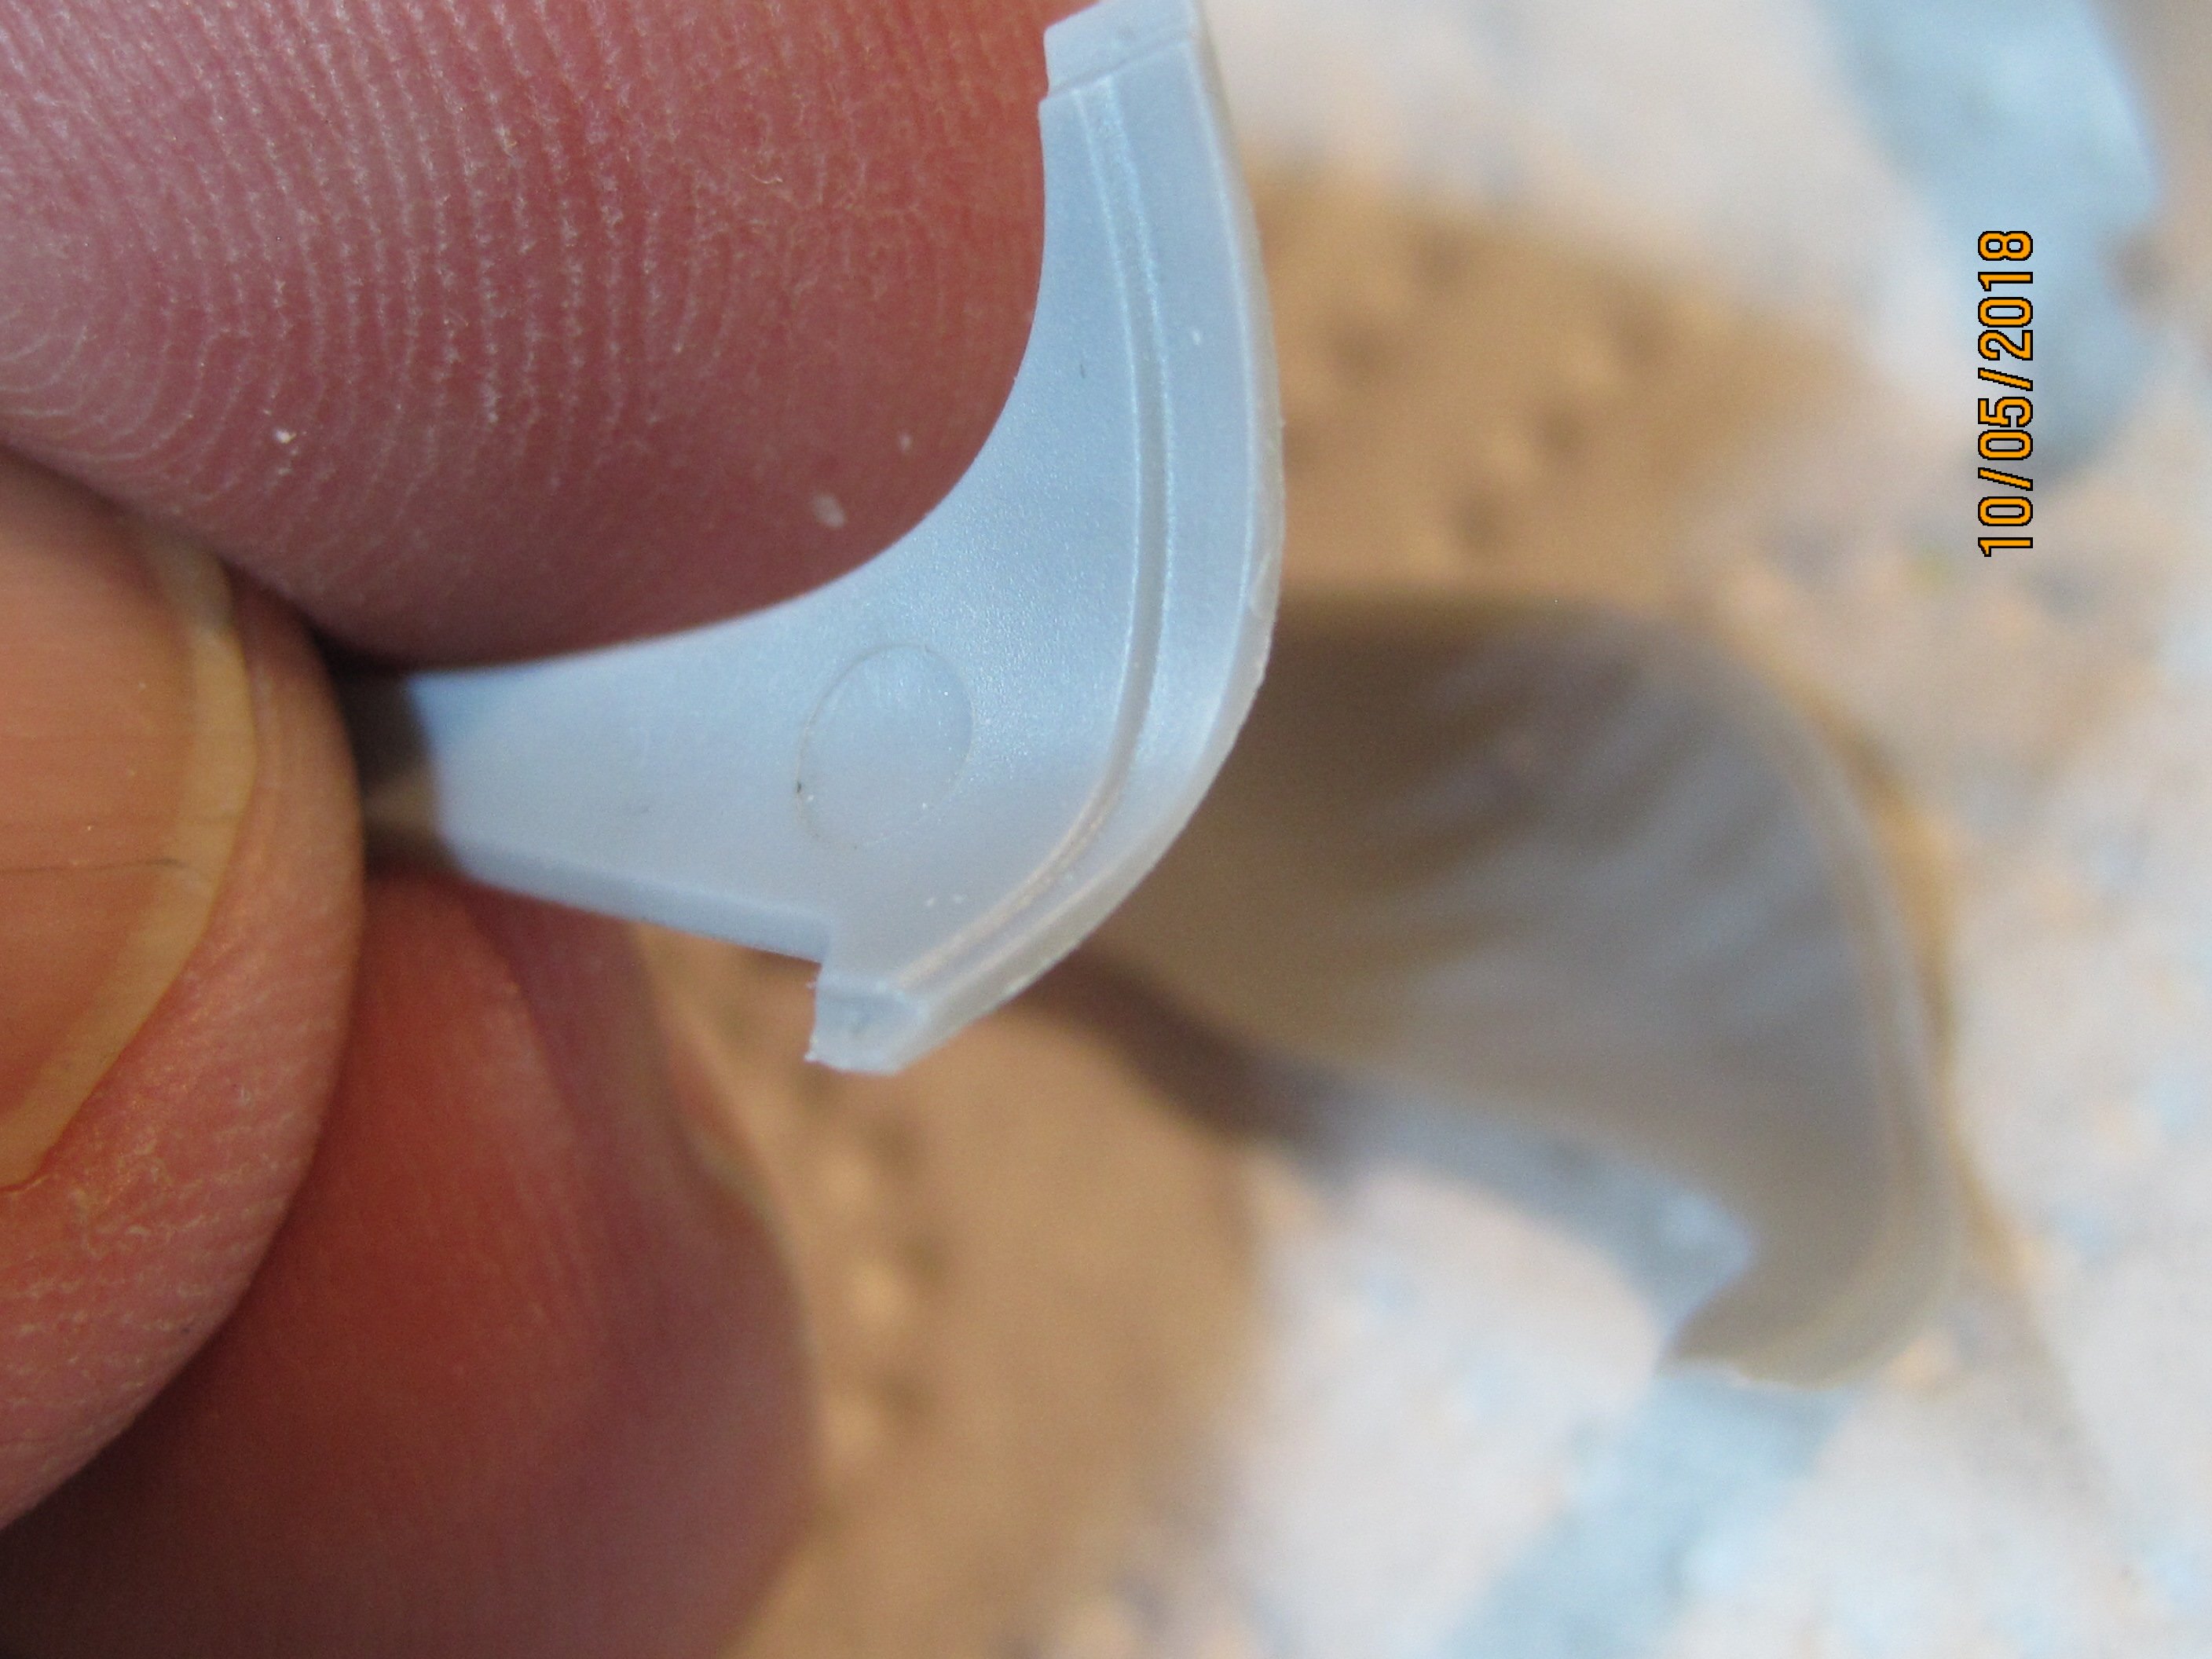
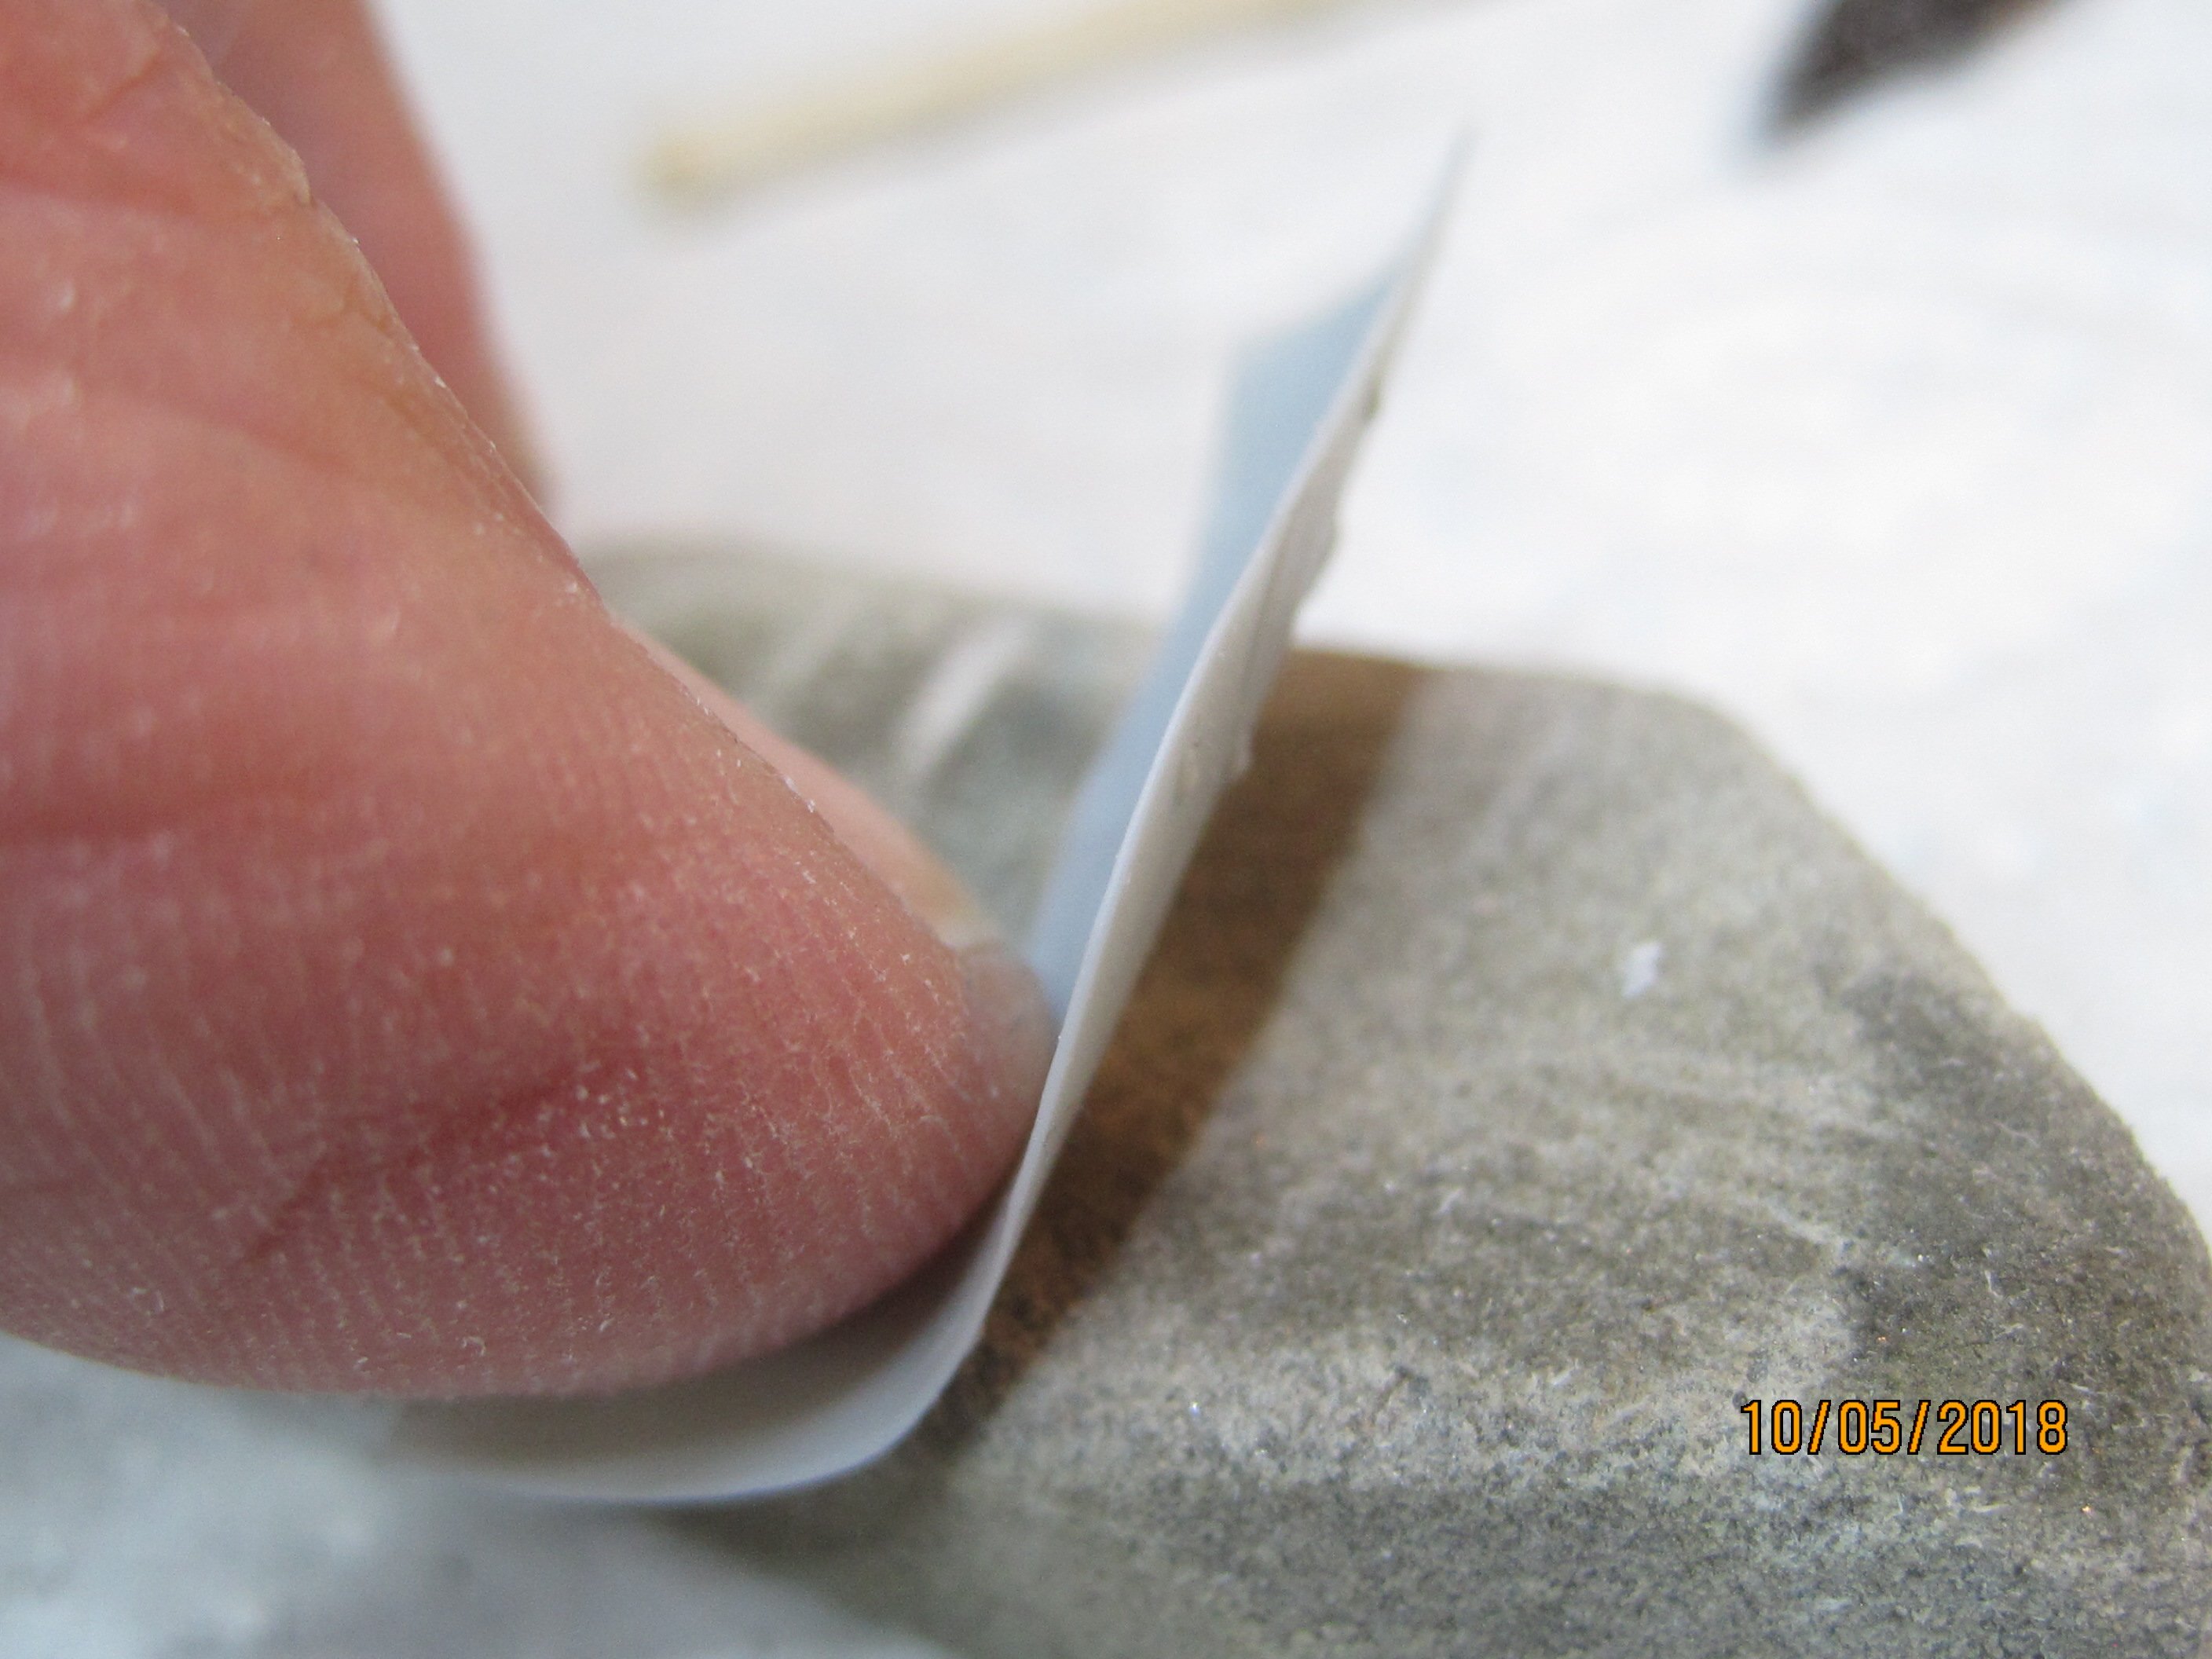
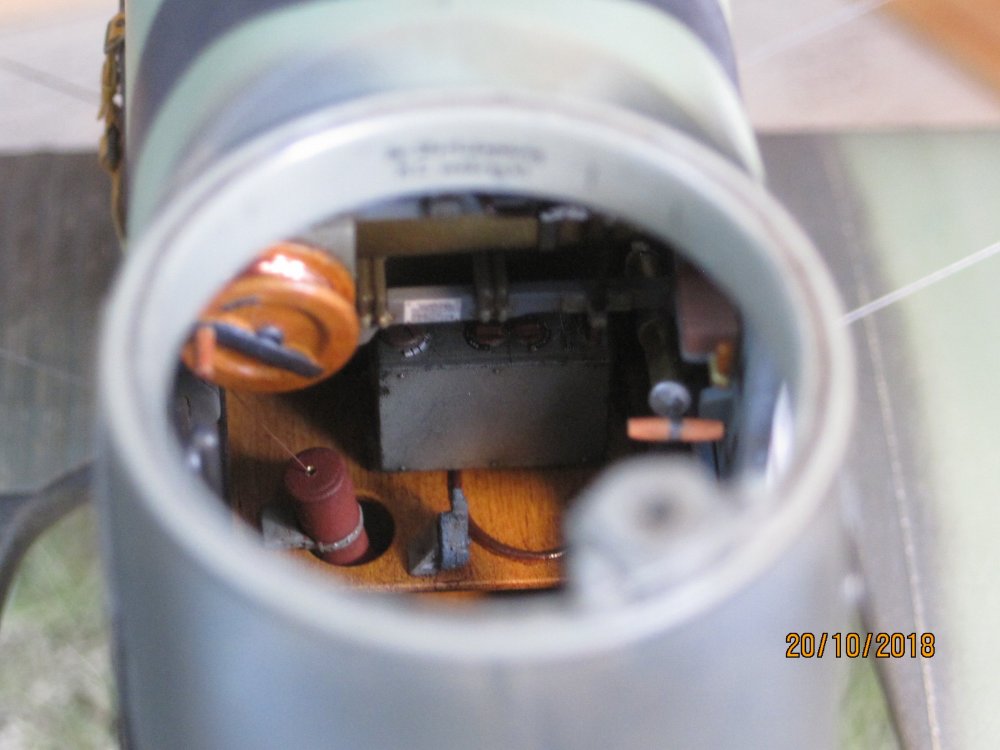
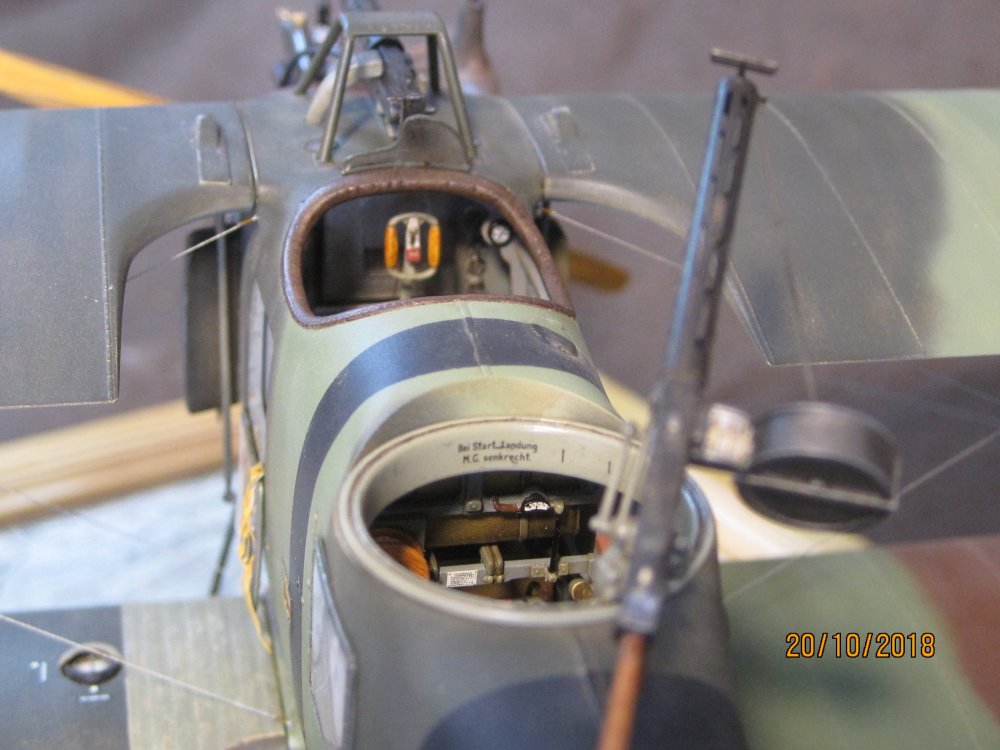
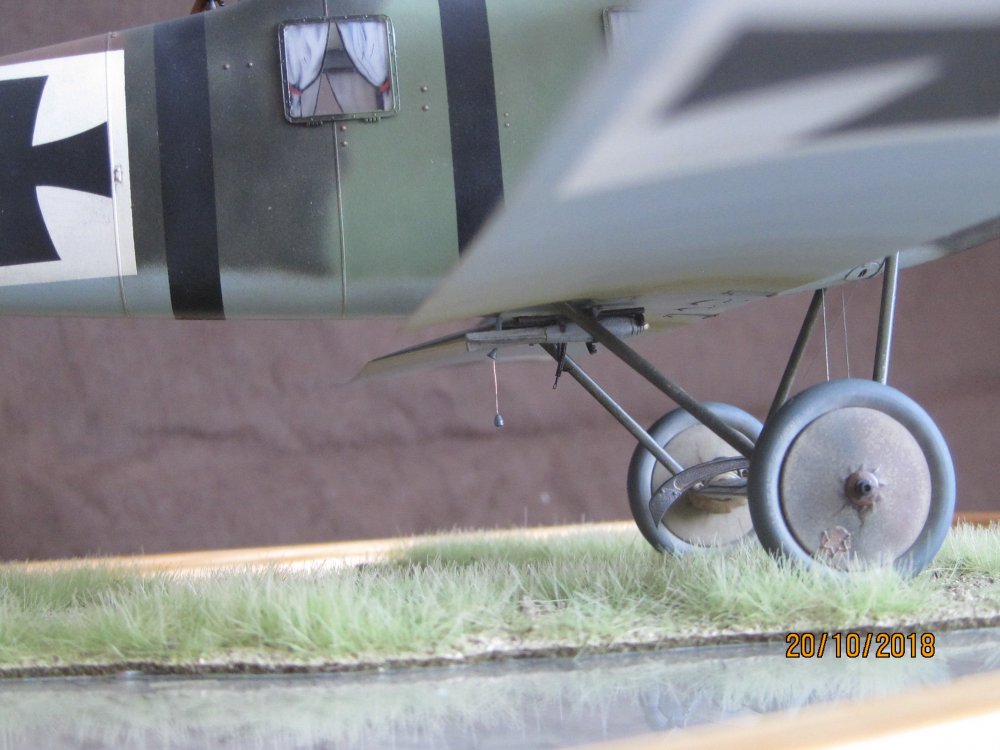
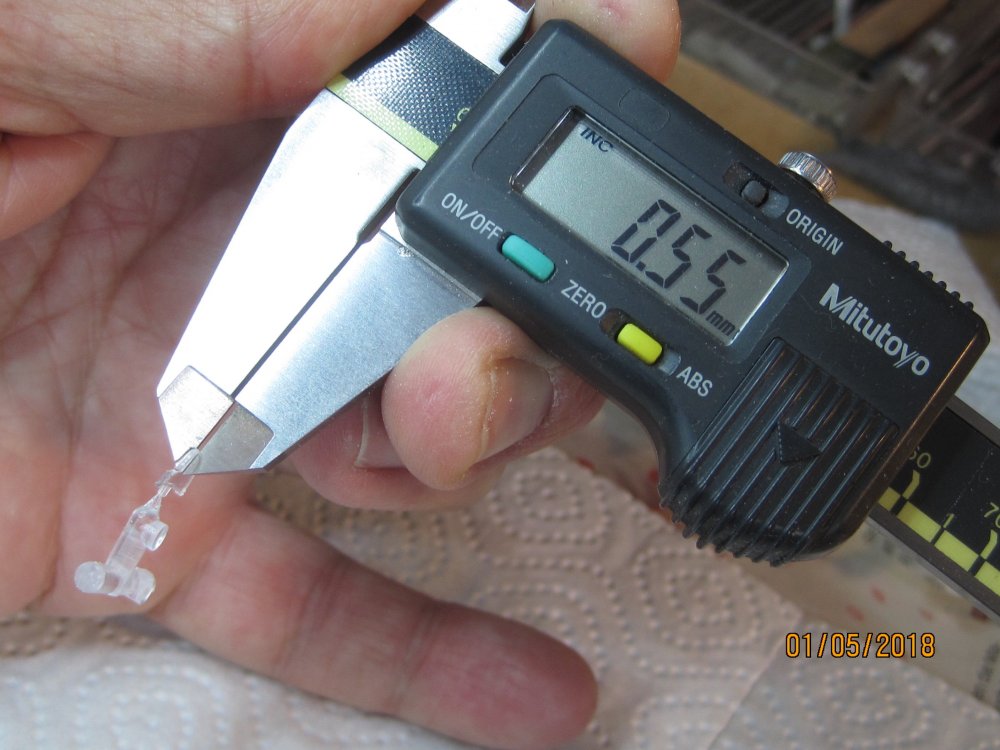
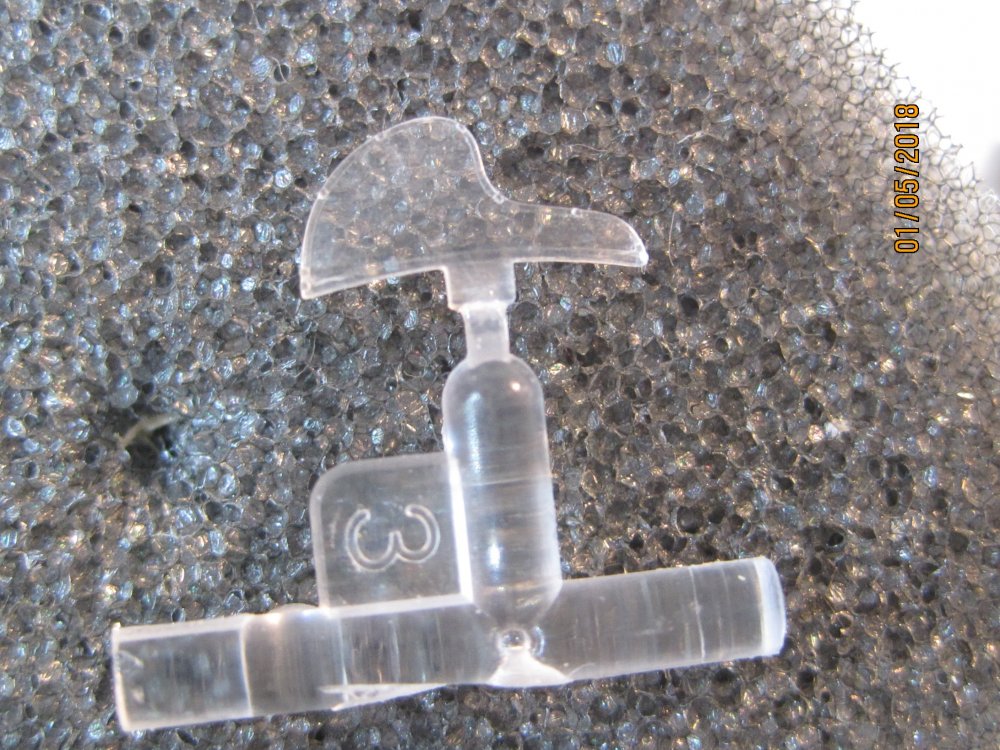
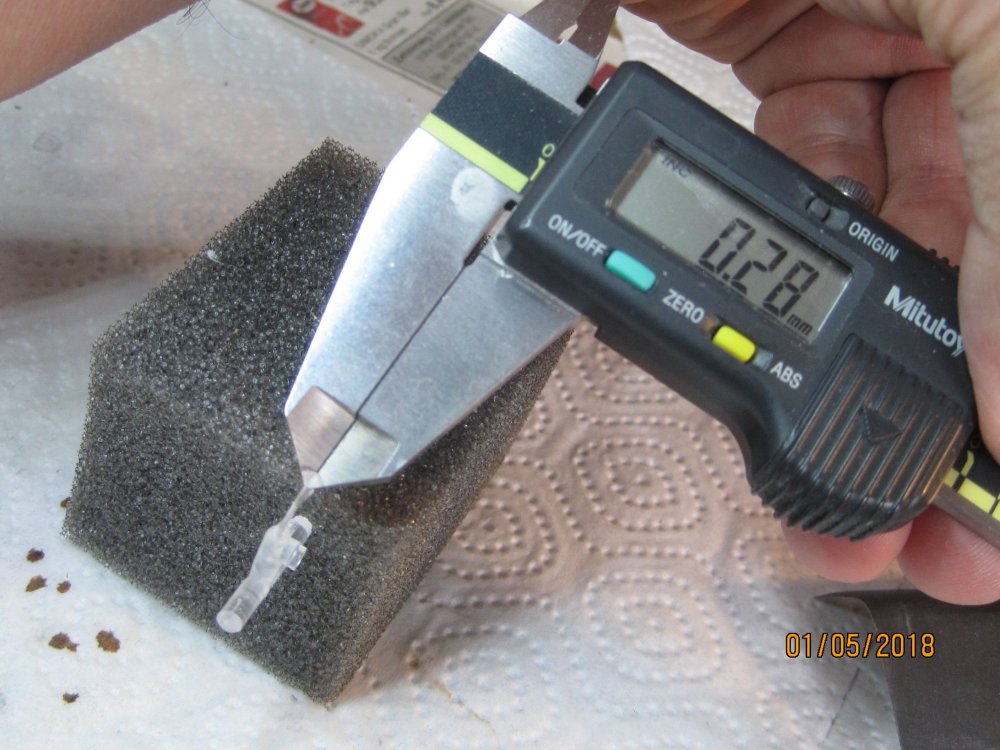
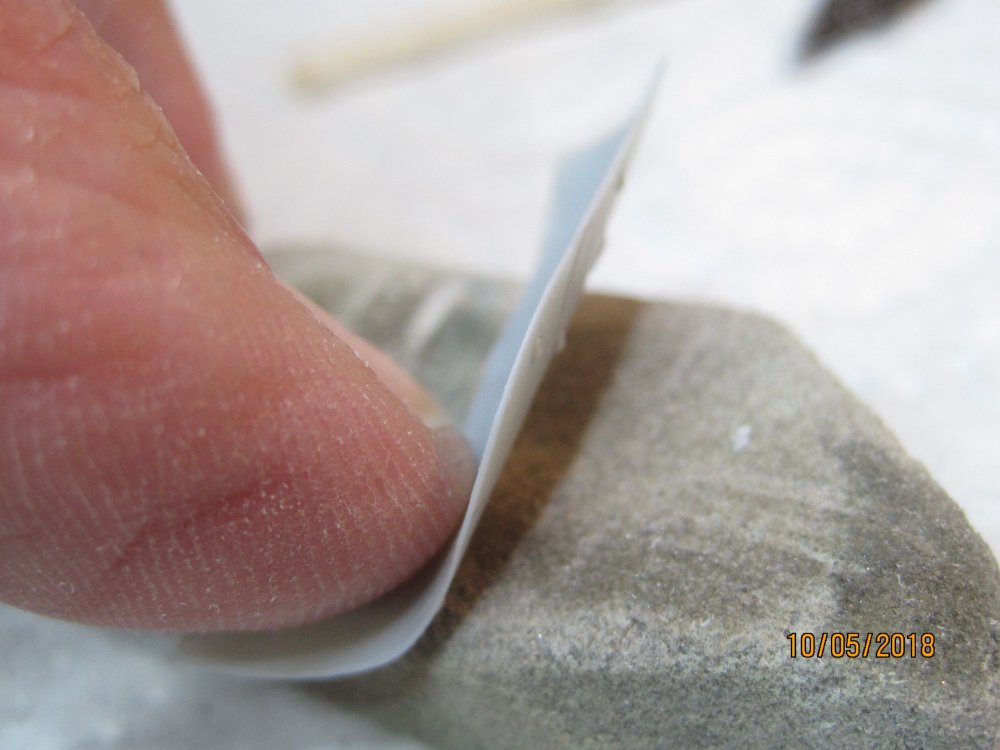
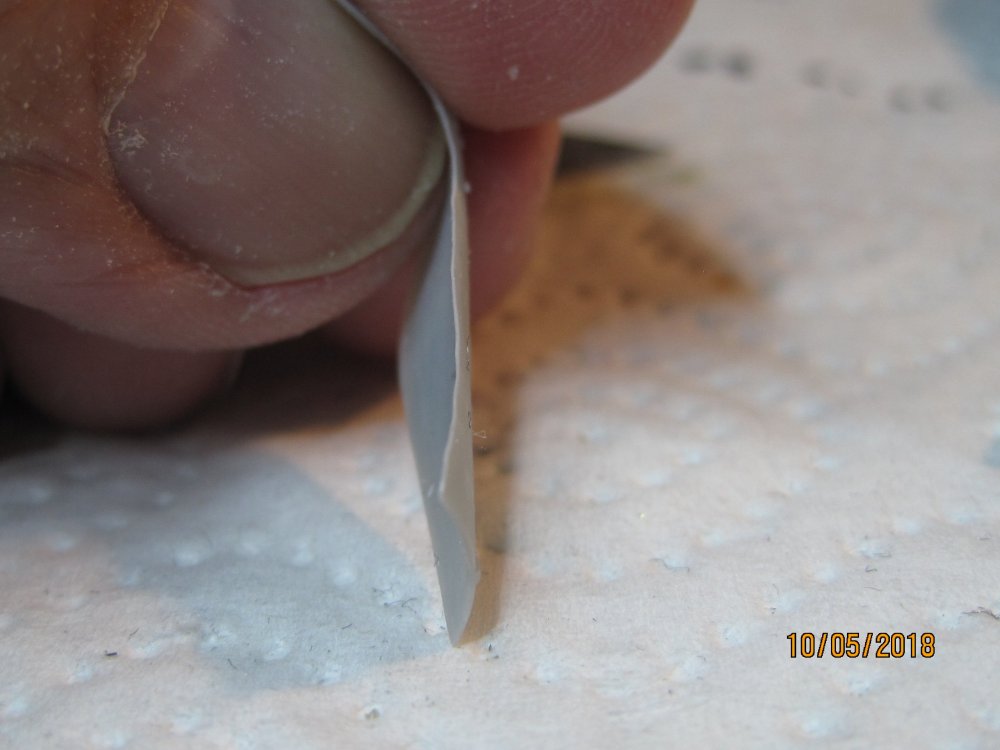
The glass (windows) was also cut much thinner to make it look more realistic.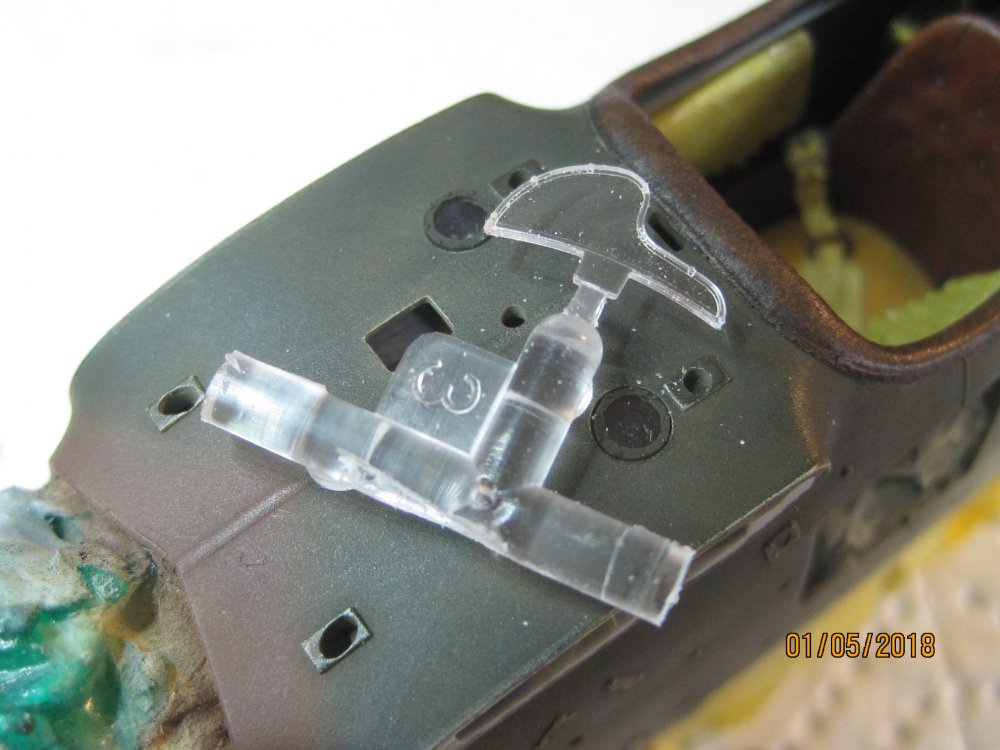
-
Wingnut Wings Roland C.IIa
Umlaufmotor replied to Umlaufmotor's topic in WNW and WW1 Ready for Inspection'


-
Wingnut Wings Roland C.IIa
Umlaufmotor replied to Umlaufmotor's topic in WNW and WW1 Ready for Inspection'
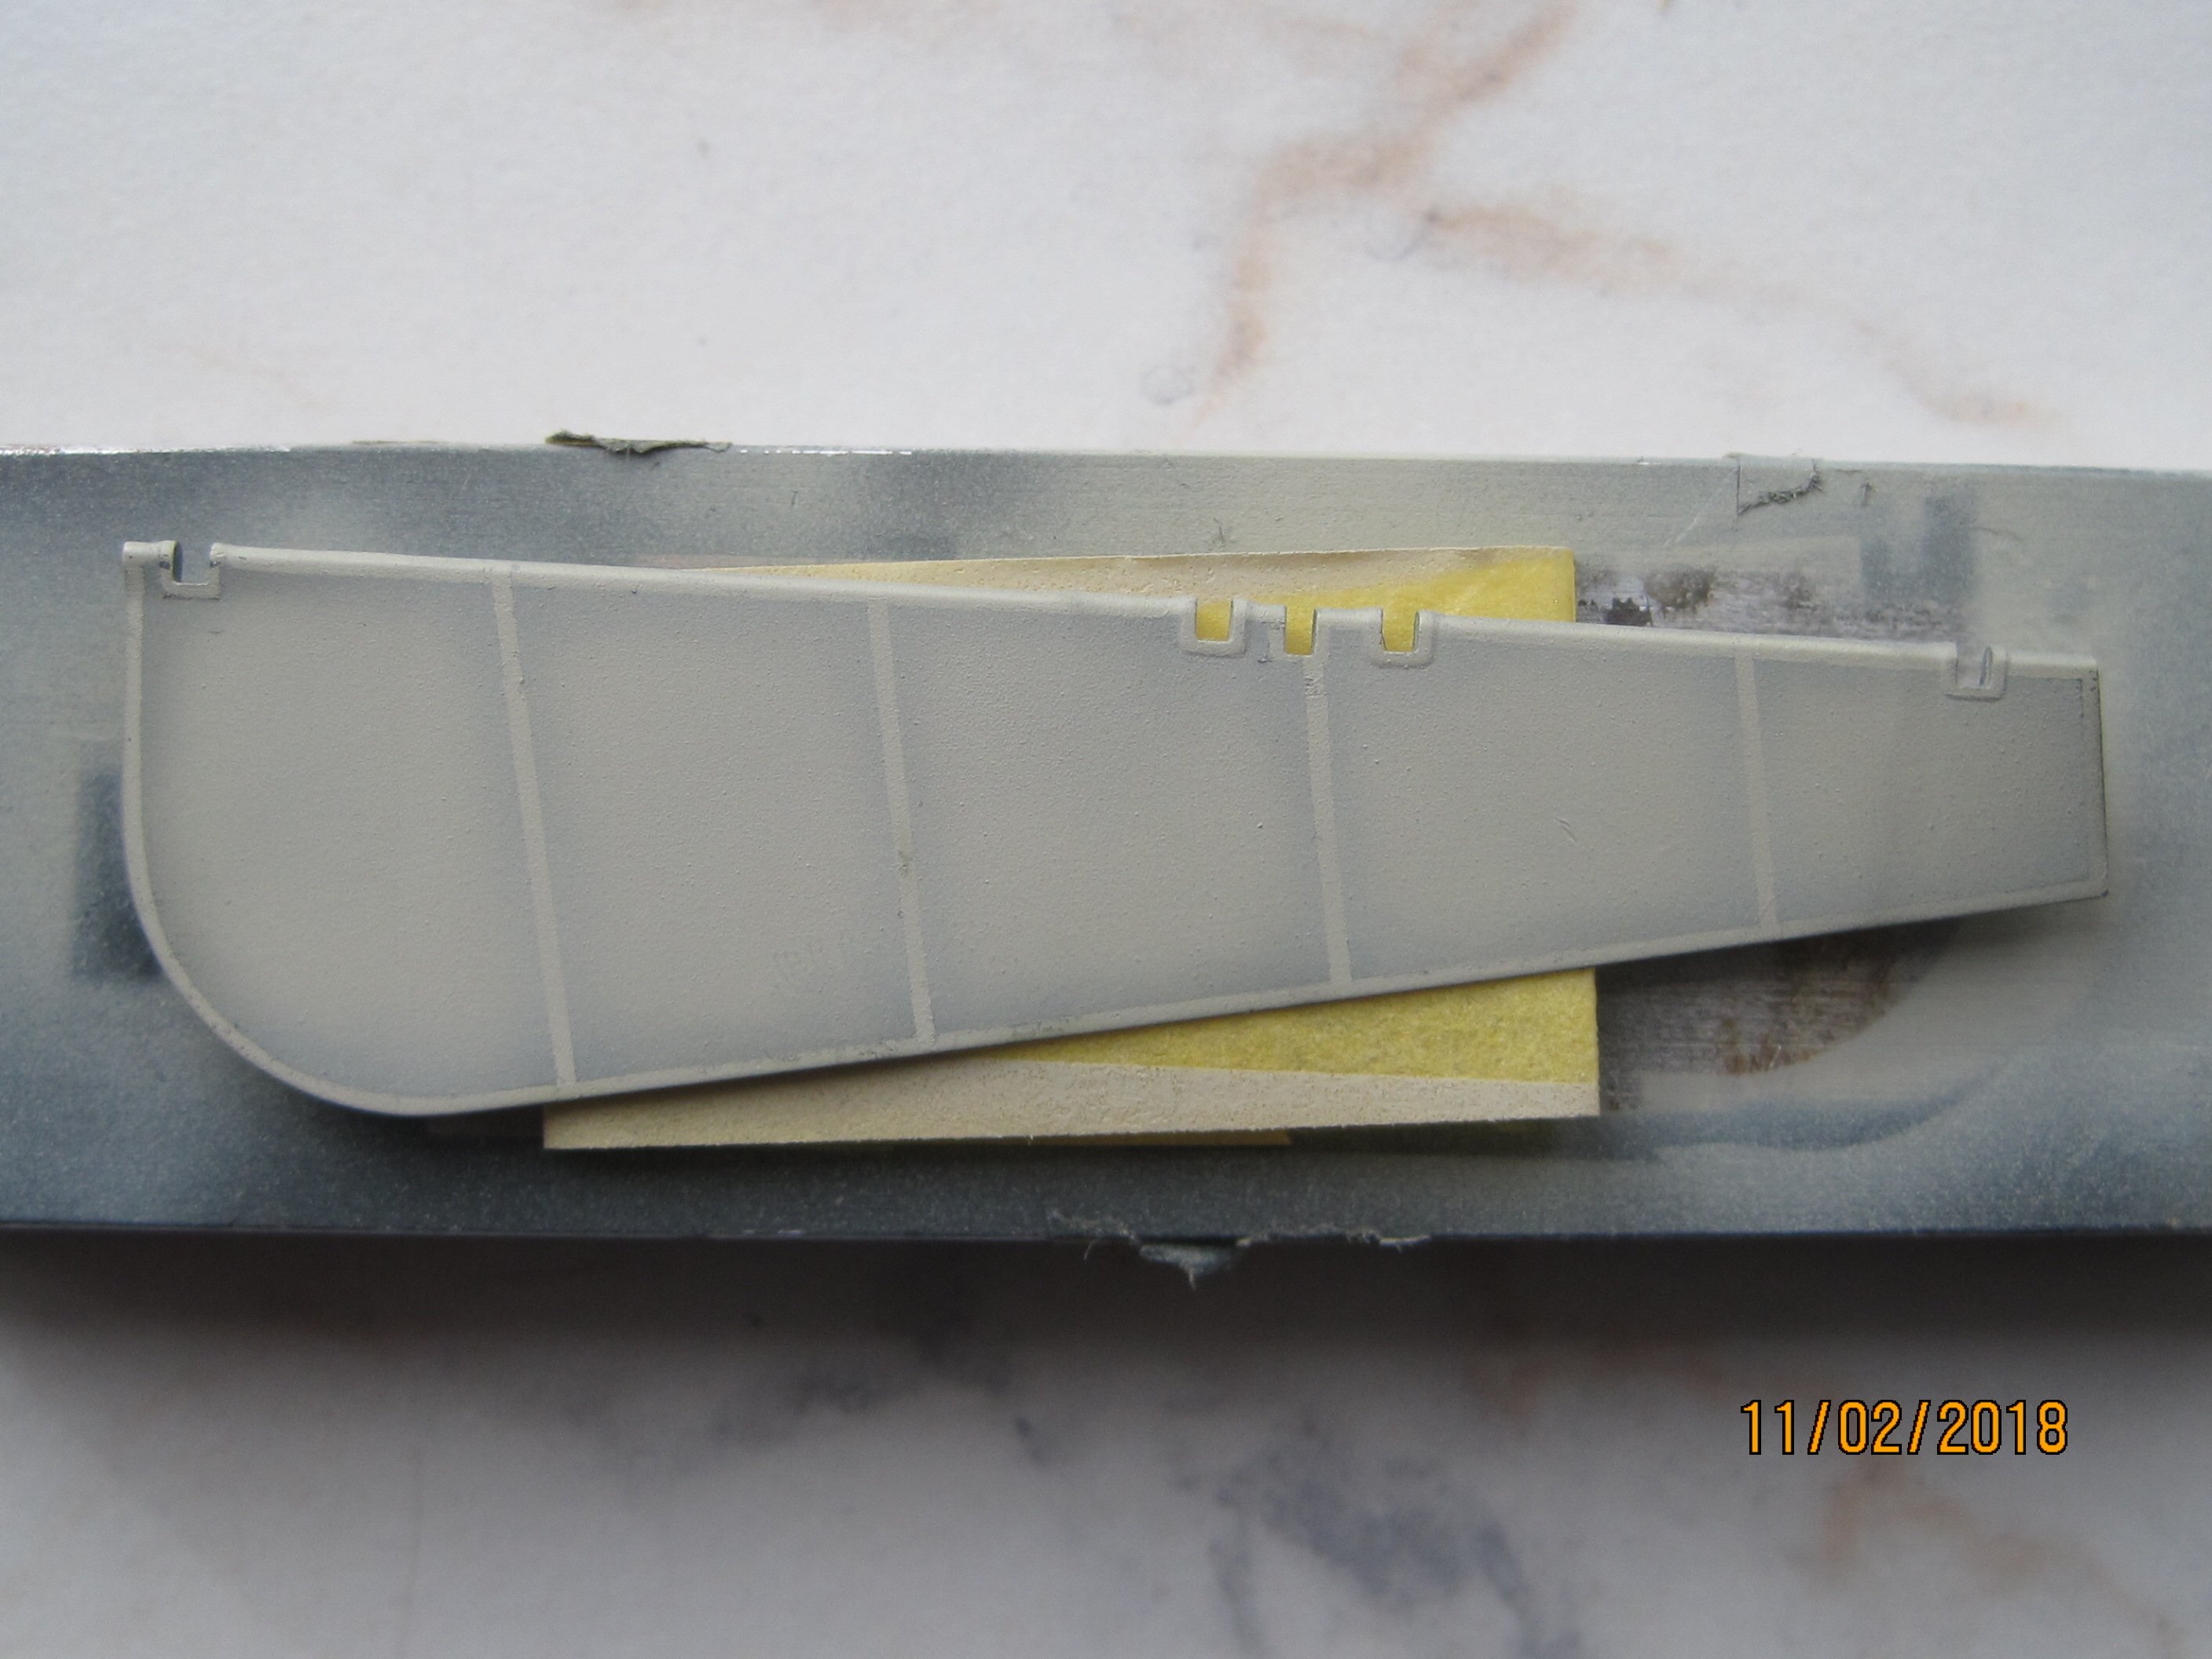
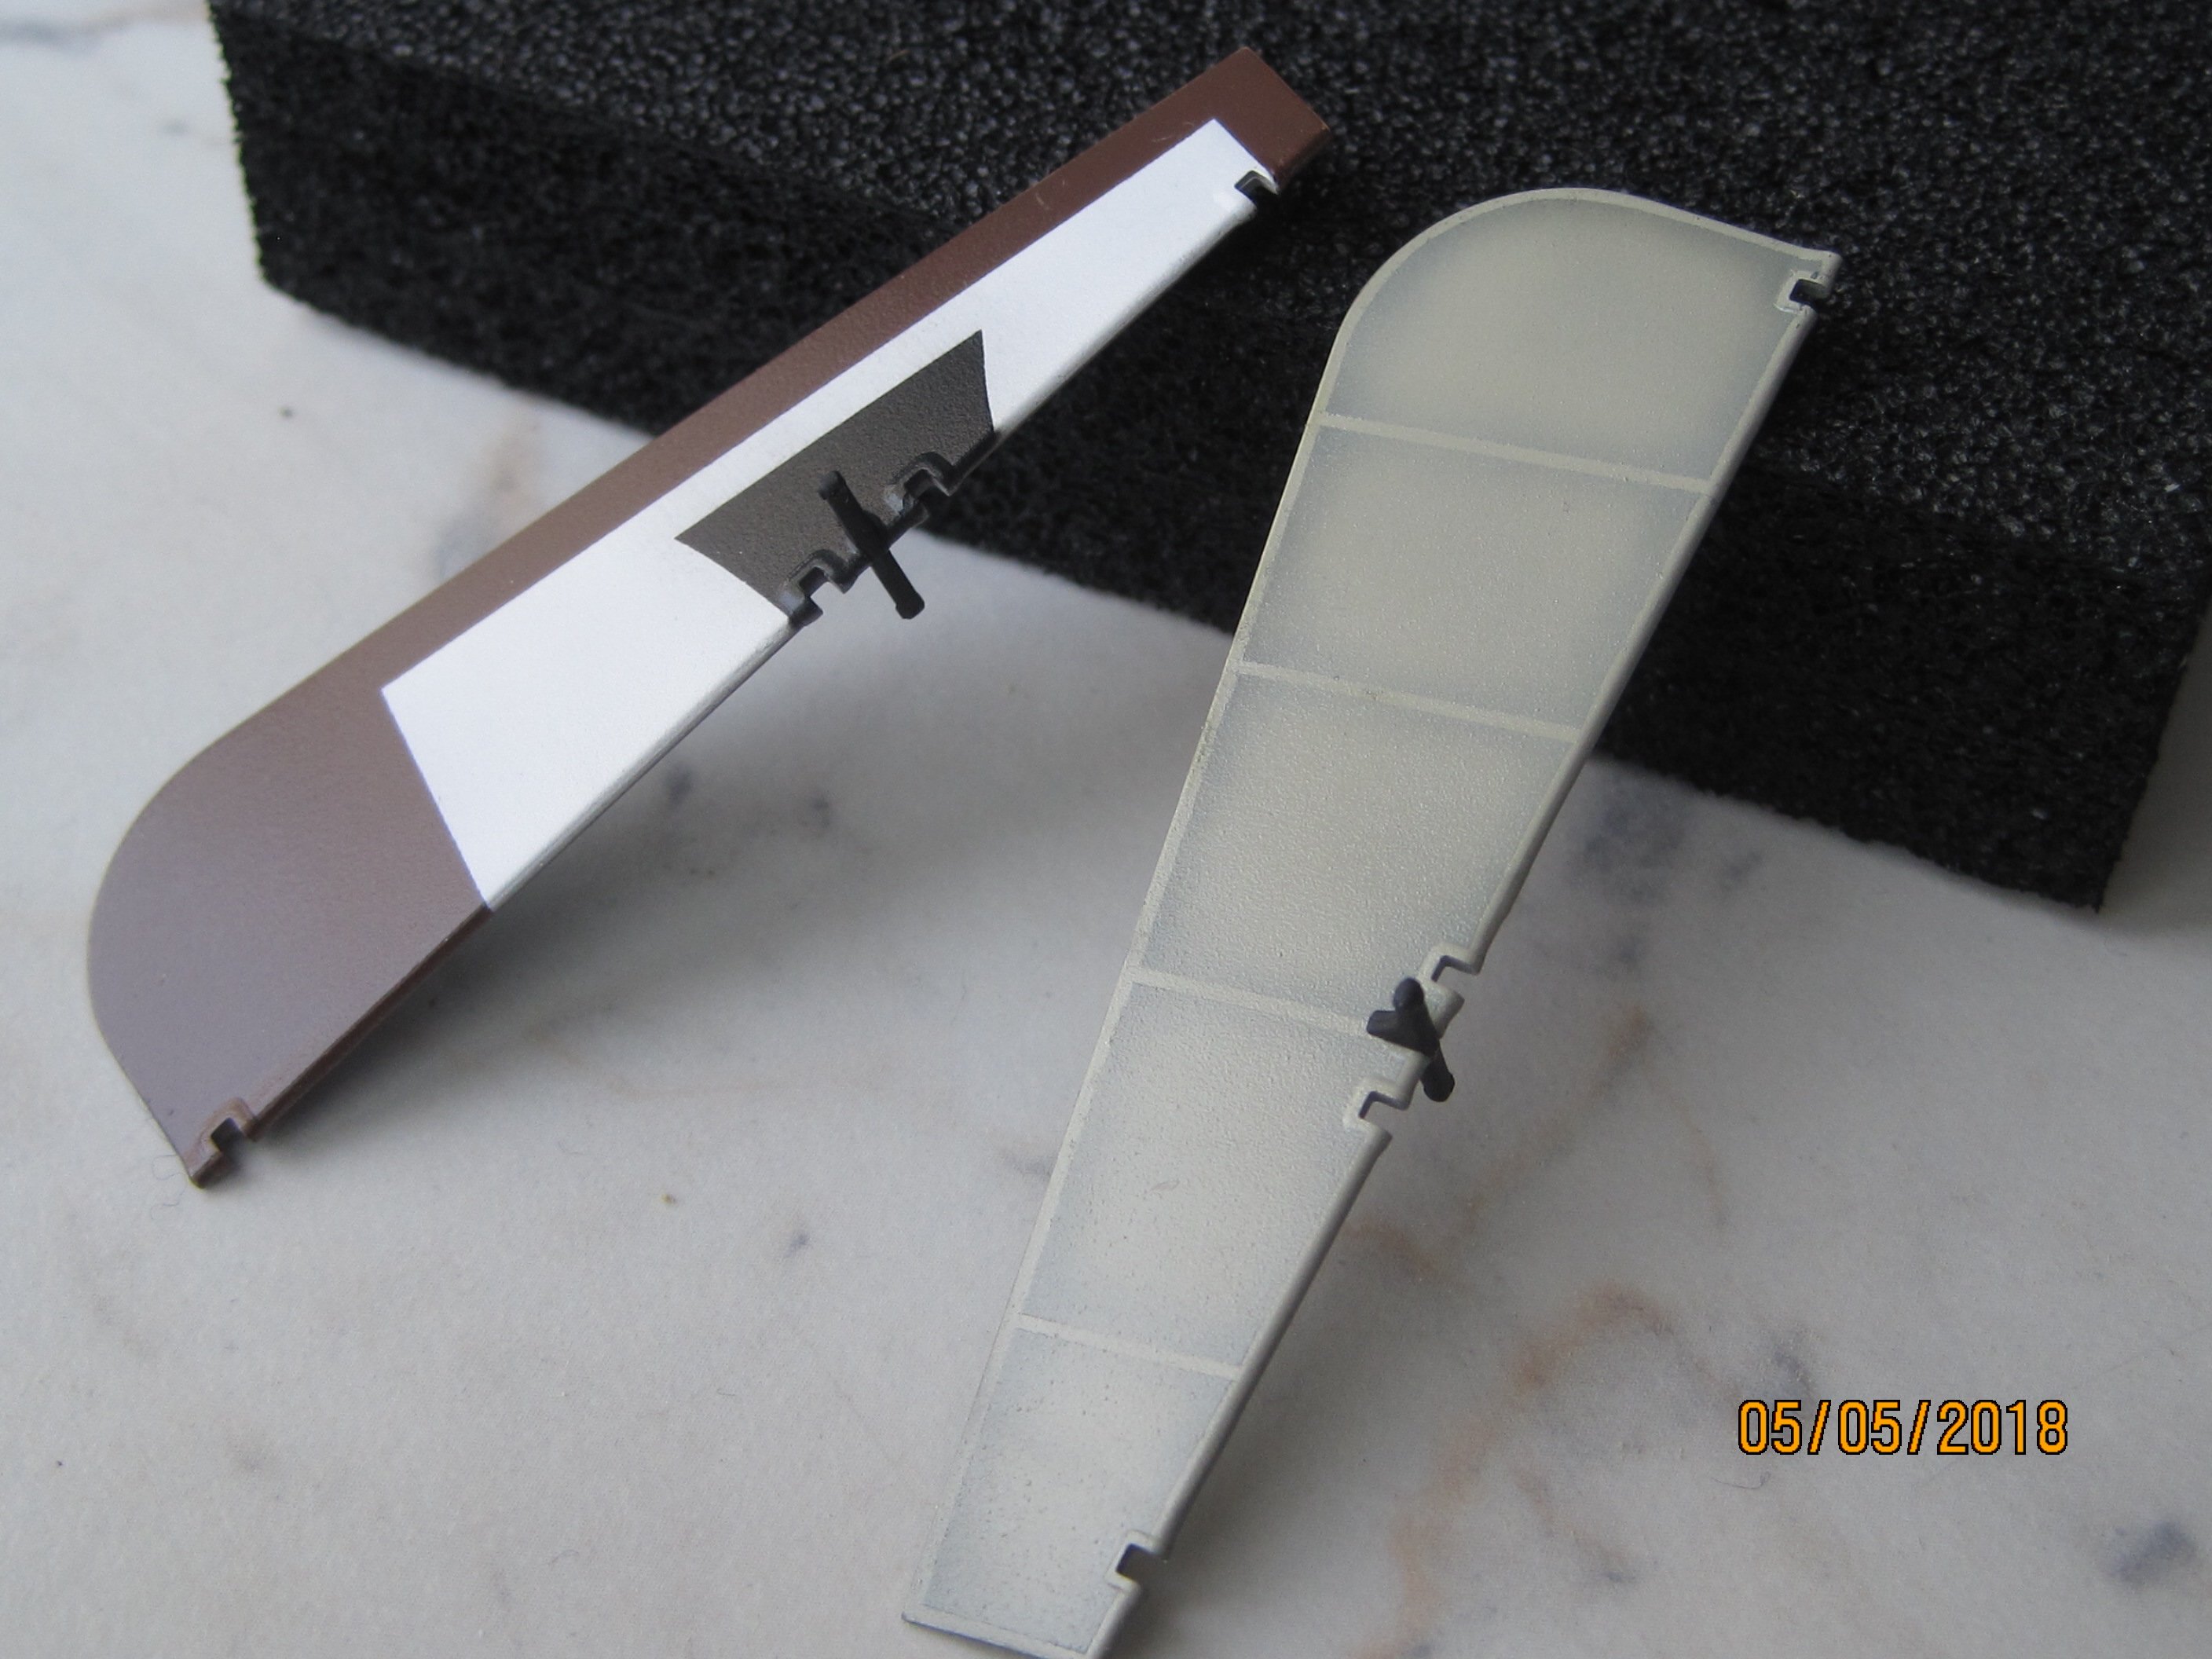
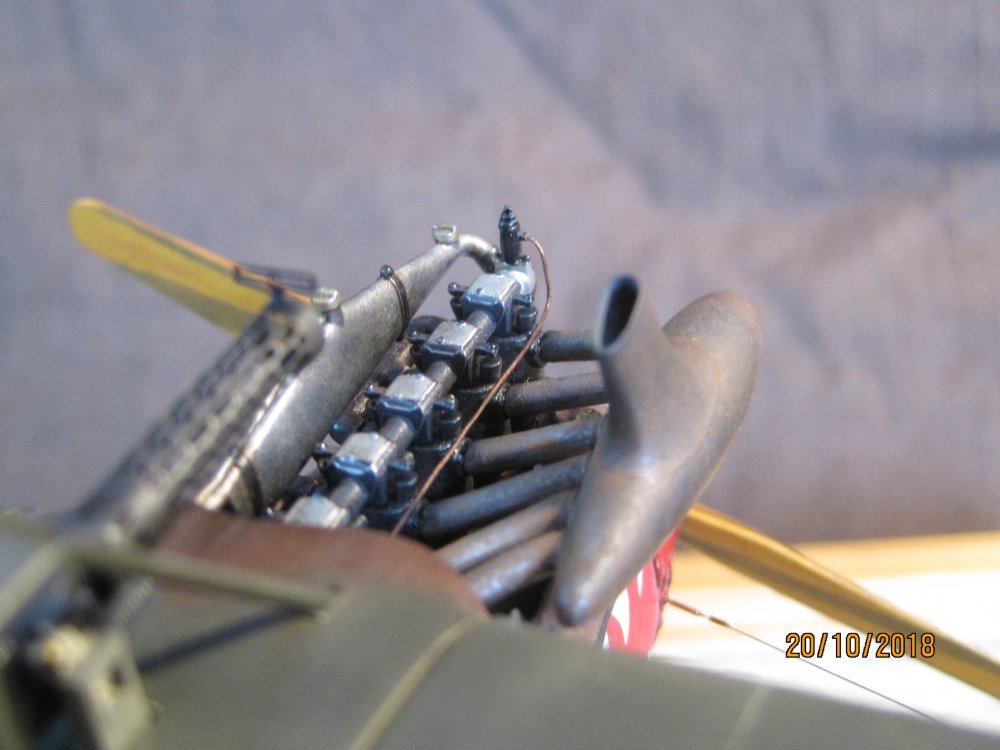
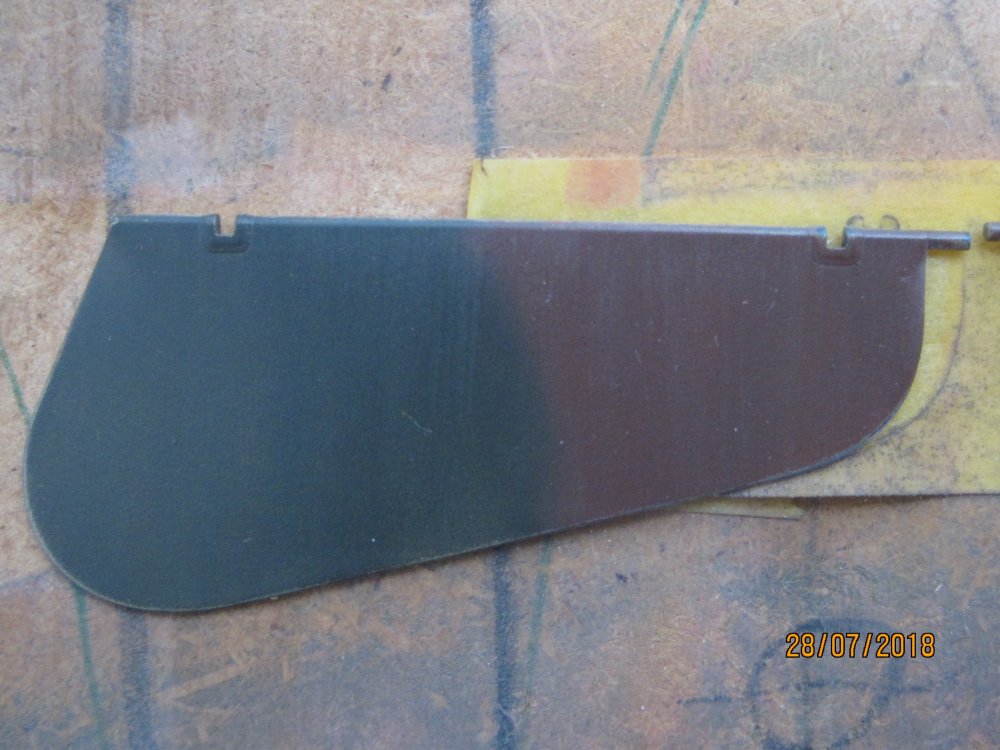
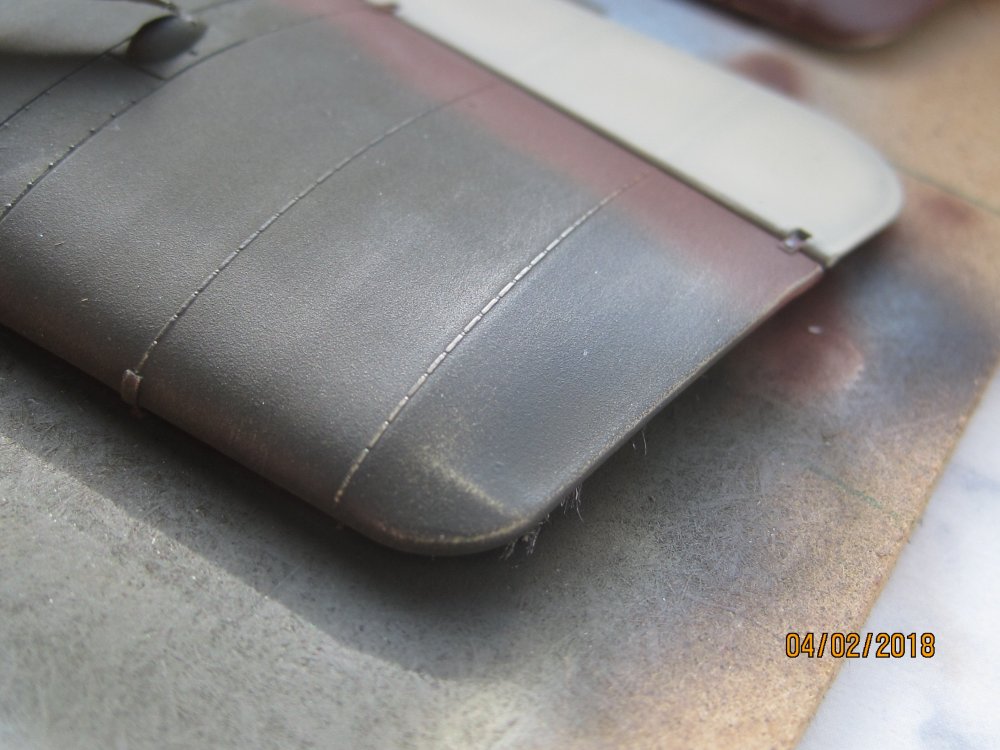
The paint was applied just like "in real life", - first the raw aluminium, then the primer, then the camouflage paint - and then aged and weathered.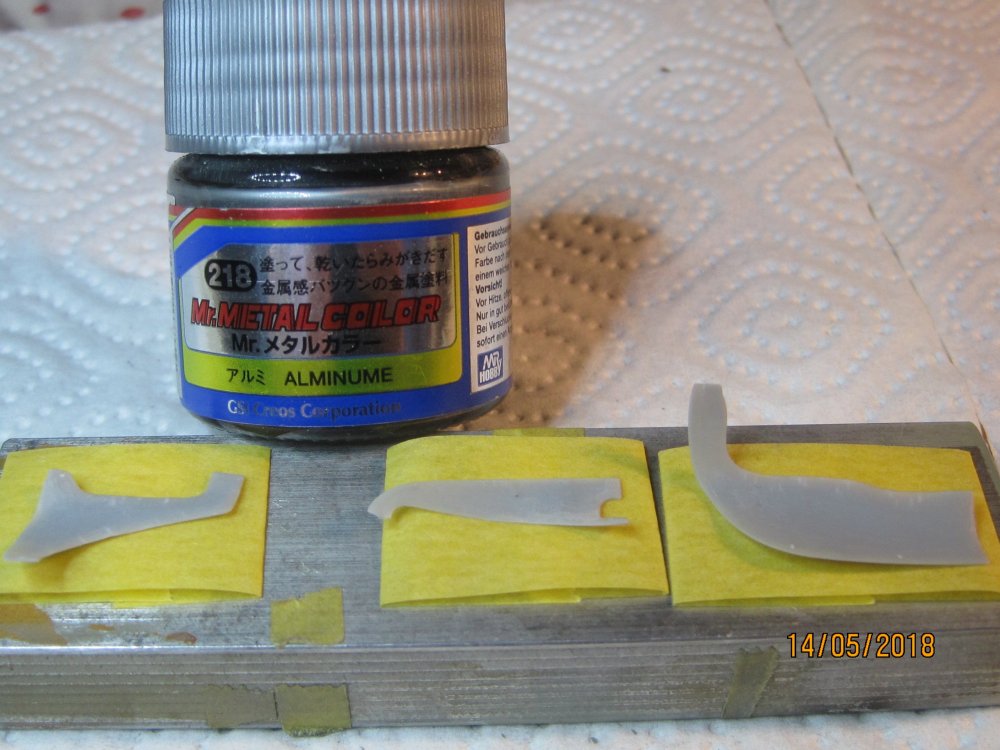


-
Wingnut Wings Roland C.IIa
Umlaufmotor replied to Umlaufmotor's topic in WNW and WW1 Ready for Inspection'
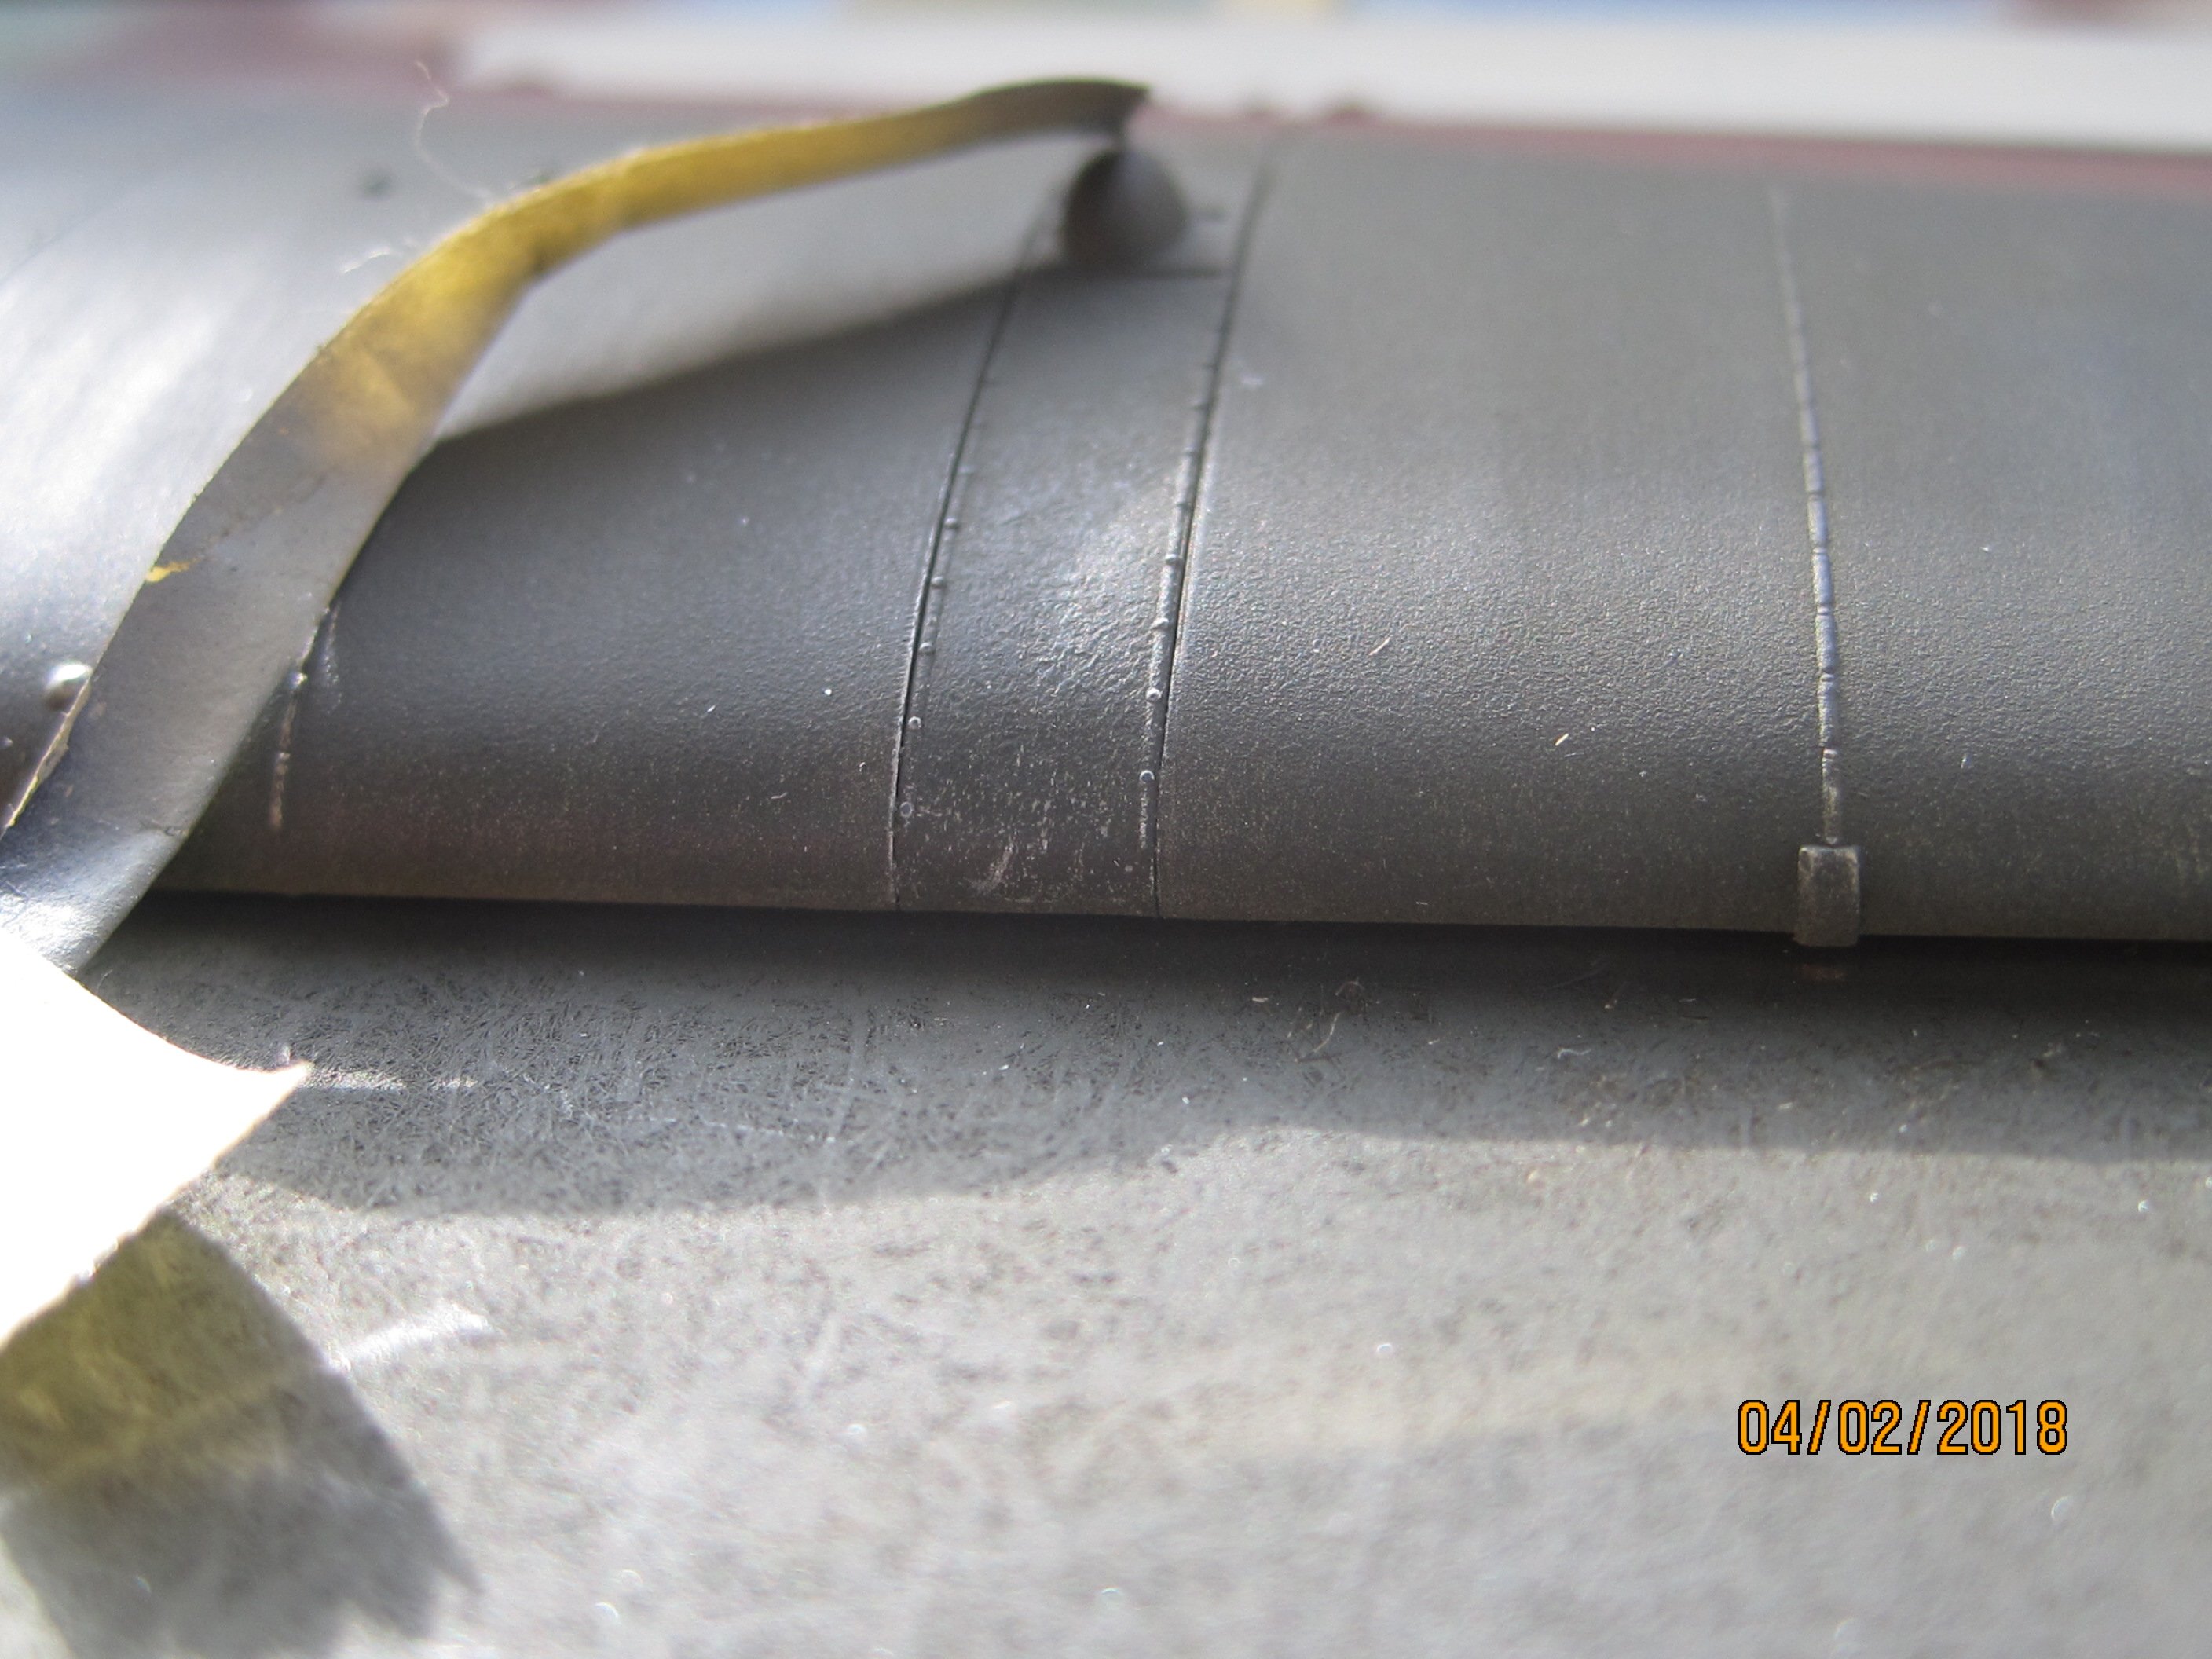
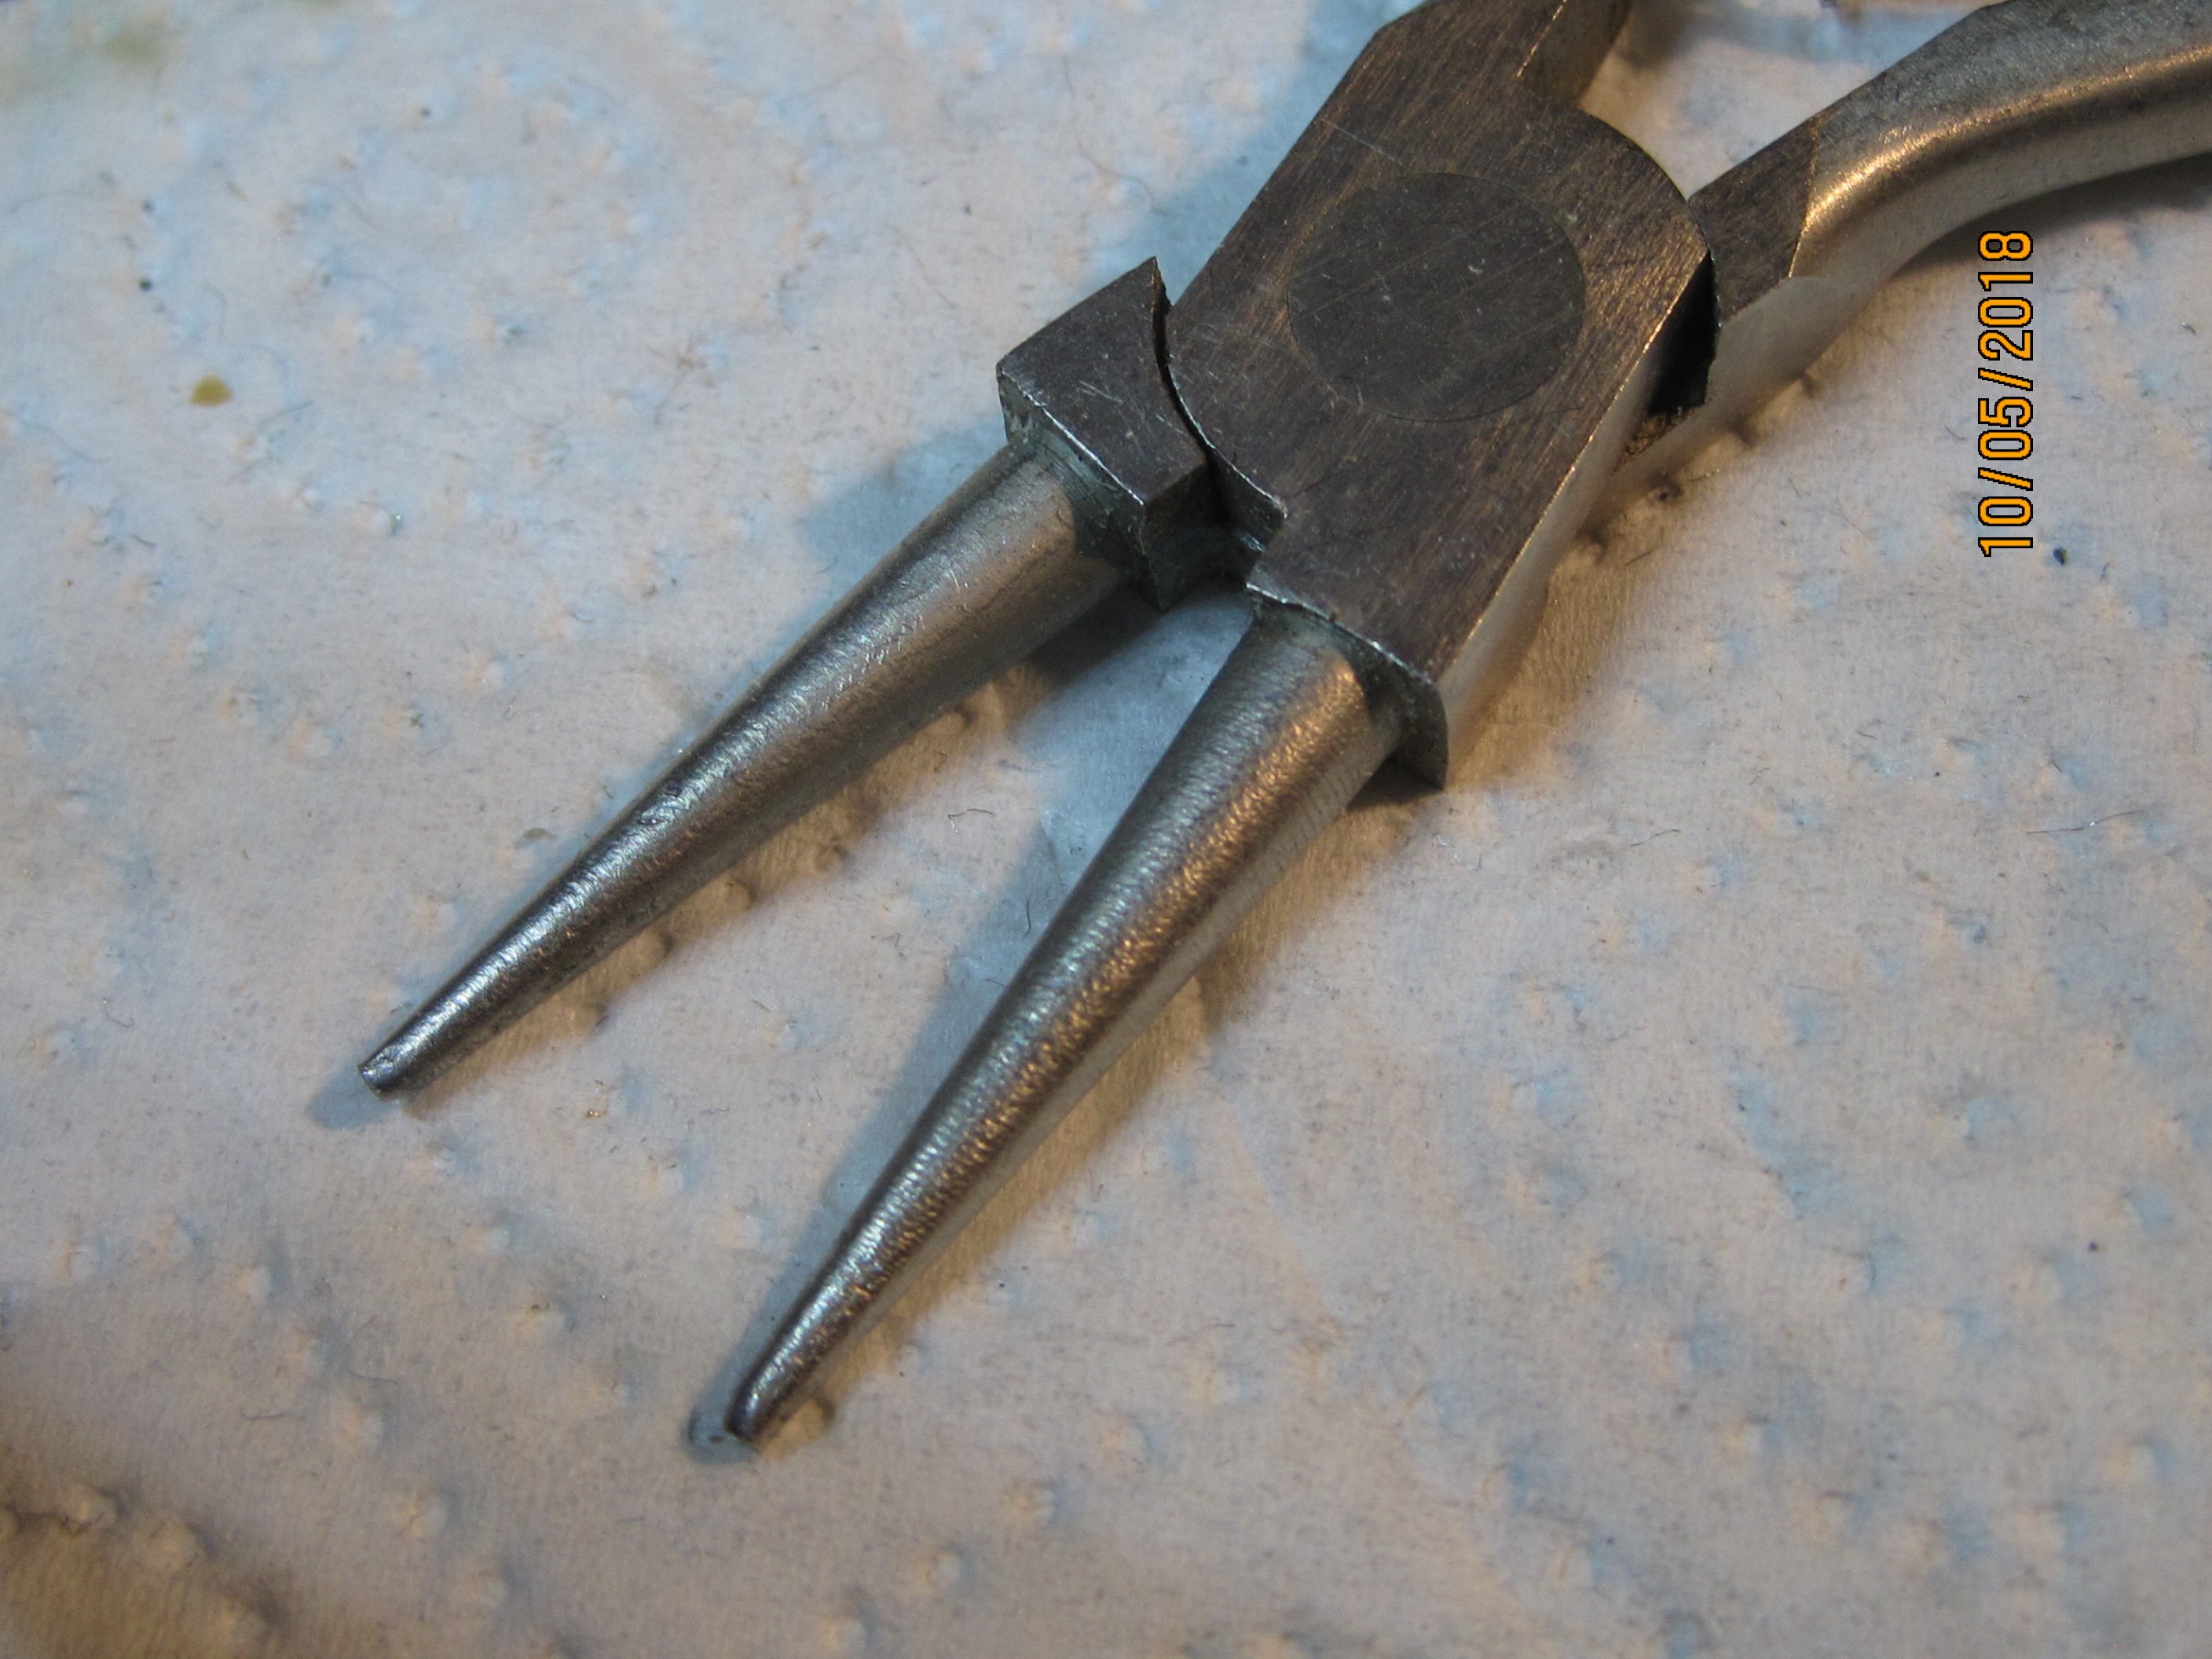
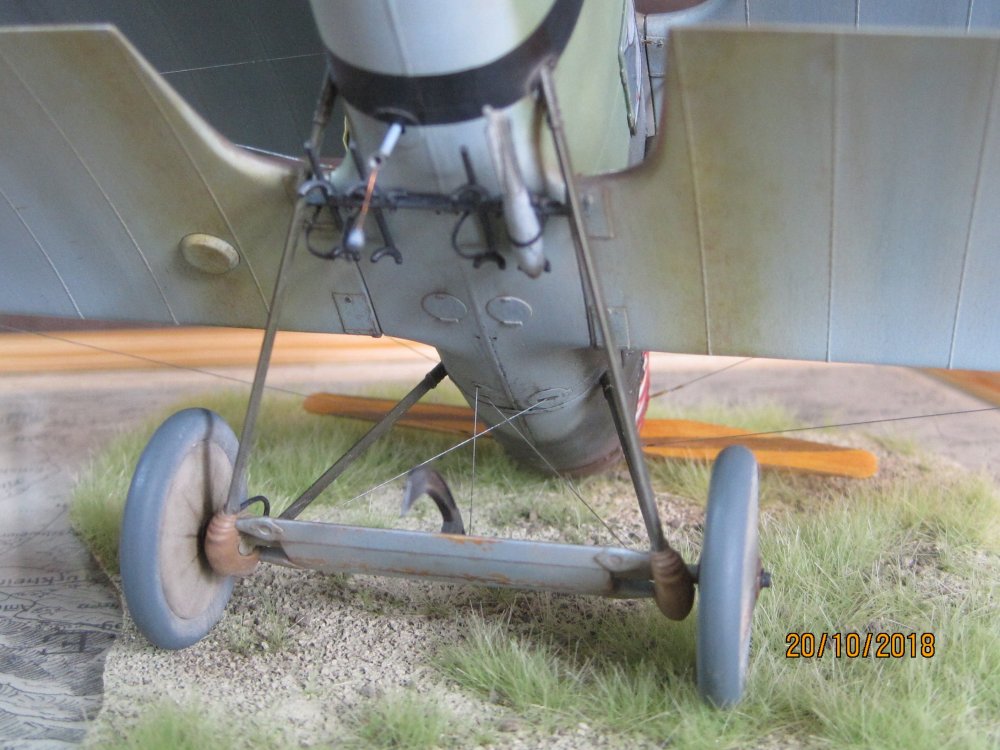
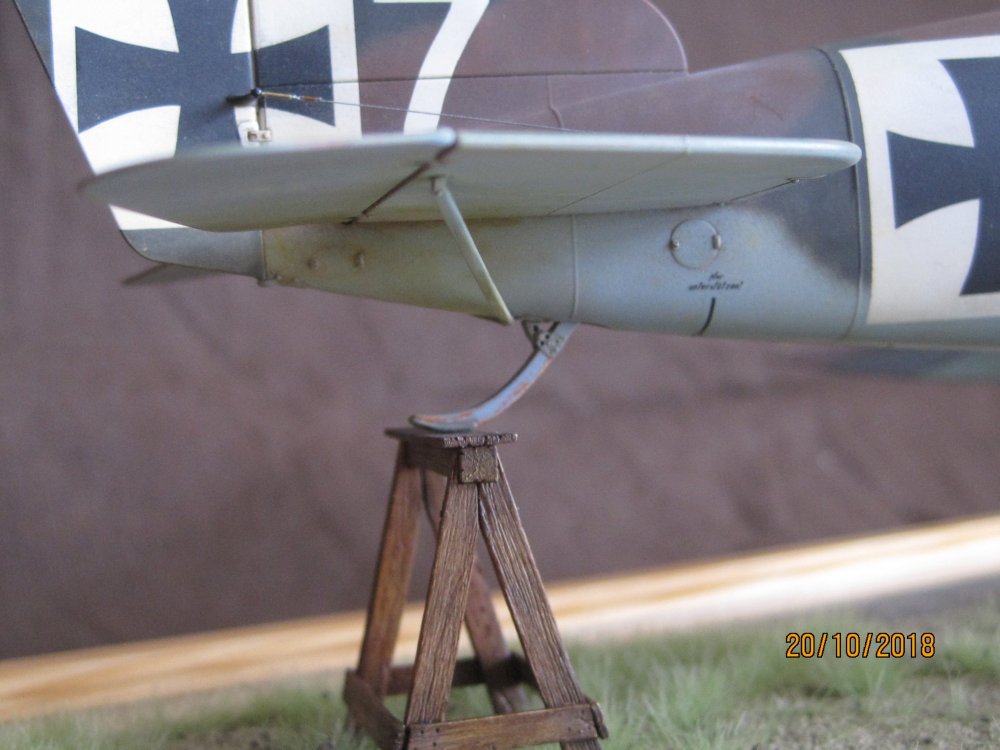
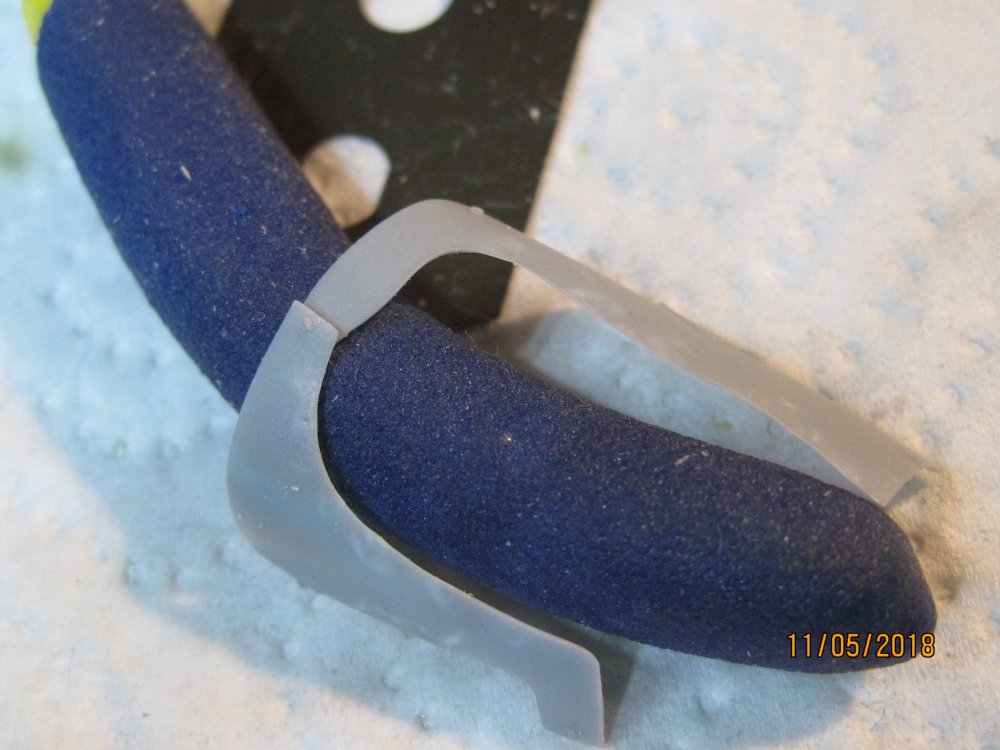
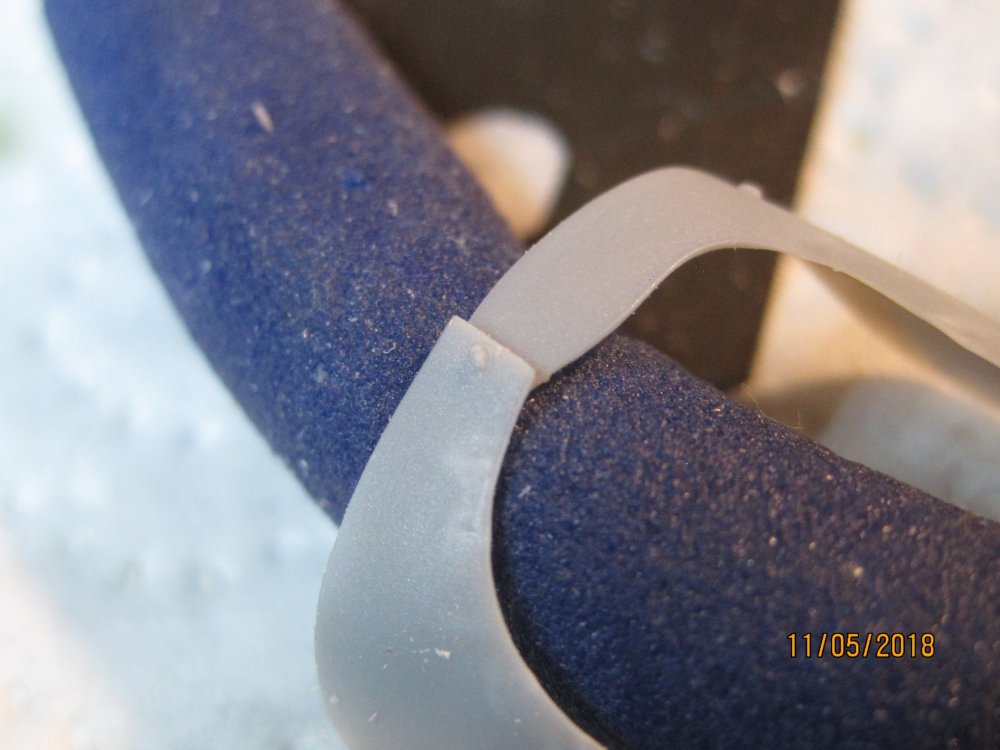
I milled the engine fairings much thinner and bent the edges a little unevenly with pliers. "Used-look" you know... .

-
Wingnut Wings Roland C.IIa
Umlaufmotor replied to Umlaufmotor's topic in WNW and WW1 Ready for Inspection'
Next Pictures:


-
Wingnut Wings Roland C.IIa
Umlaufmotor replied to Umlaufmotor's topic in WNW and WW1 Ready for Inspection'
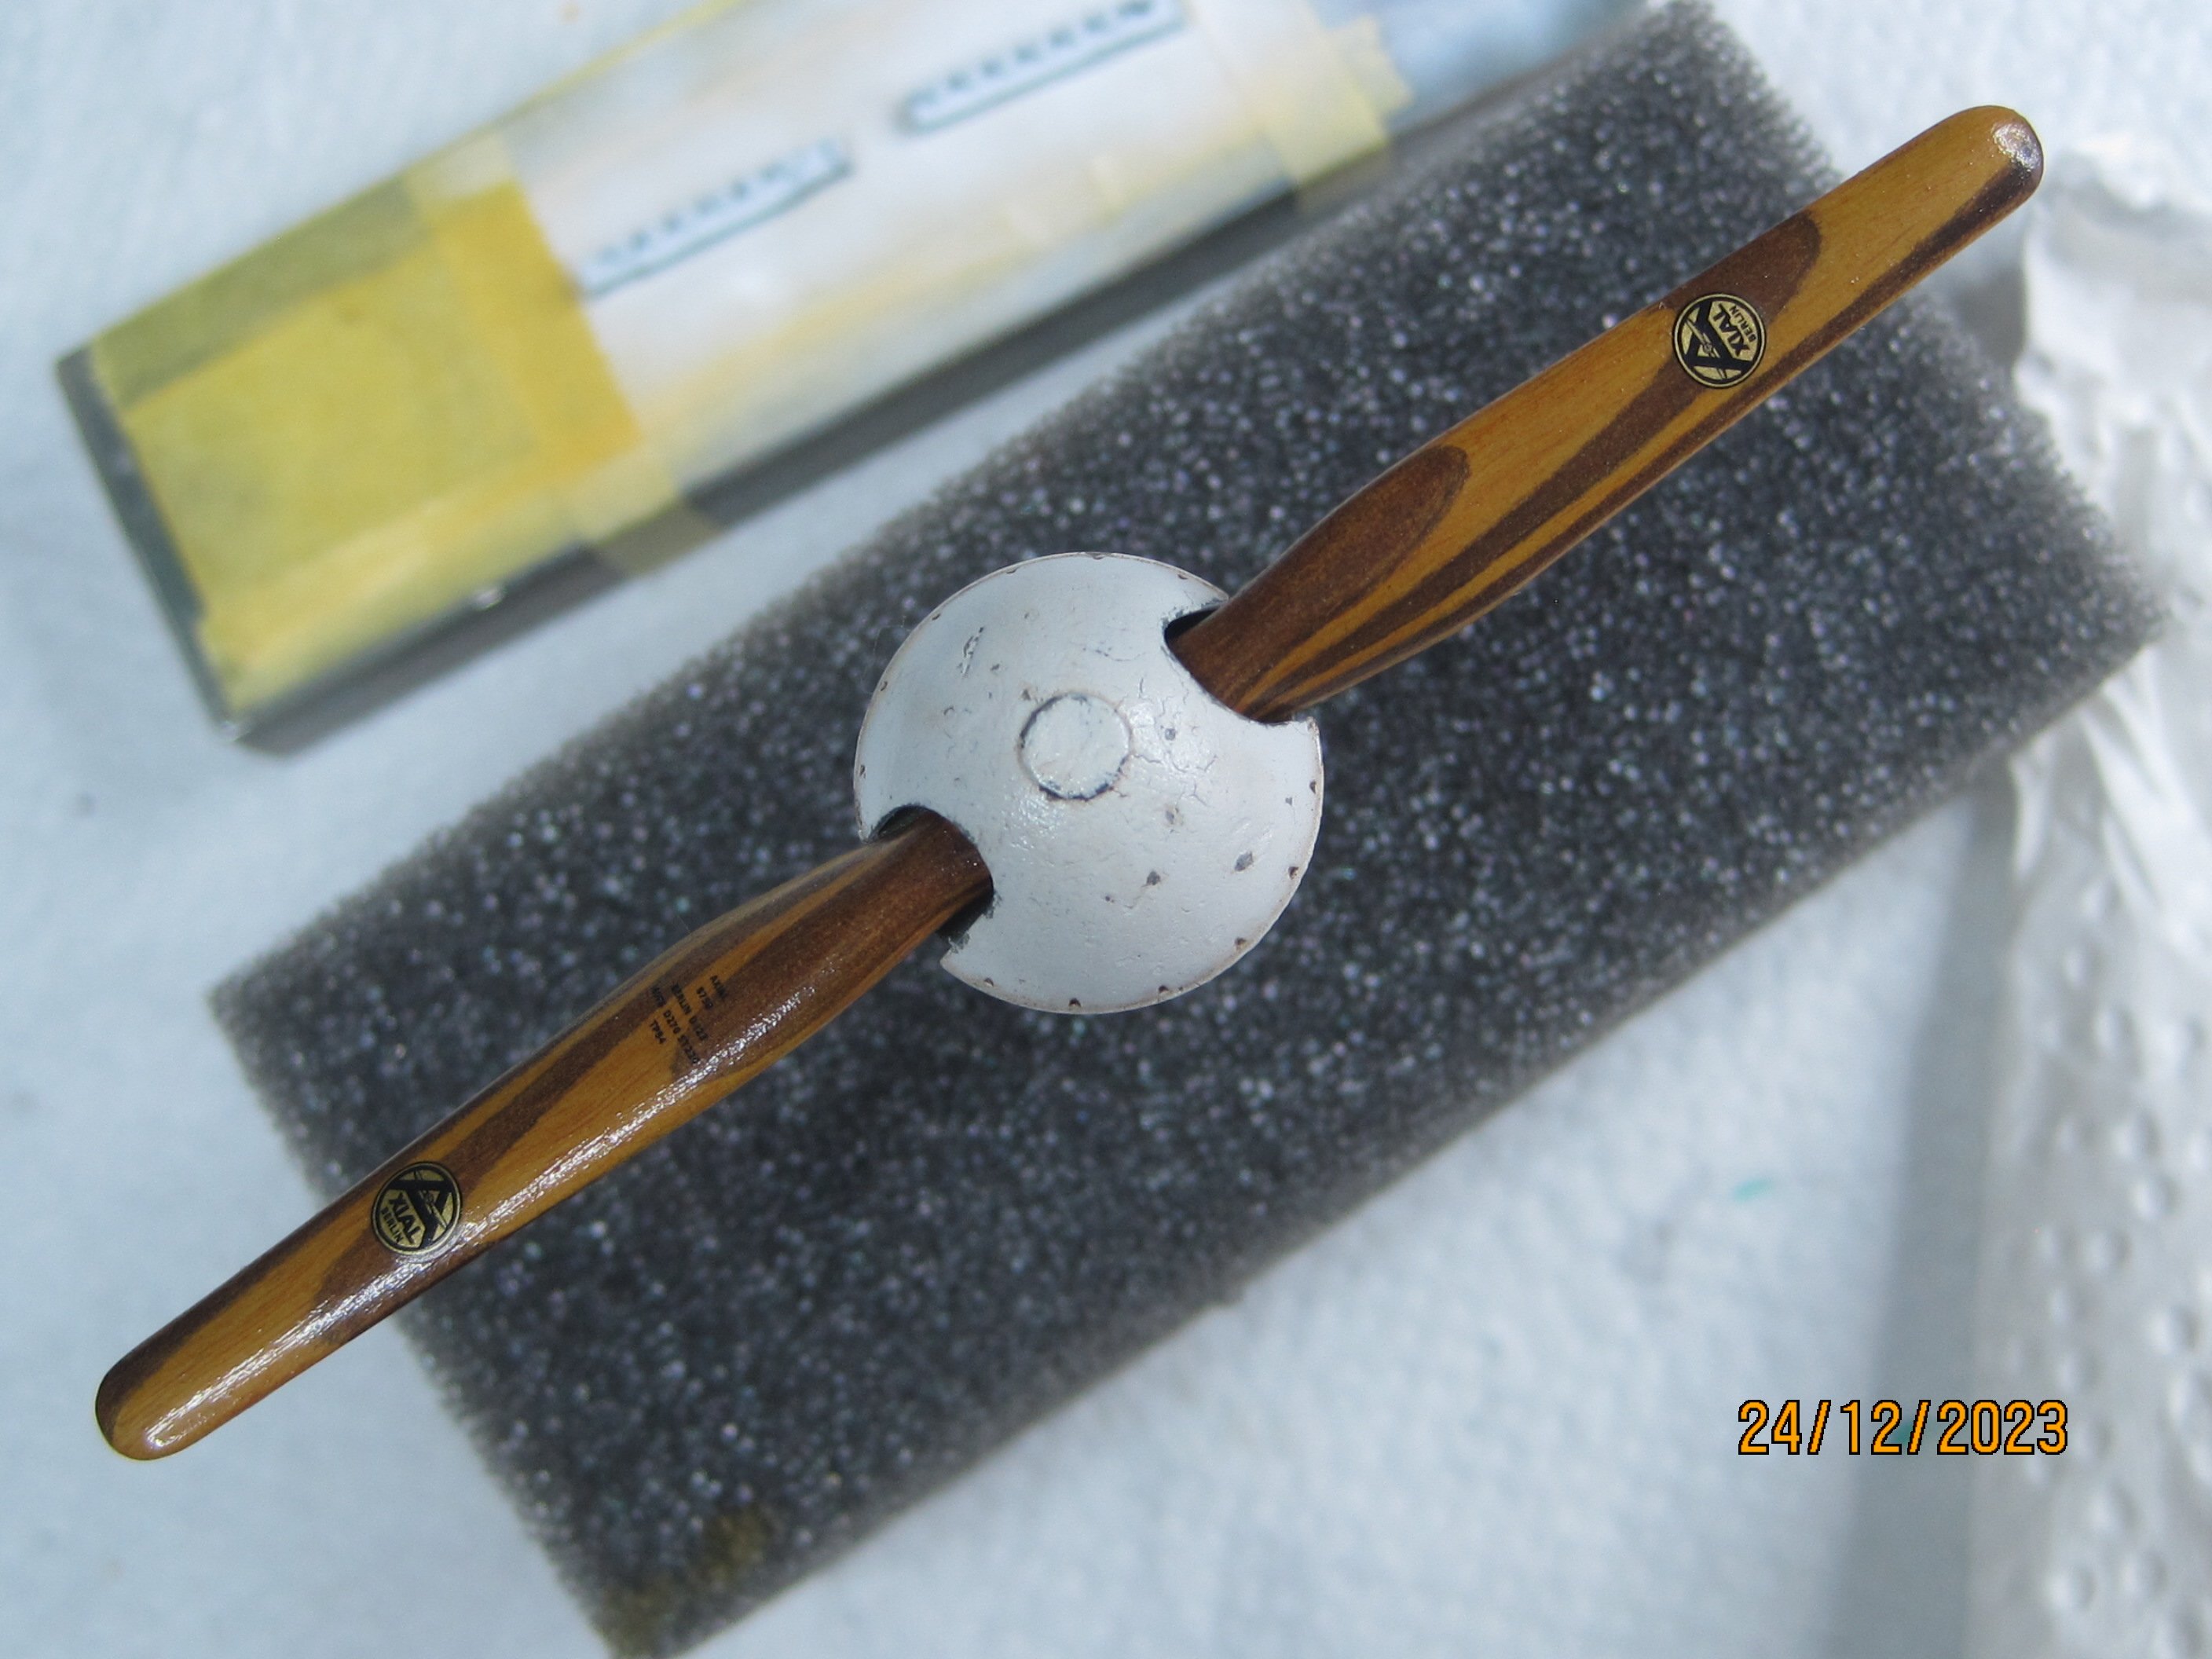
I used color pencils for the propeller @Pardelhas -
Wingnut Wings Roland C.IIa
Umlaufmotor replied to Umlaufmotor's topic in WNW and WW1 Ready for Inspection'
More pictures tomorrow. :-)

-
Wingnut Wings Roland C.IIa
Umlaufmotor replied to Umlaufmotor's topic in WNW and WW1 Ready for Inspection'


-
Wingnut Wings Roland C.IIa
Umlaufmotor replied to Umlaufmotor's topic in WNW and WW1 Ready for Inspection'