Uncarina
-
Posts
157 -
Joined
-
Last visited
Content Type
Profiles
Forums
Events
Gallery
Everything posted by Uncarina
-
A Wee Side Project: the Airfix Car Door Tiffie
Uncarina replied to Uncarina's topic in LSM 1/35 and Larger Work In Progress
Ernie, you are too kind! It would be great to see your magic with this kit! I have to write that this is one of my favorite builds in recent years, in any scale. Cheers, Tom -
A Wee Side Project: the Airfix Car Door Tiffie
Uncarina replied to Uncarina's topic in LSM 1/35 and Larger Work In Progress
Martin, thank you! Cheers, Tom -
A Wee Side Project: the Airfix Car Door Tiffie
Uncarina replied to Uncarina's topic in LSM 1/35 and Larger Work In Progress
...and a little more: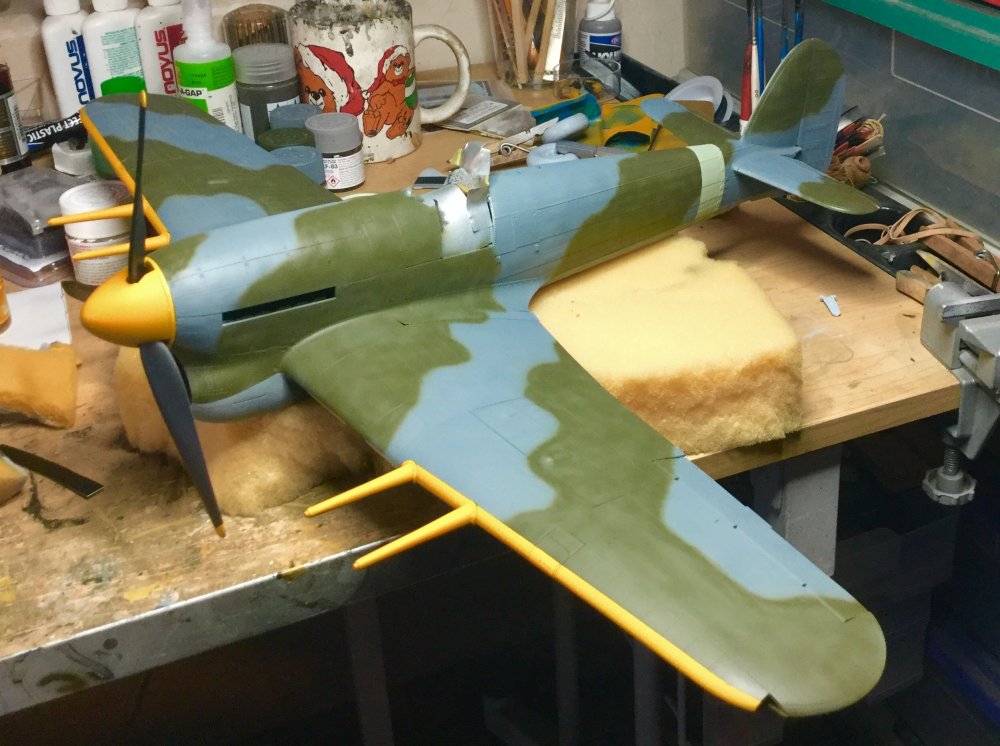
-
A Wee Side Project: the Airfix Car Door Tiffie
Uncarina replied to Uncarina's topic in LSM 1/35 and Larger Work In Progress
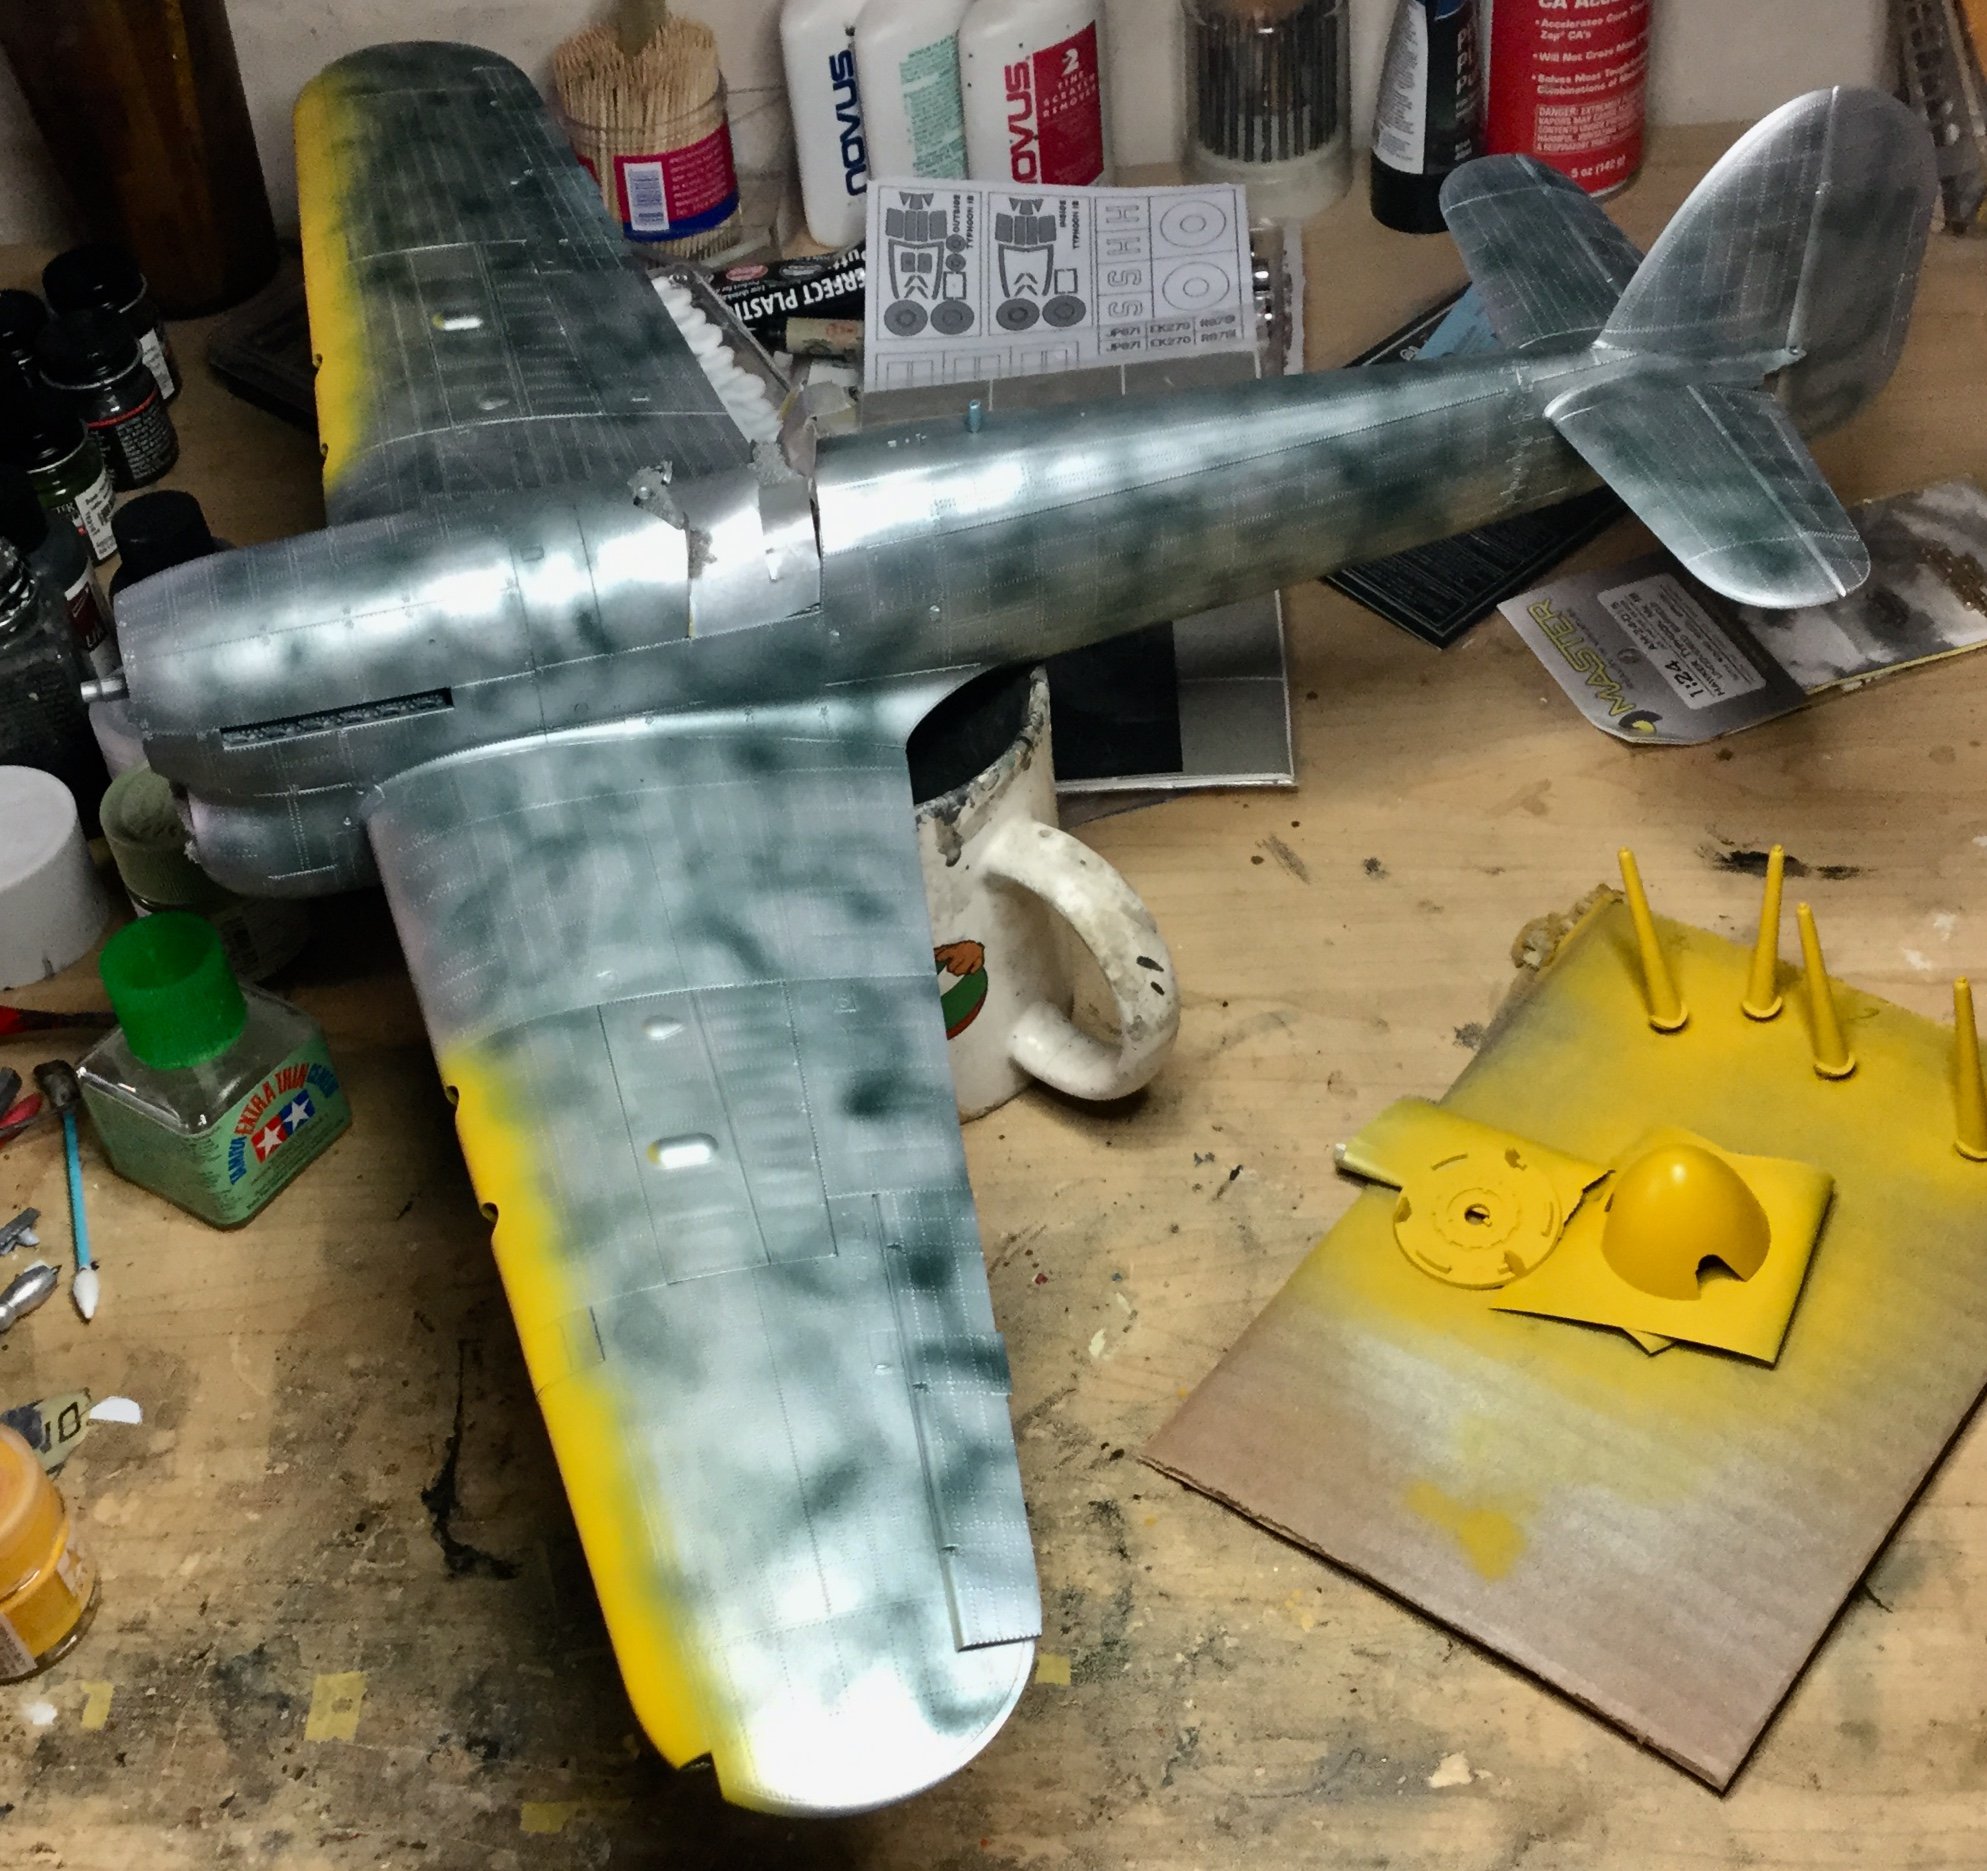
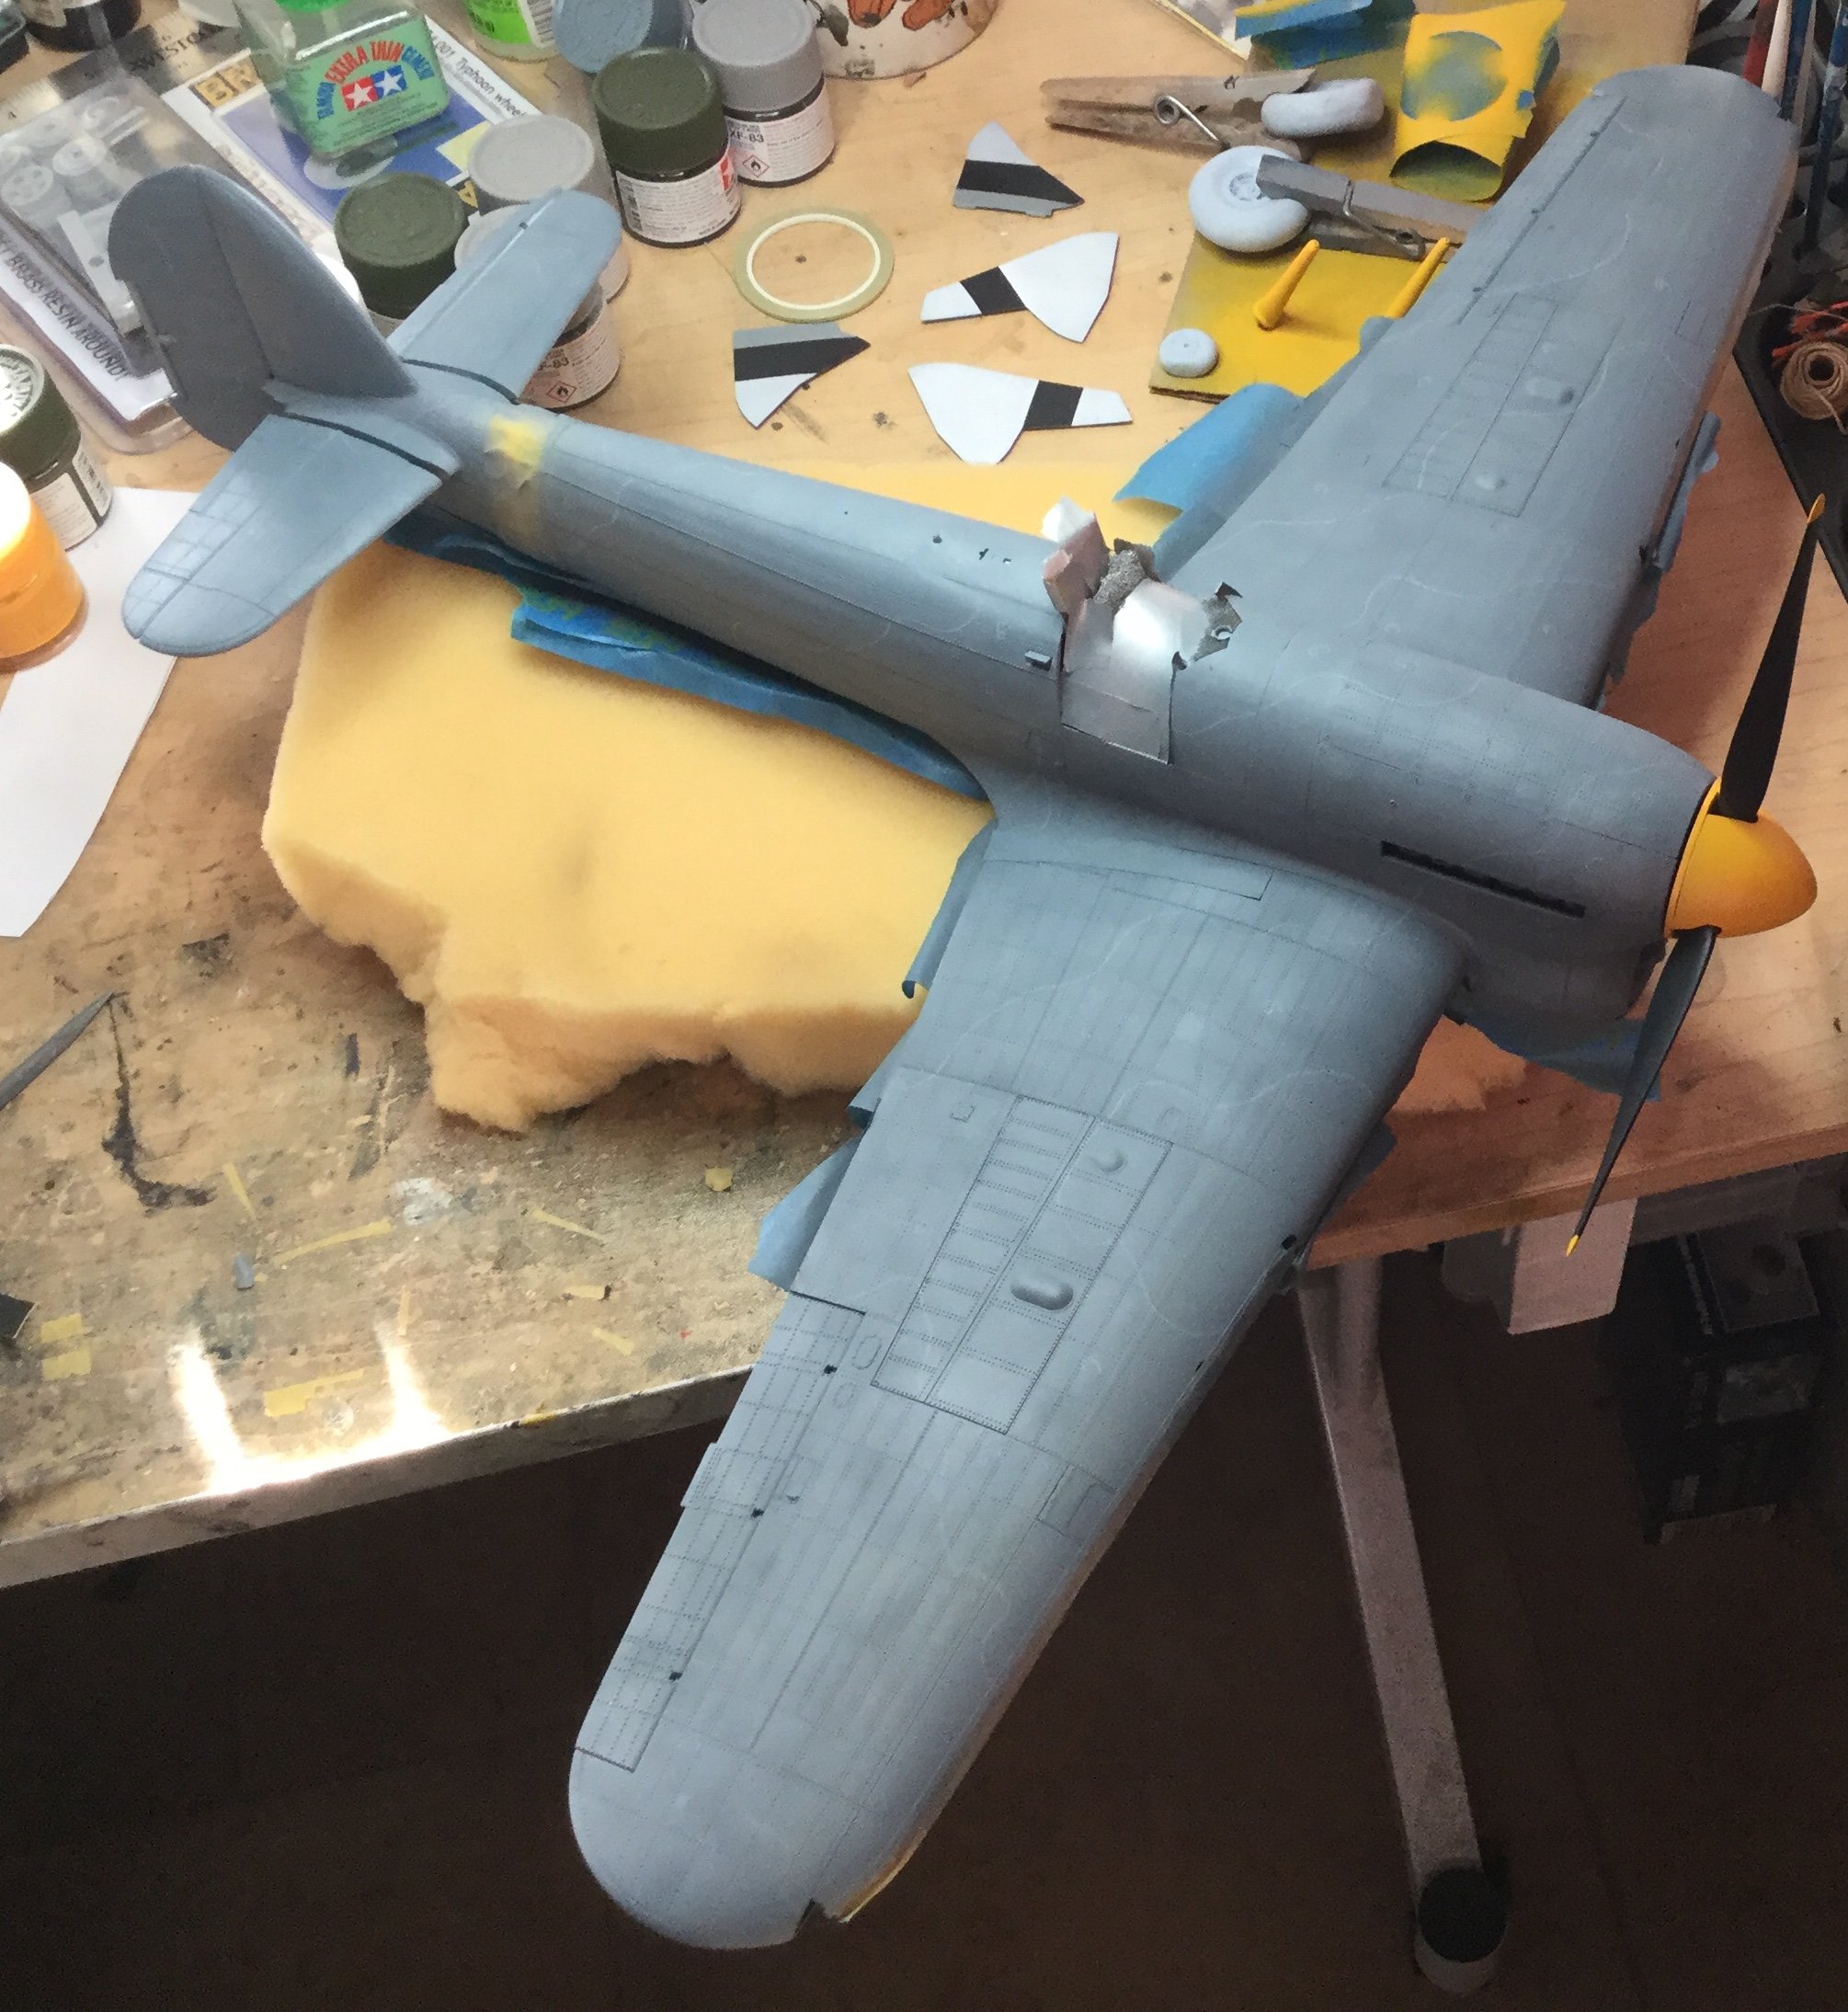
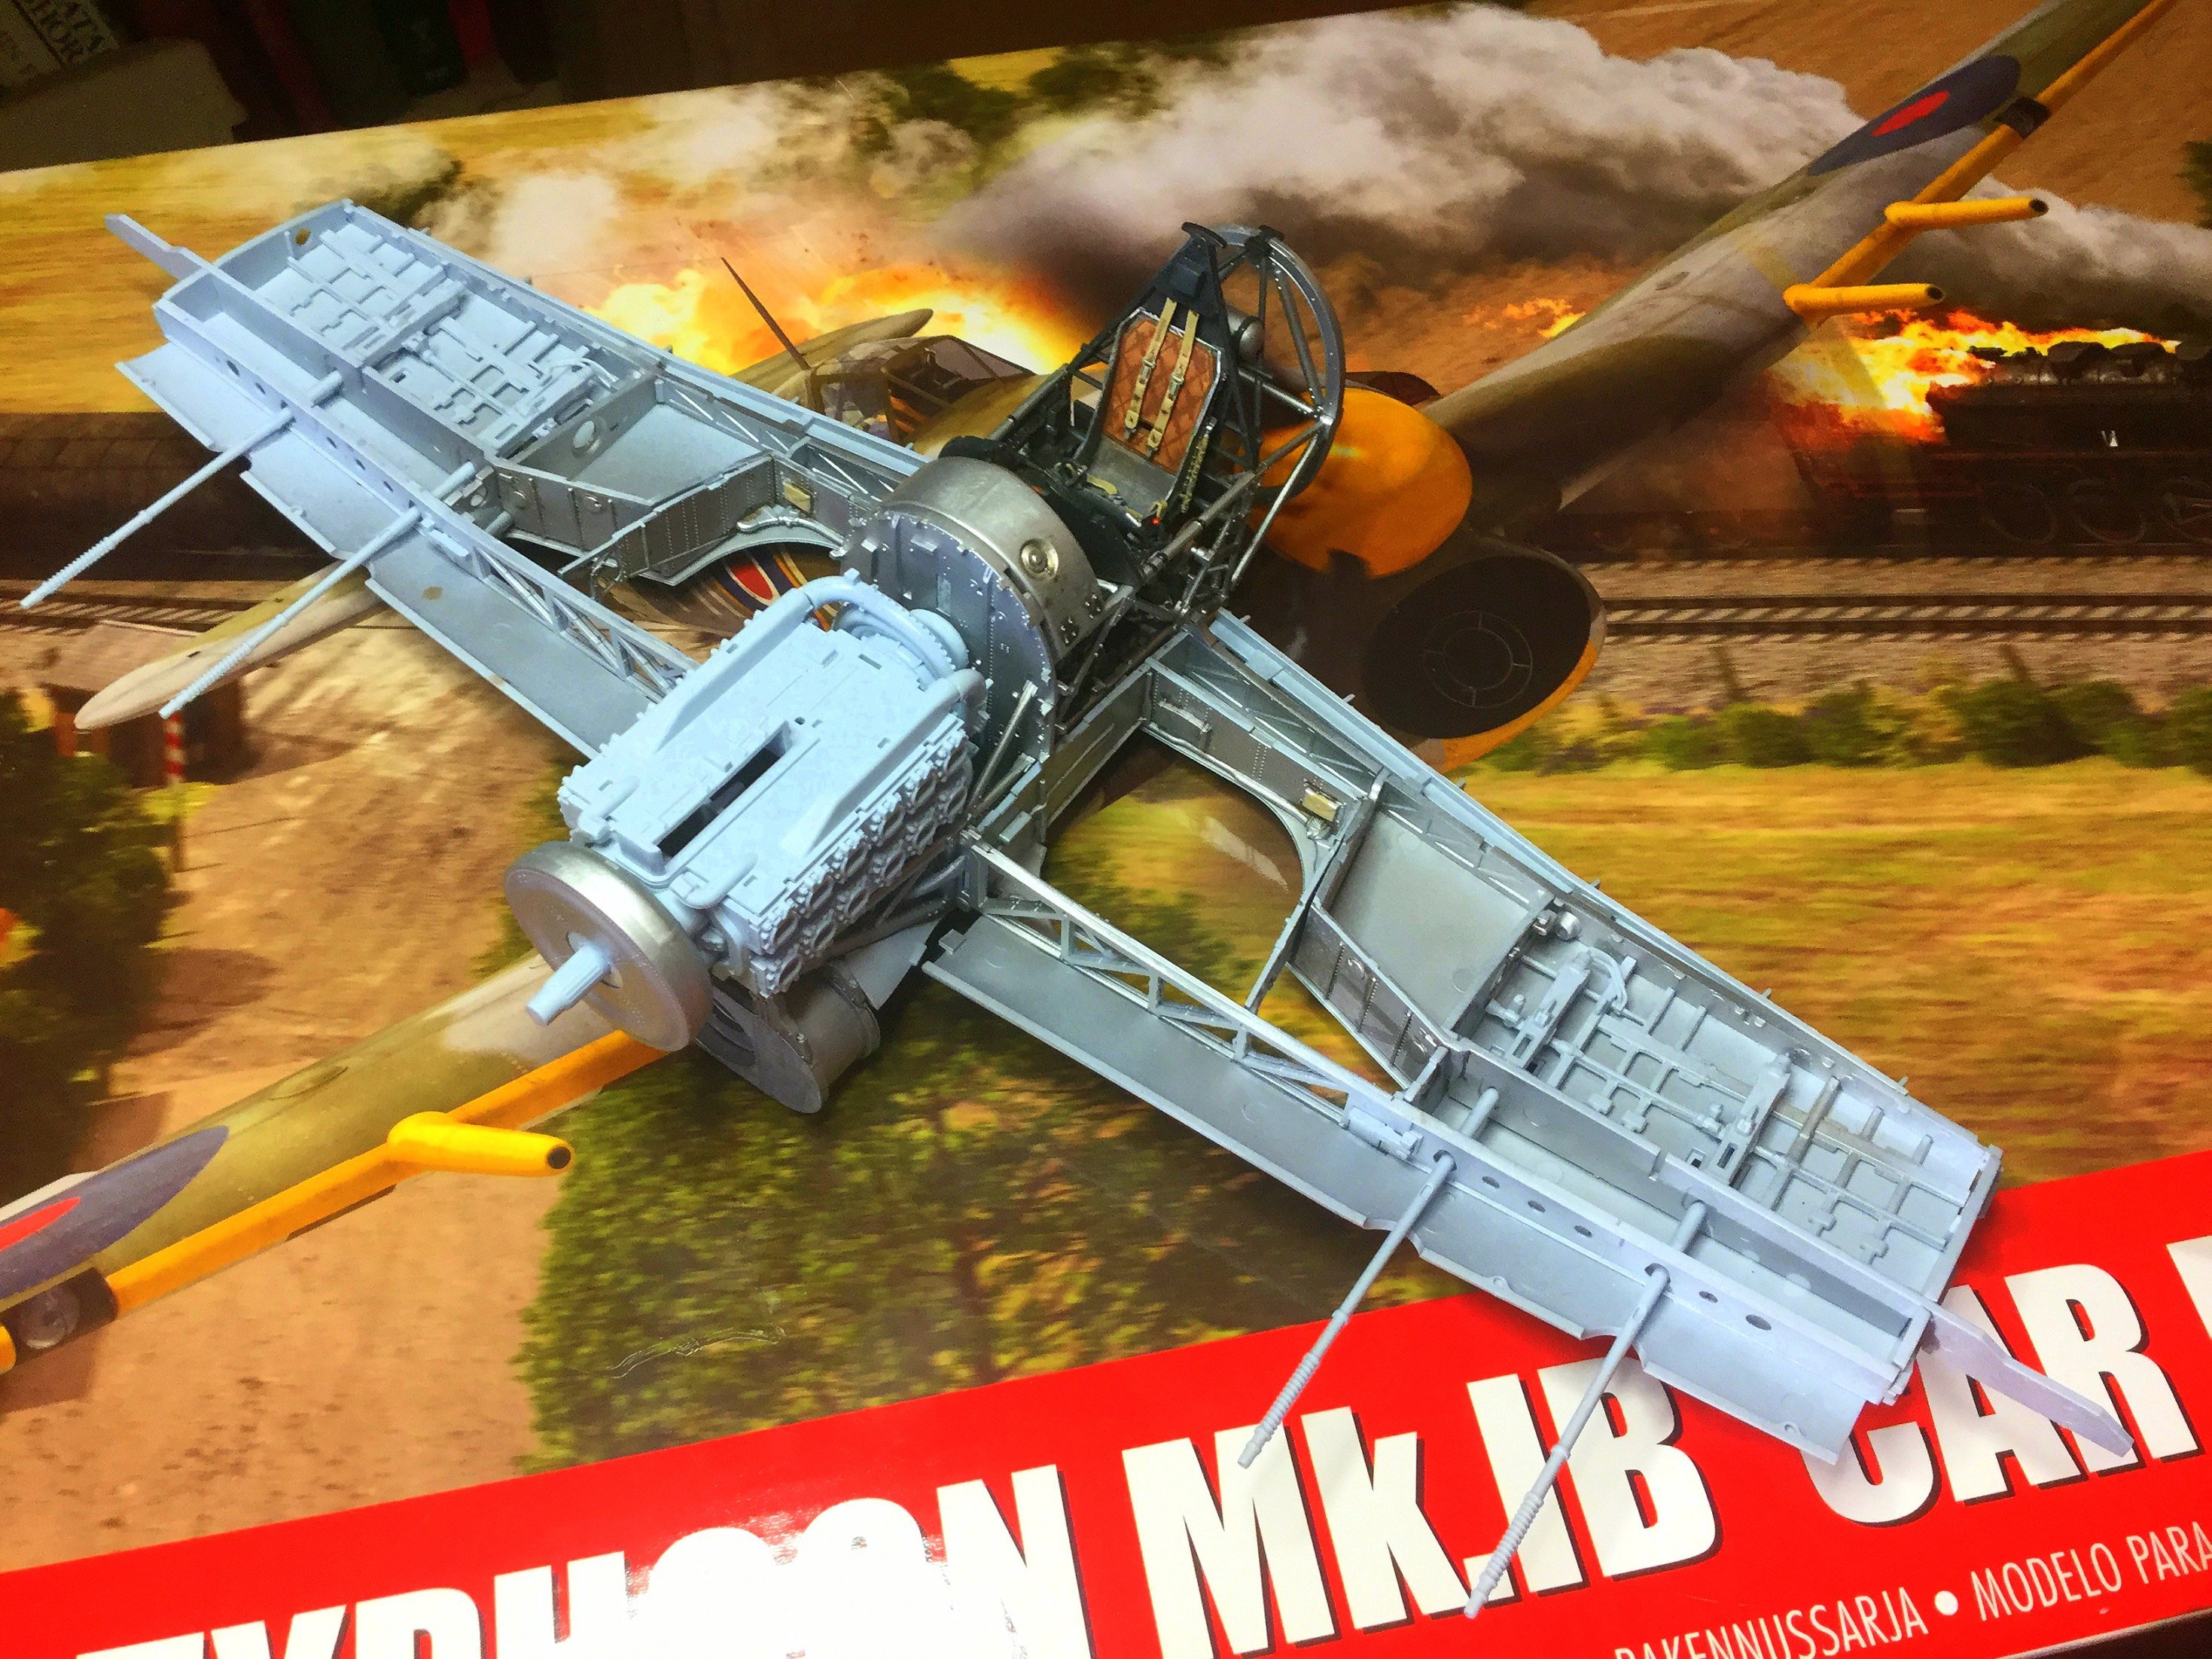
A little progress. First: Then a swirled sea blue undercoat: Then the camouflage. I’ve marked the RAF Green using a colored pencil over the Ocean Grey, then will add it with a tight feathered edge: Cheers, Tom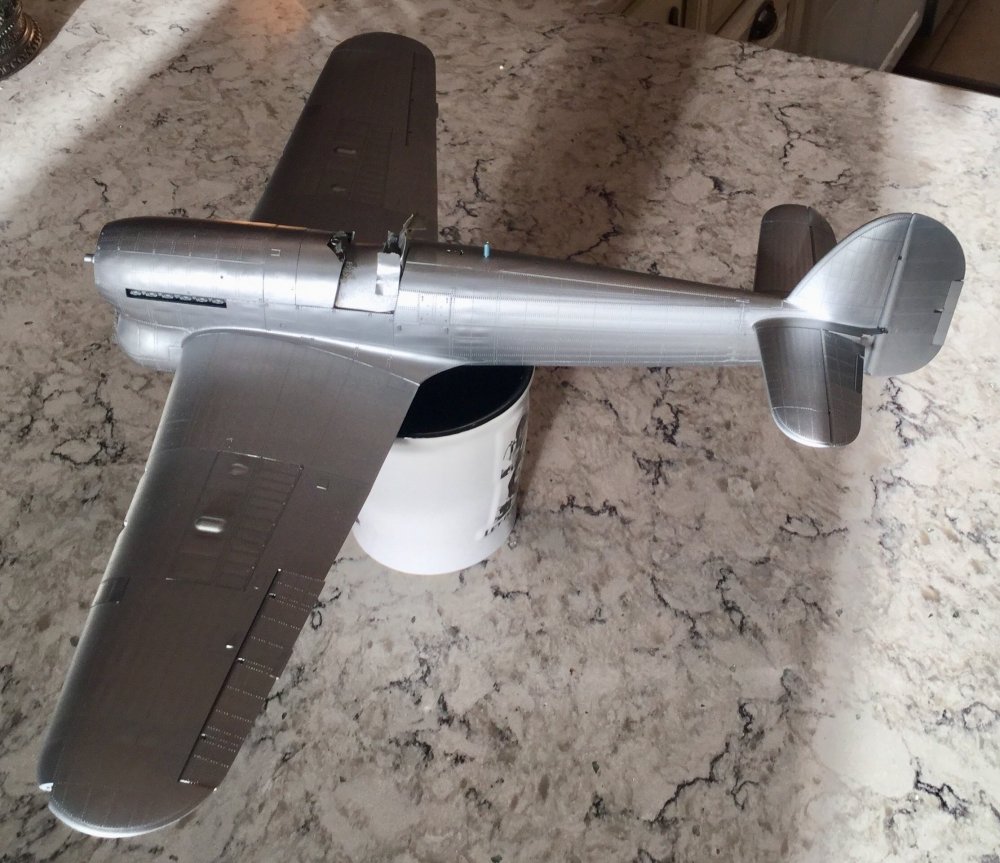


-
1/48 Wellington Mk.X (He727 NA-K)
Uncarina replied to JeroenPeters's topic in LSM 1/35 and Larger Work In Progress
Crazy good! Really nice detail work Jeroen! Cheers, Tom- 304 replies
-
- 2
-

-
- wilnis crash
- trumpeter
- (and 1 more)
-
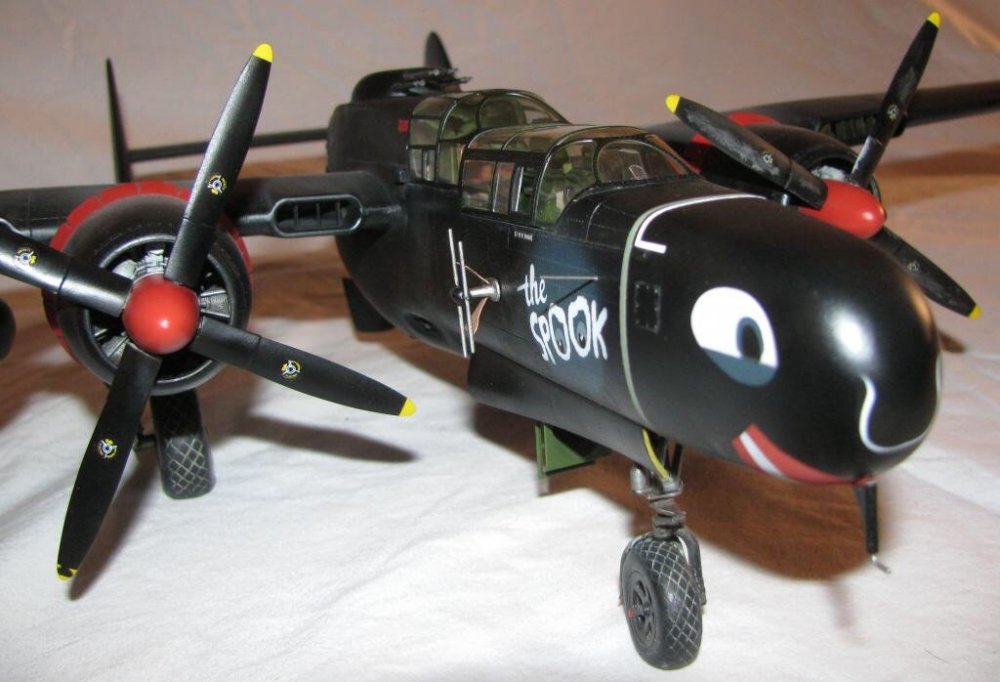
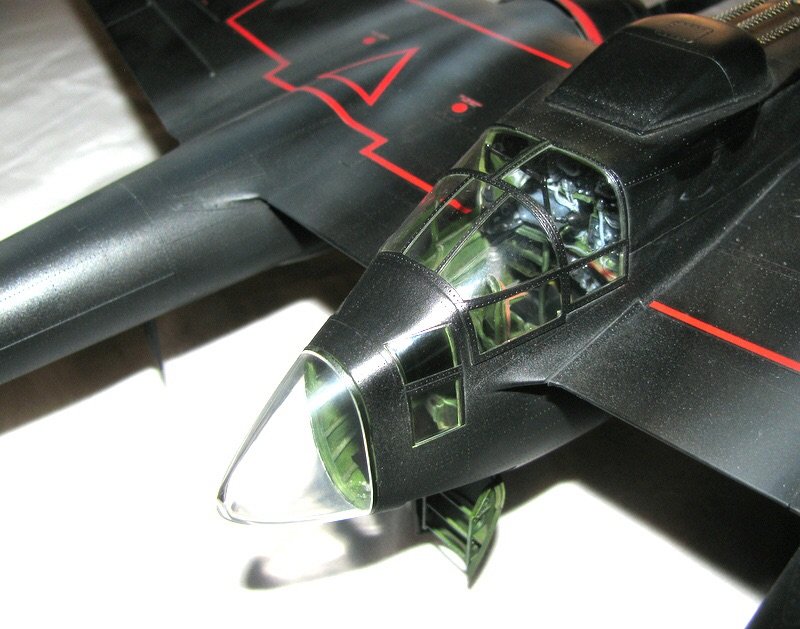
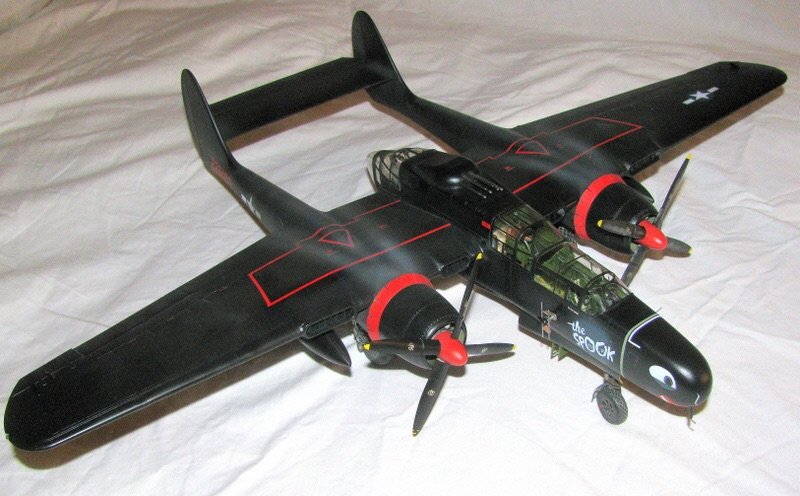
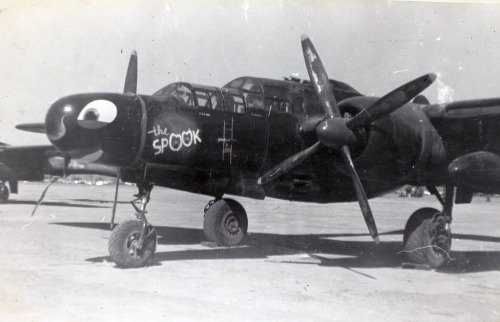
Hobby Boss 1/32 Northop P-61
Uncarina replied to Nat Wale Plaia's topic in LSM 1/35 and Larger Work In Progress
What an entrance! That is exquisite paintwork! Cheers, Tom -
SBD-3 clear Edition Trumpeter OOB
Uncarina replied to Martinnfb's topic in LSM 1/35 and Larger Work In Progress
Please oh please do NOT make me want one, don’t make me want one! Martin, fantastic job bringing this to life! Cheers, Tom -
A Wee Side Project: the Airfix Car Door Tiffie
Uncarina replied to Uncarina's topic in LSM 1/35 and Larger Work In Progress
Thanks Gaz! It’s all Airfix! They did a phenomenal job with the surface, and I applaud them with stepping past the status quo to do this. I wonder what the molds look like? Cheers, Tom -
A Wee Side Project: the Airfix Car Door Tiffie
Uncarina replied to Uncarina's topic in LSM 1/35 and Larger Work In Progress
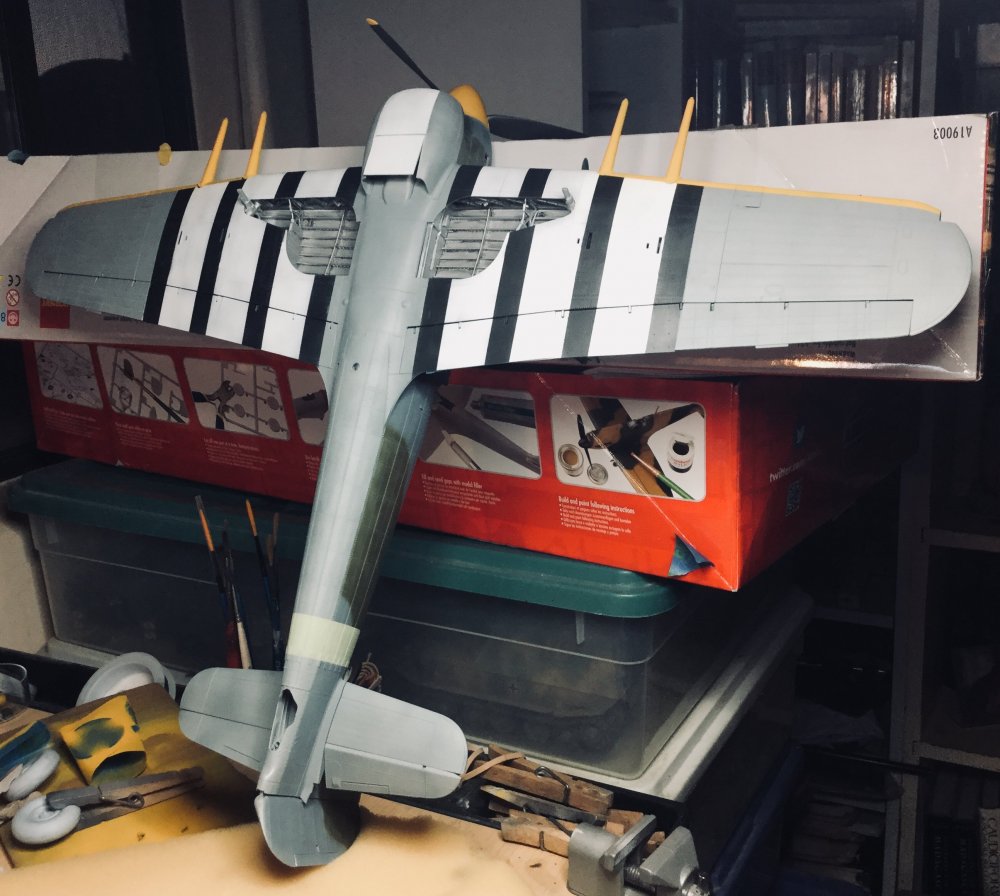
Martin, thanks! After adding a few more bits, it’s off to masking and a Tamiya AS-12 base. I plan to paint most of the markings. Cheers, Tom -
Eduard P-47D Thunderbolt "Dottie Mae" WIP
Uncarina replied to a topic in LSM 1/35 and Larger Work In Progress
Beautiful work Danny! Cheers, Tom -
A Wee Side Project: the Airfix Car Door Tiffie
Uncarina replied to Uncarina's topic in LSM 1/35 and Larger Work In Progress
Thanks Pete! I did ask Airfix if they wanted me to build a review sample of the Hellcat...:) Cheers, Tom -
A Wee Side Project: the Airfix Car Door Tiffie
Uncarina replied to Uncarina's topic in LSM 1/35 and Larger Work In Progress
Thanks Harv! She is a big beast, and it’s hard to stop staring. Flaps and masking next! Cheers, Tom -
A Wee Side Project: the Airfix Car Door Tiffie
Uncarina replied to Uncarina's topic in LSM 1/35 and Larger Work In Progress
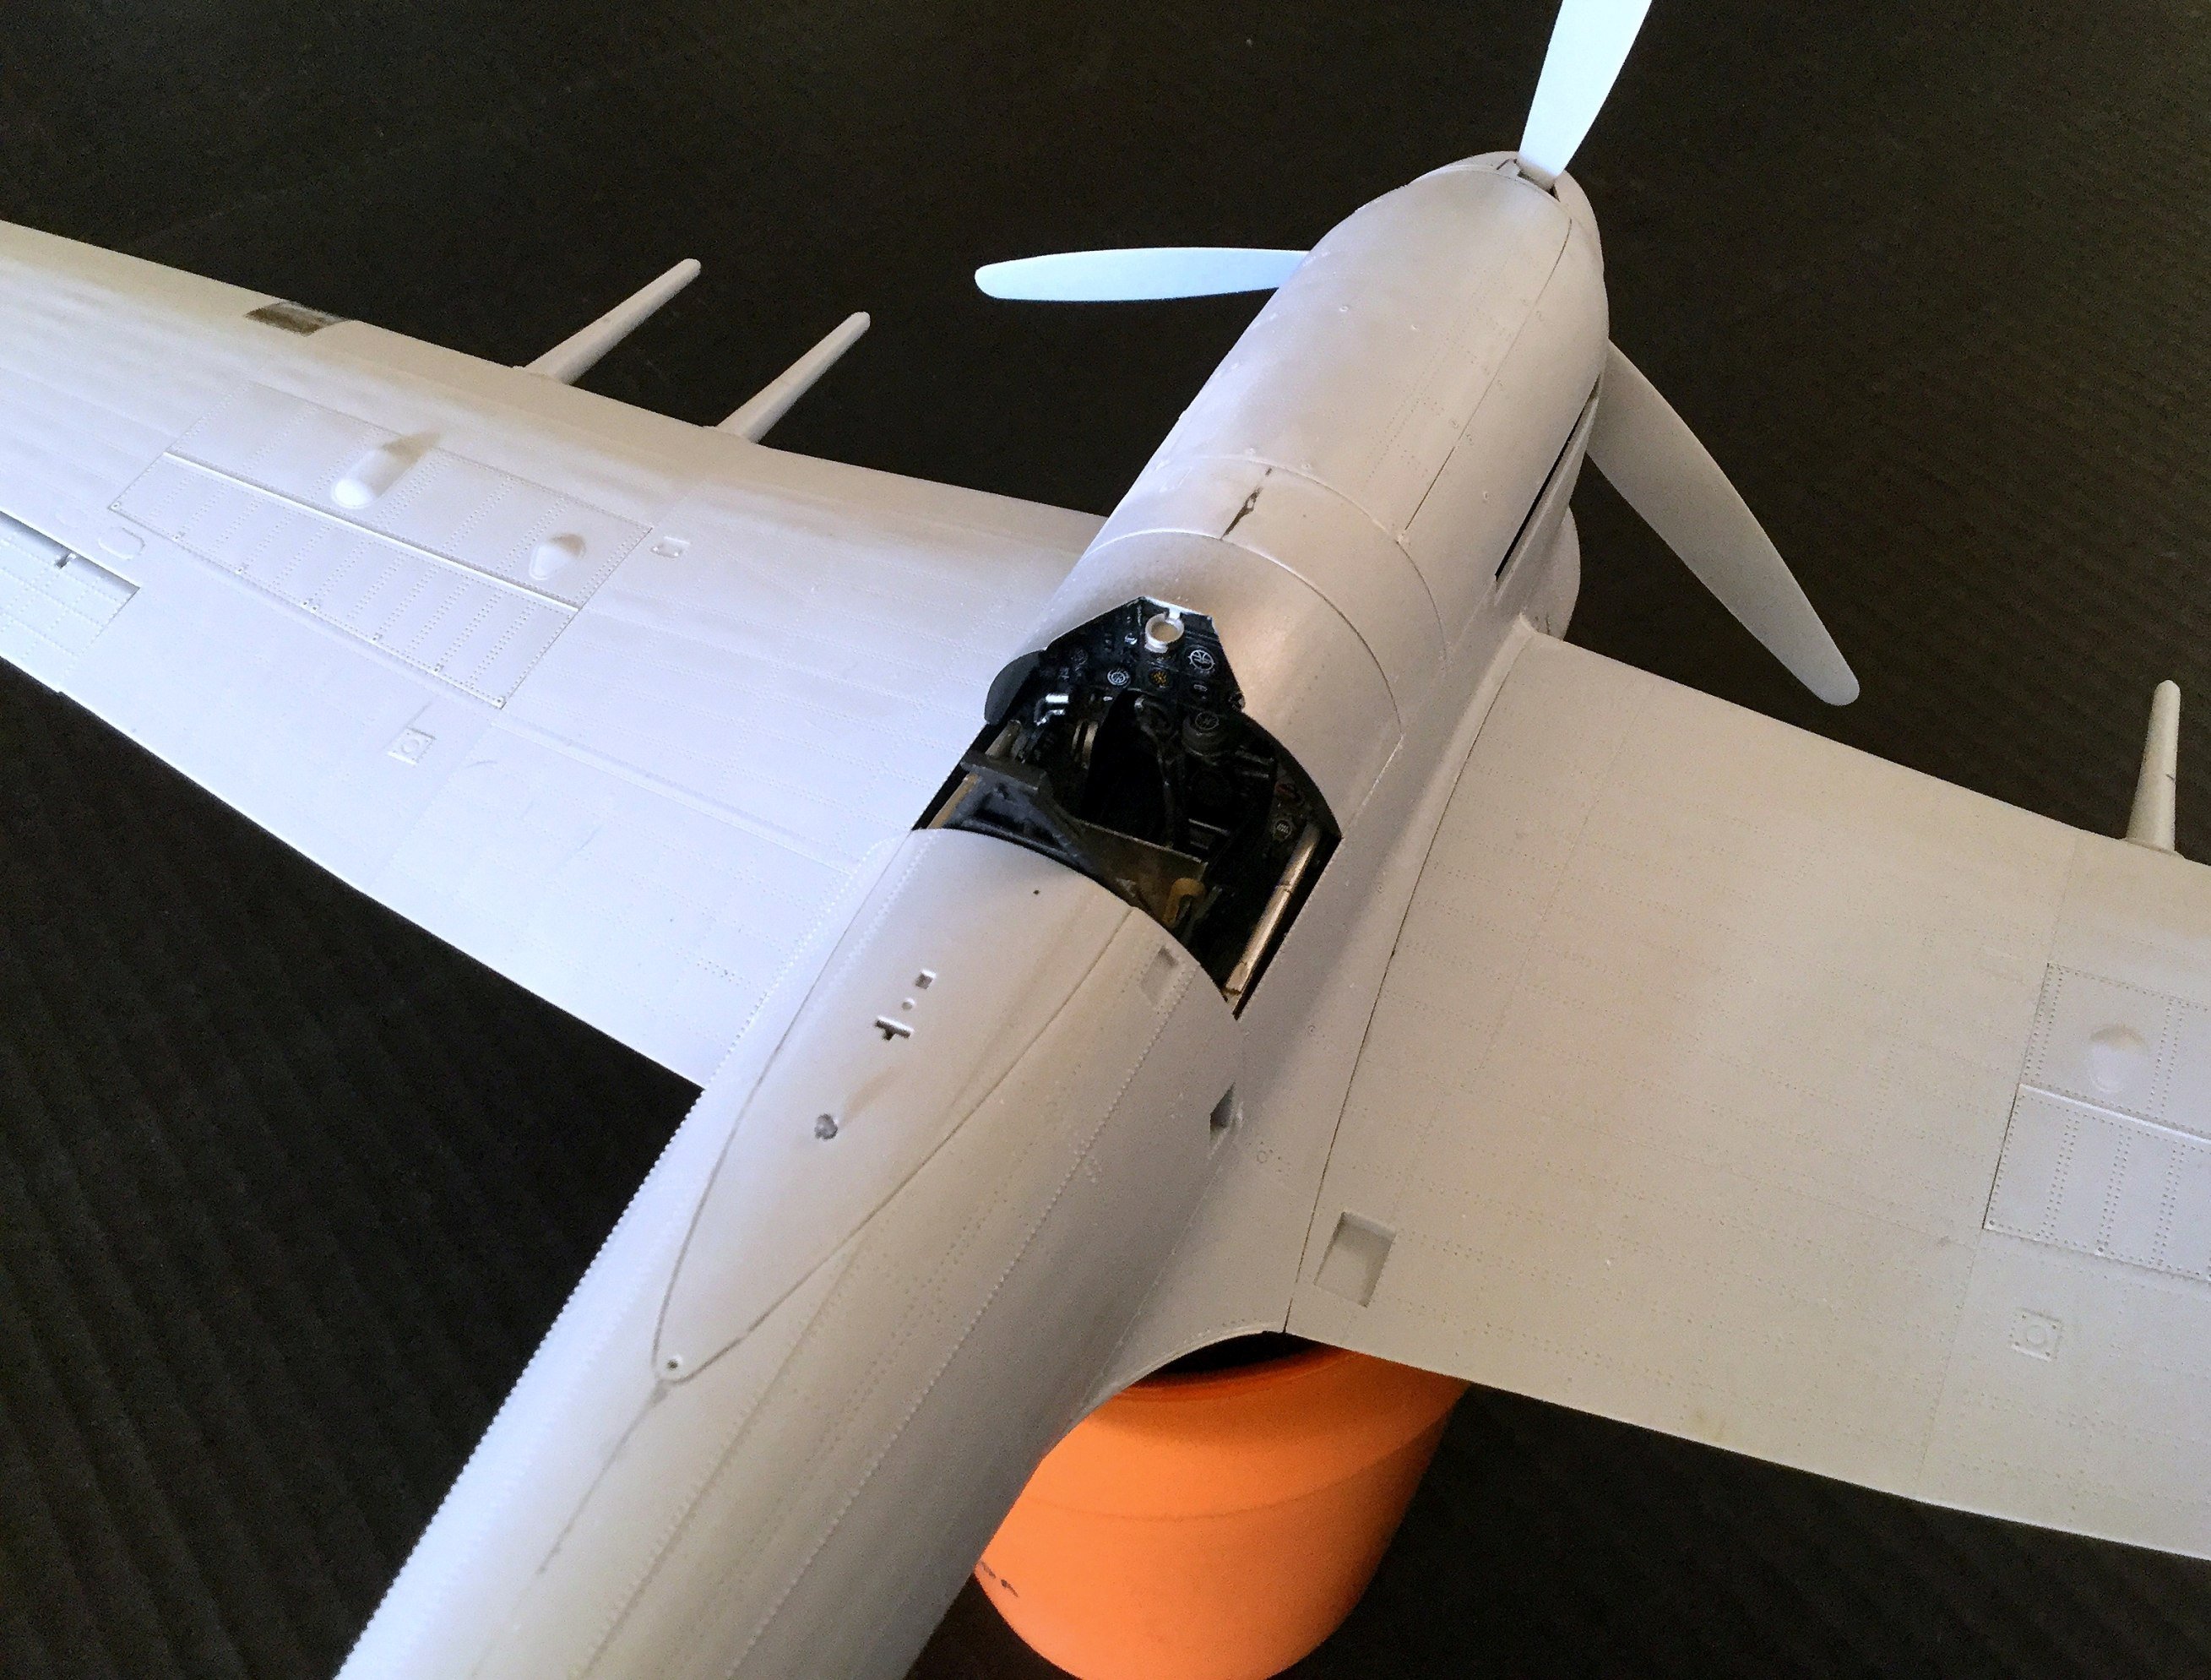
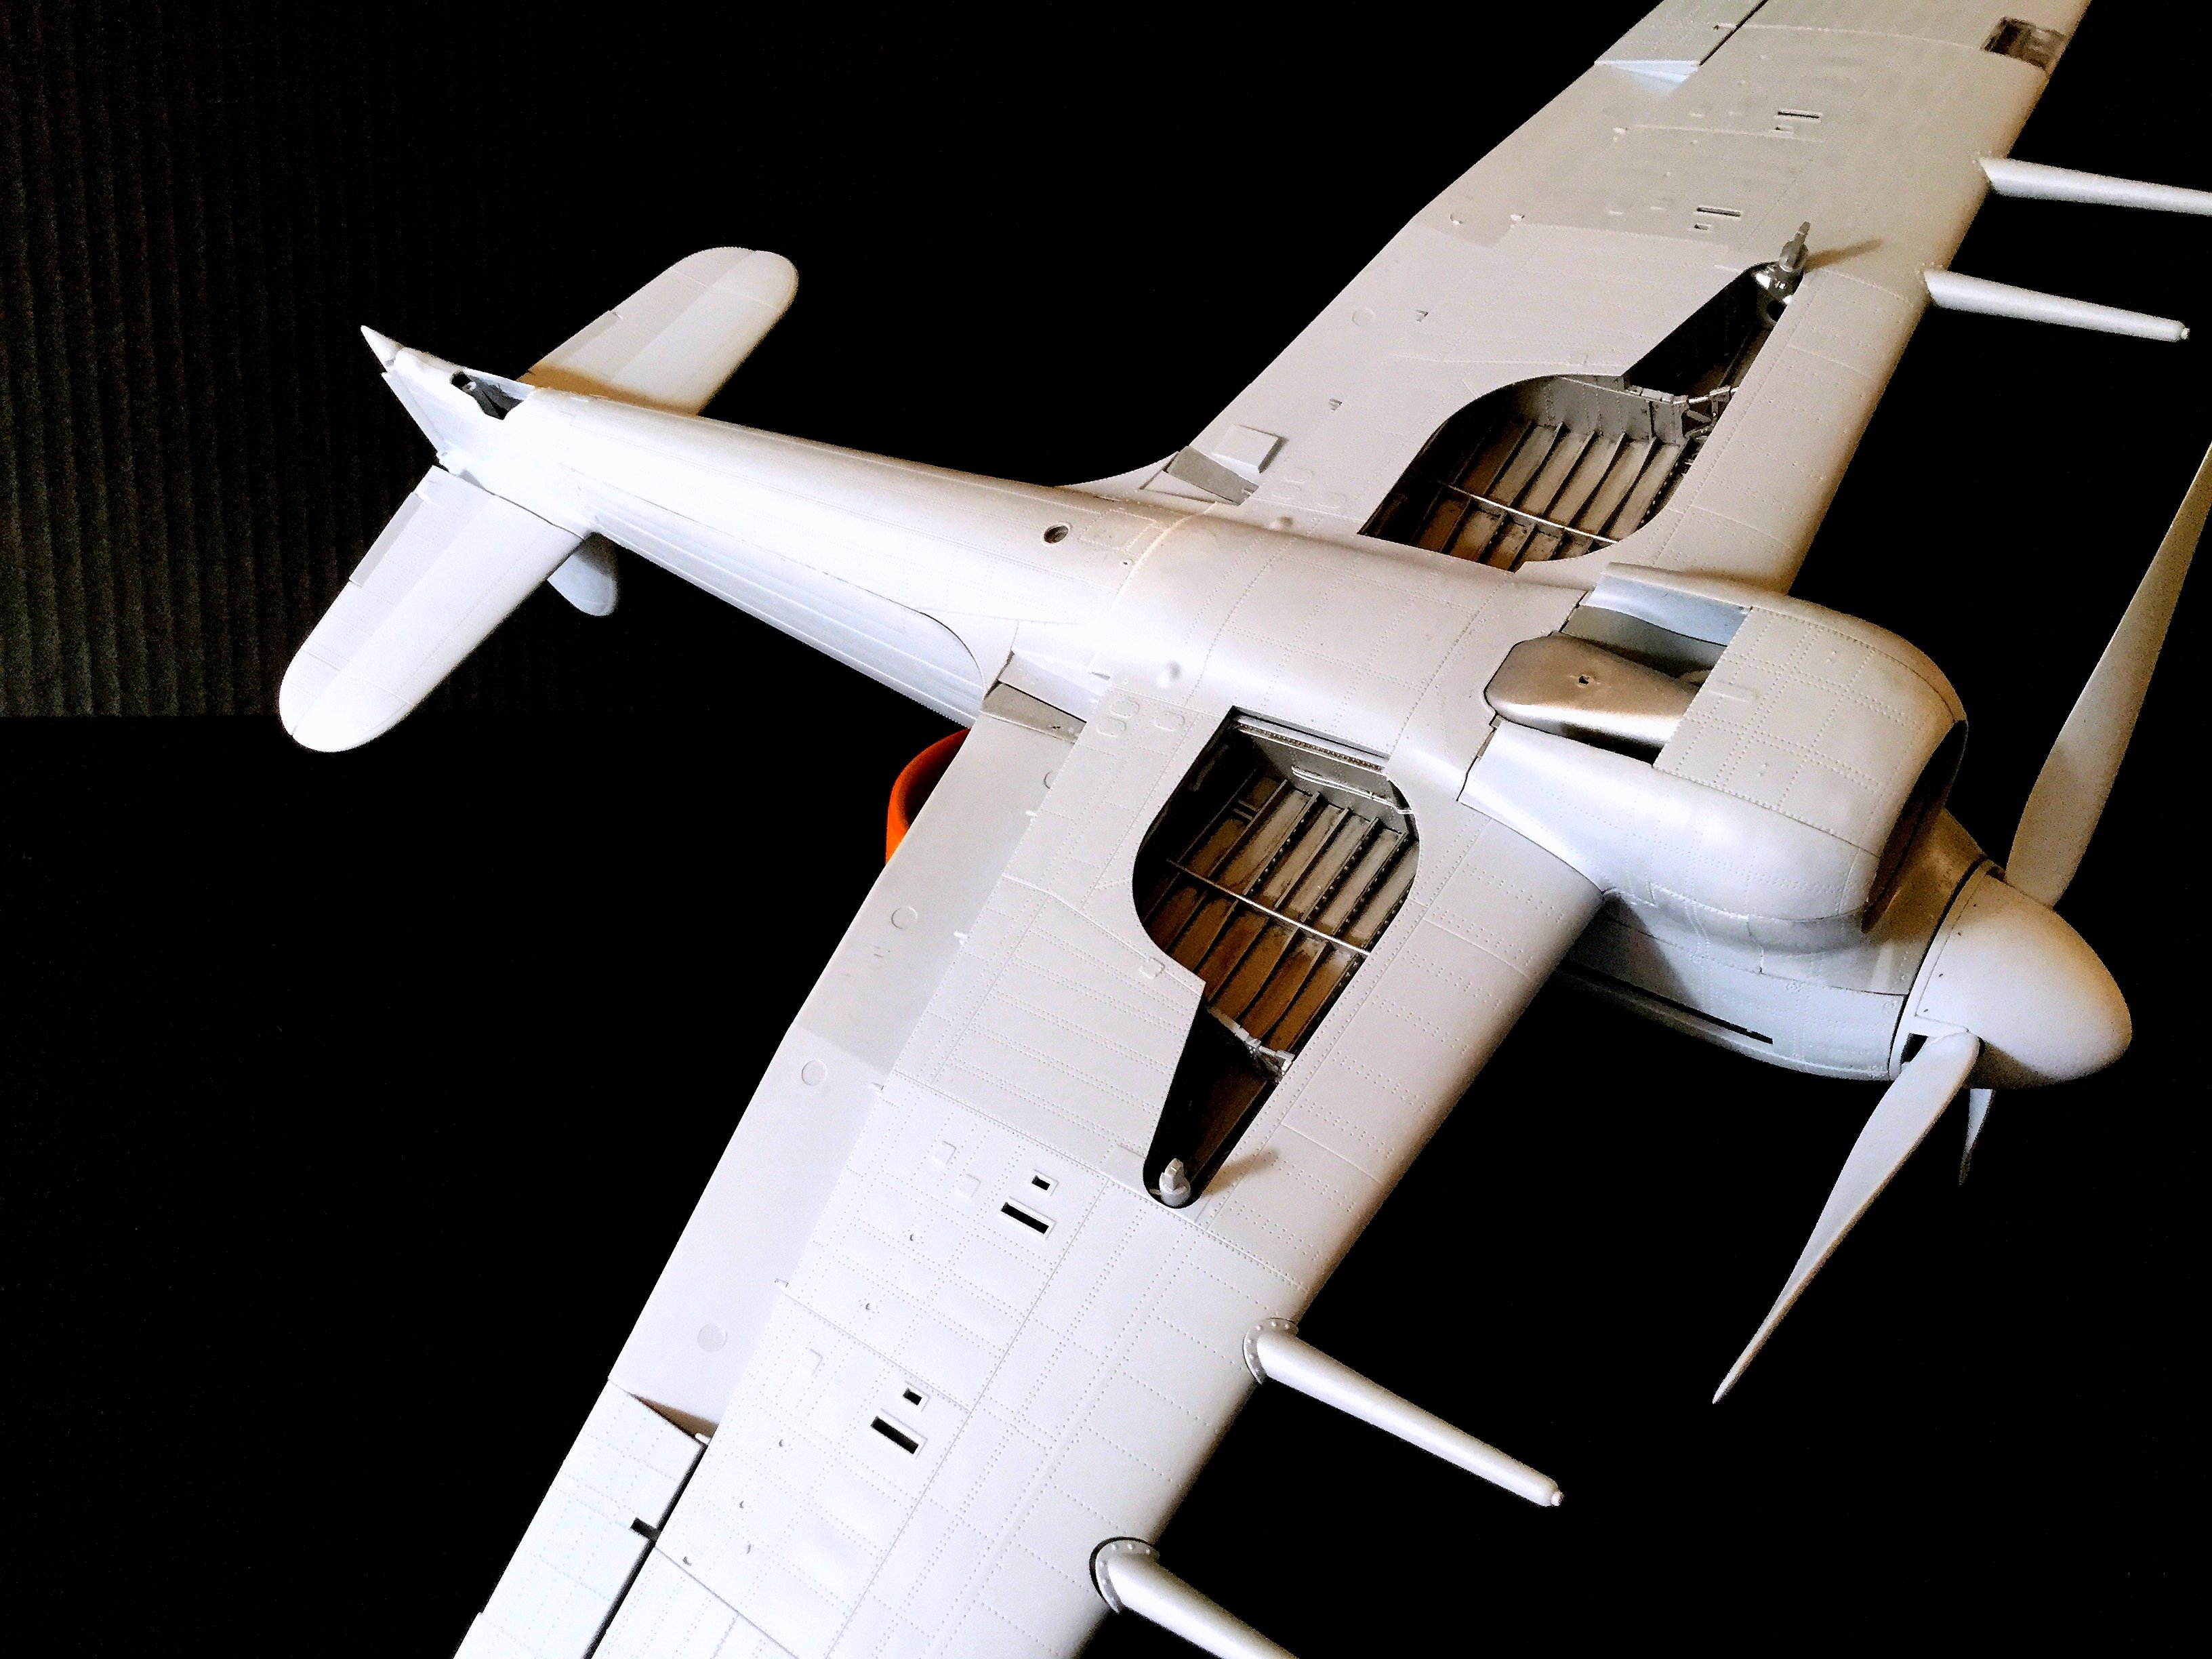
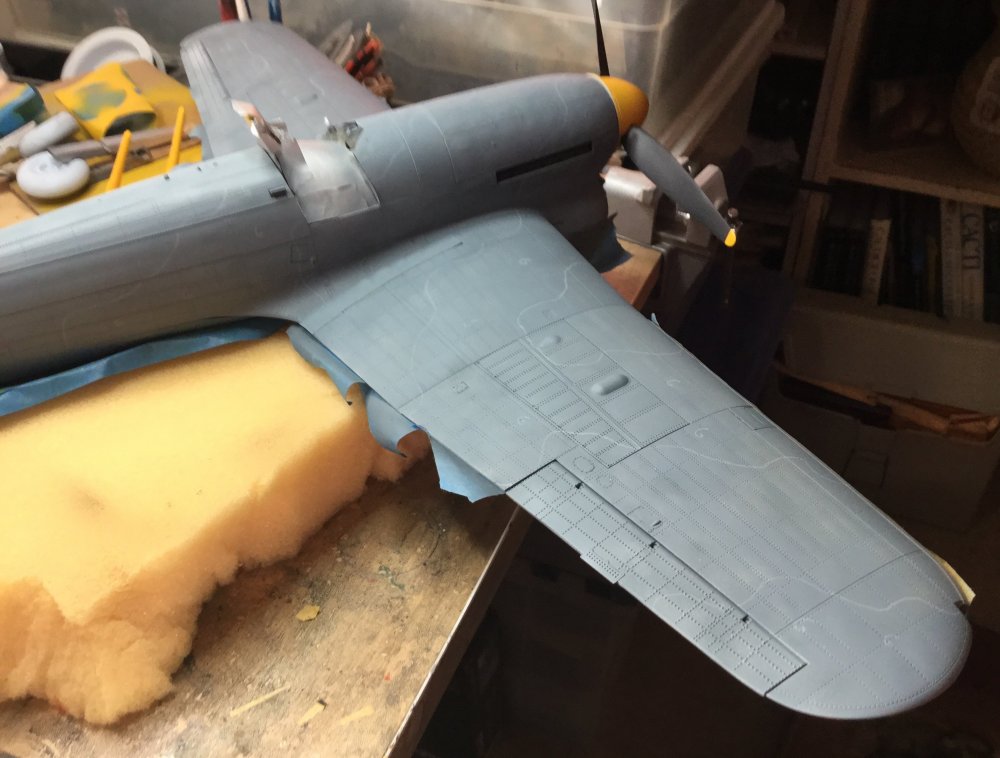
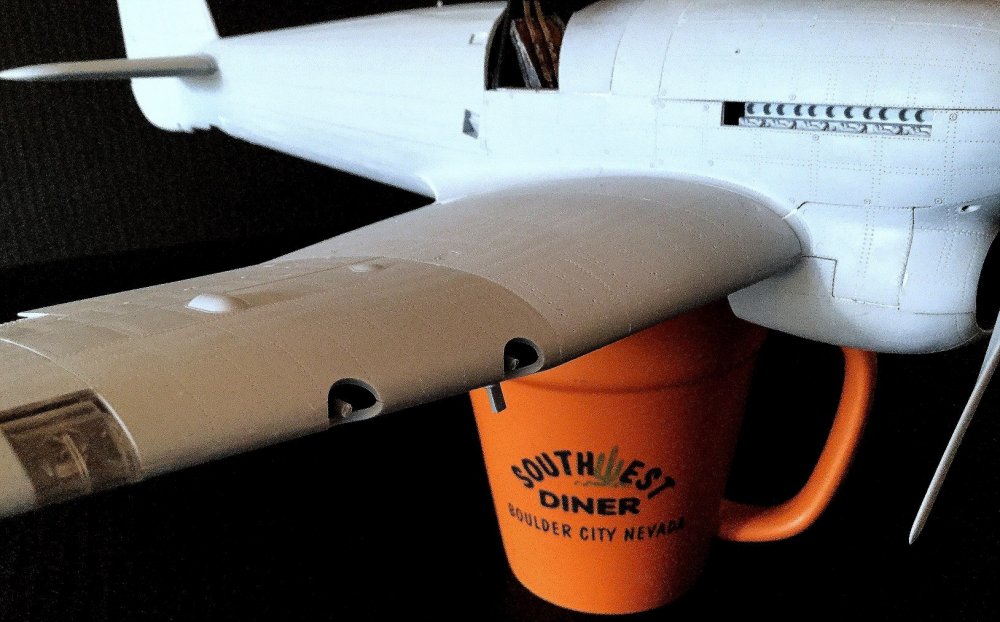
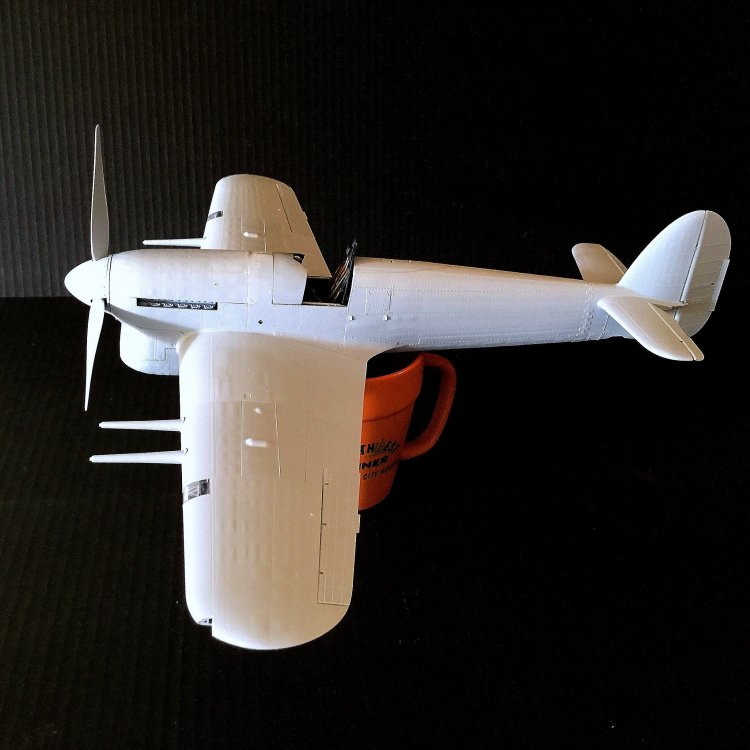
A wee update today: made a bit of progress since the last update! The fit has overall been really good, ranging from surgical precision to needing a little filler. To date: --I detached the engine to make fitting the cowling panels fit better; I wish I could have done this with the intake screen as well, but I managed to make it work; the biggest gap was at the interface with the wing, and I had to use tiny wedge-shaped shims on each side. --I cut the barrels from the wings and inserted them in the barrel covers, then glued them together separate from the wing. This made sanding easier. I also scribed the covers just short of midway down the barrel to denote the separate halves of each cover (The early Tiffies were missing the outer cover). Having the cannons separate will also make painting easier, and they fit really well into the wing. --The panel under the fuselage fit amazingly well into the rest of the fuselage (the gap simply disappears), but I found it about 0.5mm short of reaching the wing section; I added a shim and sanded it to match the contour. --The huge propellor really adds to the build, but the screw heads were missing from the spinner, 15 in all. I added these with a punch set. The photos are not the best quality, but hopefully you can see the amazing work Airfix put into the aircraft surfaces. Paint stage soon! Cheers, Tom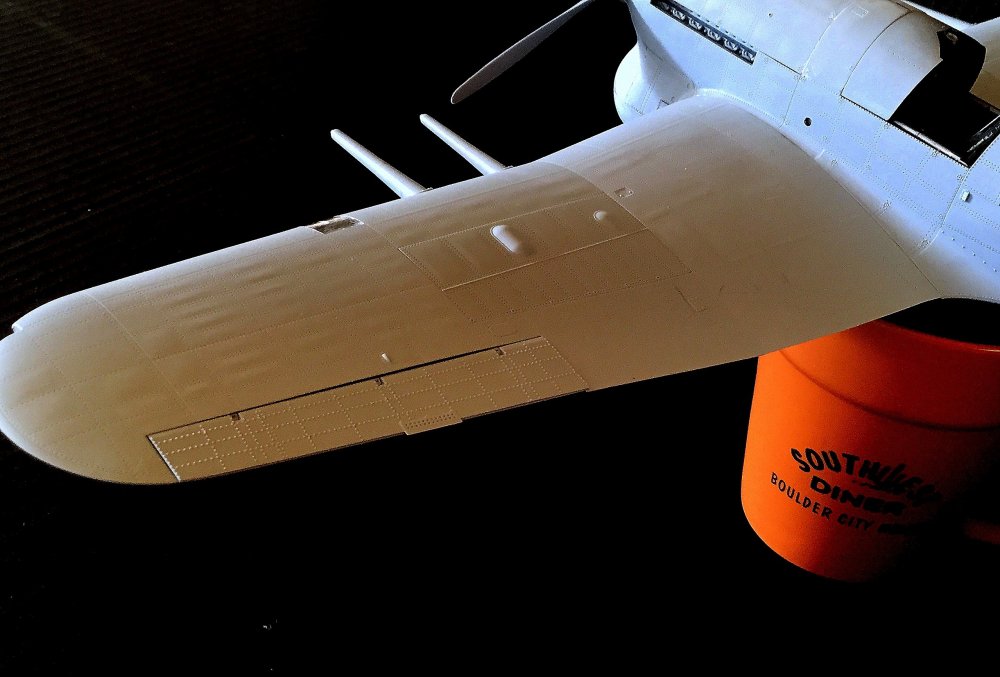


-
1/24 Airfix Scale Mosquito build
Uncarina replied to PeteF's topic in LSM 1/35 and Larger Work In Progress
This has been an epic journey you’ve shared Pete, and I’ve enjoyed it immensely! I am really impressed with your mossie: the build, finish, weathering, and display. Thanks for sharing your work! Cheers, Tom -
A Wee Side Project: the Airfix Car Door Tiffie
Uncarina replied to Uncarina's topic in LSM 1/35 and Larger Work In Progress
Thanks Phil! I’m really looking forward to the announcement, since this has been really fun so far. Cheers, Tom -
Great work on this bird, Tony! Cheers, Tom
-
A Wee Side Project: the Airfix Car Door Tiffie
Uncarina replied to Uncarina's topic in LSM 1/35 and Larger Work In Progress
Peter, Thank you! Your encouragement has always been a big support for me. As for Airfix...let’s see what happens at Telford! I think something big might be coming. Cheers, Tom -
A Wee Side Project: the Airfix Car Door Tiffie
Uncarina replied to Uncarina's topic in LSM 1/35 and Larger Work In Progress
I’ve read about this as well. One tip is to keep the engine loose to aid with lining up the cowl pieces; unfortunately I glued mine, so I will have to see about this! Cheers, Tom -
1/24 Airfix Scale Mosquito build
Uncarina replied to PeteF's topic in LSM 1/35 and Larger Work In Progress
Great progress Pete! Cheers, Tom -
A Wee Side Project: the Airfix Car Door Tiffie
Uncarina replied to Uncarina's topic in LSM 1/35 and Larger Work In Progress
Thanks Guys! I appreciate your warm welcome to this build. Clunk, it would be great to see you work your magic with that kit. Today I built the basic engine, next is the lower wing! Cheers, Tom -
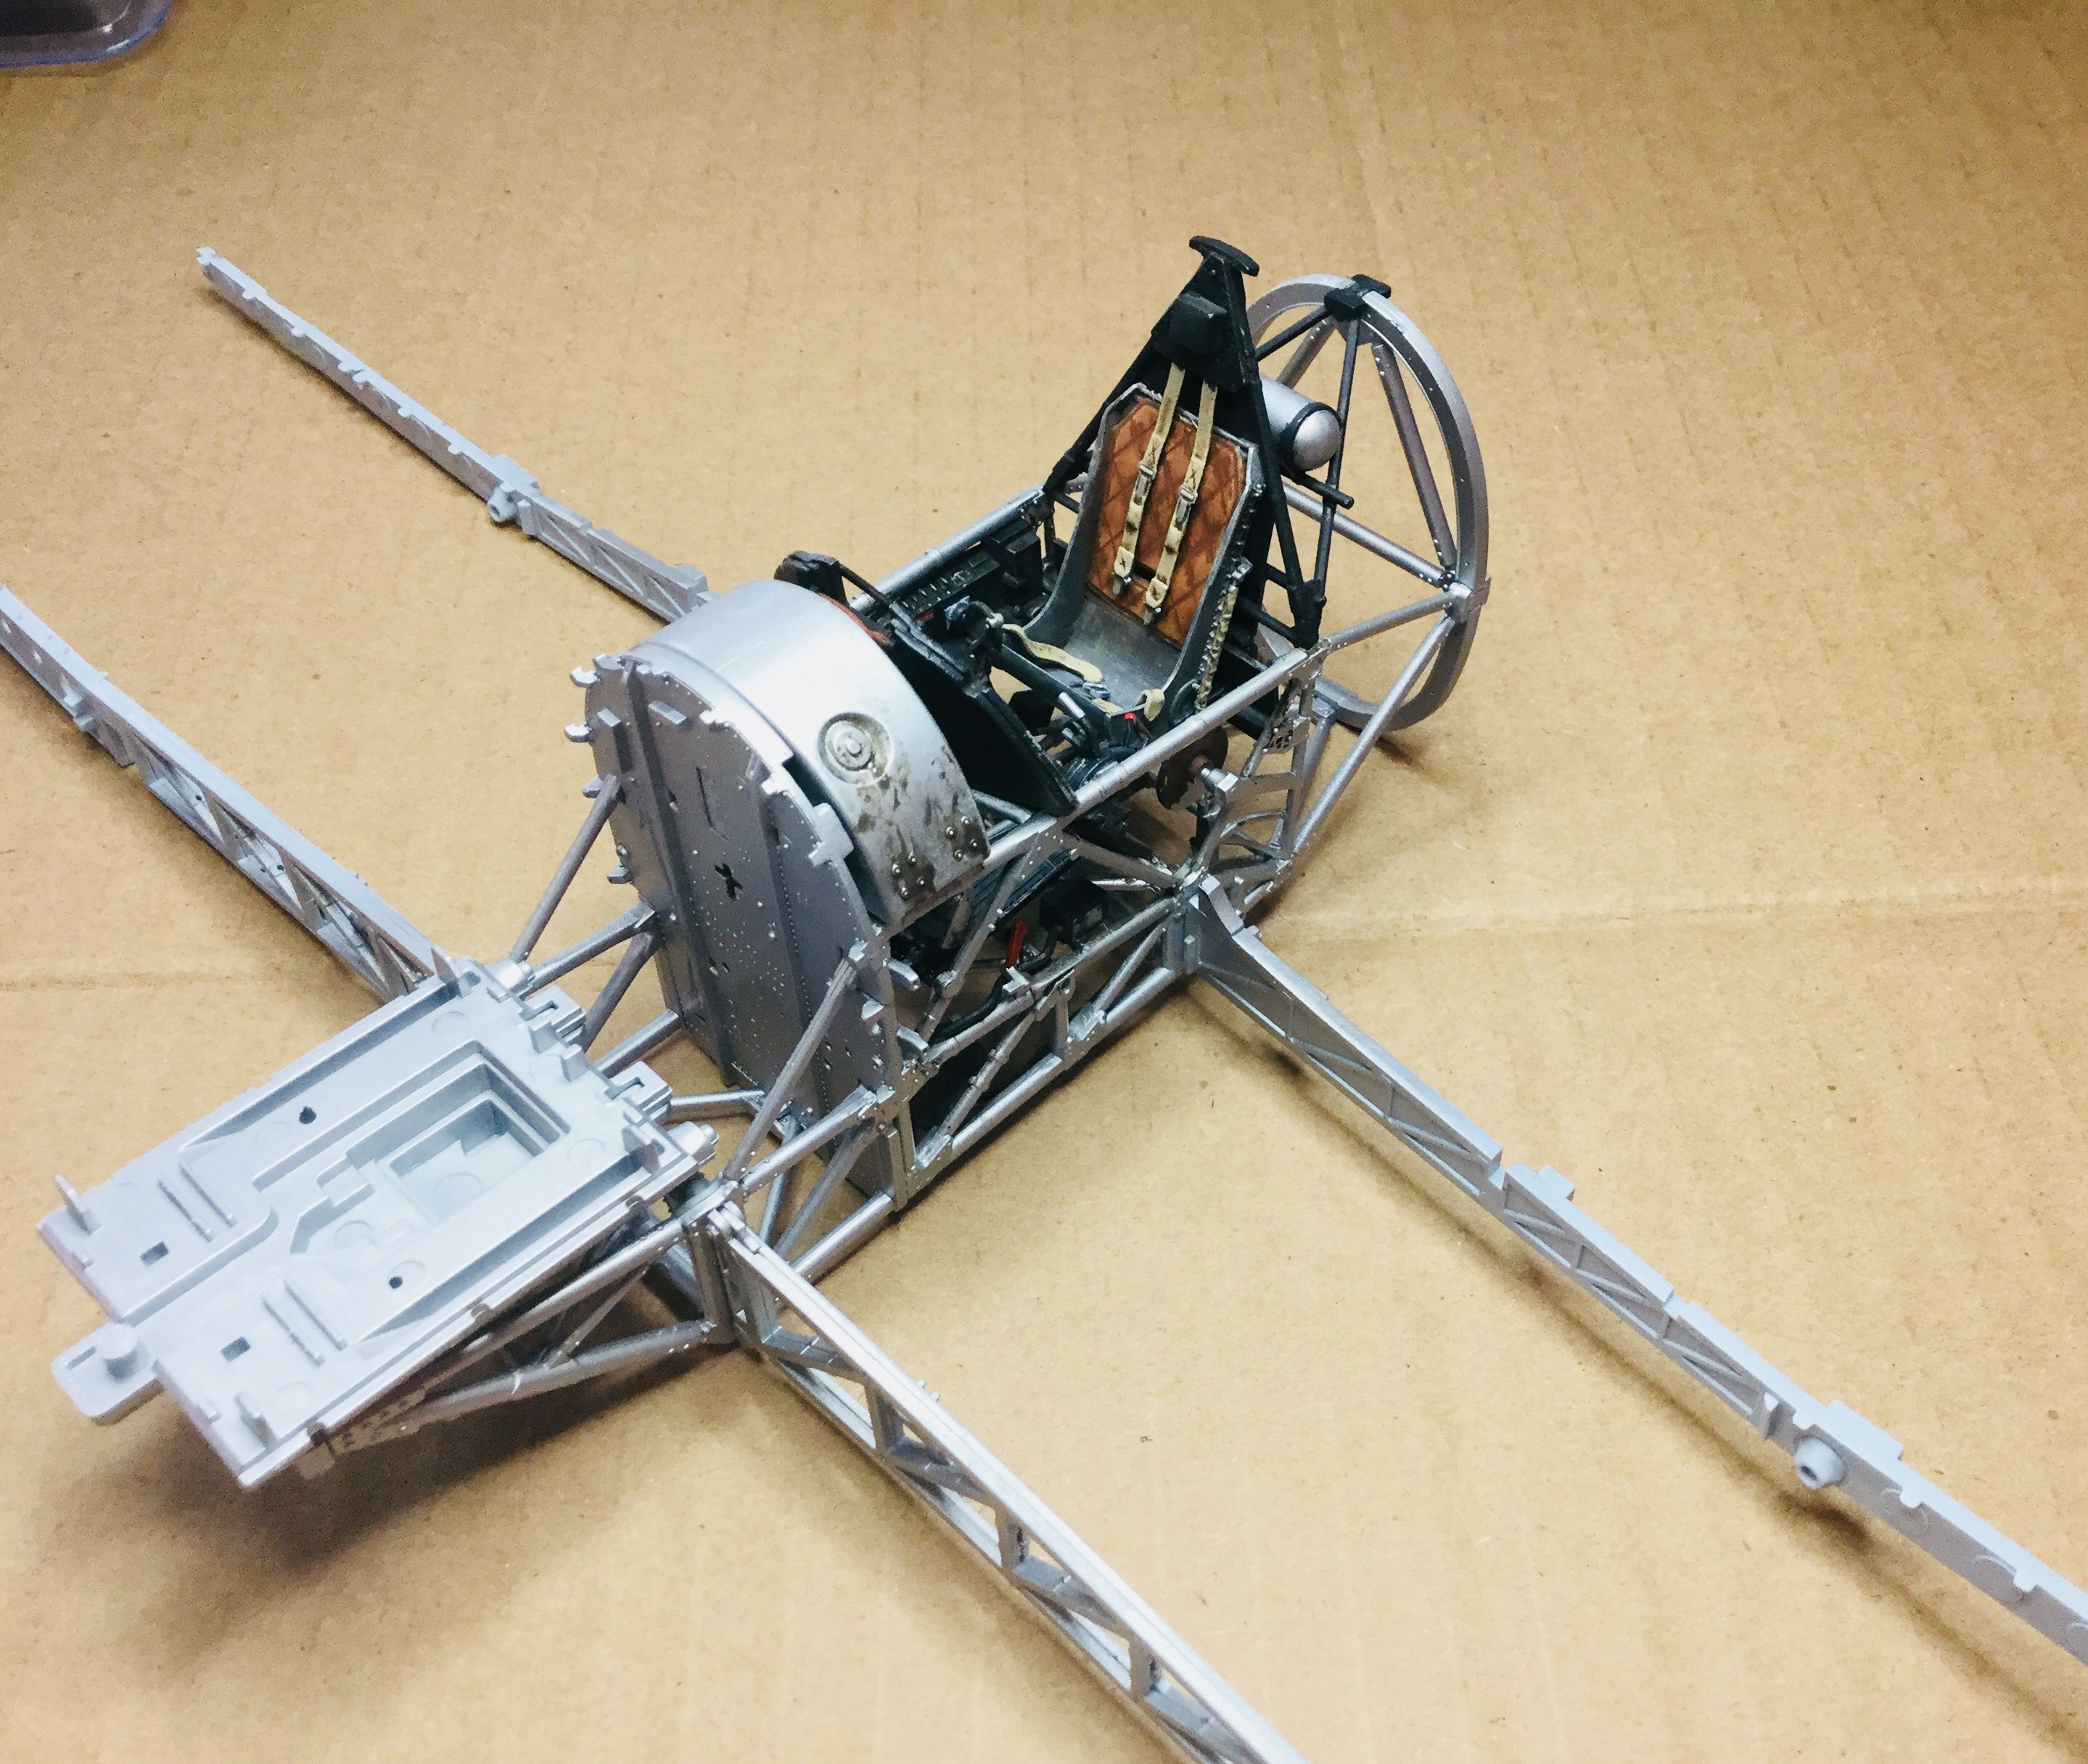
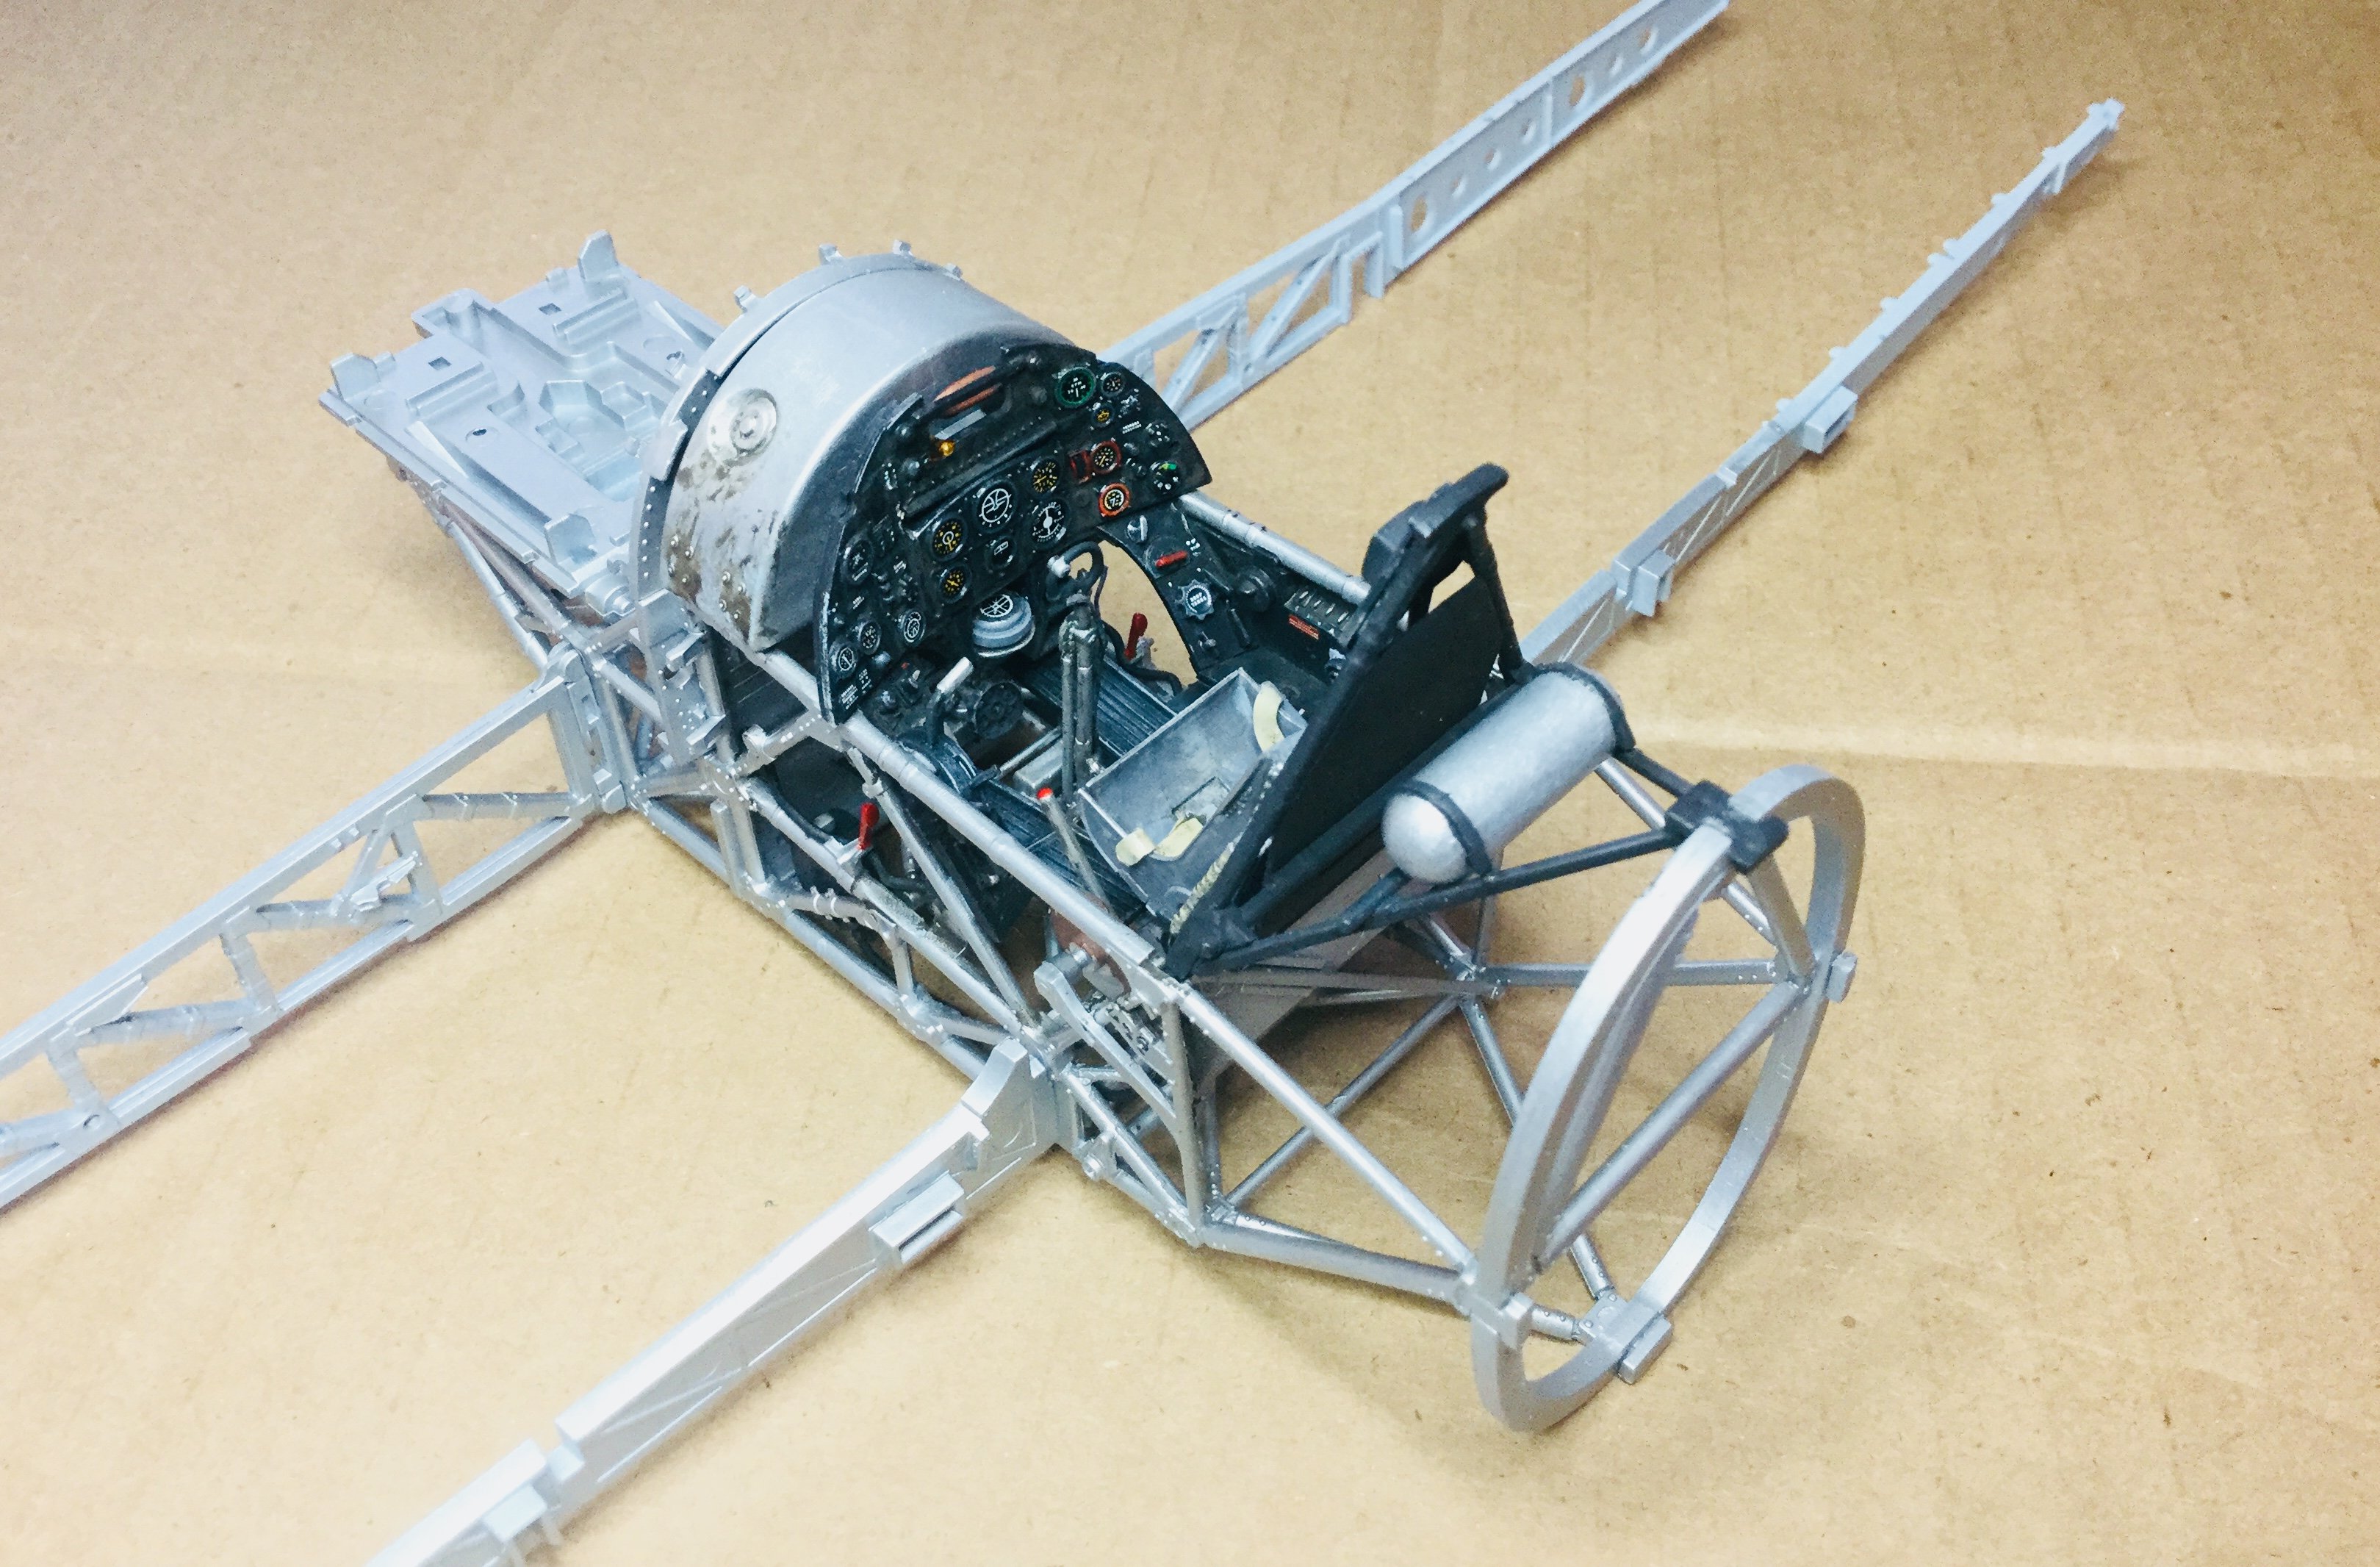
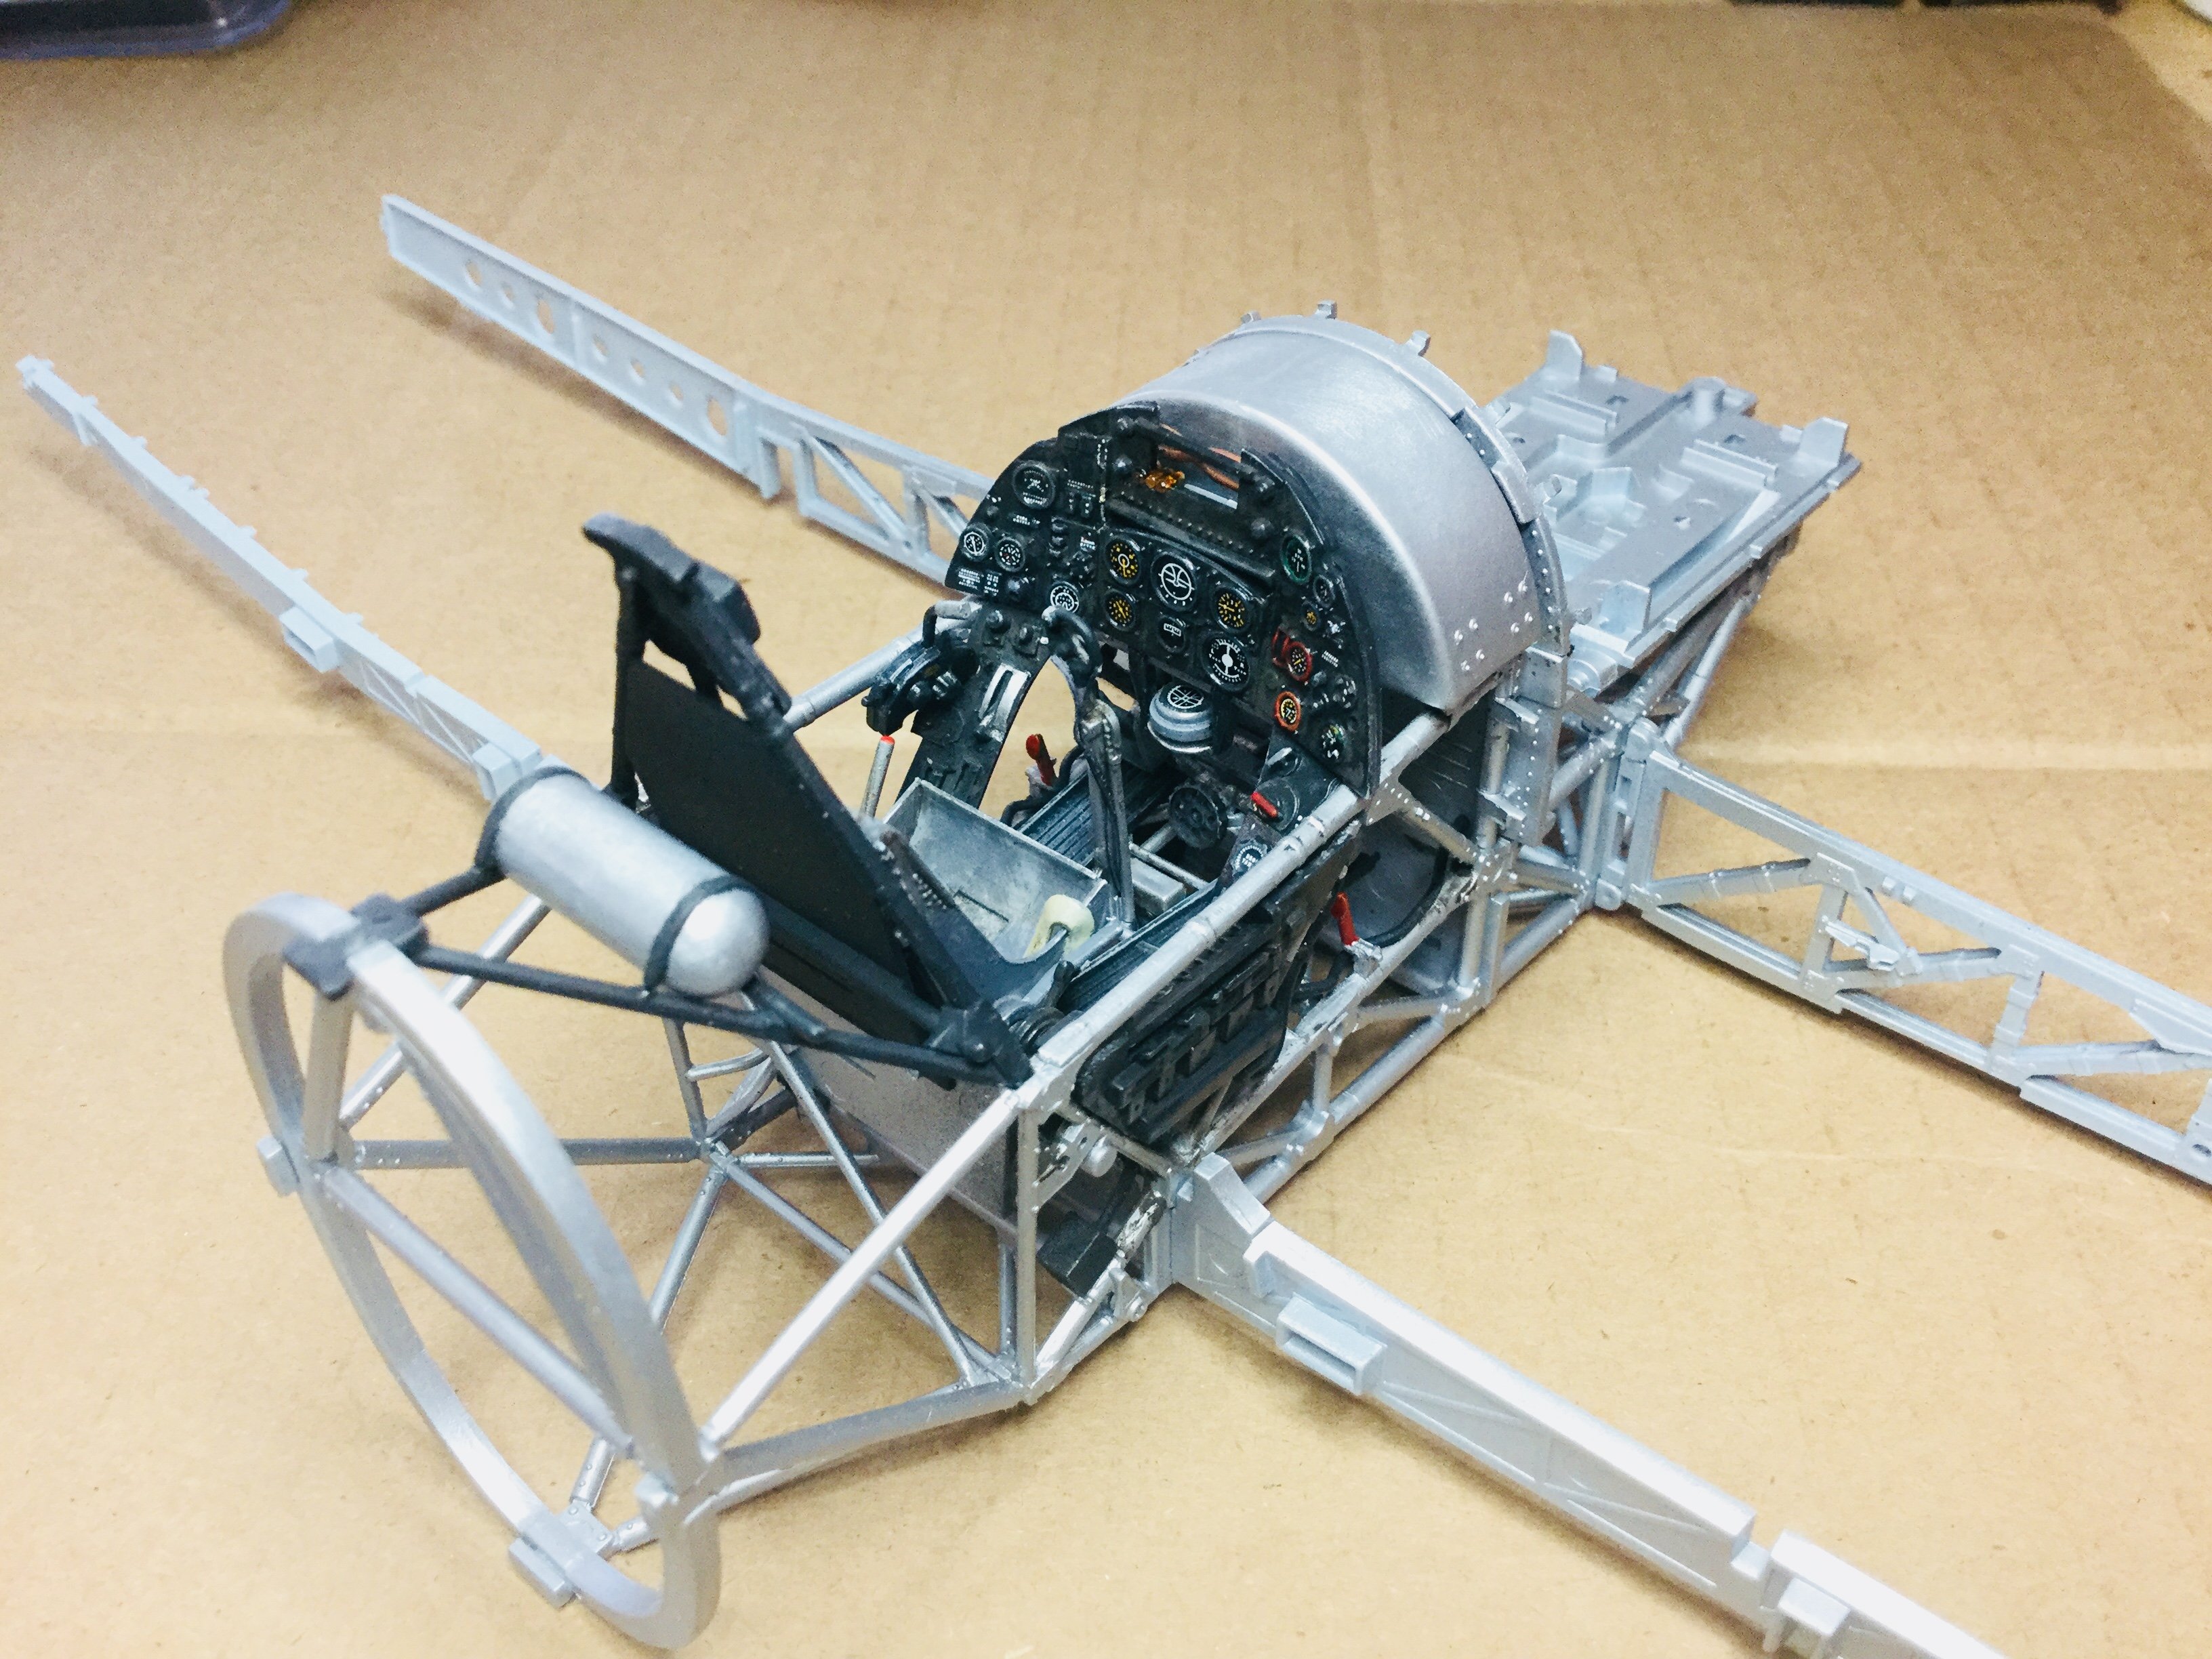
This is my first foray into 1/24 scale since I was a kid, building the MPC kits: the Airfix Cardoor Typhoon, and my second ever Airfix kit. For some reason I don't see many of these built, though James Hatch’s build has definitely inspired me. The parts need a little extra cleanup, but the engineering is amazing. Everything is out of the box, except for an Airscale compass decal. This is three days work, and pretty fun so far! Off to the basic engine next, since I don’t want to spoil the bull terrier lines of this aircraft. Cheers, Tom


- 68 replies
-
- 10
-
-
1/24 Airfix Scale Mosquito build
Uncarina replied to PeteF's topic in LSM 1/35 and Larger Work In Progress
Pete, you do so much with just what you have! Thanks for the tip about replacement parts. I emailed again and addressed to Lynne. A humble suggested addition is Tamiya AS-12 Silver spray paint: I use it as a primer since it grips bare plastic quite well and can be used as an underlayer for weathering. Cheers, Tom -
1/24 Airfix Scale Mosquito build
Uncarina replied to PeteF's topic in LSM 1/35 and Larger Work In Progress
Pete, I do feel your pain. I am confronted with a 1/24 Typhoon canopy that’s cracked, with no response from Airfix or Alleycat. In your case, I just bet you can find clear plastic packaging out there with a section that matches the shape you need. Then you can use the kit part as a template. Hope this helps! Cheers, Tom -
Thanks Martin! If the objective is fun, best=favorite. Cheers, Tom
-
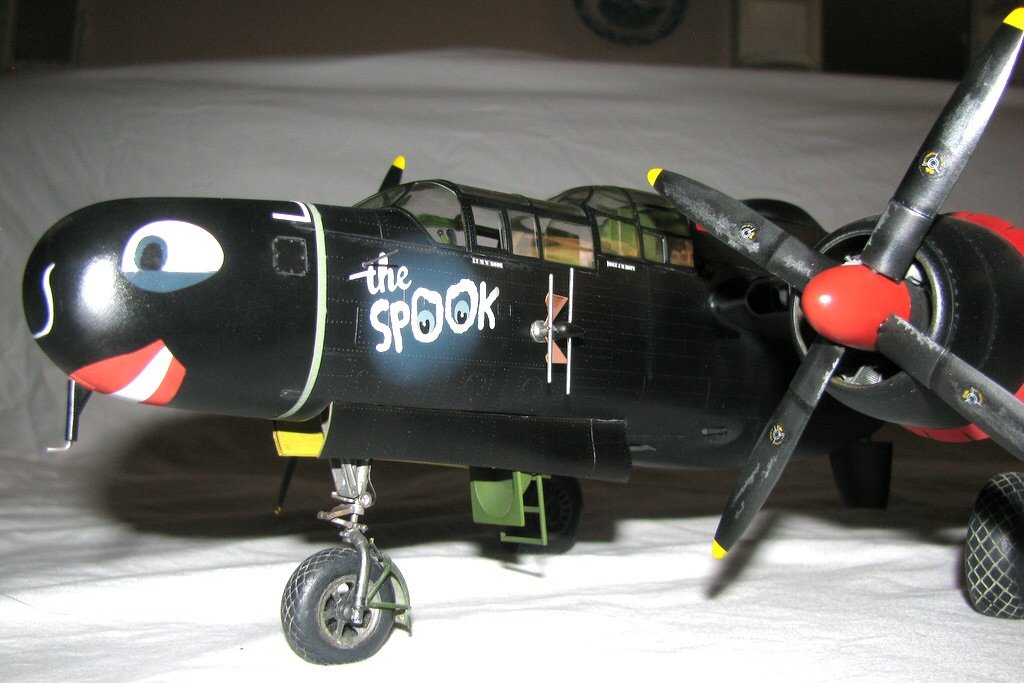
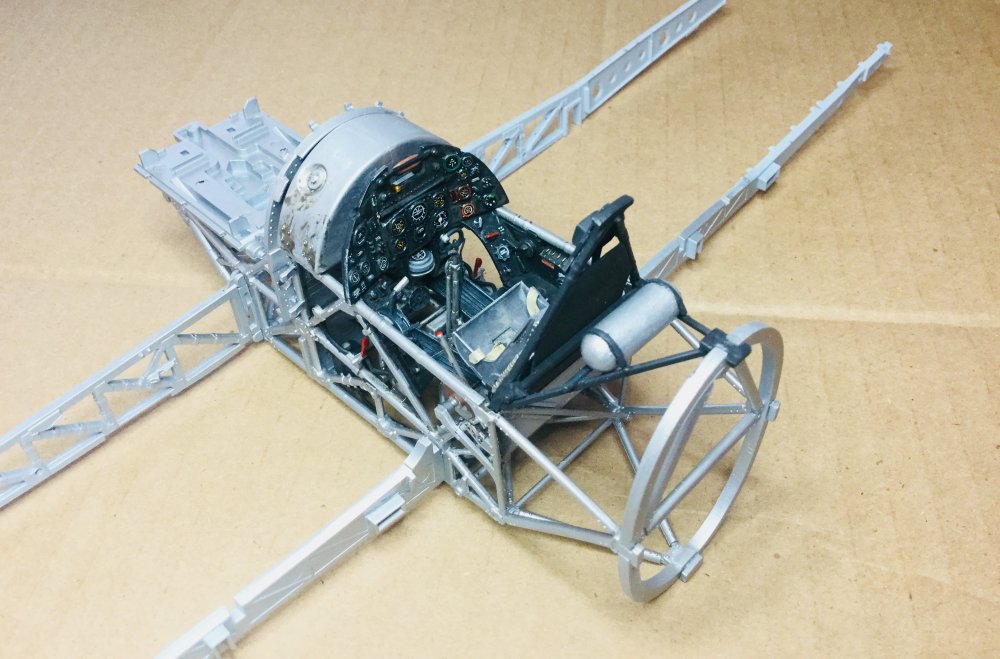
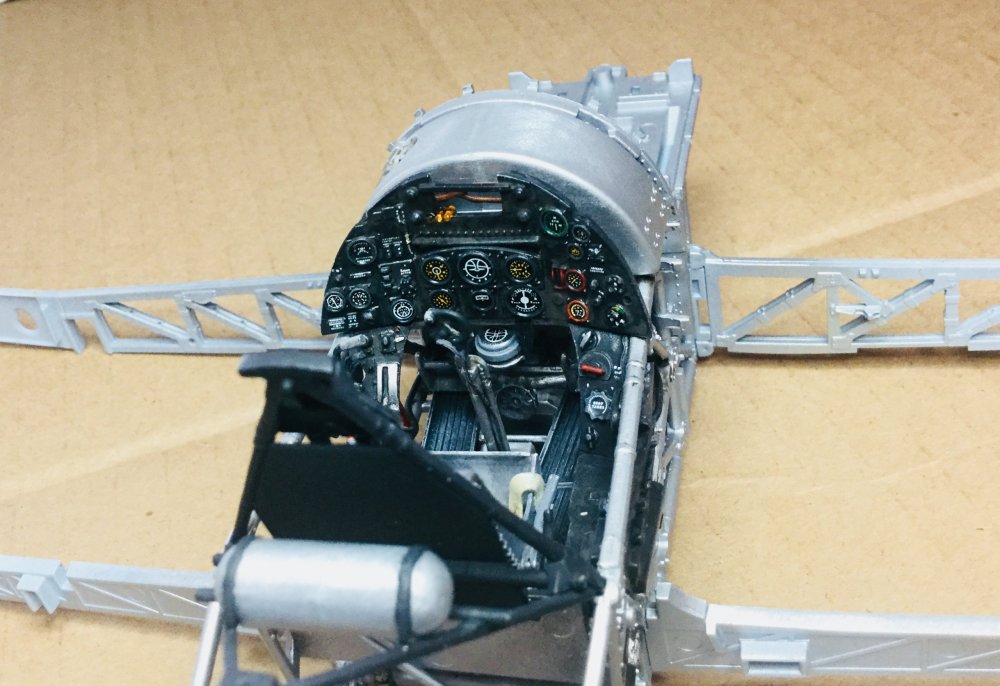
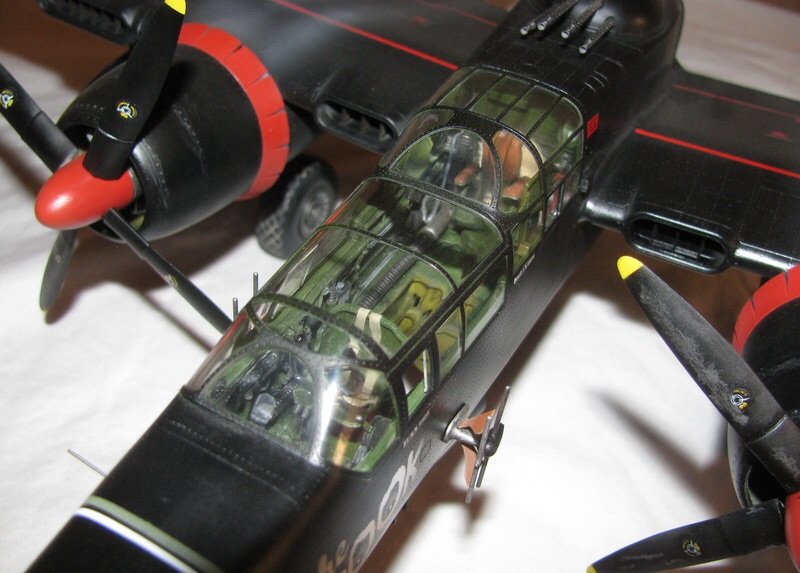
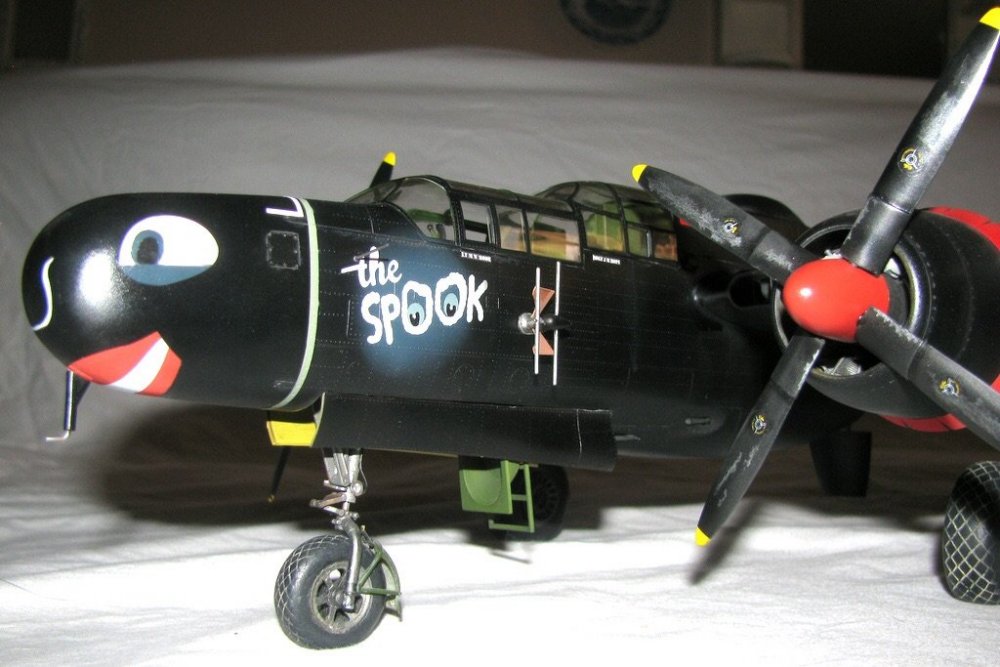
My favorite in recent years? The HB P-61 with custom masks and a lot of aftermarket! Cheers, Tom
- 88 replies
-
- 10
-