Uncarina
-
Posts
157 -
Joined
-
Last visited
Content Type
Profiles
Forums
Events
Gallery
Everything posted by Uncarina
-
This is gold Martin! A belated thanks for sharing. Cheers, Tom
-
Rob, That’s a great idea! You know, of course, that WNW came out with this release because I finished the kit in his markings! Tom
-
Thank you very much everyone! I haven’t read this book but will now! Cheers, Tom
-
Thank you! Cheers, Tom
-
WNW Hannover Cl.II (Early)
Uncarina replied to Uncarina's topic in LSM 1/35 and Larger Work In Progress
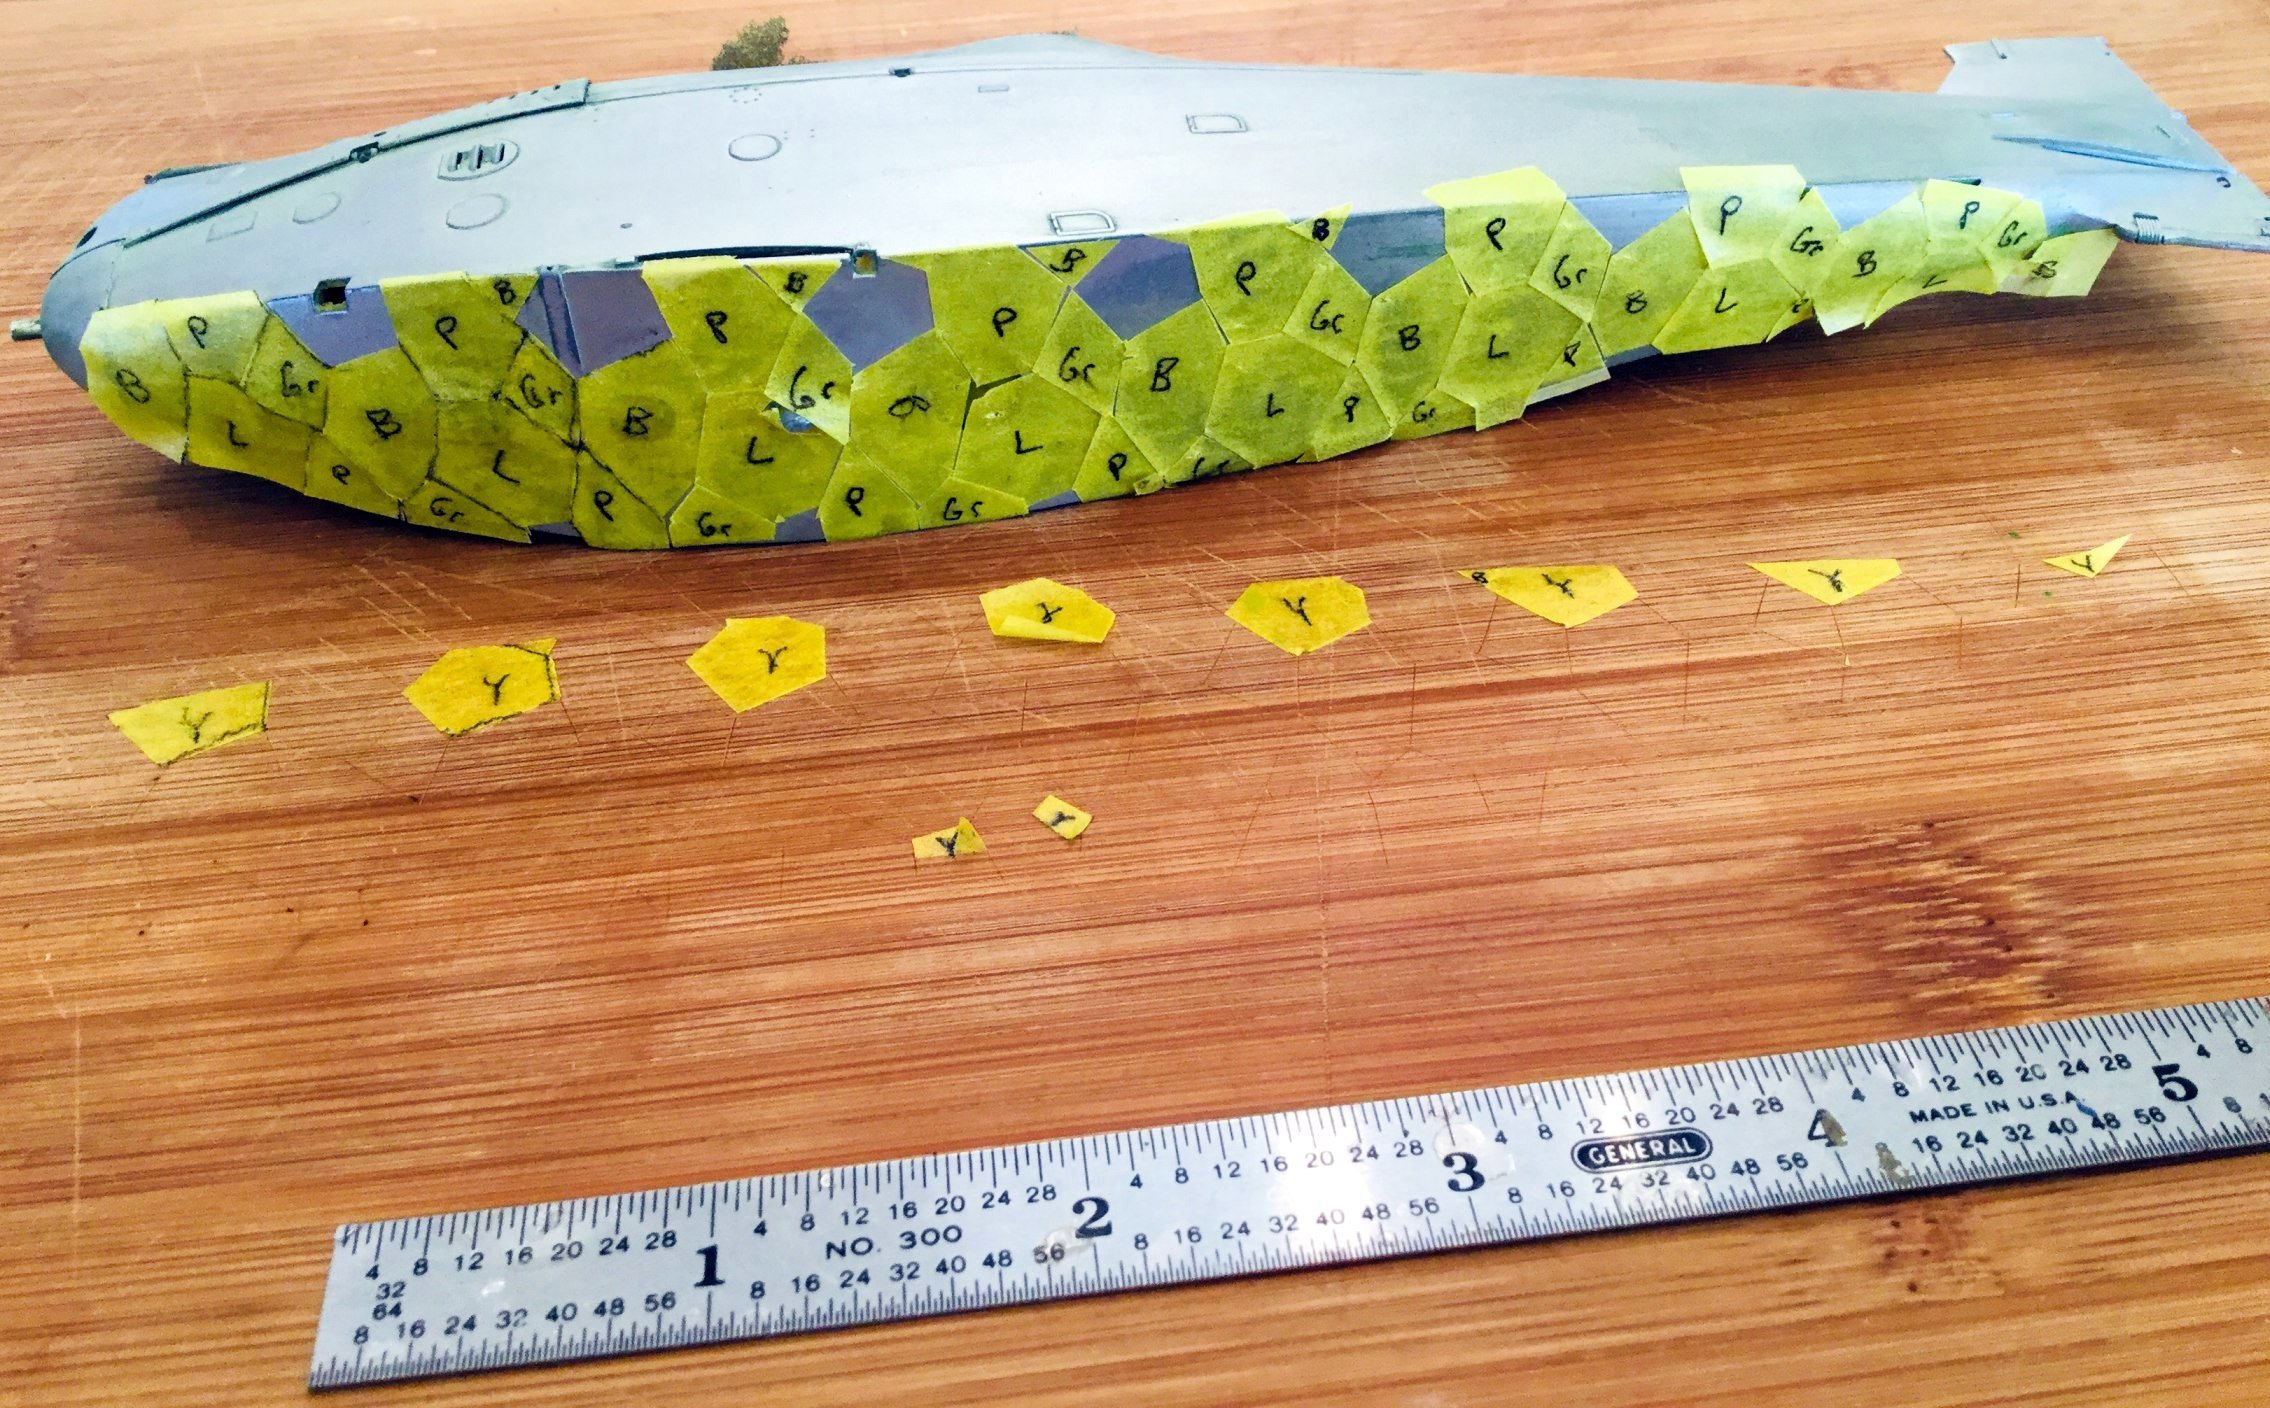
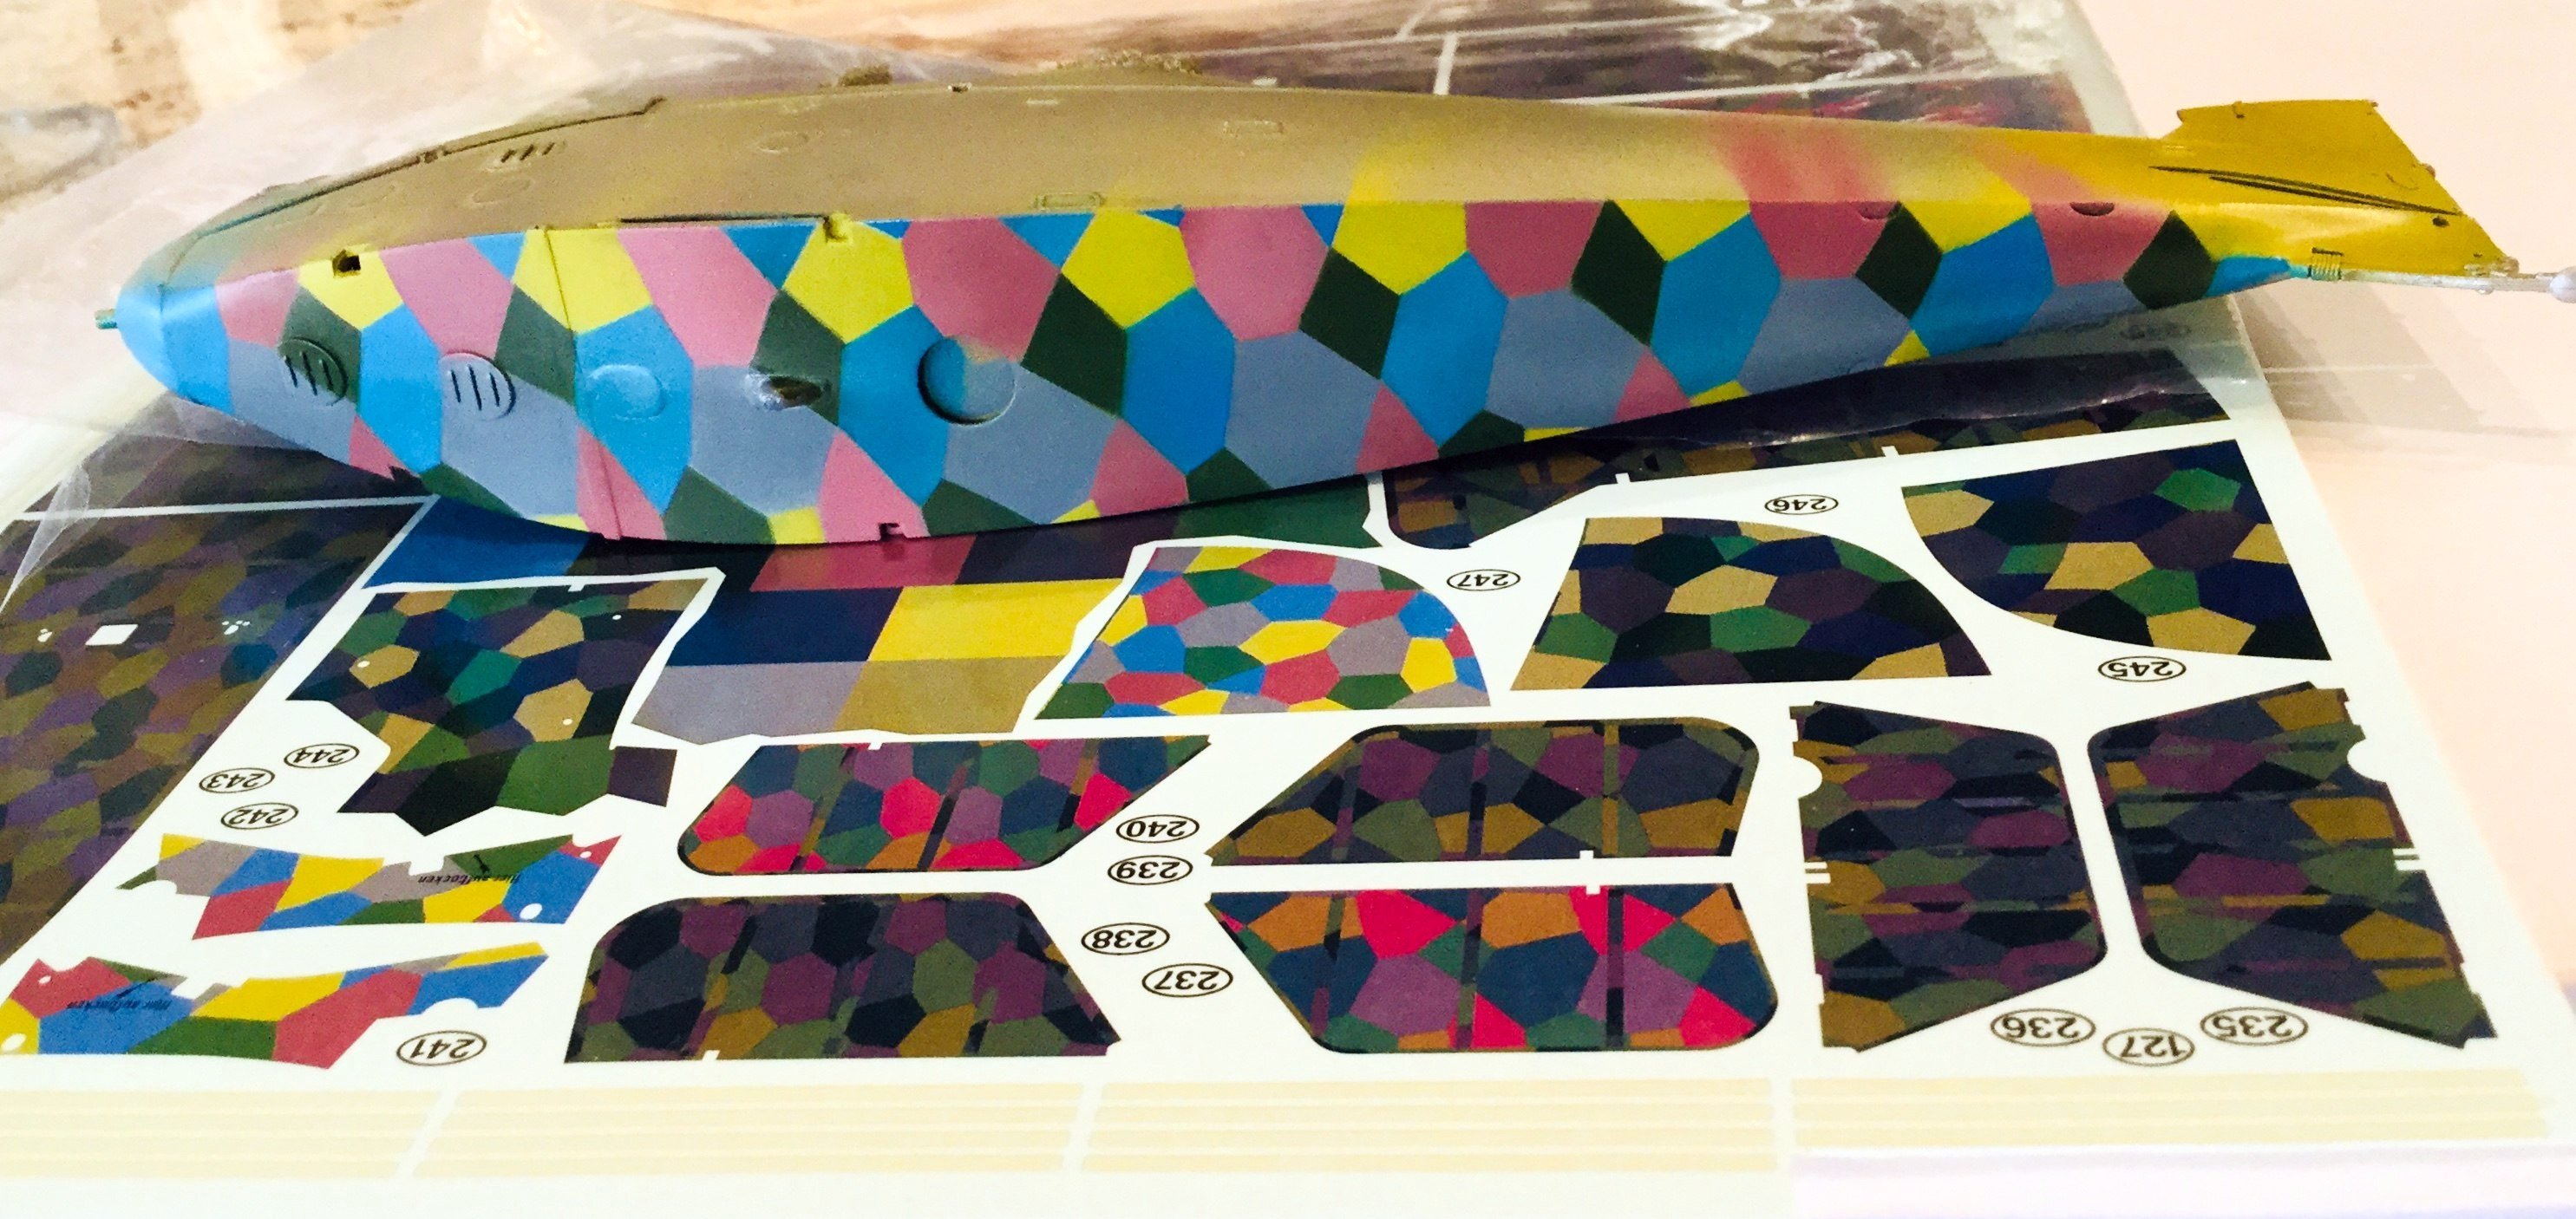
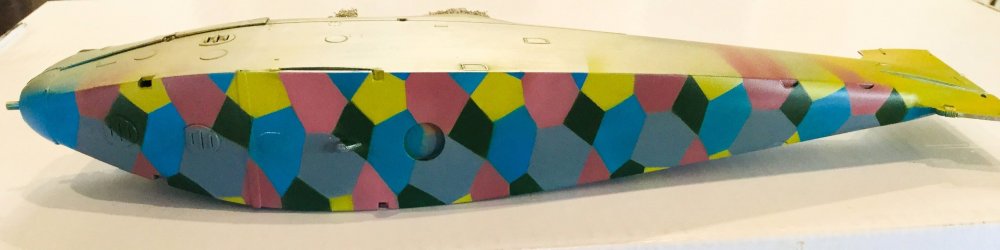
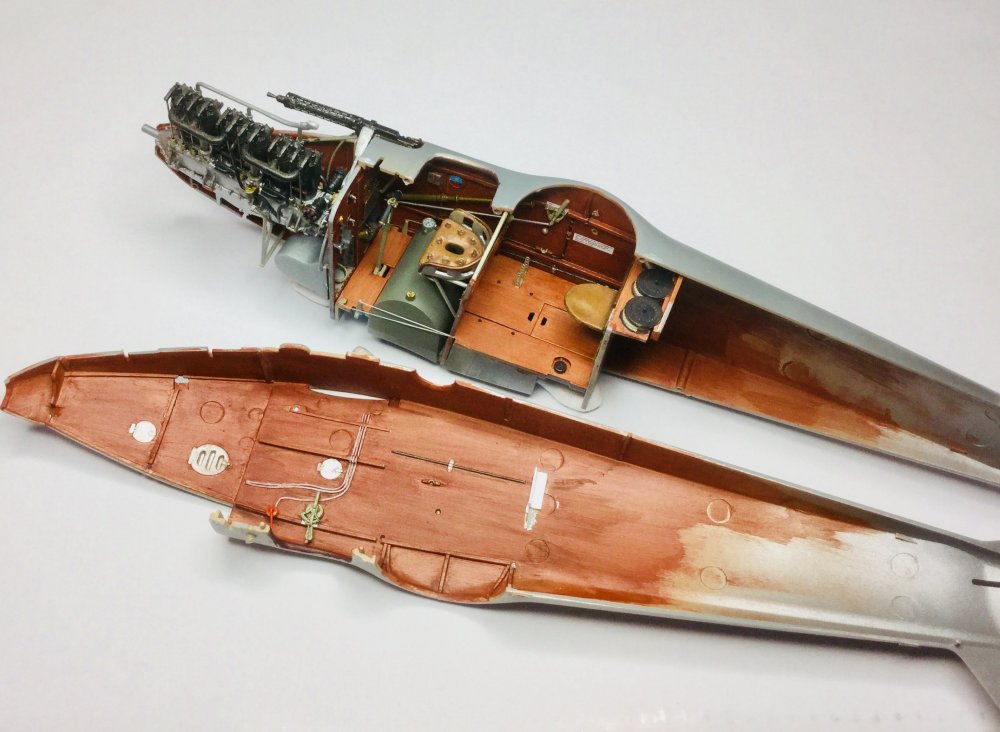
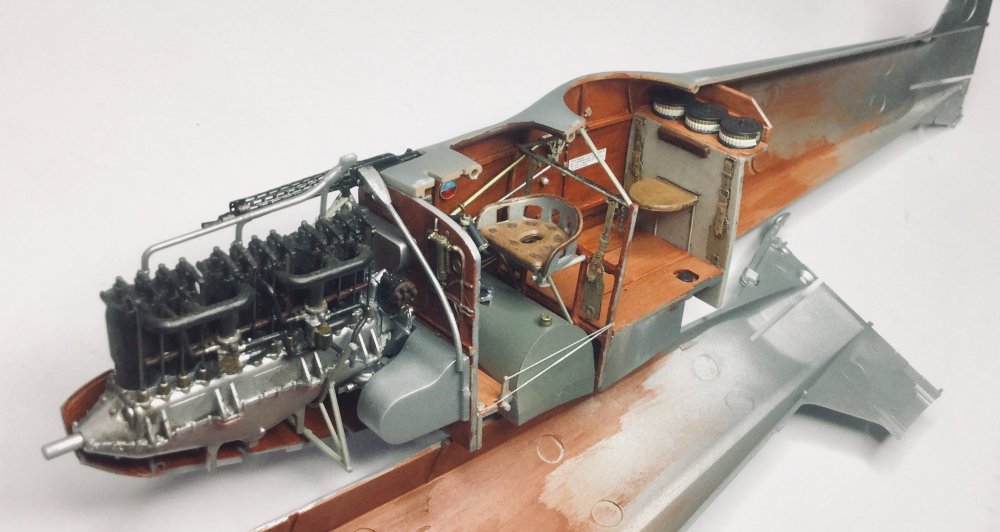
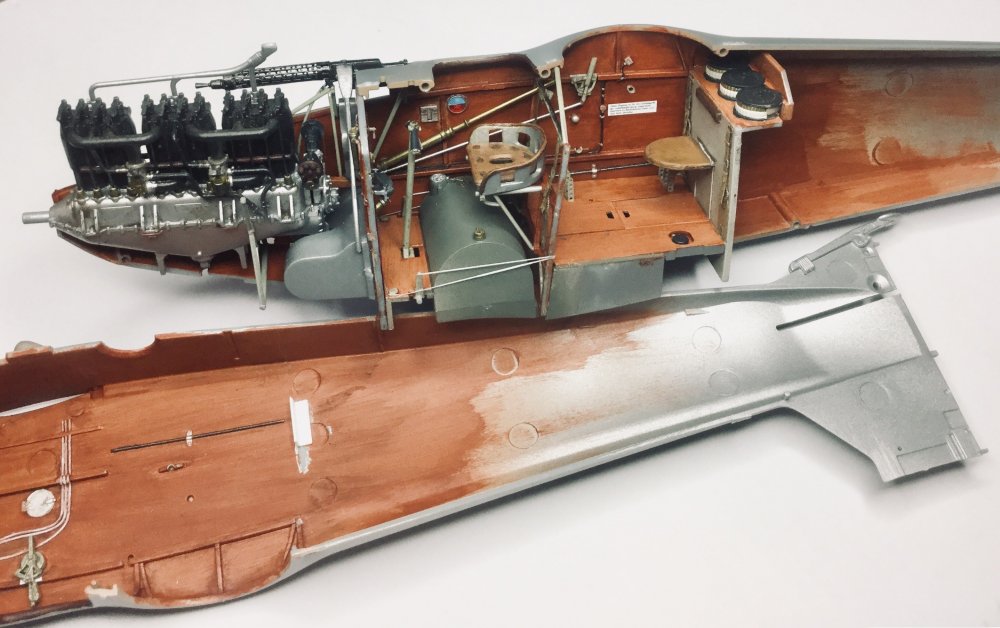
Progress: I closed the fuselage halves and began painting. I started with the underside of the fuselage, which has a speculative finish, according to the WNW instructions. Their interpretation is a series of transverse bands of the alternating five colors of the painted lozenge that is on the non-linen surfaces. Since this was not carved in stone, and without evidence to the contrary, I replicated the lozenge pattern for the underside painted surfaces. My first attempt was painting and masking with irregular lozenge shapes each of the five colors, which was suboptimal since I underestimated the size of each lozenge shape, and because it created a noticeable layering effect, resulting in the first colors appearing sunken. My second attempt used a lozenge pattern that I cut onto Tamiya masking tape, with each color labeled: I used Tamiya colors matched to the kit decals, and here the first color is ready to be applied. Eventually, and with significant touching up (meanwhile I was getting used to a new airbrush), I achieved this result: Photographs indicate that the fuselage sides and top were also painted with a lozenge pattern, then overcoated forward of the tailplane/rudder with Prussian blue. Because of this, I won't be replicating the entire pattern, but instead I plan to add the lozenge colors that are lighter and darker than the overcoat. To be continued! Cheers, Tom

-
Thanks Phil! You are very kind, and you will really bring justice to your own build. Cheers, Tom
-
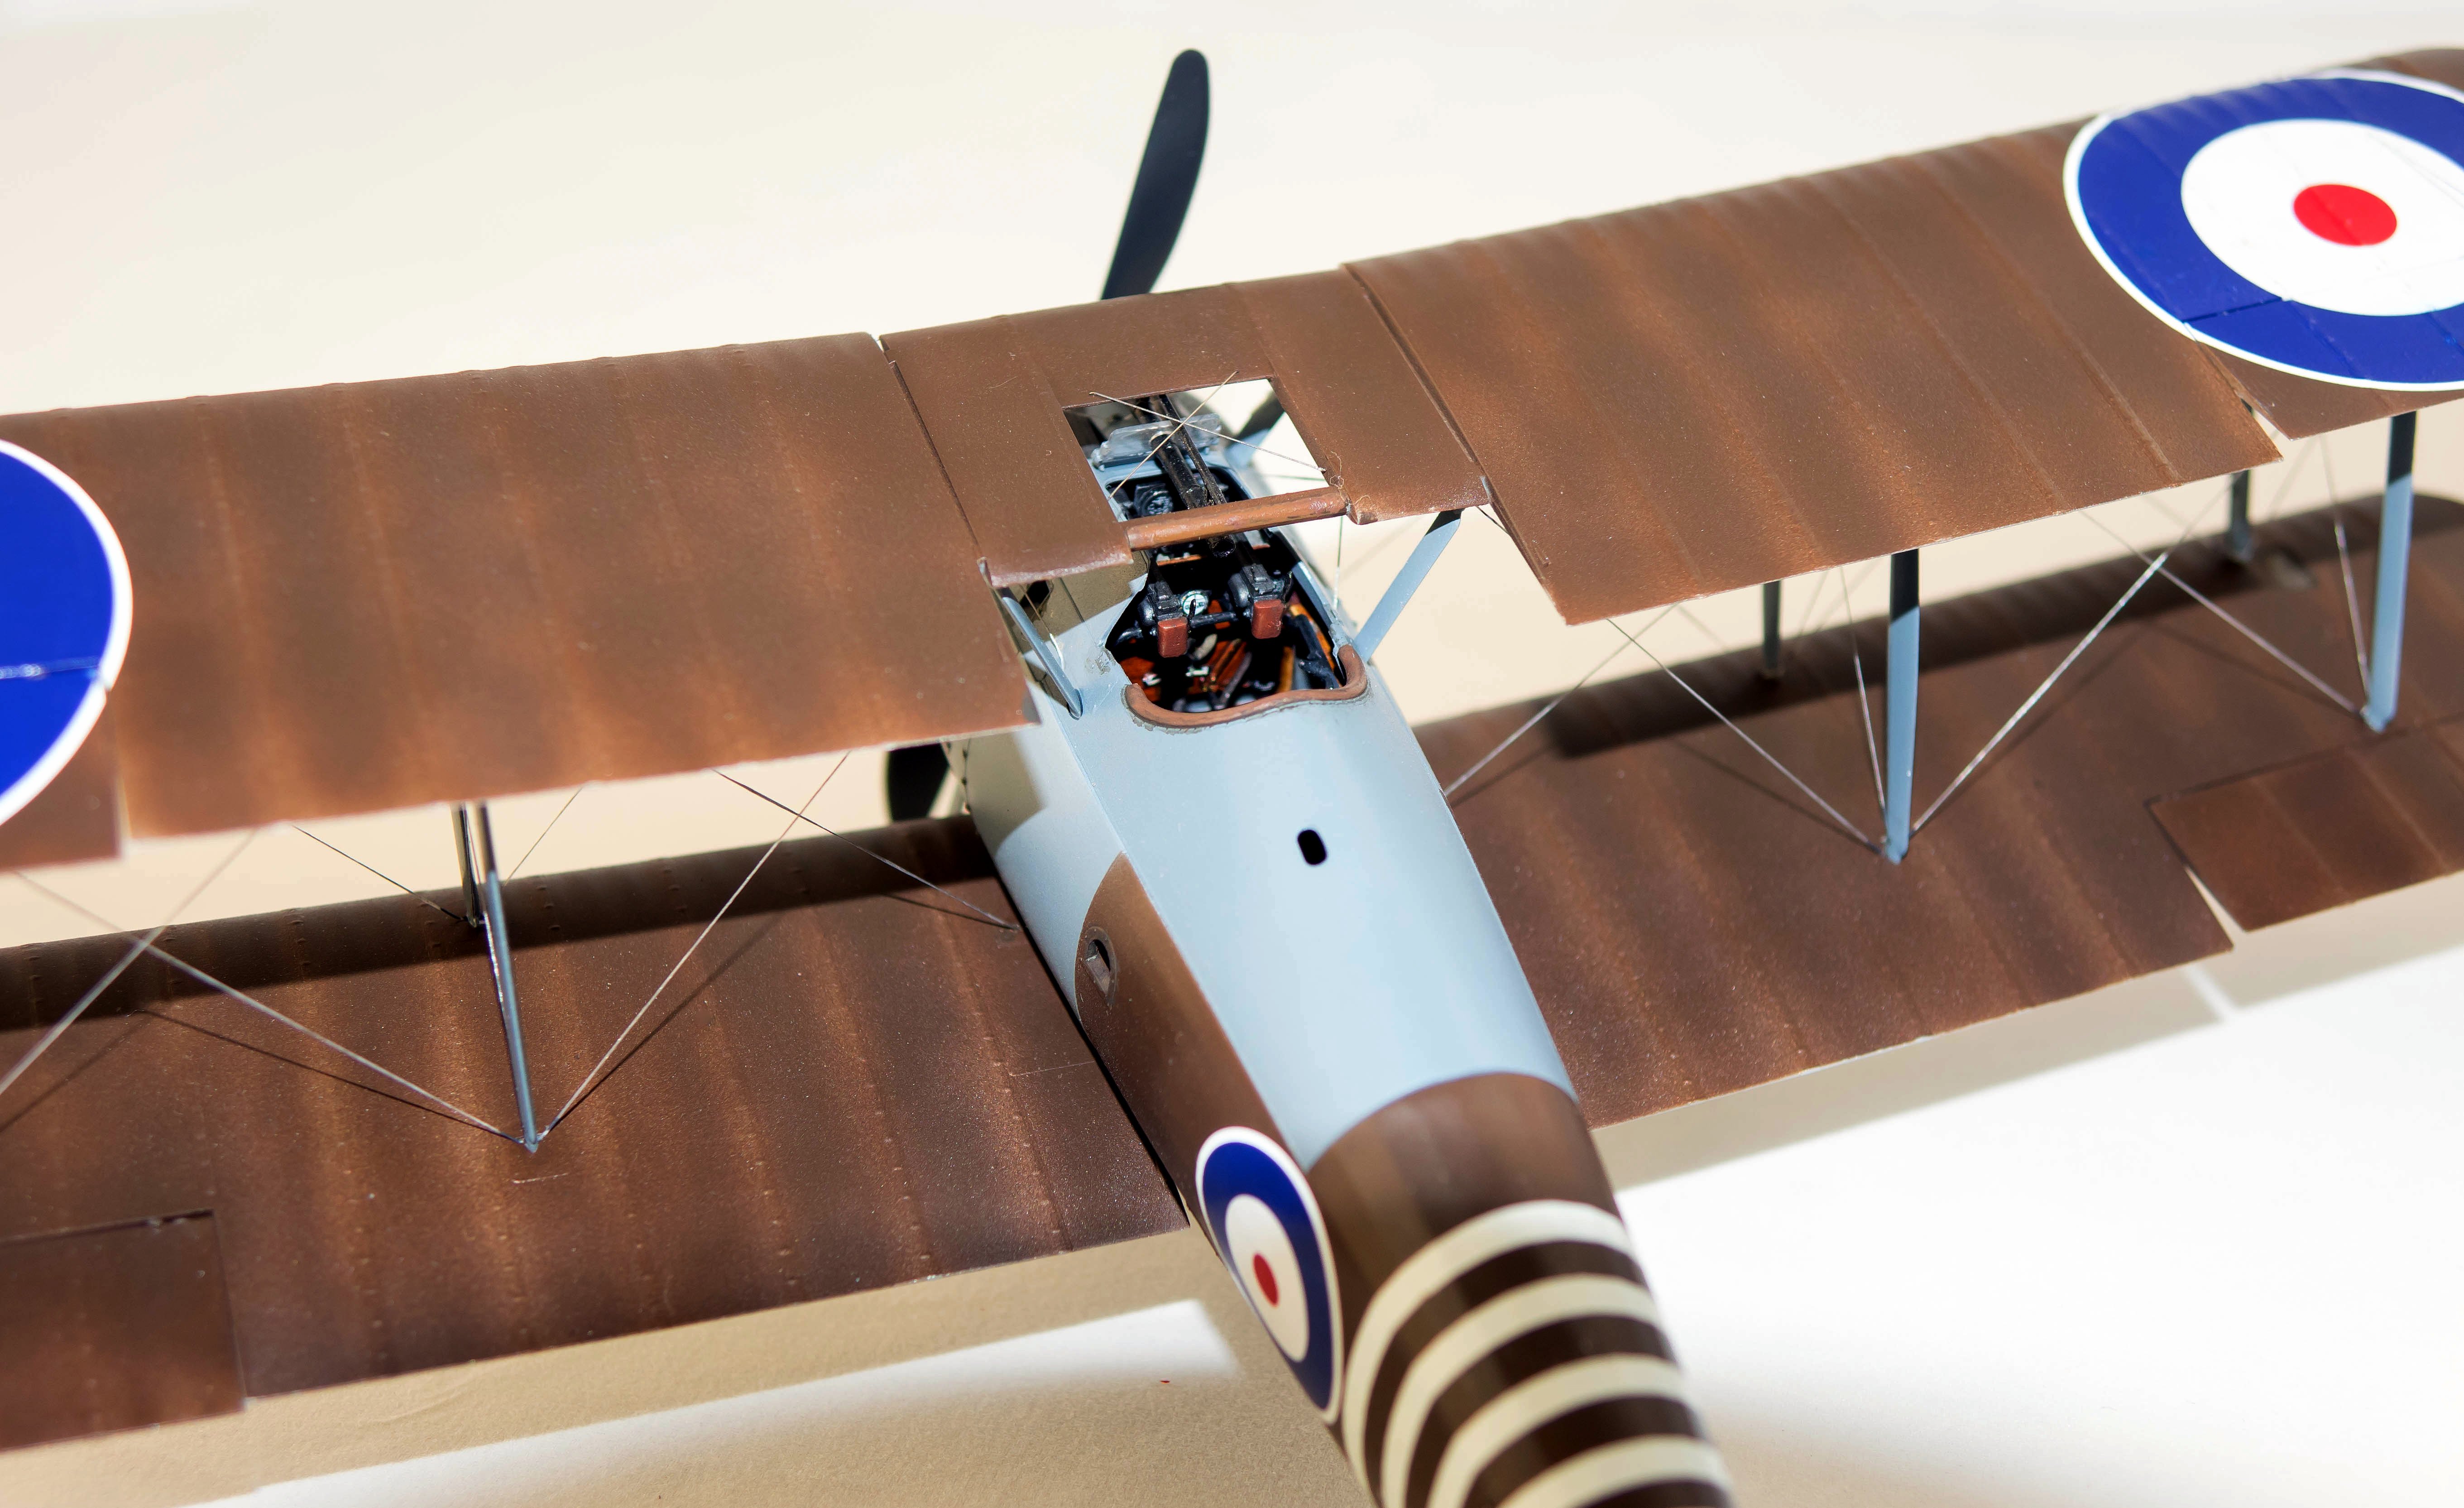
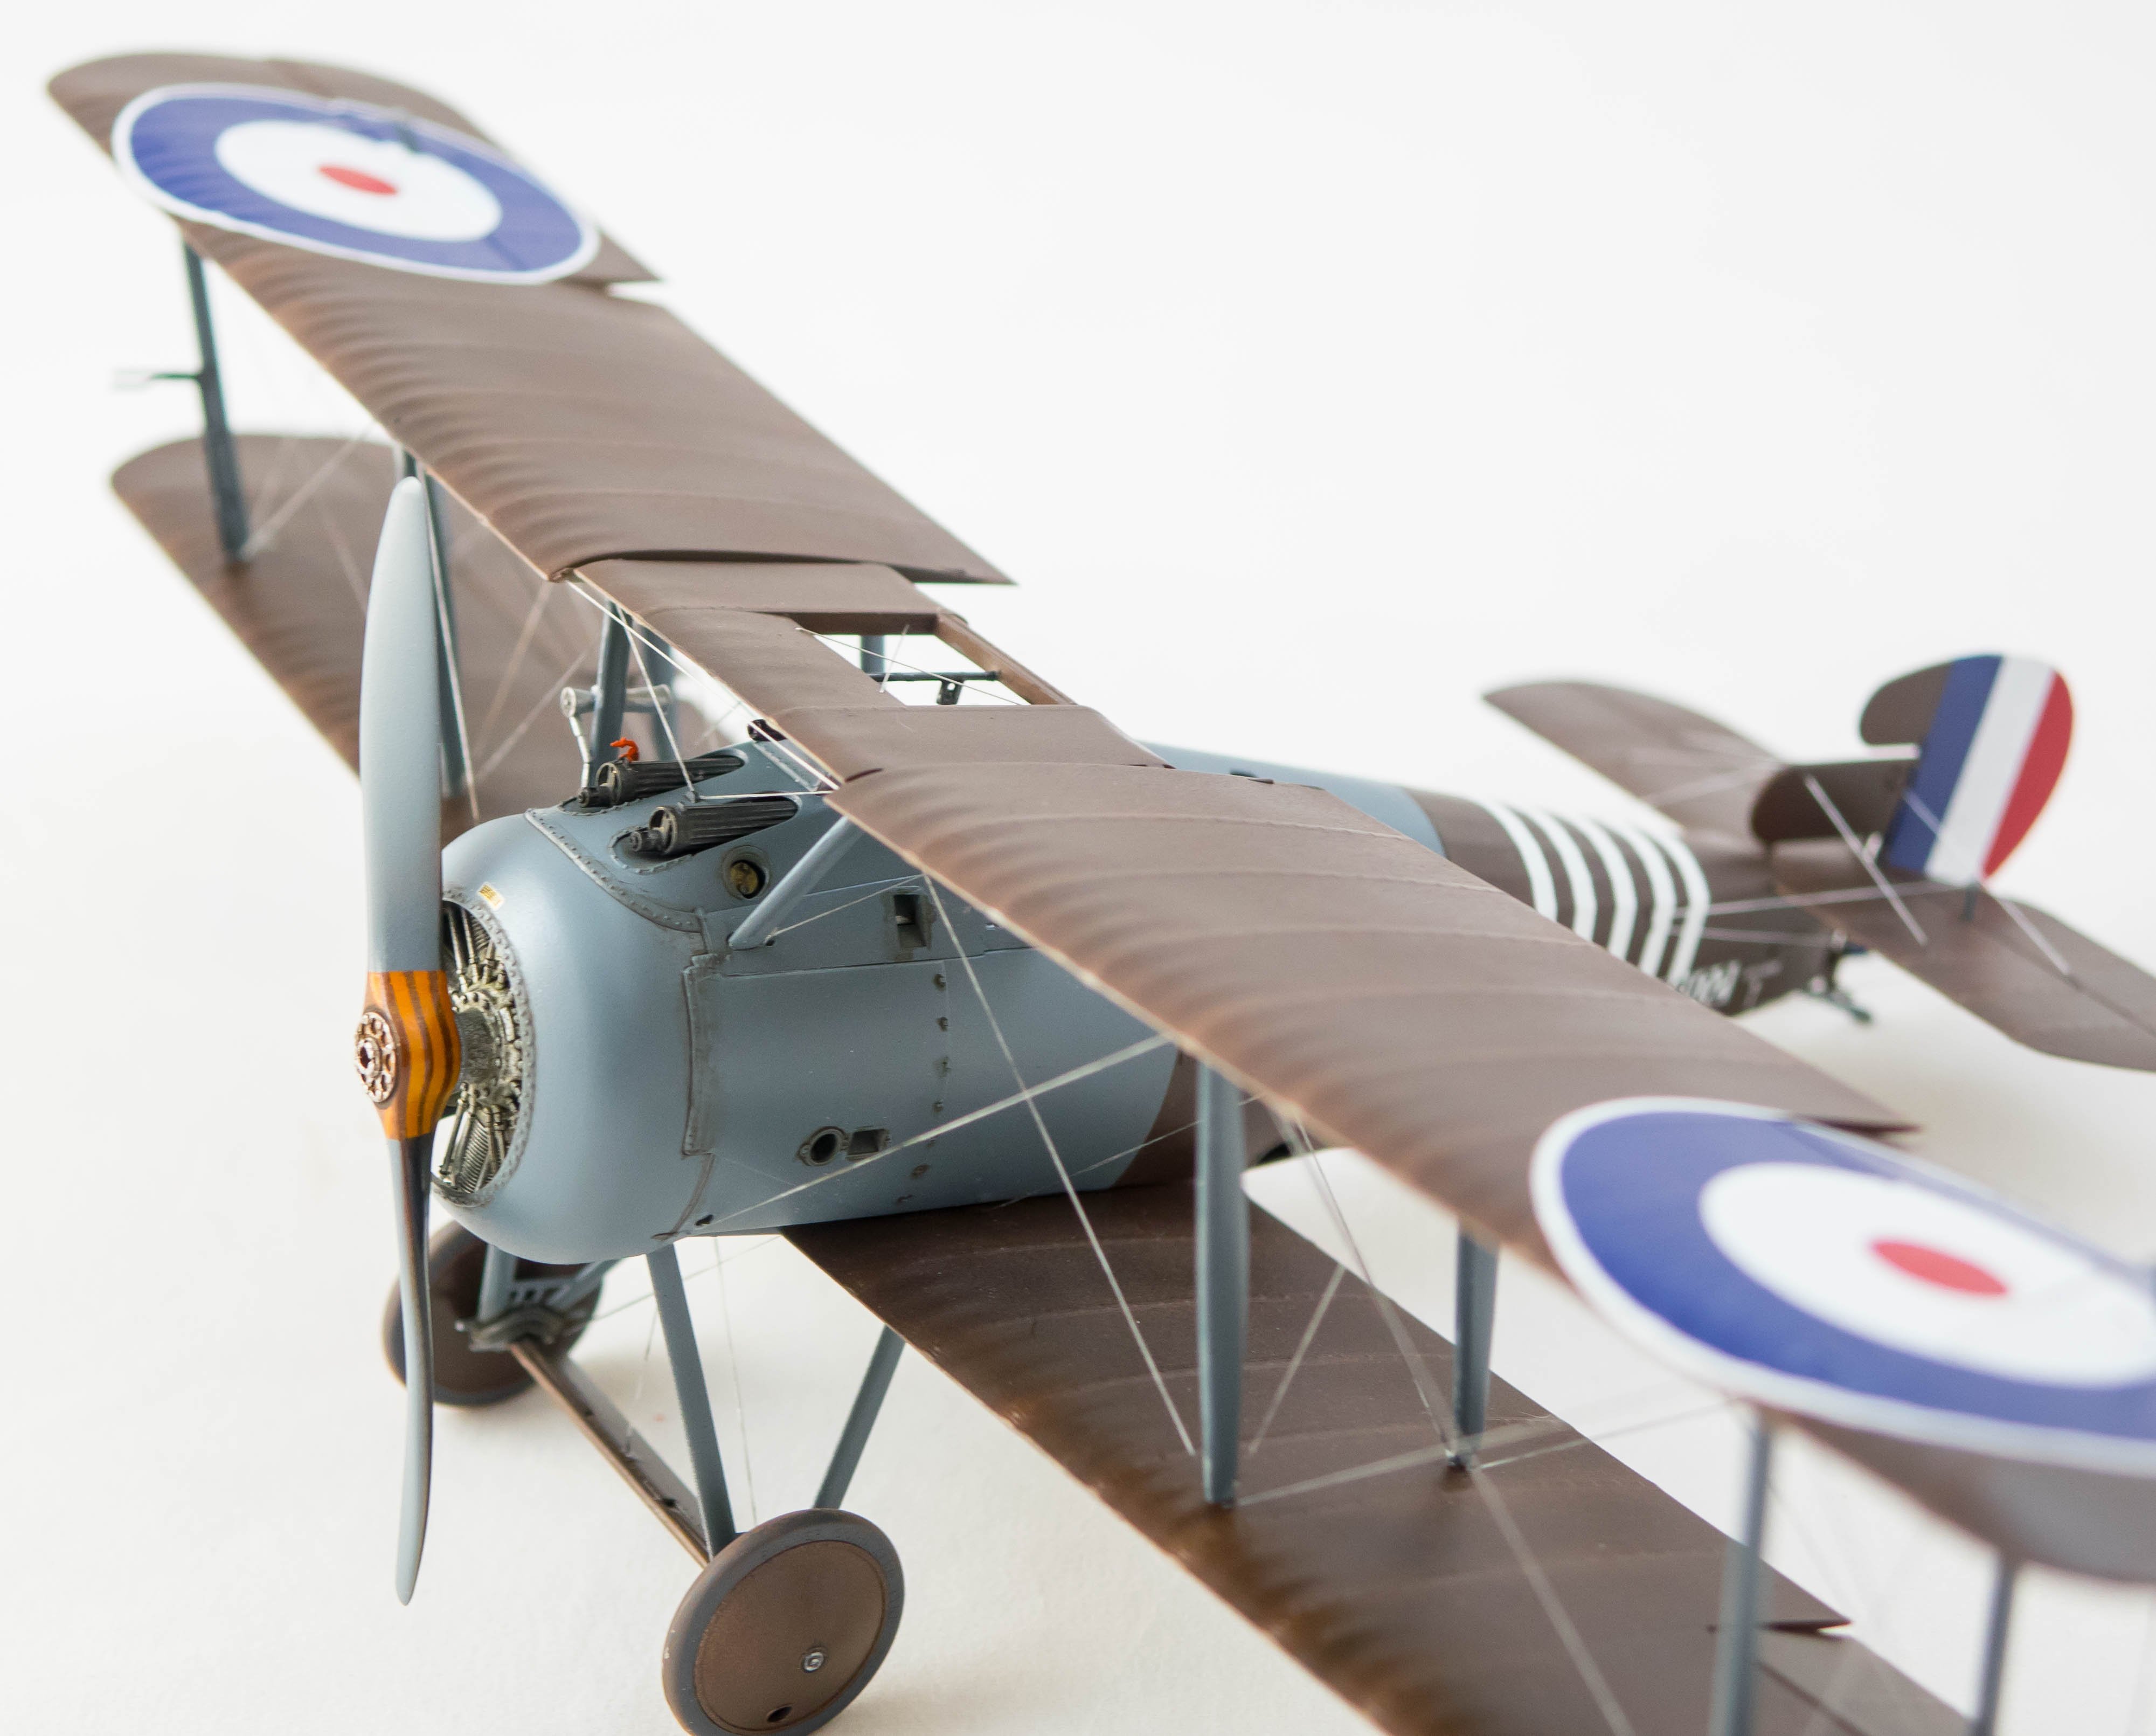
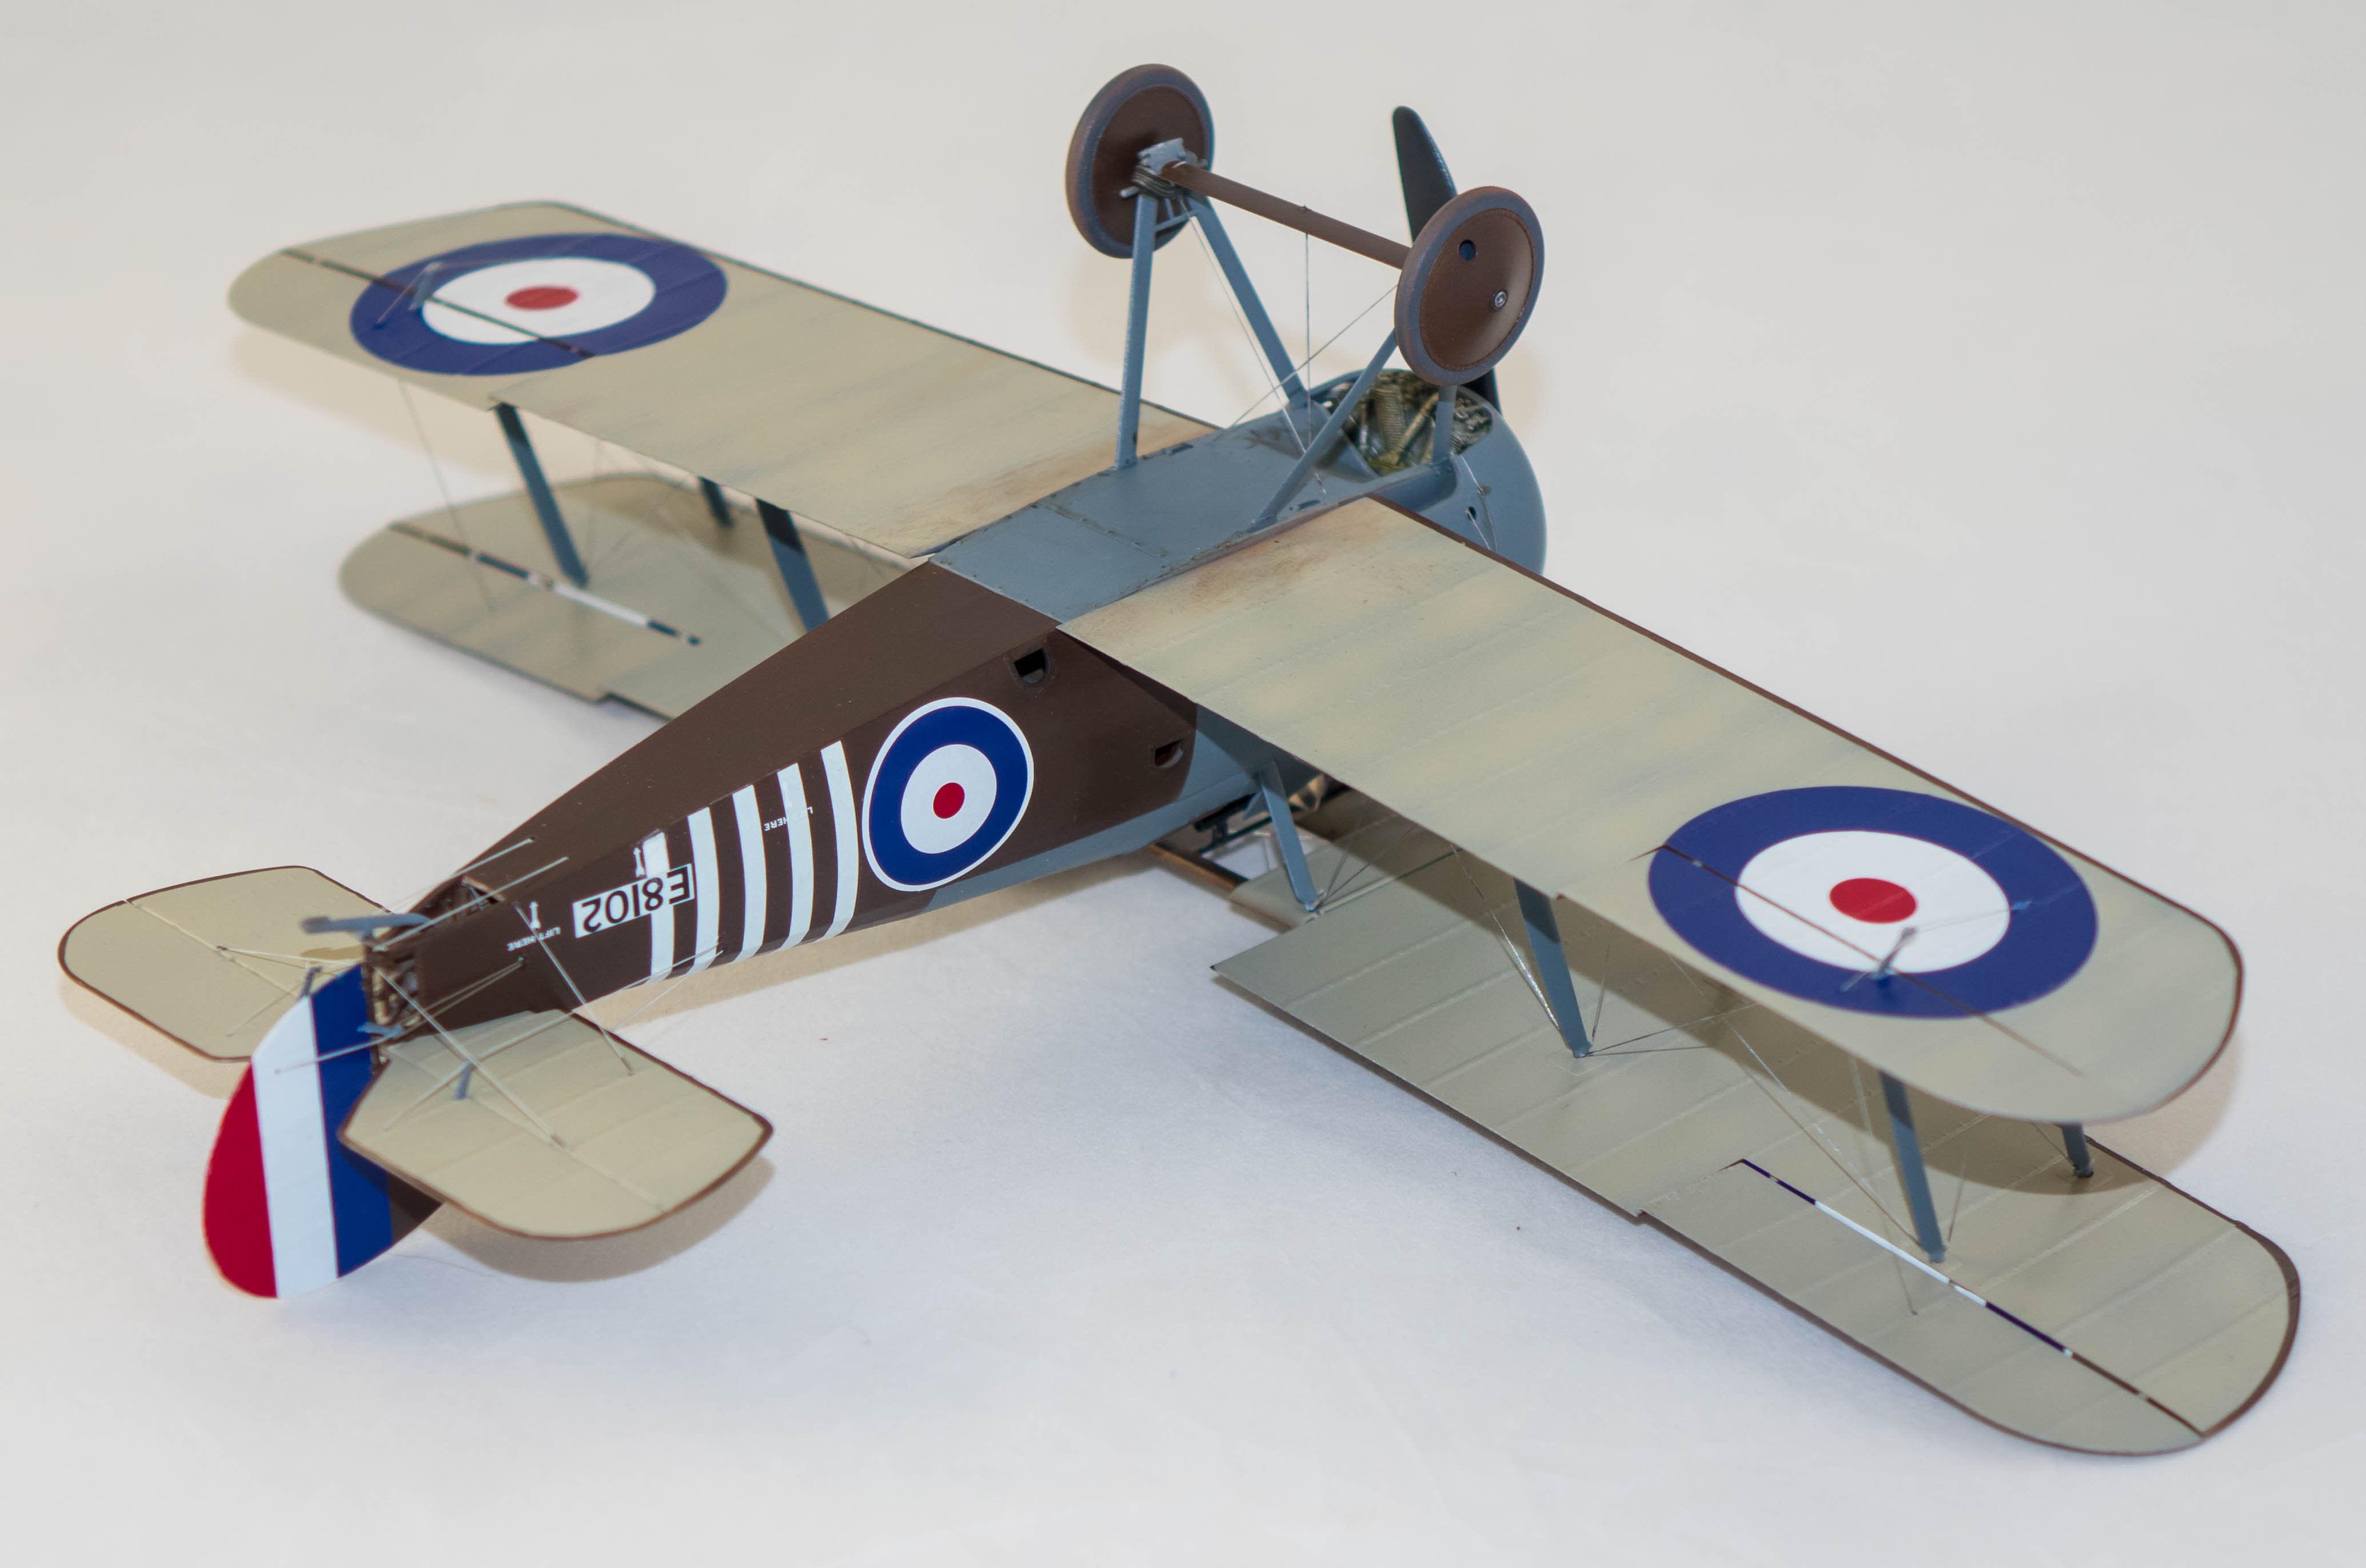
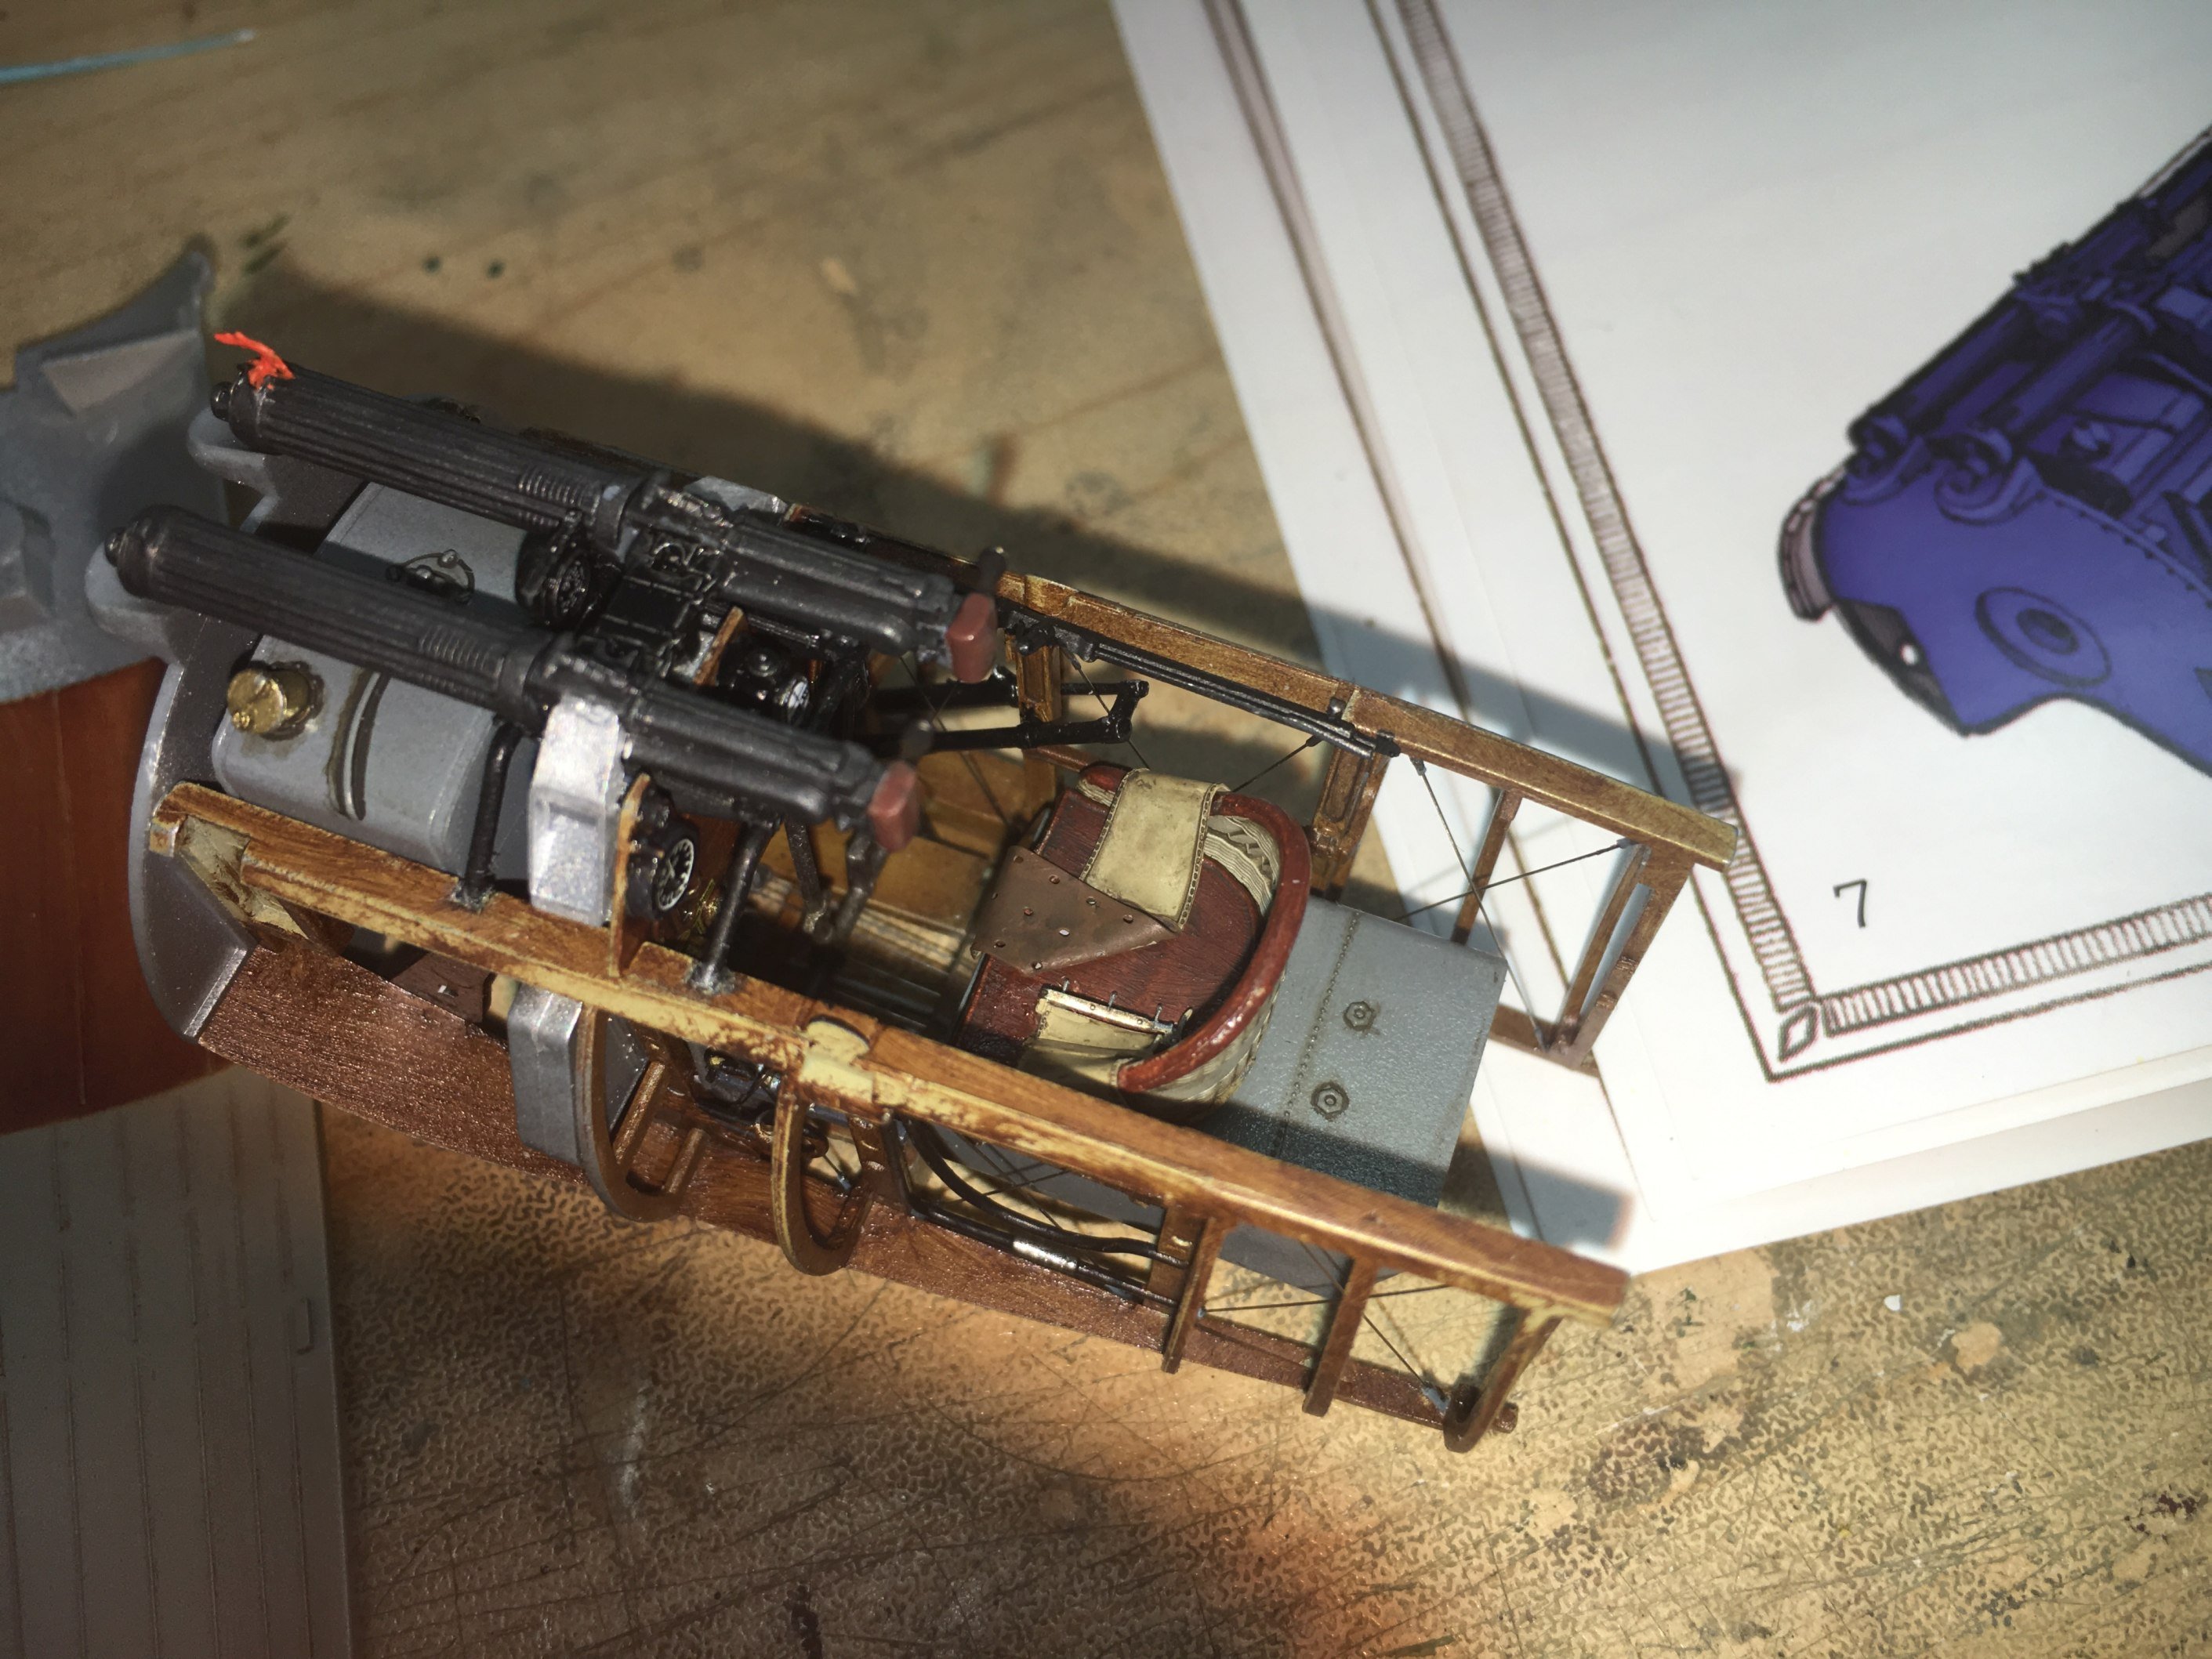
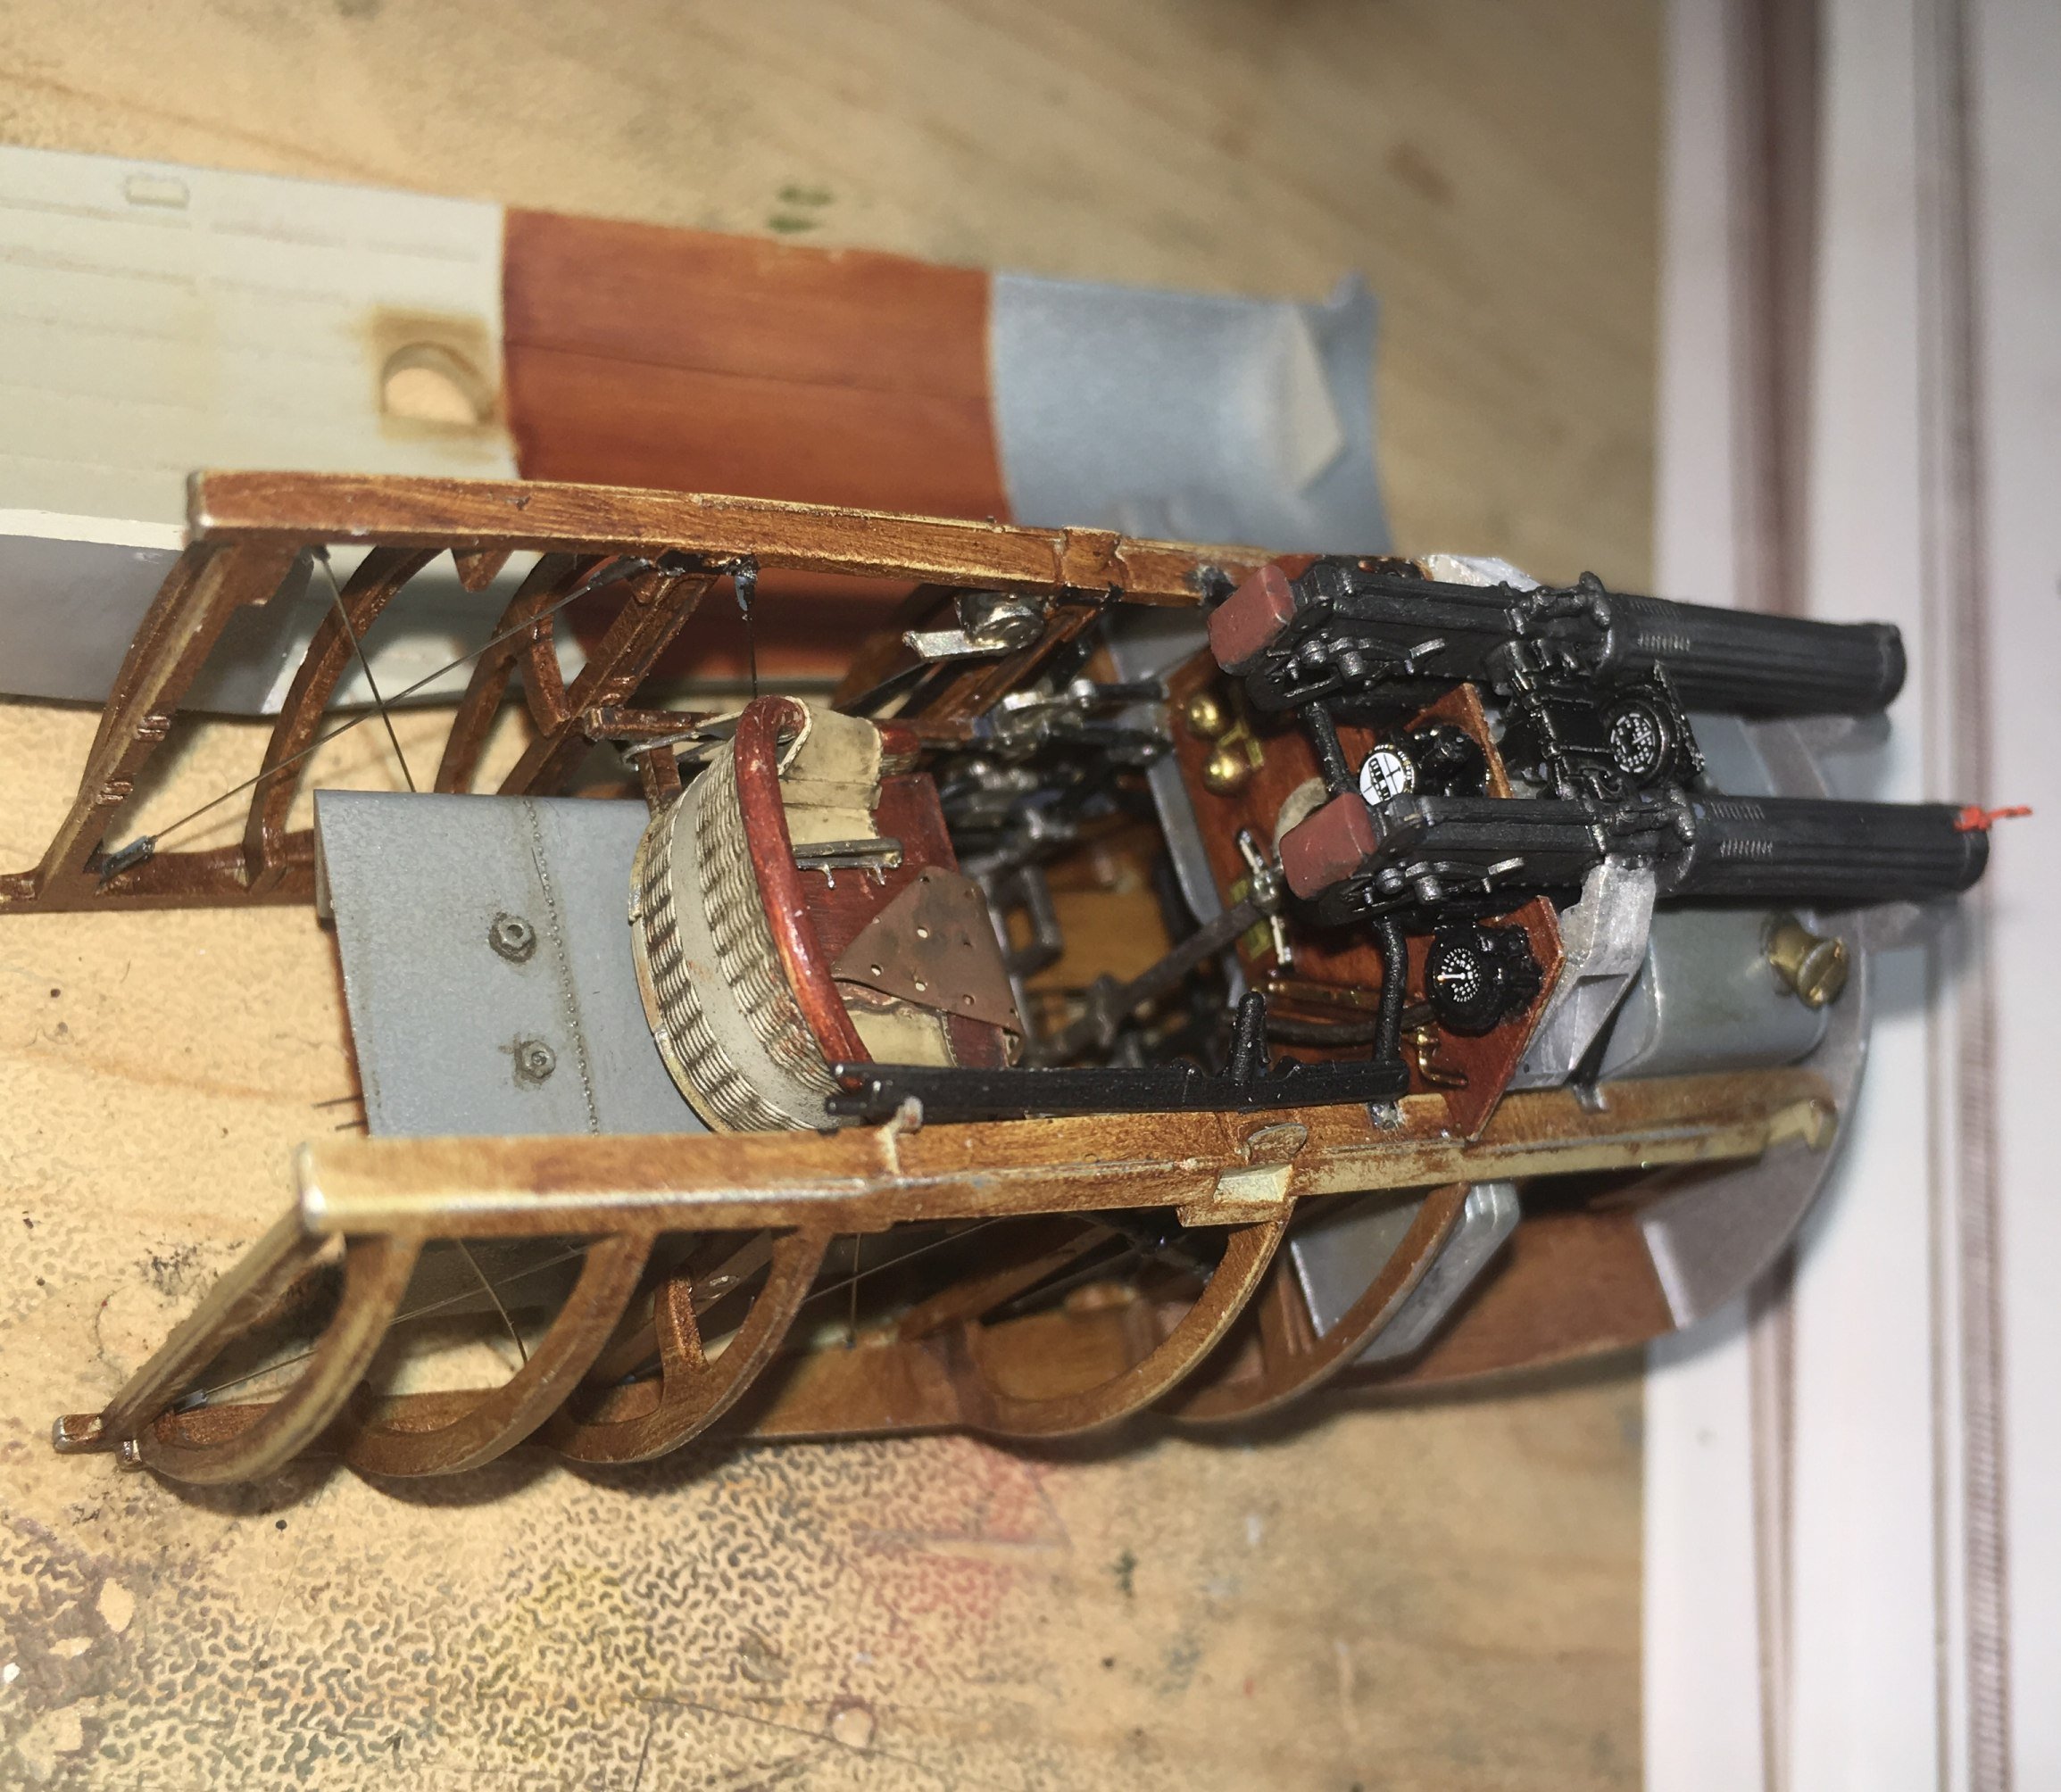
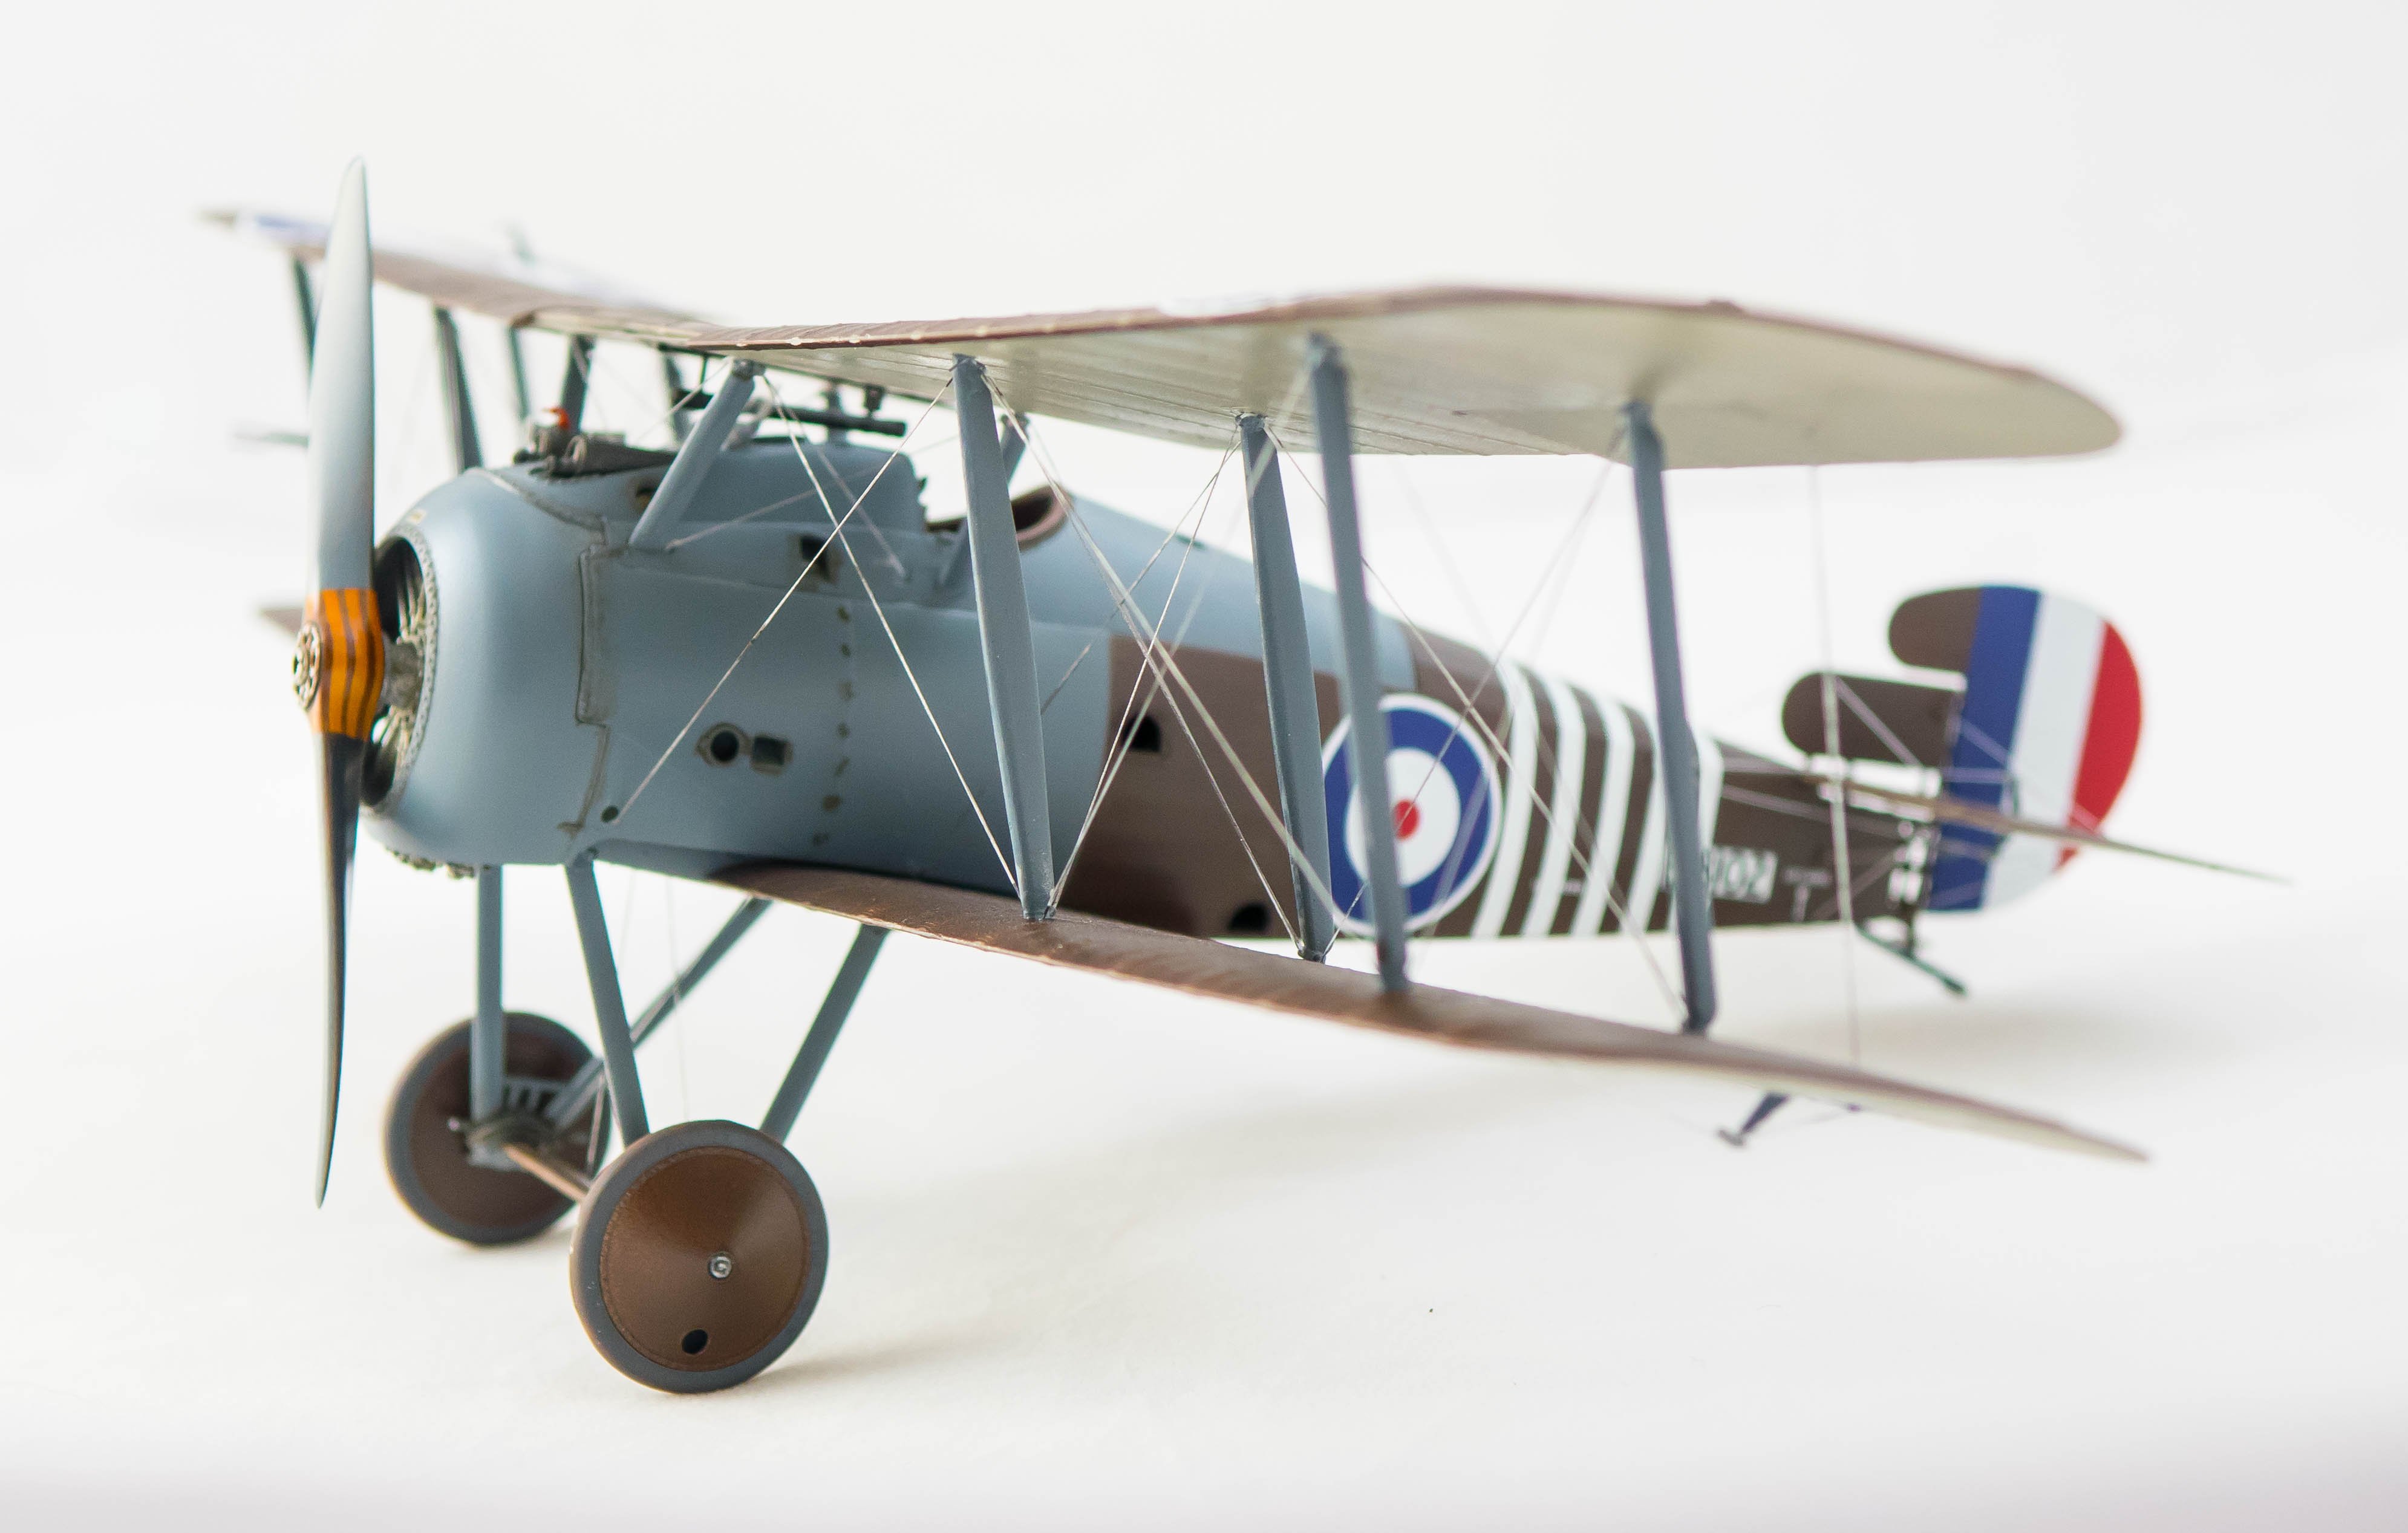
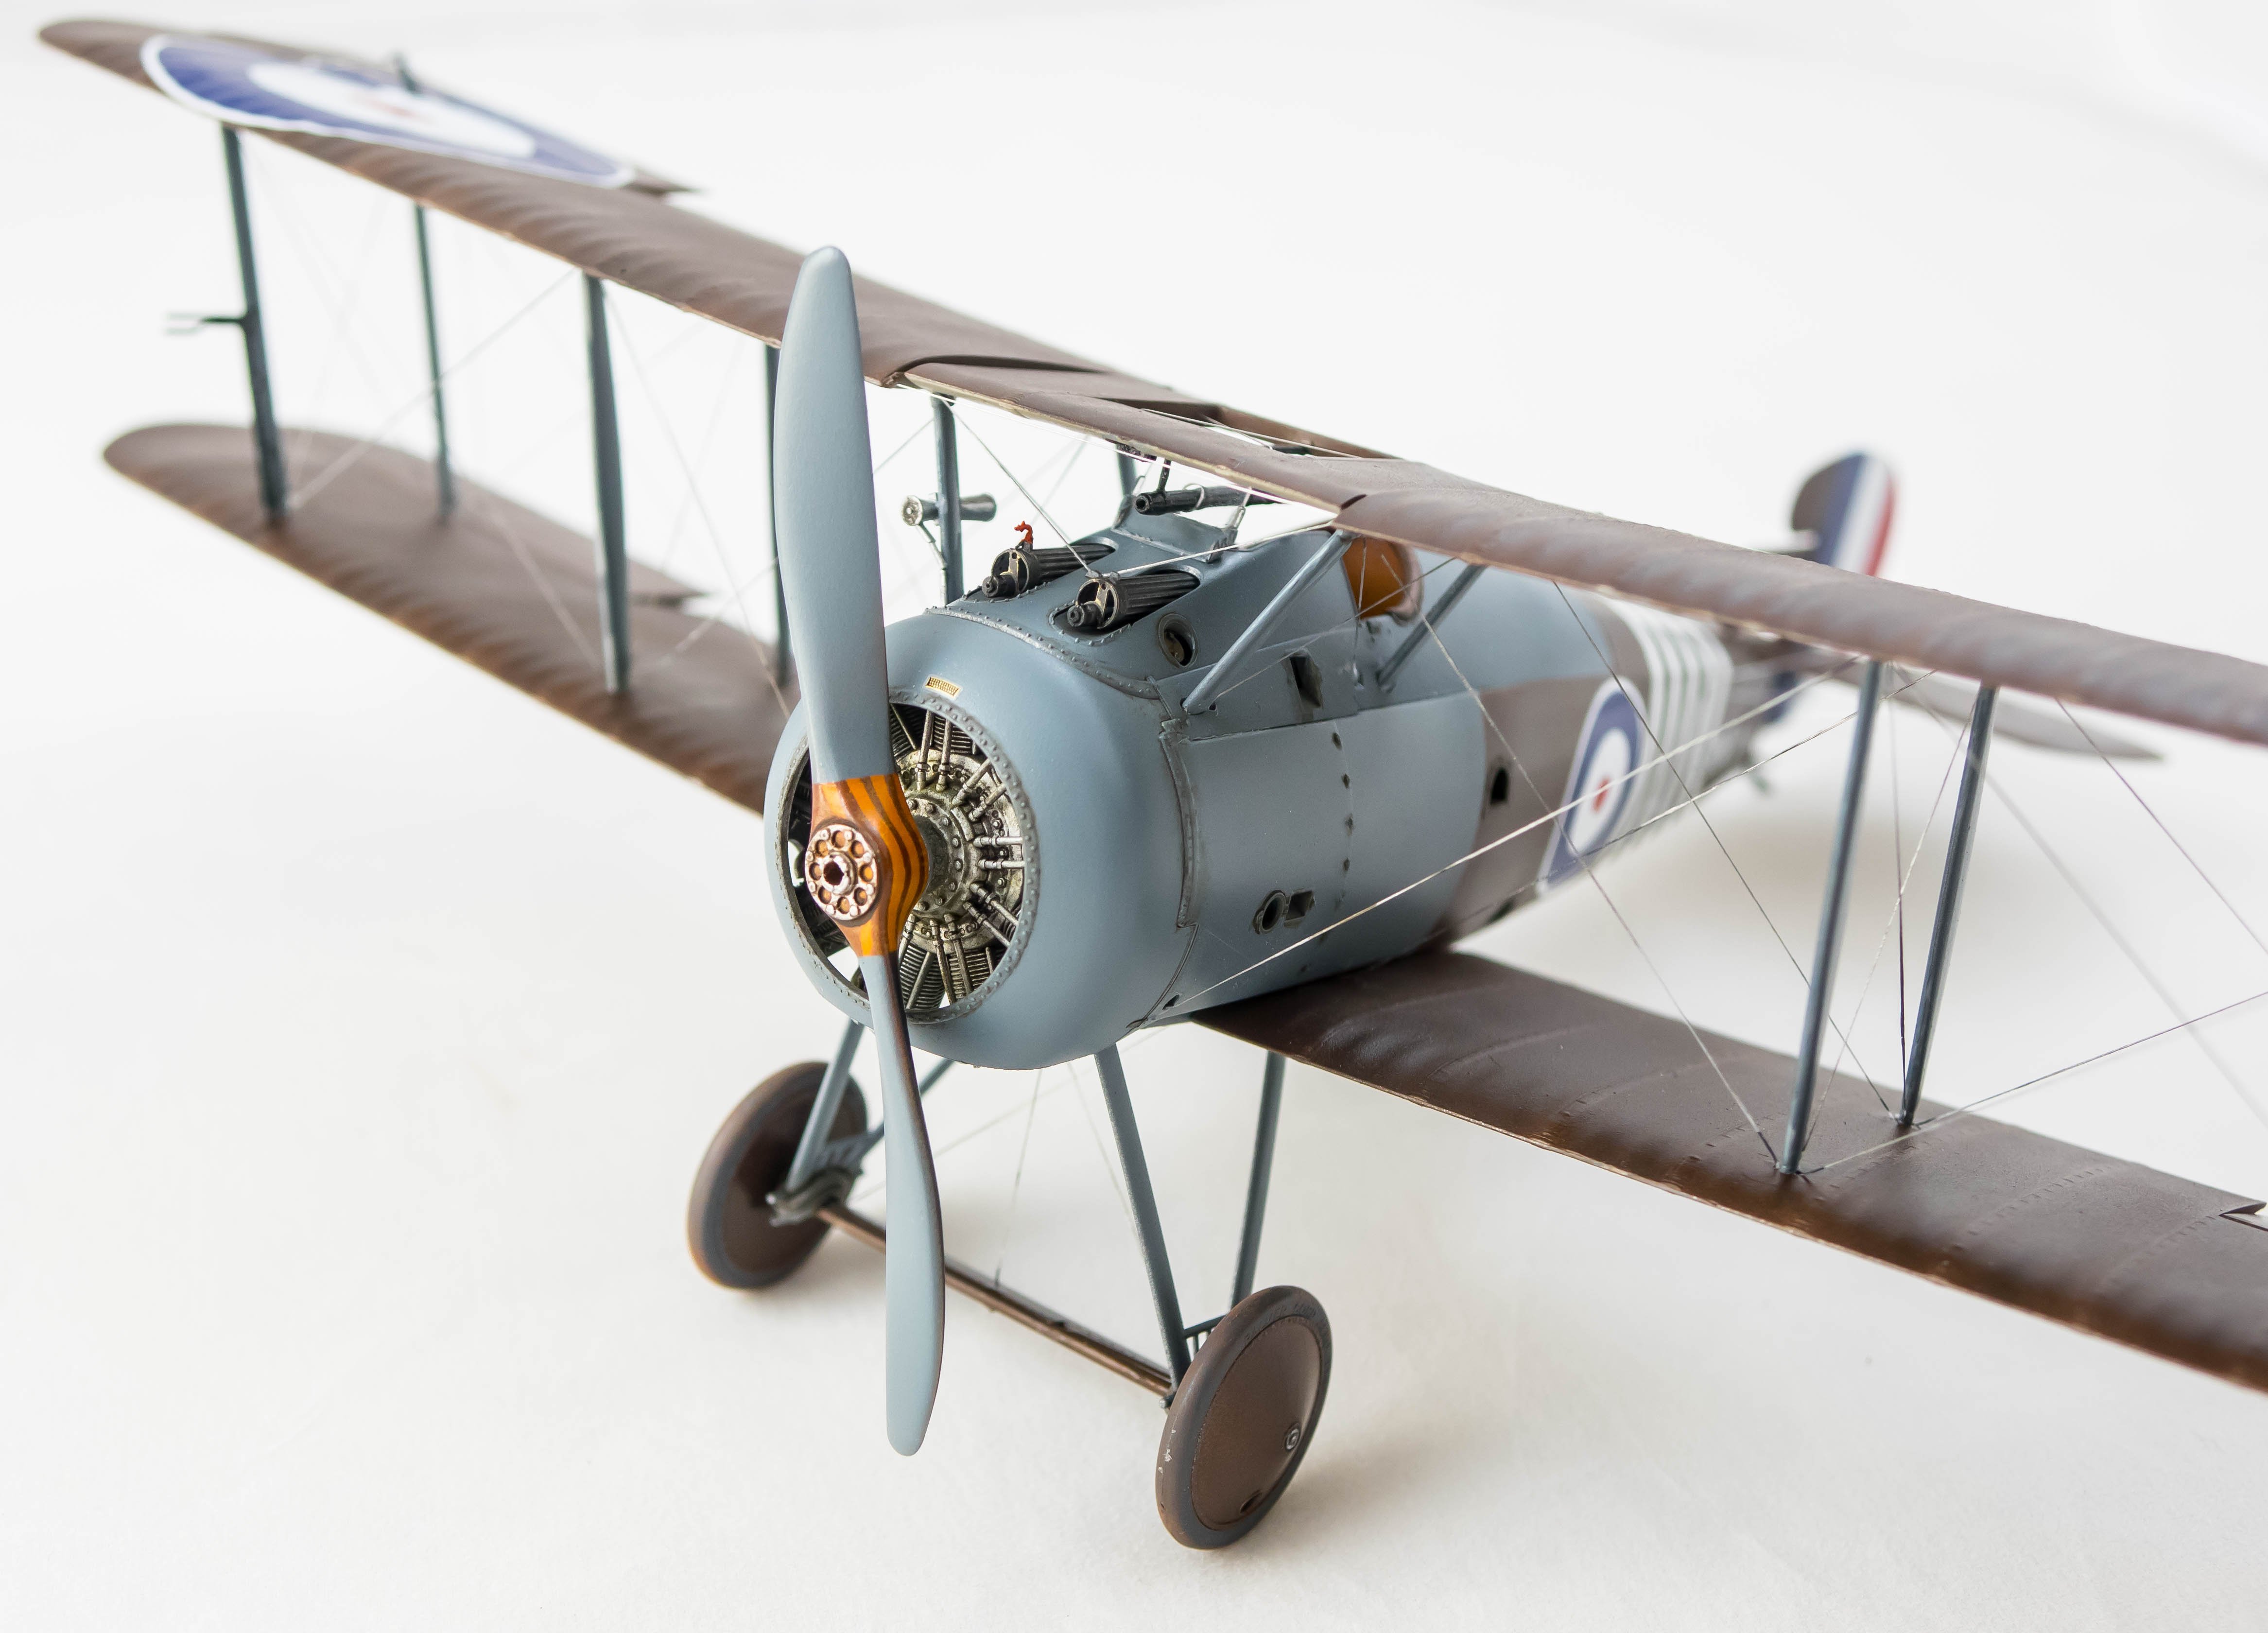
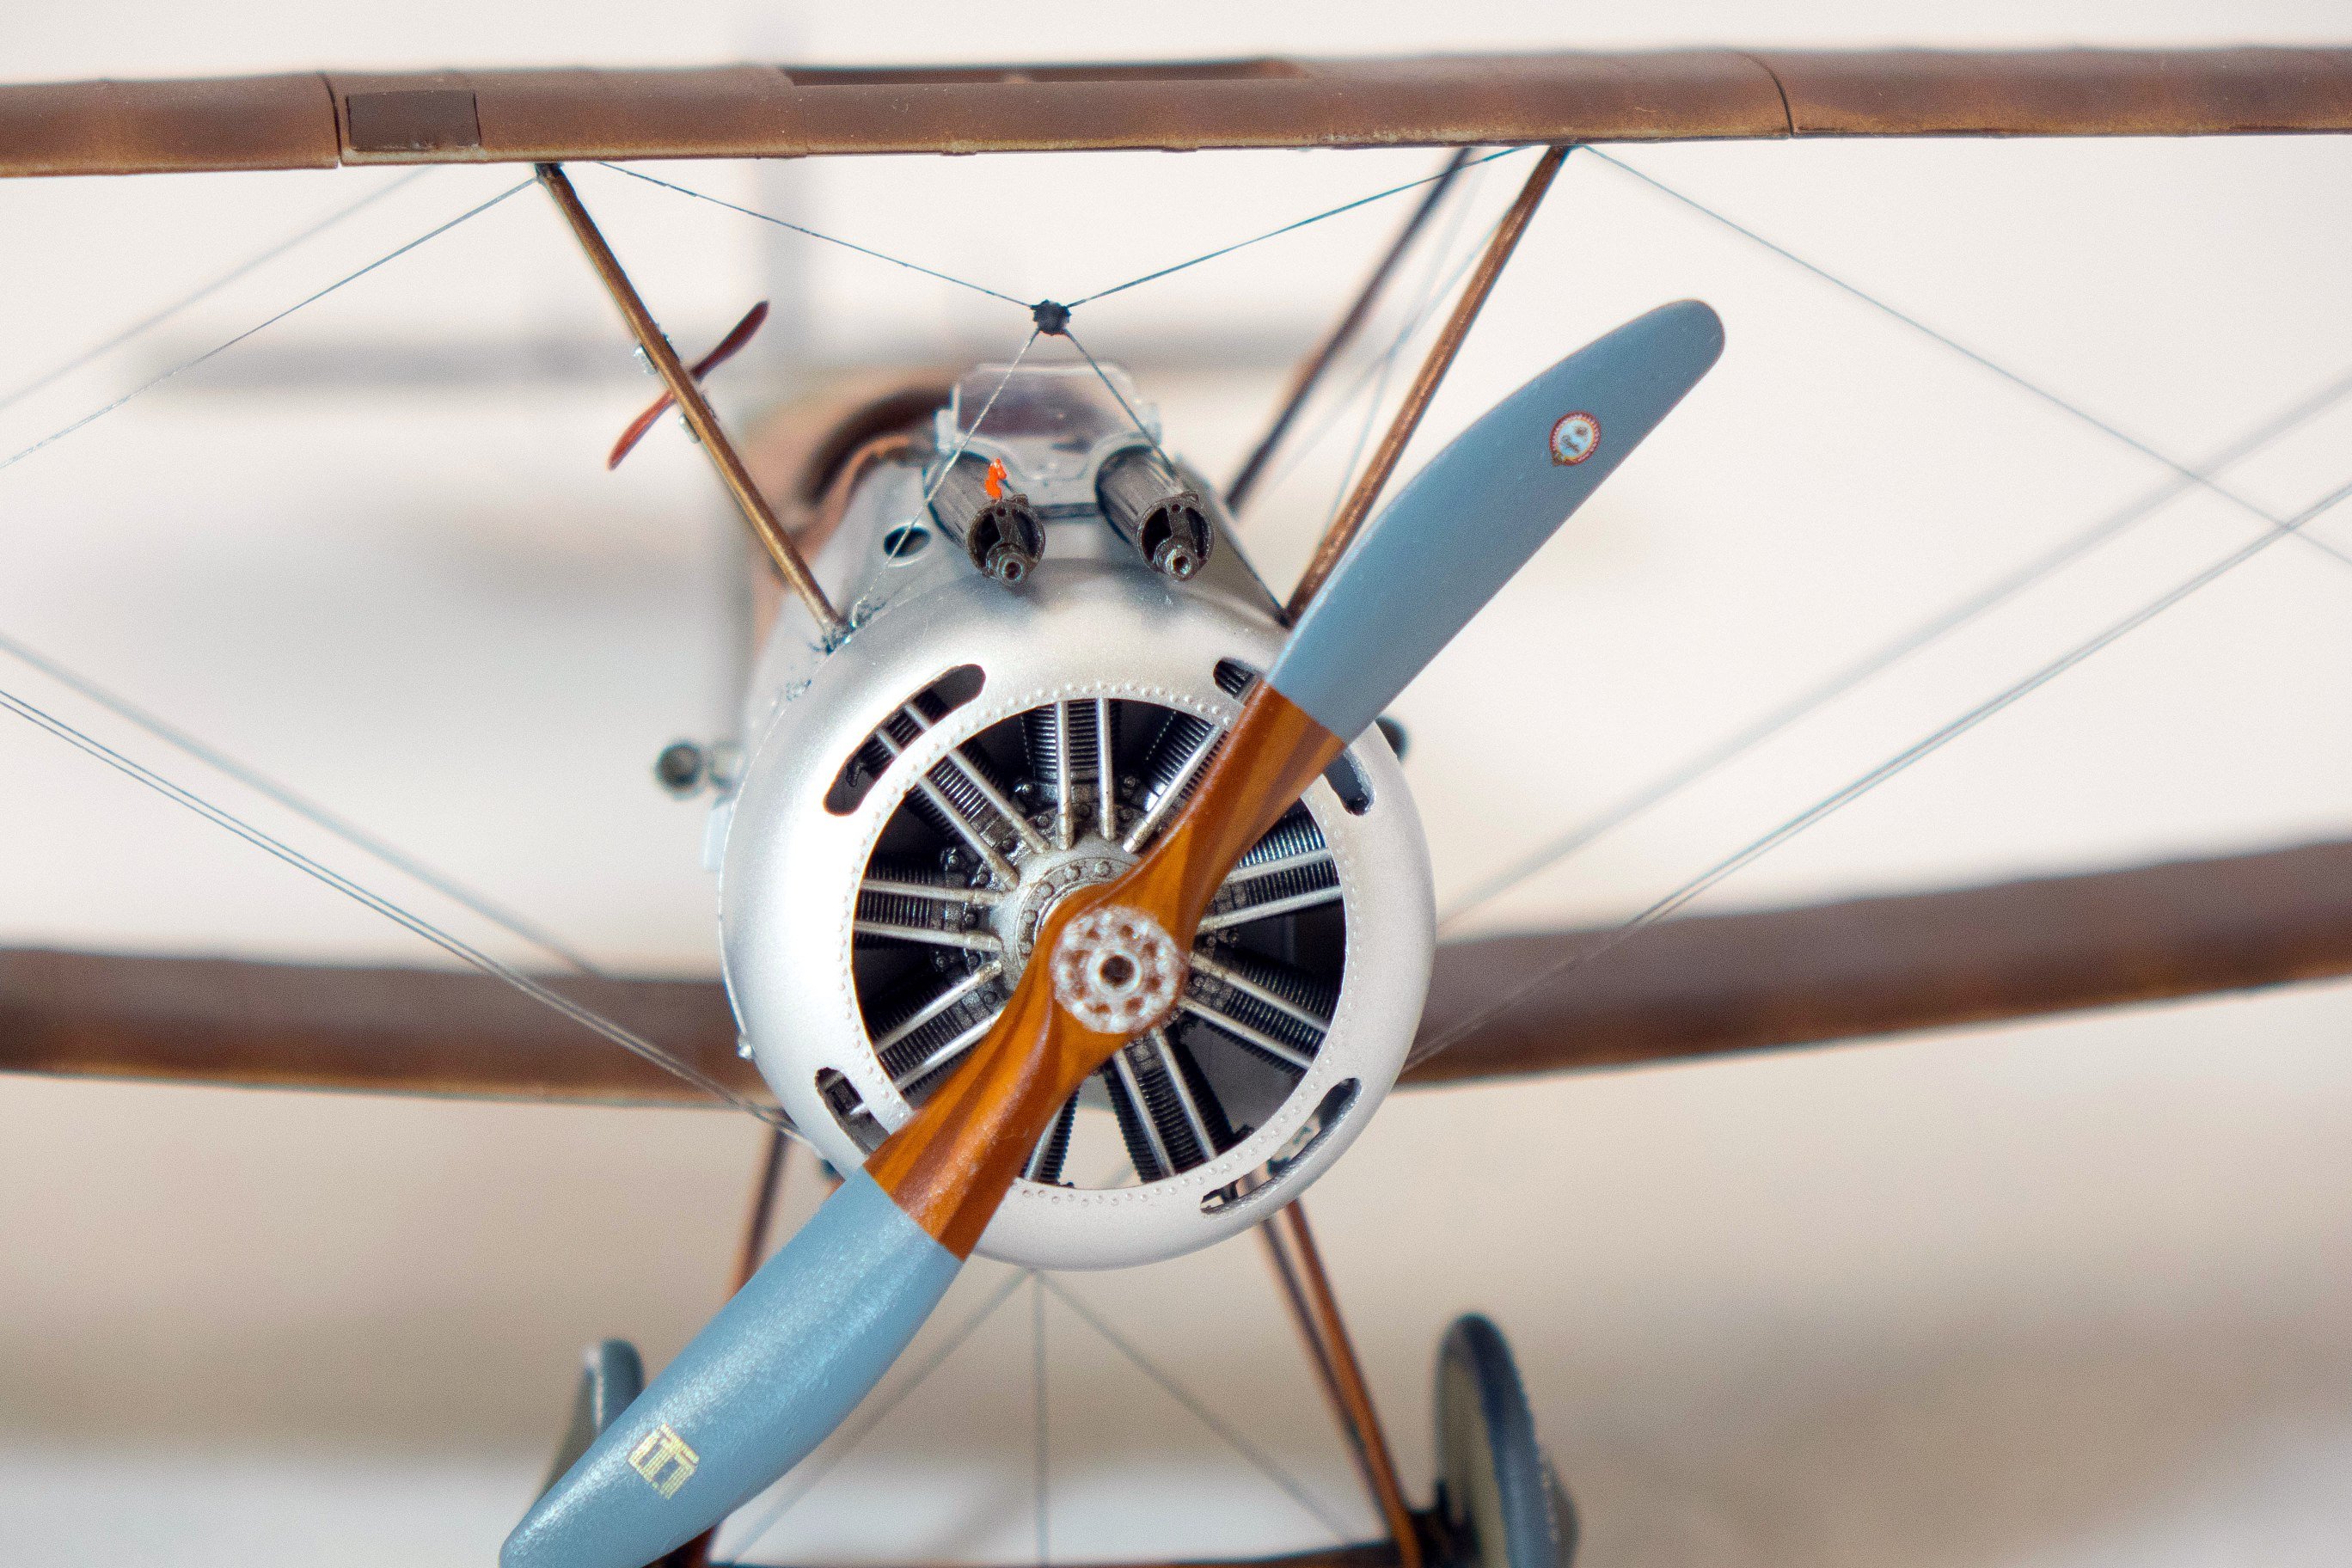
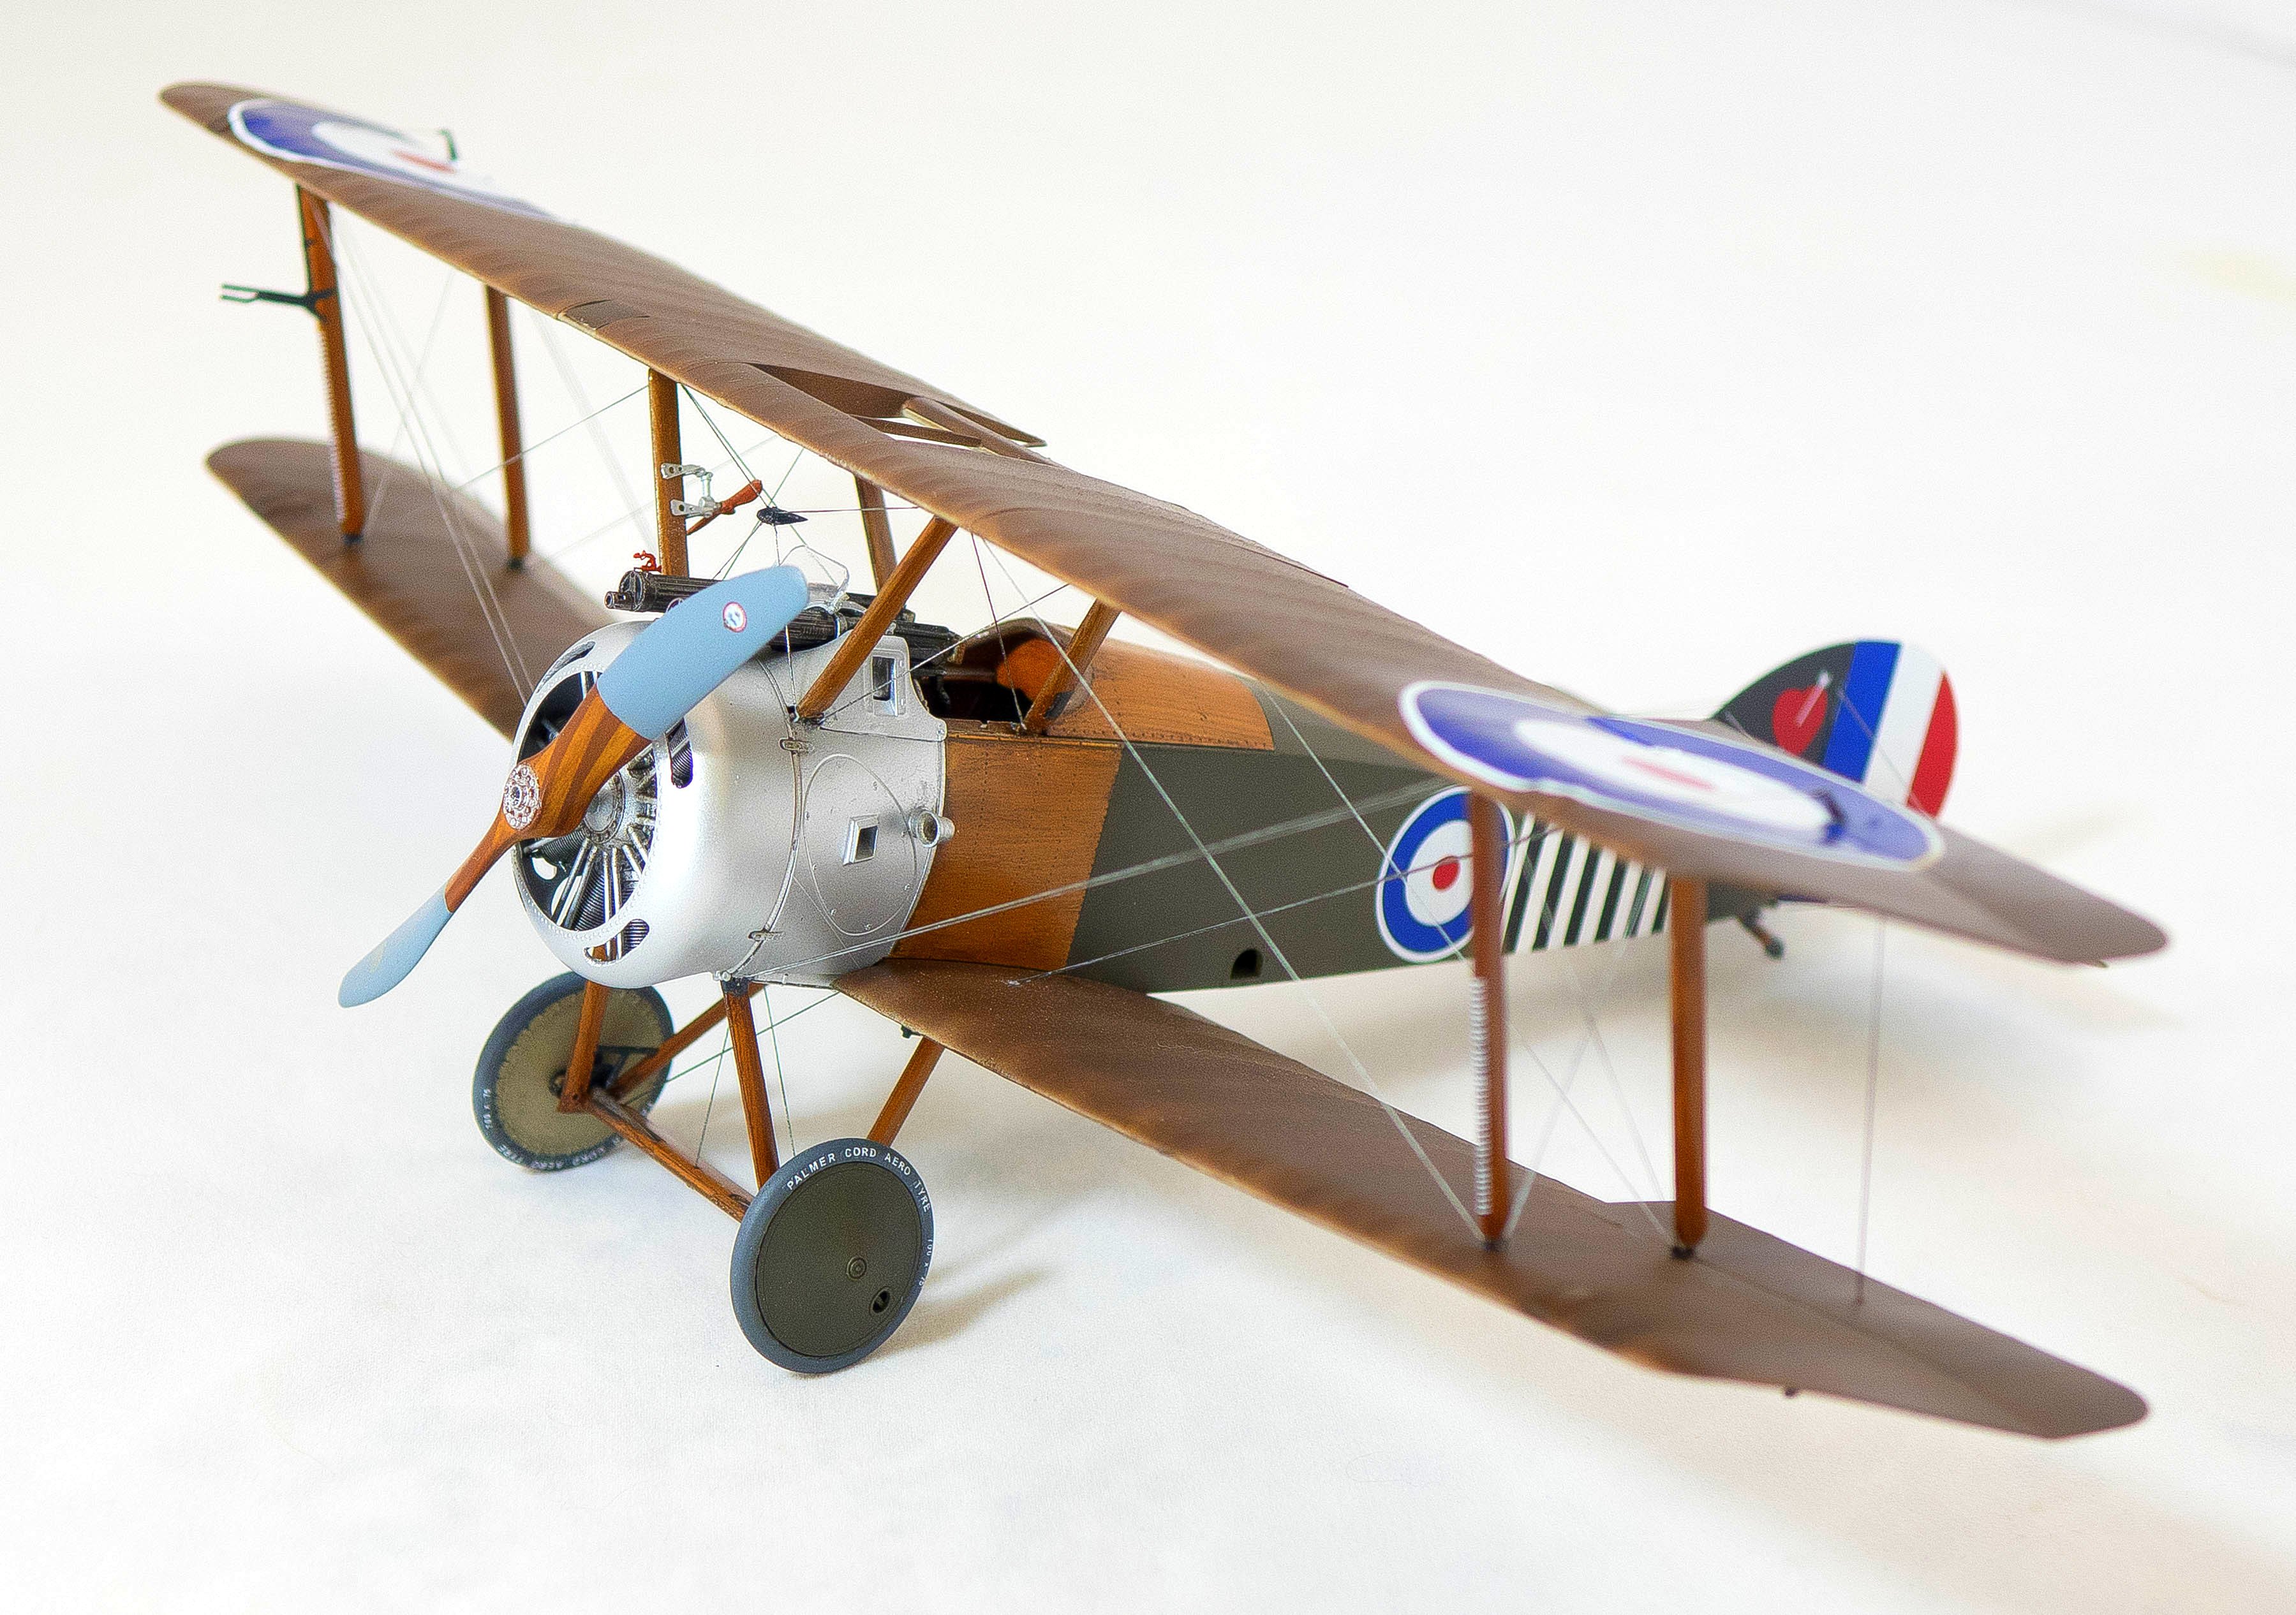
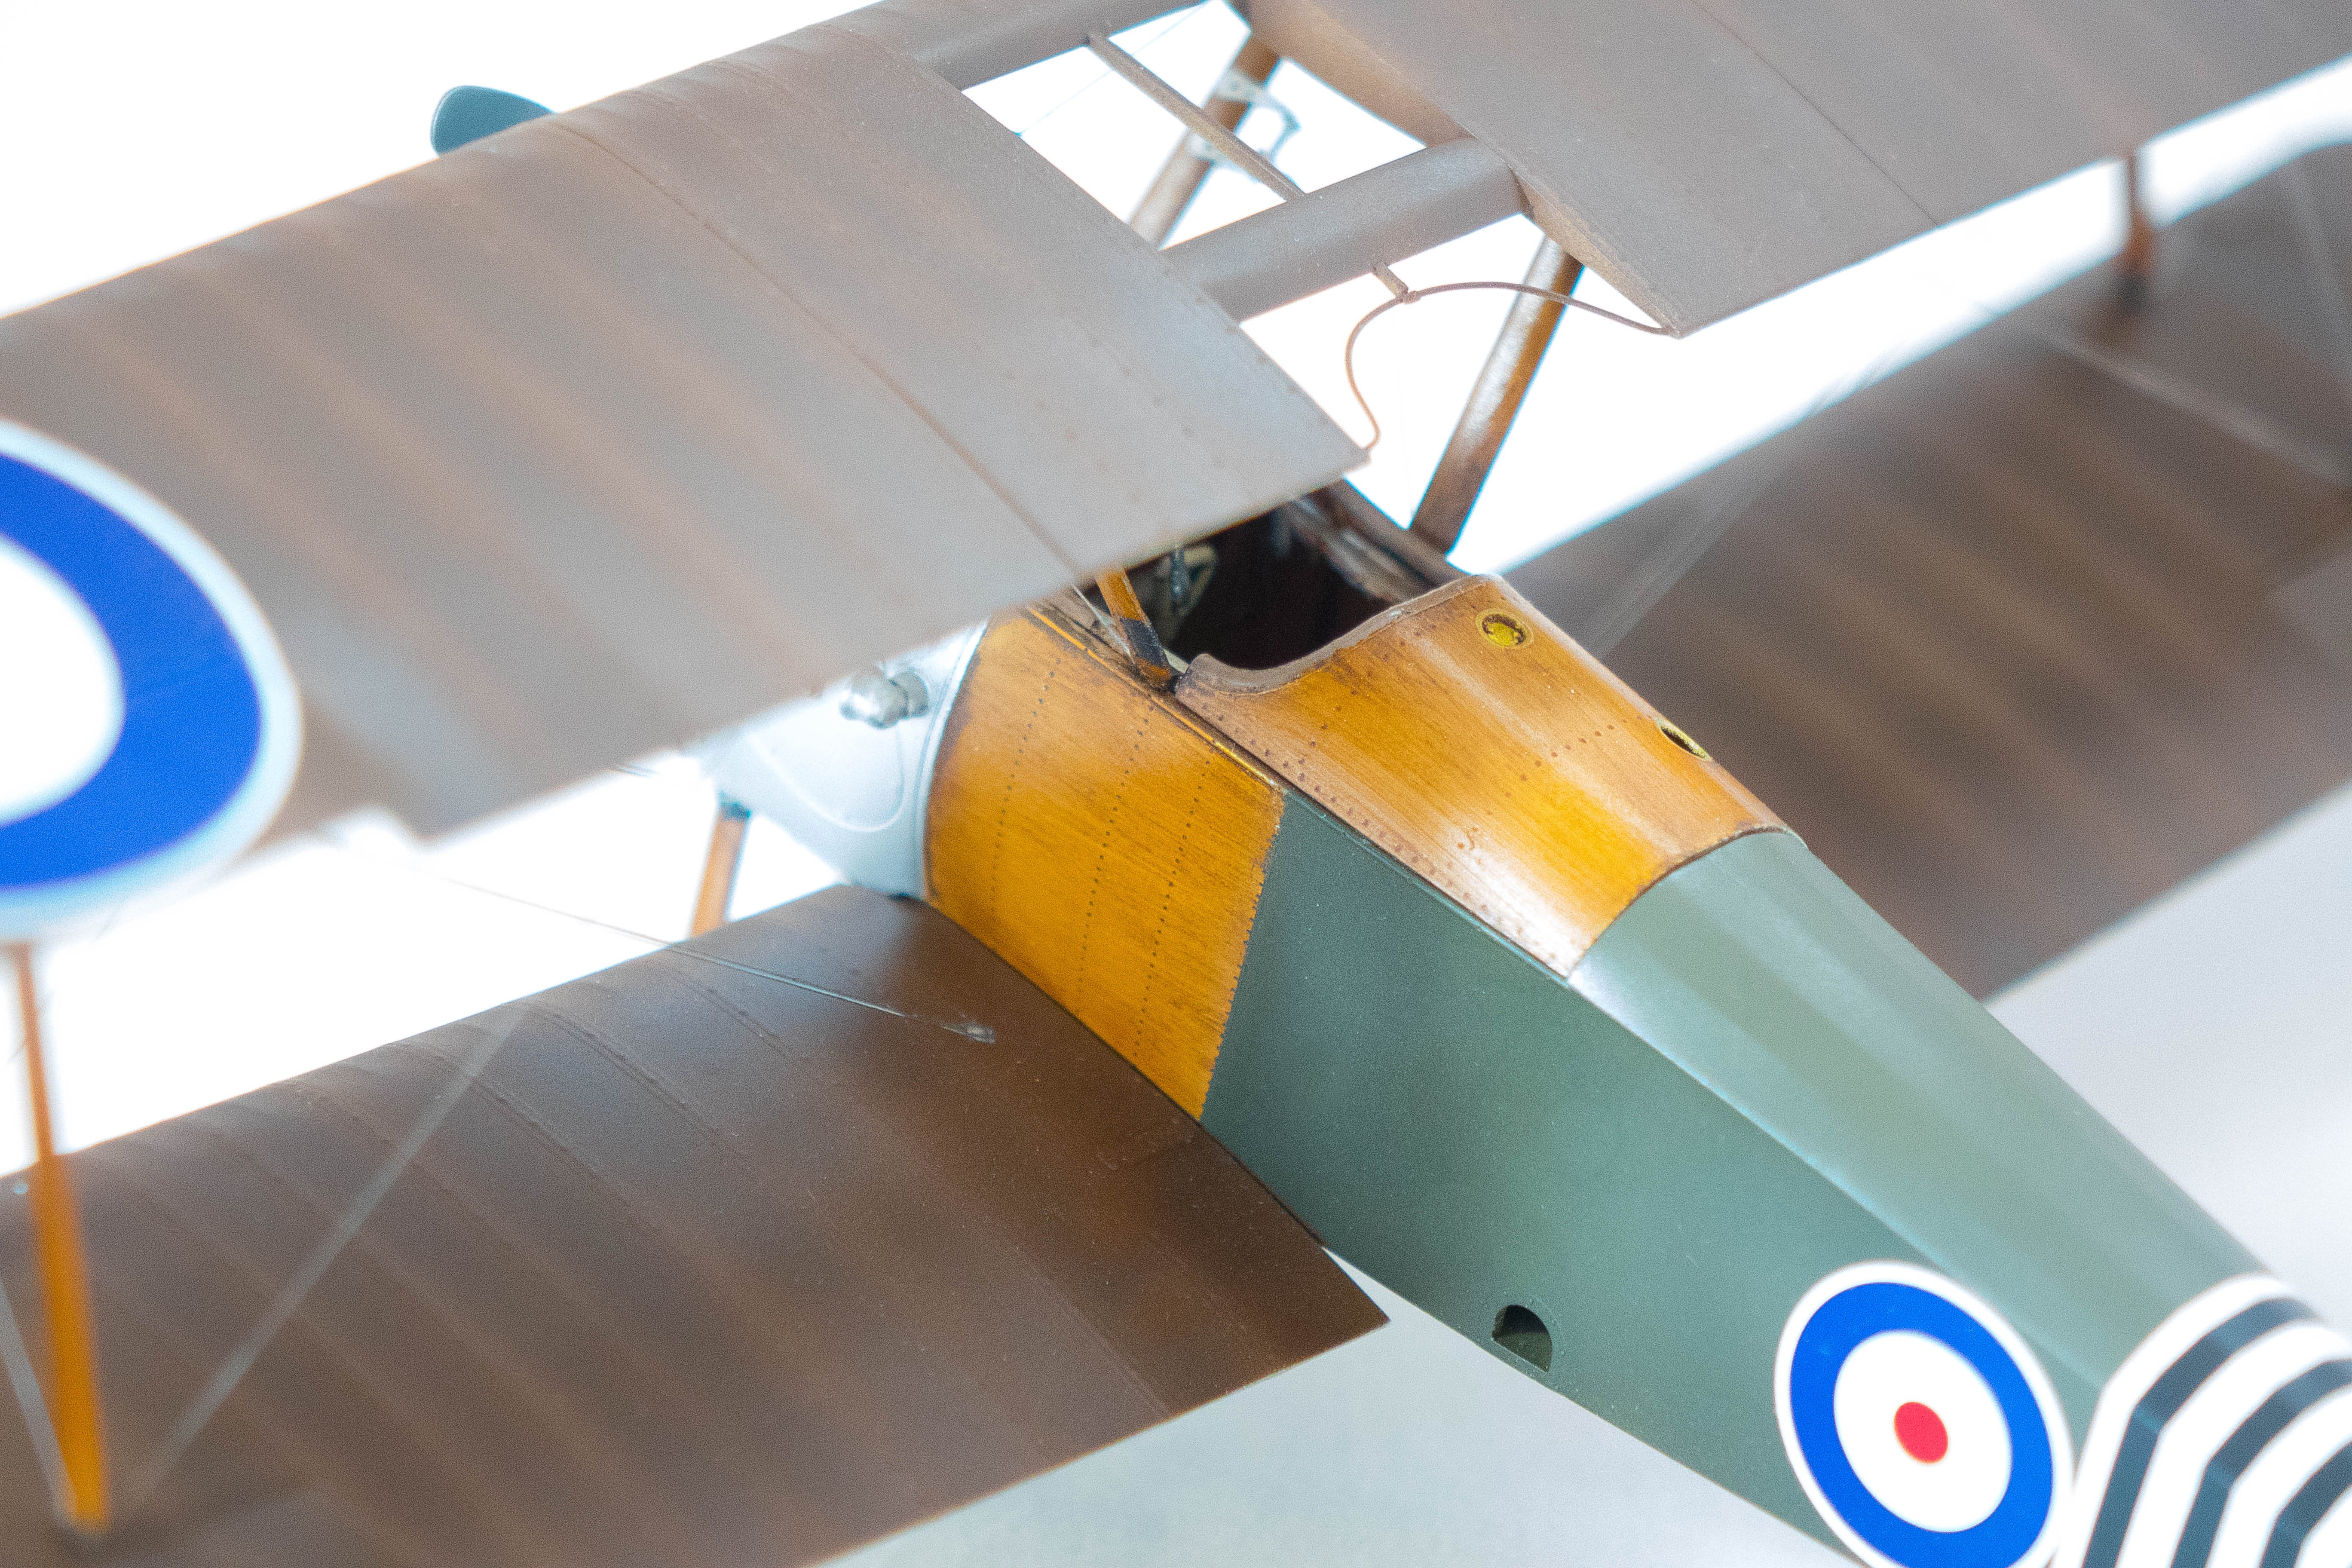
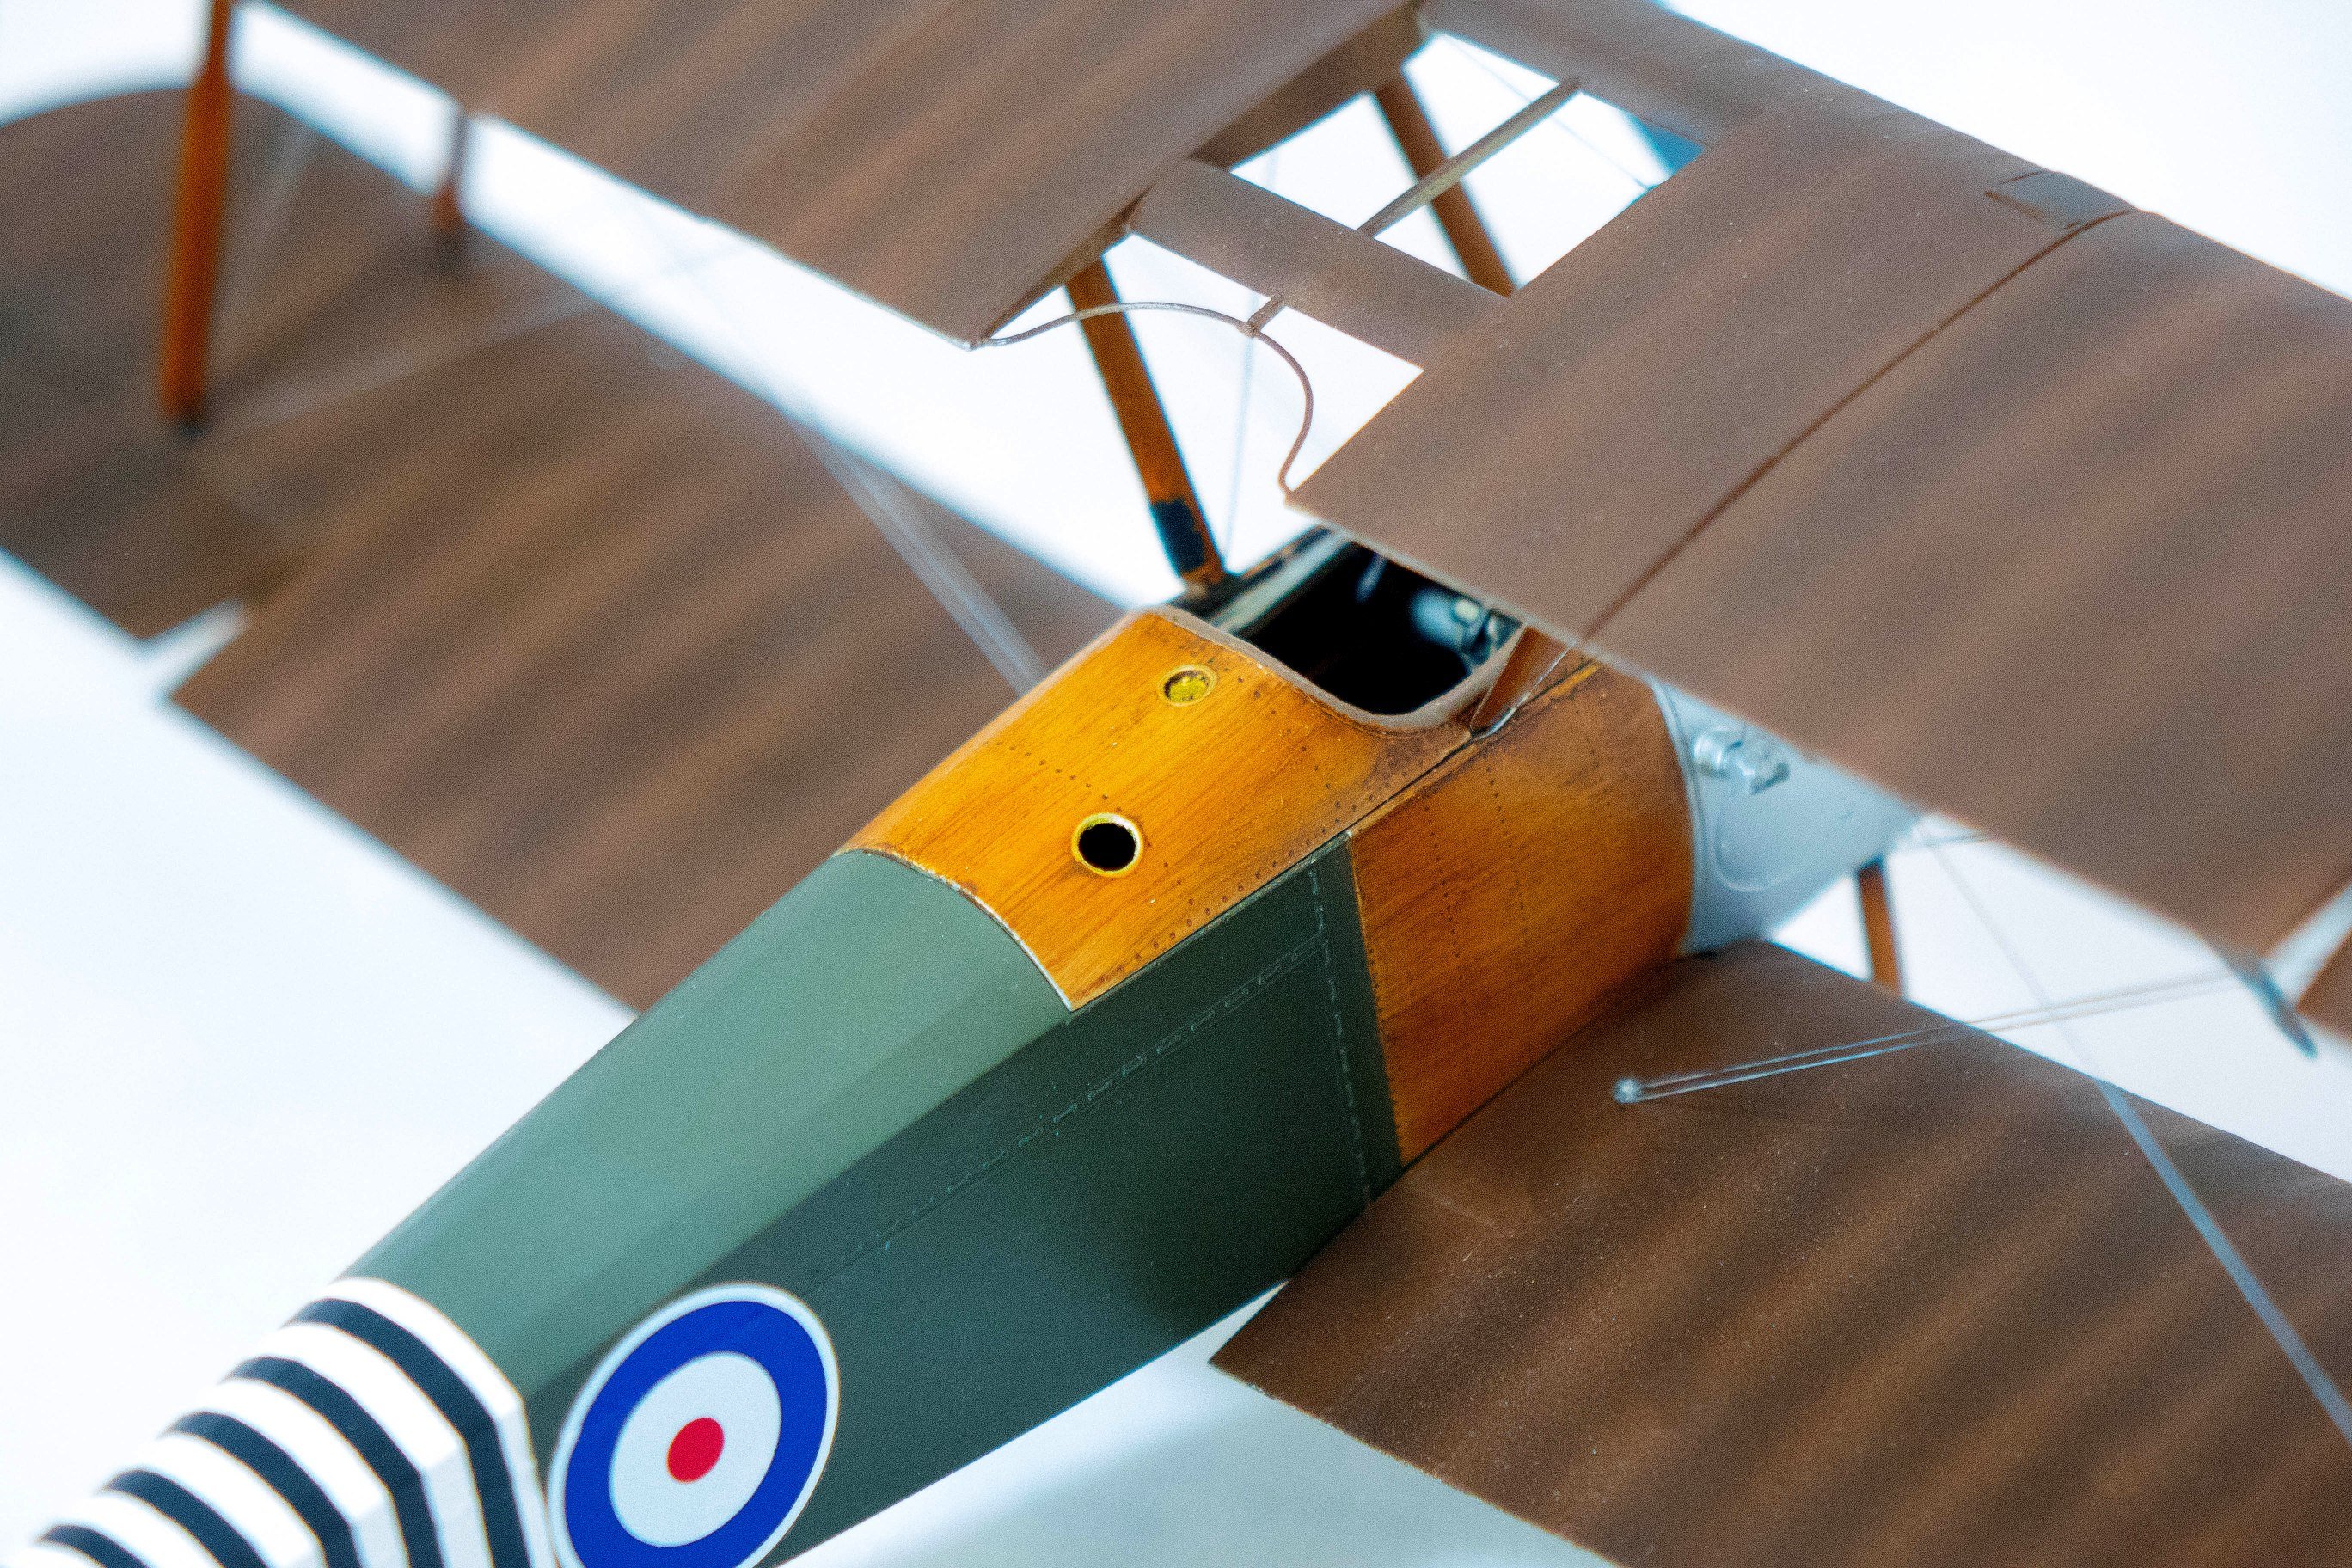
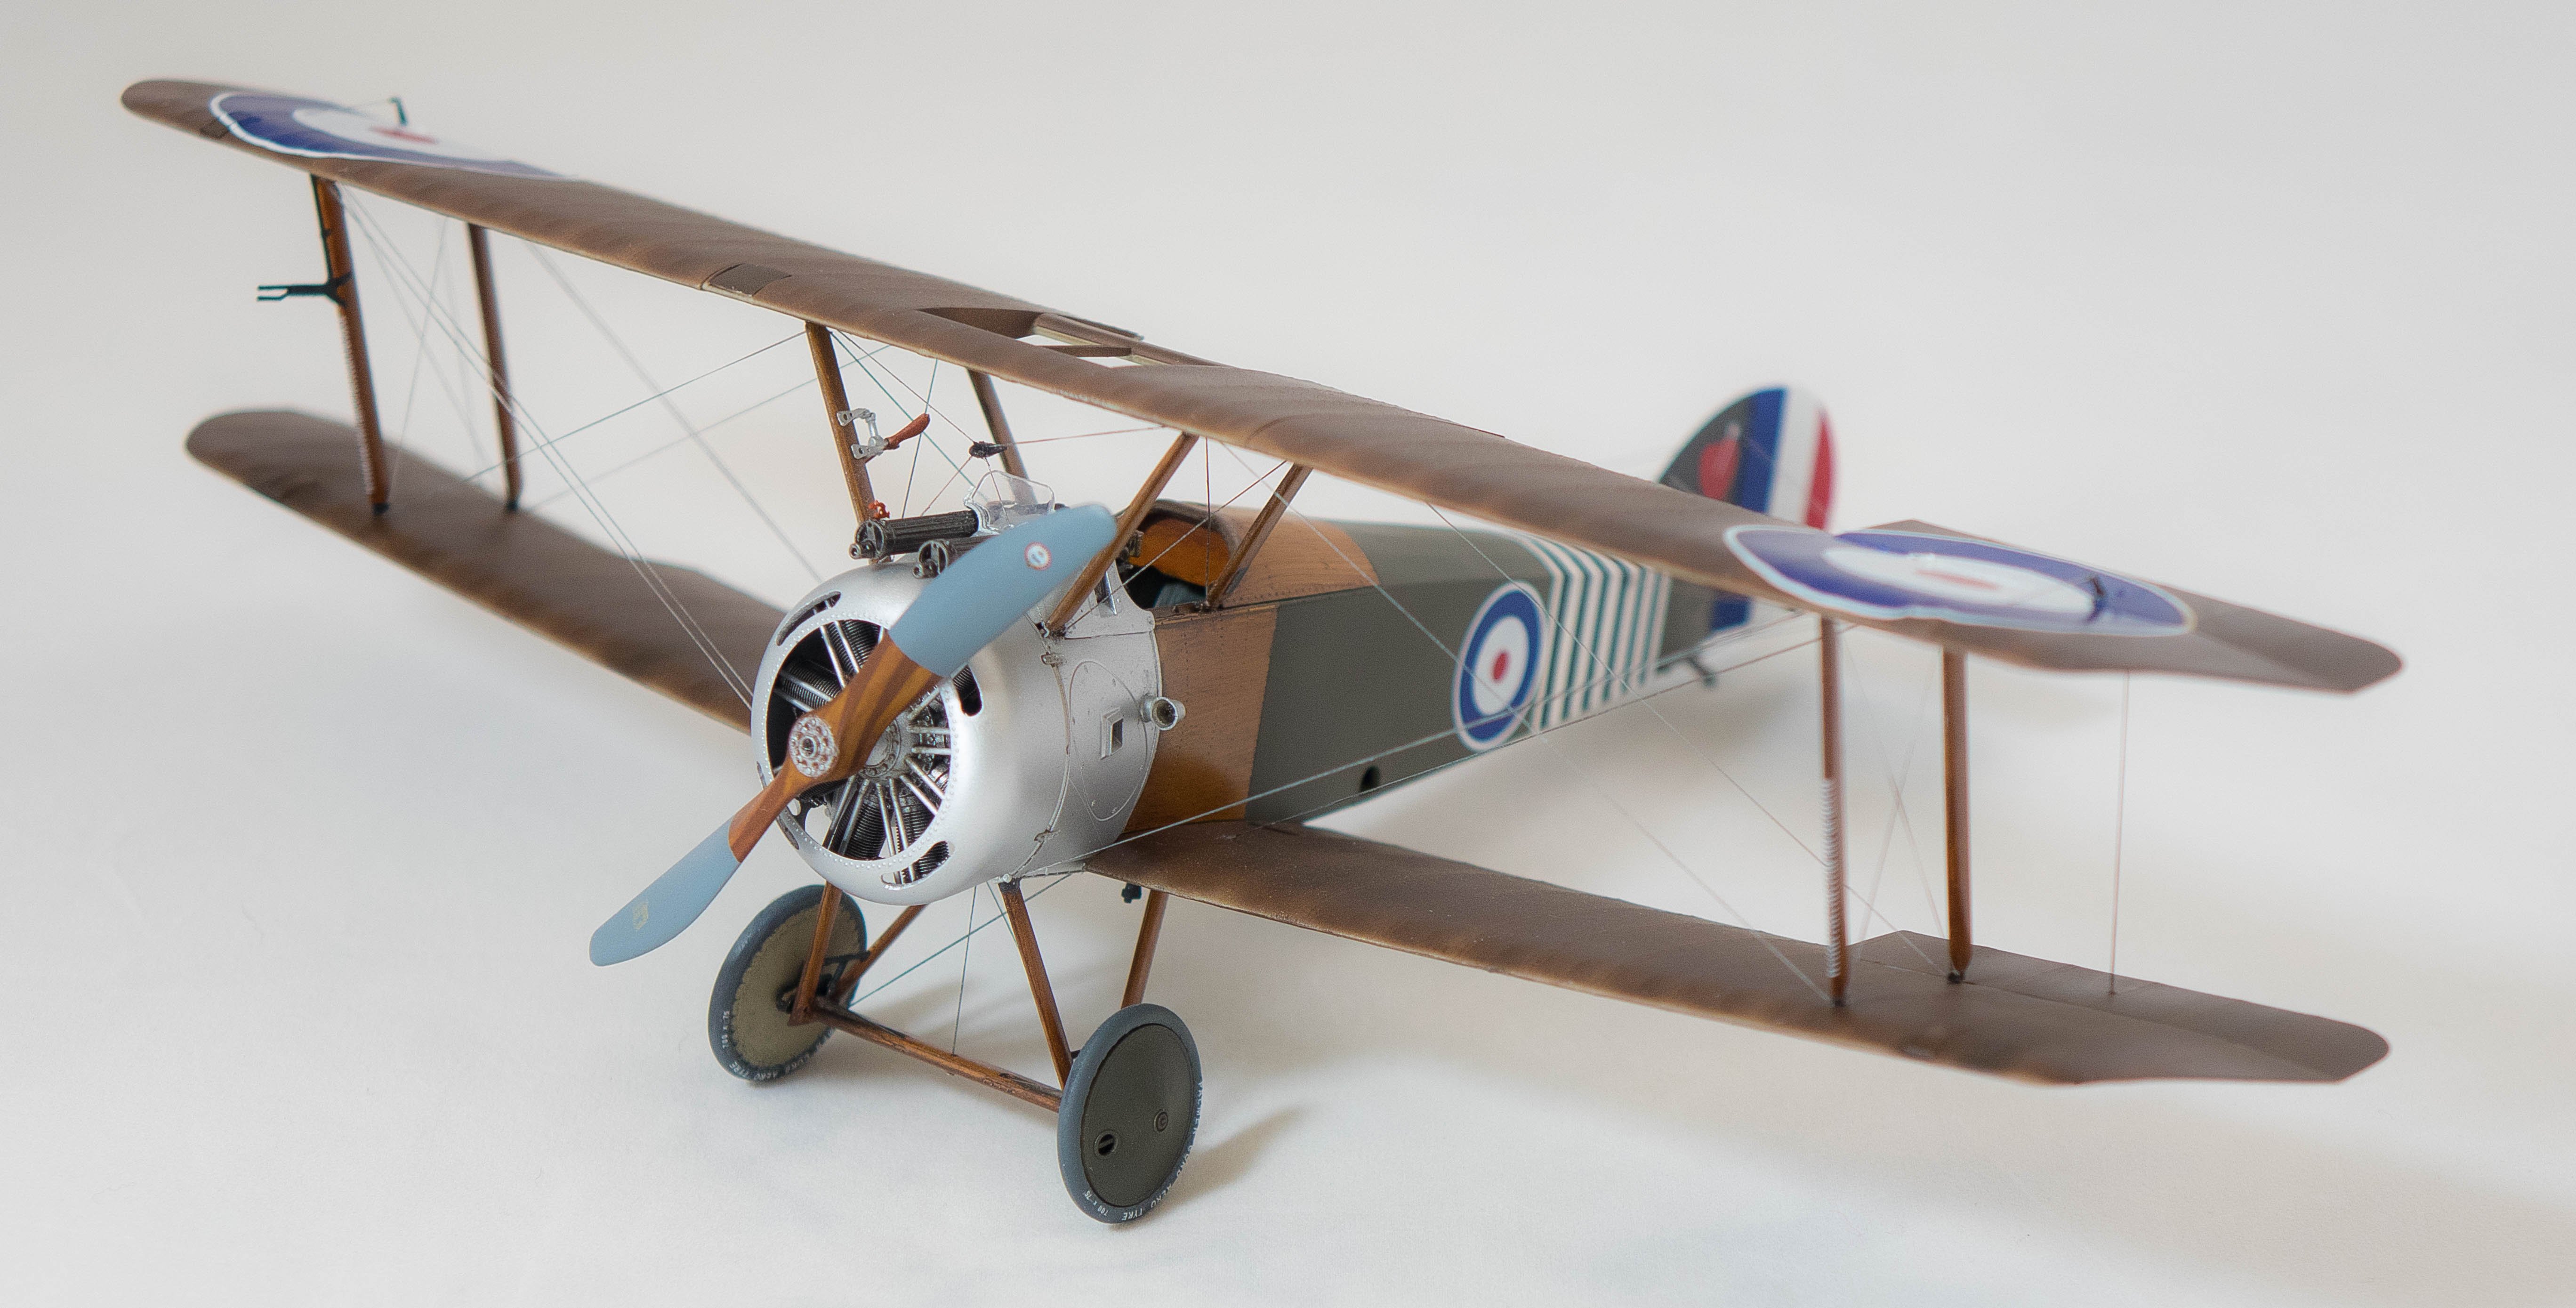
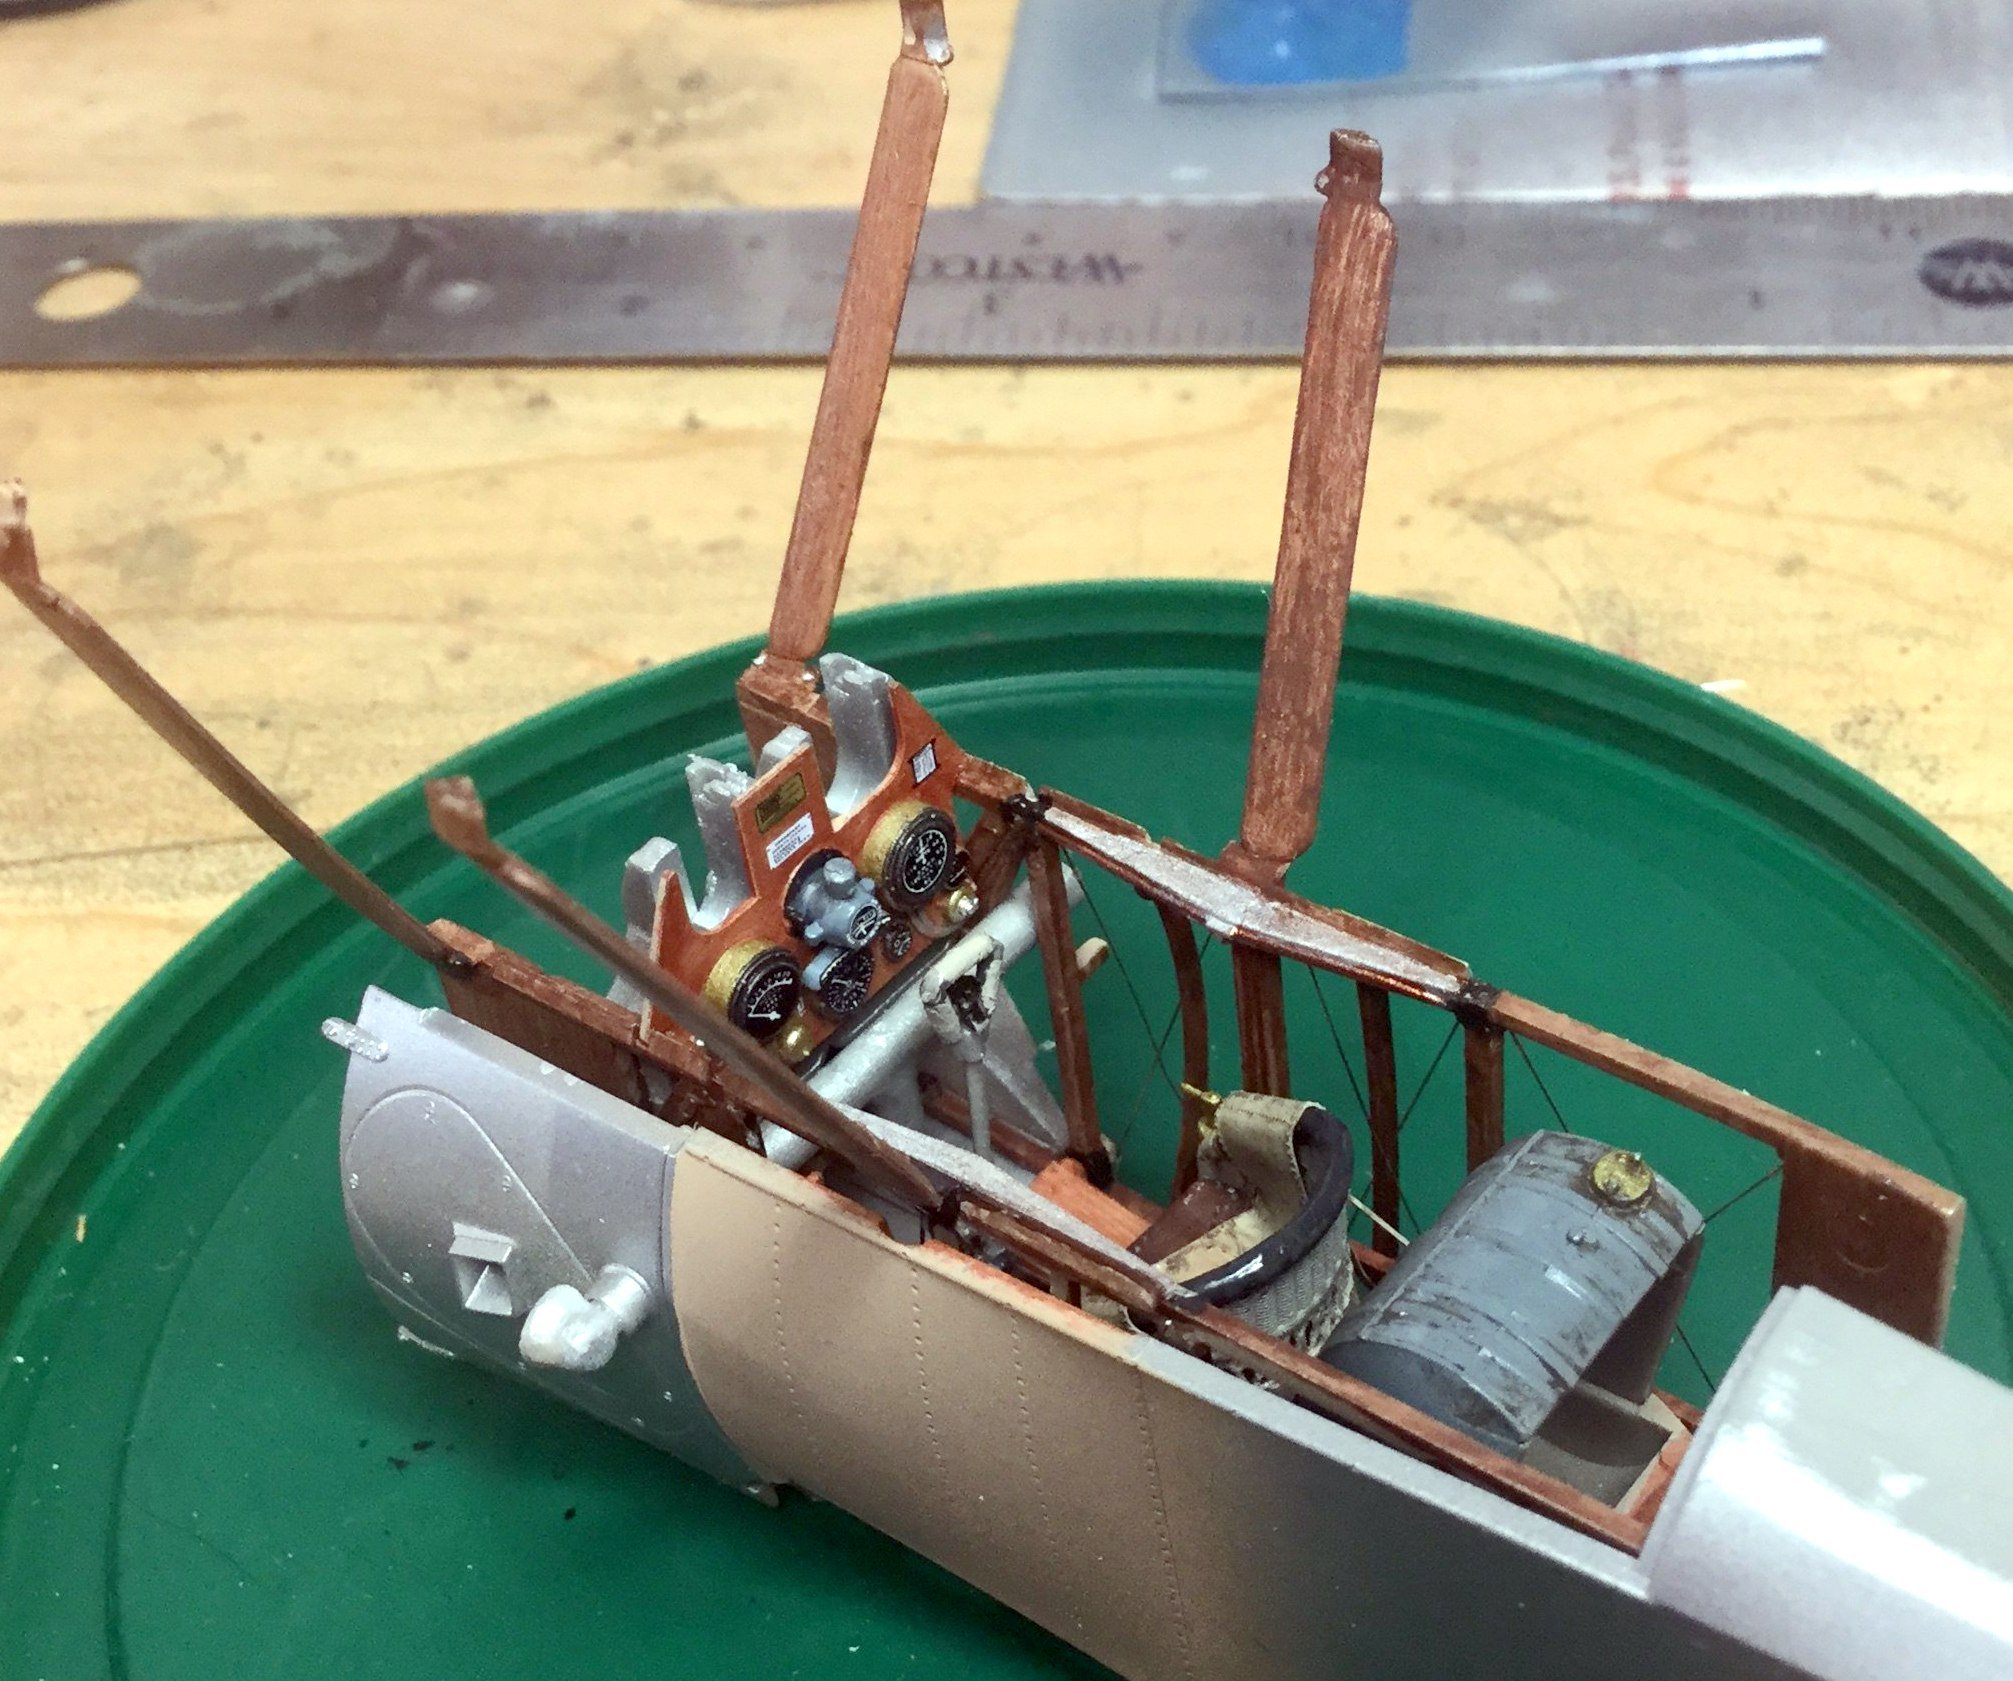
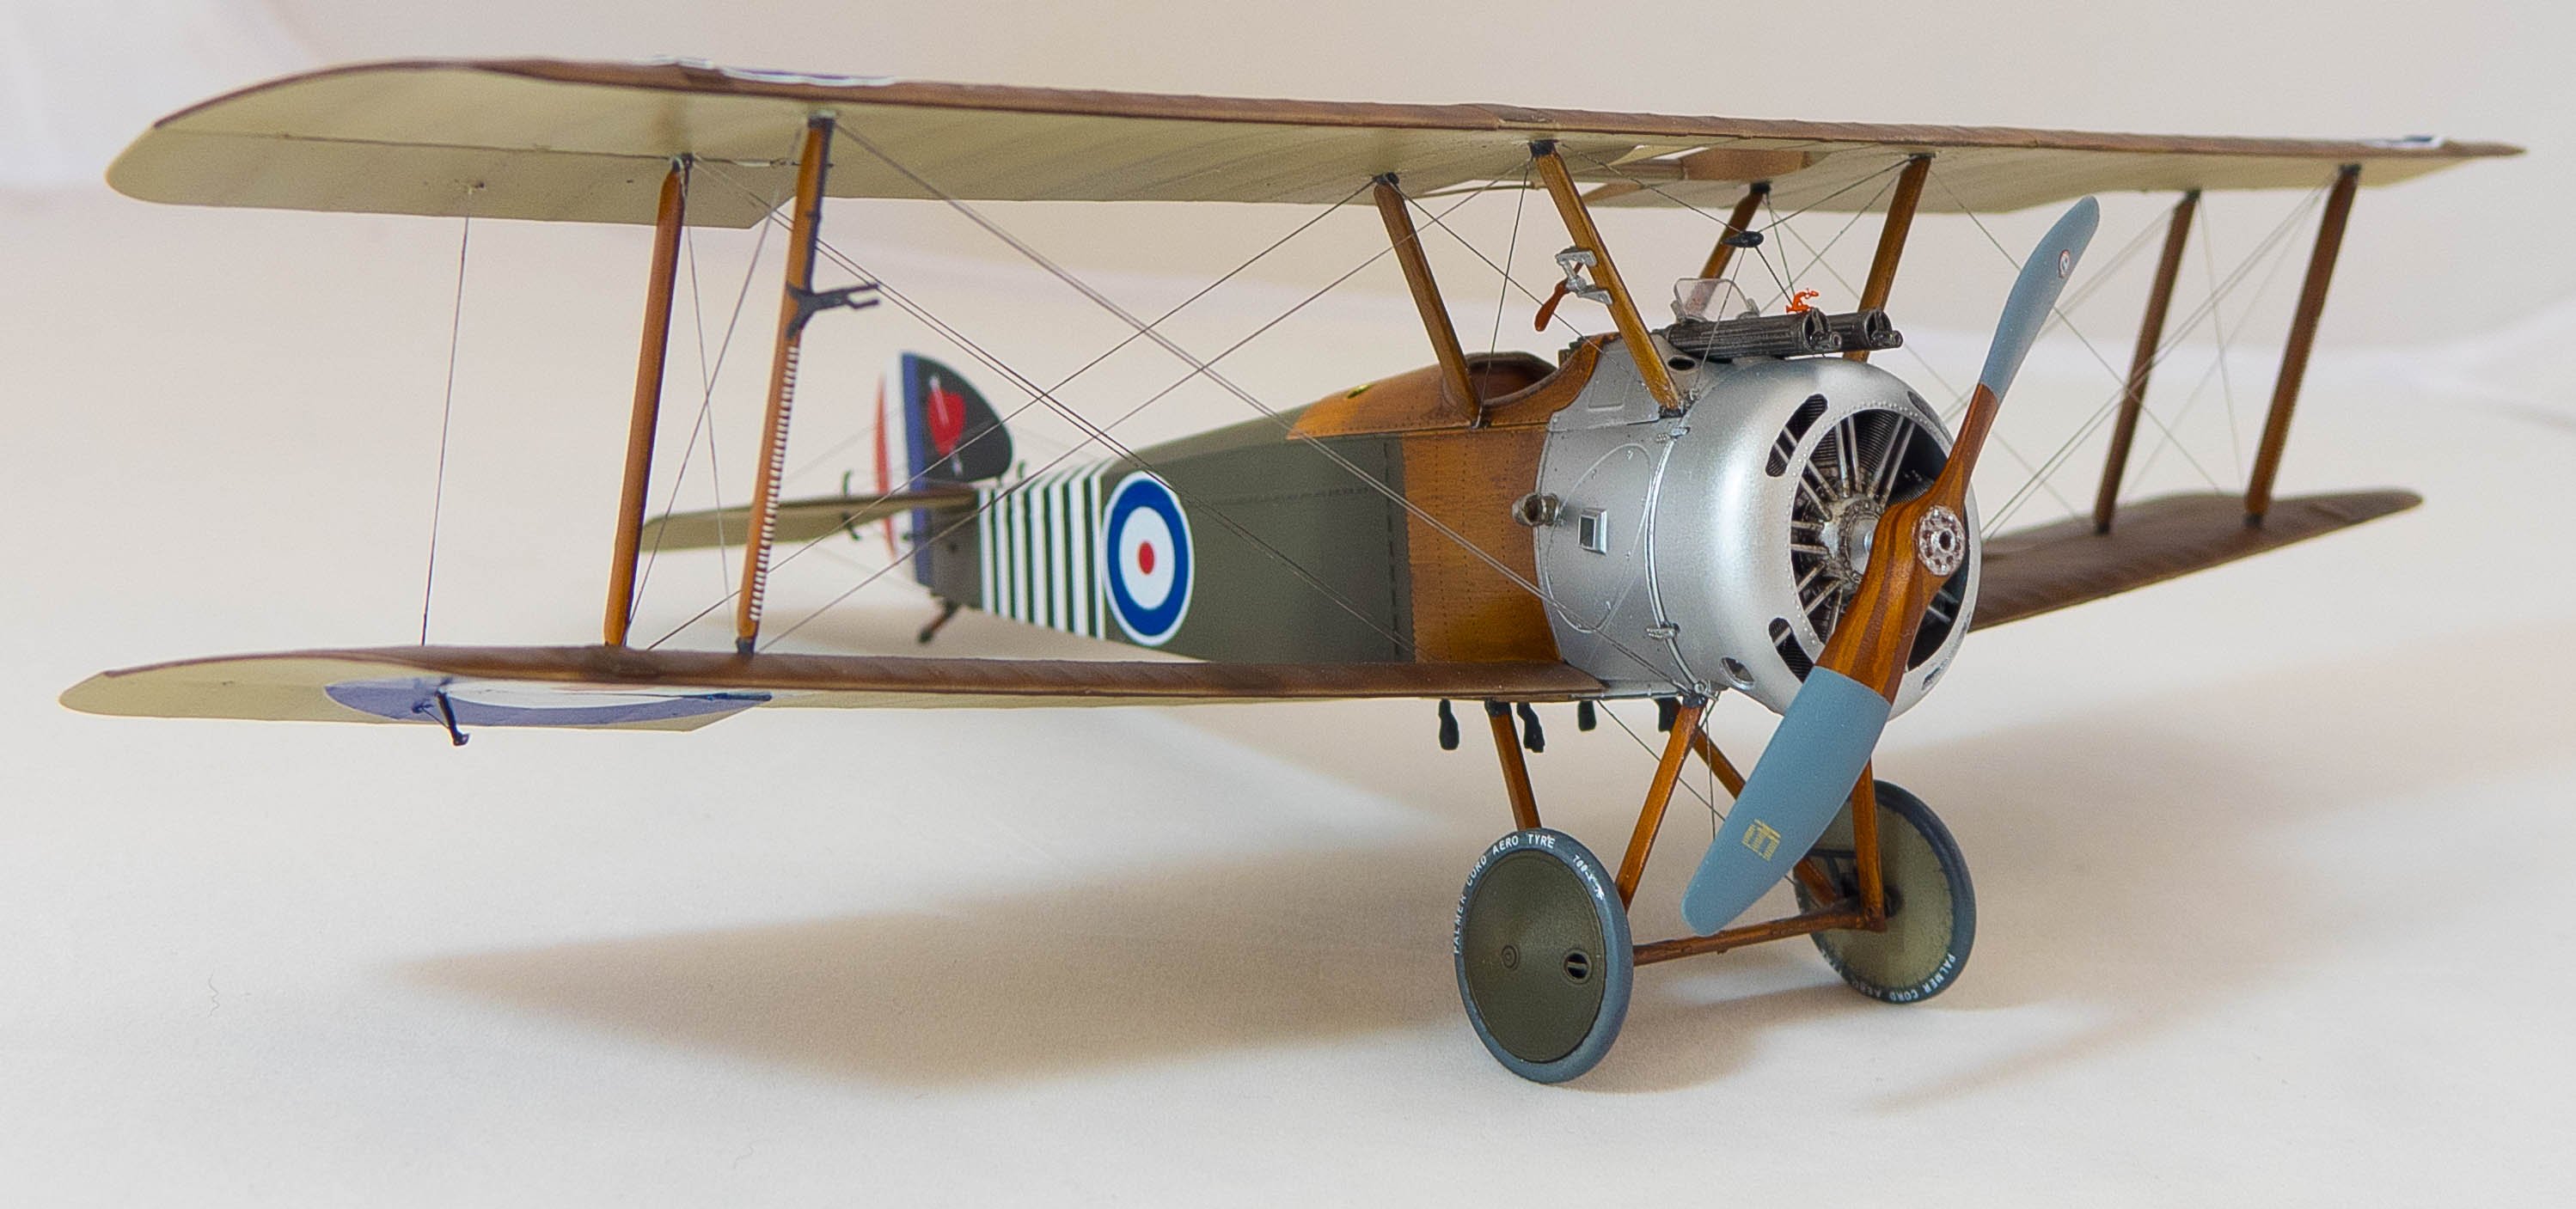
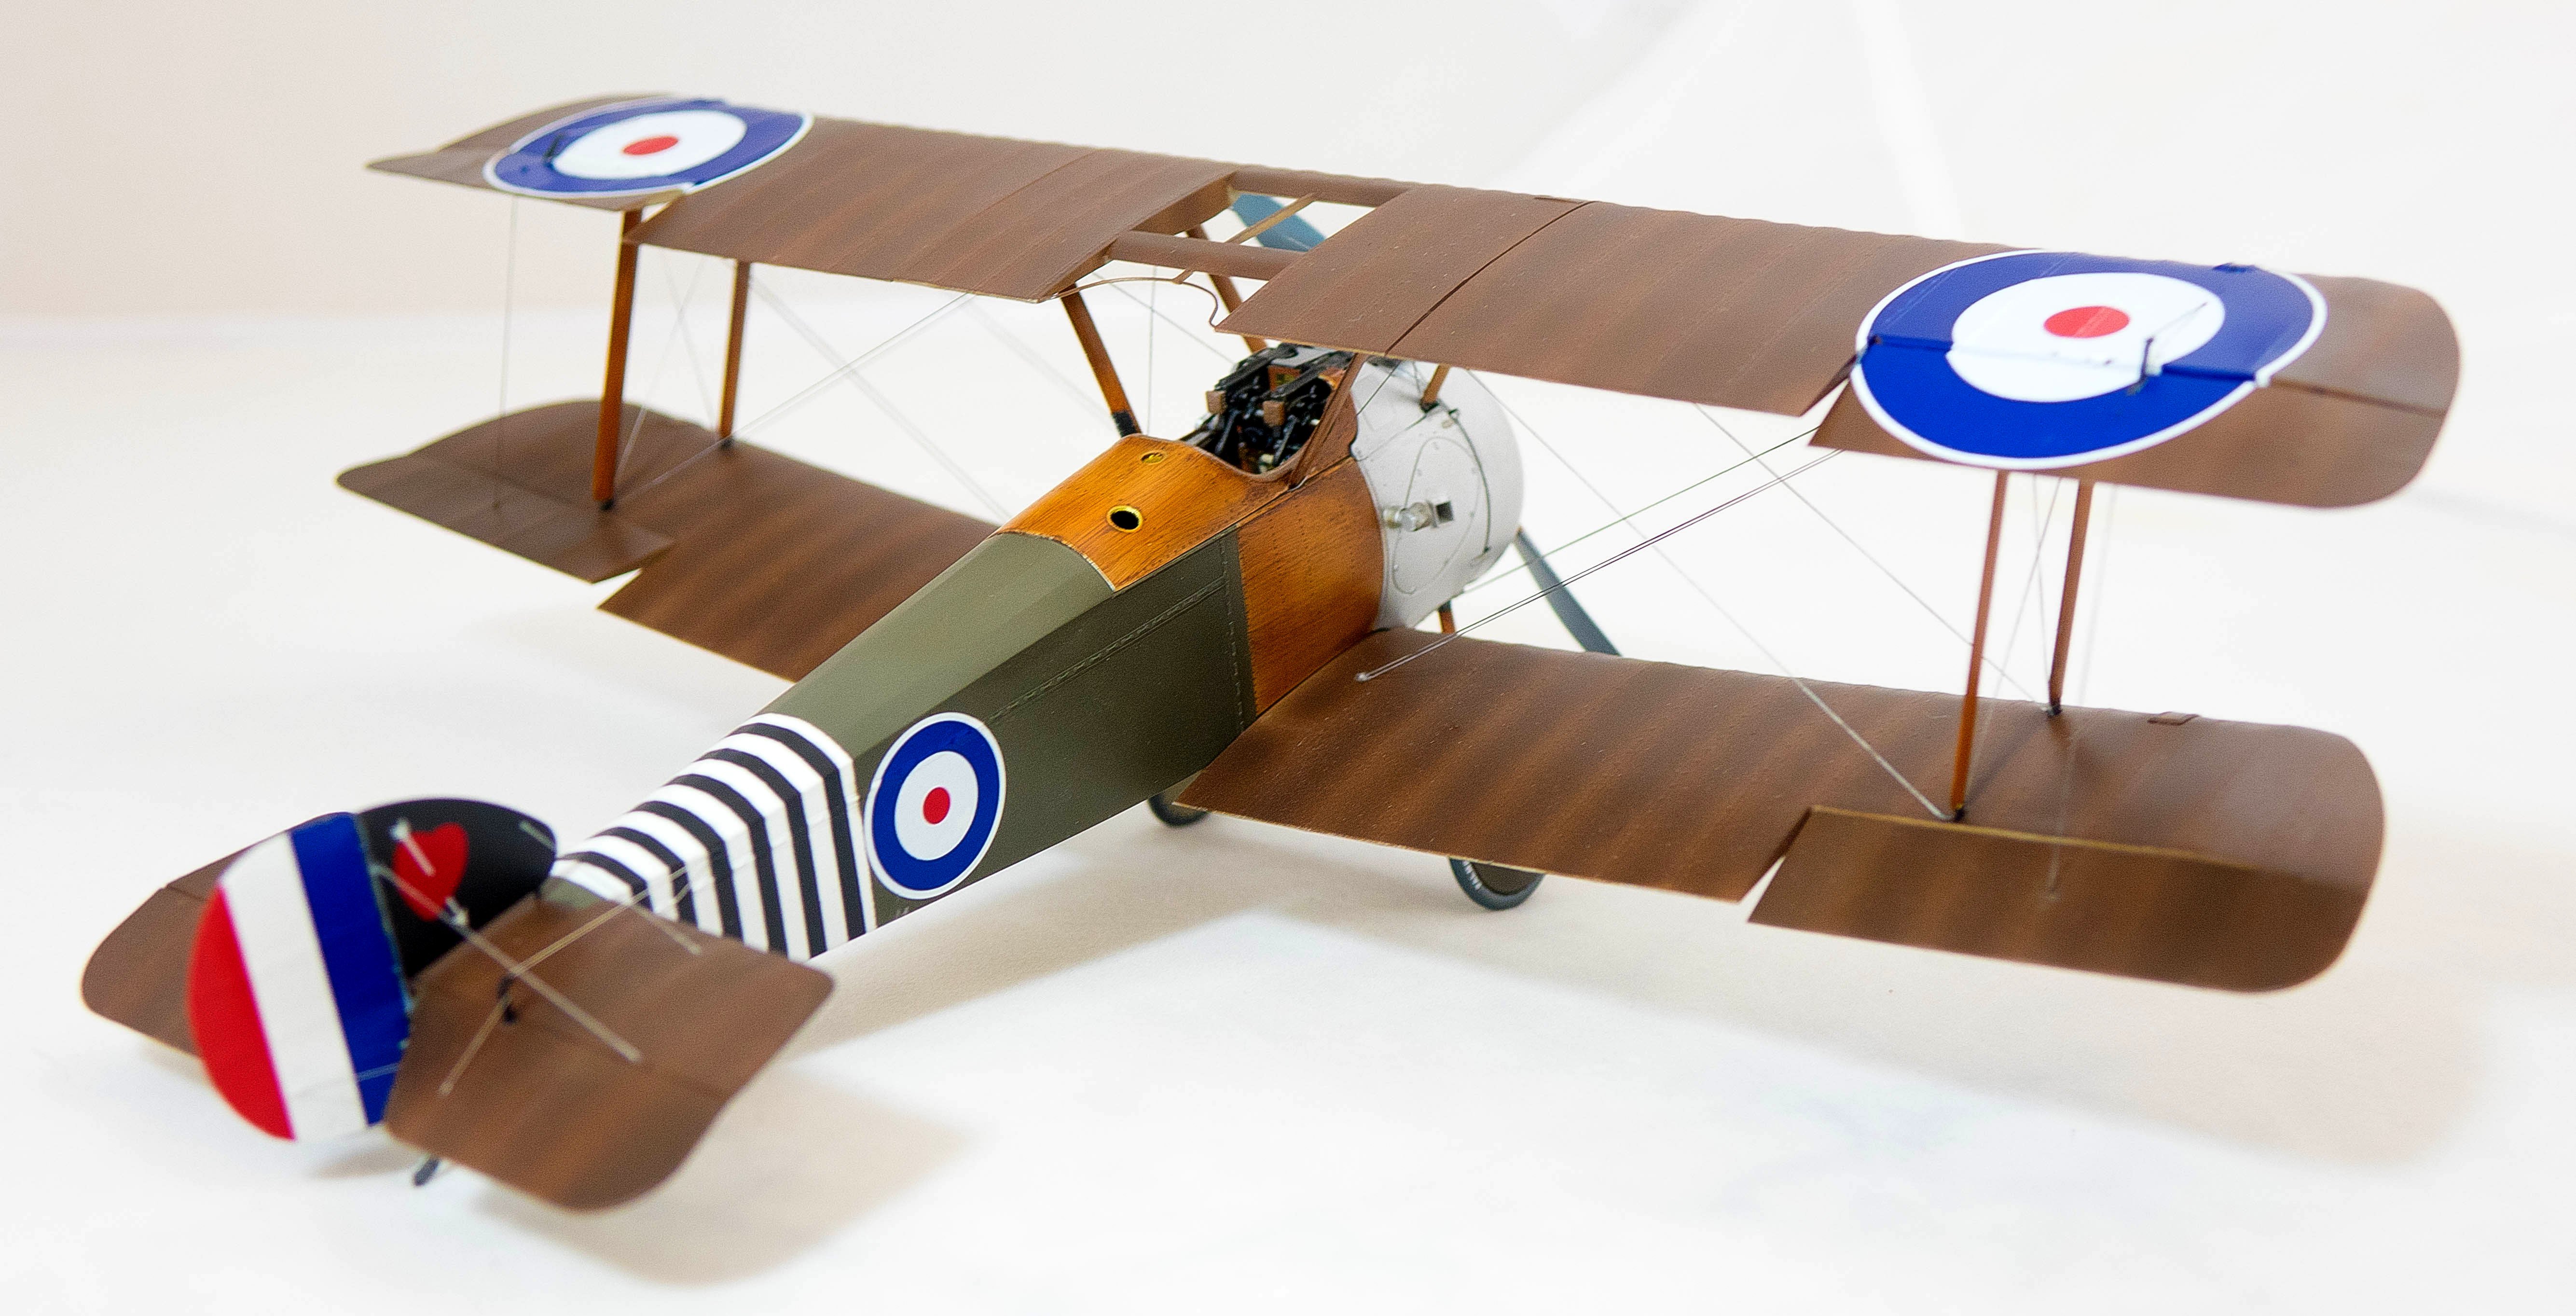
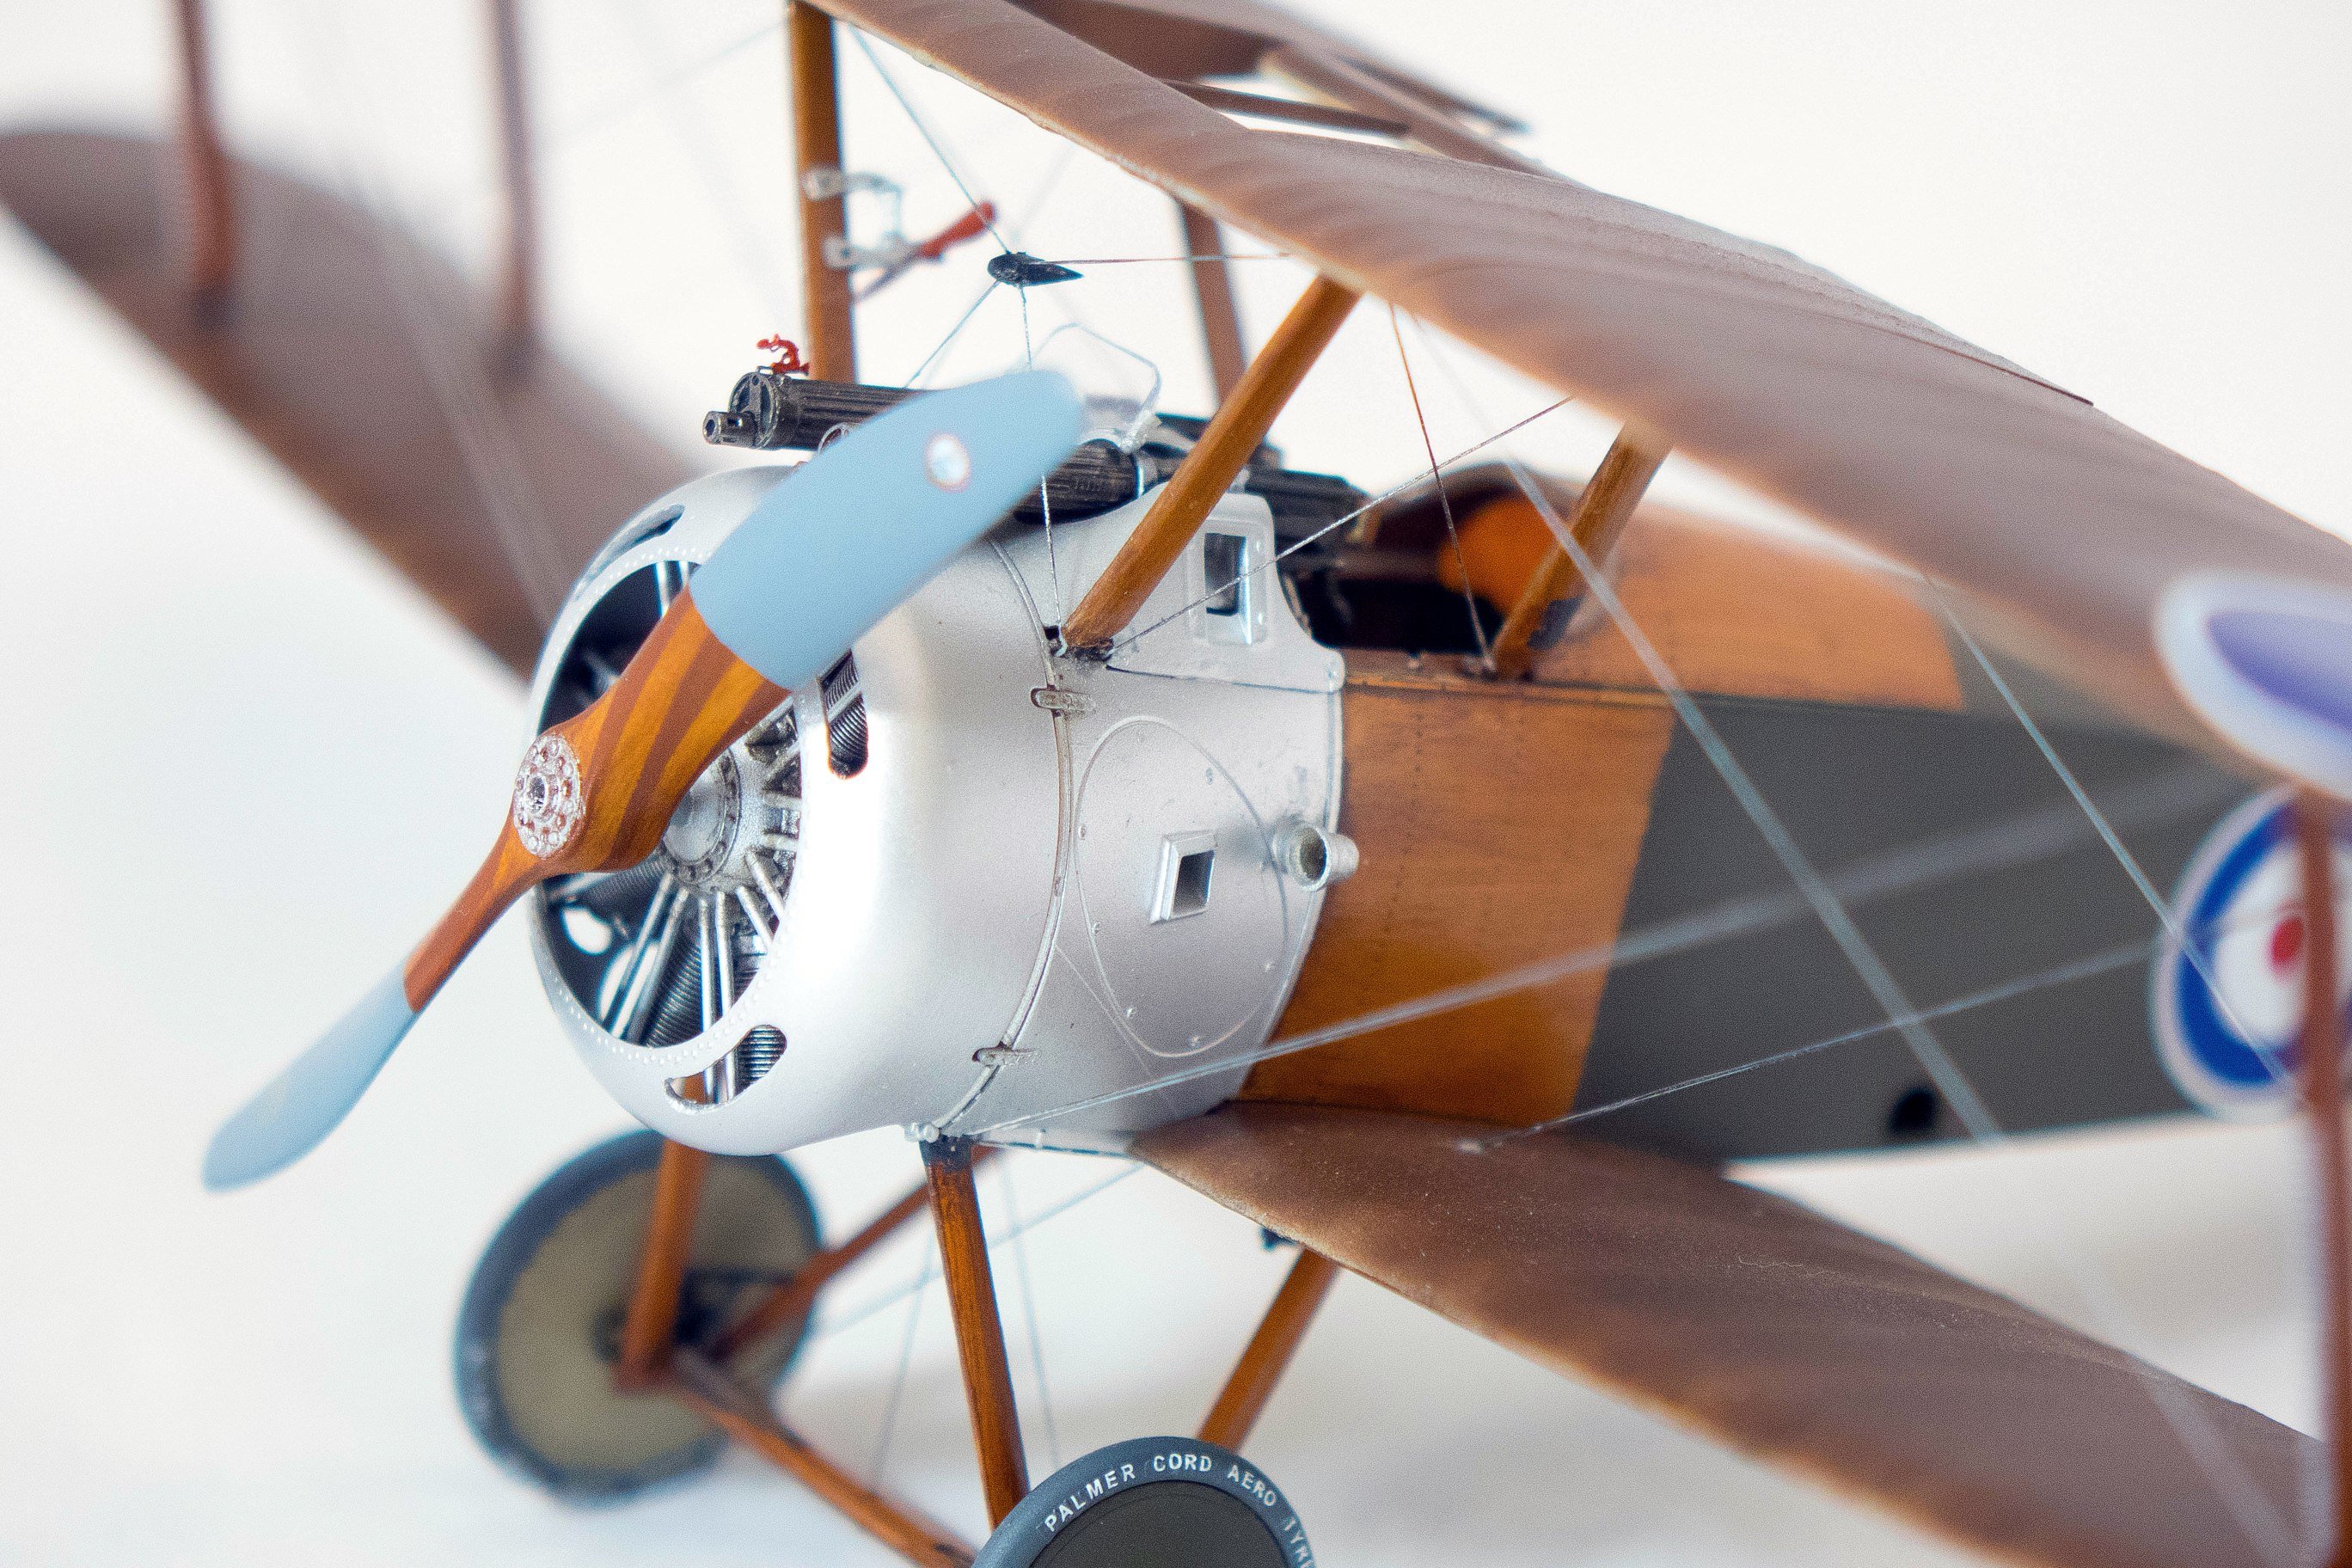
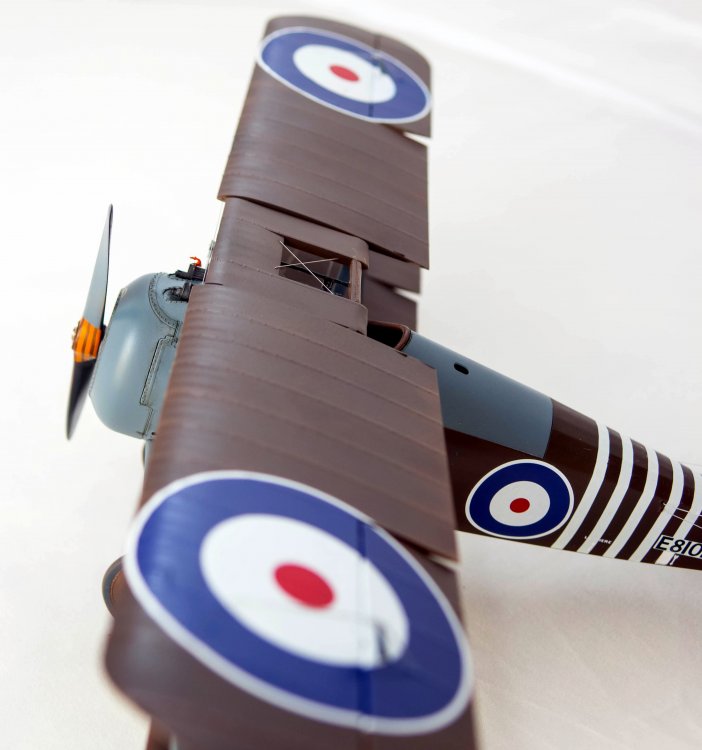
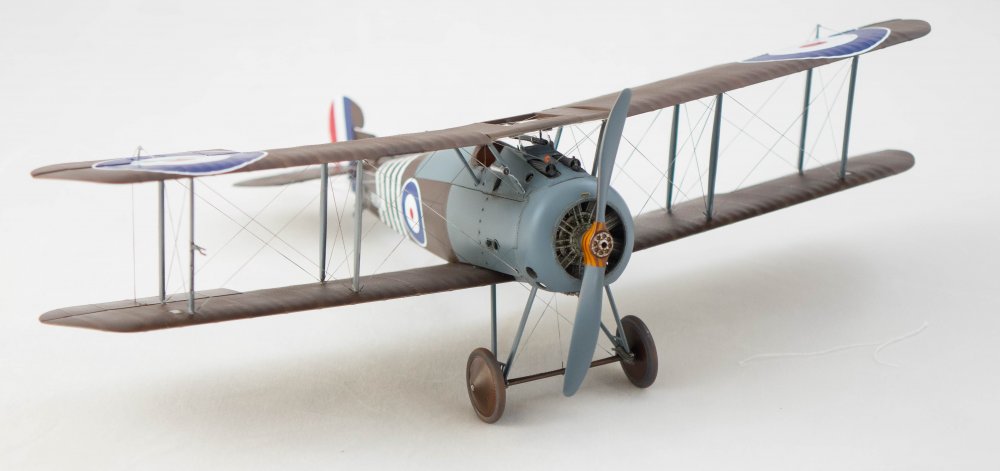
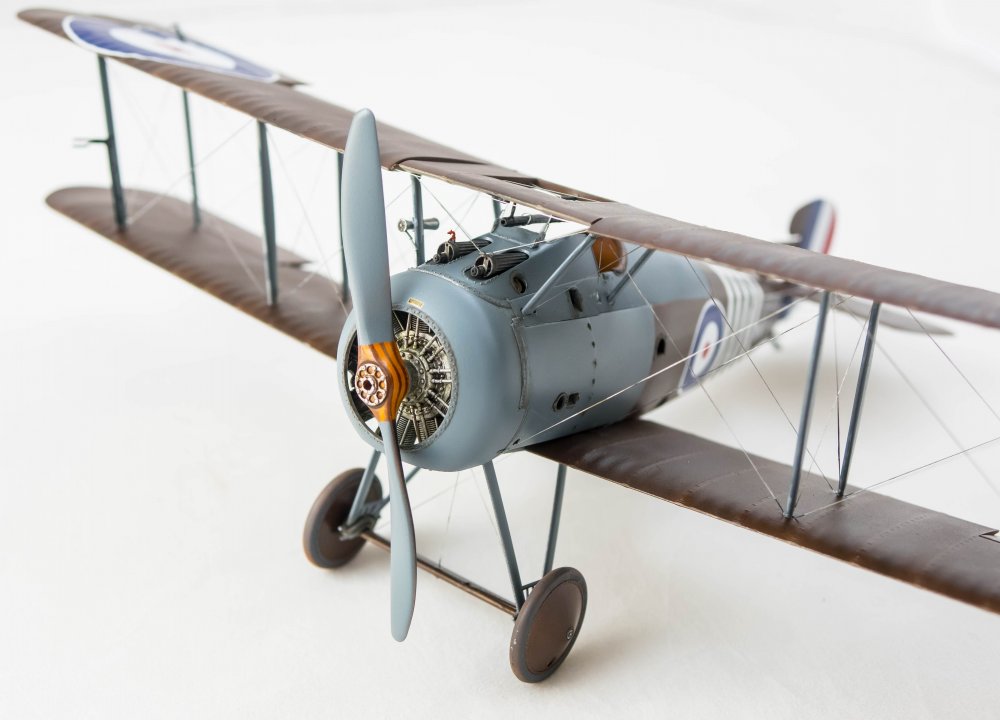
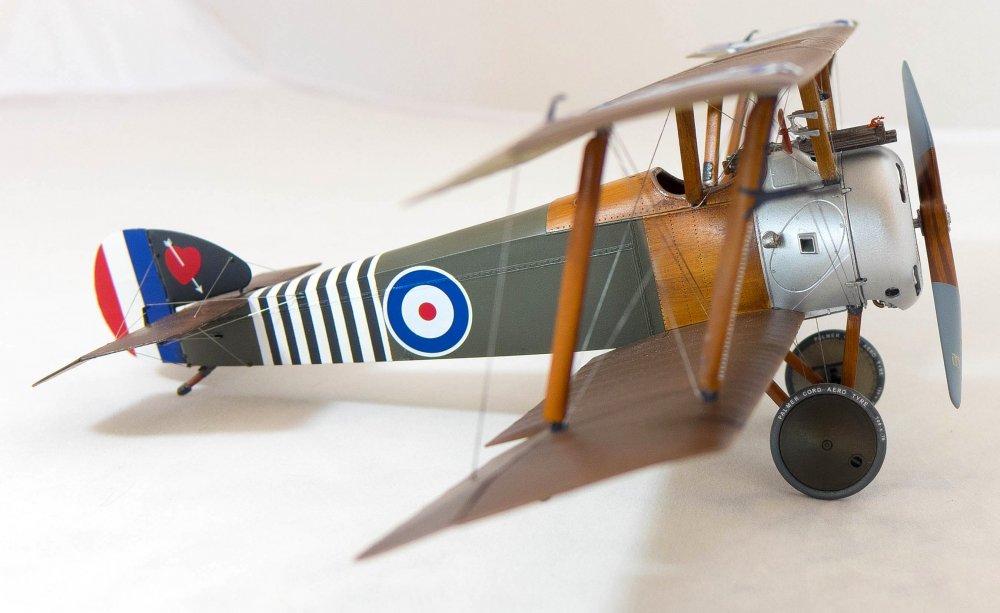
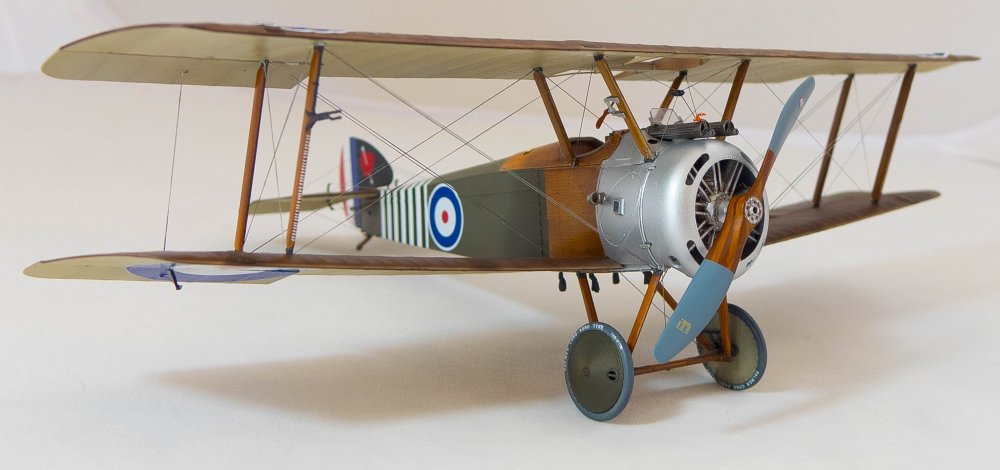
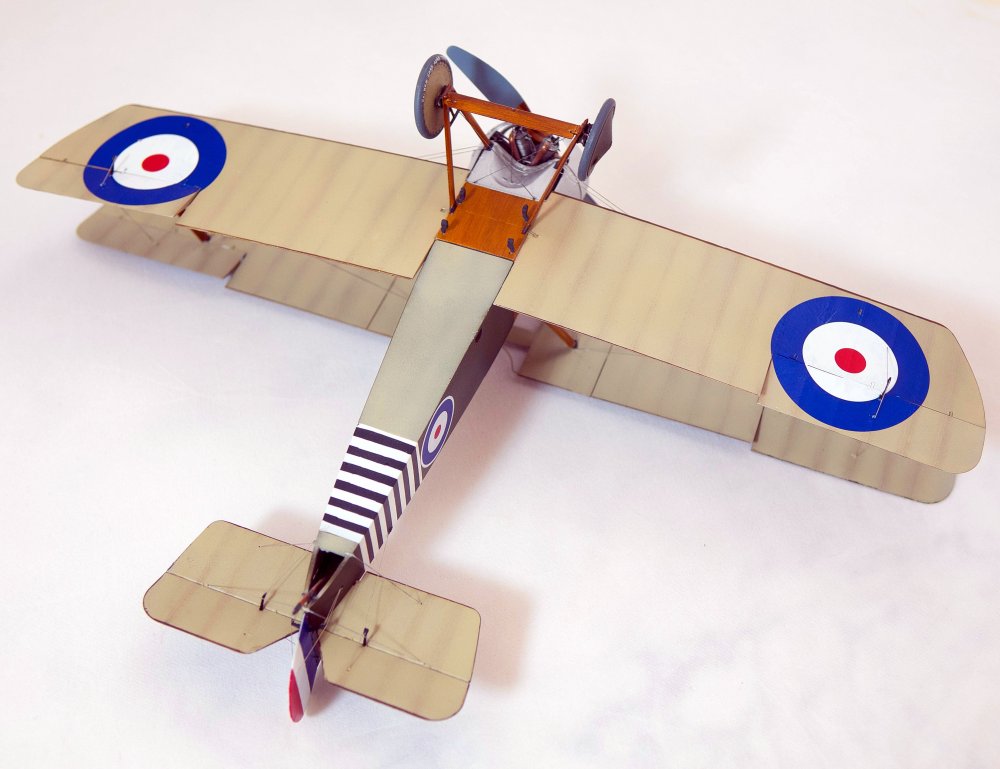
I purchased the WNW Clerget Camel specifically because I wanted to model Squadron Commander William Barker's Sopwith Camel...but first I had to build his Sopwith Snipe! Pheon Decals, Tamiya paints, E-Z line, the new Vallejo Metal paints (awesome and odorless), and the little red devil from the Camel kit.


-
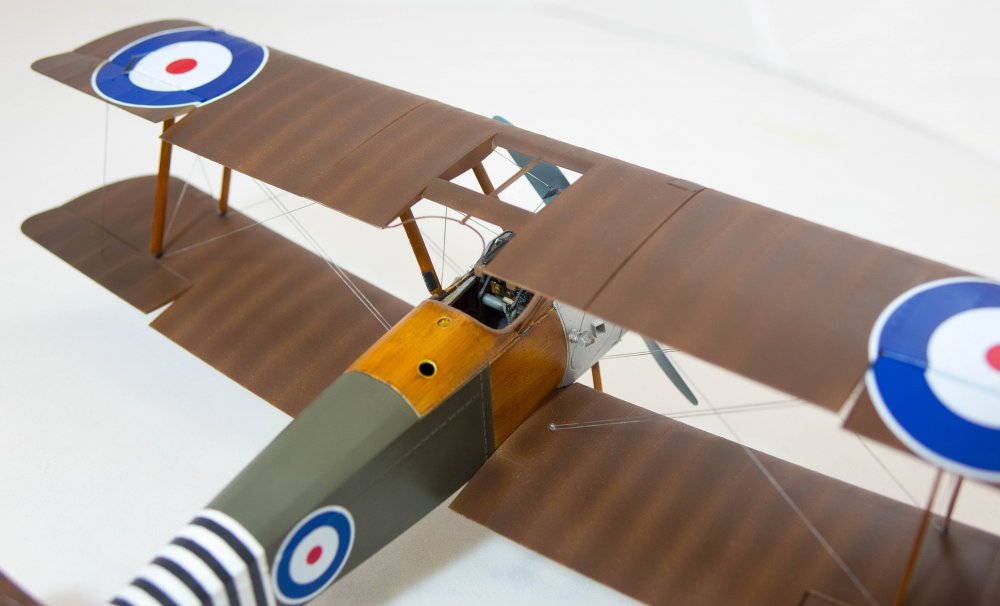
Did you see a model kit that inspired your interest in building models? For me, the one that started it all when when I first saw the Revell 1/28 silver-cowled Sopwith Camel in the markings of William Barker. I built that kit, but never in those markings, so when Wingnut Wings released the Clerget Camel, I knew that I had to build it as his aircraft. I present here my build of his Camel, in its final configuration. This was a hot-rod, with extra modifications not present in the WNW kit: --cooling slots added to the front cowl --intake funnels scratchbuilt and added to the carburator intakes --expanded opening to wing center section (part E4) with hoop wire added --removed left side of the forward cockpit decking --scratchbuilt the windshield I also used the BarracudaCast wicker seat, articulated the control surfaces, and painted the stripes on the rear fuselage. I painted the wood surfaces with DecoArt burnt umber and burnt sienna acrylic oil paints over a Tamiya XF-78 base coat. I also used Vallejo Metal paint, custom mixed Tamiya paints, and EZ line. For reference I extensively used Mike (Sandbagger) Norris’s build guide (http://igavh2.xara.hosting/index_htm_files/Camel-Barker.pdf). I’m glad I finally did it! Cheers, Tom


-
Your 5 top choices, Tamiya 1/48 up scaled to 1/32?
Uncarina replied to Sir Desmond Glazebrook's topic in Modelling Discussion
A 1/32 Ki-46 Dinah if you please. Tom -
Fokker D.VIIF, Wilhelm Hippert, 'Mimmi'
Uncarina replied to JayDee's topic in LSM 1/35 and Larger Work In Progress
Wonderful start on a great subject! I am looking forward to seeing this unfold. Cheers, Tom -
Carl, I wish you a fast recovery and hope the build will help! A great build choice. These WWI Junkers aircraft have a lot of personality, and I had a blast with my J.1 build. I bet you will here as well. Cheers, Tom
- 31 replies
-
- 4
-

-

-
- wingnut wings
- junkers
- (and 1 more)
-
WNW Hannover Cl.II (Early)
Uncarina replied to Uncarina's topic in LSM 1/35 and Larger Work In Progress
Thanks Phil! If I understand correctly, Mike does describe in more detail here: http://igavh2.xara.hosting/index_htm_files/Camel-Barker.pdf Cheers, Tom -
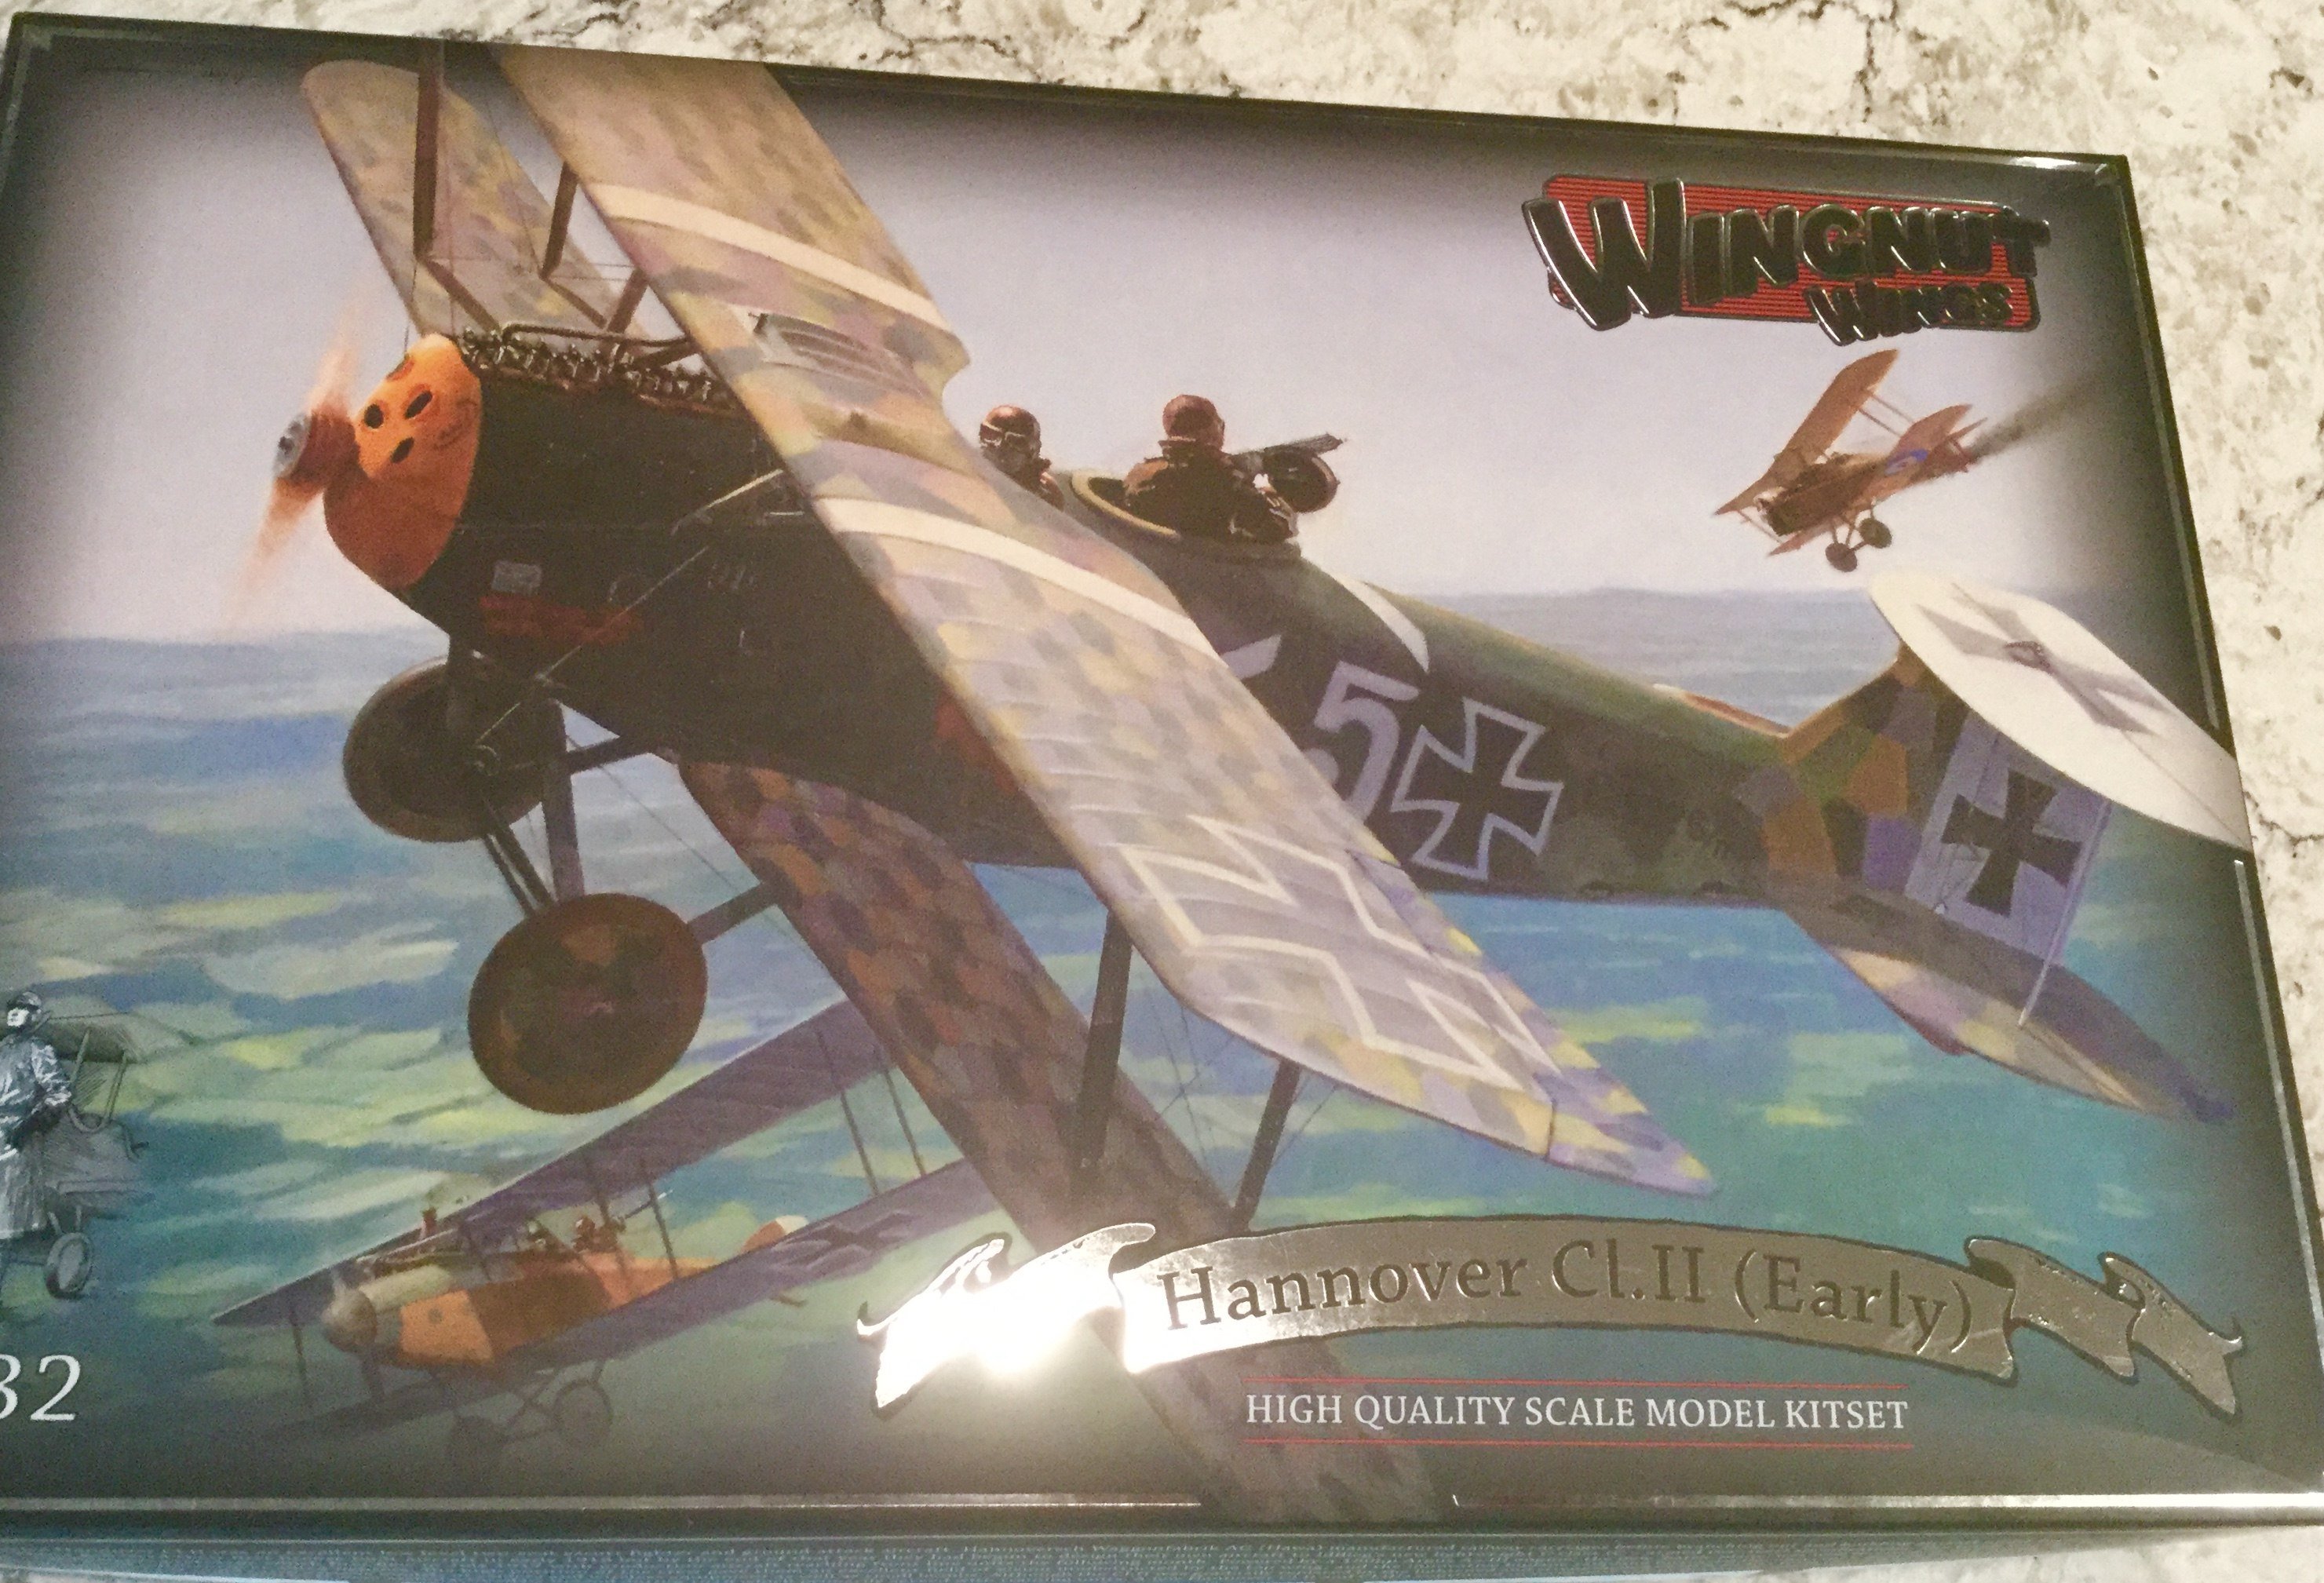
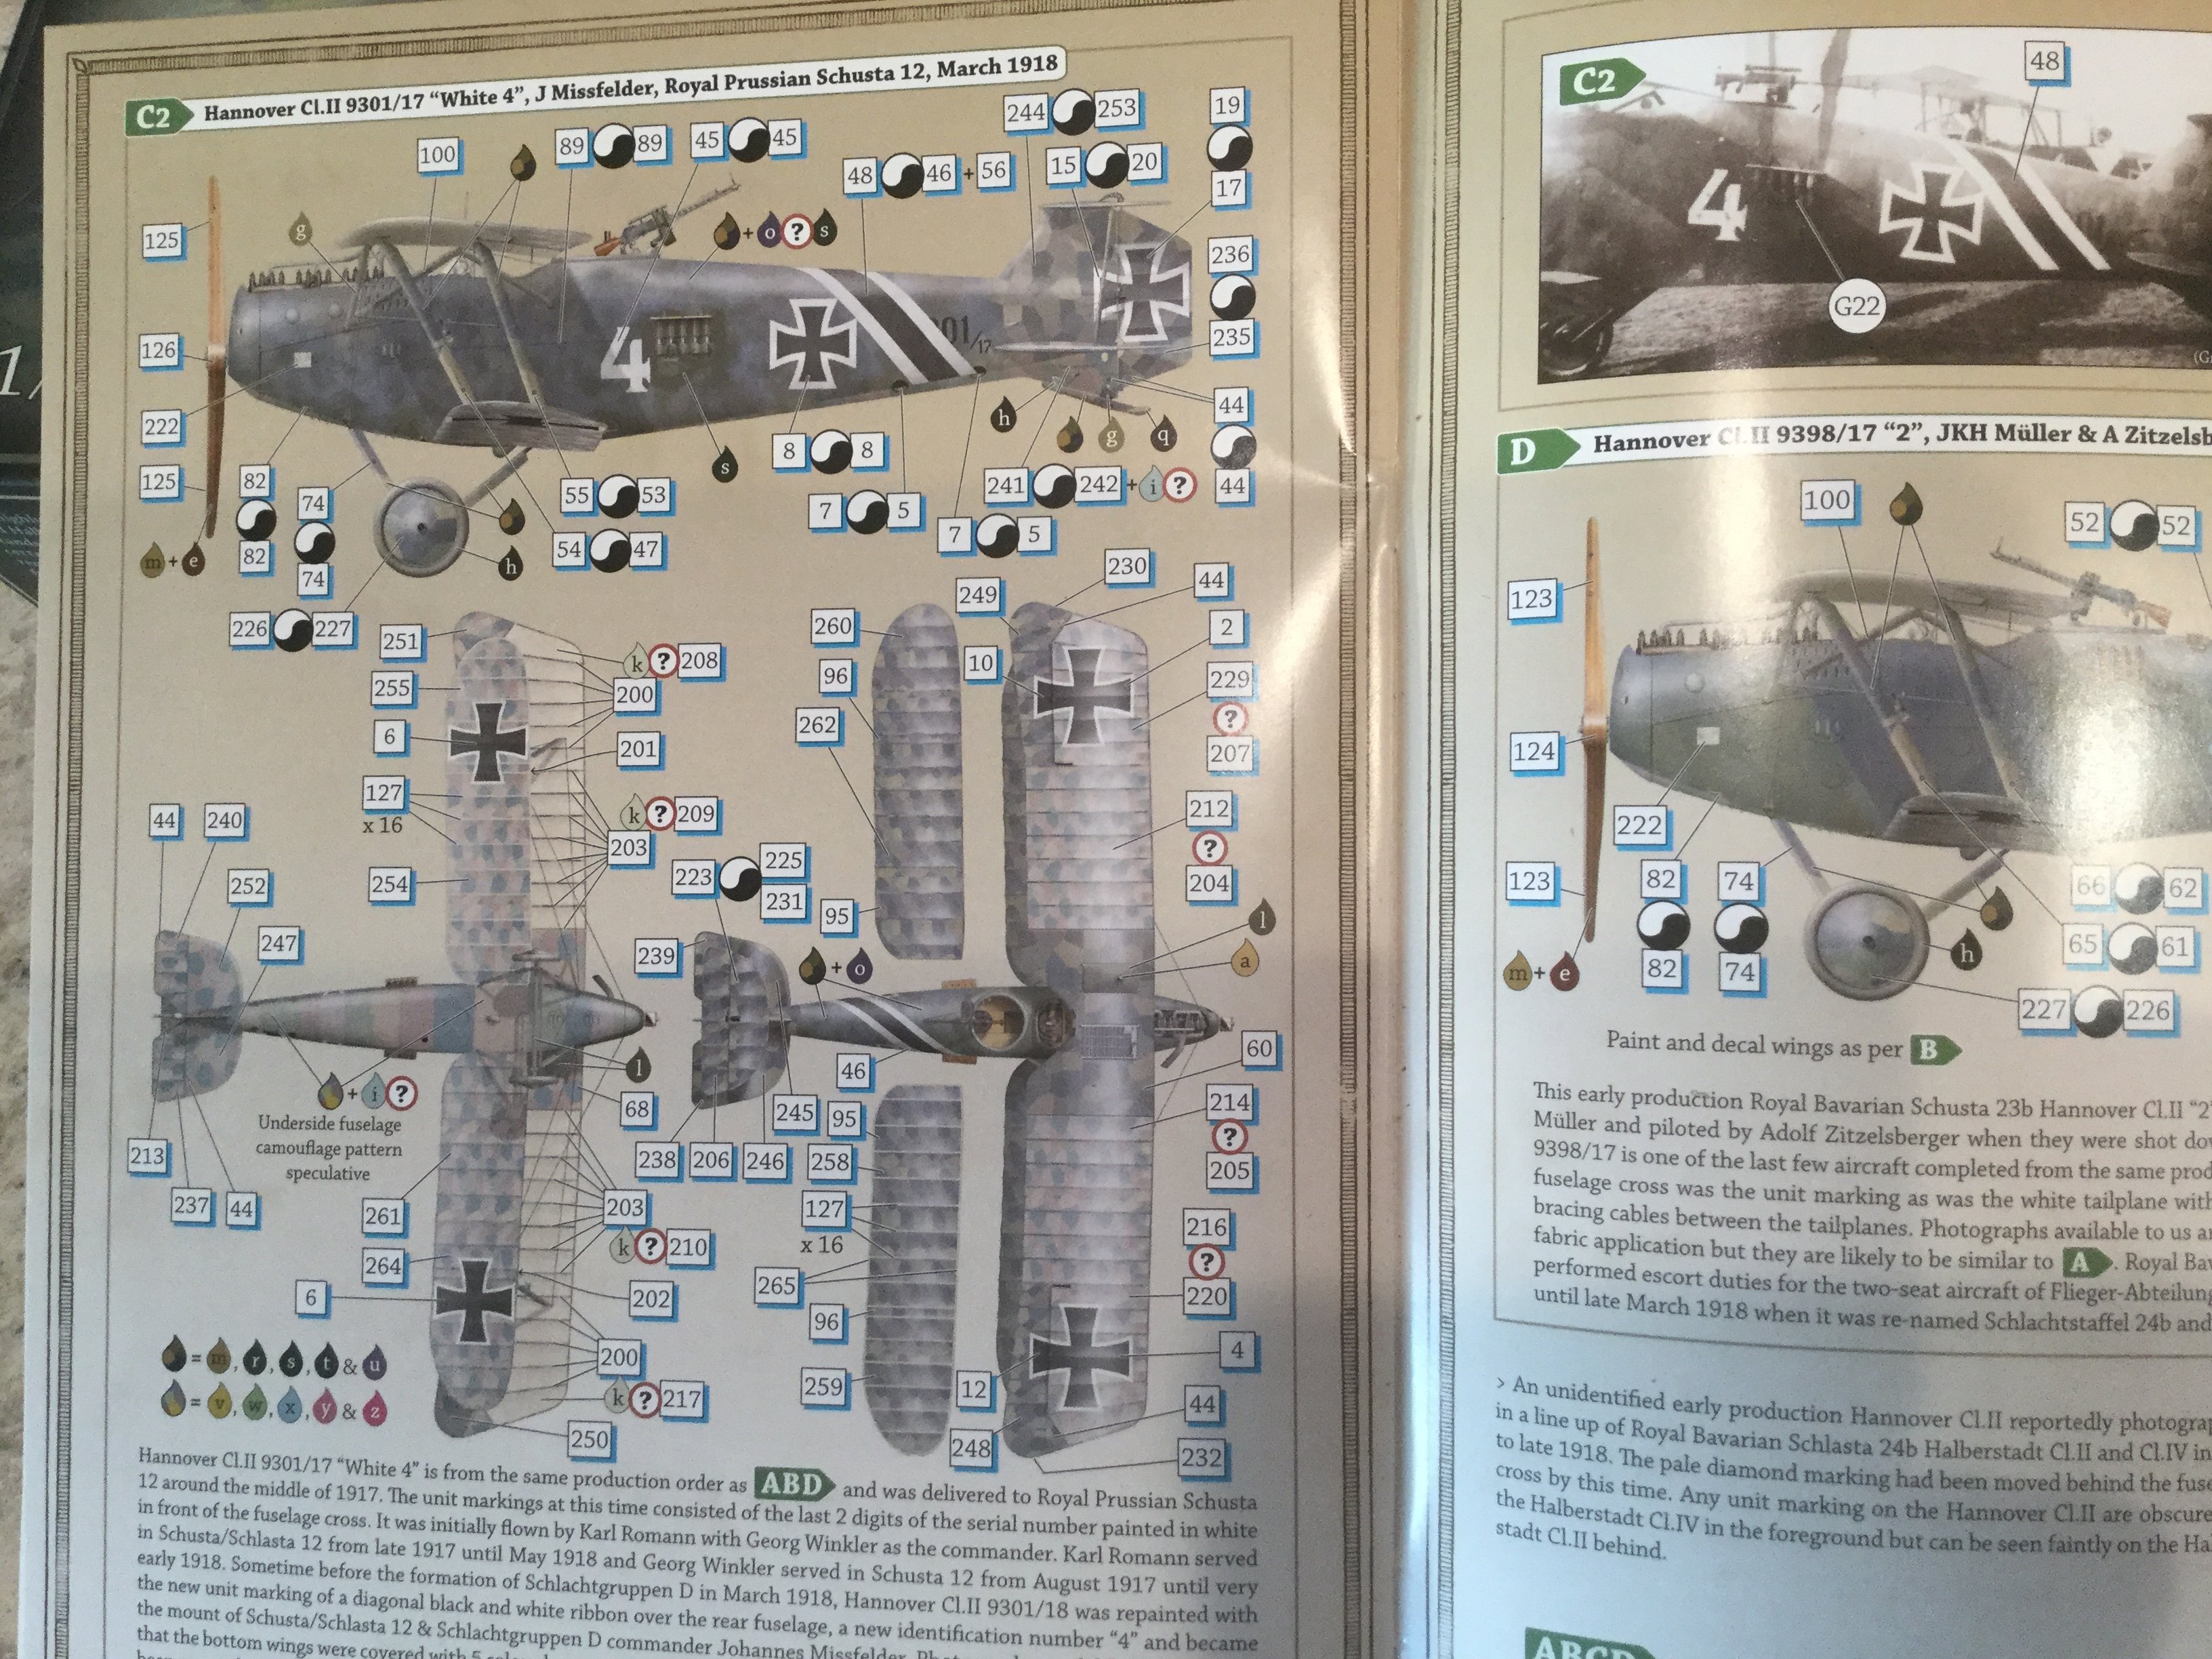
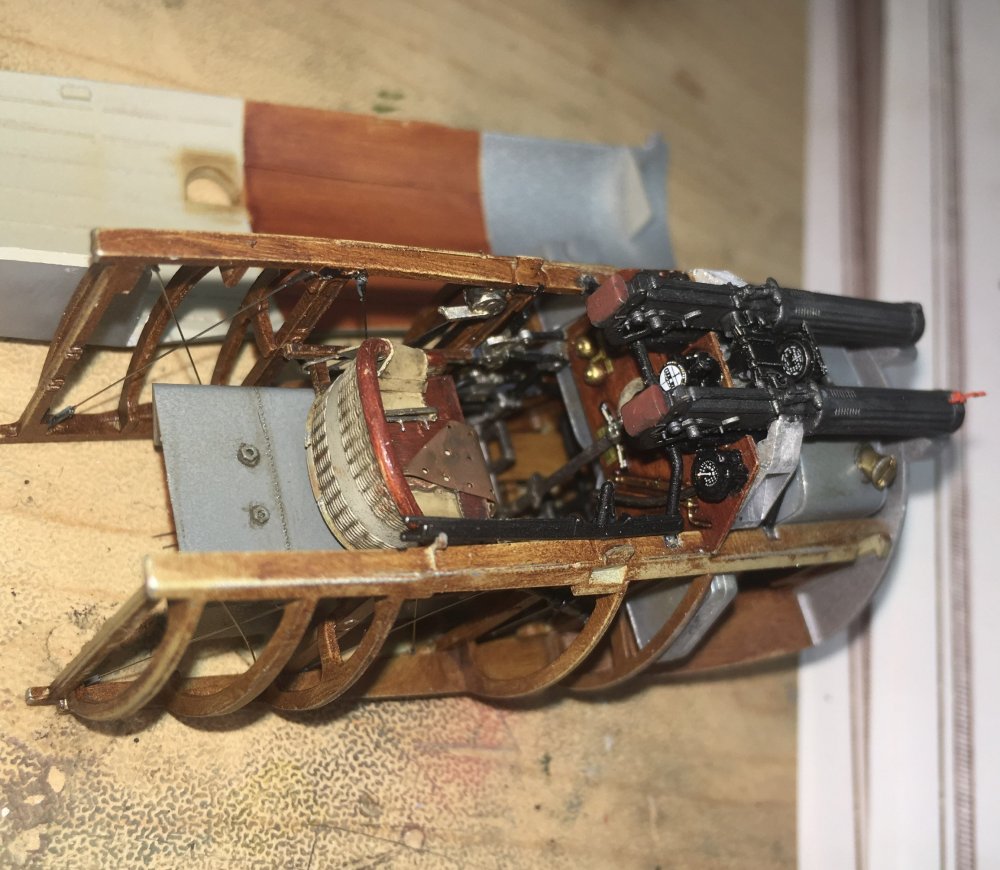
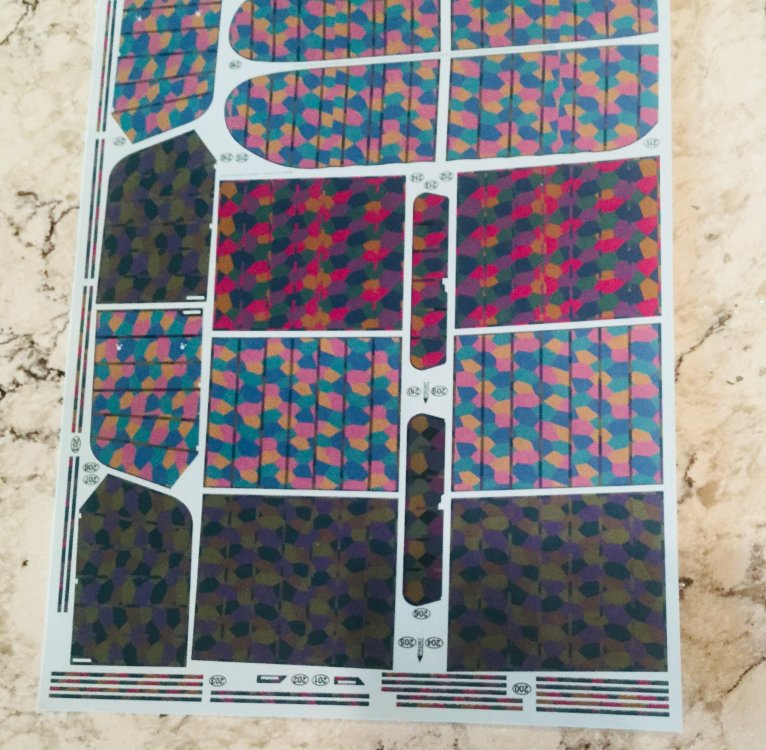
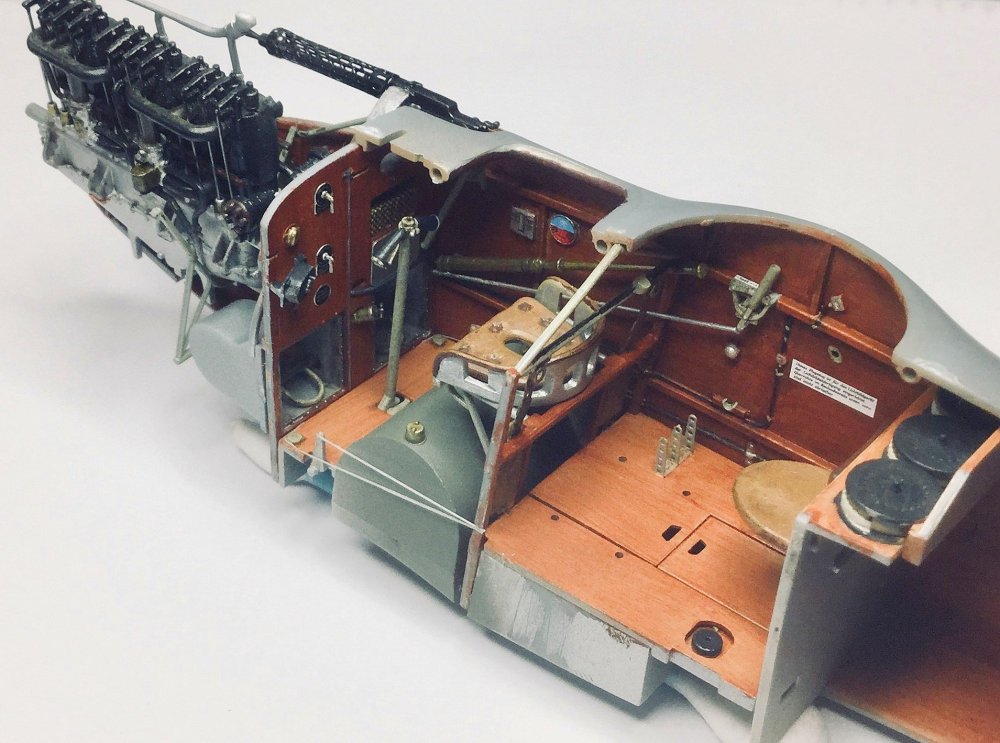
Want to get an idea of how to assemble a Swiss watch? By a Wingnut Wings kit! I'm building the Hannover Cl.II early version, "White 4" Royal Prussian Schusta 12. As with most WWI subjects, colors are an open topic, and WNW interprets this aircraft as having the lower lozenge pattern on the upper wings, with plain linen underneath. The kit contains decals for this, but they don't quite match the lower lozenge pattern on the lower surfaces. The lozenge third from the bottom is the WNW interpretation, but they aren't a match for the lower surface lozenge pattern just below. Inspired by the Aviattic decal sets that have come out for the WNW Halberstadt CL.II (Early) kit which also have the lower lozenge pattern on the upper wing surfaces, I went ahead and purchased one of their lower lozenge sheets. I will cut these using the kit decals as a template and use the WNW ribtapes. I also have Ray Rimell's excellent build guide, where he assembles the same aircraft but with a different interpretation of the lozenge pattern. All good! Having had such success with the water-based oils made by DecoArt for my Sopwith Camel build (RFI coming hopefully soon), I used these on this build as well. They function just like oils for simulating wood but dry as fast as acrylics and clean up with water. Thanks to Mike (Sandbagger) Norris for the tip! Here is where I am so far with the build: Cheers, Tom


-
Another excellent build Docter! Cheers, Tom
-
Beautiful work! Cheers, Tom
-
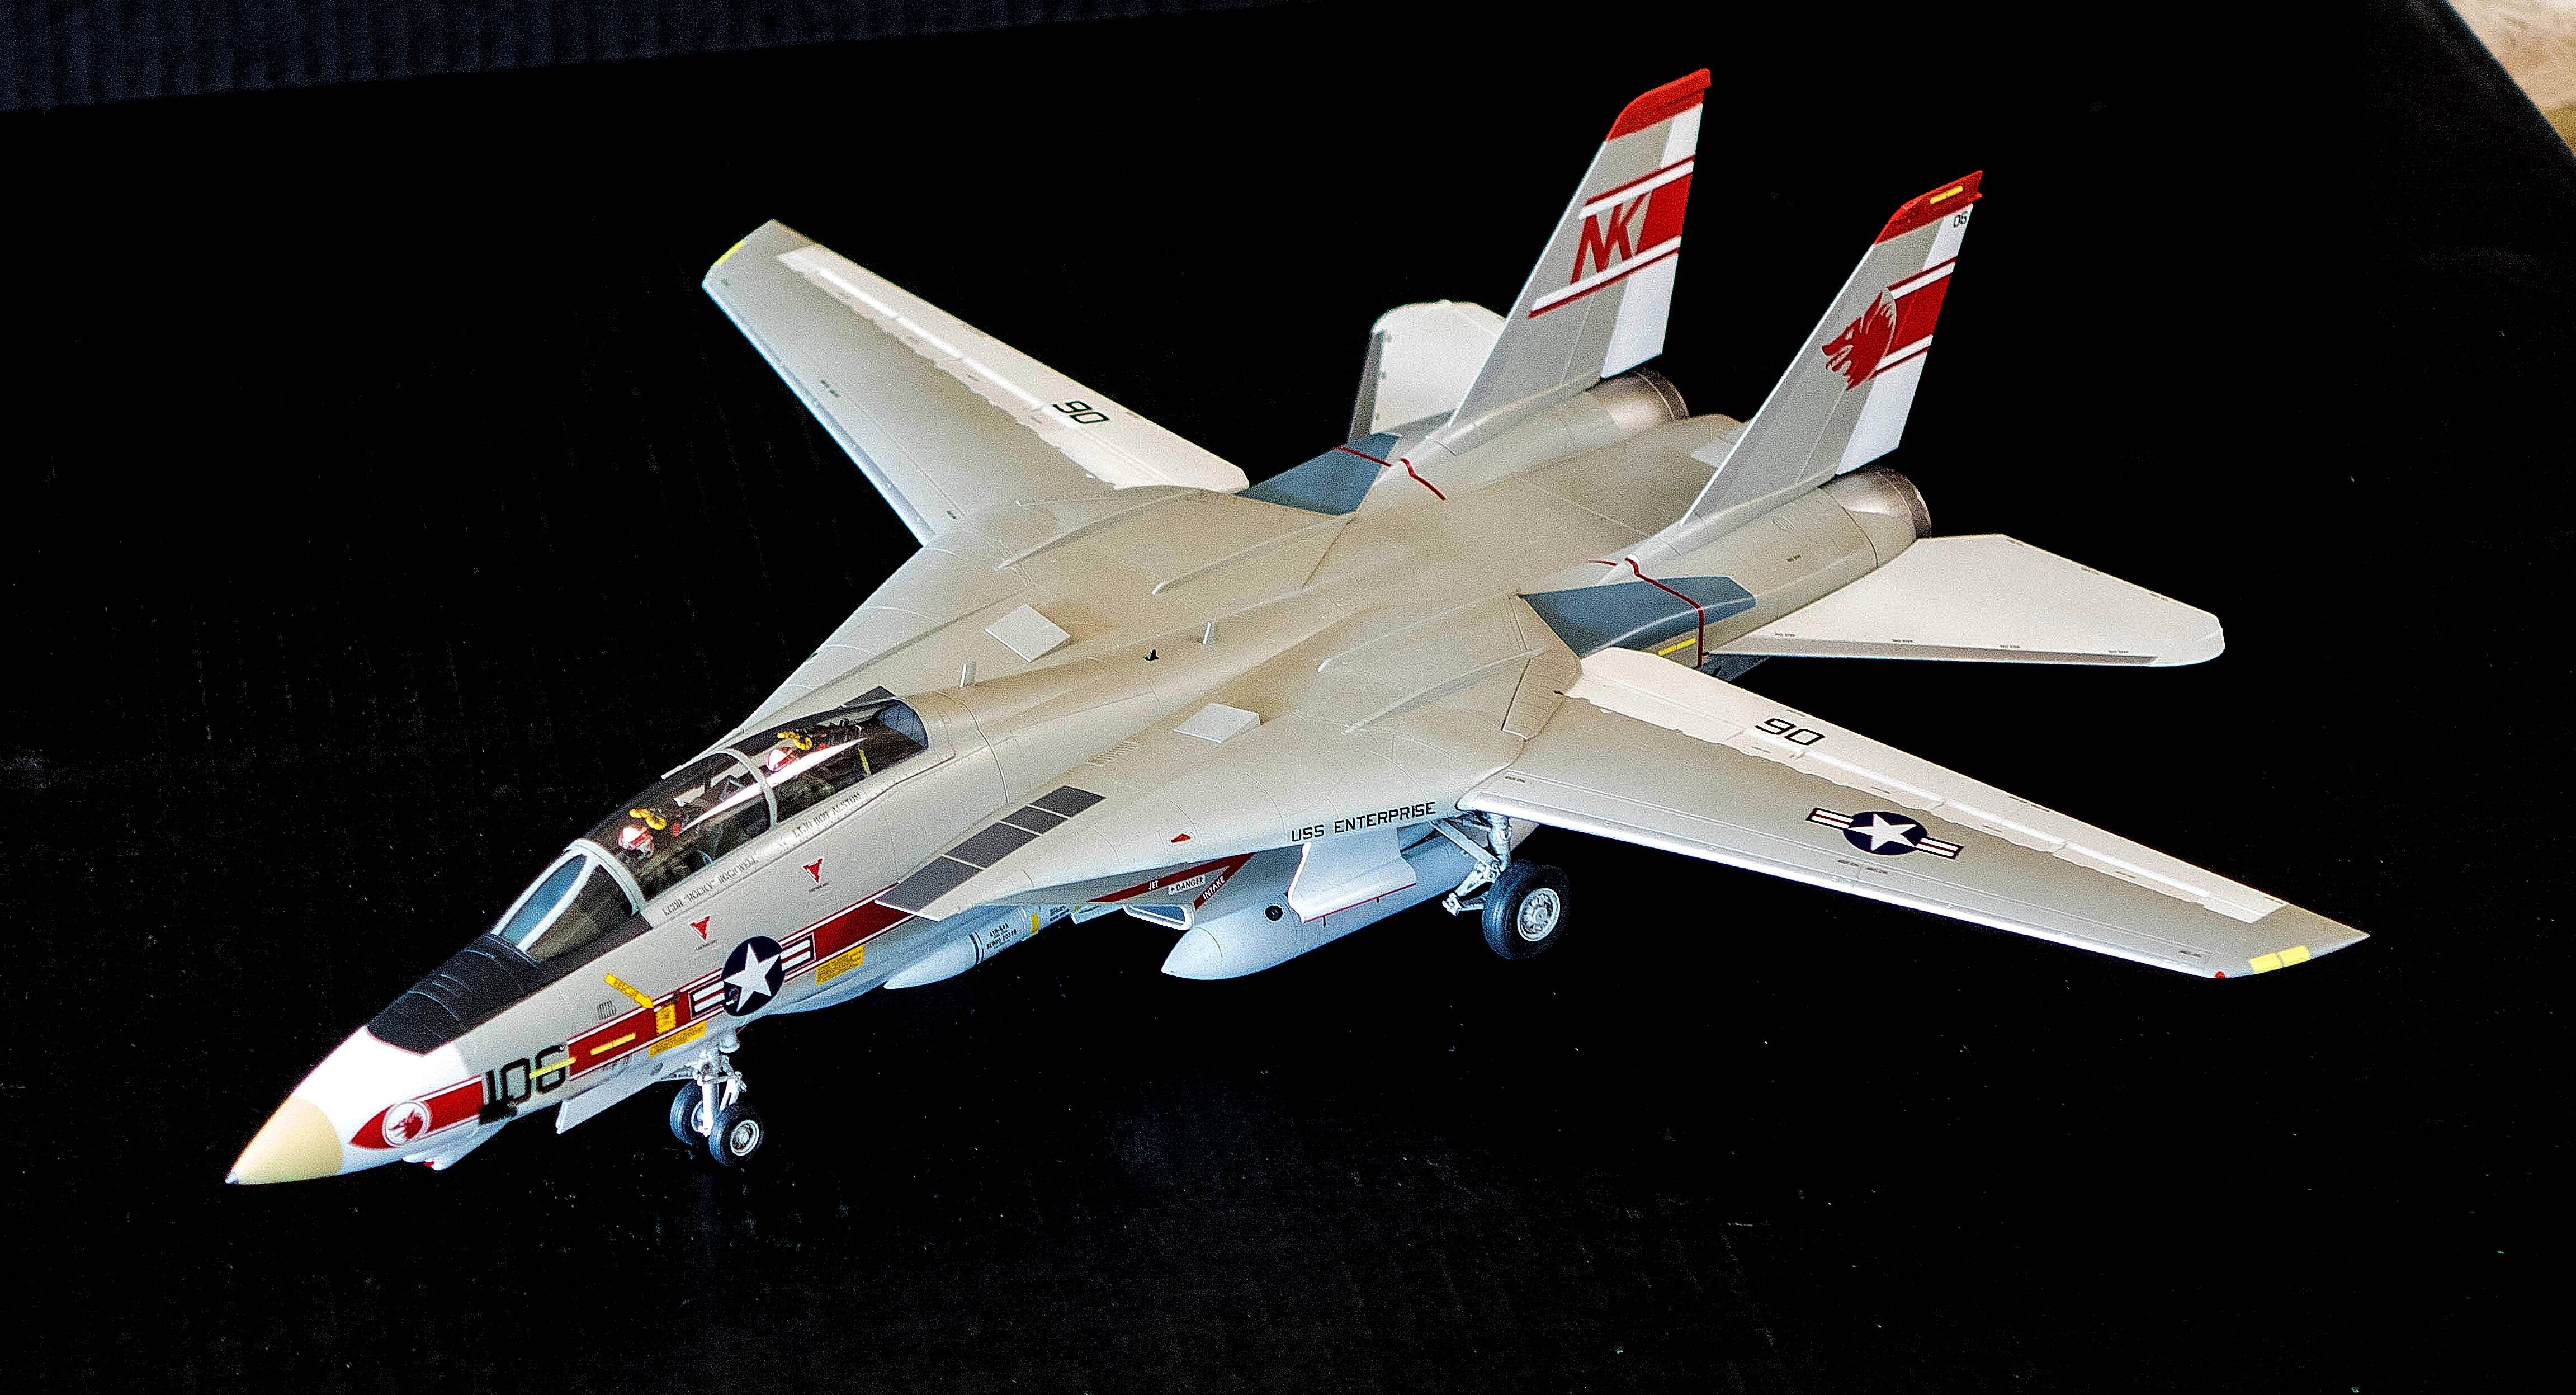
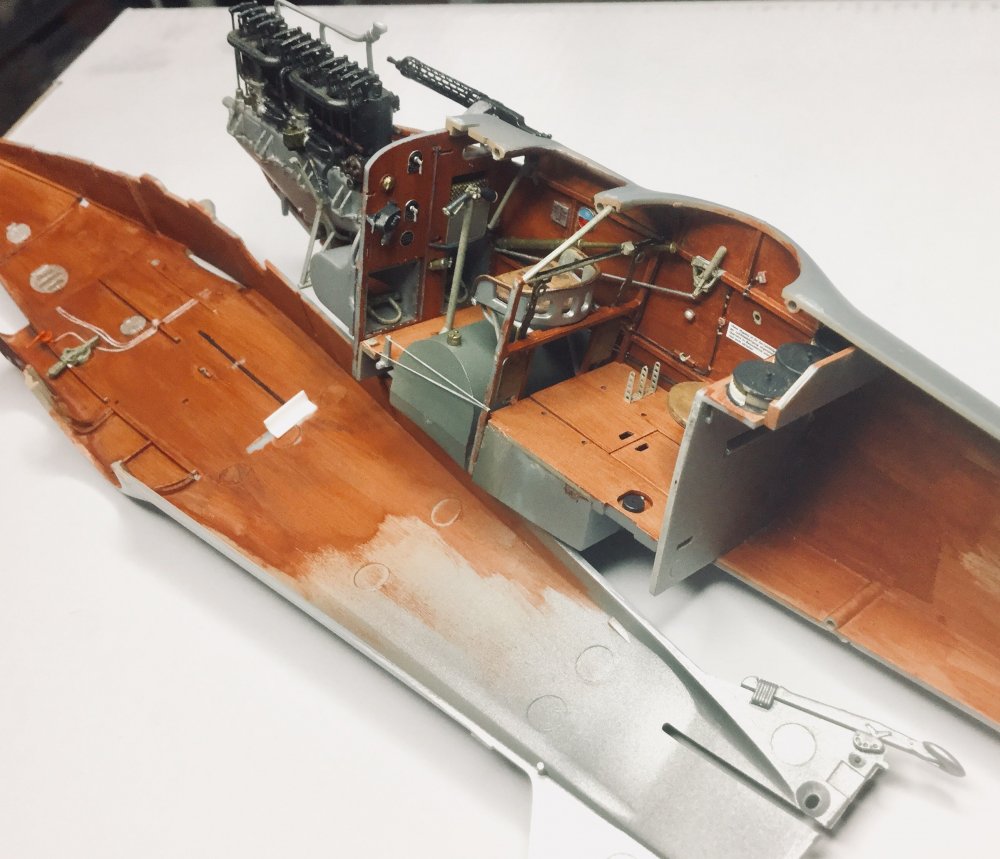
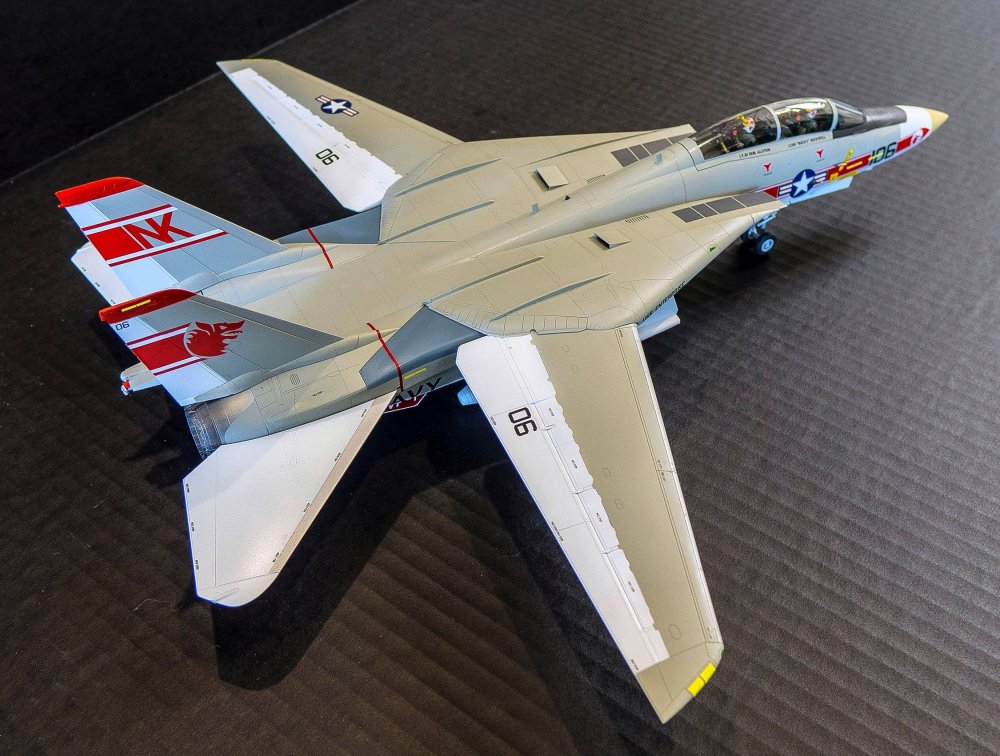
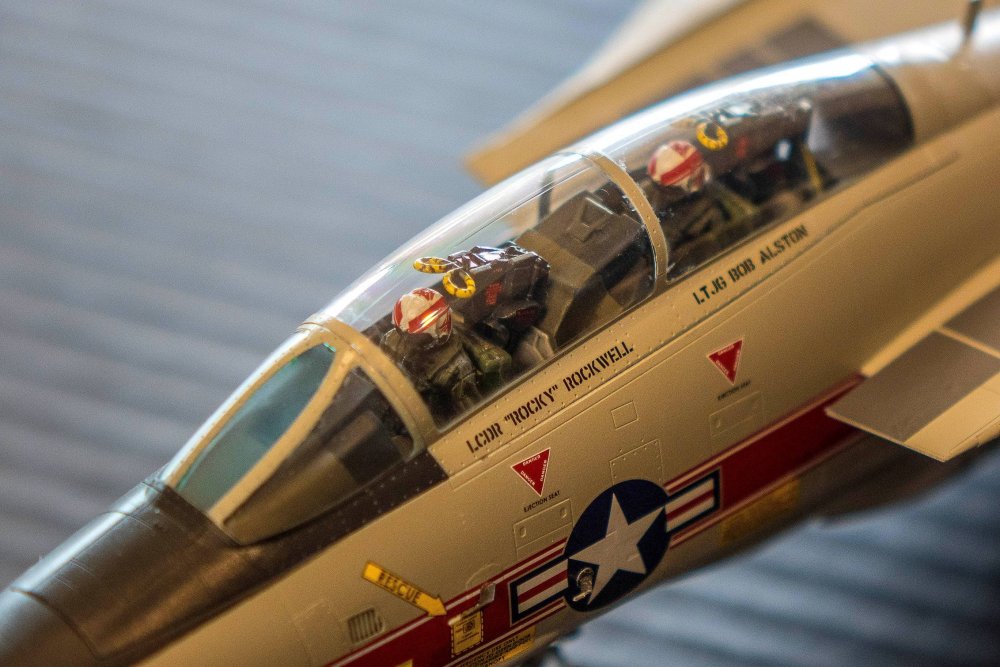
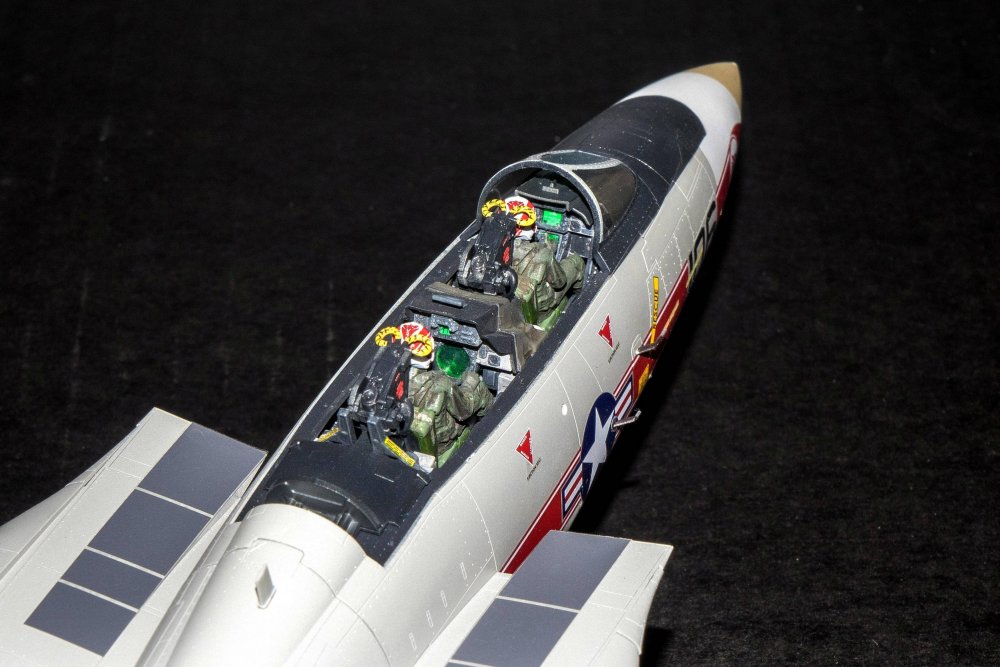
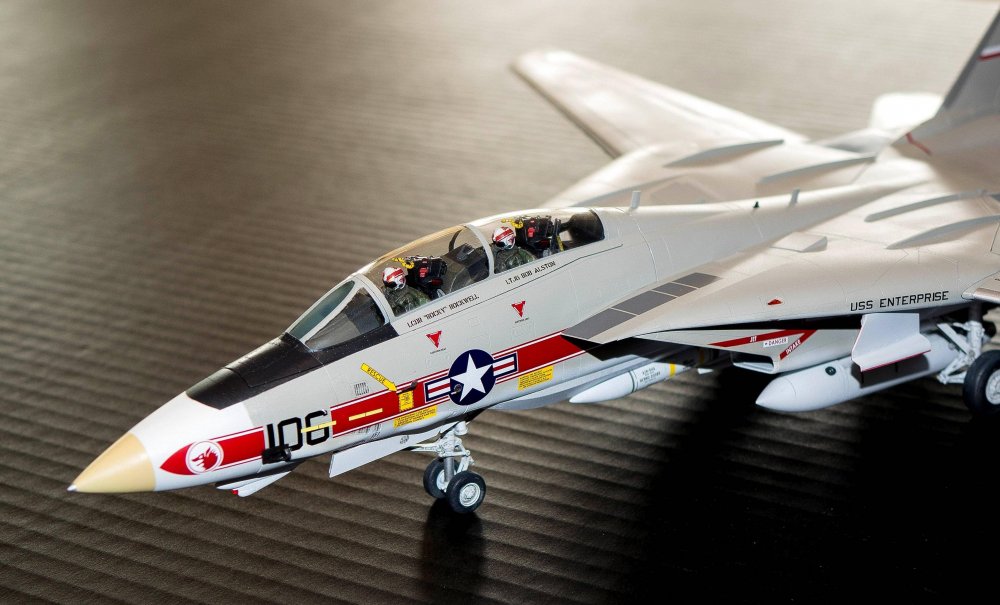
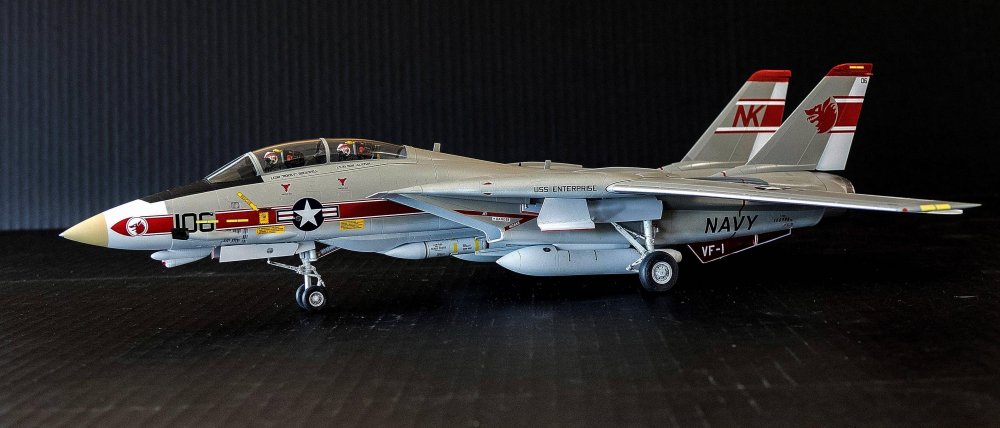
This is the Tamiya 1/48 kit with DXM VF-1 Wolfpack decals. These are my favorite markings for the F-14, and I was glad to finally be able to build this. No dramas with the kit (as expected), and I just used Eduard wheels and the Quickboost gun vents, probe, and beavertail in addition to the decals. This is also my first venture into 1/48 scale in years, and I was pleasantly surprised with the experience. Flankers next! Cheers, Tom

-
- 4
-
-
Gaz, Thanks! I should have been paying more attention to your build for inspiration! Cheers, Tom Rob, Thank you! This kit was a pretty fast build, with a one-piece forward fuselage, fins integral with the fuselage sides, and a modular construction that has joins coincide with panel lines. Oh, and rear view mirrors, which is missing from the Tamiya kit. Plus, AMK listened to modelers input after the first release and added missing features such as seatbelts and metal landing gear. What’s not to love? Cheers, Tom
-
Thanks Martin! I should have posted the build here, but it was so fast I built it in three weeks. Hope you are doing well. Cheers, Tom
-
Just catching up; I have this kit in my stash, and I am taking notes! Great work so far. Cheers, Tom
-
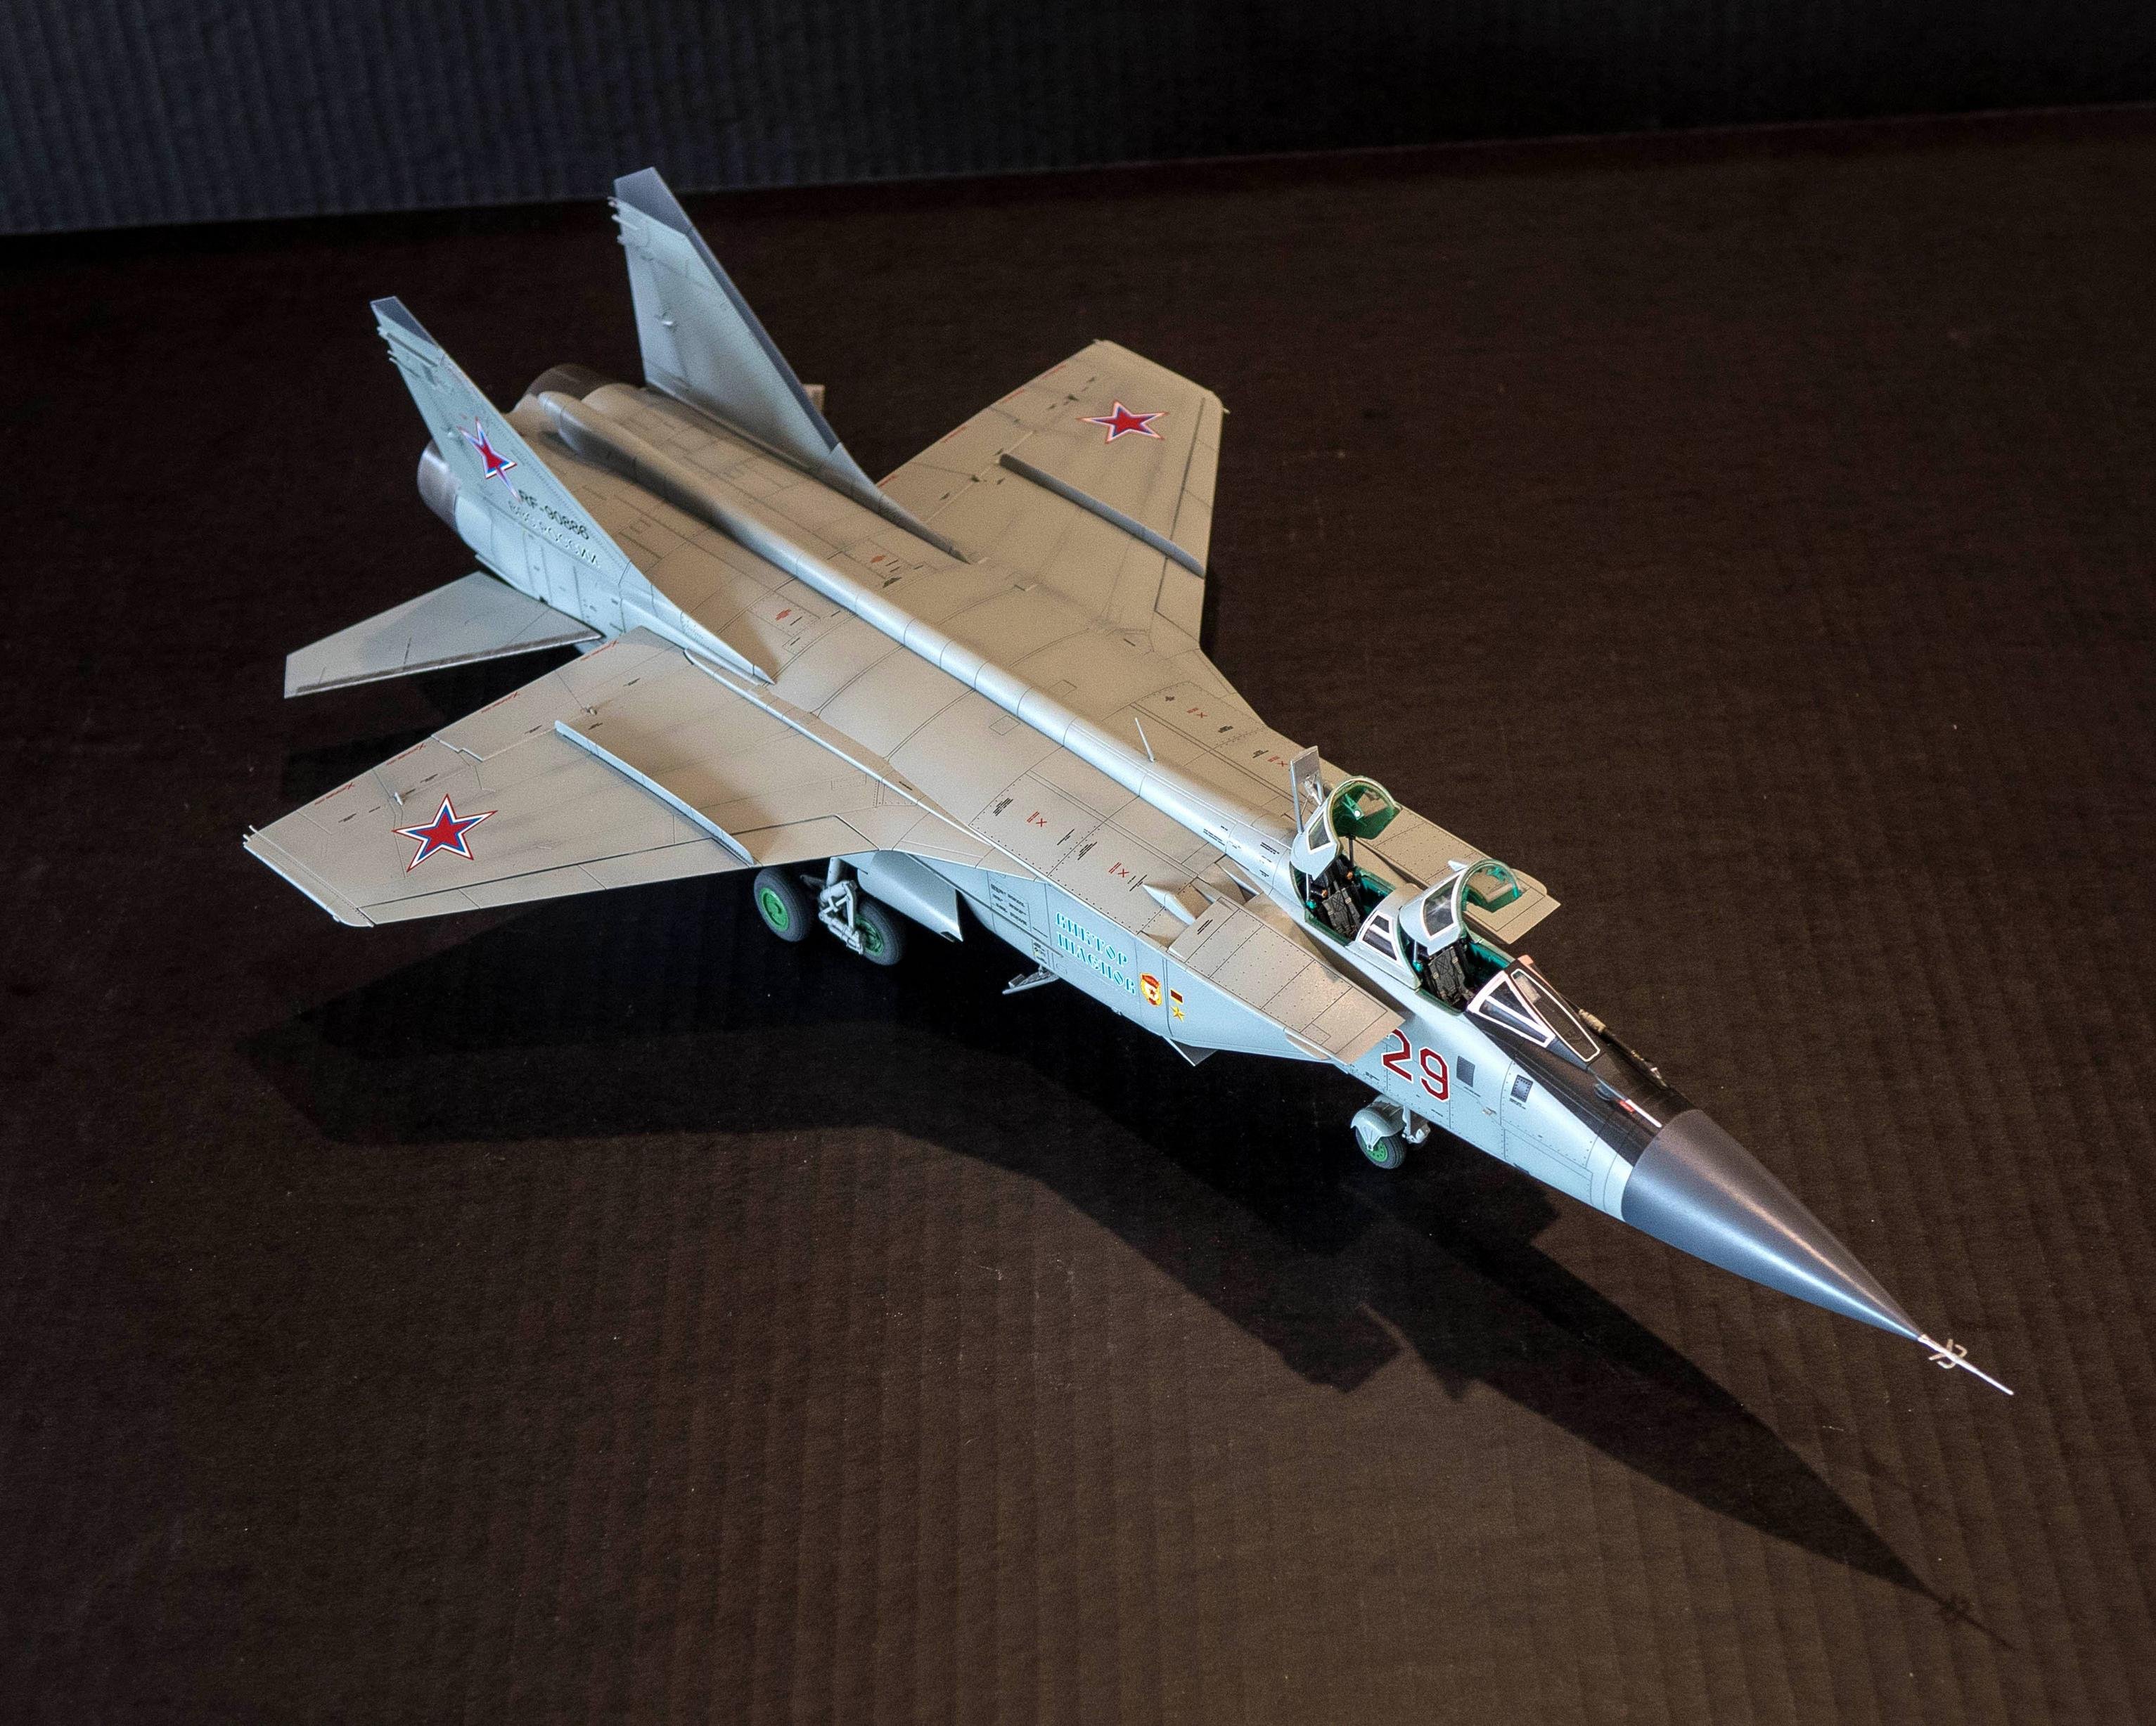
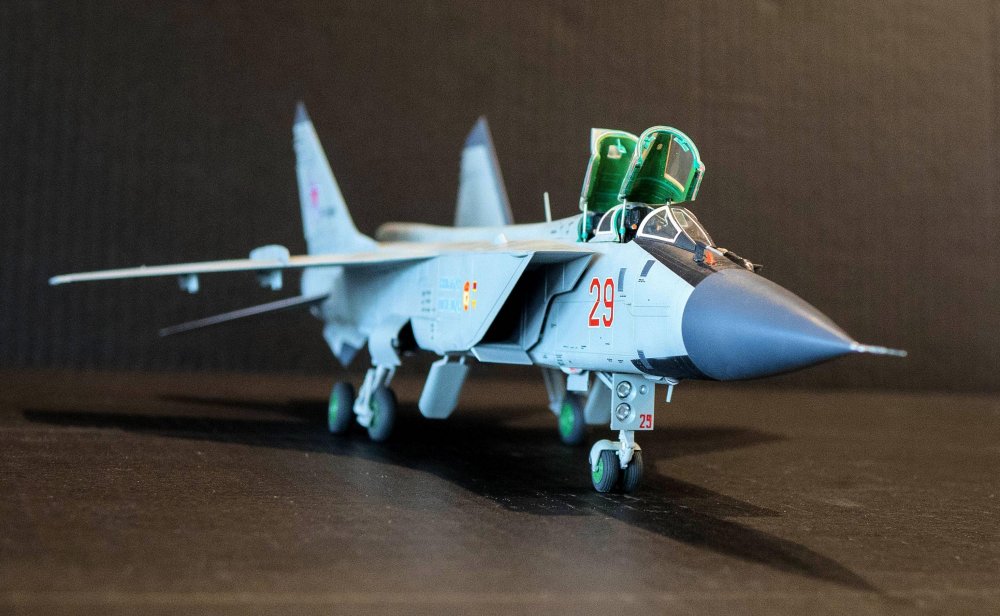
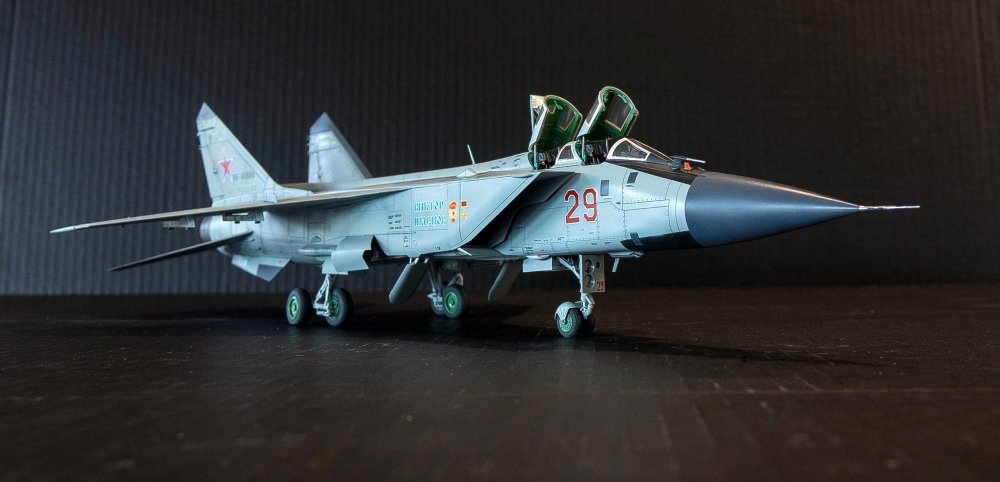
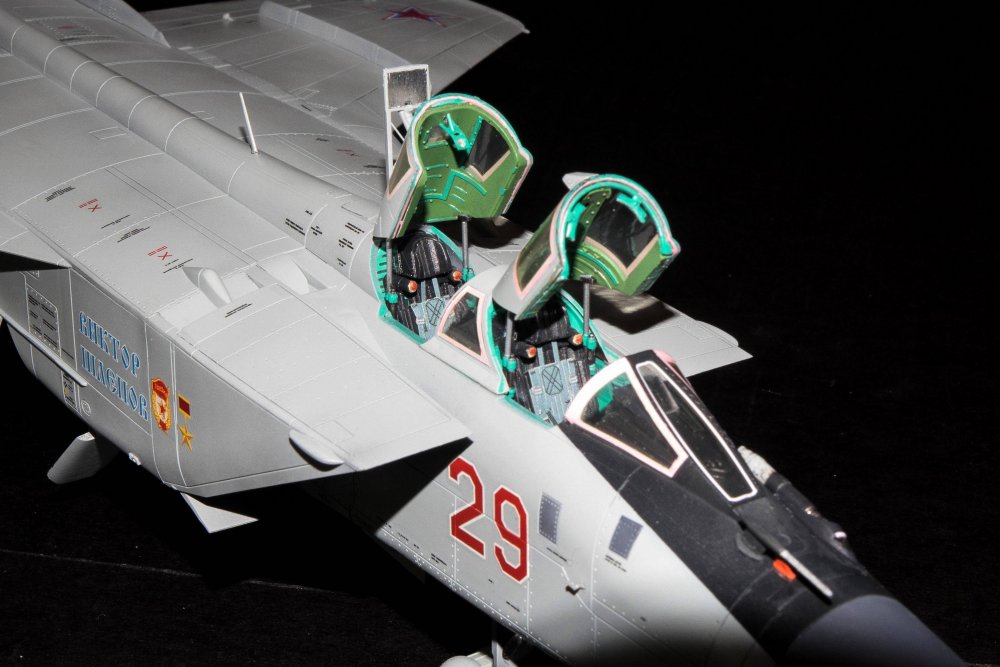
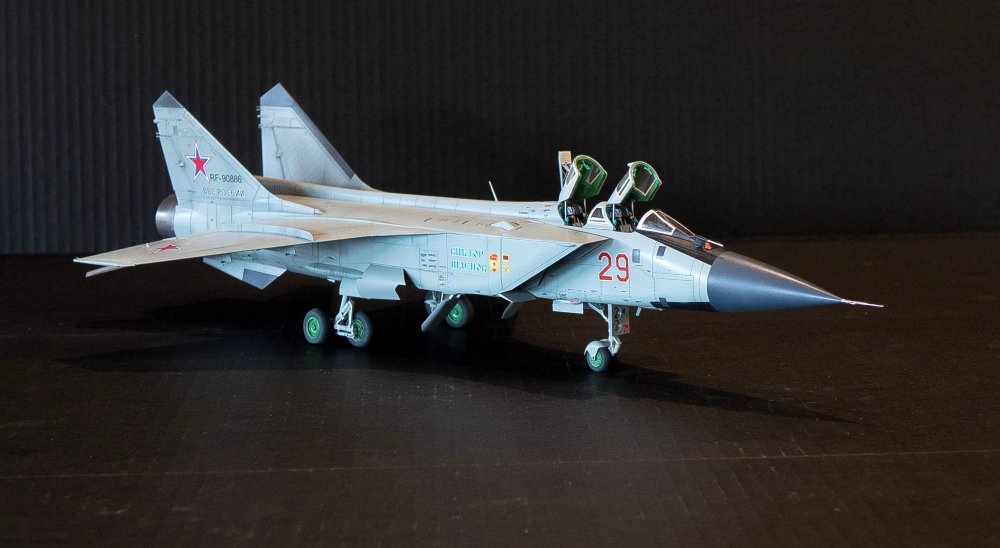
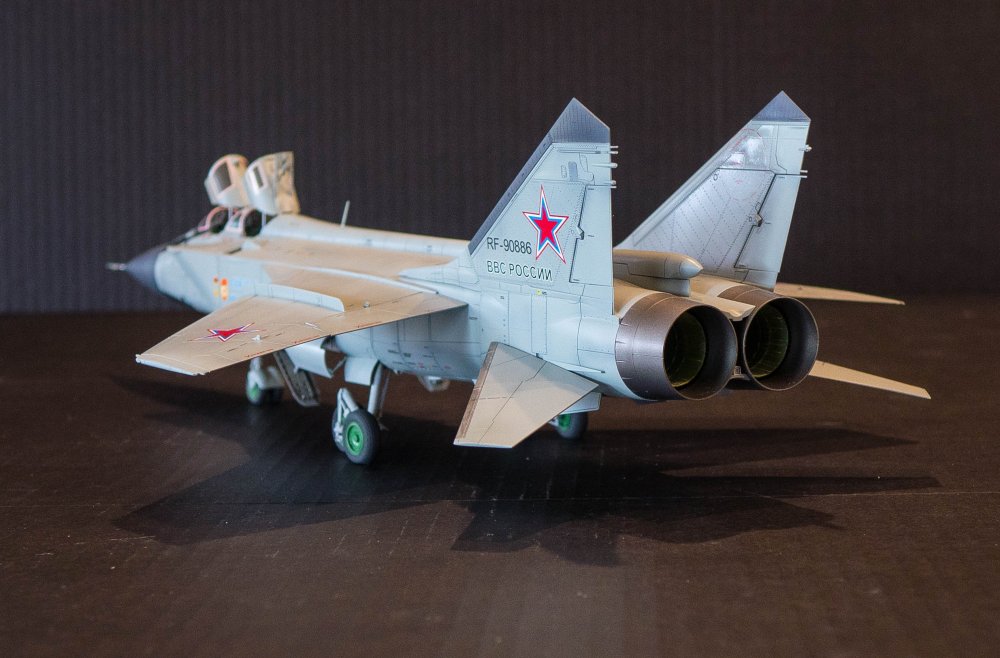
This is AMK's superlative 1/48 MiG-31BM/BSM special edition kit, with metal landing gear, photoetch, and extra decals. It was a buddy build with Tamiya's 1/48 Tomcat, and this was definitely the better kit in terms of detail, ease of assembly, and value for the cost ($67 US)--and that is something, considering how good the Tamiya kit is! Begemot decals, Eduard photoetch seatbelts, Fox-One canopy decals, and that was about it. This and the Tamiya Tomcat has been my first venture back into 1/48 in years, and they definitely take up less room! Cheers, Tom


-
Barker's Sopwith Camel 1:32 scale
Uncarina replied to sandbagger's topic in WNW and WW1 Ready for Inspection'
Another masterpiece Mike! Thanks for sharing your build as a pdf. I will definitely use it as a reference! Cheers, Tom -
Tamiya F4U-1D Corsair: Update: 2/1019
Uncarina replied to Peterpools's topic in LSM 1/35 and Larger Work In Progress
Peter, Your updates are some of the best in the business! Detailed, informative, and with stellar photography. I’ve used them multiple times as a reference for my builds. Keep on keeping on! Happy New Year, Tom -
My year of completions.
Uncarina replied to a topic in LSM 1/32 and Larger Aircraft Ready for Inspection
Beautiful work Danny! Cheers, Tom