JohnB
-
Posts
7,222 -
Joined
-
Last visited
Content Type
Profiles
Forums
Events
Gallery
Everything posted by JohnB
-
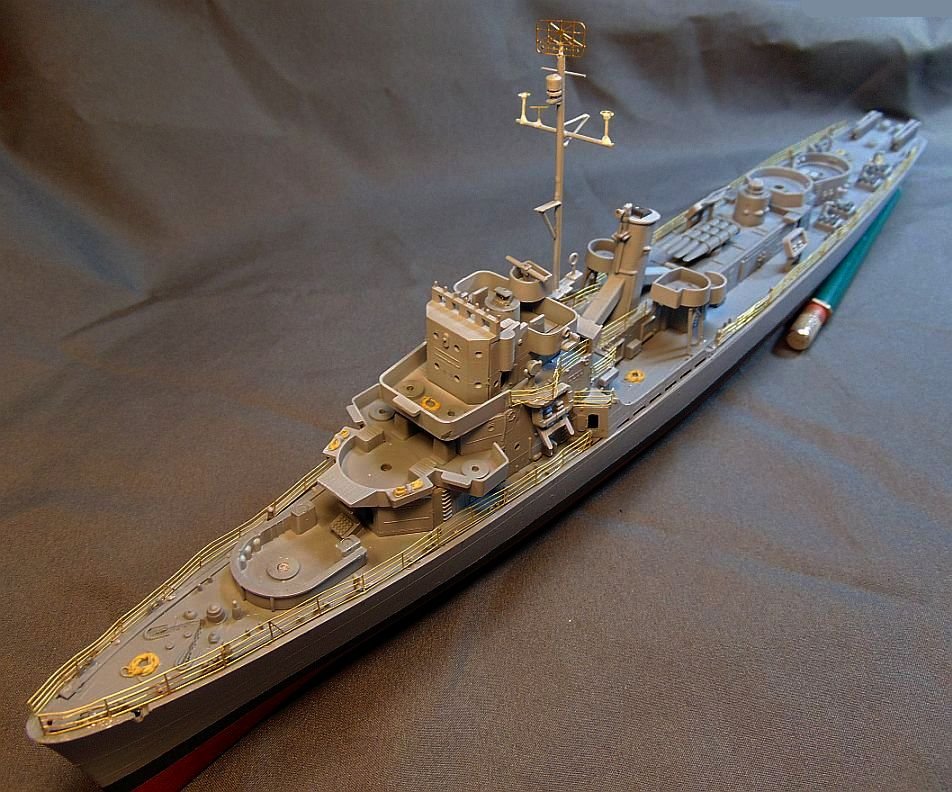
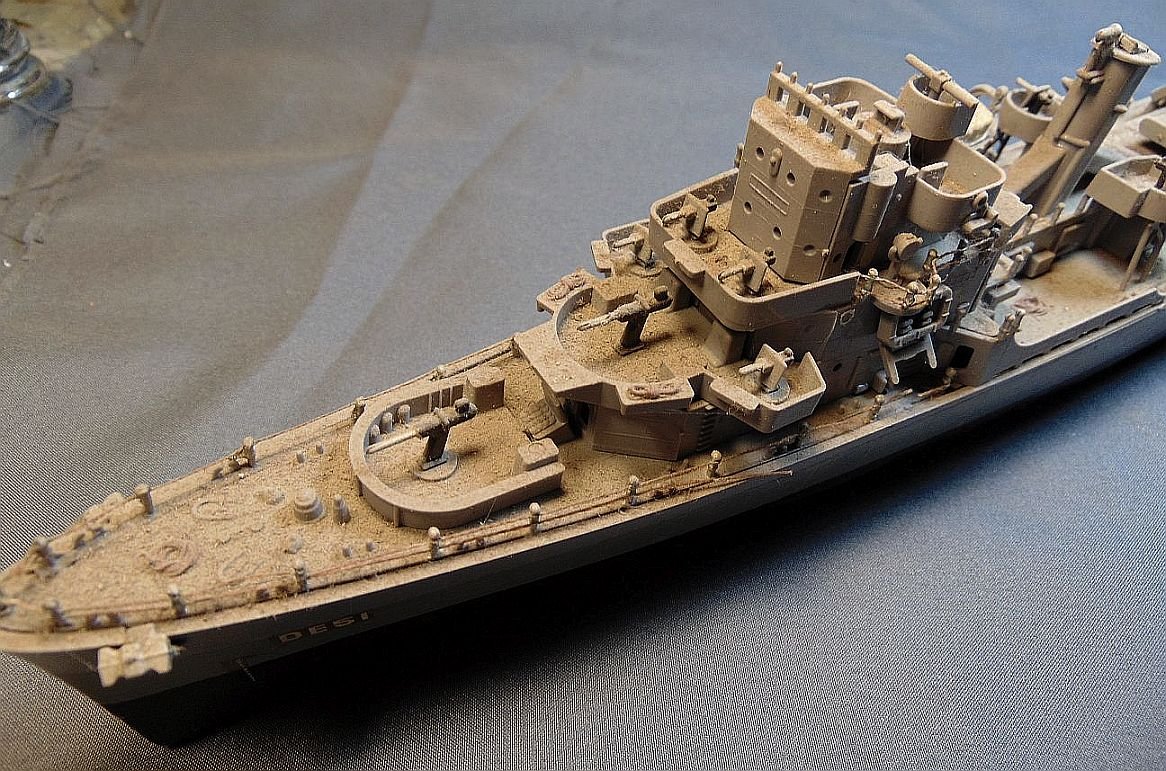
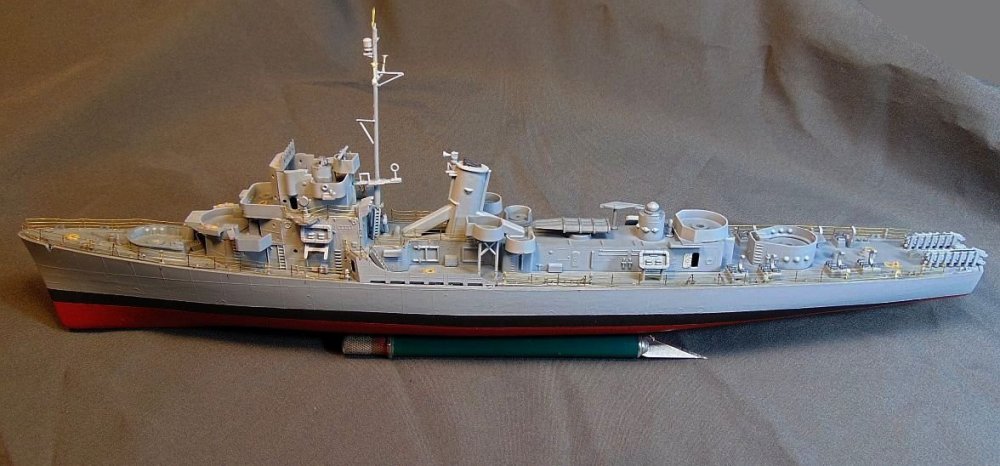
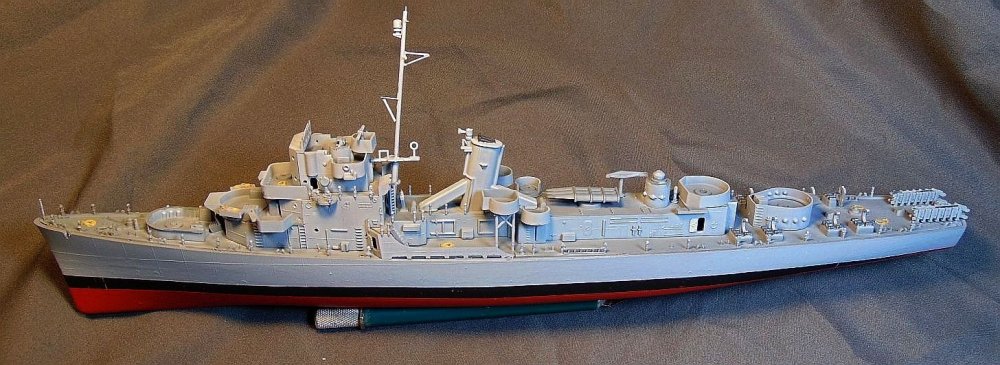
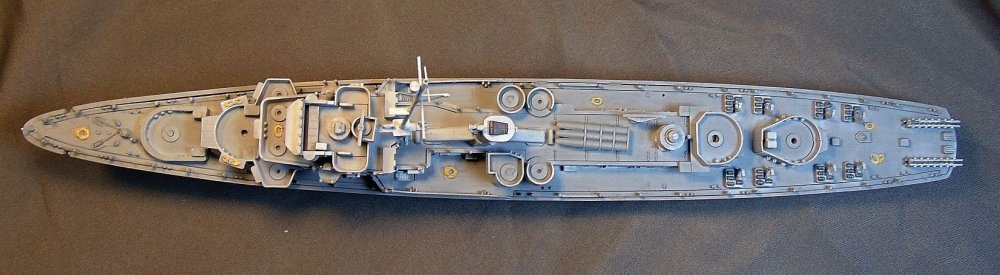
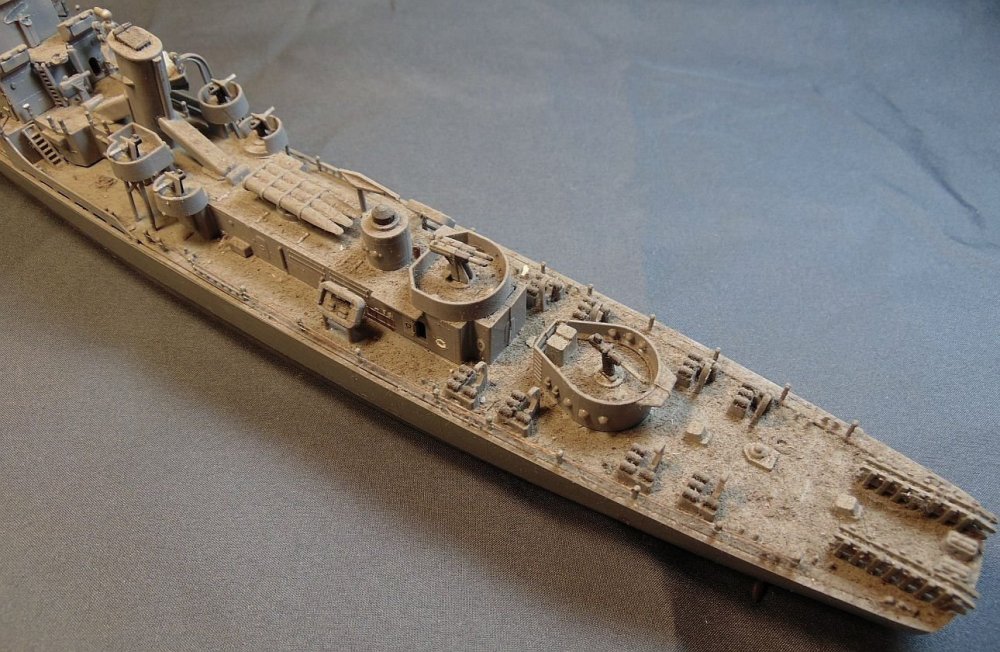
Making some good progress with the PE stuff. All railings and antenna are now attached. Tedious work for sure. I'll have to do some straightening up in a few places but I'm very glad to have this part done. The Shapeways 3" 50's and dual 40 mm should be here later in the week. I'm still trying to find some 20mm's but may have to use the old kit ones. Might clean up okay with a little work plus the armor shields are on the PE set so we will have to see.

-

MiniArt P-47D Thunderbolt: COMPLETED 2/13/24
JohnB replied to Peterpools's topic in LSM 1/48 Work in Progress
Came out really nice Peter. The two models look great next to each other. -
Sky King's Songbird: Update: 3/2/24 - SOD .. BINNED
JohnB replied to Peterpools's topic in The Great Twins Broup Bluild
LOL Peter. That's something you just don't forget! 😄 -
Sky King's Songbird: Update: 3/2/24 - SOD .. BINNED
JohnB replied to Peterpools's topic in The Great Twins Broup Bluild
I flew in a T50 once as a back seat passenger. Some guy brought his daughter, about 10 or so, along. She got air sick and barfed all over ME. Not a fun thing!!! -
Sky King's Songbird: Update: 3/2/24 - SOD .. BINNED
JohnB replied to Peterpools's topic in The Great Twins Broup Bluild
Agreed Peter. I remember that show well. Then he transitioned to a Cessna 310. -
I've done about all I can on this build right now. The Tom's Modelworks PE should be here Tuesday (if the PO doesn't lose it). The Shapeways guns (20 mm, 40 mm dual, and 3"50's) probably some time the week of the 19th. Since the Shapeways folks don't keep any inventory (as far as I know) they take a while to get stuff out.
-
Sounds like a plan Peter!
-
Go for it Peter. If it would be your 1st ship build I'd recommend getting something easy.
-
It makes a nice change after nothing but airplanes. Very enjoyable.
-
I decided it was time for something different. I haven't built a ship model since the Revell Gato several years ago.
-
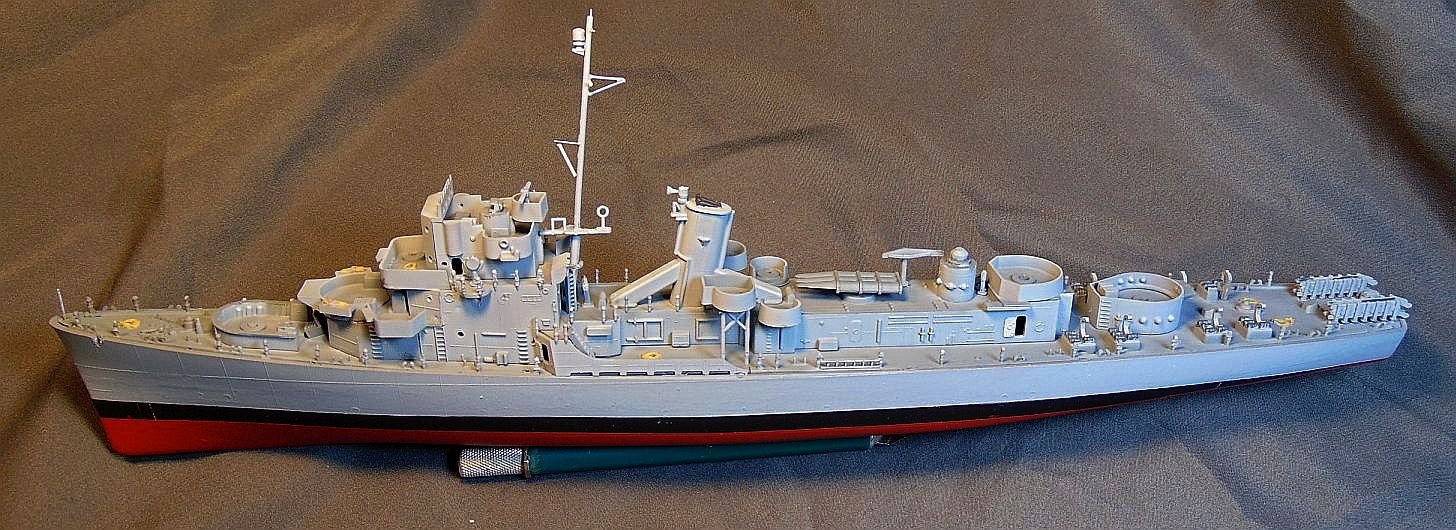
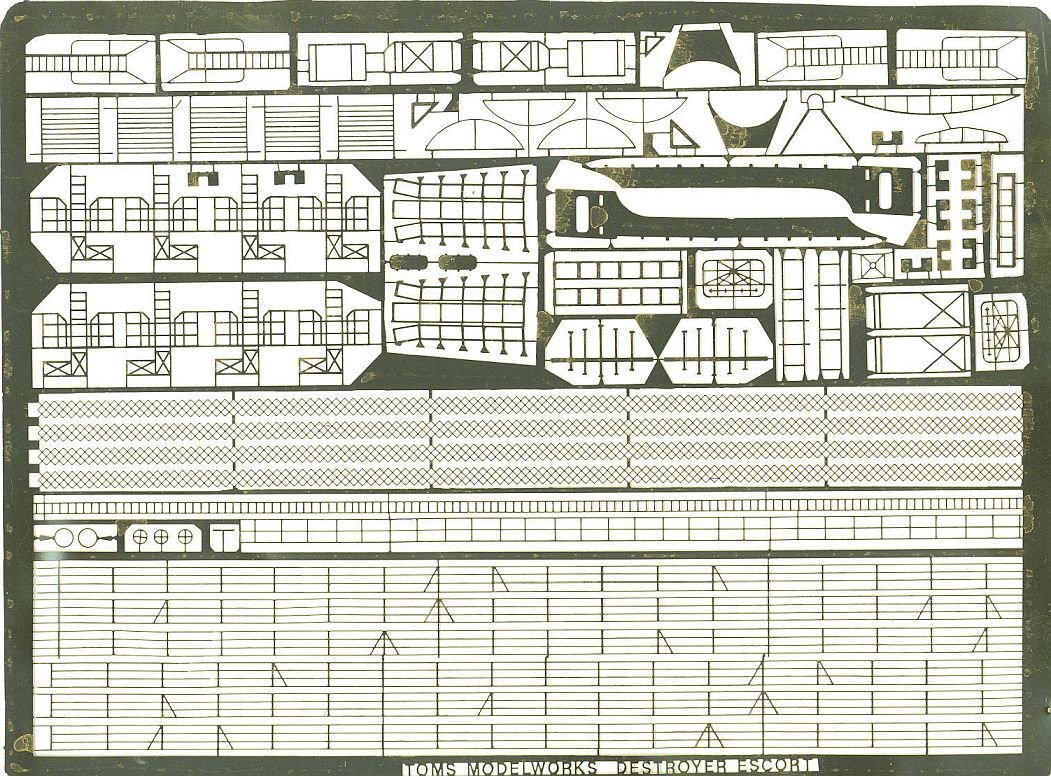
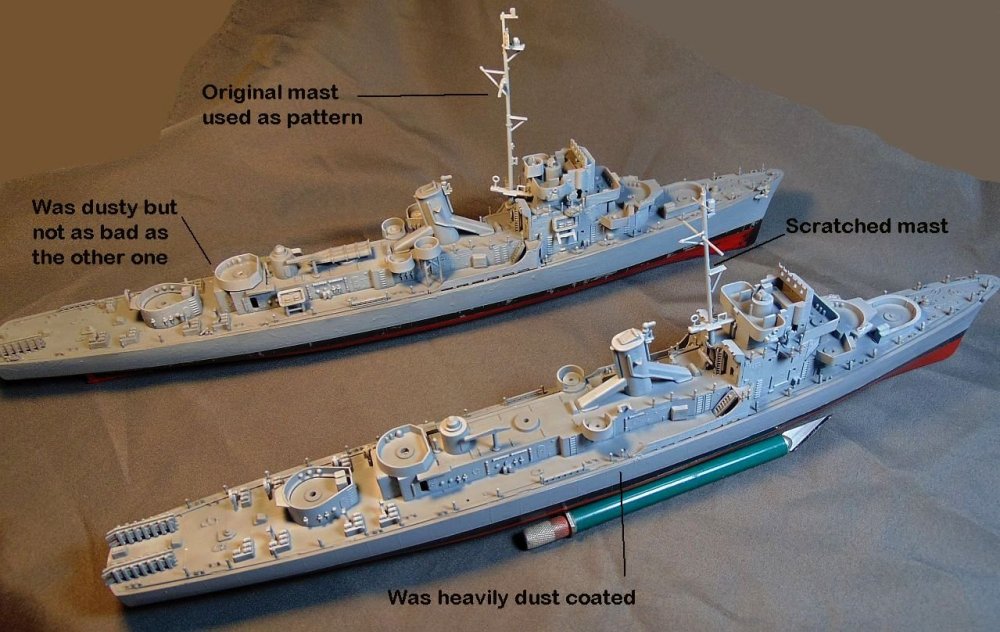
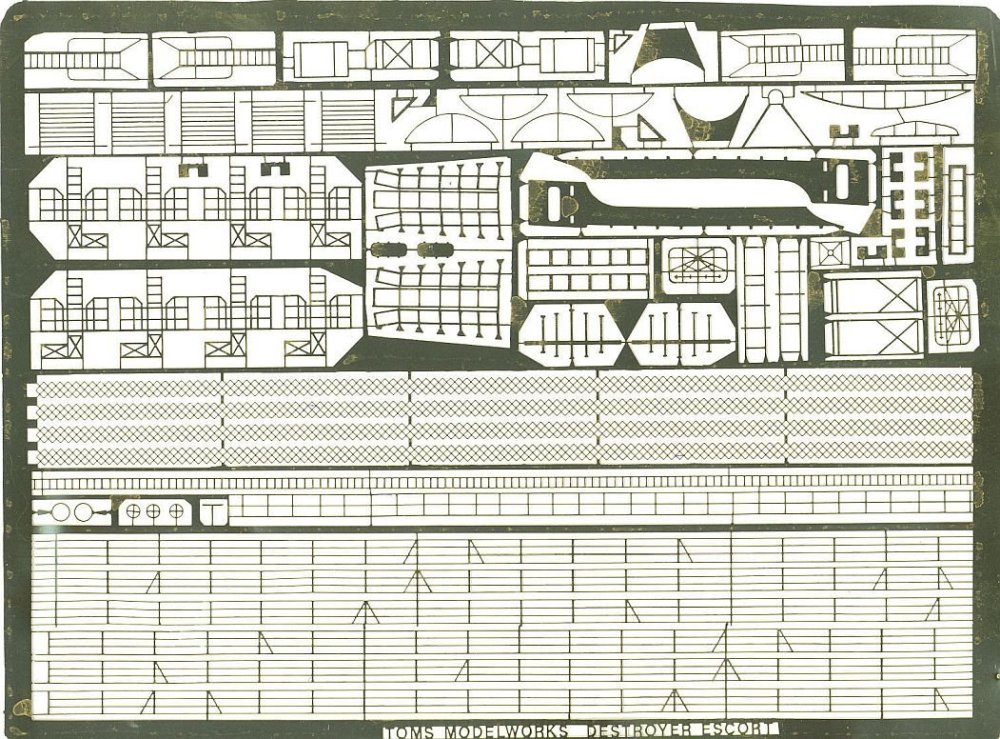
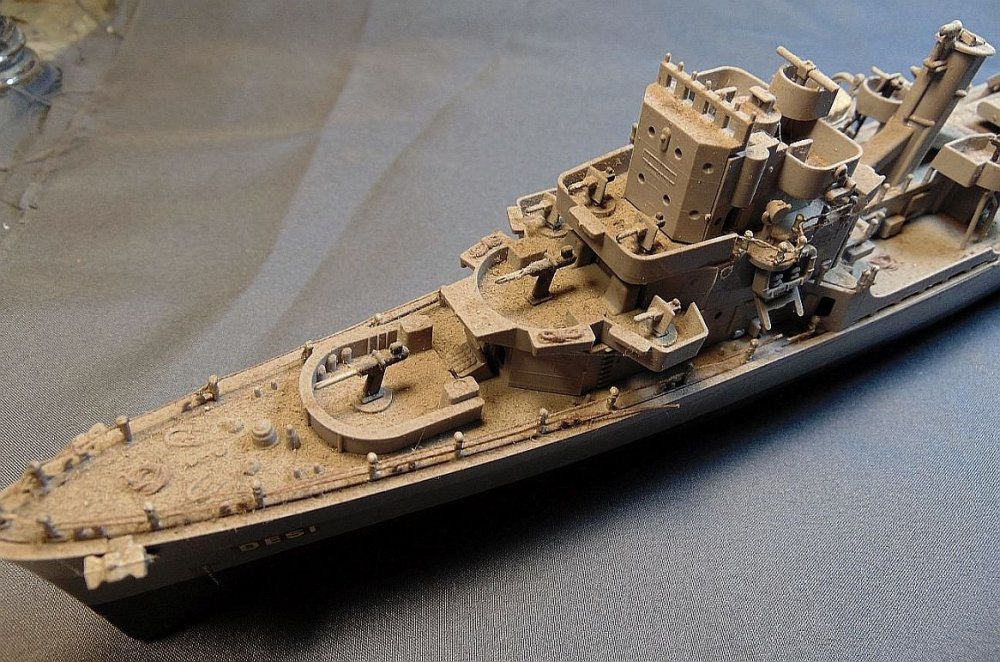
I've been devoting some time to fixing up these two old Revell 1/249 DE models. The one on the bottom is the one that was so heavily dust/dirt coated. Since that one is mostly complete I plan to spend significant time on it. So far I've scratched a new main mast and done a few needed repairs plus completed the repainting. I bought a nice PE set by Tom's Model Works which has some good looking radar antennas and other stuff that should really add to the look. It is scheduled to deliver Tuesday (fingers crossed).
-
MiniArt P-47D Thunderbolt: COMPLETED 2/13/24
JohnB replied to Peterpools's topic in LSM 1/48 Work in Progress
Coming right along Peter. Great looking prop! -
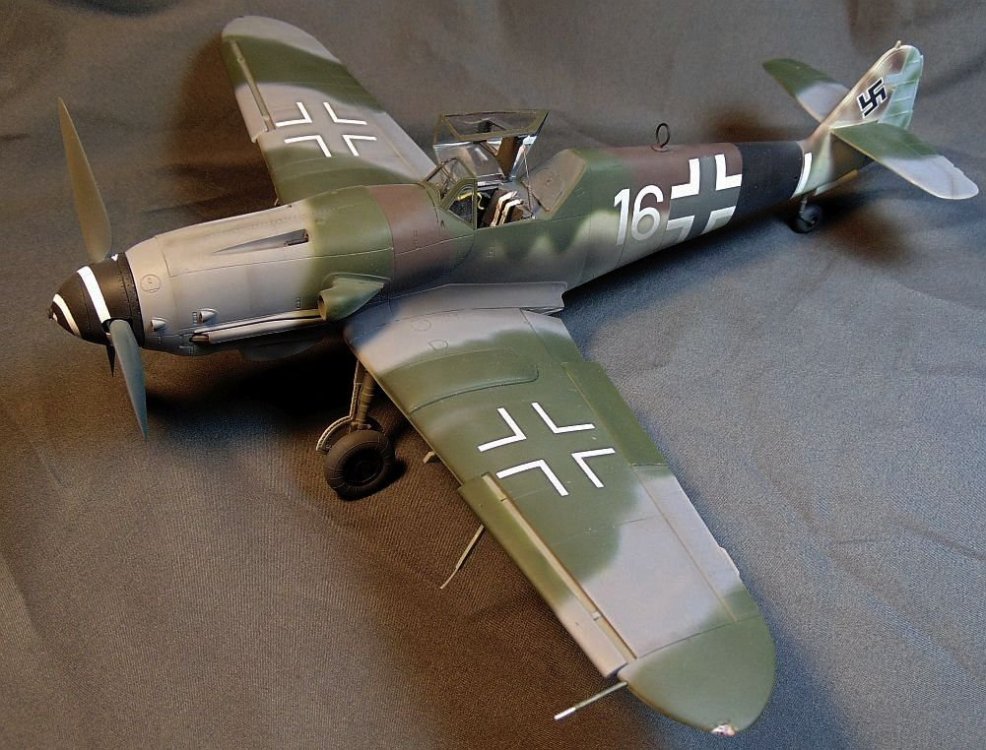
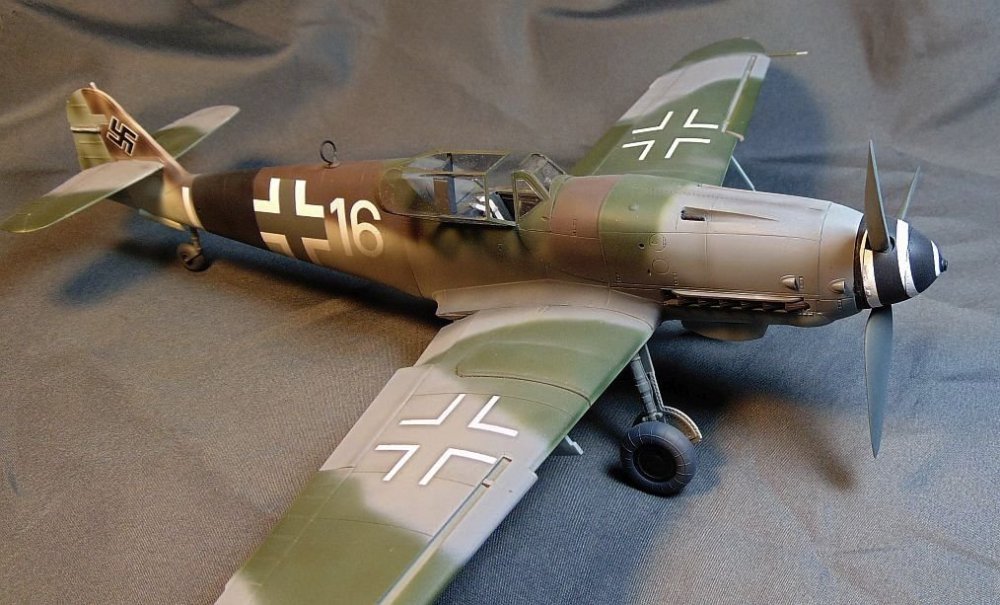
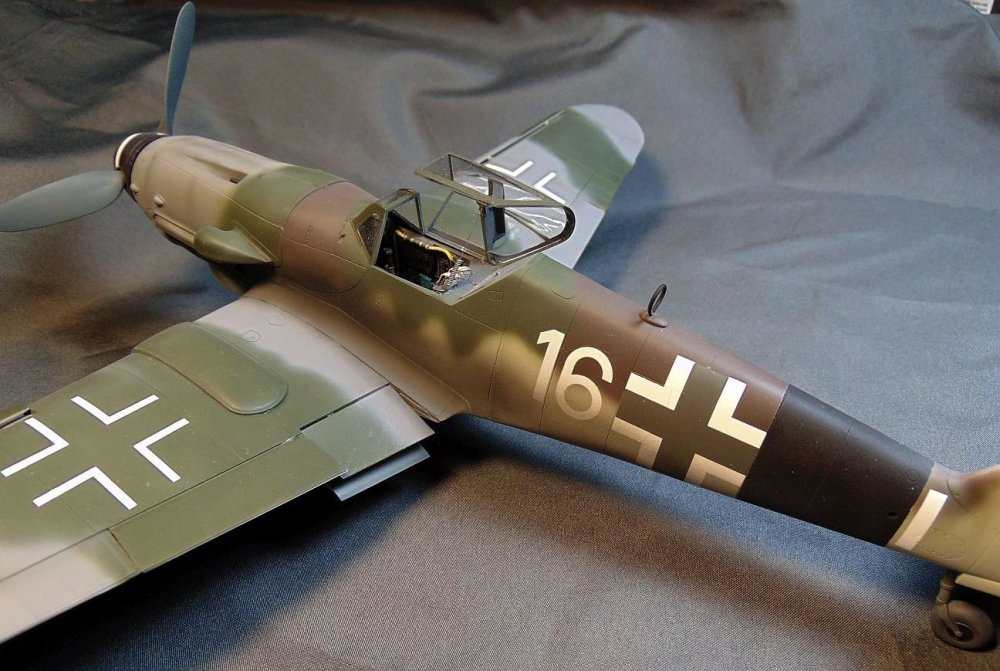
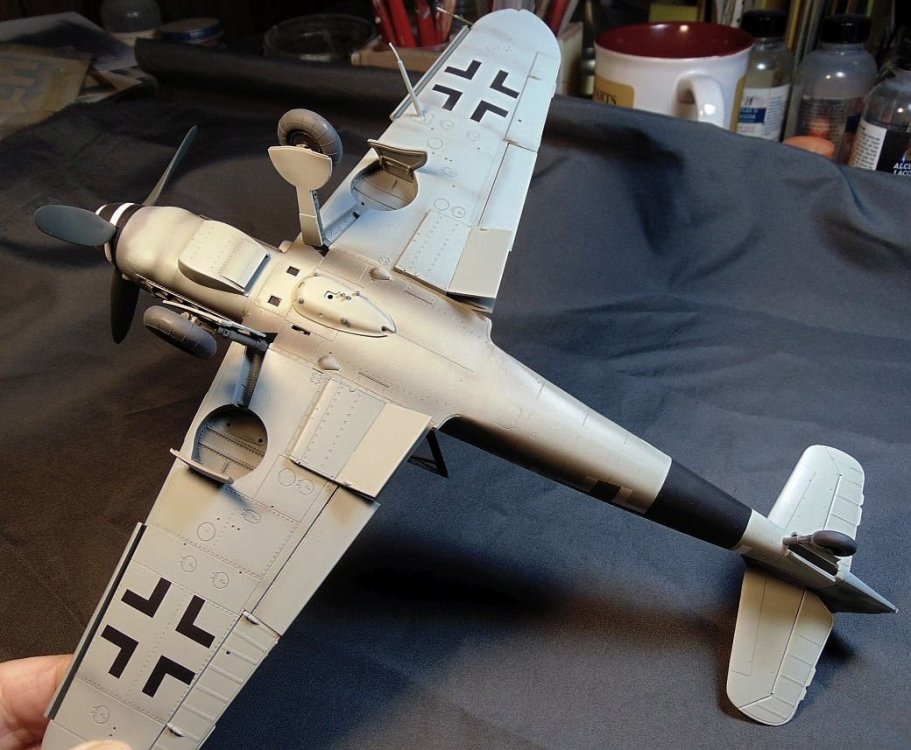
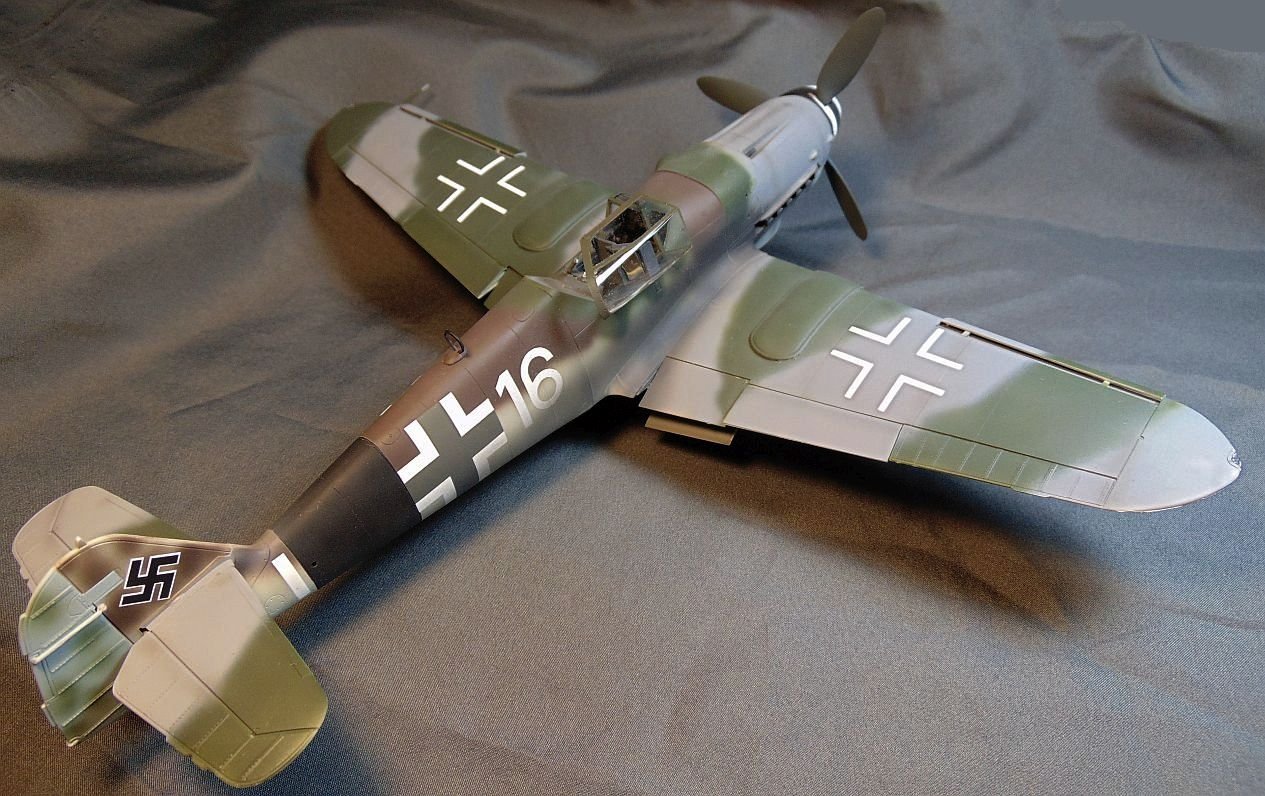
Bf-109K-4 White 16 finished
JohnB replied to JohnB's topic in LSM 1/32 and Larger Aircraft Ready for Inspection
Thank you Harv. -
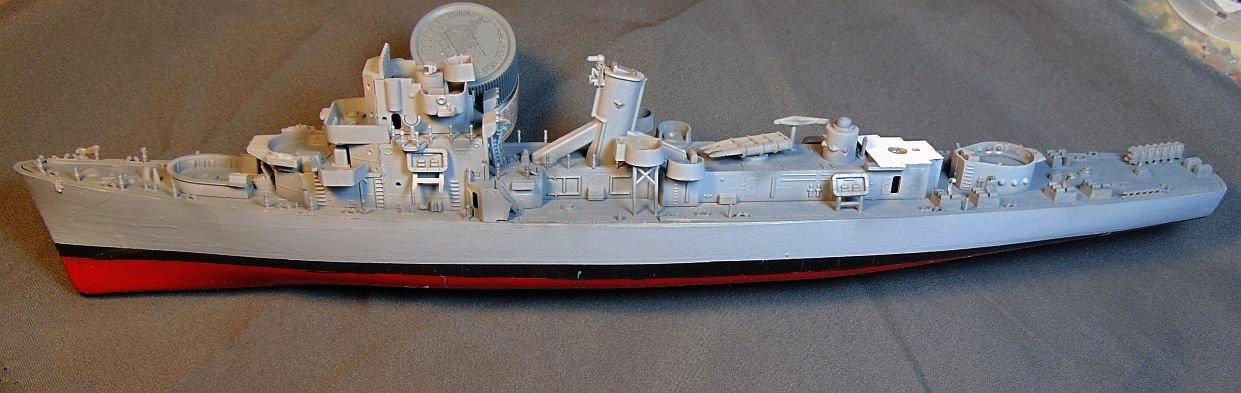
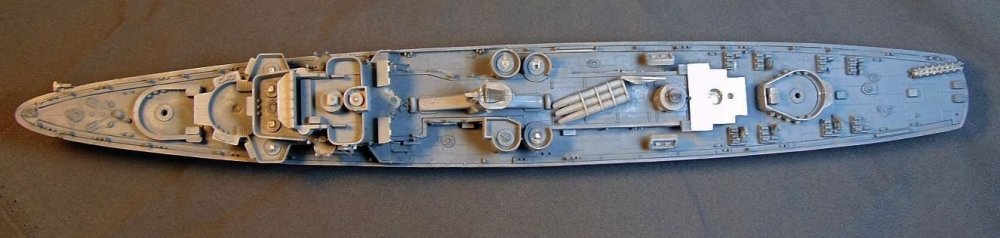
Looking around I was surprised to find I have TWO of these DE's! You can see the condition this one is in (the other was similarly well dusted!). The thing about this 2nd one is most everything is there except for the mast. I could rob some parts from this one for the other but I think I'll keep it as is and do a good cleanup and possibly do a renovation on it too!!!
-
I hope to fix it up as best I can even though some parts are missing. I figure the after market weapons will help a lot but it will be late Feb. before I have any in hand. Meantime I'll see about fixing other things. I think I'll go back in my attic and look around to see if I can find any of the missing parts.
-
LOL Peter. I say go for it. Something different for a change.
-
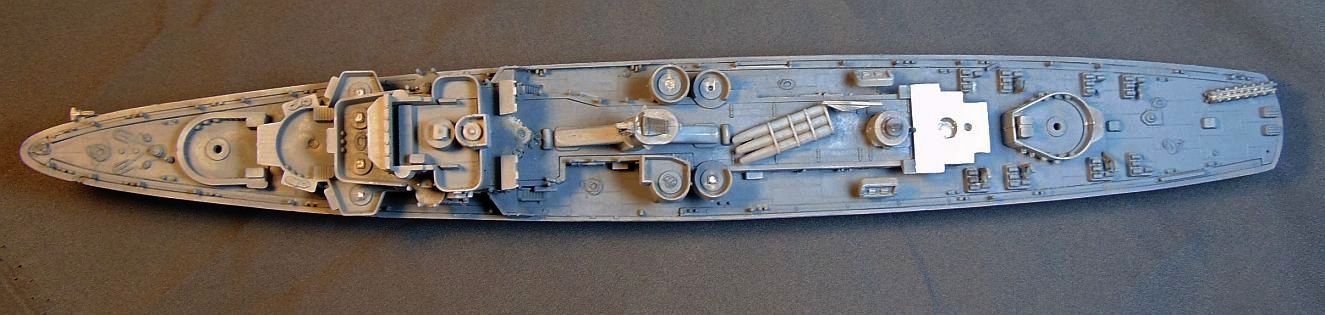
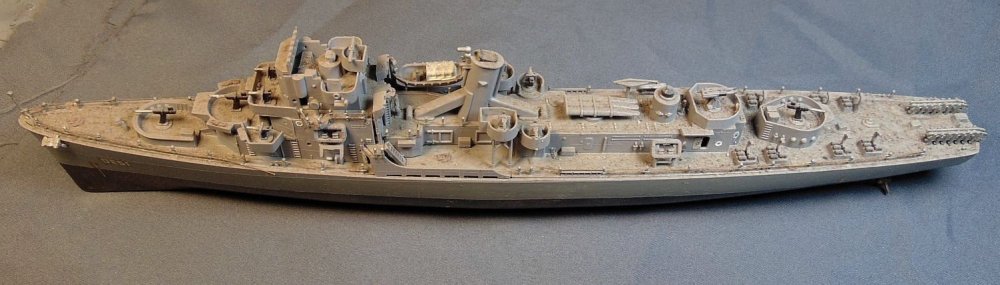
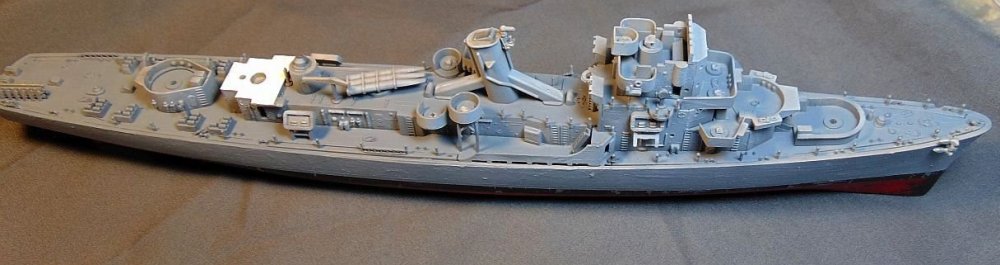
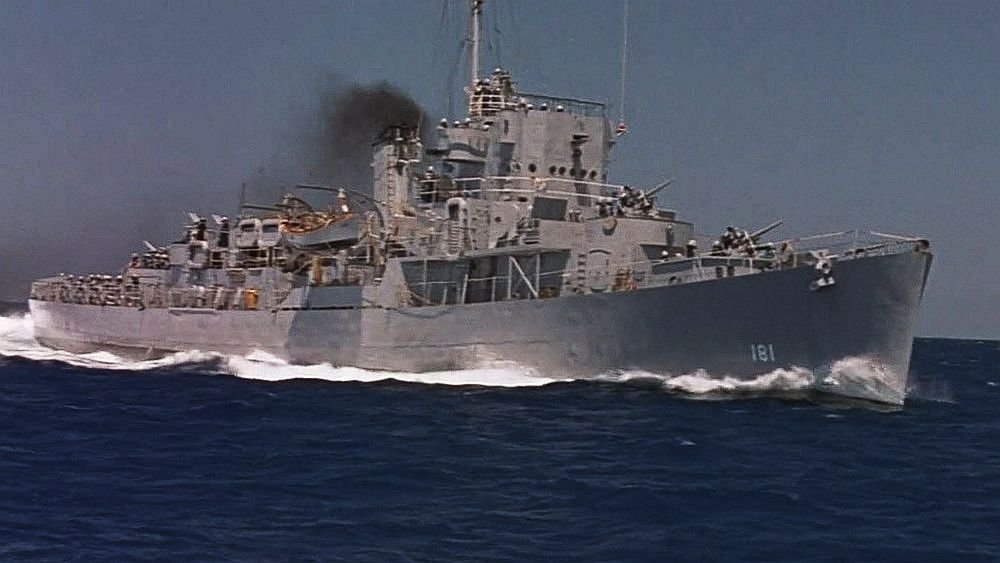
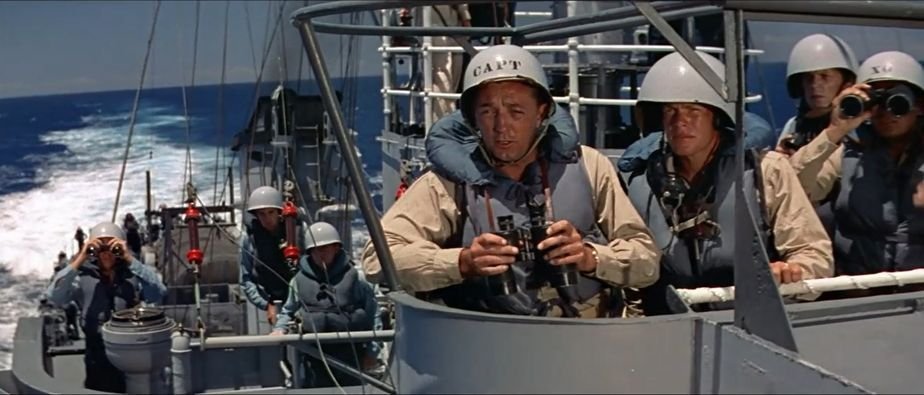
Looks like I'm first to post anything on this topic. I'm in the process of doing some renovation to this old Revell 1/249 USS Buckley destroyer escort. I built it when I was just a kid (it shows too! LOL) and it has been in my attic for quite a while. Recently I retrieved several ship models out of the attic for possible renovation. This is the first one to get started on. I've already removed all the deck guns and some other pieces (some were lost over the years) and am doing some repainting of the model. I've ordered some replacement 3" 50's and 20 mm mounts from Shapeways but am still trying to find a dual 40 mm mount to go on the after deck house. At any rate, this will be a nice bit of something out of the ordinary and I'm already enjoying the "little something different" to work on (although I will still be working on another Bf-109 kit). I intend to rework it as the USS Haynes/USS Whitehurst used in the filming of "The Enemy Below" which was a really cool movie IMHO. I hope y'all will follow along just for grins!

-
Bf-109K-4 White 16 finished
JohnB replied to JohnB's topic in LSM 1/32 and Larger Aircraft Ready for Inspection
Thanks Kevin. -
This will be a beauty Bill!
-
Thanks Chris. I'm glad you like my '109 build. When I first saw photos of this a/c I decided right then to build it. I'm happy with the results. Thanks again!
-
Bf-109K-4 White 16 finished
JohnB replied to JohnB's topic in LSM 1/32 and Larger Aircraft Ready for Inspection
Thank you Peter. I'm pleased with the results too. -
Bf-109K-4 White 16 finished
JohnB replied to JohnB's topic in LSM 1/32 and Larger Aircraft Ready for Inspection
Thanks Mike! I'm pleased you like ol' White 16. I do too! -
Bf-109K-4 White 16 finished
JohnB replied to JohnB's topic in LSM 1/32 and Larger Aircraft Ready for Inspection
Thank you Martin. -
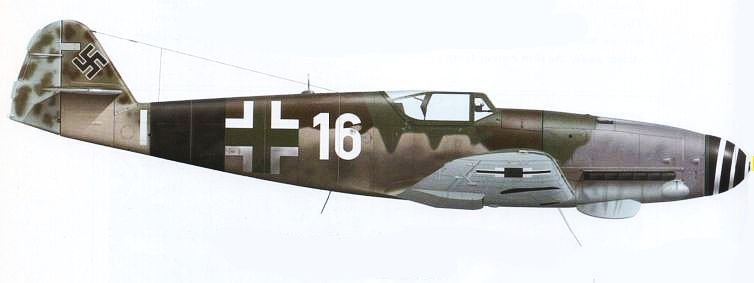
Completed this one. https://forum.largescalemodeller.com/topic/19956-bf-109k-4-white-16-finished/
-
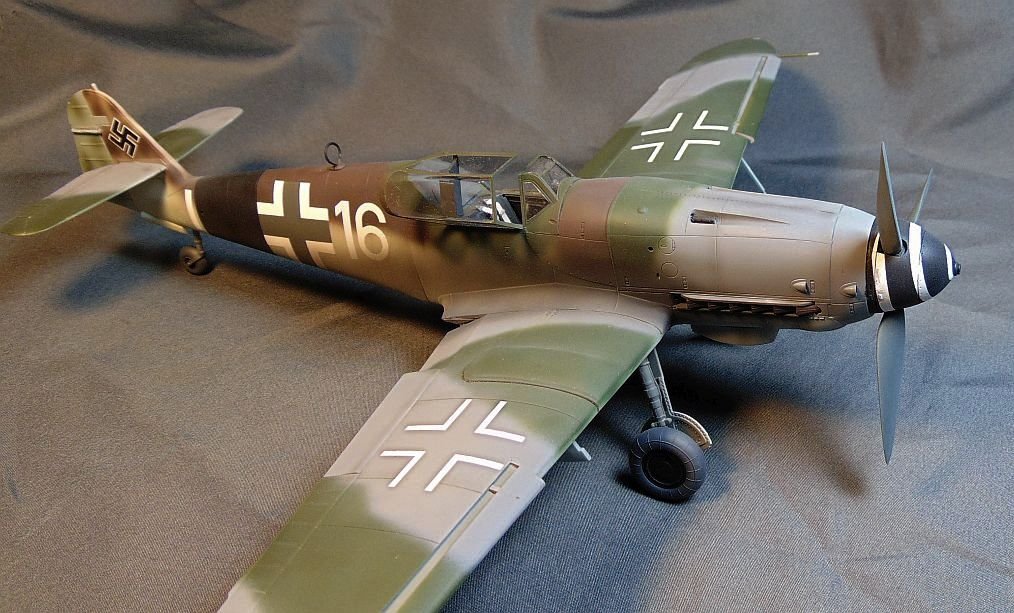
Calling this one done. I added a Aires cockpit to replace the somewhat sparse kit item plus some FineMolds seat belts. Other than decals that's the only after market I used. The canopy snubber was a acupuncture needle!😄 The decals are from my decal stash. Paints used are Colourcoats, Tamiya acrylic, Mr Hobby acrylic and Testor's MM. I depicted this a/c as I figure it looked before the wings were removed and the airframe beat up. I hope y'all like it.