GazzaS
-
Posts
6,396 -
Joined
-
Last visited
Content Type
Profiles
Forums
Events
Gallery
Everything posted by GazzaS
-
Thank you, Phil. I don’t feel that foiling is complicated. Yes, there are a few things to learn. But it’s not difficult. It does take some patience. But I find it a lot easier for my brain to accept real metal than to accept the lie that tells me that paint, no matter how shiny, looks like a metal surface. There will be some painted parts on this bird. There are just some shapes that can’t be made without annealing the metal.
-
Hi Rob. The oil doesn’t help to cut the foil. What it does is to prevent the blade from grabbing and tearing the foil. You really can’t do without it. You would almost certainly tear every panel you laid. Foiling uses a lot of blades. Dull blades will cut foil. But they will also tear foil. I will tell you from personal experience that there is nothing more vexing than ruining a perfect panel on this very last step.
-
Wow John, that looks great!
-
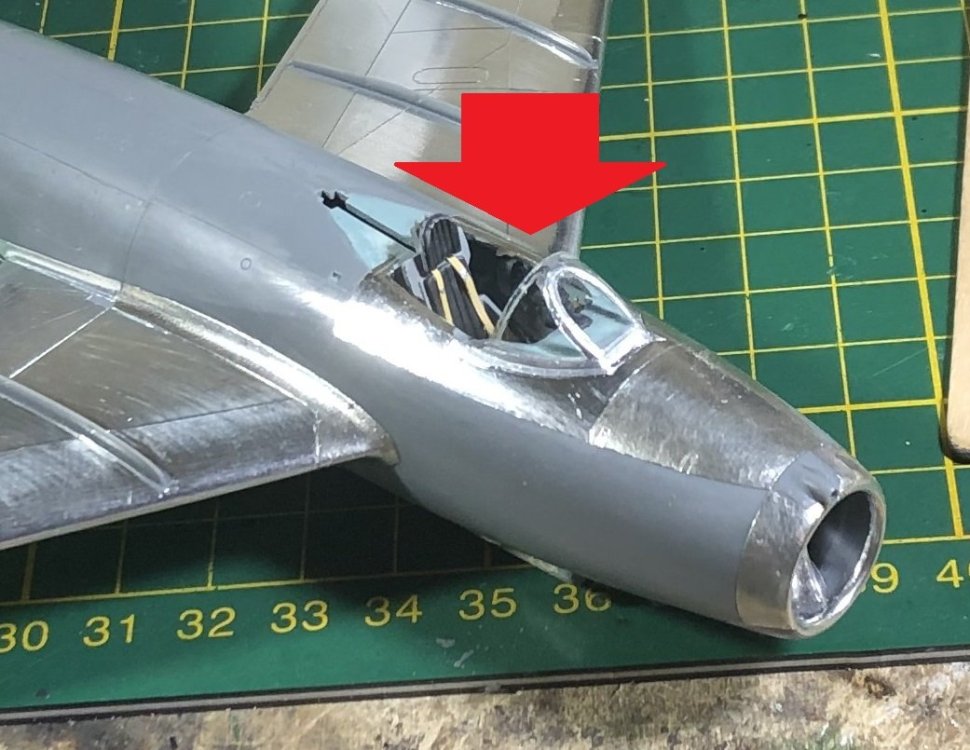
I'm glad you like the results, Rob. The canopy is a whole other problem. See.... the glue is a PVA based glue. So in places where you use only a thin piece, adherence isn't guaranteed. Especially if your foil needs to wrap around an edge. So, I'm still working around the canopy issue. It would have been easier had i closed the canopy... but, I wanted it open. I may go to the LHS and buy some more BMF.... BMF has a rubber based glue.
-
Thank you!
-
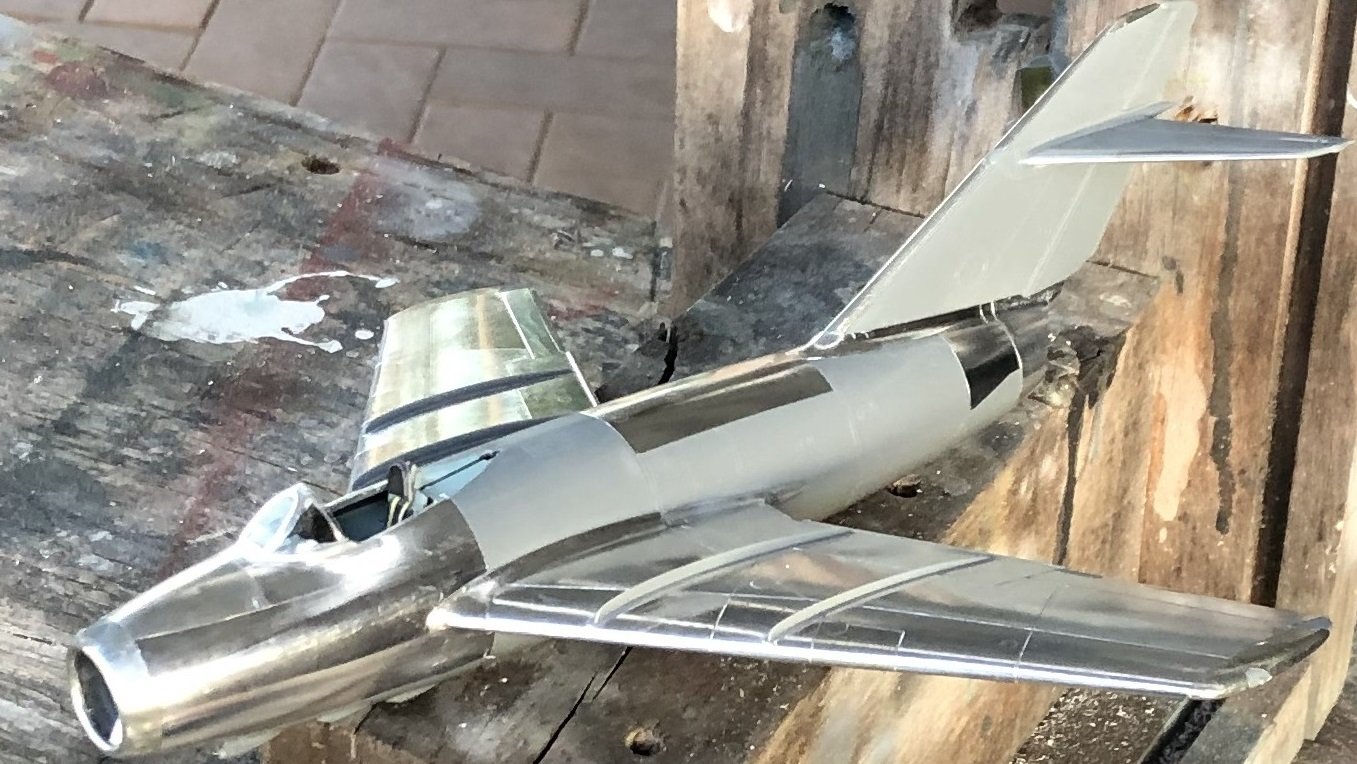
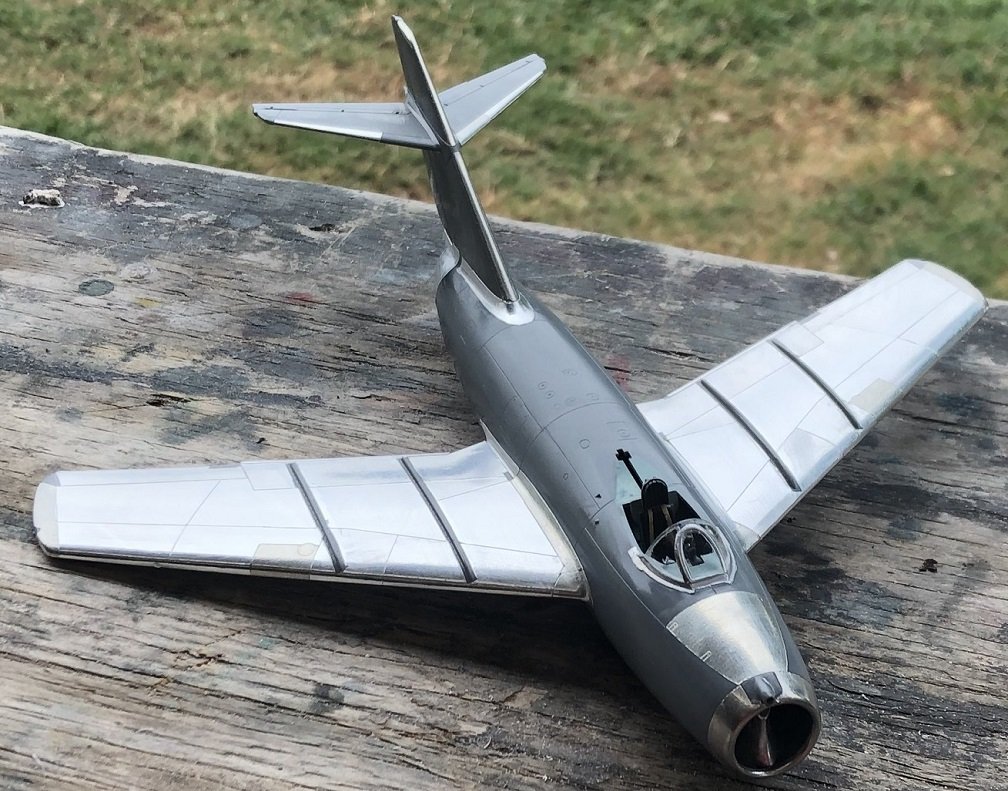
Well friends... Lemme tell ya... I was confounded for at least two hours by one piece of foil. Well... it wasn't one piece. It was the 10 pieces that failed prior to the one that I could deem successful. And that is what foiling is. Many pieces are easy. But the difficult pieces have to be worked out. You have to get the shape right. You have to make the right cuts to relieve stresses. And you have to figure out the perfect way to burnish the metal down around obstacles. And the windshield... it was hell to work around. It took me eight attempts to realize that burnishing from front to back would not work, and that I should try it top to bottom. And after all of that, you may still find a mote of dust under the foil, necessitating a new piece. You will also need some special materials. 70% Iso... for wiping off old glue and cleaning your brush. Lightweight oil.... for lubricating your blade prior to slicing foil. 1/2 inch flat brush.... you could use smaller... but trust me....it's the optimum size. Special brush care.... while working, keep your brush in a cup of water. When finished, clean your brush with Iso.... and when it dries, clean it again with Lacquer thinner. Otherwise, your foiling on the next day will be contaminated with dry bits of glue still trapped in the bristles. So anyways... after three or more hours of foiling I added a whole 8 panels. That leaves only easy panels.... Hopefully. Here is today's bling.

-
I love tattoo fails. Especially spelling errors.


-

Tamiya Spitfire MK XVIe
GazzaS replied to Peterpools's topic in LSM 1/35 and Larger Work In Progress
Very appealing paint job, Peter. -
Good work, John.
-
Thank you, fellas... glad you are enjoying.
-
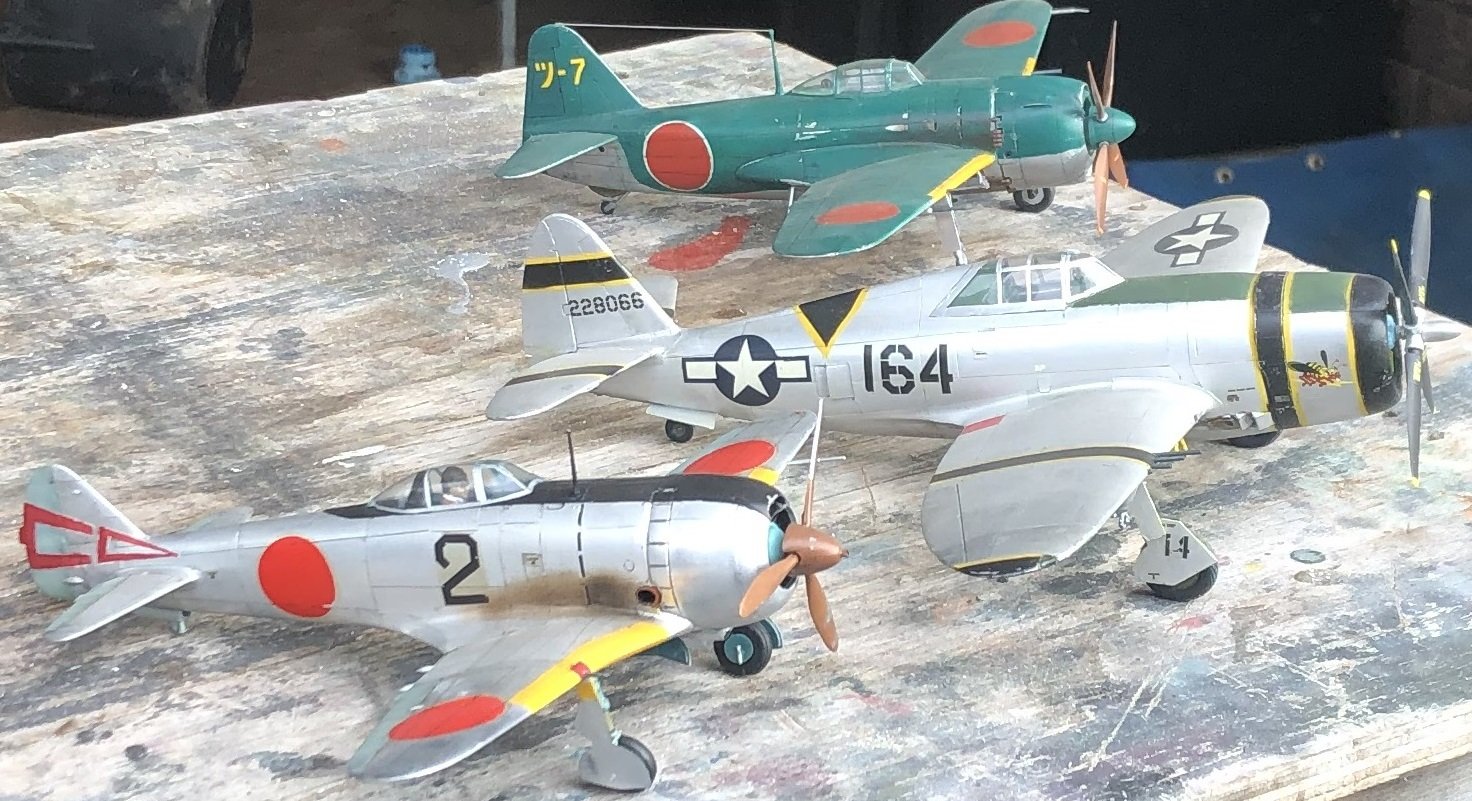
Thank you, Rob. My first foiled model was the Hasegawa P-47 Razorback in 1/48. My second was Tamiya;s N1K1 in 1/48. My third was the 1/49 scale Otaki Ki-44. The fourth was Monogram's 1/48 scale B-29. The fifth was the 1/32 scale Italeri F-104 Starfighter. Sadly, the panel lines are trenches ruining the look. The N1K1 was probably the easiest. I no longer have any pictures to share... but I actually foiled the propeller hubs on all four Hamilton Standard props for the B-29. Sadly, I rescribed much of the B-29 and my scribing was shit... so I pitched it. I still have the other three. They're all slowly oxidizing under their protective coatings.


-
Thank you! I really like the look of that tail. You really should pick it up again.
-
Great progress, Mark.
-
Trumpeter P-51 "American Beauty"-Finished
GazzaS replied to KevinM's topic in LSM 1/35 and Larger Work In Progress
Great job, Kevin! Definitely a stunner! -
Fw-190 A-8/ R-2 "Sturmbock" Revell 1:32
GazzaS replied to Sasha As's topic in LSM 1/35 and Larger Work In Progress
Primo paintwork! -
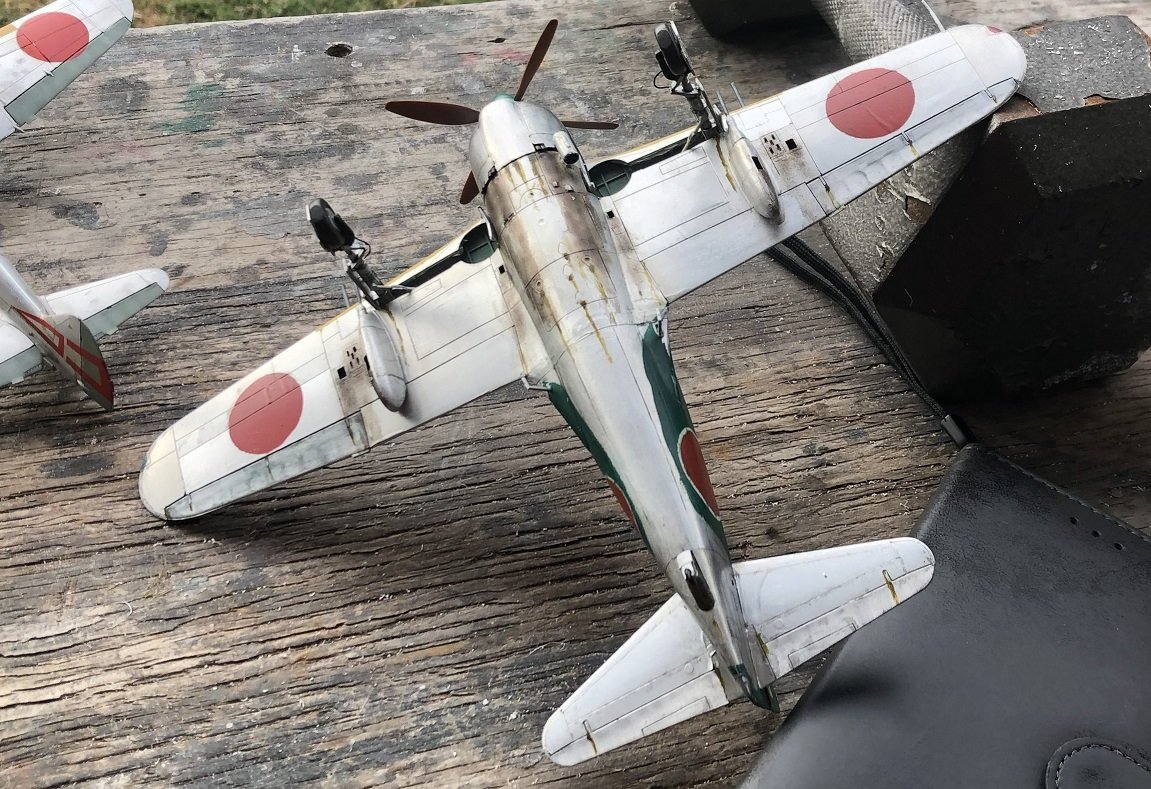
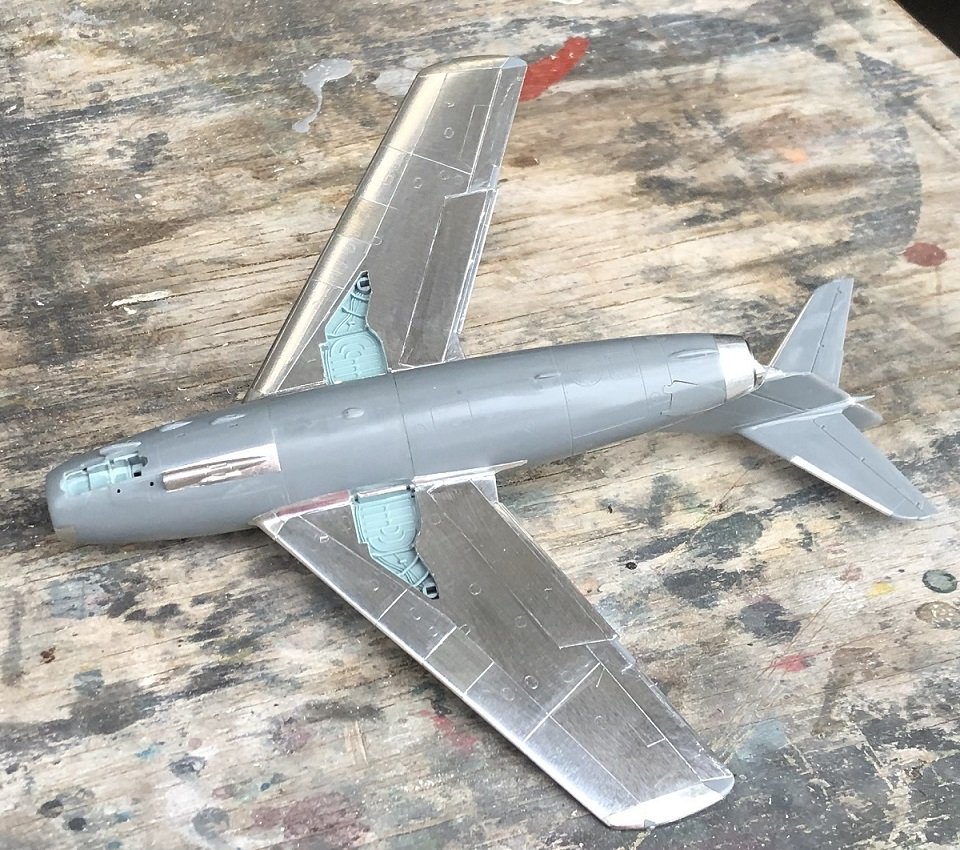
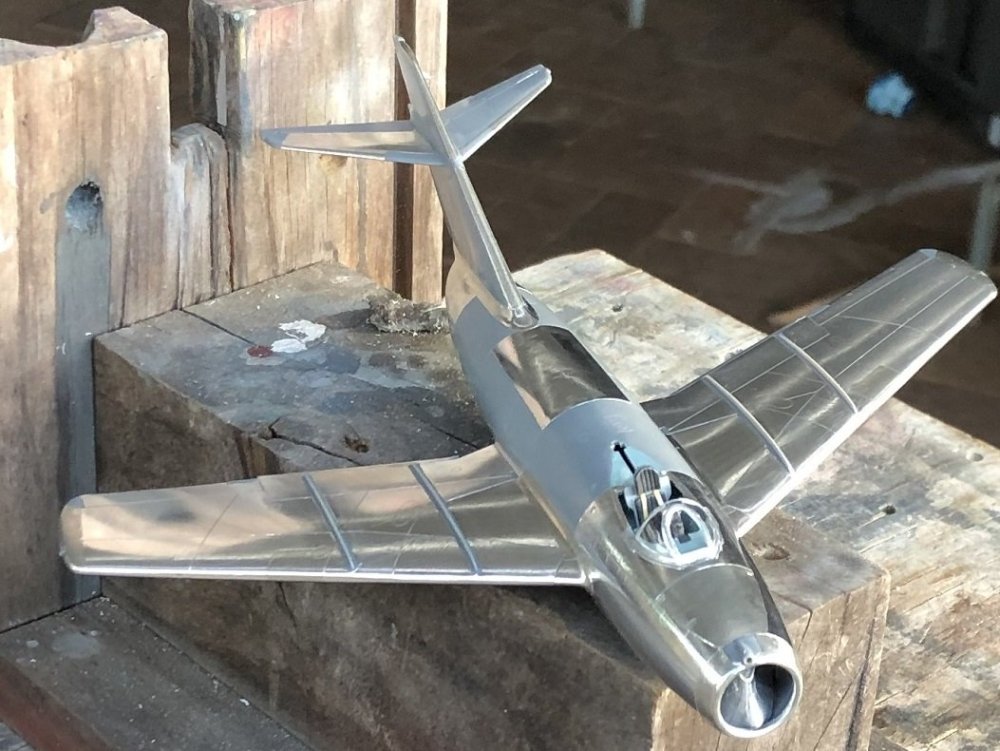
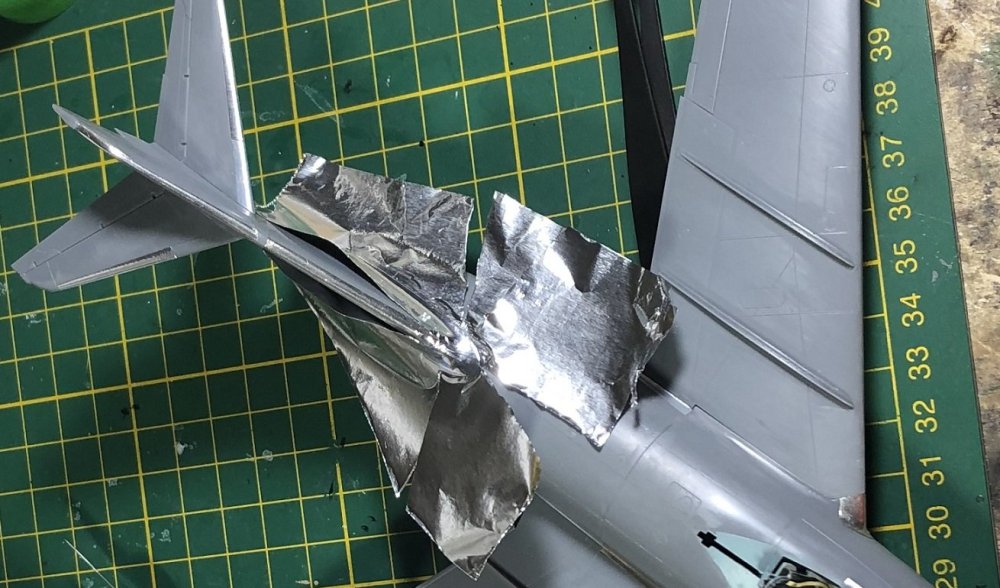
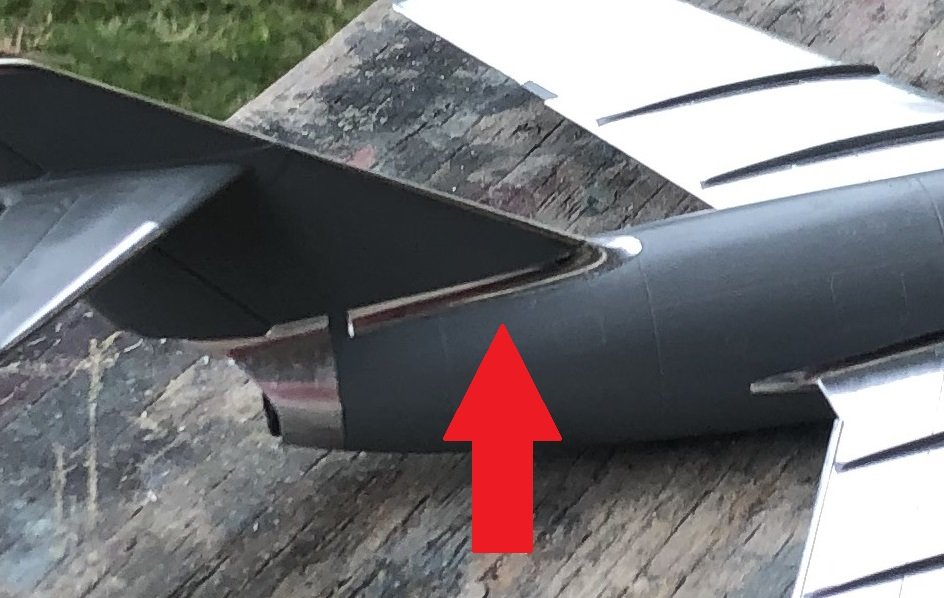
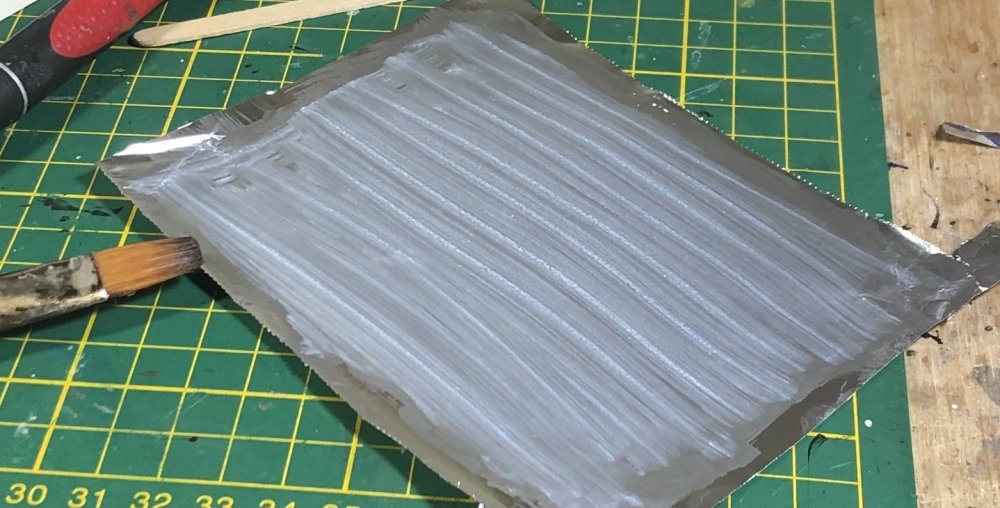
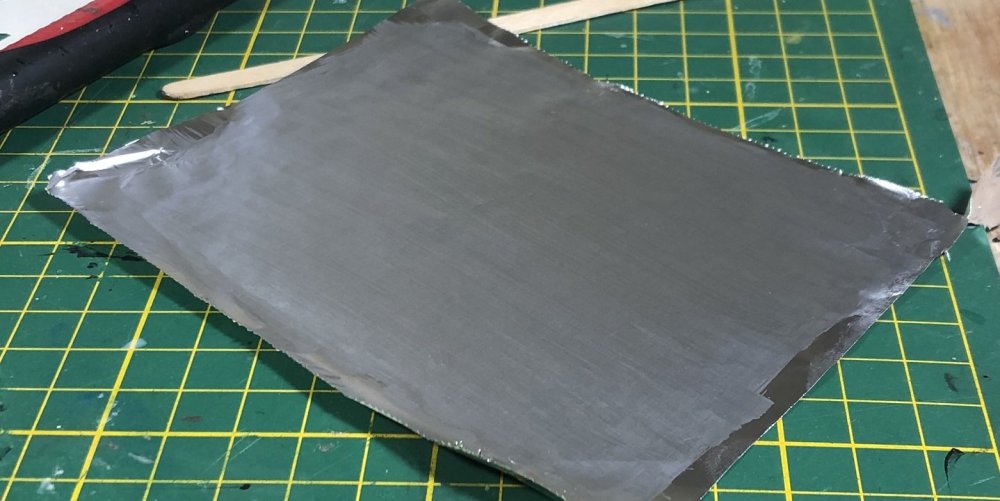
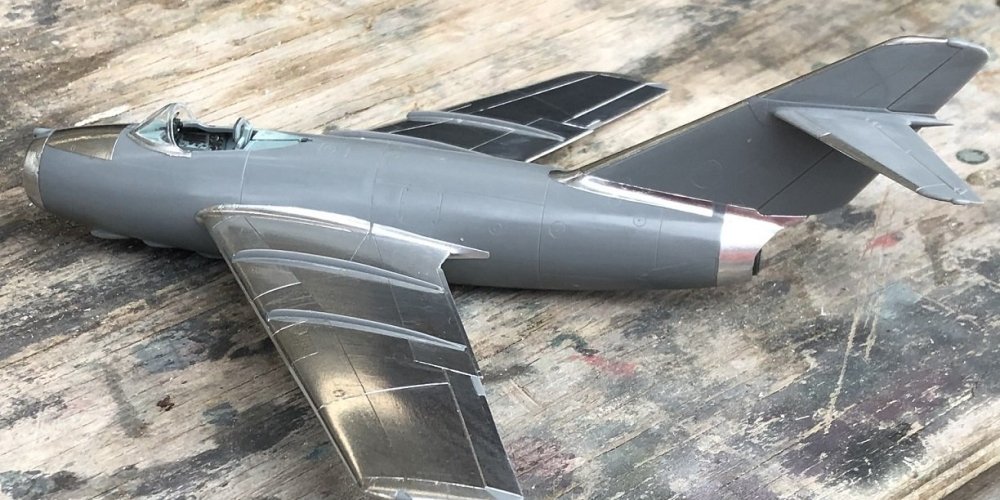
Kaiser woke me up at four. It's either let him out, or pick up dogshit in the dining room. So.... Consequently I decided to make it a big day at the bench. I had been contemplating the big fillet that holds up the rudder and elevators. It took me about 8 attempts to get the right shape. In the end I had to prepare a giant piece and surround the fillet. The slicing you see is to relieve tension as the foil stretches and shrinks. When you apply the cement to the foil, it has zero tack. Your foil sheet will look like this. You have to let it dry to a hazy state before it becomes tacky and looks like this: Now you can cut off pieces you need to burnish them to the model. If your sheet sits for a couple of hours it will dry completely and lose any sticky properties. Since I spent so much time at the bench today I was able to complete most of the wing surfaces. It's been a cloudy, Yucky day. Here are some pics taken in the cloudy afternoon light. Happy modelling!


-
Glad to pique your interest, Martin. The Tamiya pit has nothing on the real one.
-
I see you're motoring along, John.
-
Nice progress on your Lanc, Mark. Getting small nacelles to line up nicely isn't "small" work, usually.
-
Thank you Marc. I hope you get to foil again, soon.
-
Thank you, Peter.
-
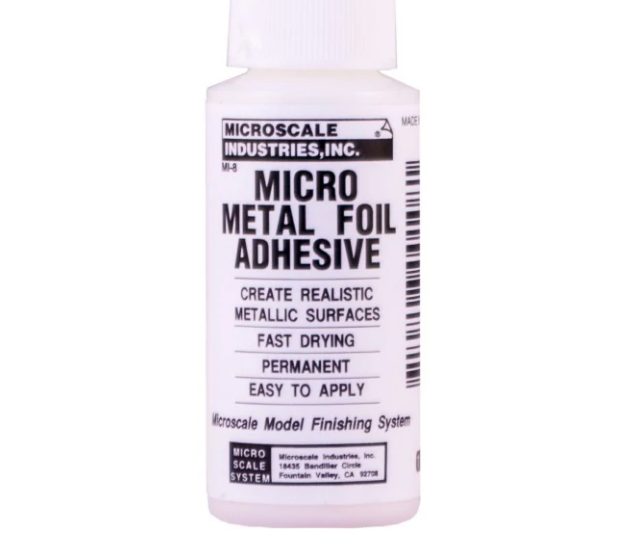
Glad to see you, Phil. a. Cheap kitchen foil b. Bare Metal Foil Bare-Metal, Detailing Model Cars, Trains, and Aircraft, duplicate chrome on model cars c. MIcroscale Metal Foil adhesive.