JeroenPeters
-
Posts
4,867 -
Joined
-
Last visited
Content Type
Profiles
Forums
Events
Gallery
Everything posted by JeroenPeters
-

1/32 Westland Whirlwind
JeroenPeters replied to JeroenPeters's topic in LSM 1/35 and Larger Work In Progress
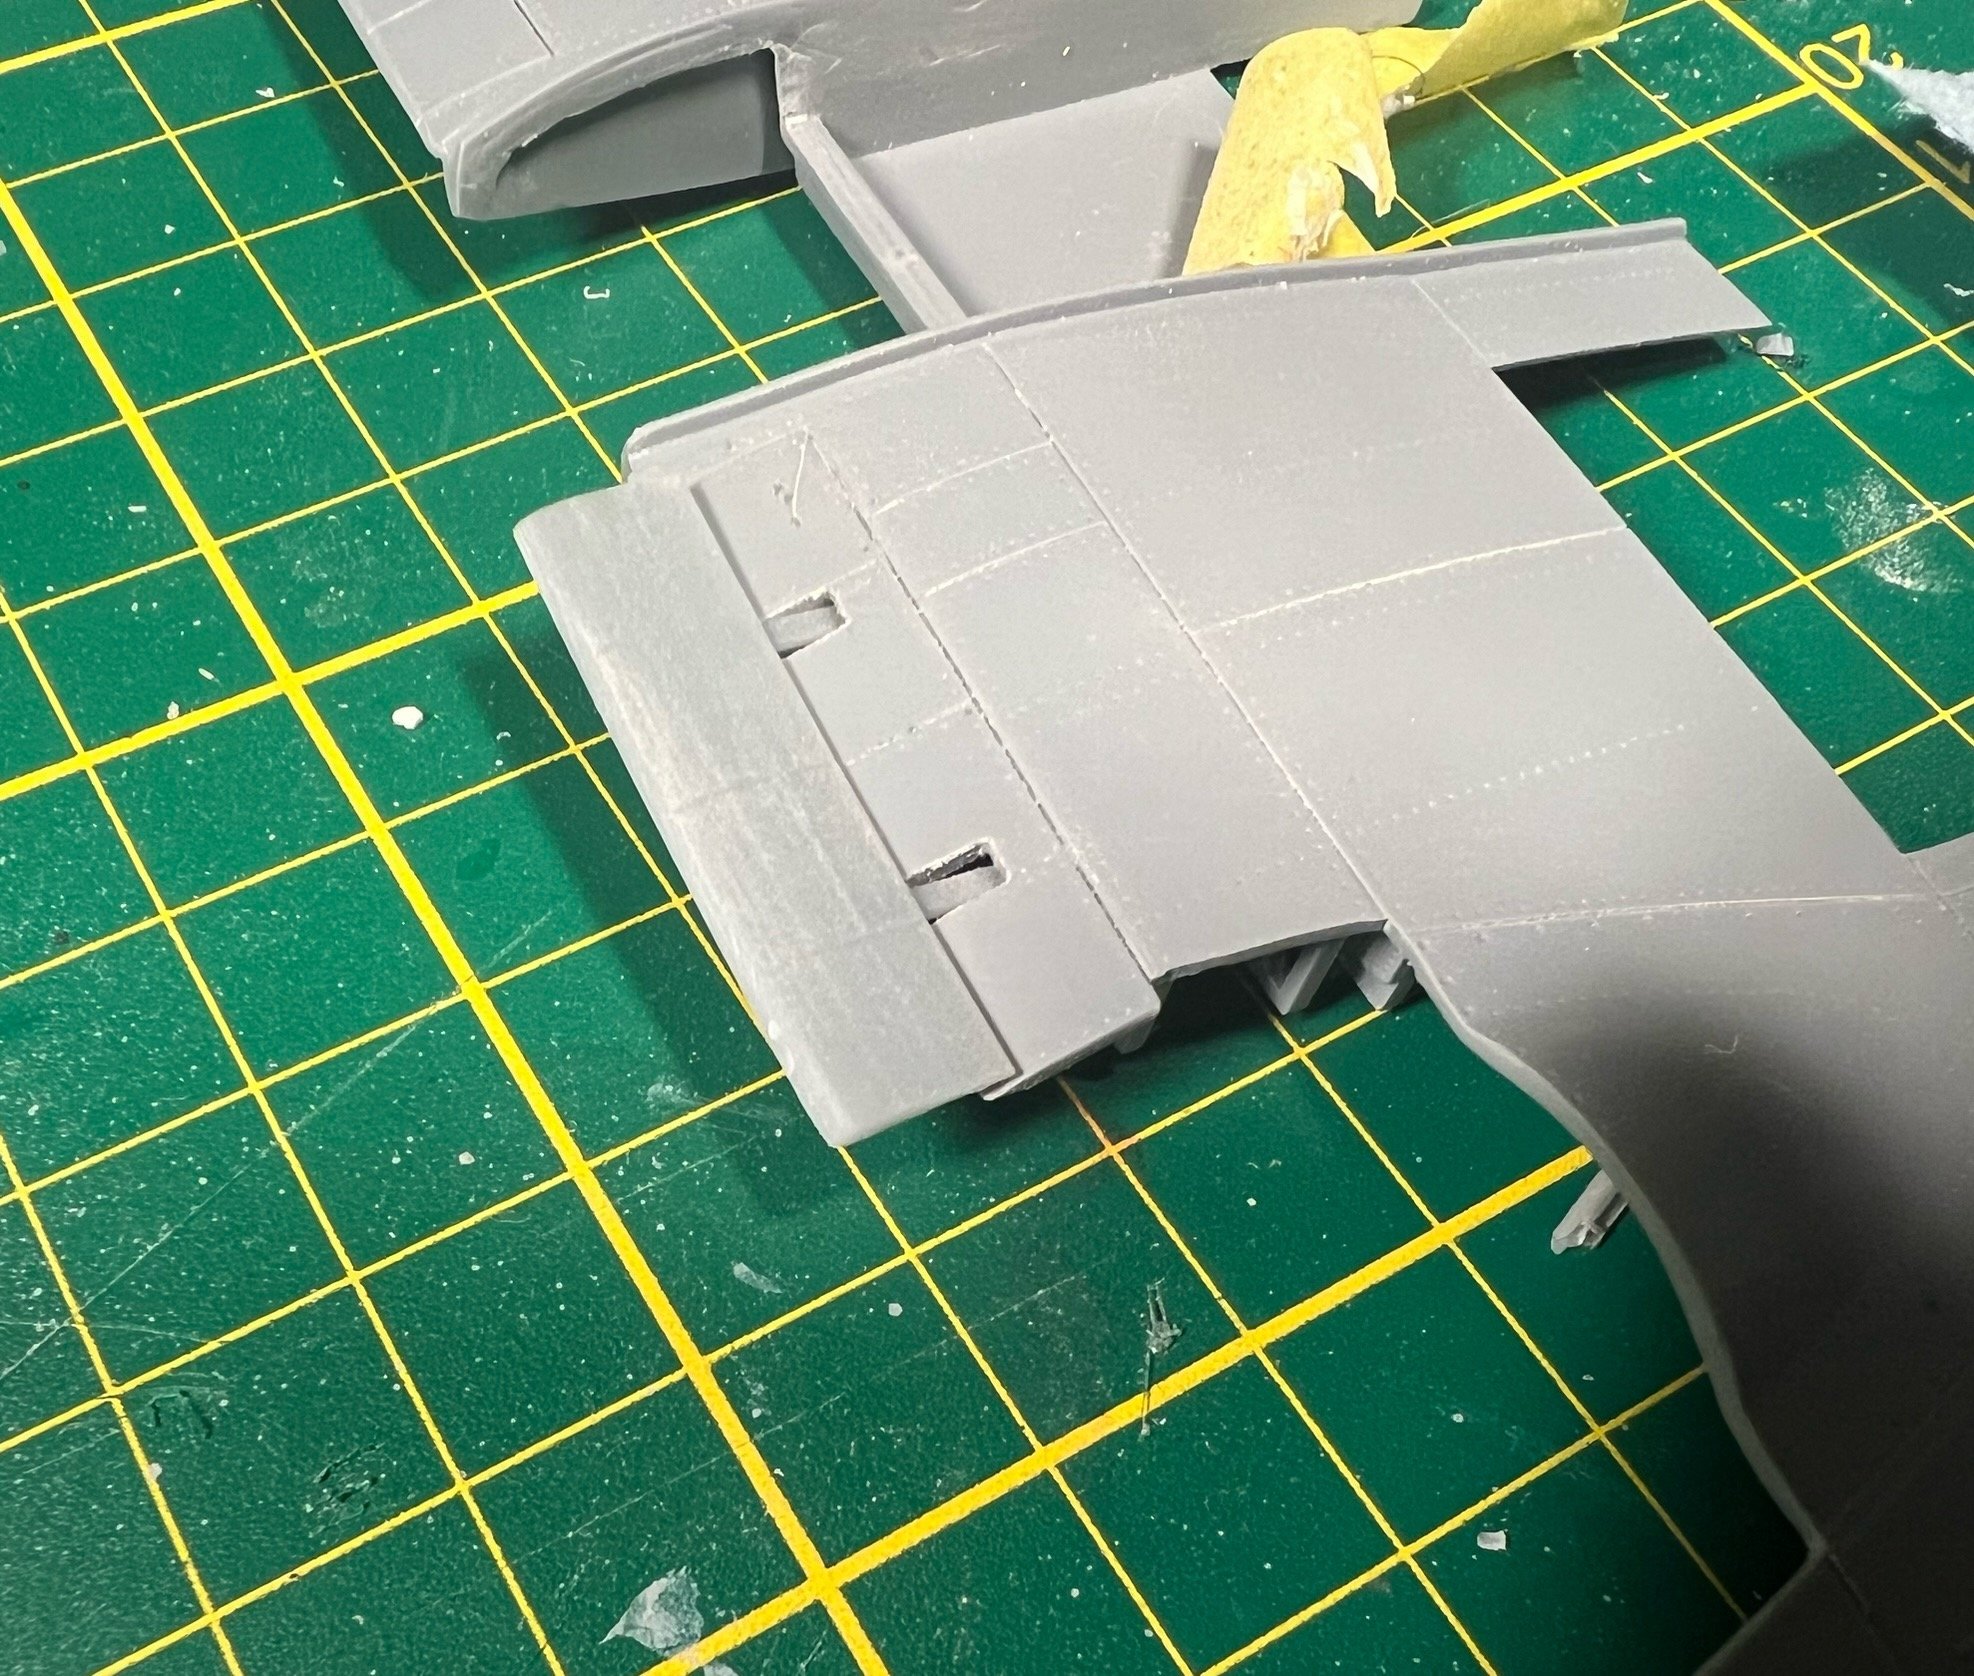
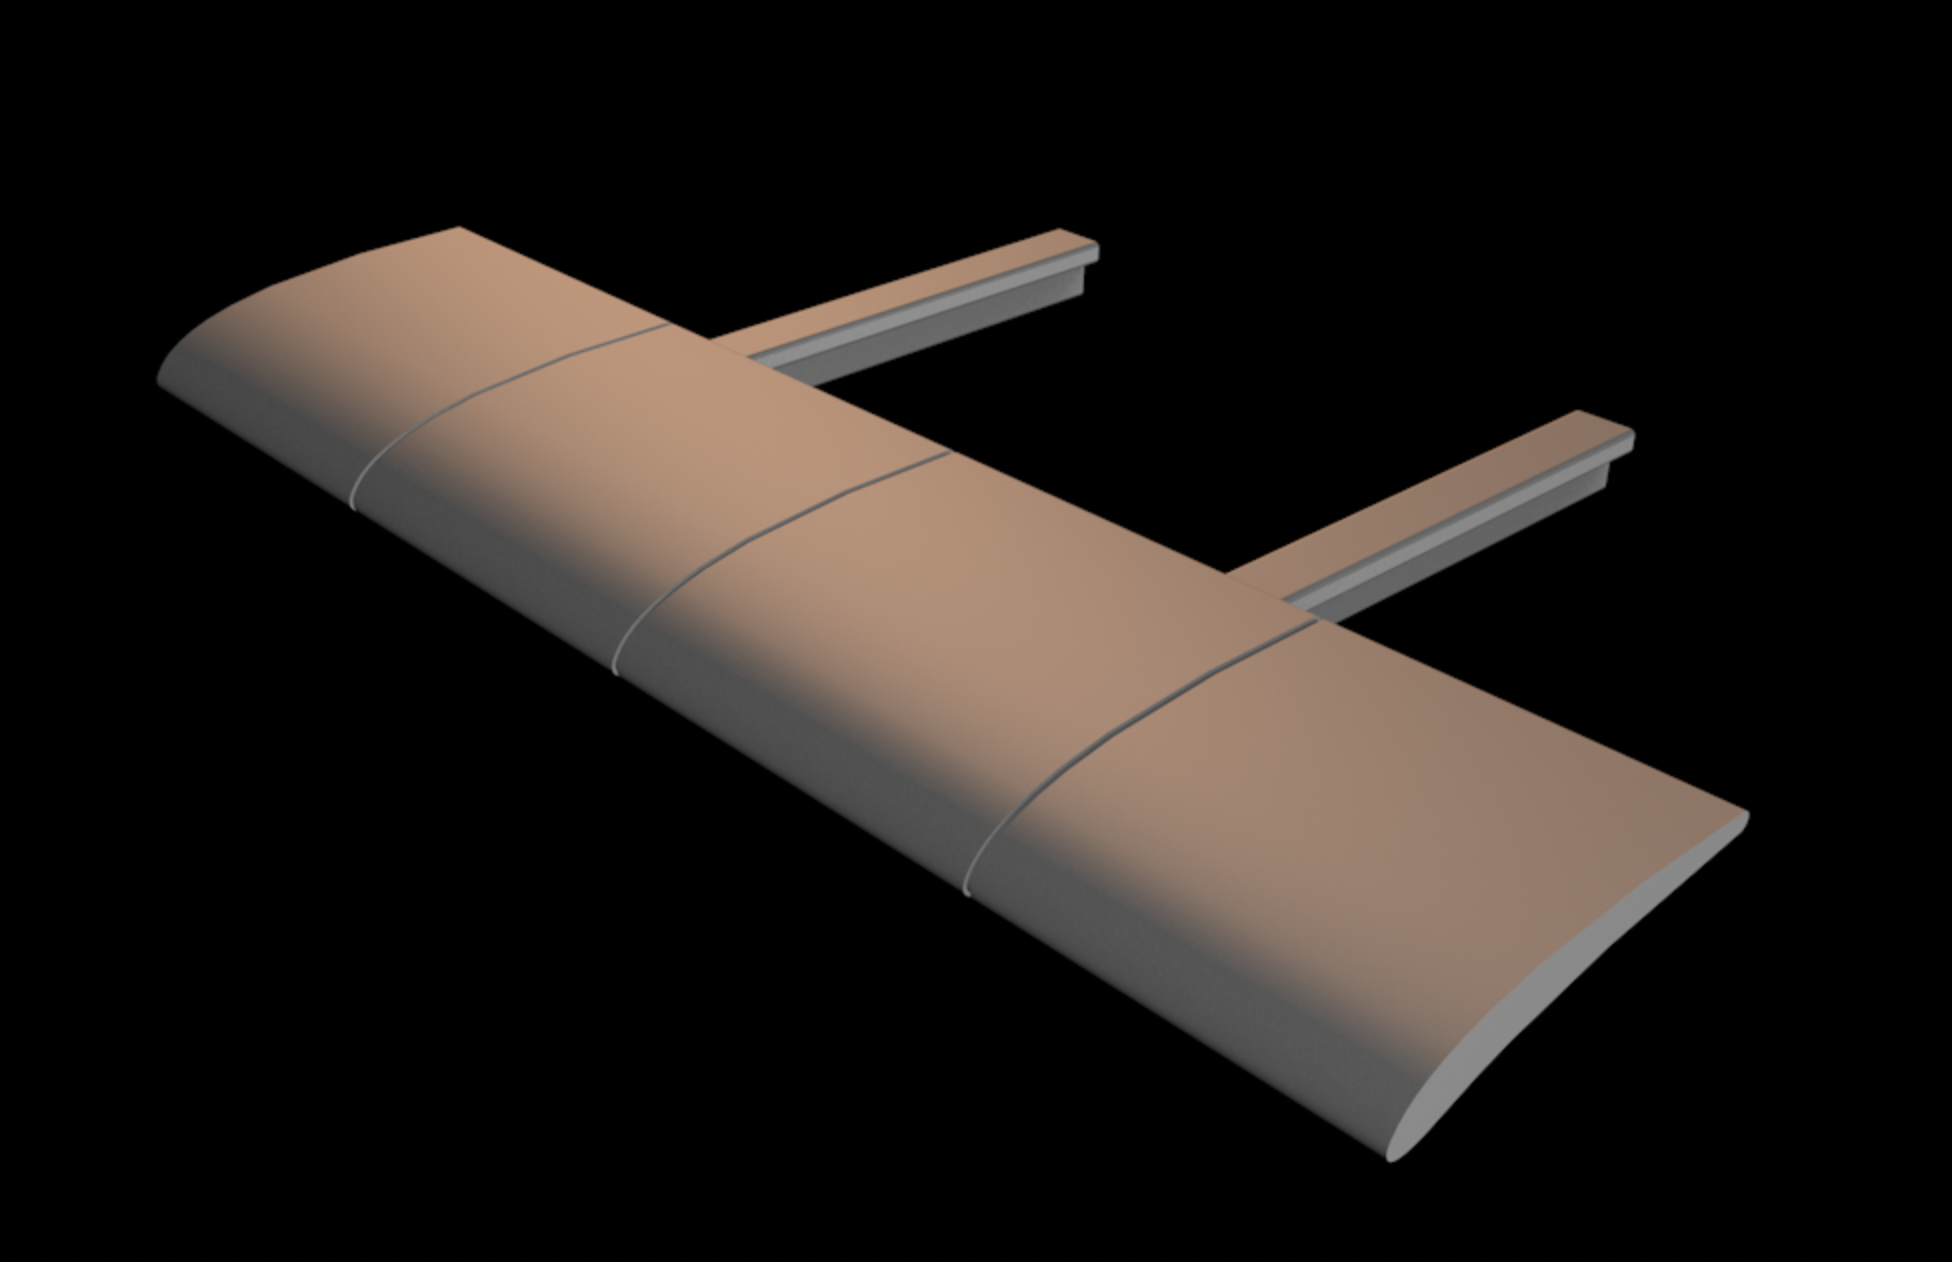
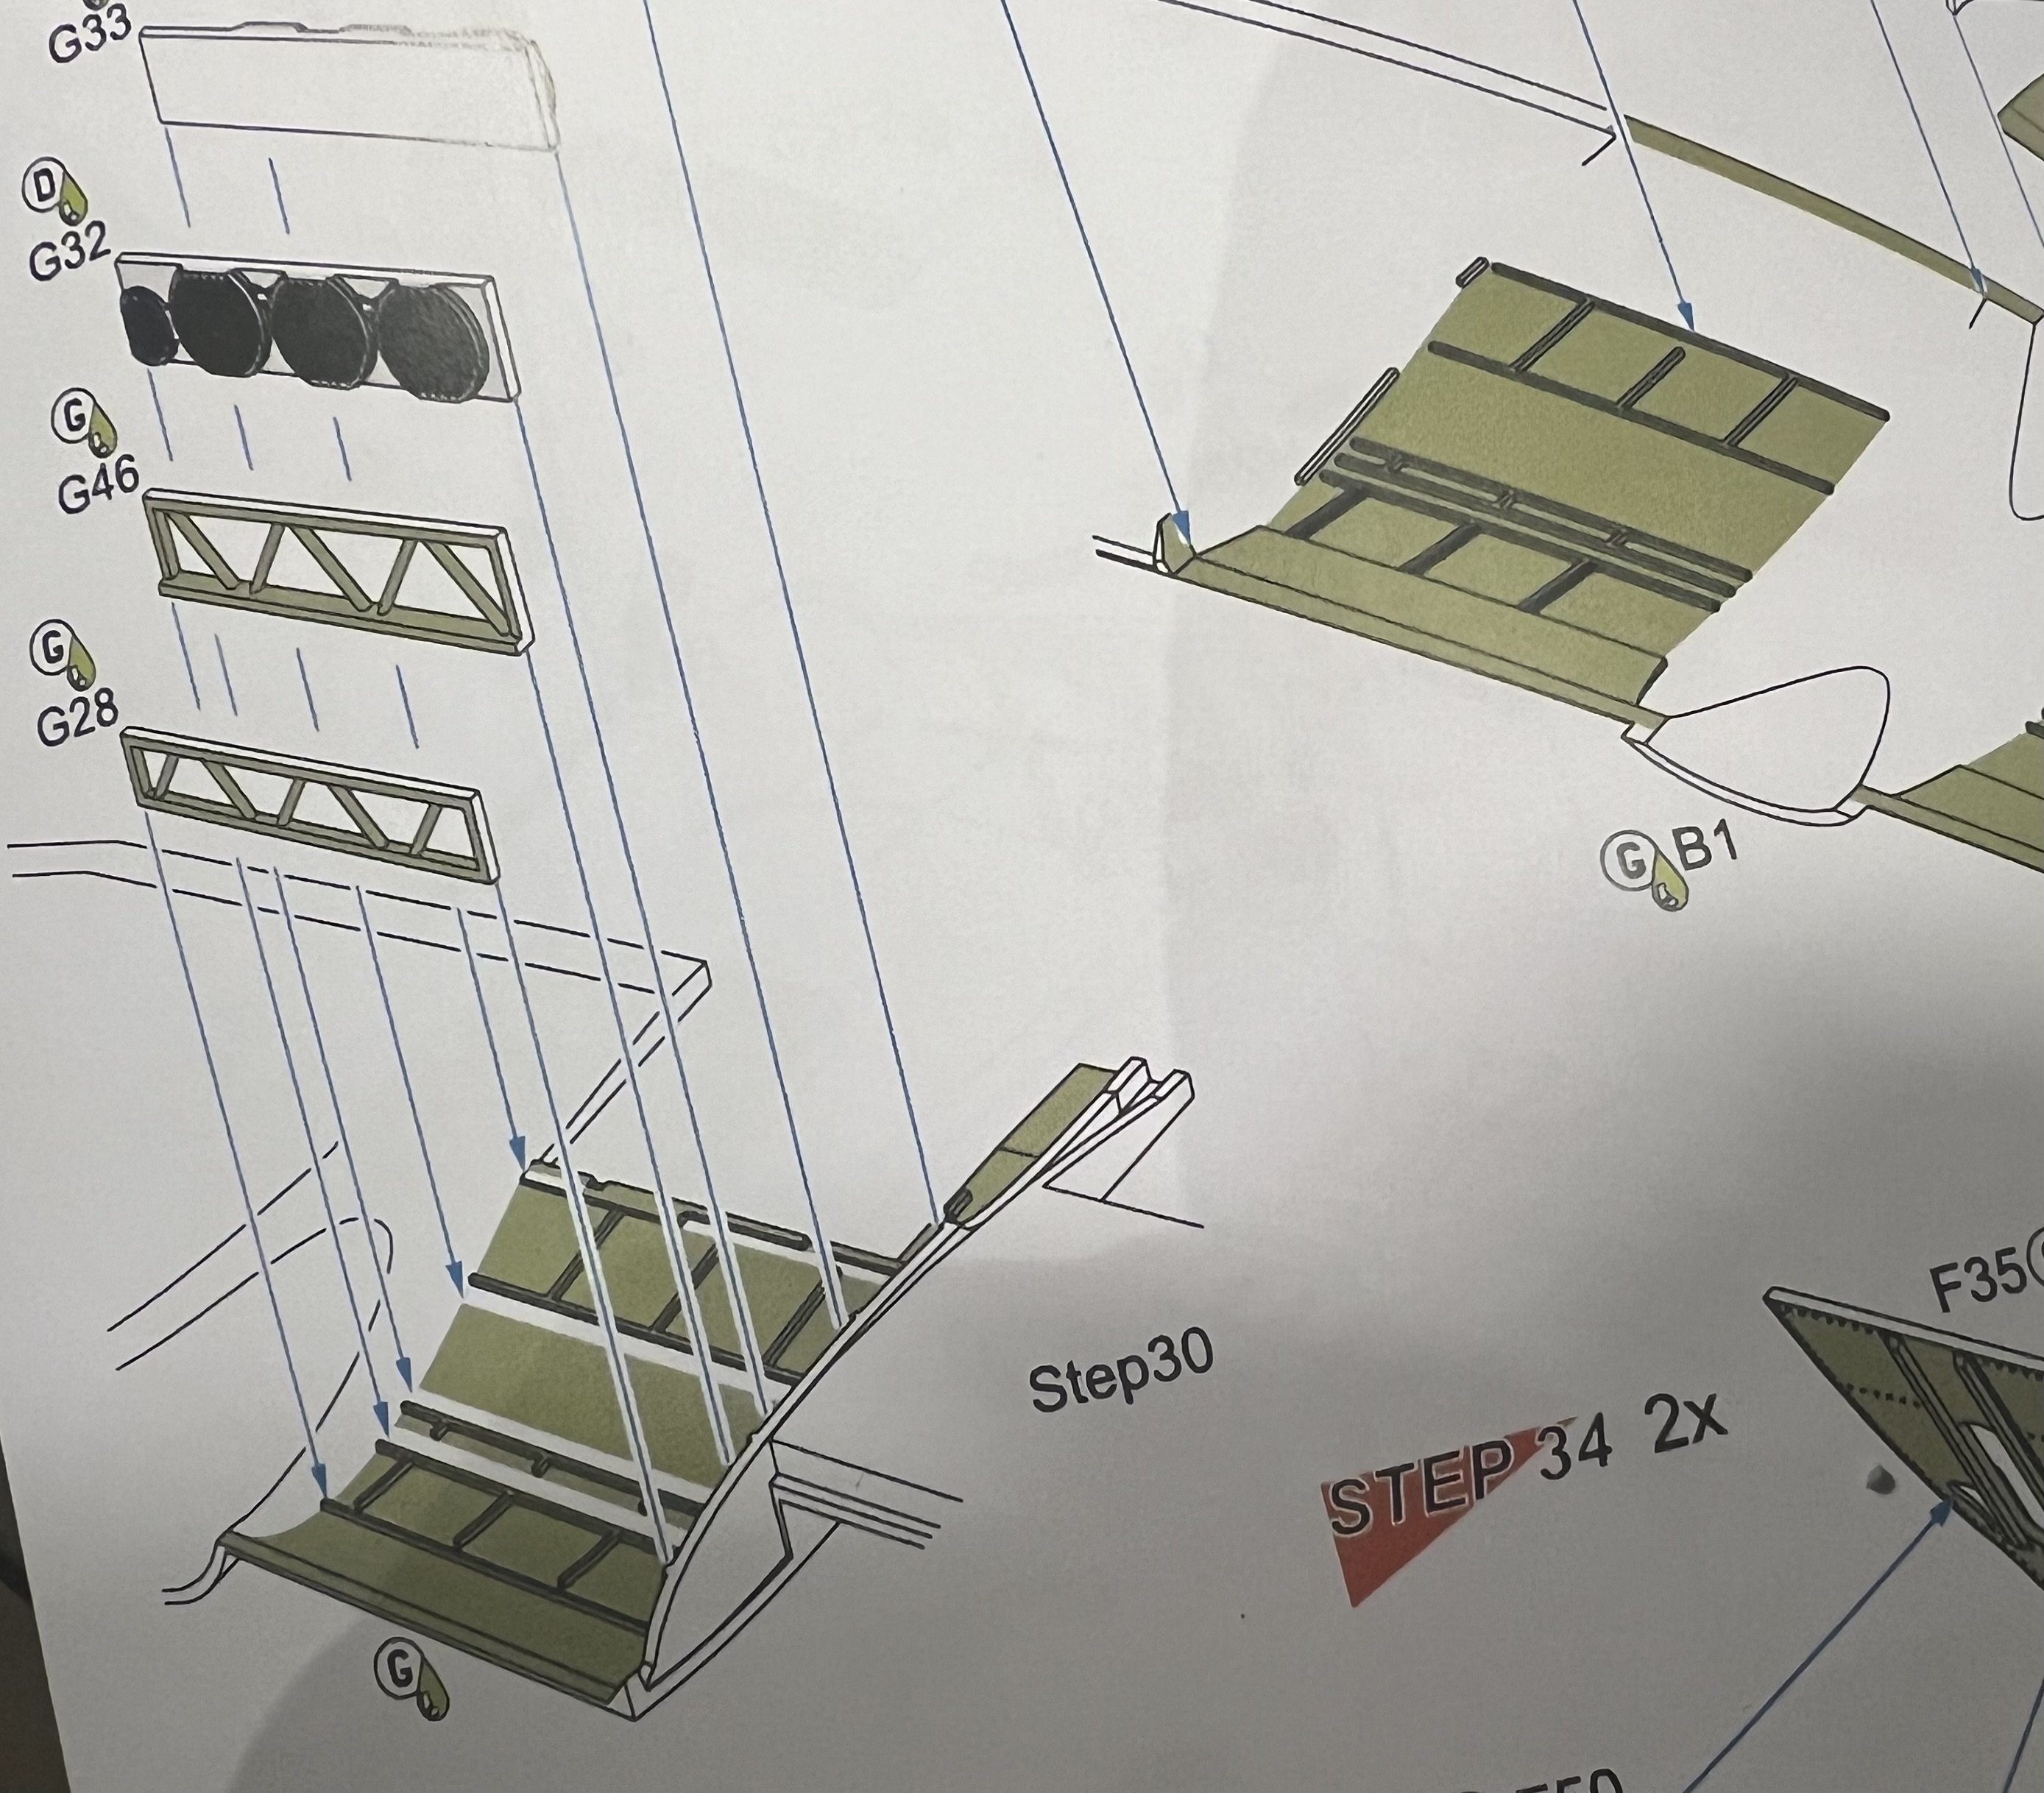
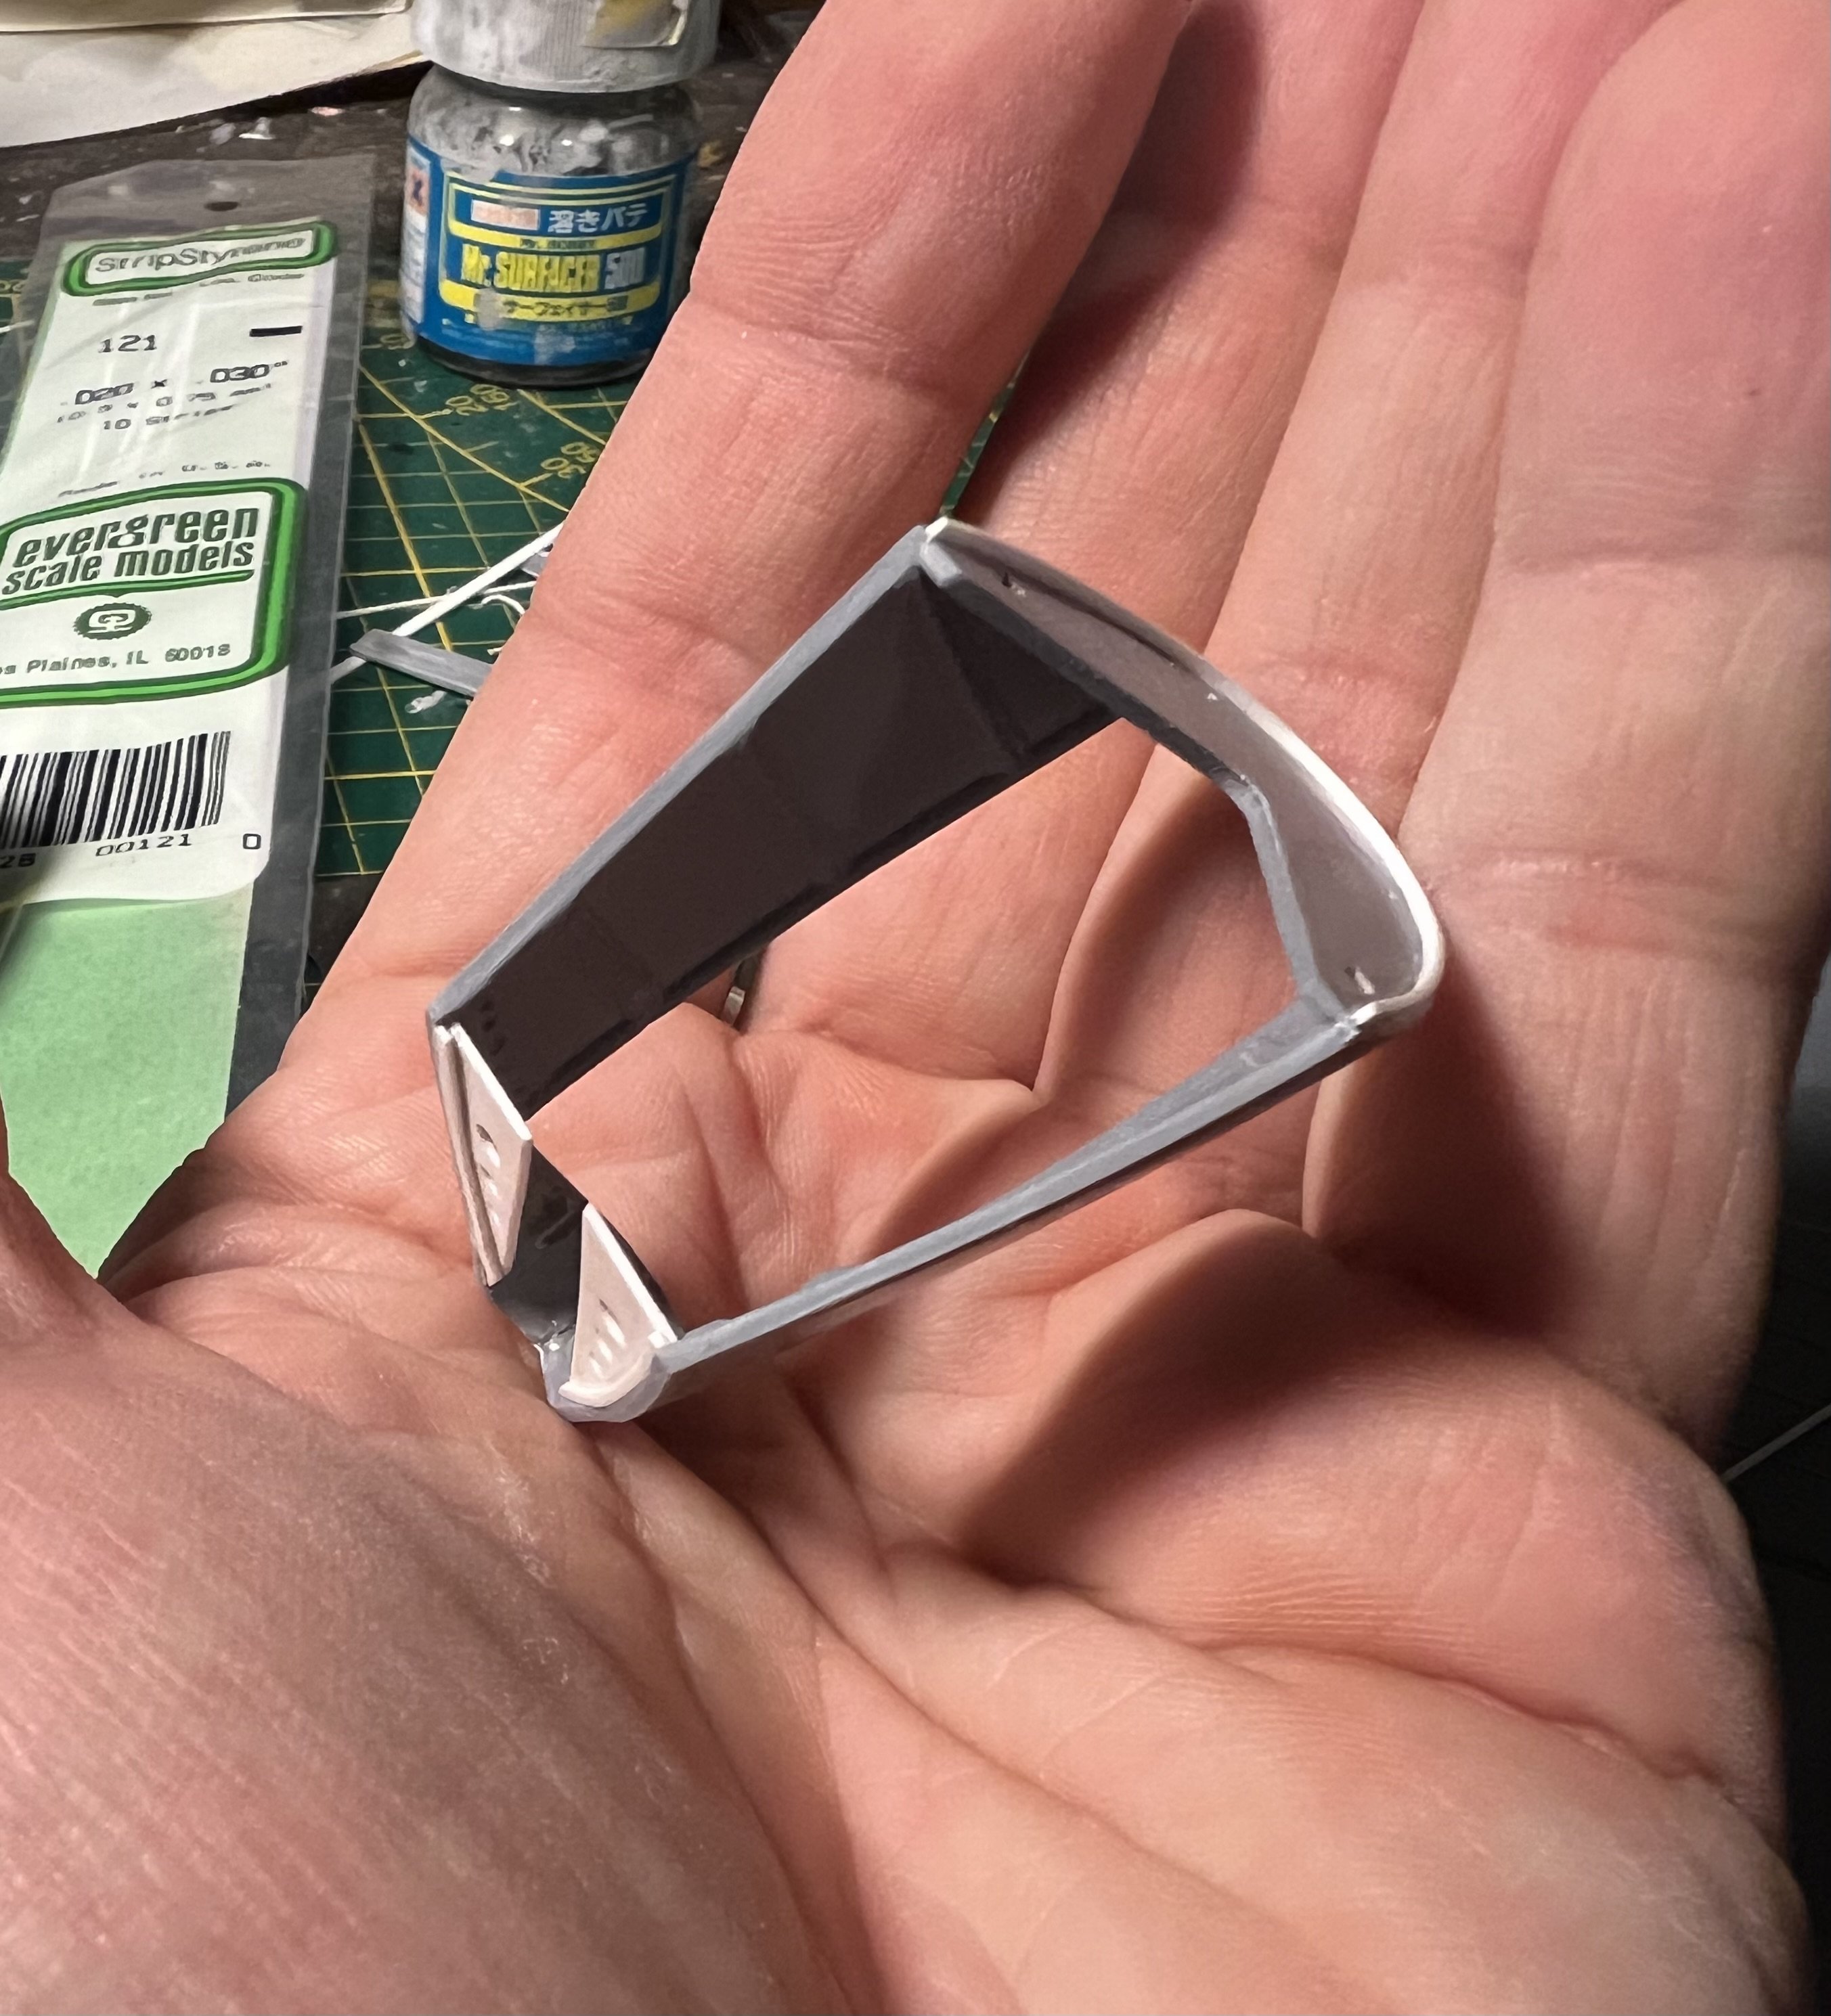
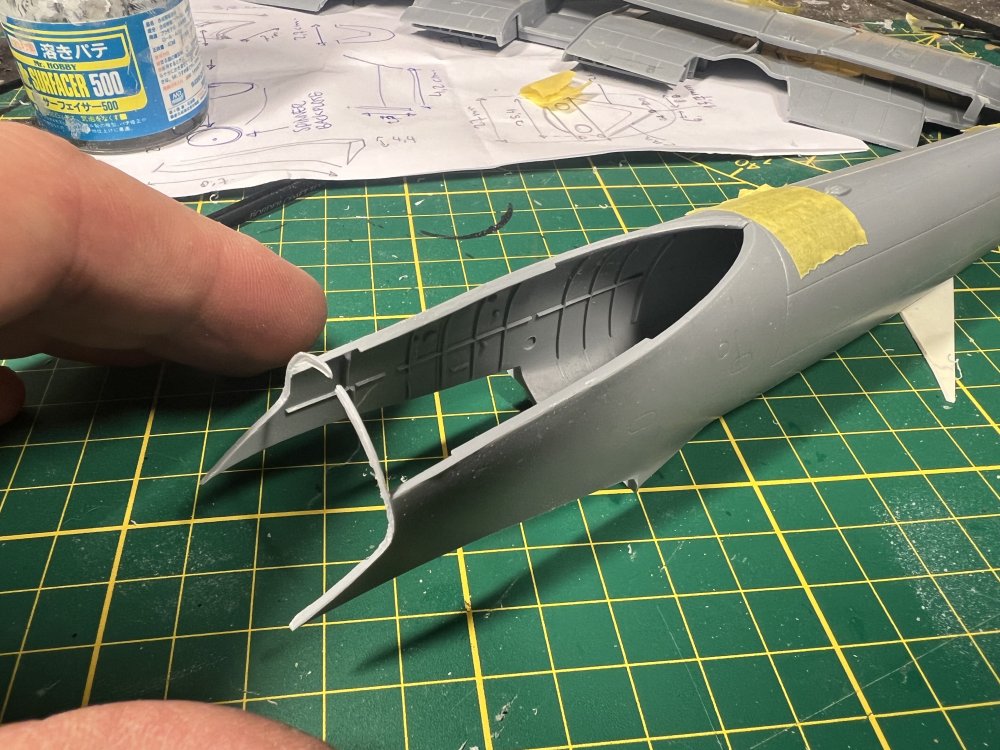
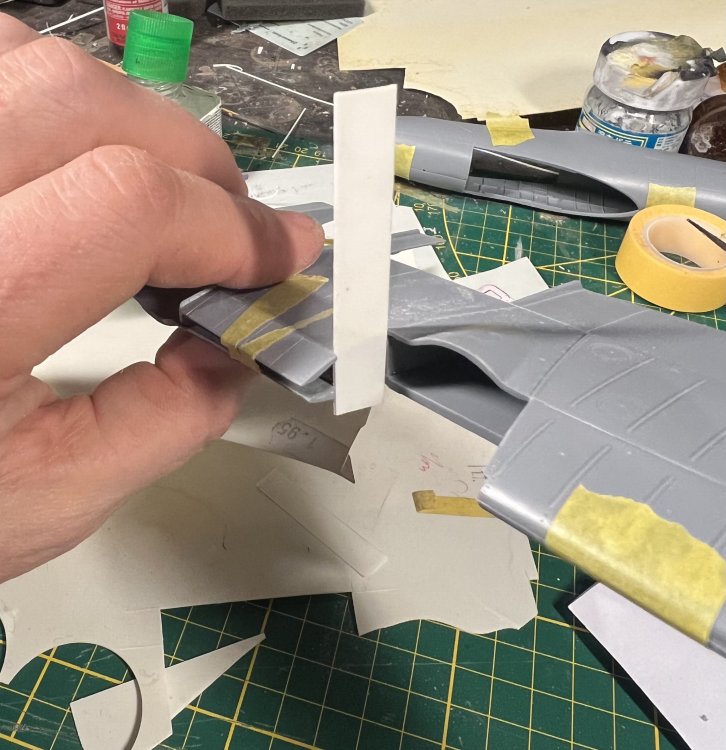
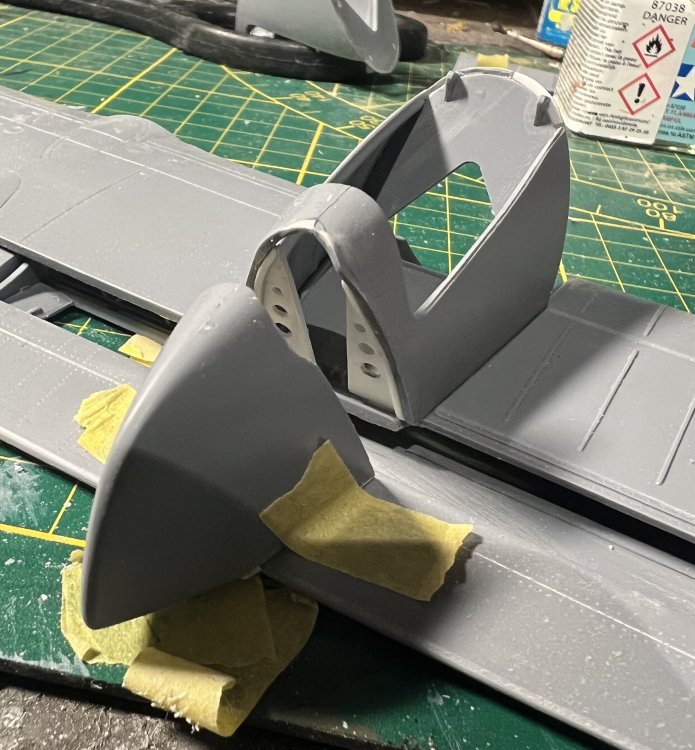
I had to redesign the radiator slats. The angle was off as you can see here. Printing a new set now. And i need to add a push rod in the middle. The ailerons look to be ok so far.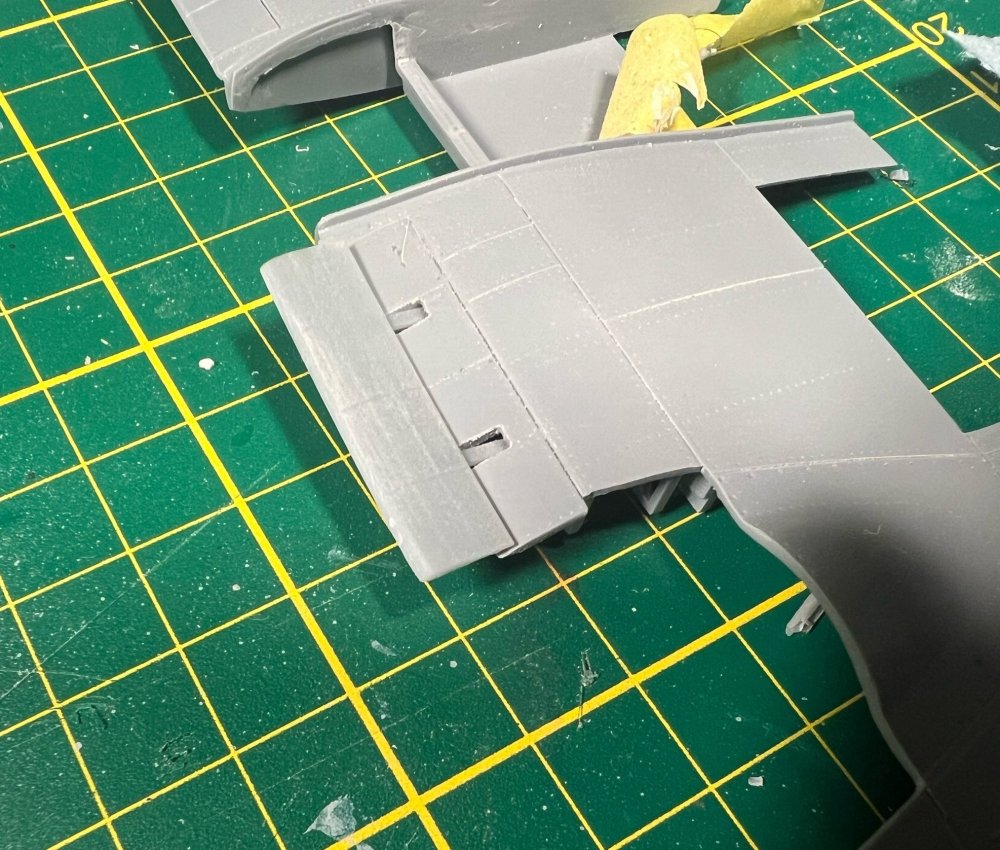


-
1/32 Westland Whirlwind
JeroenPeters replied to JeroenPeters's topic in LSM 1/35 and Larger Work In Progress
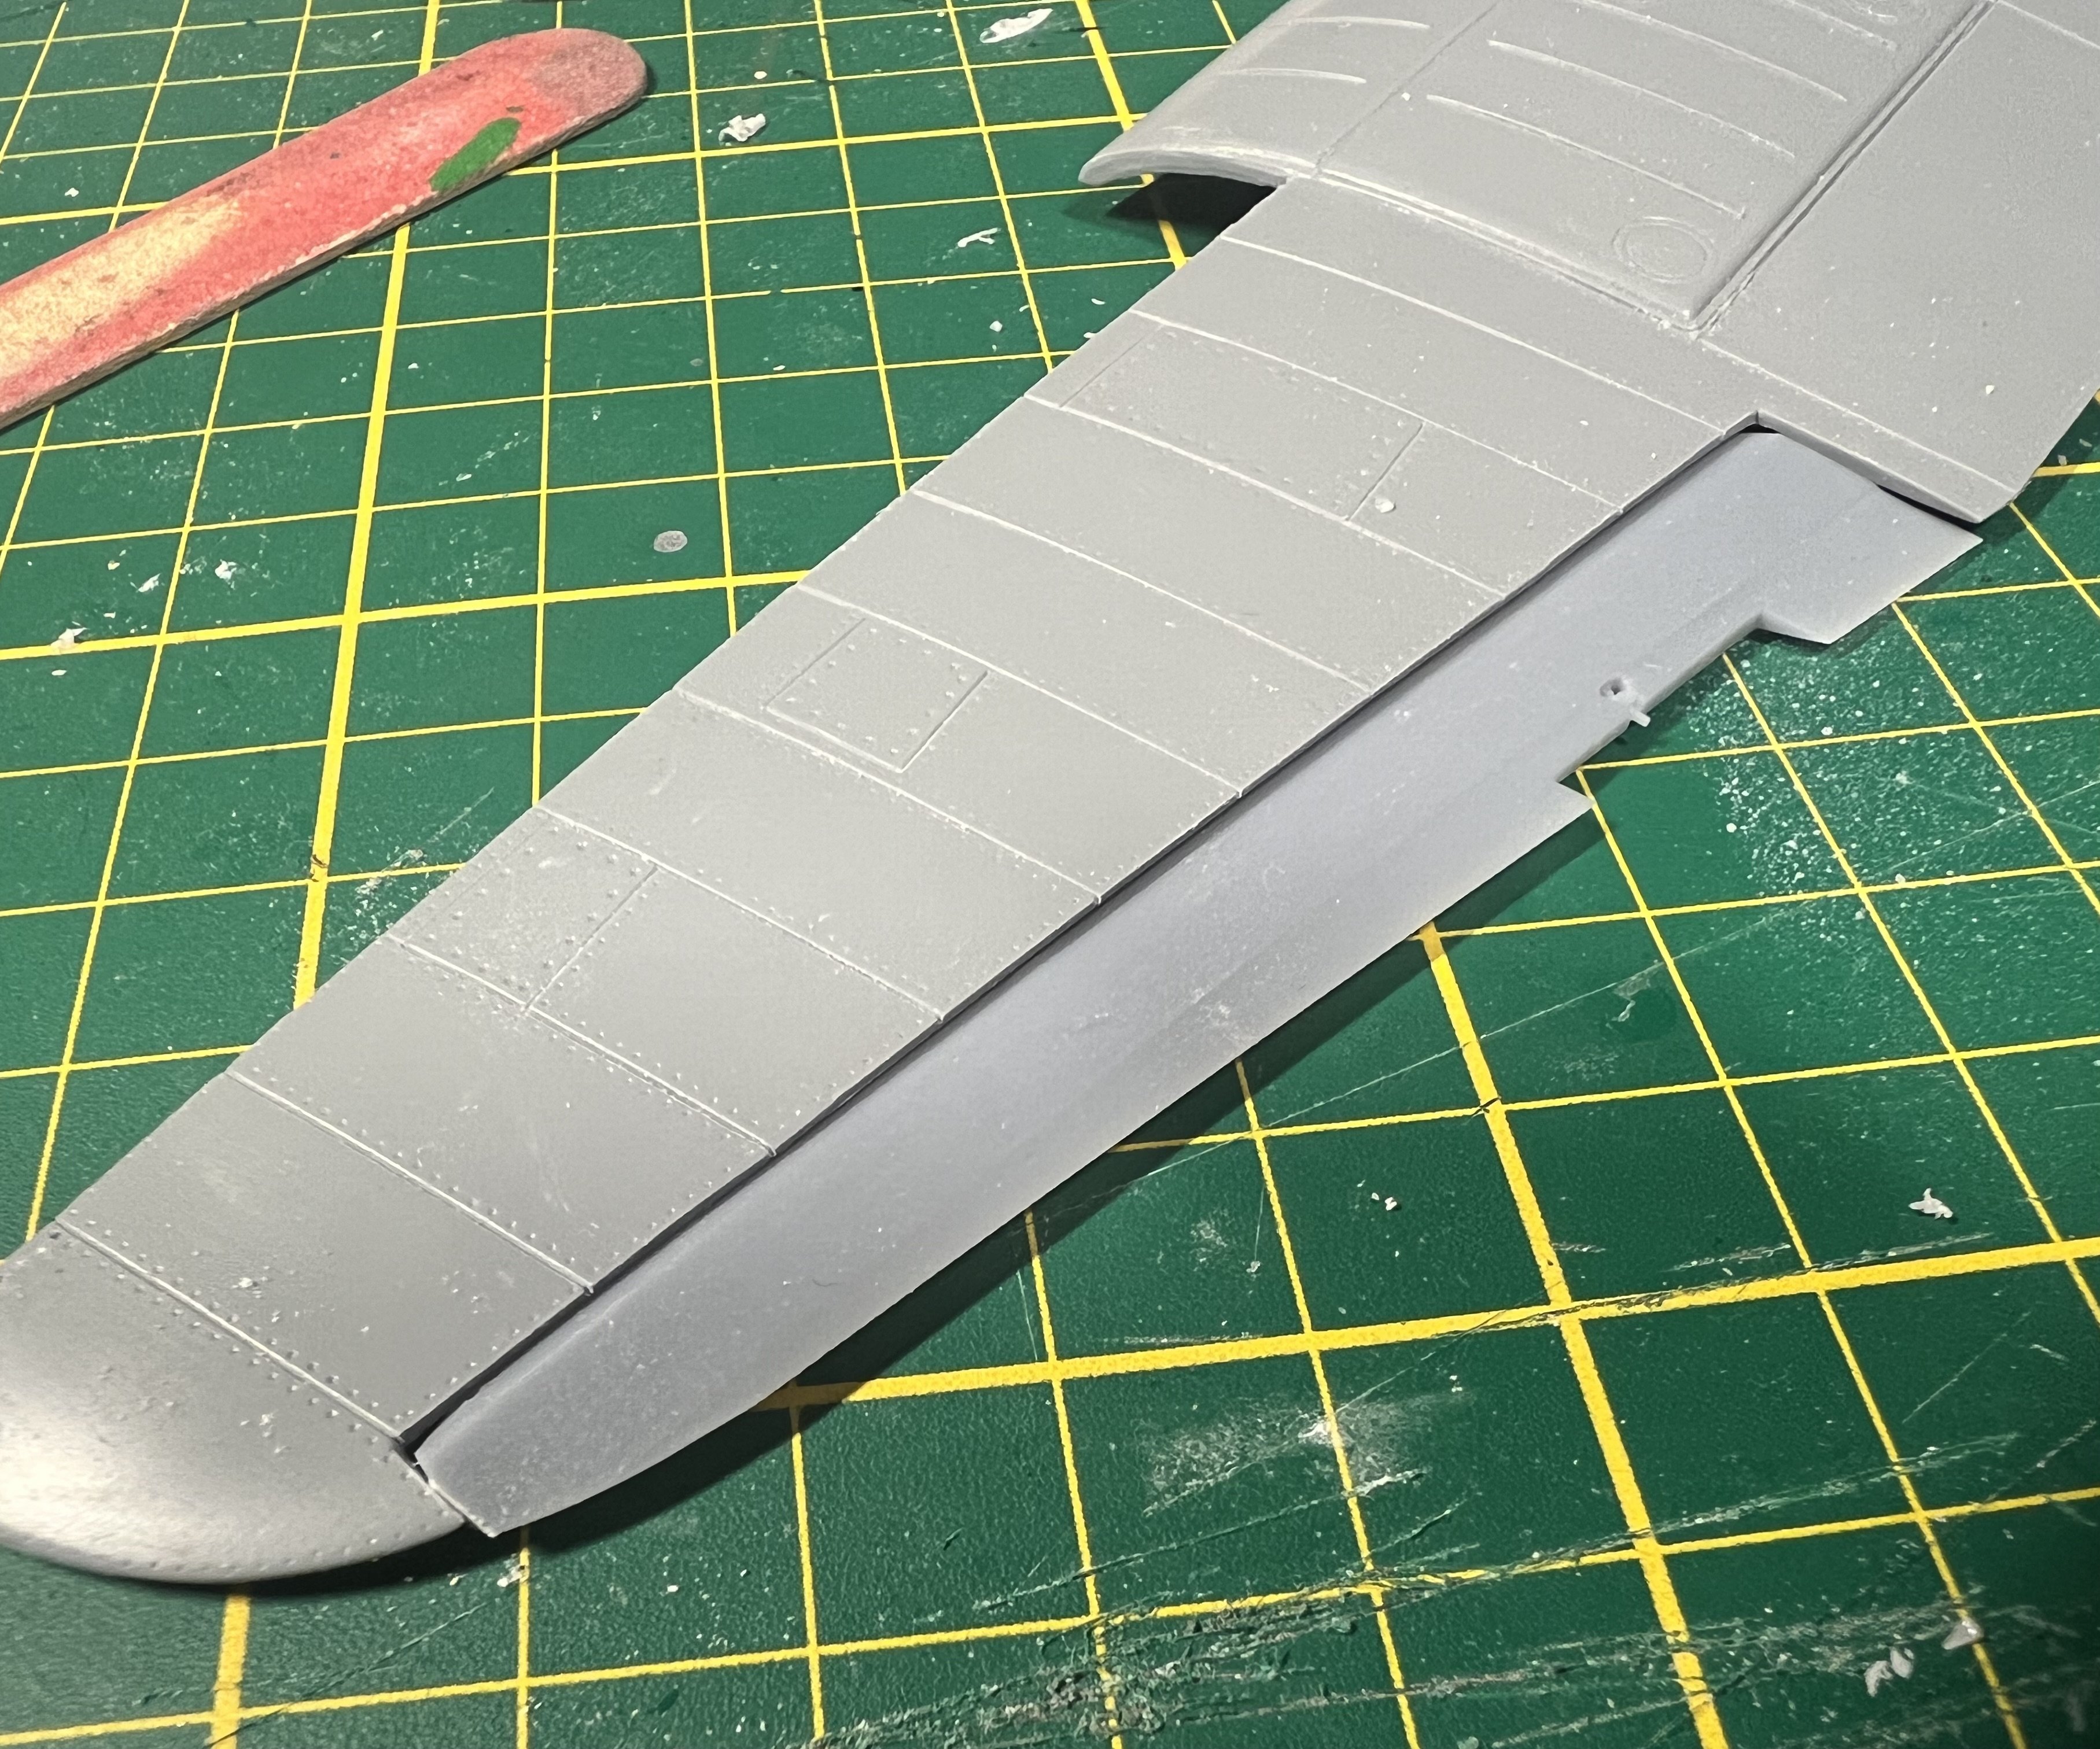
I don’t want to cheer too soon, but this looks better.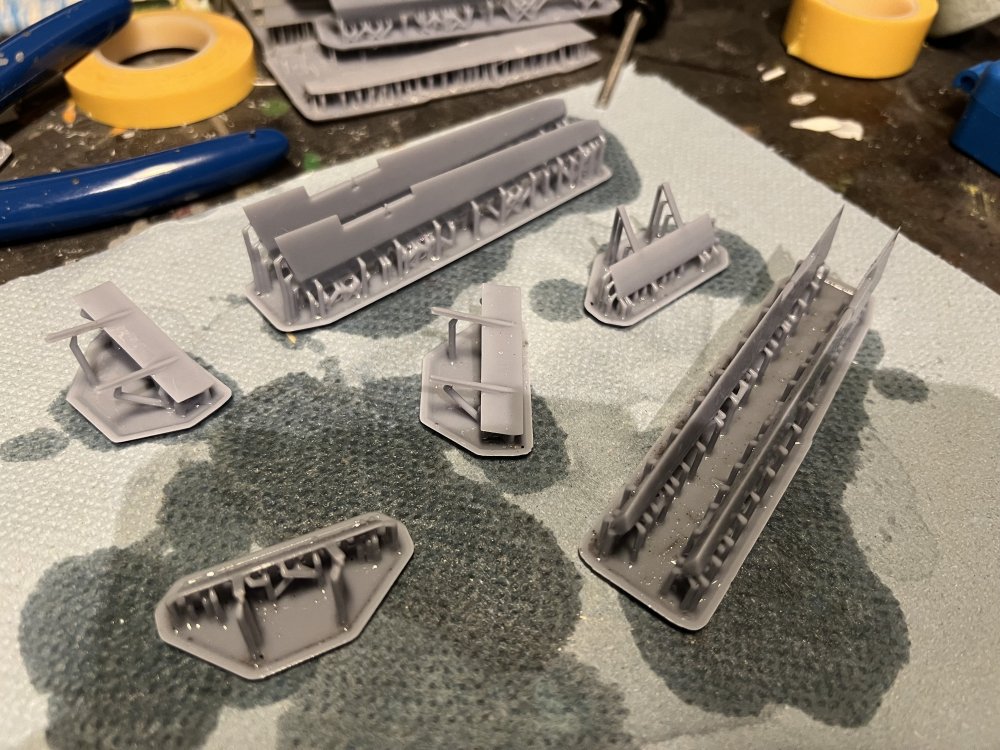
-
1/32 Westland Whirlwind
JeroenPeters replied to JeroenPeters's topic in LSM 1/35 and Larger Work In Progress
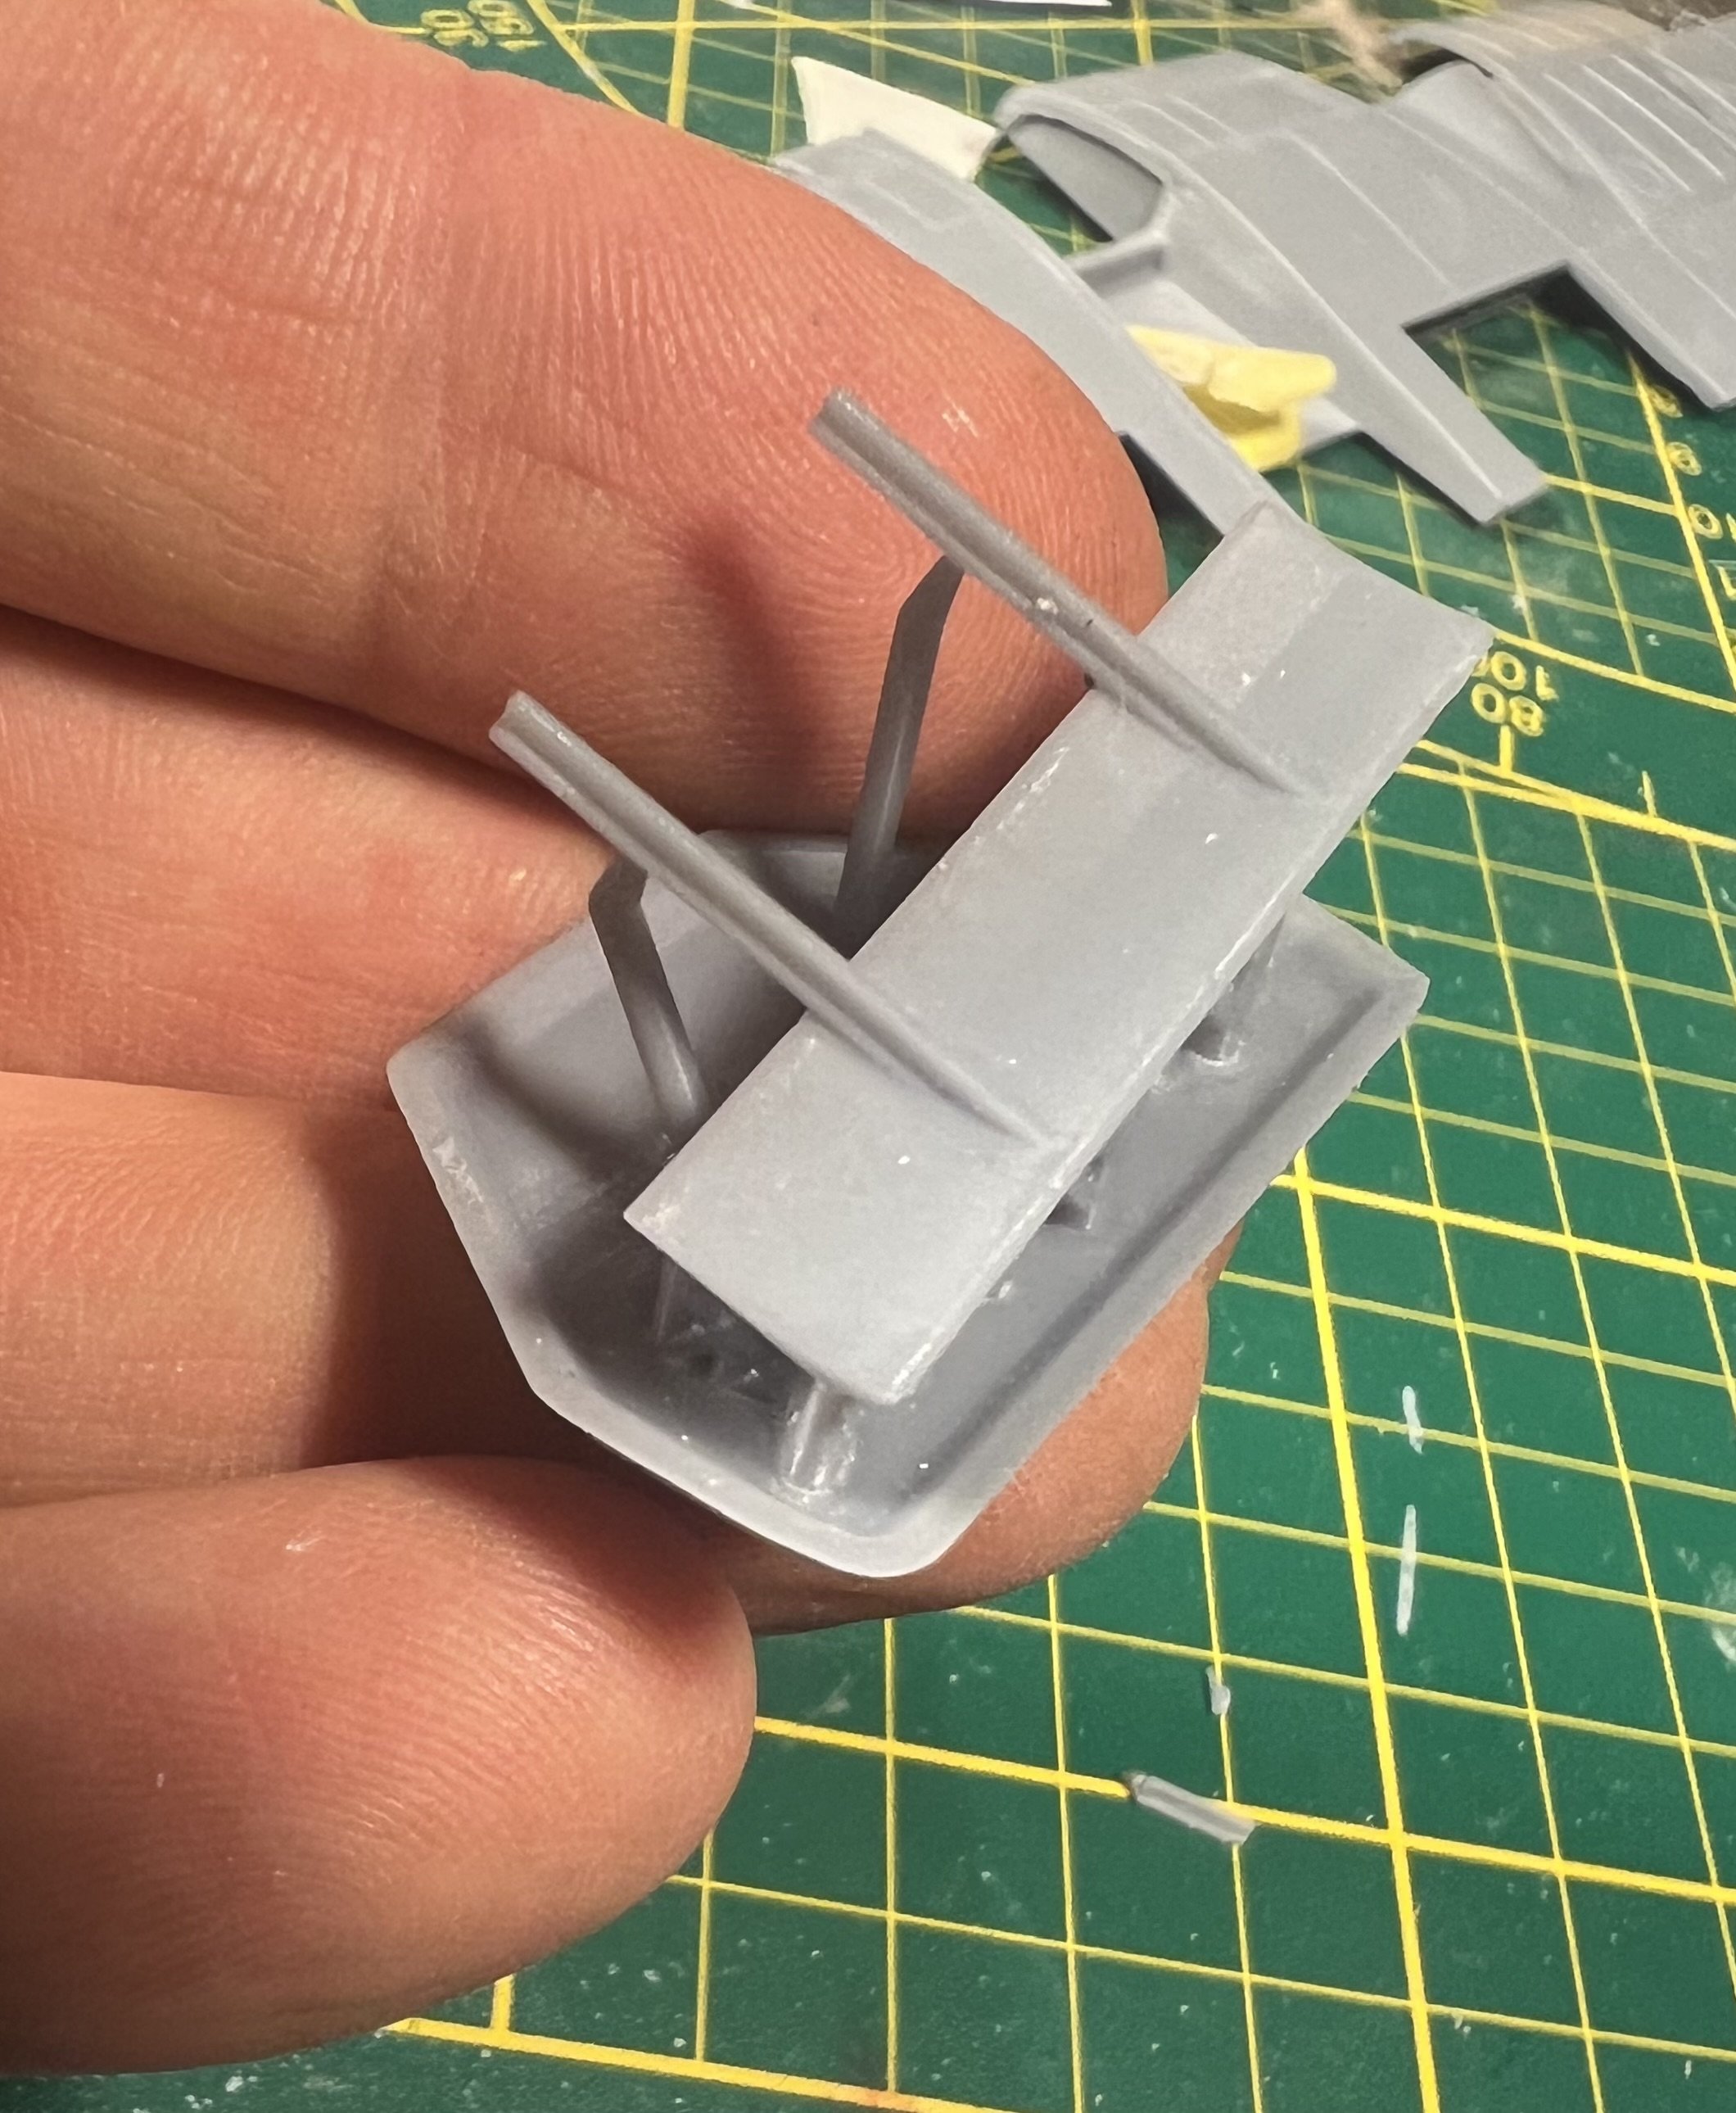
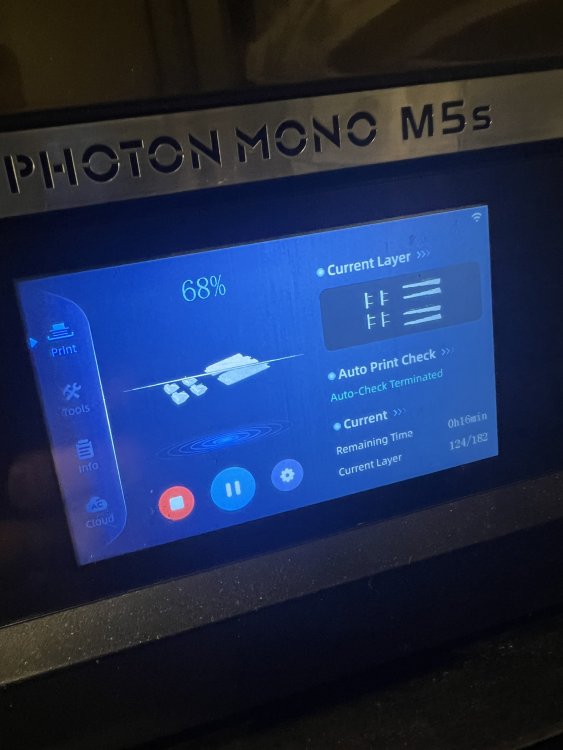
Threw away the first prints. Printed a second set at a different angle. Bit better but not good enough yet. Need to give it a third go with more supports …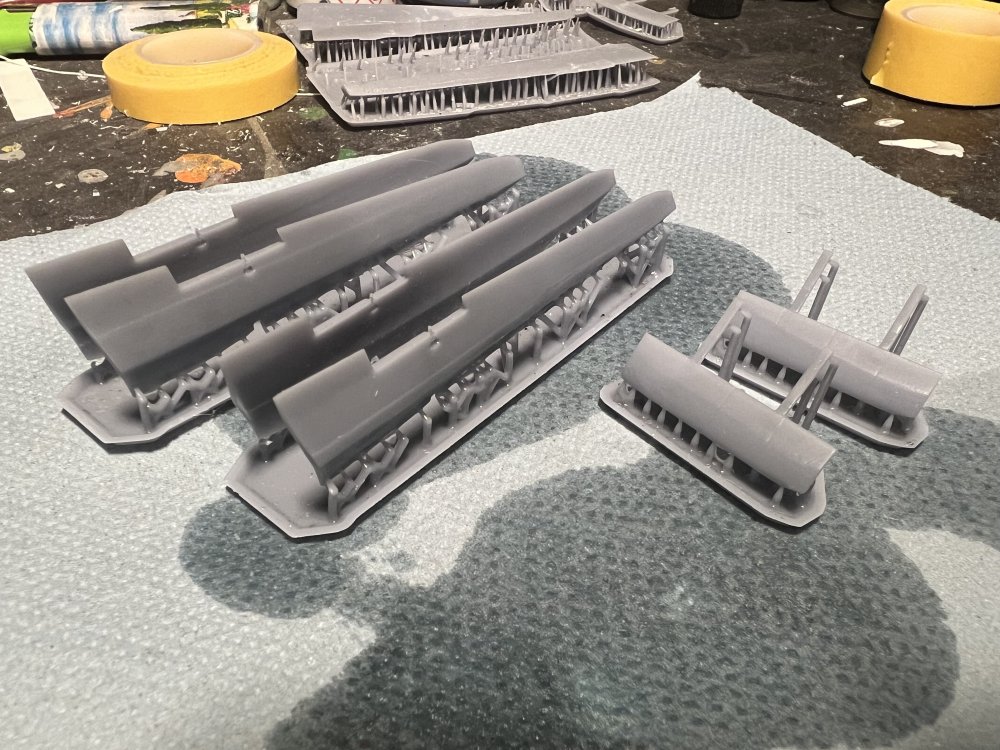
-
1/32 Westland Whirlwind
JeroenPeters replied to JeroenPeters's topic in LSM 1/35 and Larger Work In Progress
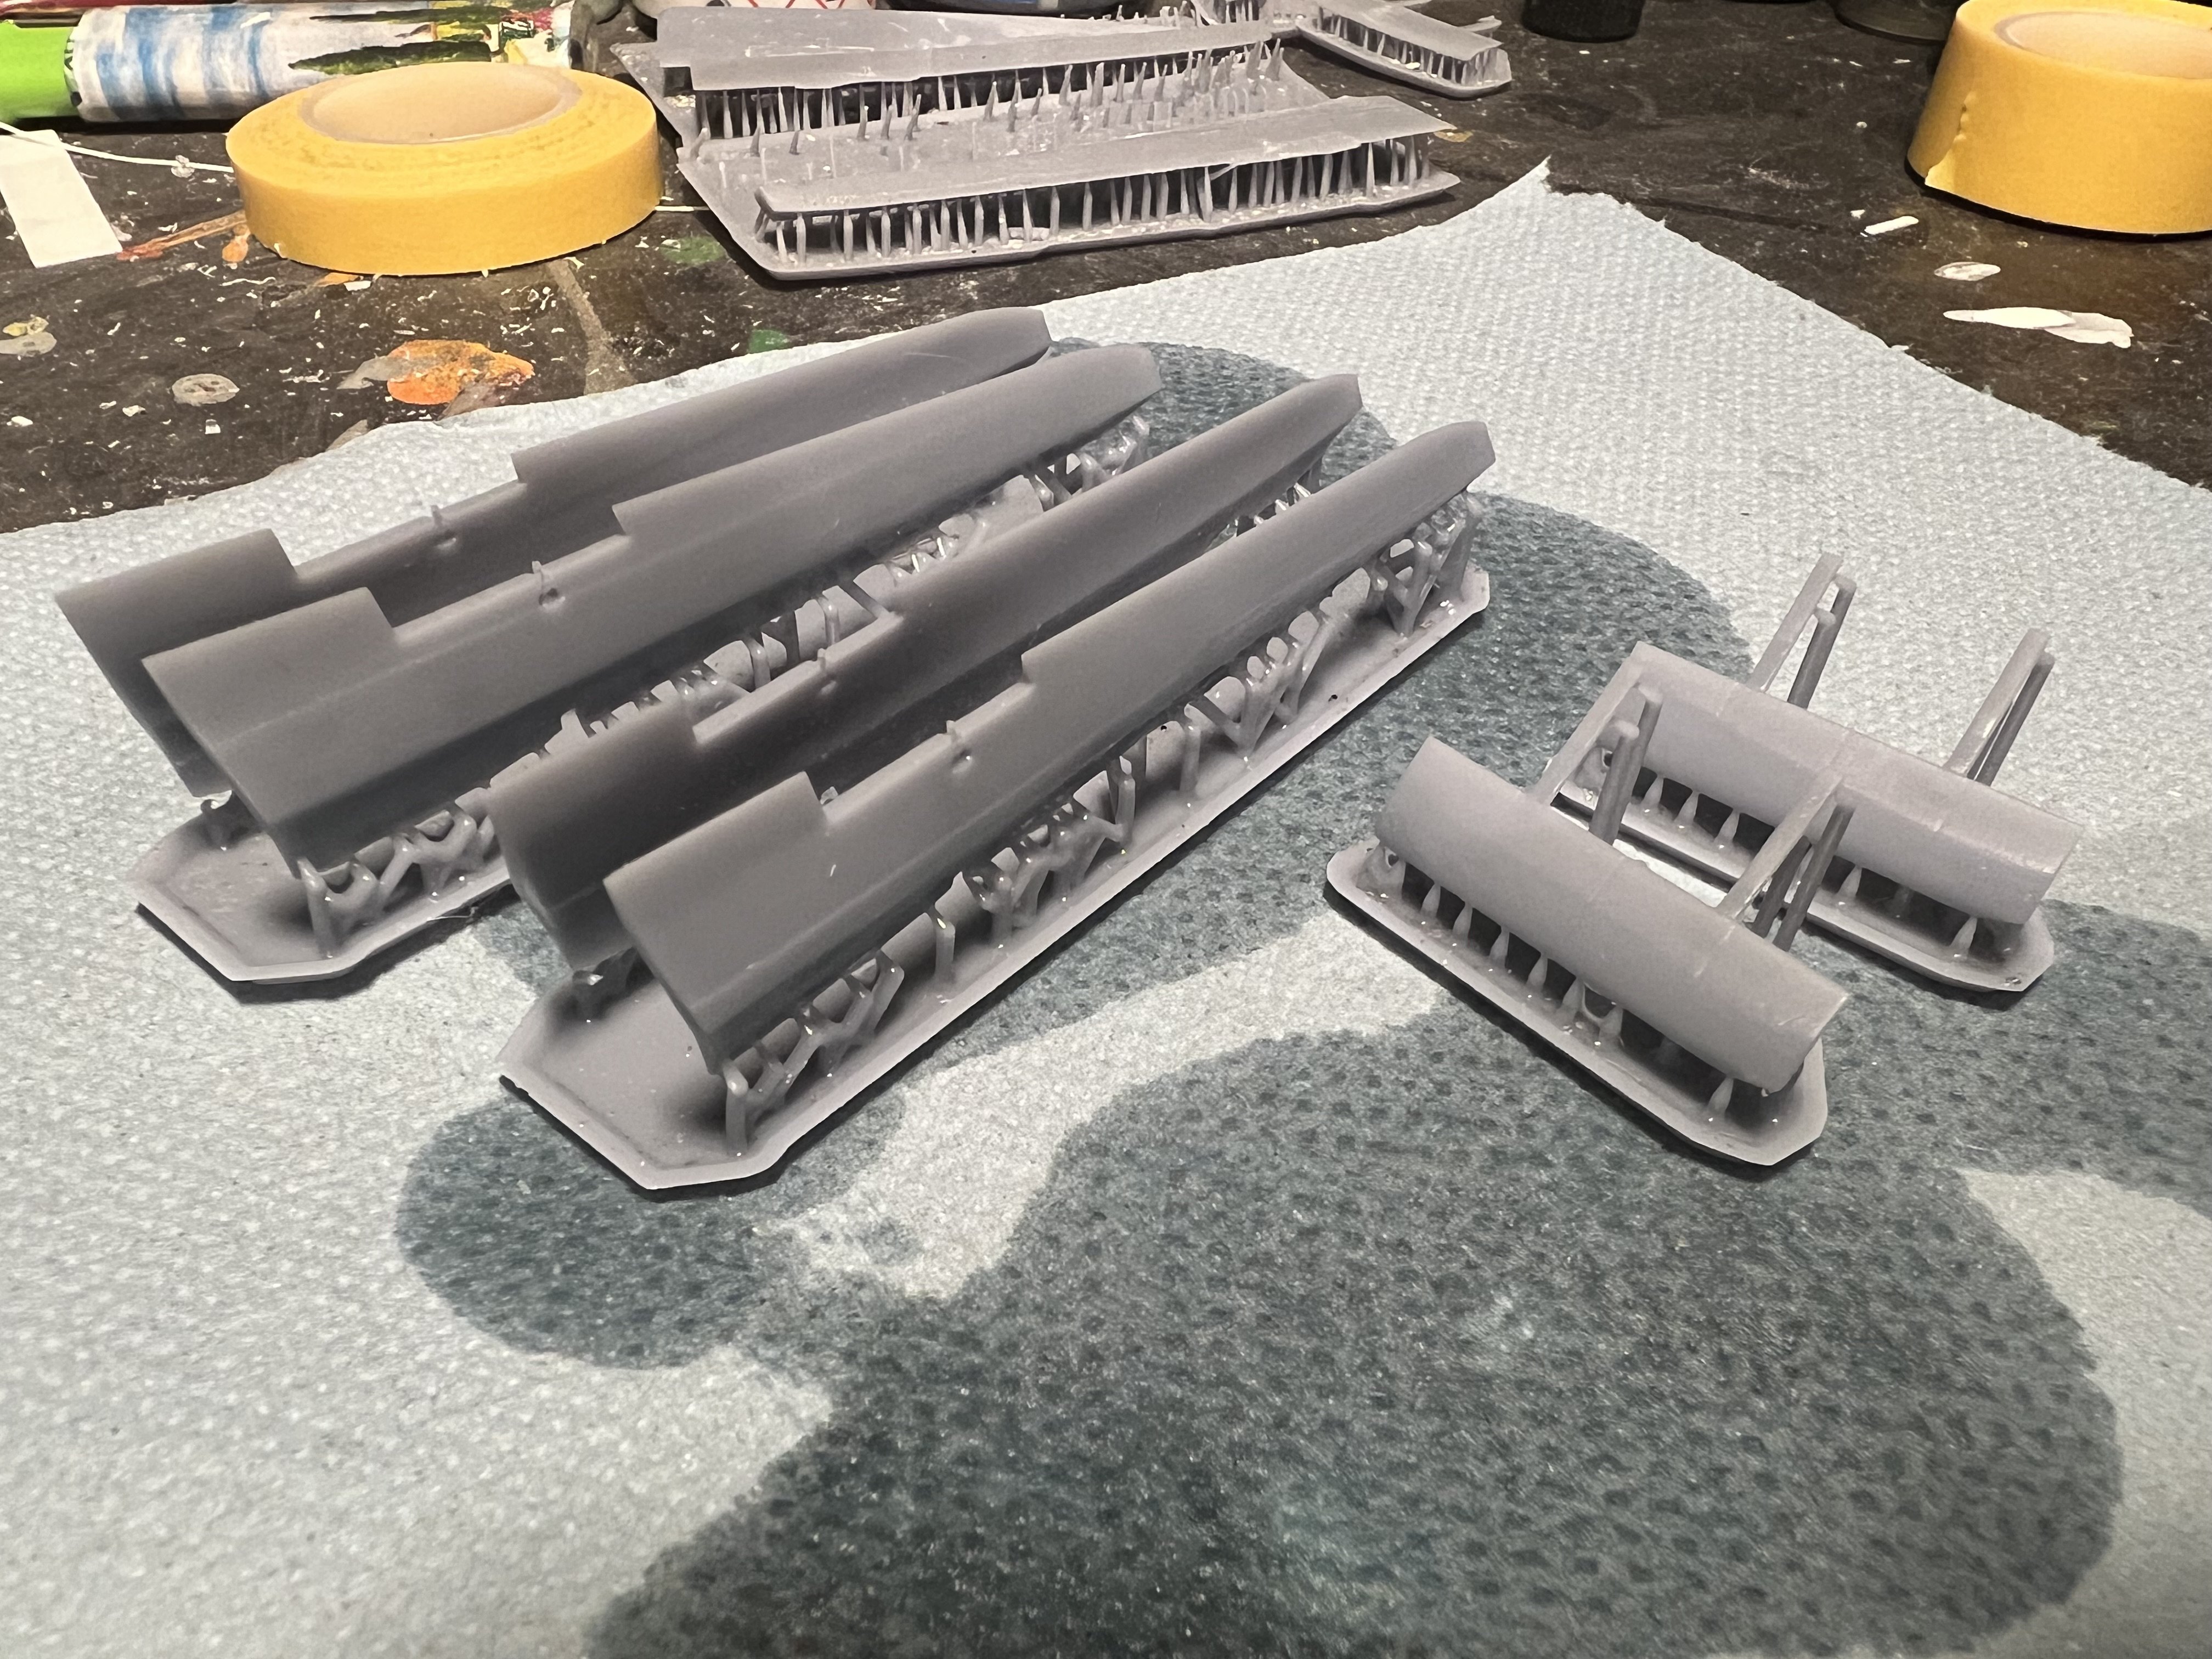
Fresh!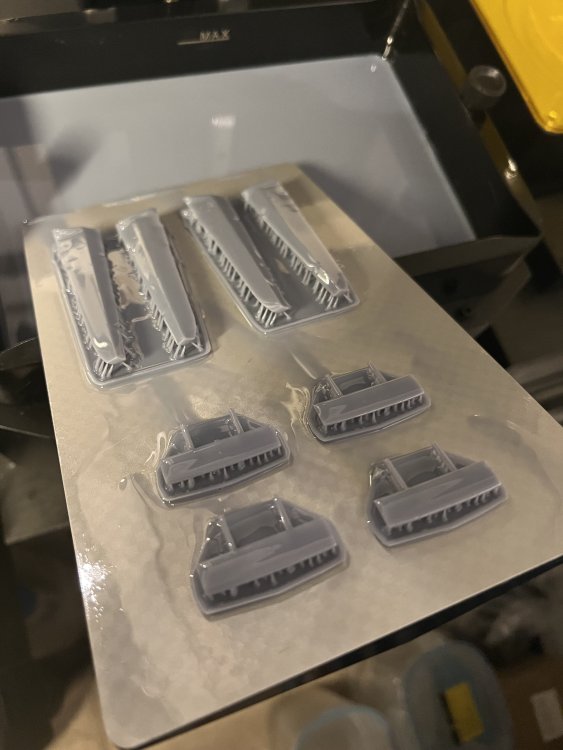
- 439 replies
-
- 13
-

-
1/32 Westland Whirlwind
JeroenPeters replied to JeroenPeters's topic in LSM 1/35 and Larger Work In Progress
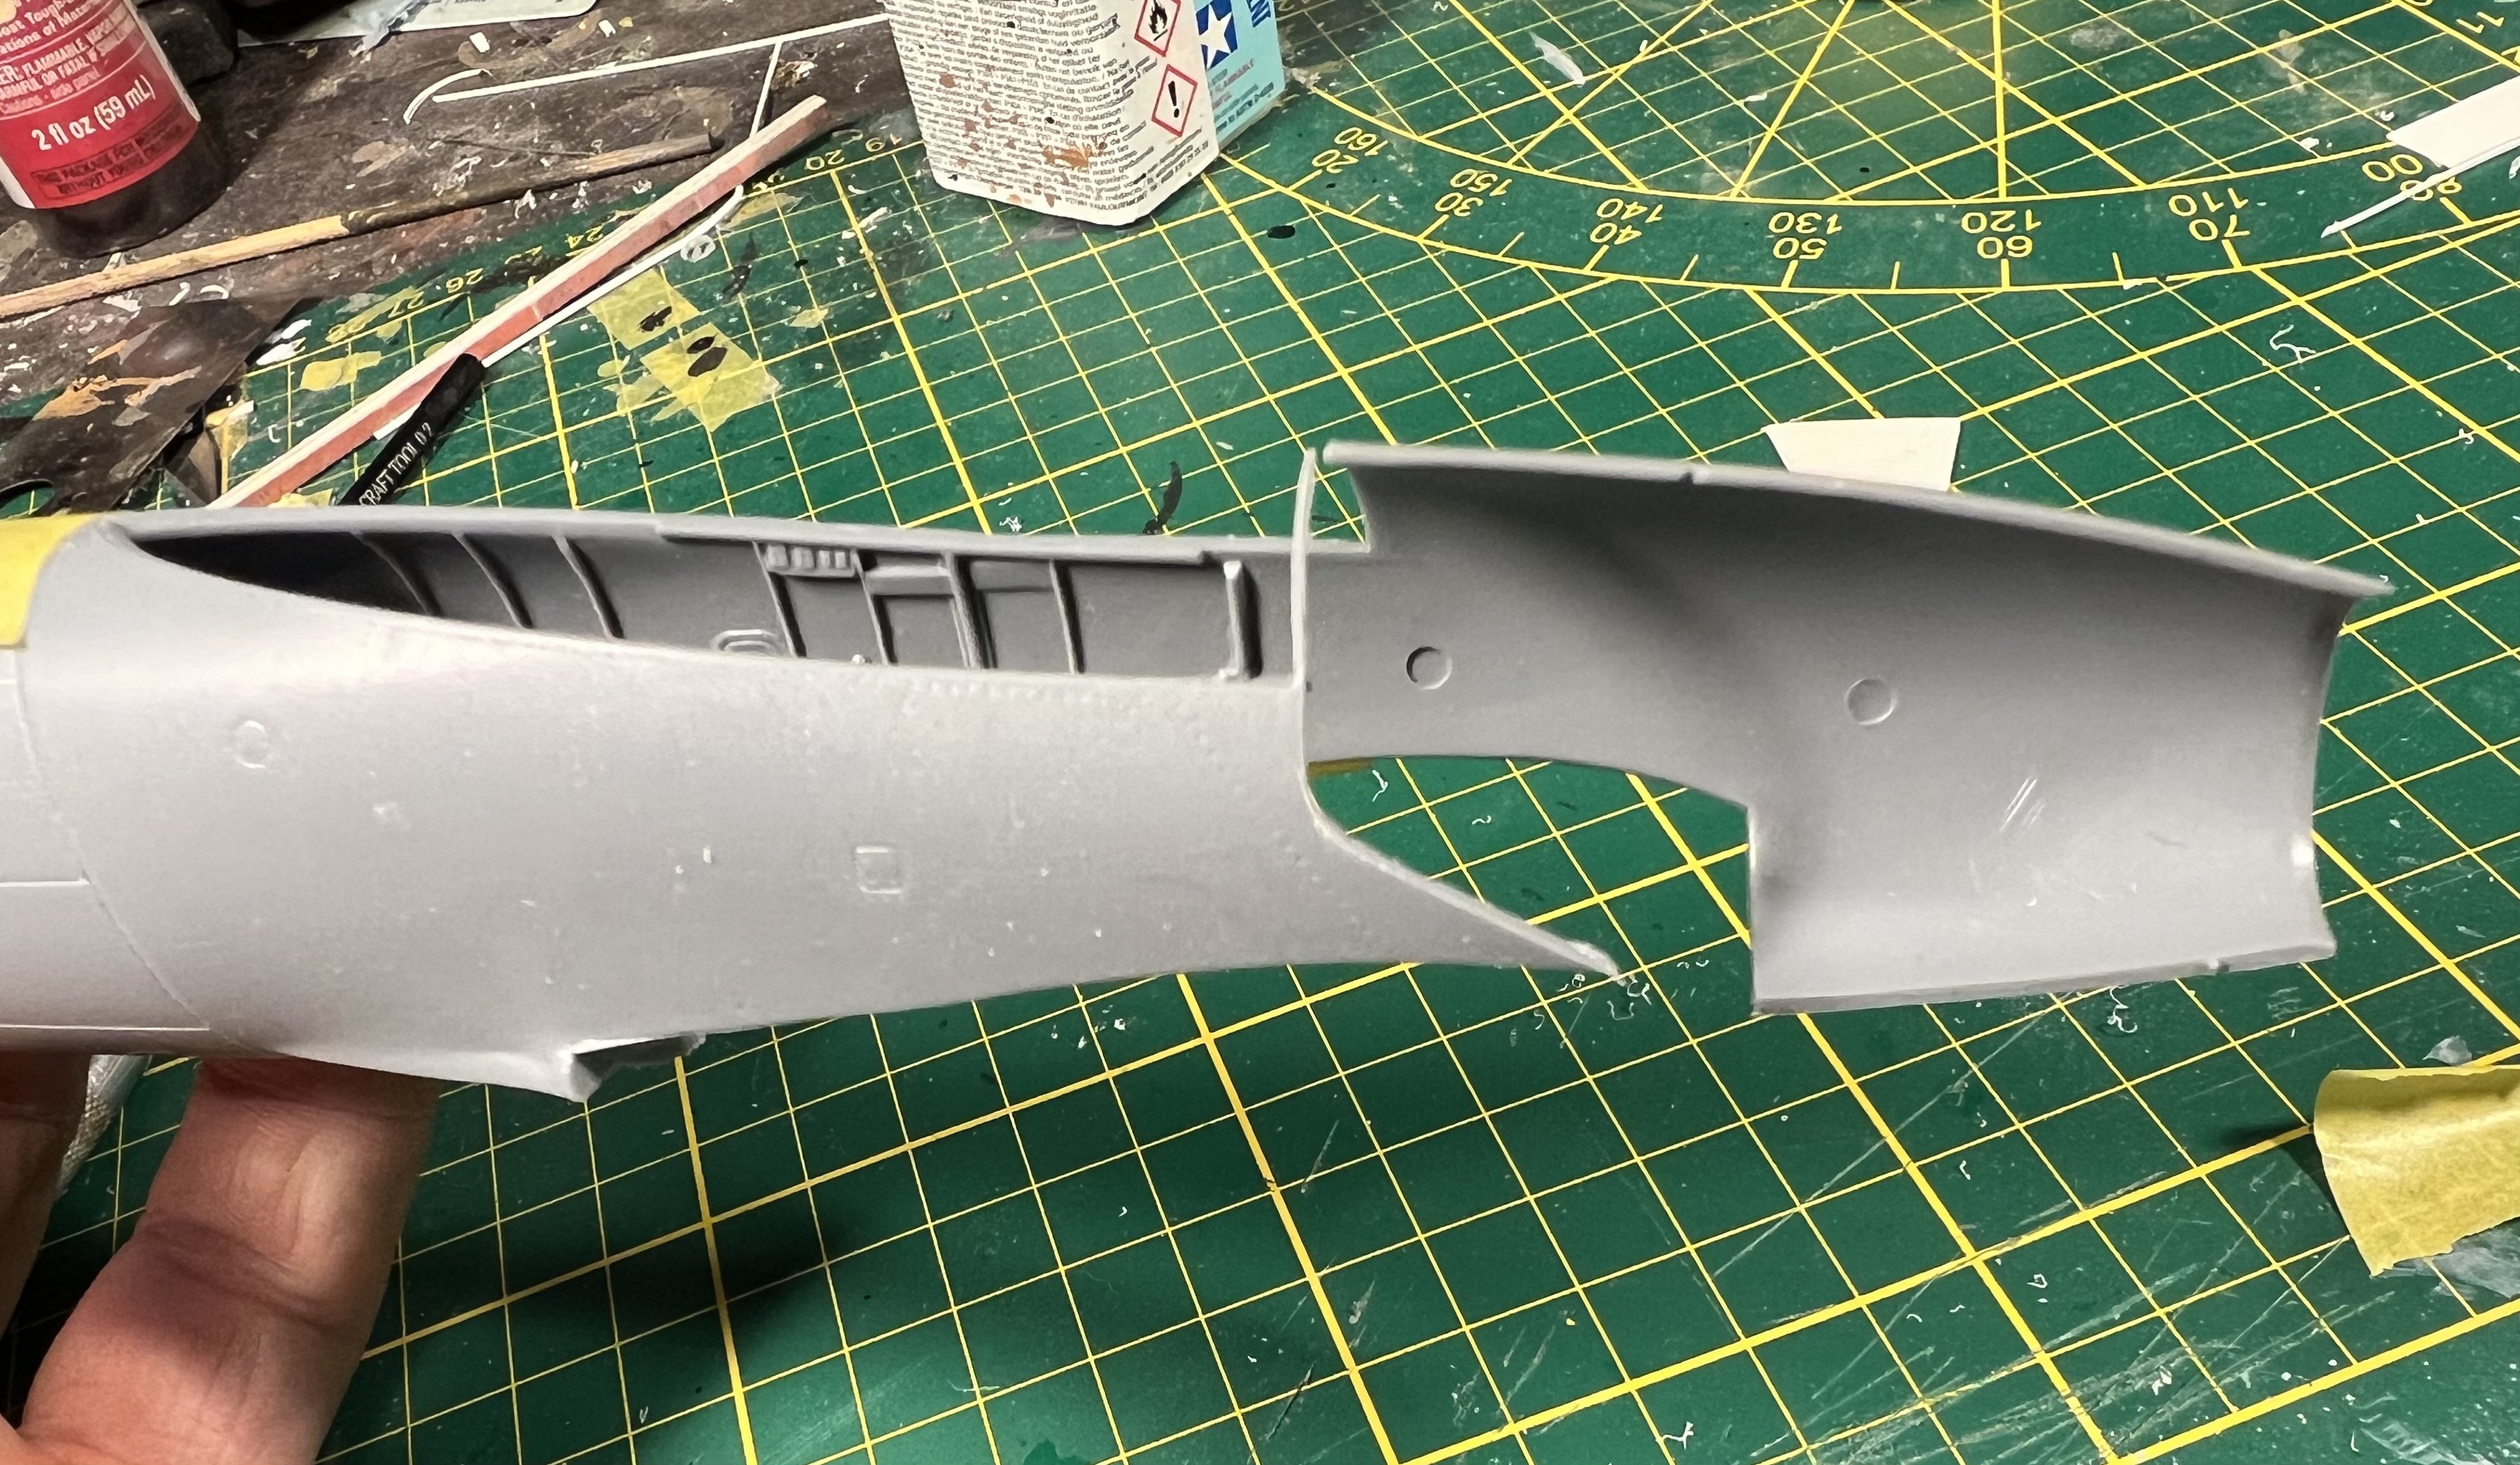
Nosejob succesful. If taking the nose clean off was the goal Wondering whether to open this hatch. It will require scratching some fuse frames and a radio i believe… 3D printing the ailerons and inner slats at the moment. Patience is not my forté.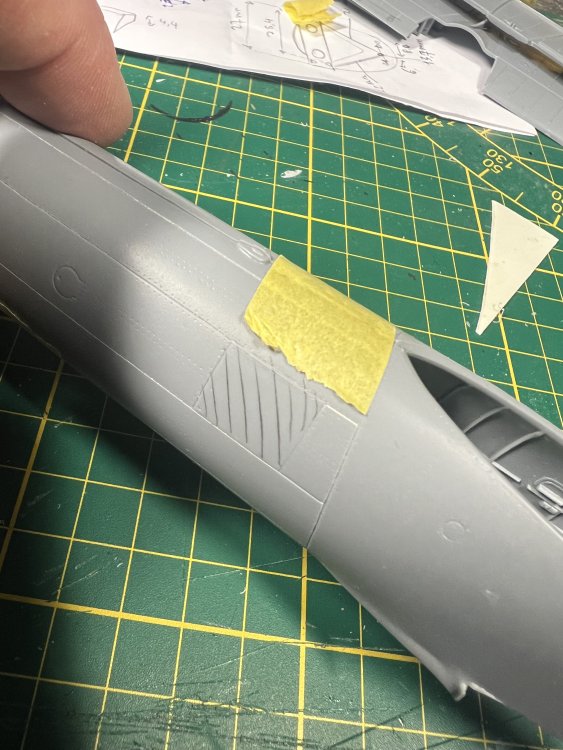
-
1/32 Westland Whirlwind
JeroenPeters replied to JeroenPeters's topic in LSM 1/35 and Larger Work In Progress
Also started cutting off the nose

-
1/32 Westland Whirlwind
JeroenPeters replied to JeroenPeters's topic in LSM 1/35 and Larger Work In Progress
Started work on the radiator slats based on Gunnar's photo's and some drawings I found.

-
1/32 Westland Whirlwind
JeroenPeters replied to JeroenPeters's topic in LSM 1/35 and Larger Work In Progress
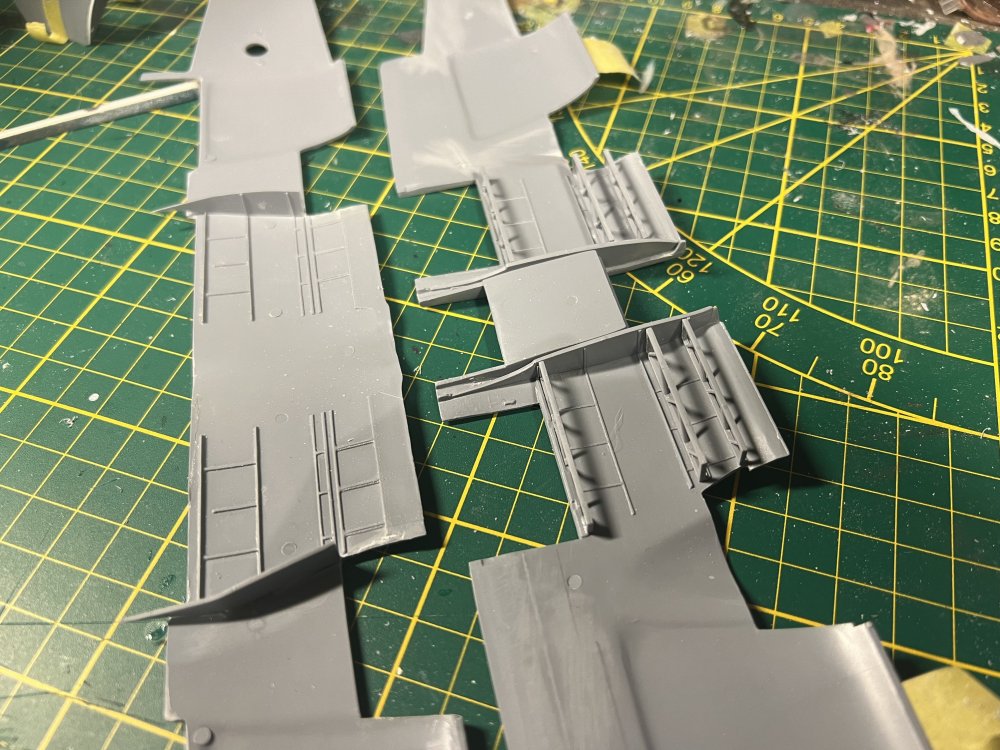
Wow… i believe i read that the slats in front of the oil coolers were interconnected with the flaps? That means i should open them too? -
1/32 Westland Whirlwind
JeroenPeters replied to JeroenPeters's topic in LSM 1/35 and Larger Work In Progress
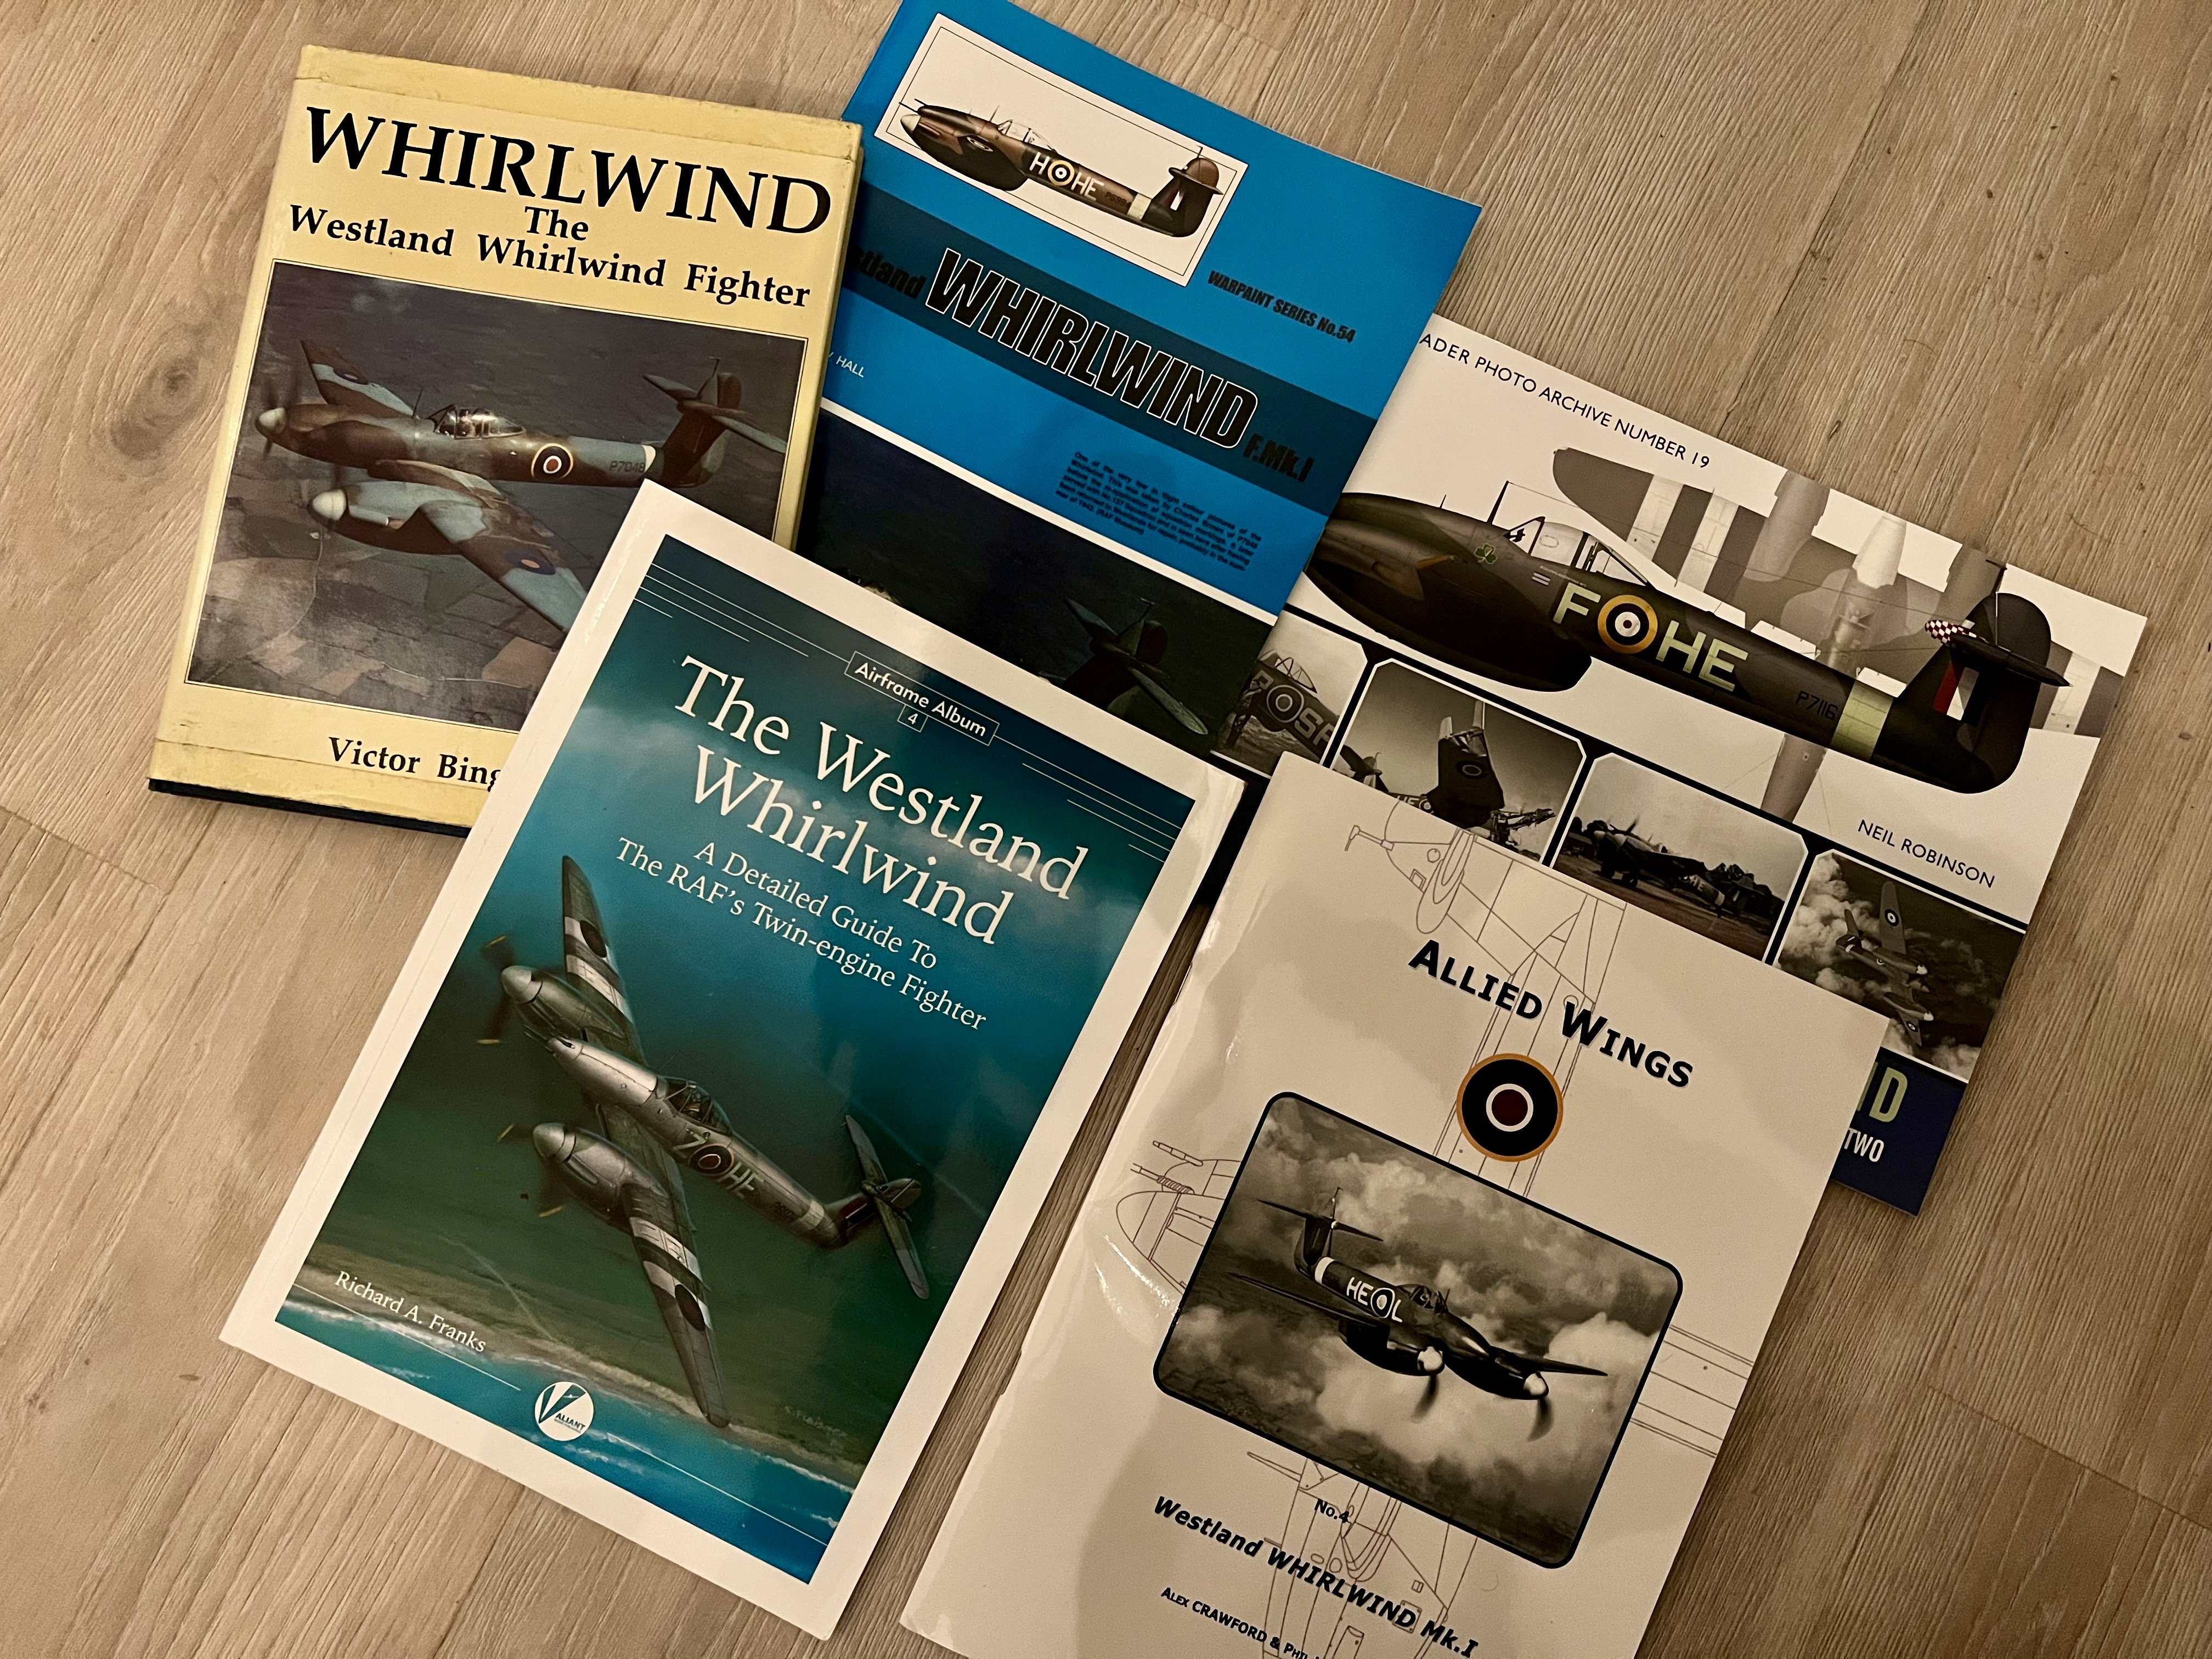
Just saw and got this! Really stoked. The Kitsworld sets will go into the paper archive.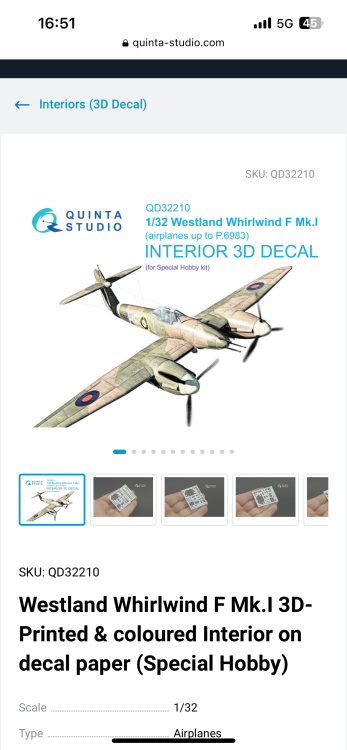
-
1/32 Westland Whirlwind
JeroenPeters replied to JeroenPeters's topic in LSM 1/35 and Larger Work In Progress
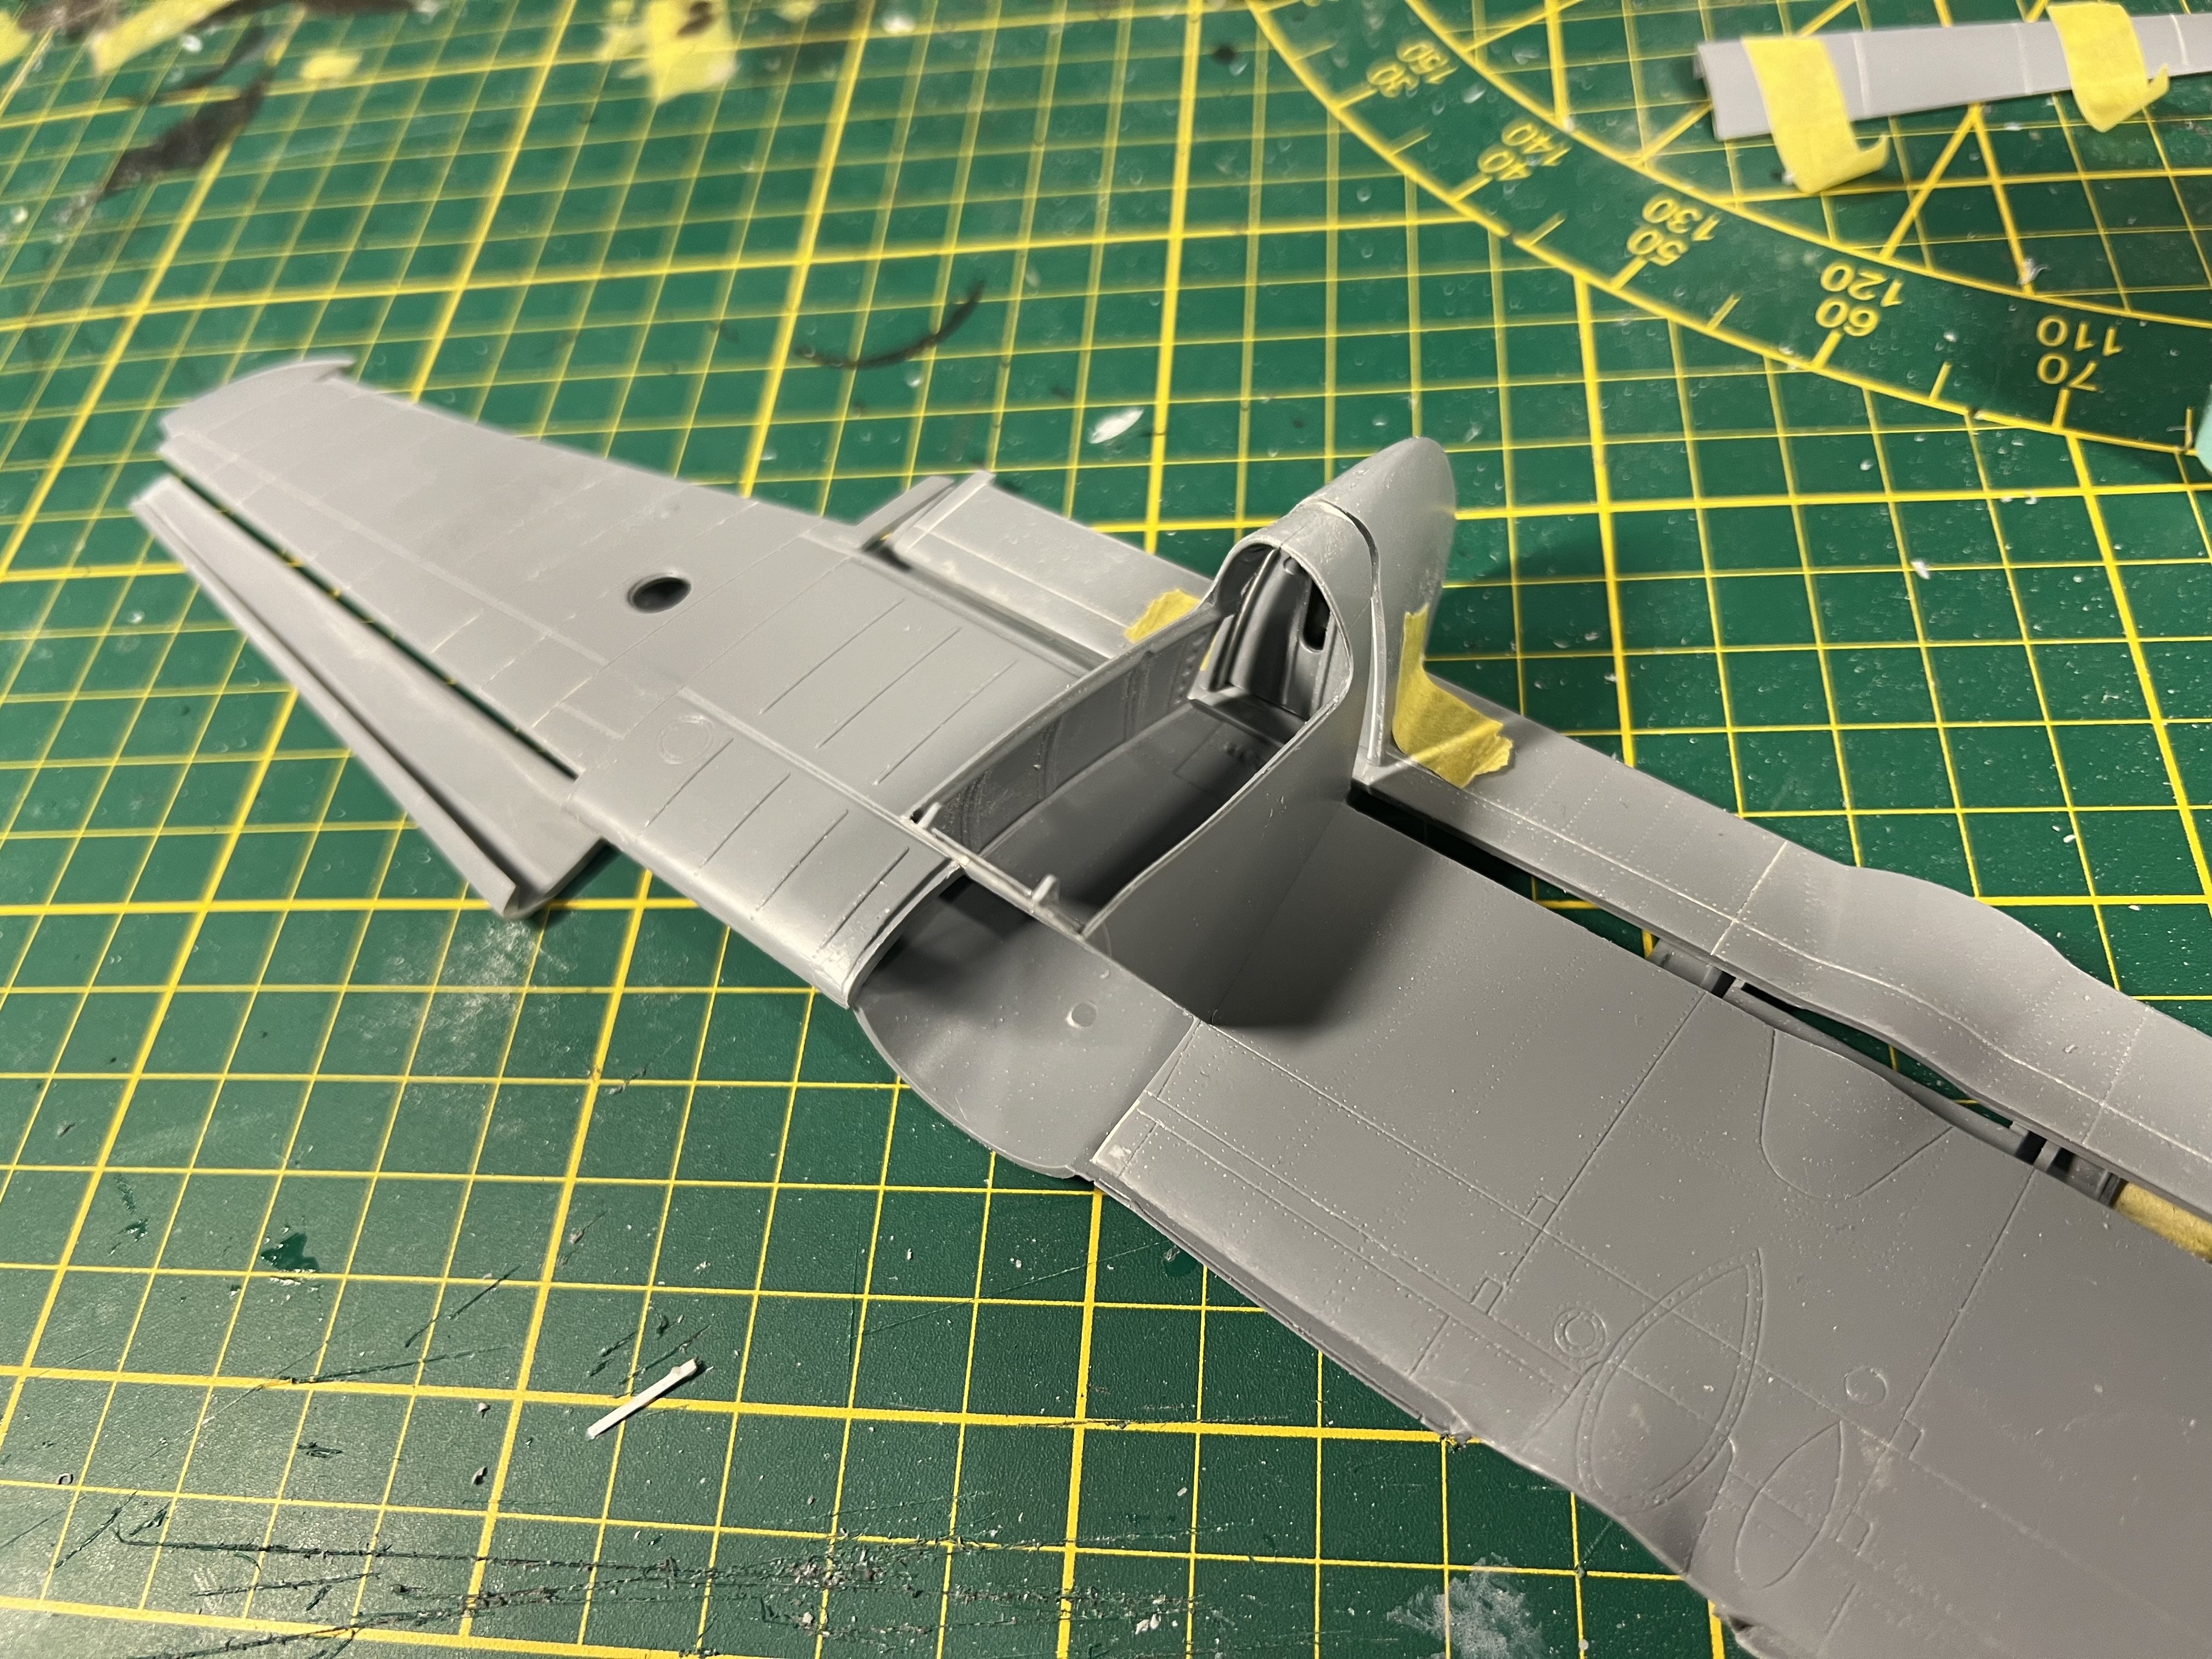
Dryfit of the fuselage. The fuselage needs a lot of attention. Bit of a rough surface that needs polishing. Scribing and rivets need extra rescribing too. The fit is fine. Also closing the sides of the oil coolers. Figuring out the order of things.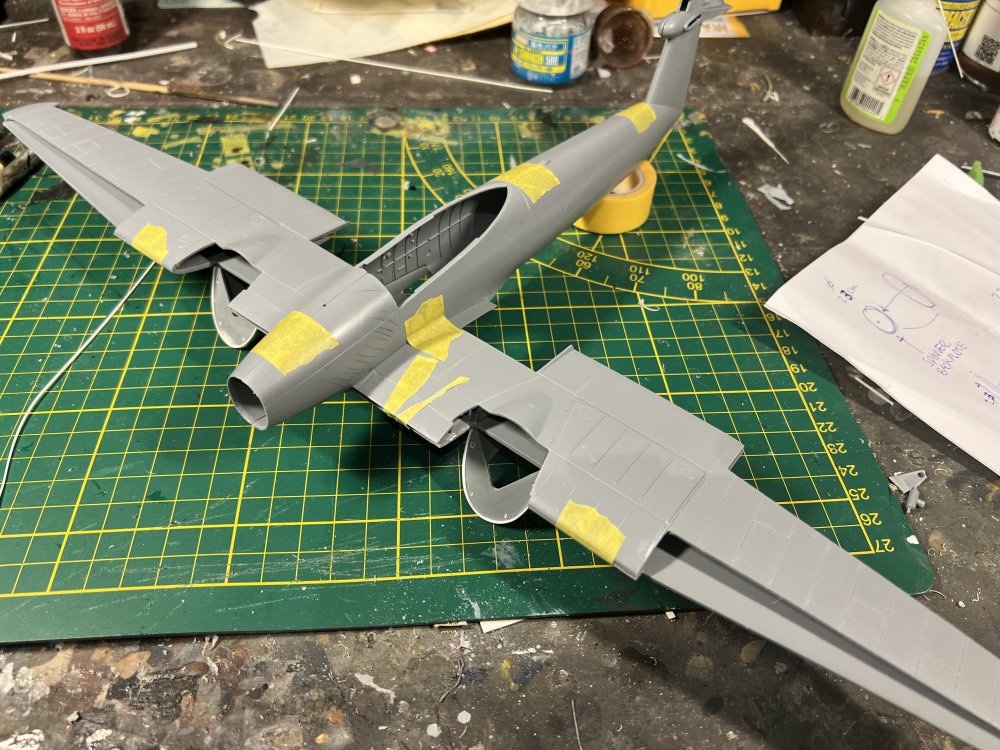
-
1/32 Westland Whirlwind
JeroenPeters replied to JeroenPeters's topic in LSM 1/35 and Larger Work In Progress
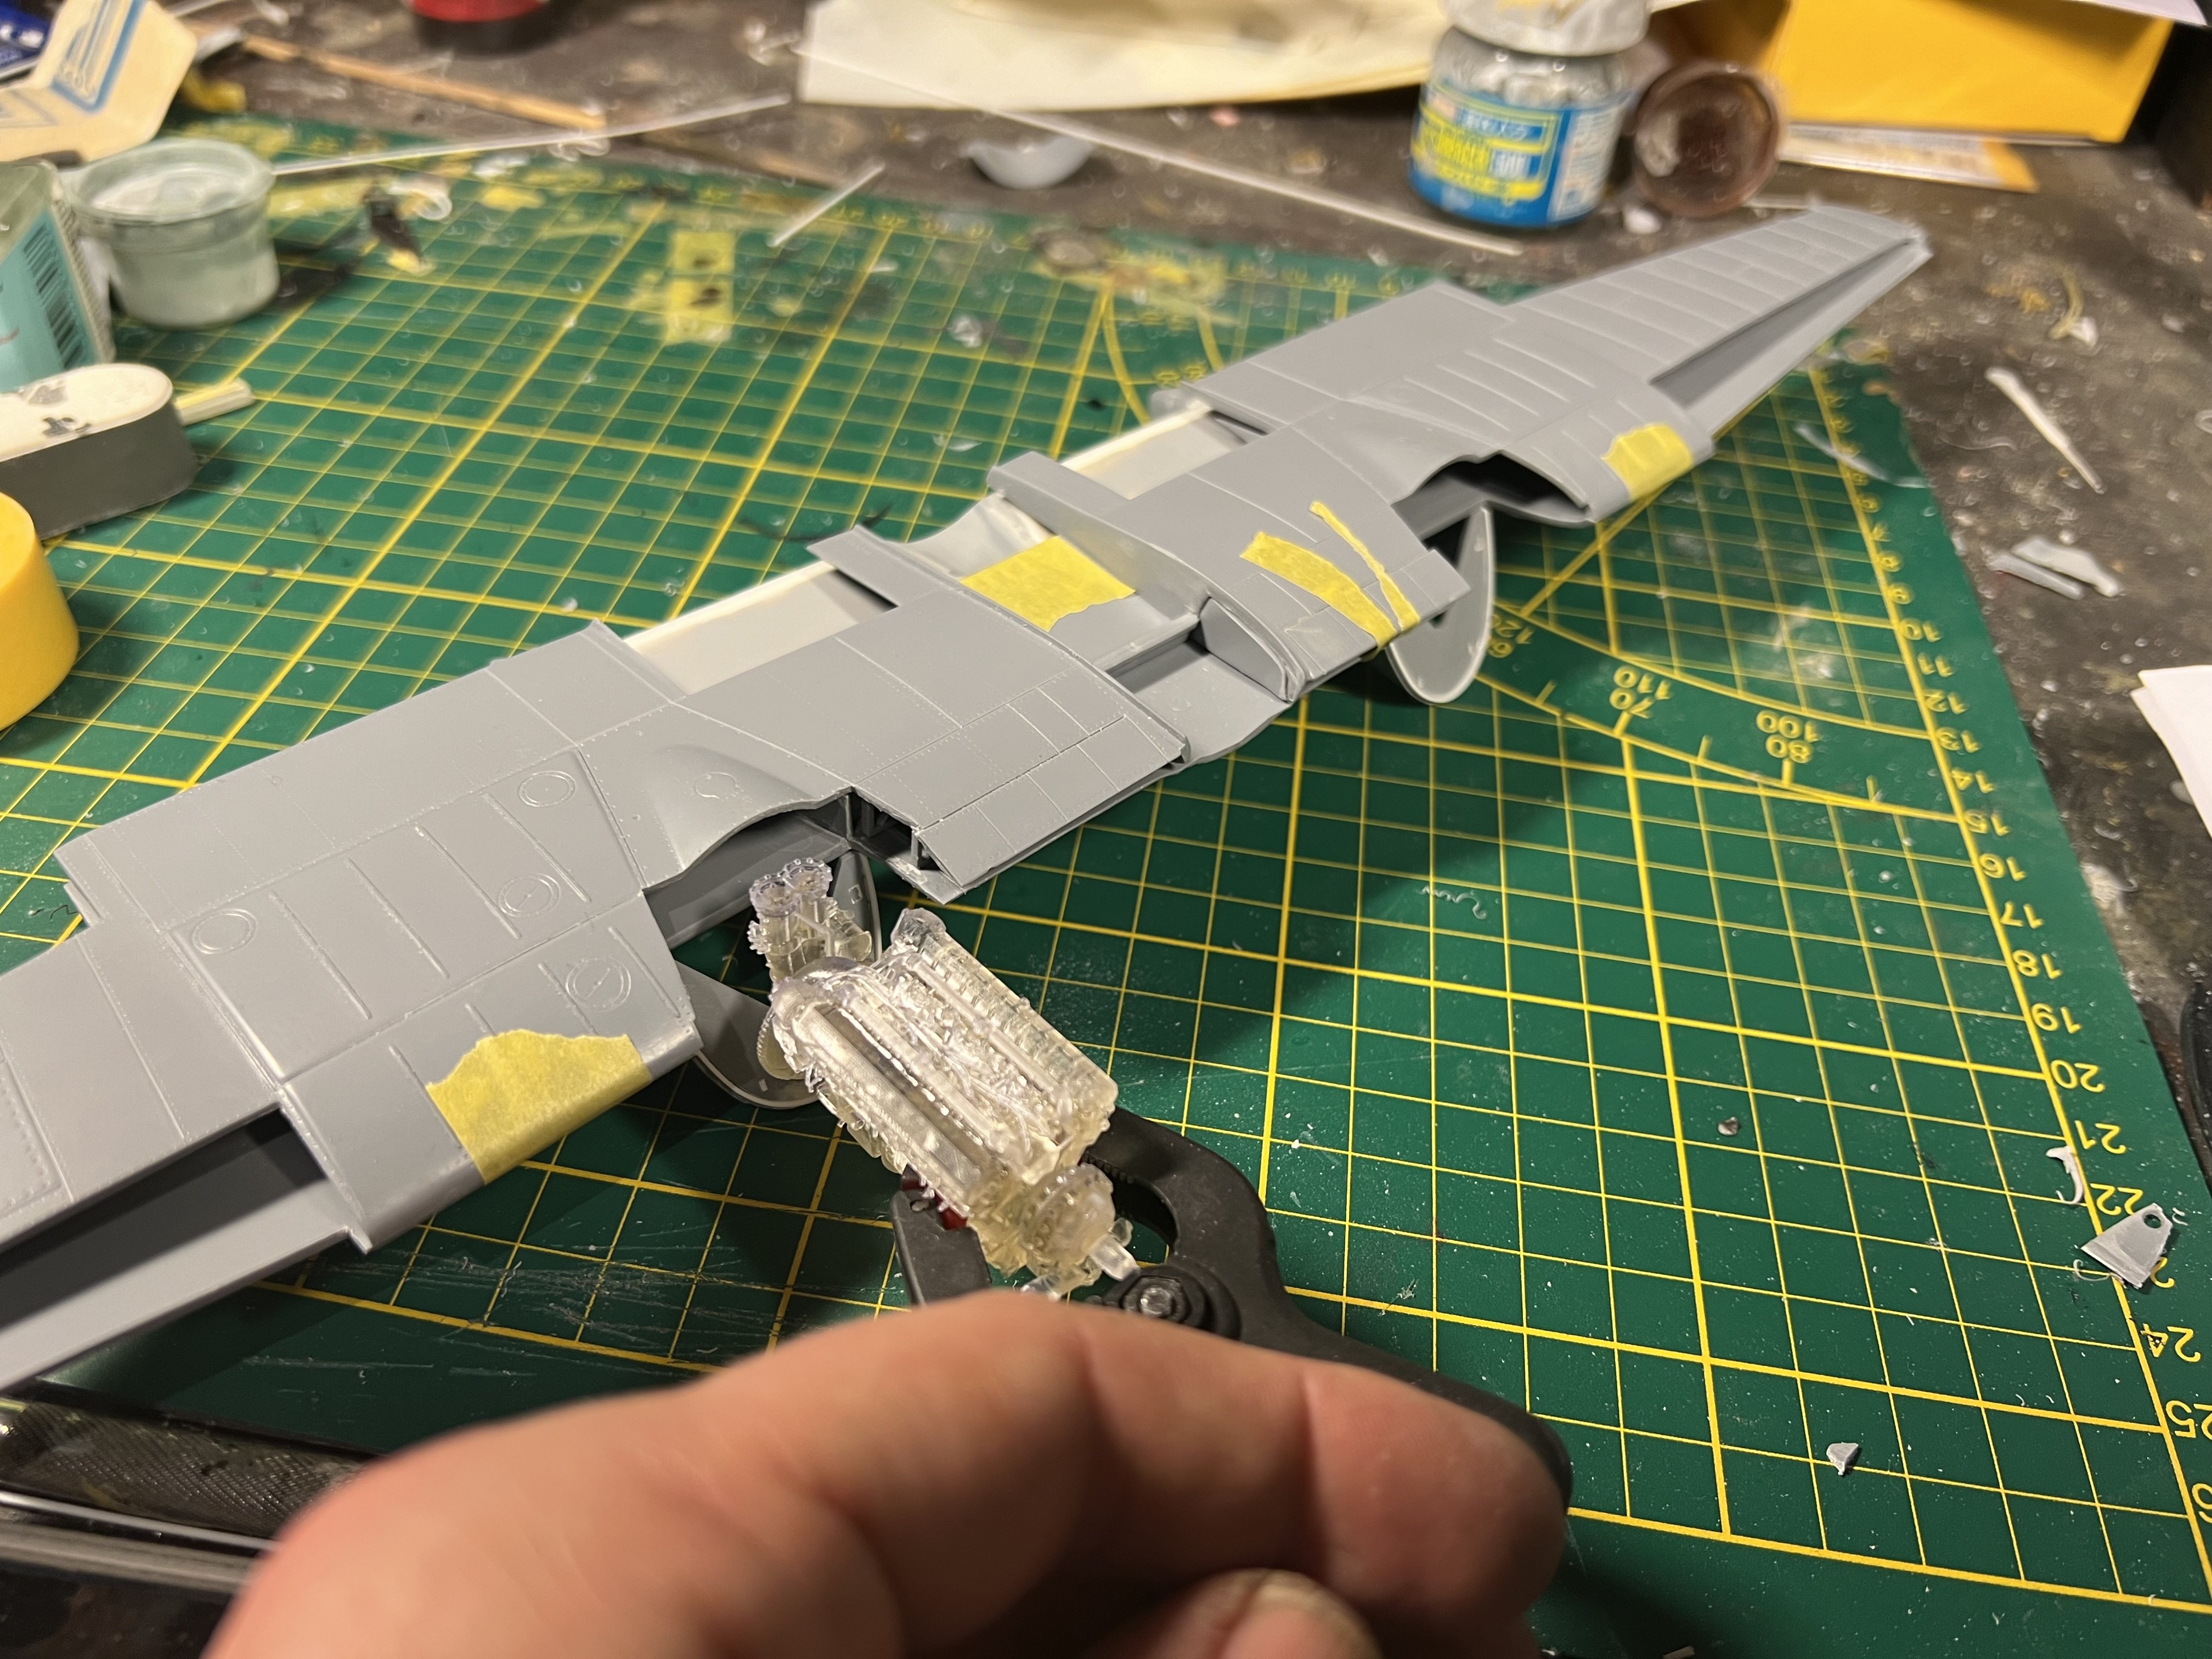
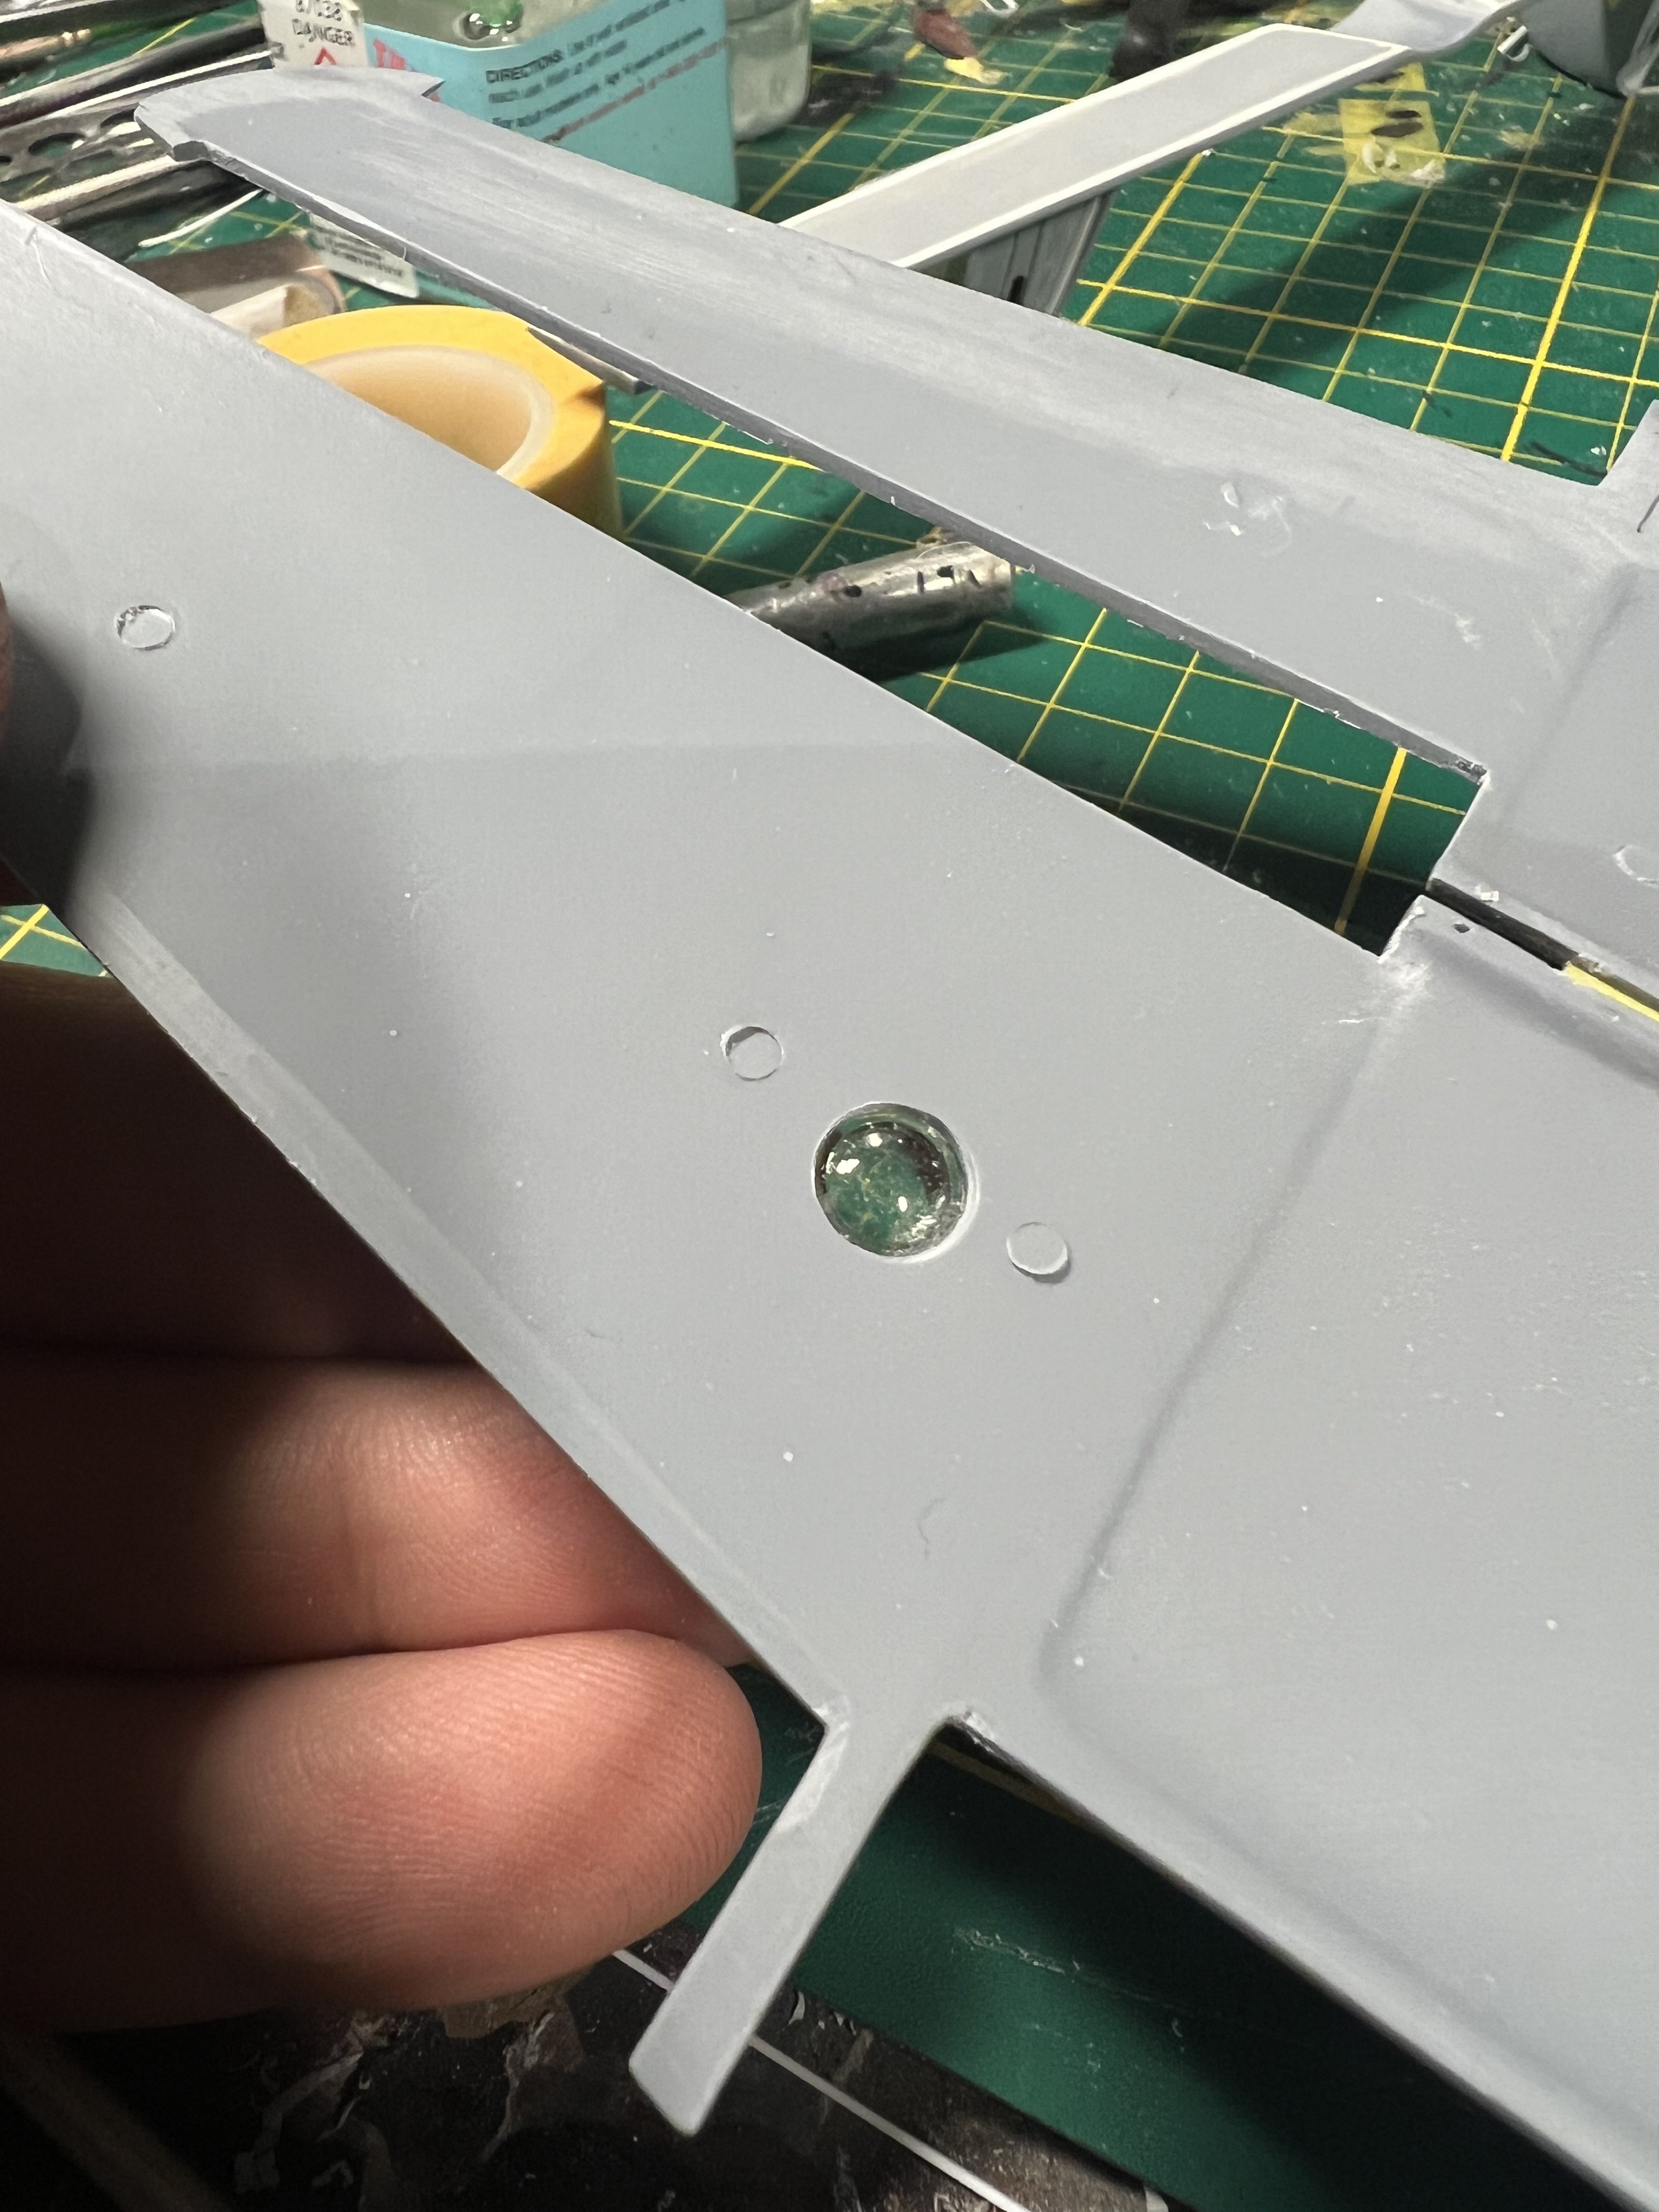
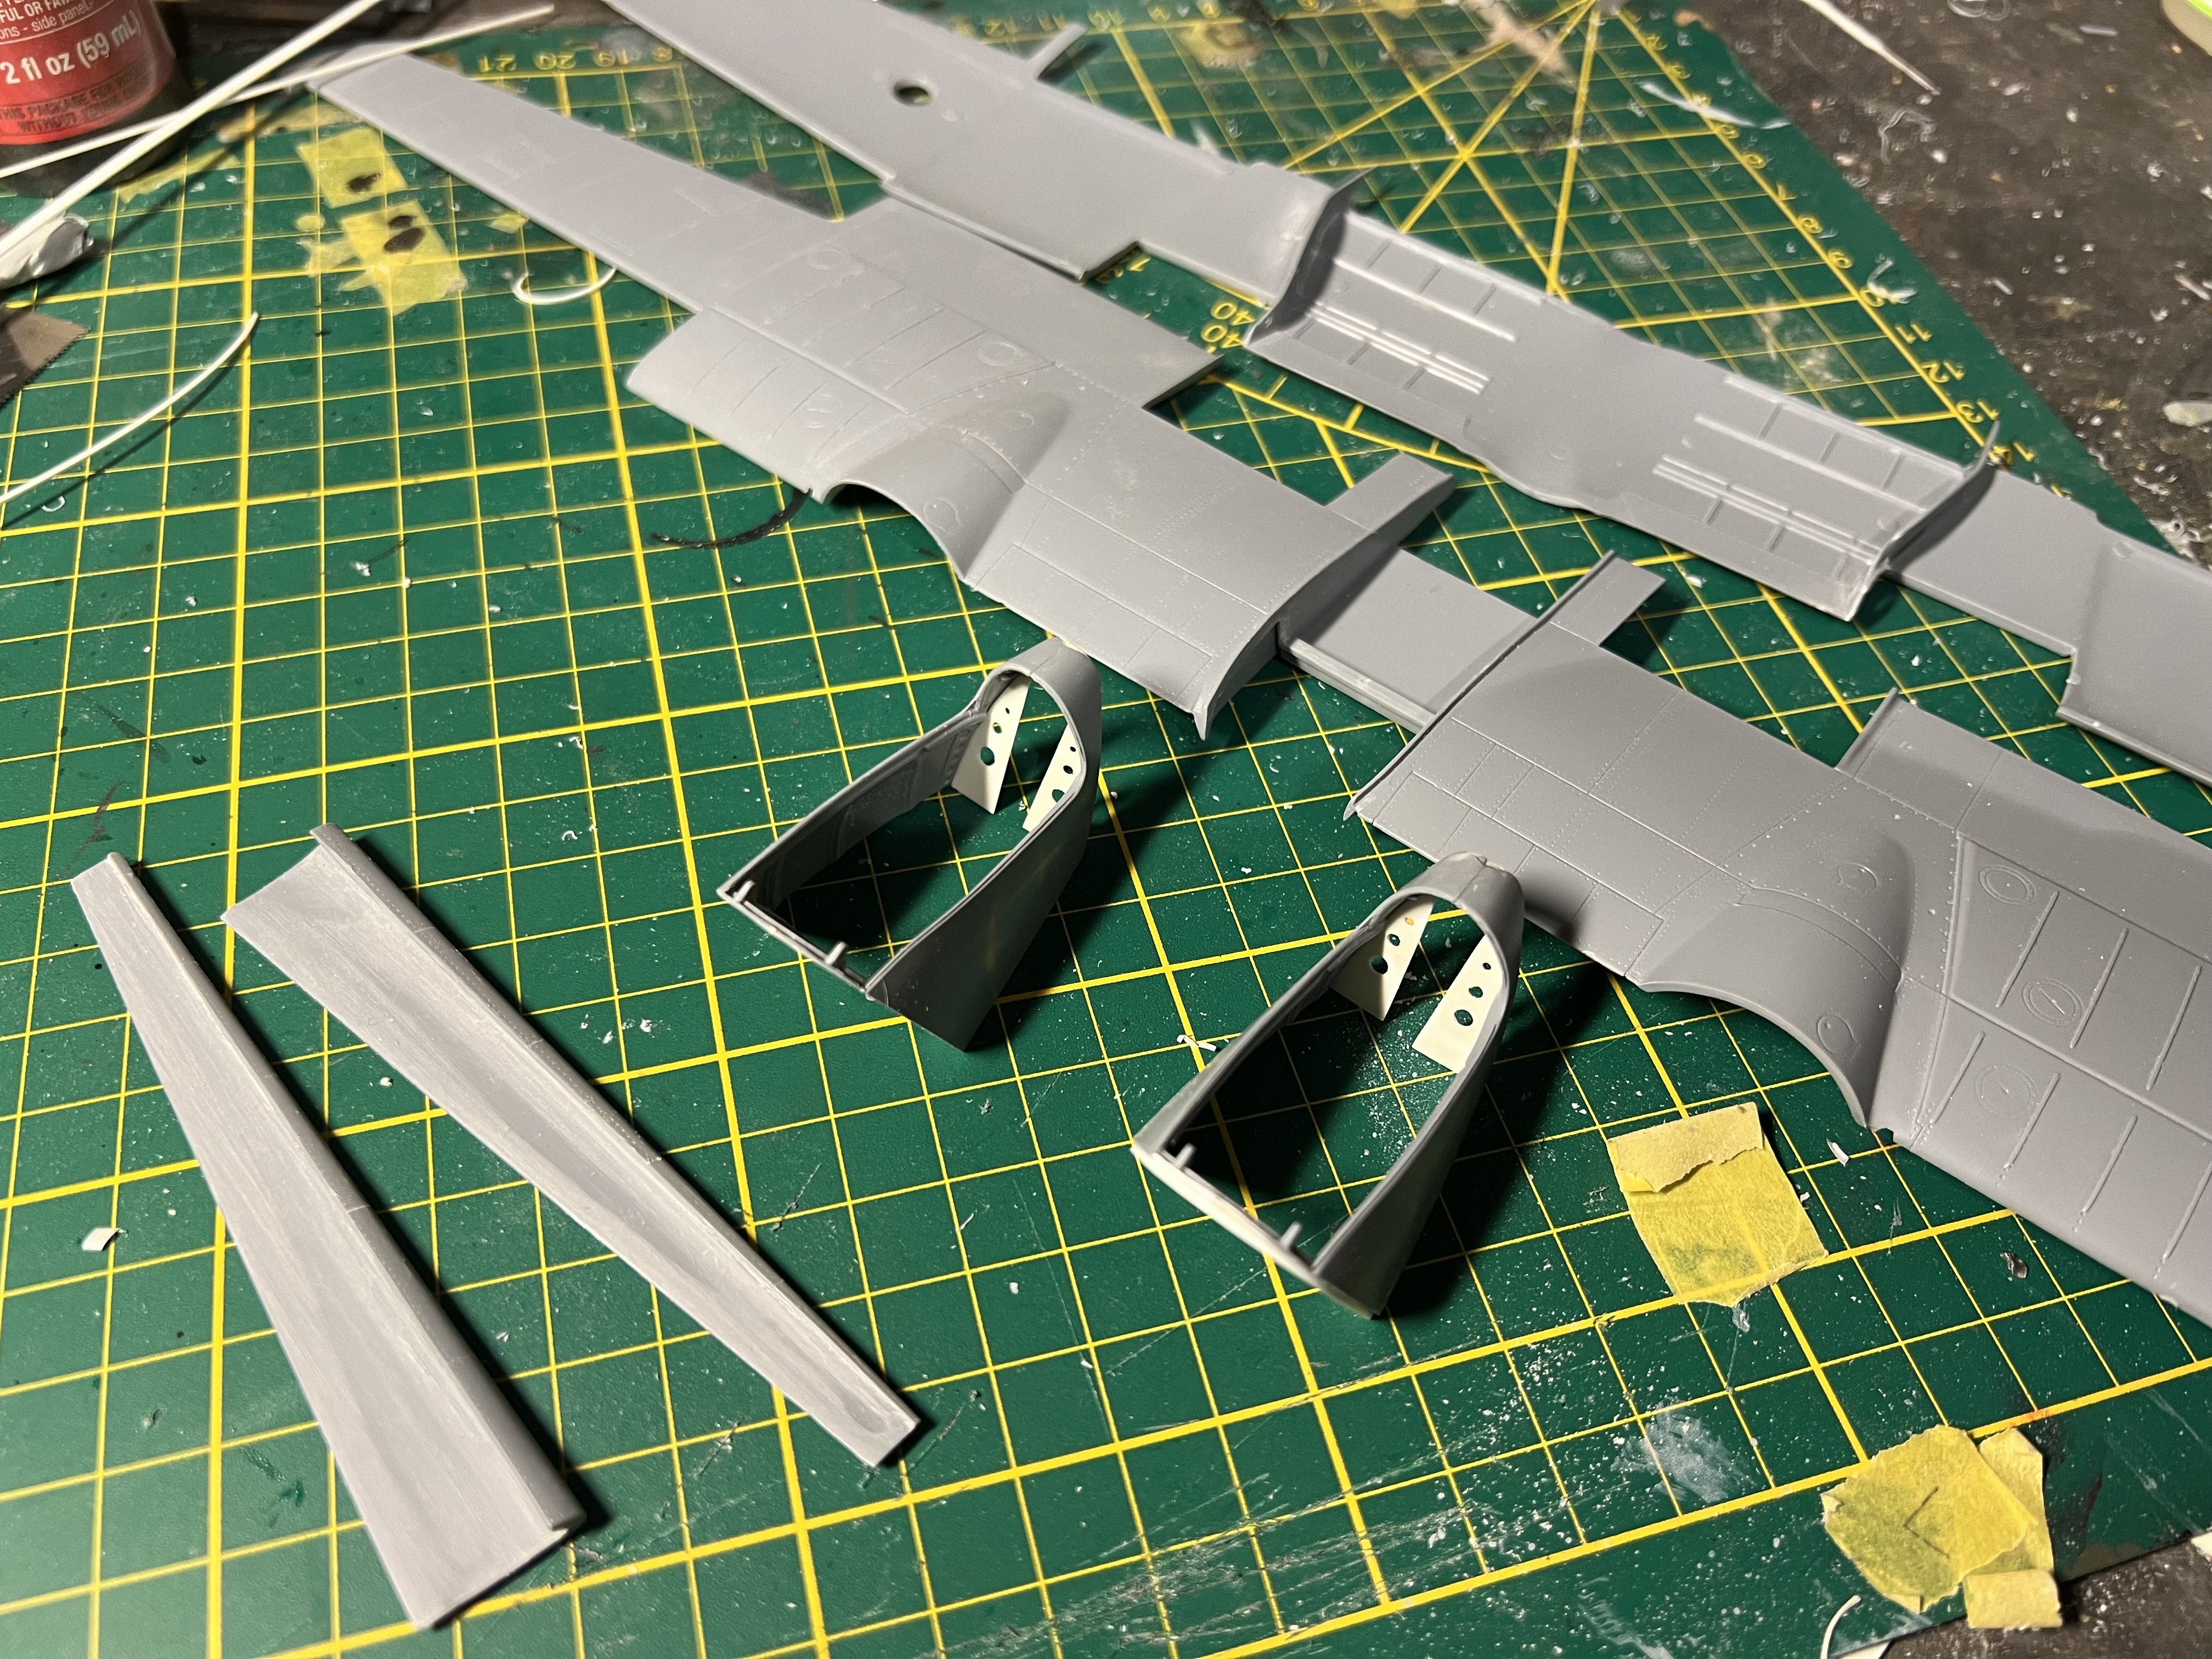
Thnx Kev! more work on the wings. Scribed the panellines deeper and will need to accentuate all rivets. Just added the landing lights, oil coolers and dry fitting the wing to see how it all closes.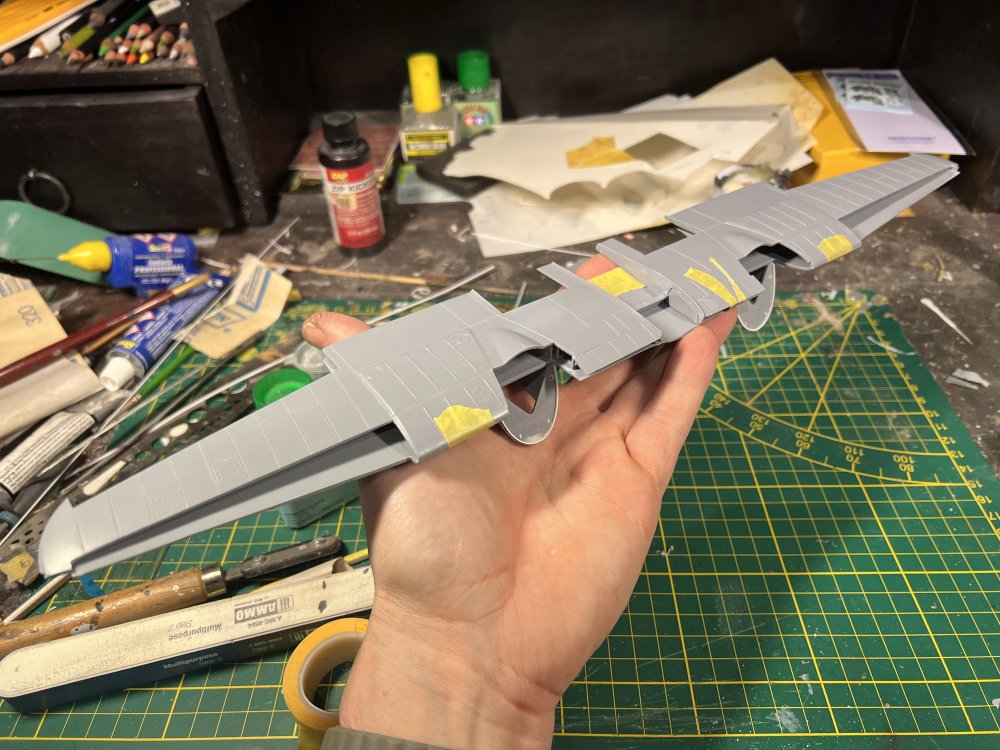


-
1/32 Westland Whirlwind
JeroenPeters replied to JeroenPeters's topic in LSM 1/35 and Larger Work In Progress
Thnx! I had a suspicion looking at some photo’s. The frame holding the guns. Was that painted silver too? And the engine bearers? Looking at photos i cant believe they were interior green. -
1/32 Westland Whirlwind
JeroenPeters replied to JeroenPeters's topic in LSM 1/35 and Larger Work In Progress
Another question for Gunnar! Is it correct the the whole inside of the wing in the oil cooler area was interior green as per instructions?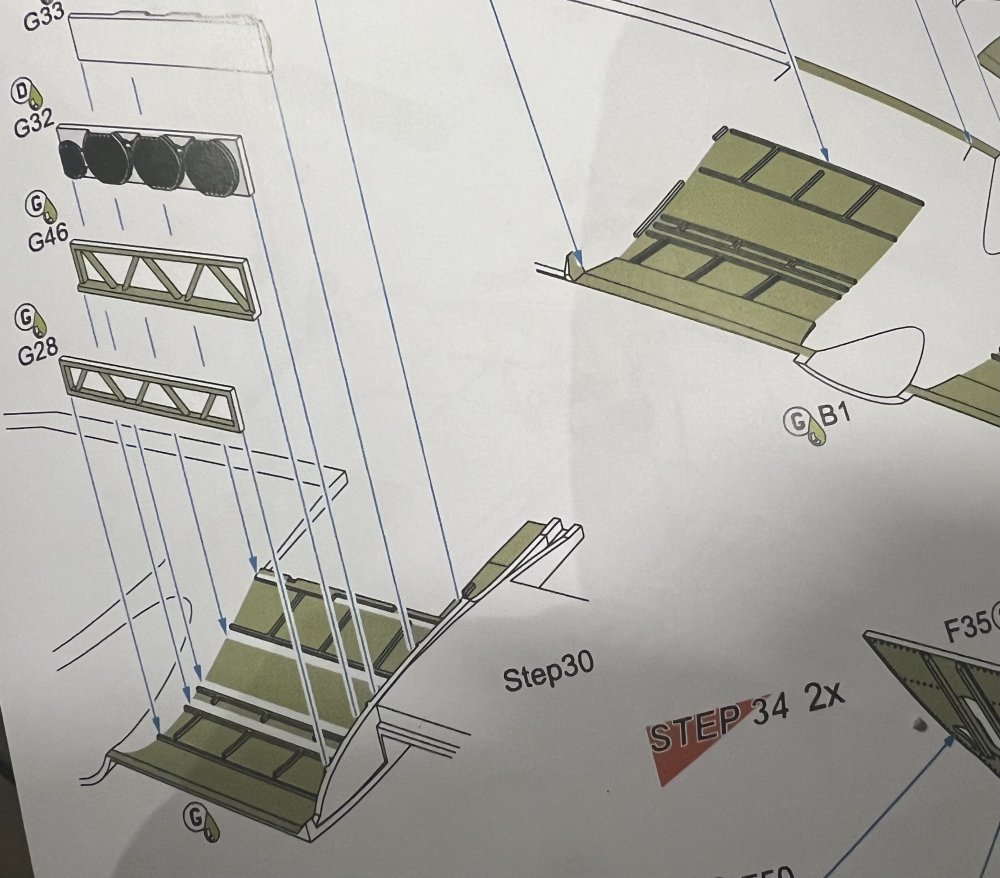
-
1/32 Westland Whirlwind
JeroenPeters replied to JeroenPeters's topic in LSM 1/35 and Larger Work In Progress
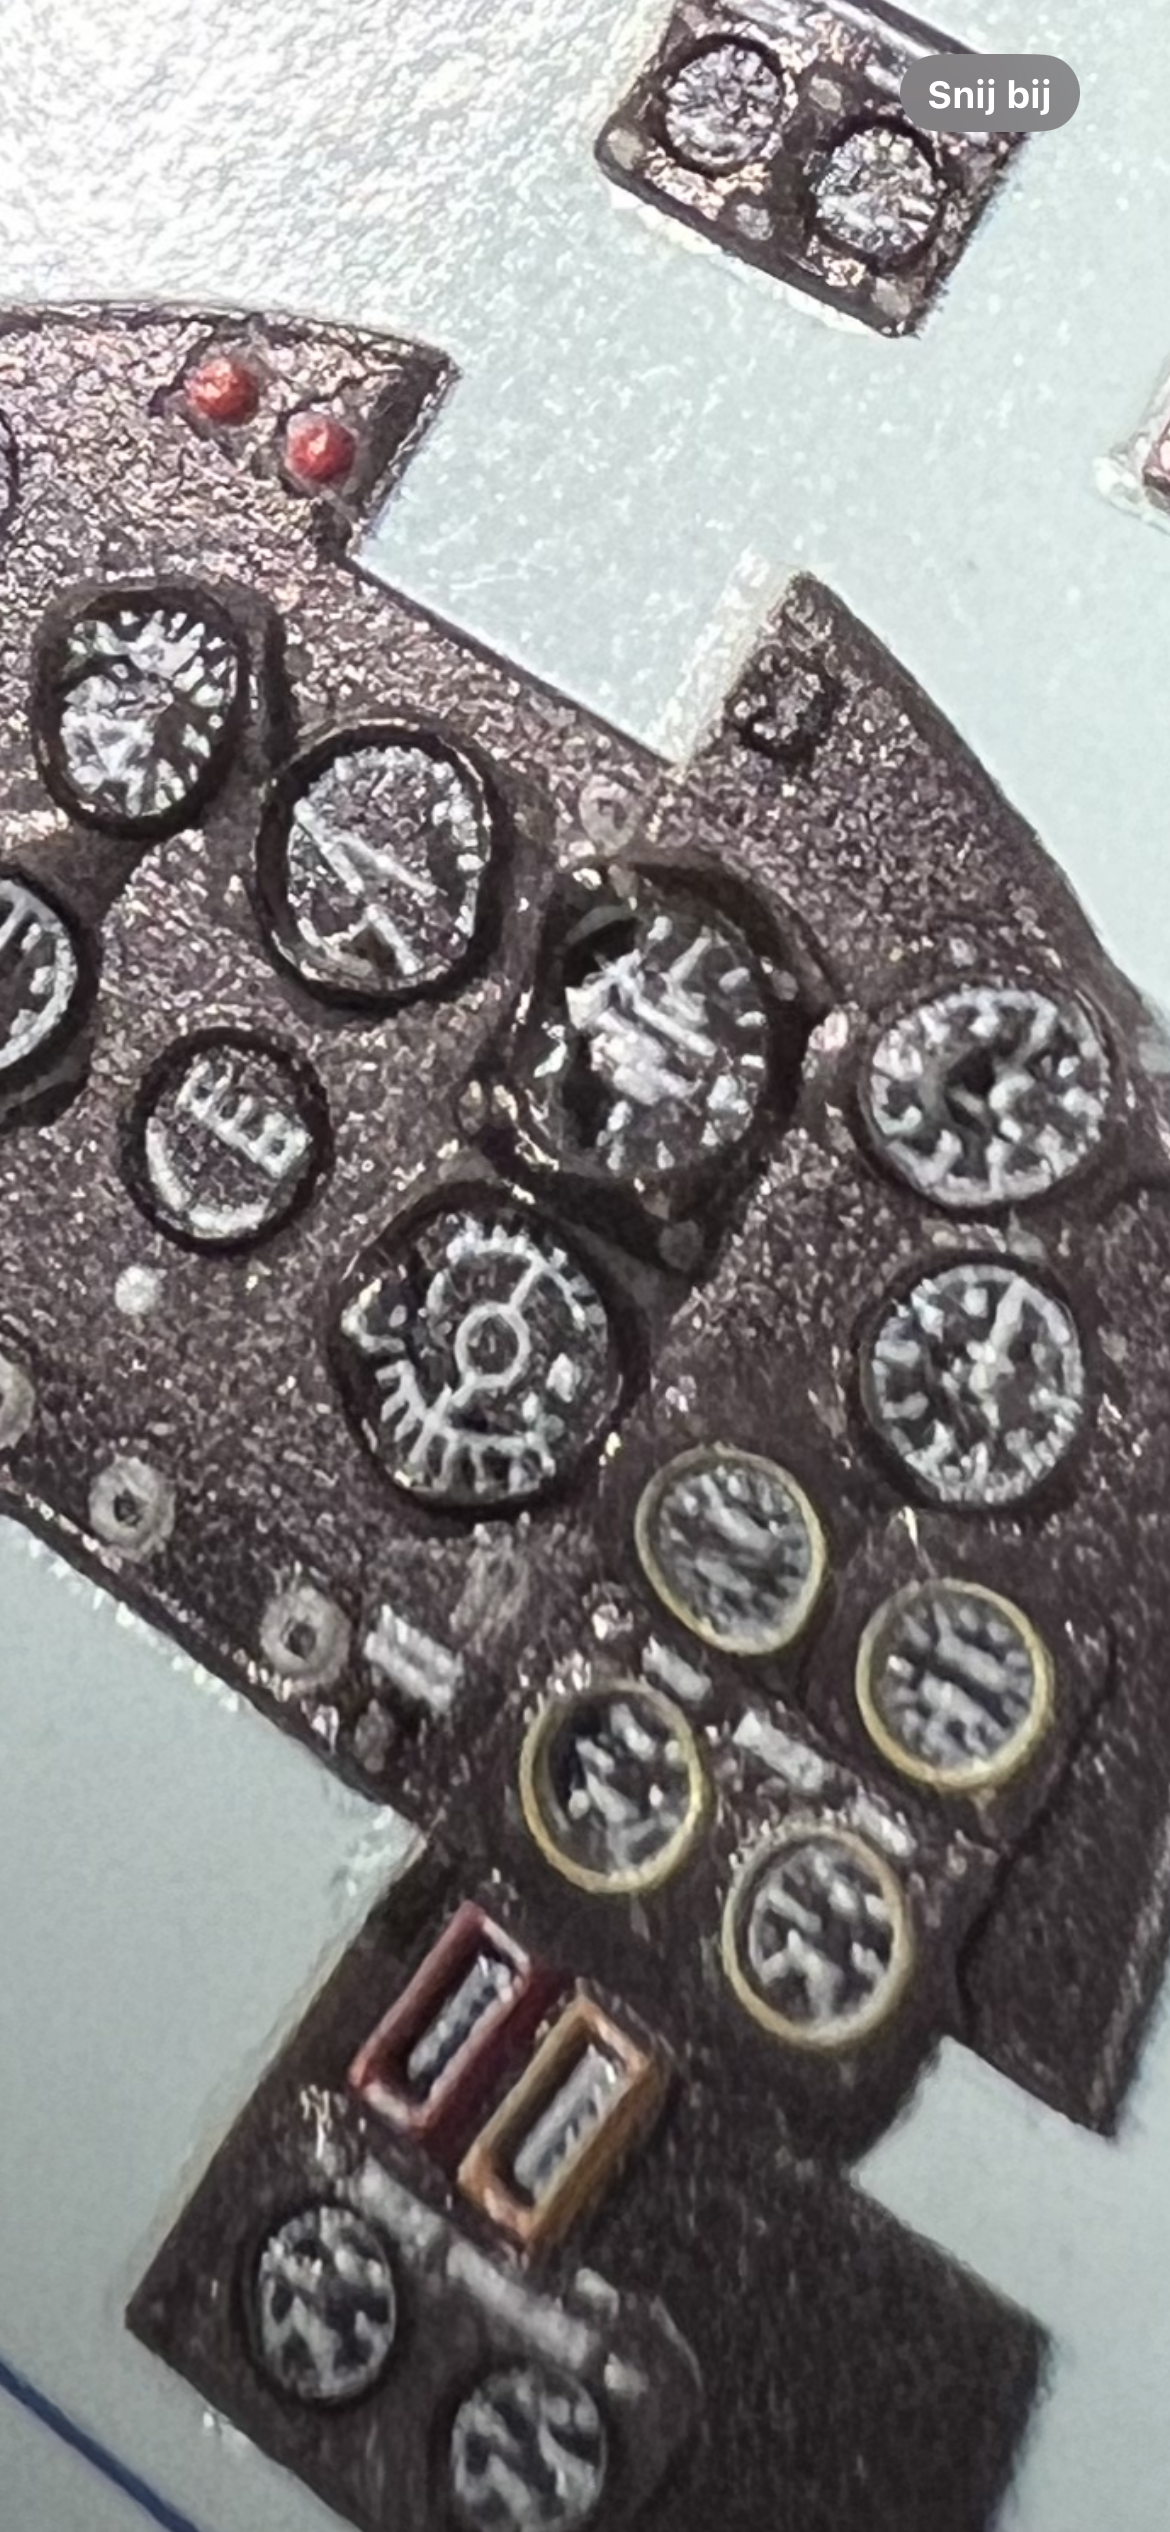
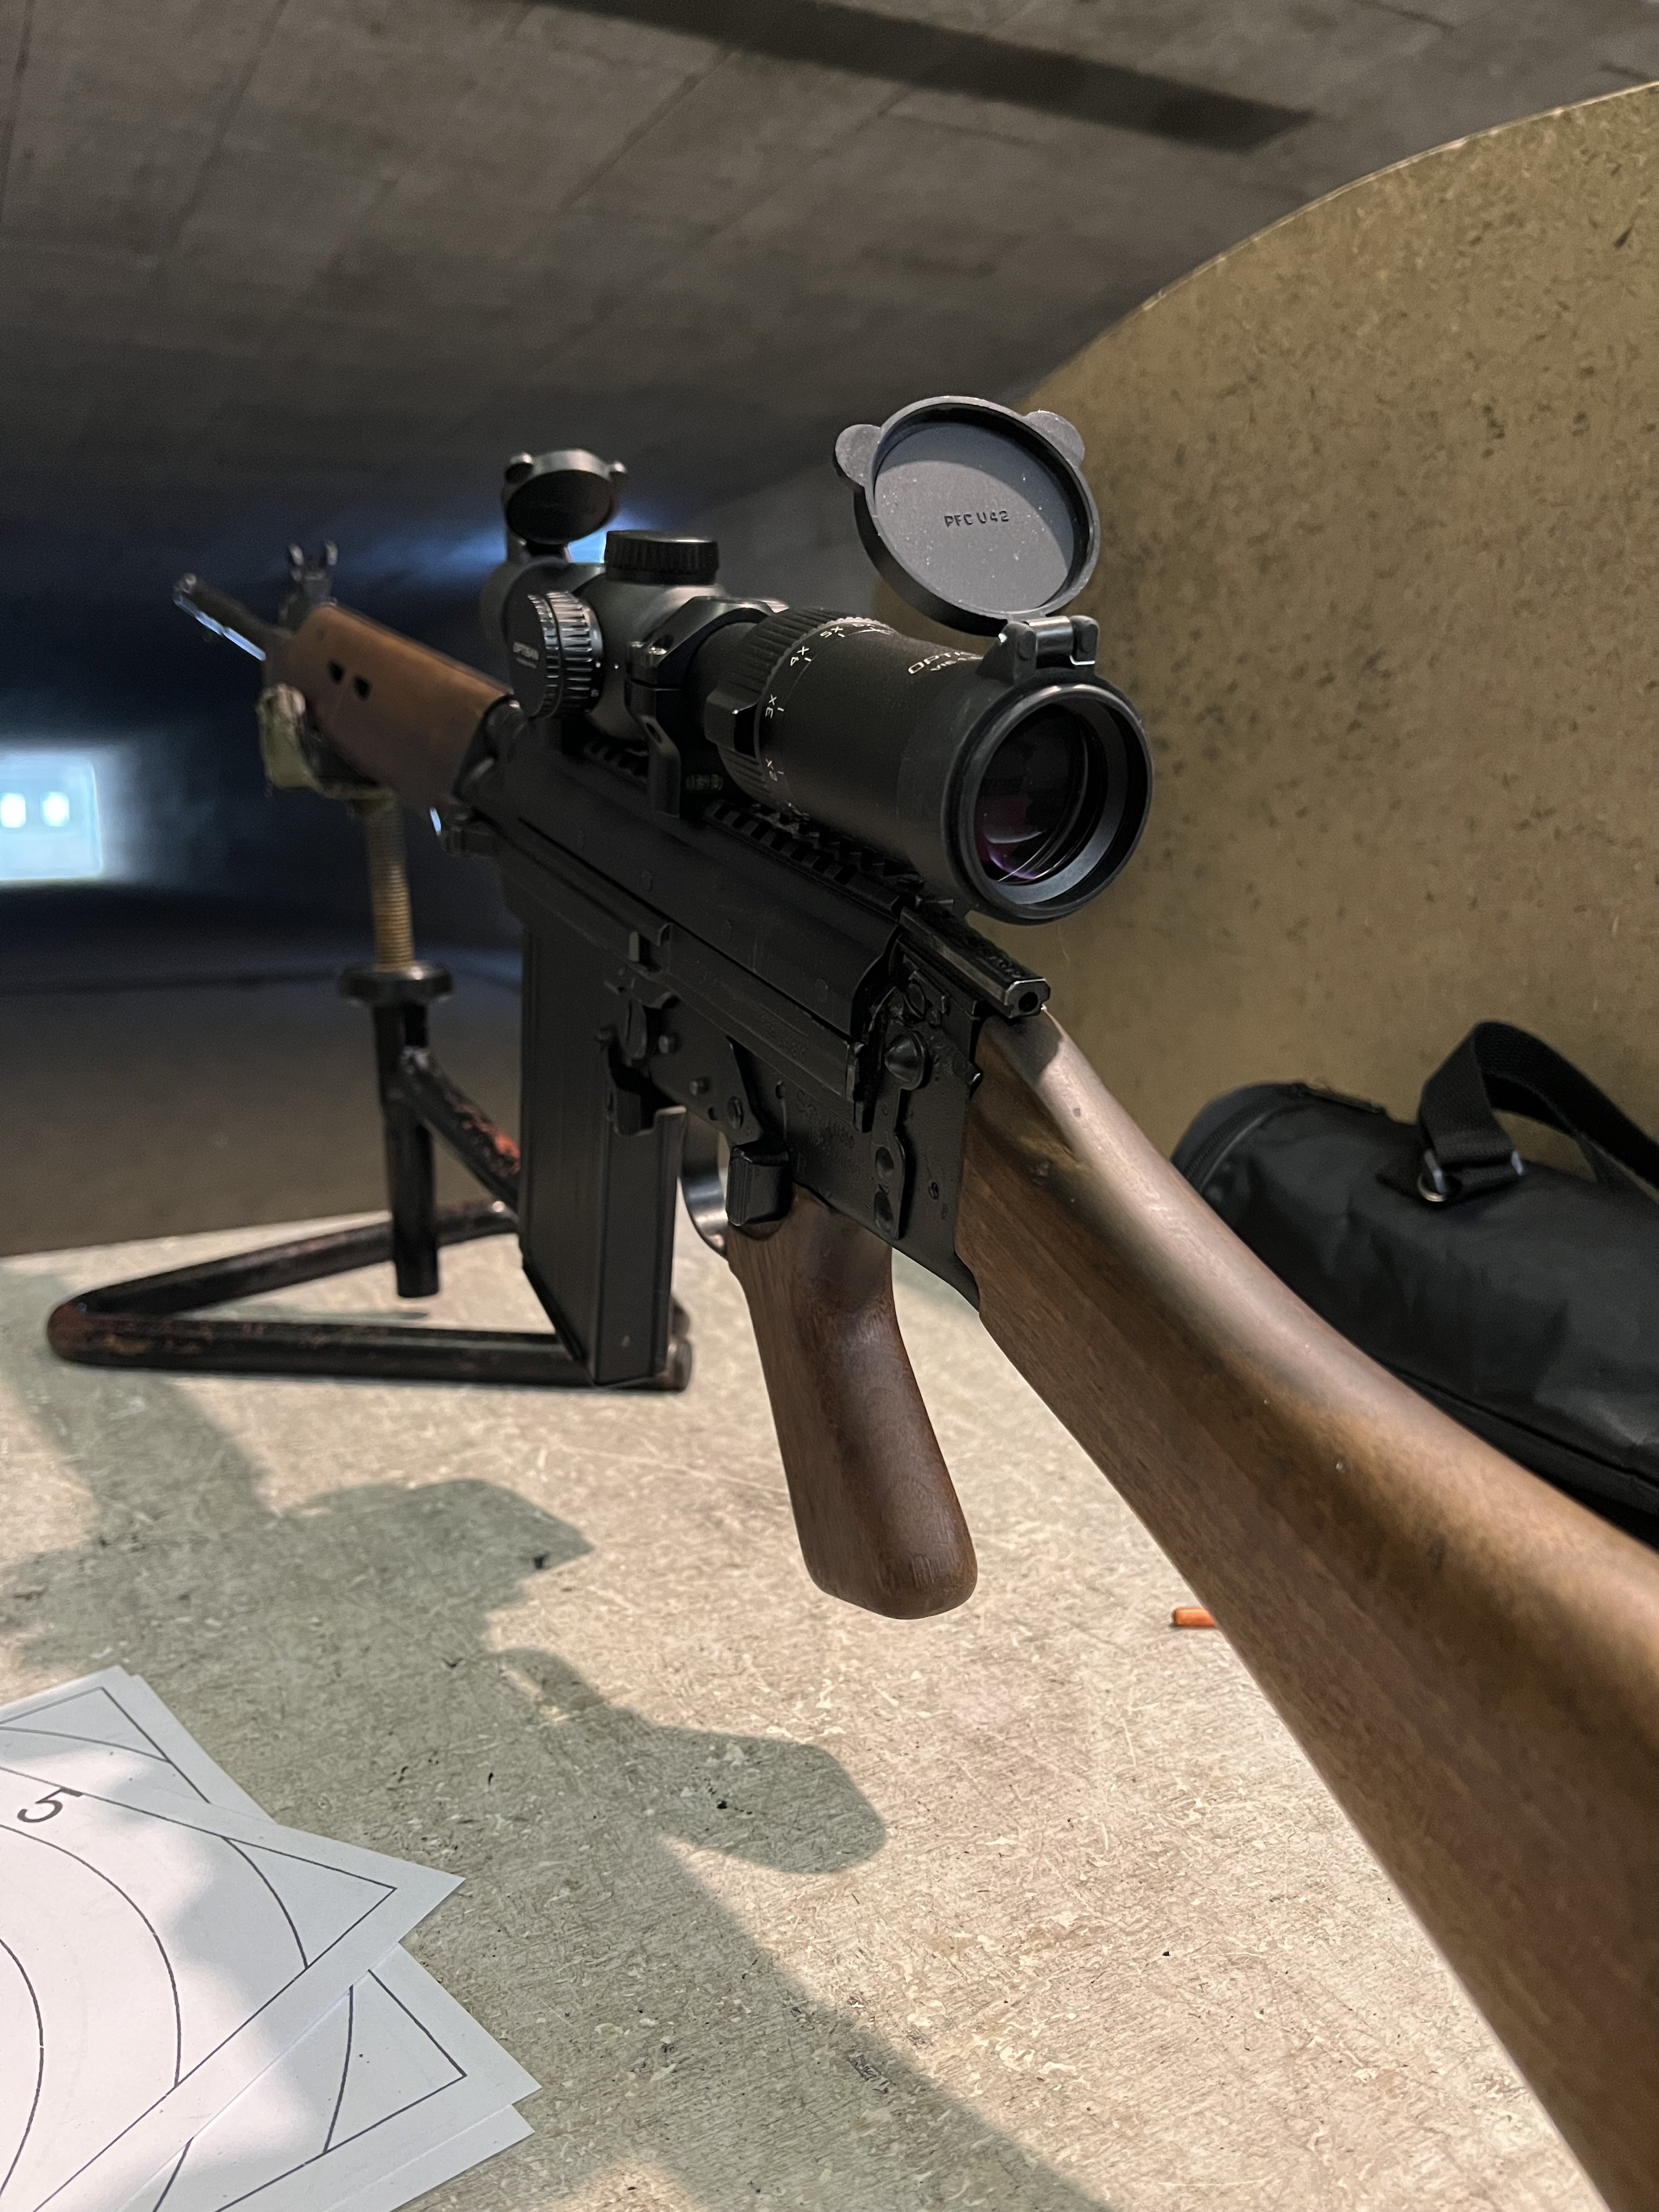
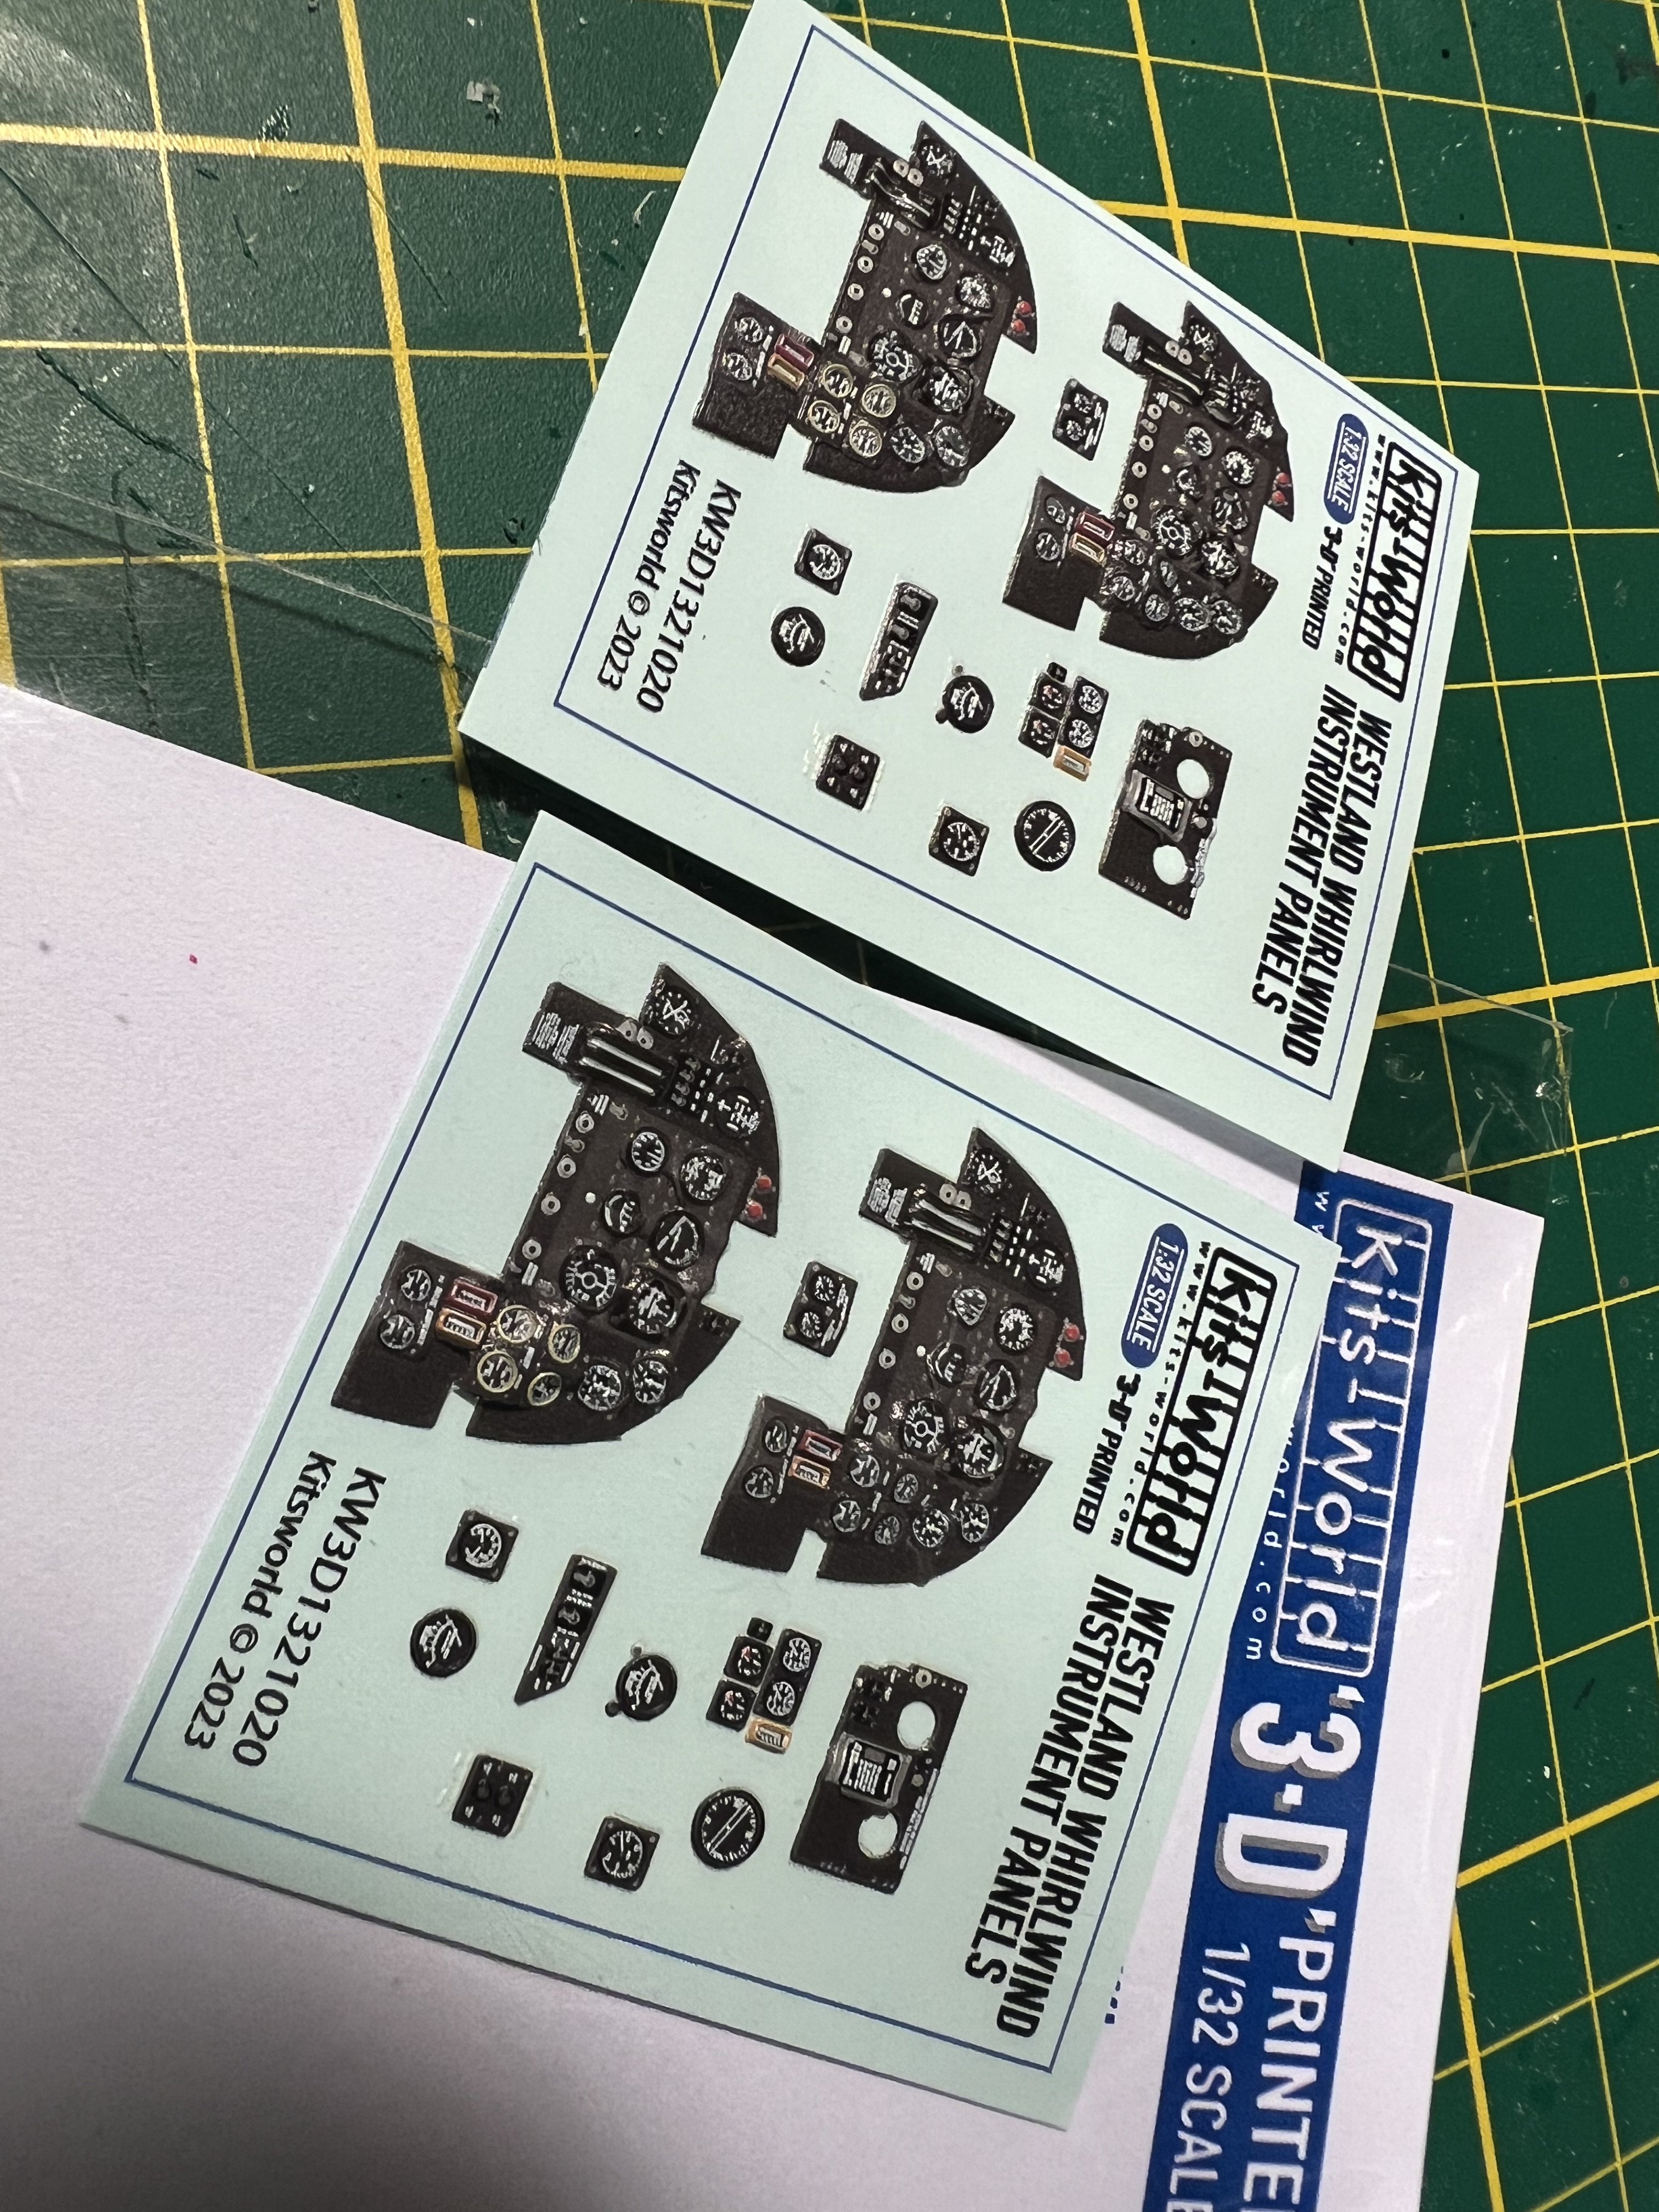
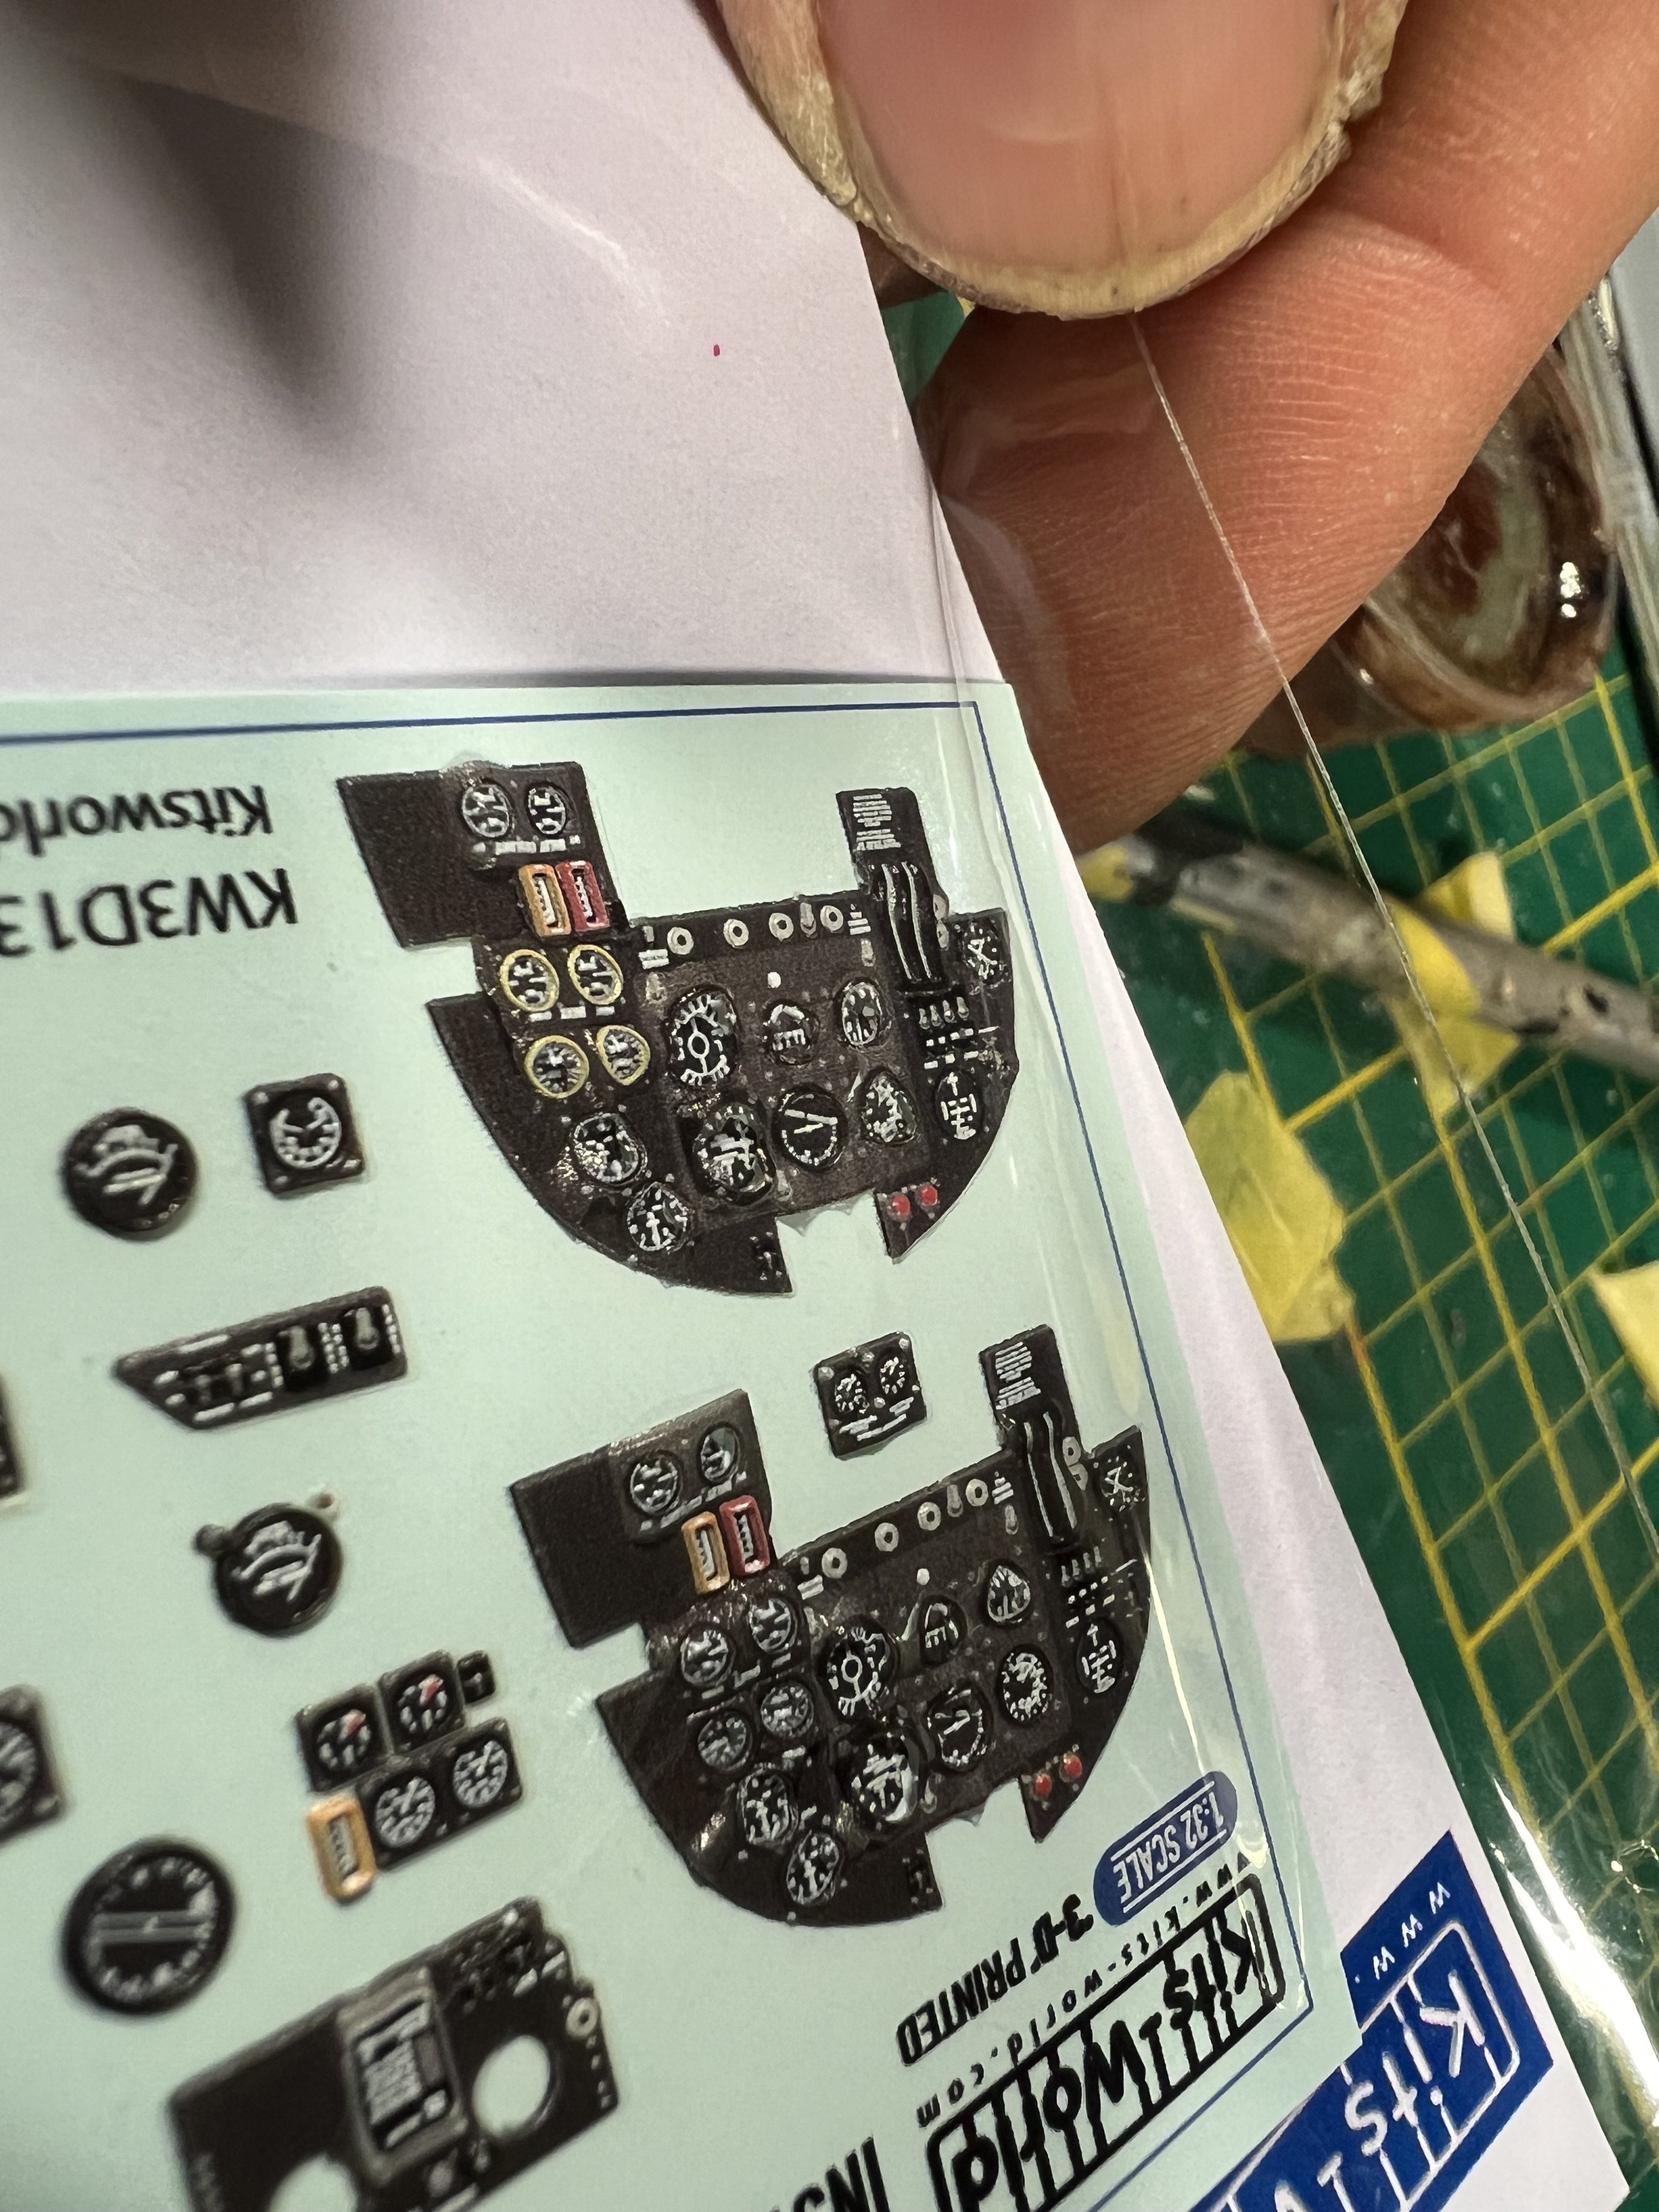
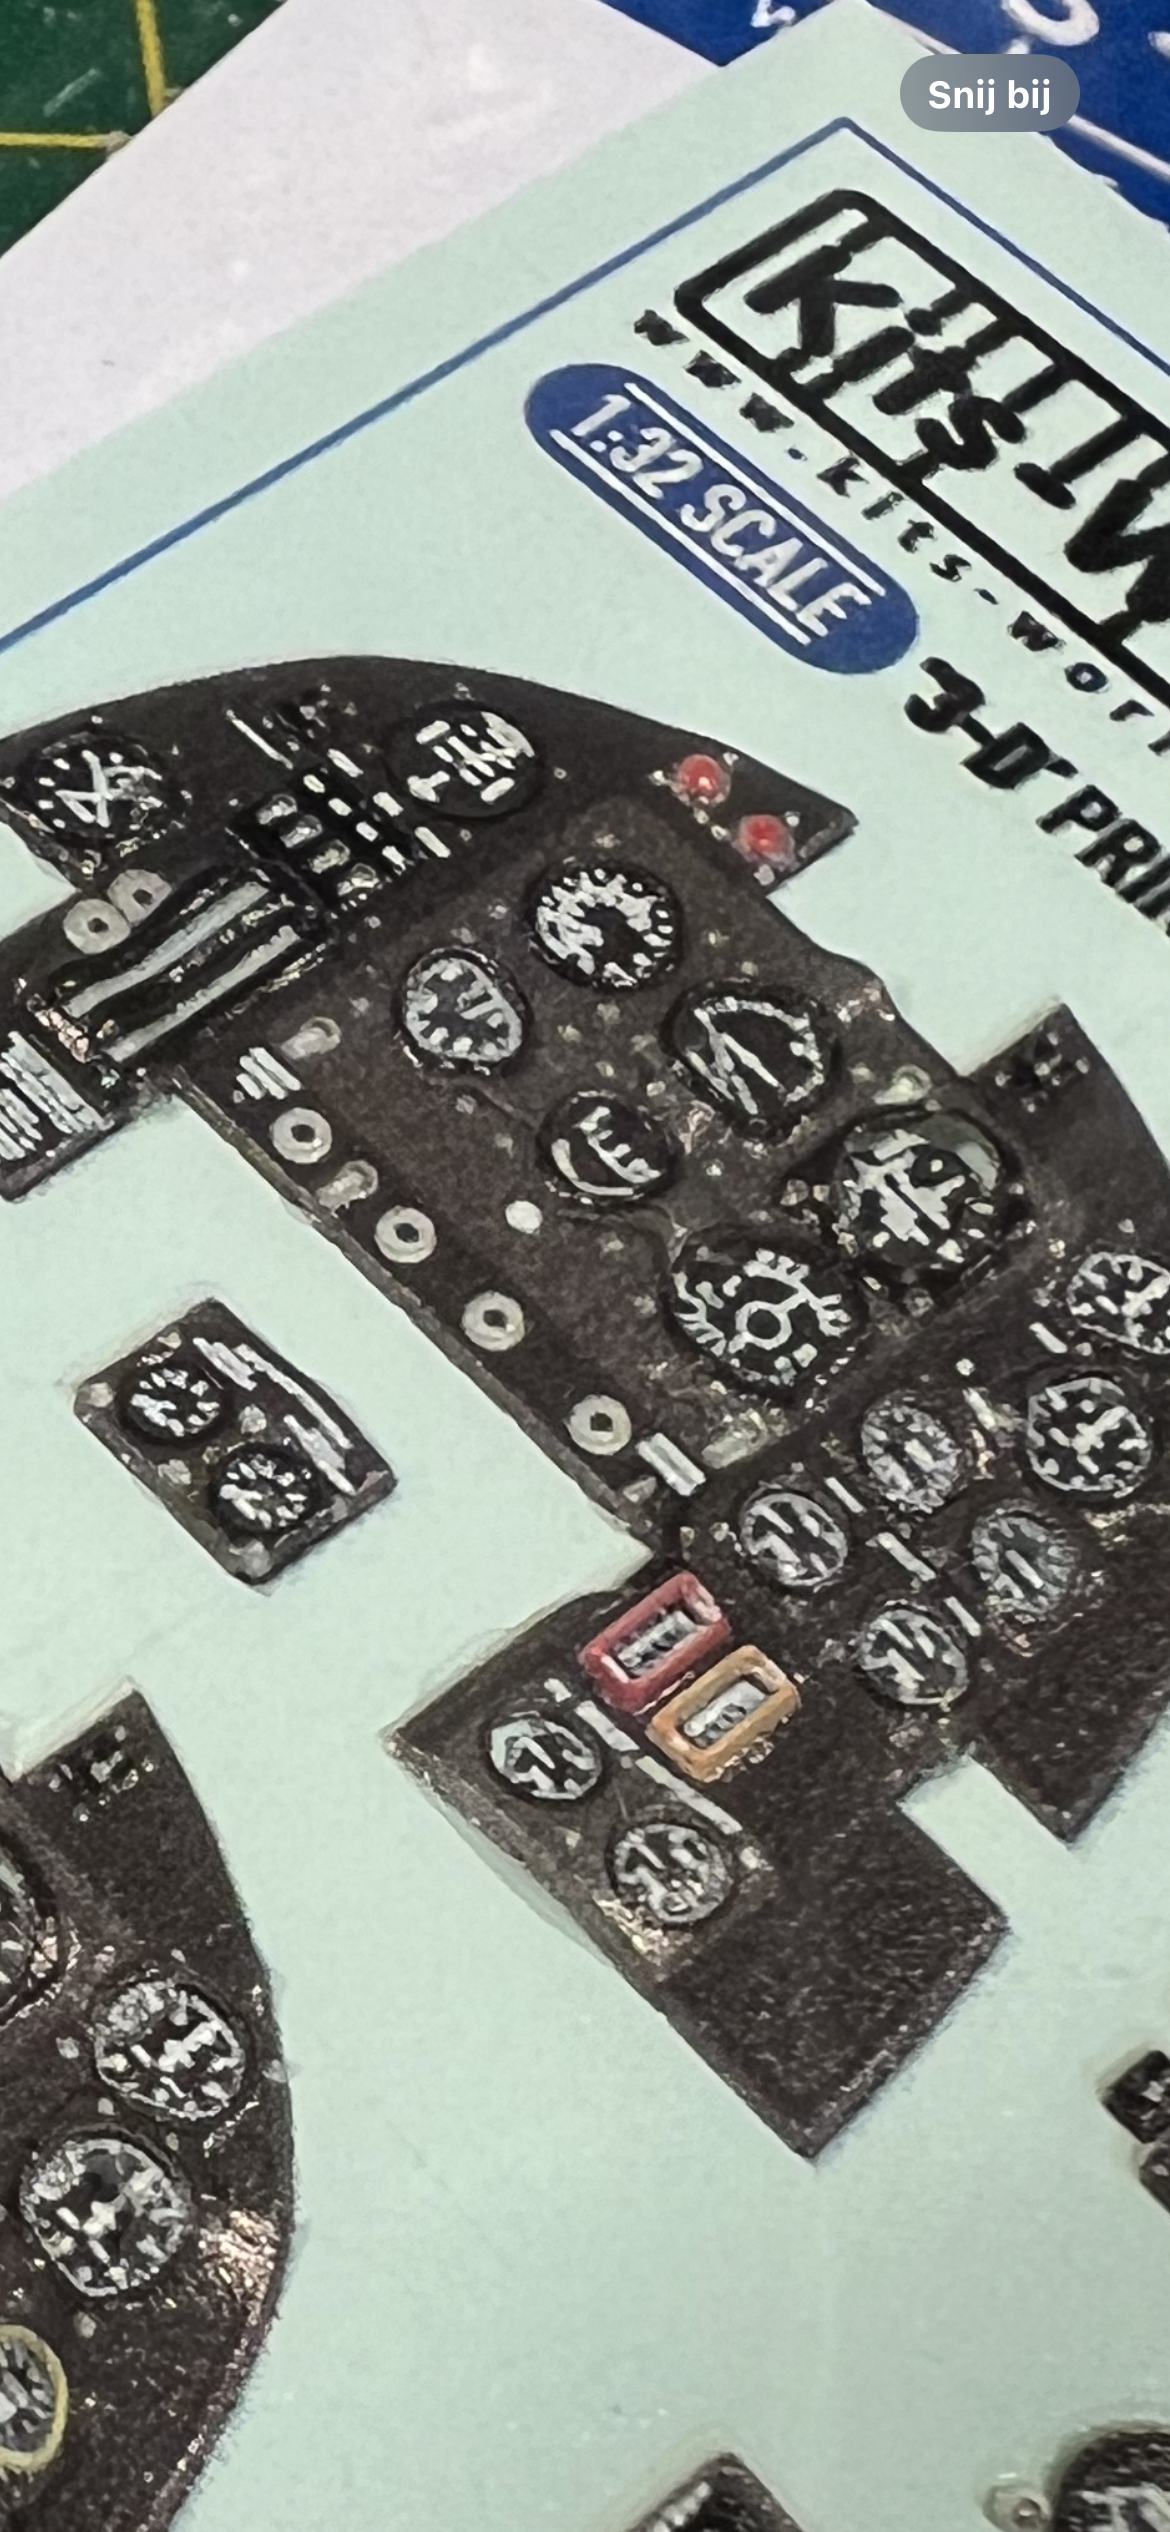
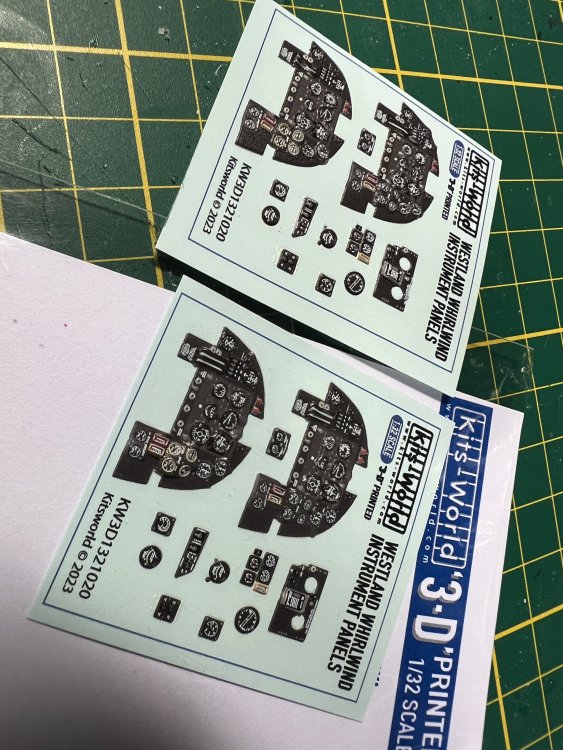
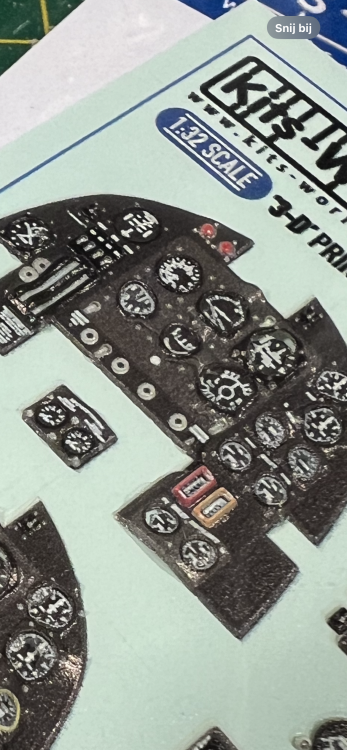
I am getting a bit frustrated with Kitsworld to be honest. They sent me a replacement set. Only thing is: this set has the exact same flaws as the one I complained about. After bringing this to their attention. Again. I receive and email with lots of exclamation marks saying i did not read their mail properly. Apparently blistering is normal and should disappear after applying. When i replied that even the bezels are torn of the panel and completely deformed i get a simple; just return the set to the retailer and we will reimburse. It’s not about the money for me. I just want a proper set. I asked them why they would replace my first set with a set that is equally flawed. But no reply to that question. Just went to the range to focus on something else.

-
1/32 Westland Whirlwind
JeroenPeters replied to JeroenPeters's topic in LSM 1/35 and Larger Work In Progress
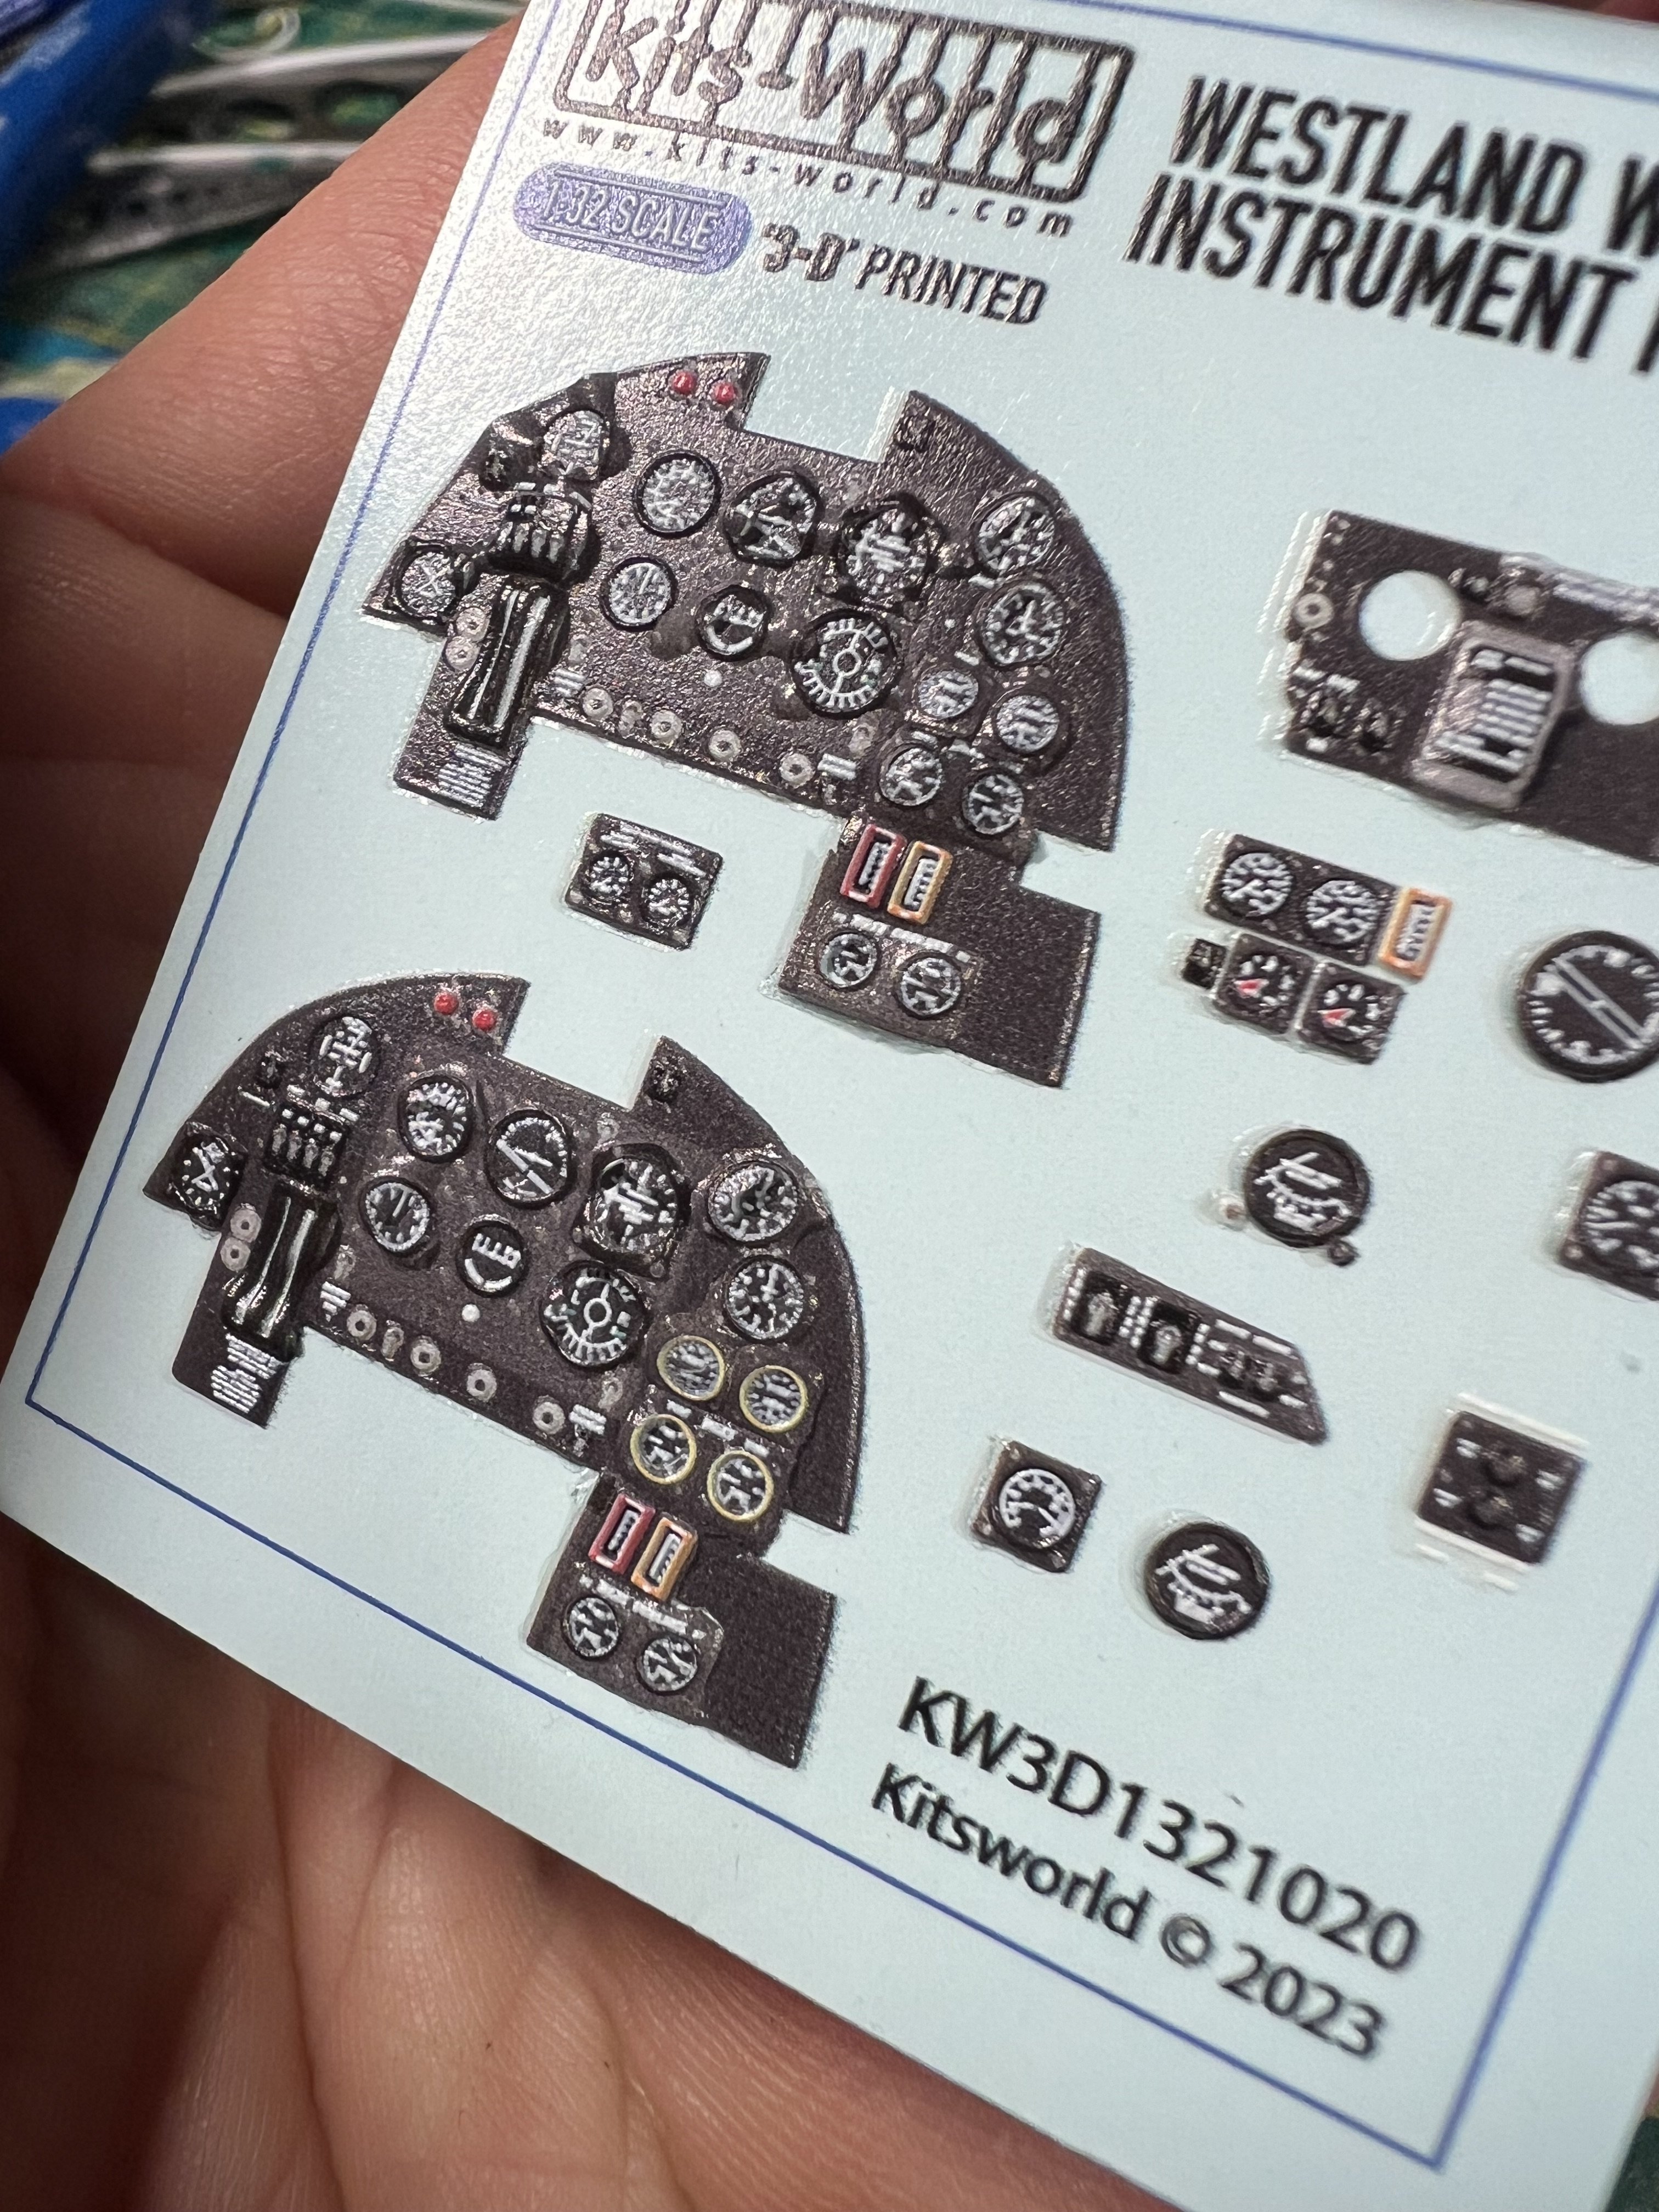
Also recieved a new cockpit set from Kitsworld today. The flaws are exactly the same as on the first set. It may be the same on the whole production run. Some seperation from bezels, blobs and deformations.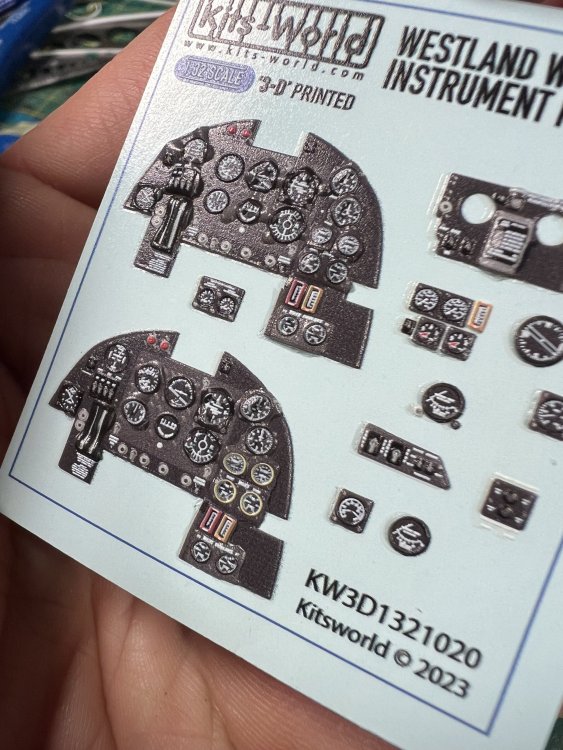
-
1/32 Westland Whirlwind
JeroenPeters replied to JeroenPeters's topic in LSM 1/35 and Larger Work In Progress
I’m having trouble trying to see what is what in this photo but i can make out several parts. The oil header tank i’ll make. If i can find a bit more info on it. Thanks!!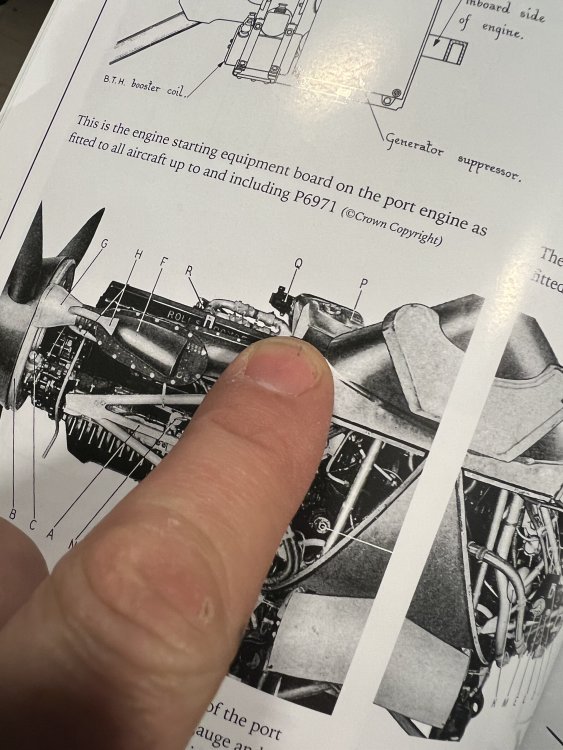
-
1/32 Westland Whirlwind
JeroenPeters replied to JeroenPeters's topic in LSM 1/35 and Larger Work In Progress
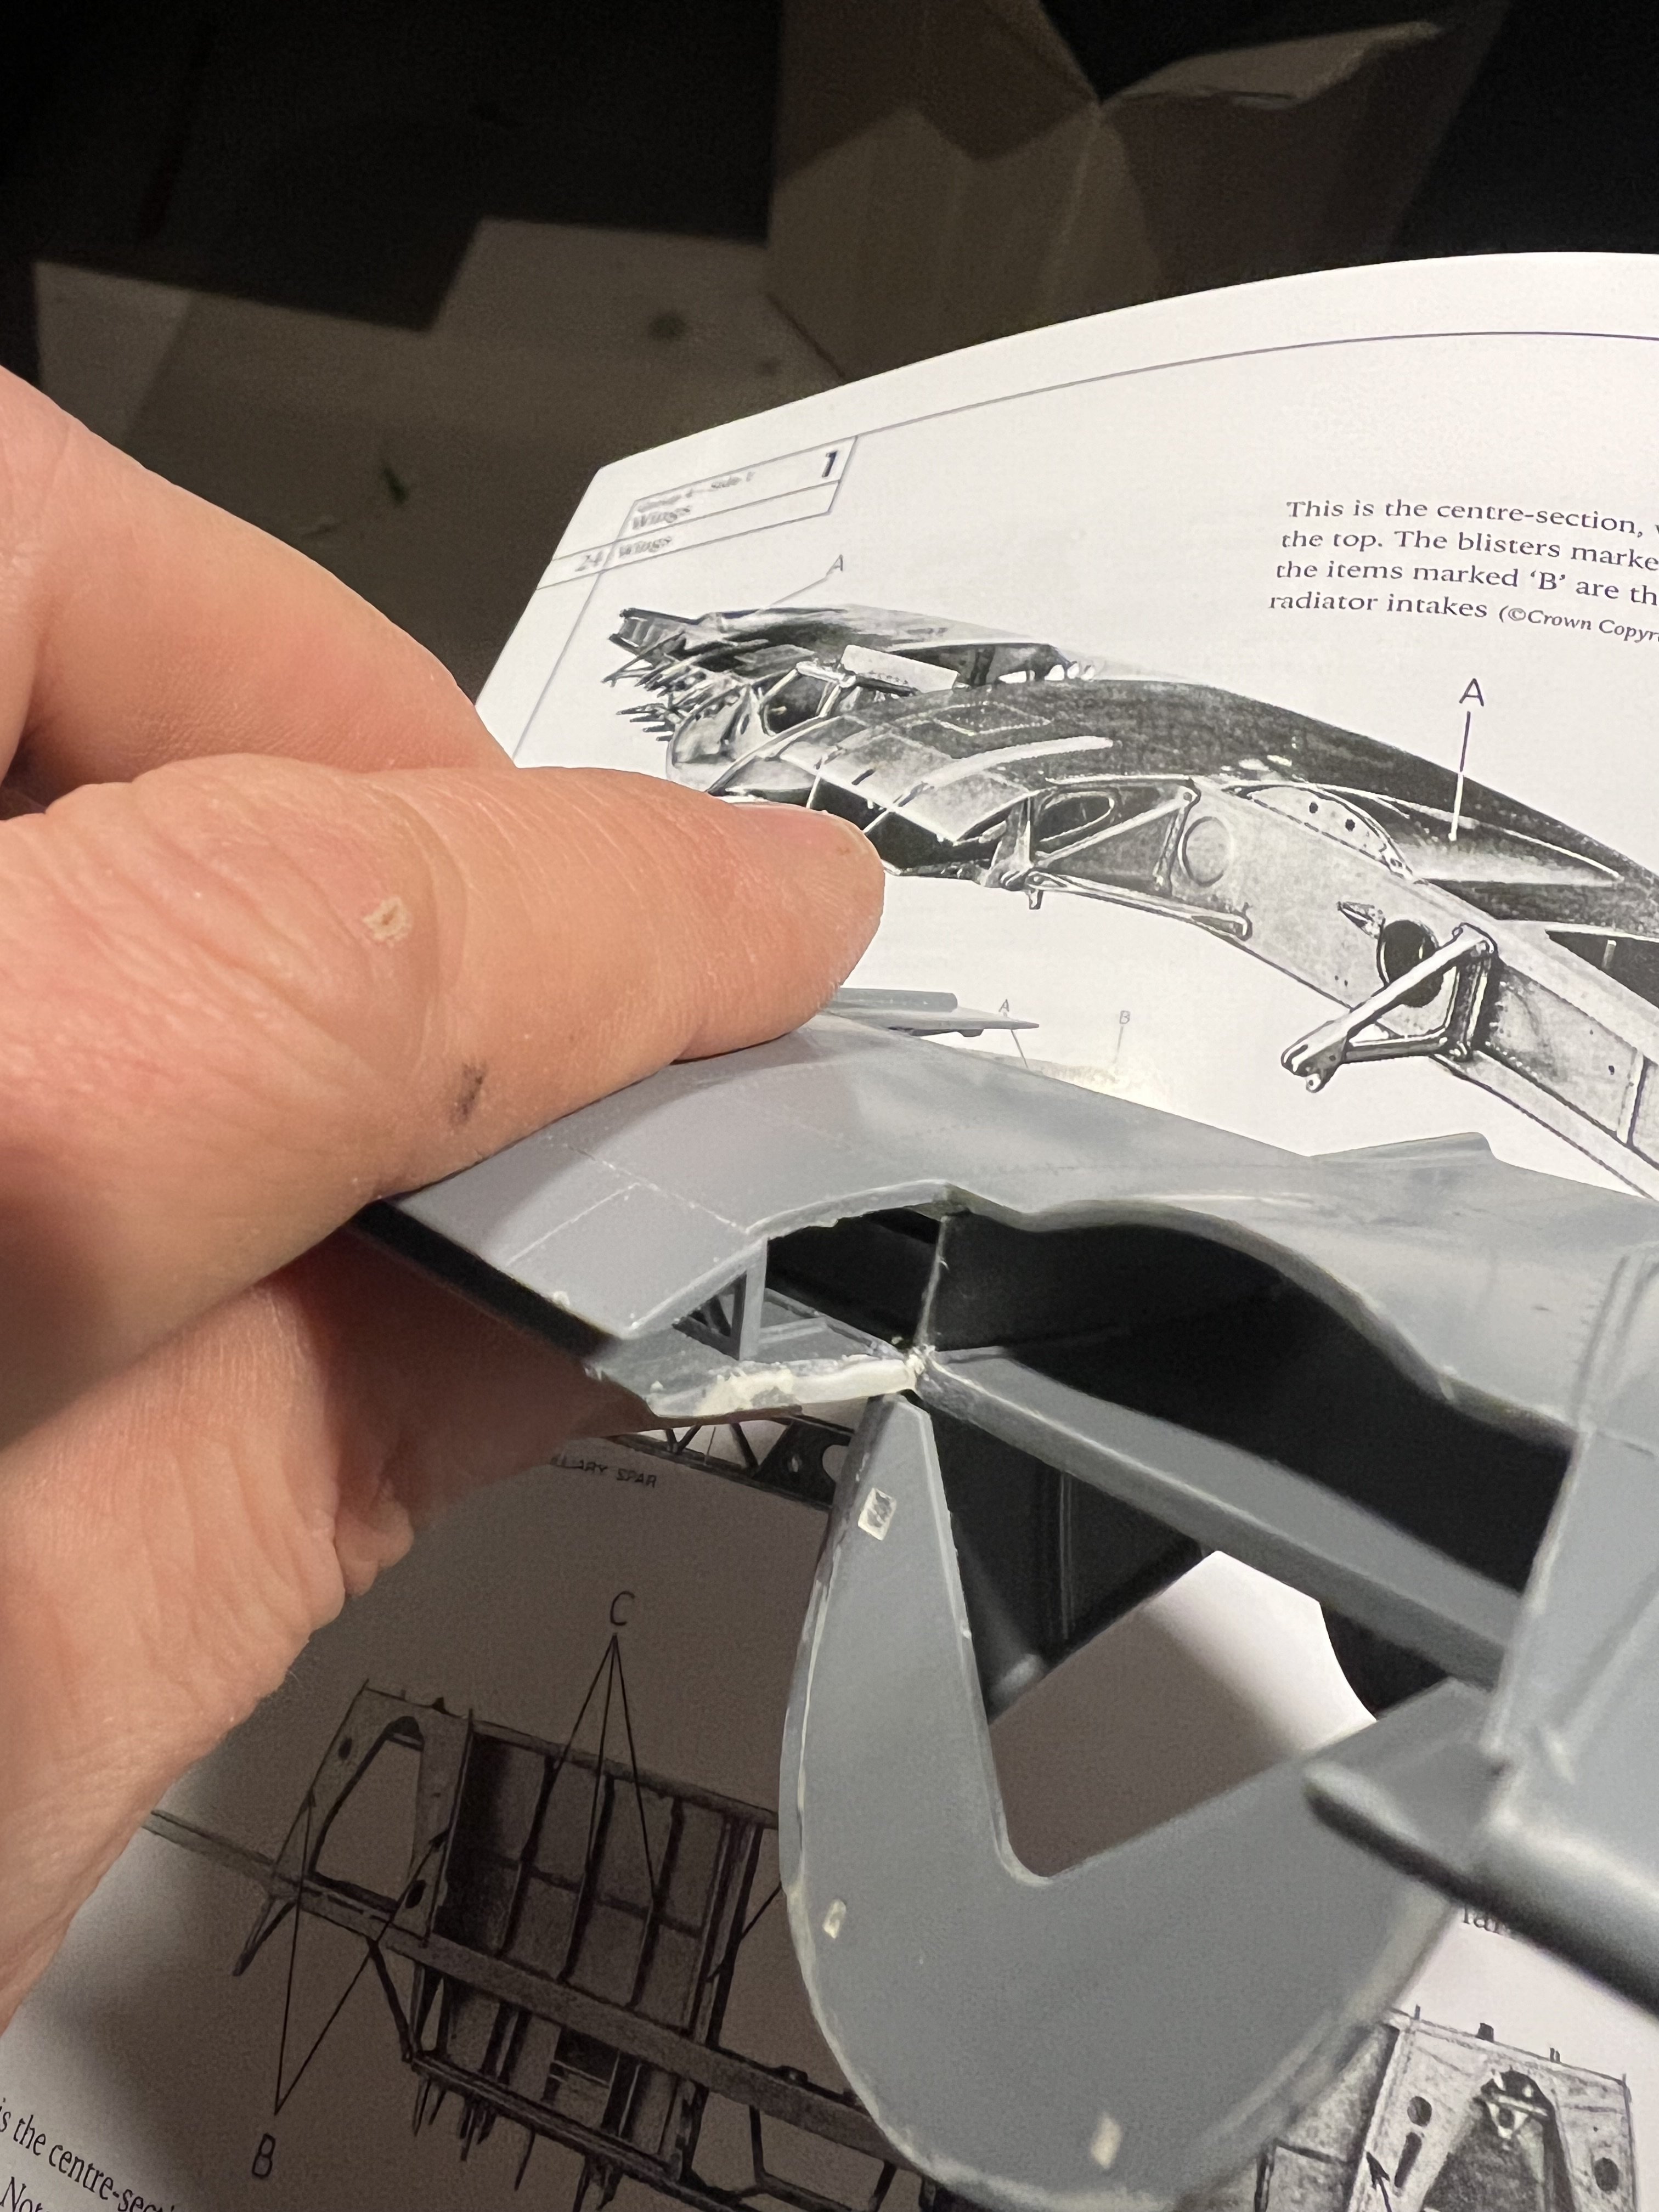
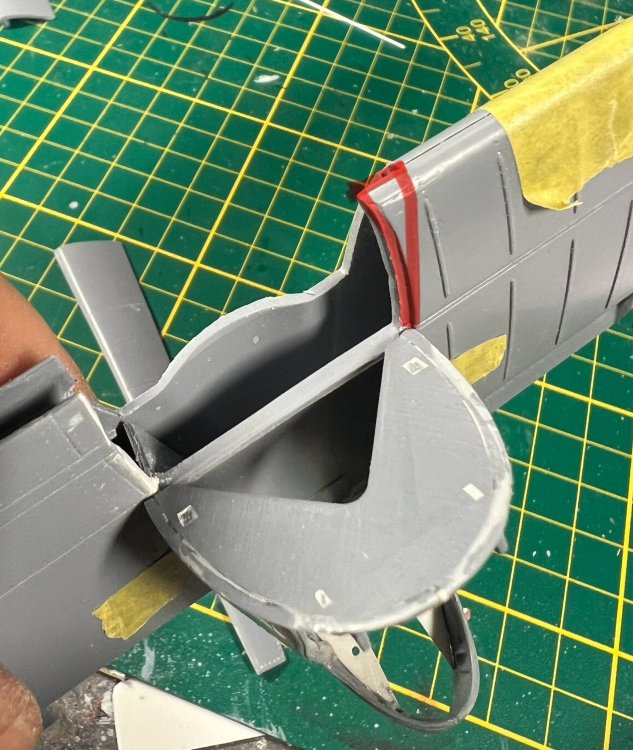
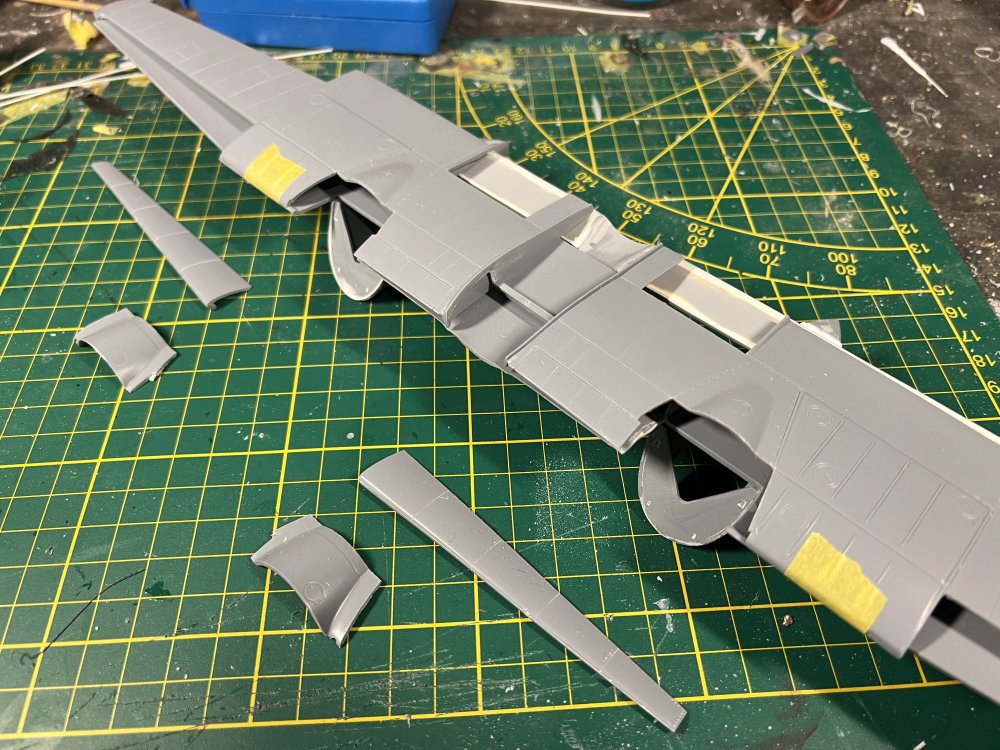
More work done on the wings. Both panels 1 removed. Also removing the inner spar towards the oil coolers. I’ll make my own that is open at the front: i’m guessing this needs to be removed too:
-
1/32 Westland Whirlwind
JeroenPeters replied to JeroenPeters's topic in LSM 1/35 and Larger Work In Progress
I could remove panel 1 (I figured out this panel IS removed in the above photo), but then I need to draw the parts encircled in this photo. One sits on top of the carburator? And the other is the oil tank?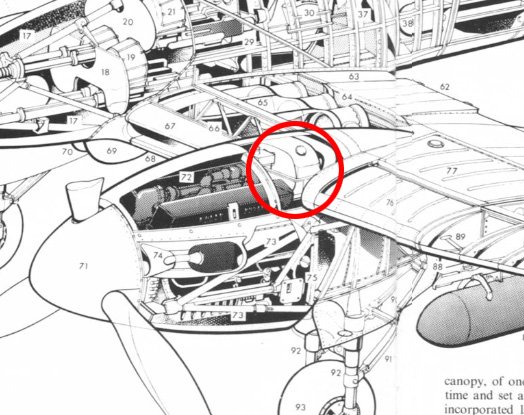
-
1/32 Westland Whirlwind
JeroenPeters replied to JeroenPeters's topic in LSM 1/35 and Larger Work In Progress
Wow… i have been searching high and low for a photo like this. Still hard to tell whether panel 1 is present in this pic. I think i’ll leave it on for now… thnx! -
1/32 Westland Whirlwind
JeroenPeters replied to JeroenPeters's topic in LSM 1/35 and Larger Work In Progress
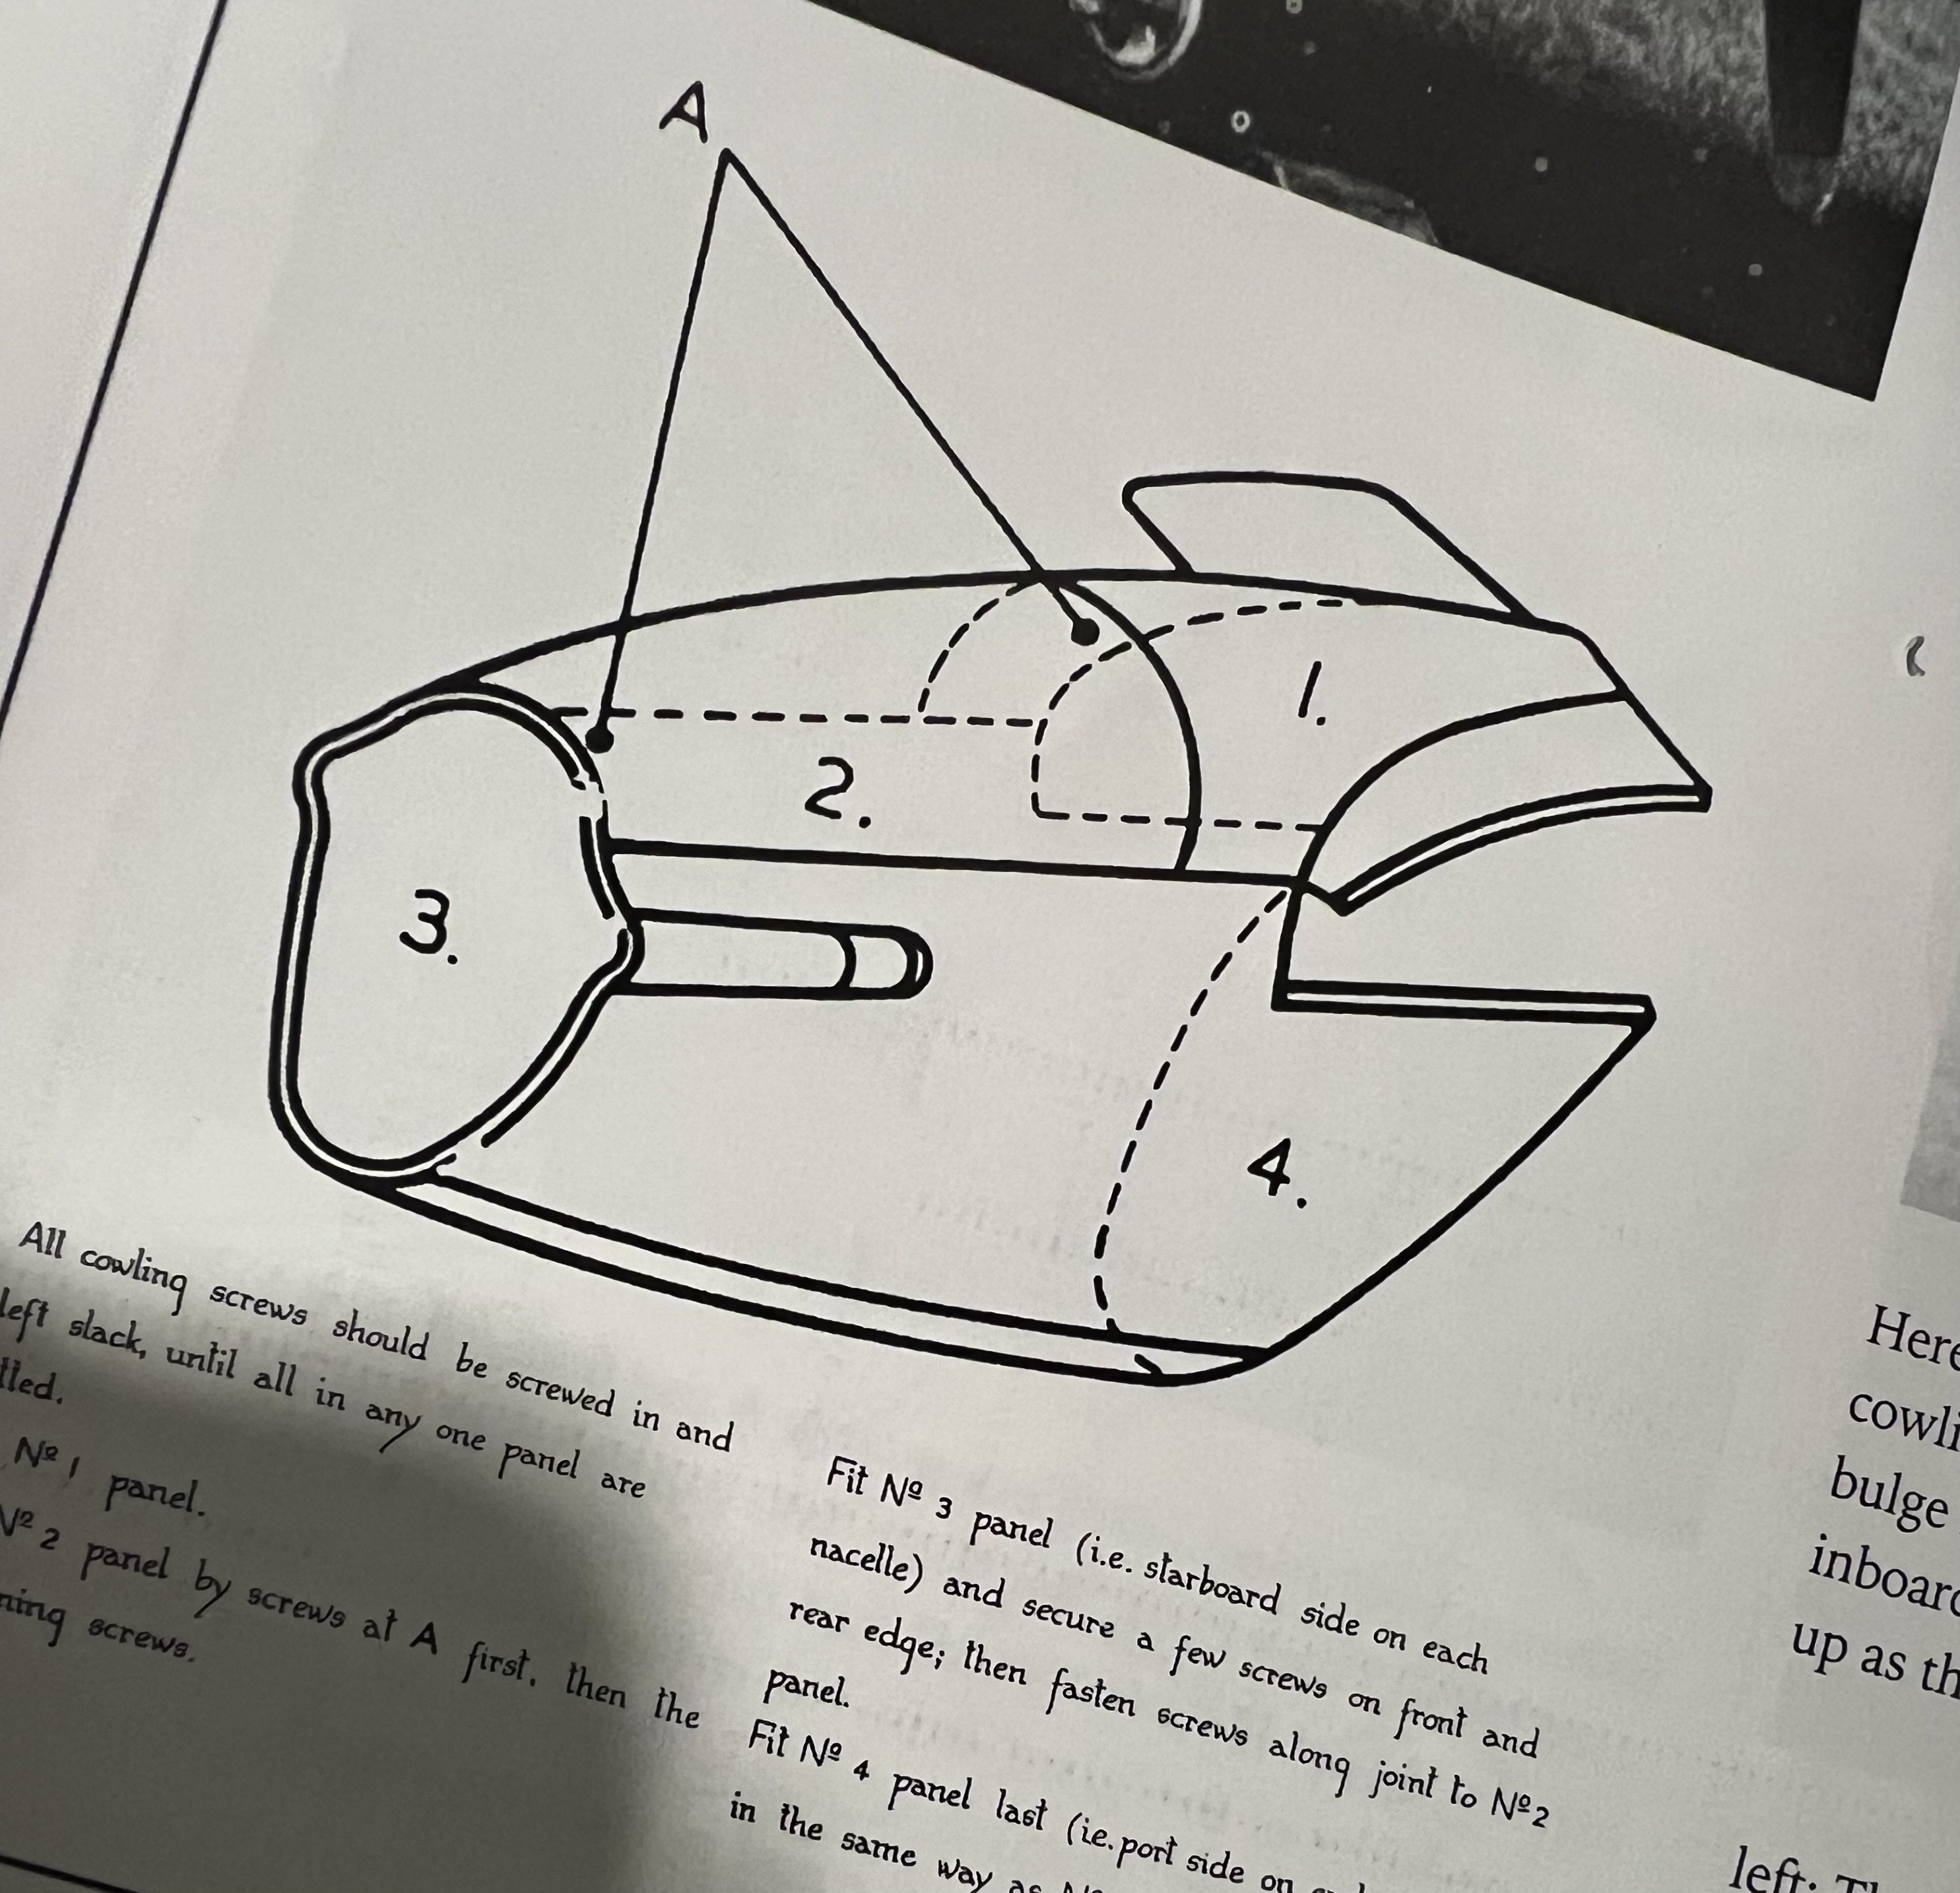
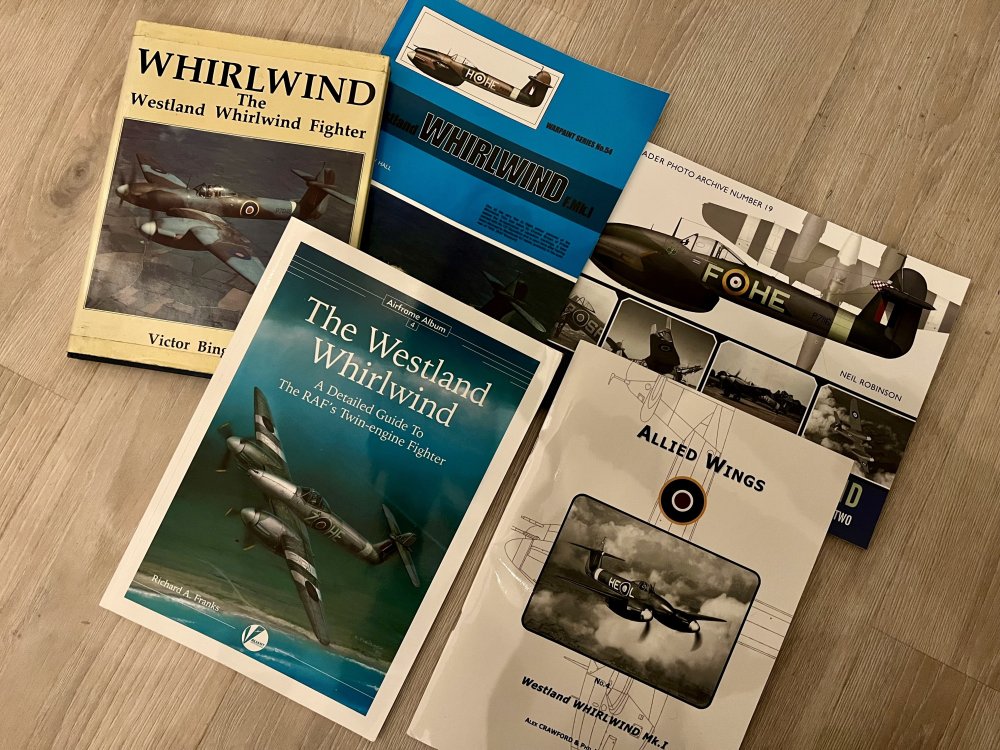
Figuring out whether to leave engine cover panel 1 in place and only removing 2 and the side panels. i have gathered a few books, also borrowed and got one from Cees Broere, but can’t find any good reference on what panels were usually removed for maintenance.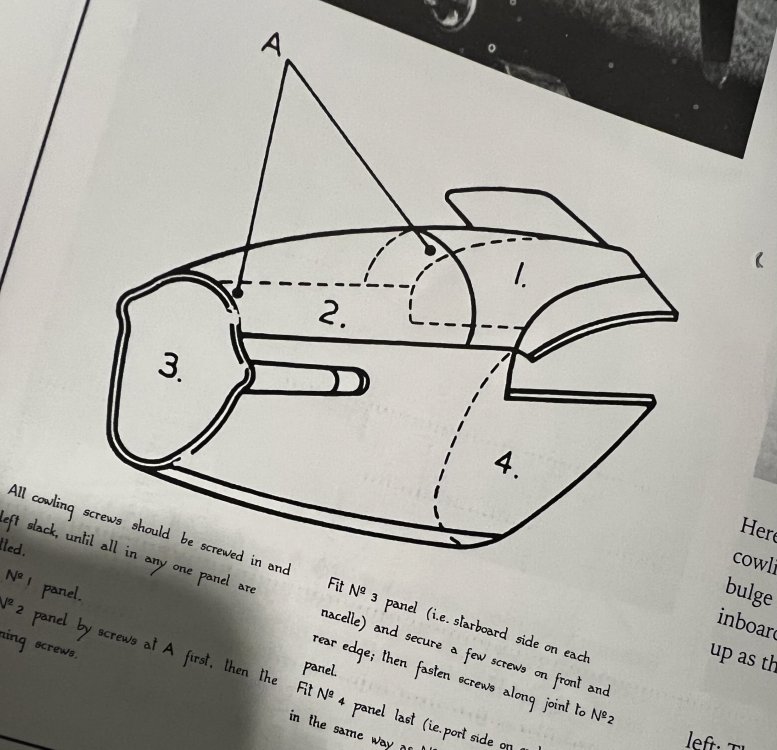
-
1/32 Westland Whirlwind
JeroenPeters replied to JeroenPeters's topic in LSM 1/35 and Larger Work In Progress
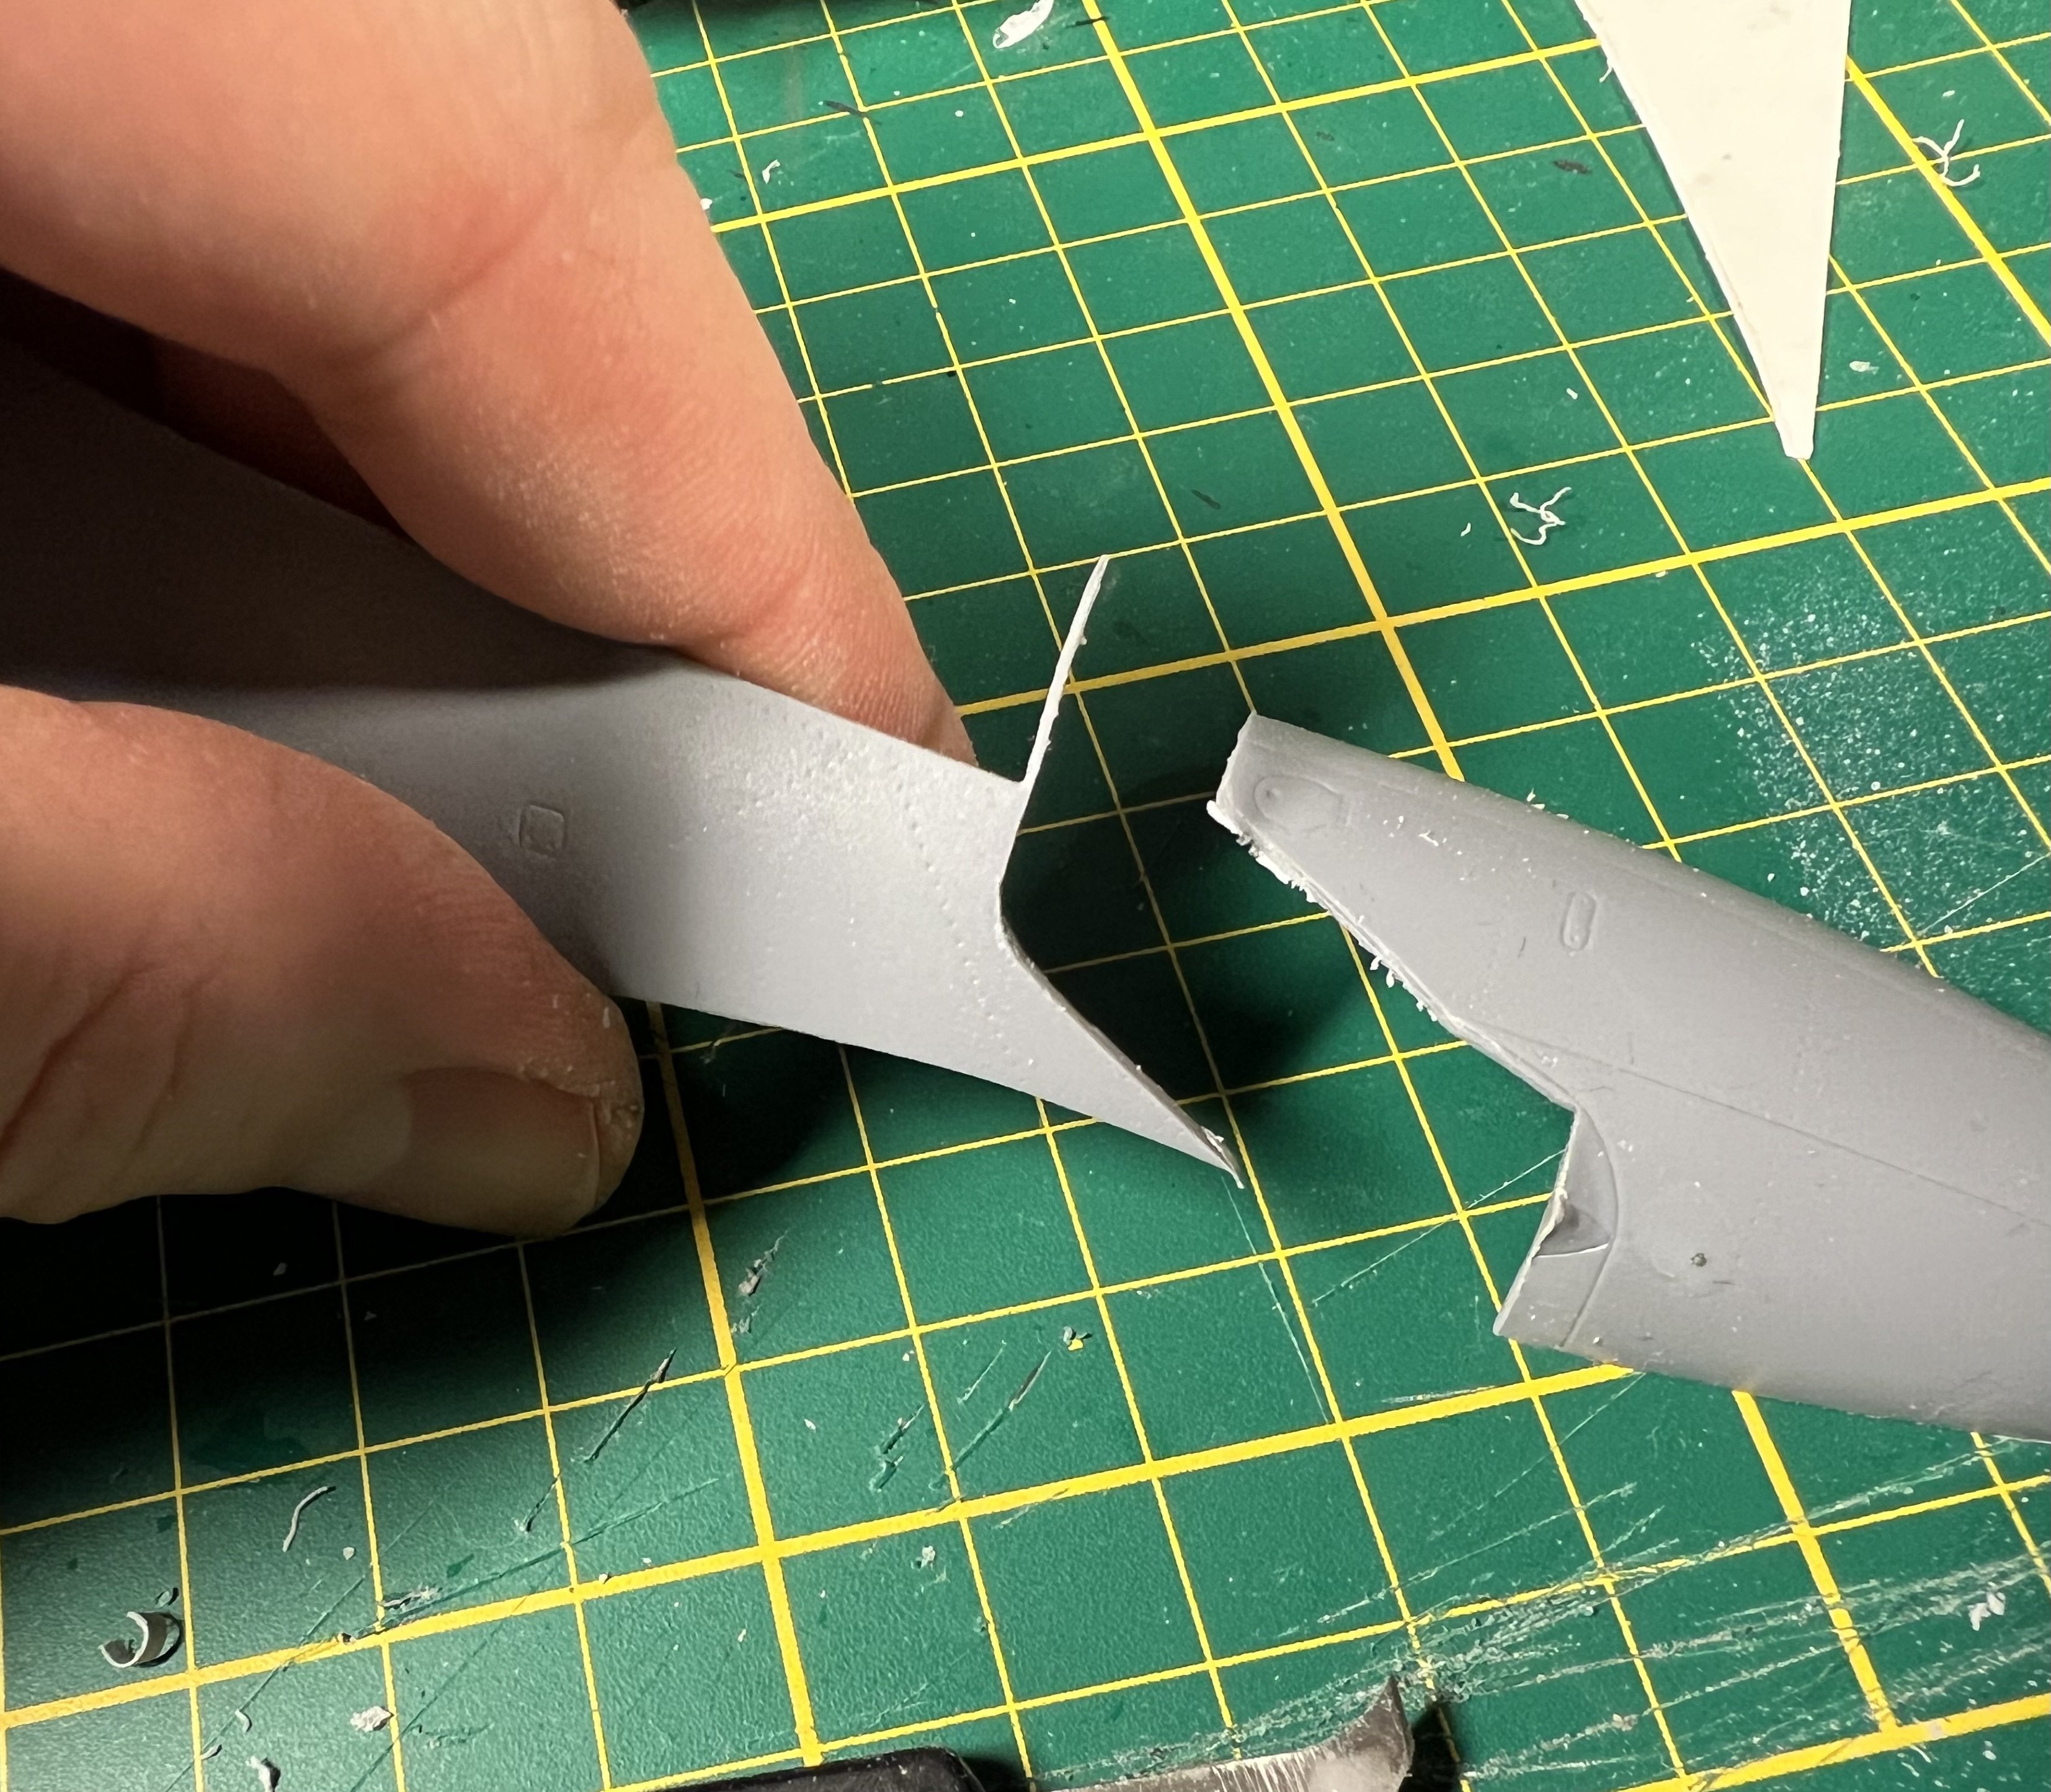
Spent another evening thinning panels, sanding the slats into a proper shape and adding flanges to the gondola’s.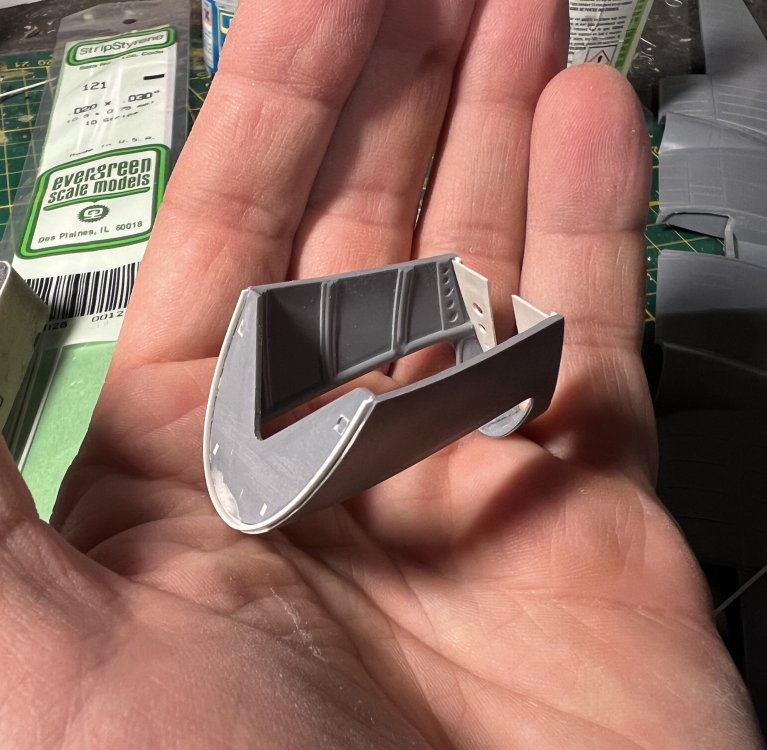


-
1/32 Westland Whirlwind
JeroenPeters replied to JeroenPeters's topic in LSM 1/35 and Larger Work In Progress
Just recieved the Kitsworld cockpit set. It looks like it spent too much time in the oven. Weird blobs and strange deformations. Sent Kitsworld an email so fingers crossed. I can’t use this…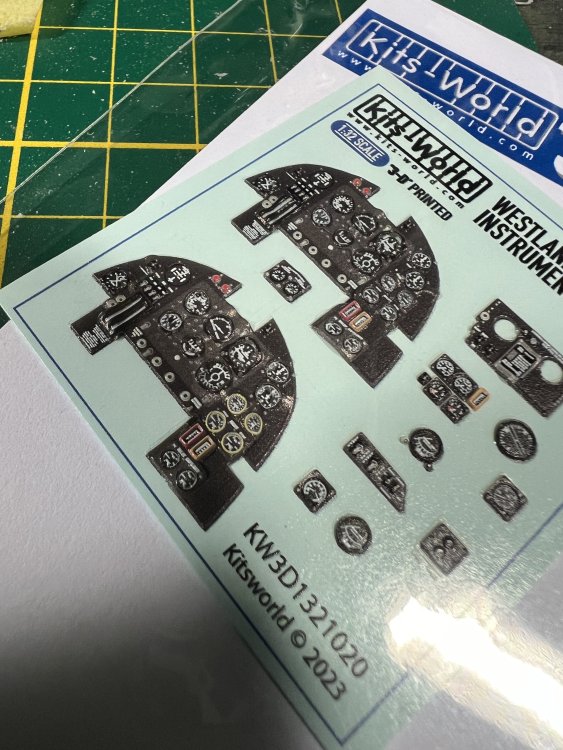

-
1/32 Westland Whirlwind
JeroenPeters replied to JeroenPeters's topic in LSM 1/35 and Larger Work In Progress
Started making the rear frame of the gearbay. Bit too crude and not finished yet. Might scrap it and start over. Not sure yet.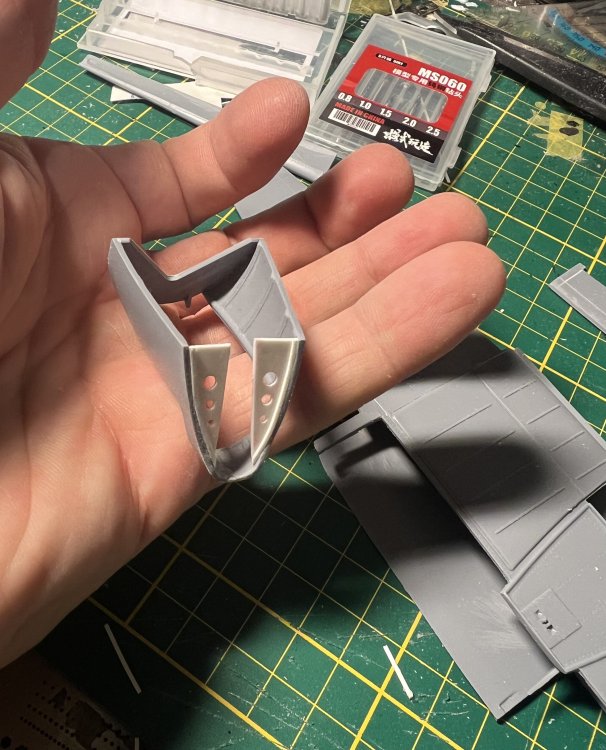
-
1/32 Westland Whirlwind
JeroenPeters replied to JeroenPeters's topic in LSM 1/35 and Larger Work In Progress
A whole evening sanding and still it looks the same as yesterday :))
-
1/32 Westland Whirlwind
JeroenPeters replied to JeroenPeters's topic in LSM 1/35 and Larger Work In Progress
Thnx. So any aircraft BEFORE P7054. I need to research what schemes that leaves me